
Mid Fuse Longerons Match Drilled

I completed a small task today and match drilled the mid fuse longerons.

I completed a small task today and match drilled the mid fuse longerons.
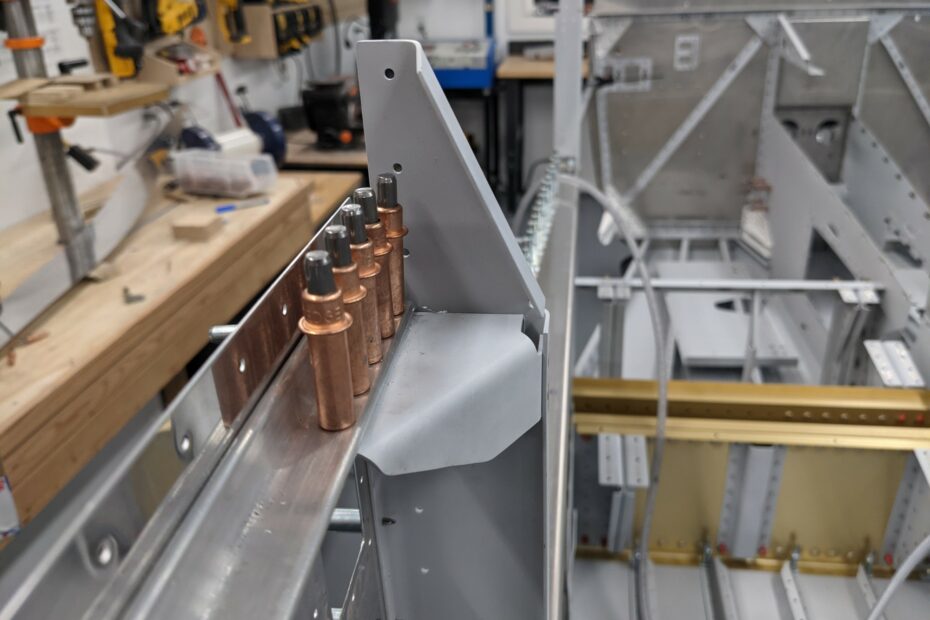
My next task was to deburr the side decks and countersink the flange holes for #8 screws. I then prepped the angles and parts that attach the skin to the baggage compartment floor. Once this was complete, I match drilled… Read More »One Step Back, Two Steps Forward

I completed the baggage door seal angles this afternoon. These are fashioned from 063×3/4×3/4 angle. The flange is then trimmed to 3/8″.

I was up early this morning so I decided to tackle the bend in the left aft fuselage side skin. This was much easier the second time around. Something about knowing how much force to apply and where made this… Read More »Fuse Side Skin Bending Round Two

I completed the first skin bend this evening. This turned out be much more challenging than I had anticipated. I started out by making the bending board and bending angles. The bending took a solid effort. A really solid effort.… Read More »Fuselage Side Skin Bending

I started on the fuse side skins sections of the plans today with the goal of completing the fuselage longerons. This was a step that I wasn’t looking forward to, given some of the posts on the VAF forums. It… Read More »Fuselage Longerons Complete

I bolted the forward bulkhead into place and then riveted it to the forward ribs. I then aligned the mid fuselage with the forward fuselage for the first time (I didn’t do this previously as all of the common holes… Read More »Forward Fuselage Section Almost Complete!
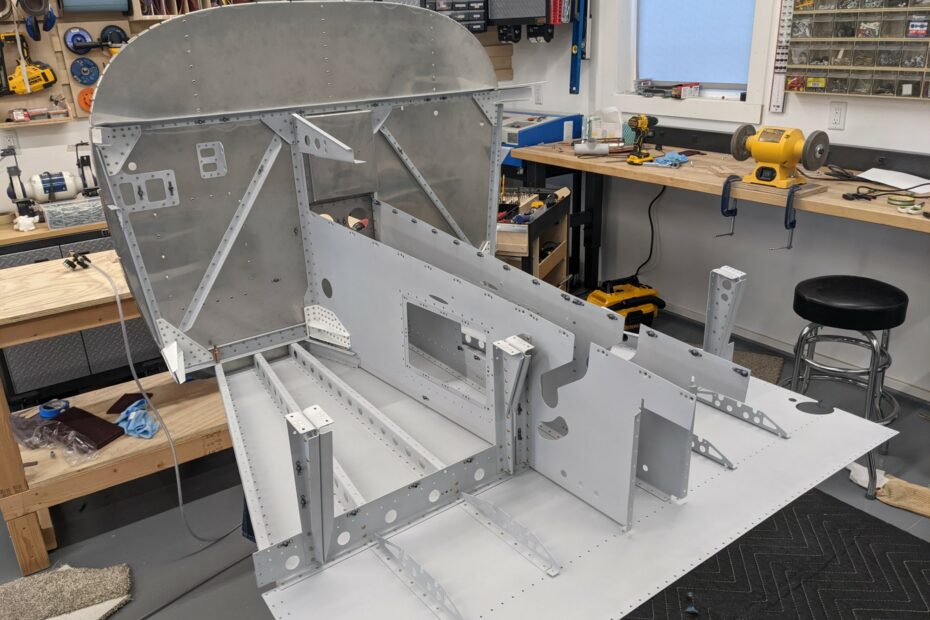
The next step in the plans was to attach the firewall assembly to the forward bottom skin assembly. I sealed the firewall bottom flange to the bottom skin with 3M Fire Barrier 2000+ sealant. Next, the forward ribs were riveted… Read More »Firewall Riveted to Forward Assembly

I got started on riveting the forward ribs to the forward bottom skin this evening. I back-riveted most of these. The forward bulkheads were then riveted to the skin and to the aft rib tabs.
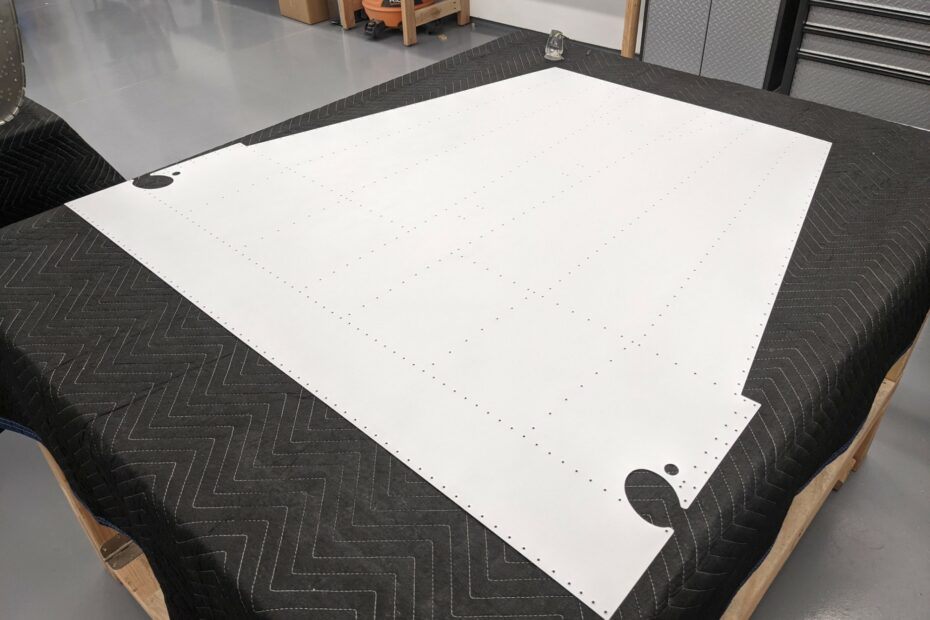
I etched, washed, and primed the bottom skin. I also did the same with the control column mount. I 3d printed some covers for the bearings to seal that area off before cleaning and priming Back to riveting once the… Read More »Forward Bottom Skin Primed