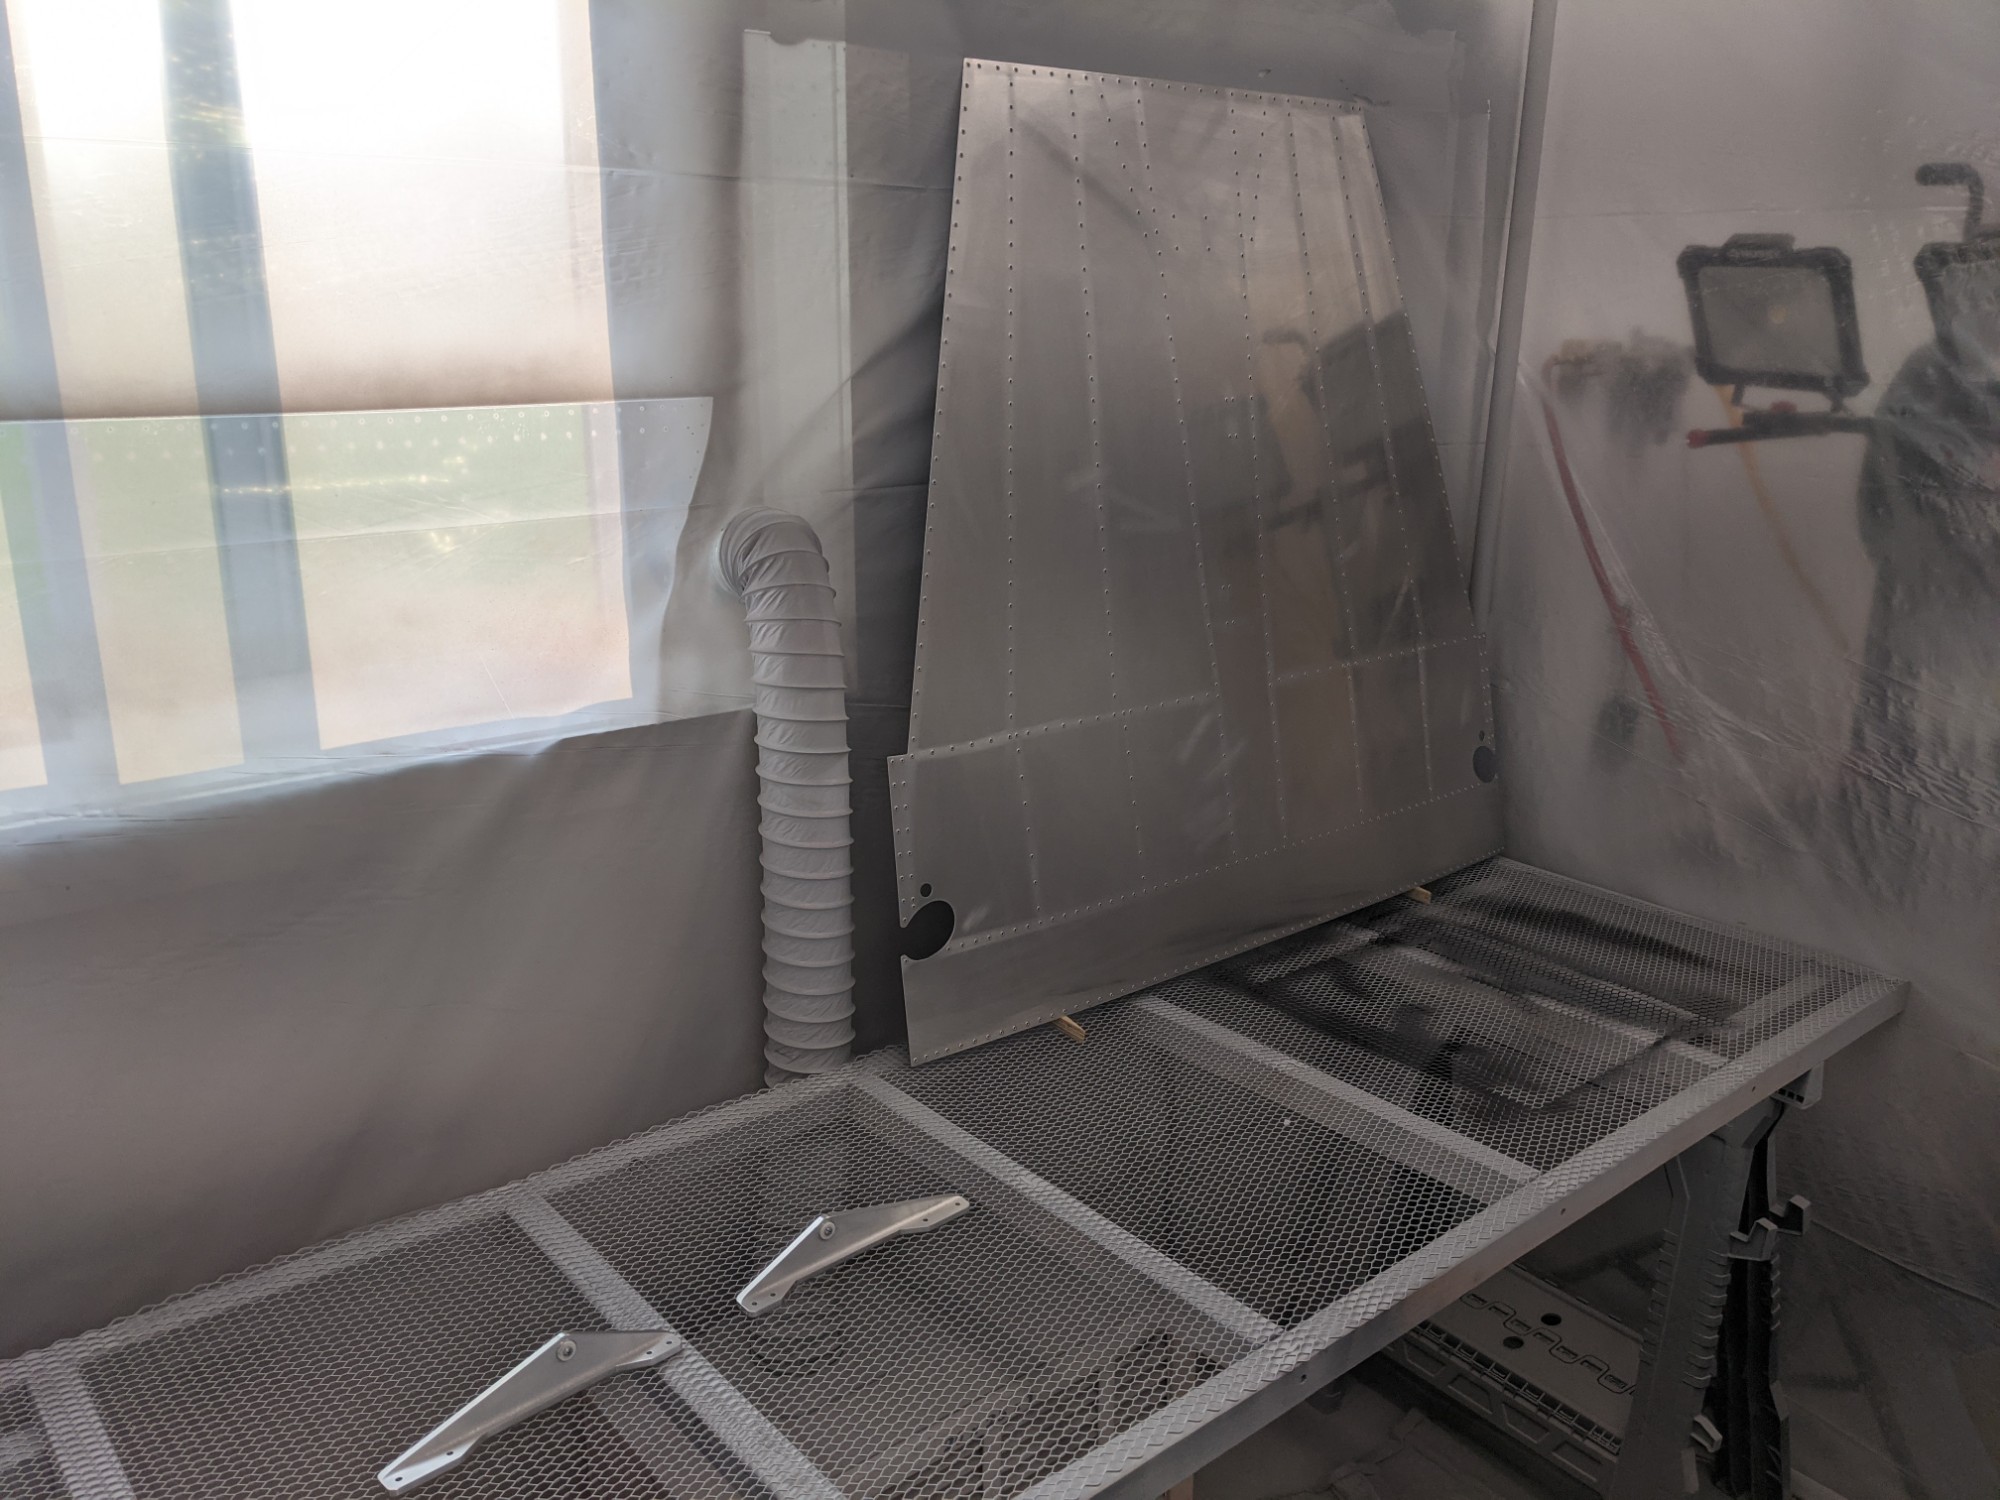
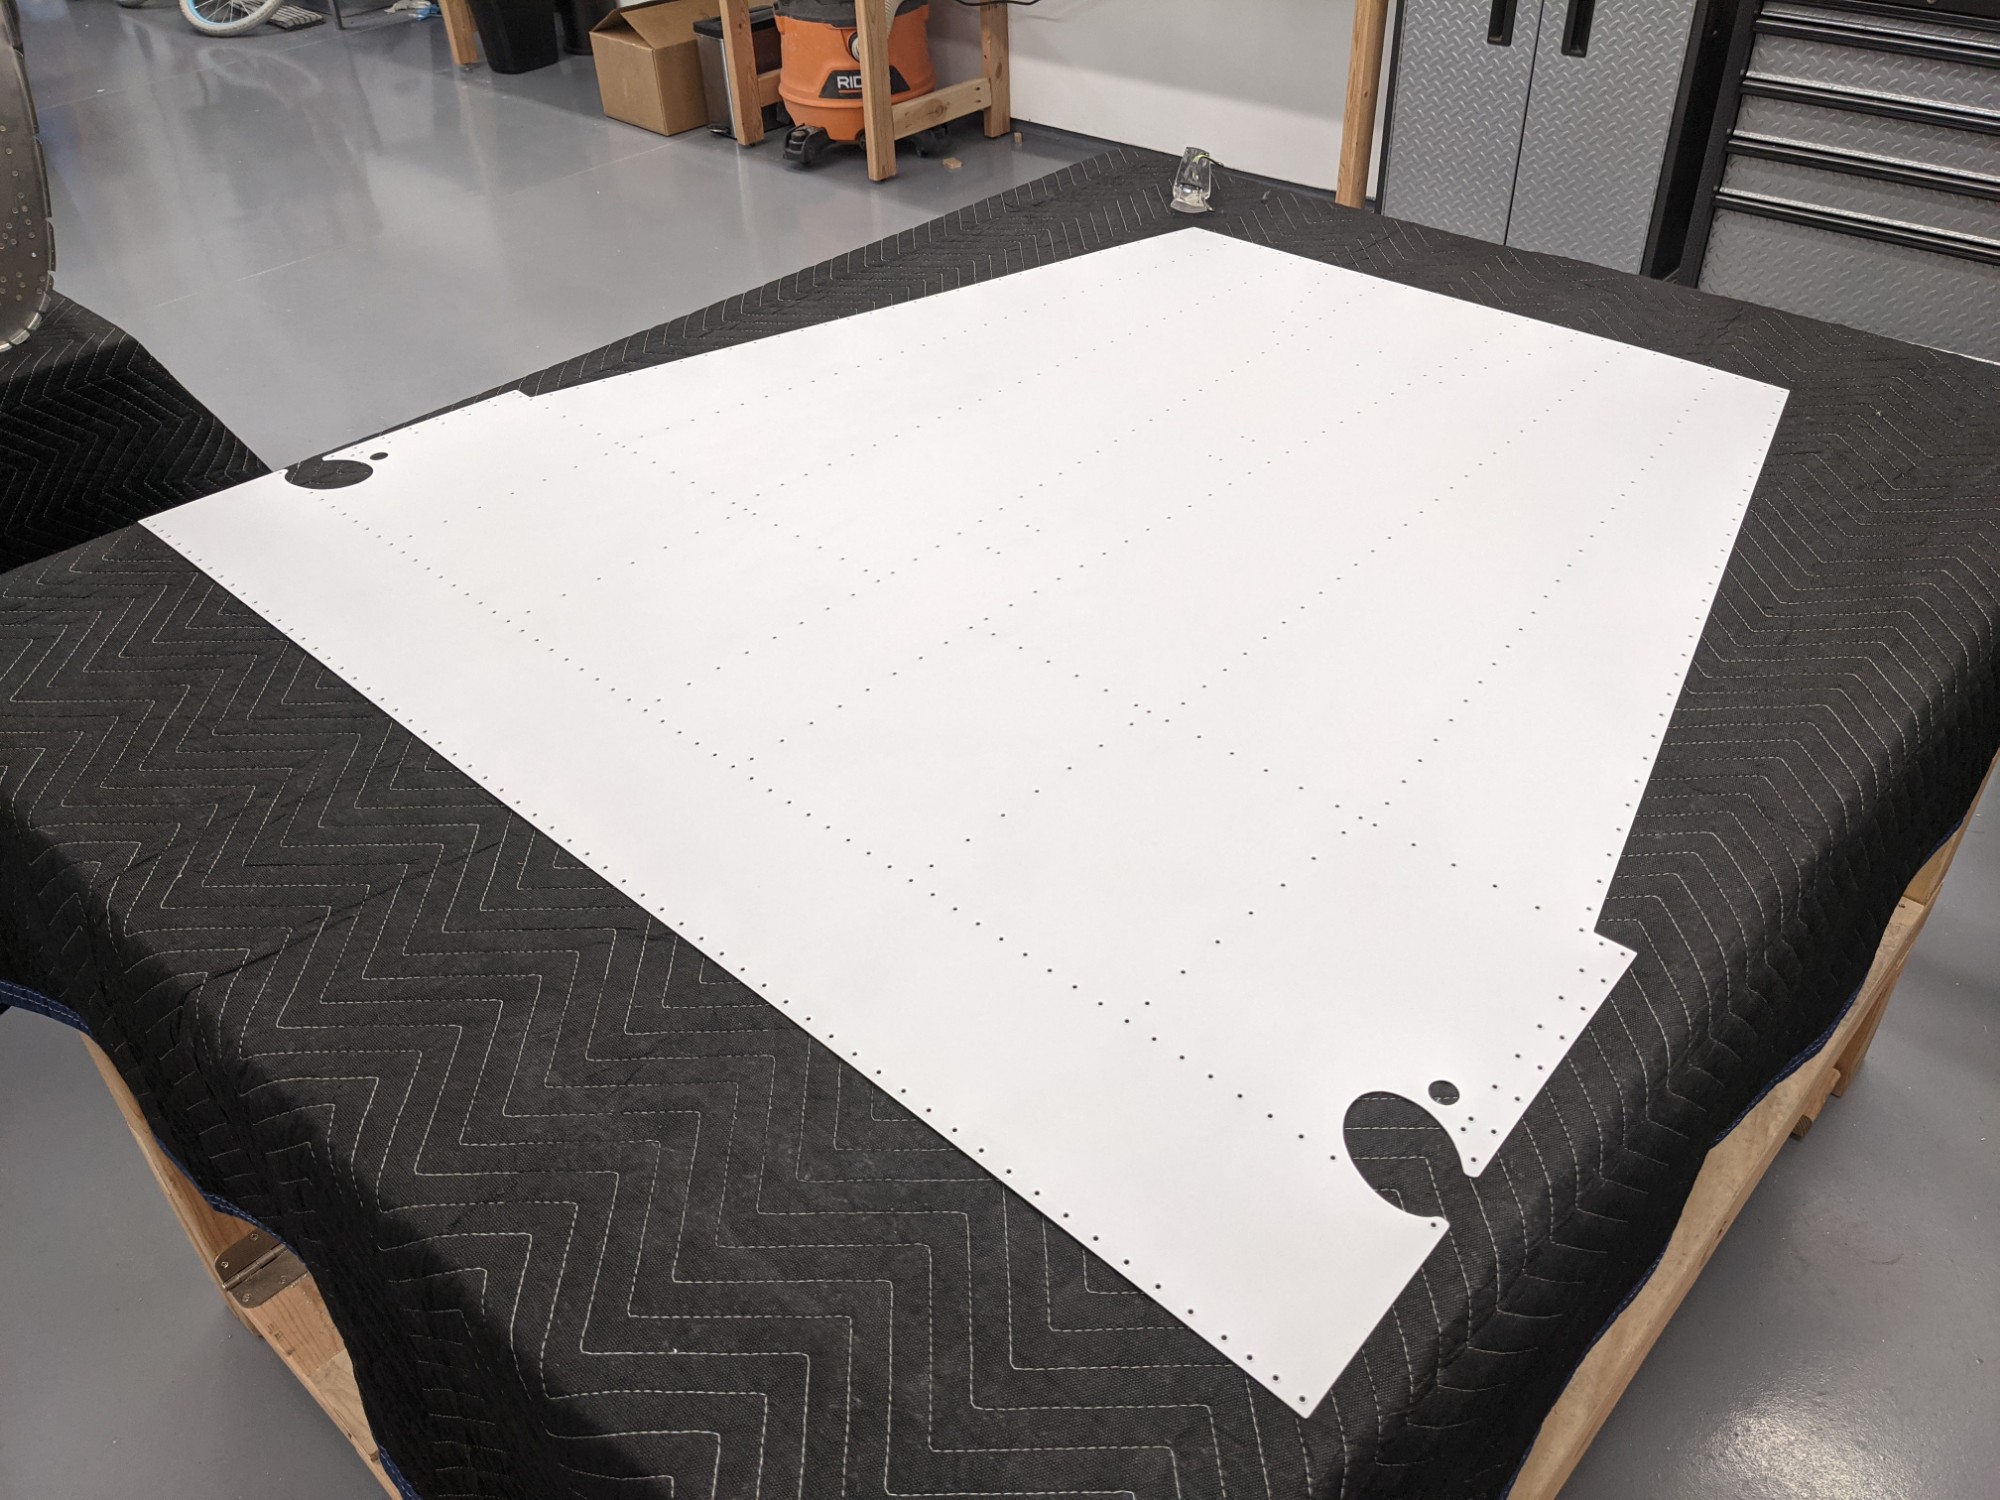
I etched, washed, and primed the bottom skin. I also did the same with the control column mount.
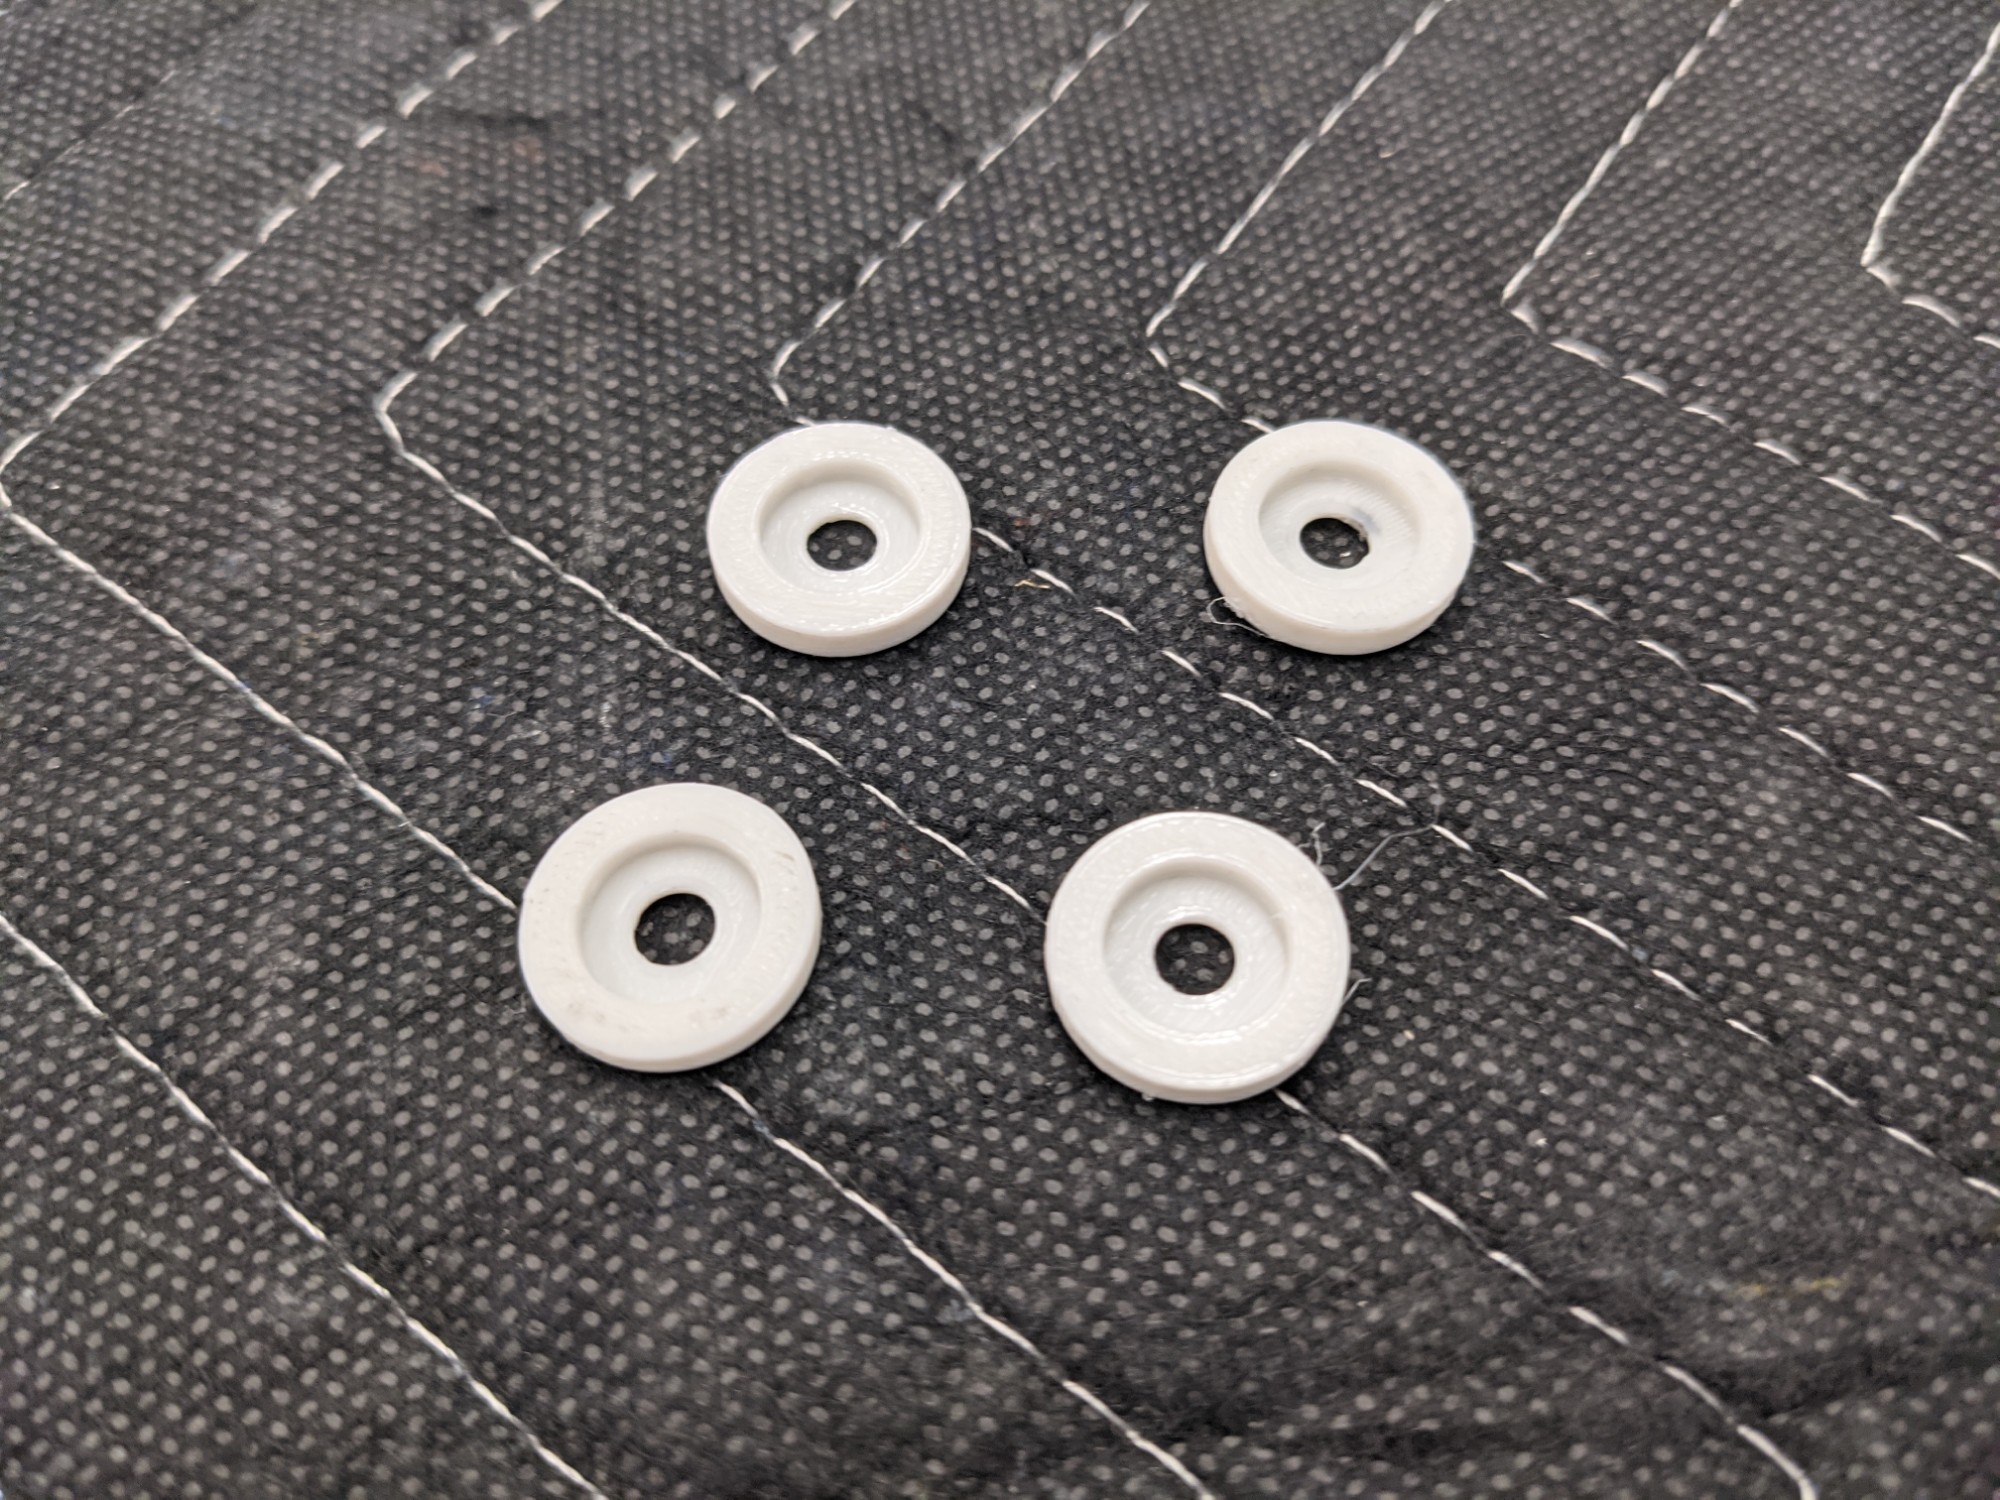
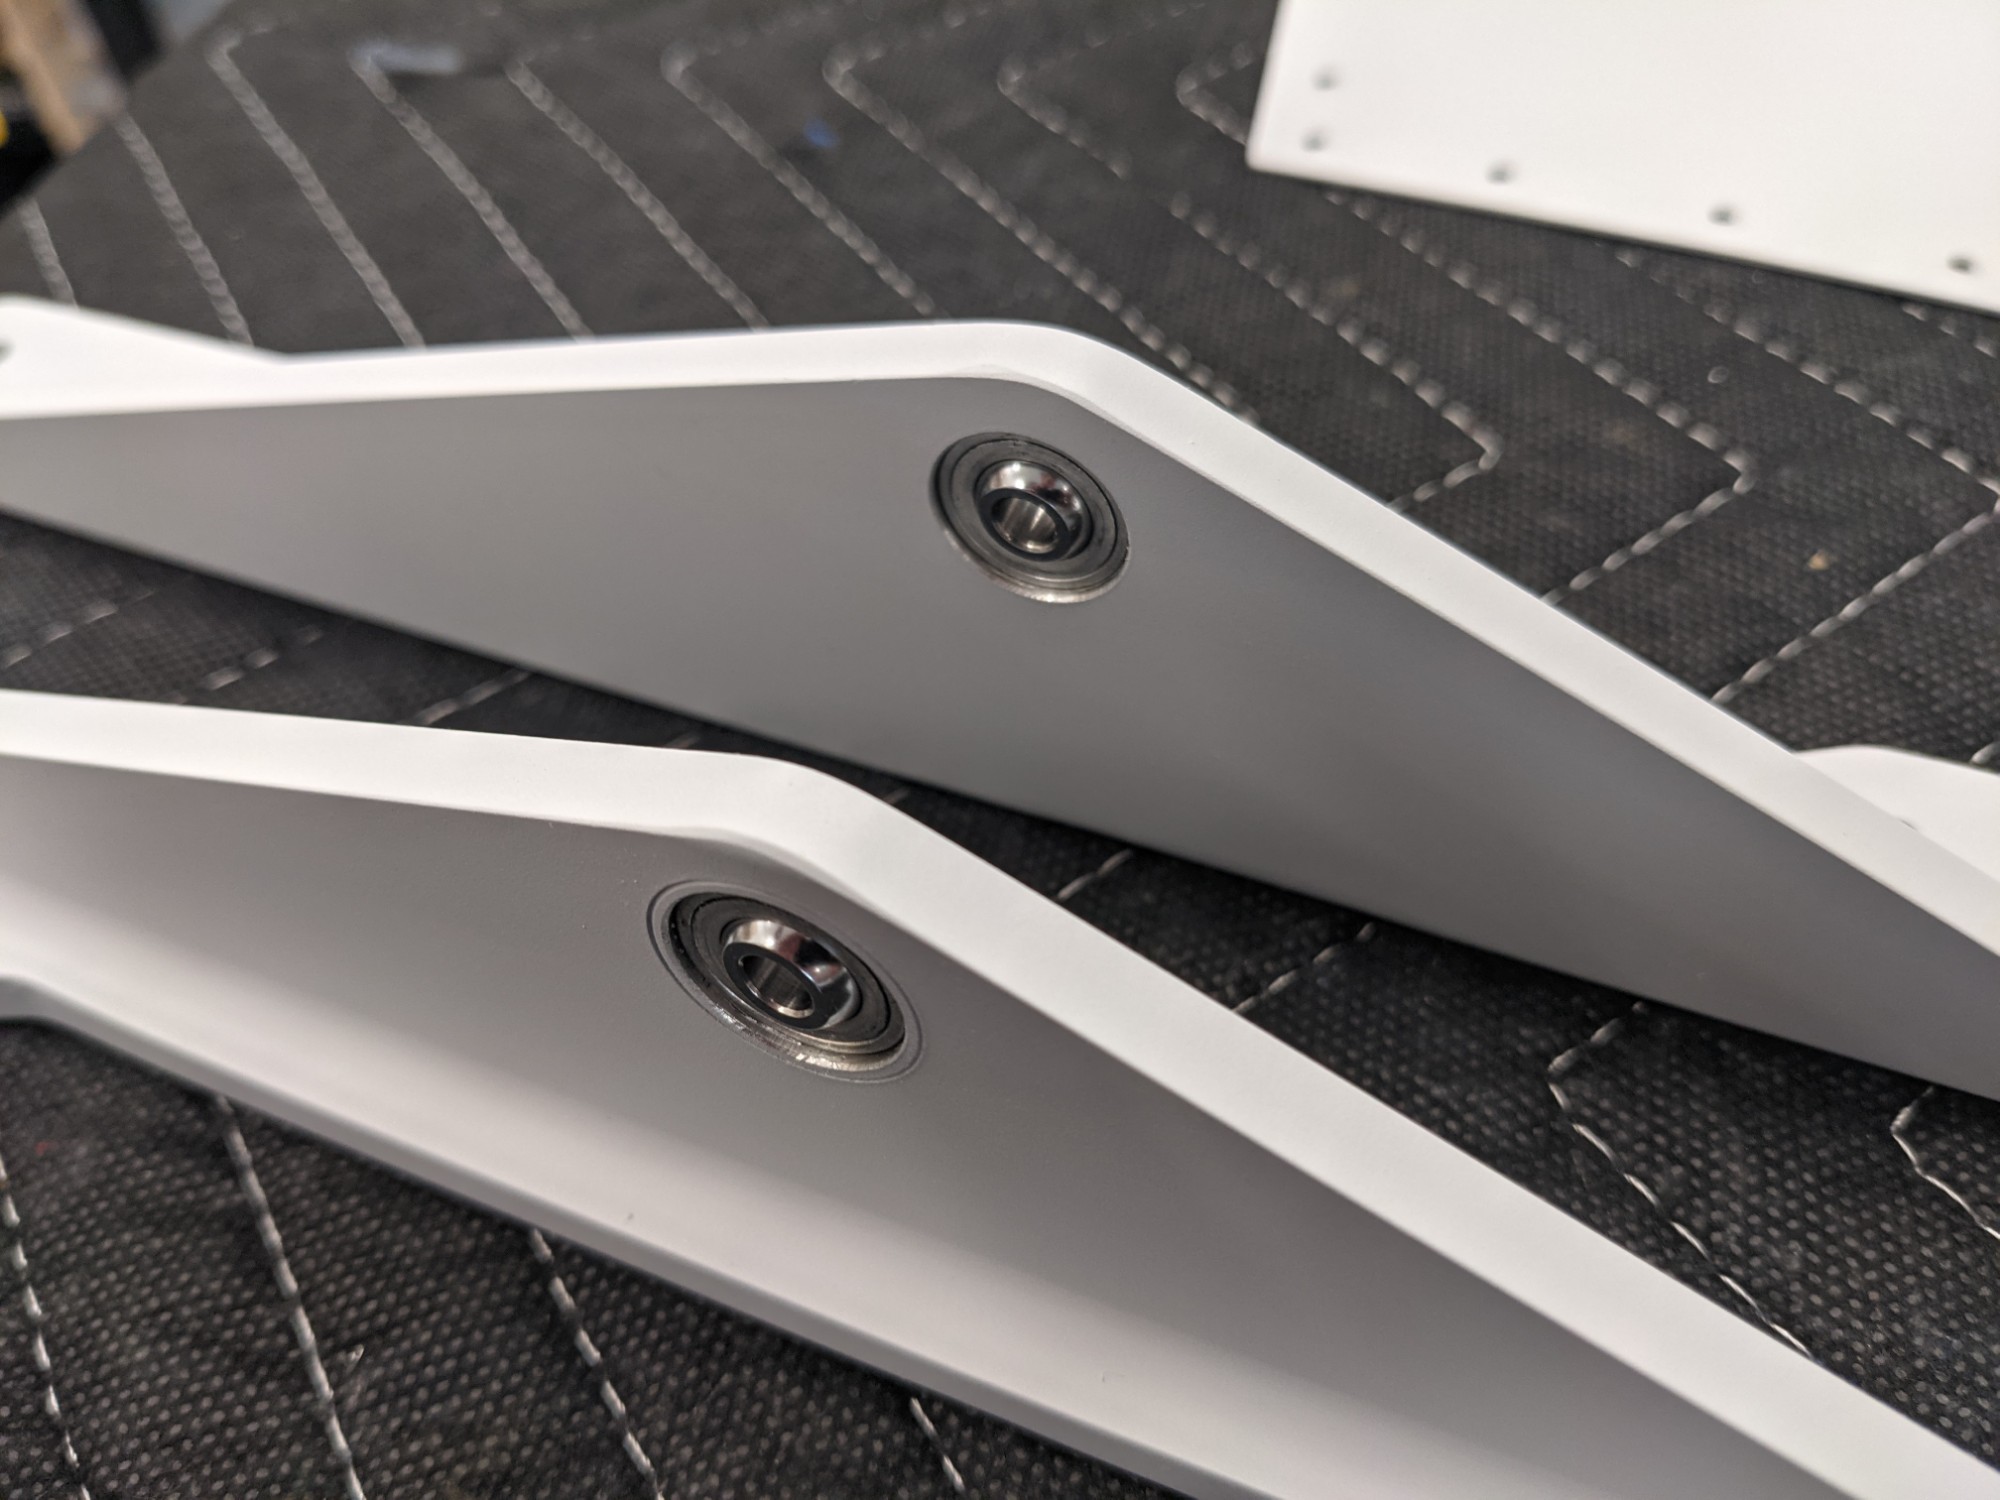
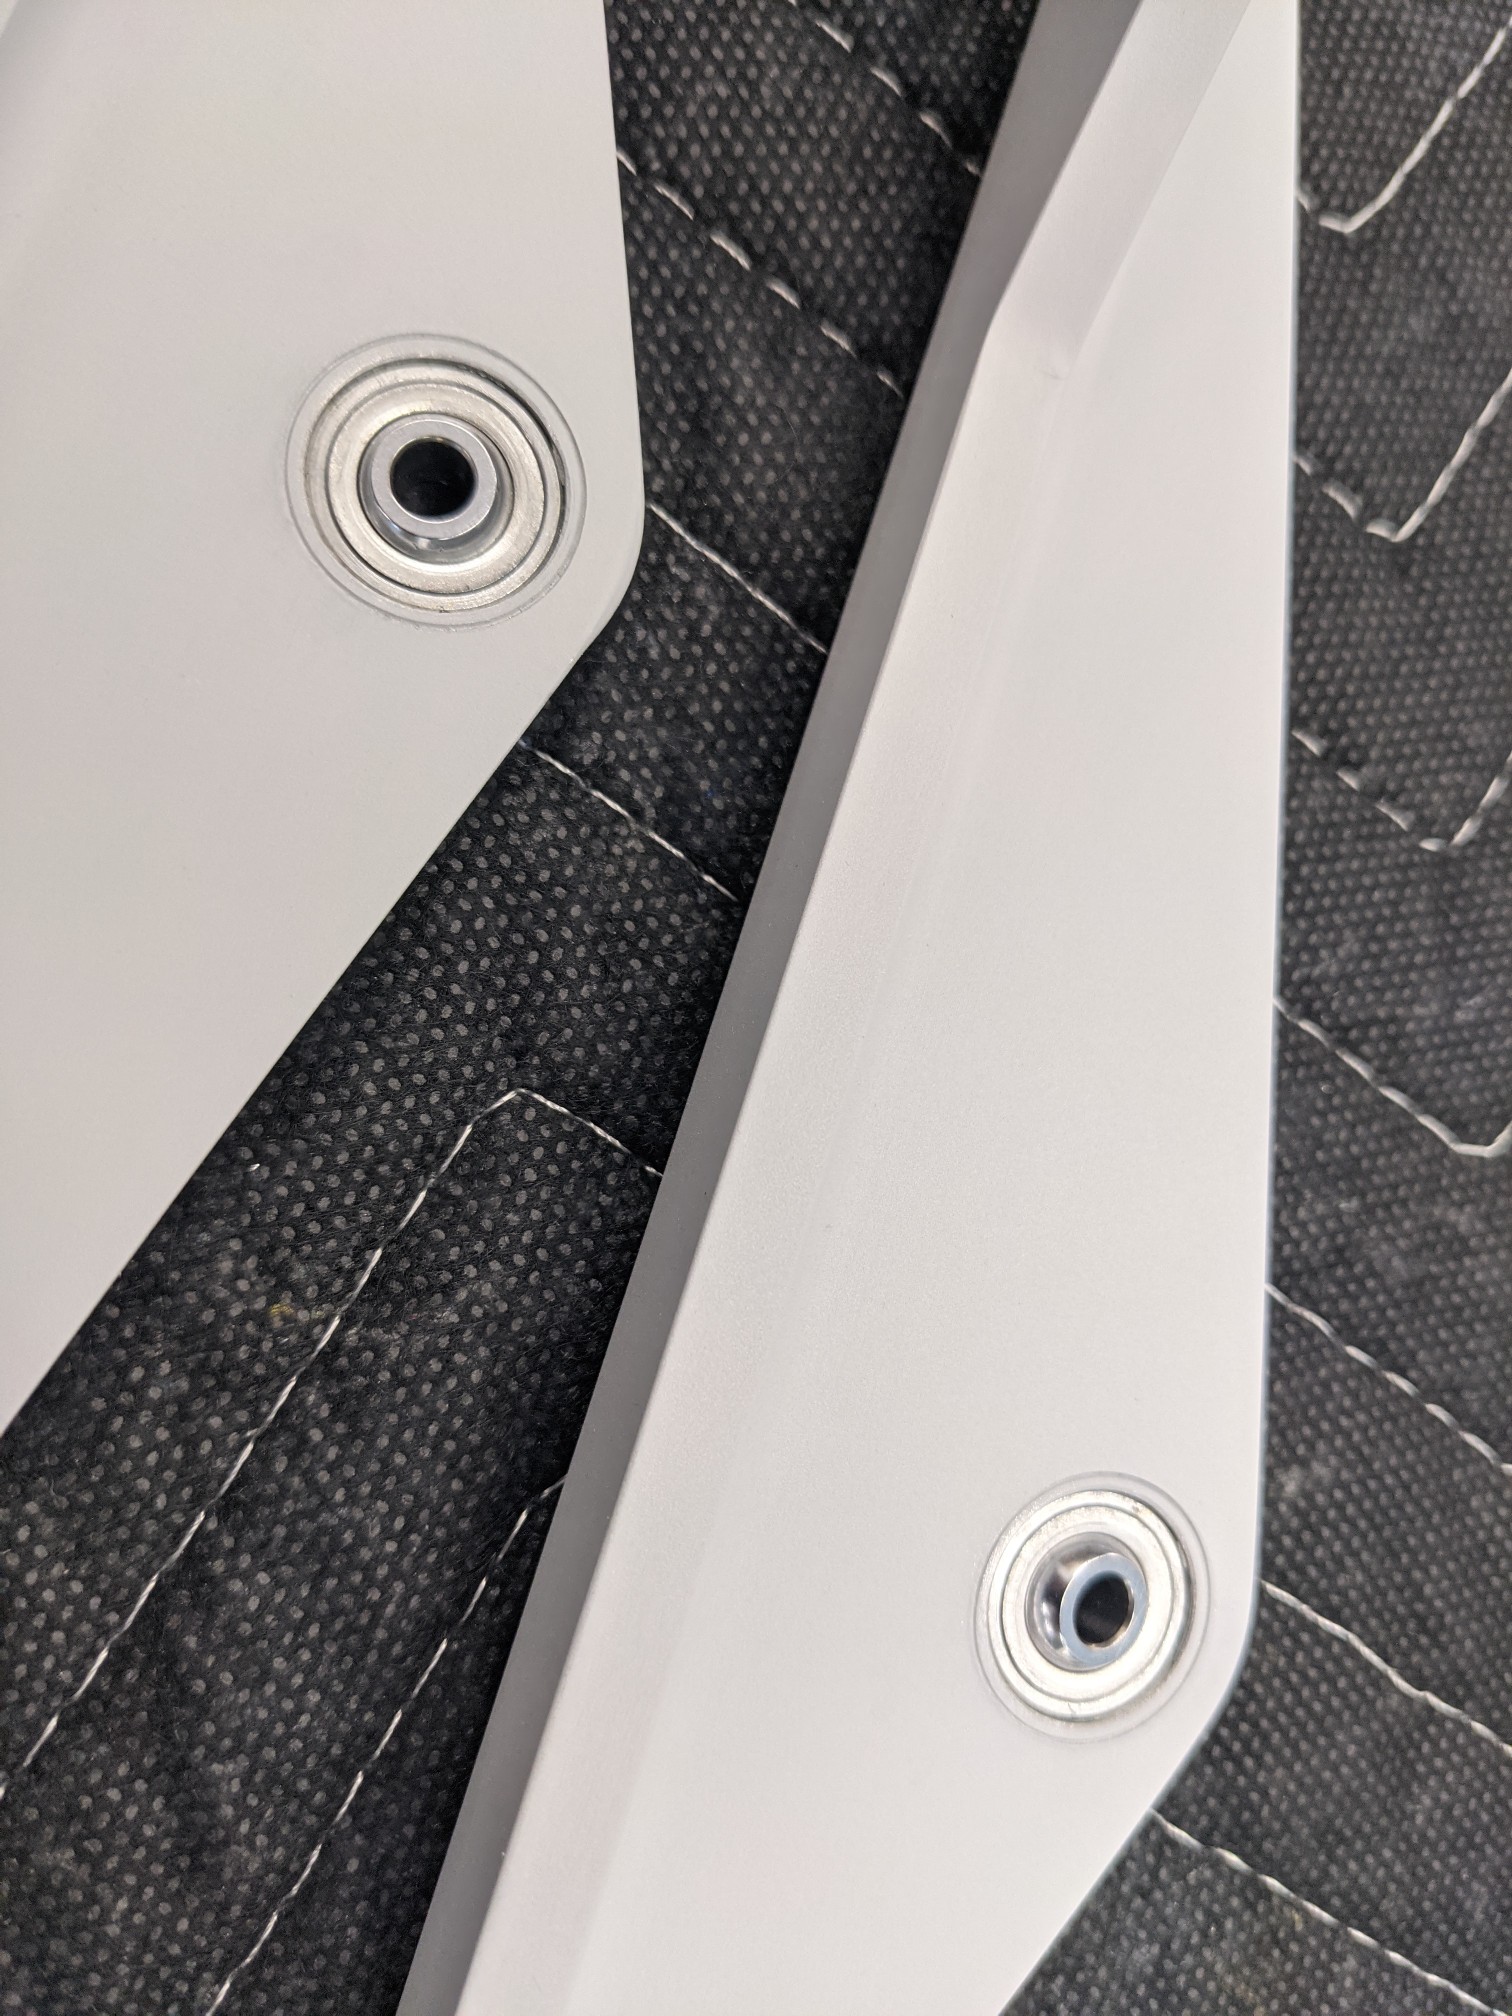
I 3d printed some covers for the bearings to seal that area off before cleaning and priming

Back to riveting once the primer cures.

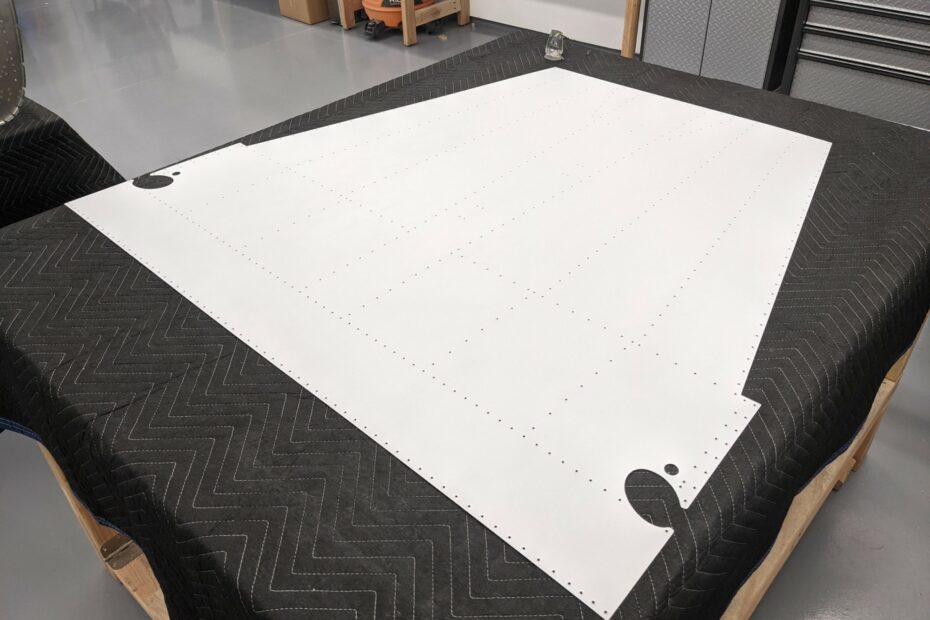
I etched, washed, and primed the bottom skin. I also did the same with the control column mount.
I 3d printed some covers for the bearings to seal that area off before cleaning and priming
Back to riveting once the primer cures.