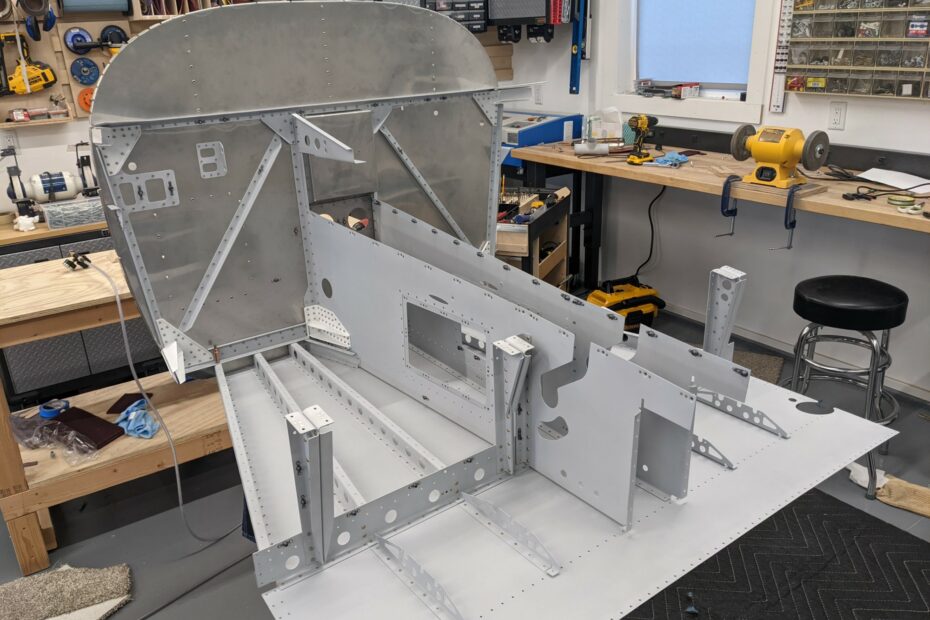
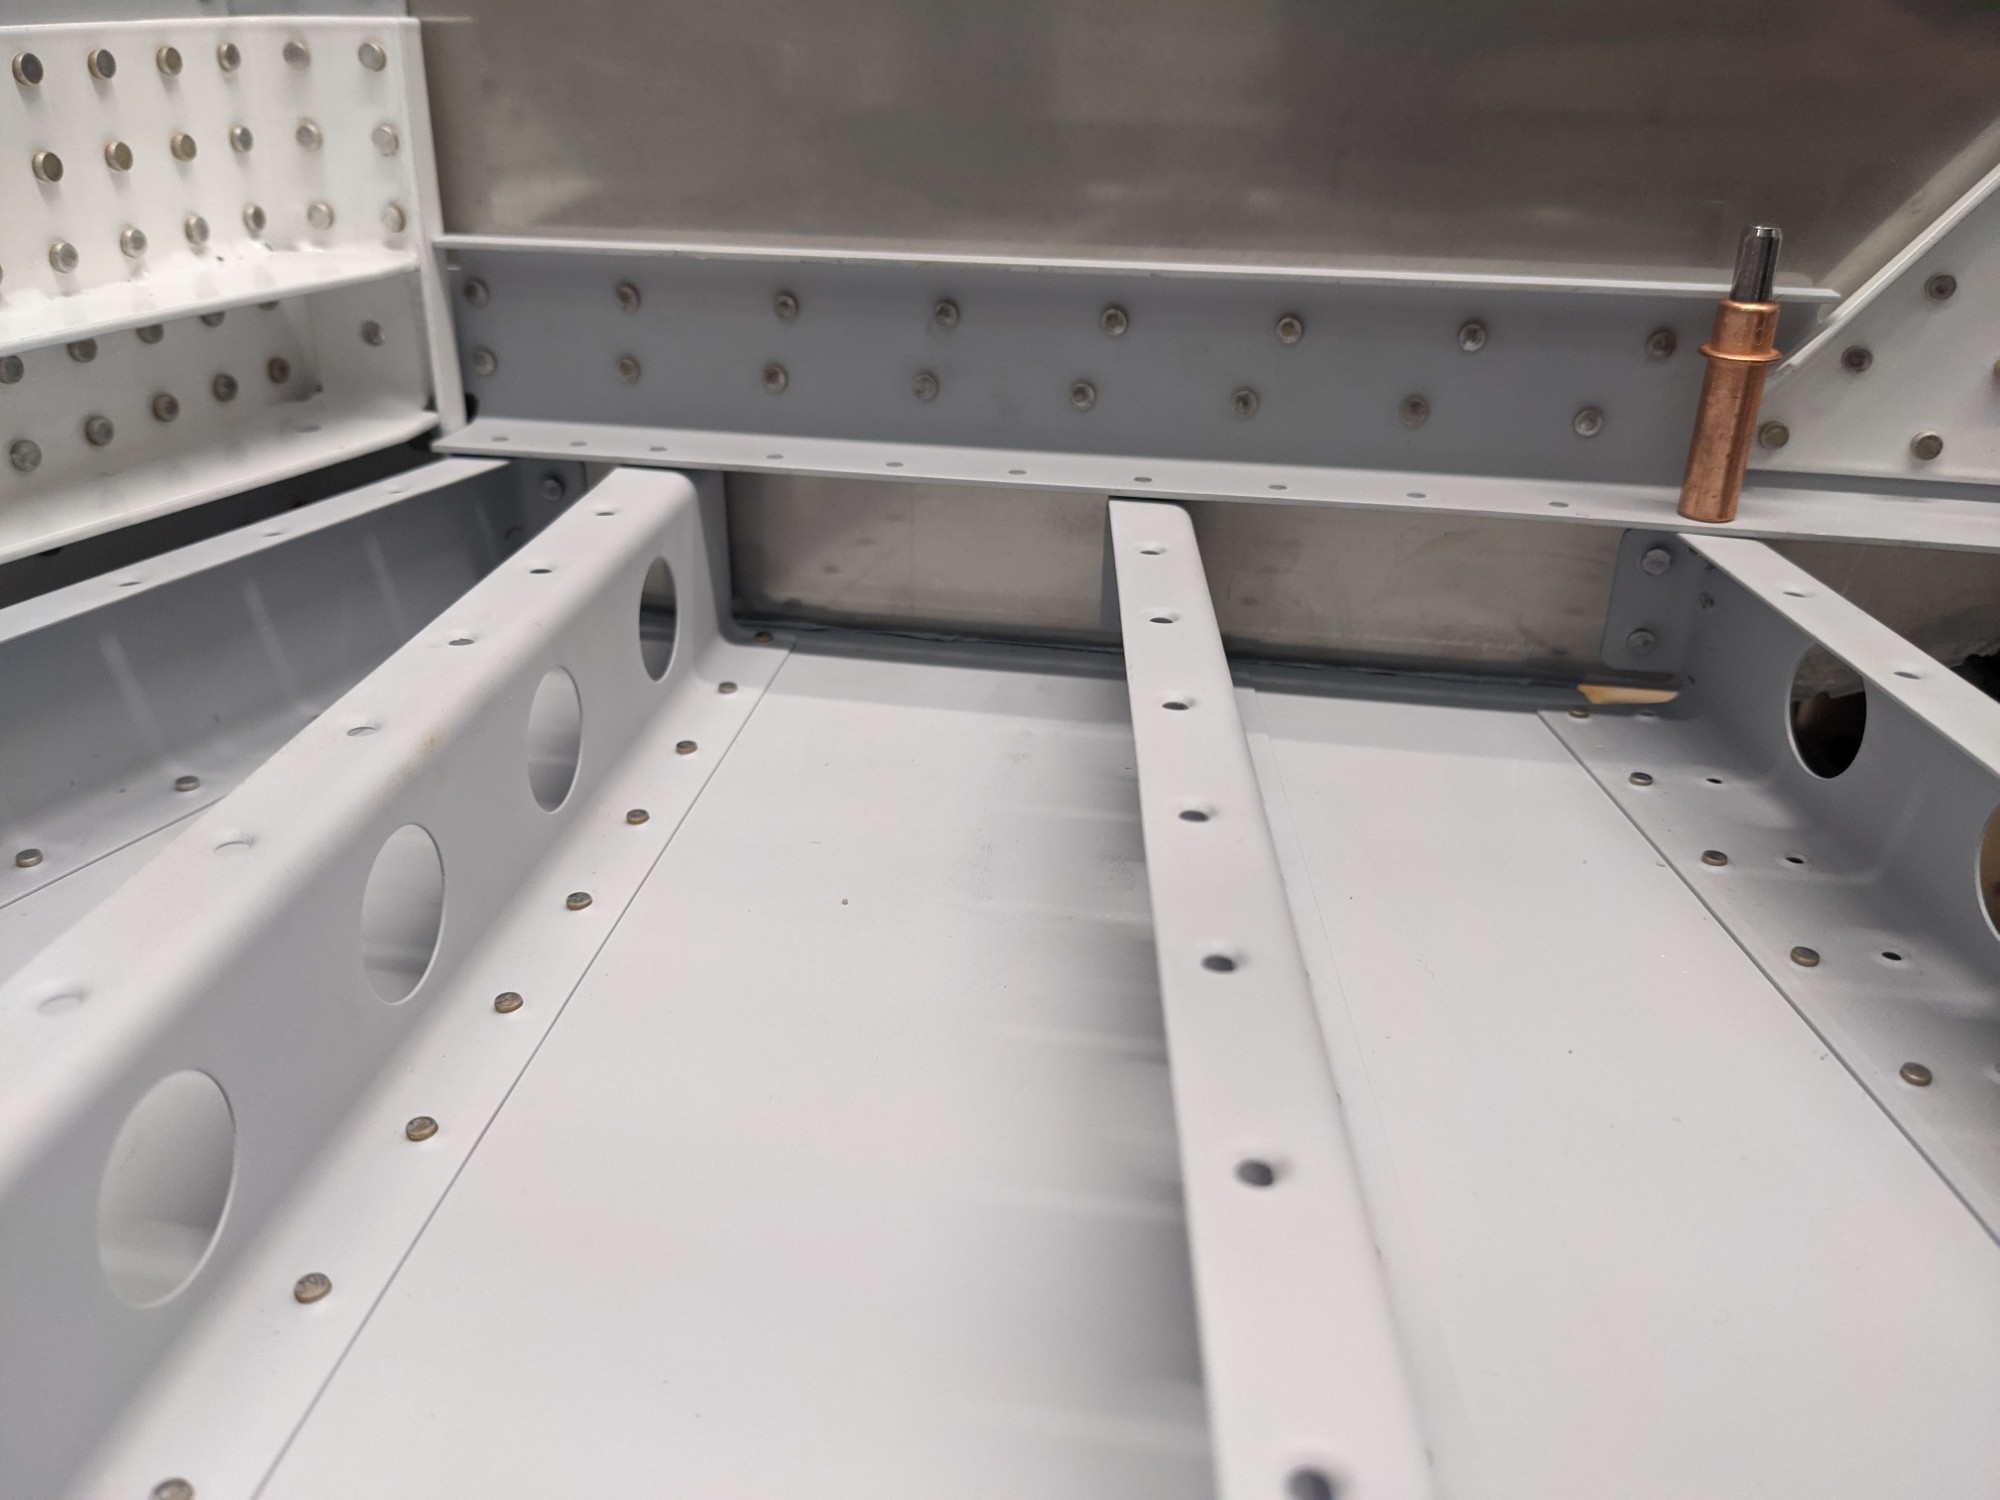
The next step in the plans was to attach the firewall assembly to the forward bottom skin assembly.
I sealed the firewall bottom flange to the bottom skin with 3M Fire Barrier 2000+ sealant.
![](https://airplane.allanglen.com/wp-content/uploads/2021/08/pxl_20210808_0104265797522267242175994772.jpg)
![](https://airplane.allanglen.com/wp-content/uploads/2021/08/pxl_20210808_0041284343268883807024480191.jpg)
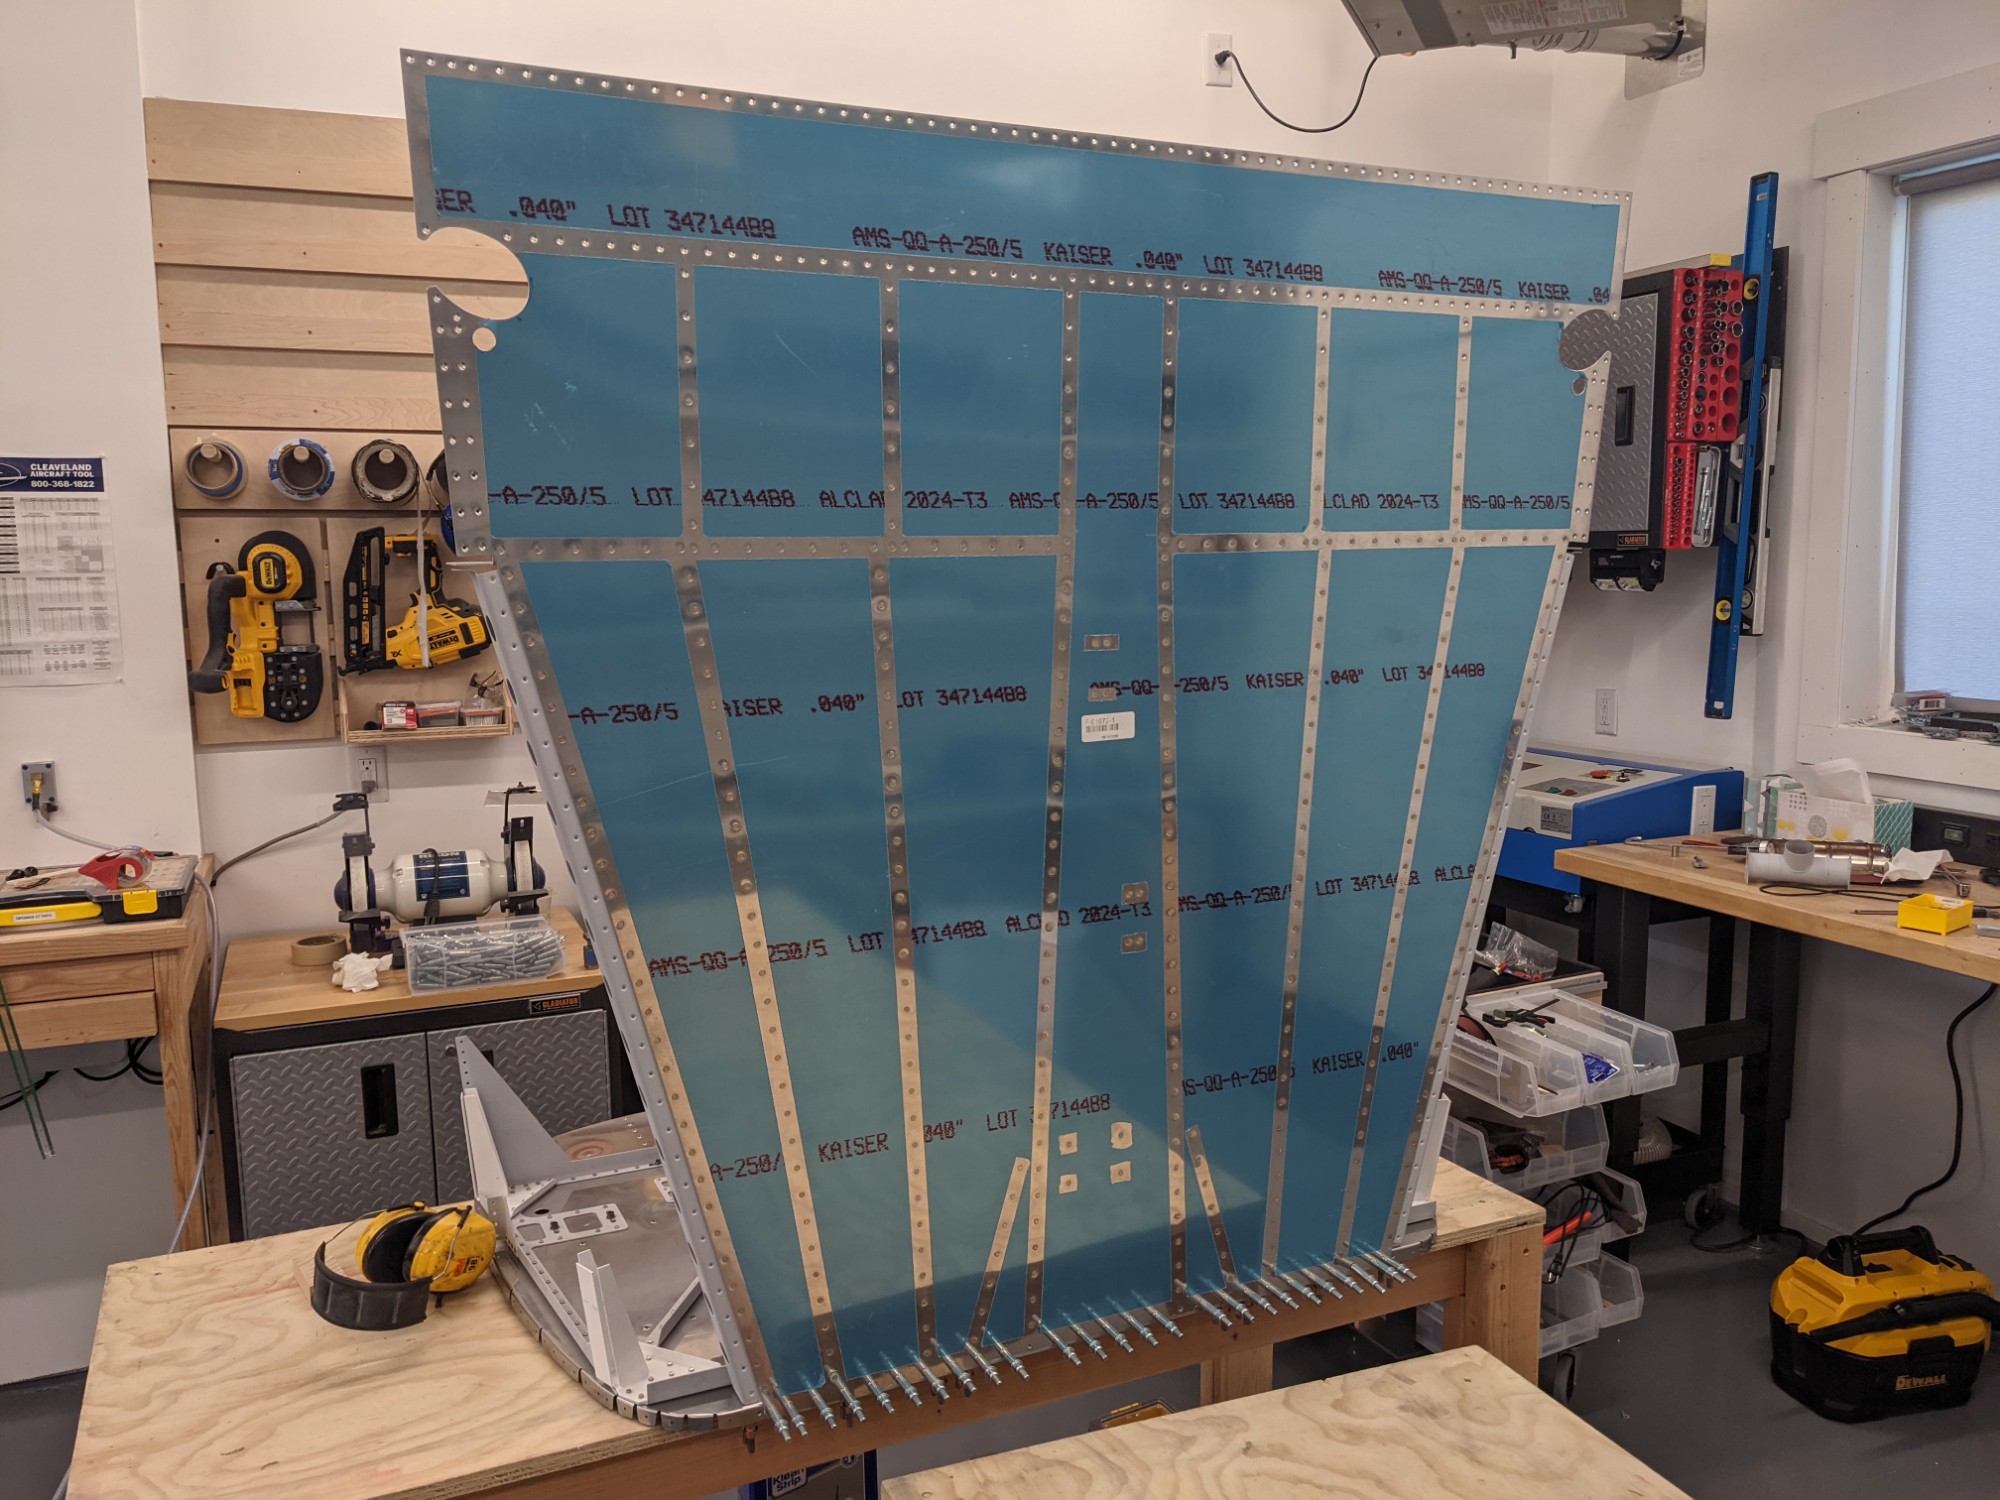
Next, the forward ribs were riveted to the bottom skin. I back riveted most of these. Amber helped me rivet the four rivets closest to the firewall as there was no possible way to set these by myself.
![](https://airplane.allanglen.com/wp-content/uploads/2021/08/pxl_20210808_0026298969074844022209416795.jpg)
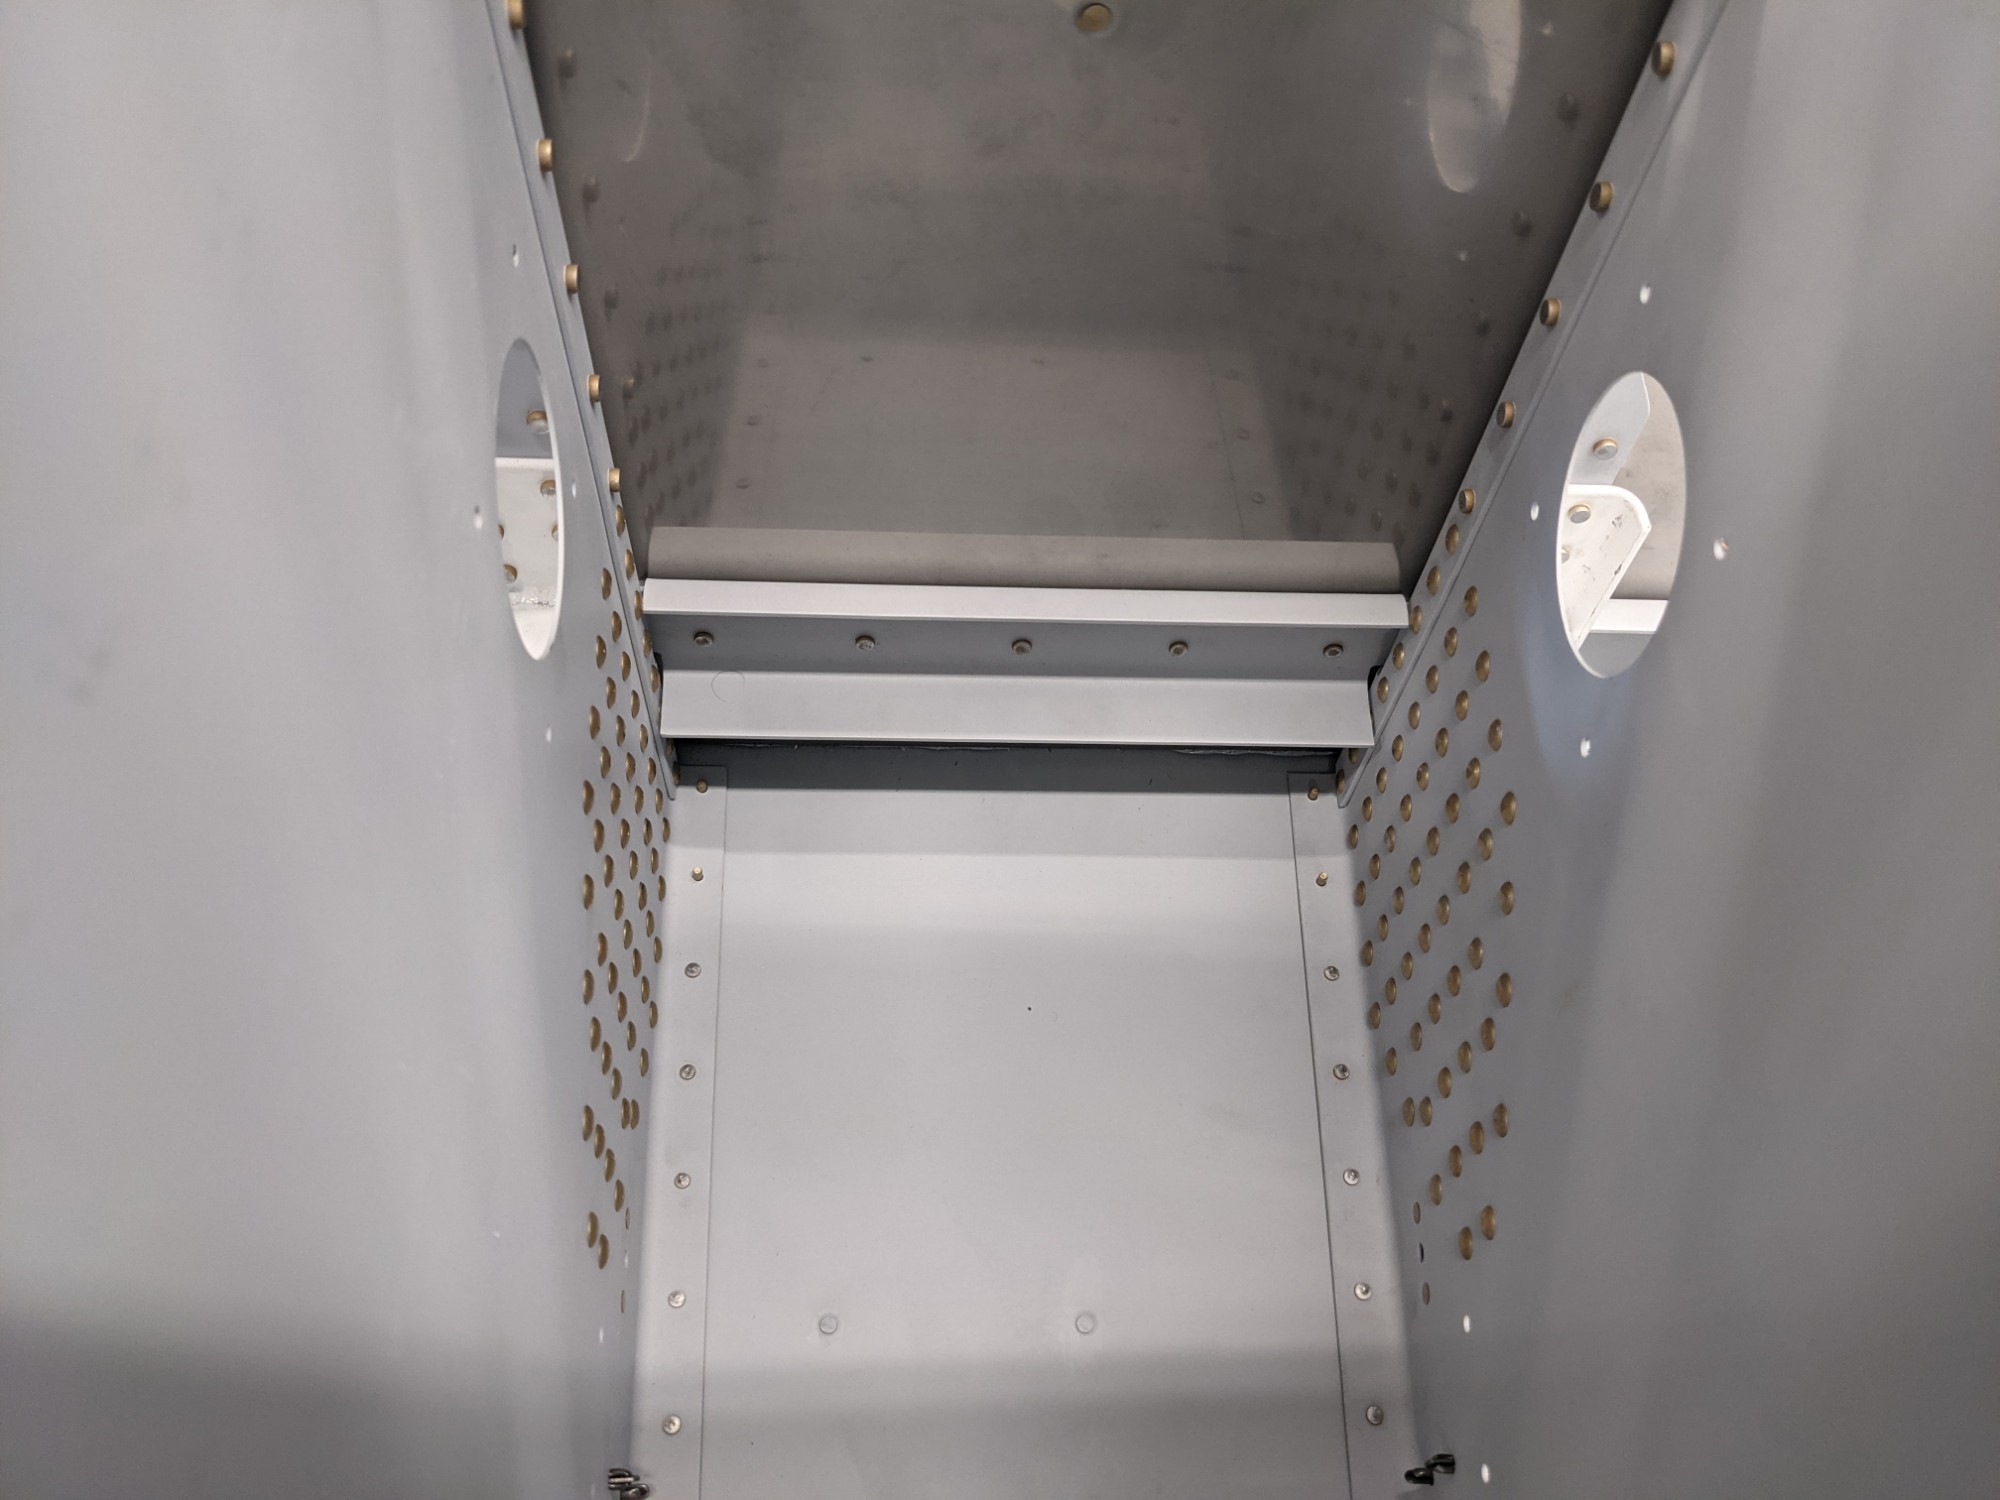
I then riveted the forward rib flanges to the firewall and the rivets that attach to the forward bulkheads.
![](https://airplane.allanglen.com/wp-content/uploads/2021/08/pxl_20210808_0104208963400175108303856929.jpg)
![](https://airplane.allanglen.com/wp-content/uploads/2021/08/pxl_20210808_0316312968307536796513870582.jpg)
![](https://airplane.allanglen.com/wp-content/uploads/2021/08/pxl_20210808_0316233427963926314867845970.jpg)
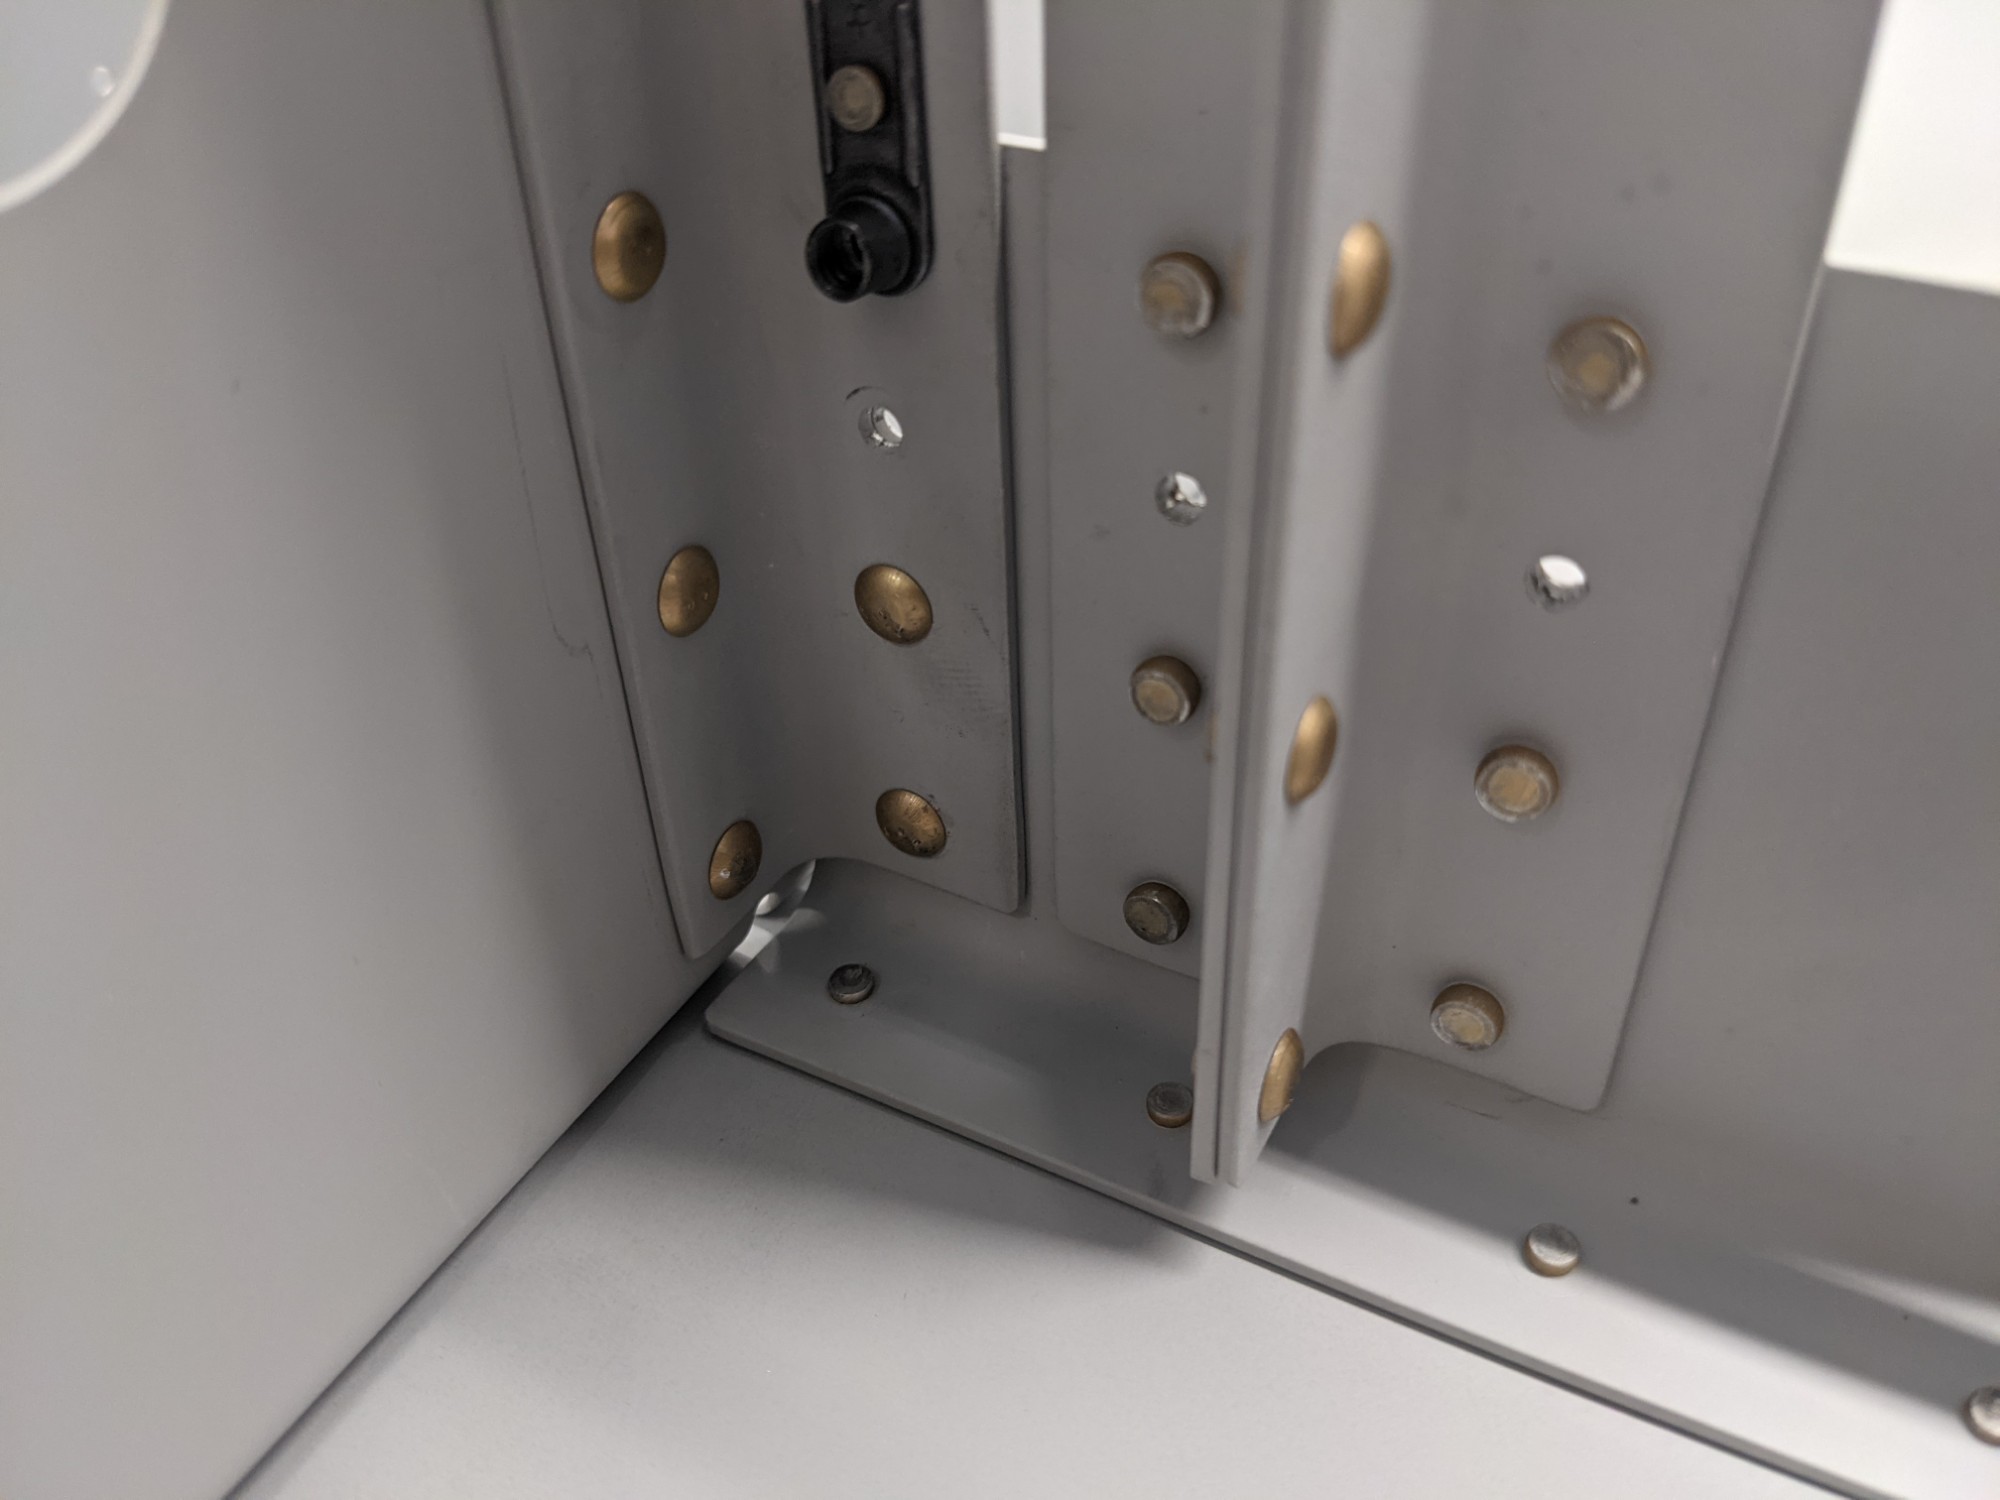
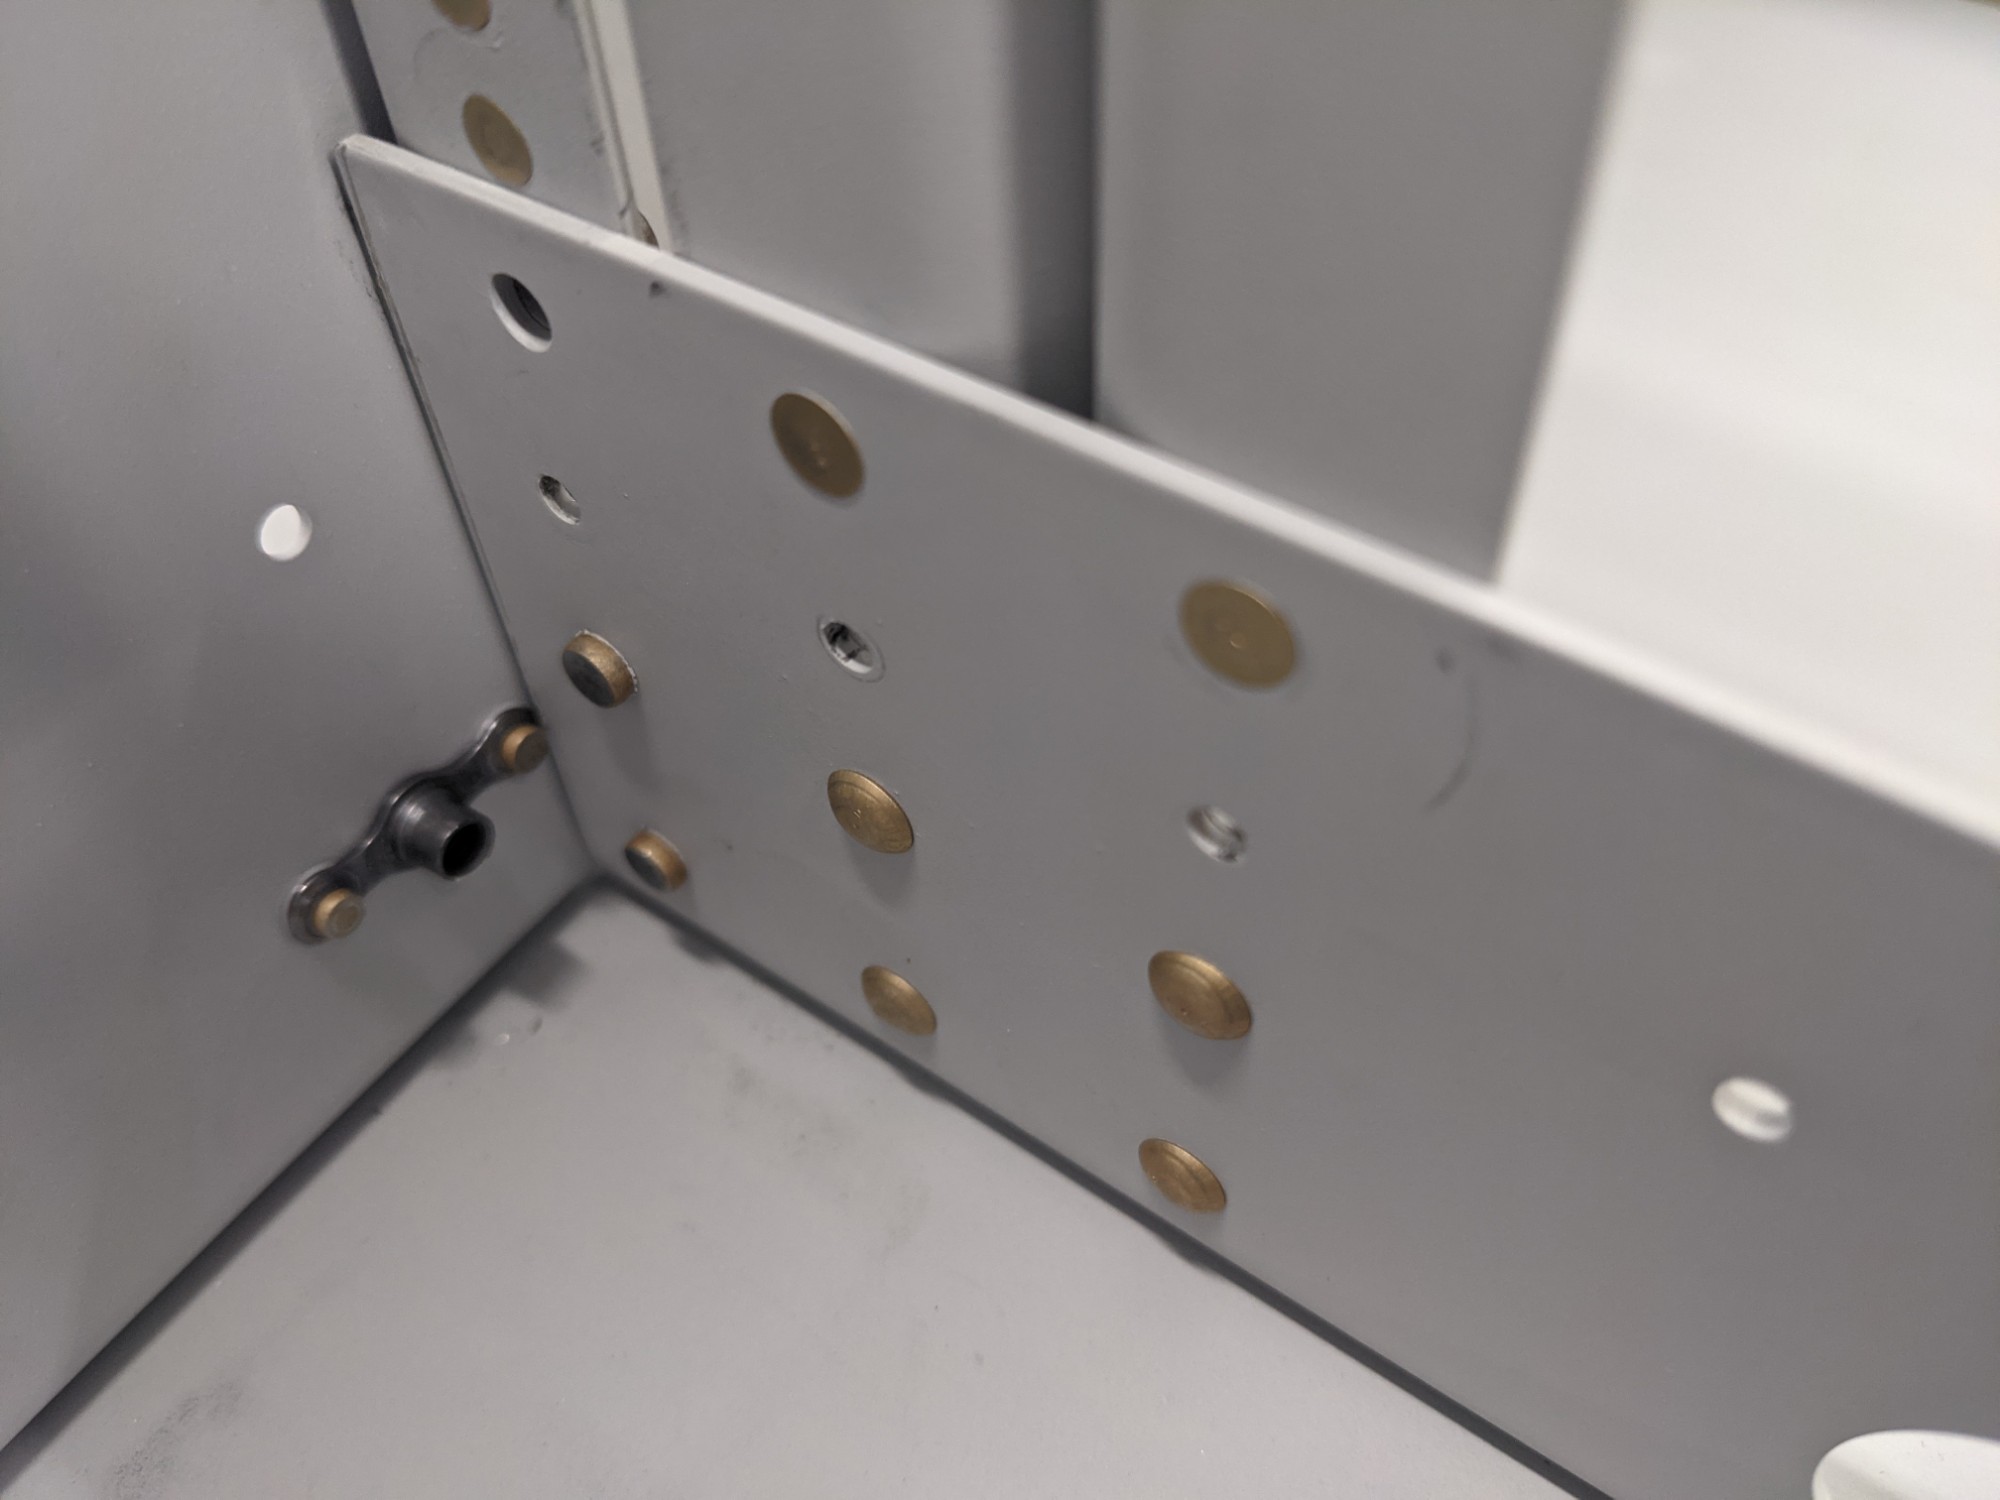
Blind rivets are used for the two ribs that attach to the forward ribs.
![](https://airplane.allanglen.com/wp-content/uploads/2021/08/pxl_20210808_0141097415233727684516031742.jpg)
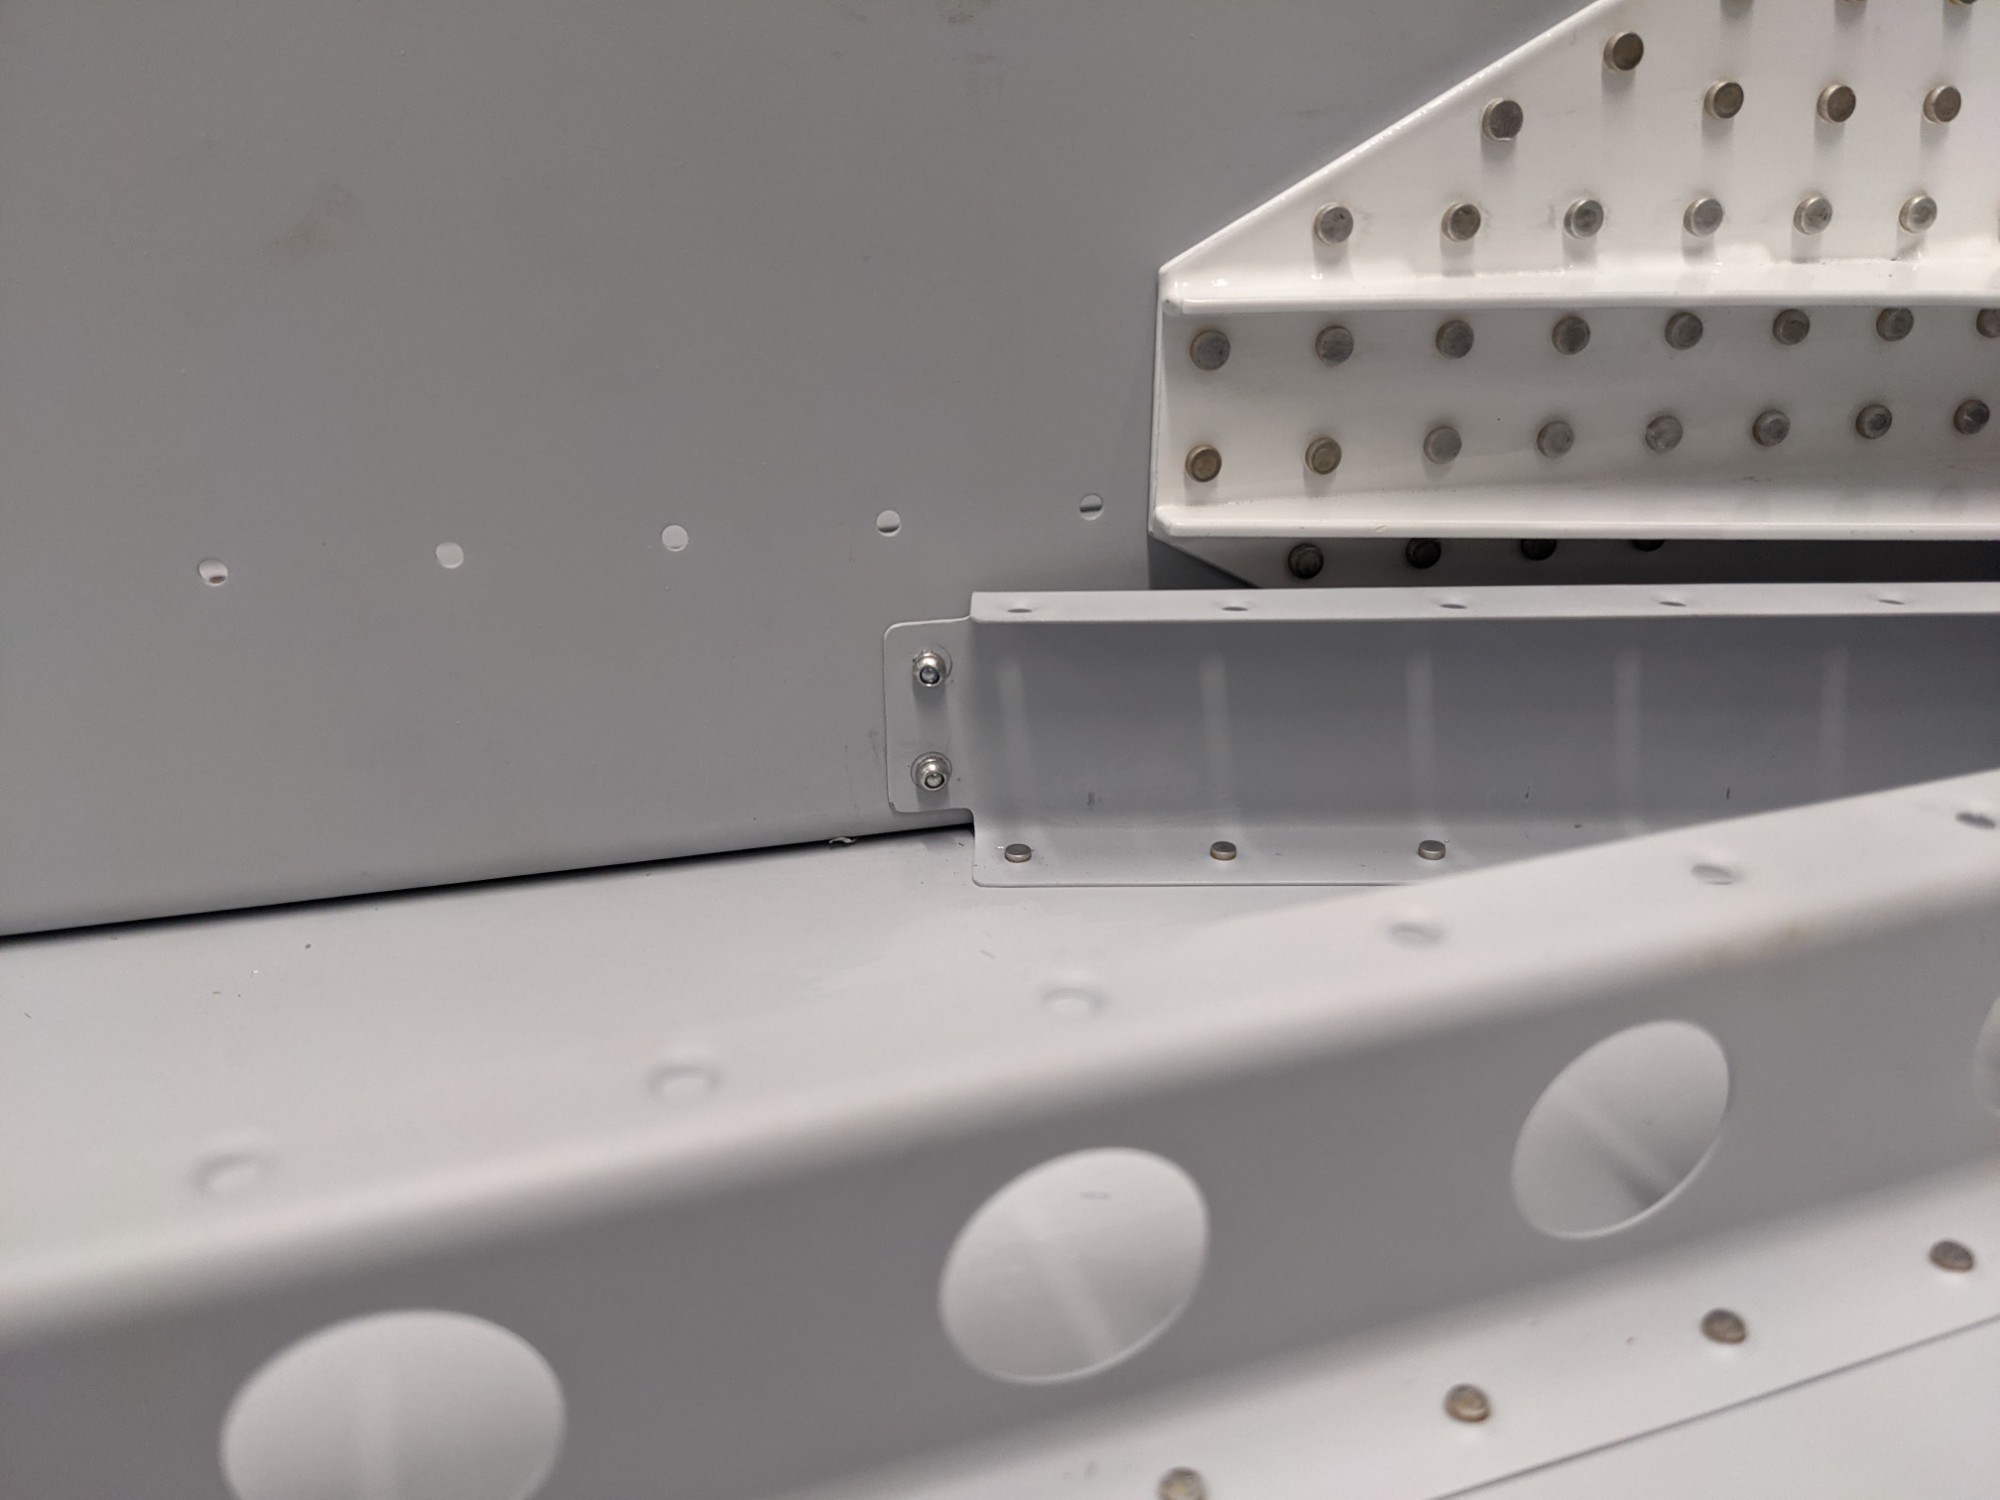
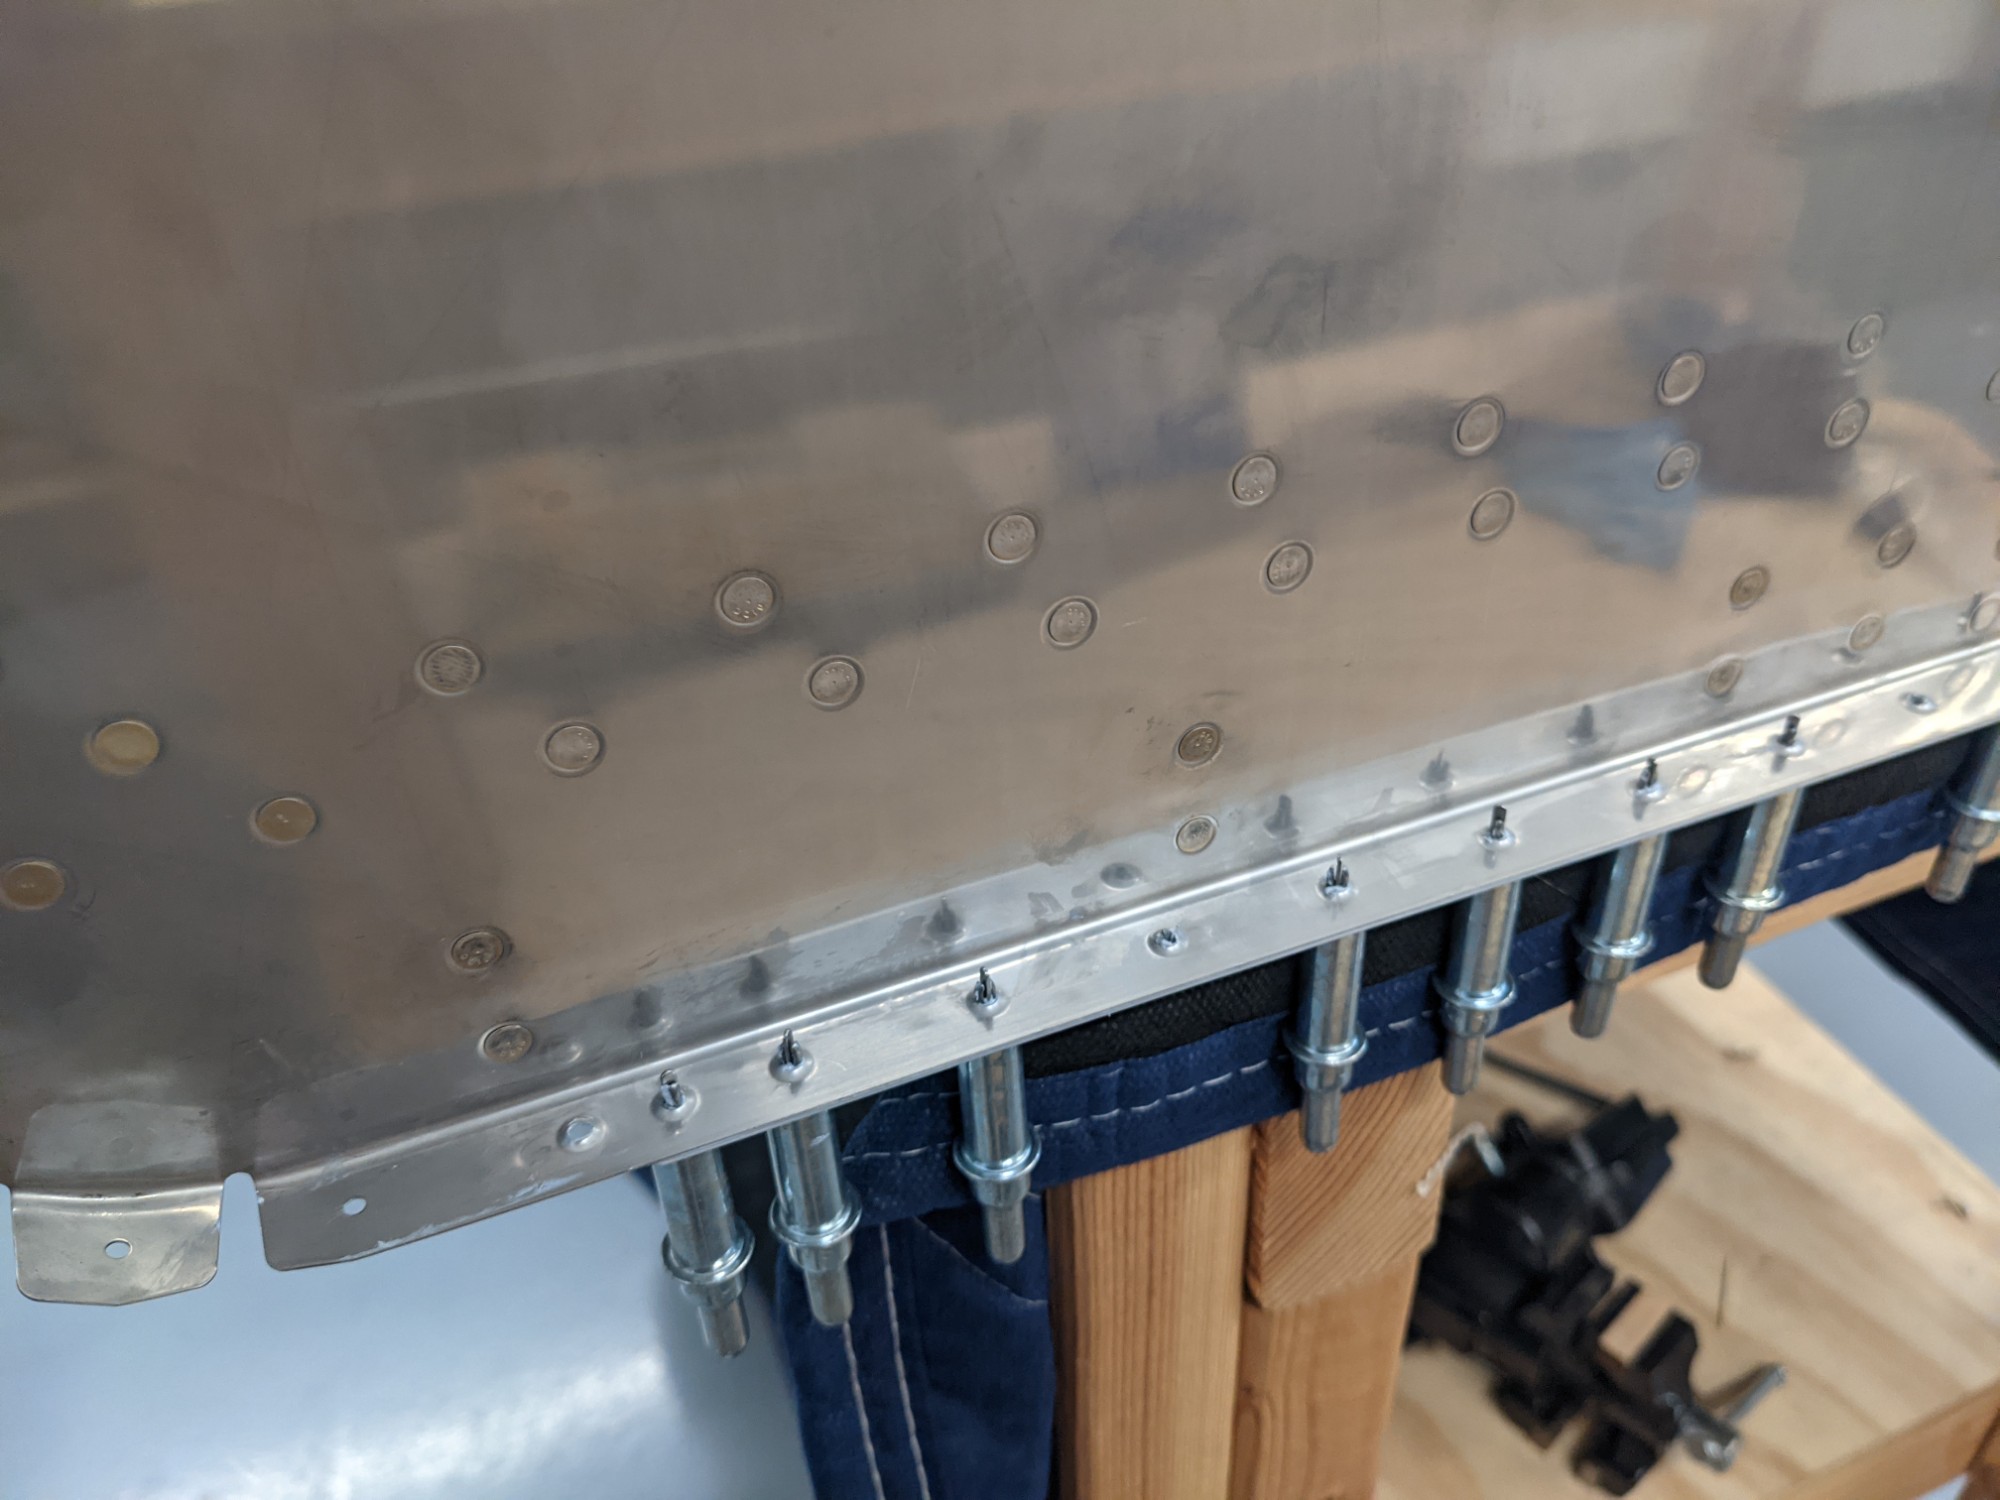
I then riveted the forward edge of the bottom skin to the firewall flange.
![](https://airplane.allanglen.com/wp-content/uploads/2021/08/pxl_20210808_014120885850009328707625792.jpg)
![](https://airplane.allanglen.com/wp-content/uploads/2021/08/pxl_20210808_0141240923211909300450055402.jpg)
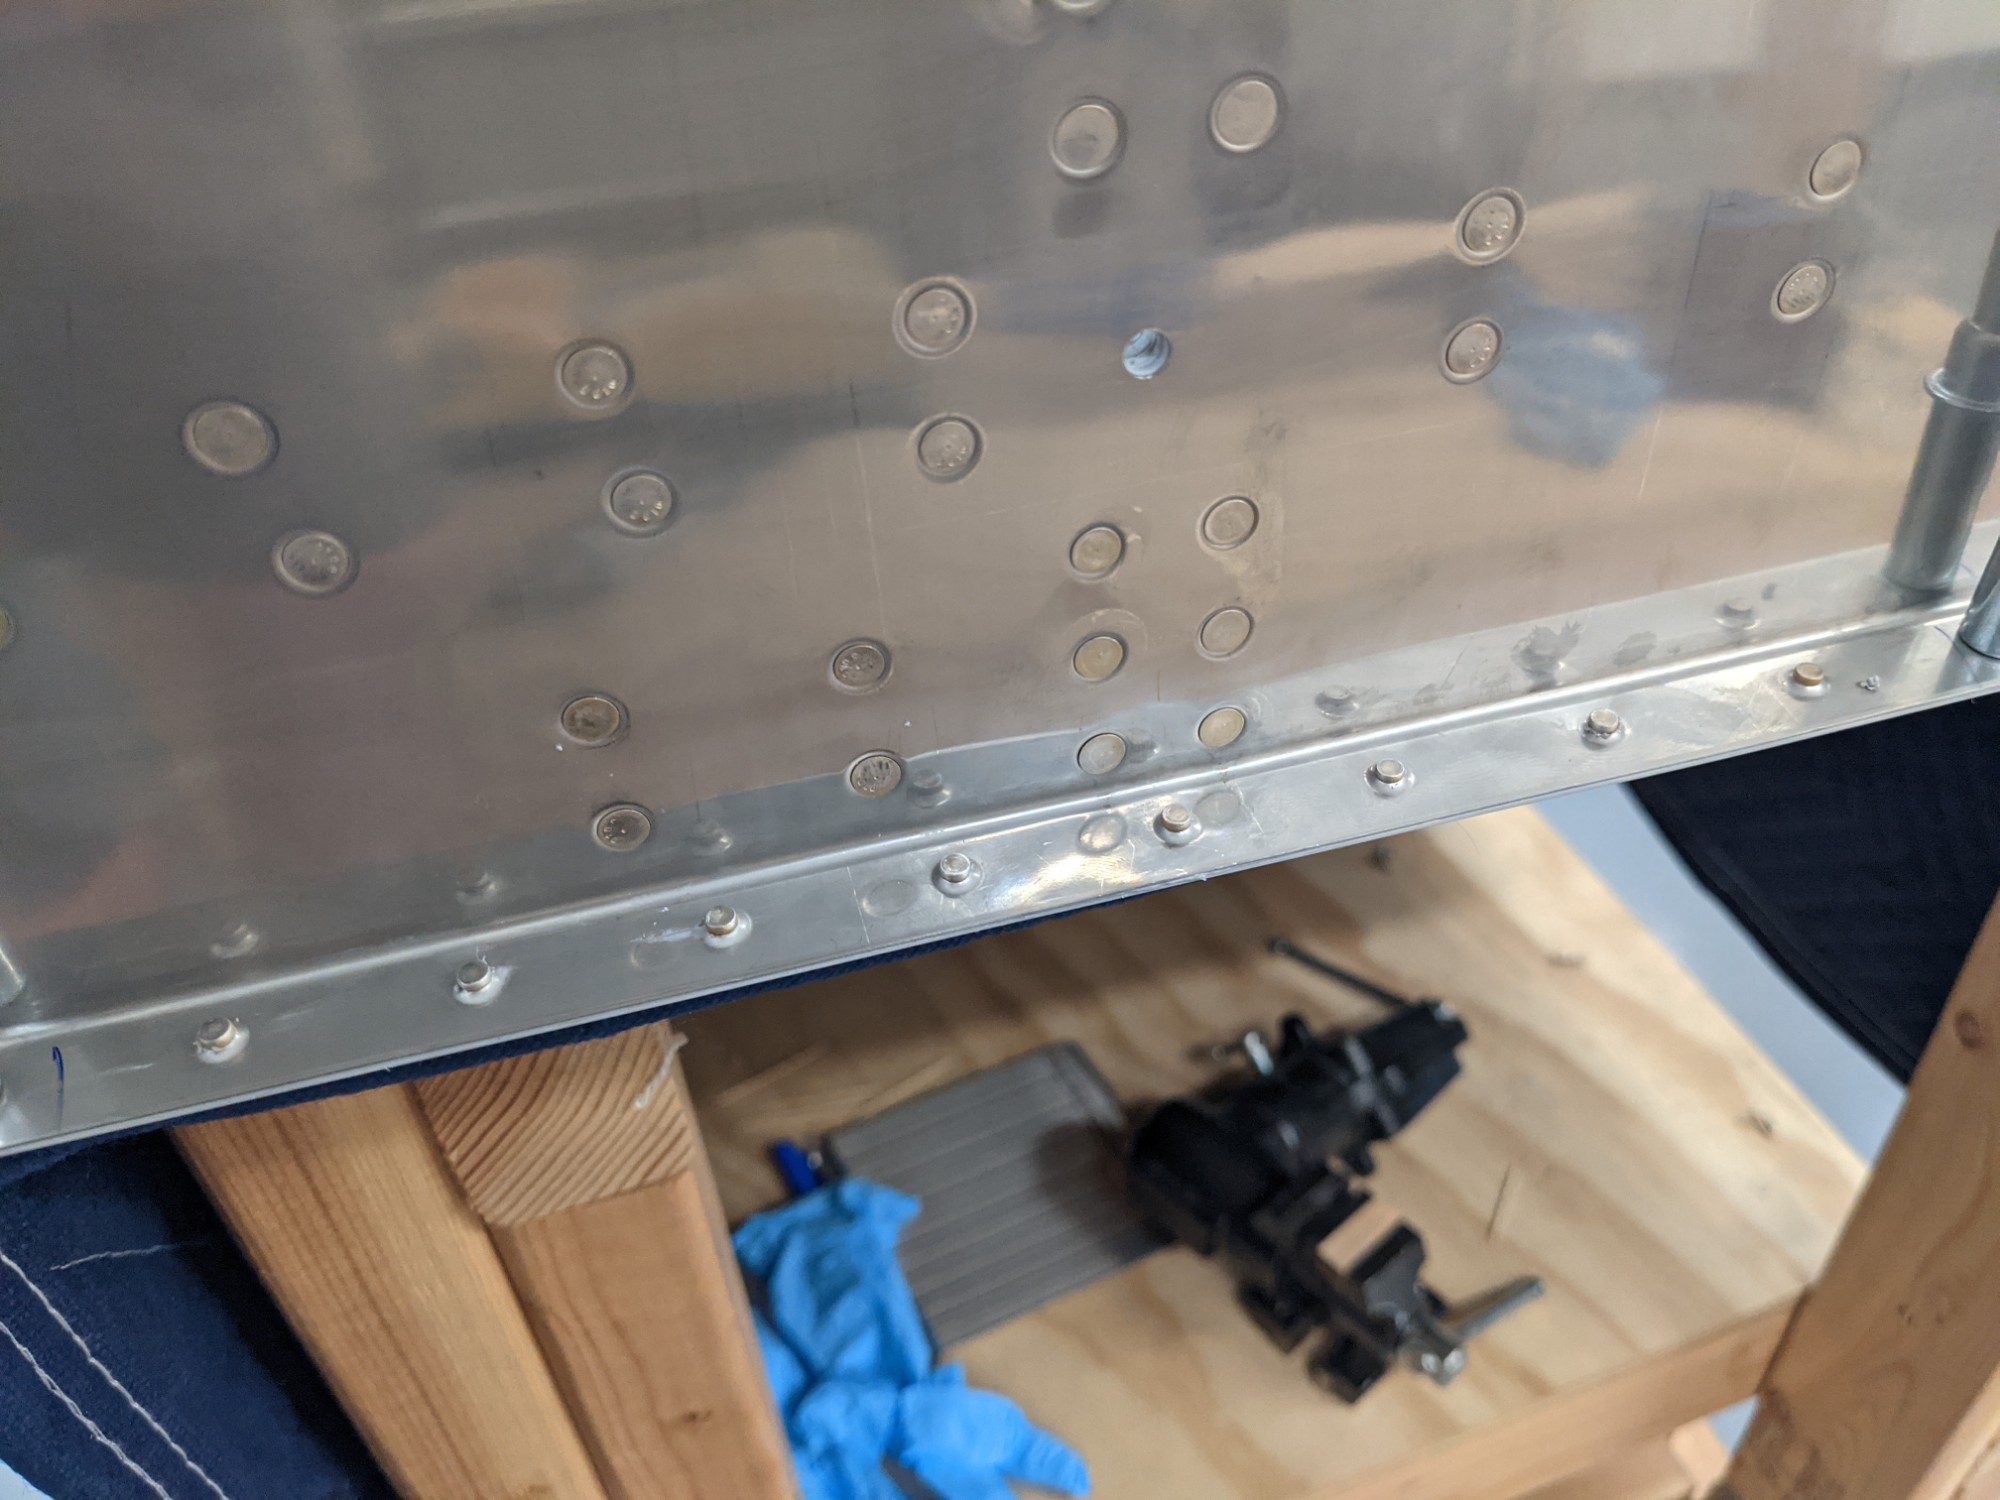
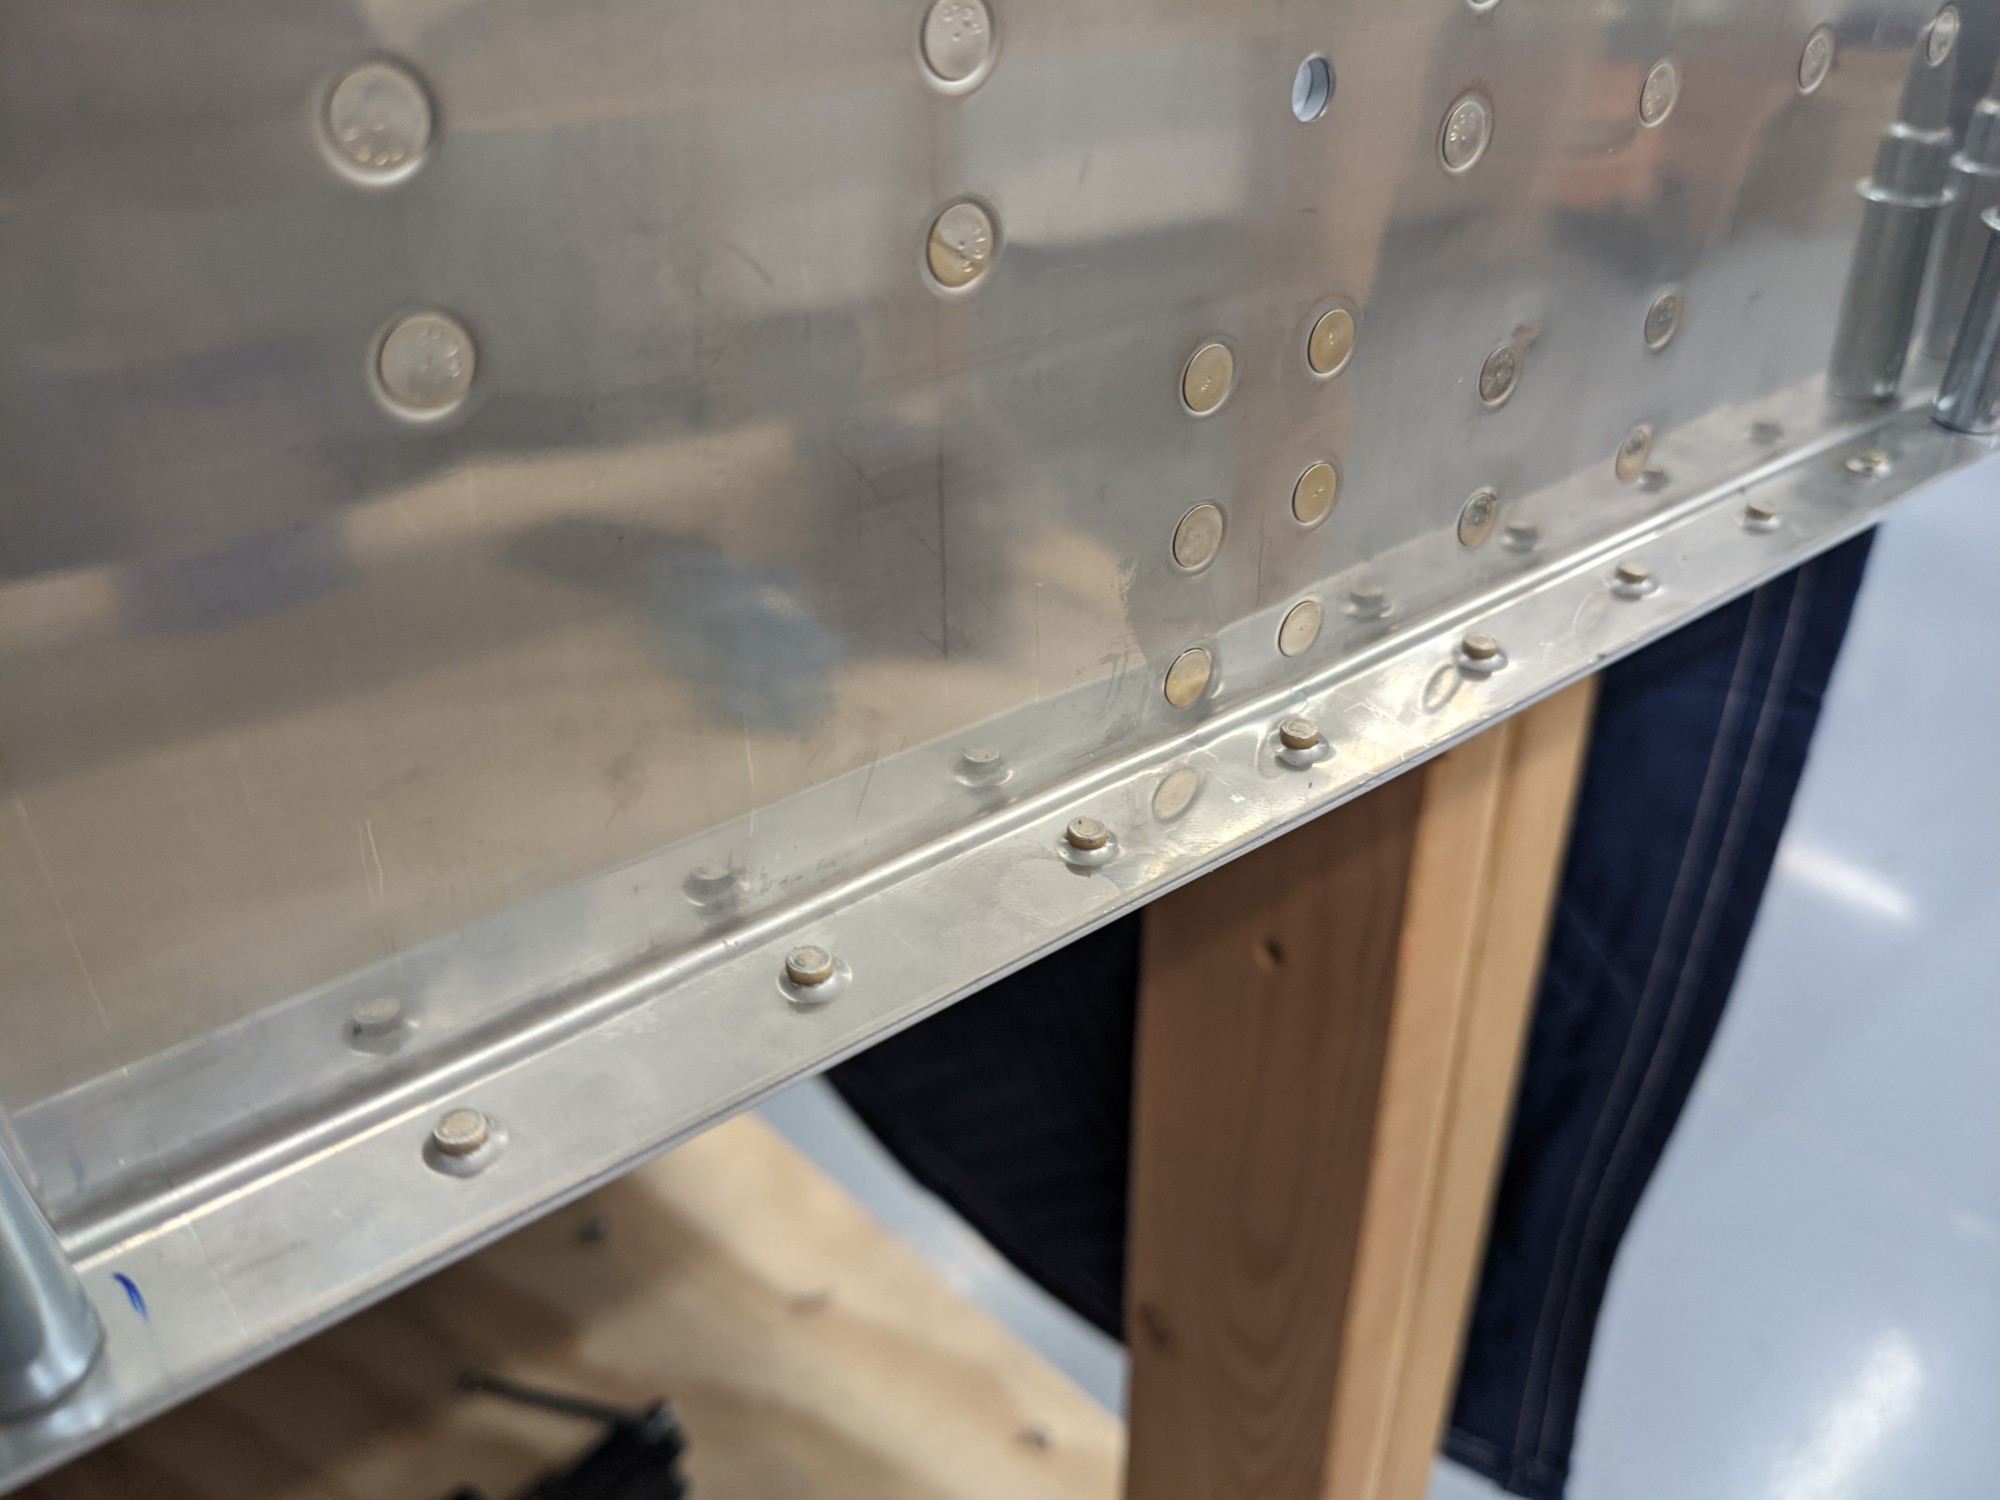
Exciting to get these pieces back together again for the final time. The end of the forward fuselage section is in sight.
![](https://airplane.allanglen.com/wp-content/uploads/2021/08/pxl_20210808_0144532318101839860522799243.jpg)