
I am installing door seals from McMaster-Carr (part number 1120A411), the PlaneAround third latch mechanism, and the PlaneAround angled door pins. This log entry details the prep work and fitting of these parts.
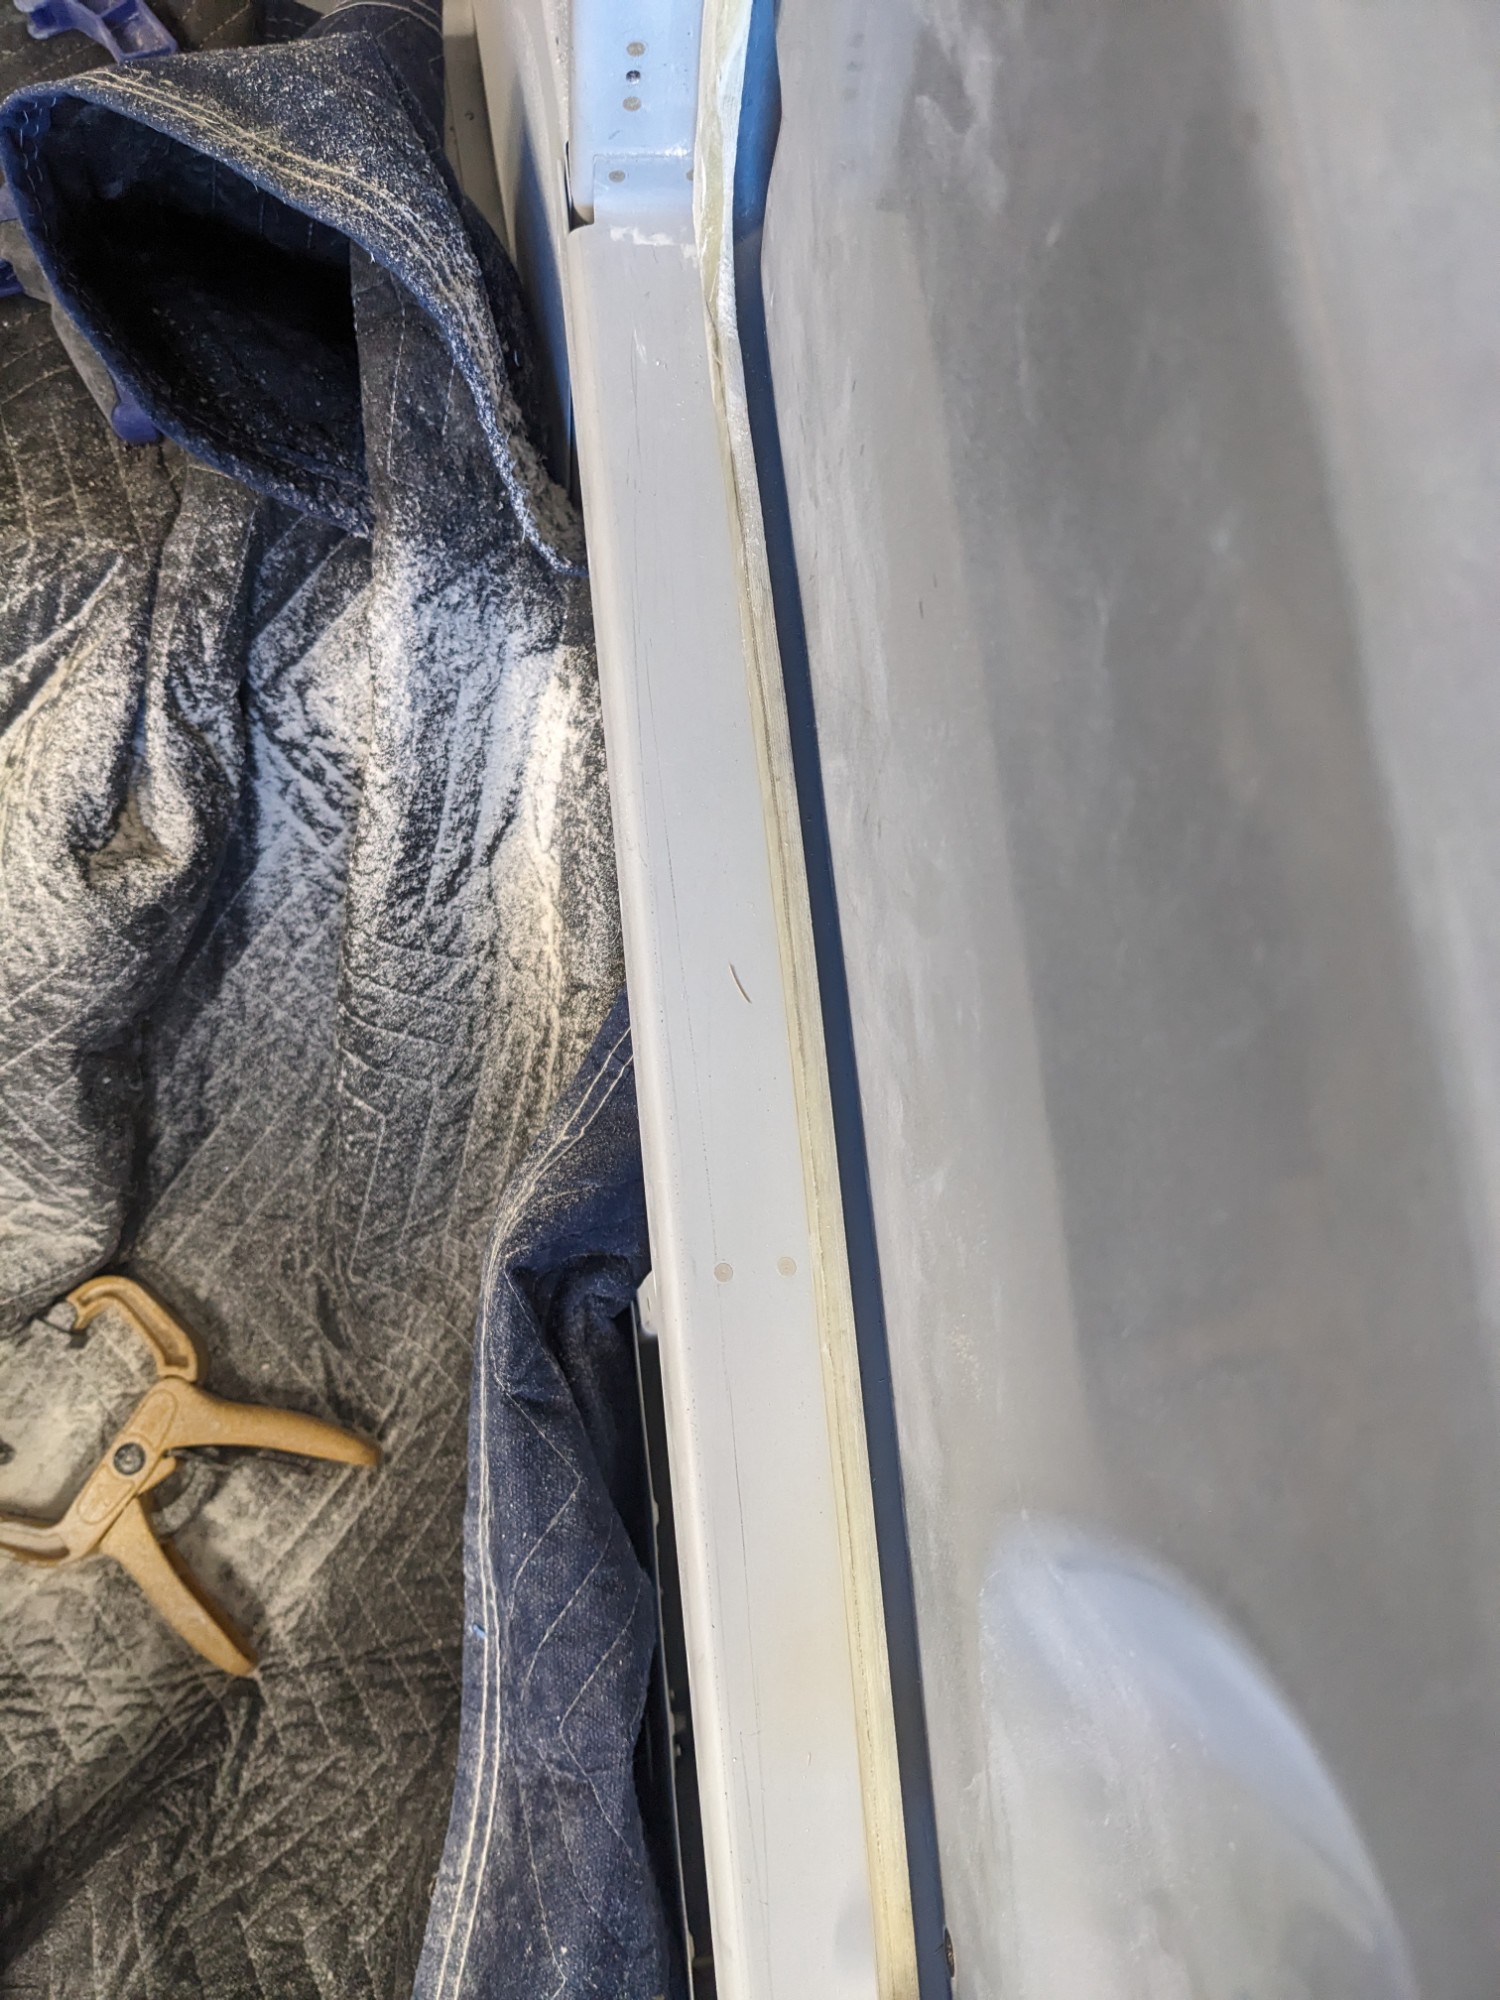
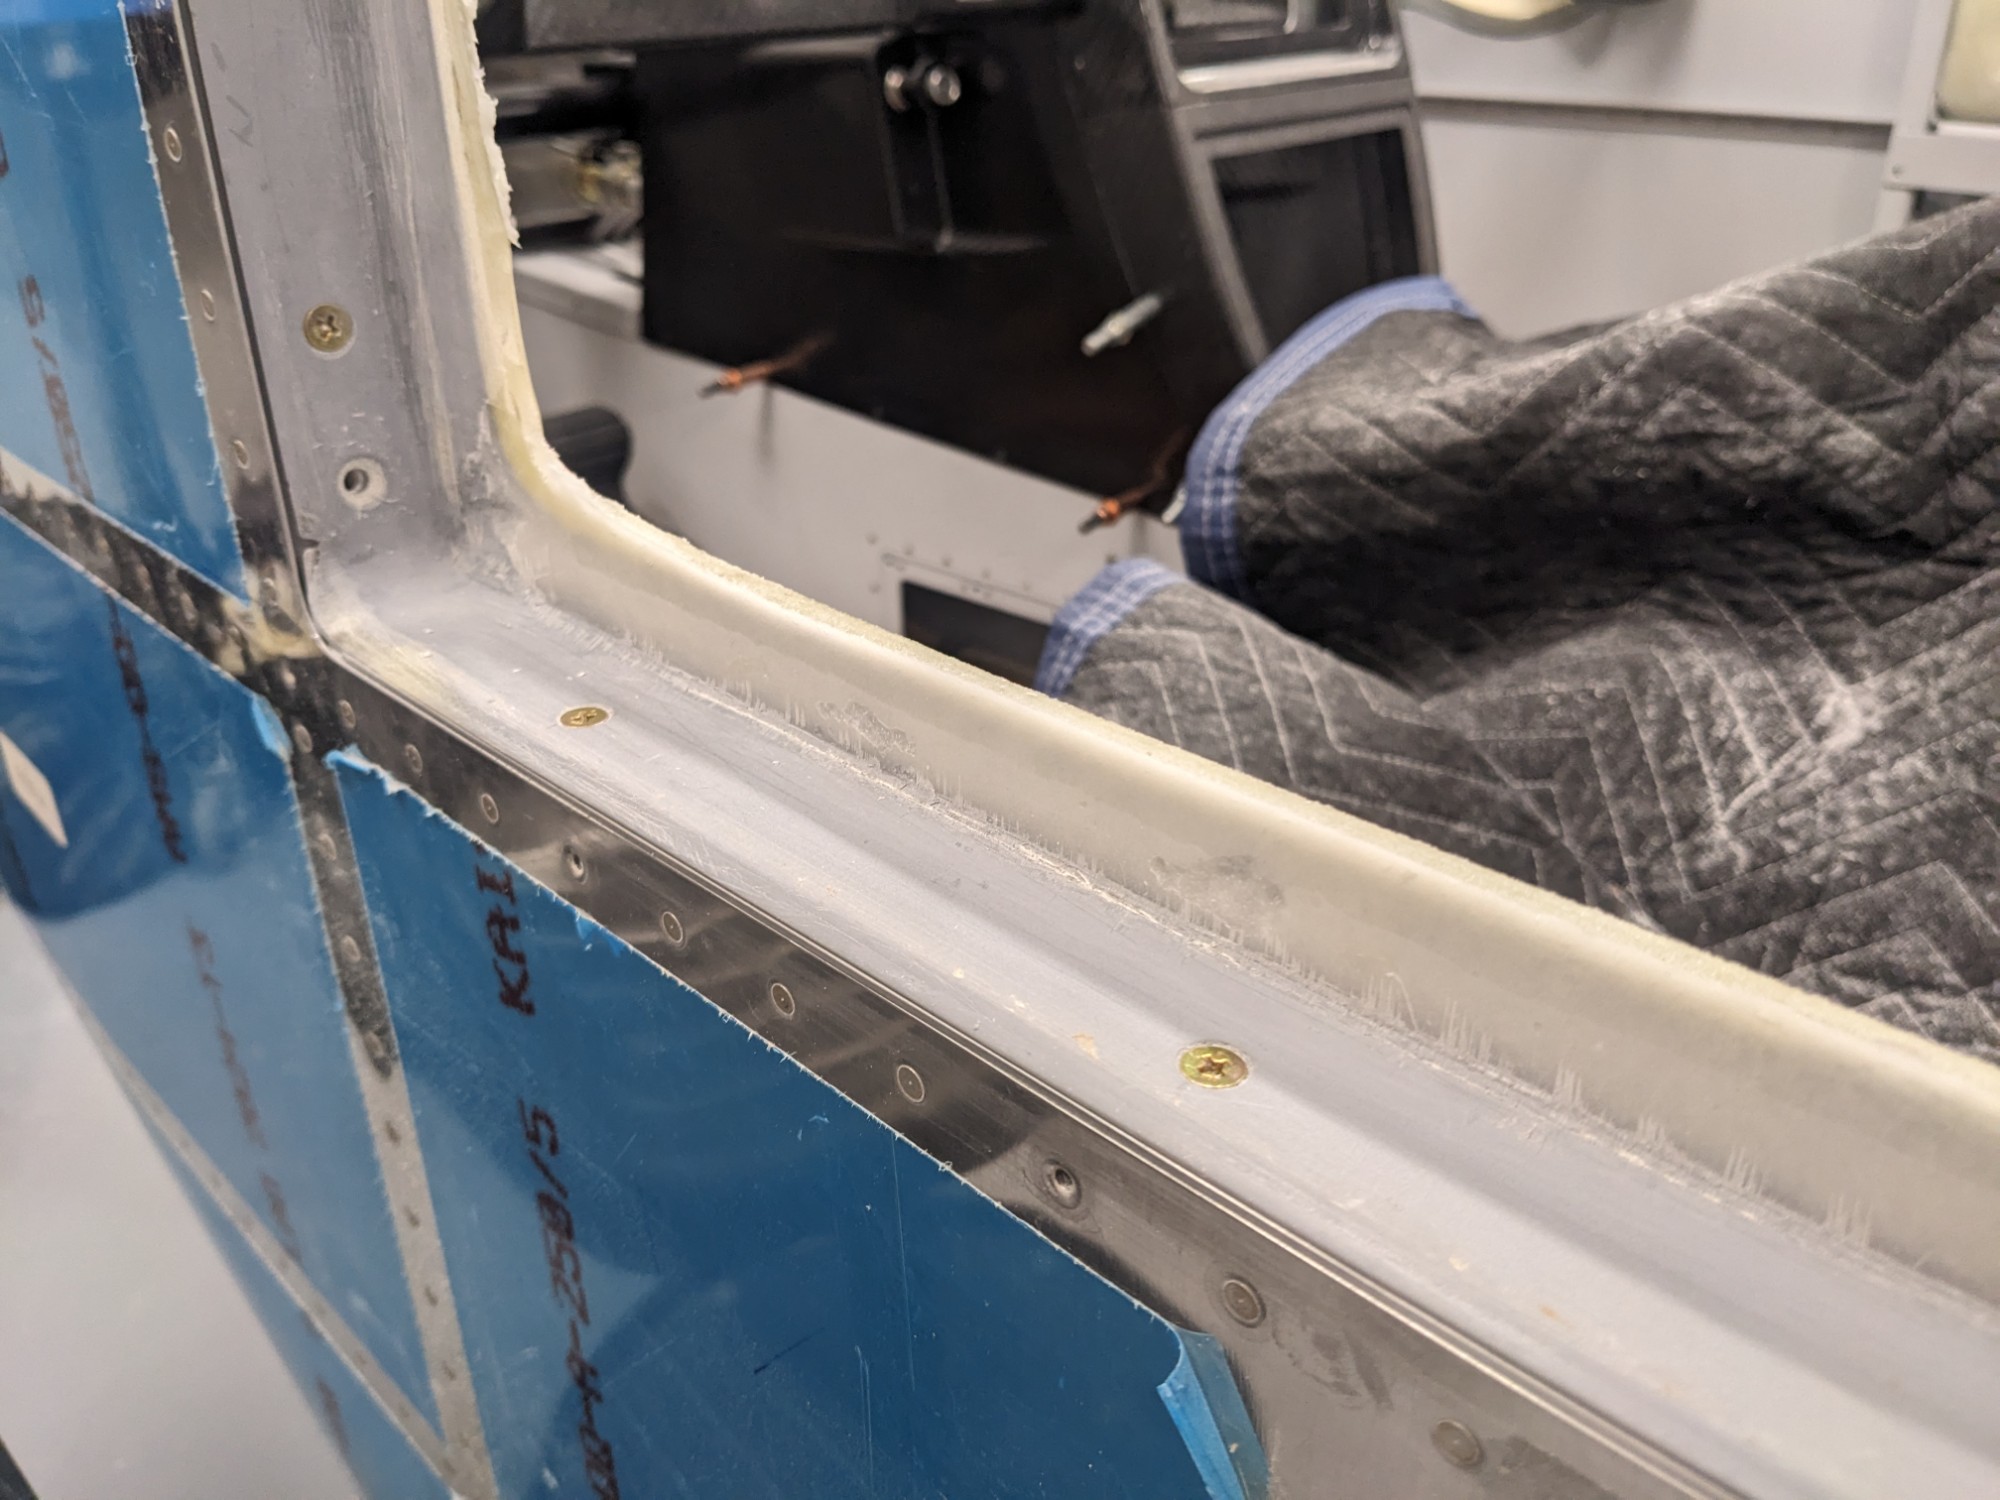
I started by creating a 1/4″ gap between the interior face of the door and the flange on the door frame. Note that I later discovered that this was too tight for the seal, especially on the lower half of the door and that I later expanded this gap to closer to 5/16″.
I marked a line on the flange by using a 1/4″ spacer from the interior face of the door. I also made a tool that could reach behind the flange and run along the edge of the door, allowing me to create a consistent flange depth. This required a lot of sanding and shaping, which I did with a belt sander, a dremel, and PermaGrit blocks.


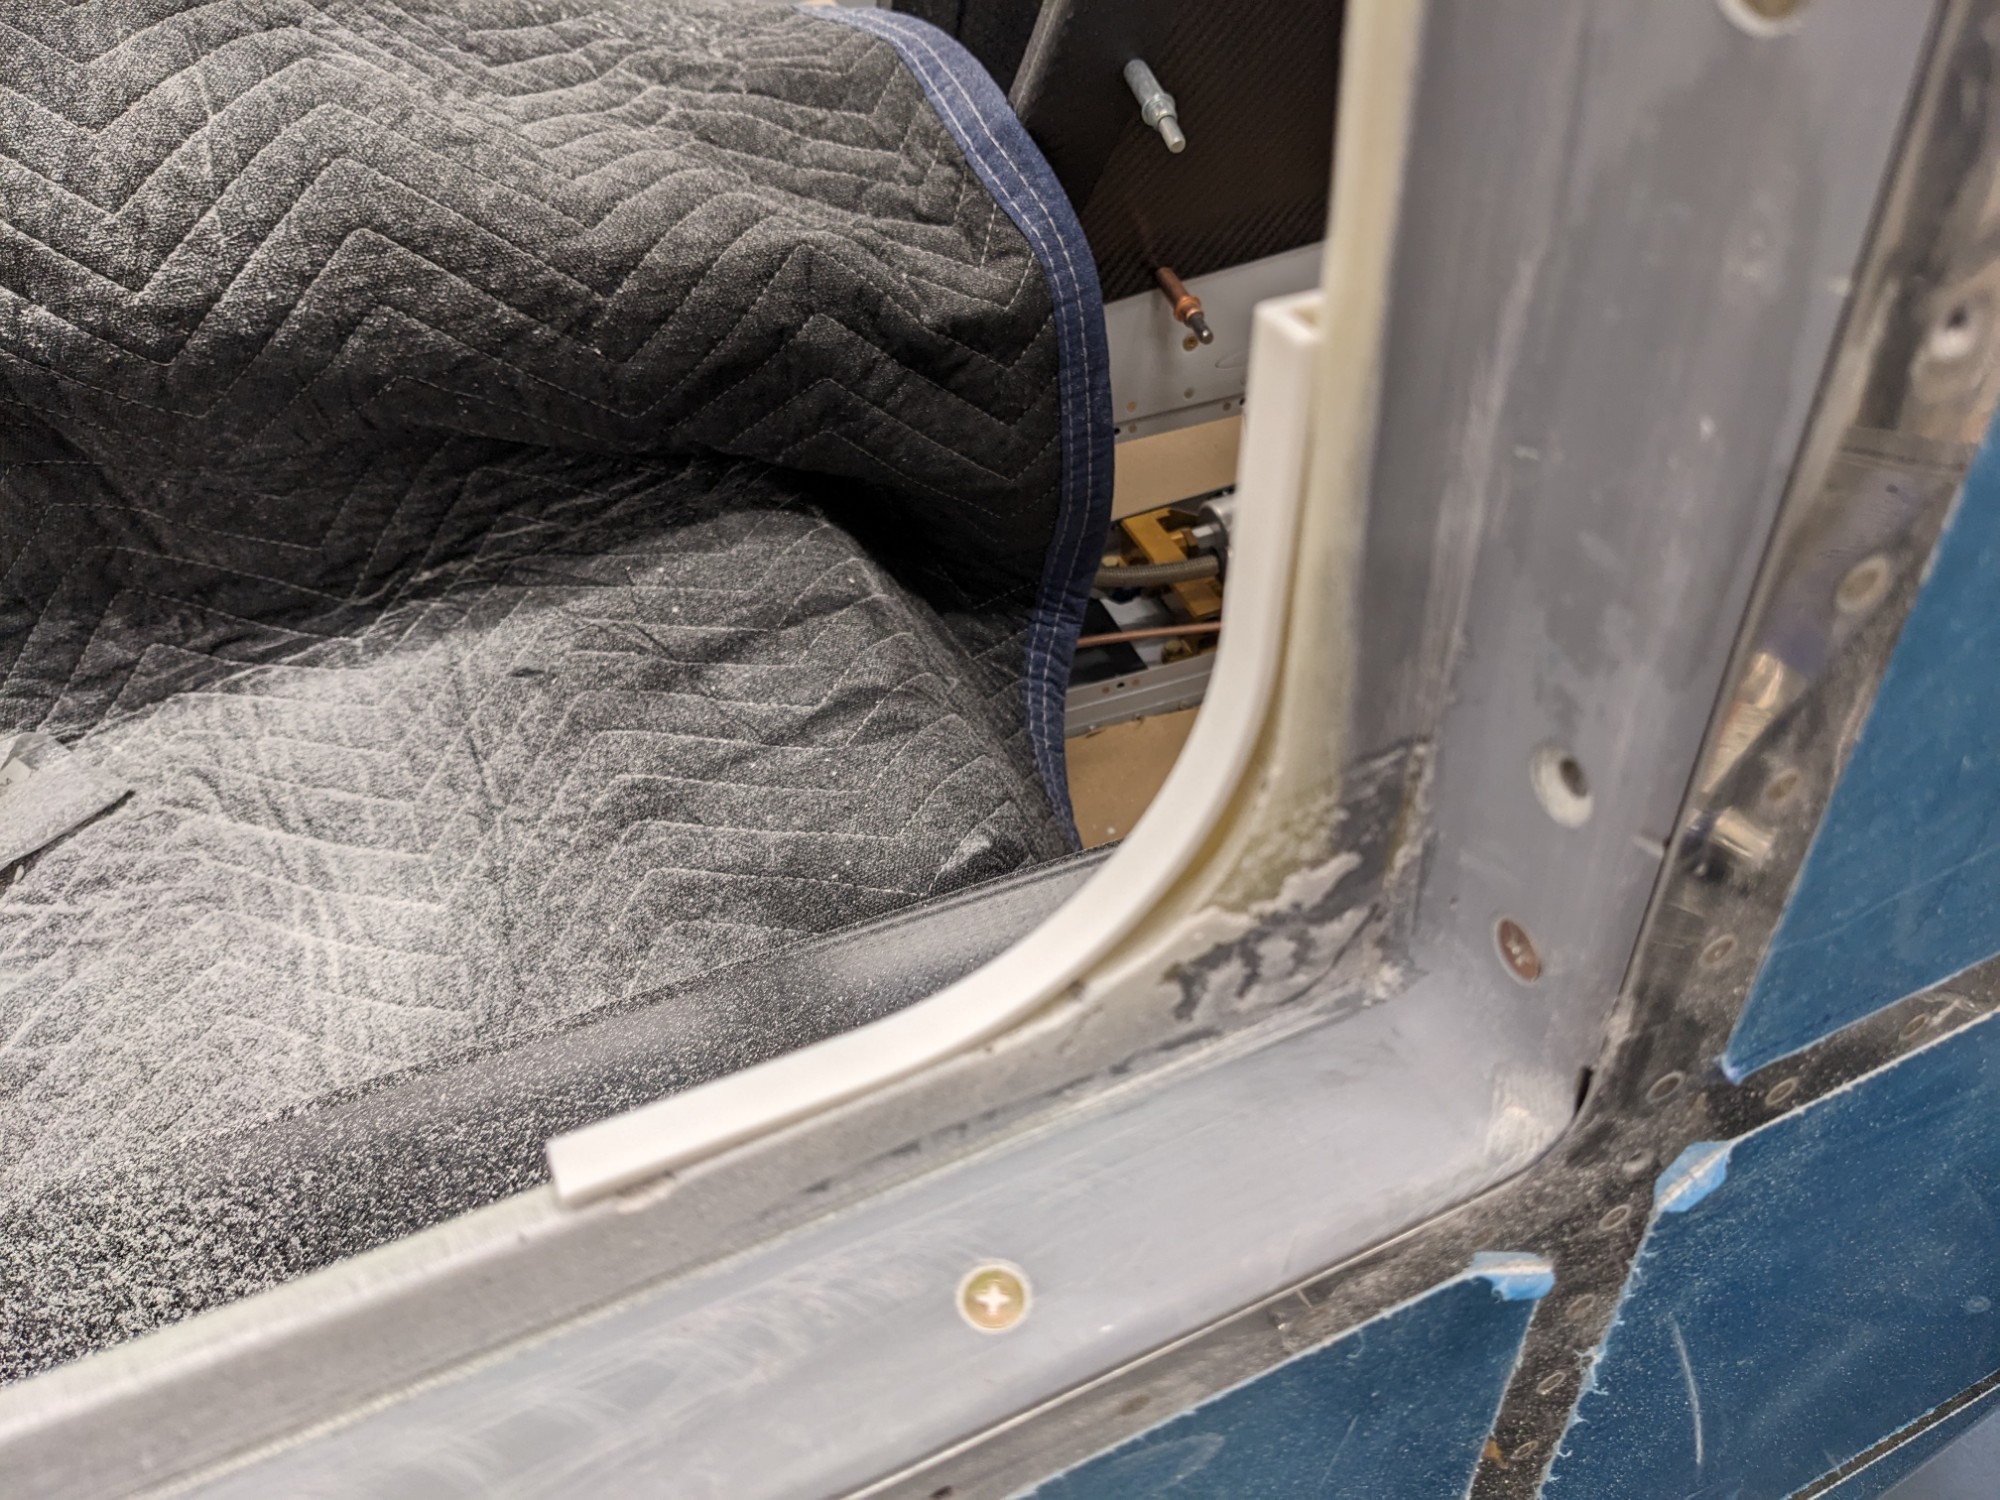
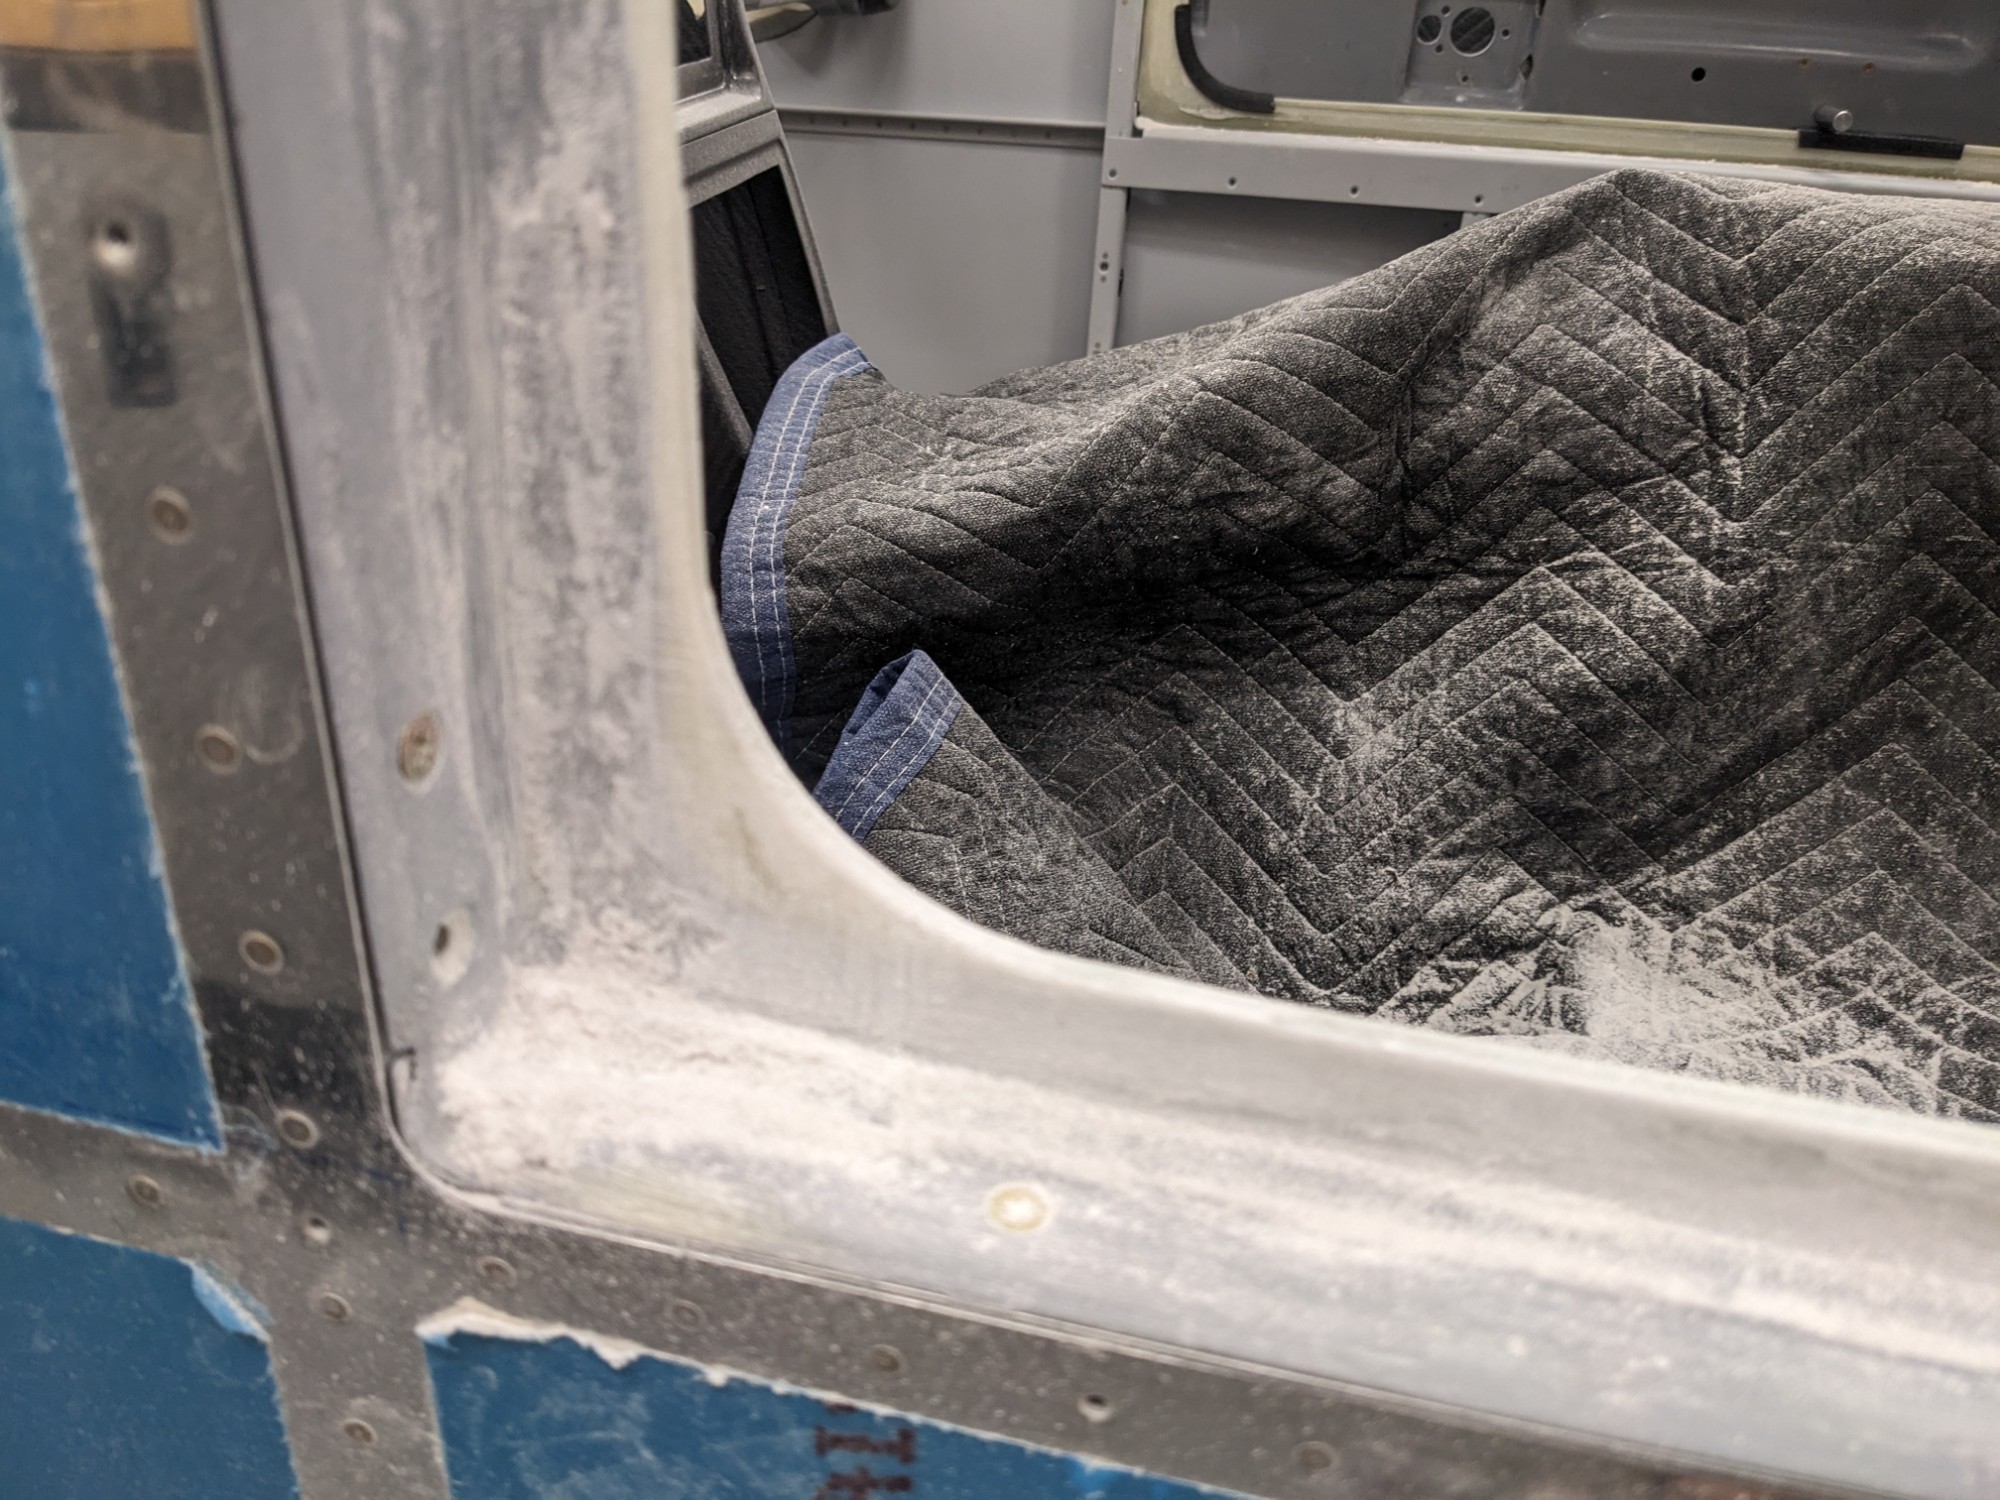
The gap along the door sill is too wide so I had to build this area up.
I made a 1/4″ thick wood strip, covered it with packing tape, and secured it to the door with double-sided tape. This allowed me to fill the gap with a flox/cabosil mix and press the door into it, creating a 1/4″ gap.


This worked well and gave me a consistent gap all around the opening.

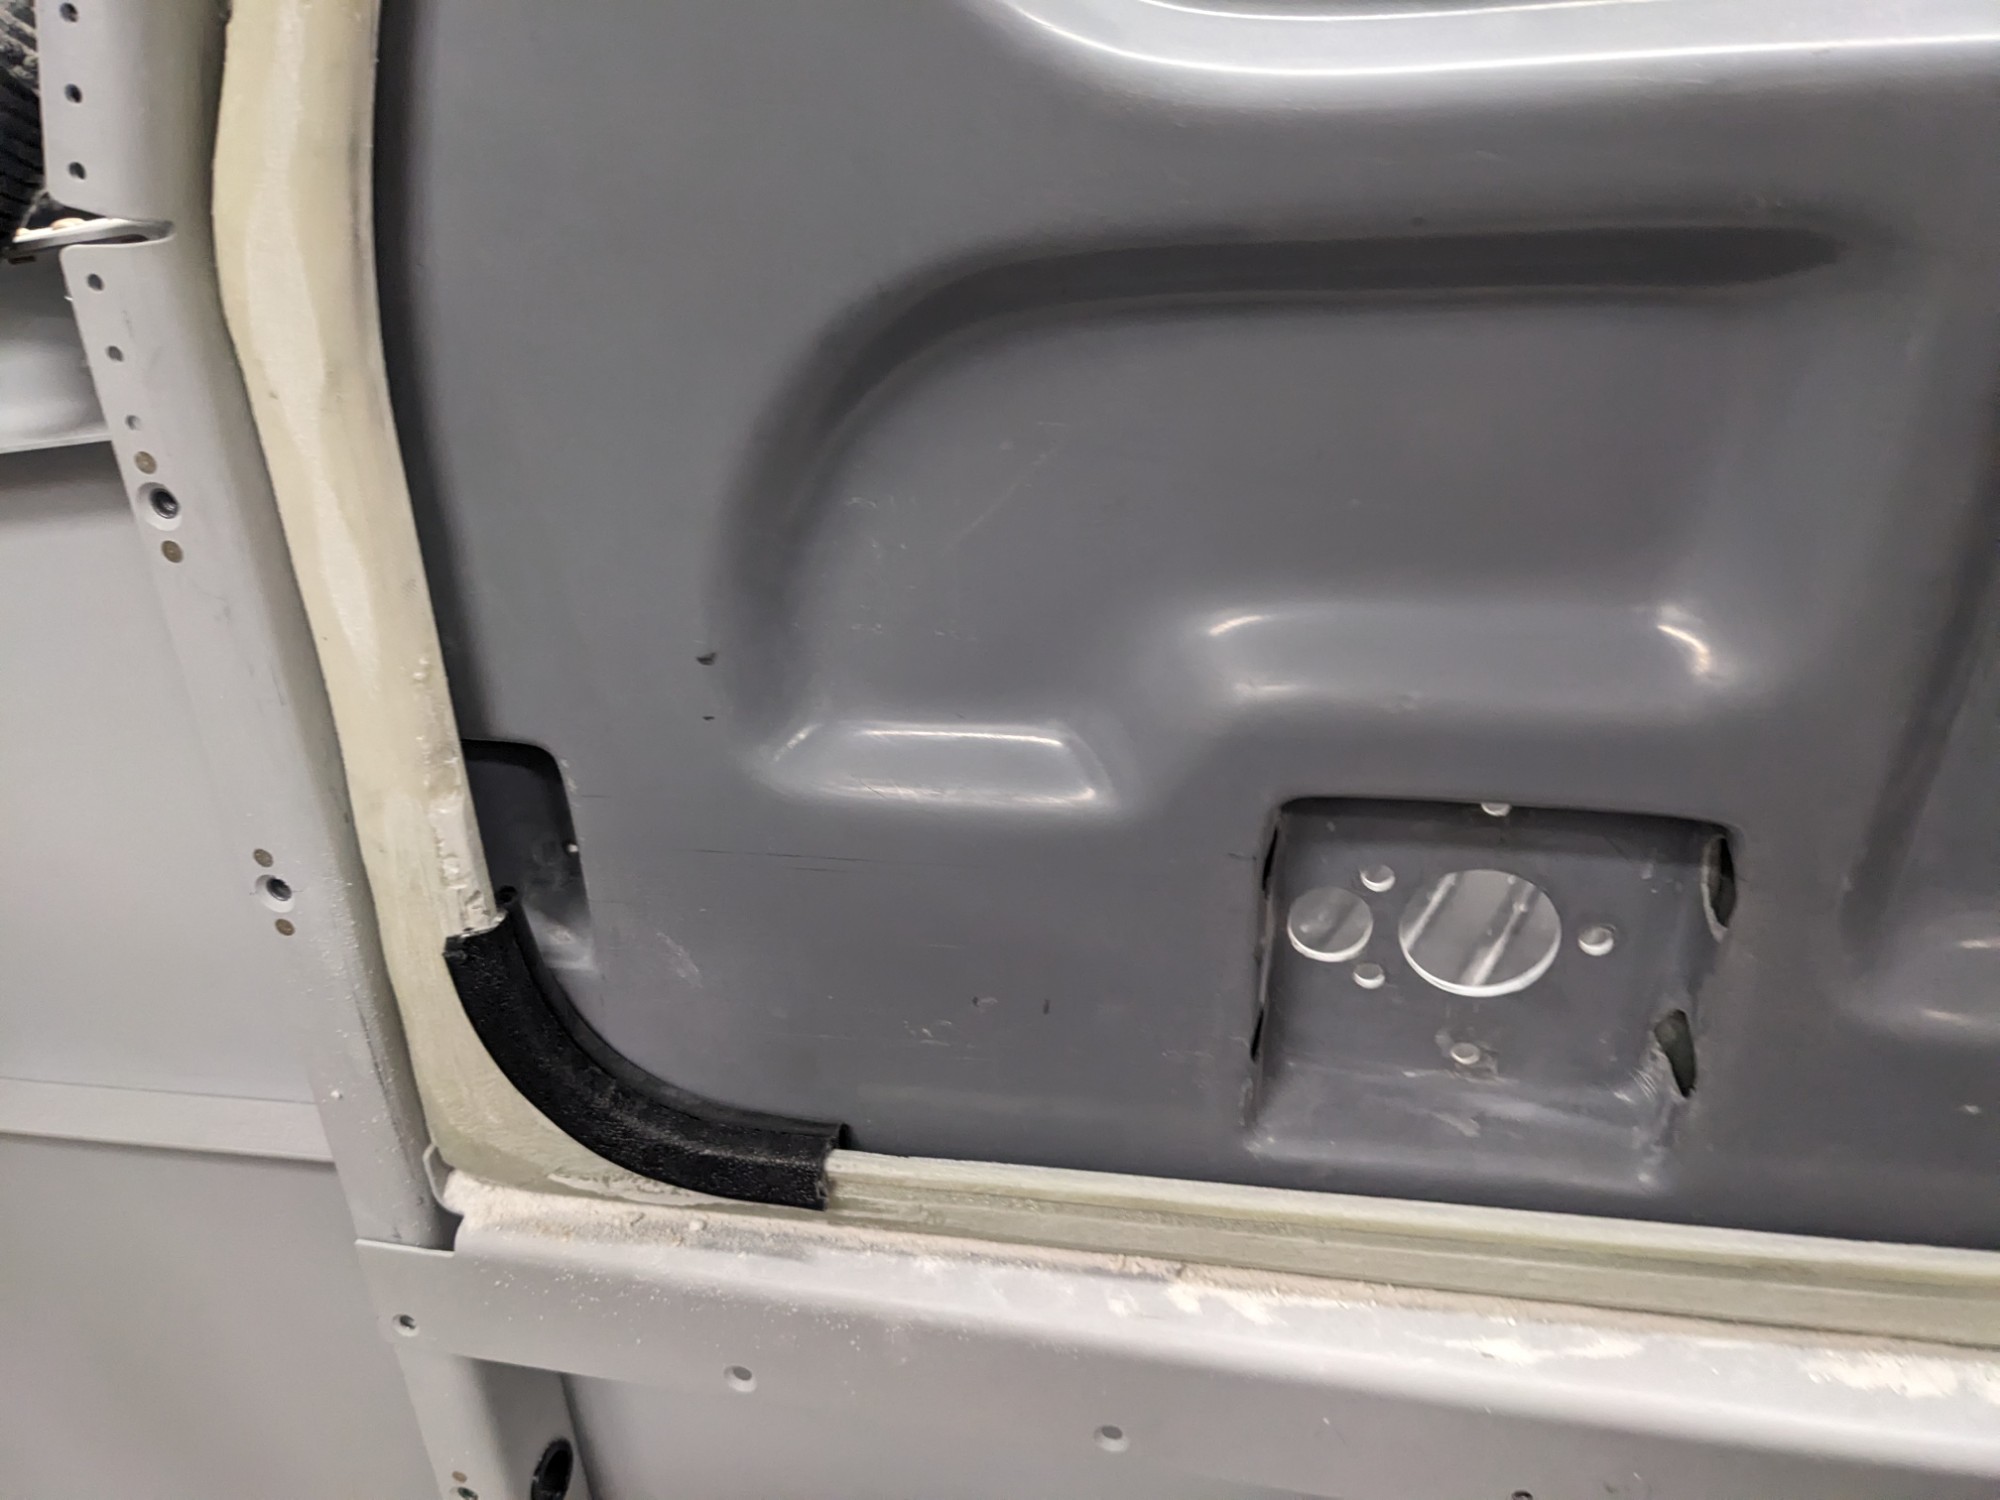
The radius of the lower corners is too tight for the seal so I had to build this area up.
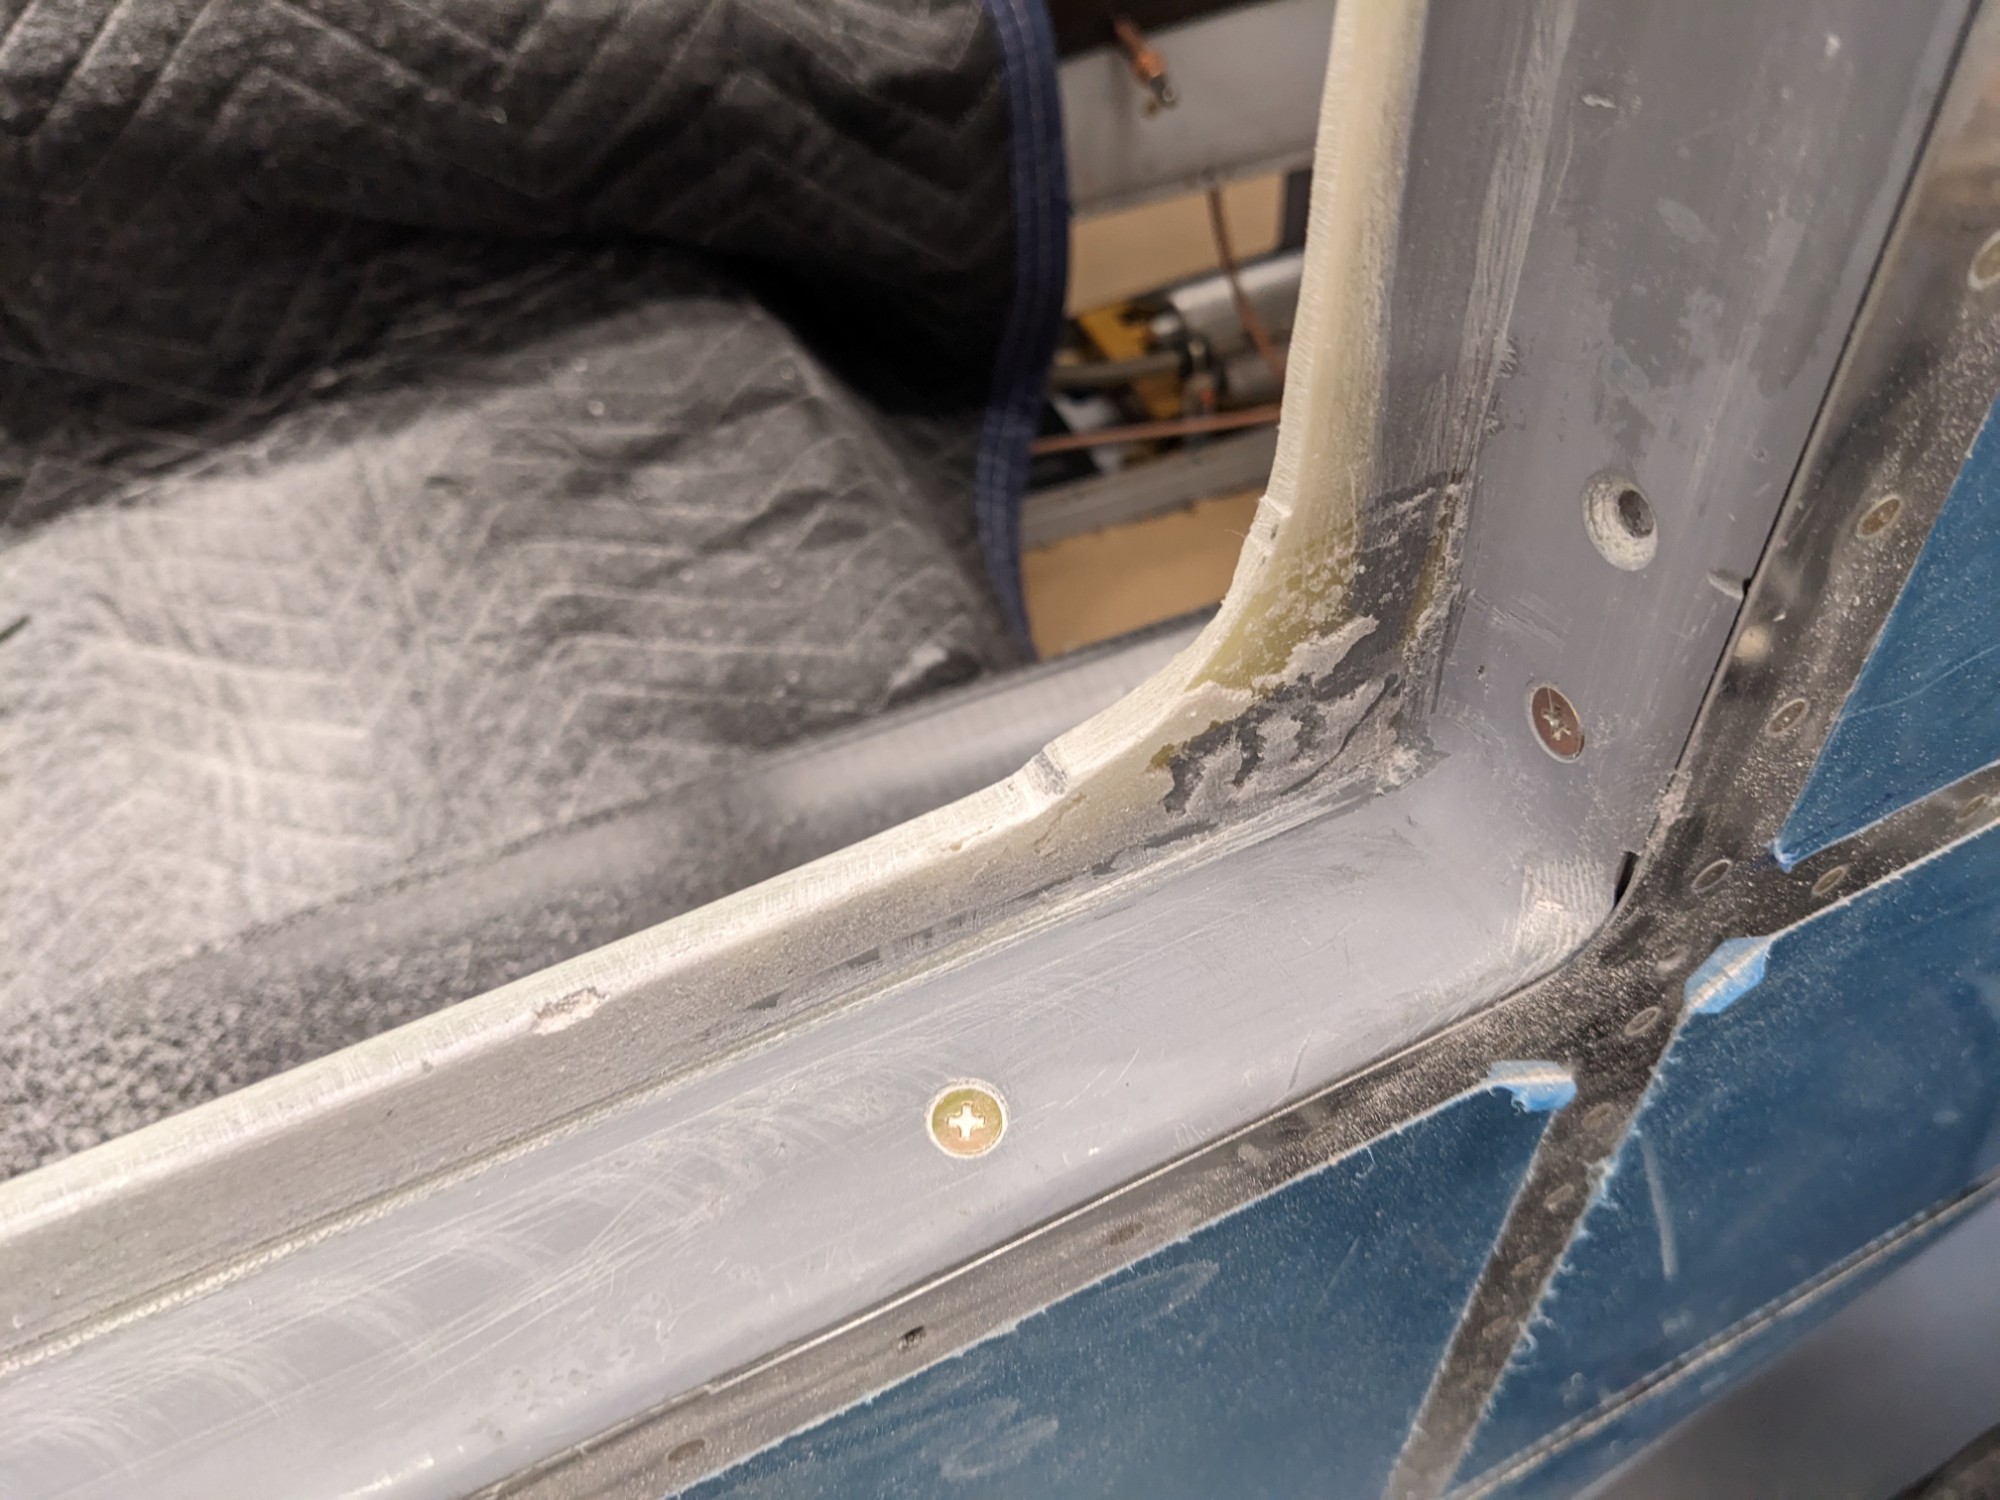
I 3d printed some molds to help fill this area and create a consistent radius. I filled this area with a similar flox/cabosil mix. The seal specifies a 3″ minimum bend radius but I experimented with different sizes and settled on a 2″ inch radius. The 3″ radius felt like it was taking up too much space and the seal seemed comfortable bending to a 2″ radius (anything more than that started to wrinkle the interior face of the seal).


This worked really well. The molds also helped create a consistent thickness for the door seal by filling in the gap on the inside of the door flange.
I purchased more seal than I need (100′) so I cut a portion to test fit the seal with the door. I plan to use this piece as a epoxy mold to build up the inside of the flange in places where the flange is too thin.


As noted earlier, the seal ended up being too tight on the lower half of the door so I sanded the flange back further where needed (closer to a 5/16″ gap in some areas). This still provided plenty of compression to the seal and still requires a decent amount force to pull the door fully closed.
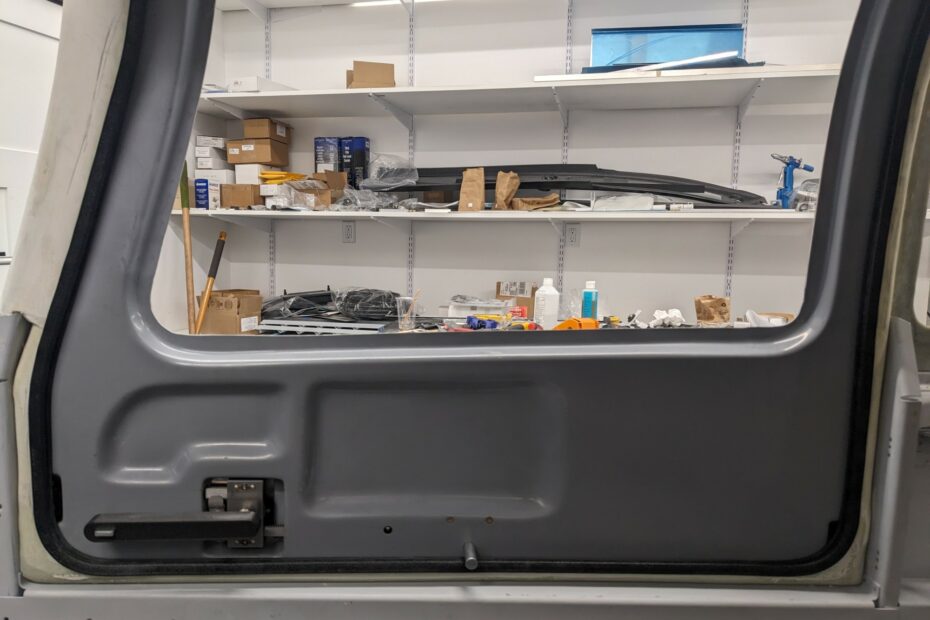
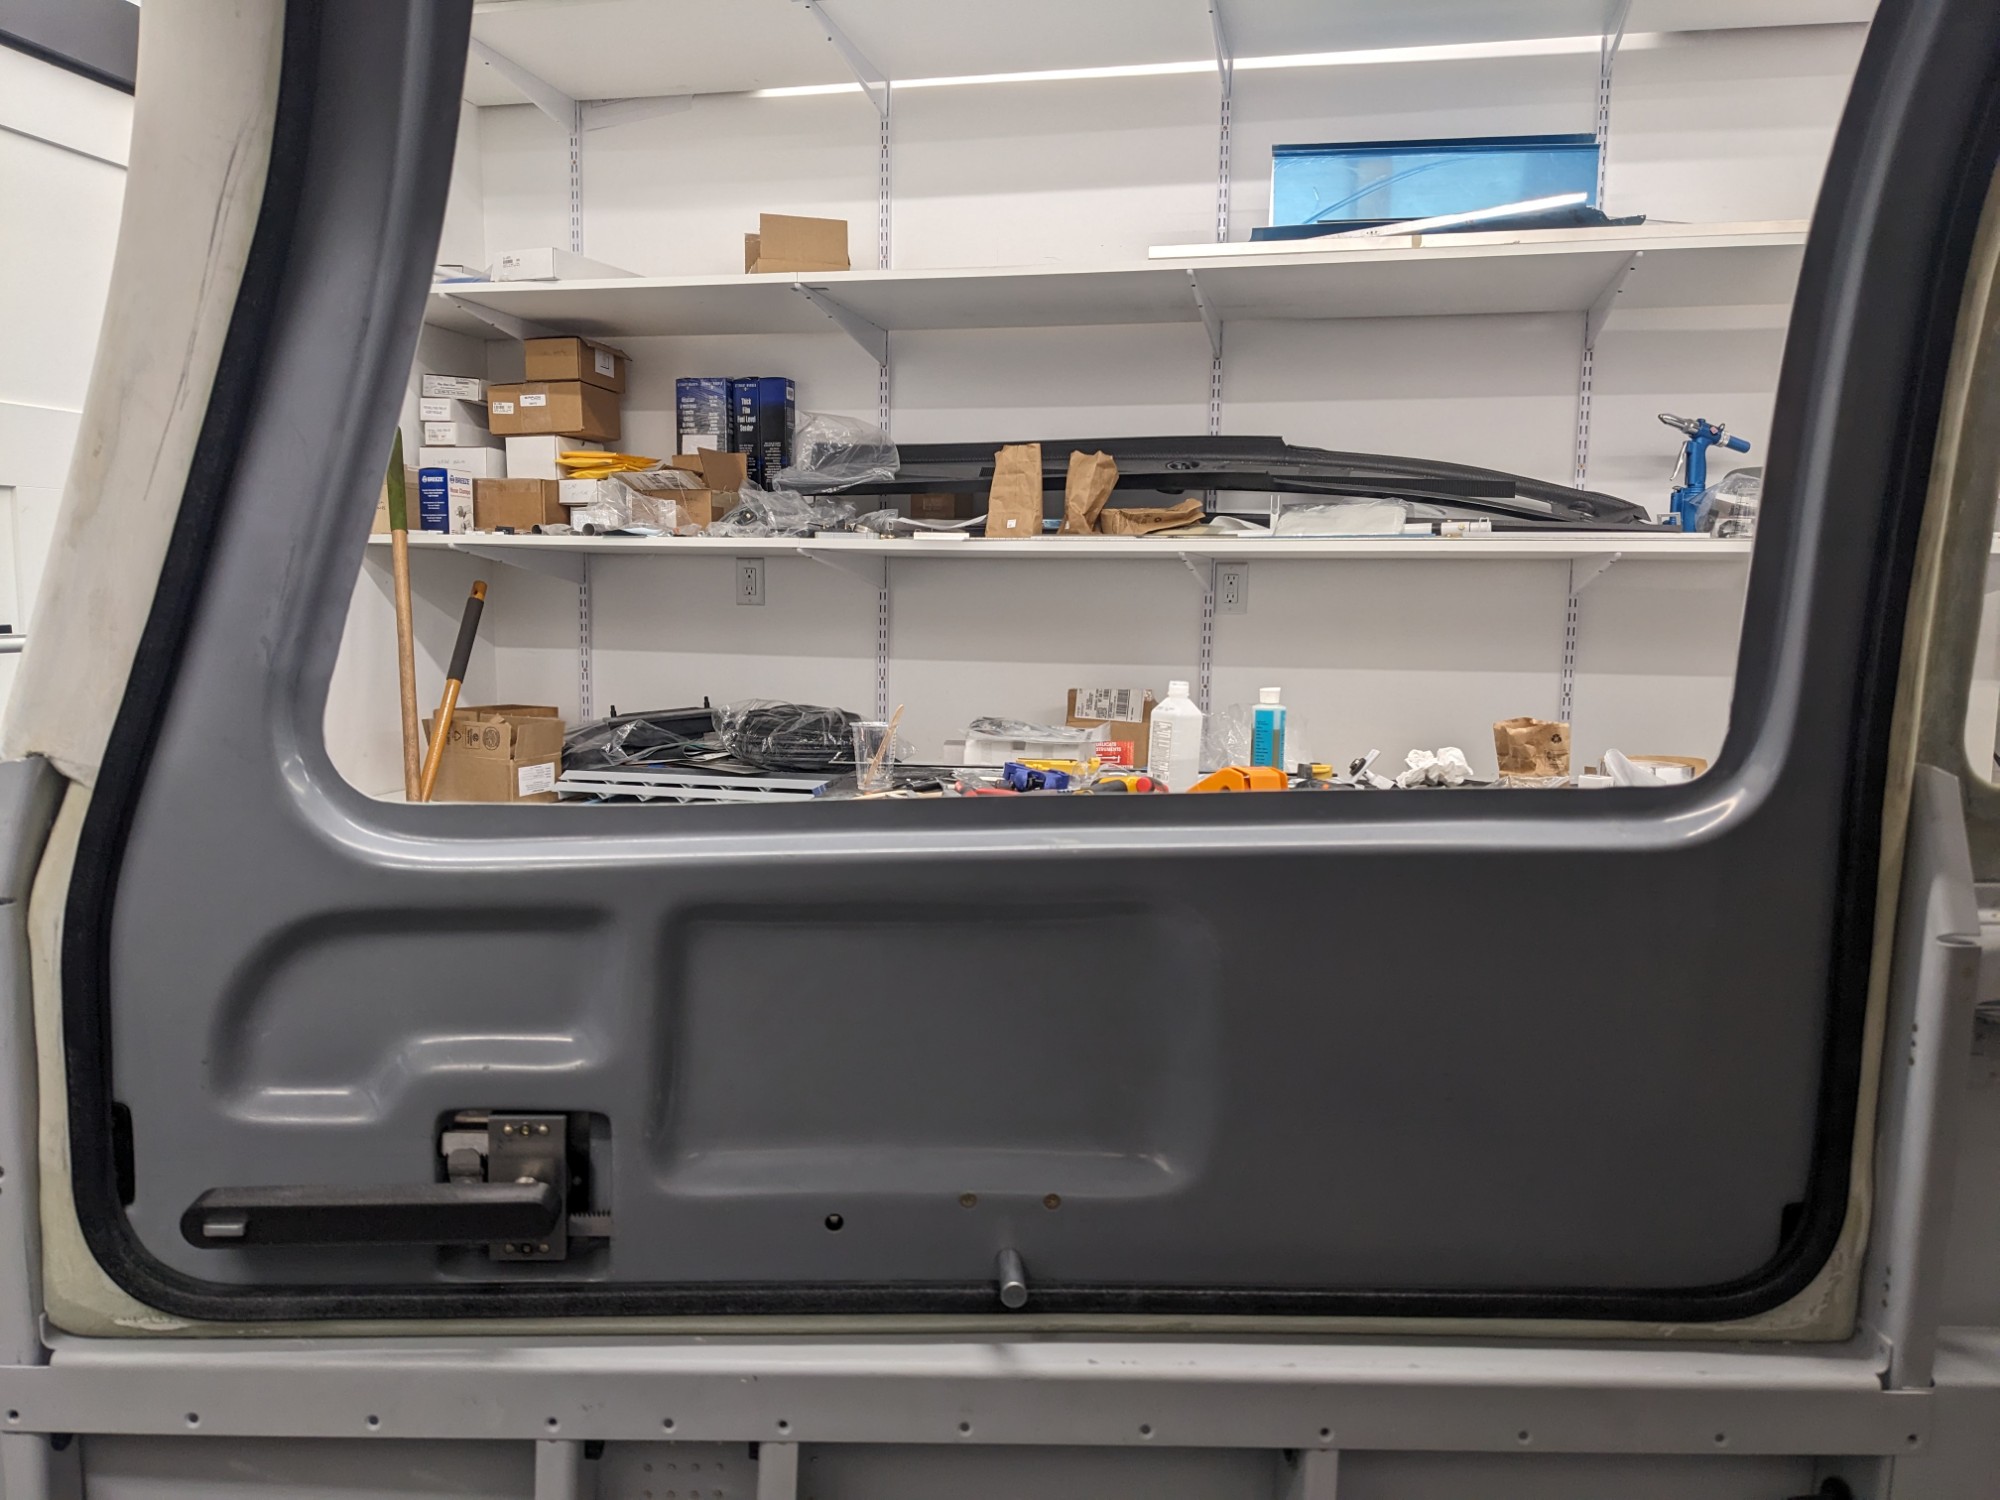
I then worked on installing the latch mechanism back into the copilot door (I had already pre-fitted the door handles and door pin blocks before bonding the doors).
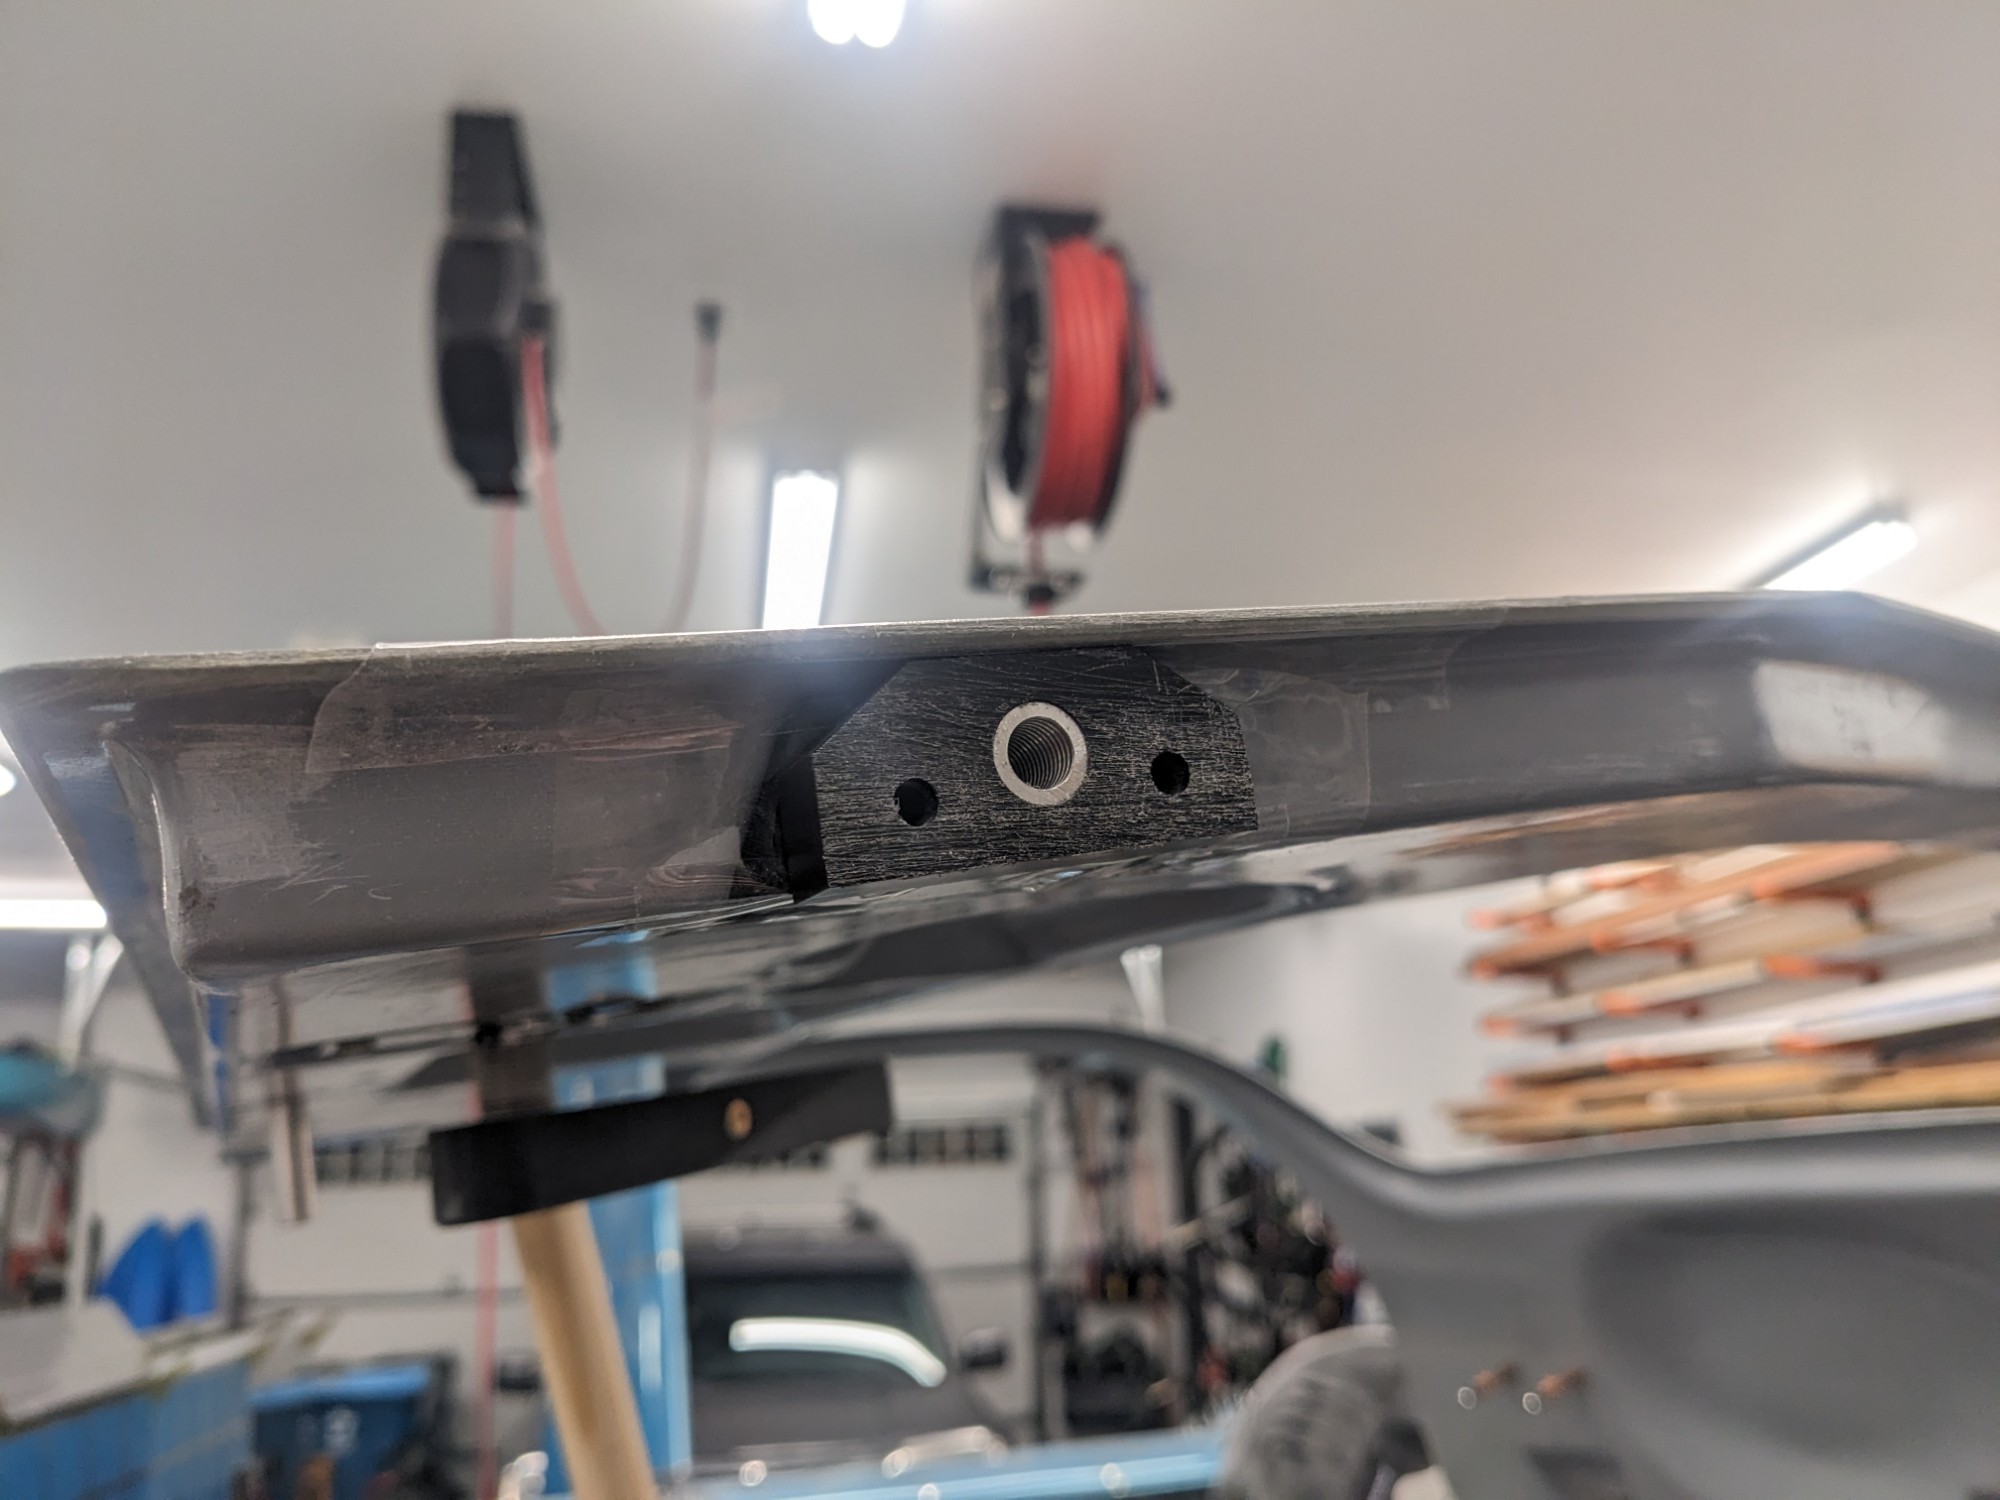
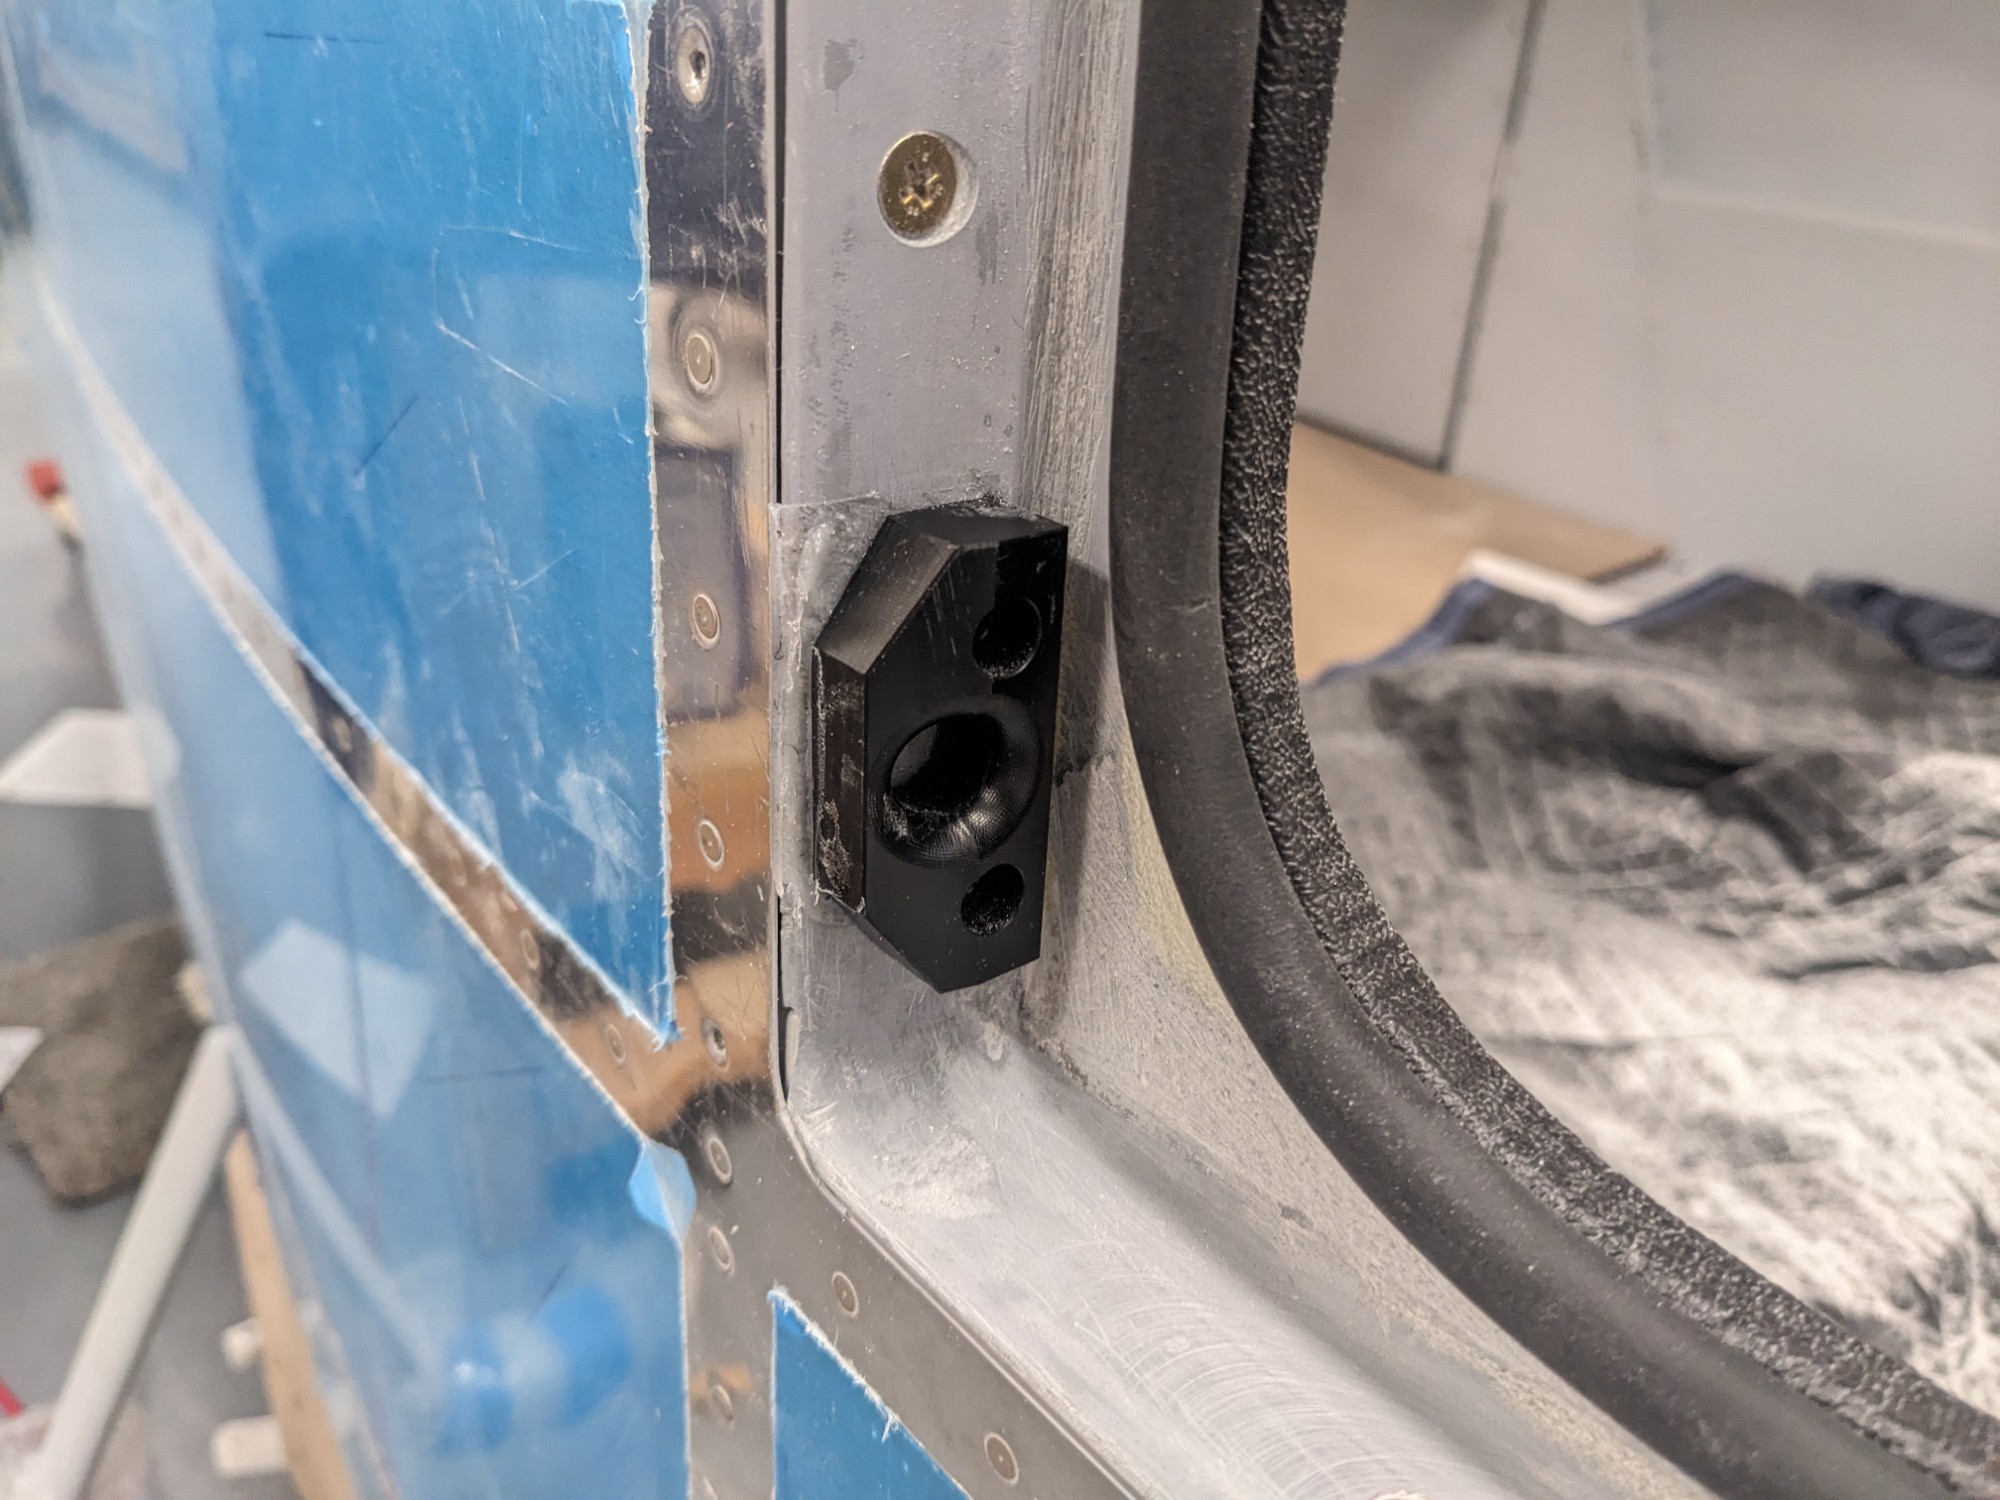
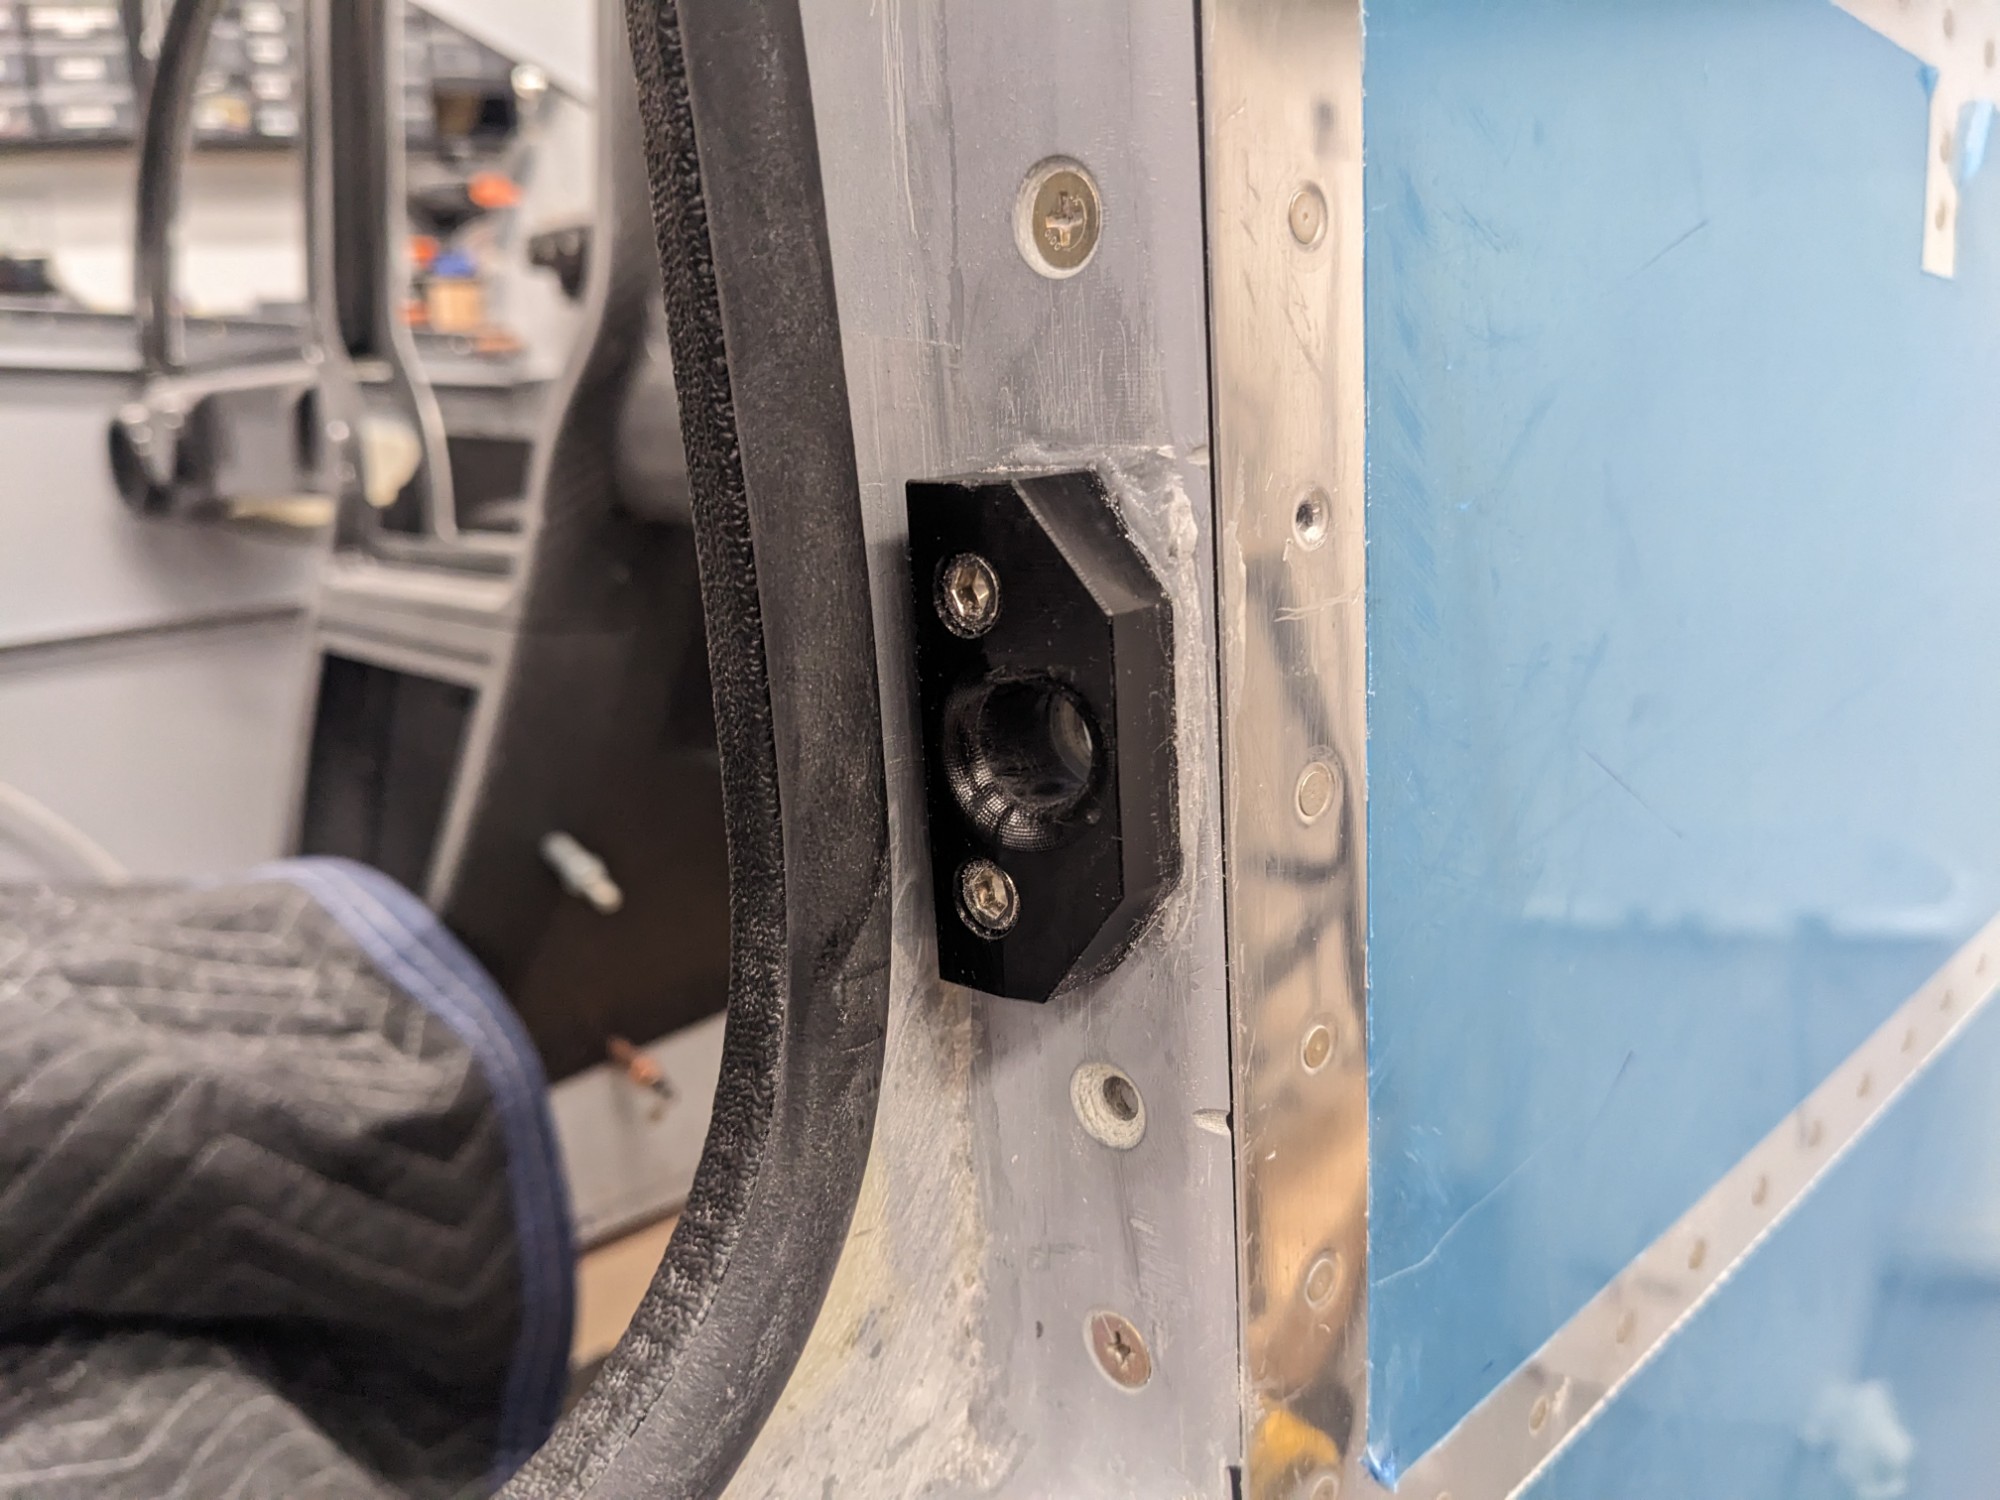
With the latching mechanism installed and operating well, it was time to install the guide blocks to the door frame. I am using the angled door pins from PlaneAround which include nicely CNC’d delrin guide blocks.
The Van’s plans recommend making a point from a hardware store bolt to mark the center of the hole on the door frame for the door pins. This felt like it was going to be very difficult to align perfectly, given that the drill bit would drift slightly. It also felt like it was going to be difficult to keep the axis of the hole aligned with the travel path of the door pins.
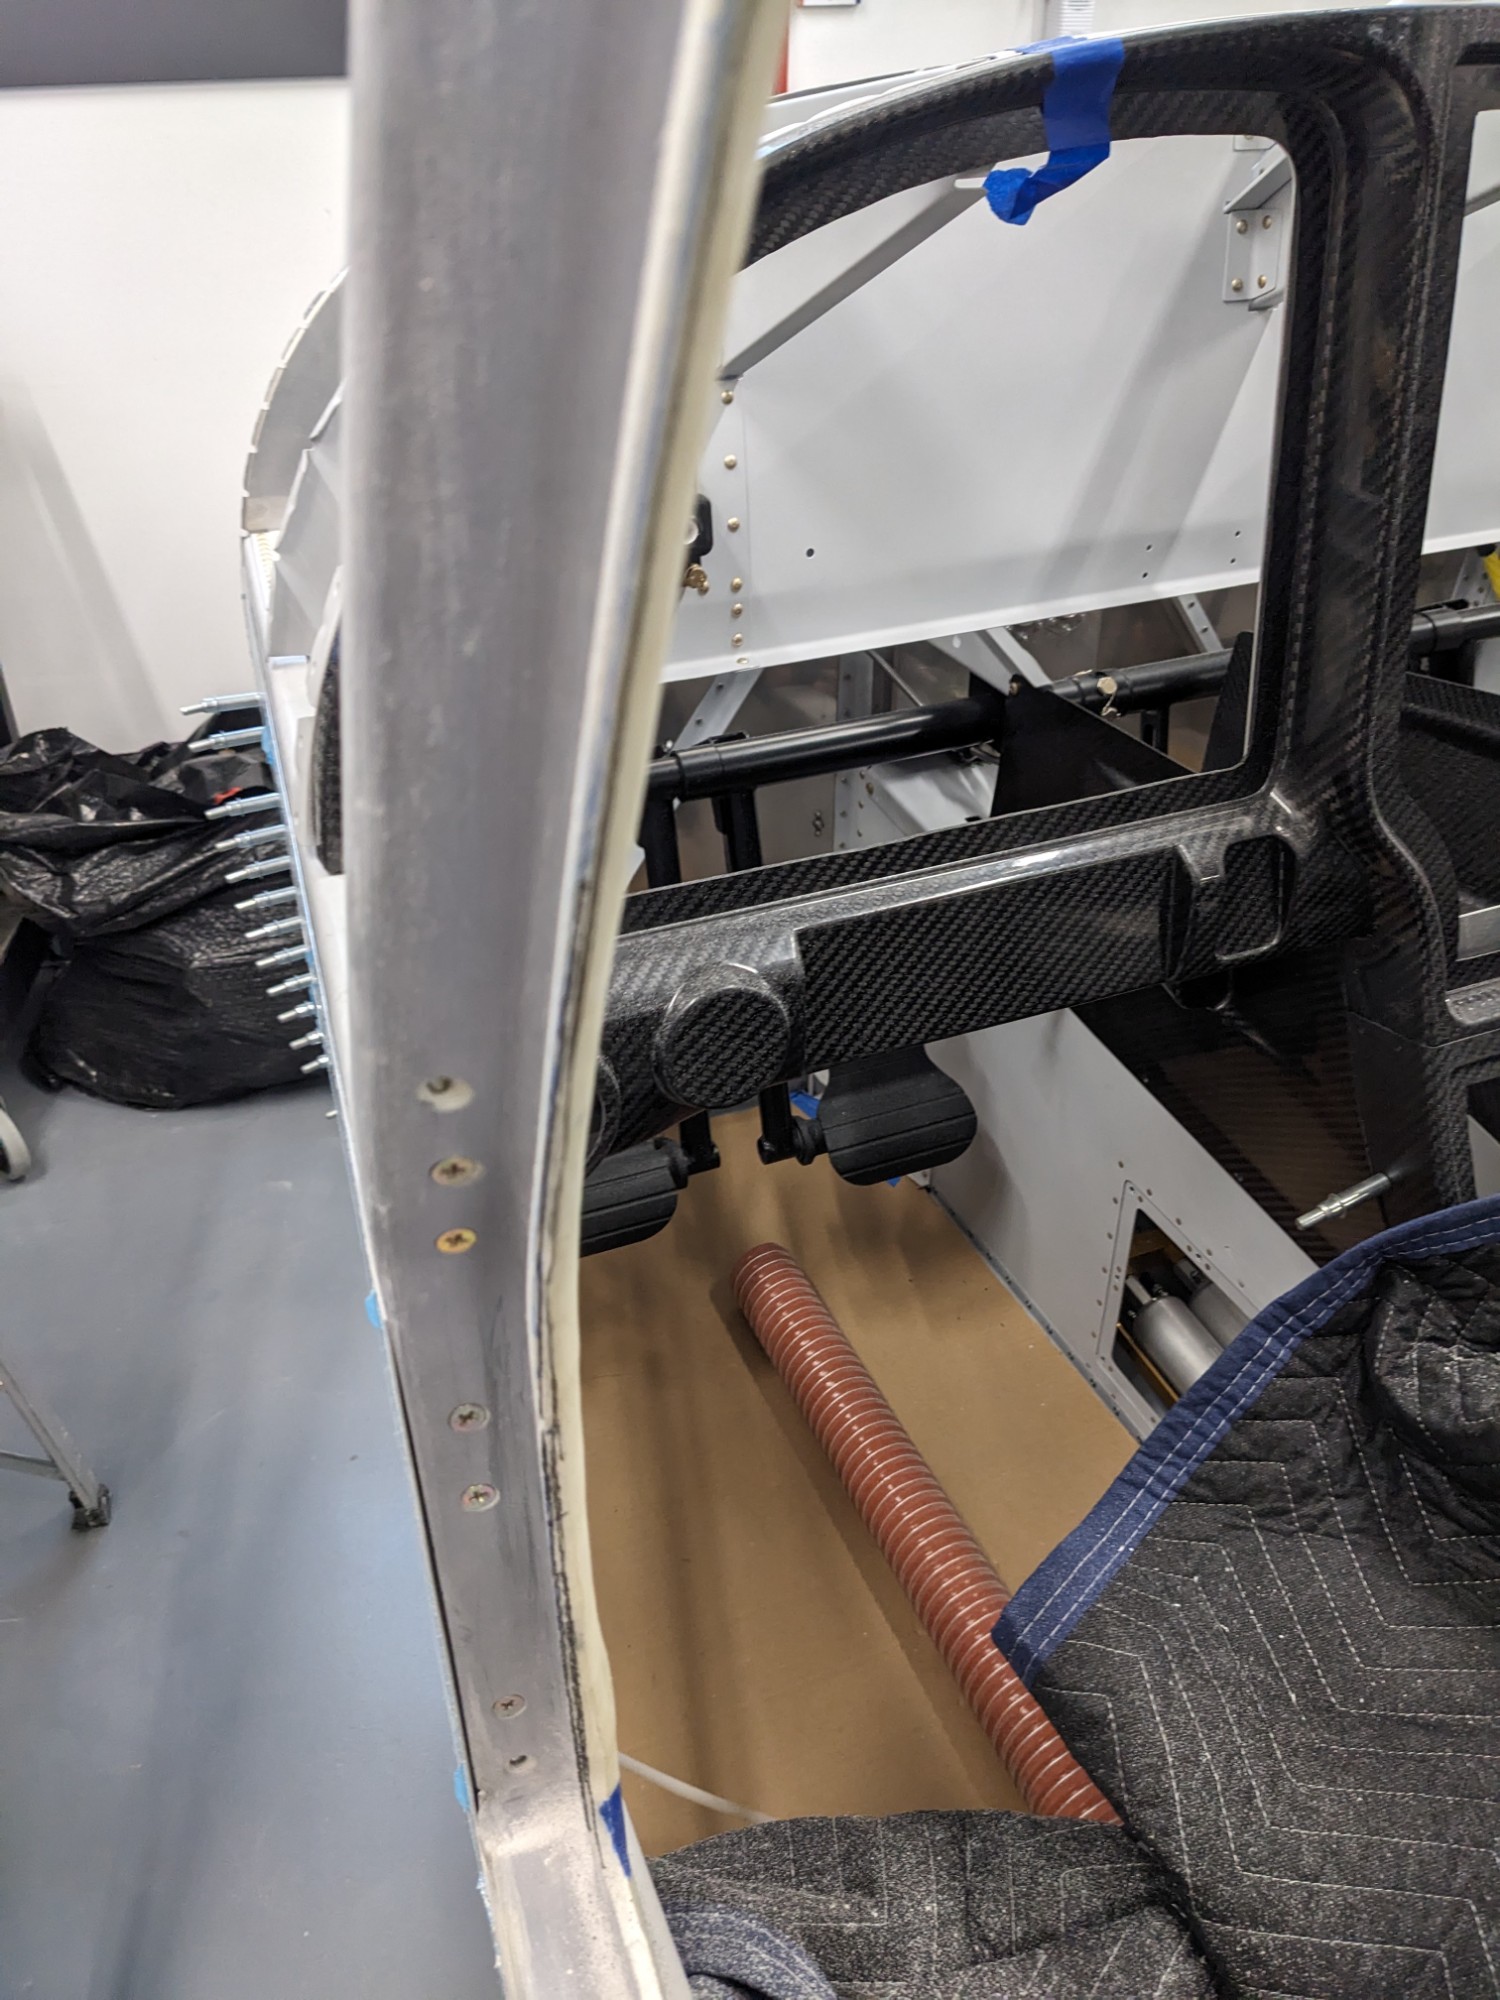
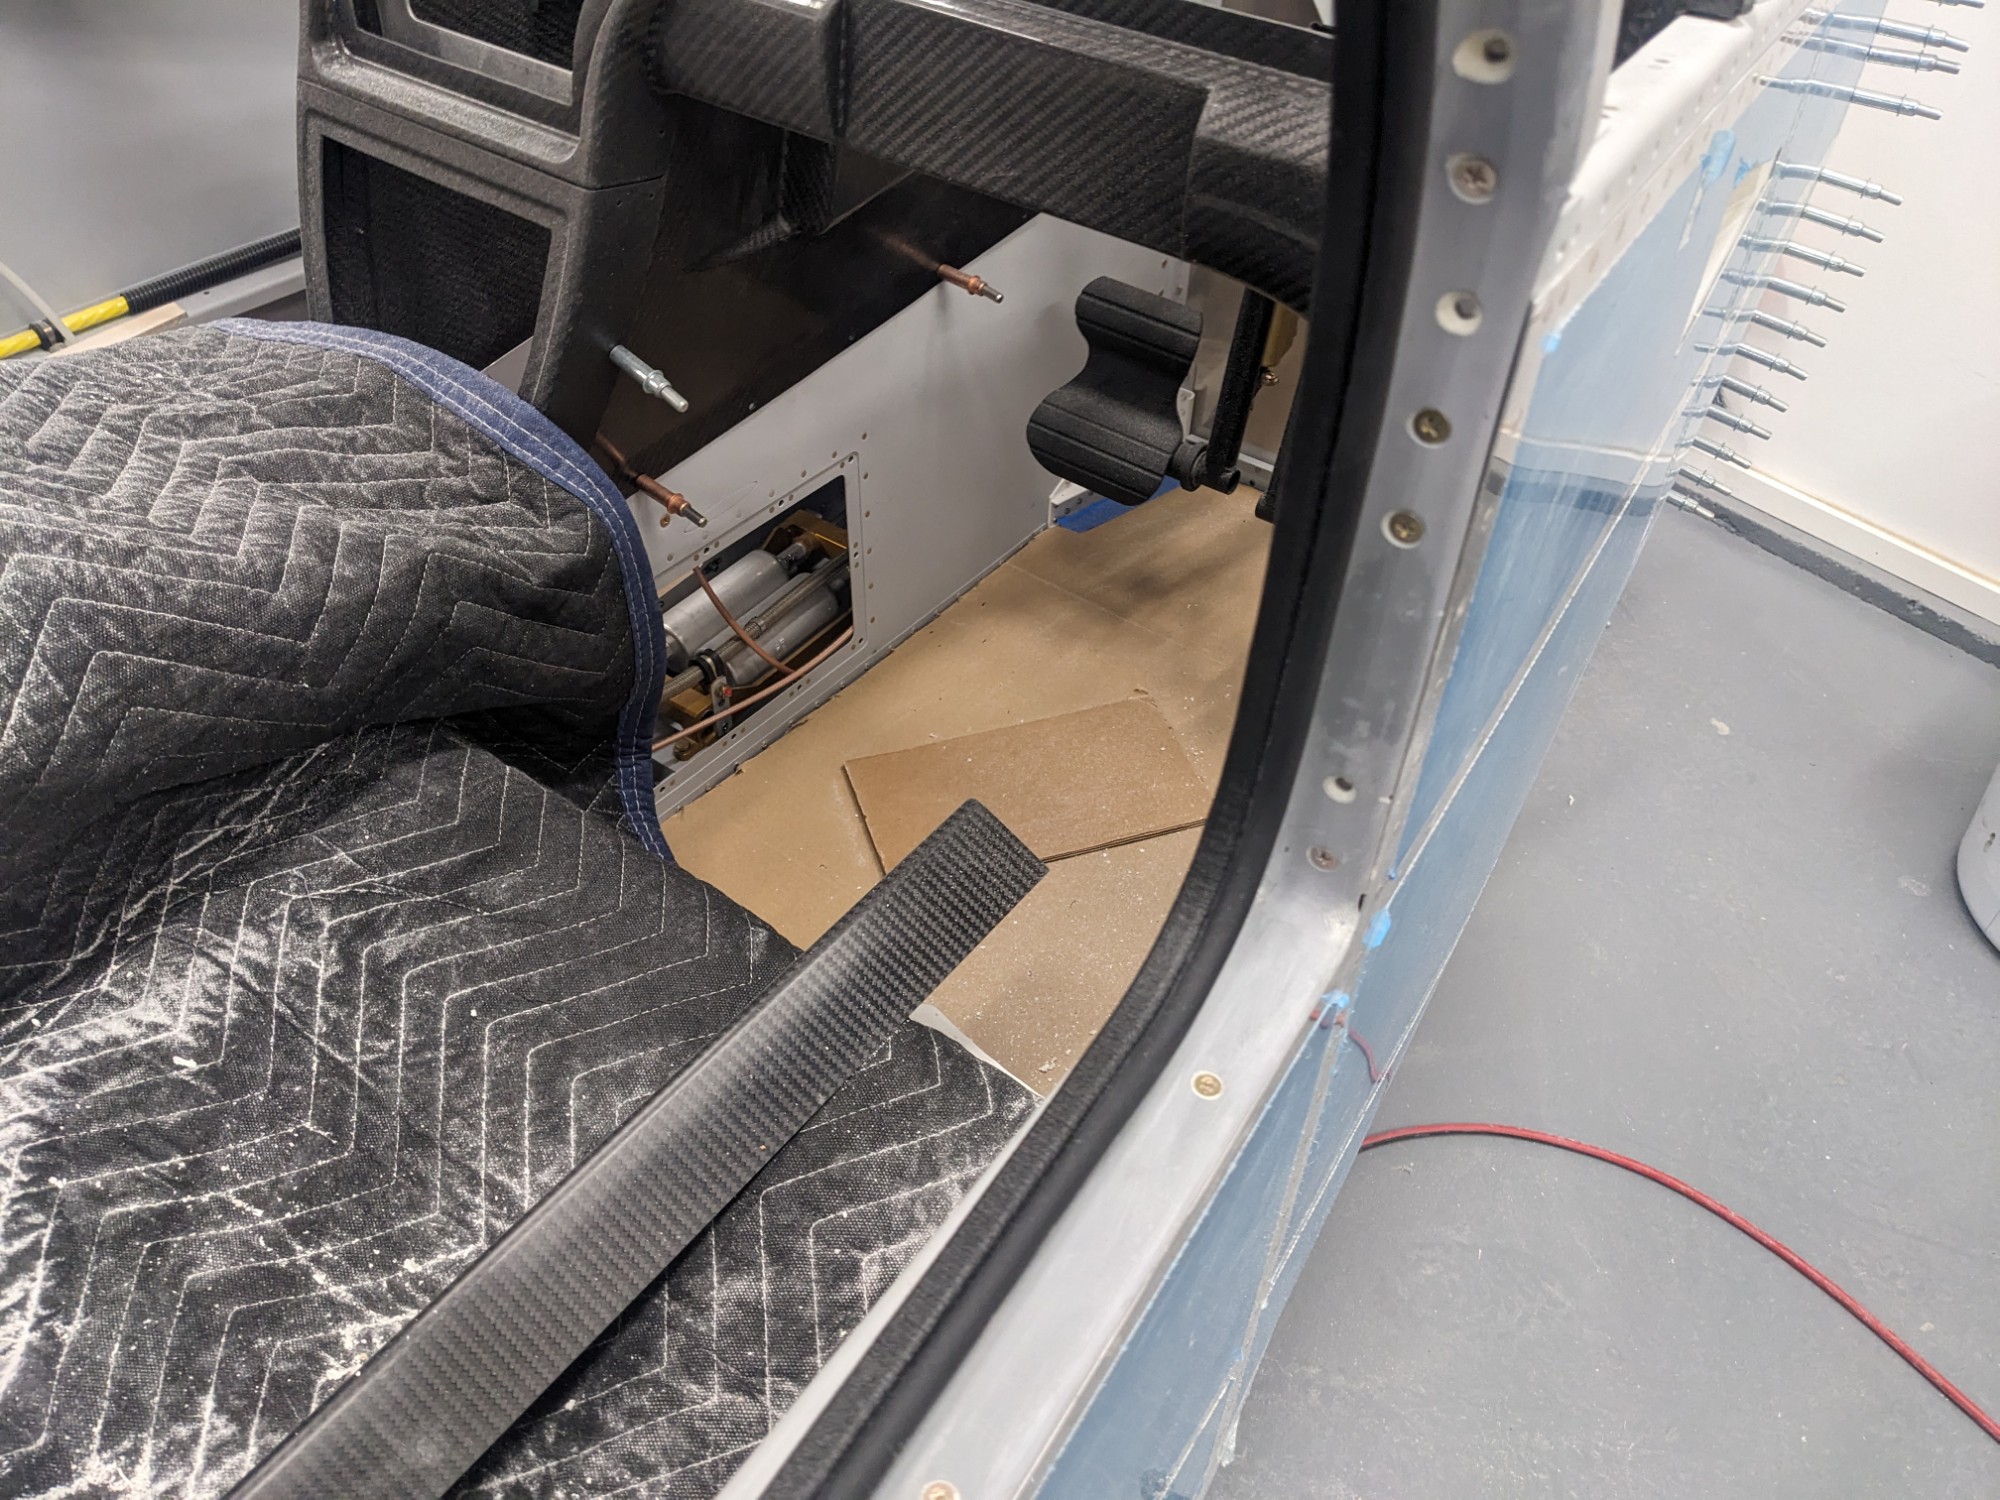
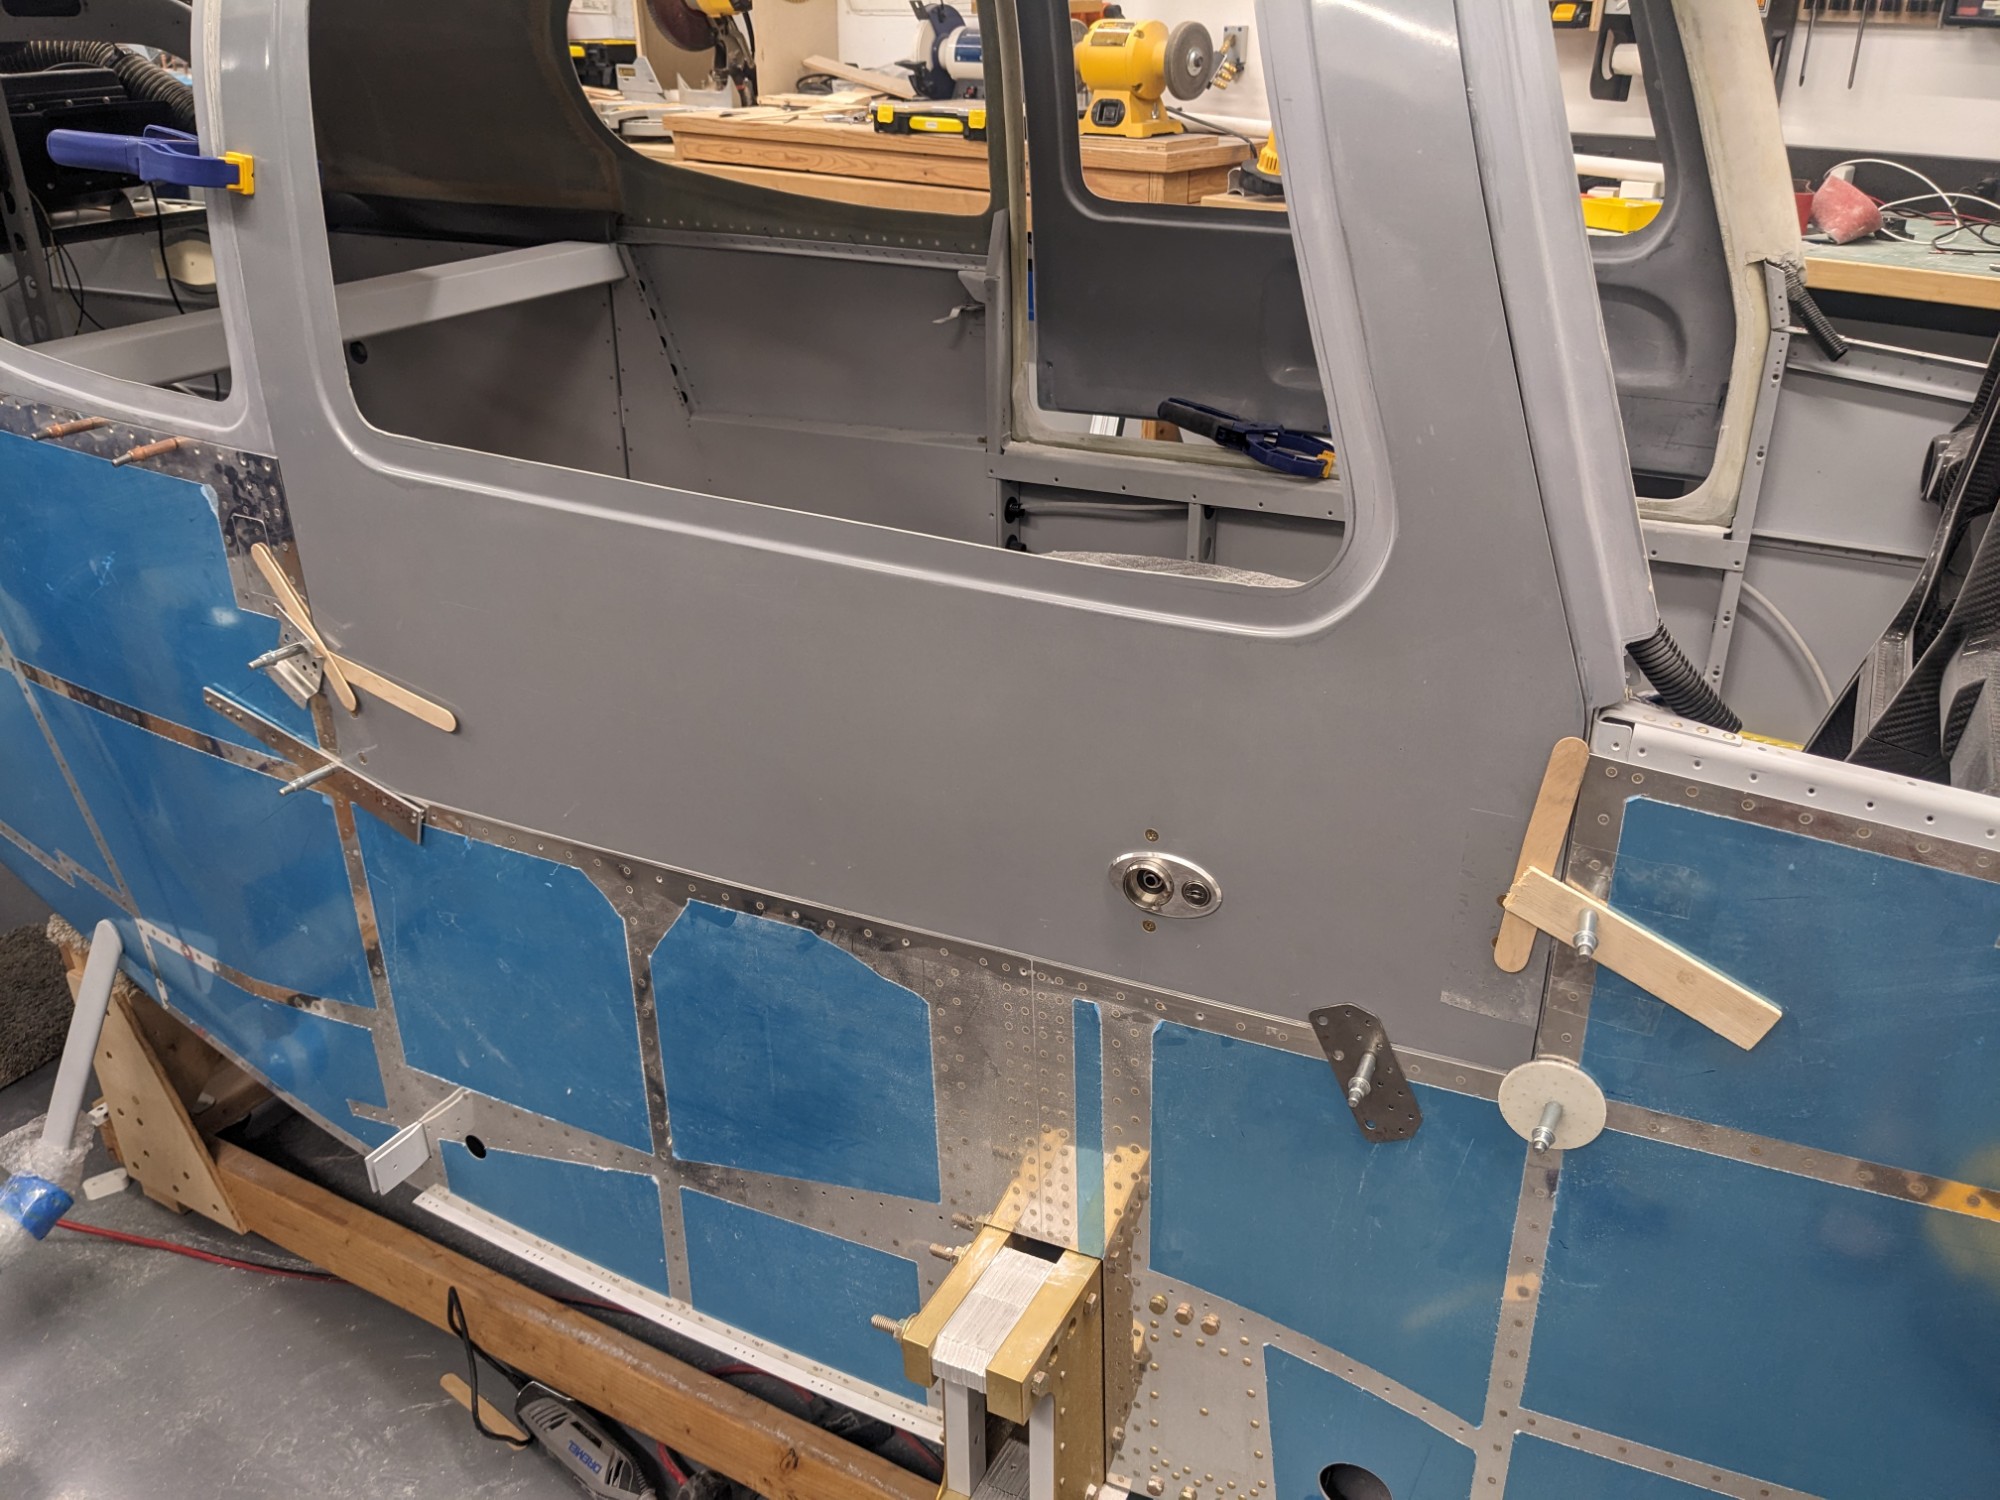
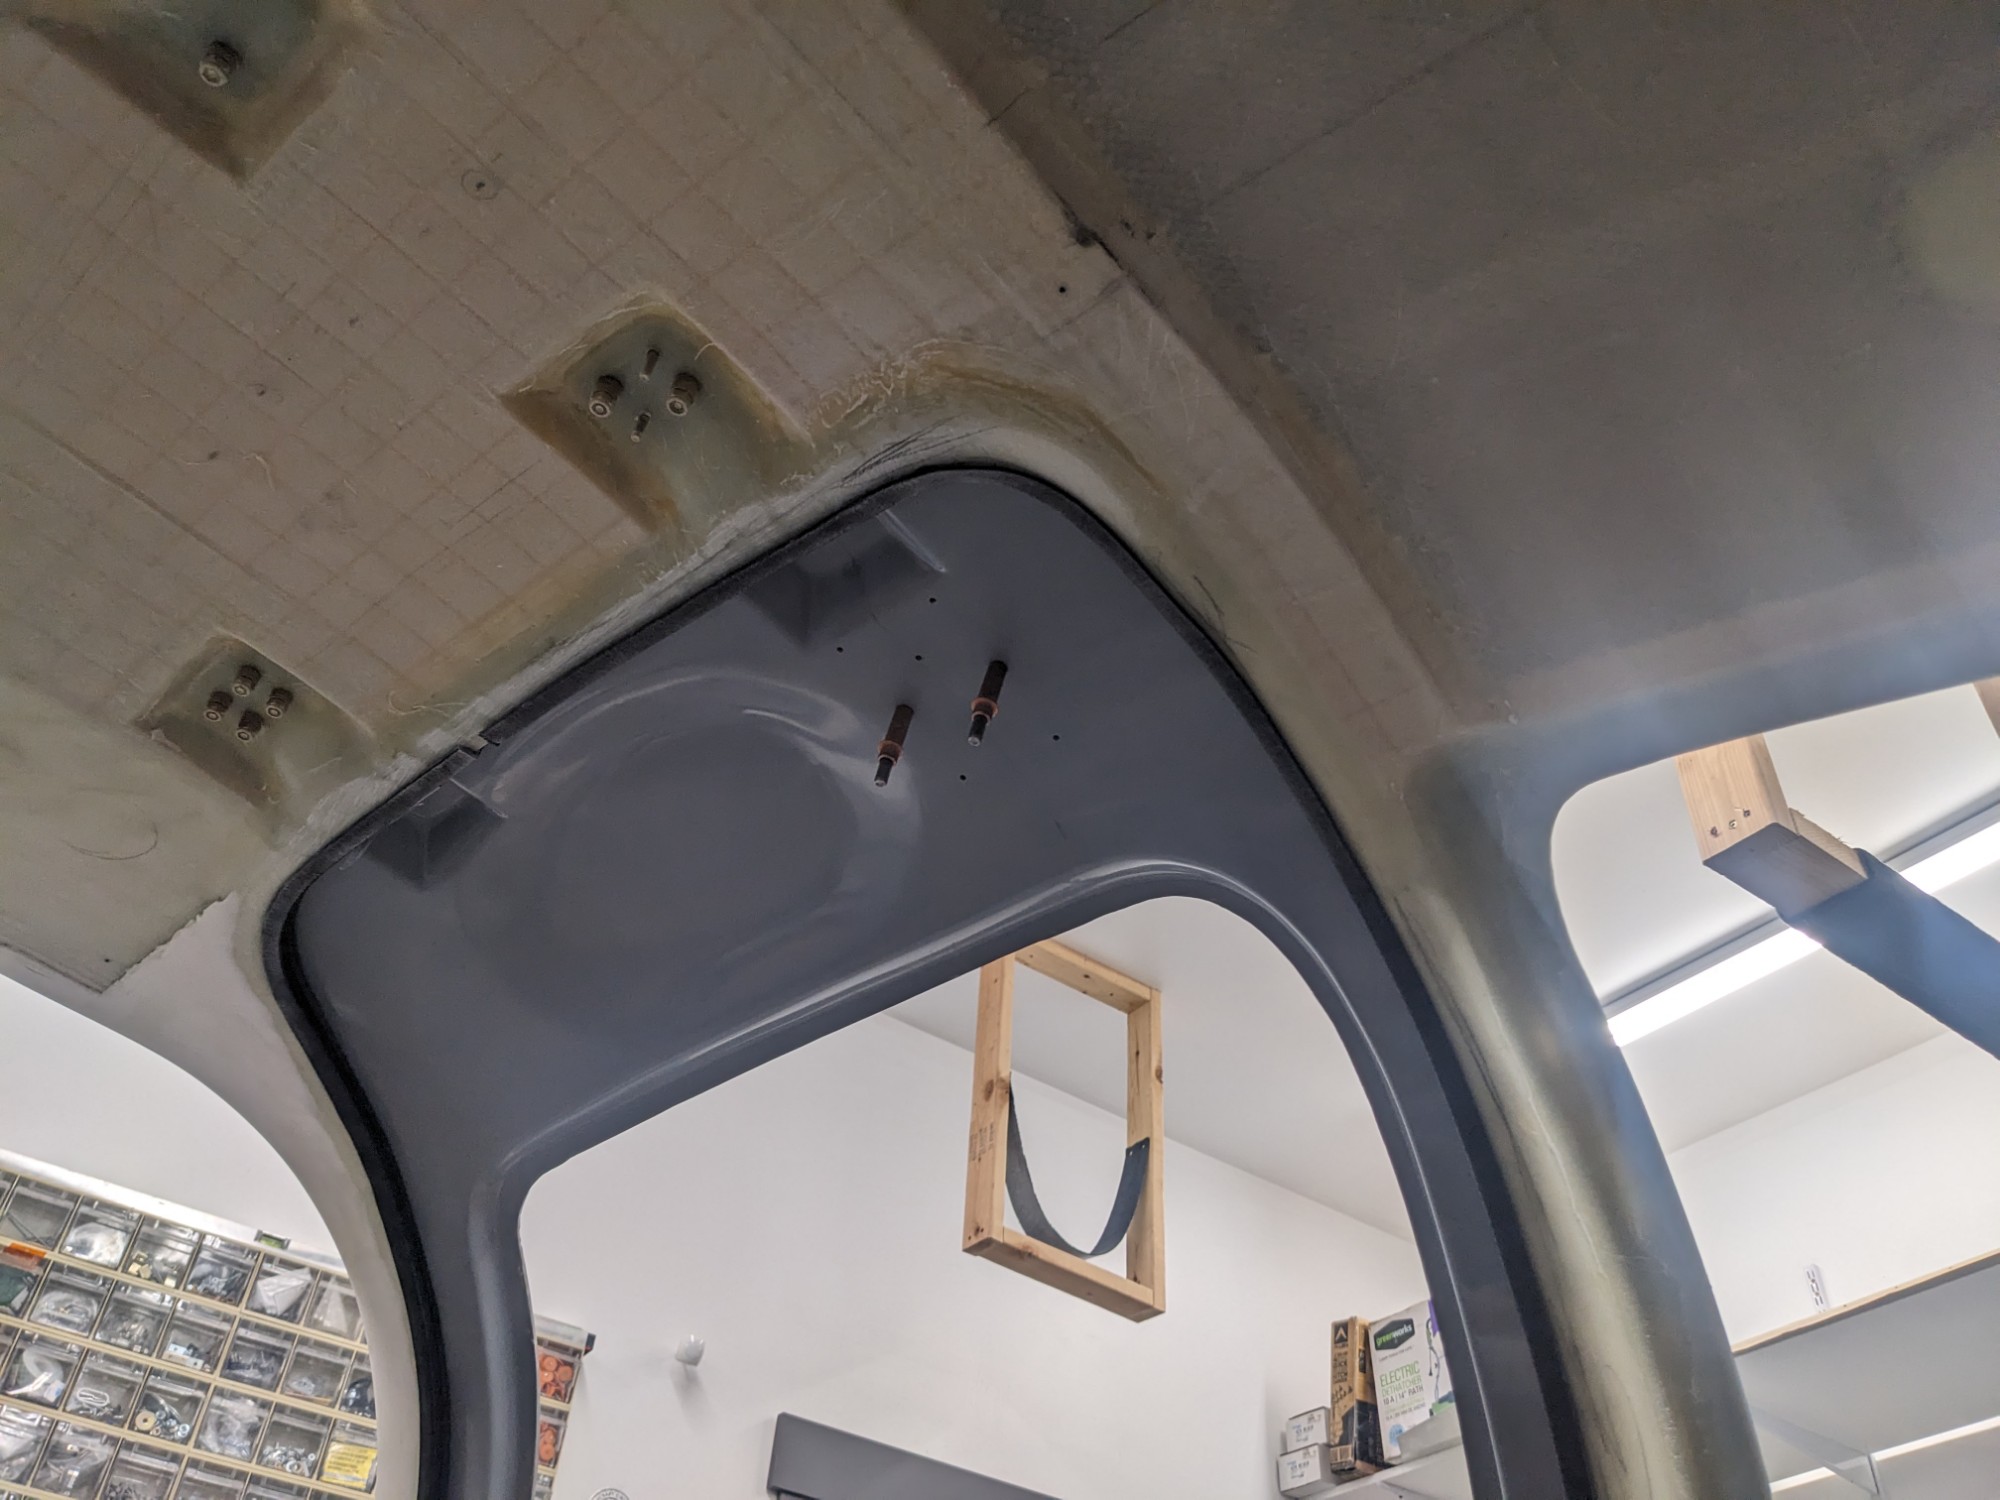
I instead chose to align the blocks with the door pins, then epoxy them temporarily to the door frame with the door held securely in the final position (with the door seals compressed and the door pulled inwards and downwards).
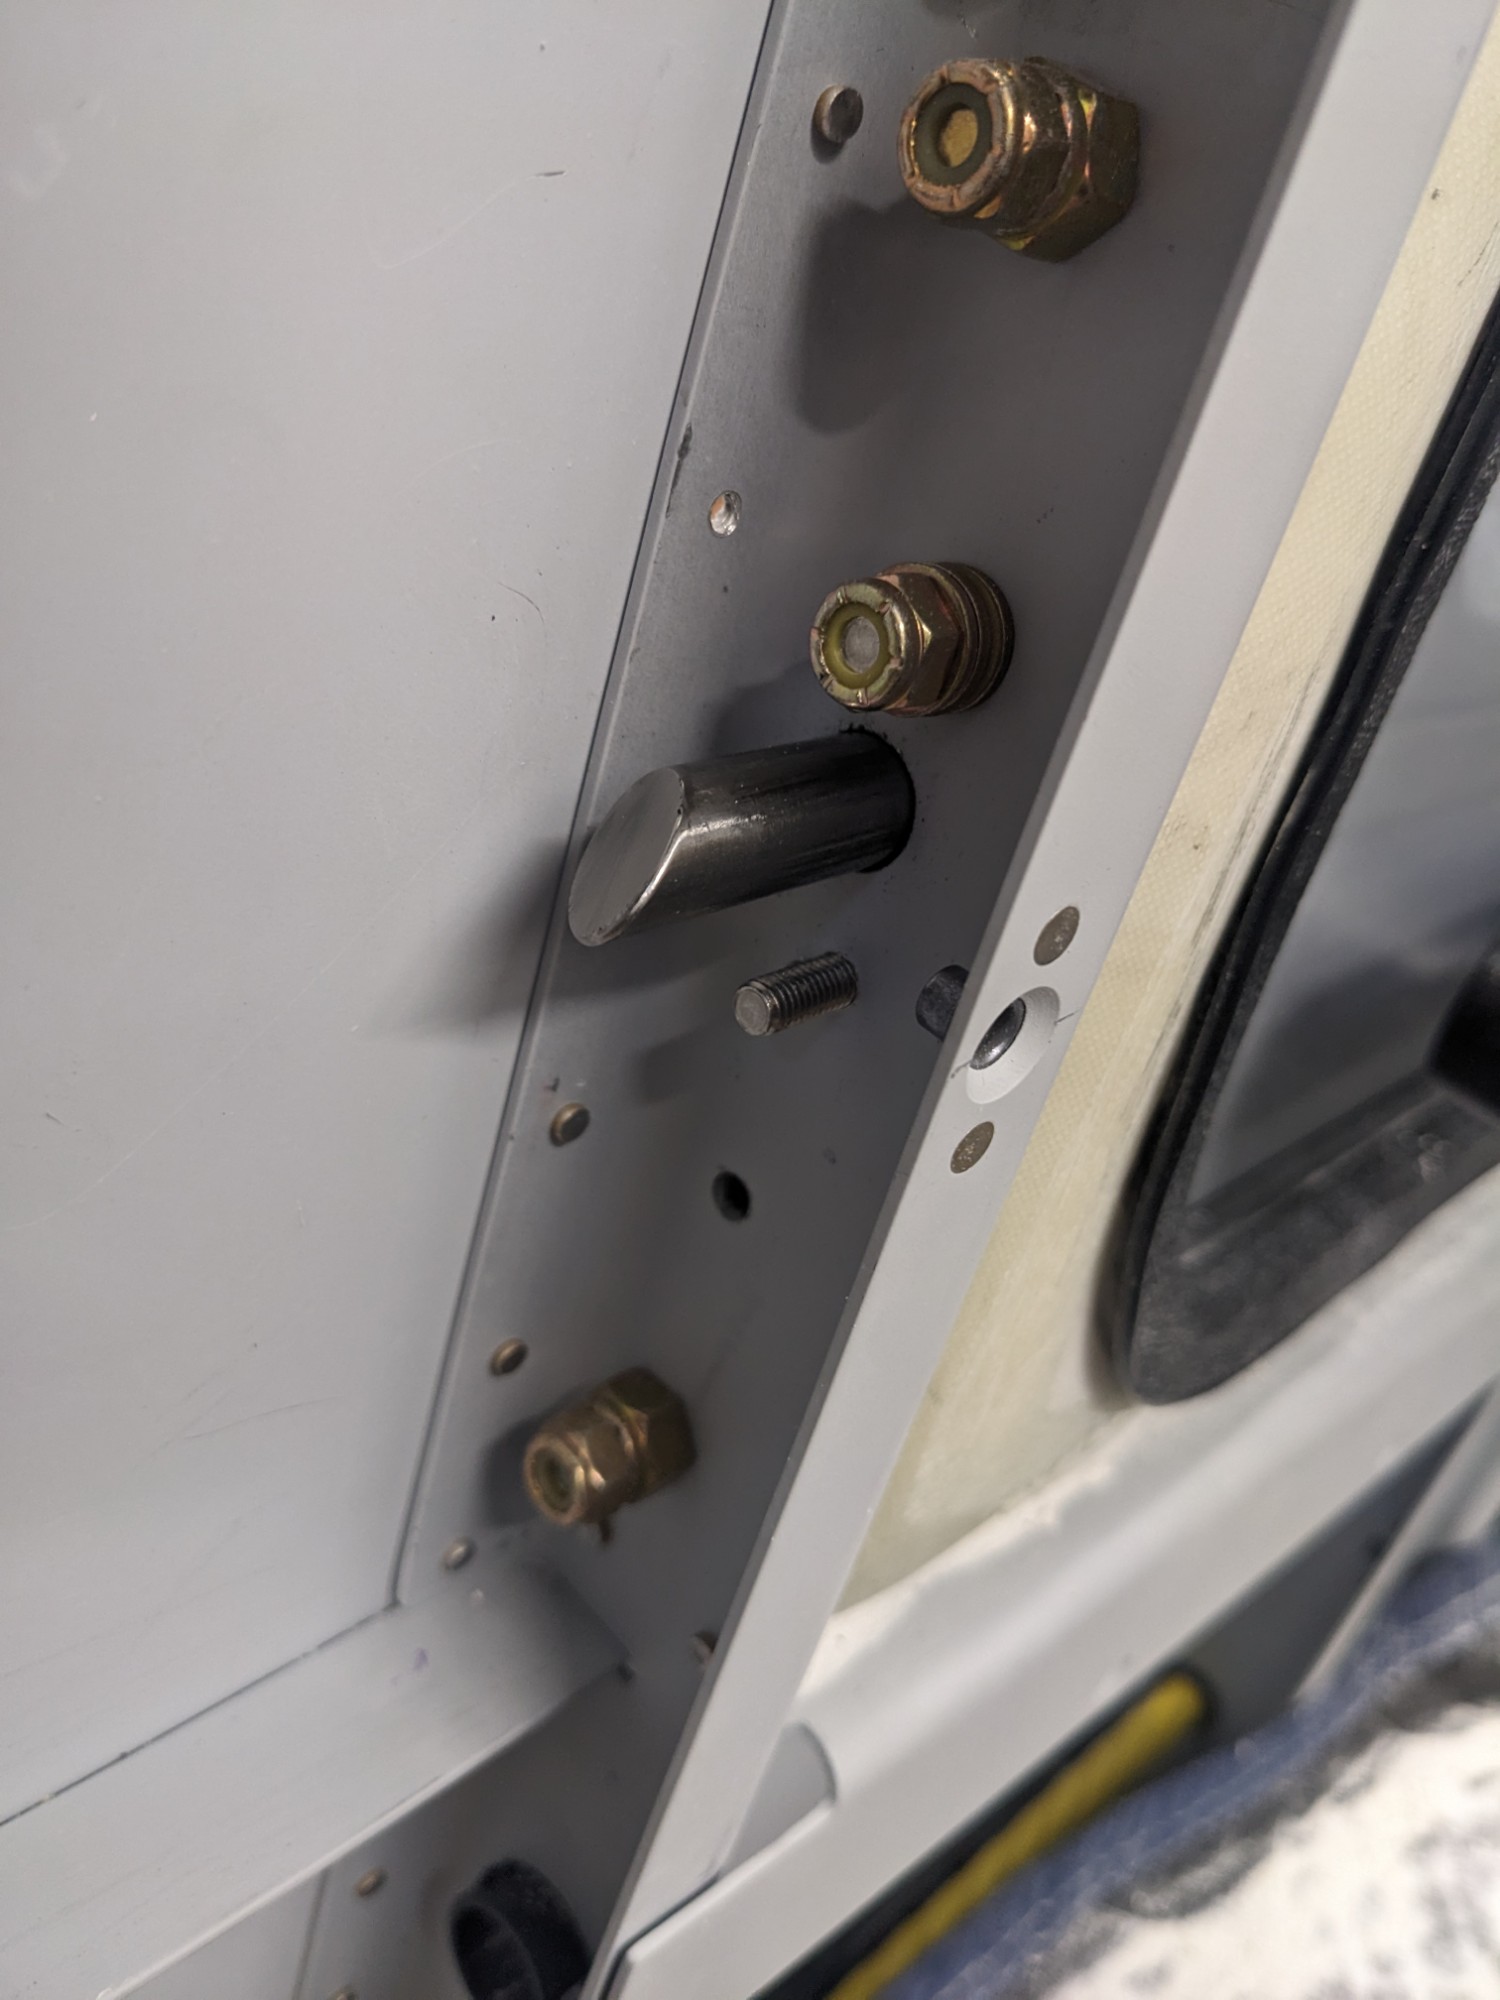
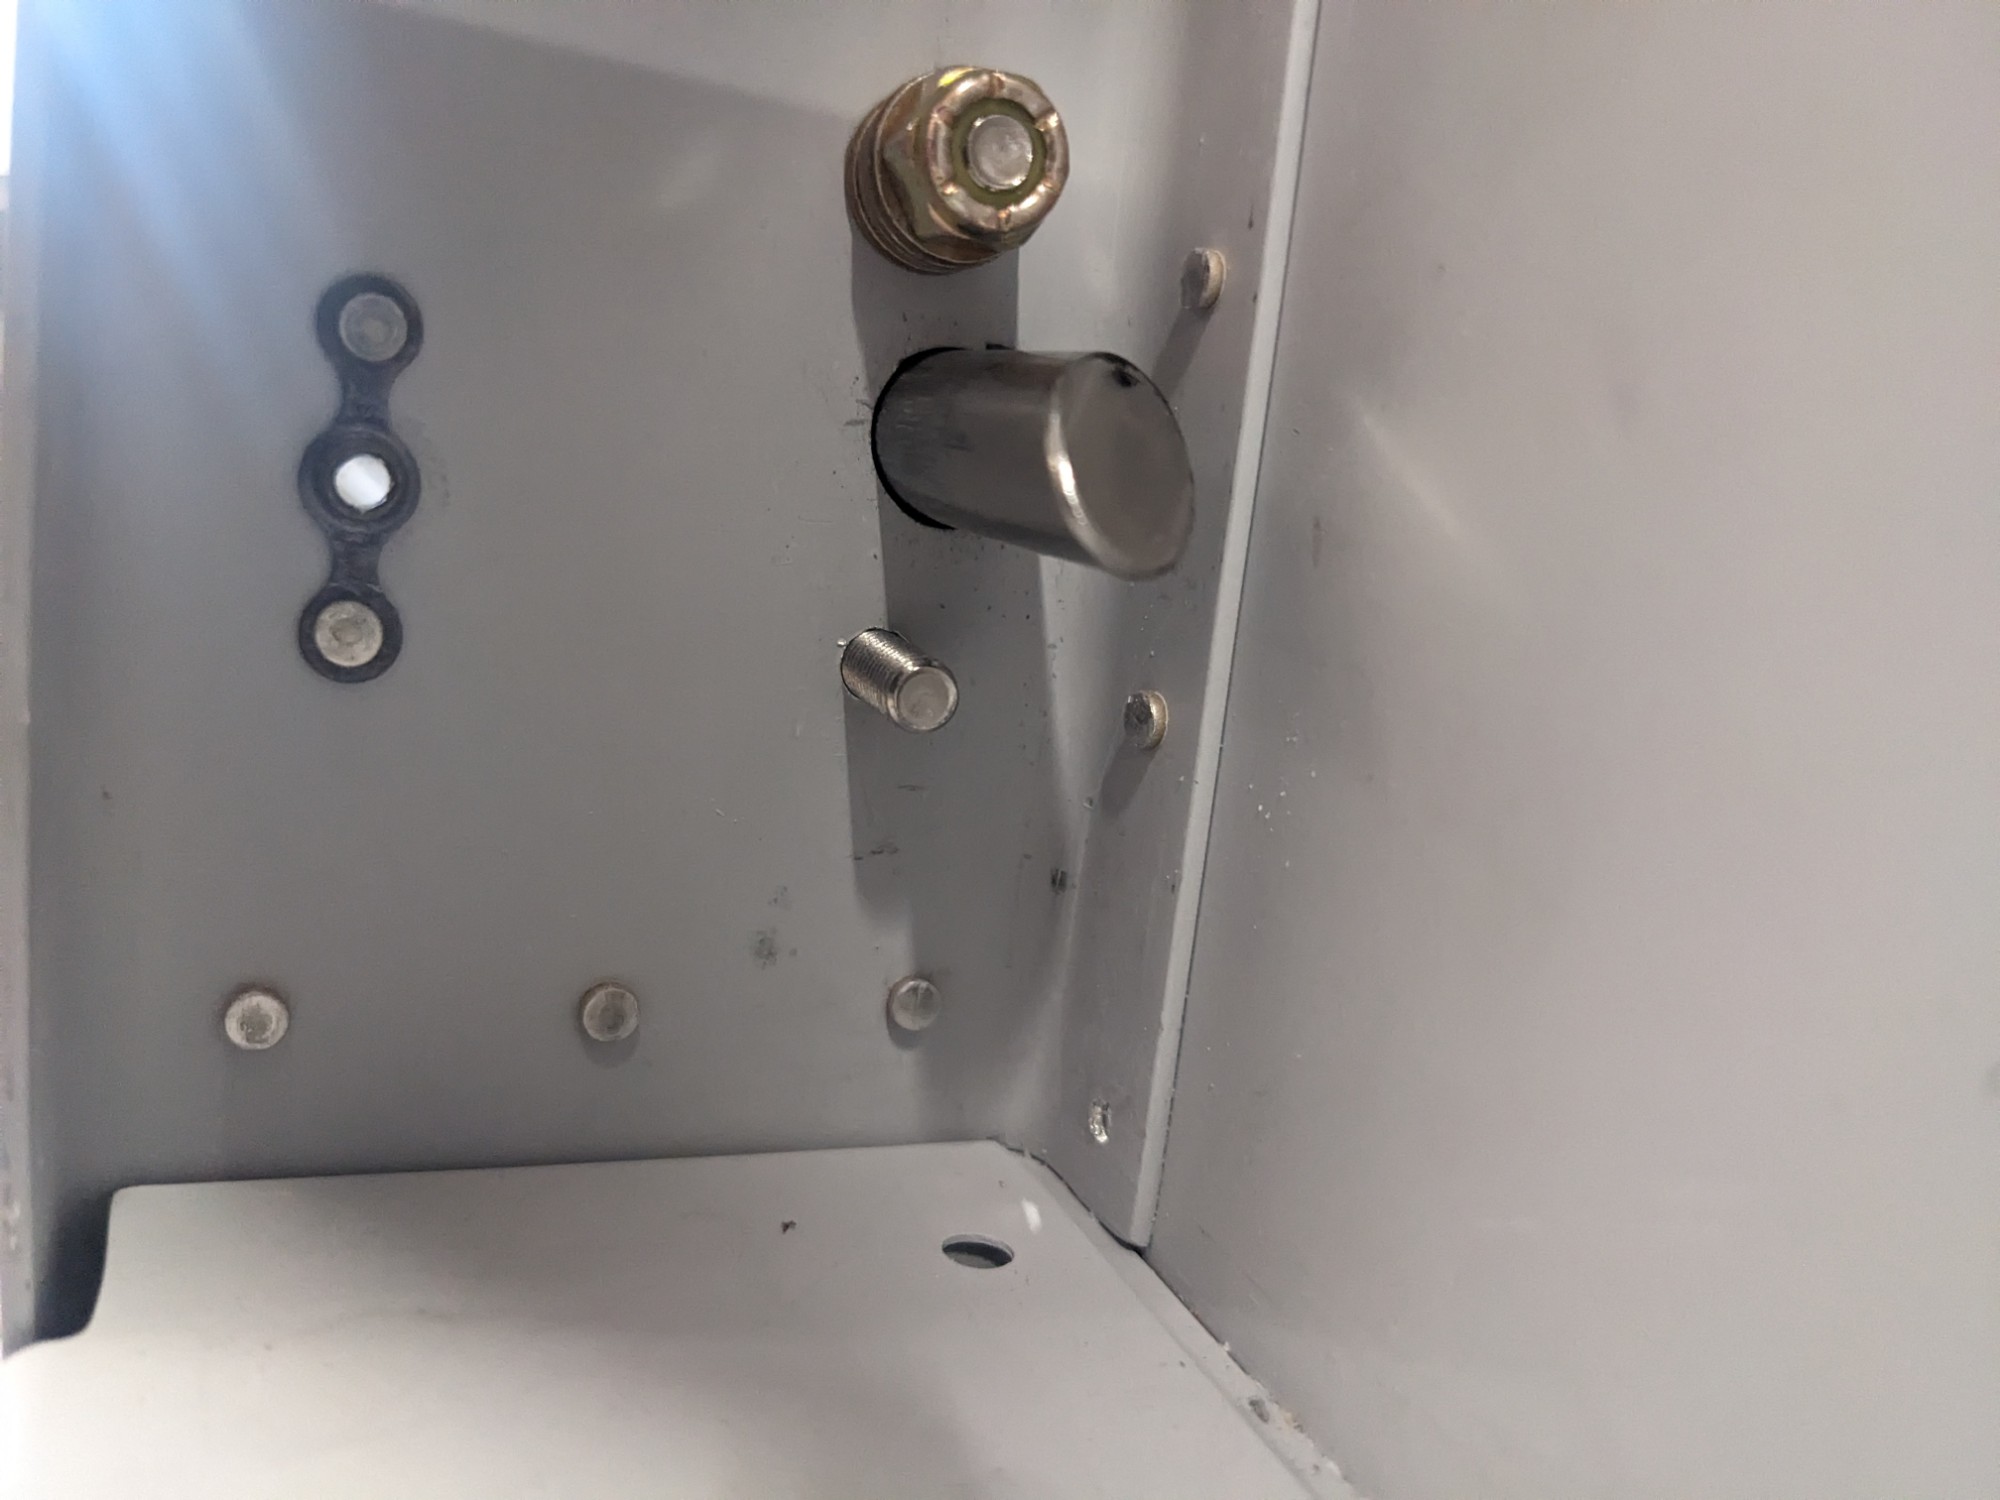
To do so, I made 2″ guide pins from the left-over push rods and tapped these so that I could use them in place of the PlaneAround steel pins. This gave me a straight pin with no bevel that could hold the guide blocks securely in all axes. In doing so, I was able to determine that I needed to shim the blocks on the doors slightly for the door flange to clear the guide blocks. This shim will also give me some room to adjust inward later if needed. Using this method also allowed me to set the width of the opening (the distance between the forward and aft blocks) to securely capture the door. I wanted almost no play here so that the doors wouldn’t move forward/aft when turning the handle (others have mentioned that the door moves forward/aft if there is play as one pin sets first and pushes the door sideways). The guide blocks have bevels to allow the door to be captured when closing so I went with a minimal gap here (about 4 layers of packing tape on each end).
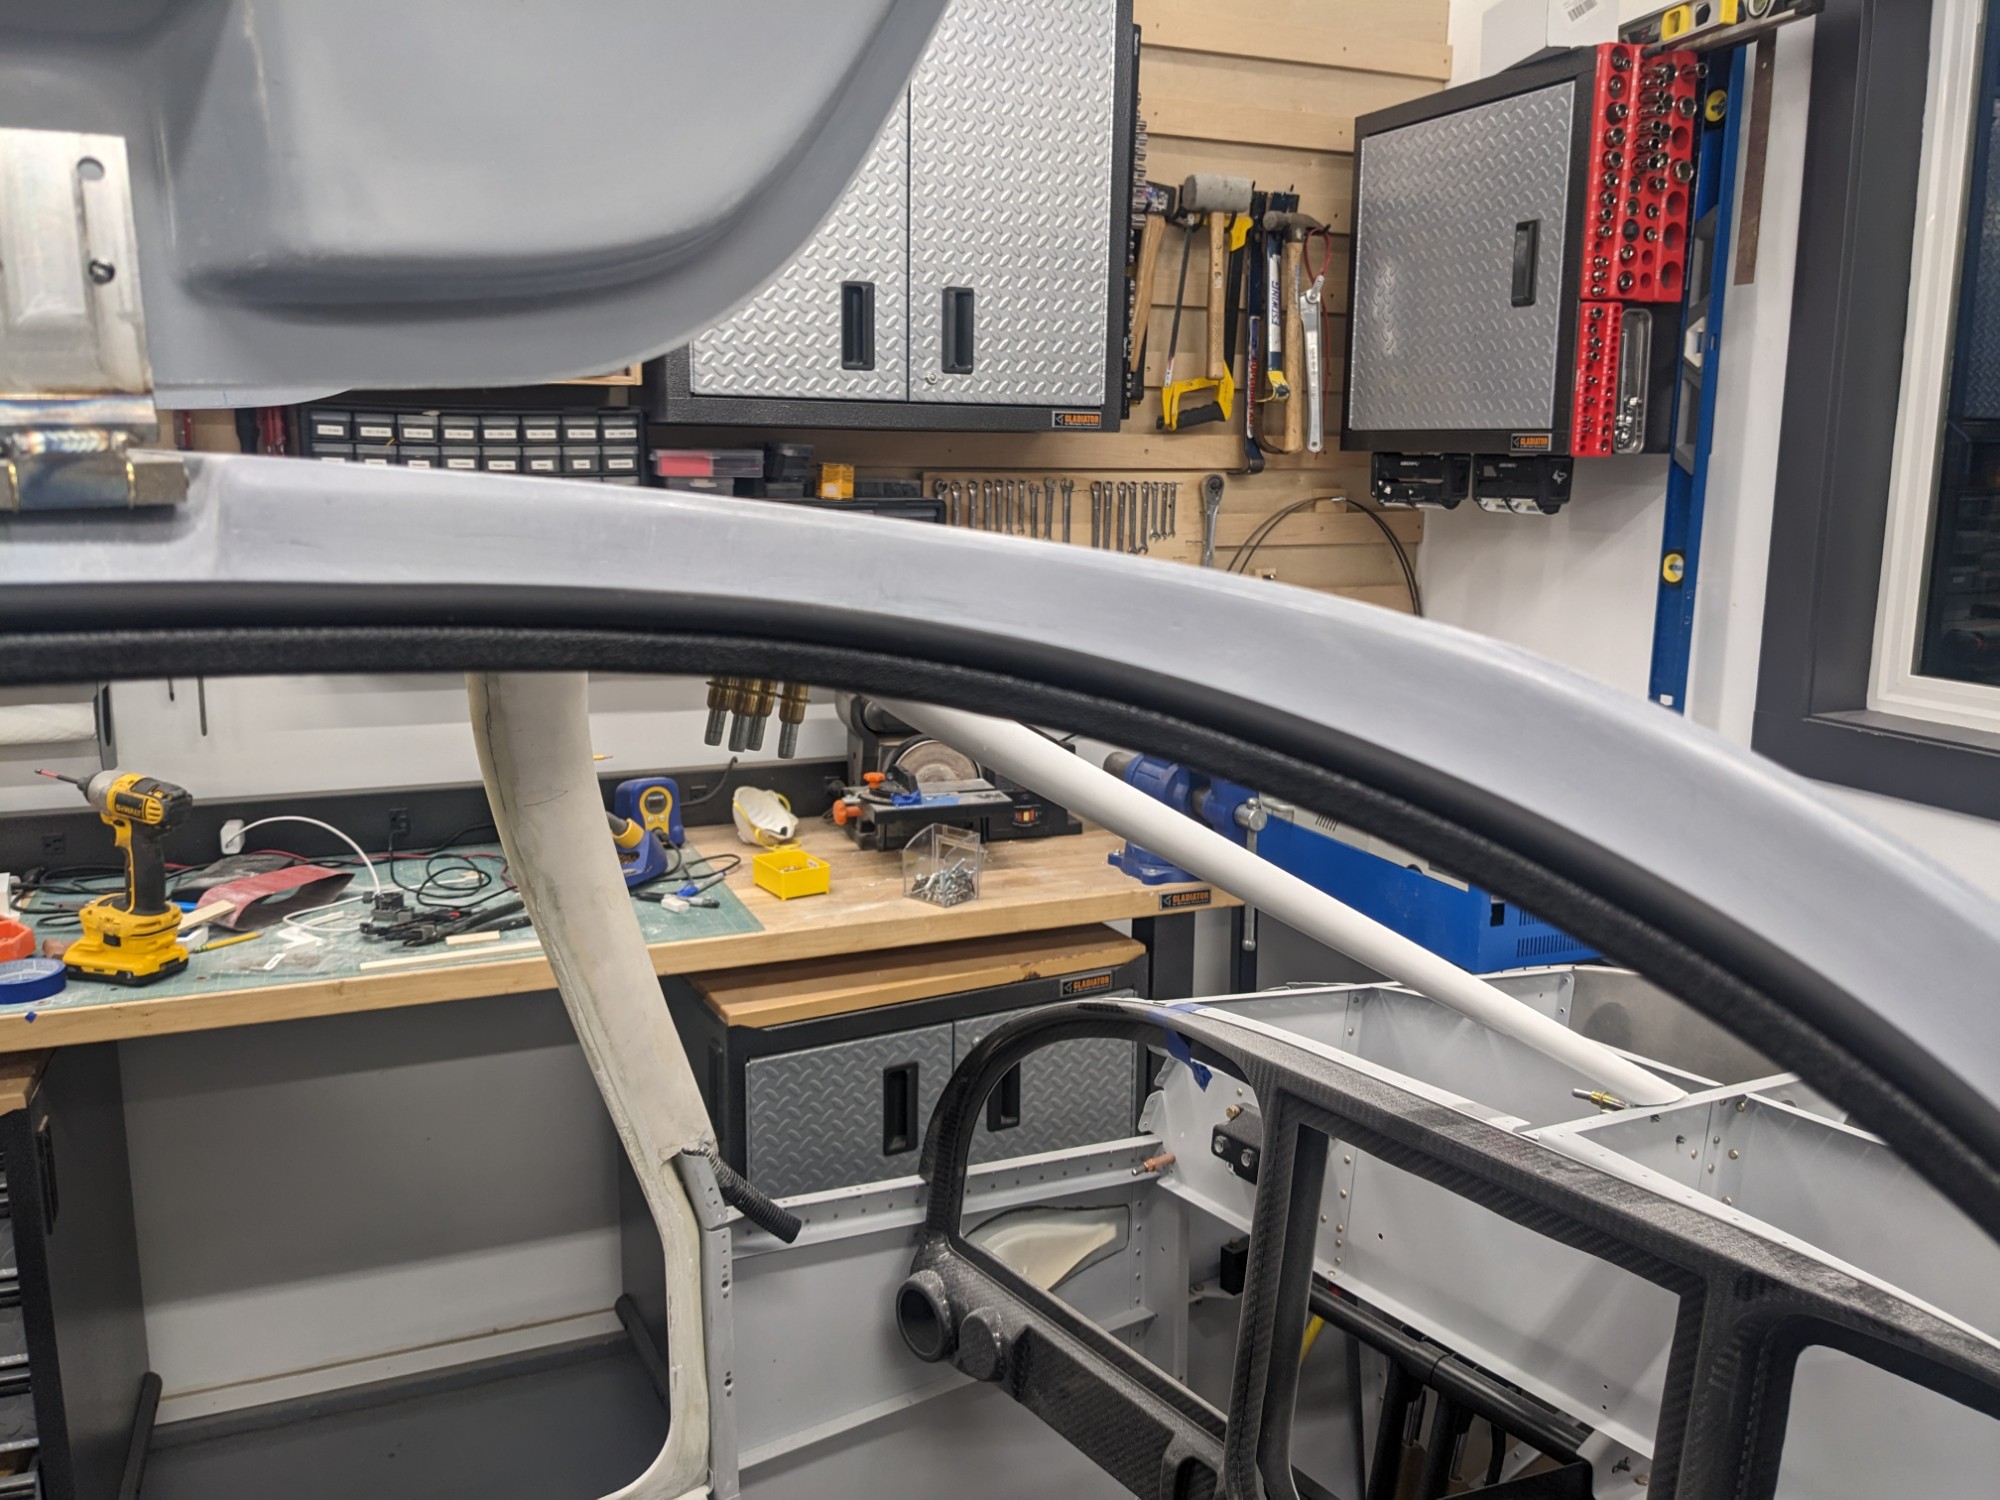
The door blocks fit inside the door frame when closed with minimal adjustment (I had to bevel the interior corner to account for the radius of the door frame flange).
I taped everything off and I mixed up some epoxy with cabosil and buttered the faces of the guide blocks where they would meet the frame.


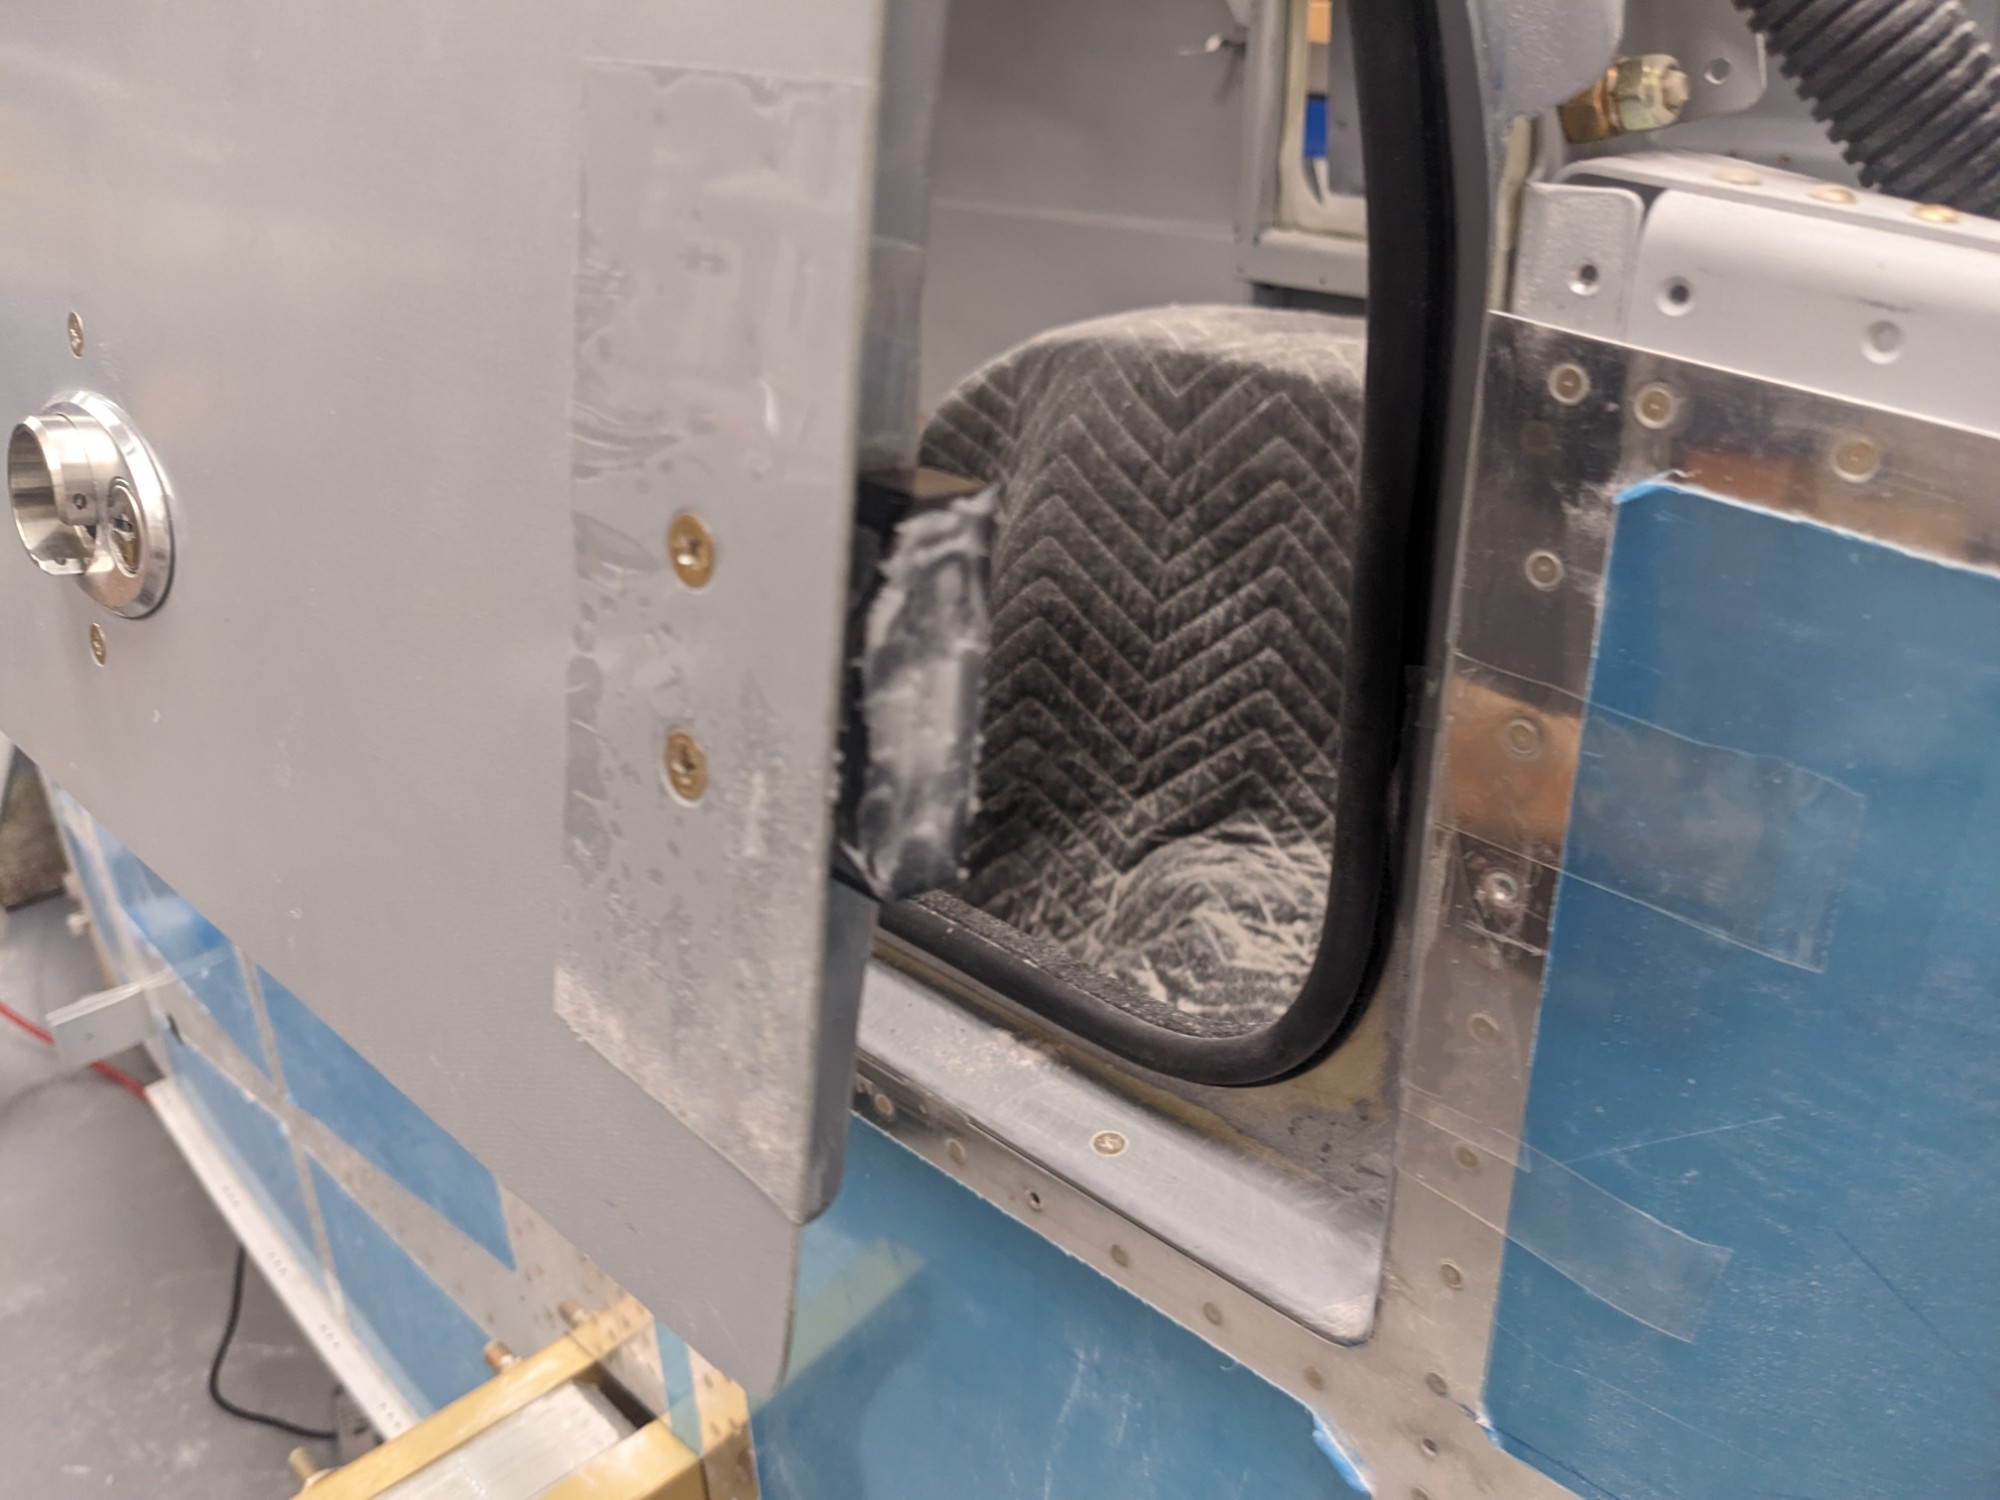

I then closed the door and secured it into position, letting the epoxy cure overnight.
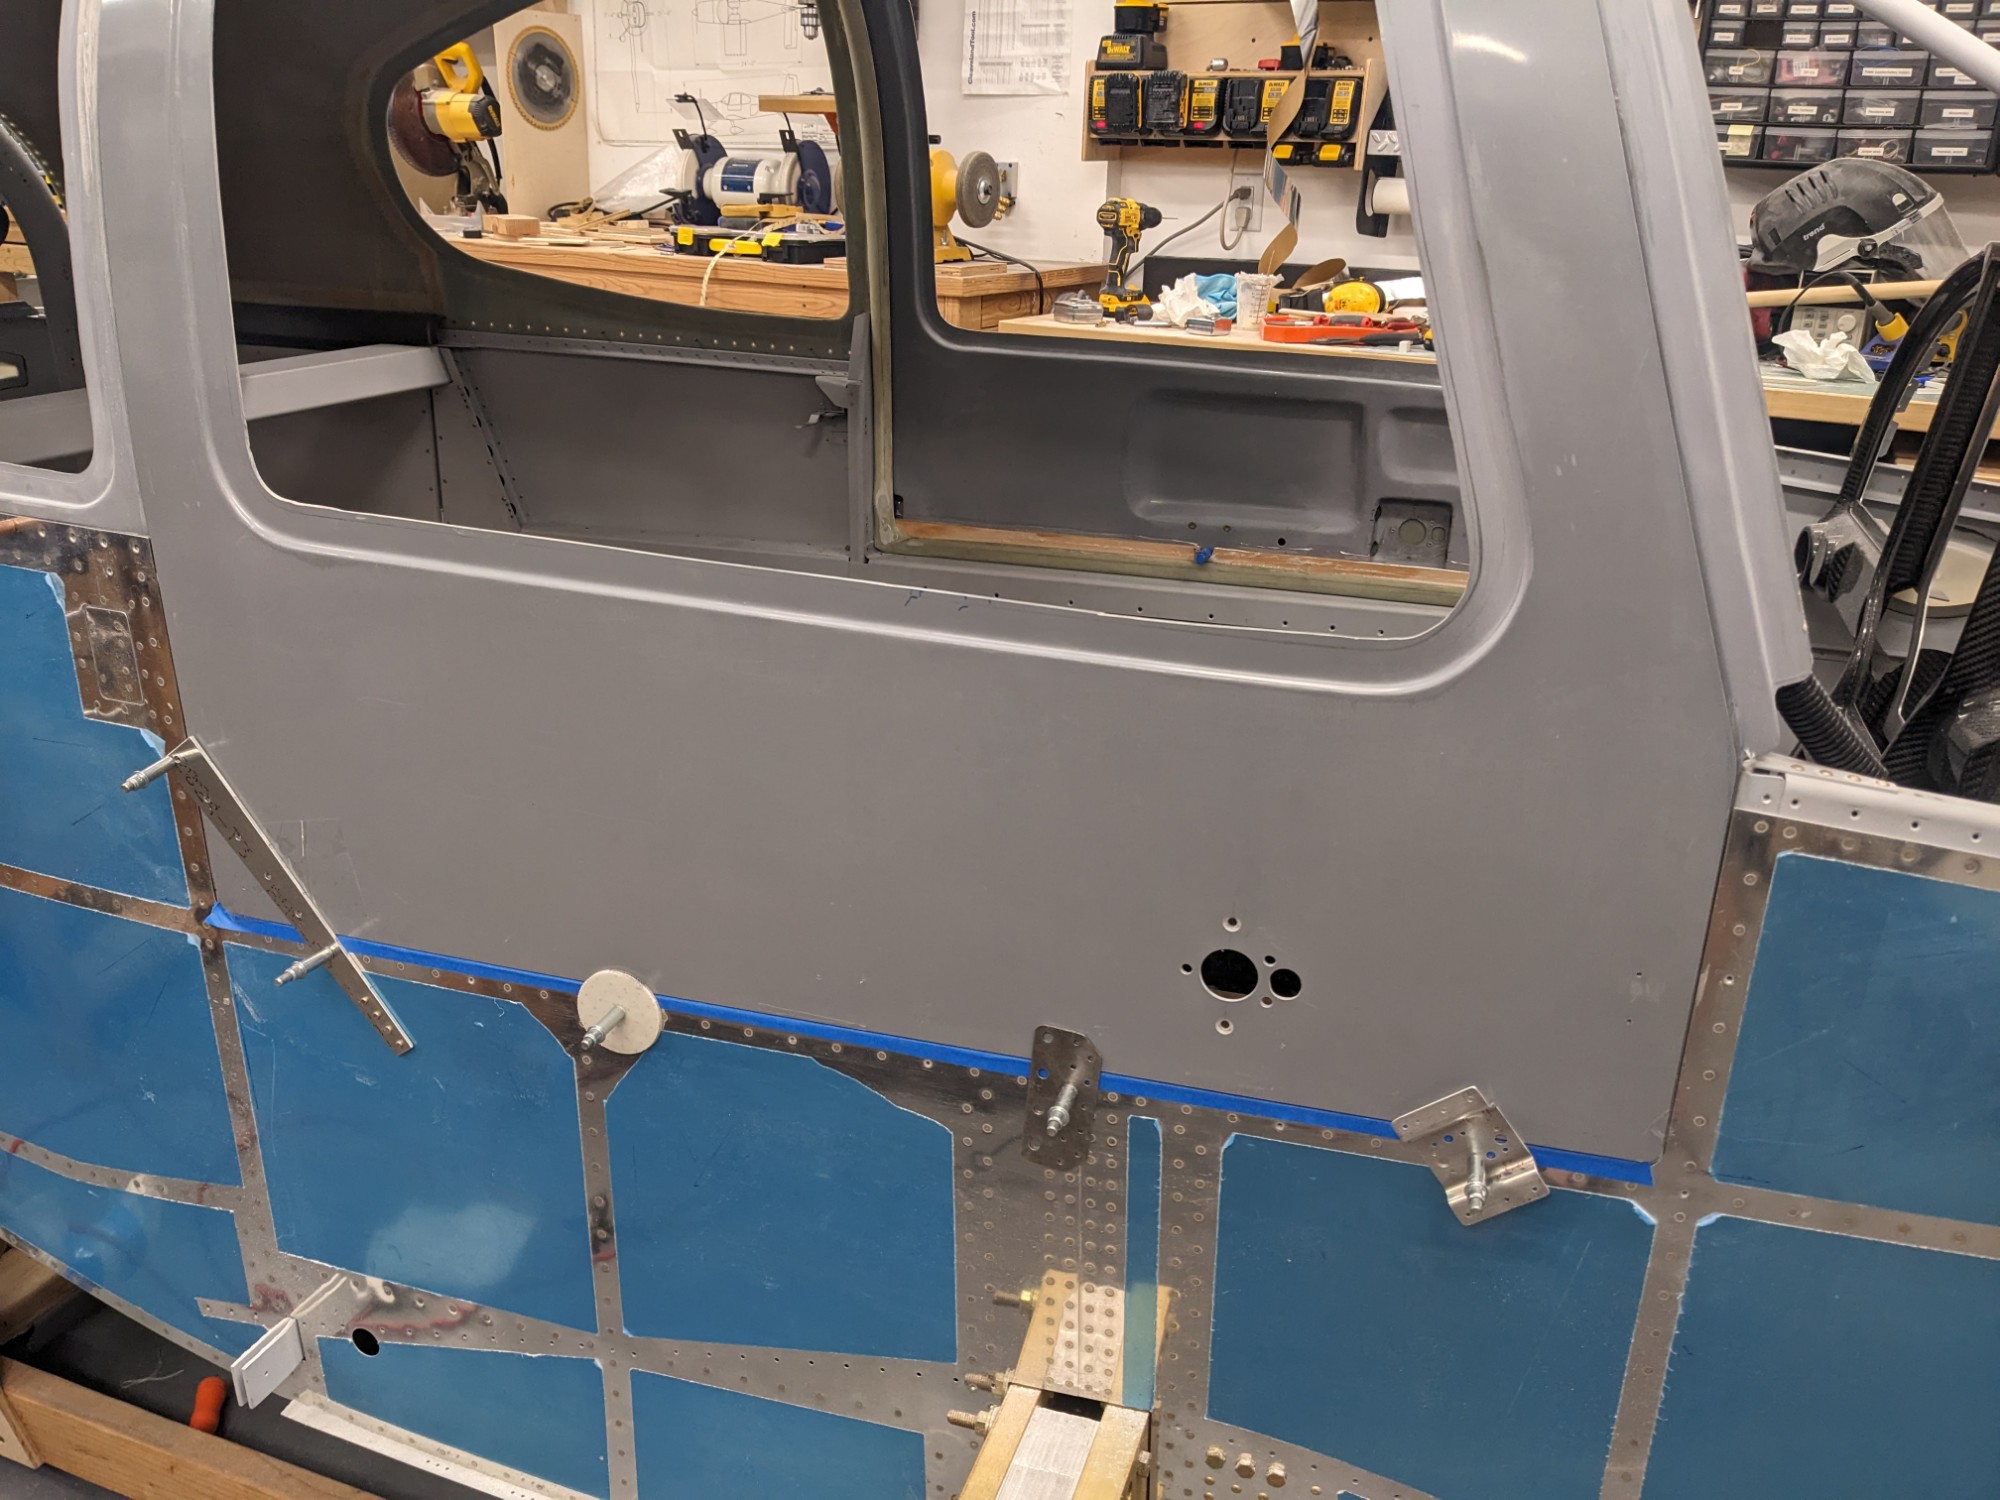
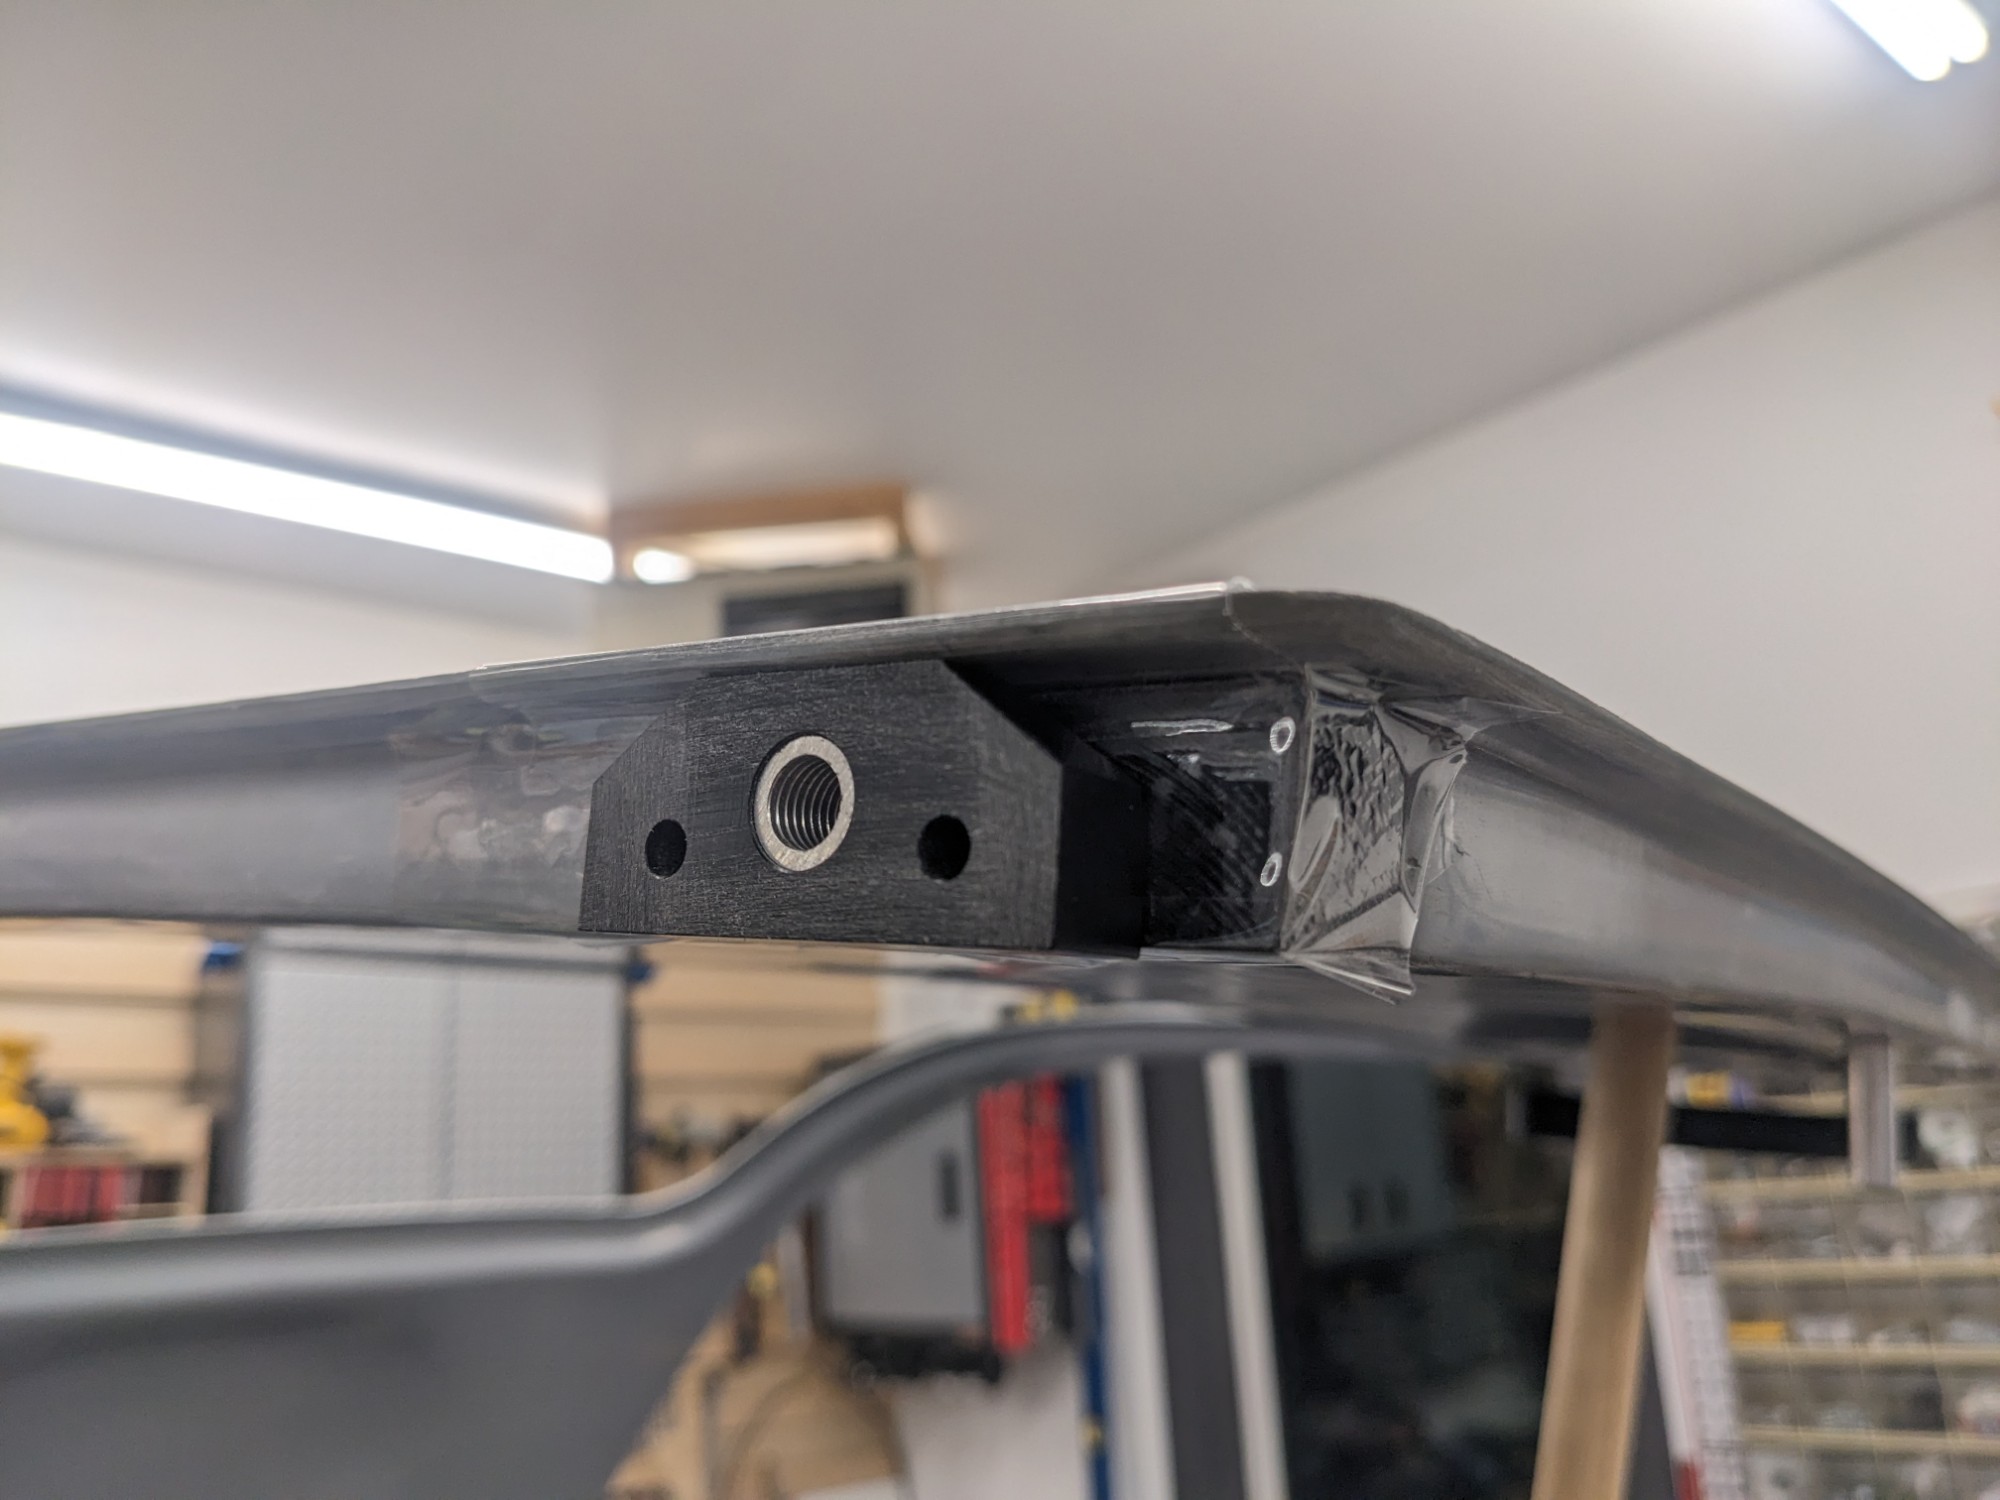
When cured, I opened the door and the blocks remained in place on the door frame. The epoxy is temporary to secure the blocks for drilling and I’ll clean up this area when finishing the door frame.
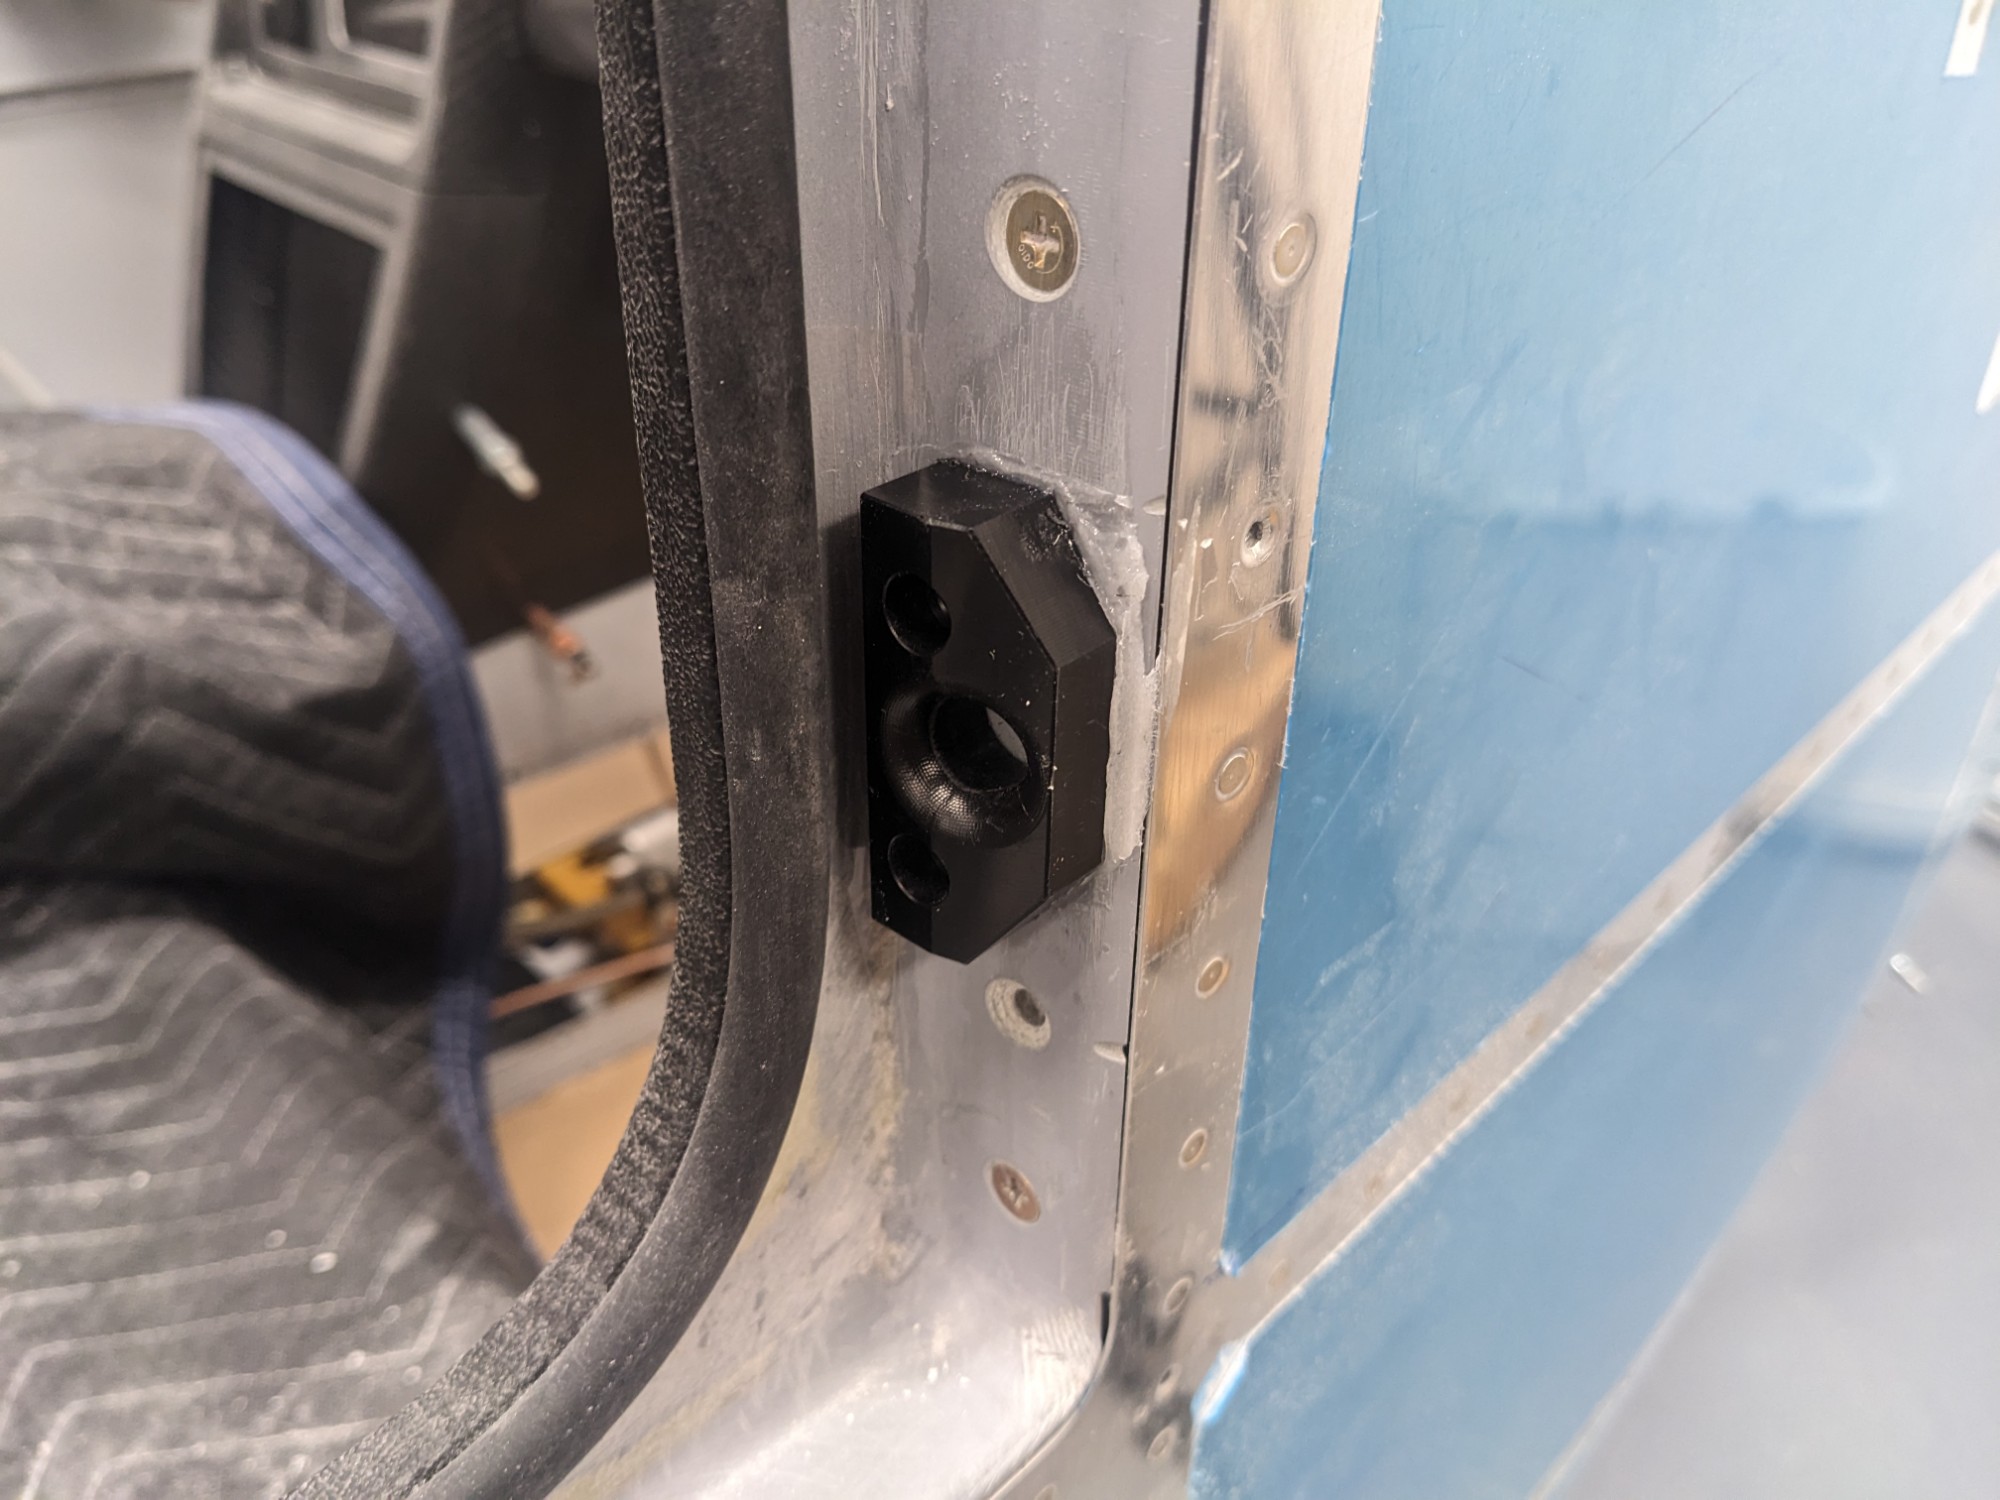
The amount of play between the blocks and the door worked out as intended. The door closes cleanly without catching on the blocks and has very little forward/aft play when closed (less than a 1/16″).


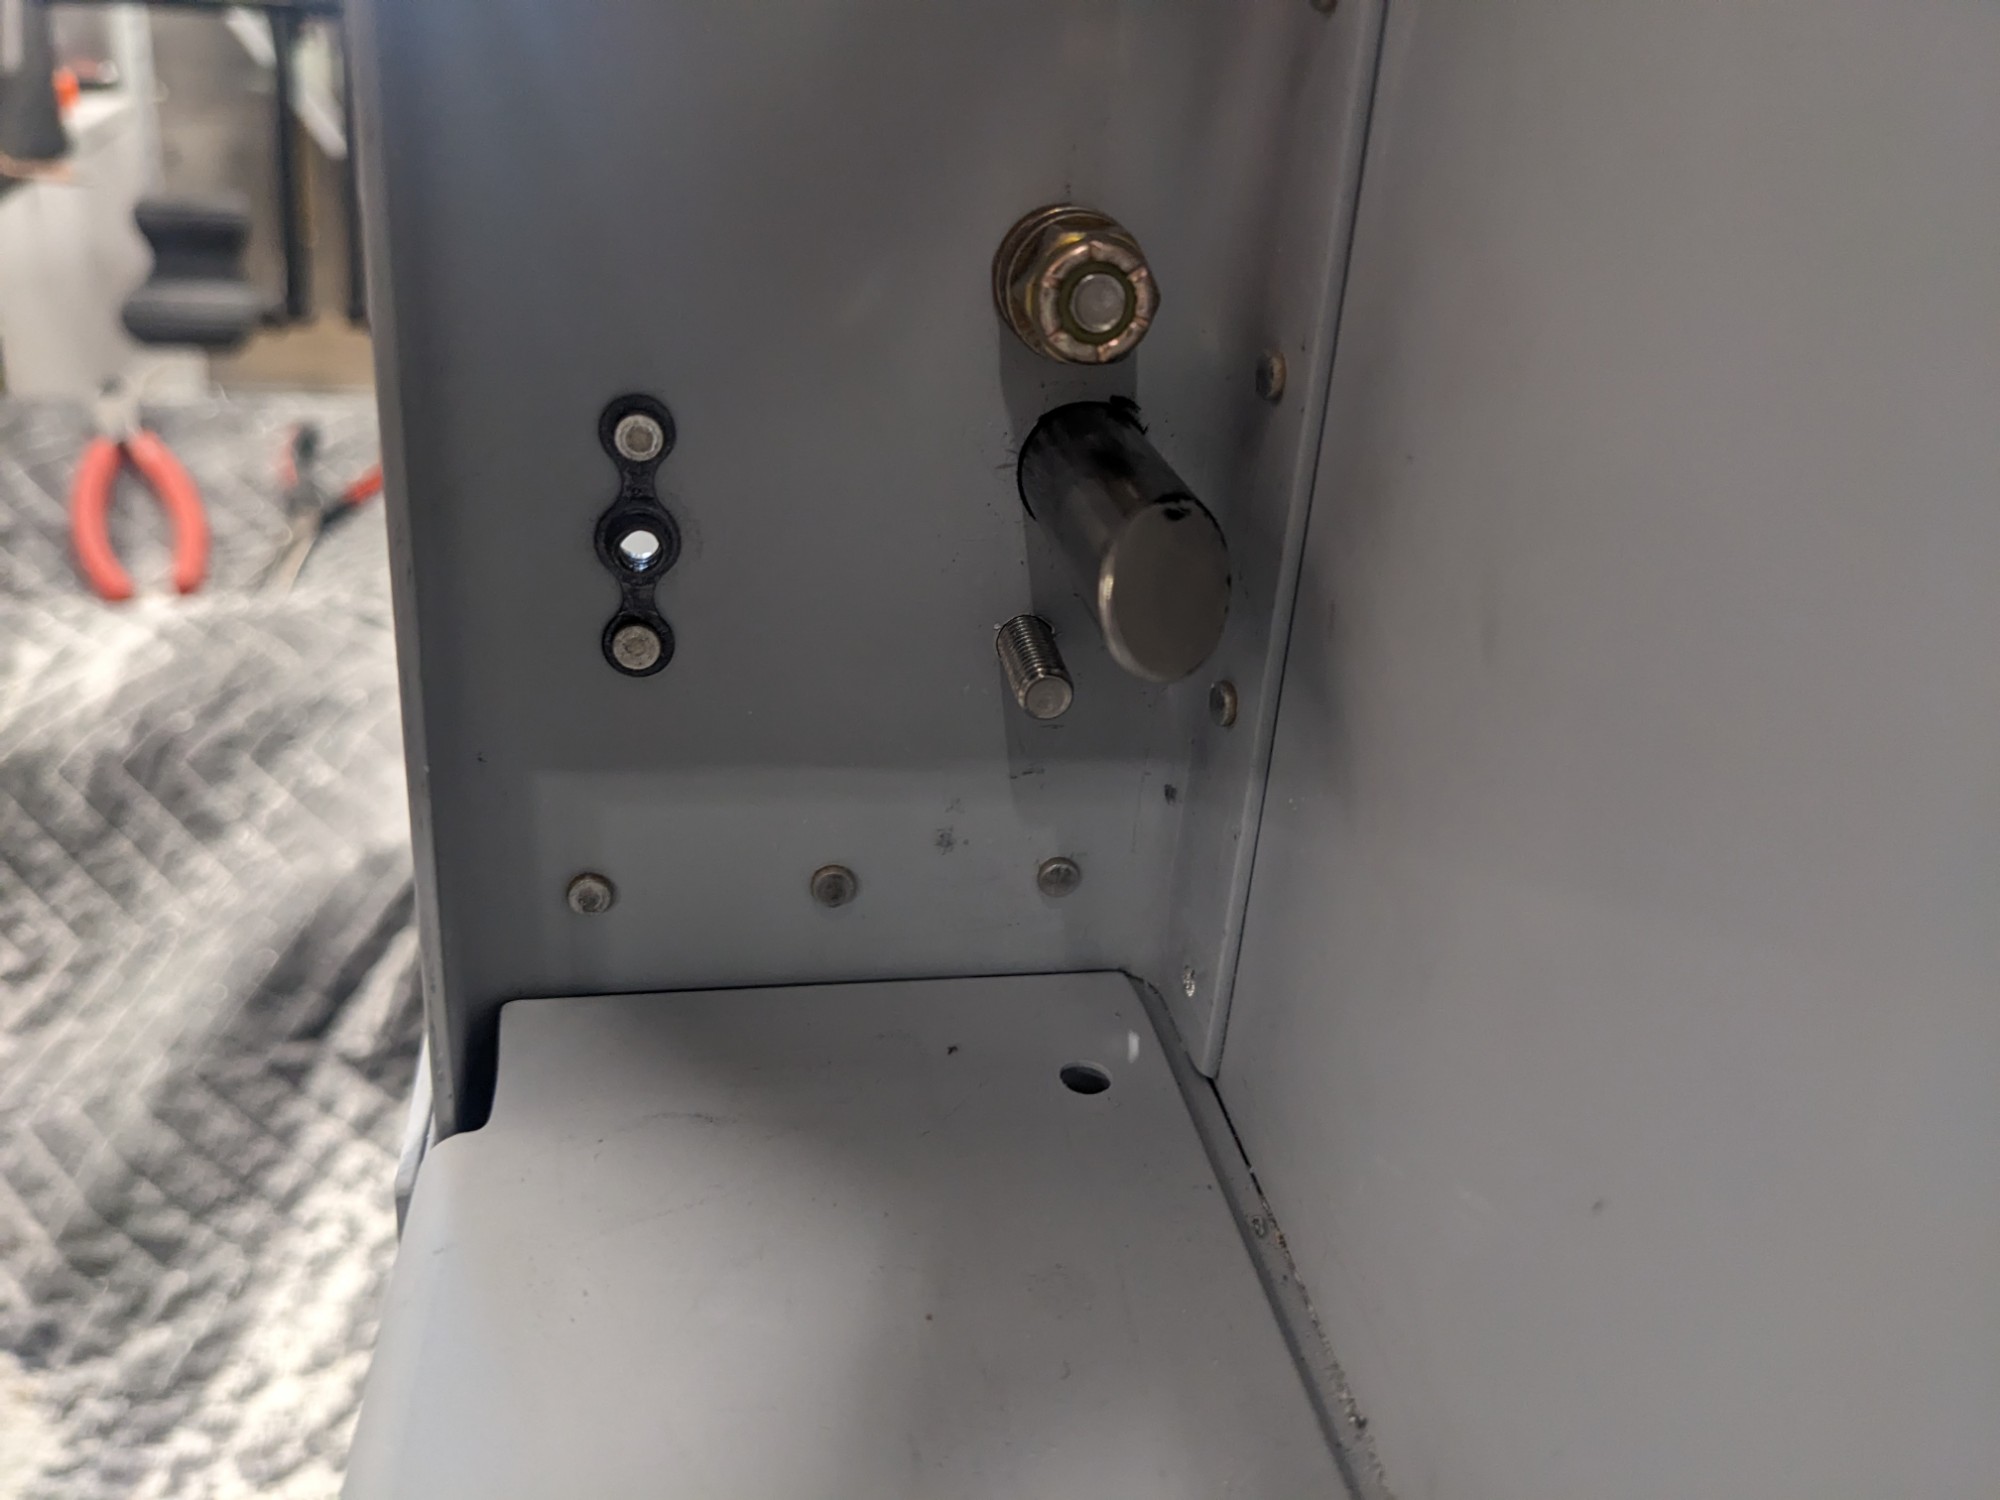
I then used the guide blocks as a drill guide to drill the holes into the door frame.

I then smoothed out the opening in the aluminum door frame to reduce the friction with the pins and test fit them before attaching them to the door pushrods.
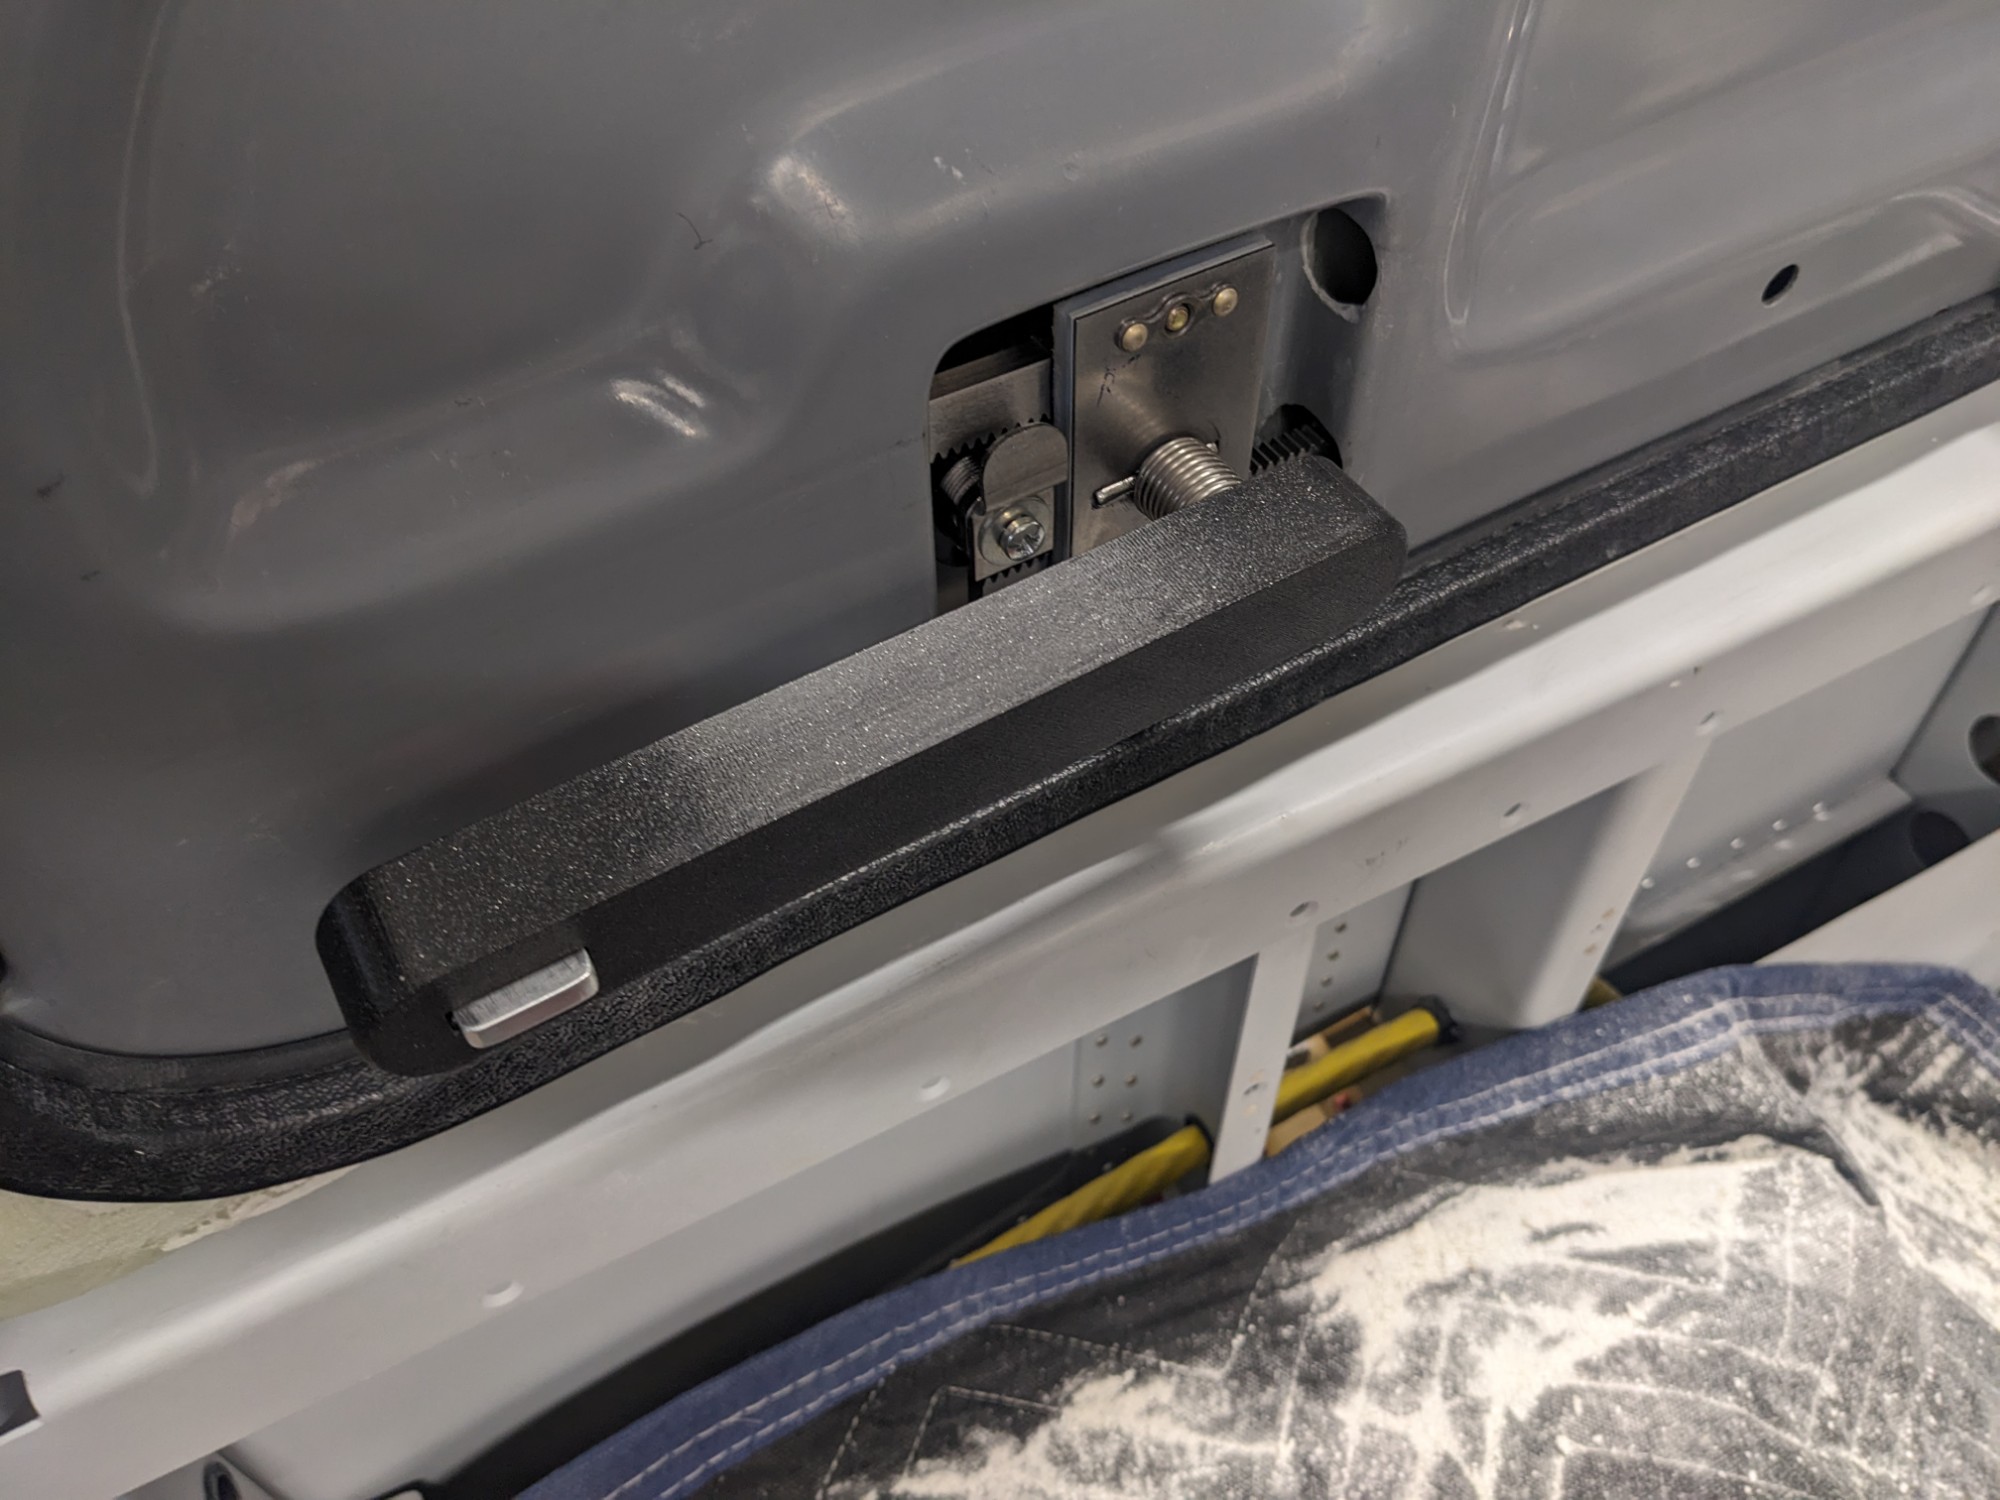
Once assembled, the door latching mechanism worked and the stainless steel pins engaged securely in the door frame.
The angled pins engage with the blocks without having to pull the door inwards manually (the door floats about 1/4″ outwards from the fuselage when resting on the seals). The latching process pulls the door inwards and downwards as designed. I’m very happy with the fit of the door when secured and it sits flush with the fuselage when latched. There is no play in the door when latched (and I haven’t installed third latch mechanism yet).


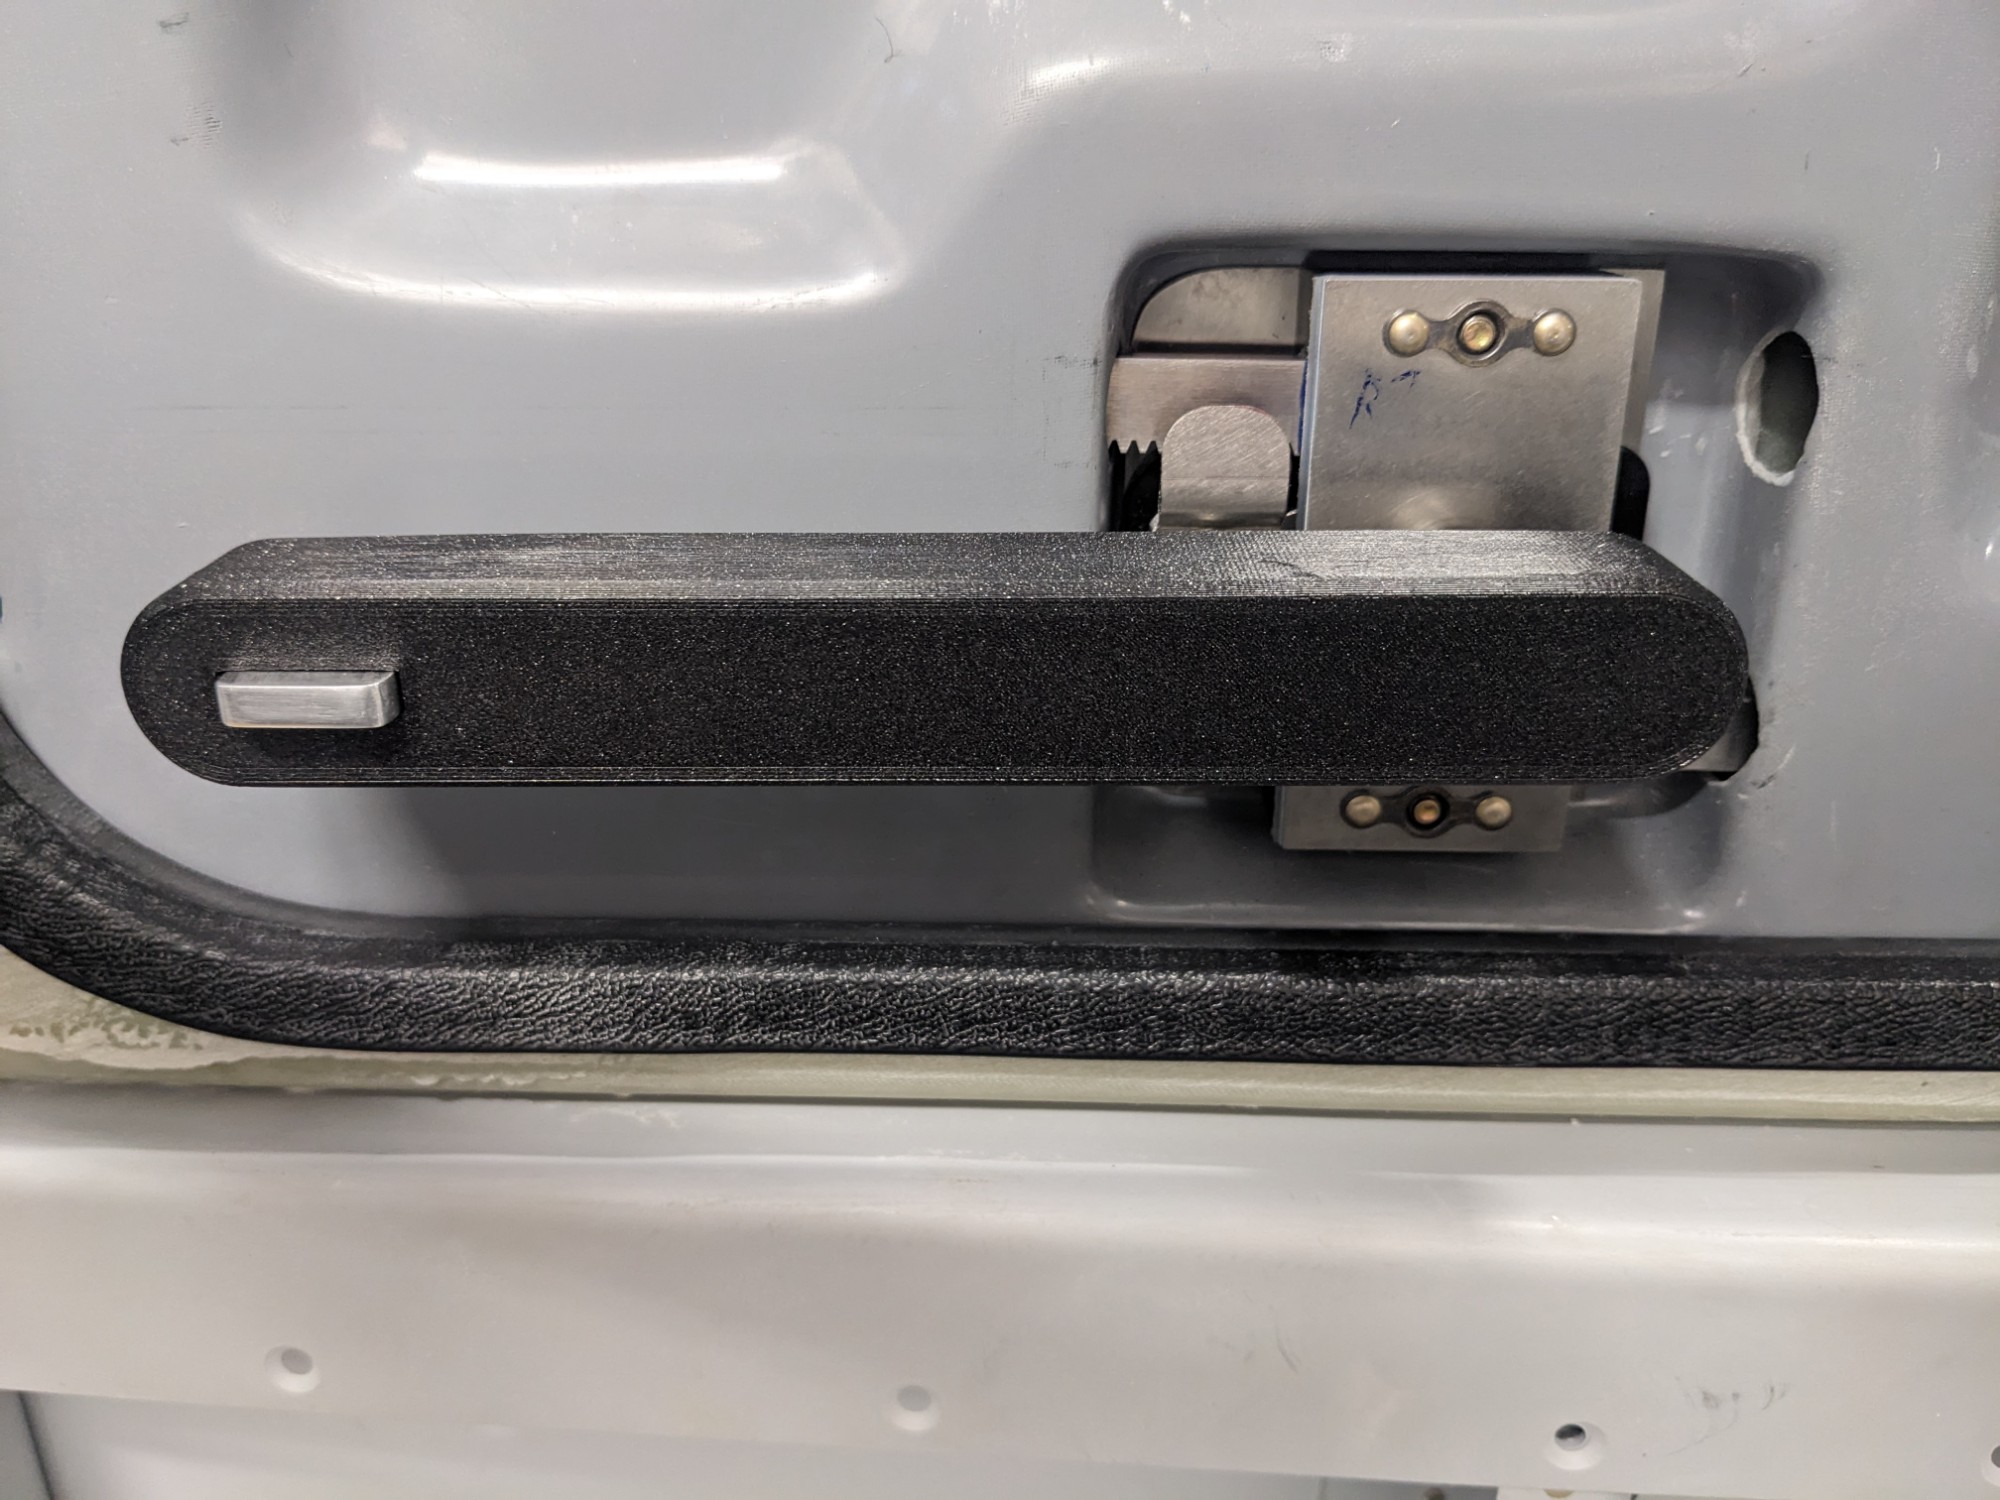
I also decided to experiment with making my own 3d printed handle covers and I’ll share more about that in a future log entry (update: Door Handle and Gearbox Covers).
Success on door number 1! Now onto door number 2..