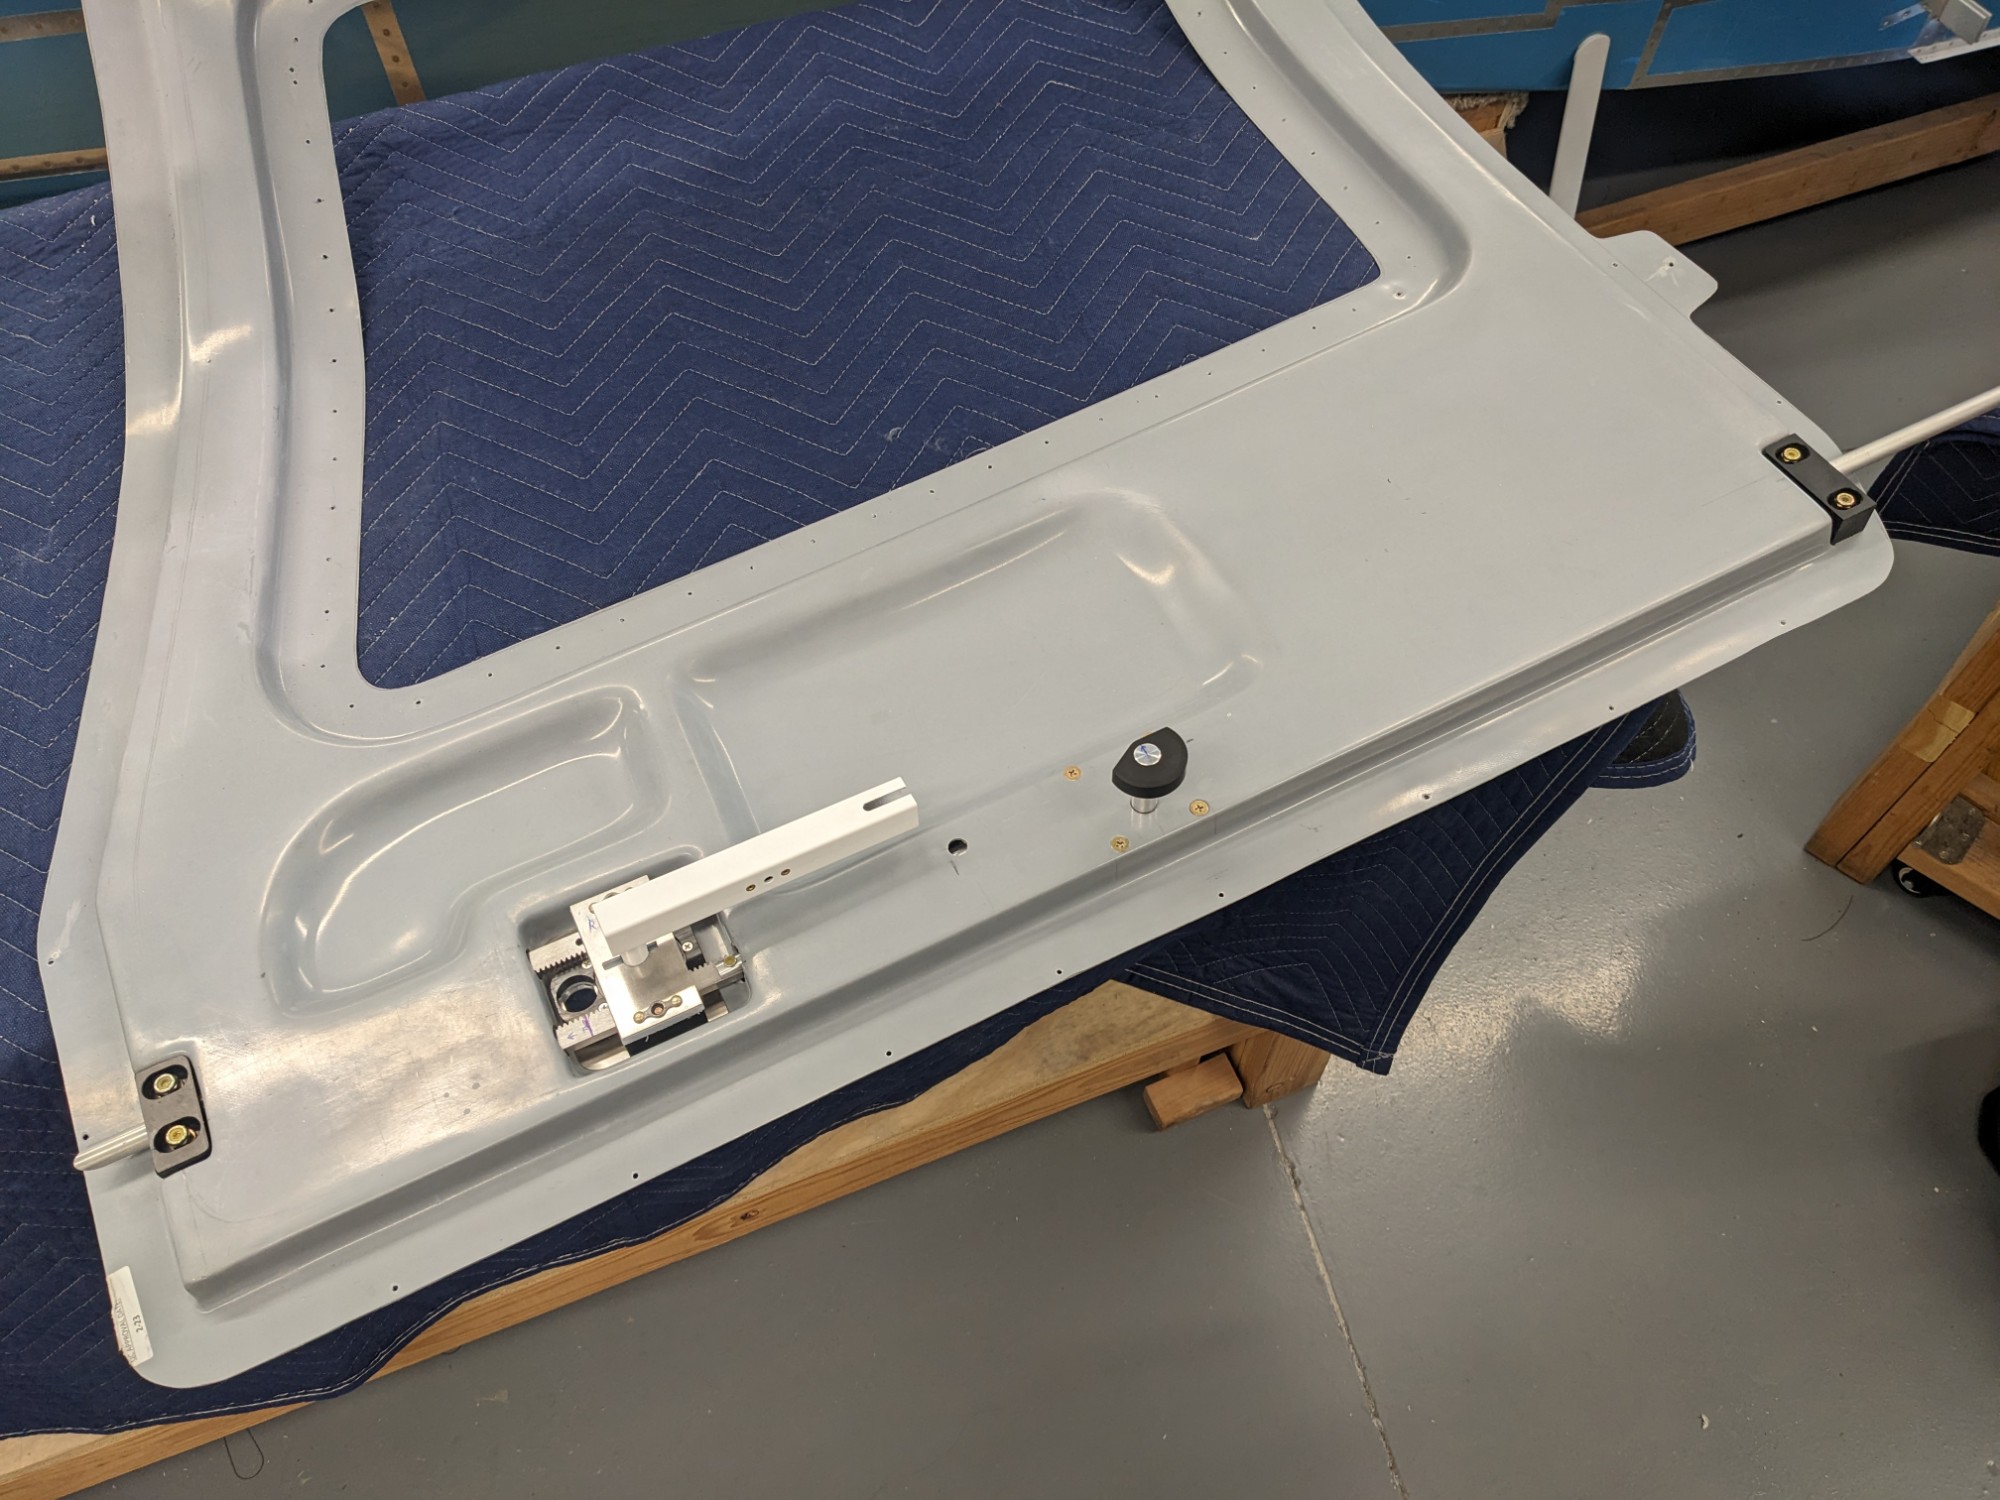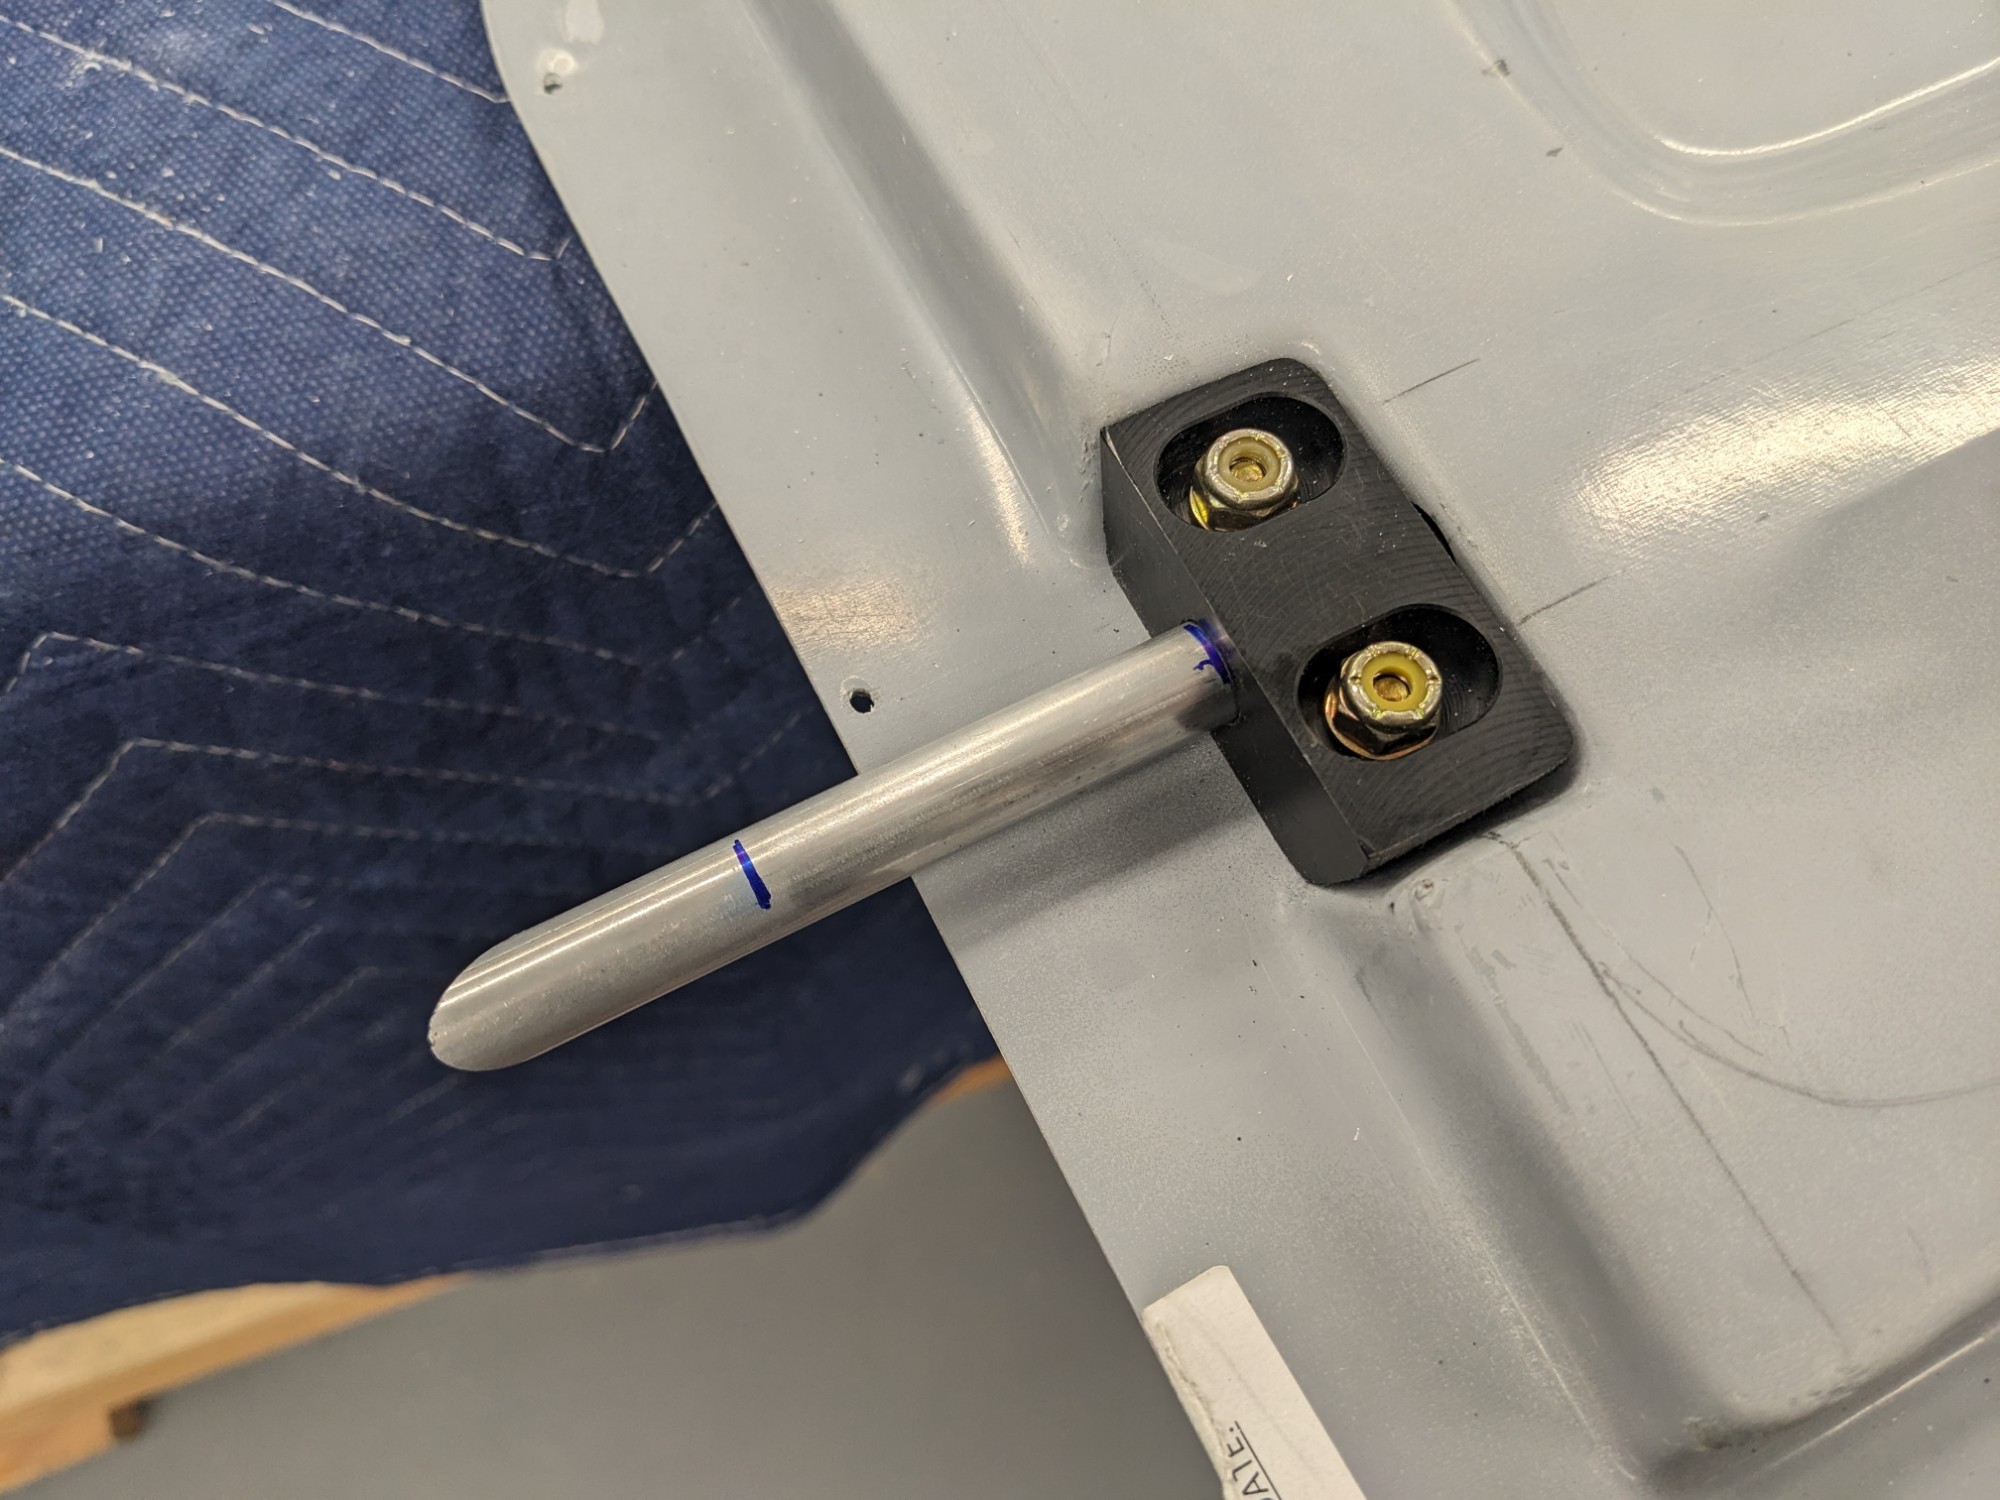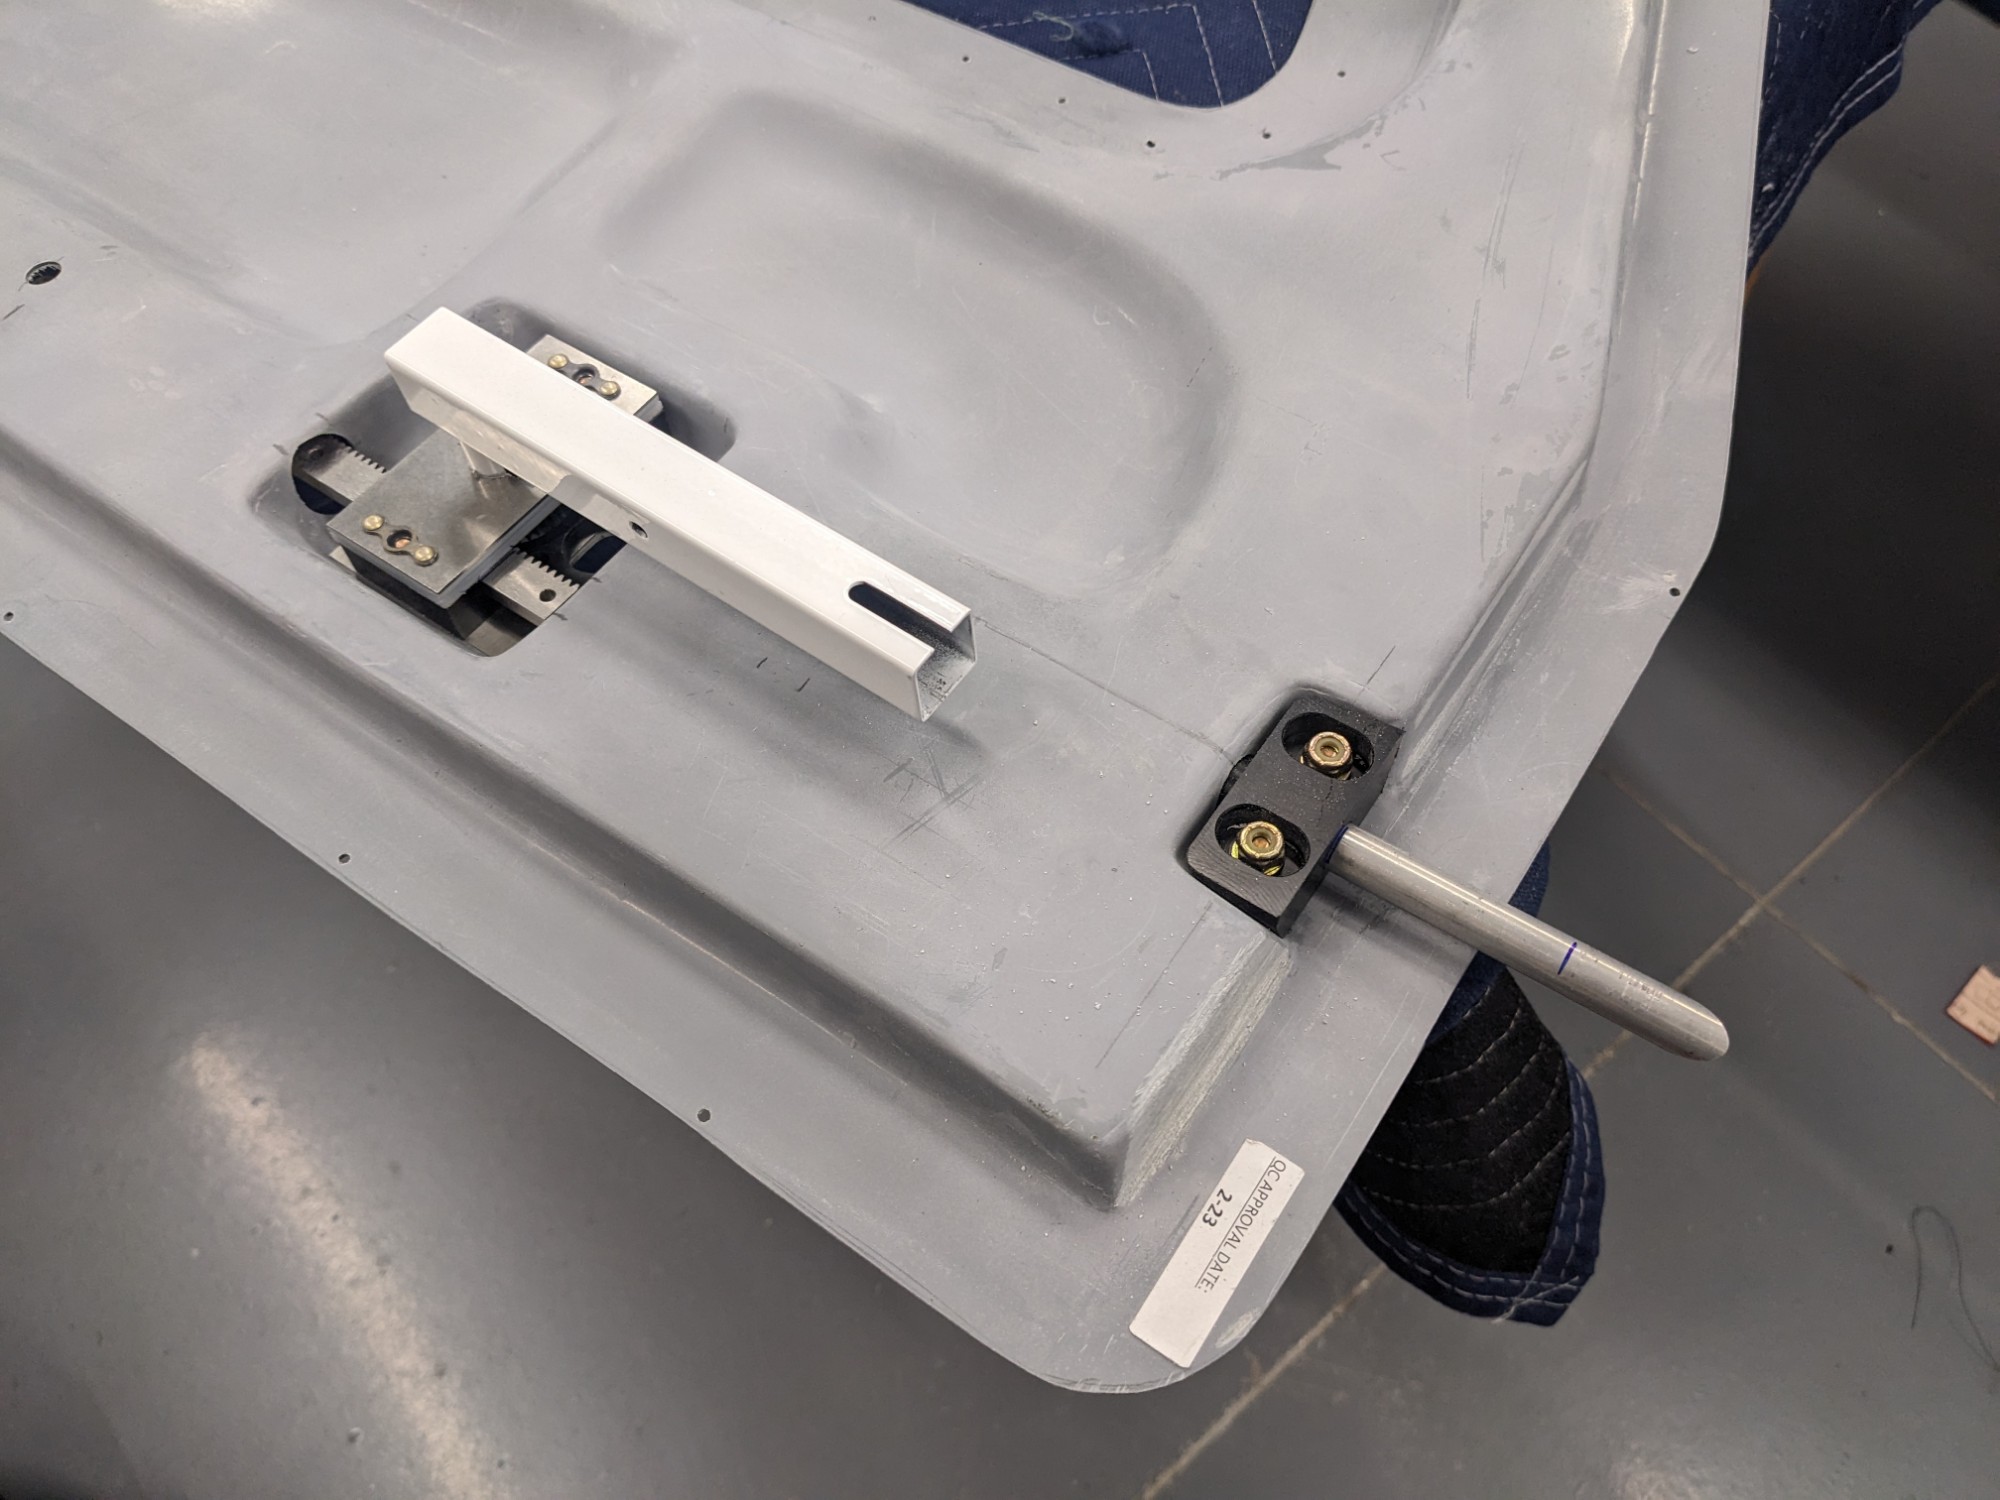
The door pin guide blocks that come with the PlaneAround kit are larger than the Van’s blocks and include guide extensions for the pins.
I shaped these on a belt sander to fit in the respective recesses. I positioned them to be flush with the door edges so that I can use the door frame pin blocks to keep the door from moving fwd/aft while latching them.
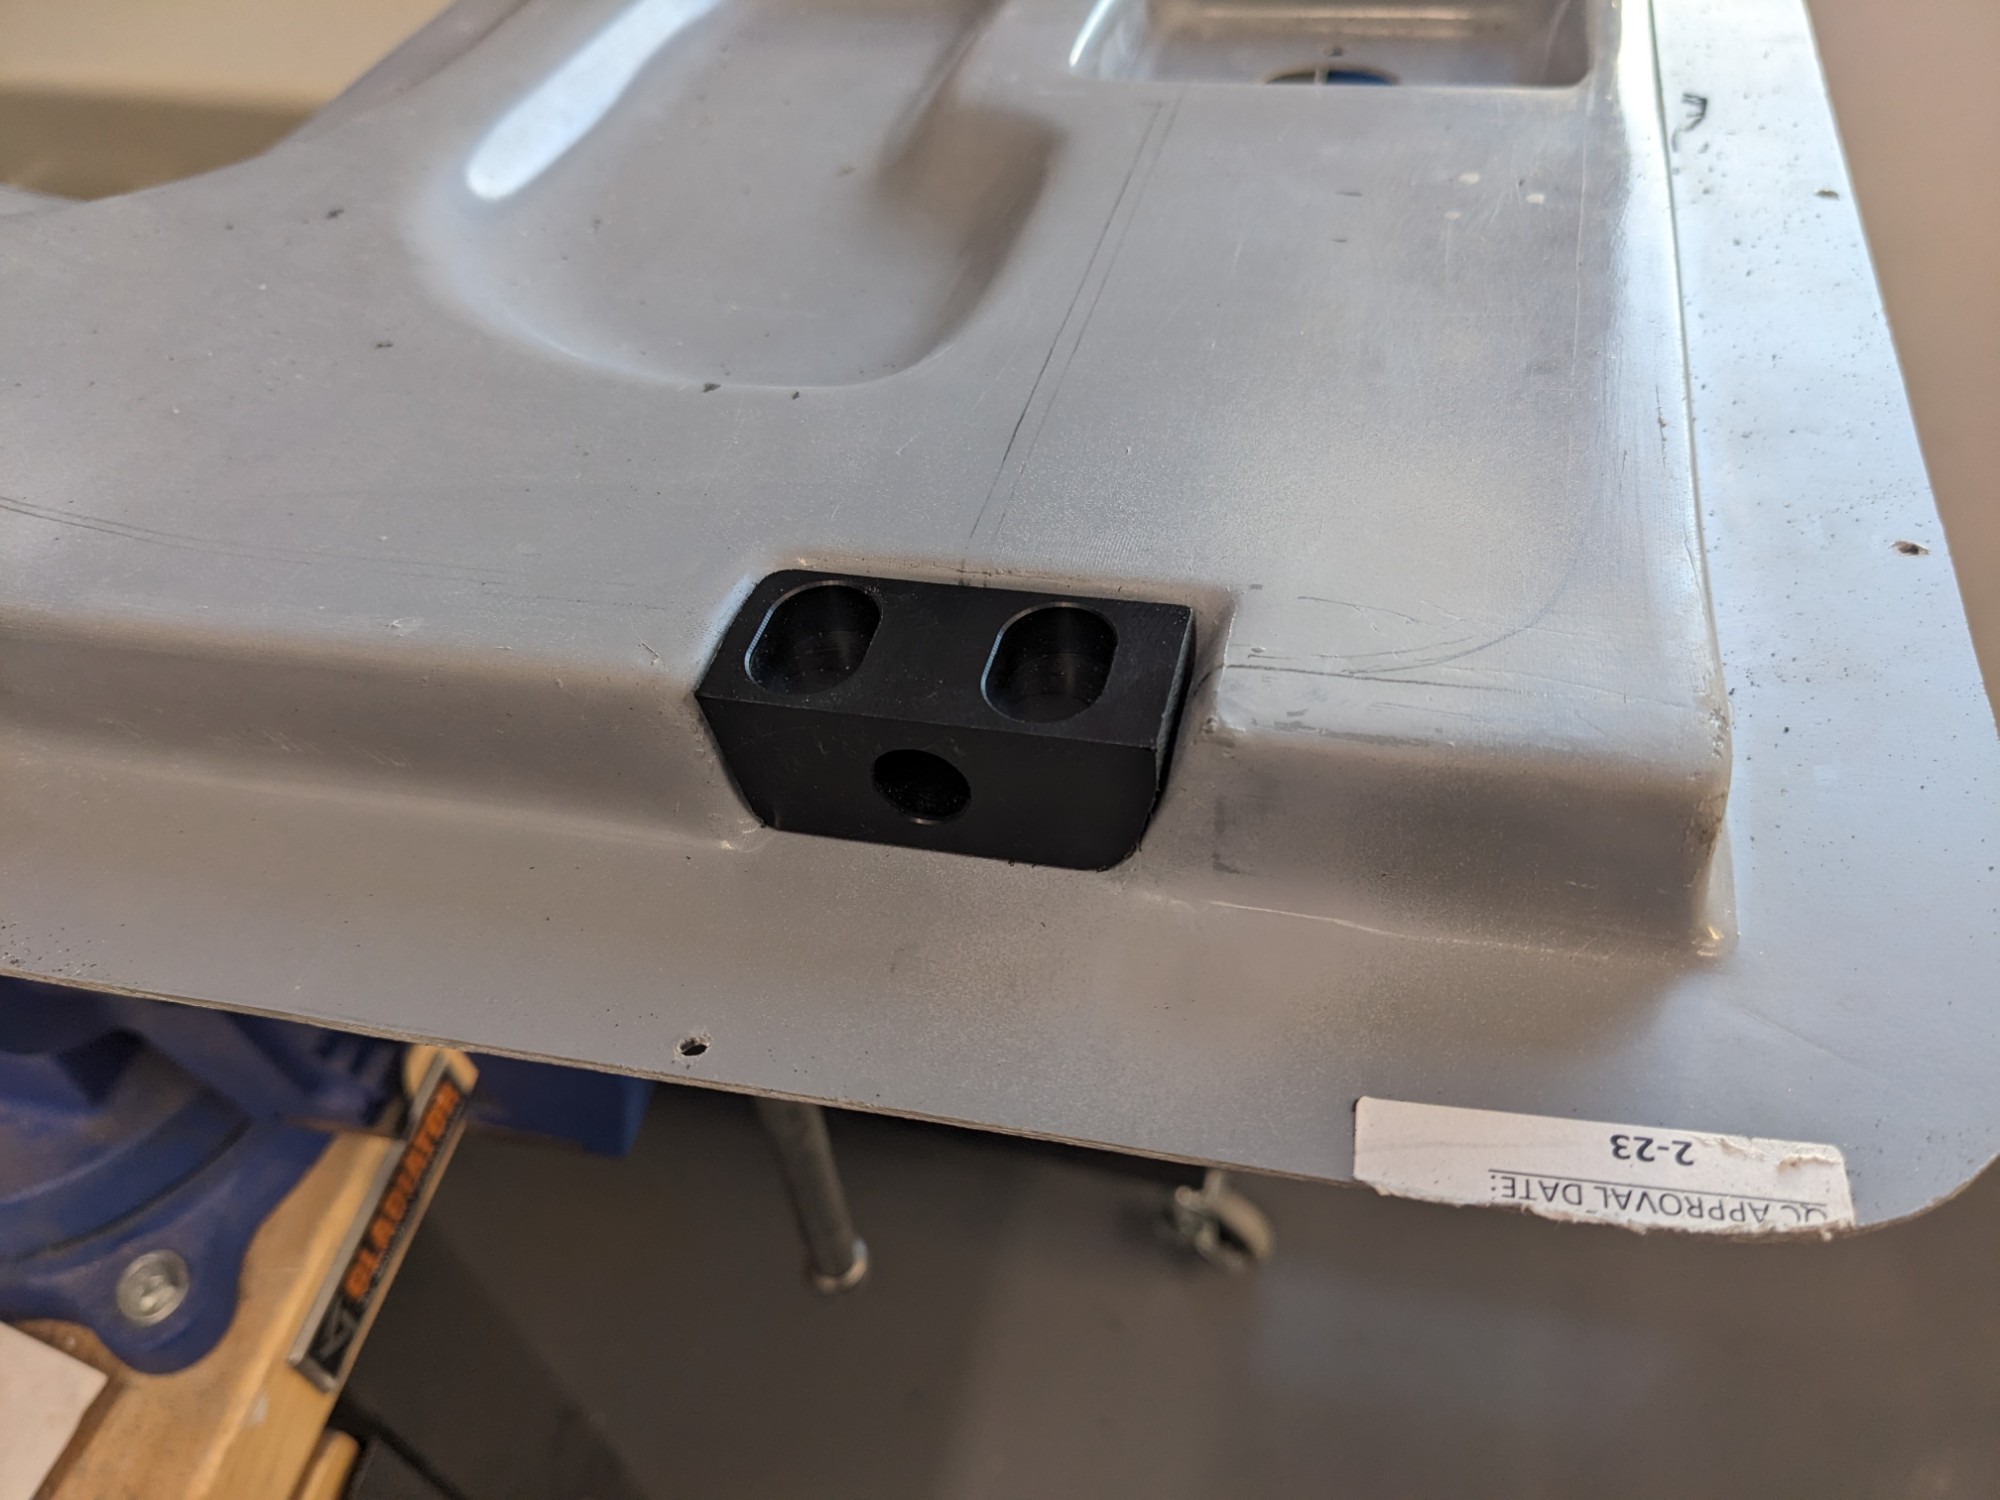
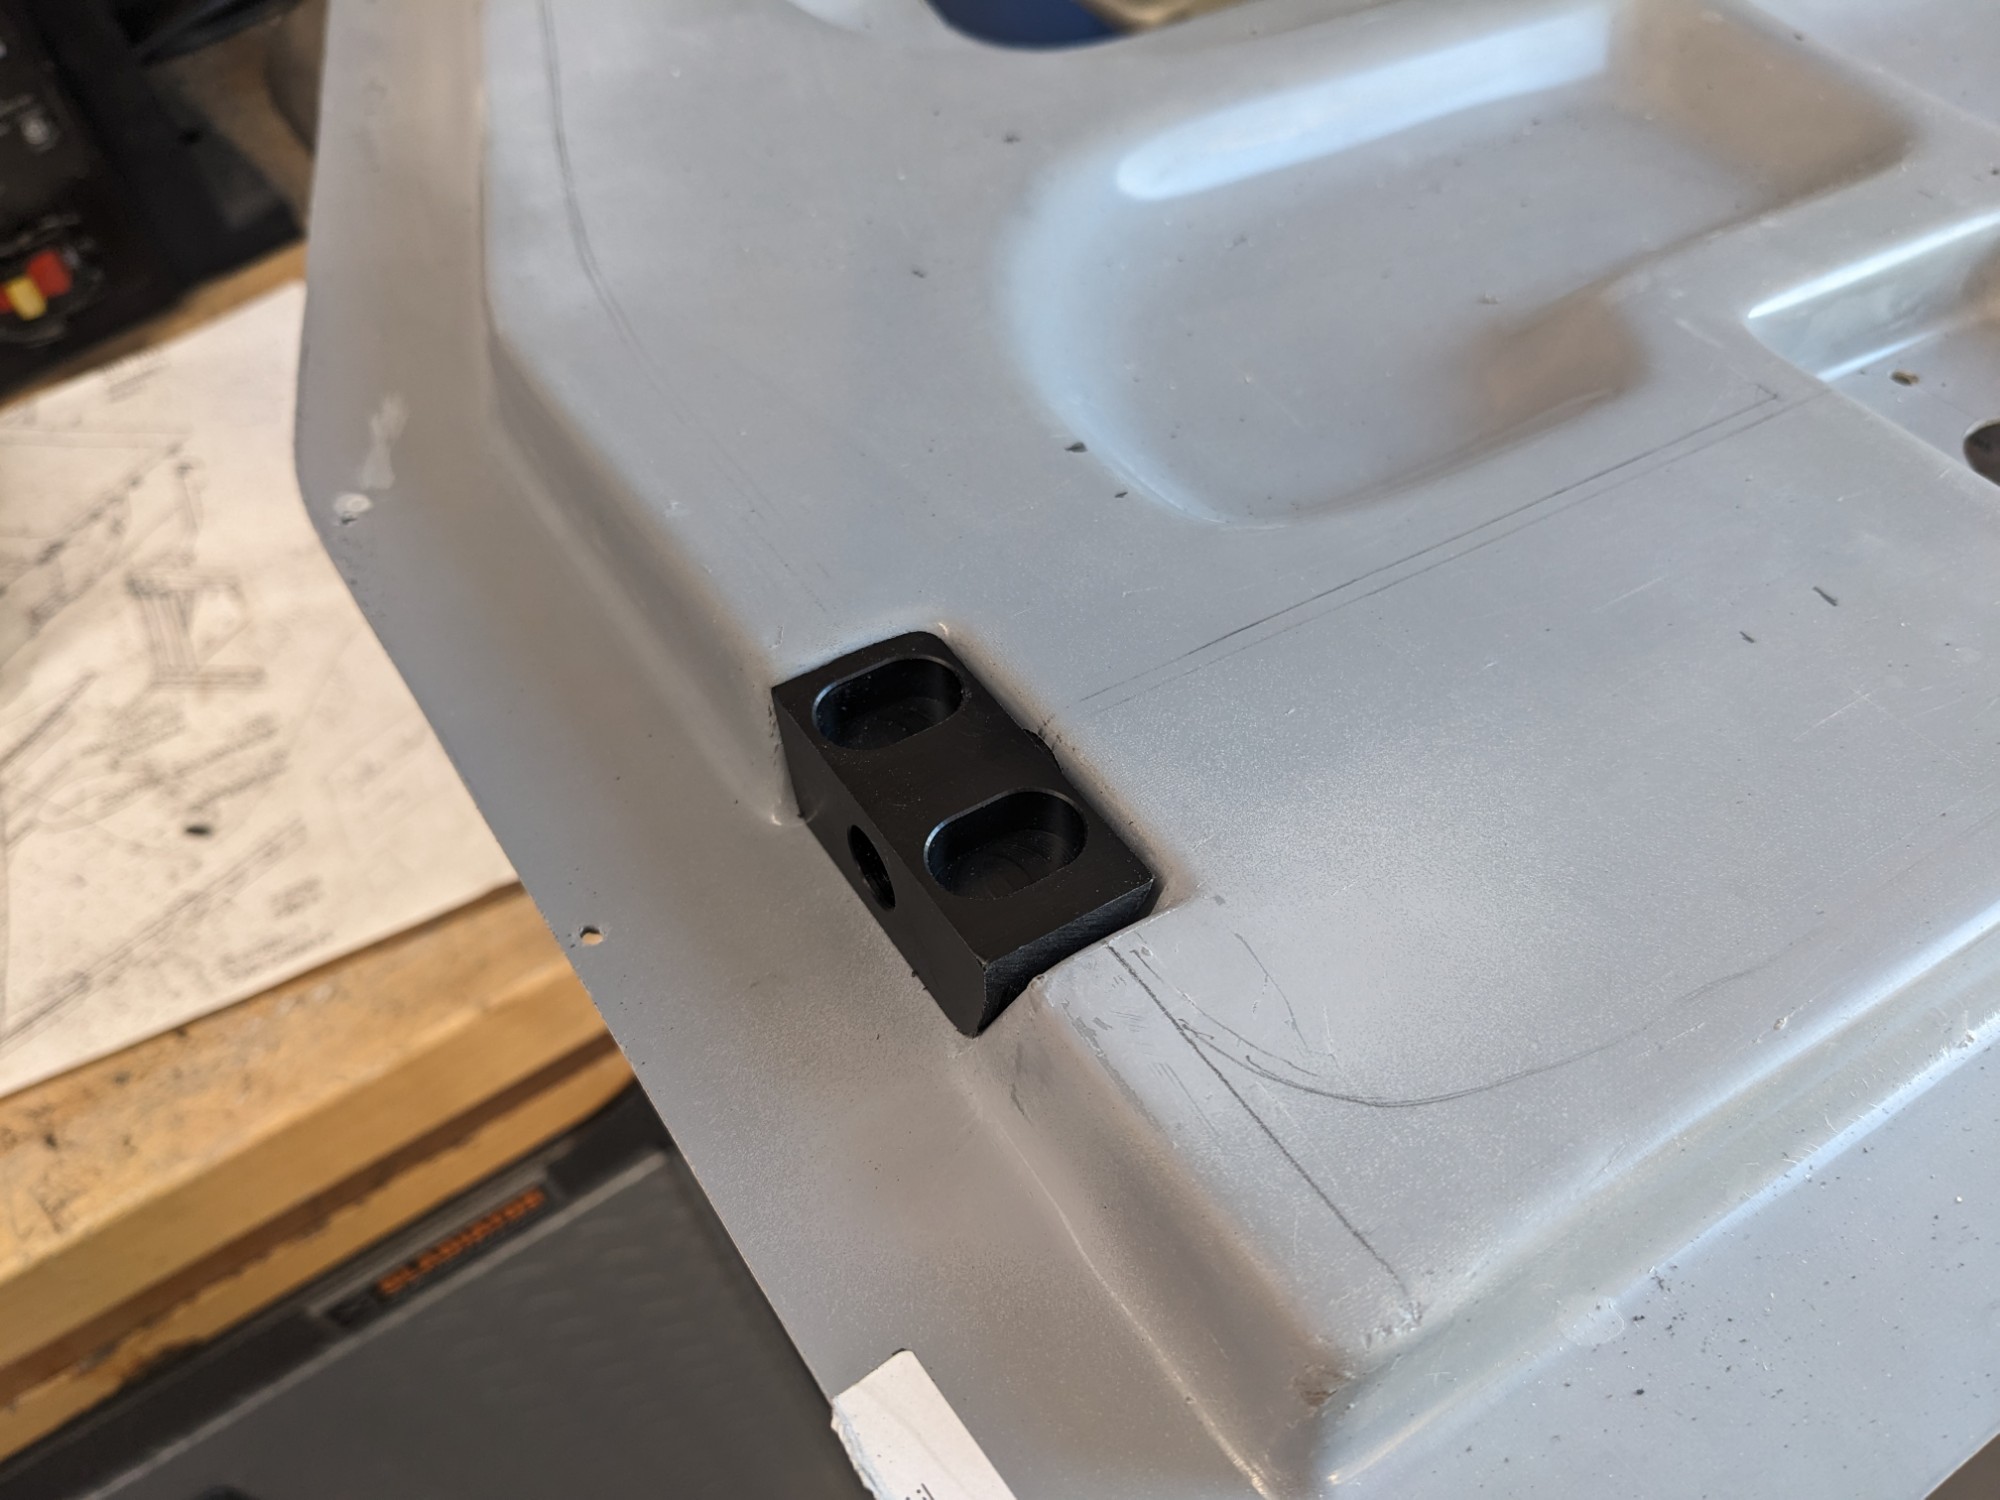
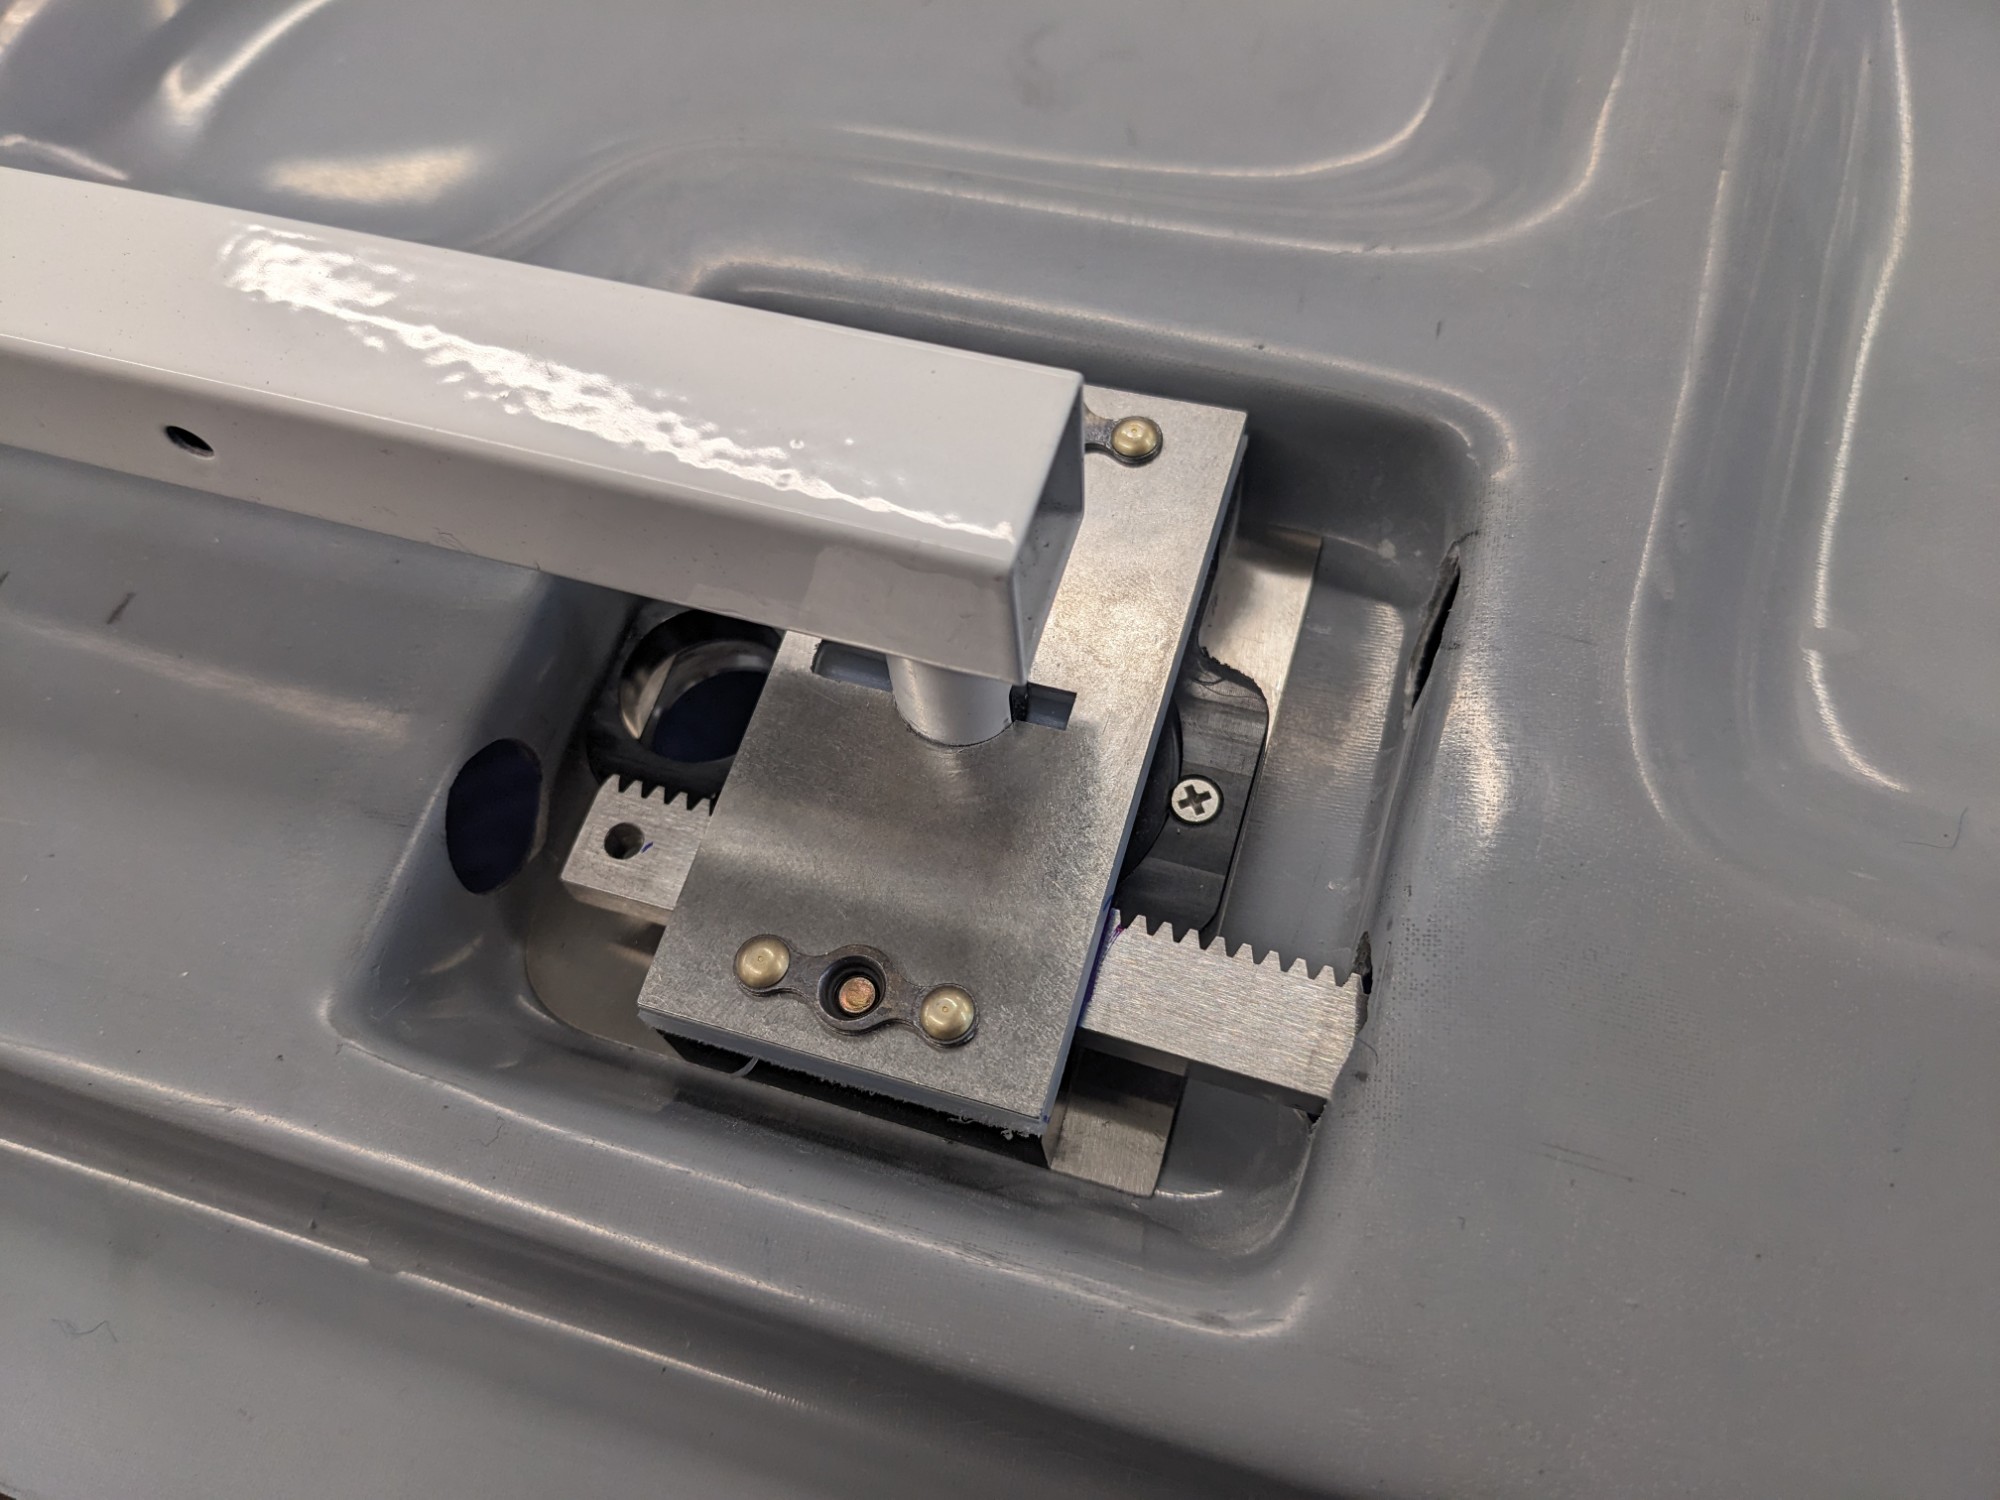
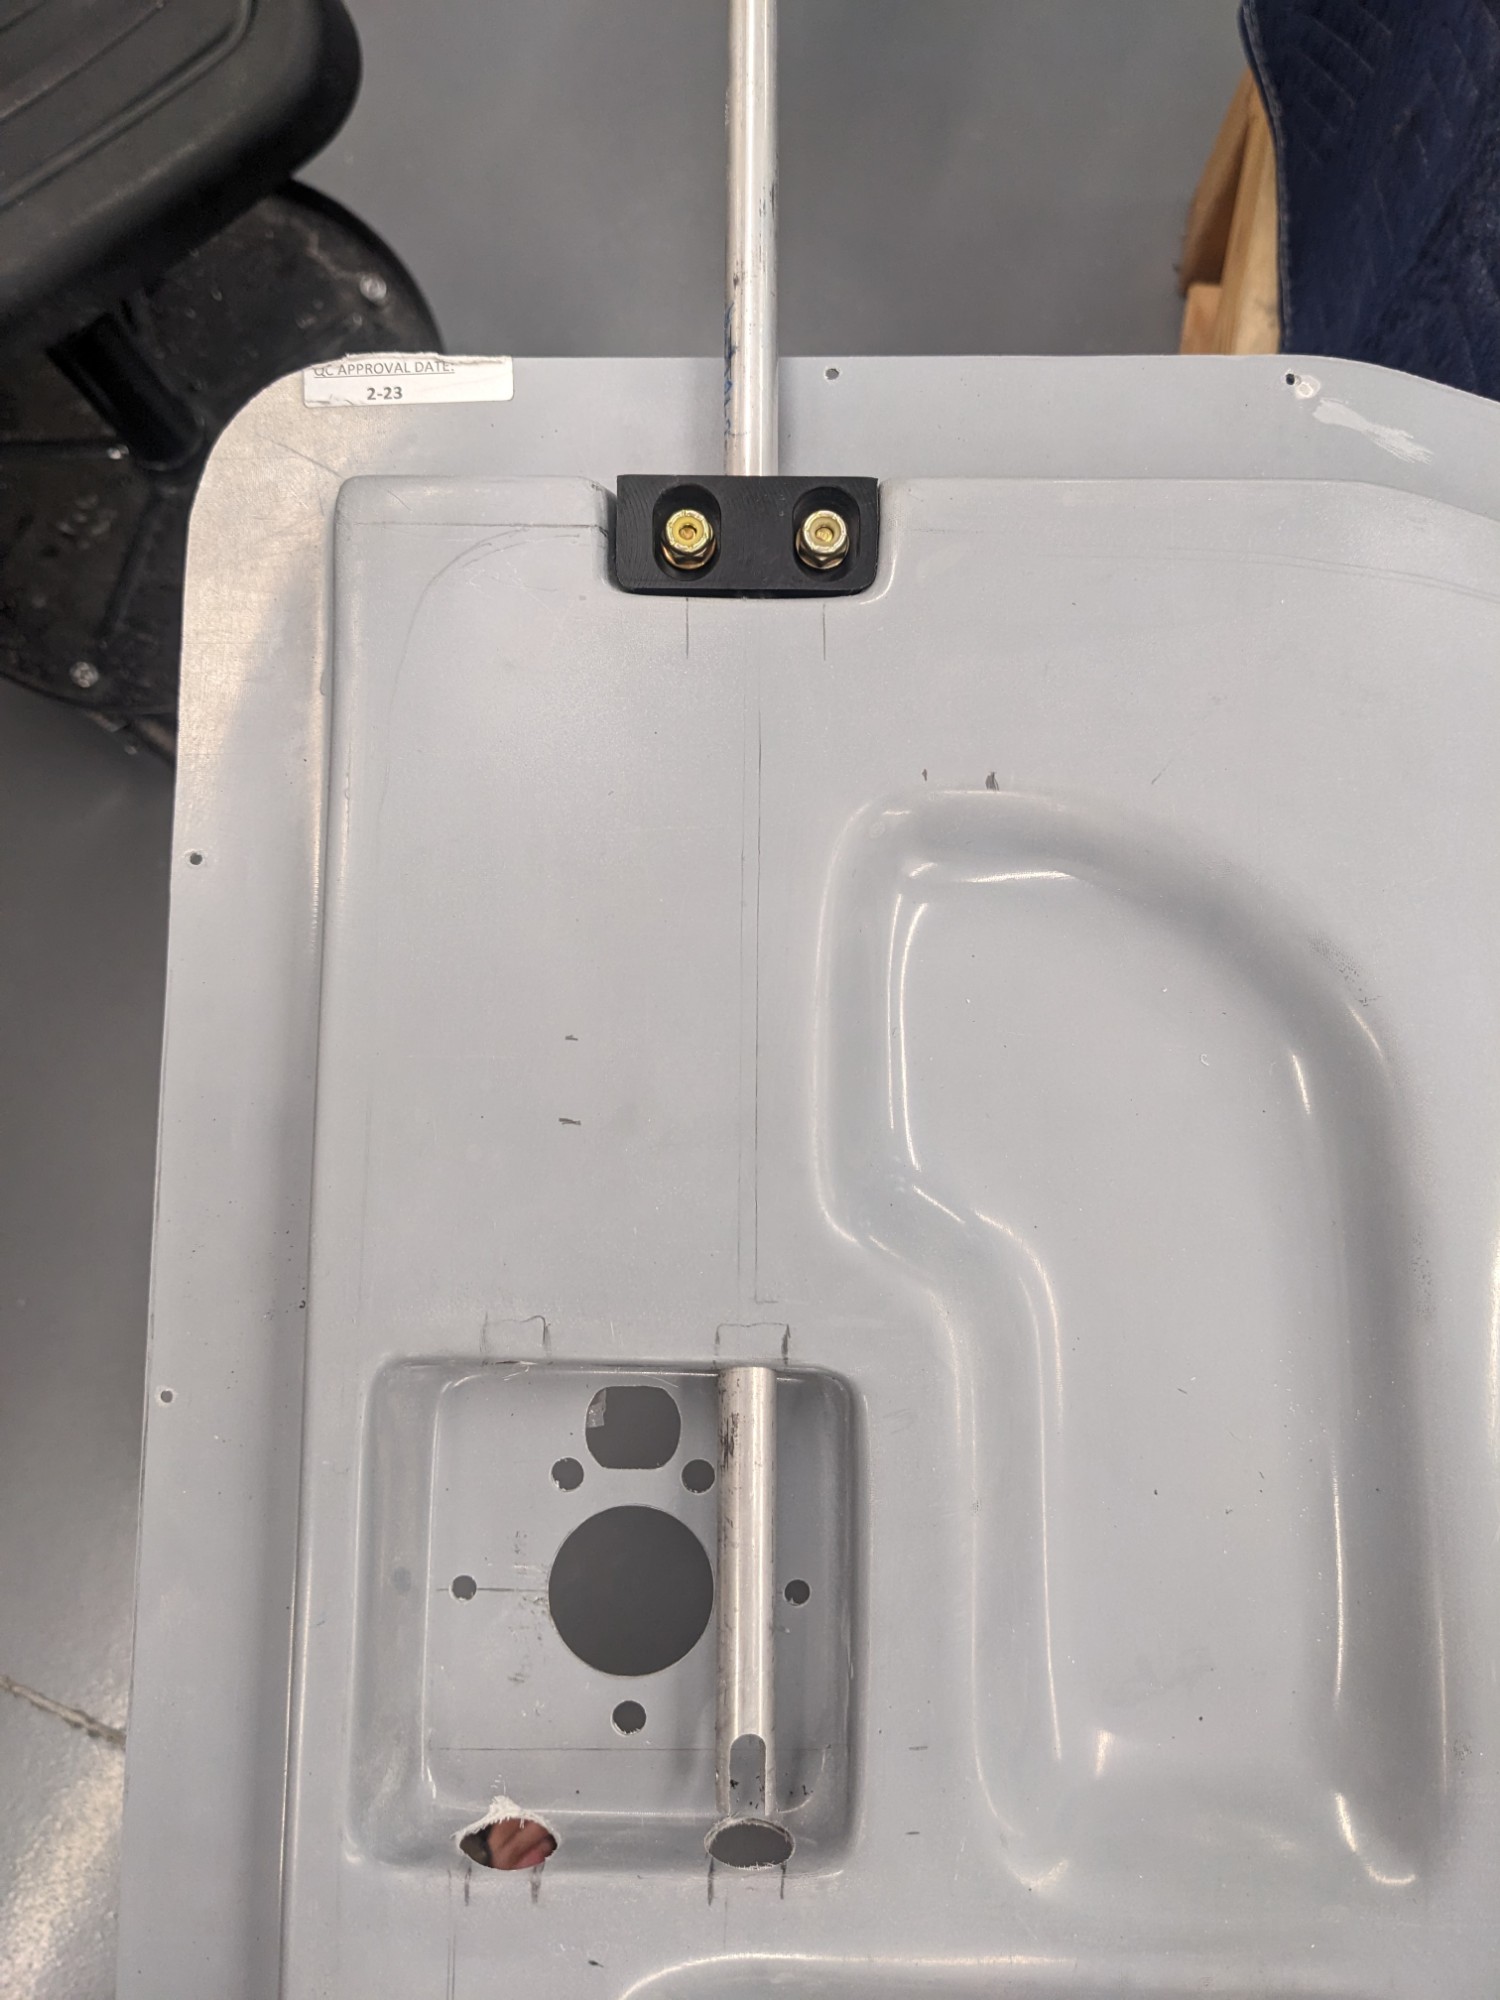
Before trimming the blocks, I set the vertical position by scribing a line from the gear rack hole that was parallel to the bottom of the door. This was to avoid any binding through the range of motion.
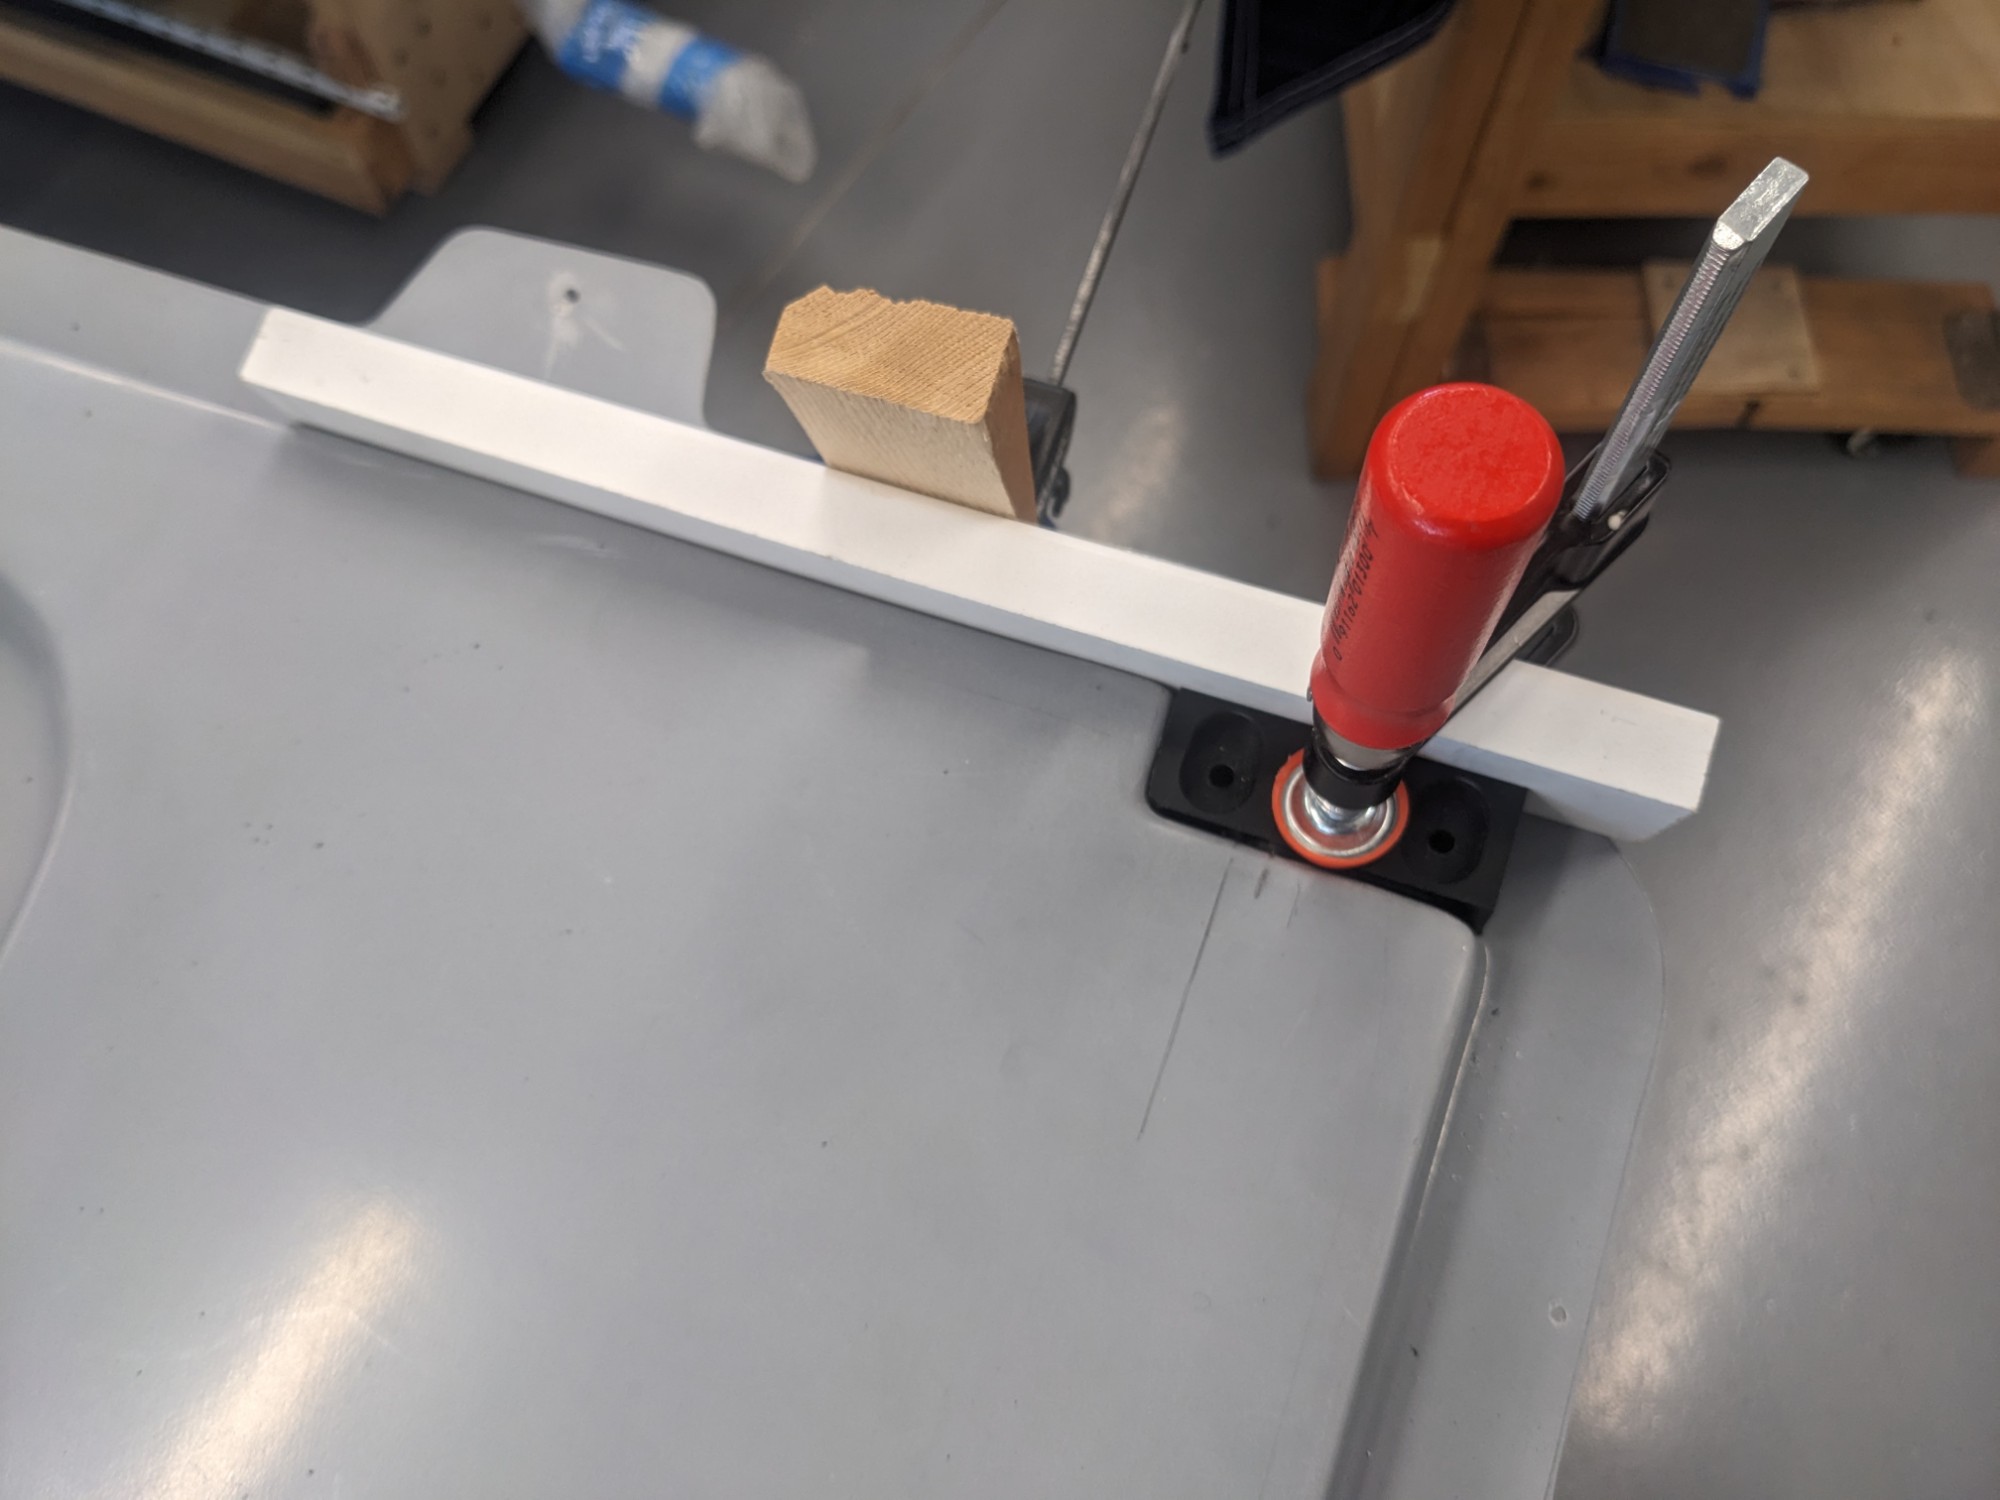
This wasn’t possible for the rear pins so I put a small double offset bend in the rear rods to compensate. This kept those pins from having any angular deflection.
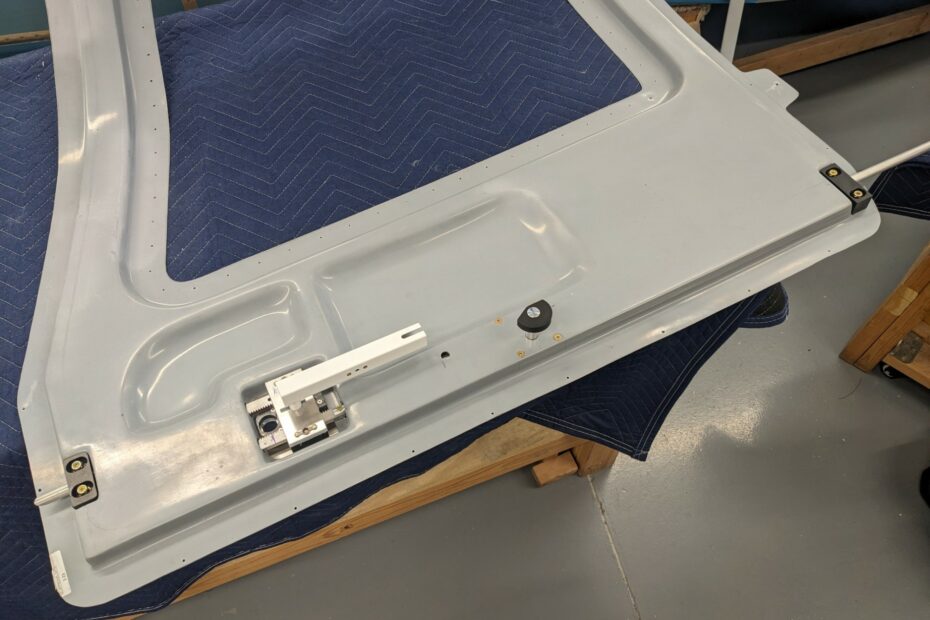
I then finished up the initial fitting of the door hardware. The remaining work was fairly simple once I made sense of the various plans.
I wanted to make sure I had the installation sequence down and that I had all of the gear positions marked before bonding the doors.
The handles move smoothly through the full 180 degrees. The pins provide 2 inches of travel. I rigged the handles so that the center latch block is the positive stop in the closed position.
For the open position, I’m going to build up a small perpendicular stop on the pocket wall. The rack contacts this at an angle which puts lateral pressure on the gear rack and doesn’t provide a very clean stop.