
Back to work. We started work on riveting the elevator skins today.
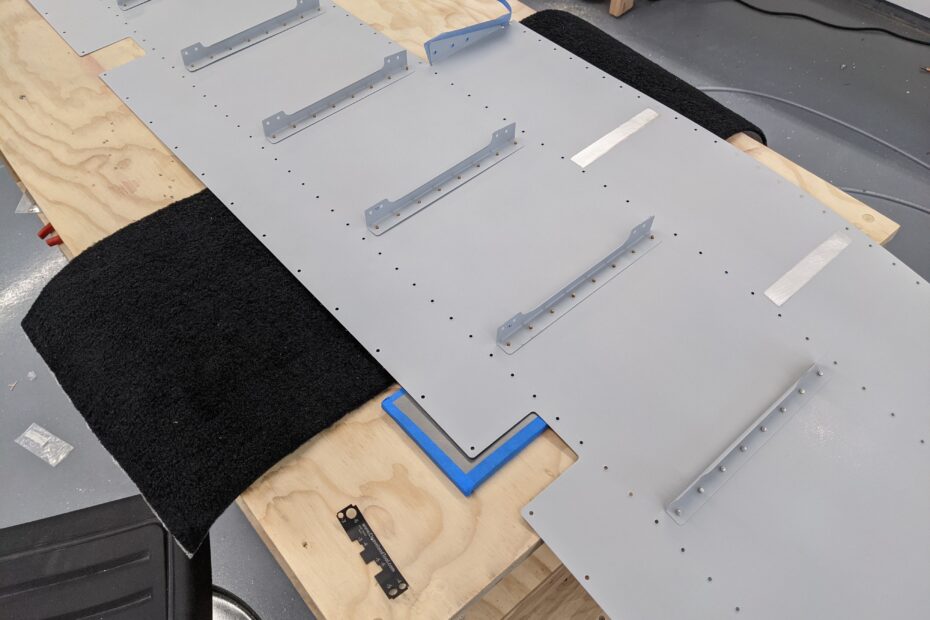
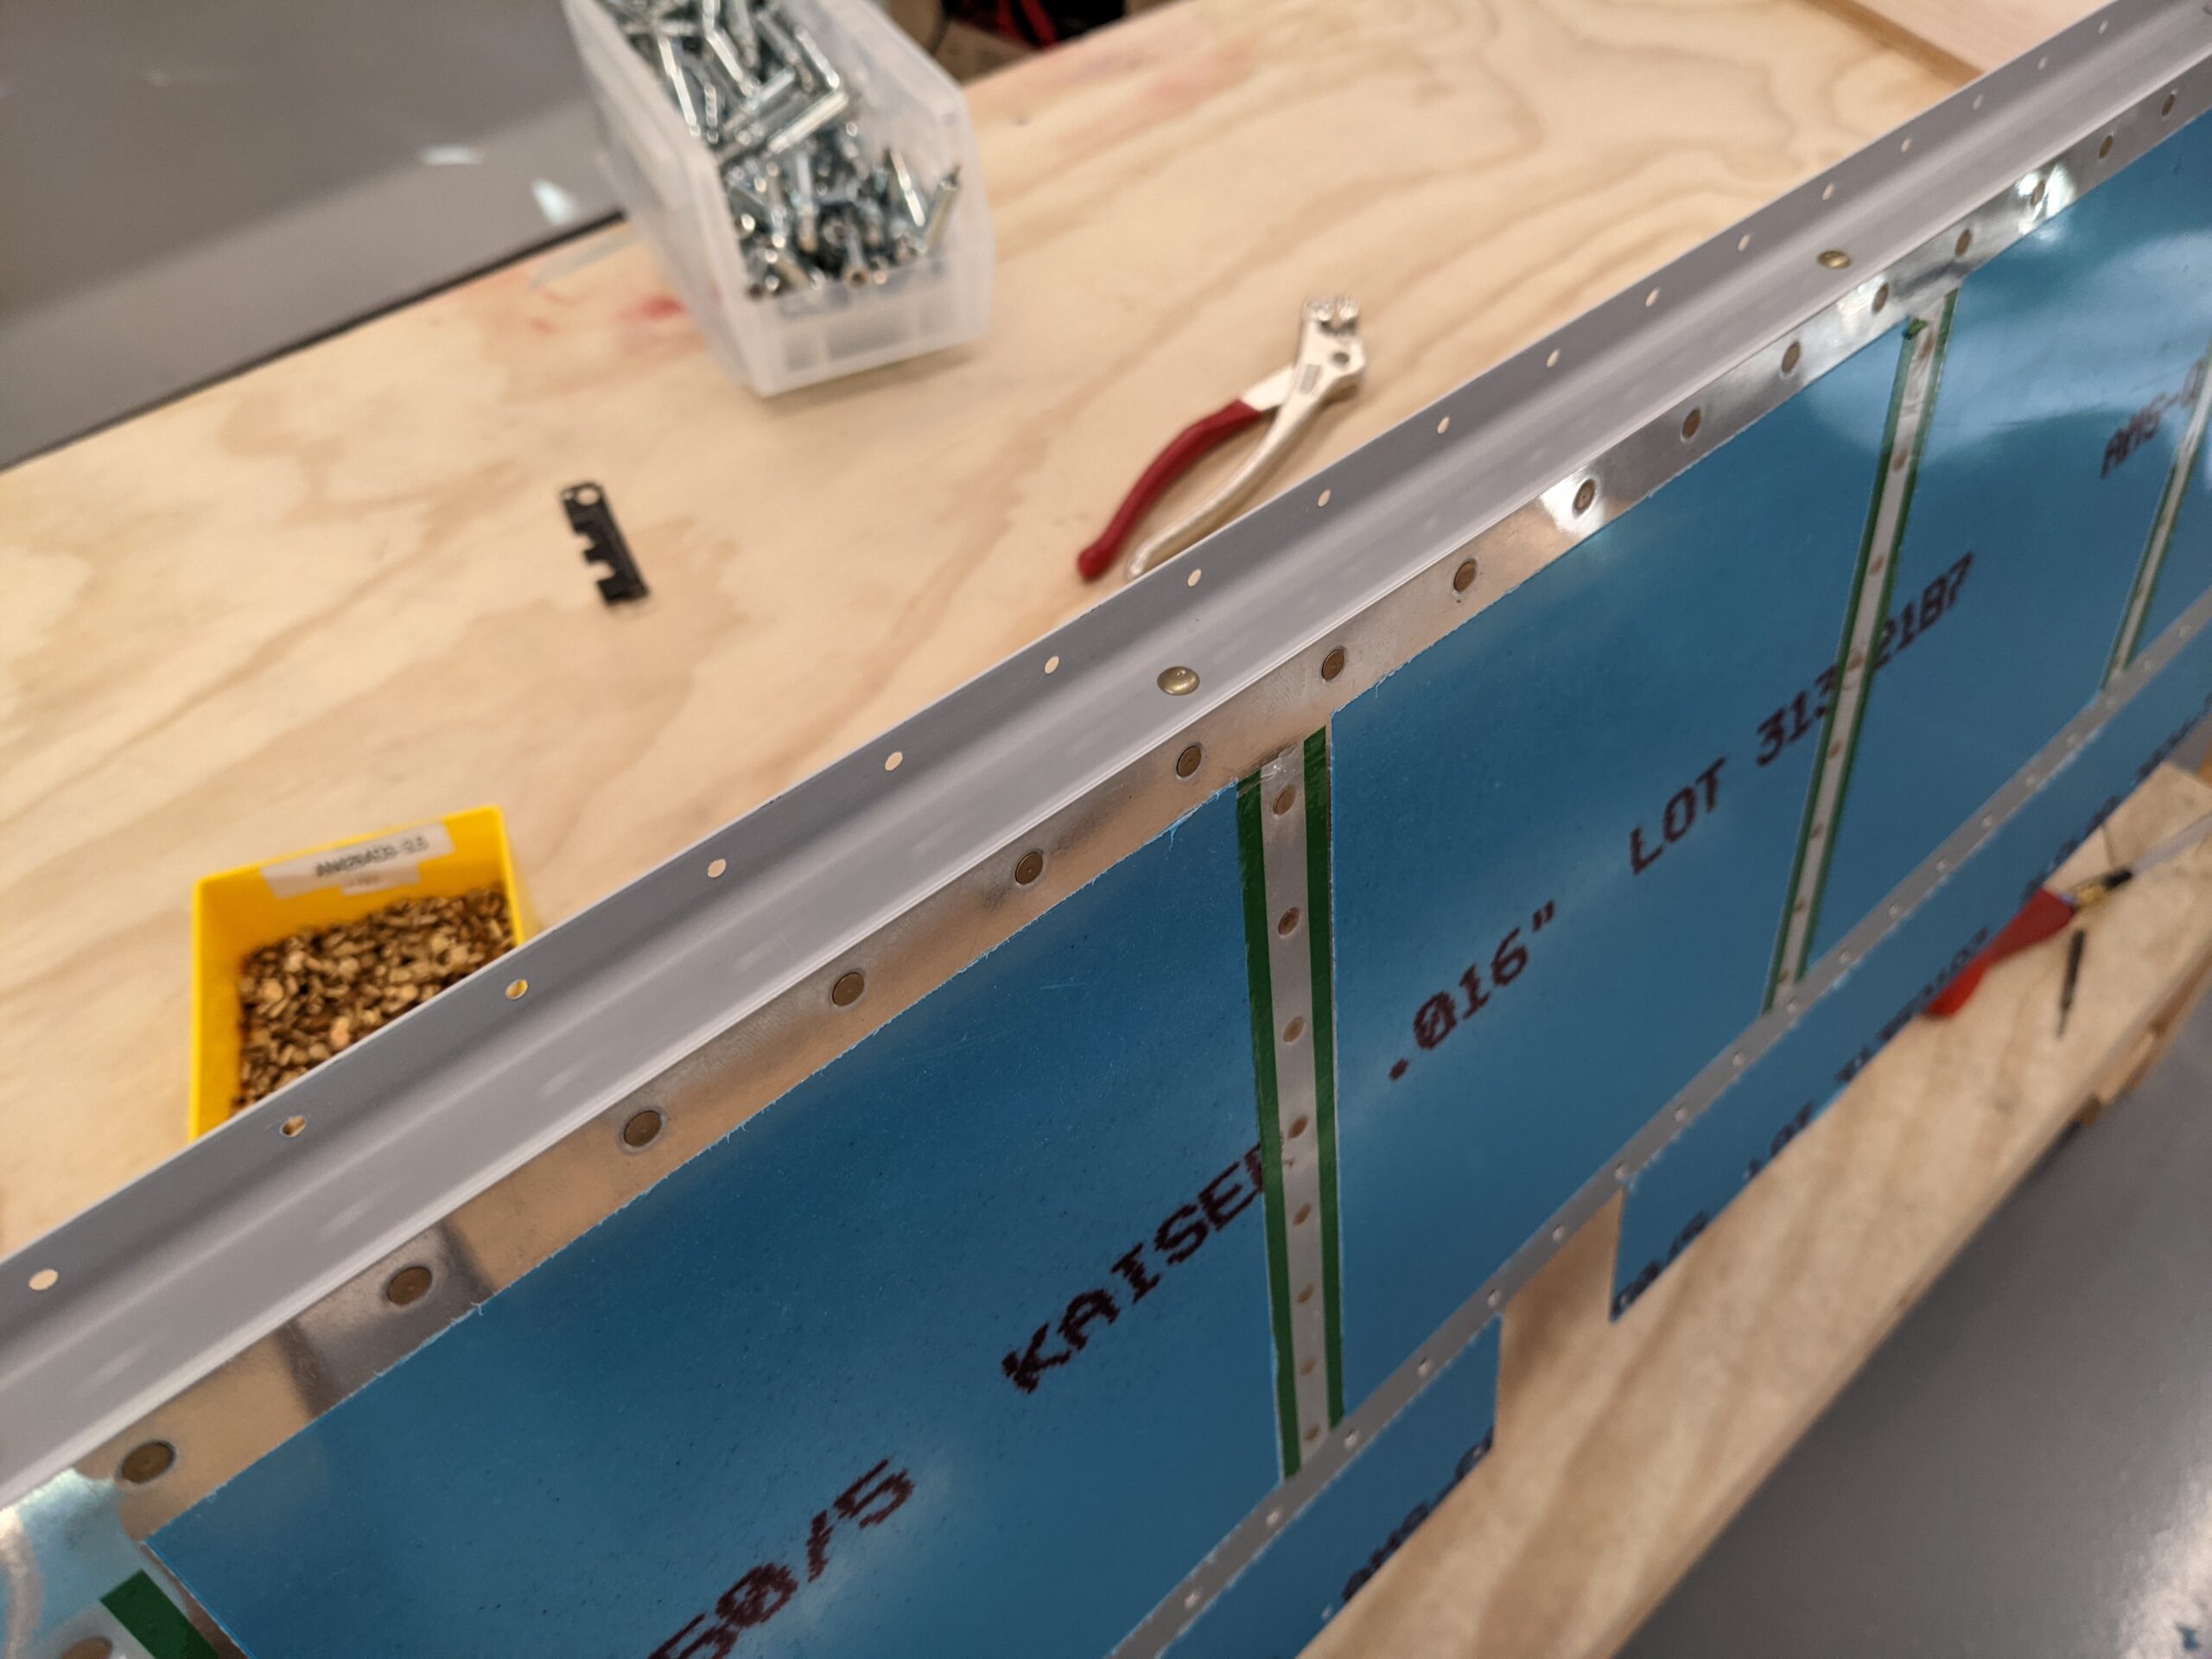
We placed the rivets in the elevator skin holes that attach the ribs to the skins and we taped them in place with back-riveting tape.
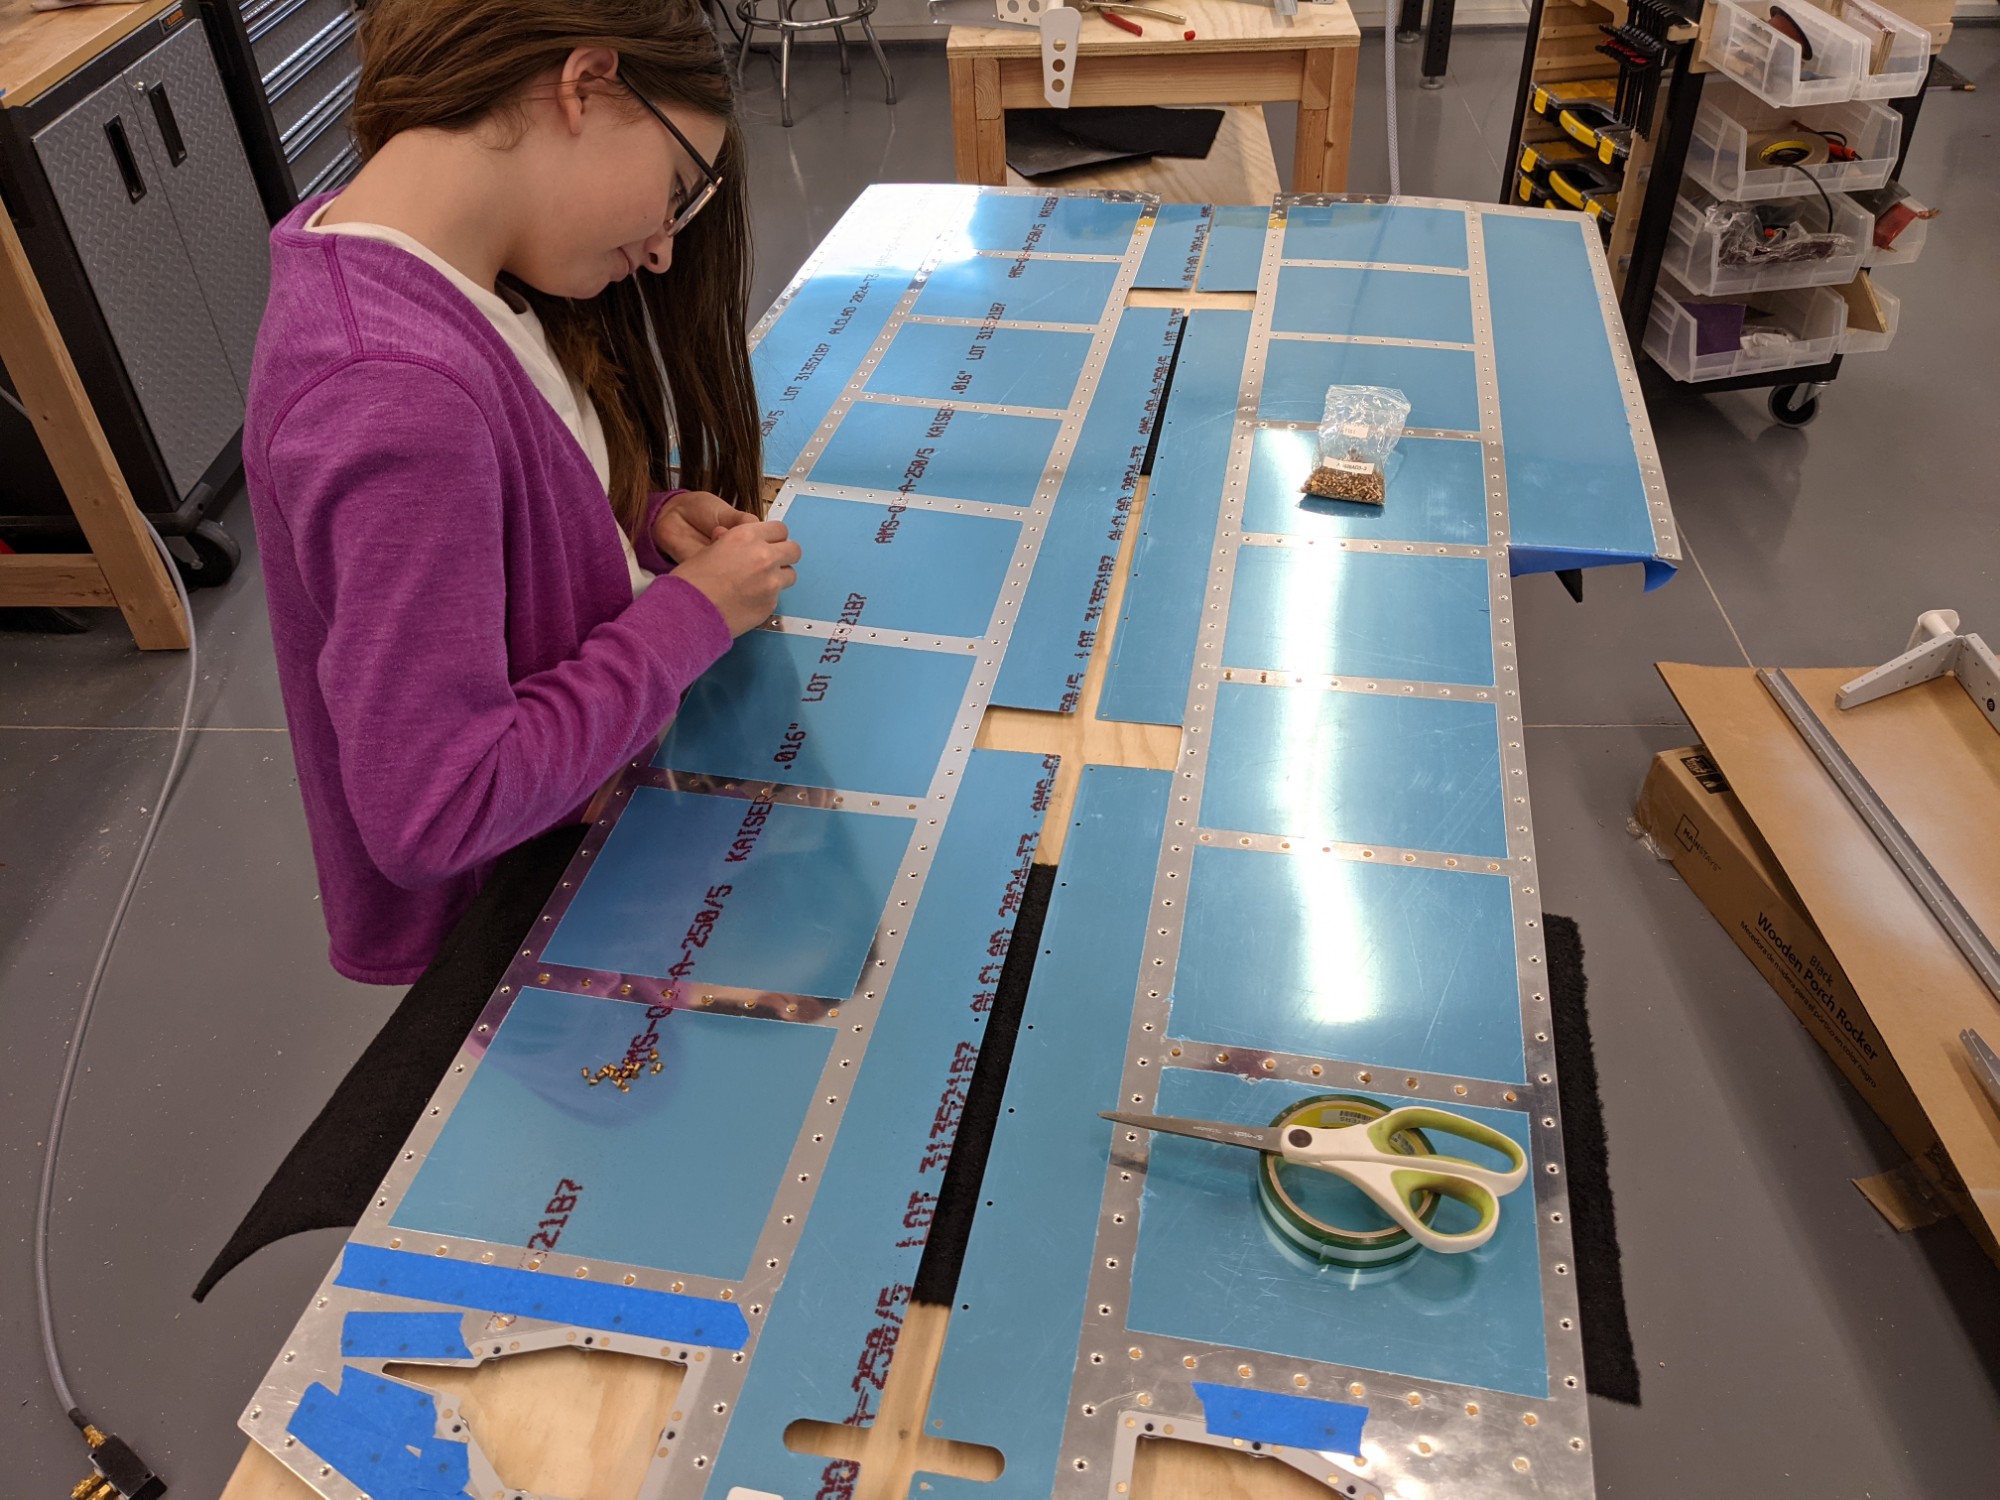
We then flipped the skins over, placed the ribs, and back-riveted them into place.
I used a 12″ back-rivet set for the final rivet on the taller side of the ribs as the angle of the flange makes it challenging to get the shorter back-rivet set in there.
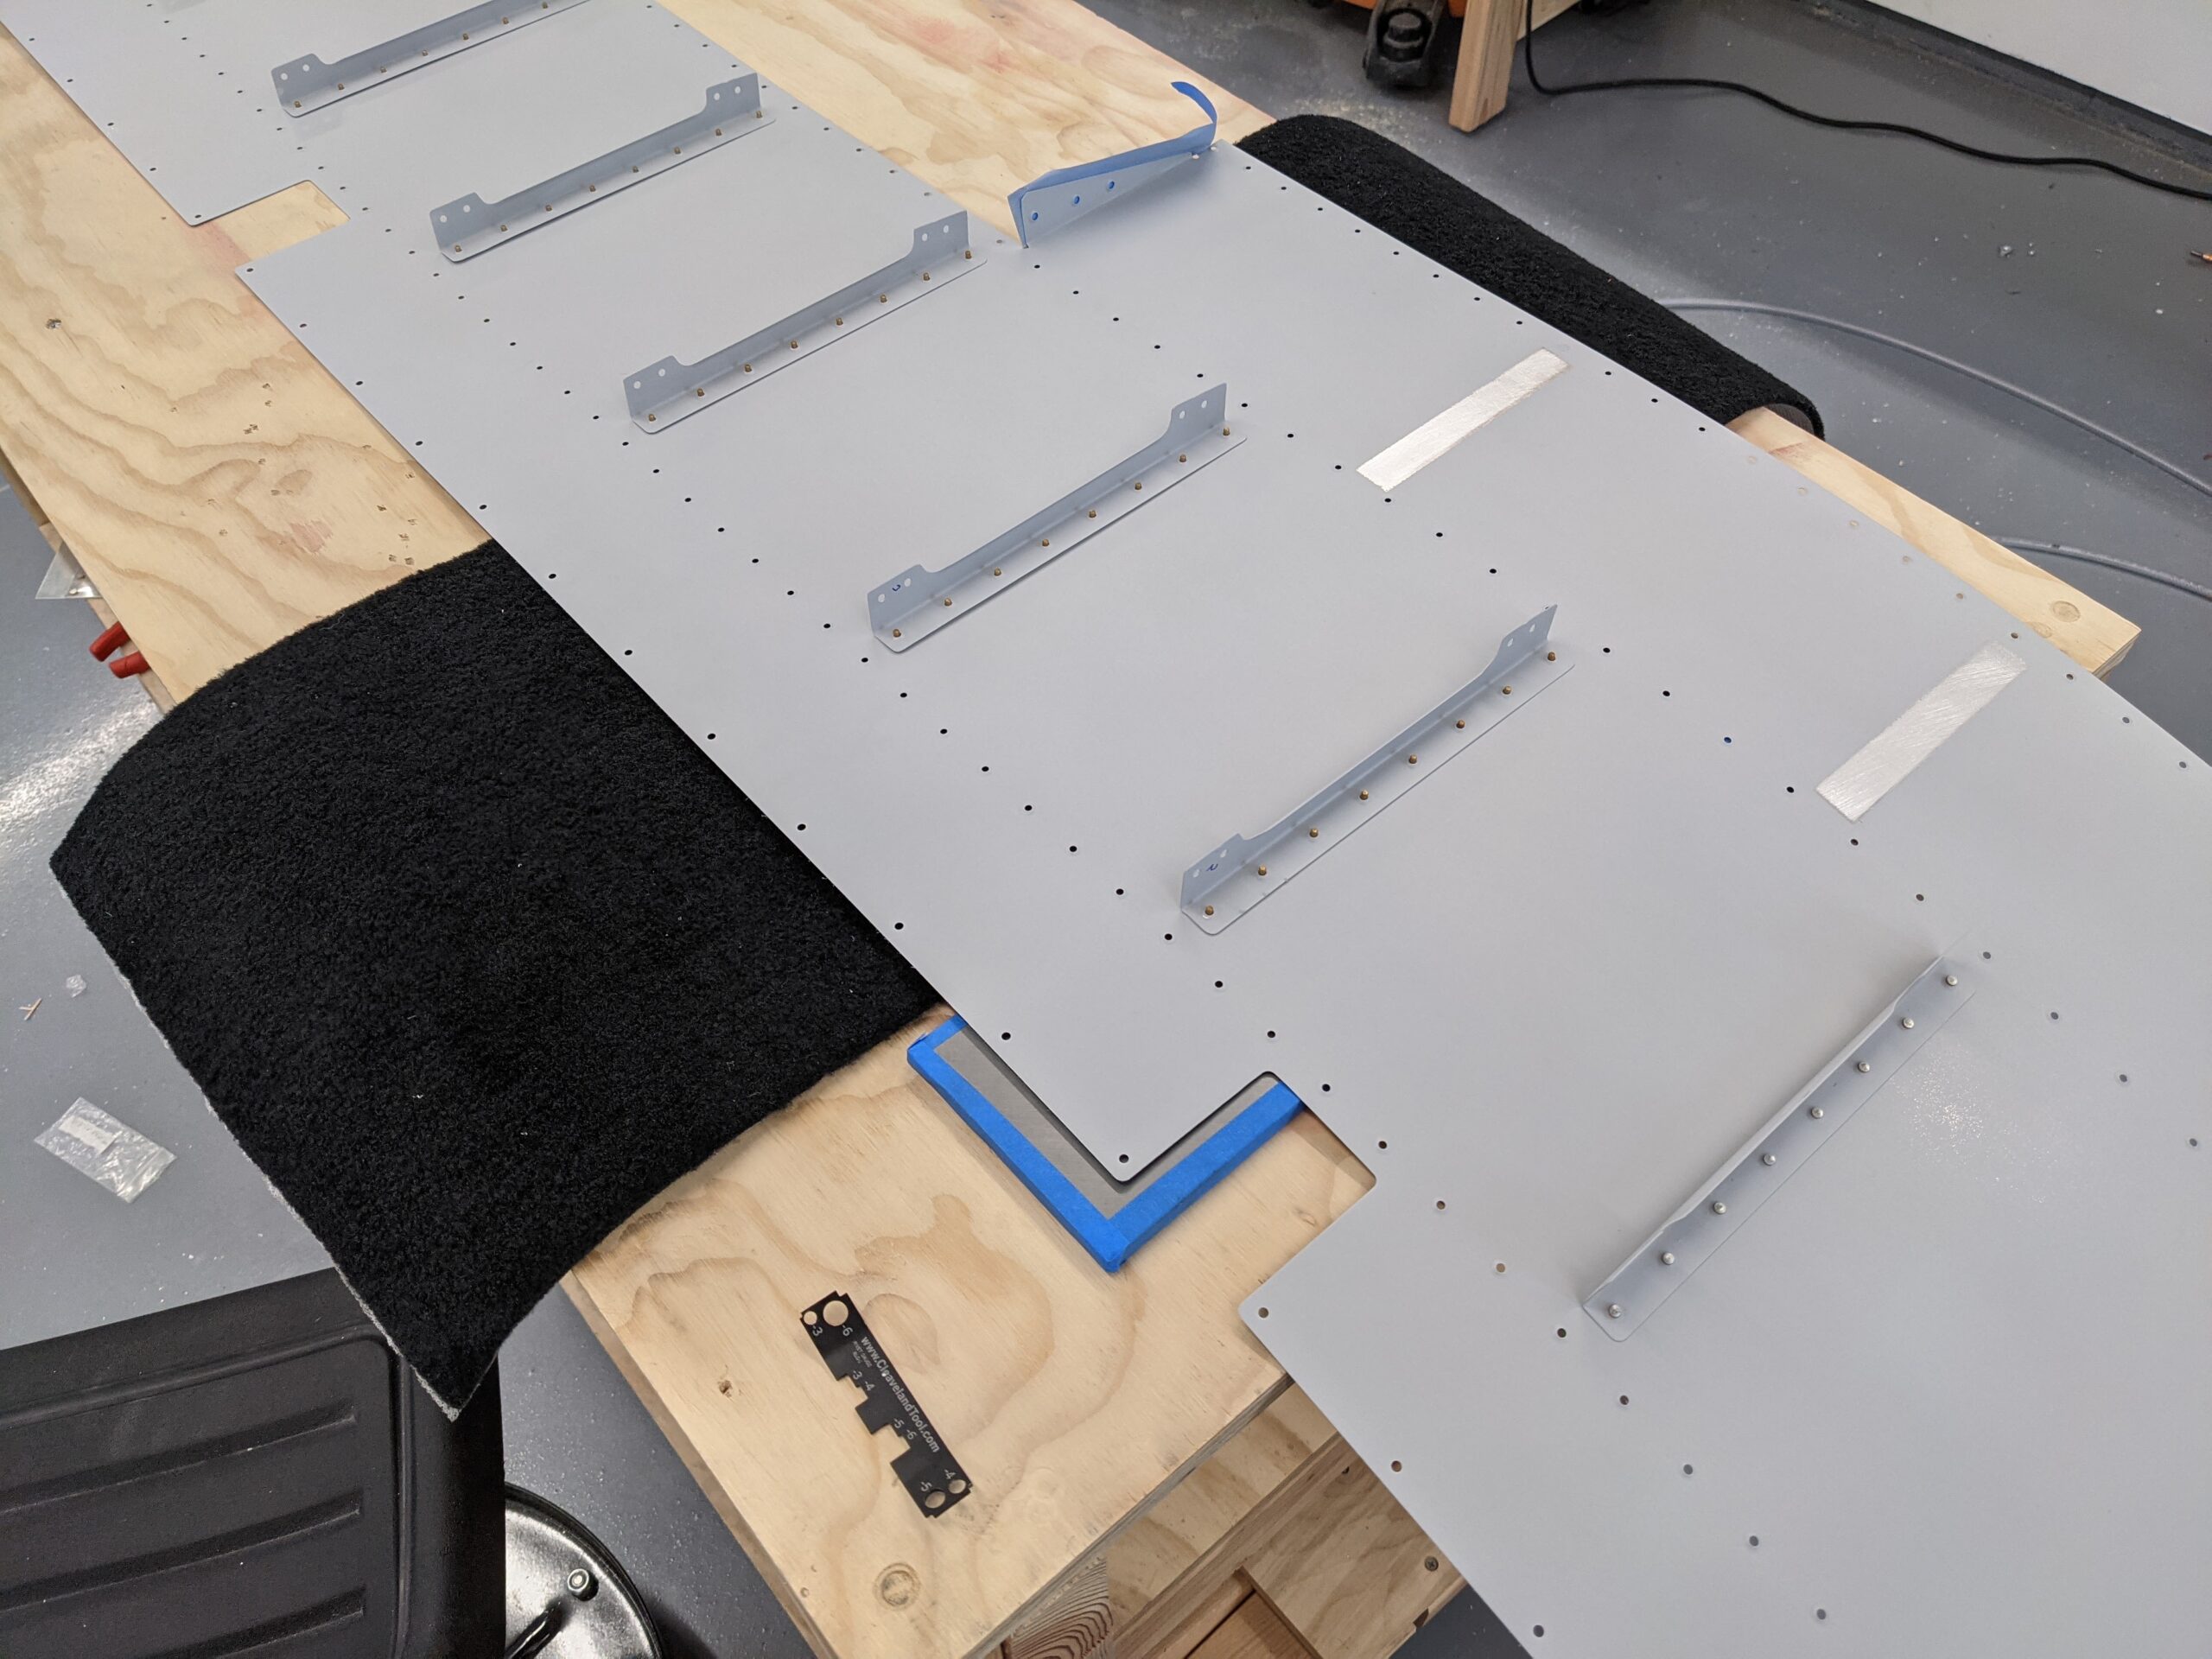
I then clecoed the rear spars into place and riveted them to the ribs with the pneumatic squeezer.
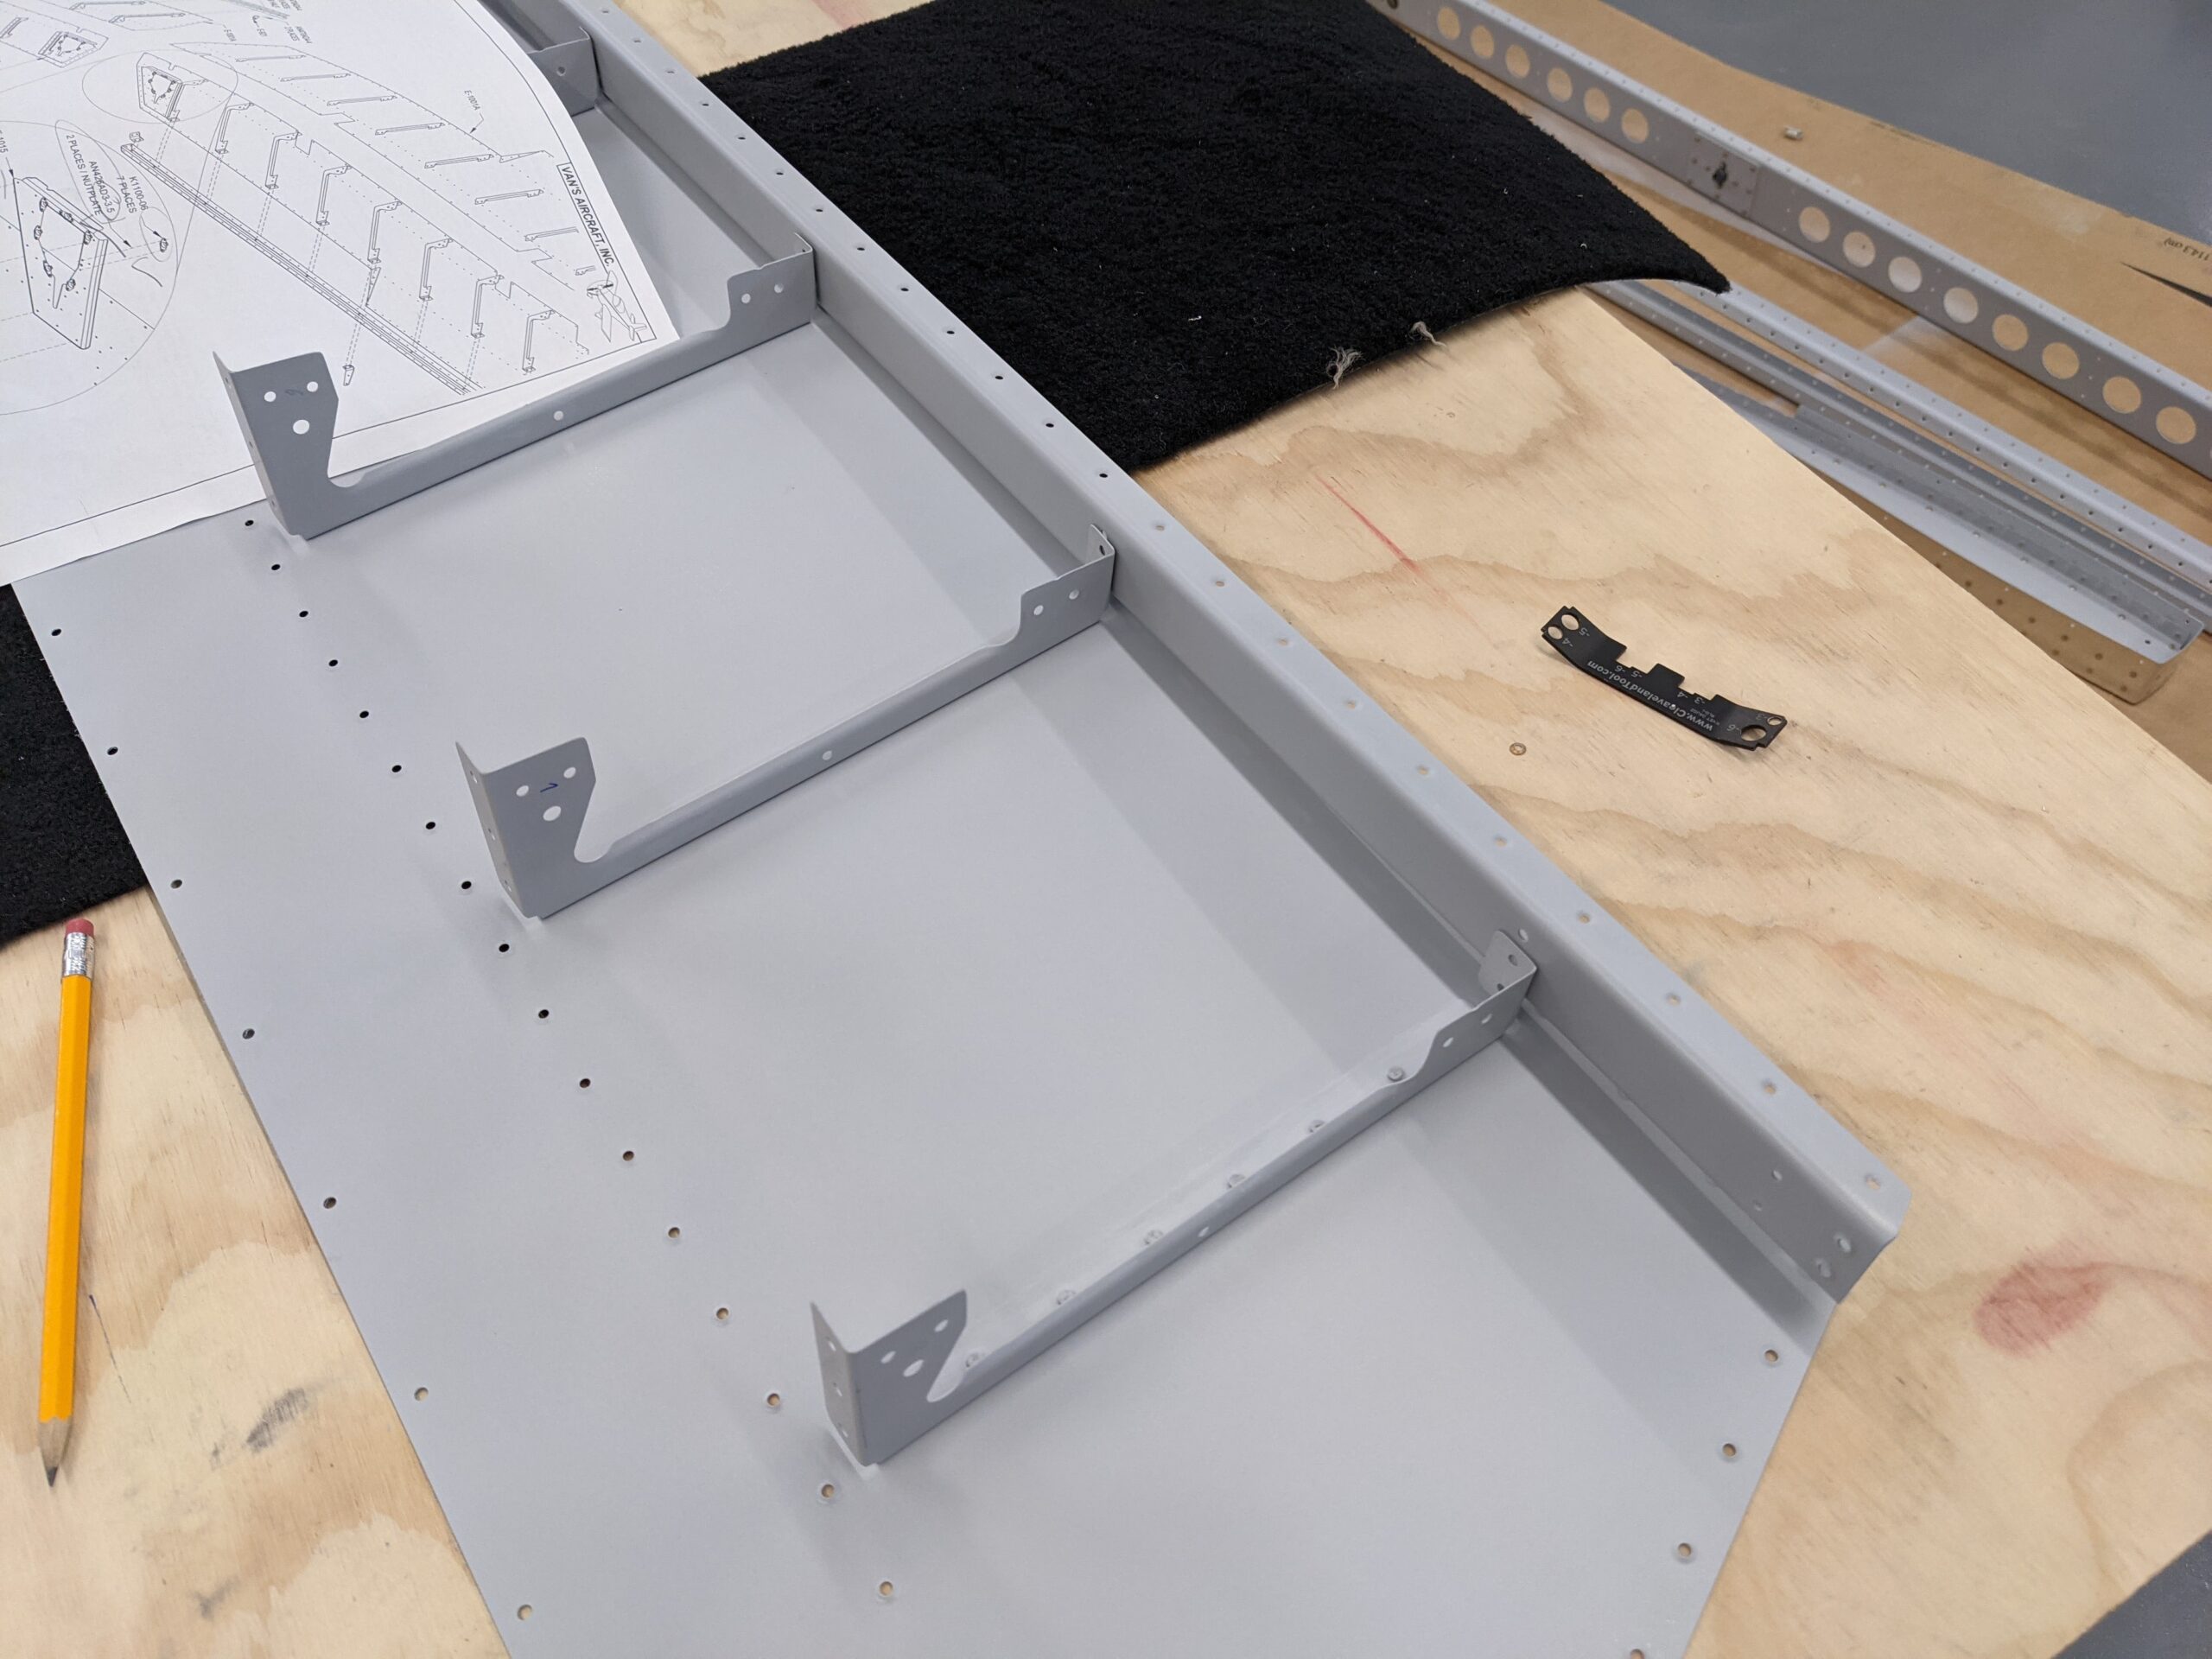
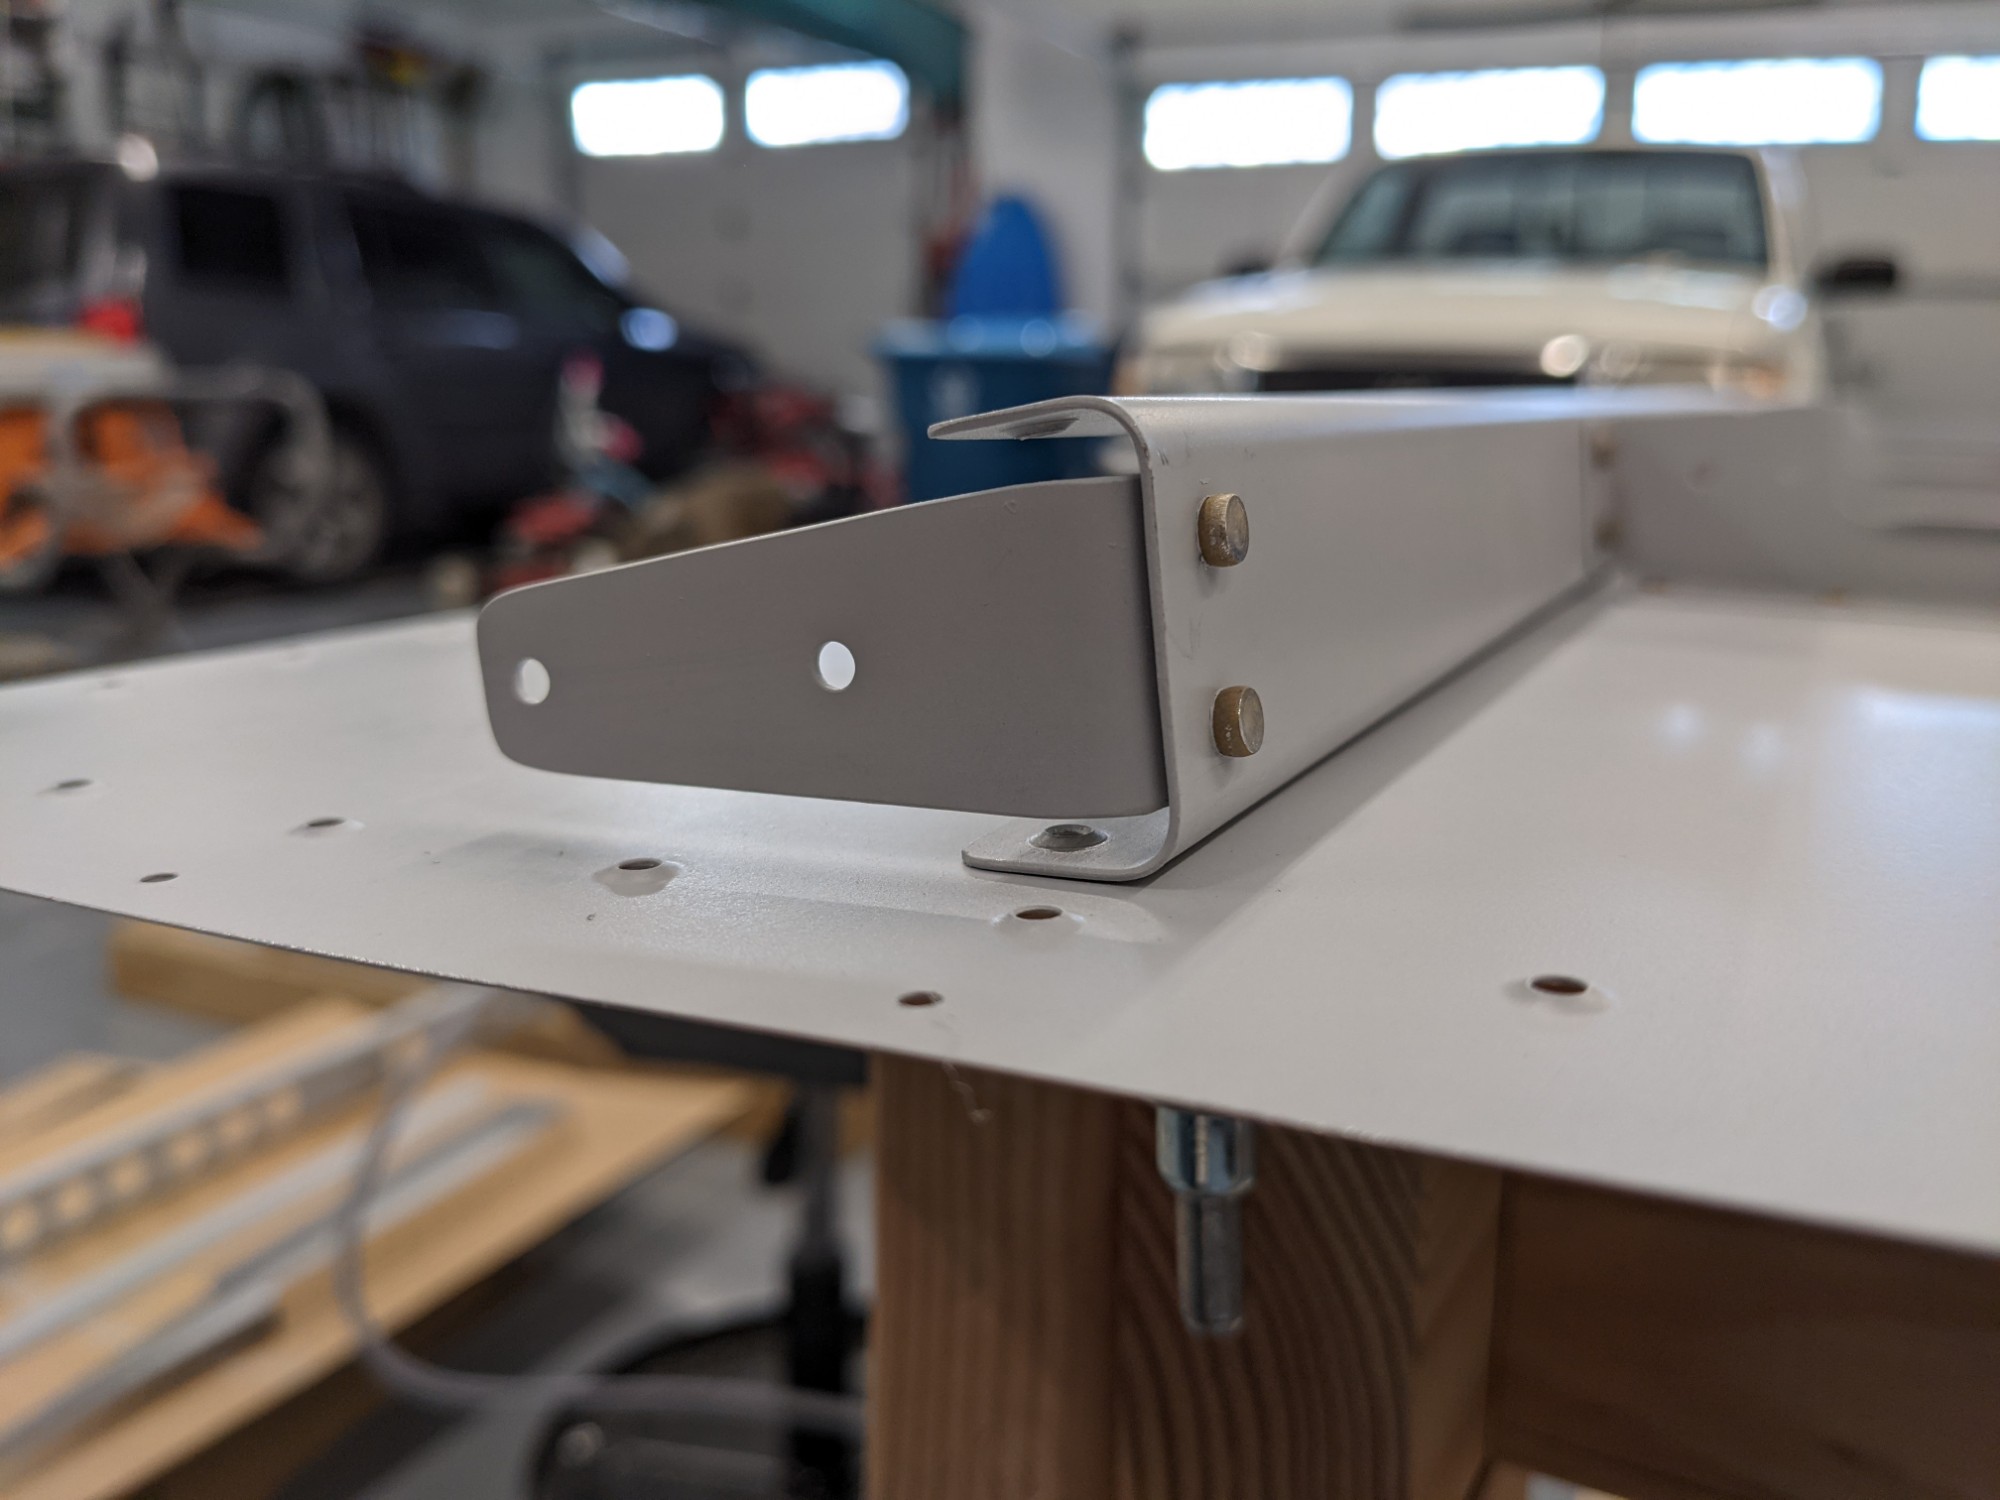
The rivets for the inner shear clip were too tight for the squeezer so I used an offset rivet set with a bucking bar here.
The outer shear clips were easy to access with the squeezer.
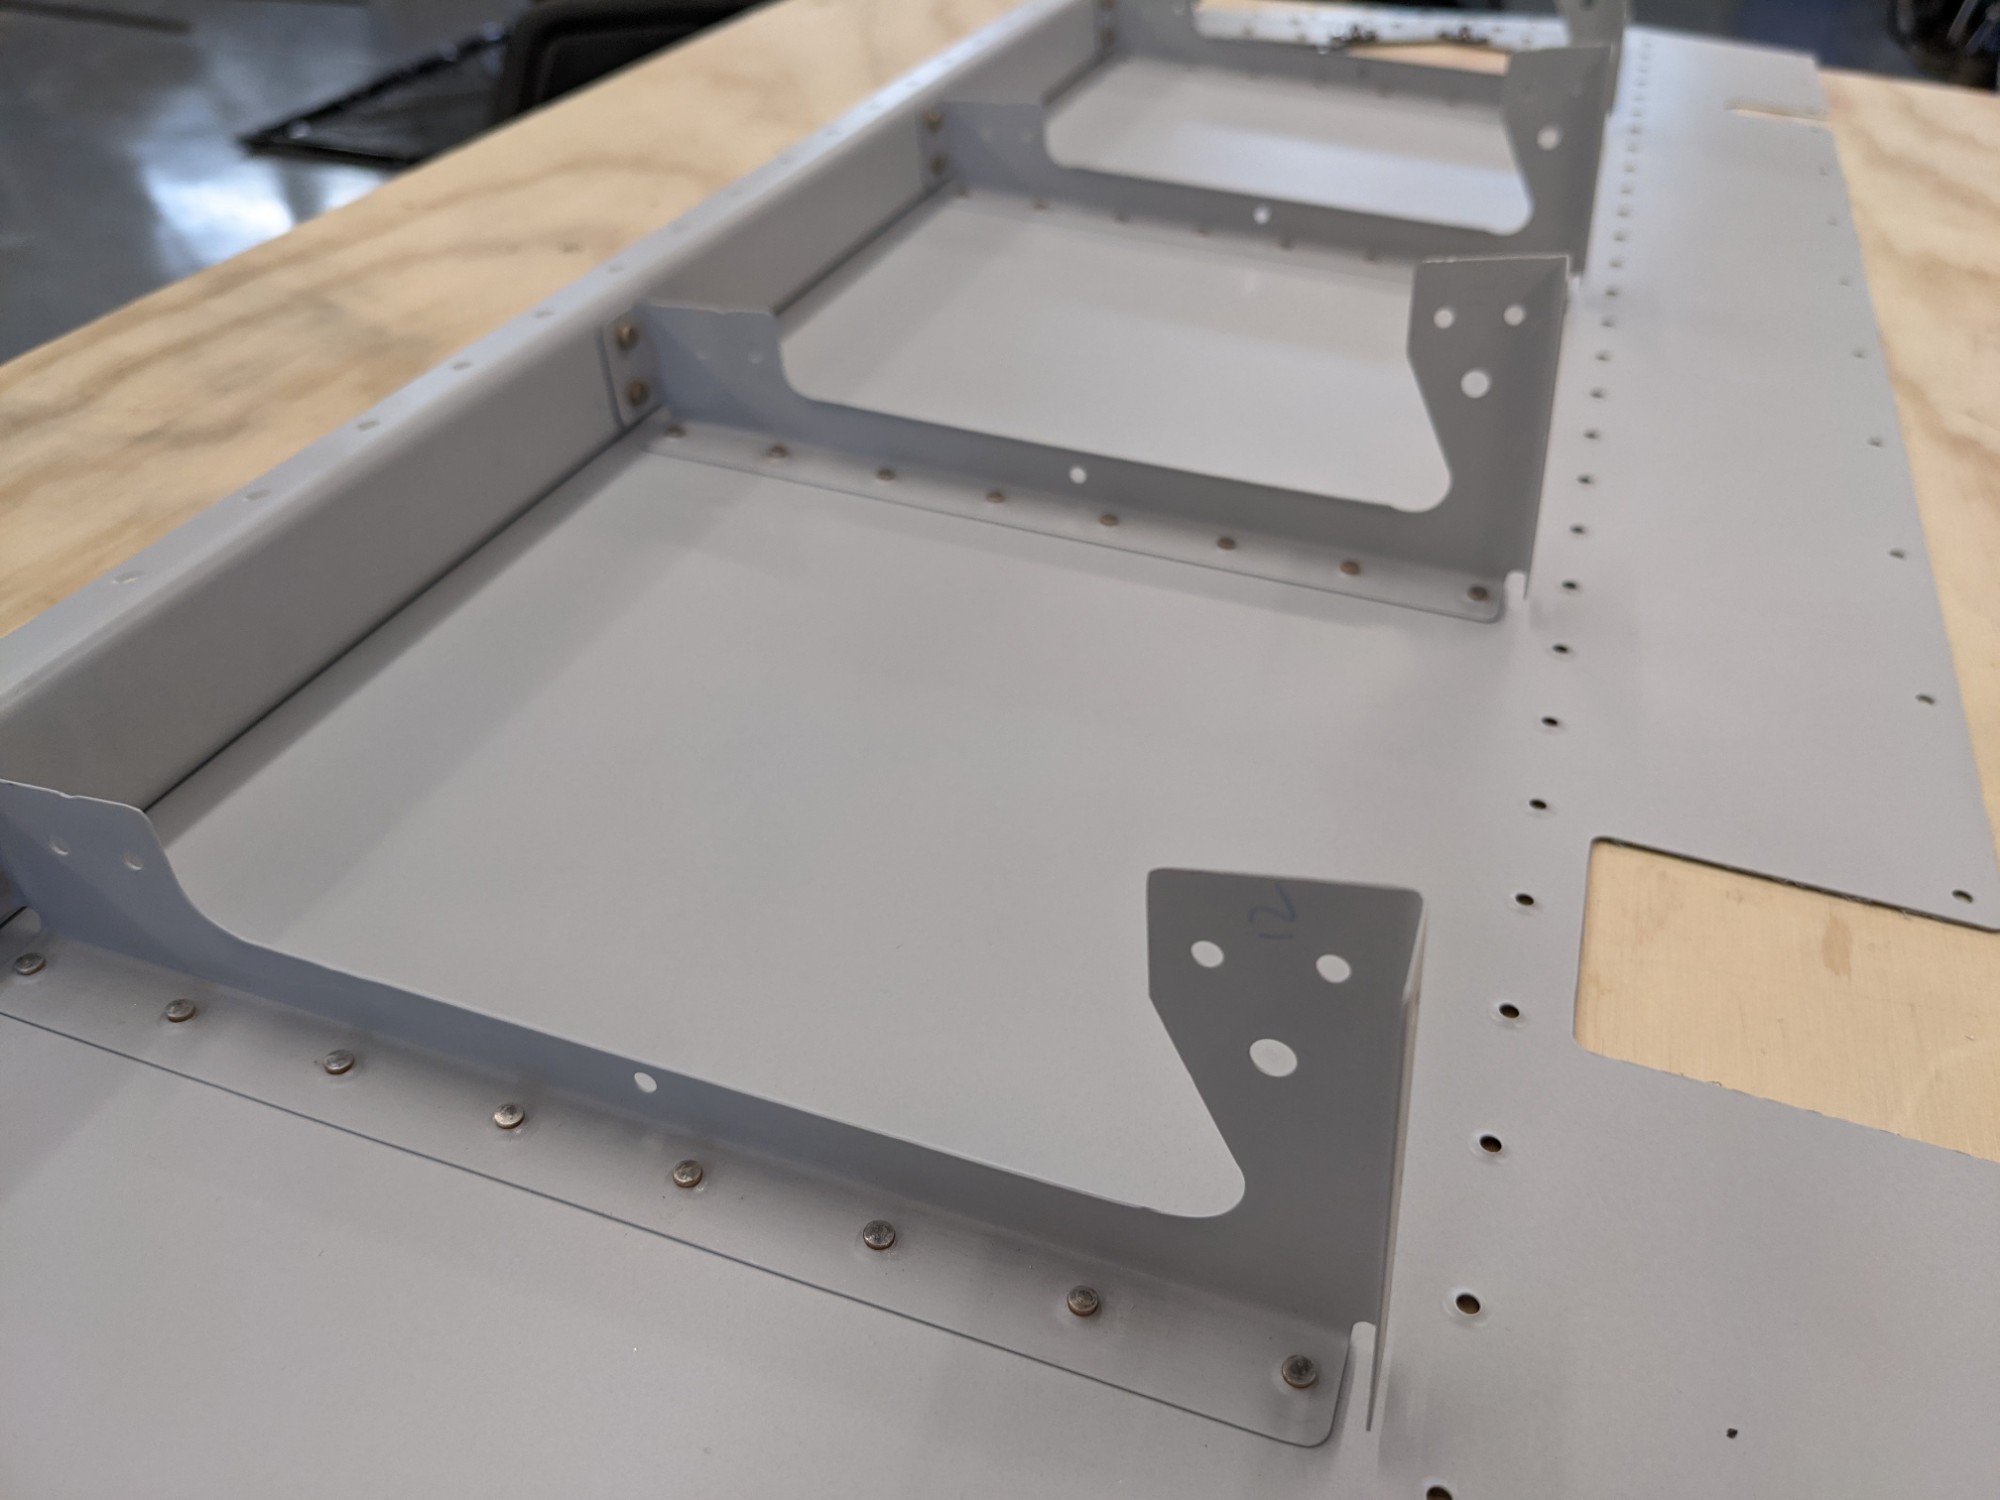
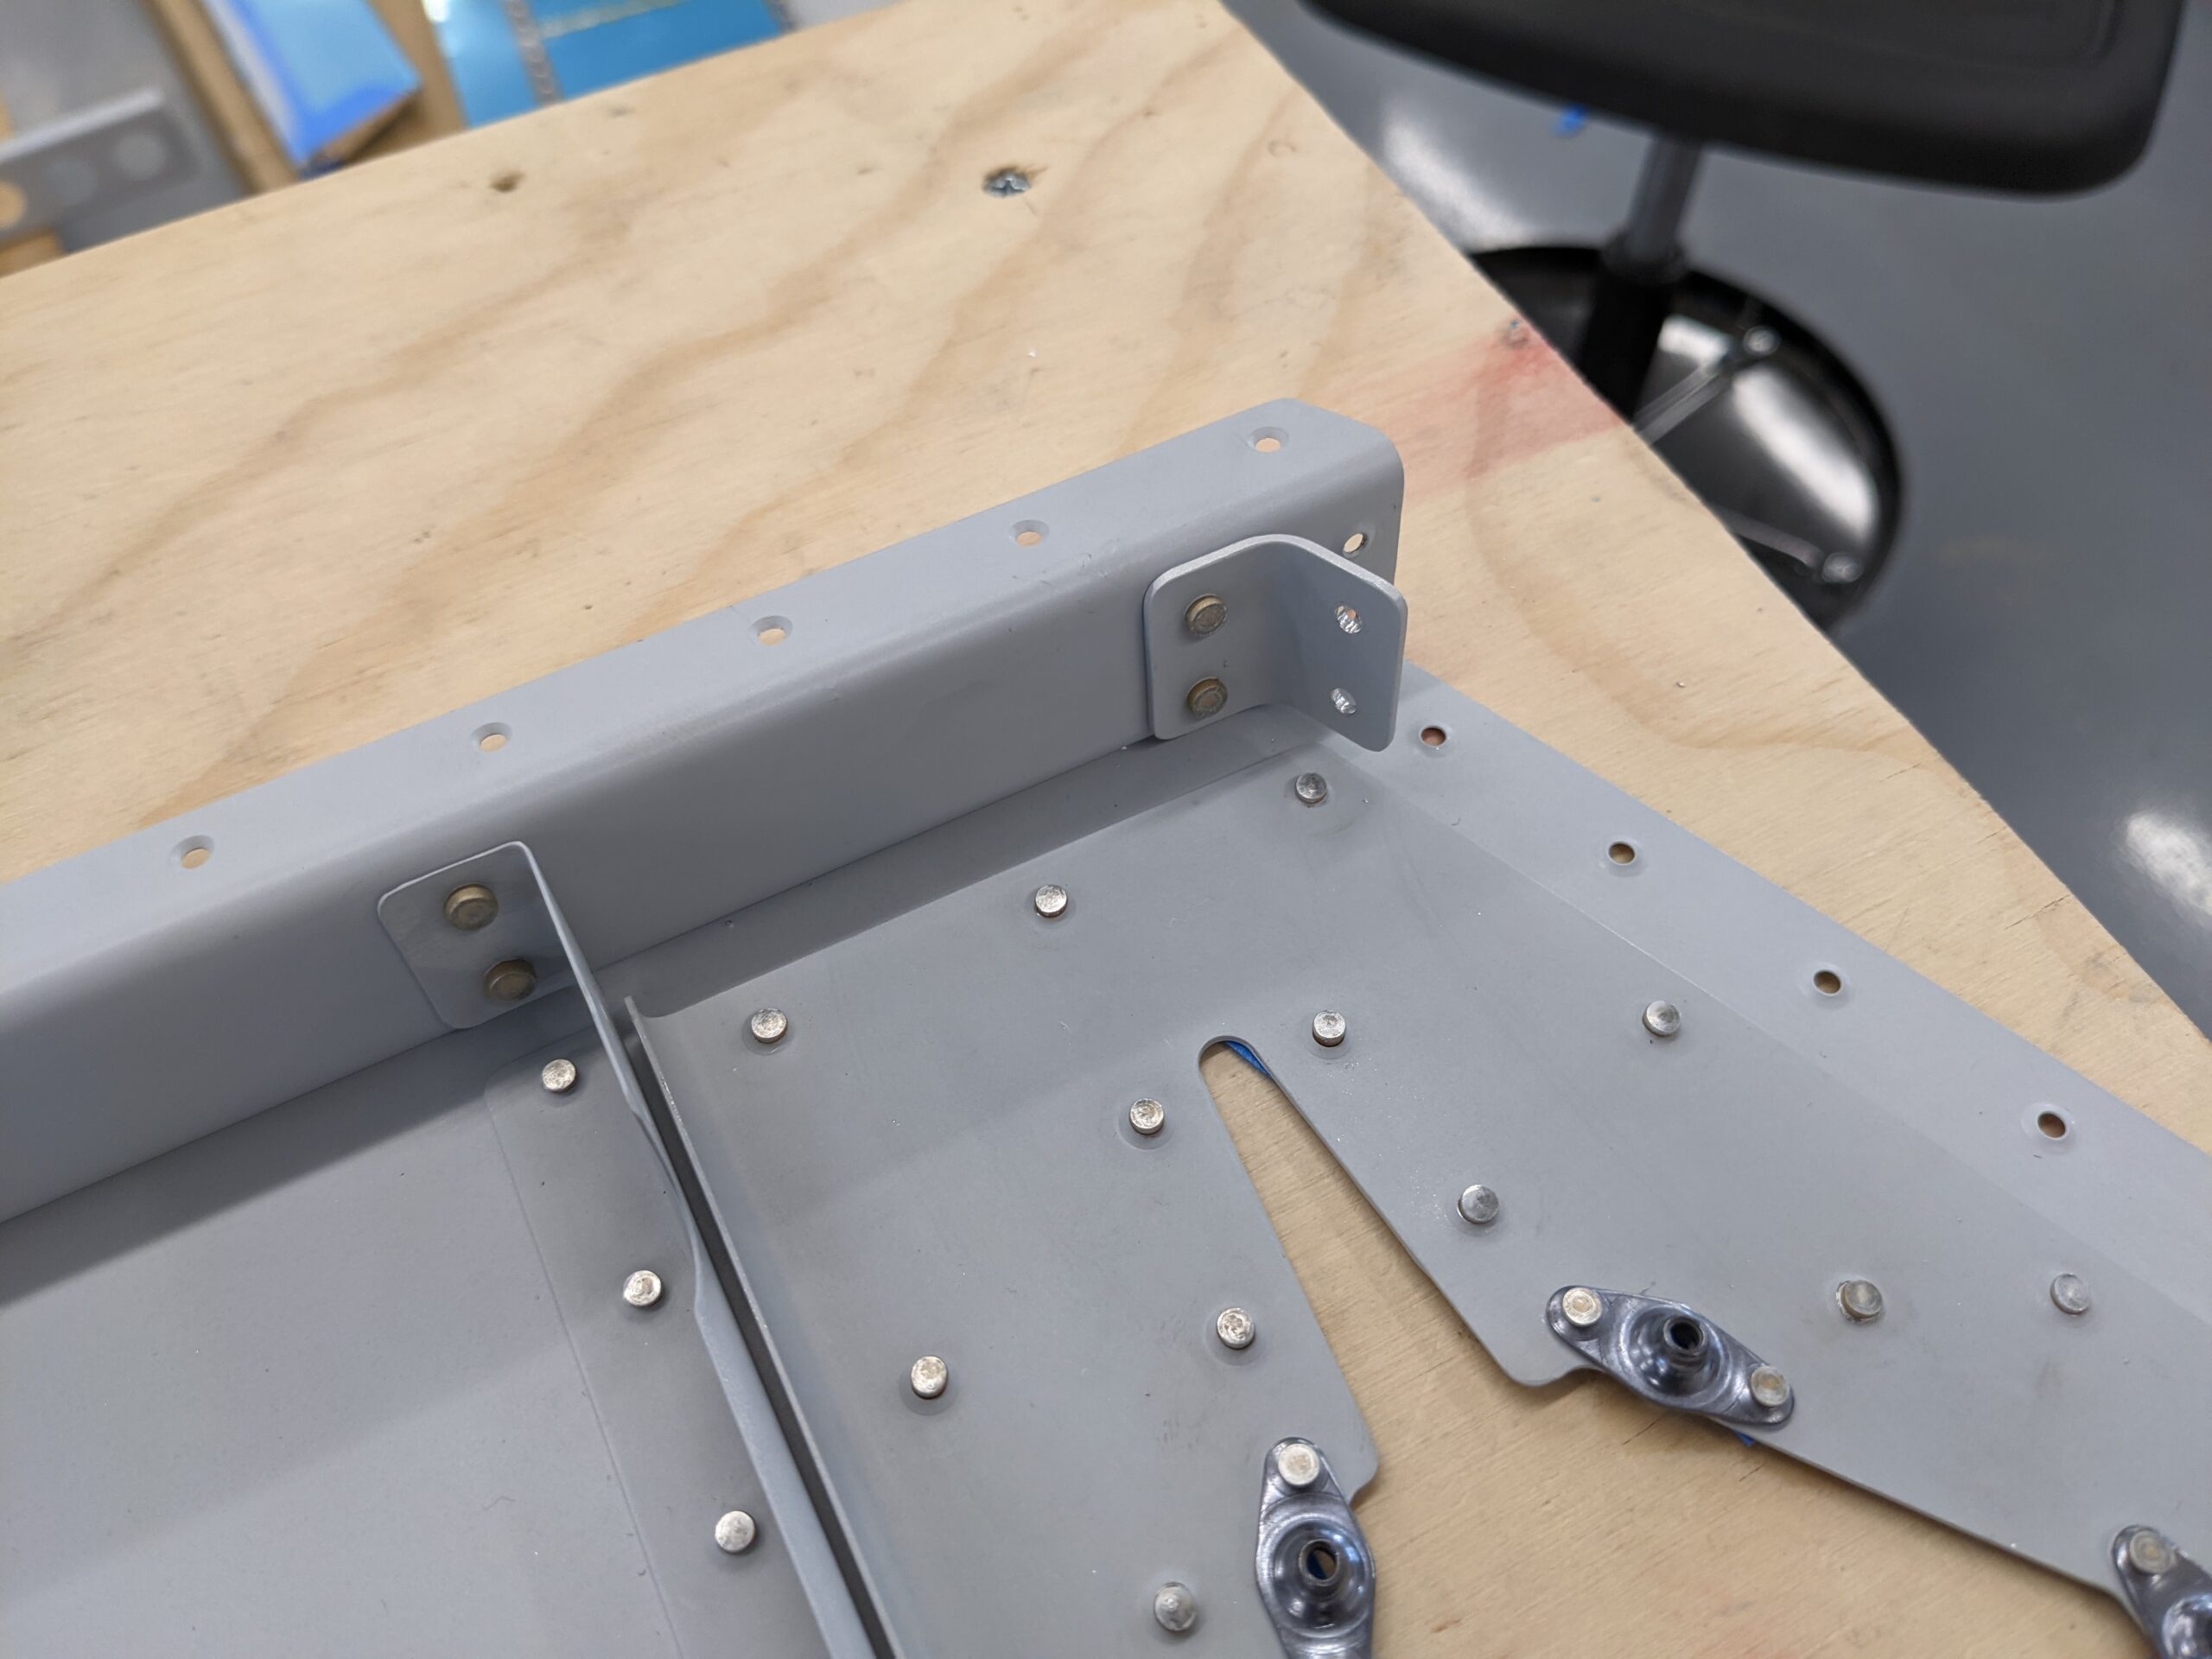
When I got to the elevator gussets I realized that I had sized these holes to #40 instead of upsizing them to #30. I clecoed the forward spar/end rib assembly back into place and final sized the holes with a #30 reamer. I then disassembled and riveted the gussets into place.
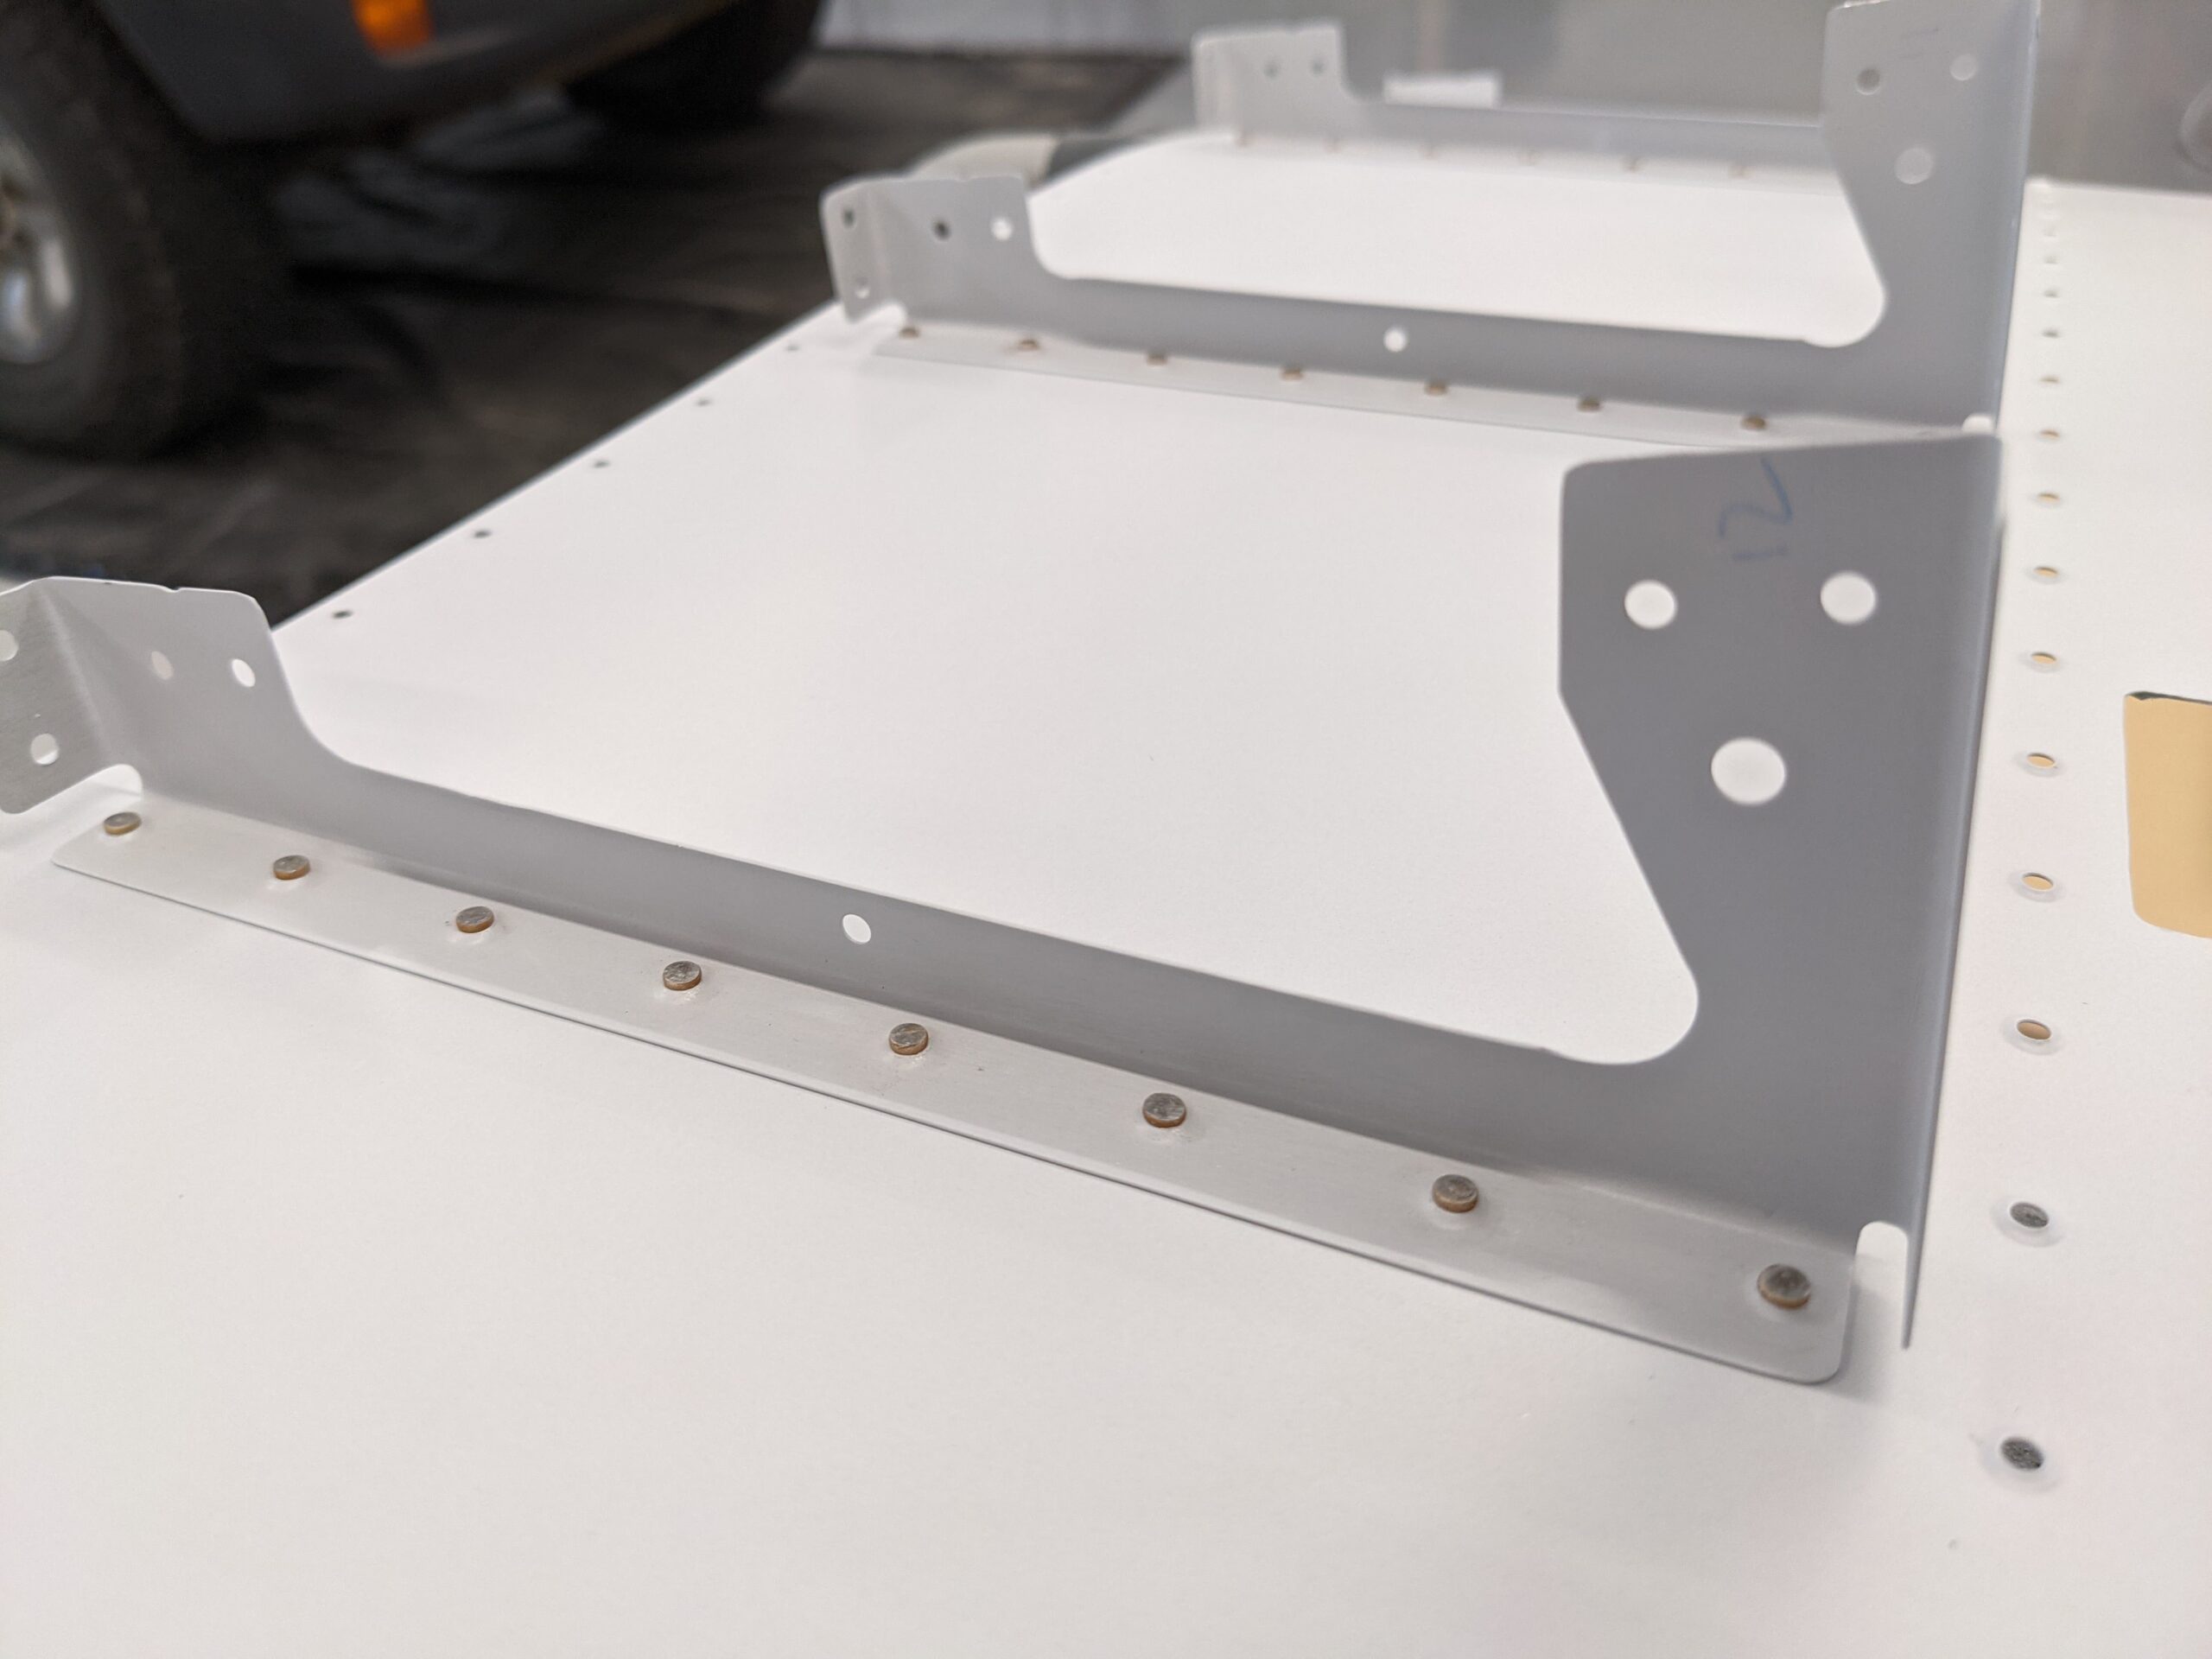
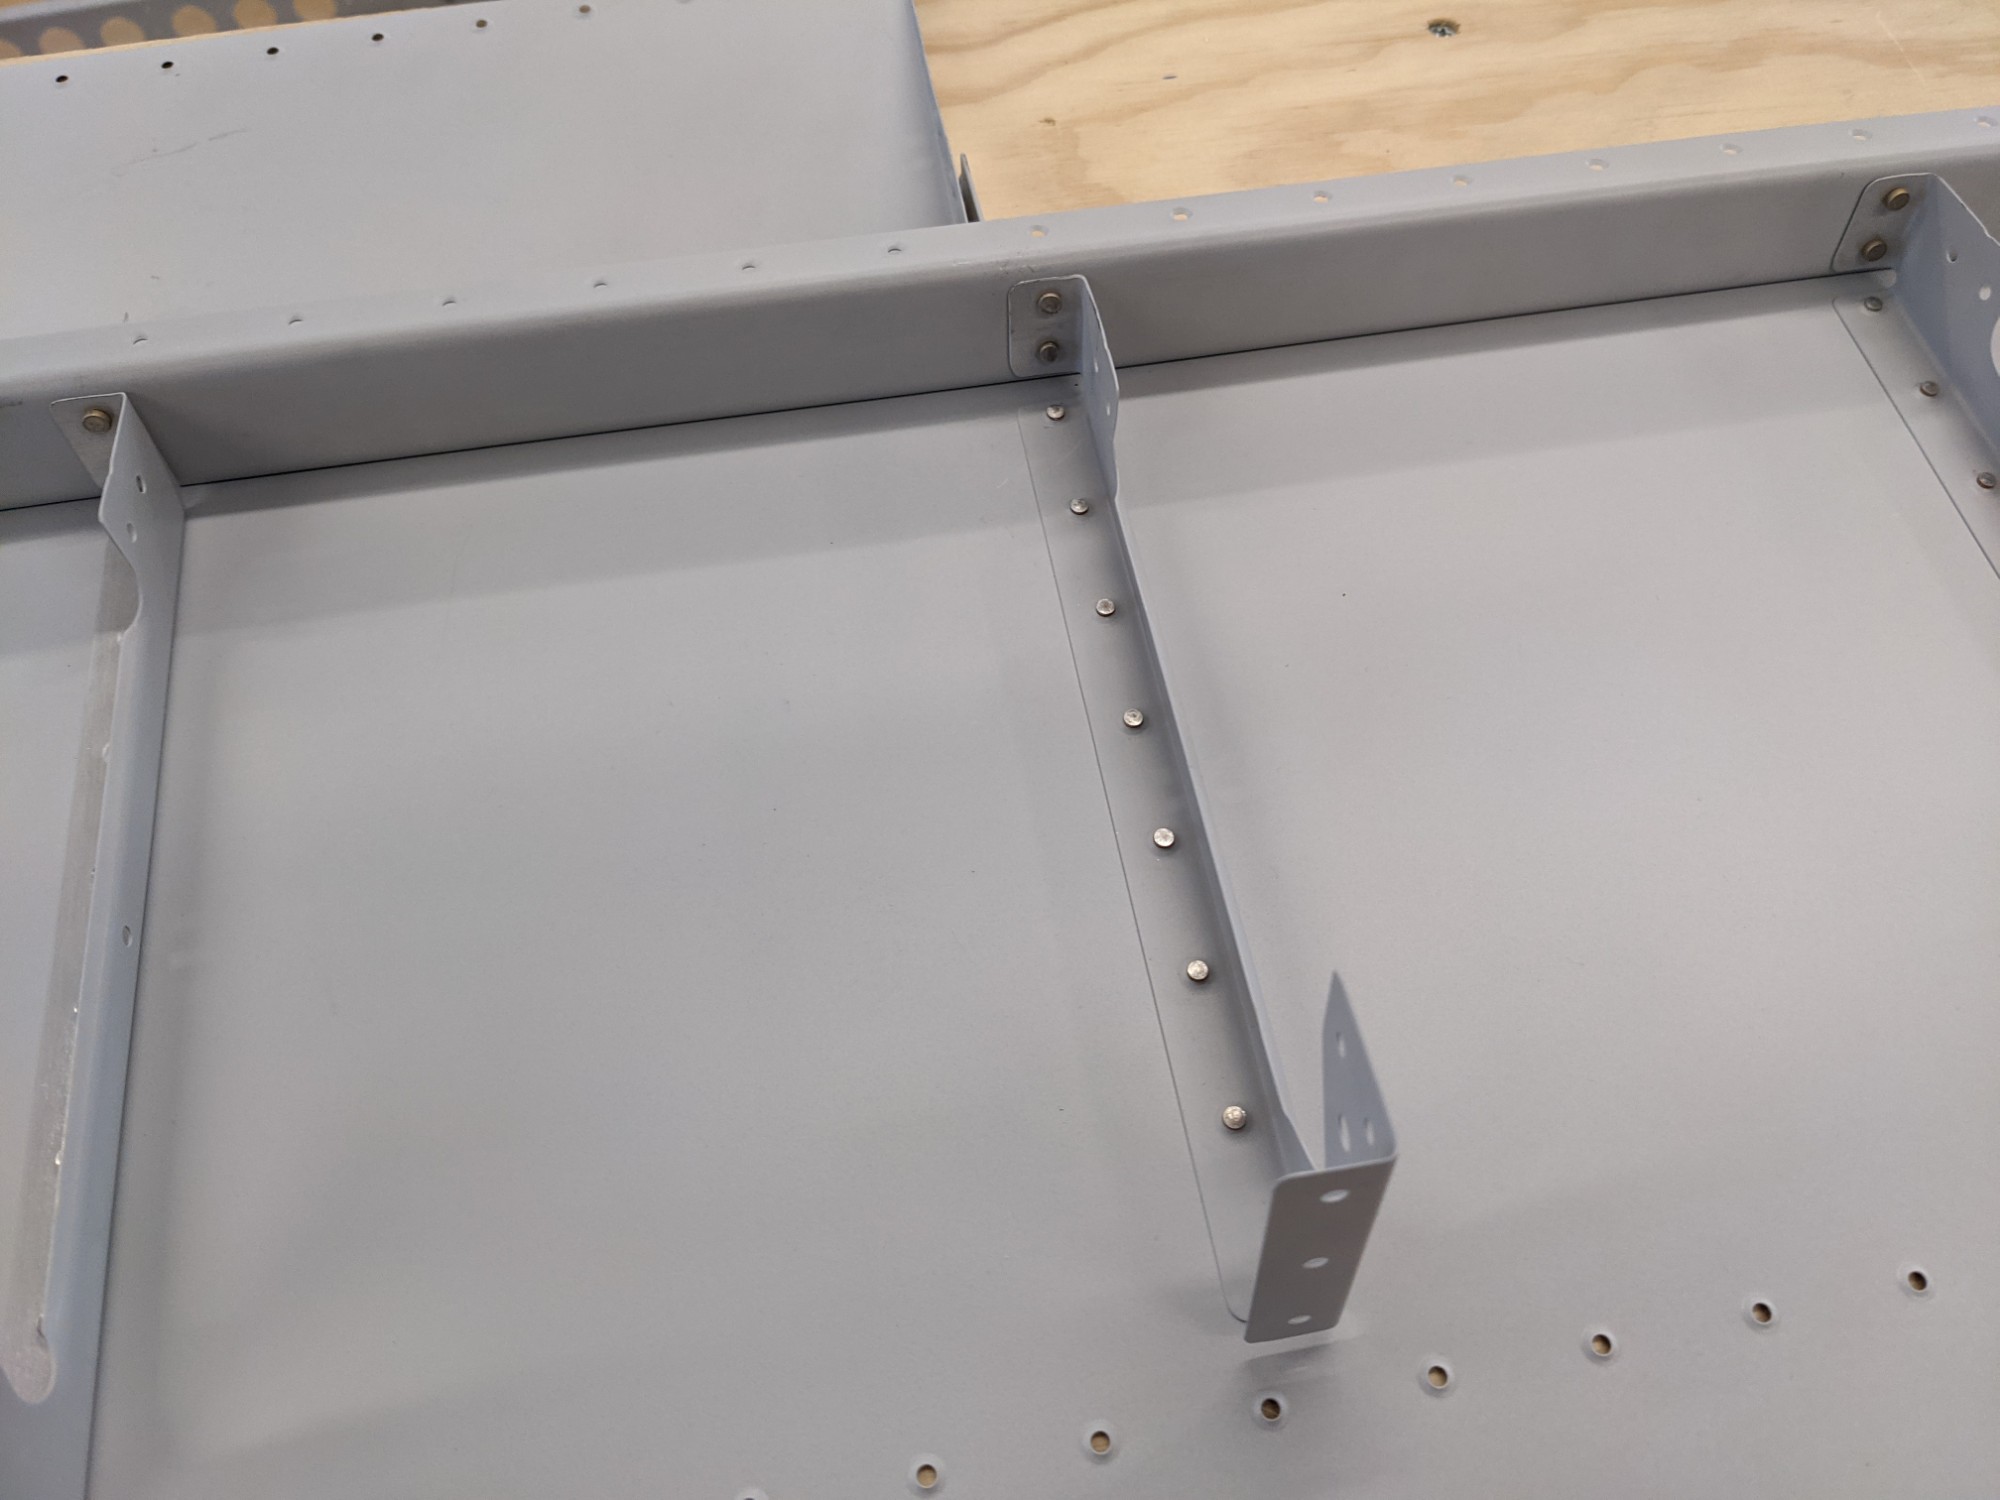
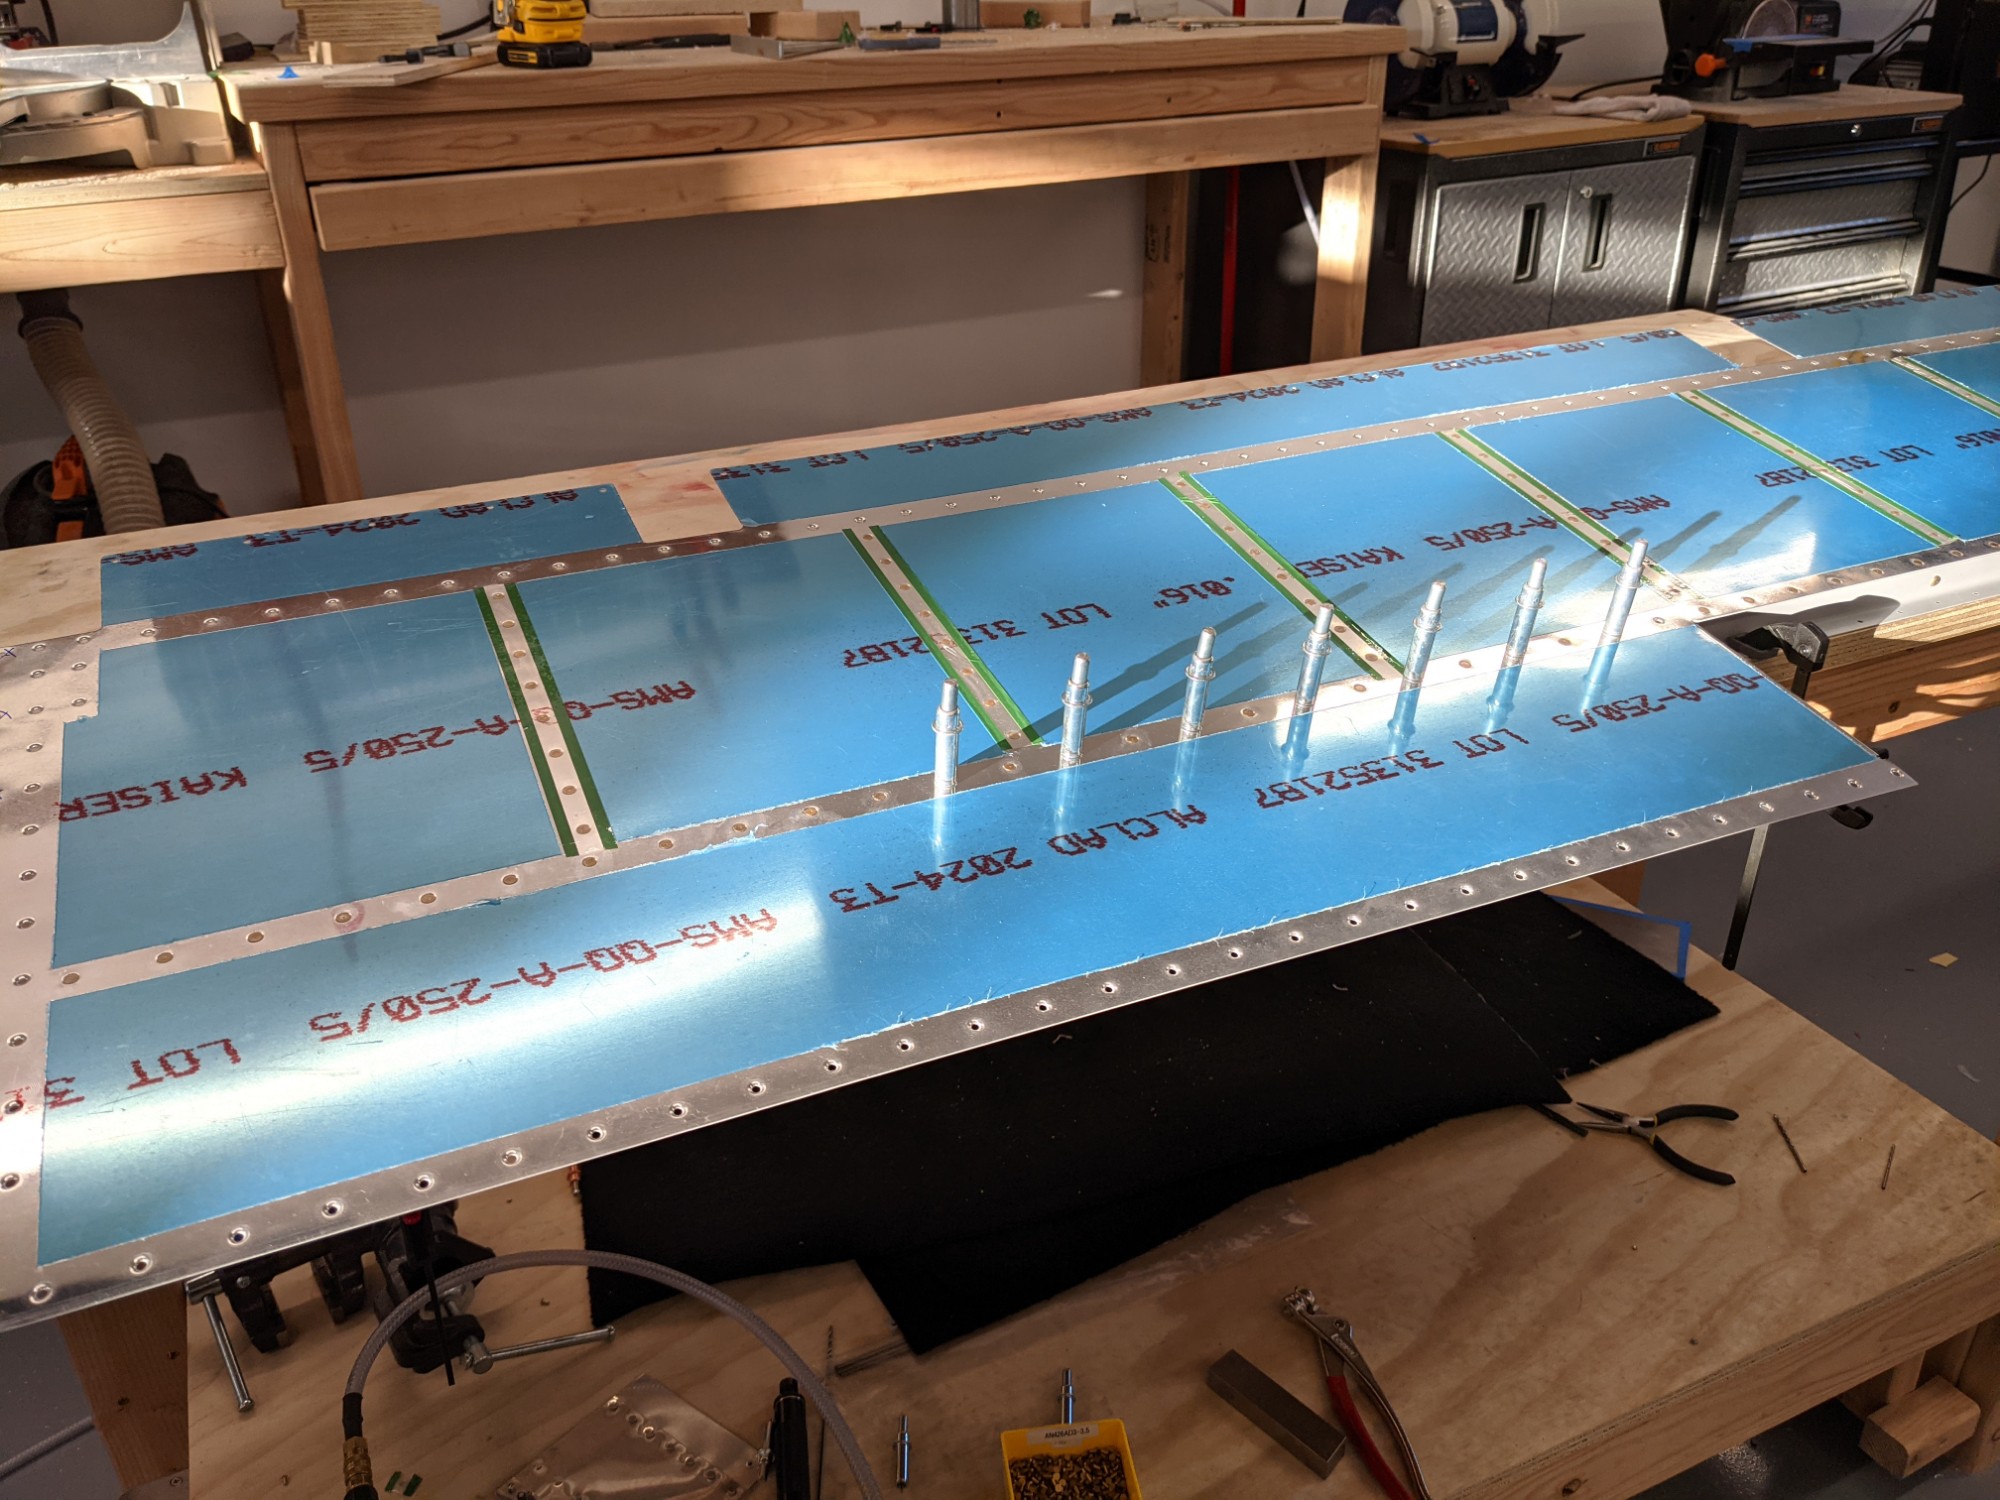
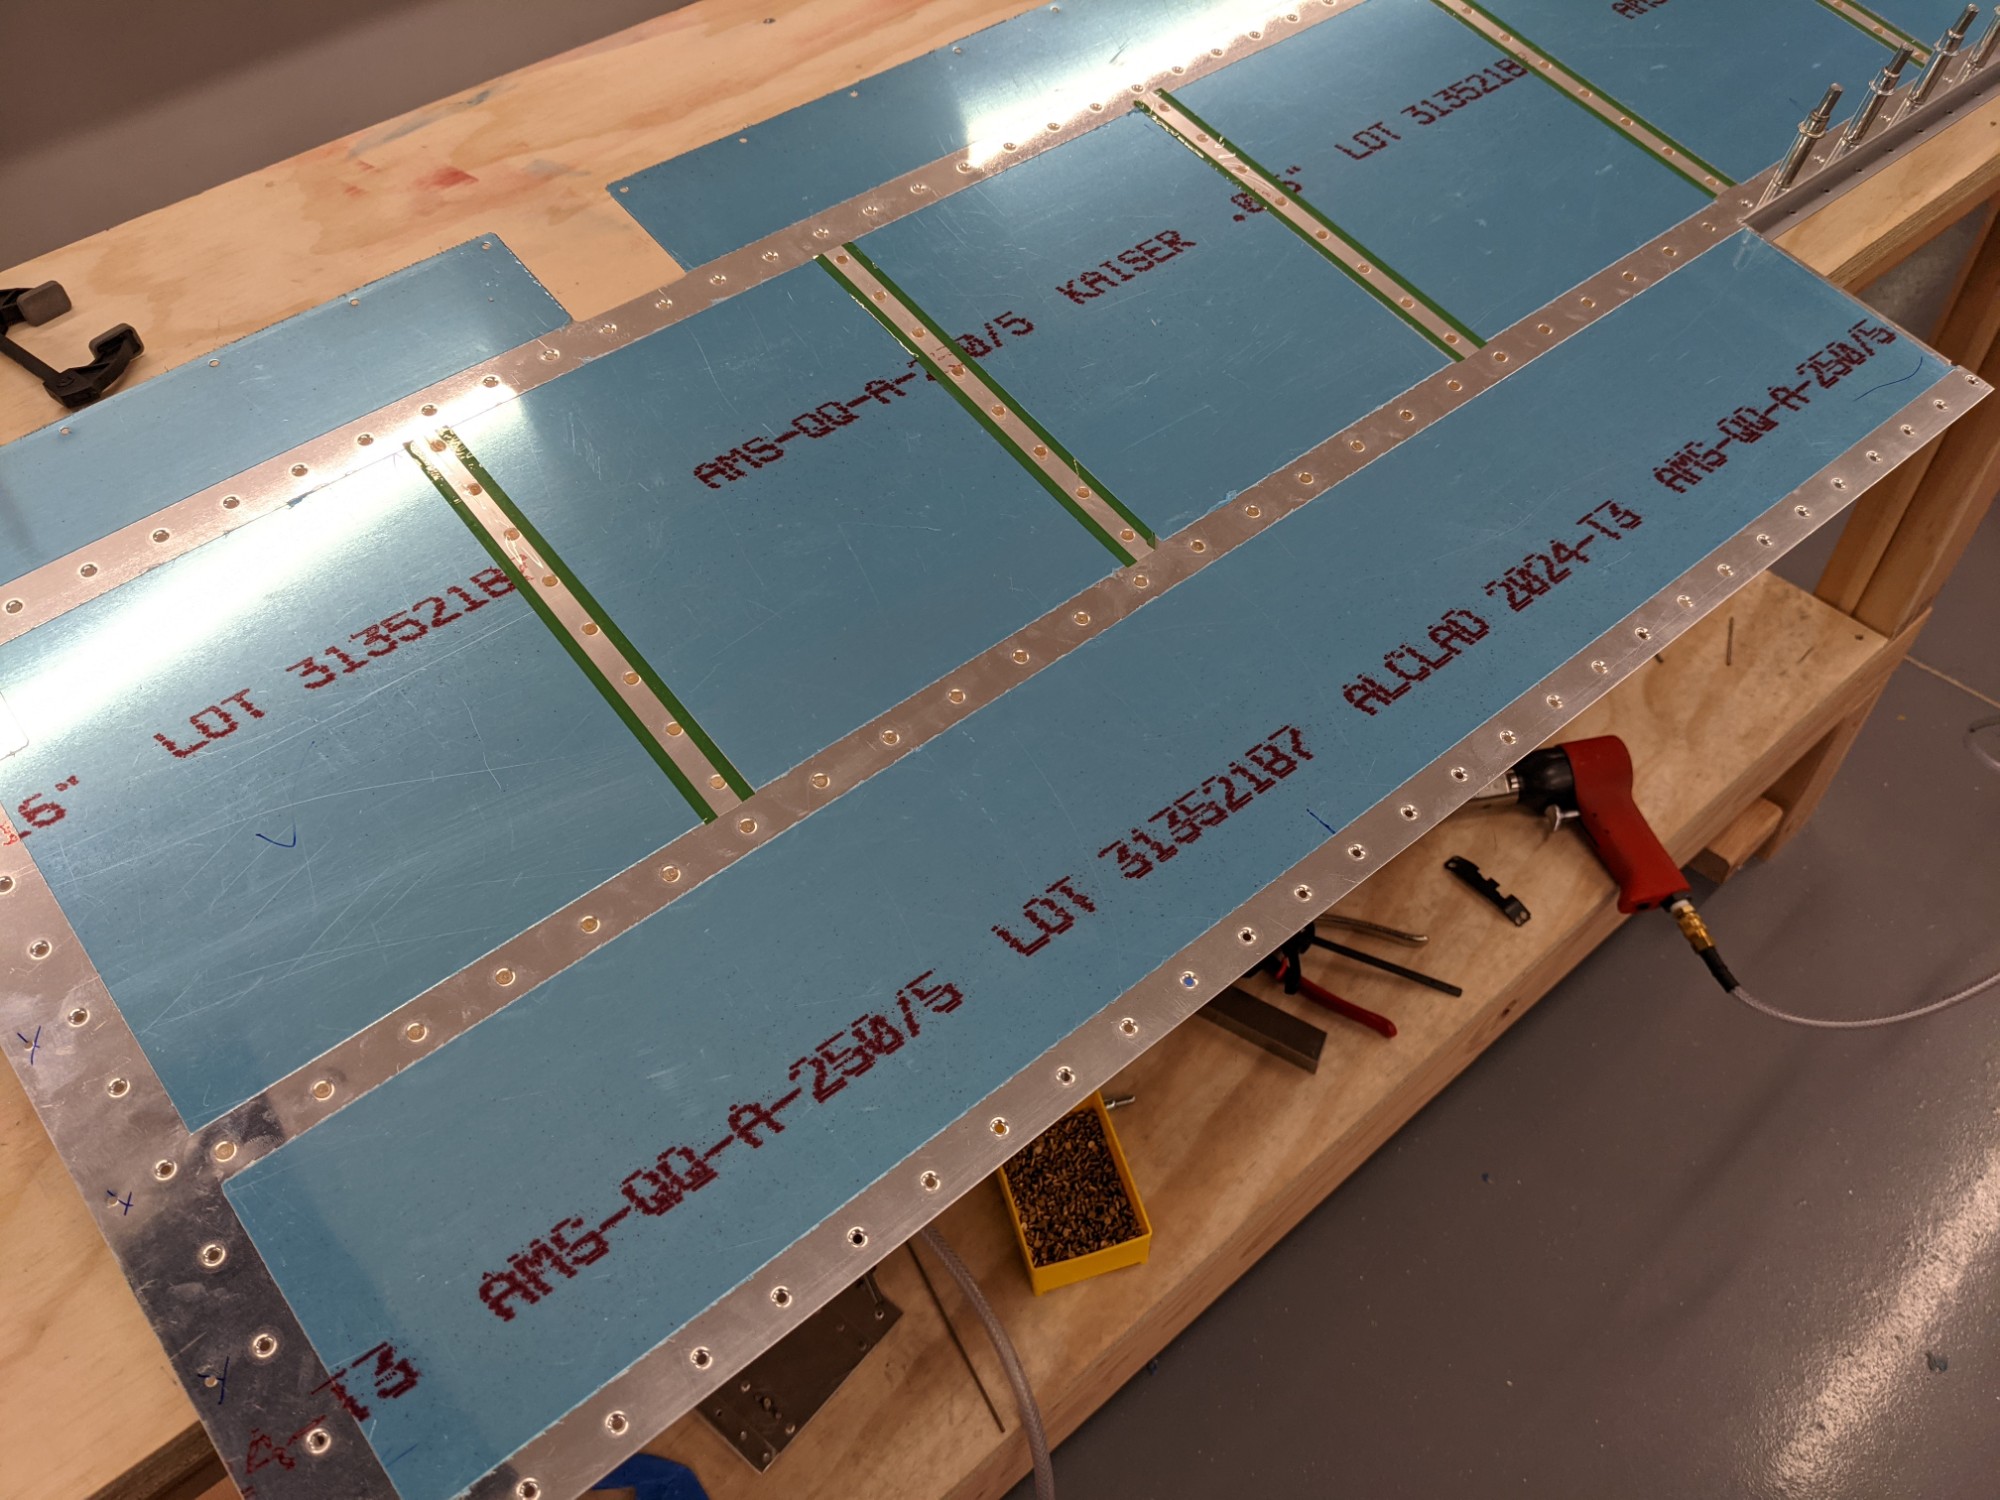
Next up is riveting the skins to the rear spars. The rib half orientation is different on the left vs. right elevator since the ribs are pressed identically but split and flipped with the tabs pointing outwards. This means that the bottom skin is riveted to the right elevator rear spar first while the top skin is riveted to the left elevator rear spar first.
The rivets along the bottom of the rear spar where the trim tab cutout is present were set with the pneumatic squeezer.
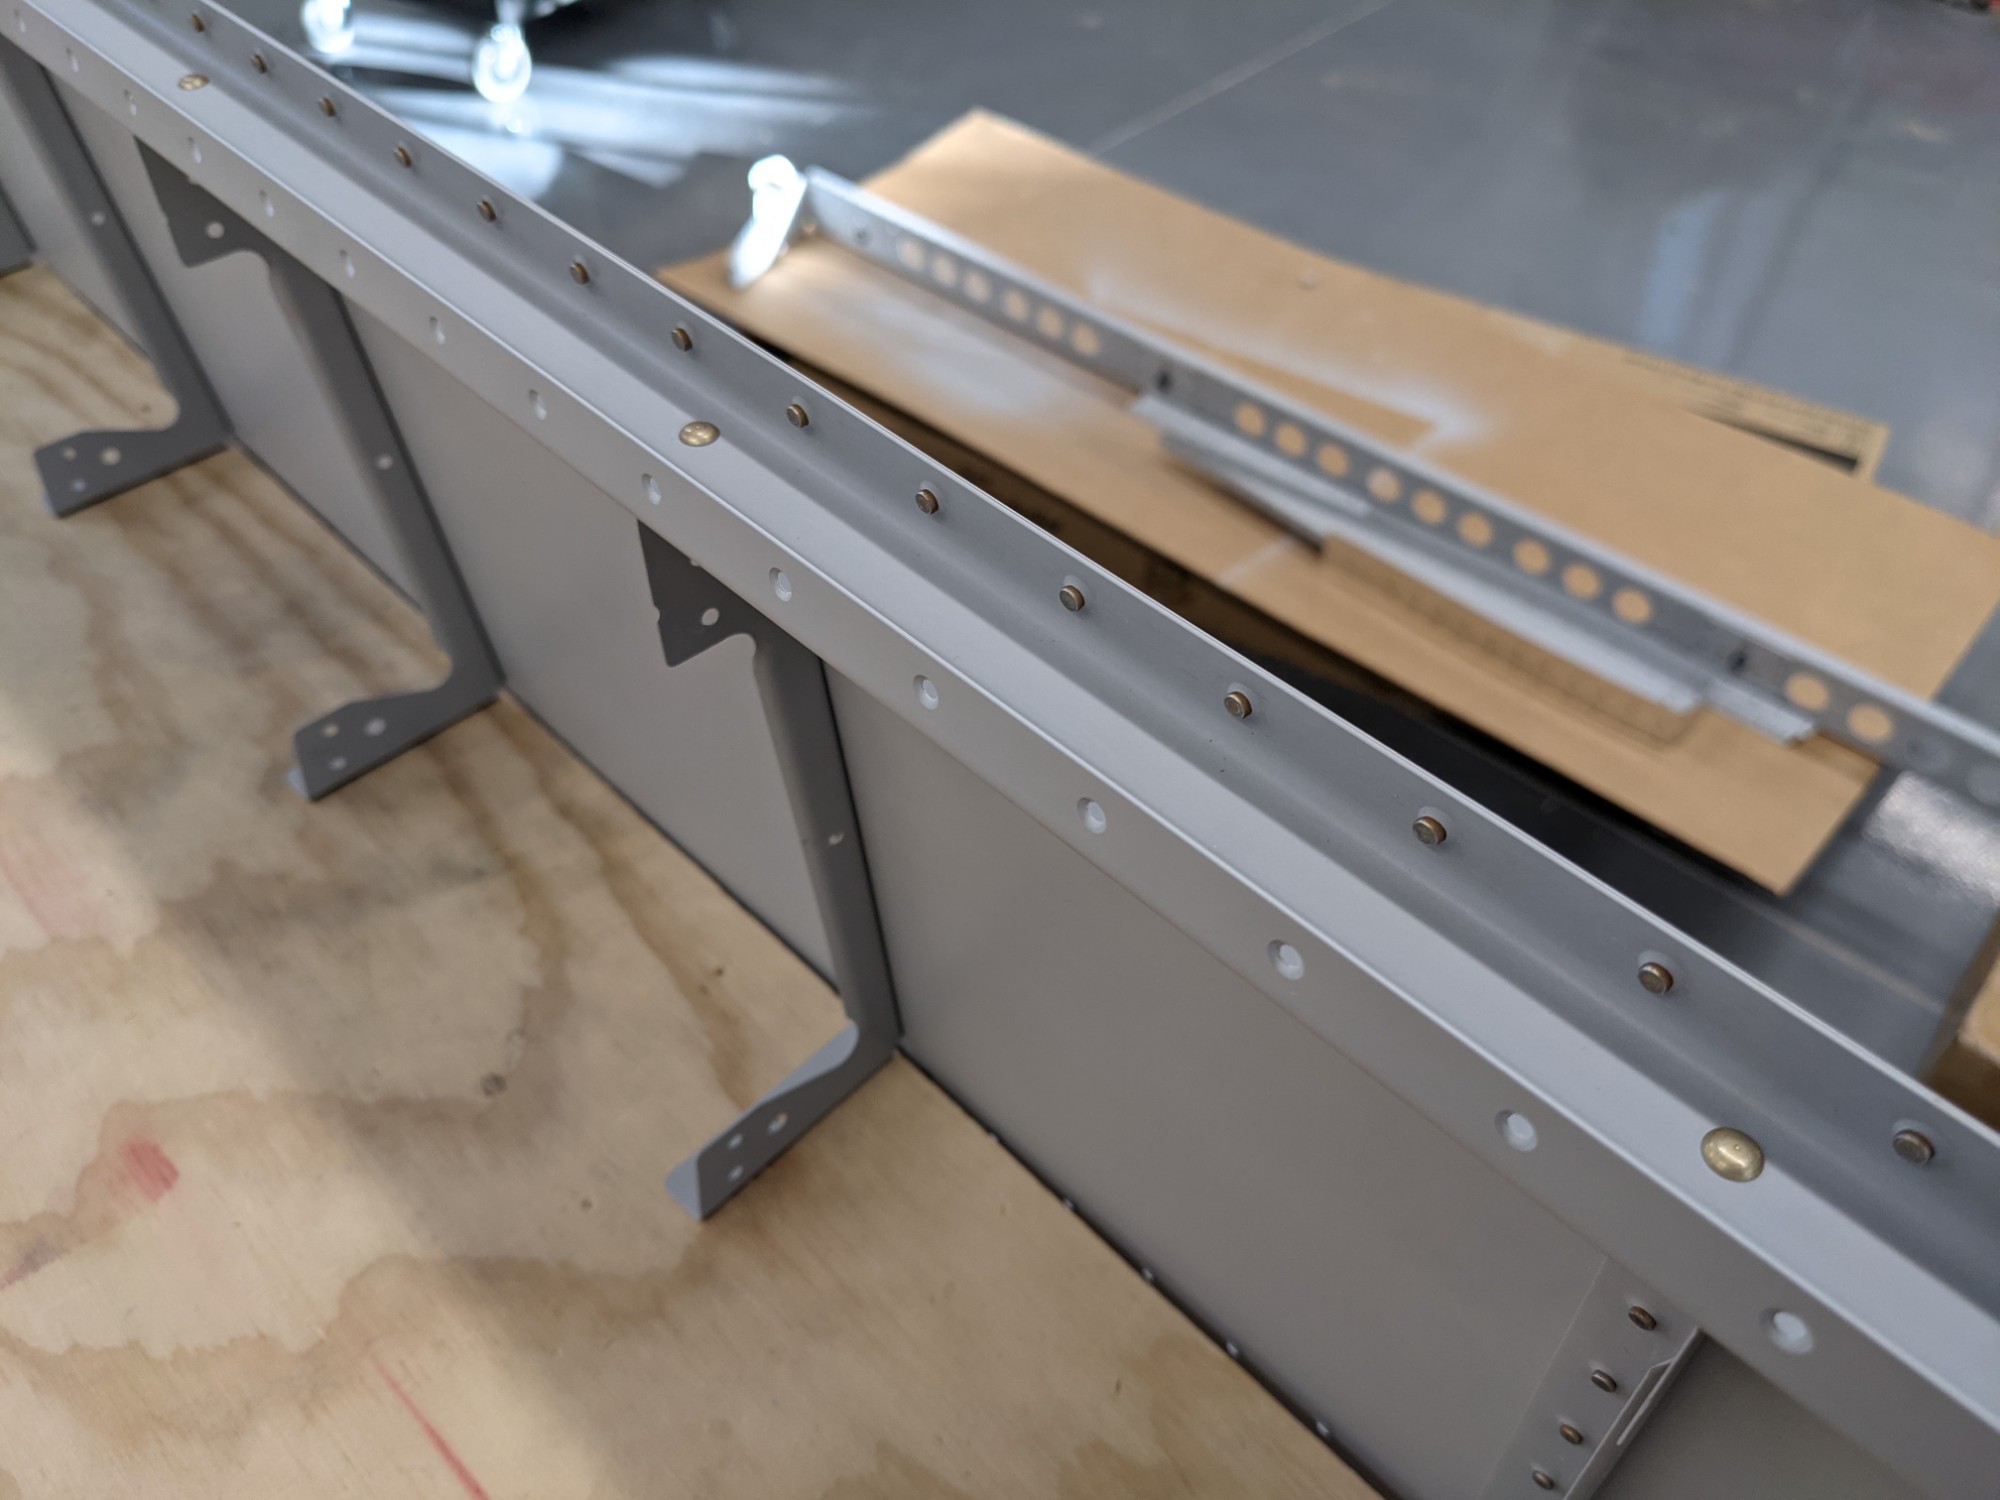
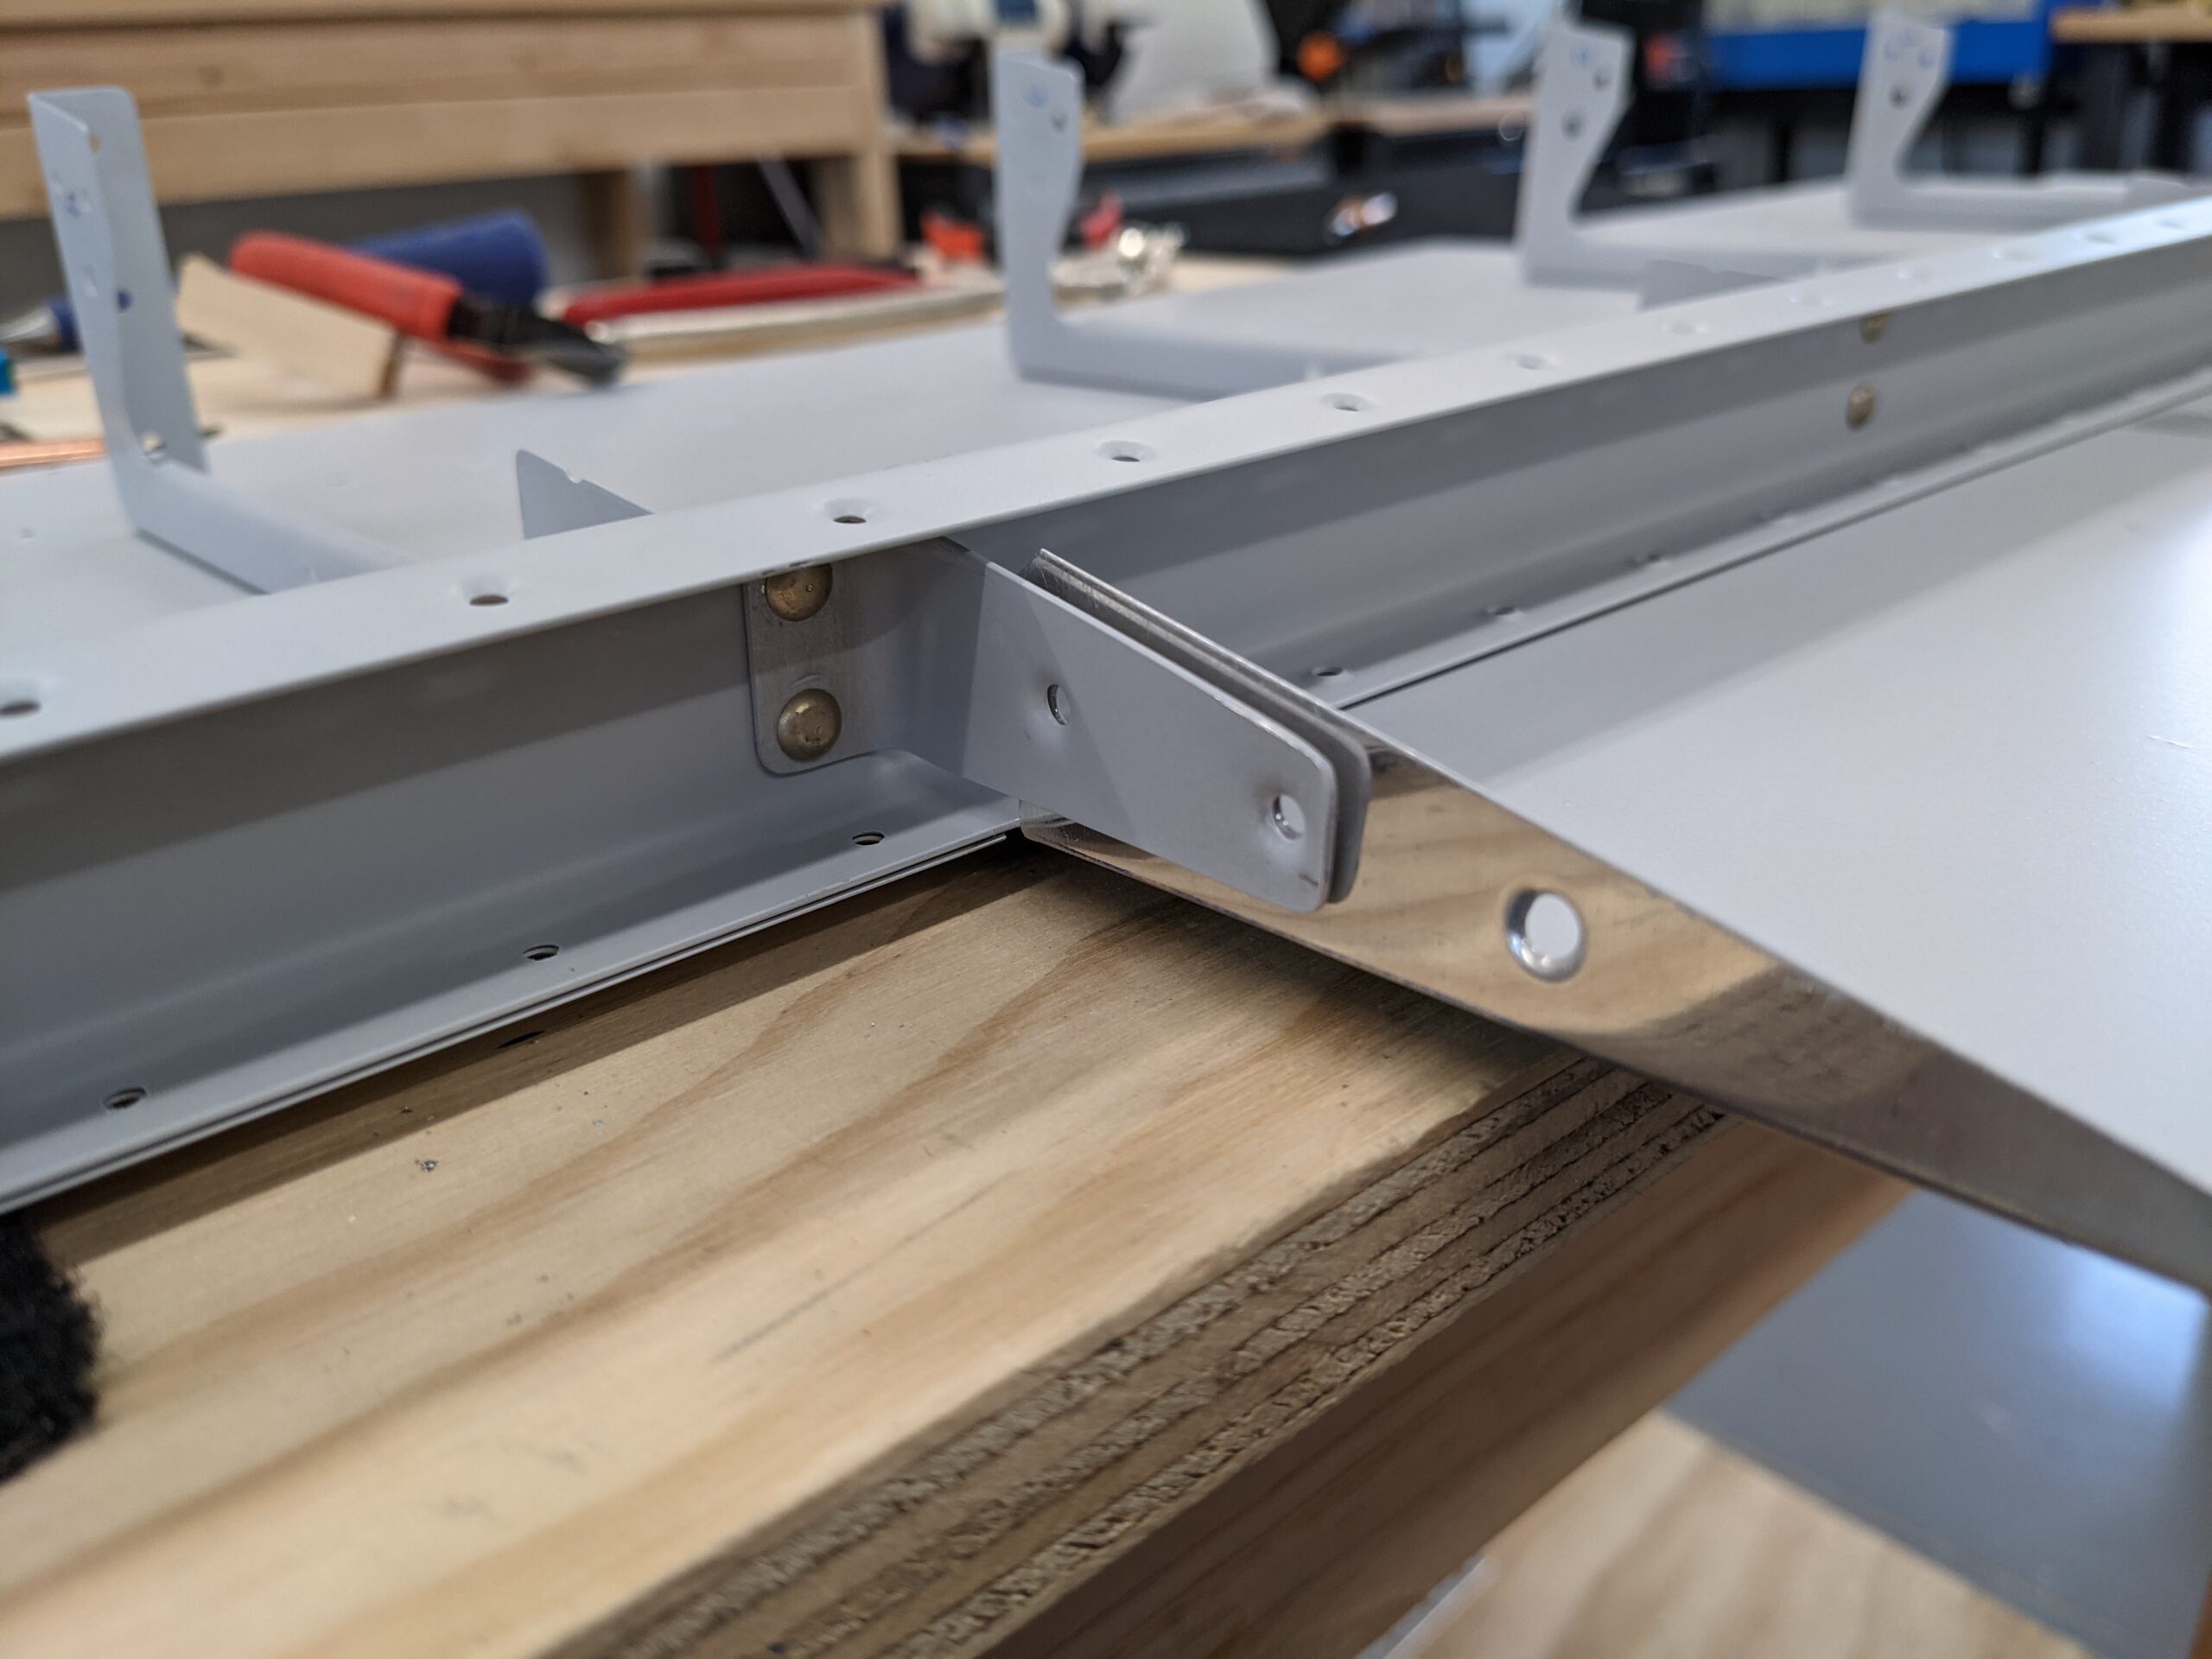
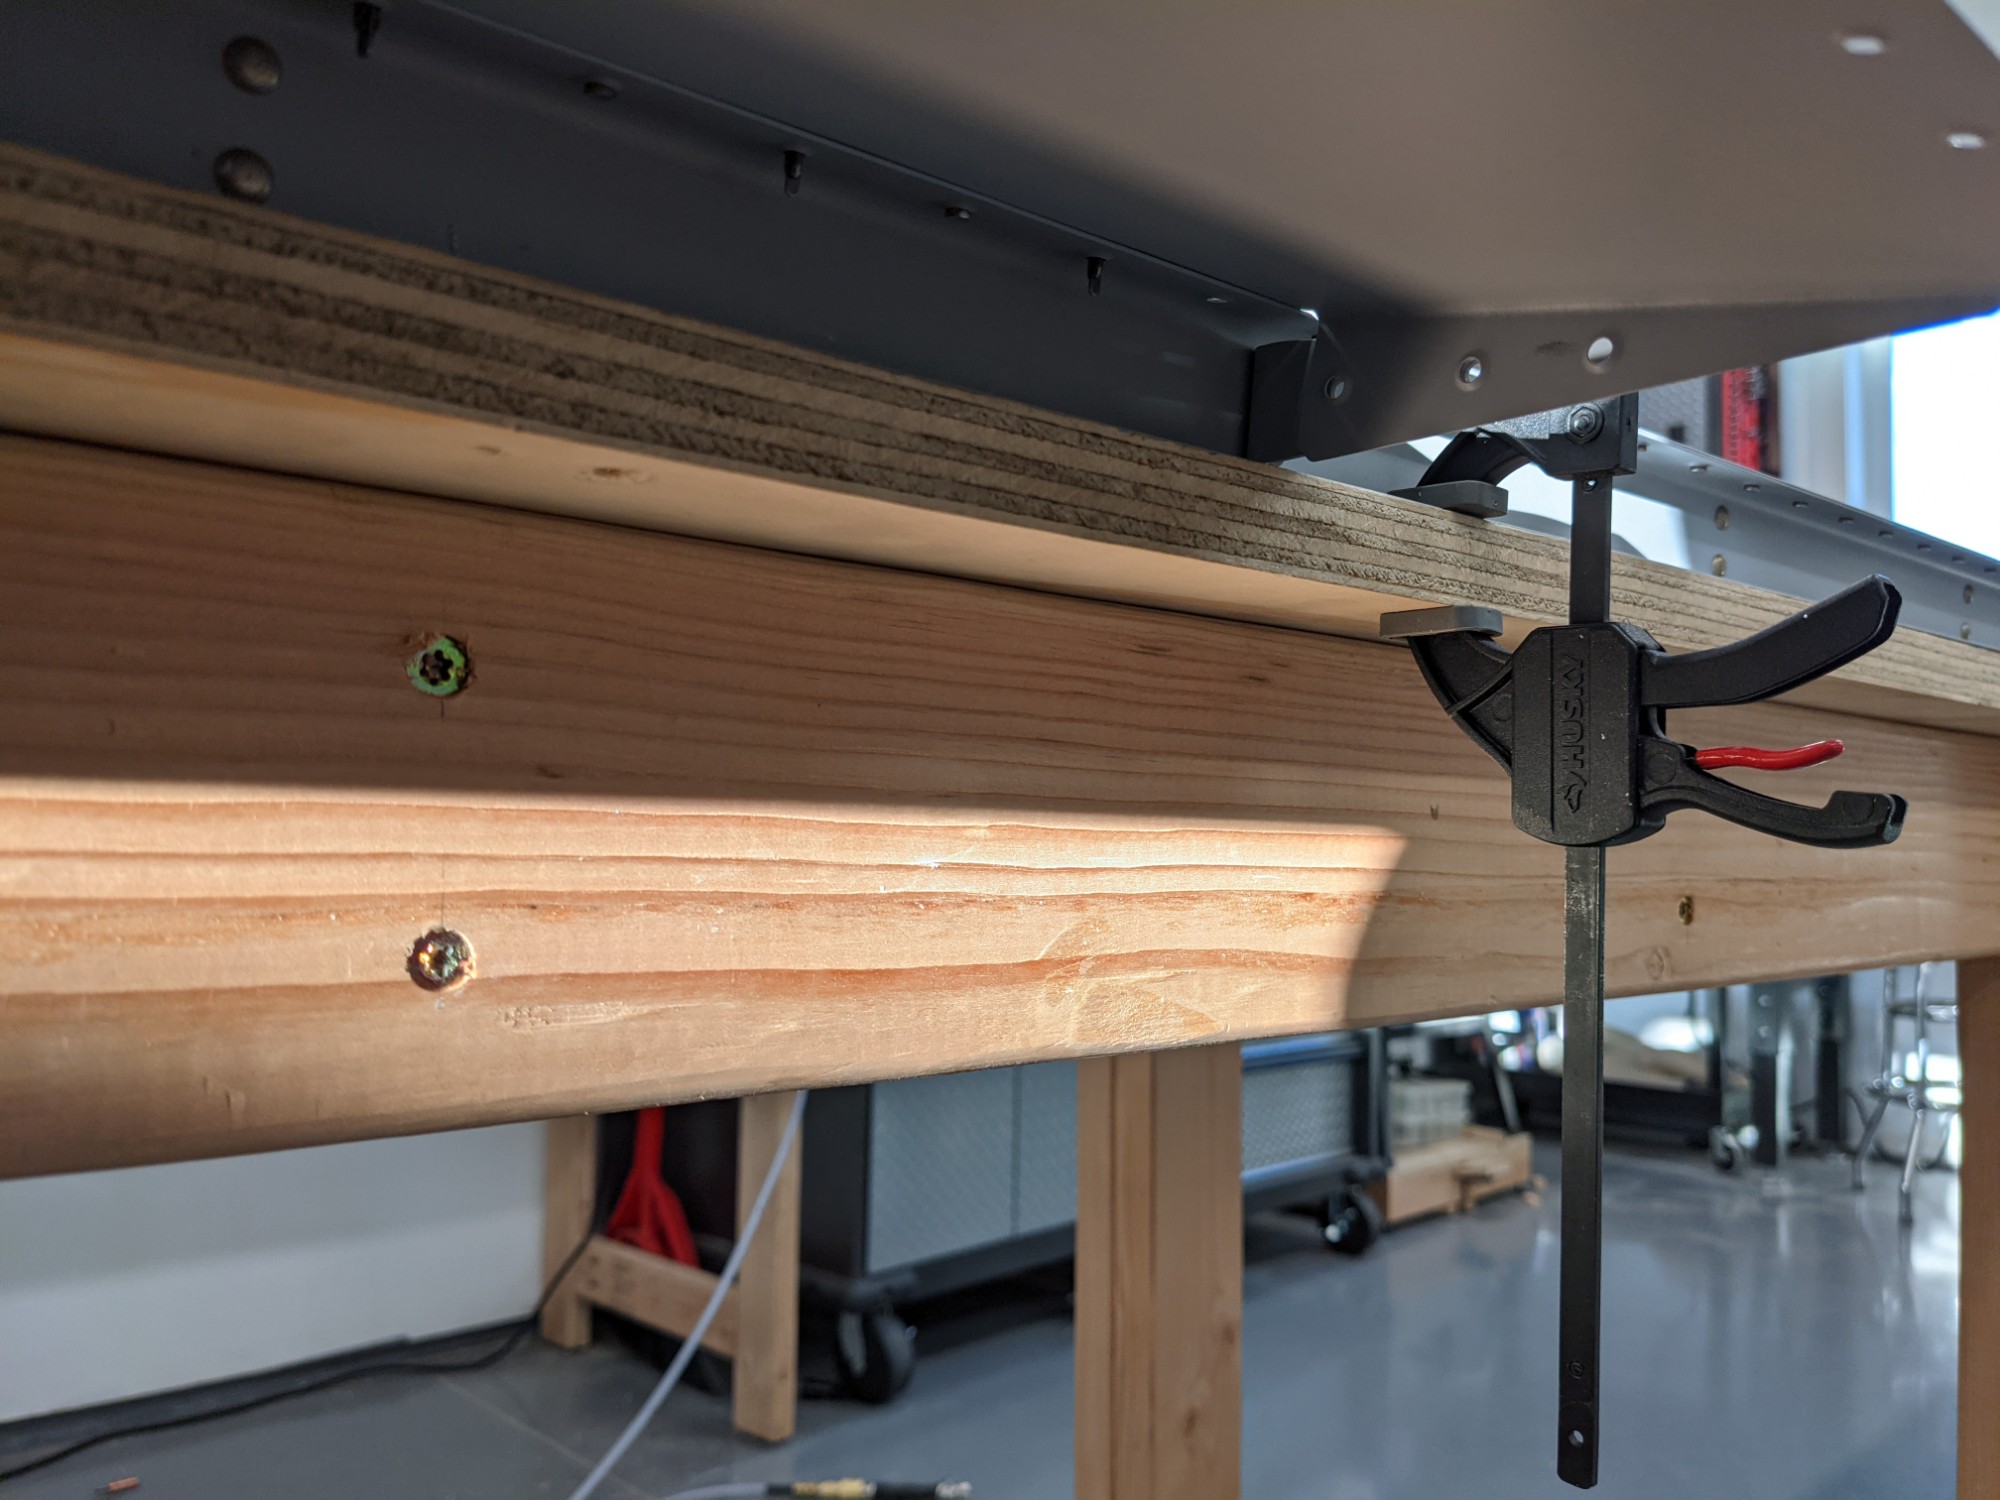
I then set the remaining rivets along the rear spar by clamping the spar to the edge of the workbench and by using the bucking bar underneath. The clamping edge that I designed into my workbenches has come in very handy.
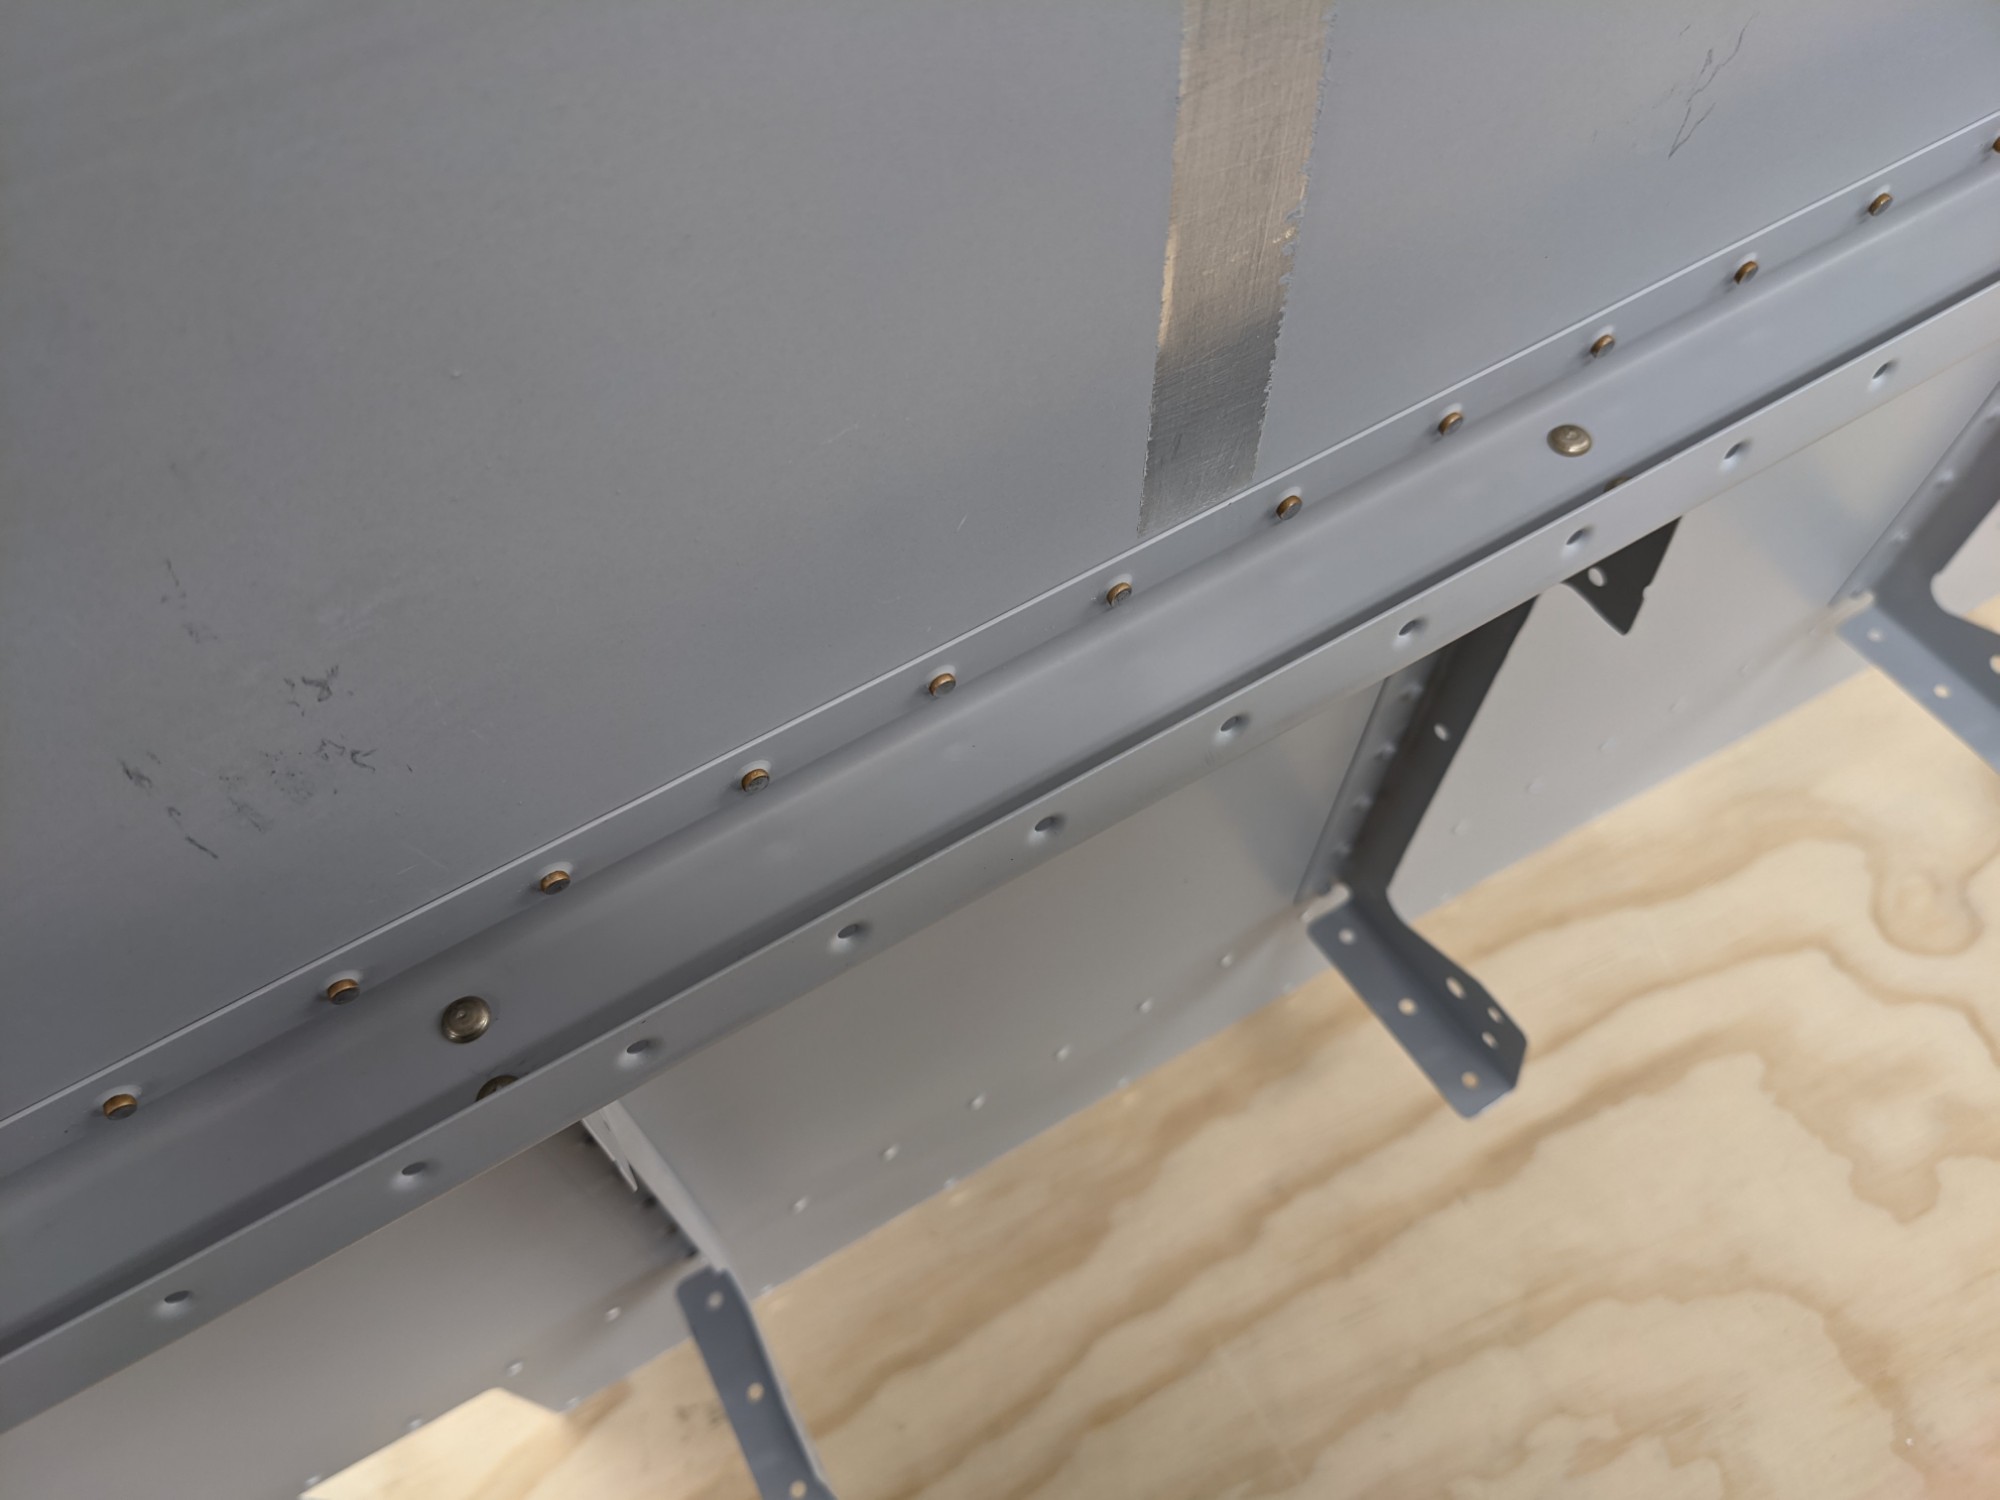
I completed the same riveting on the left elevator except for the rivets along the trim tab cutout. On the left elevator this is the top skin and these holes need to remain open for attaching the trim tab hinge.
The next step is to attach the second skin to each elevator. The plans call for a custom bucking bar to get to the rear spar between the skins. This bar is included in the Cleaveland RV-10 tool kit.
I’m going to do one final inspection before attaching the second skins so I’ll proceed with riveting in the next work session.