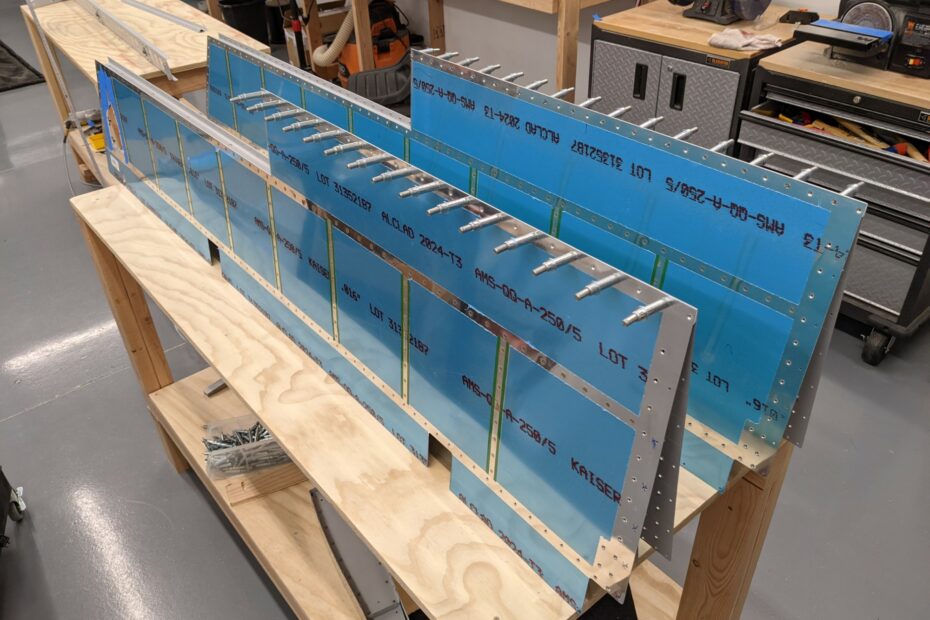
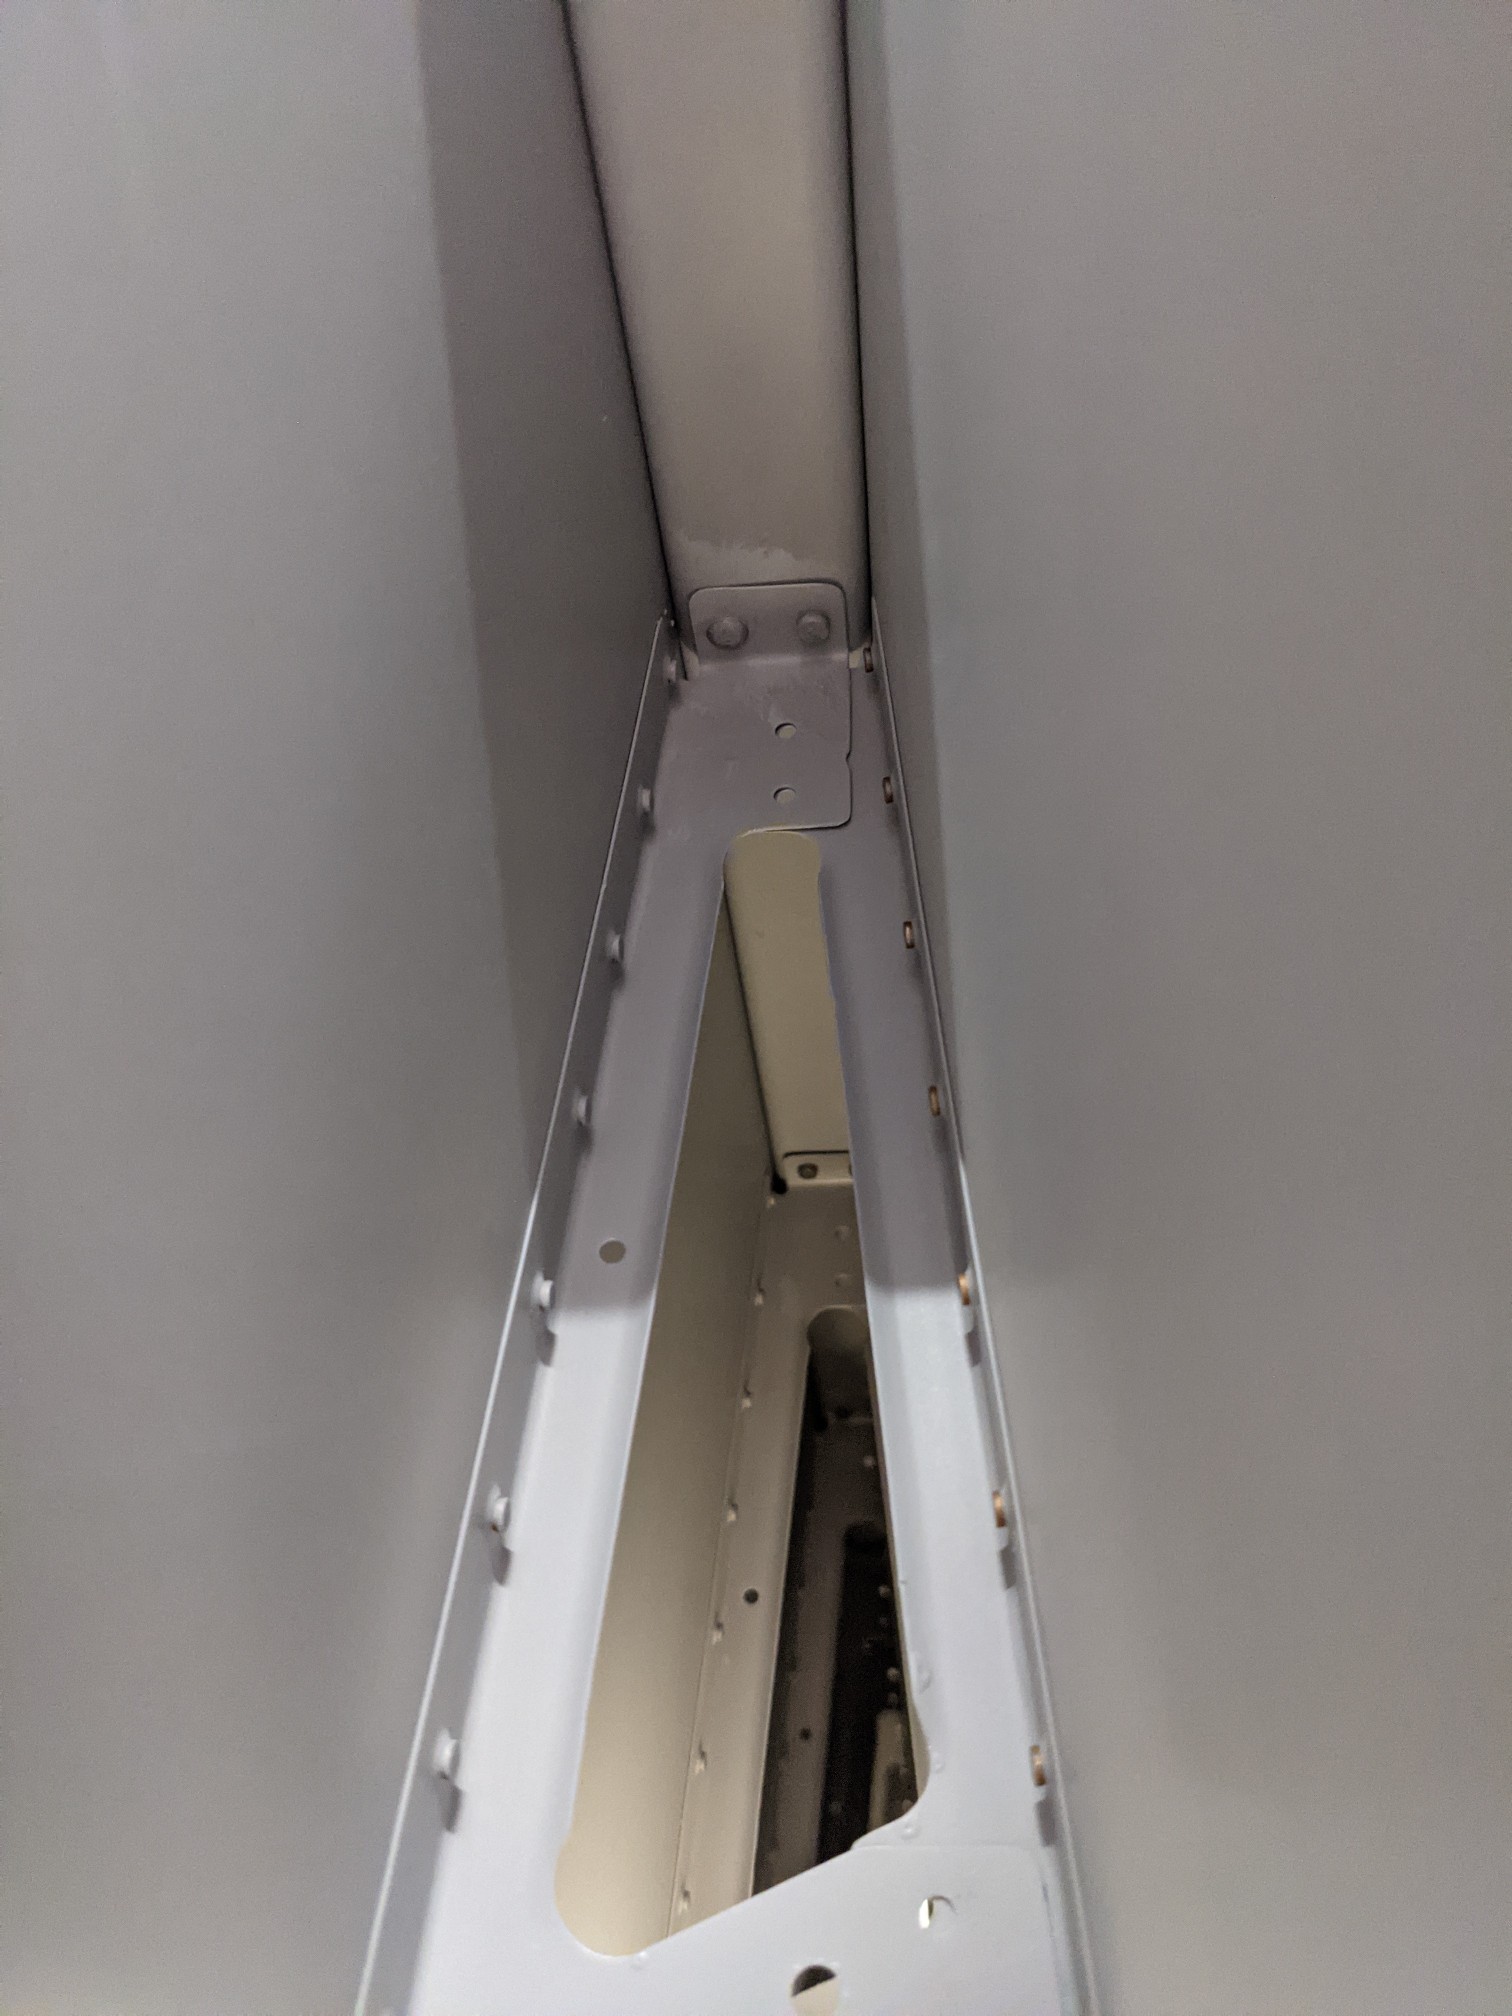
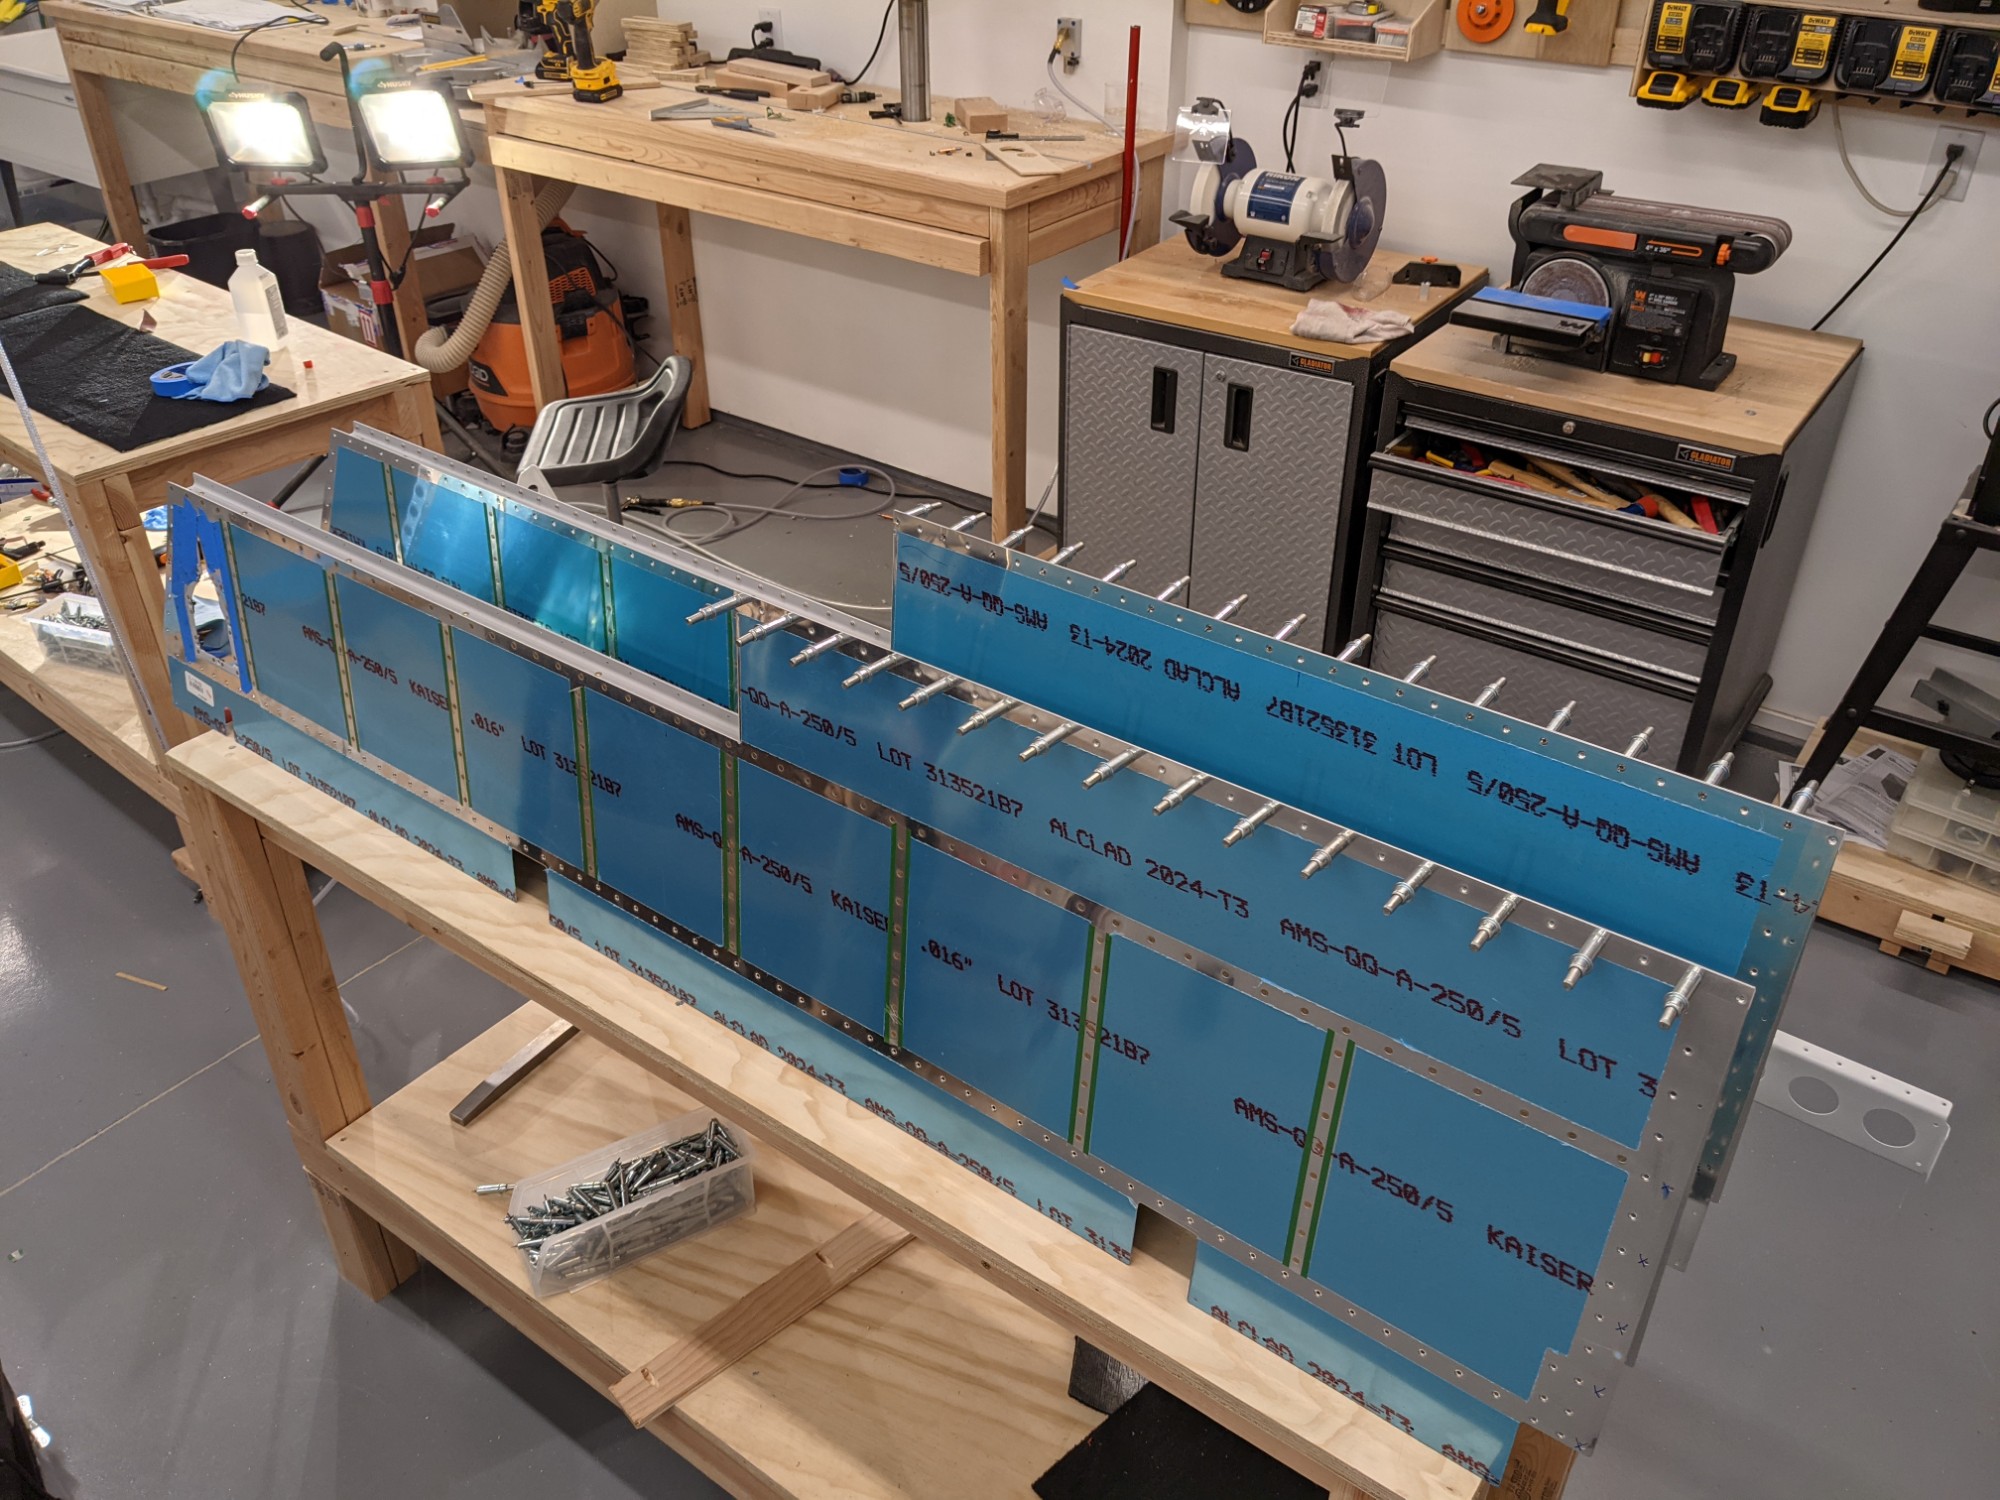
I started riveting the second skin to each elevator today. I started by inspecting everything one last time before closing things up.
![](https://airplane.allanglen.com/wp-content/uploads/2021/01/pxl_20210125_1451283641642454723915335467.jpg)
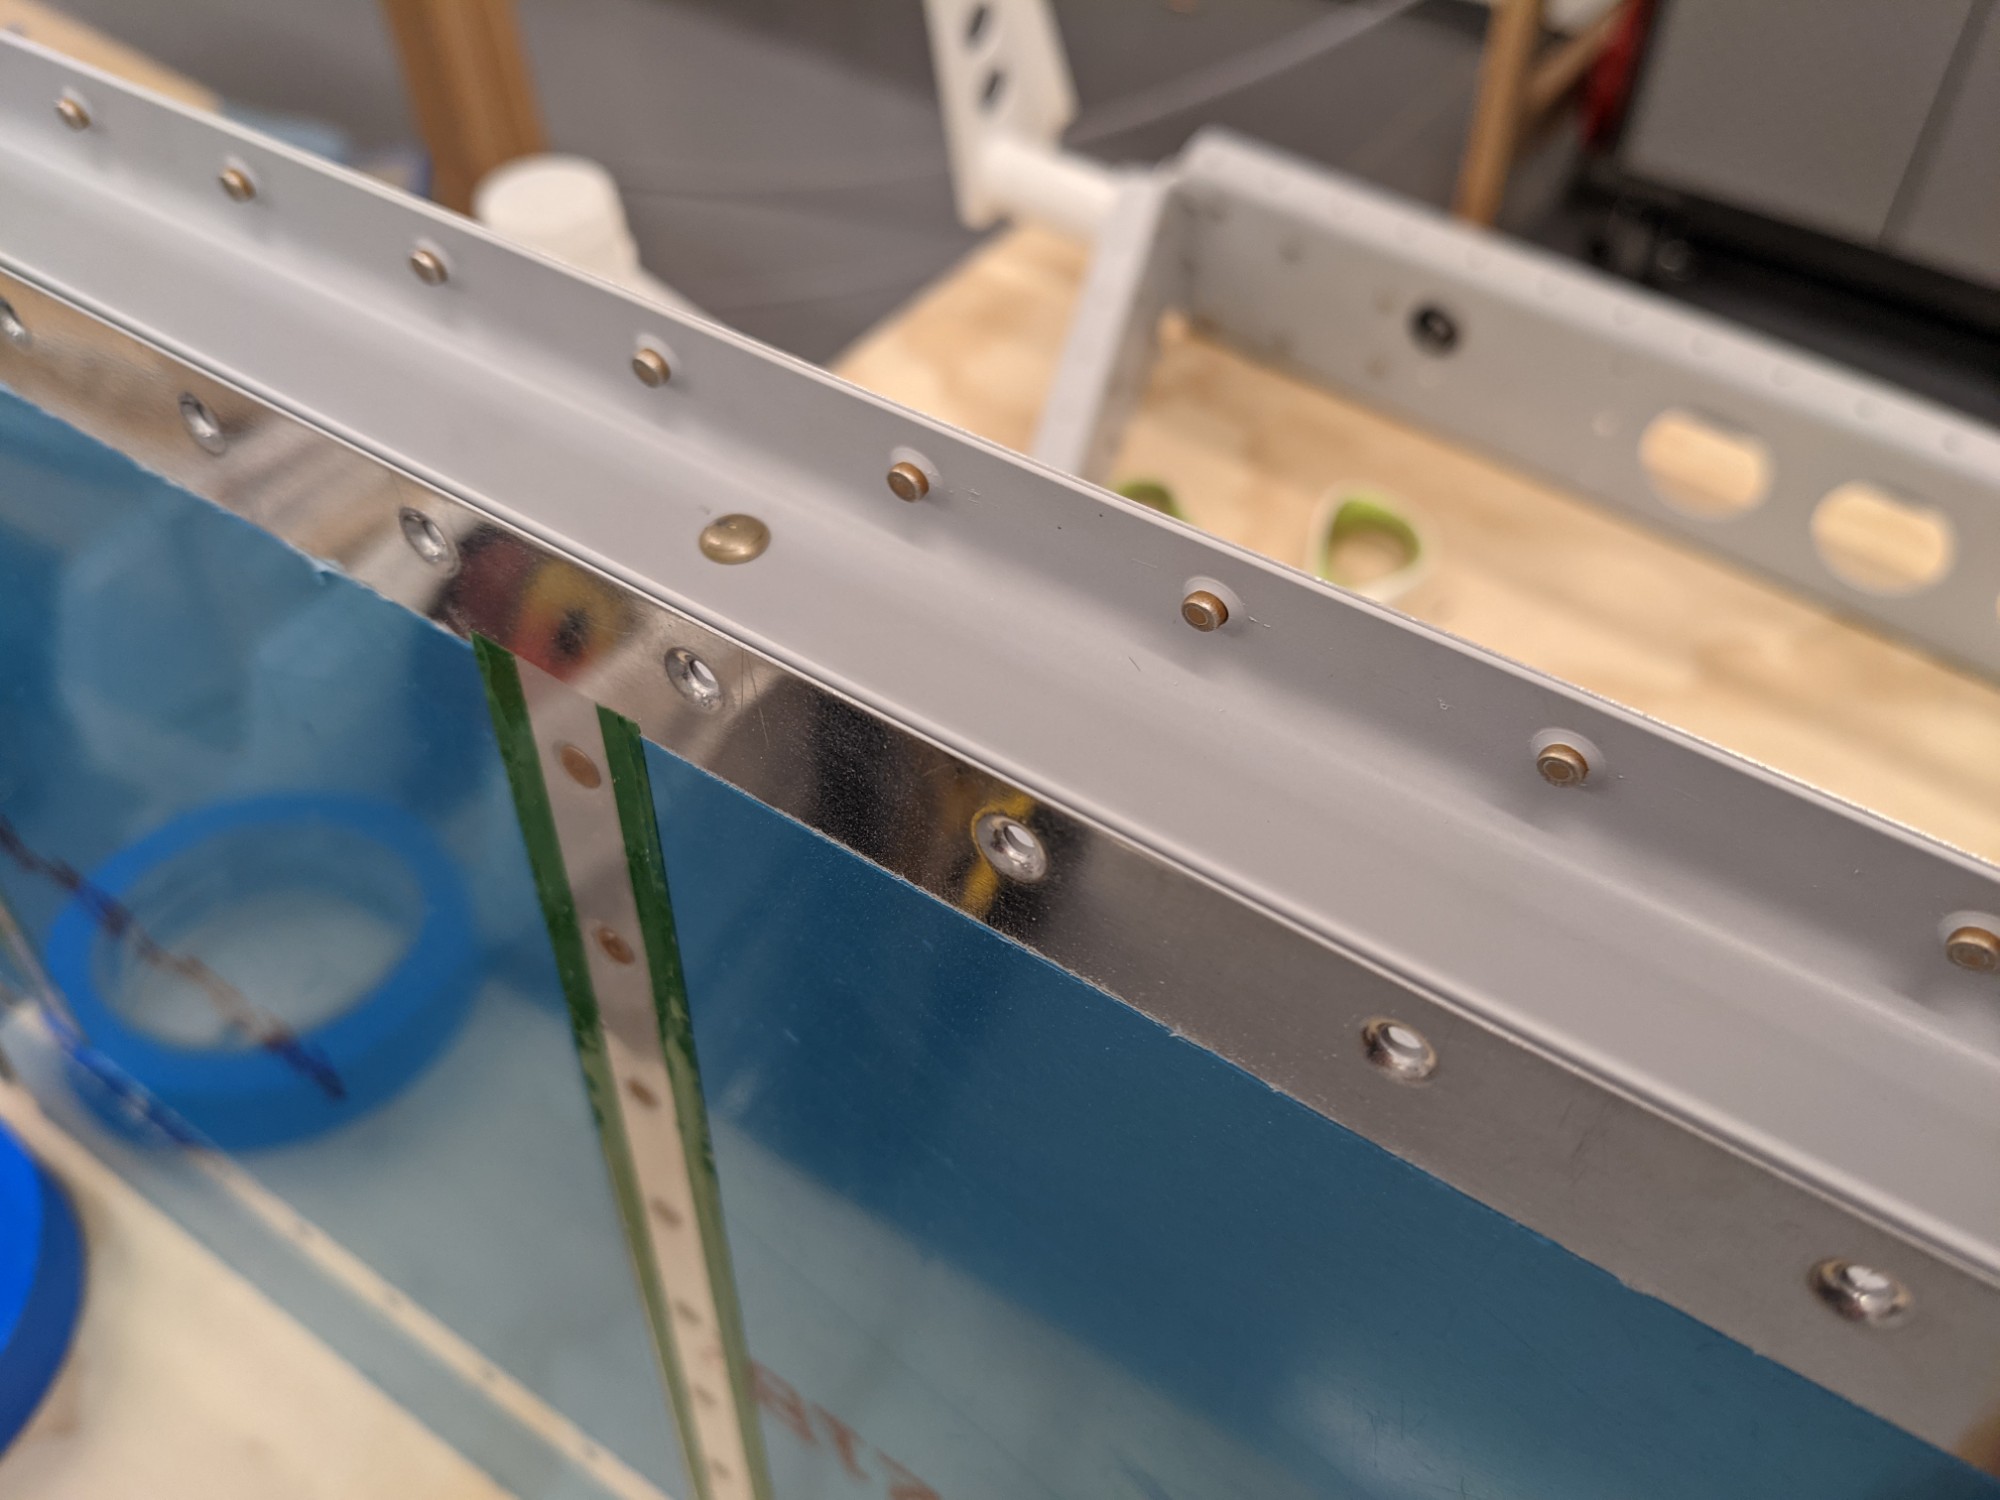
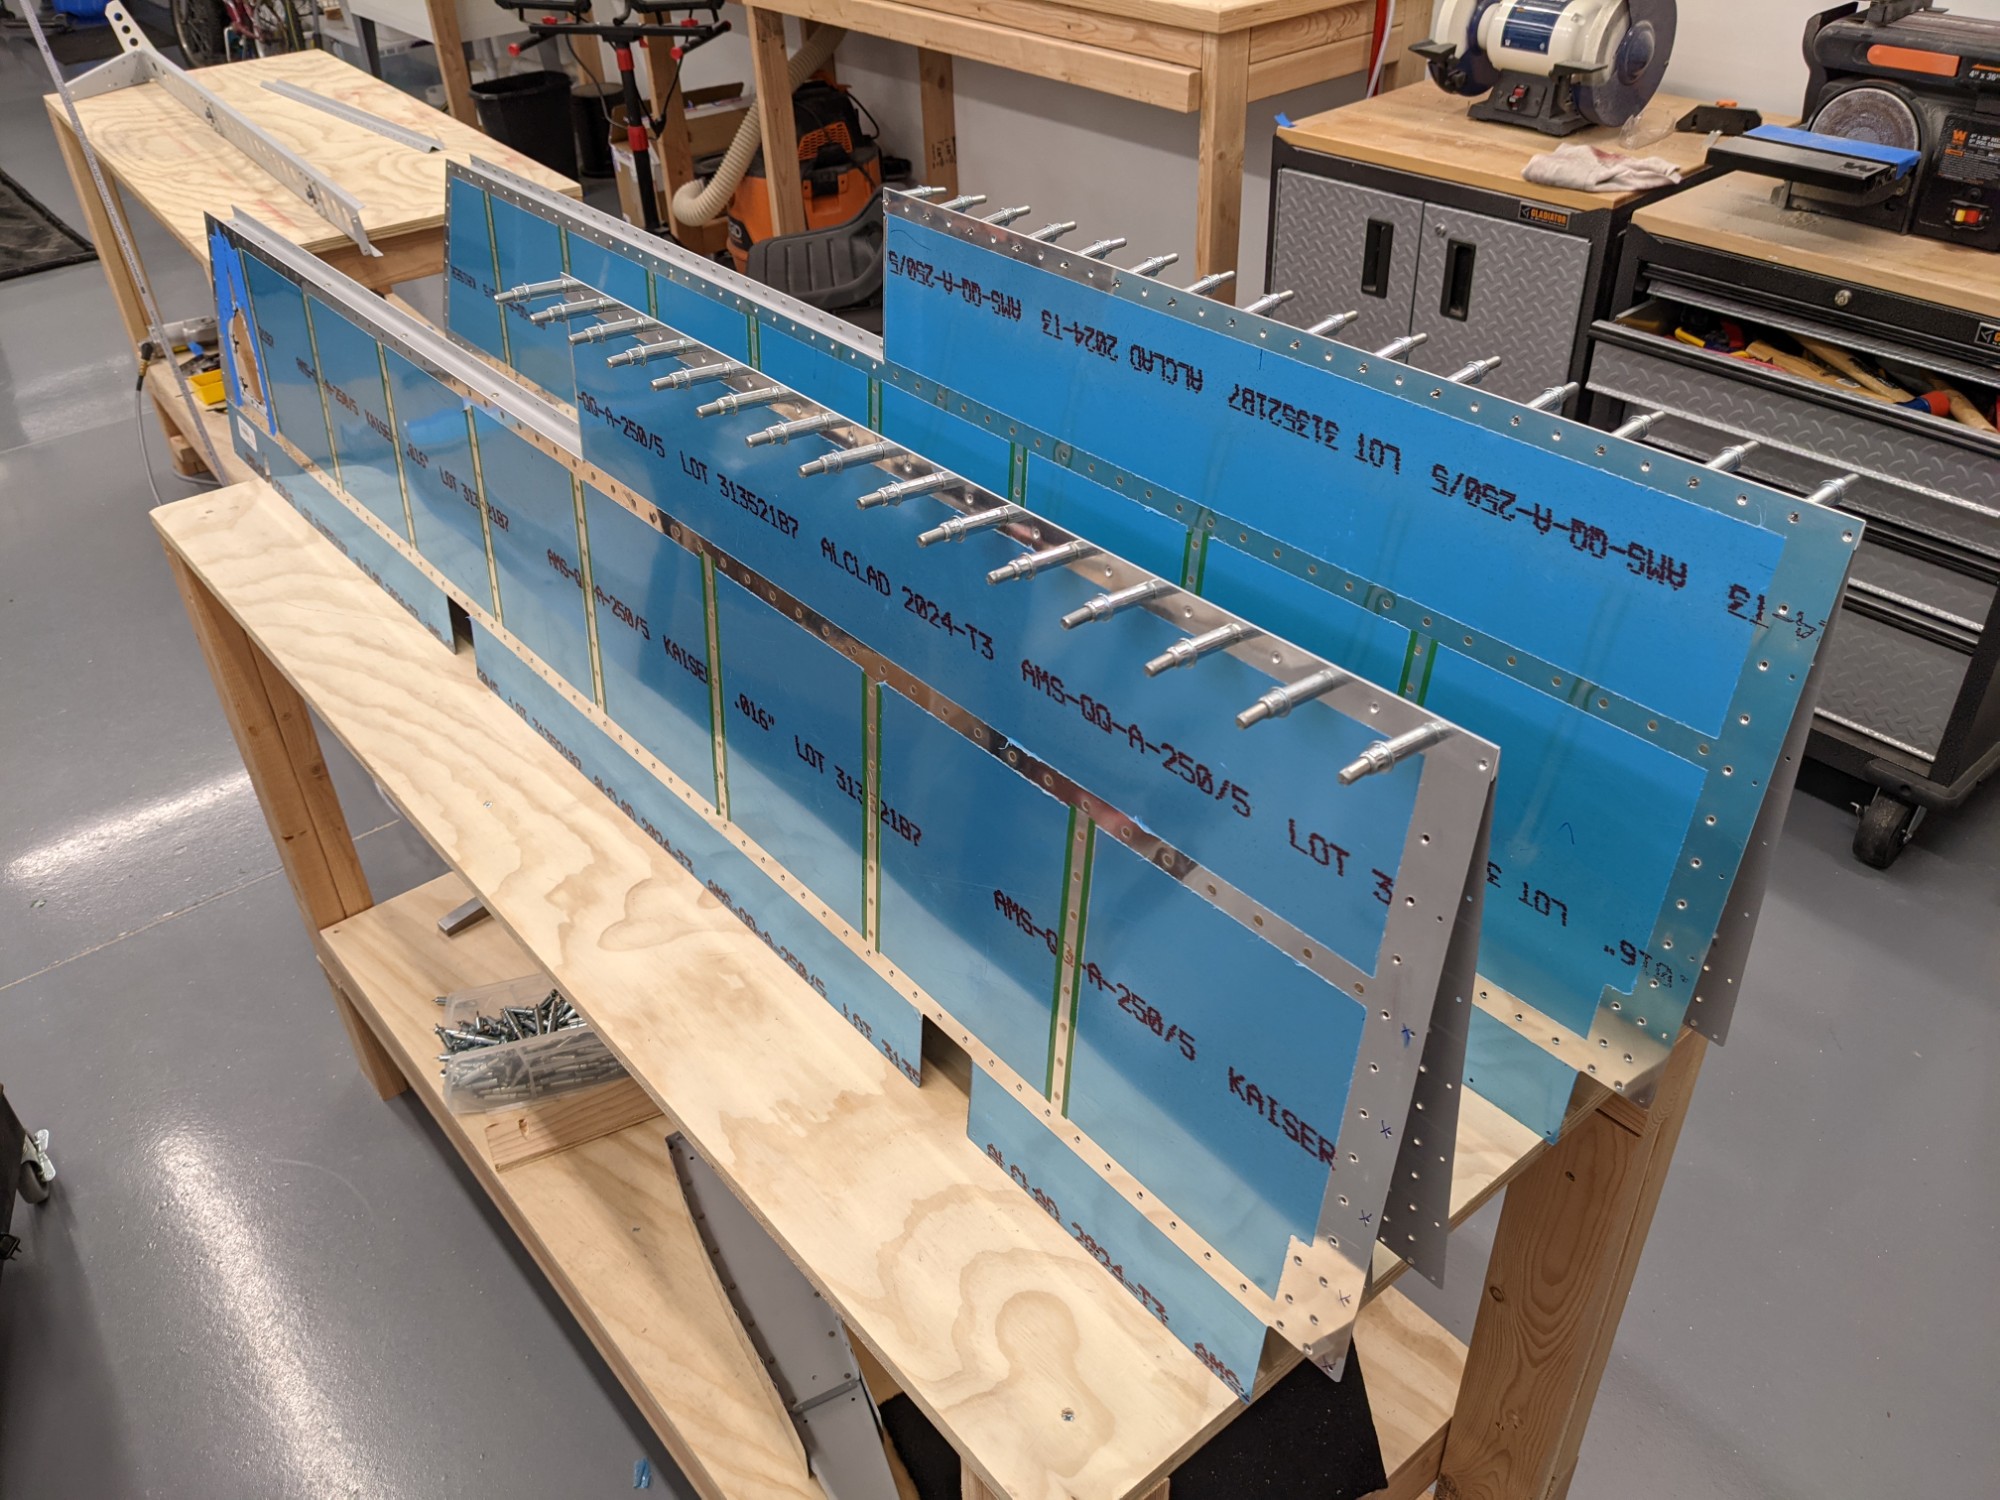
Riveting along the rear spar requires a special bucking bar. The plans have you start on the left elevator bottom skin as practice before starting on the upper right elevator skin.
![](https://airplane.allanglen.com/wp-content/uploads/2021/01/pxl_20210126_0122103645470551074307526826.jpg)
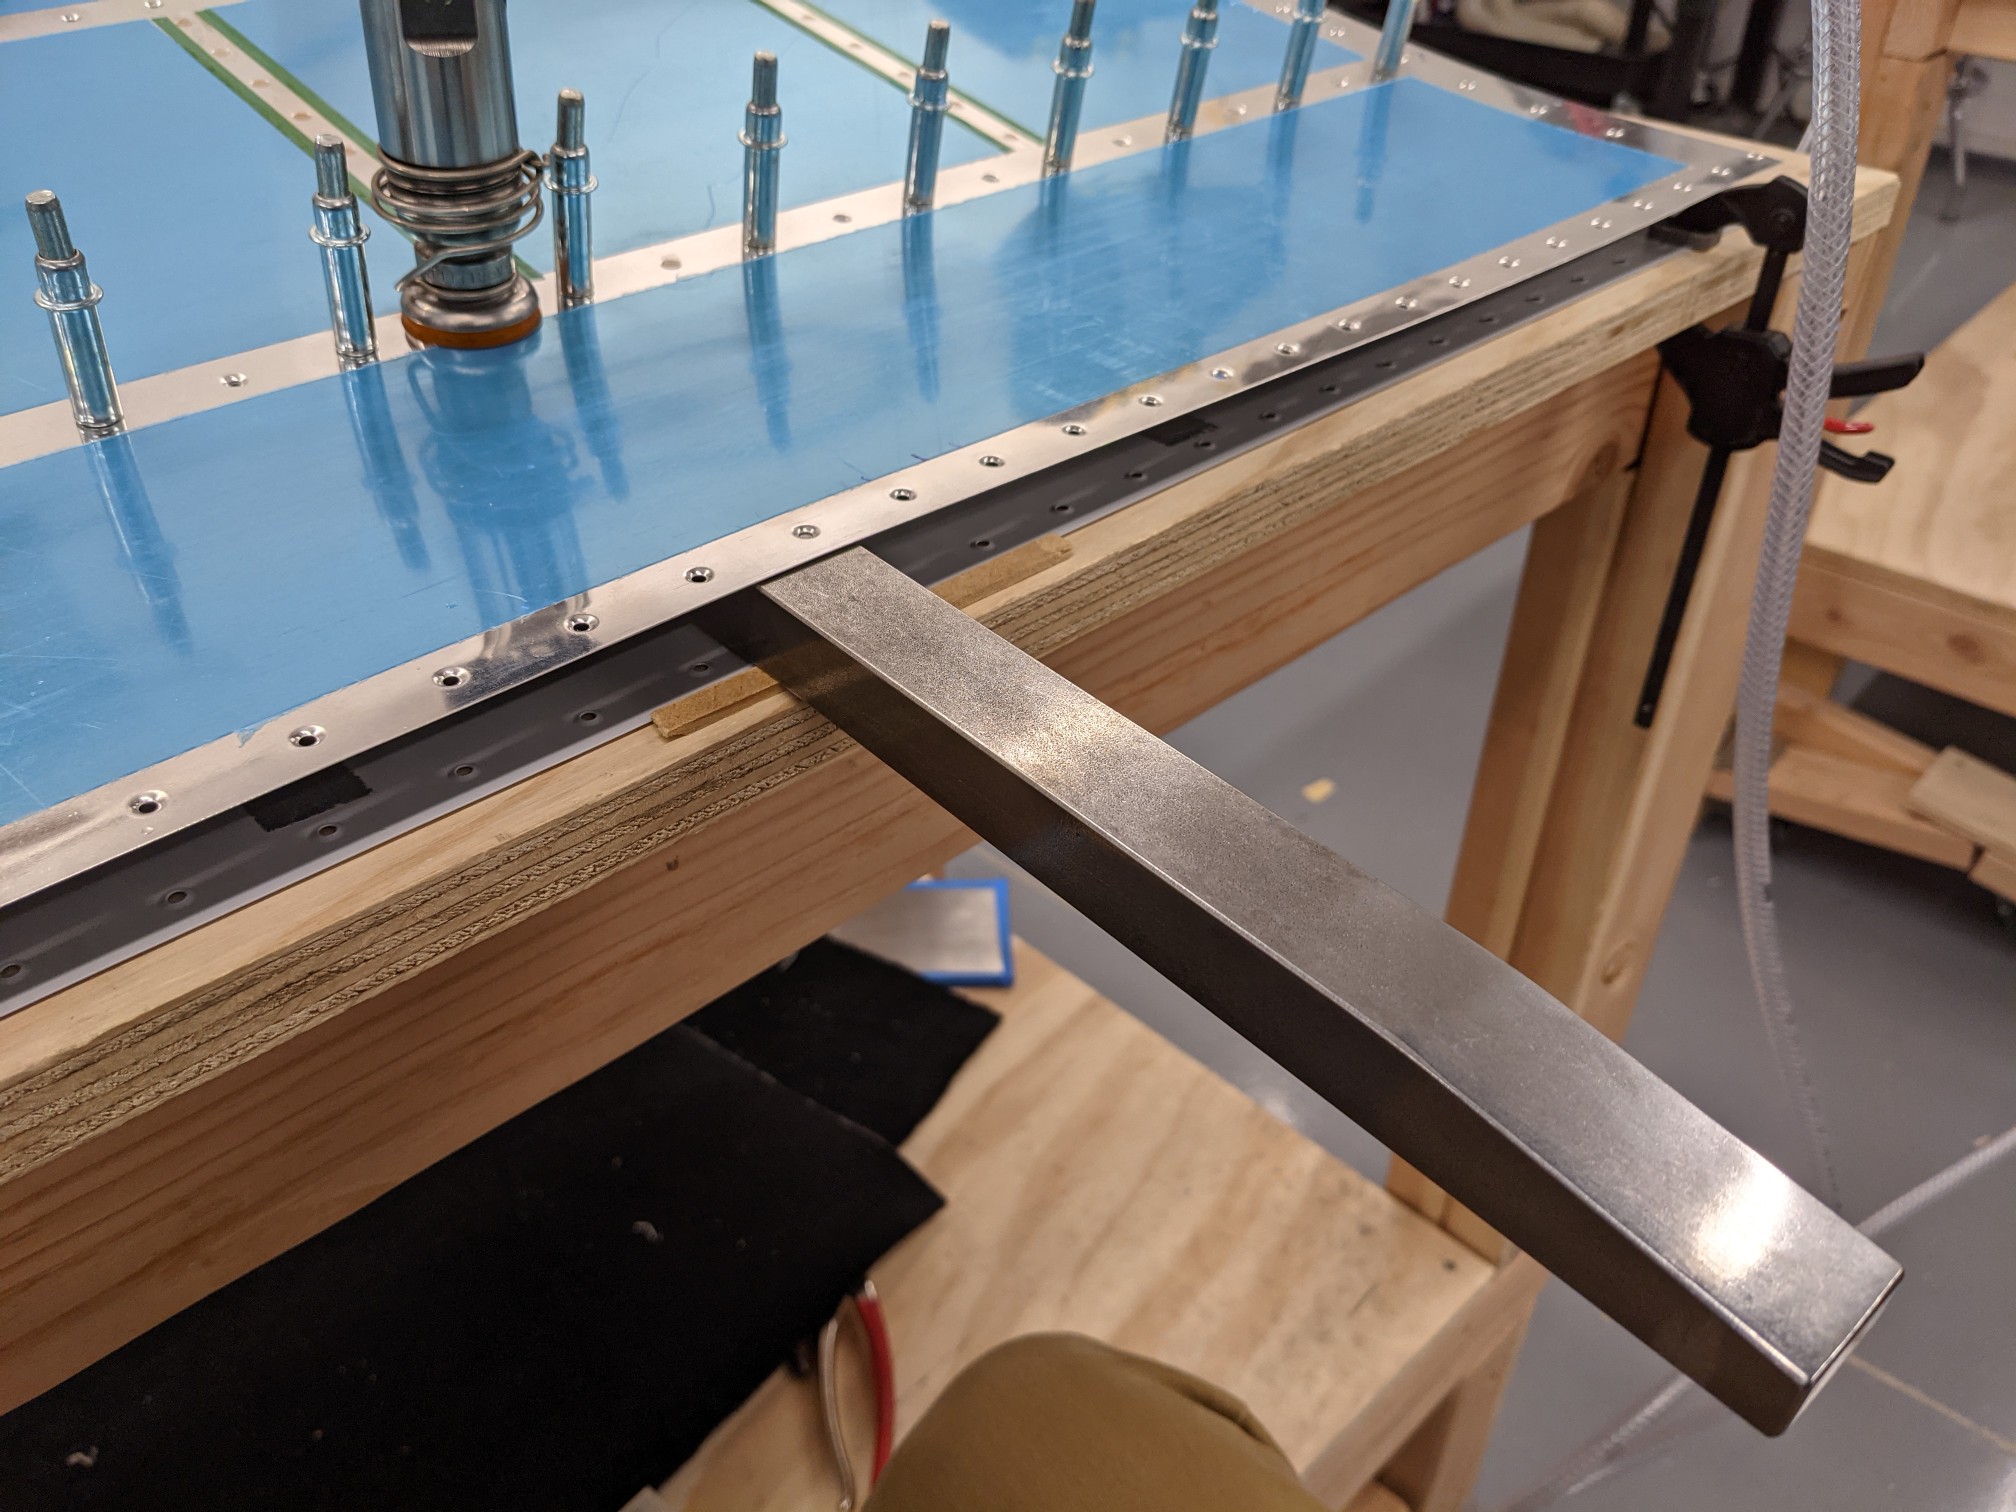
The riveting required a much longer burst than with the tungsten bucking bar but the rivets came out great.
![](https://airplane.allanglen.com/wp-content/uploads/2021/01/pxl_20210126_0206150788523609428257239618.jpg)
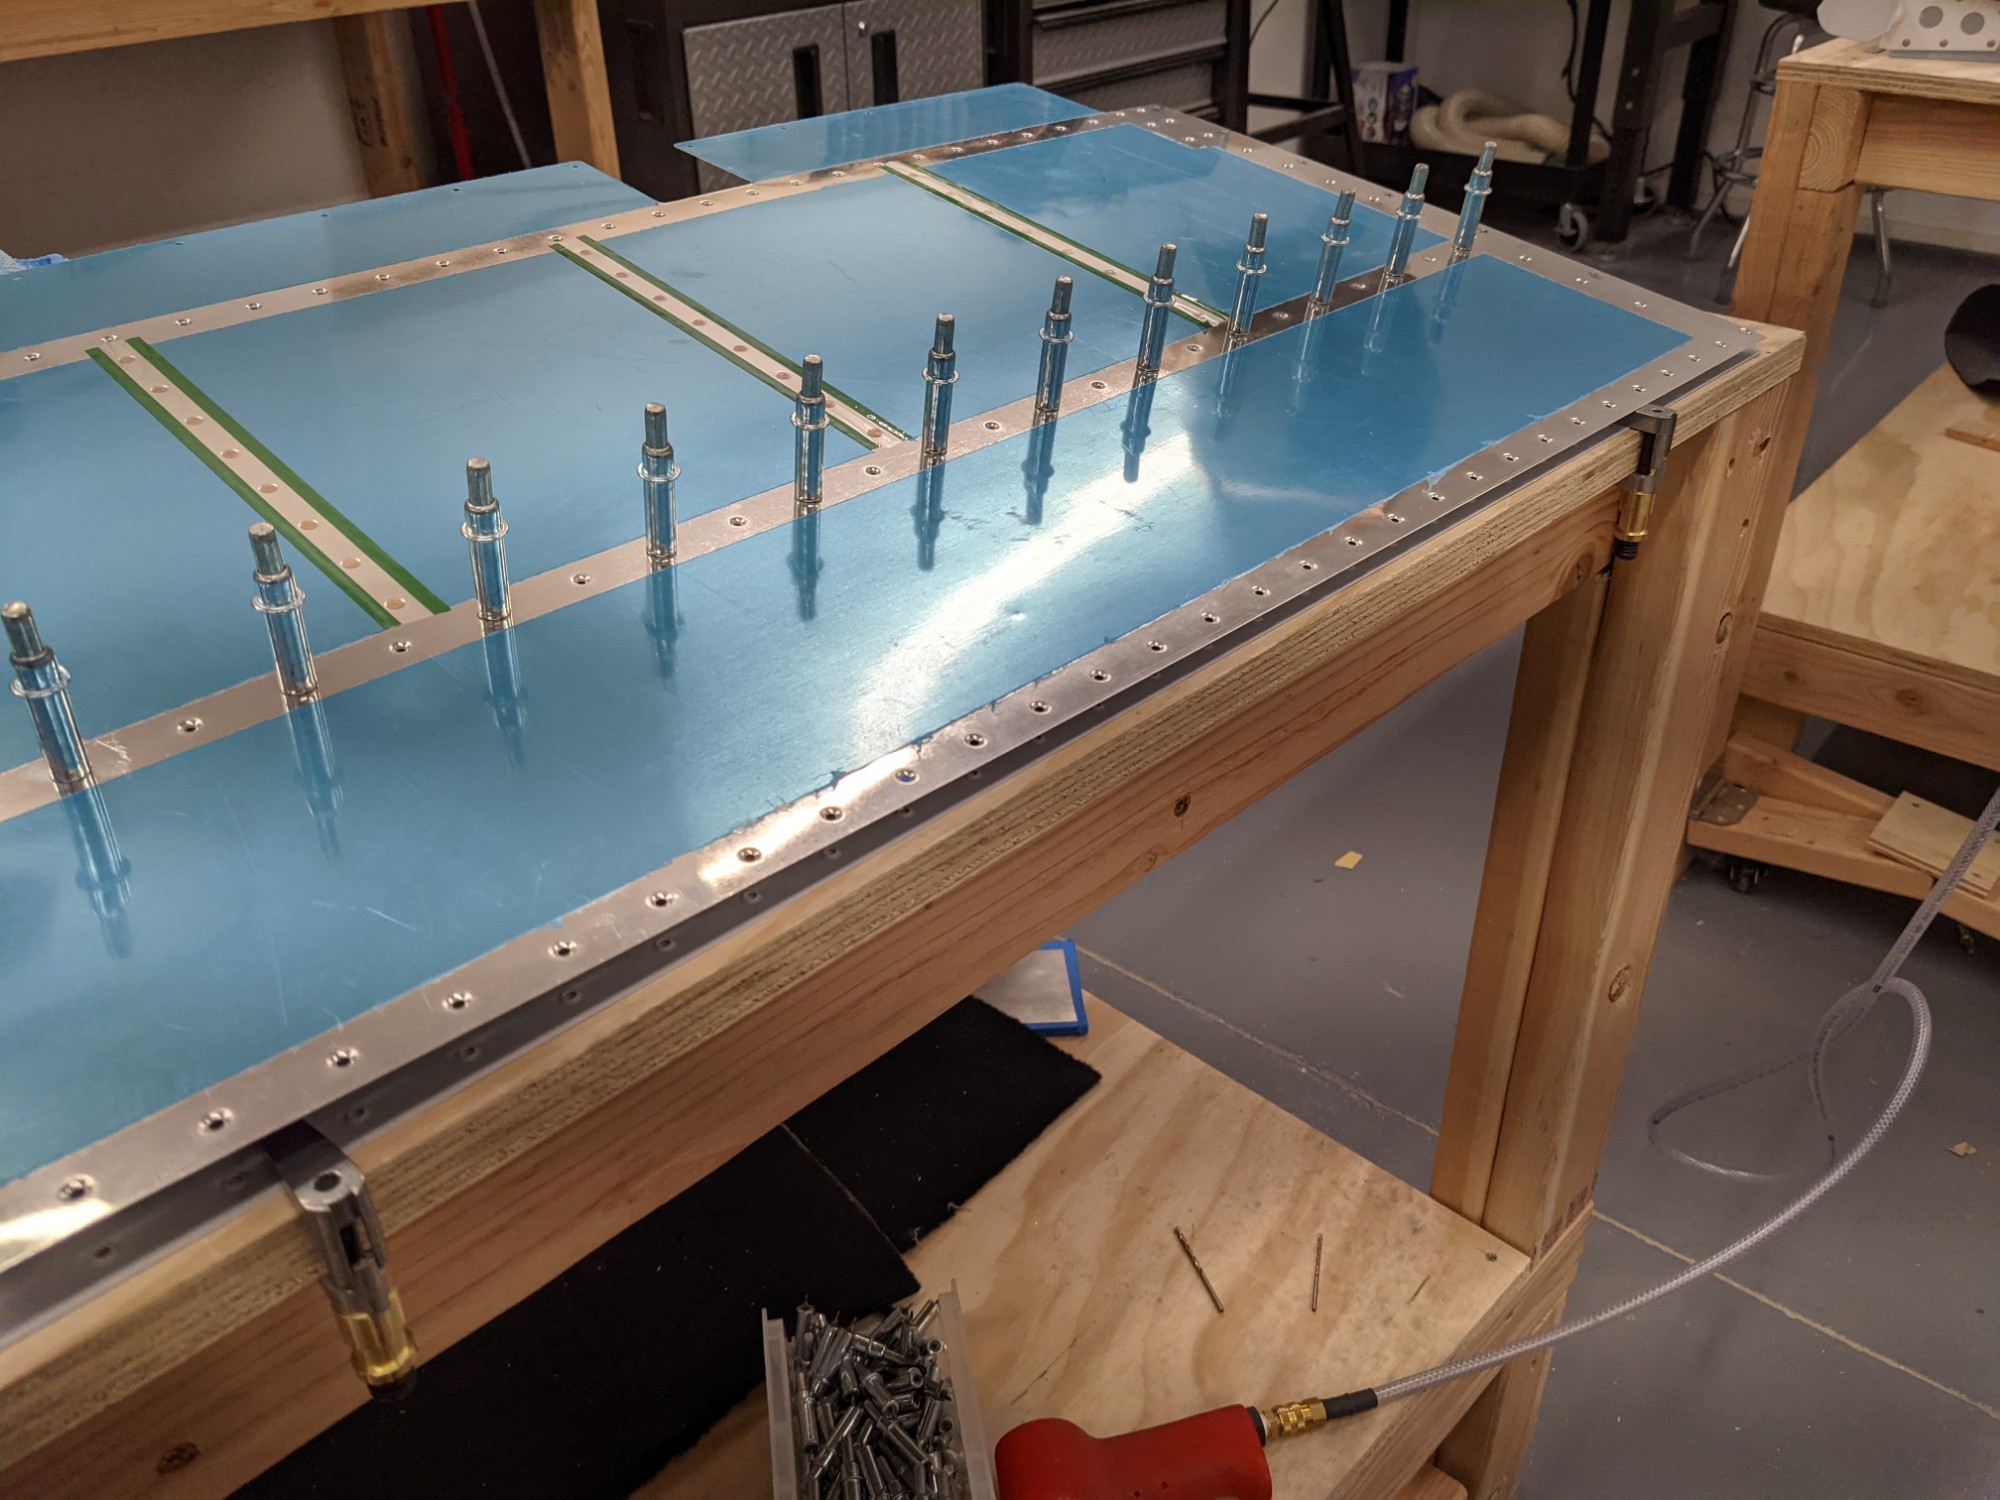
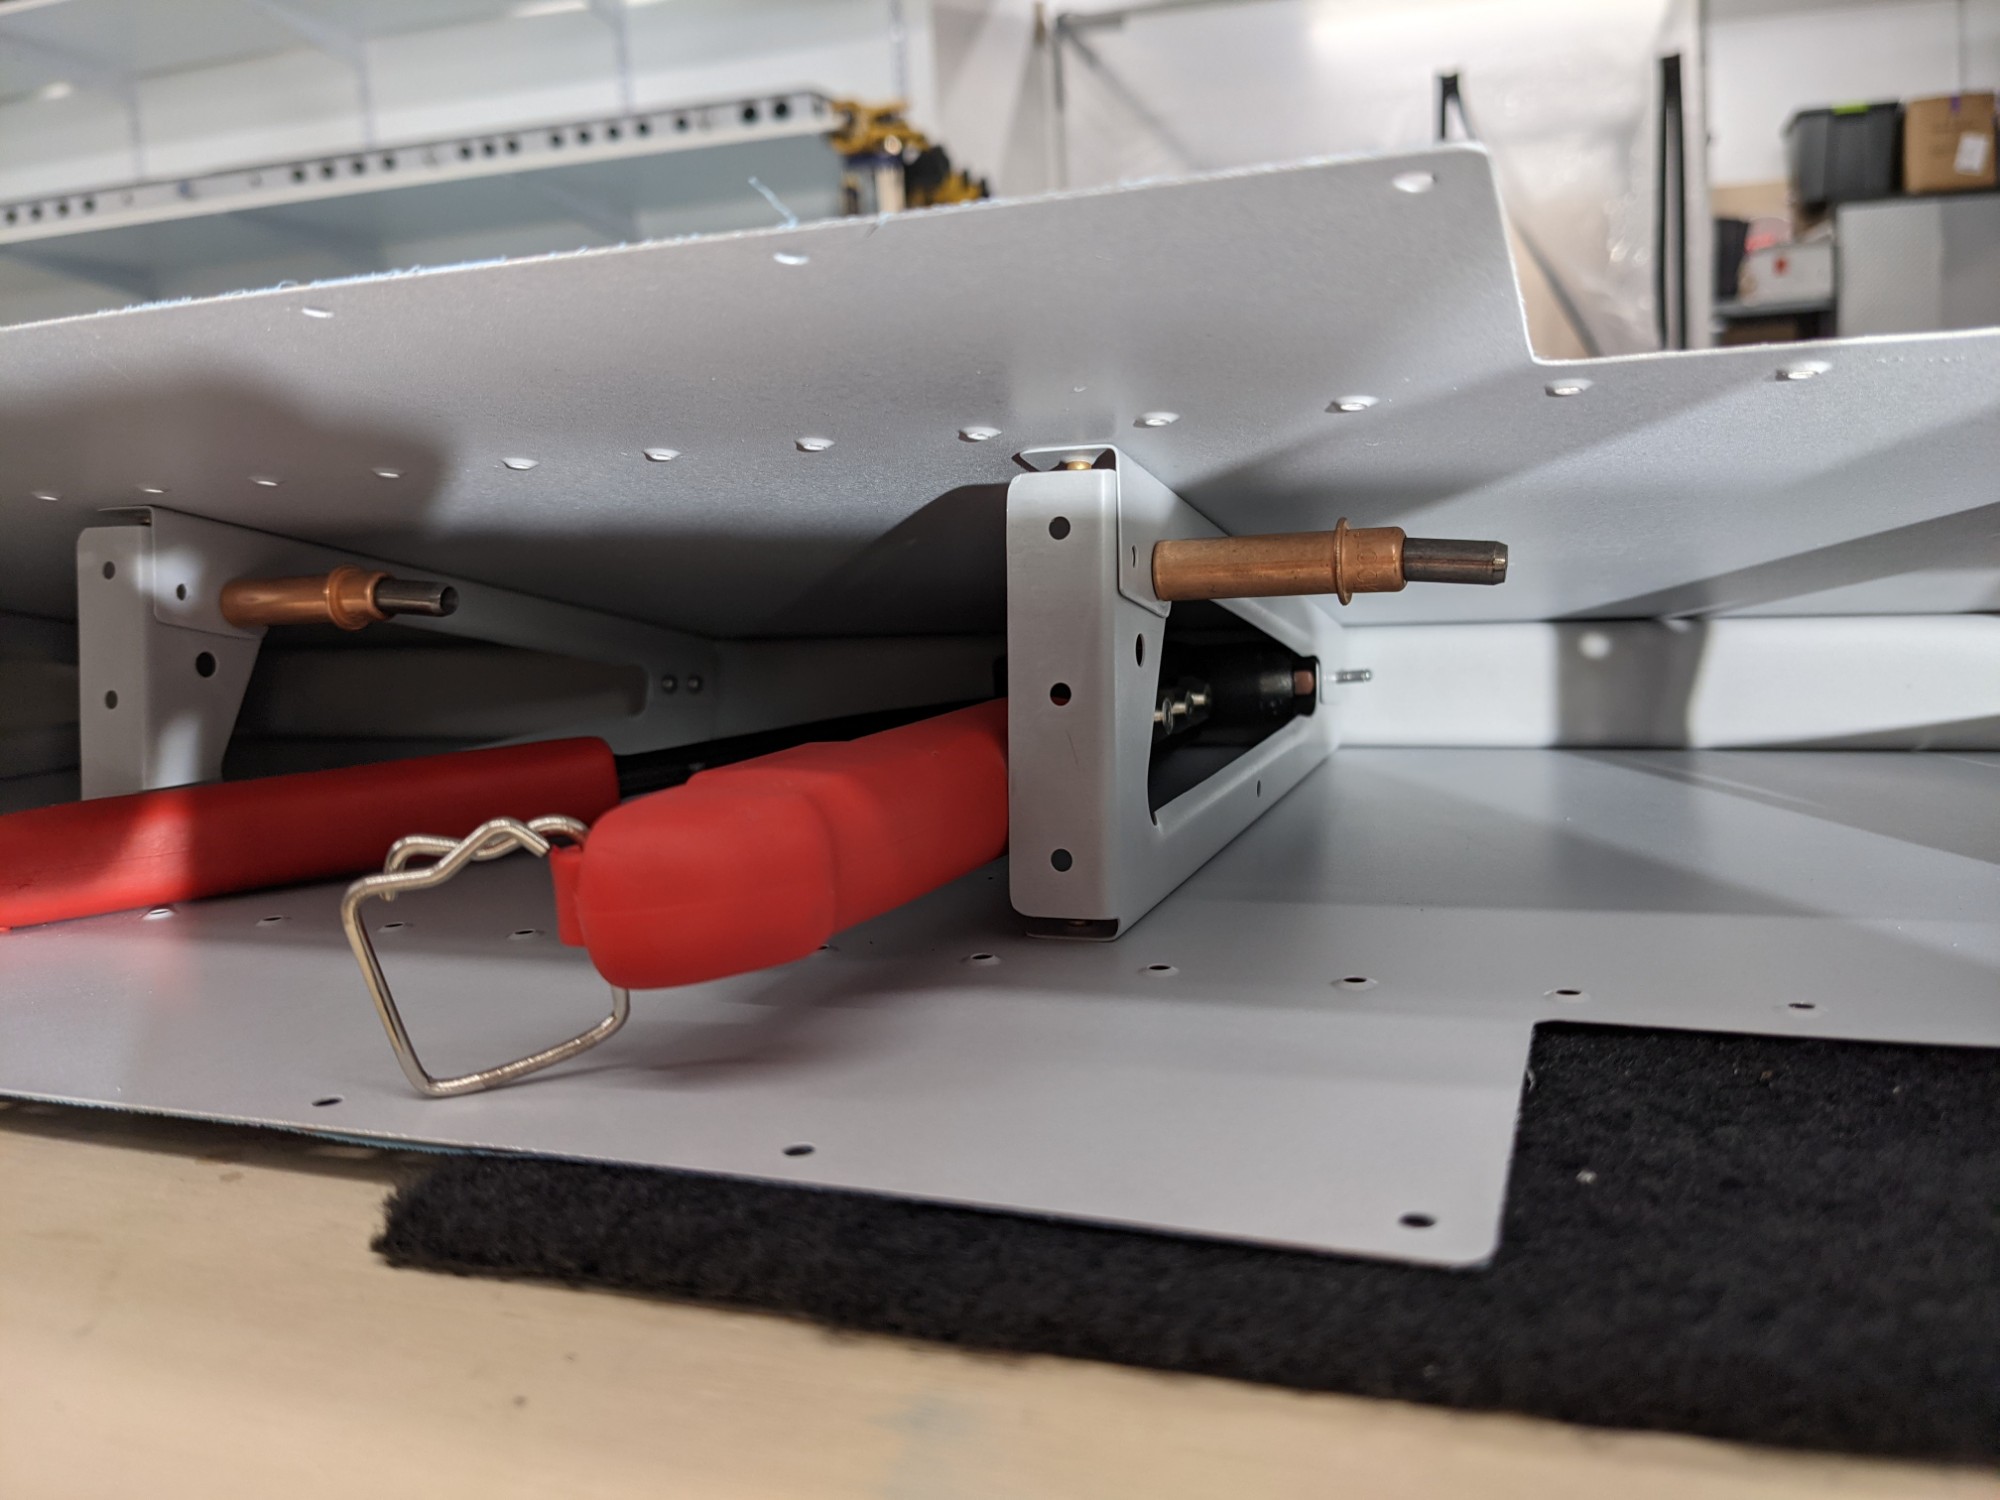
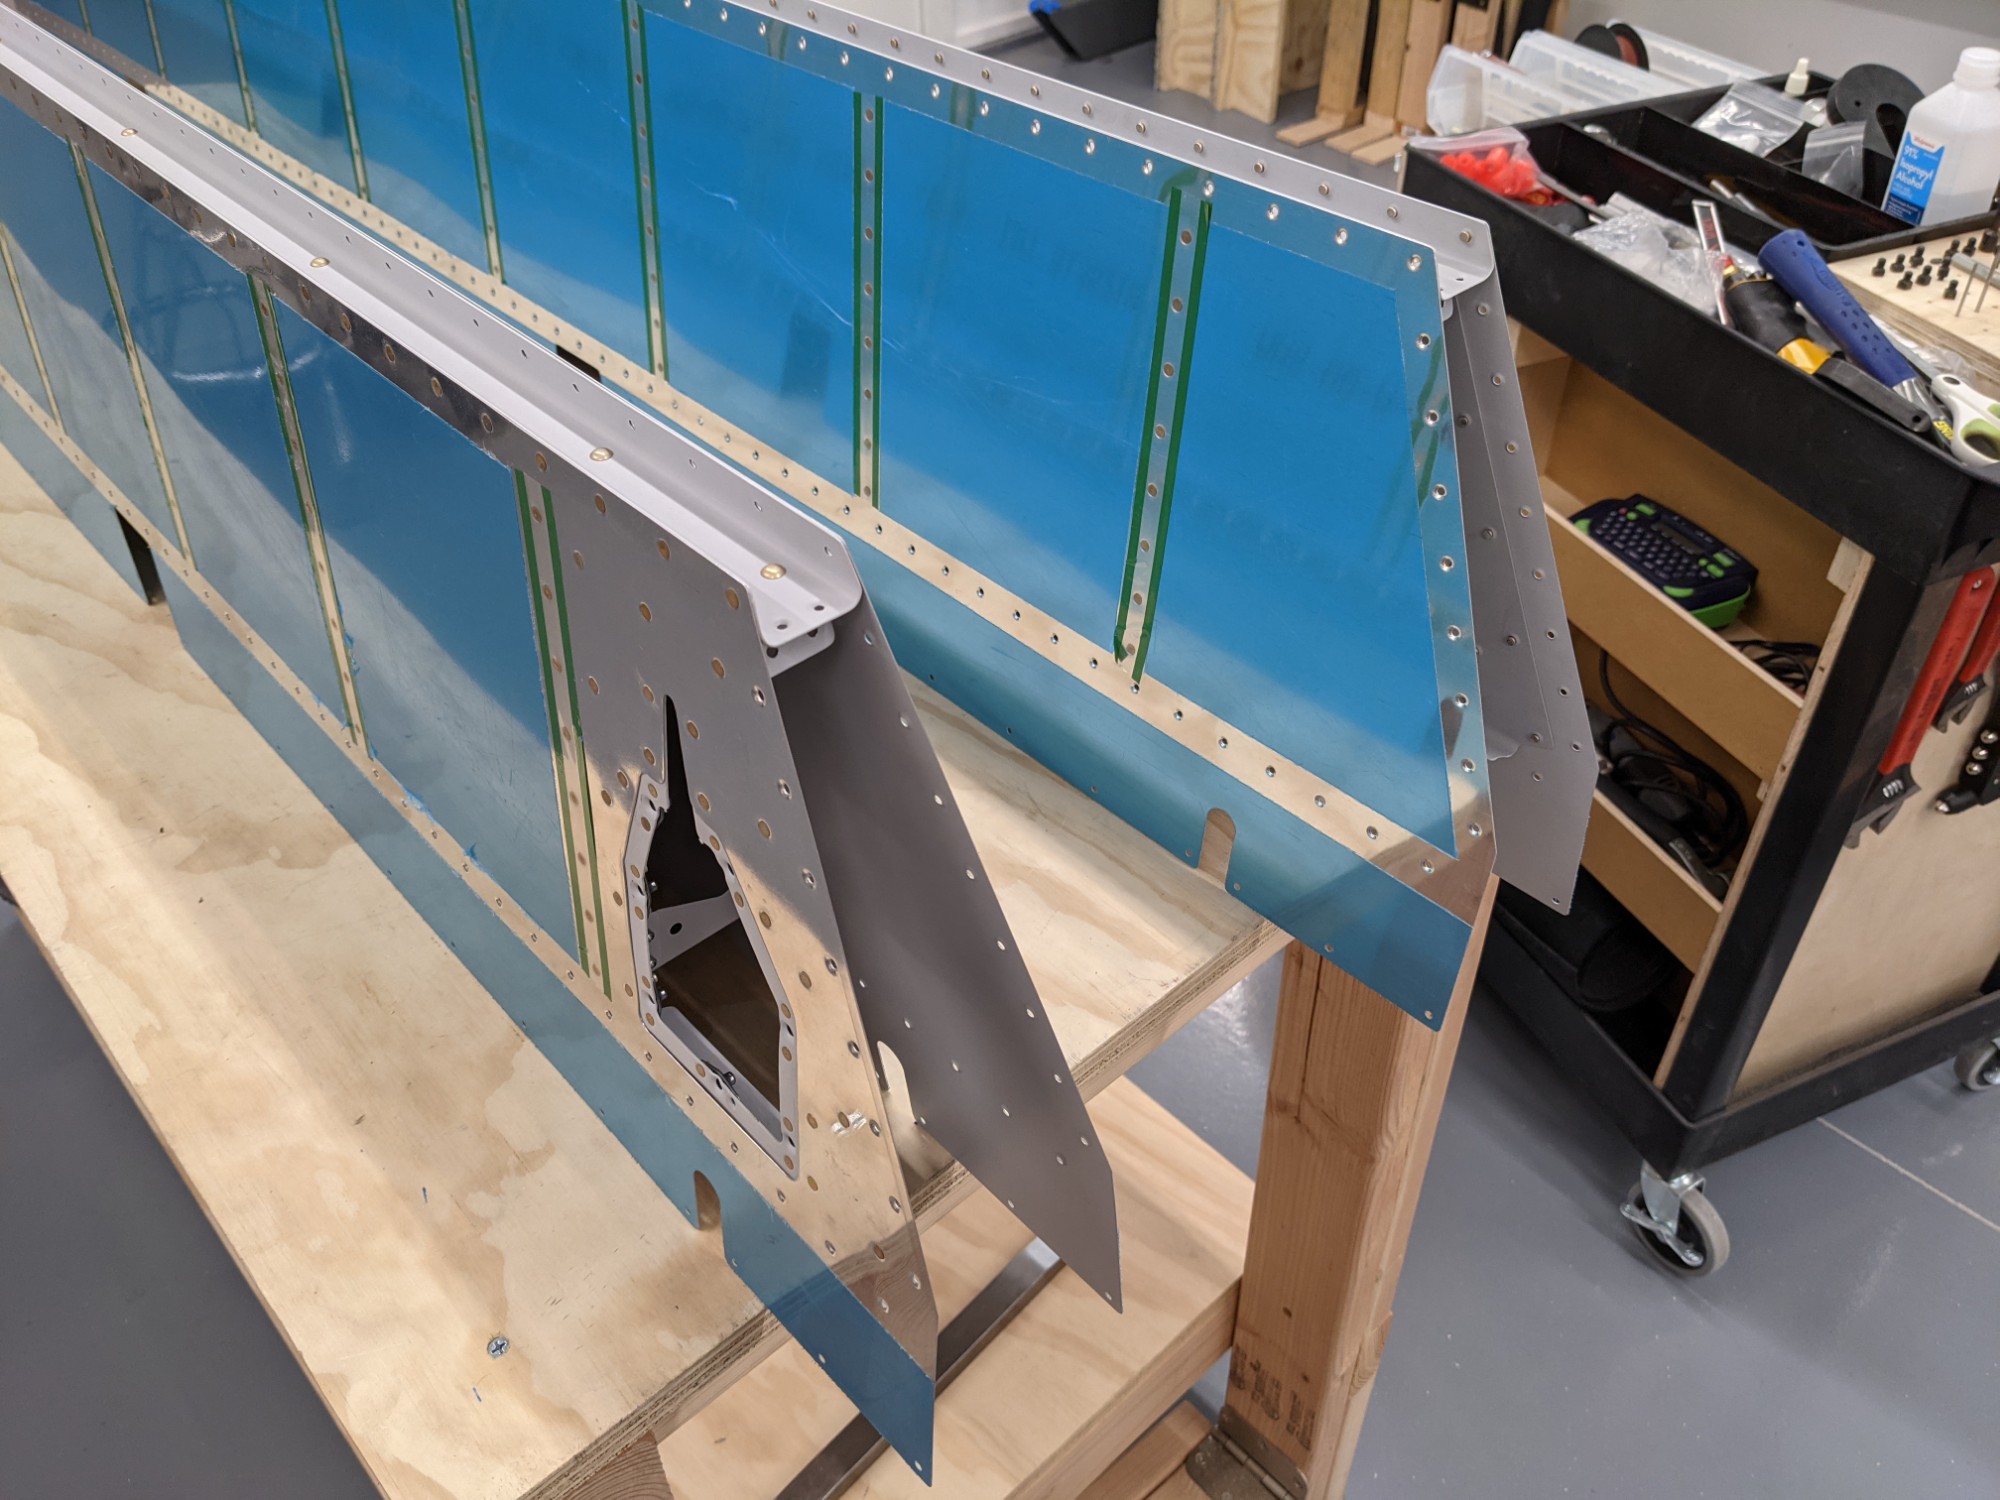
The lower rivets on the right elevator trim tab cutout were set with the pneumatic squeezer.
![](https://airplane.allanglen.com/wp-content/uploads/2021/01/pxl_20210126_010109806257989769667125042.jpg)
![](https://airplane.allanglen.com/wp-content/uploads/2021/01/pxl_20210126_0101199076537523096791735809.jpg)
![](https://airplane.allanglen.com/wp-content/uploads/2021/01/pxl_20210126_0100480642450744155342922131.jpg)
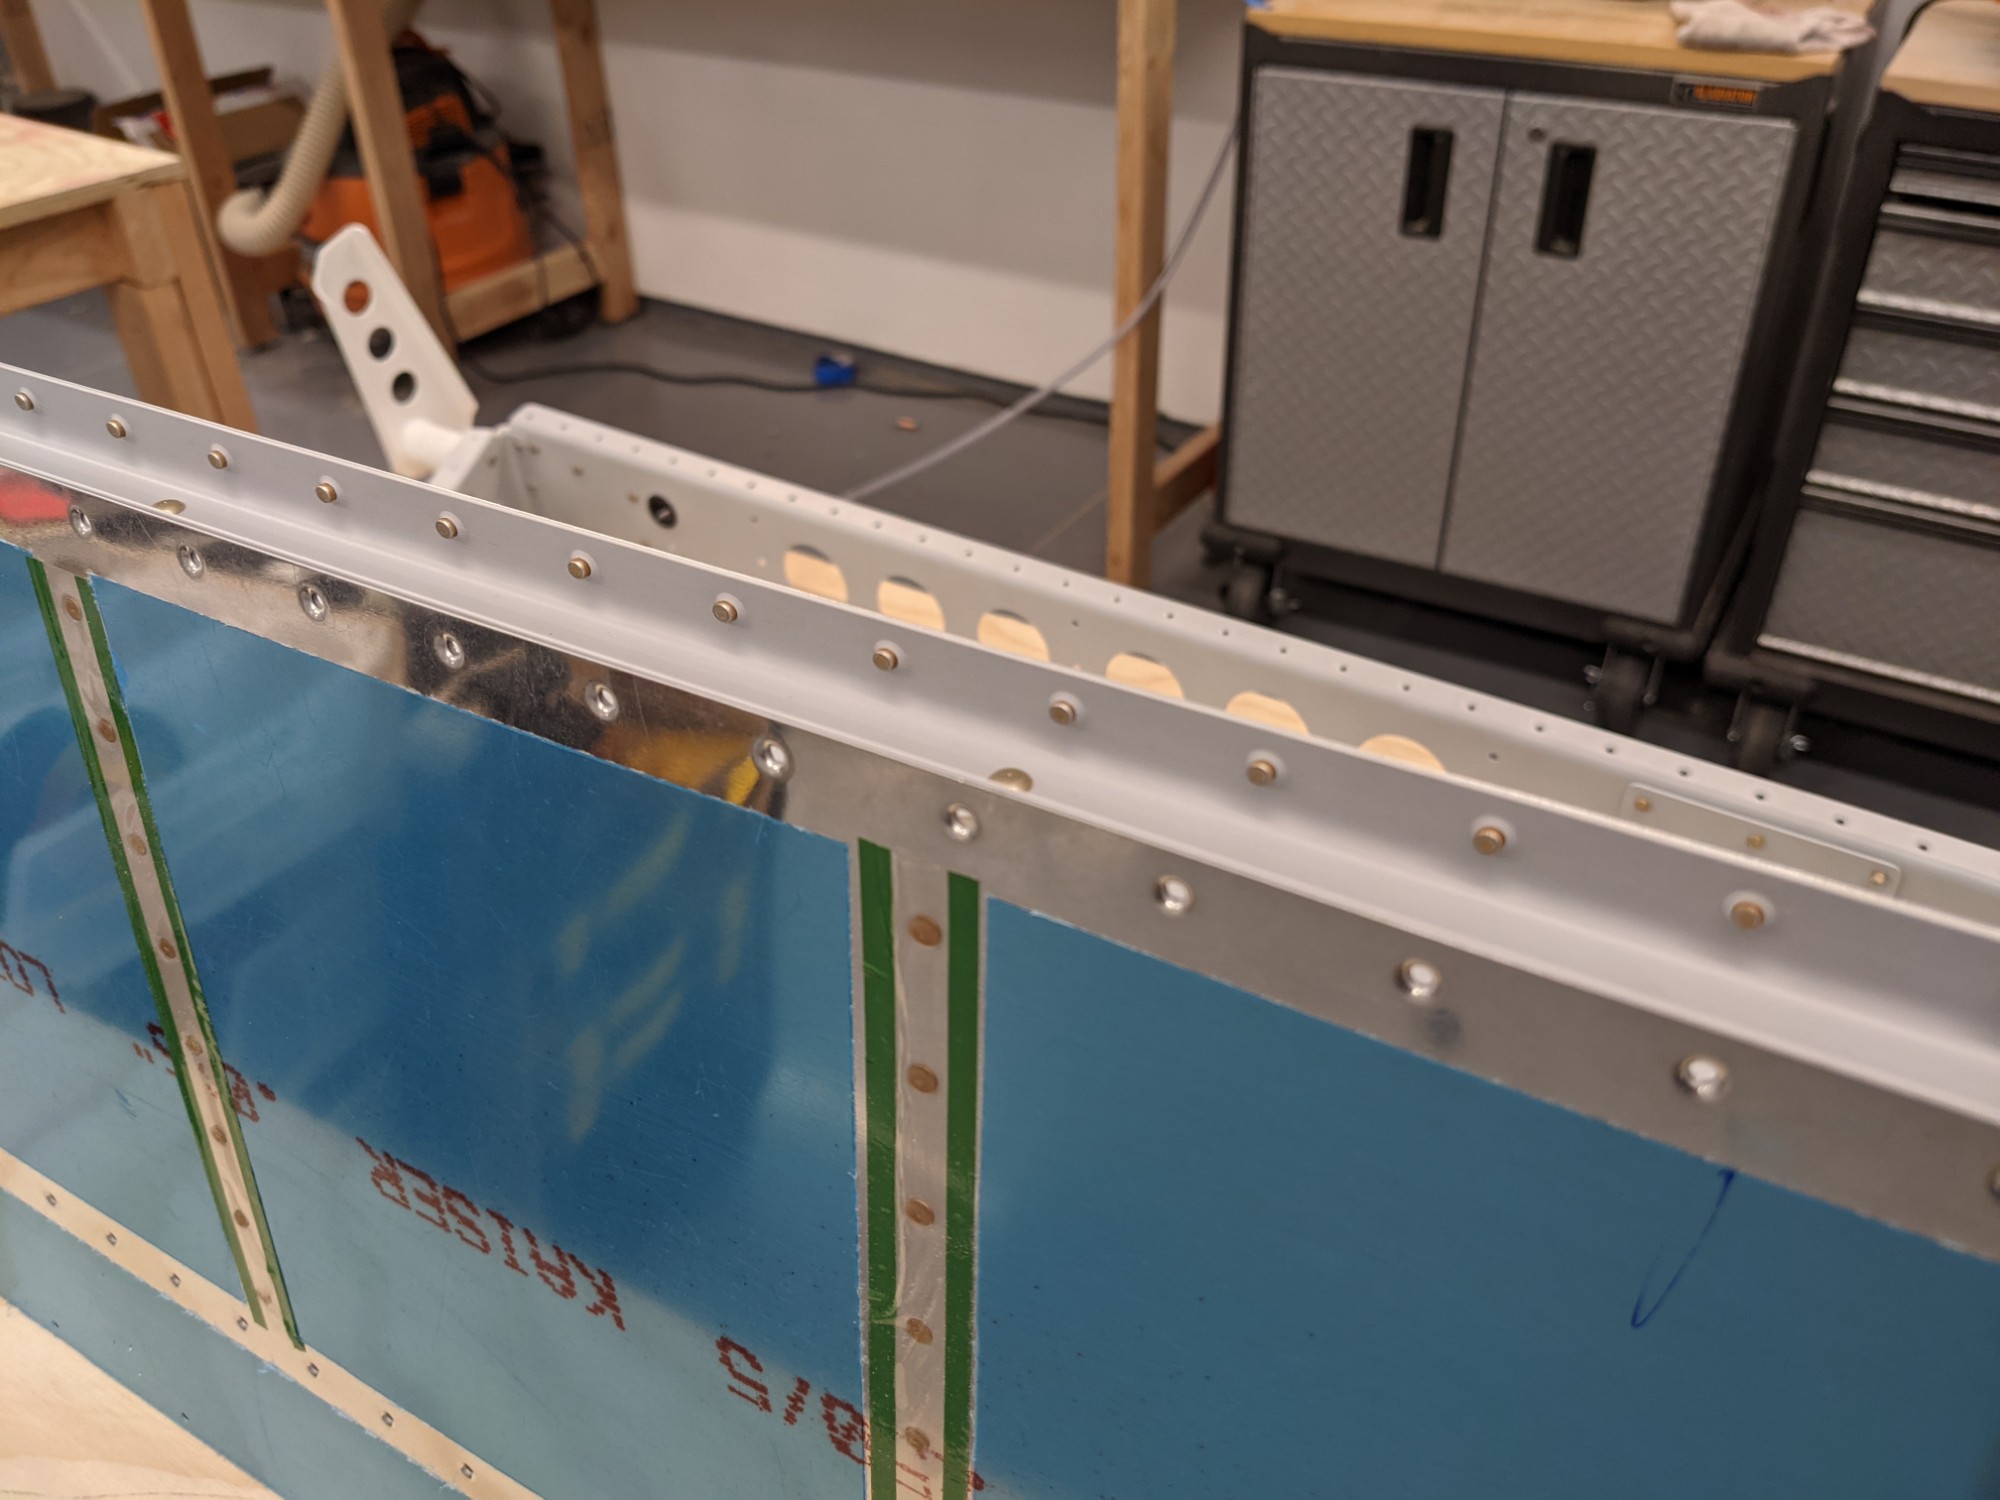
Next up was the top skin of the right elevator.
![](https://airplane.allanglen.com/wp-content/uploads/2021/01/pxl_20210126_0042532925853668797354989972.jpg)
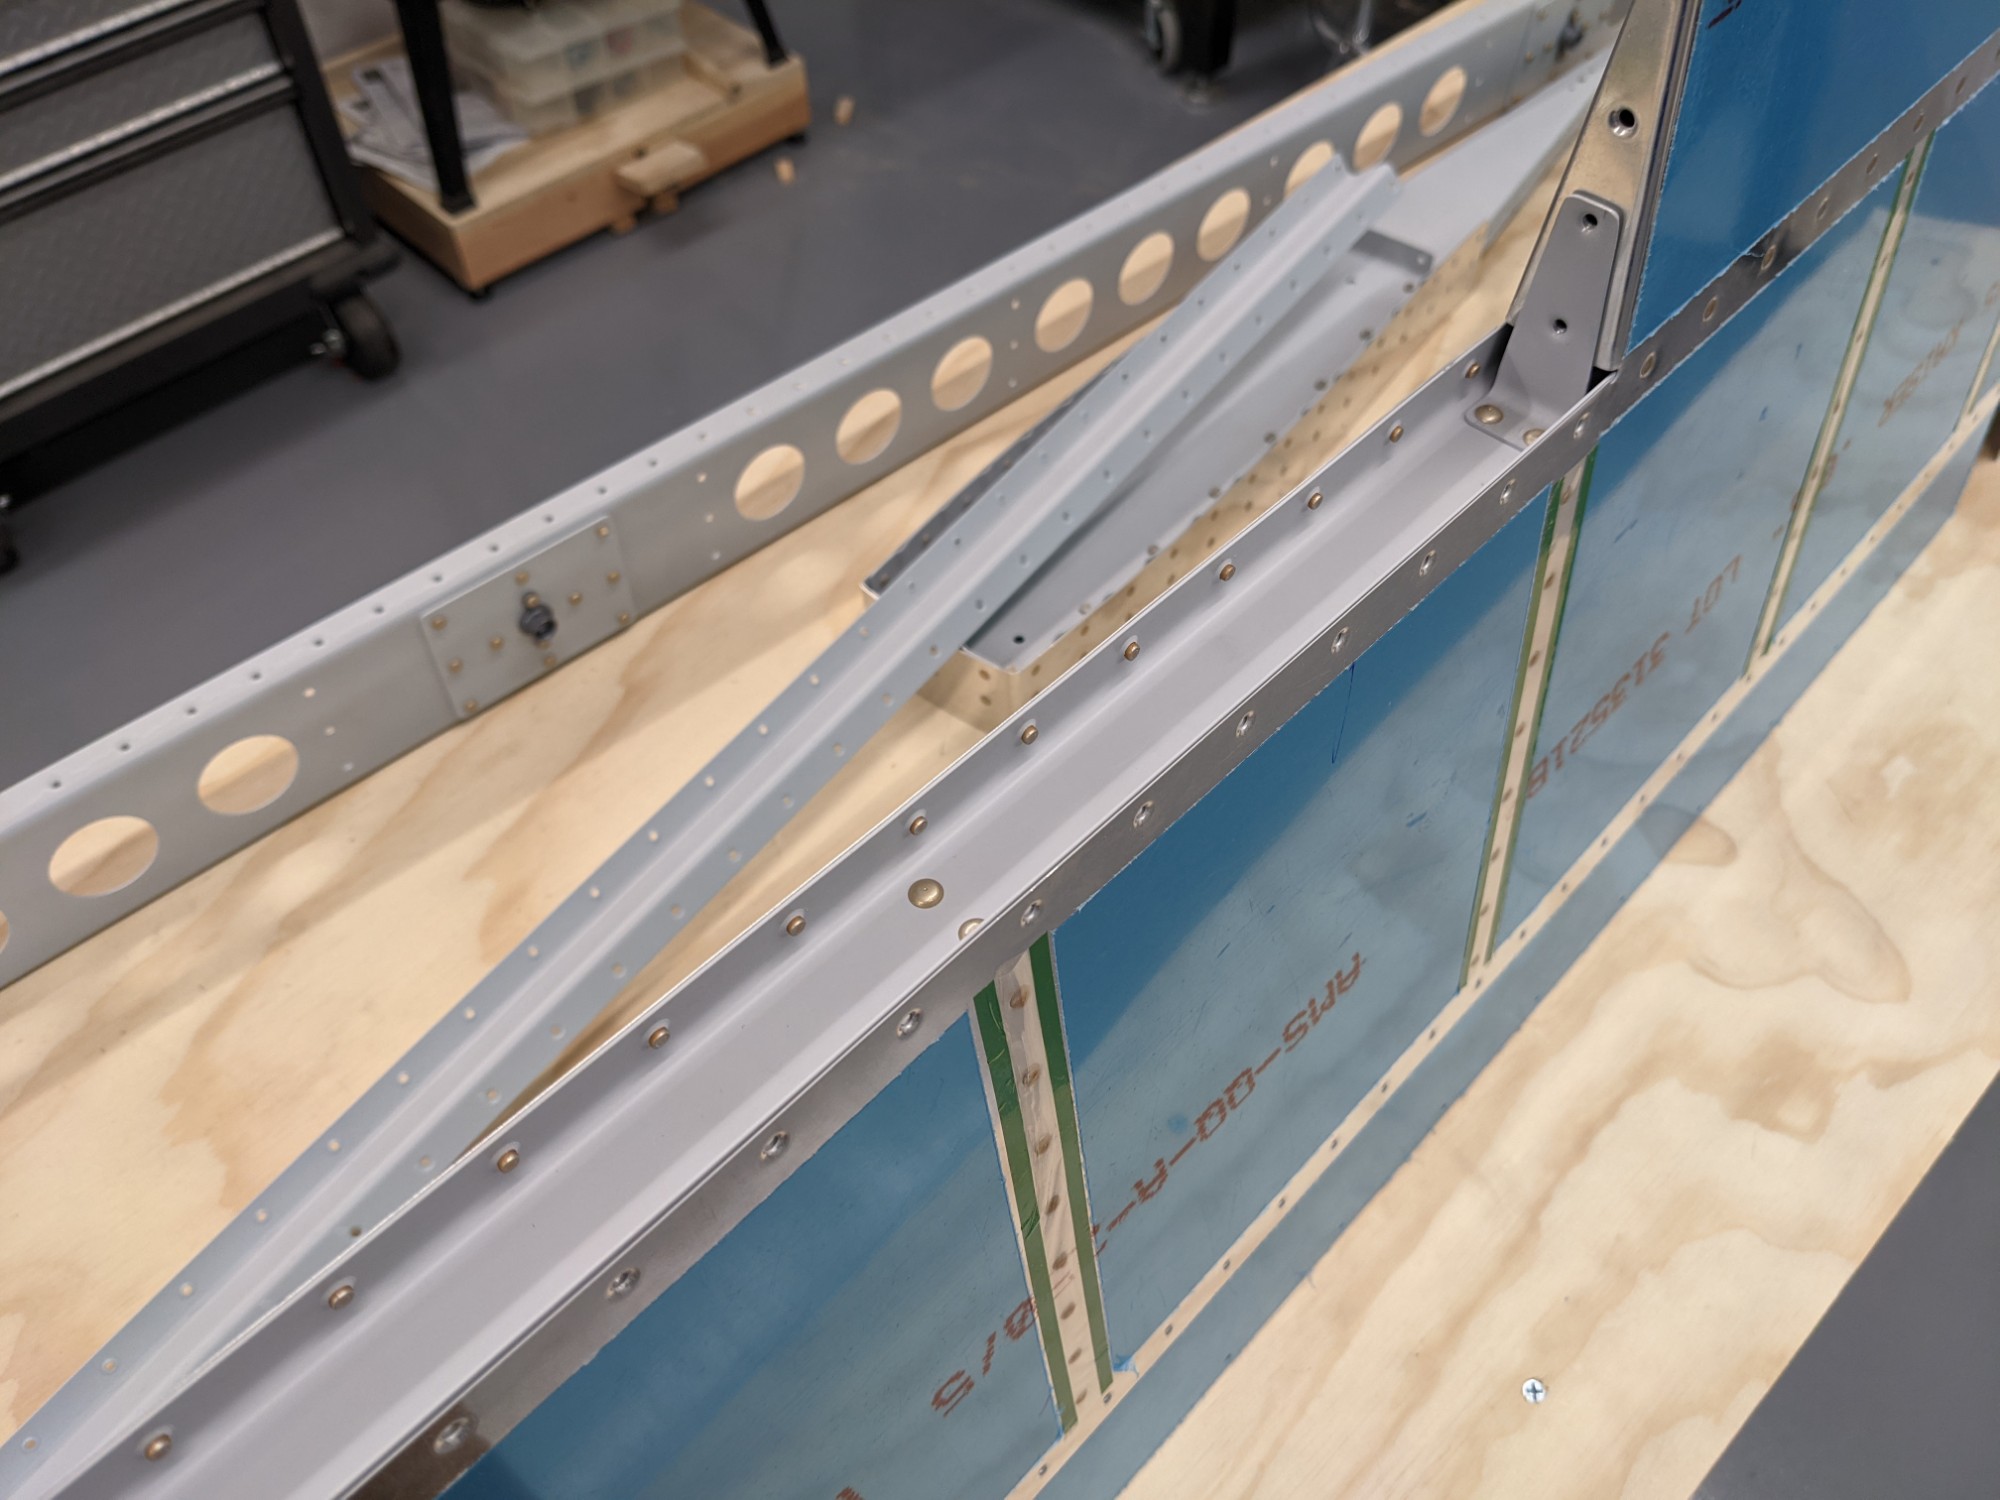
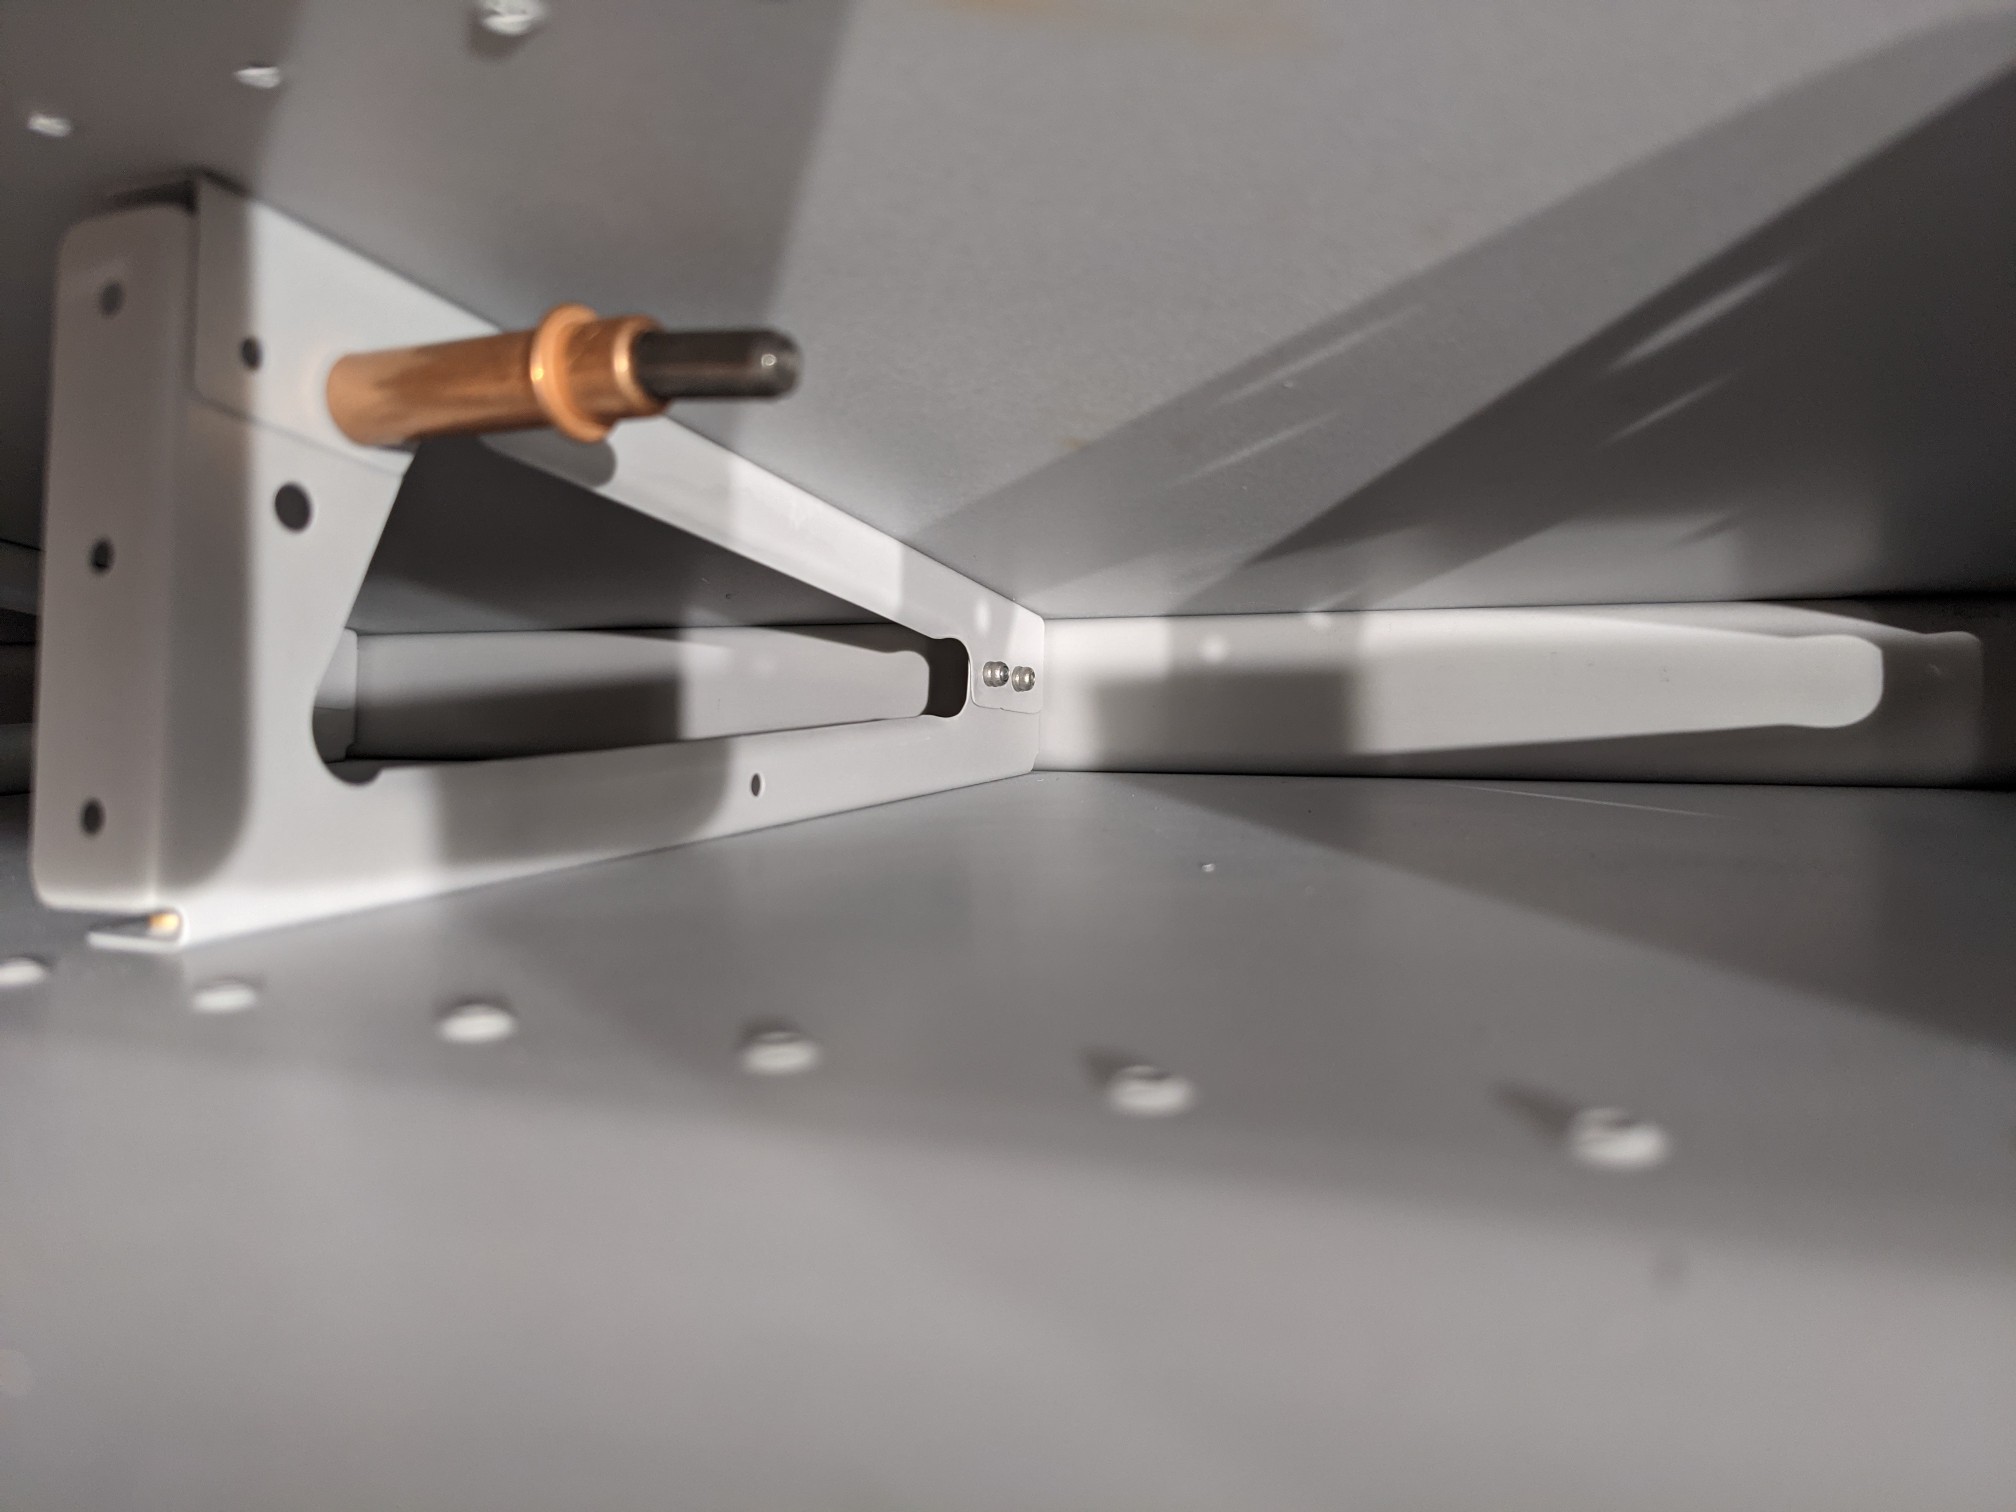
I had one rivet that I forgot to take a picture of earlier that I had previously replaced. The rib flange separated from the rear spar when I set it with the squeezer. When replacing it I flipped the rivet to keep the shop head on the flange side and I set it with the rivet gun instead of the pneumatic squeezer.
I brushed on some additional primer to fix up the scuffs from removing the rivet.
![](https://airplane.allanglen.com/wp-content/uploads/2021/01/pxl_20210126_0044028286153283588656460184.jpg)
Next up was setting the blind rivets on the rib halves.
![](https://airplane.allanglen.com/wp-content/uploads/2021/01/pxl_20210126_0225534431005081045405301069.jpg)
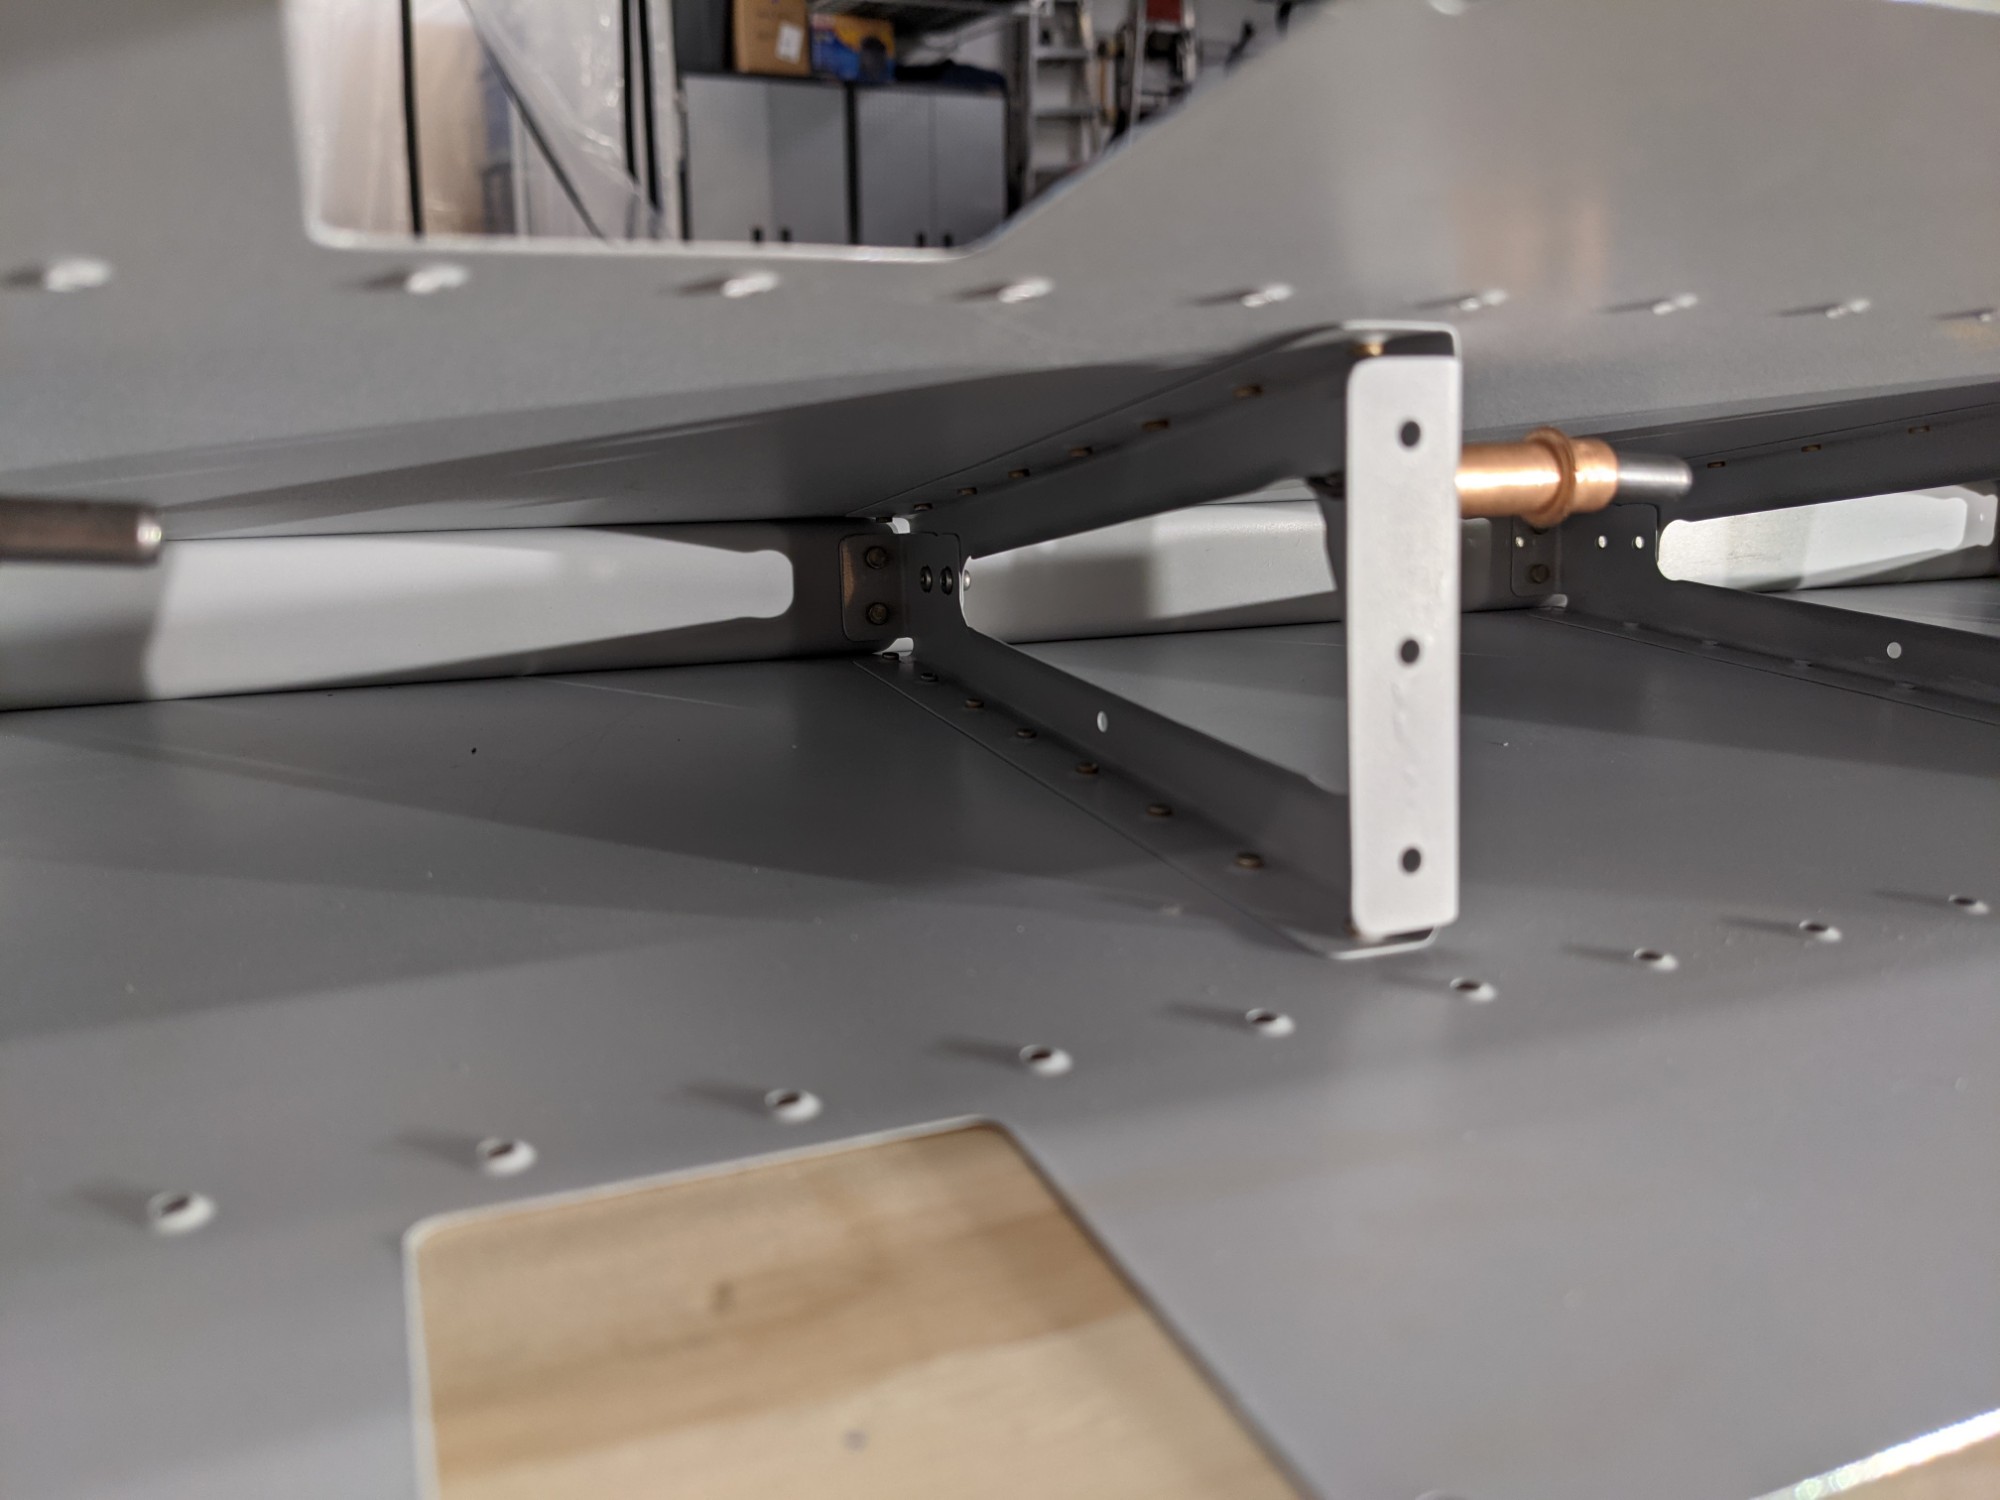
I put the factory head of the rivet on the flange side of each rib to give me slightly more room. I didn’t have any trouble setting them and didn’t have to make the spacer tool described in the plans.
![](https://airplane.allanglen.com/wp-content/uploads/2021/01/pxl_20210126_023304526641371281525645799.jpg)
![](https://airplane.allanglen.com/wp-content/uploads/2021/01/pxl_20210126_0225589461627096488718628730.jpg)
![](https://airplane.allanglen.com/wp-content/uploads/2021/01/pxl_20210126_0226084027570626750884508155.jpg)
![](https://airplane.allanglen.com/wp-content/uploads/2021/01/pxl_20210126_0226163929061794538124701702.jpg)
![](https://airplane.allanglen.com/wp-content/uploads/2021/01/pxl_20210126_0233085373427636895378365336.jpg)
![](https://airplane.allanglen.com/wp-content/uploads/2021/01/pxl_20210126_0250246669058119823729158912.jpg)
![](https://airplane.allanglen.com/wp-content/uploads/2021/01/pxl_20210126_0250336245527328096793905159.jpg)
![](https://airplane.allanglen.com/wp-content/uploads/2021/01/pxl_20210126_0321388261846833333847730384.jpg)
![](https://airplane.allanglen.com/wp-content/uploads/2021/01/pxl_20210126_032319301227130514891348753.jpg)
![](https://airplane.allanglen.com/wp-content/uploads/2021/01/pxl_20210126_0323357836039932760170231709.jpg)
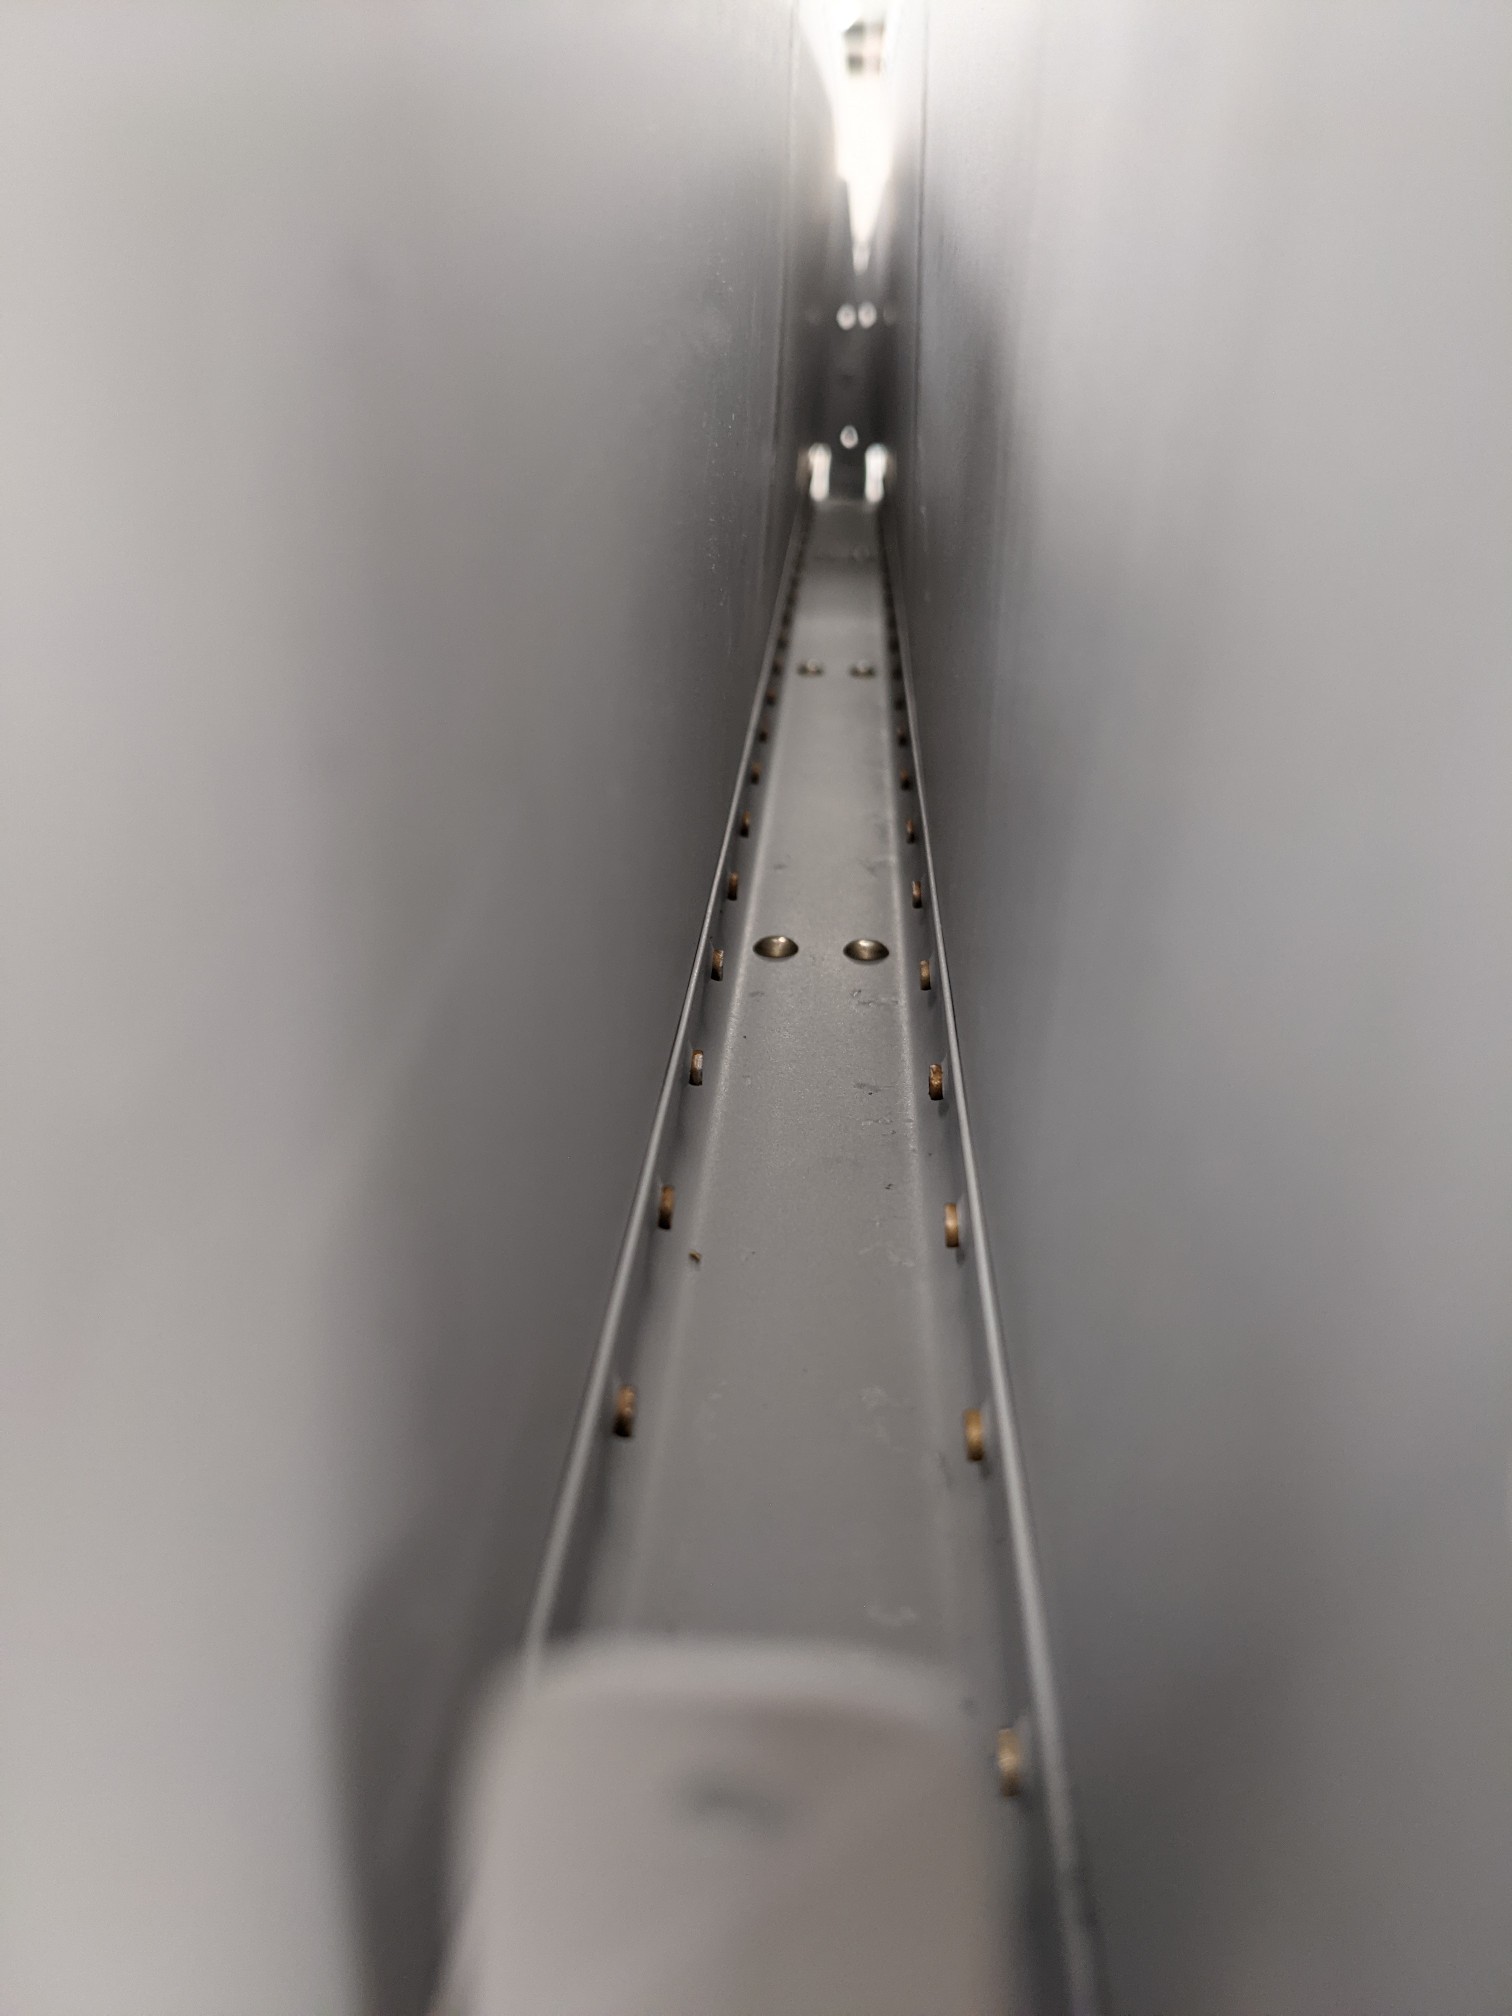
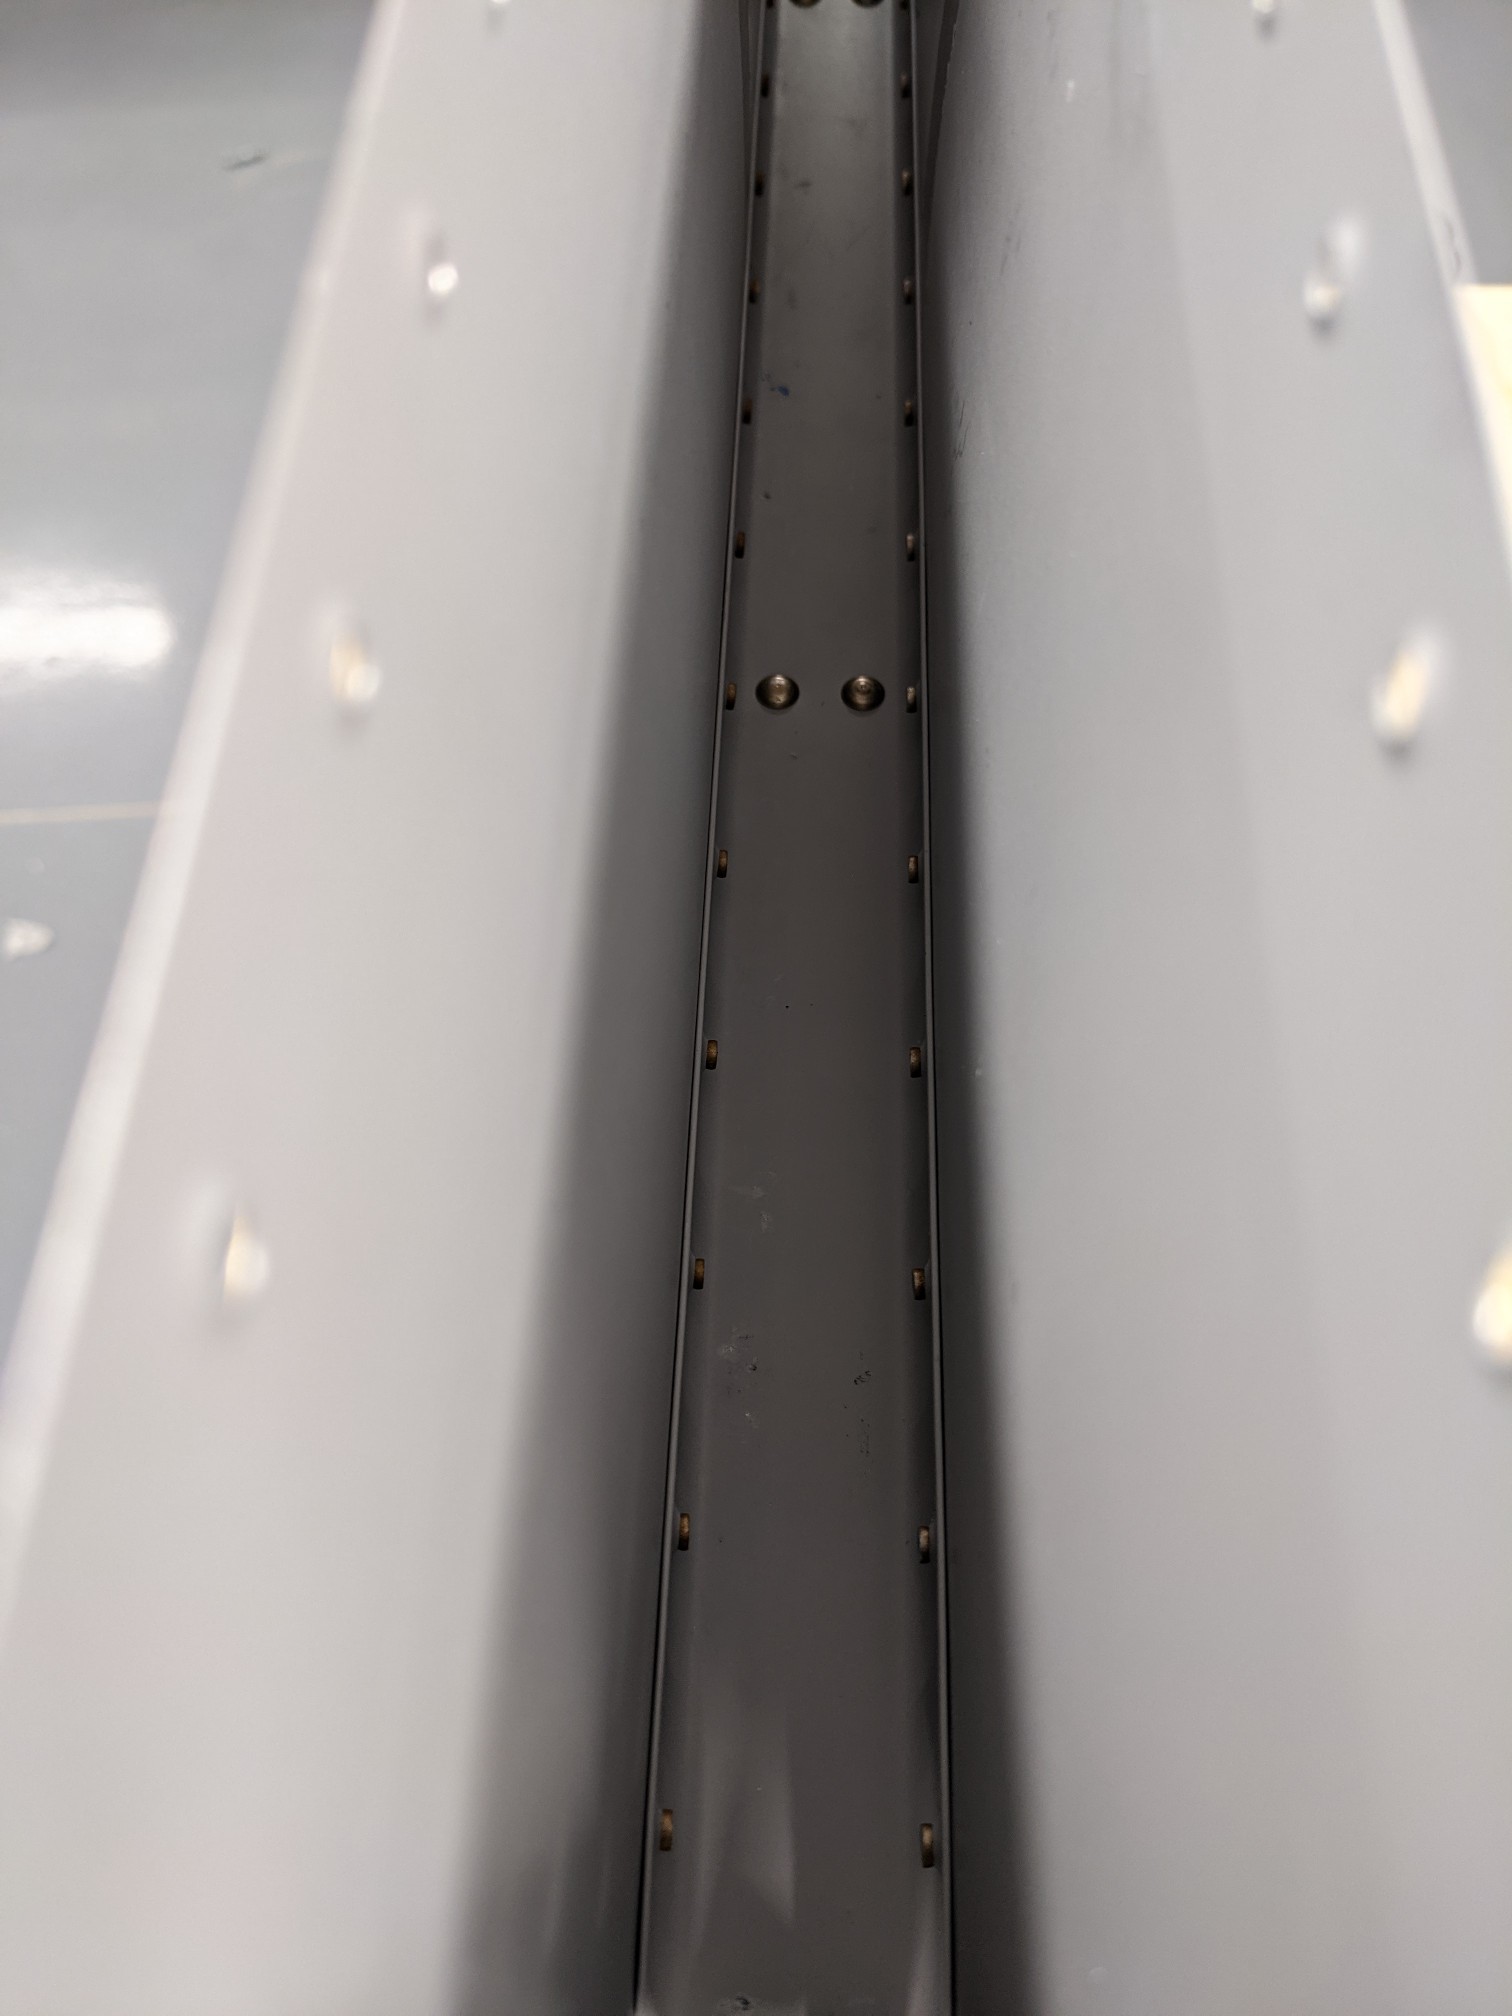
Success. Everything is still looking nice and straight. Next up is attaching the front spar assemblies.