I haven’t done much to the upper forward assembly since initially clecoing it together.
Now that I have finished fitting and drilling the cabin top center support, I decided to prepare the upper forward parts for priming and get the substructure riveted together.
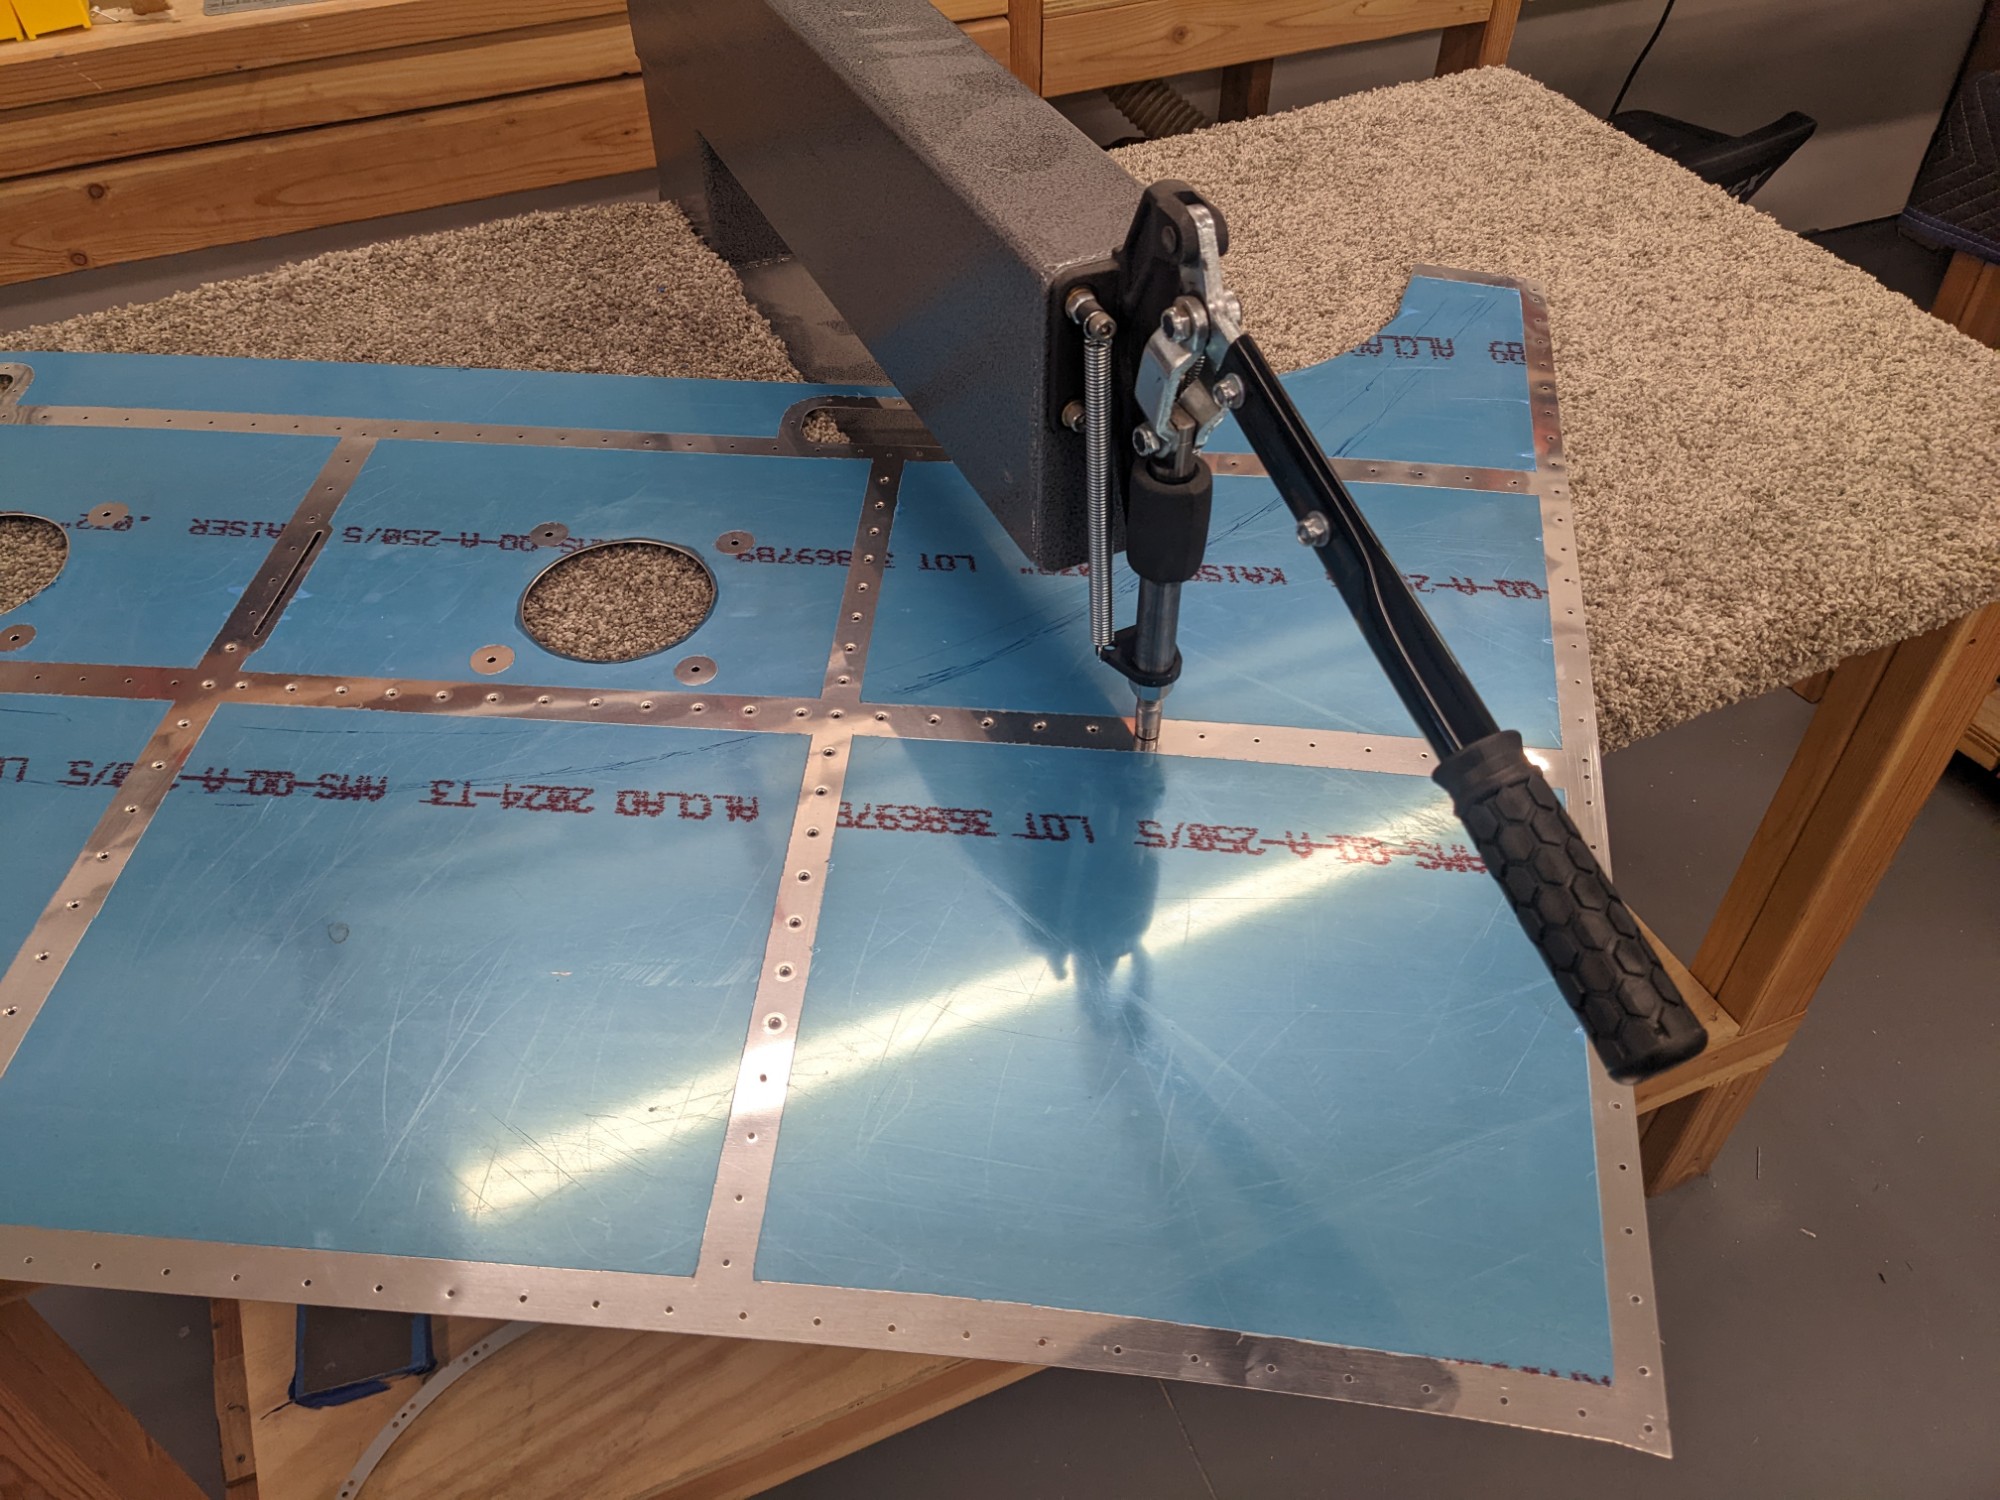
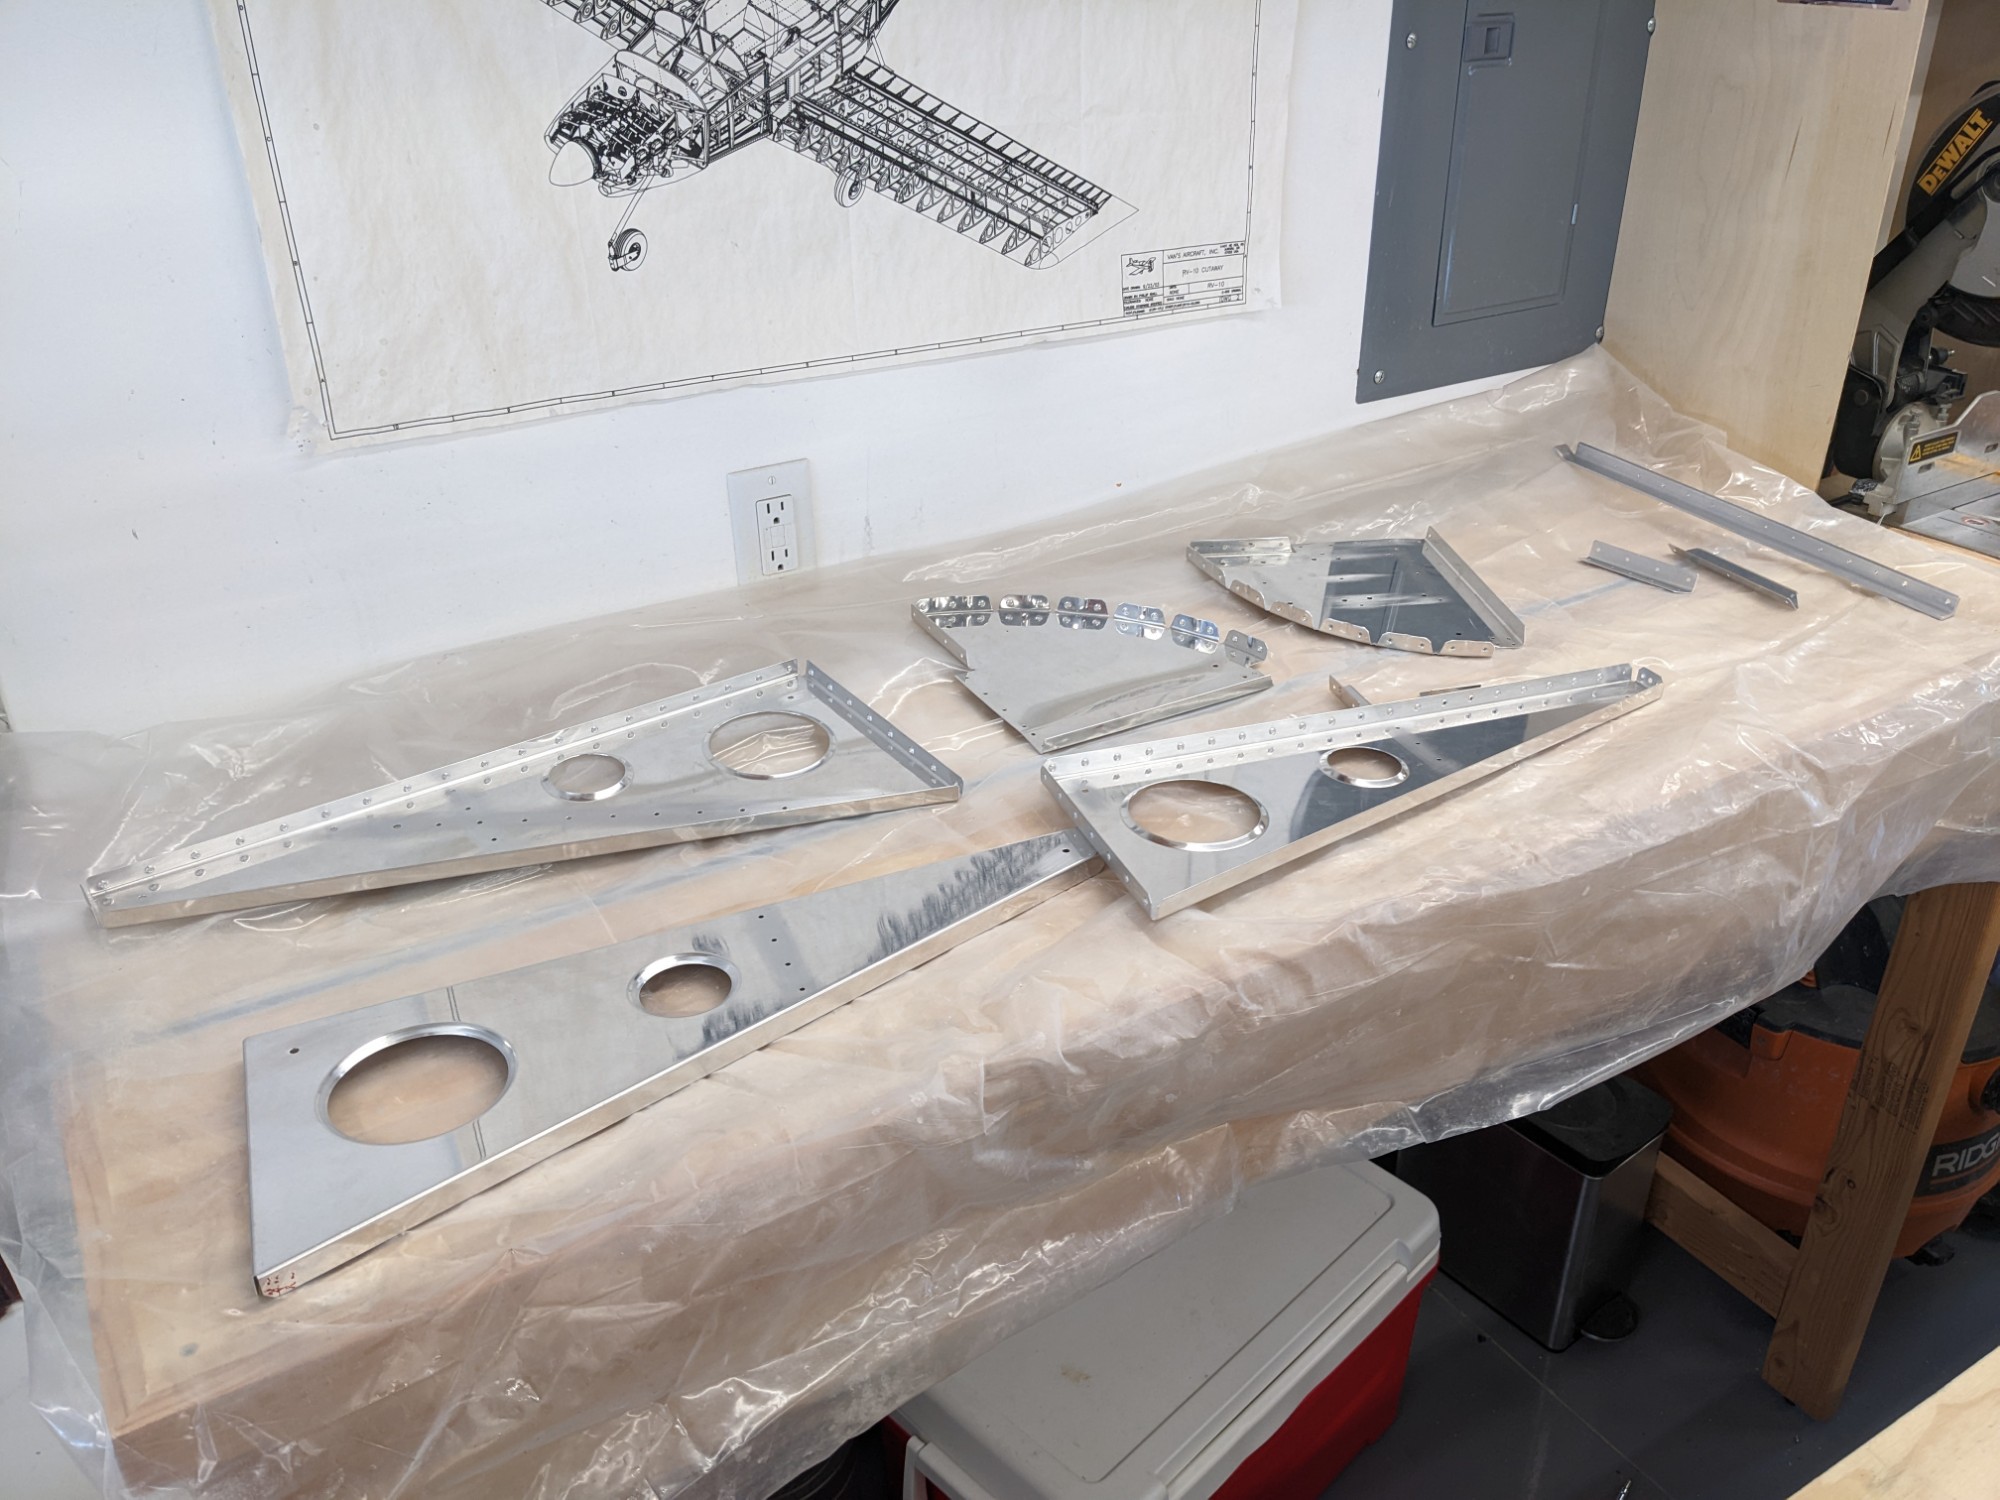
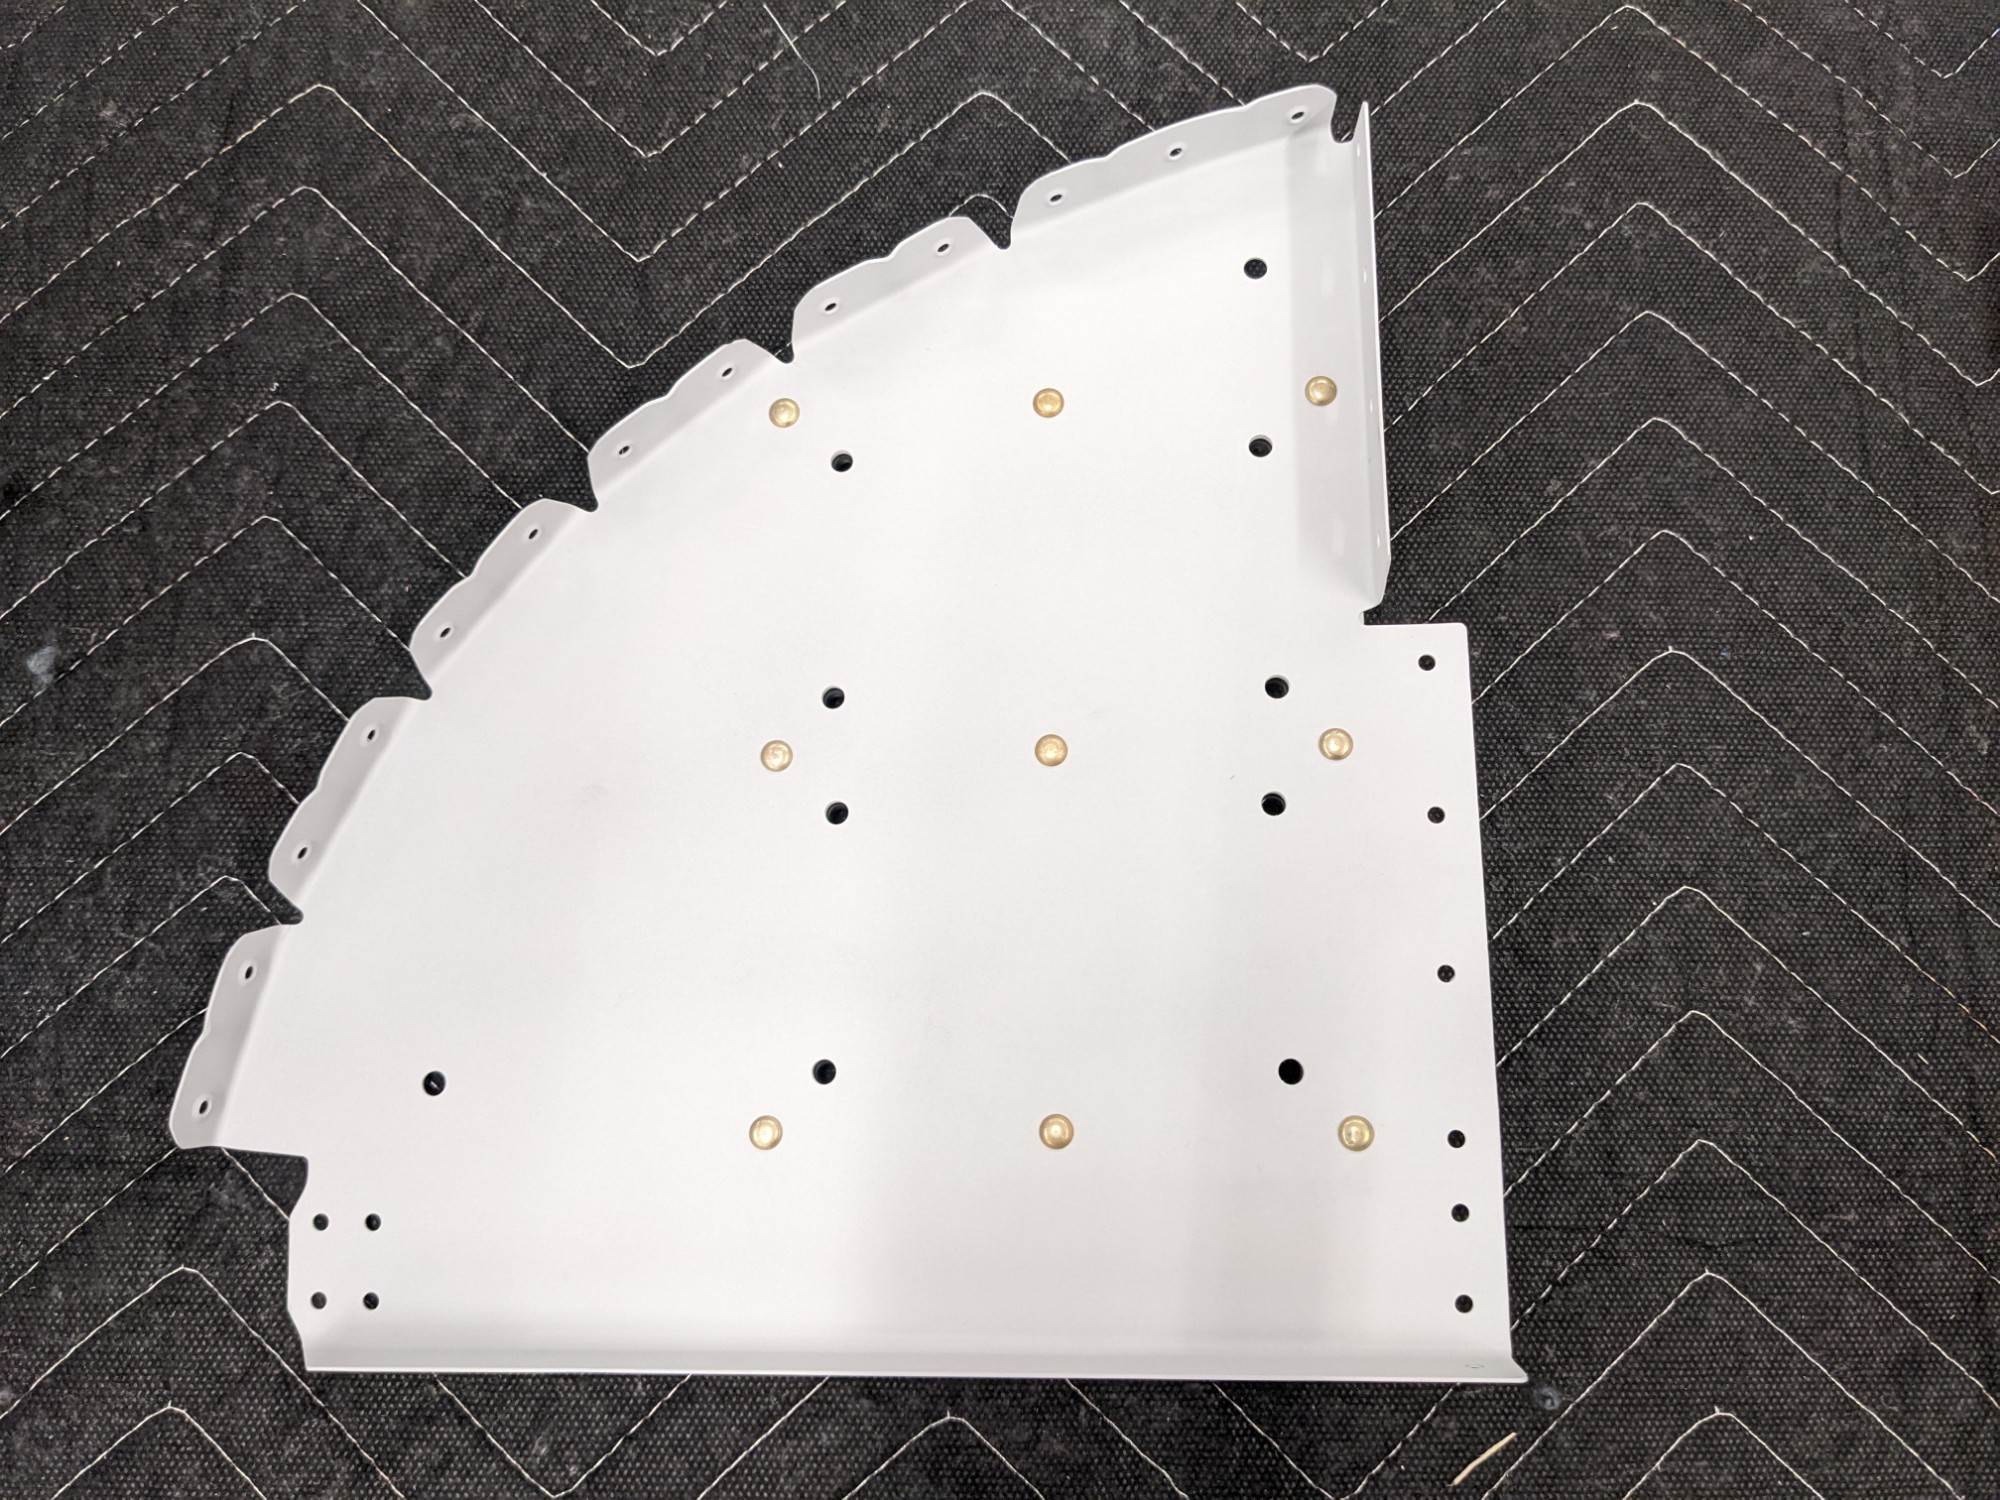
I started by removing the vinyl along the rivet lines.
![](https://airplane.allanglen.com/wp-content/uploads/2022/10/pxl_20221008_0158348511601331494896737613.jpg)
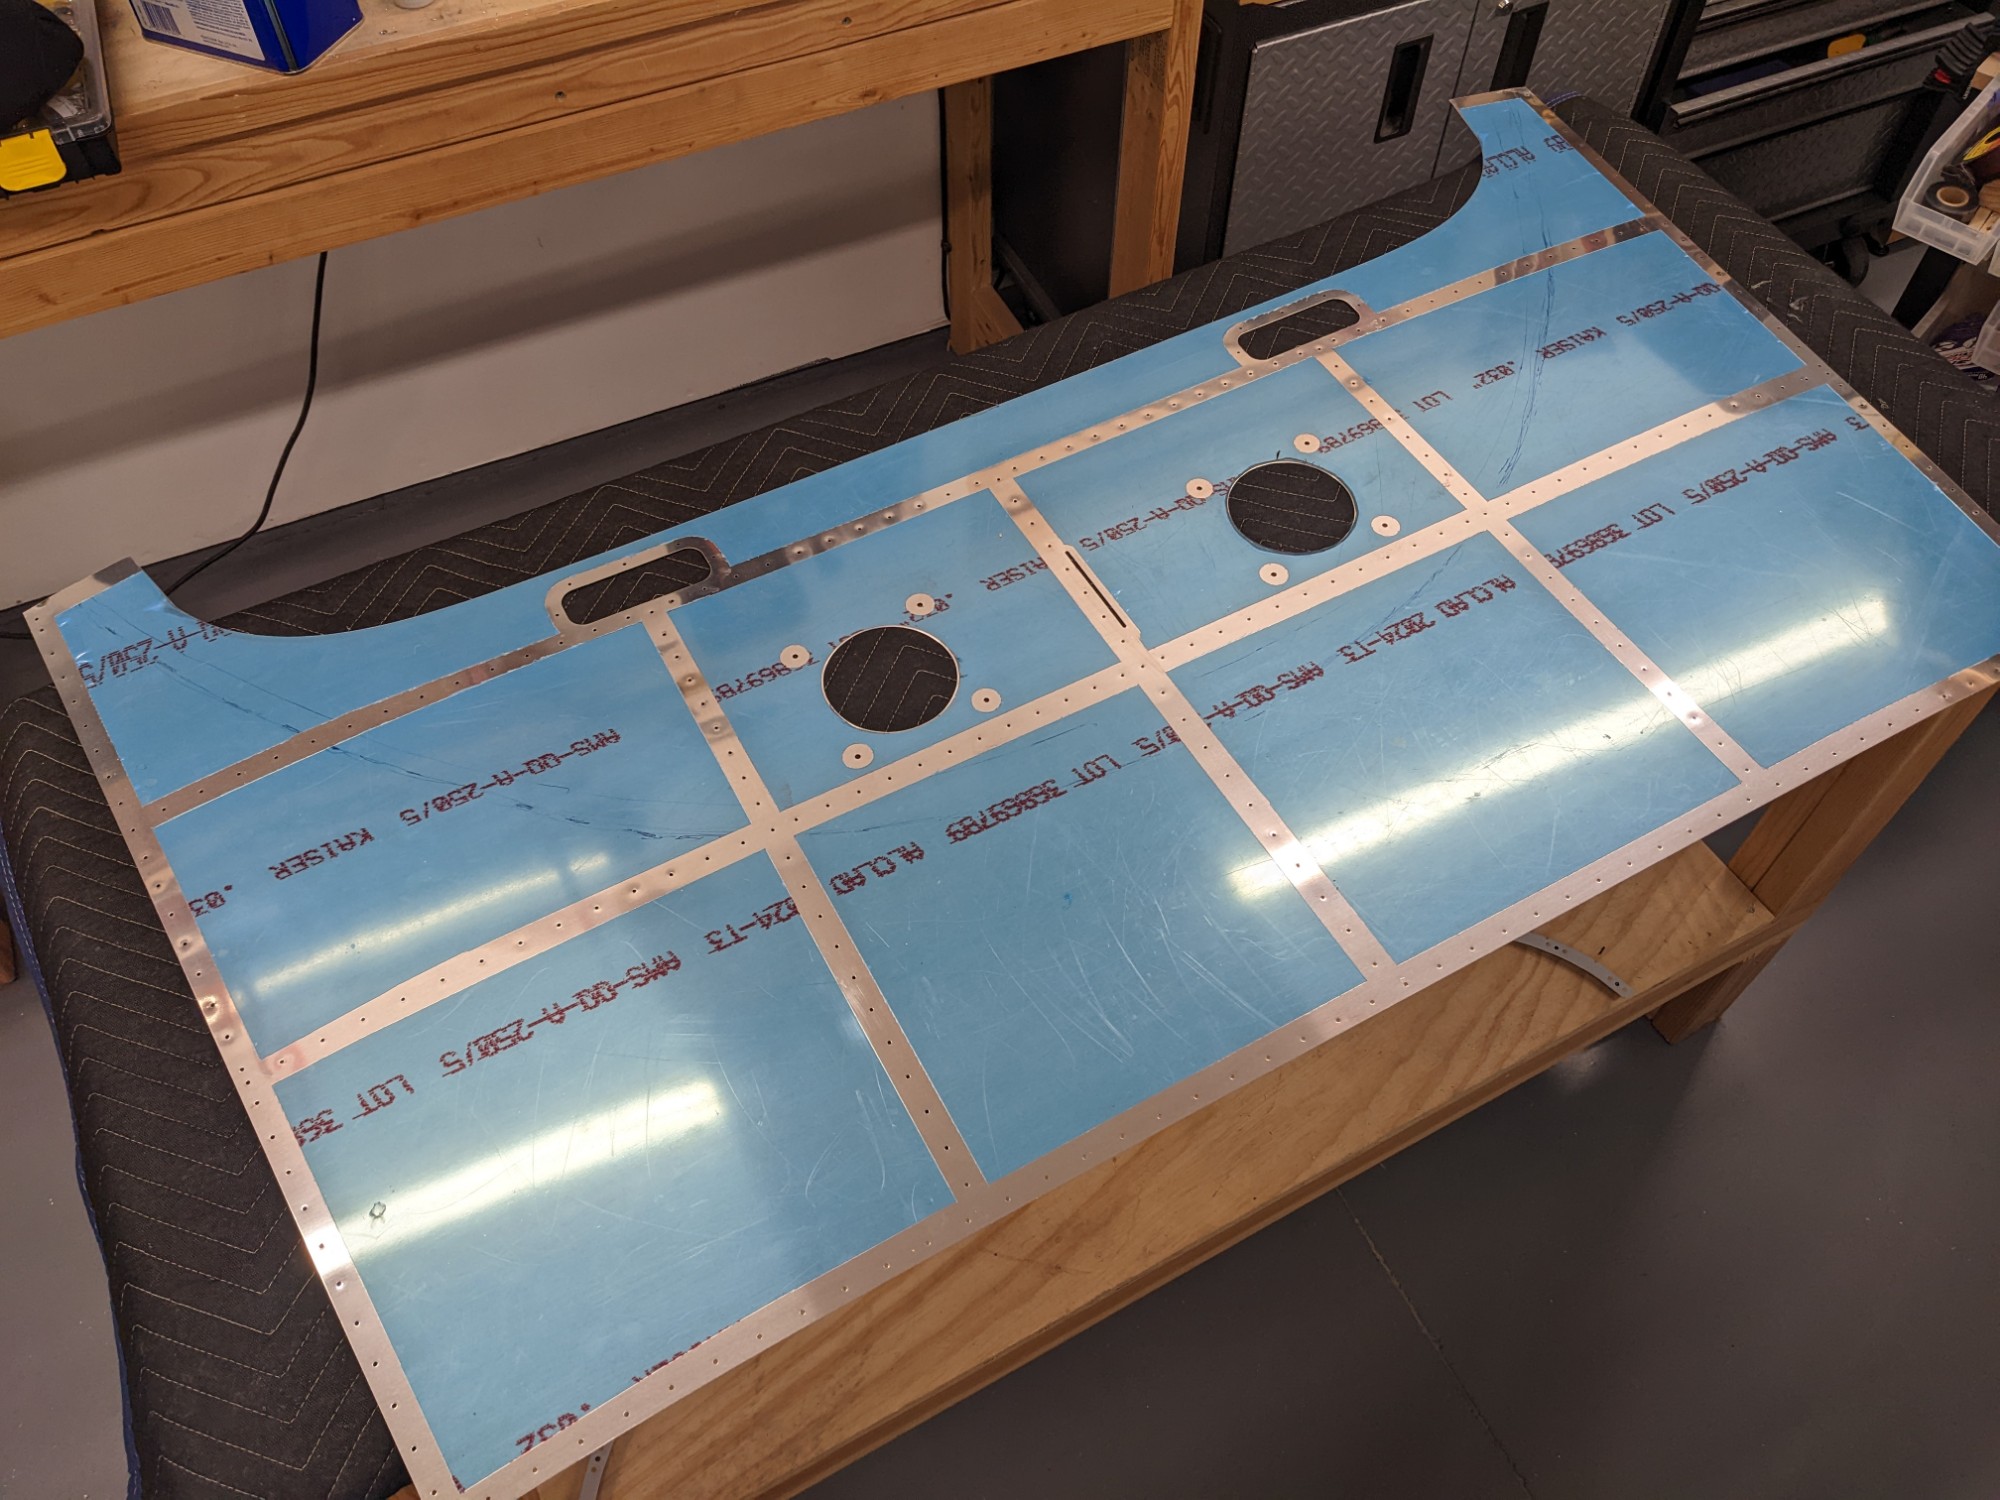
I then deburred the holes and edges of the skin.
![](https://airplane.allanglen.com/wp-content/uploads/2022/10/pxl_20221008_0227493954761896219749734544.jpg)
Next up was dimpling.
![](https://airplane.allanglen.com/wp-content/uploads/2022/10/pxl_20221008_1548136481189780042469185672.jpg)
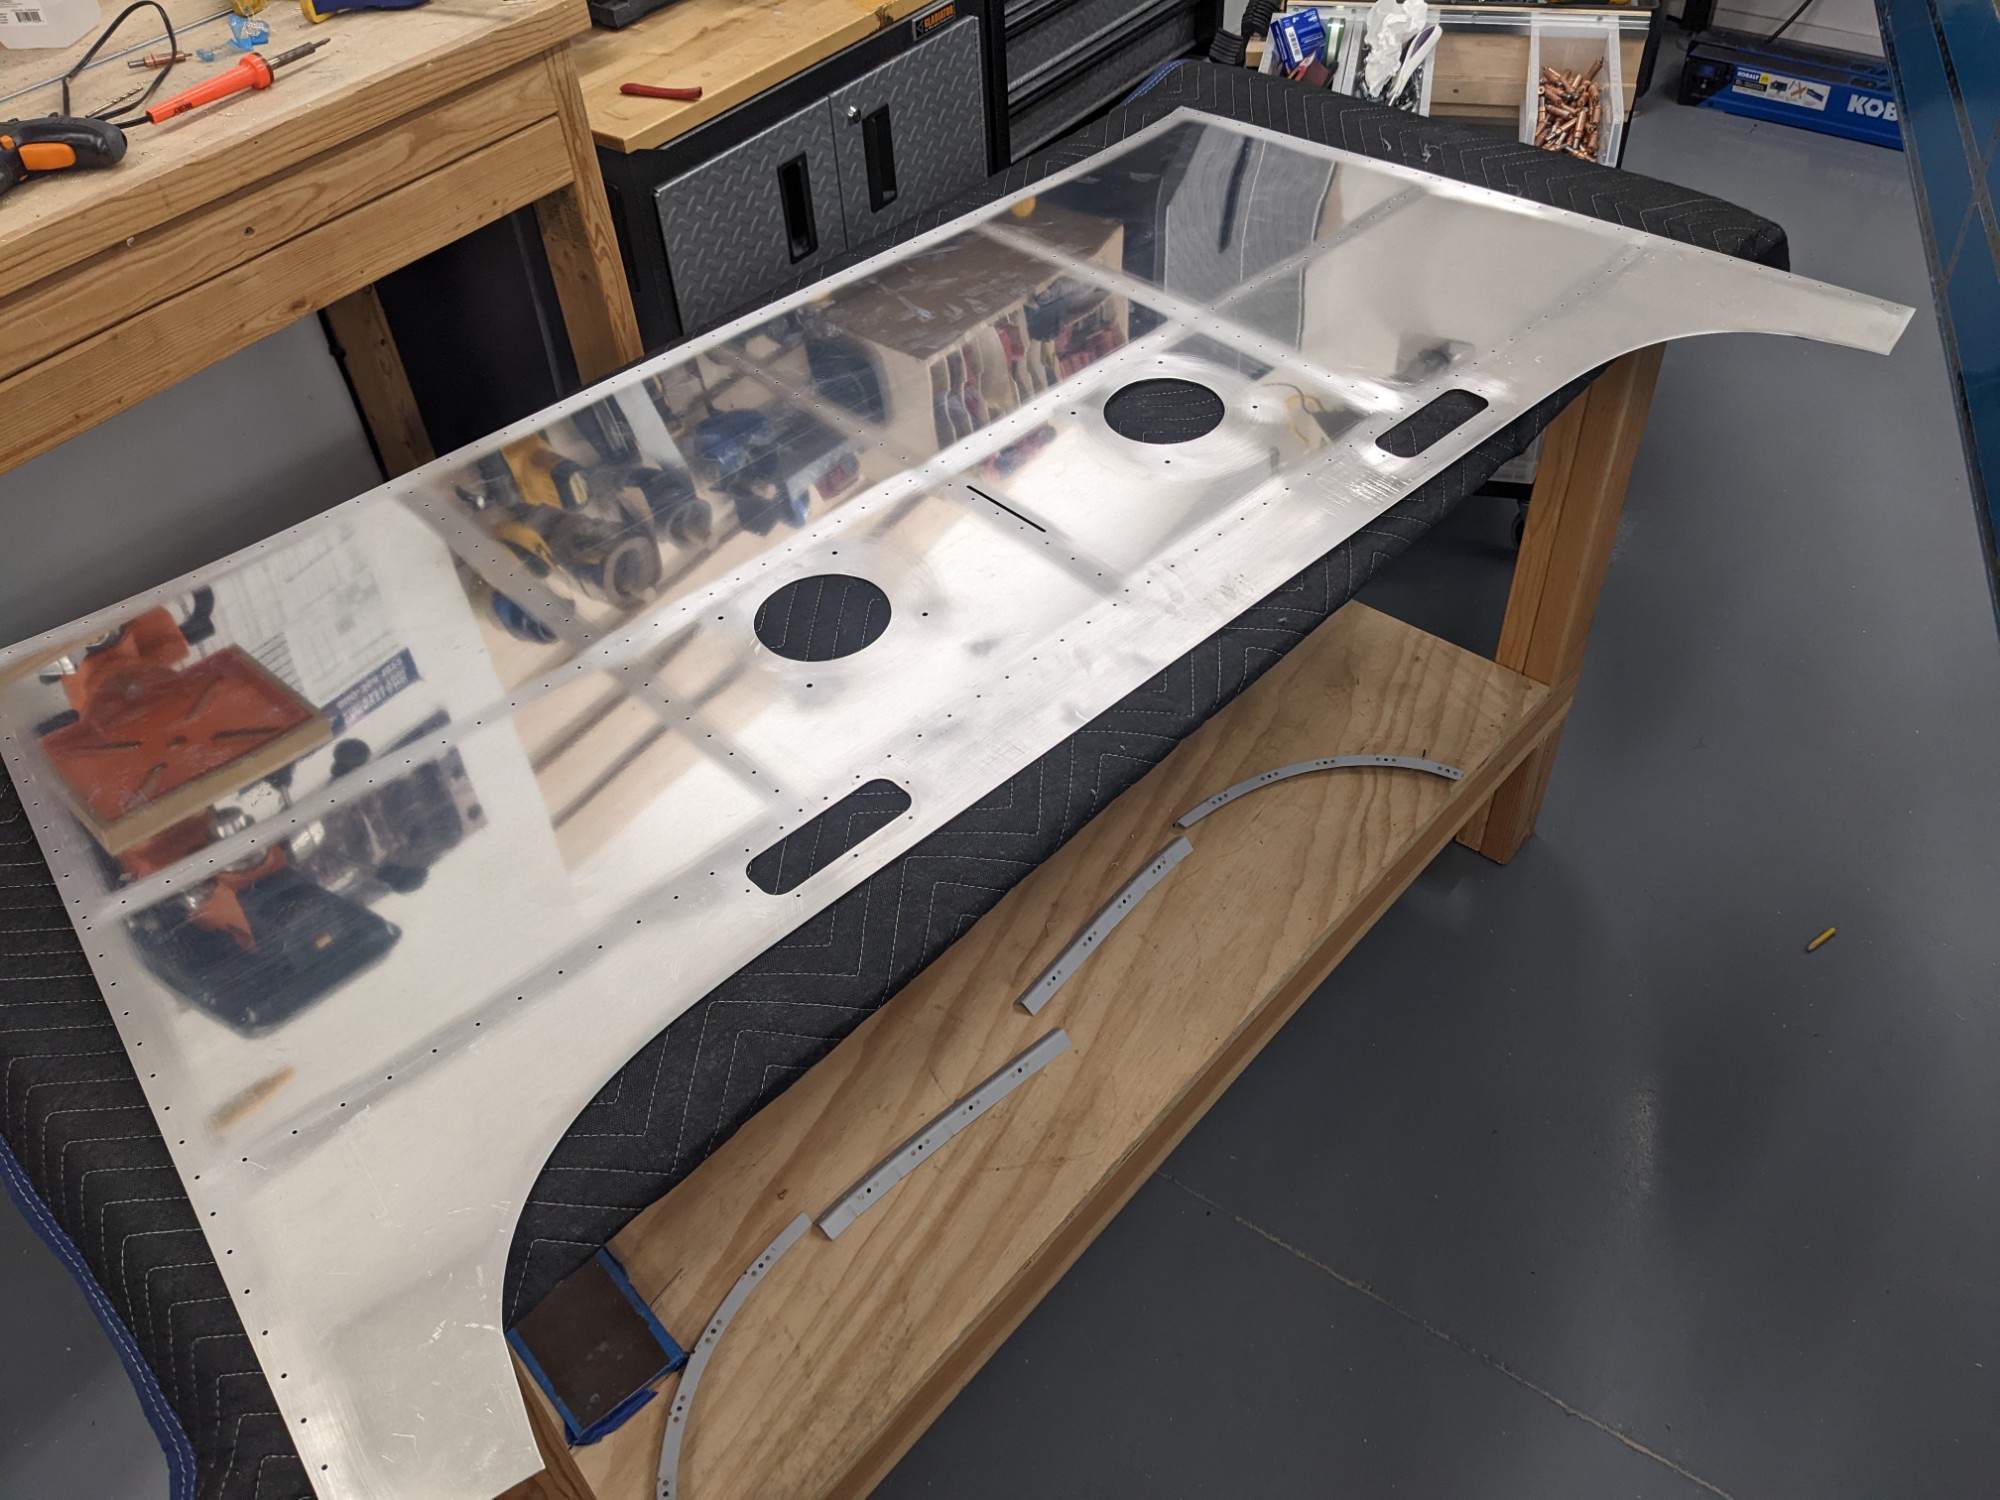
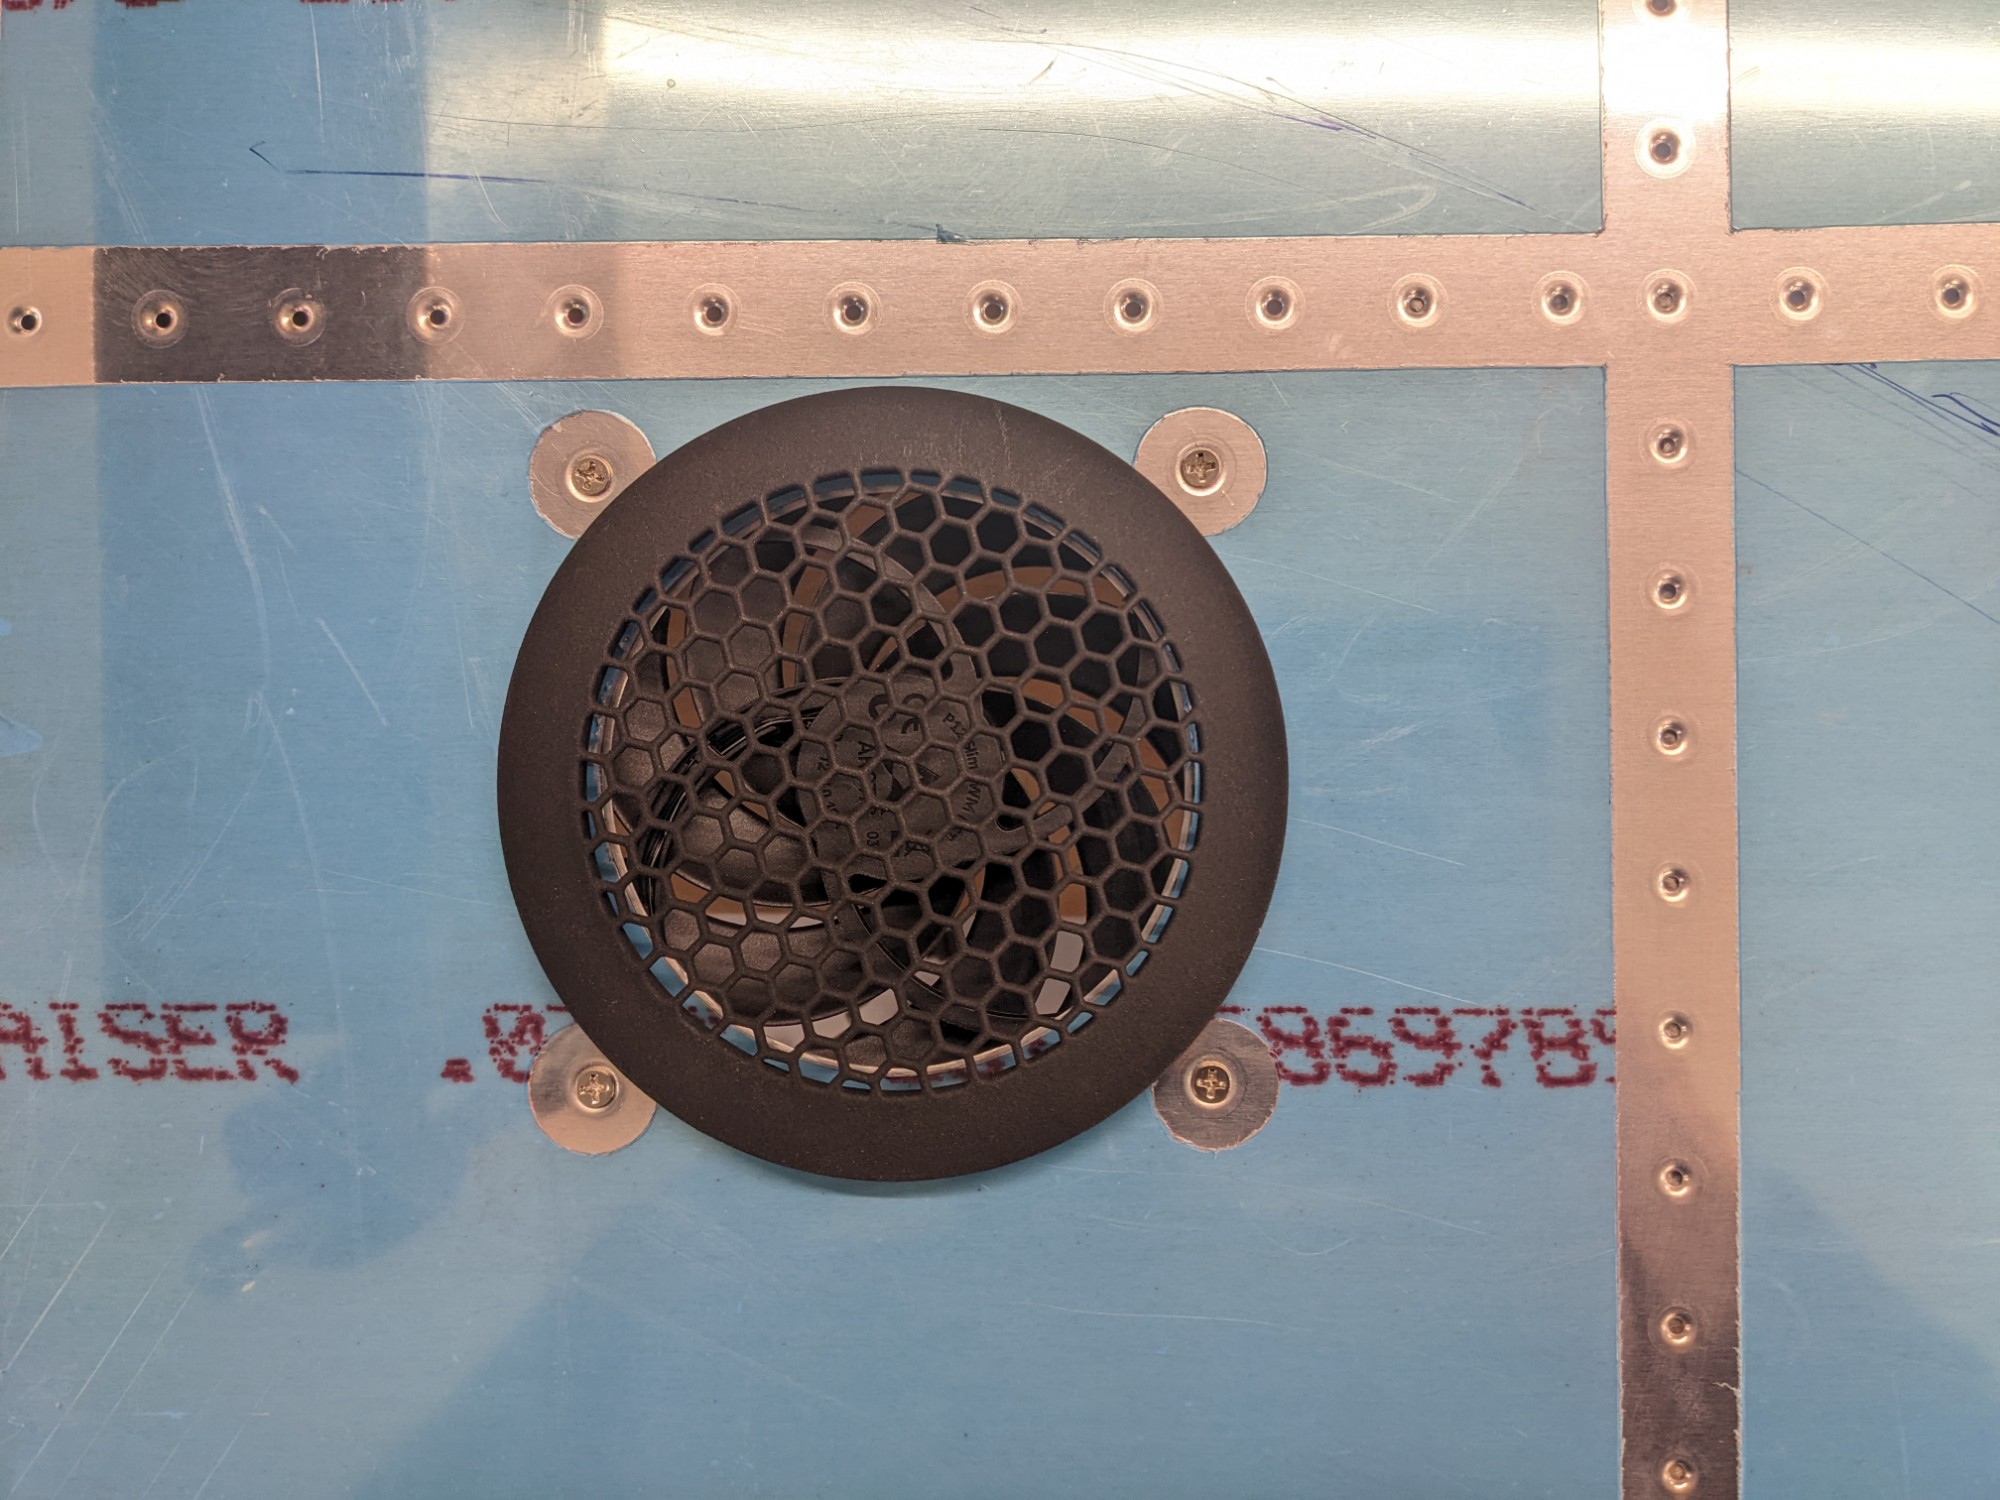
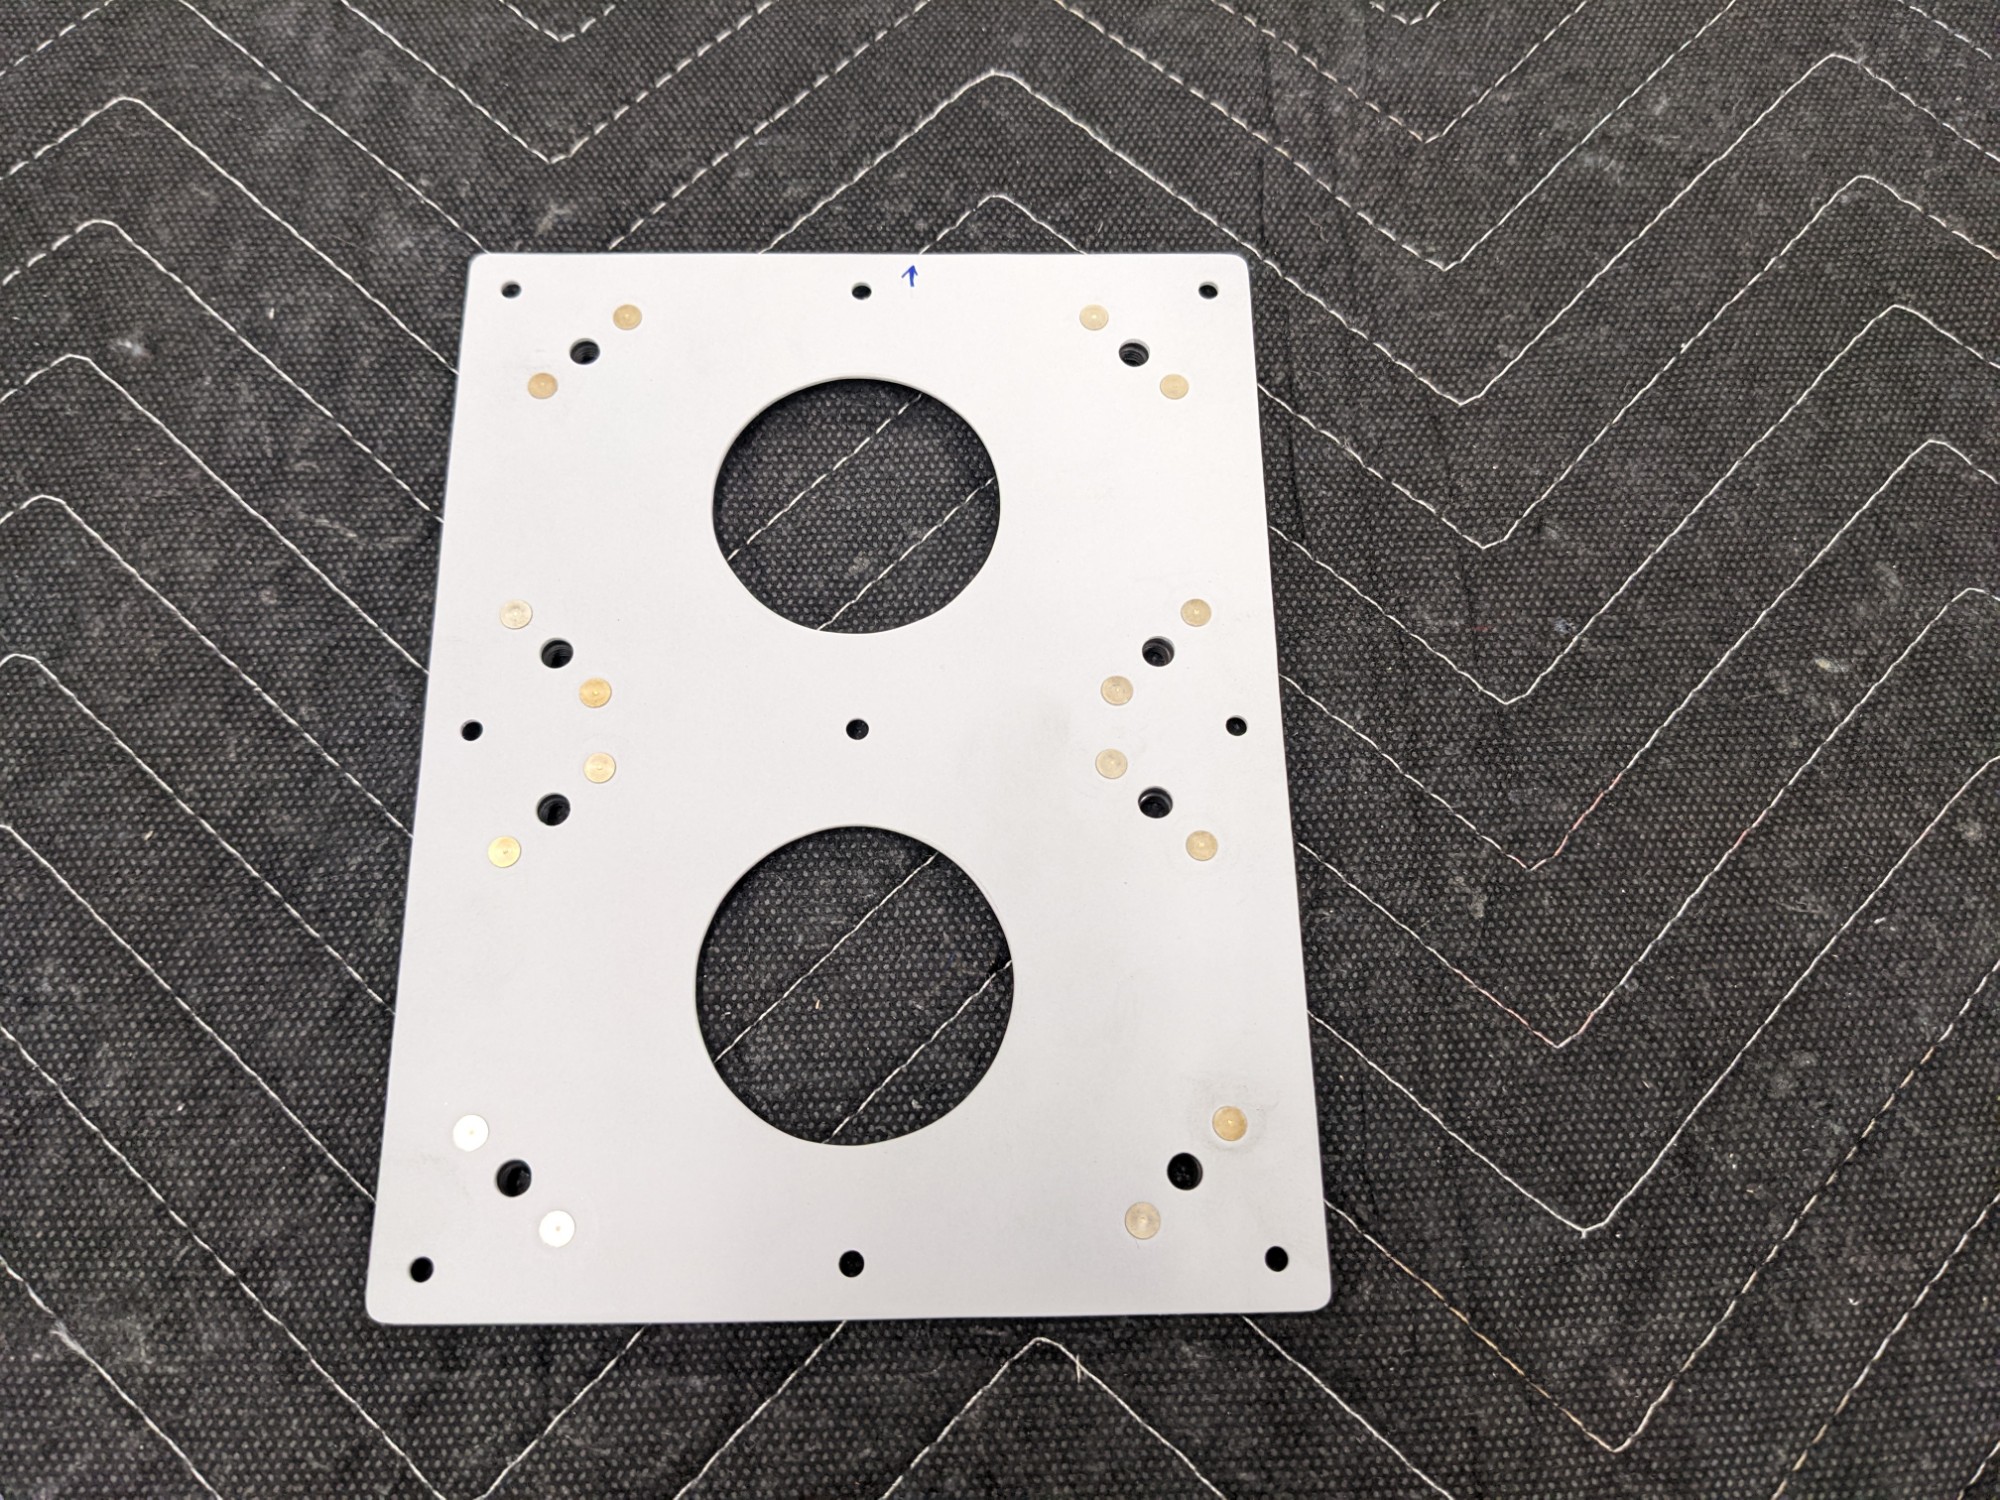
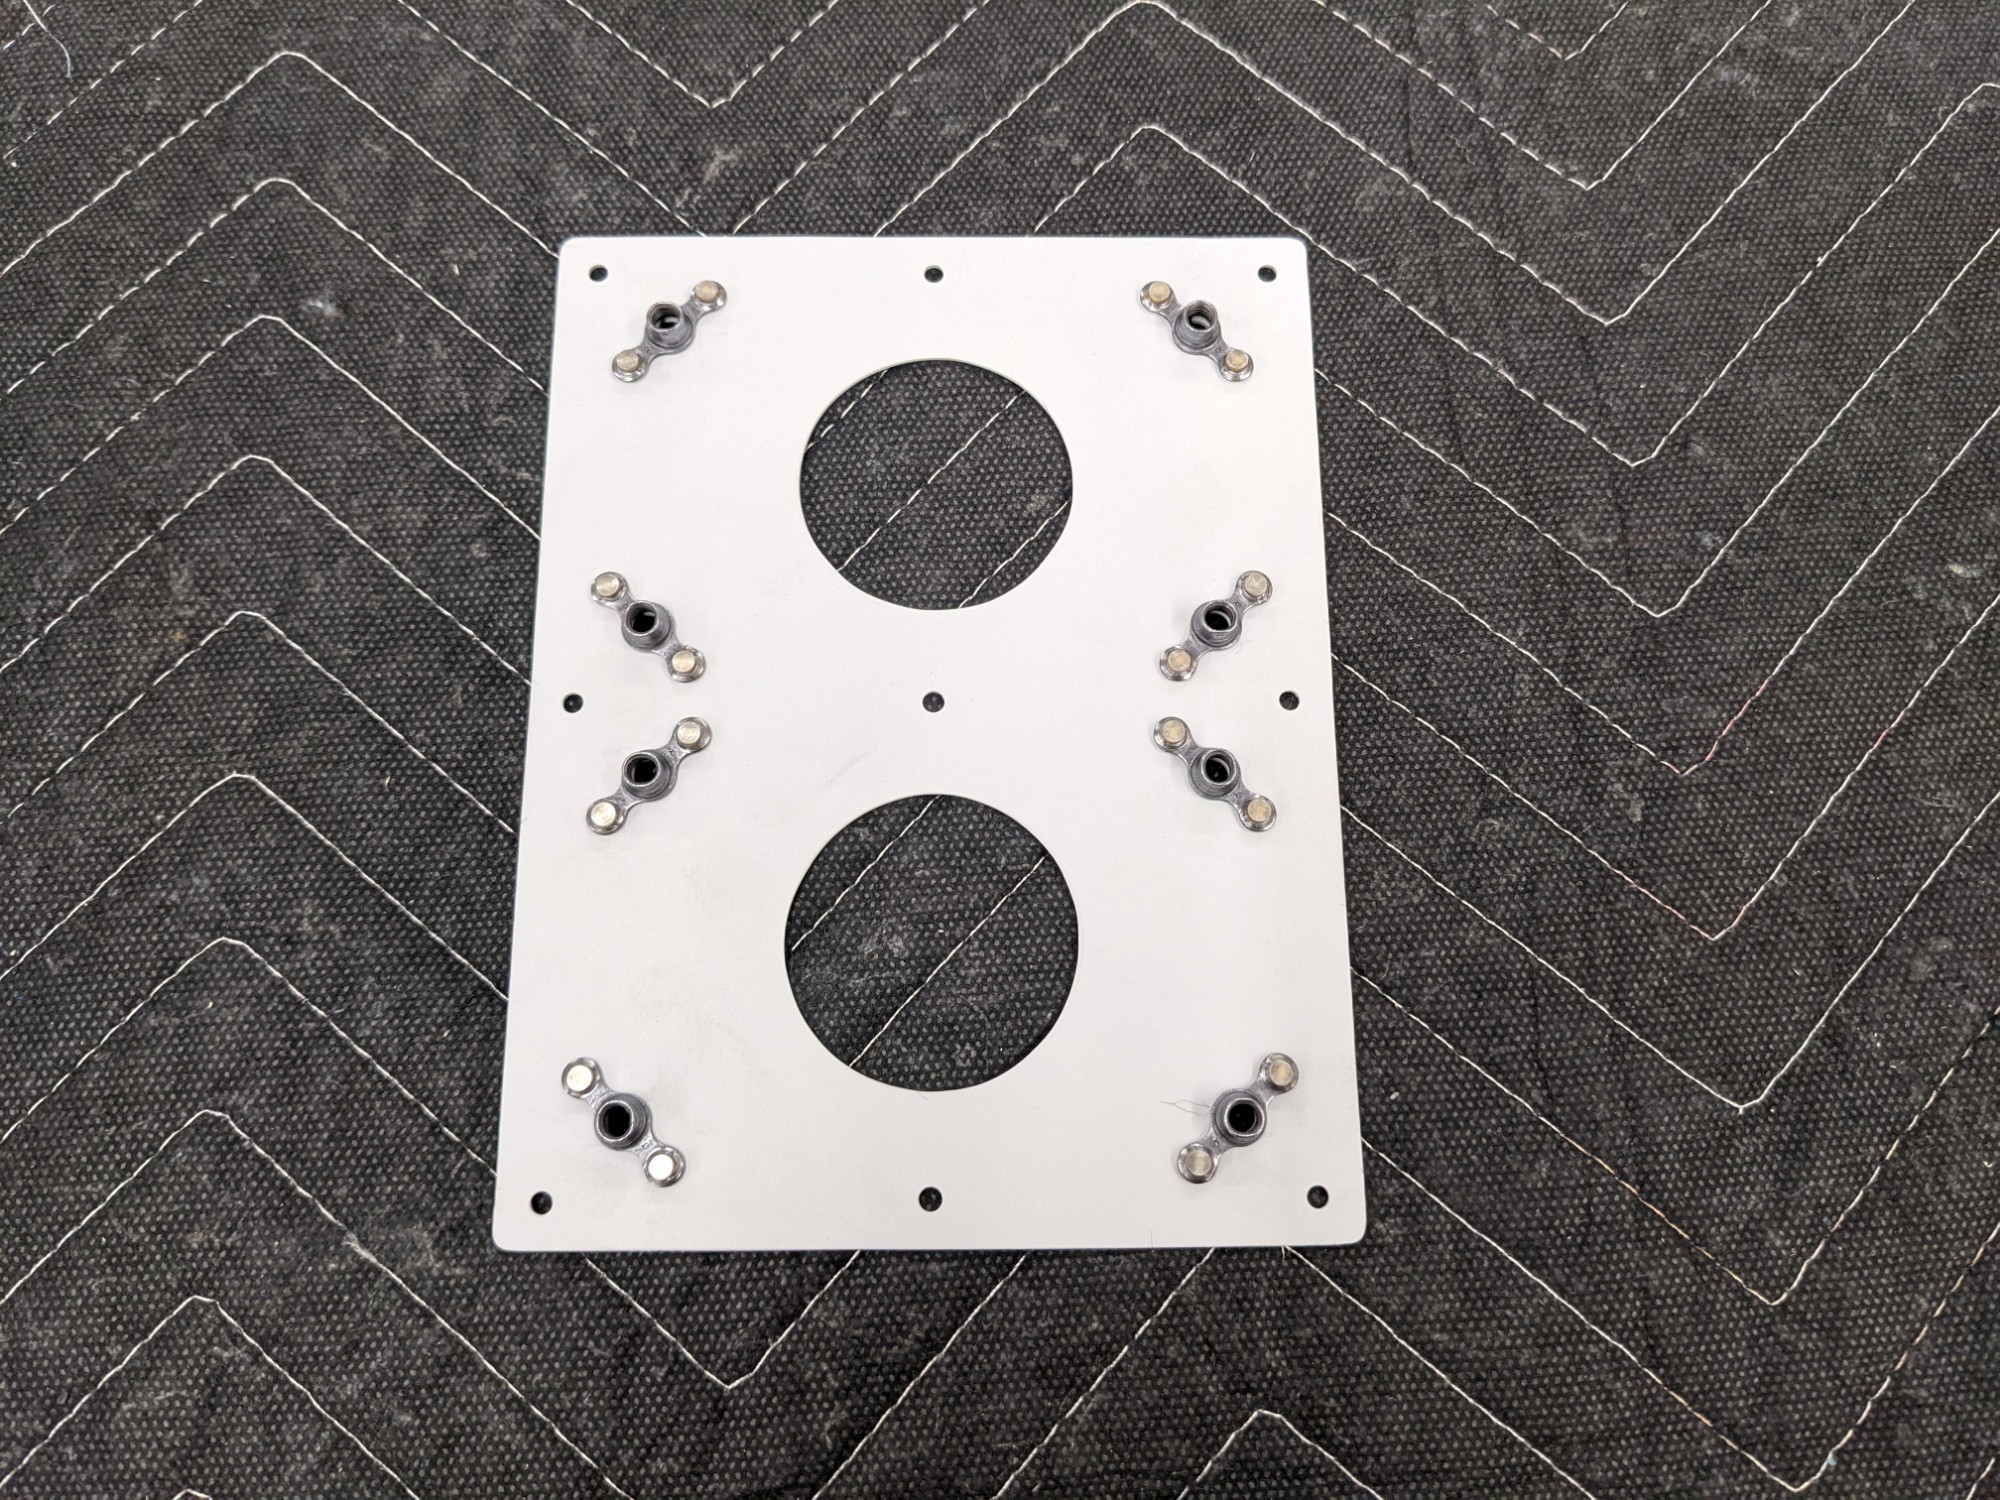
I had previously made holes for avionics/defrost fans and I dimpled these holes for flush screws.
![](https://airplane.allanglen.com/wp-content/uploads/2022/10/pxl_20221008_161537821339875396369949834.jpg)
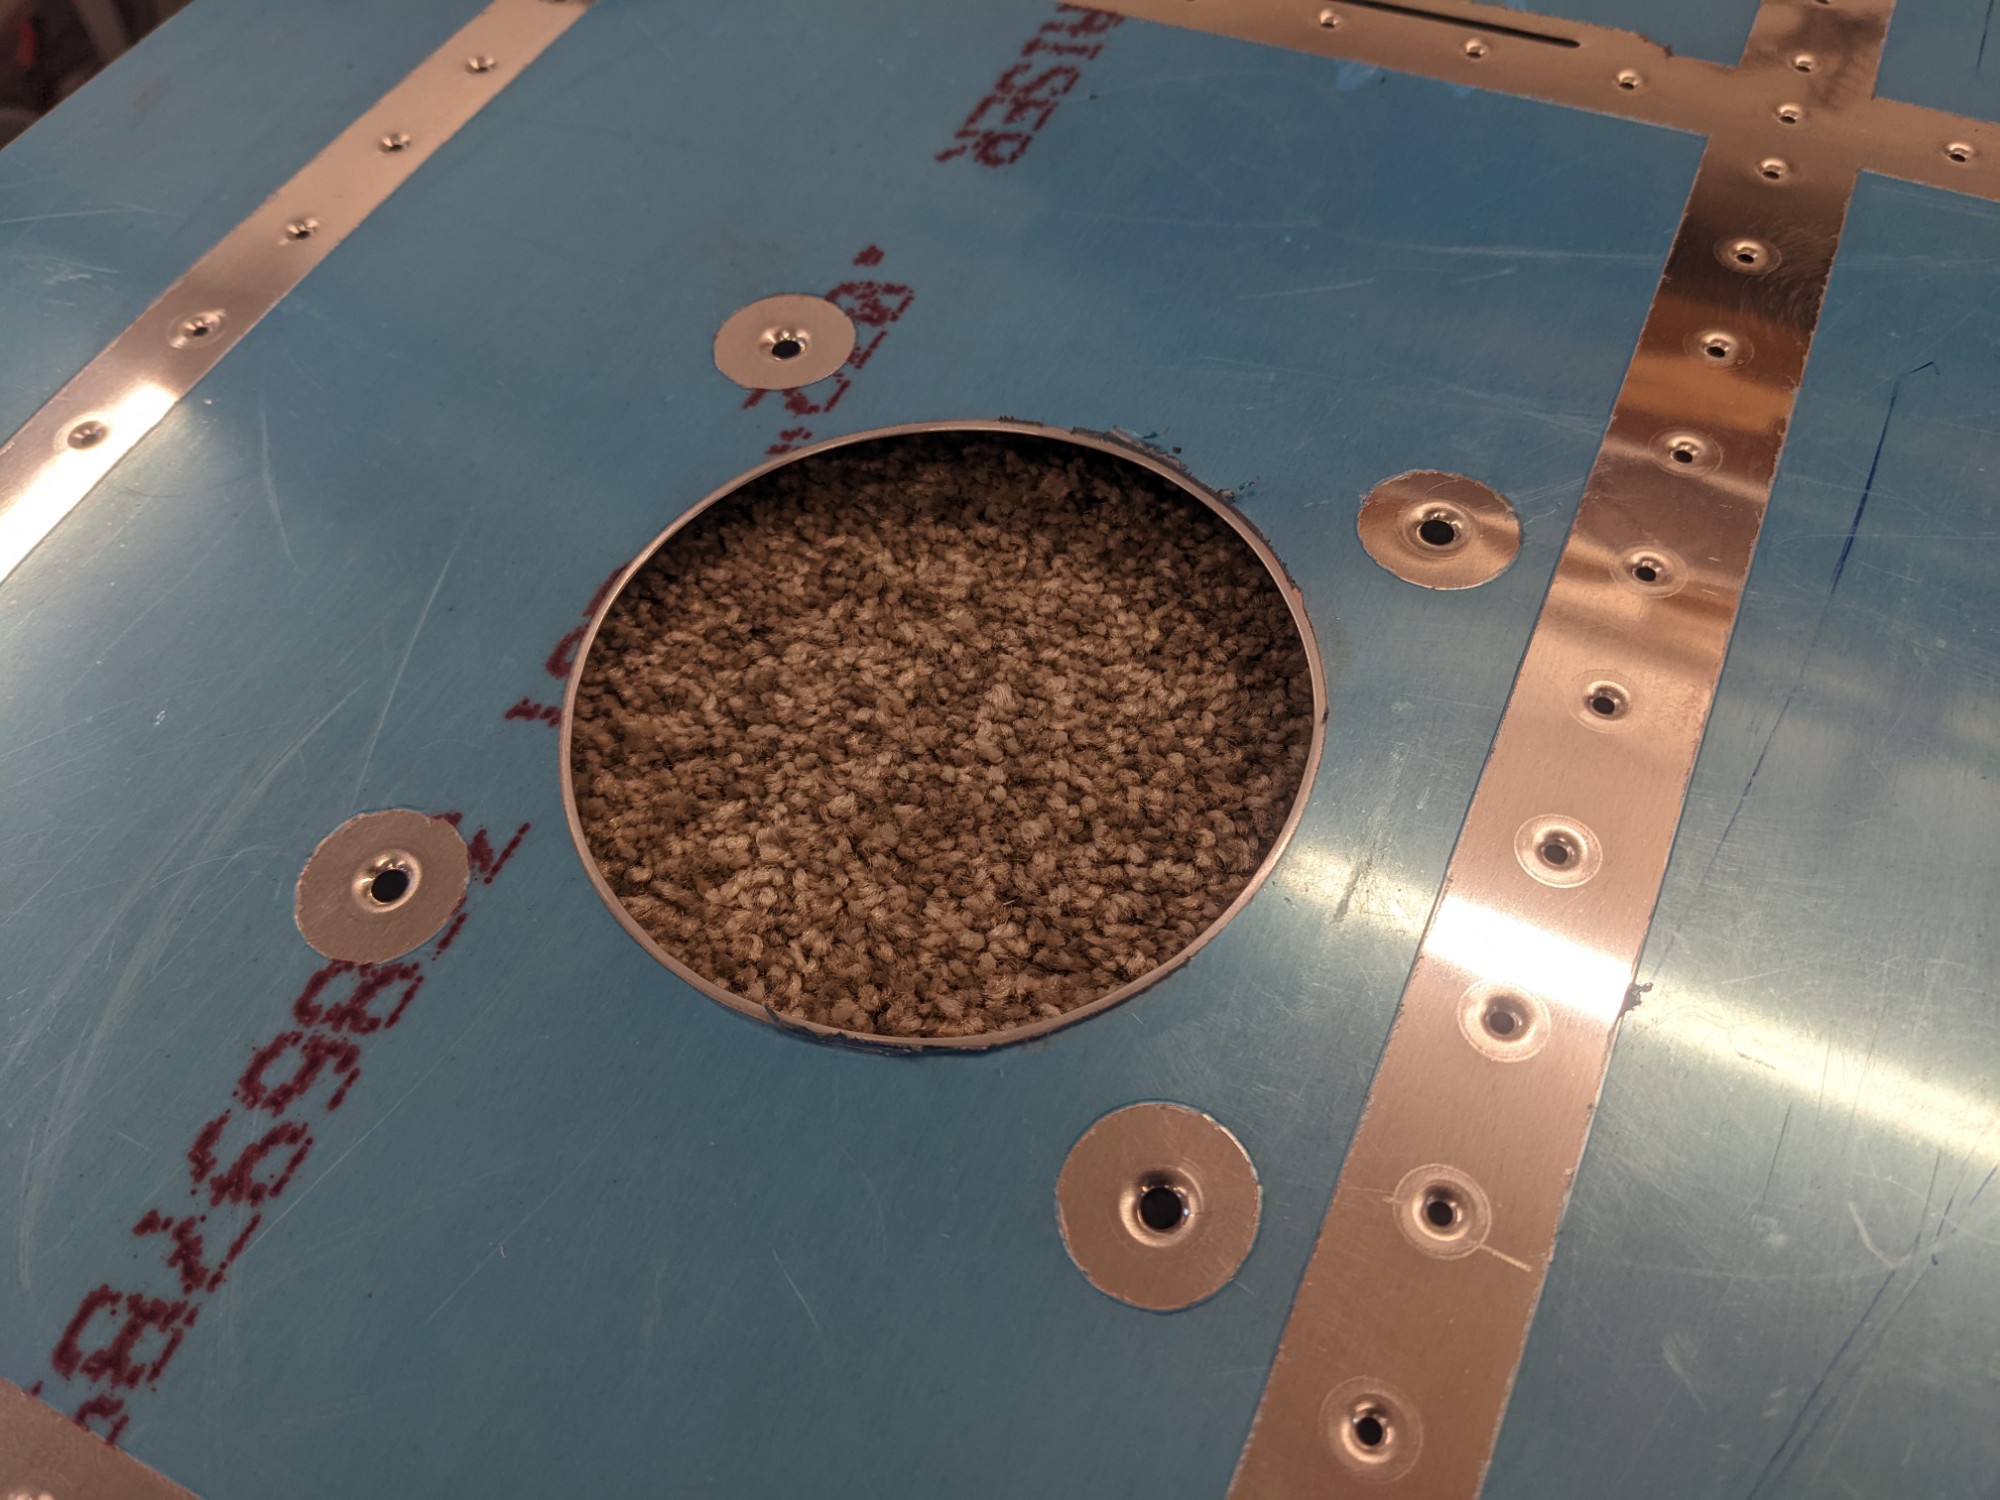
I countersunk the fan holes to accept the dimples.
![](https://airplane.allanglen.com/wp-content/uploads/2022/10/pxl_20221008_1616051698035564074083105836.jpg)
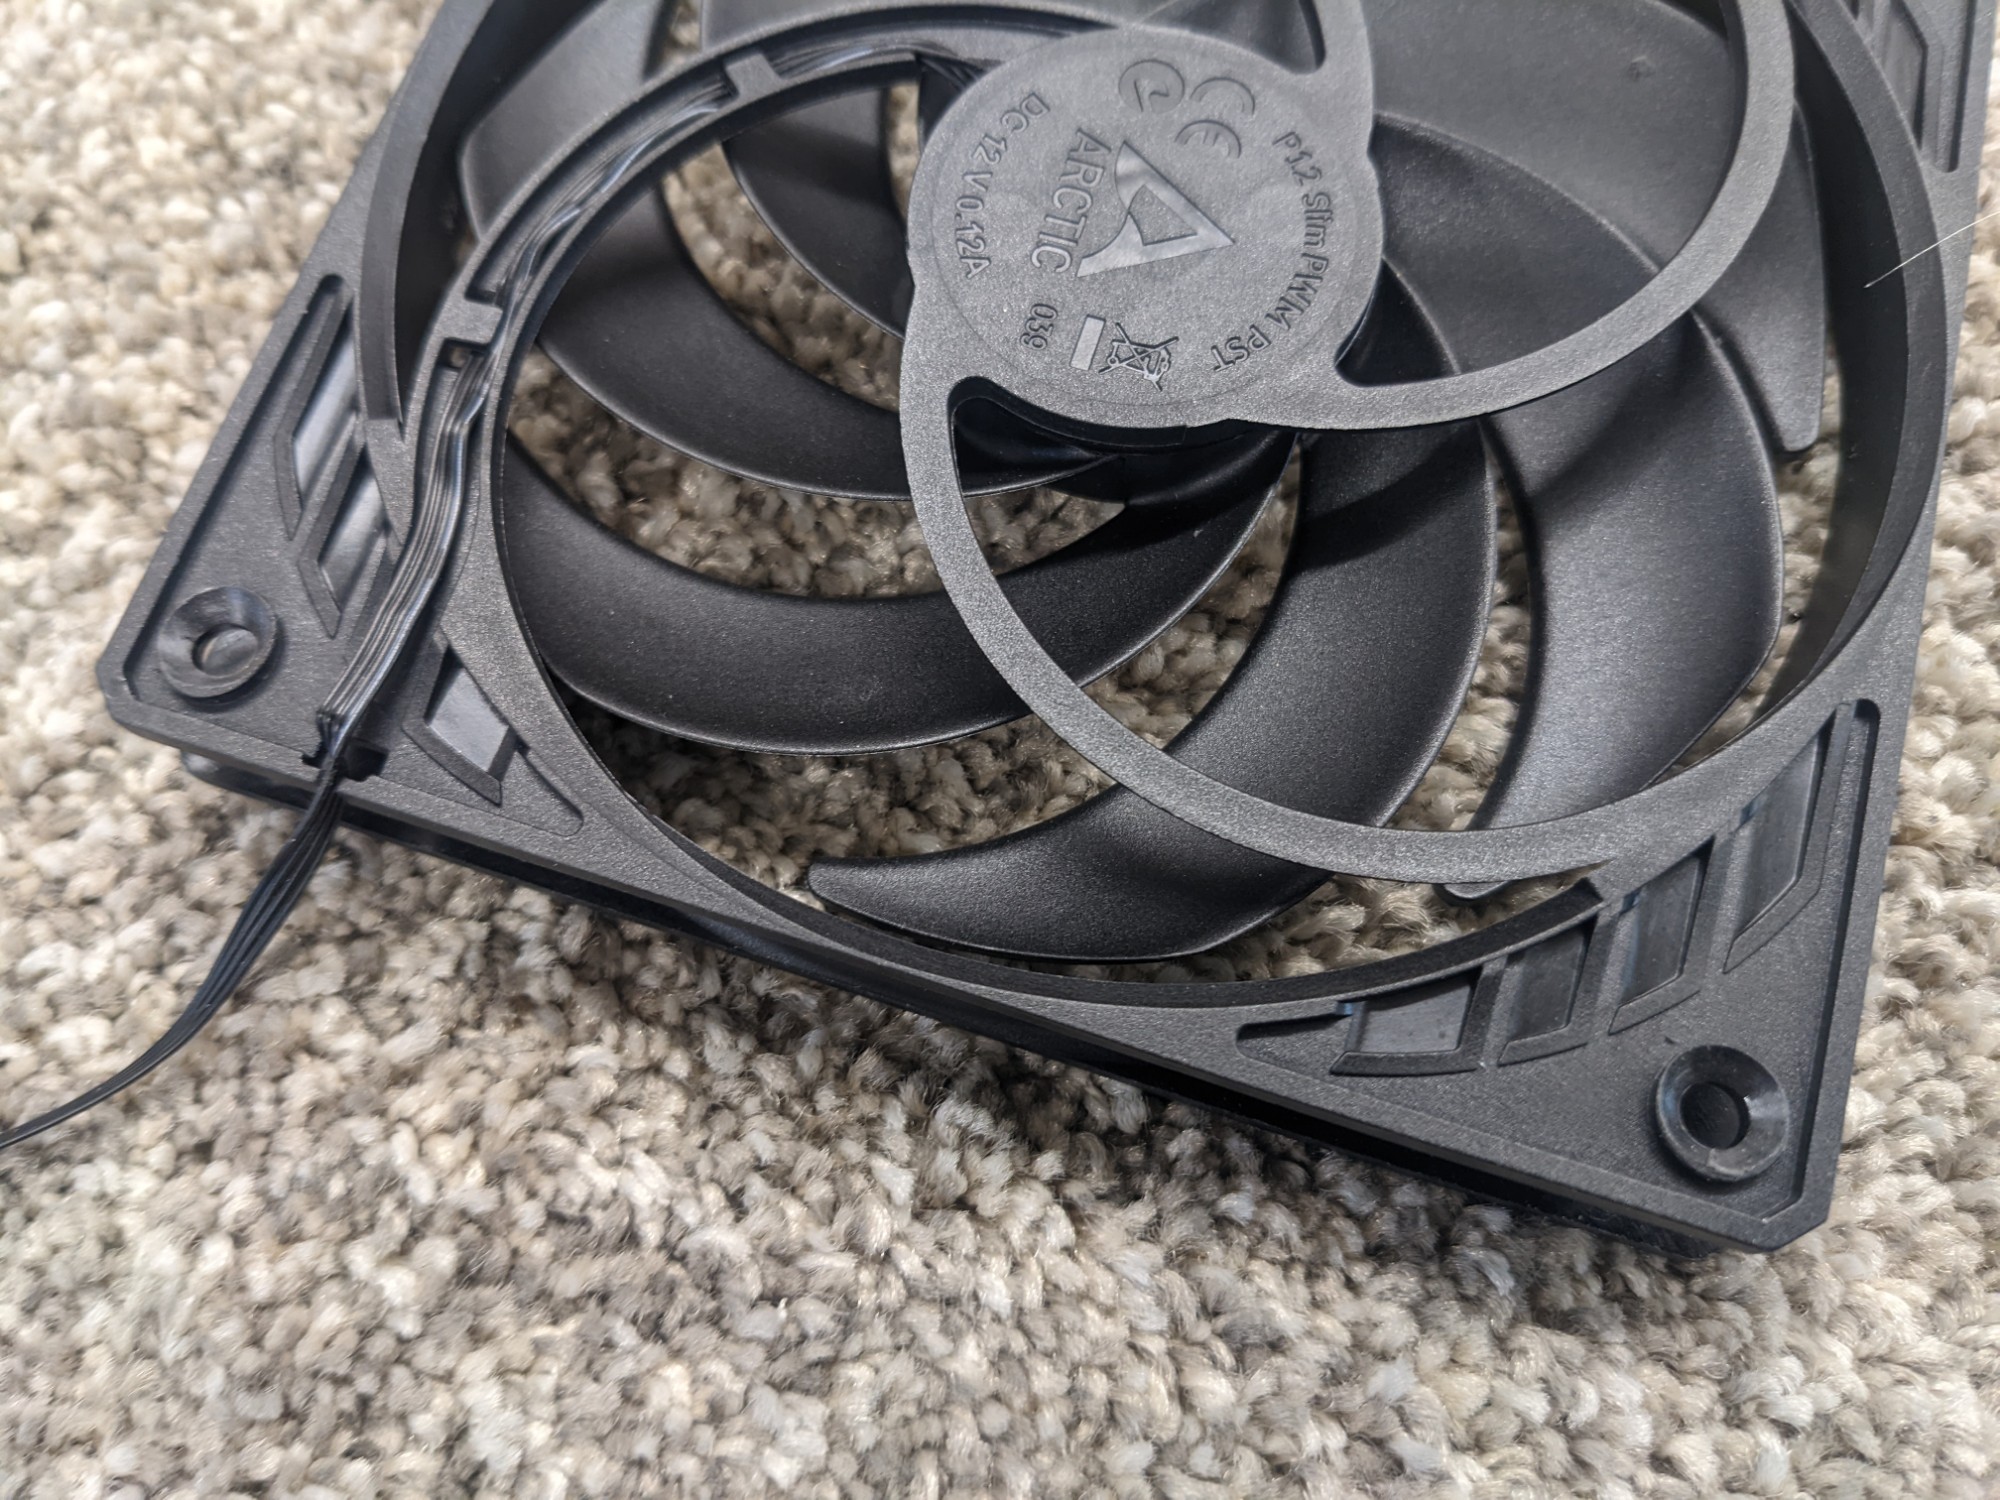
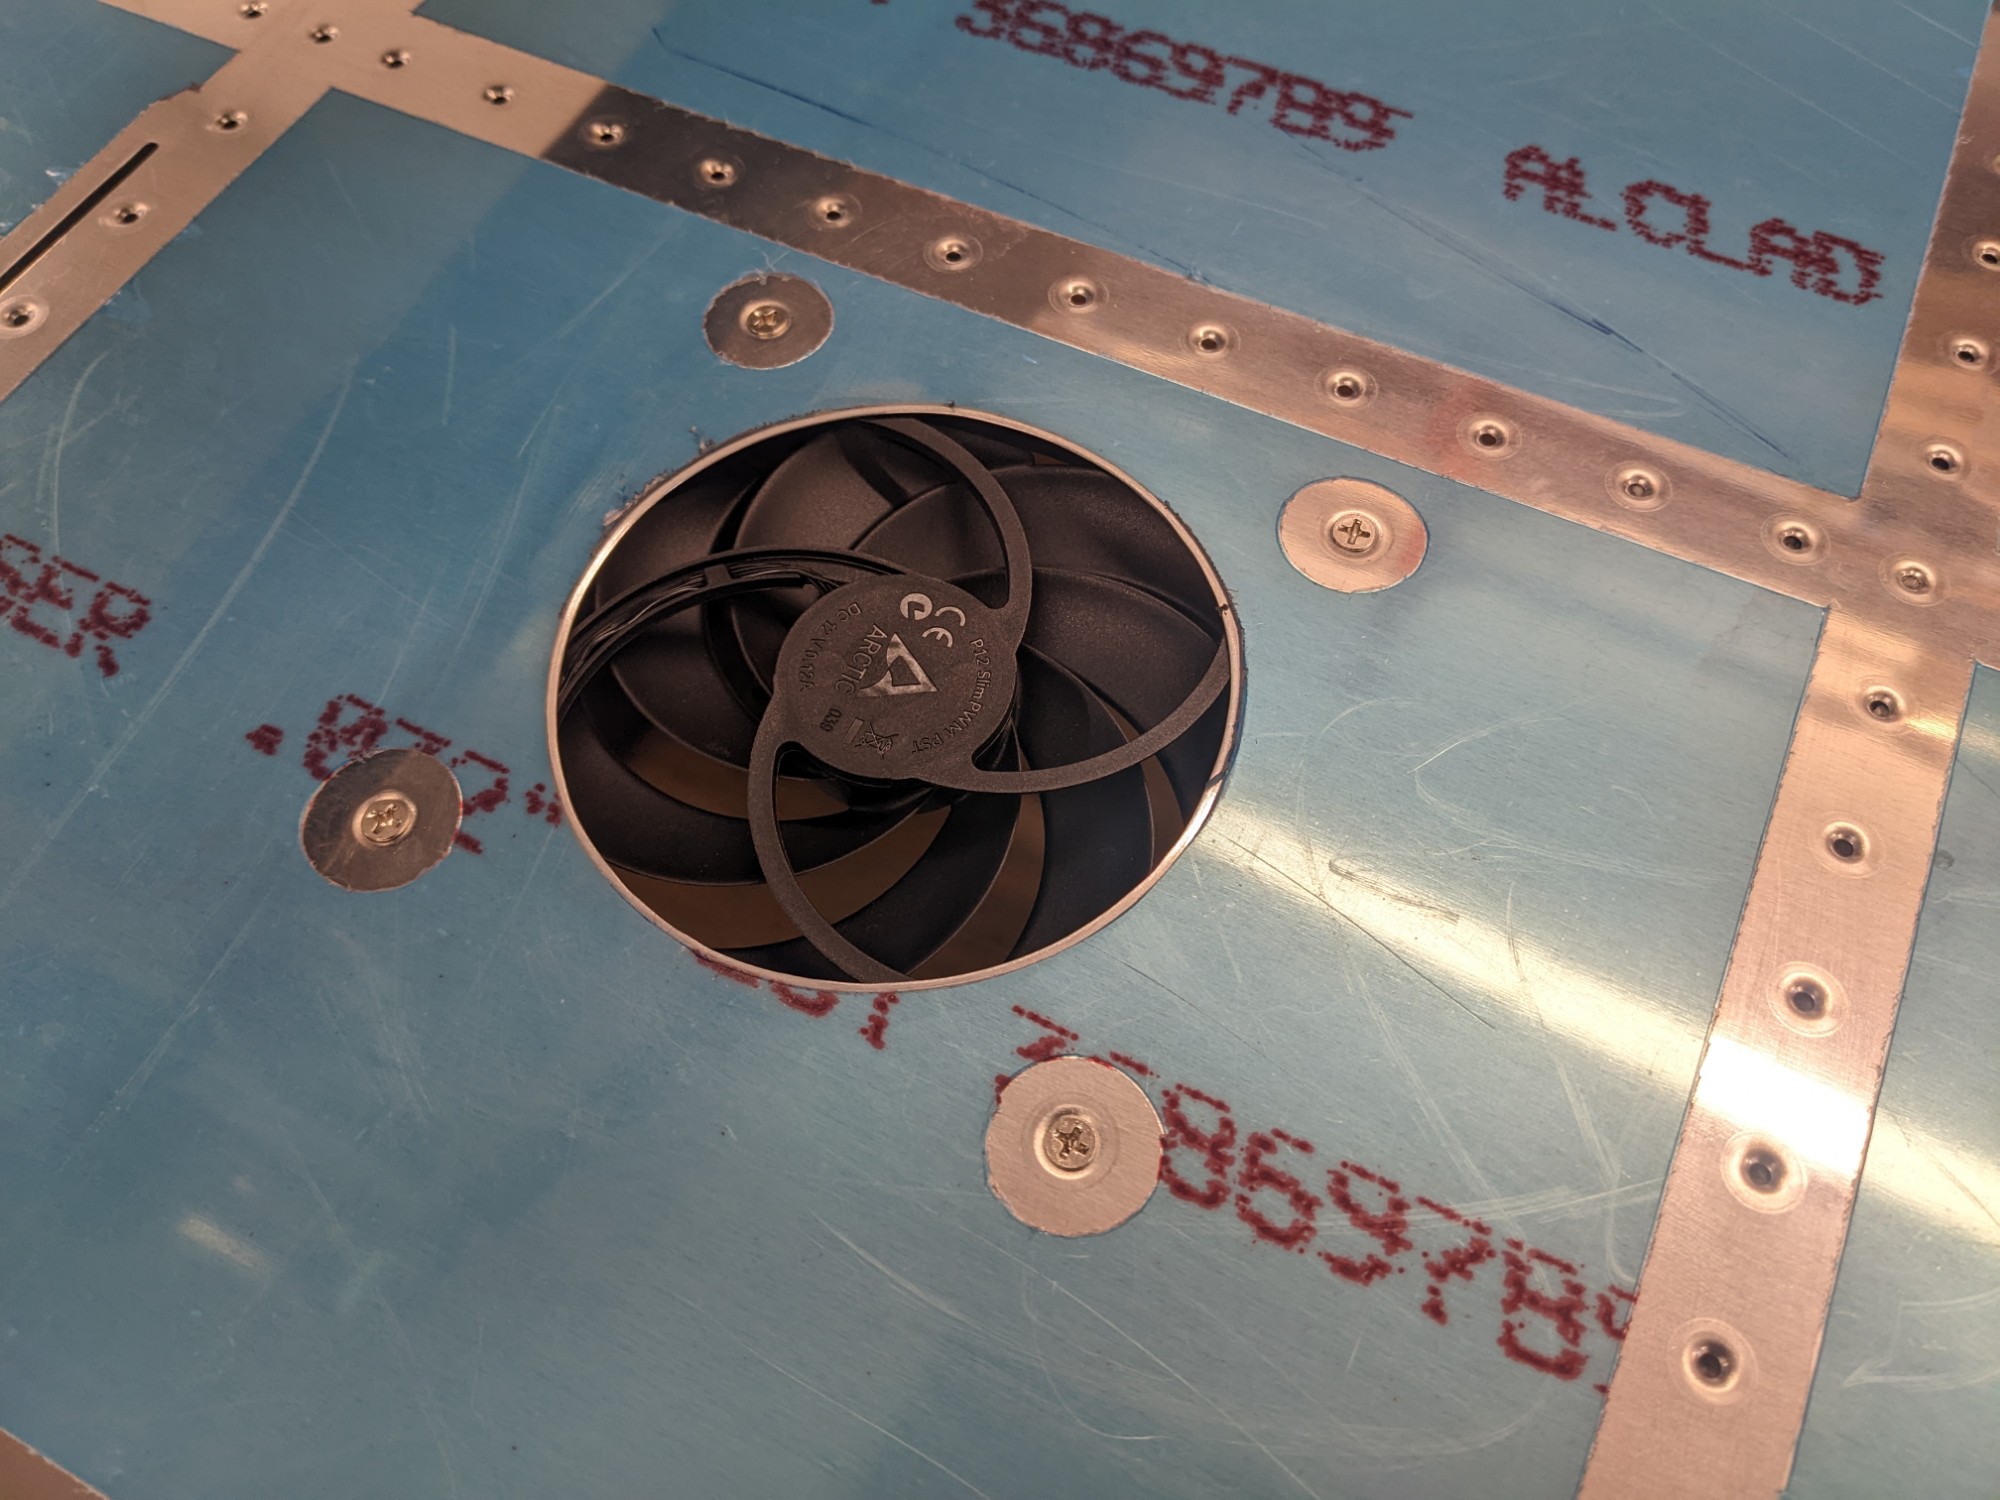
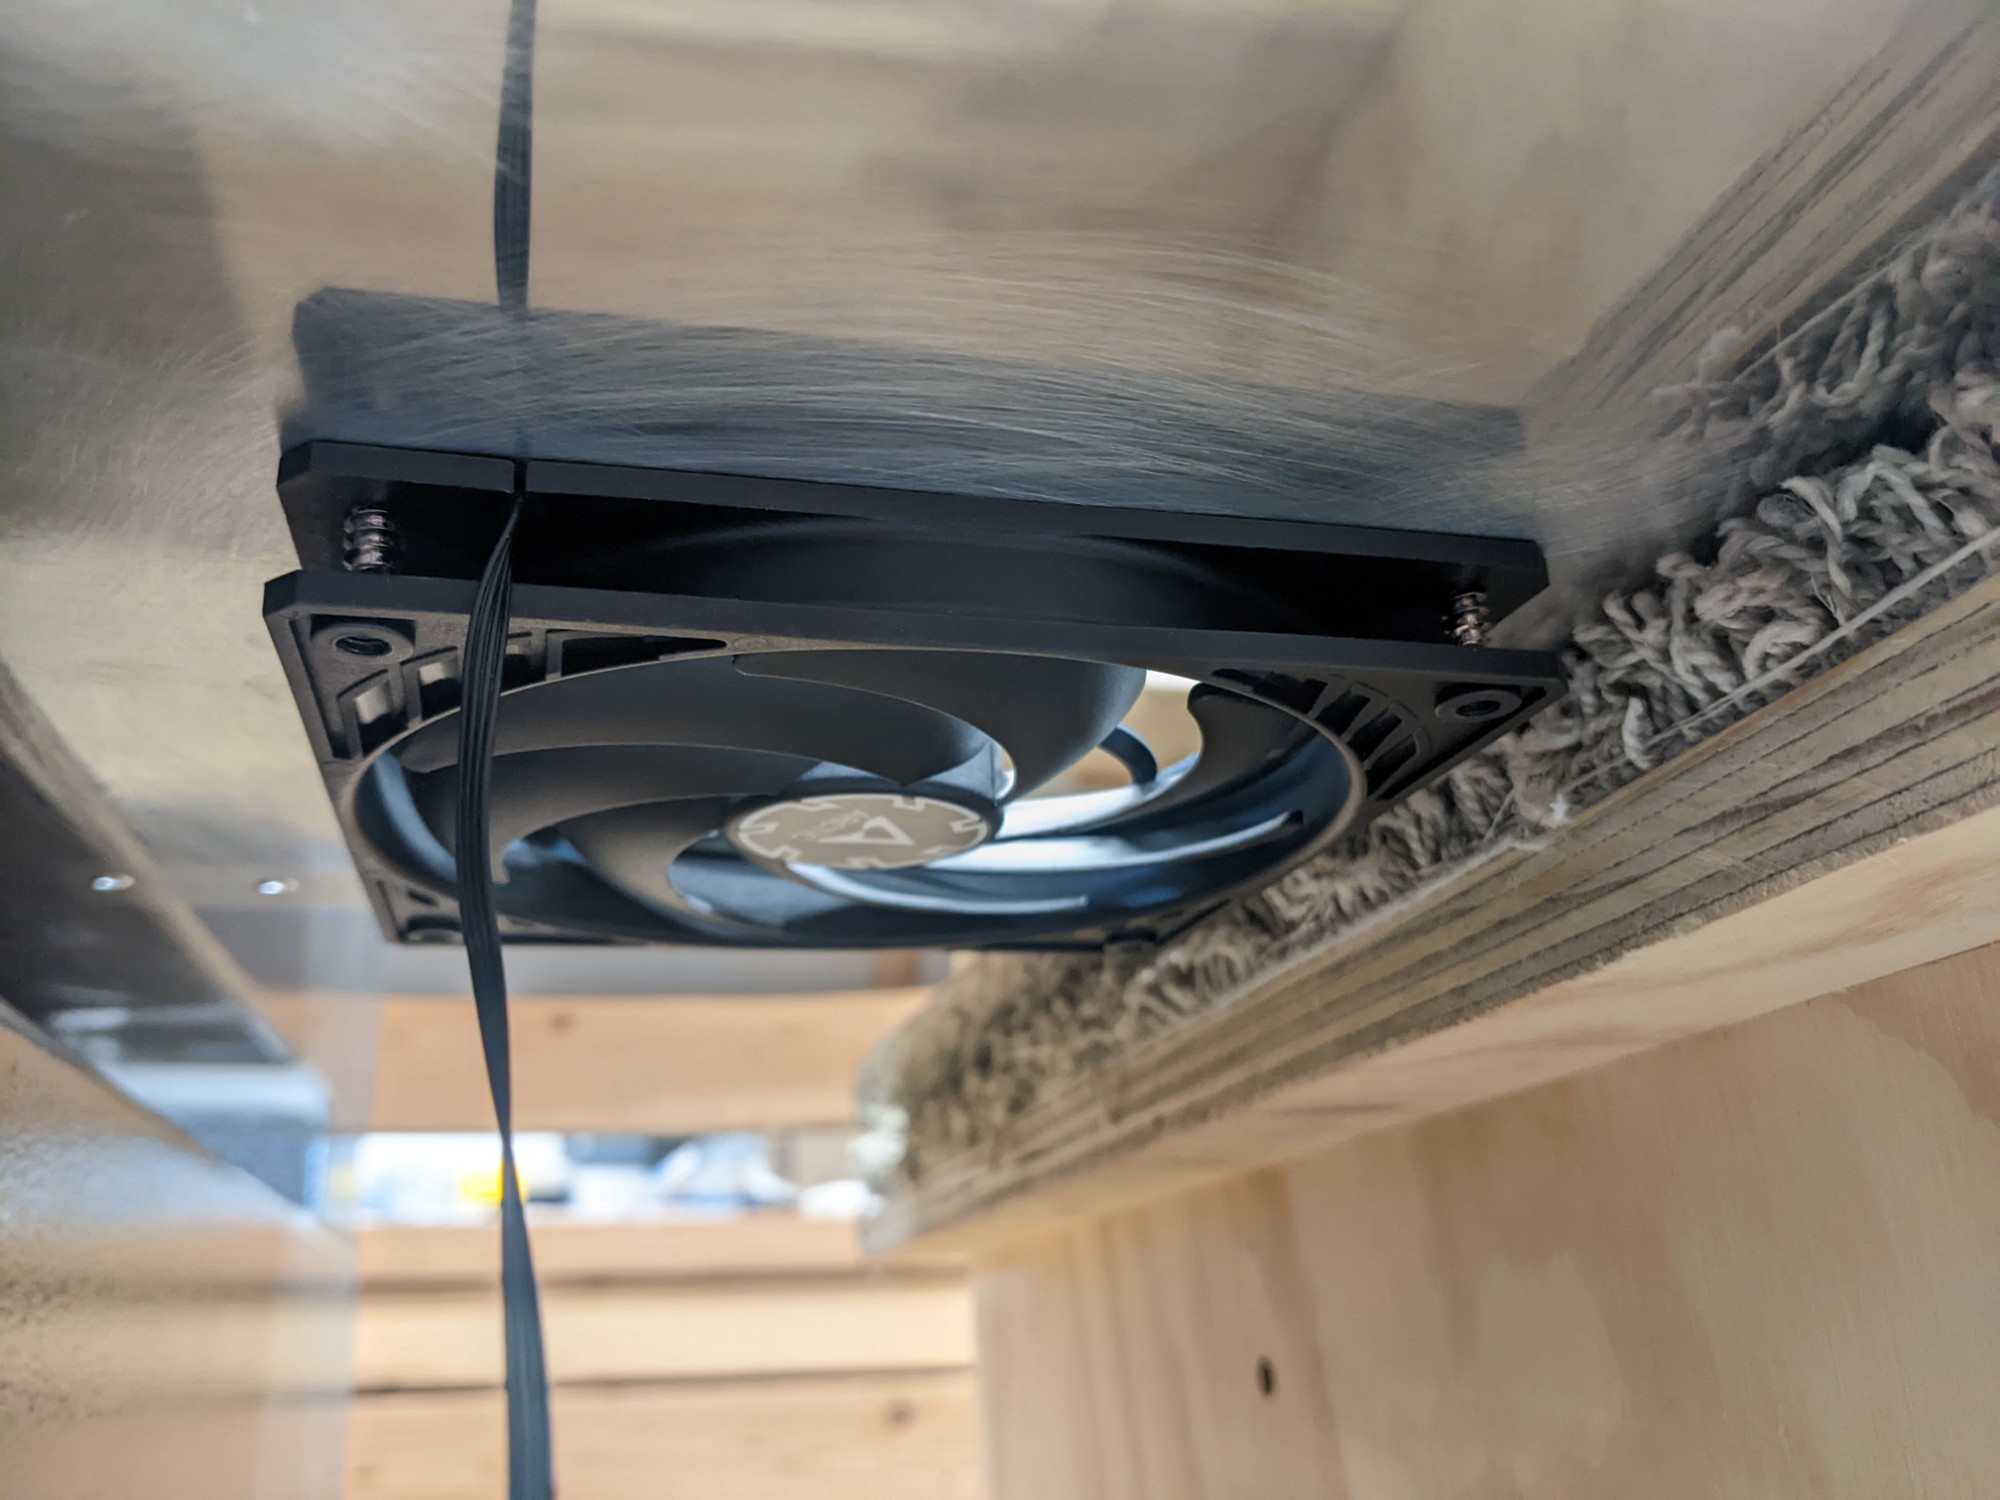
The fans fit nicely. I chose slim fans to avoid future clearance issues and to keep the weight down.
![](https://airplane.allanglen.com/wp-content/uploads/2022/10/pxl_20221008_1623514758383439693030094068.jpg)
![](https://airplane.allanglen.com/wp-content/uploads/2022/10/pxl_20221008_1624093848884174874006263149.jpg)
I’ll be using the Aerosport glare shield cover with their fan covers.
![](https://airplane.allanglen.com/wp-content/uploads/2022/10/pxl_20221008_1625397098611132546466770509.jpg)
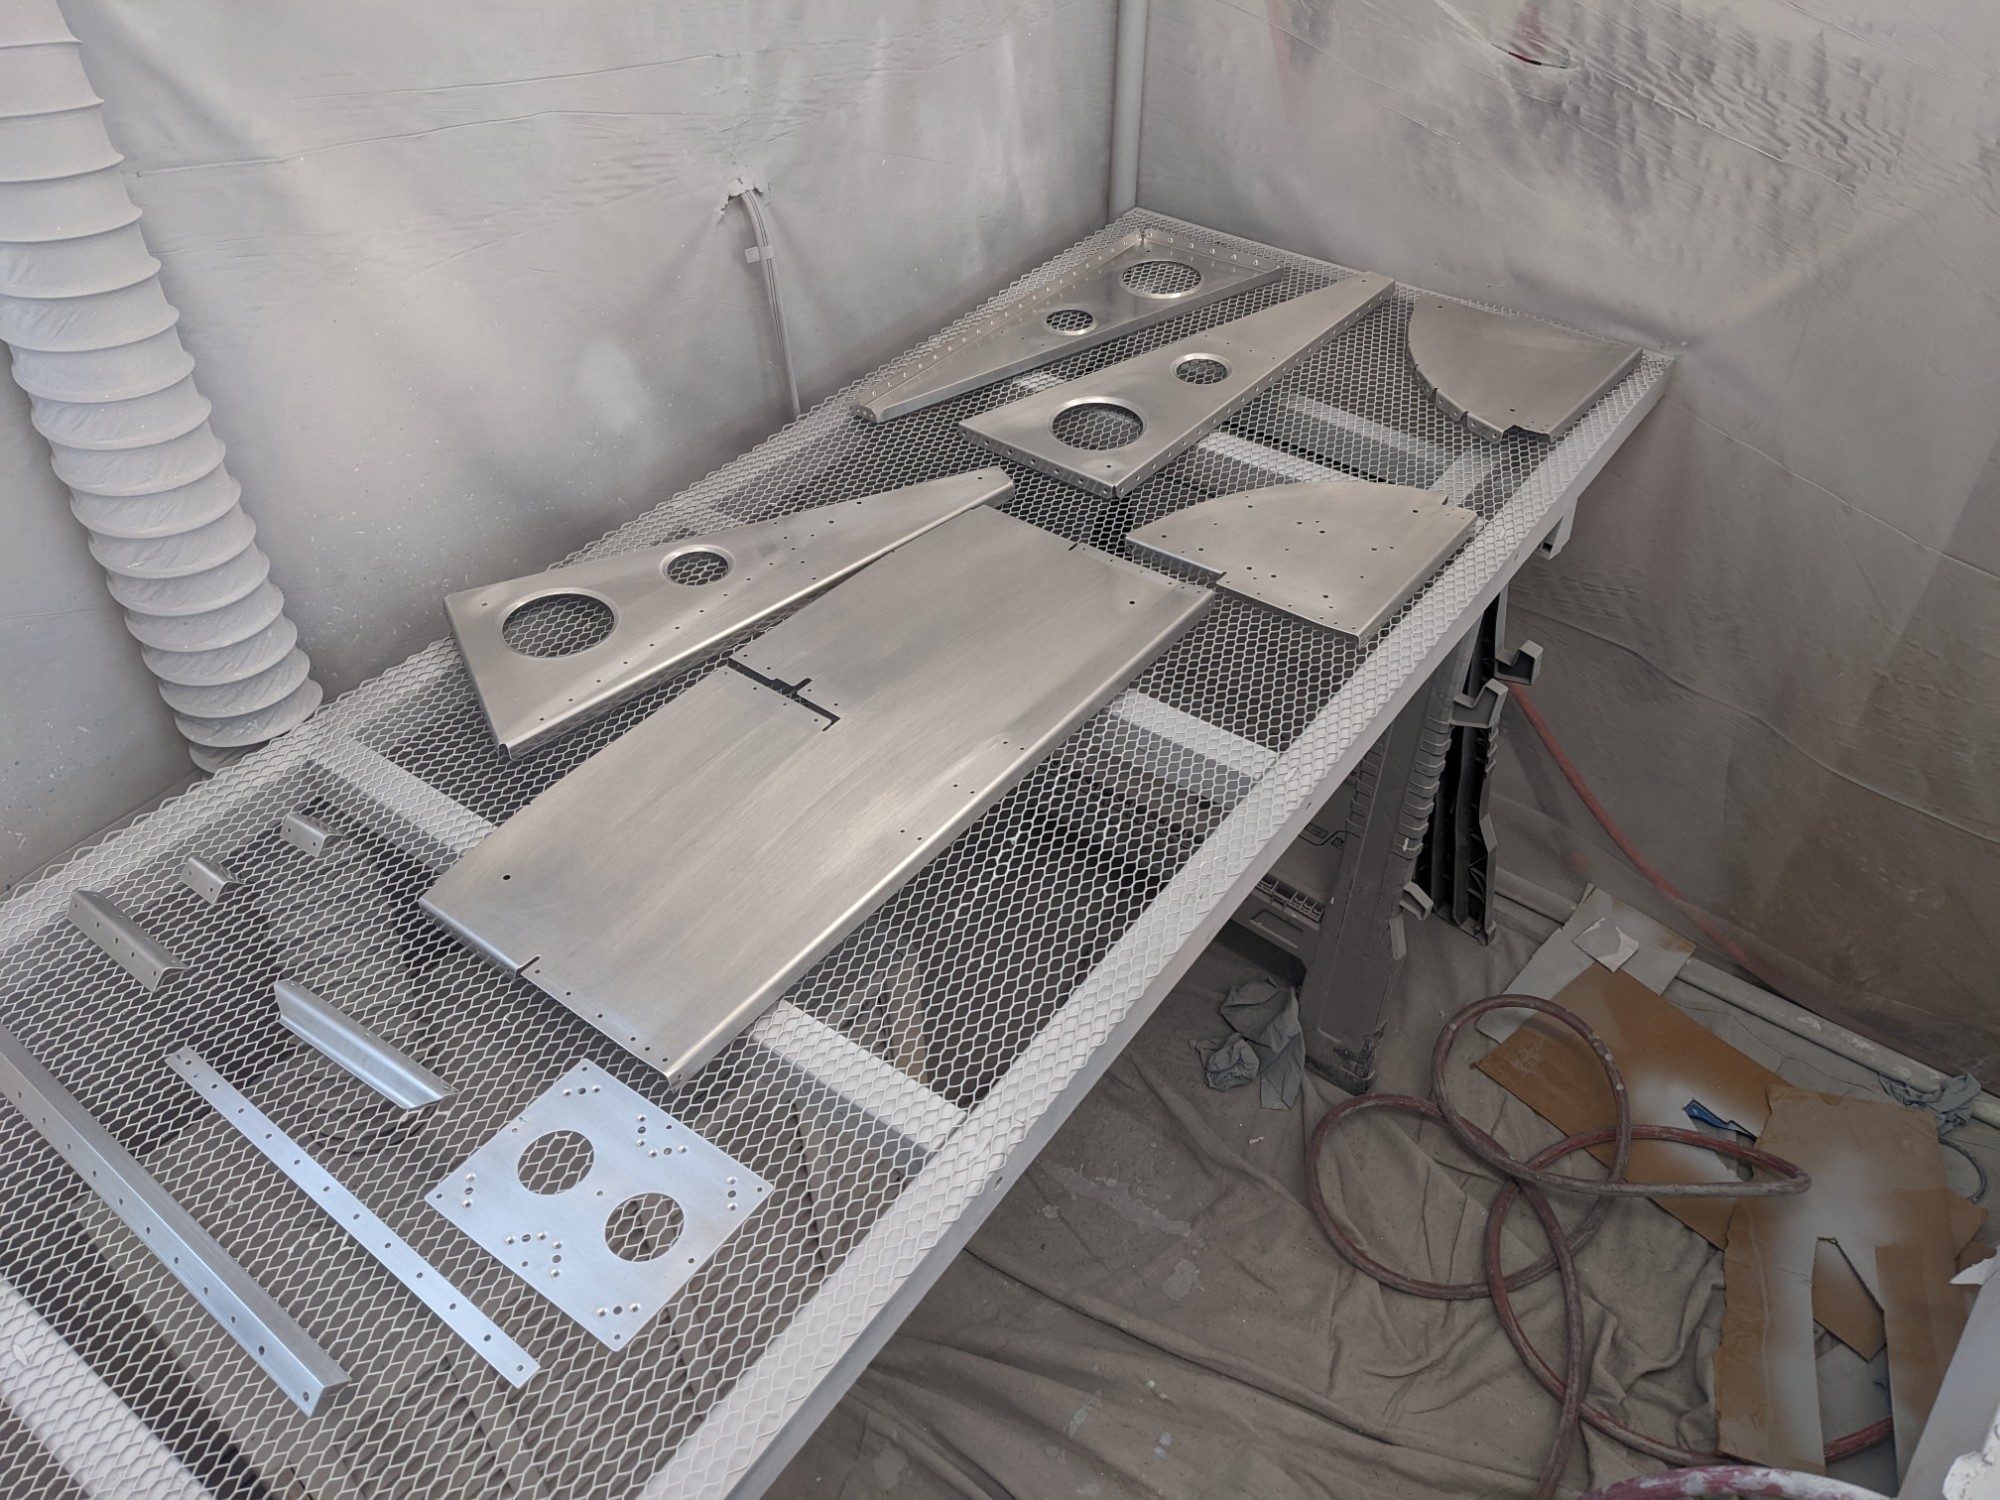
I then deburred, dimpled, and etched all of the upper forward parts.
![](https://airplane.allanglen.com/wp-content/uploads/2022/10/pxl_20221008_2029121176267939391029101203.jpg)
![](https://airplane.allanglen.com/wp-content/uploads/2022/10/pxl_20221008_214930547969808402105857002.jpg)
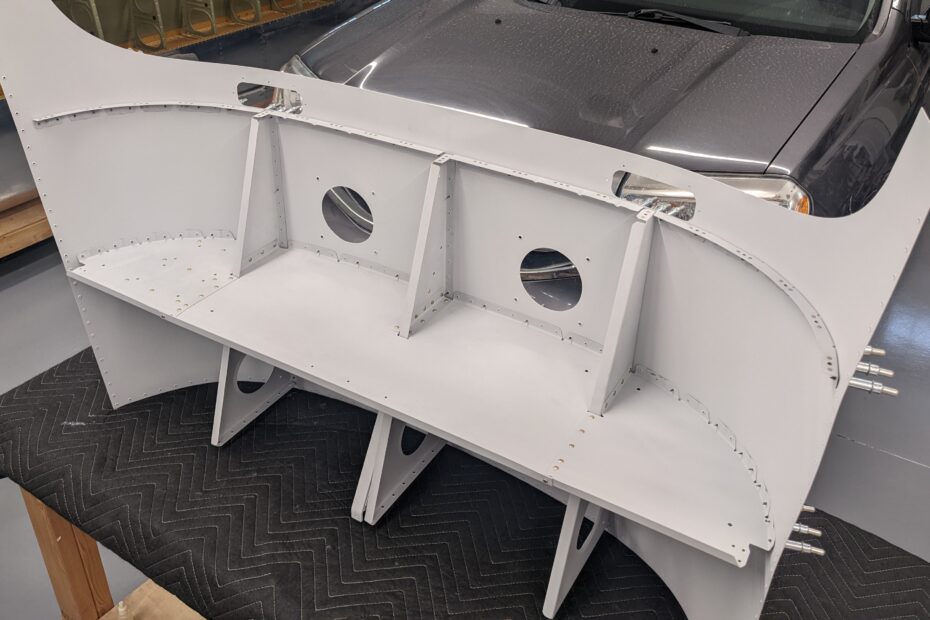
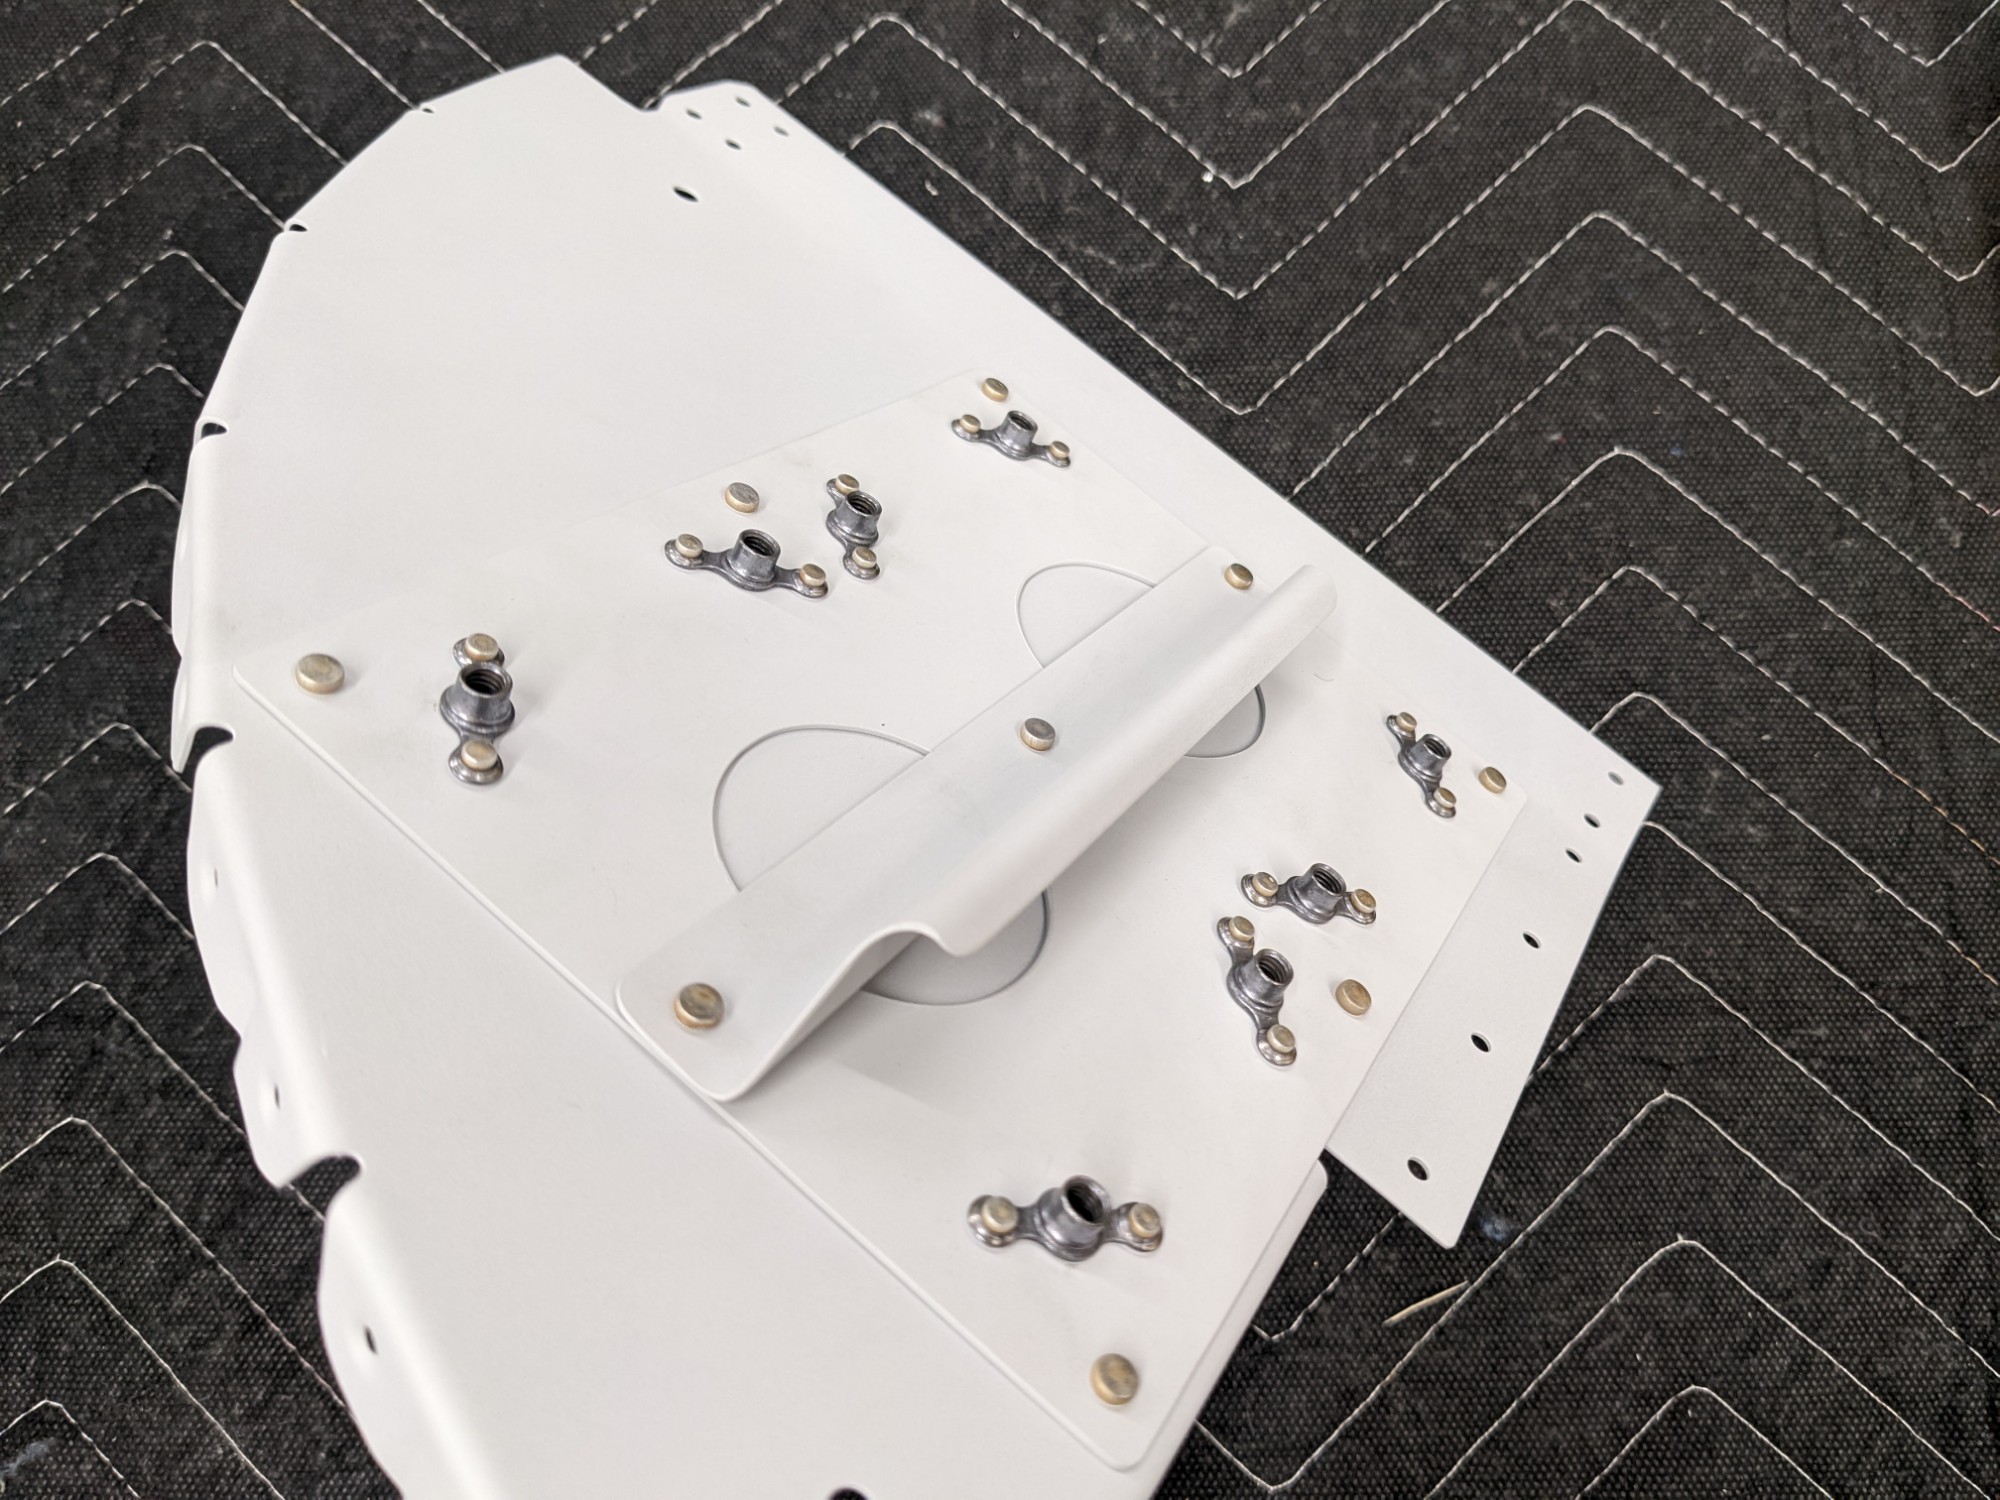
After priming, I riveted the substructure together.
![](https://airplane.allanglen.com/wp-content/uploads/2022/10/pxl_20221009_0152124611461831833442457555.jpg)
![](https://airplane.allanglen.com/wp-content/uploads/2022/10/pxl_20221009_0152190427081129254031116988.jpg)
![](https://airplane.allanglen.com/wp-content/uploads/2022/10/pxl_20221009_0152223085445298219055250342.jpg)
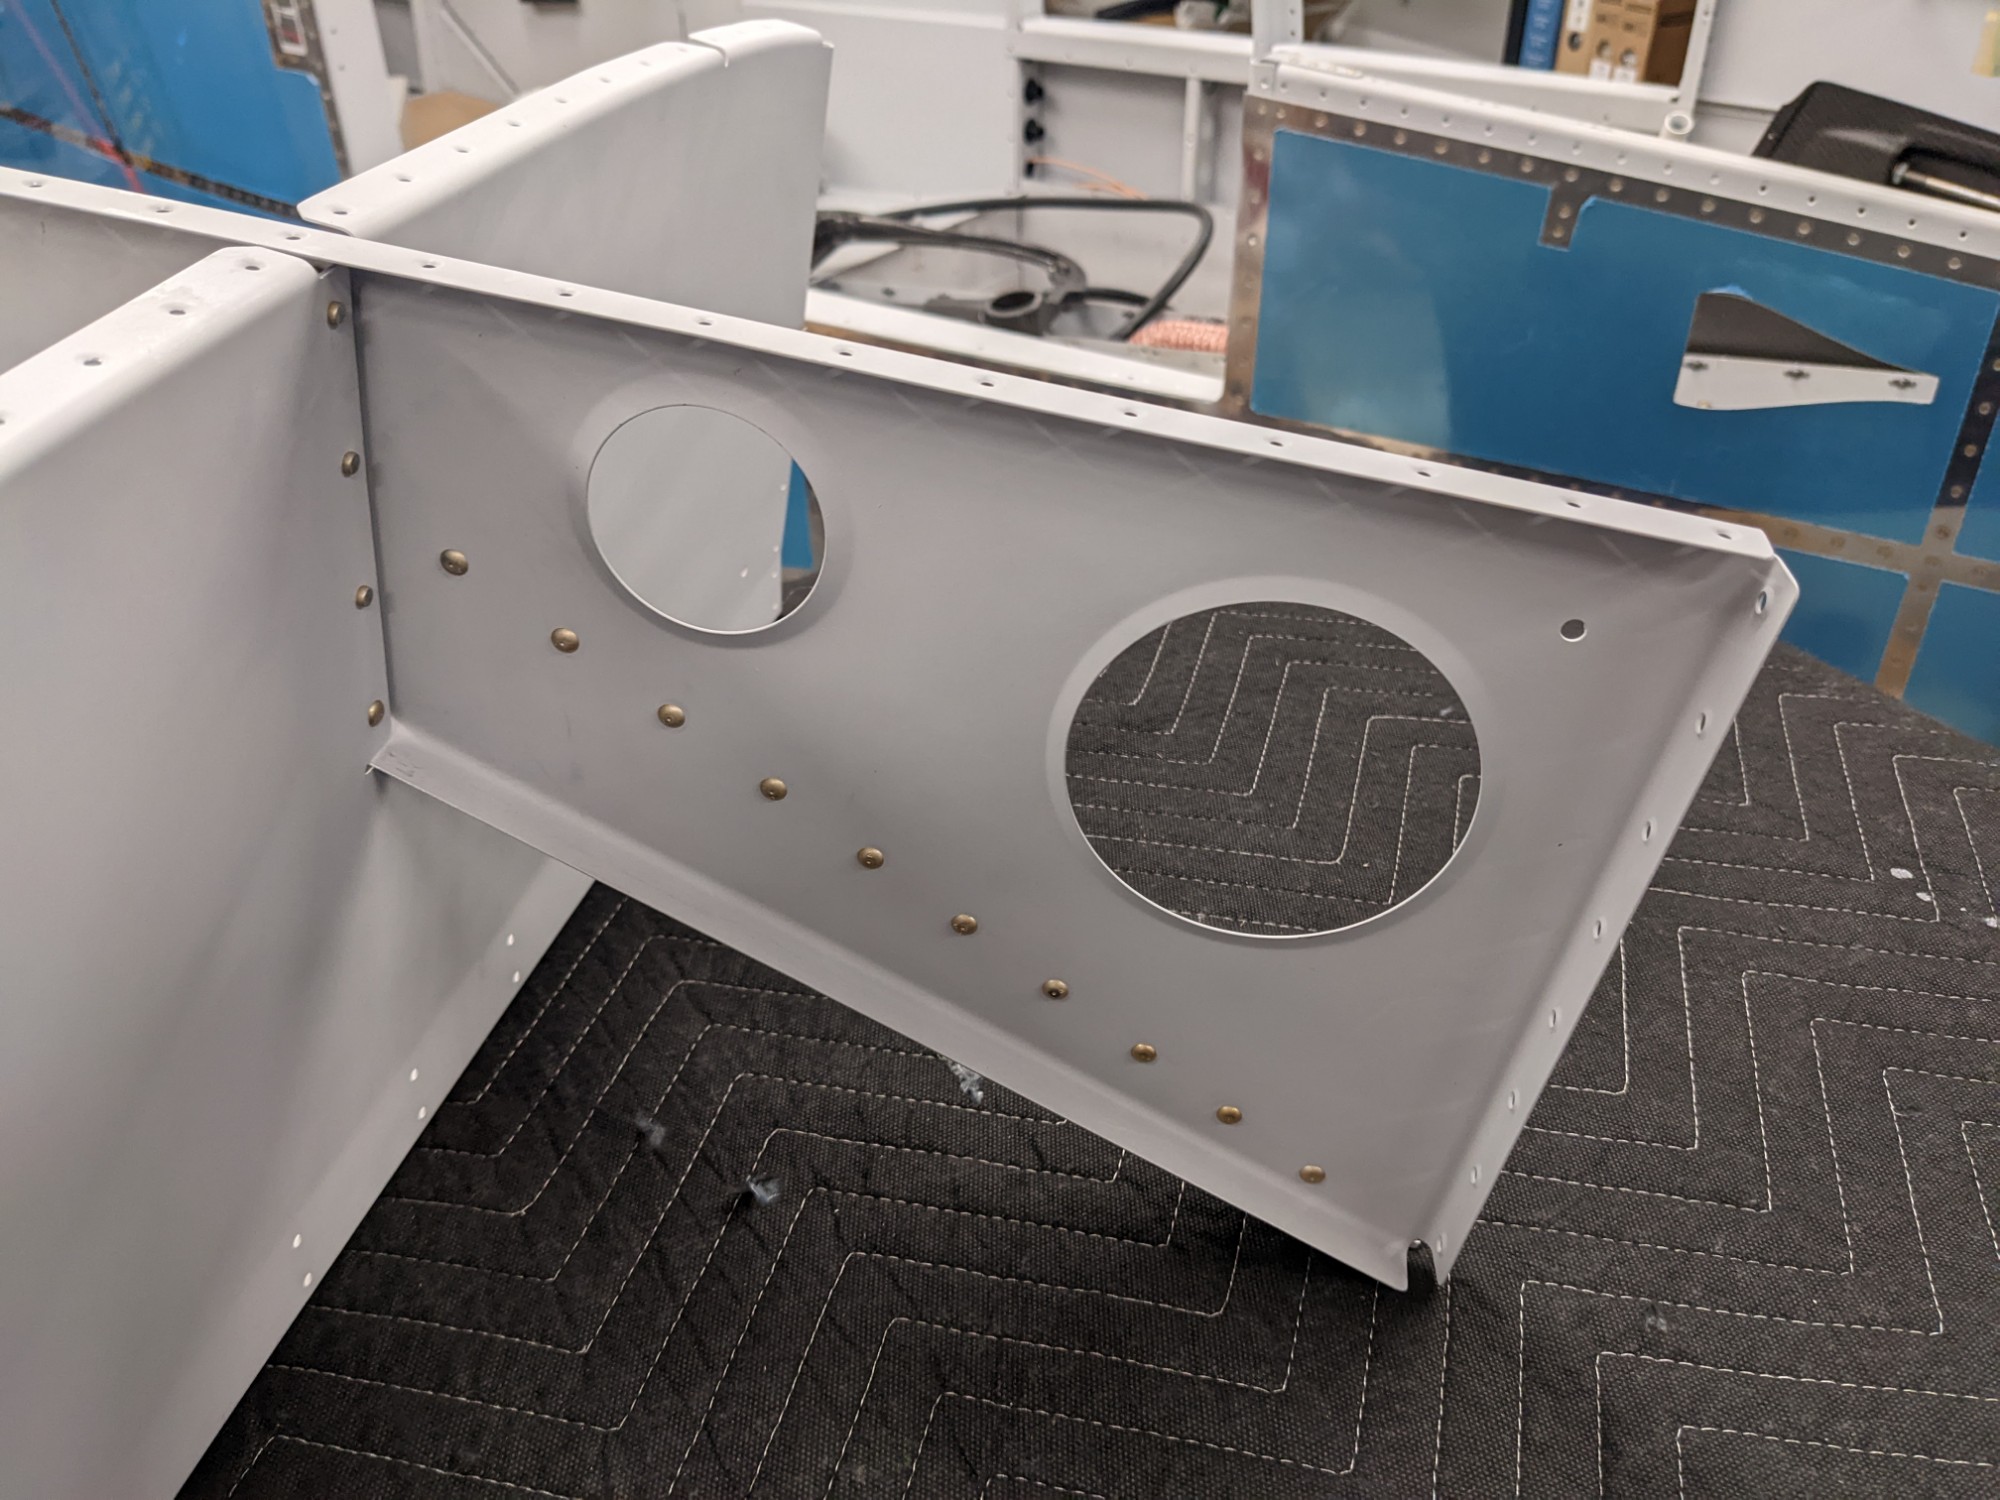
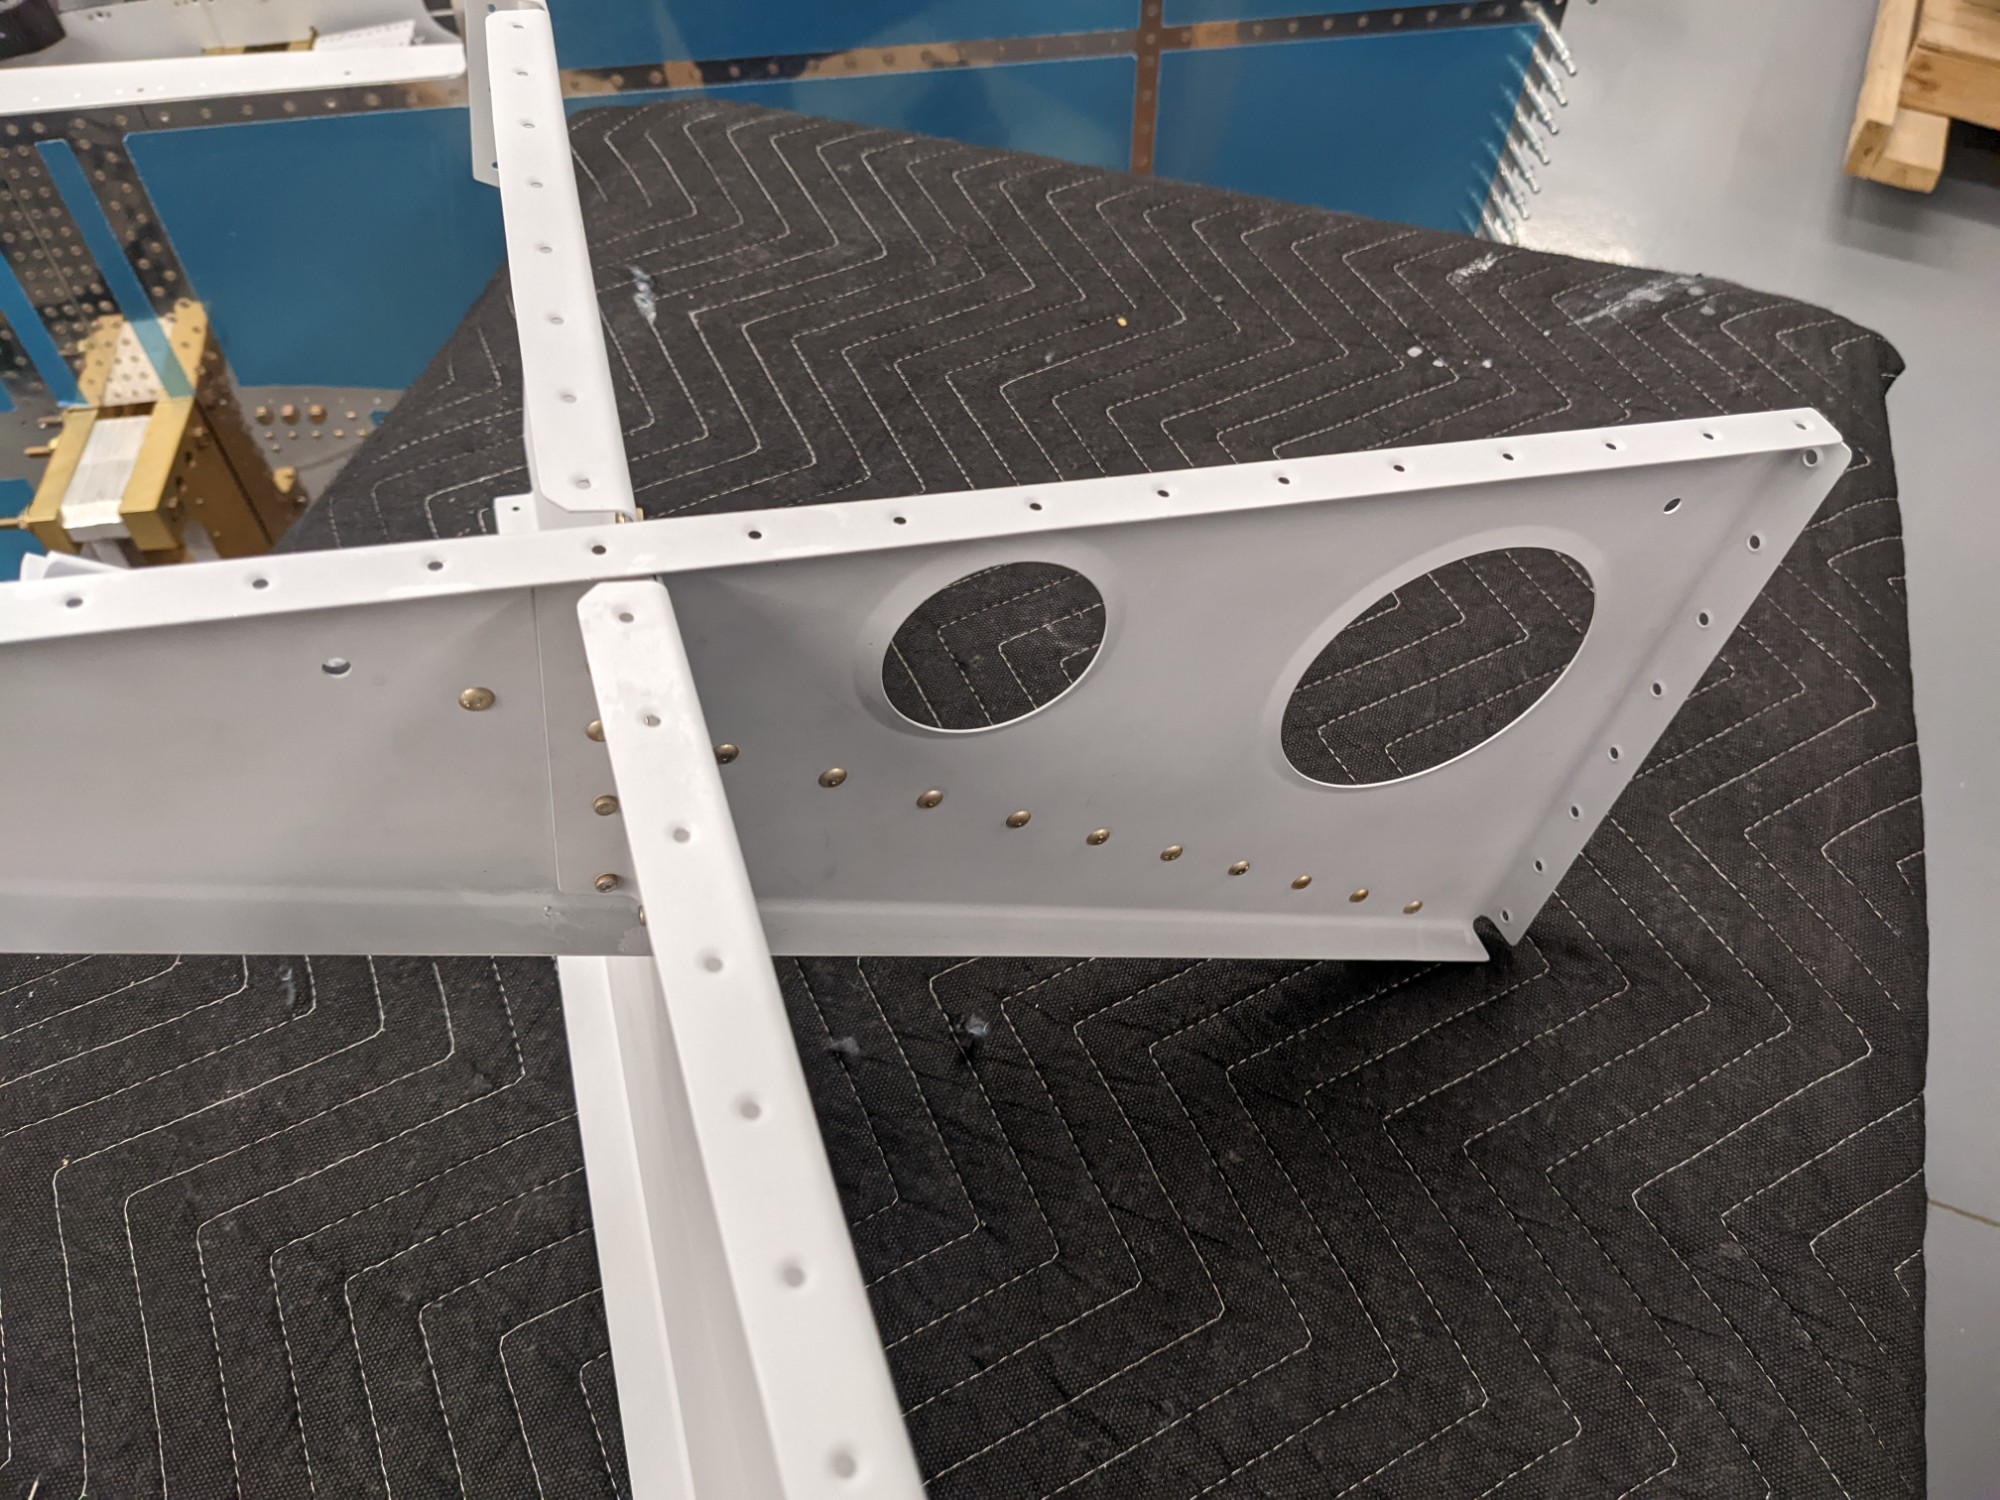
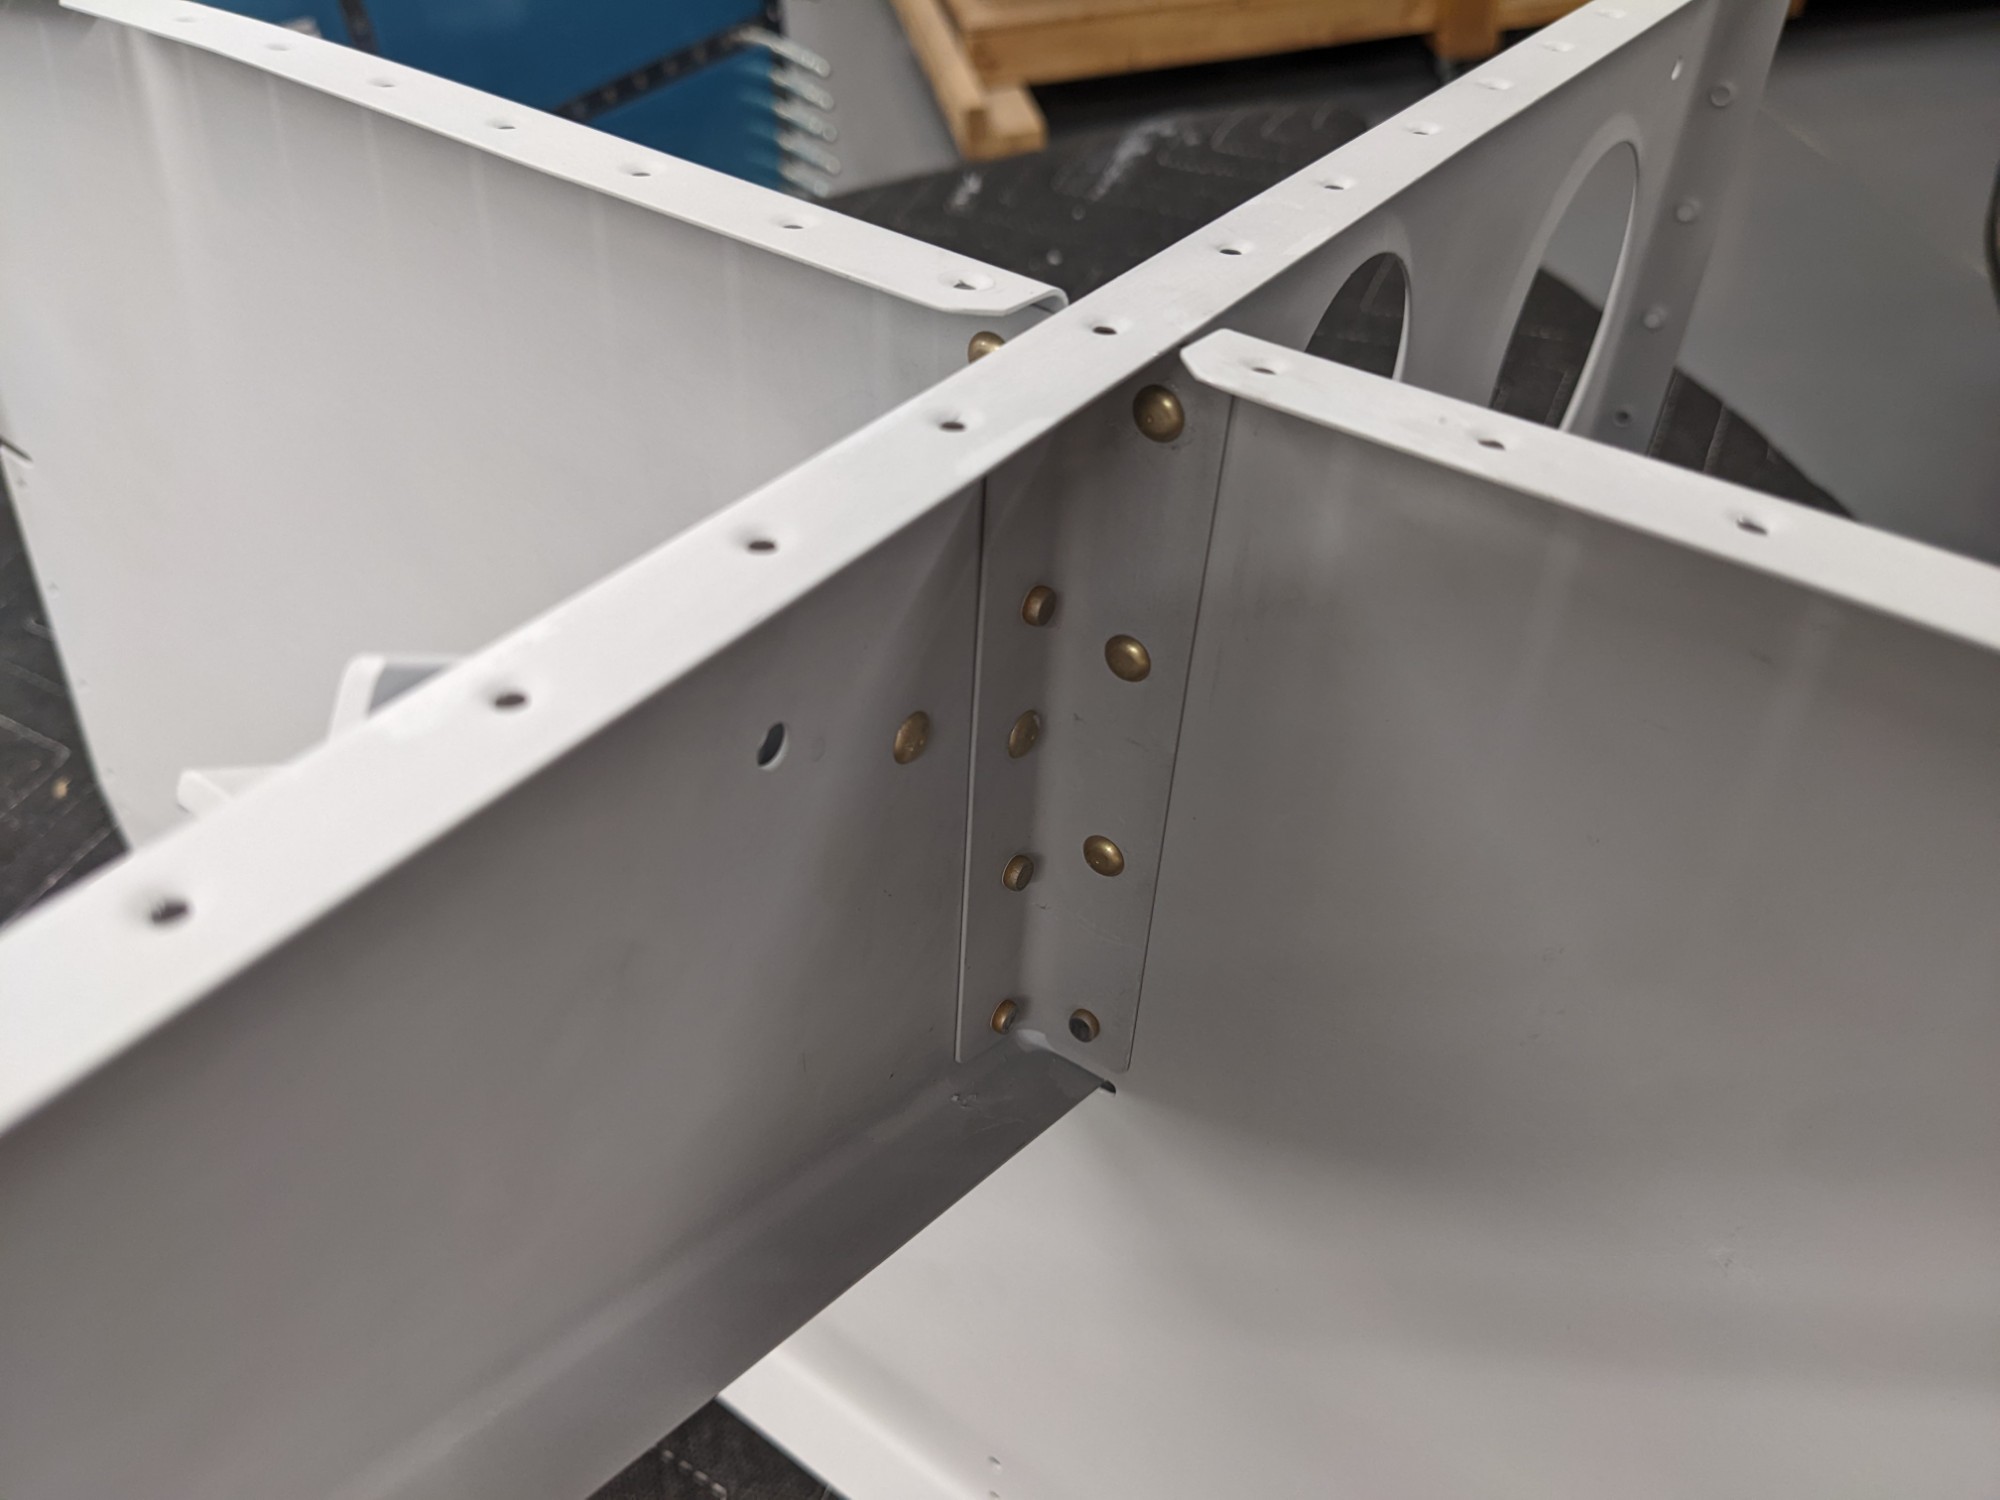
I had previously made a doubler to attach the Garmin GSU 25 ADAHRS sensors. I rivets nutplates to these and riveted them into place.
![](https://airplane.allanglen.com/wp-content/uploads/2022/10/pxl_20221009_0152359353643114190916581347.jpg)
![](https://airplane.allanglen.com/wp-content/uploads/2022/10/pxl_20221009_0152401394721221025667325304.jpg)
![](https://airplane.allanglen.com/wp-content/uploads/2022/10/pxl_20221009_0201395327605321994932476204.jpg)
I added a small piece of j-channel for extra stiffness (the Garmin manual indicates that these need to be attached to a sound surface).
![](https://airplane.allanglen.com/wp-content/uploads/2022/10/pxl_20221009_0201496384701604631581545771.jpg)
One step closer to completing the upper forward assembly section of the plans…
I decided to hold off on riveting the top skin into place as I have several other things I can do until I need to attach this permanently.
![](https://airplane.allanglen.com/wp-content/uploads/2022/10/pxl_20221010_0044463293211296389712742390.jpg)