
Now that the doors are fitted, I’m working towards finishing the interior of the cabin top.
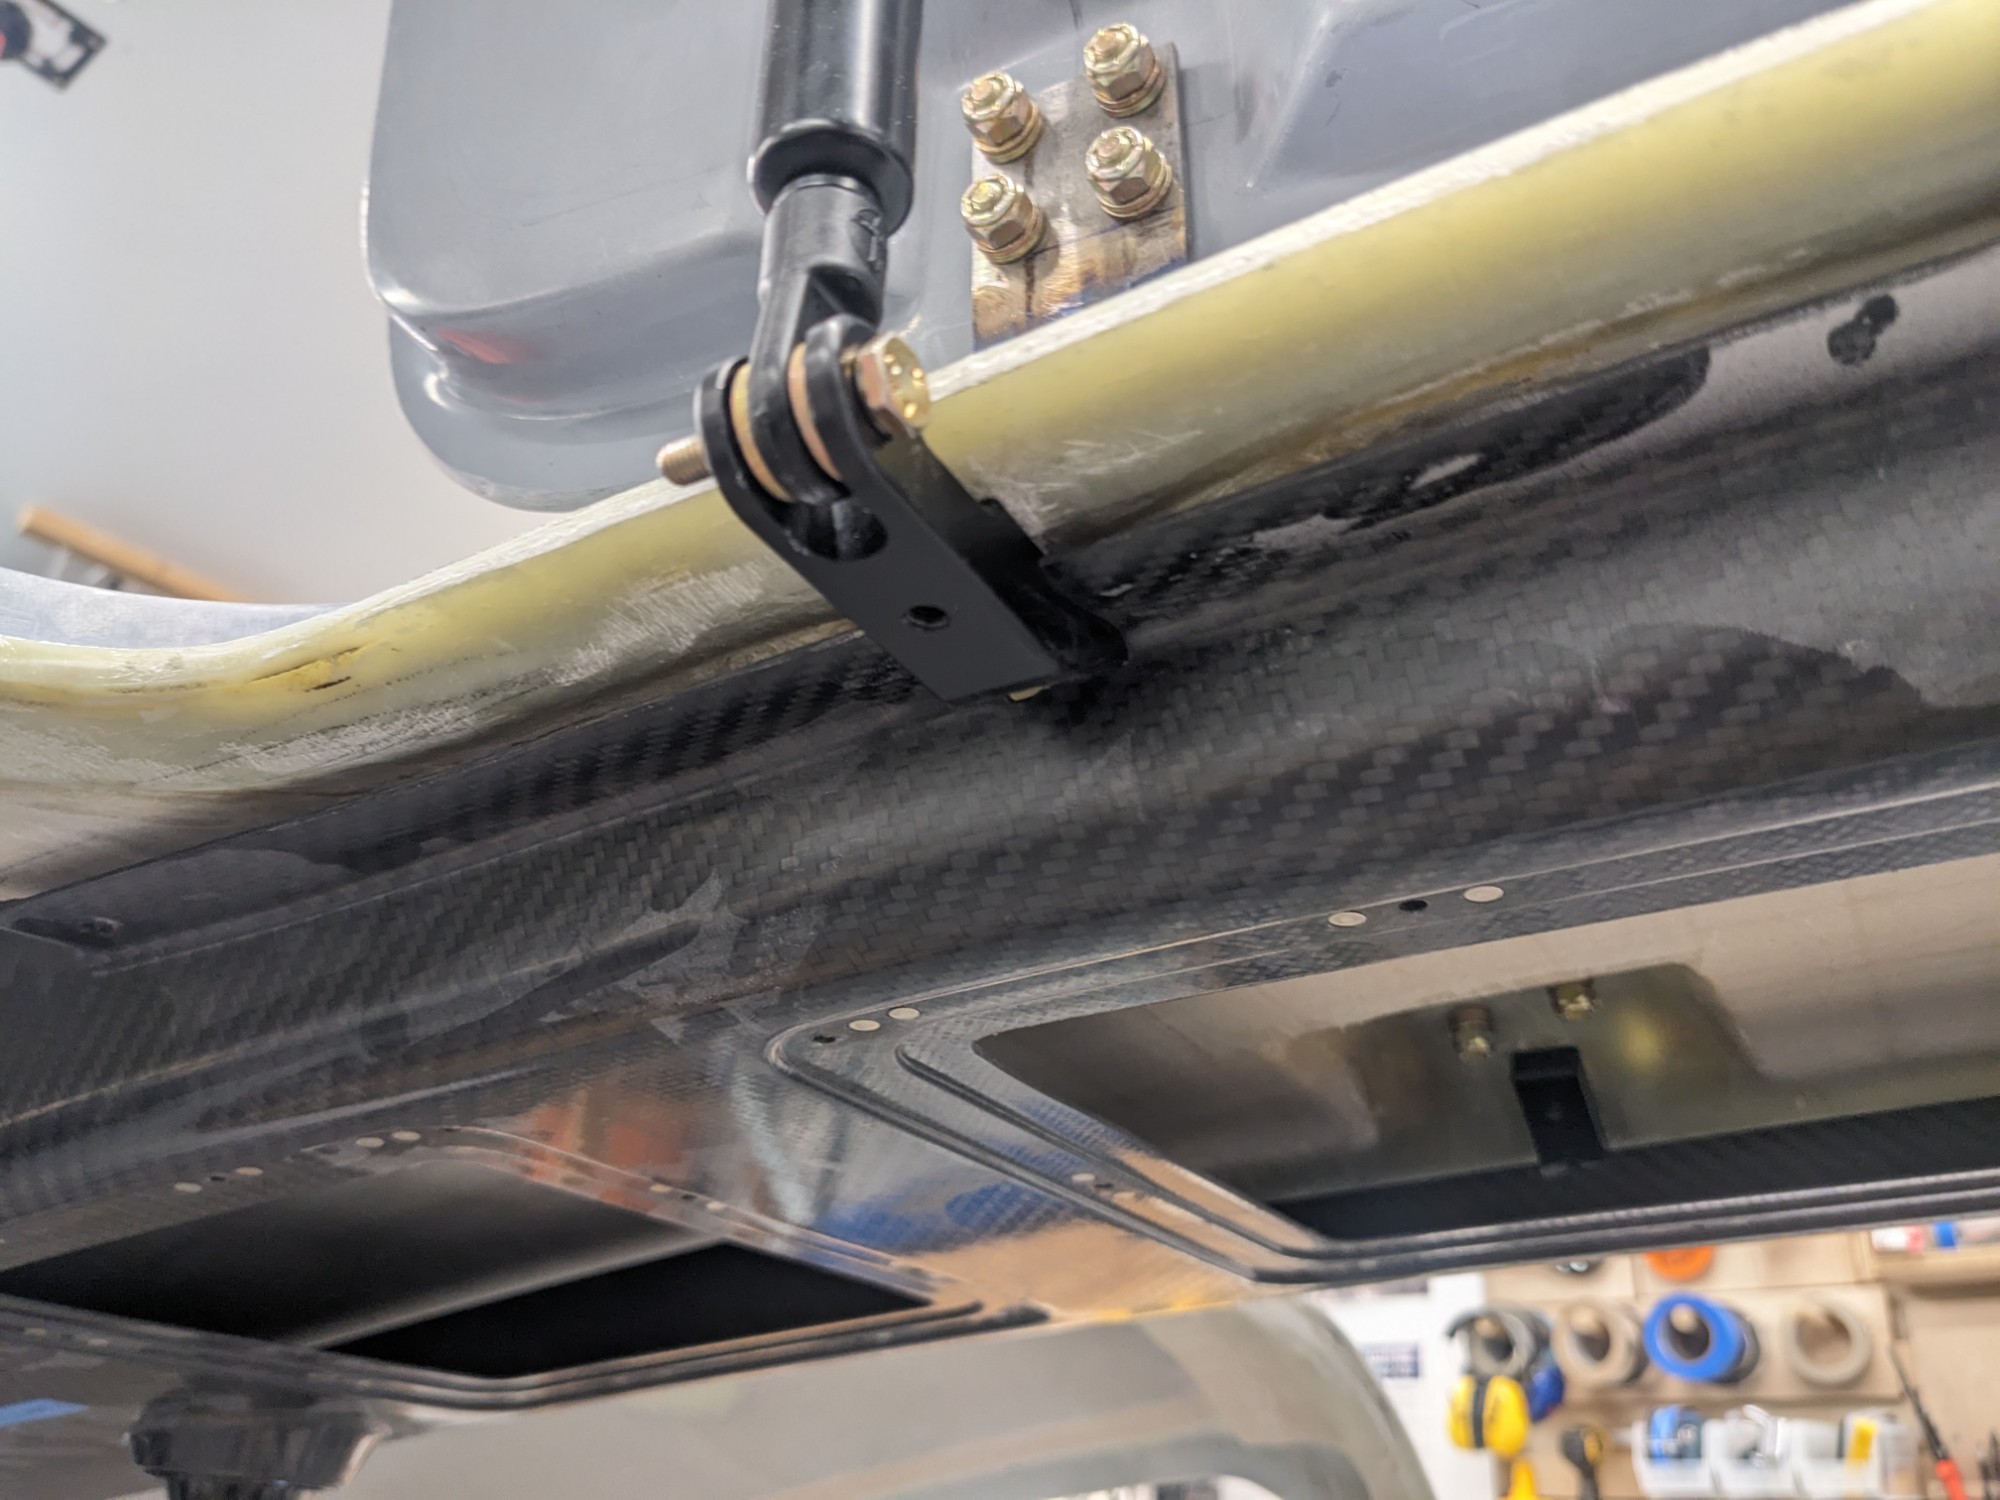
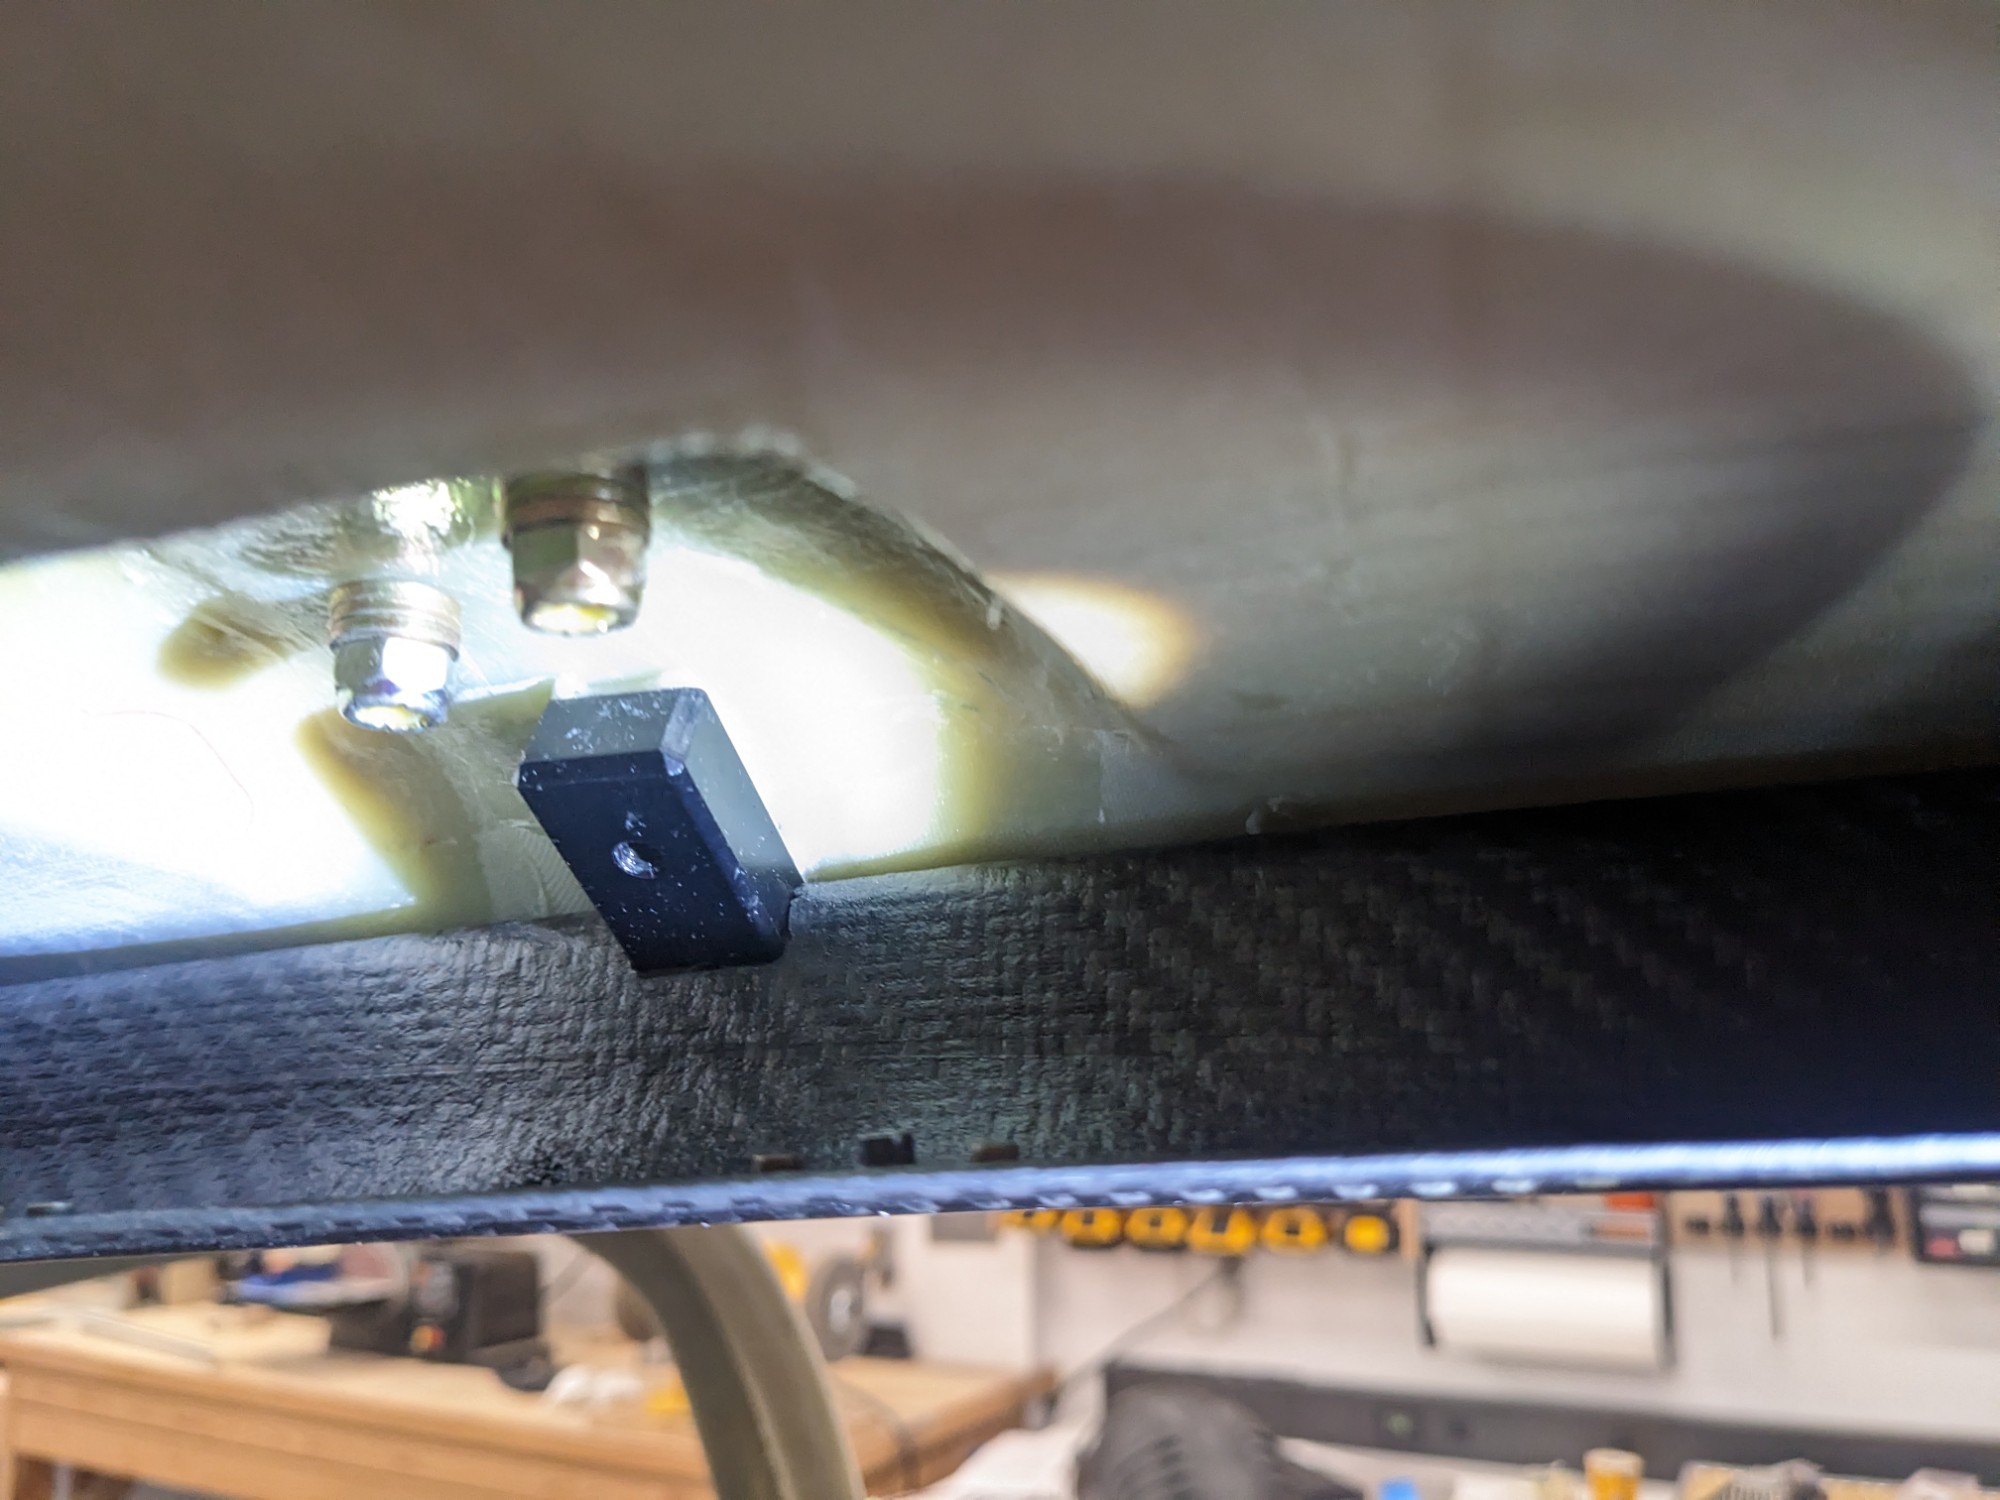
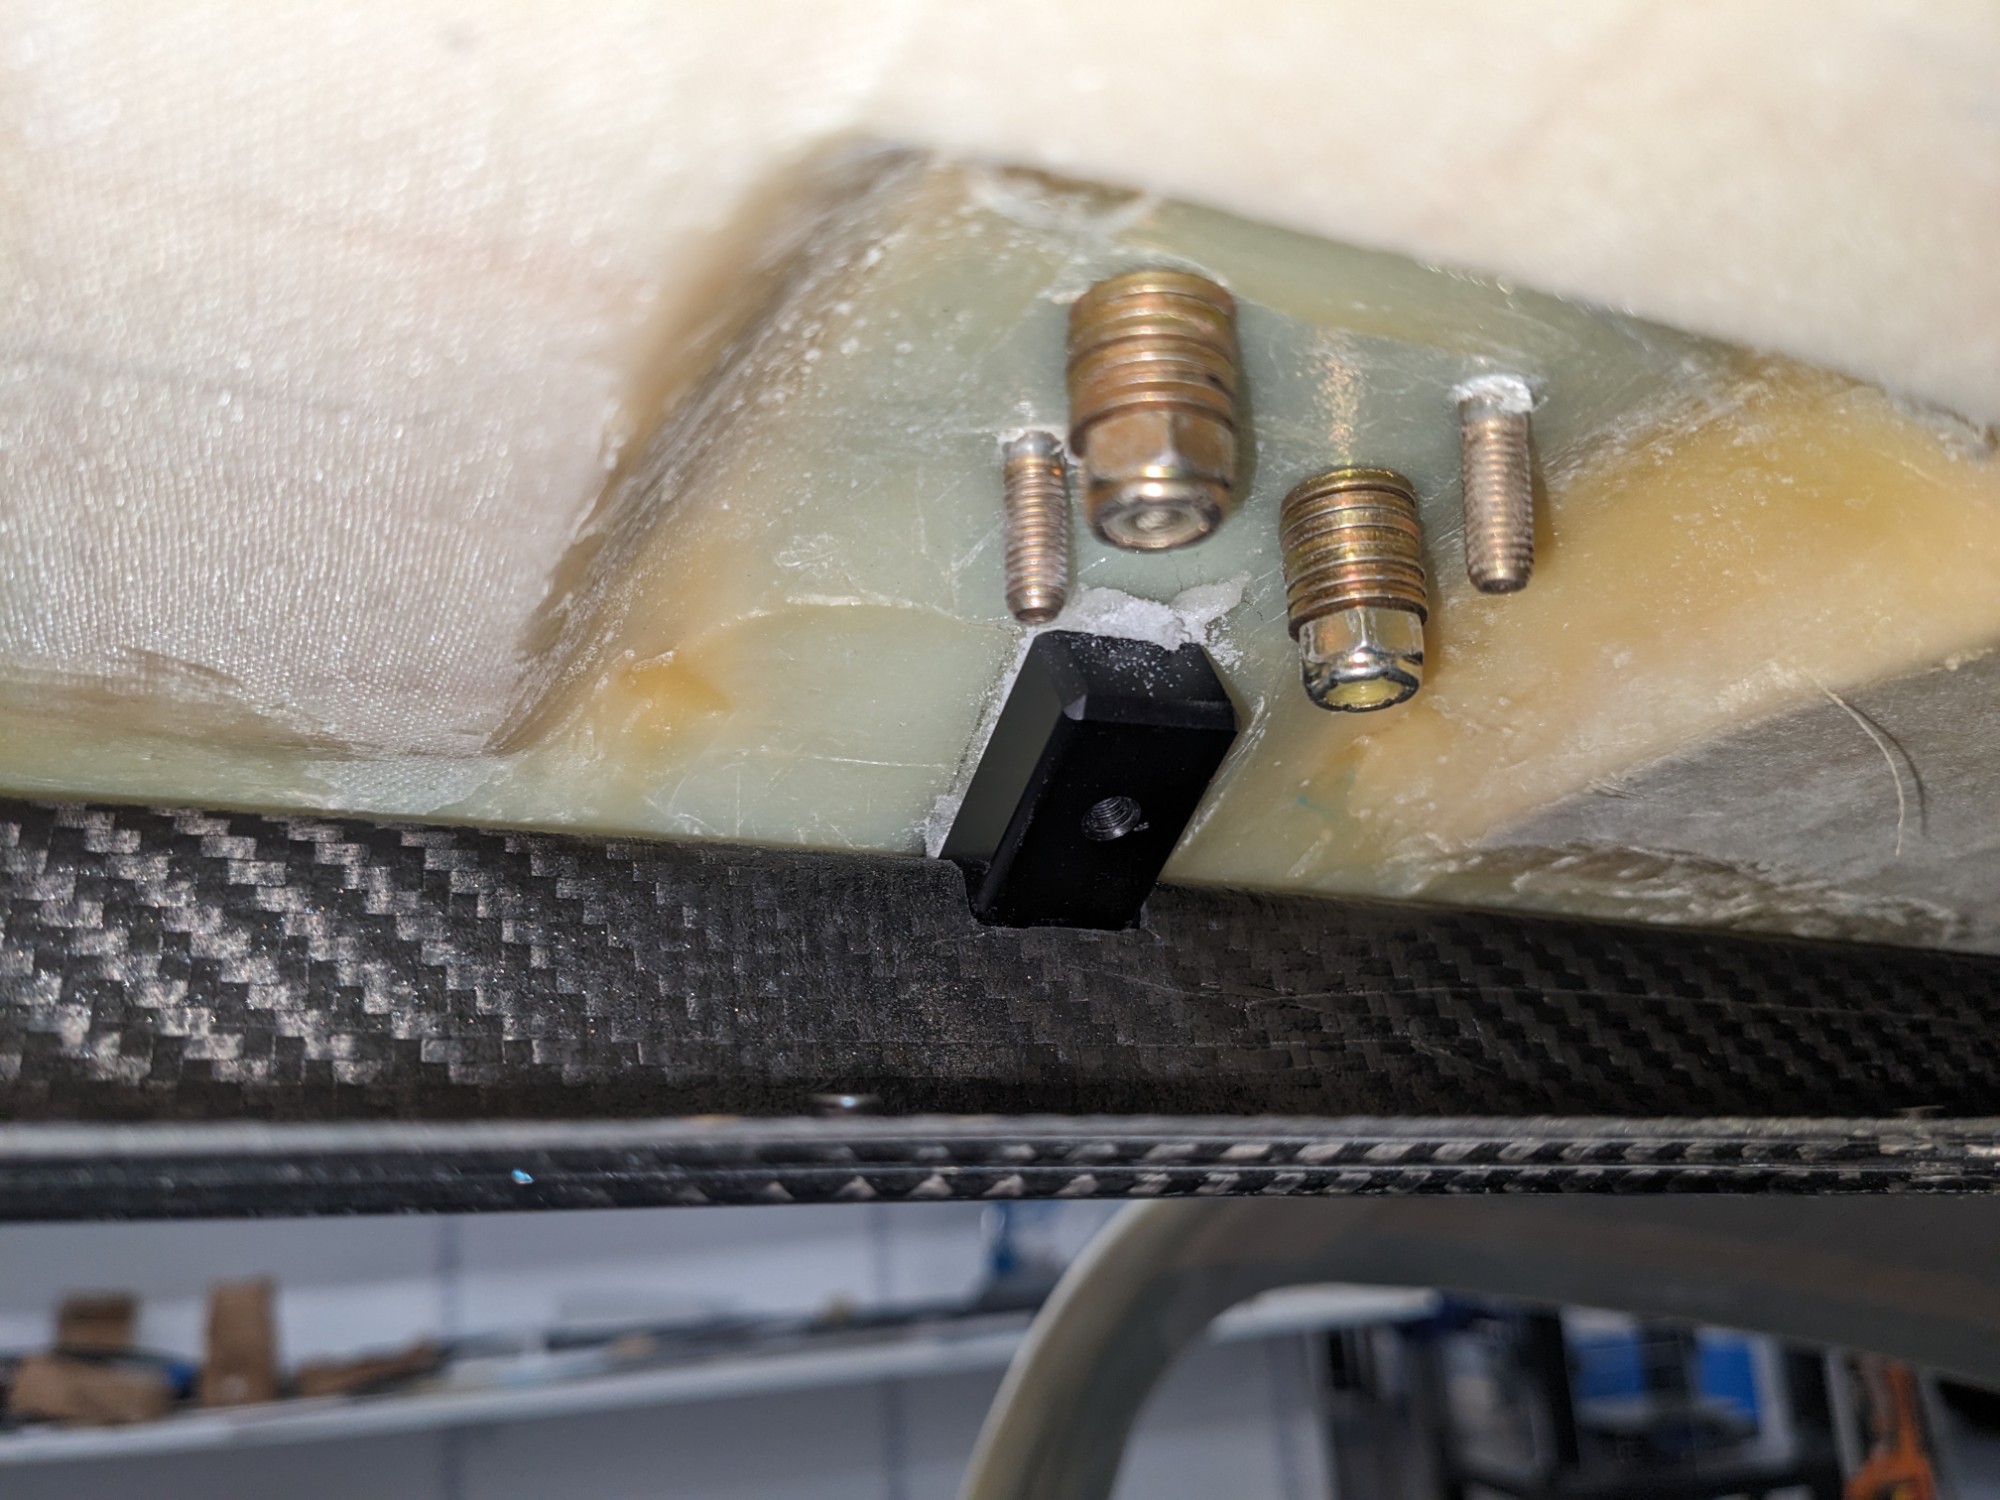
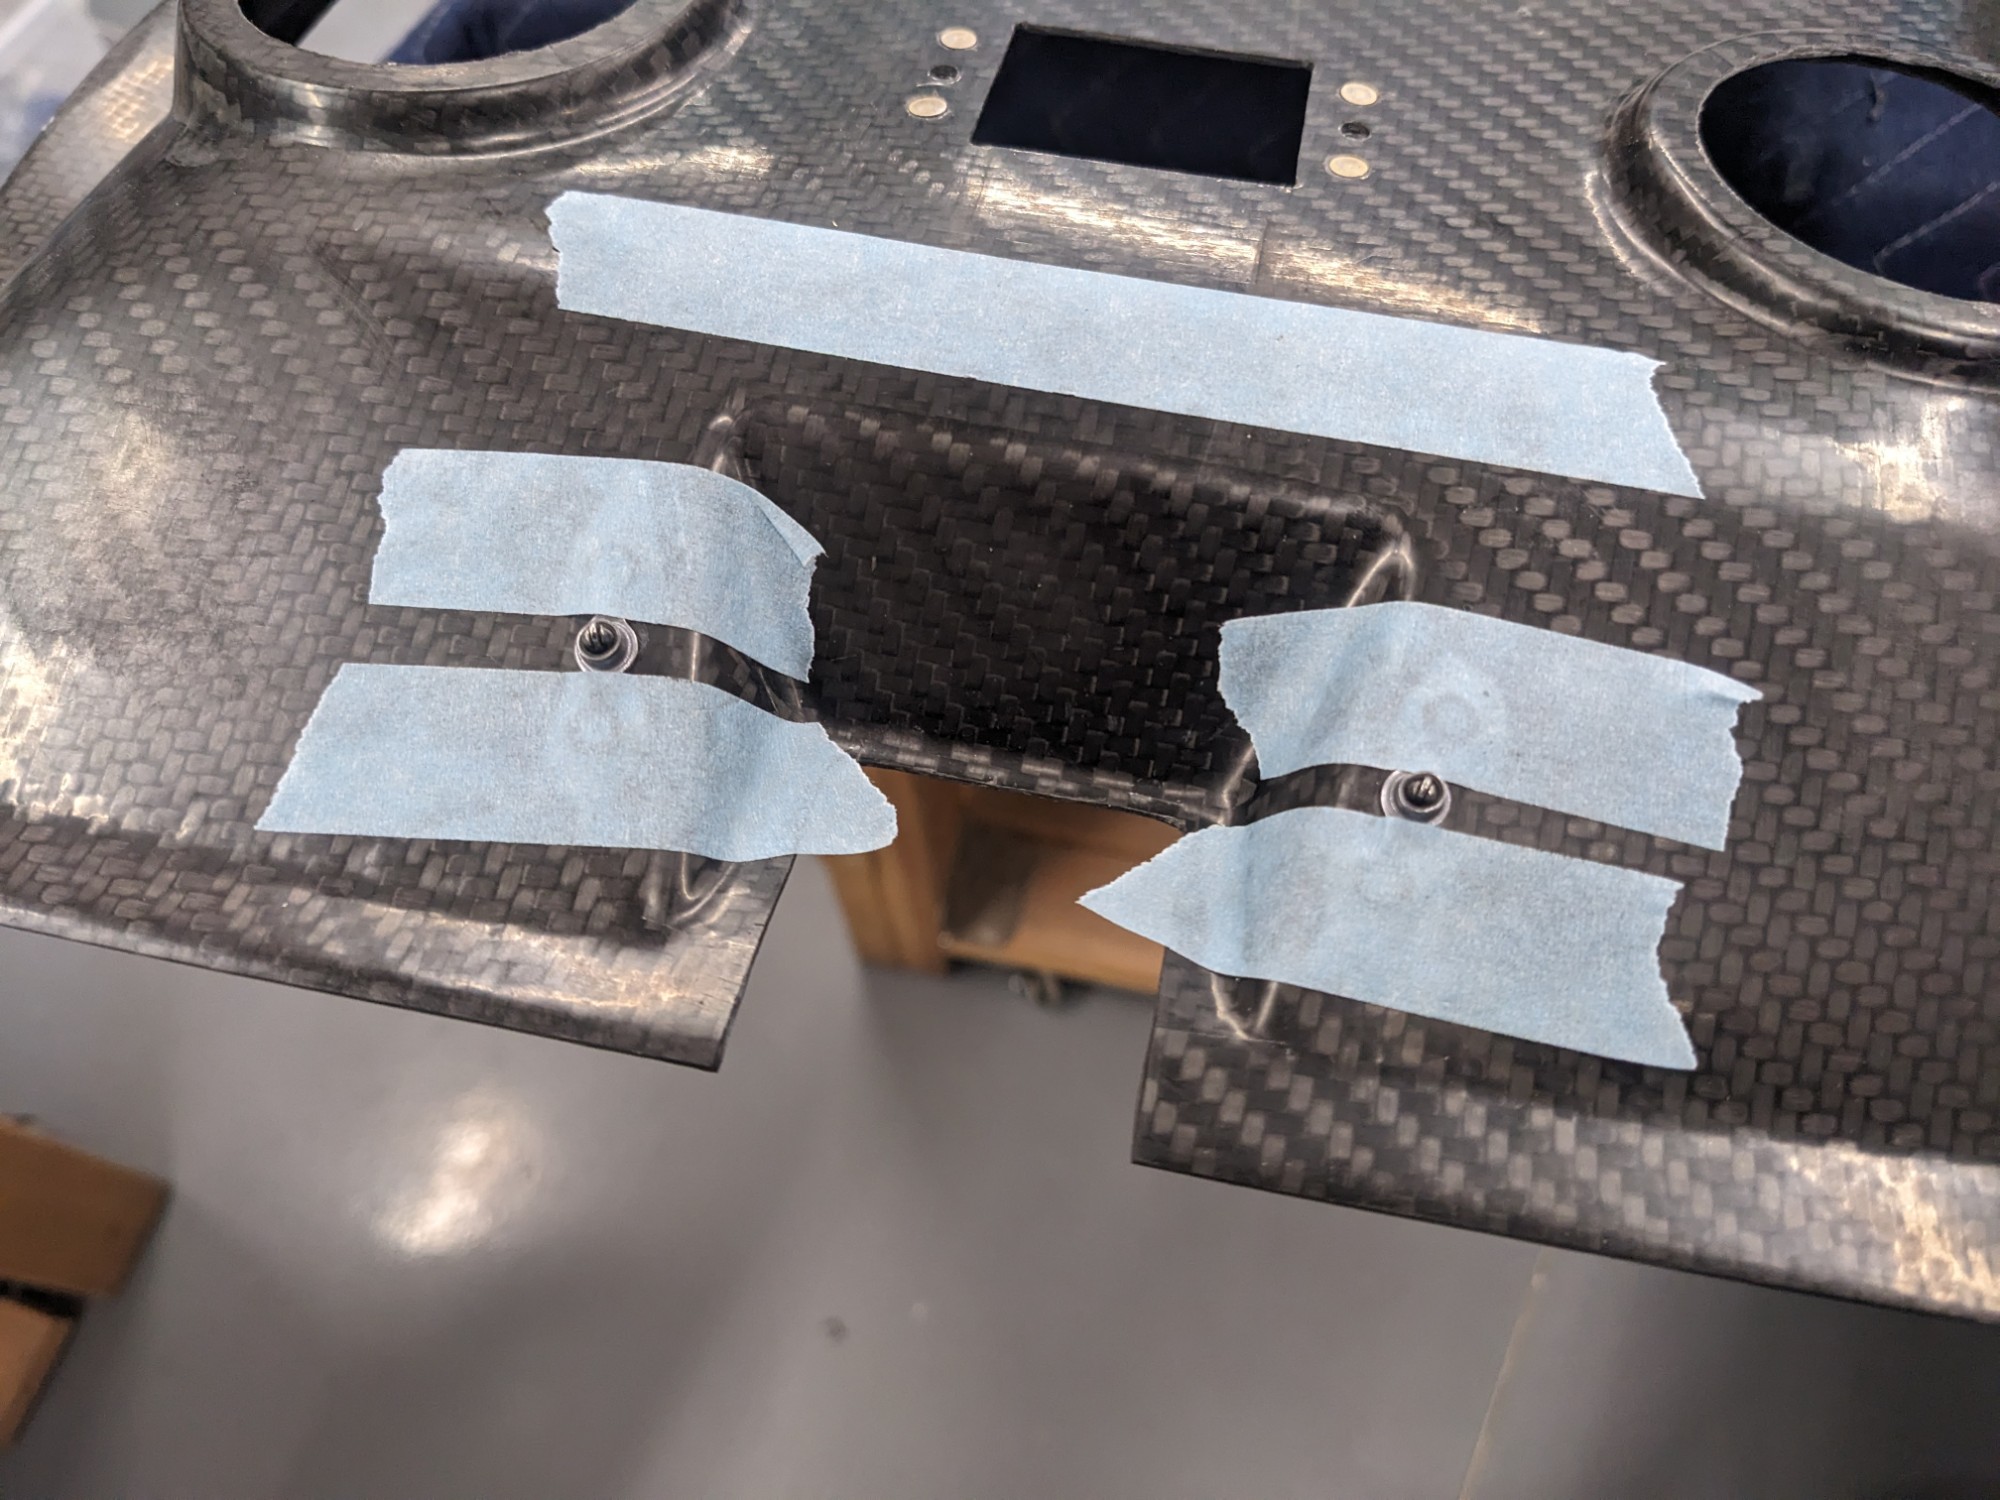
When I fitted the PlaneAround door strut attach brackets I shimmed them to be parallel with each other and to be perpendicular to the door struts. I backfilled the shimmed areas with flox to give a solid, flat mounting surface for the final install.
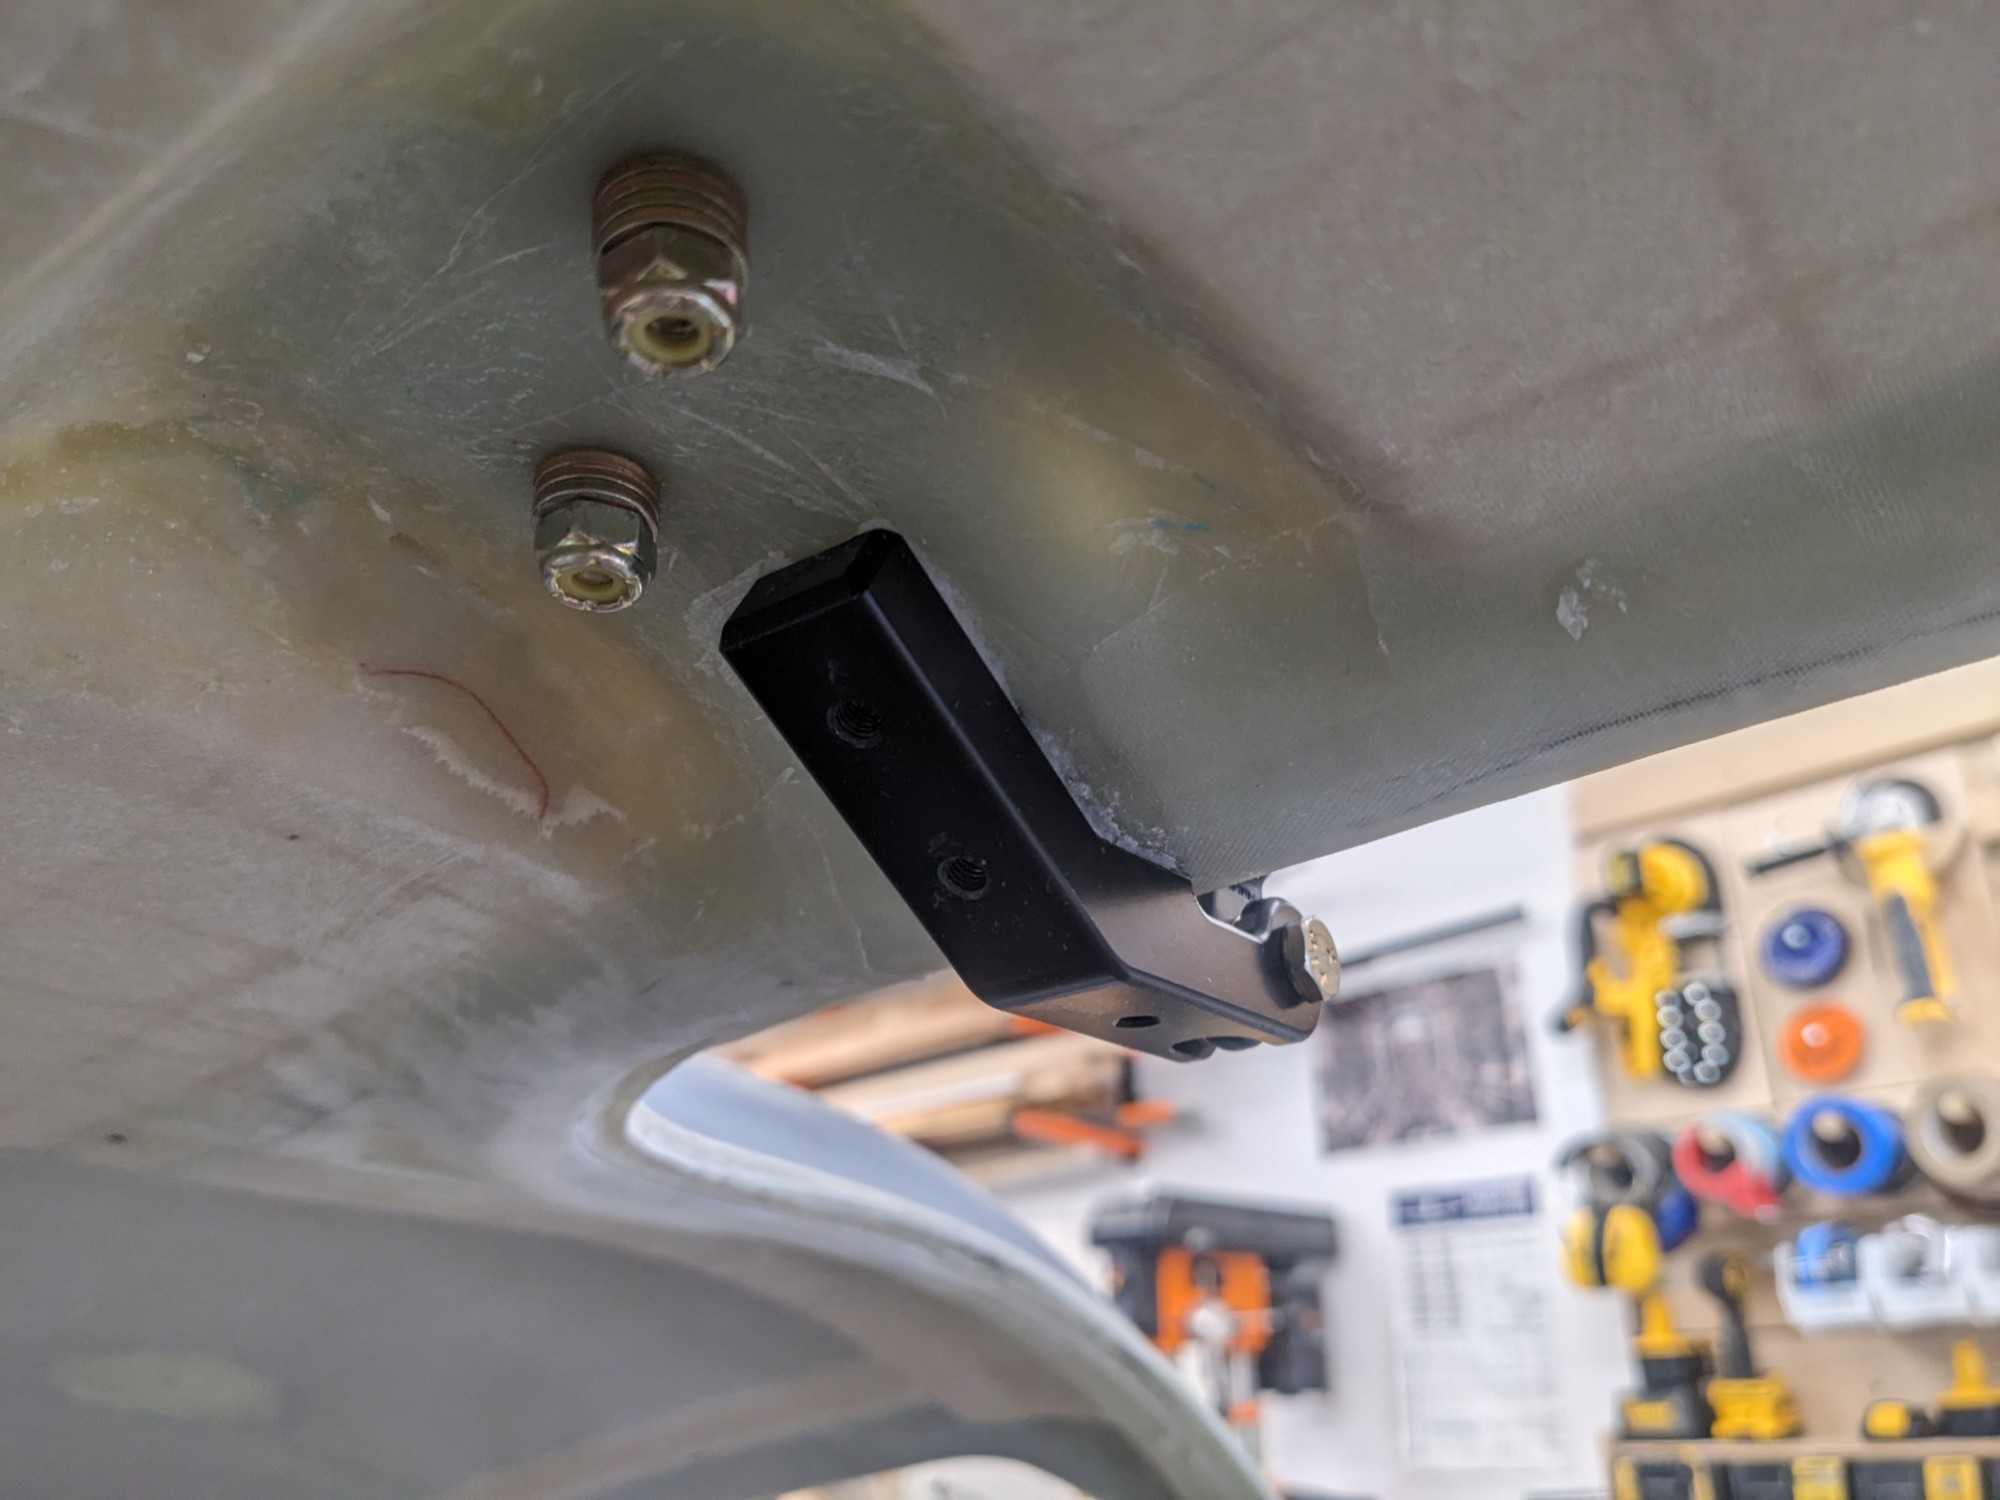
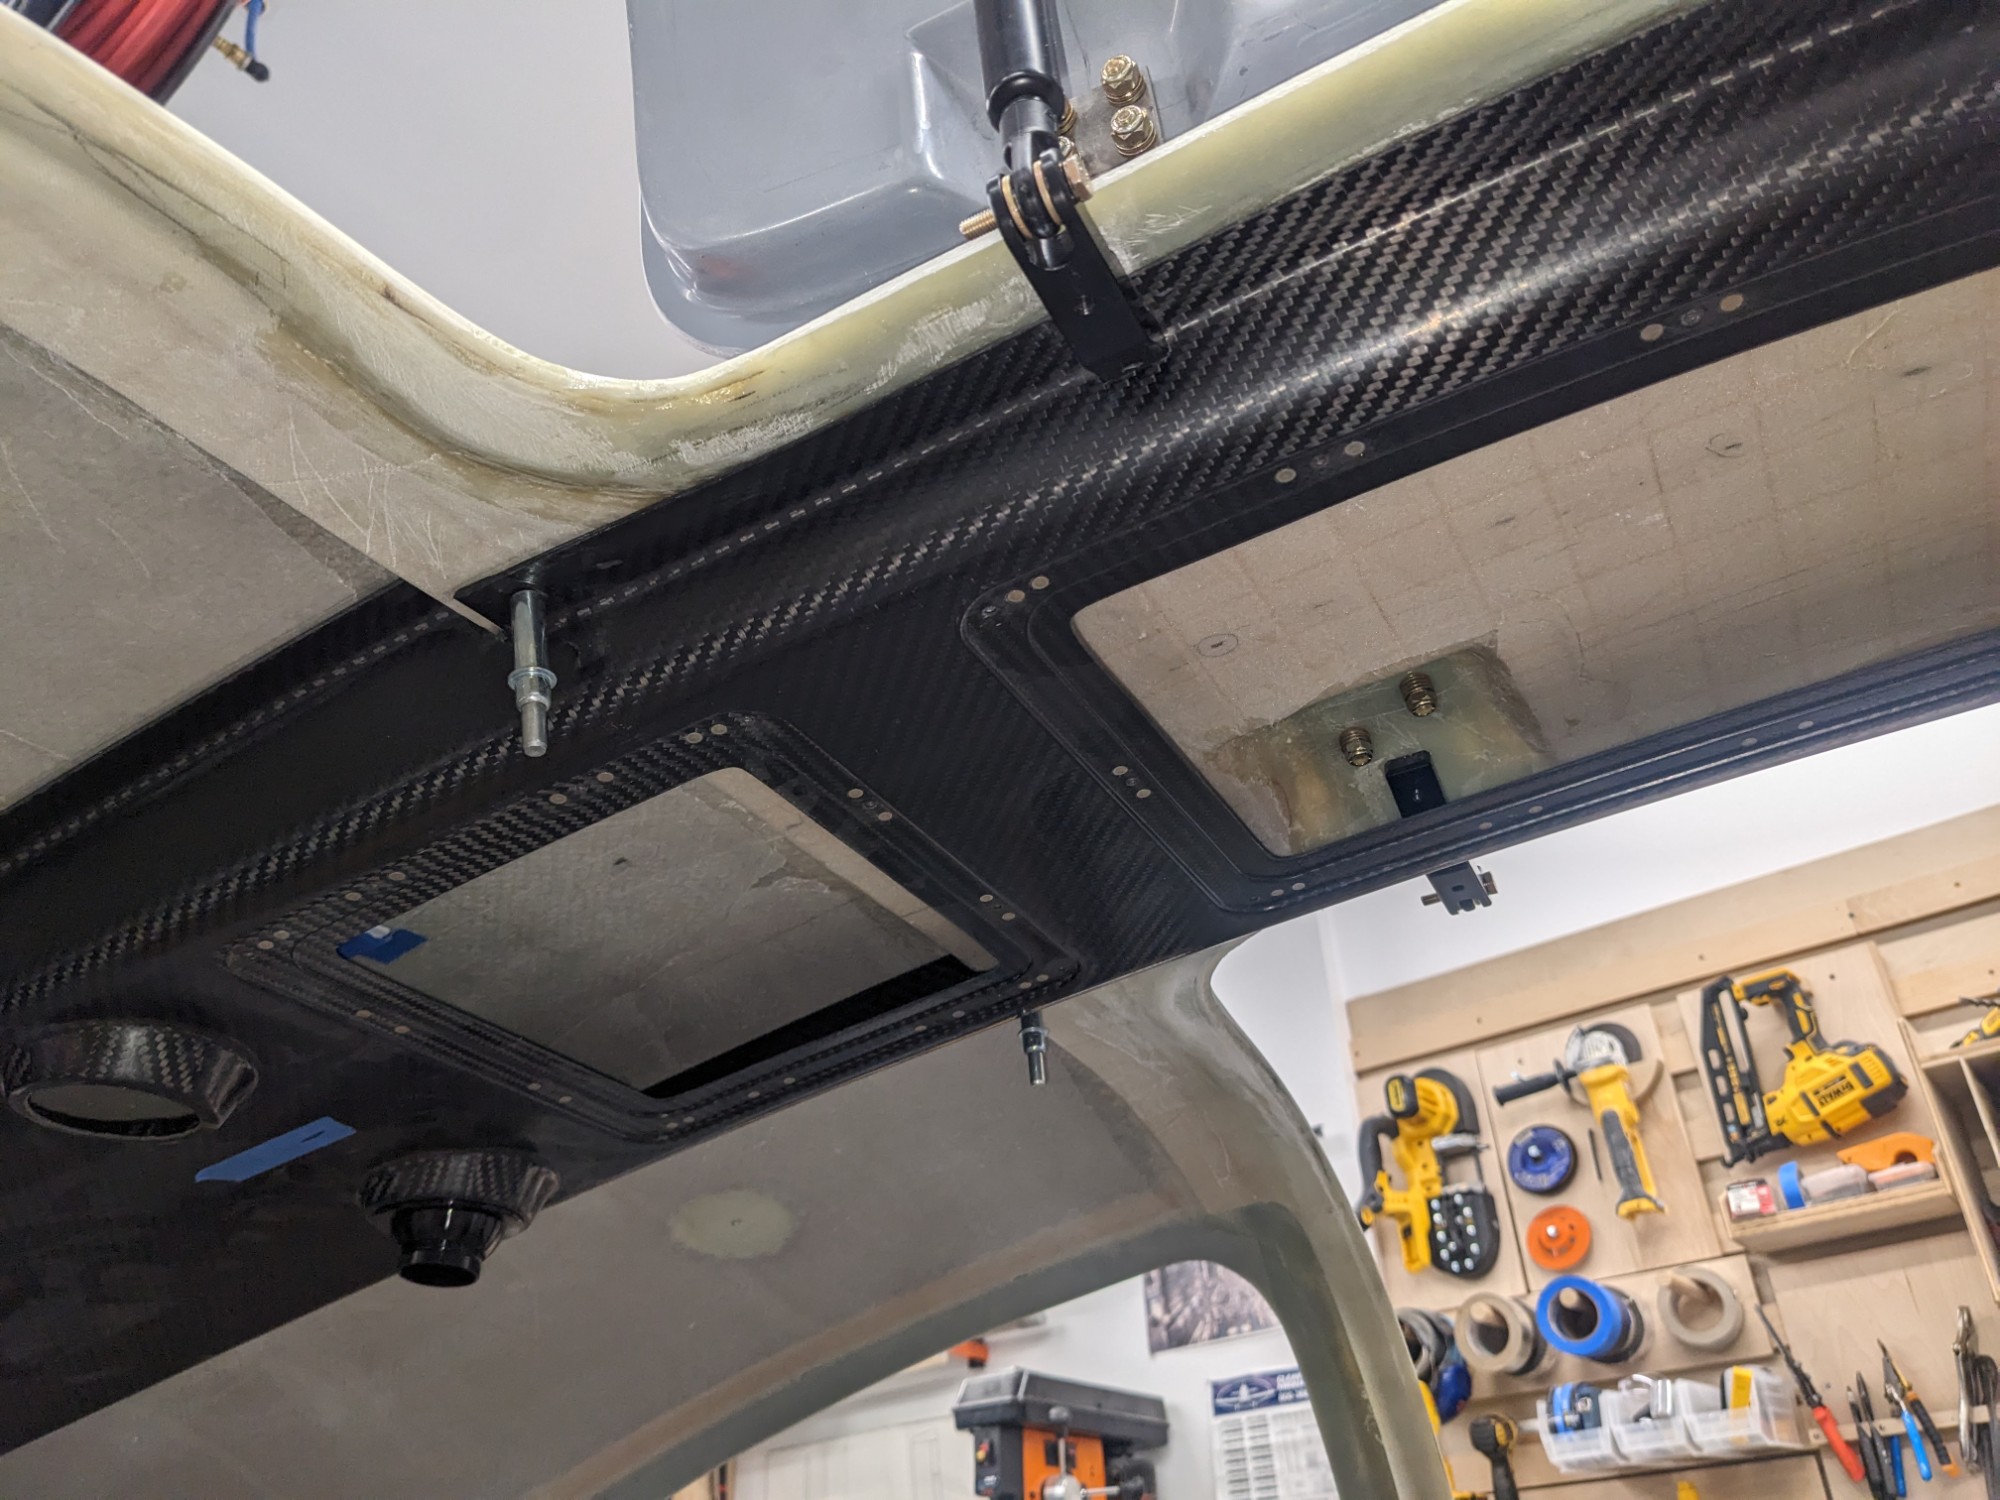
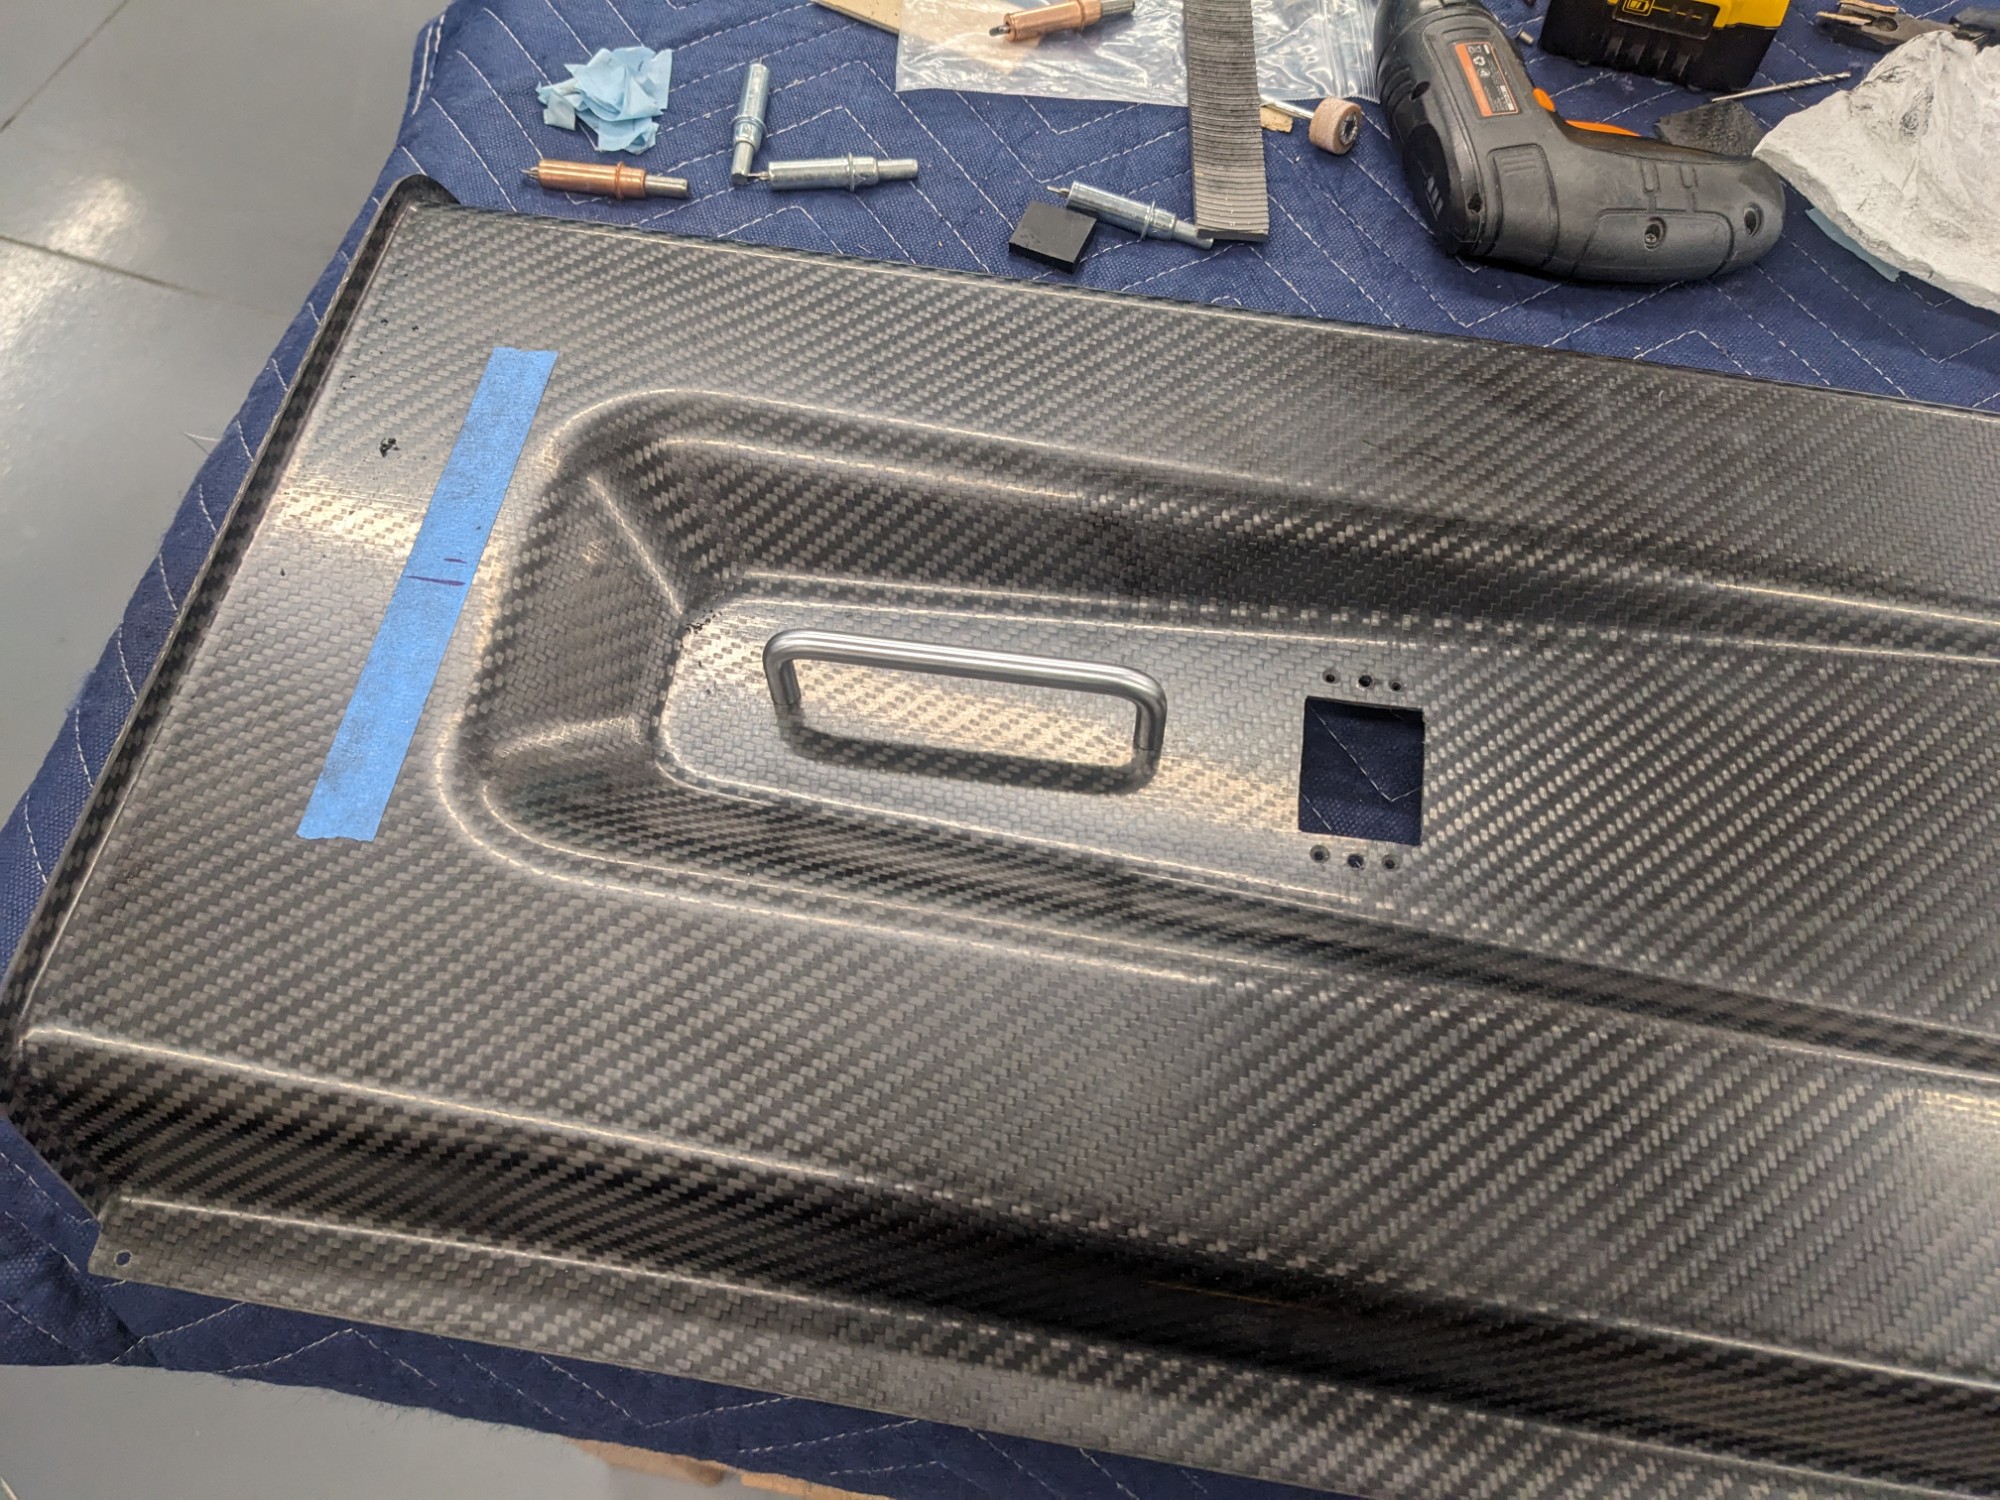
The Aerosport overhead console must be notched to fit around the brackets.


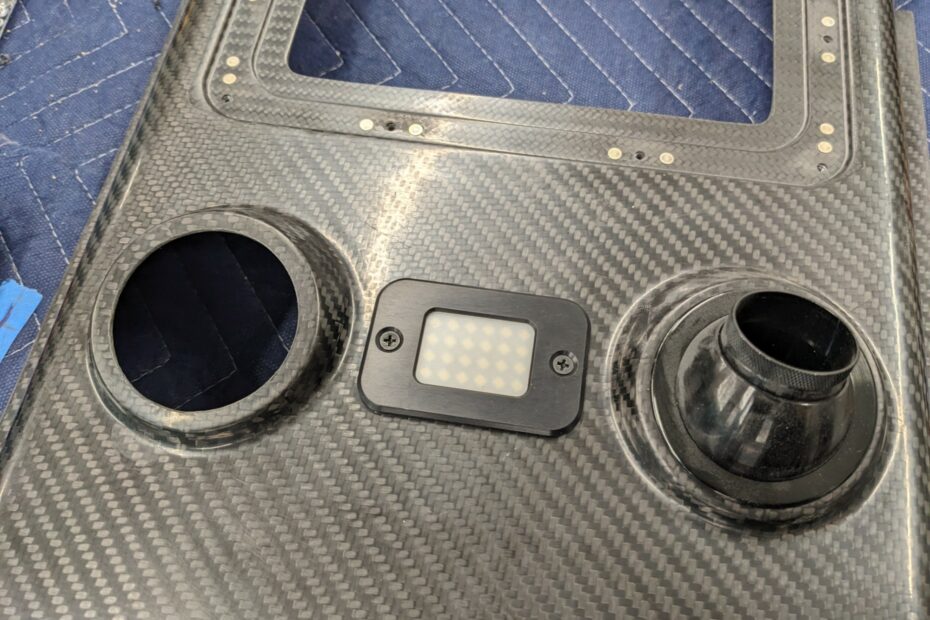
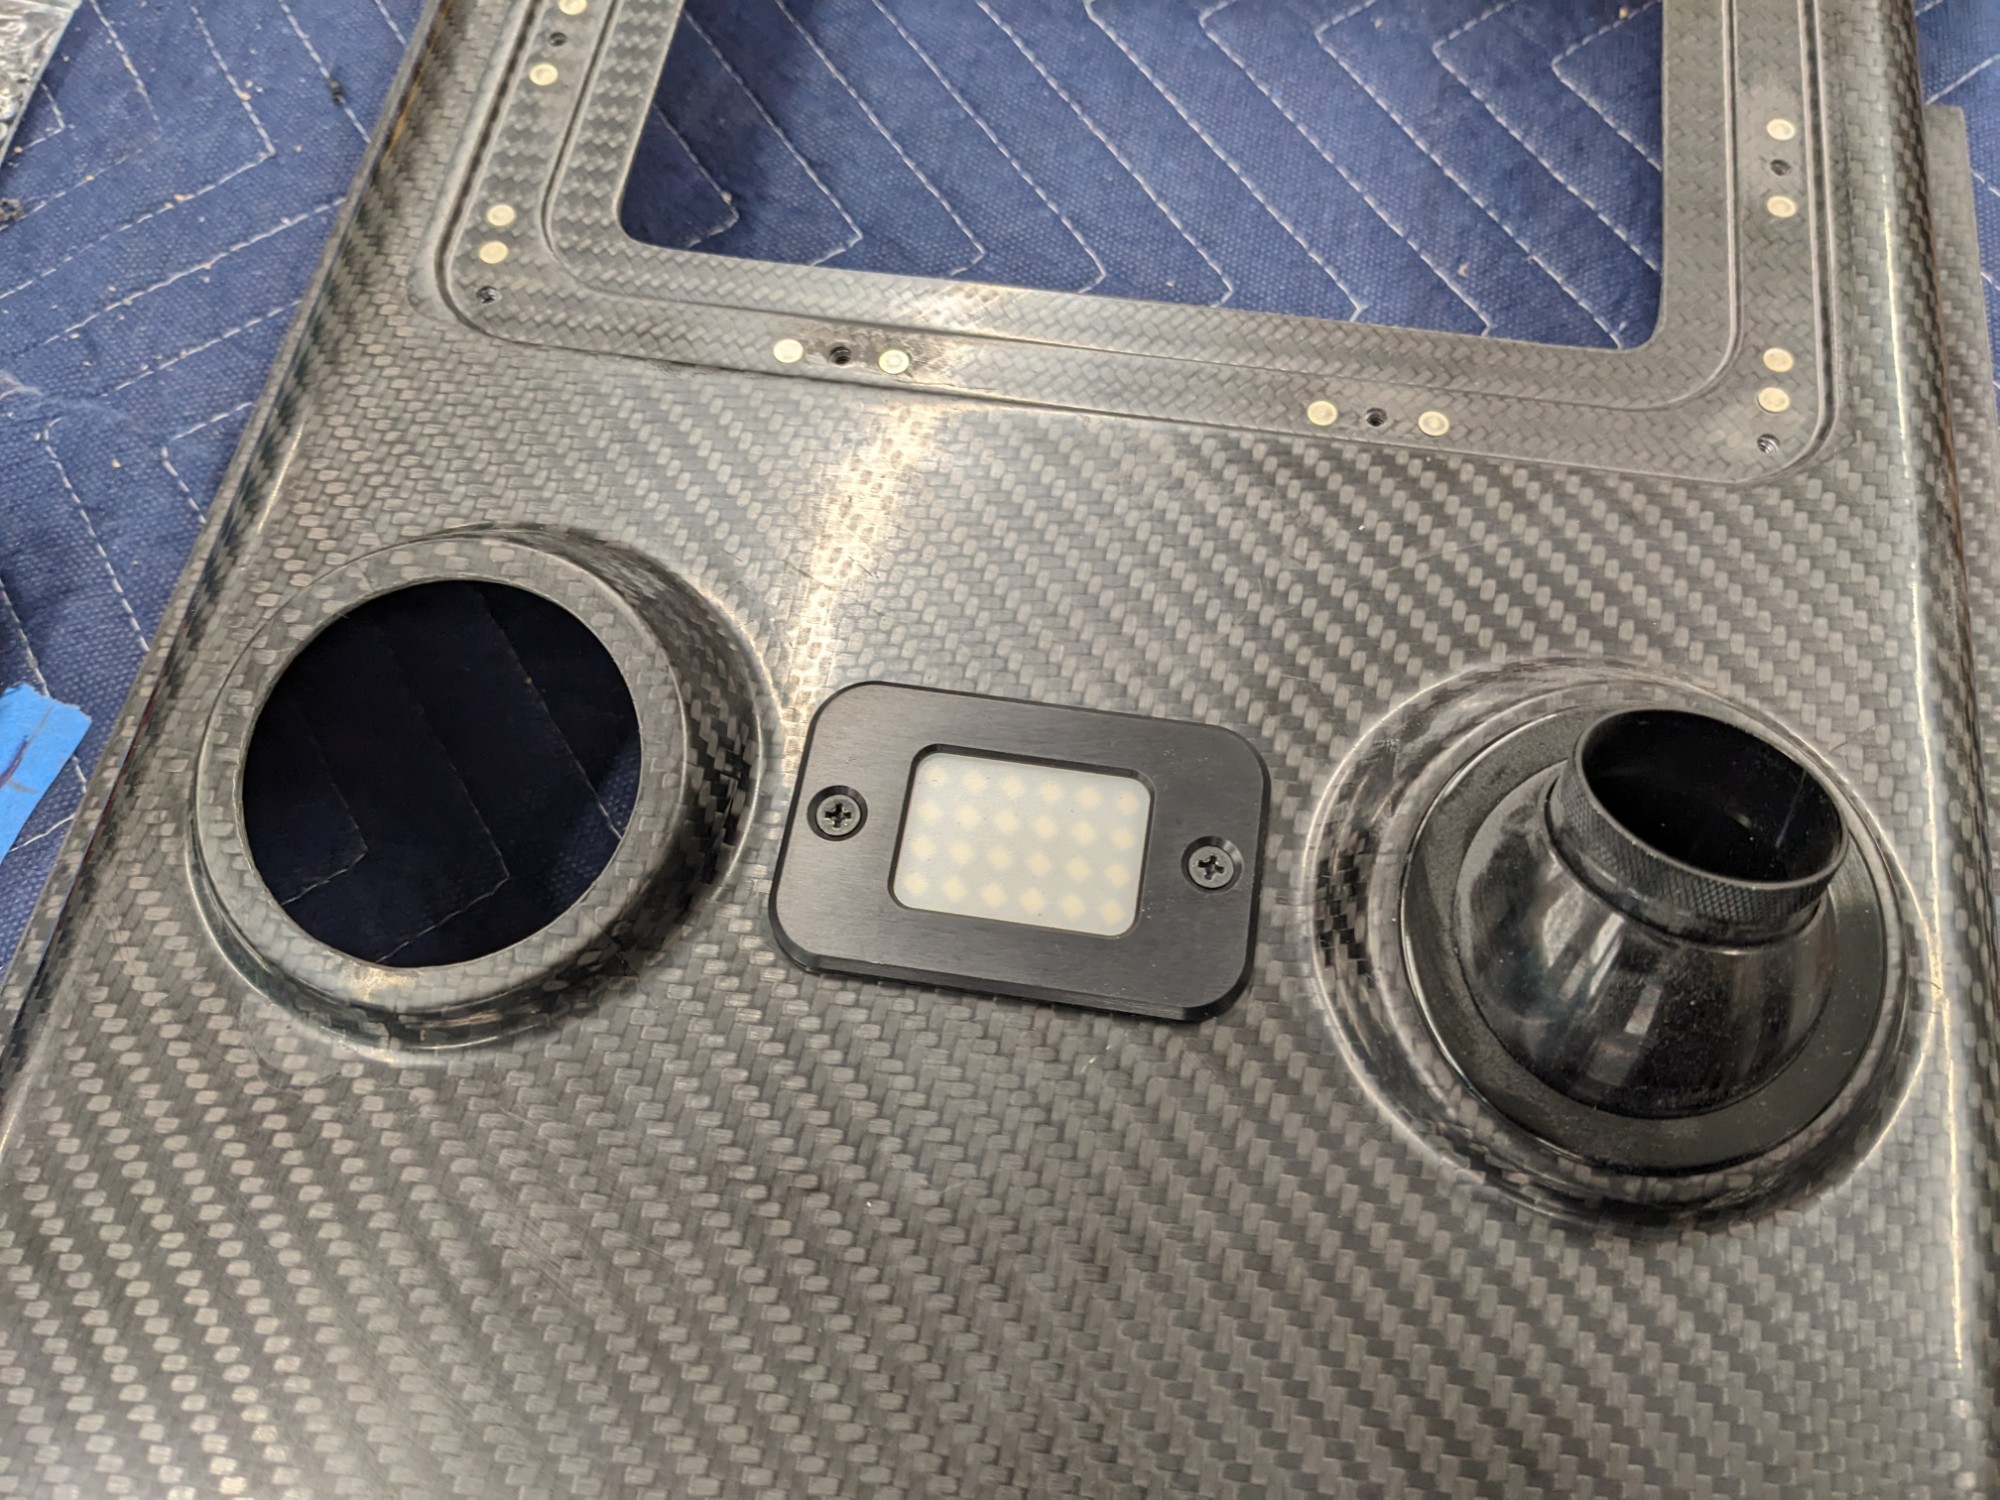
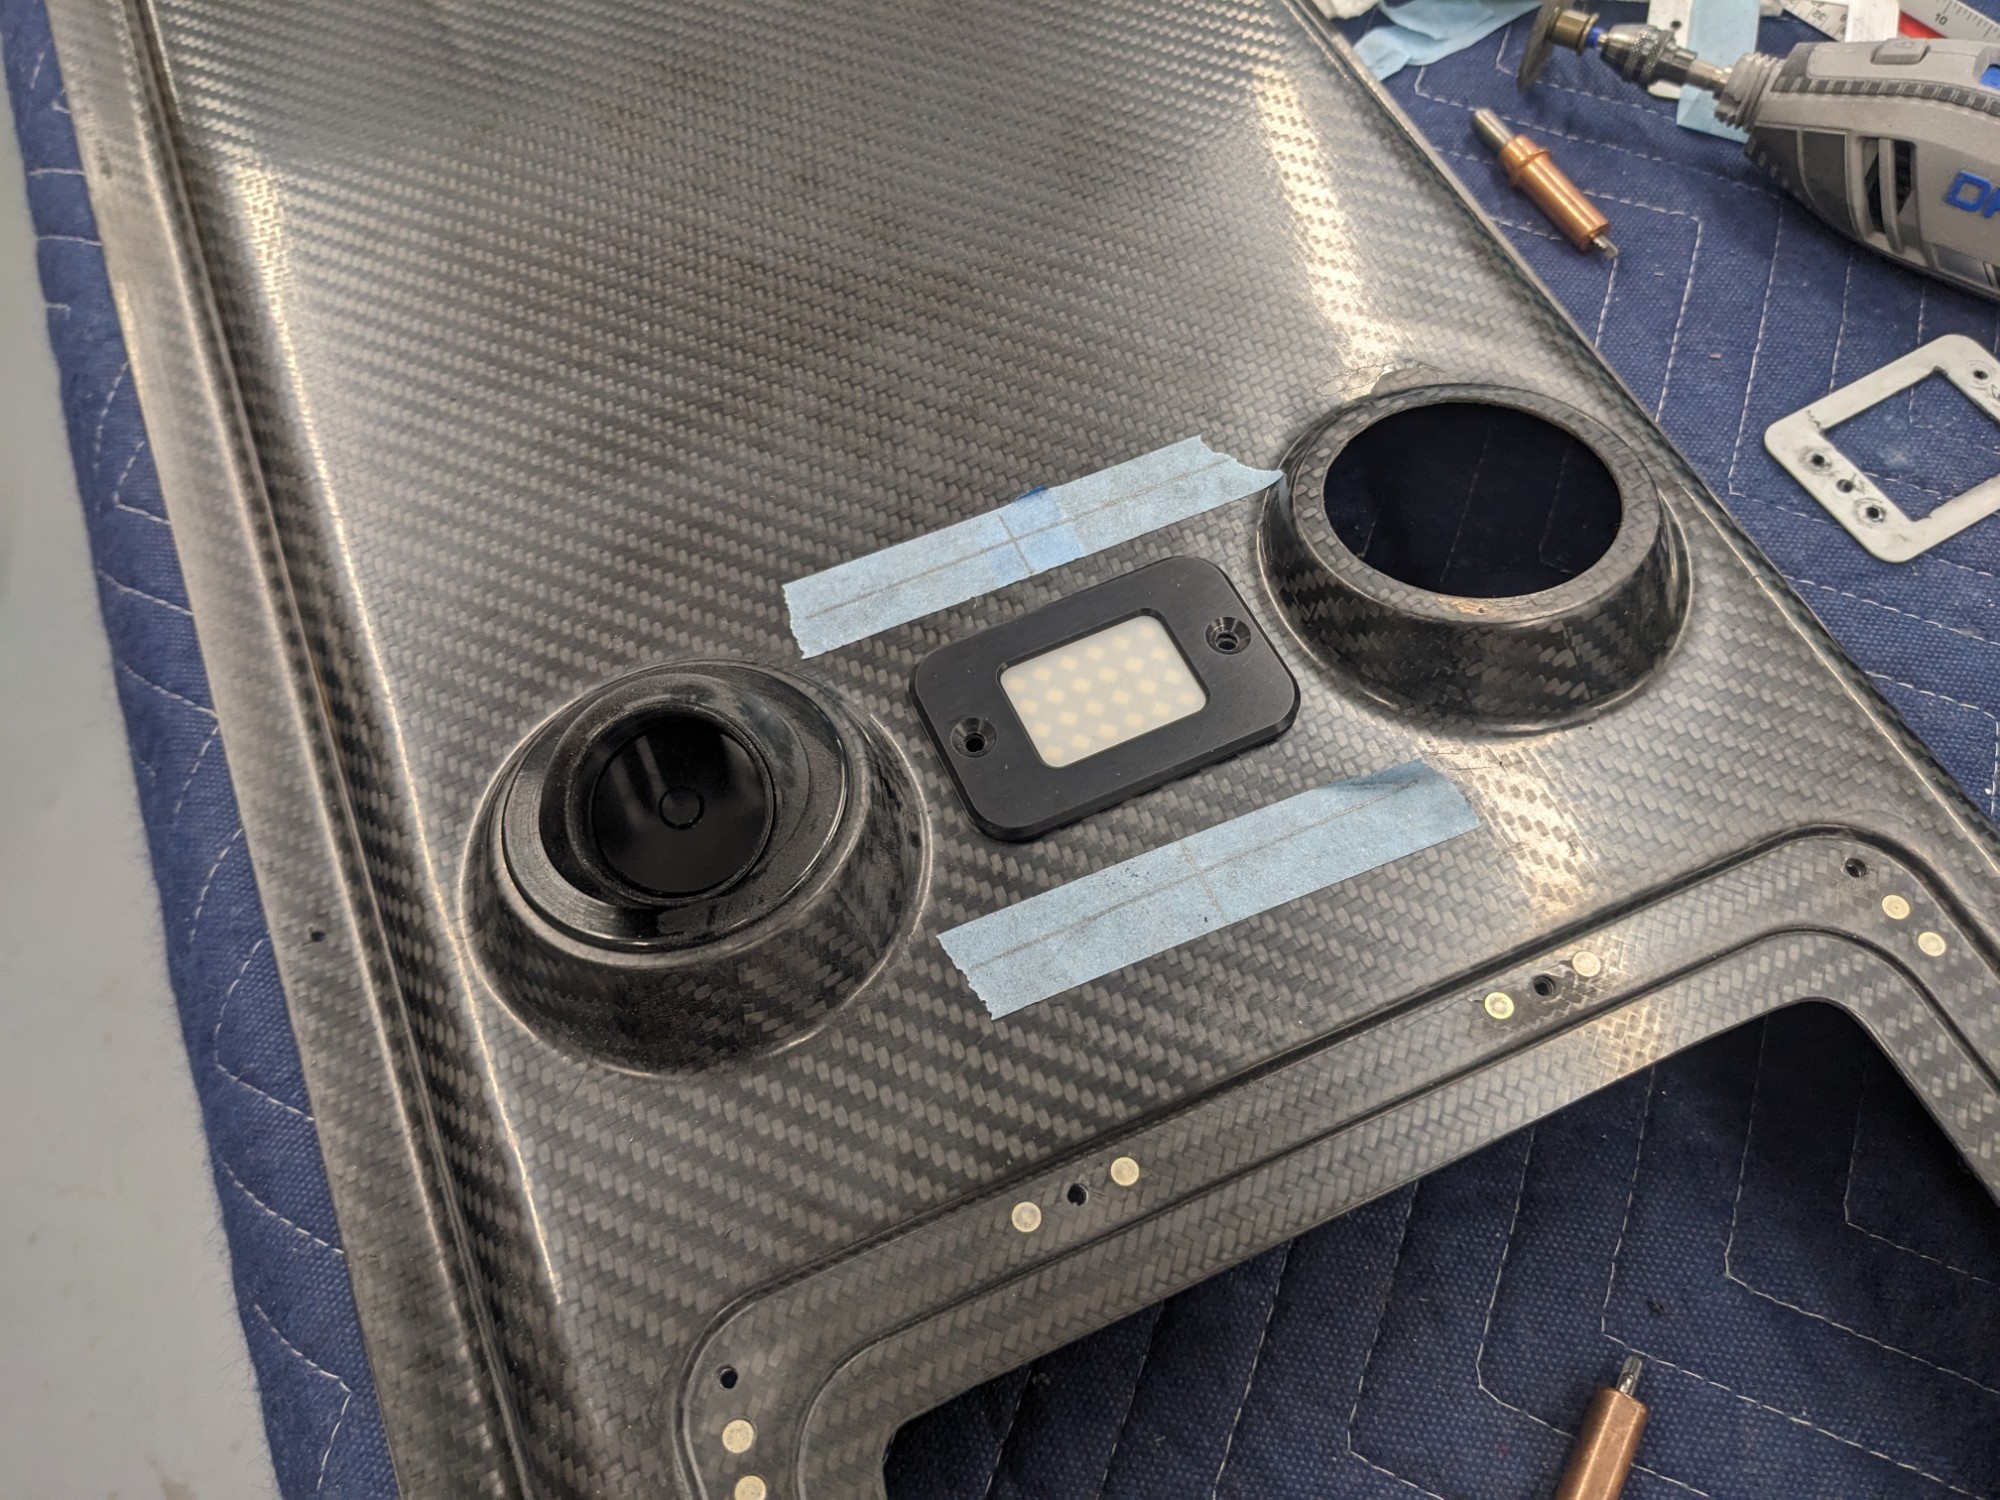
I will be installing courtesy lighting over the front seats, rear seats, and baggage area for loading at night. I am using the PlaneAround 24 LED lights for these as they are light weight and very bright. I 3d printed a template to make the openings in the overhead console.
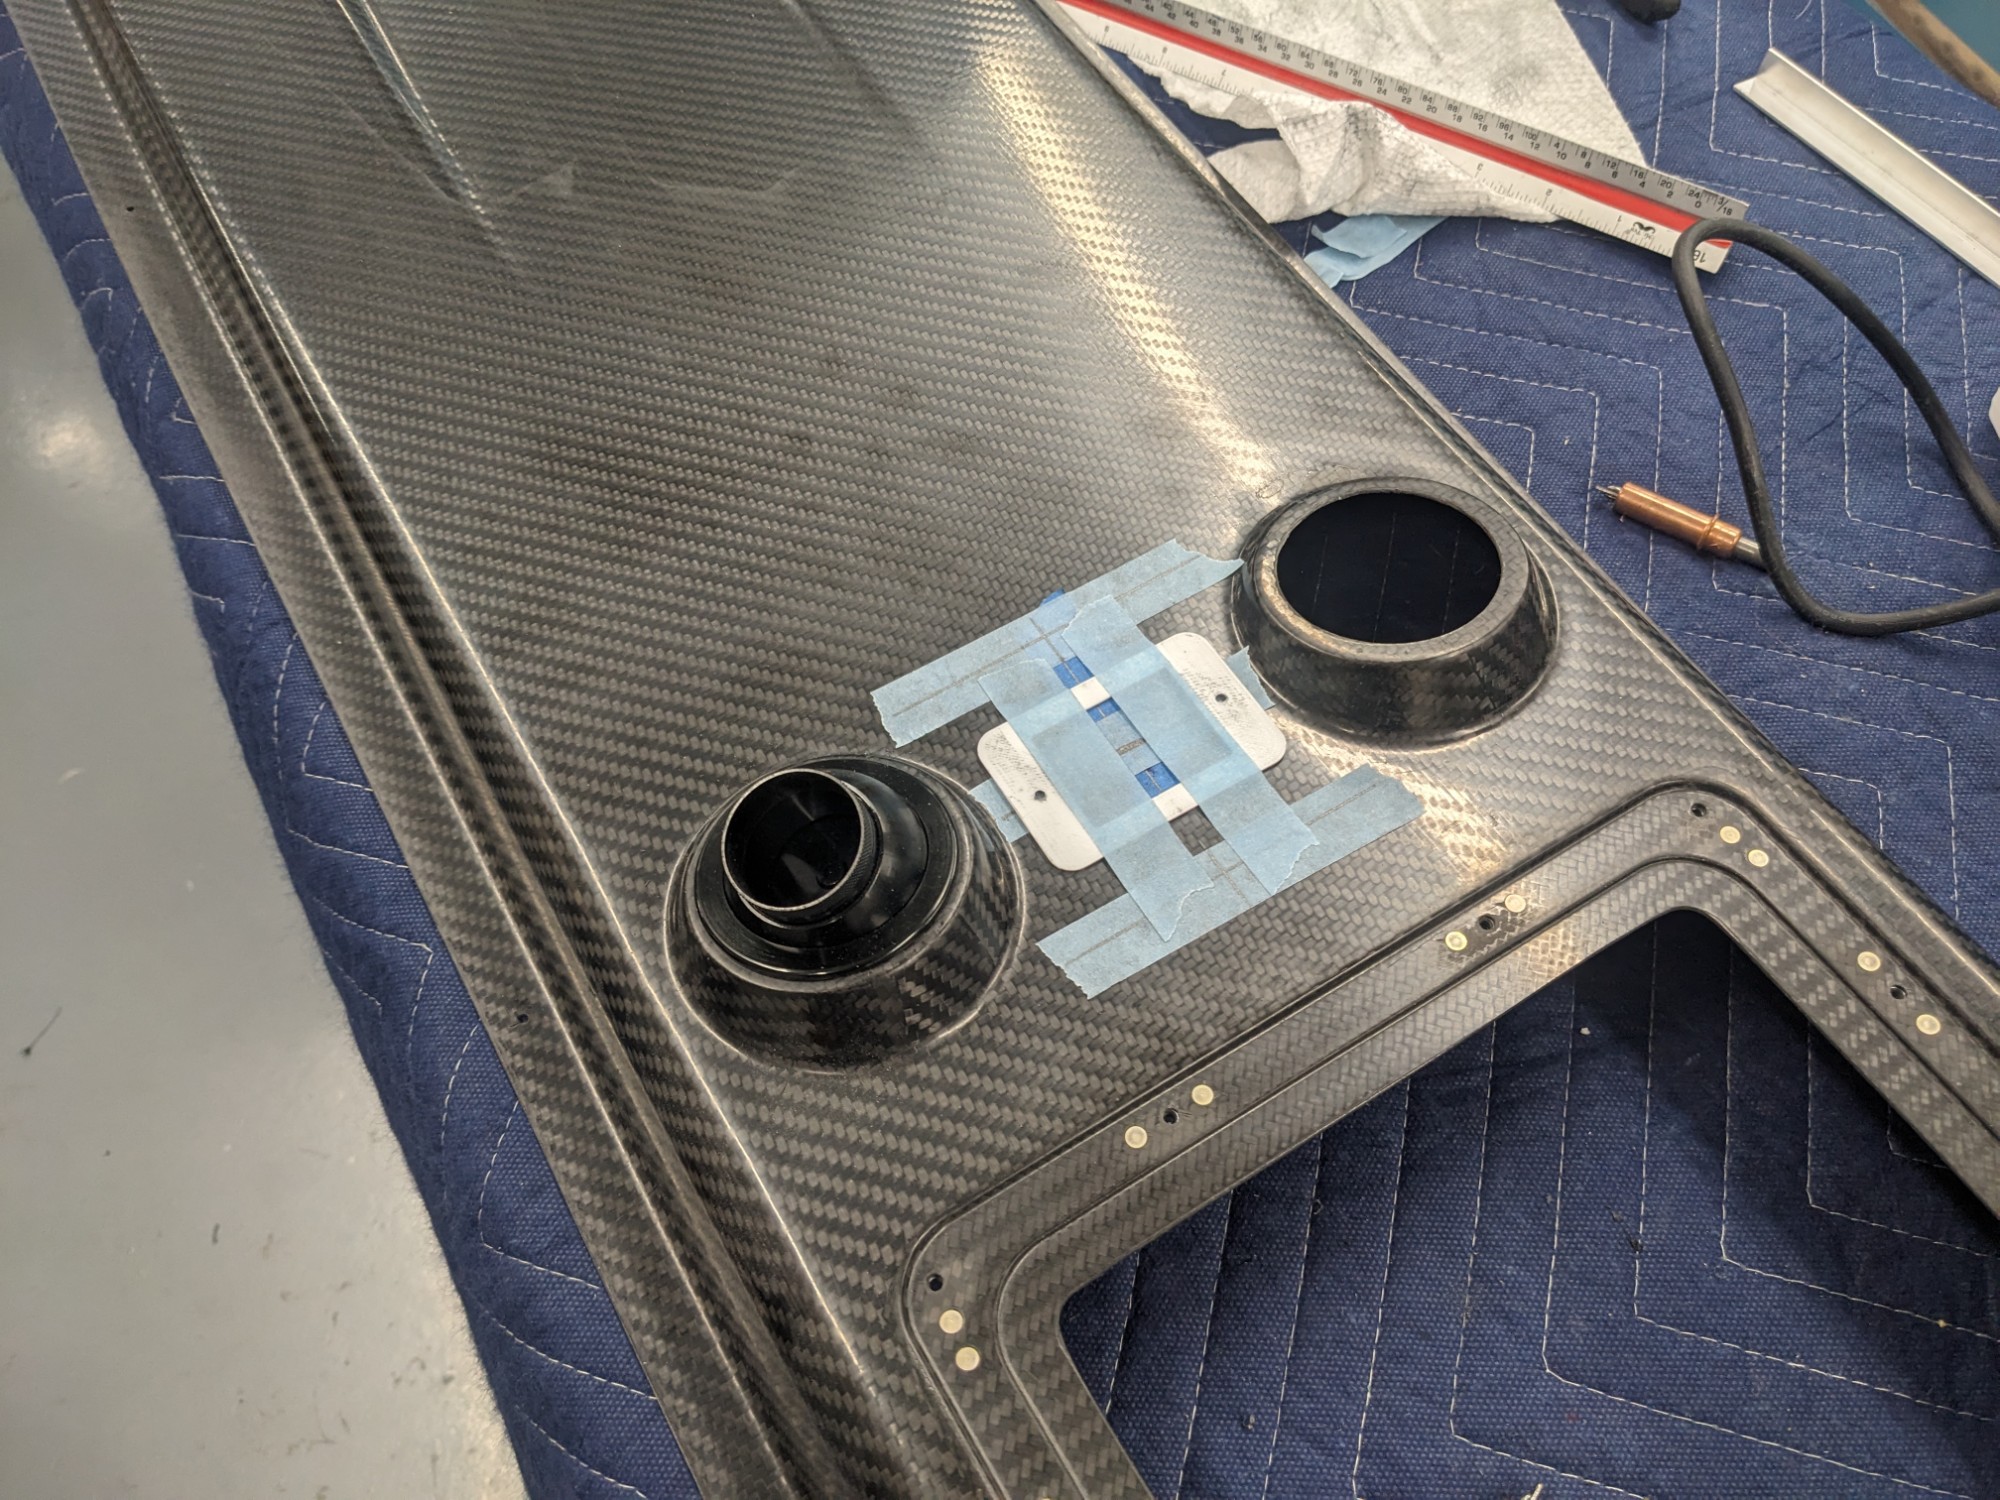
I positioned the front seat courtesy light between the front air vents.
The rear seat courtesy light was positioned between the rear seat air vents.

The baggage compartment courtesy light was positioned just forward of the coat hanger bar that comes with the Aerosport overhead console.
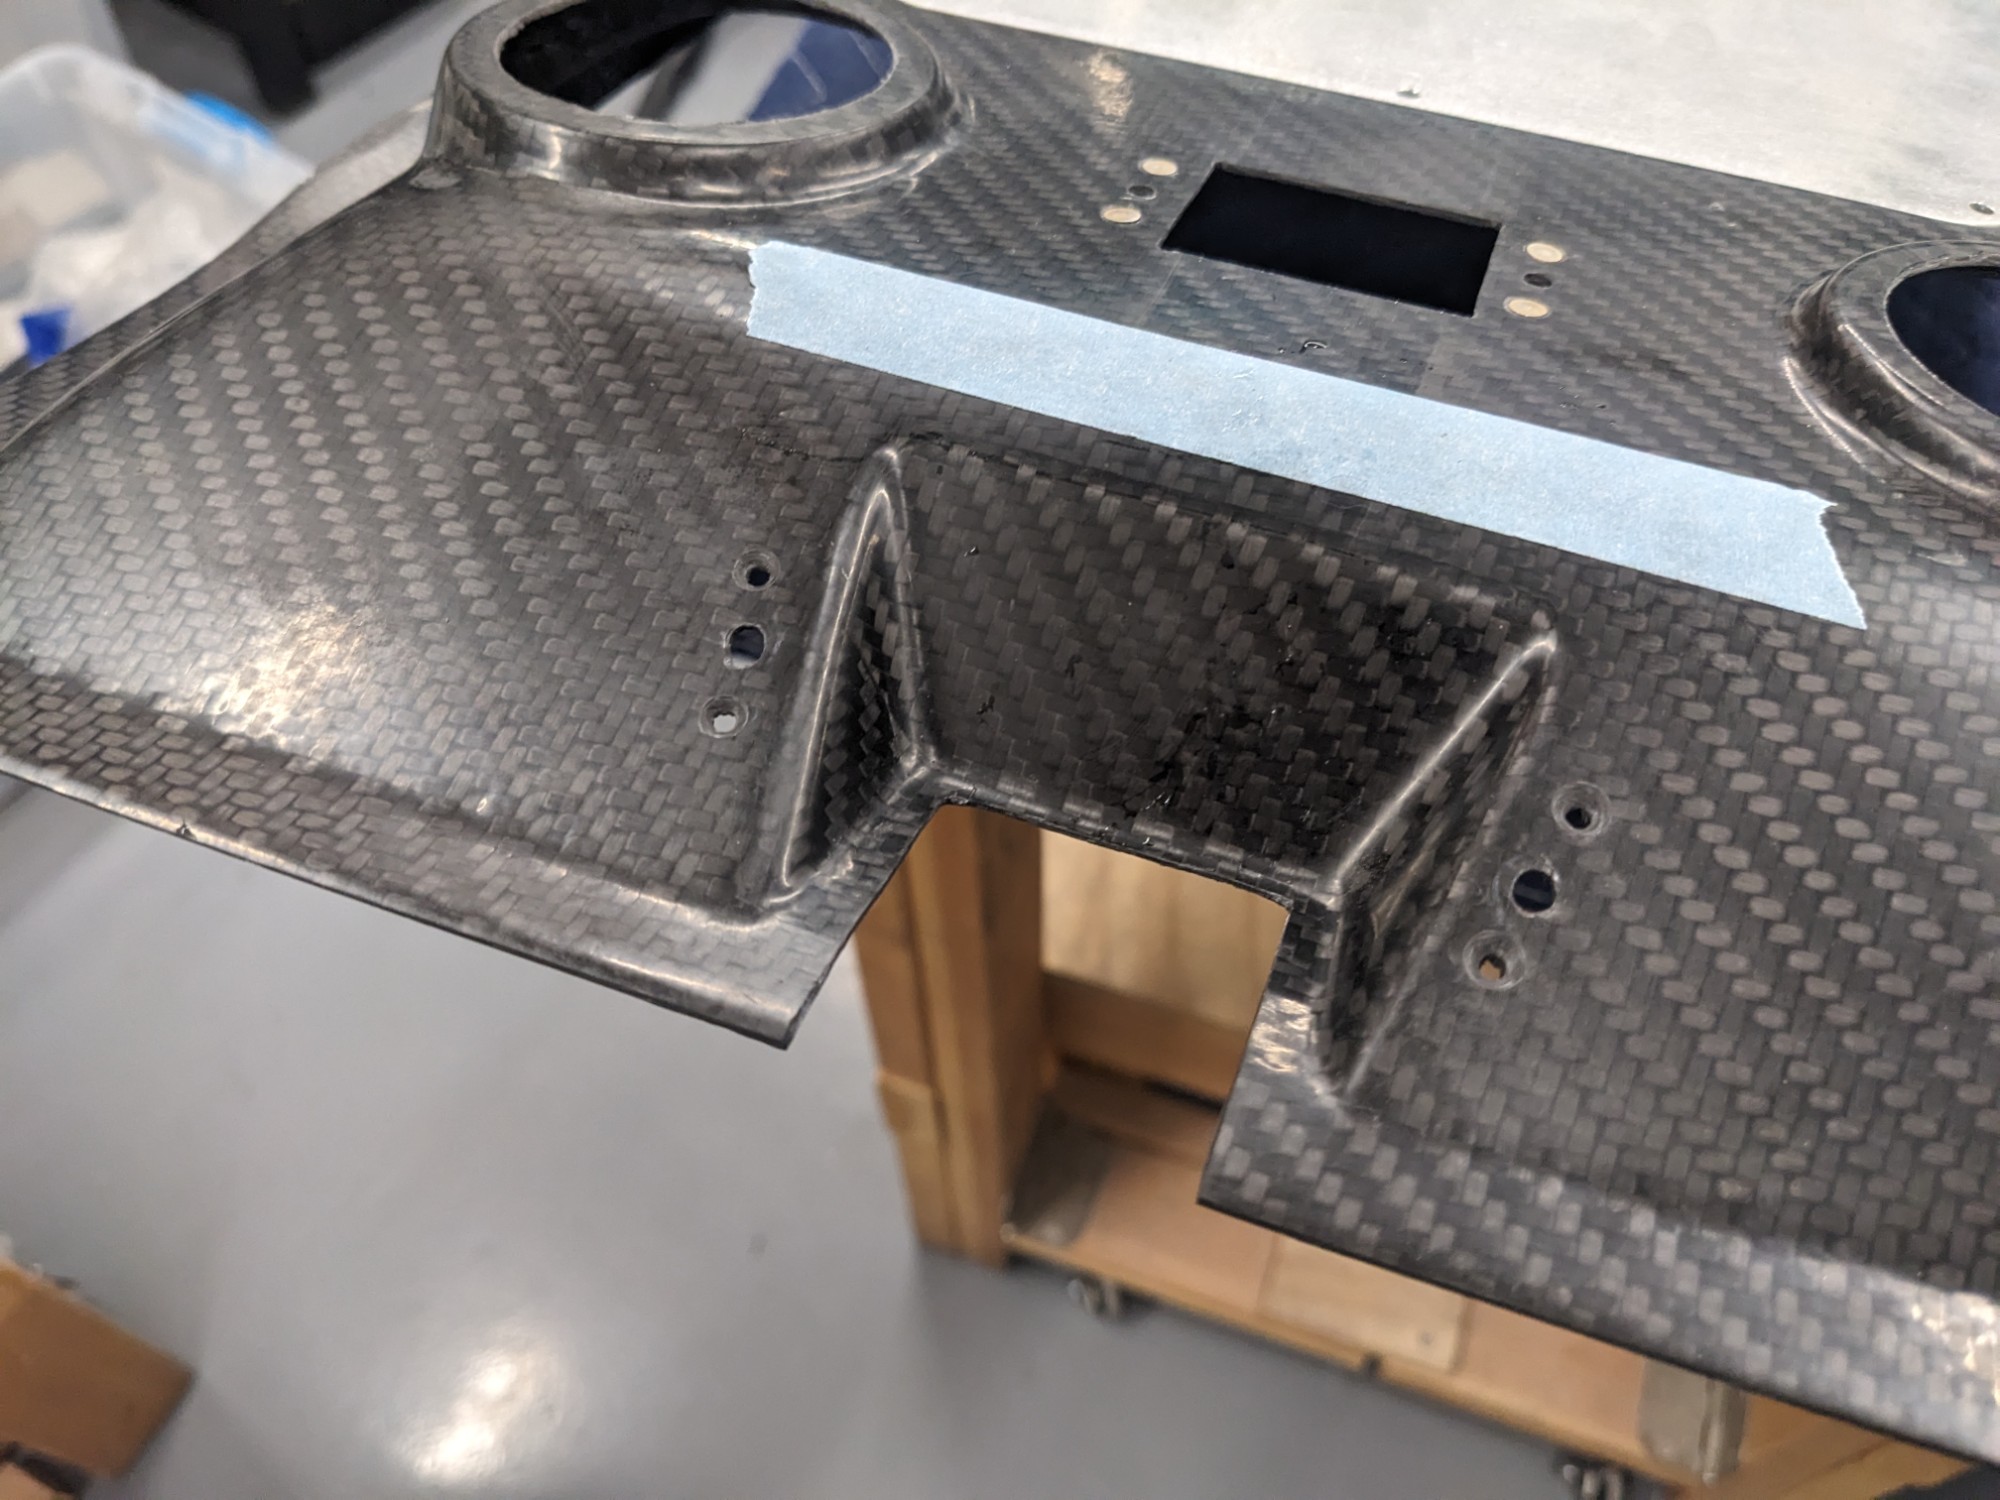
I decided against the Aerosport overhead console switch pod as I am tall and I want maximum visibility in this area. I have also noticed that the pod blocks a sizable area of the forward view of an action camera should I choose to use one (and makes it tricky to fit visors).
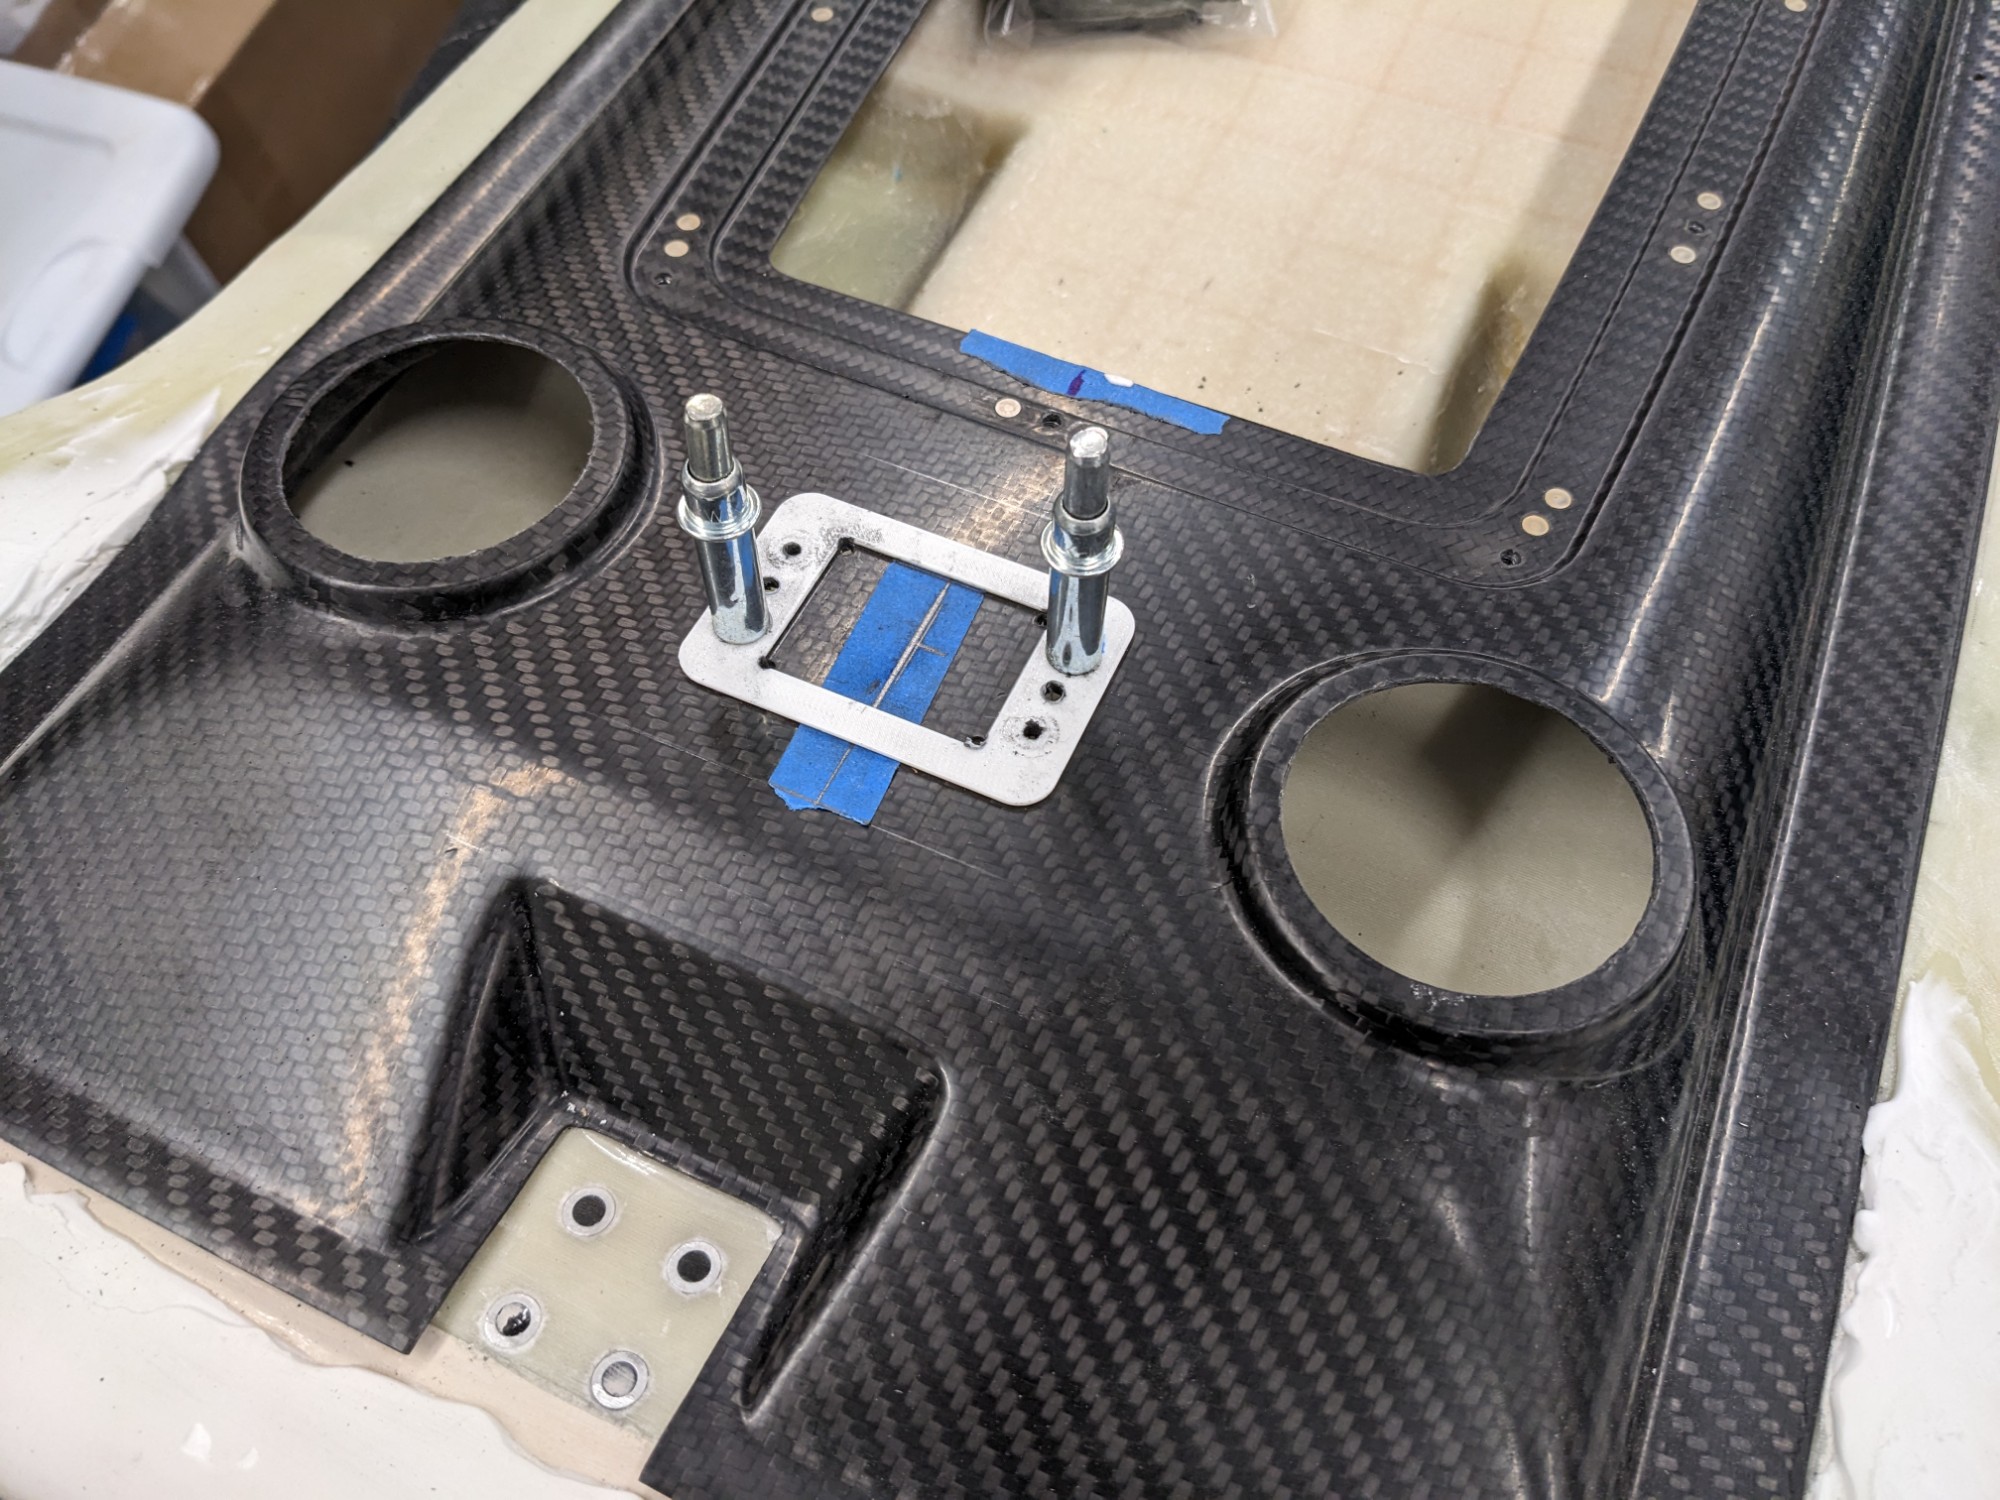
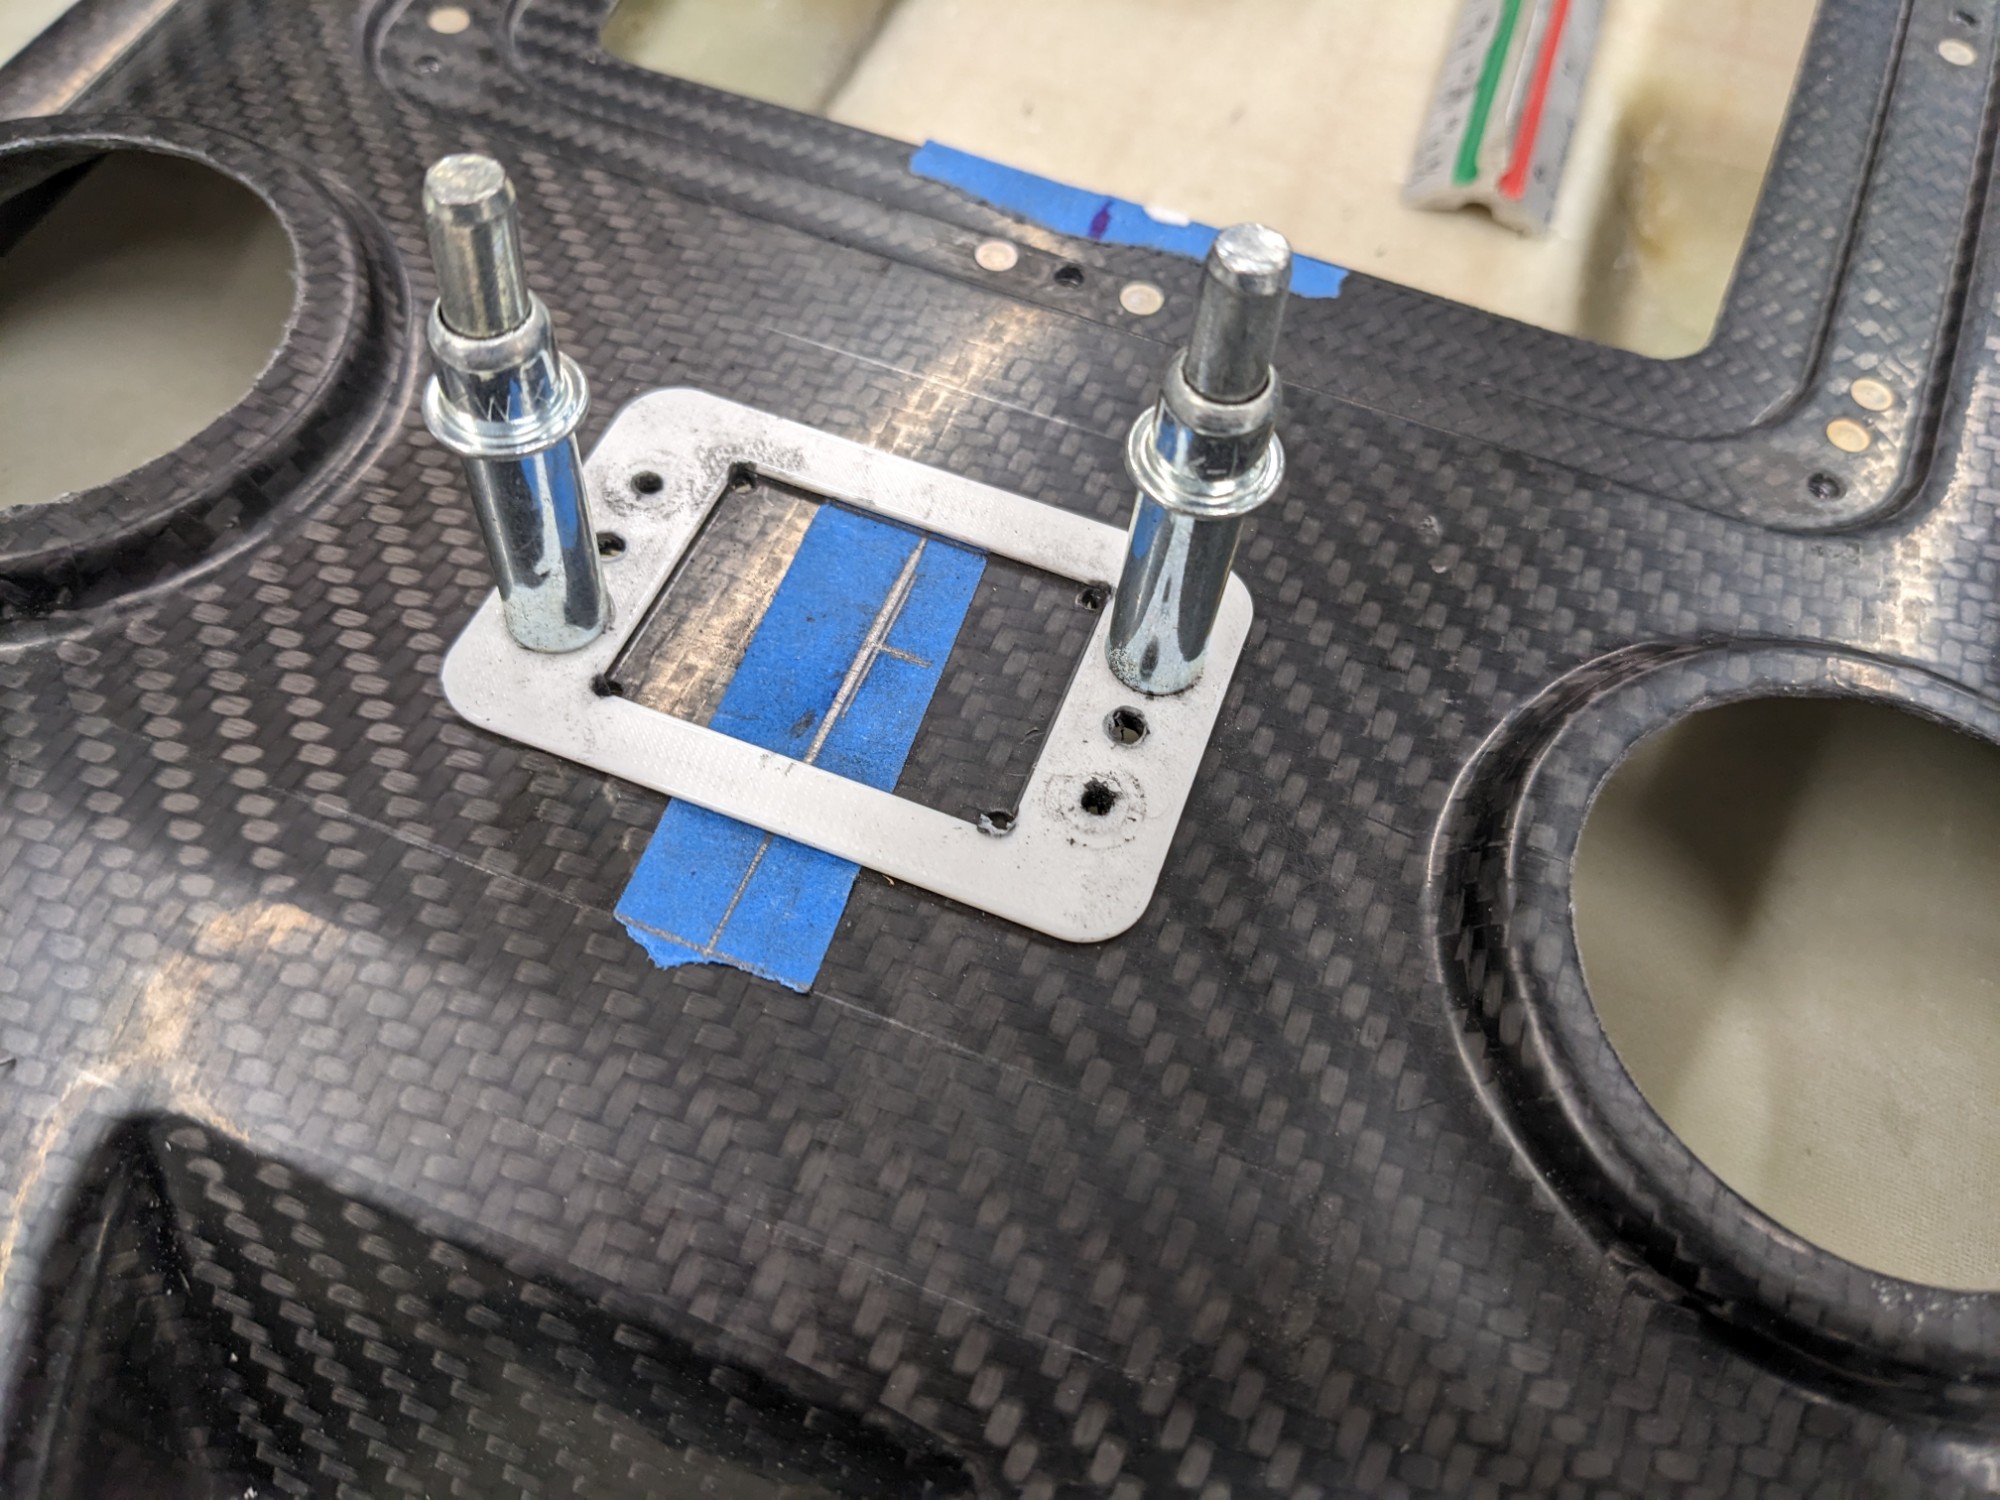
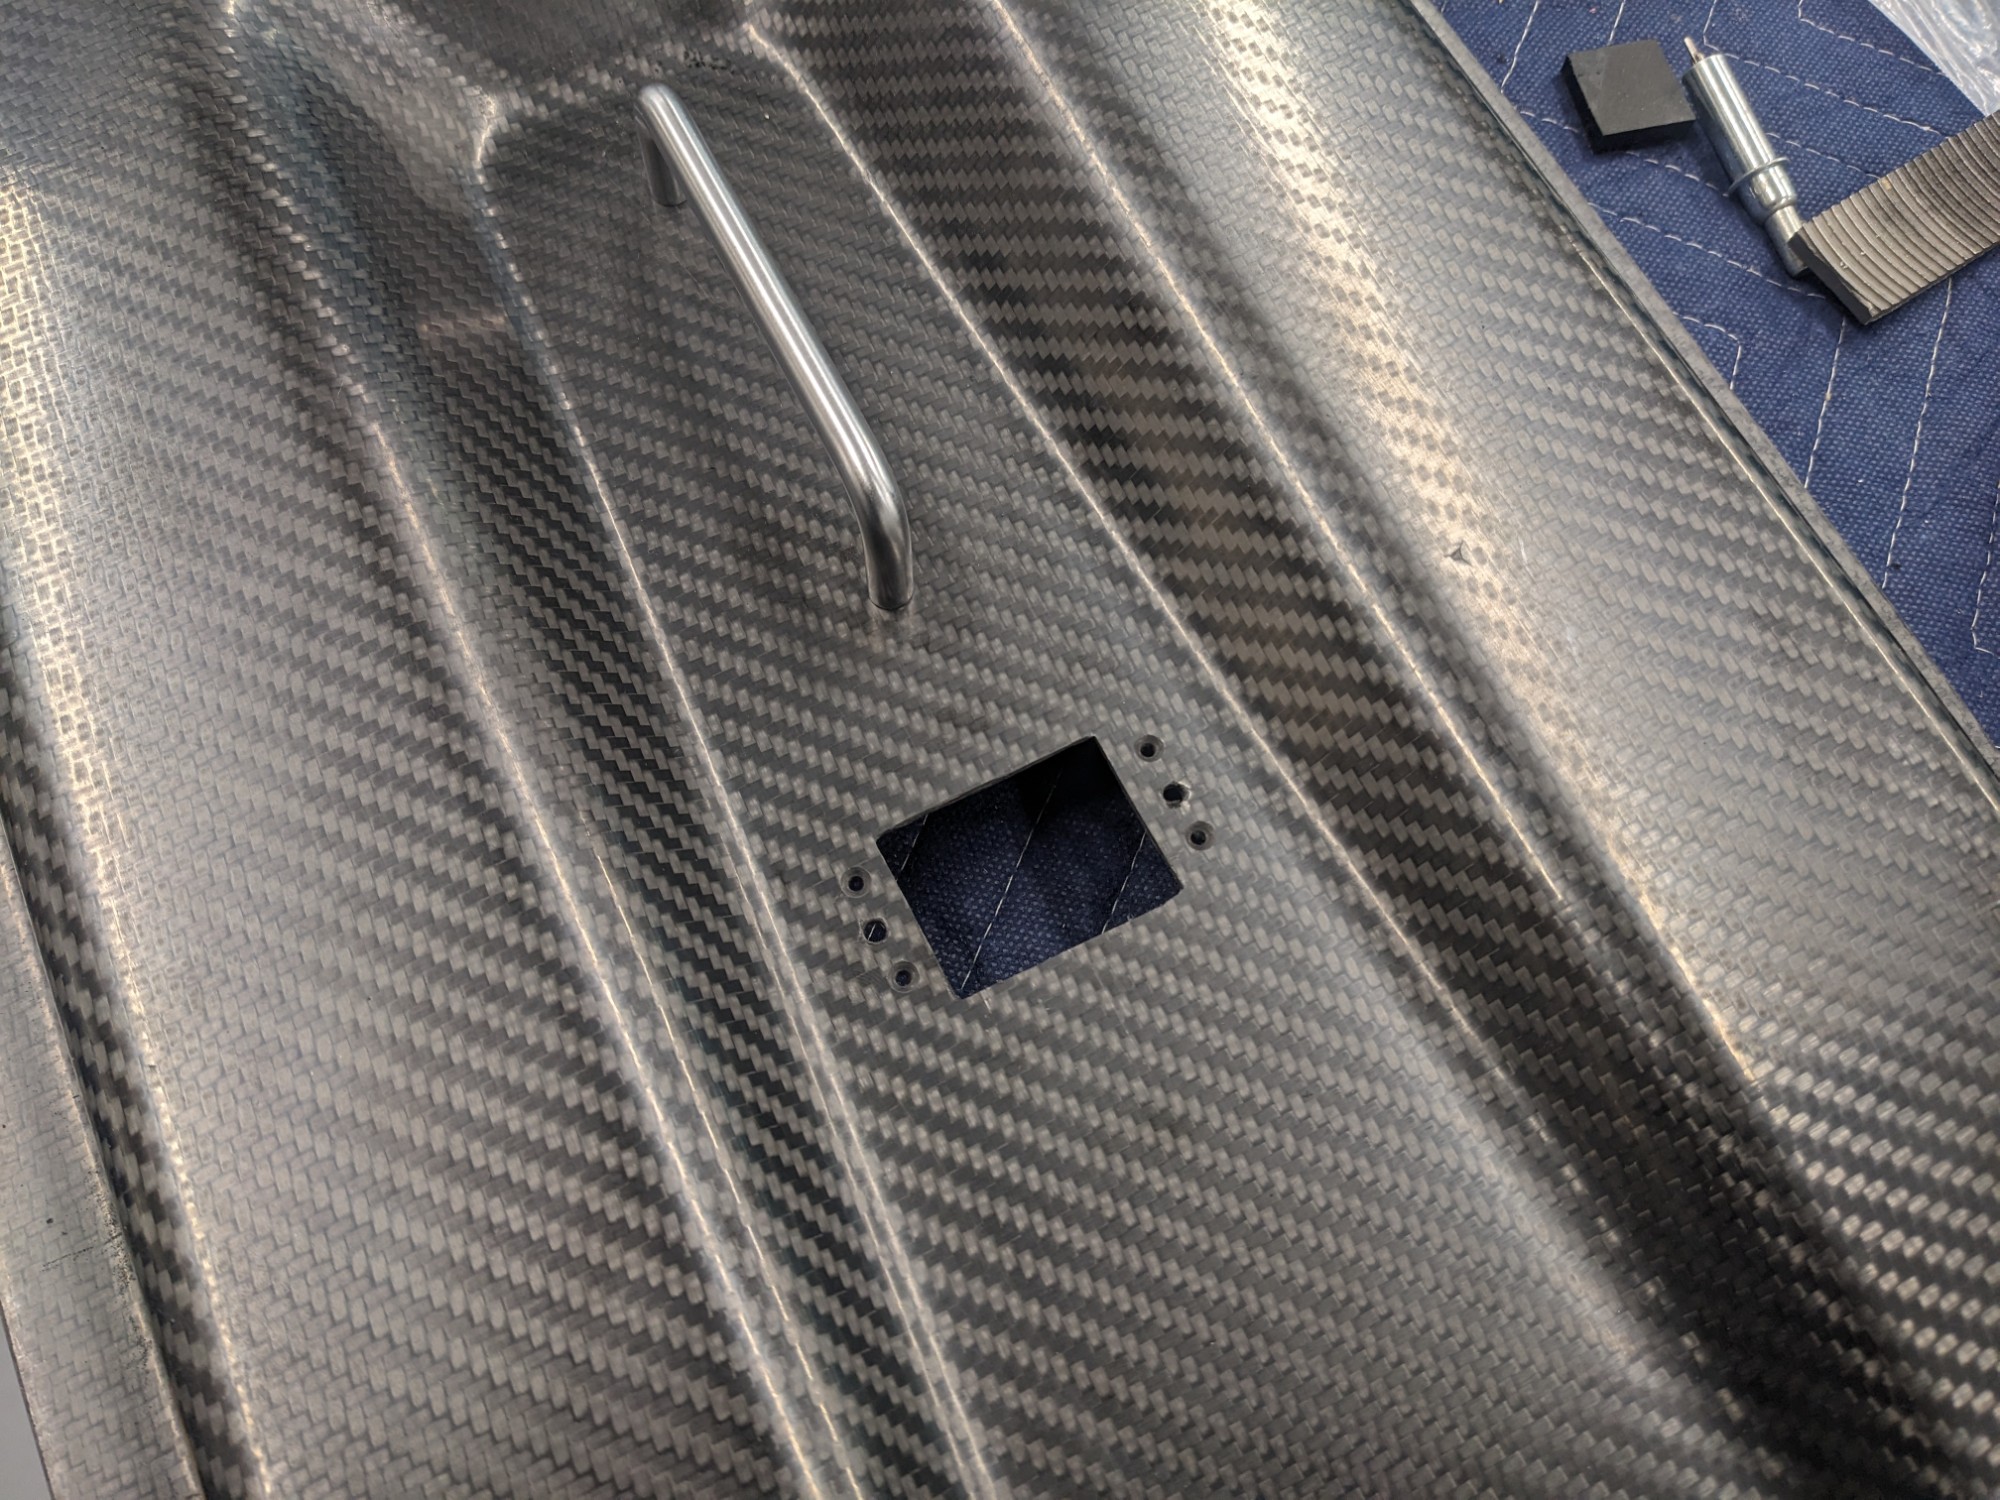
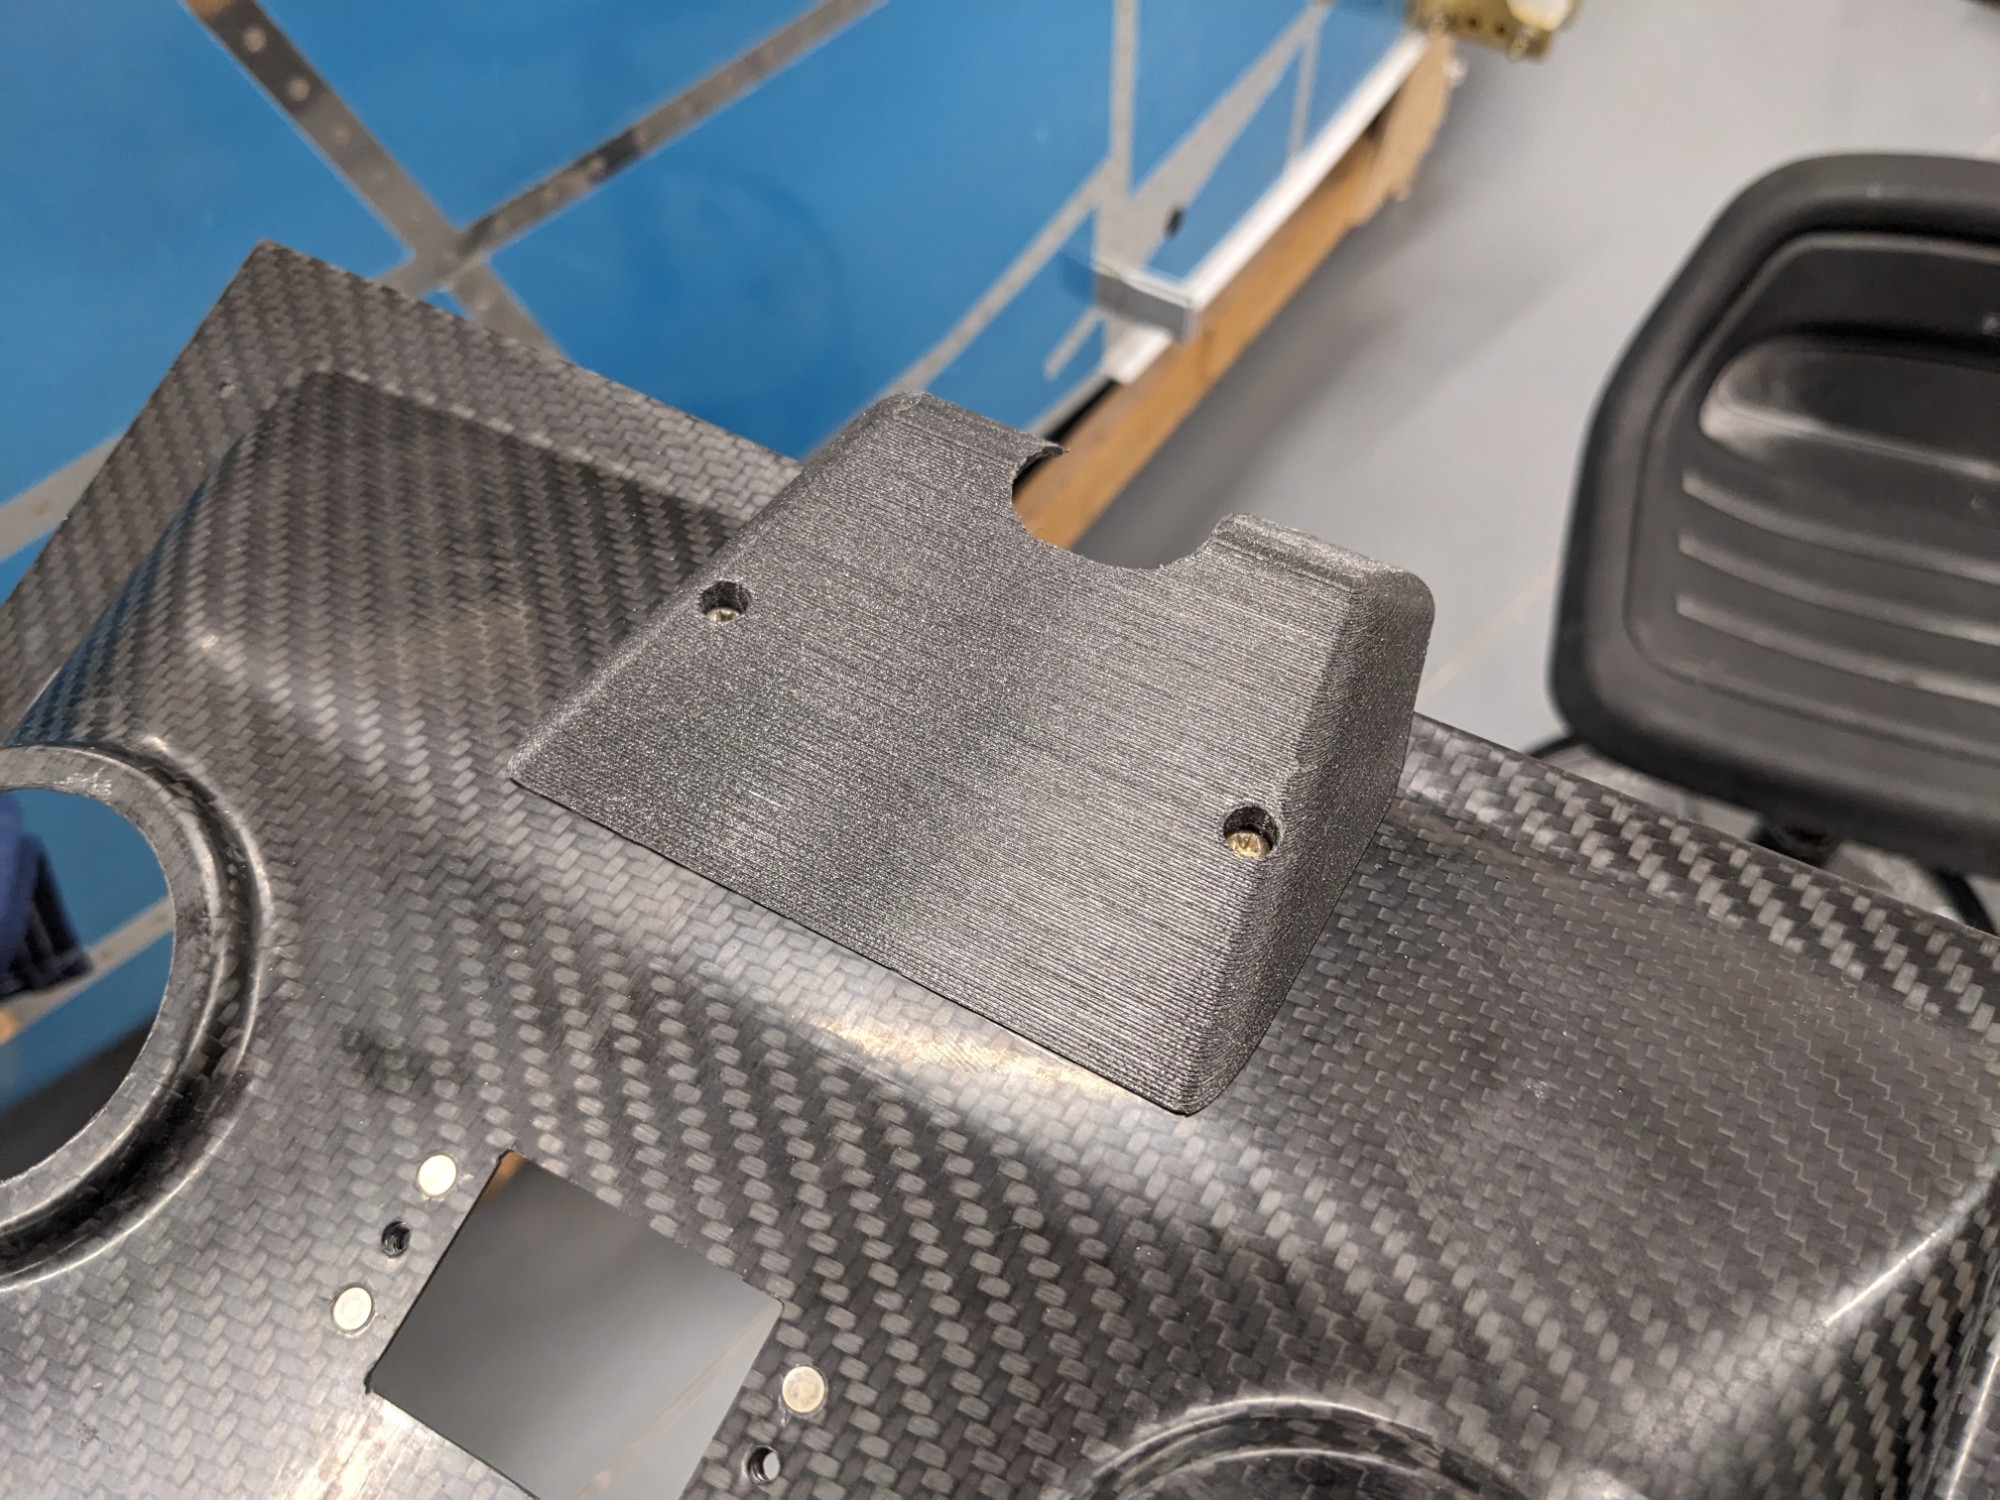
I will be running wires in conduit up the A pillars so I designed a 3d printed part to cover the opening.
The cover is mounted with screws using nutplates installed inside the overhead console.
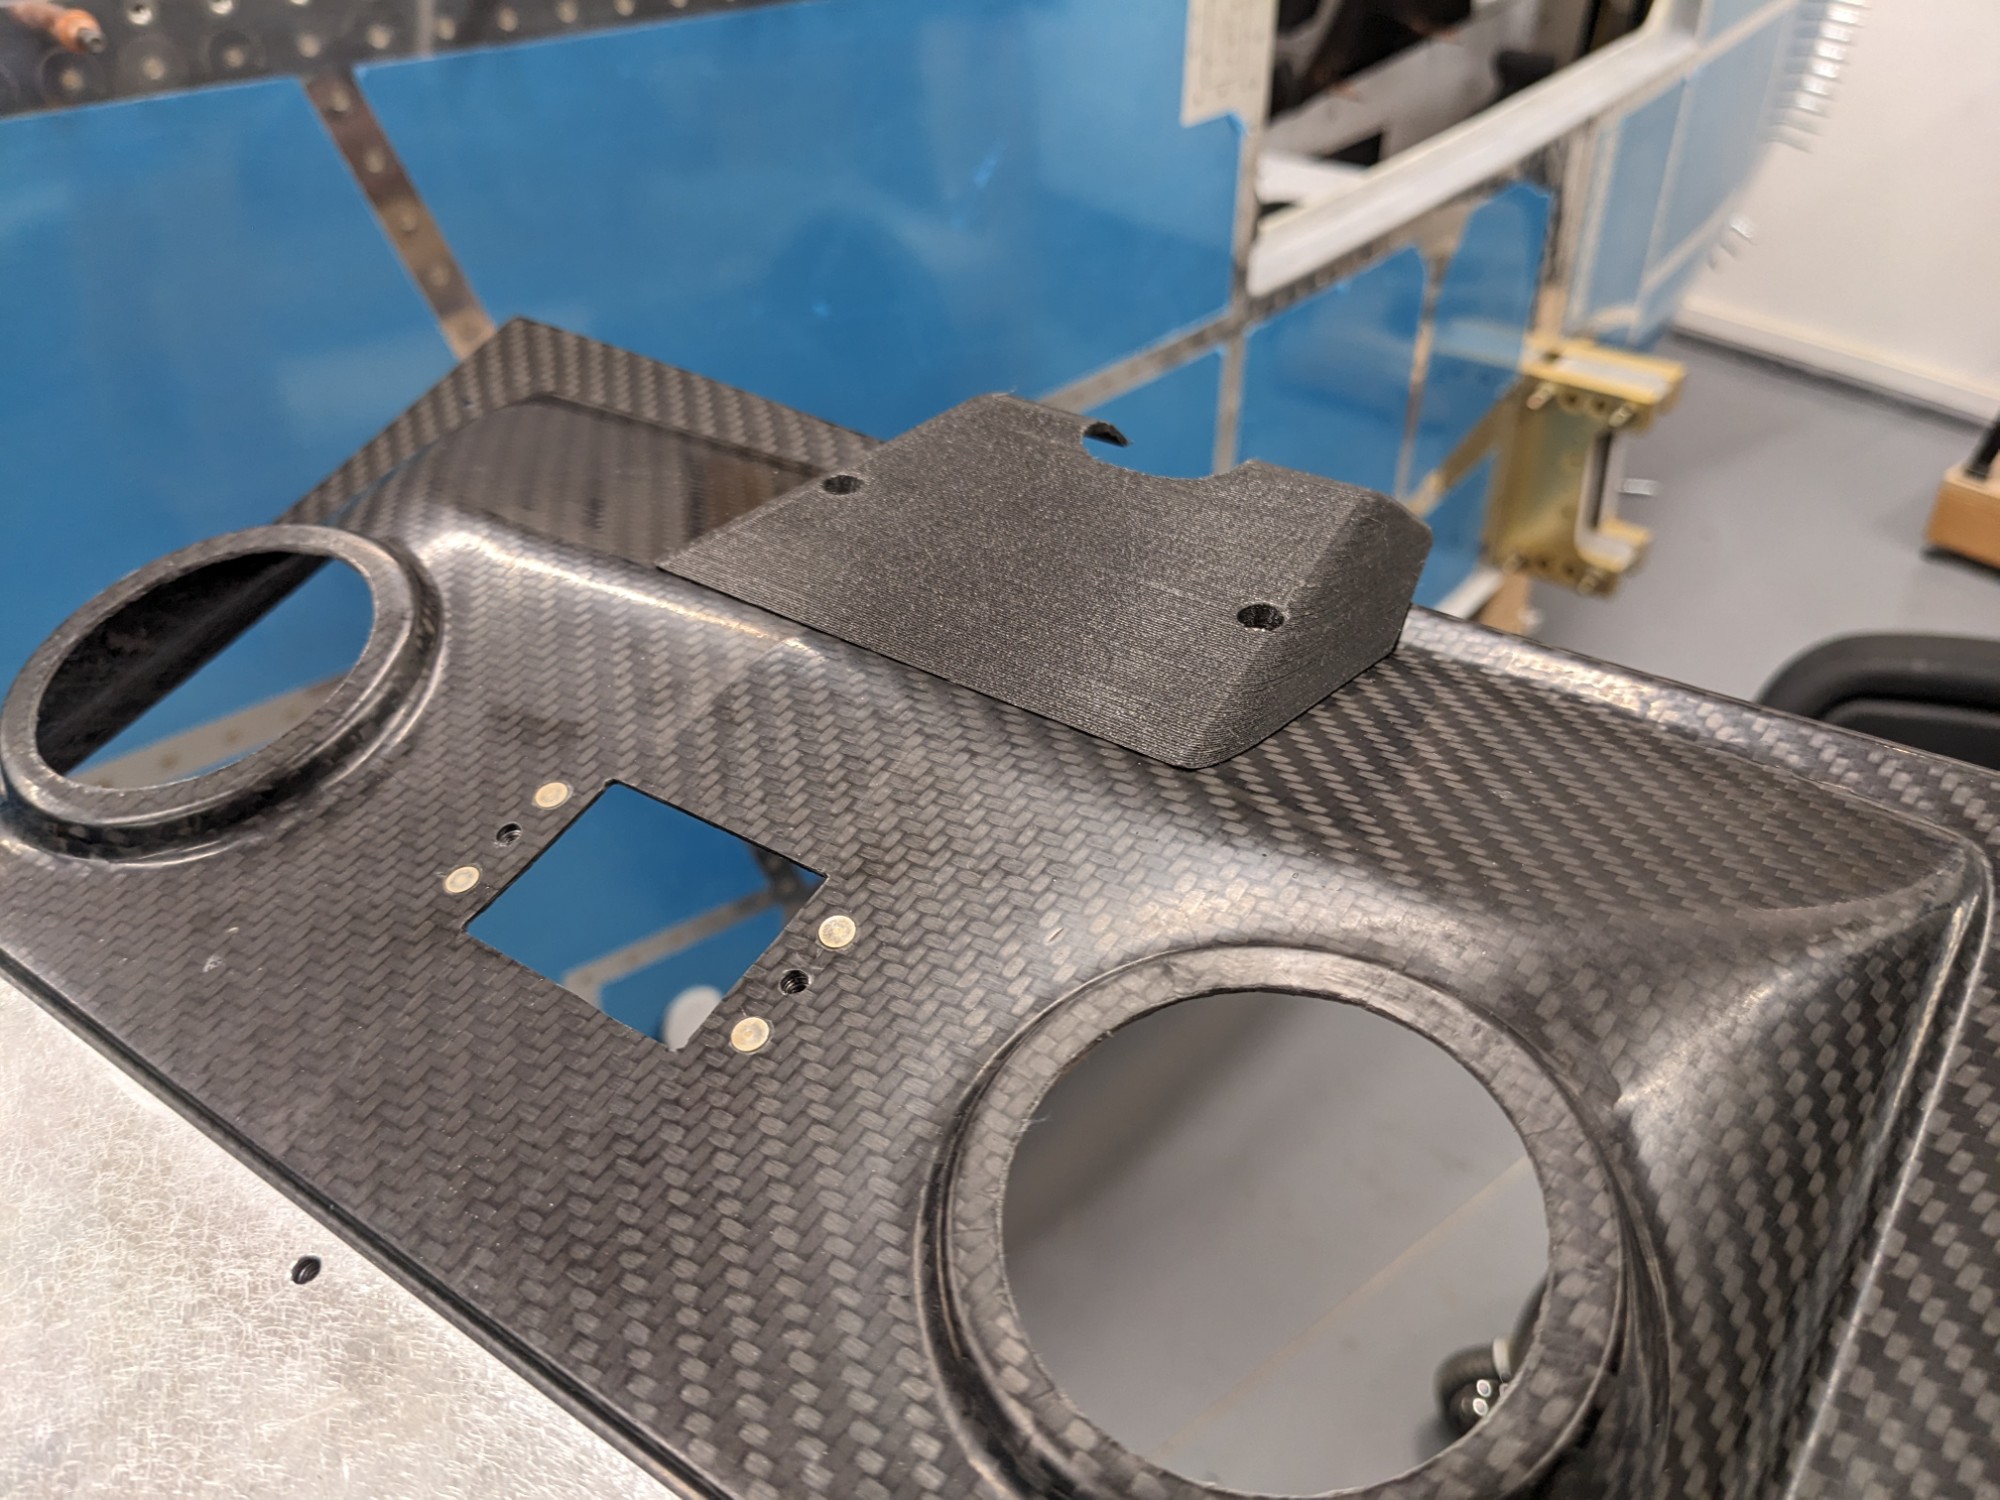
I printed the cover with Prusament Galaxy Black PETG which matches reasonably well with the sheen and color of the carbon fiber (I’ll be using a satin clear coat to finish the overhead).
I’m now working on the layout of the console inserts. These will house eyeball task lights and oxygen distributors.