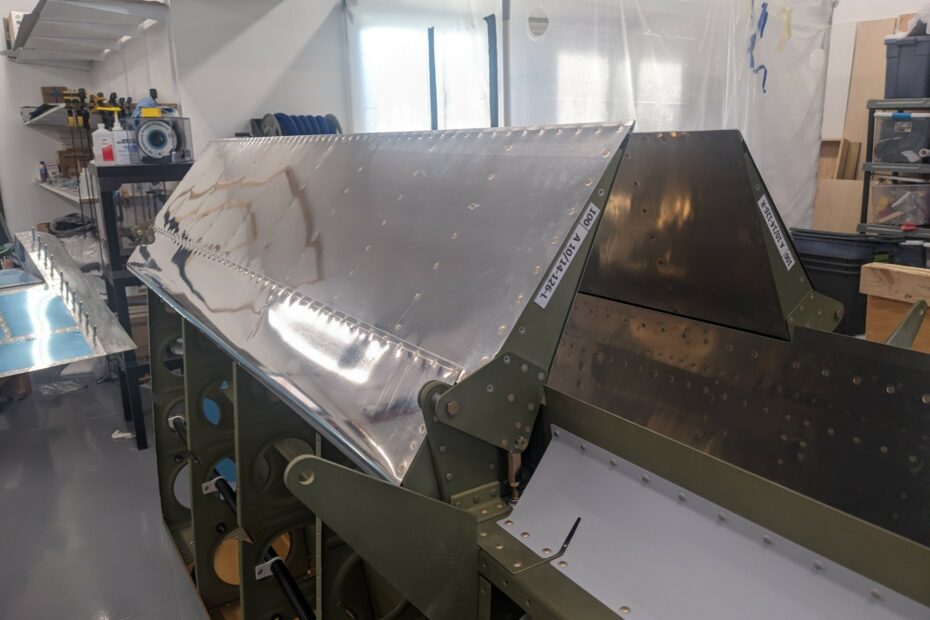
I decided to test fit the aileron actuation parts while the wings are still open. This will also allow me to prepare the aileron trim system parts.
The aileron torque tube collars are steel parts that need to be primed inside and out. The torque tube collars fit snugly into the torque tubes (which scrapes off the primer) so I wiped Corrosion X on the mating surfaces of these parts. This also helped lubricate the tubes which made it easier to install them into the wings (the tube has to slide inside of the parts, then be slid apart).
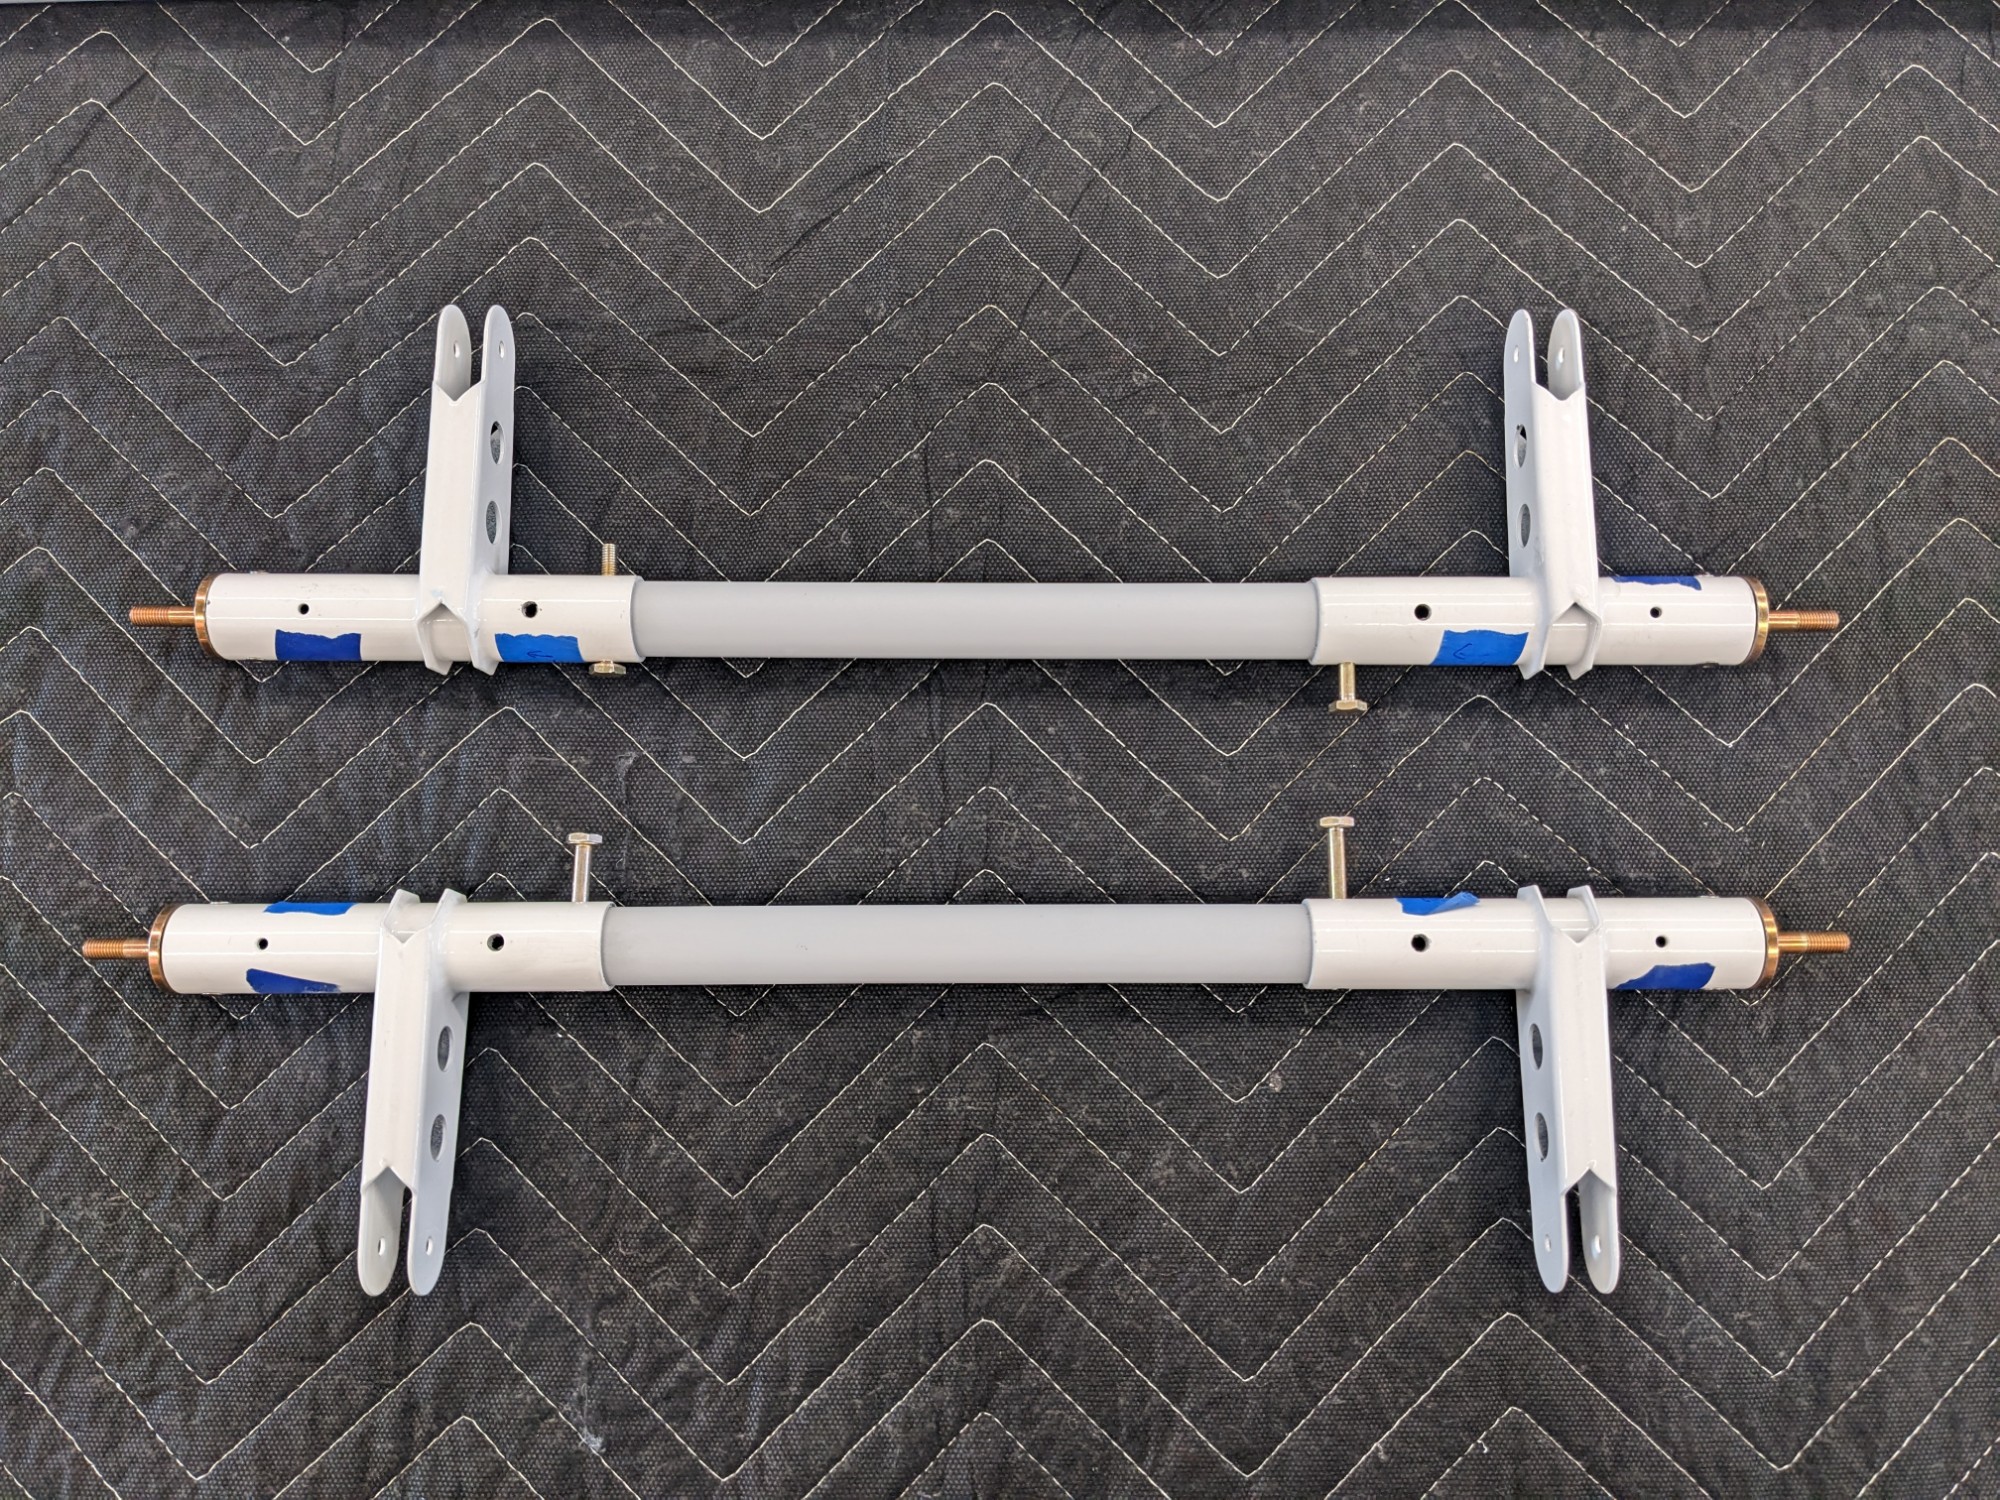
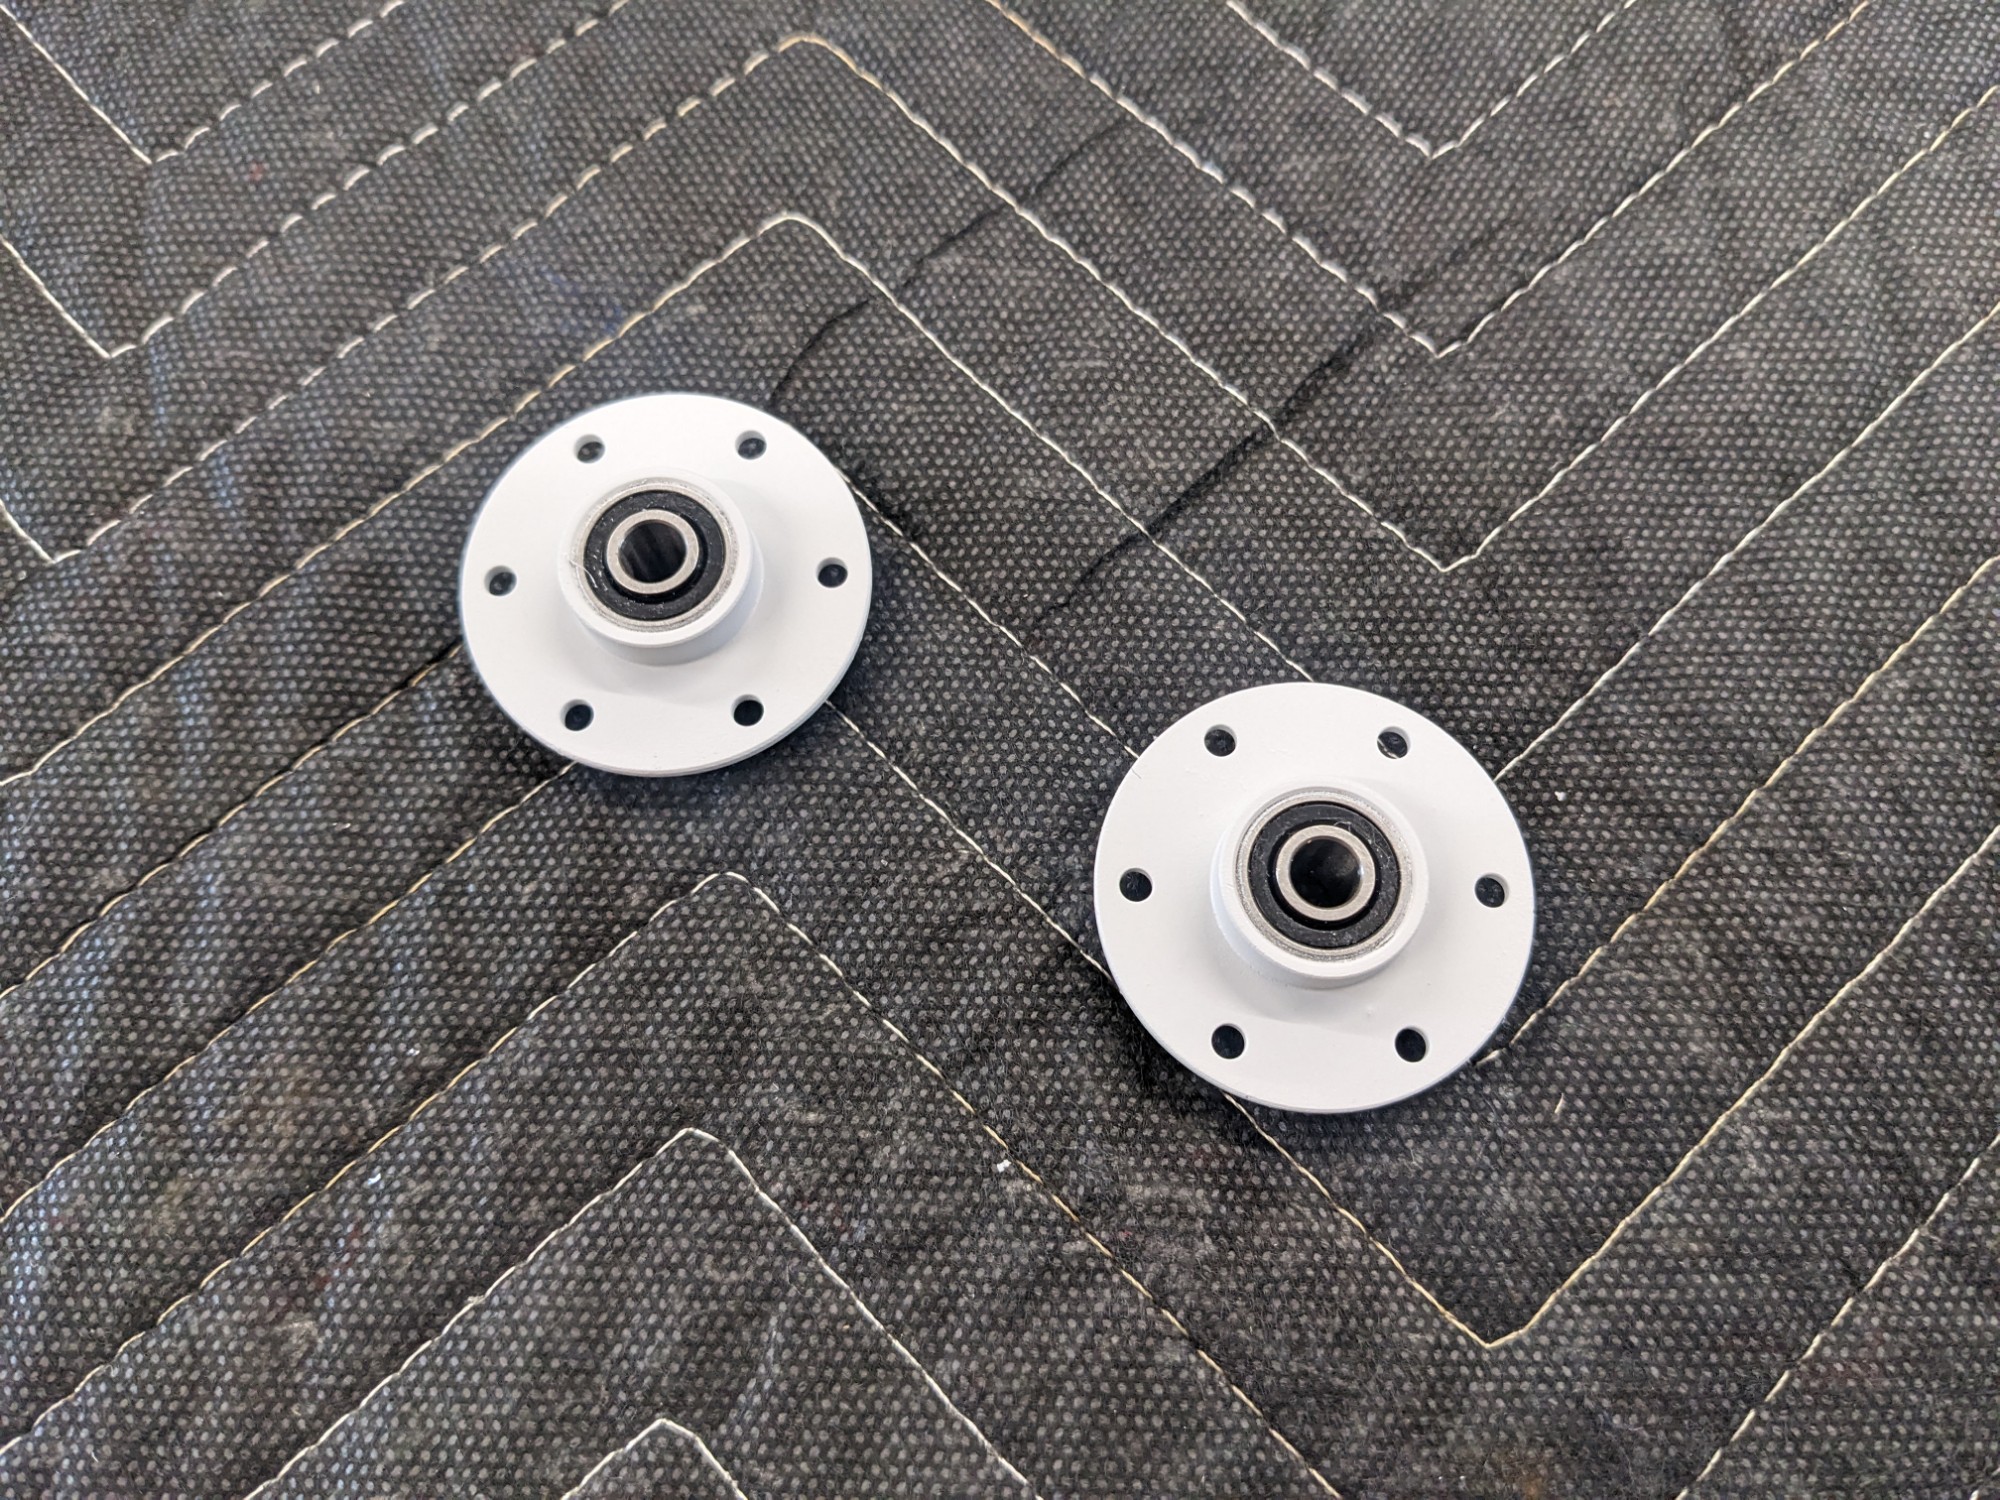
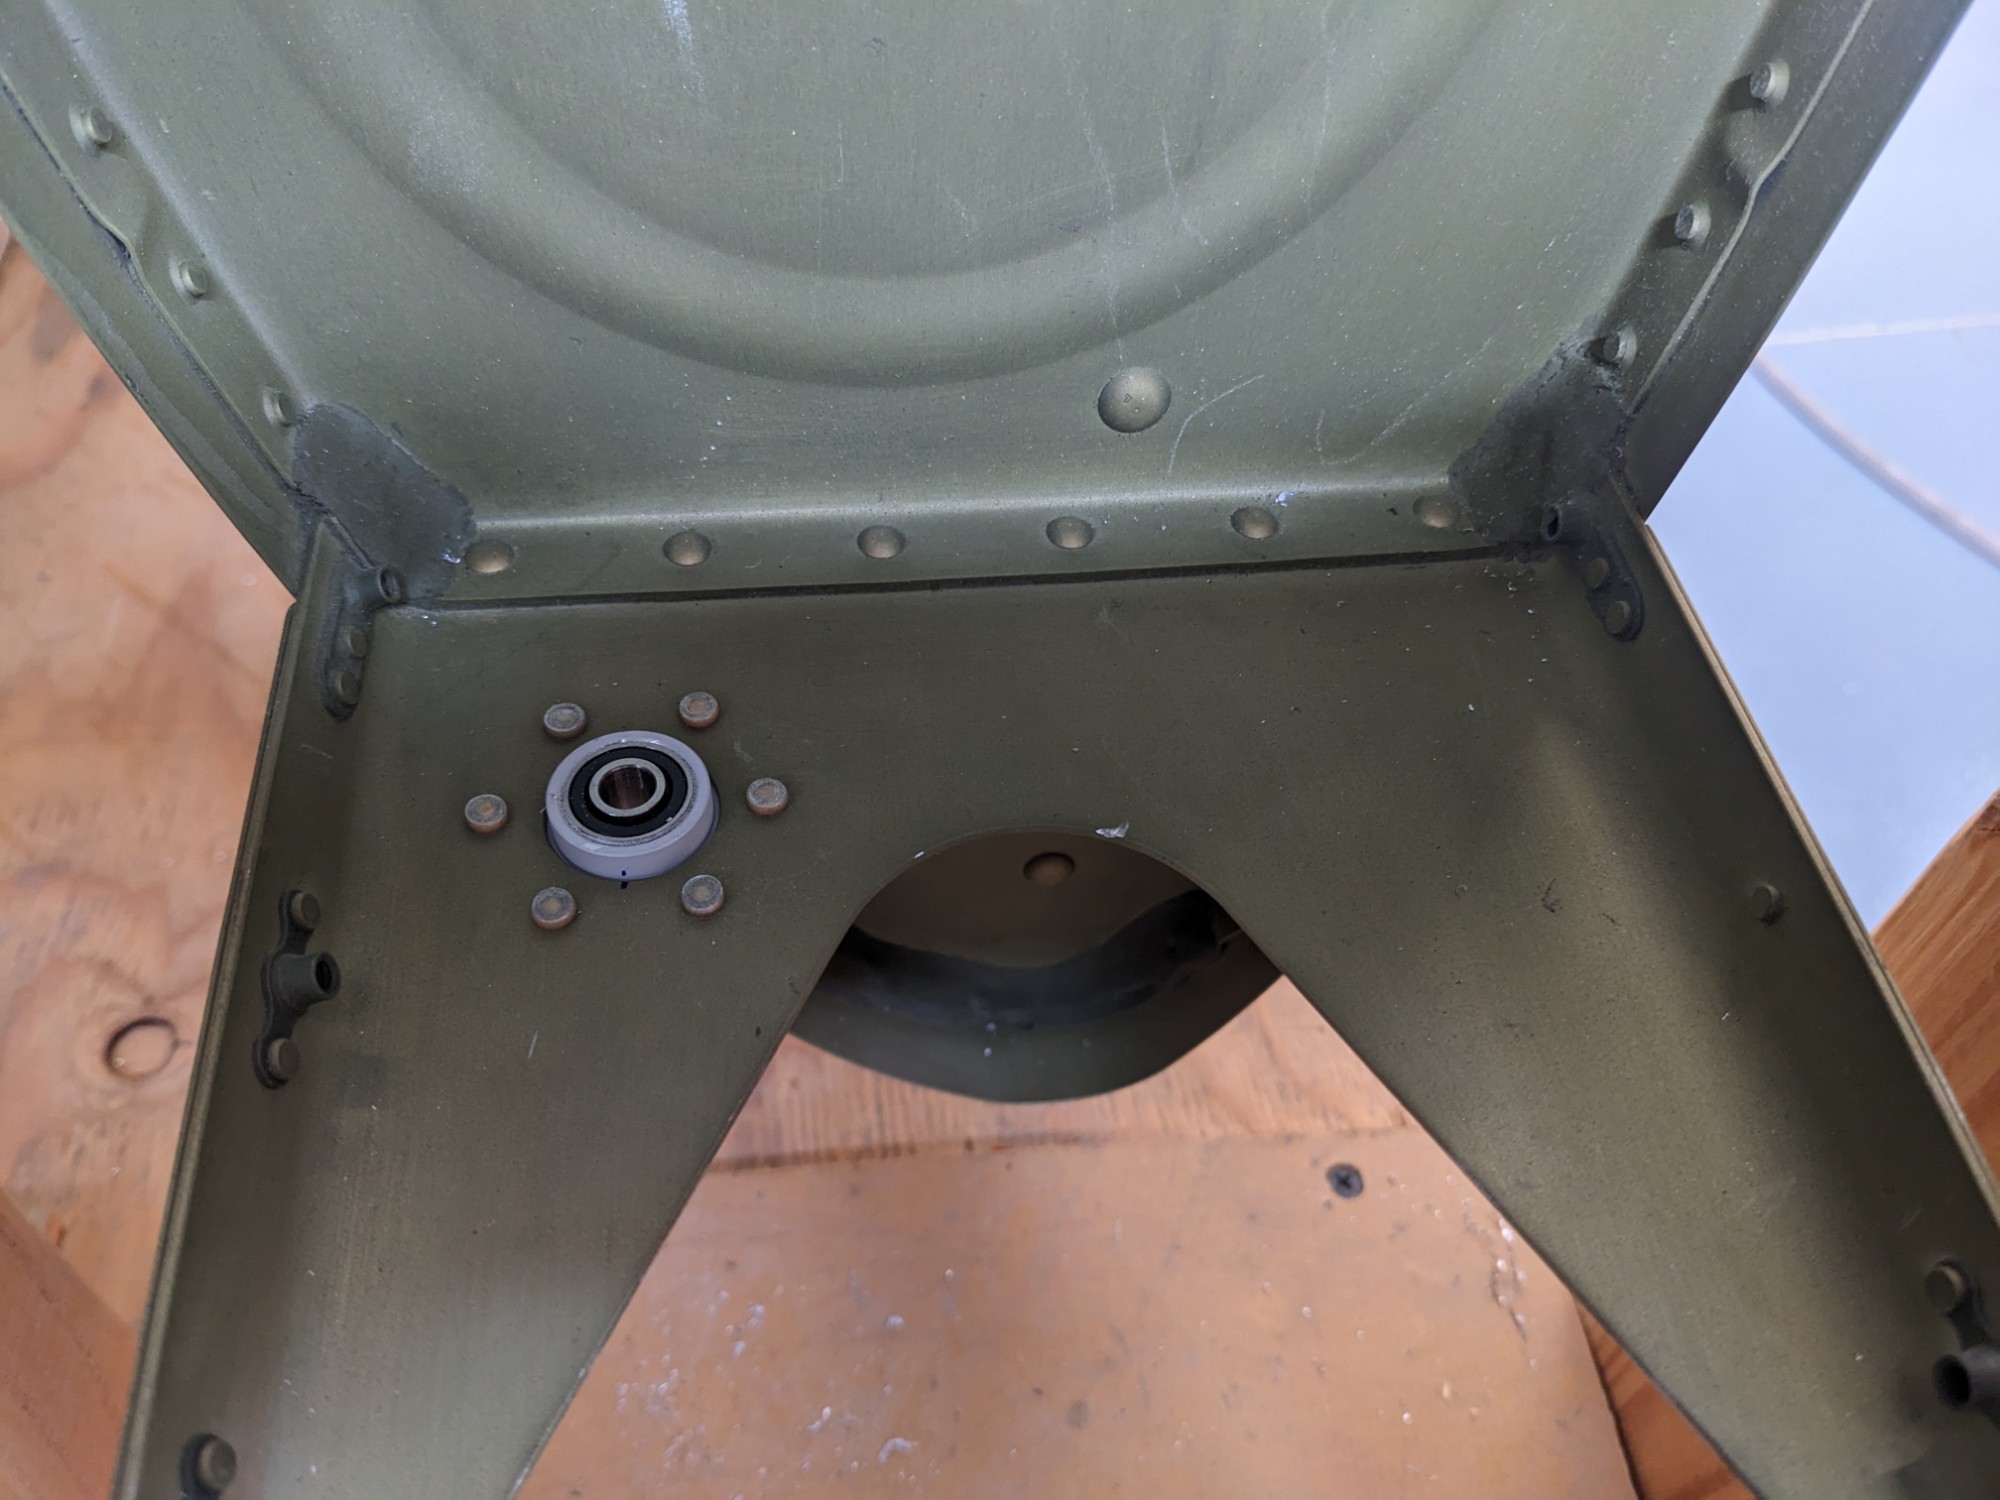
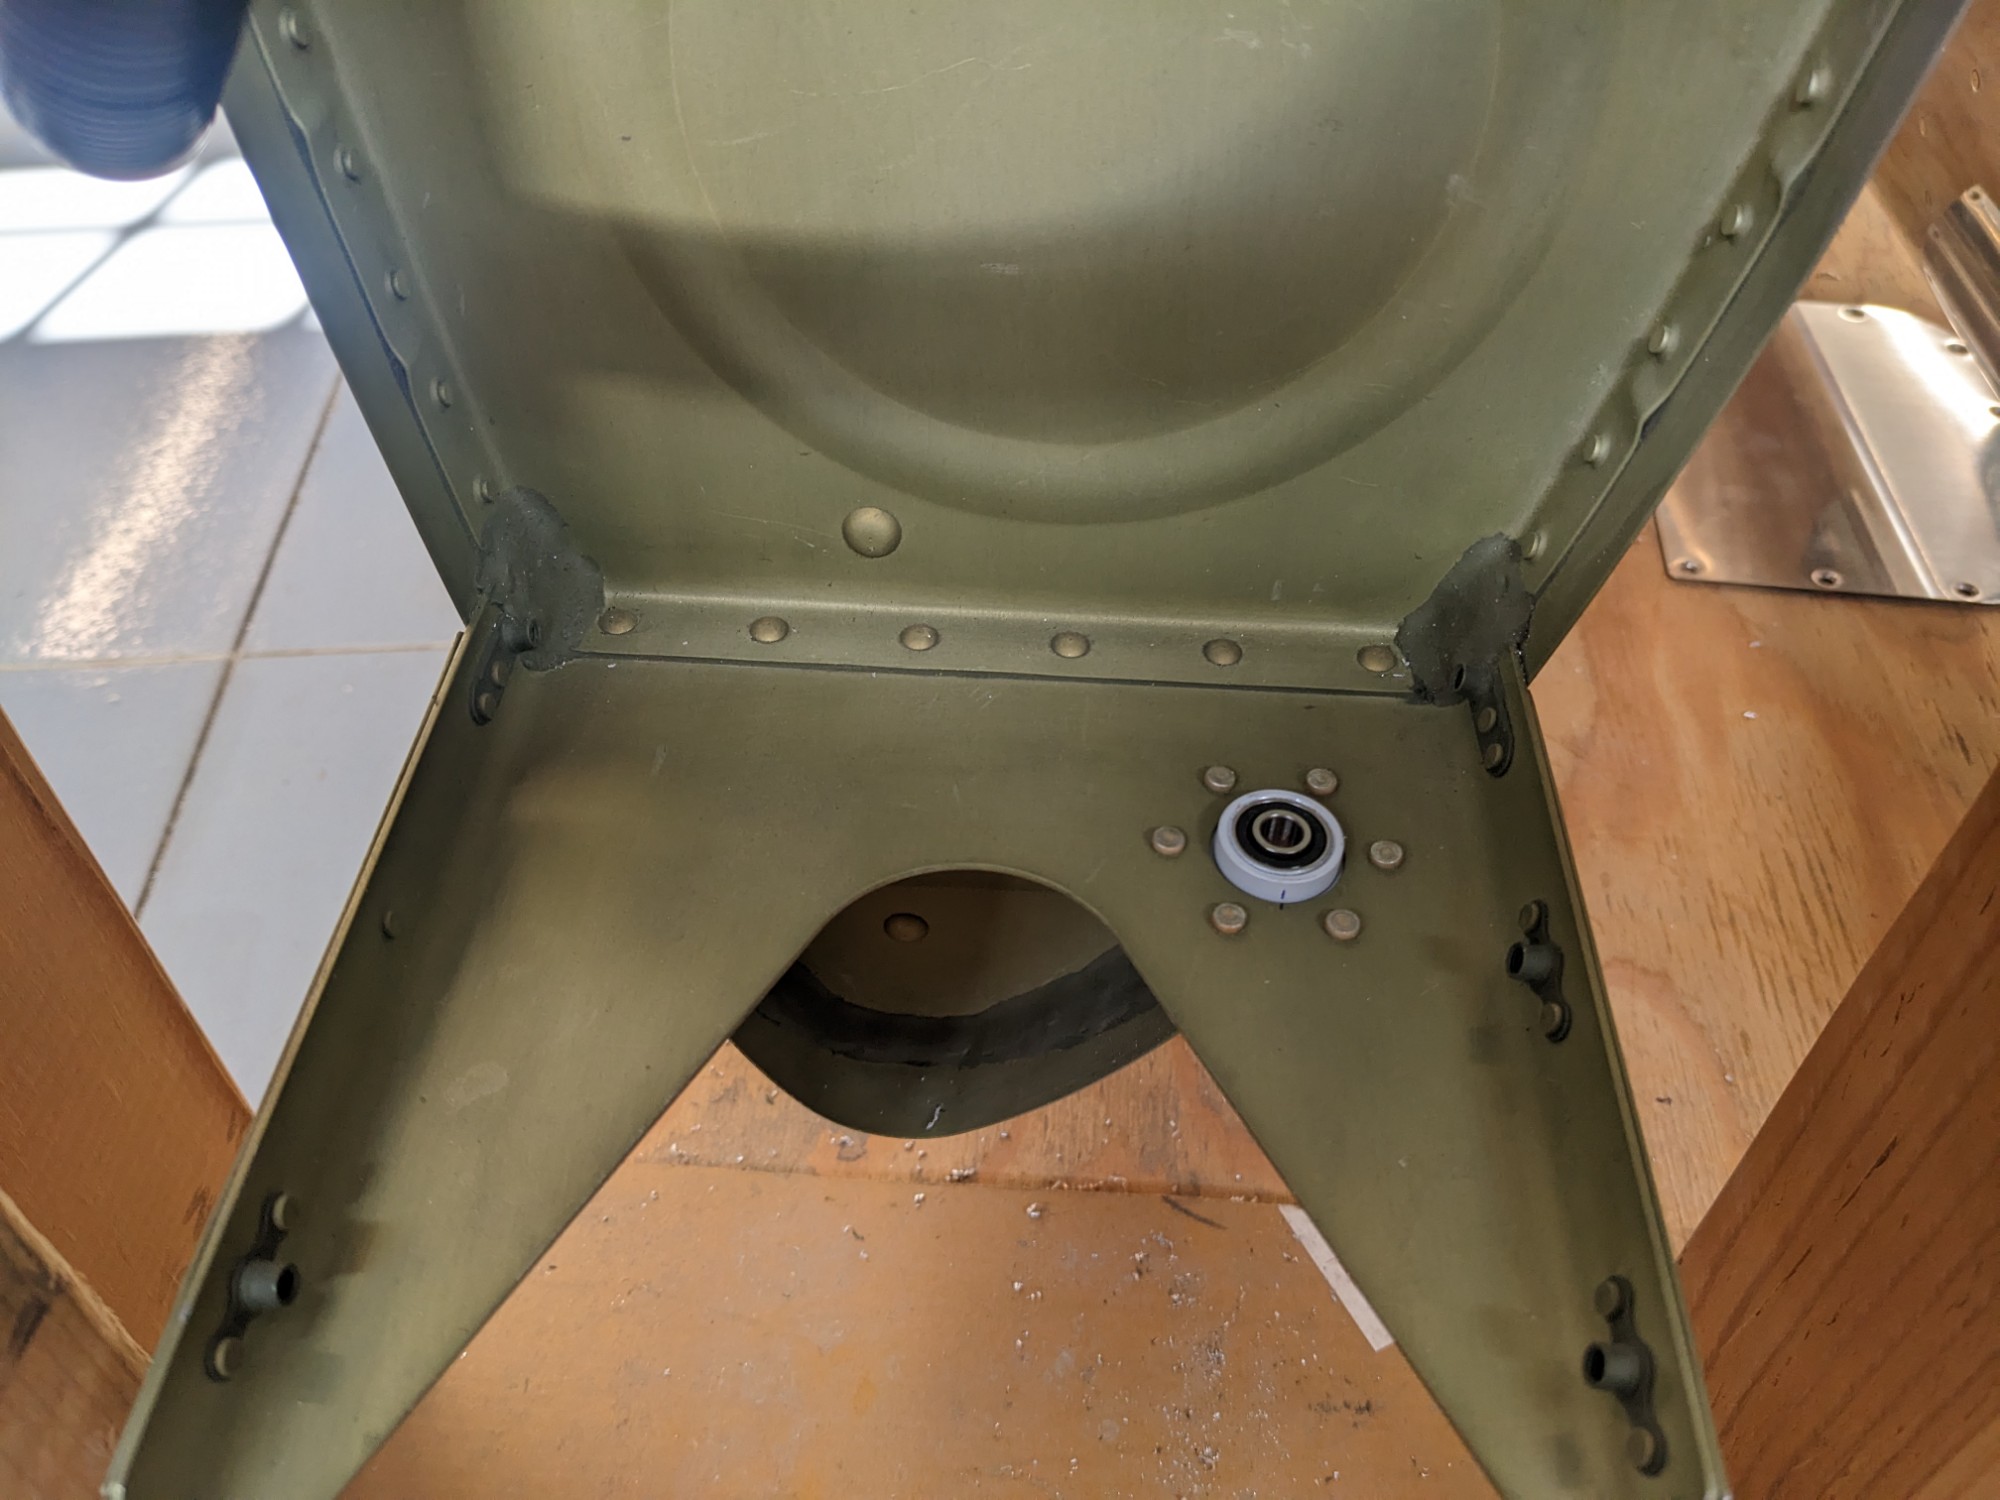
I also still had to install the bearings in the wing tanks (there do not come installed in the quick-build tanks).
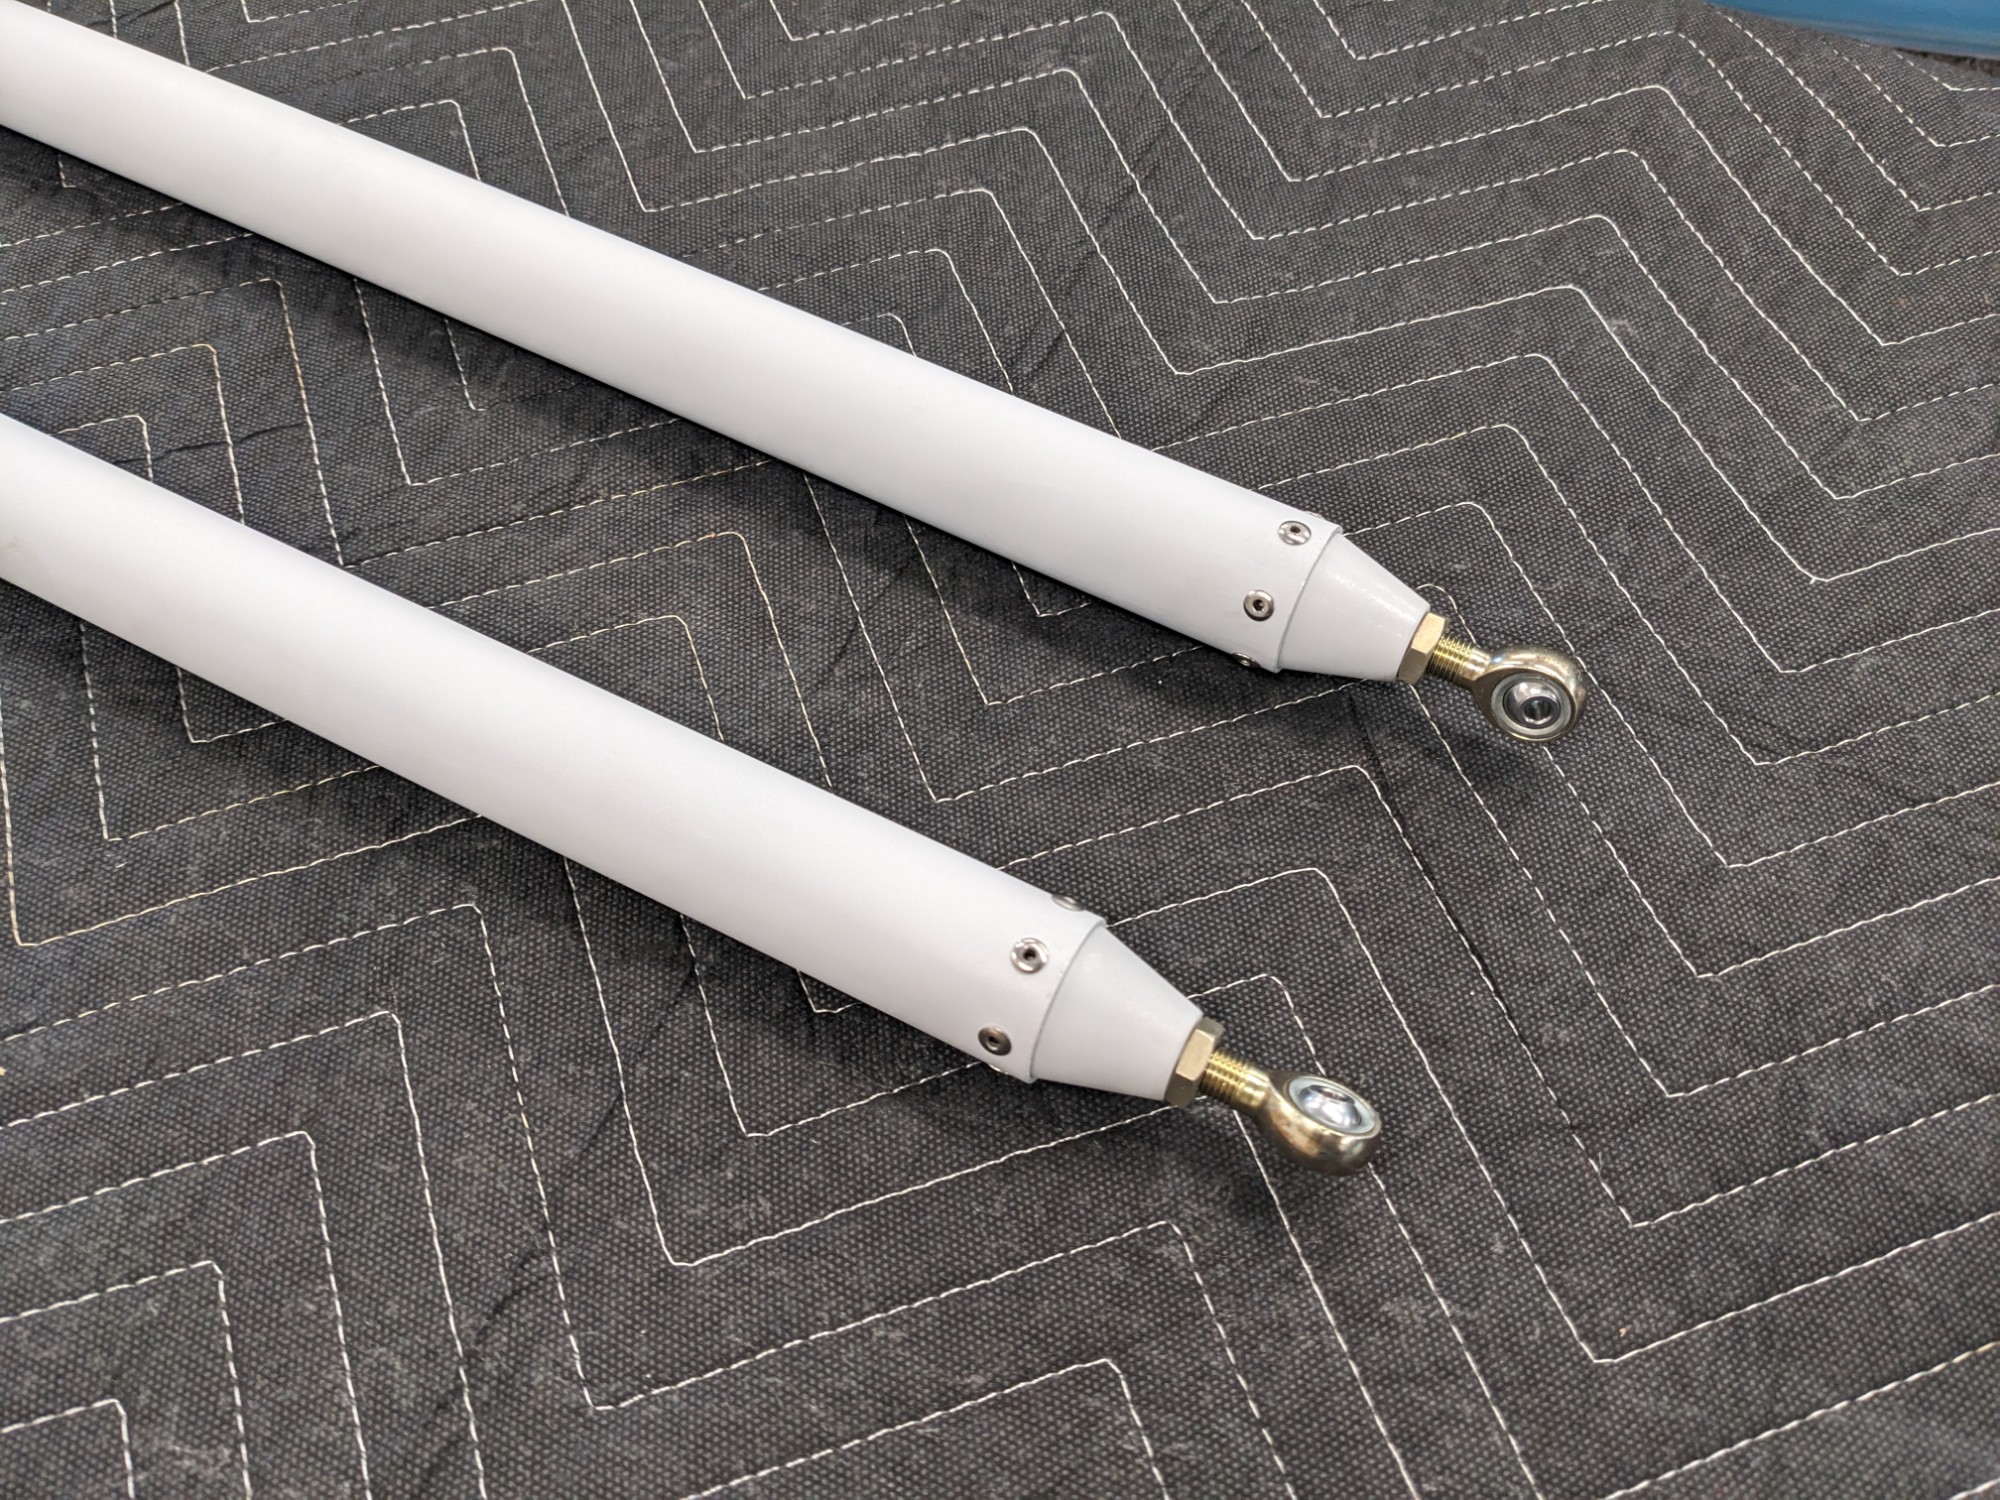
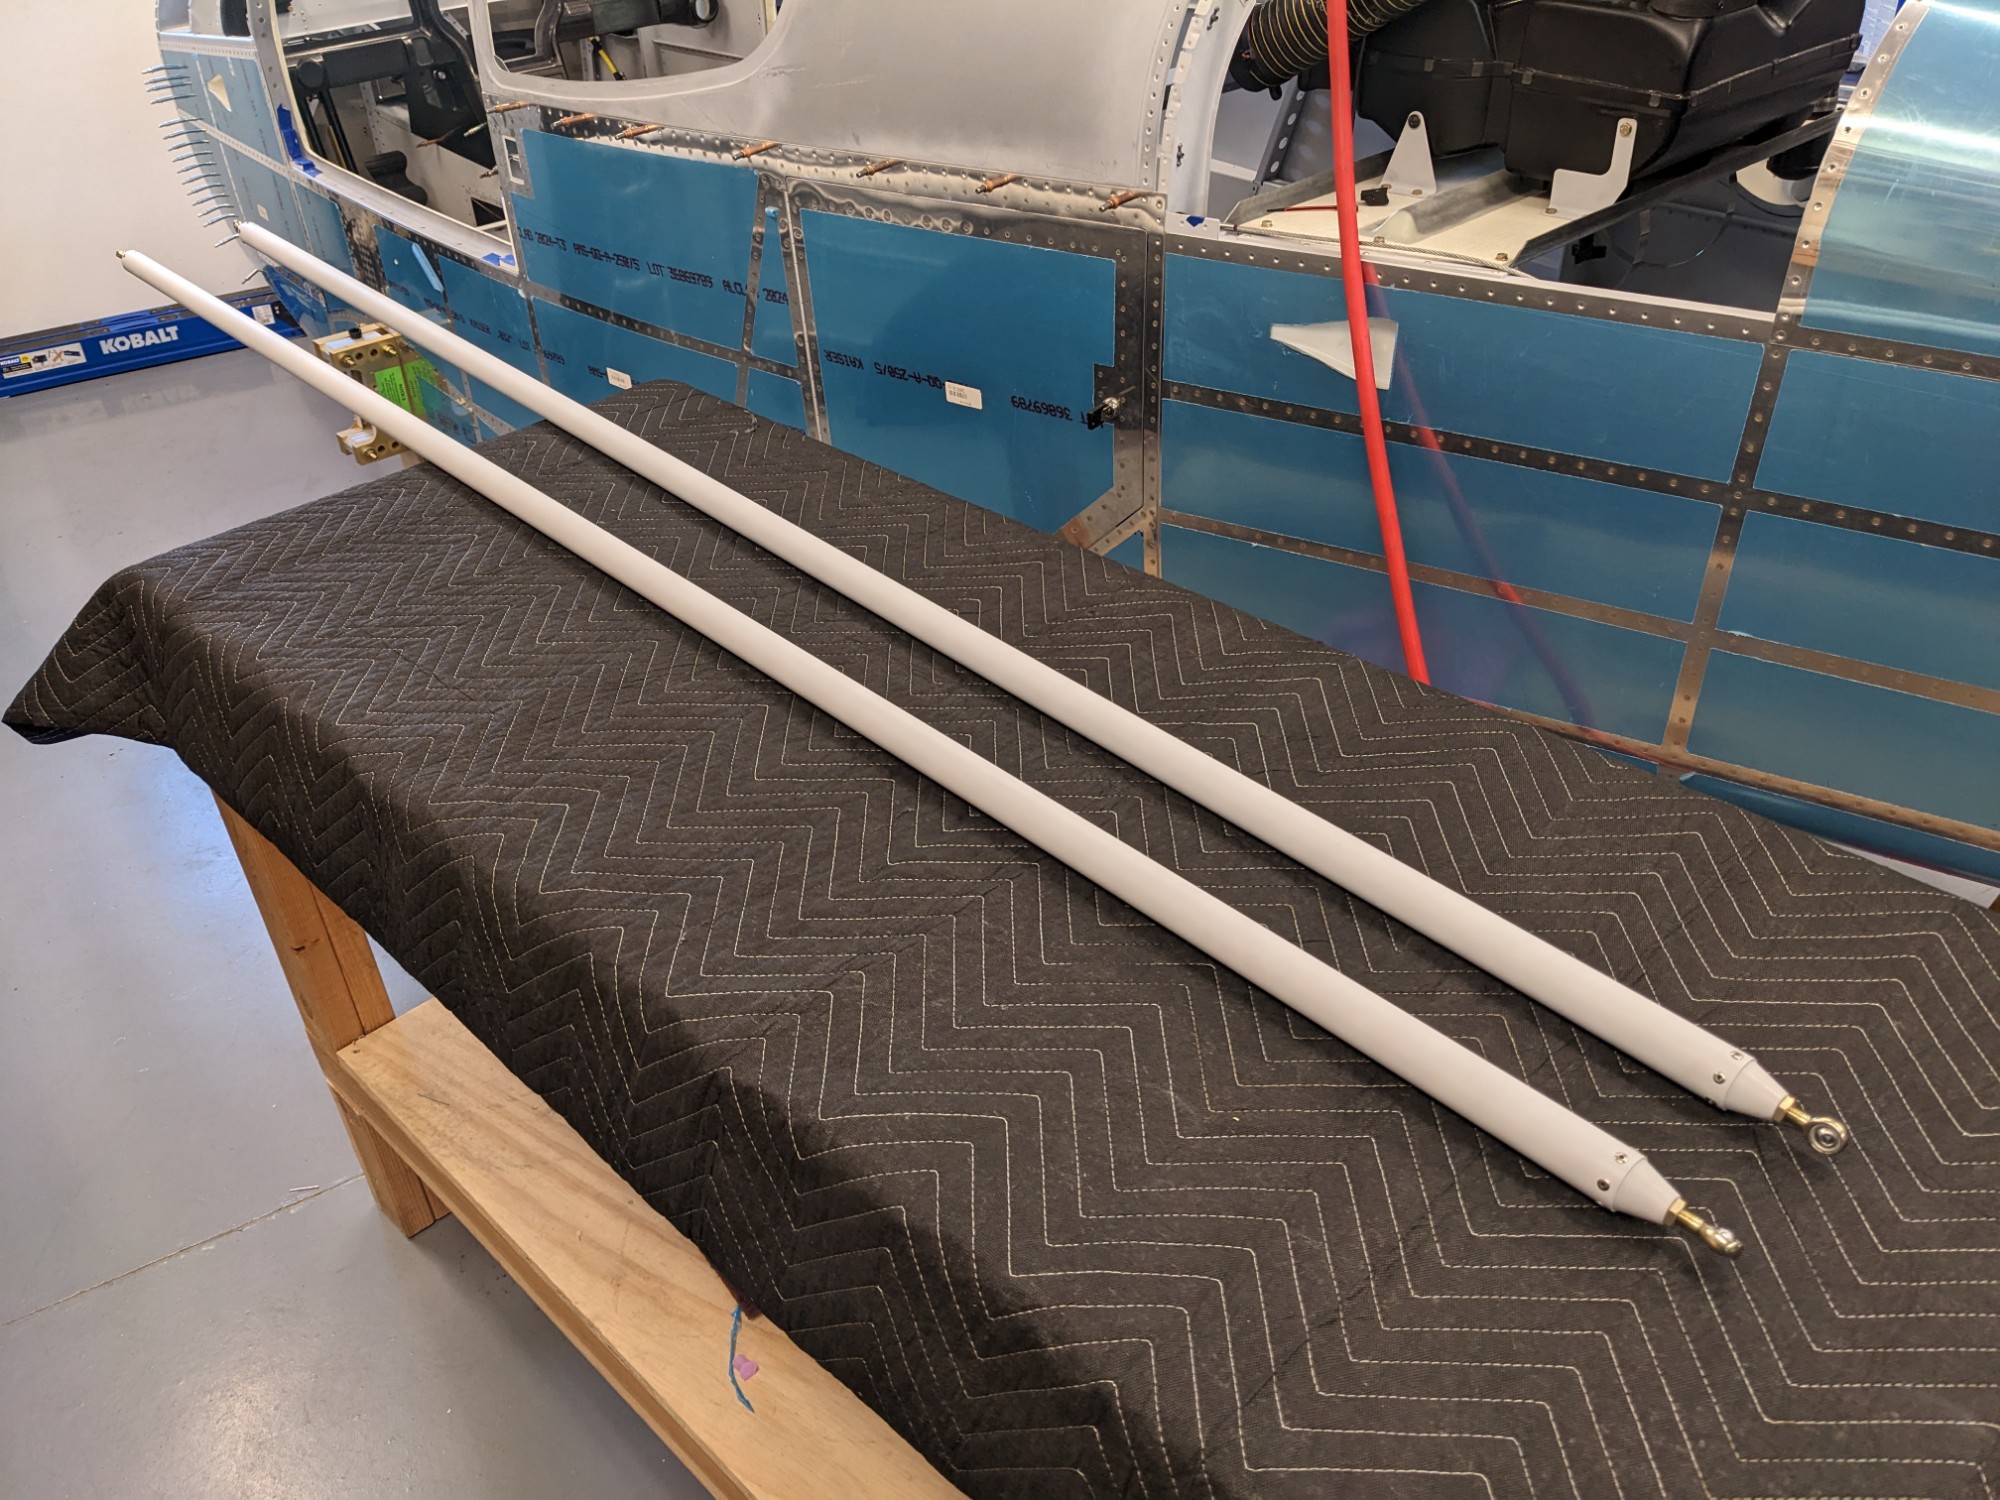
I riveted the threaded rod ends to the pushrods with MSP-42 rivets.
I will be using a Garmin GSA-28 servo in the right wing so I replaced the stock bracket with one that comes in the Garmin GSA-28 Roll Servo Install Kit.
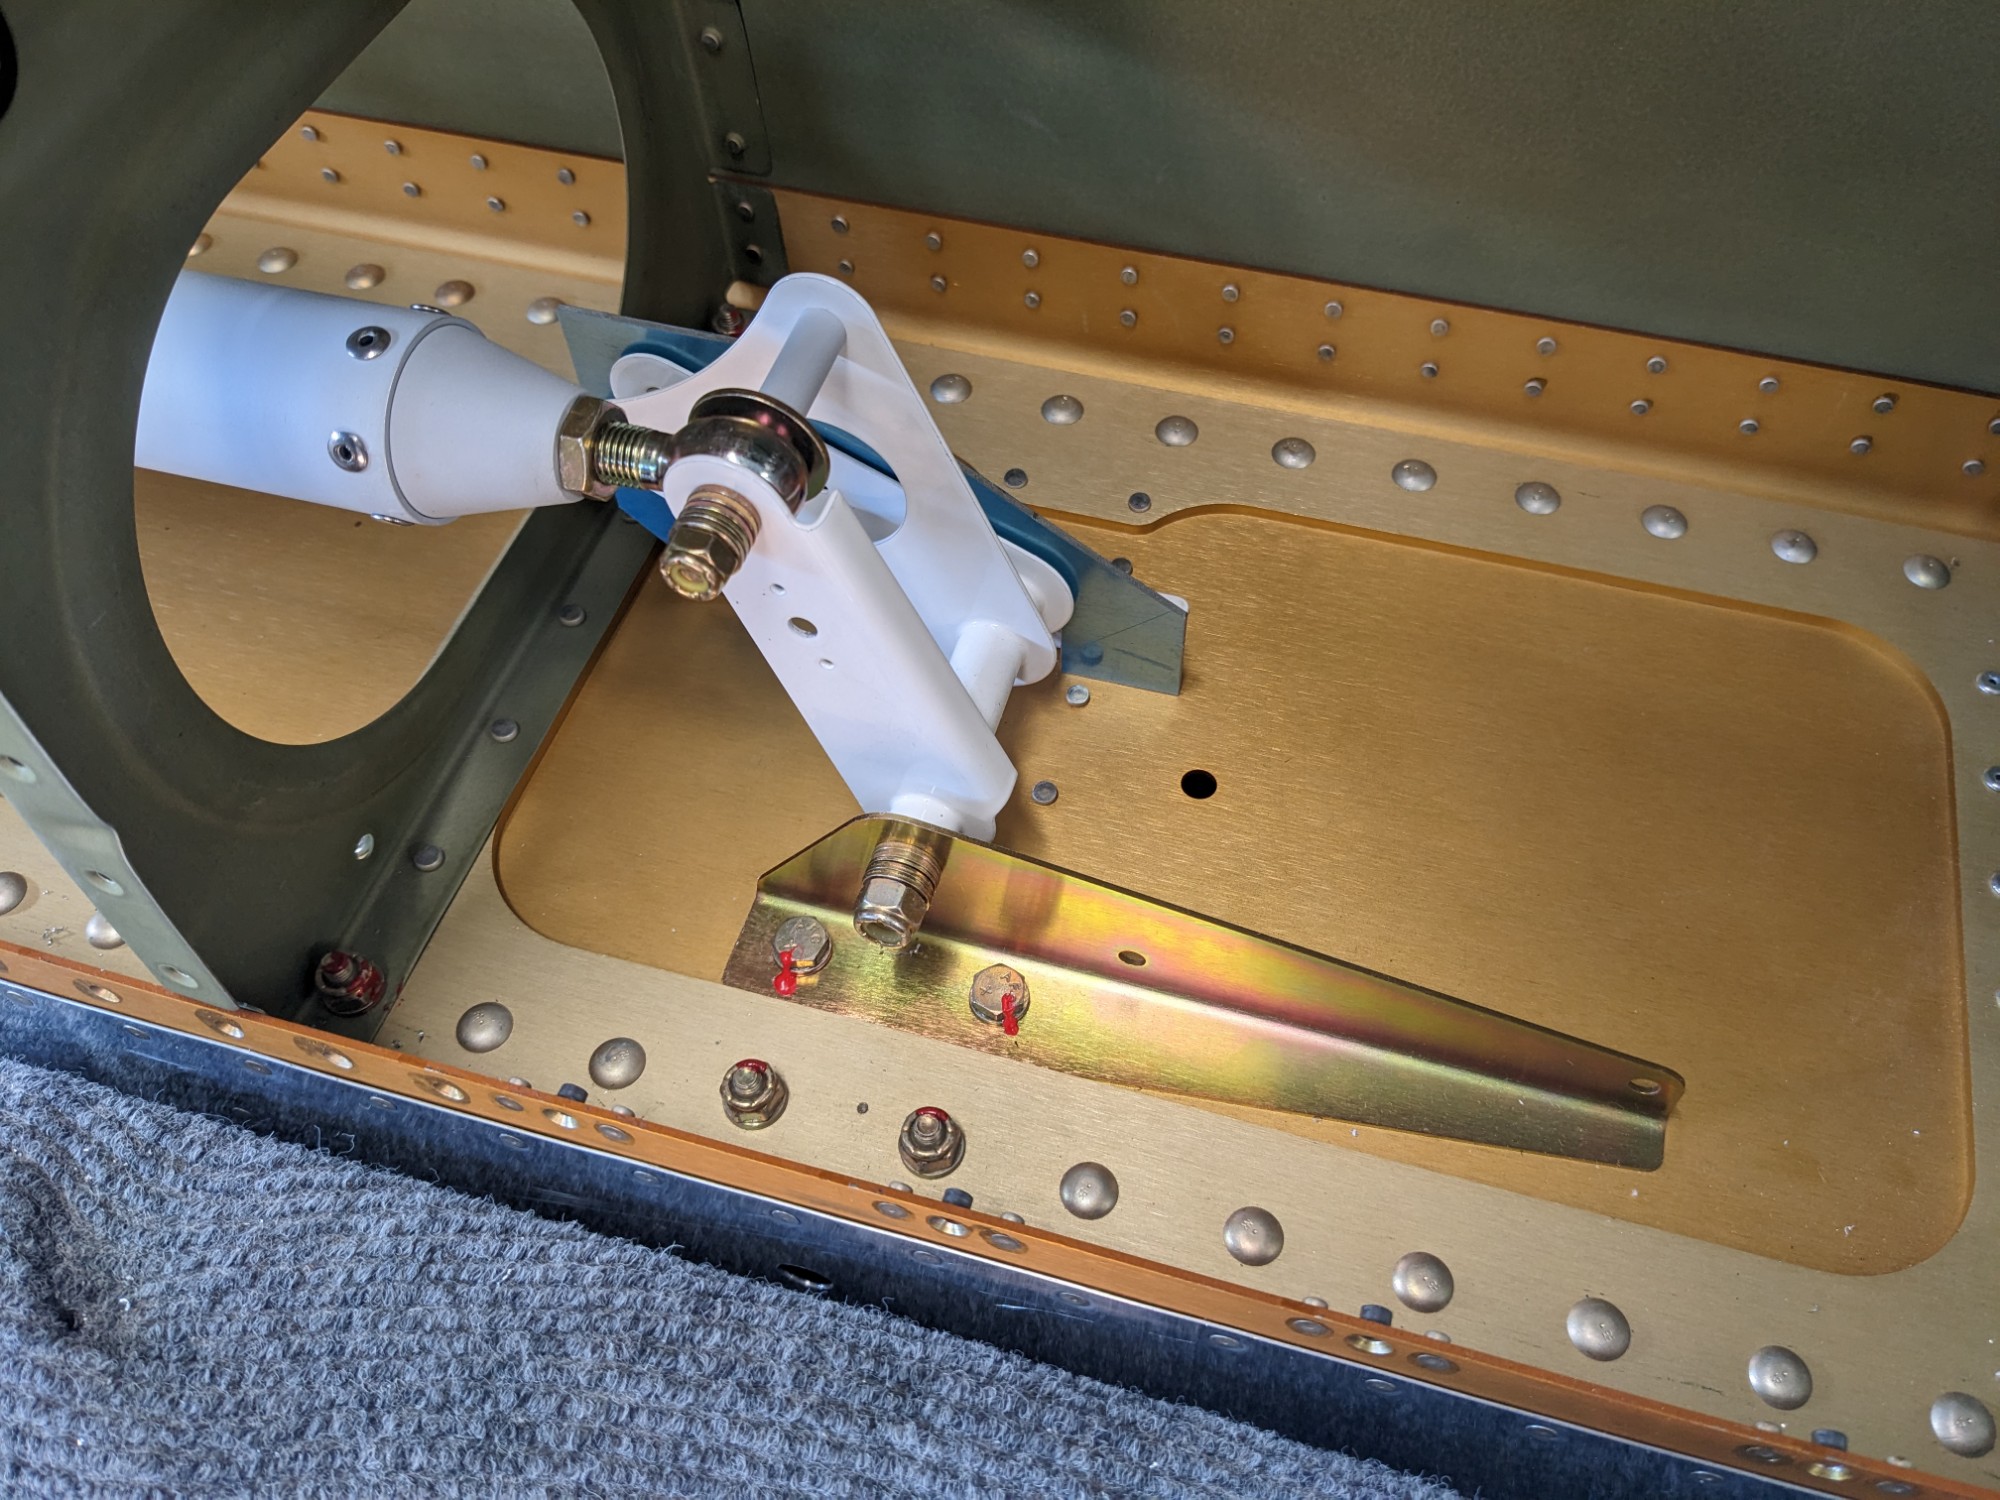
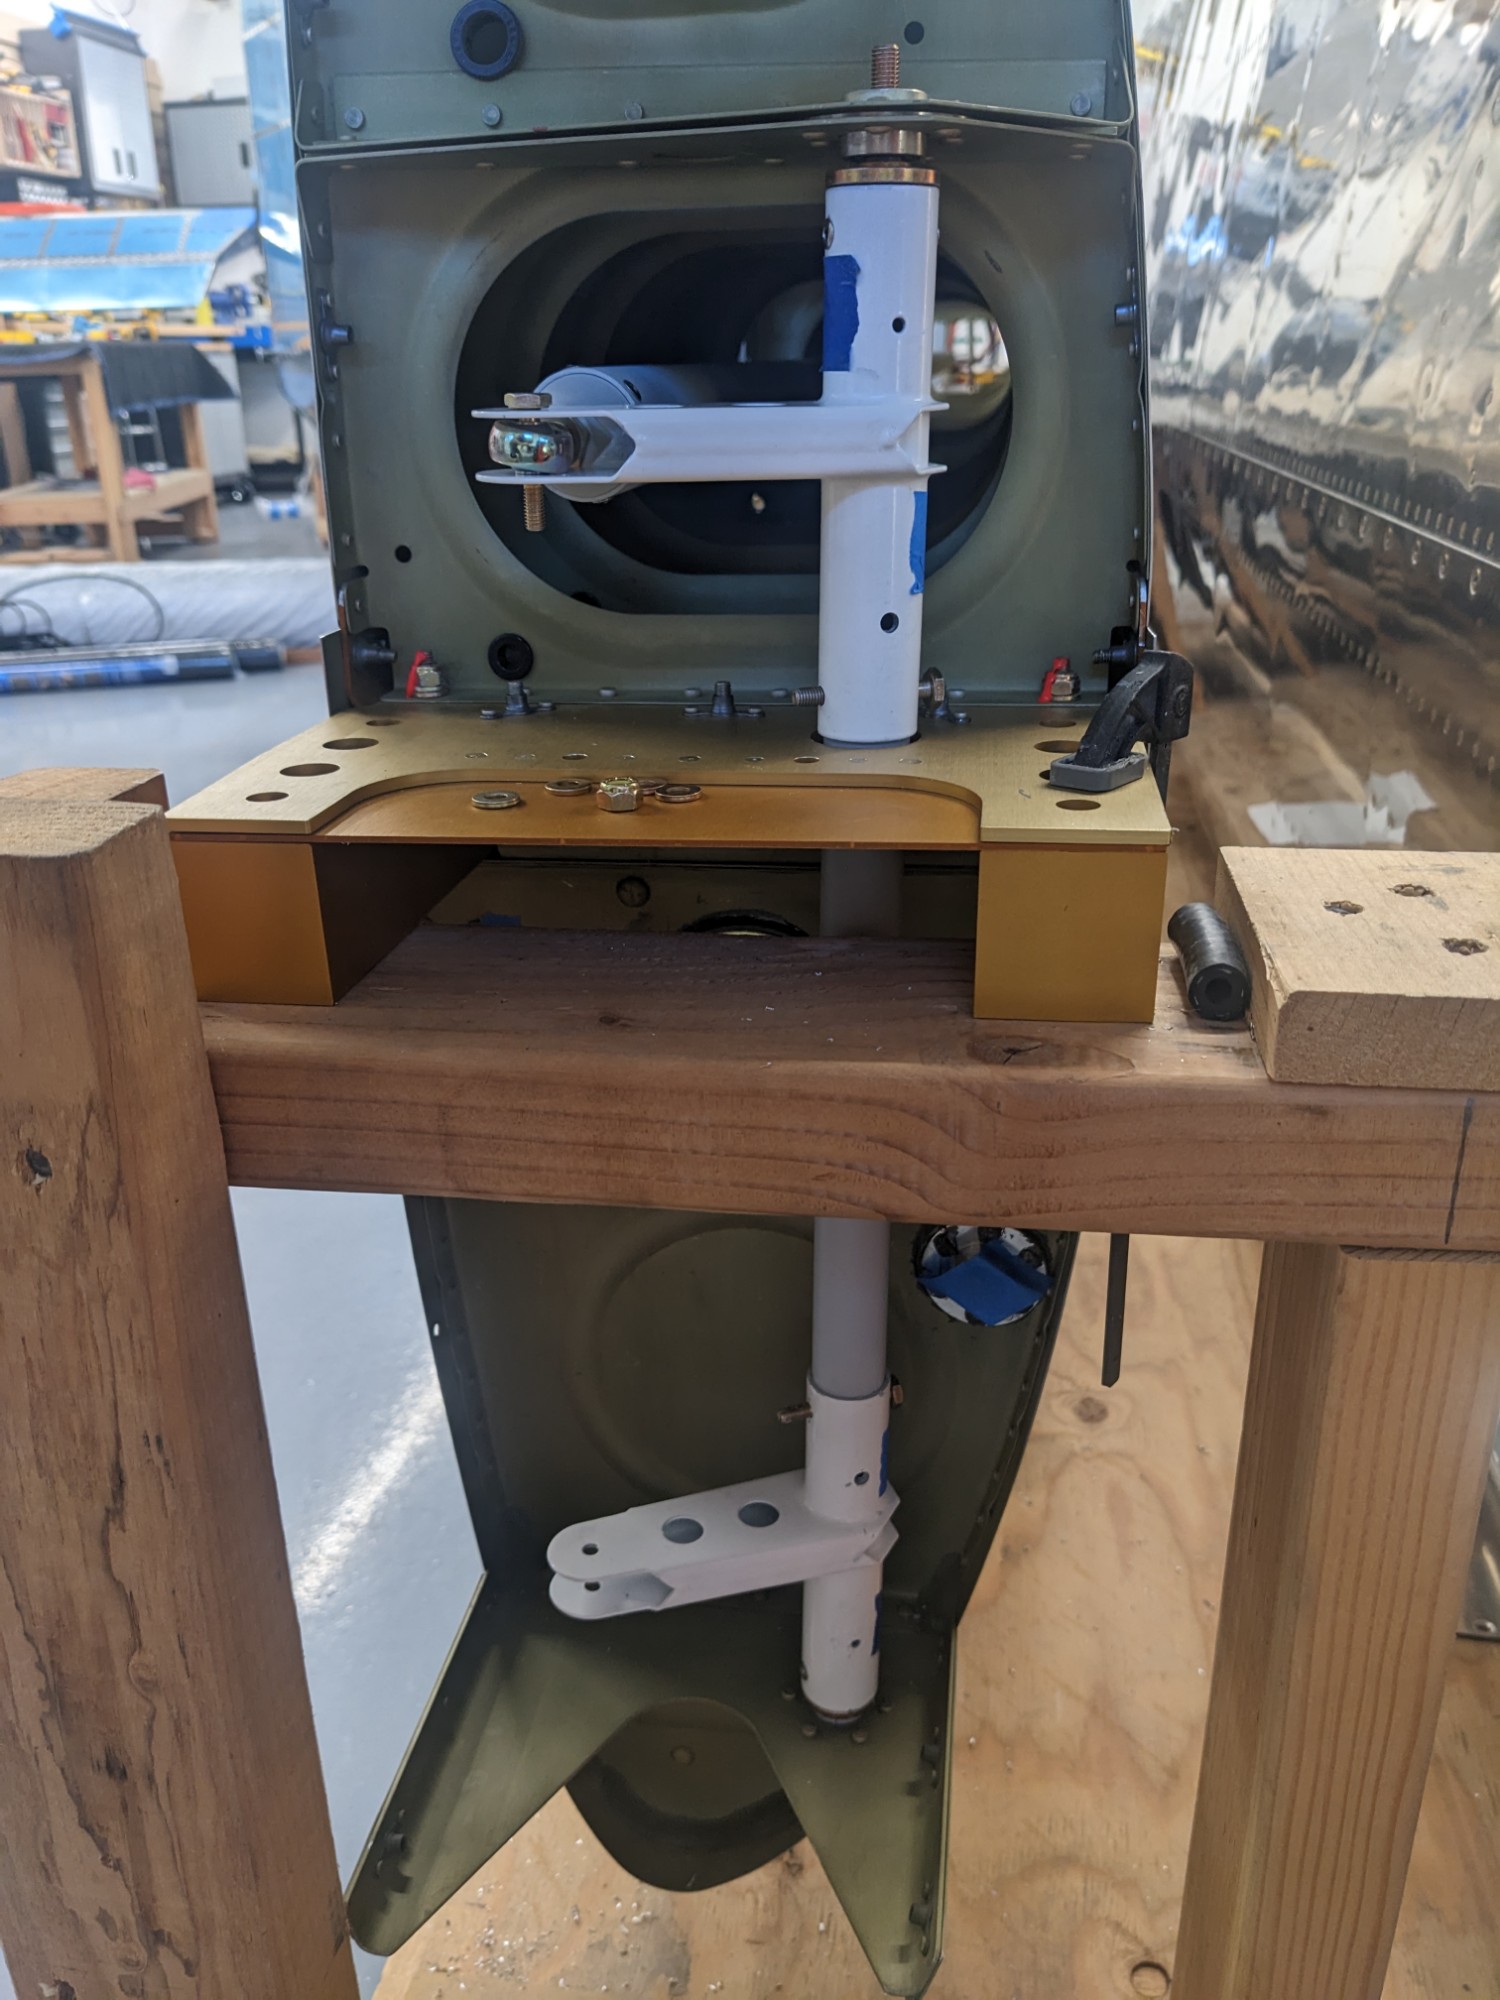
I then installed the torque tube assemblies into the wings. The gap to the bearings on both sides was identical and I needed one AN960-416 washer for each wing. I’ll probably use AN960-416L washers (one on each end of each torque tube assembly) in the final install.
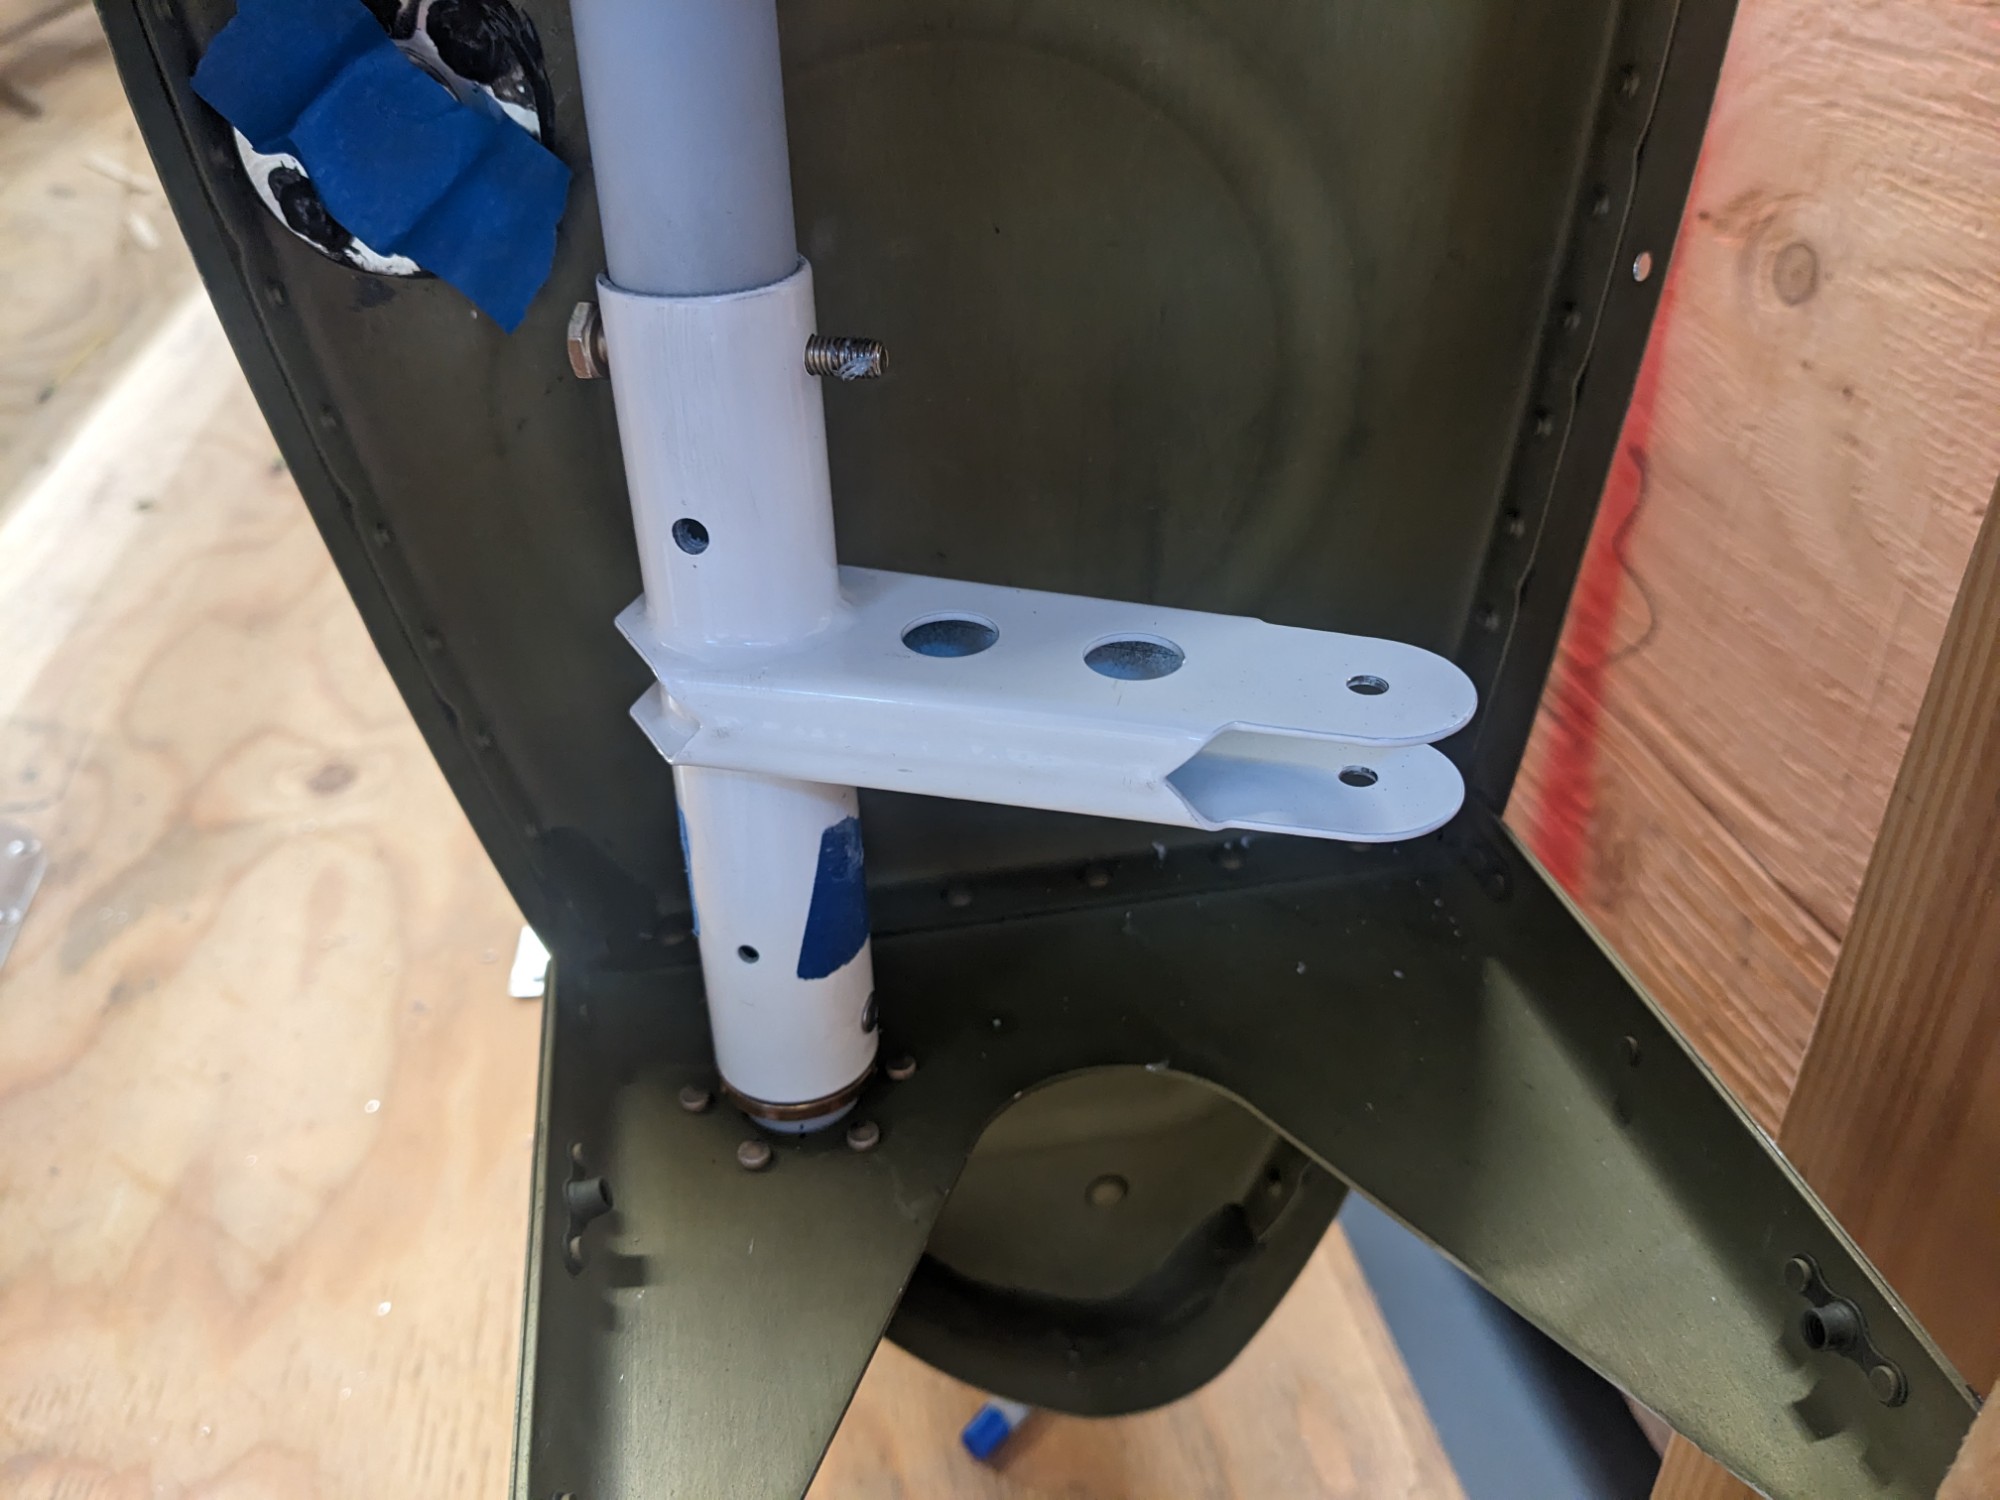
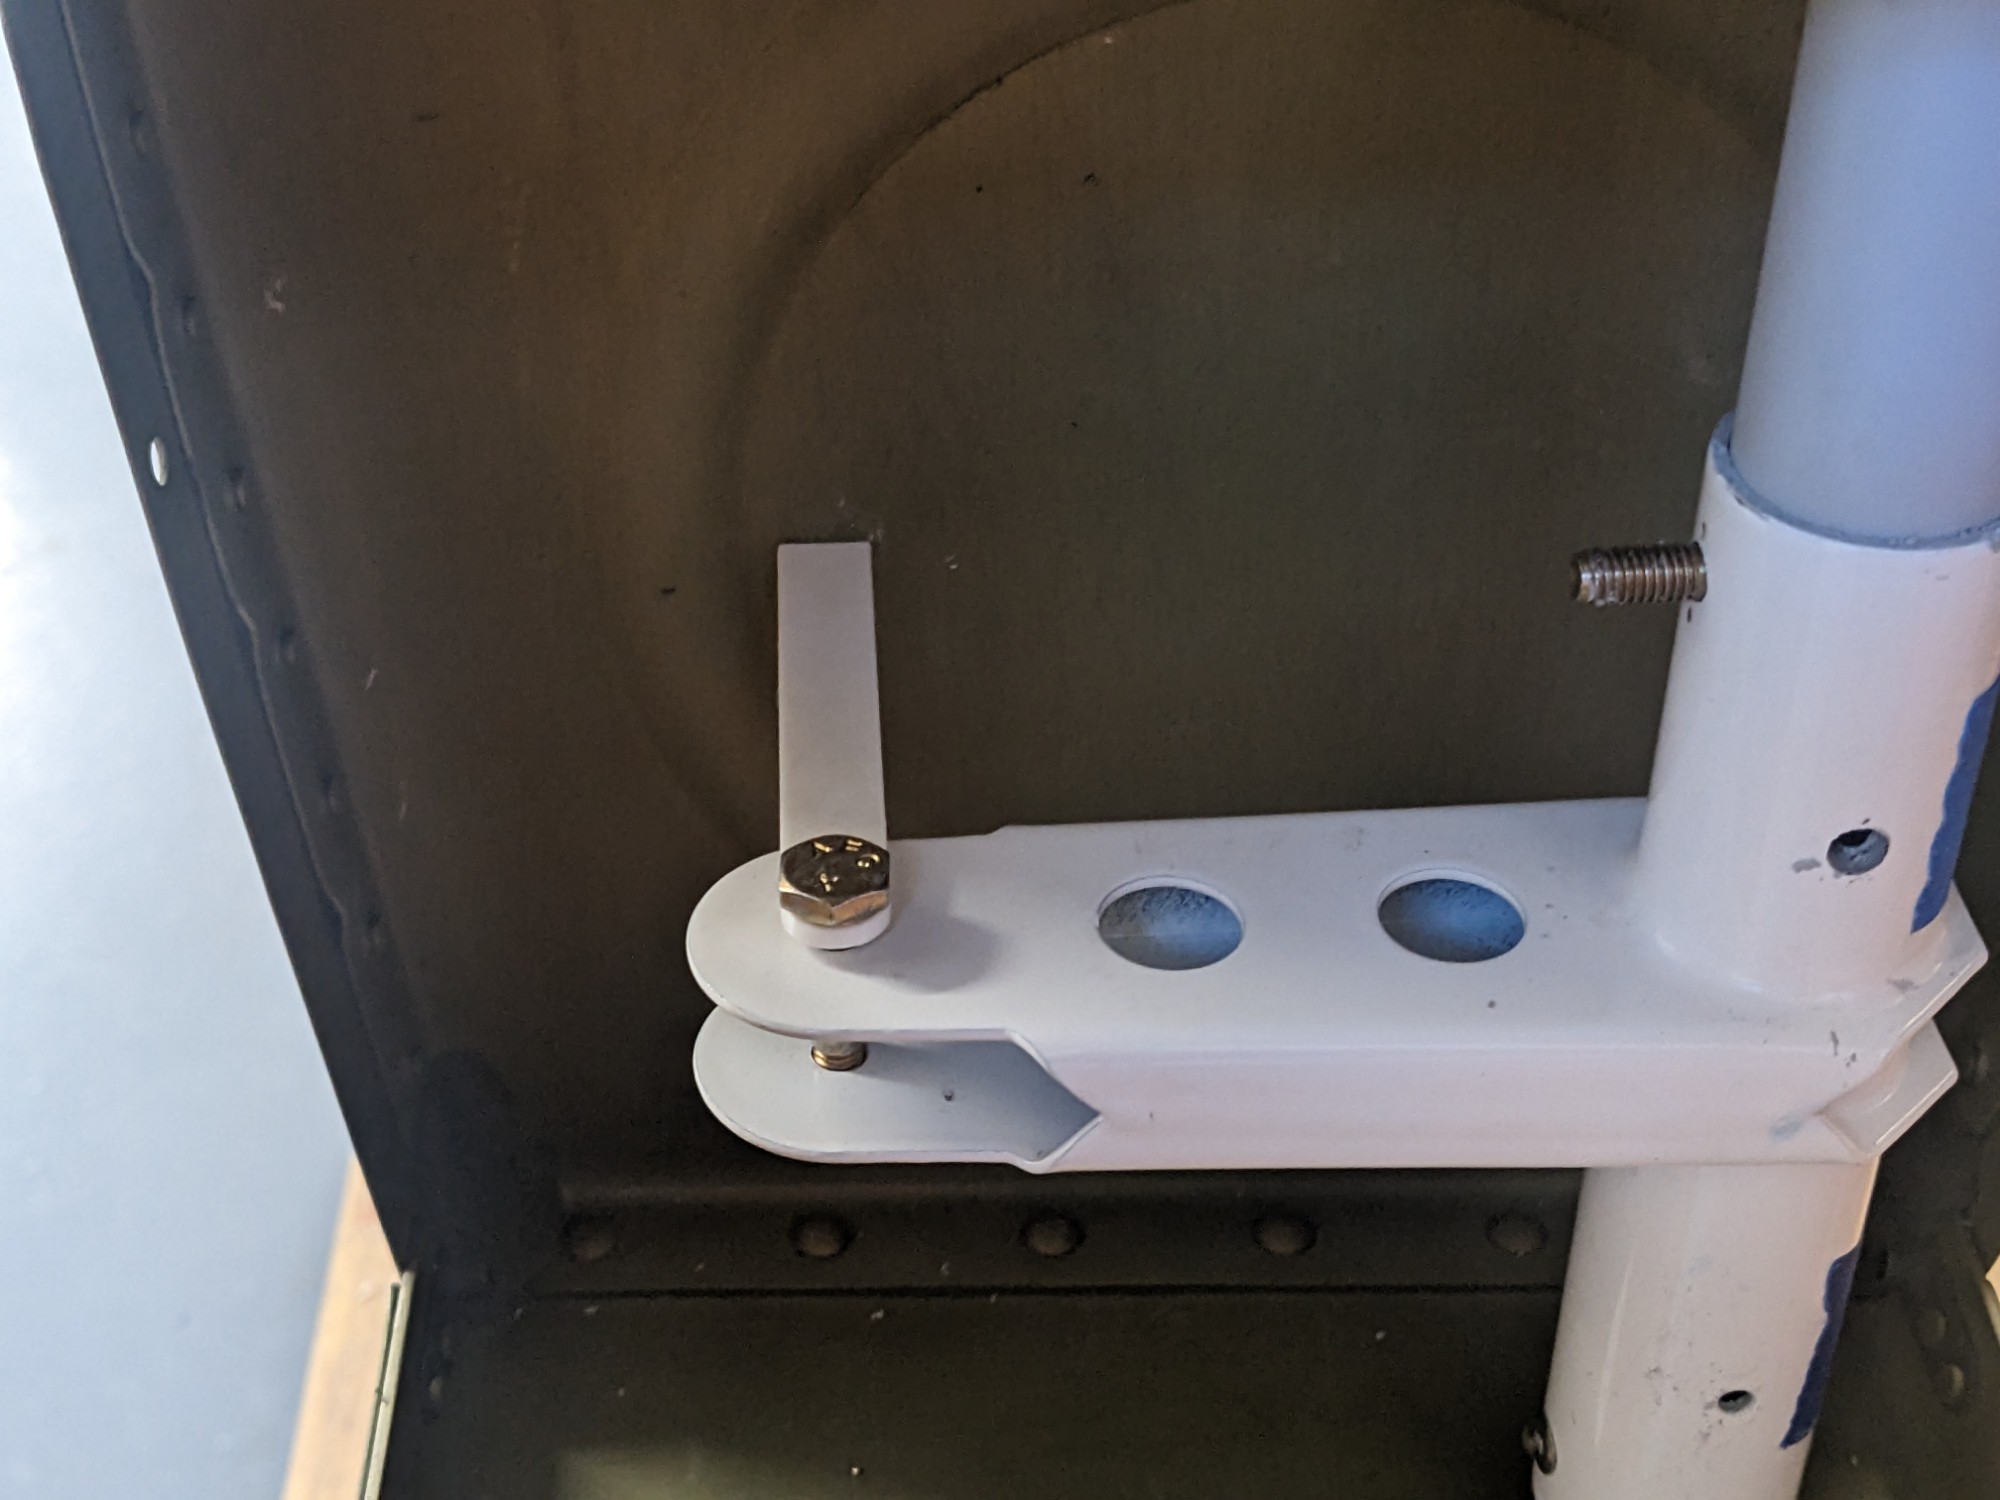
I set the neutral position of the torque tube with a 3D-printed gauge (hole center is 2 9/32″ from the side of the tank).
I then mounted the ailerons and temporarily fit the remaining aileron actuation parts. I then set all of the pushrods to the neutral position with the bellcrank jig provided in the kit. Everything moved smoothly except for some rubbing along the inboard web of the right aileron on the aileron hinge bracket assembly. This bracket was leaning slightly inboard so I removed the aileron and adjusted that to be square with the rear spar. I also gently tapped the end rib web with a rubber mallet as it was slightly convex. I also had to file back the skin slightly in this area. The ailerons now move quietly to the stops with no interference.
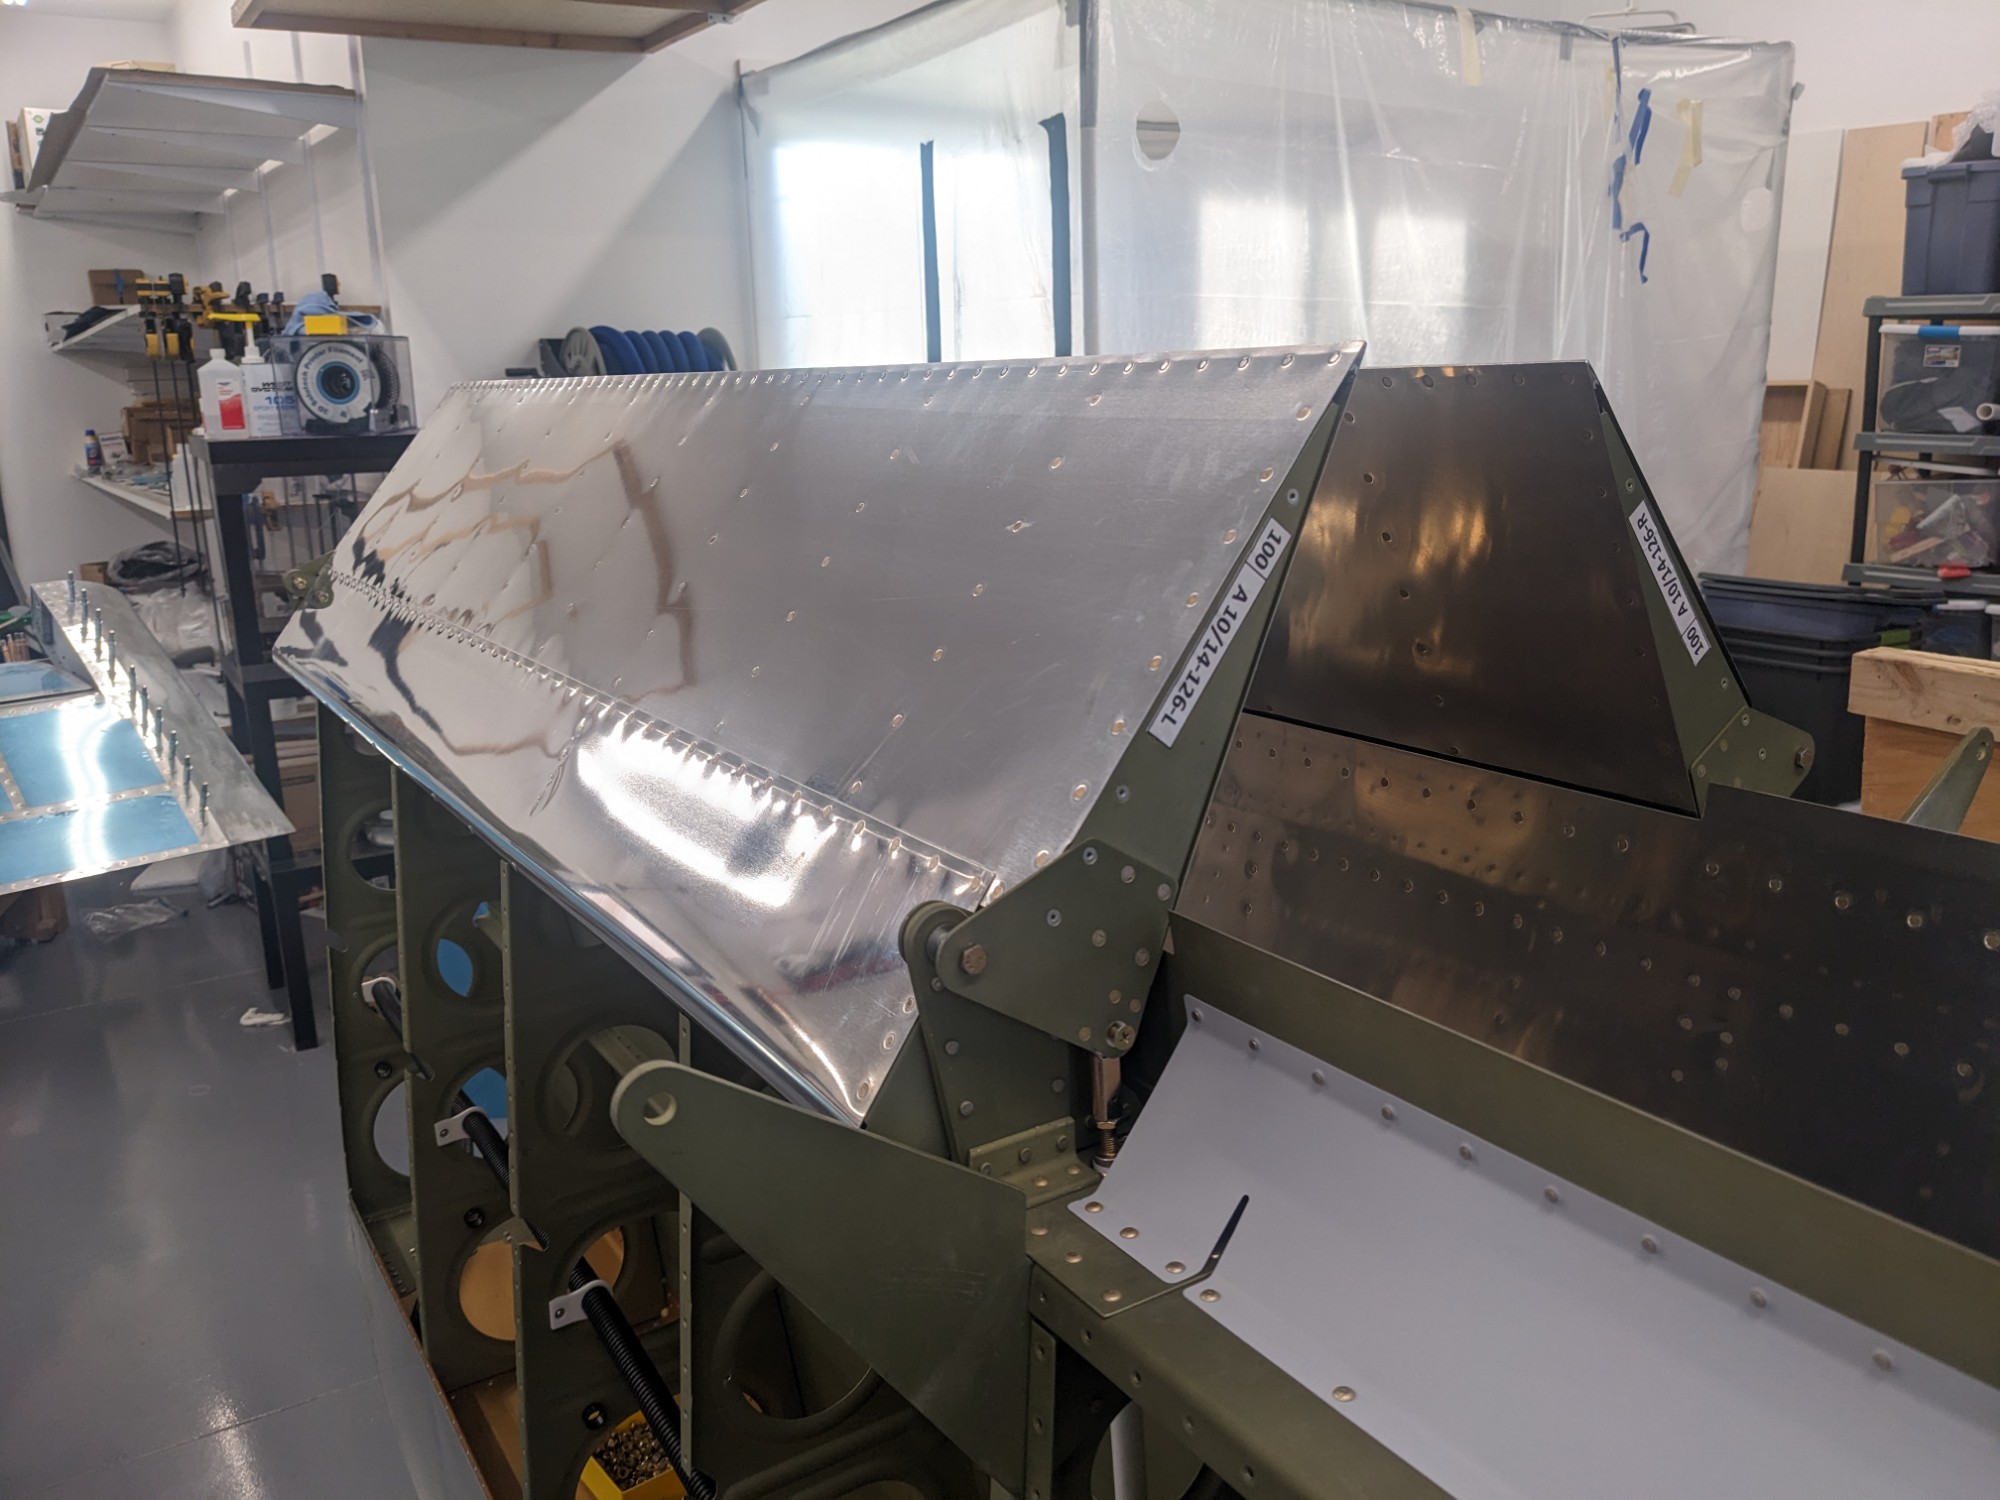
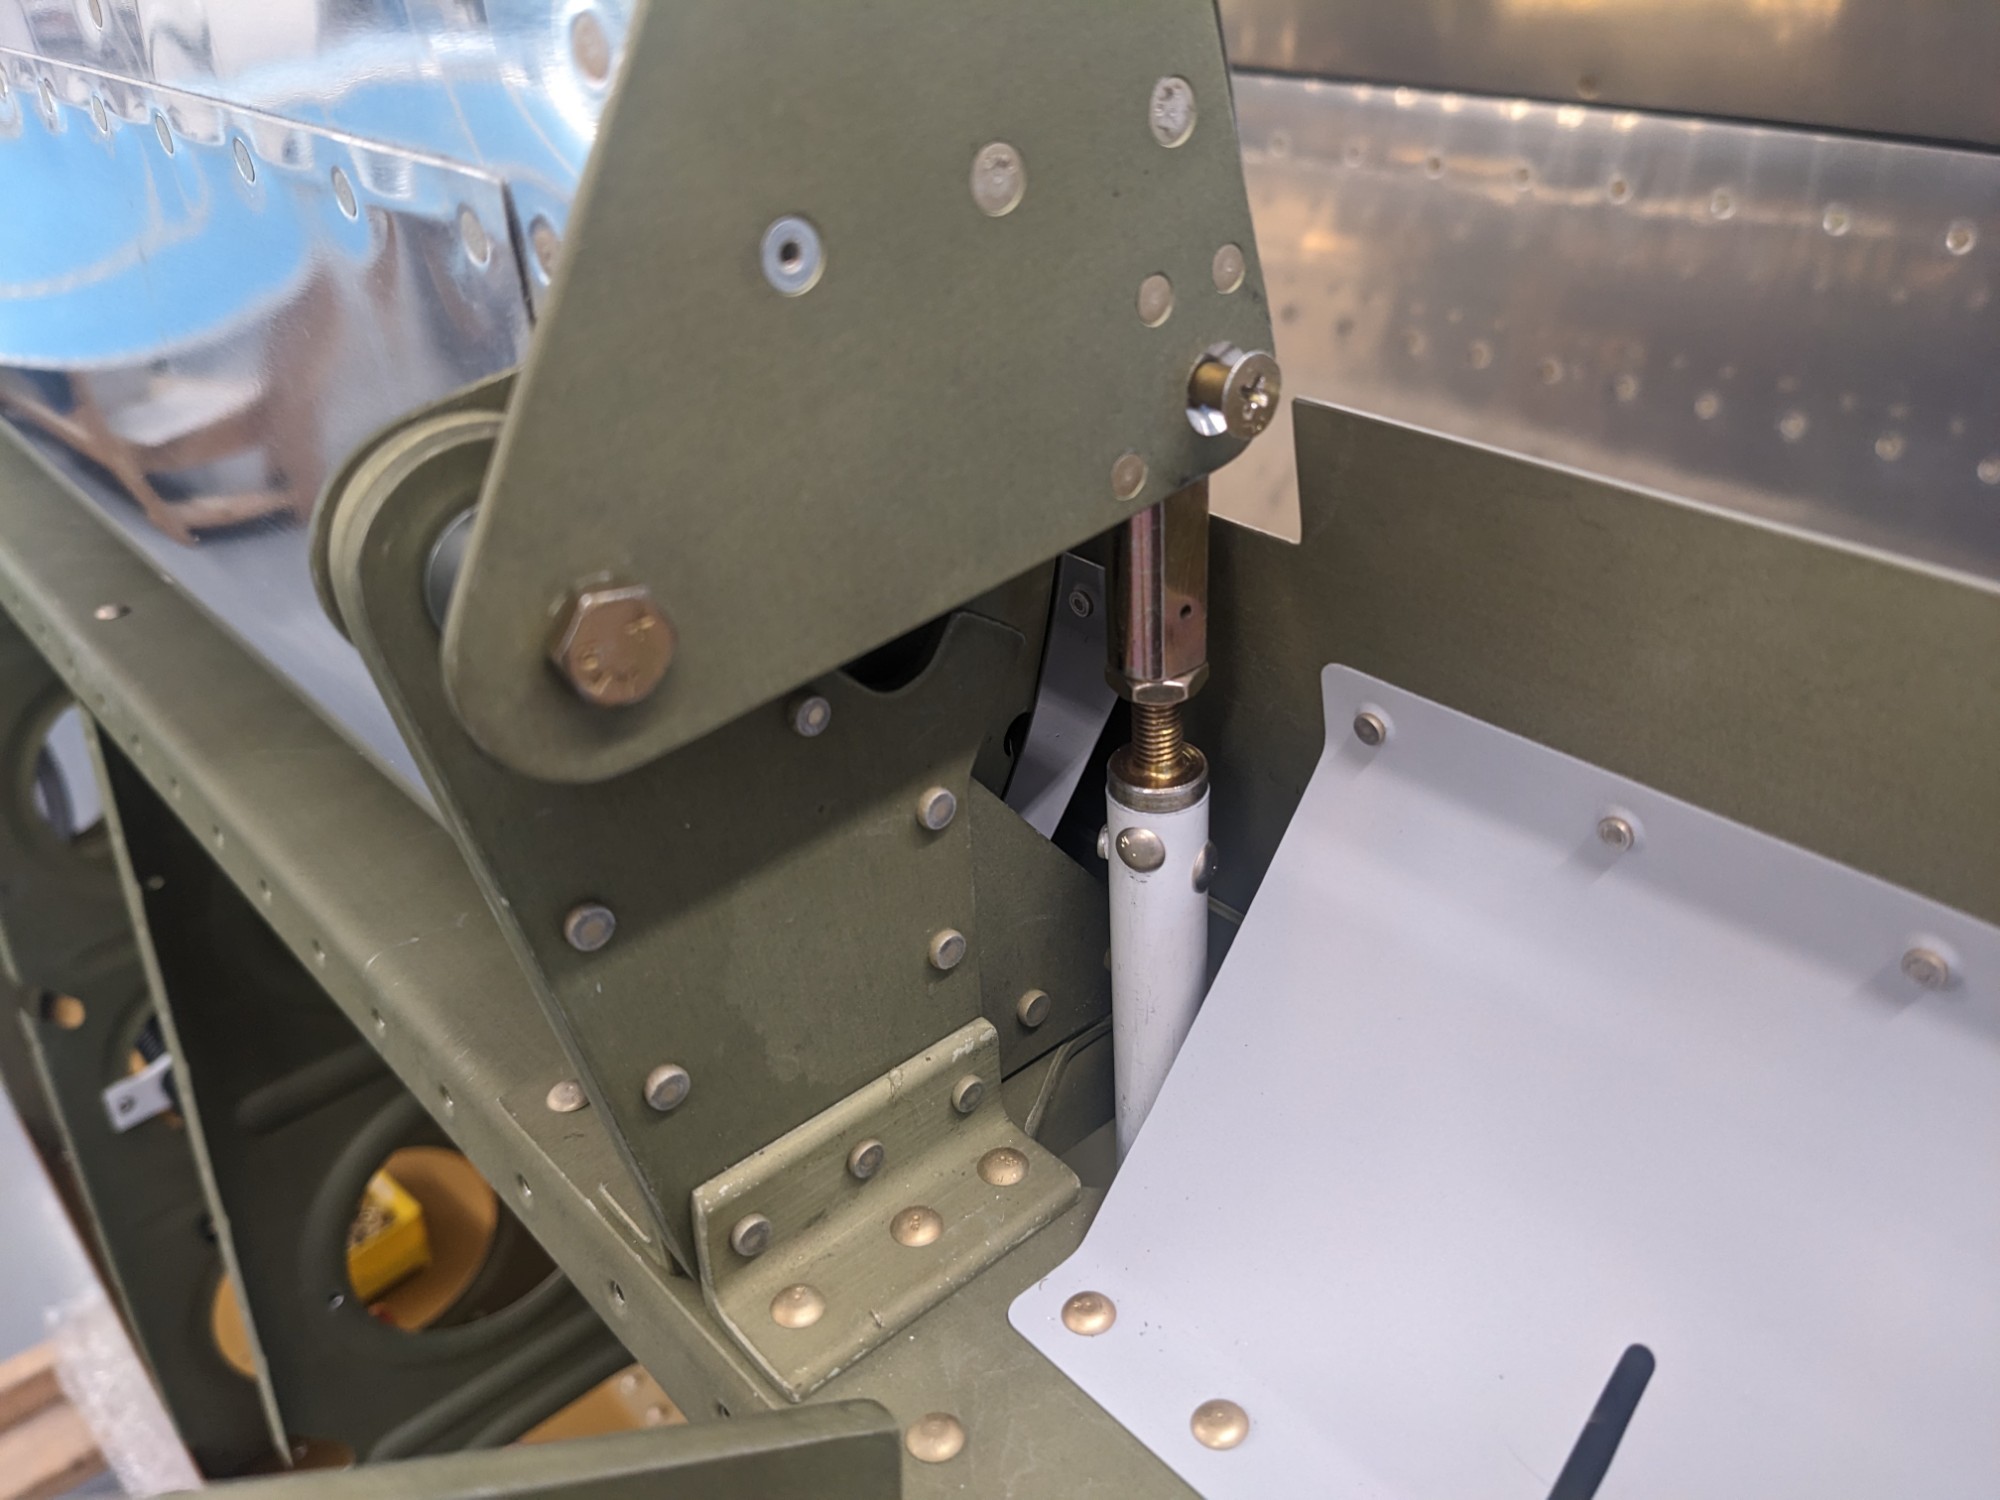
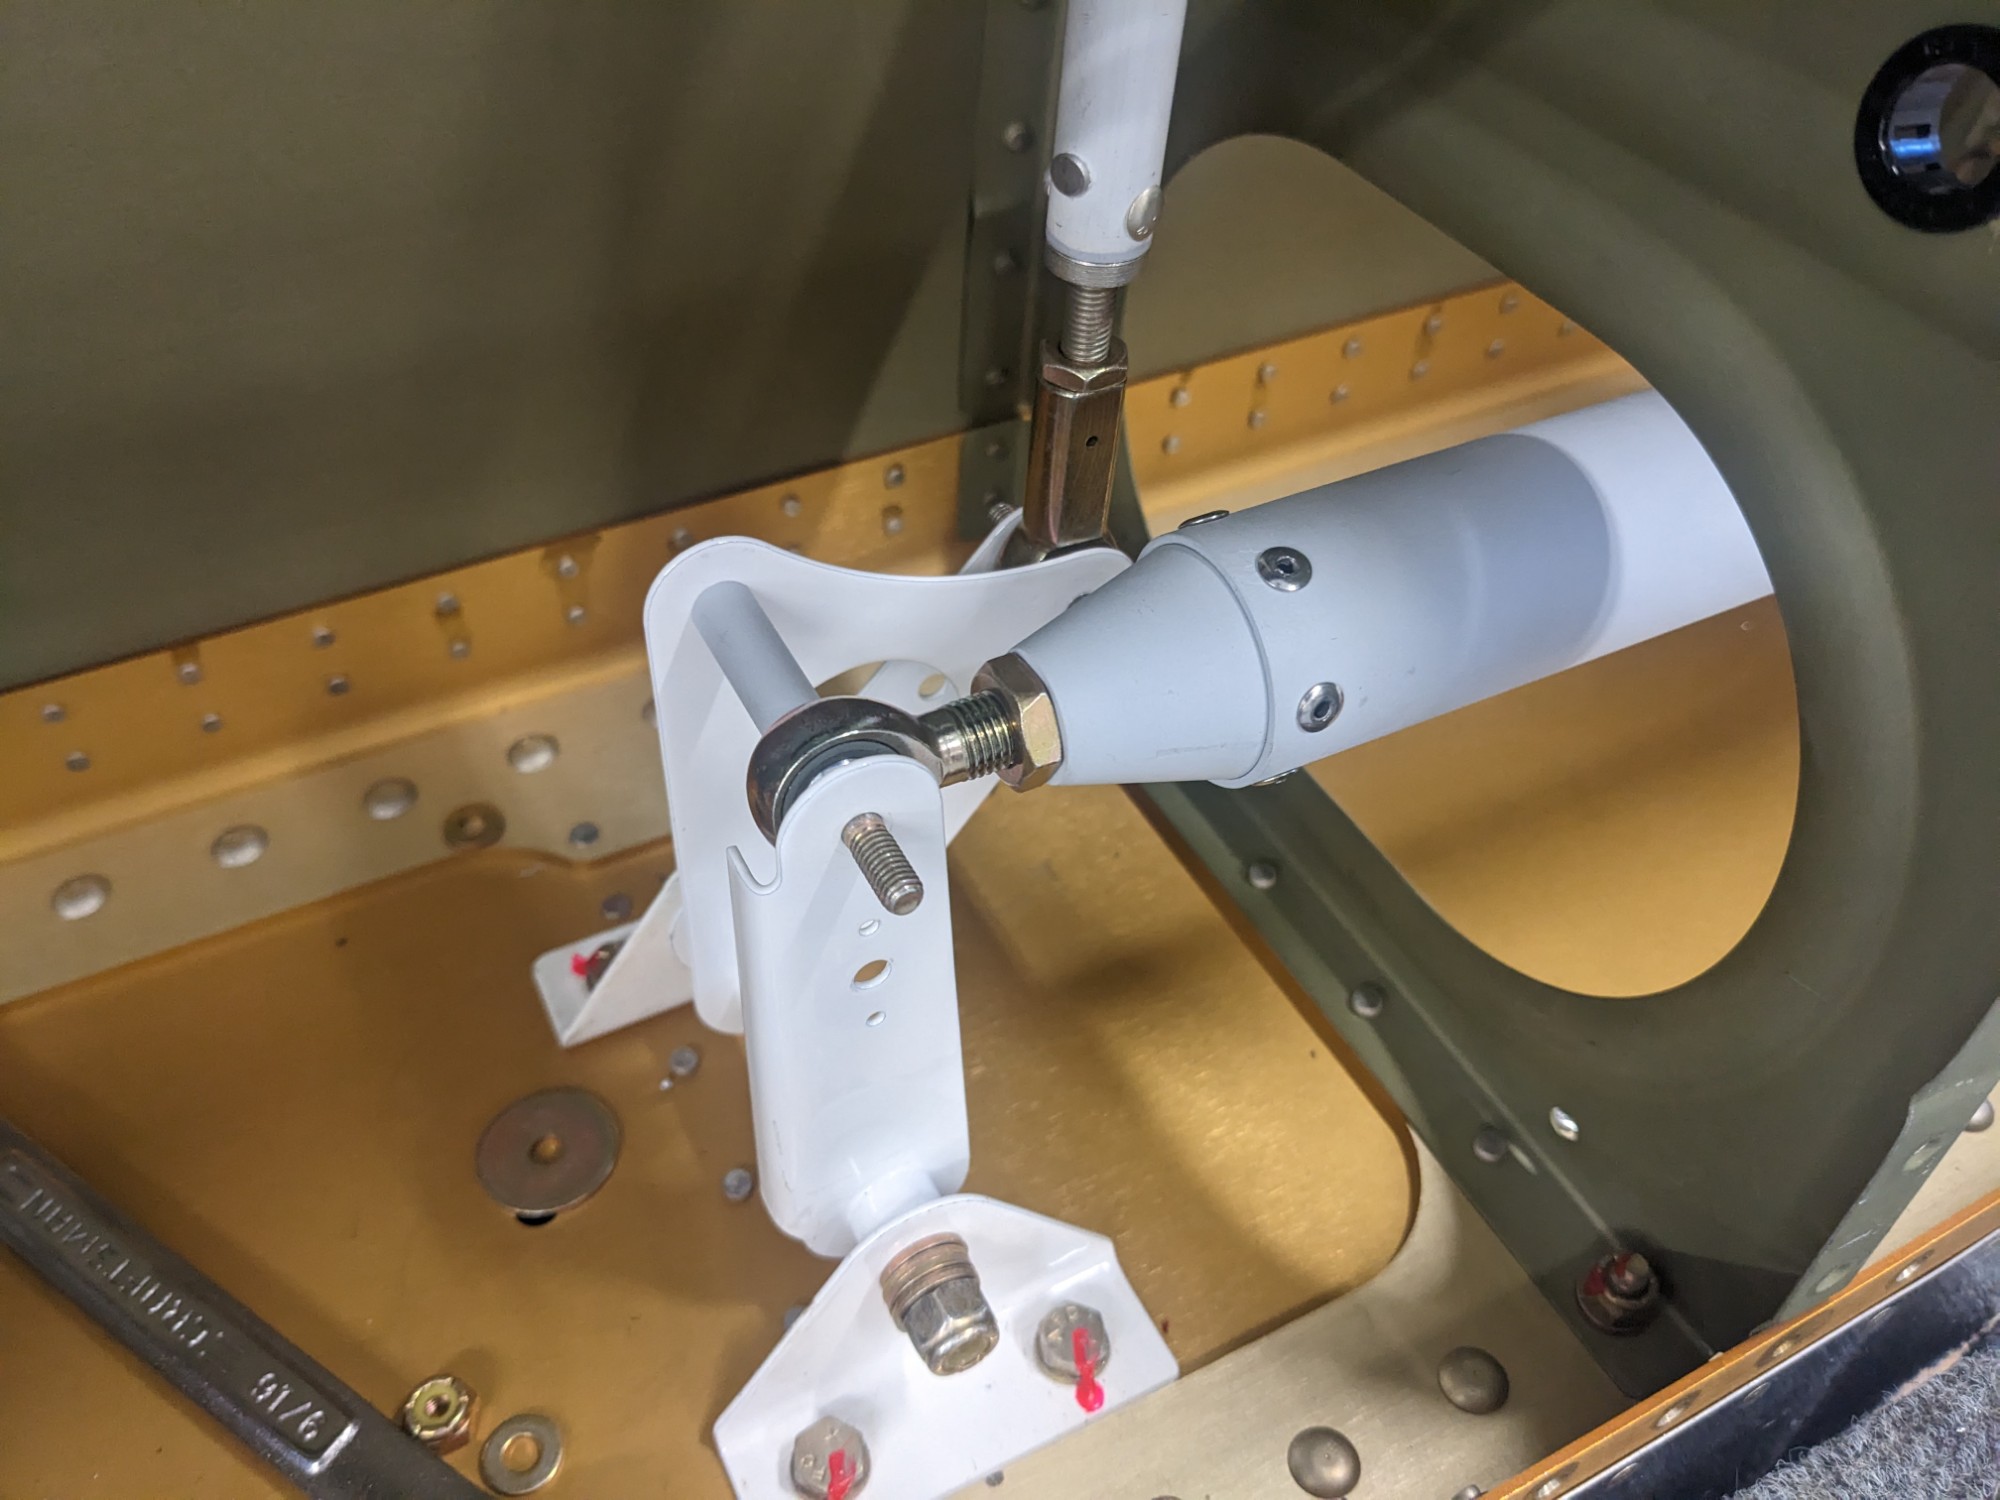
I didn’t tighten down any of the hardware yet but I have things rigged well enough to be able to fit the aileron trim.
