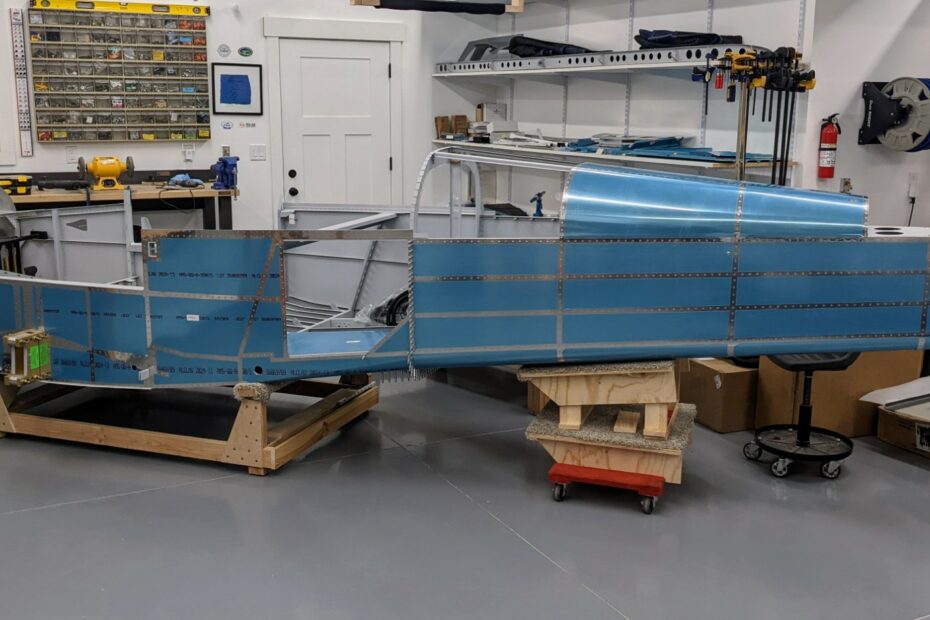
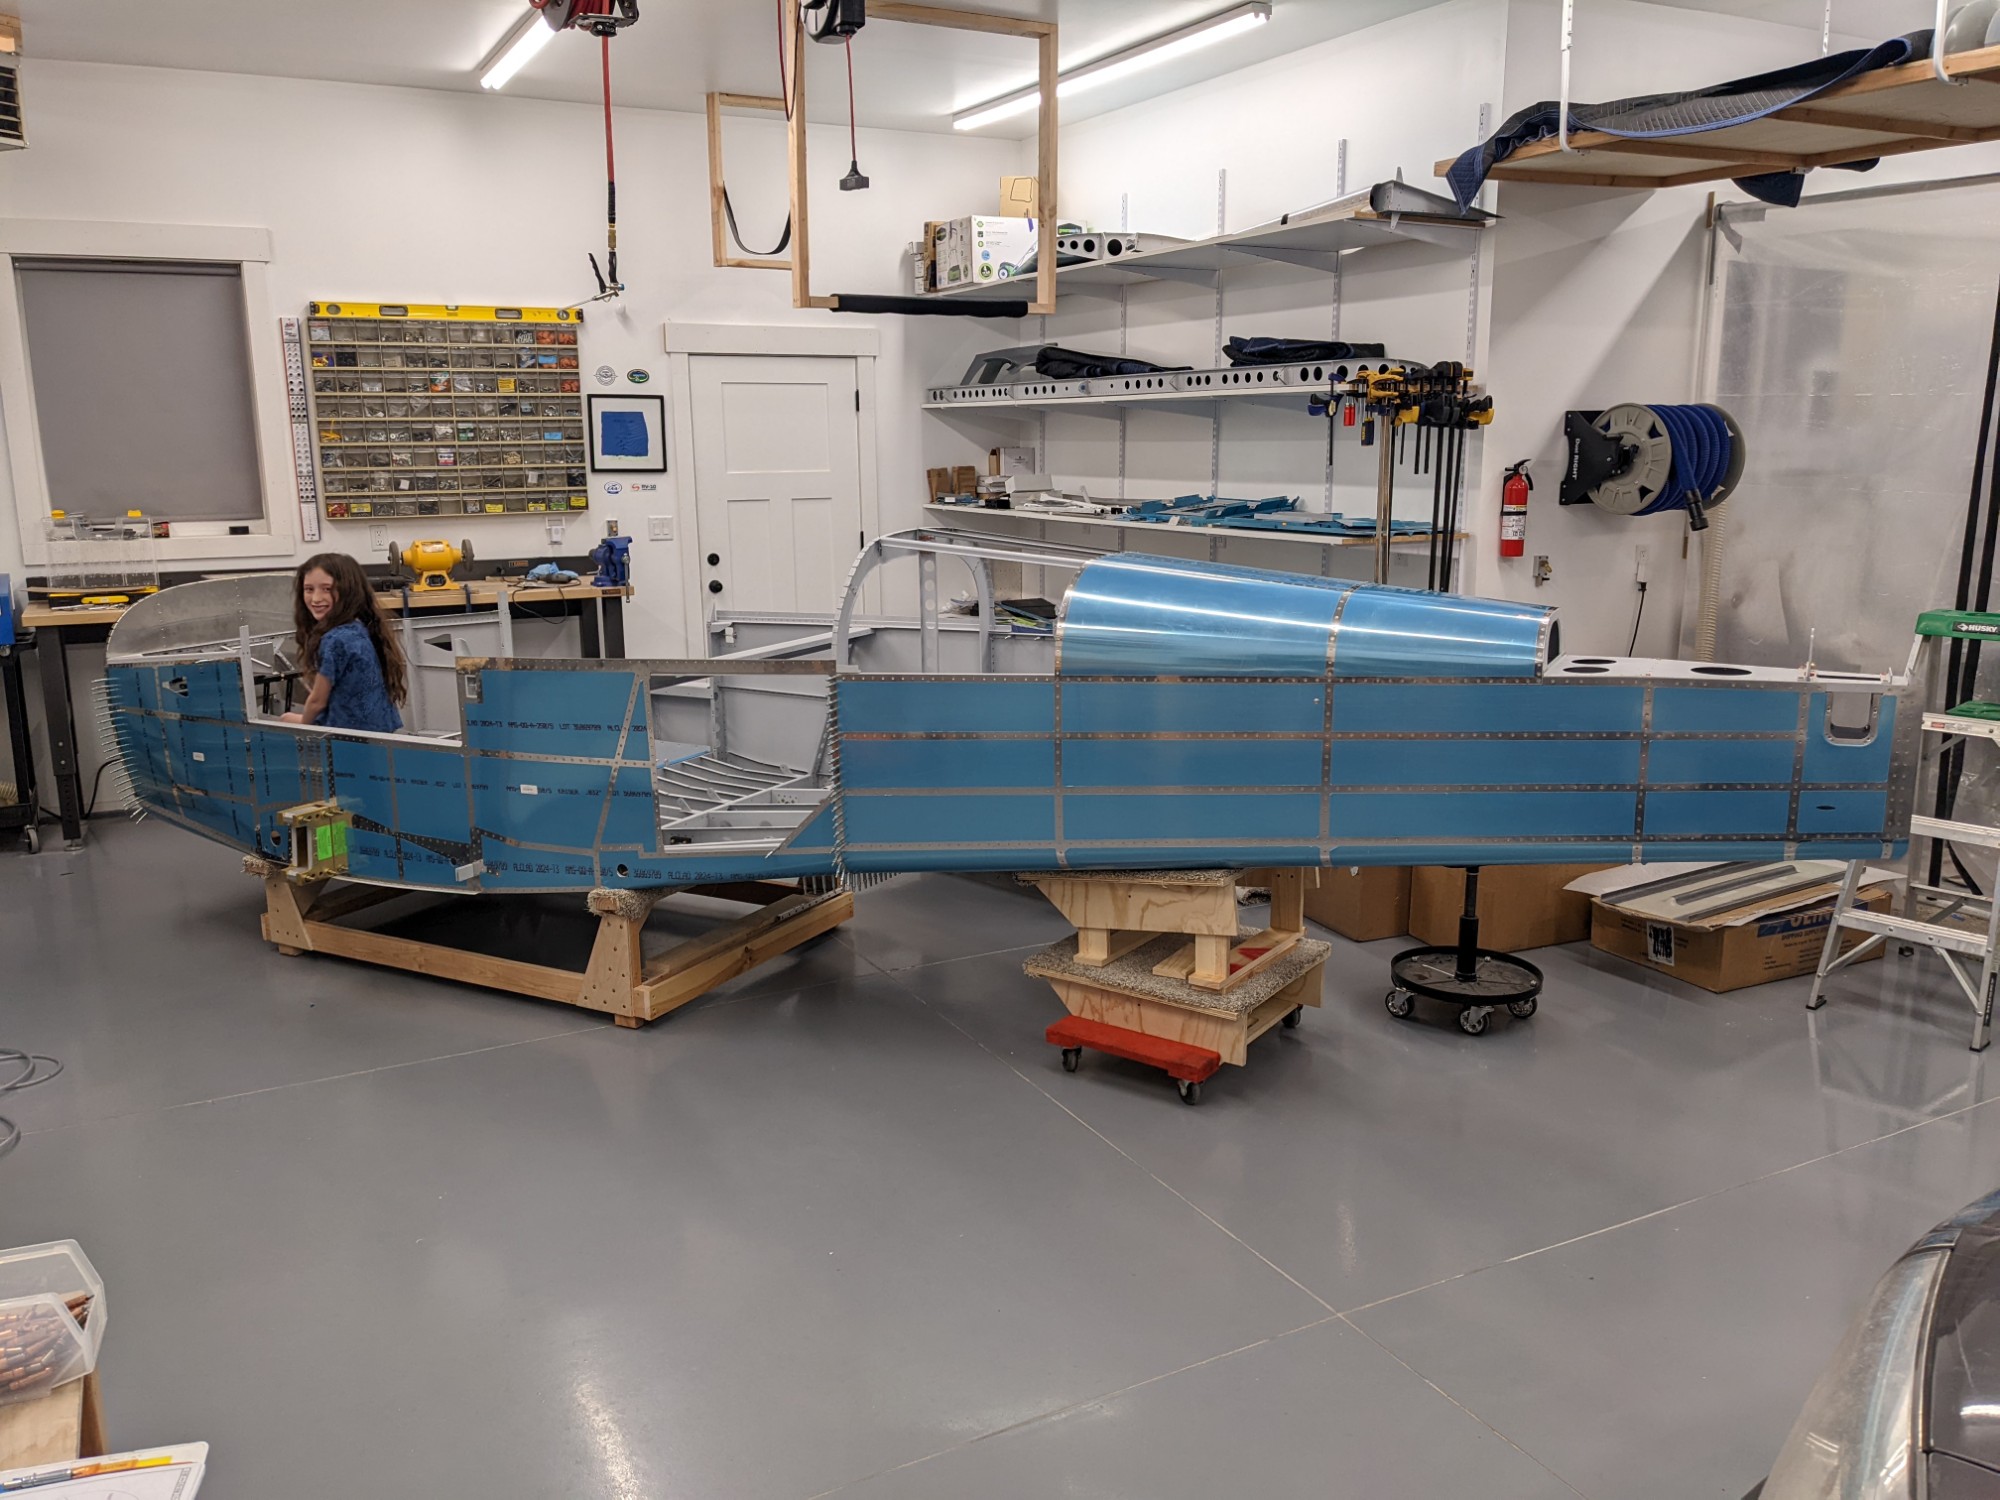
The tailcone has been removed from the ceiling storage rack!
I made a makeshift cart to support the tailcone and slide it into place behind the fuselage. This thing is getting big!
![](https://airplane.allanglen.com/wp-content/uploads/2022/01/pxl_20220117_0604170013847656056389978411.jpg)
![](https://airplane.allanglen.com/wp-content/uploads/2022/01/pxl_20220117_0603496078522926587938670034.jpg)
![](https://airplane.allanglen.com/wp-content/uploads/2022/01/pxl_20220119_0343578461560152095611771884.jpg)
![](https://airplane.allanglen.com/wp-content/uploads/2022/01/pxl_20220119_0409575847152692484805875.jpg)
![](https://airplane.allanglen.com/wp-content/uploads/2022/01/pxl_20220119_0410434287797783110648990034.jpg)
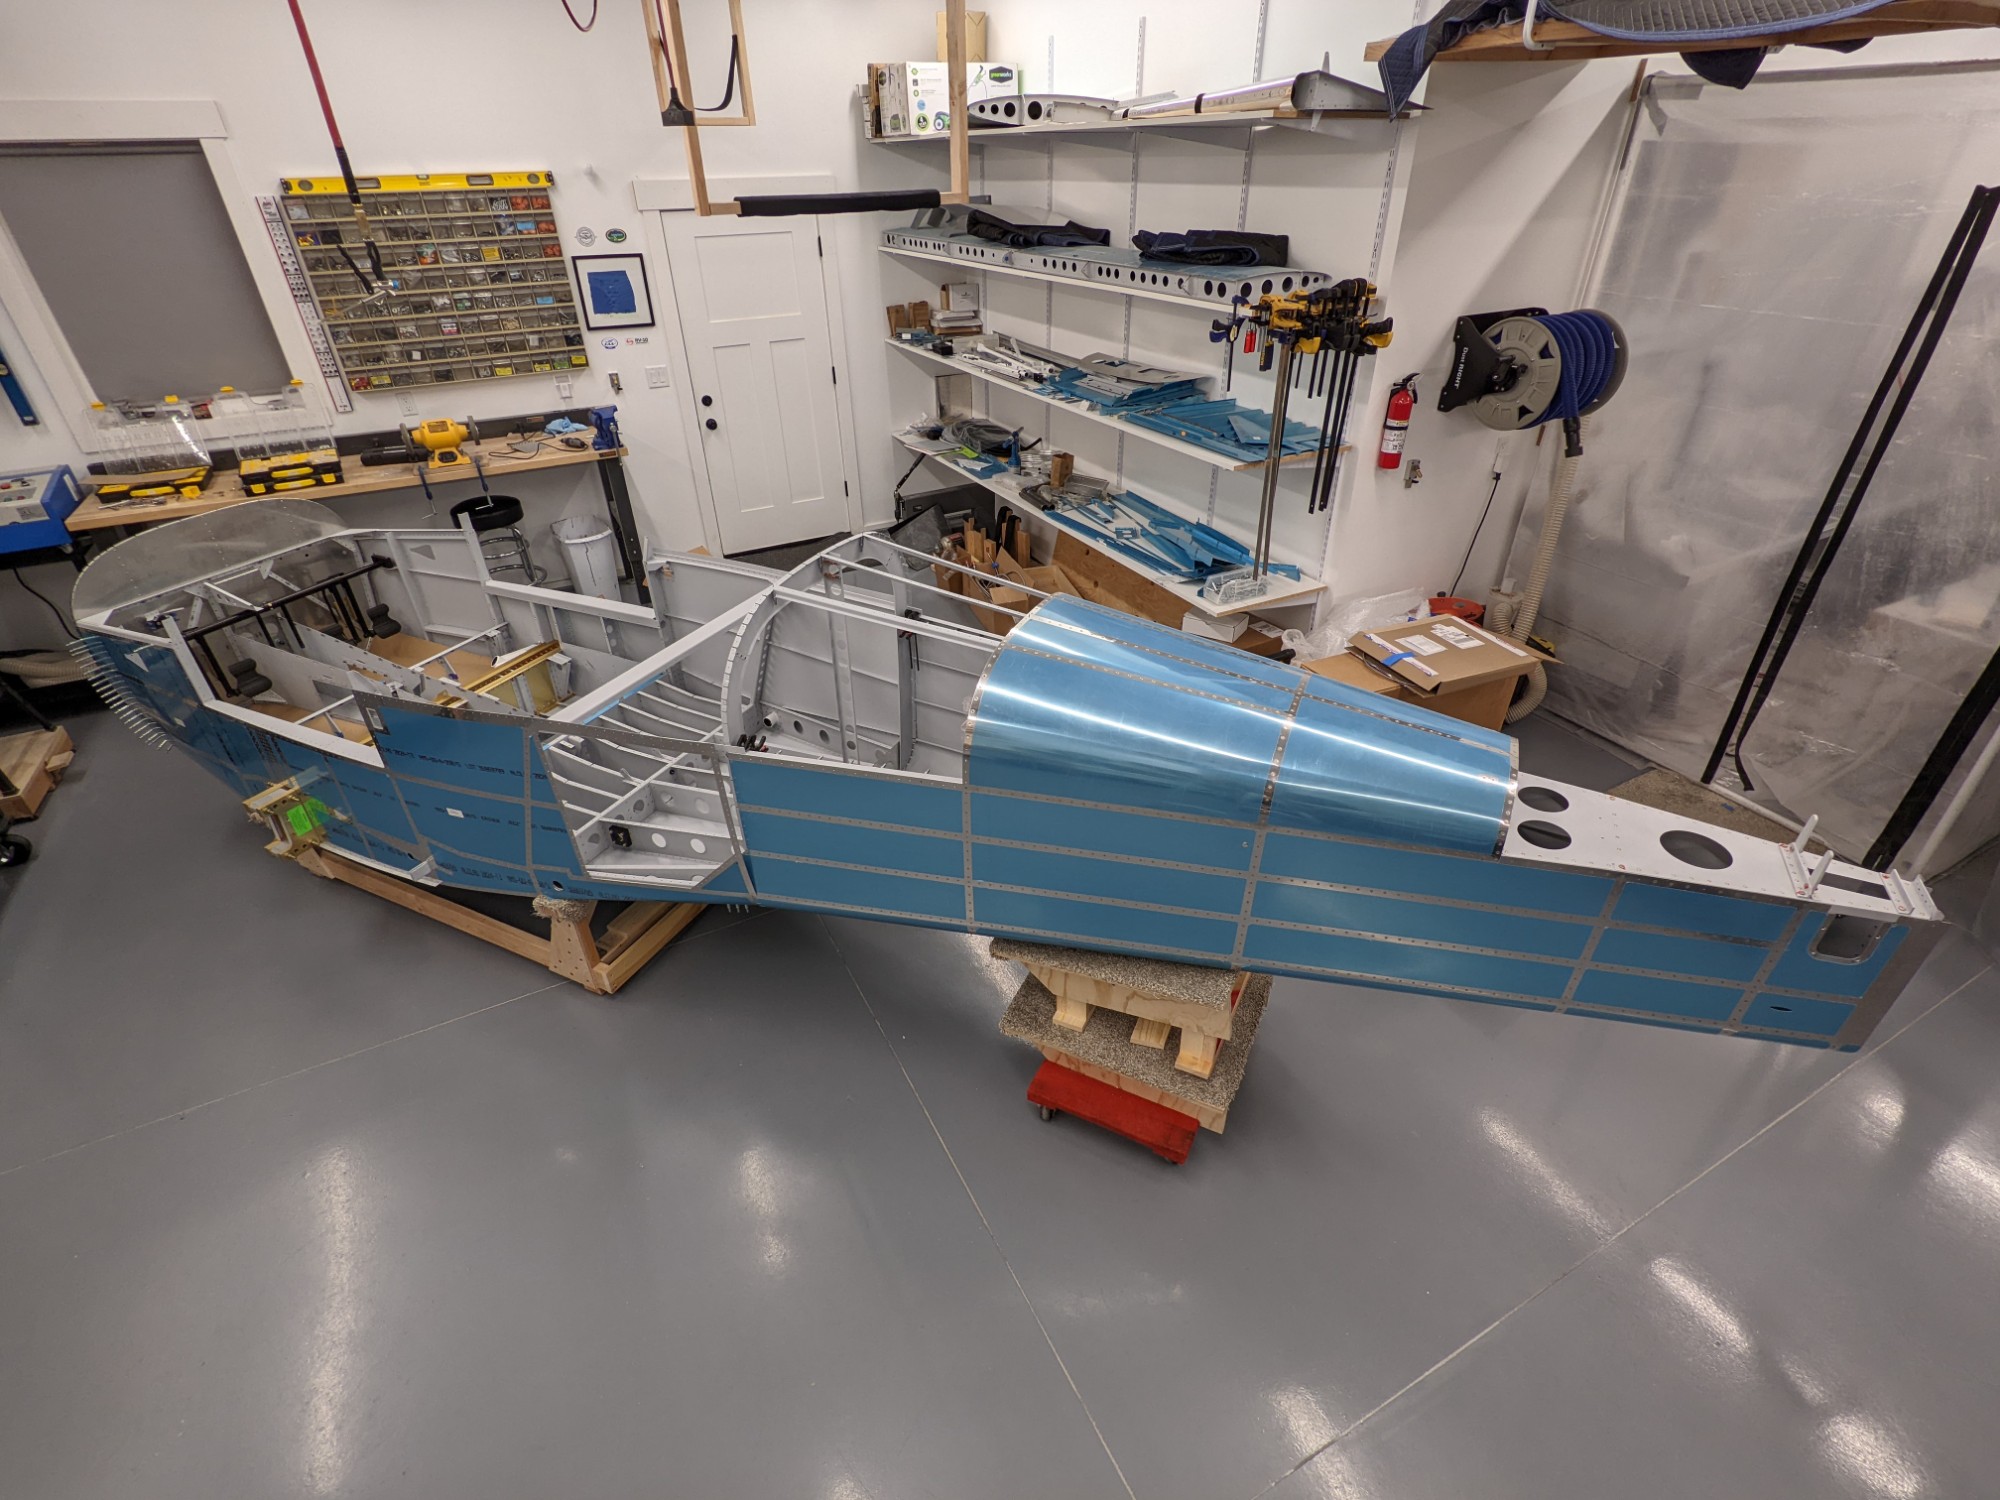
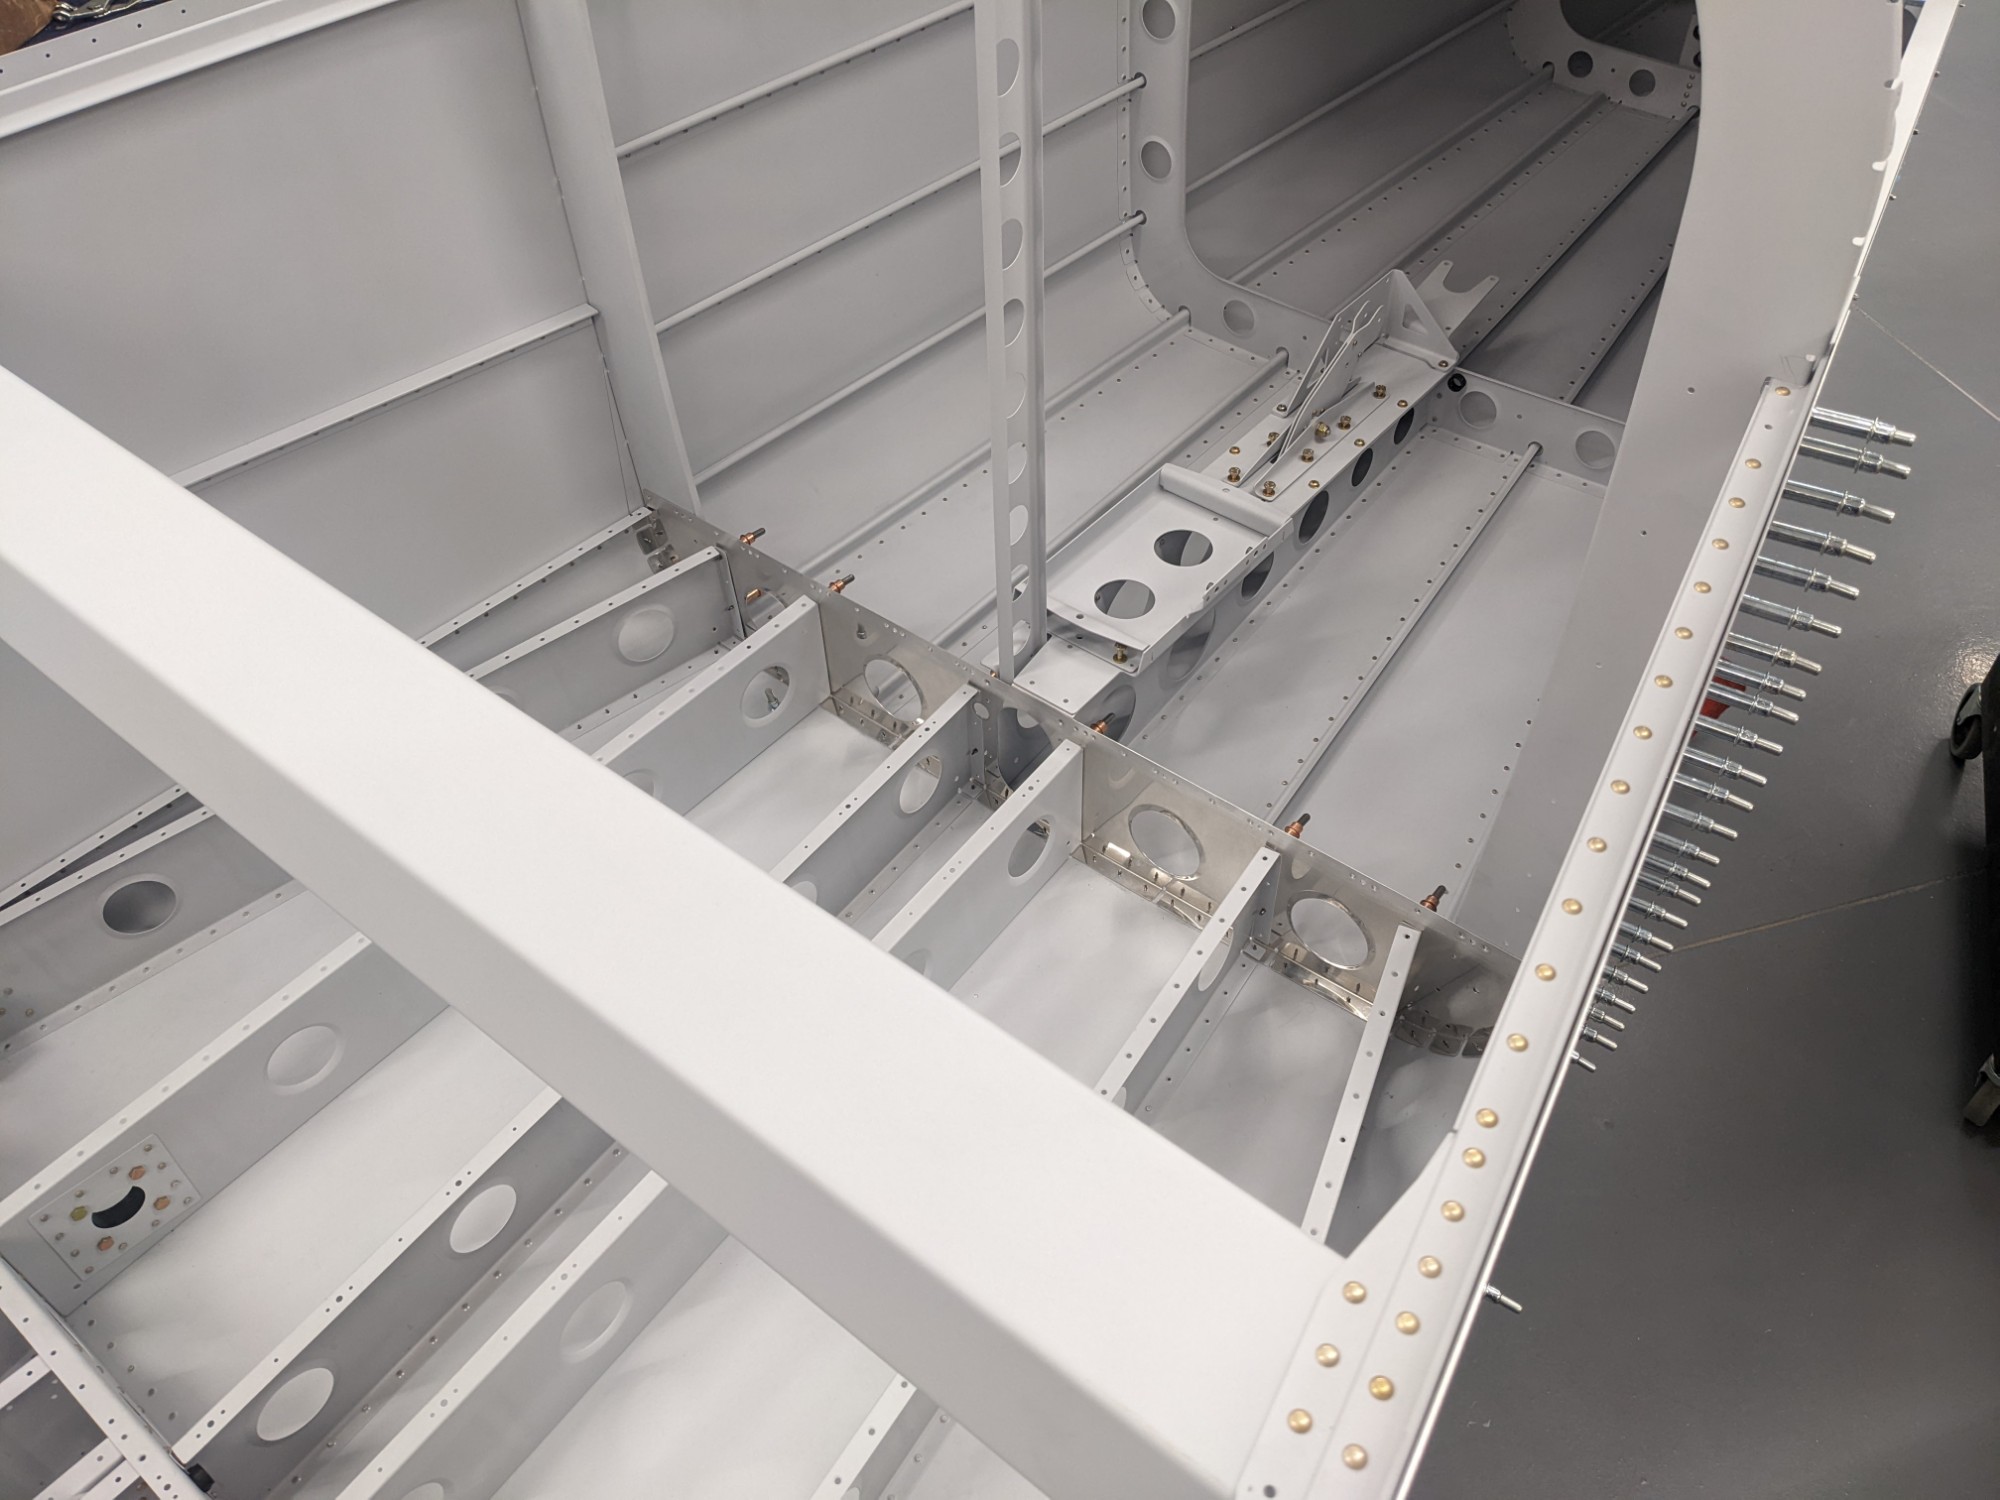
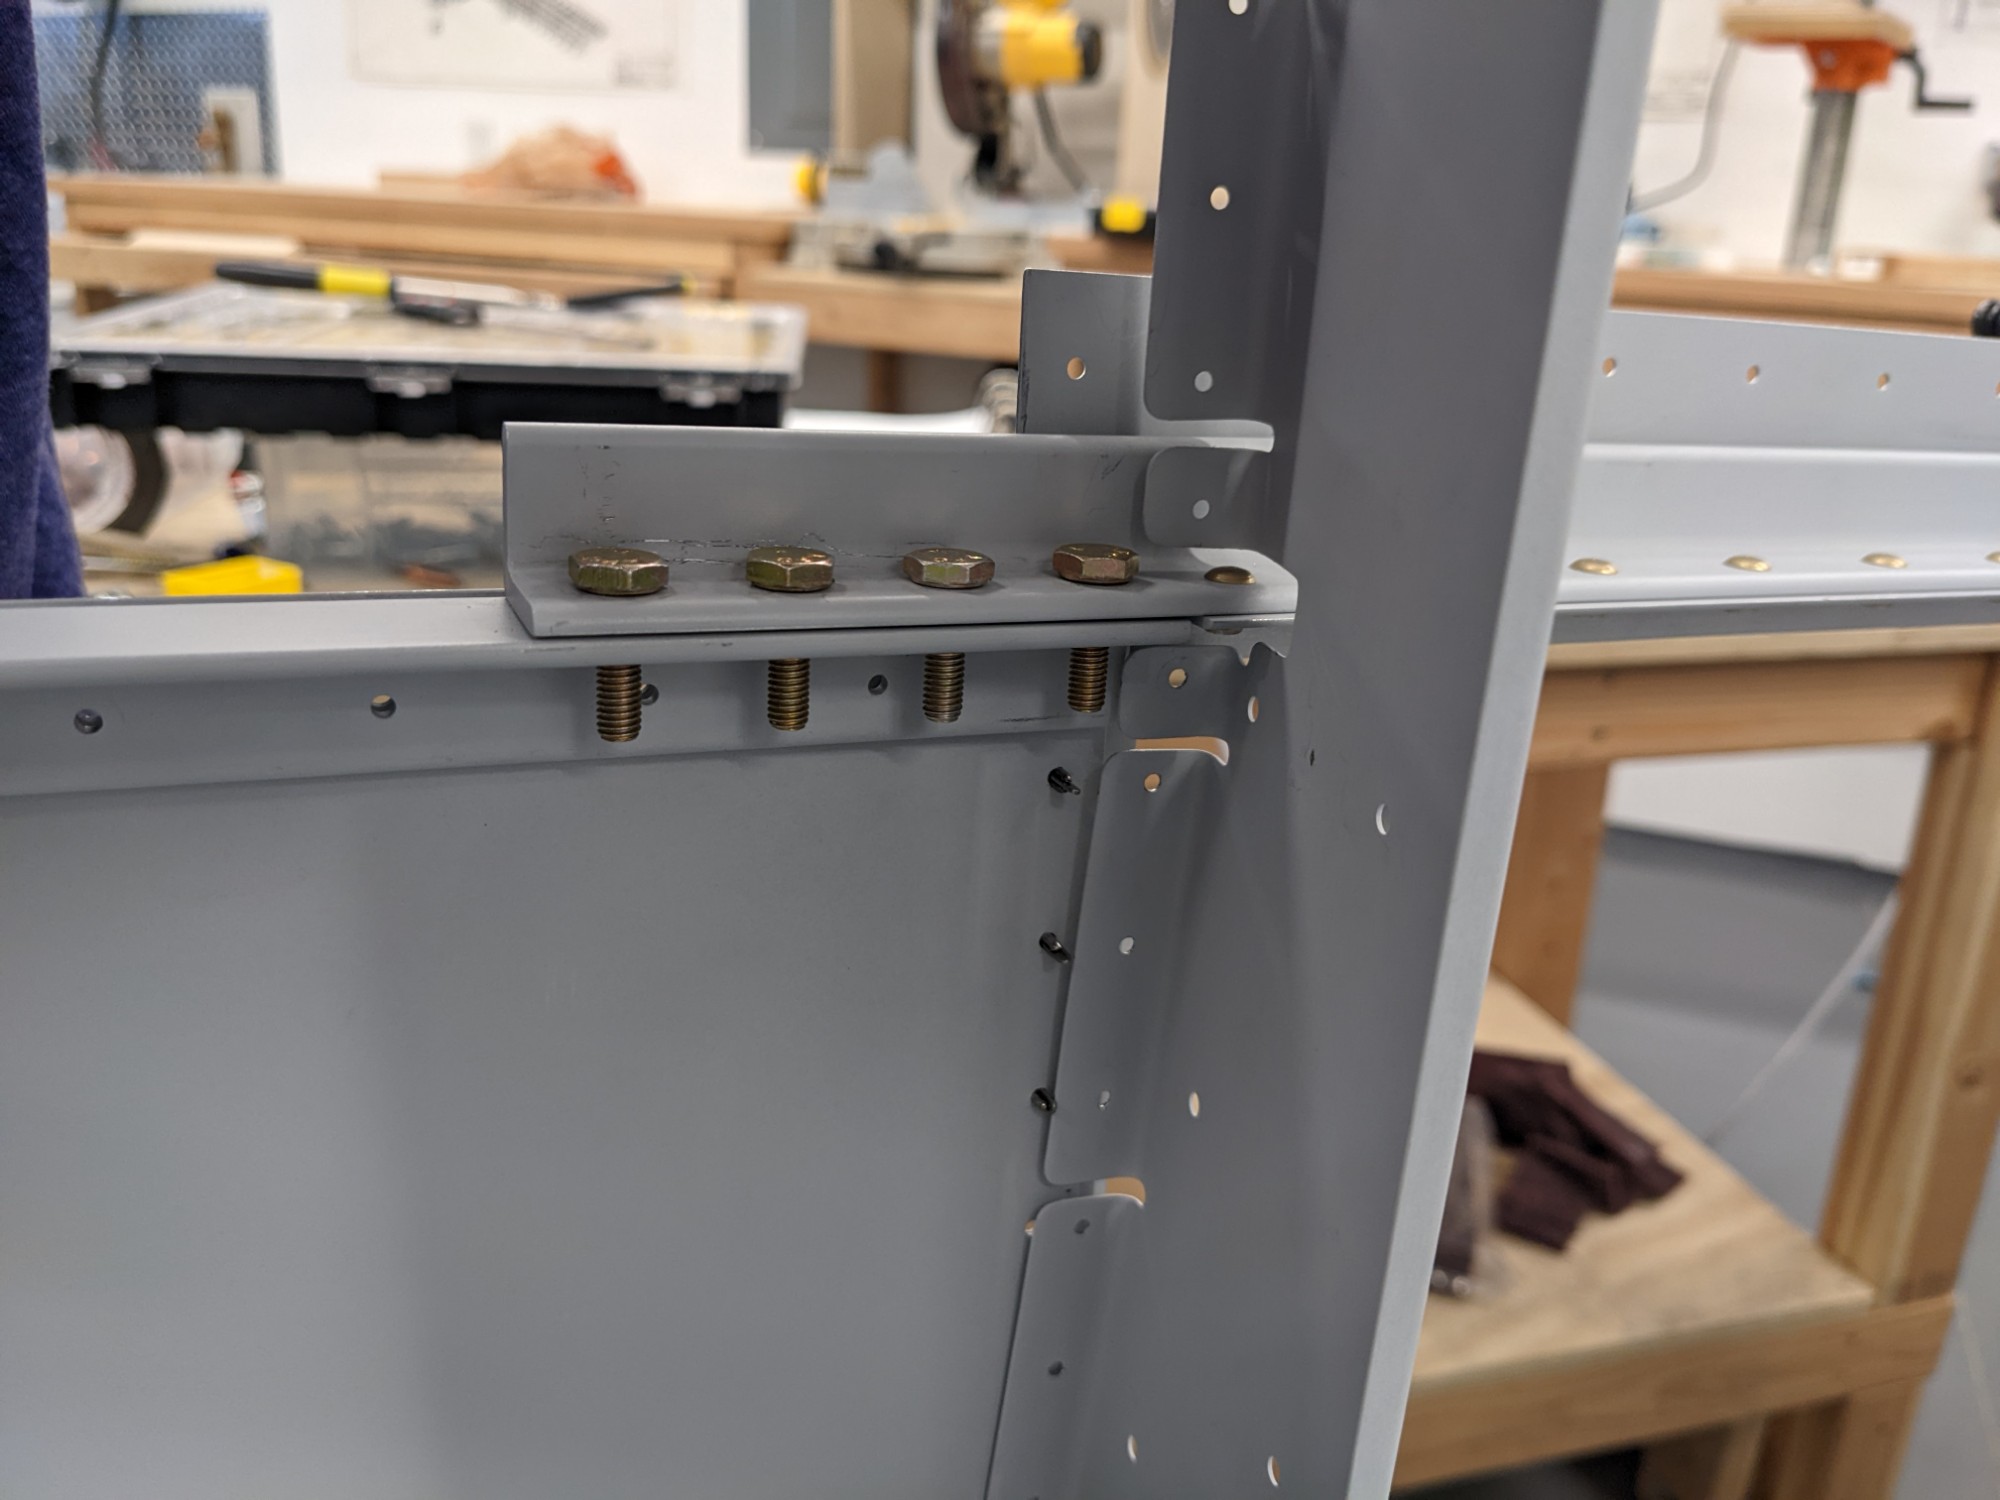
There are several holes to match drill and dimple on the shared bulkhead.
![](https://airplane.allanglen.com/wp-content/uploads/2022/01/pxl_20220124_1437333136199361407218106231.jpg)
![](https://airplane.allanglen.com/wp-content/uploads/2022/01/pxl_20220124_143744491605971425165710998.jpg)
![](https://airplane.allanglen.com/wp-content/uploads/2022/01/pxl_20220124_1437570046391112718740856957.jpg)
![](https://airplane.allanglen.com/wp-content/uploads/2022/01/pxl_20220124_1438003761475940669002829545.jpg)
![](https://airplane.allanglen.com/wp-content/uploads/2022/01/pxl_20220124_1438035956624437403348307299.jpg)
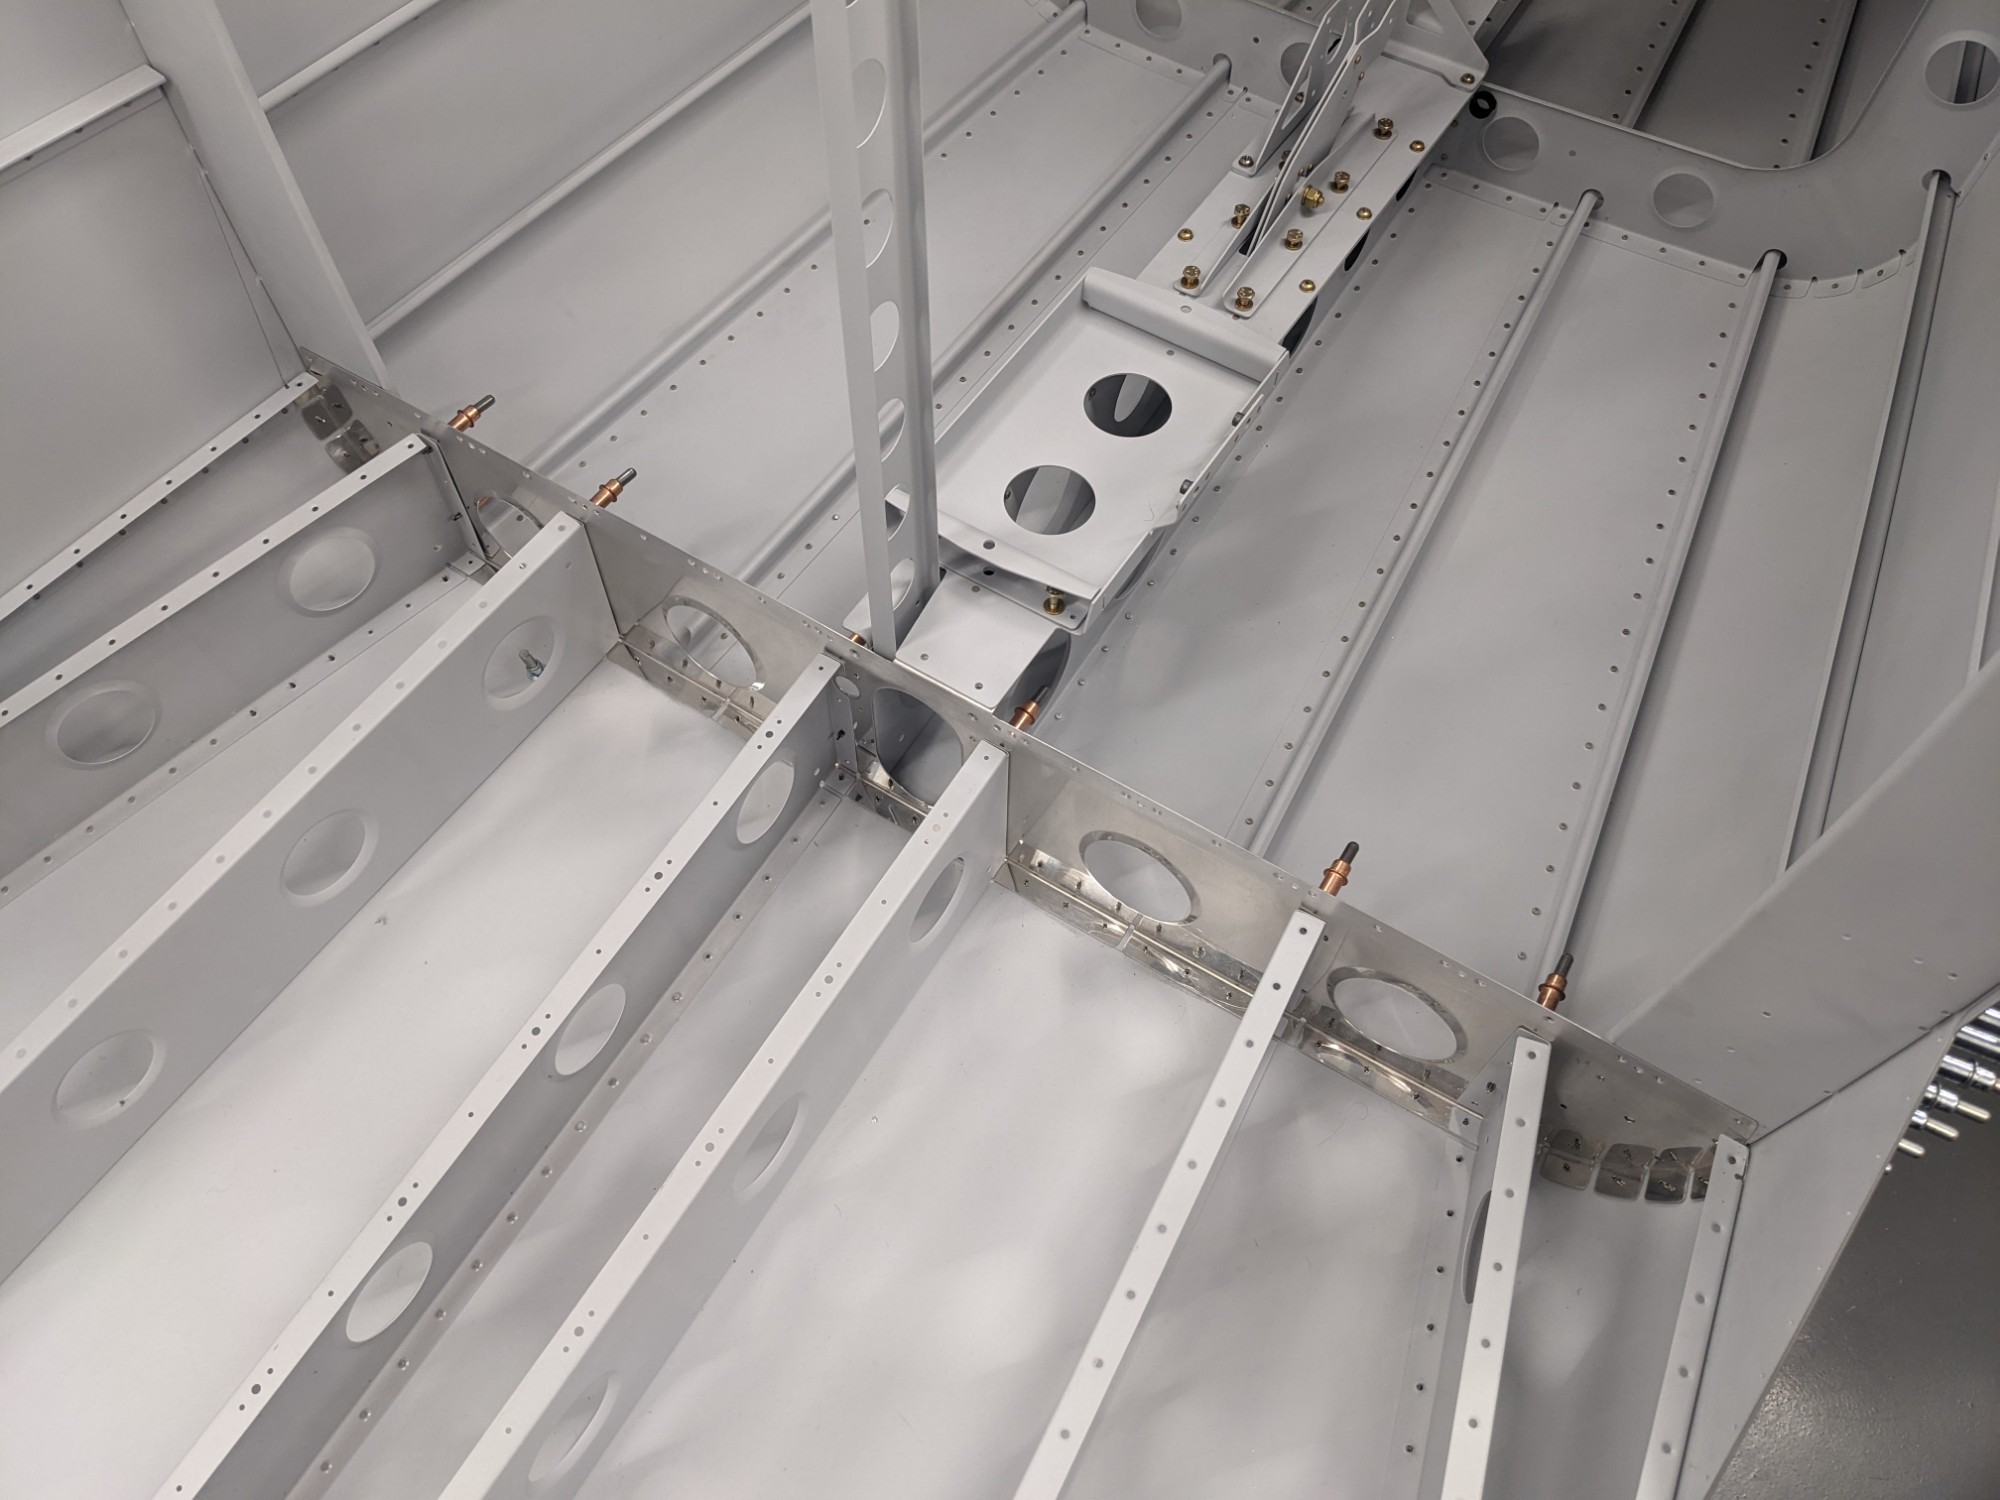
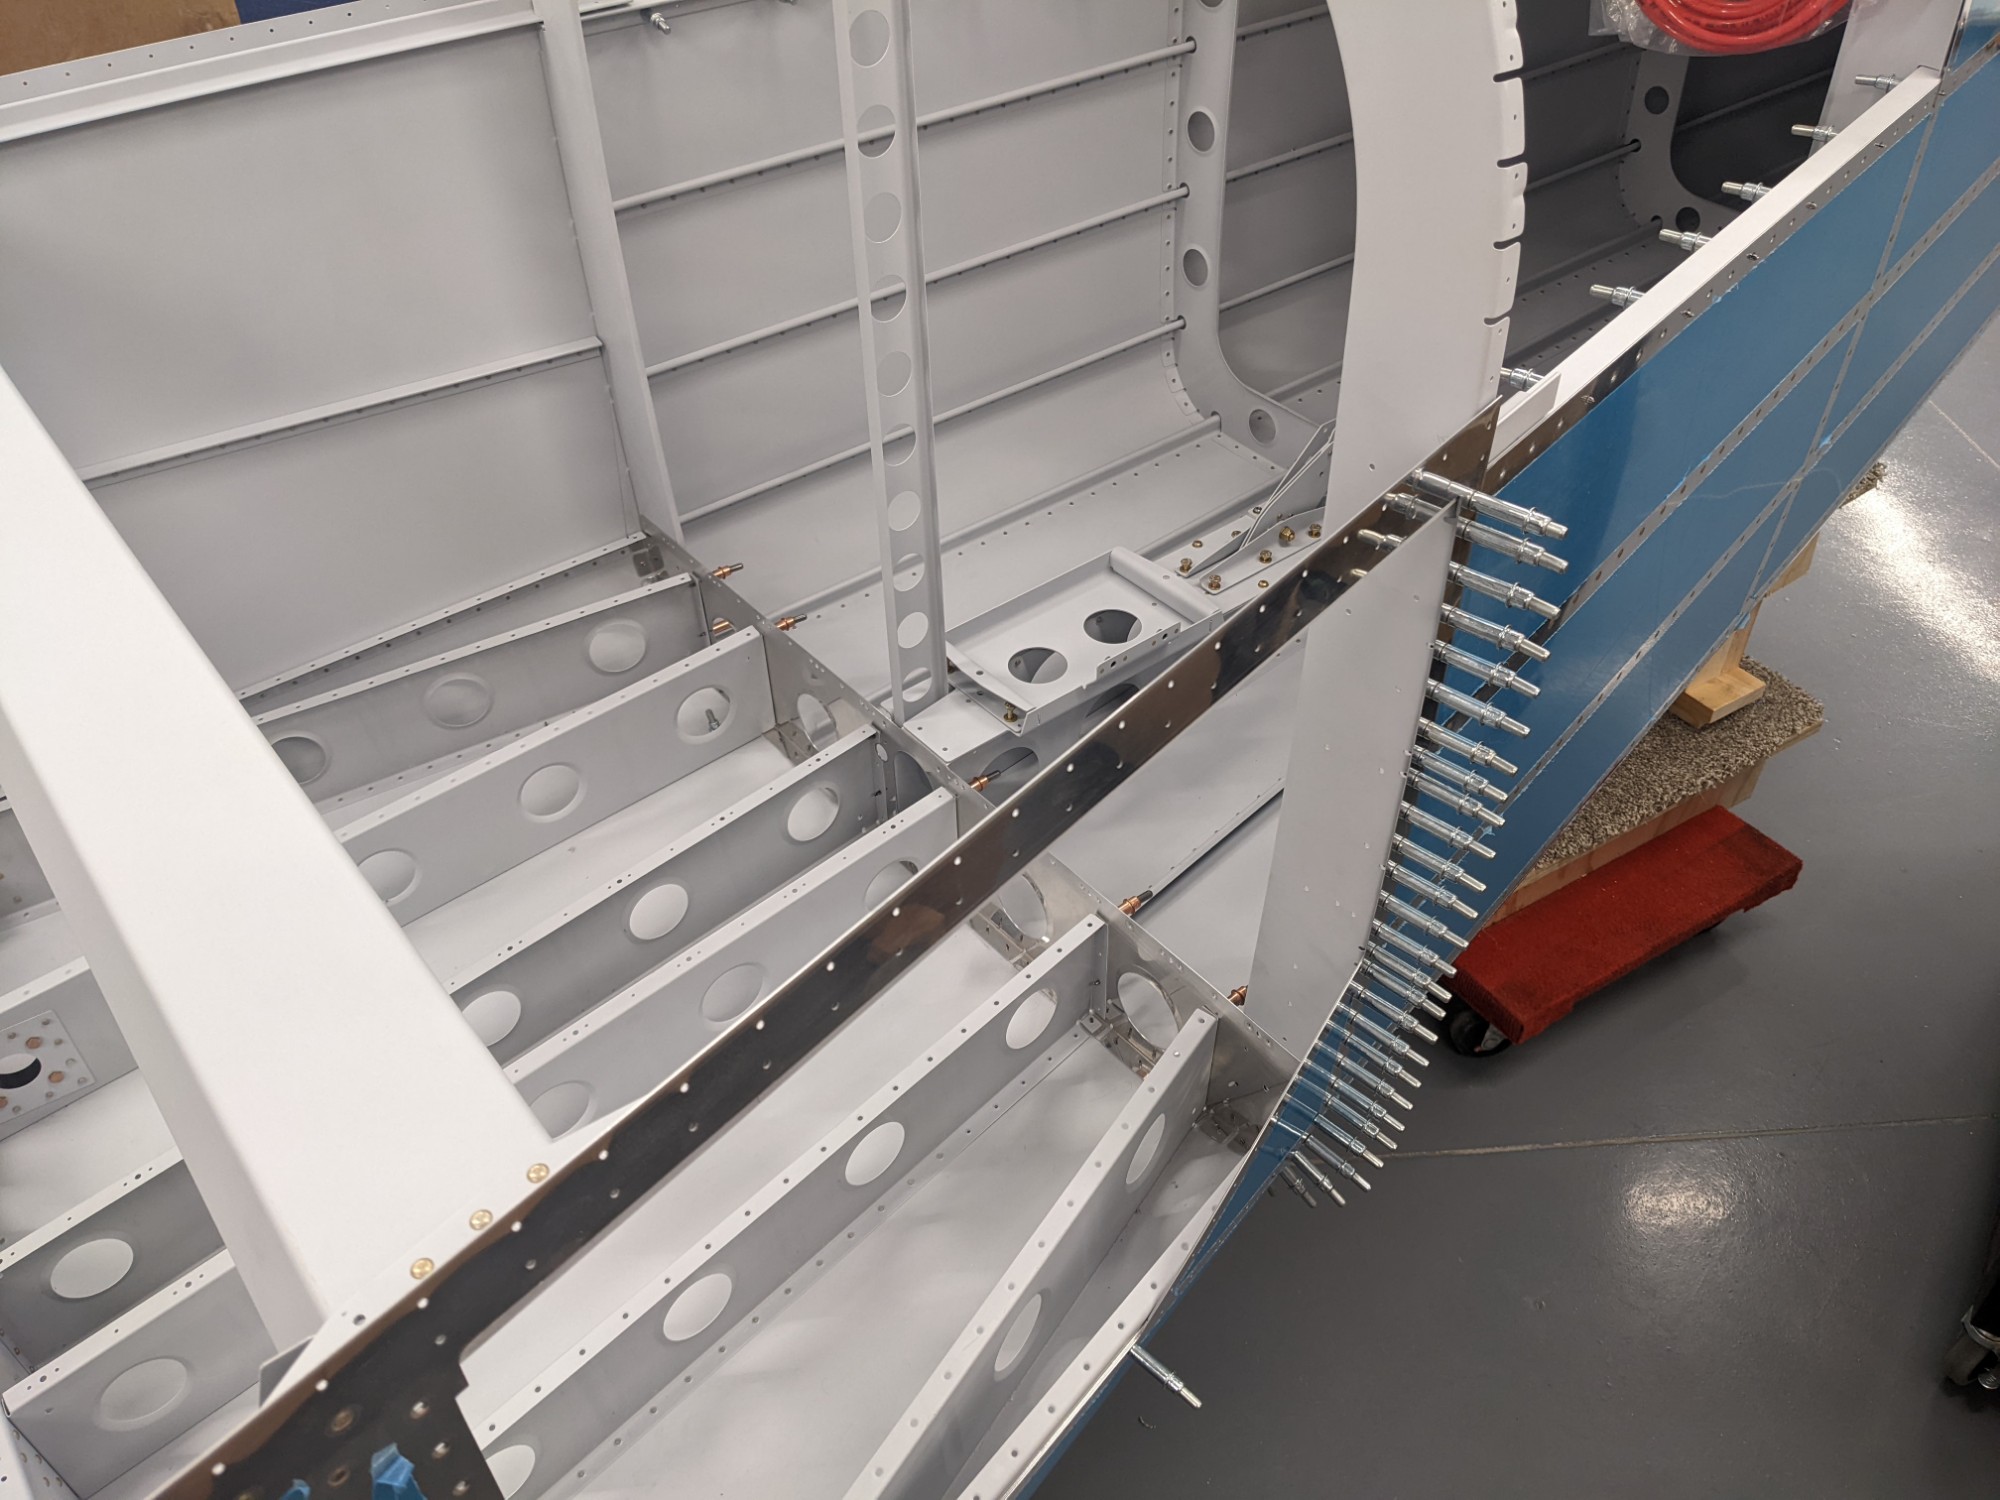
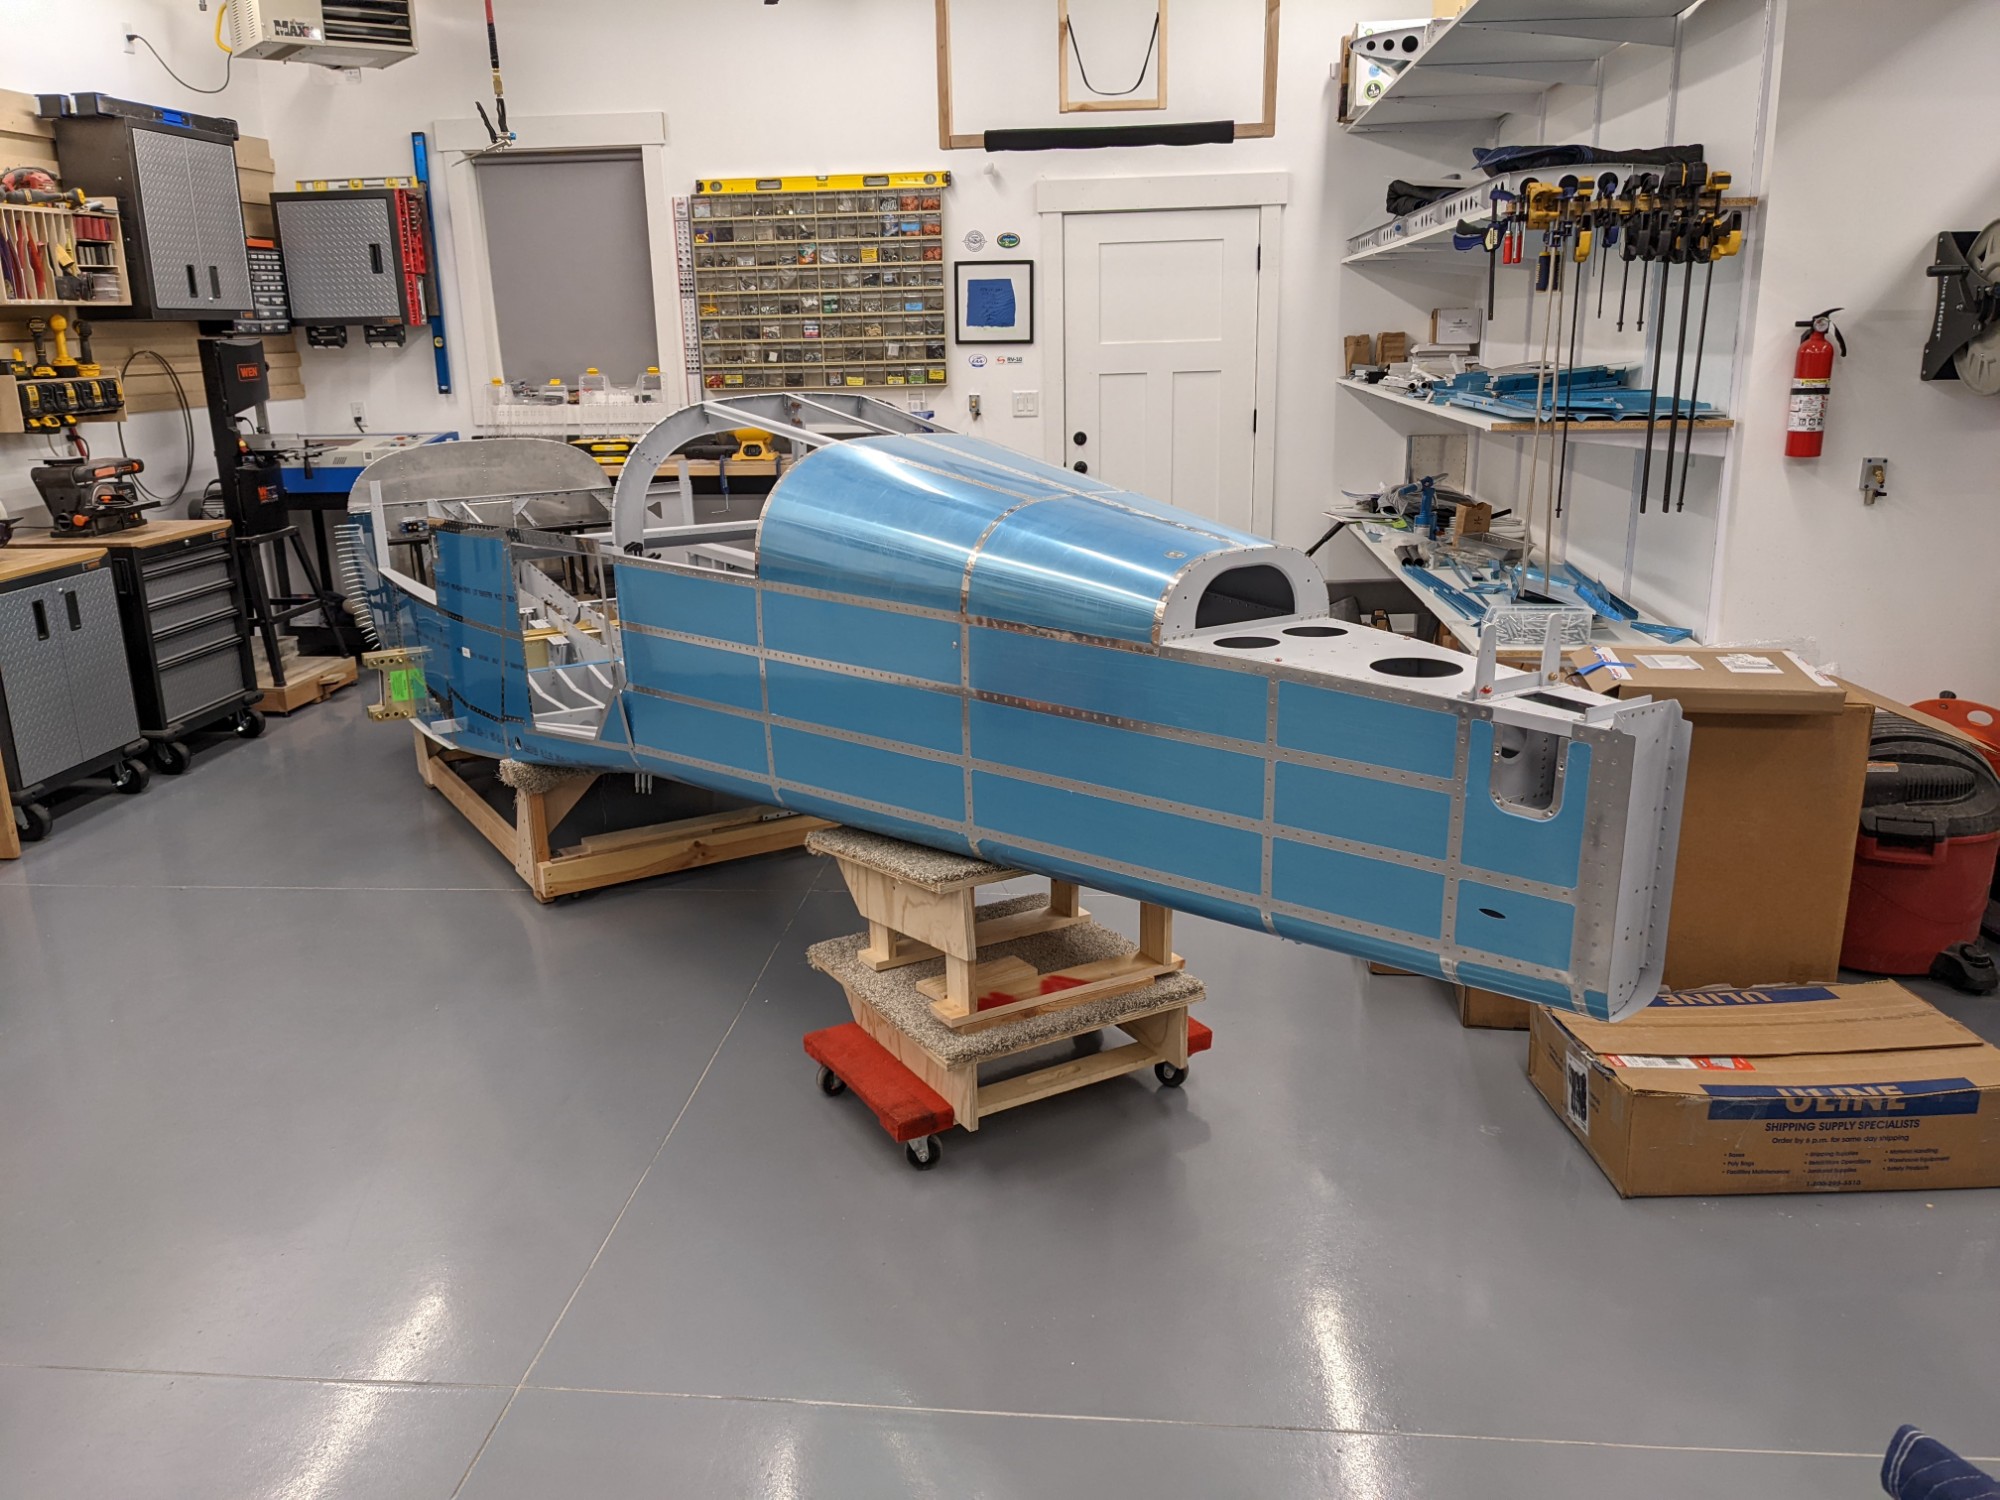
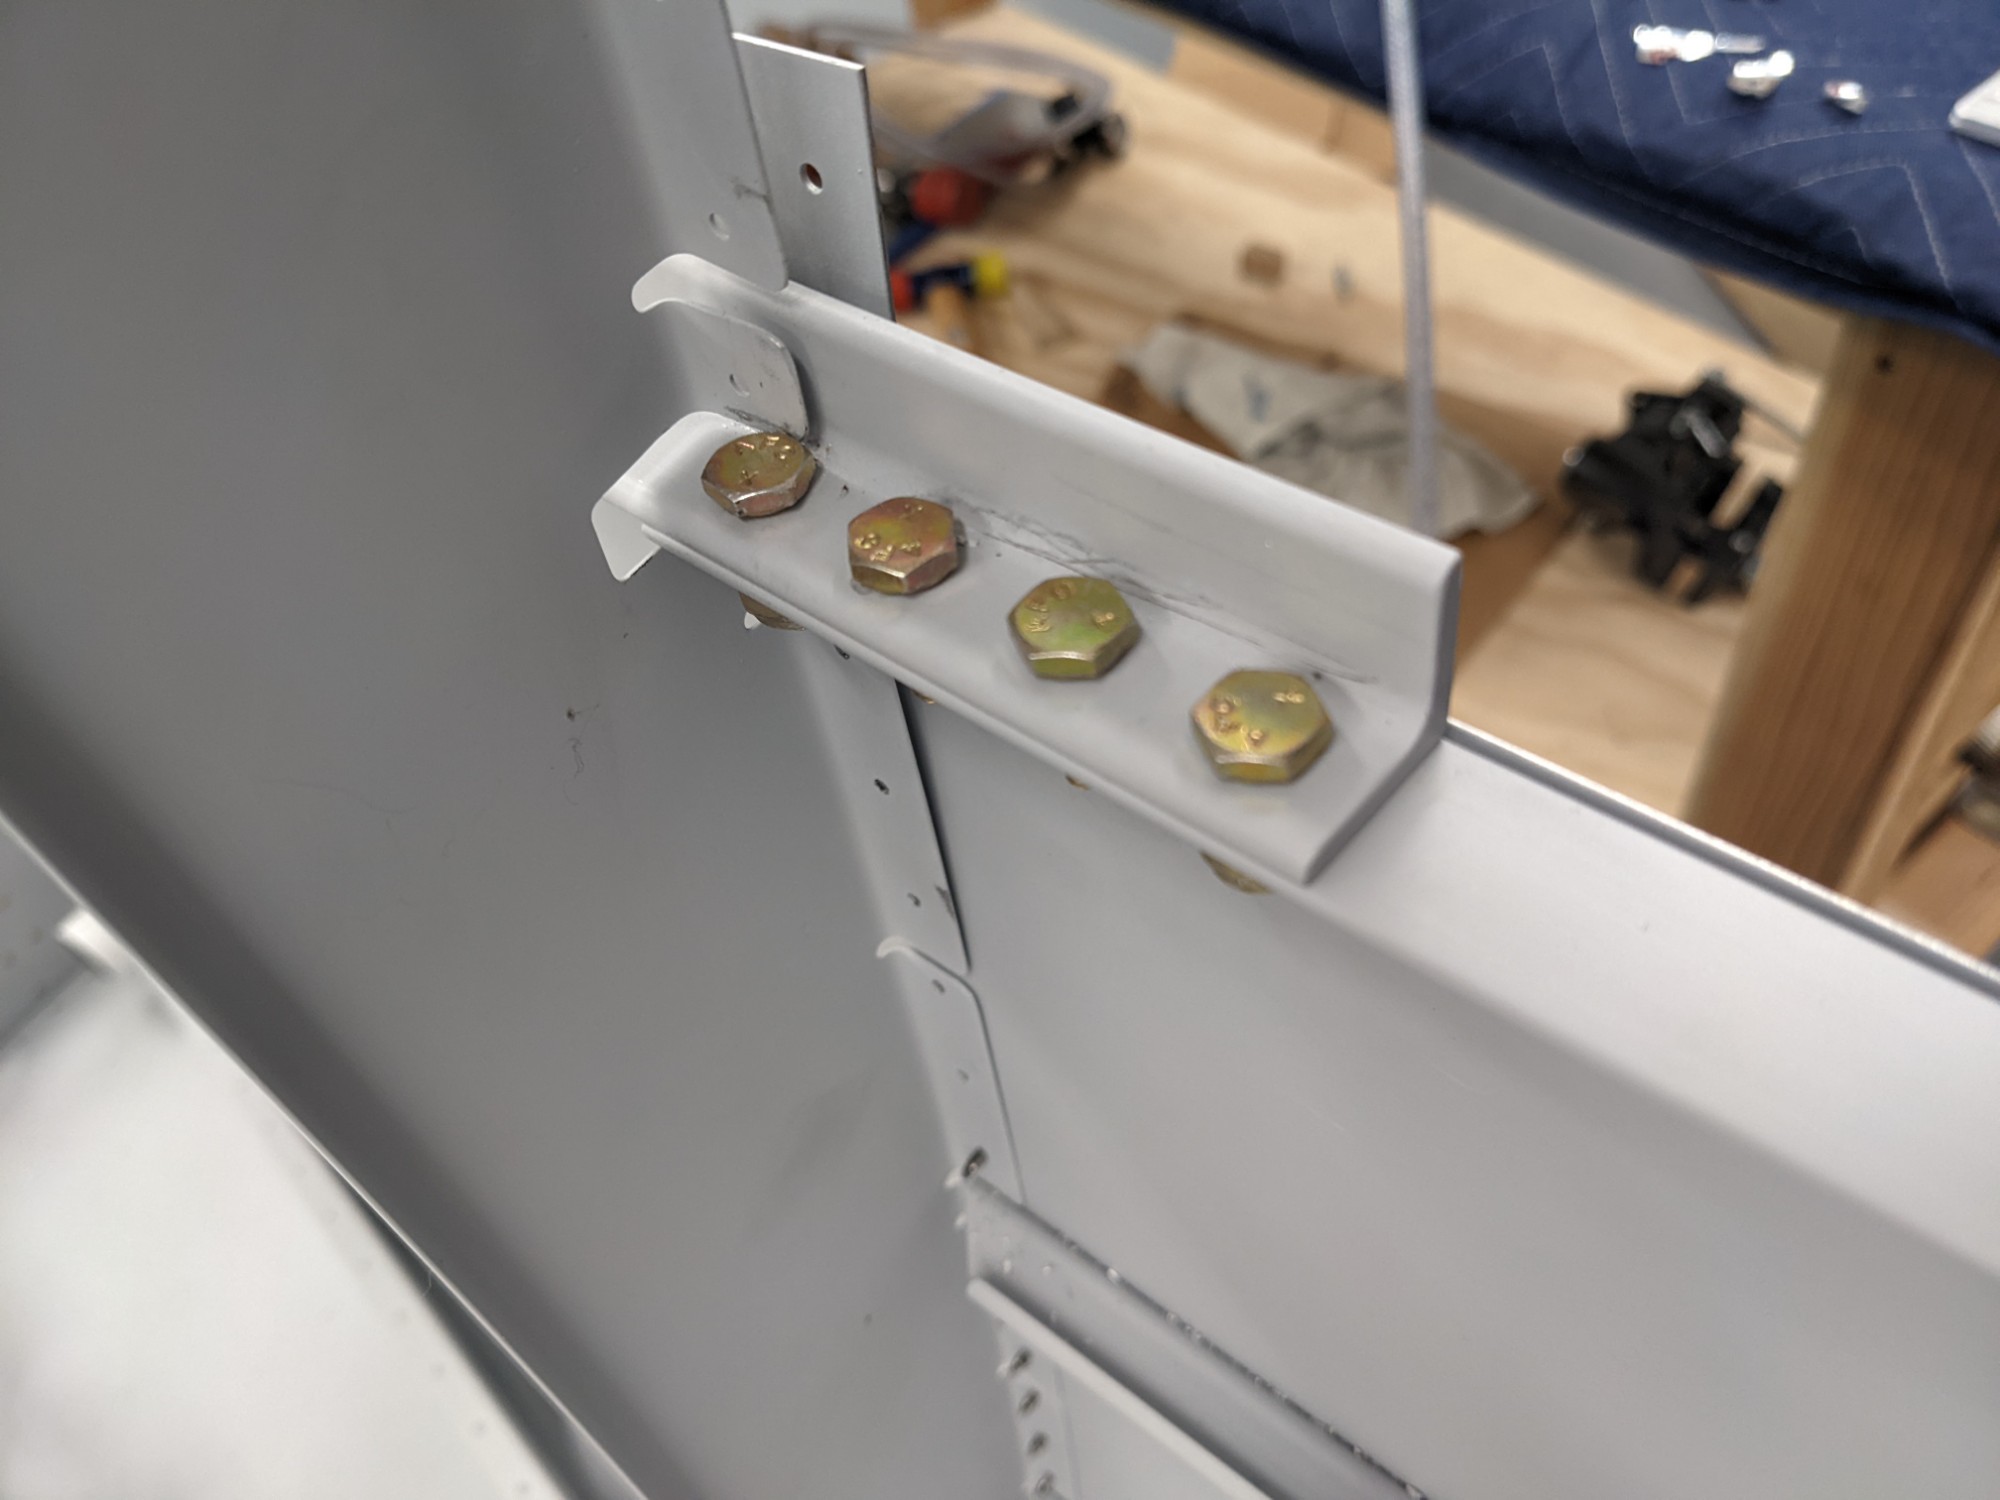
The longeron attach holes are match drilled next (to #30 then upsized to #12). I used a 3/16
![](https://airplane.allanglen.com/wp-content/uploads/2022/01/pxl_20220124_1533248413835676298567503967.jpg)
![](https://airplane.allanglen.com/wp-content/uploads/2022/01/pxl_20220124_153330544297444610019578083.jpg)
![](https://airplane.allanglen.com/wp-content/uploads/2022/01/pxl_20220124_1945113151023591638818492371.jpg)
![](https://airplane.allanglen.com/wp-content/uploads/2022/01/pxl_20220124_1945193417665760992764483865.jpg)
![](https://airplane.allanglen.com/wp-content/uploads/2022/01/pxl_20220125_0039008048053705847514711461.jpg)
![](https://airplane.allanglen.com/wp-content/uploads/2022/01/pxl_20220125_0039057418227314834080902572.jpg)
![](https://airplane.allanglen.com/wp-content/uploads/2022/01/pxl_20220125_0039198915692063264210482634.jpg)
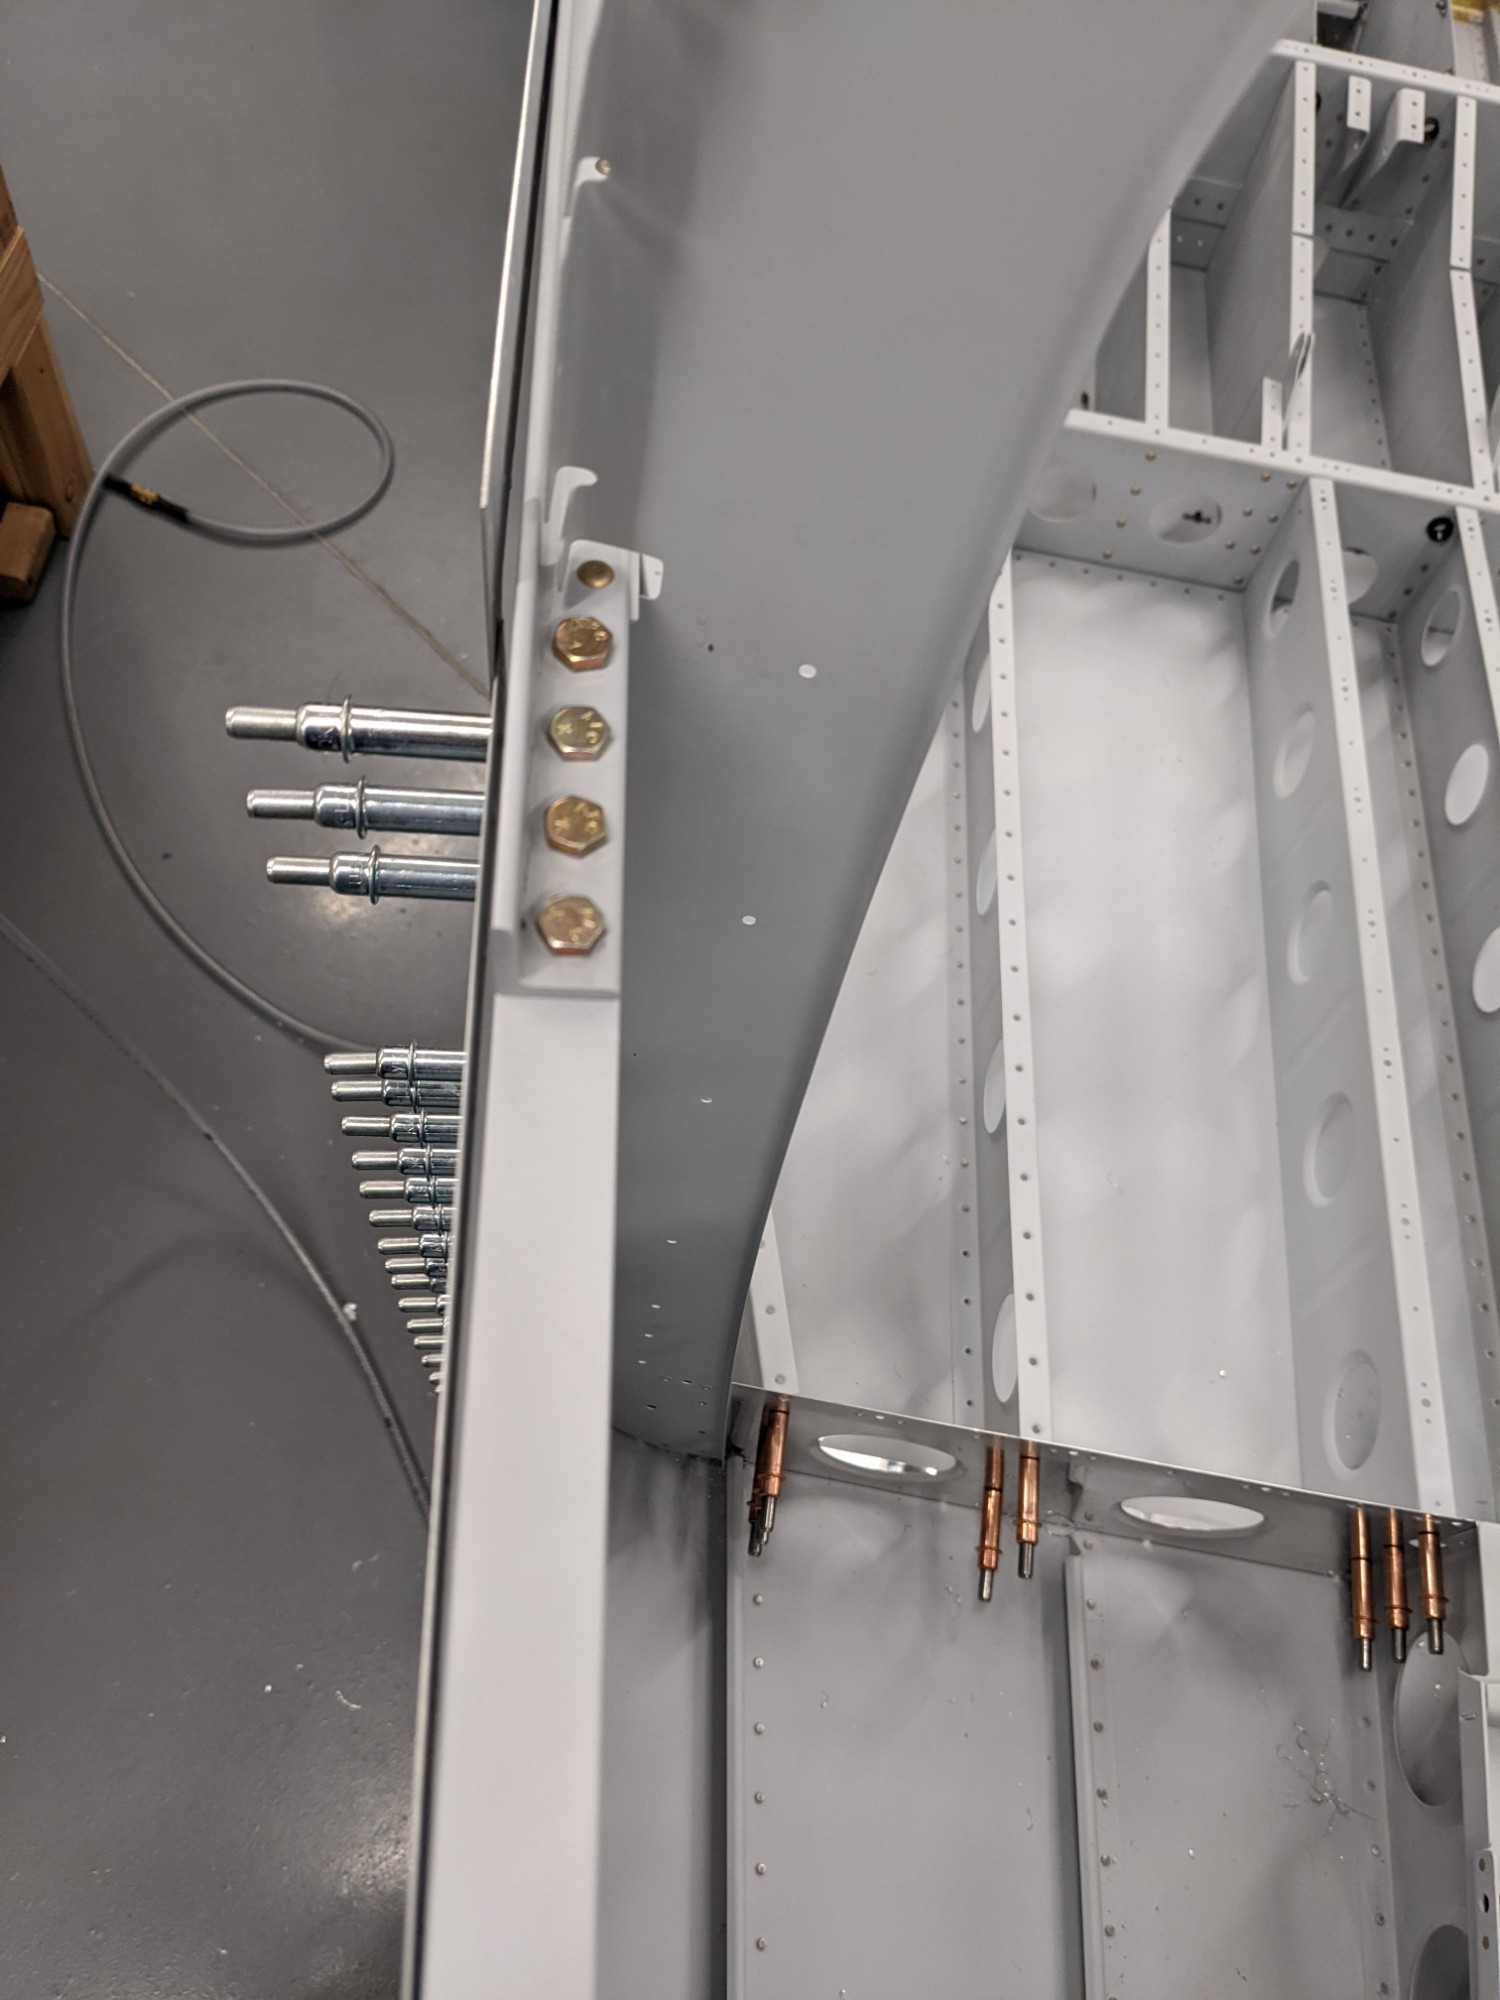
Shims are required to fill the gap between the top skin and the forward longeron. I used the scrap from the triangle that was previously remove from the right tailcone side skin.
![](https://airplane.allanglen.com/wp-content/uploads/2022/01/pxl_20220125_0057476432259785500521266338.jpg)
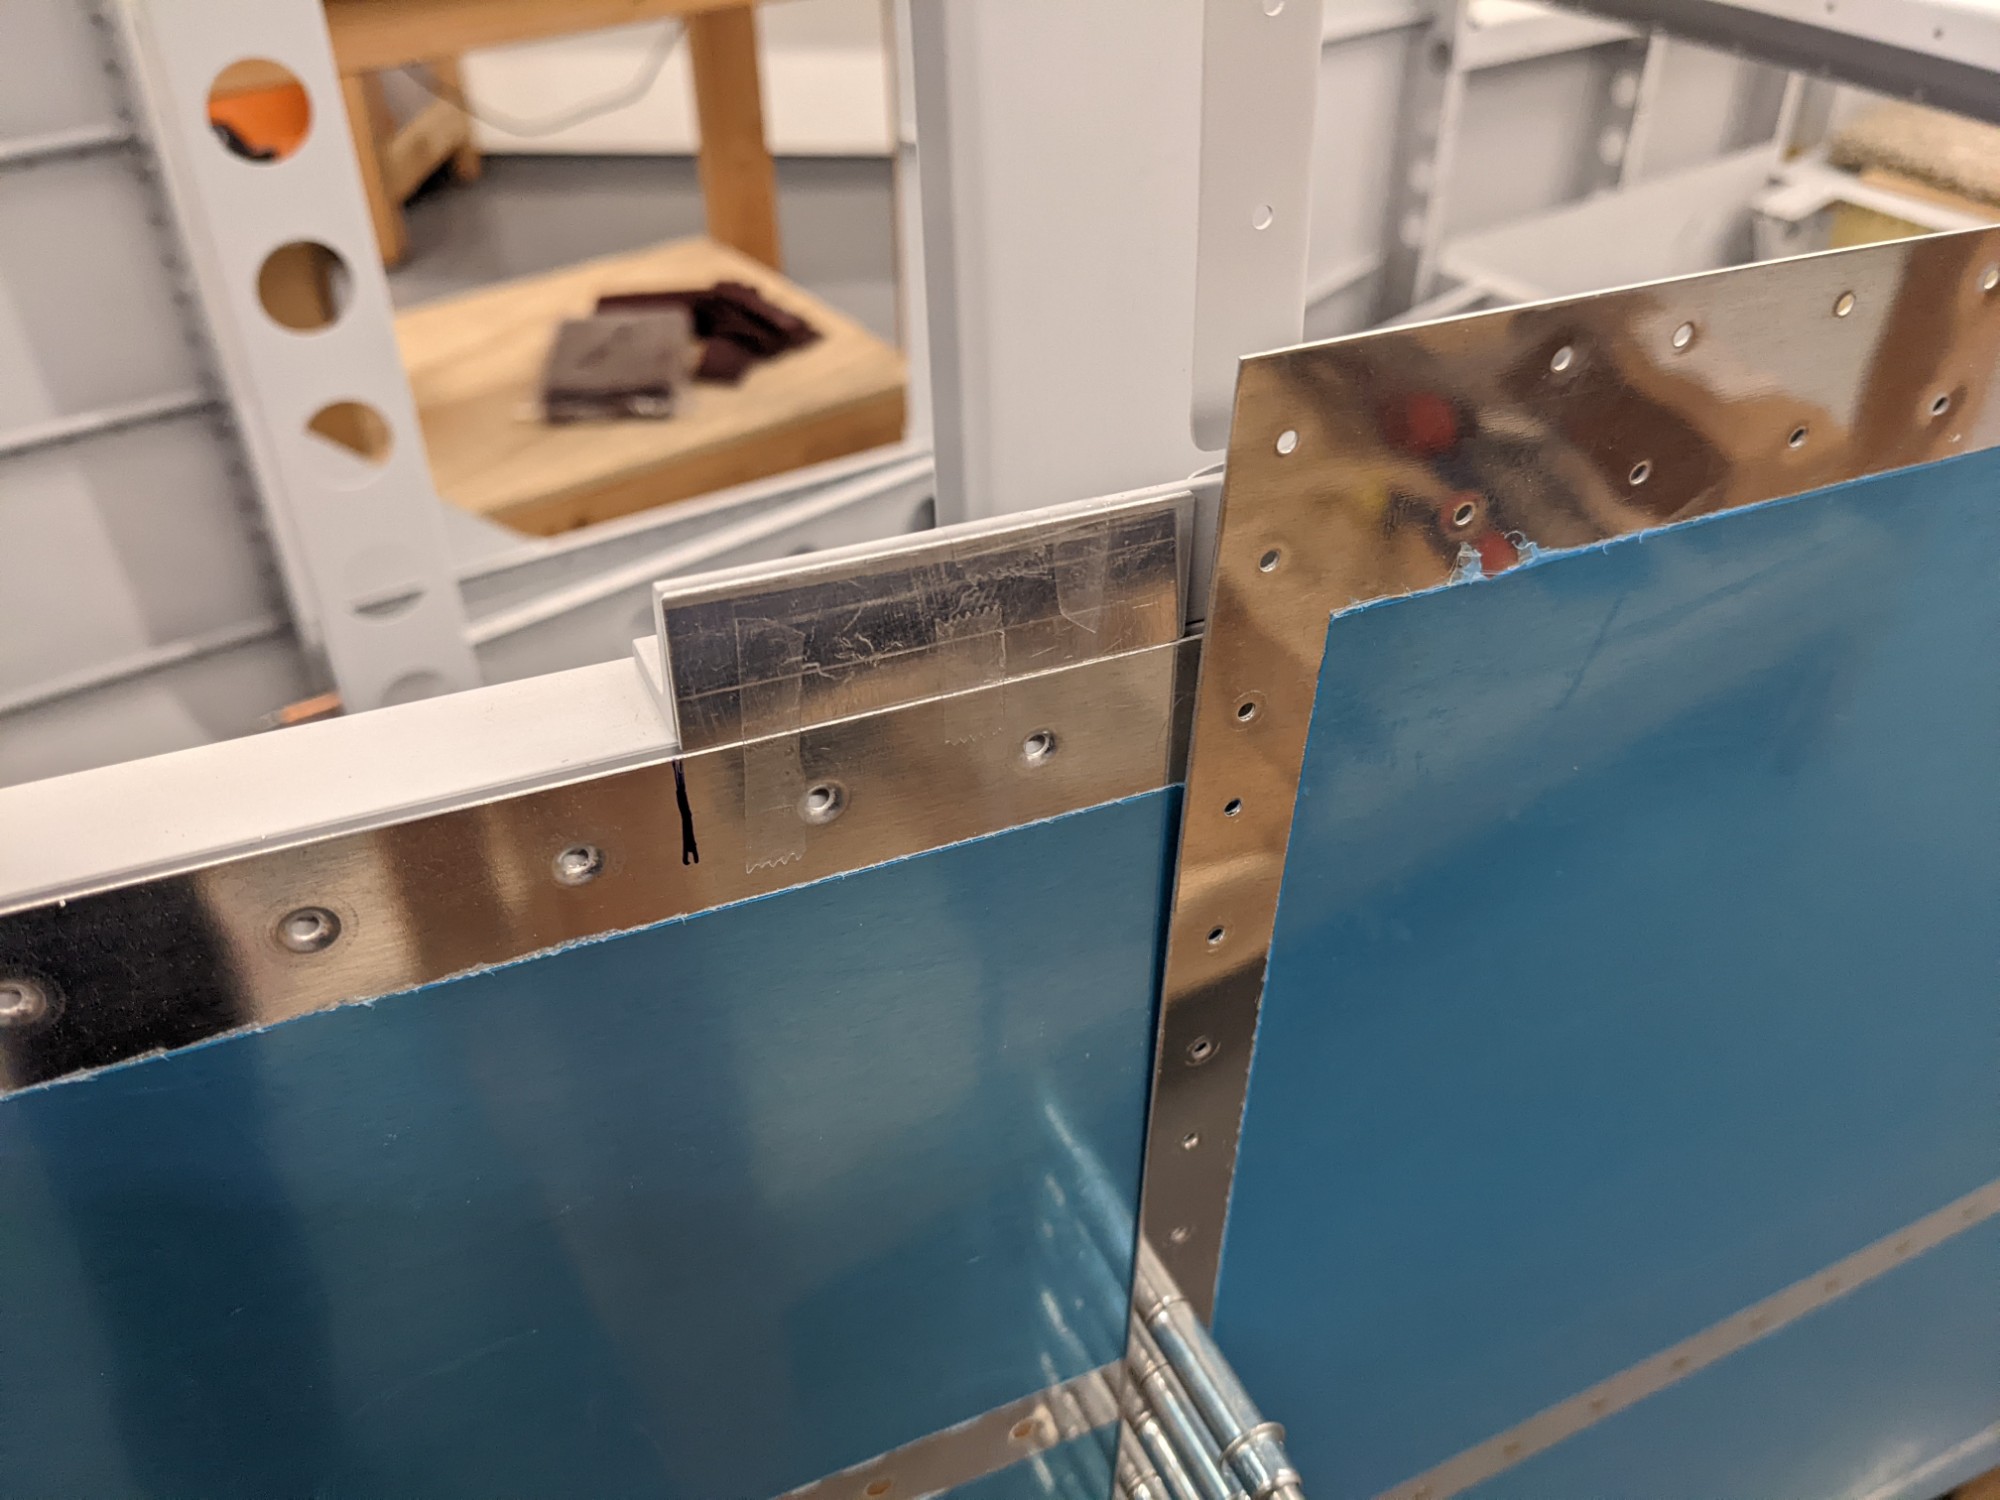
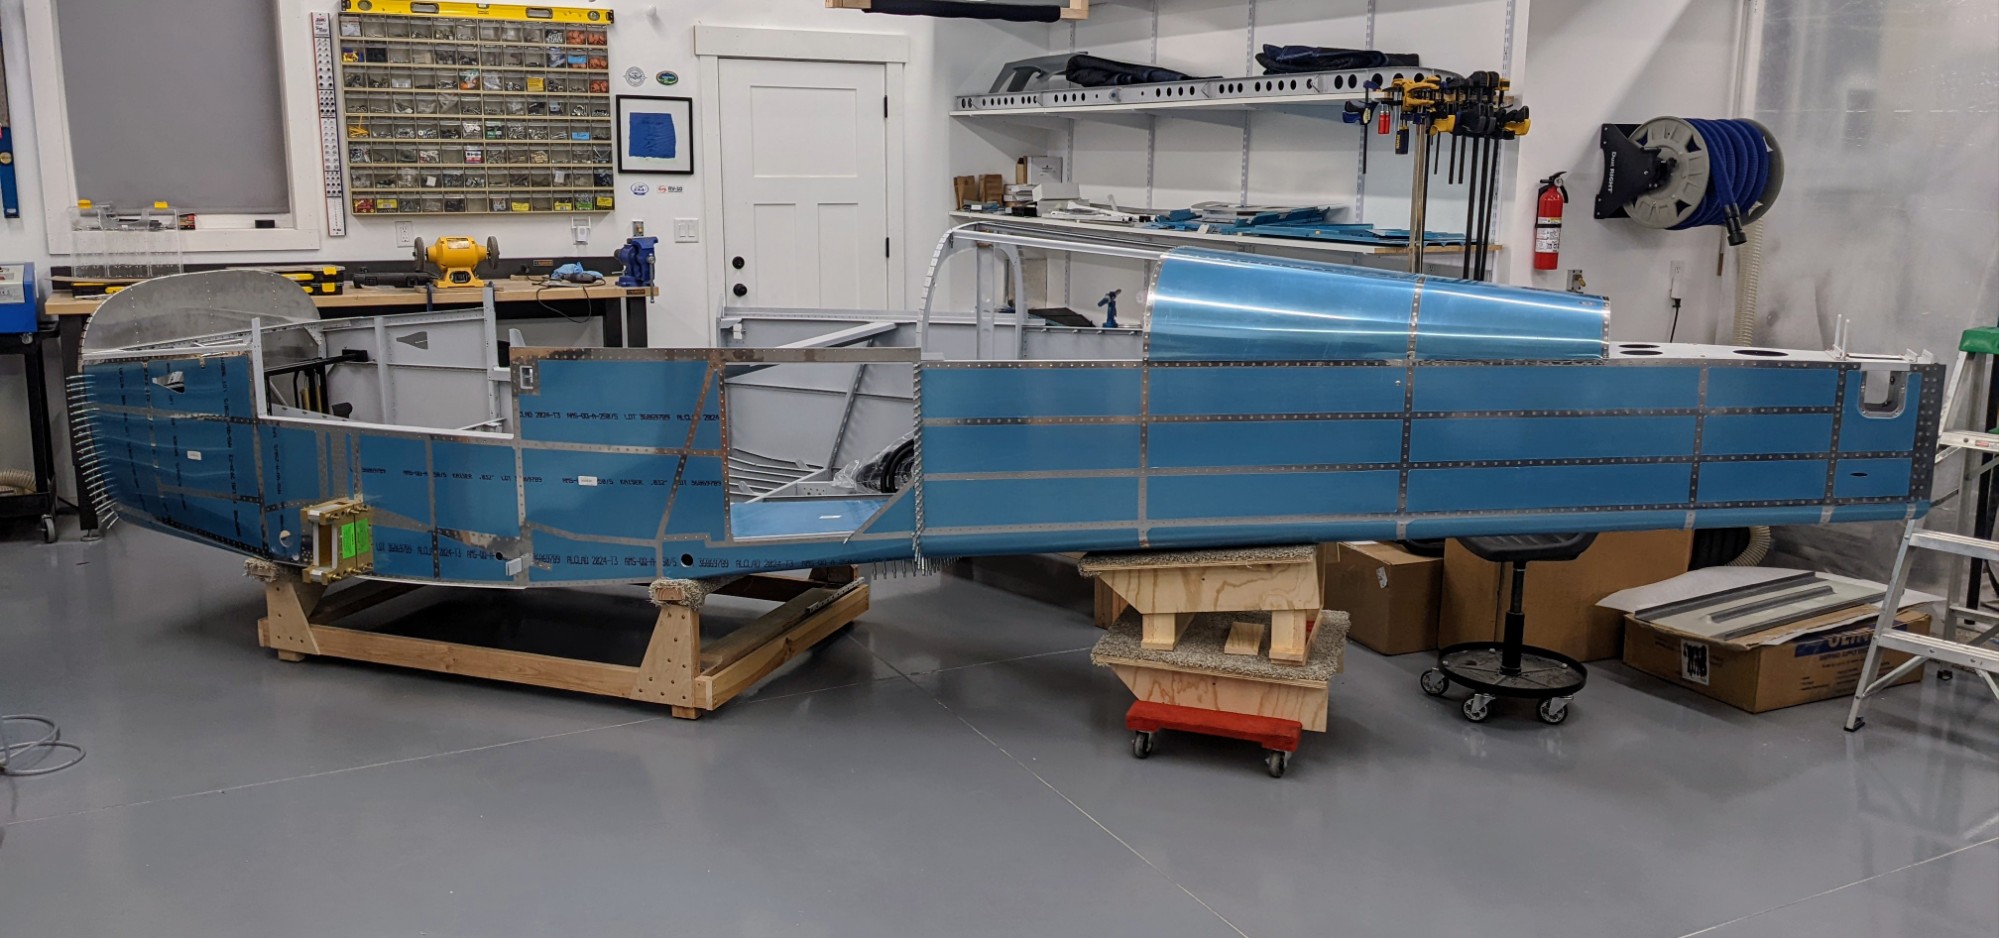
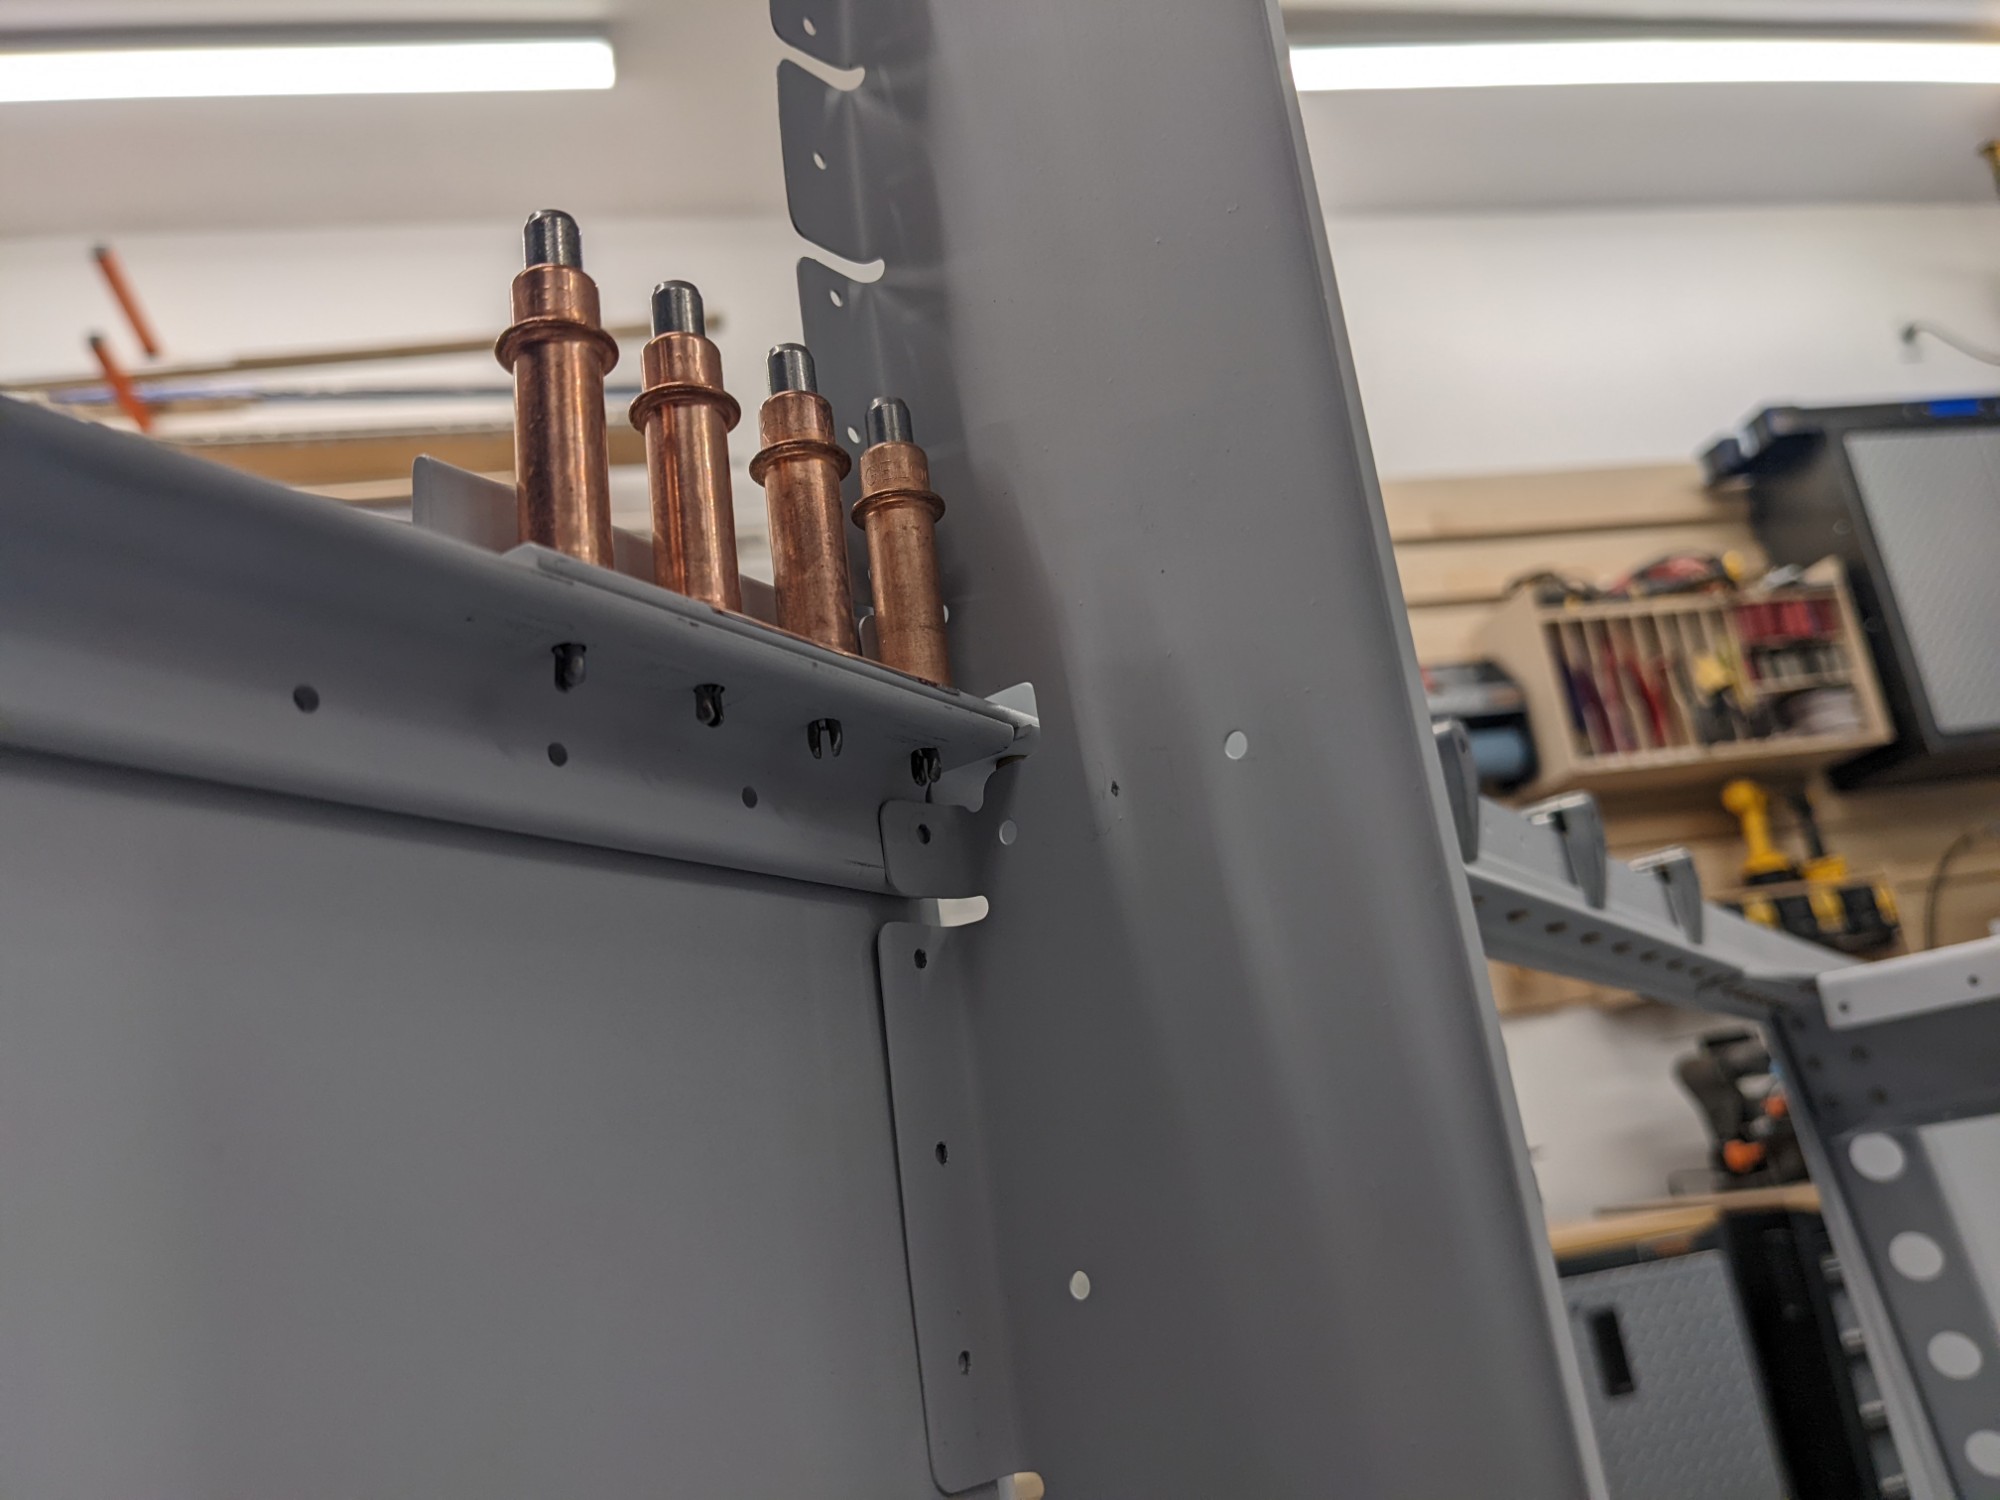
These were taped into place to hold them while match drilling through the top skin.
![](https://airplane.allanglen.com/wp-content/uploads/2022/01/pxl_20220125_0057563341372734040490694770.jpg)
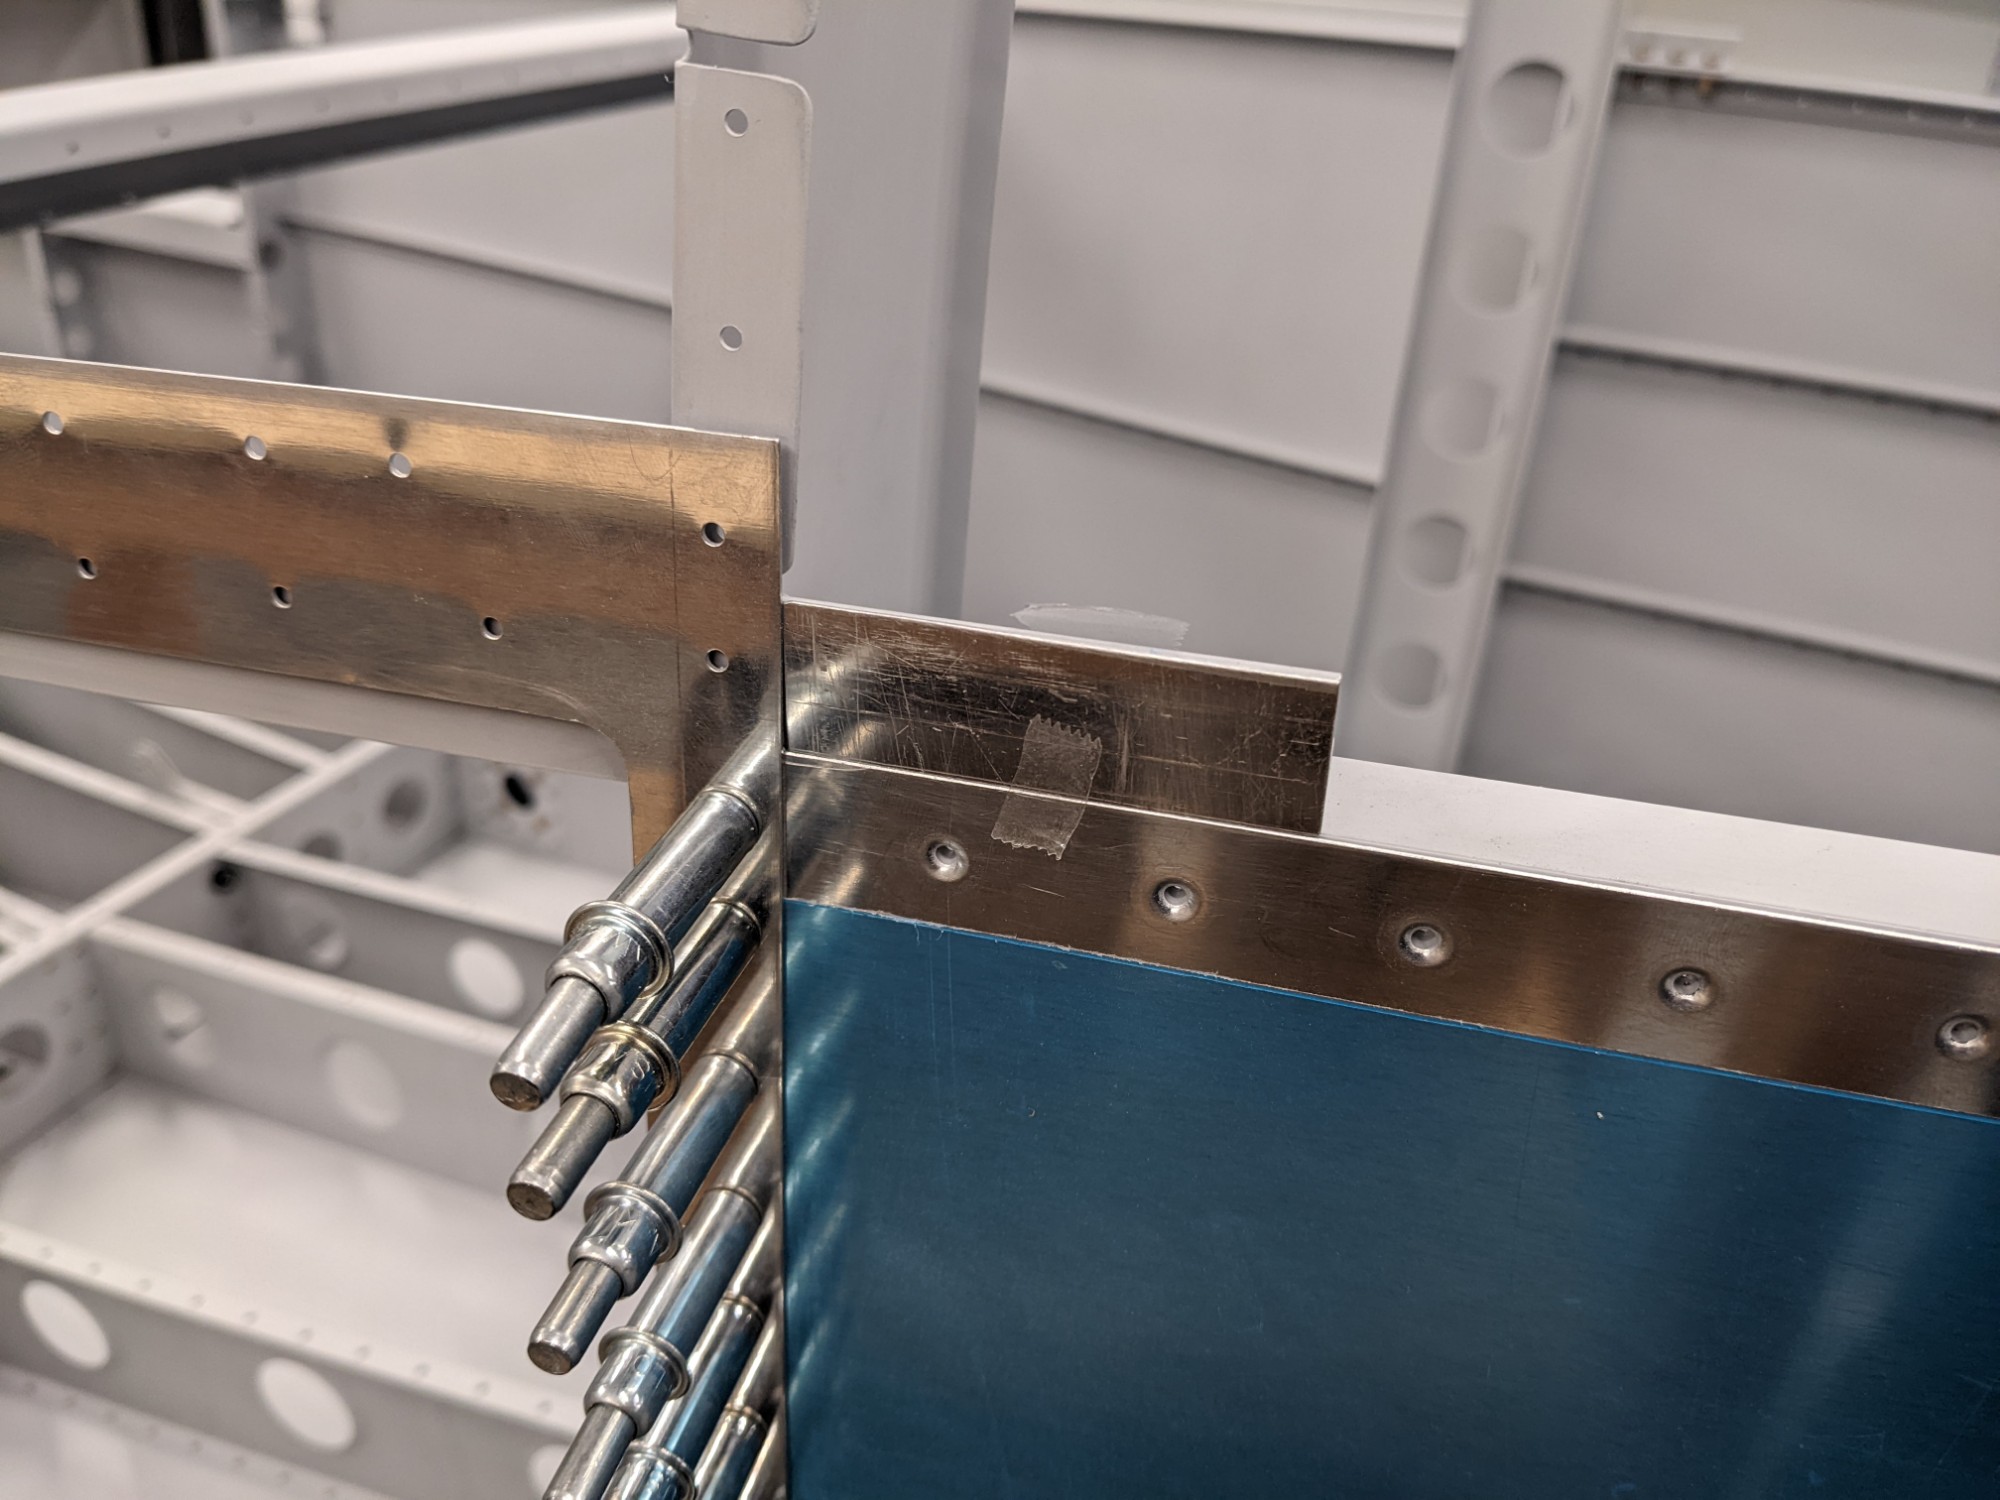
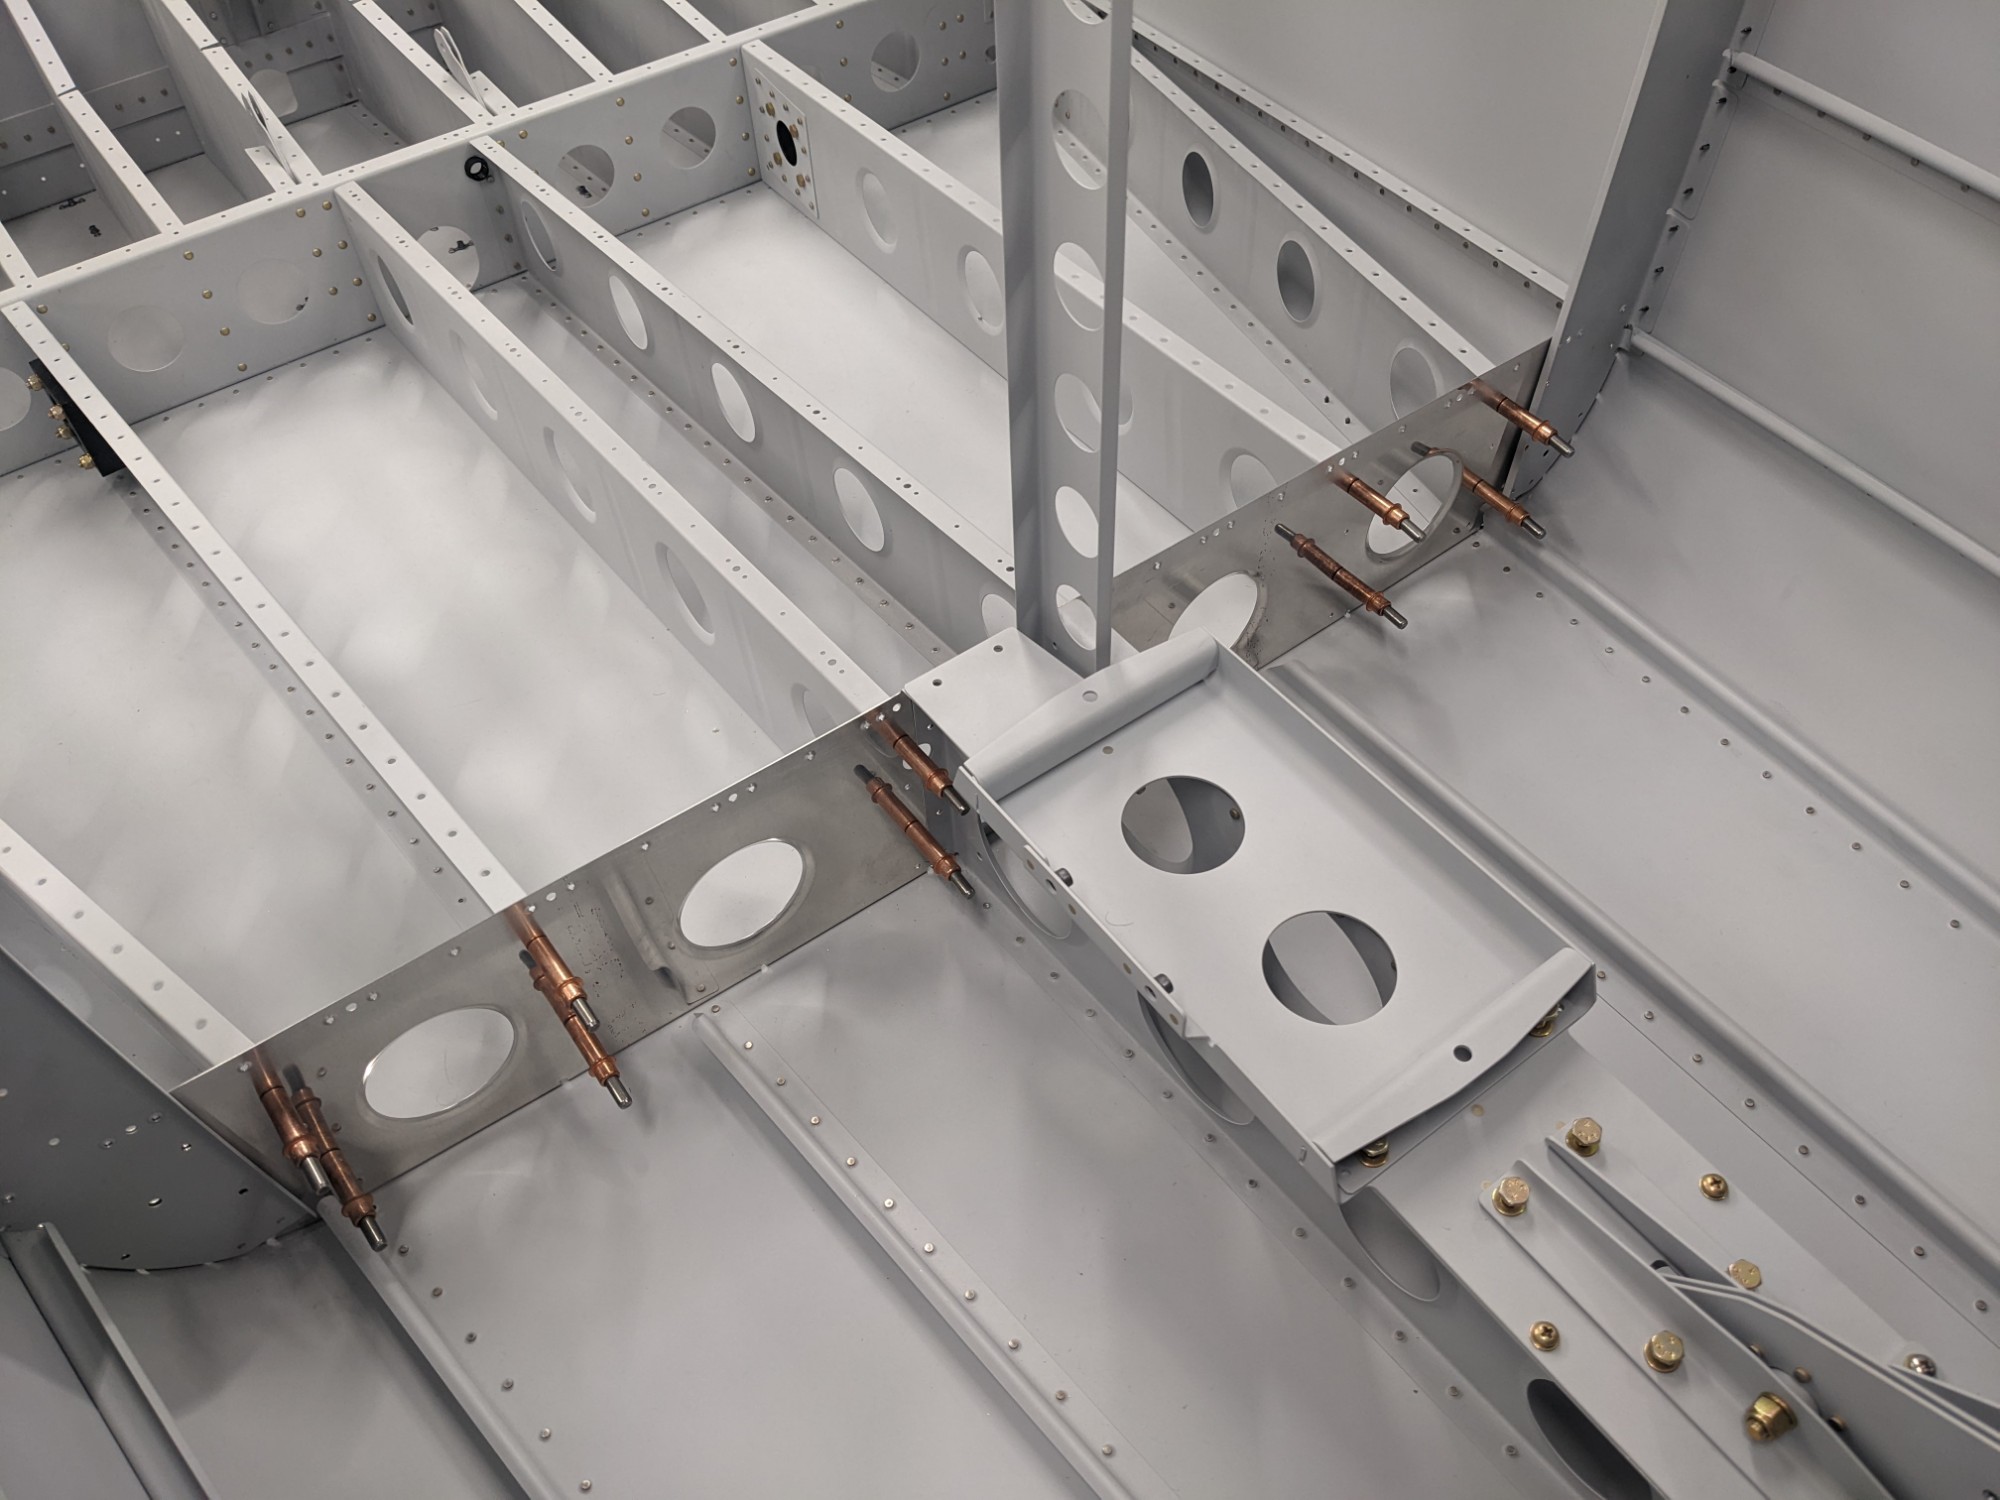
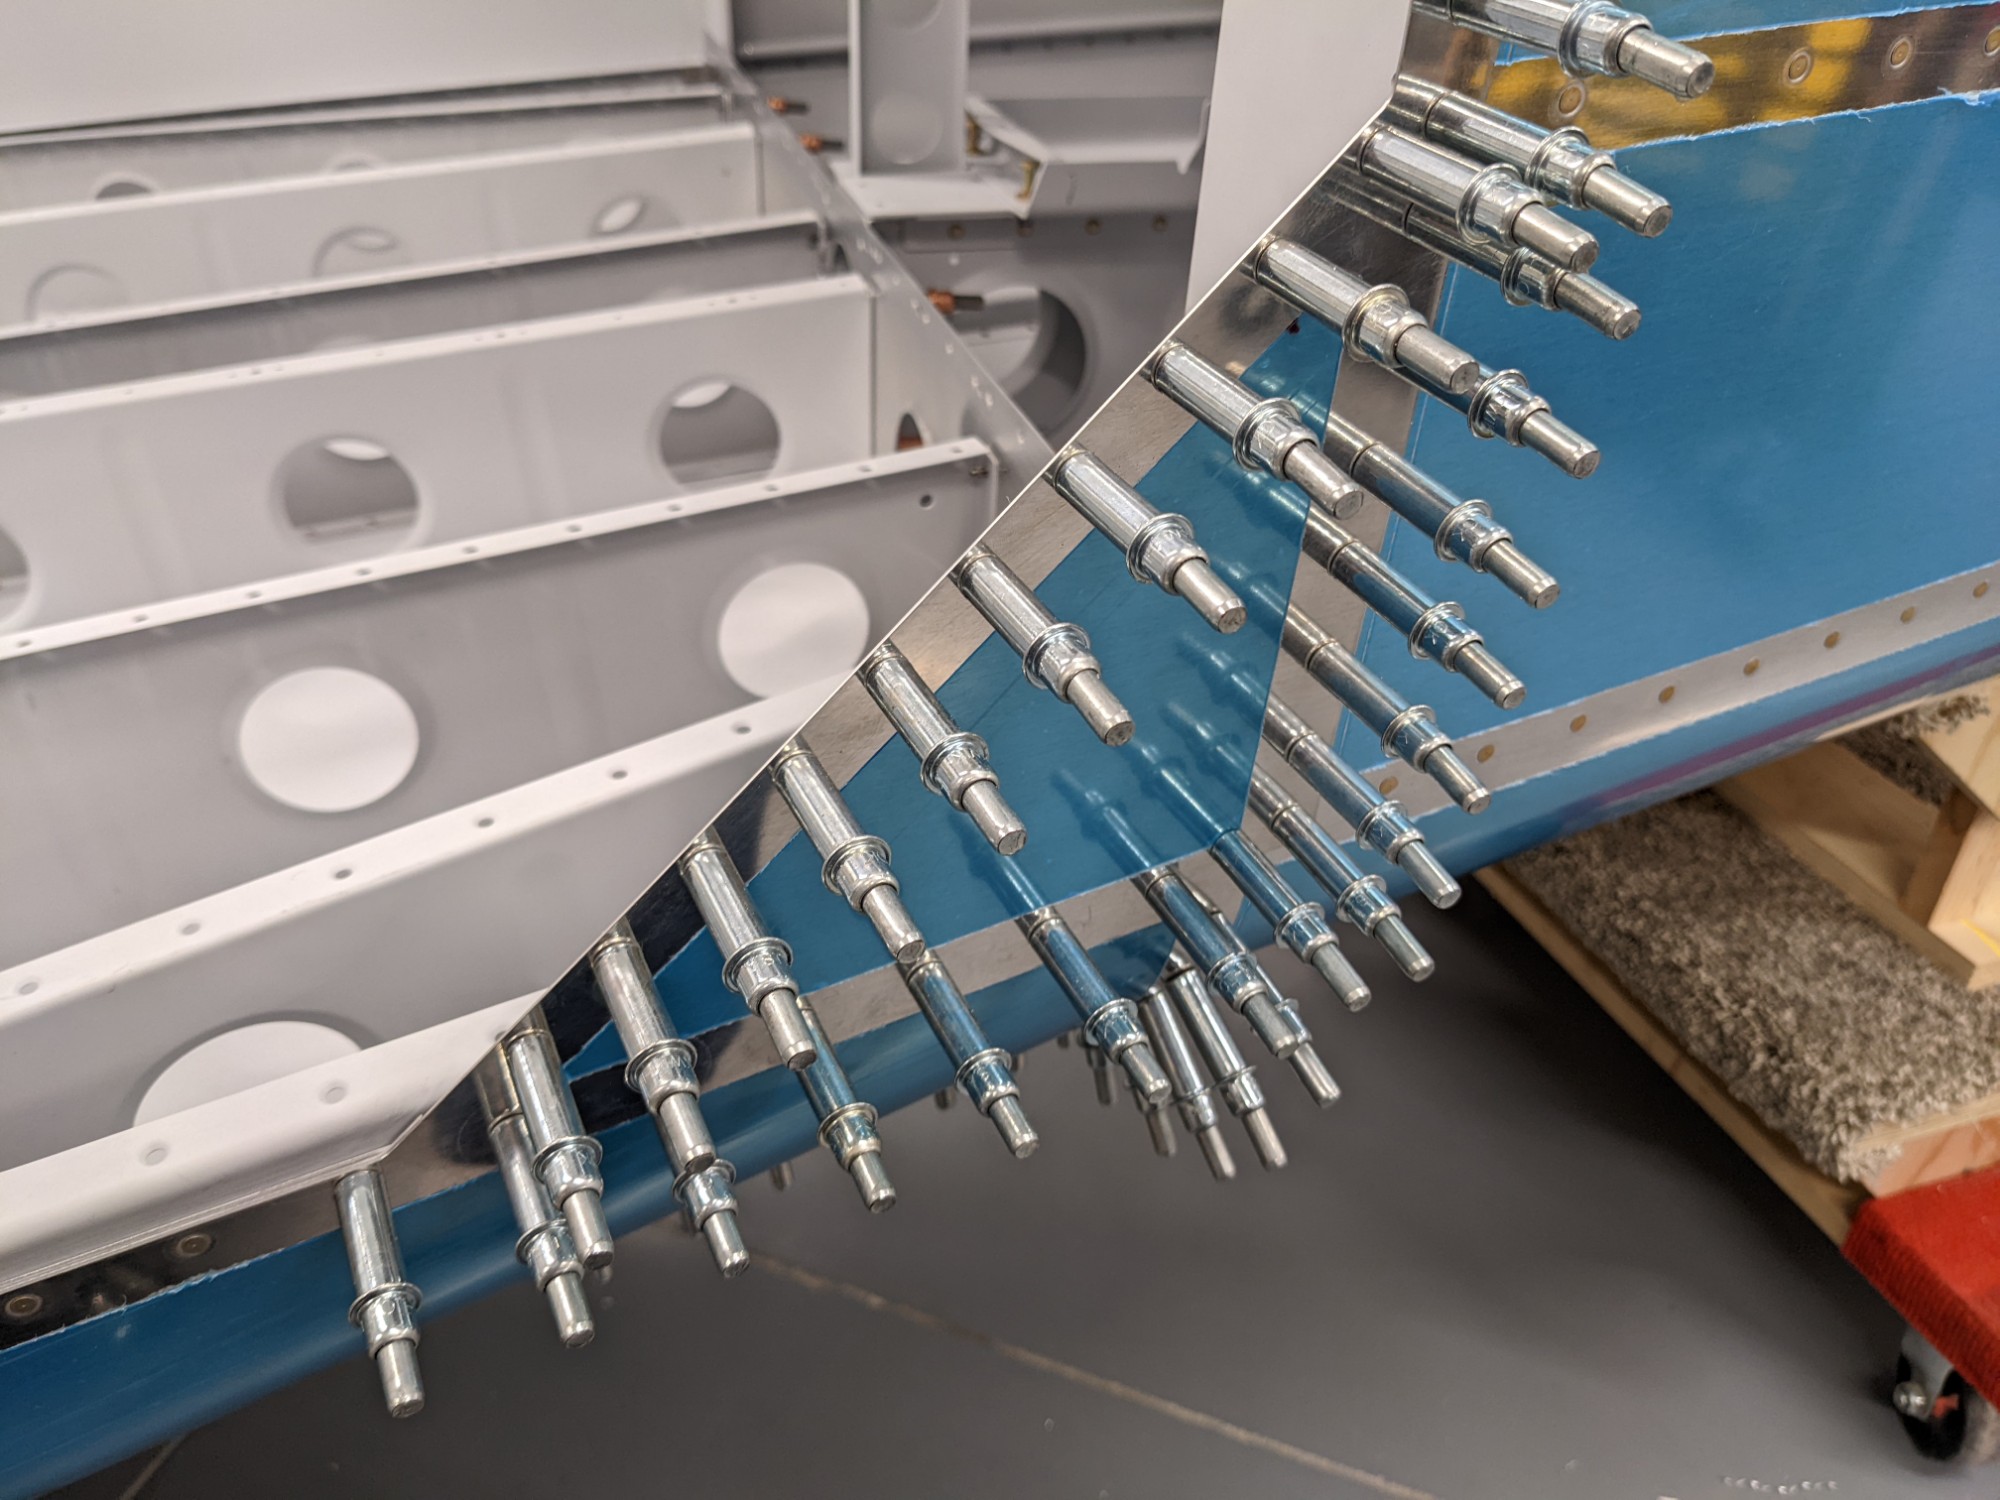
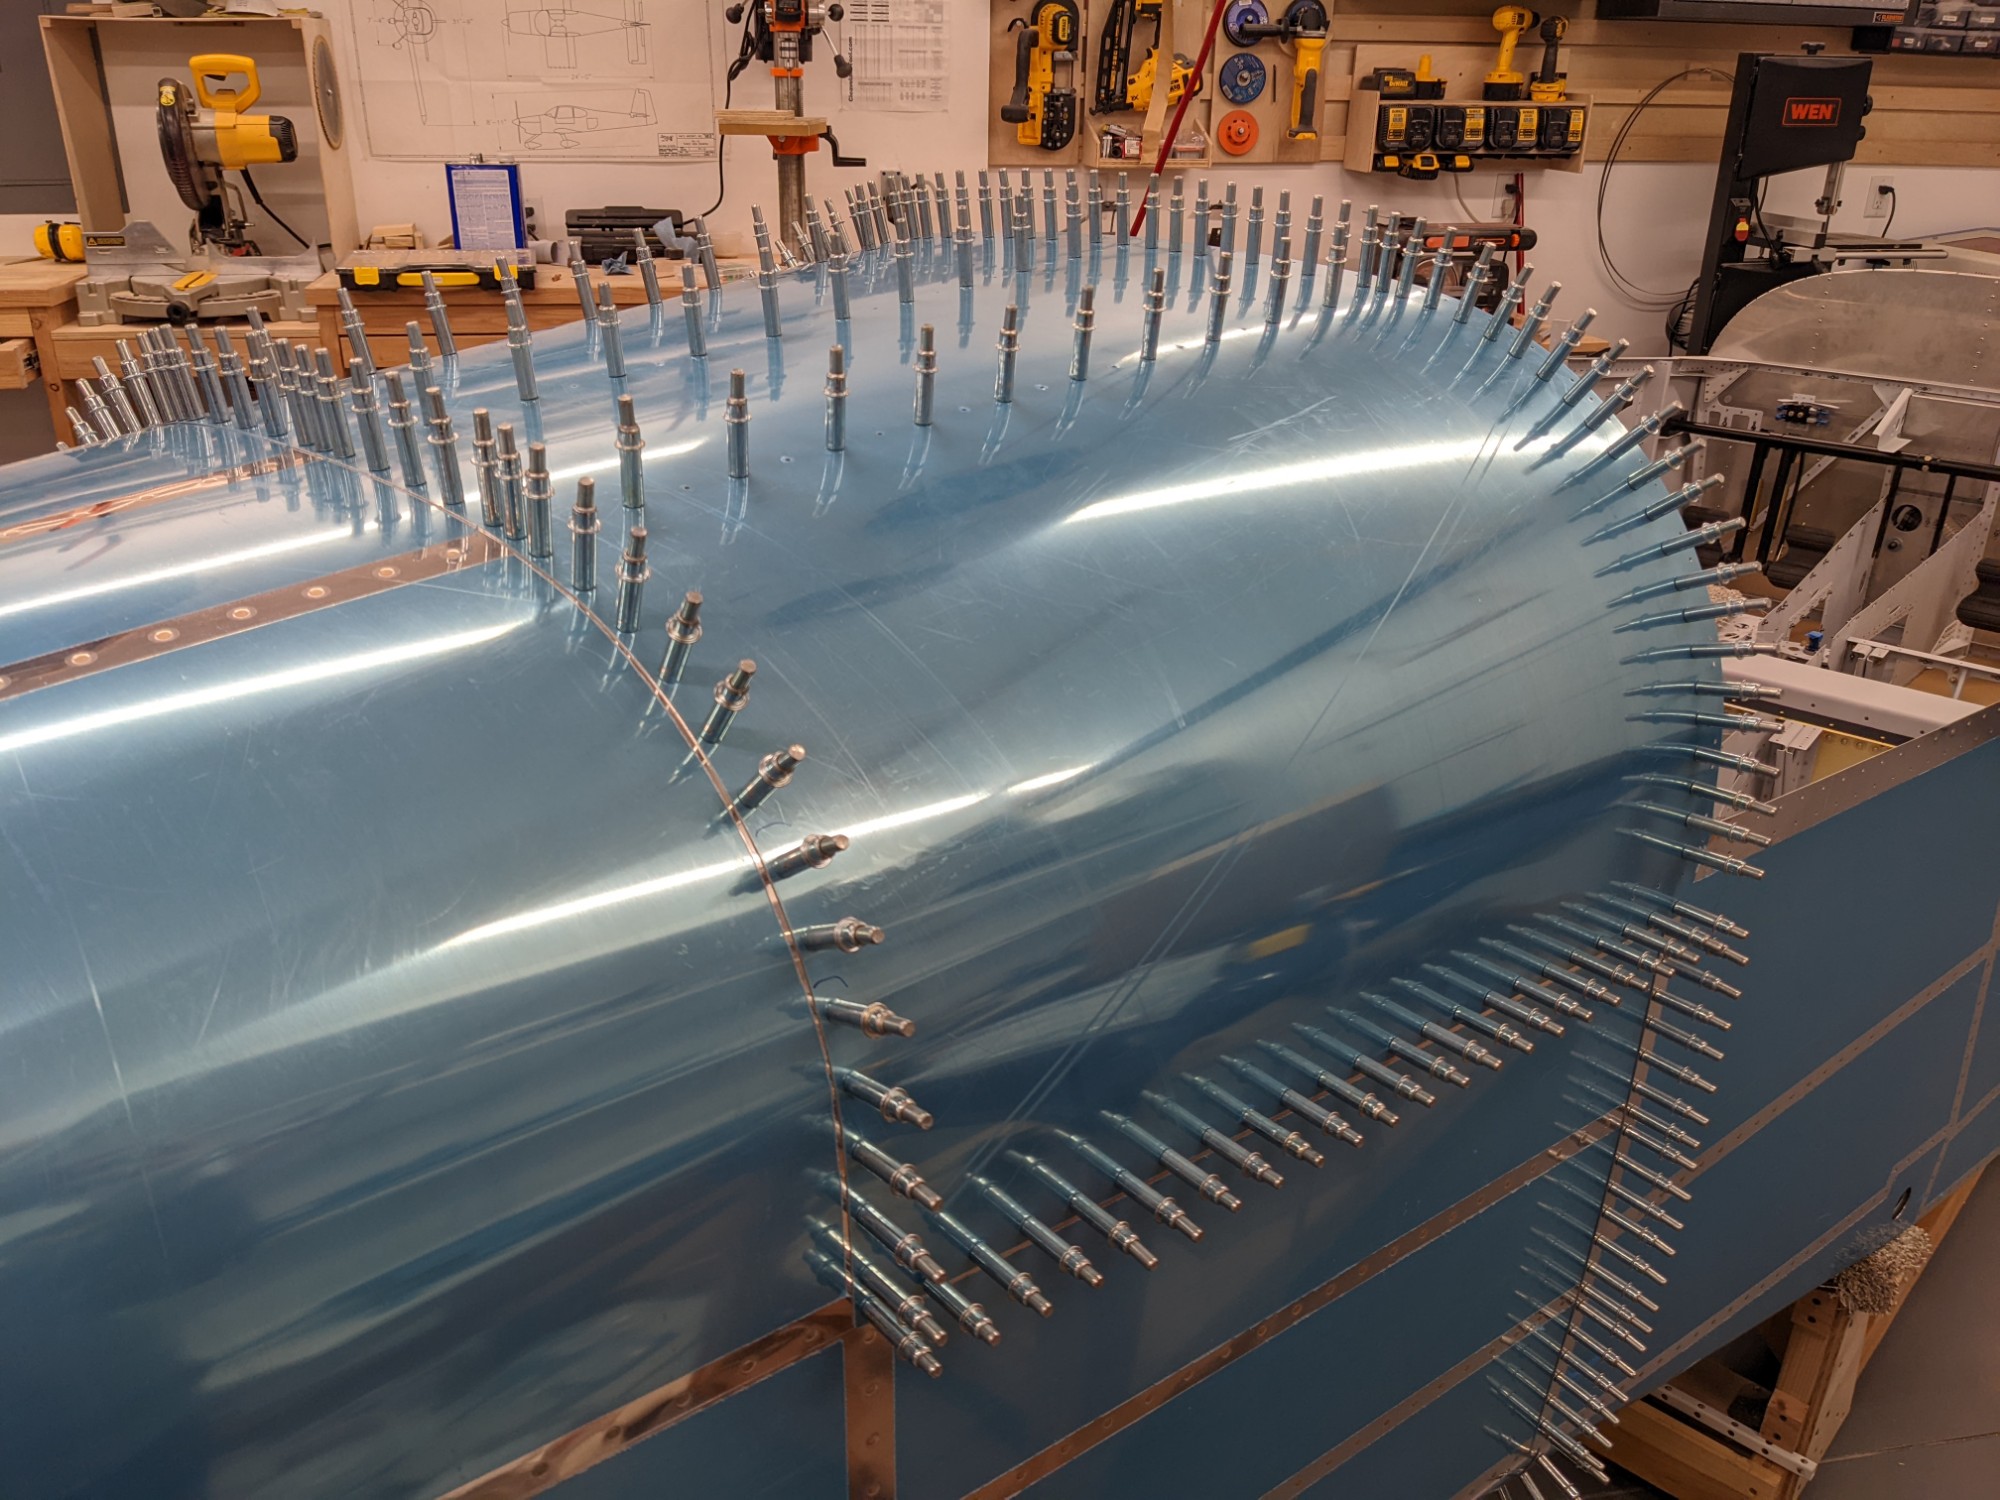
The top skin was then clecoed into place.
![](https://airplane.allanglen.com/wp-content/uploads/2022/01/pxl_20220125_0138450491903499881497976340.jpg)
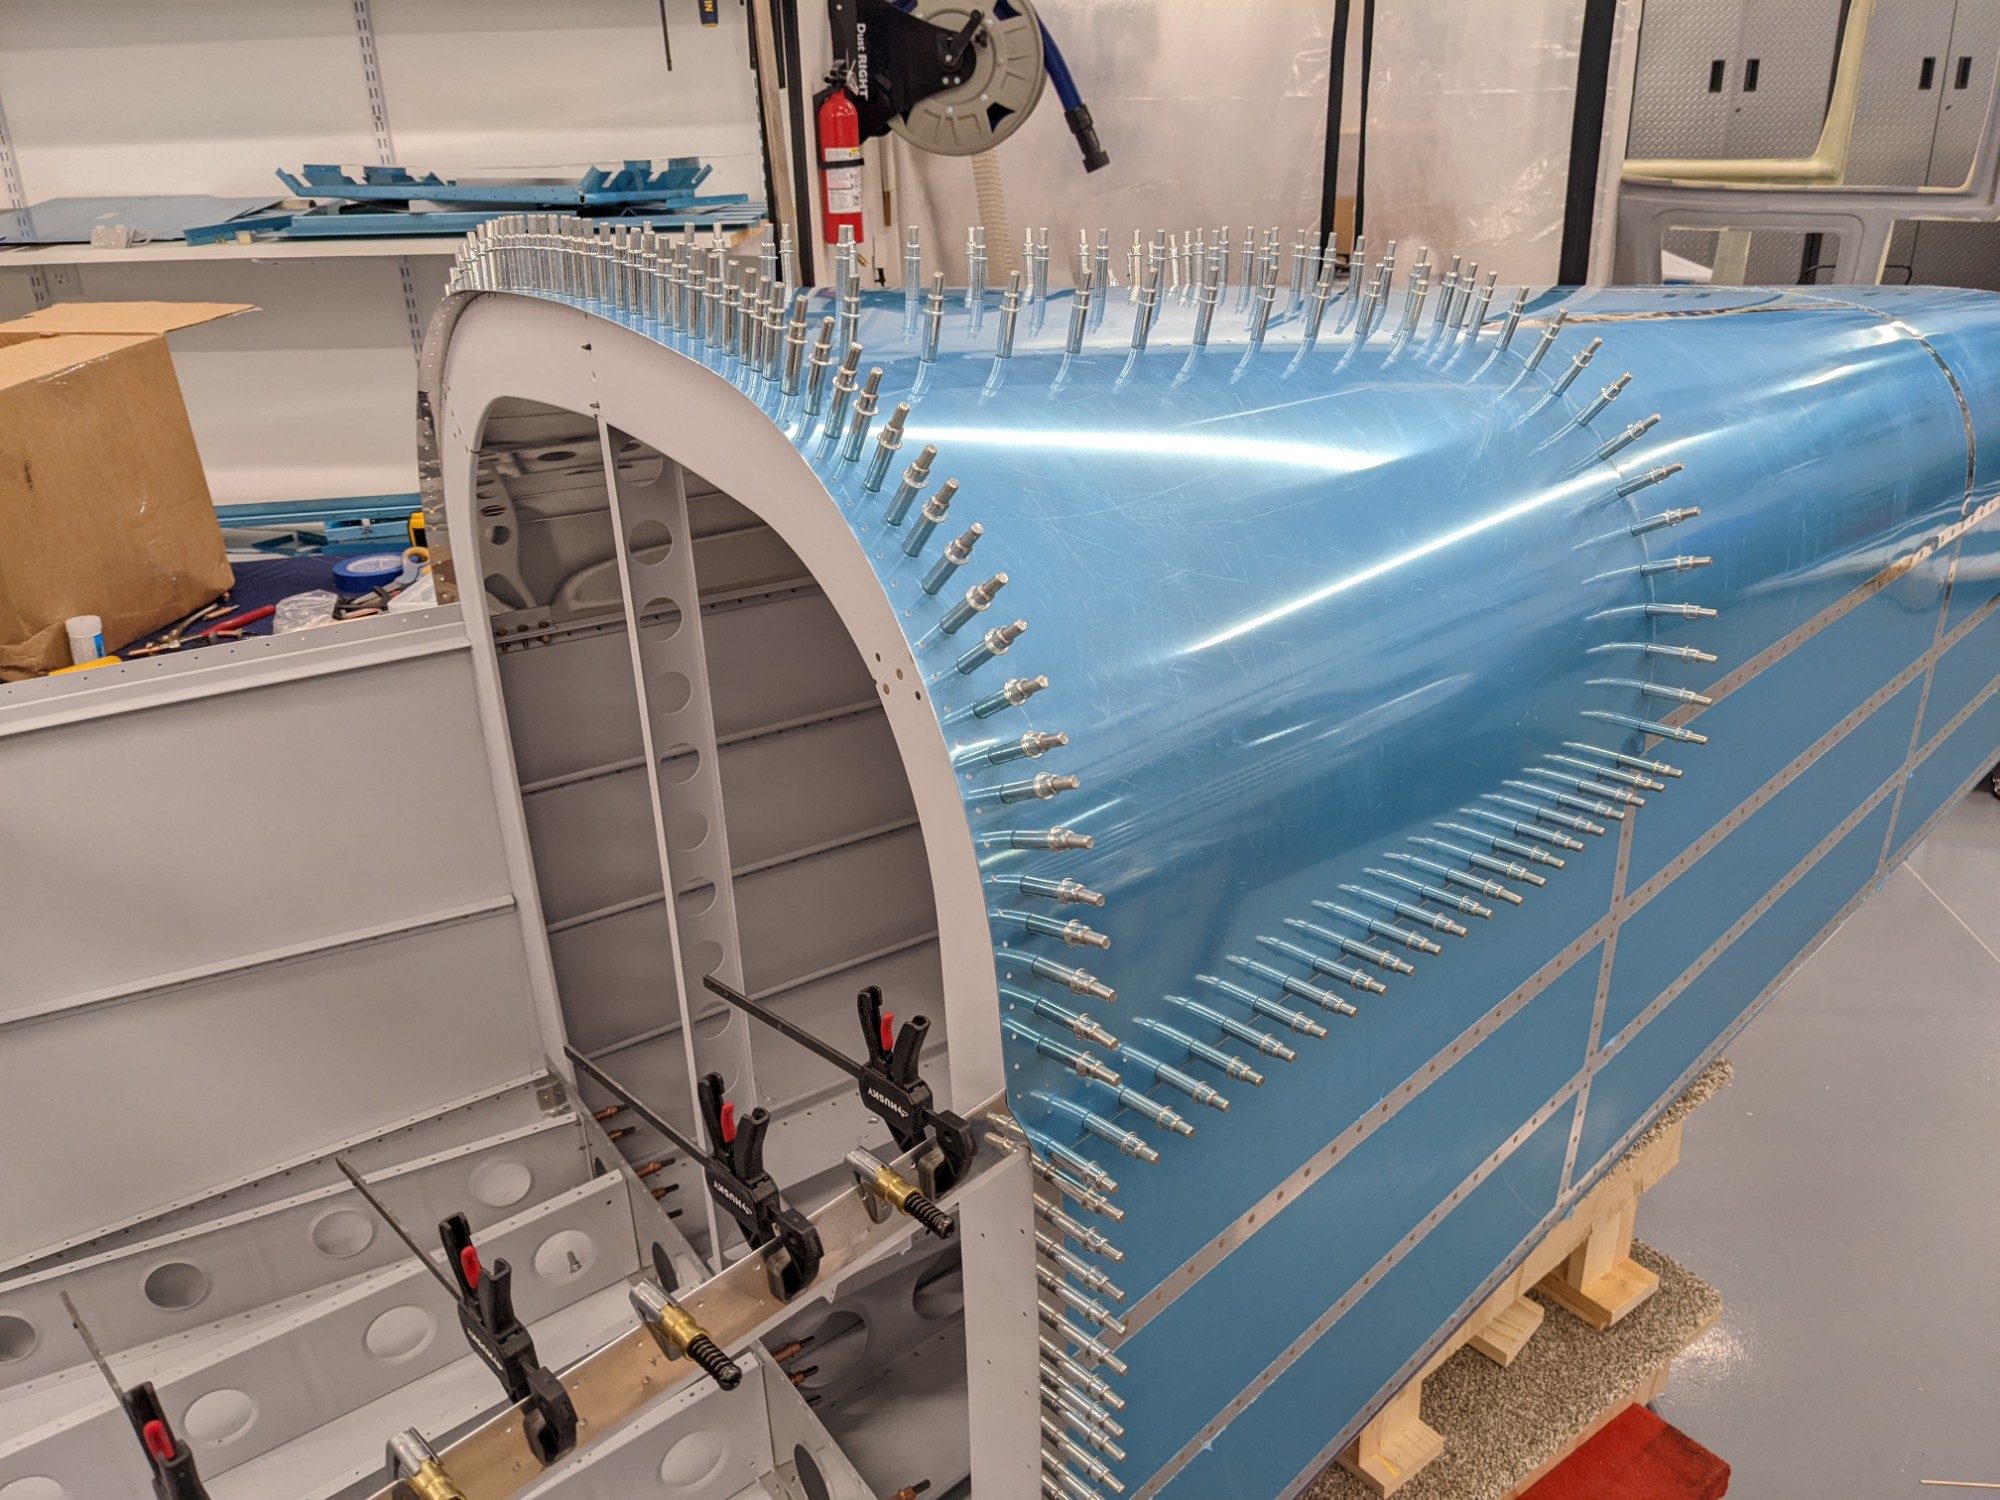
The longeron holes were match drilled and the bulkhead holes were final sized.
![](https://airplane.allanglen.com/wp-content/uploads/2022/01/pxl_20220125_0217234262575750101196549782.jpg)
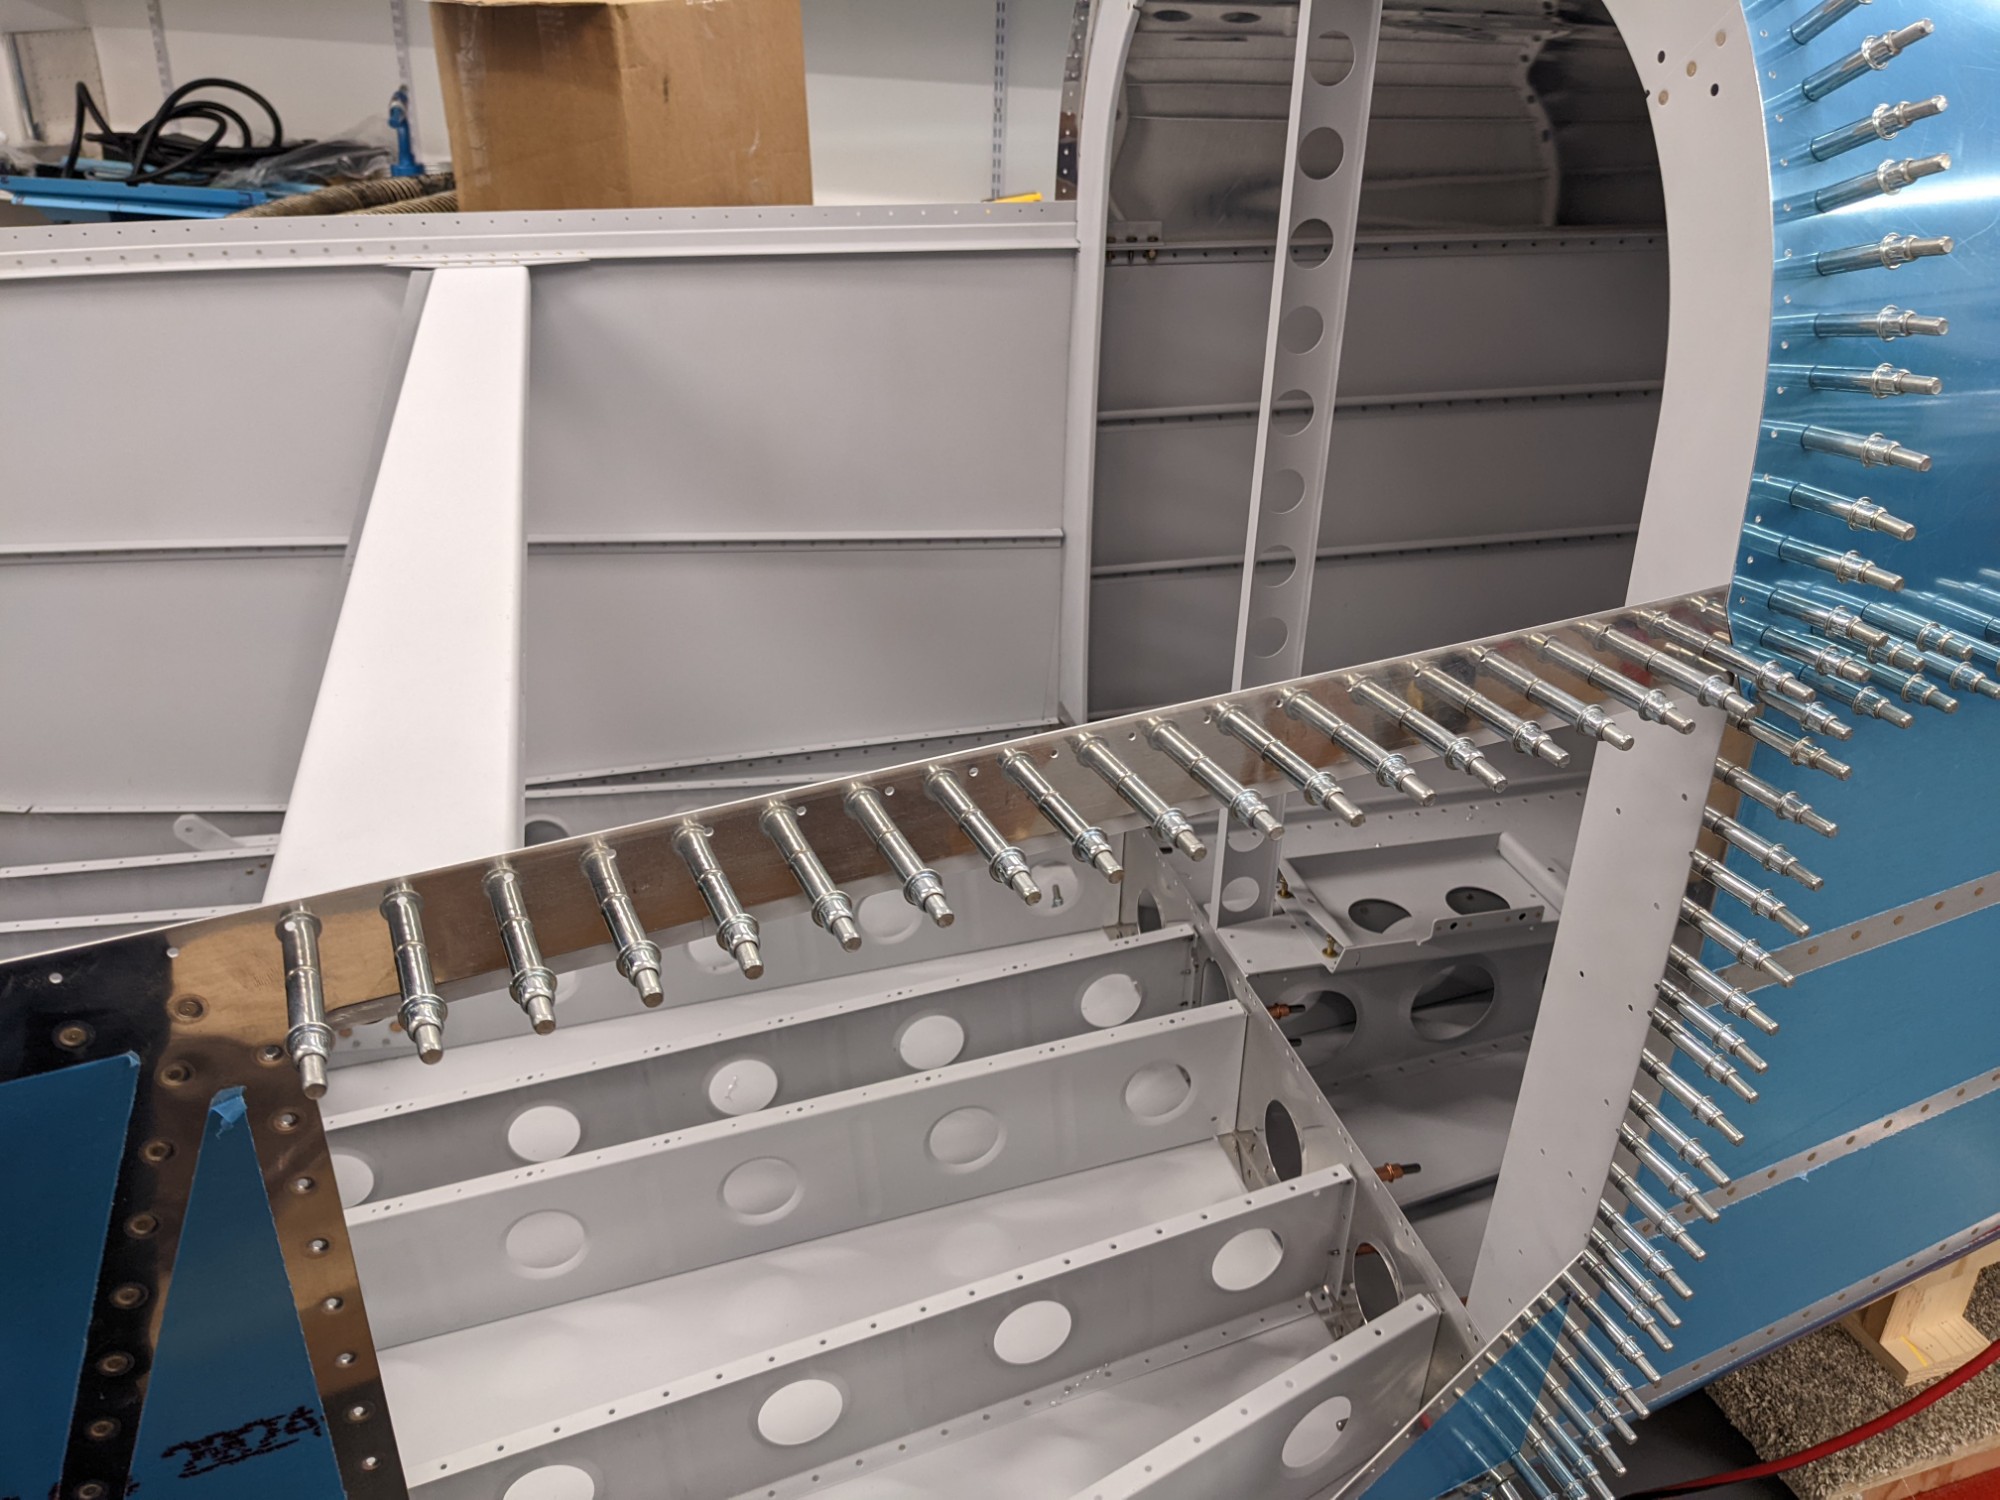
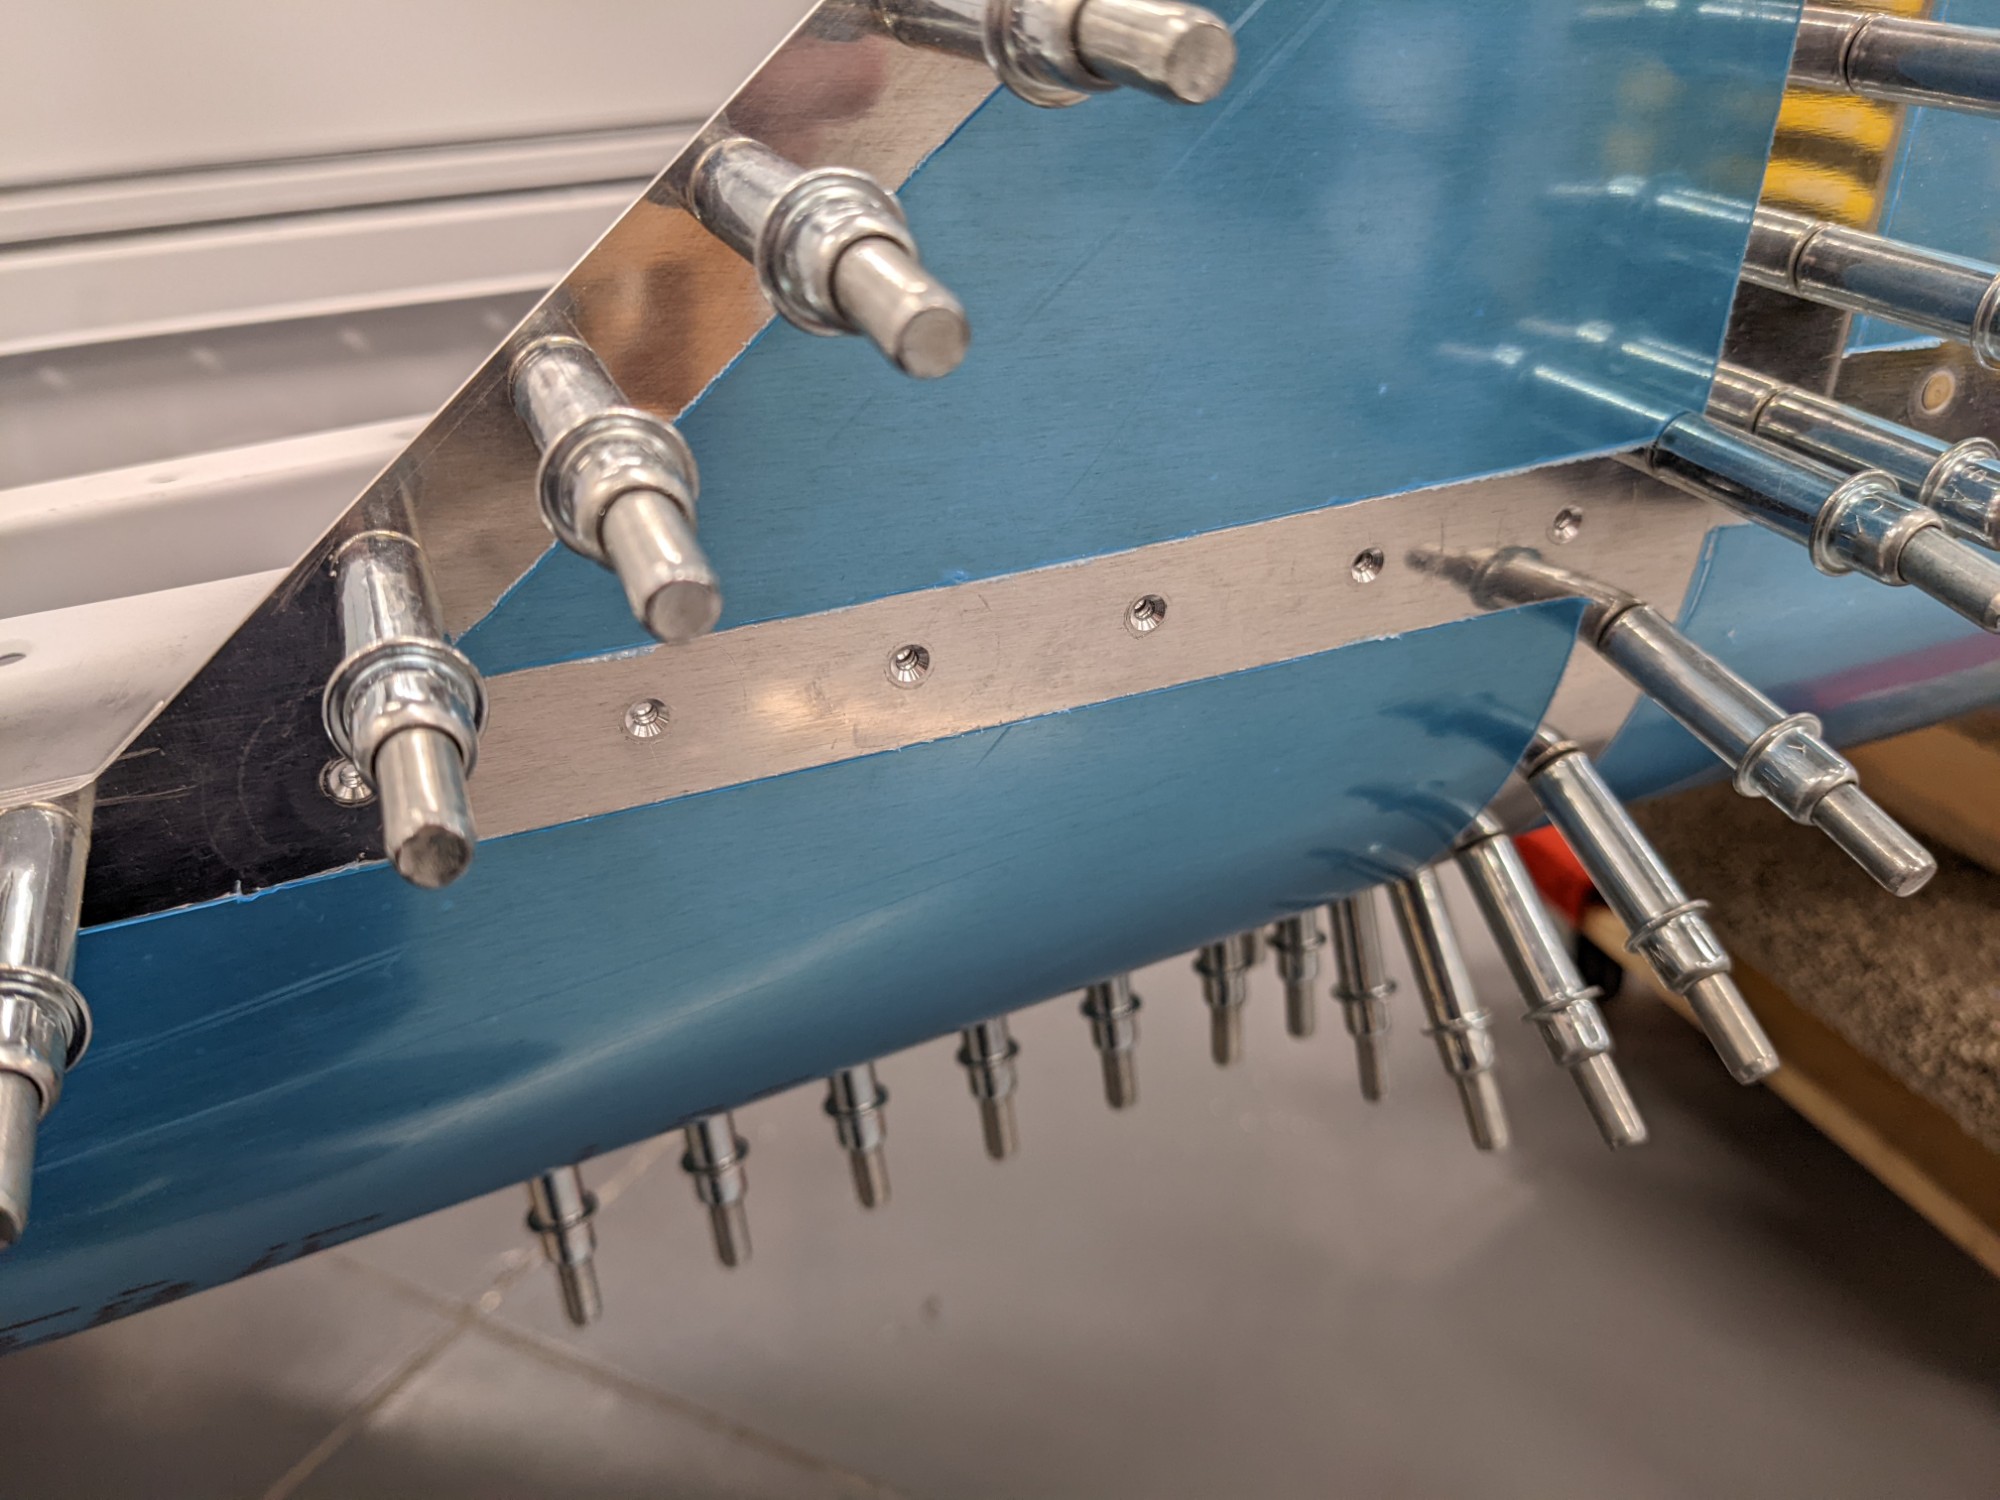
I also completed the holes along the triangle at the base of the baggage door.
![](https://airplane.allanglen.com/wp-content/uploads/2022/01/pxl_20220125_0327191351675434984856367148.jpg)
The lower six holes are countersunk for flush rivets.
![](https://airplane.allanglen.com/wp-content/uploads/2022/01/pxl_20220125_0327437734882007680760456067.jpg)
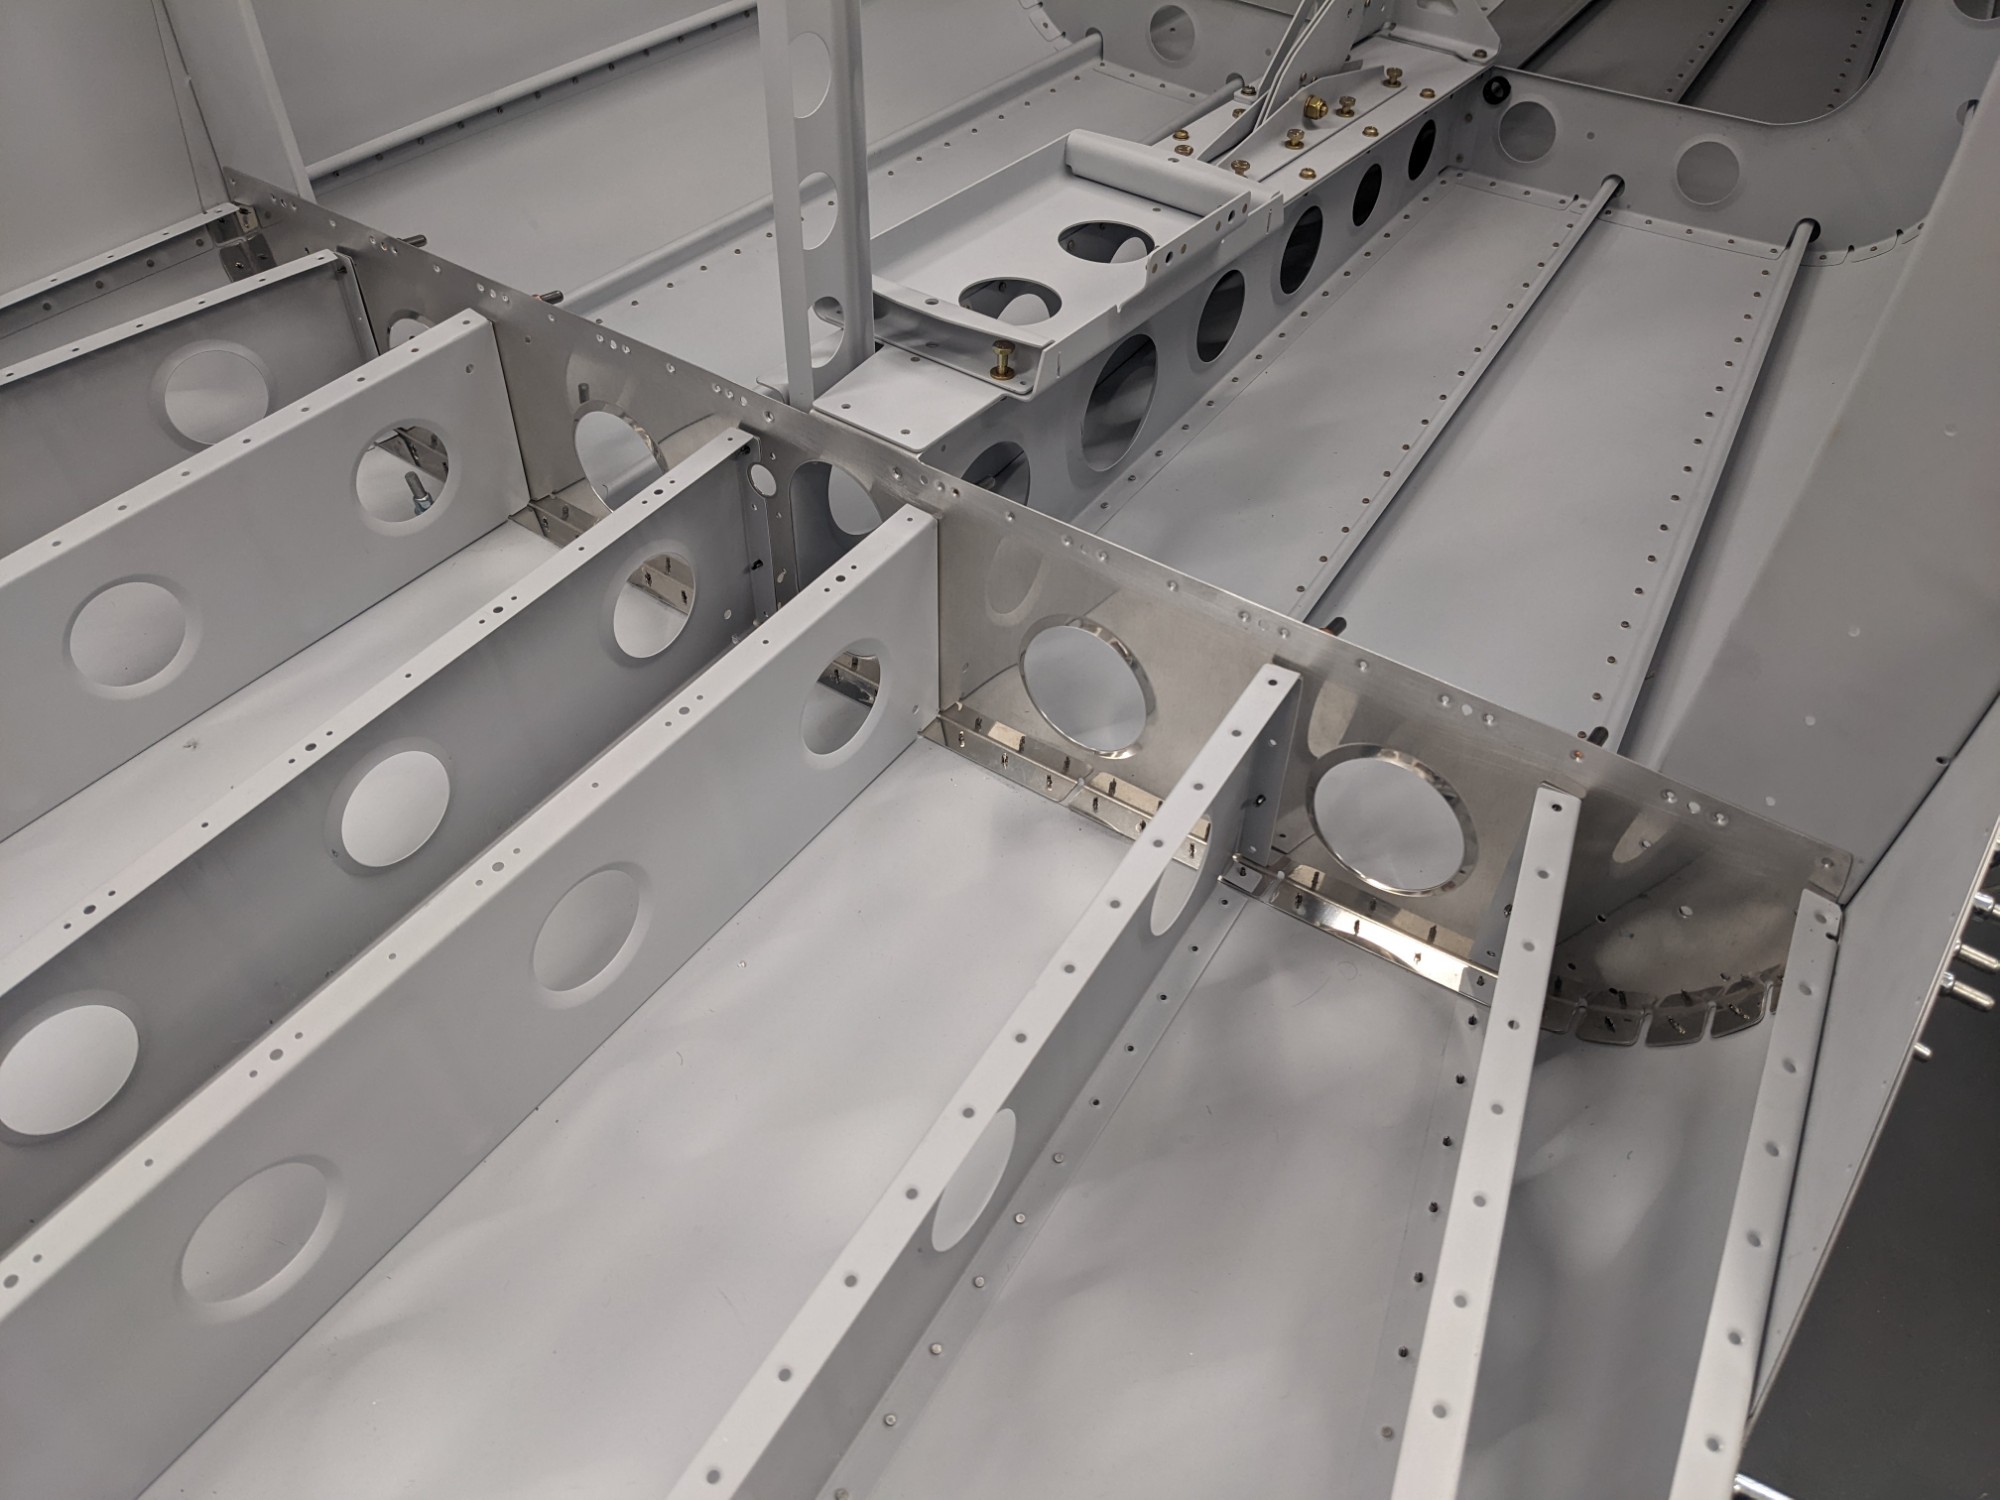
I then final sized all of the holes that intersect with the bulkhead and matched drilled the aft holes in the bottom skin.
![](https://airplane.allanglen.com/wp-content/uploads/2022/01/pxl_20220125_0139121043390246480588558263.jpg)
Now it is time to take it apart for deburring and dimpling. Exciting to be close to permanently attaching this!