
I am installing a parking brake (Matco PVPV-D) and I made a custom bracket that allows me to install a limit switch that will connect to my EFIS.
I designed the bracket in OnShape using the measurements from the parking brake schematic.
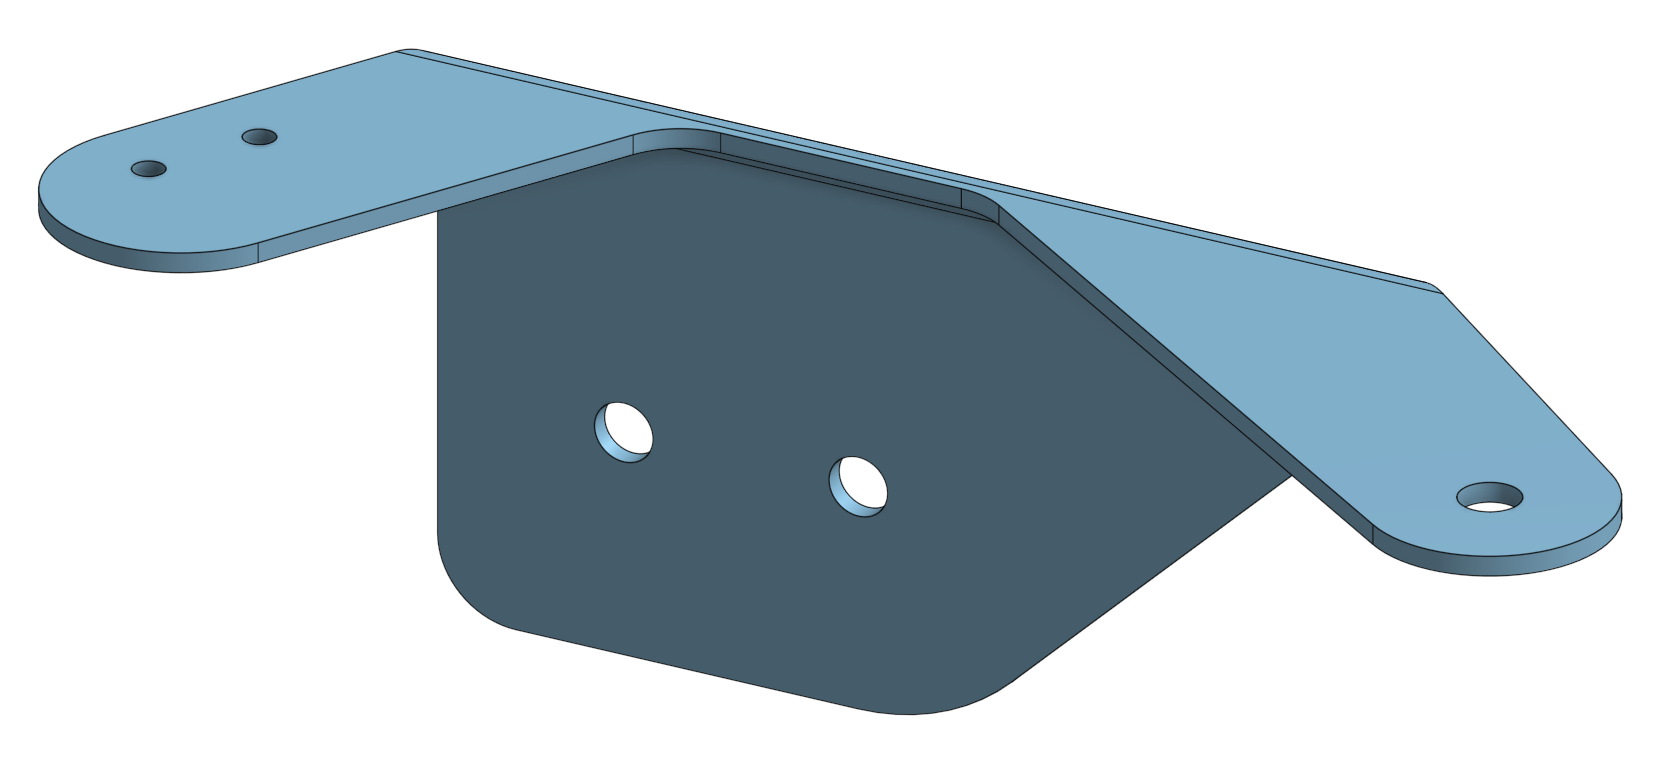
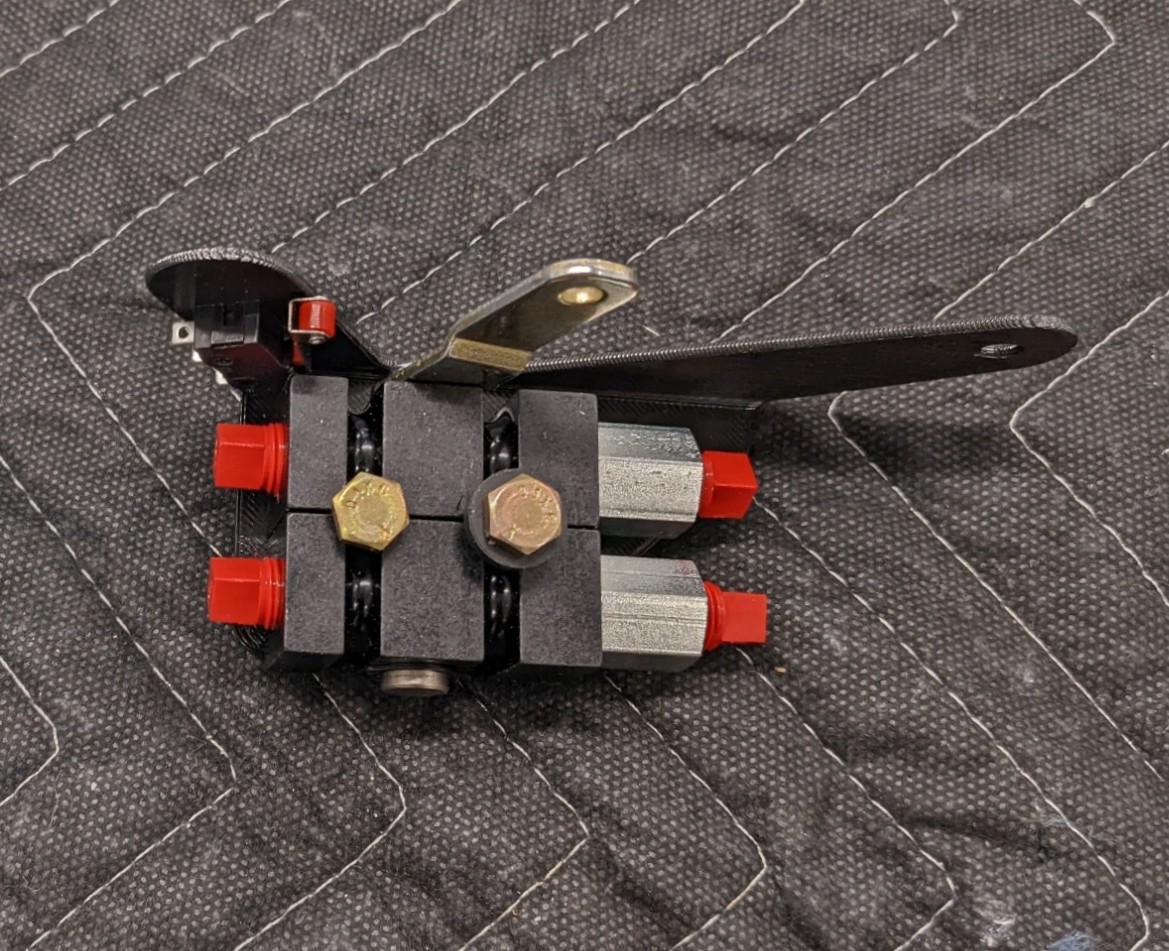
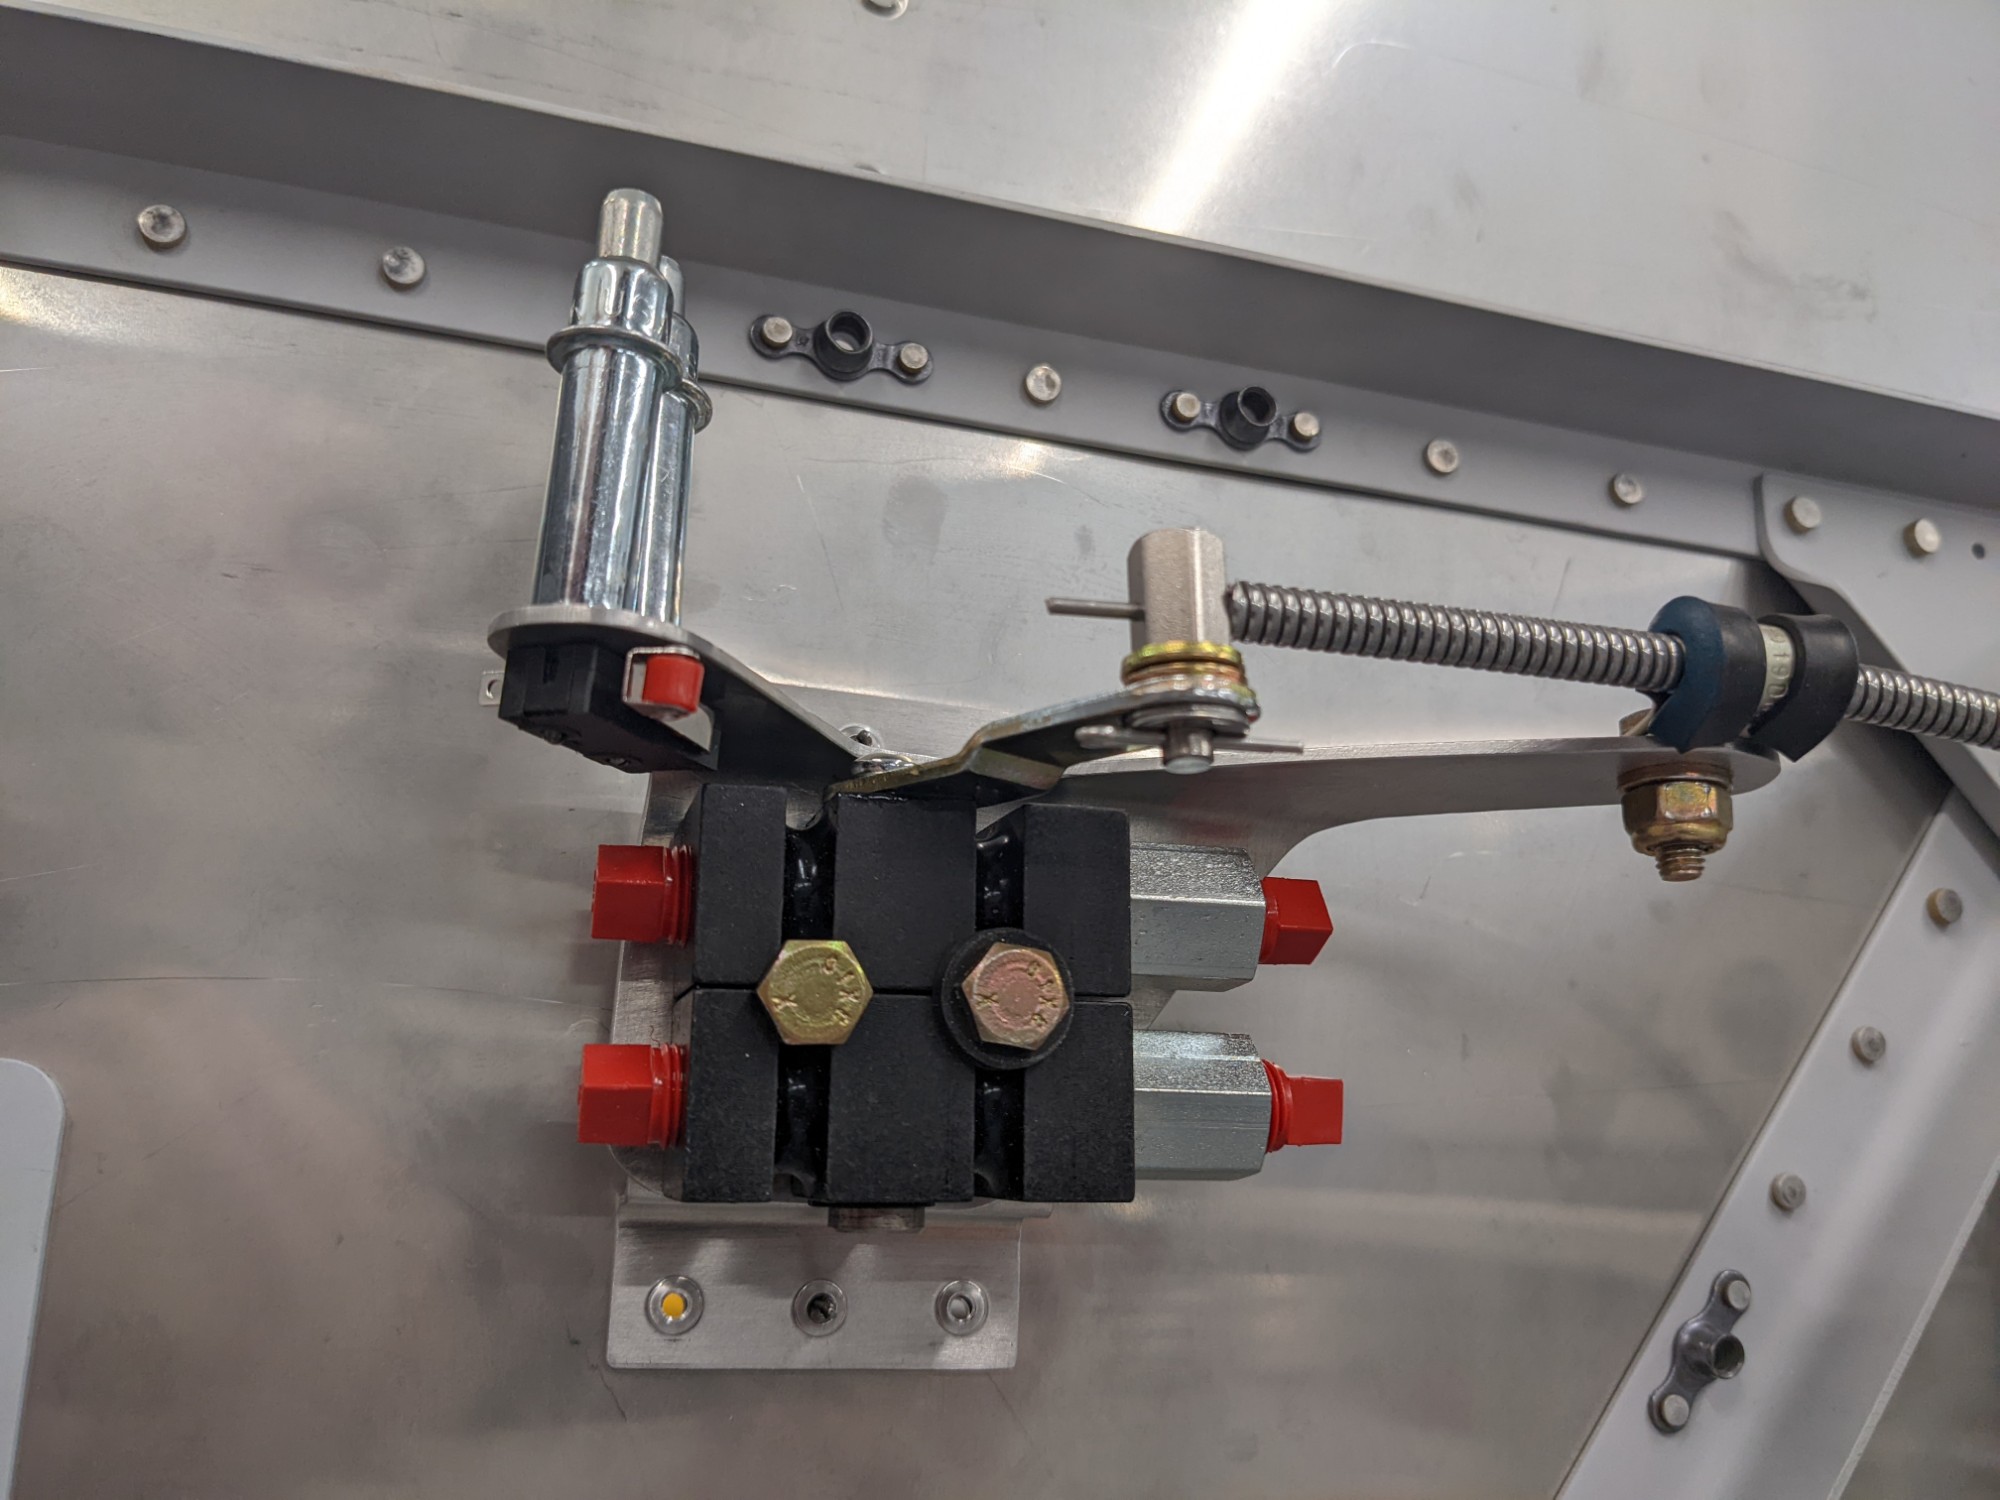
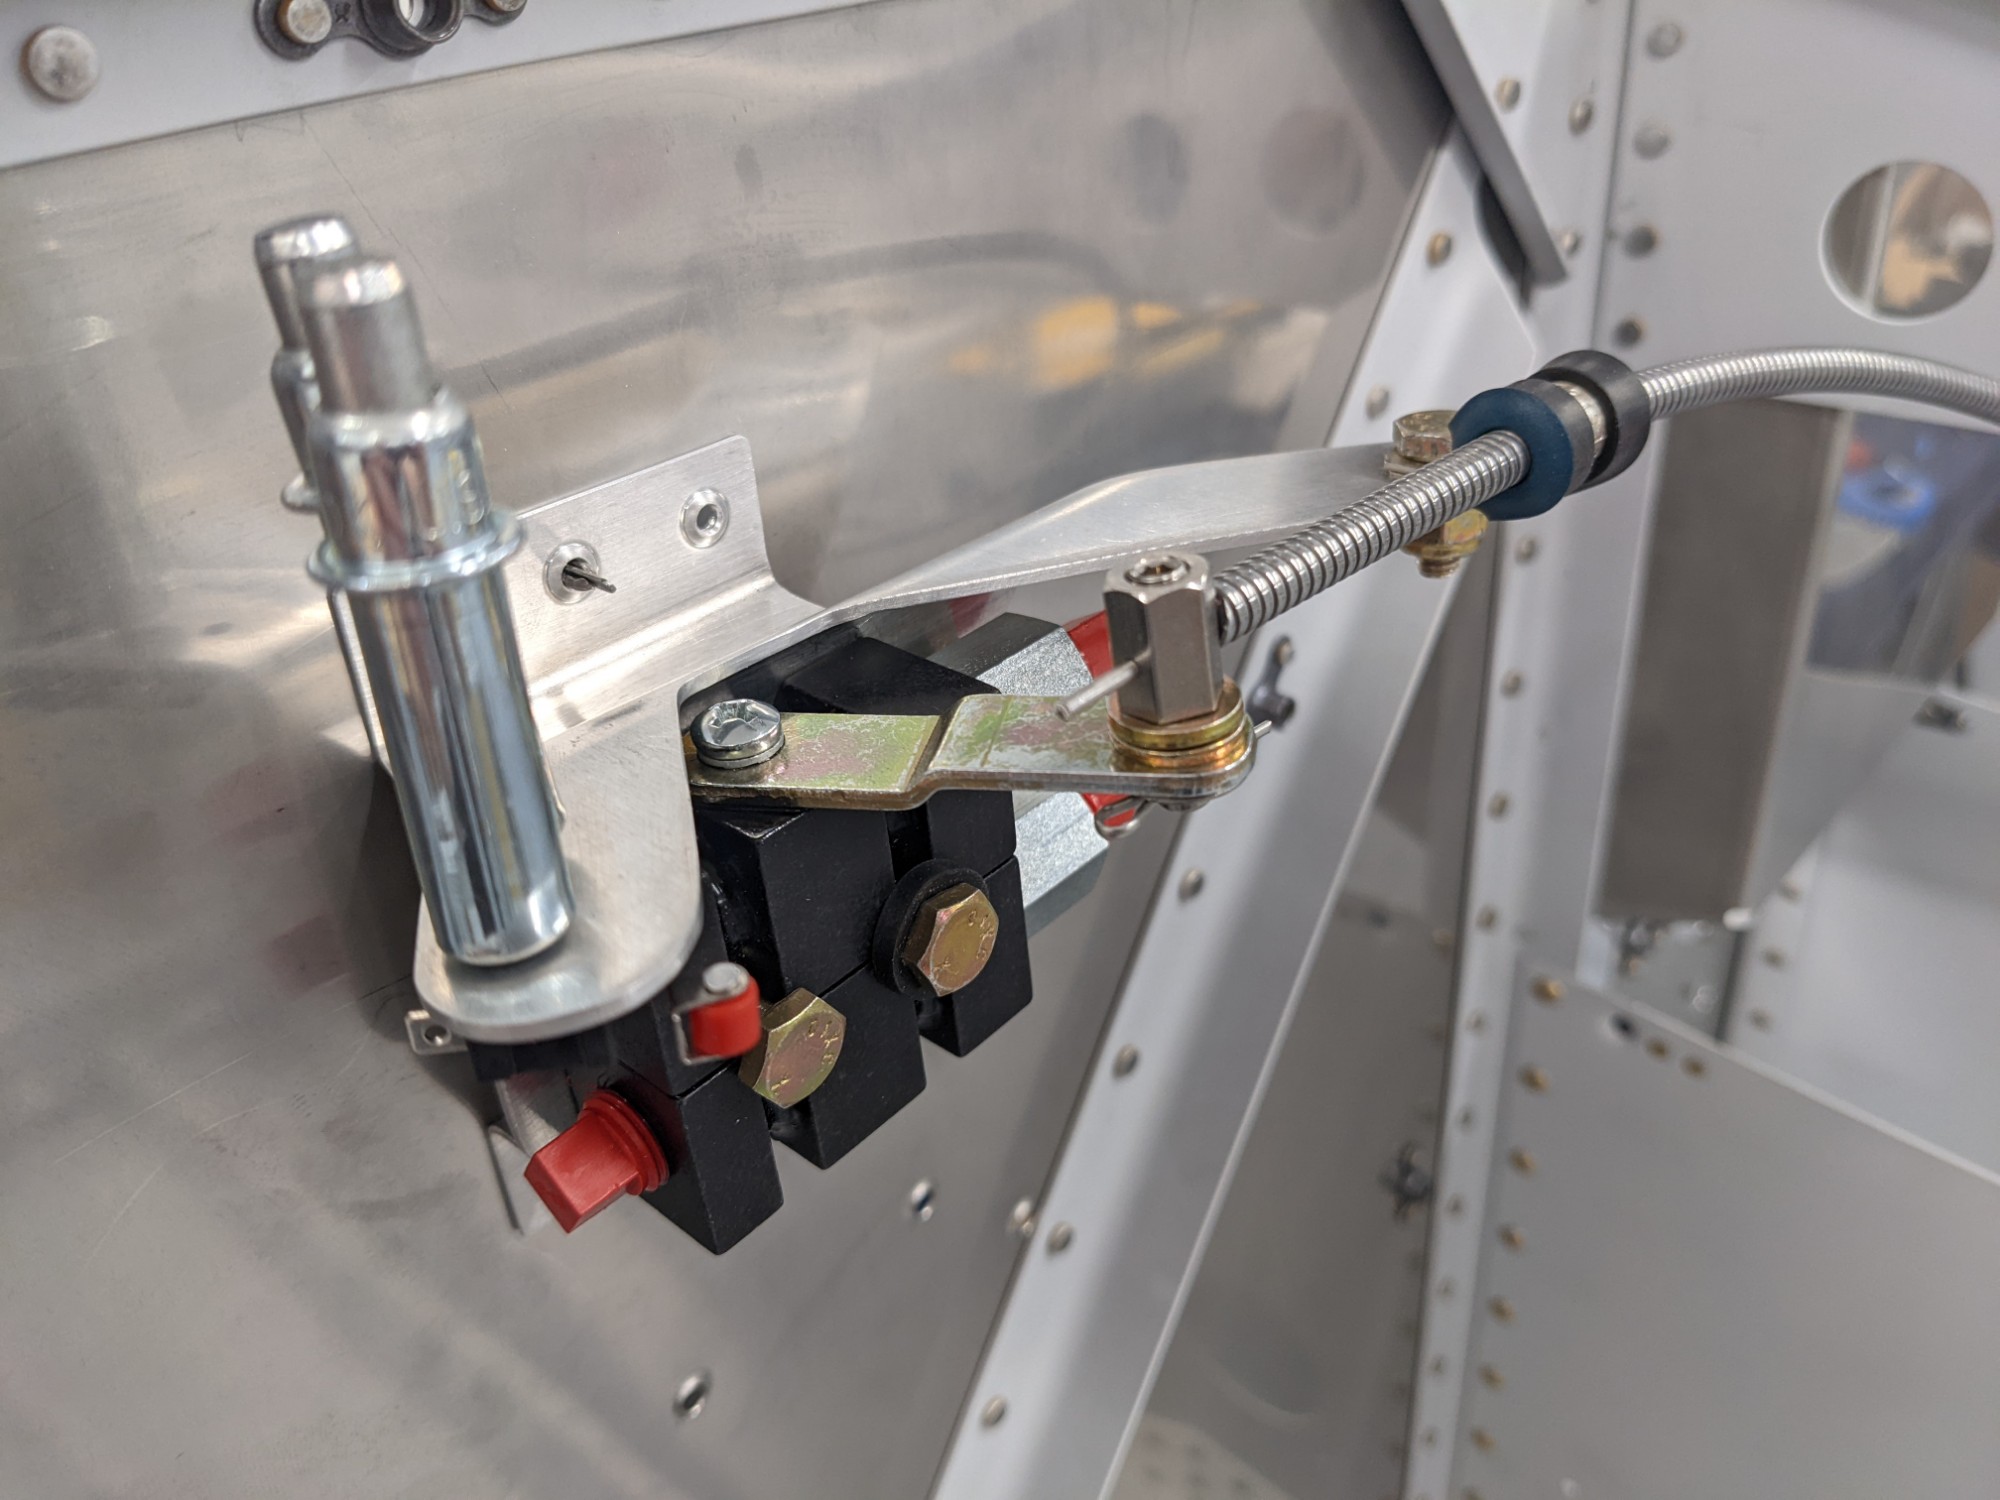
I 3d printed a sample bracket to test the valve arm action against the limit switch. Everything fit well and the limit switch worked as designed. Note that I have clocked the lever 180° from the stock position so that the “on” position of the valve is active when the lever is towards the right side of the aircraft. My control cable will be mounted near the tunnel at the location provided on the lower console of the Aerosport RV-10 310 Carbon Fiber Instrument Panel.
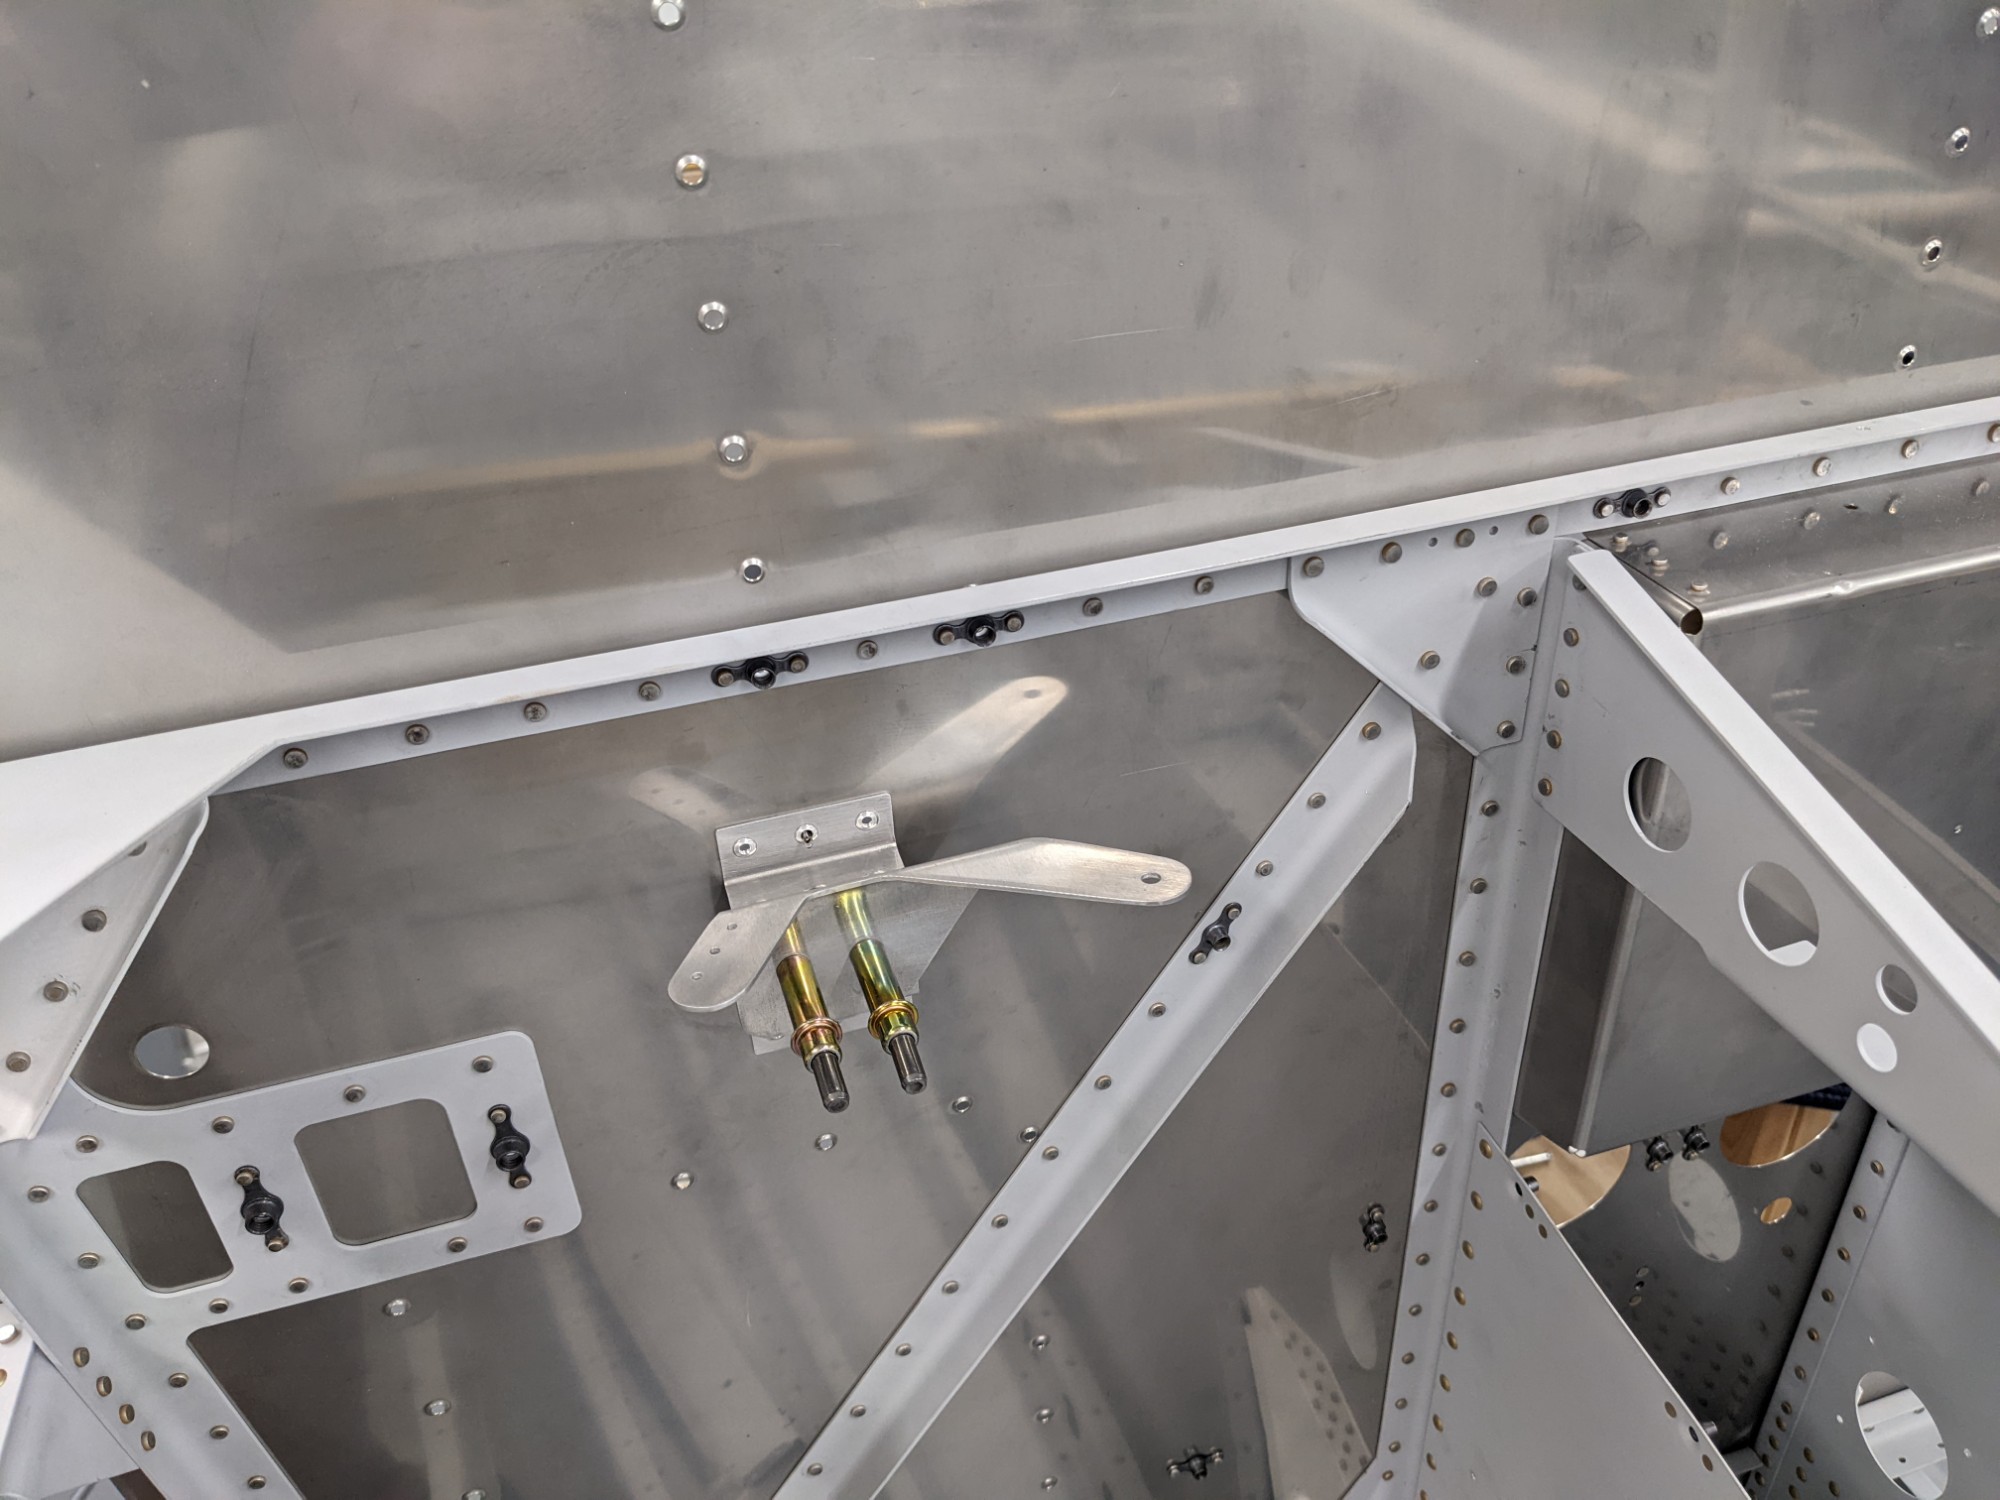
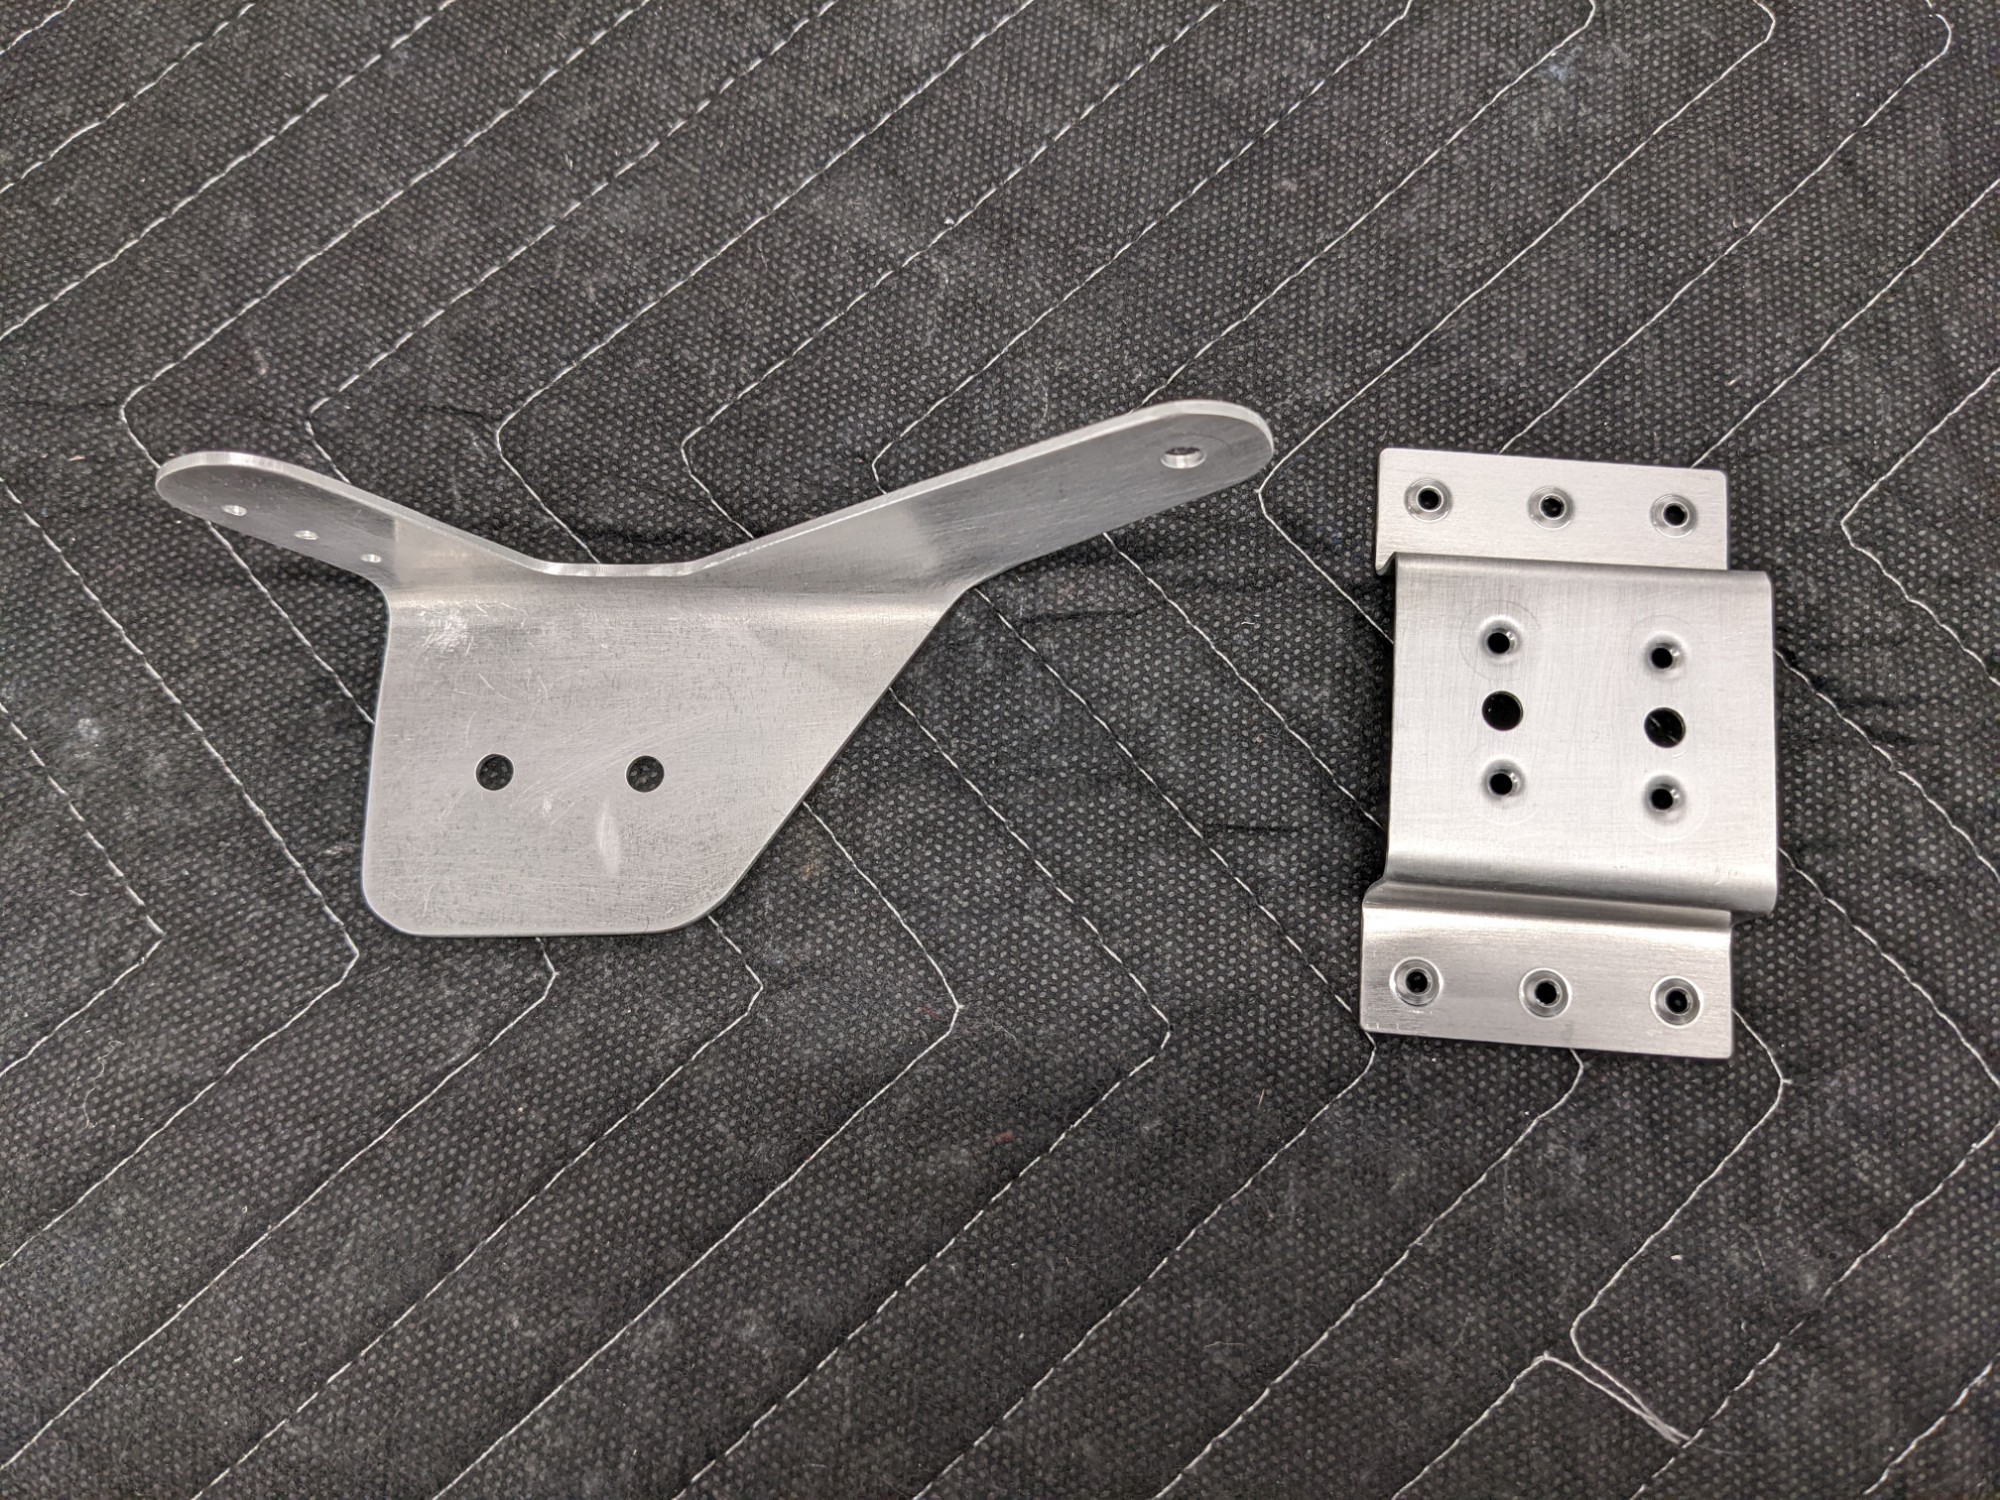
I started out by making a bracket to attach to the firewall. I match drilled the holes using the stock bracket.
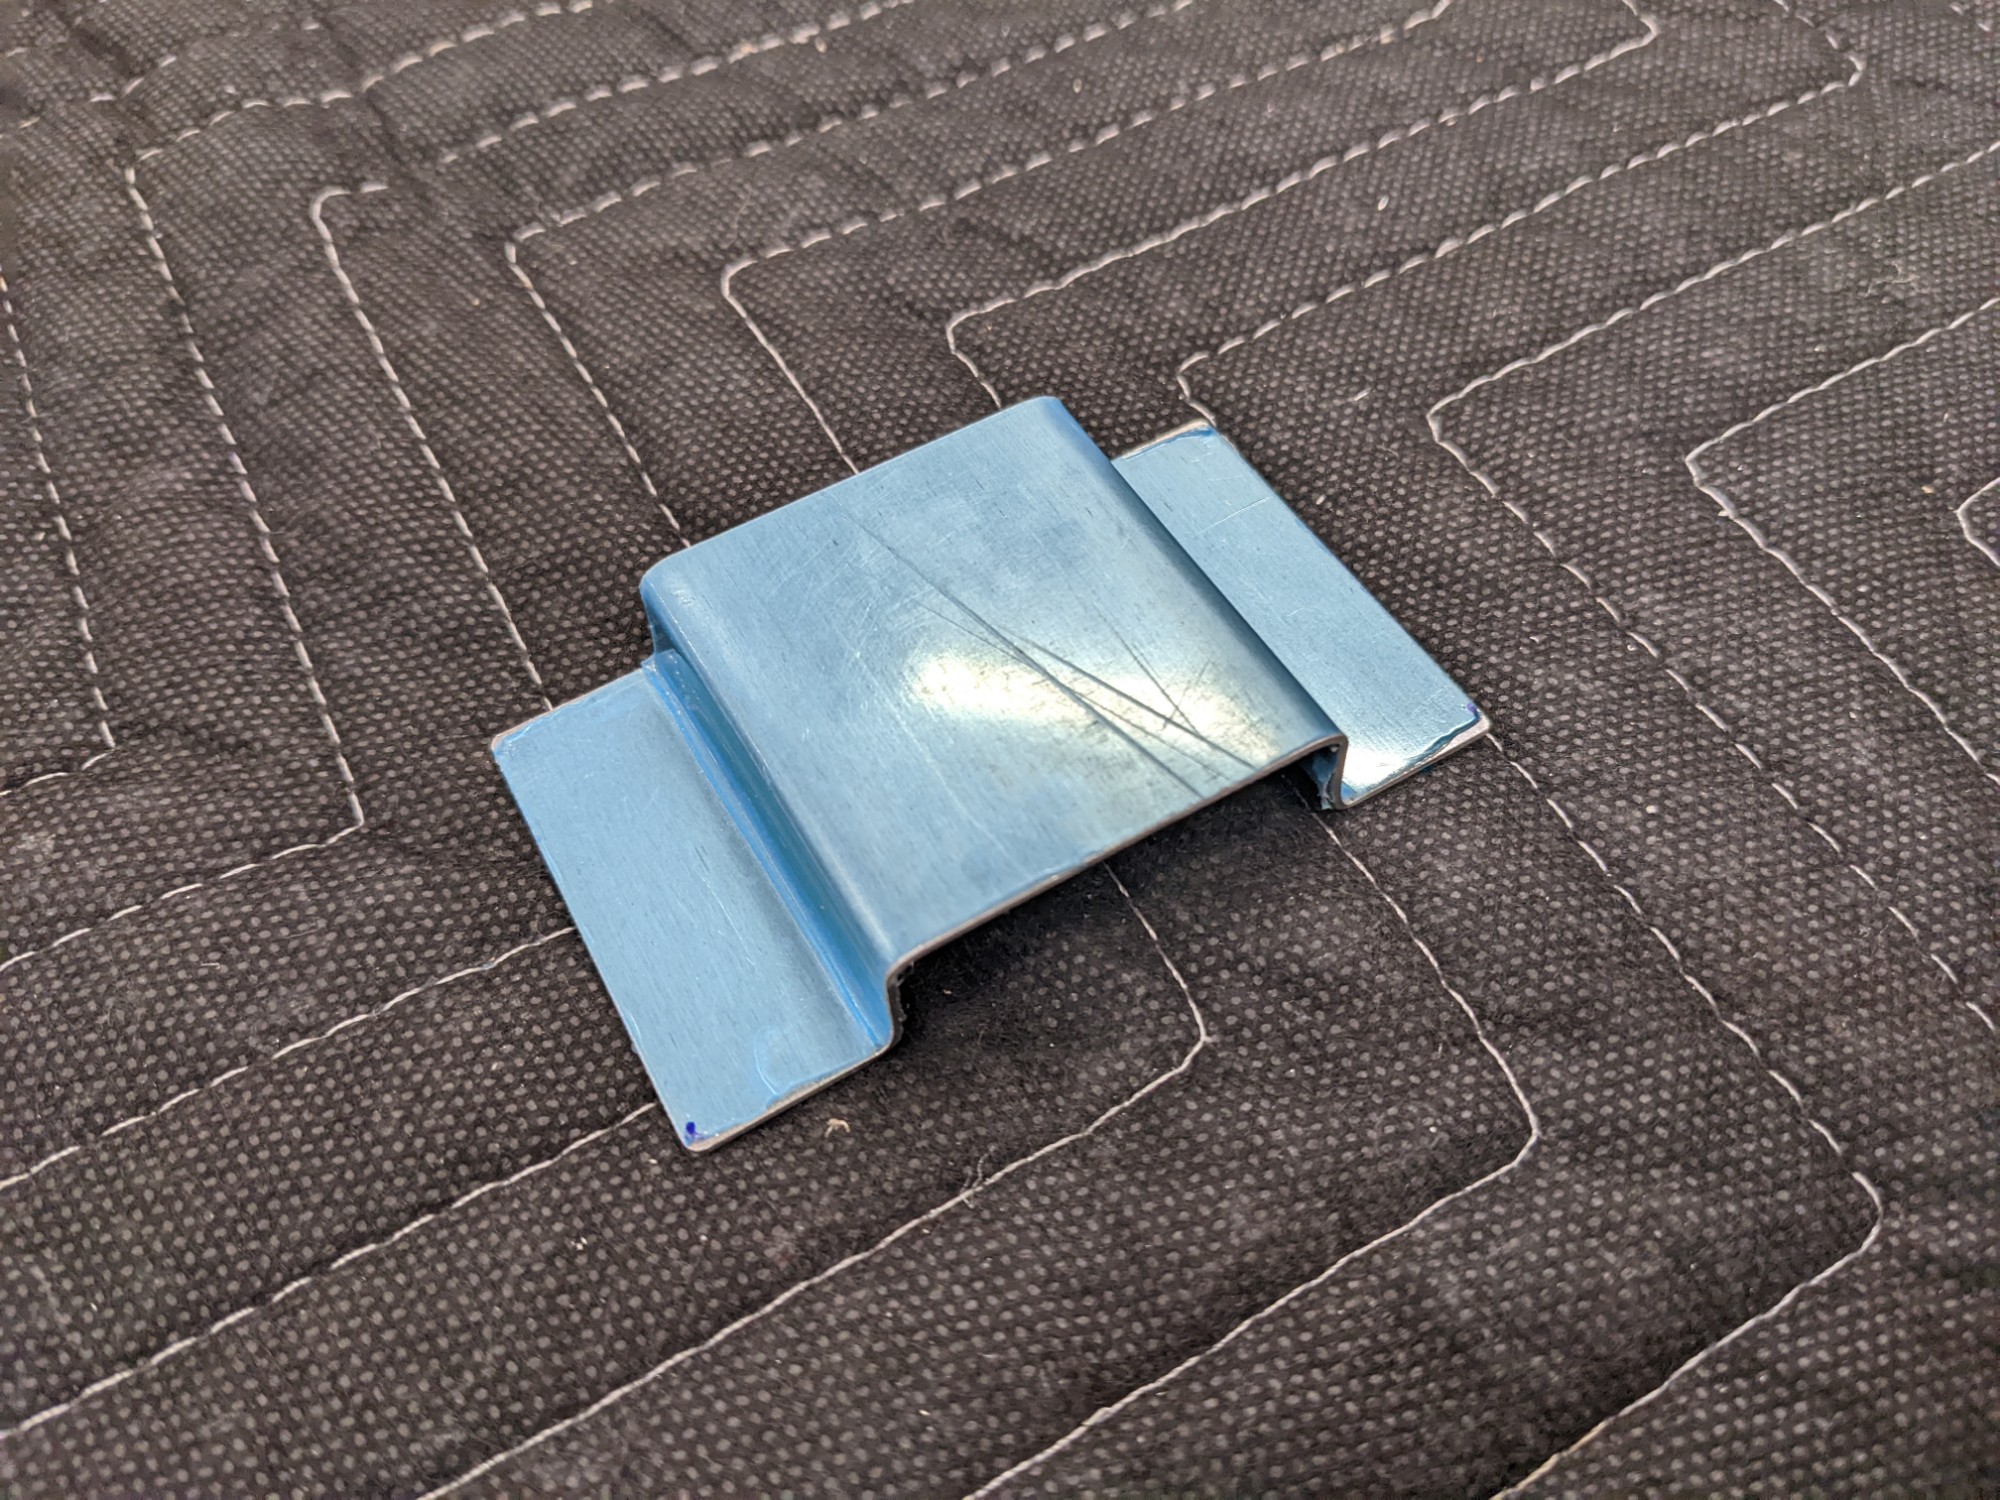
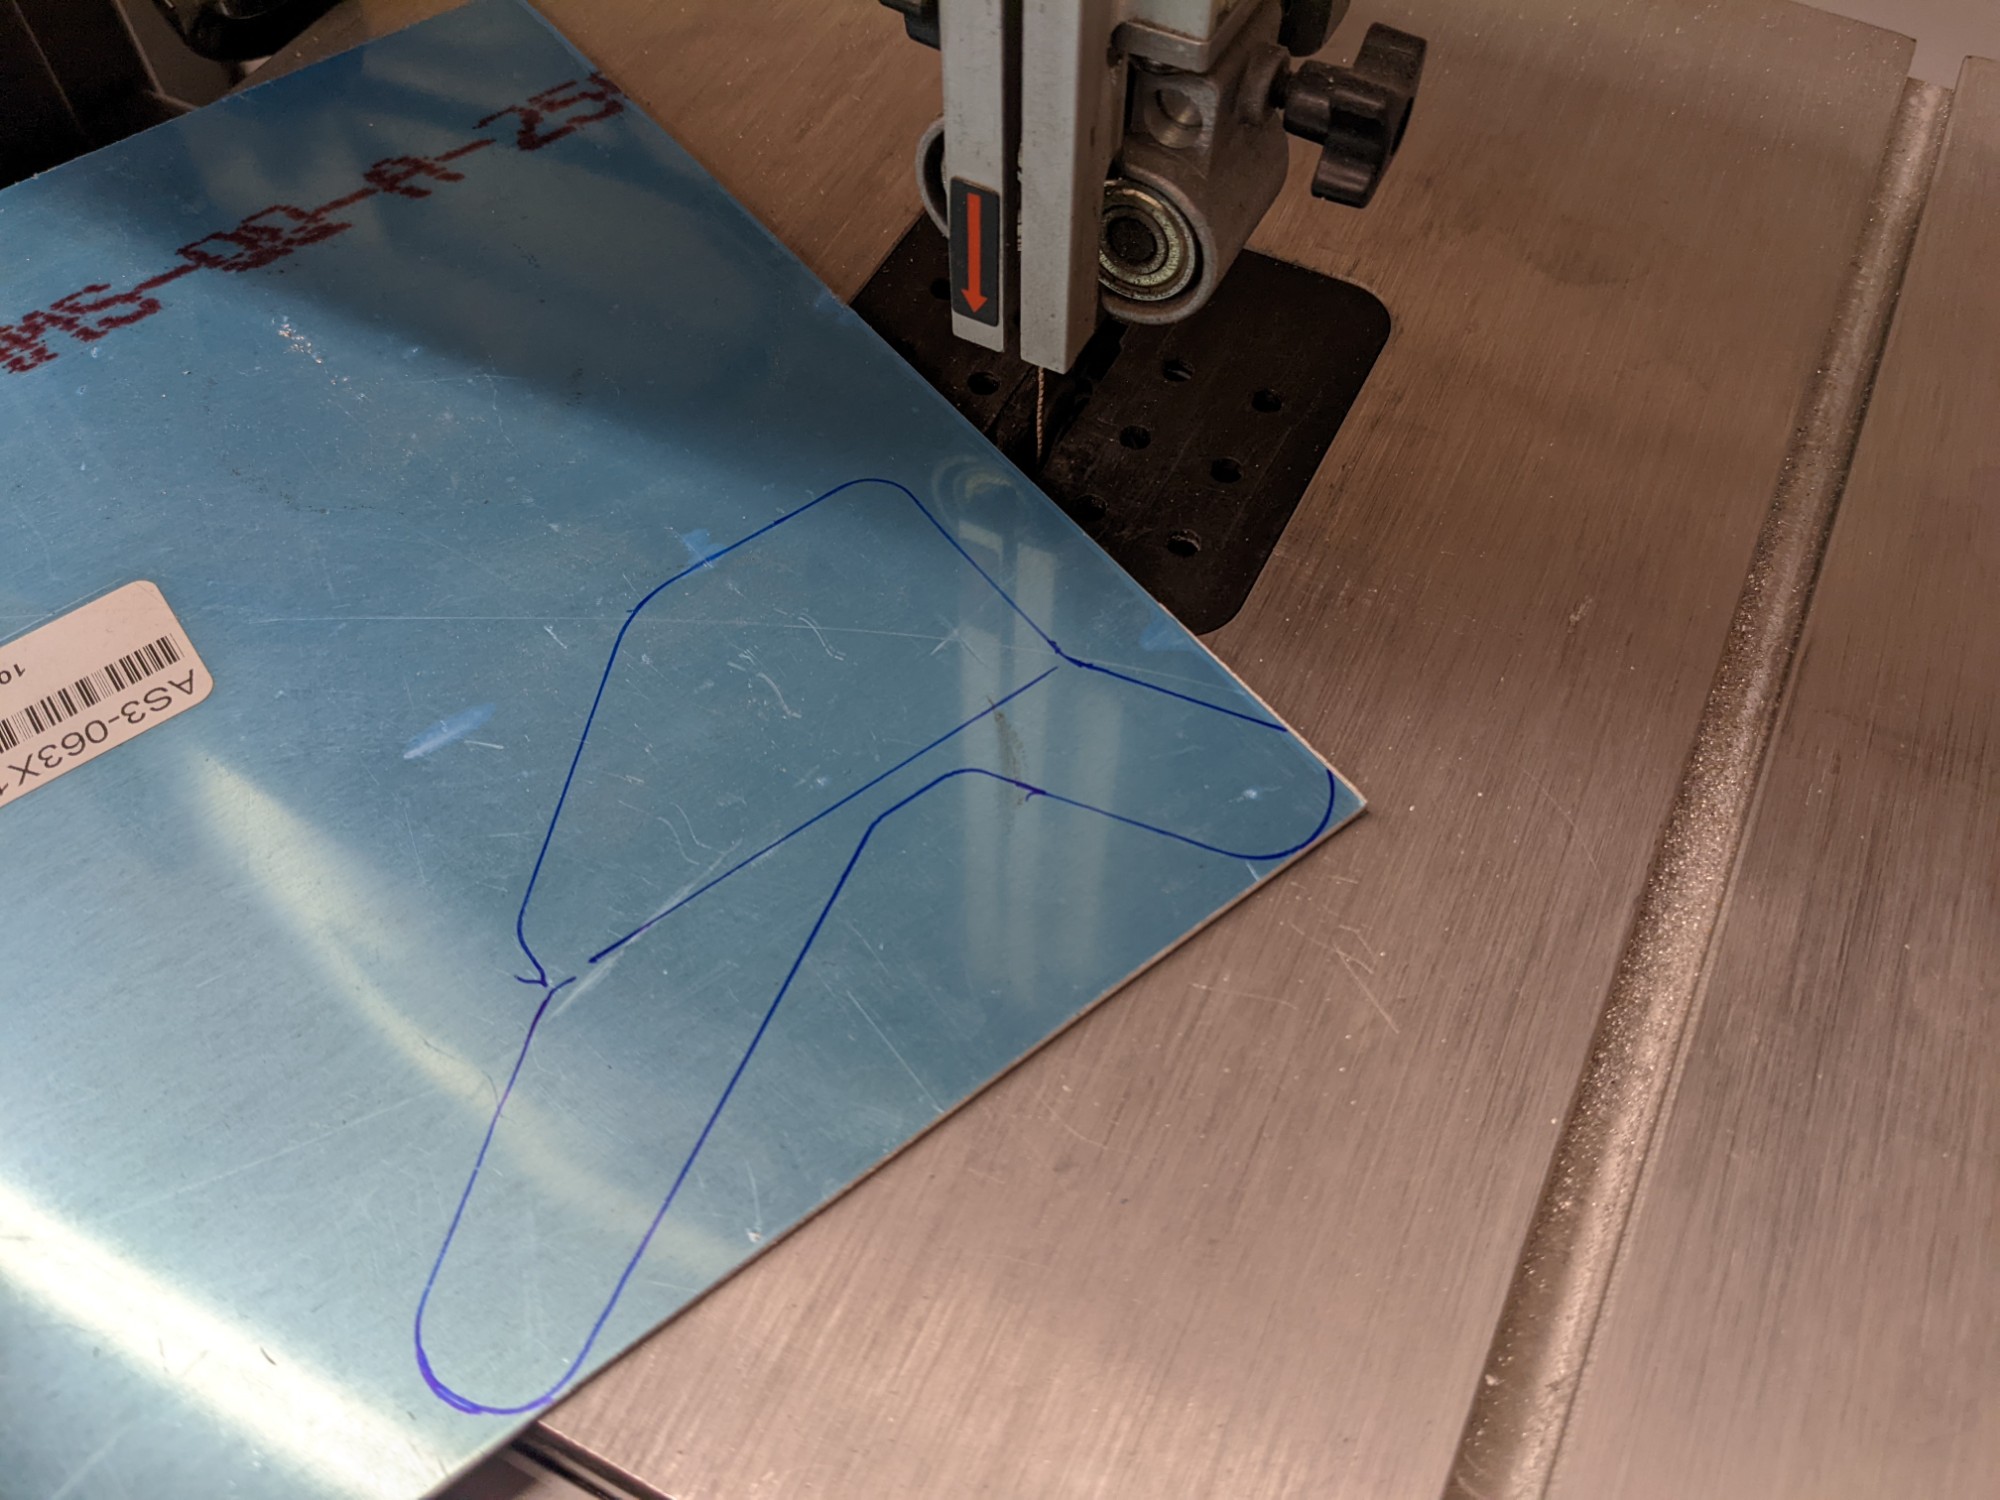
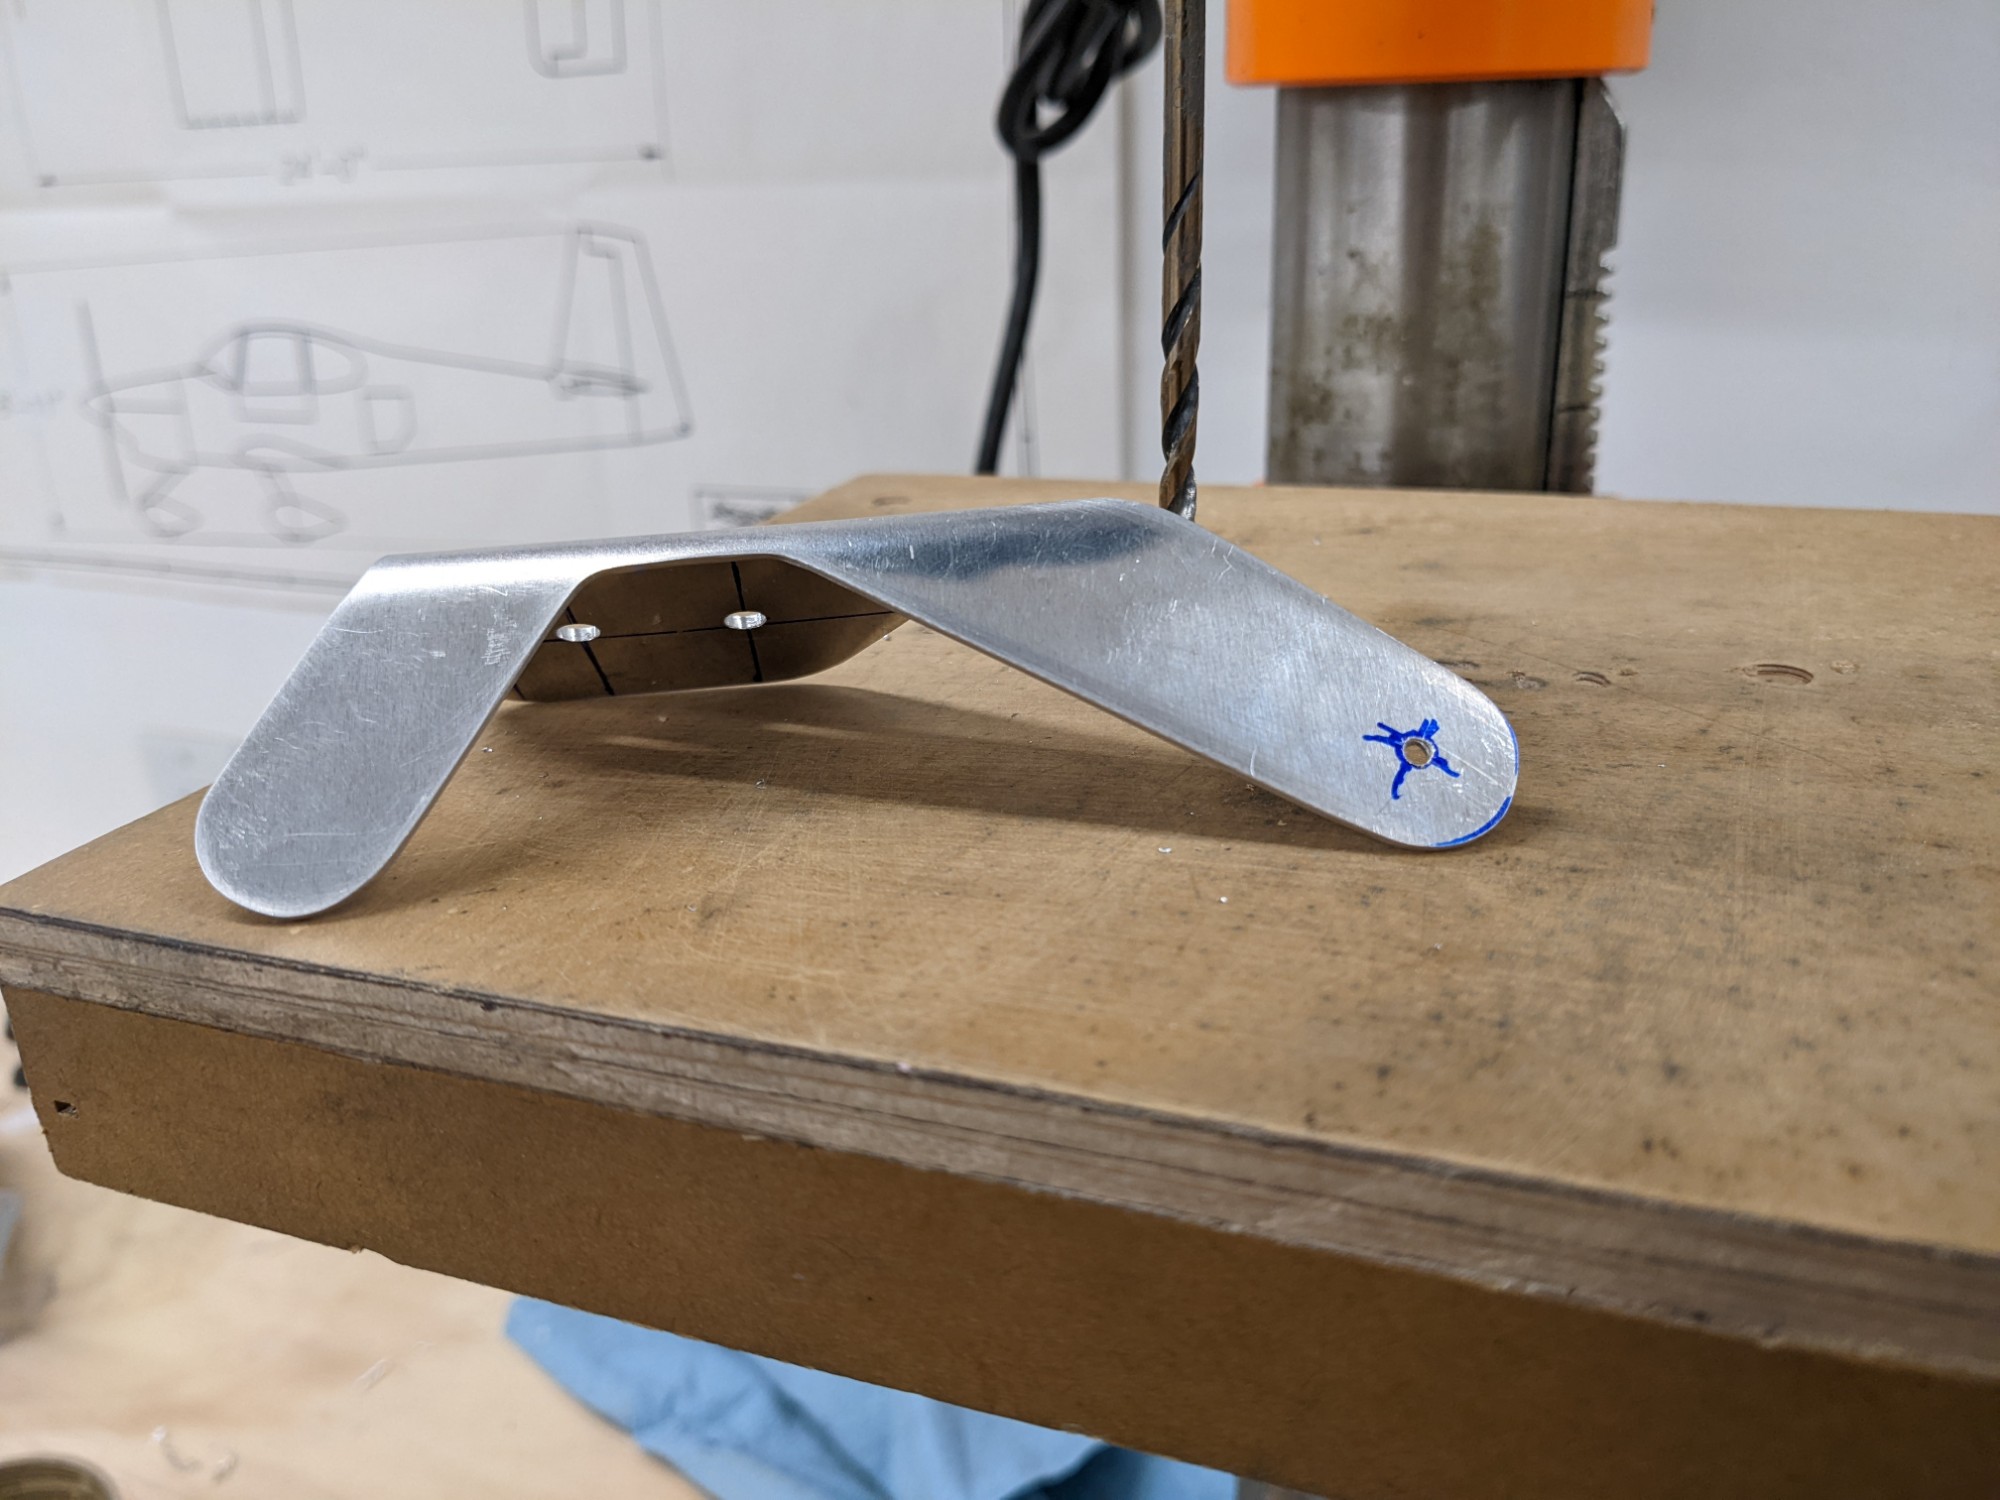
I then cut out the primary bracket from 063 and bent it in a vise using the rounded edge of a 2×4 to make the bend.
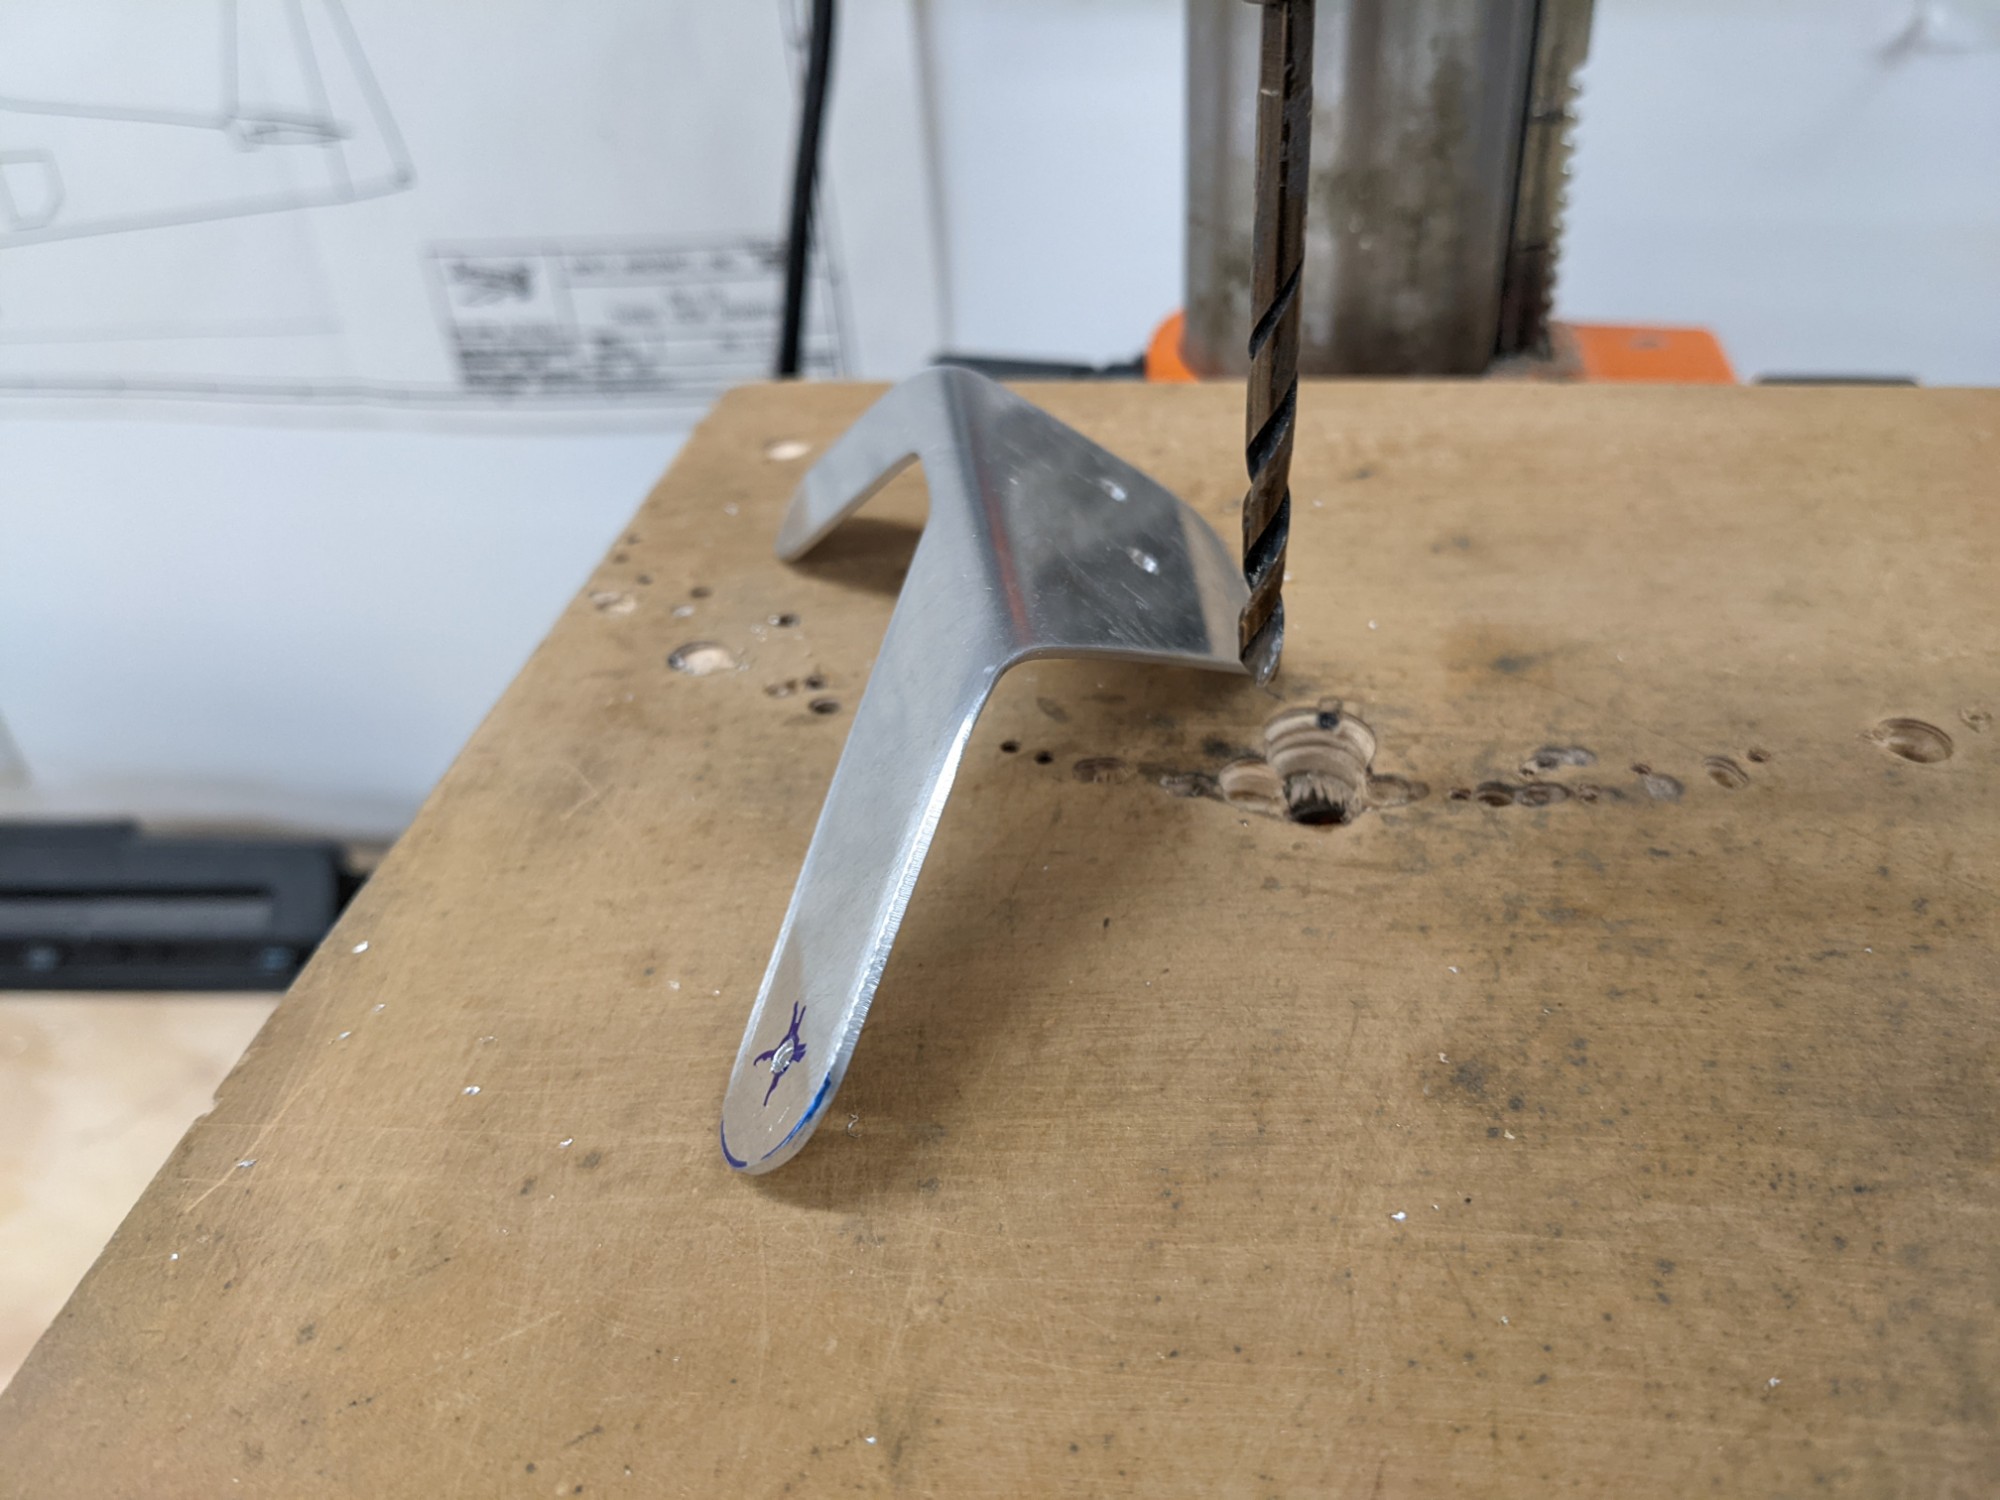
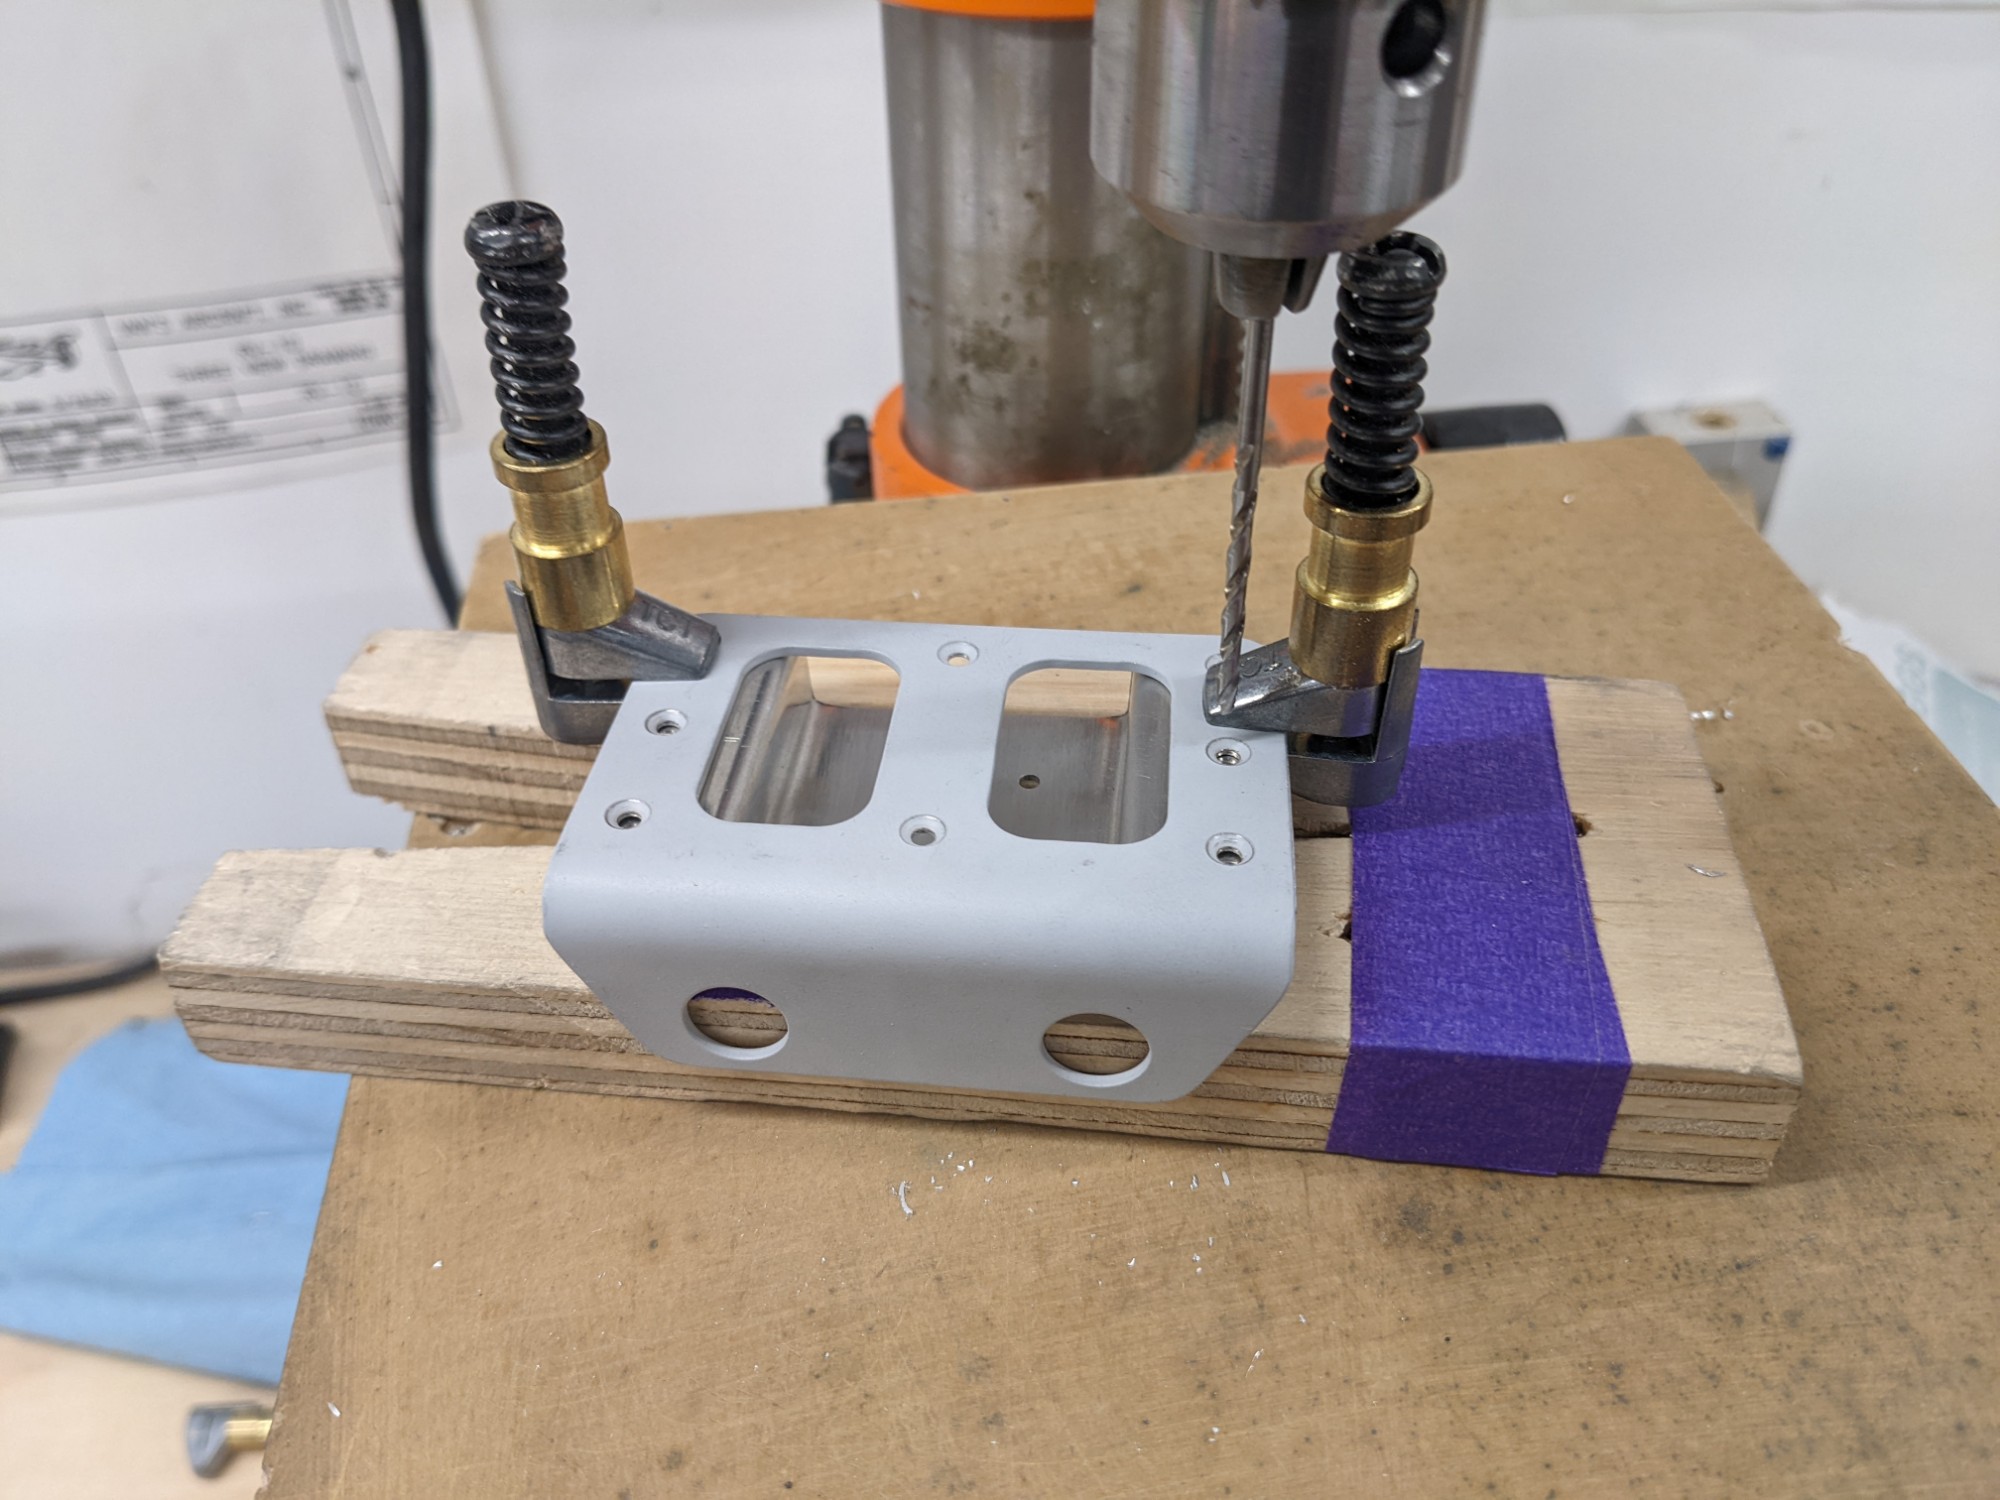
I marked and drilled the holes by transferring from the 3d printed part.
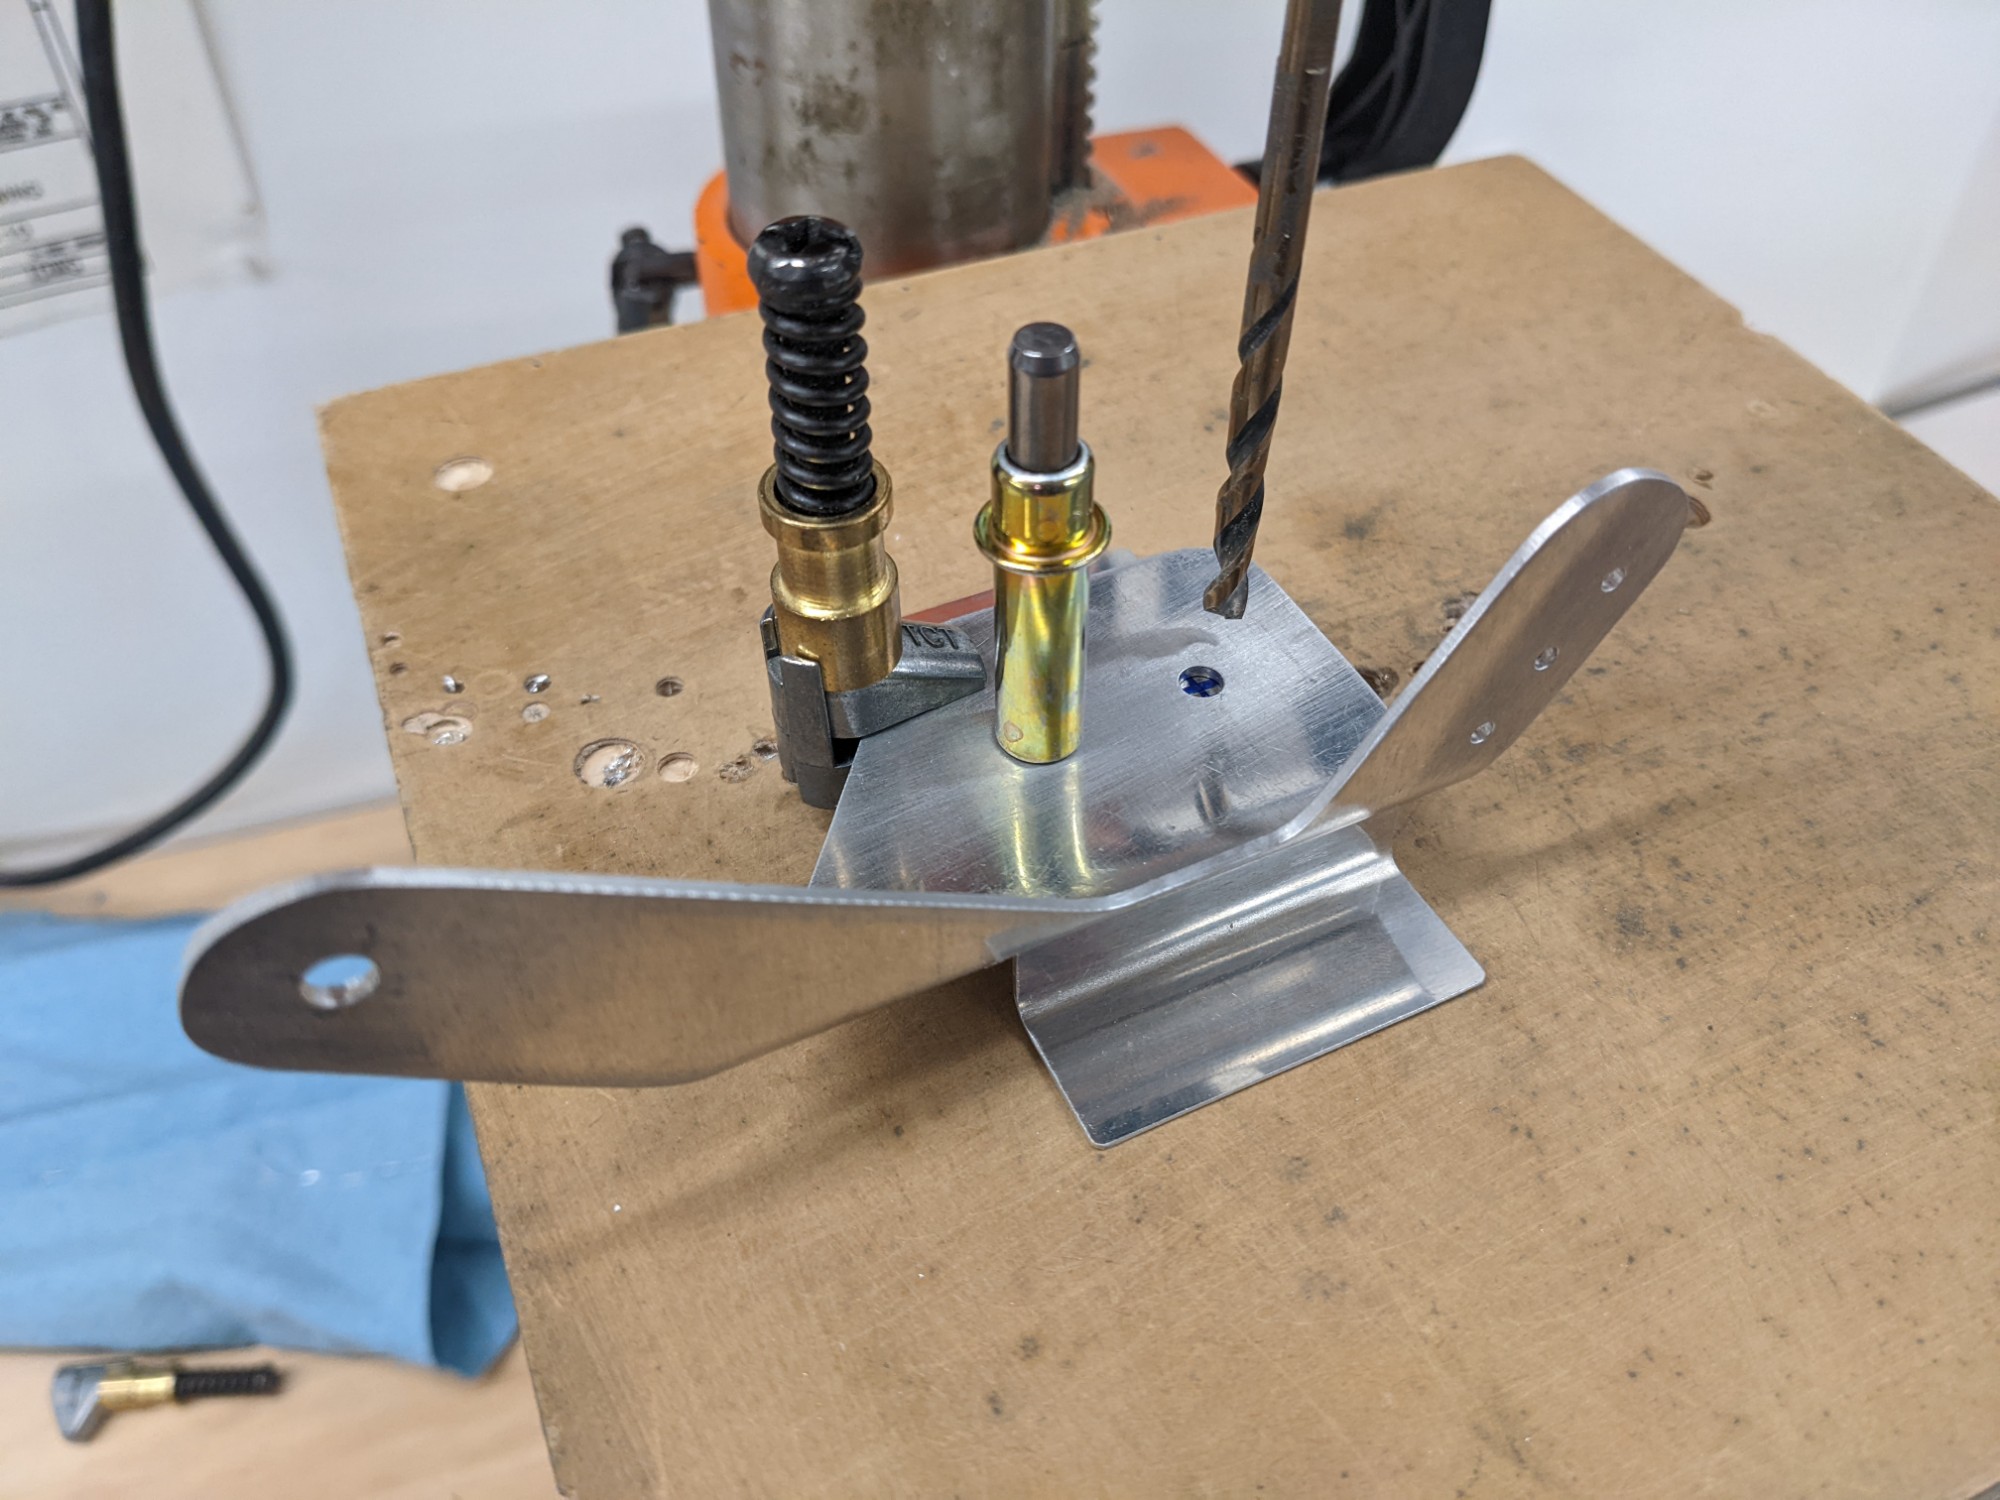
After drilling holes for AN3 bolts, I match drilled the holes in the firewall bracket and drilled holes for nutplates. I ended up drilling an additional hole for the limit switch to bring it further forward and leave more clearance between the body of the limit switch and the valve arm.
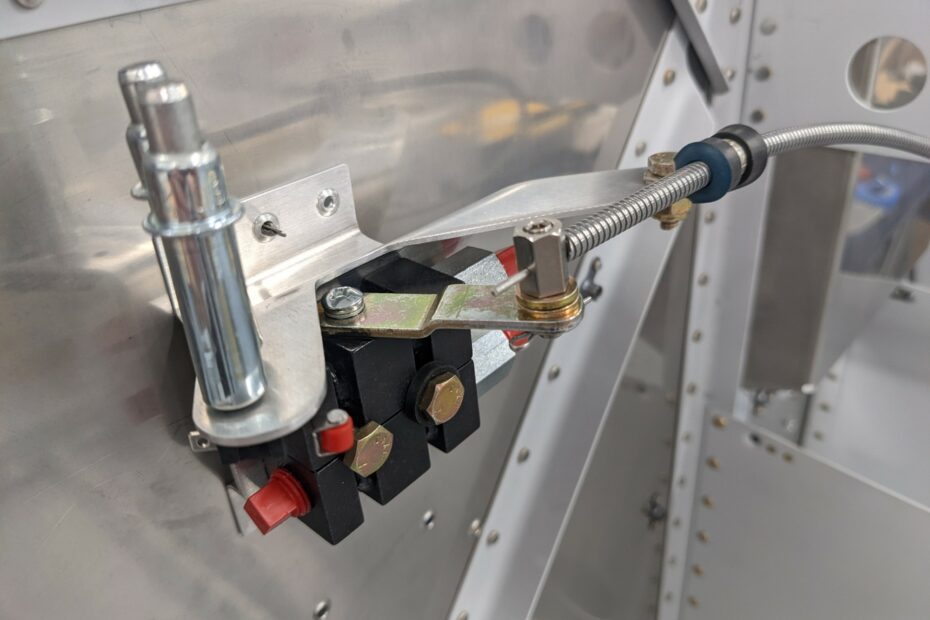
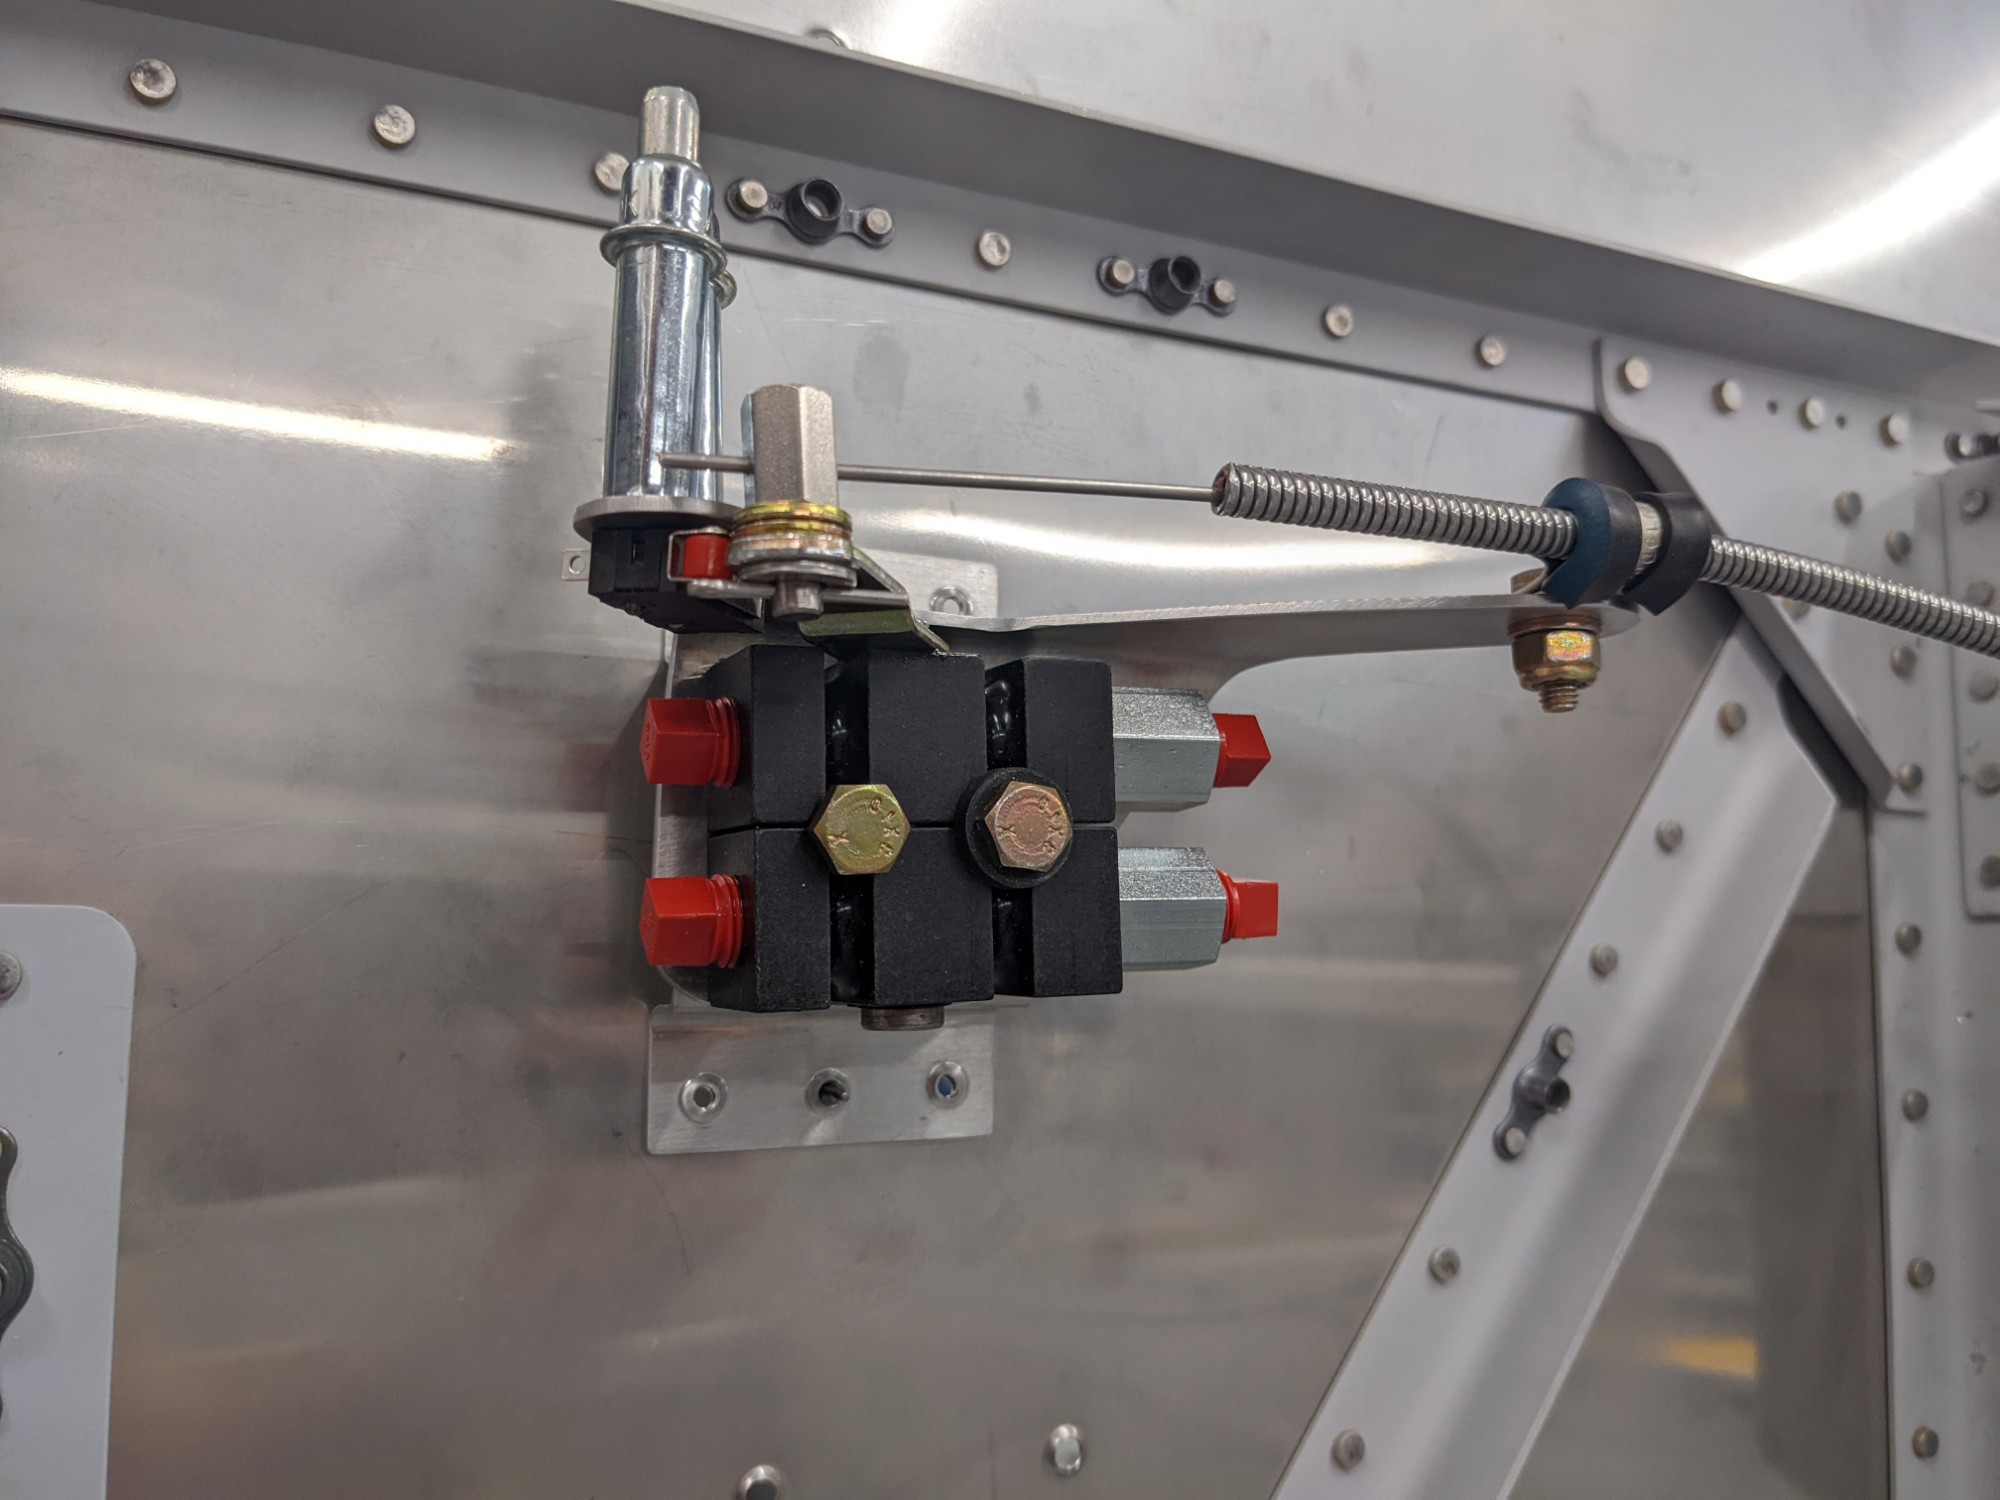
I then assembled everything to test the lever movement with a control cable. Everything fit up nicely and worked smoothly.

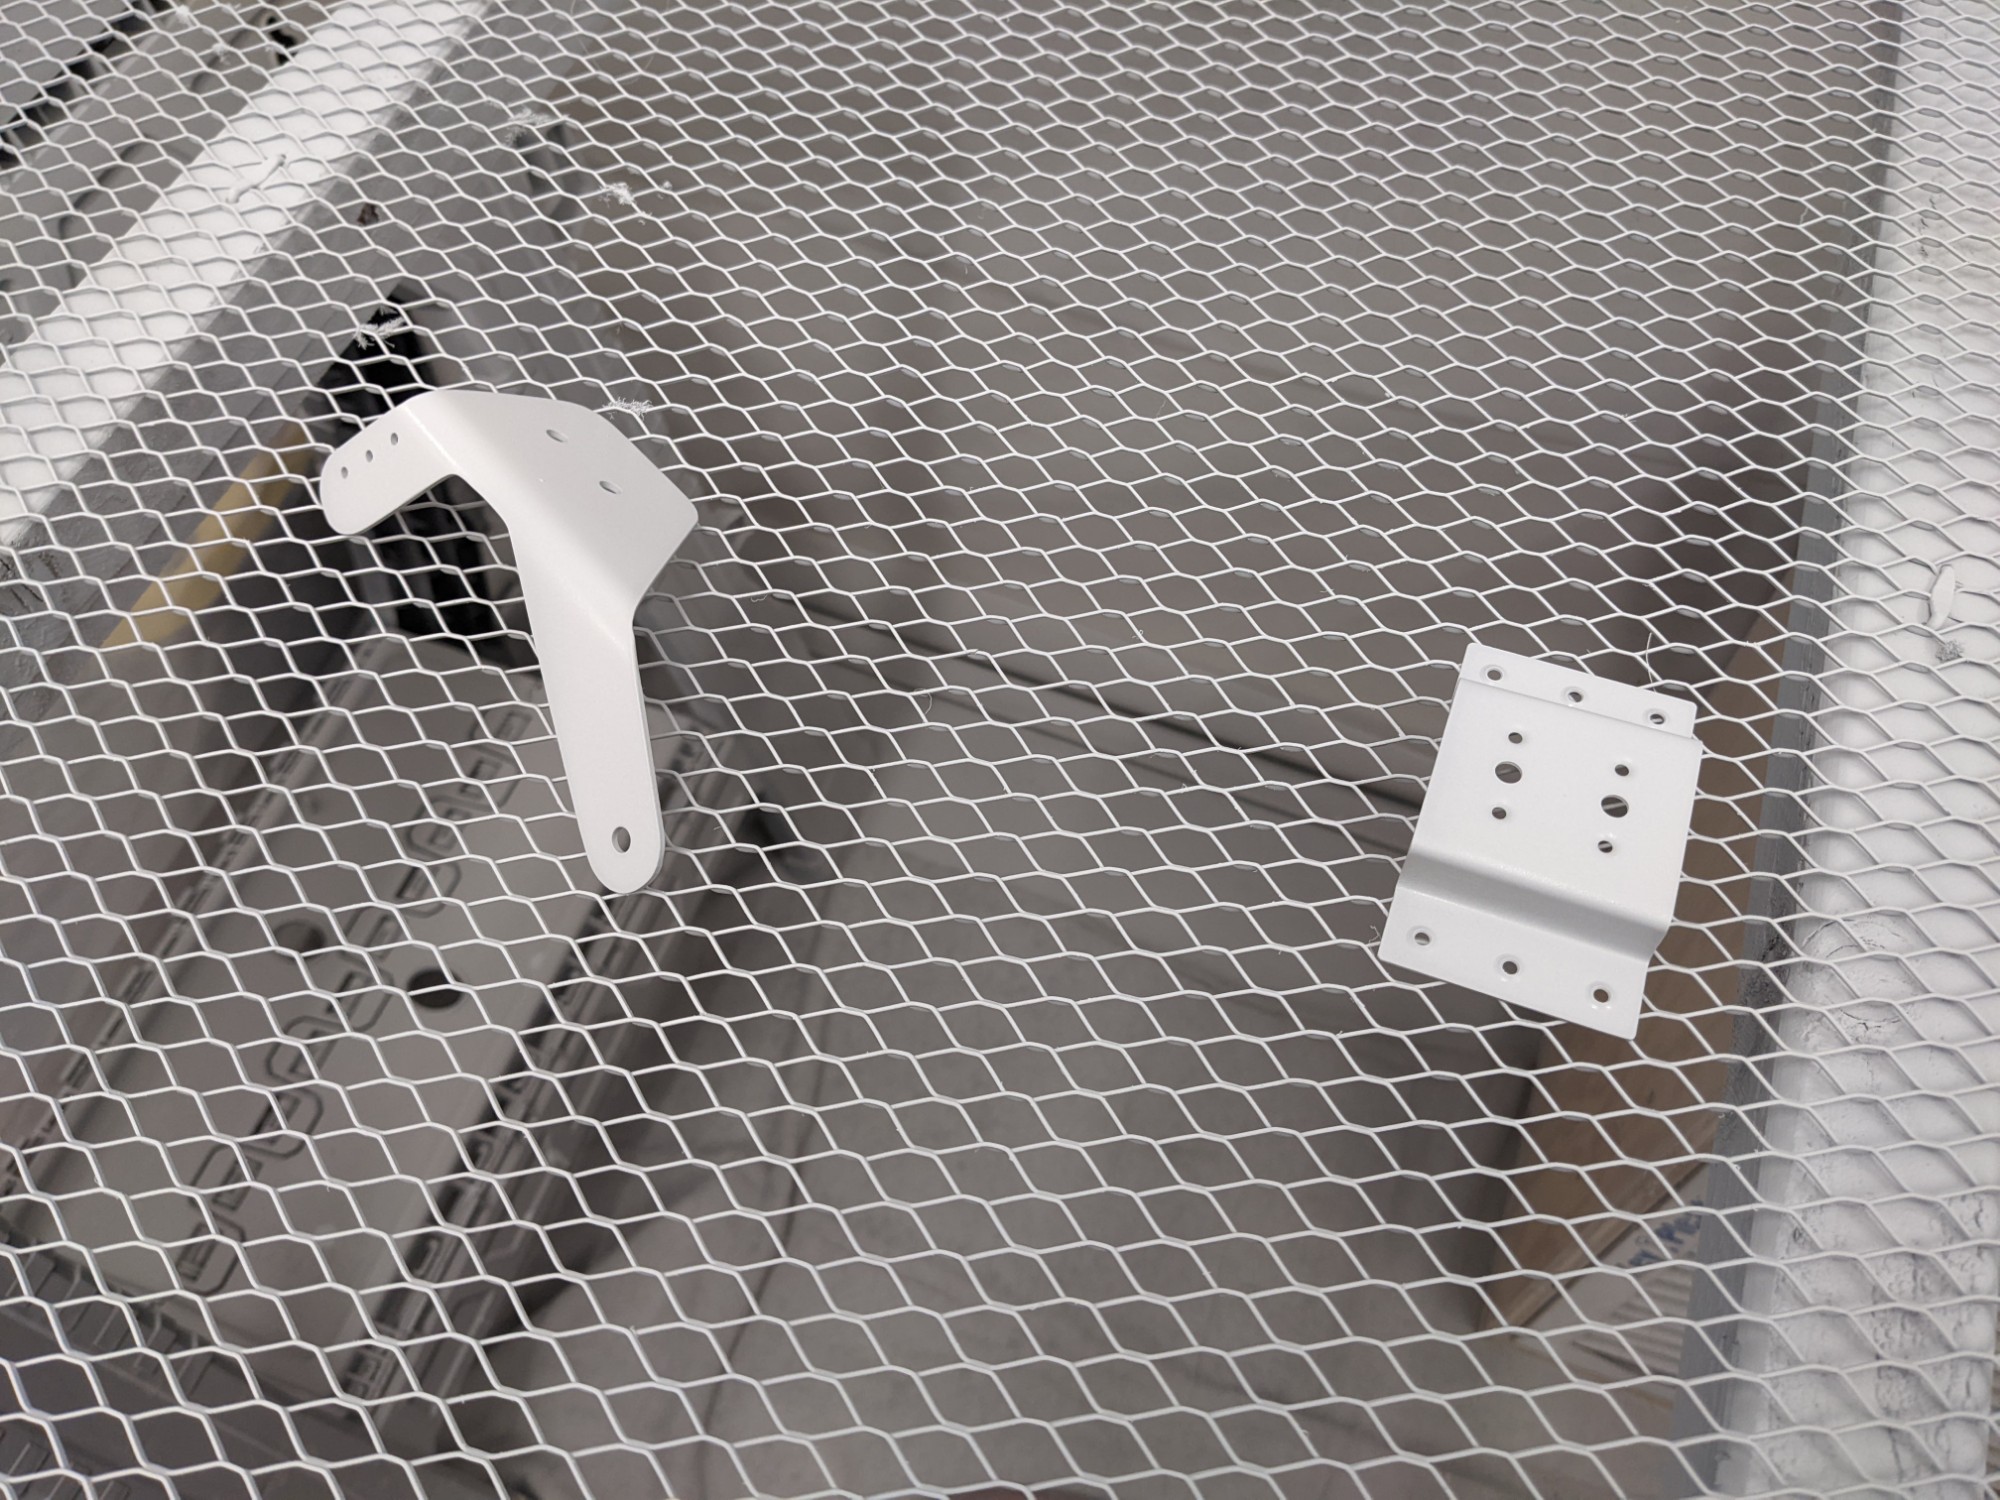
I proceeded to deburr, etch, and prime so that I can get the bracket mounted to the firewall.
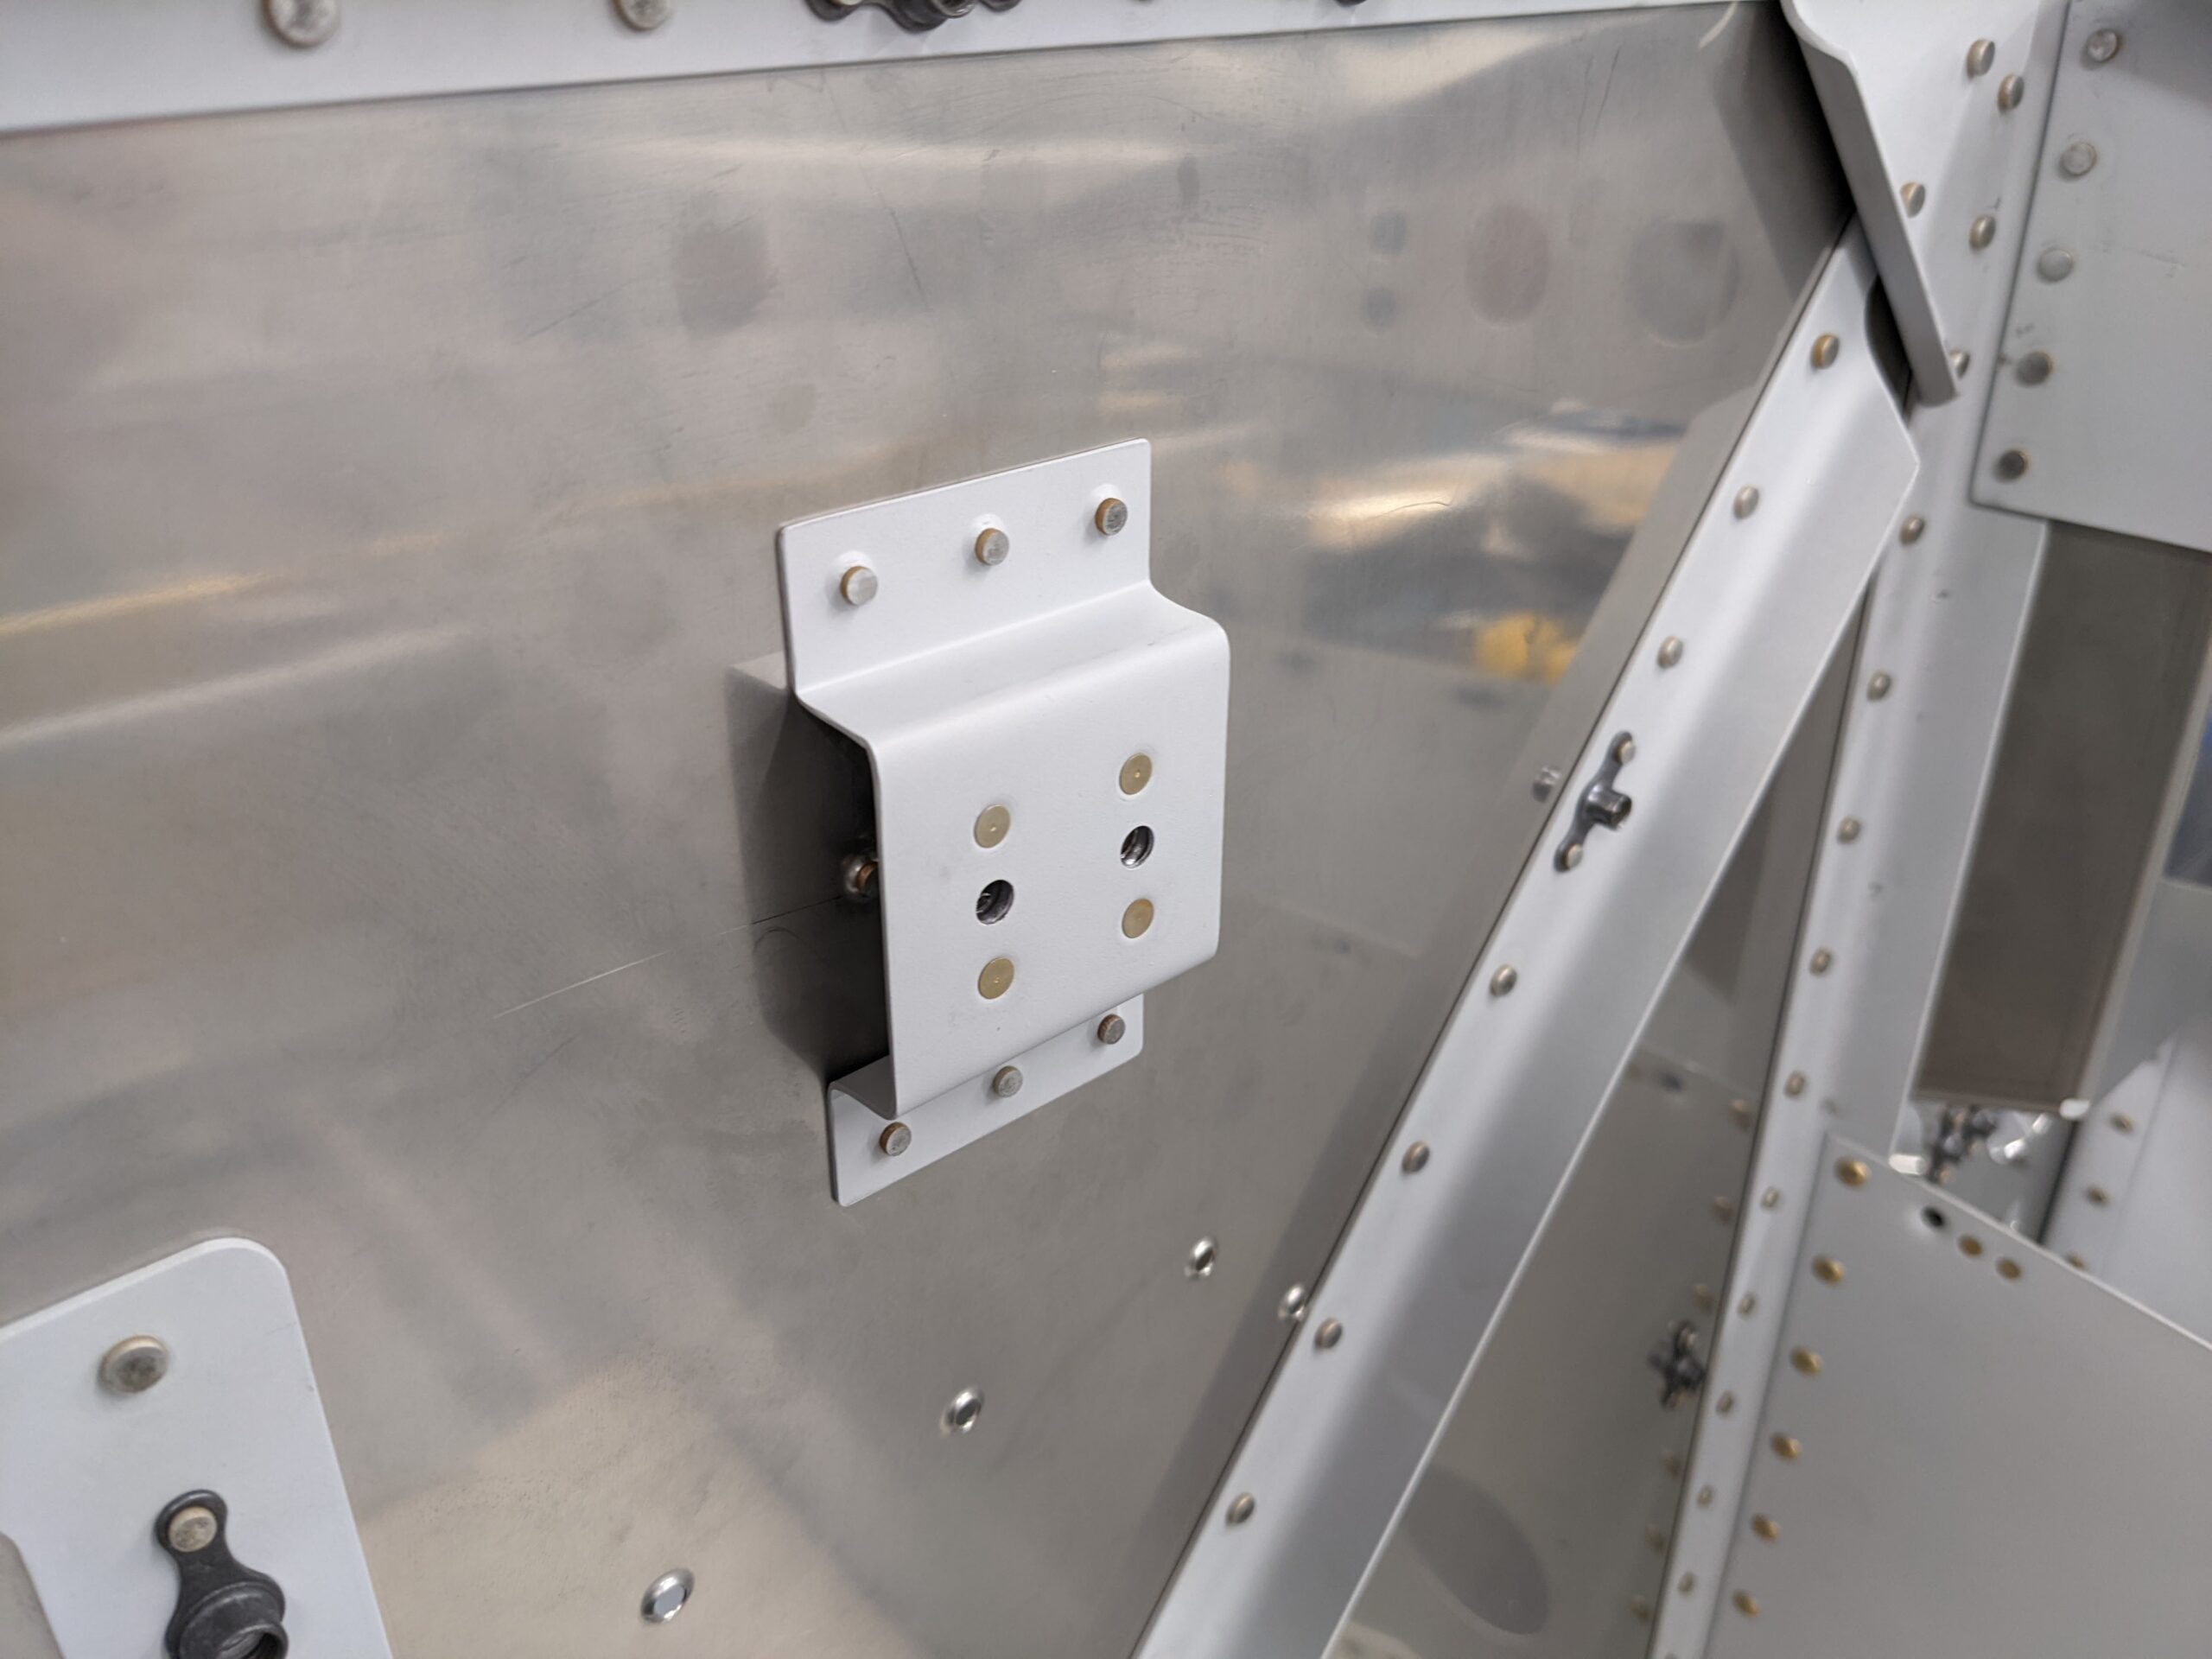
One more task completed before I get to side skin riveting!