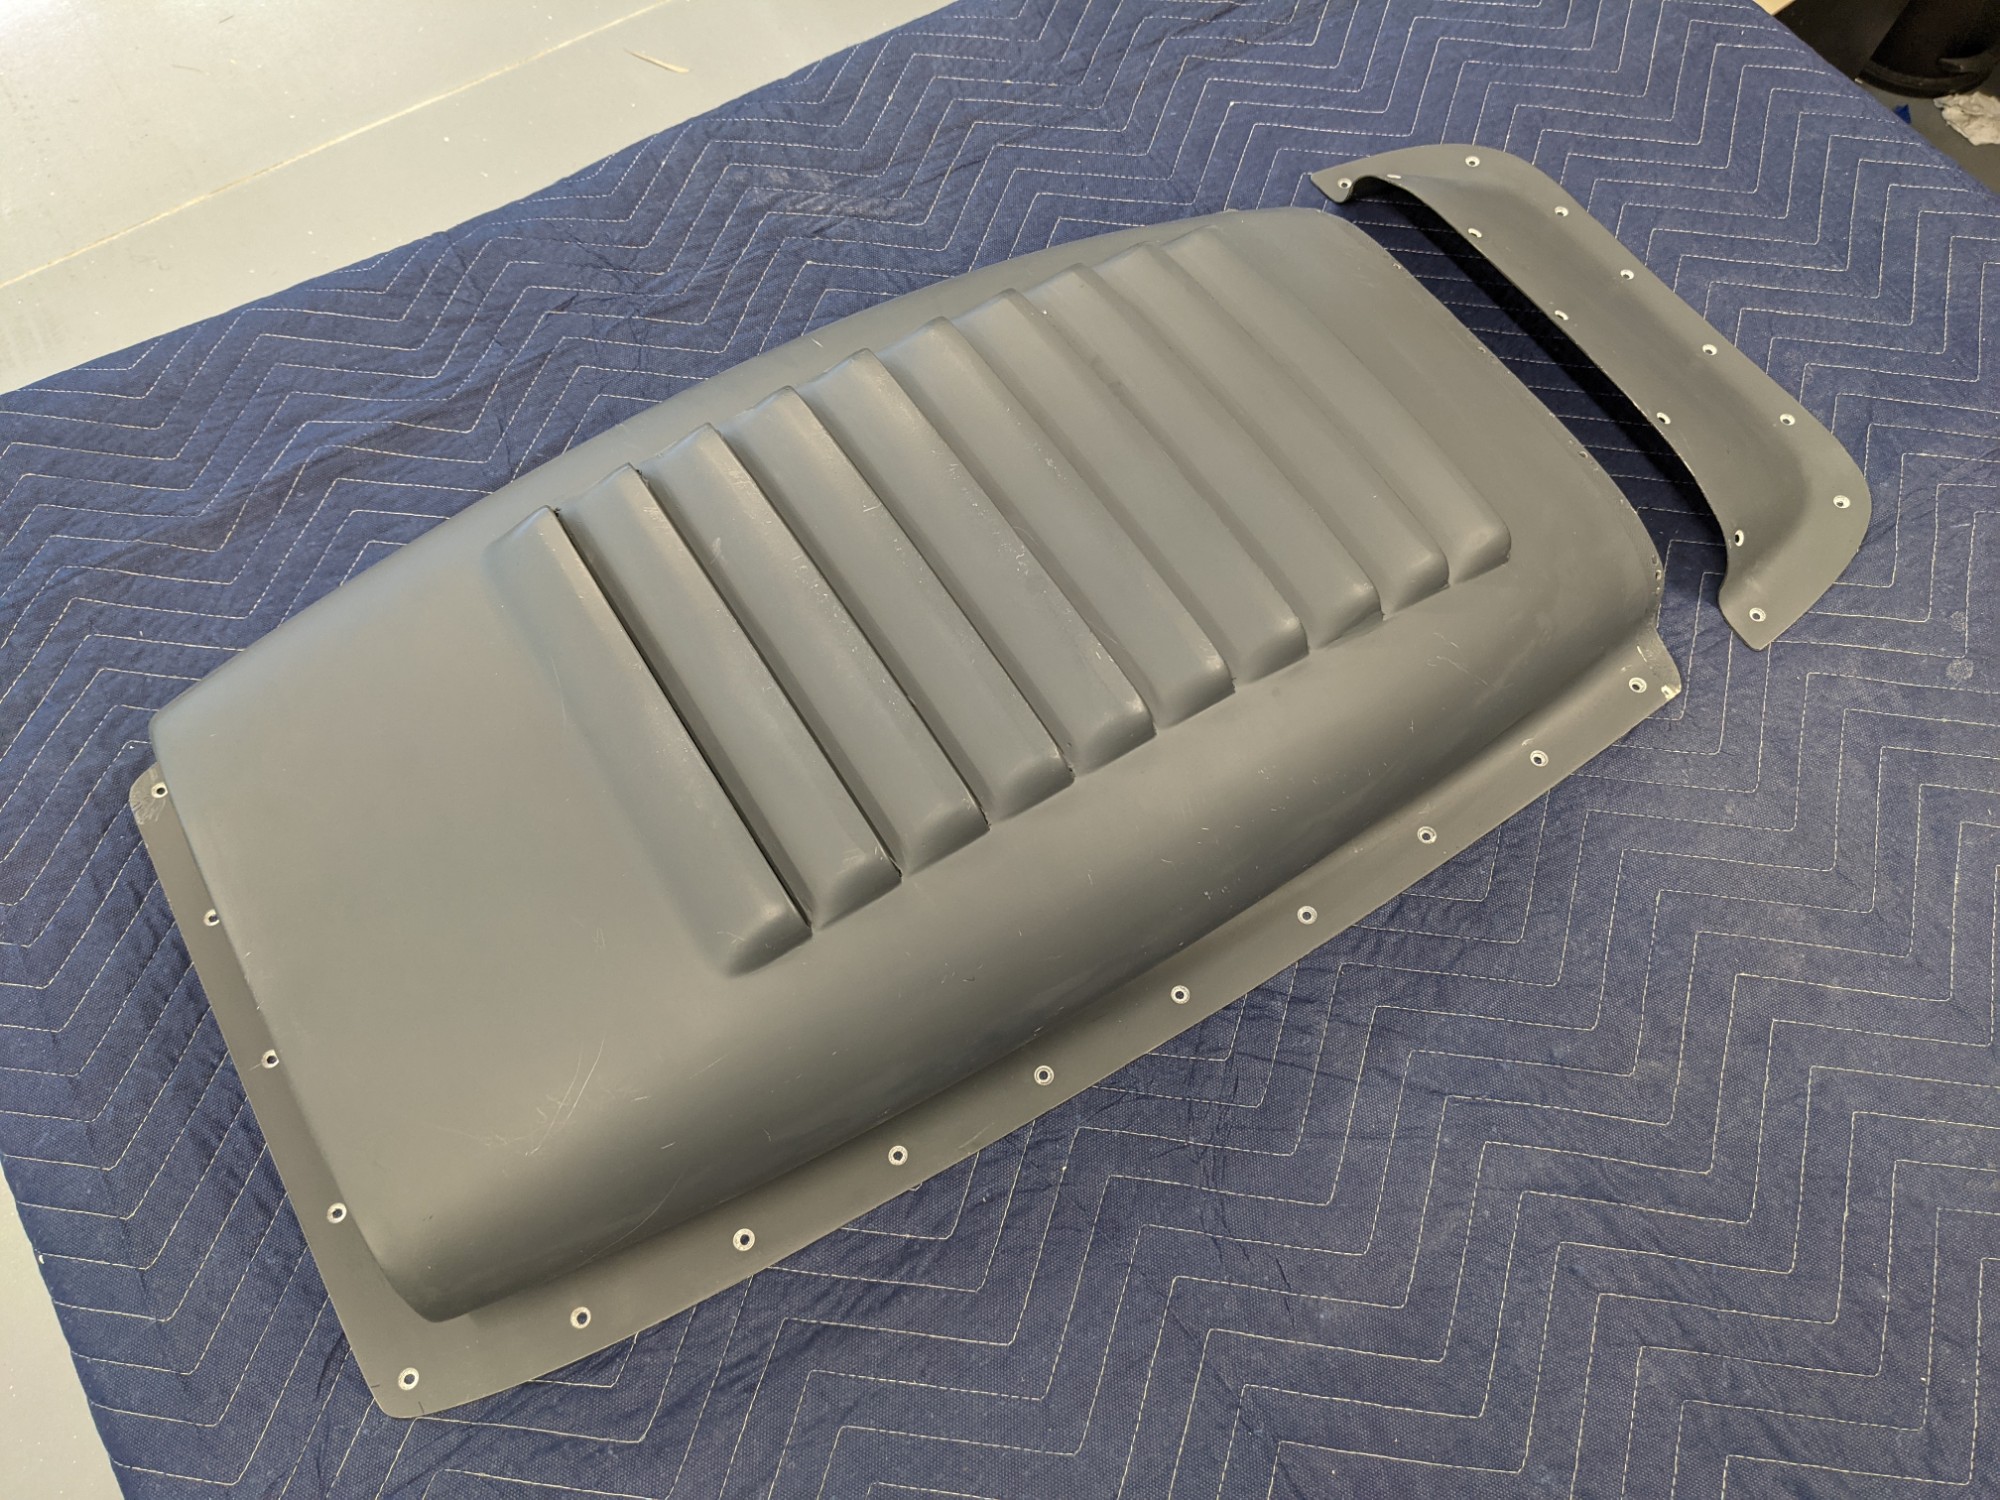
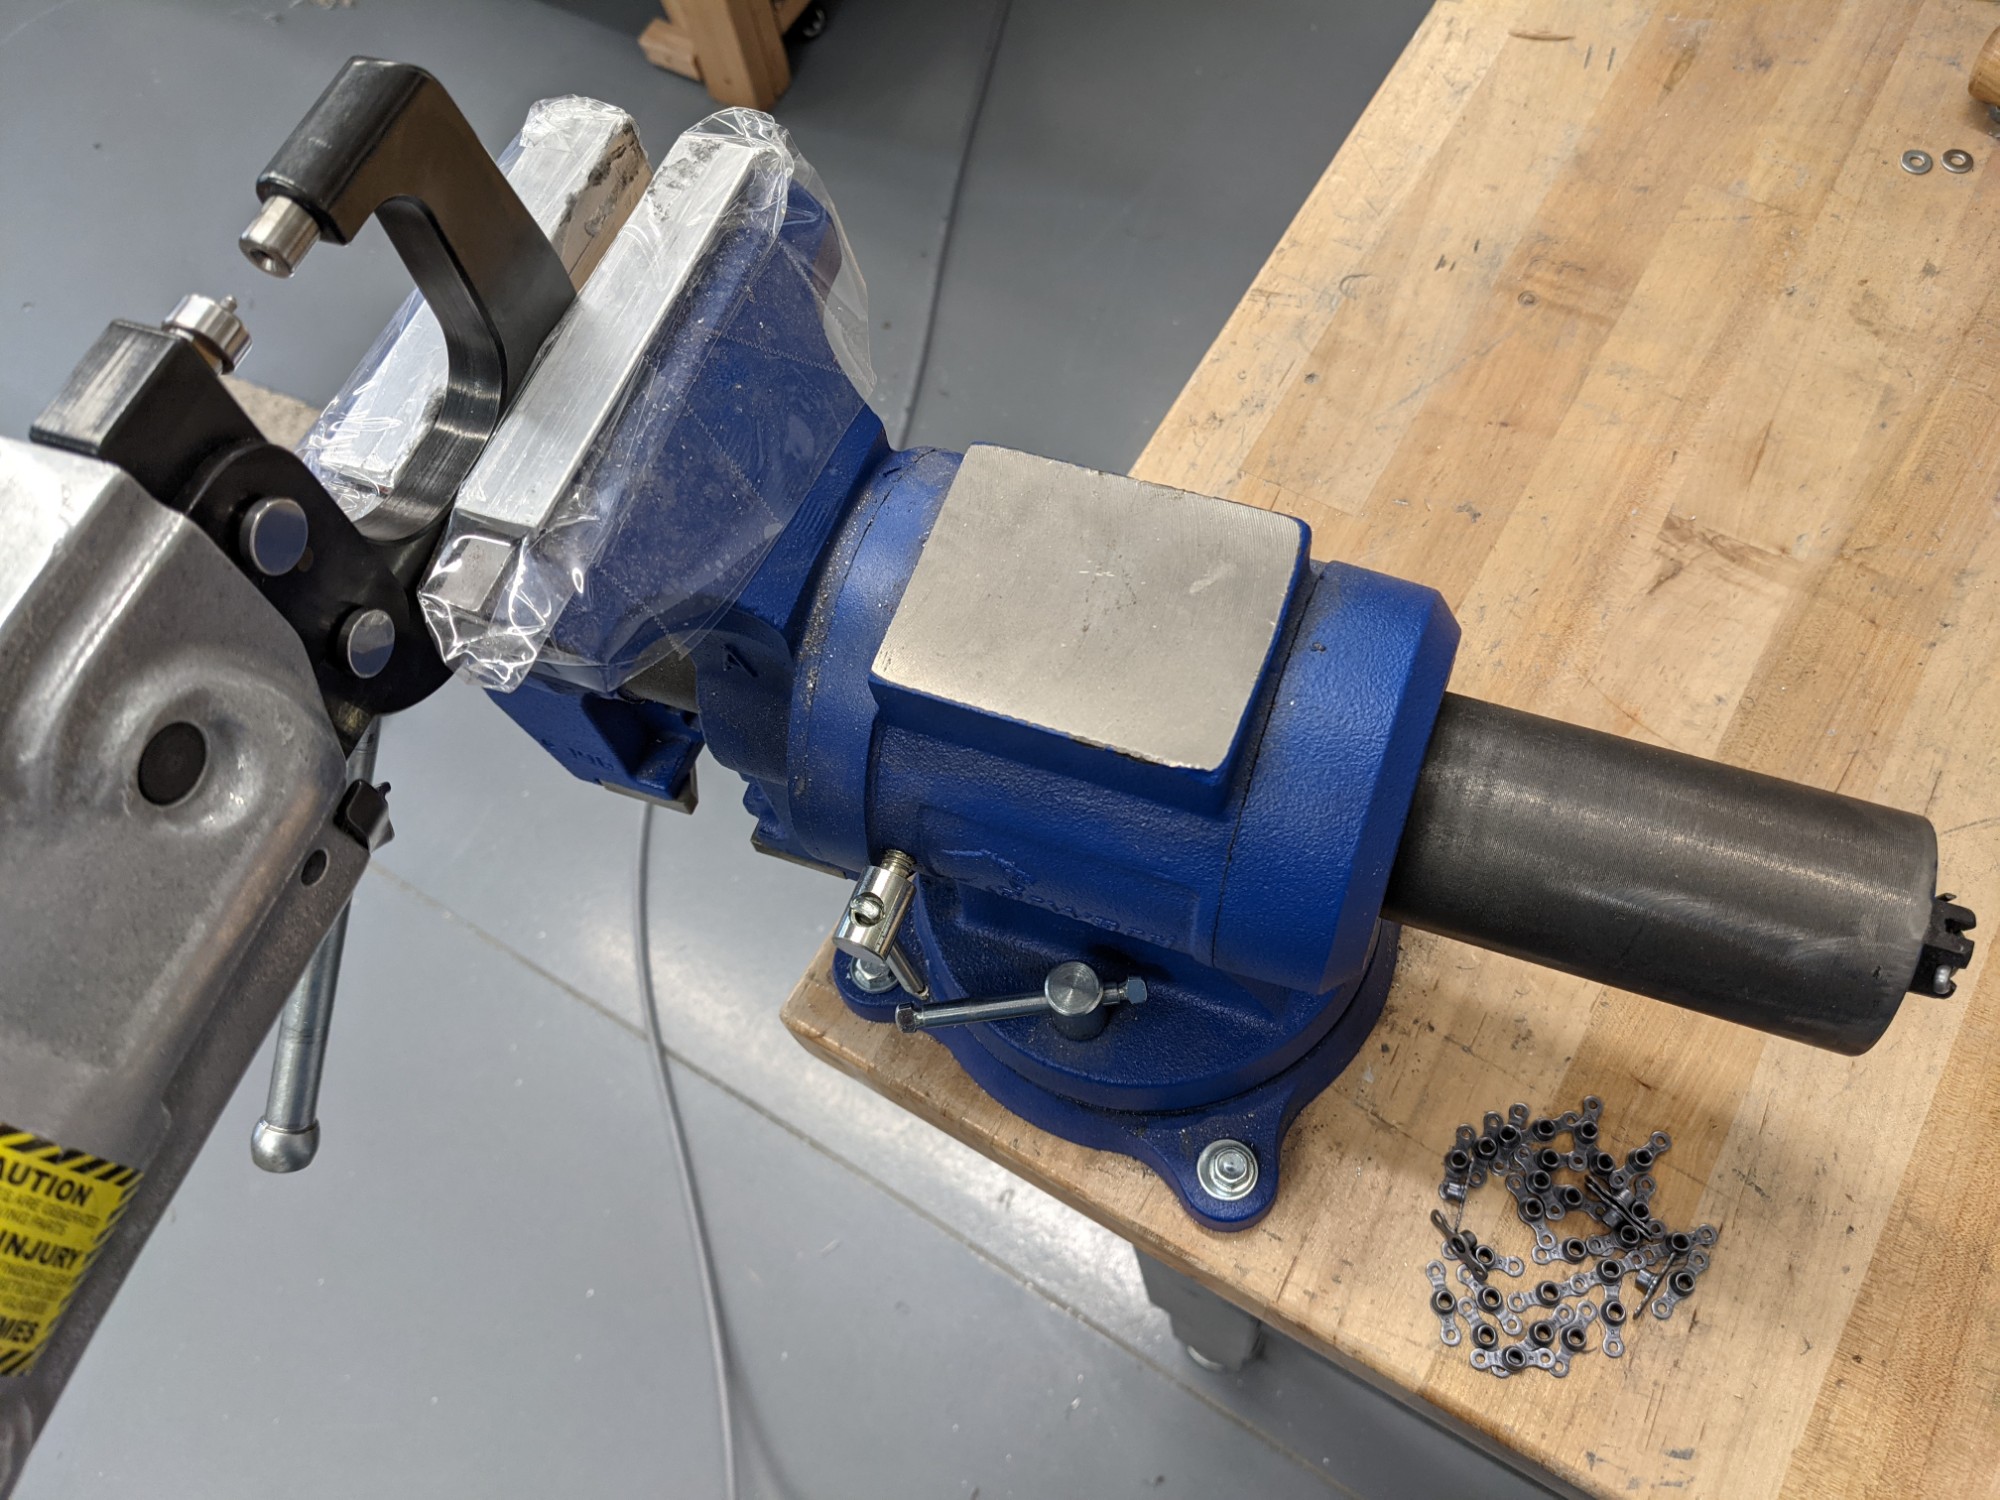
I finished up the remaining work on the air conditioner condenser scoop and bottom skins today.
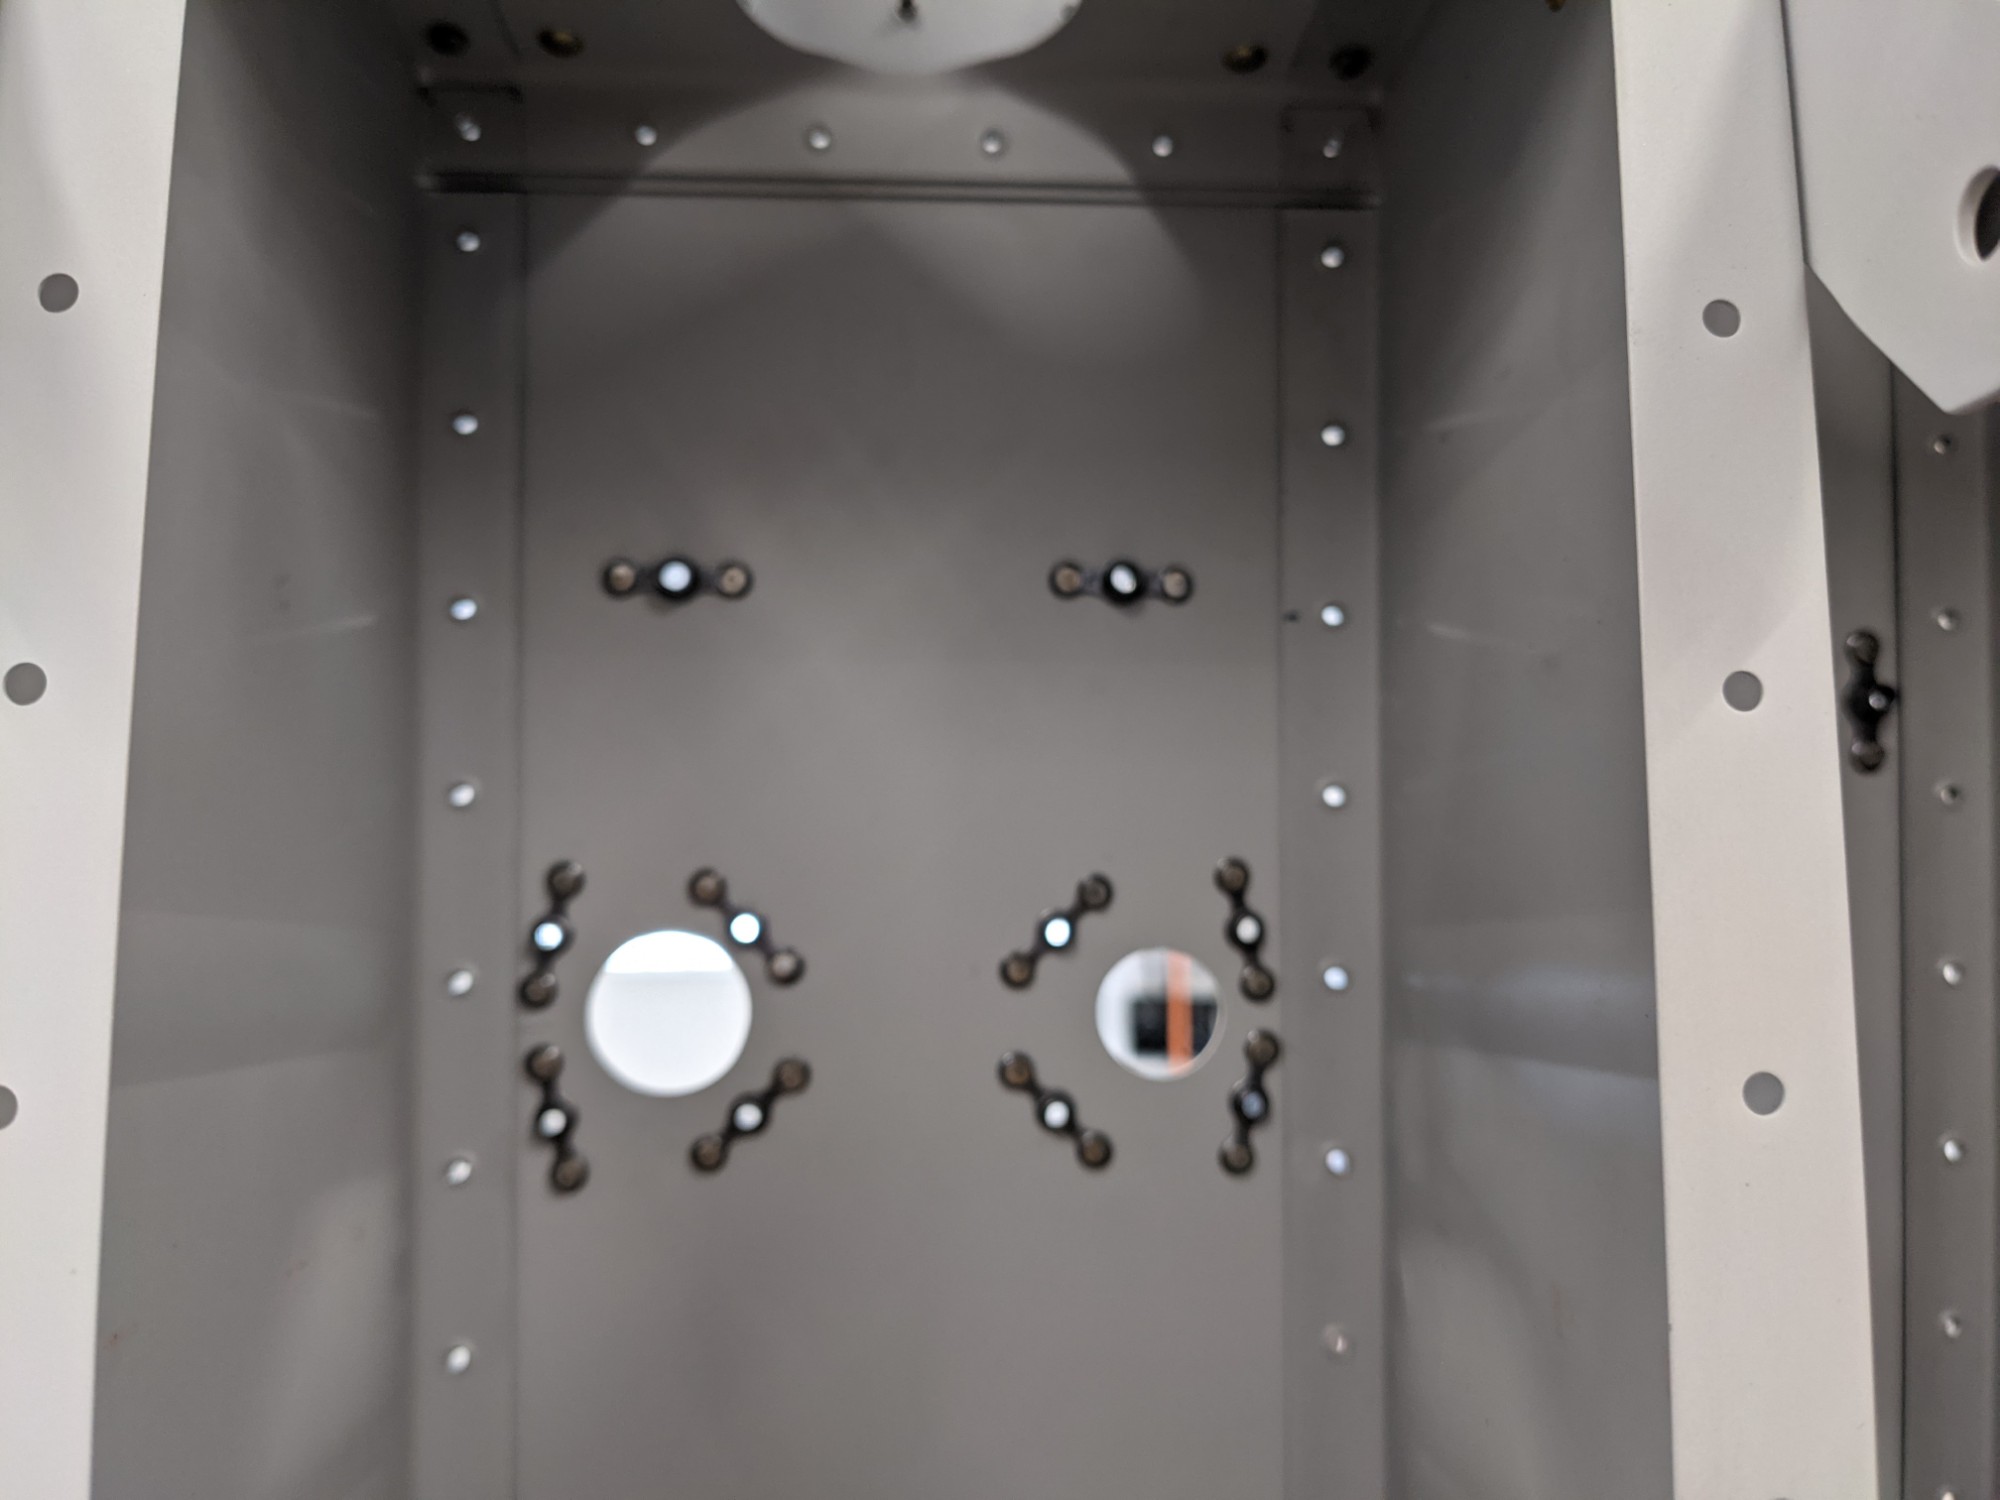
I split the doublers provided with the Airflow Systems kit and made a cut in the grommets so that they can be squeezed around the z fittings. This seals off the cabin from the positive pressure in the scoop and avoids carbon monoxide infiltration from the exhaust.
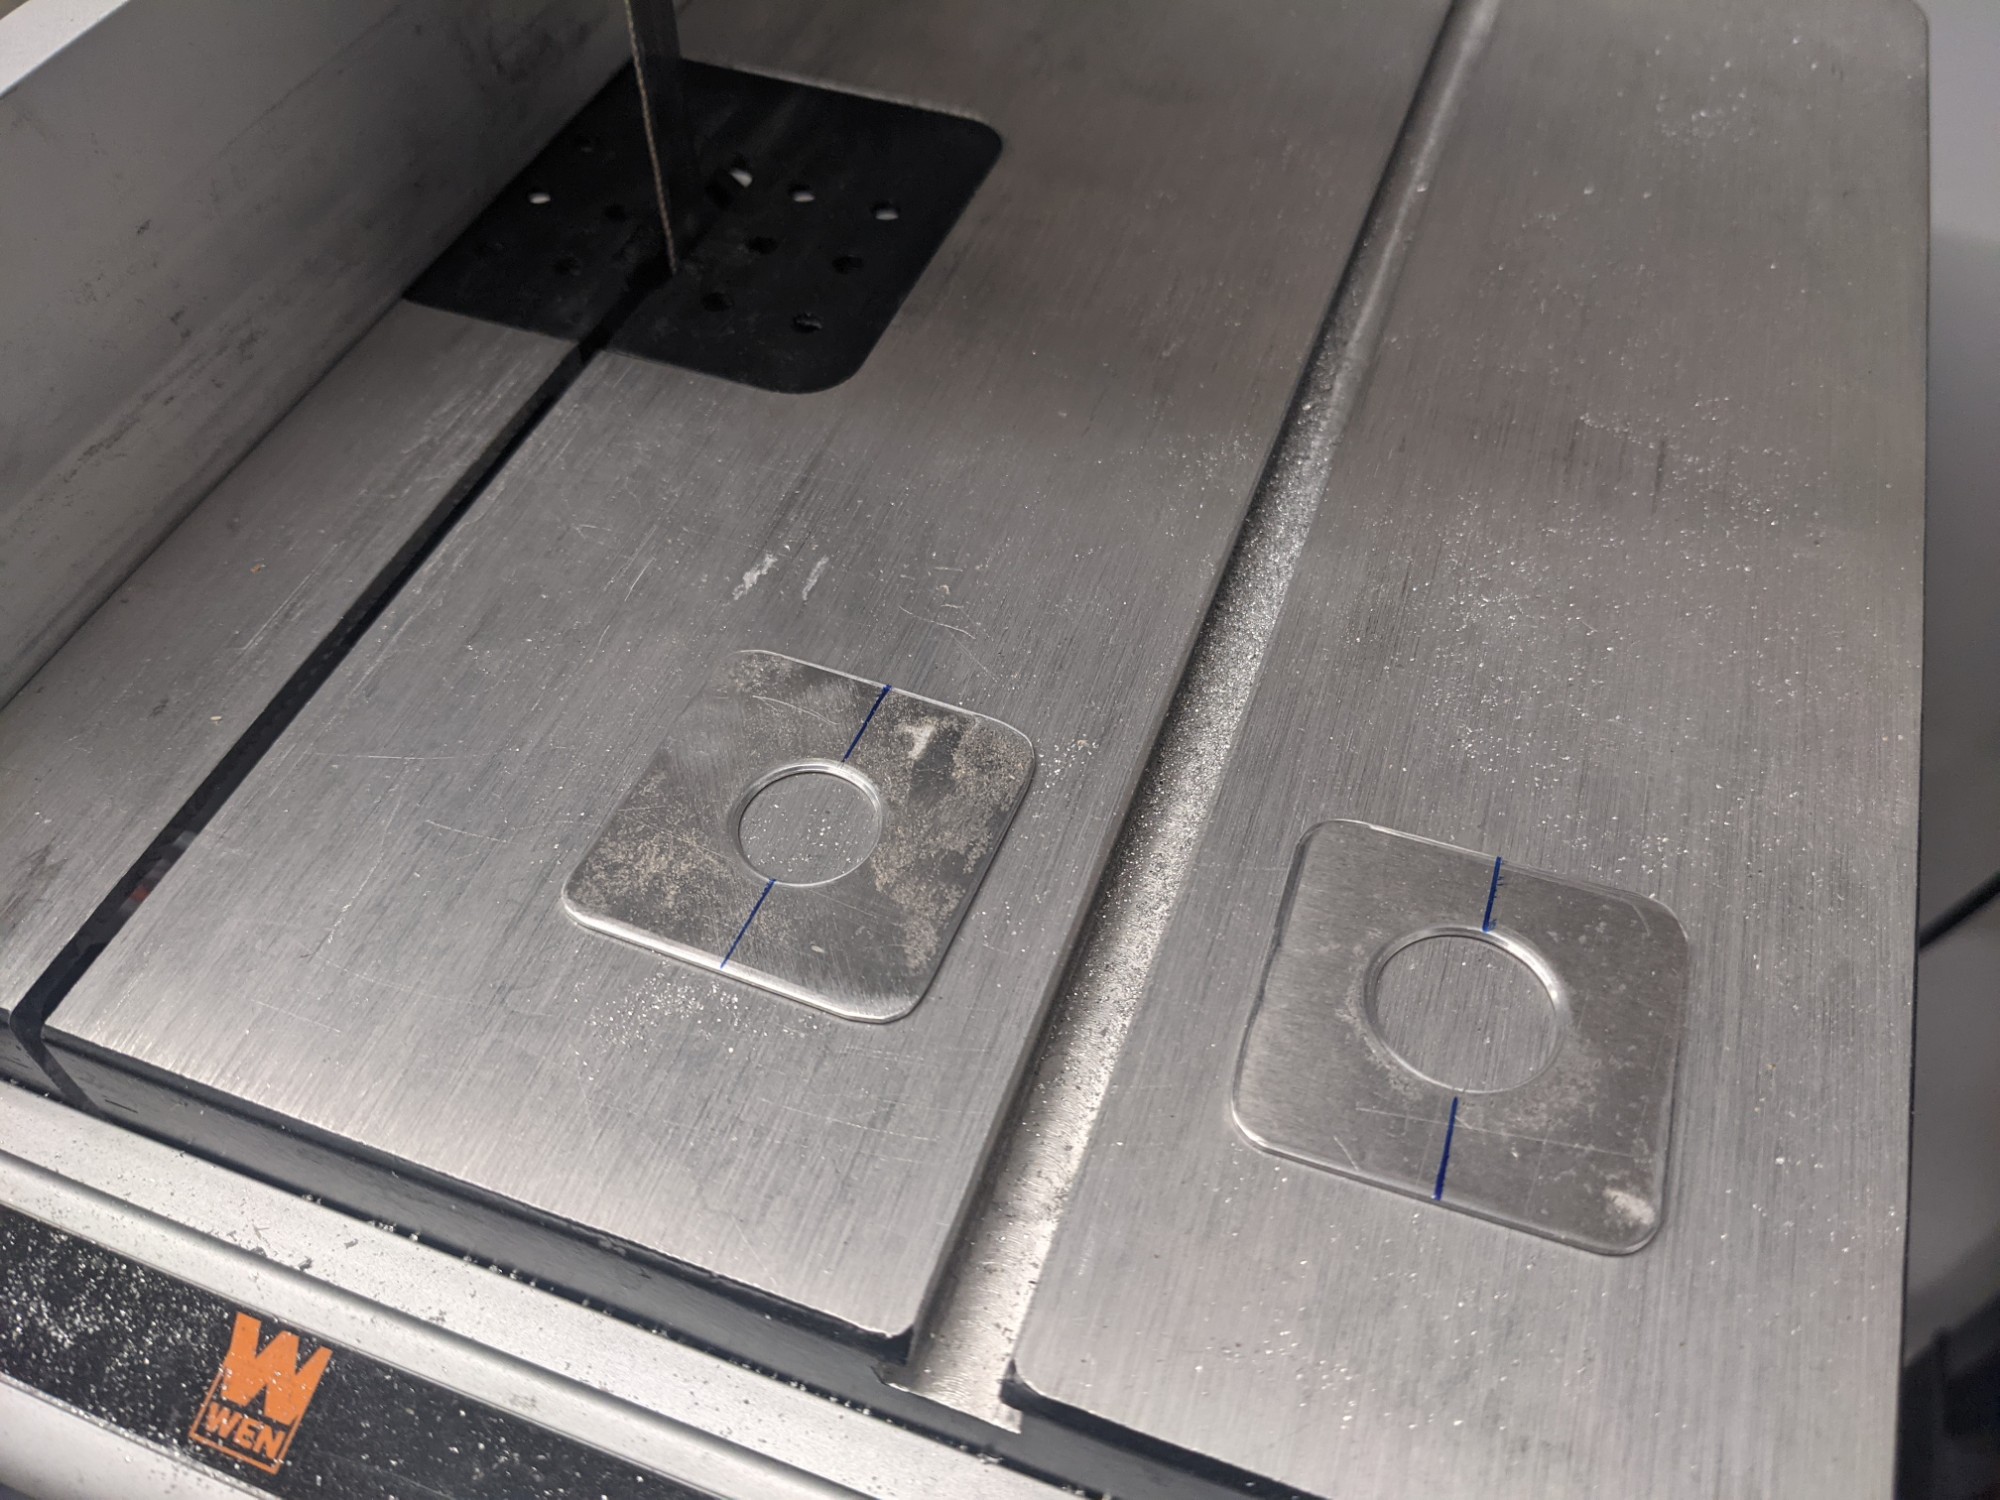
I then drilled the doublers and upsized the holes for #6 screws.
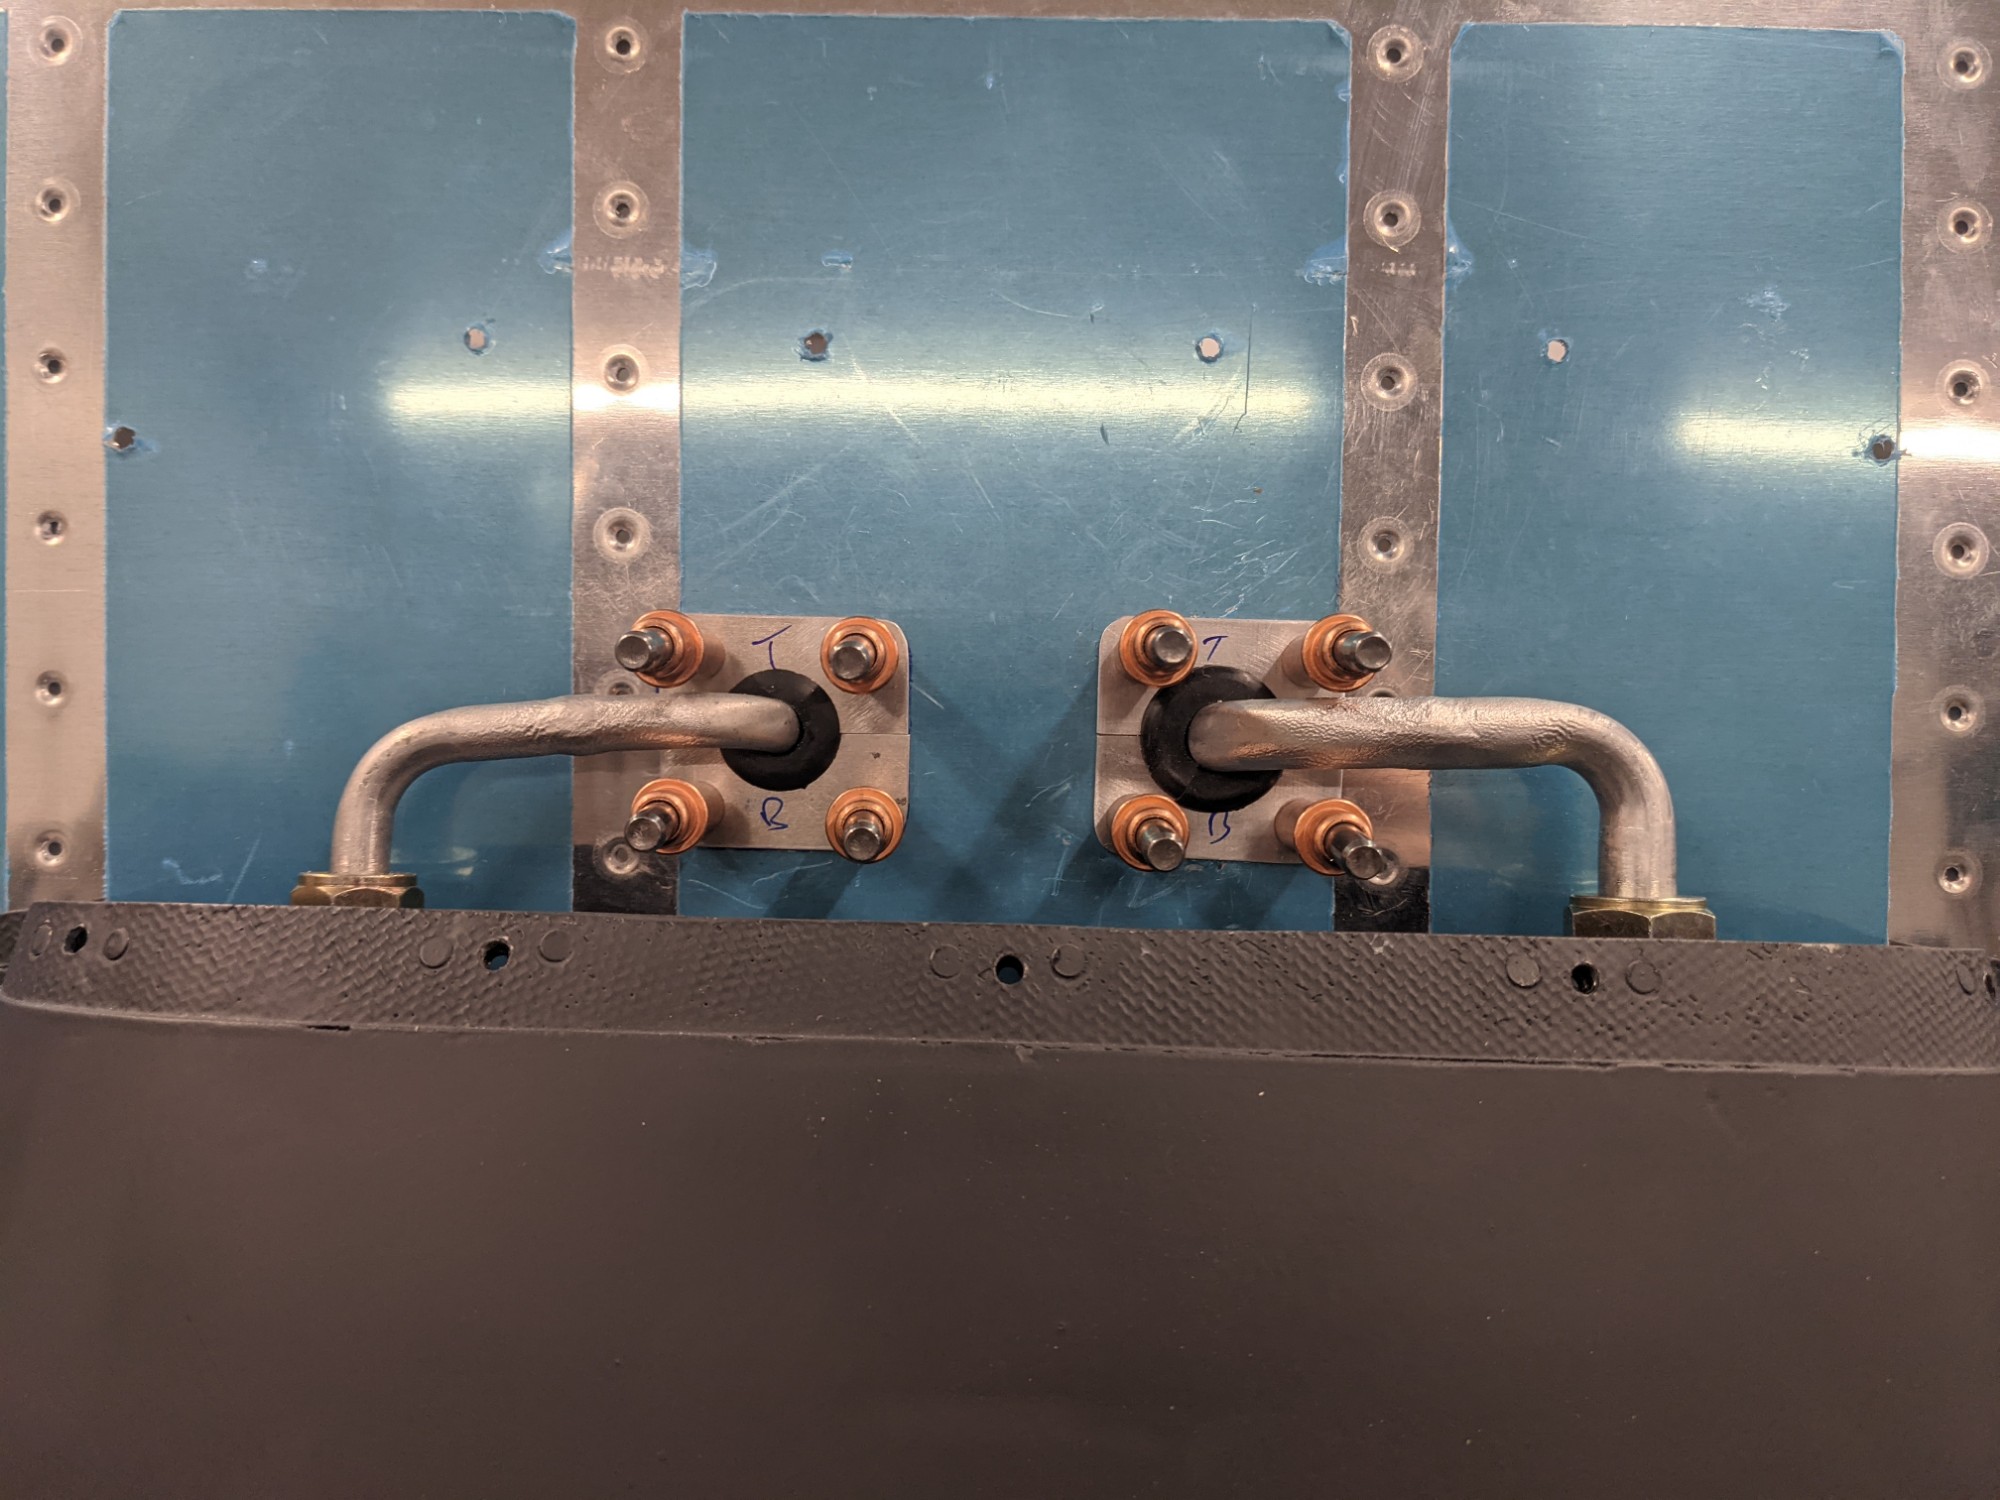
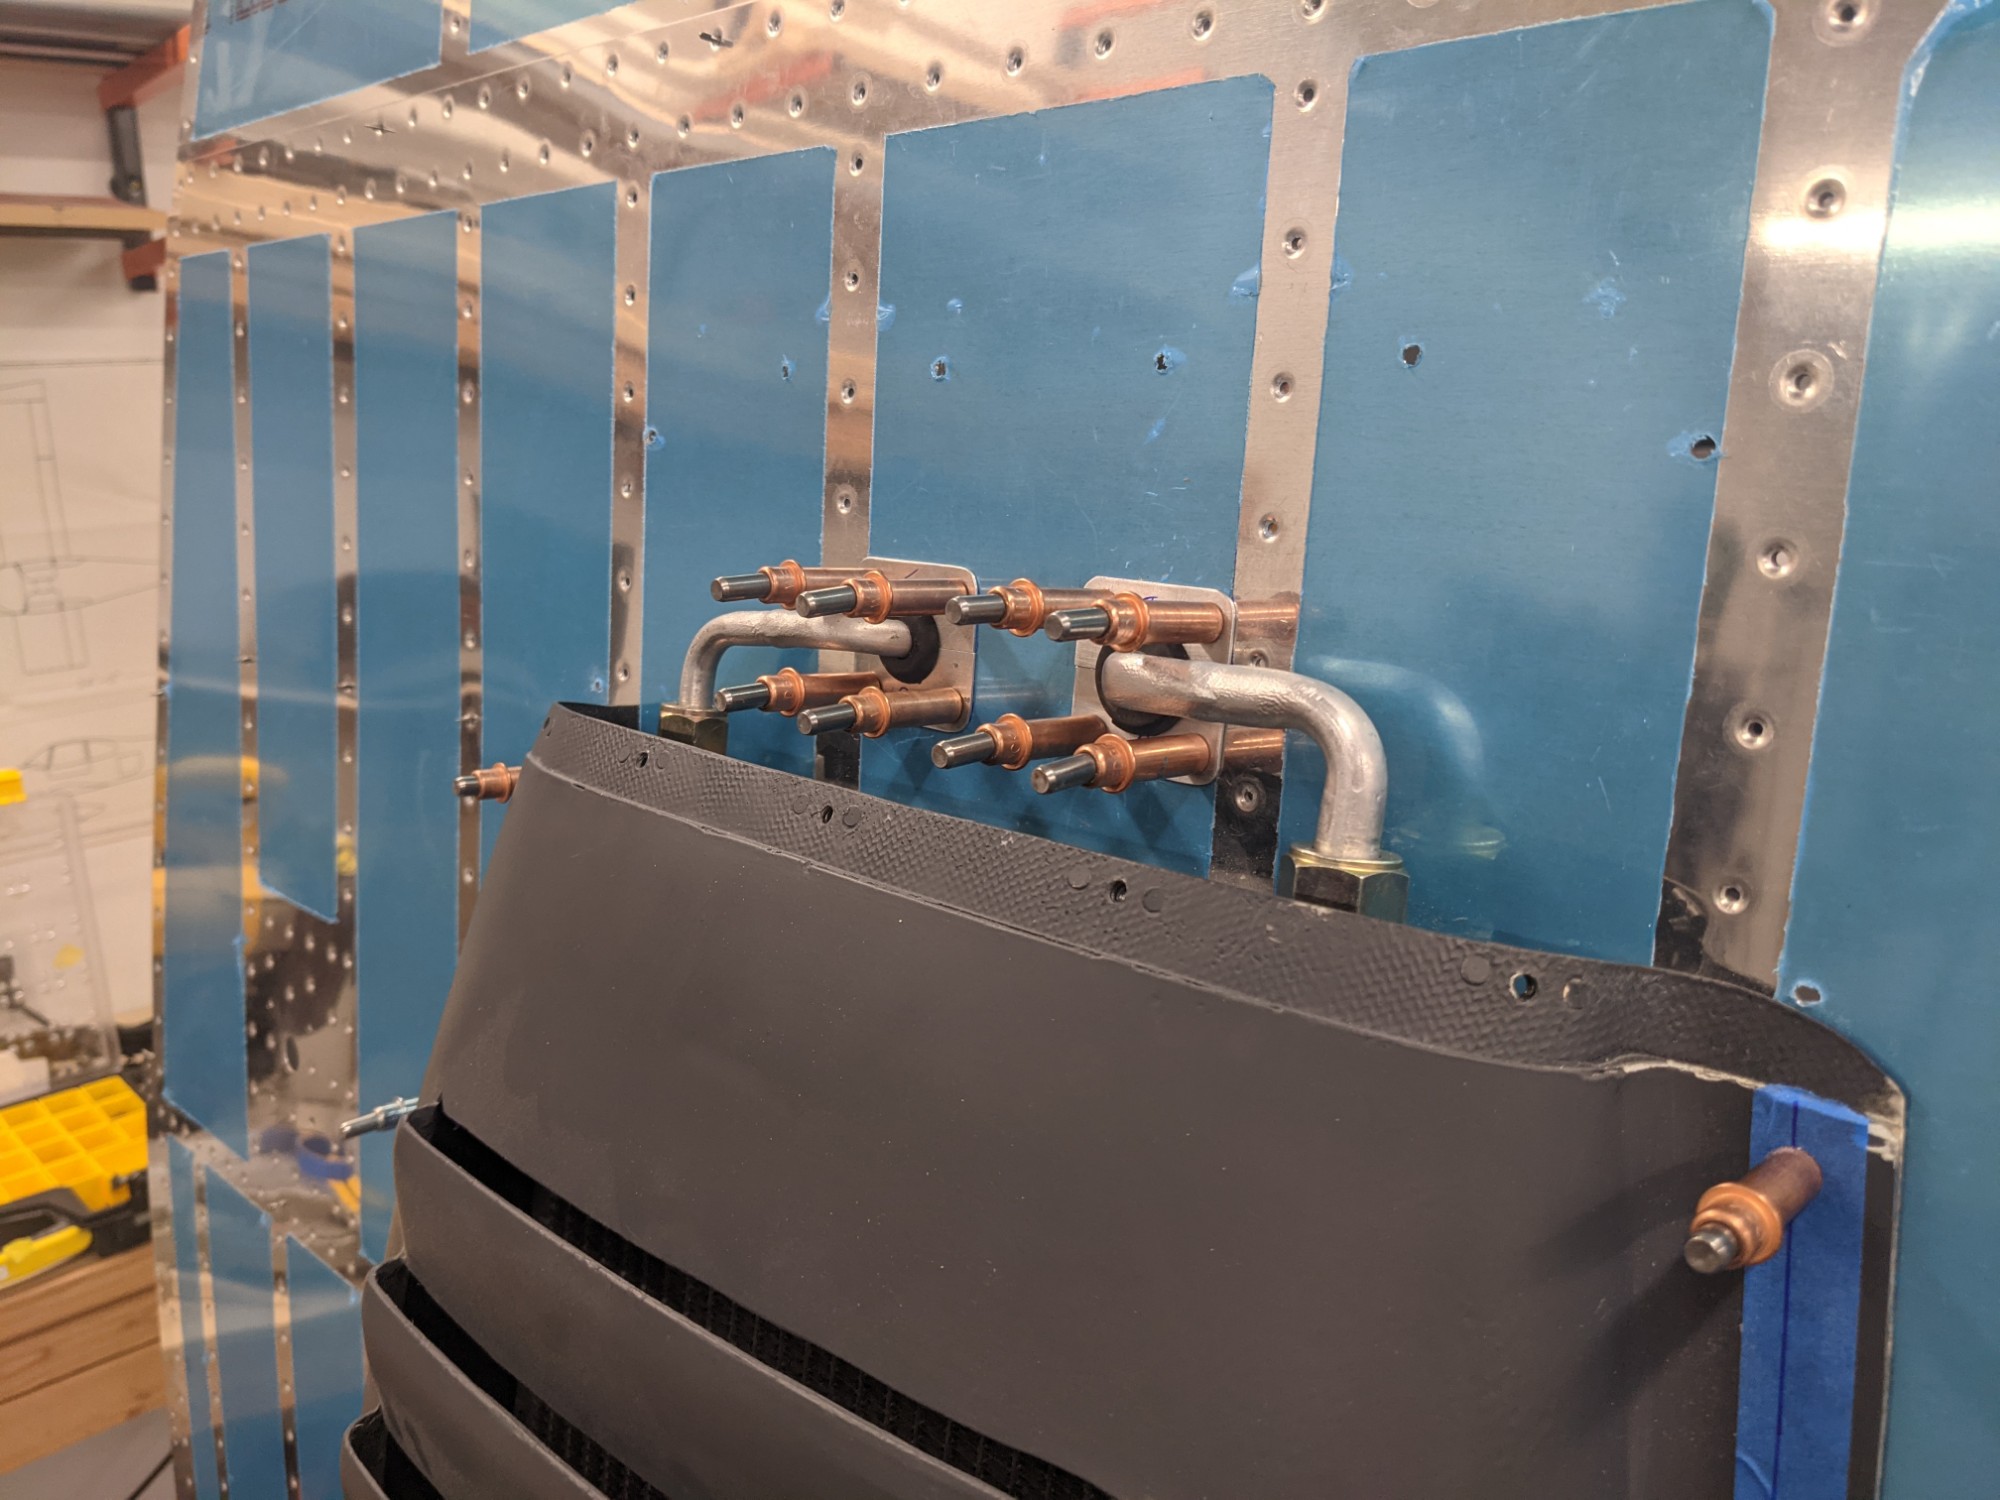
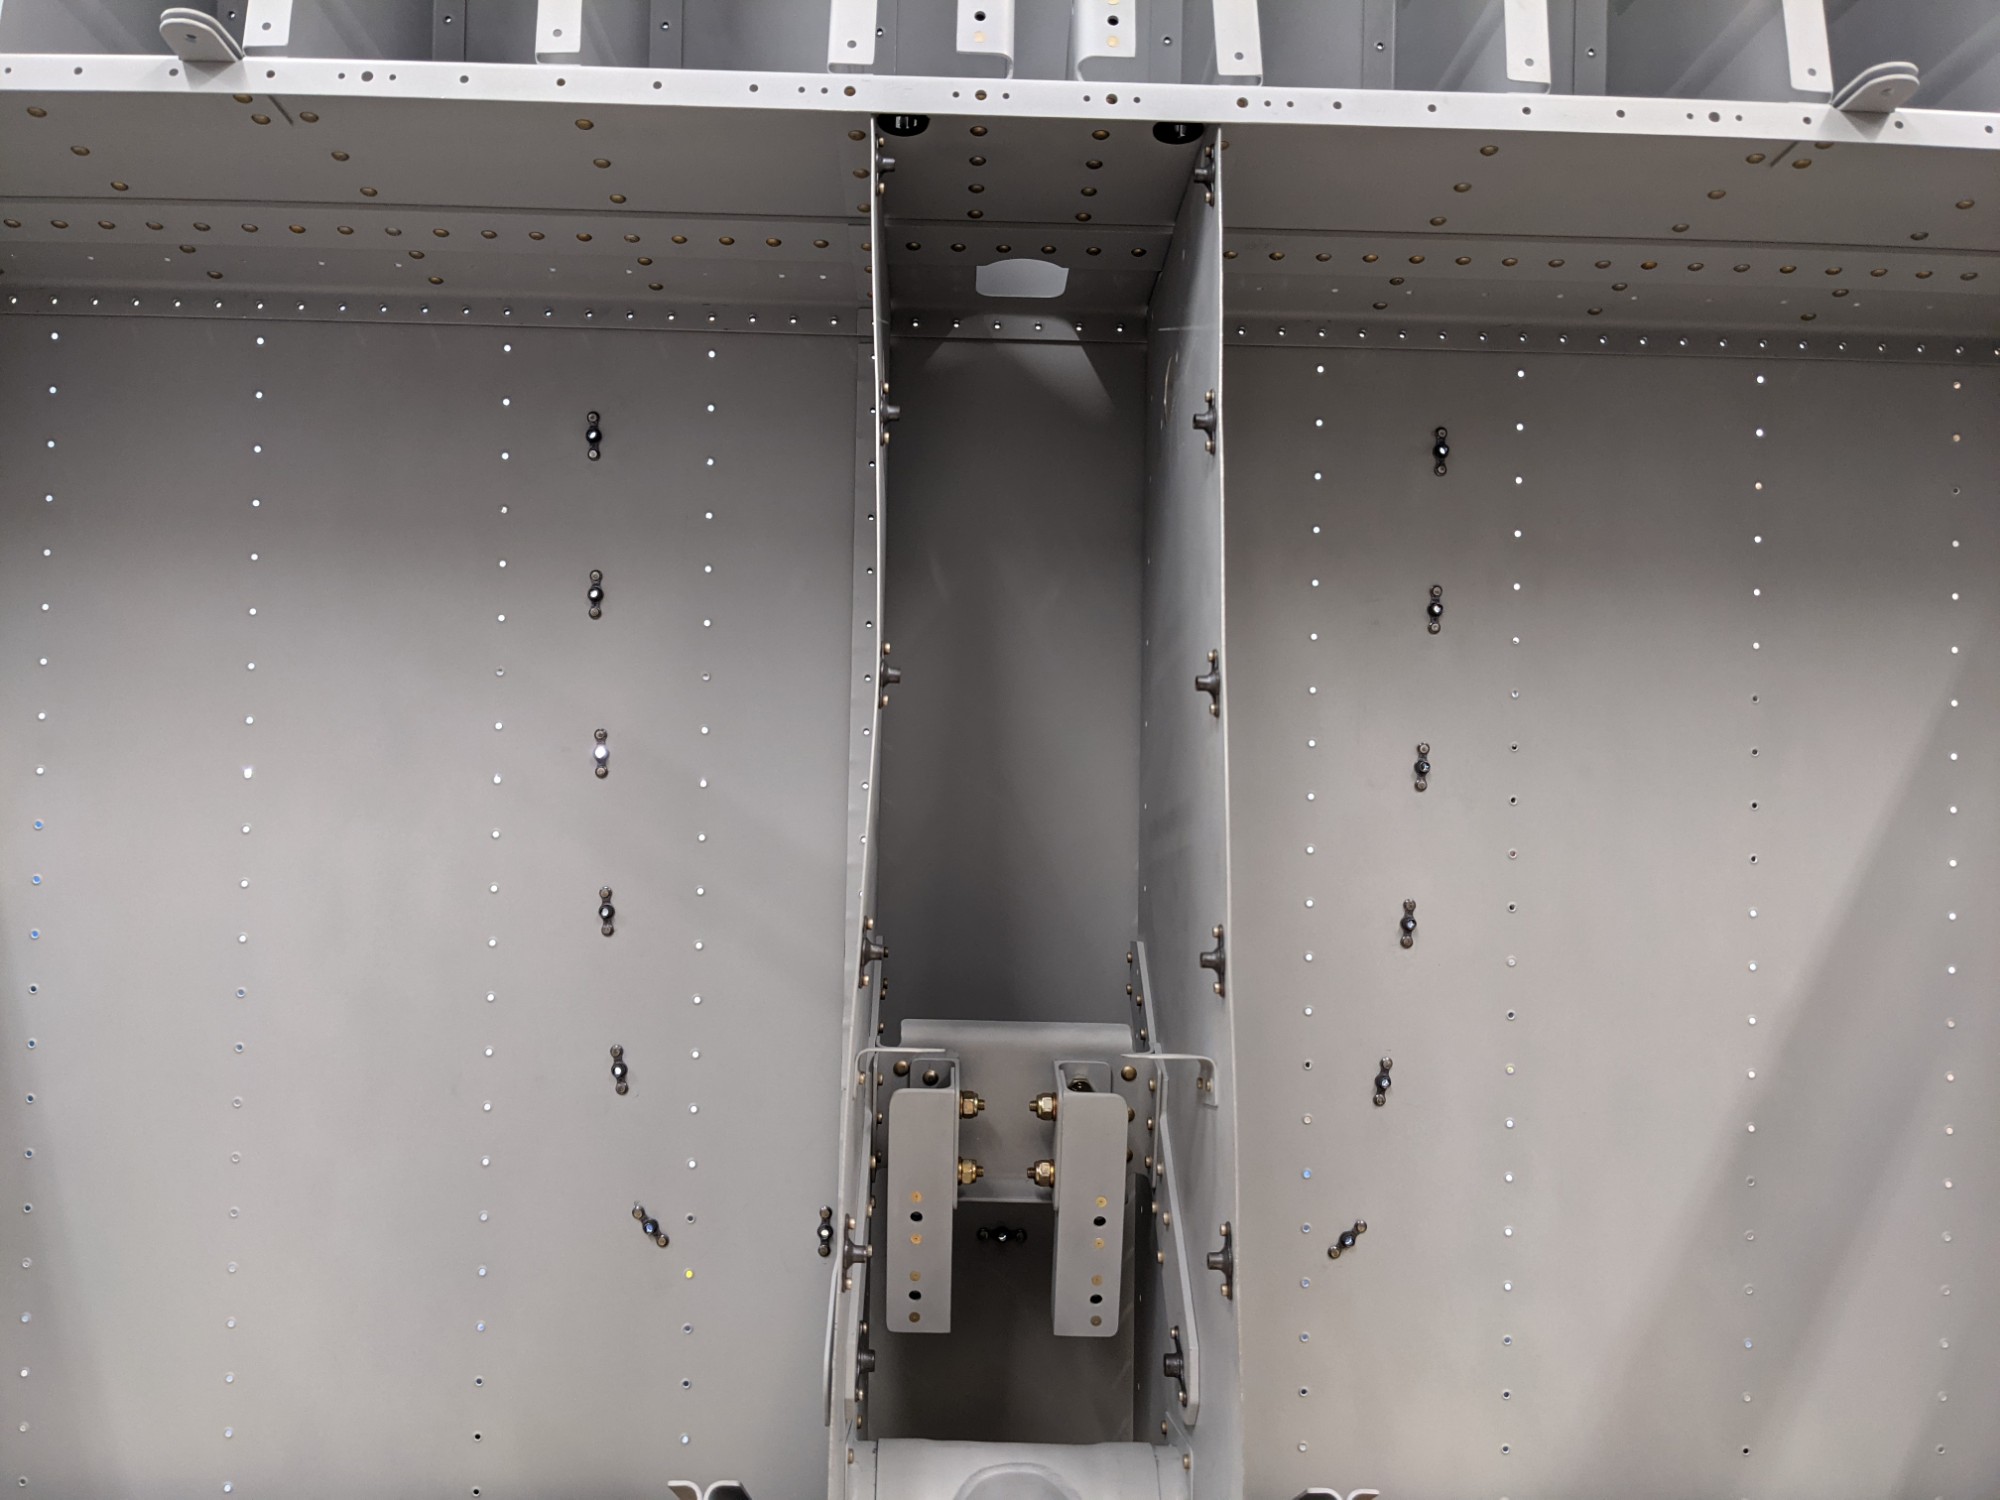
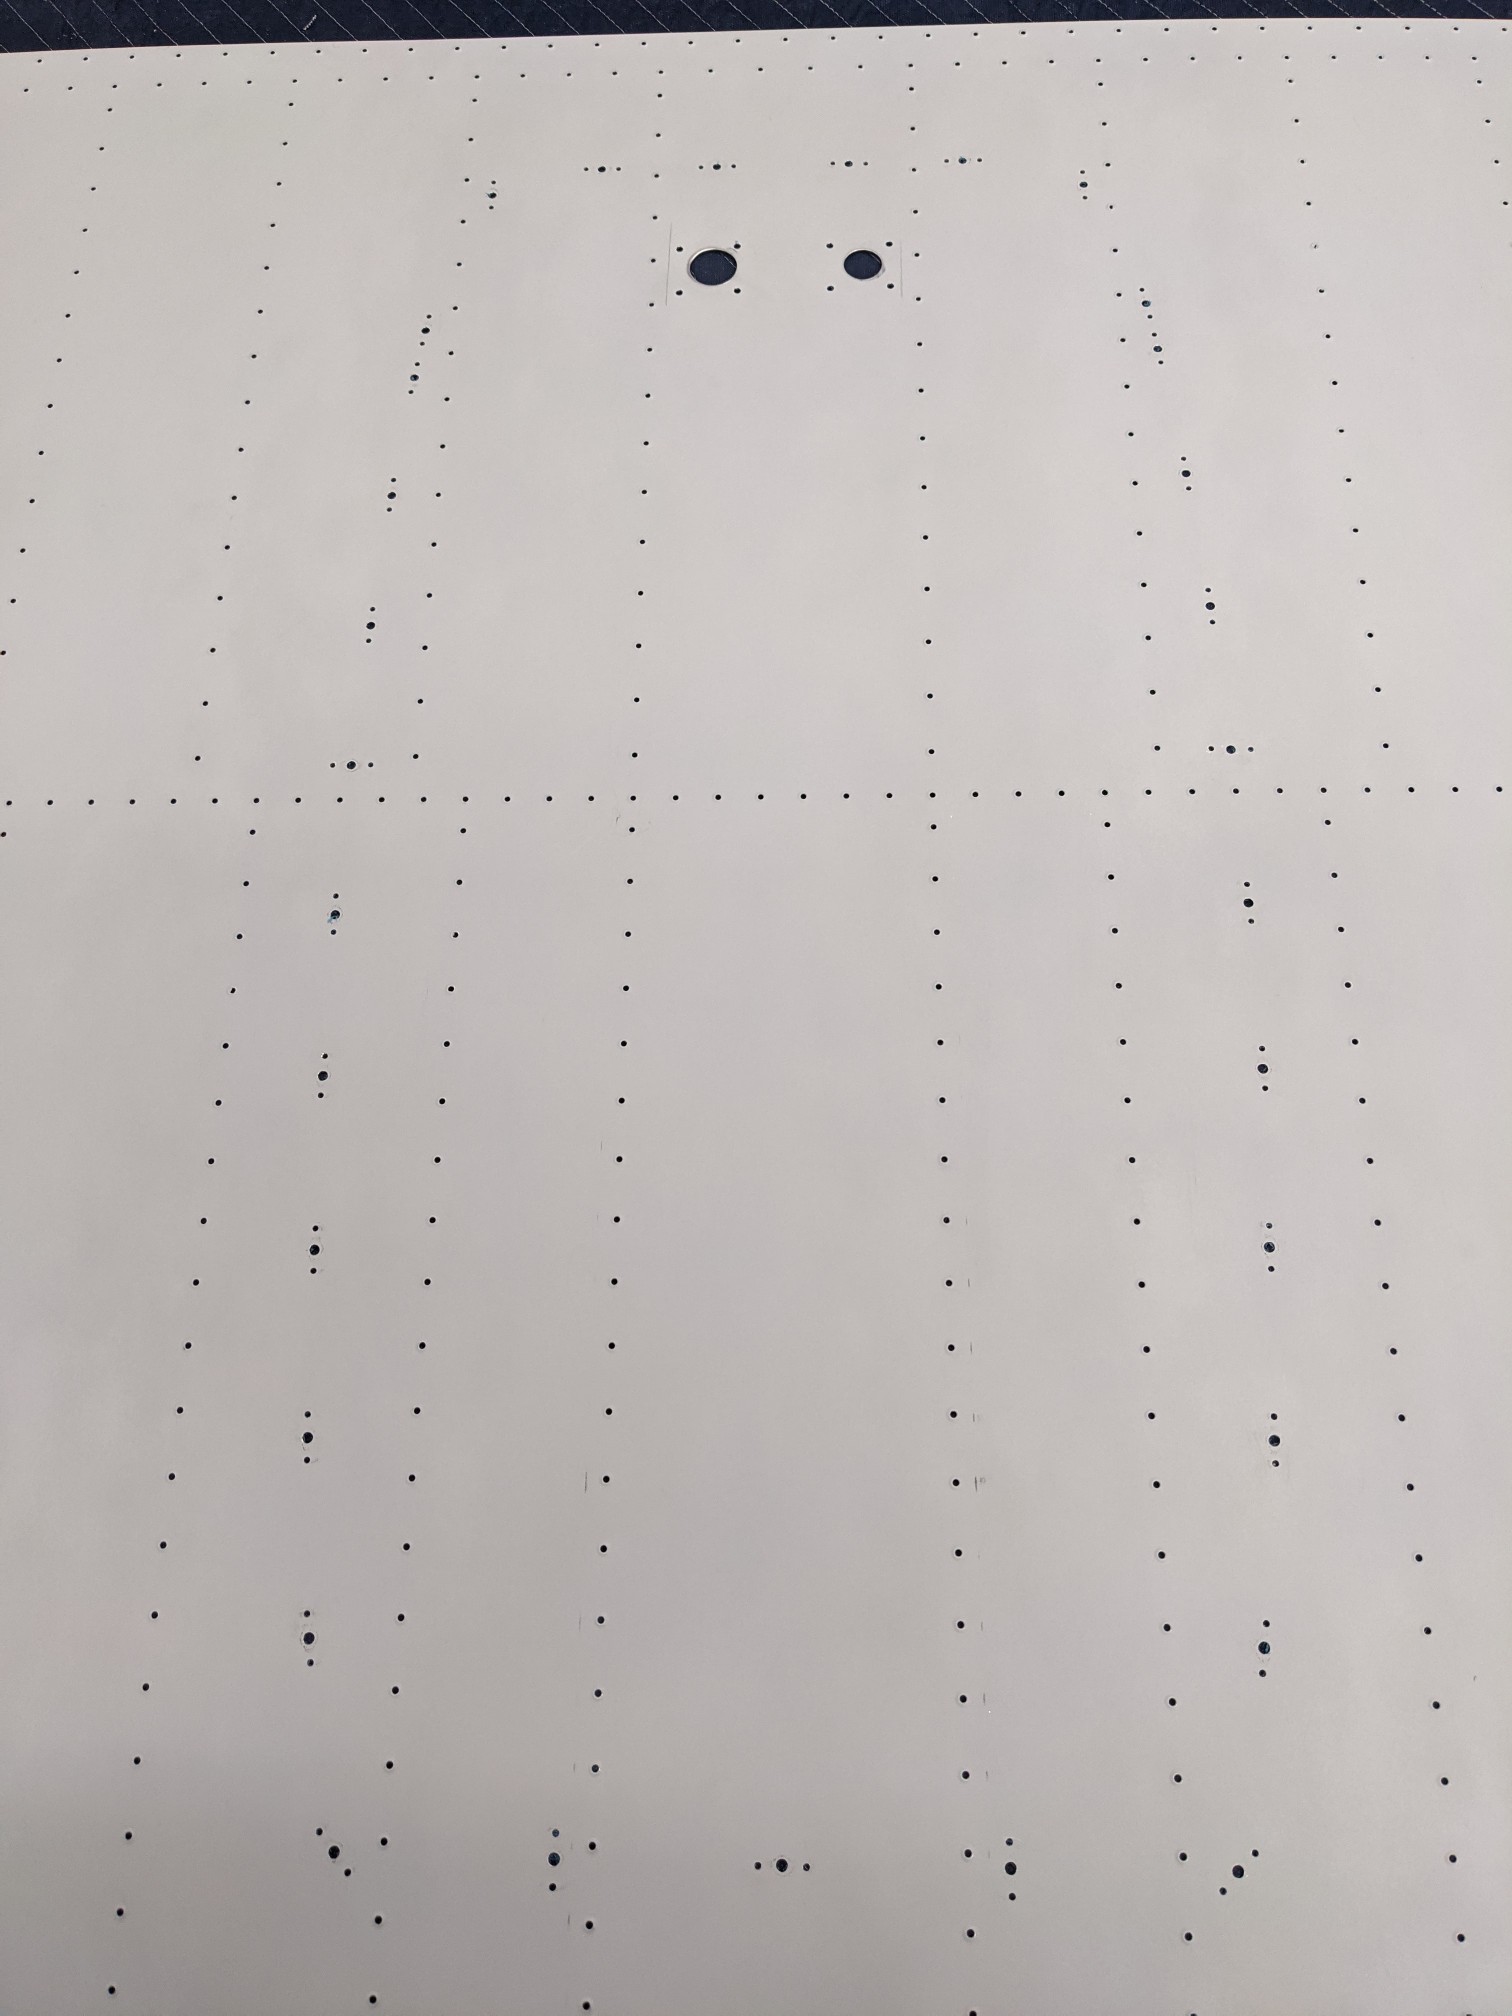
My alignment of the #8 z fitting hole wasn’t perfect as I should have paid more attention to the bends in the z fitting before making the skin hole. It was aligned in such a way that it aimed slightly towards the center push rod location. I ended up tweaking the bends a bit and had to widen the hole in the outboard direction slightly. The doubler ultimately provides the seal so the overall alignment of the hole isn’t critical. The edge distance to the #6 holes did get a little tight but I was able to maintain appropriate edge distance for all of the nutplate rivets.
I then removed the bottom skin to match rivet holes for the nutplates.

I then deburred the holes and dimpled the rivet holes.
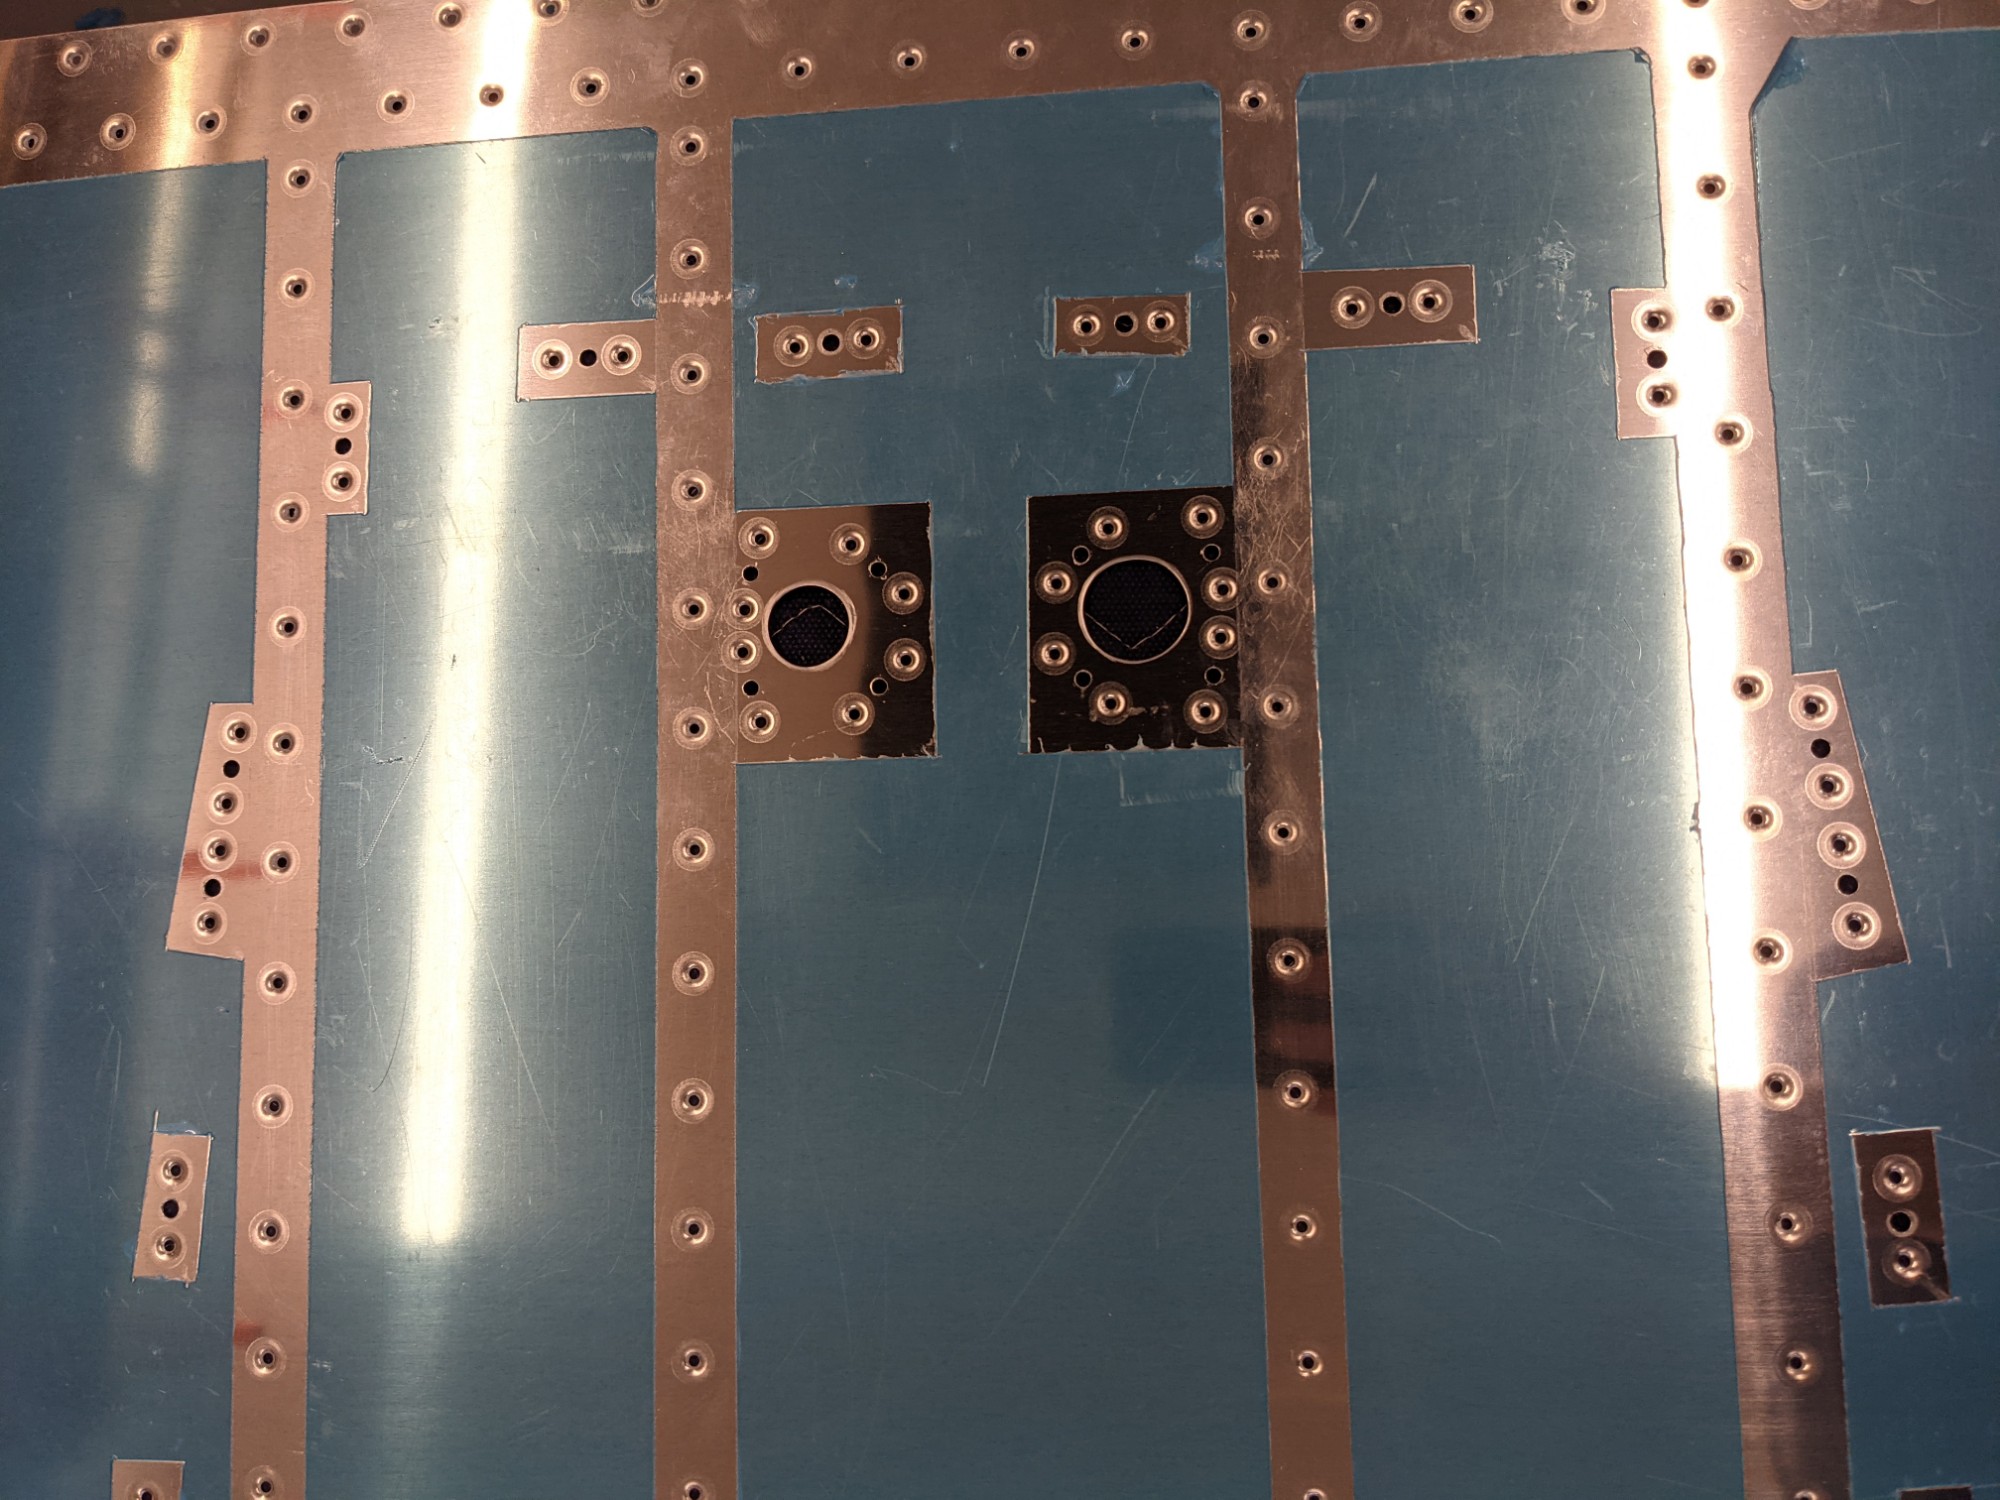
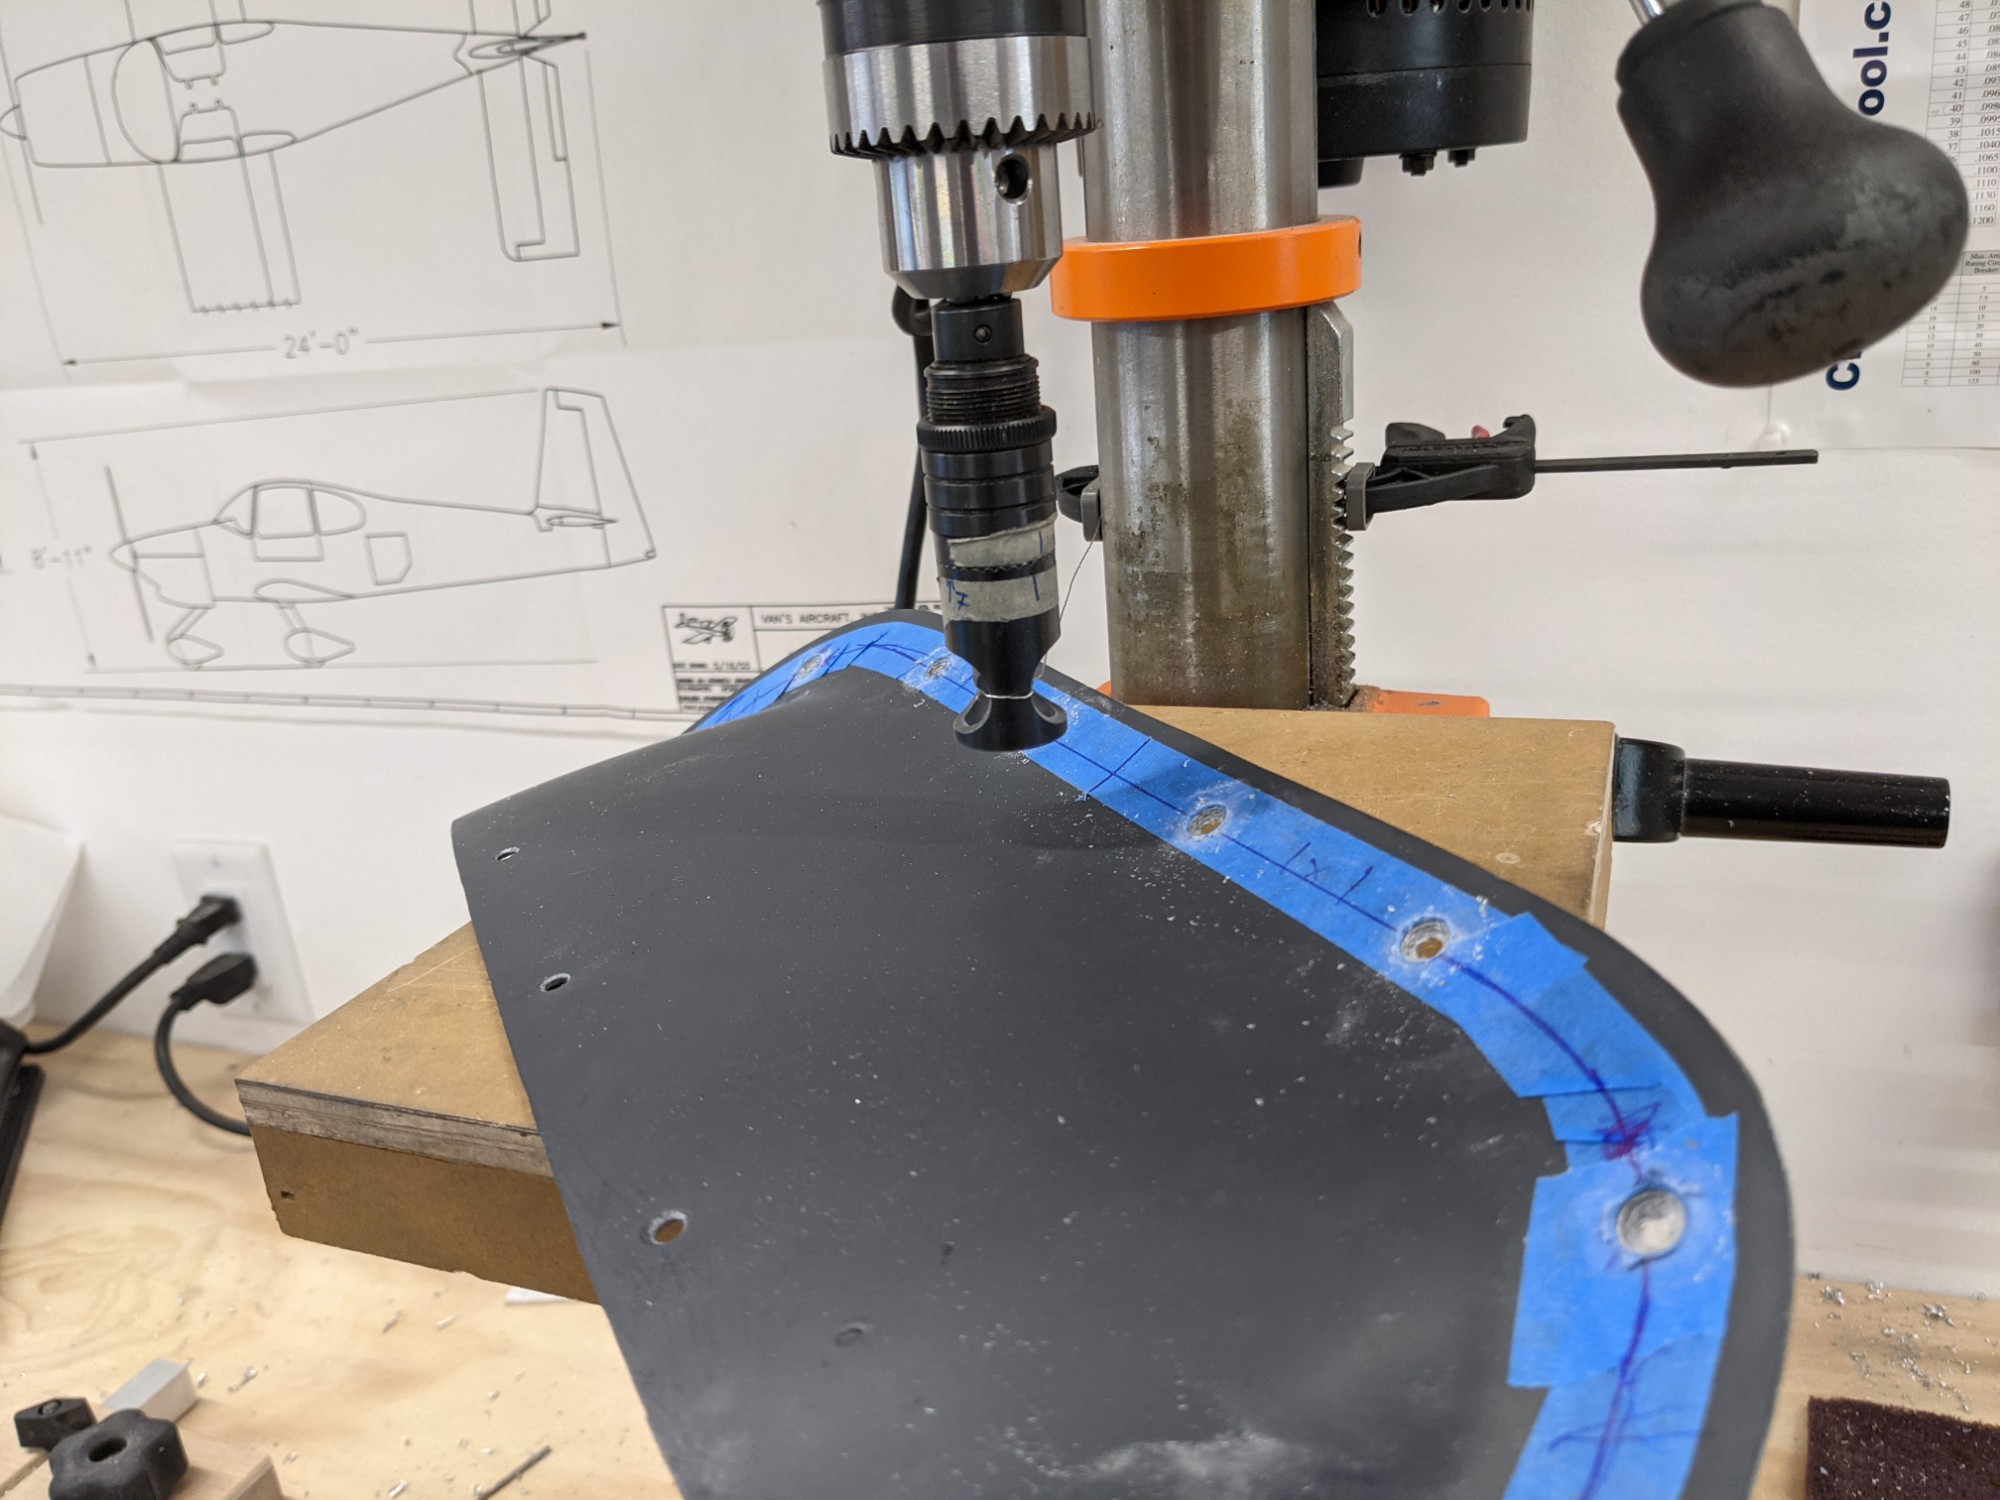
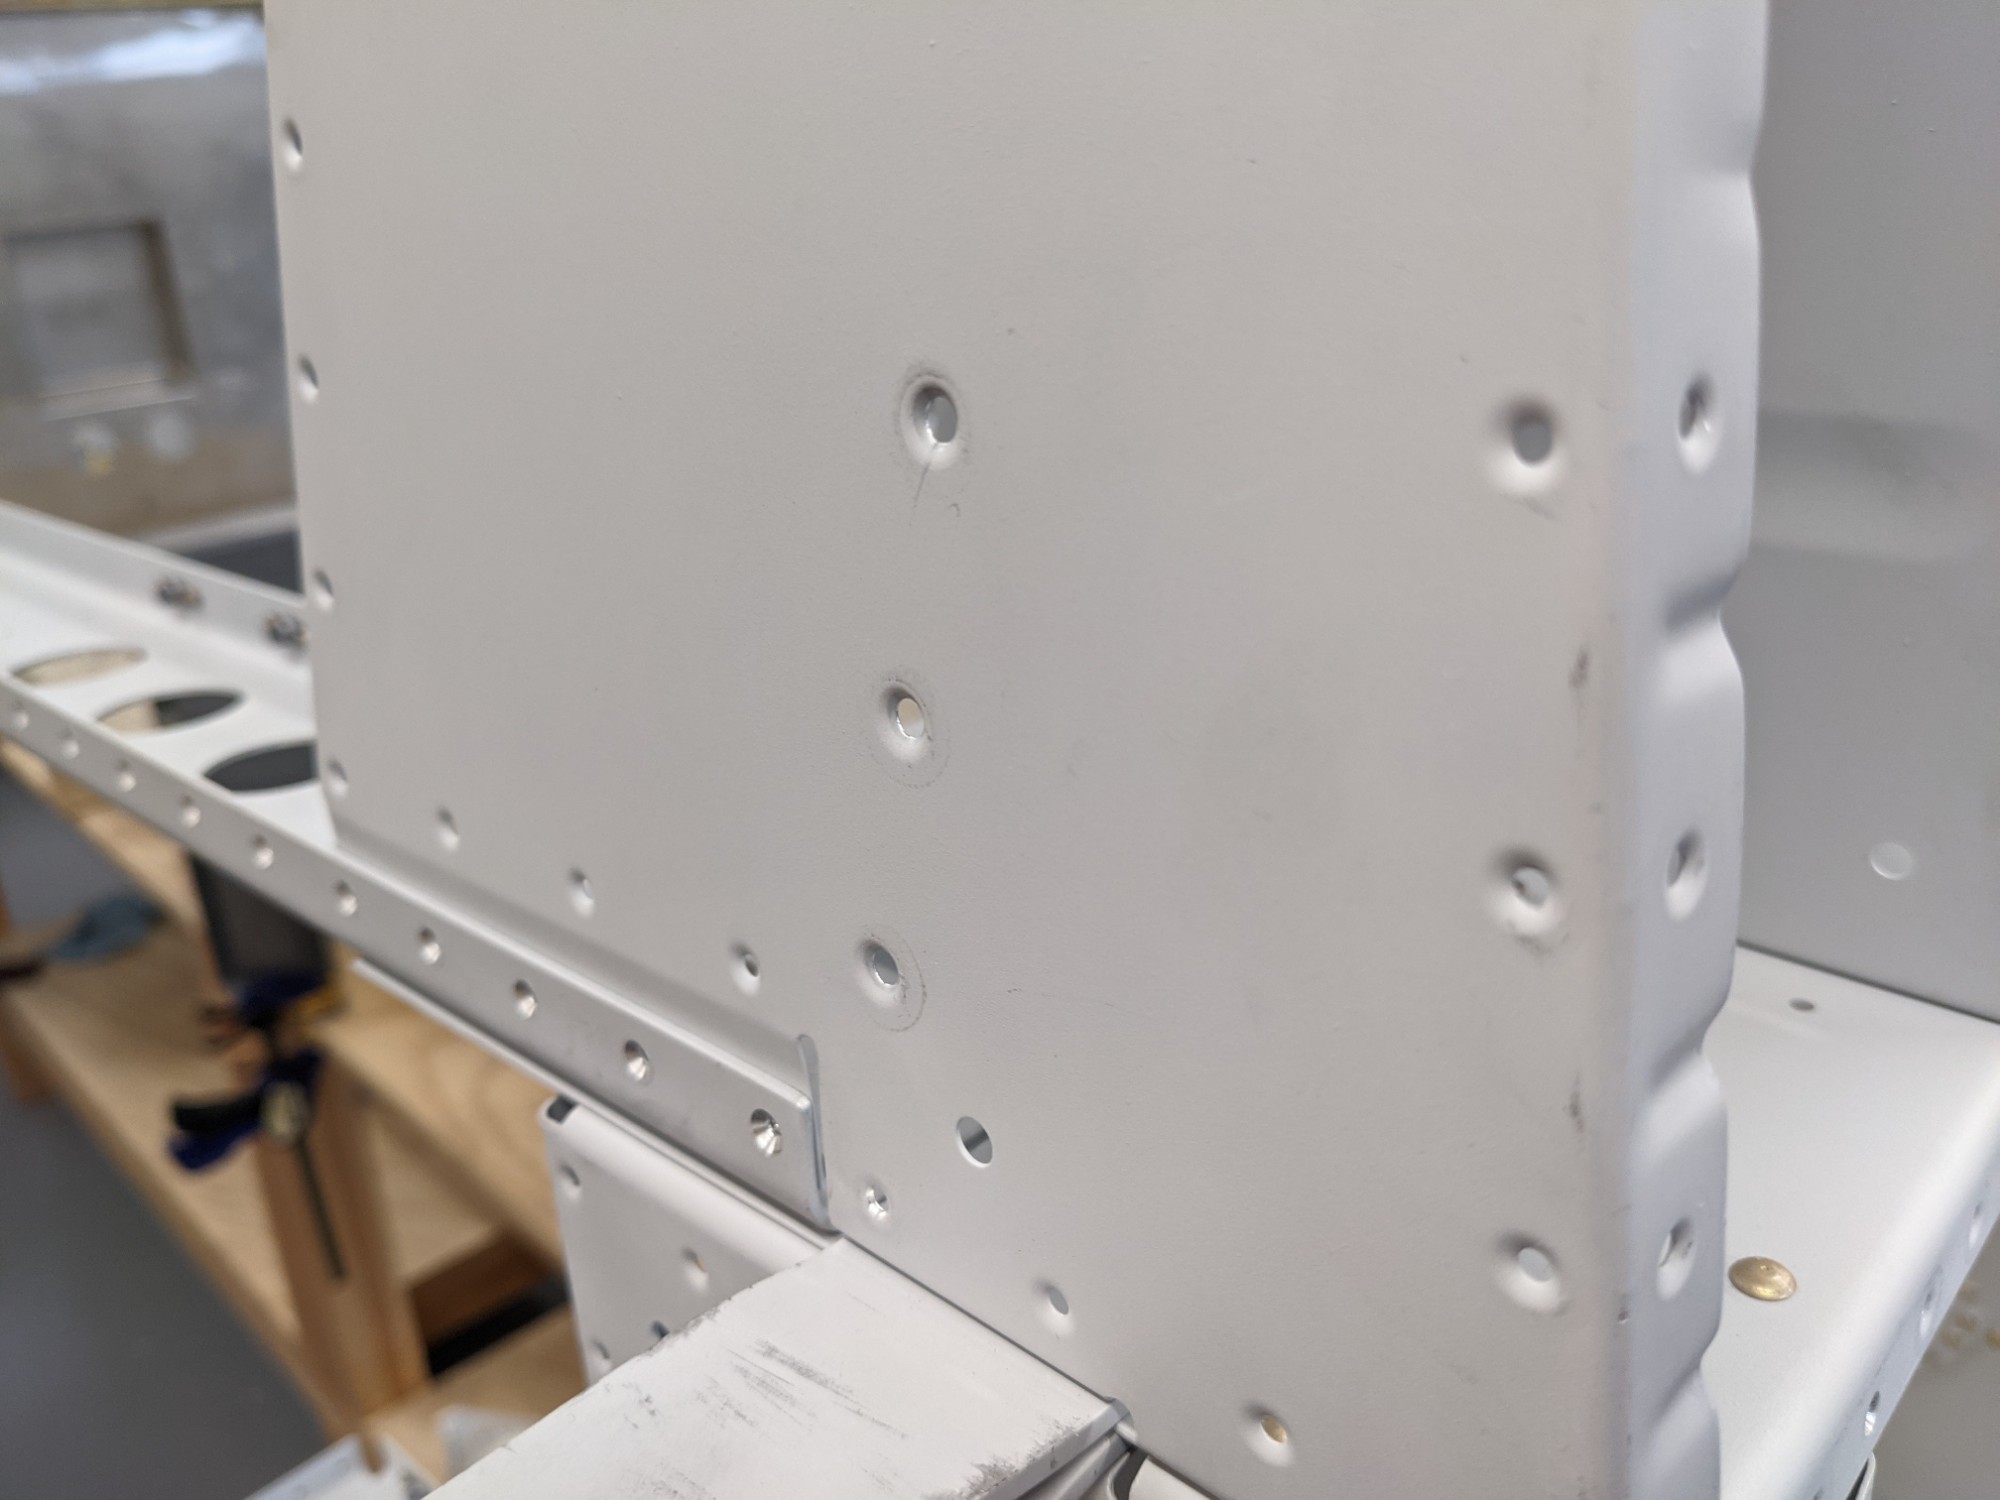
After this was completed, I countersunk the holes in the scoop flanges. The majority of these had to be done by hand as the countersink cage is too wide and hits against the side of the scoop.
I then dimpled the nutplates for flush rivets.
Rivets were then set into the nutplate holes and secured with rivet tape. I back riveted all of the nutplates into place (#8 nutplates for the scoop, #6 for the z fitting doublers).
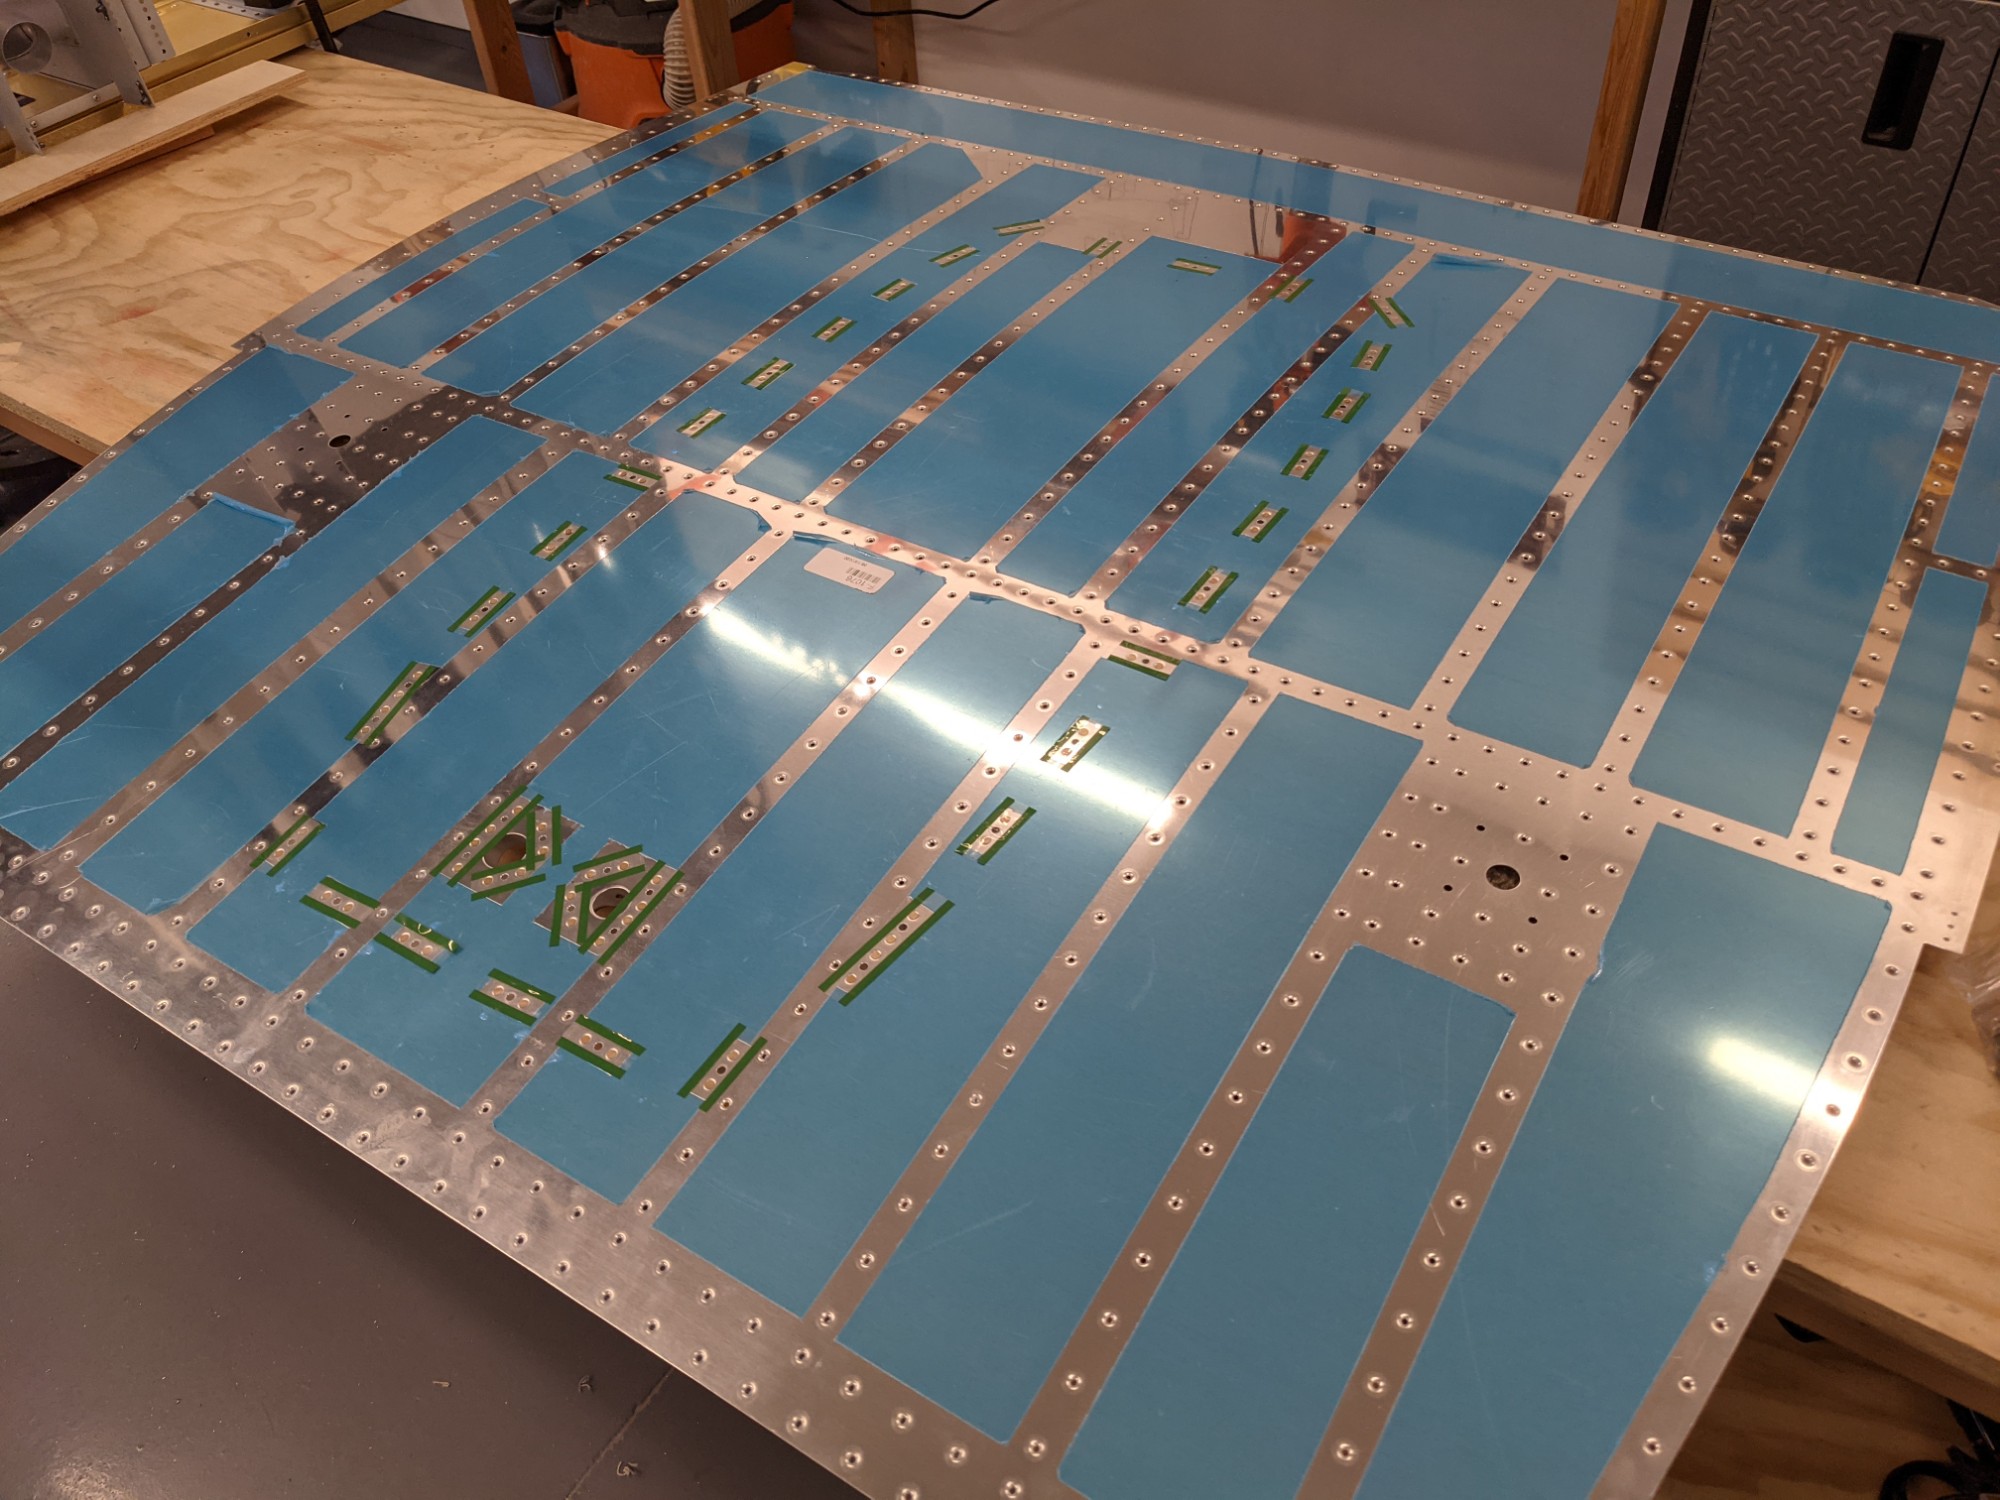
While the skin was off I finished up dimpling a few holes in the ribs that hadn’t previously been dimpled. It looks like a recent plan update came out that addresses these holes as the current plans don’t say anything about them. I noticed them when prepping the side skins. Thankfully, I hadn’t riveted the bottom skin so these were easy to resolve.
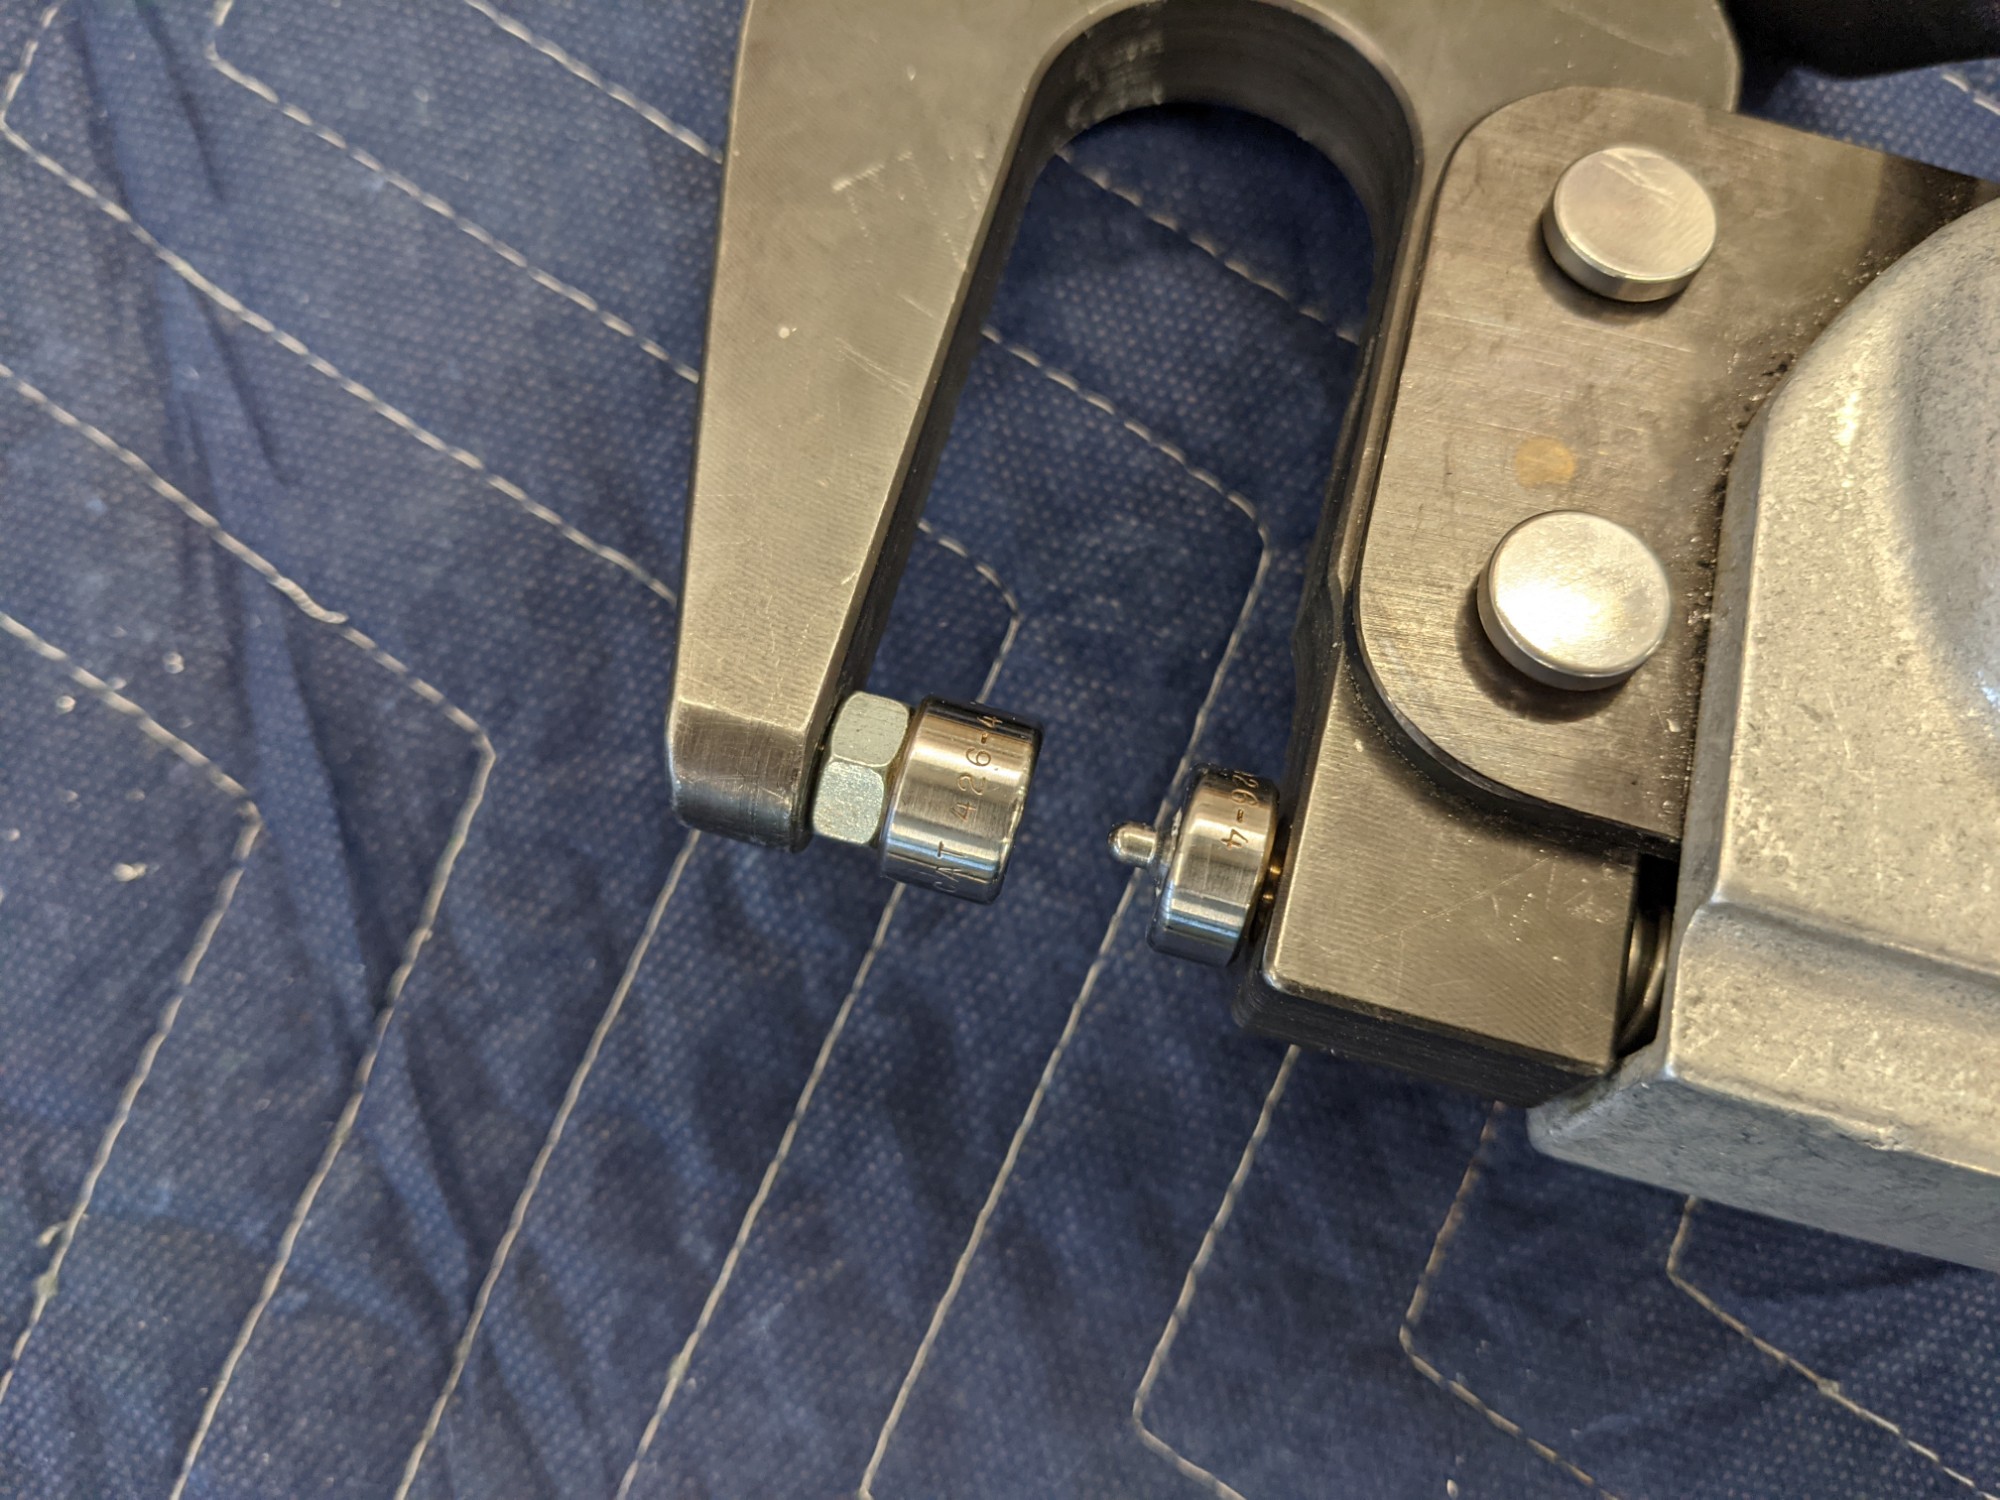
I placed a nut behind the dimple die to clear the rib flange.
There is also one 3/32″ hole that gets drilled from the side skin that also needed dimpled. I have no idea why this hole wasn’t punched into the rib but this was also easy to correct with the bottom skin off.

The skin was then clecoed back into place for the last time. The bottom skin is finally ready for riveting!