
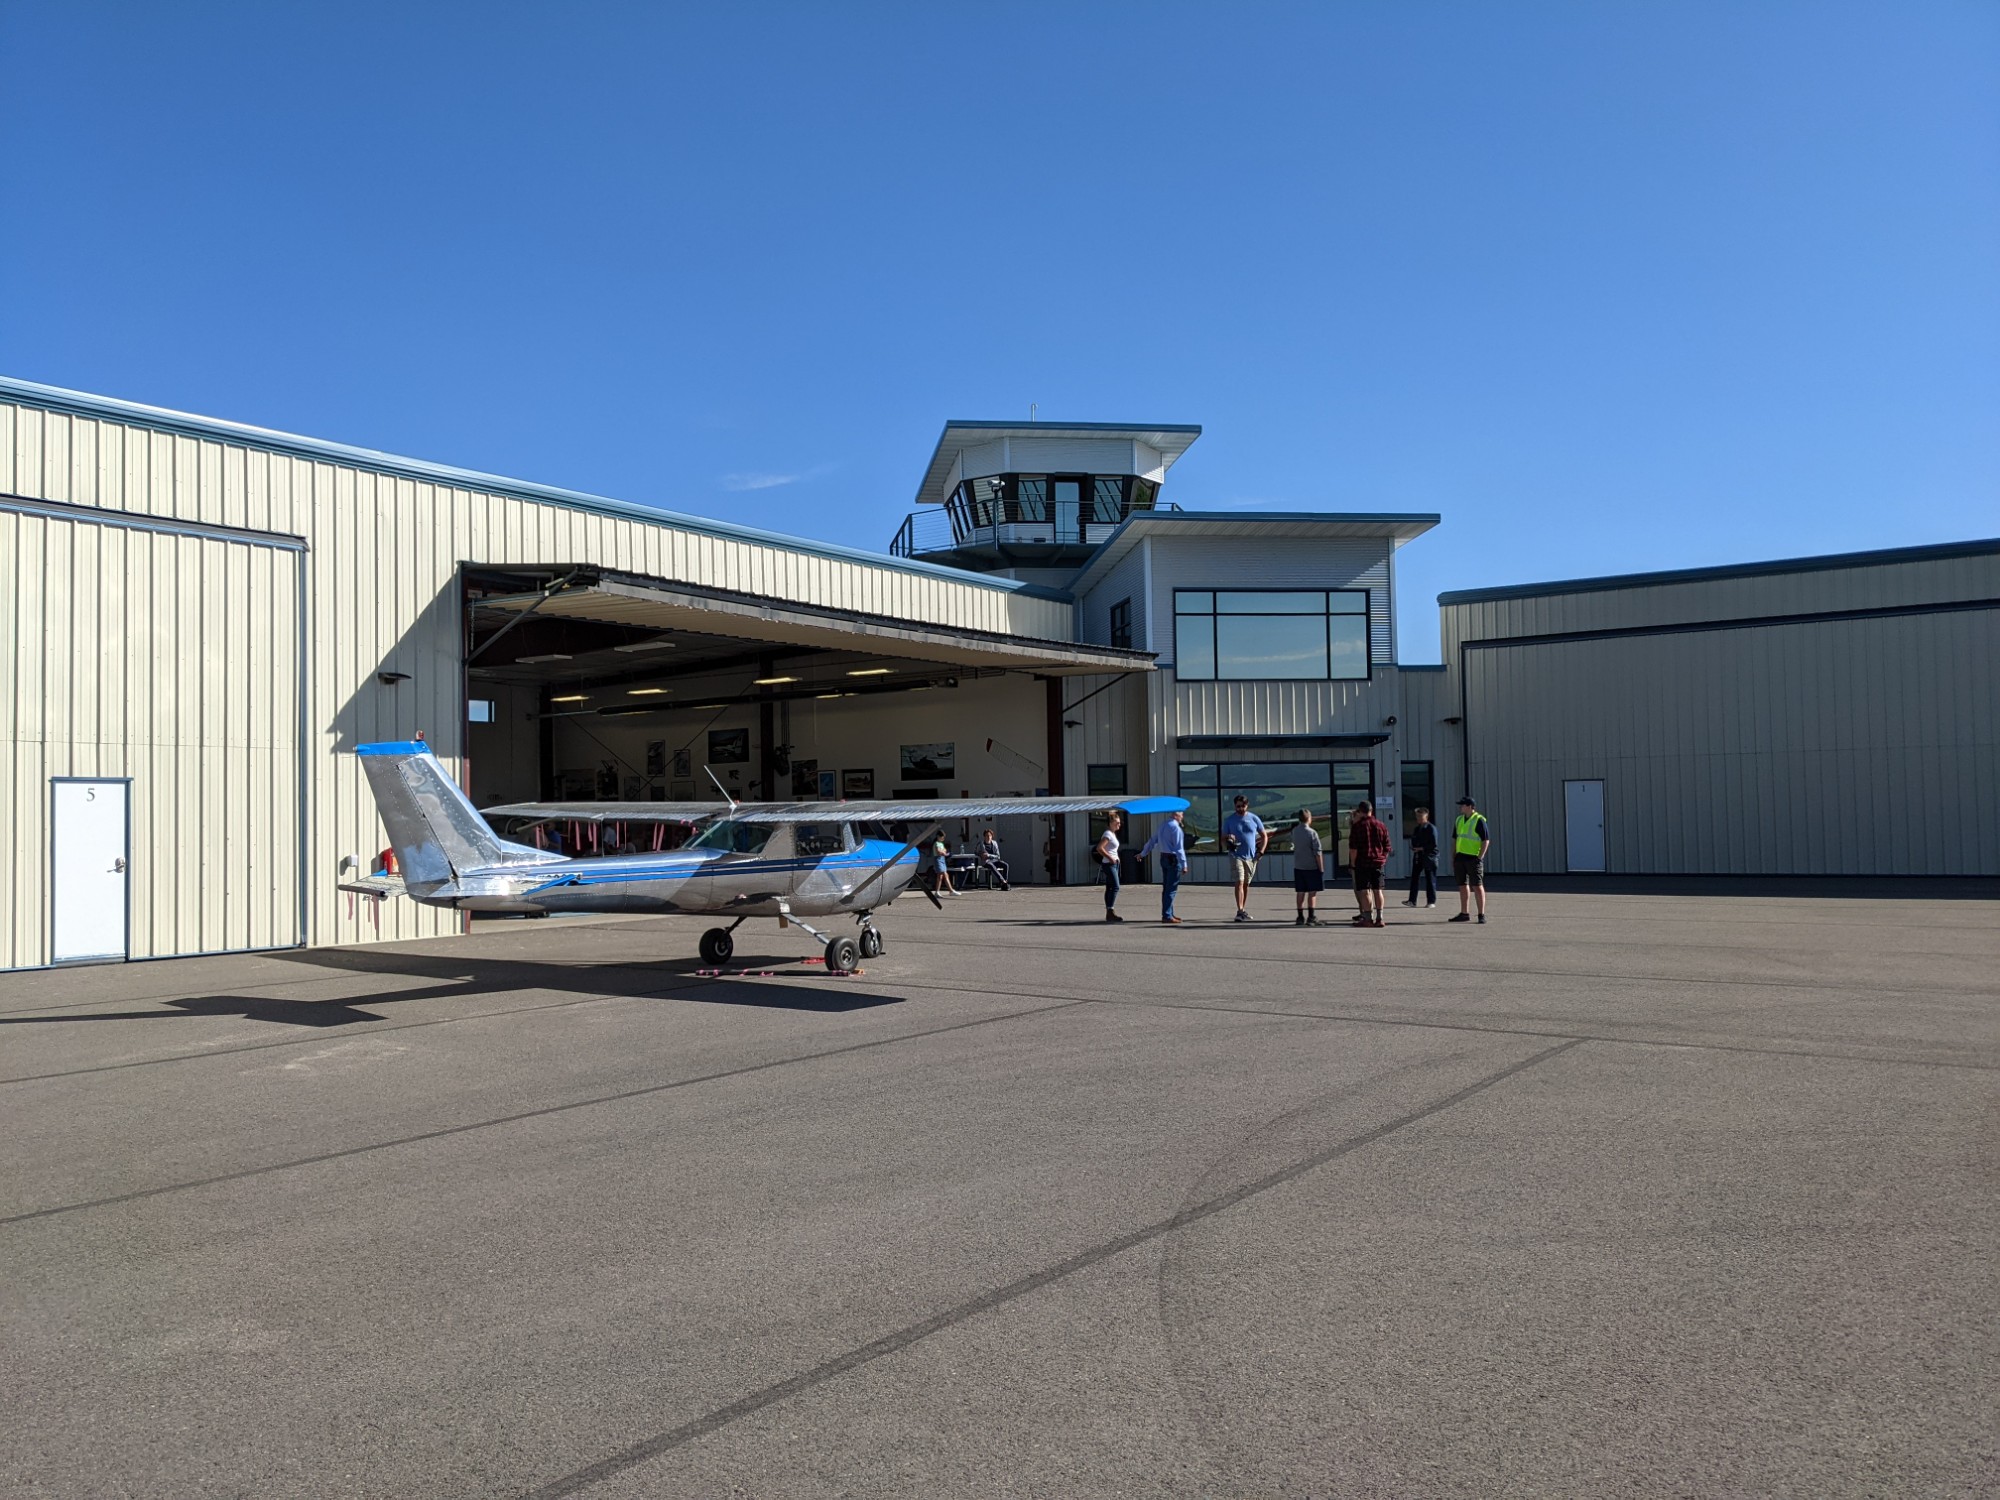
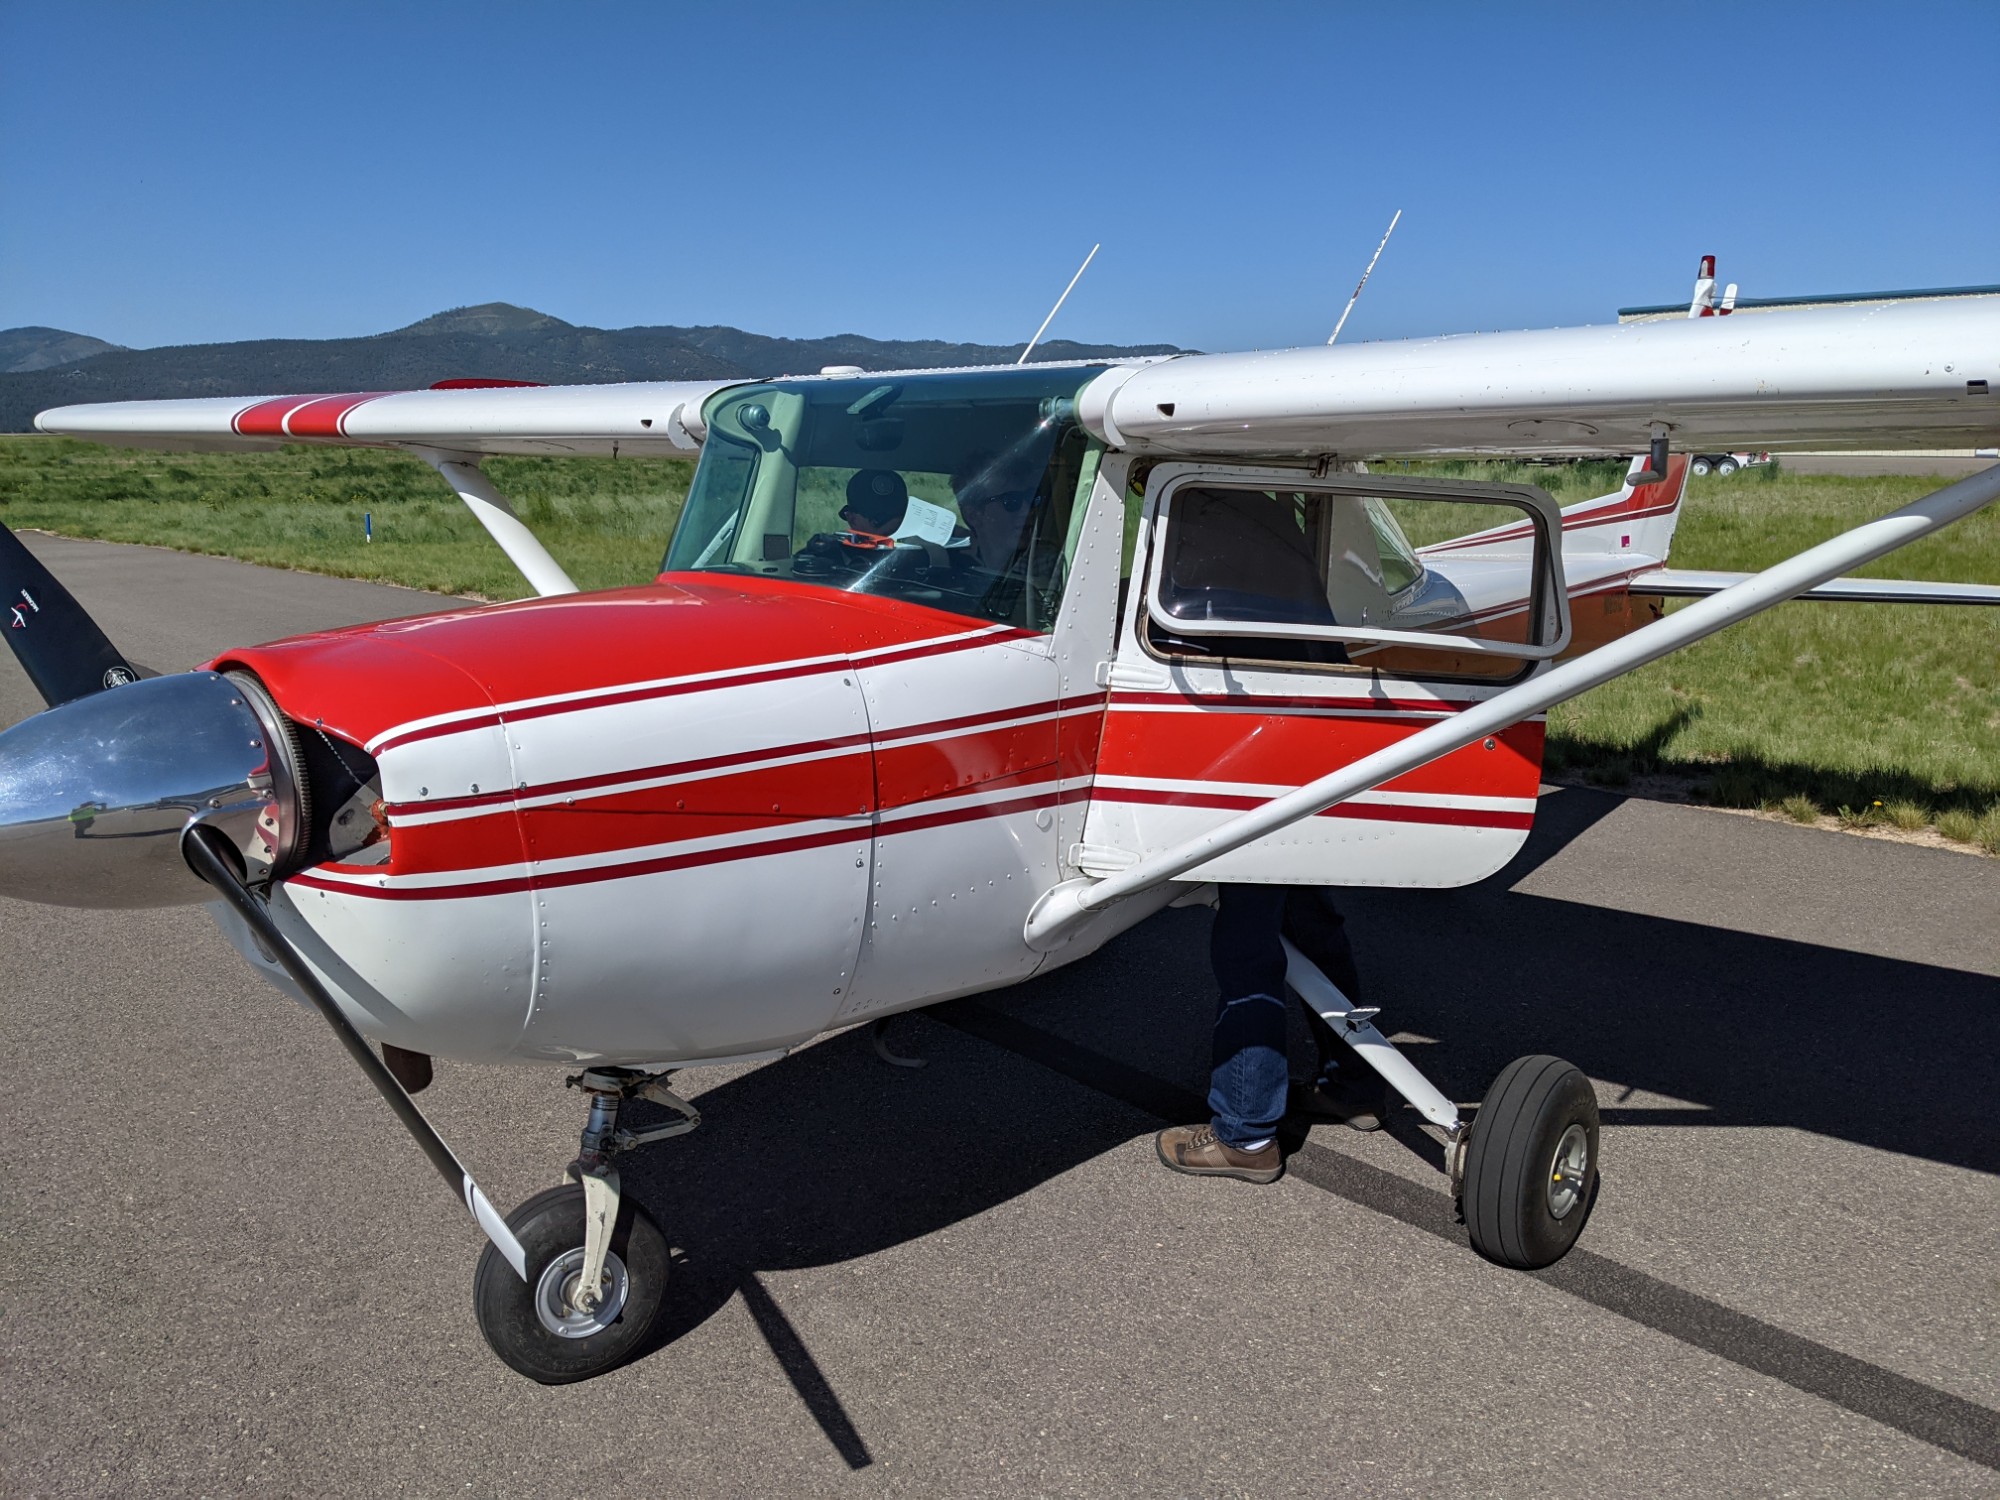
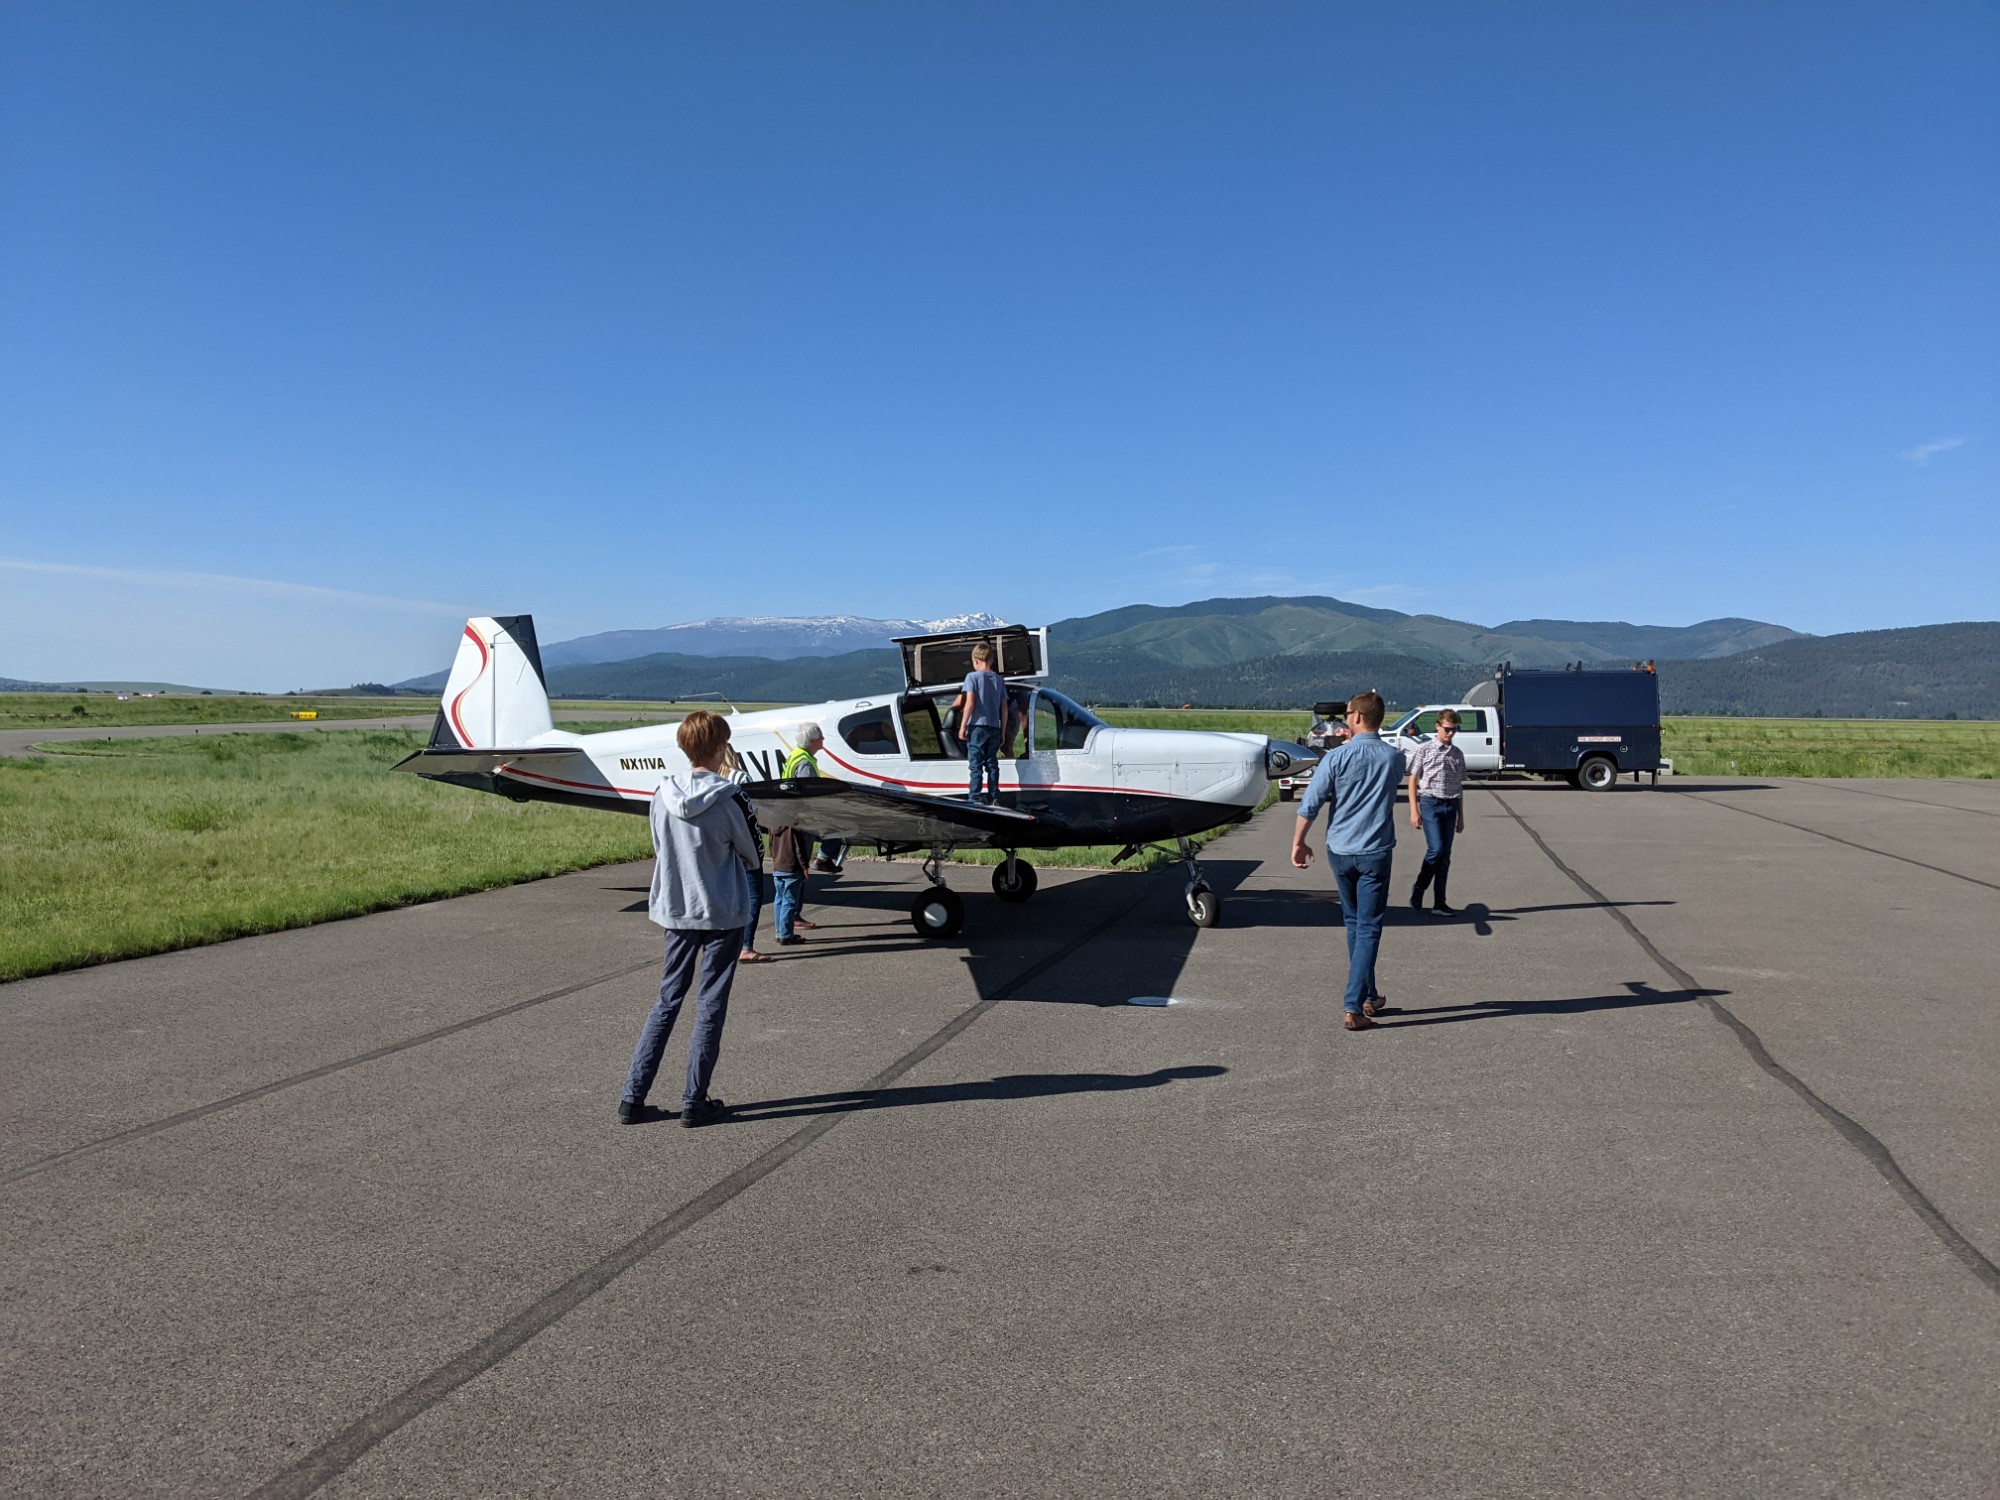
We held our first Young Eagles flights since COVID-19 at EAA Chapter 517 (KMSO) this morning. Perfect flying weather and smiles all around. Very rewarding to see kids getting a chance to experience aviation up close.

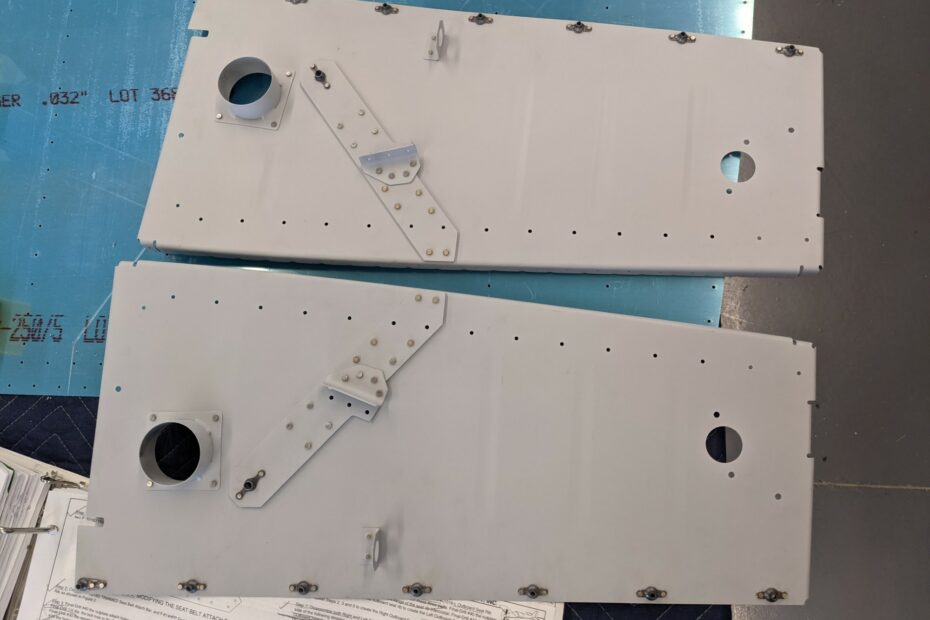
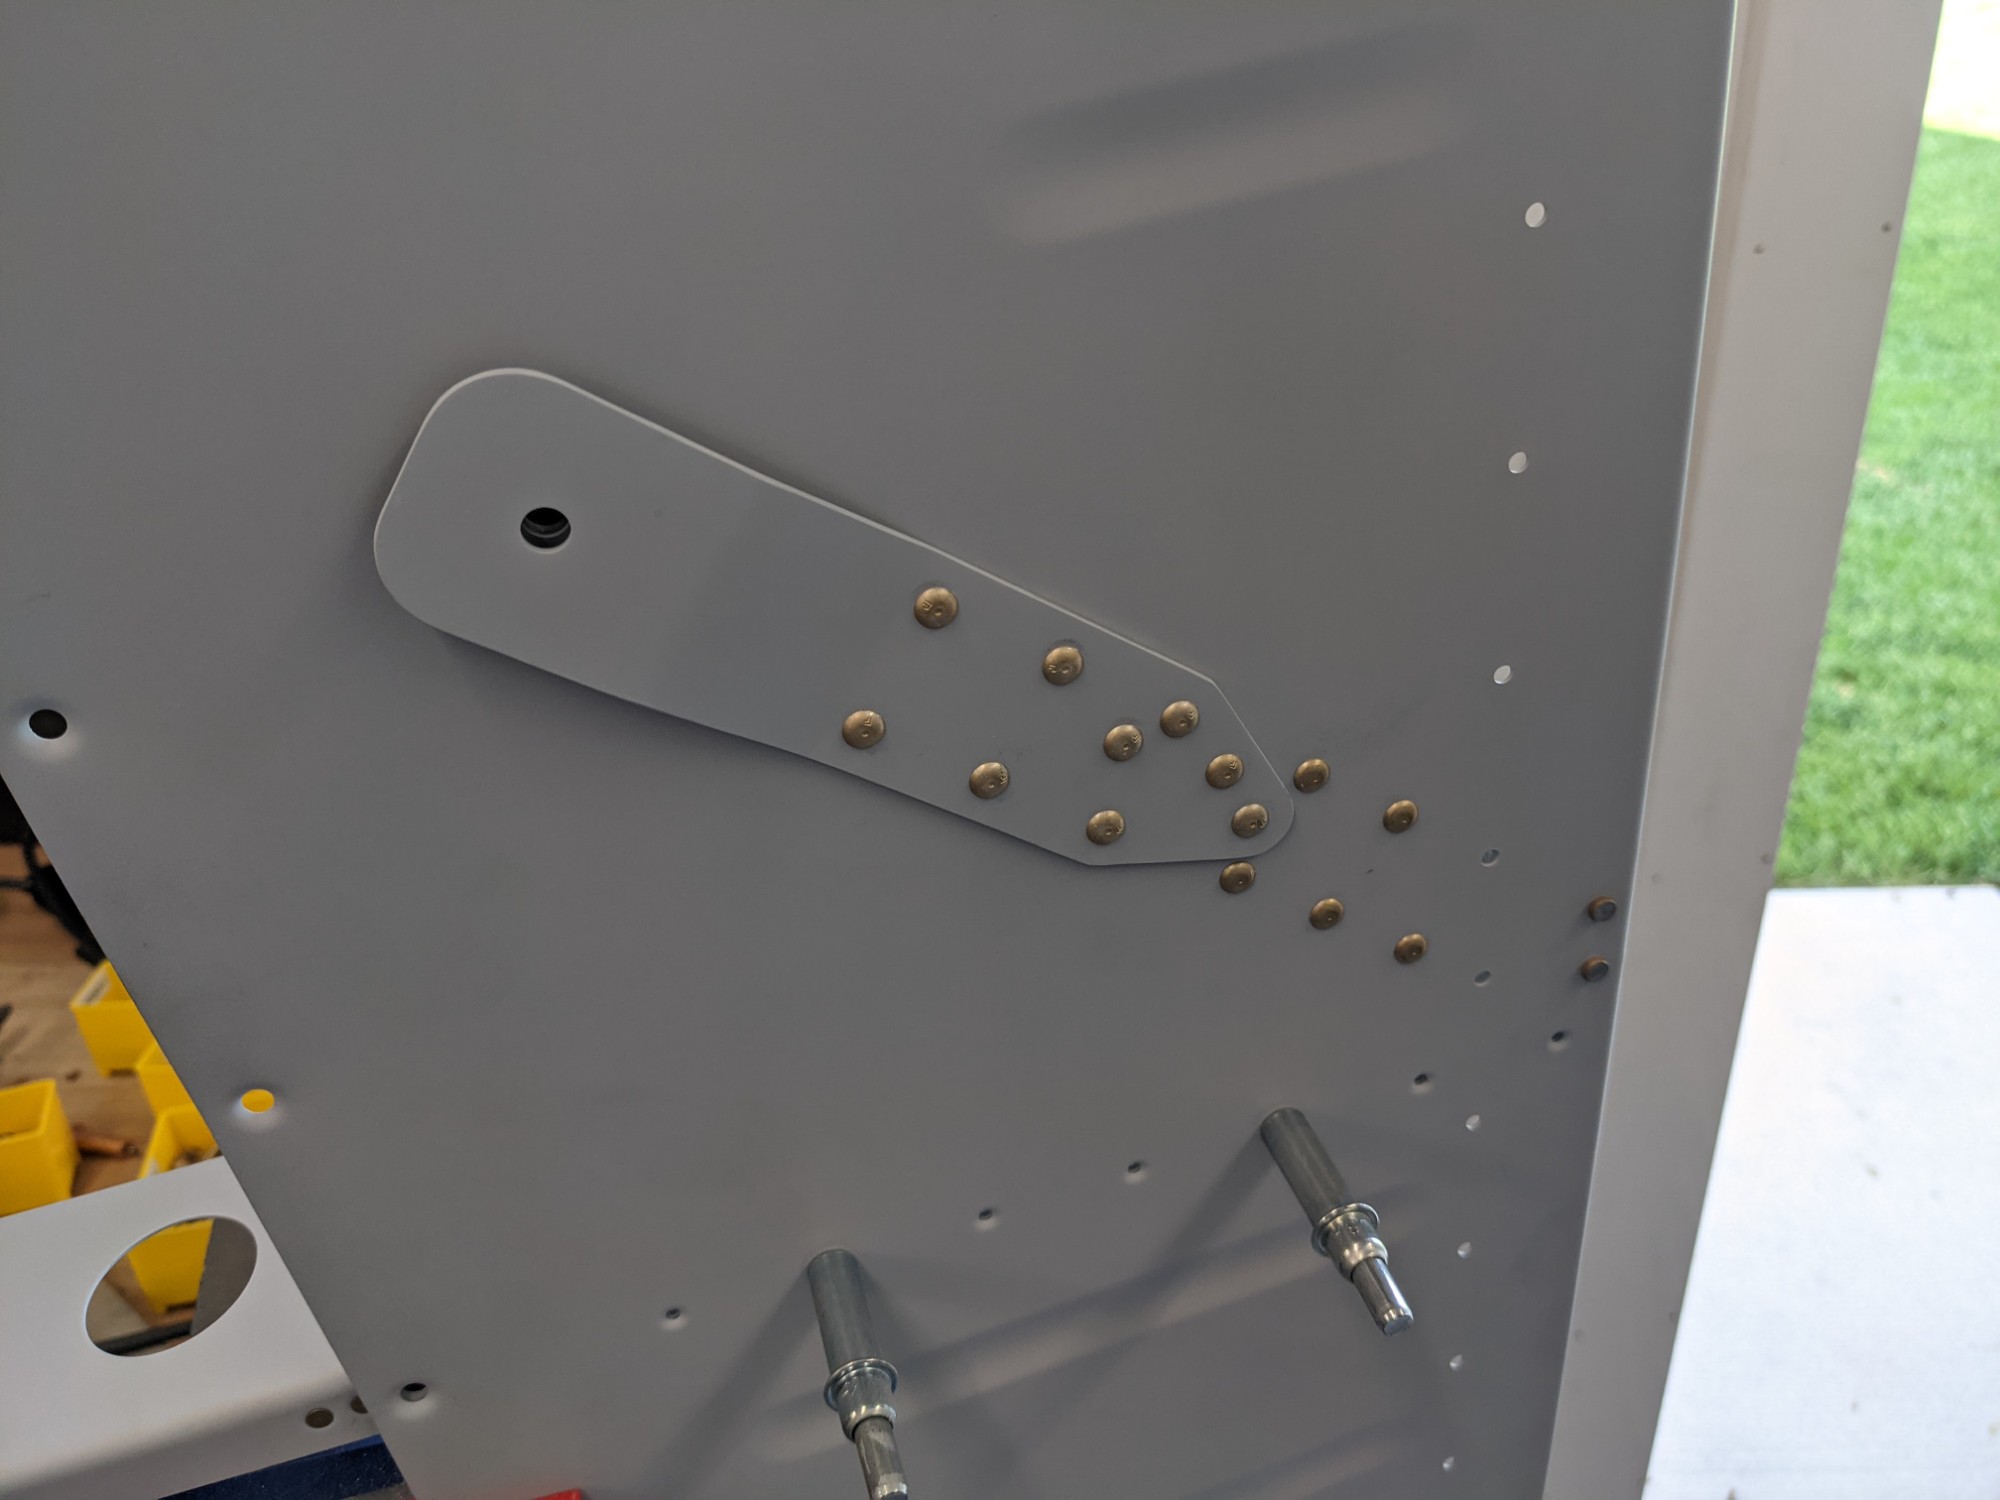
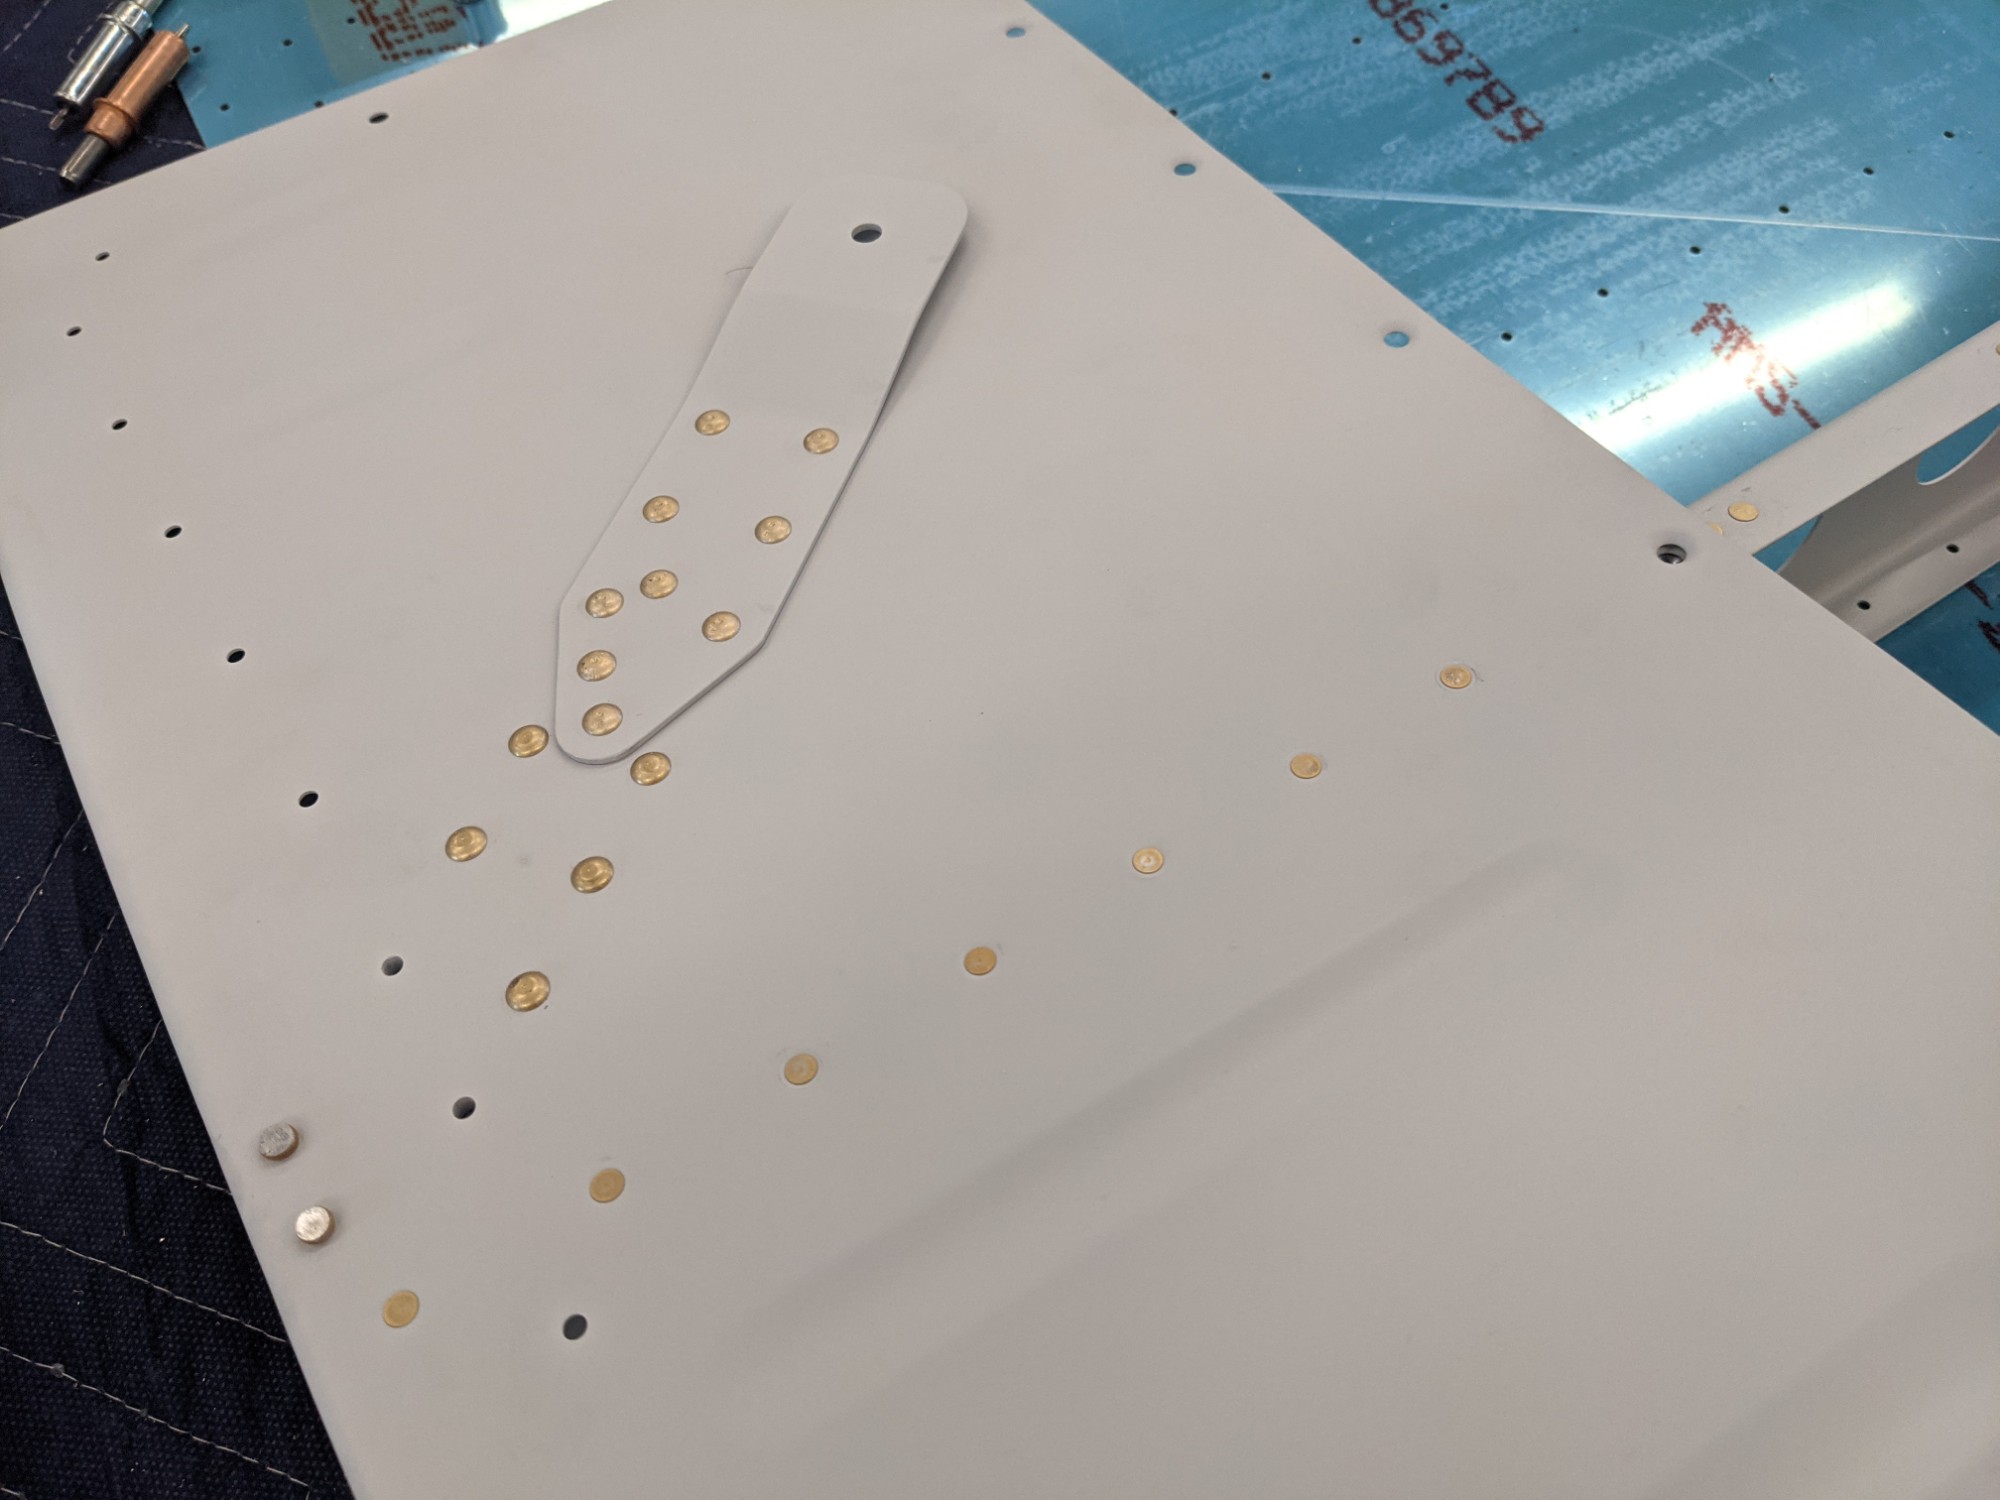
When I got back I started riveting the seat ribs. The seatbelt attach nutplates are riveted first.
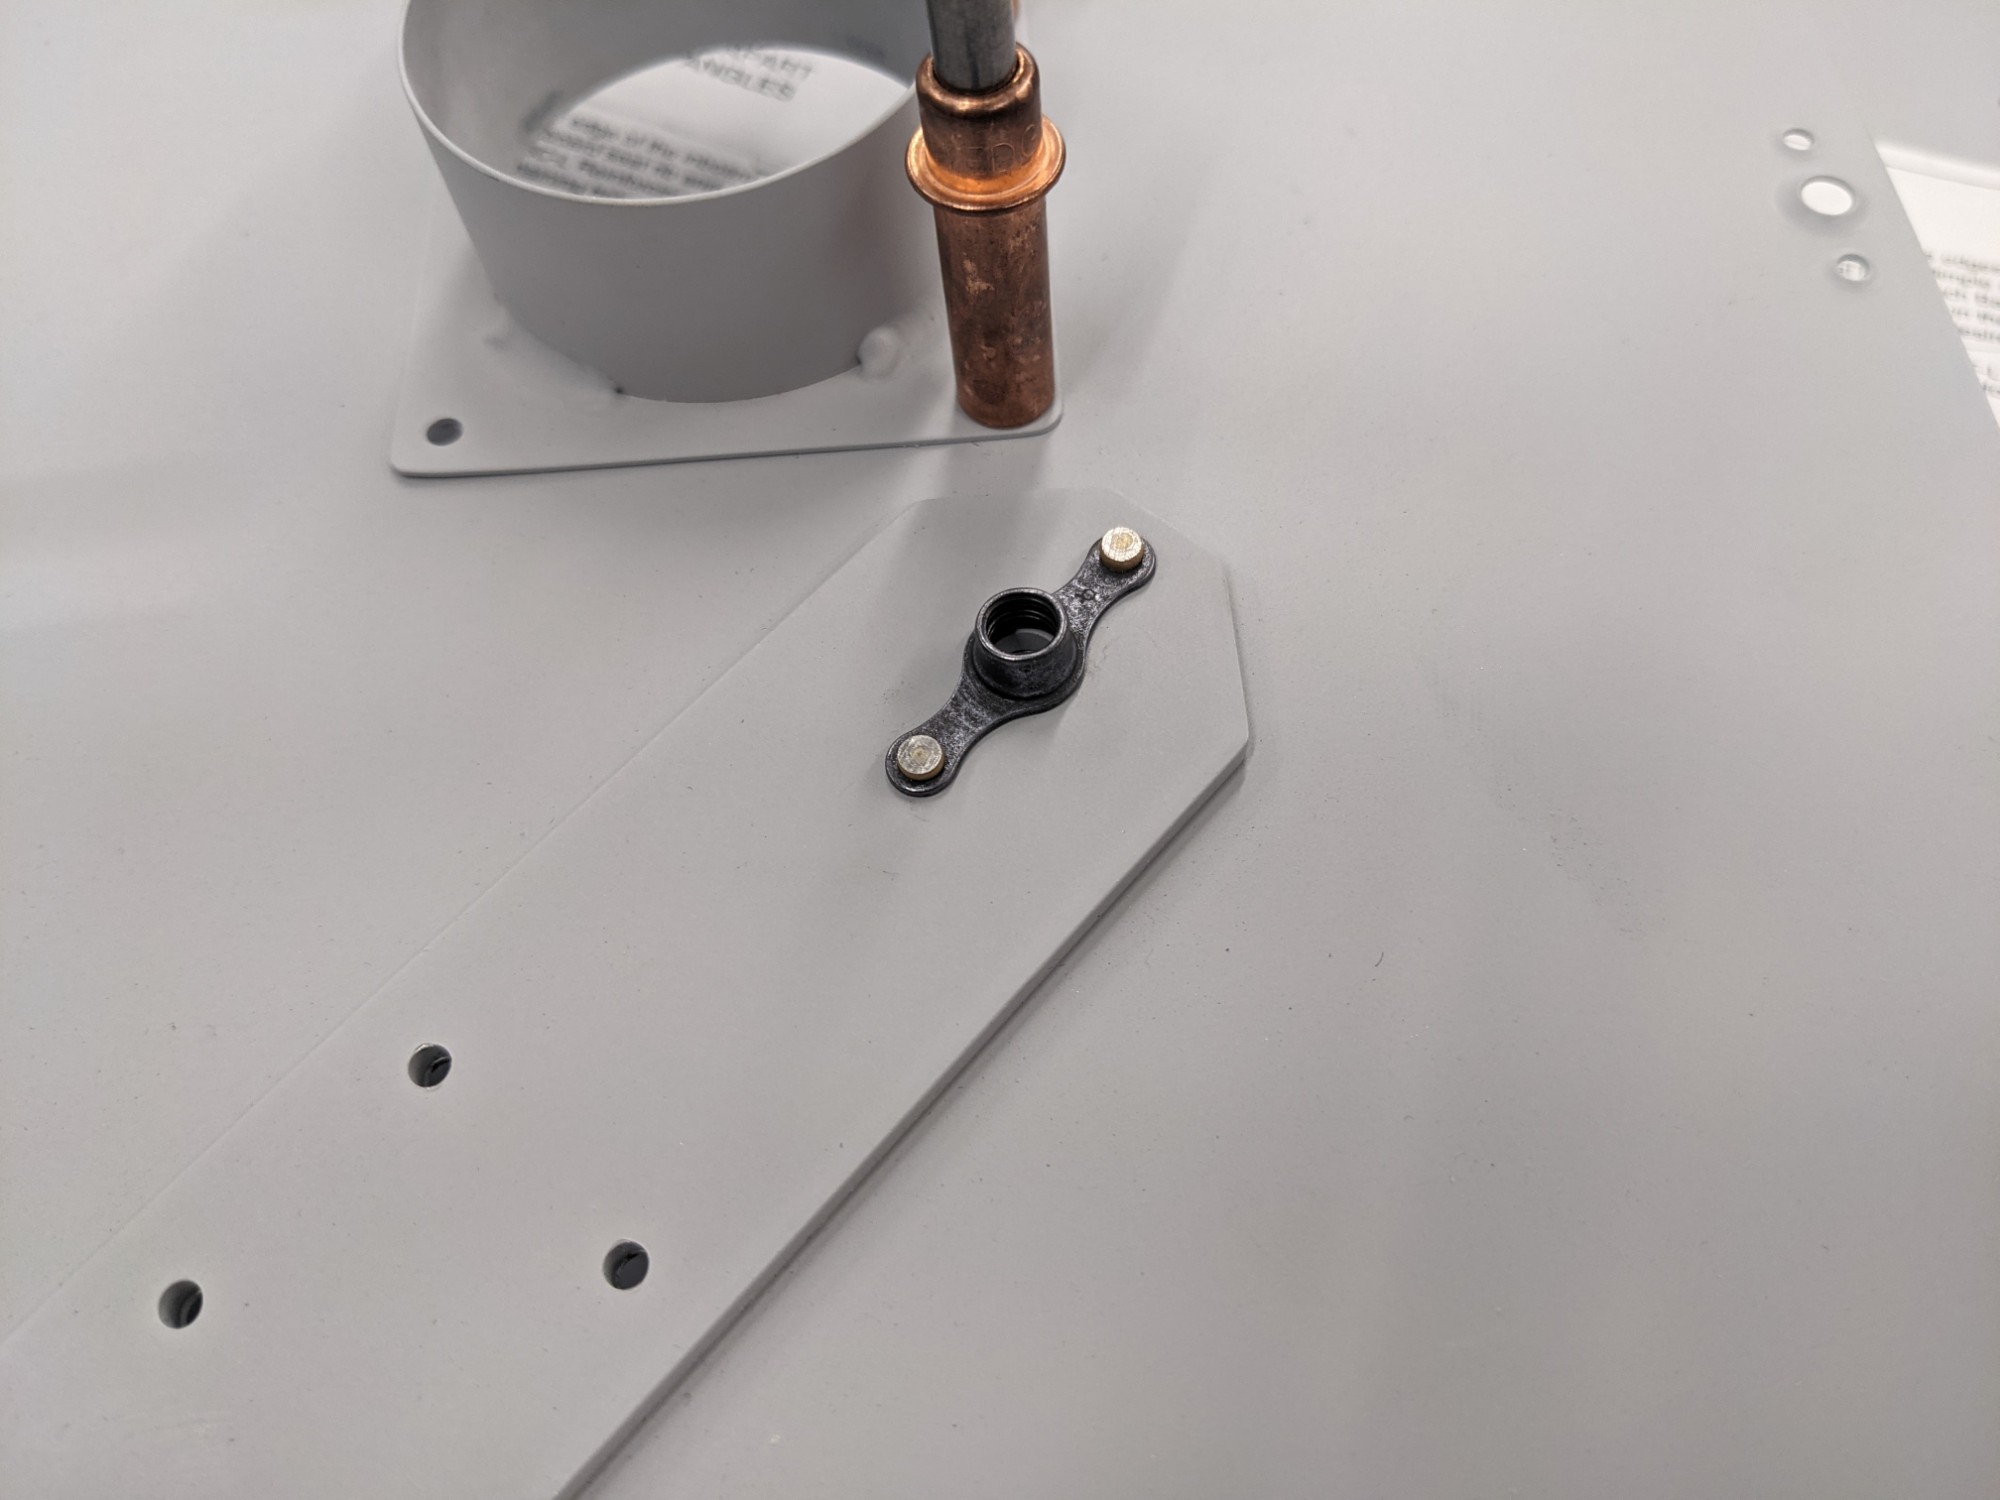
I then completed the remaining rivets in the inboard ribs. Most of these were bucked. I kept the factory heads on the side that will be exposed to the footwell except for the two that nest under the flap actuator attach bracket. The factory head has to be on the bracket side to fit under the bend on the bracket.

The outboard ribs are similar but without additional brackets to be concerned with.
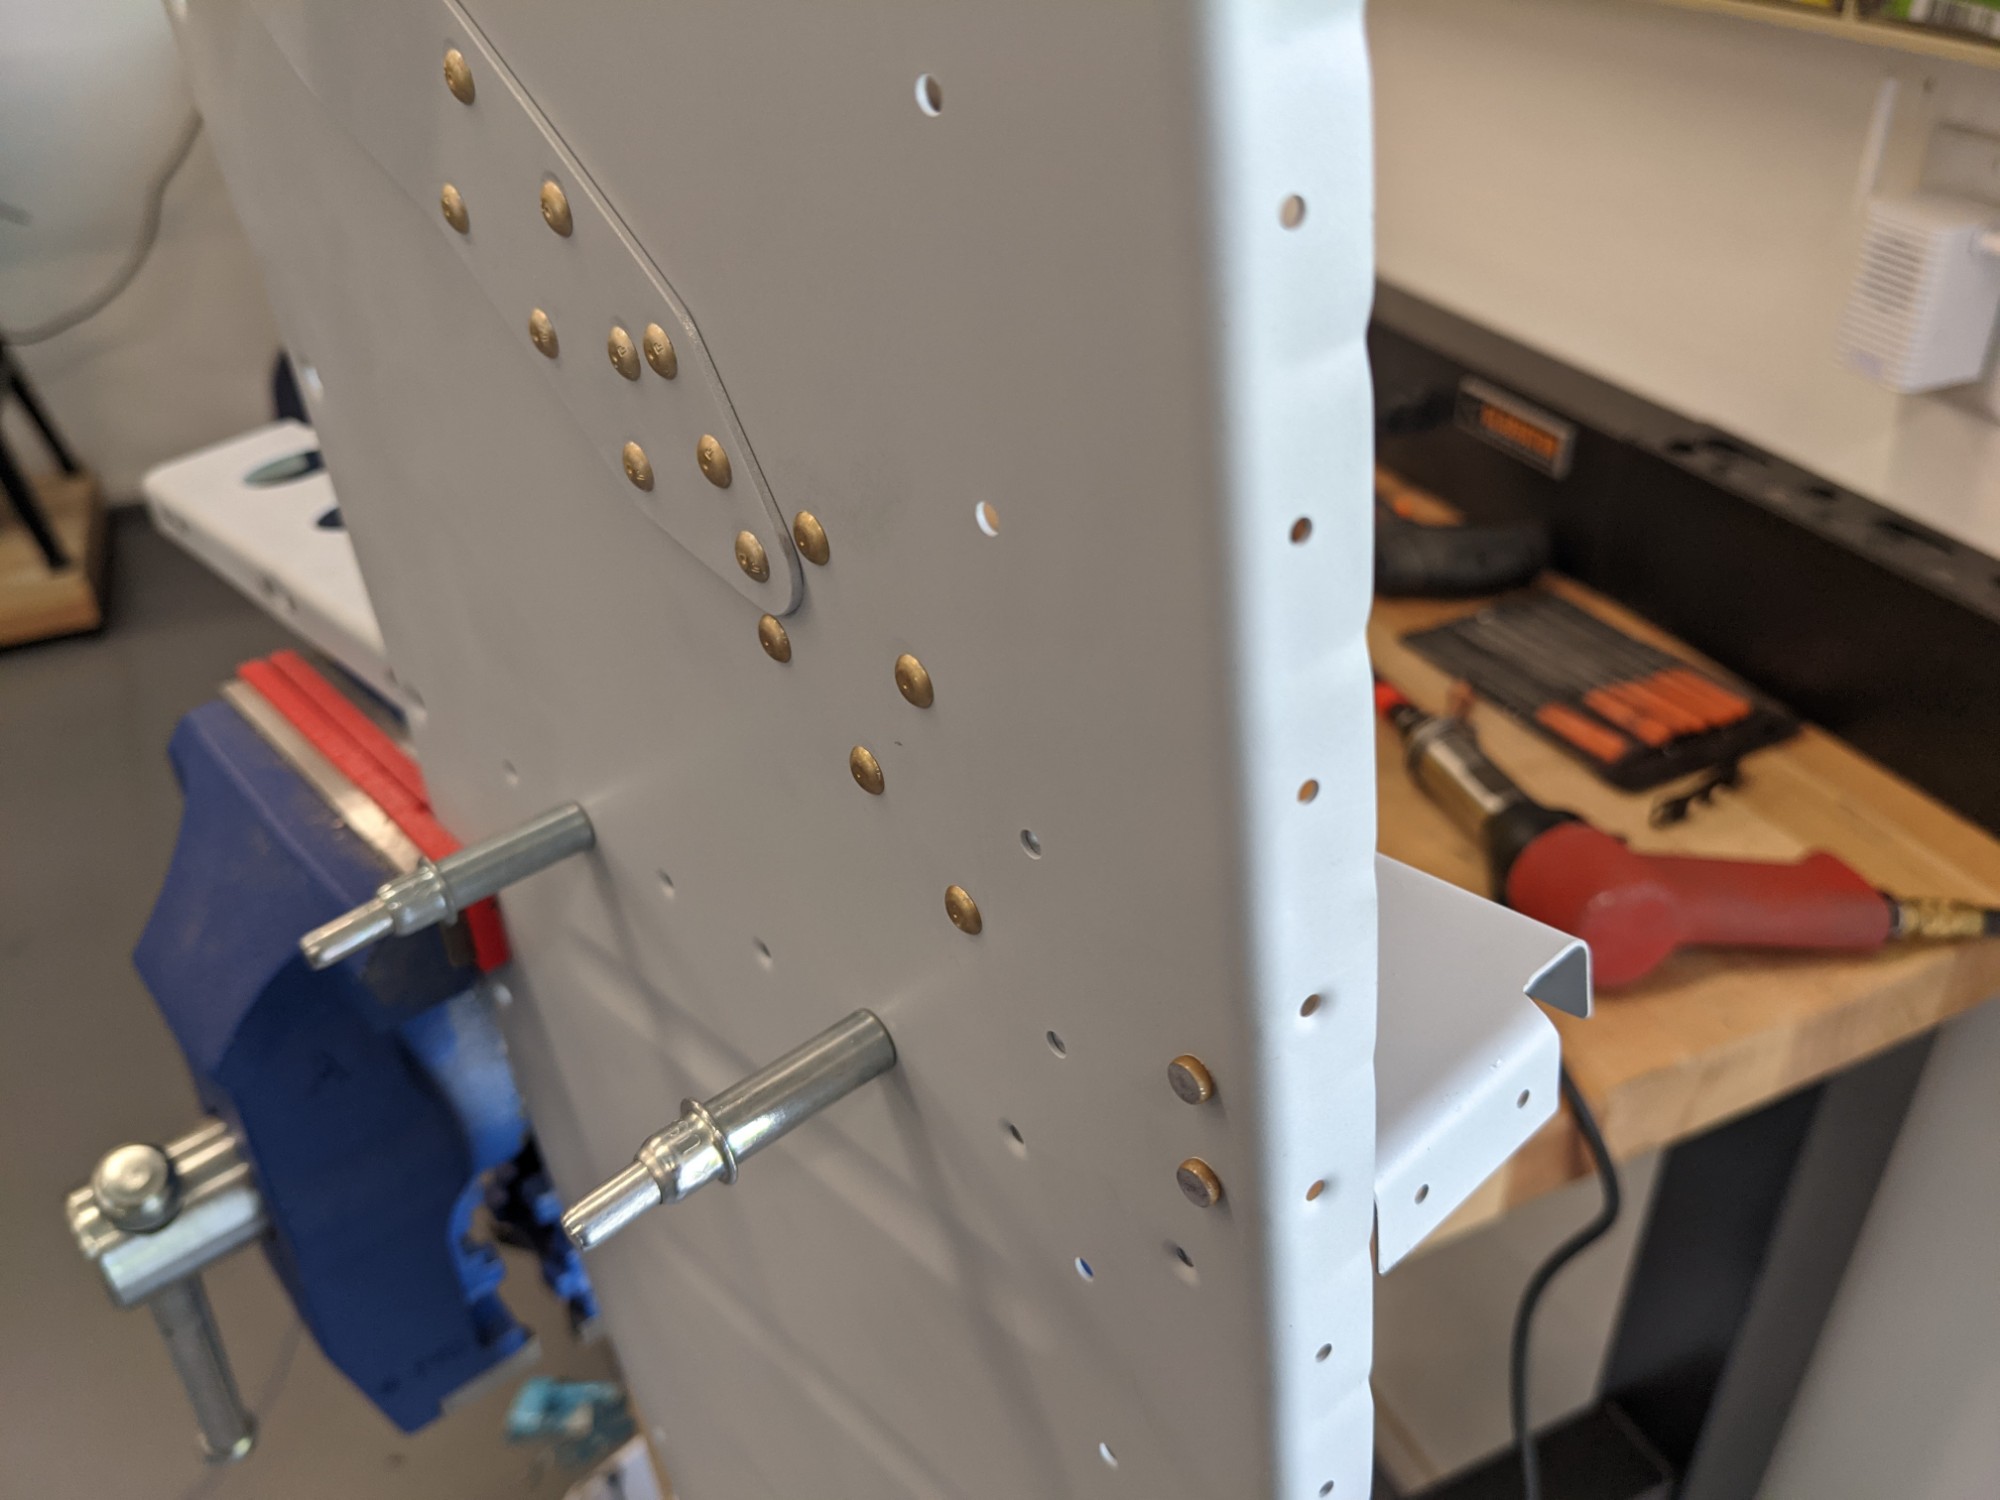
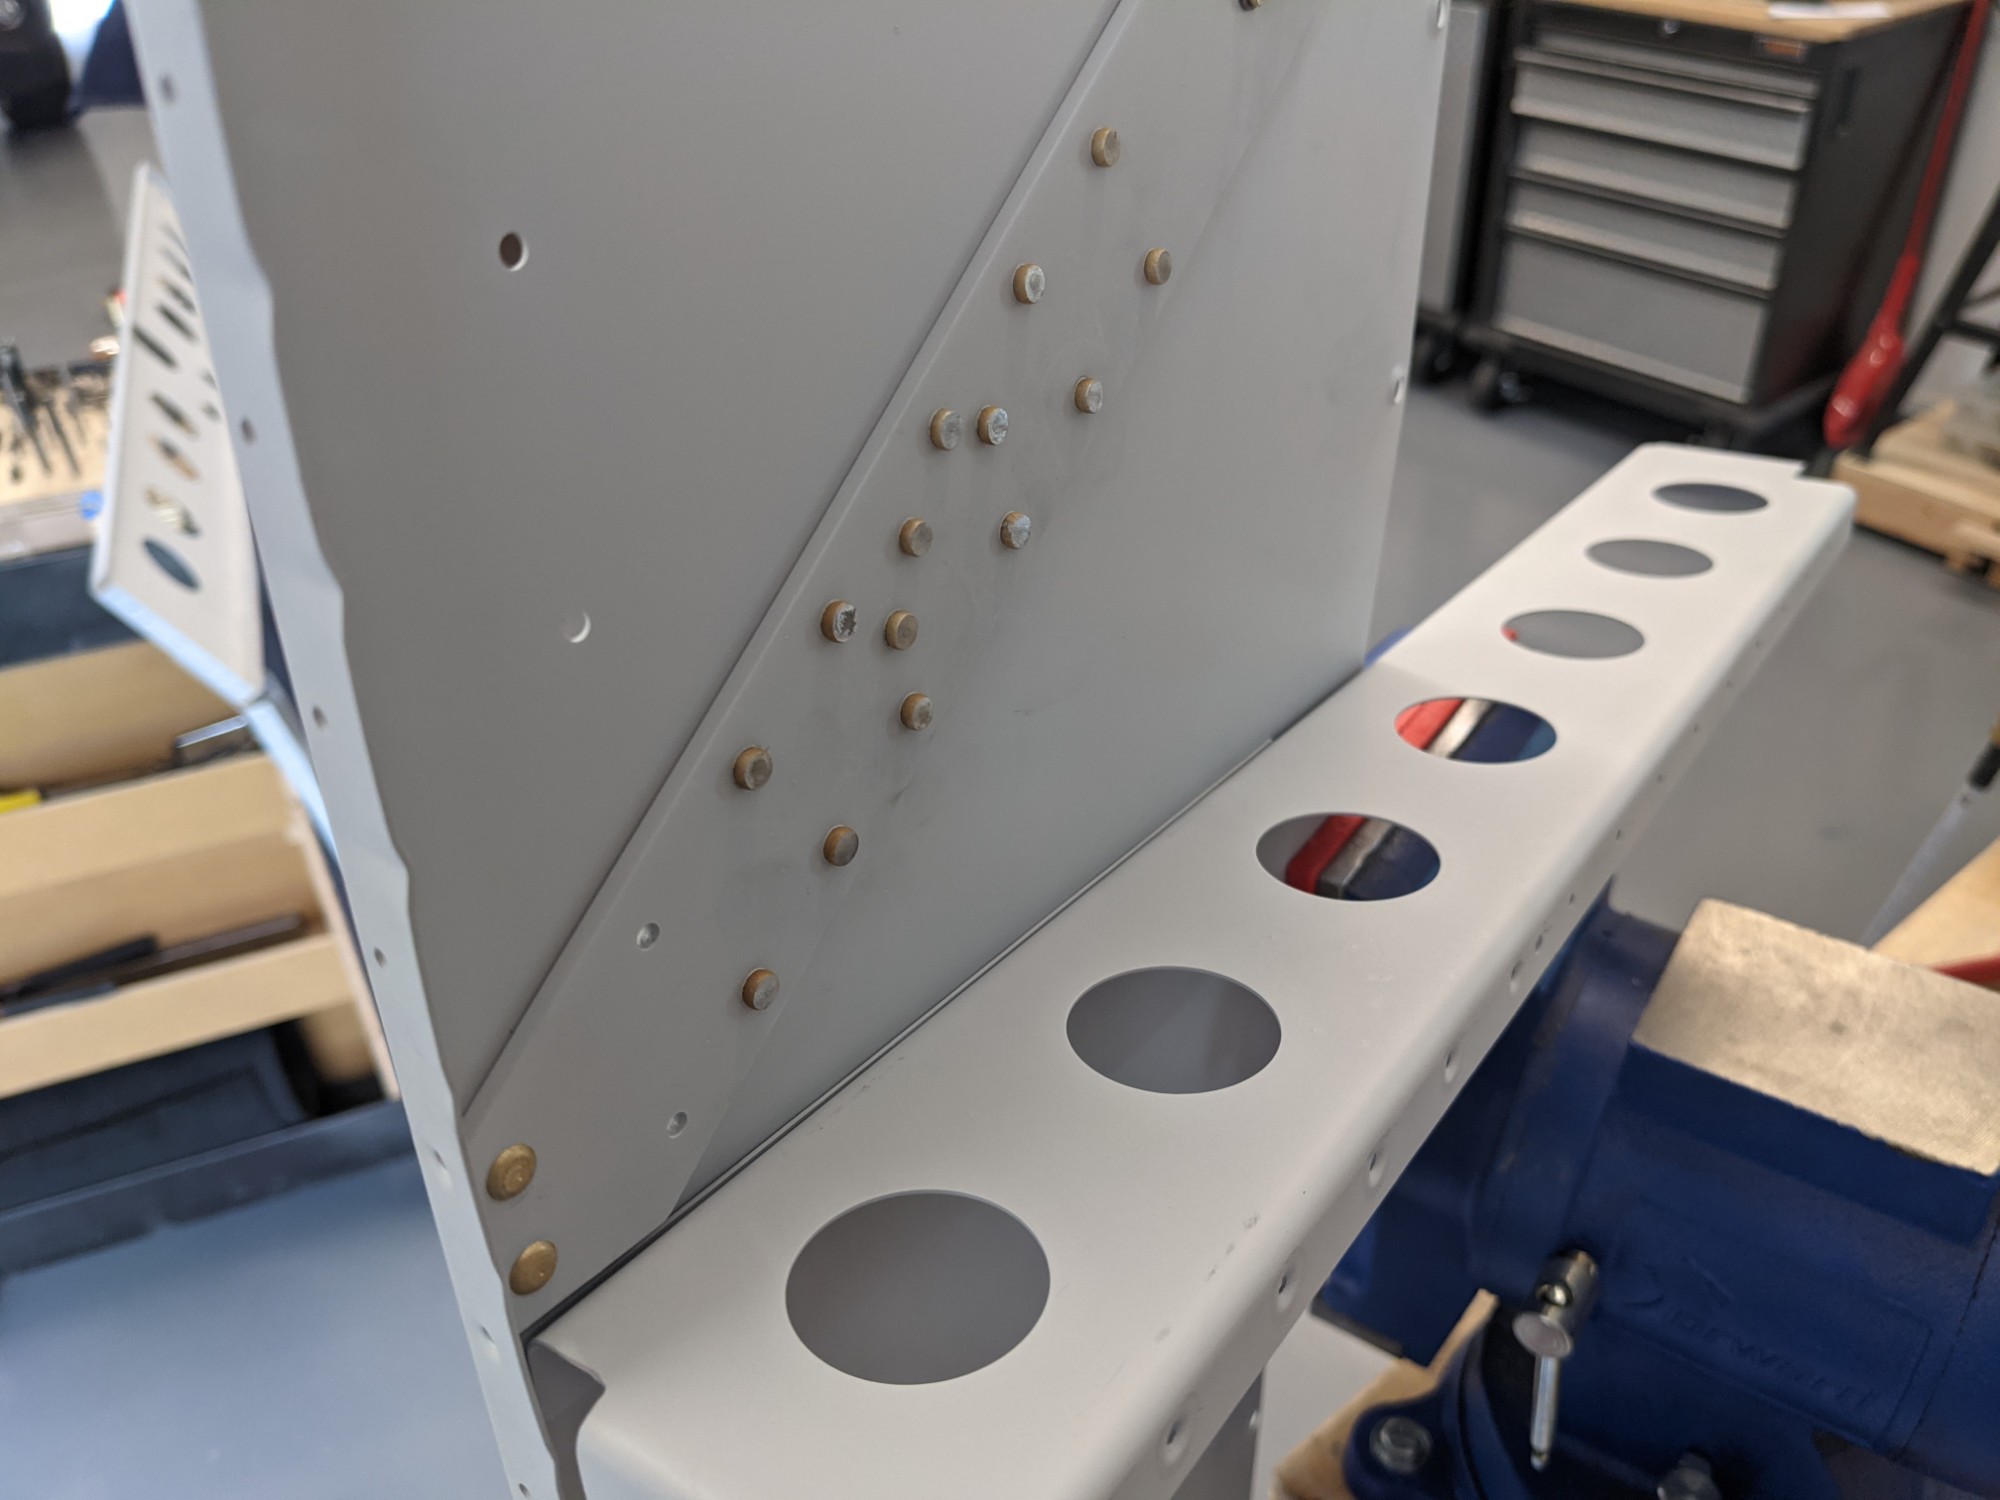
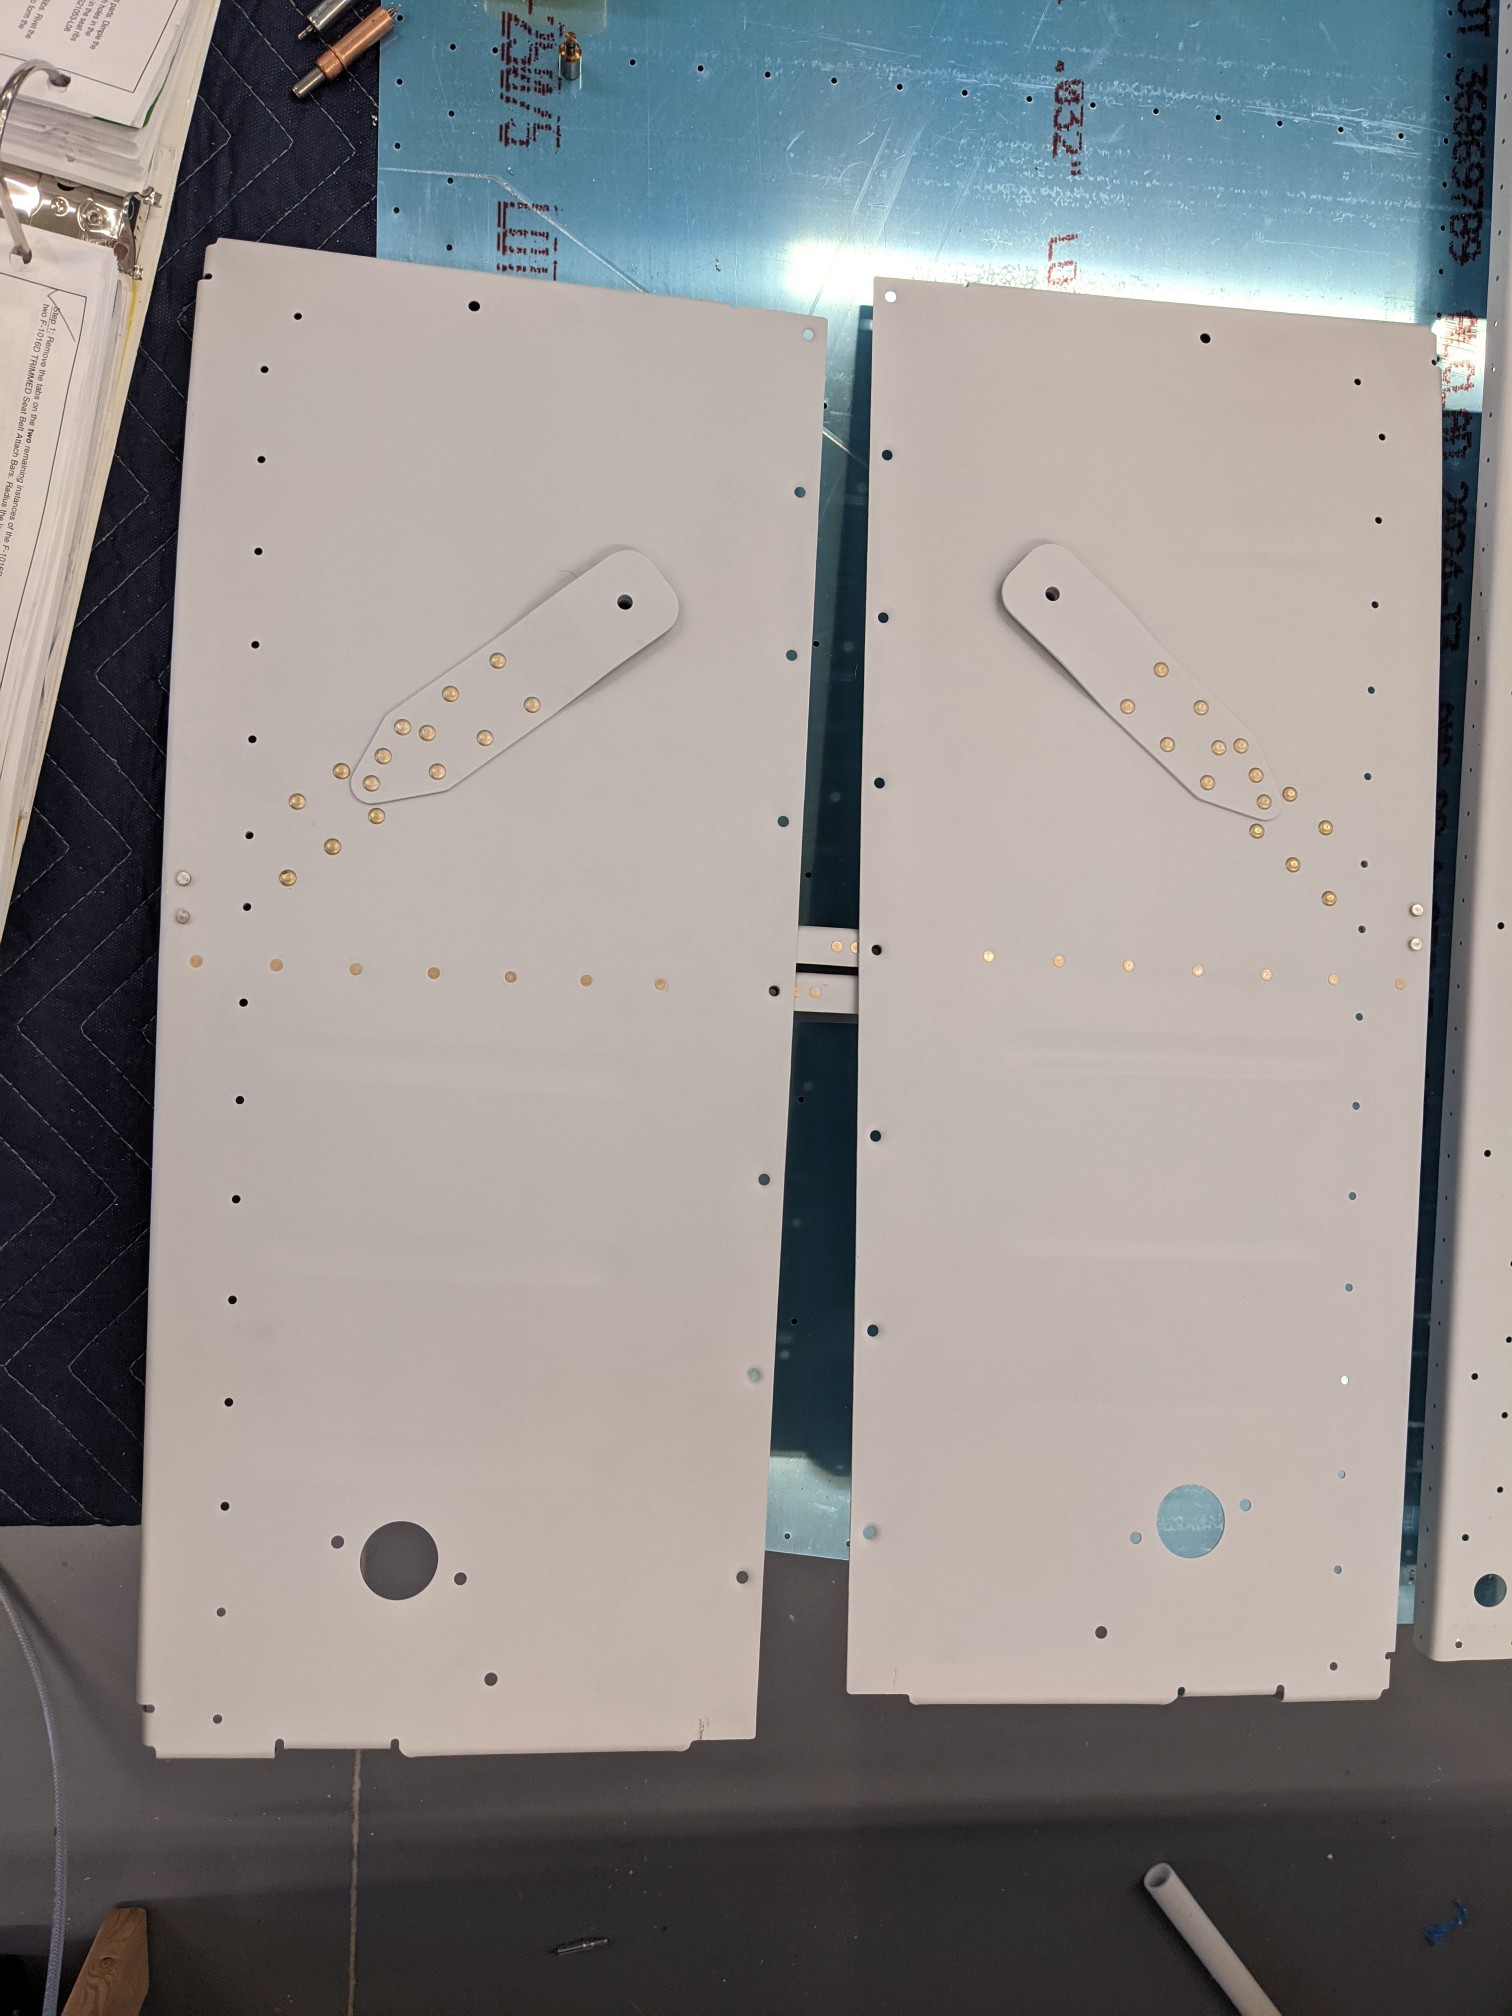
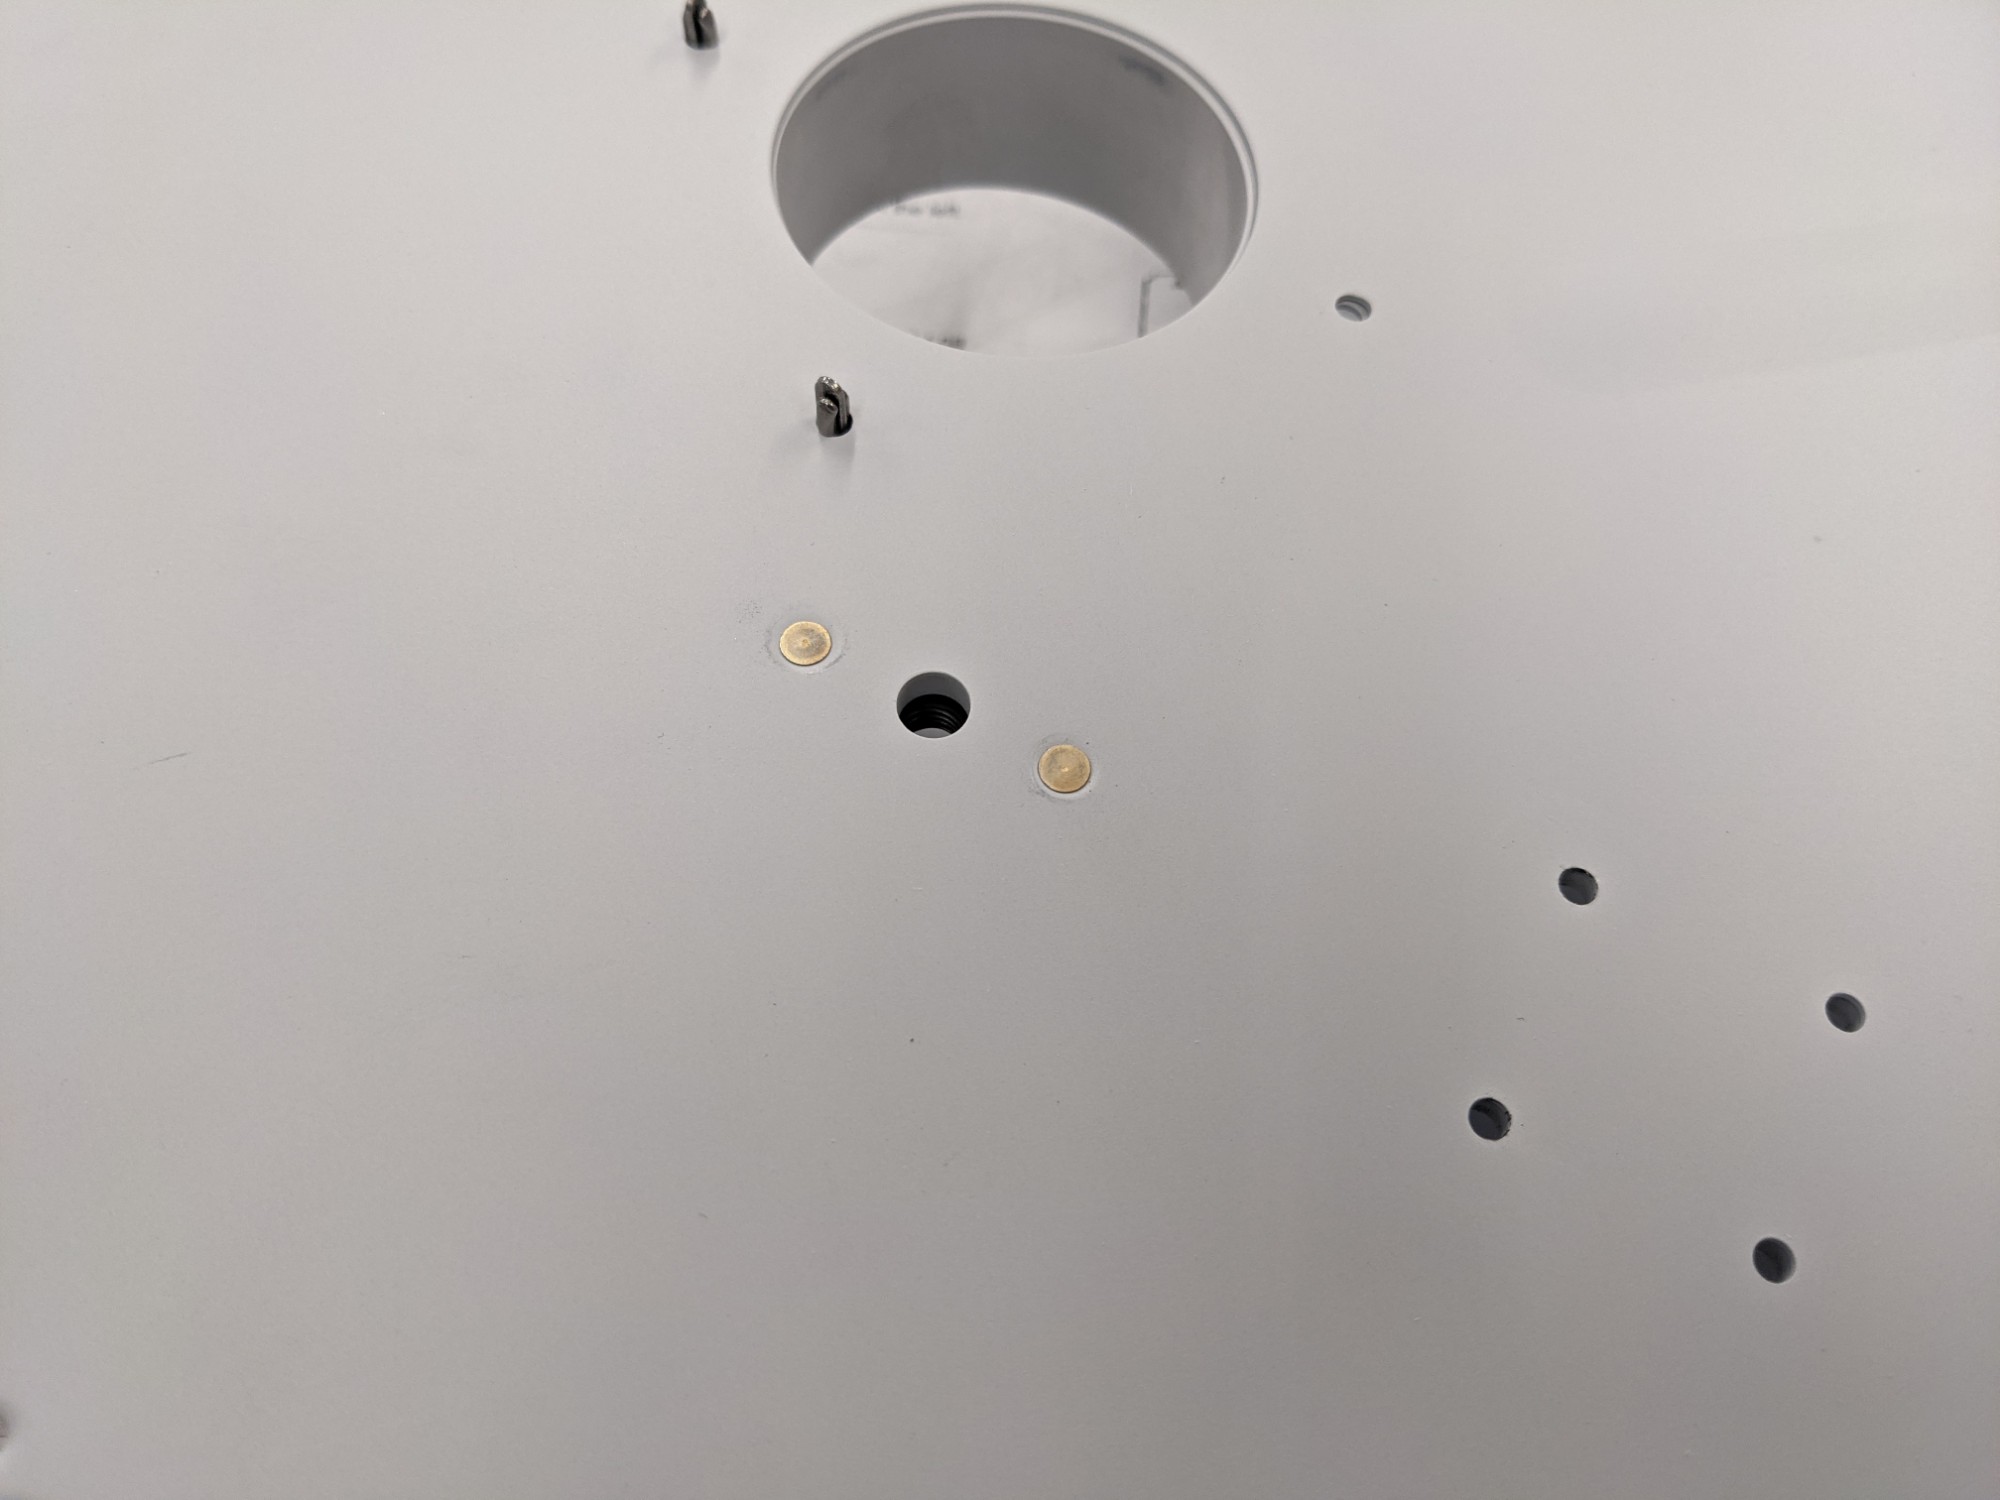
I placed the factory heads inside the footwell here also. The bottom two are reversed per the plans to make room for riveting the bottom skins.
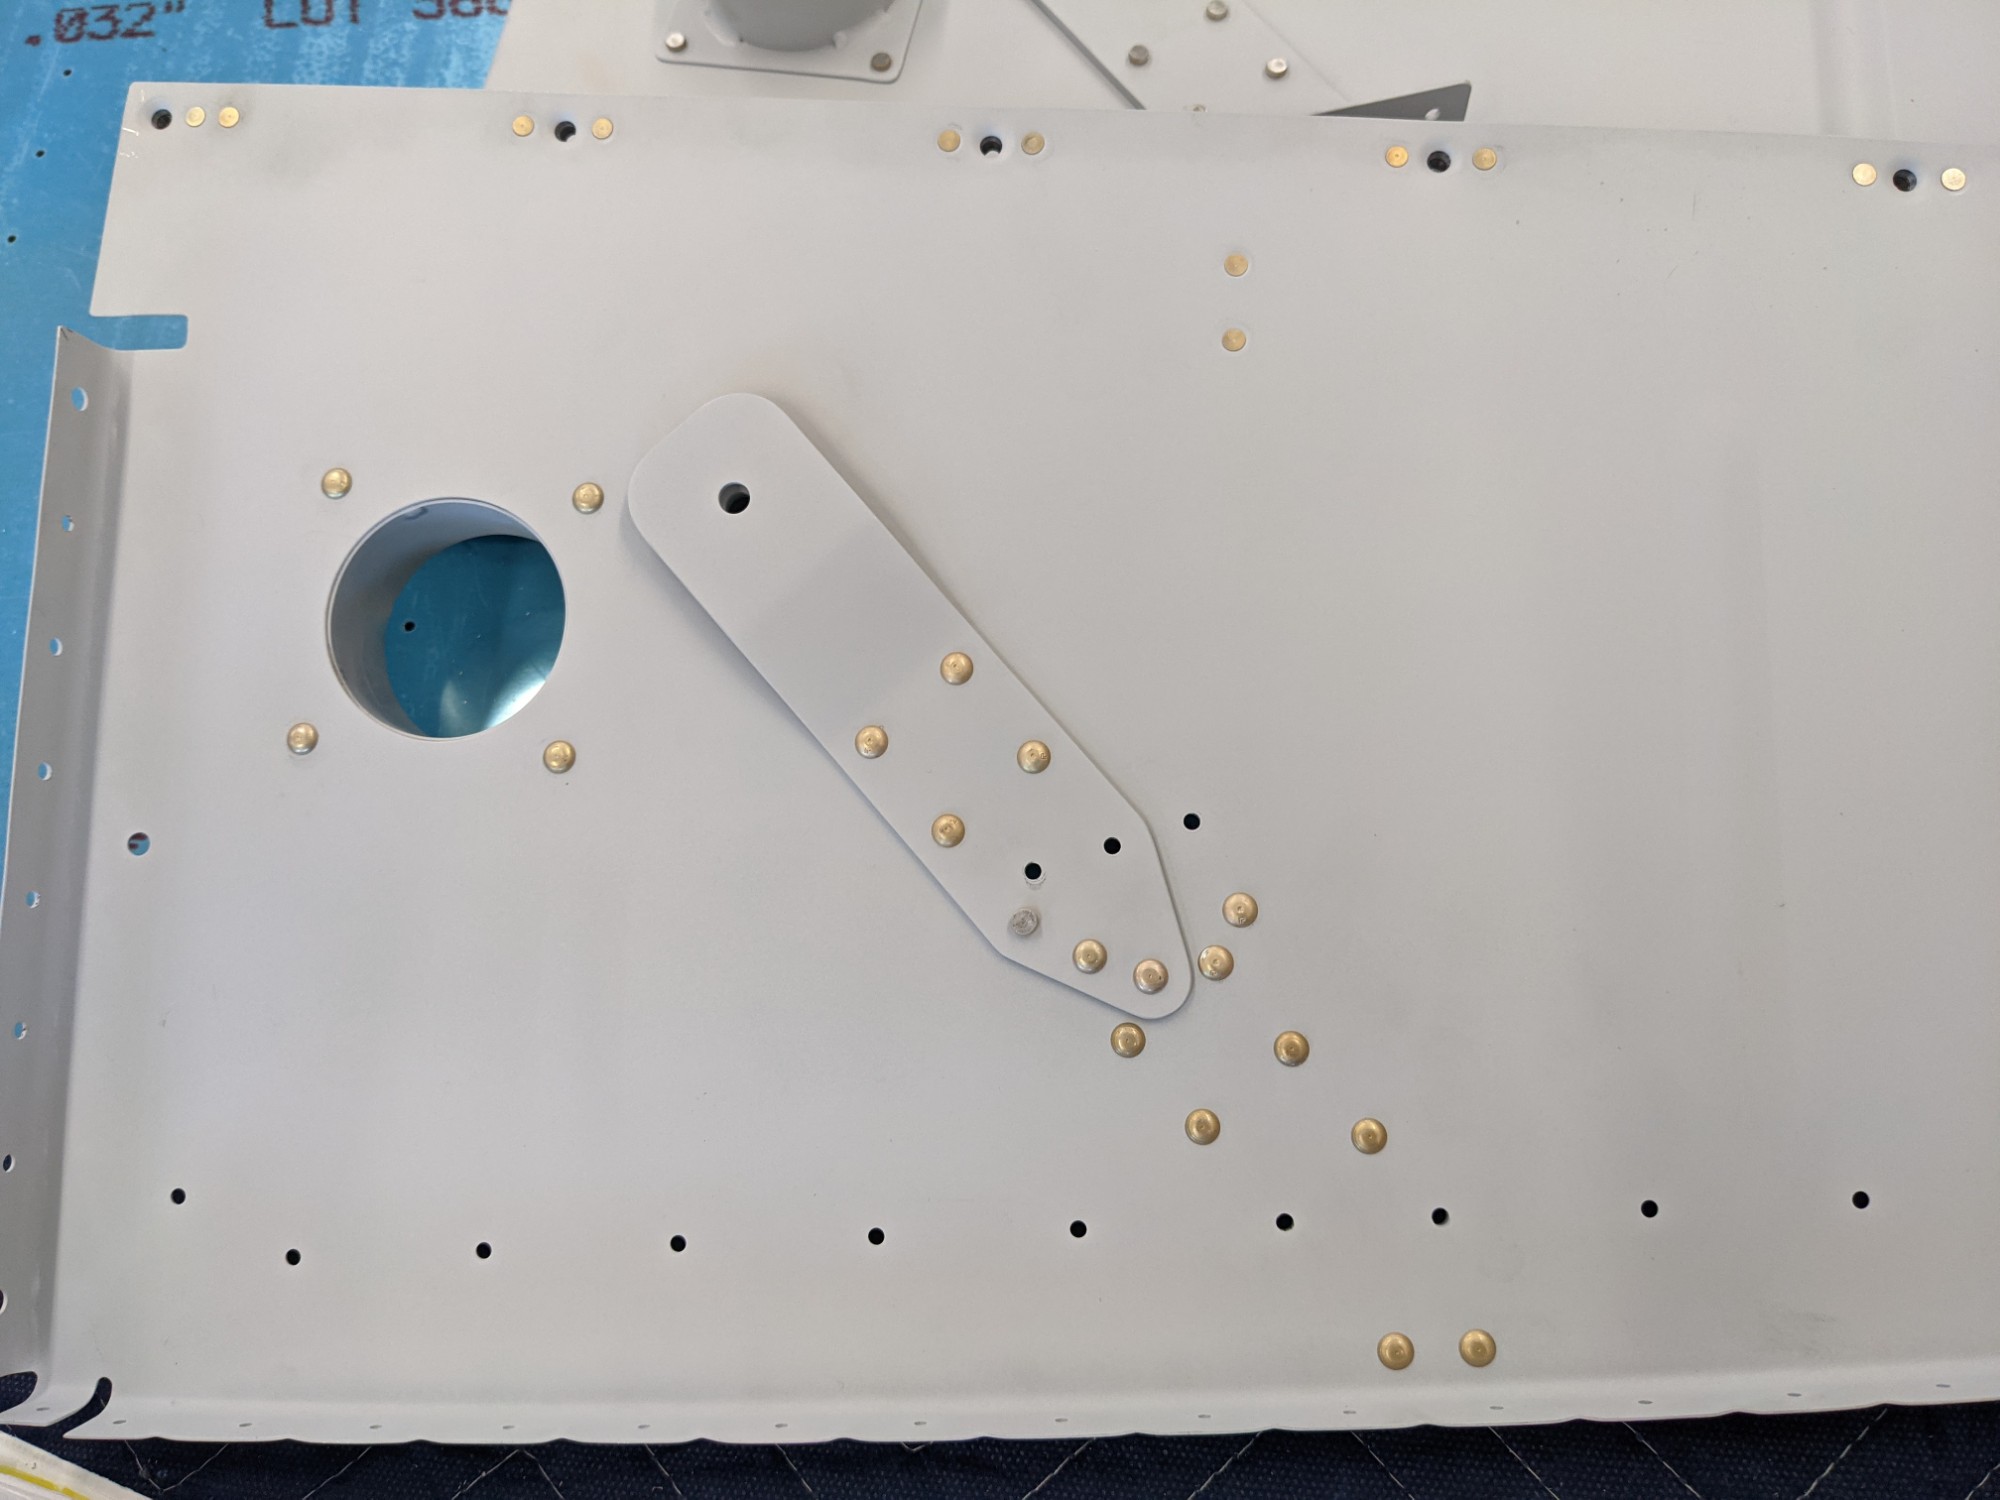
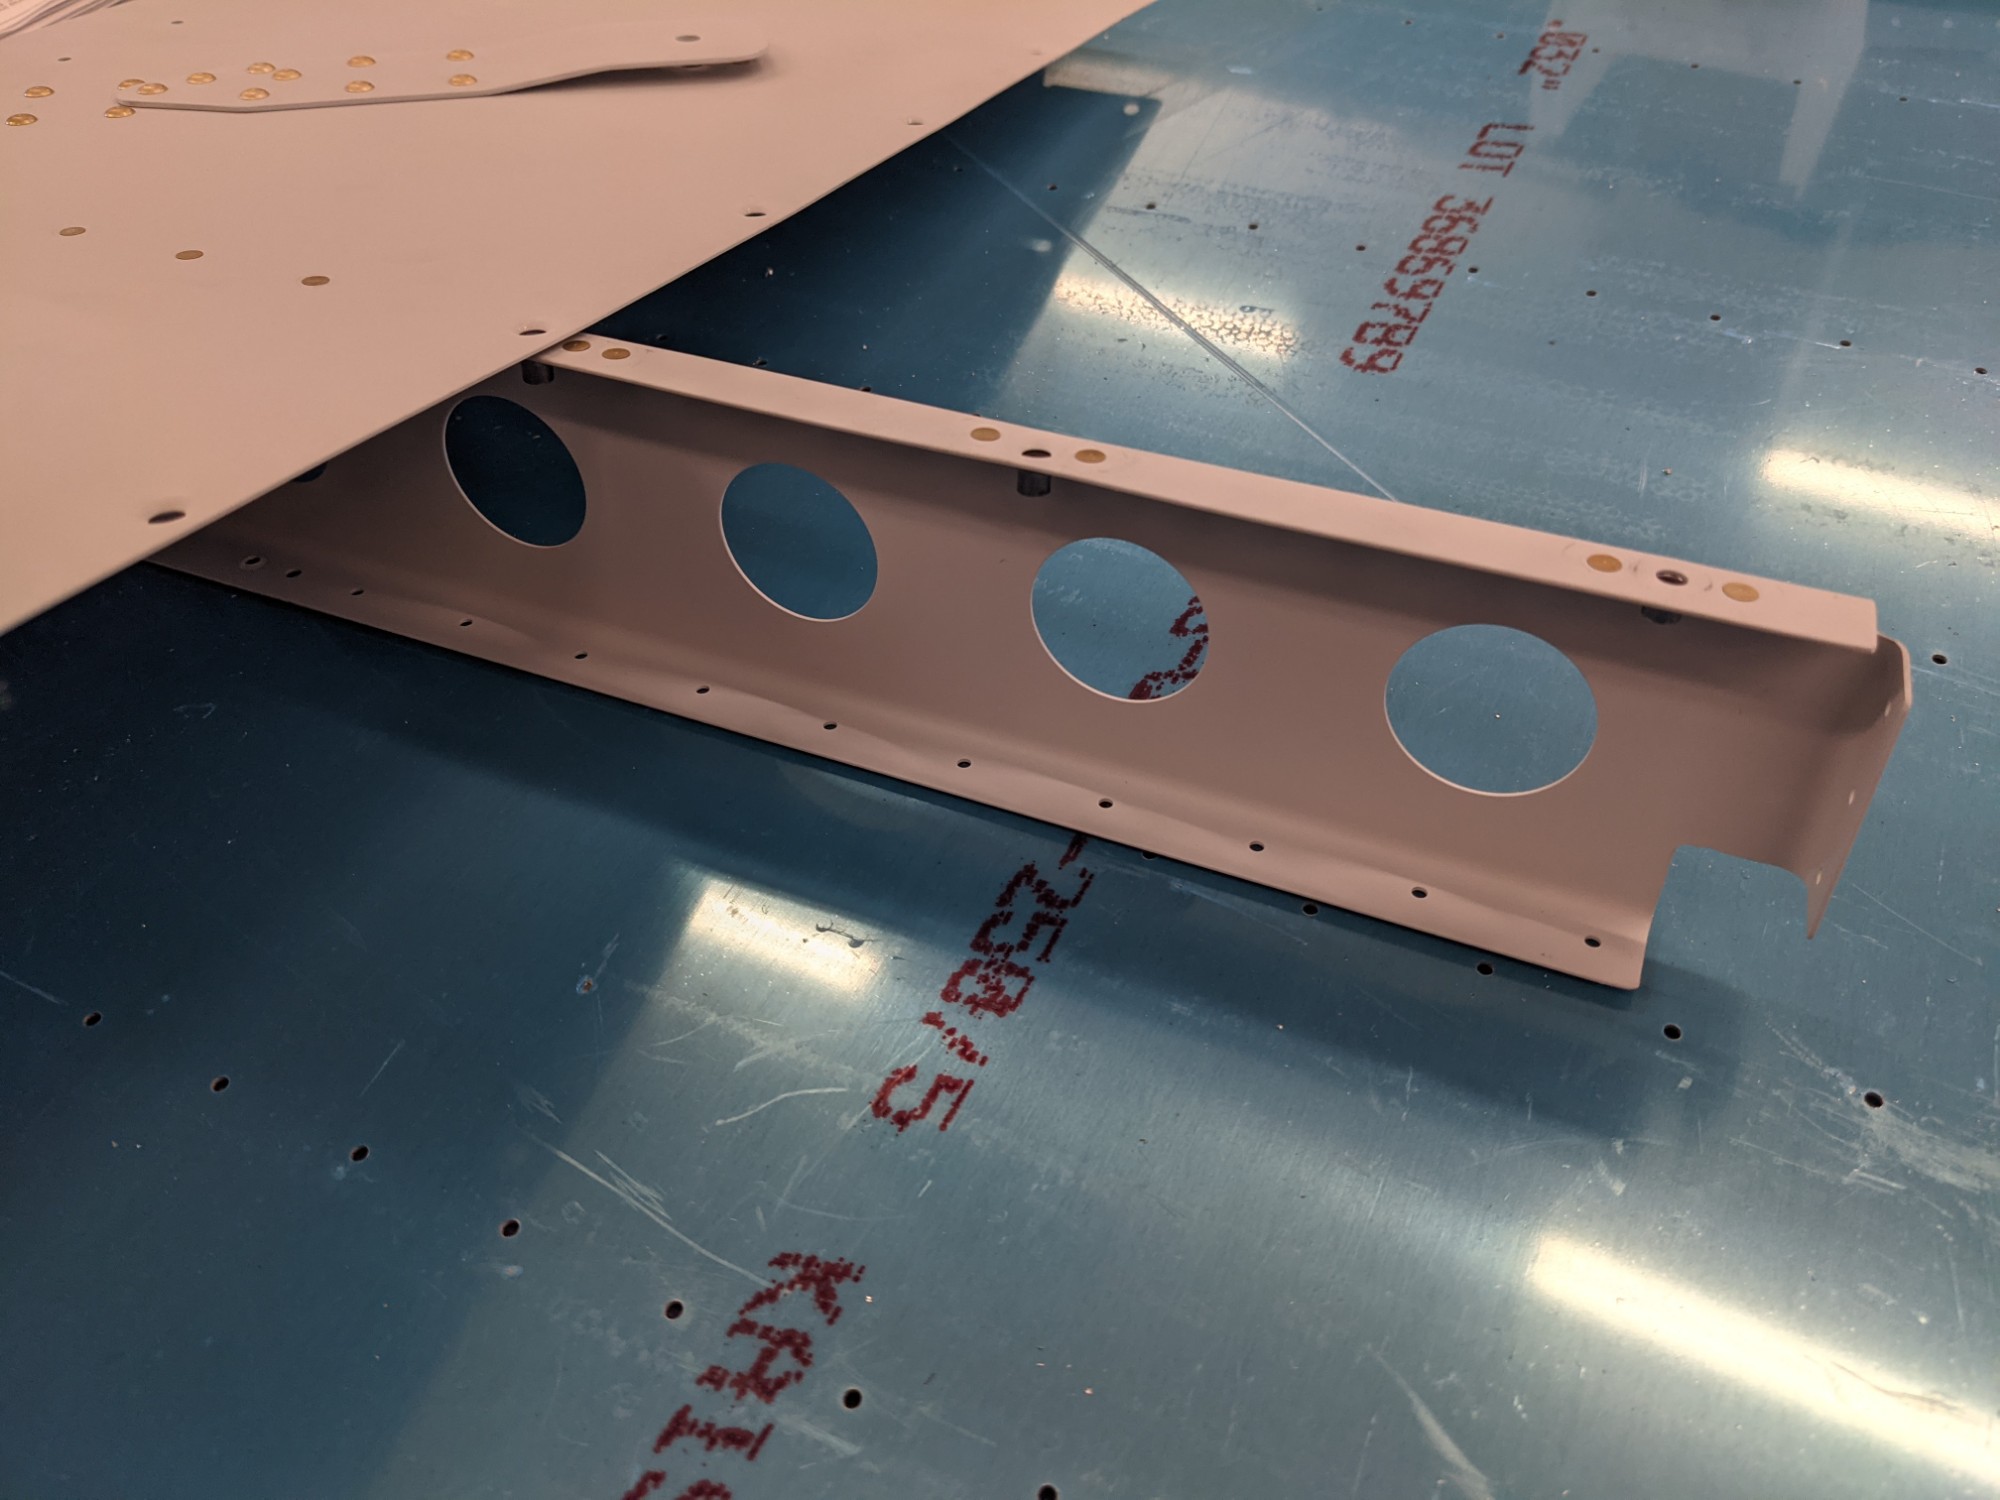
I will be using the PH Aviation flap actuator instead of the stock Van’s actuator. This isn’t a drop-in replacement so I spent some time figuring out how I wanted to proceed before riveting this part into place.
I was hoping to find a simpler way to do this than making the brackets described in the PH Aviation plans but I didn’t see a better approach. There is a post on the VAF forums that describes a technique where you shift this bracket forwards but the description is faulty as the actuator body is wider that the spacing of the standard brackets. The standard brackets also aren’t tall enough to give sufficient clearance.
I decided to proceed with the plans here and I ordered some aluminum angle to build the additional brackets that are described in the PH Aviation plans.

Enough for today. Next up will be riveting the ribs to the aft bulkhead.