
I deburred the bottom tailcone skin in the previous session and continued with clecoing the tailcone together today.
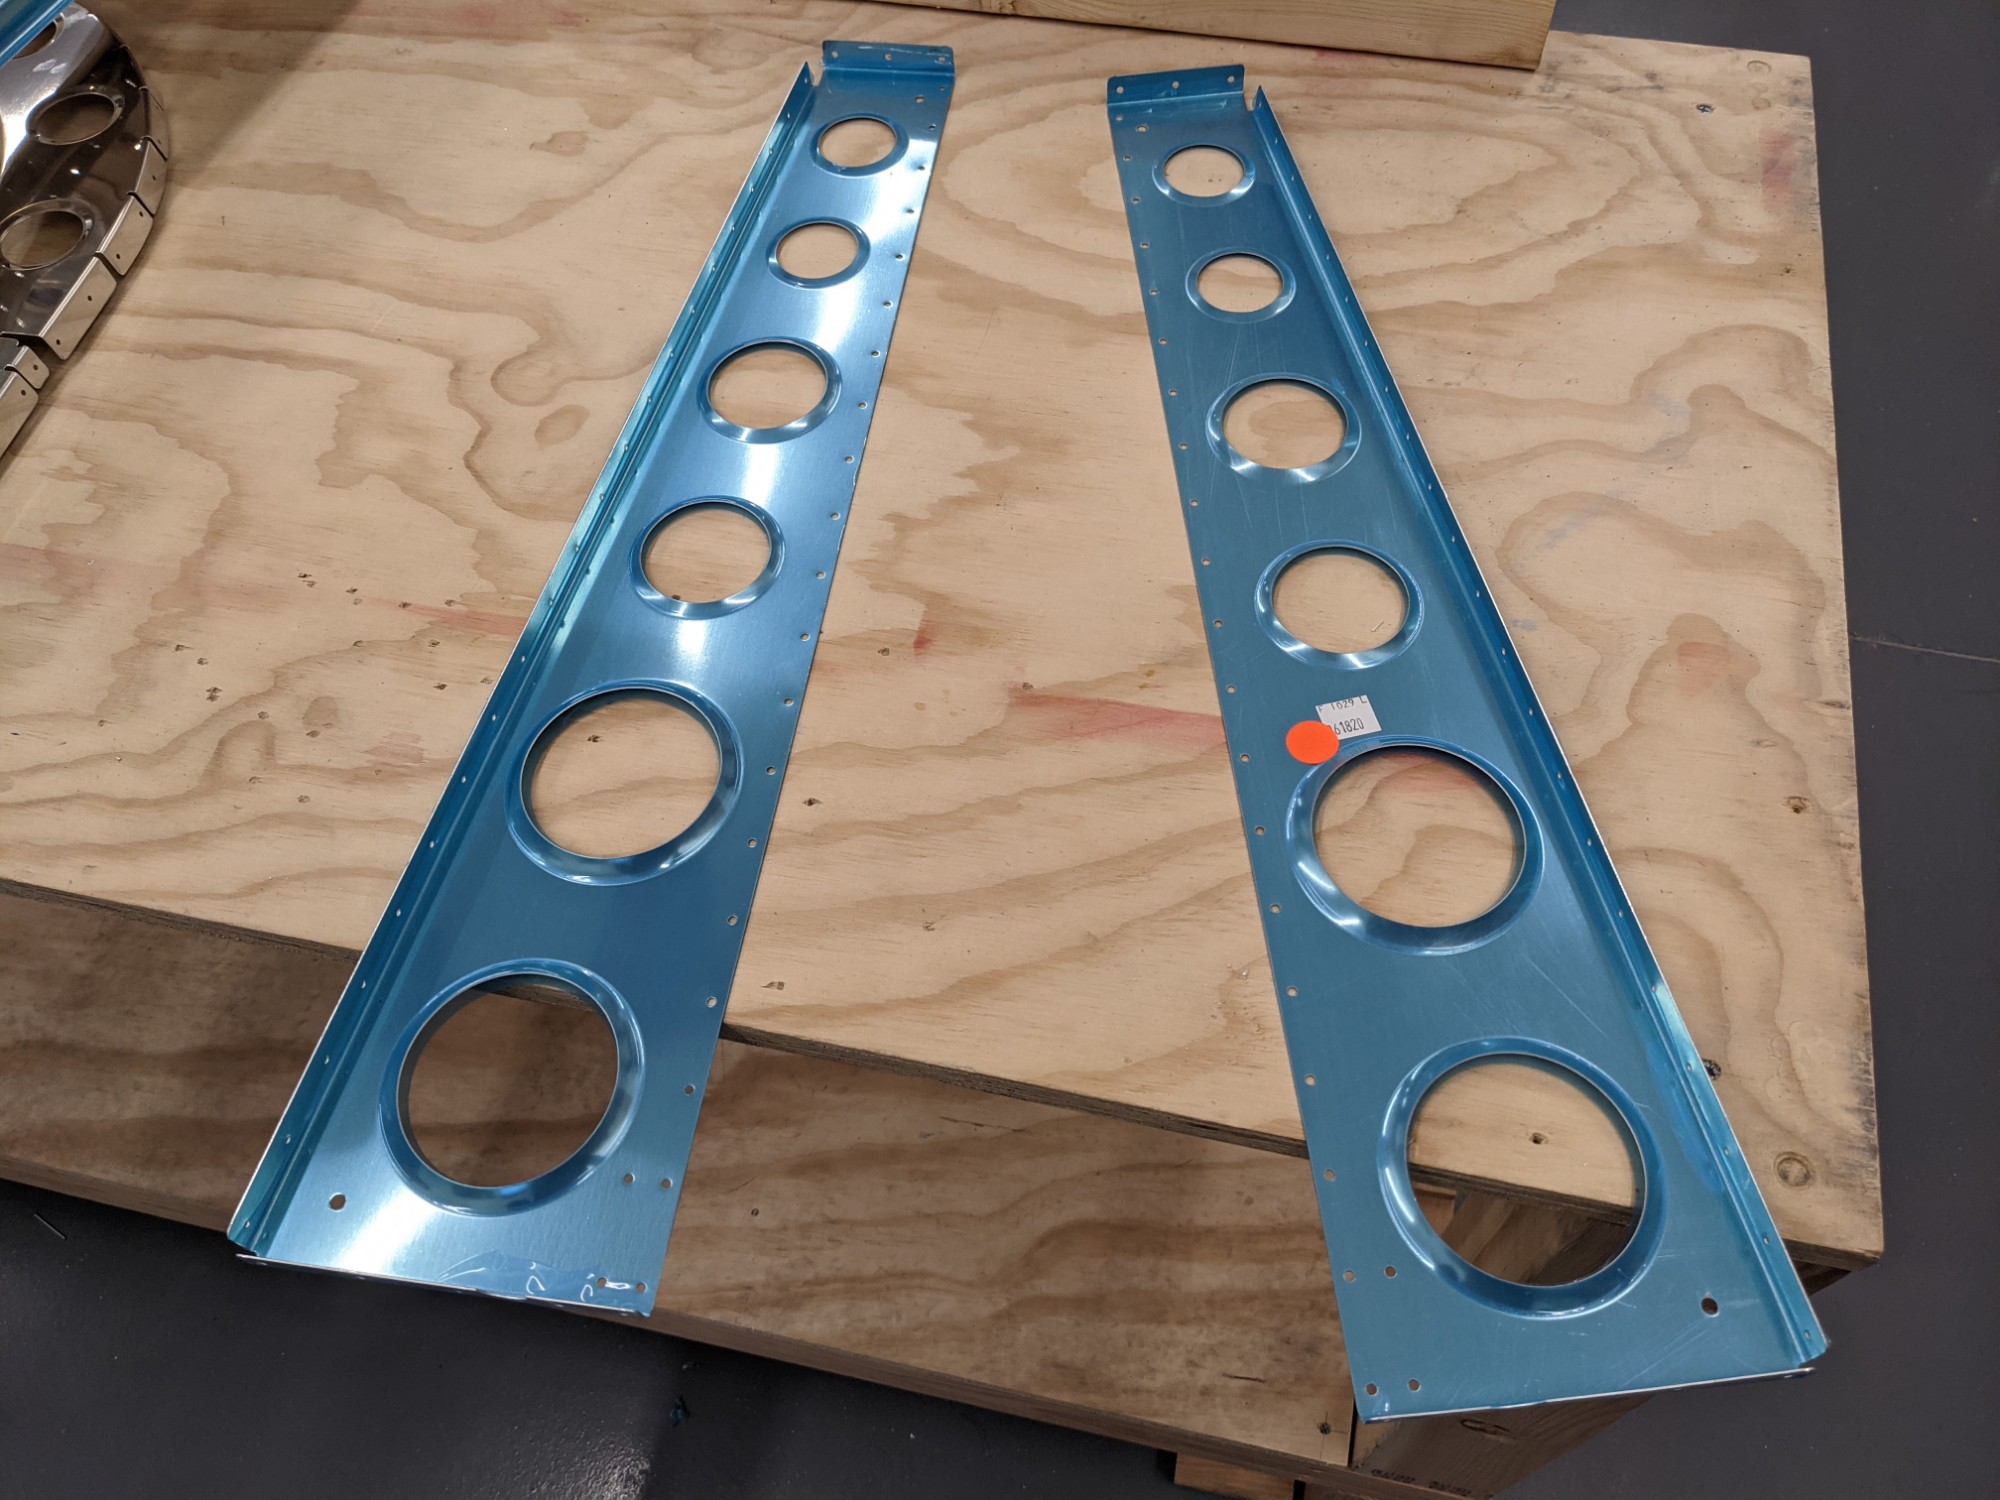
The bellcrank ribs attach to the lower front of the tailcone. I removed the vinyl from these and deburred them.
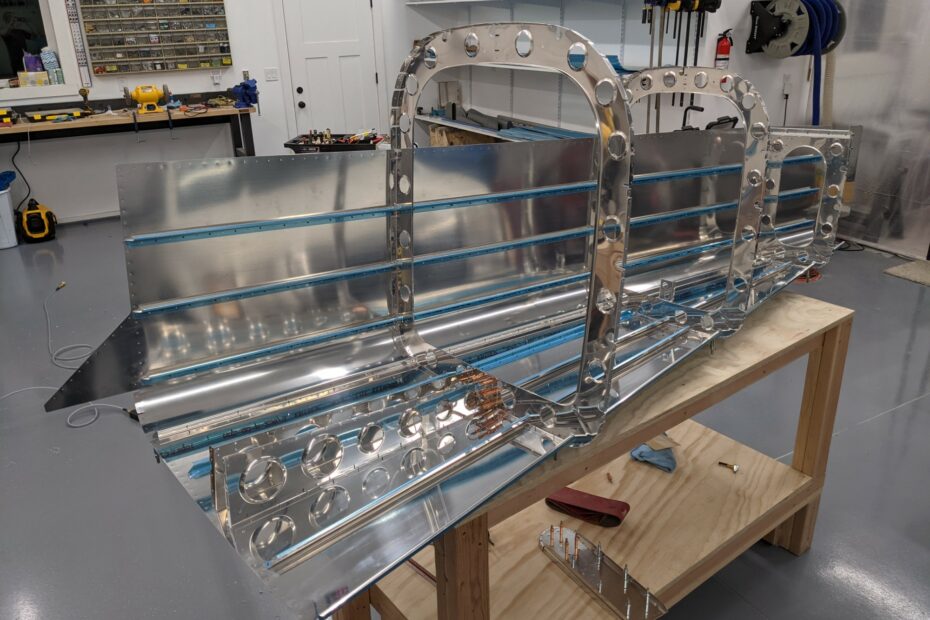
The fuselage frames and bellcrank ribs were clecoed to the bottom skin.
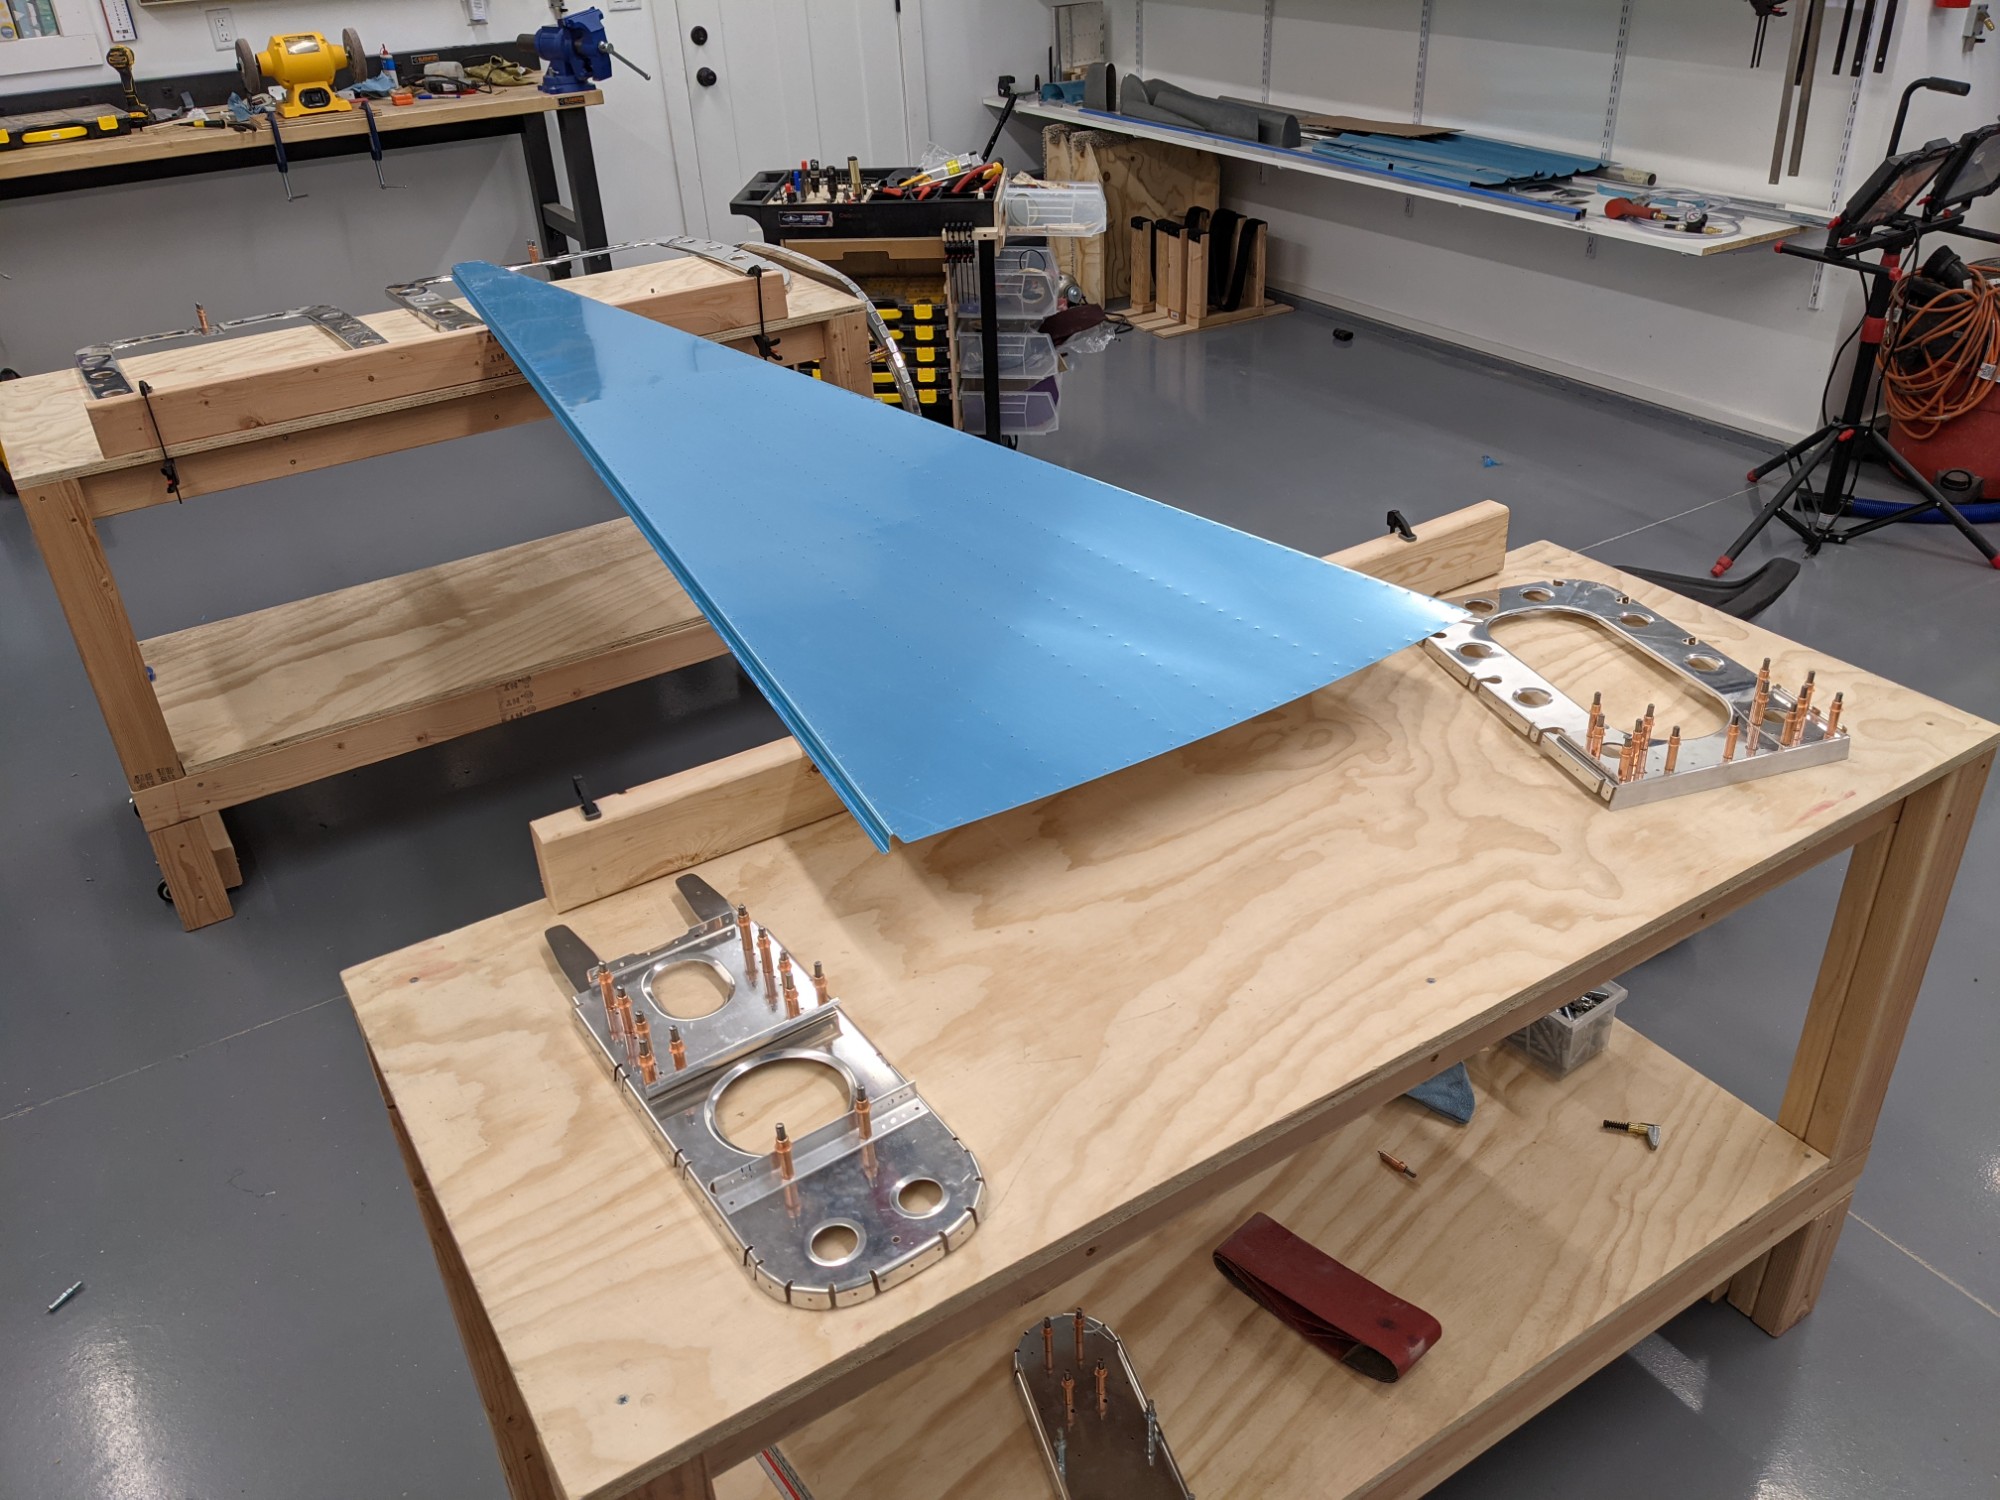
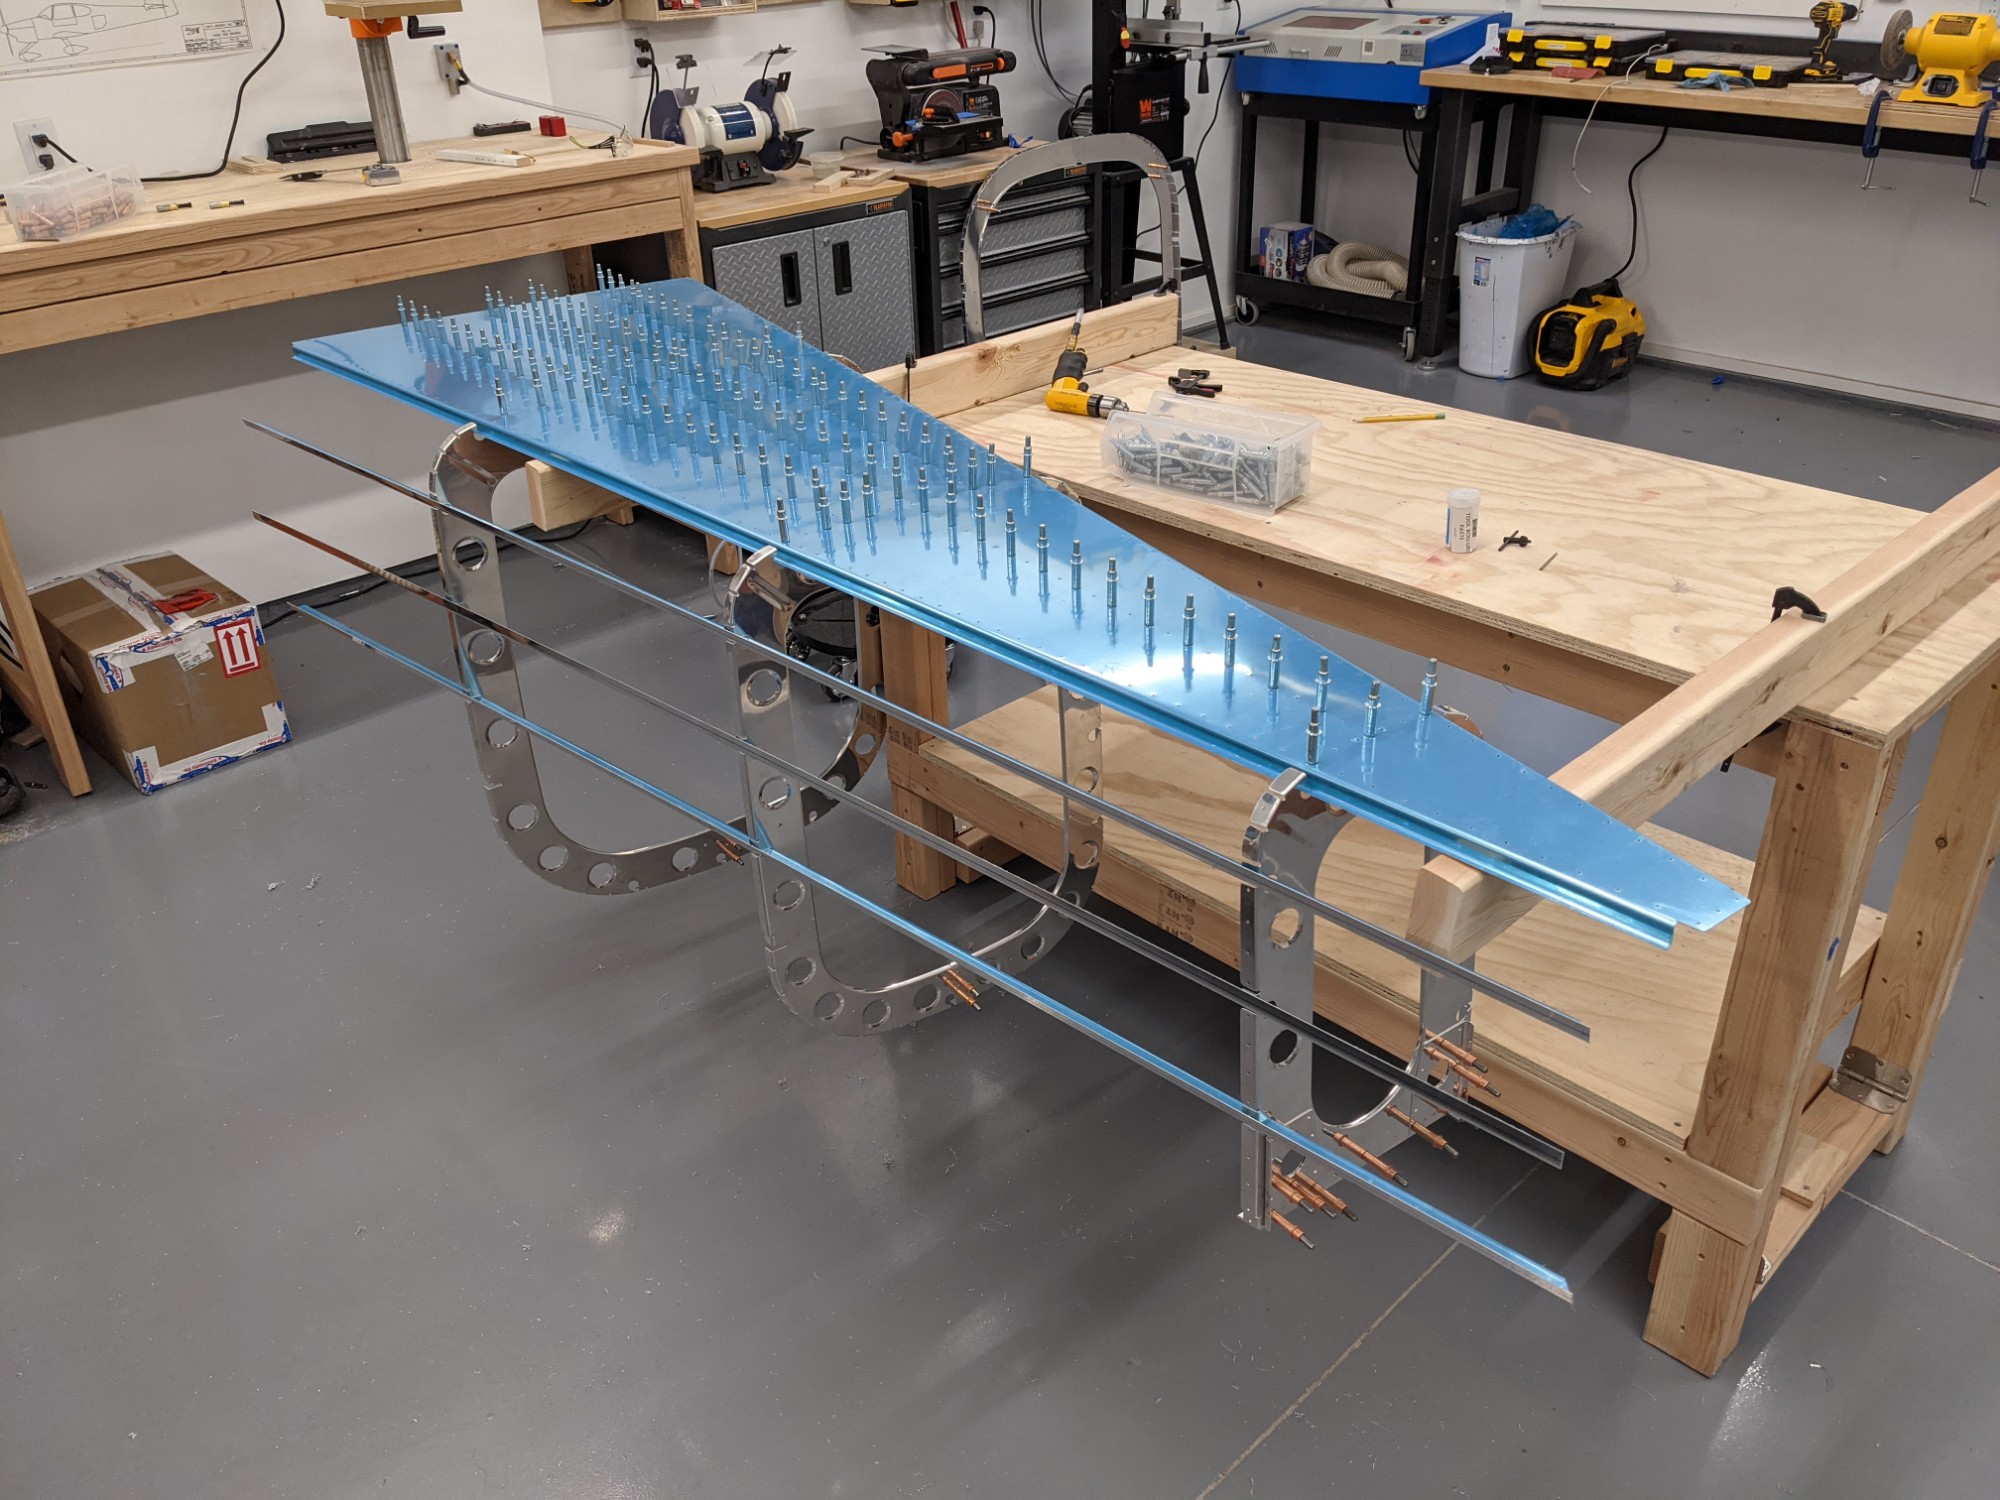
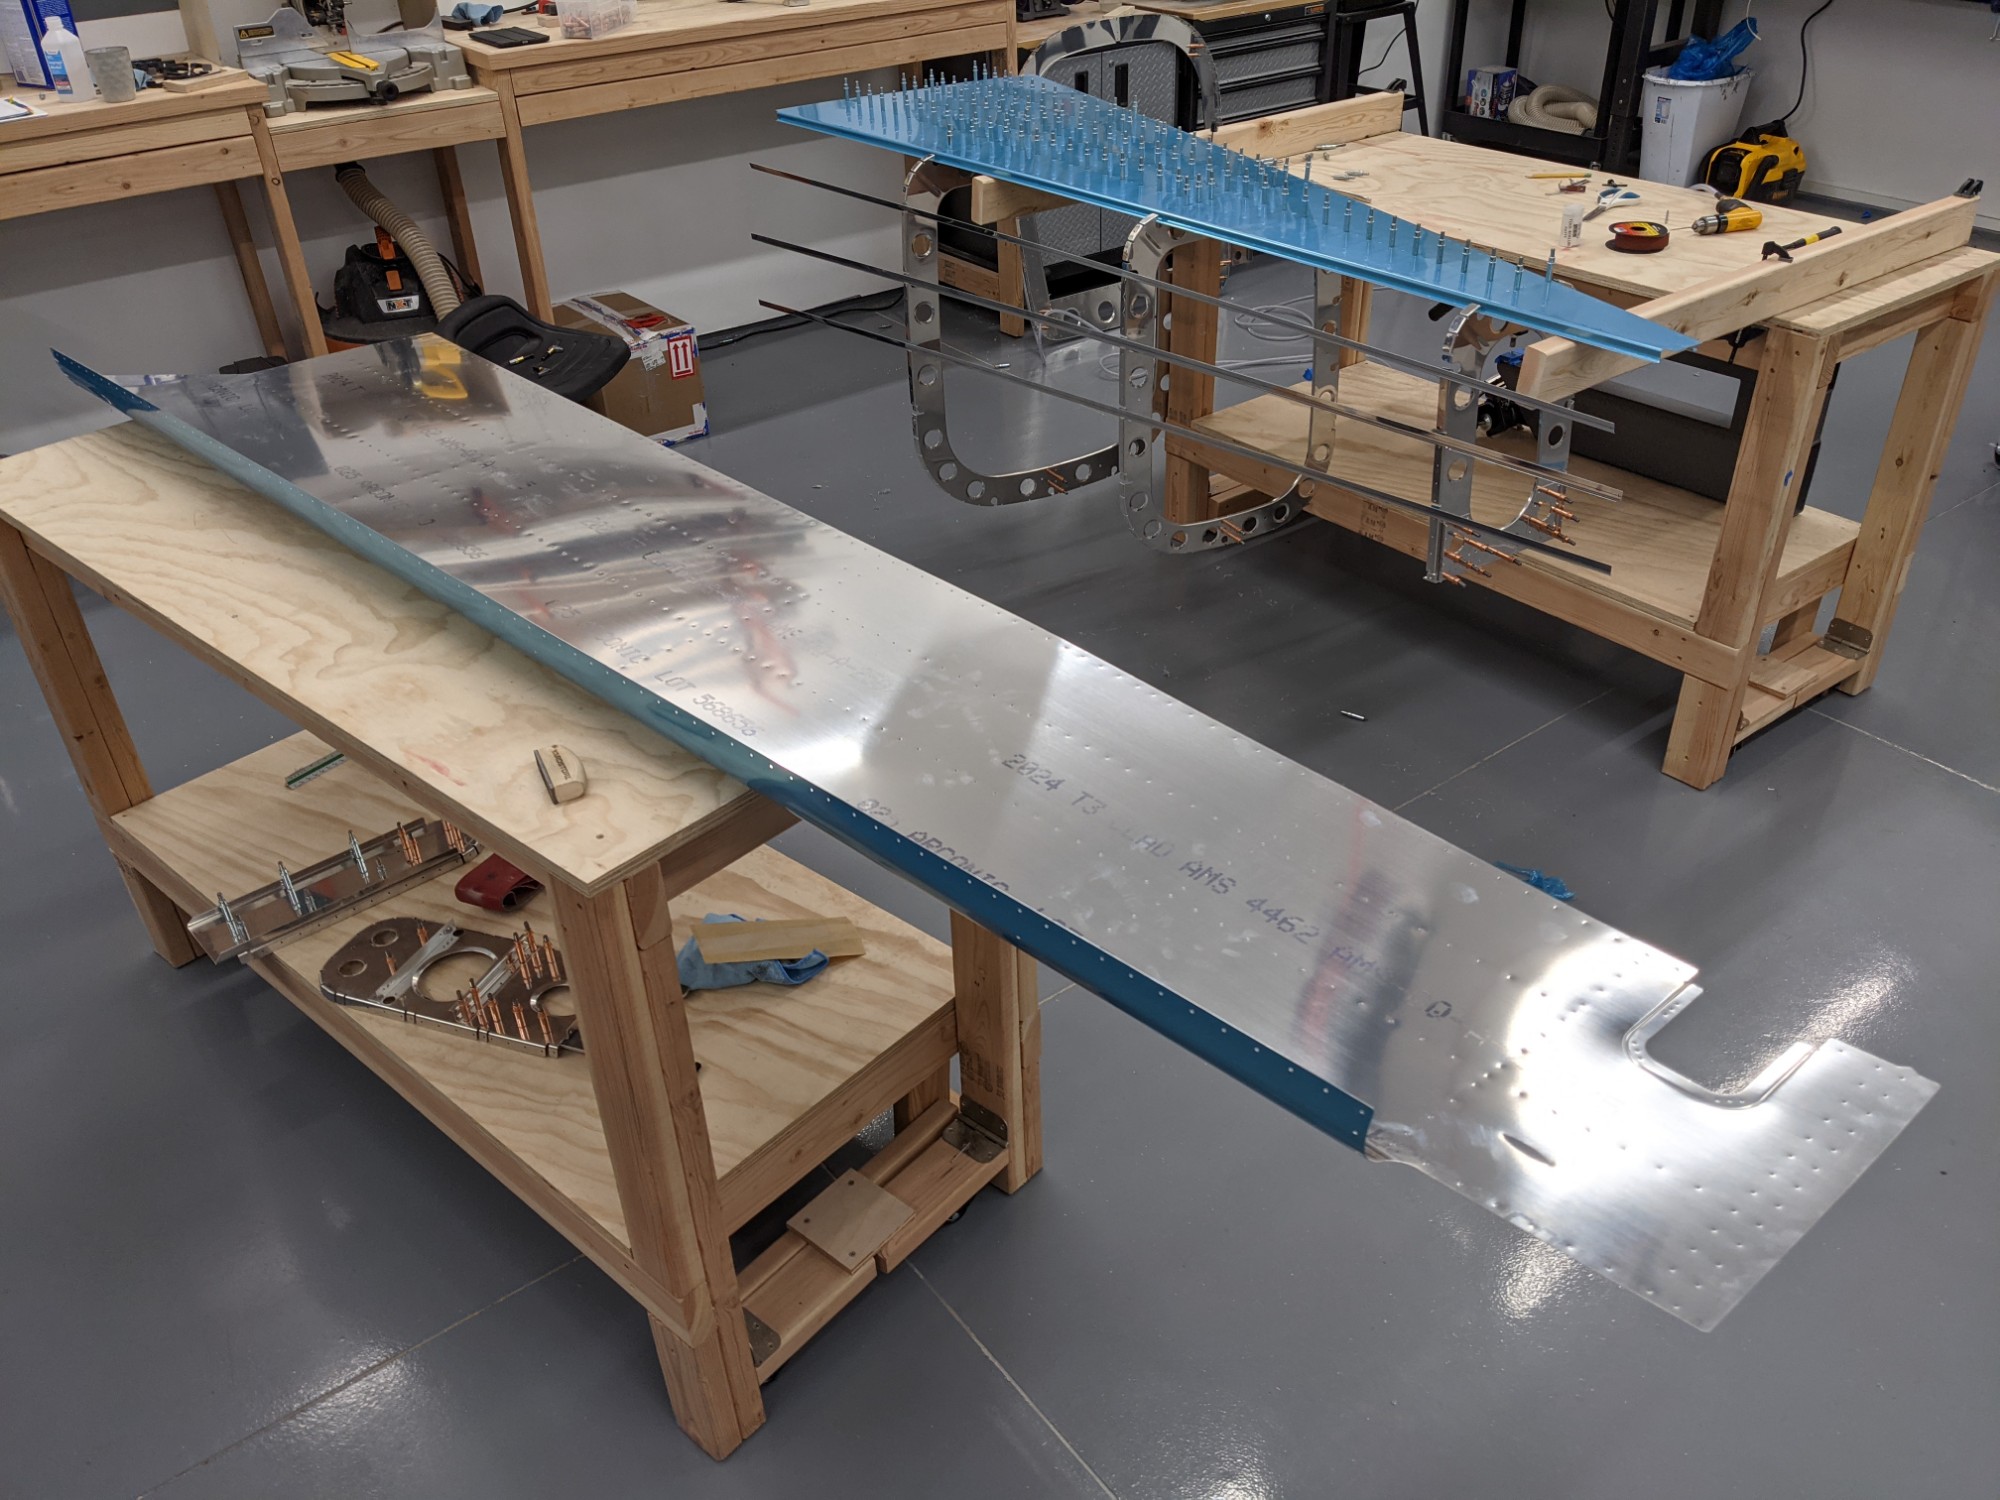
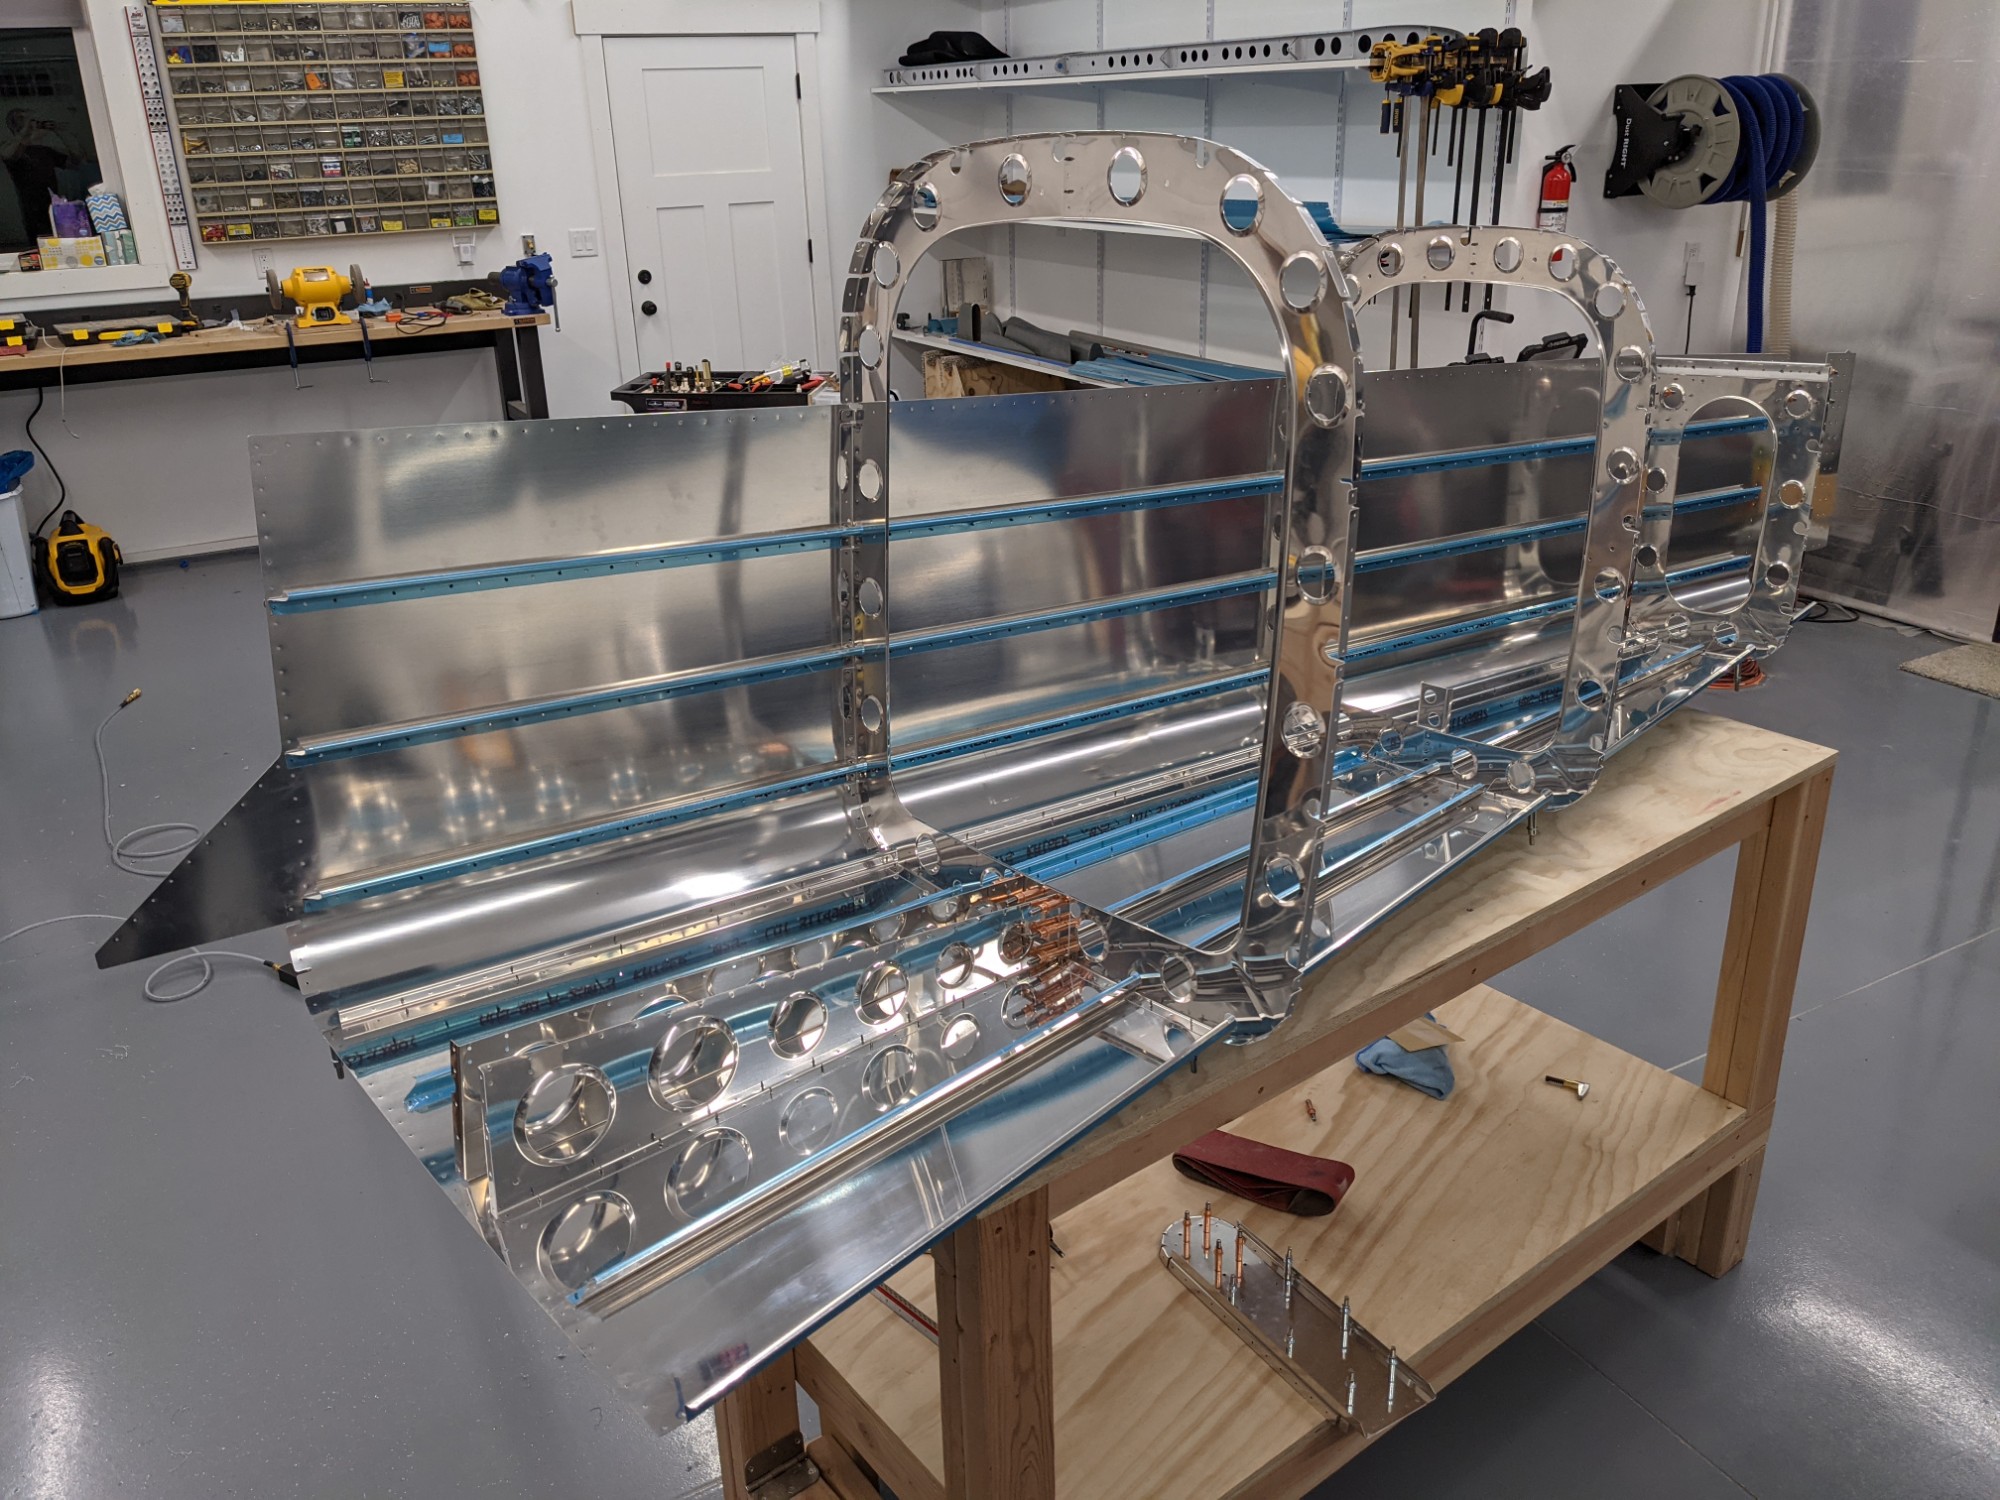
At this point, I switched up my support structure as I was going to need access to the right side skin next. I don’t have high enough saw horses so I used 2x4s cantilevered across a benchtop. The benches are fairly heavy but I ended up adding some weight to the bench shelf to make sure it would be stable.
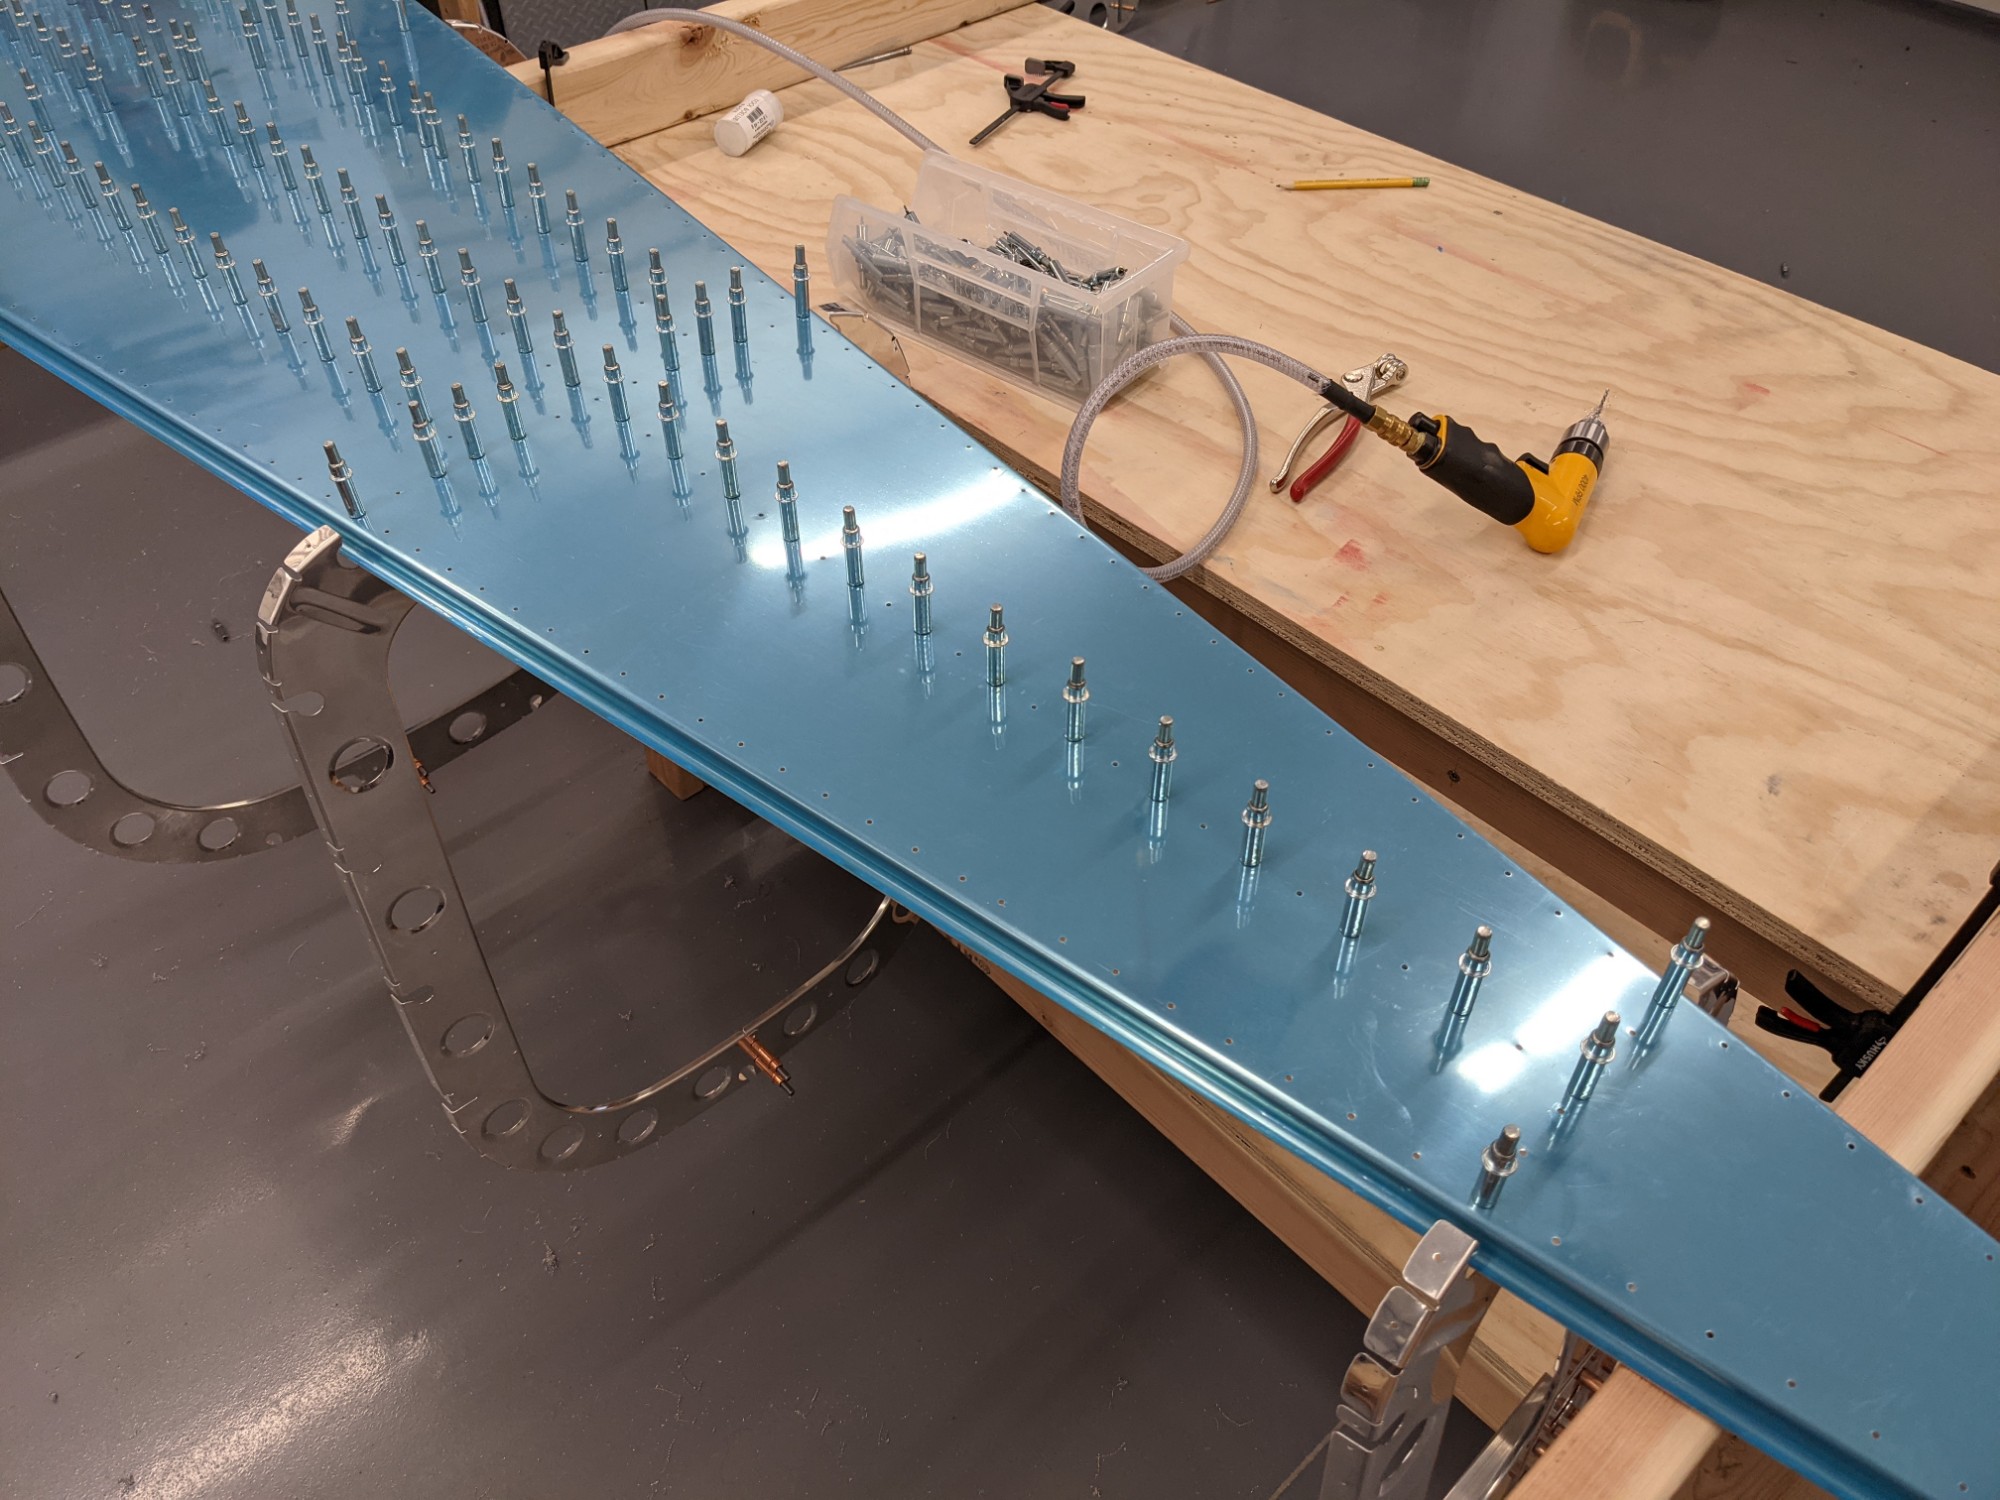
The forward part of the skin hung downward slightly so I clamped a board to the skin to keep things flat while I match drilled the front stiffeners.
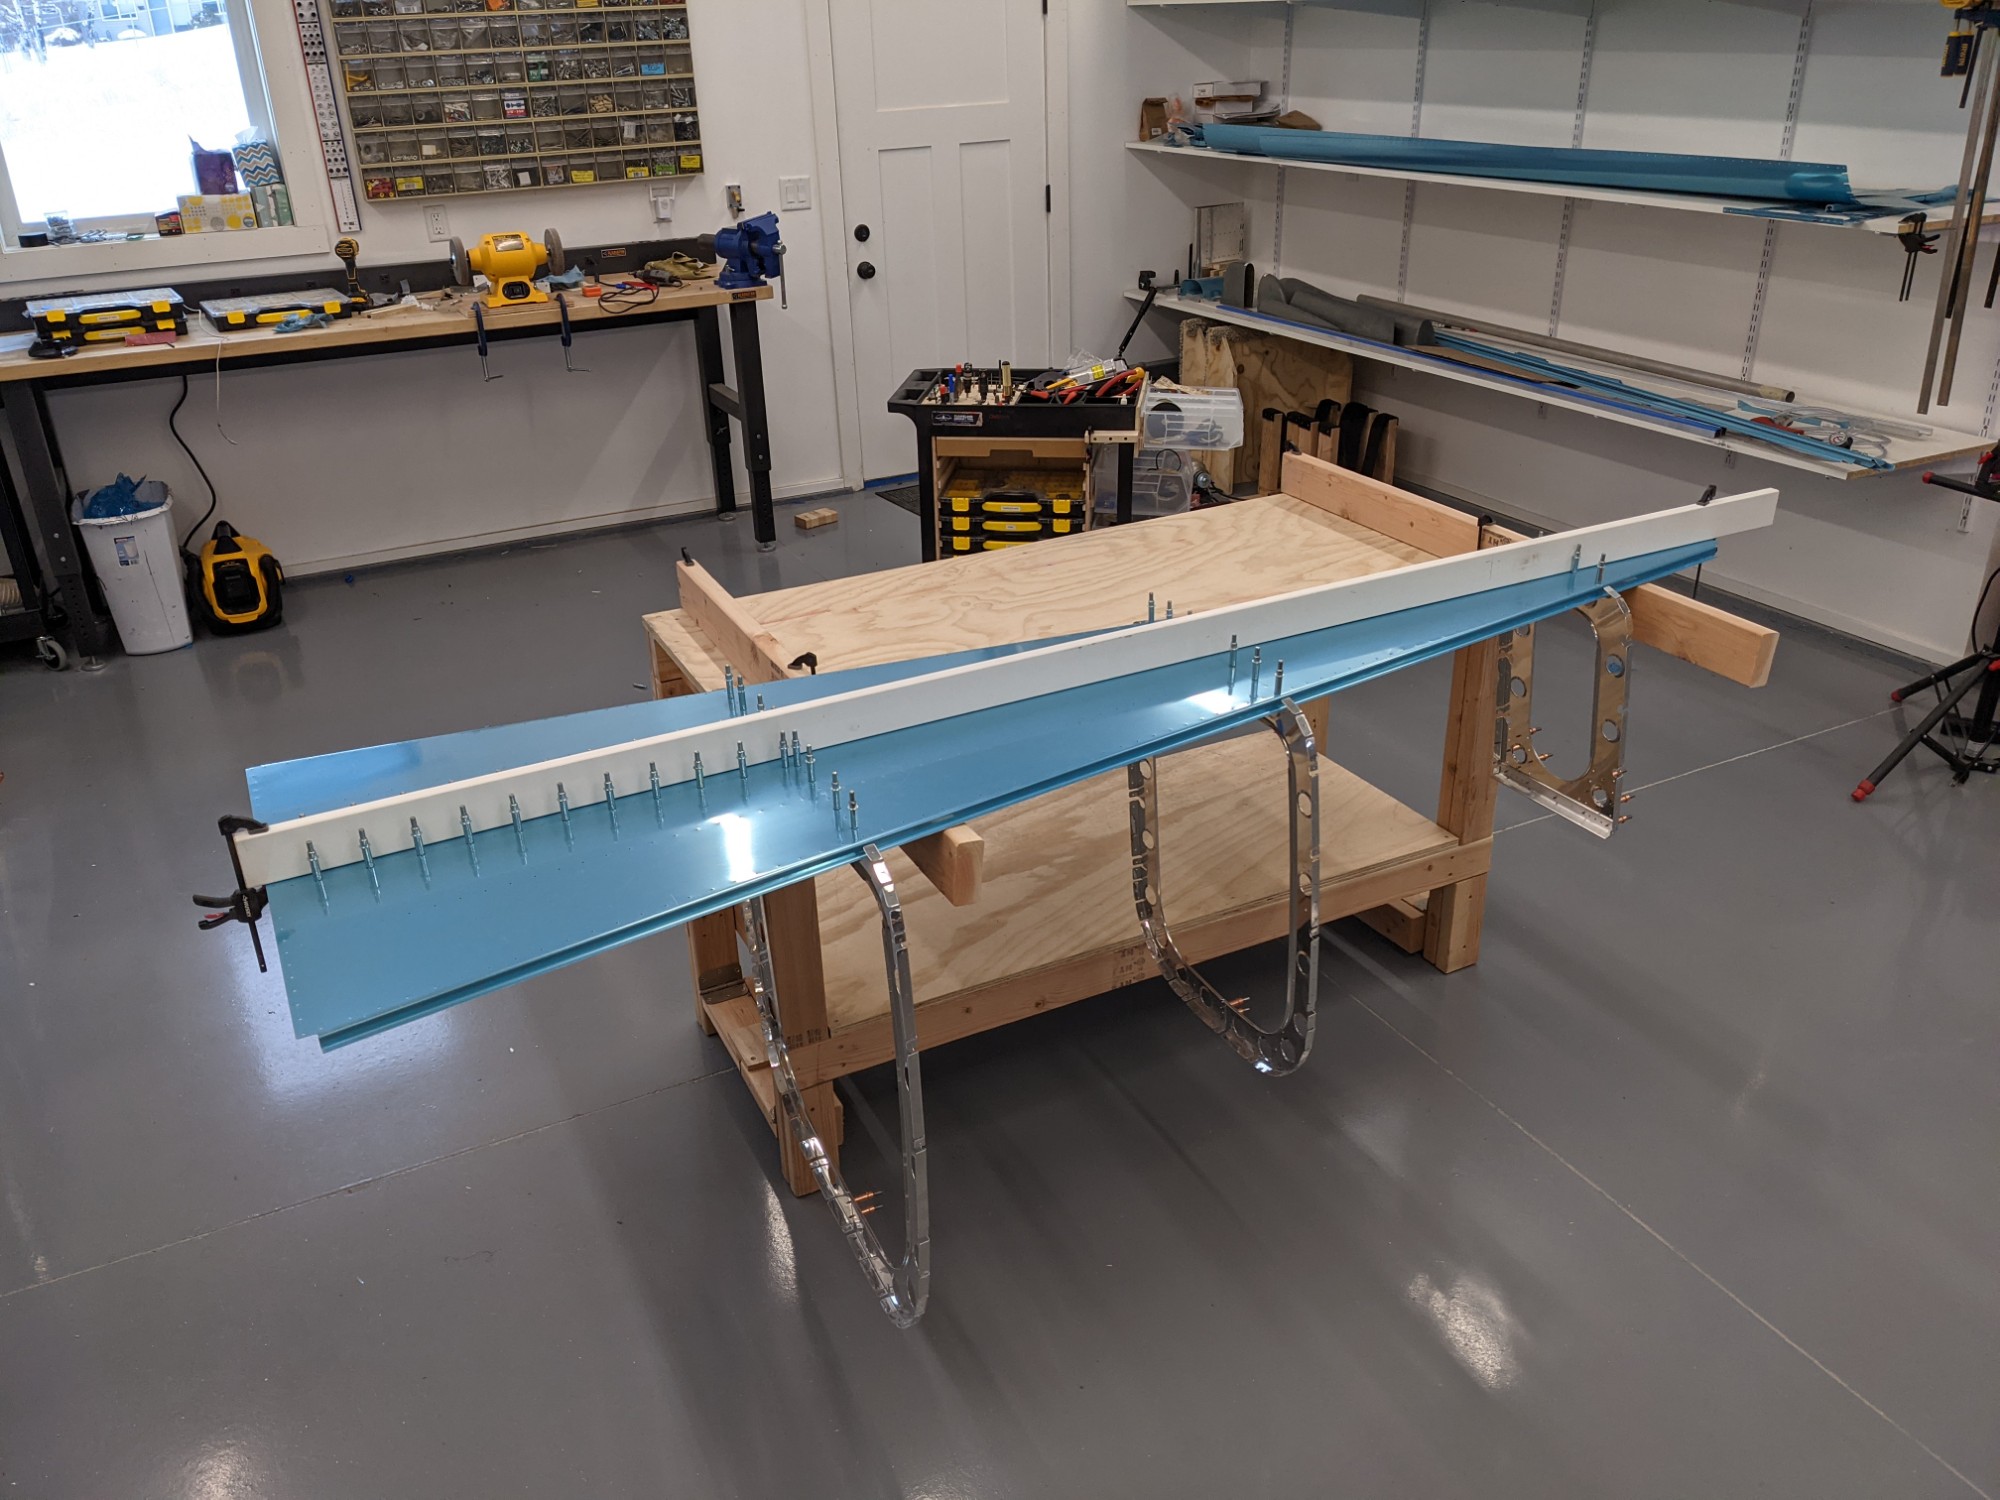
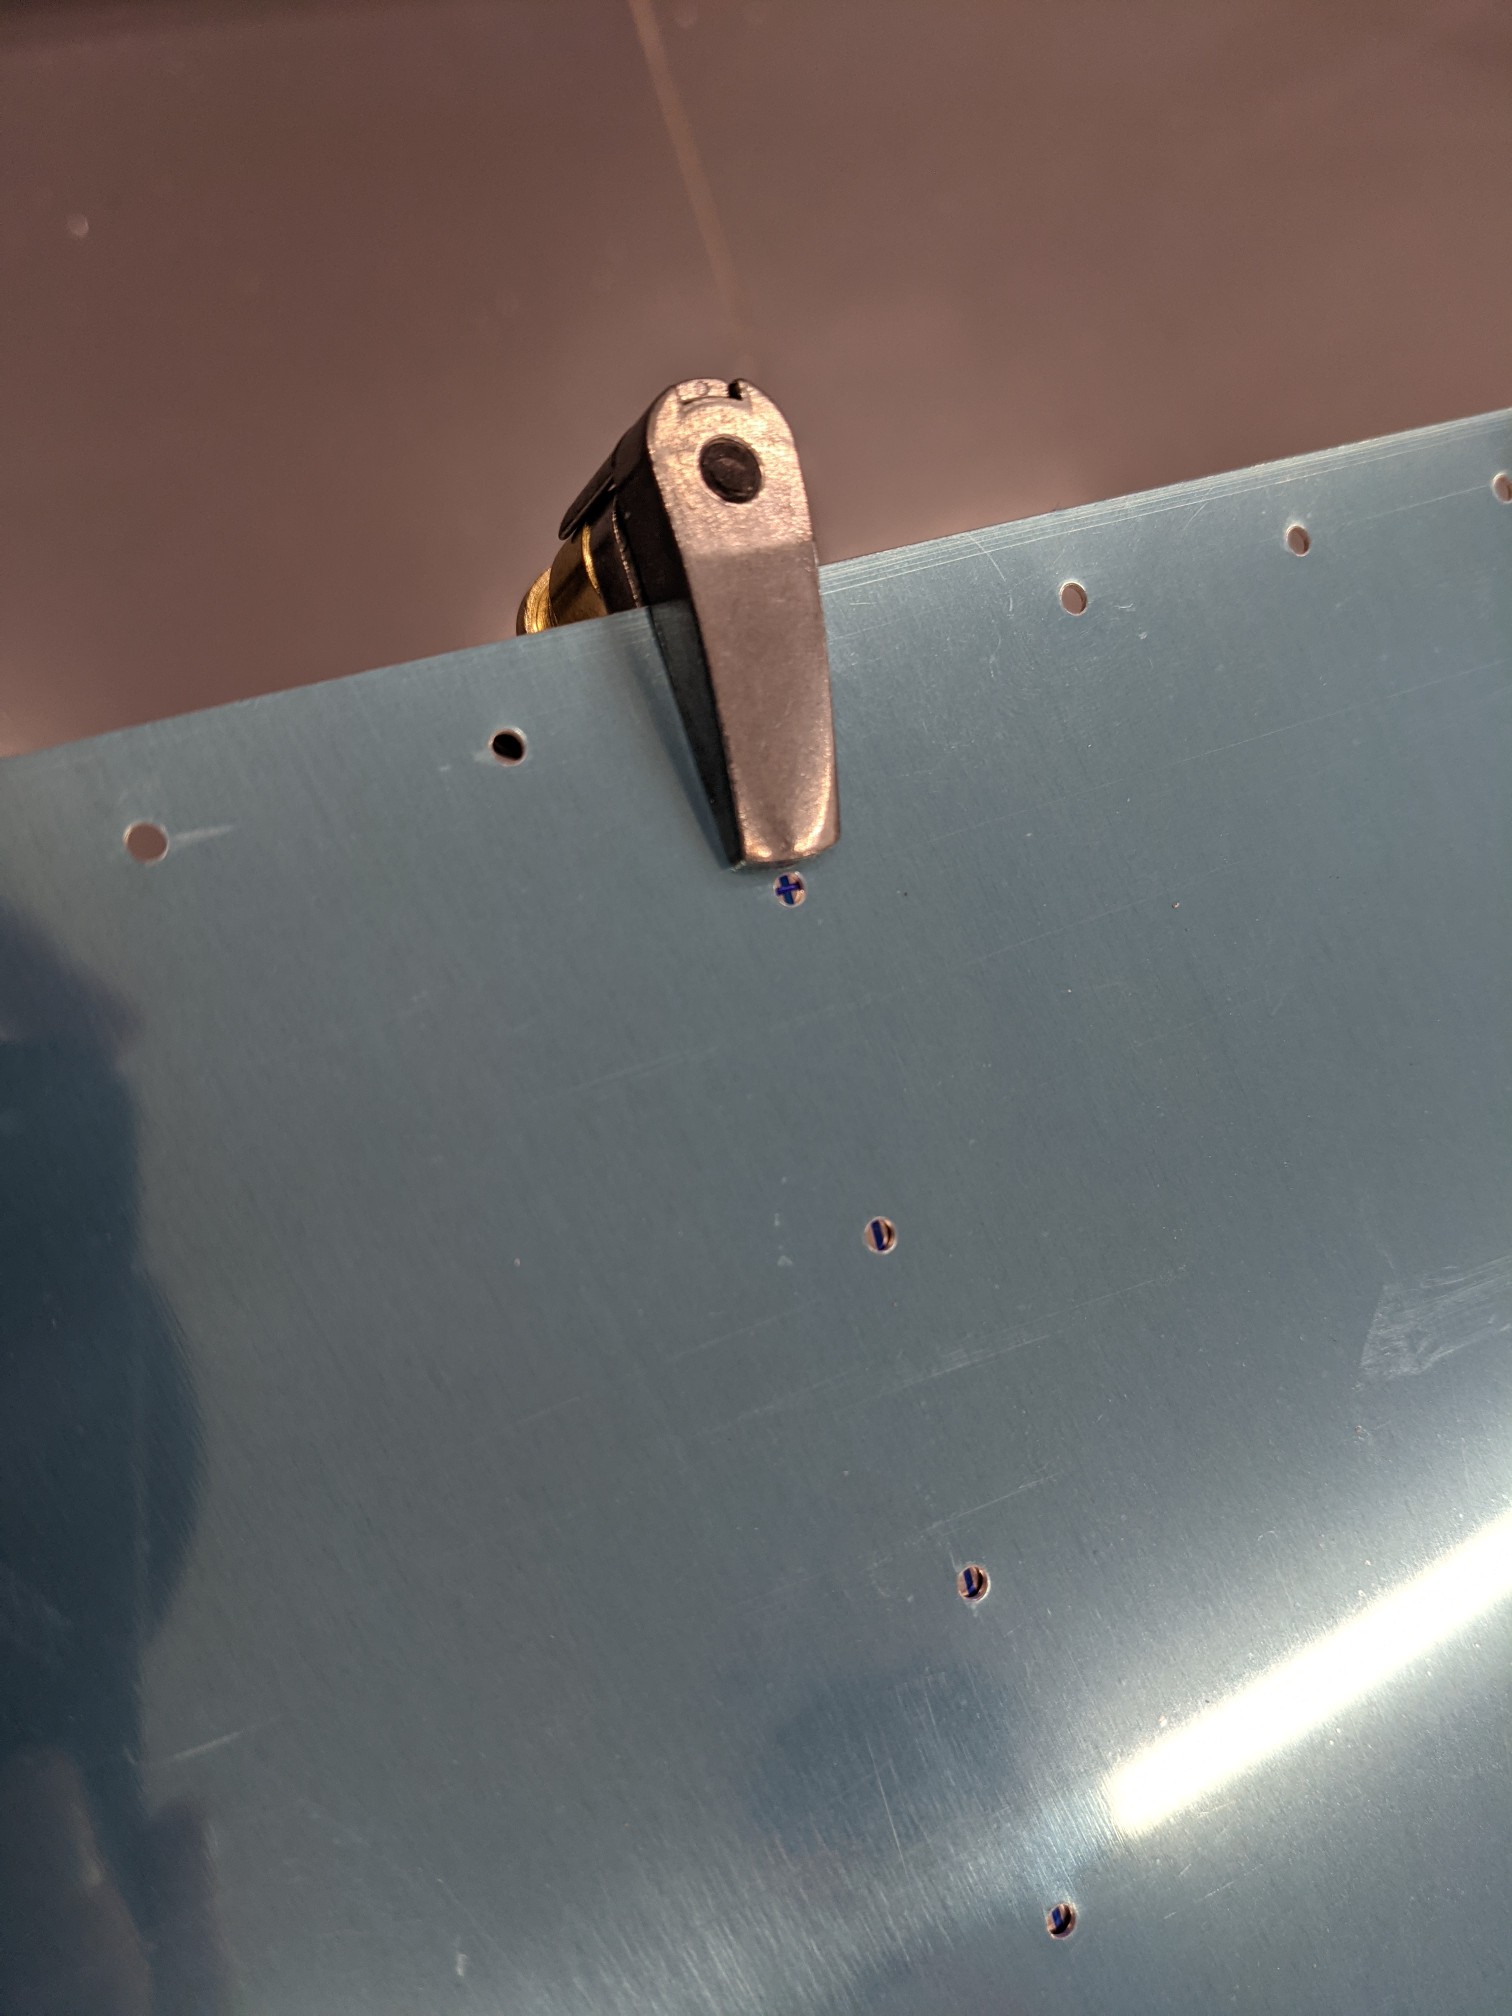
I lined up the markings on the stiffeners with the holes at the front on the skins and began match drilling the stiffeners to the skins. I drilled every 5th hole and clecoed as I went. I then match drilled the middle holes, clecod them, and match drilled the remaining holes.
I then did the same with the rear stiffener.
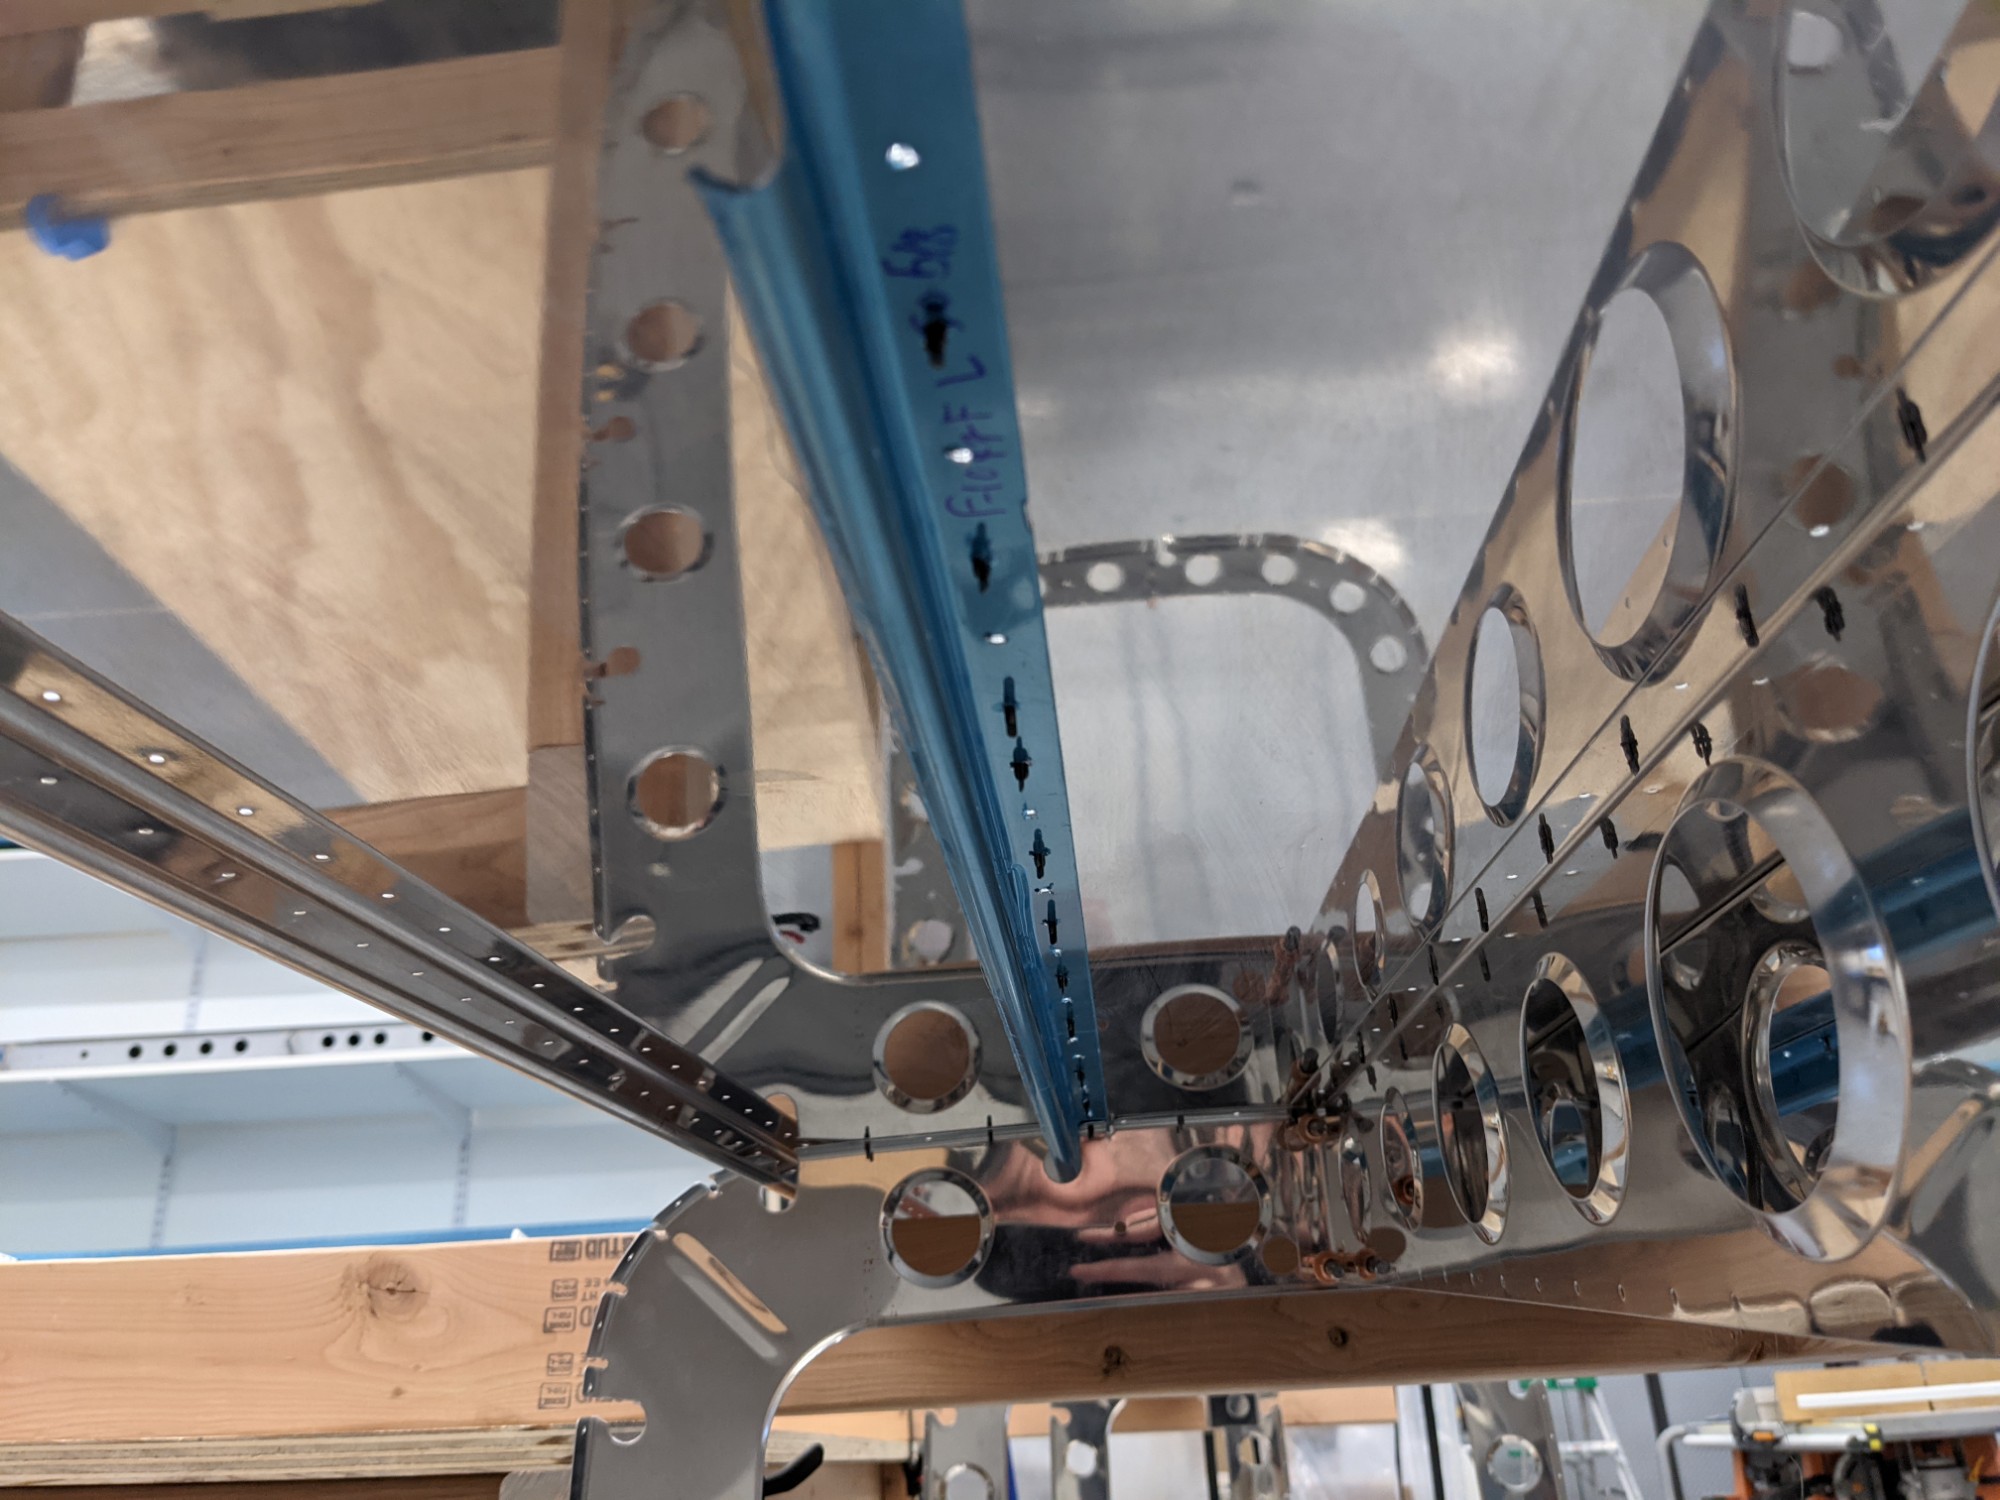
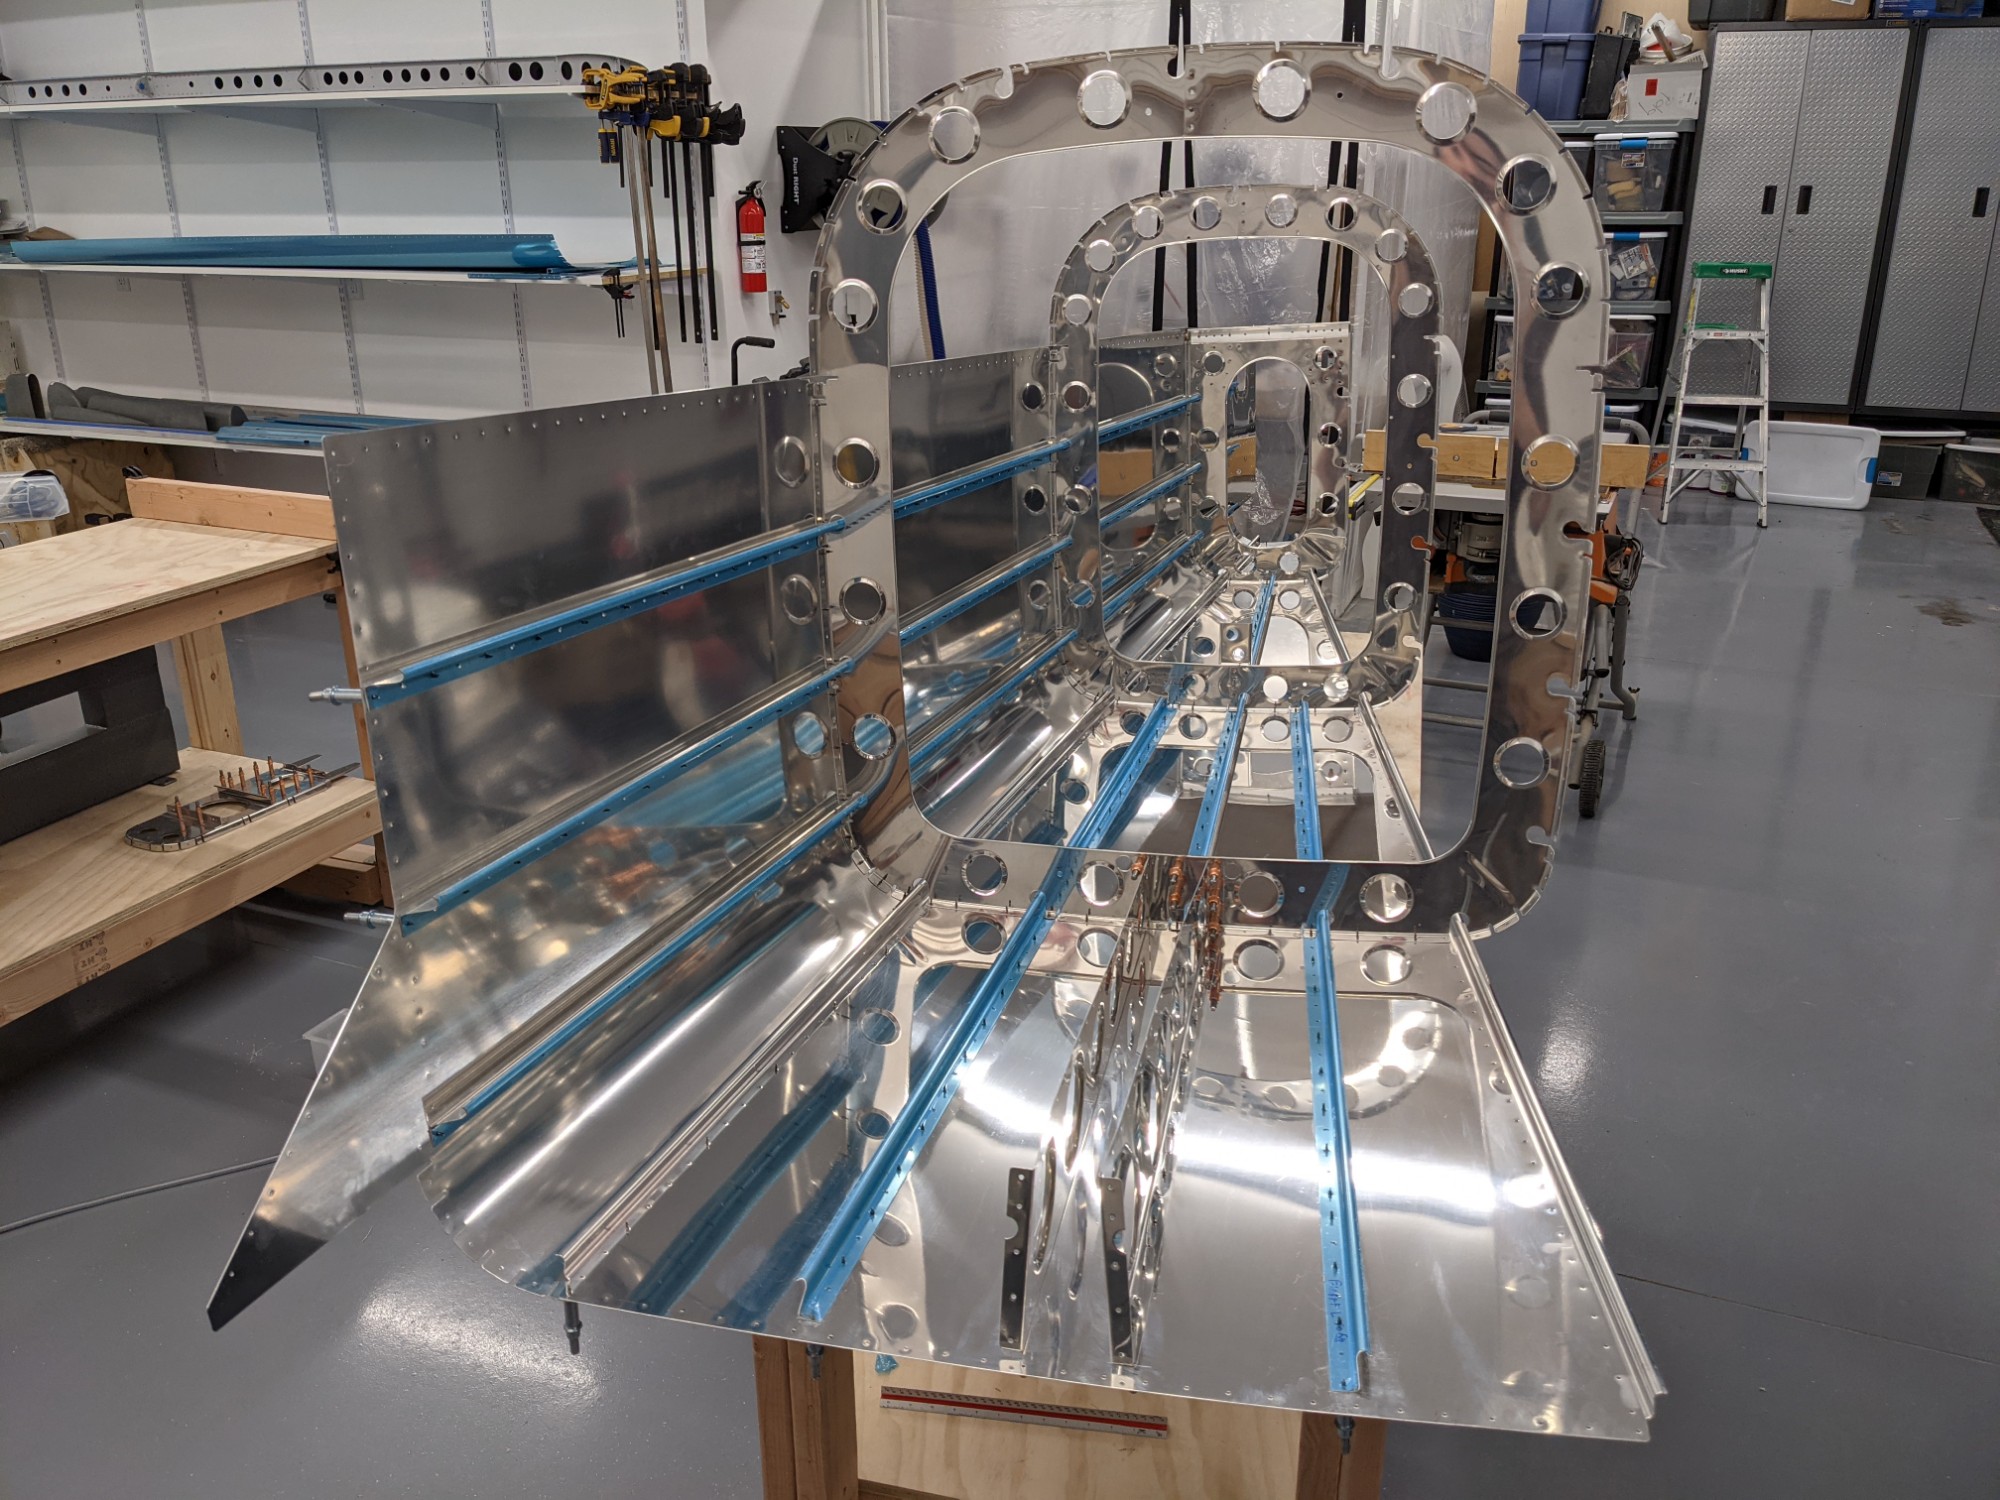
After this was complete, I inserted the right side stiffeners into the cutouts in the frames.
I then removed the vinyl from the interior of the right skin and deburred the edges with a vixen file and emery paper.
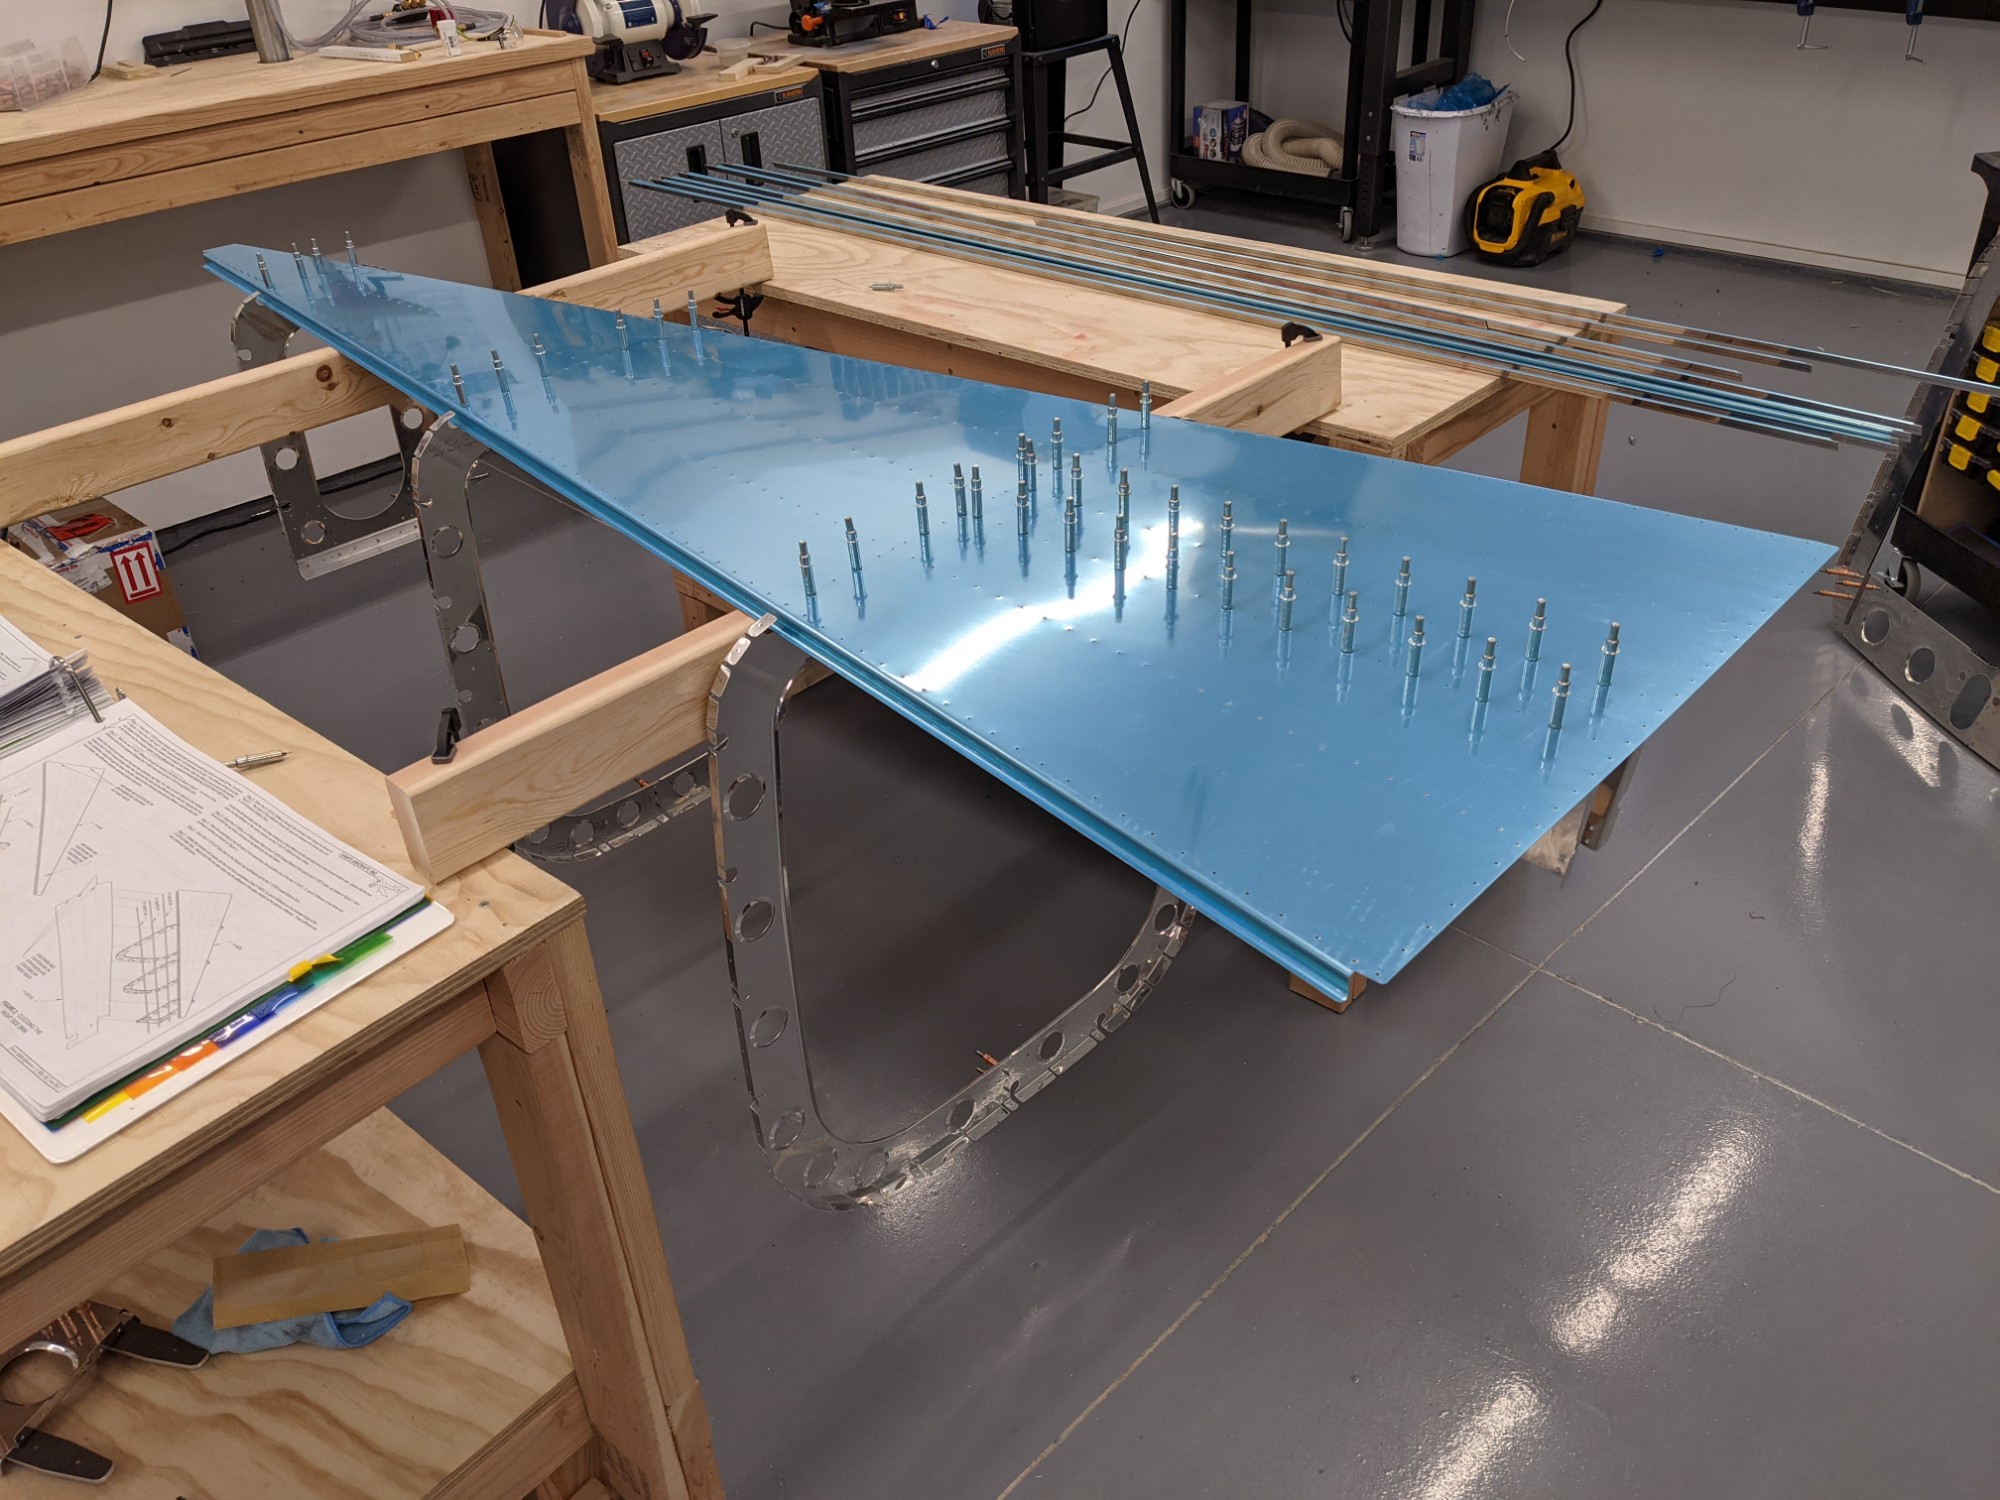
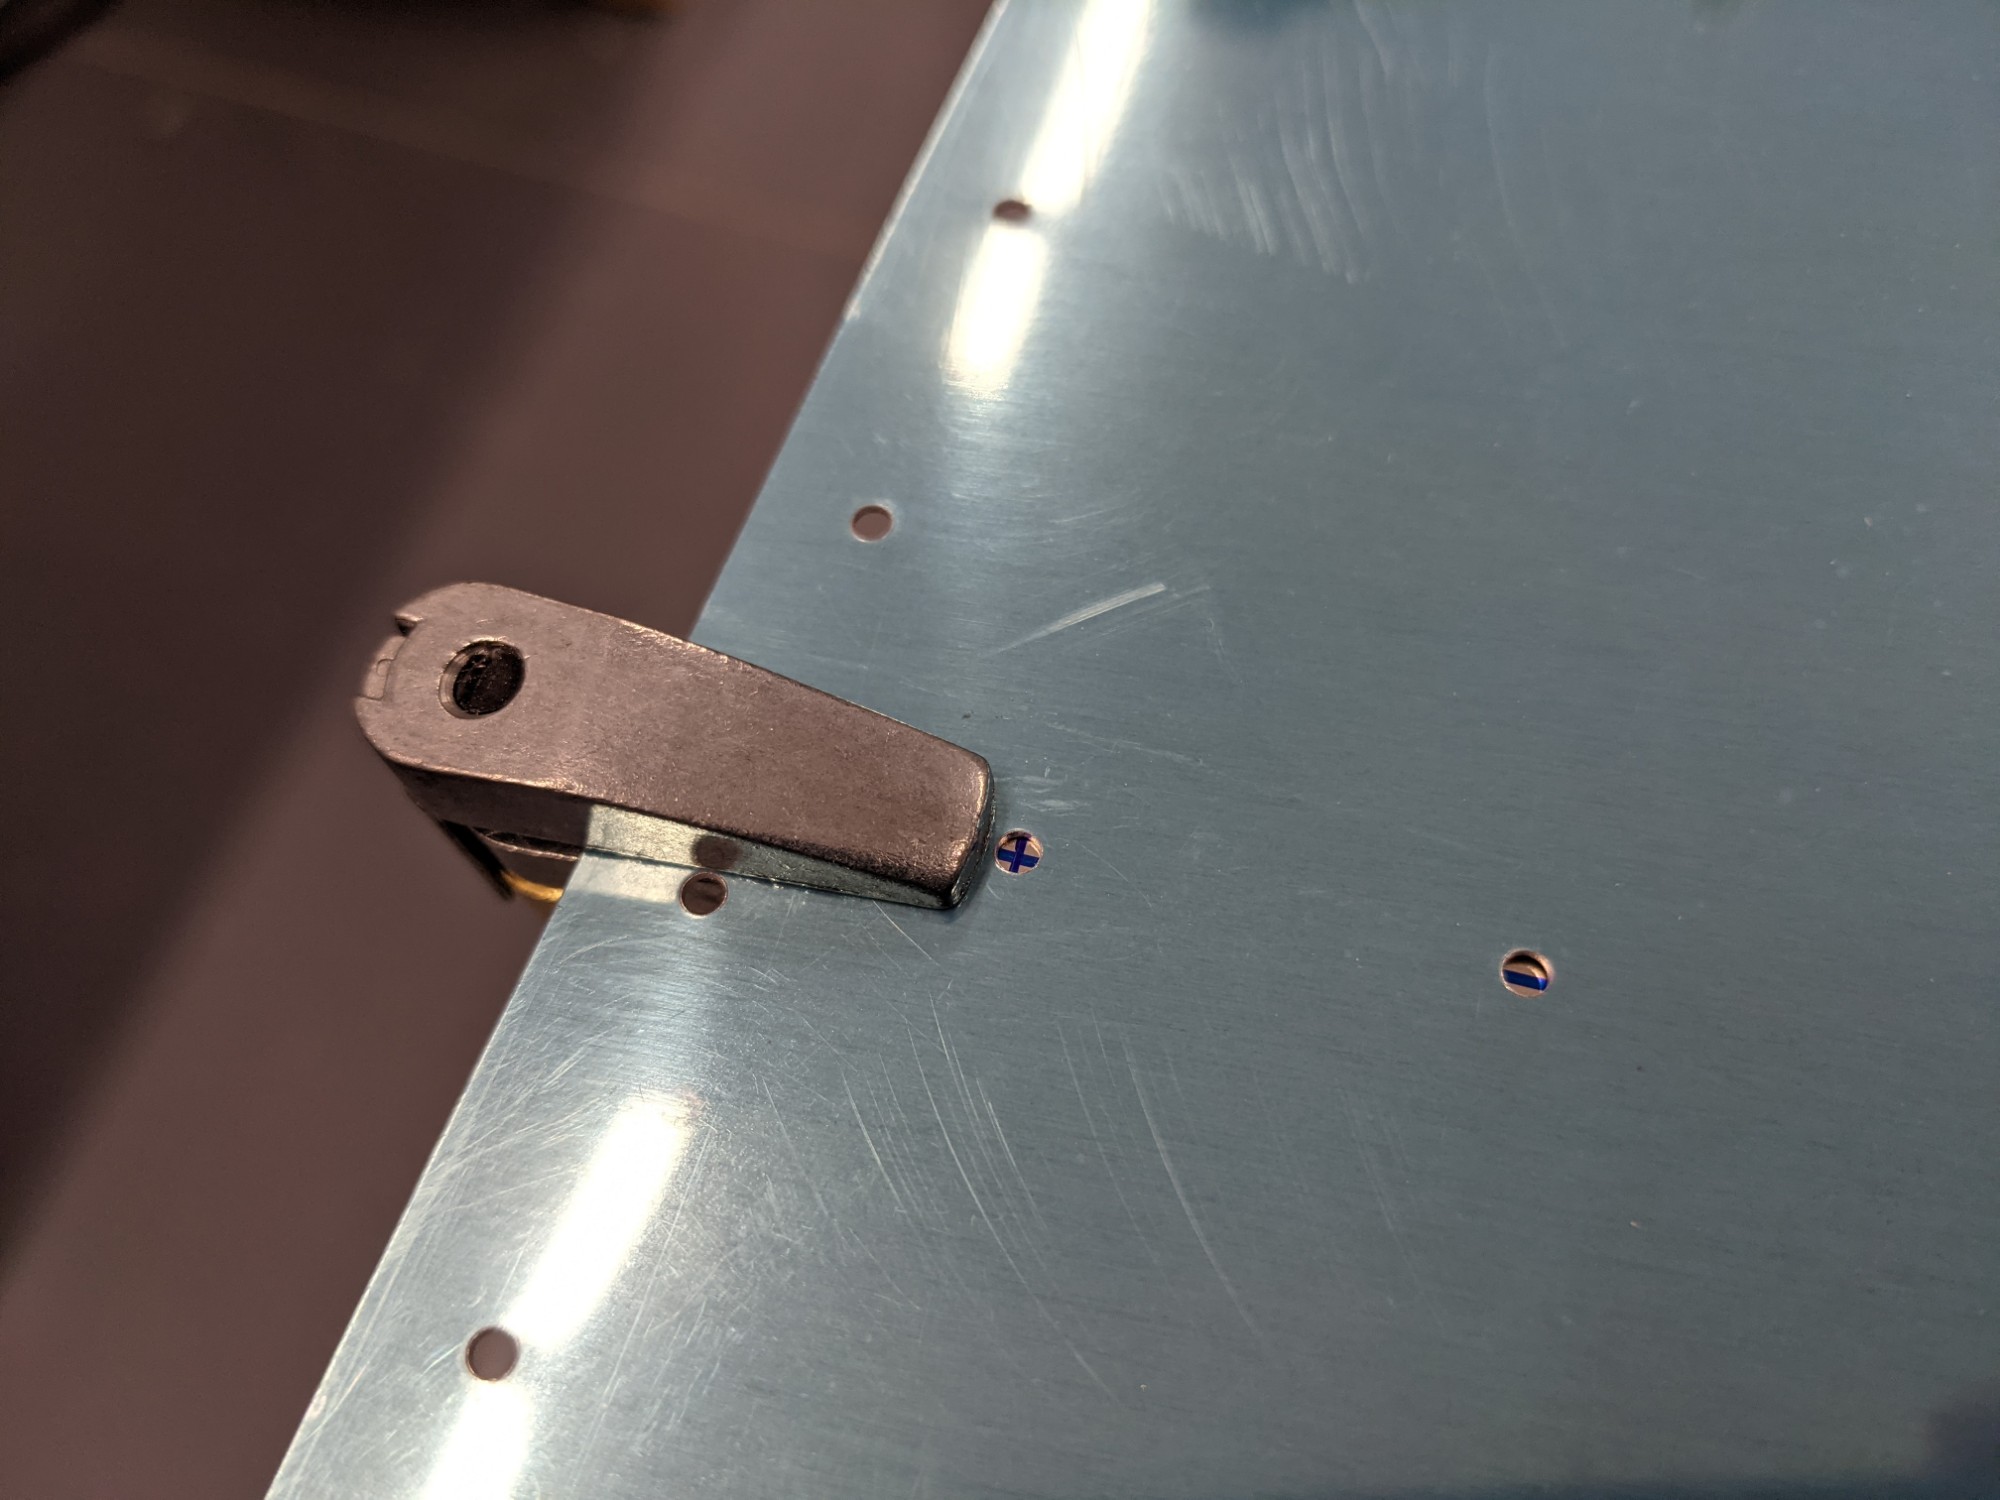
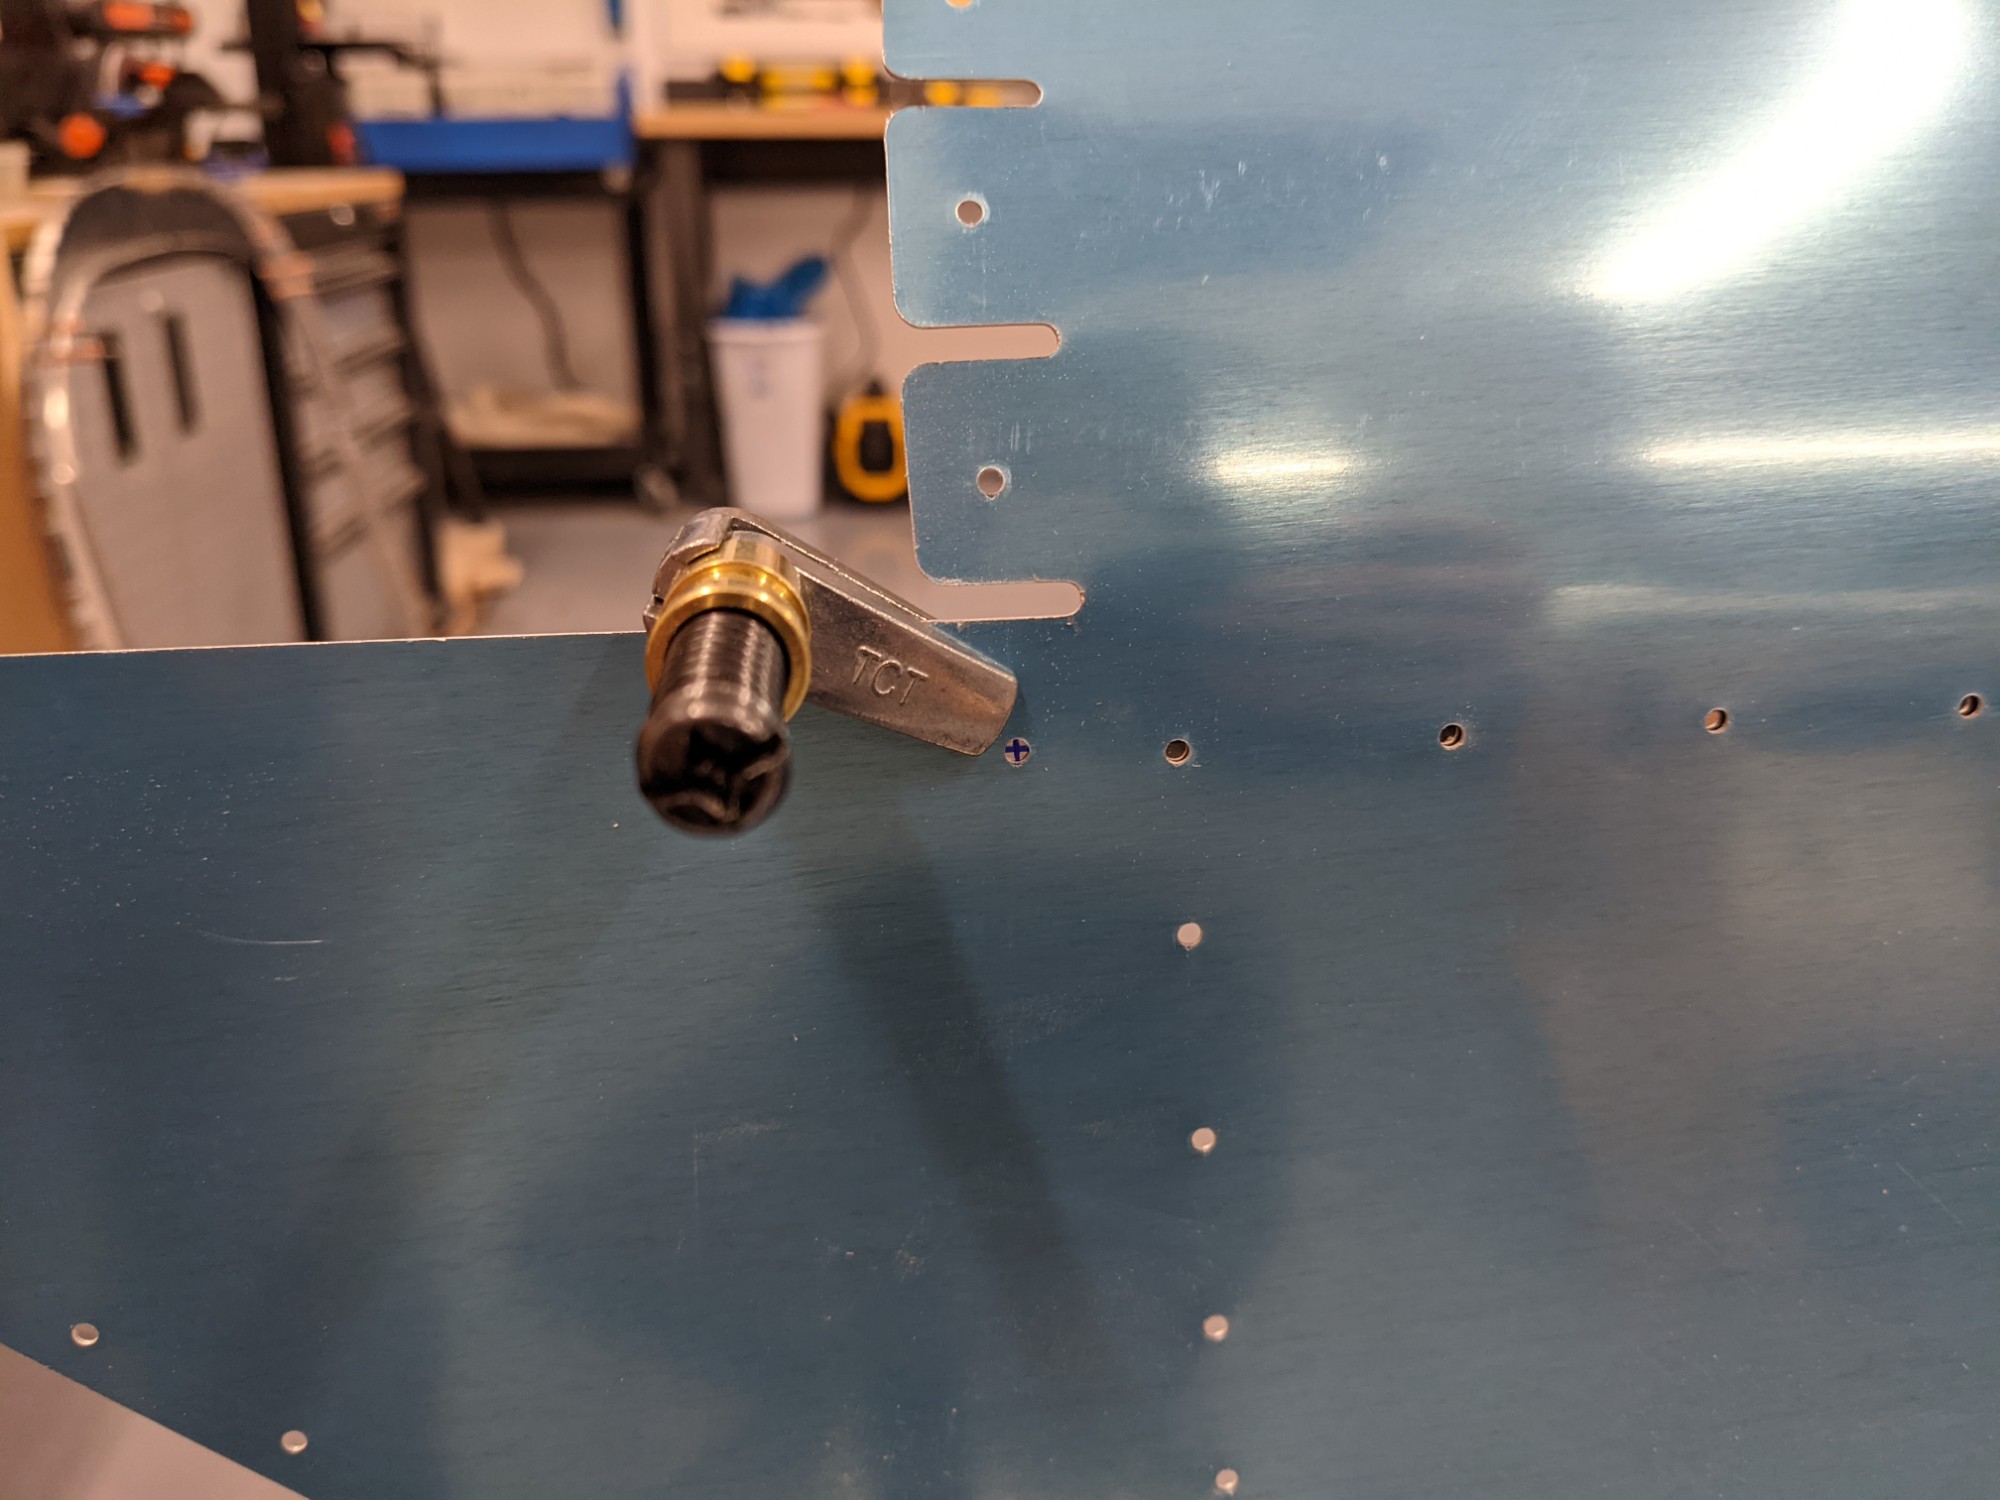
I then clecoed the right skin to the frames/bulkheads, made sure the stiffeners were seated correctly and aligned the markings with the holes at the front of the right skin.
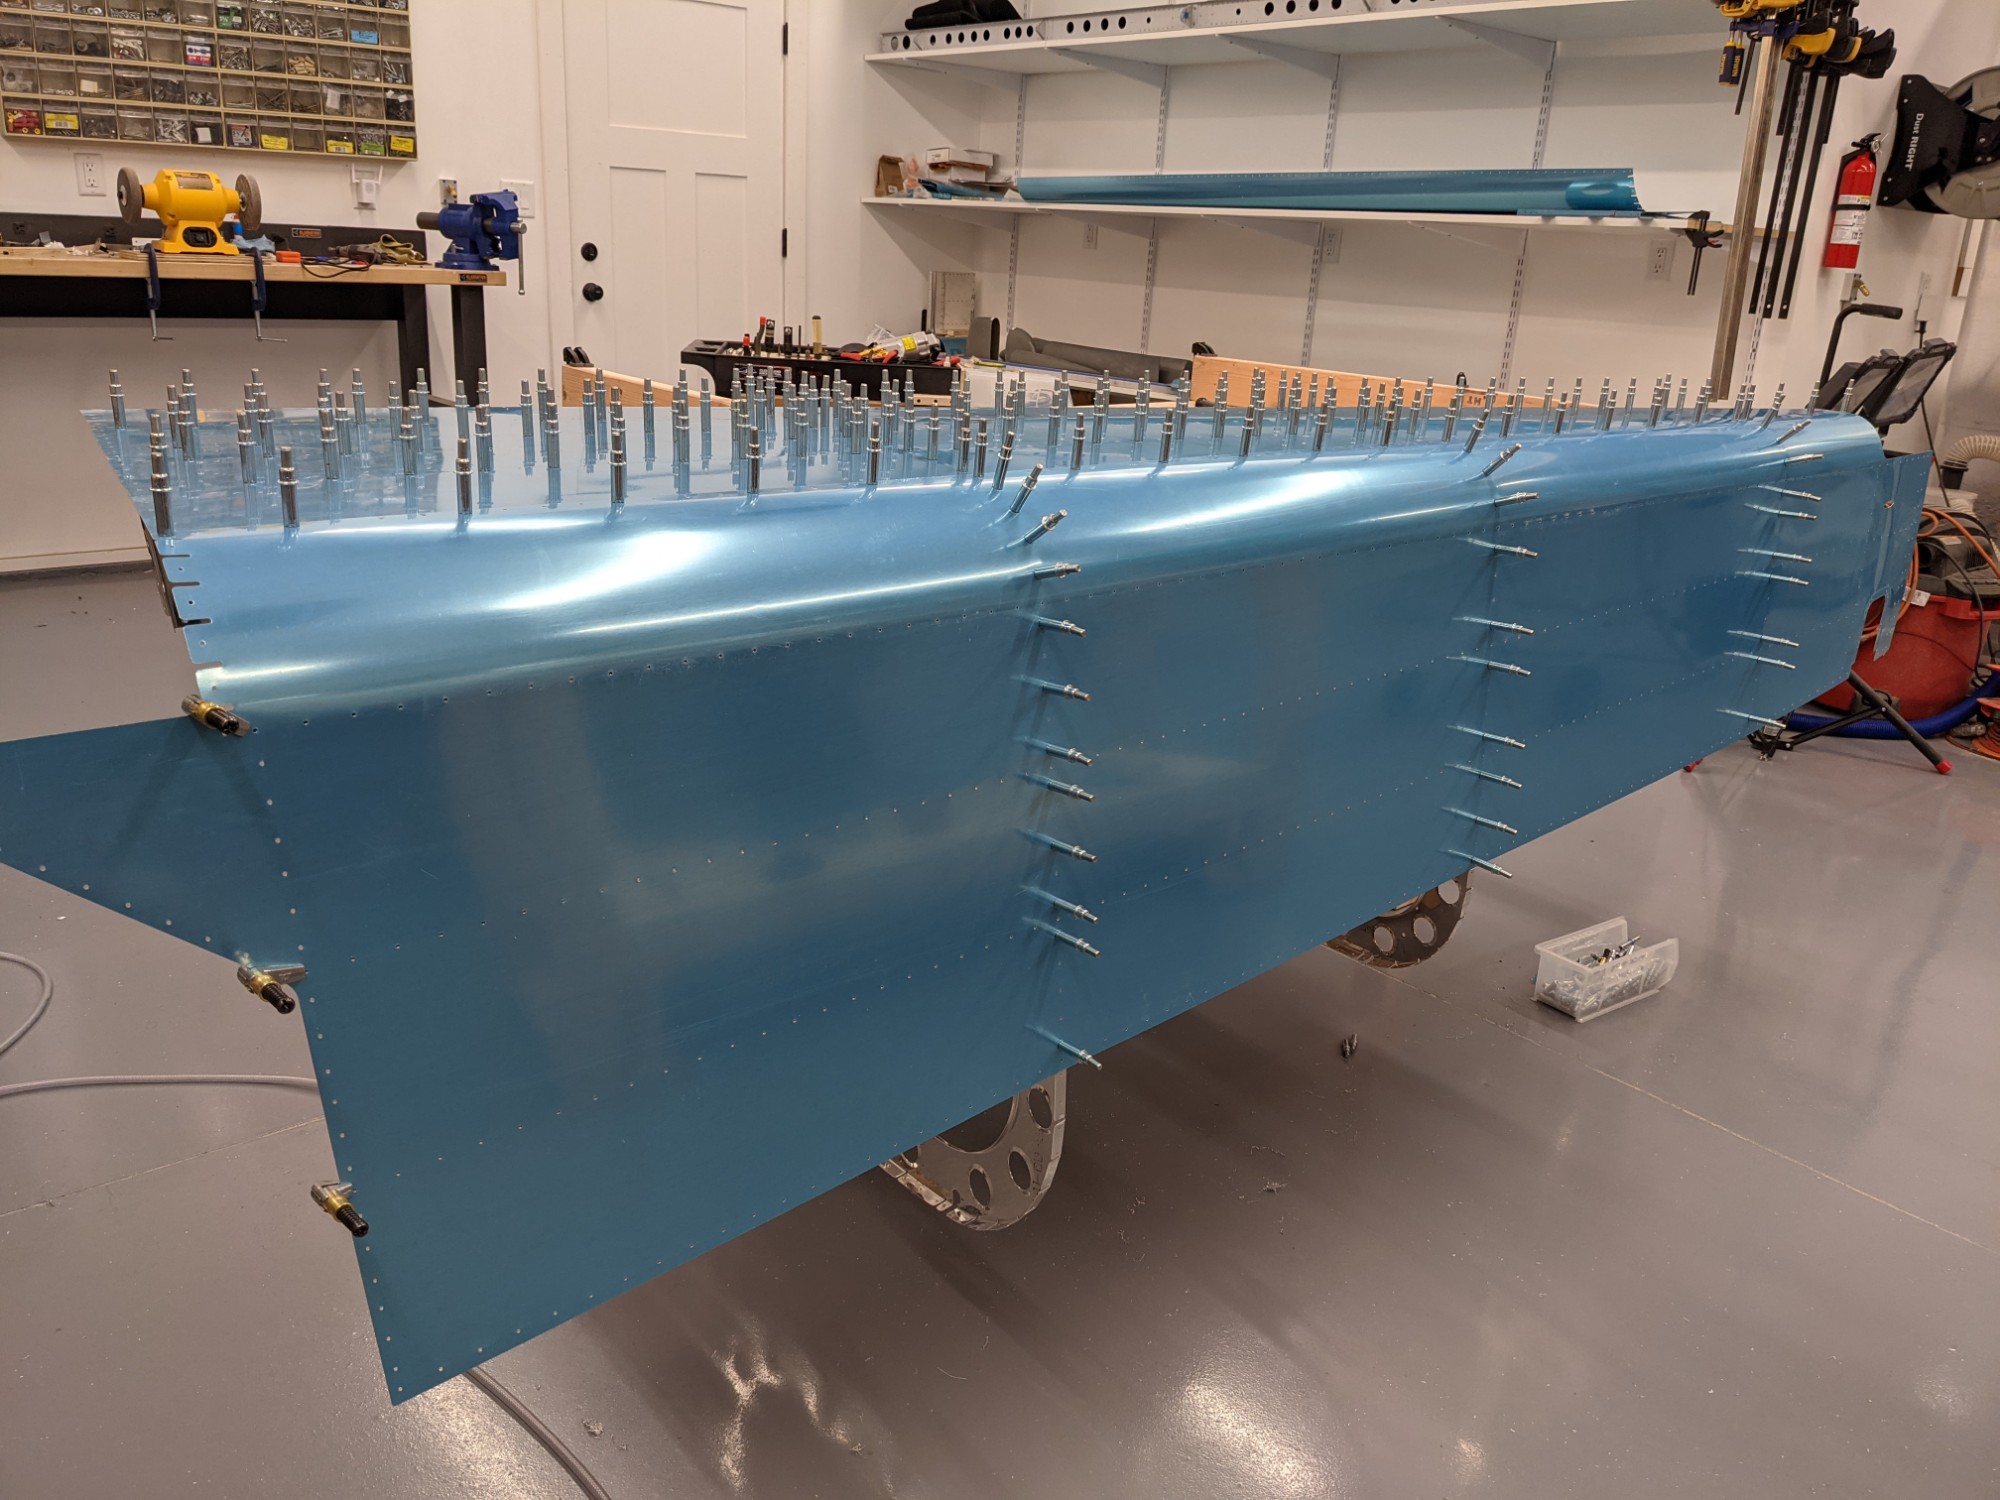
When checking the alignment one last time I noticed that I had aligned the lower stiffener with the incorrect hole (it should be aligned to the next hole to the right). I have learned to triple-check everything – go slow to go fast. I re-adjusted the stiffener to the correct hole and started match drilling.
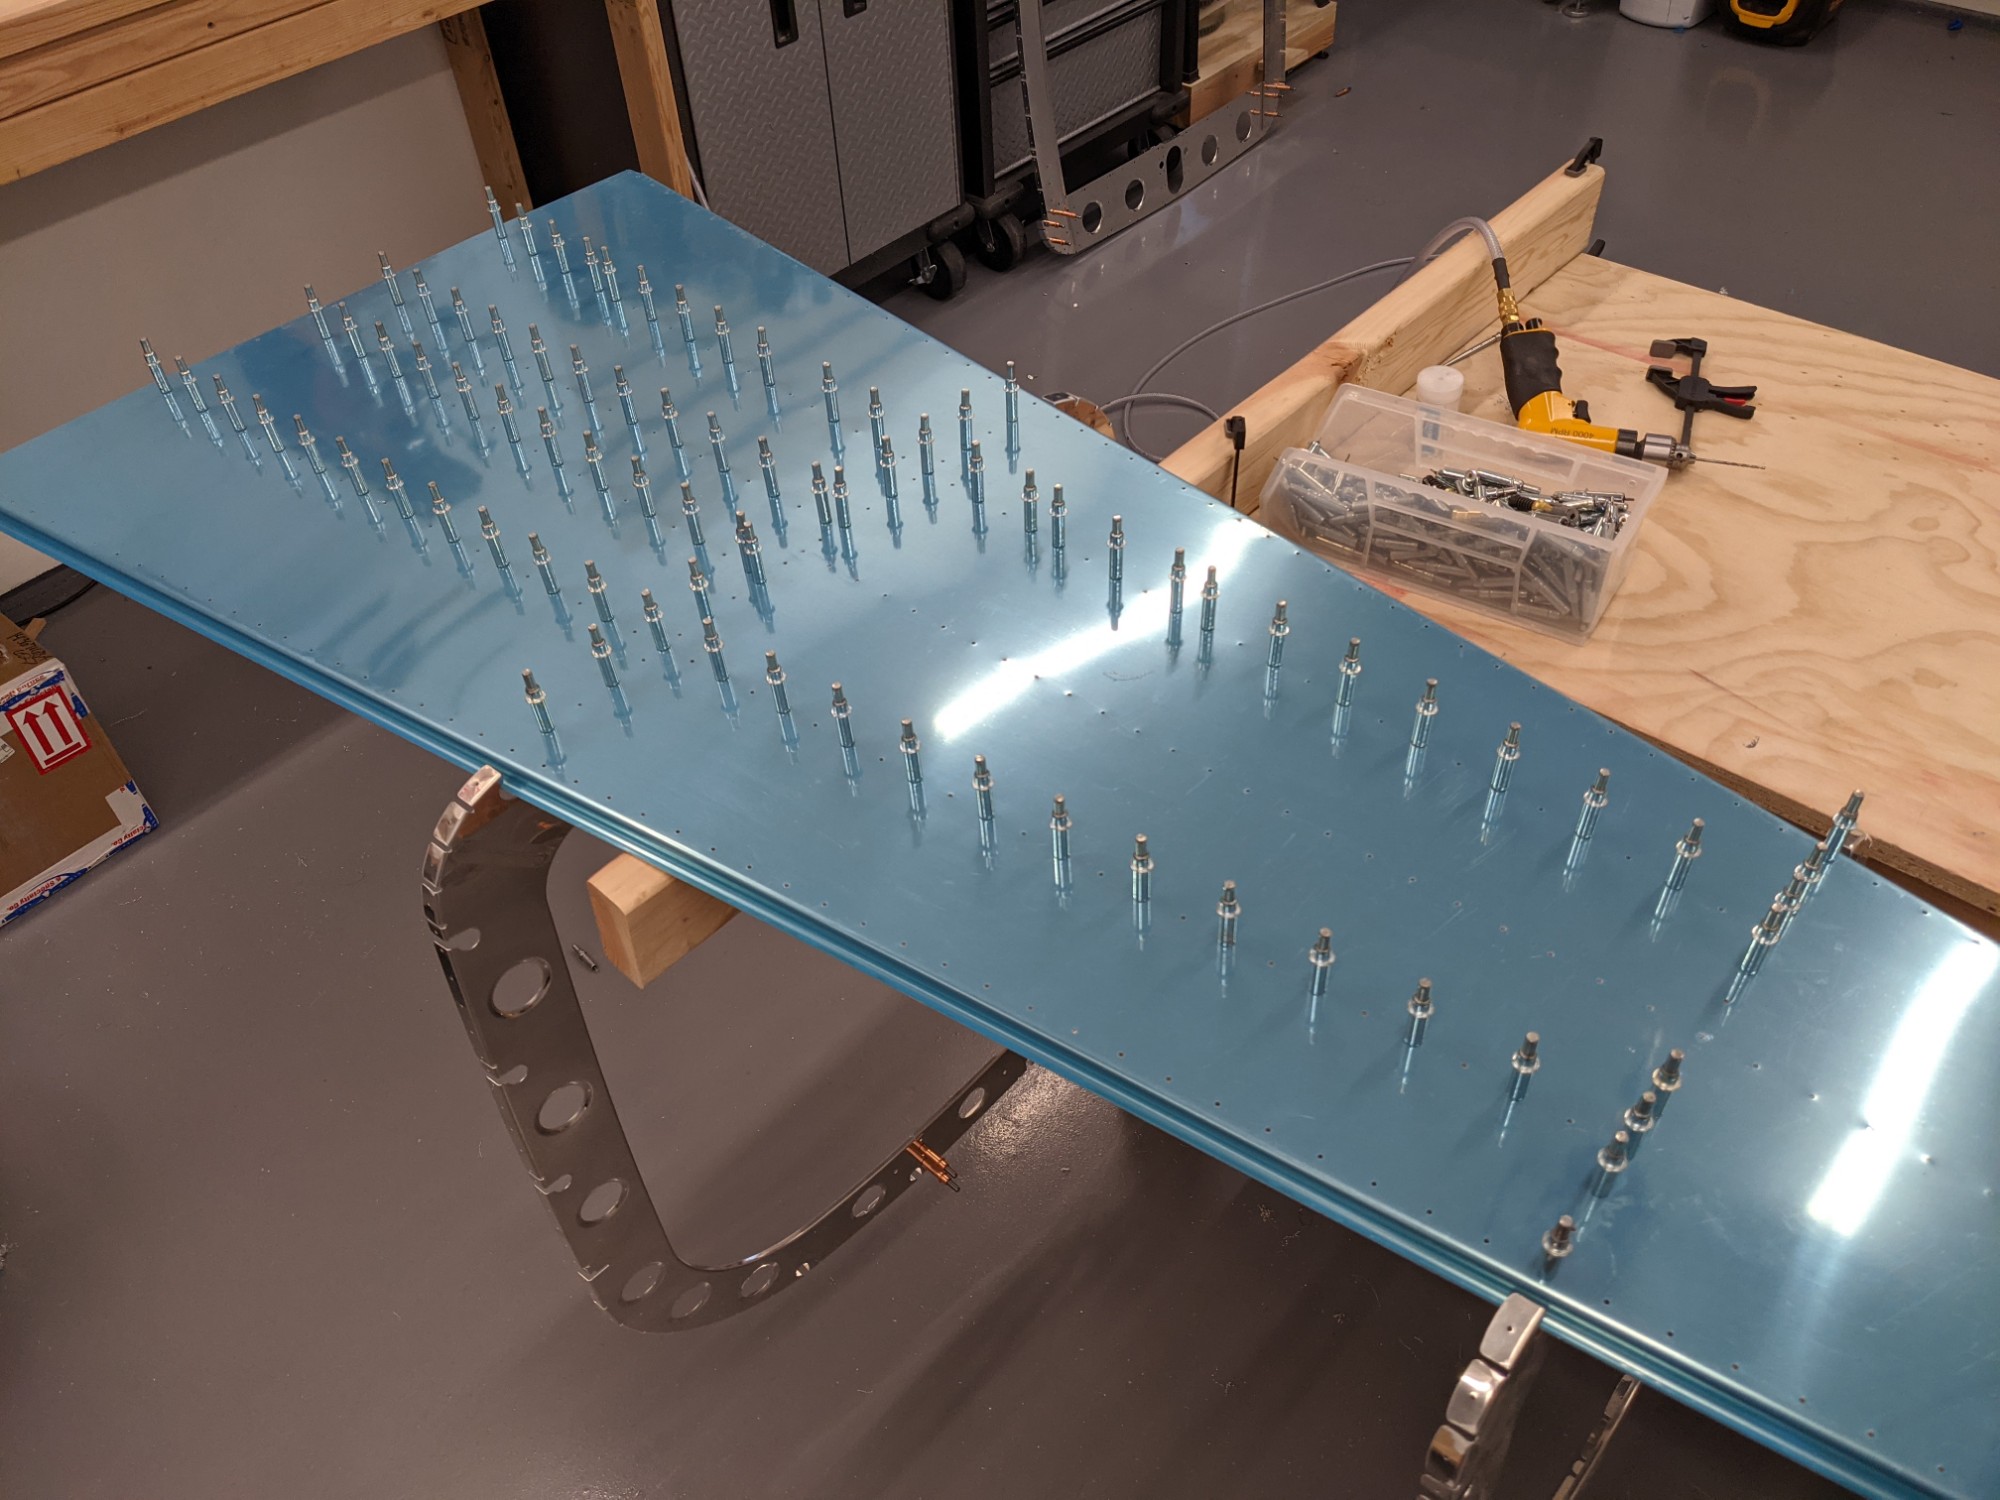
I followed the same method as I did when I match drilled the bottom skin. It took a while but the process went smoothly.
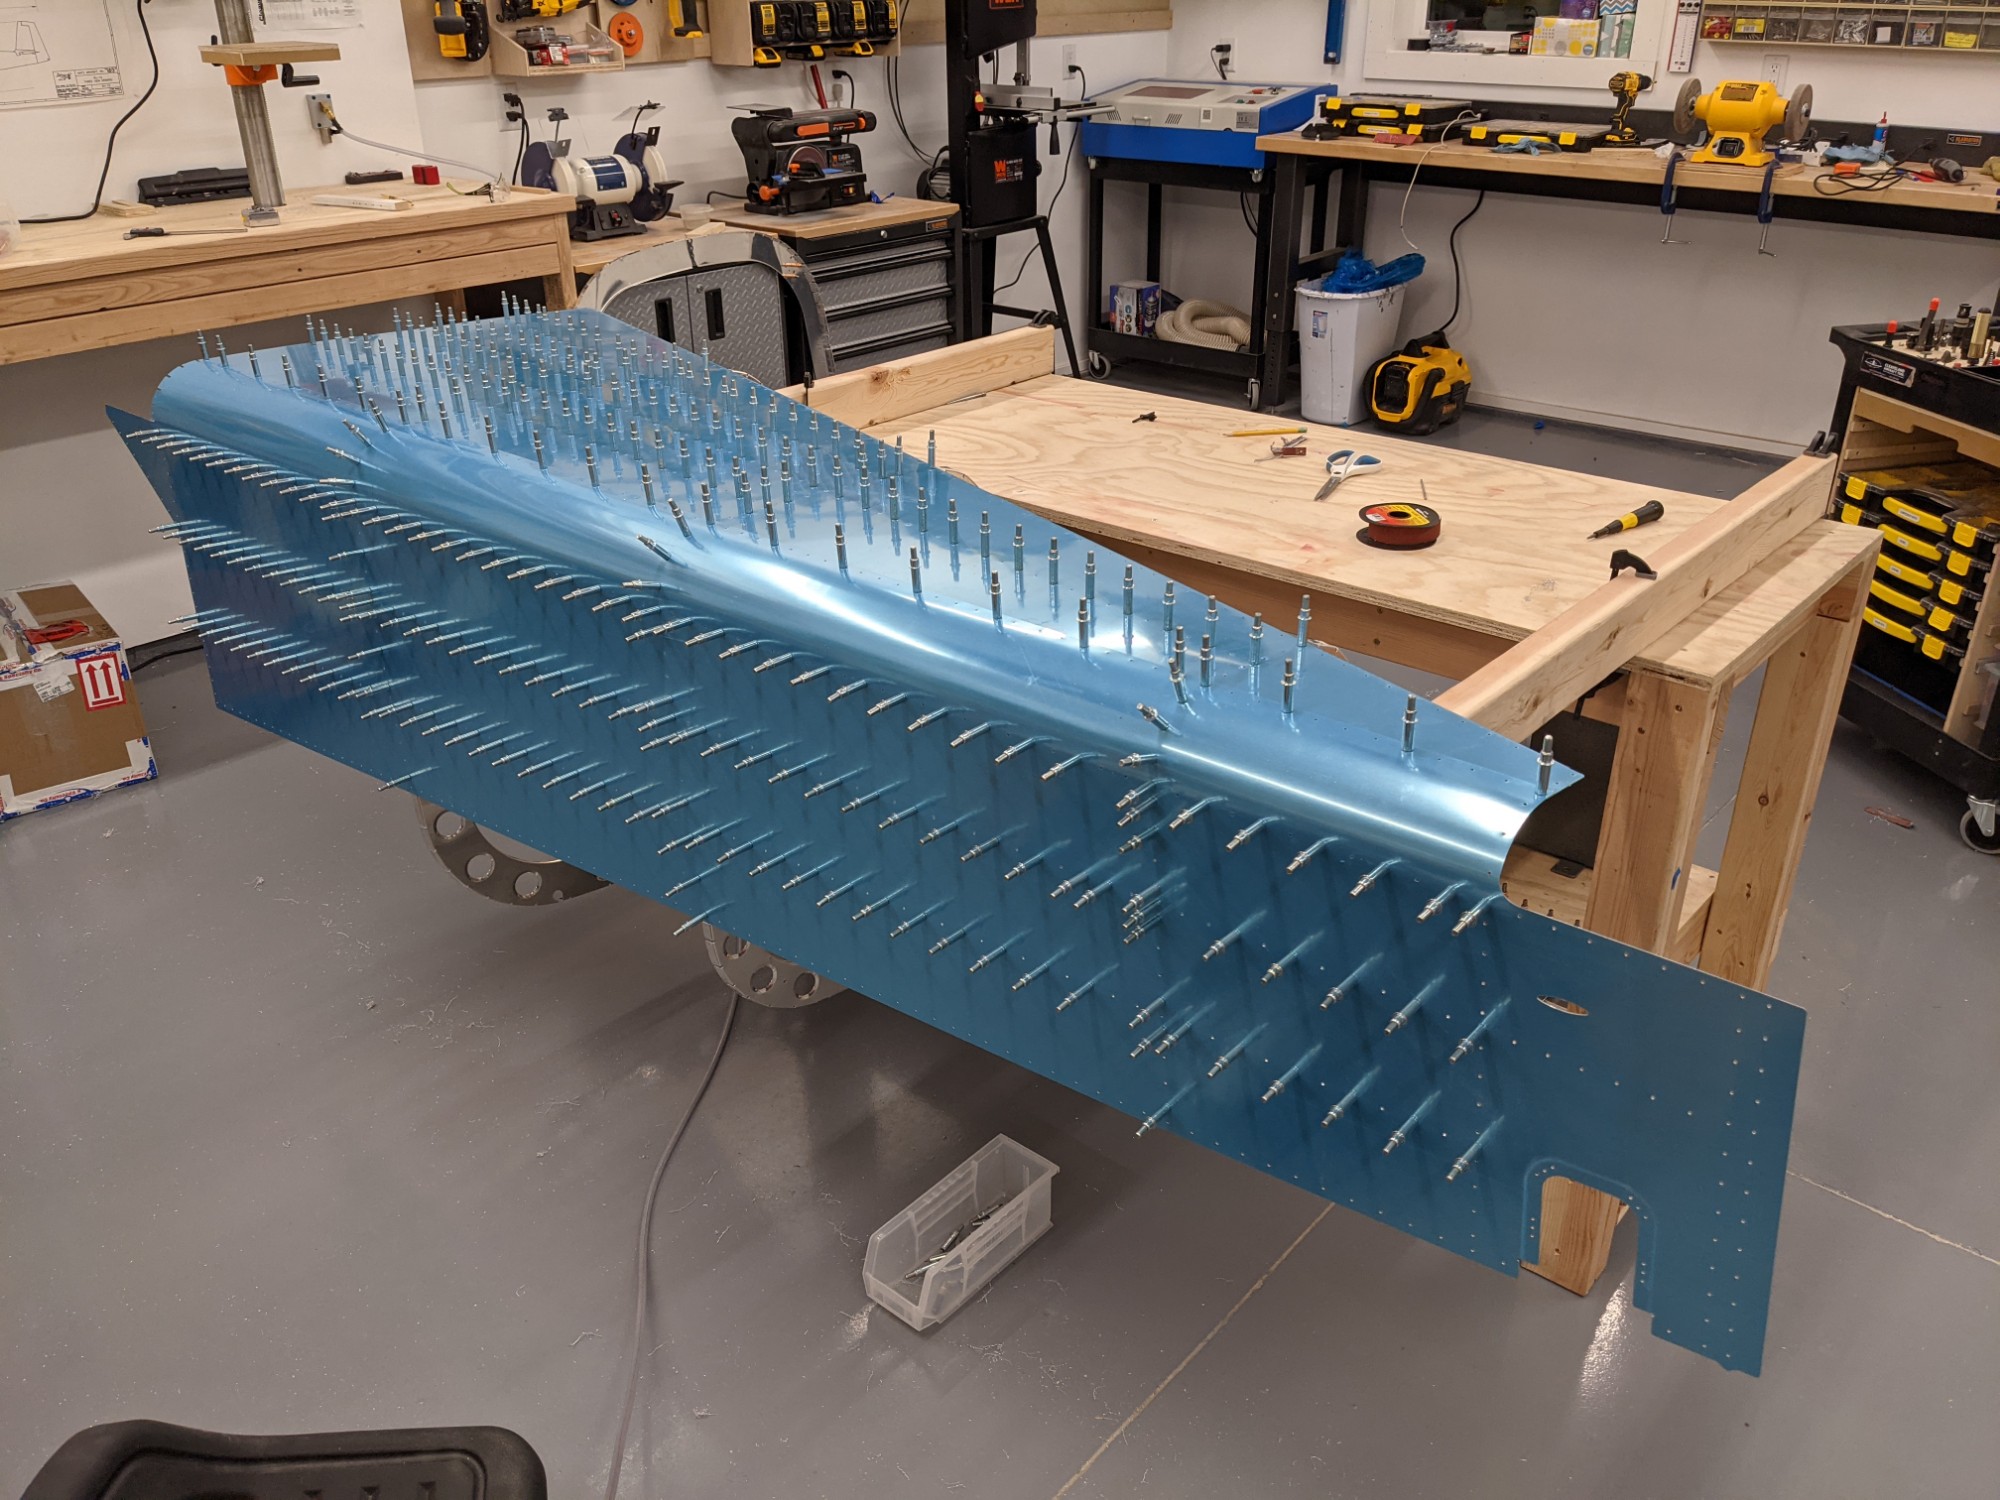
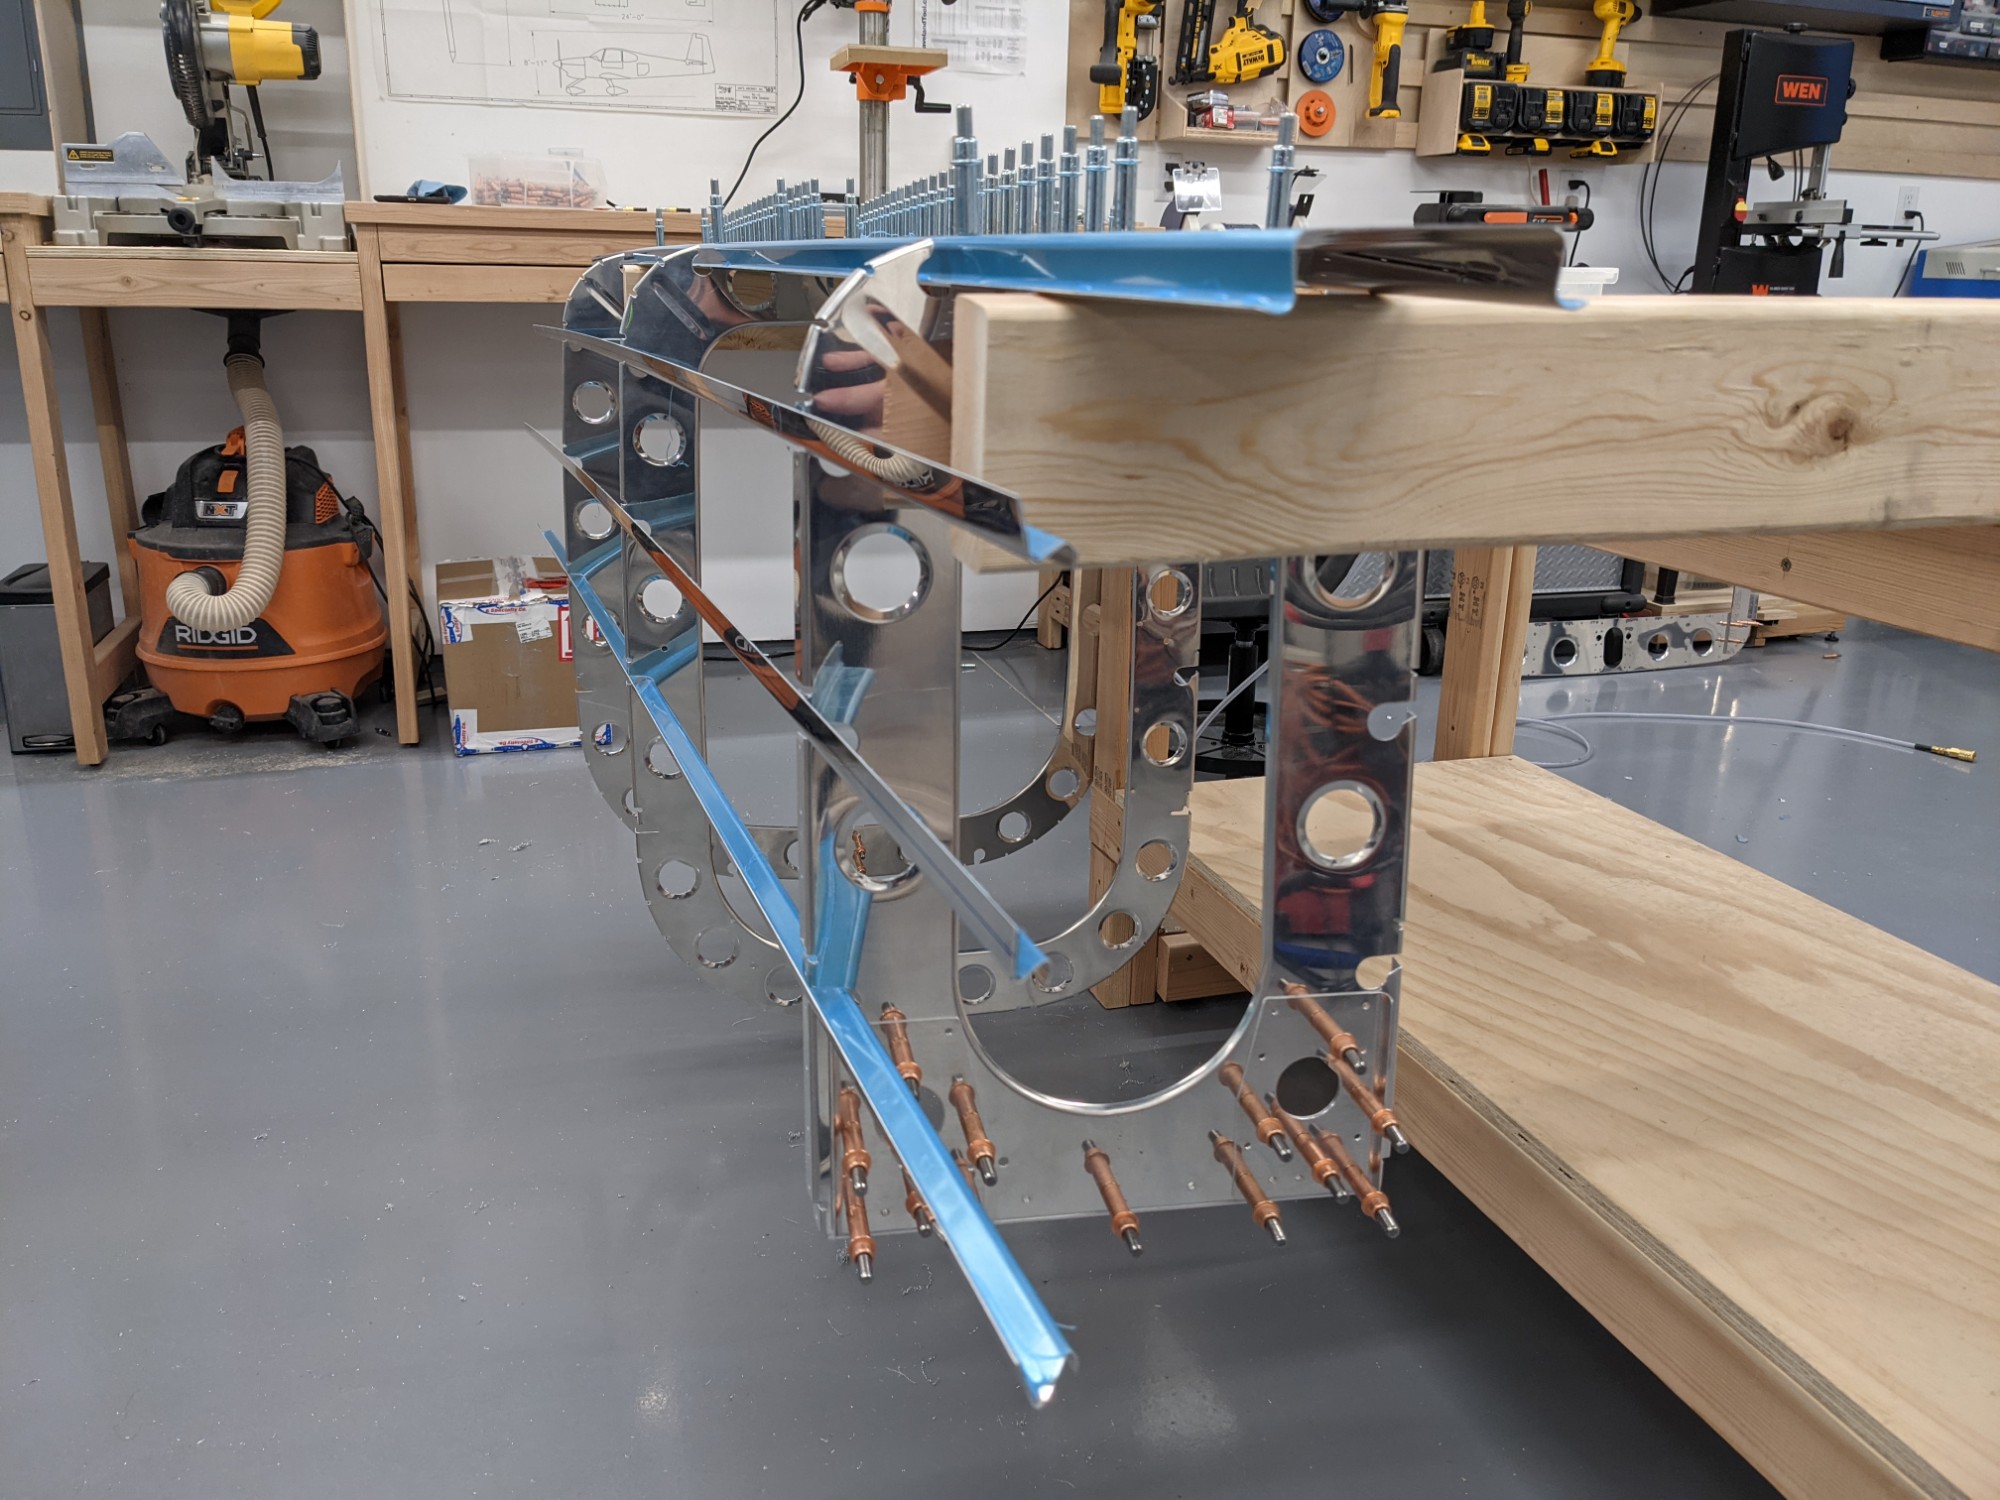
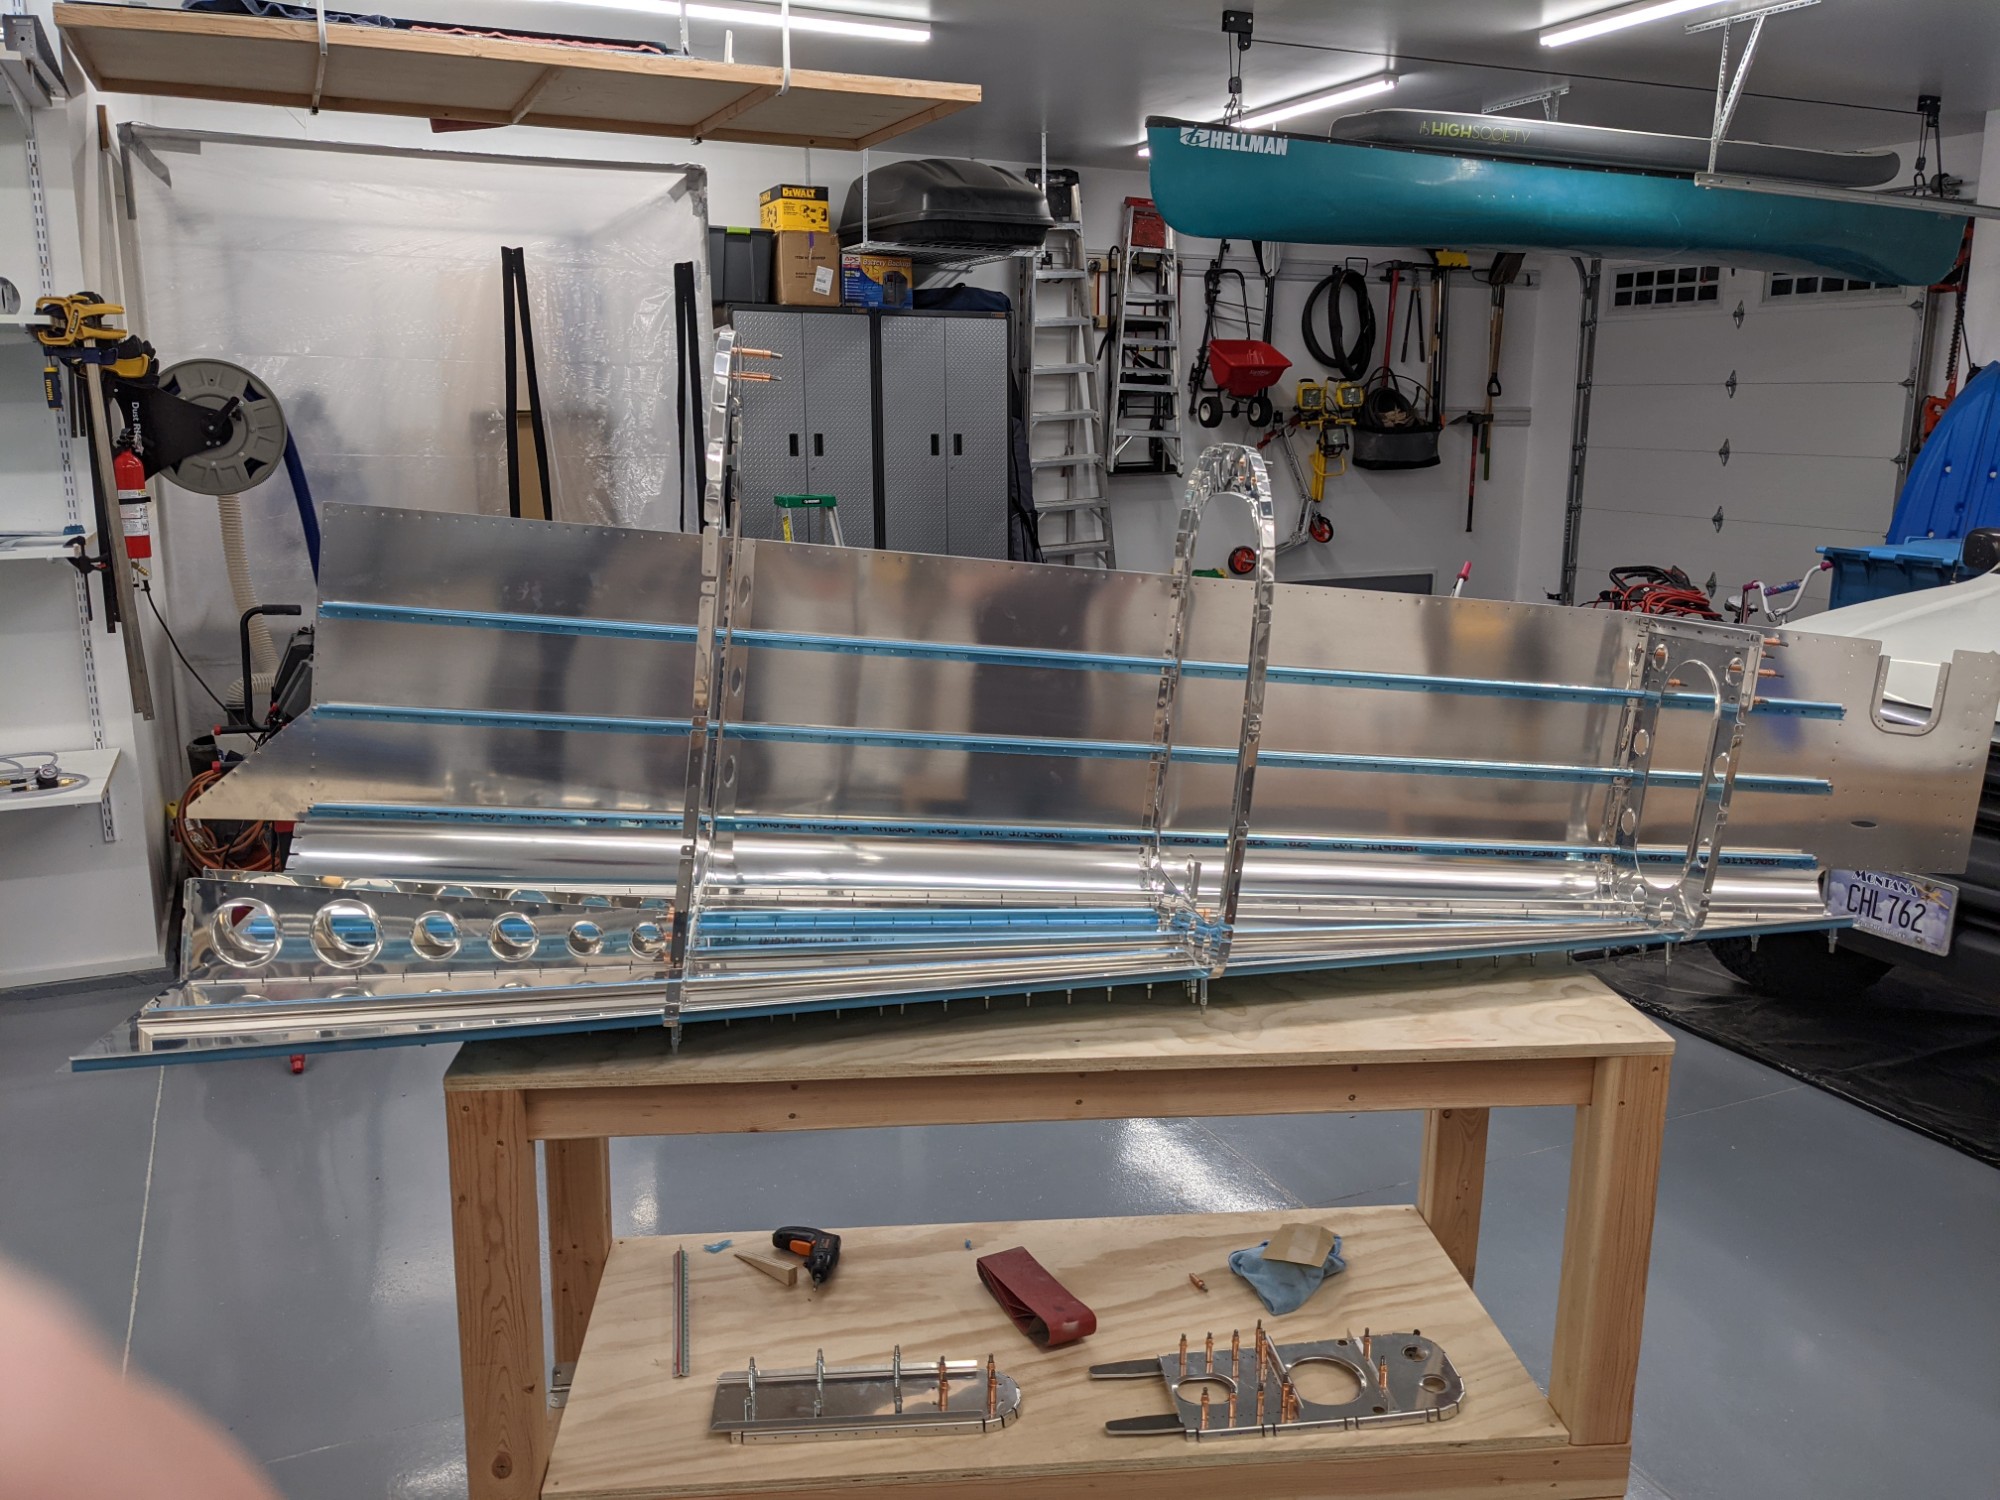
I then flipped the tailcone over onto my other workbench to prepare for clecoing the remaining bulkheads and the left skin into place.
This was another moment where the project feels pretty real. This is a decent-sized assembly and this is just the section that is to the rear of the baggage compartment.
Enough for today.