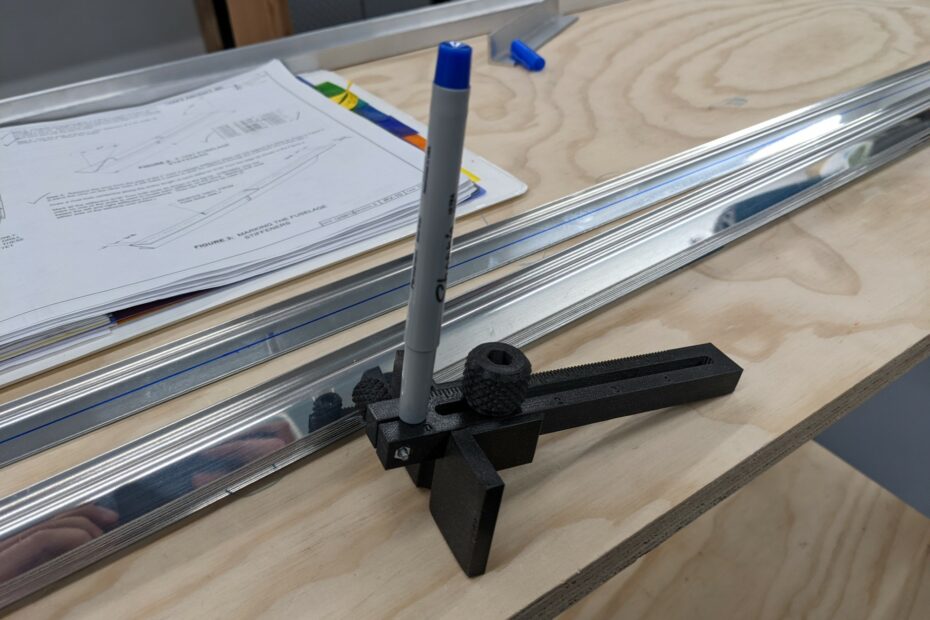
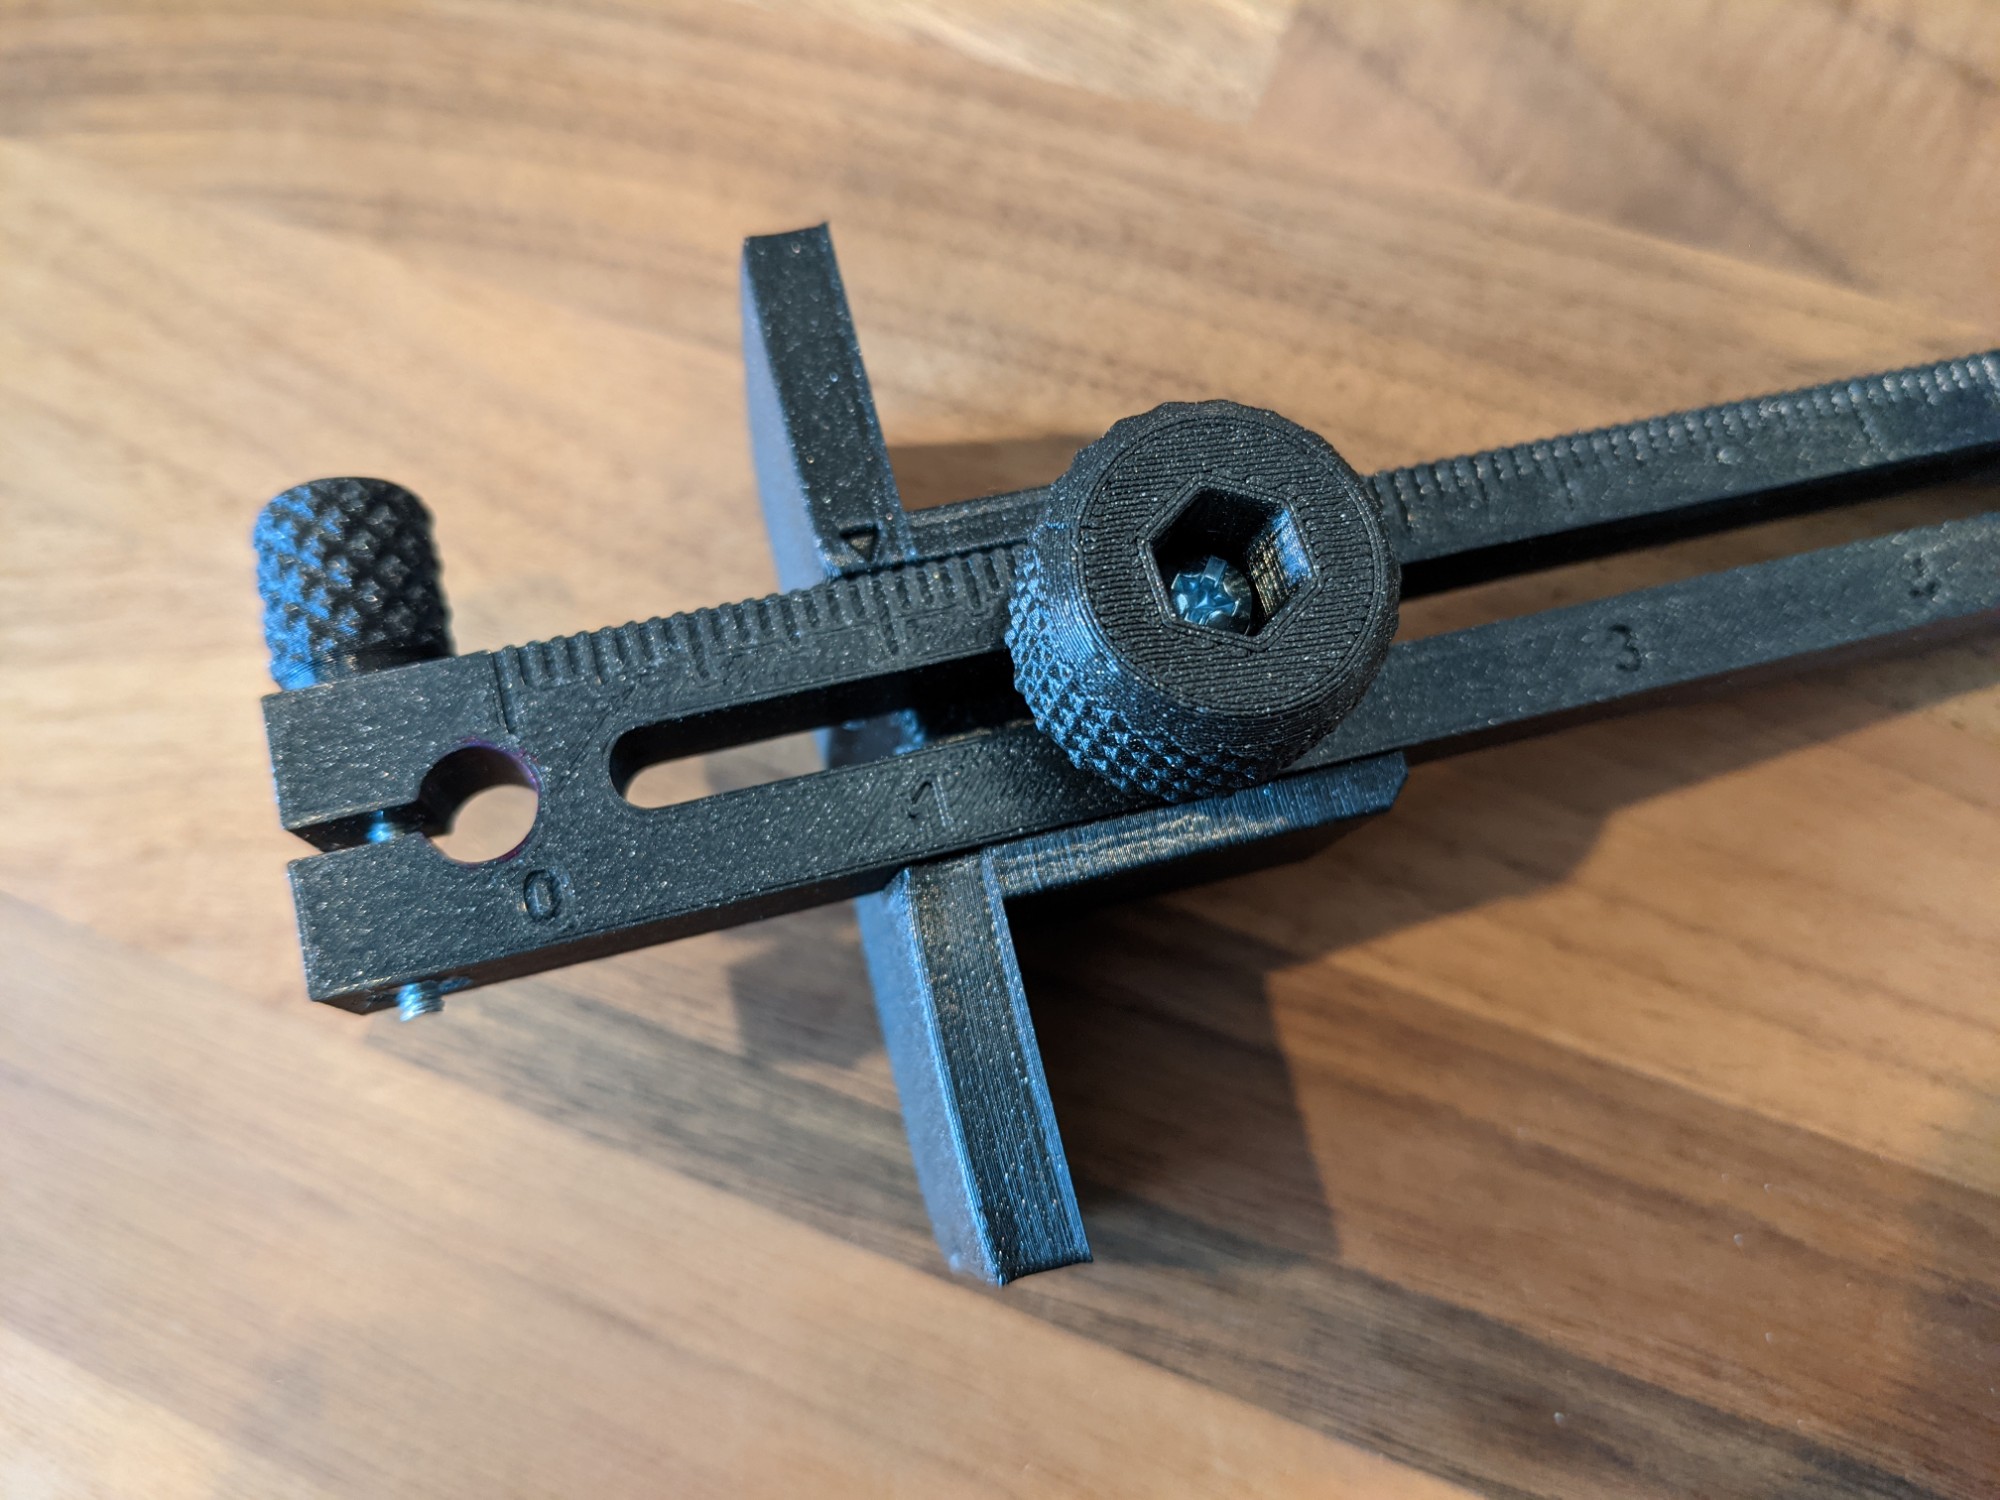
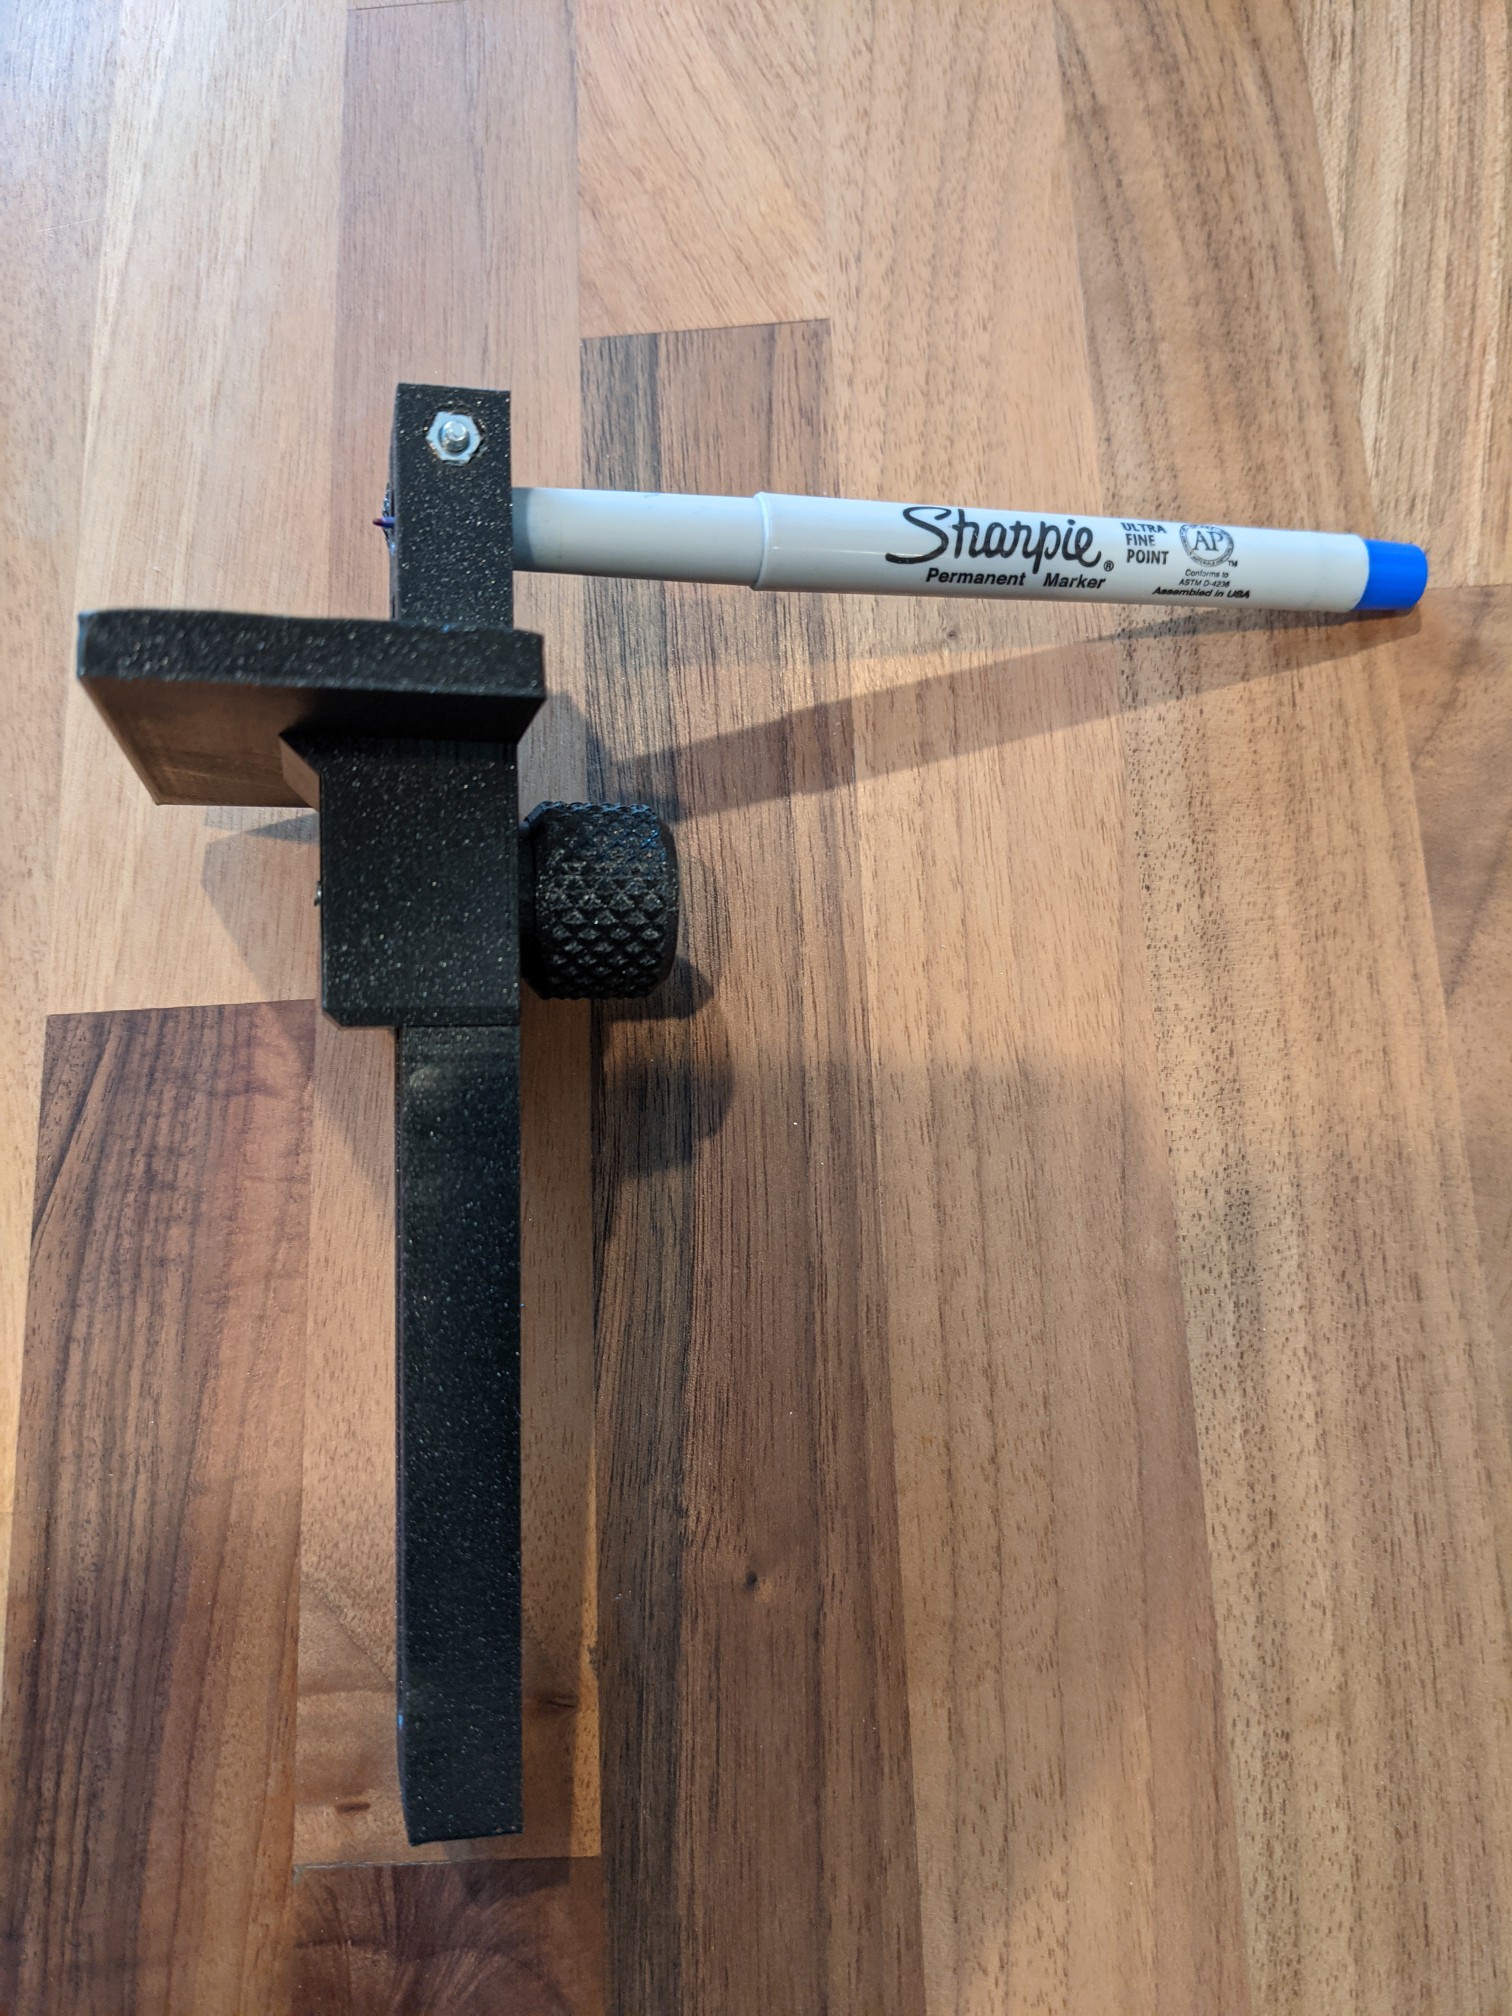
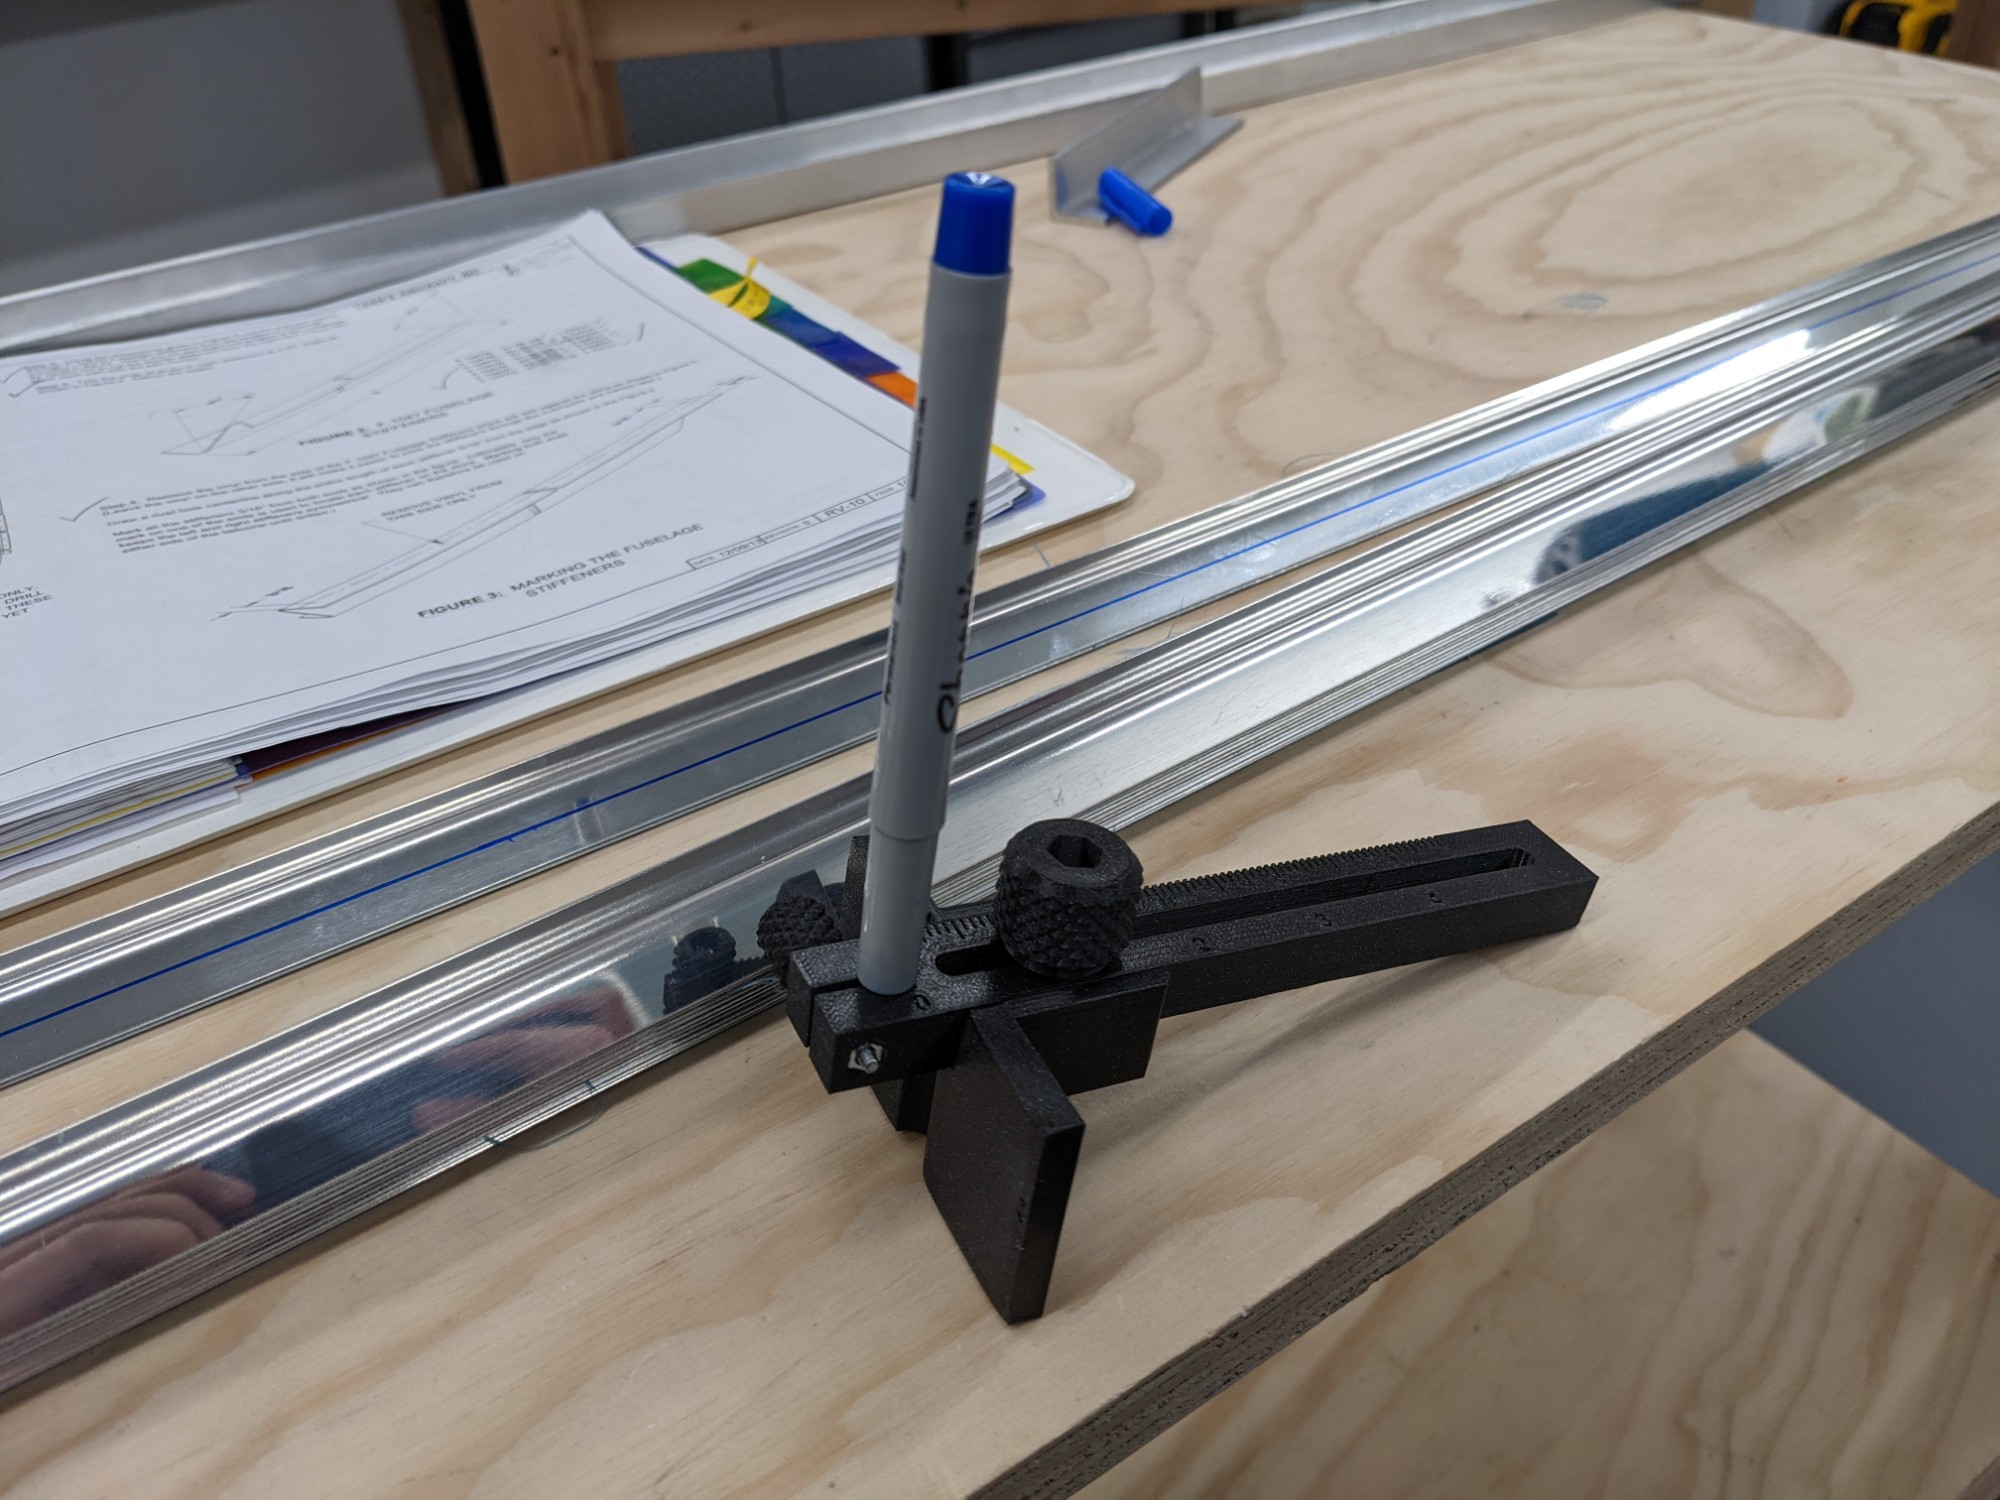
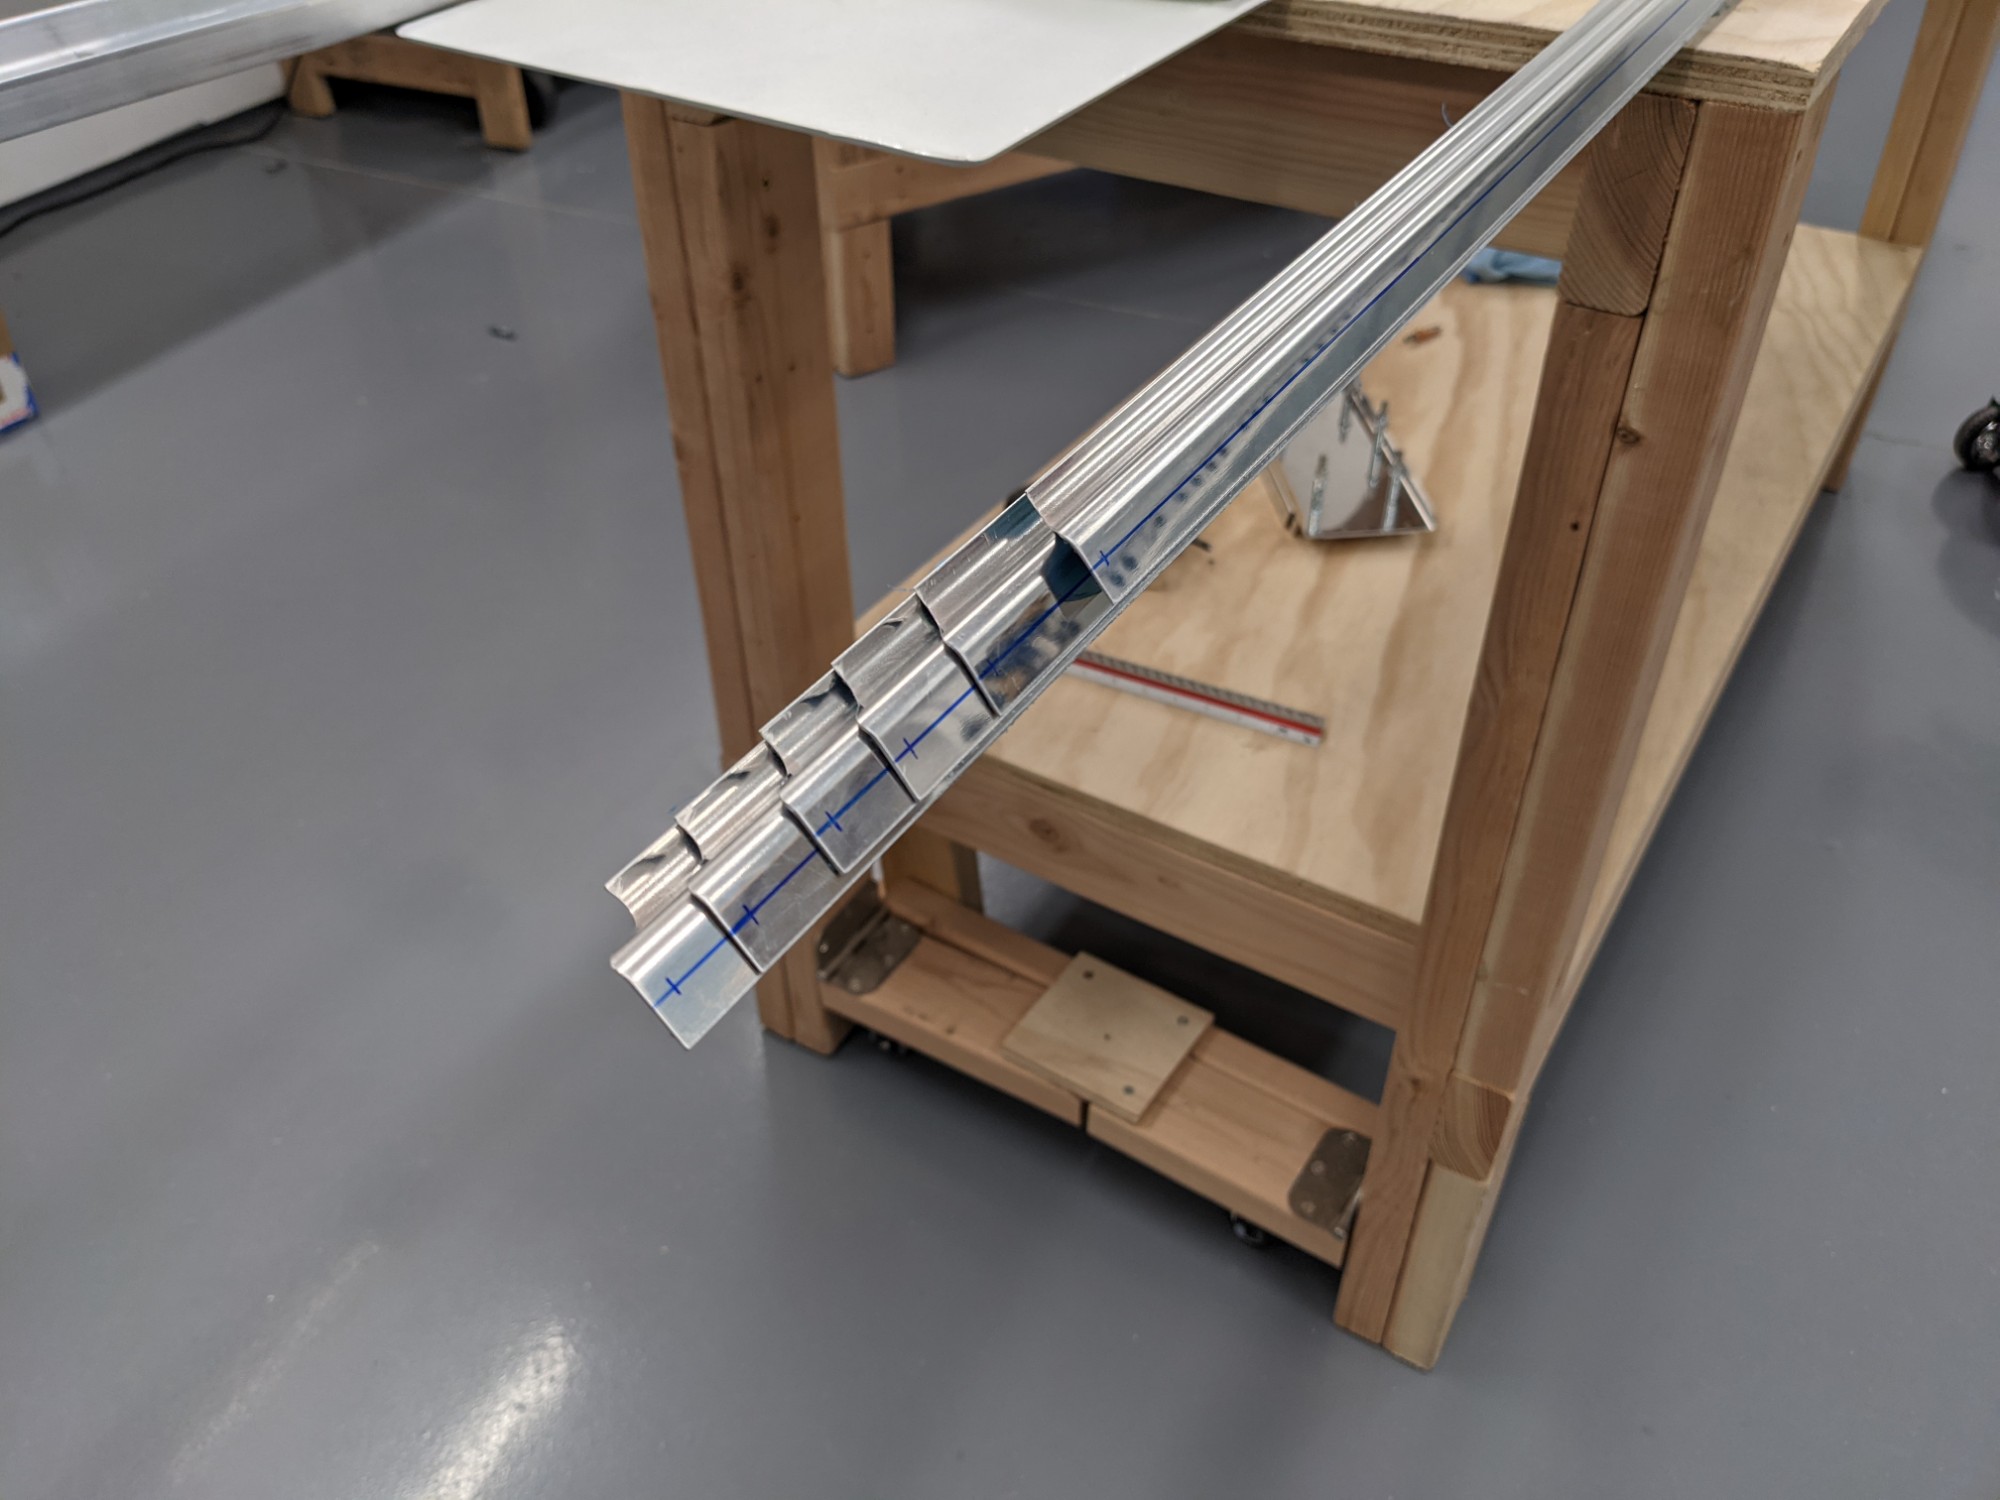
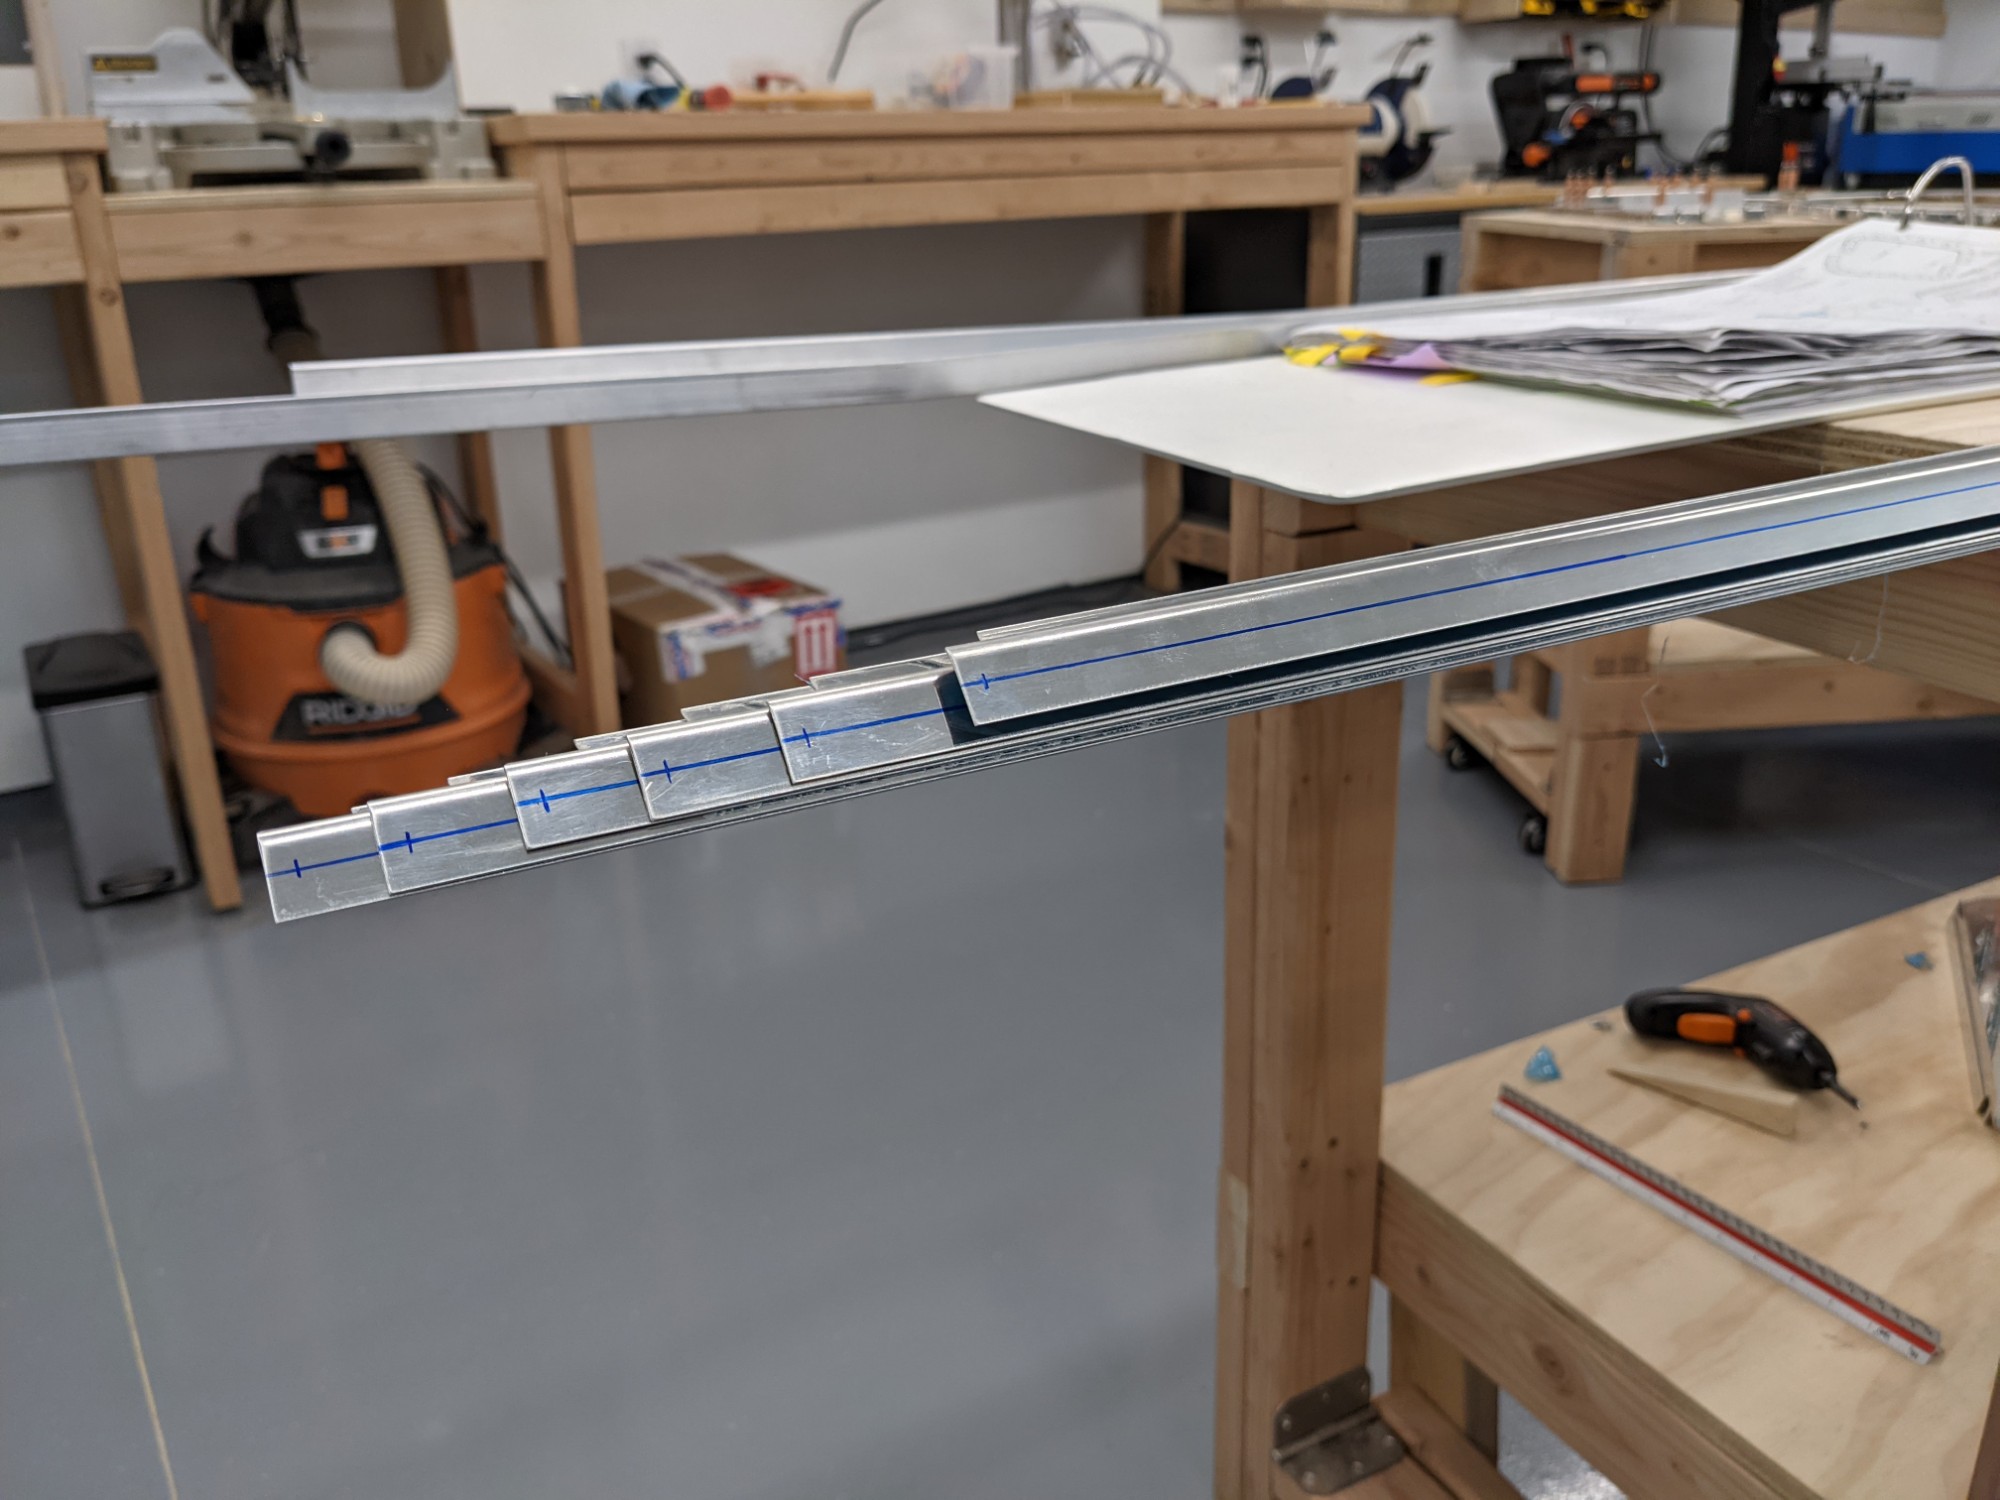
I 3D printed an offset marking gauge yesterday and I used that to mark the rivet centerlines in the stiffeners today. Still amazing to me that you can download and print a useful tool on demand (and in this case from someone in Buenos Aires – thank you Andres for sharing!)
![](https://airplane.allanglen.com/wp-content/uploads/2021/02/pxl_20210216_1612273114075542025789041574.jpg)
![](https://airplane.allanglen.com/wp-content/uploads/2021/02/pxl_20210216_1610169428758479321042966465.jpg)
![](https://airplane.allanglen.com/wp-content/uploads/2021/02/pxl_20210217_0254384028621315122526571544.jpg)
![](https://airplane.allanglen.com/wp-content/uploads/2021/02/pxl_20210217_0314225636571901696674003485.jpg)
![](https://airplane.allanglen.com/wp-content/uploads/2021/02/pxl_20210217_0314438568066102028139472994.jpg)
I then spent about an hour deburring all of the flanges and tabs on the bulkheads and fuselage frames.
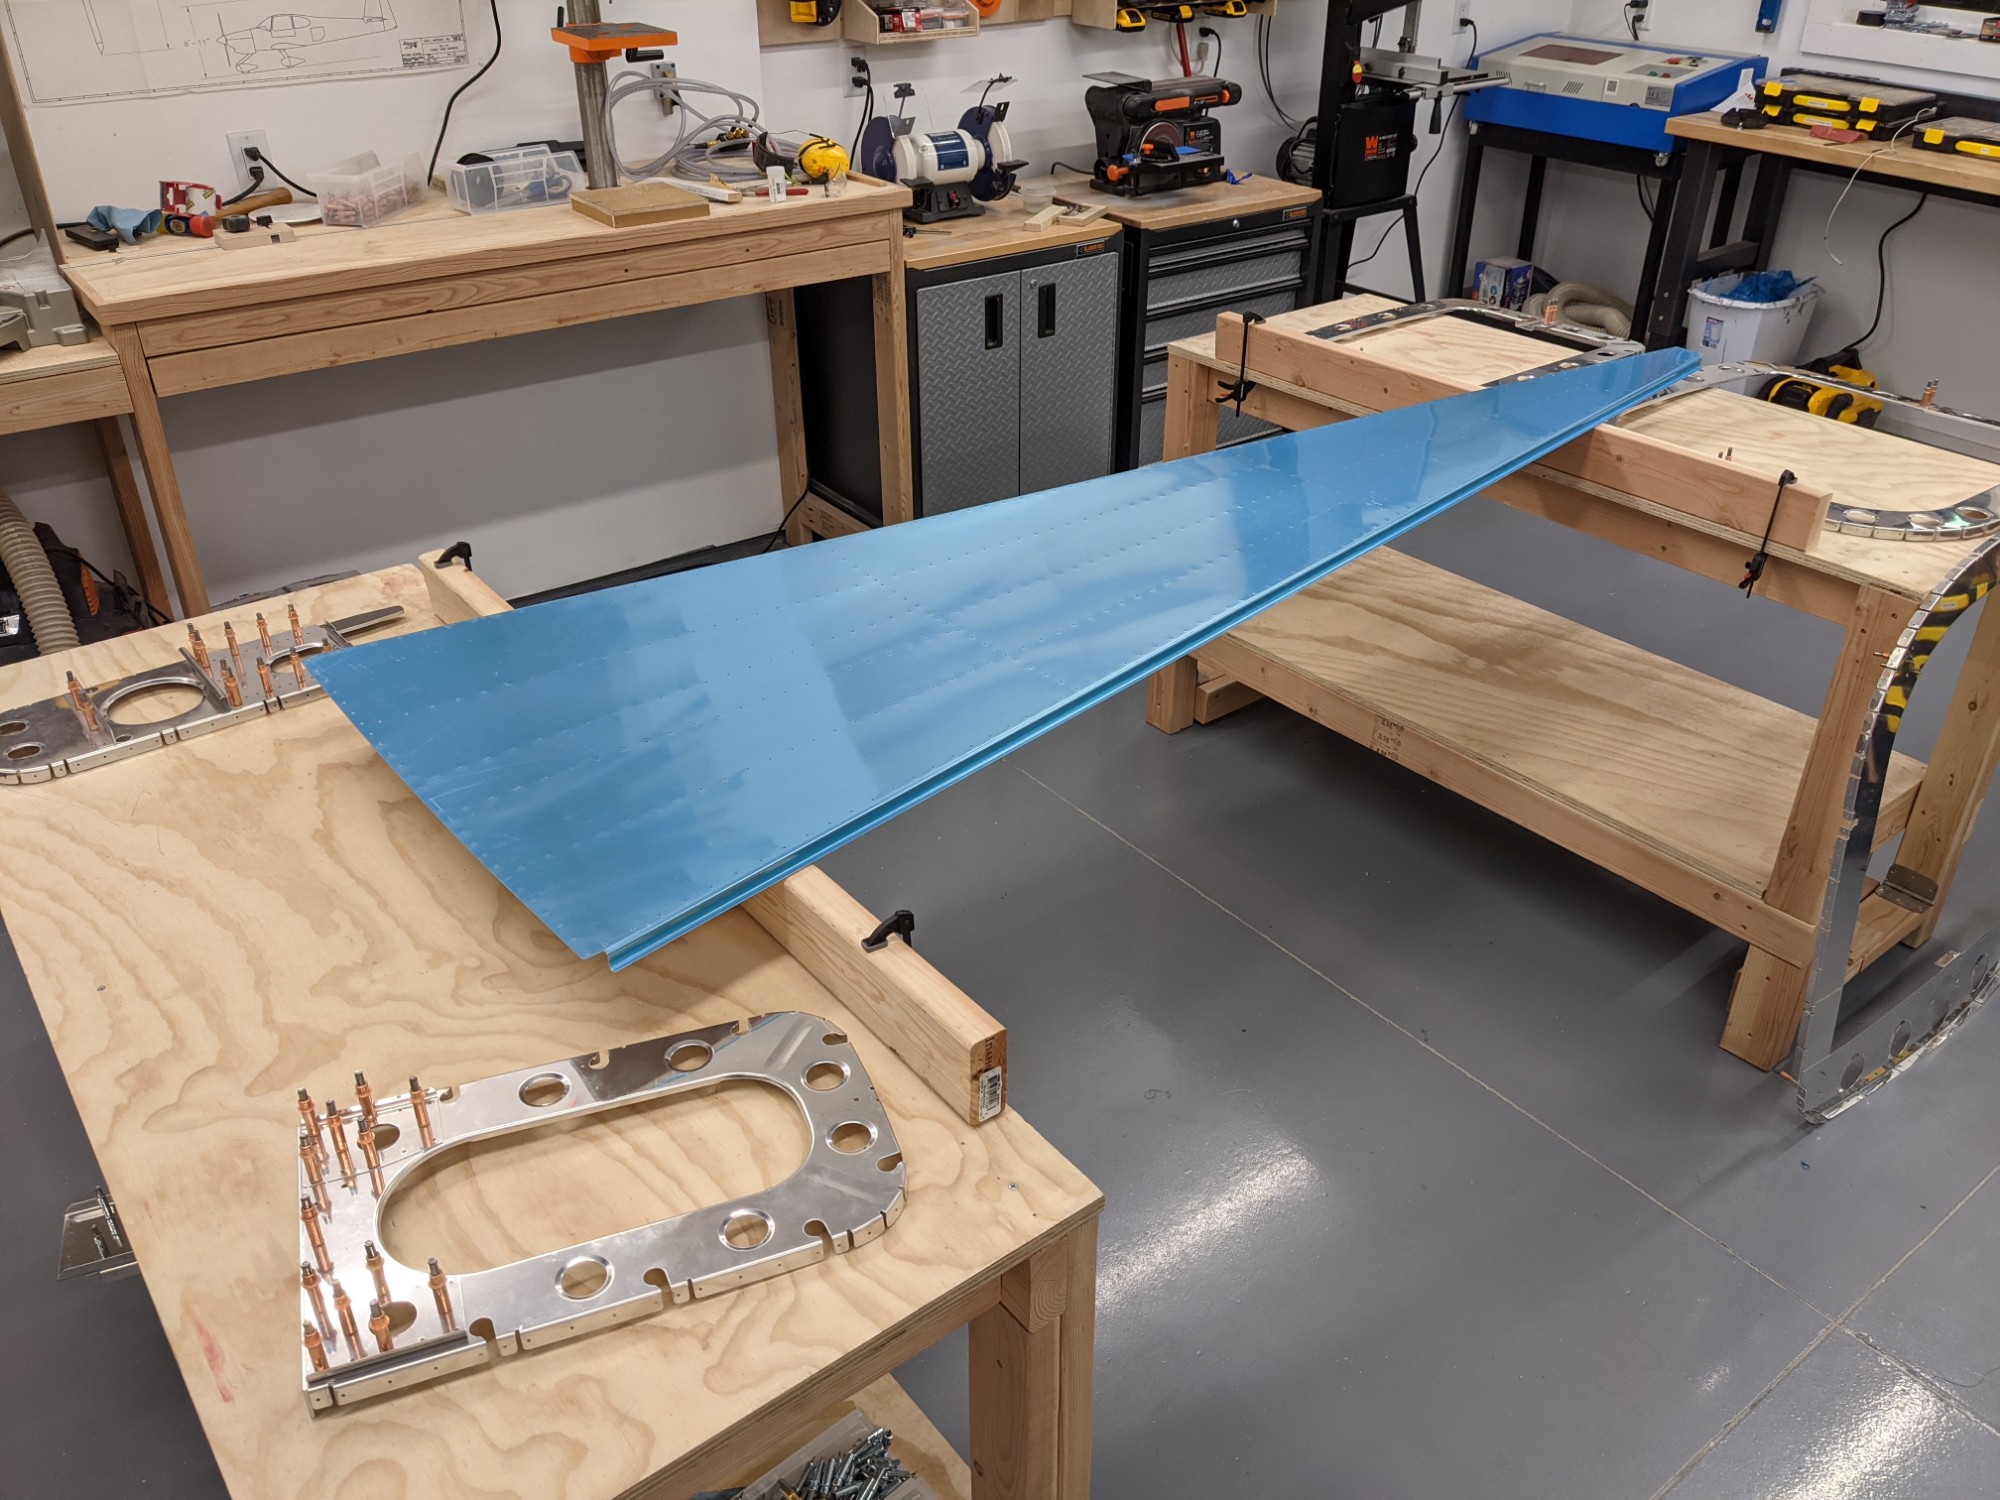
I then removed the vinyl from the inside of the bottom skin and deburred the edges with the handheld vixen file.
![](https://airplane.allanglen.com/wp-content/uploads/2021/02/pxl_20210217_0419485567140333194675789036.jpg)
![](https://airplane.allanglen.com/wp-content/uploads/2021/02/pxl_20210217_0420023924009284029429416228.jpg)
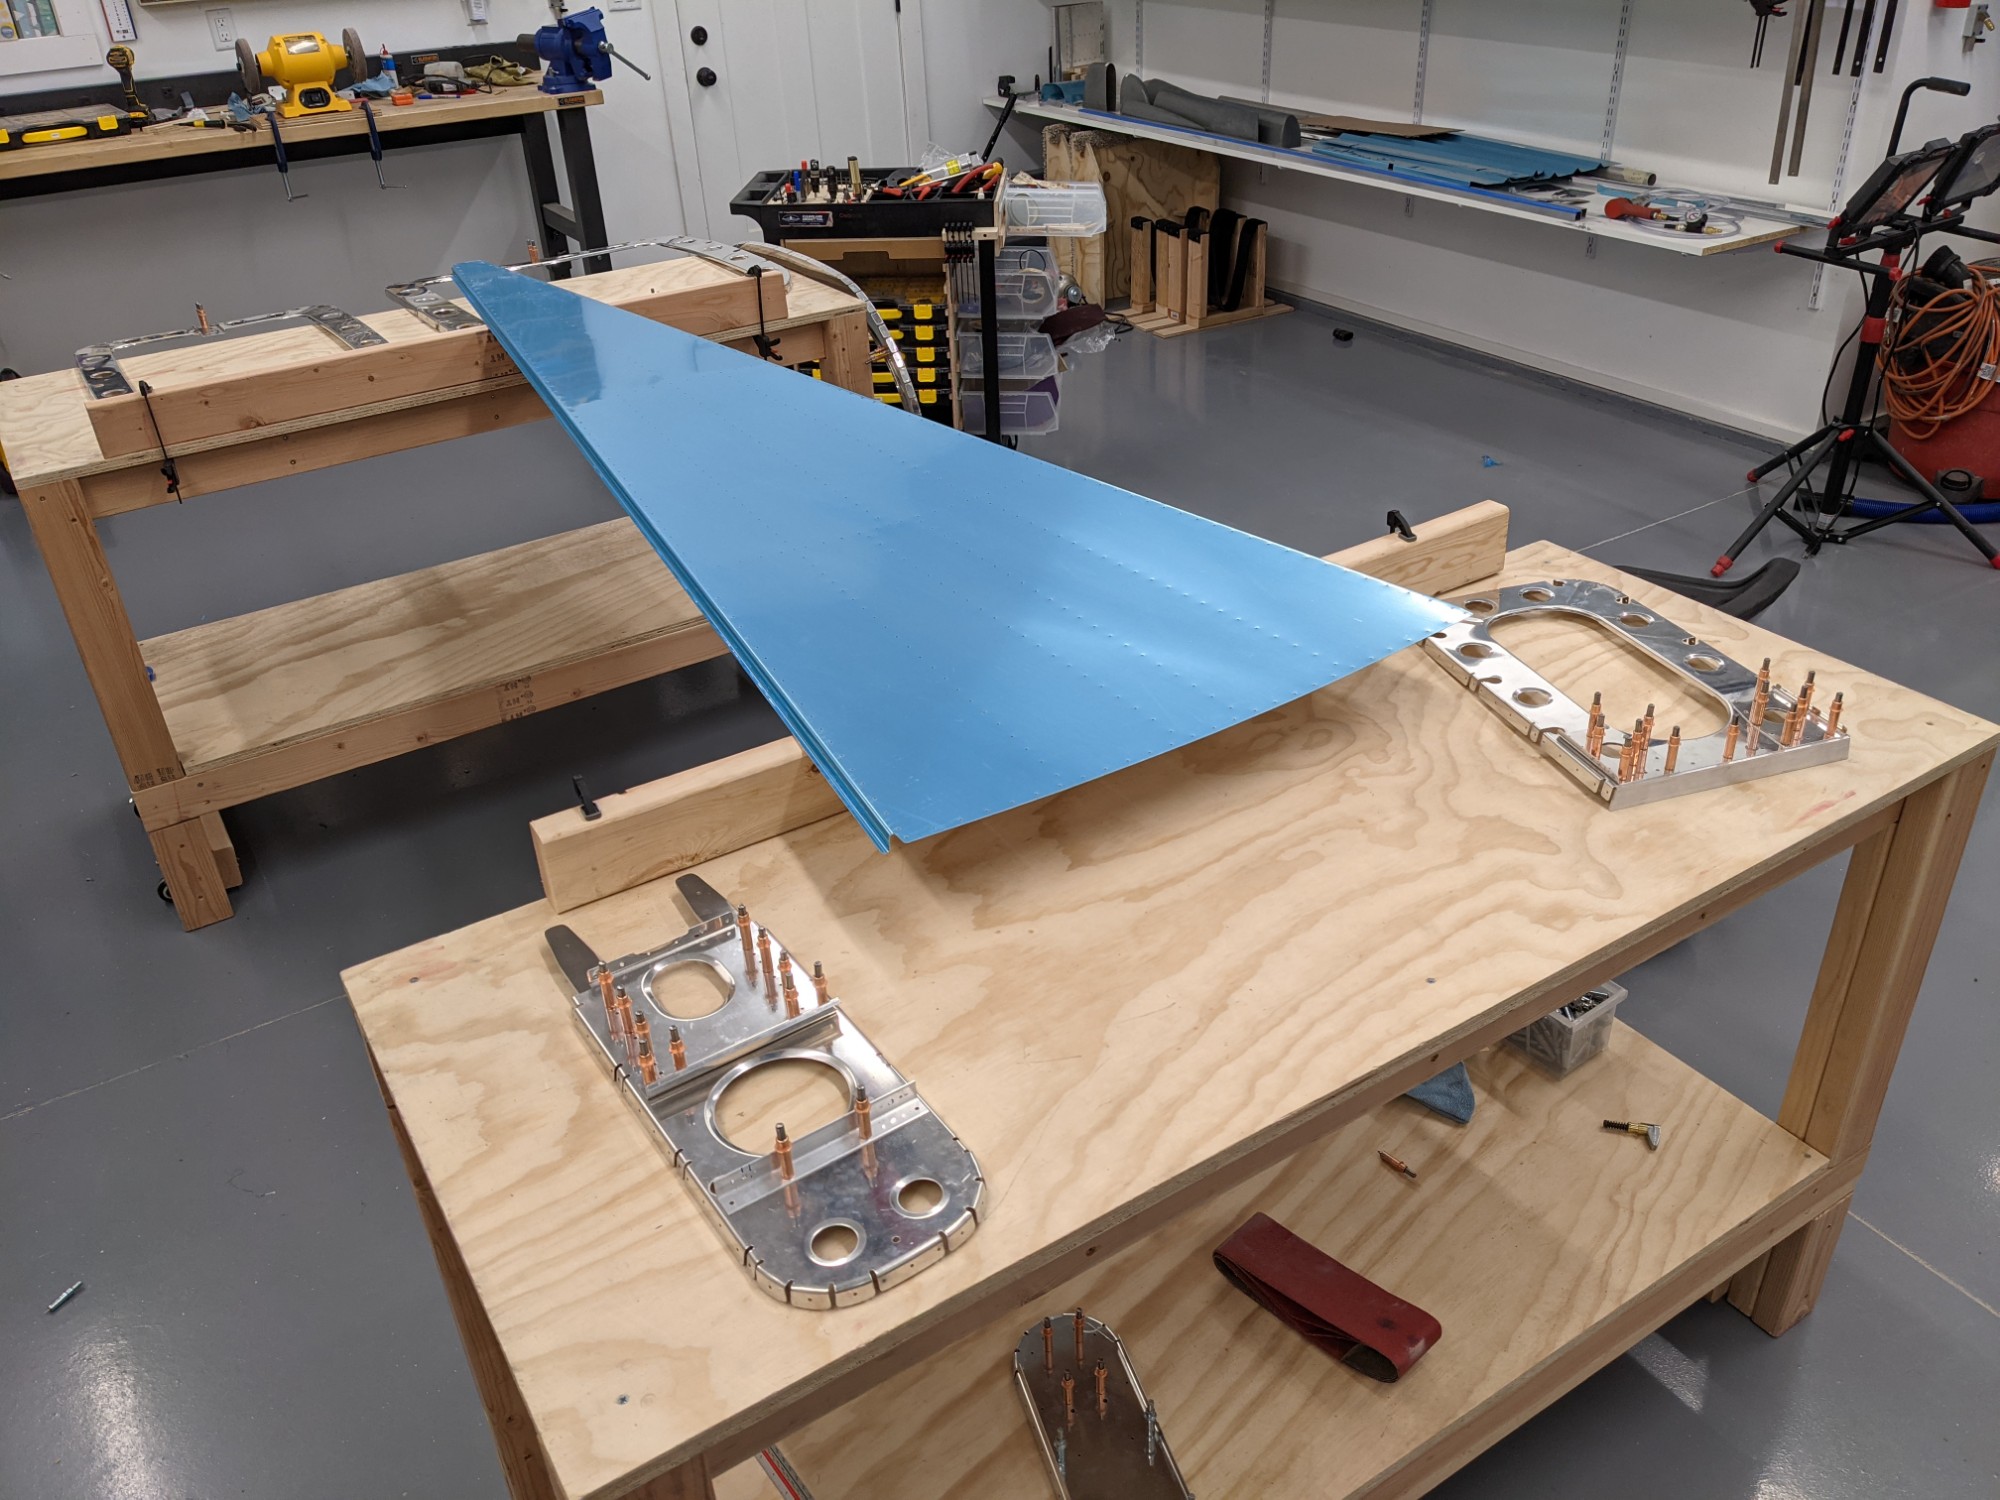
I’ll start clecoing the parts to the bottom skin in the next session.