
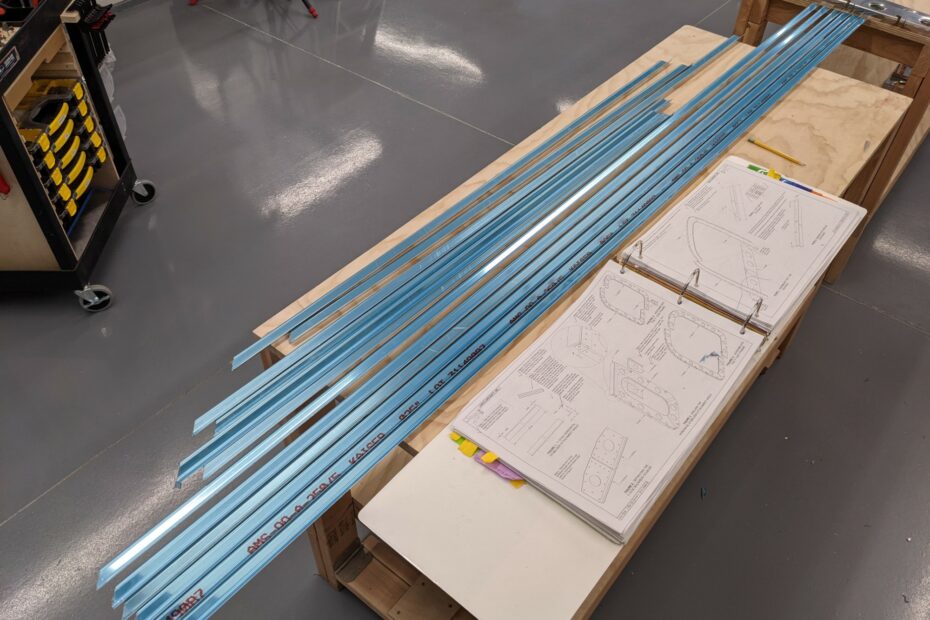
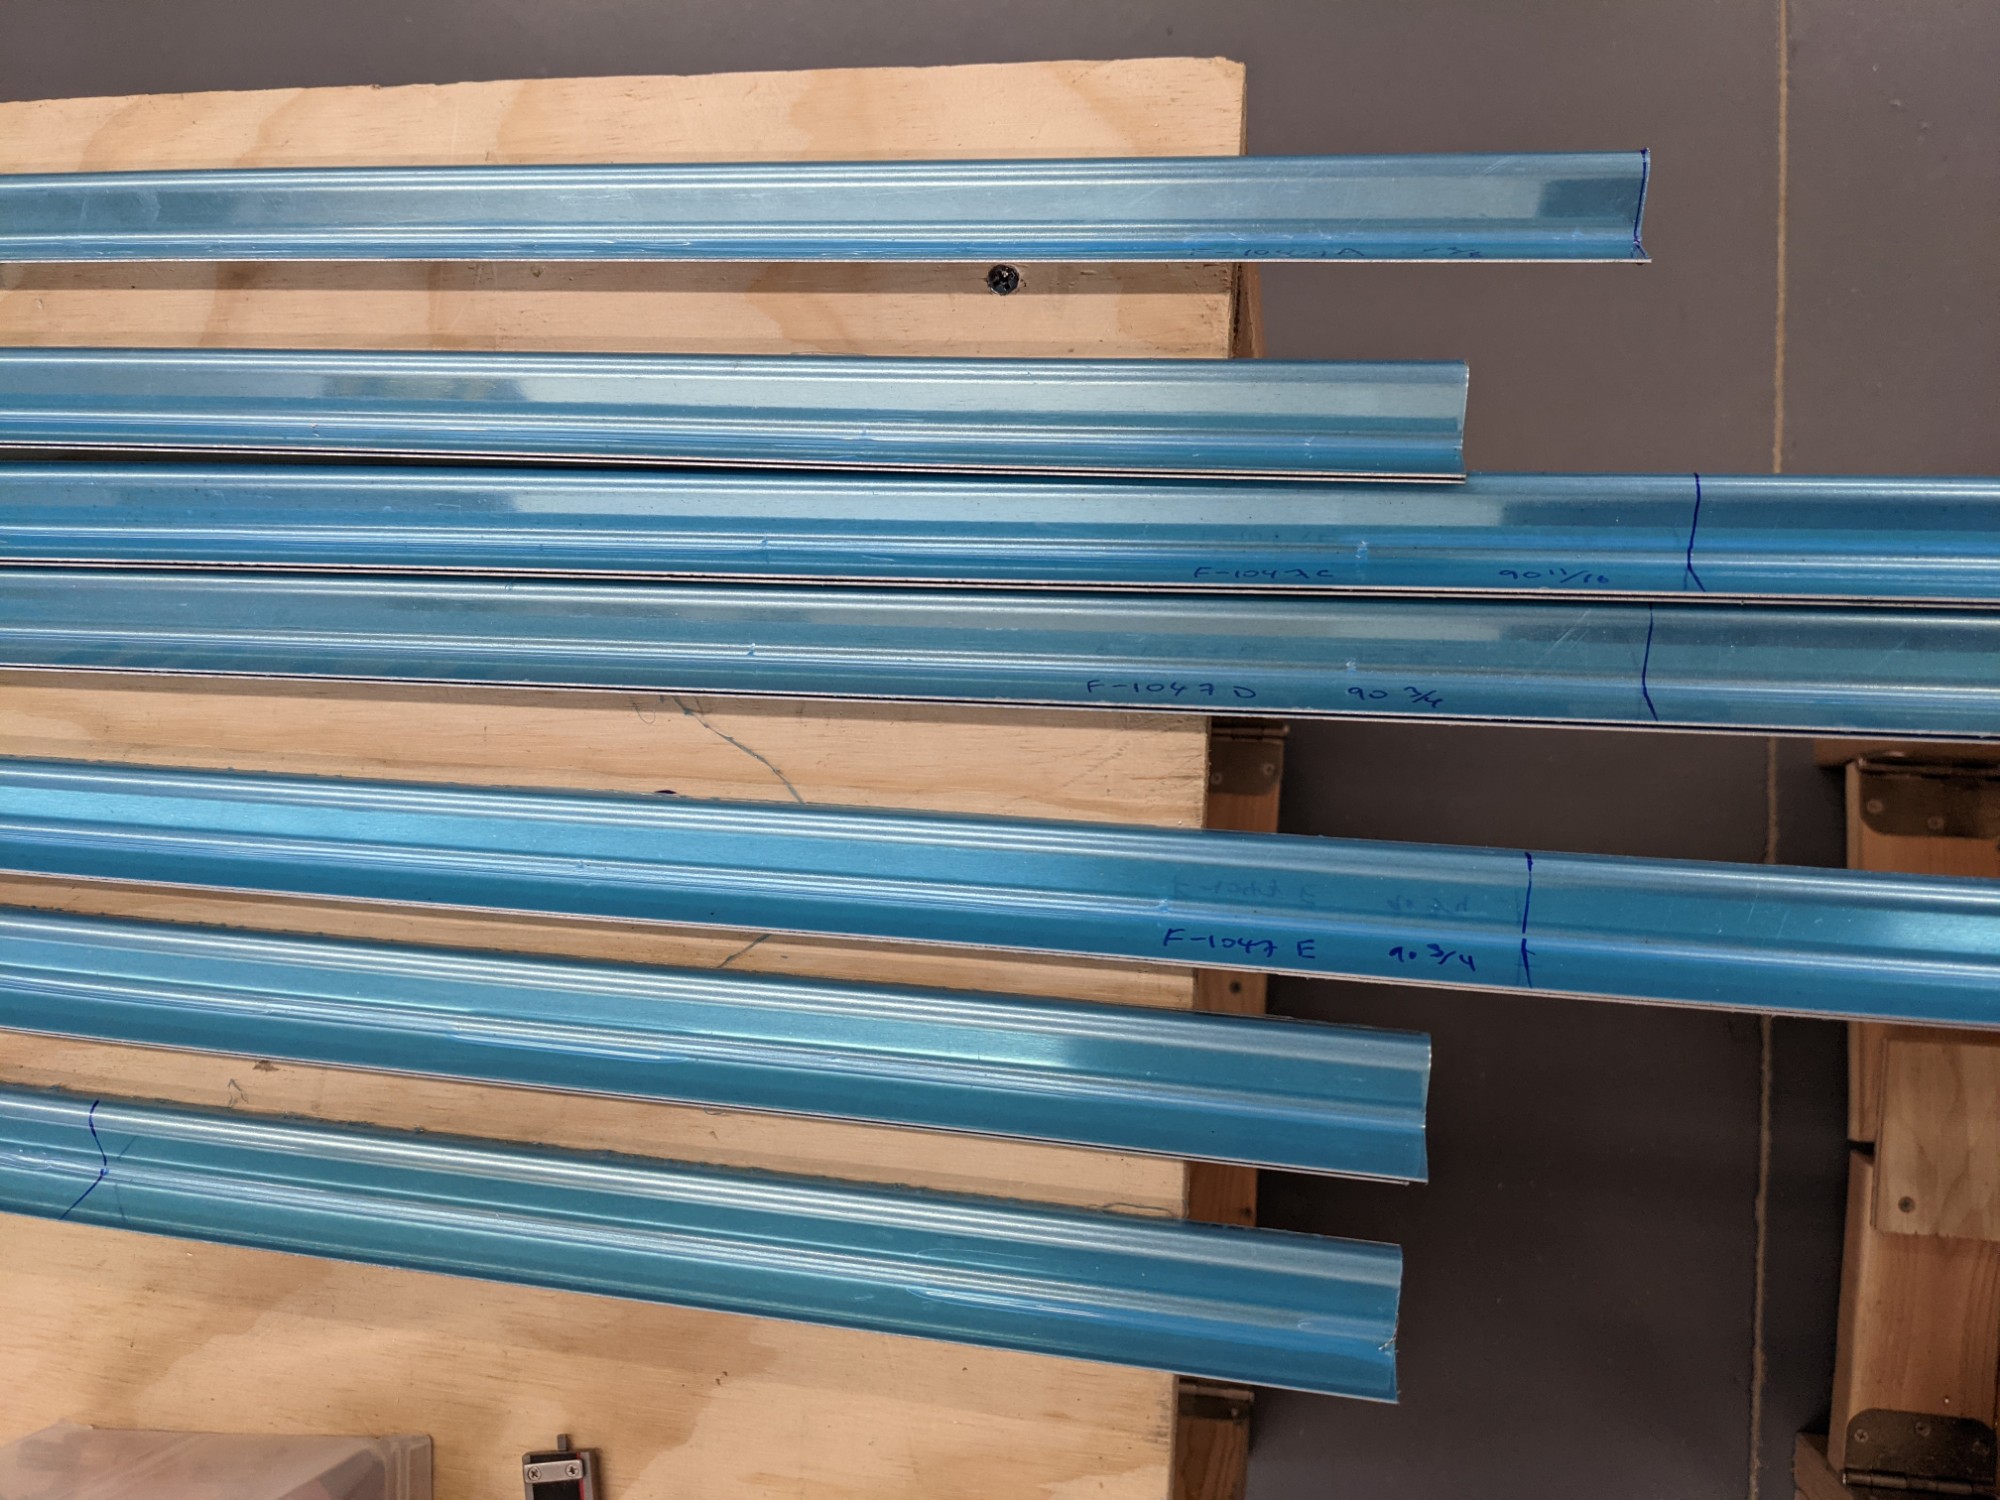
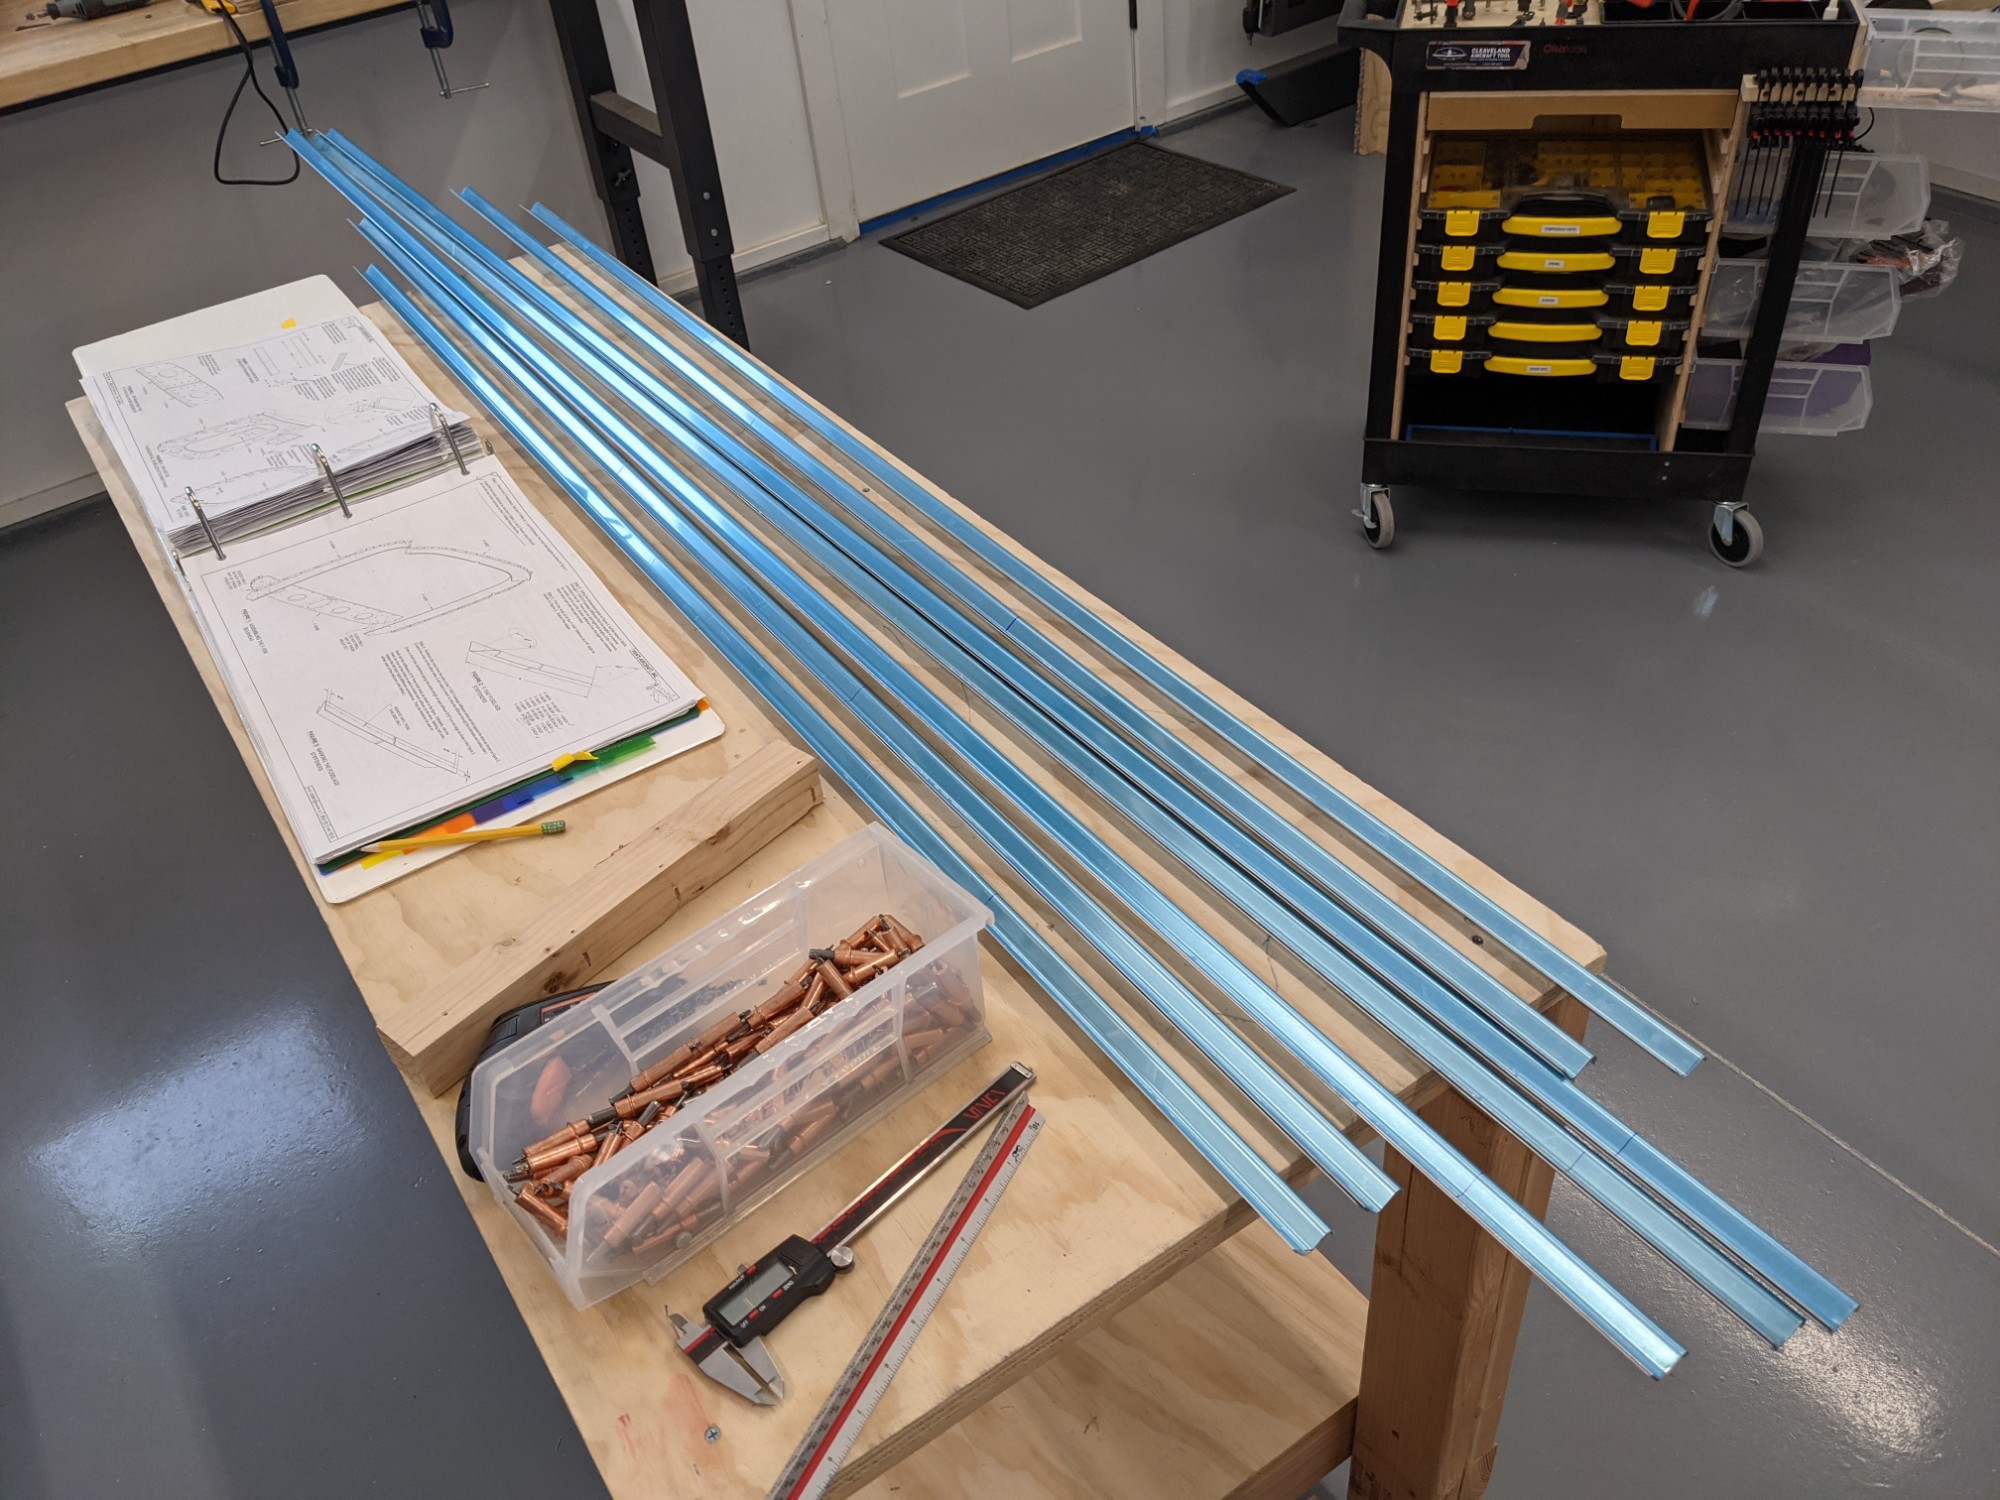
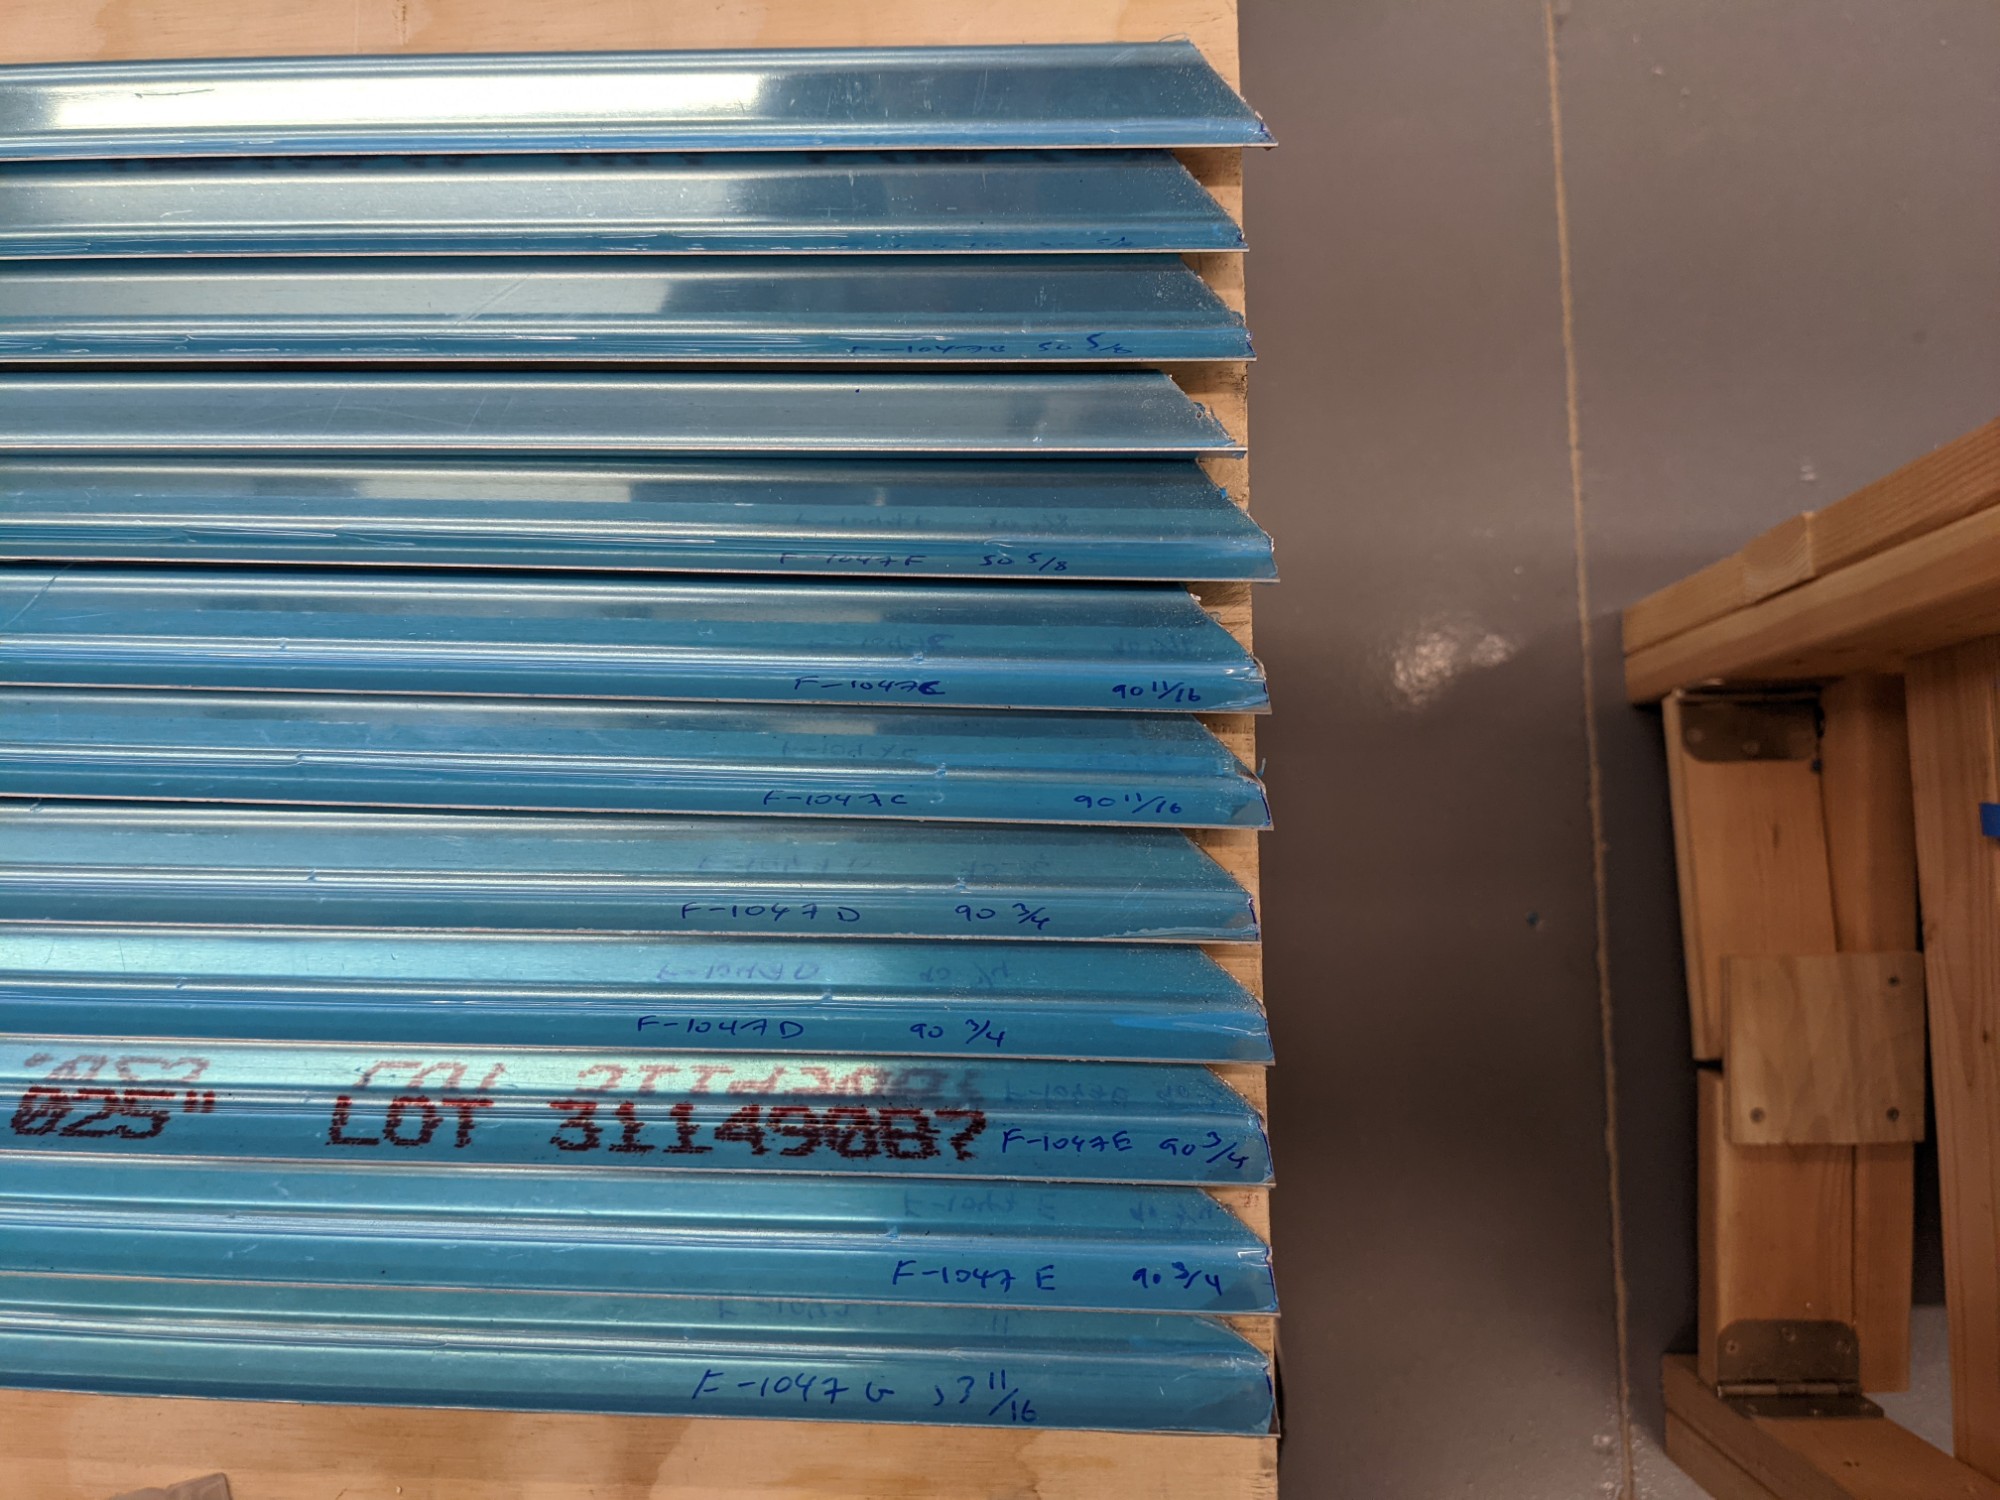
I started this evening by trimming the tailcone stiffener j-channels. There are two lengths of j-channel provided (6′ and 8′) so I marked all of the cuts and advance to make sure I didn’t end up with any unusable cut-offs.
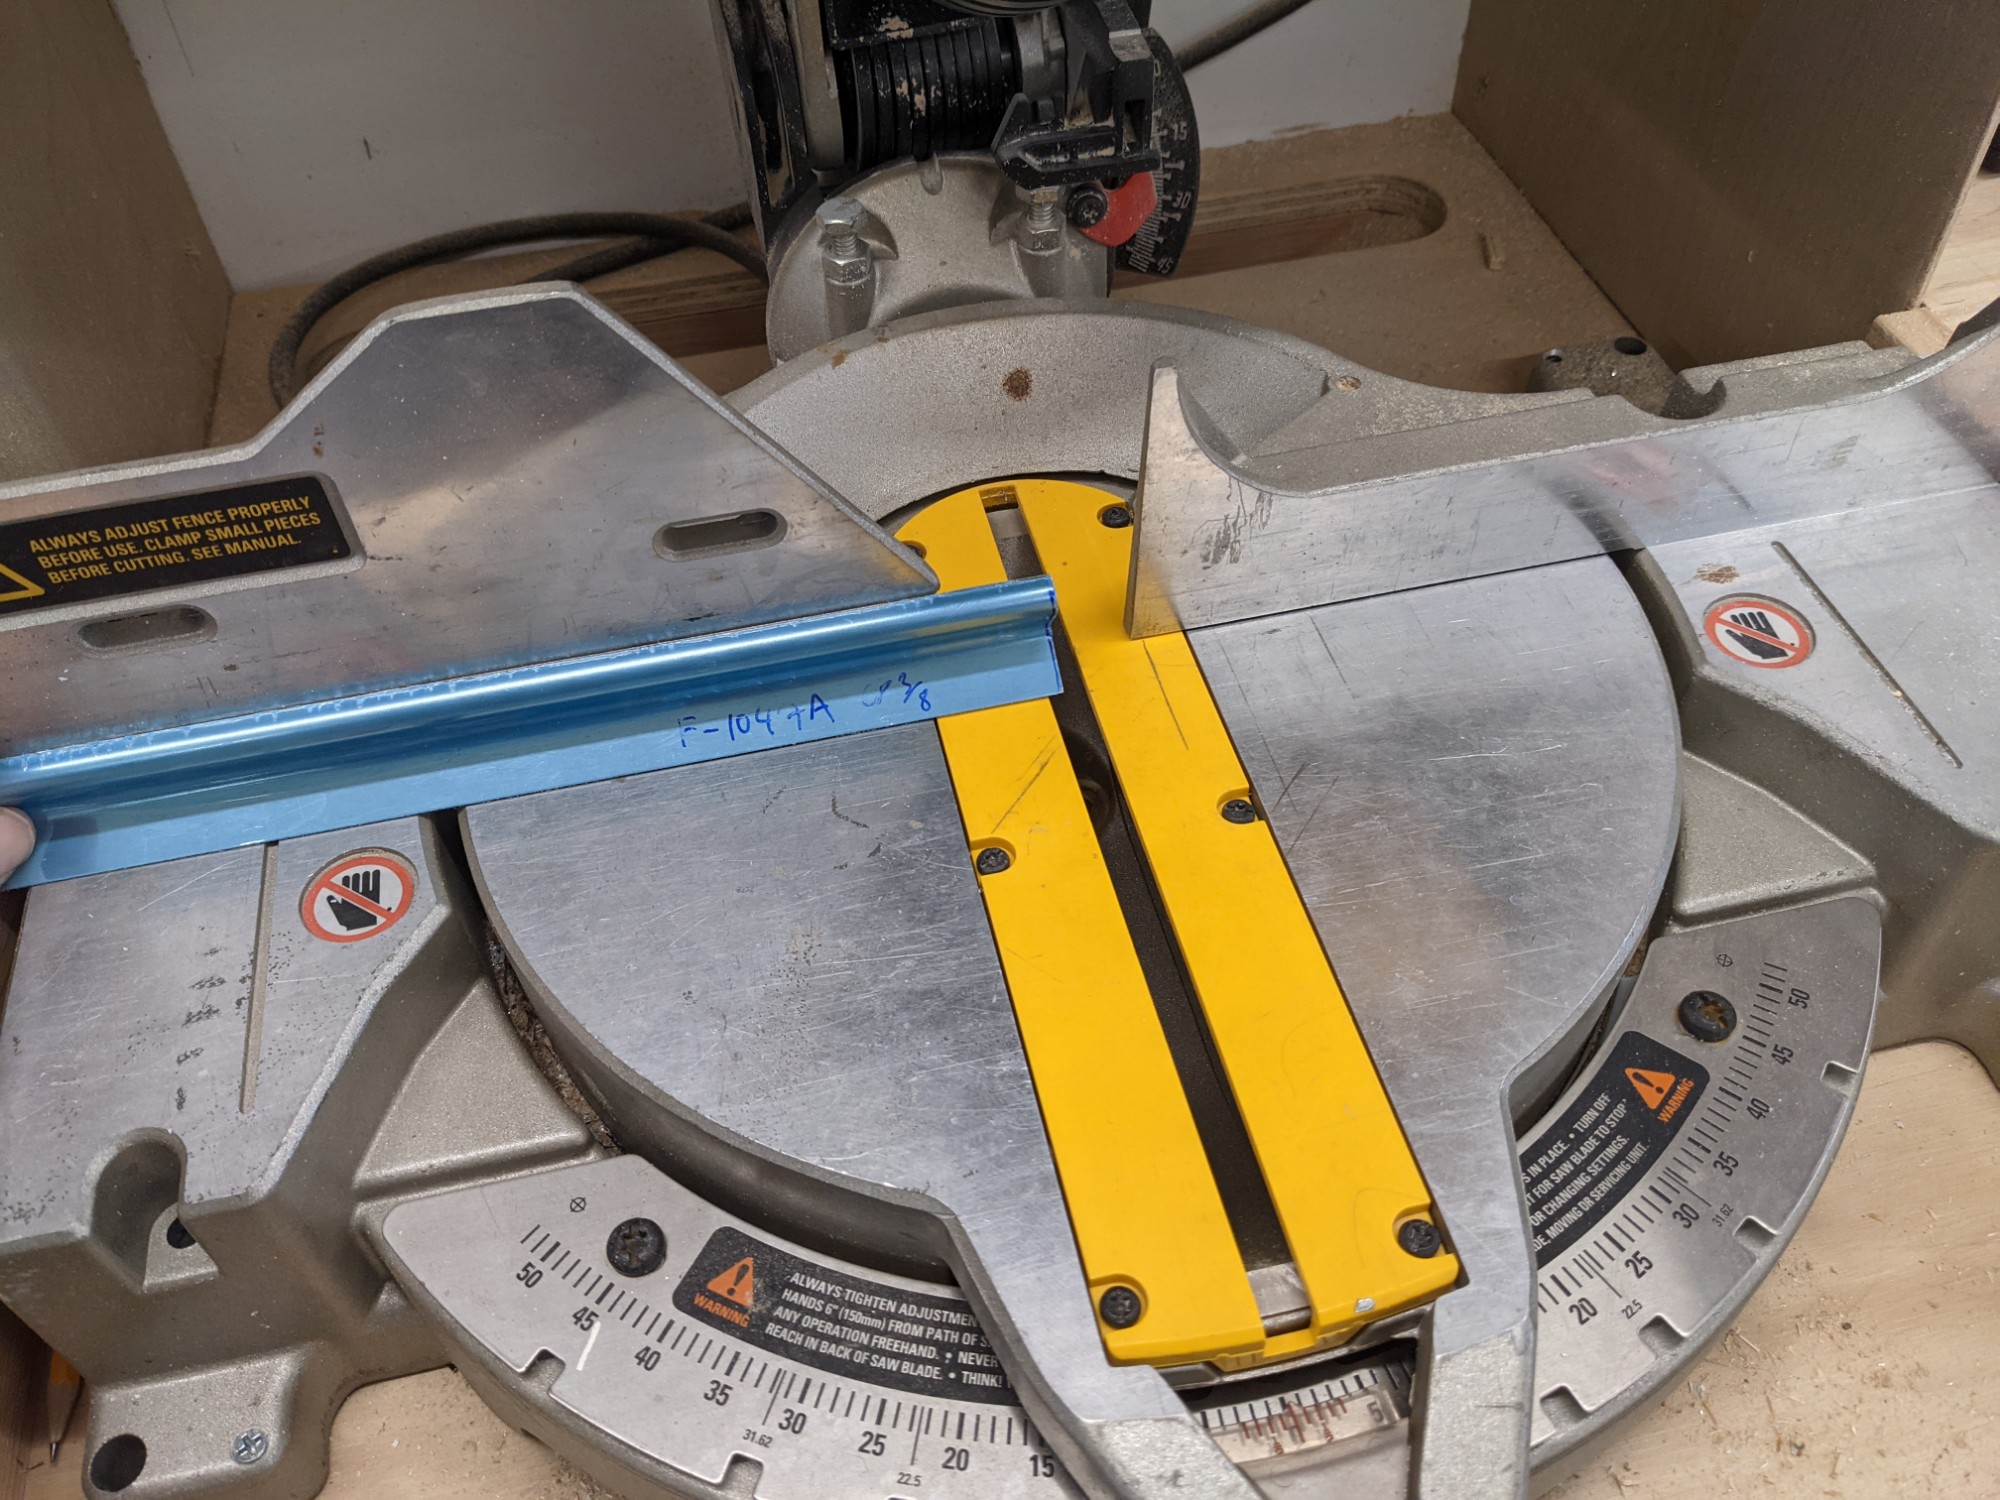
I found it easiest to cut these on my miter saw. I have adjustable stop blocks on my miter station so it was easy to reproduce the cuts for the stiffeners that had equal lengths.
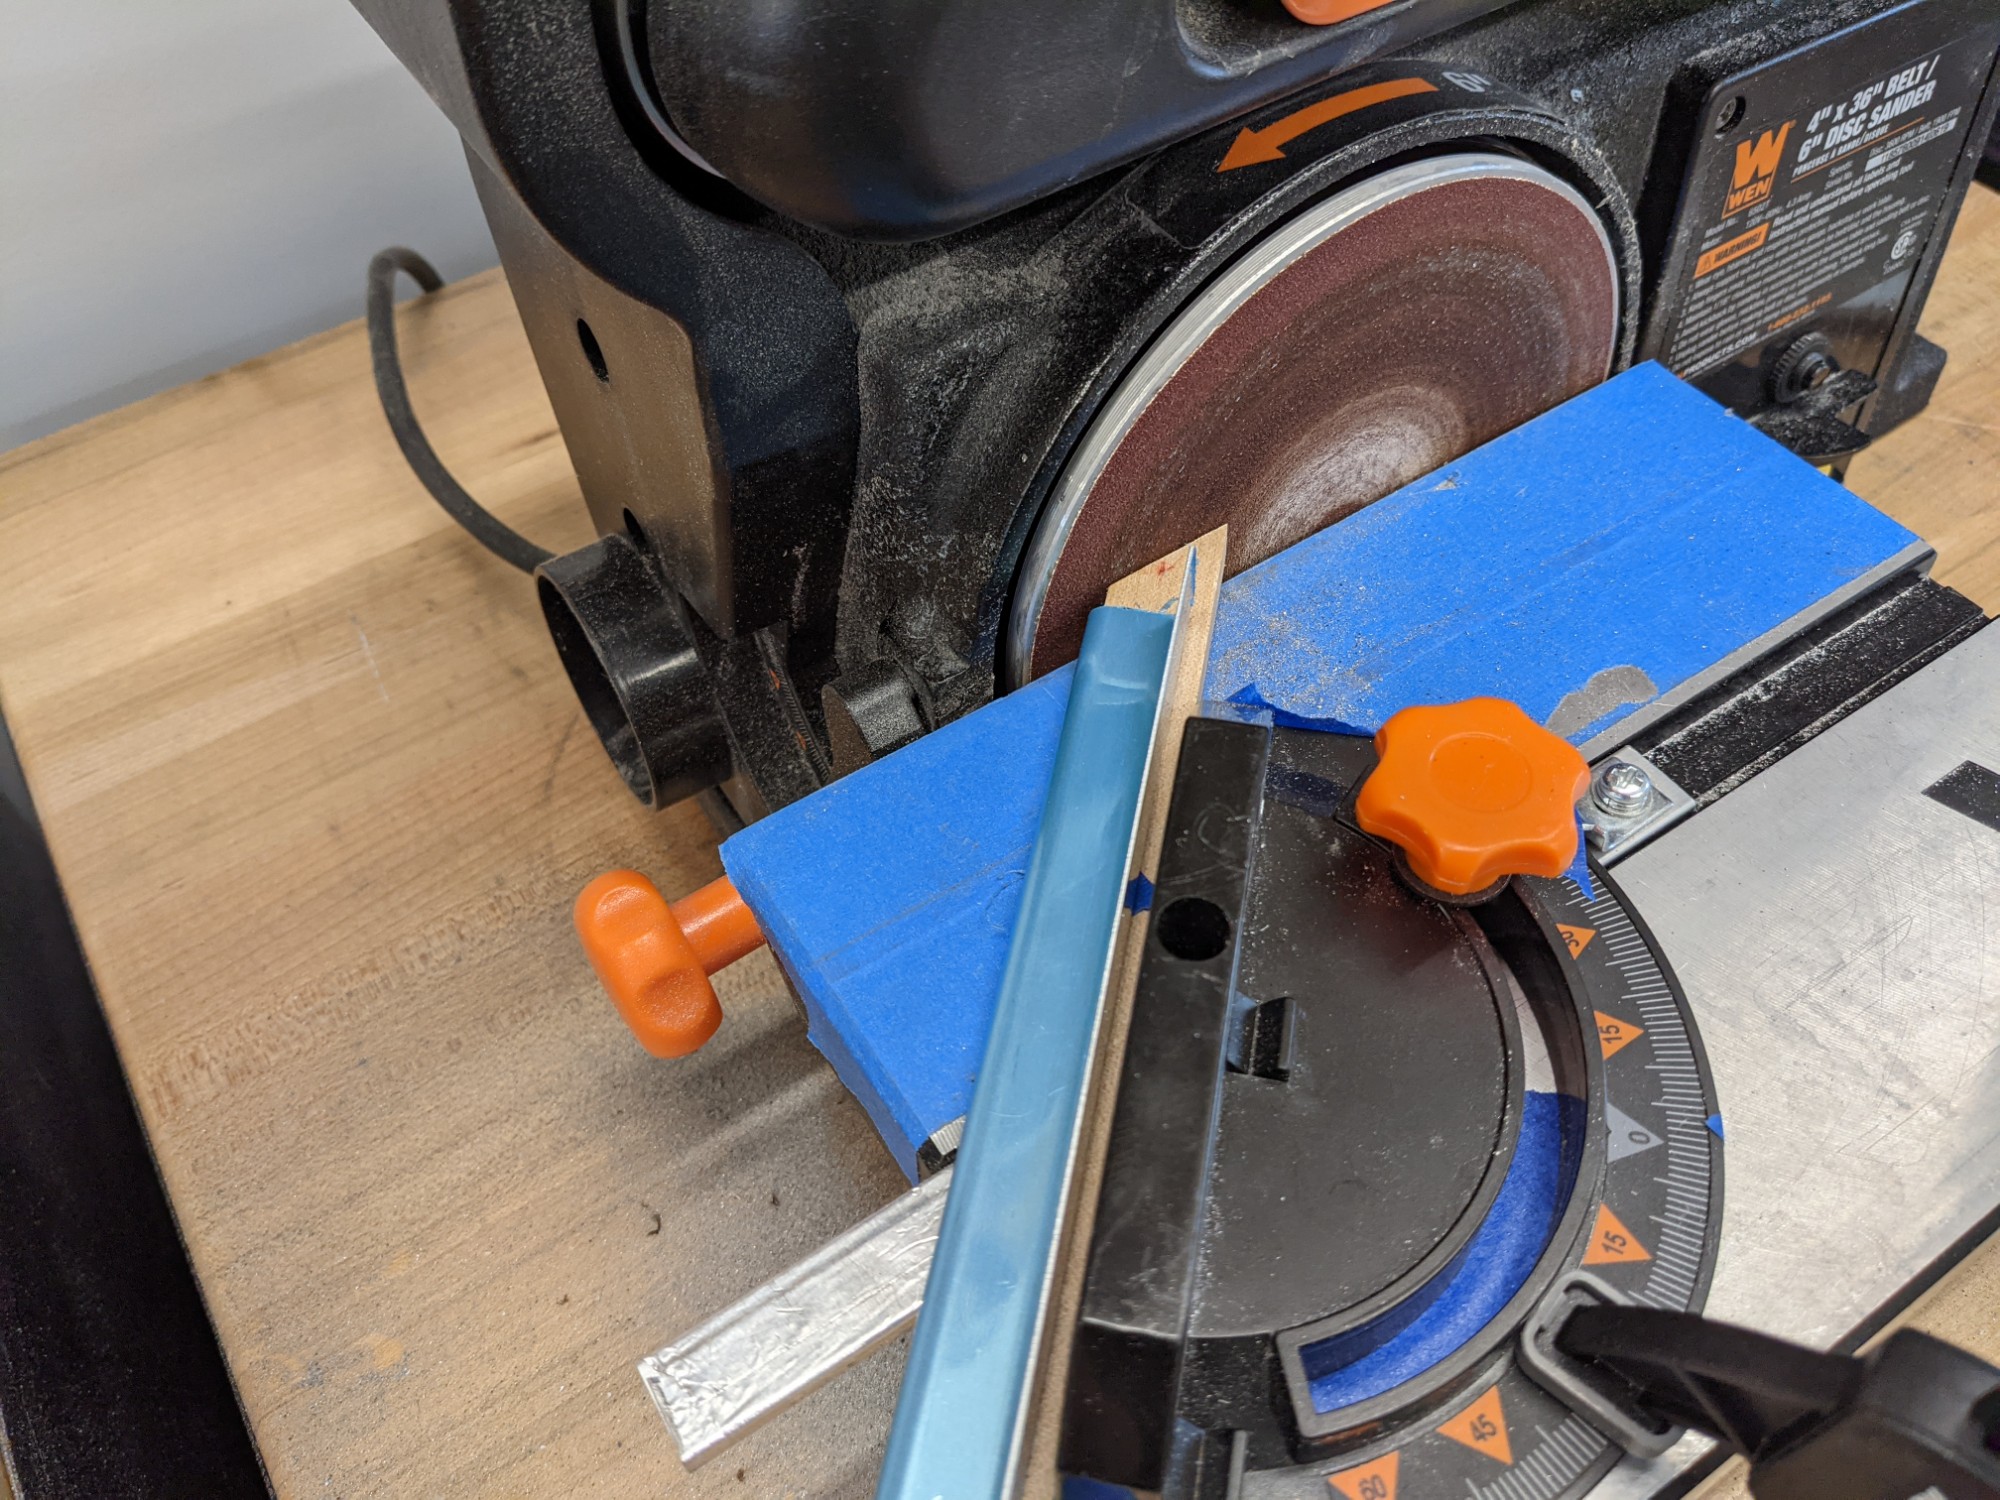
I trimmed the 45 degree angles on both ends by using my disc sander. I attached a piece of scrap wood to the sander miter gauge, set it to 45, and trimmed one end of each of the j-channels. I then reset the jig for the opposite ends.
Next up was deburring the stiffeners.. but my grinder decided to not spin up fully. After a bit of investigation, it appeared that the run capacitor was failing. This suspicion was confirmed when it made a loud pop that blew off the top of the capacitor. Off to the hardware store to pick up another grinder. I’ll probably replace the run capacitor later but for now I want to get on with the plane.
I picked up a new grinder, took the guards off, moved the ScotchBrite wheels over, and got back to work.
The next step was to mark a line on each stiffener that will align the stiffeners with the centerlines of the holes in the skins. I don’t have an offset marking gauge but I found one on Thingiverse that looked like it would do the job so I sent that off to the 3d printer and jumped ahead to the next step in the plans.
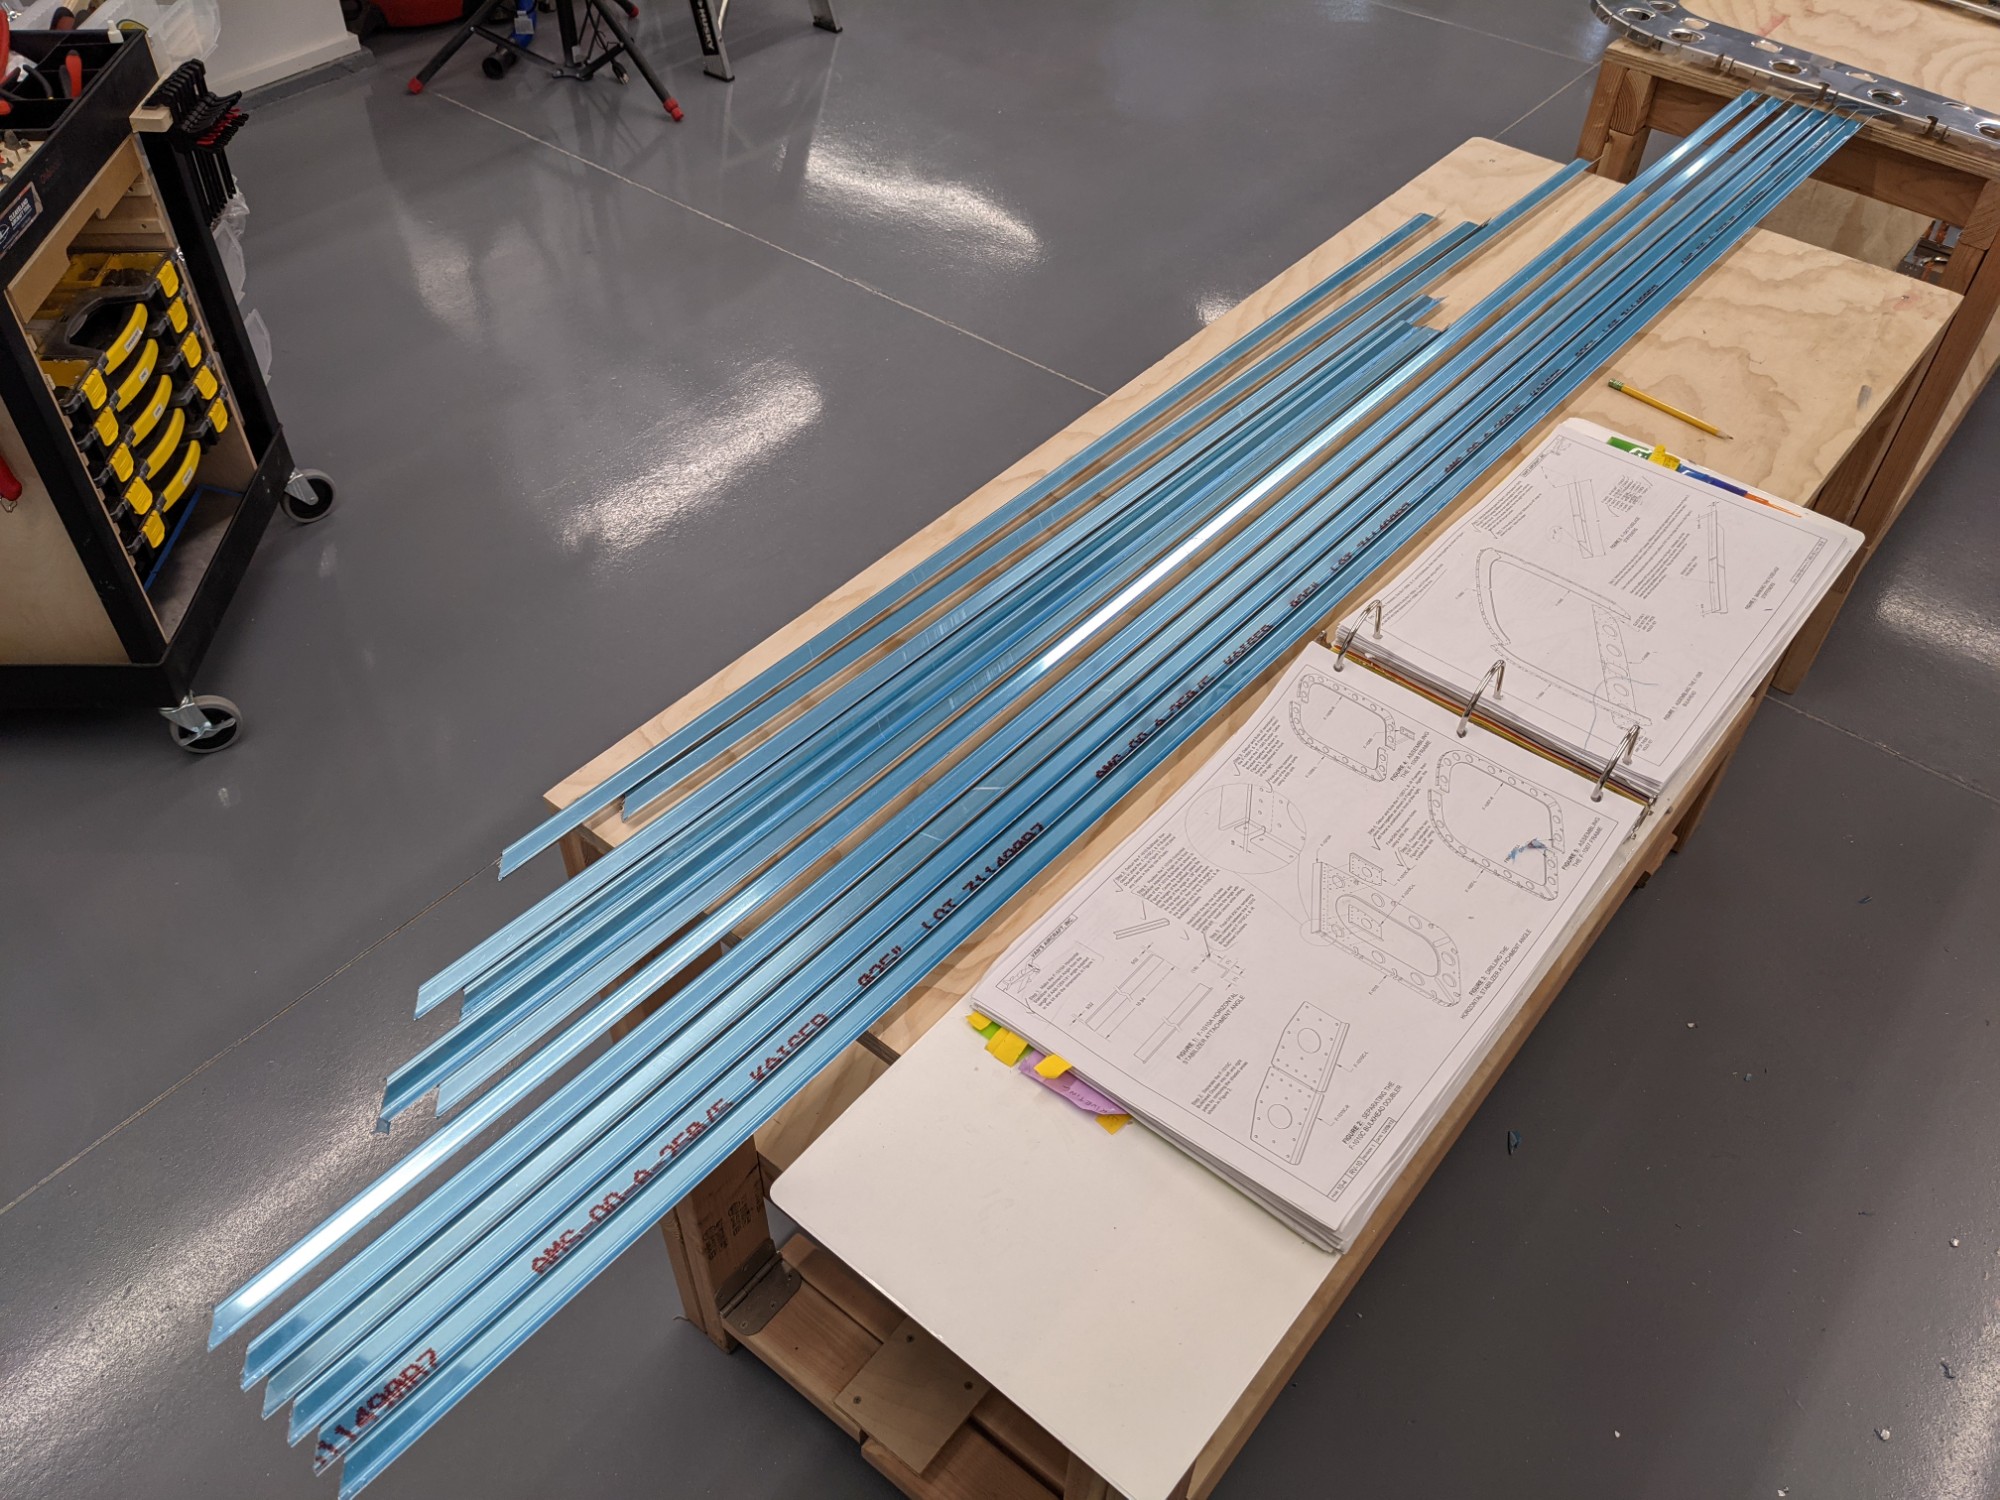
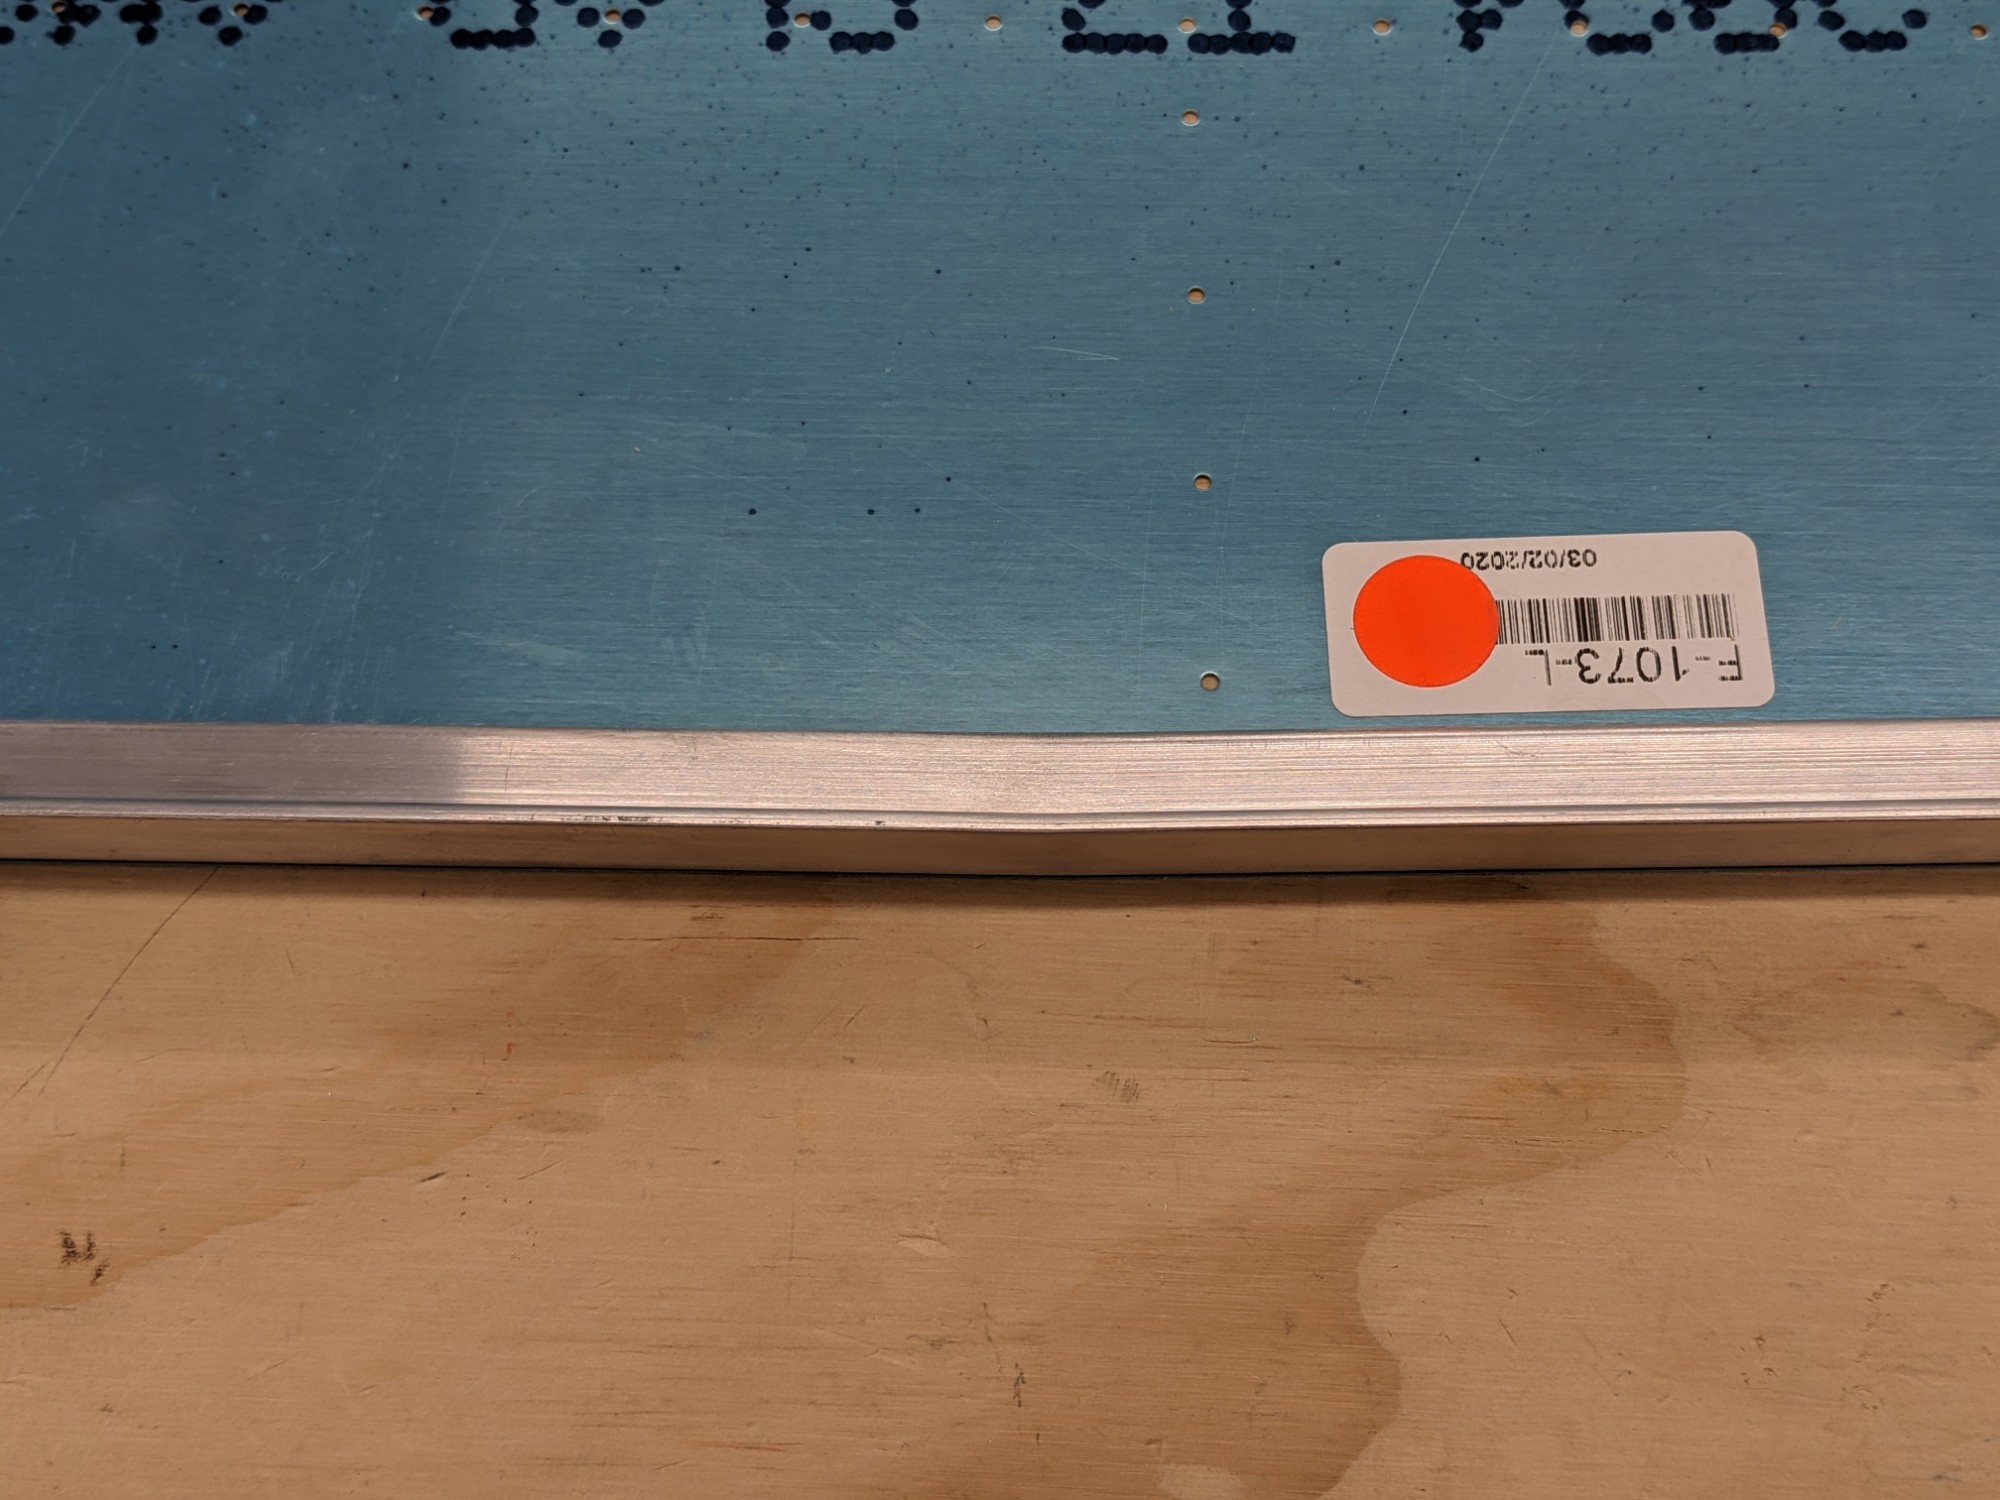
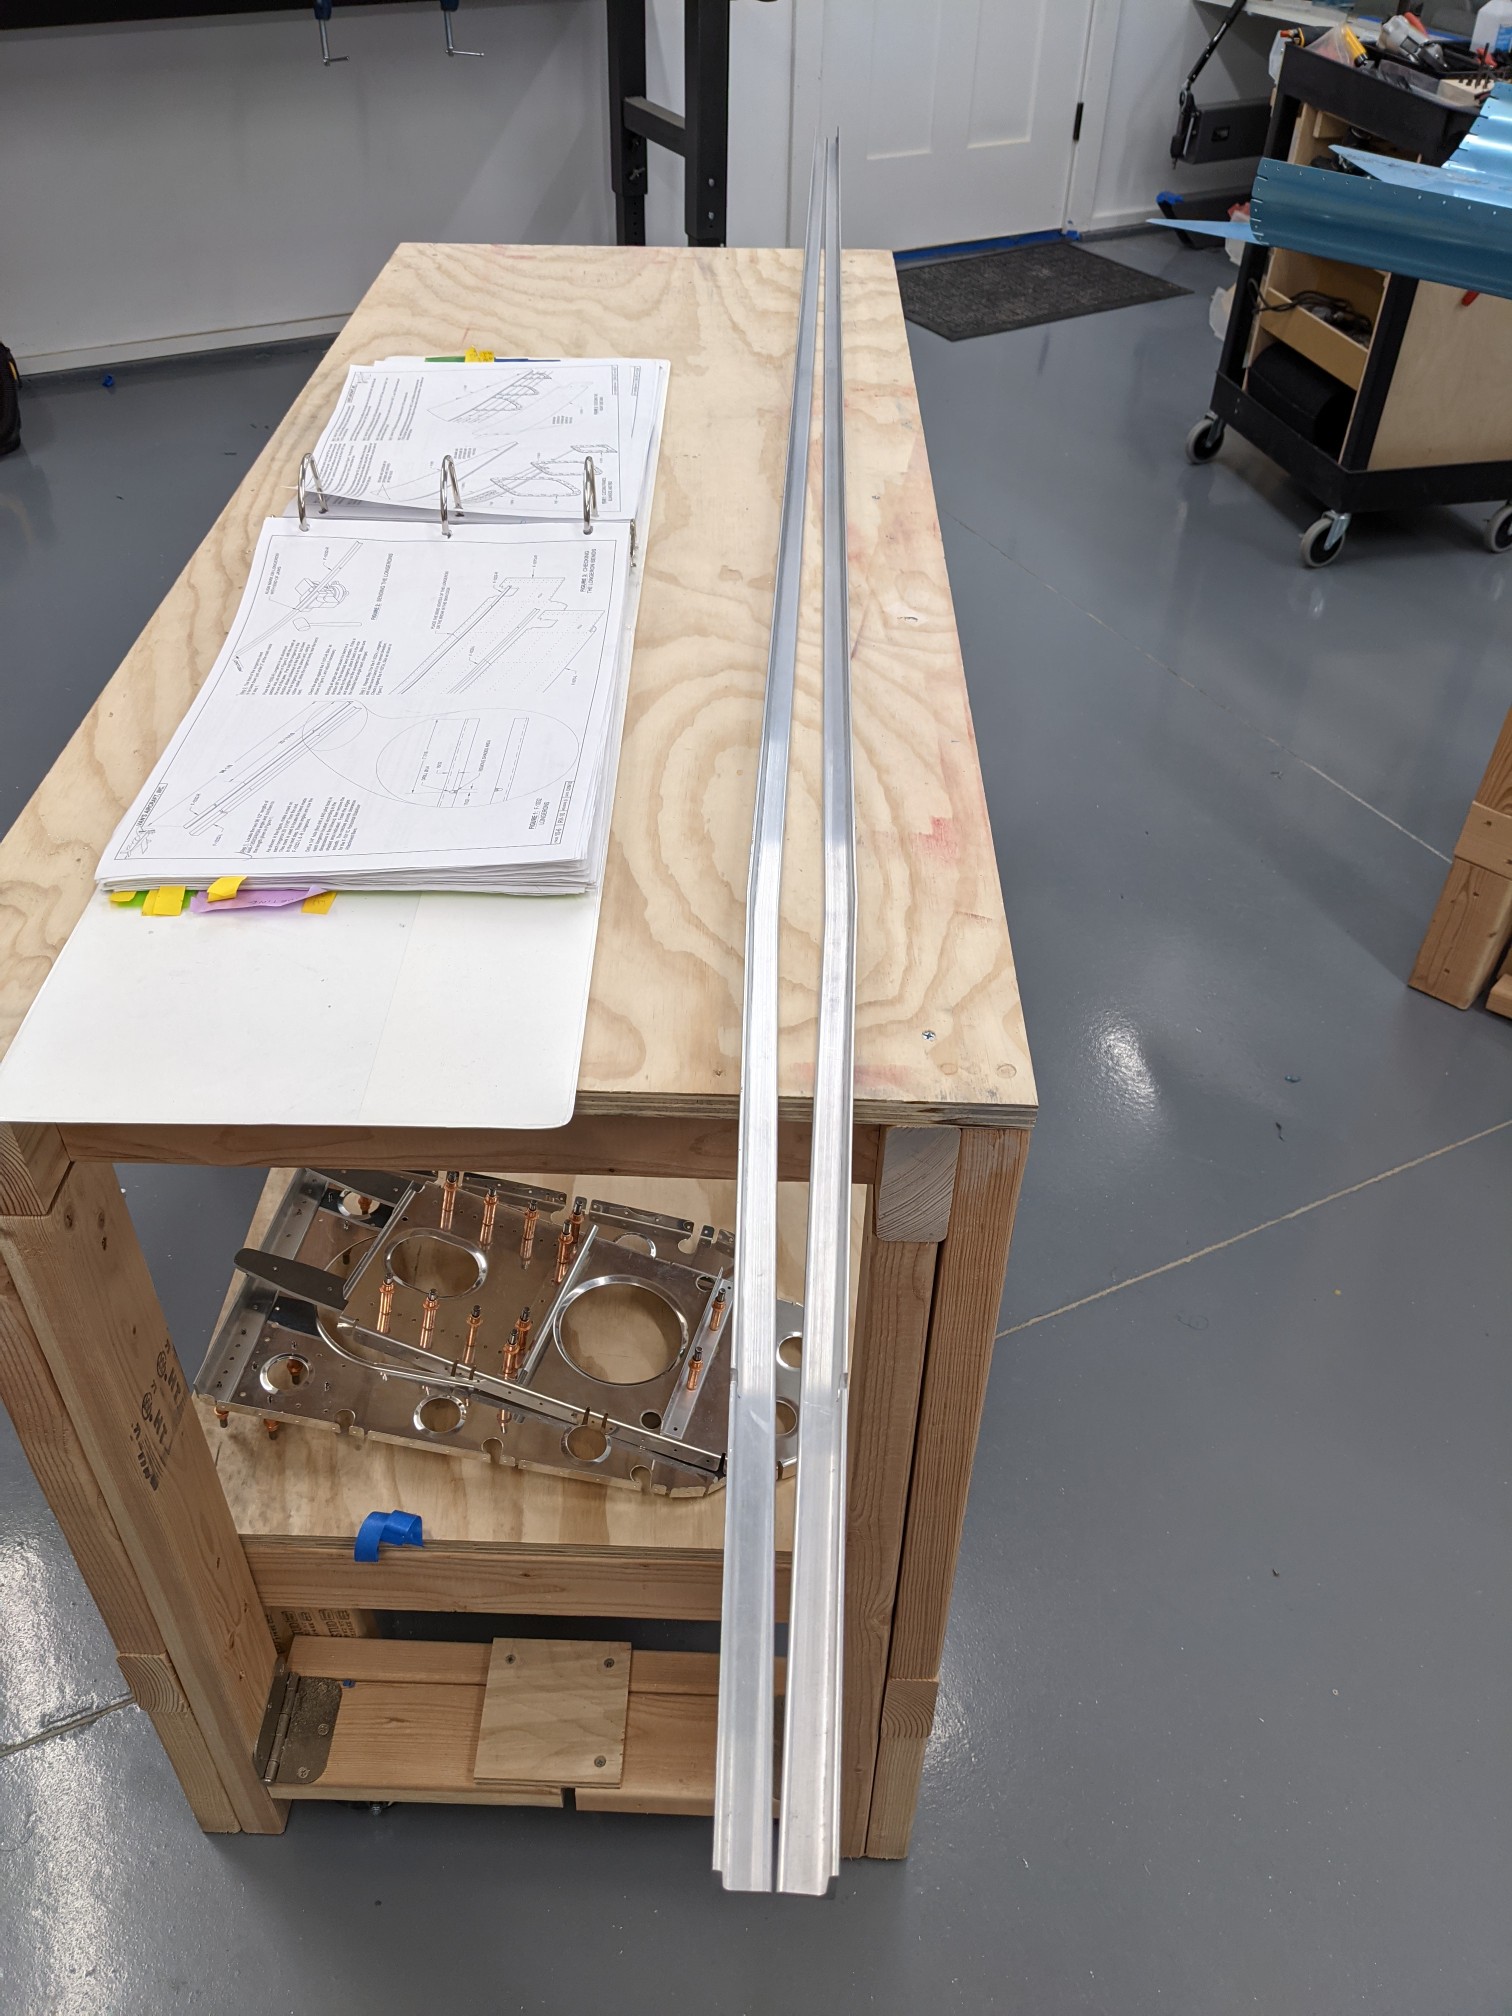
The next step in the plans have you prepare the longerons.
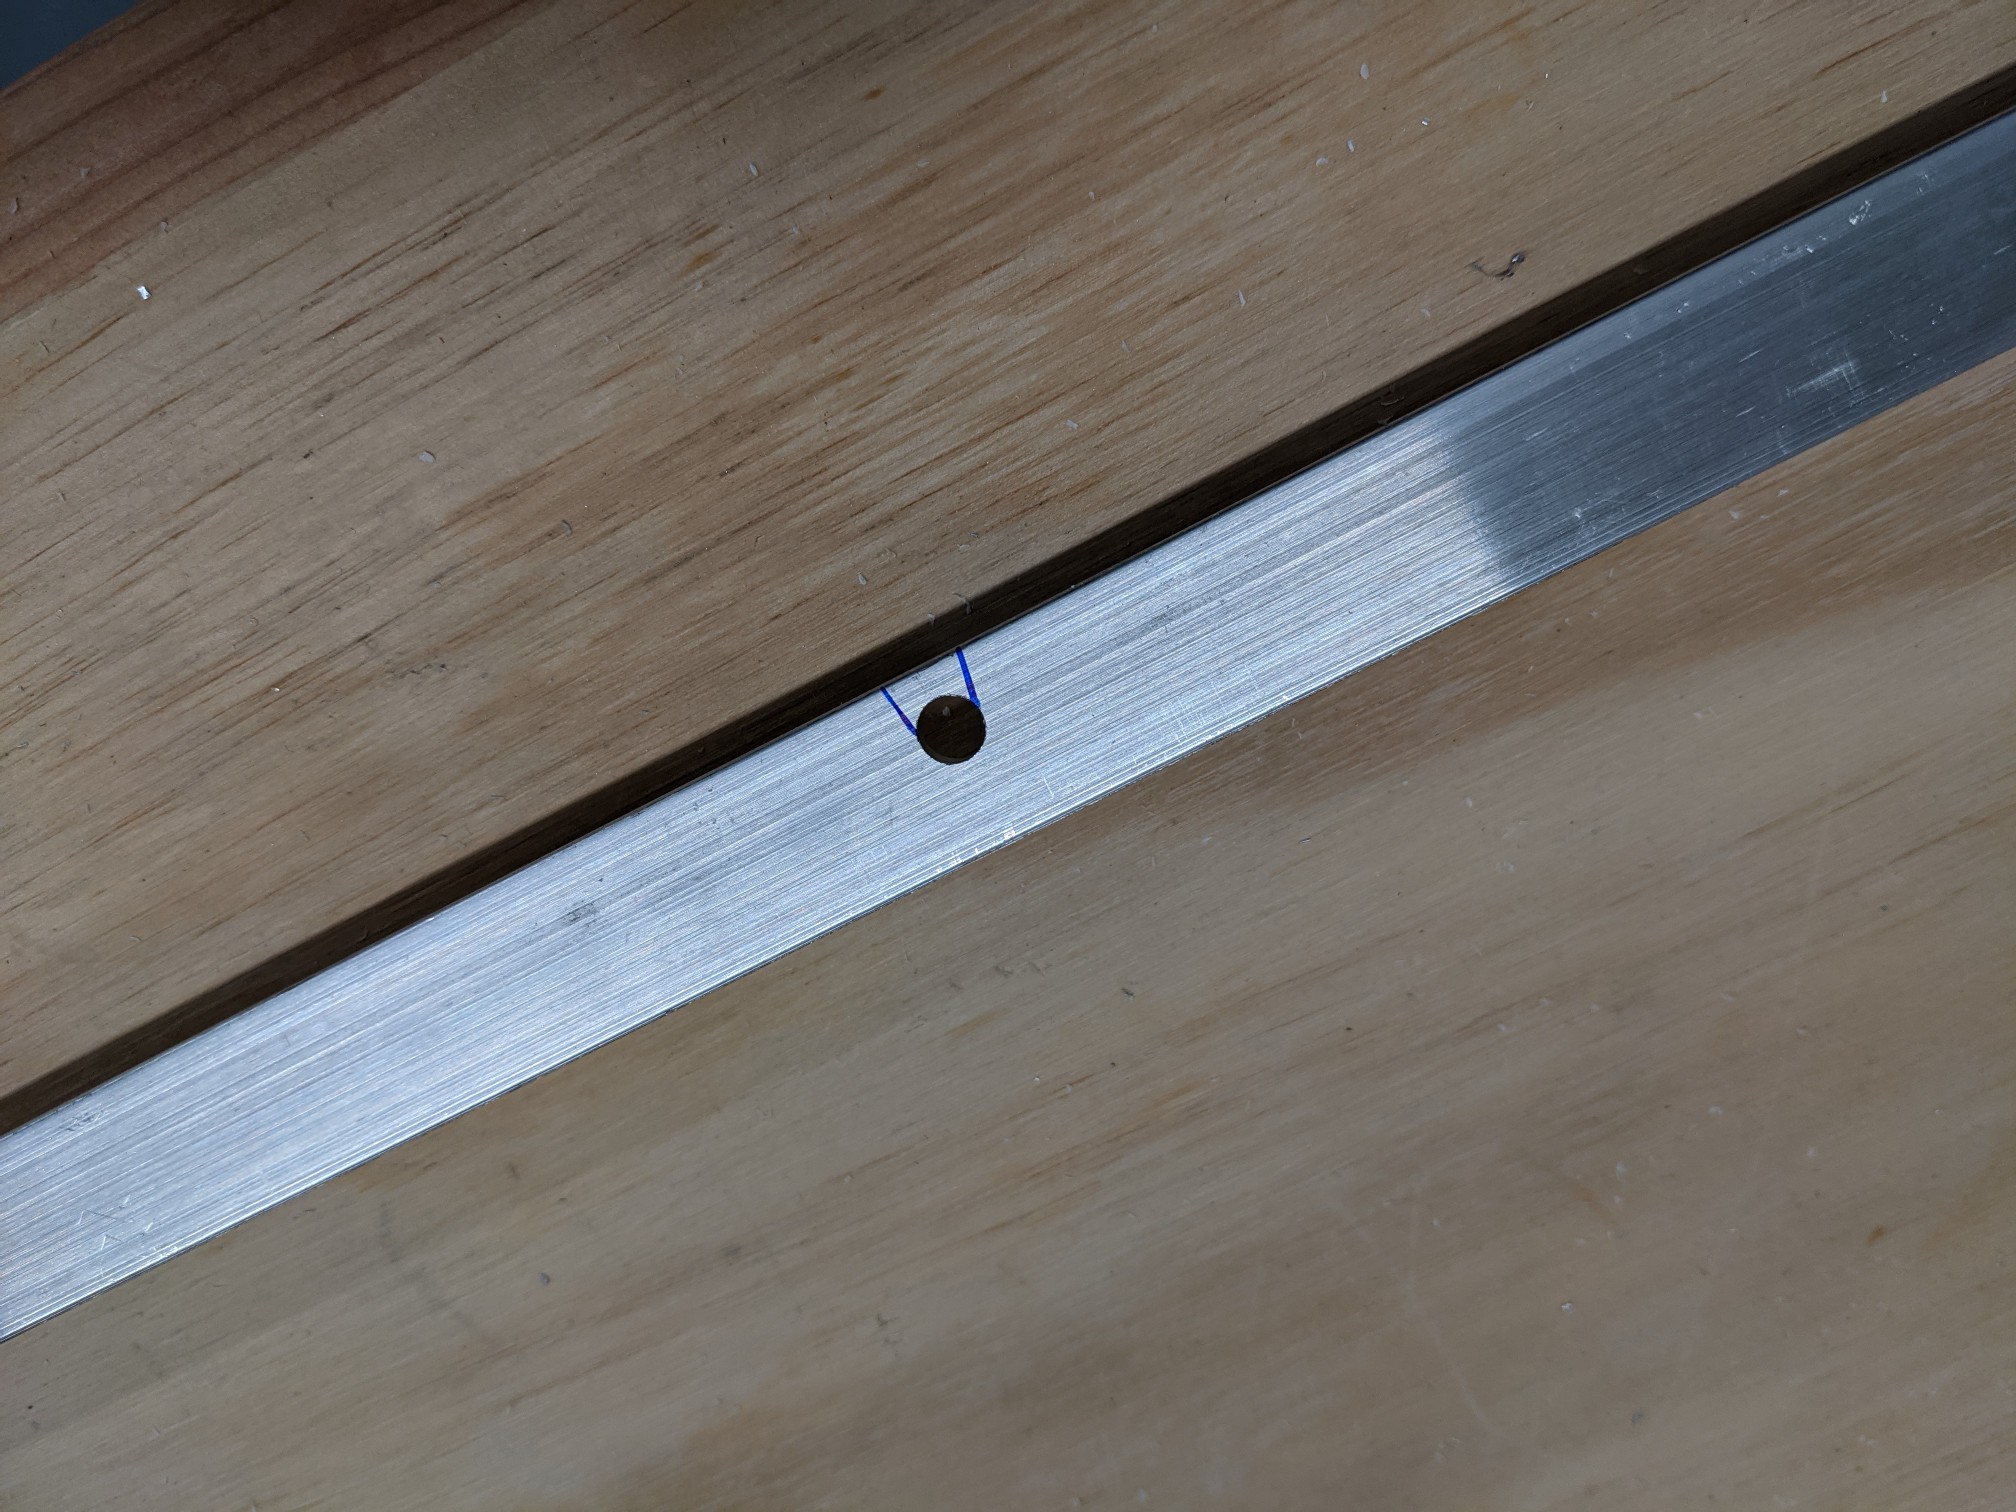
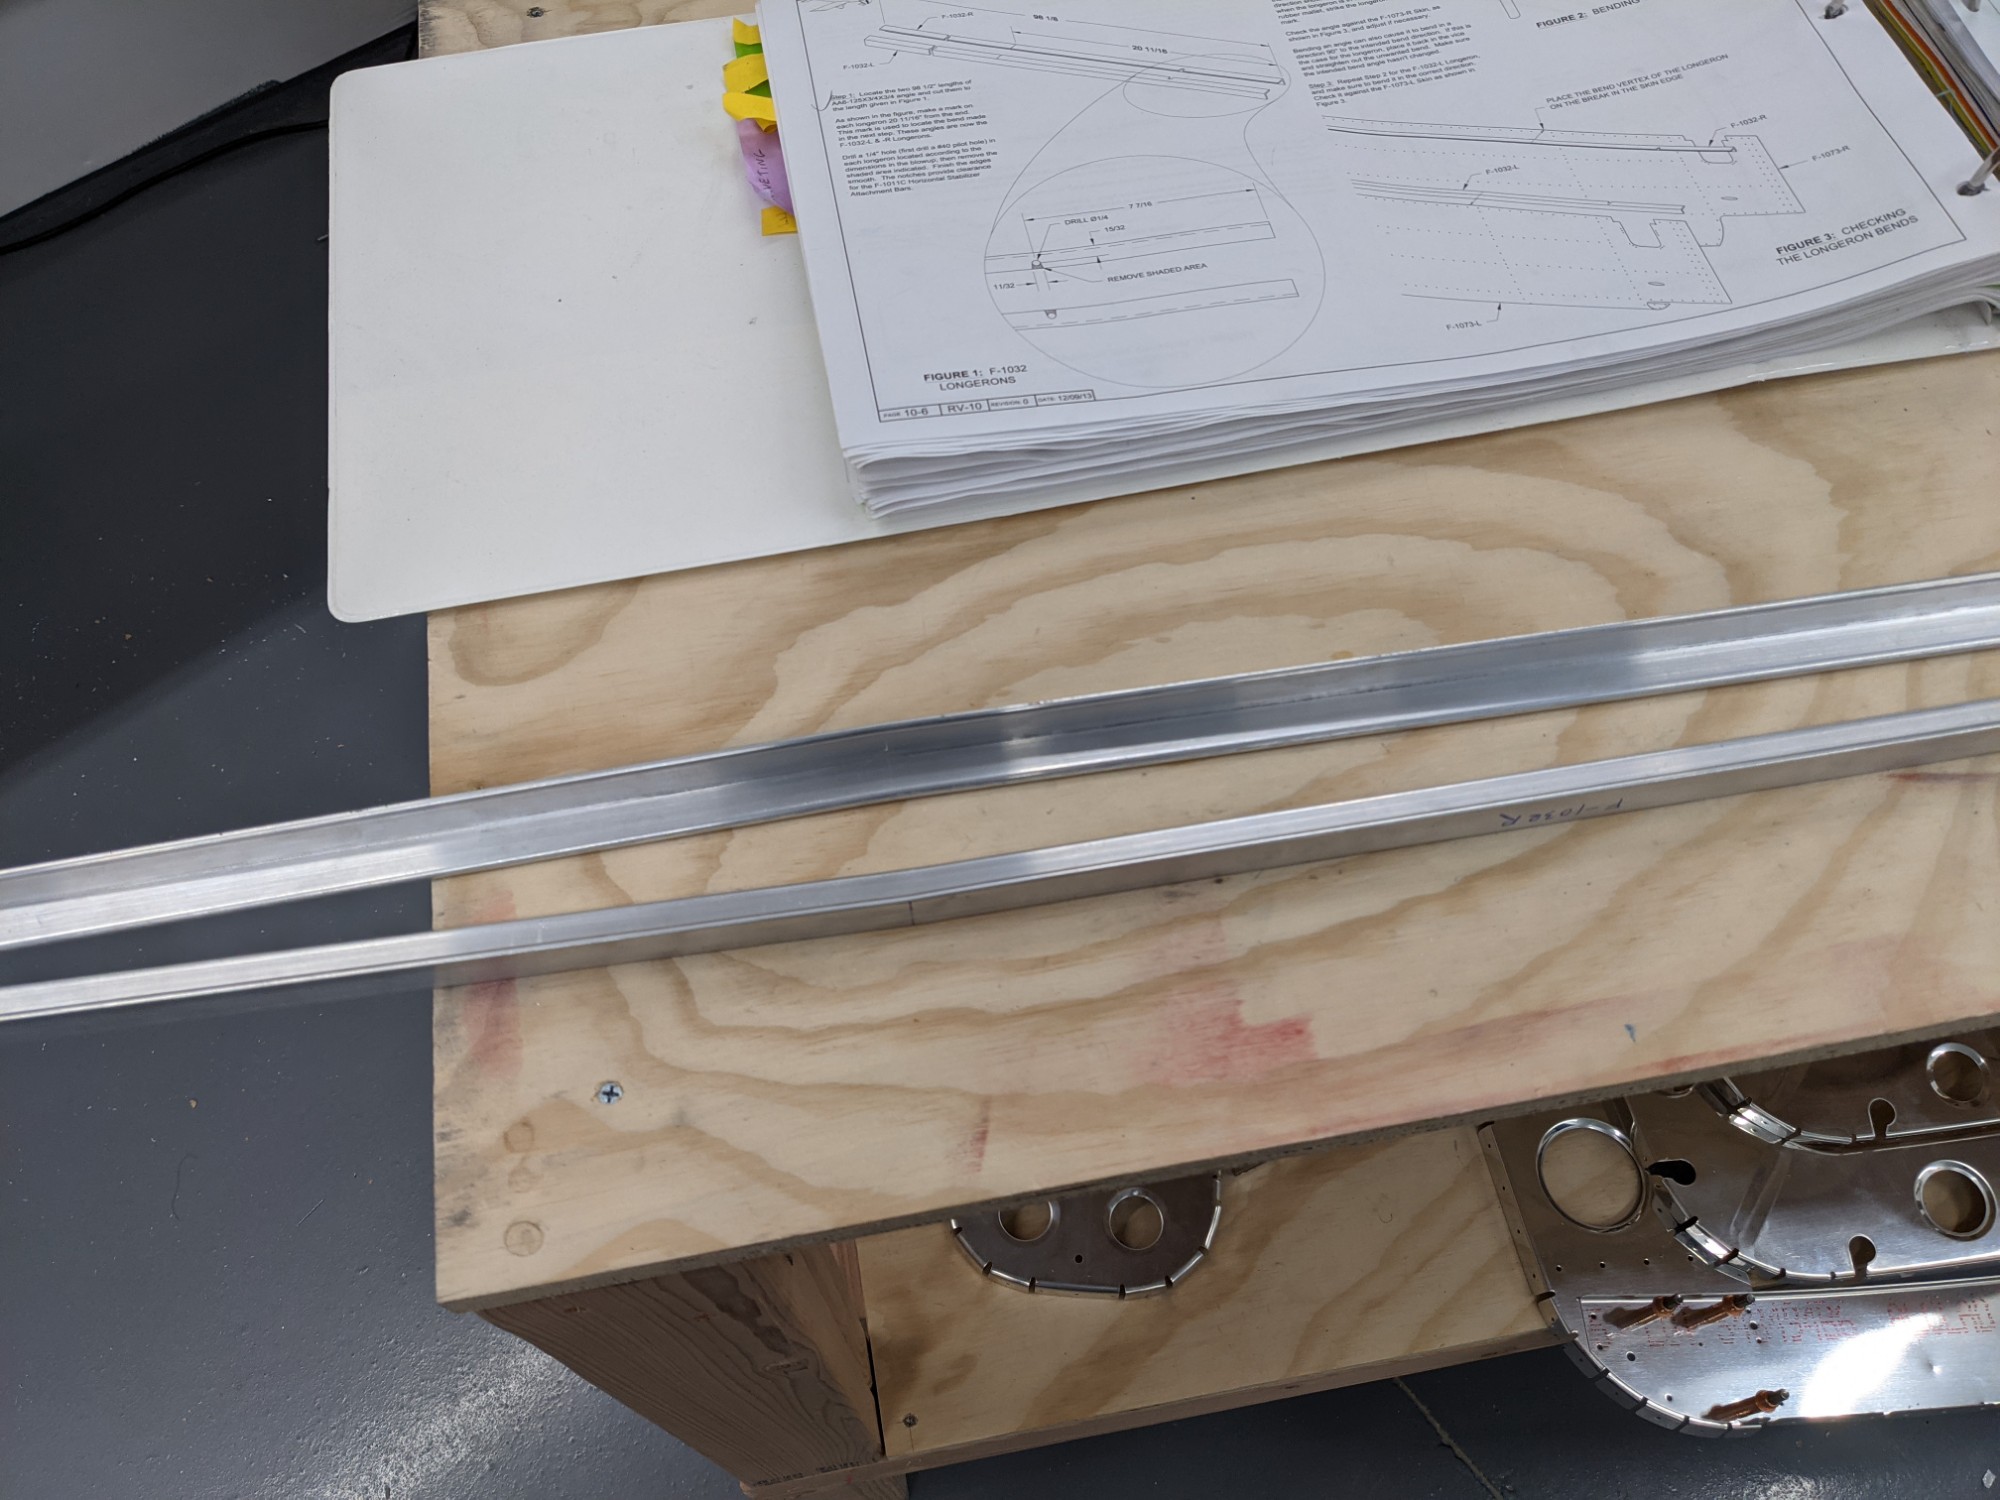
The first step is cutting a notch on each longeron to make room for the elevator attachment bars. I marked the locations and set them with a hole punch. I then drilled the holes on the drill press with a #40 and upsized them to 1/4″.
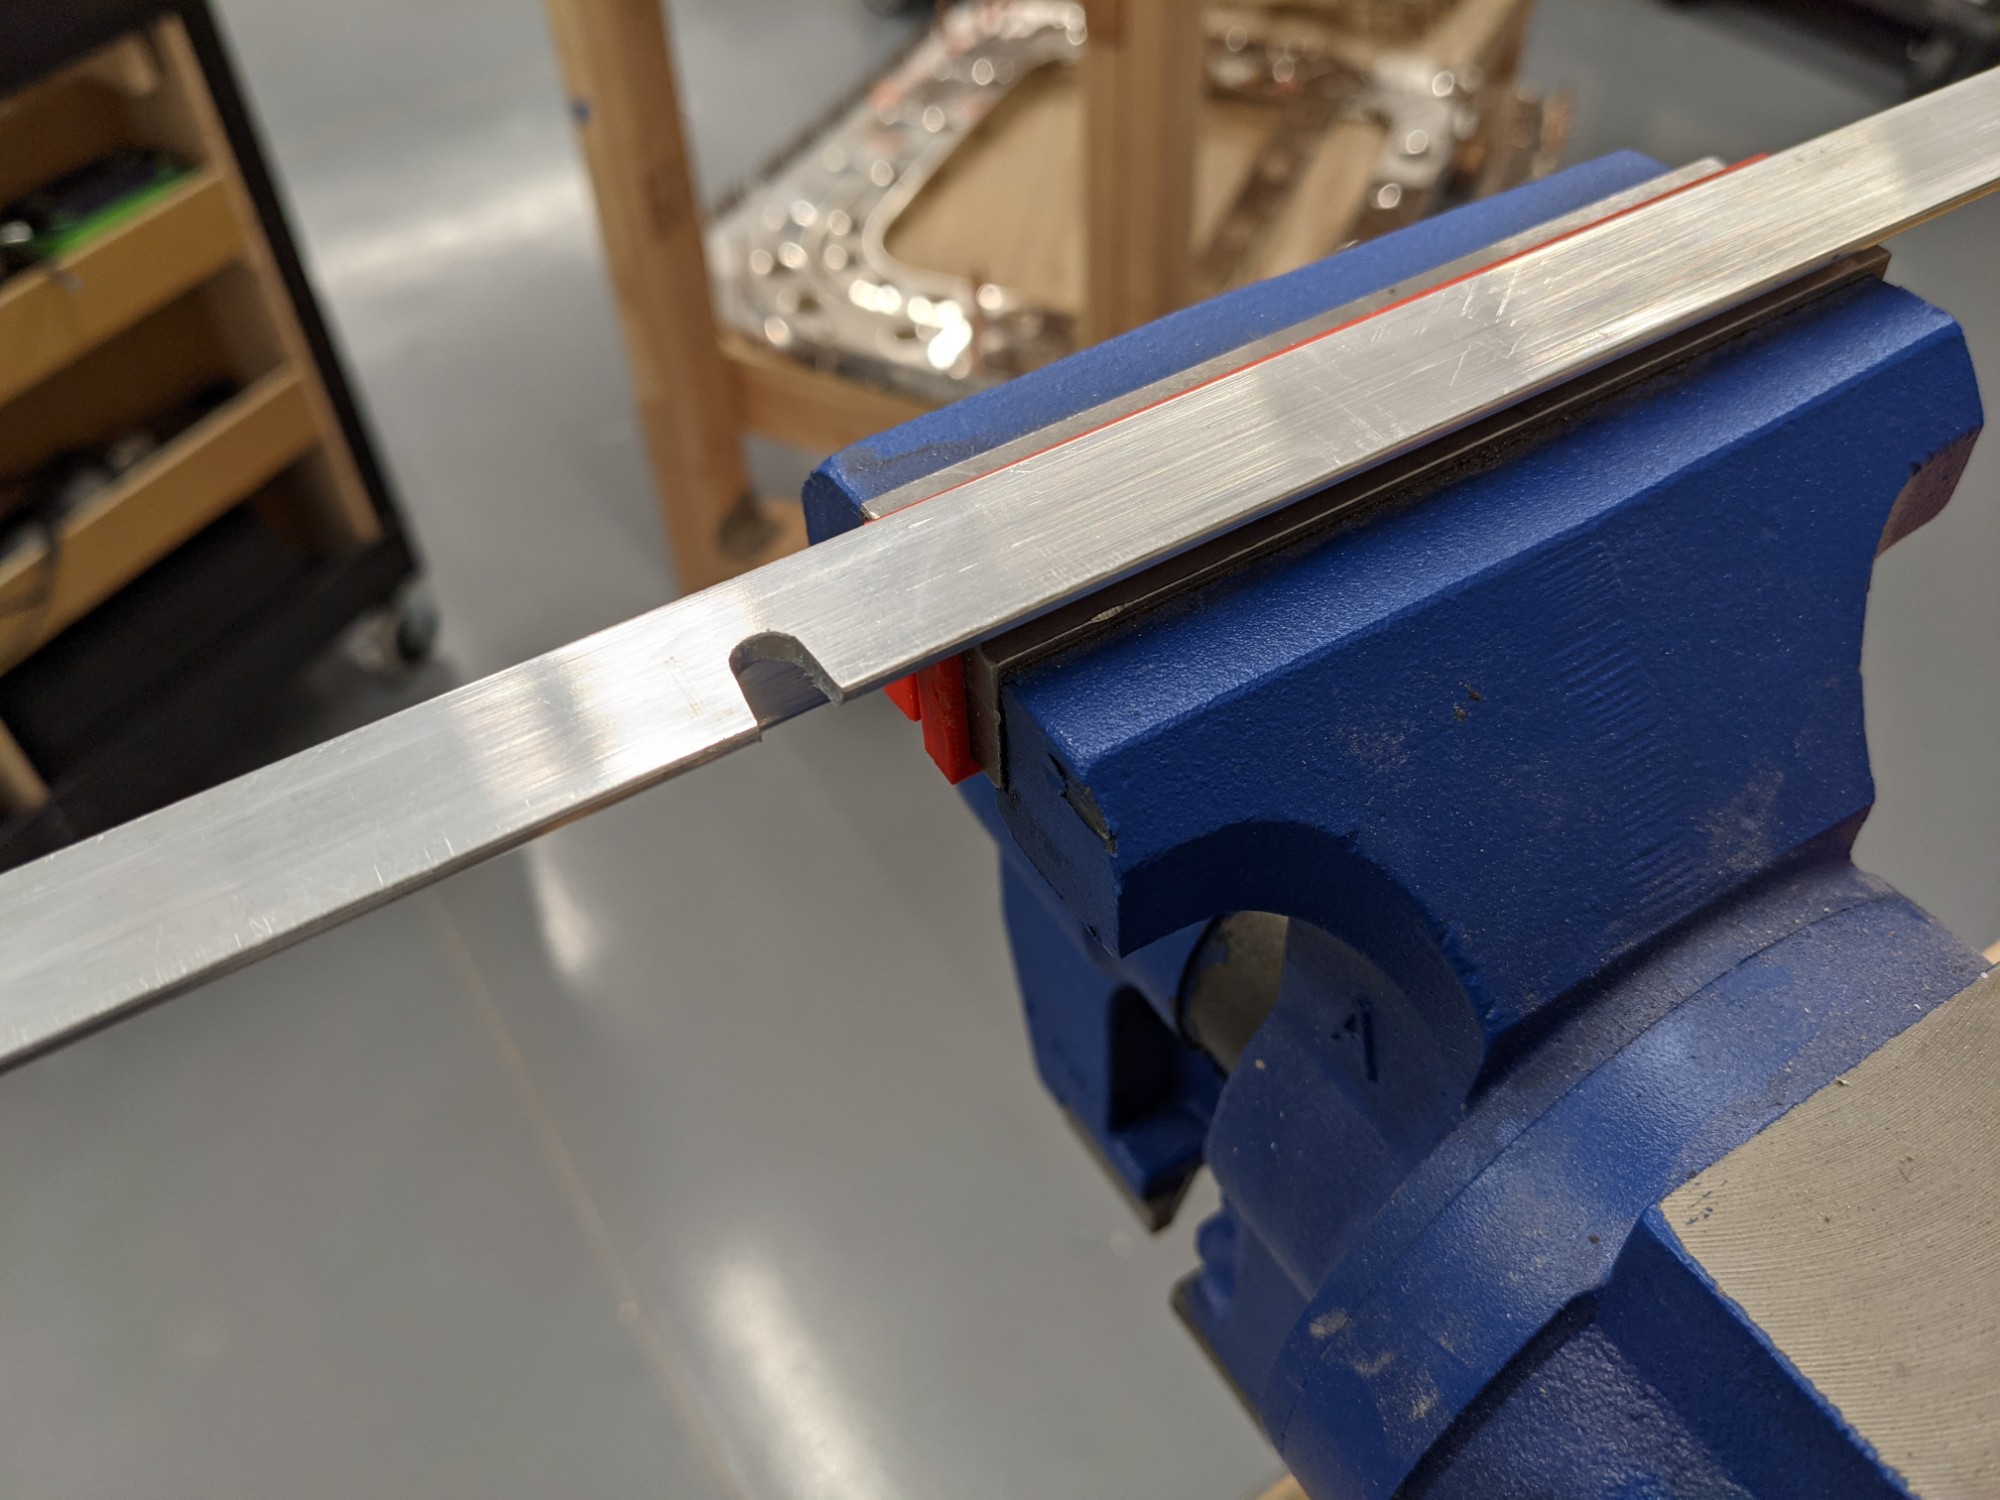
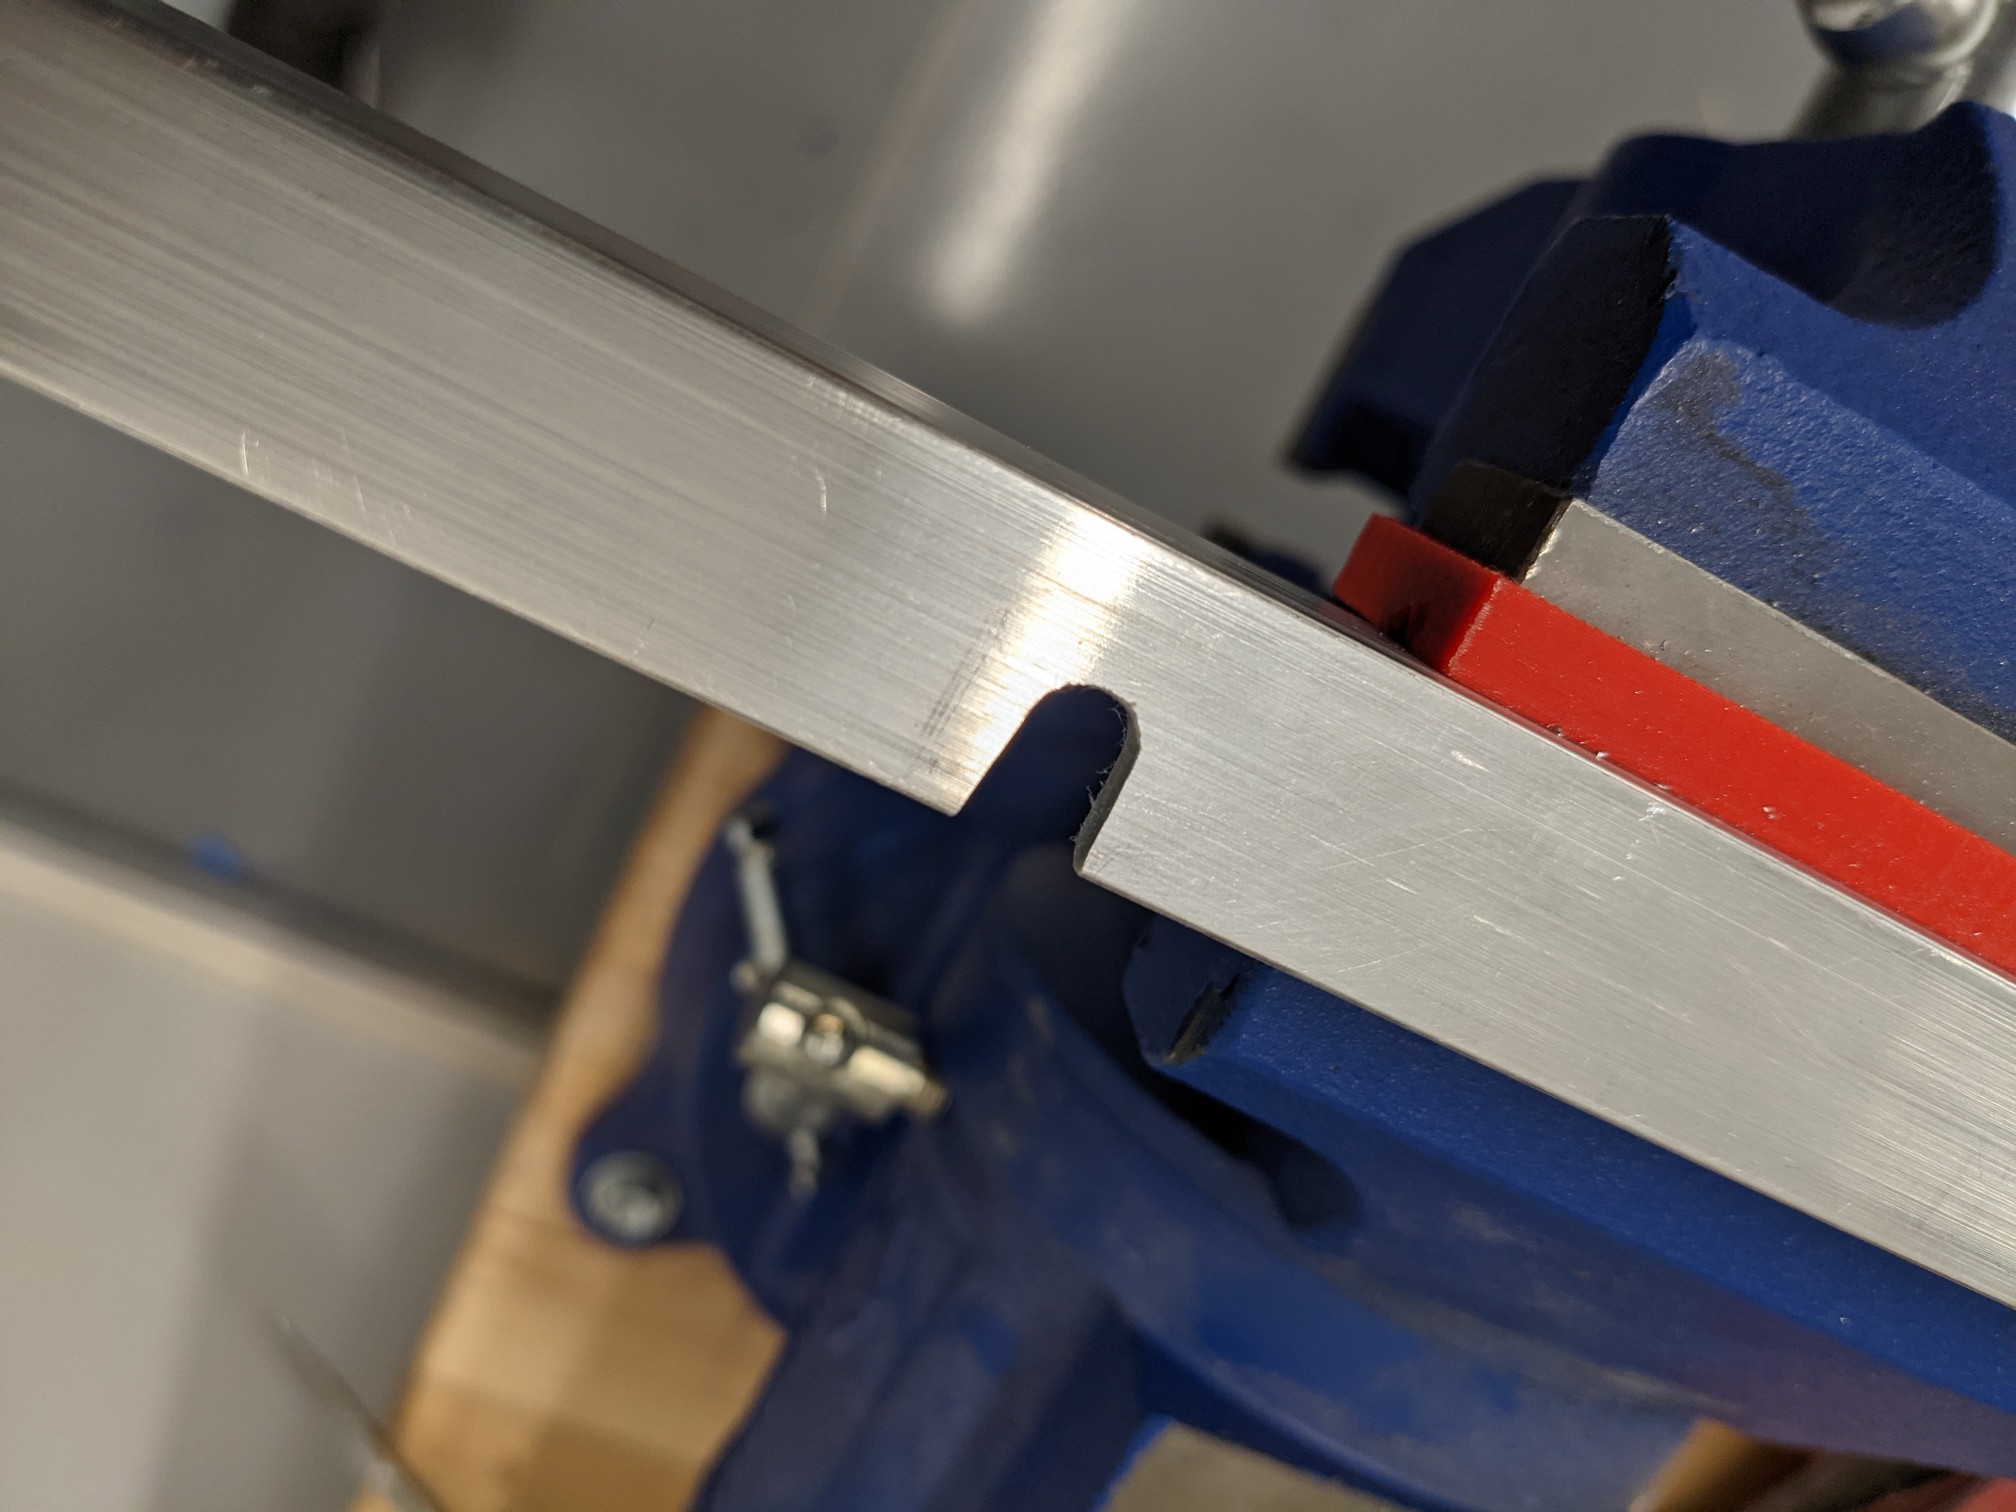
I marked the locations for the remaining cutouts. These look to be about 10° in the plans so I matched that angle.
I removed the cutouts with a hacksaw, filed them to the final size, and deburred them with some emery paper.
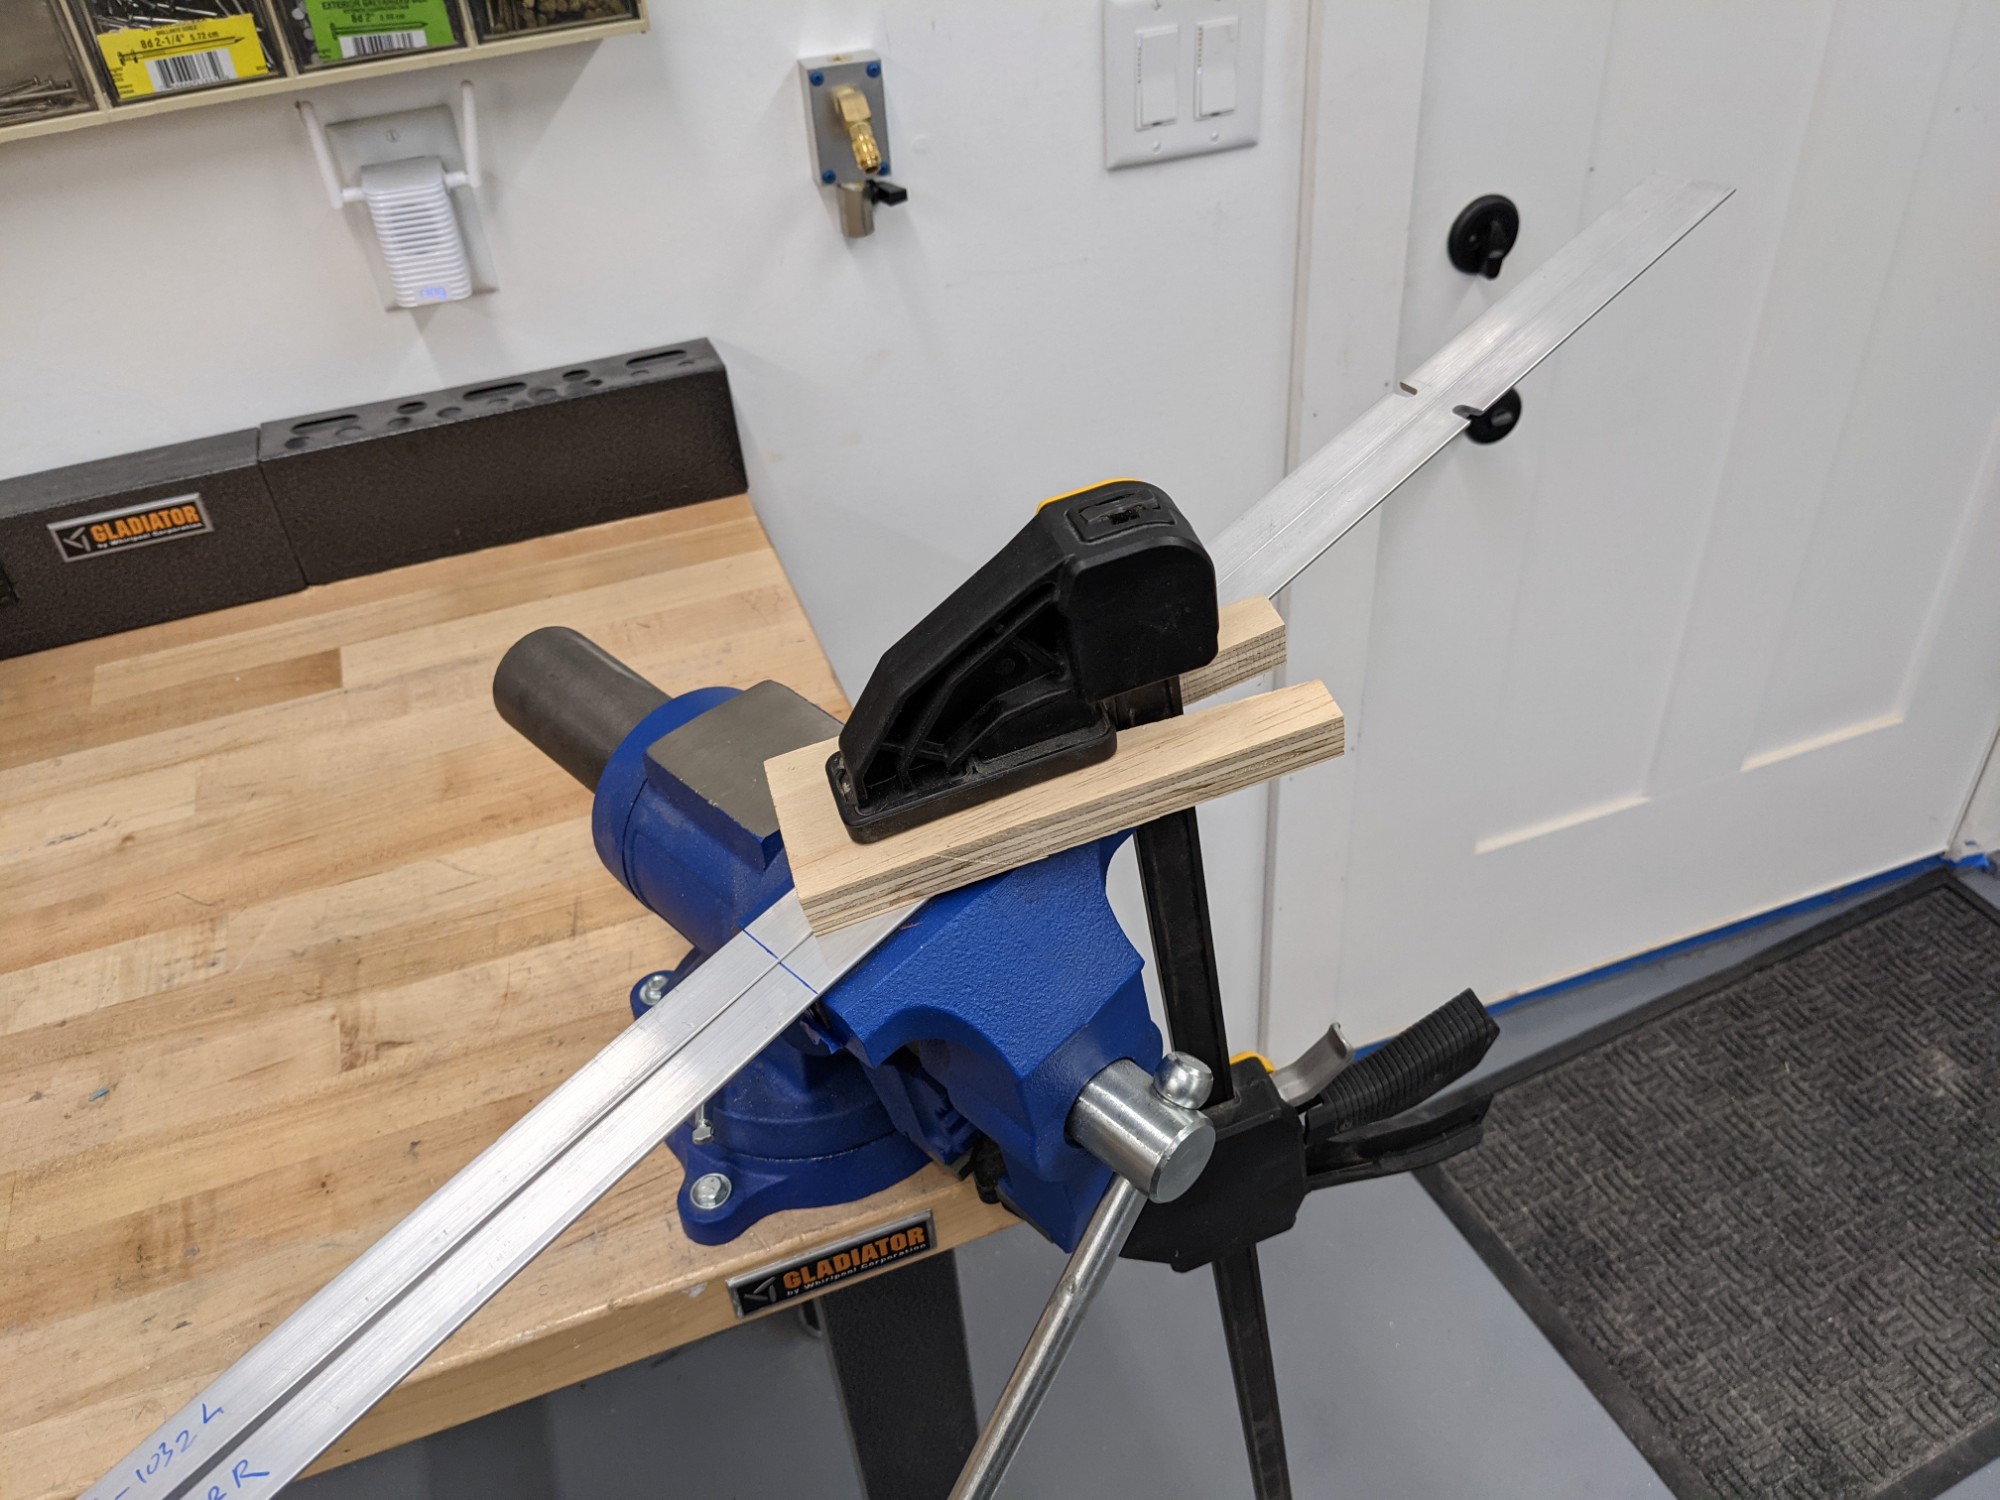
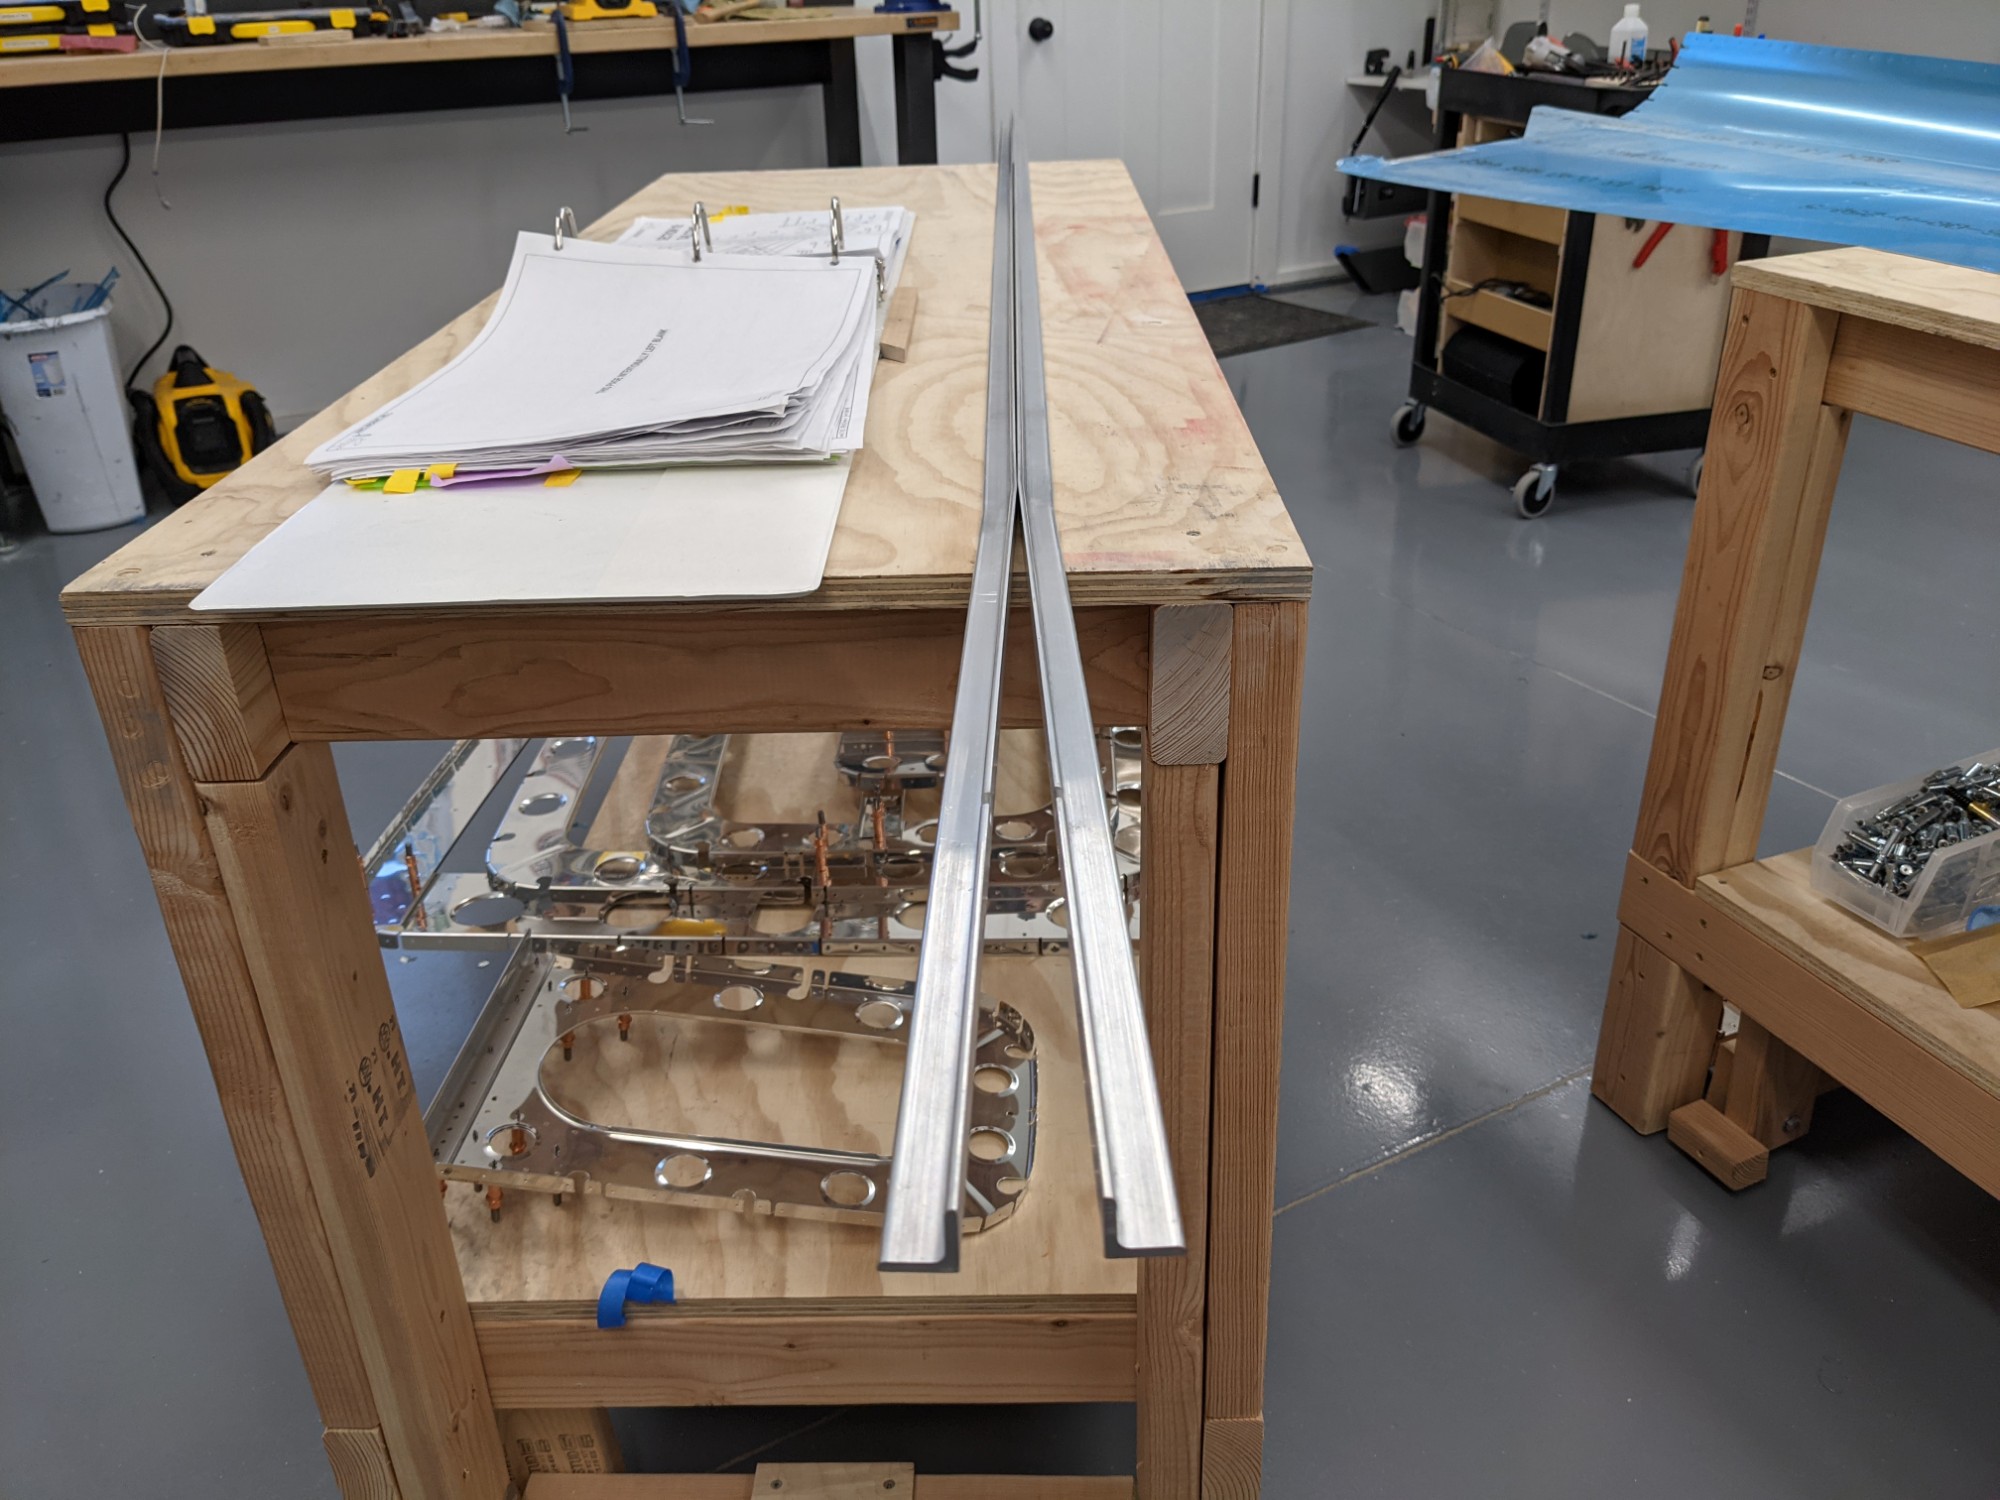
The next step is to put a bend in the longerons so that they align with the slightly less than 2° angle deflection along the skin edges at the aft deck. I clamped the longerons side by side in the vise with the grip faces and tops covered with some scrap hardboard to protect the aluminum. I then preloaded them (together) and used a rubber mallet to impart the bends.
Keeping them together avoided twisting them during bending. The process worked well, albeit slowly. I removed them frequently to compare against the skins and I slowly crept up on the correct angle. I used a digital angle gauge to get a rough idea of the angle difference between both ends as I went (reset the gauge on one end, move to the other, rinse, repeat).
The longerons matched the profile of the skins well and came out nice and flat on the side that needed to be flat. It is an uncomfortable process banging on the longerons with a hammer knowing that these are a key part of the structure. I had one longeron that got overbent slightly and I straightened it in the vise by clamping it at the bend.

Enough for now.. time to get some sleep.