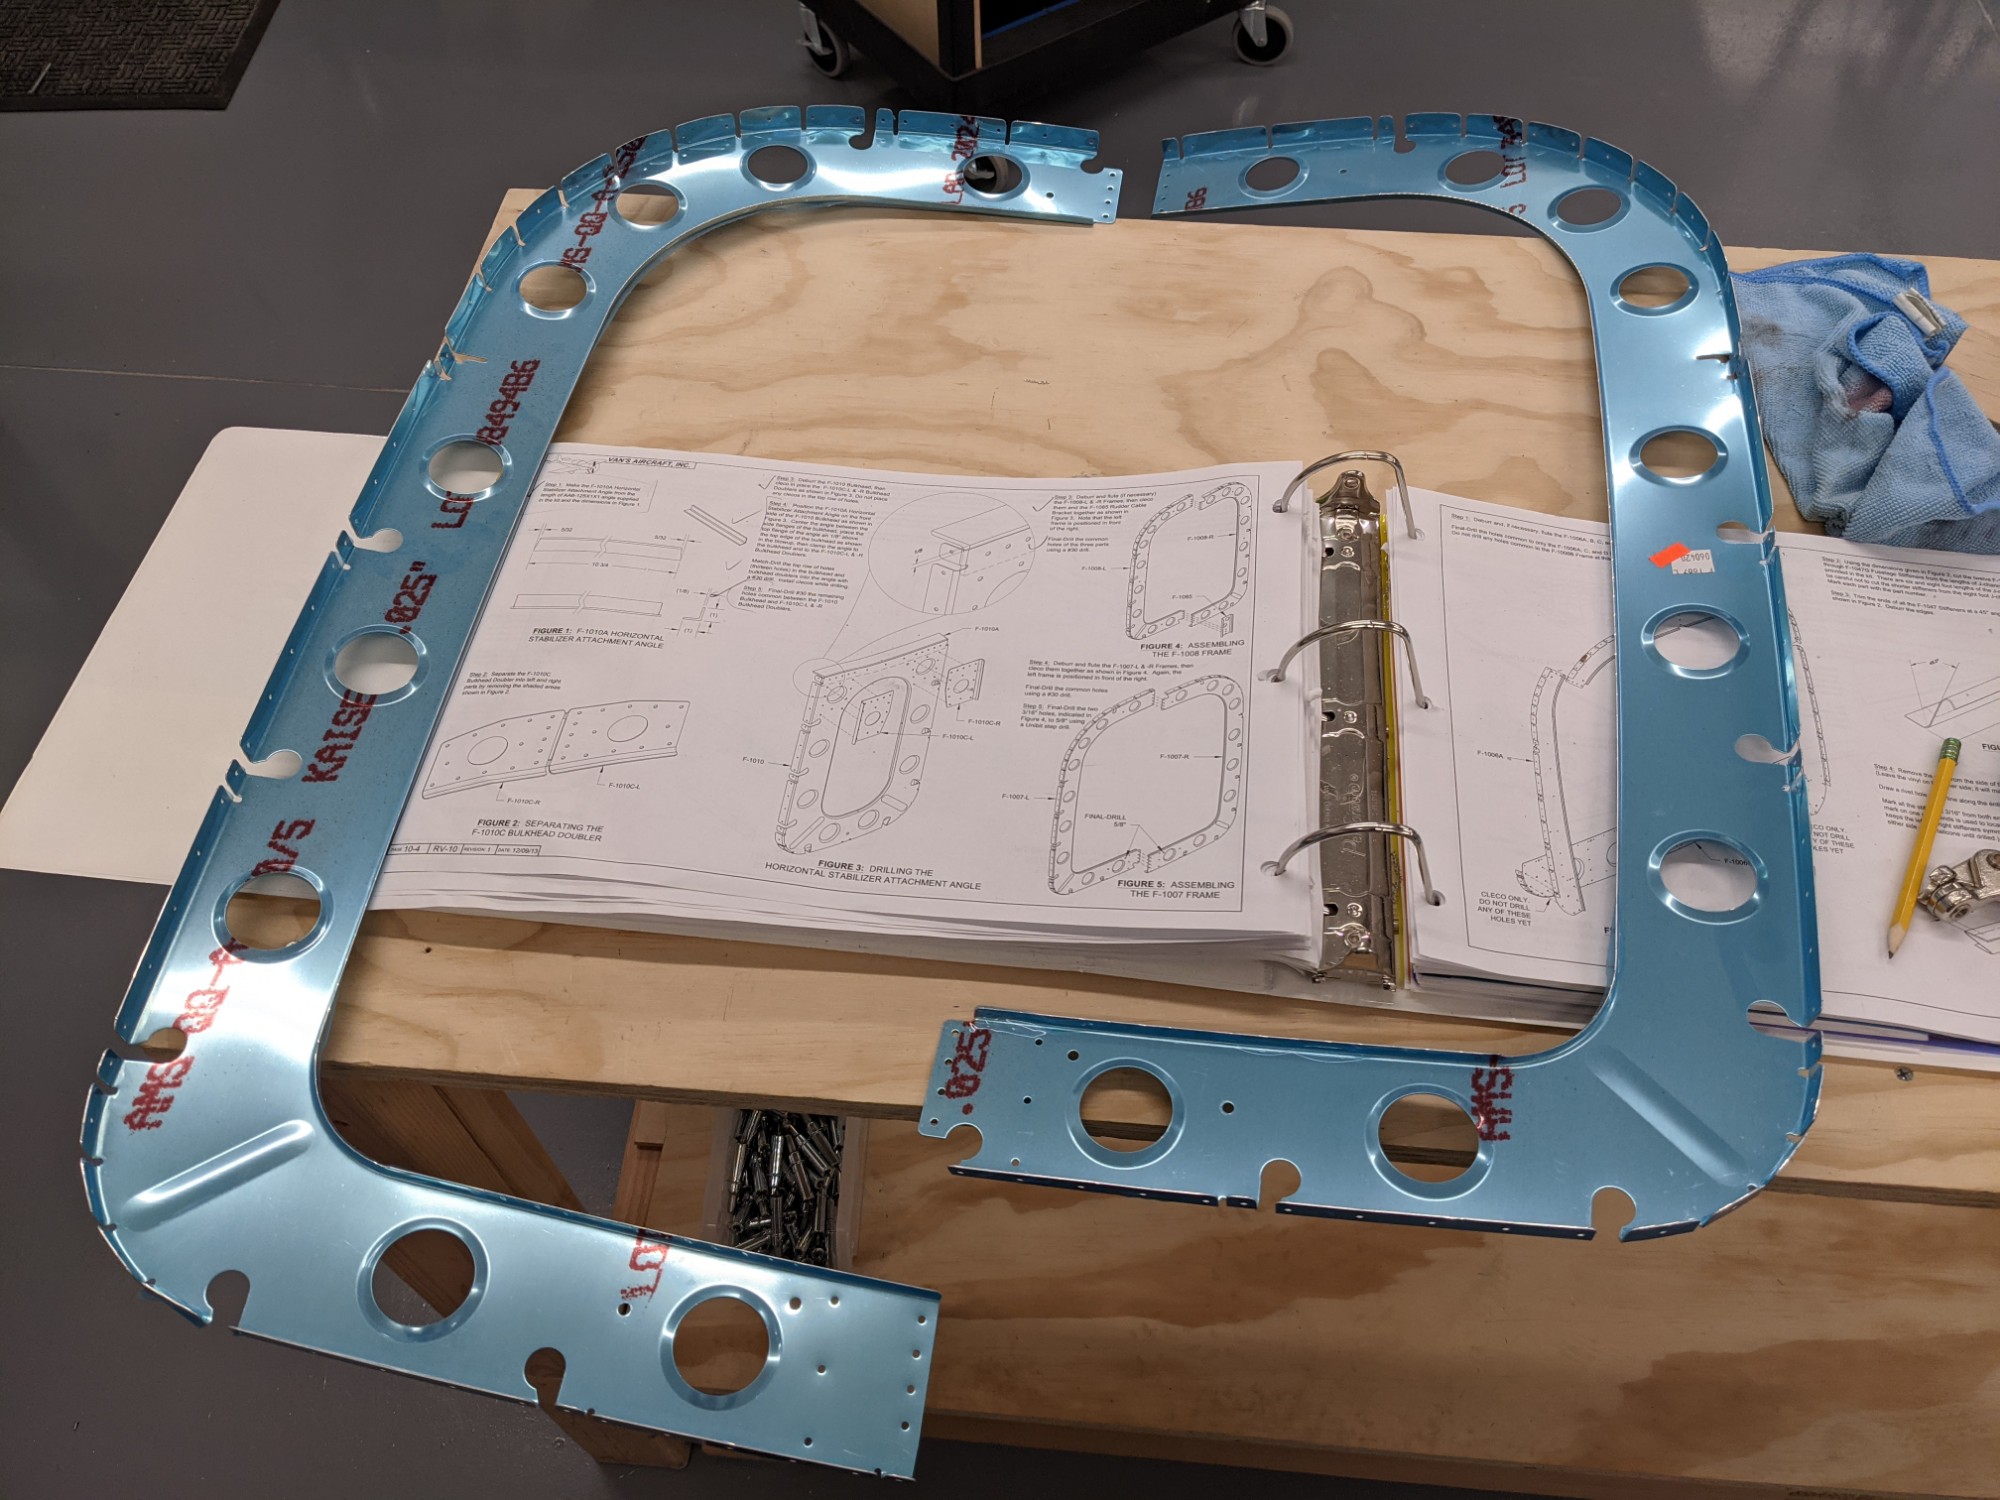
I spent the rest of my shop time today continuing to prep the tailcone fuselage bulkheads and fuselage frames.
![](https://airplane.allanglen.com/wp-content/uploads/2021/02/pxl_20210213_2133434461786037926461064420.jpg)
I started with marking and match drilling the F-1011A bulkhead stiffener to the F-1011 fuselage bulkhead. I marked the stiffener, clamped it in place, and match drilled it on the drill press.
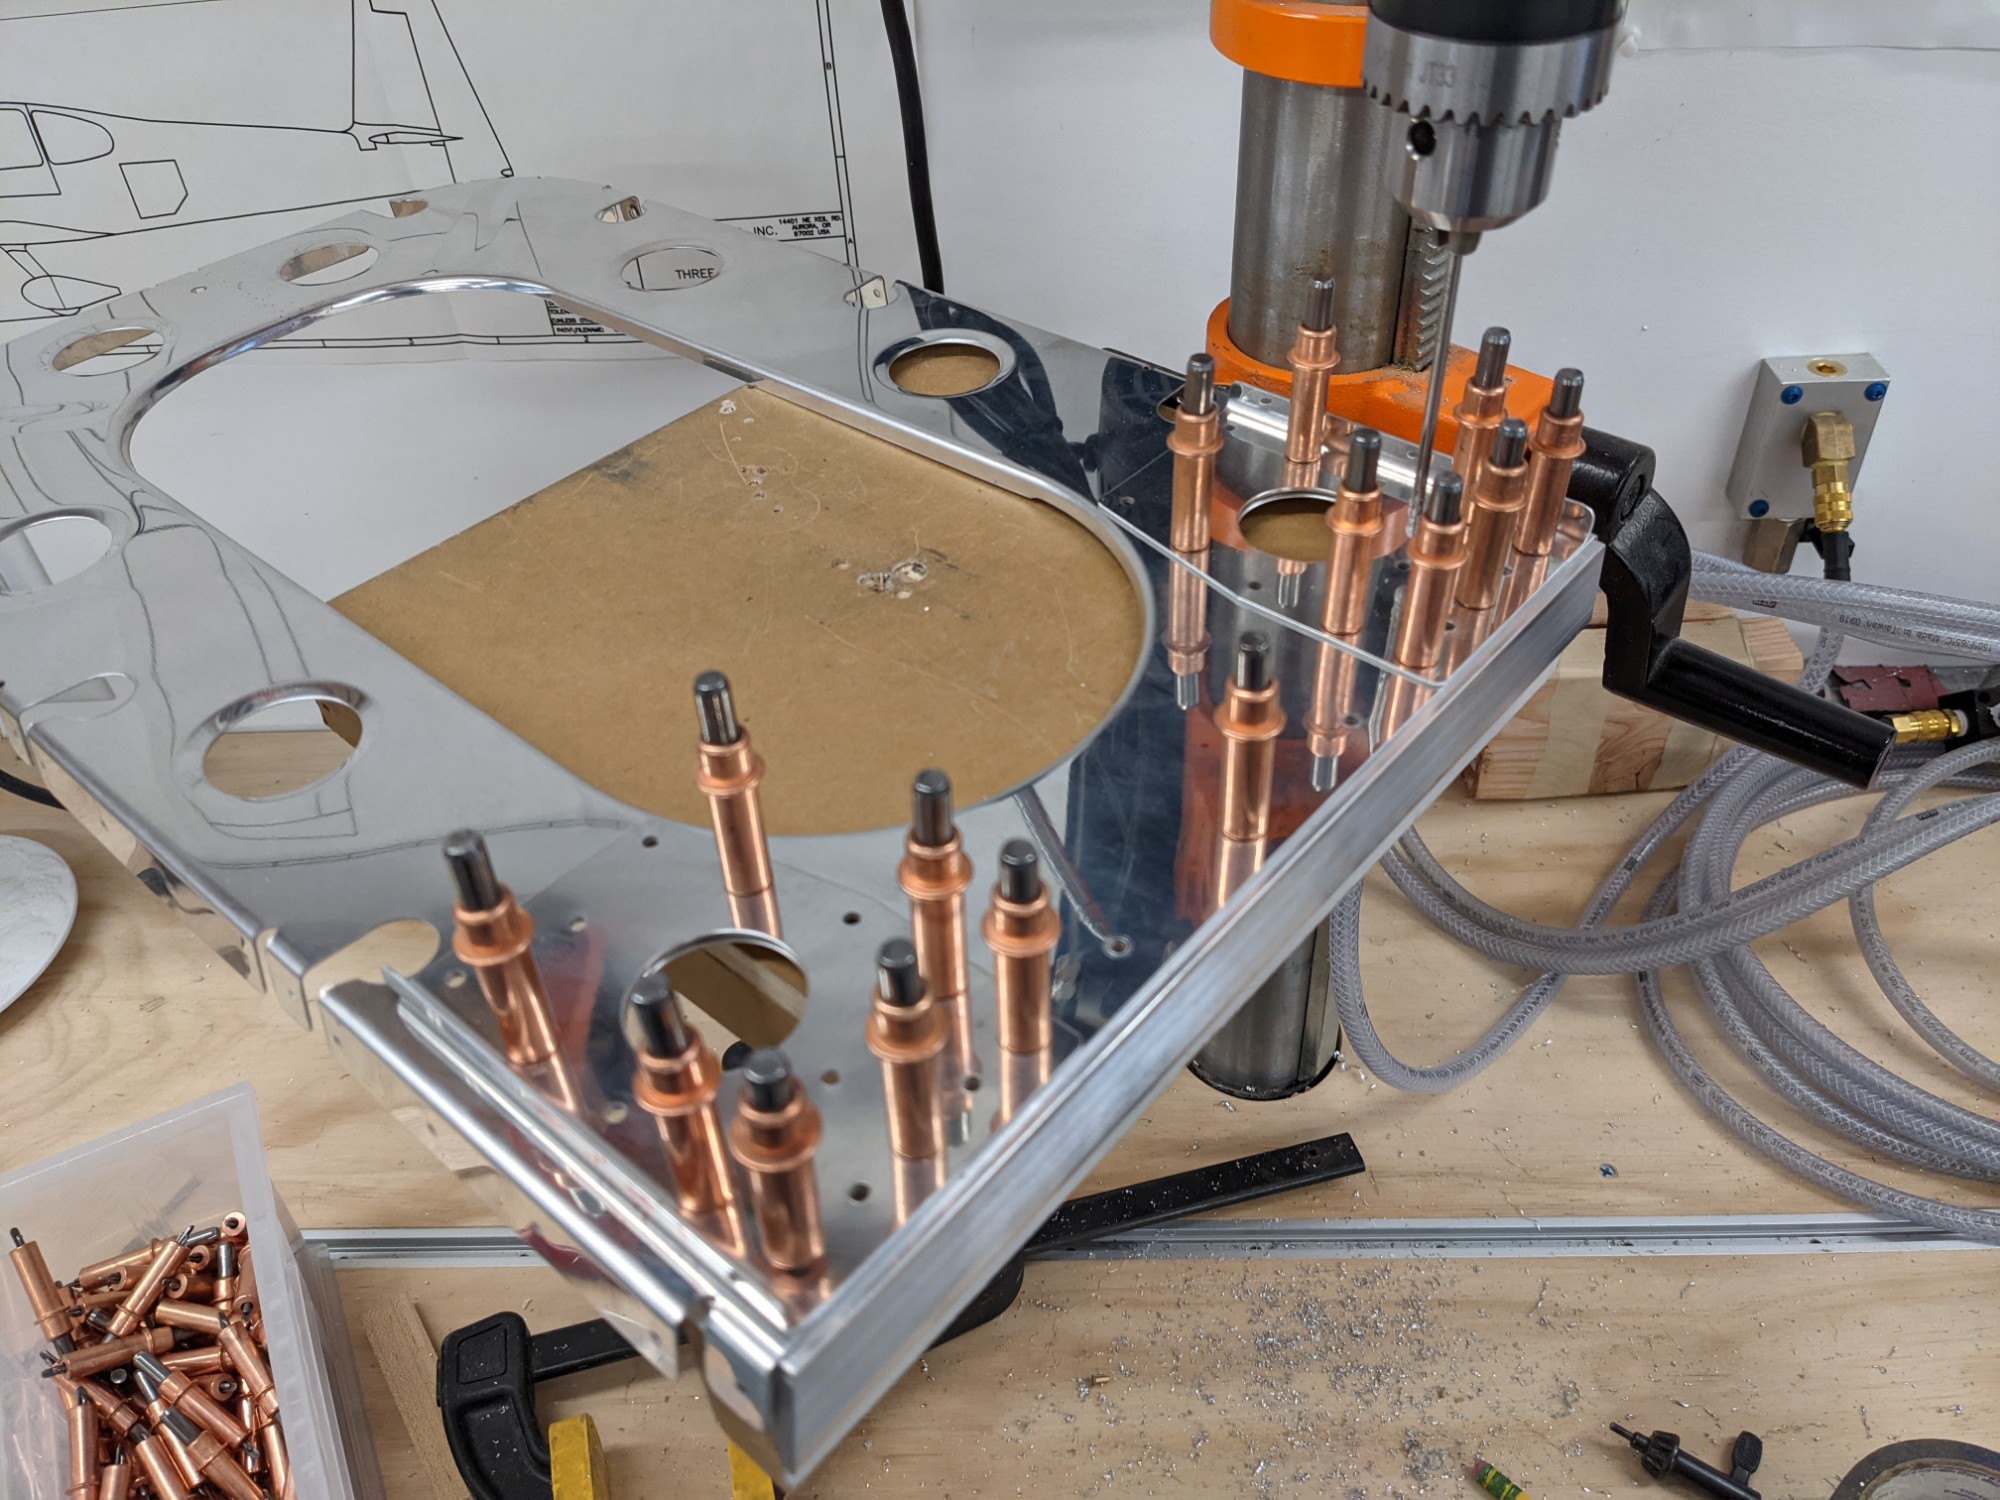
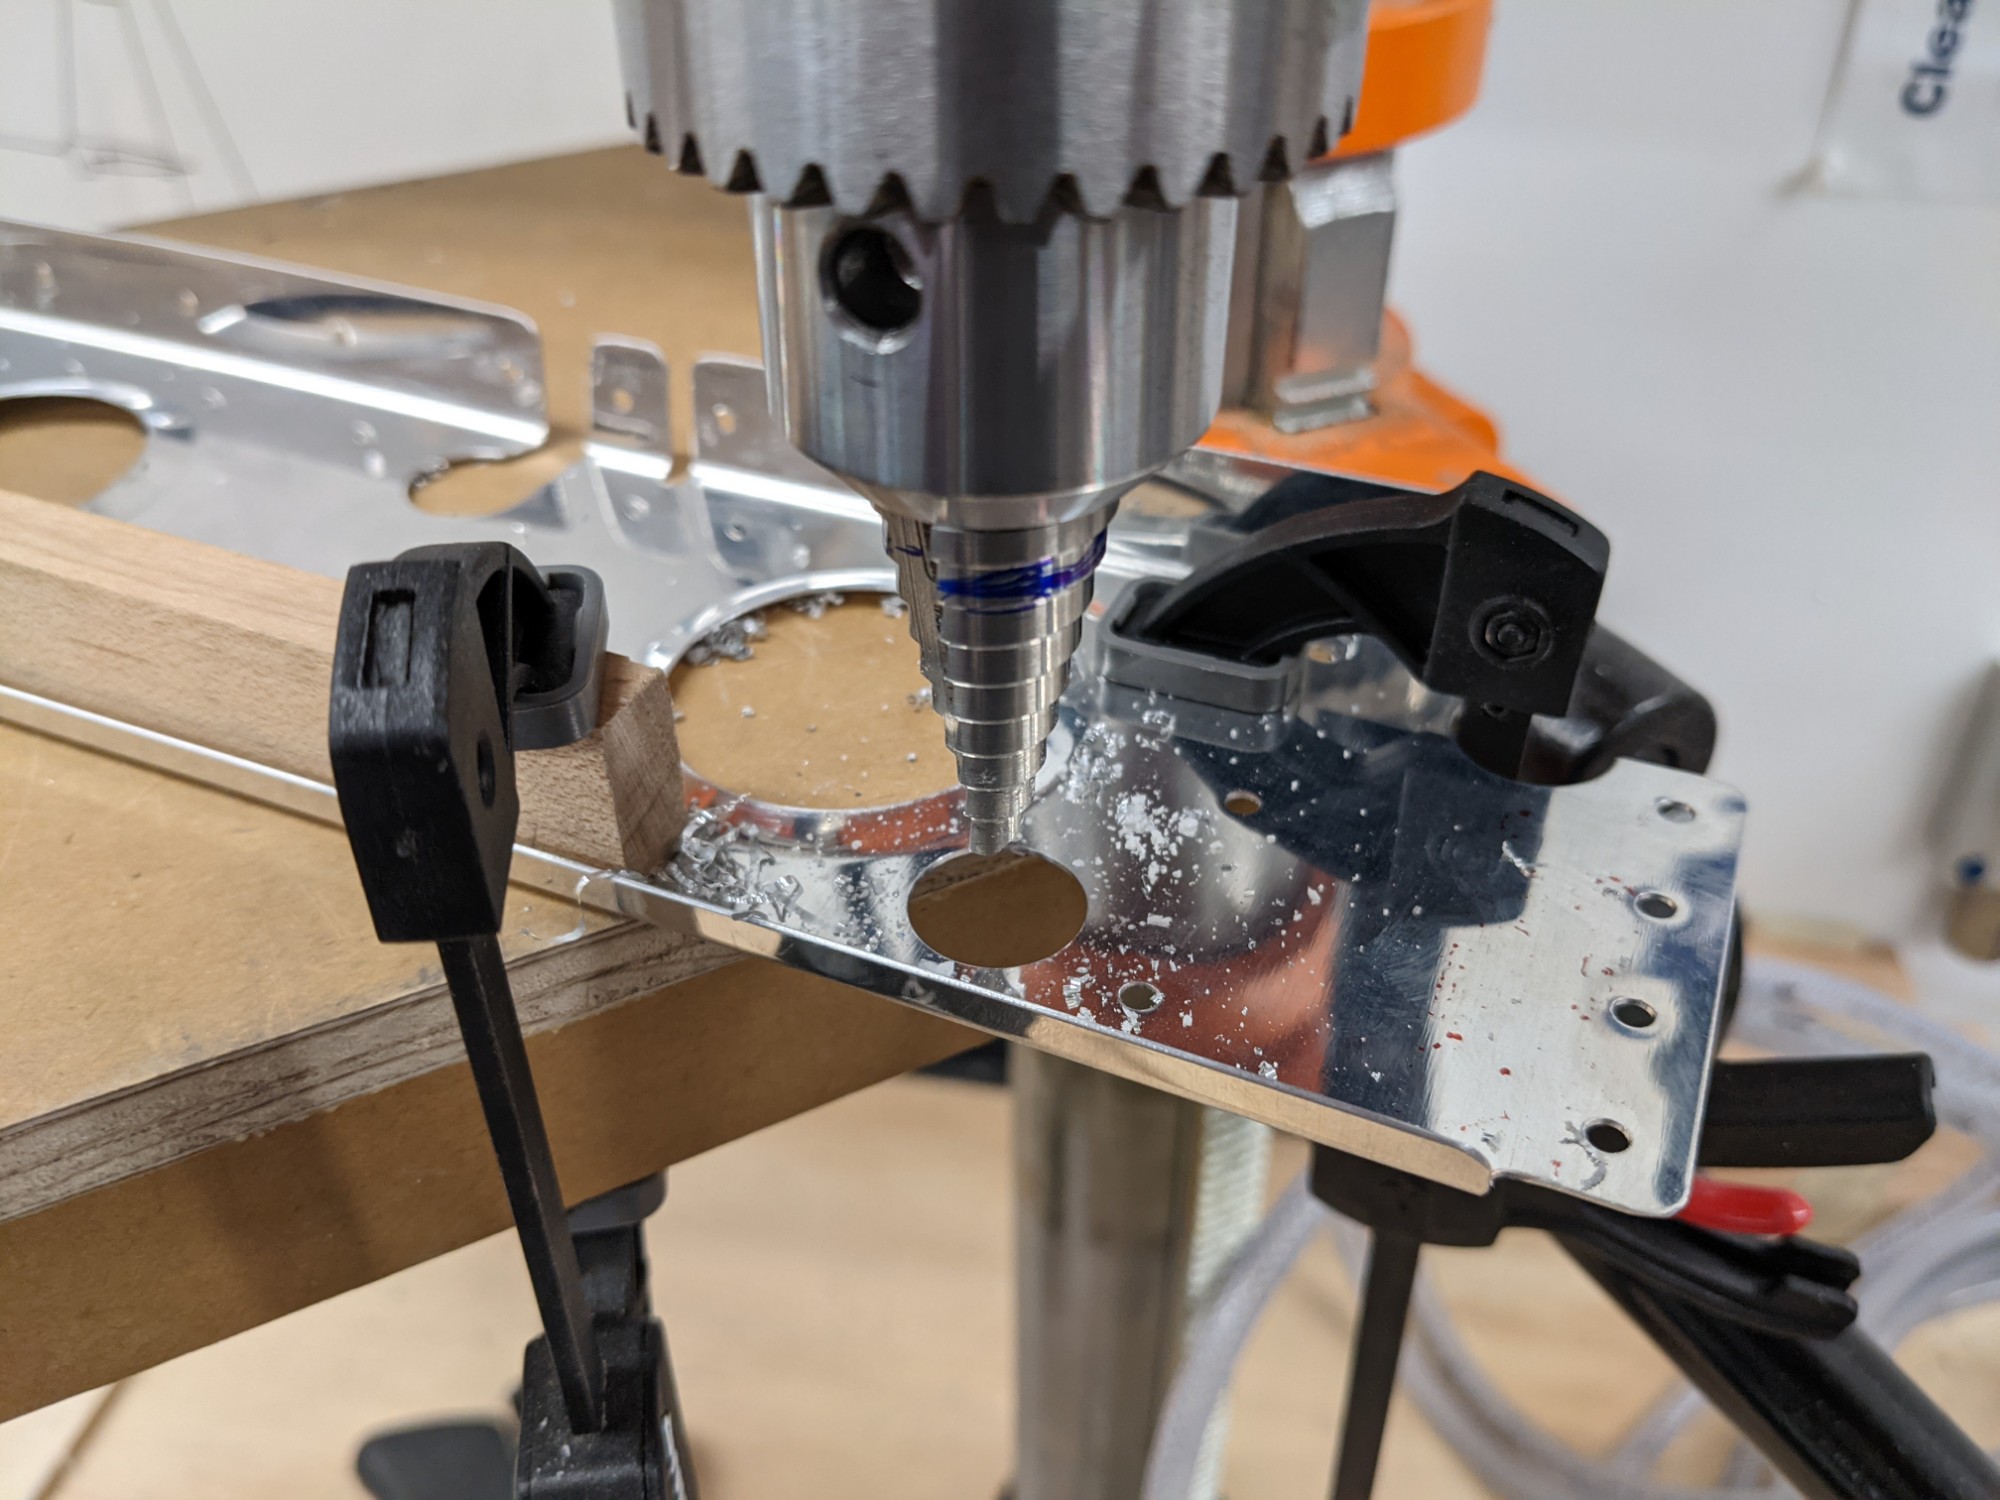
I then final sized the elevator attachment bar holes to the bulkhead with a #30 reamer.
![](https://airplane.allanglen.com/wp-content/uploads/2021/02/pxl_20210213_2220074097542180236338637360.jpg)
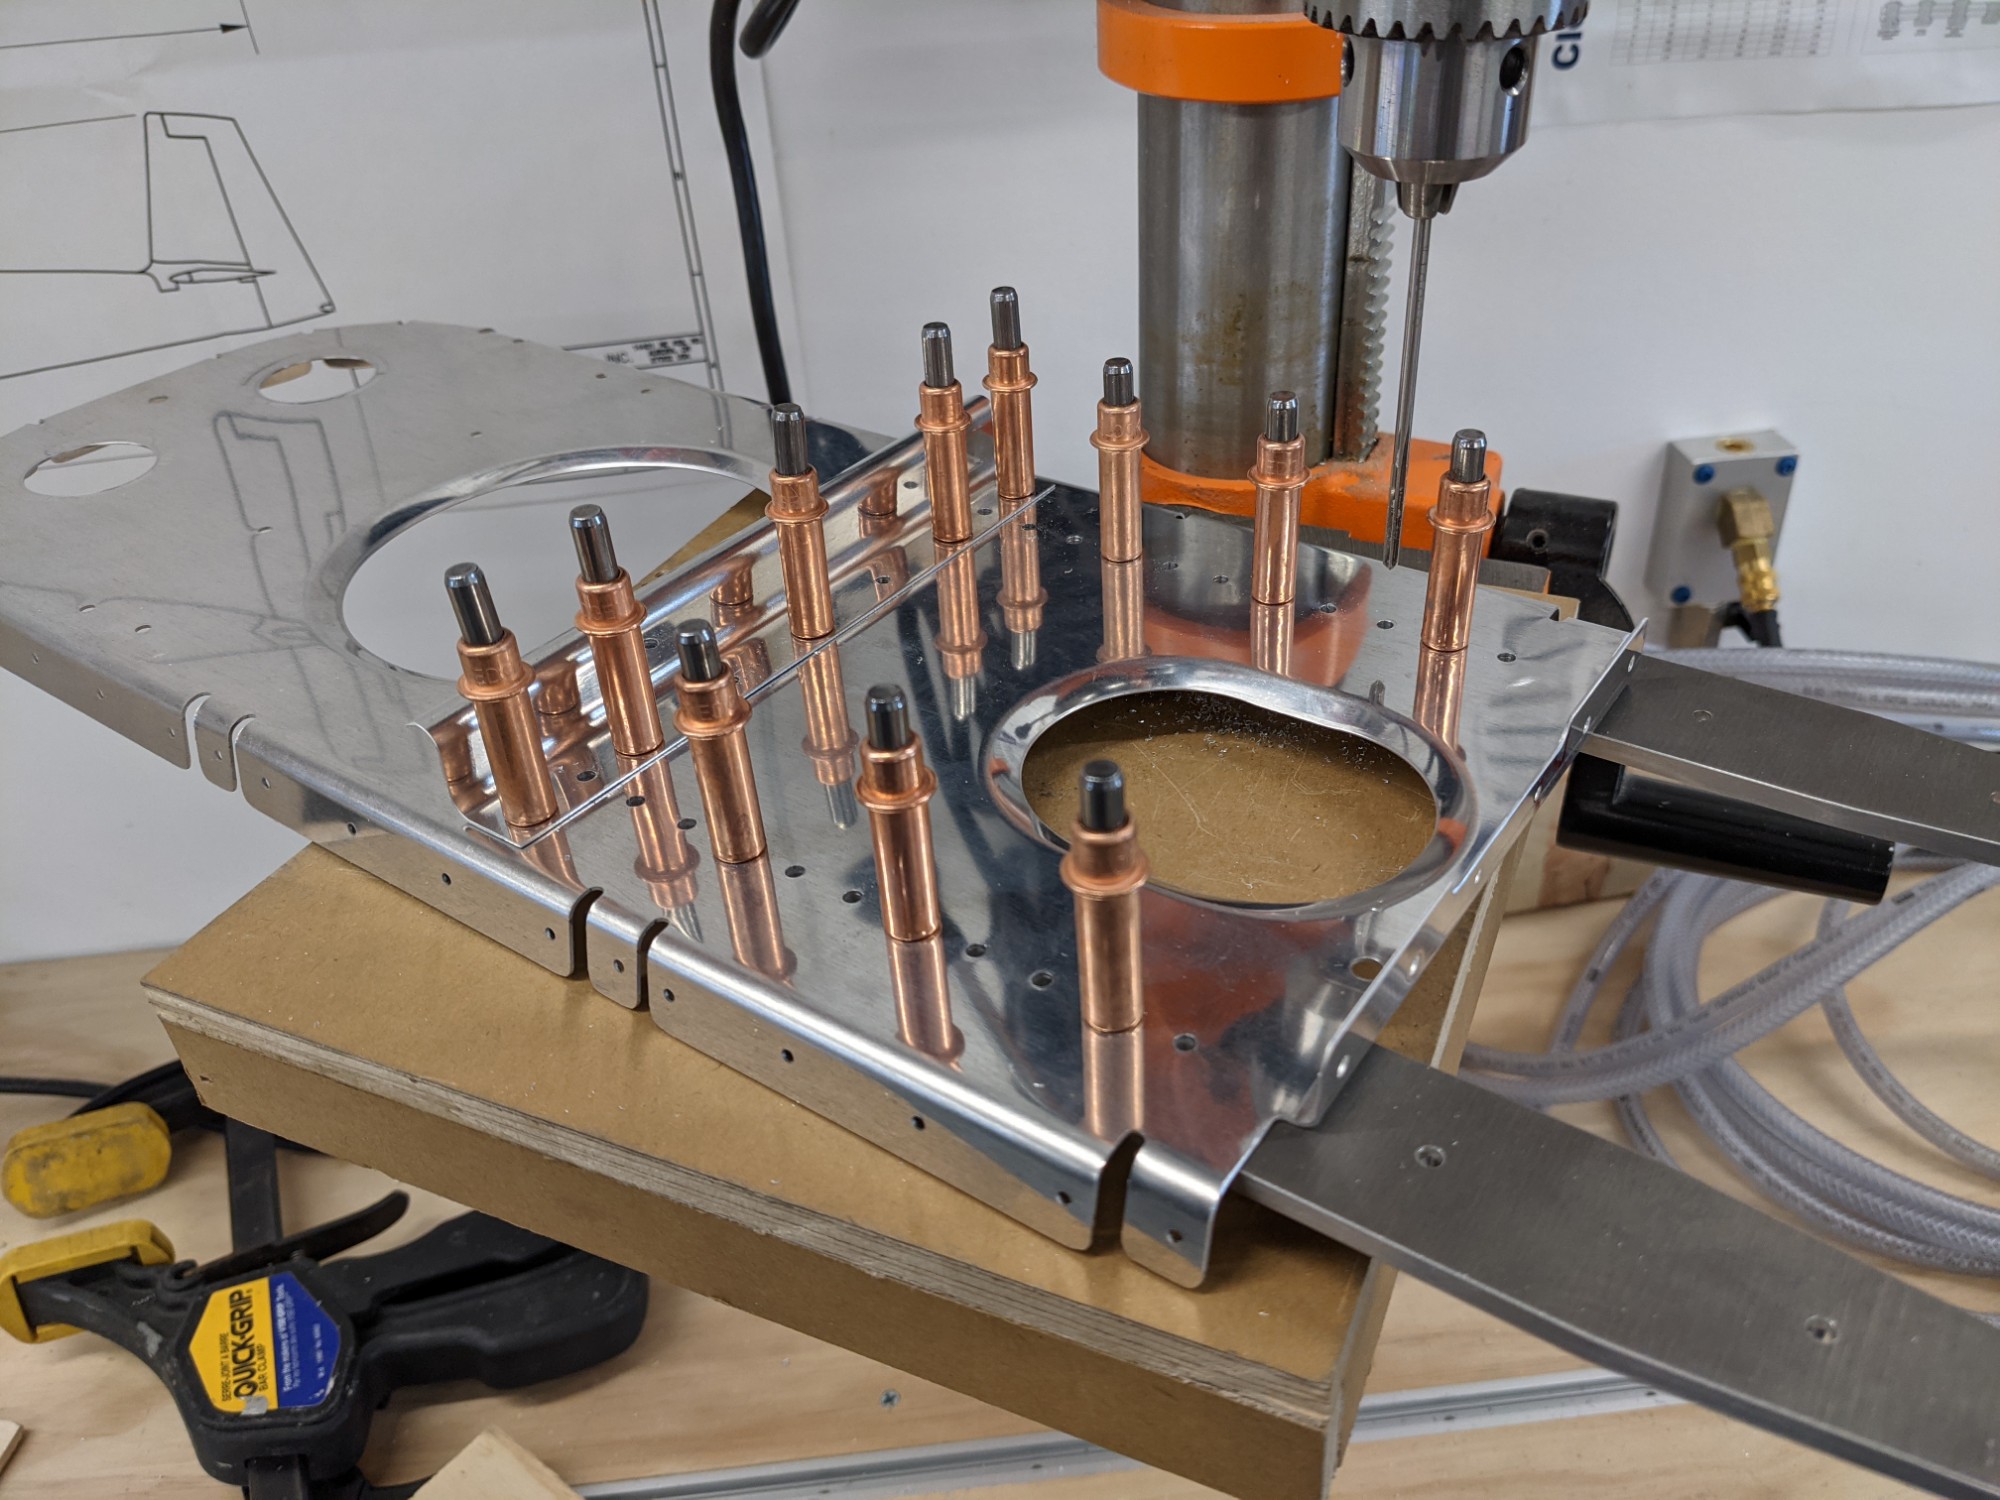
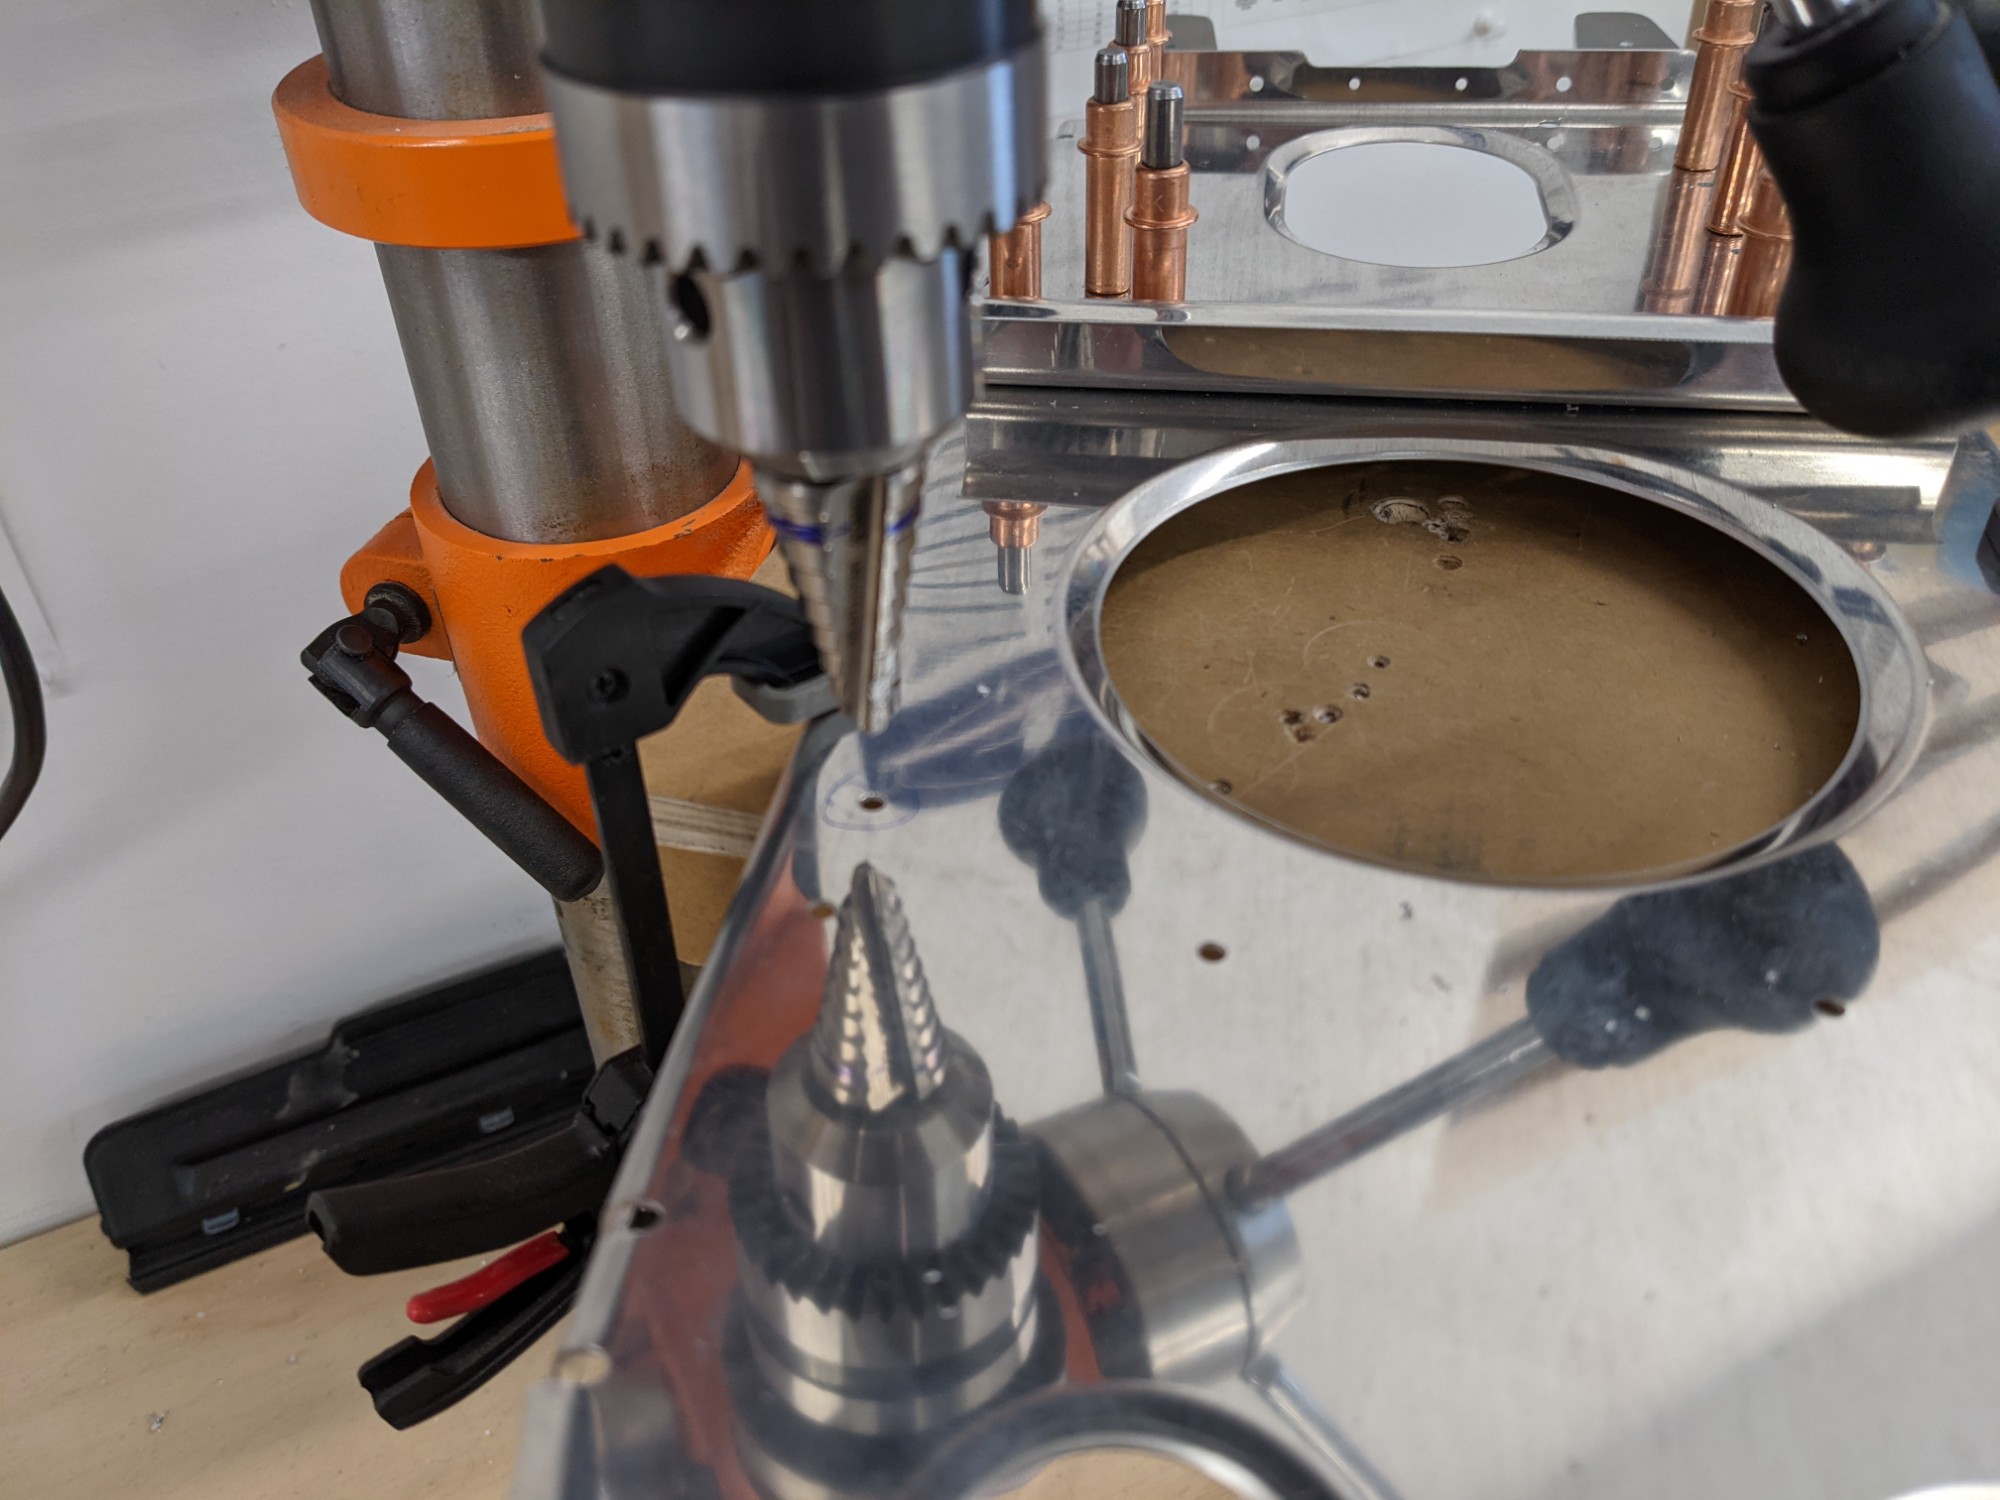
Next, I completed the upsizing of the rudder cable holes with a step drill.
![](https://airplane.allanglen.com/wp-content/uploads/2021/02/pxl_20210213_2231018769197239296426522868.jpg)
I then marked and match drilled the rudder cable angle to the bulkhead.
![](https://airplane.allanglen.com/wp-content/uploads/2021/02/pxl_20210213_2233579948124801788810852418.jpg)
![](https://airplane.allanglen.com/wp-content/uploads/2021/02/pxl_20210213_2246174387903594458766653340.jpg)
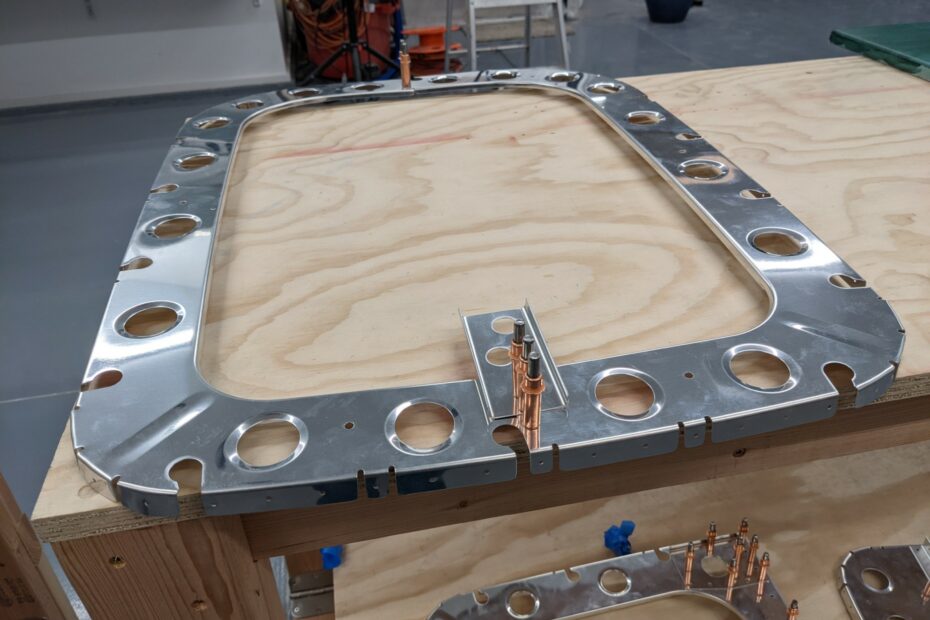
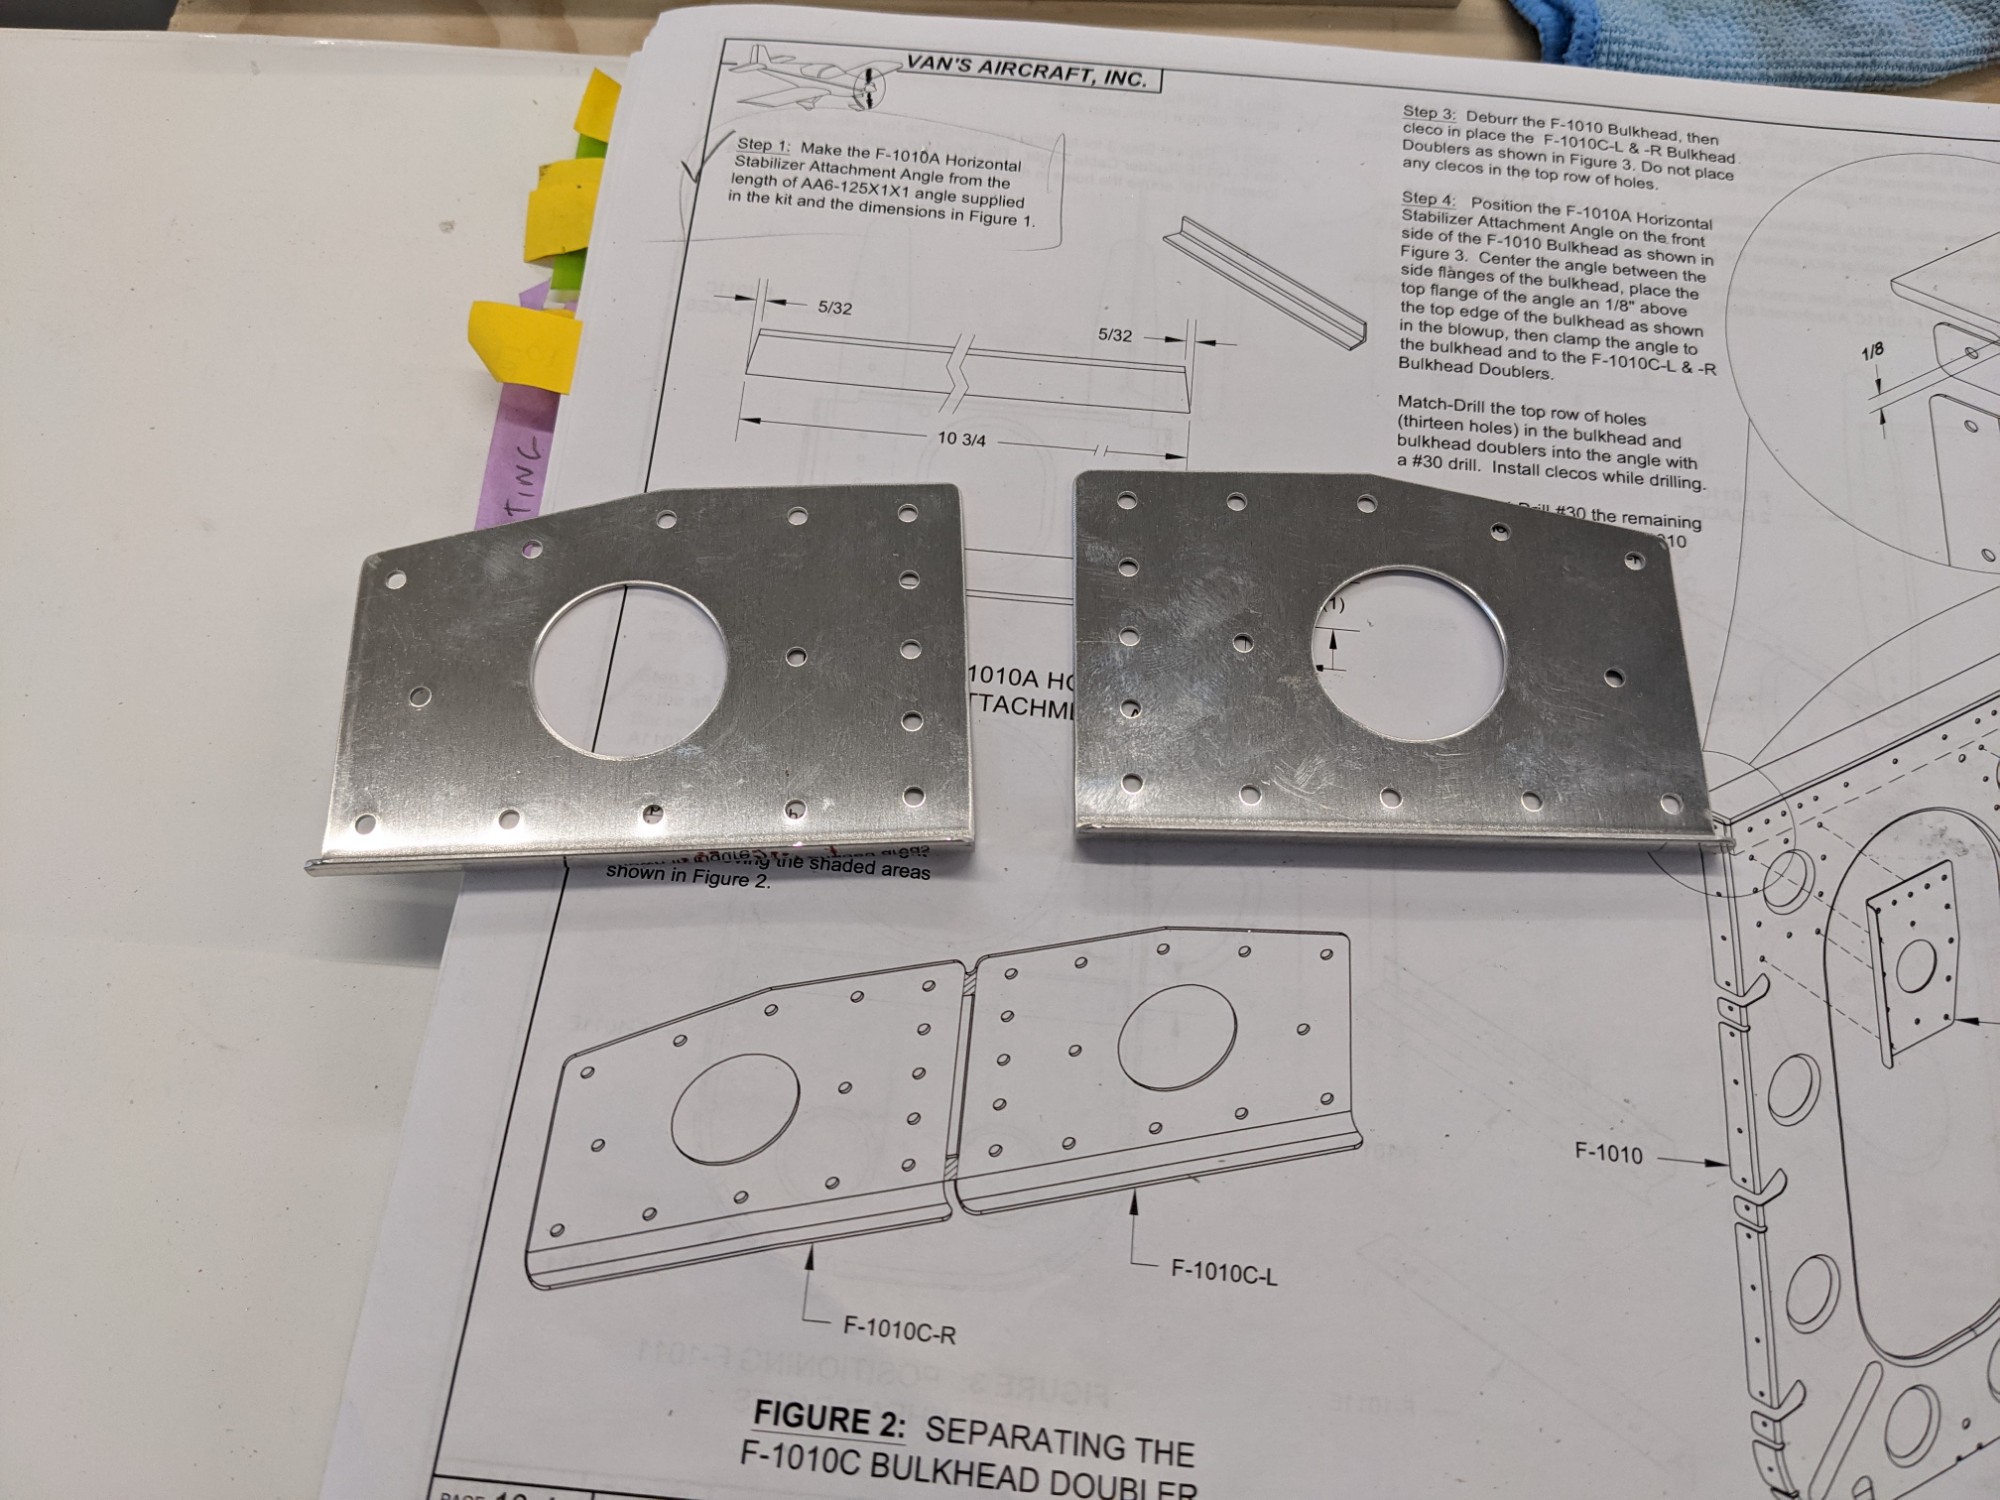
I next worked on the F-1011 fuselage bulkhead. This has a bracket that is fabricated from 1/8″ x 1″ x 1″ aluminum angle that is used to attach to the aft deck and the horizontal stabilizer. I cut the angle to the rough size on the bandsaw and finished it on the disc sander.
![](https://airplane.allanglen.com/wp-content/uploads/2021/02/pxl_20210213_2354589096997335975945328032.jpg)
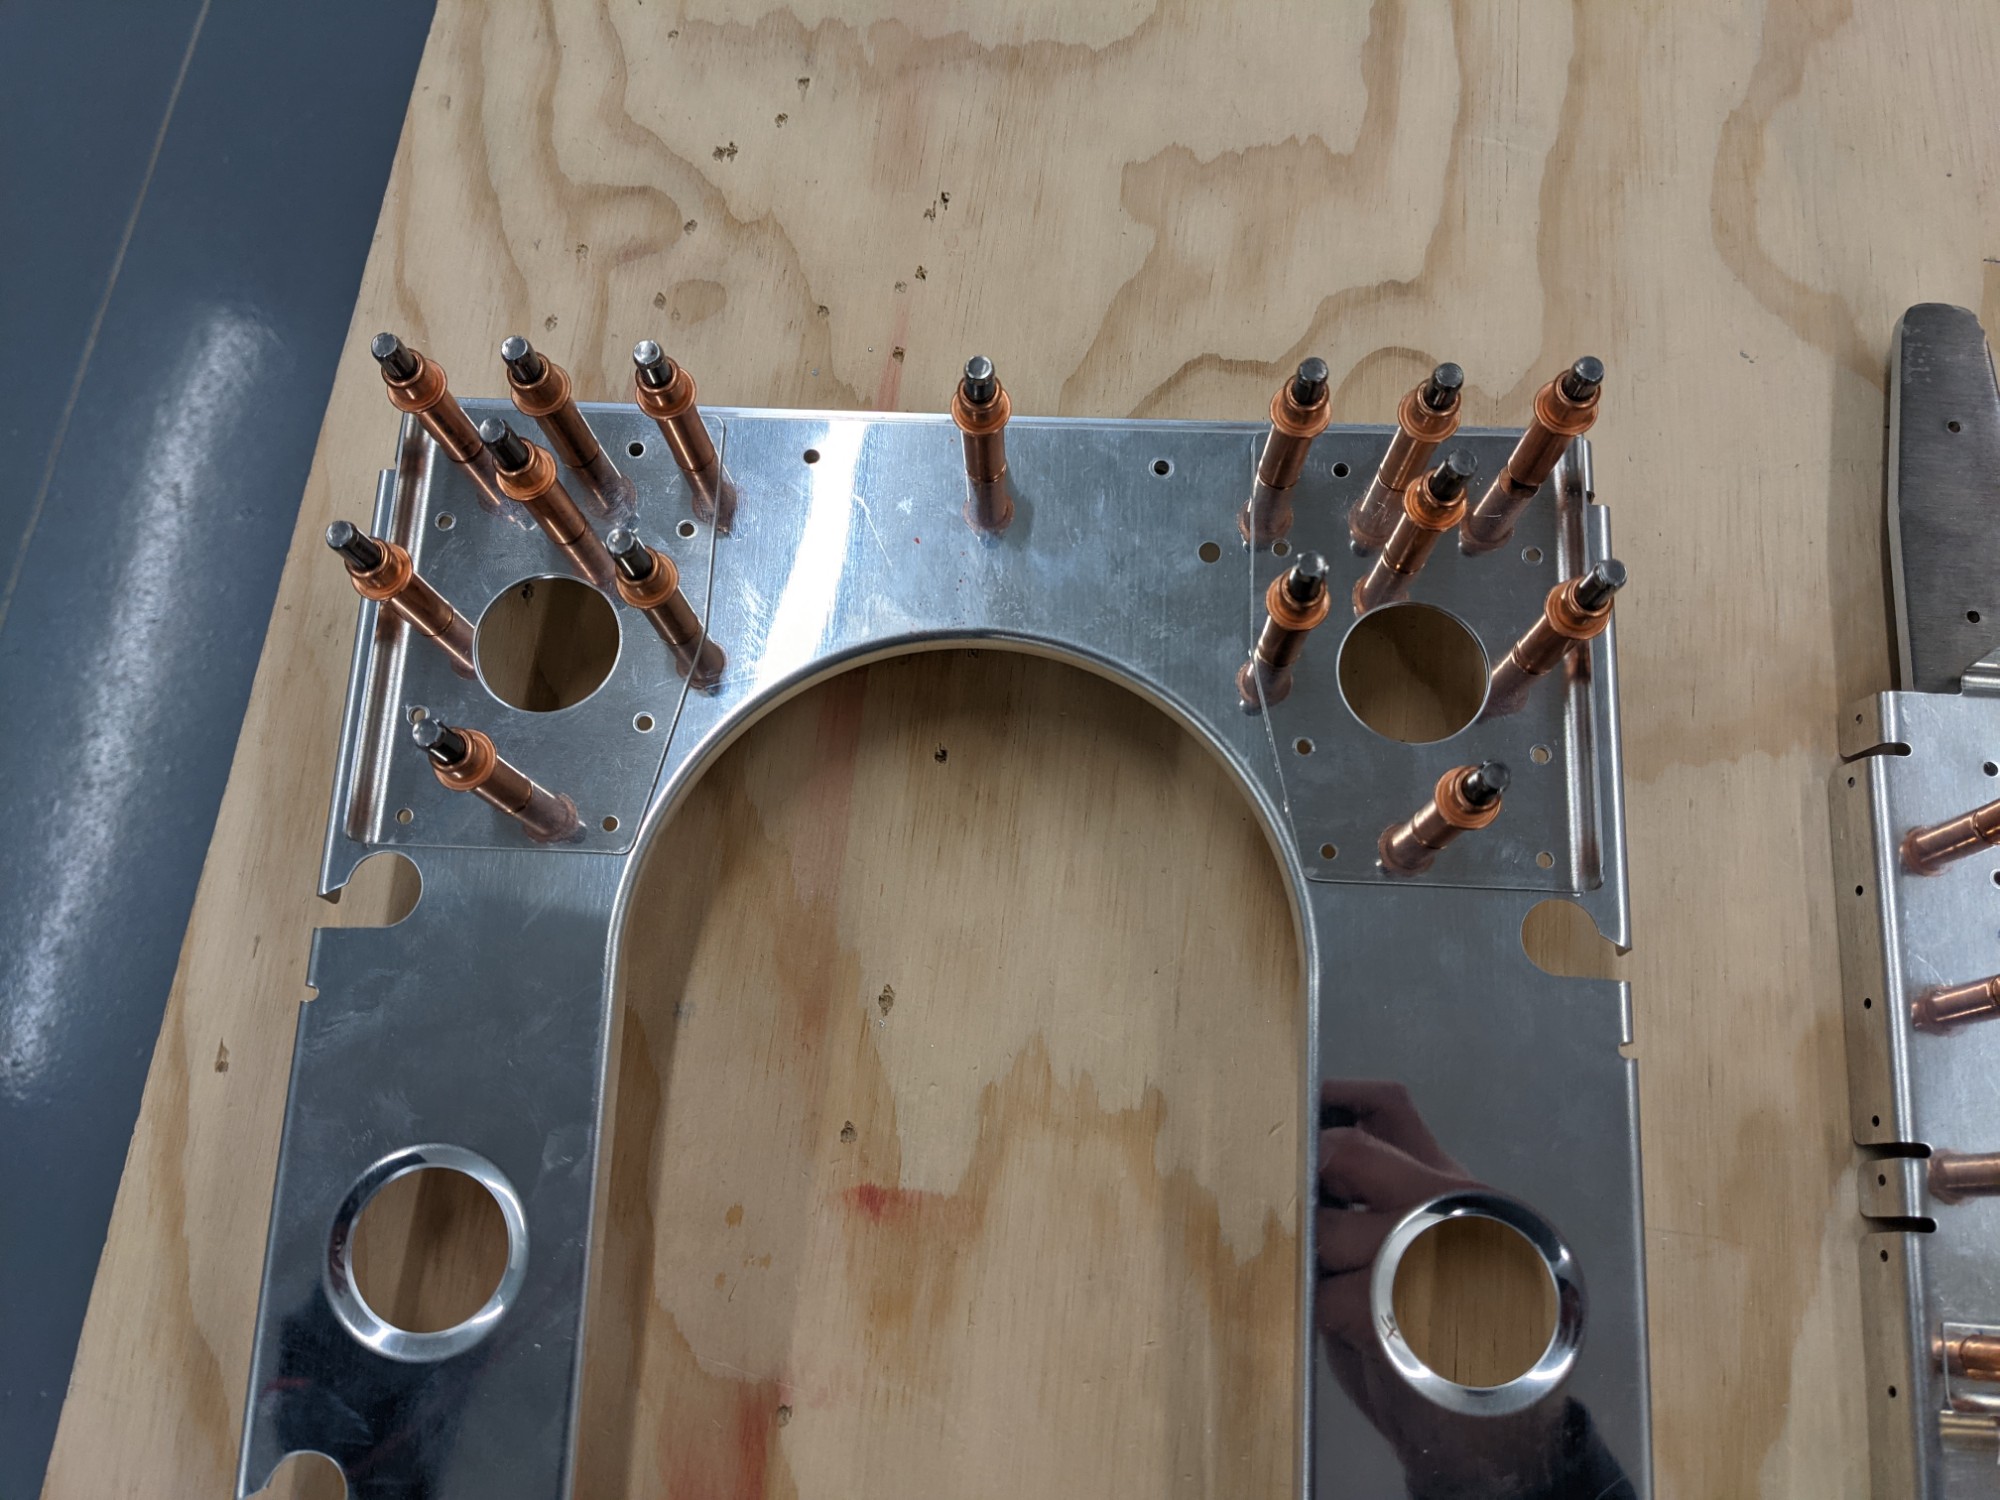
I then separated and deburred the bulkhead doublers.
![](https://airplane.allanglen.com/wp-content/uploads/2021/02/pxl_20210214_000351124747690791549277192.jpg)
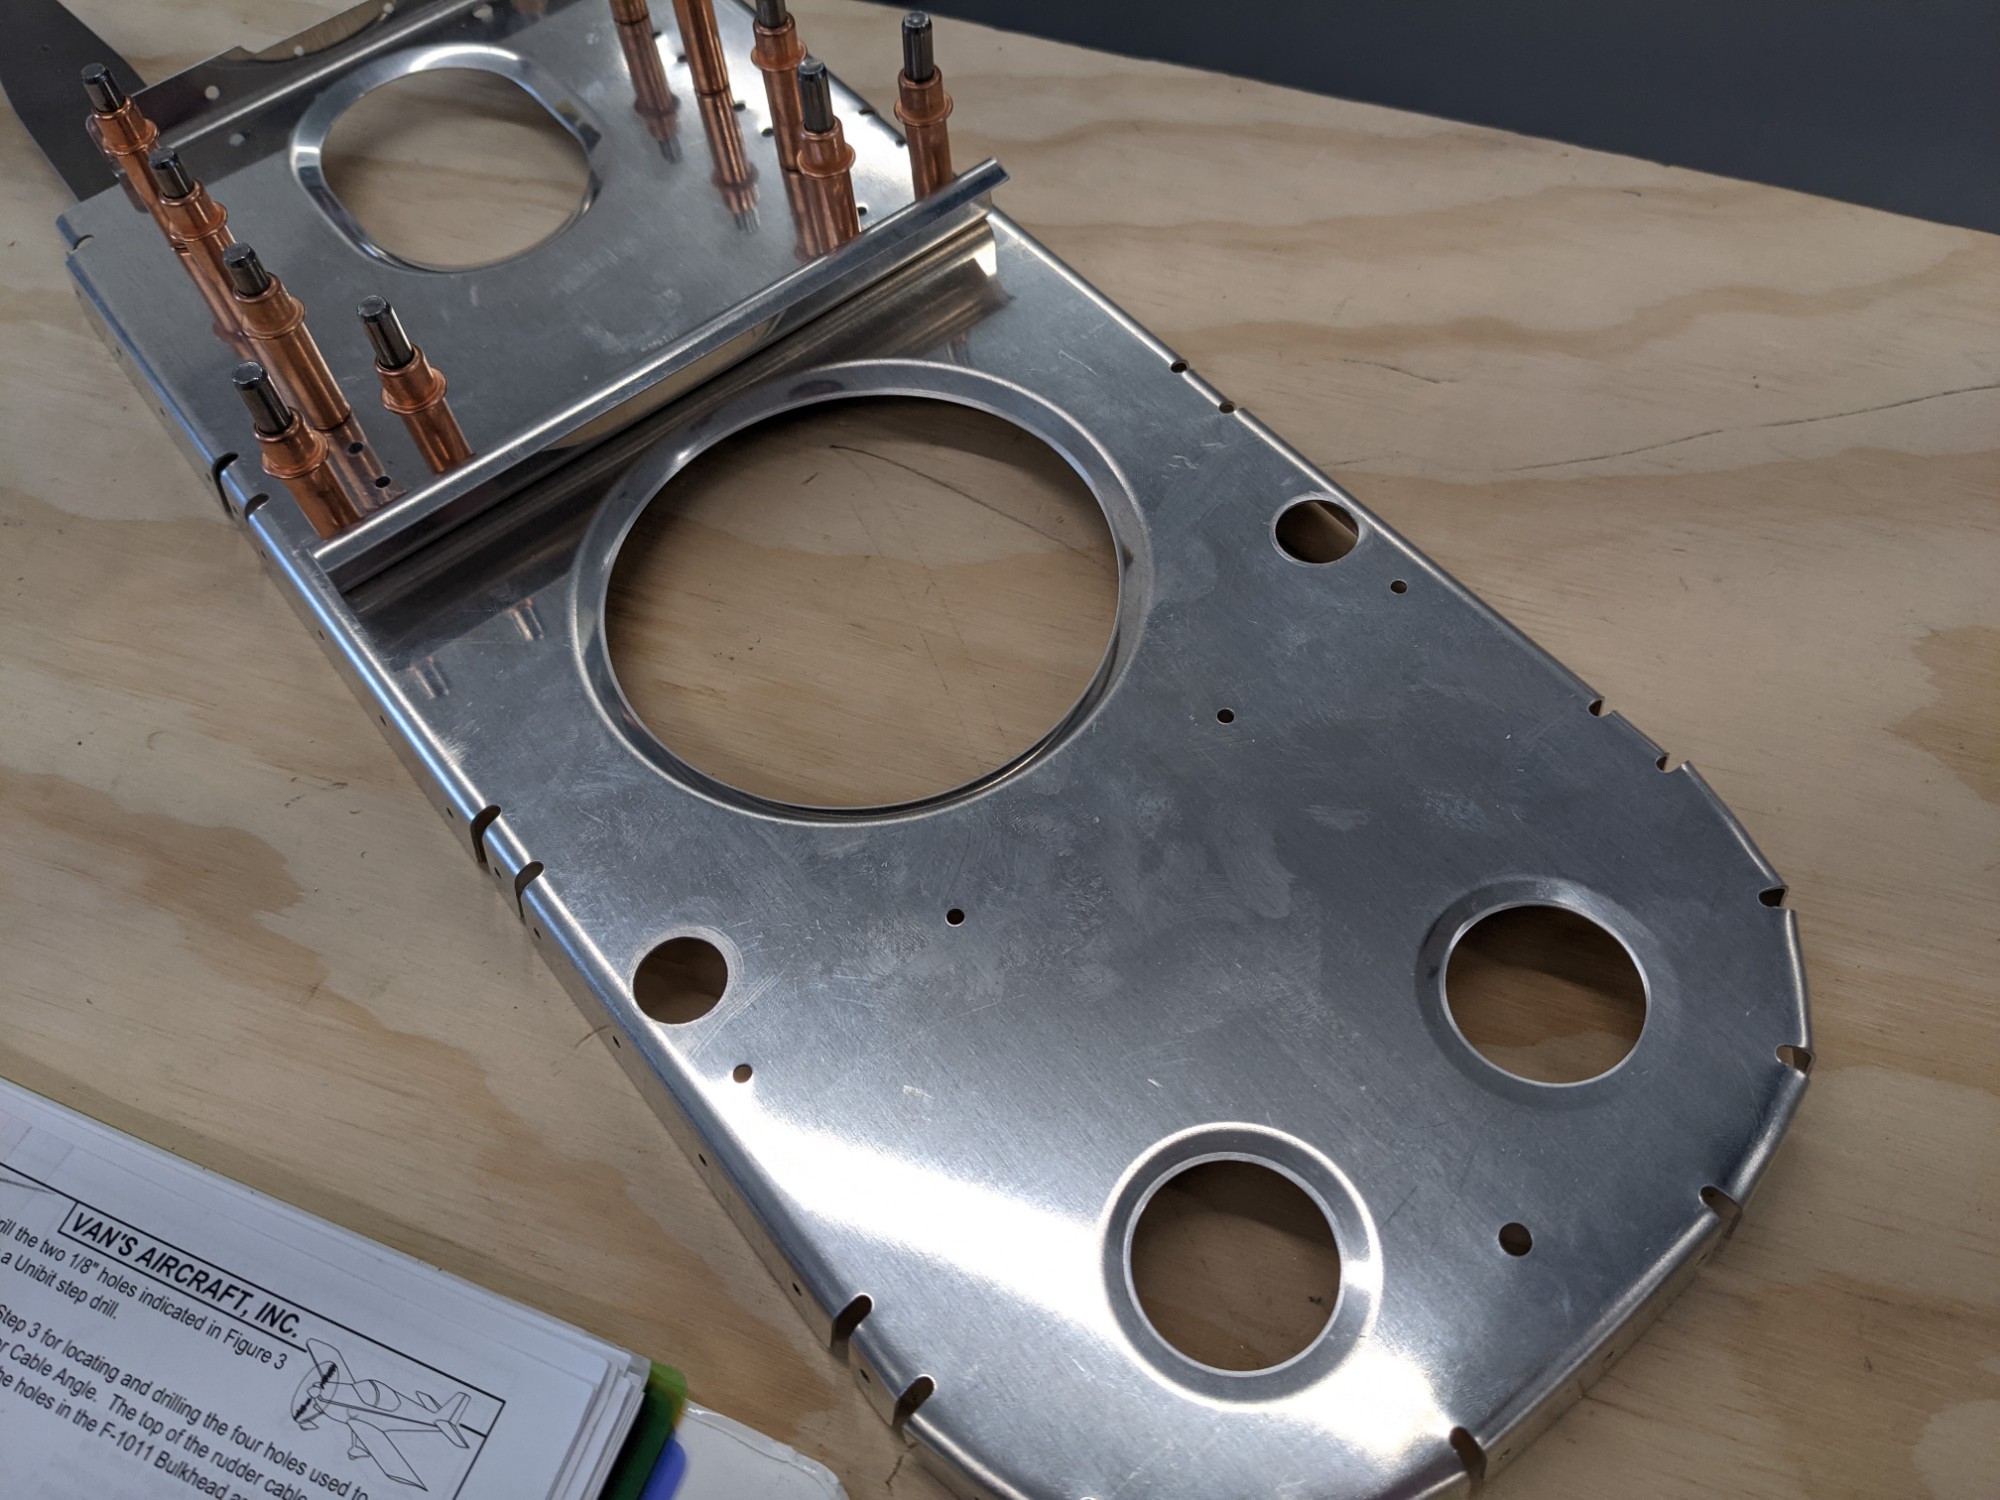
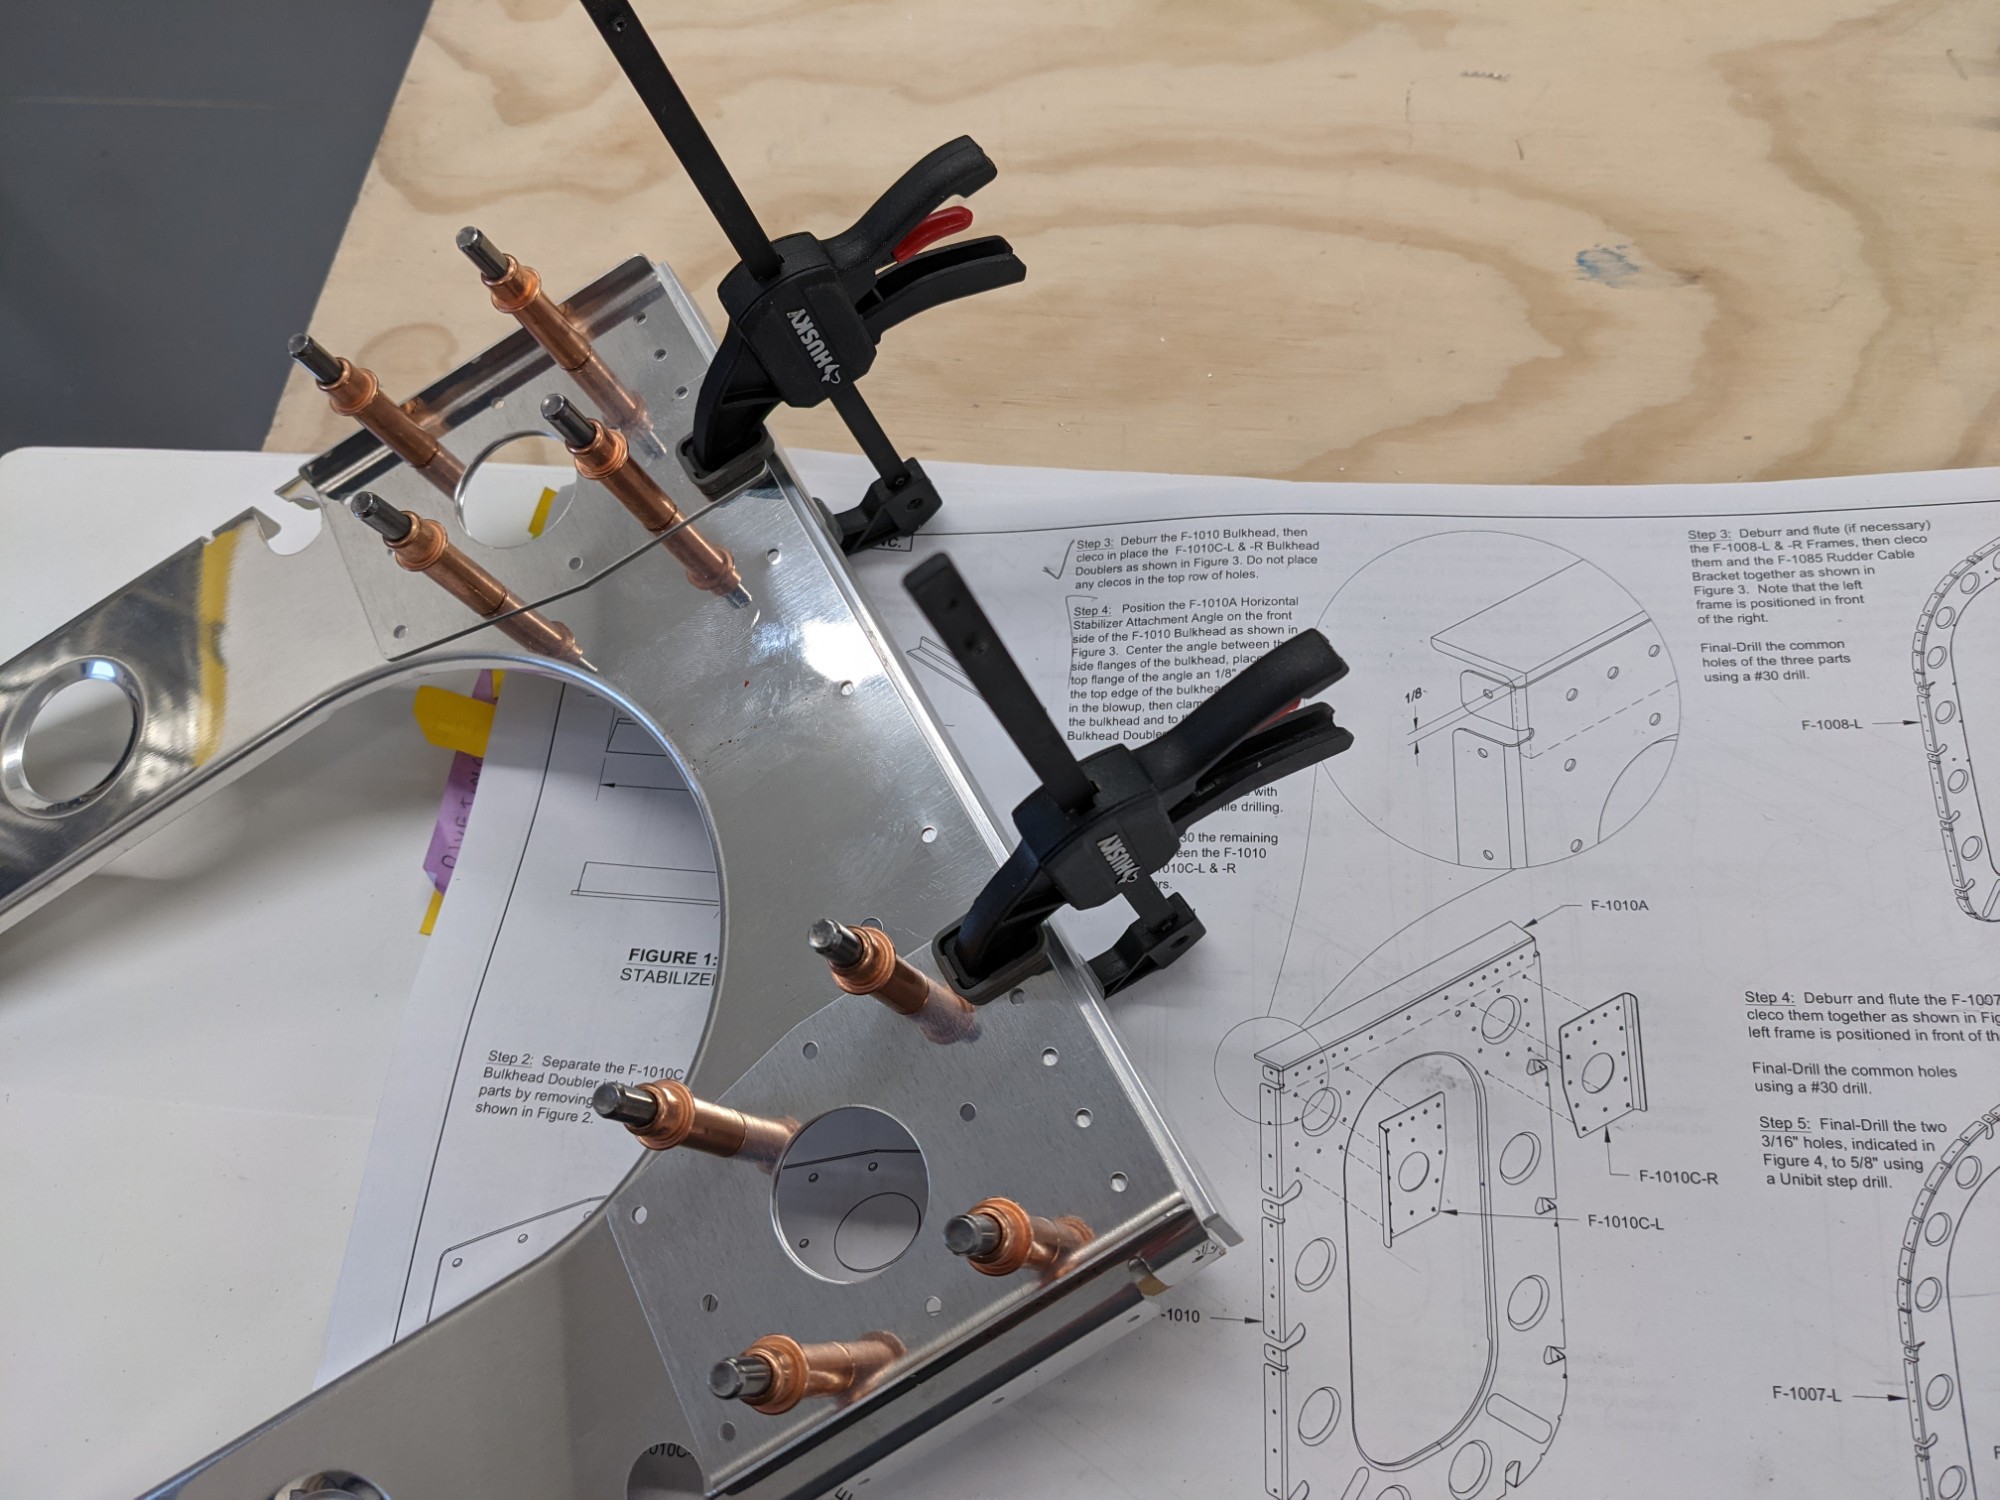
This all gets clecoed together and match drilled.
![](https://airplane.allanglen.com/wp-content/uploads/2021/02/pxl_20210214_0020557442652816300198148709.jpg)
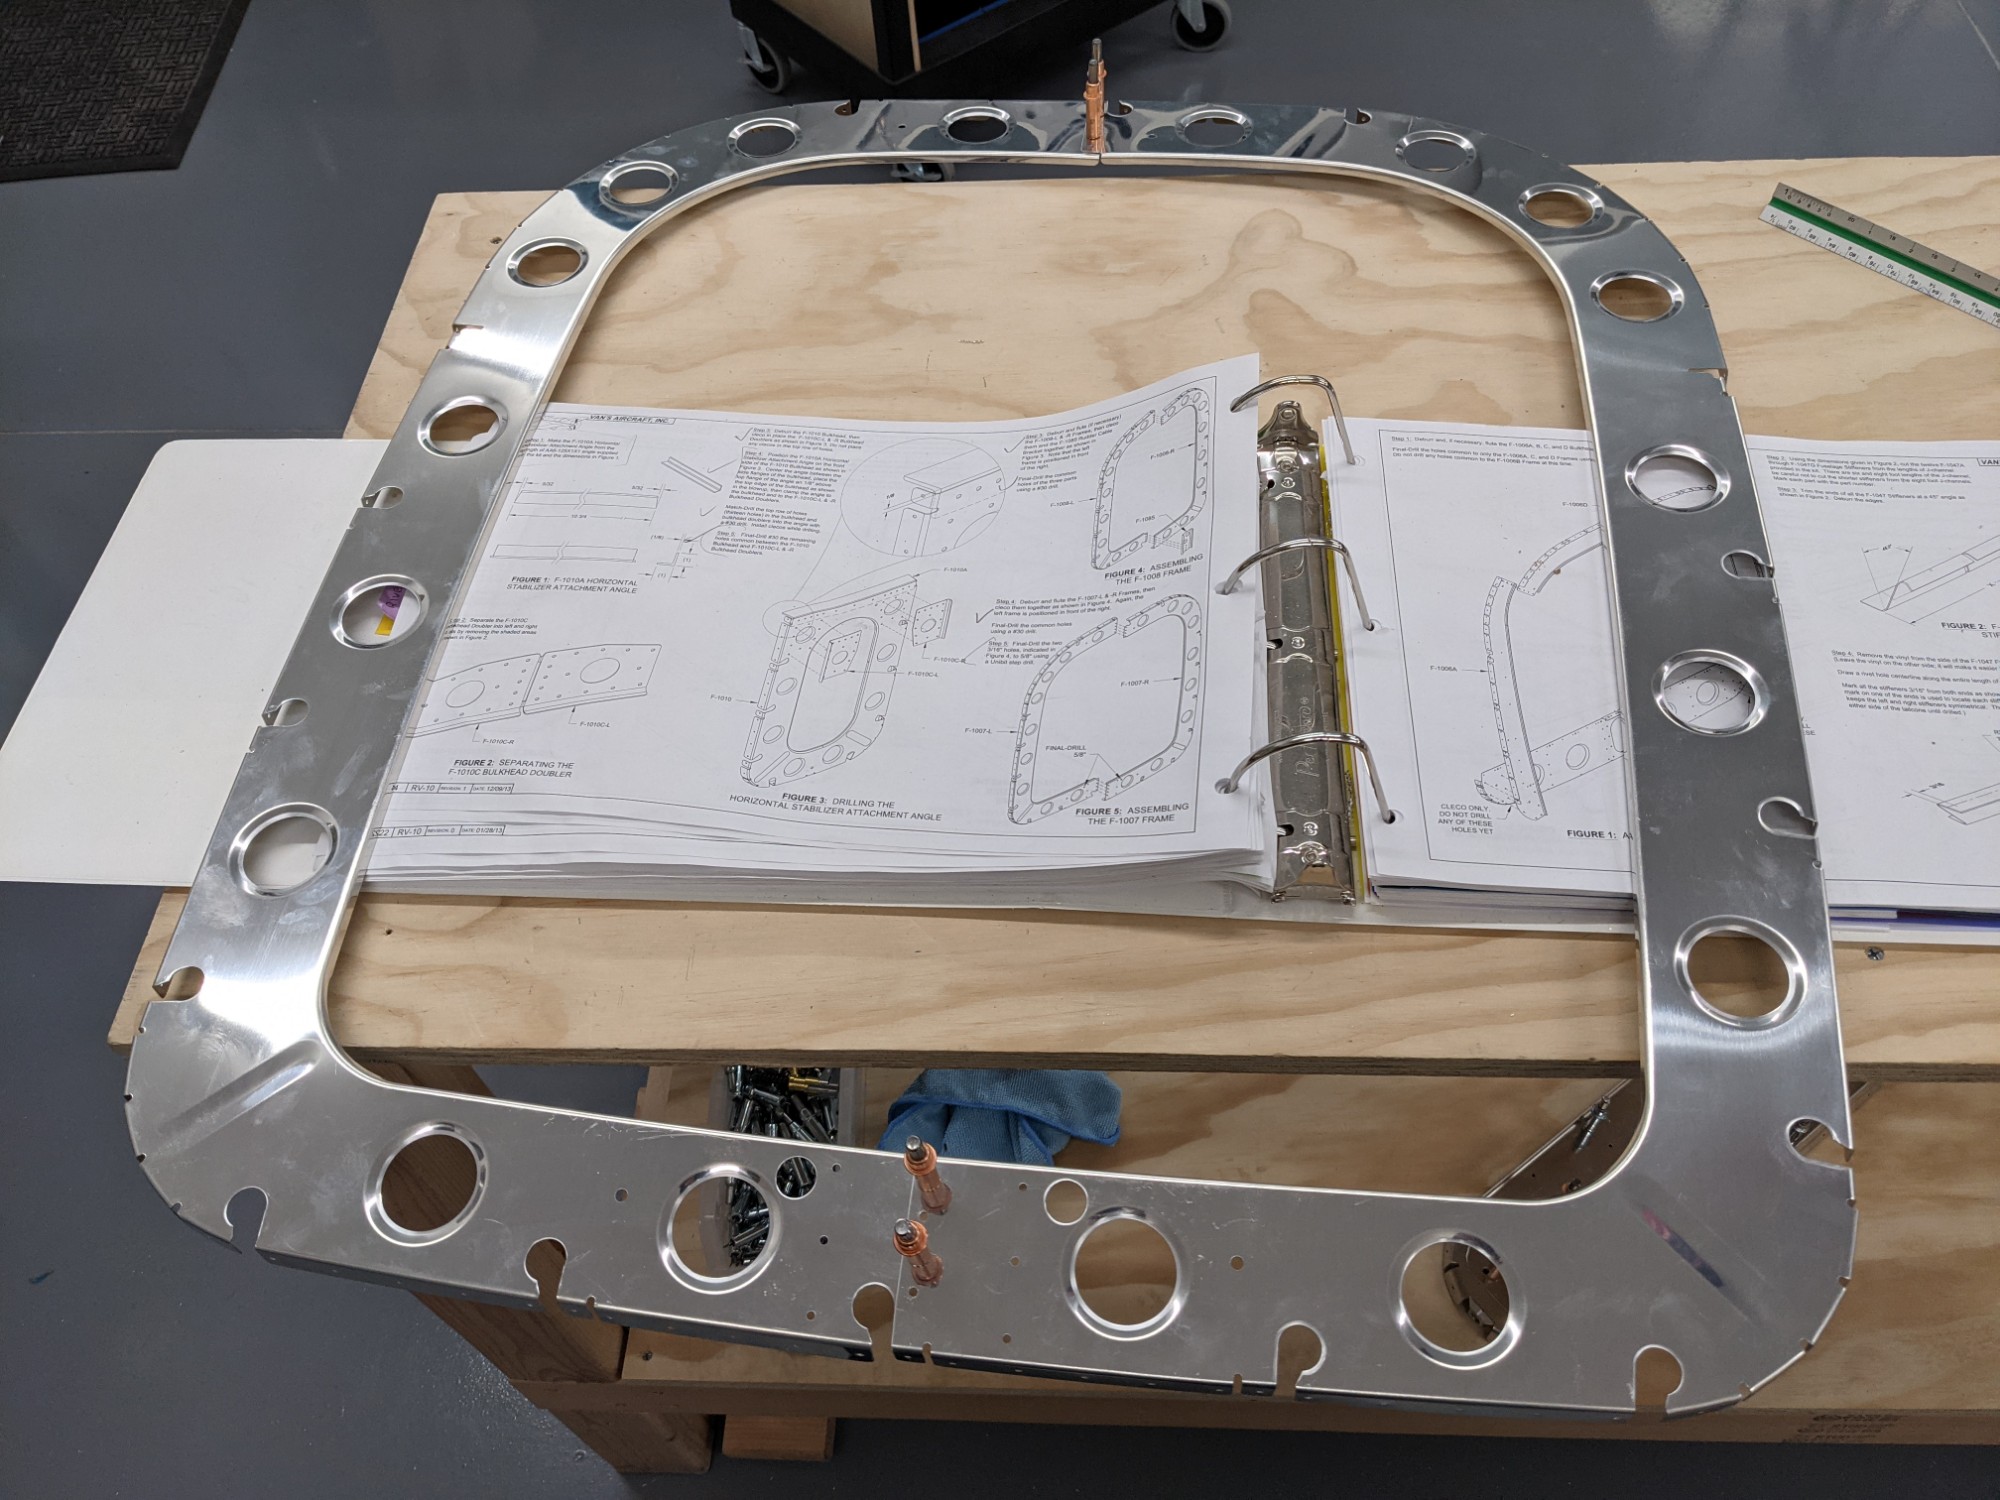
I final sized the remaining doubler holes with a #30 reamer on the drill press.
![](https://airplane.allanglen.com/wp-content/uploads/2021/02/pxl_20210214_0032056862085688090818630611.jpg)
![](https://airplane.allanglen.com/wp-content/uploads/2021/02/pxl_20210214_0036152871958326576317538635.jpg)
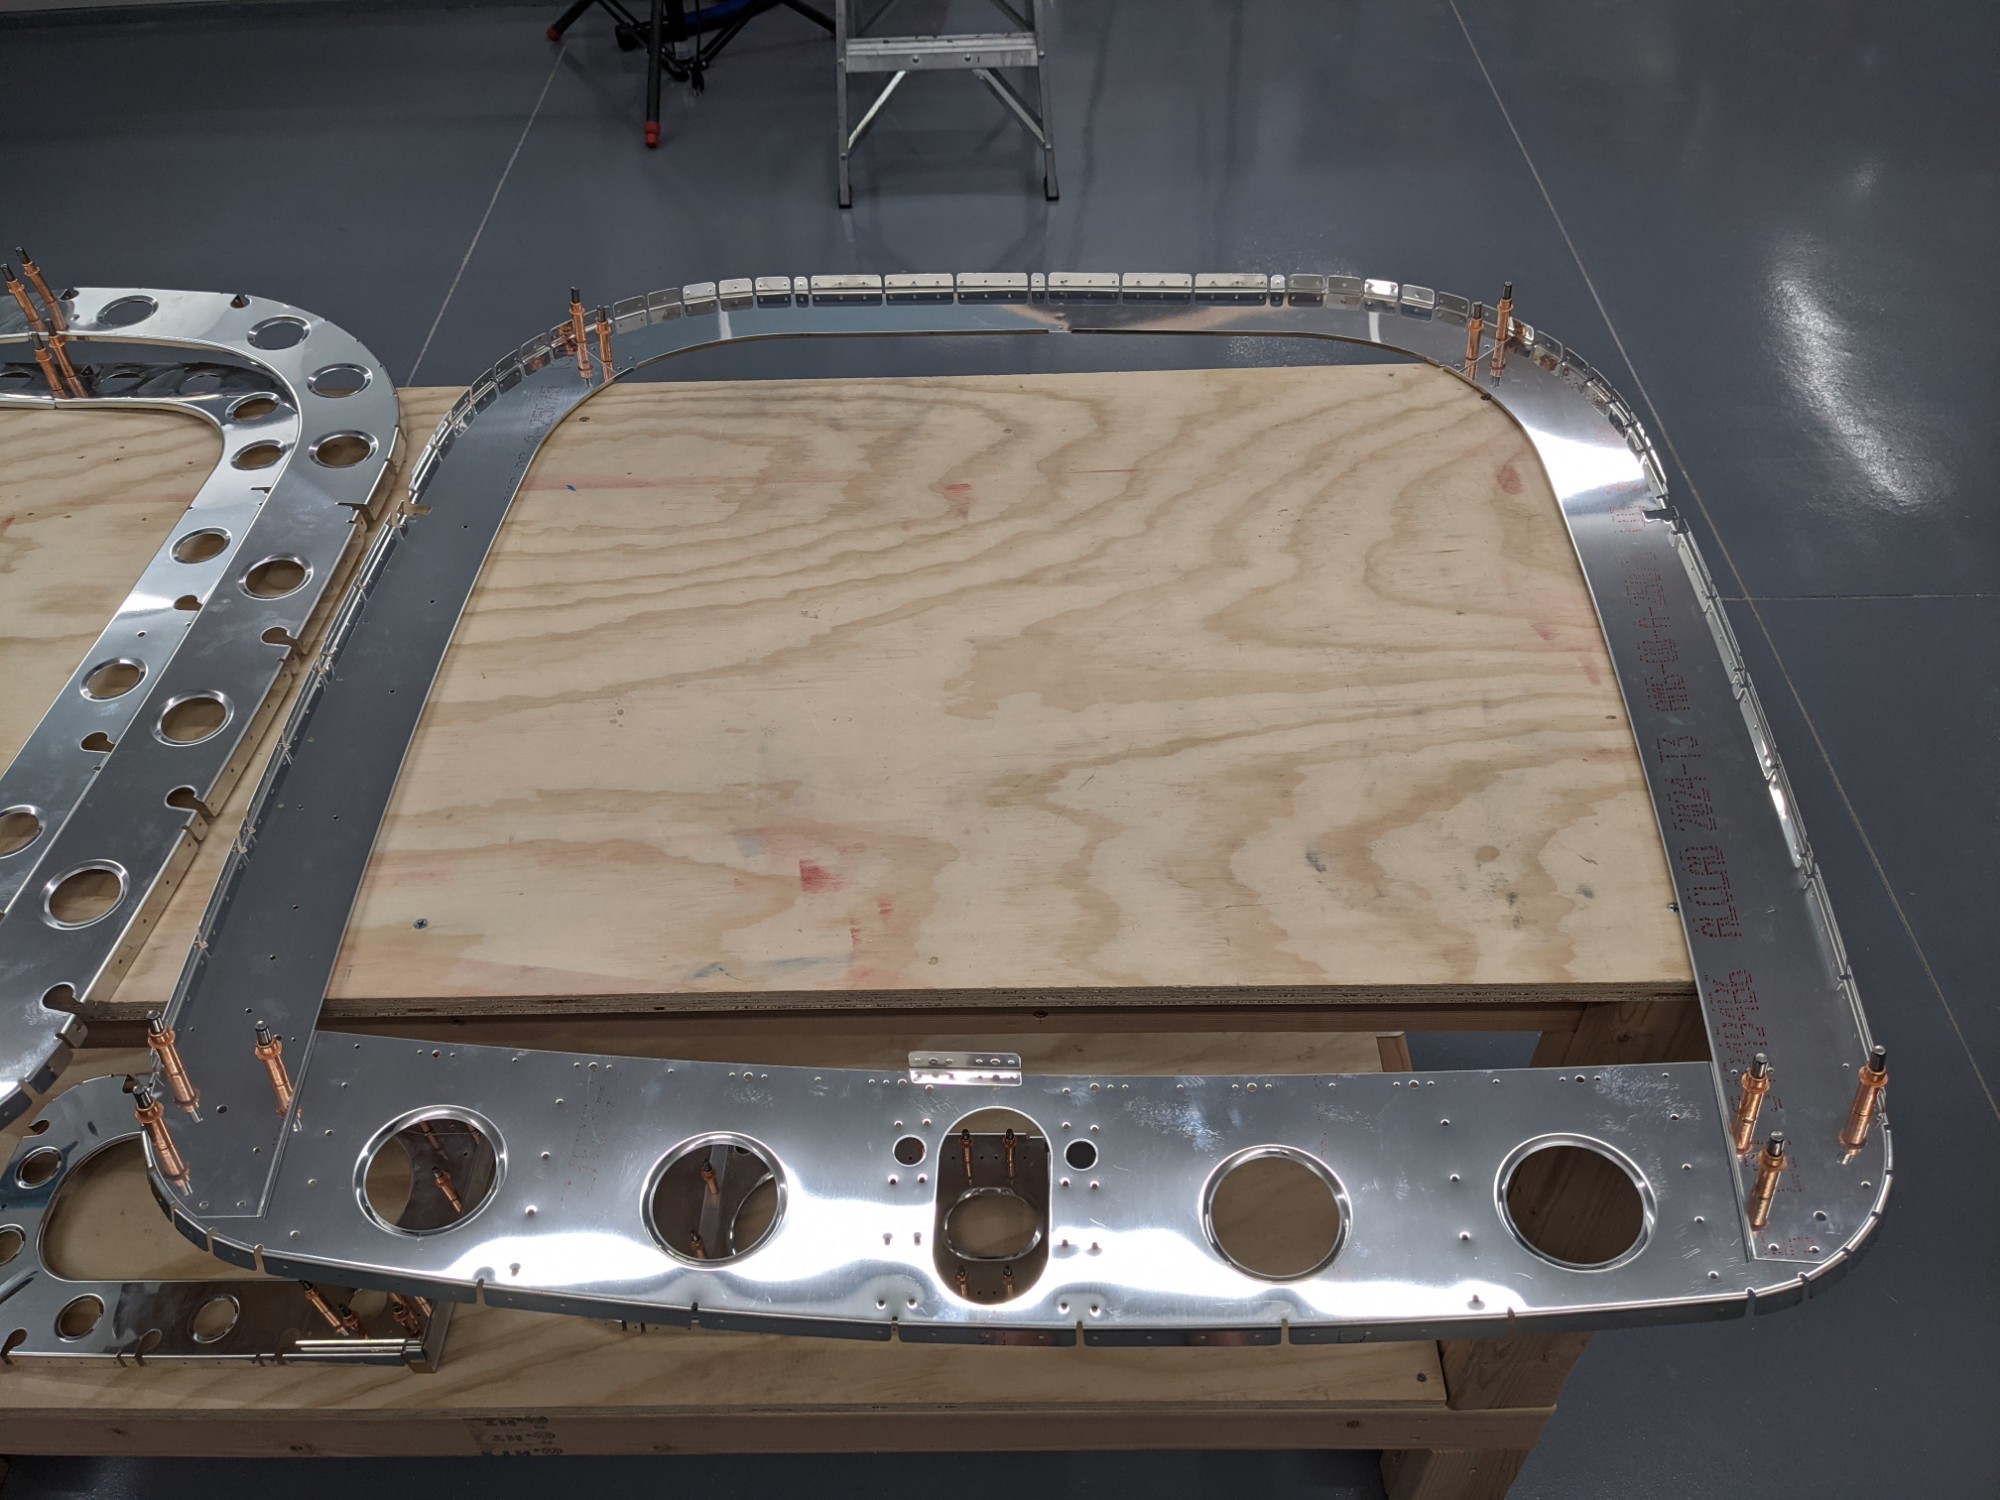
Next up is the F-1008 fuselage frame. More deburring and match drilling.
![](https://airplane.allanglen.com/wp-content/uploads/2021/02/pxl_20210214_003730958210933451485446204.jpg)
![](https://airplane.allanglen.com/wp-content/uploads/2021/02/pxl_20210214_0107139131214418015466154092.jpg)
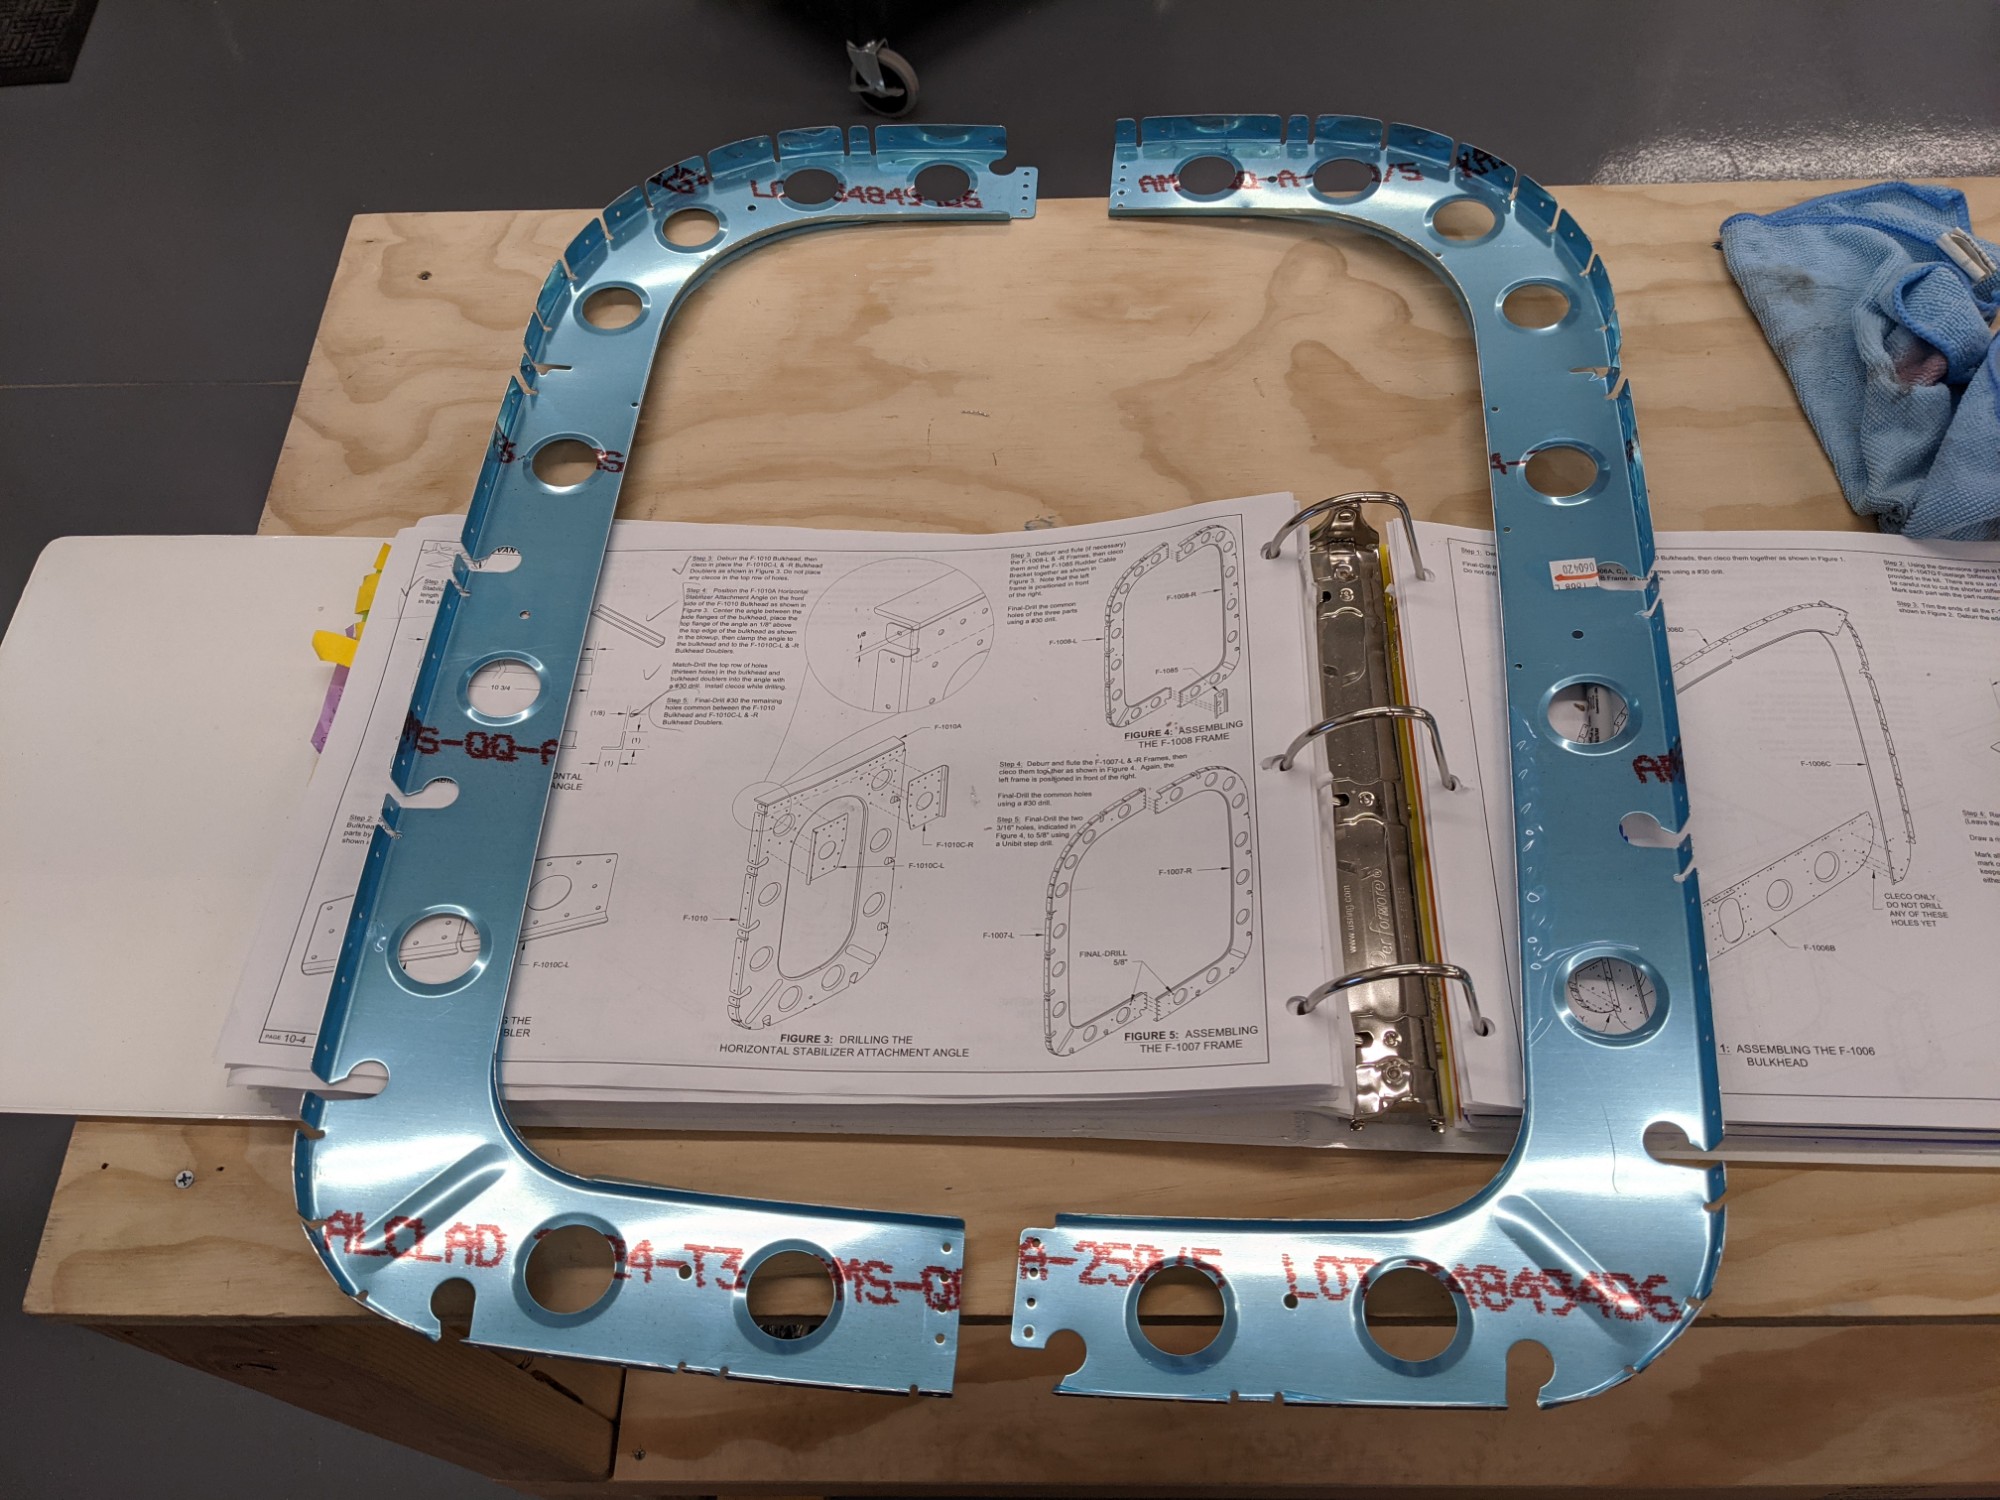
Then on to the F-1007 fuselage frame. More deburring and match drilling.
![](https://airplane.allanglen.com/wp-content/uploads/2021/02/pxl_20210214_0107427705709102466885523571.jpg)
This frame has two holes that need to be upsized to 5/8″ for the rudder cables. I completed these on the drill press with a step drill.
![](https://airplane.allanglen.com/wp-content/uploads/2021/02/pxl_20210214_0142385808360735235756502599.jpg)
![](https://airplane.allanglen.com/wp-content/uploads/2021/02/pxl_20210214_0151013282776283184091310603.jpg)
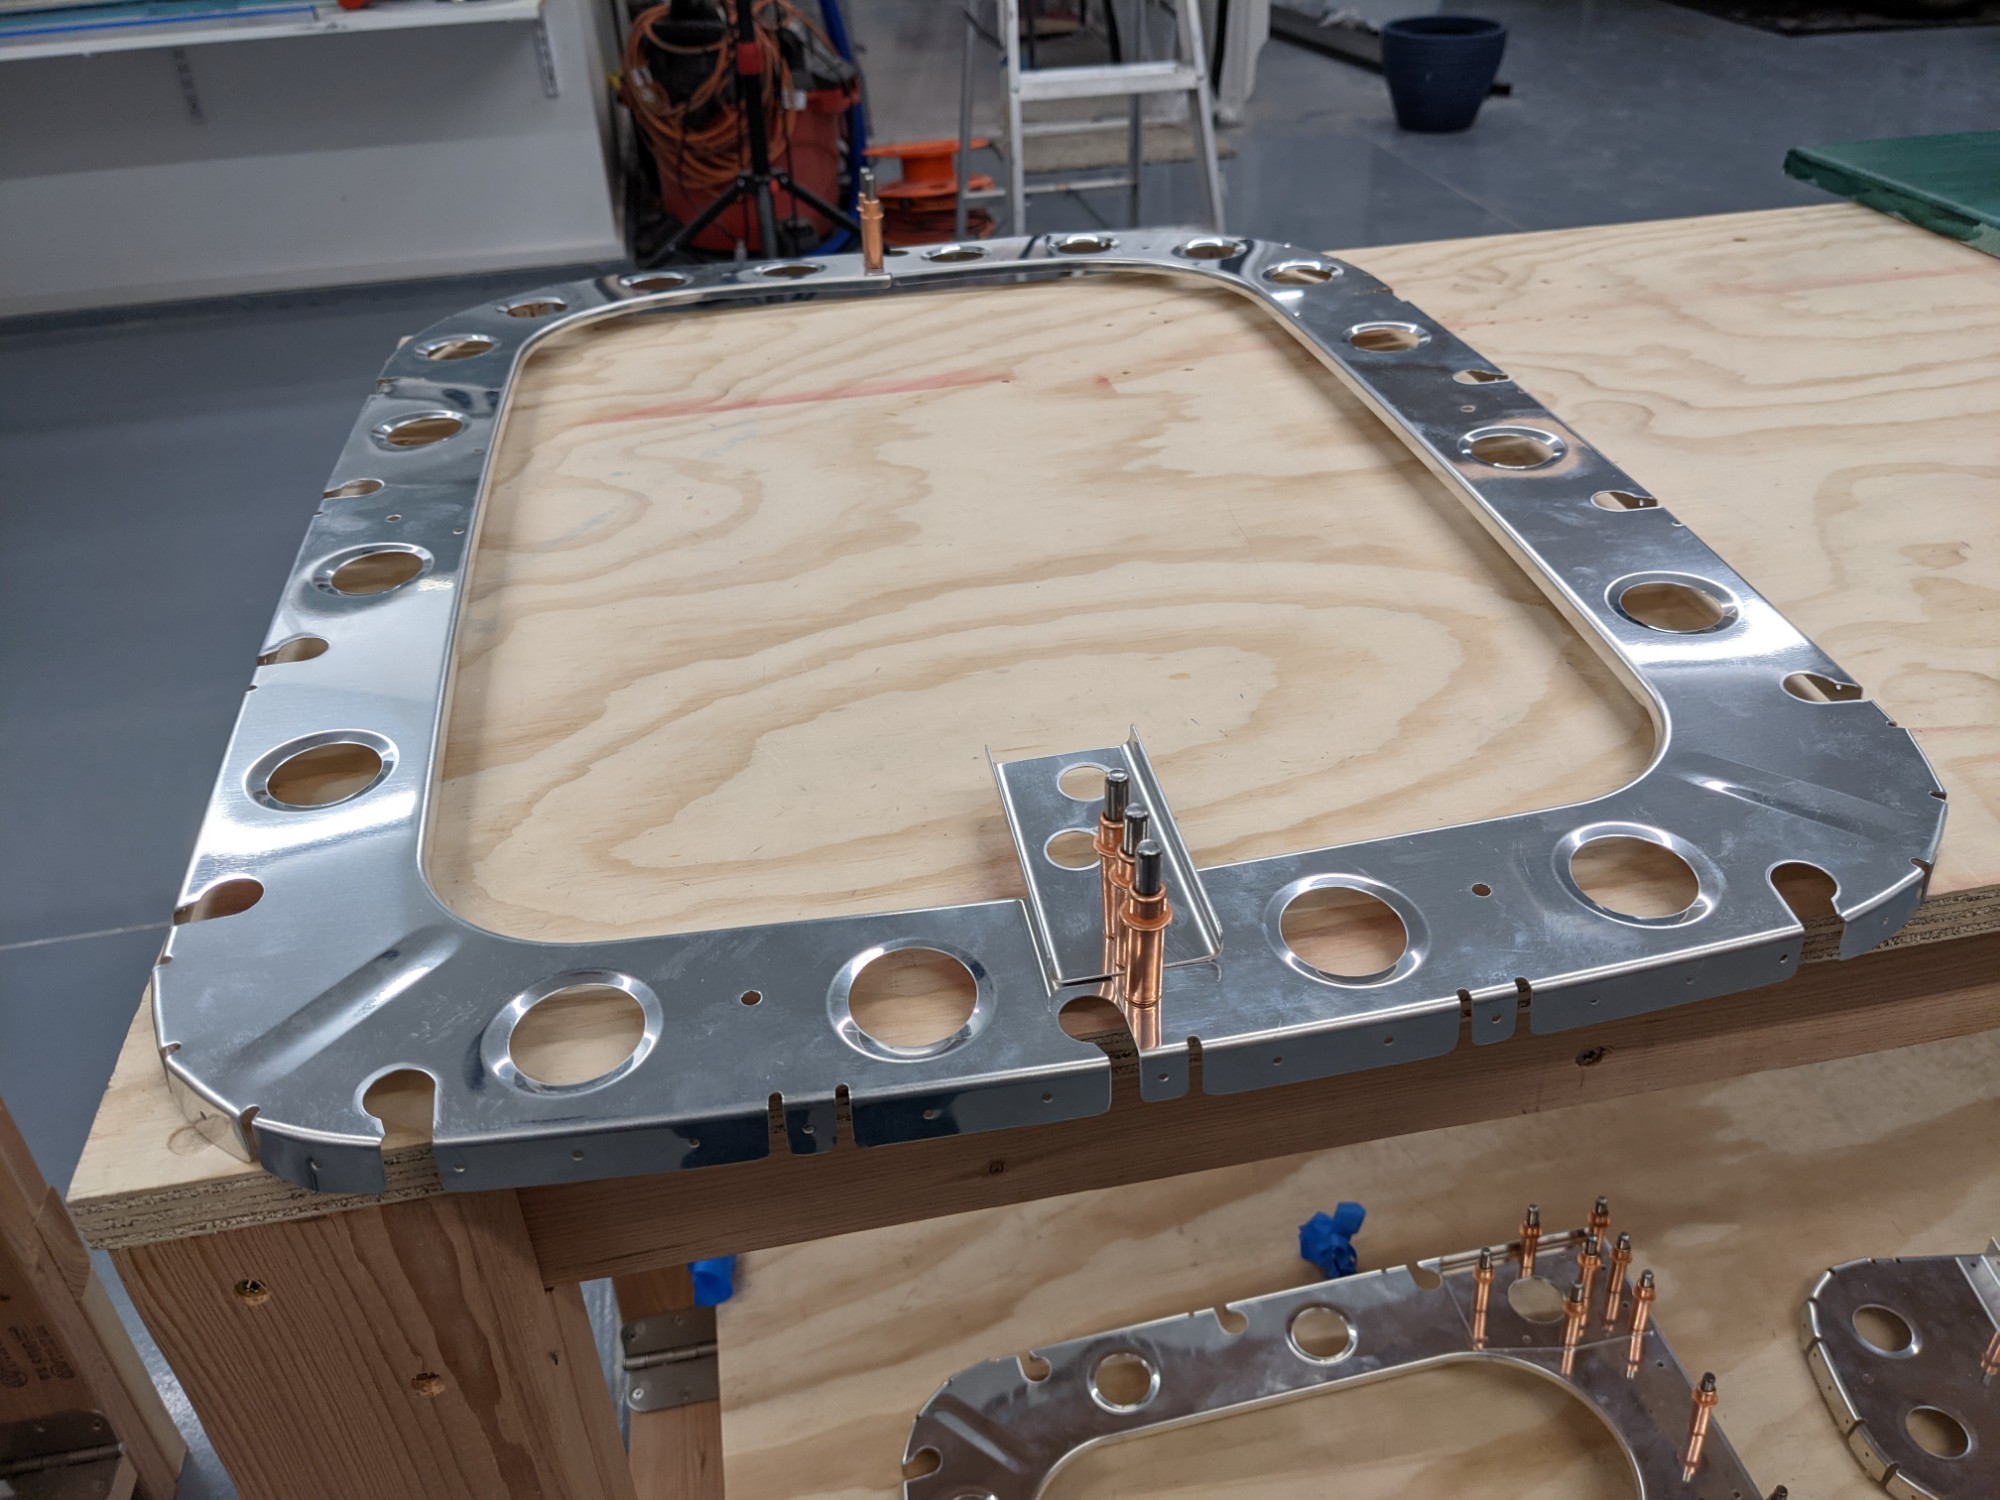
The final frame is the F-1006 fuselage bulkhead that sits at the rear of the baggage compartment. I deburred this, clecoed it together, and decided to pause here until the next build session.
![](https://airplane.allanglen.com/wp-content/uploads/2021/02/pxl_20210214_0518395595849026541592623575.jpg)