
I haven’t worked on the plane much this week so I decided to power through the remaining work on the elevator parts this evening and get them ready for riveting.
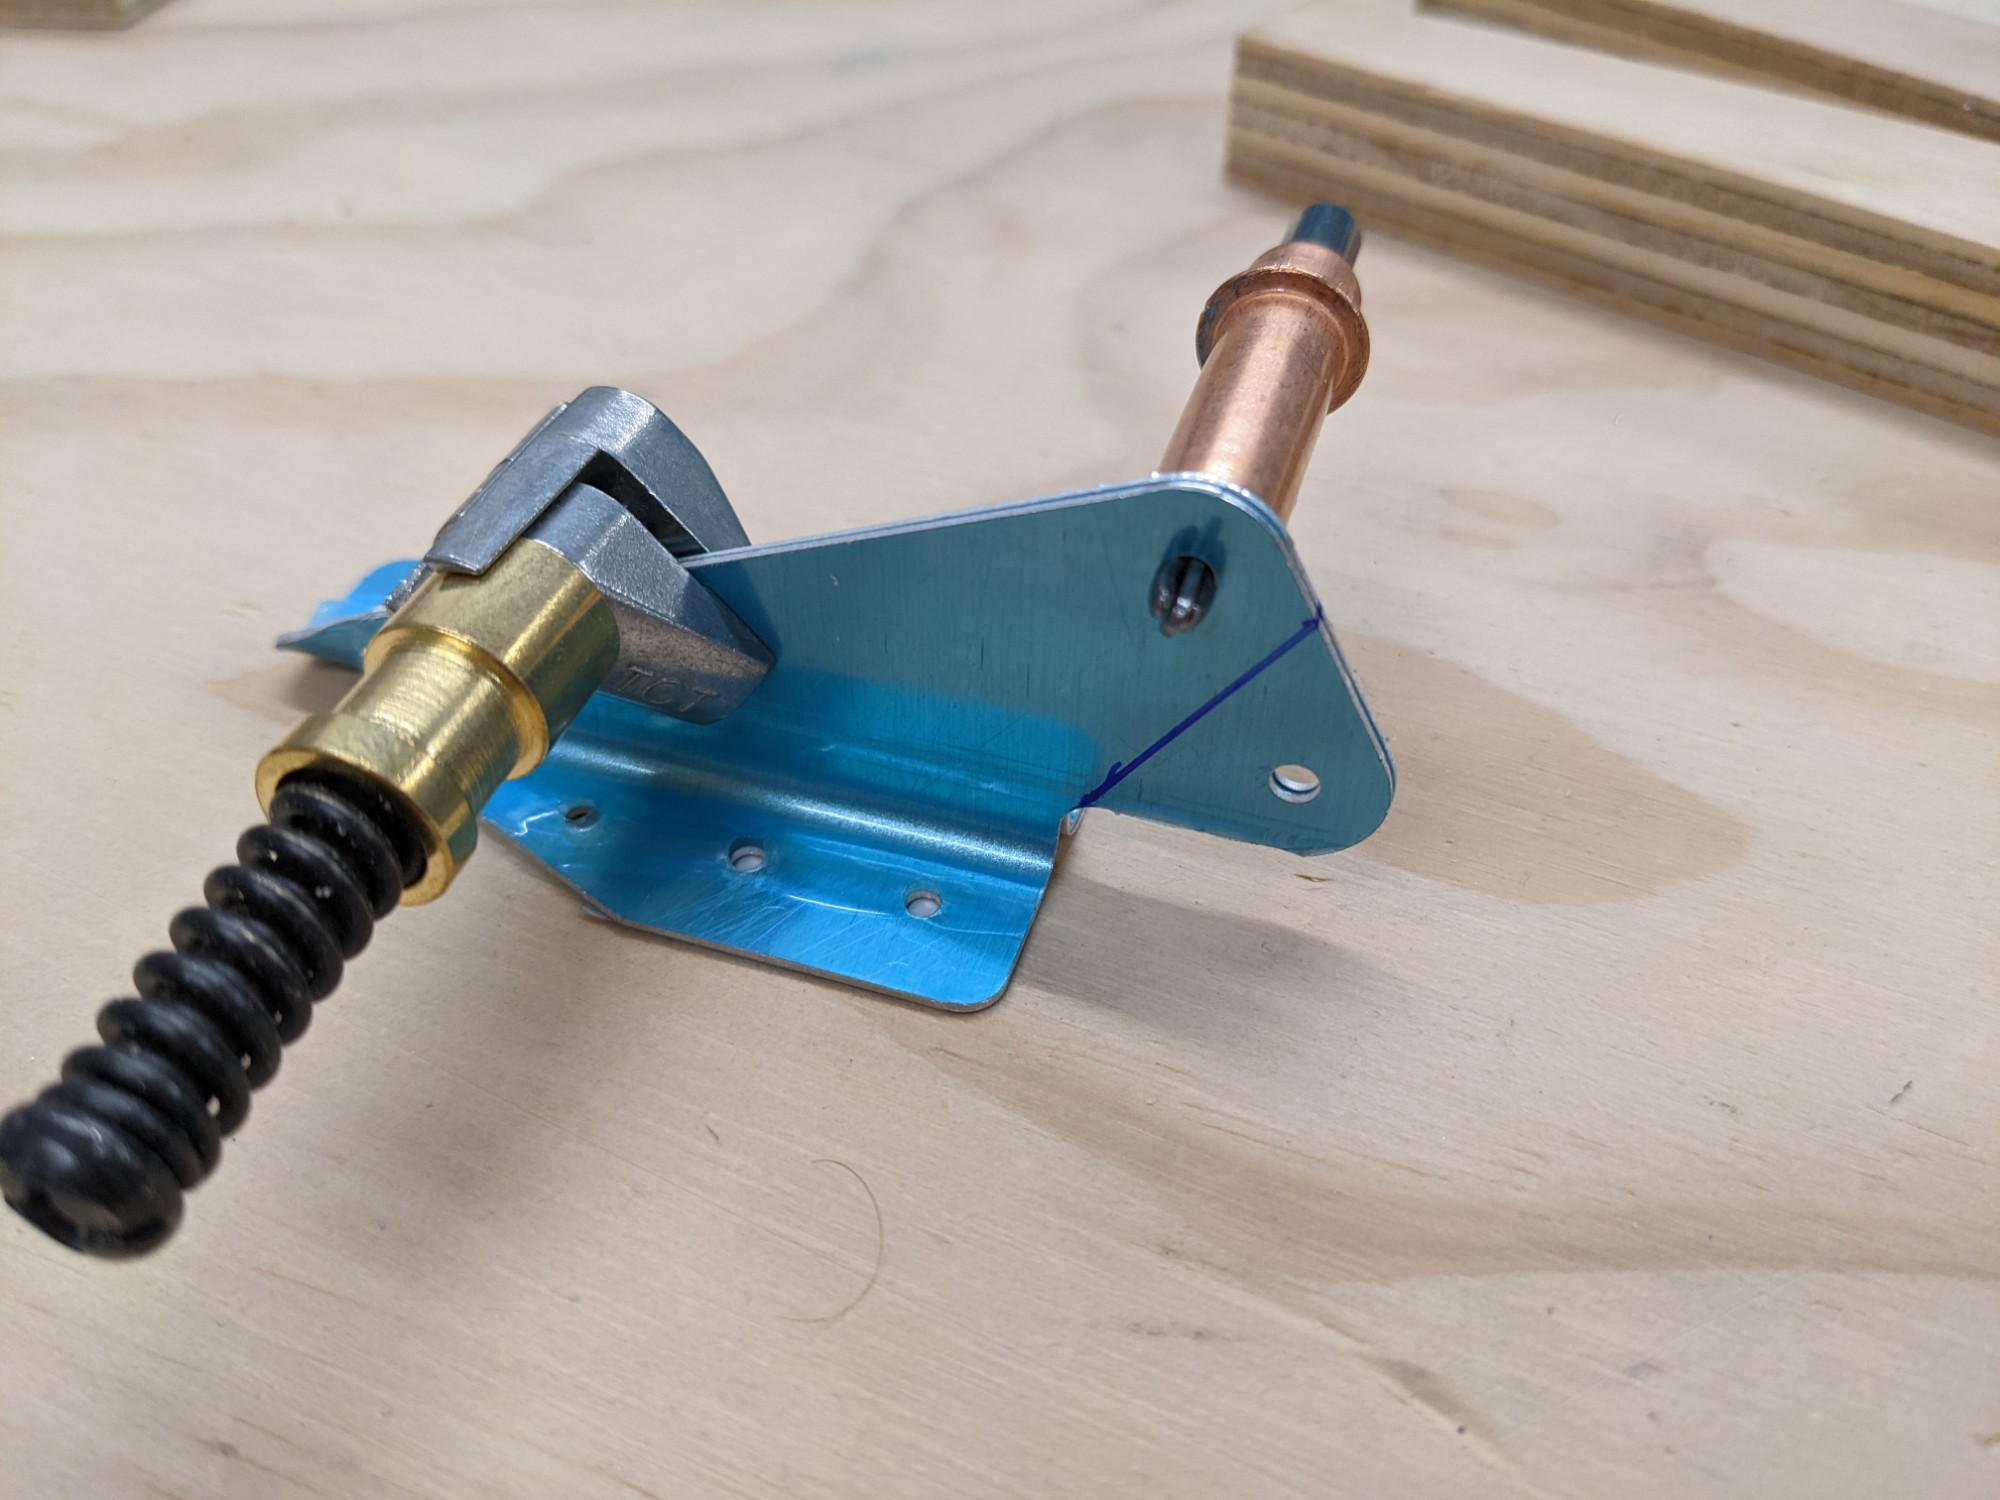
I started with match drilling the trim tab holes. I match drilled the side tabs with a #40 drill bit and then final sized them to #30 with a reamer.
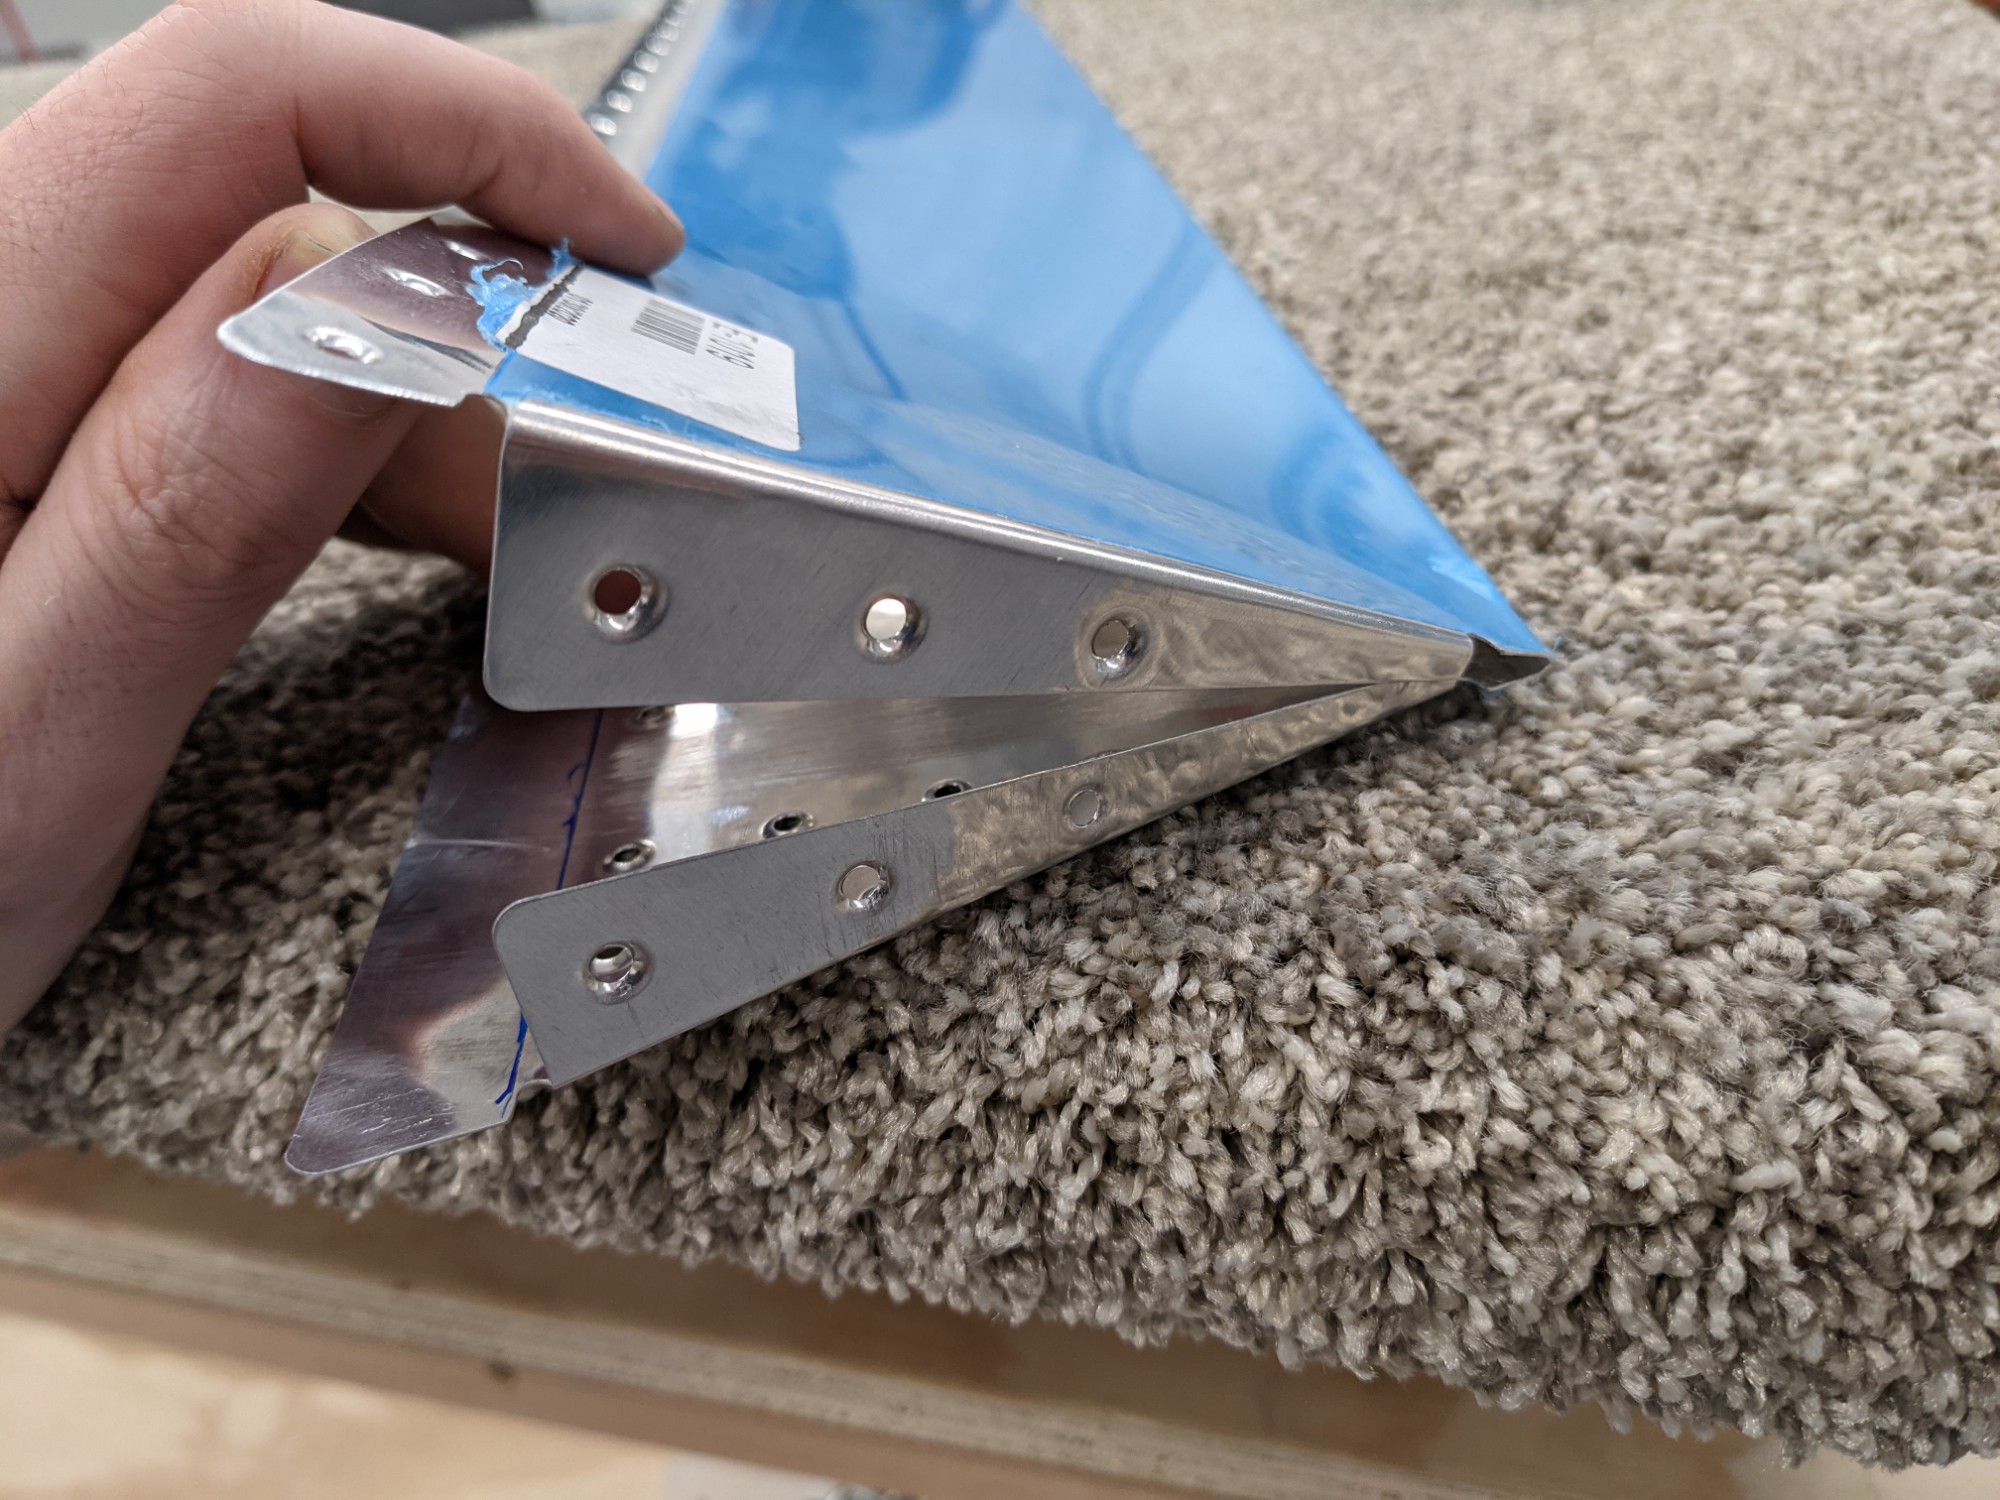
I then put in the 15-degree bend in the lower leading edge where it tucks into the elevator rear spar. I bent this in place simply by applying pressure against the workbench.
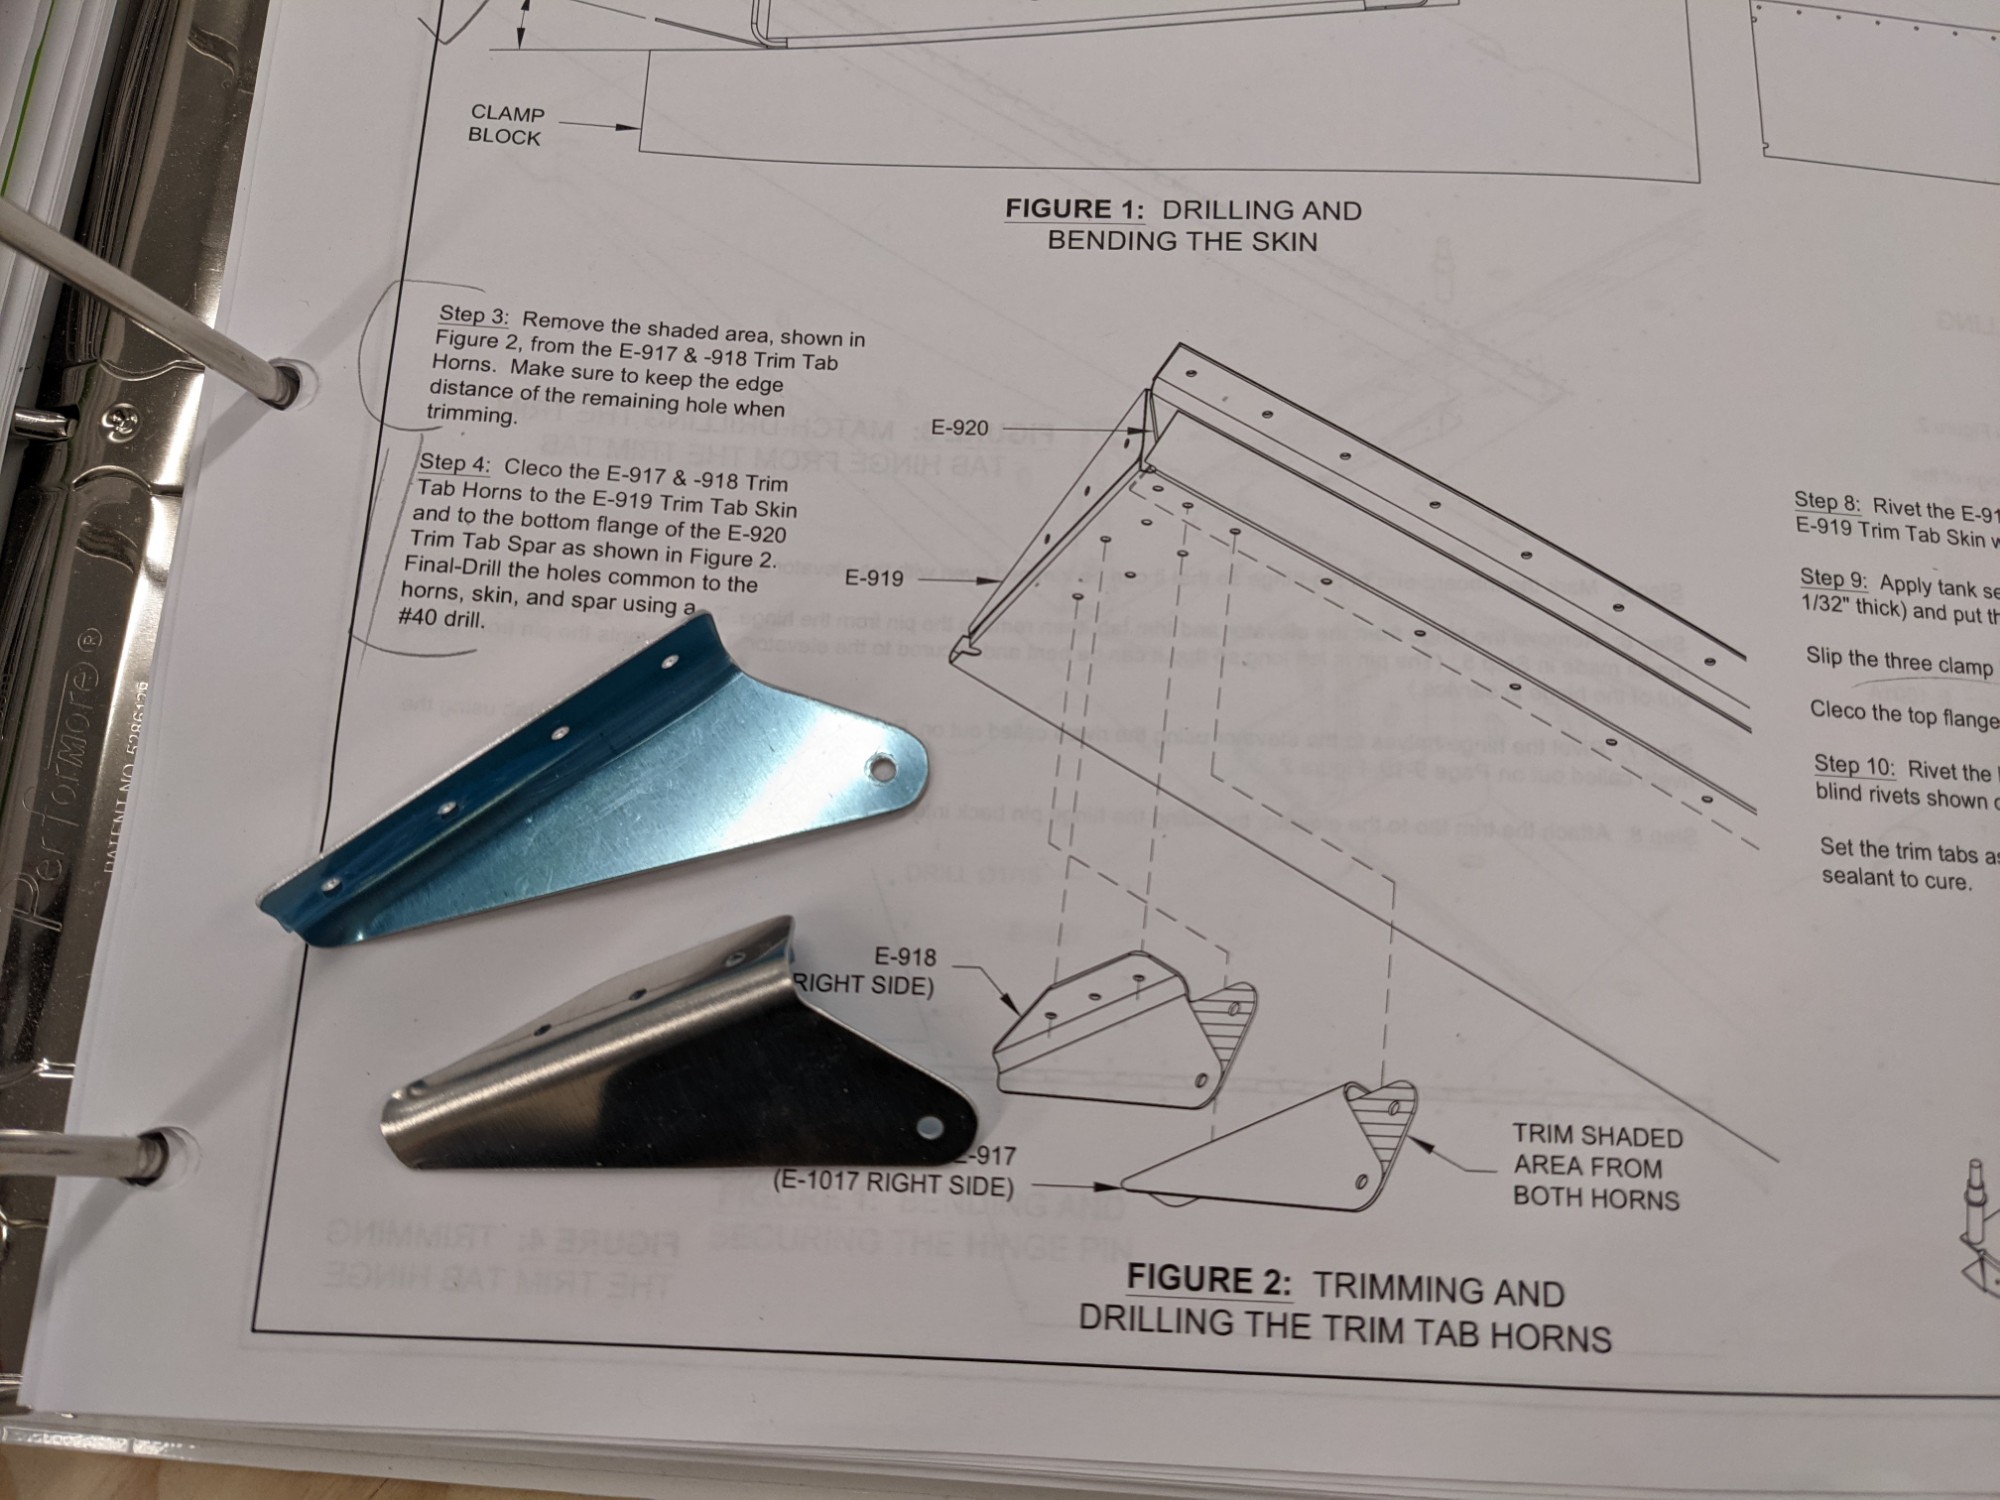
Next up was trimming and drilling the trim tab horns. I rough cut them on the band saw and final sized them on the disc sander.
I then dimpled the trim tab skins. I wasn’t able to complete the 1/8″ dimple on the inboard lower tabs as the hole is too close to the edge for my current dimple dies. I placed an order for a narrow 1/8″ female dimple die and will dimple this after priming.
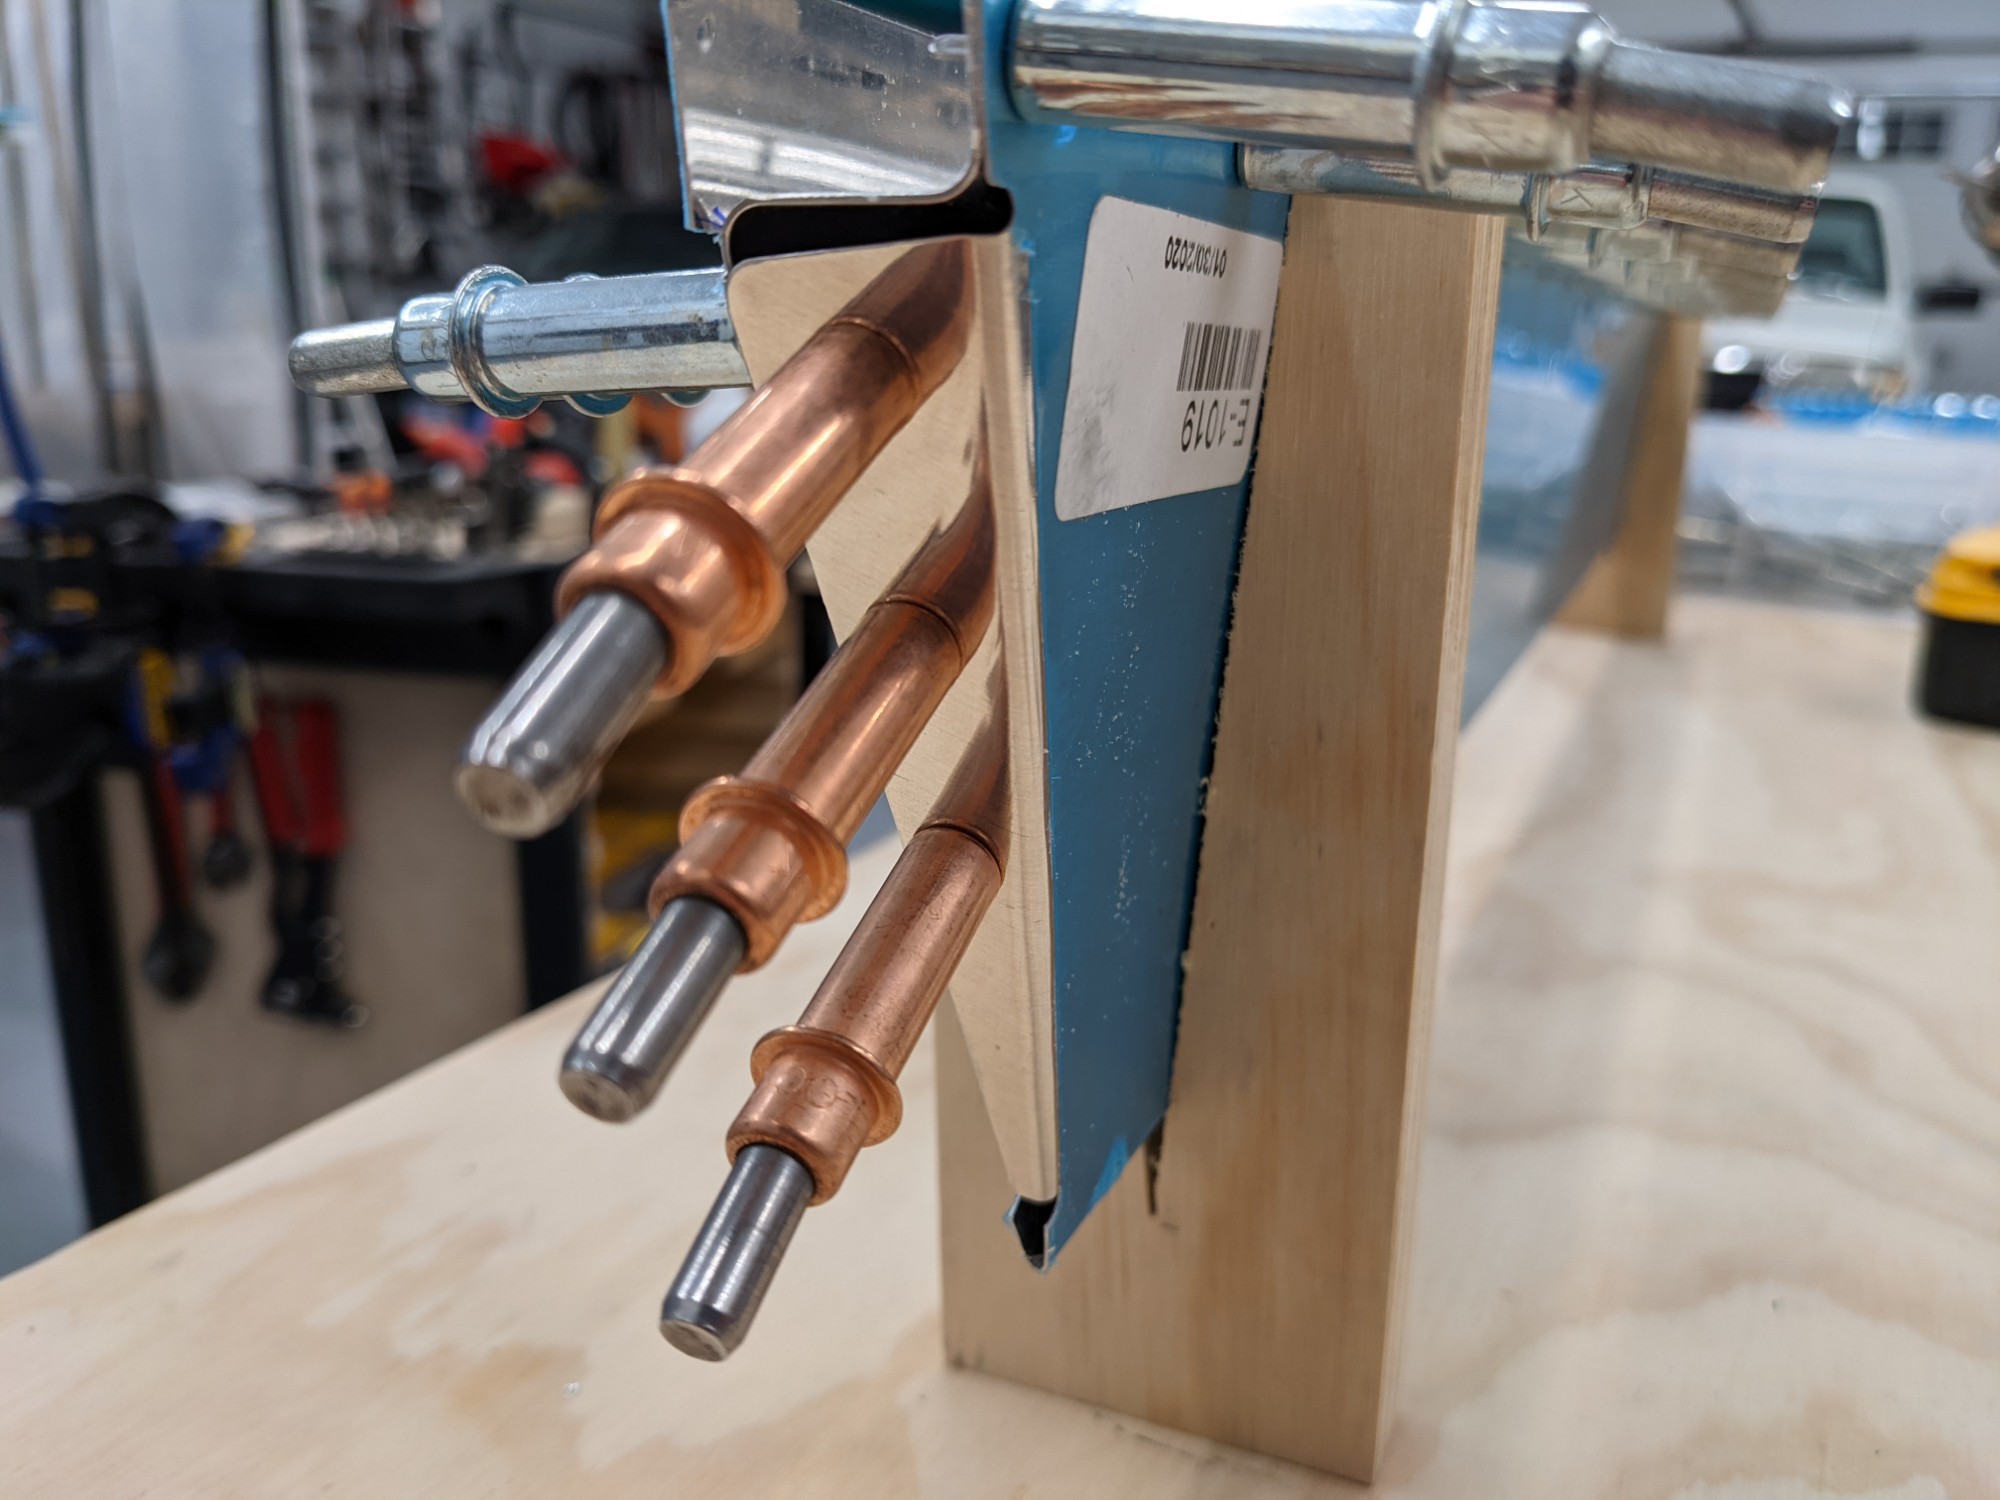
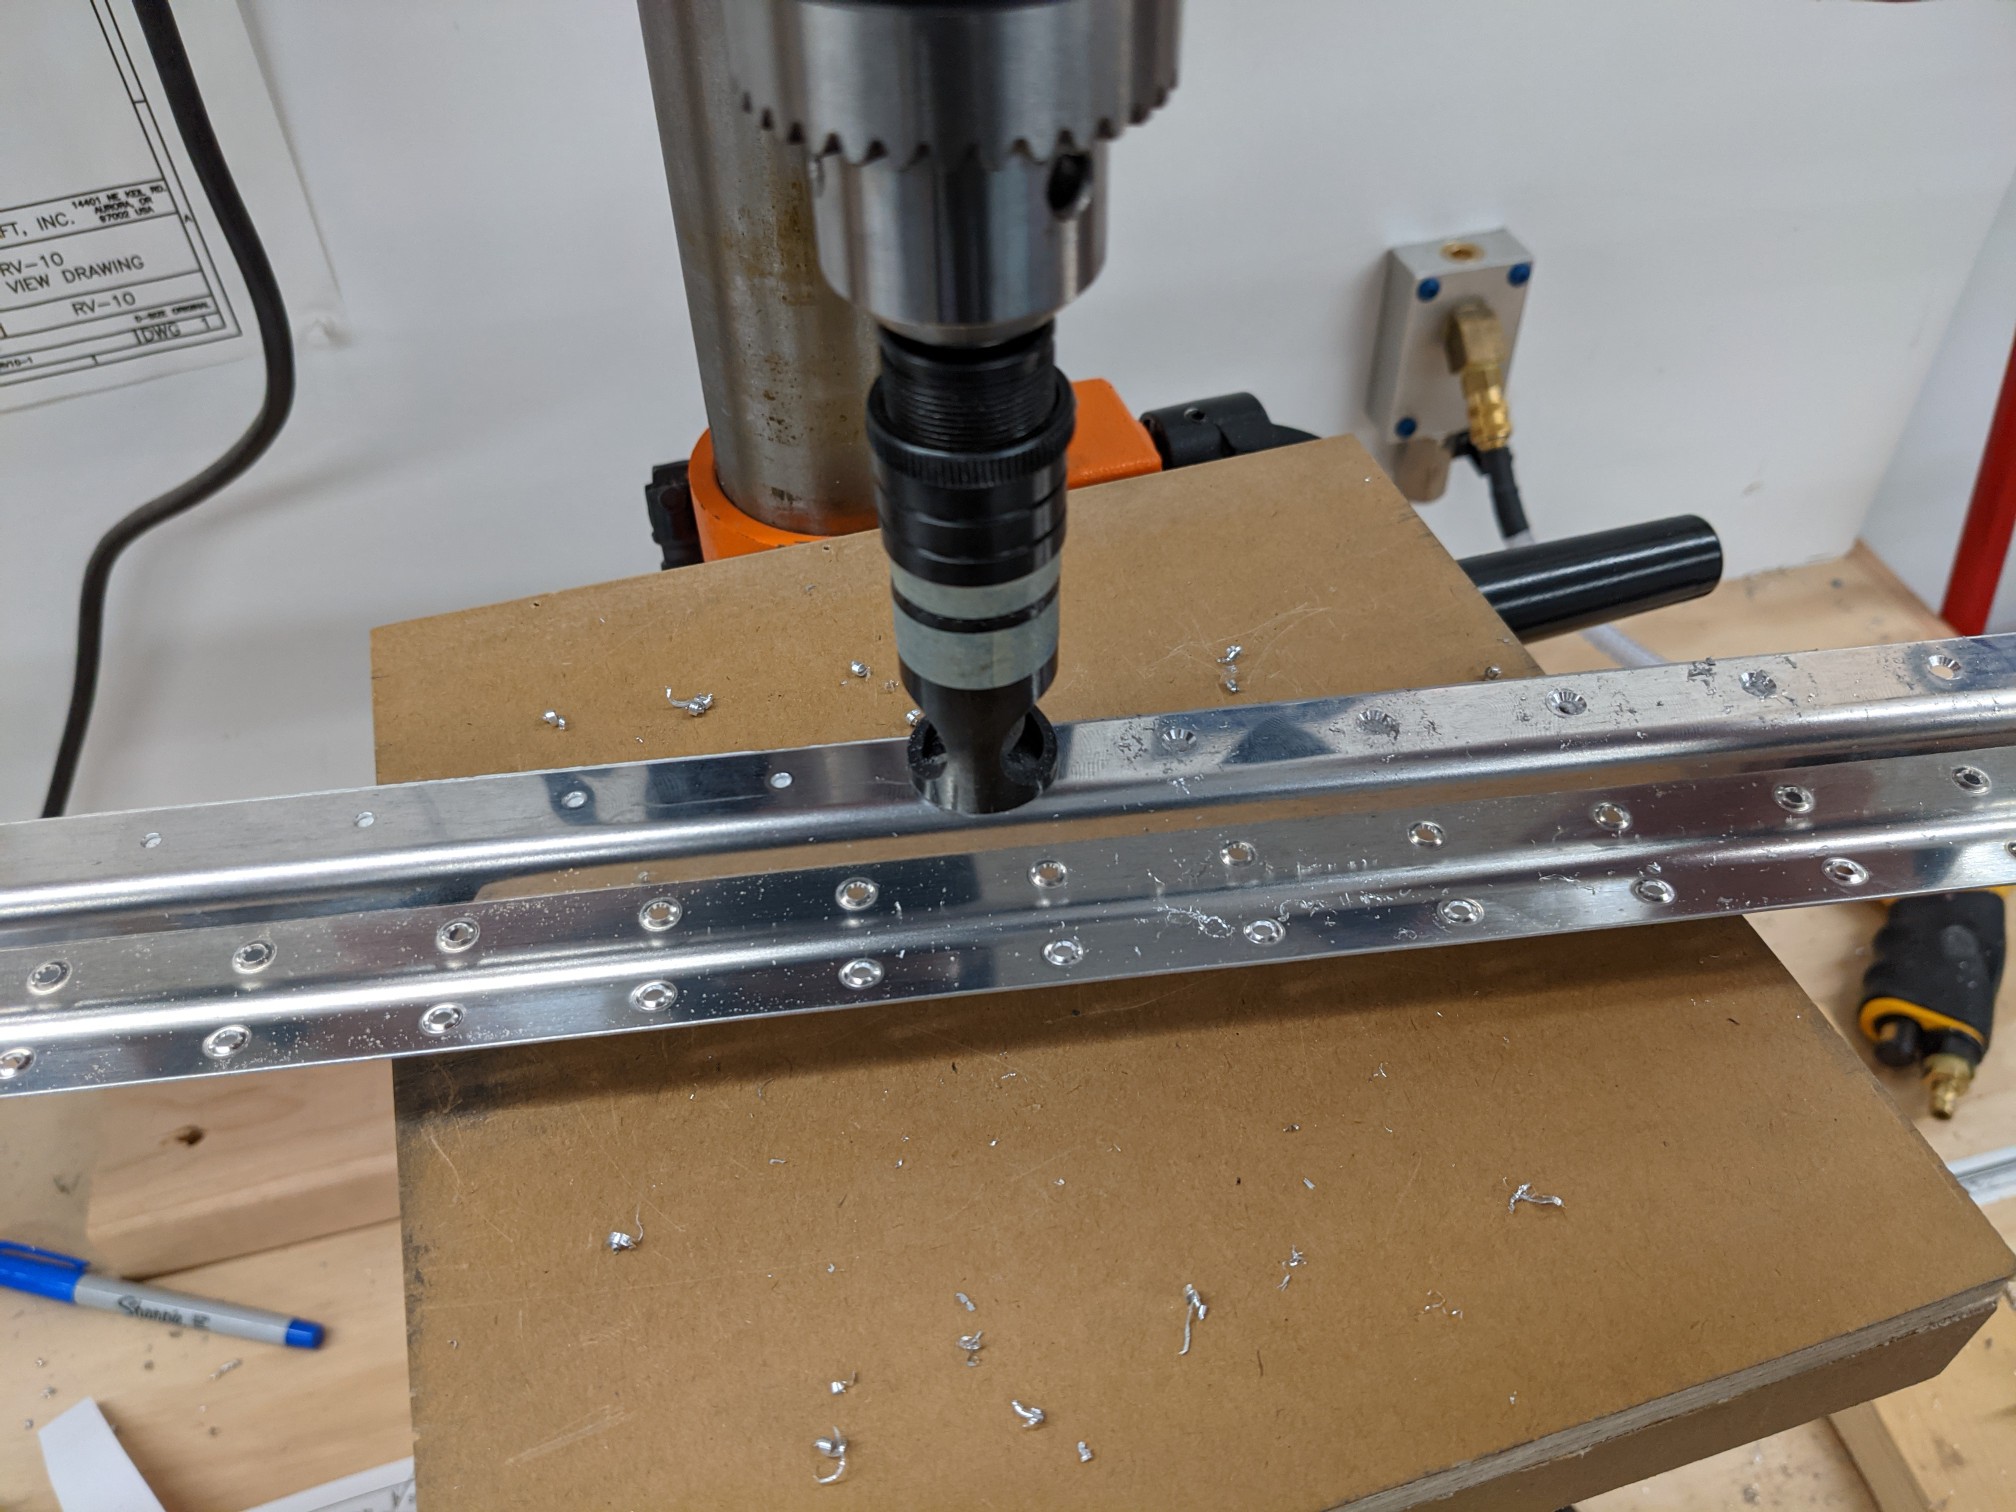
Next up, I dimpled the lower flange of the trim tab spar and then countersunk the upper flange of the spar. I used a wood block with 3/32″ holes drilled in it to stop the countersink bit from wandering in the thin flange.
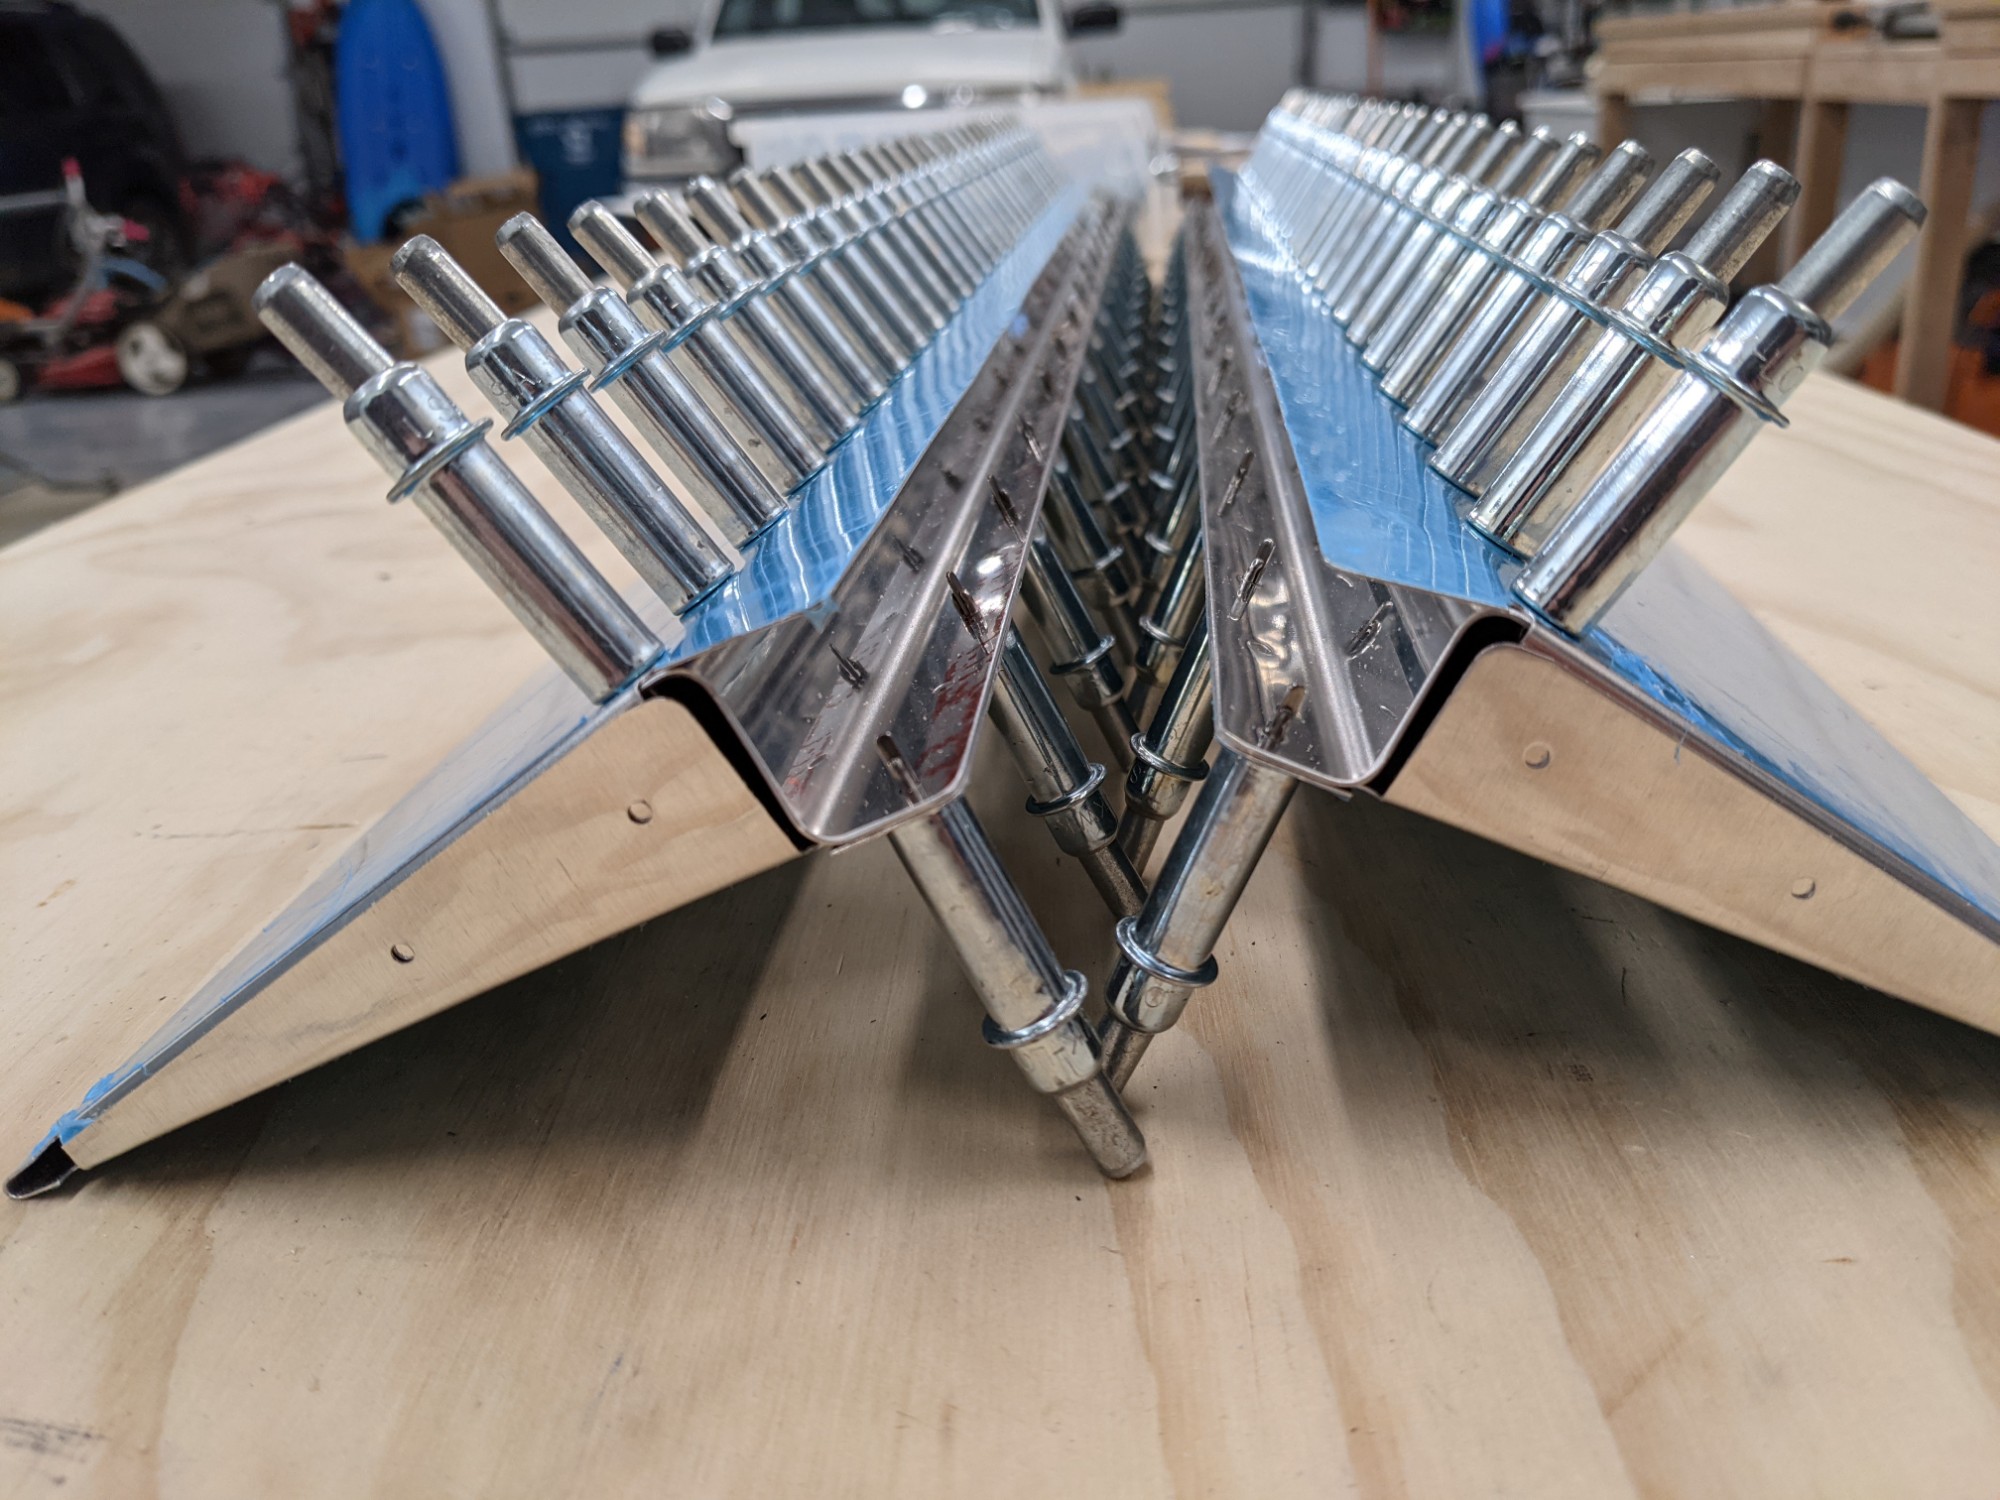
I then washed and etched the four elevator skins and all of the trim tab parts.
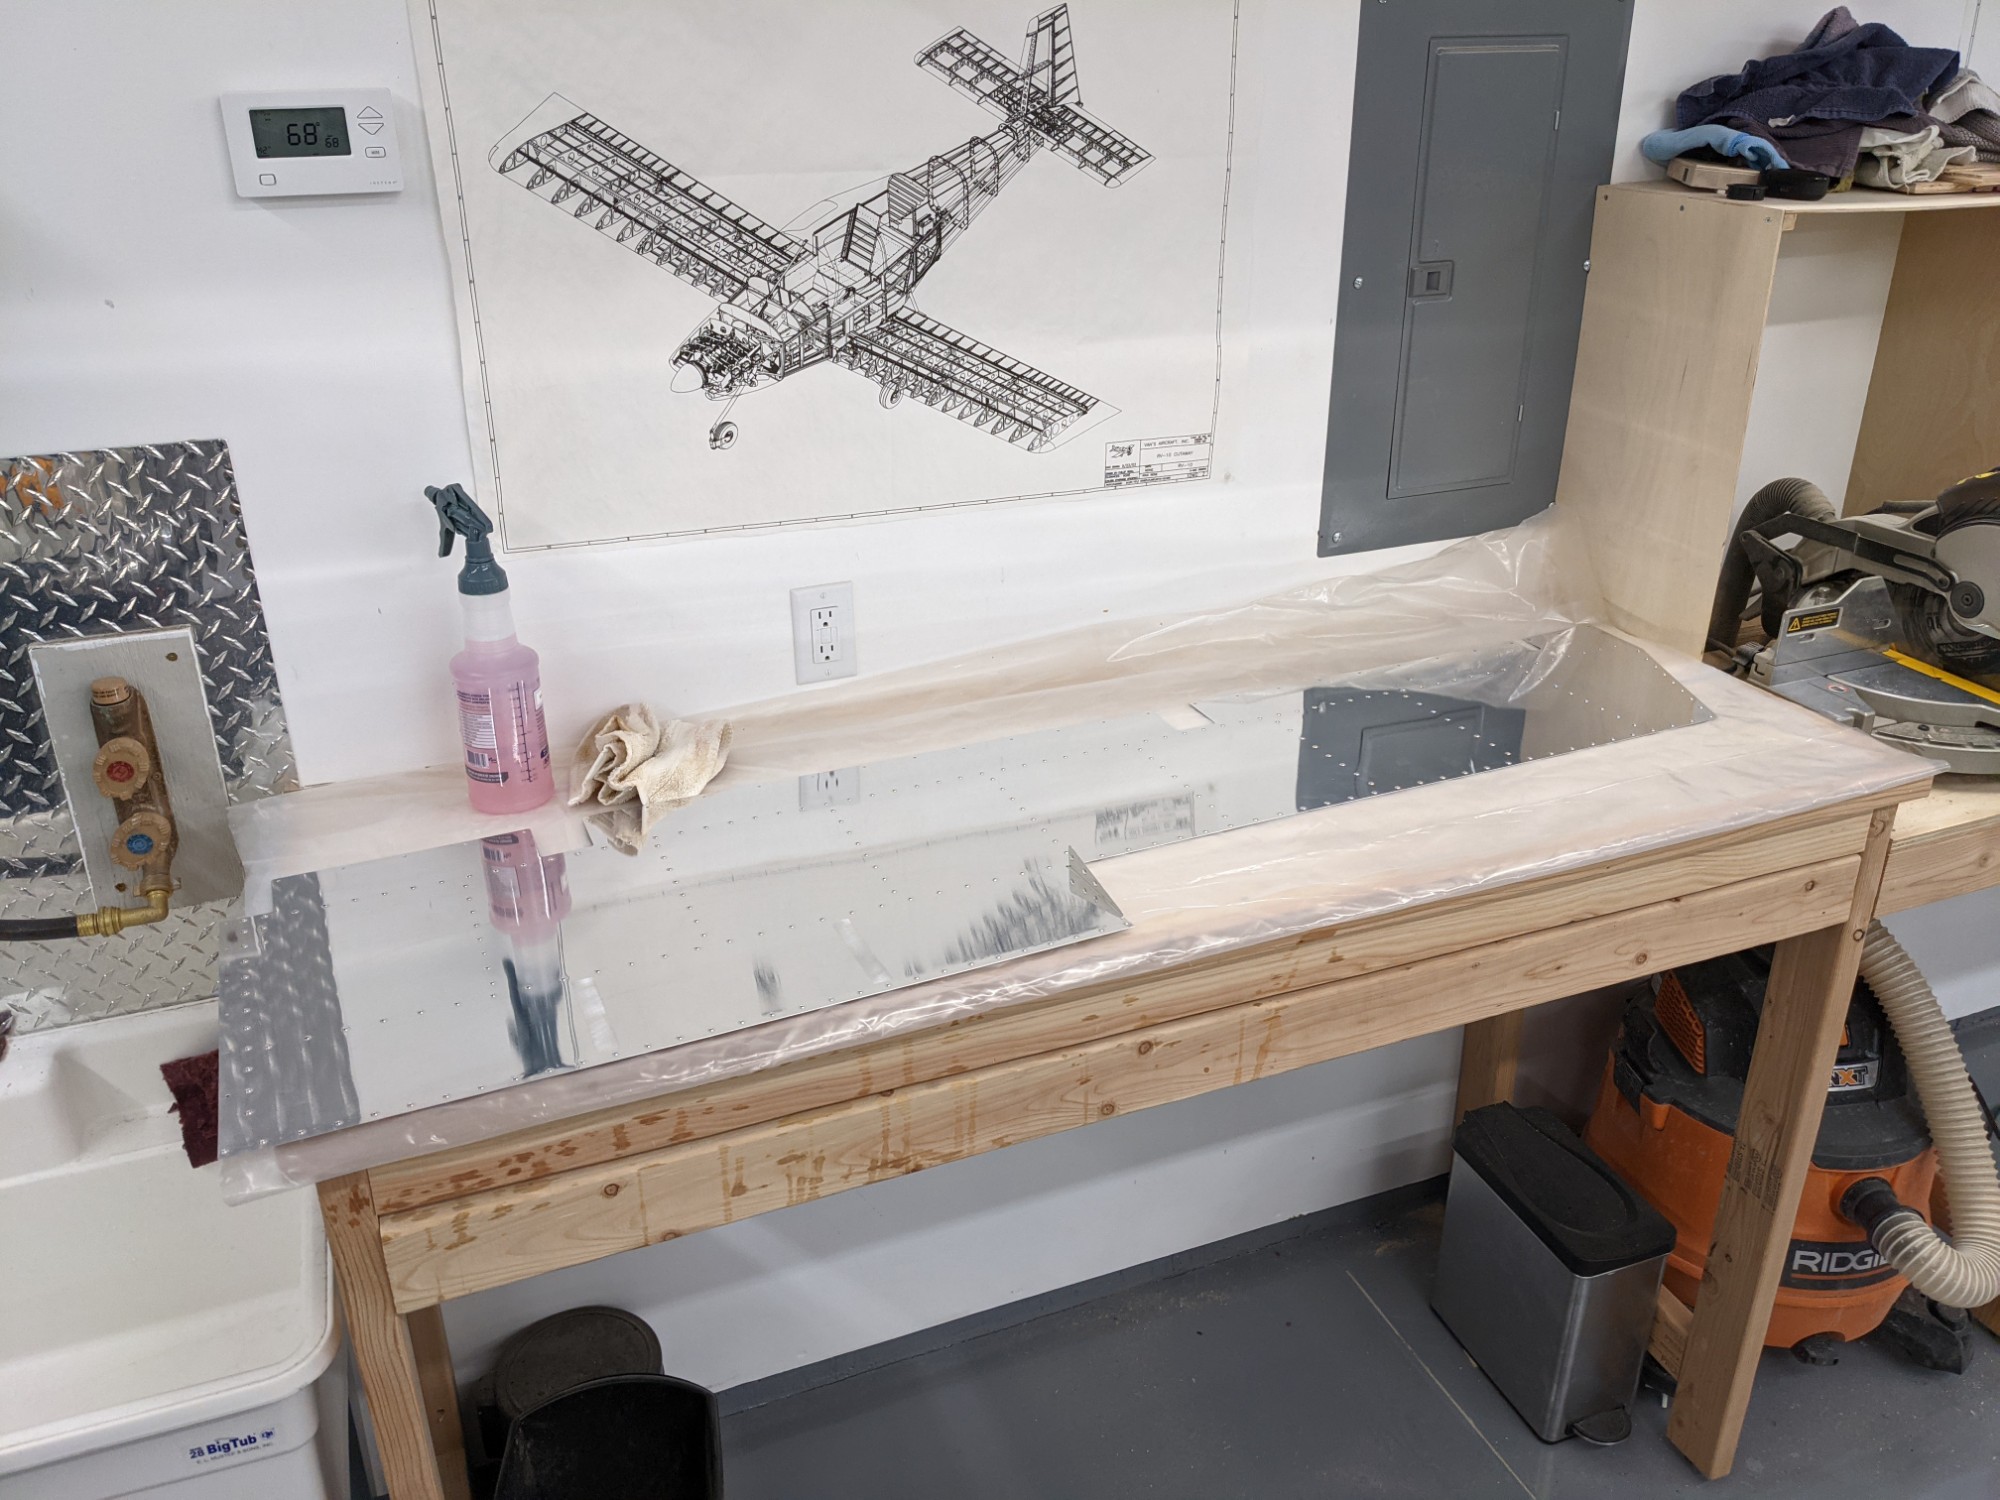
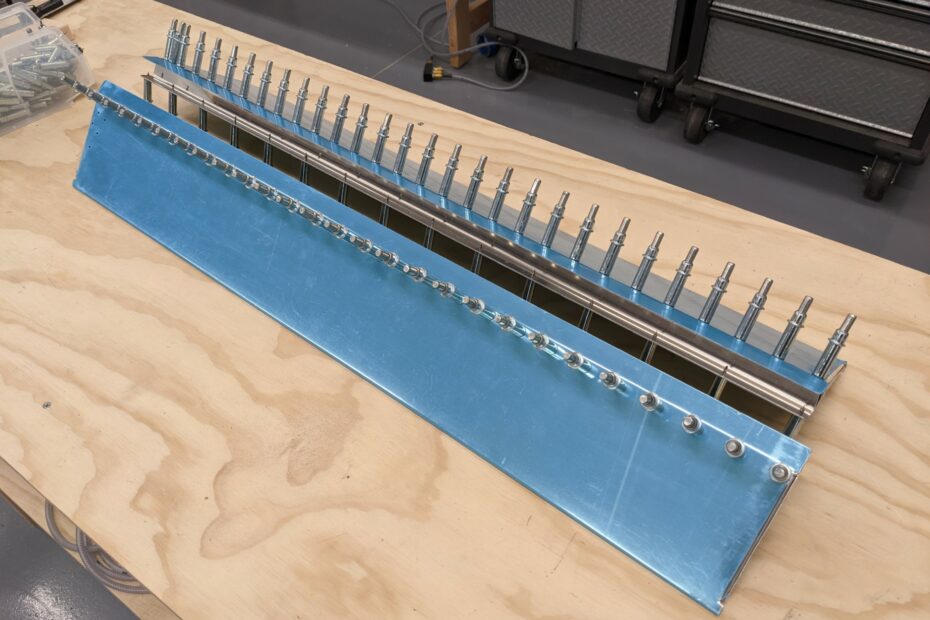
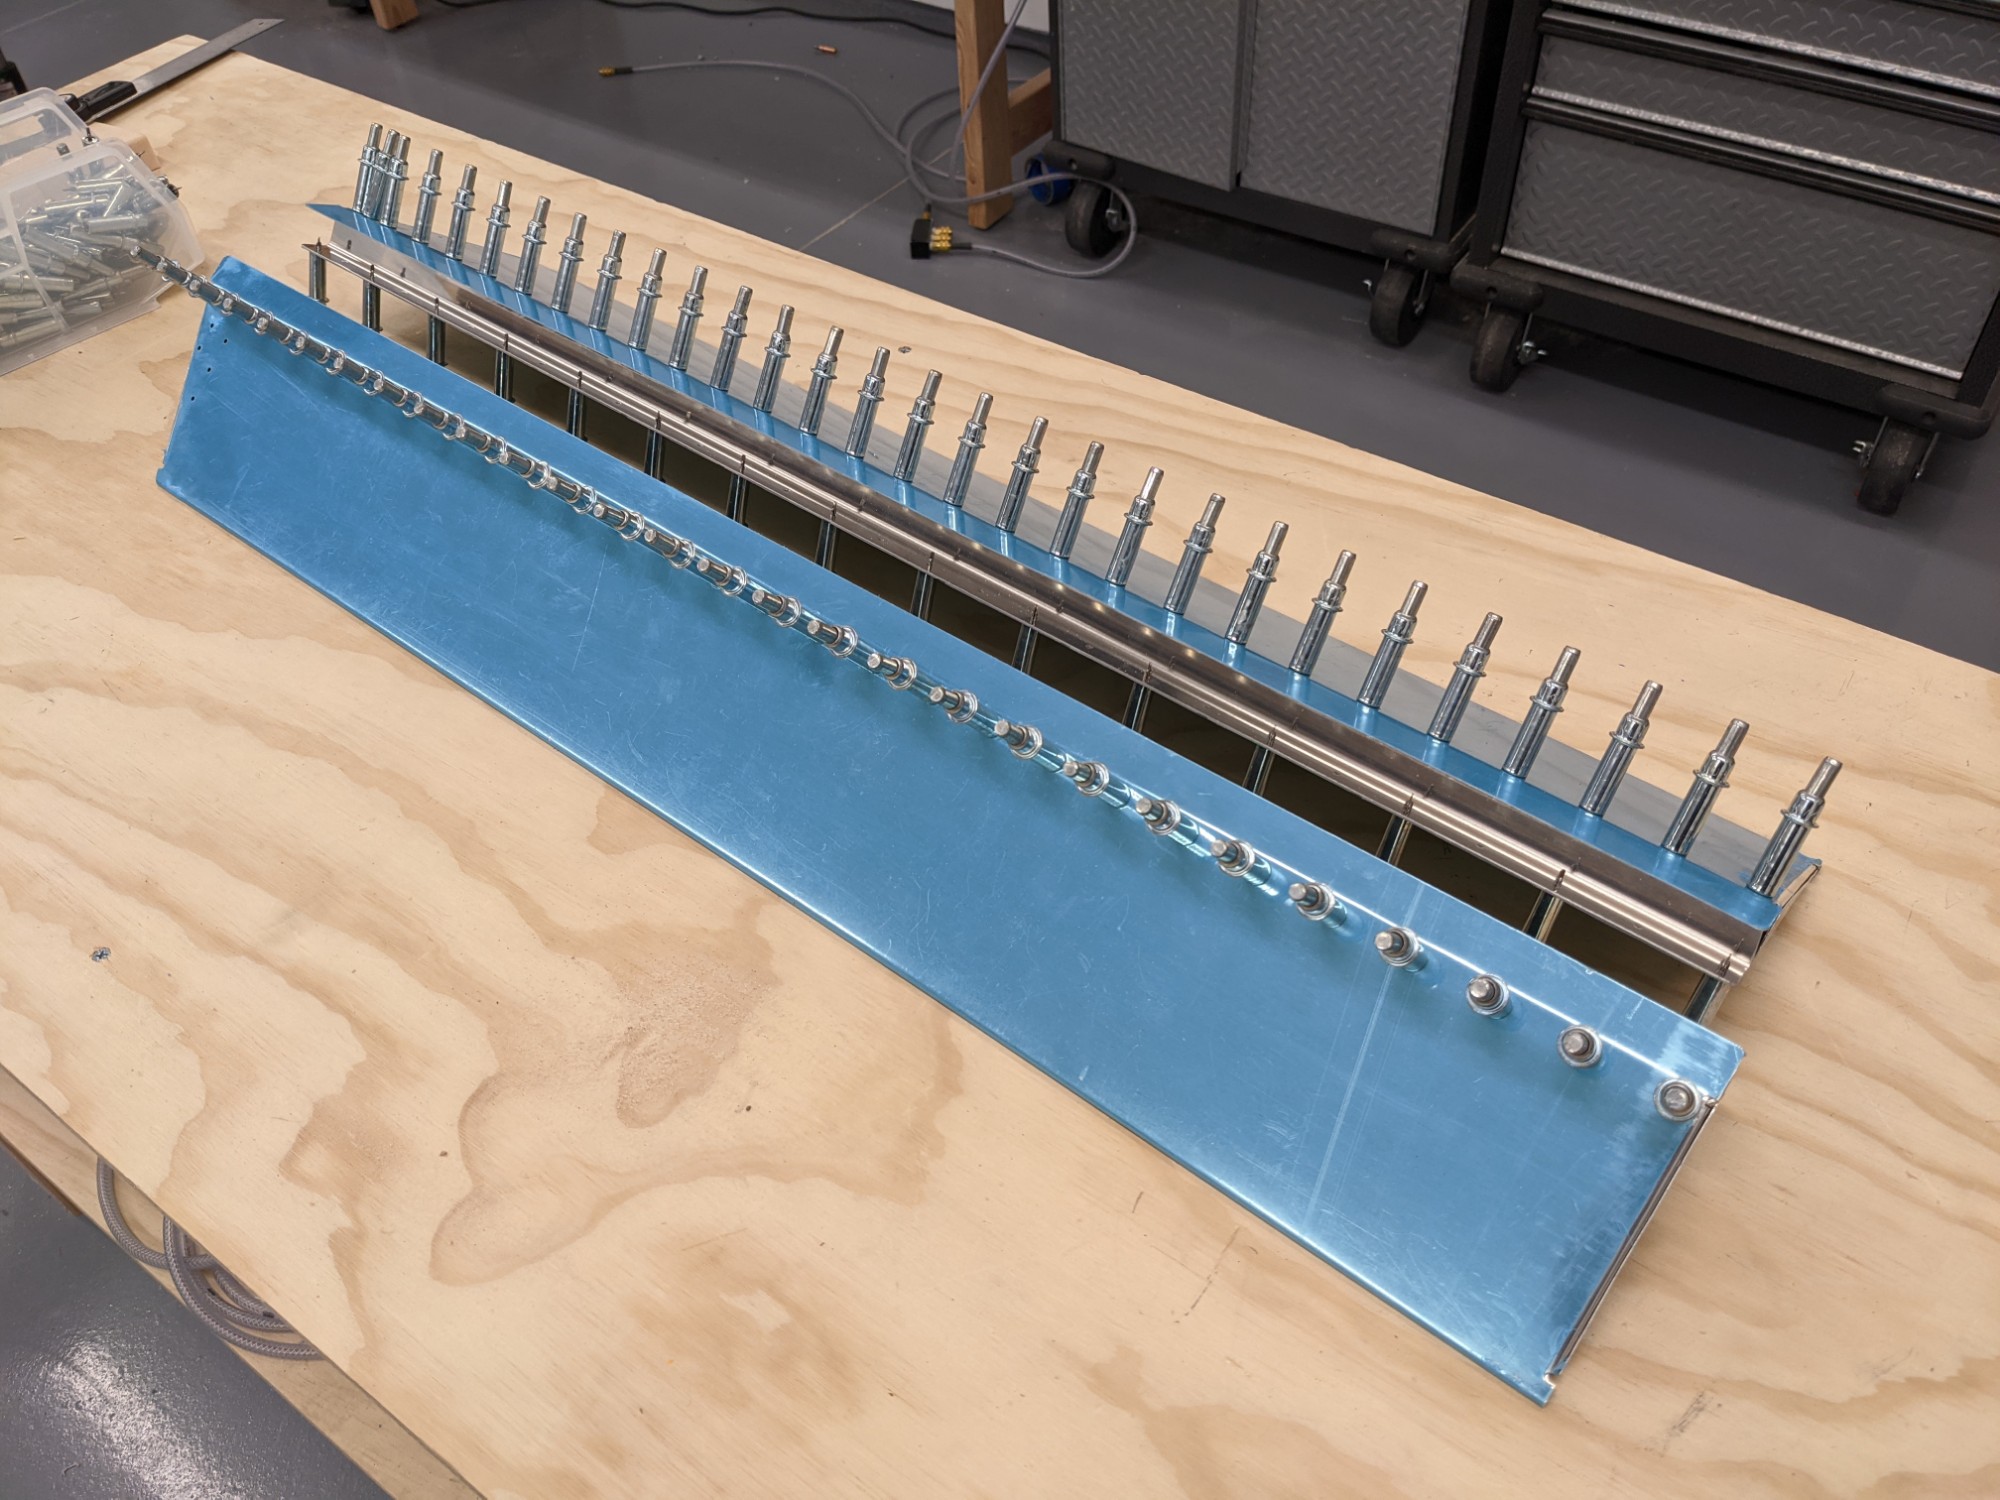
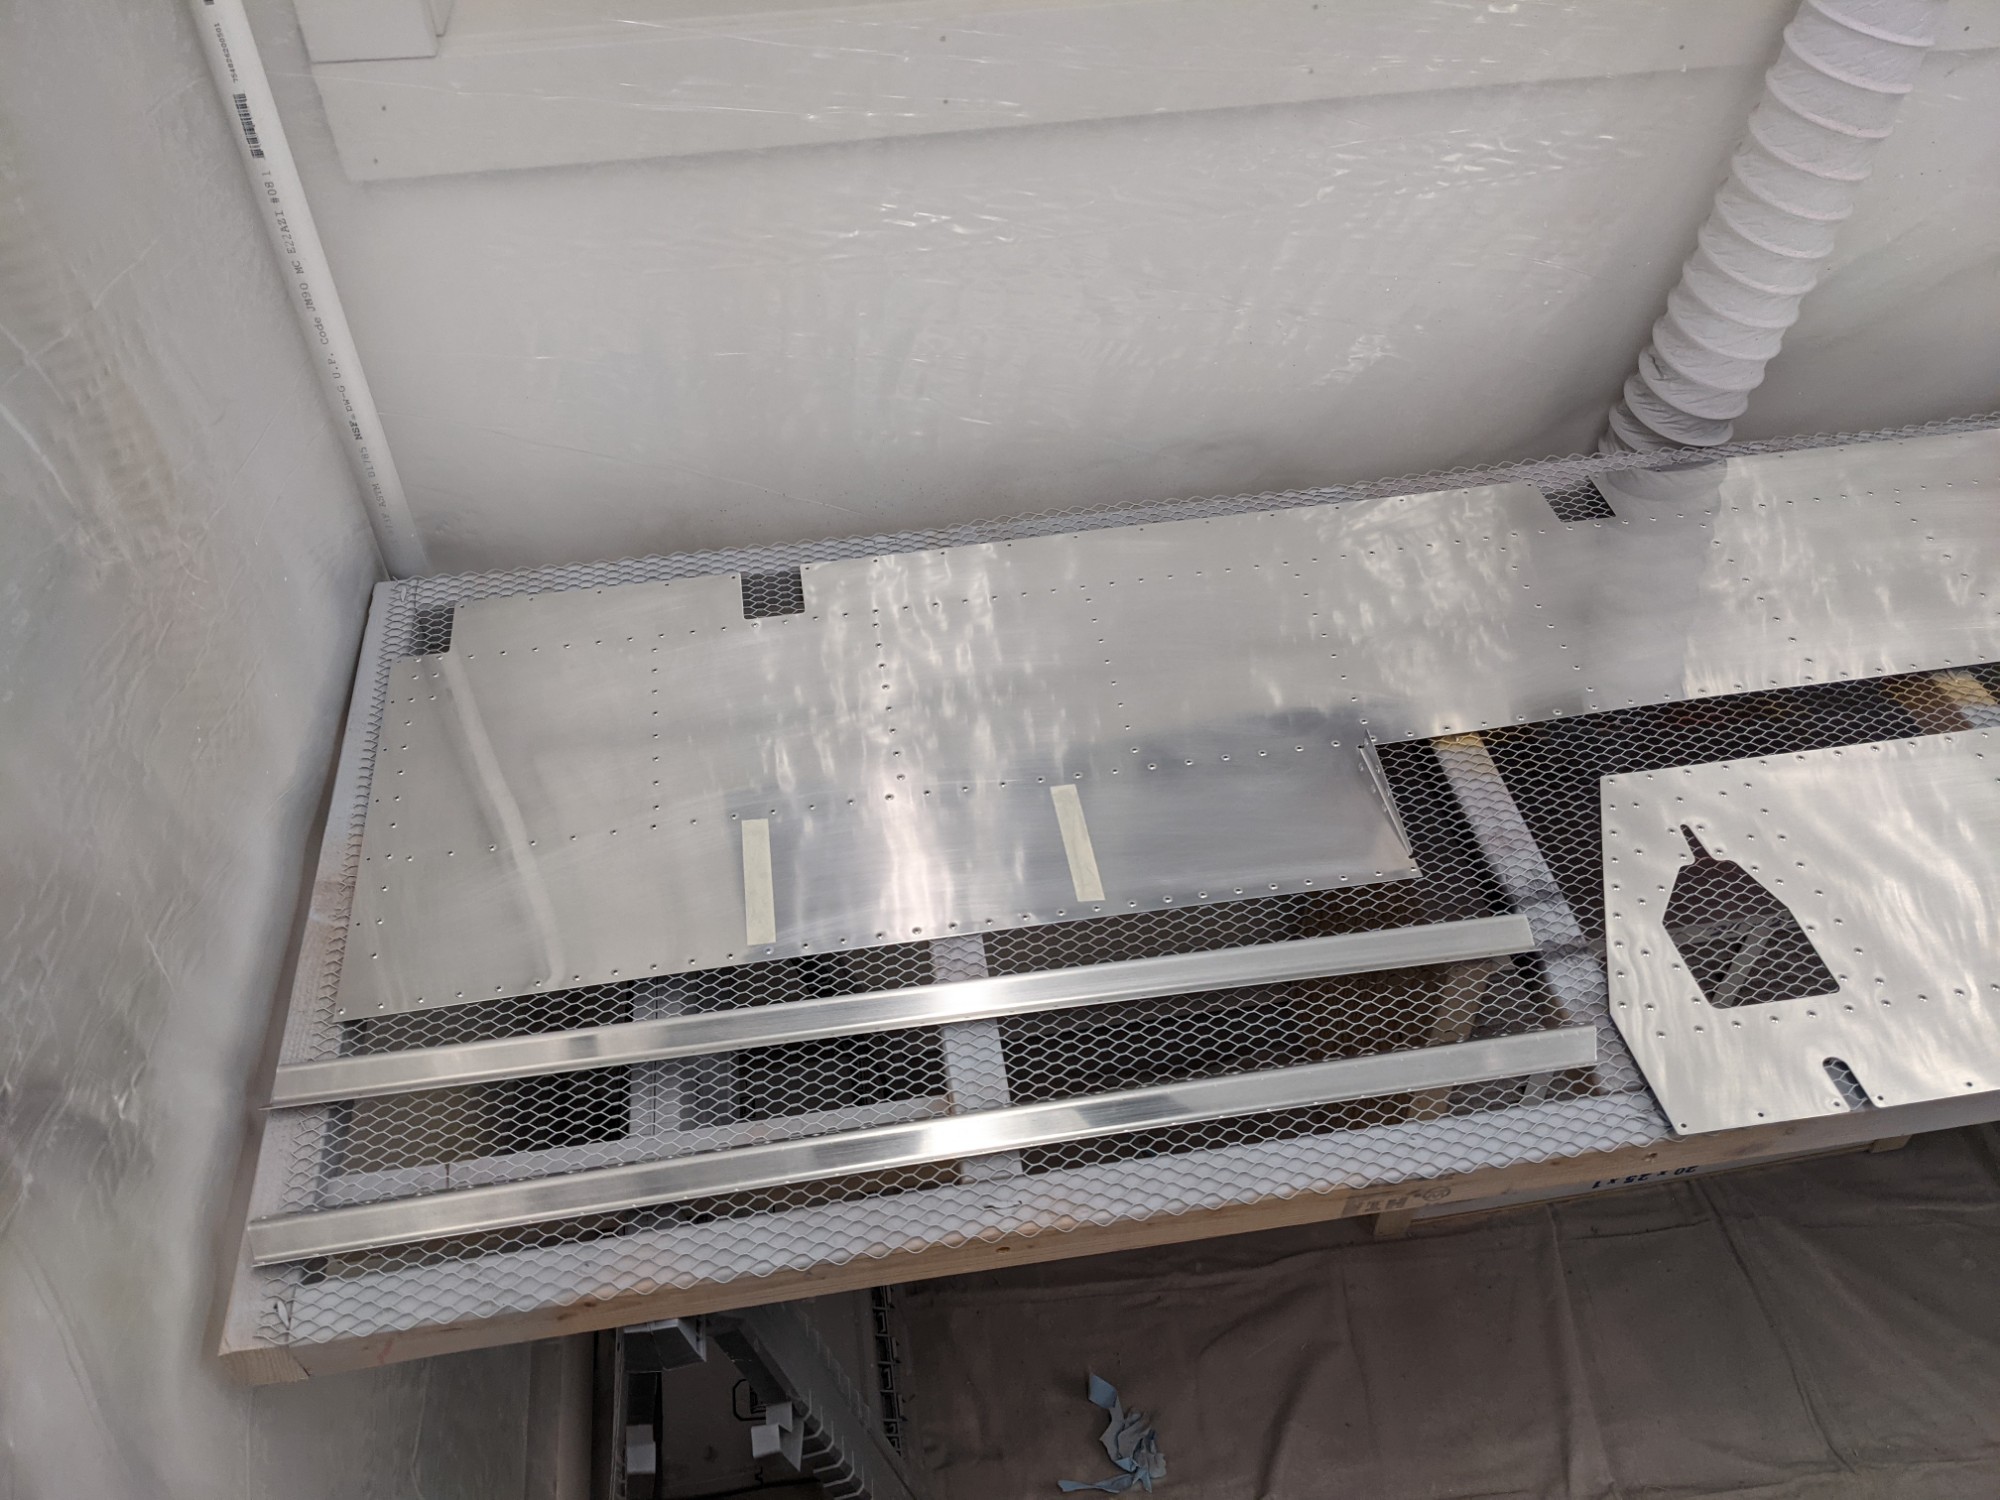
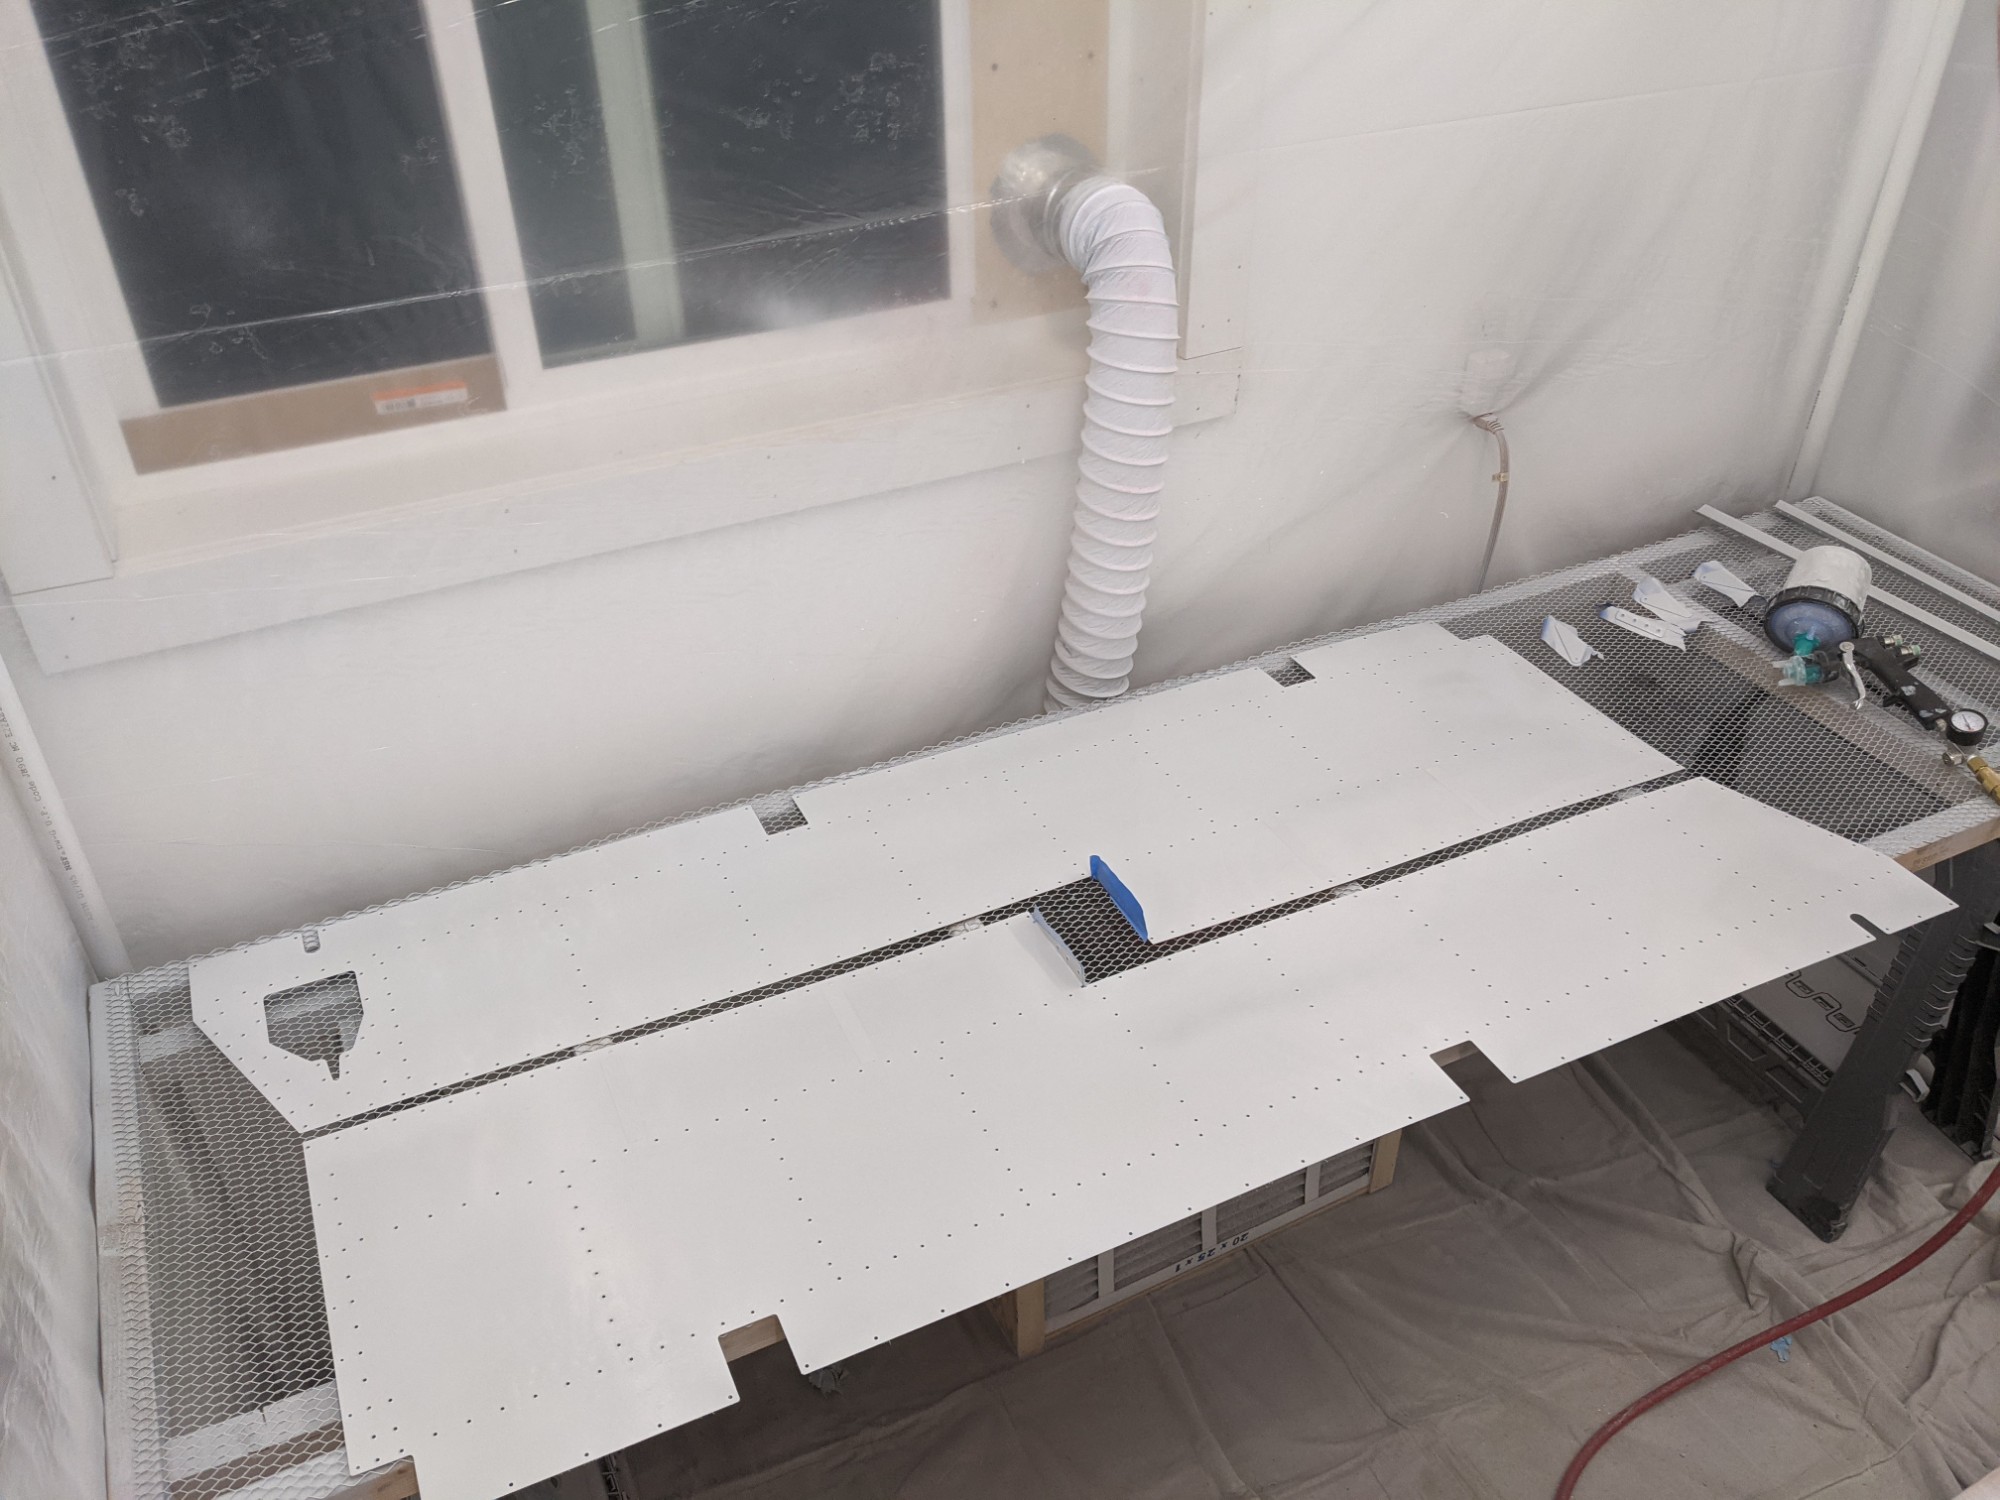
I masked the locations where the foam ribs will be attached and loaded the parts up into the paint booth.
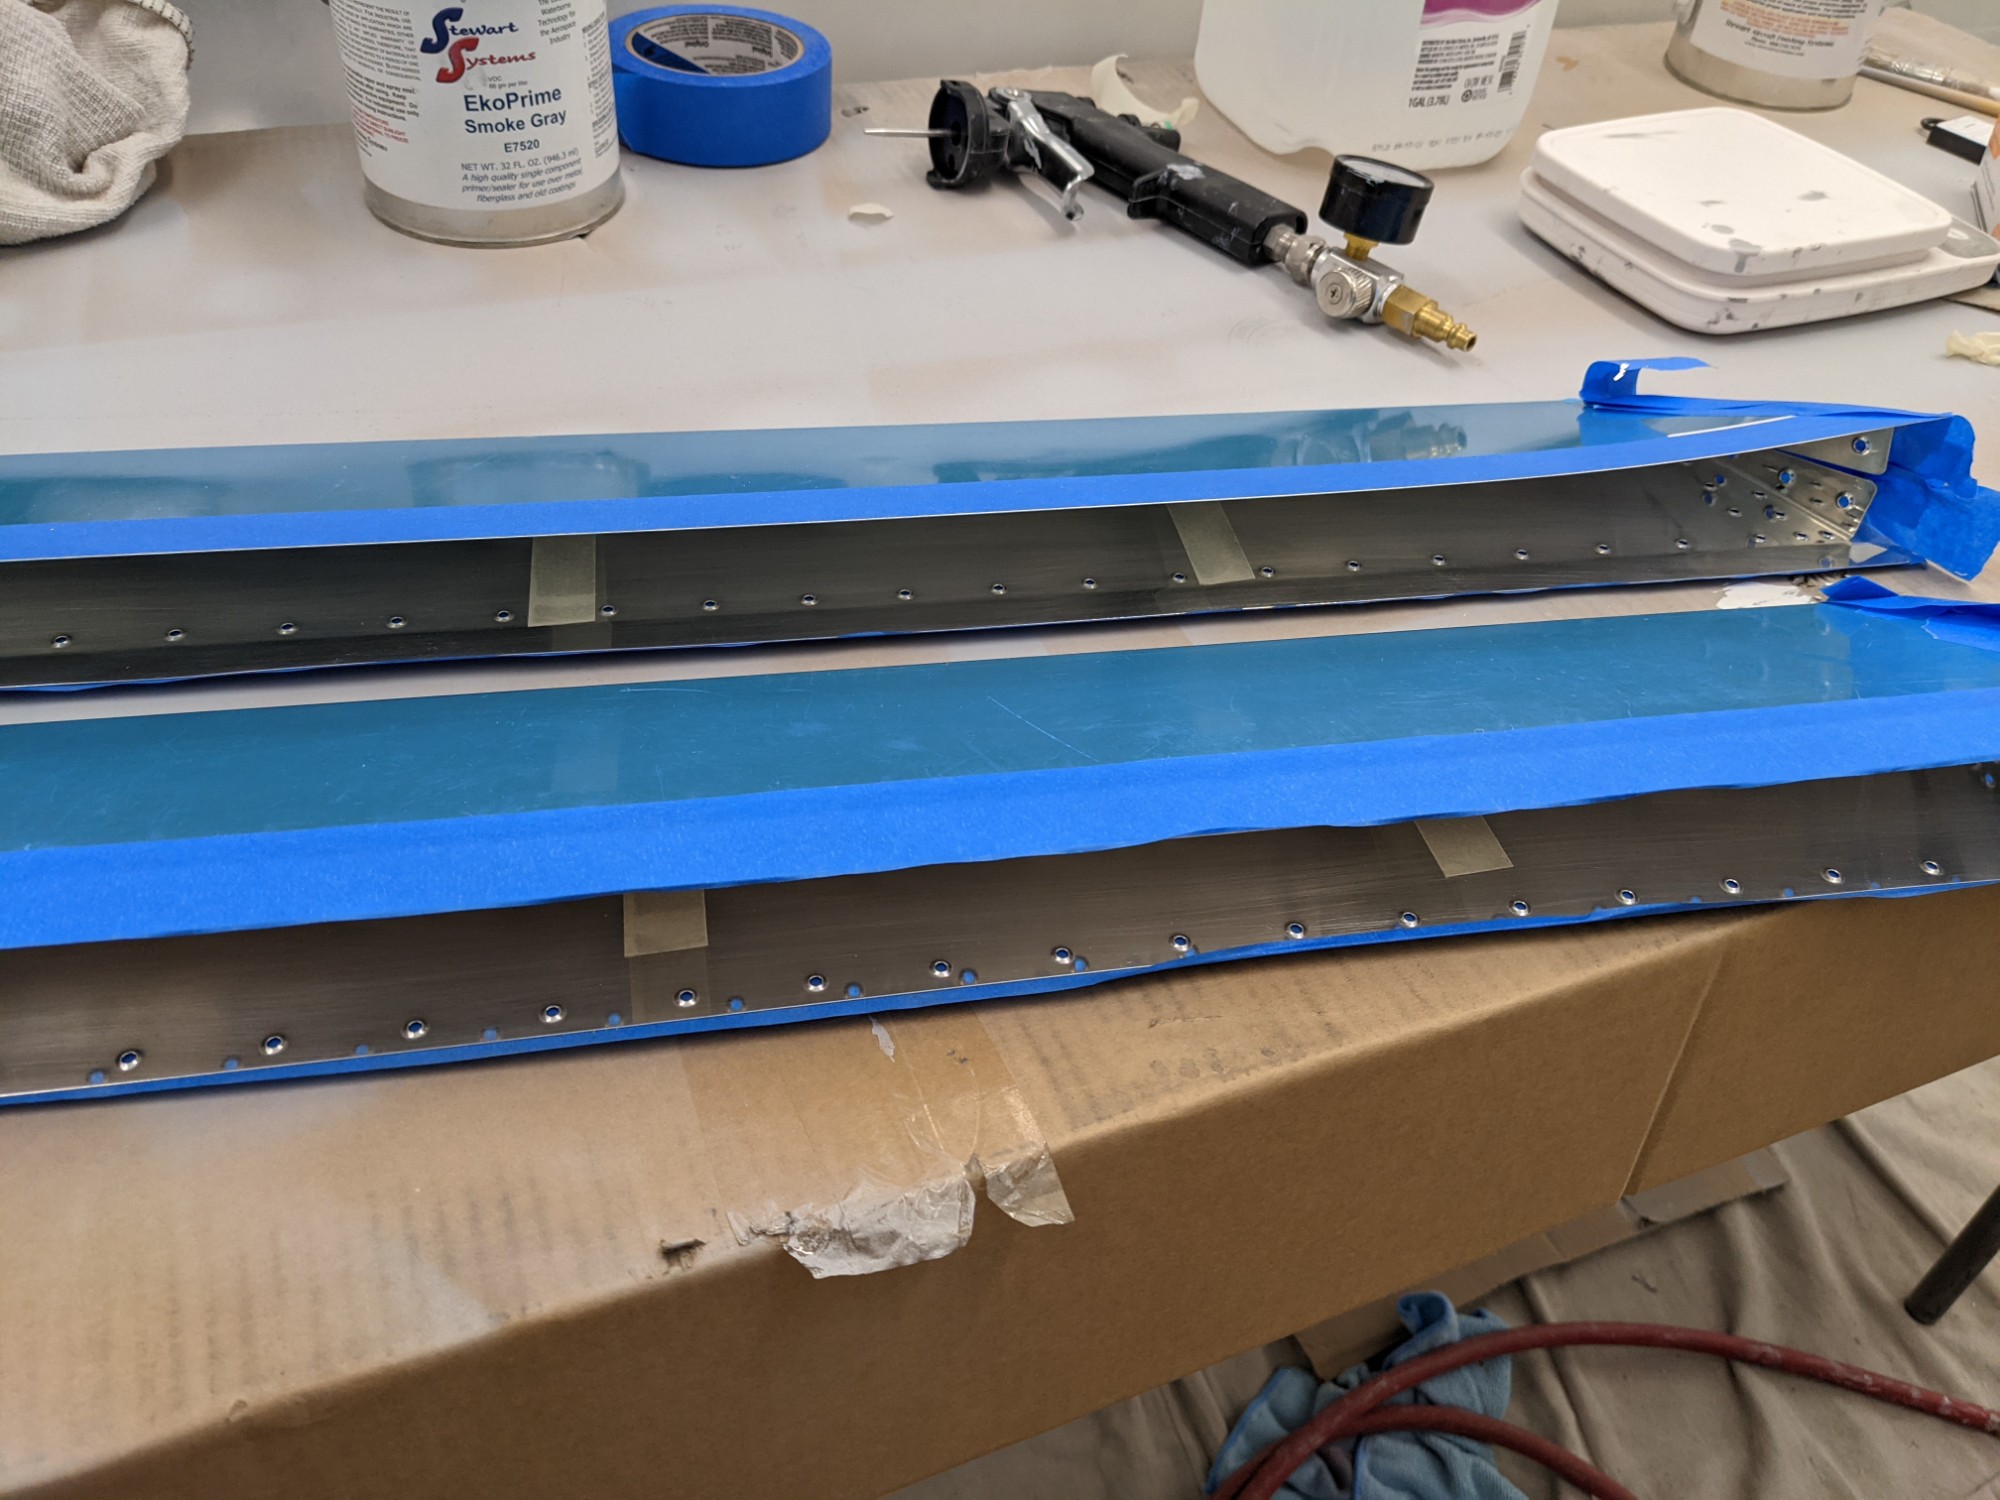
My primer order arrived today so I decided proceed with getting the parts primed this evening.

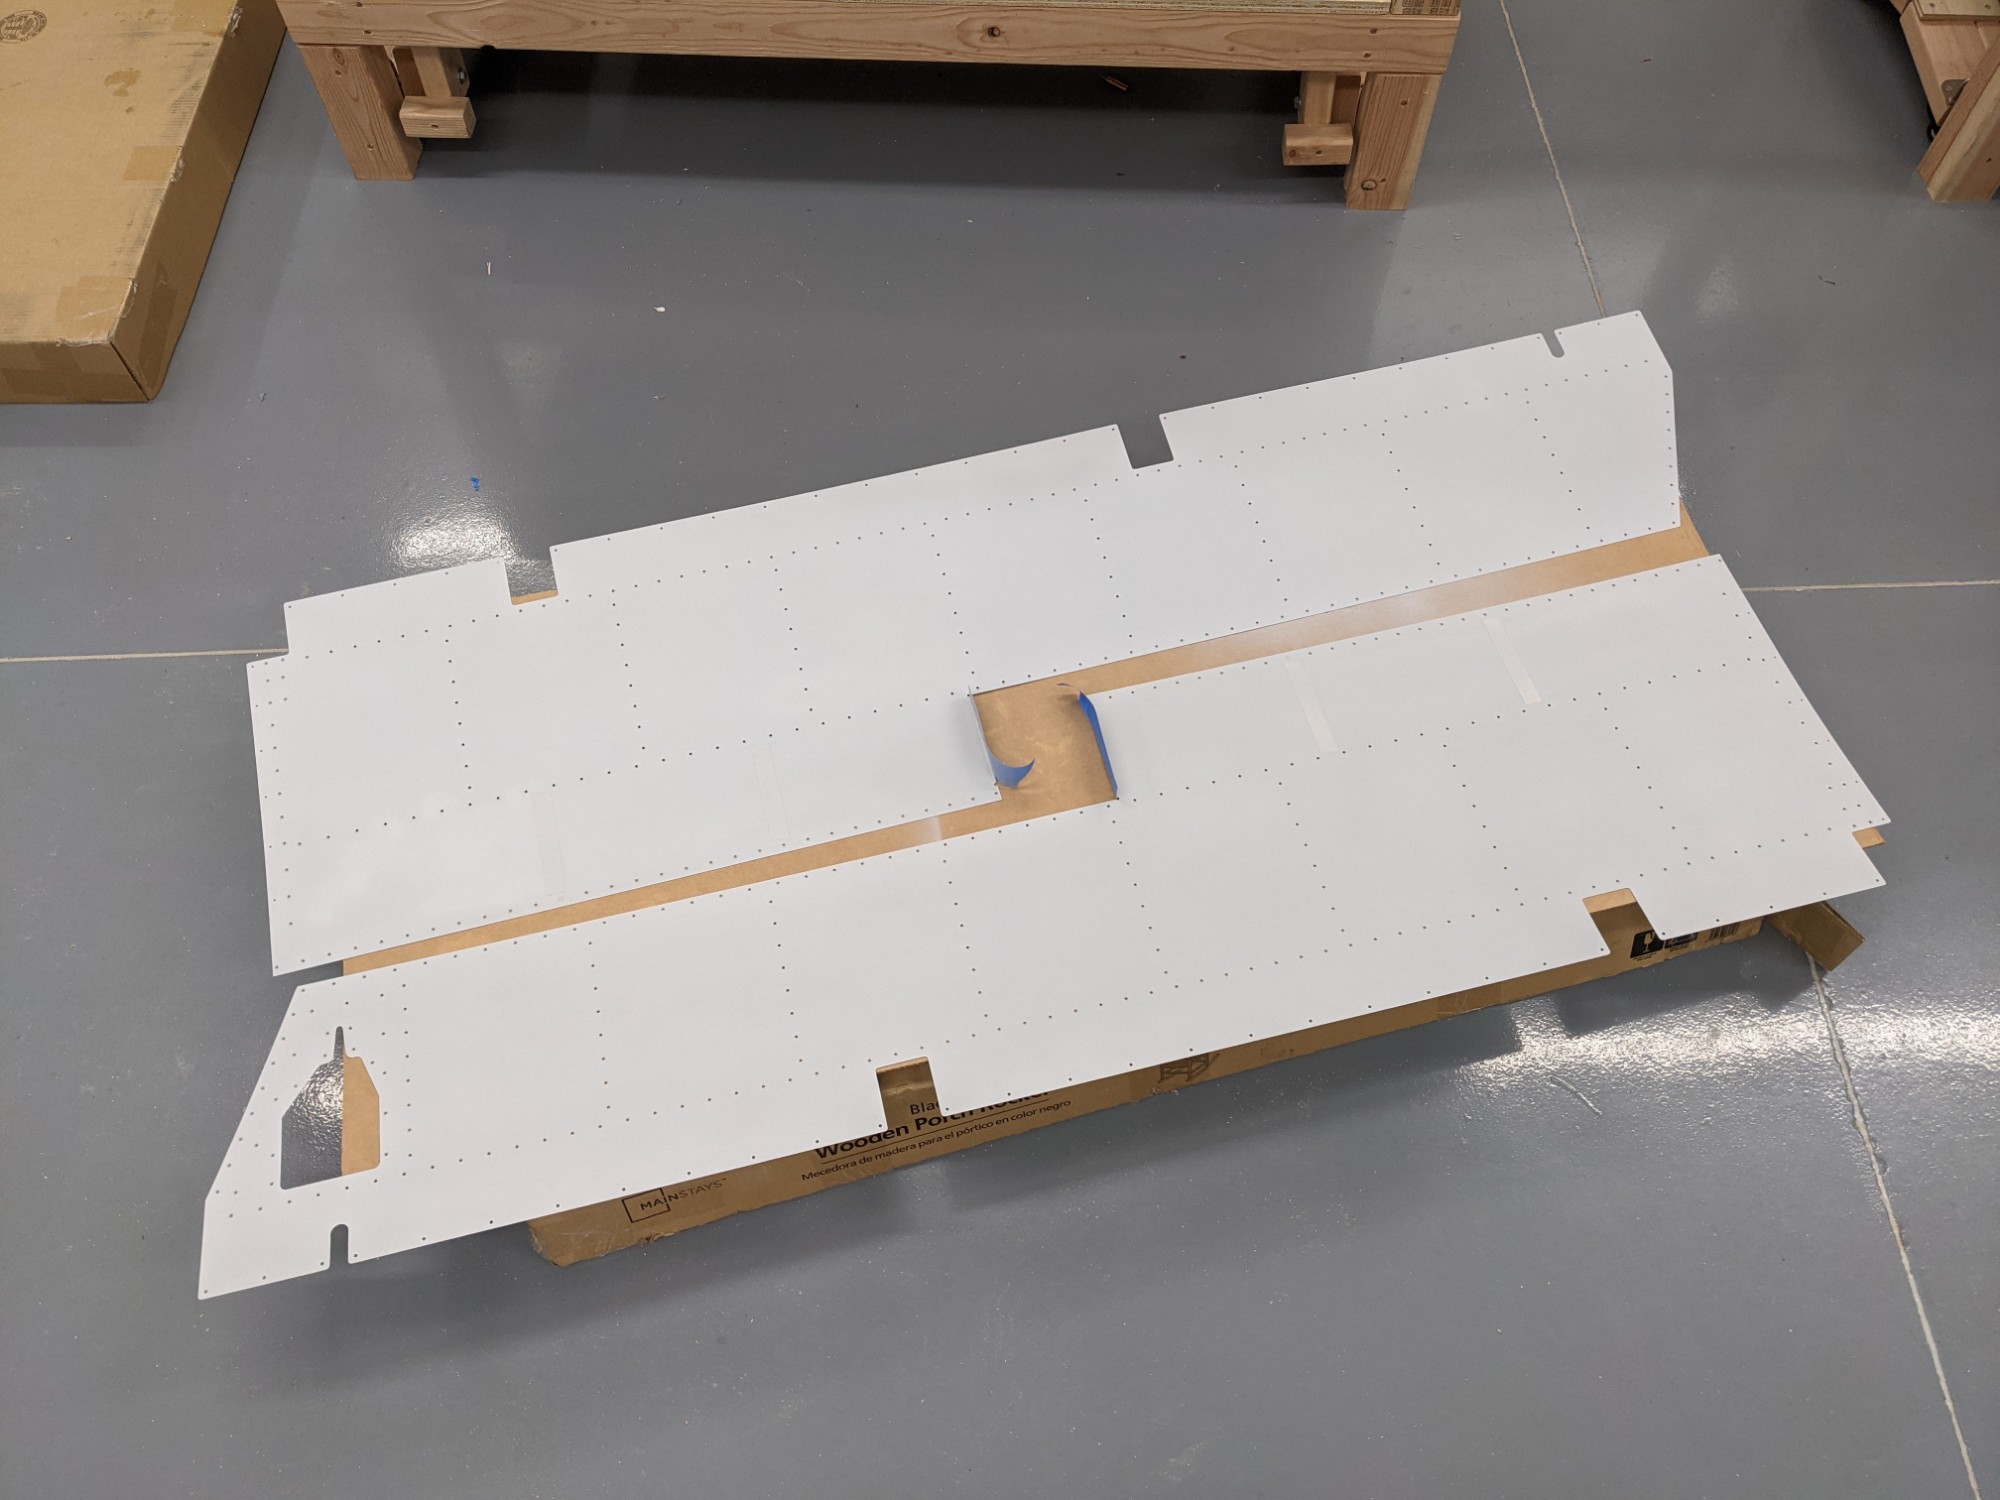
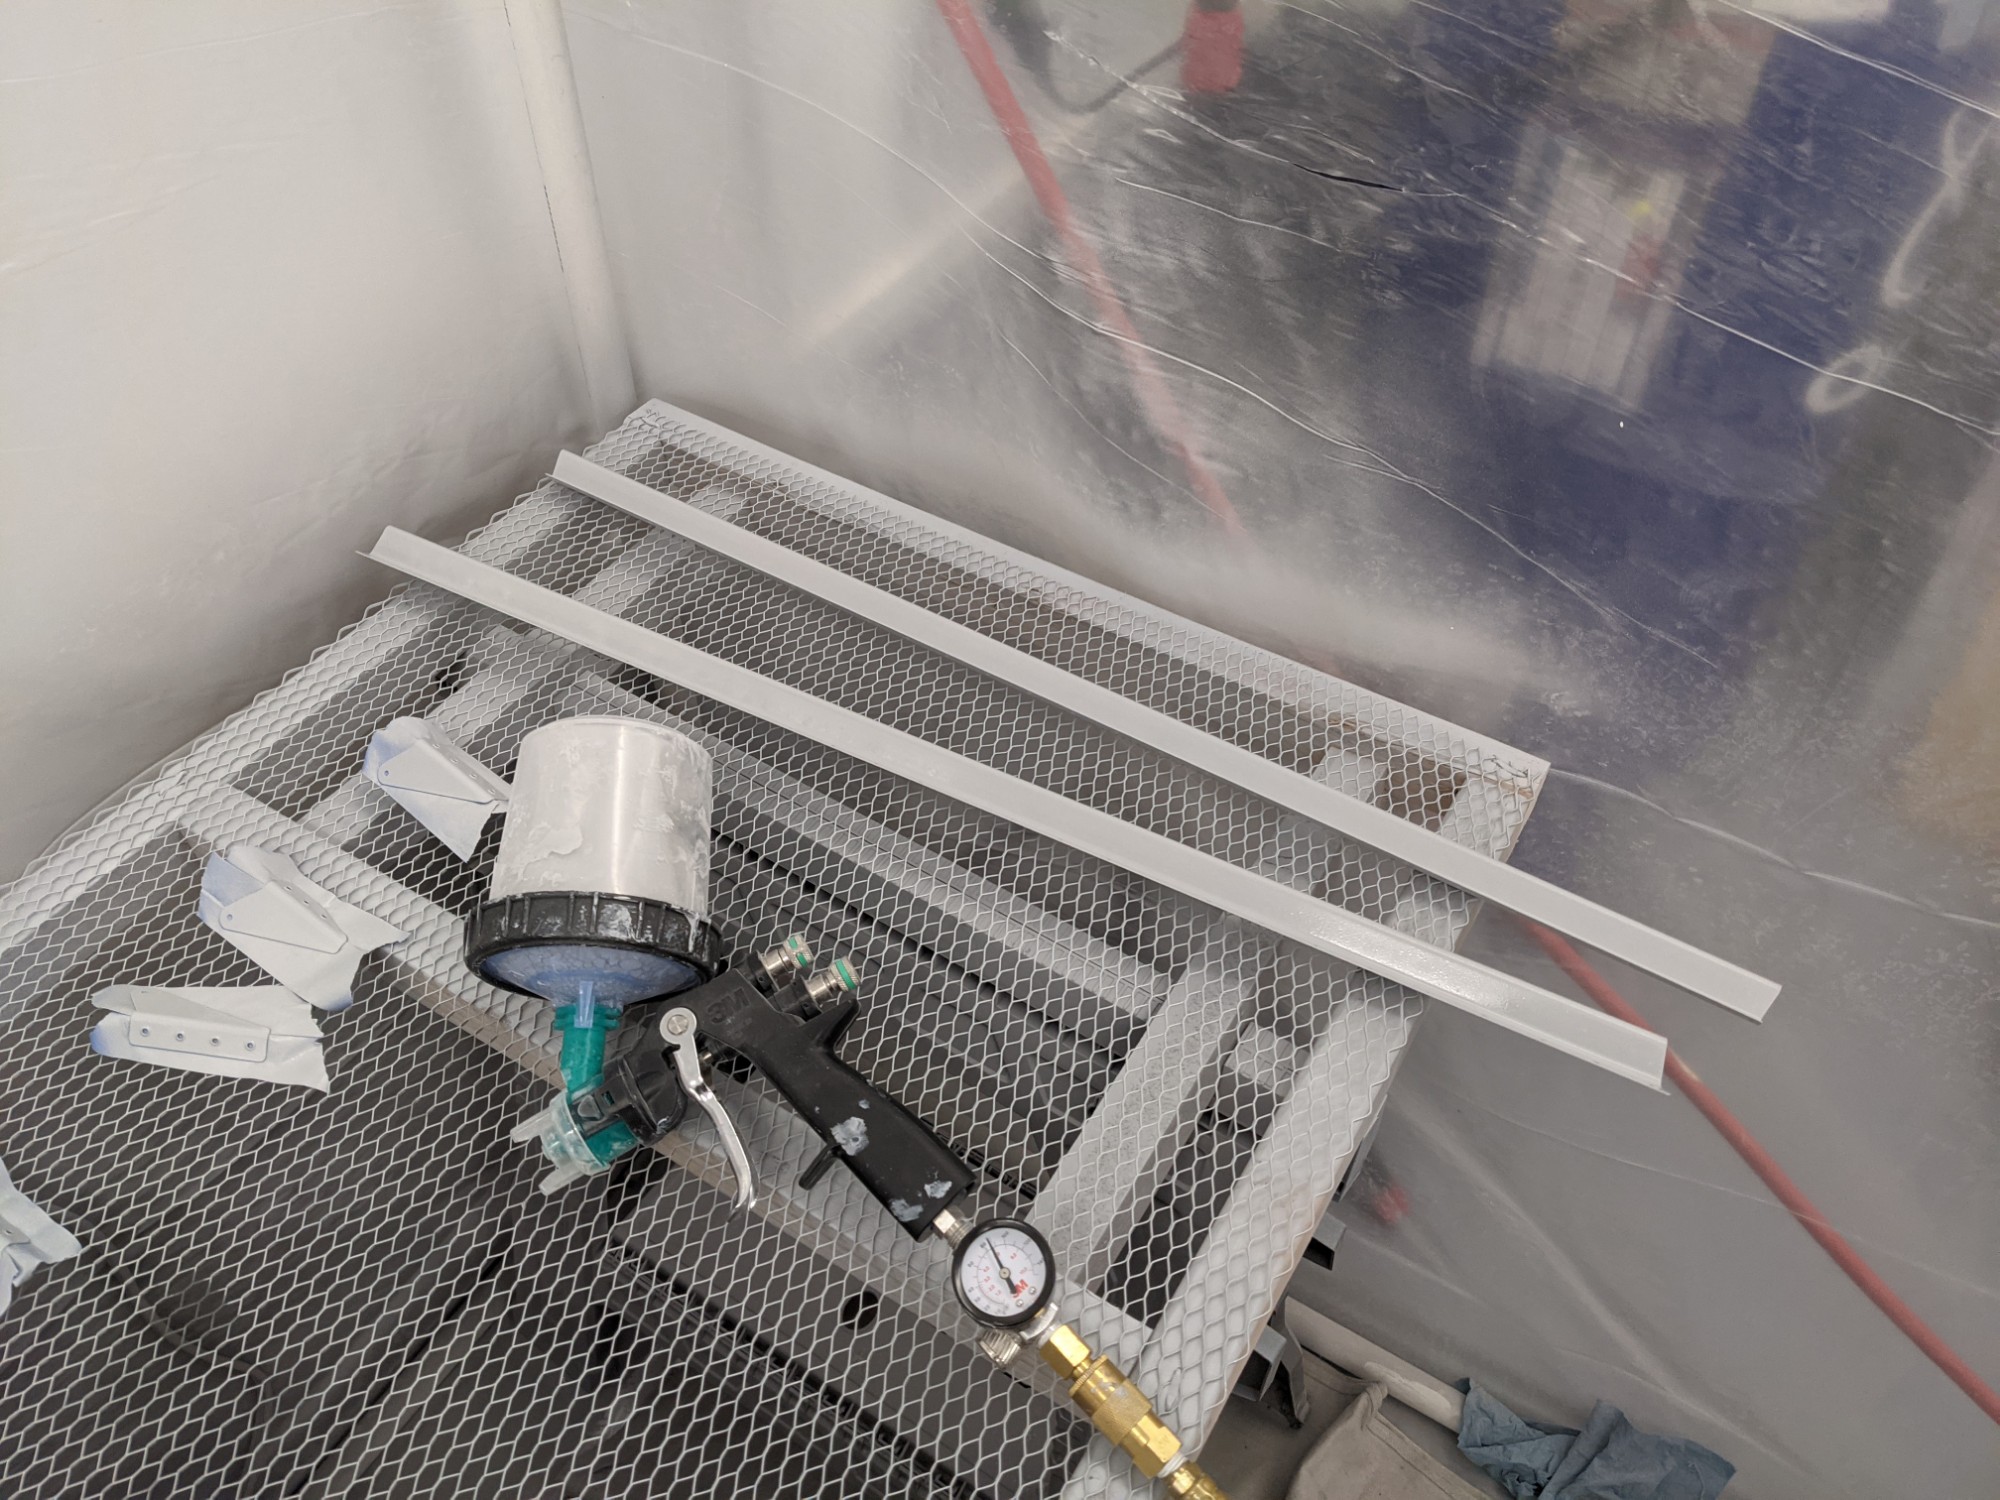
Done! Next up: more riveting.