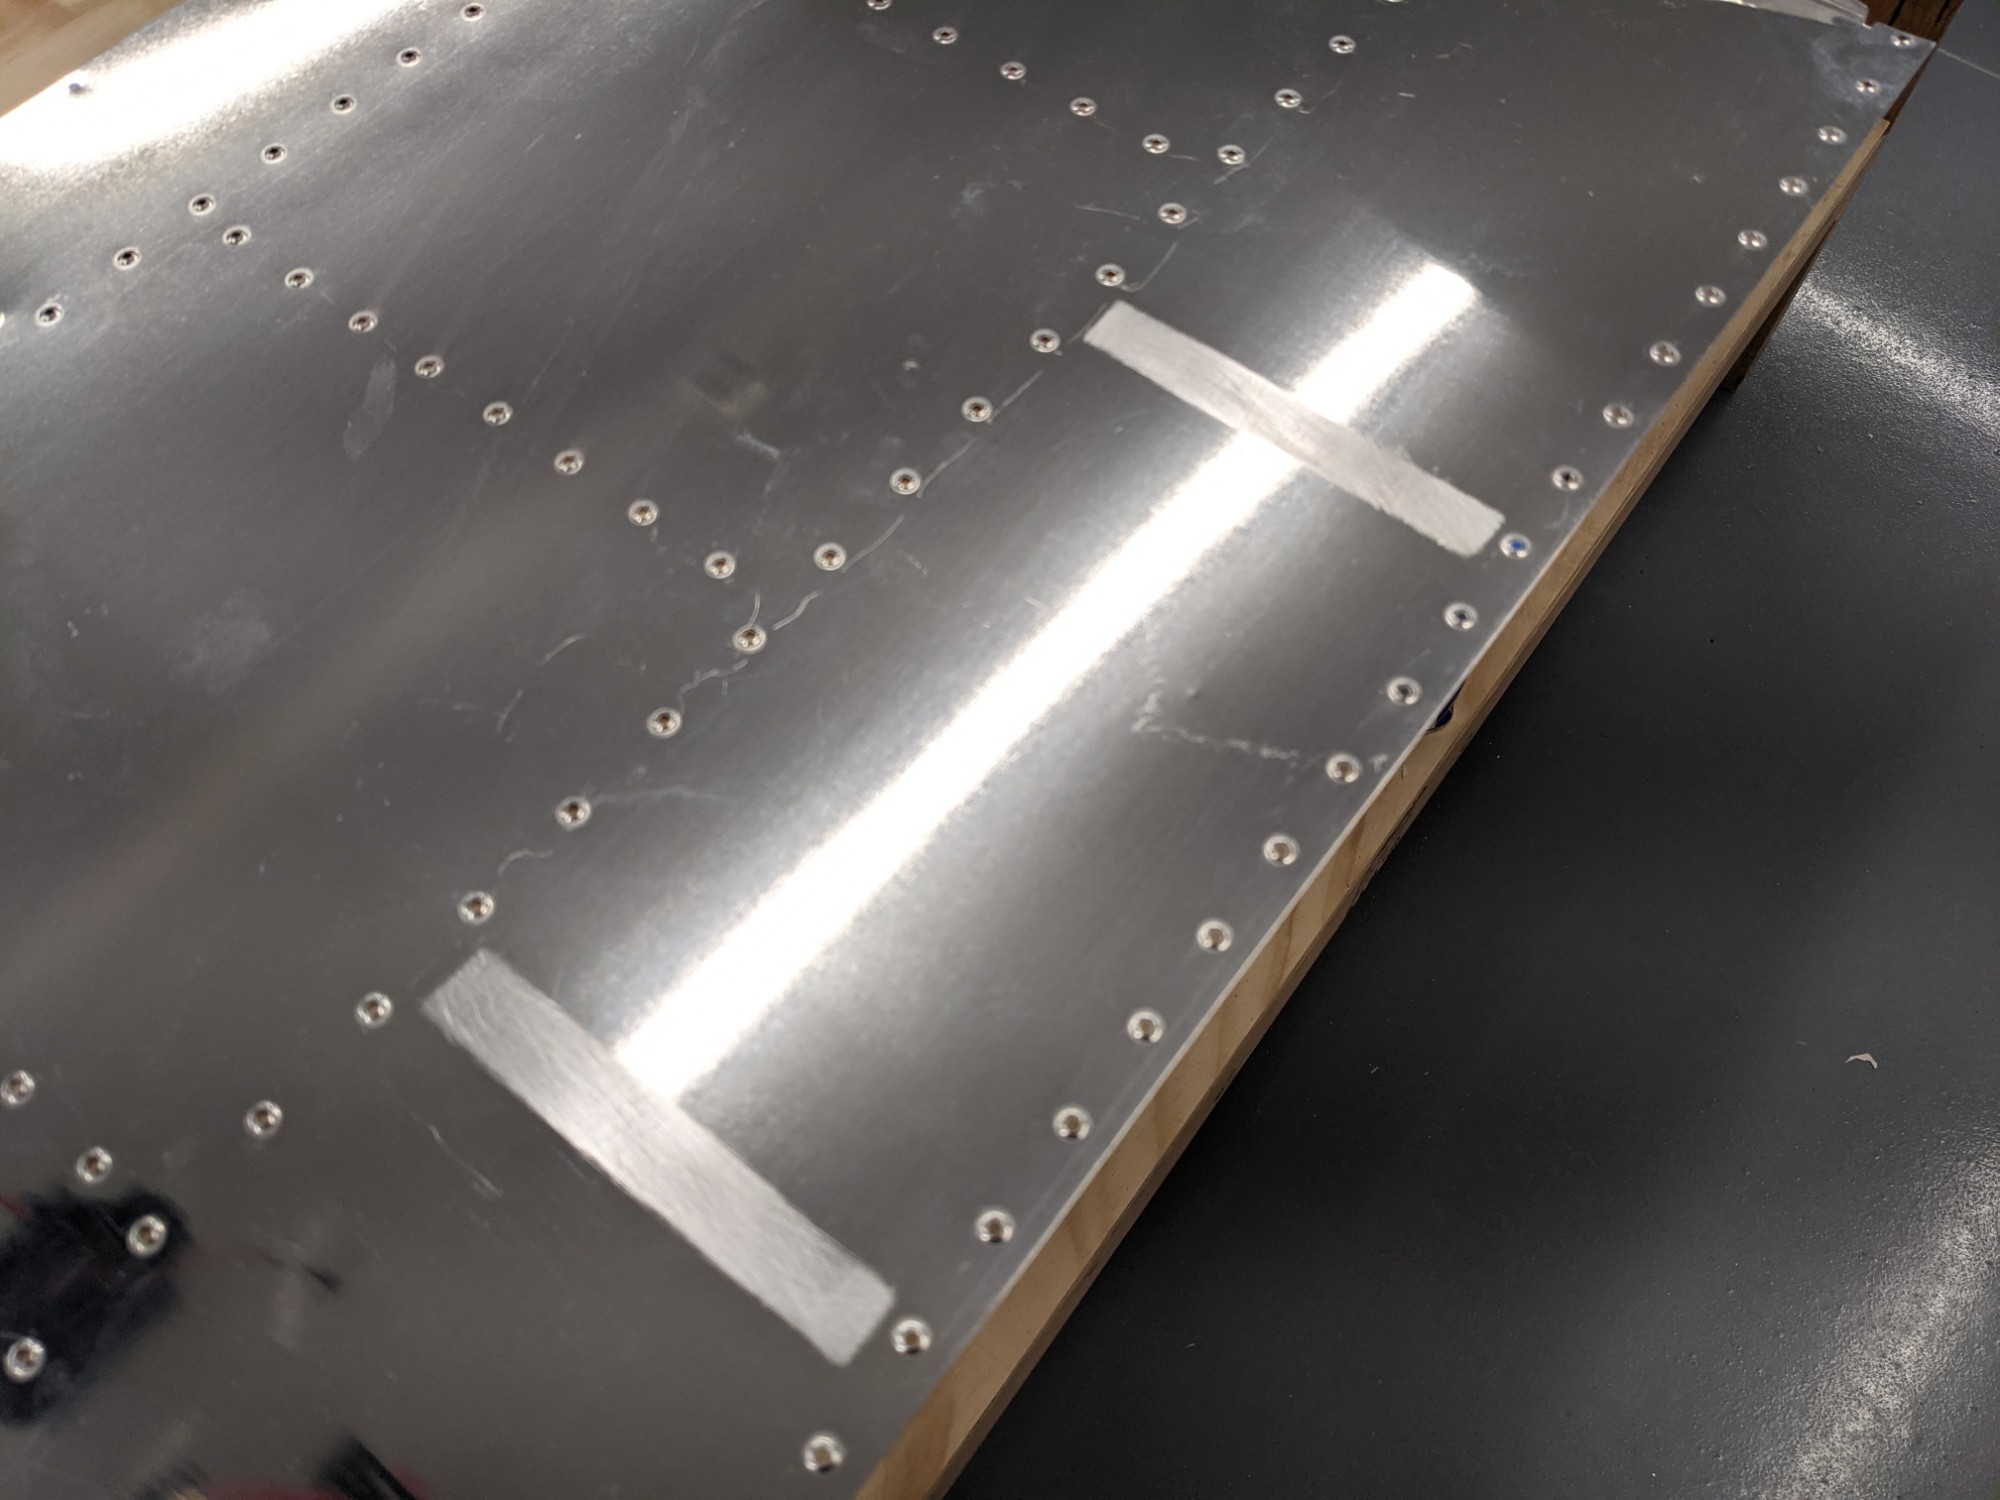
I had one remaining item on the elevator skins which was to mask and scuff the sections where the trailing foam ribs will be attached. I went ahead did this for both the trim tabs and the elevator skins at the same time. We masked off the sections, scuffed them with 150 grit sandpaper, and used acetone to clean them up. The skins are now ready for etching and priming.
I didn’t have enough primer to prime the elevator skins (more primer arrives Wednesday) so I jumped ahead in the plans to the trim tabs.
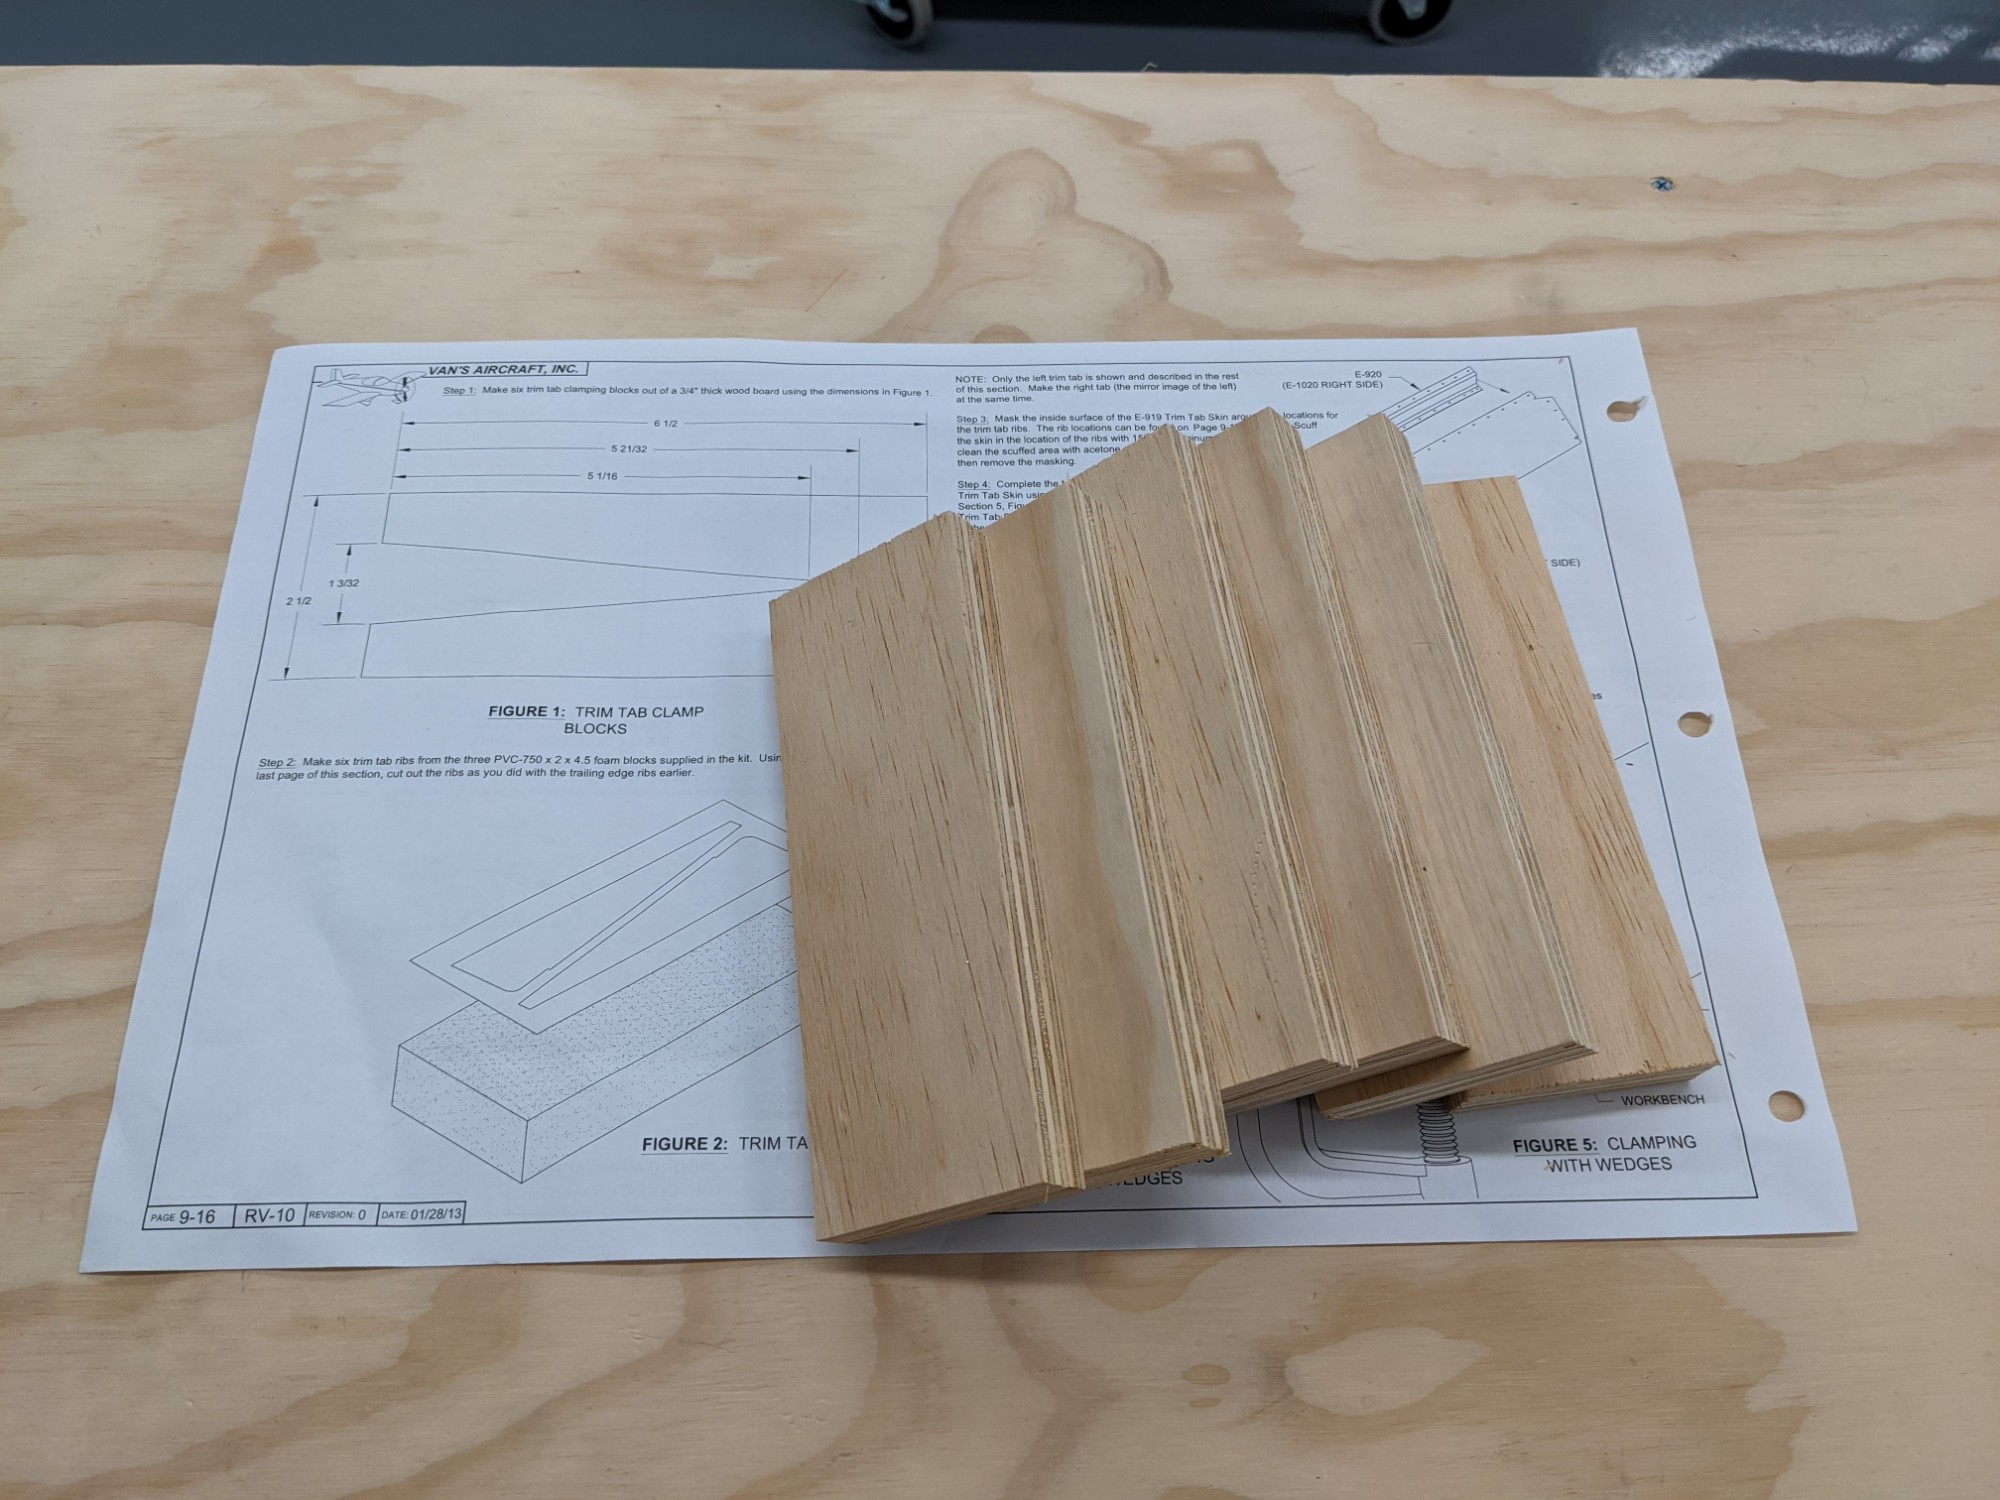
I started out by making the wooden clamping blocks that are called for on page 9-16. I had some scrap 3/4″ plywood so I used that for the blocks.
To speed up the cutting (and to make the cuts straight) I made a wedge jig that matched the necessary angle. I used a truss head screw as a heel stop and set the fence to provide the opening width called for in the plans.
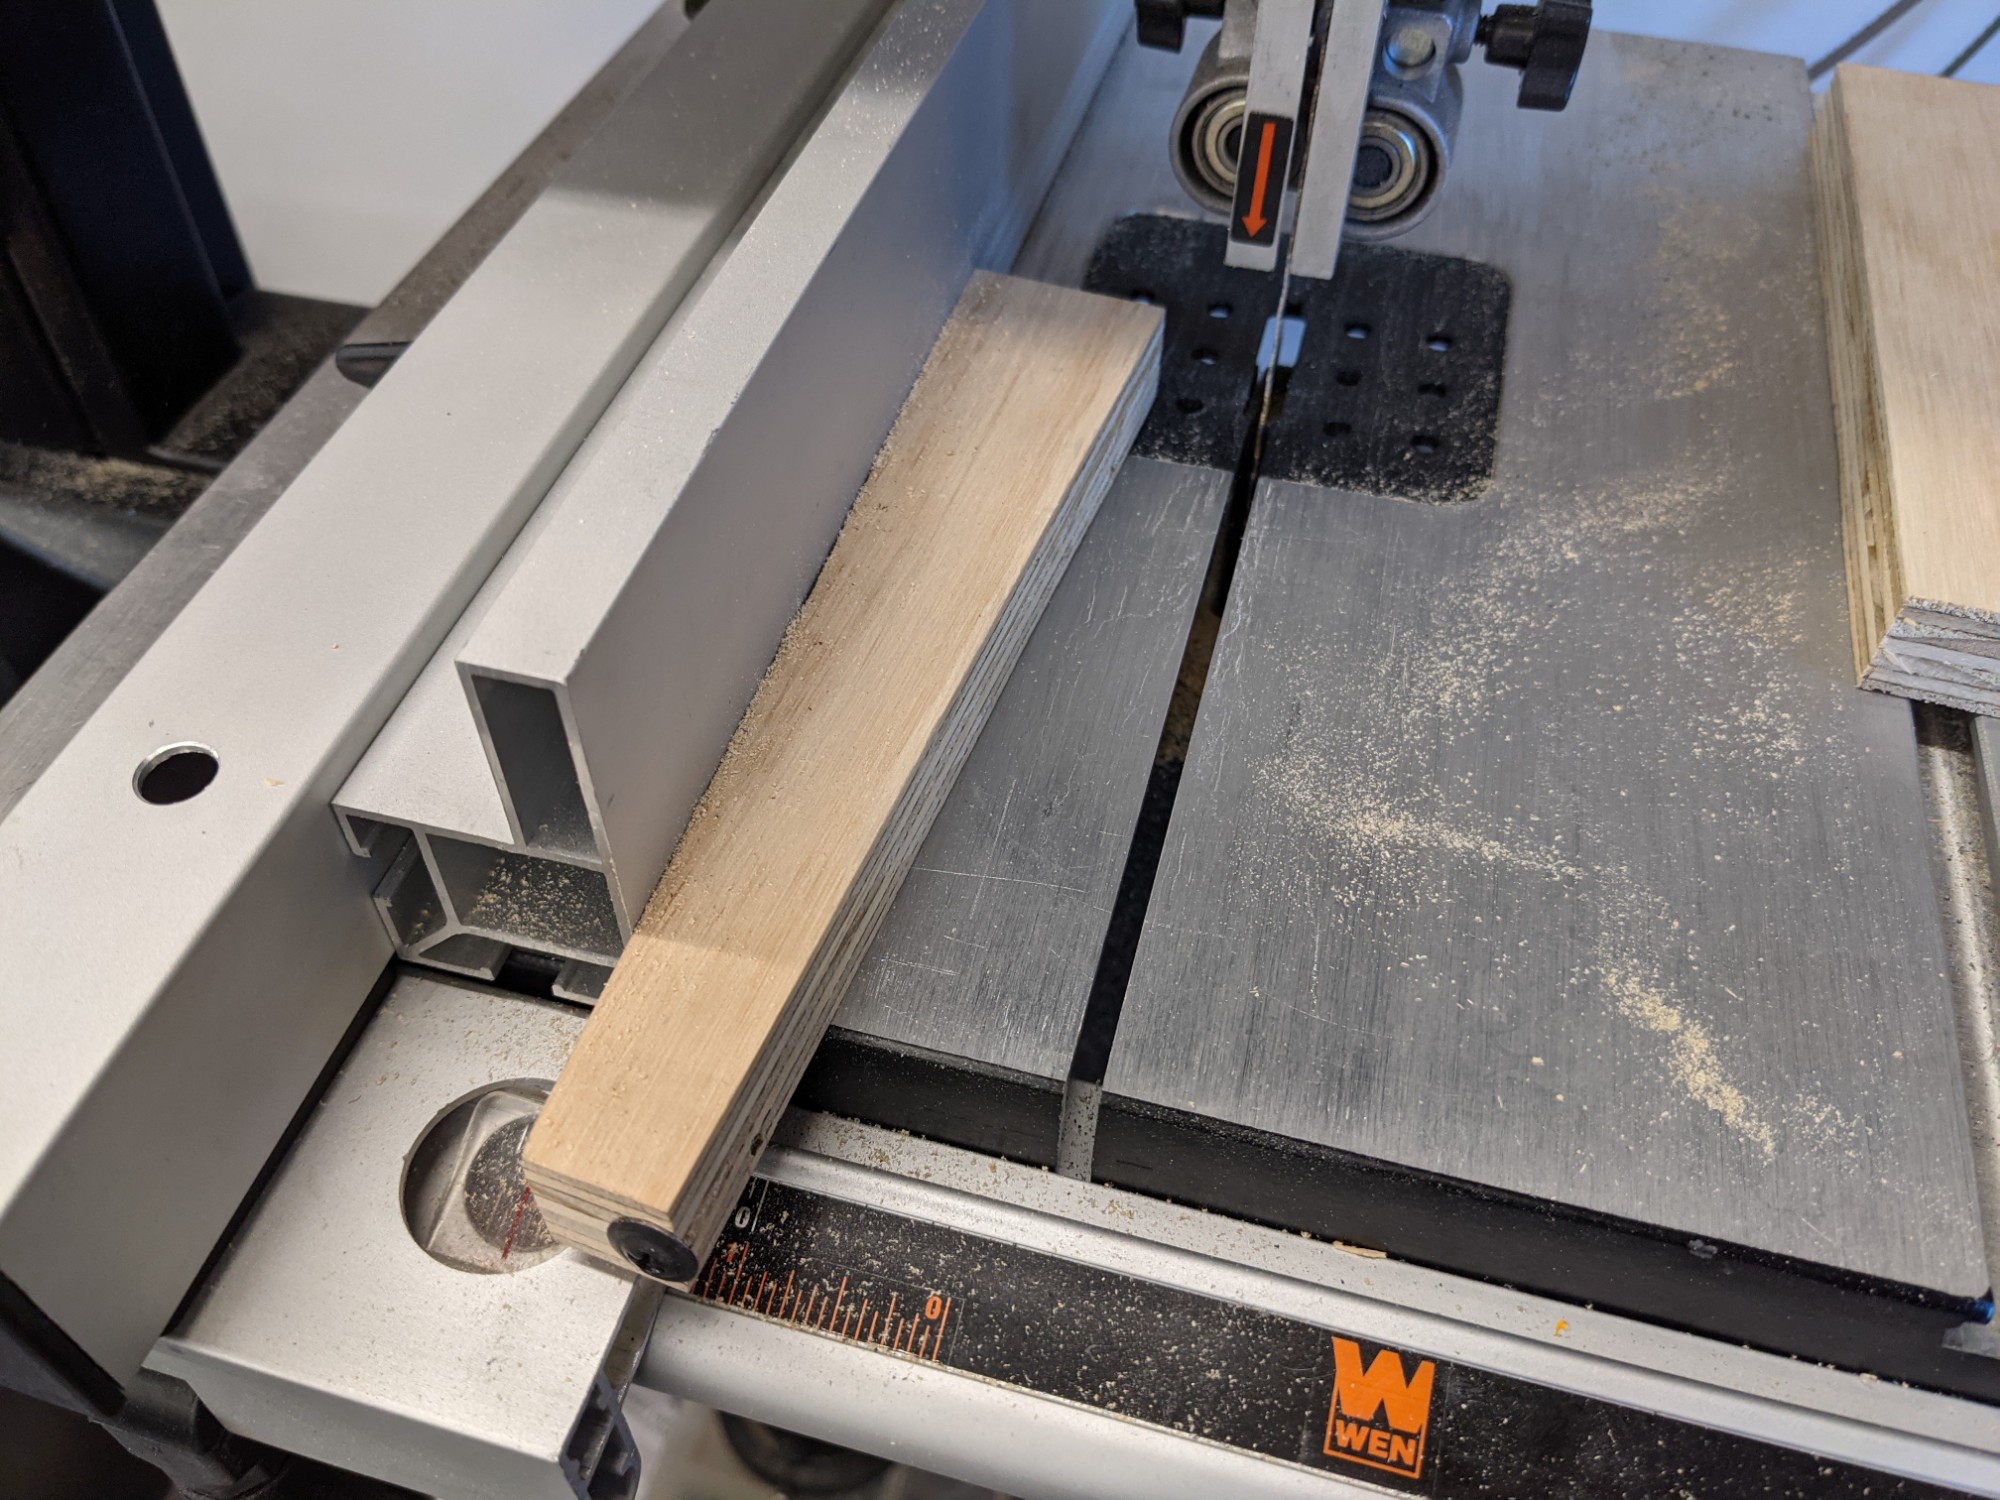
I then made all of the cuts by completing the first side, flipping it over, and completing the second side.
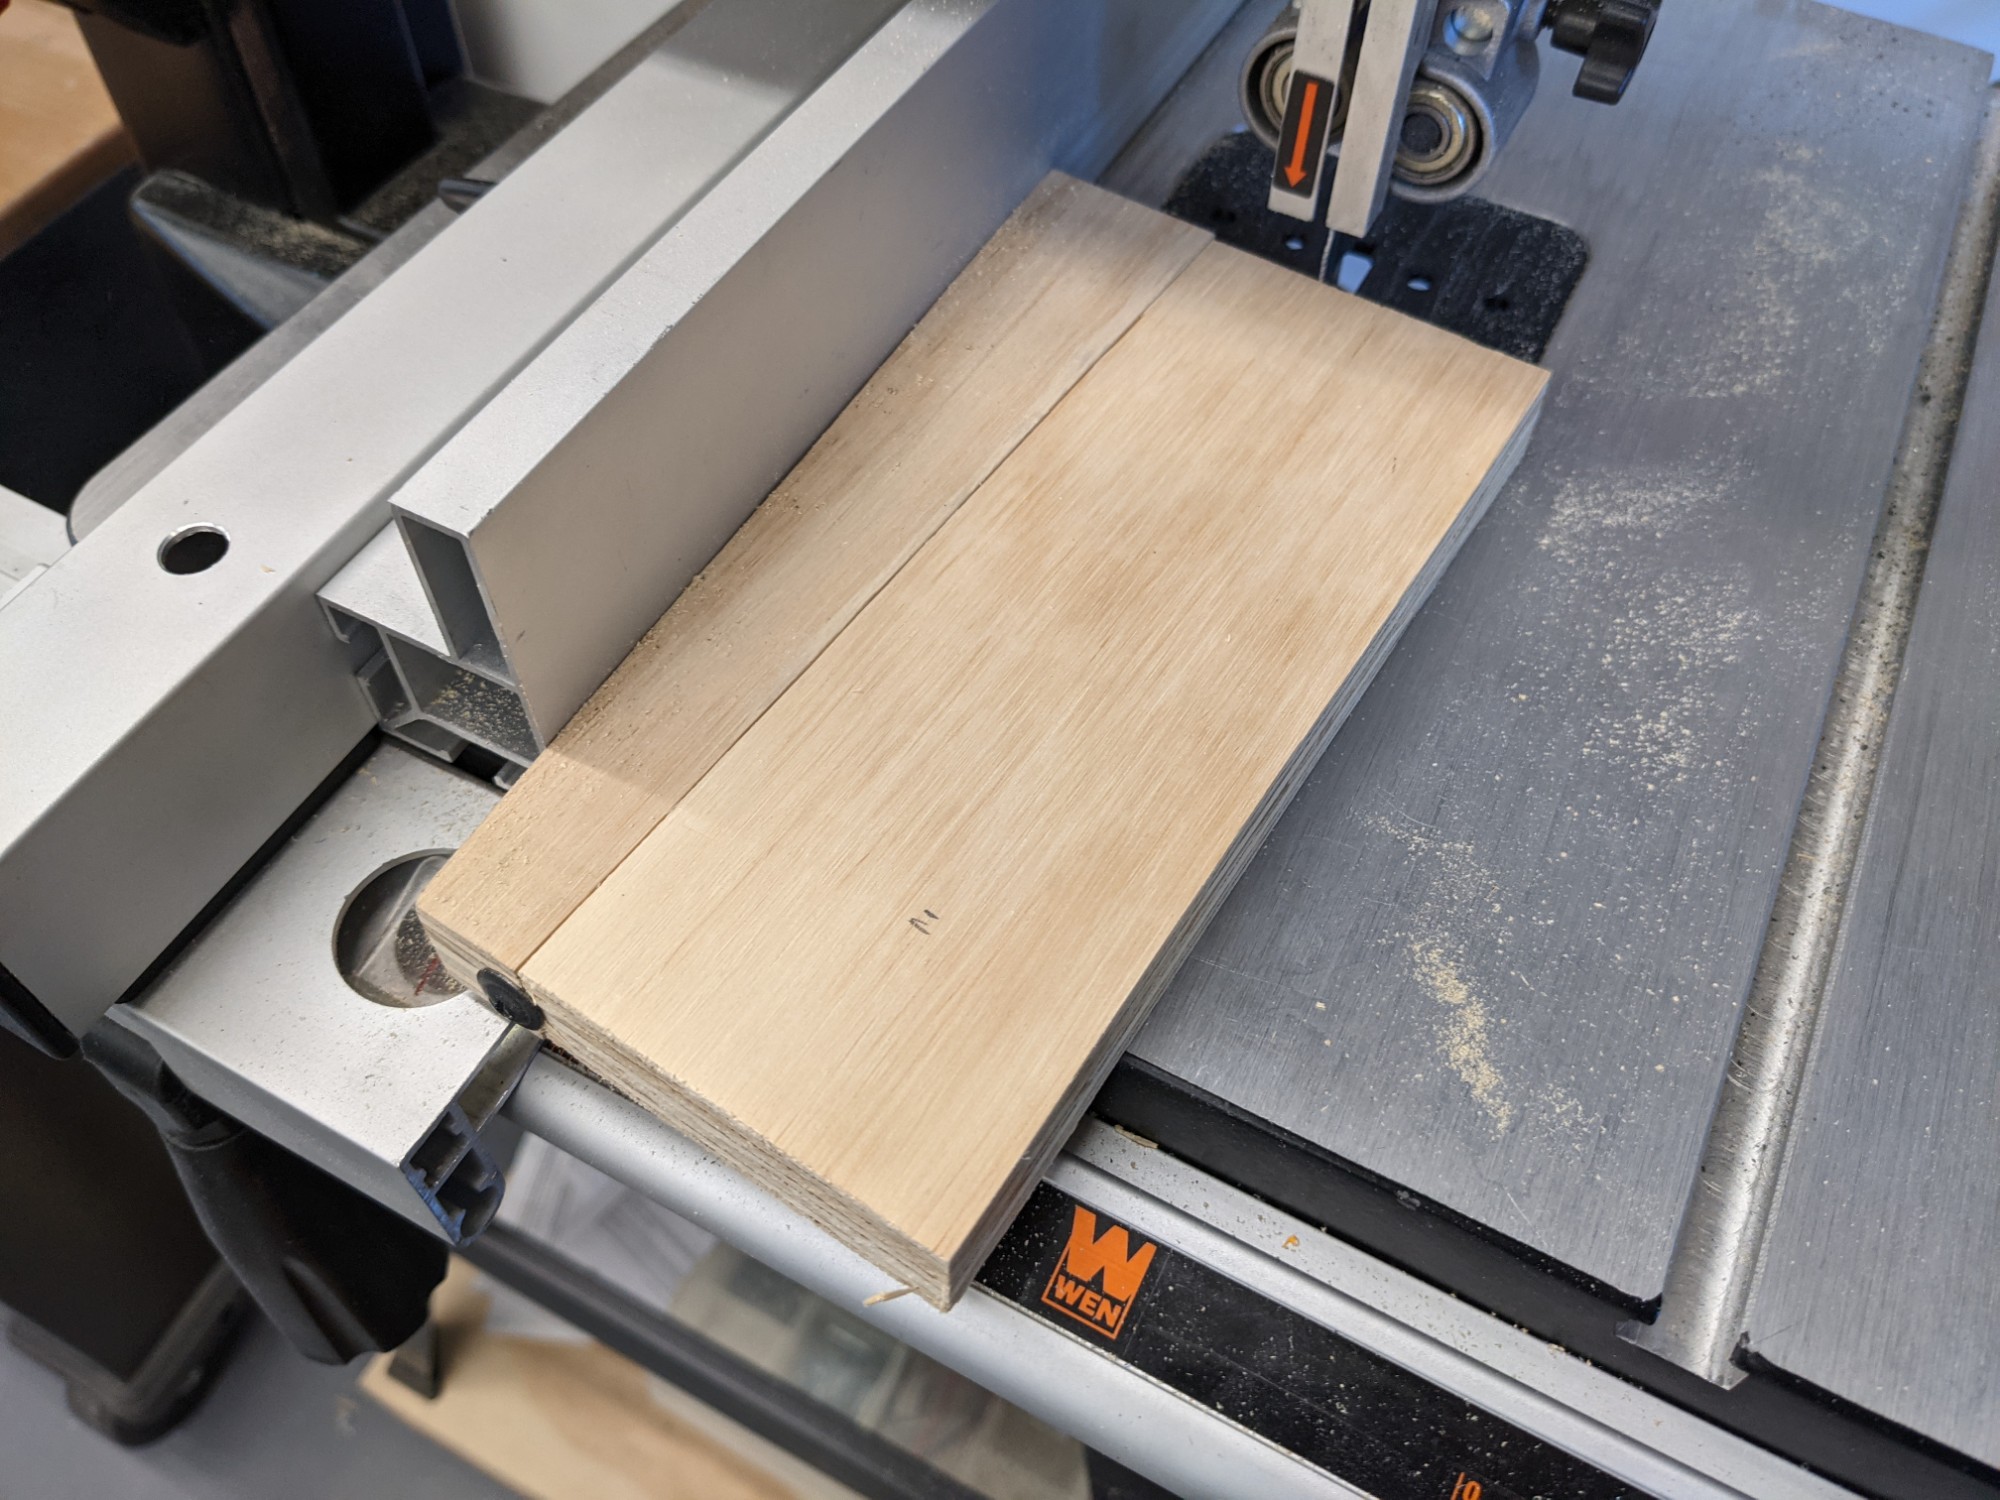
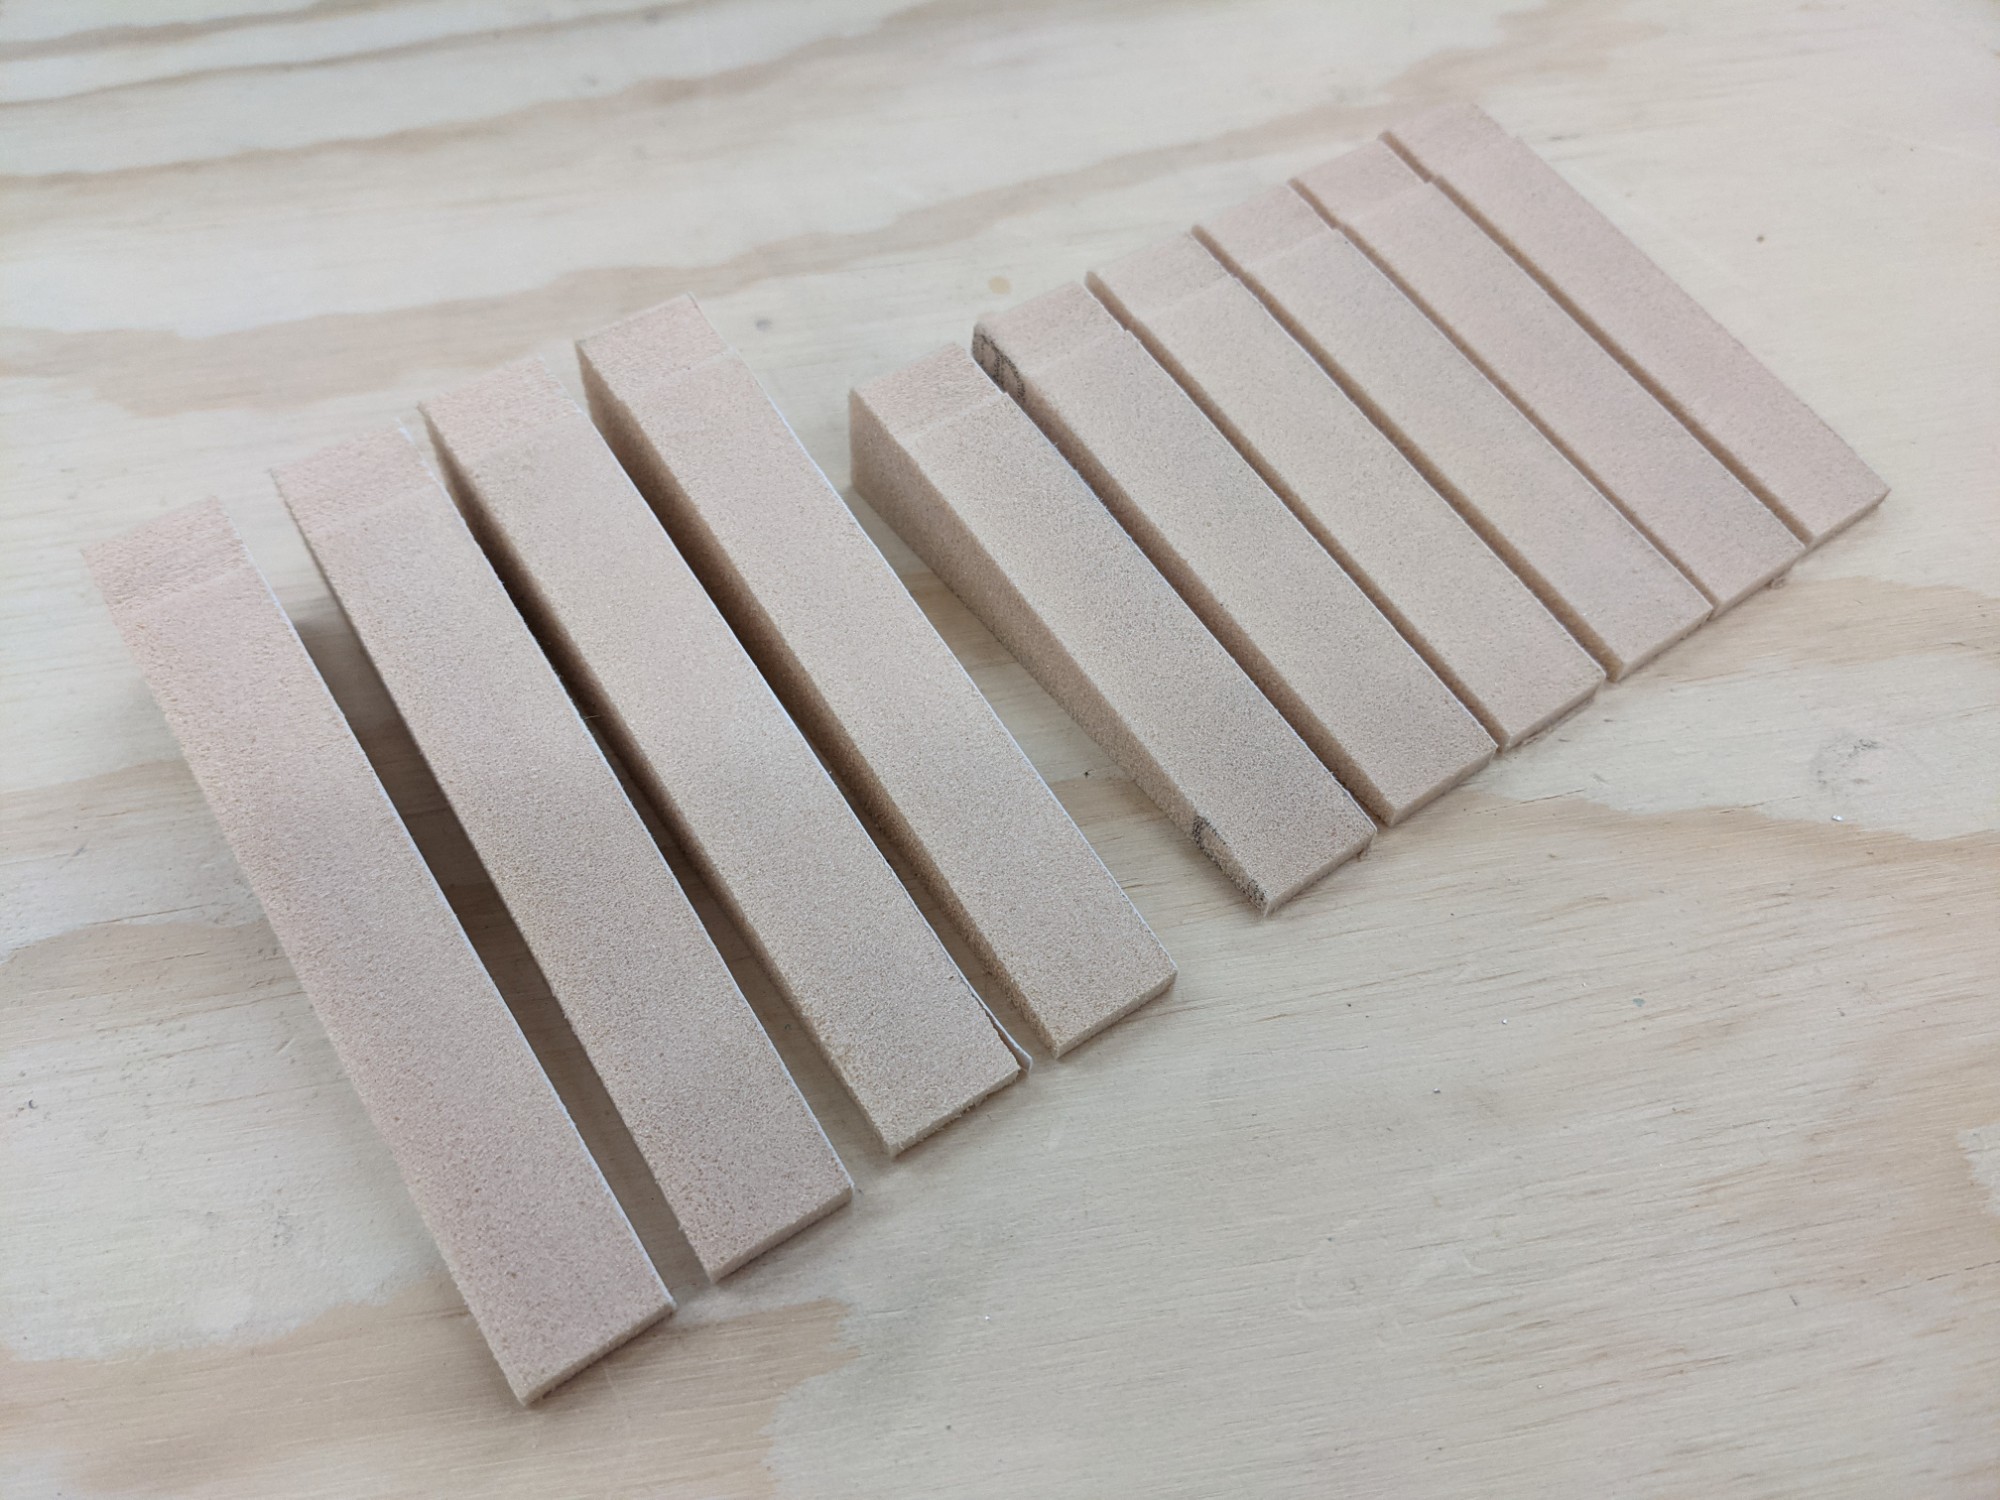
Done and according to the plan without having to measure them individually. Success.

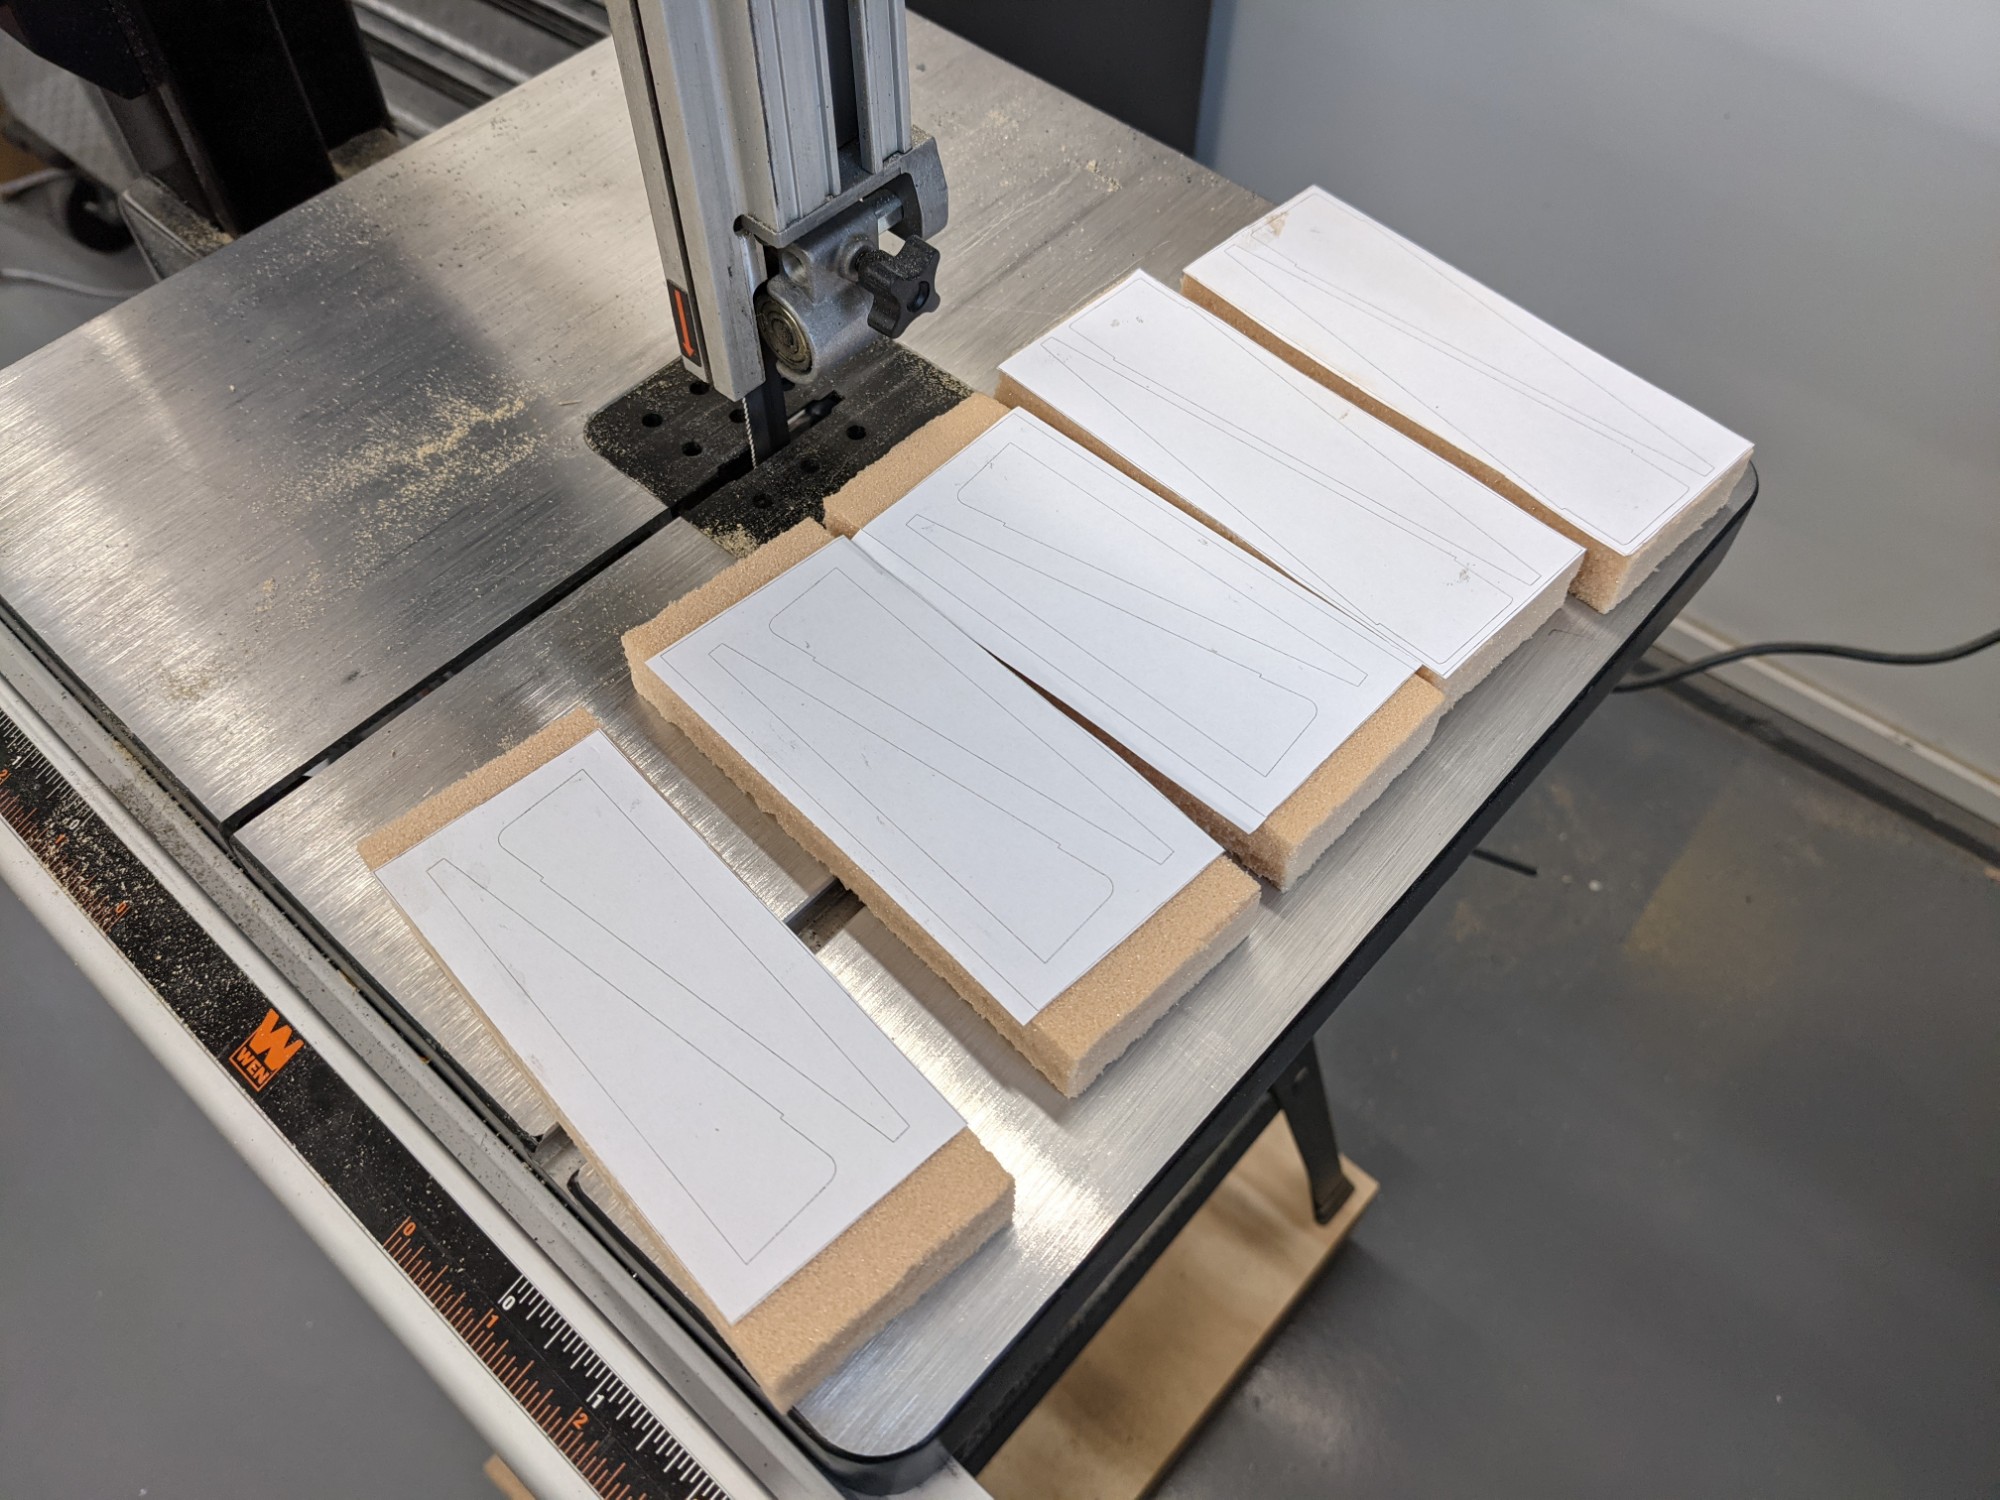
I didn’t get a response from Van’s on the PDF version of the template (see the end of the last post) but I found a reasonable way to scale them using a scanner.
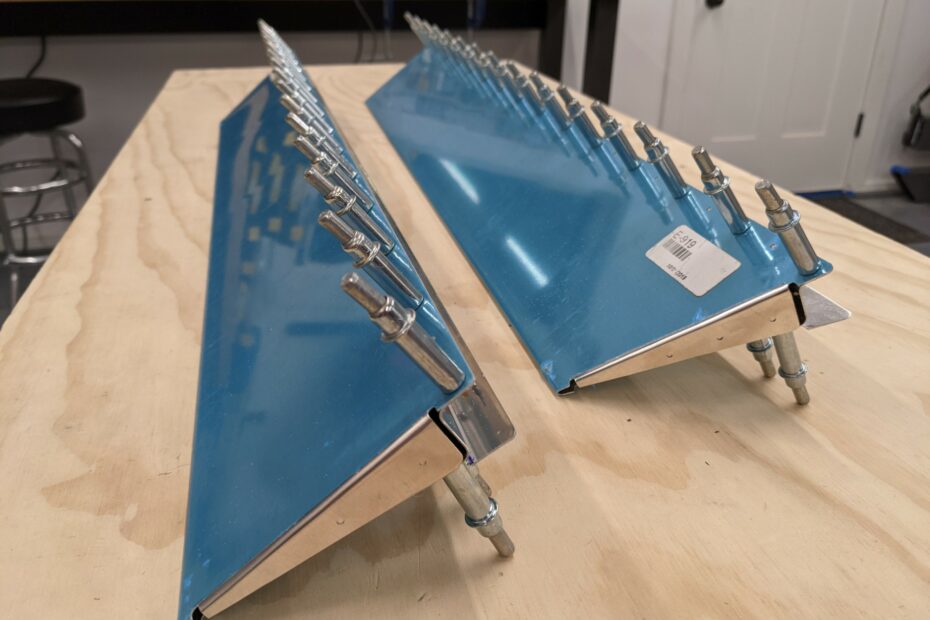
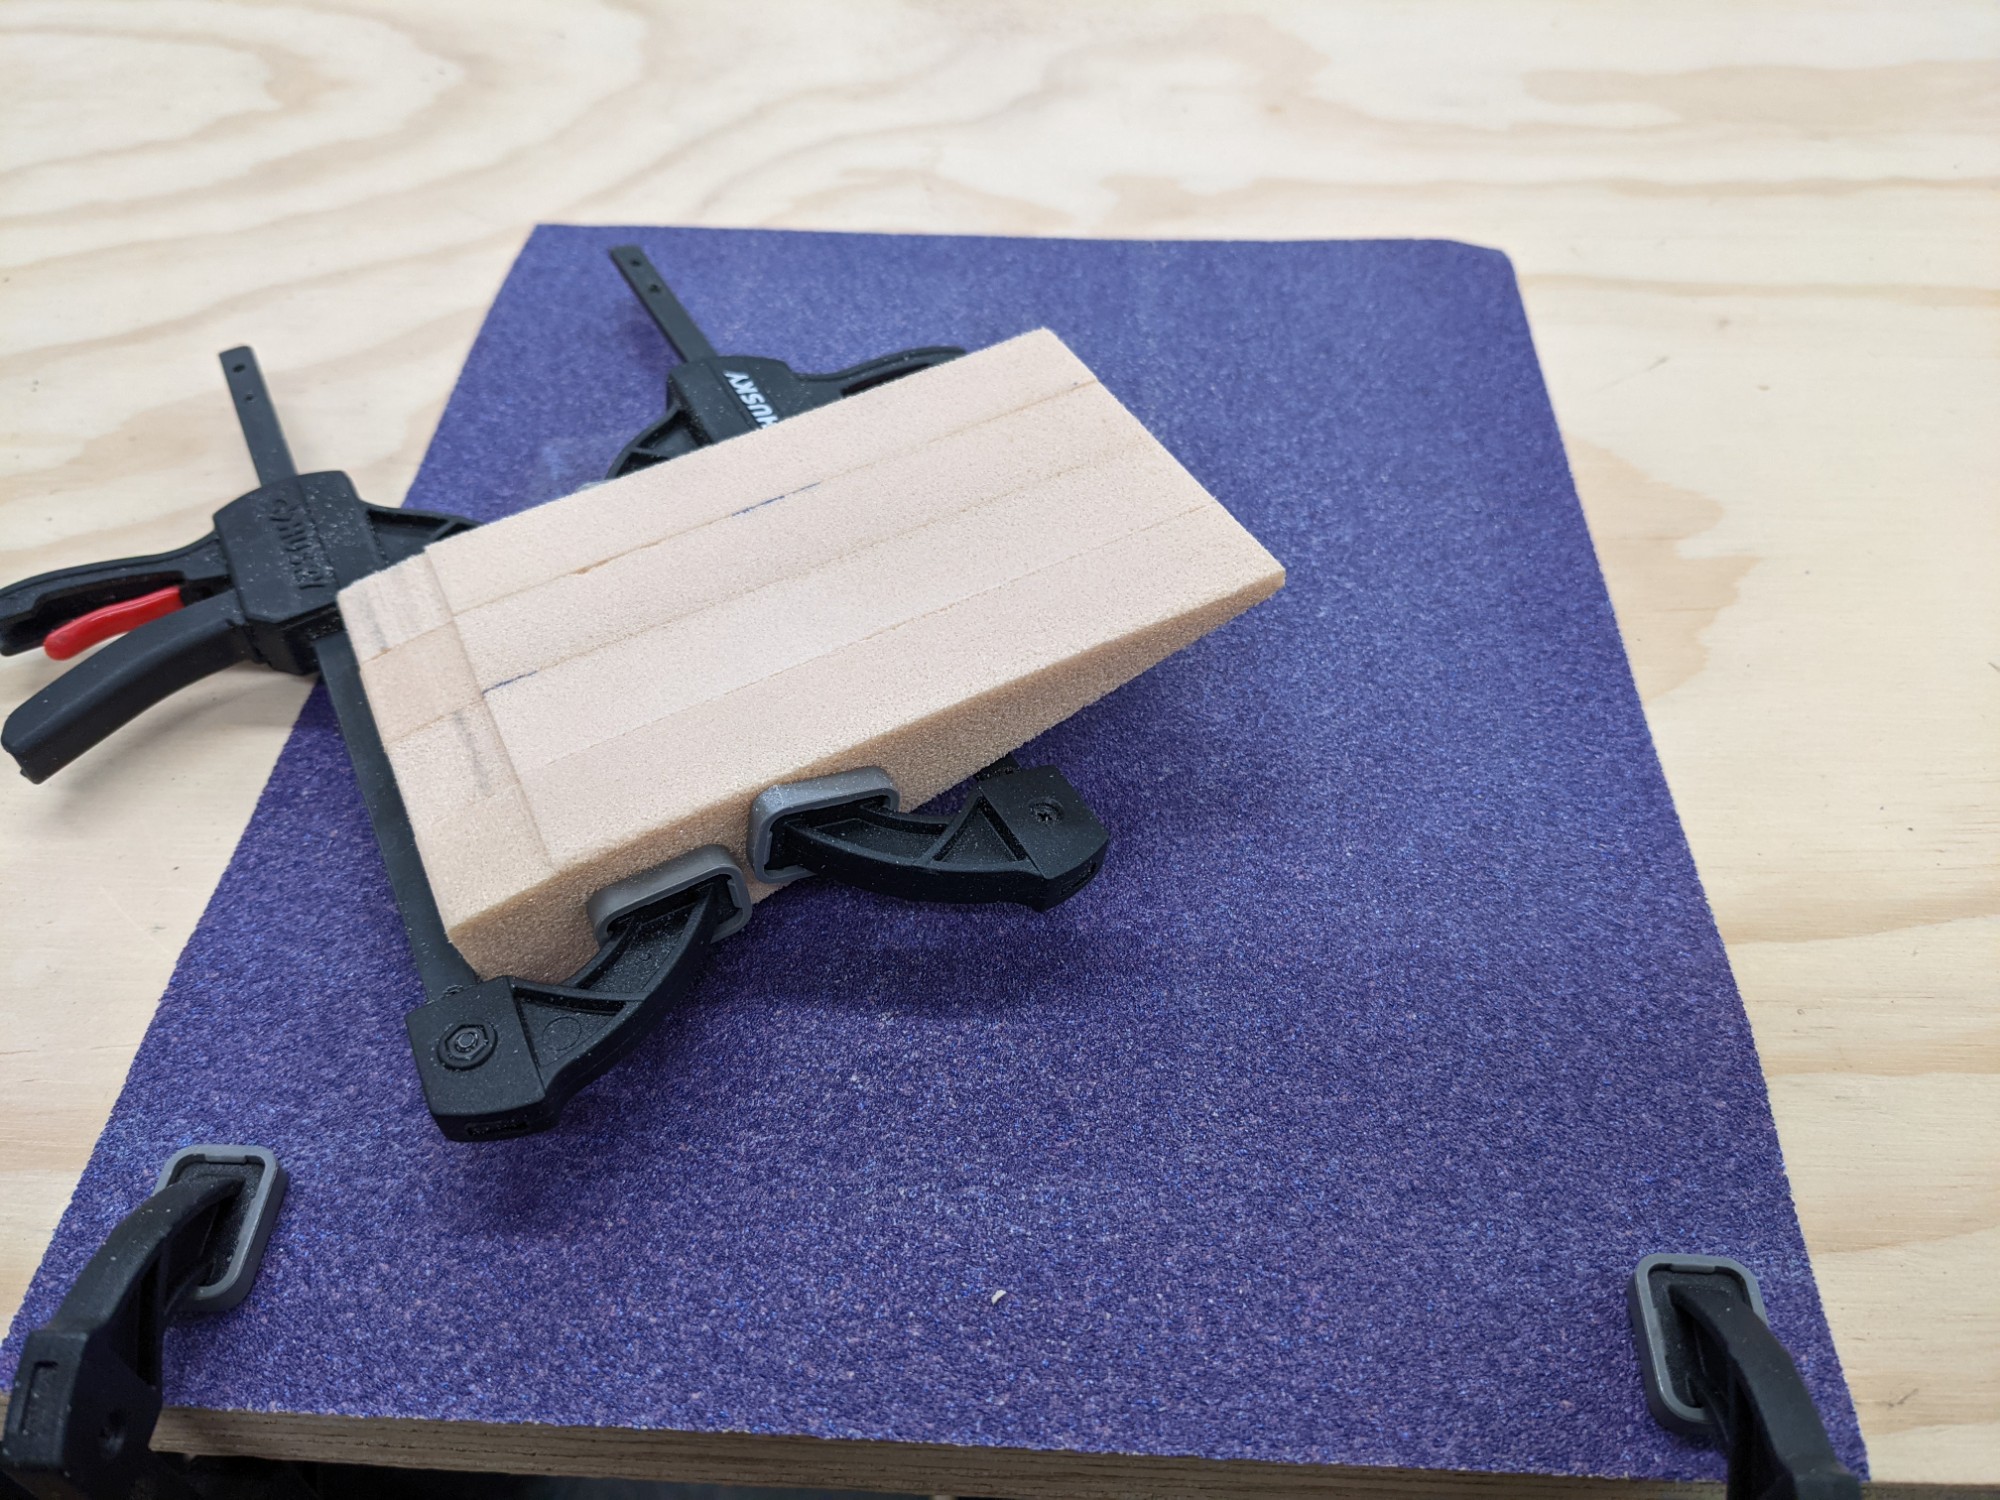
I glued the scaled templates to the foam blocks with spray adhesive and I rough cut them on the band saw.

I final sized them on the disc sander. When done I clamped them together and sanded them lightly to make sure that the faces were flat and to ensure that all of the ribs were identically sized.
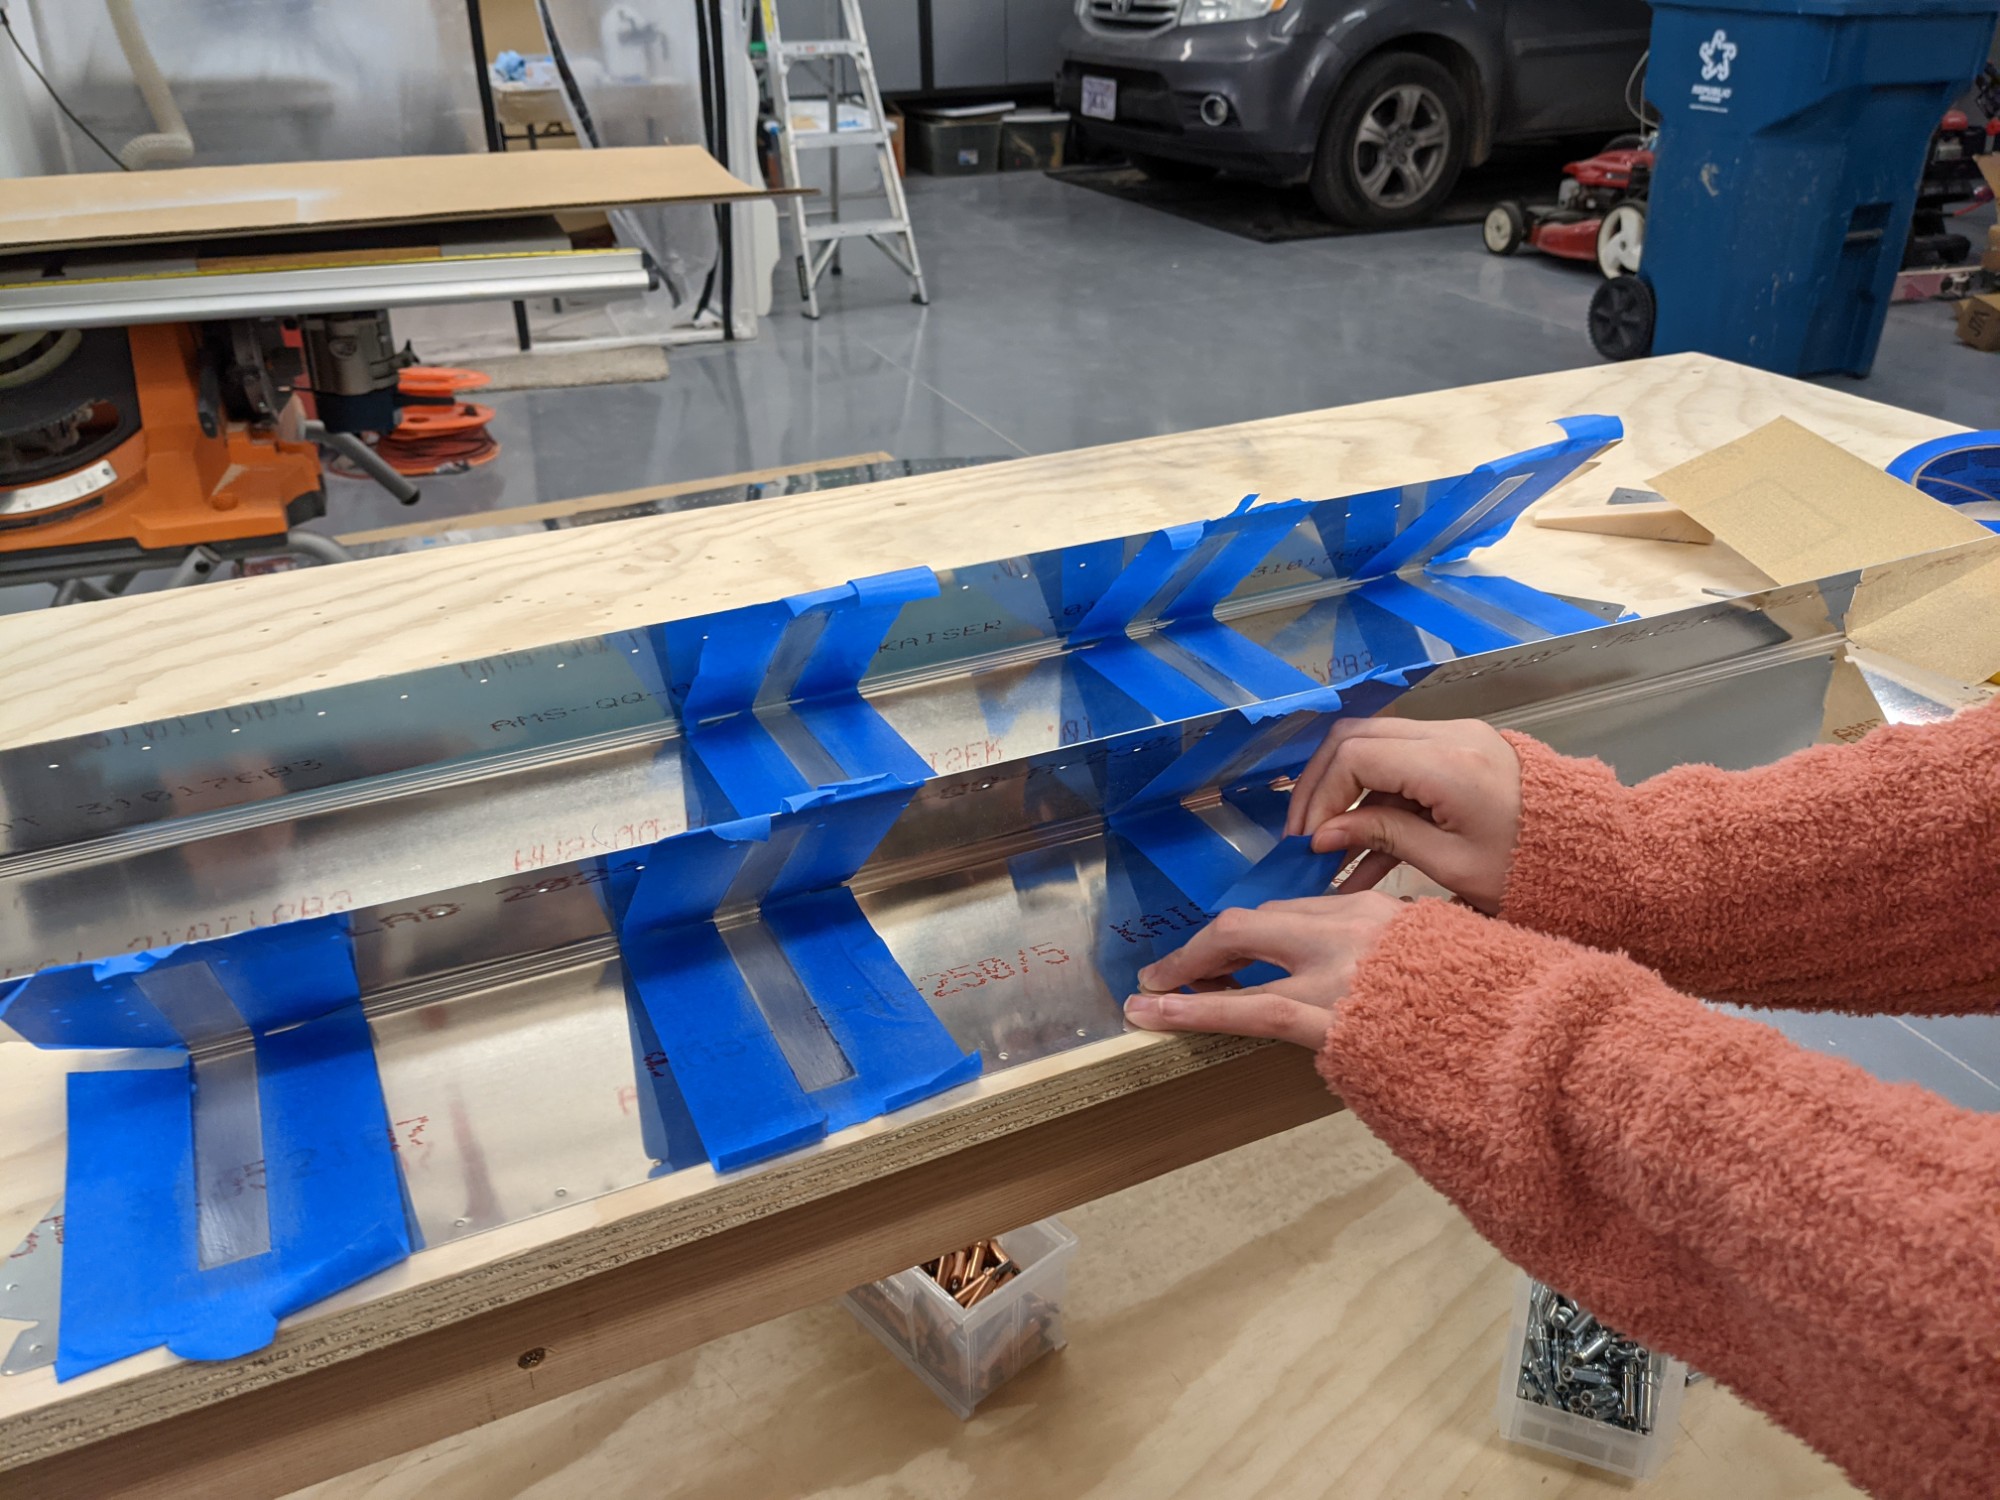
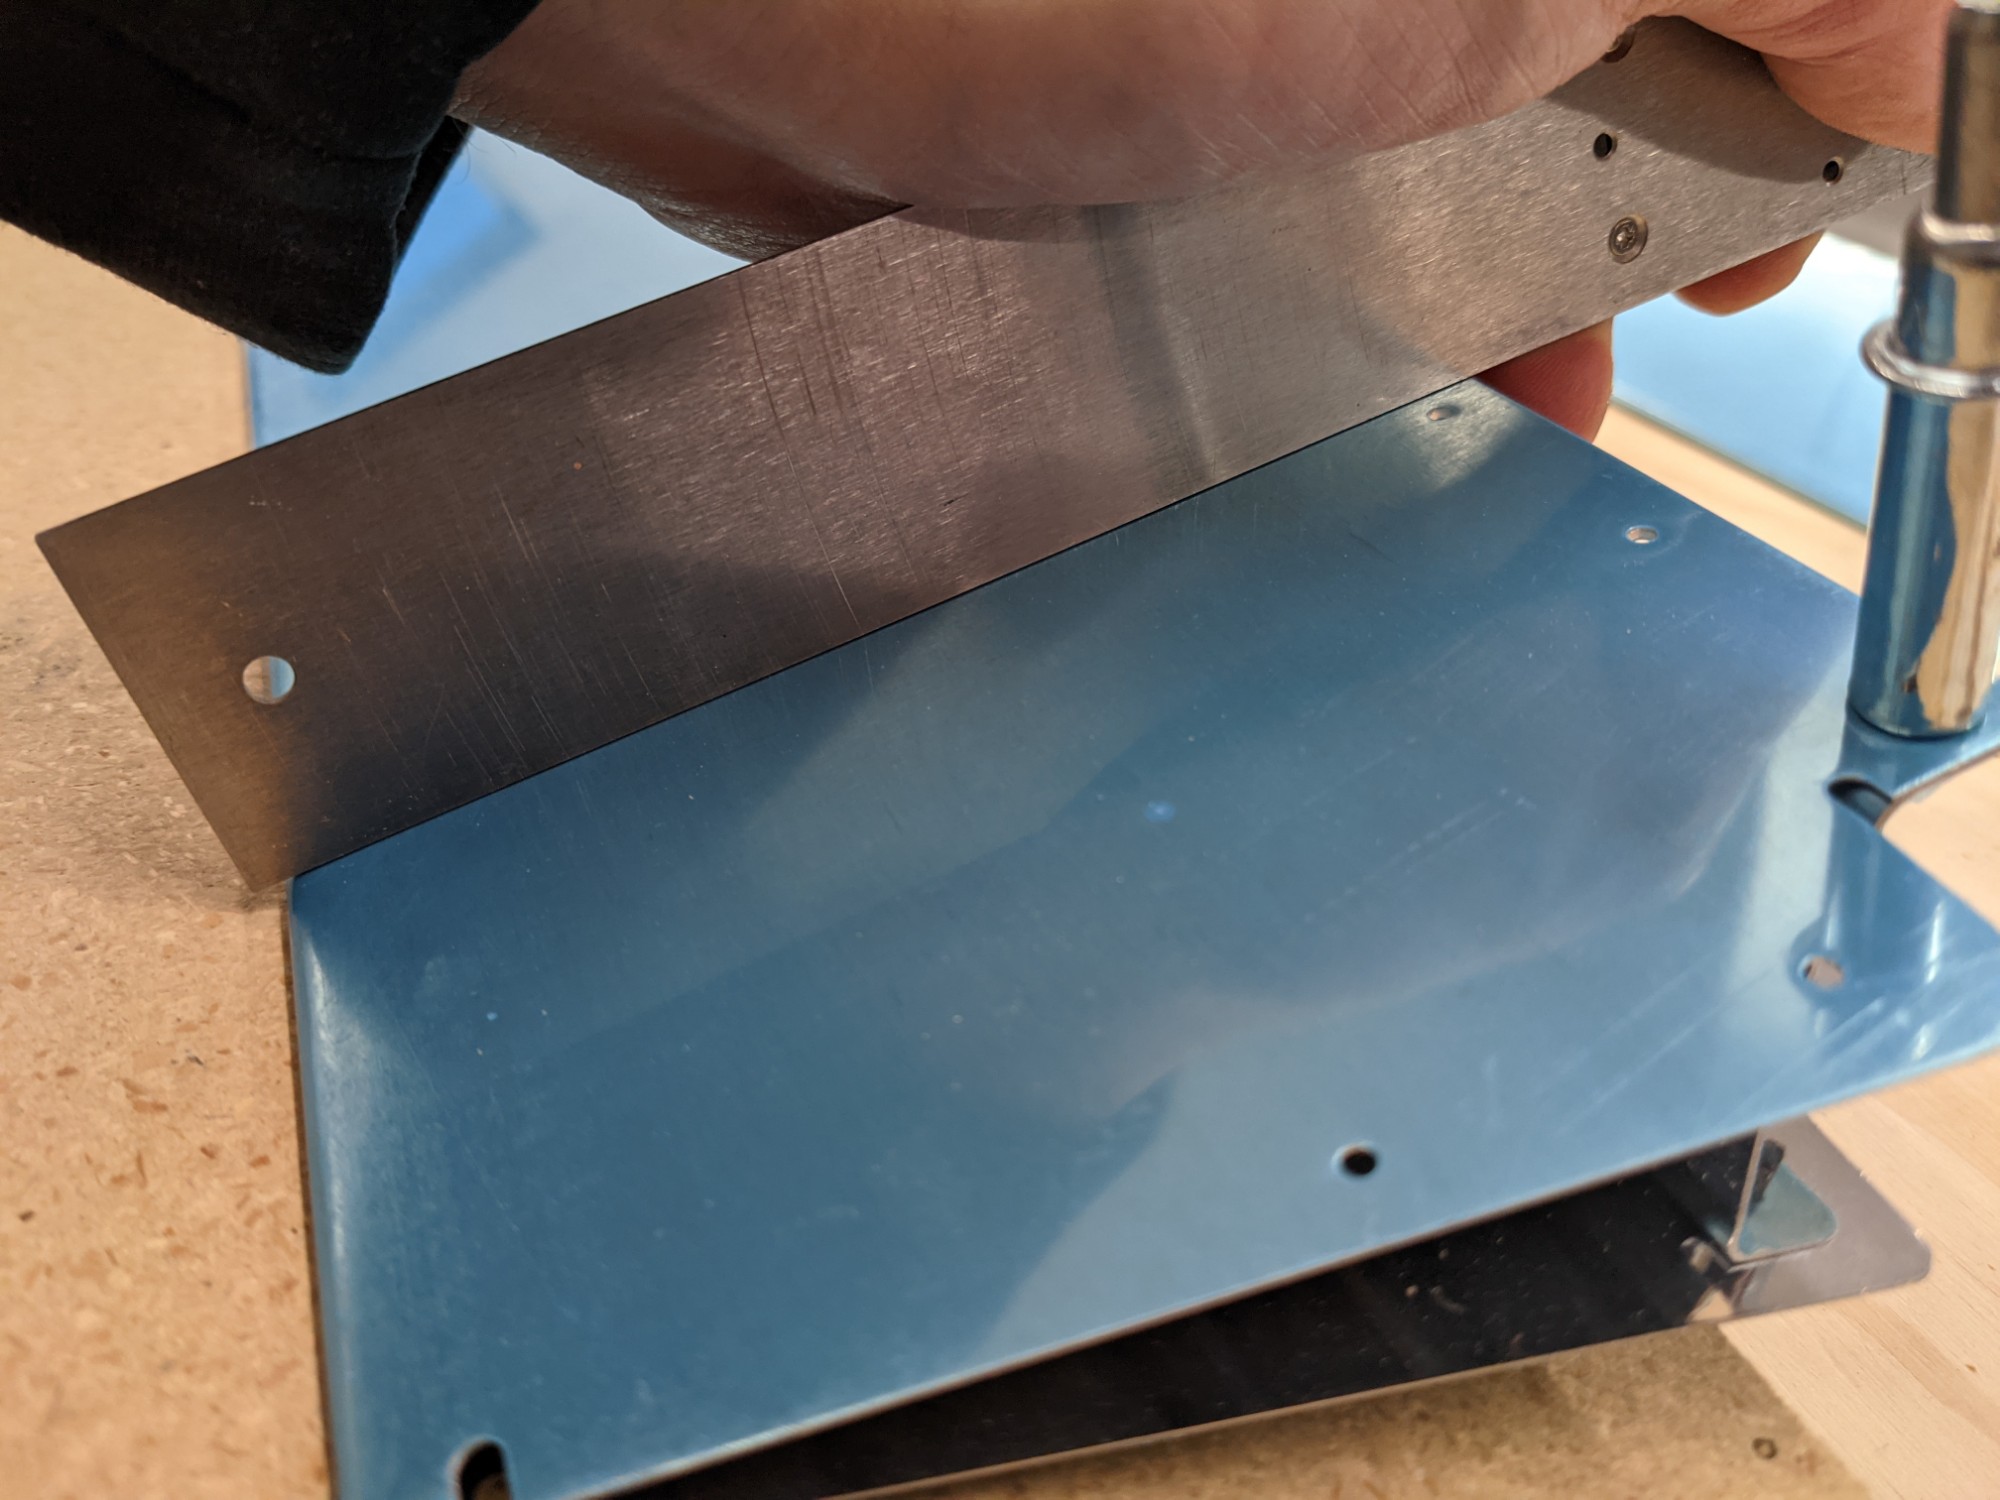
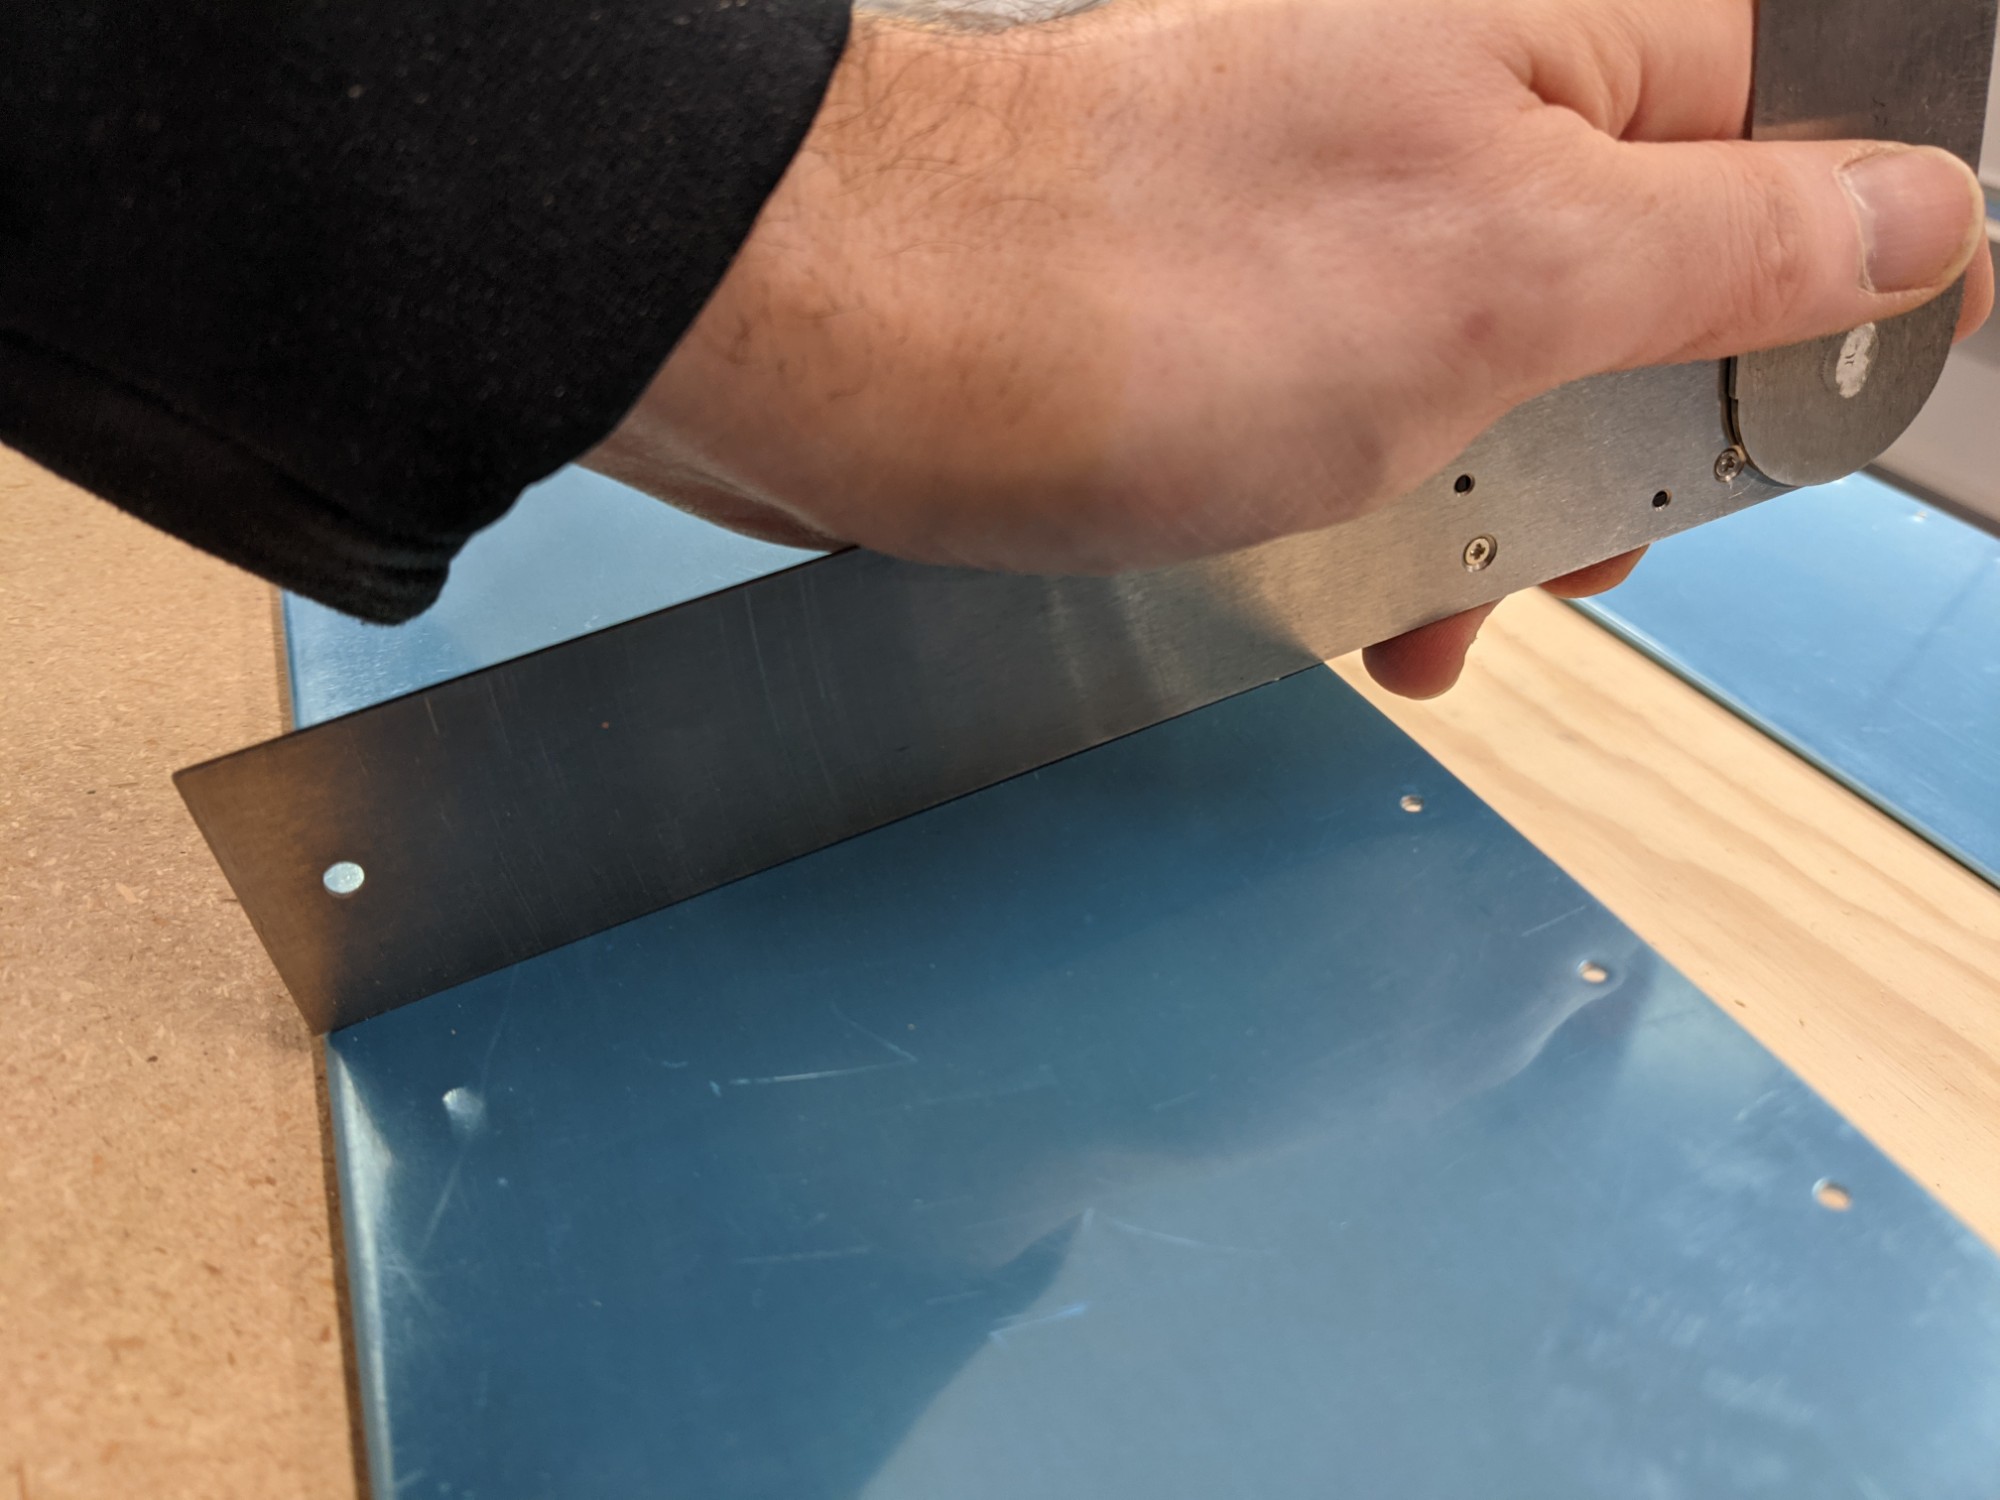
Next up was making a bending brake for the trim tabs. I had some particle board scrap that I joined with a piano hinge. I wasn’t sure if the board would be strong enough but it worked great.
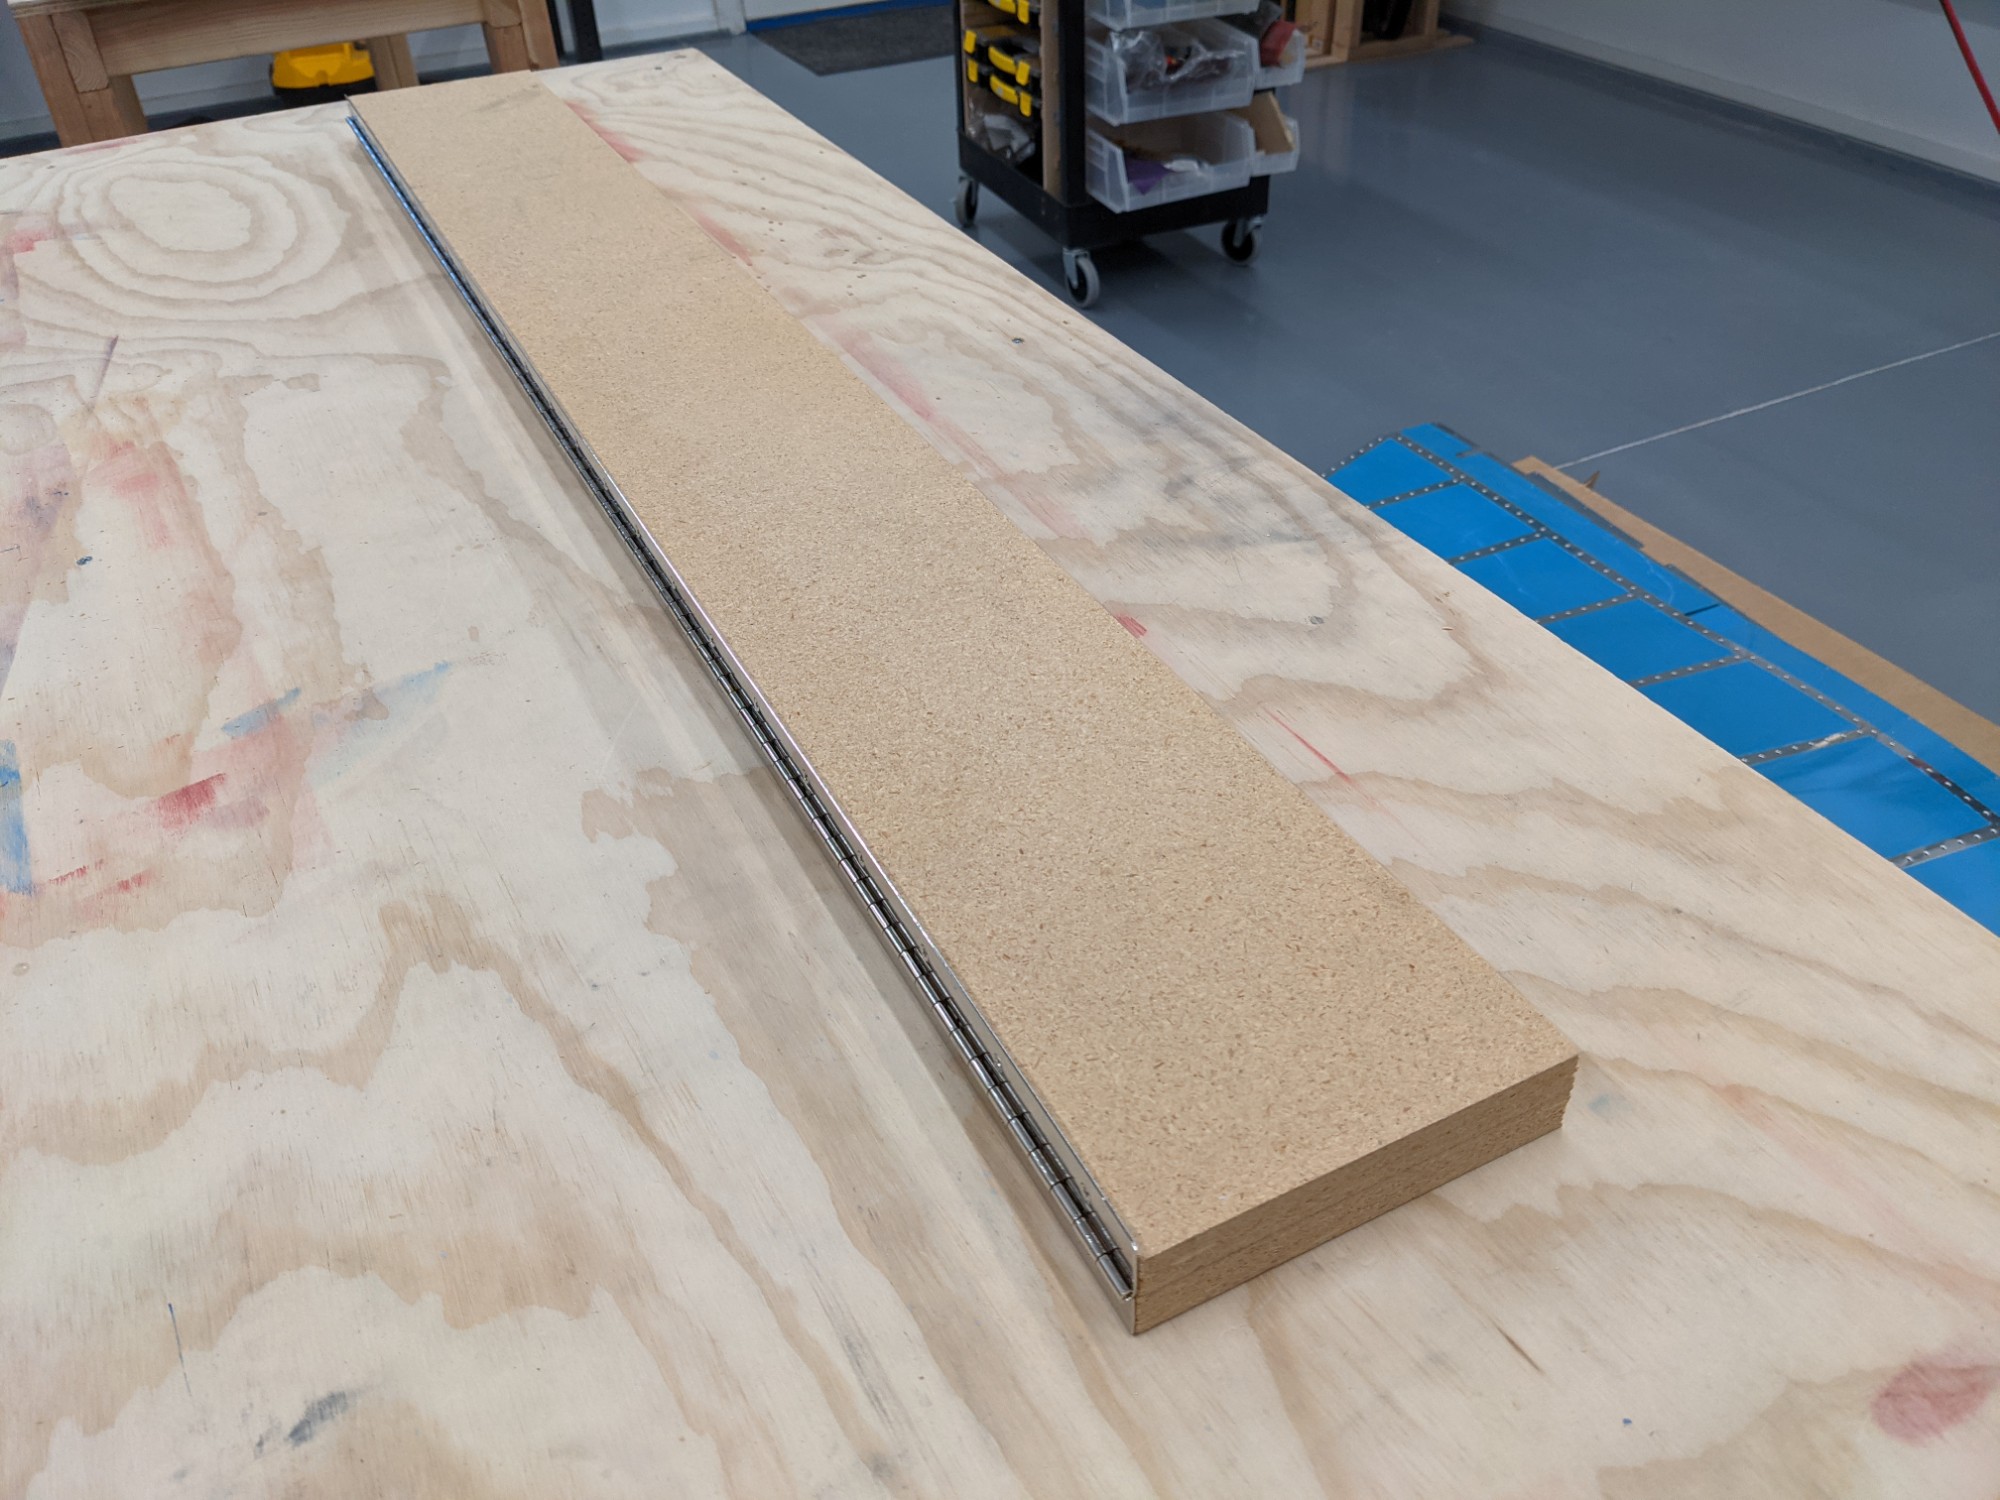
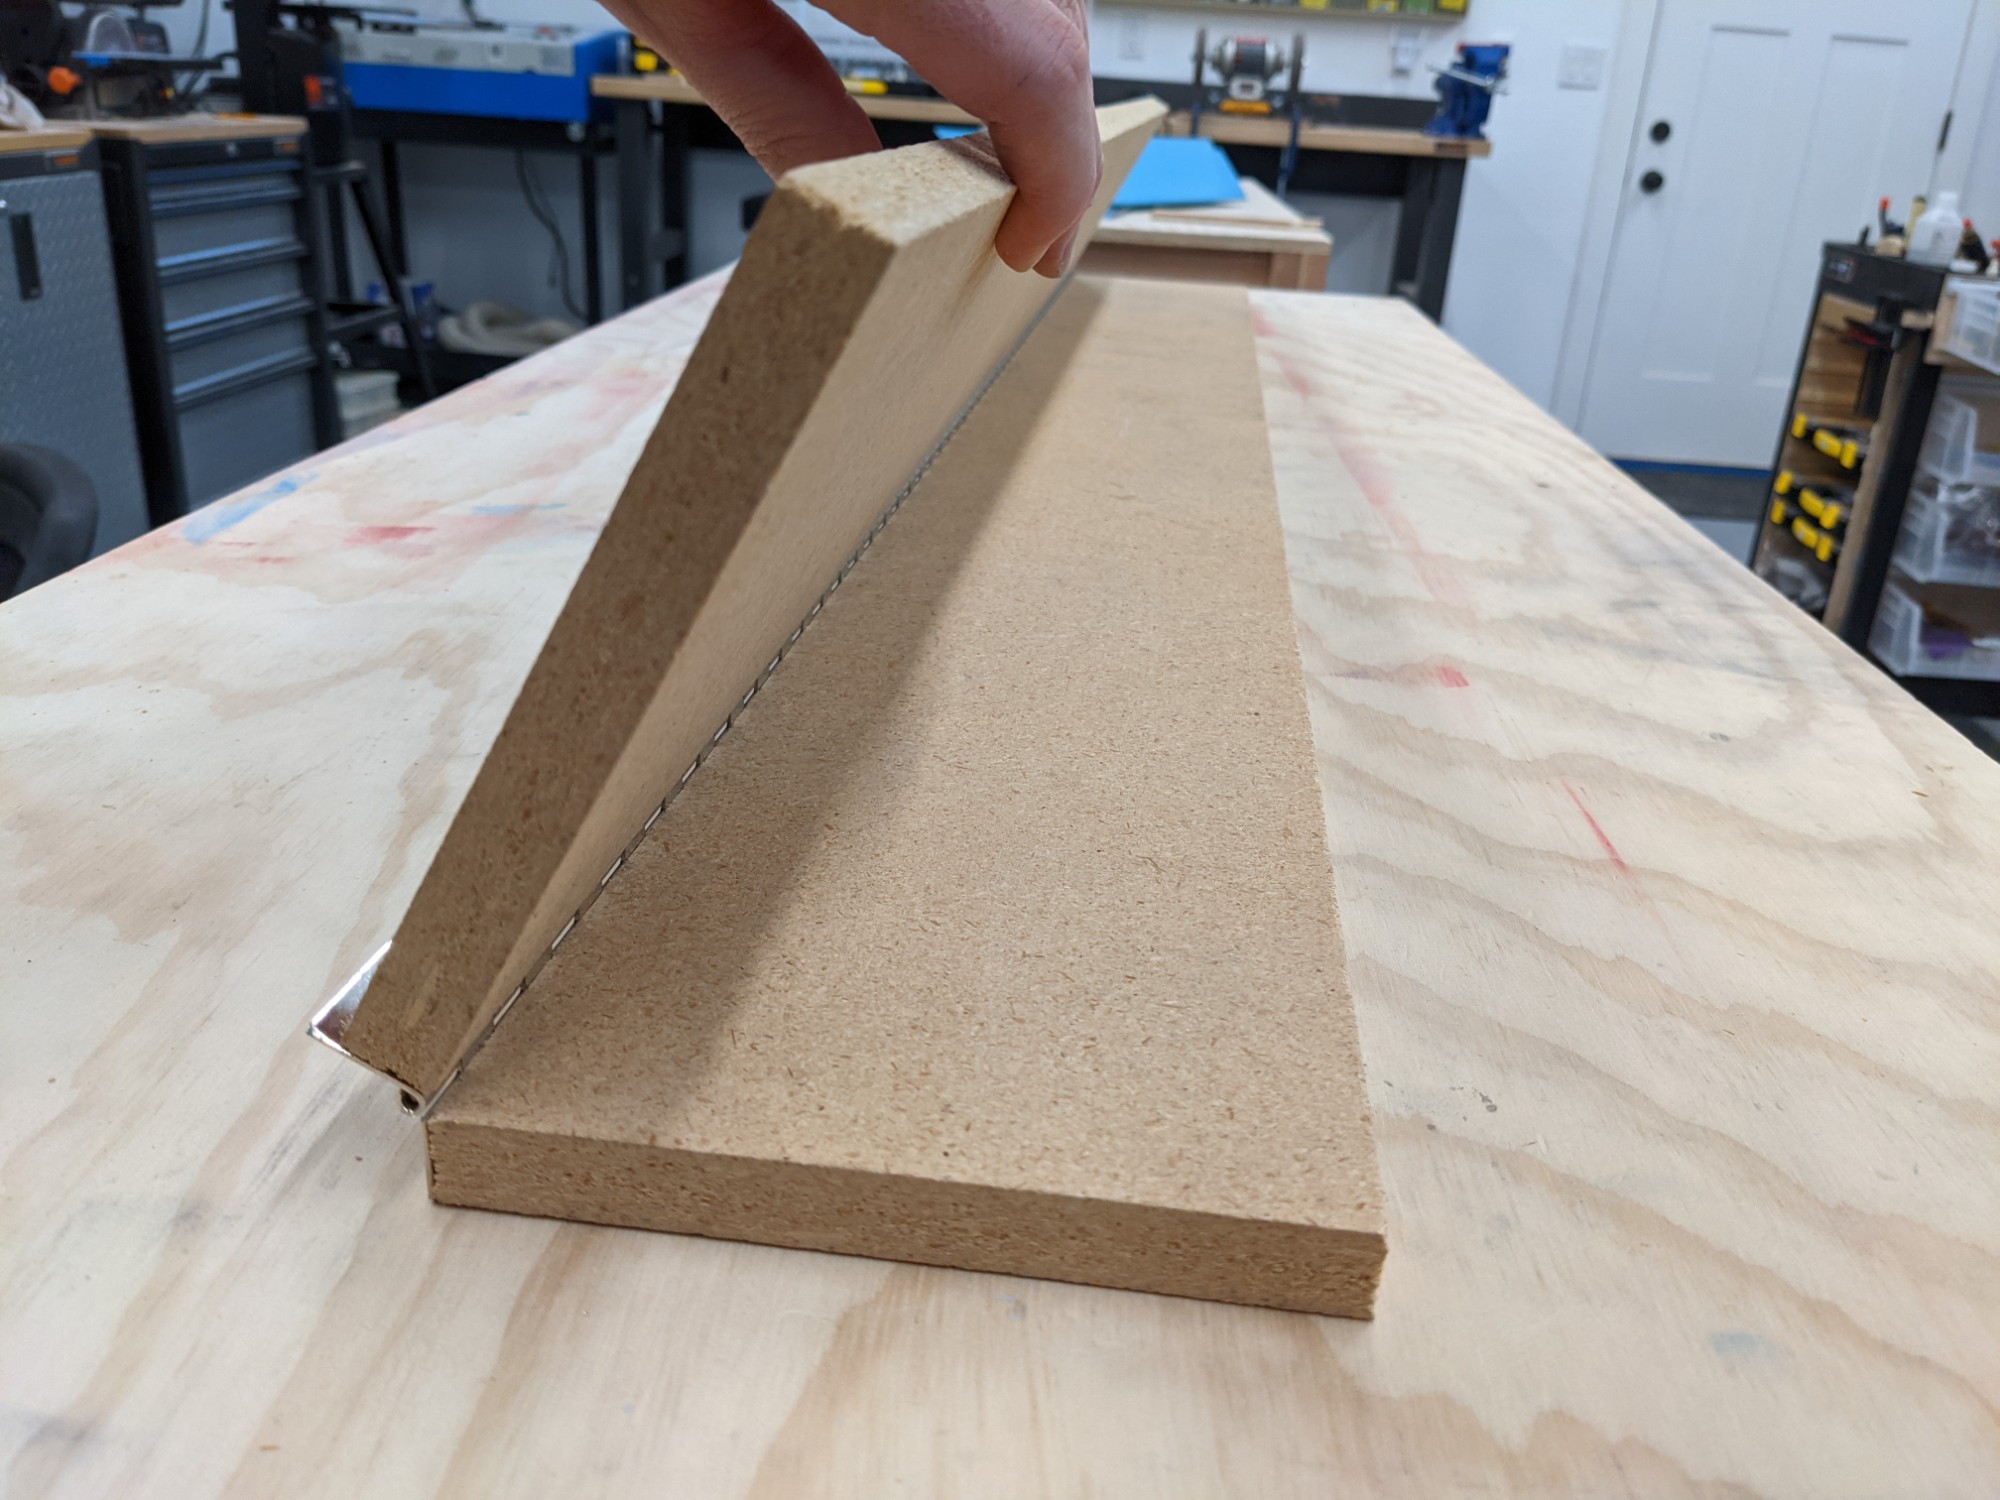
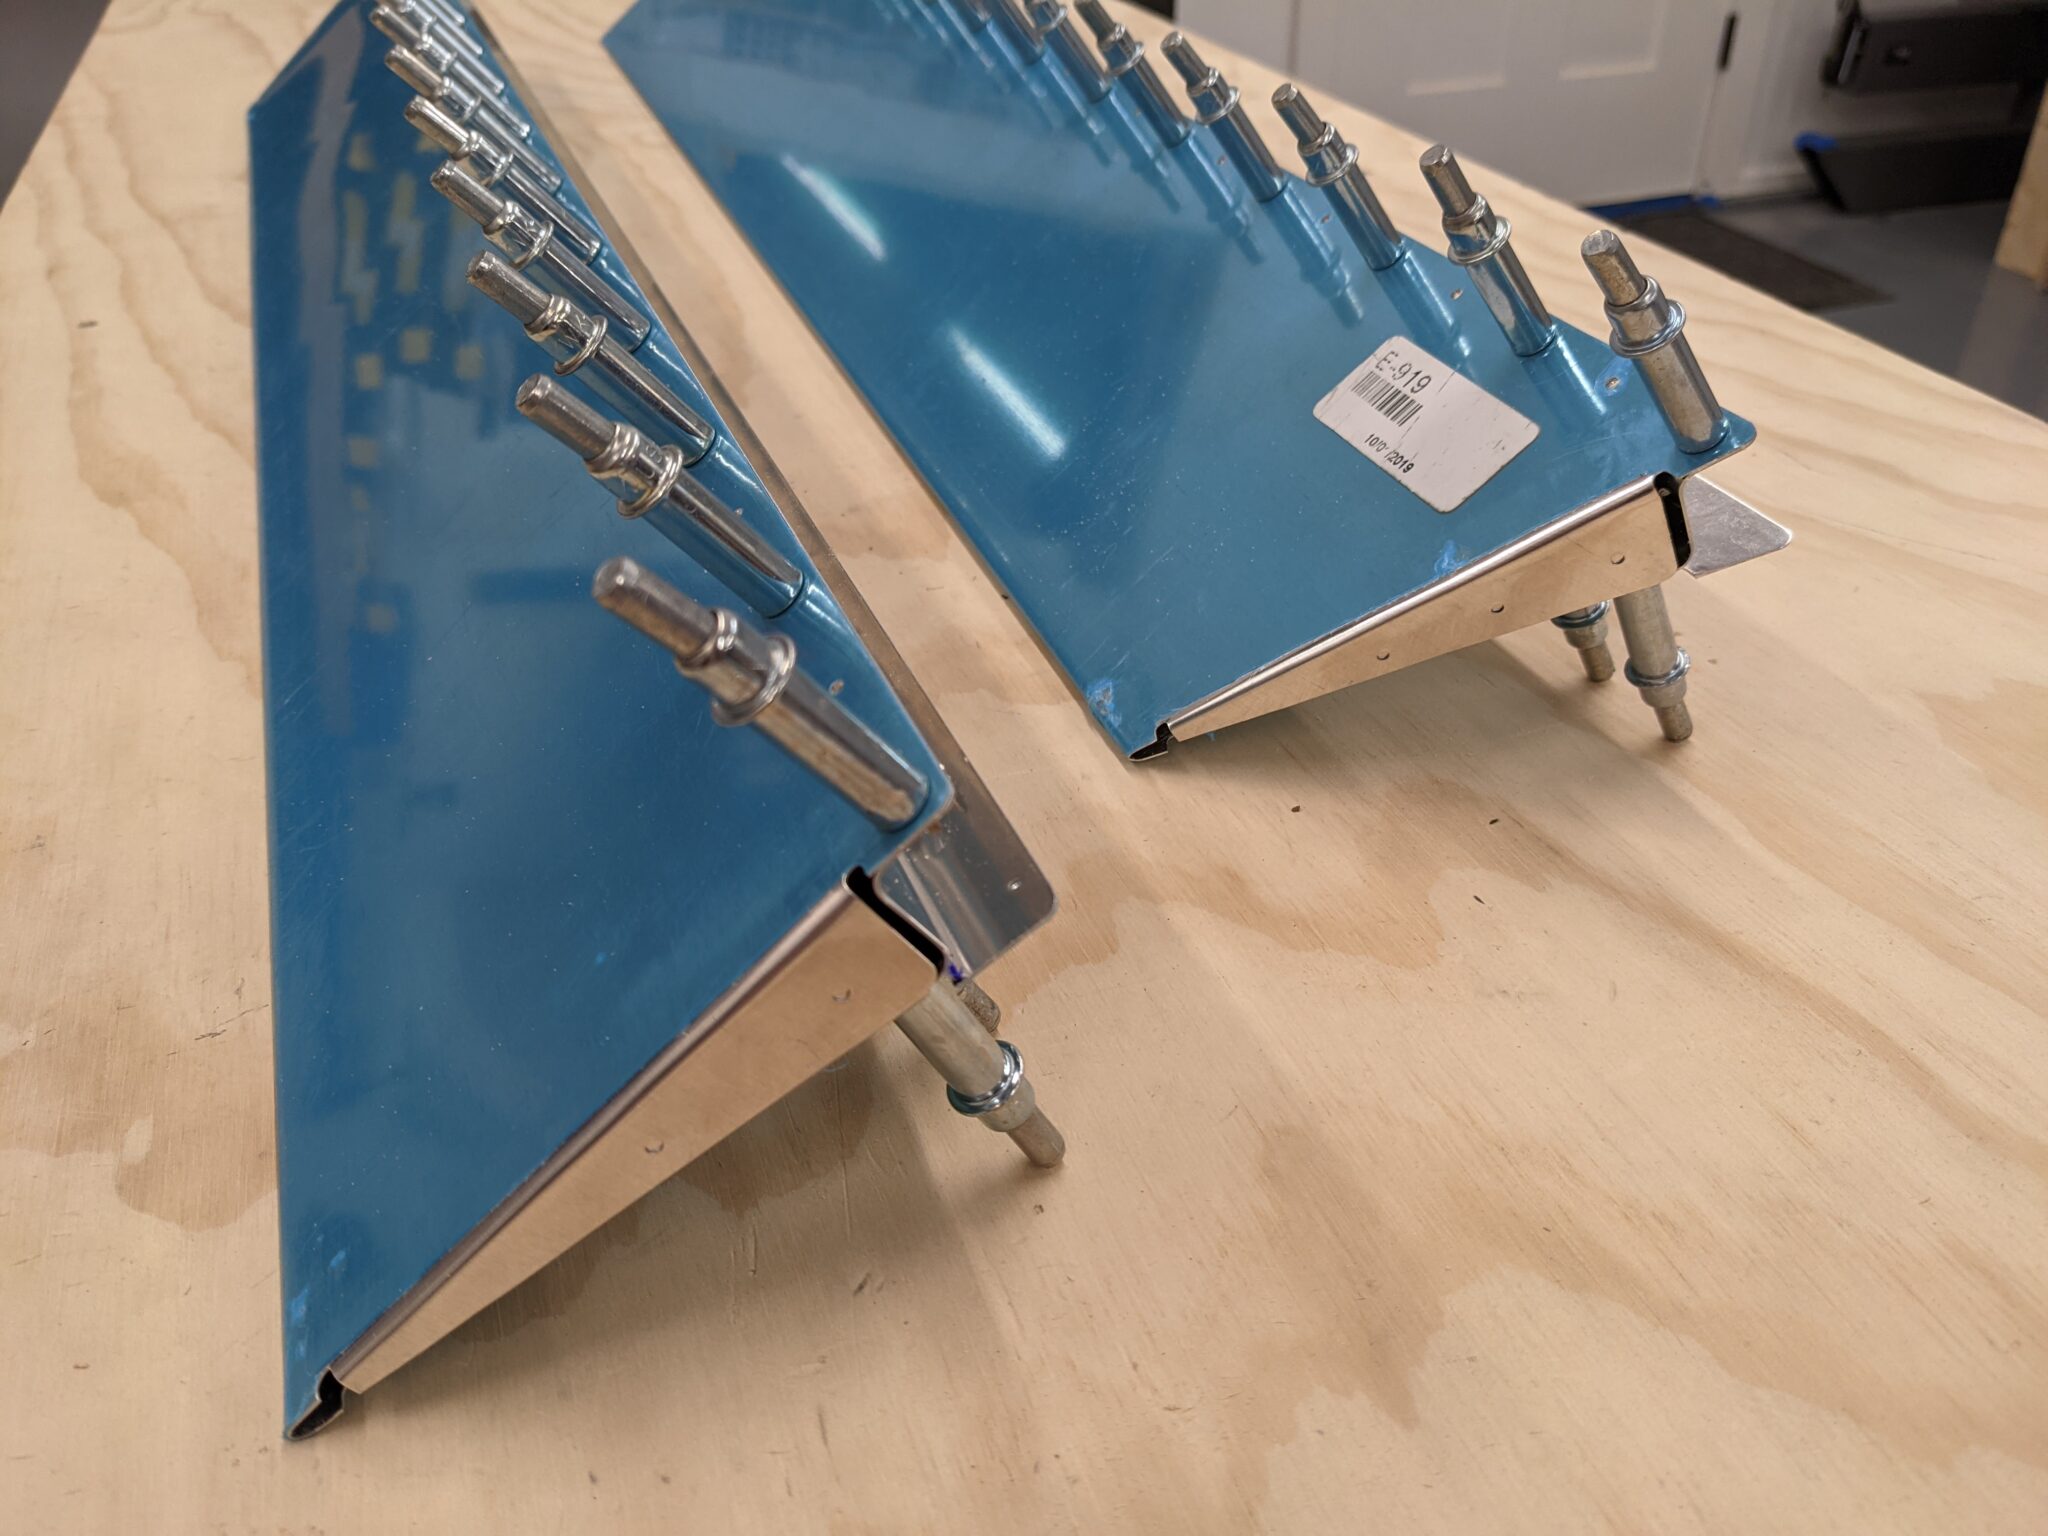
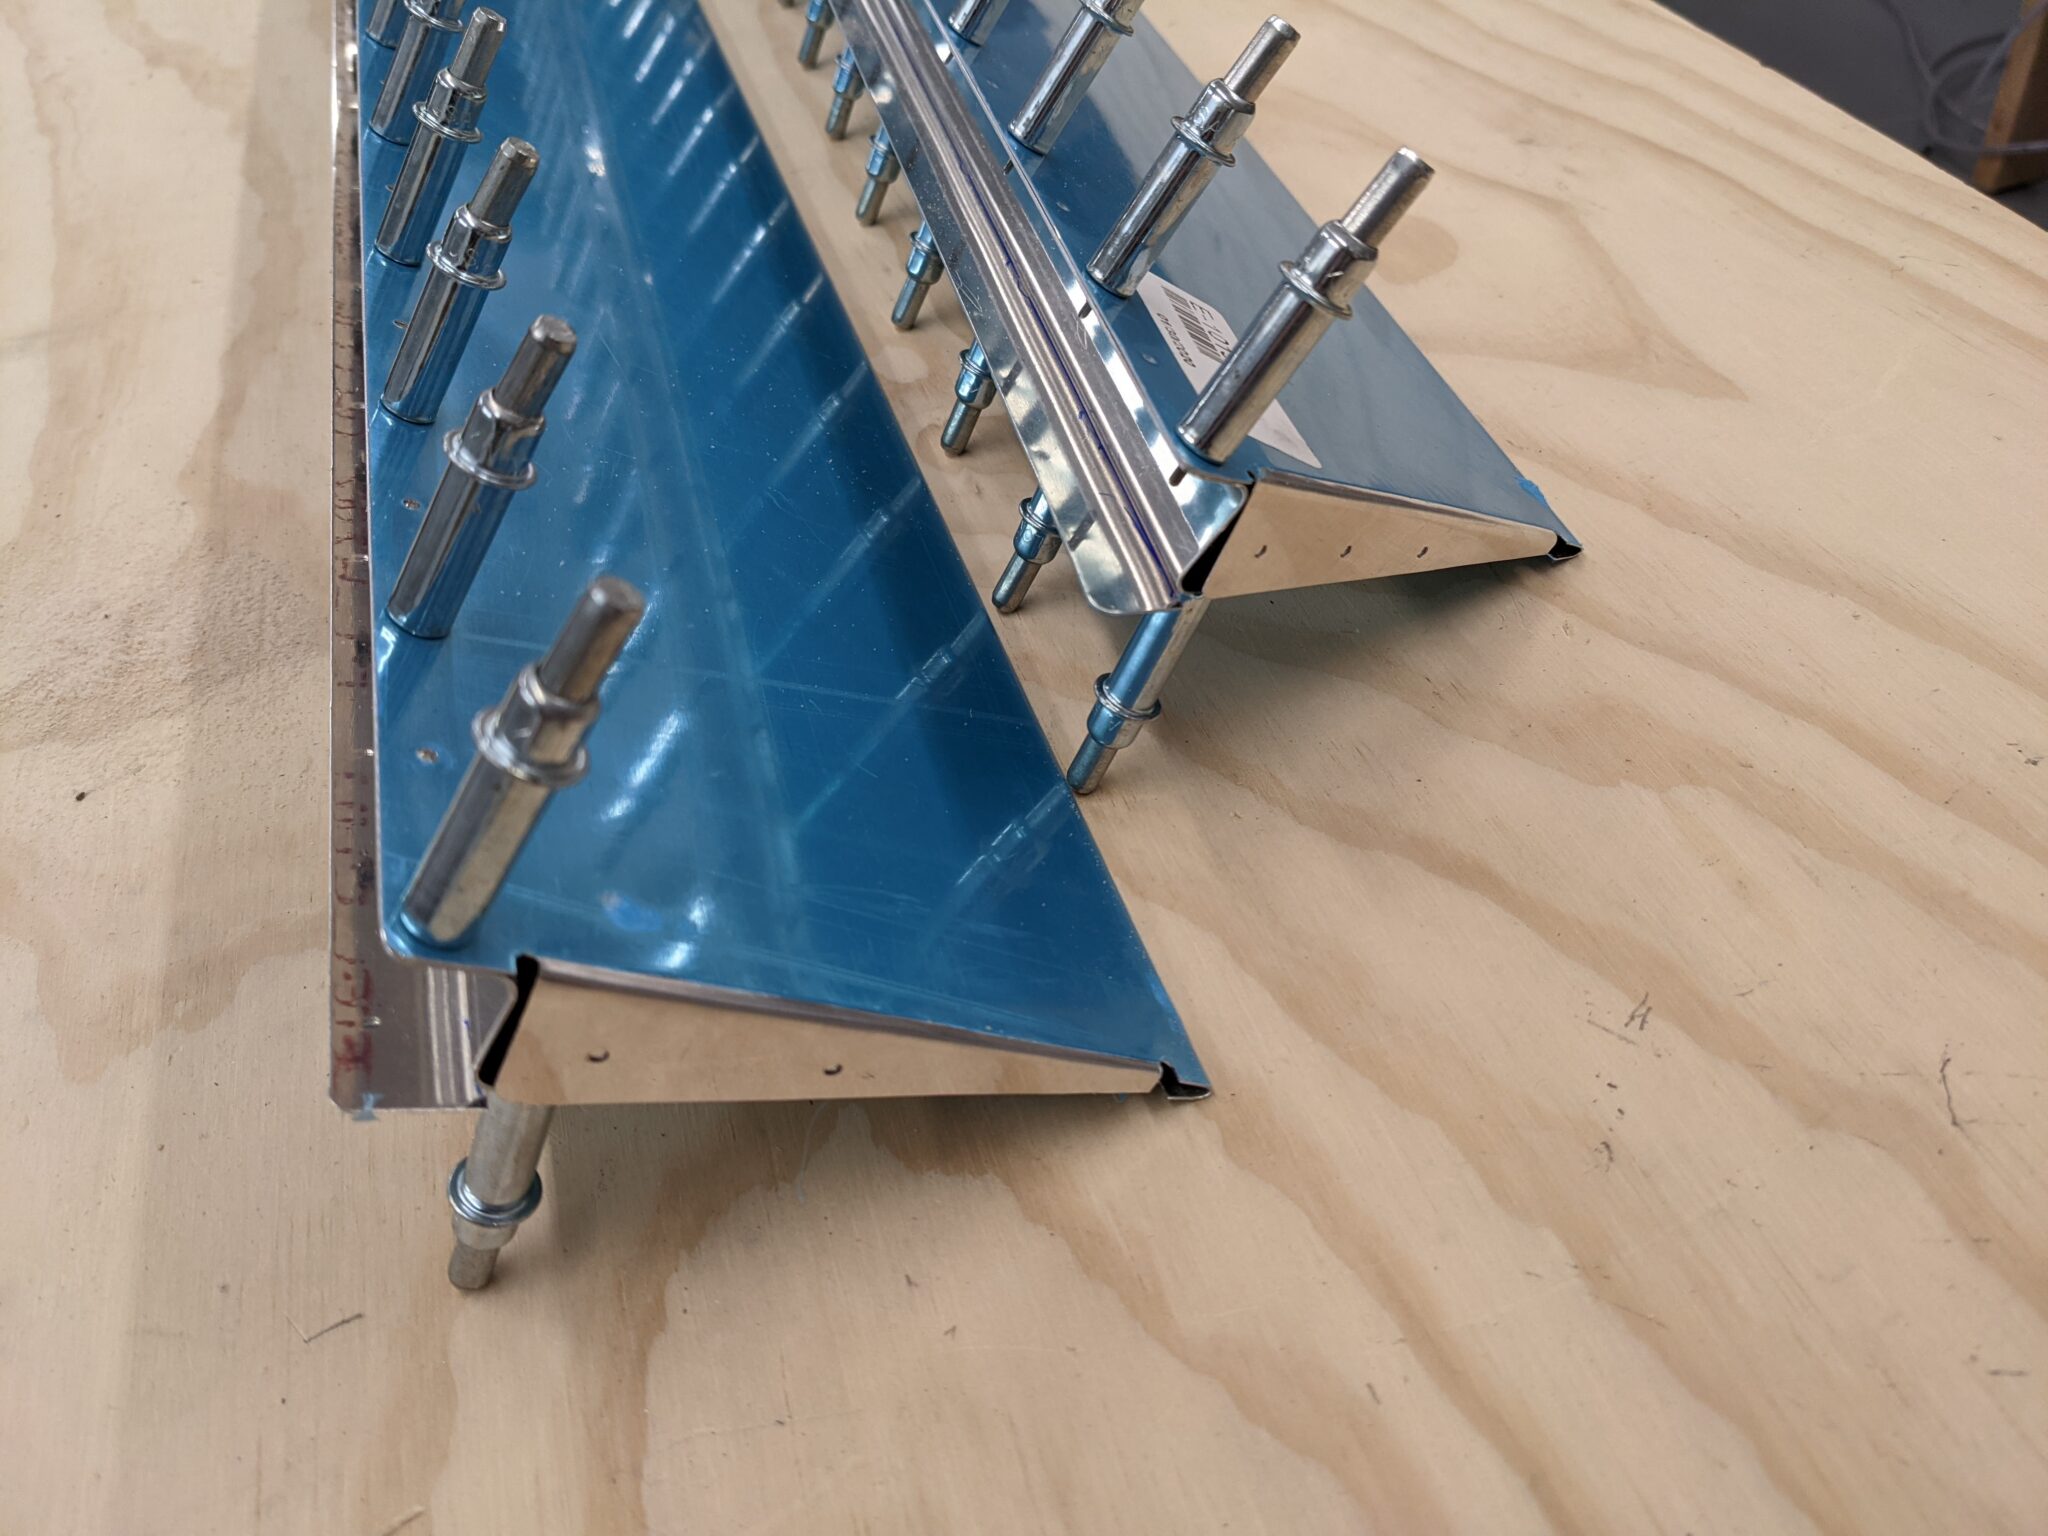
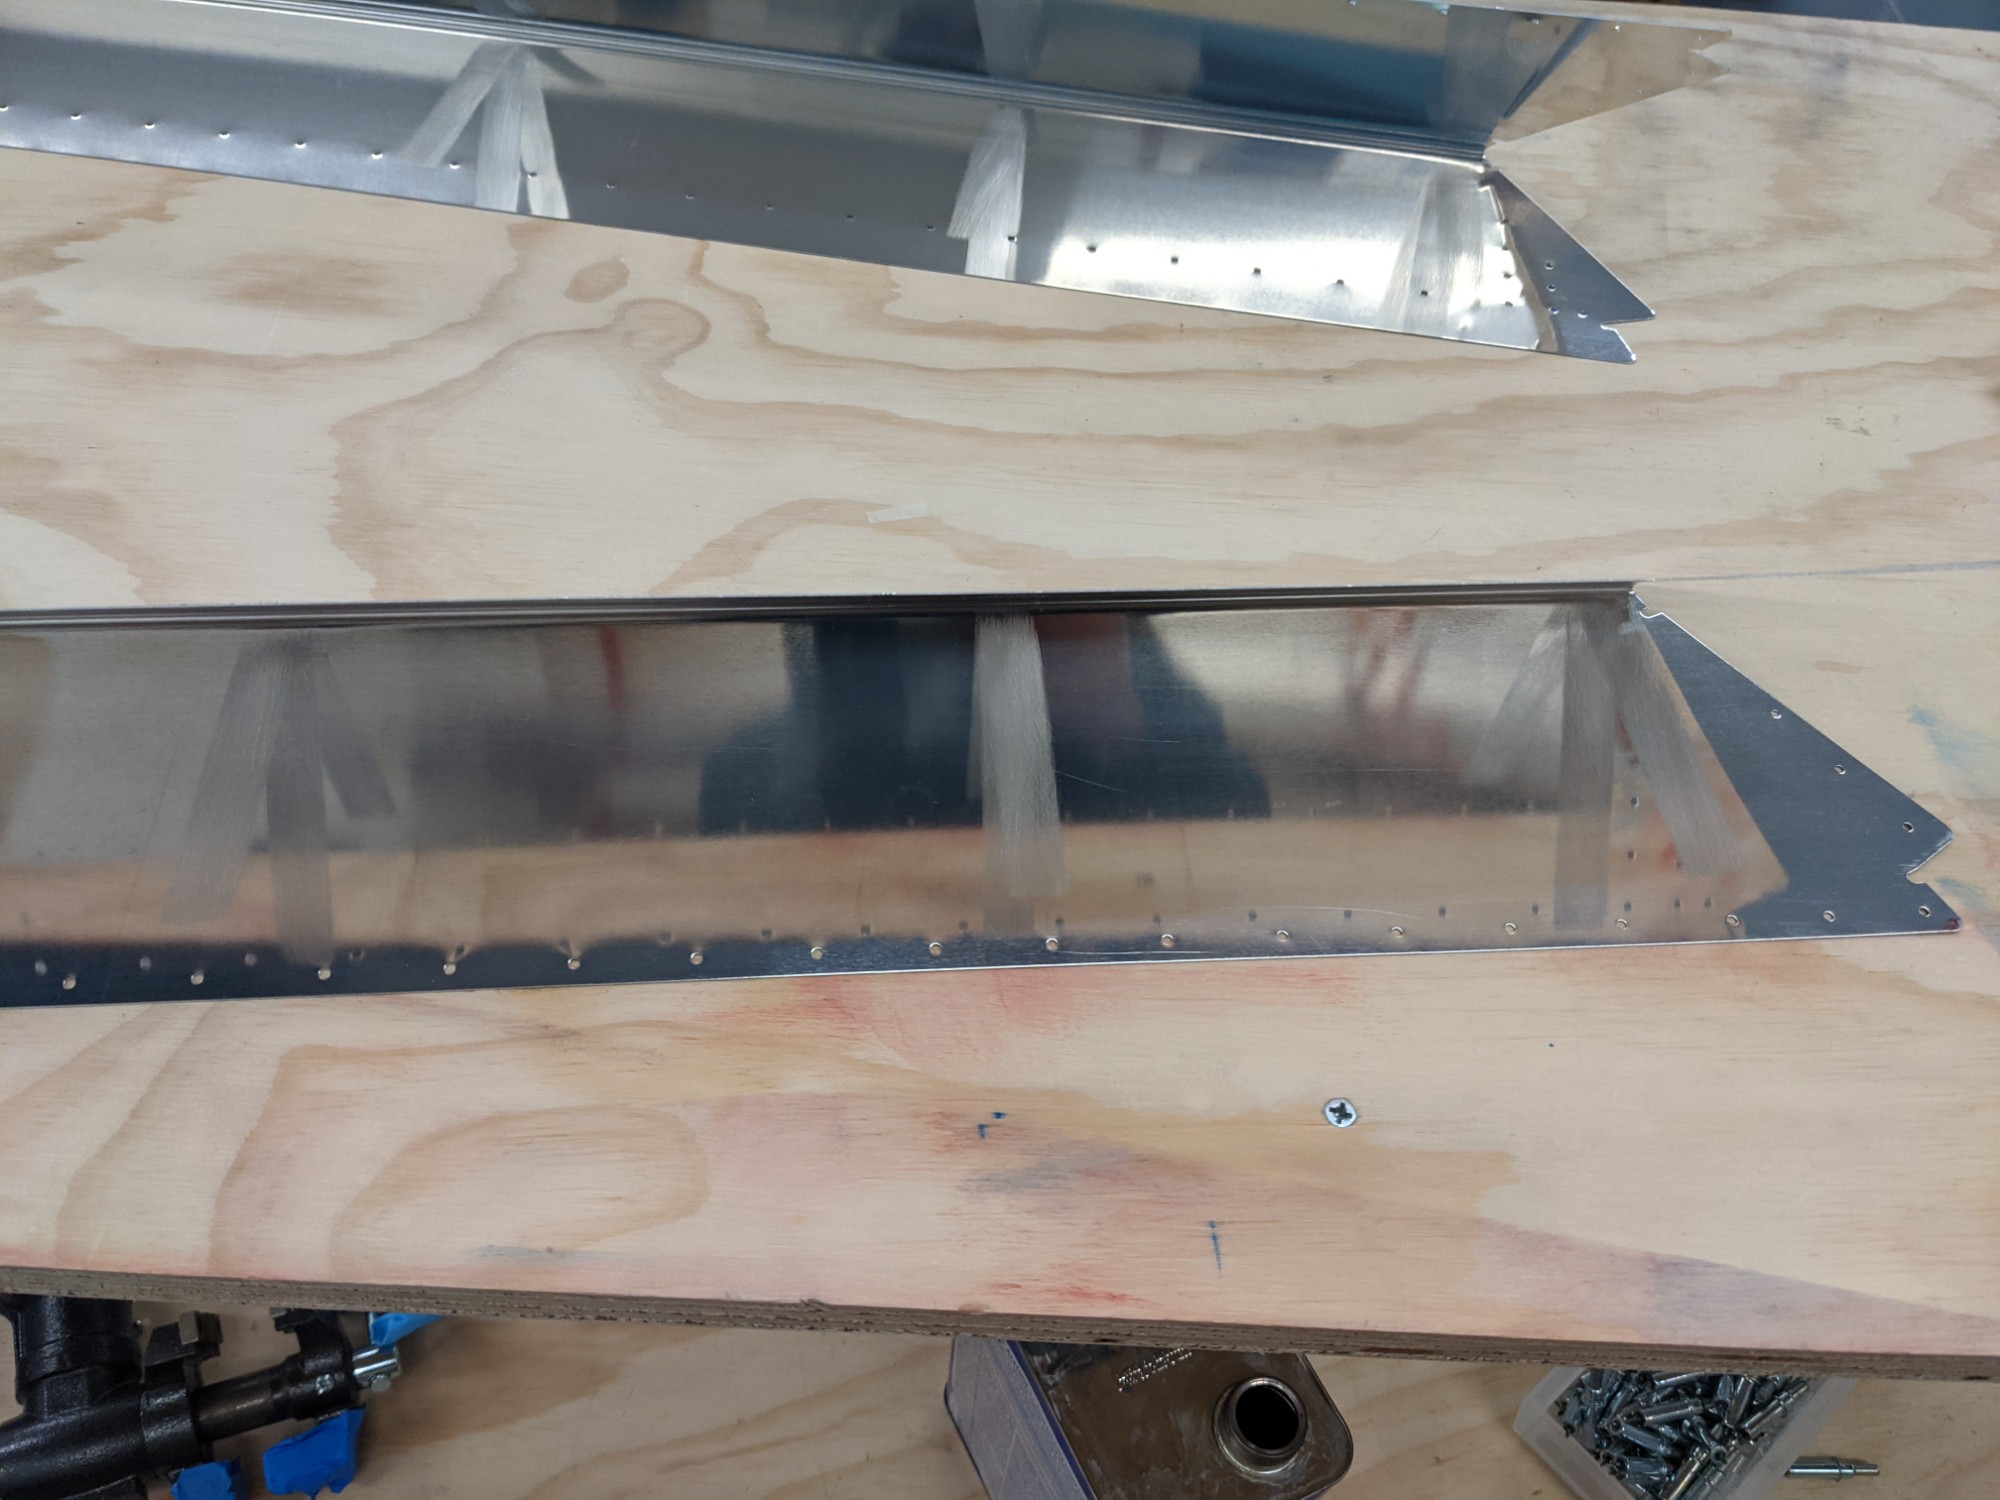
I slowly increased the bend with frequent checking. The bending brake worked perfectly and resulted in a consistent bend. The surfaces of tabs are flat per the plans with no pillowing.
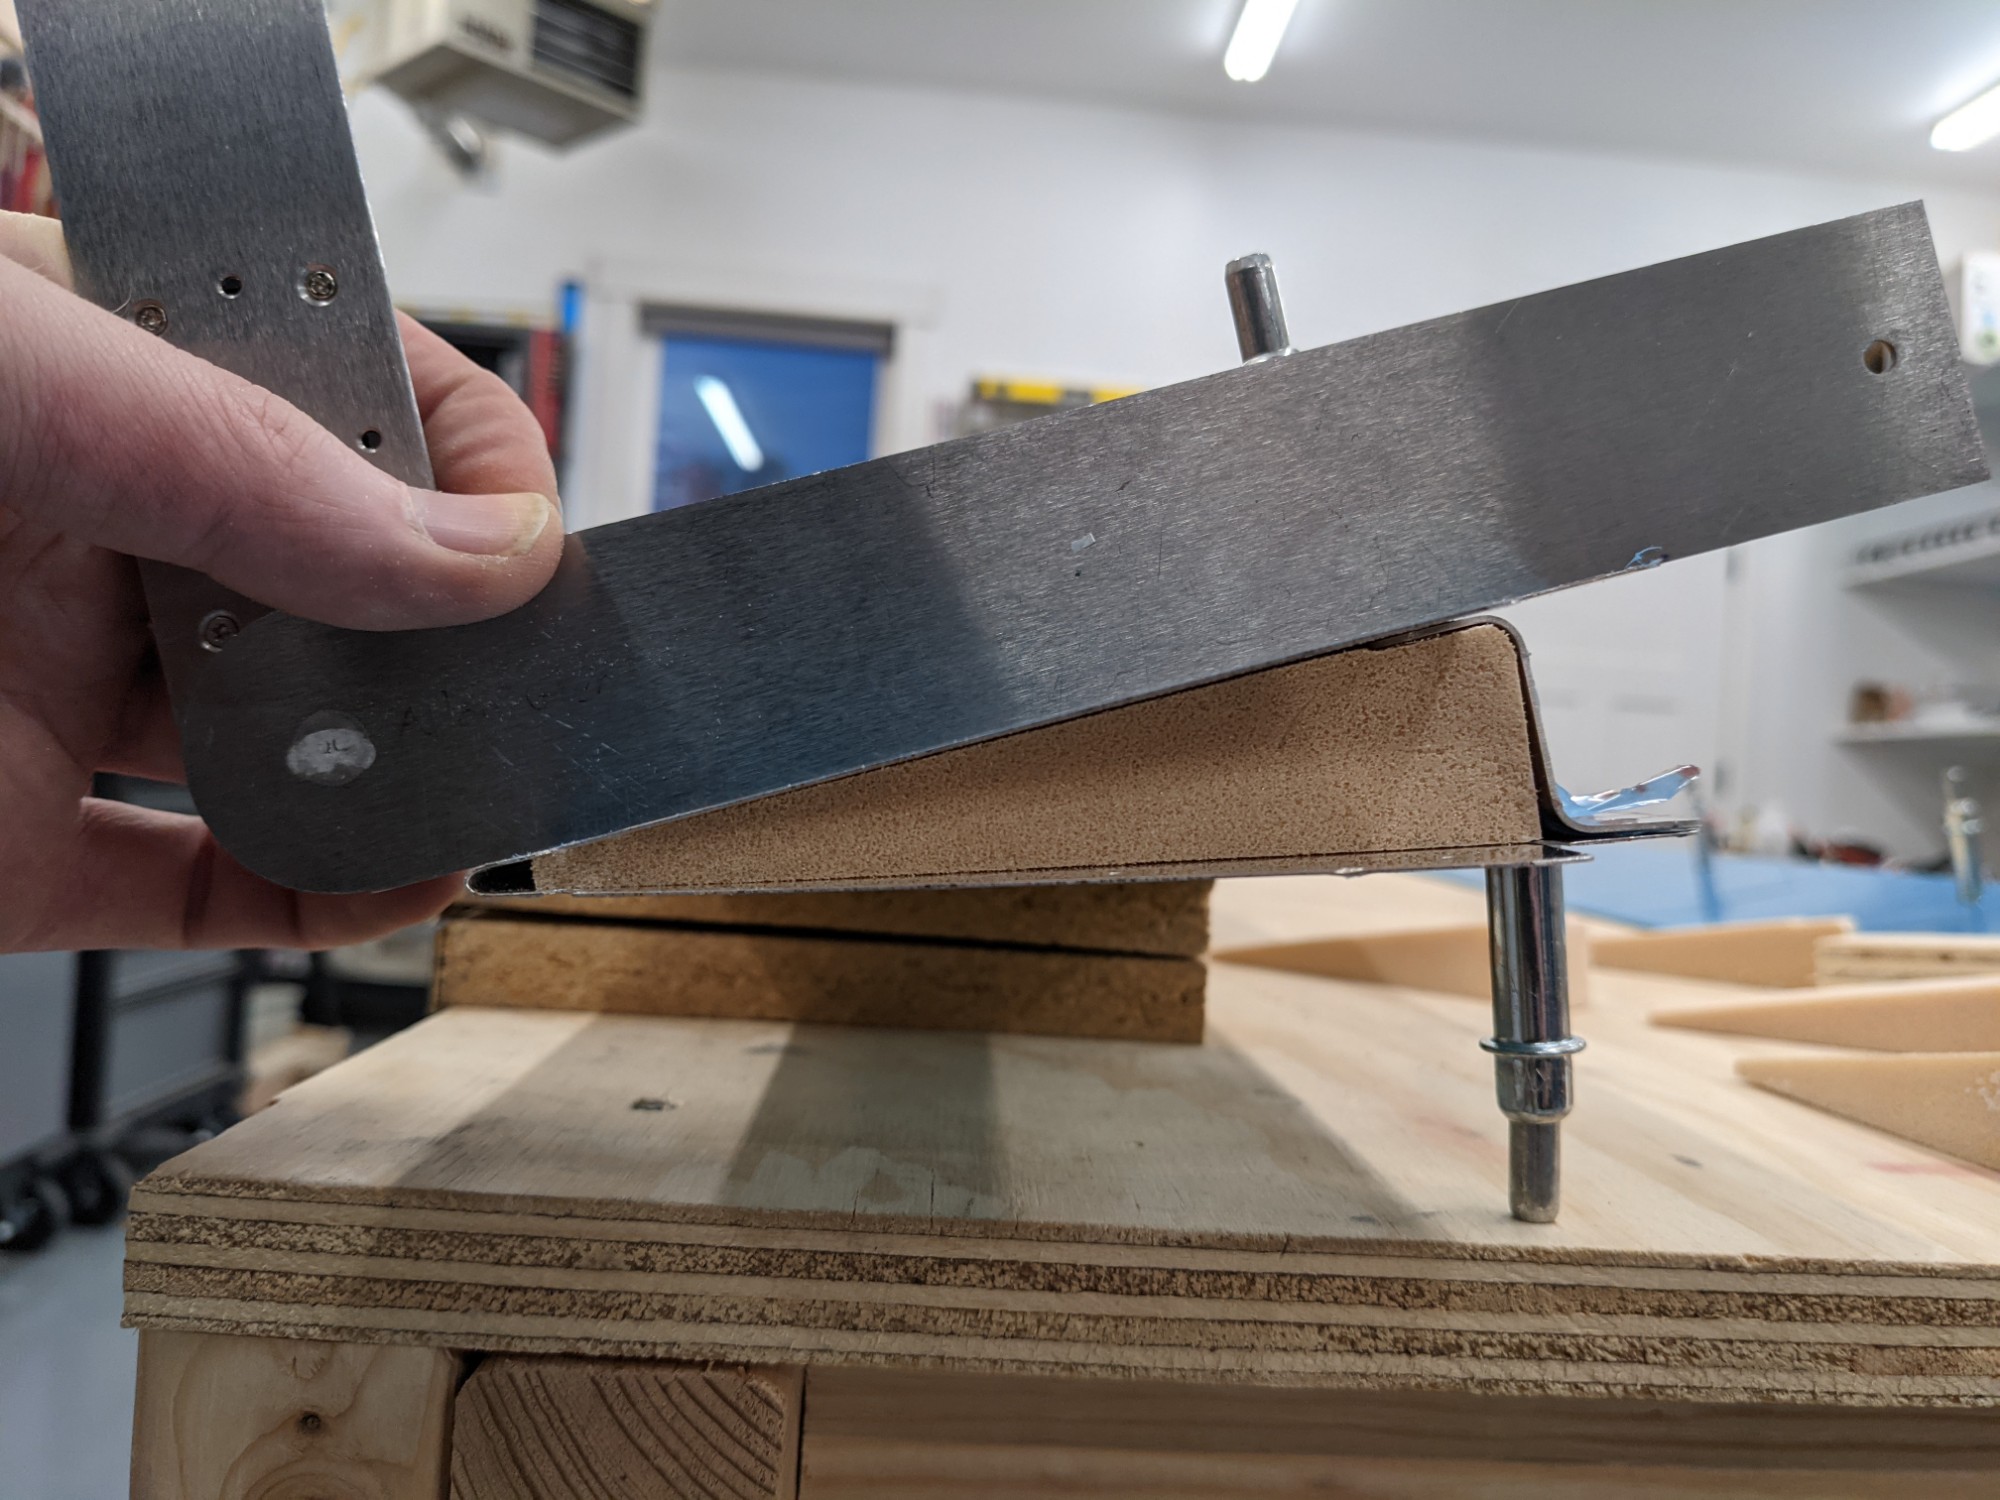
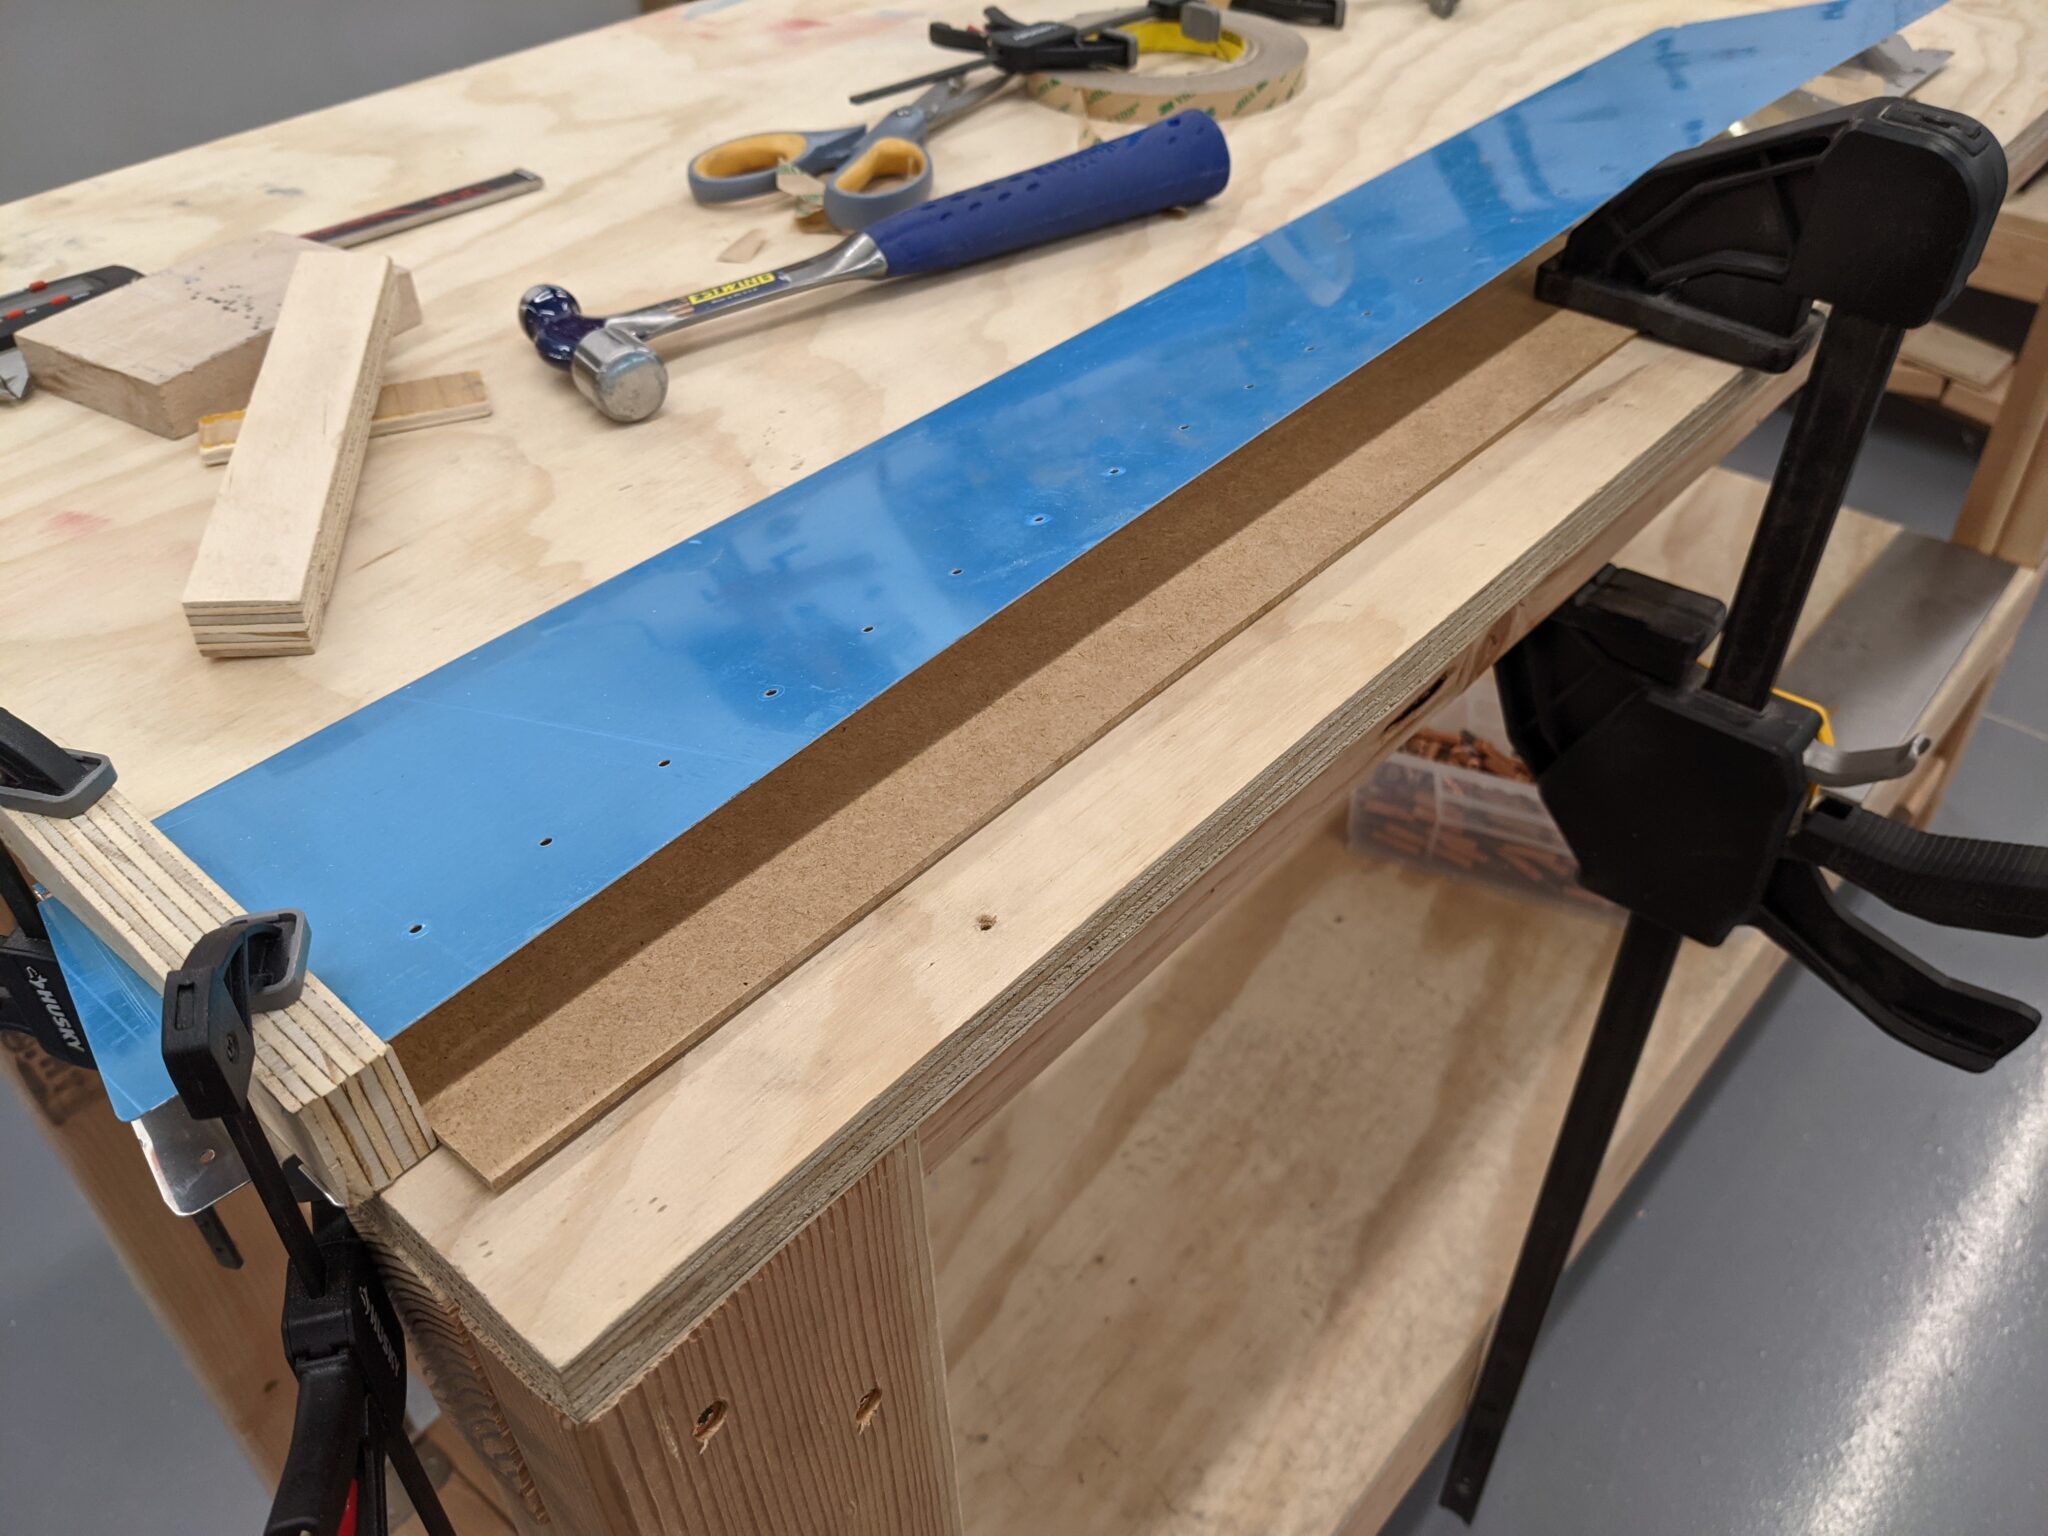
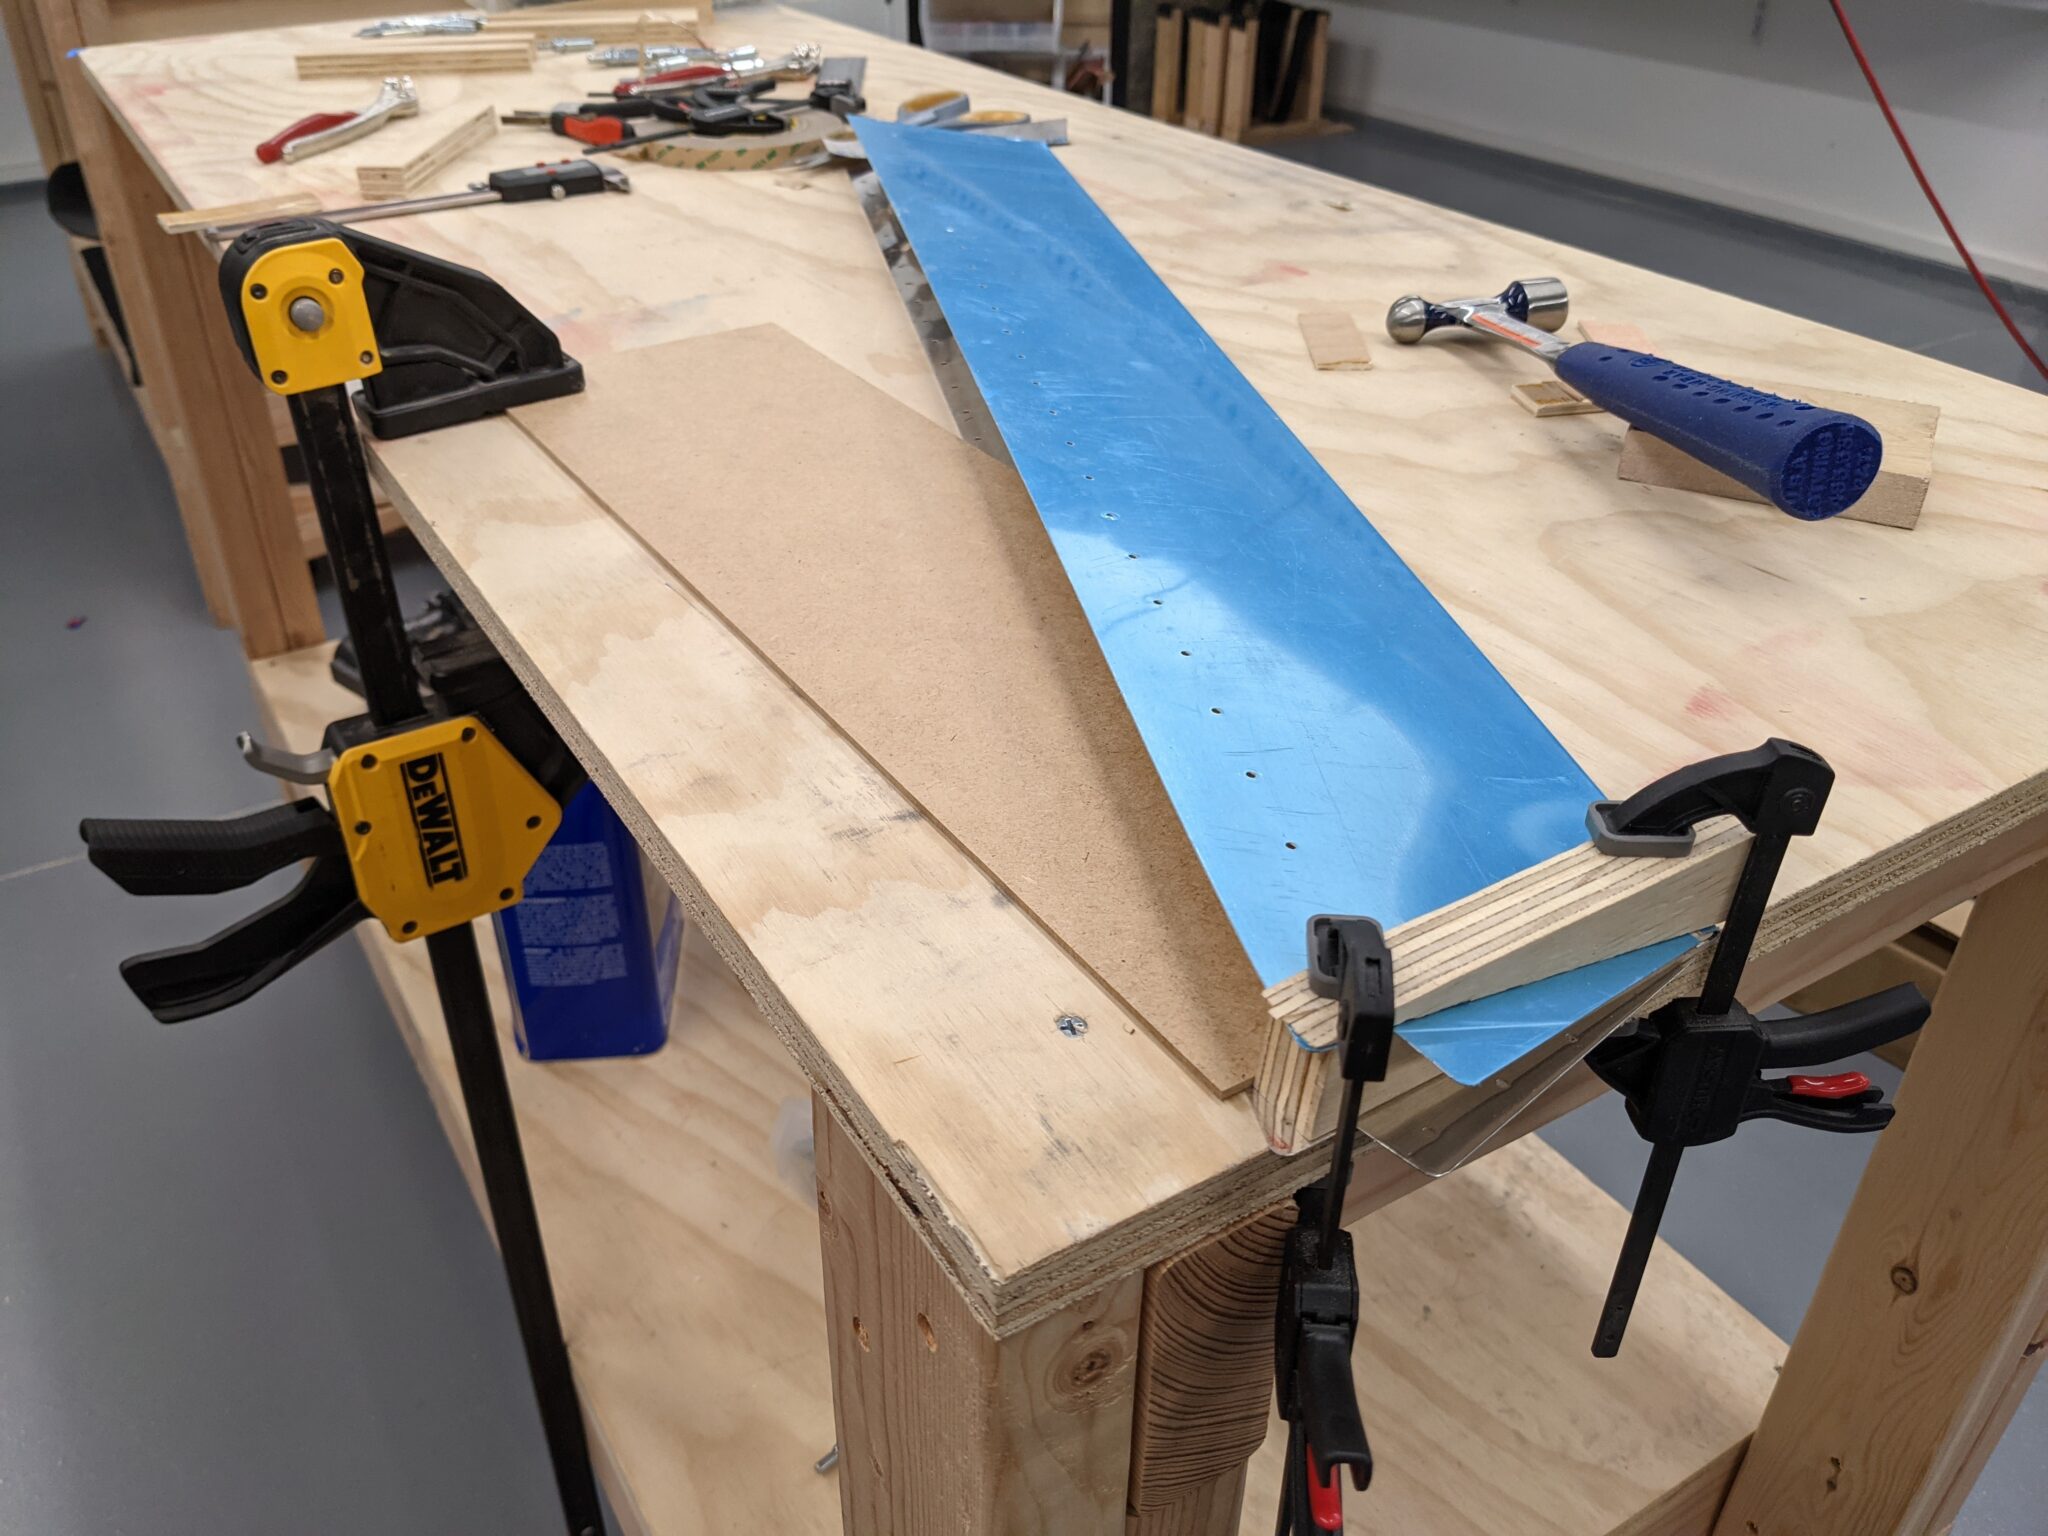
Next up was bending the tabs at the end of each trim tab. Other builders have mentioned that these are challenging so I went carefully. The primary problem is that the blocks tend to slide while bending, resulting in too large of a radius. I used some VHB tape on the wedge but I also backed the wedge with a flat piece of hardboard that I clamped to another edge of the table (see below).
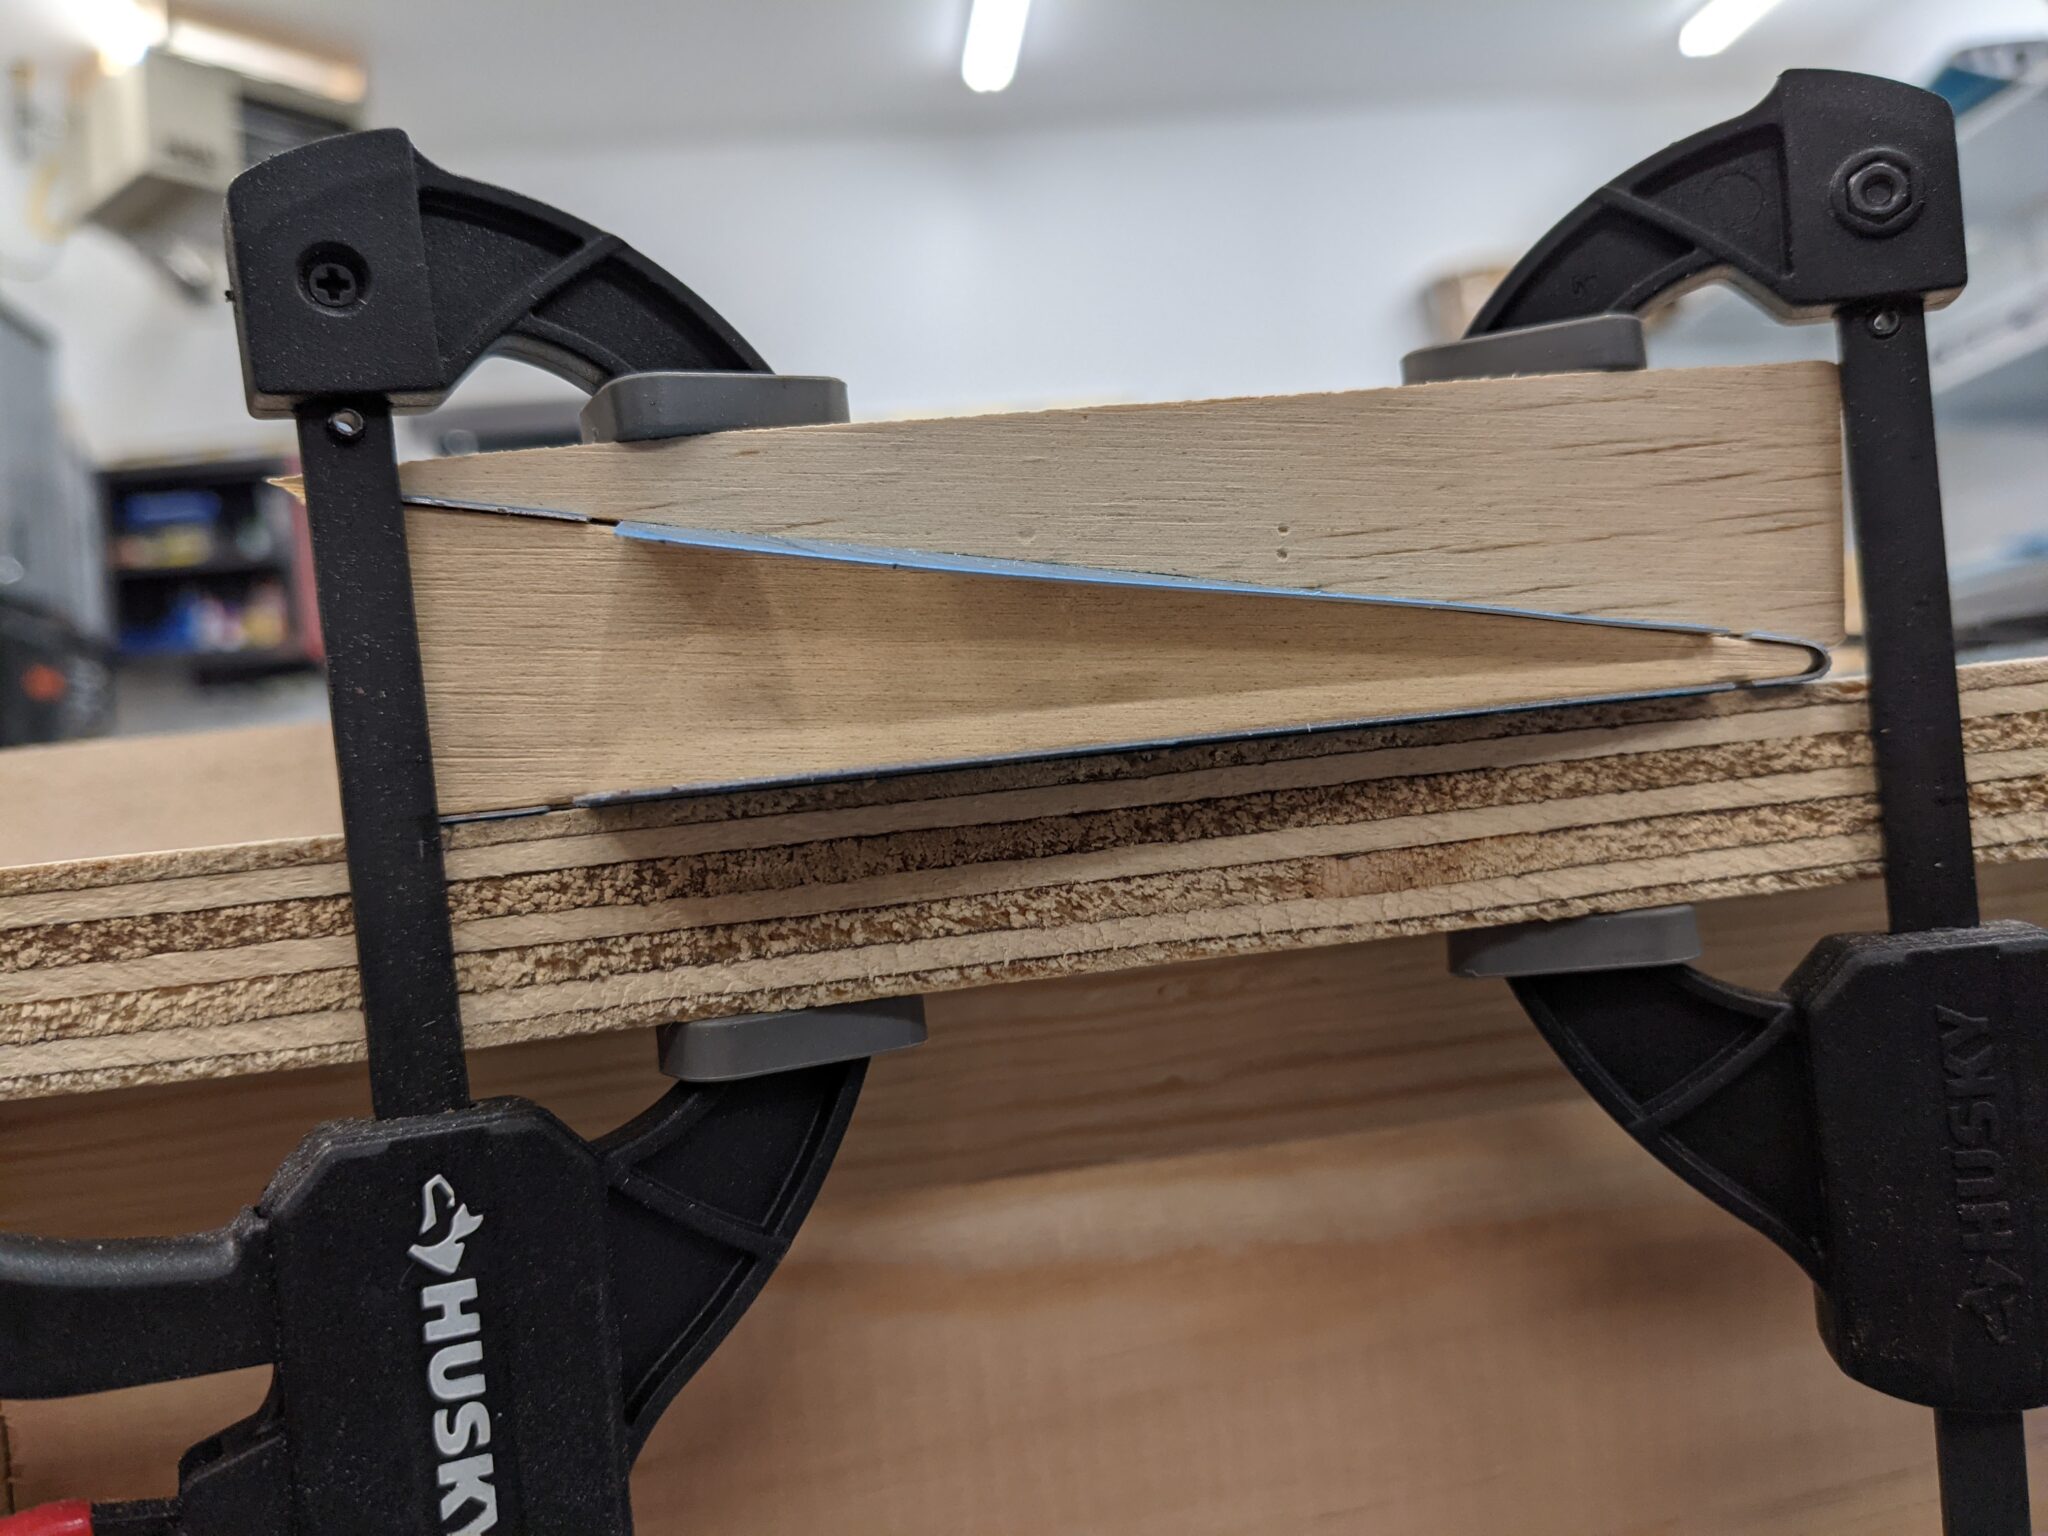
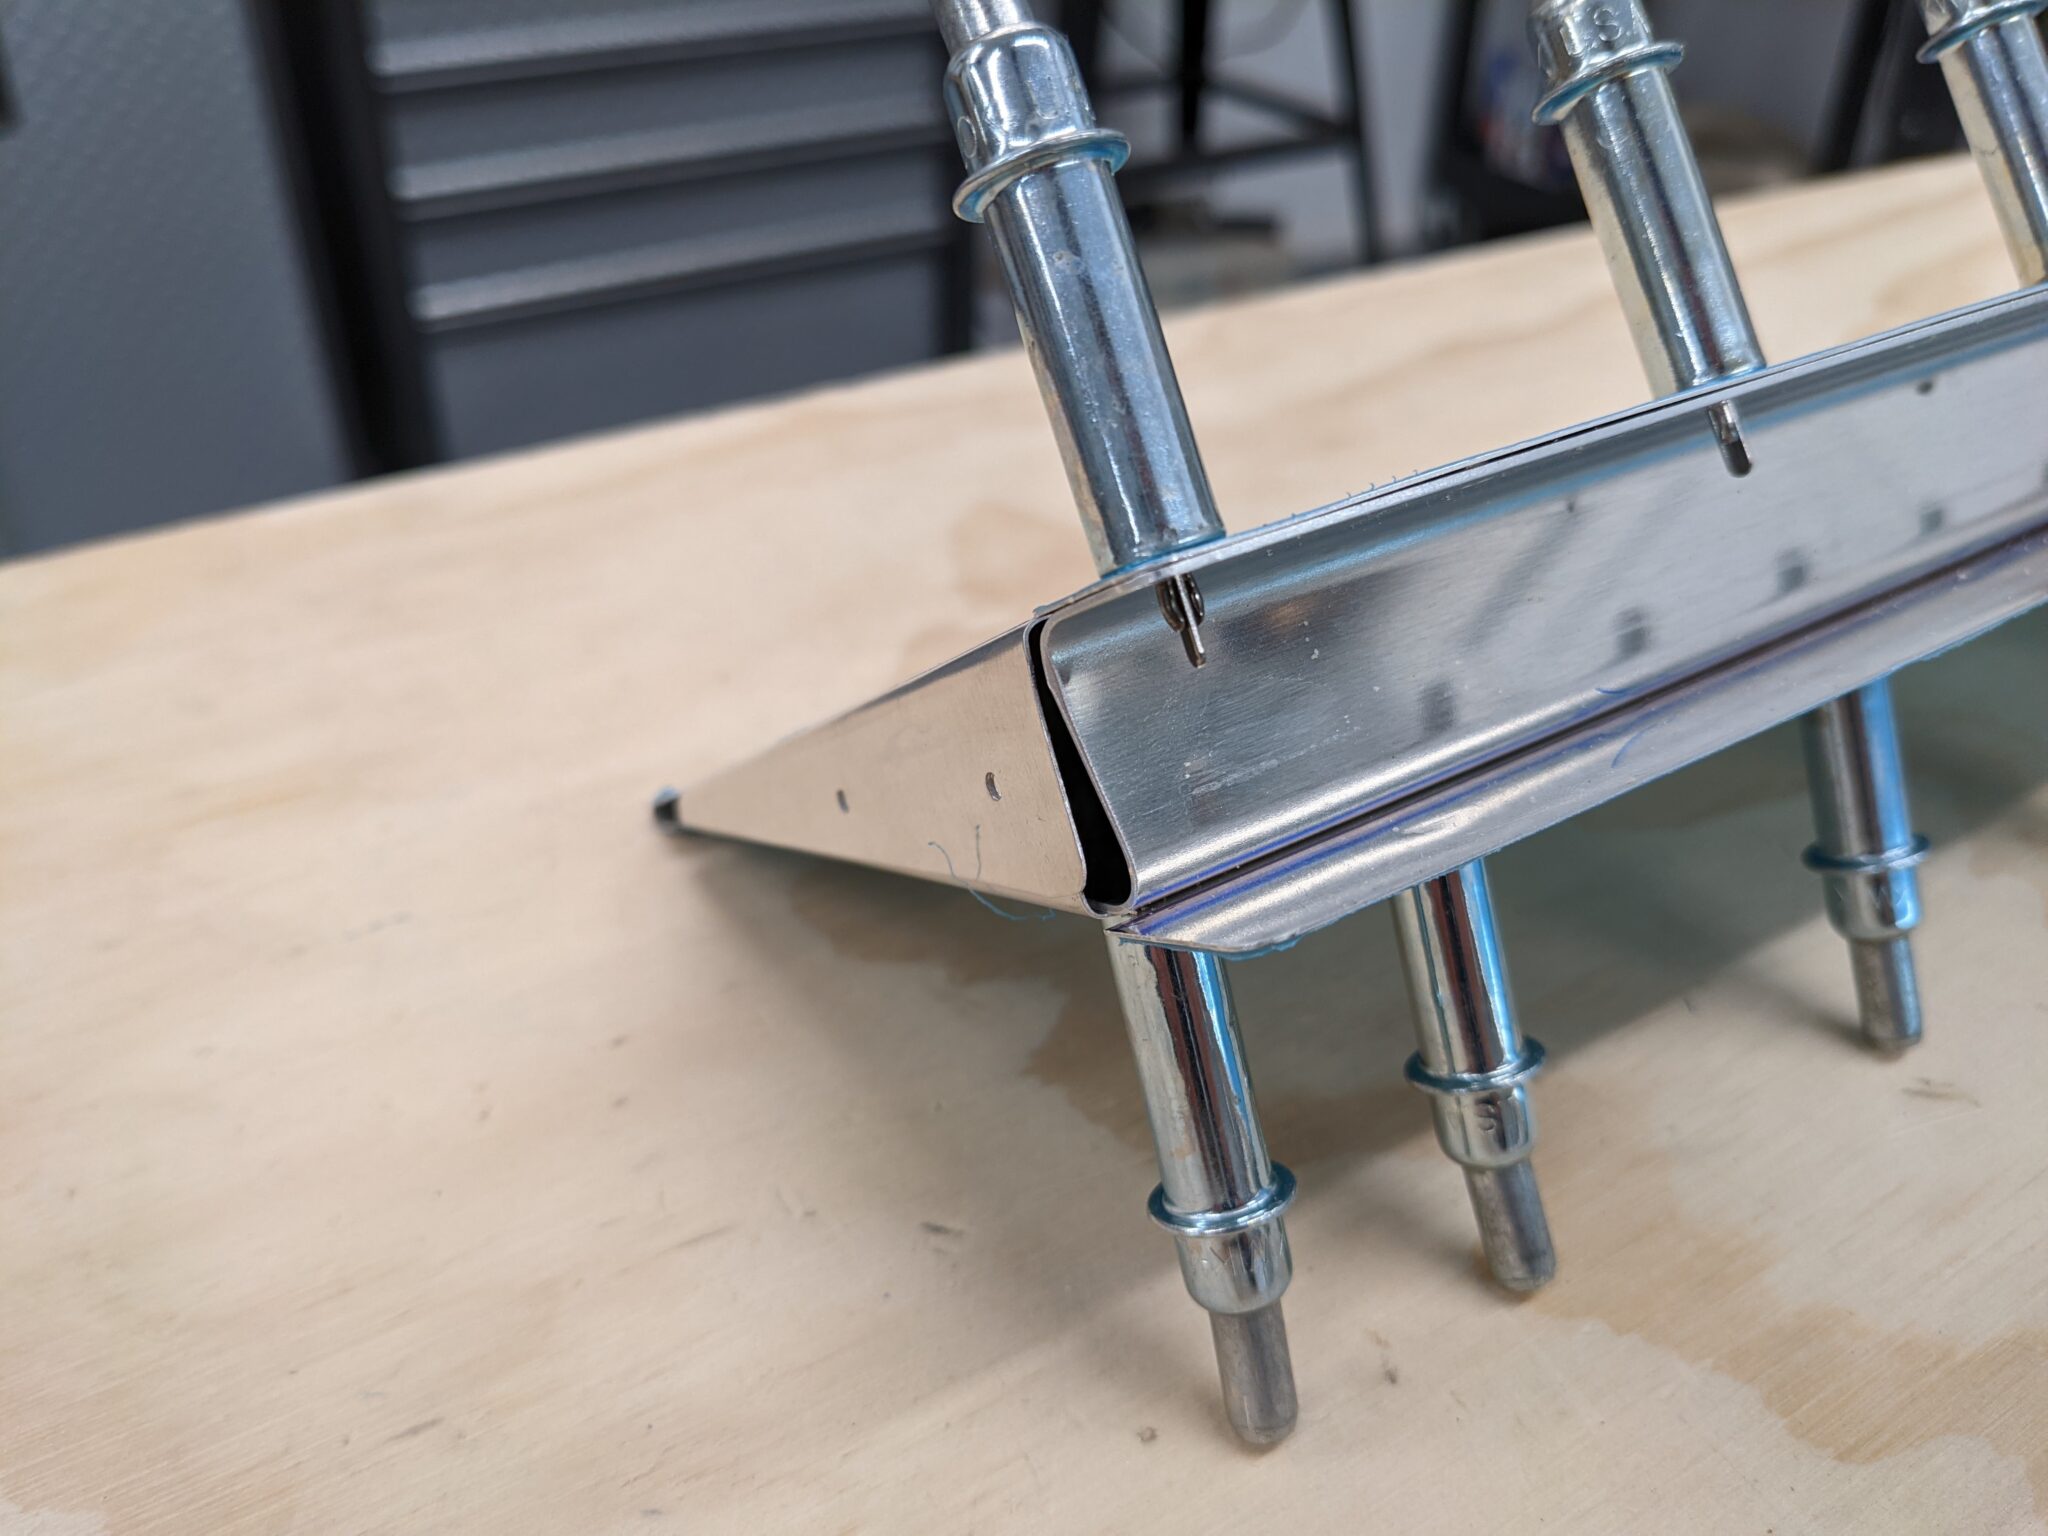
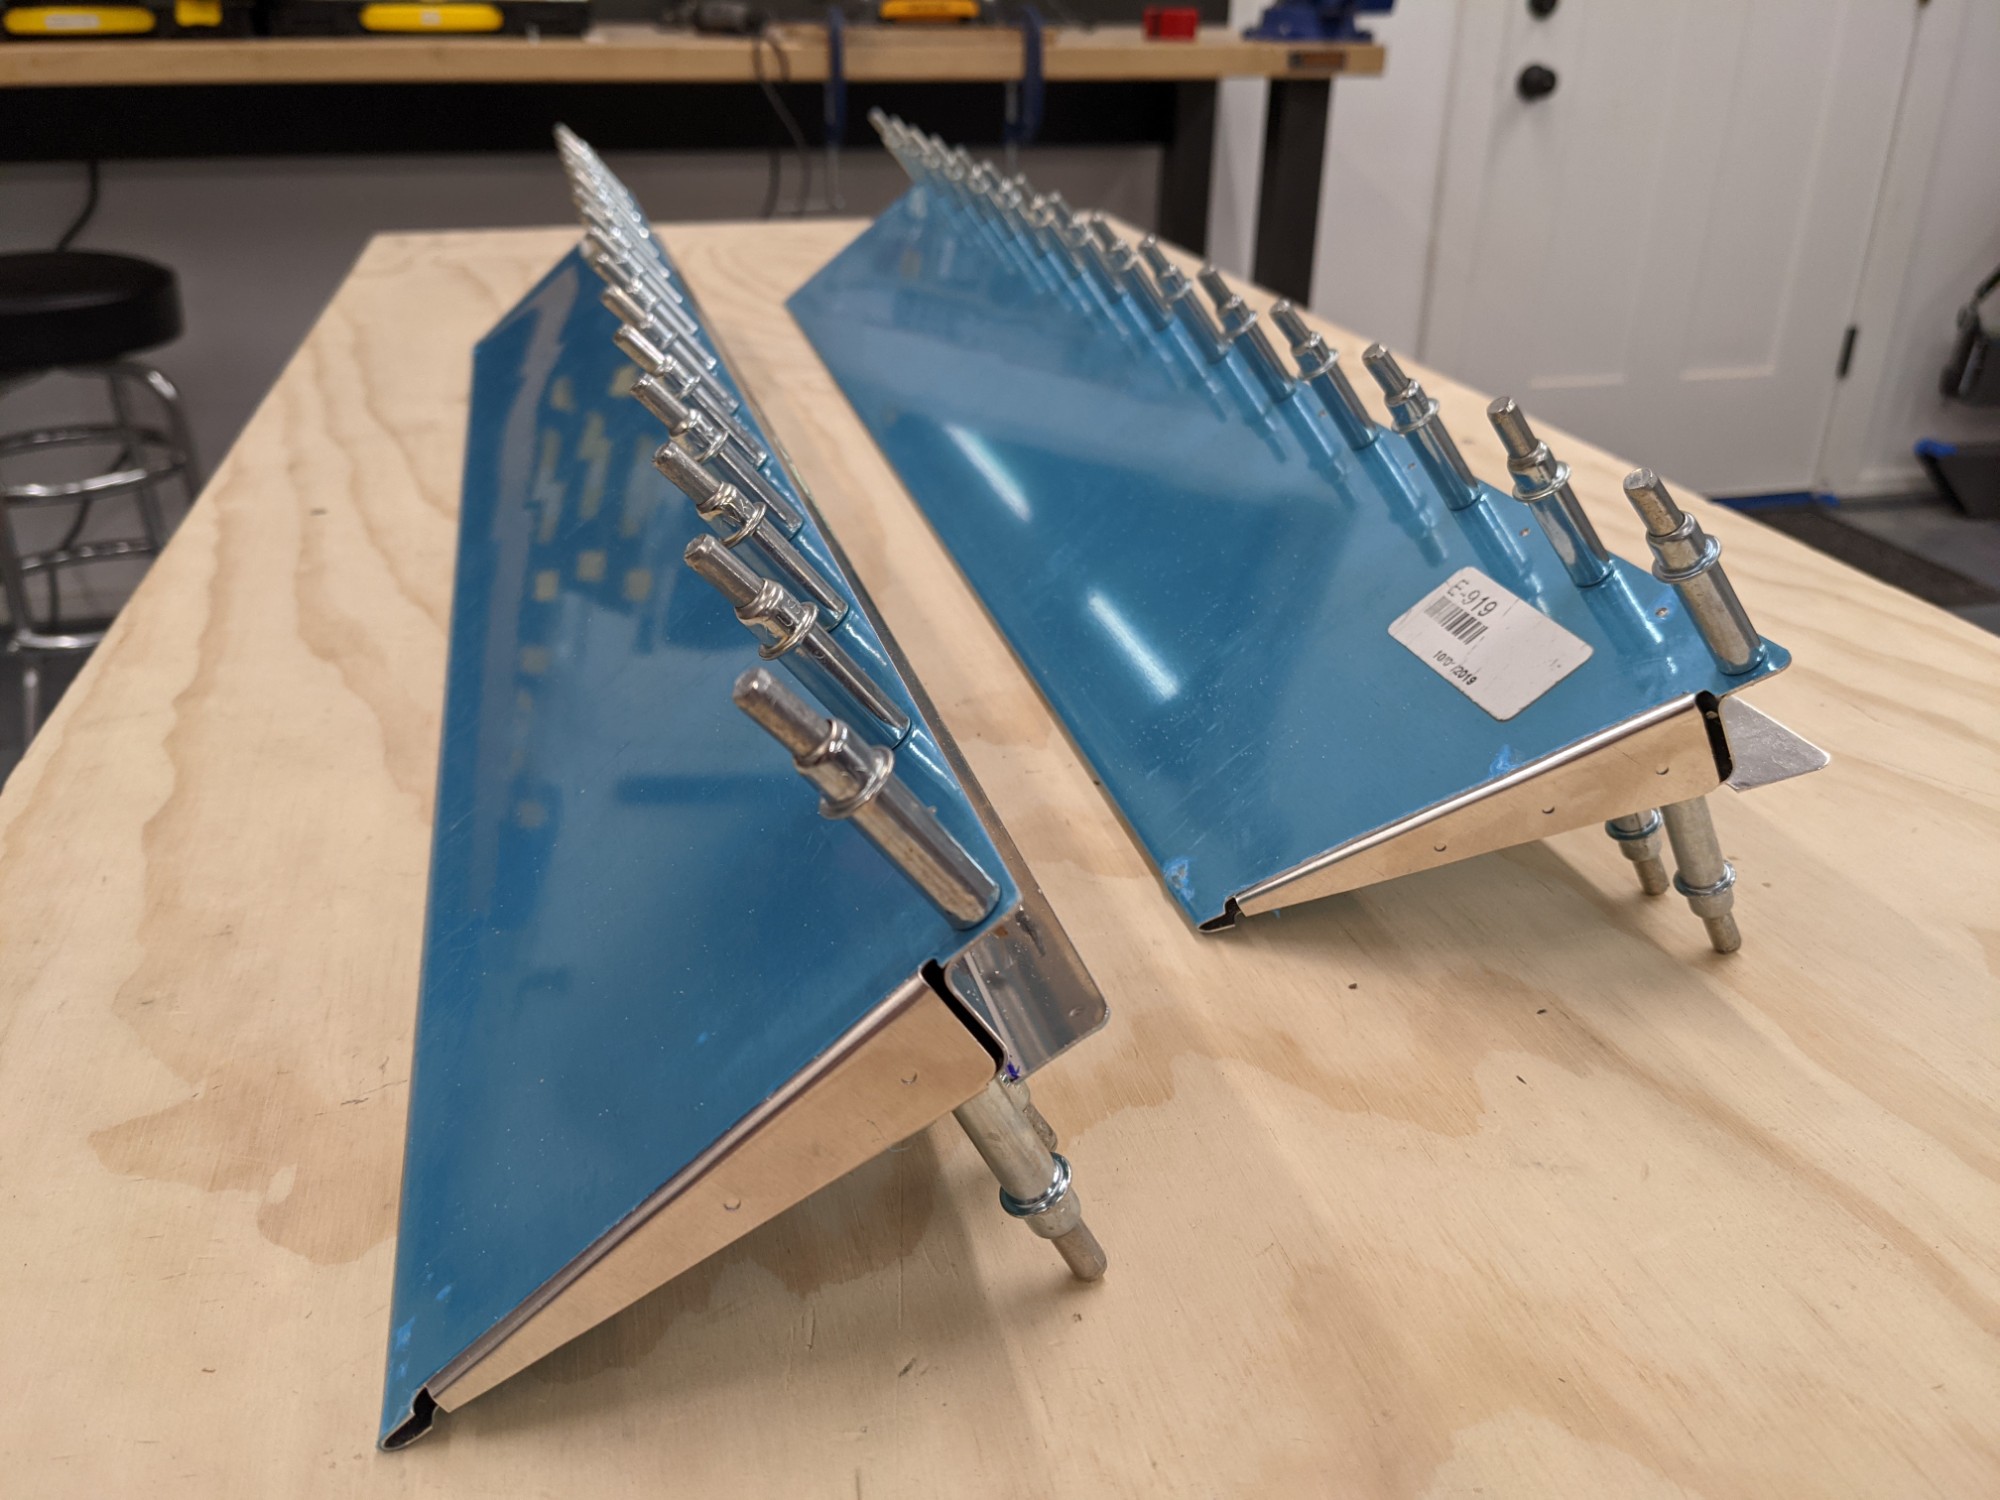
The hardboard butted up against the wedge block and stopped it from moving. I used a hammer and a block of hardwood to complete the bend instead of using a rivet gun.
Success. I’m happy with how the tabs came out and very happy to get them right the first time.