
A quick search on the VAF forums provided an answer to my question about the layering of the spar, the elevator skins, the tip ribs, and the tip rib skins.
I final sized the holes common to the tip ribs, spars, and shear clips with a reamer.
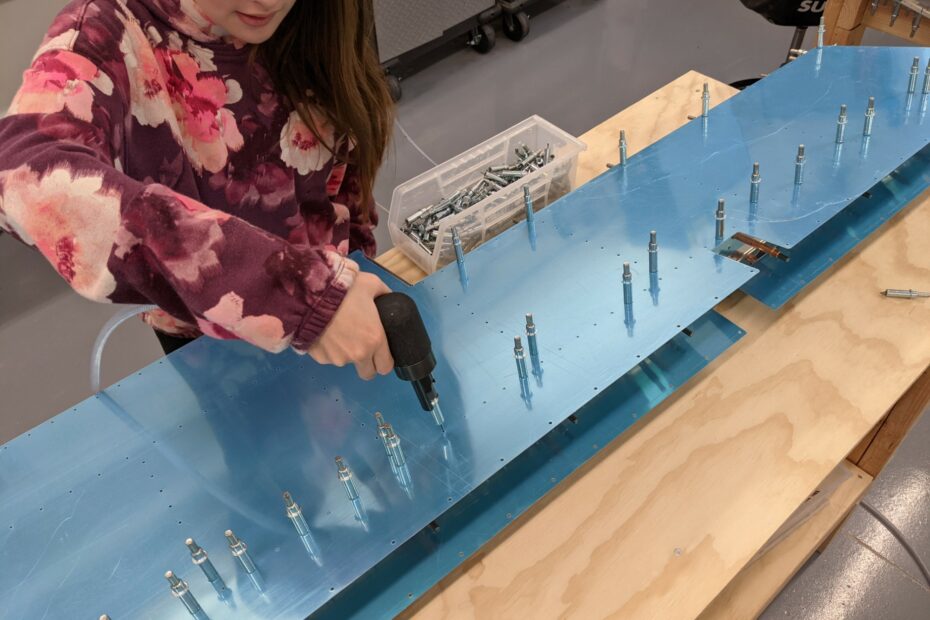
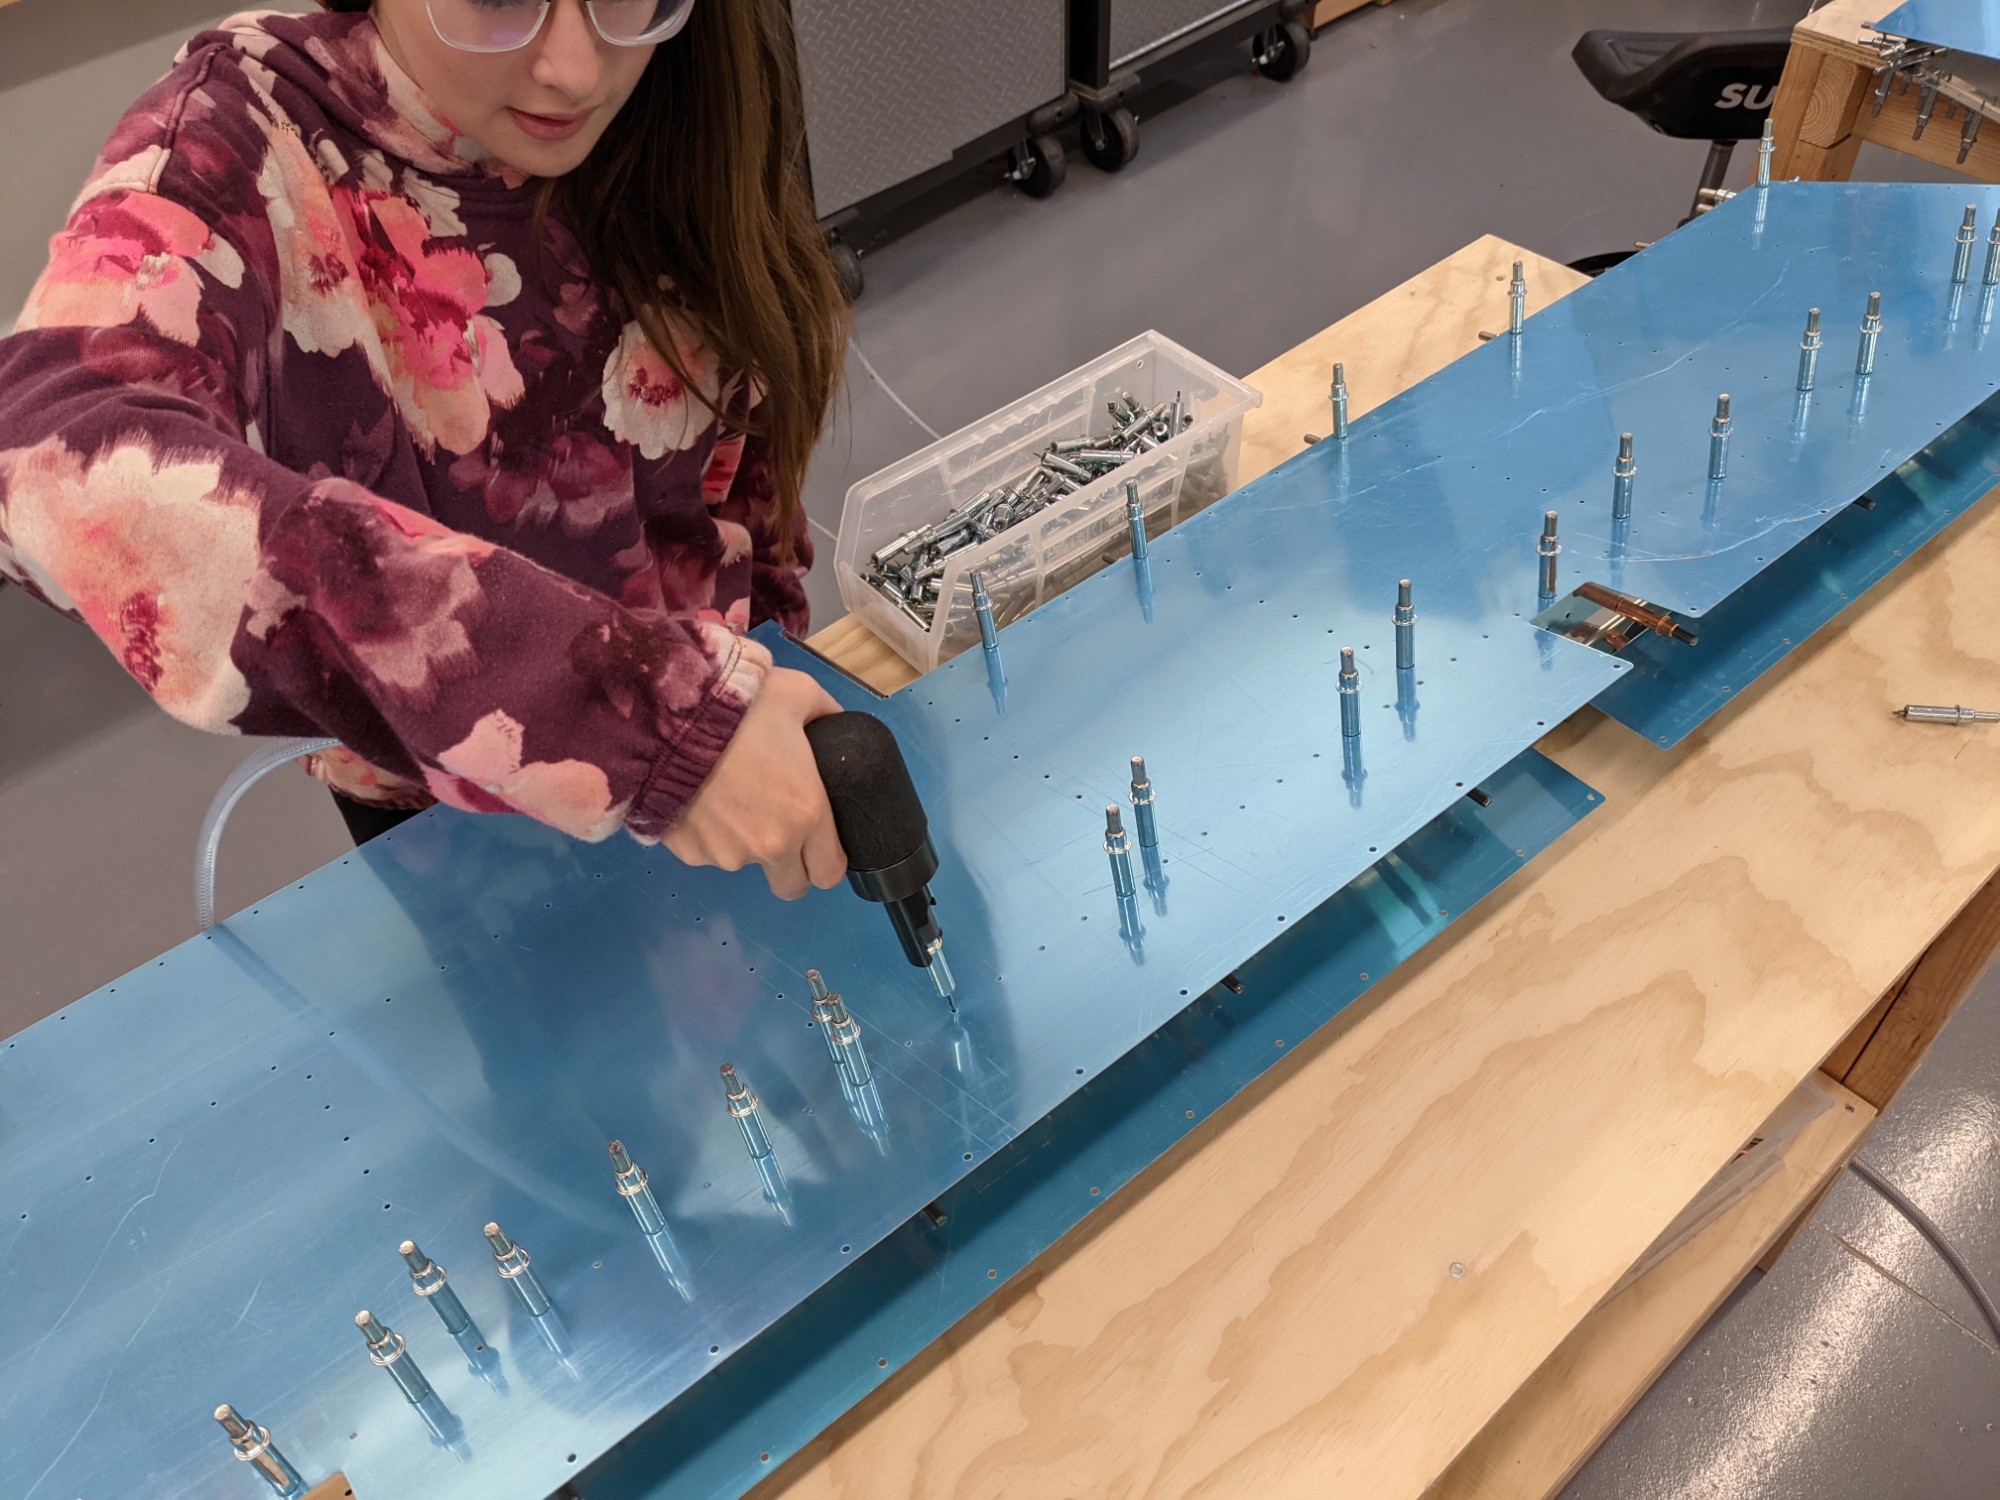
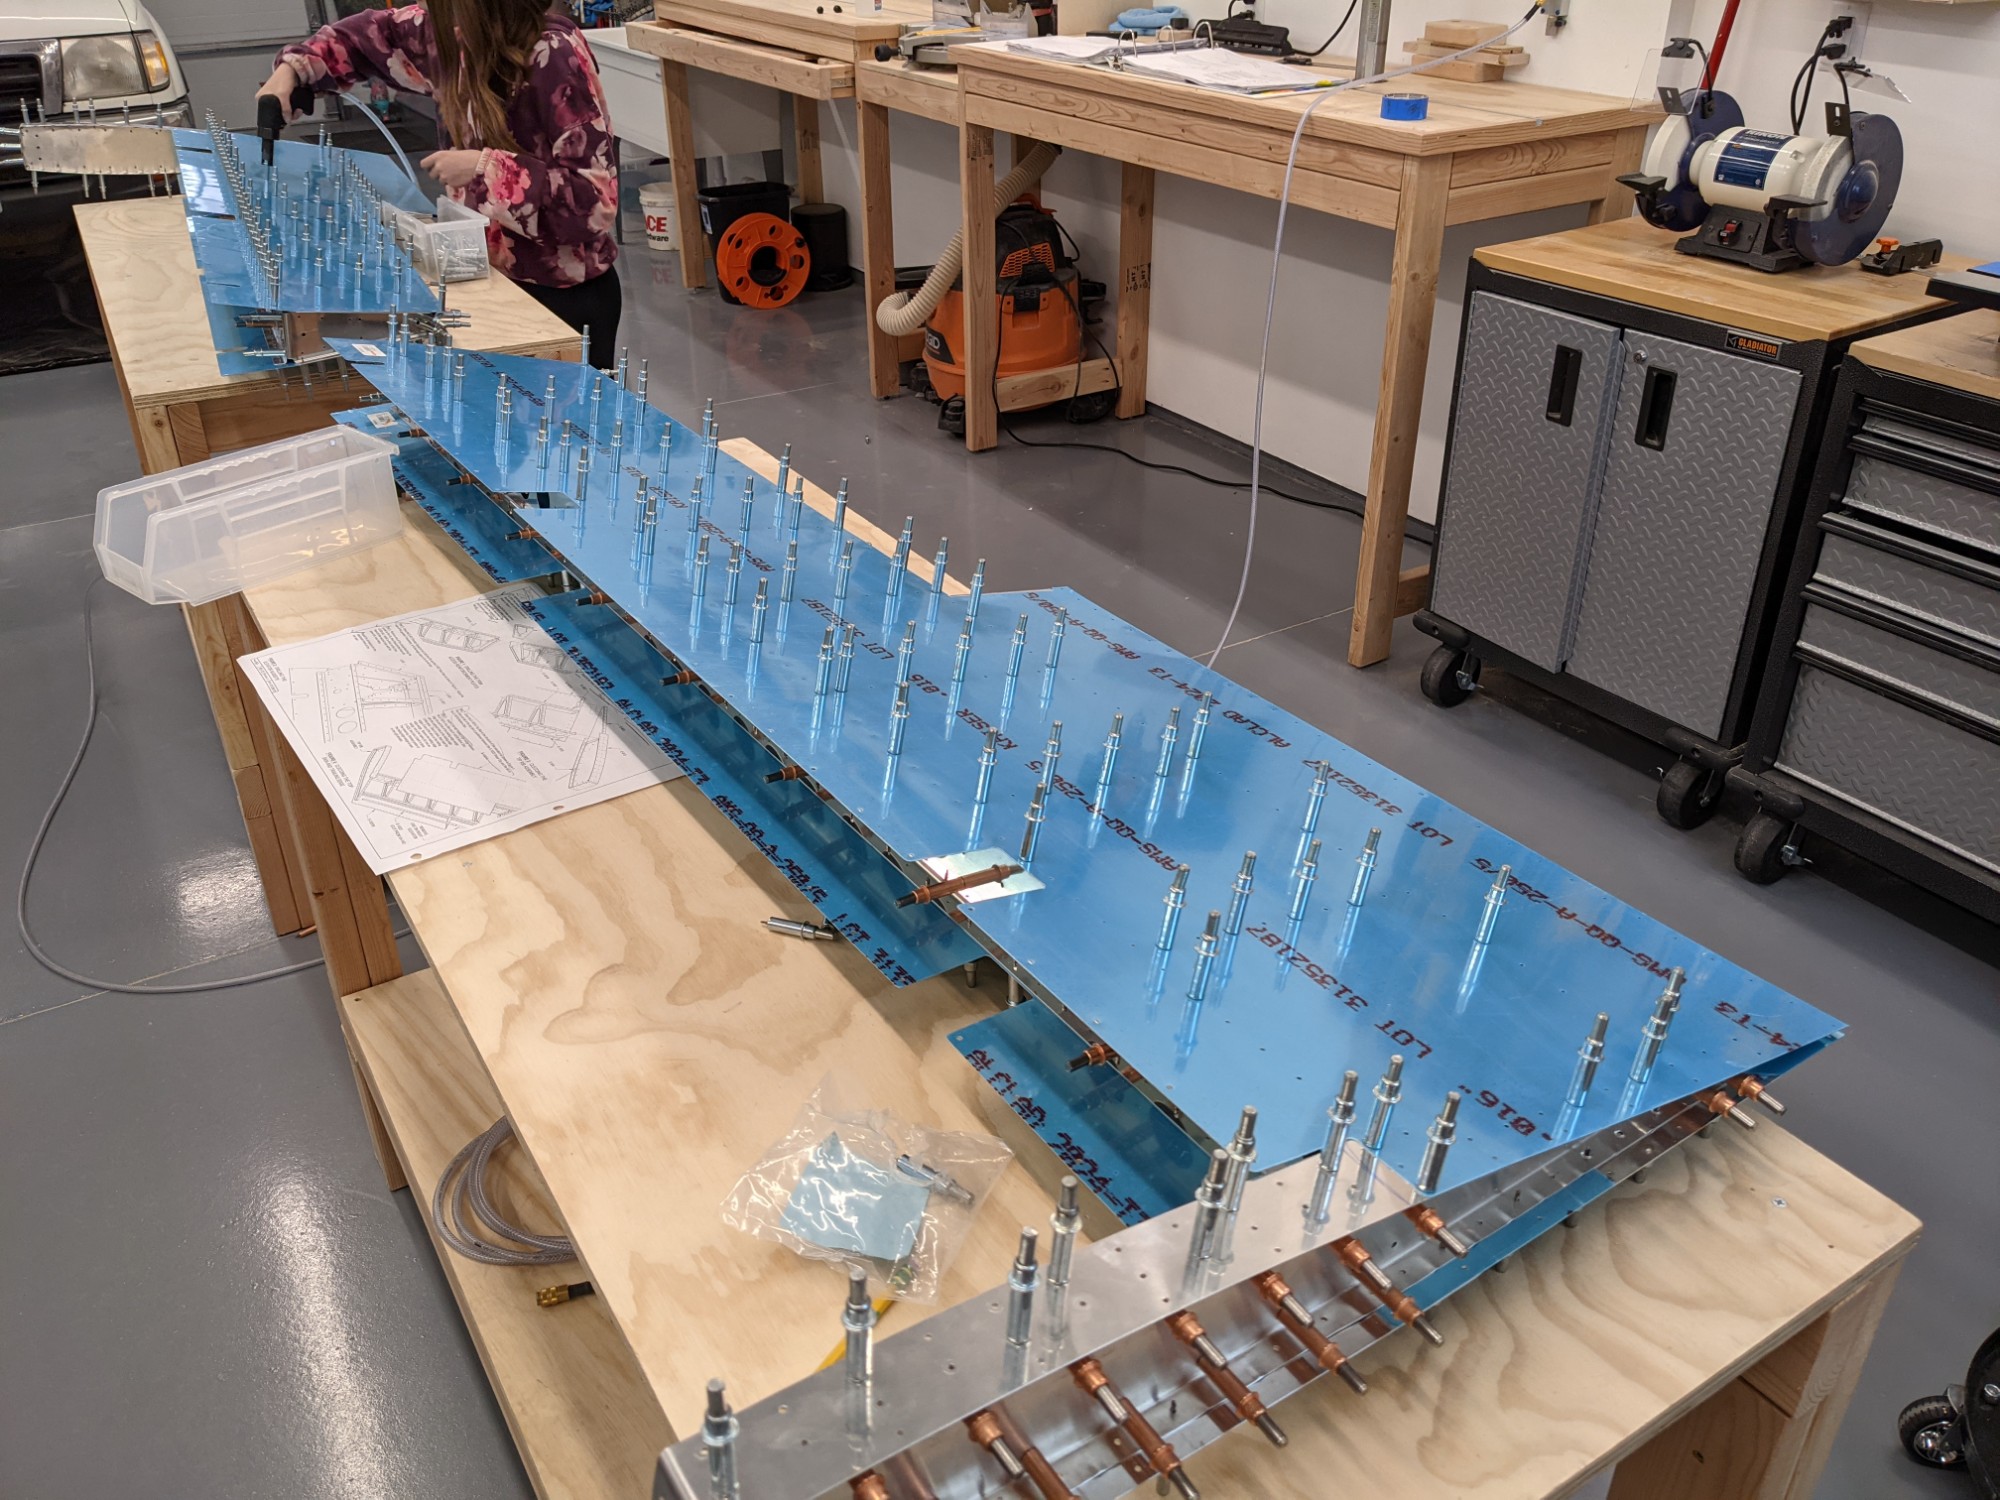
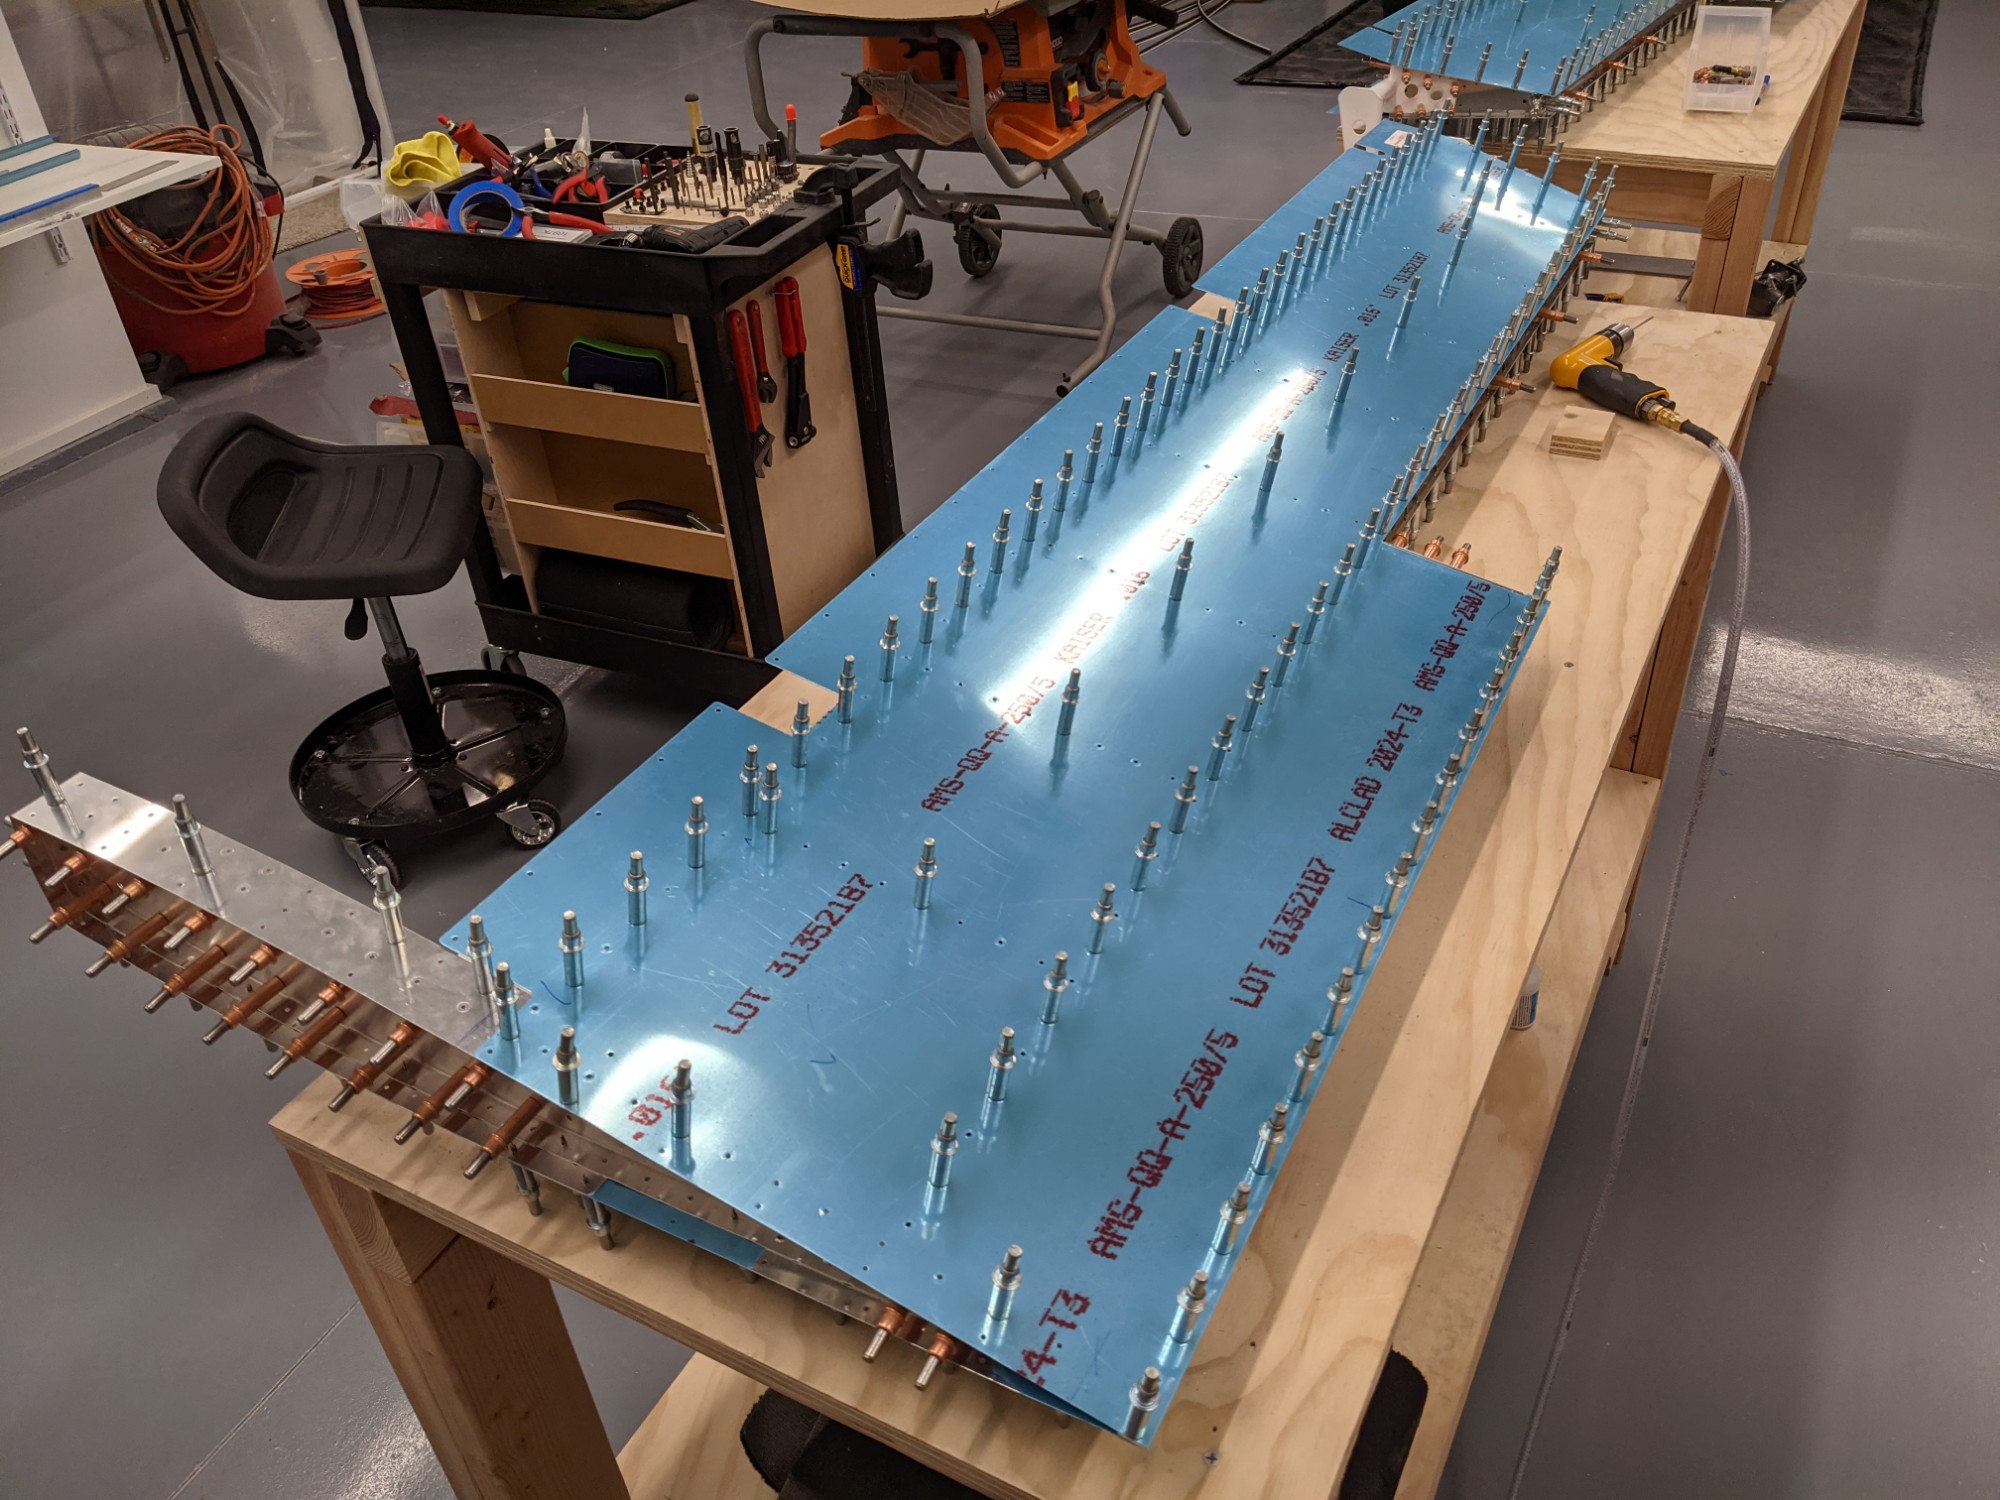
We then clecoed the top skins to each elevator.
The pneumatic cleco tool works great and is ideal for kids that aren’t strong enough to use cleco pliers (but are careful enough to use air tools safely). Here is a quick clip of the tool in use.
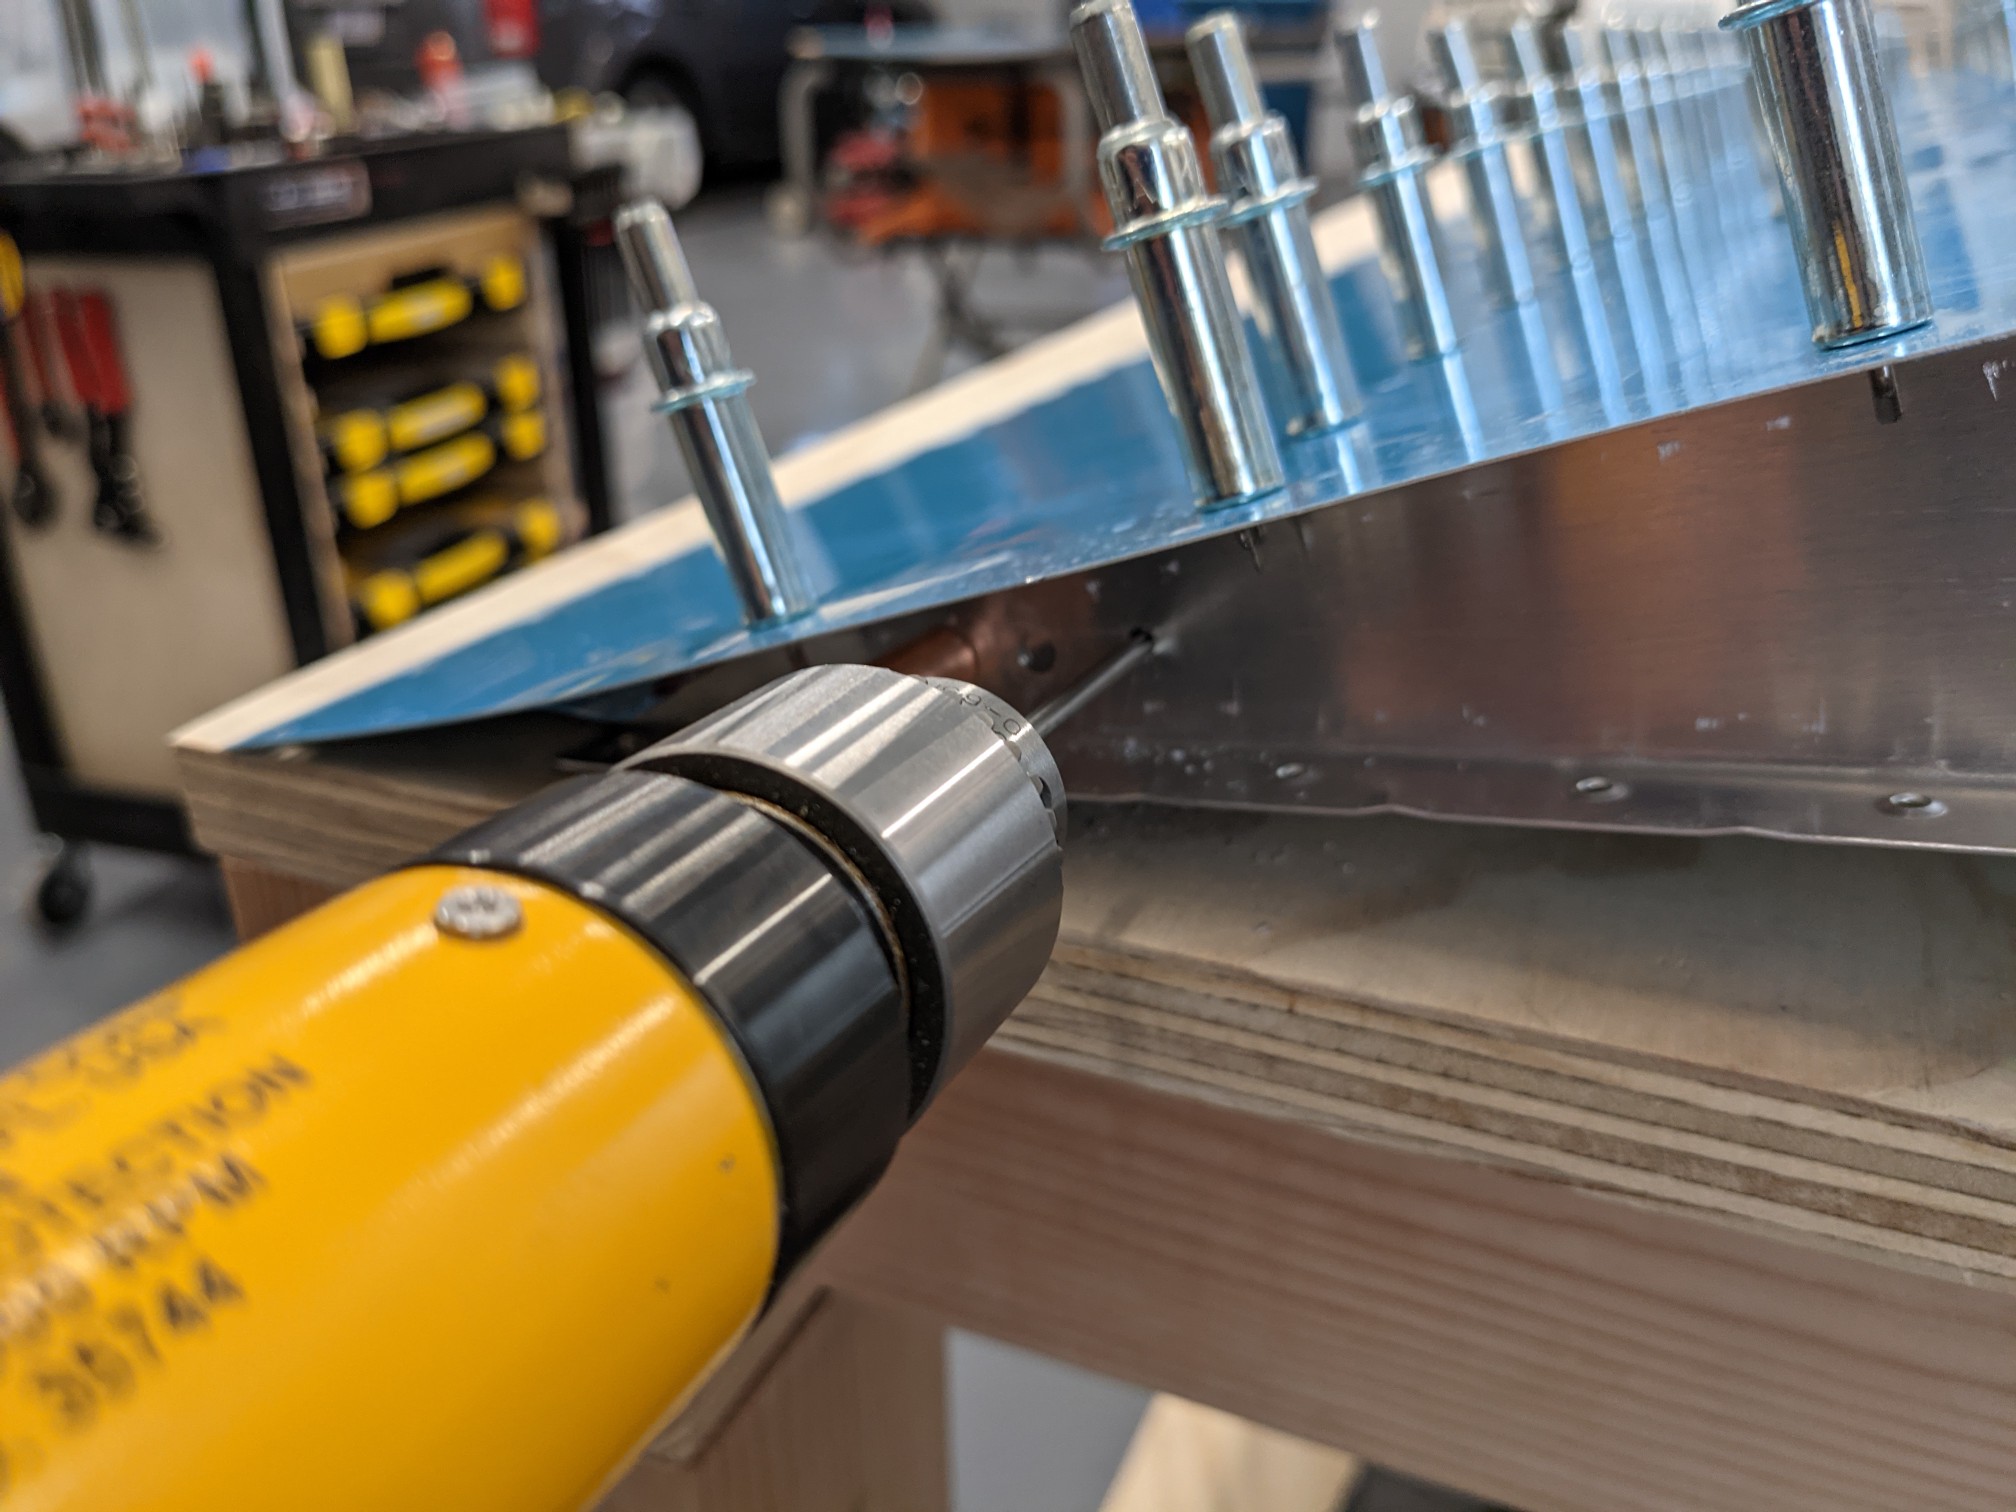
The trailing edge wedges were then rough cut to size, final sized with the disc sander, and deburred on the ScotchBrite wheel.
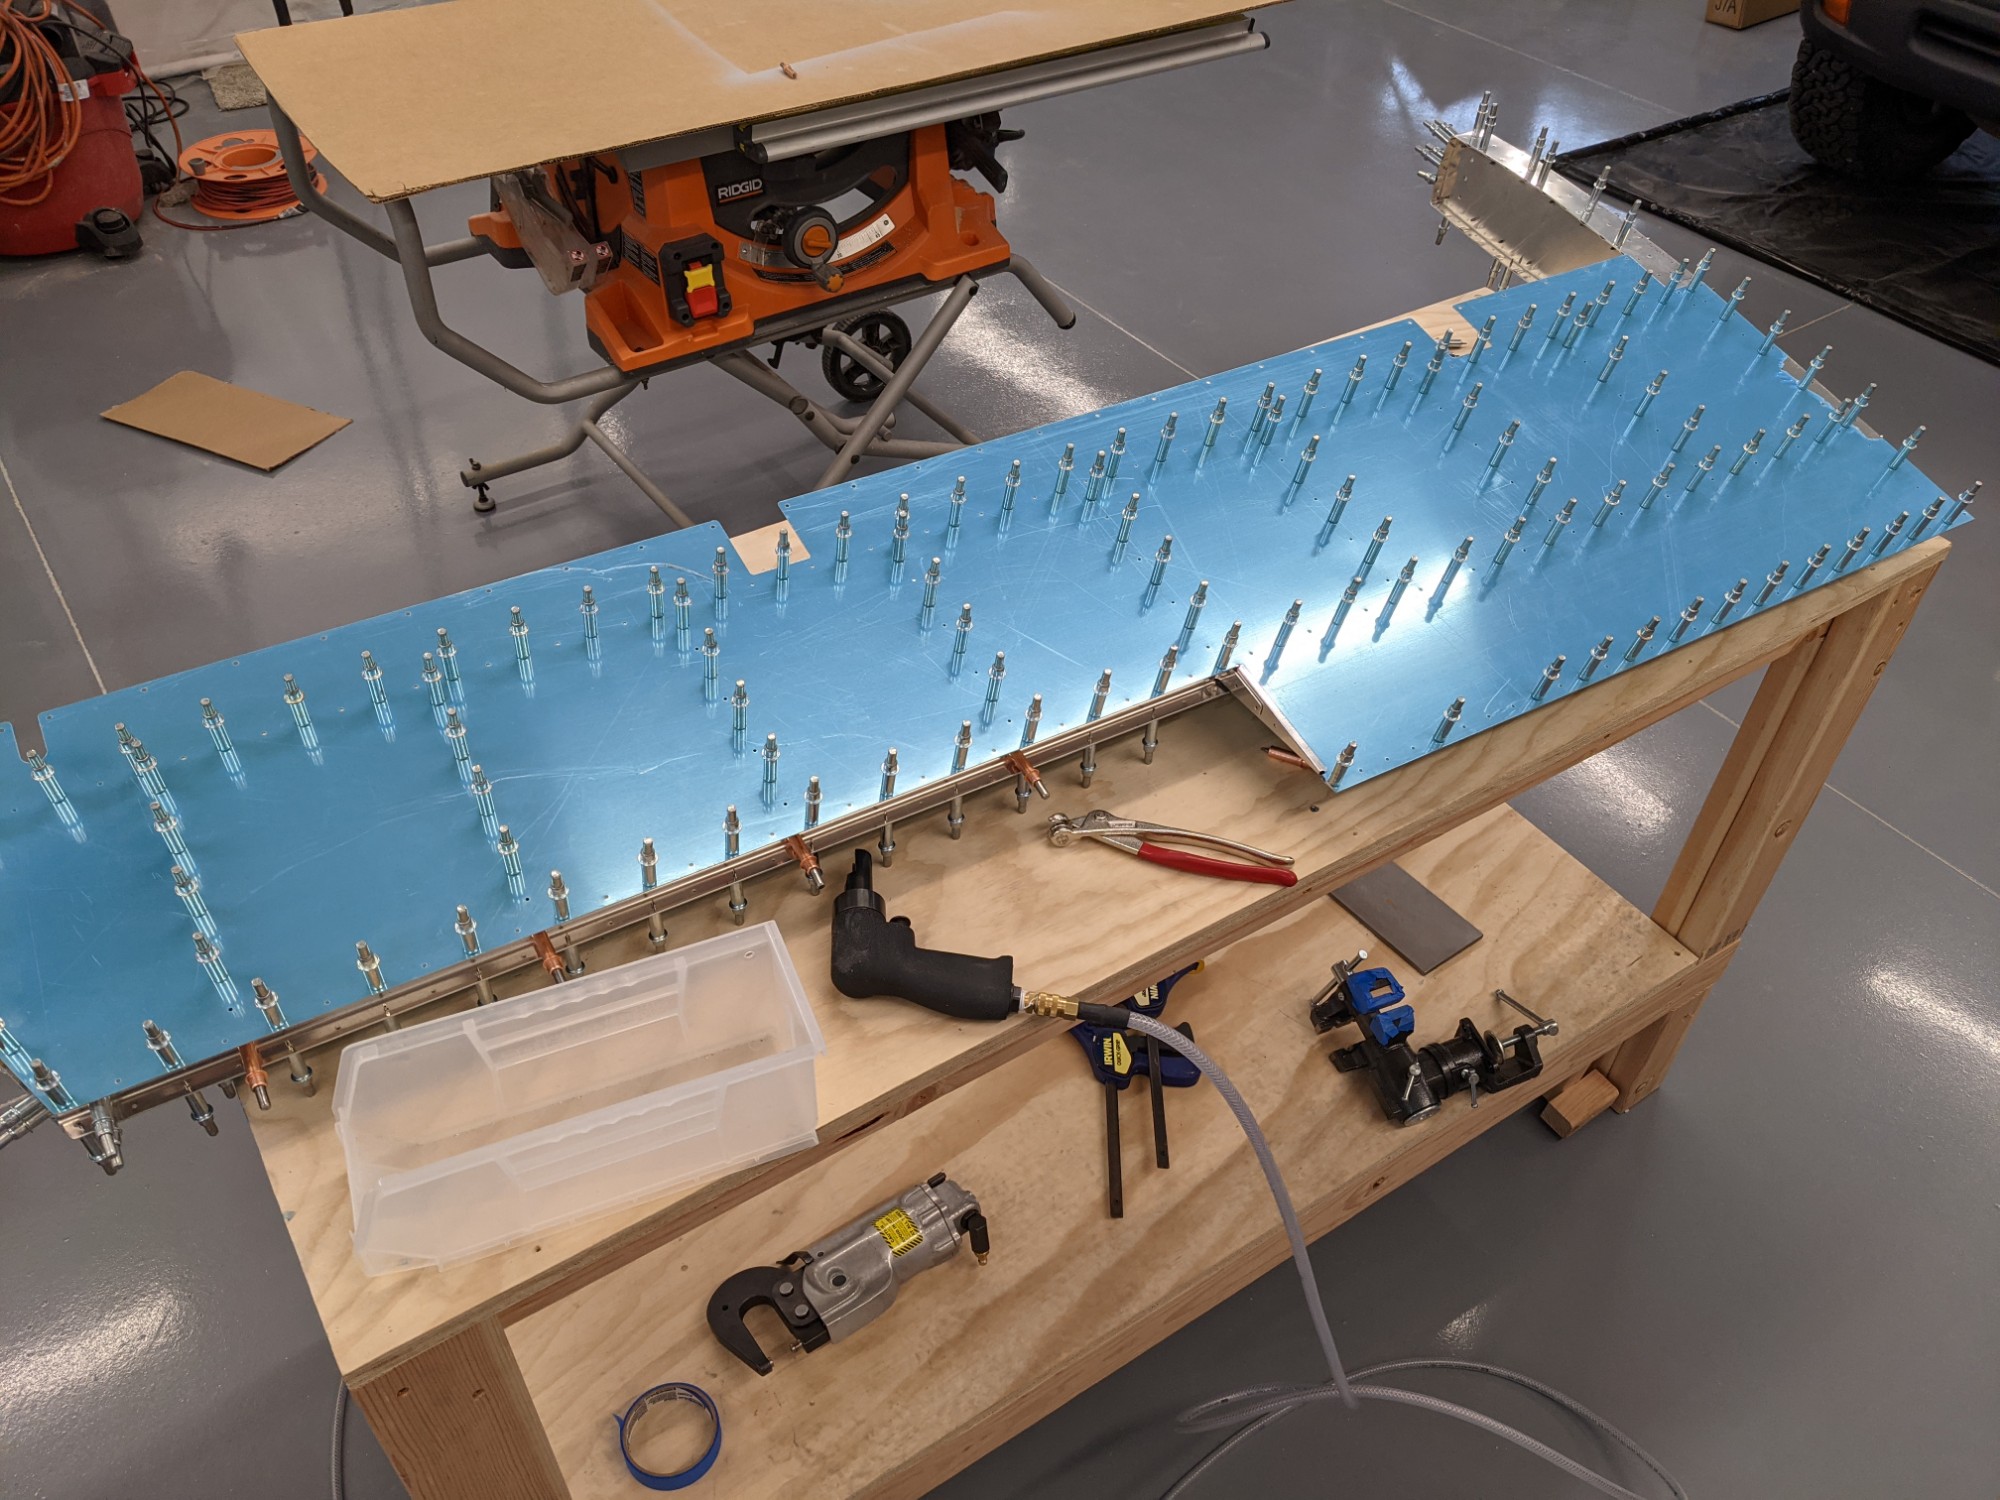
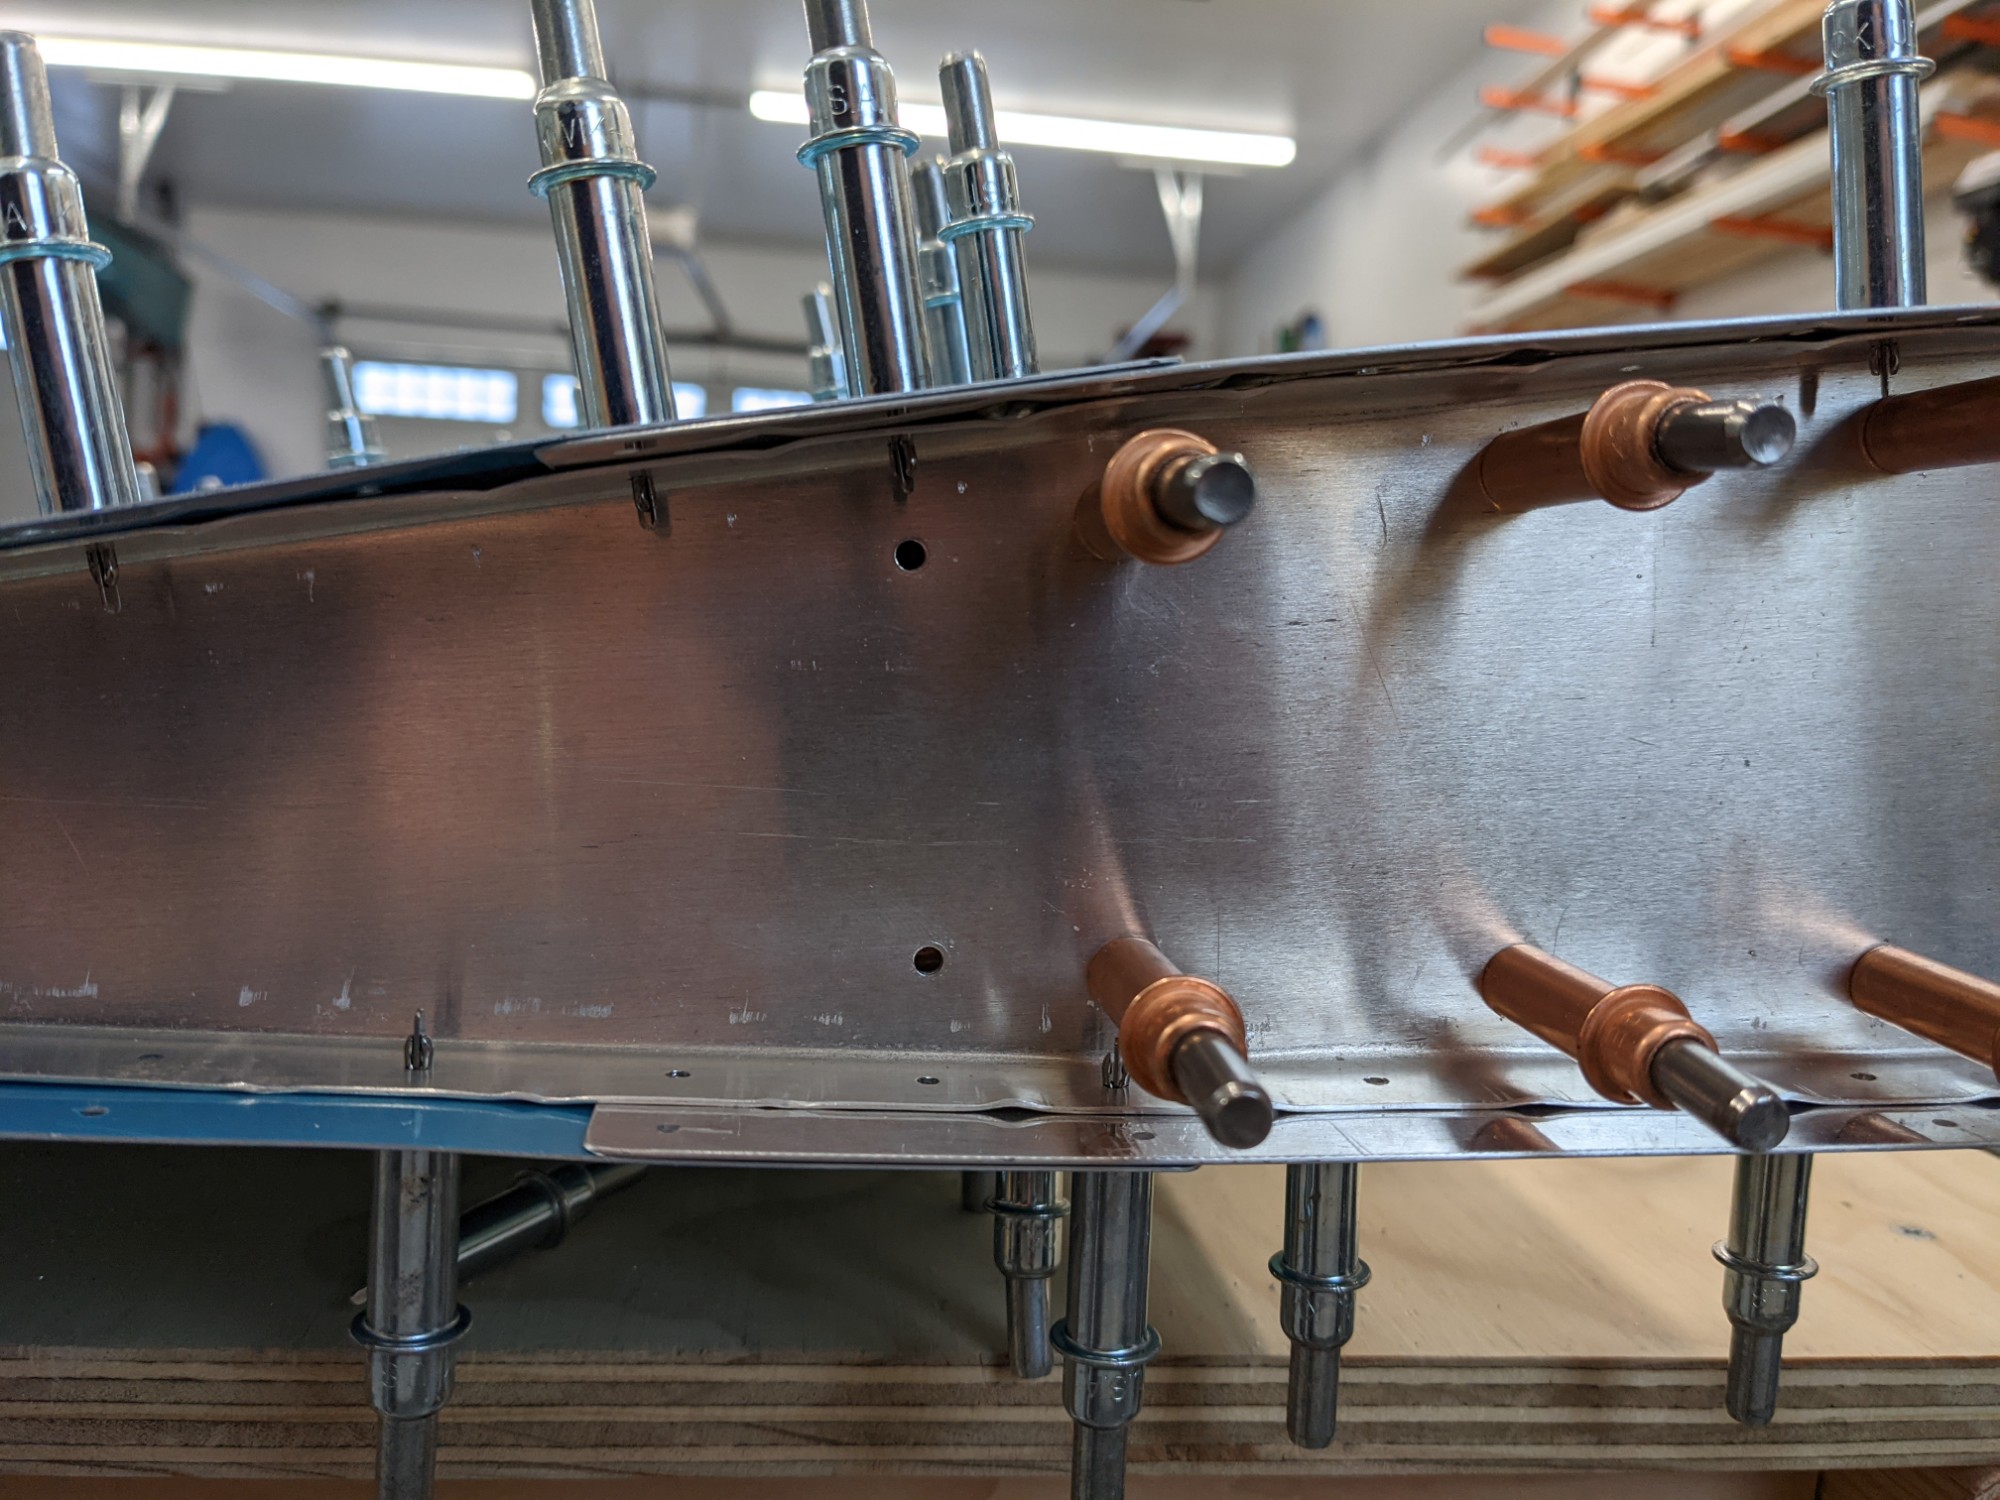
After the skins are attached to the trailing edge wedges the elevator tabs are match drilled. The bends lined up perfectly with each other and with the shear clips. I’m very happy with the bends and the resulting fit and finish.
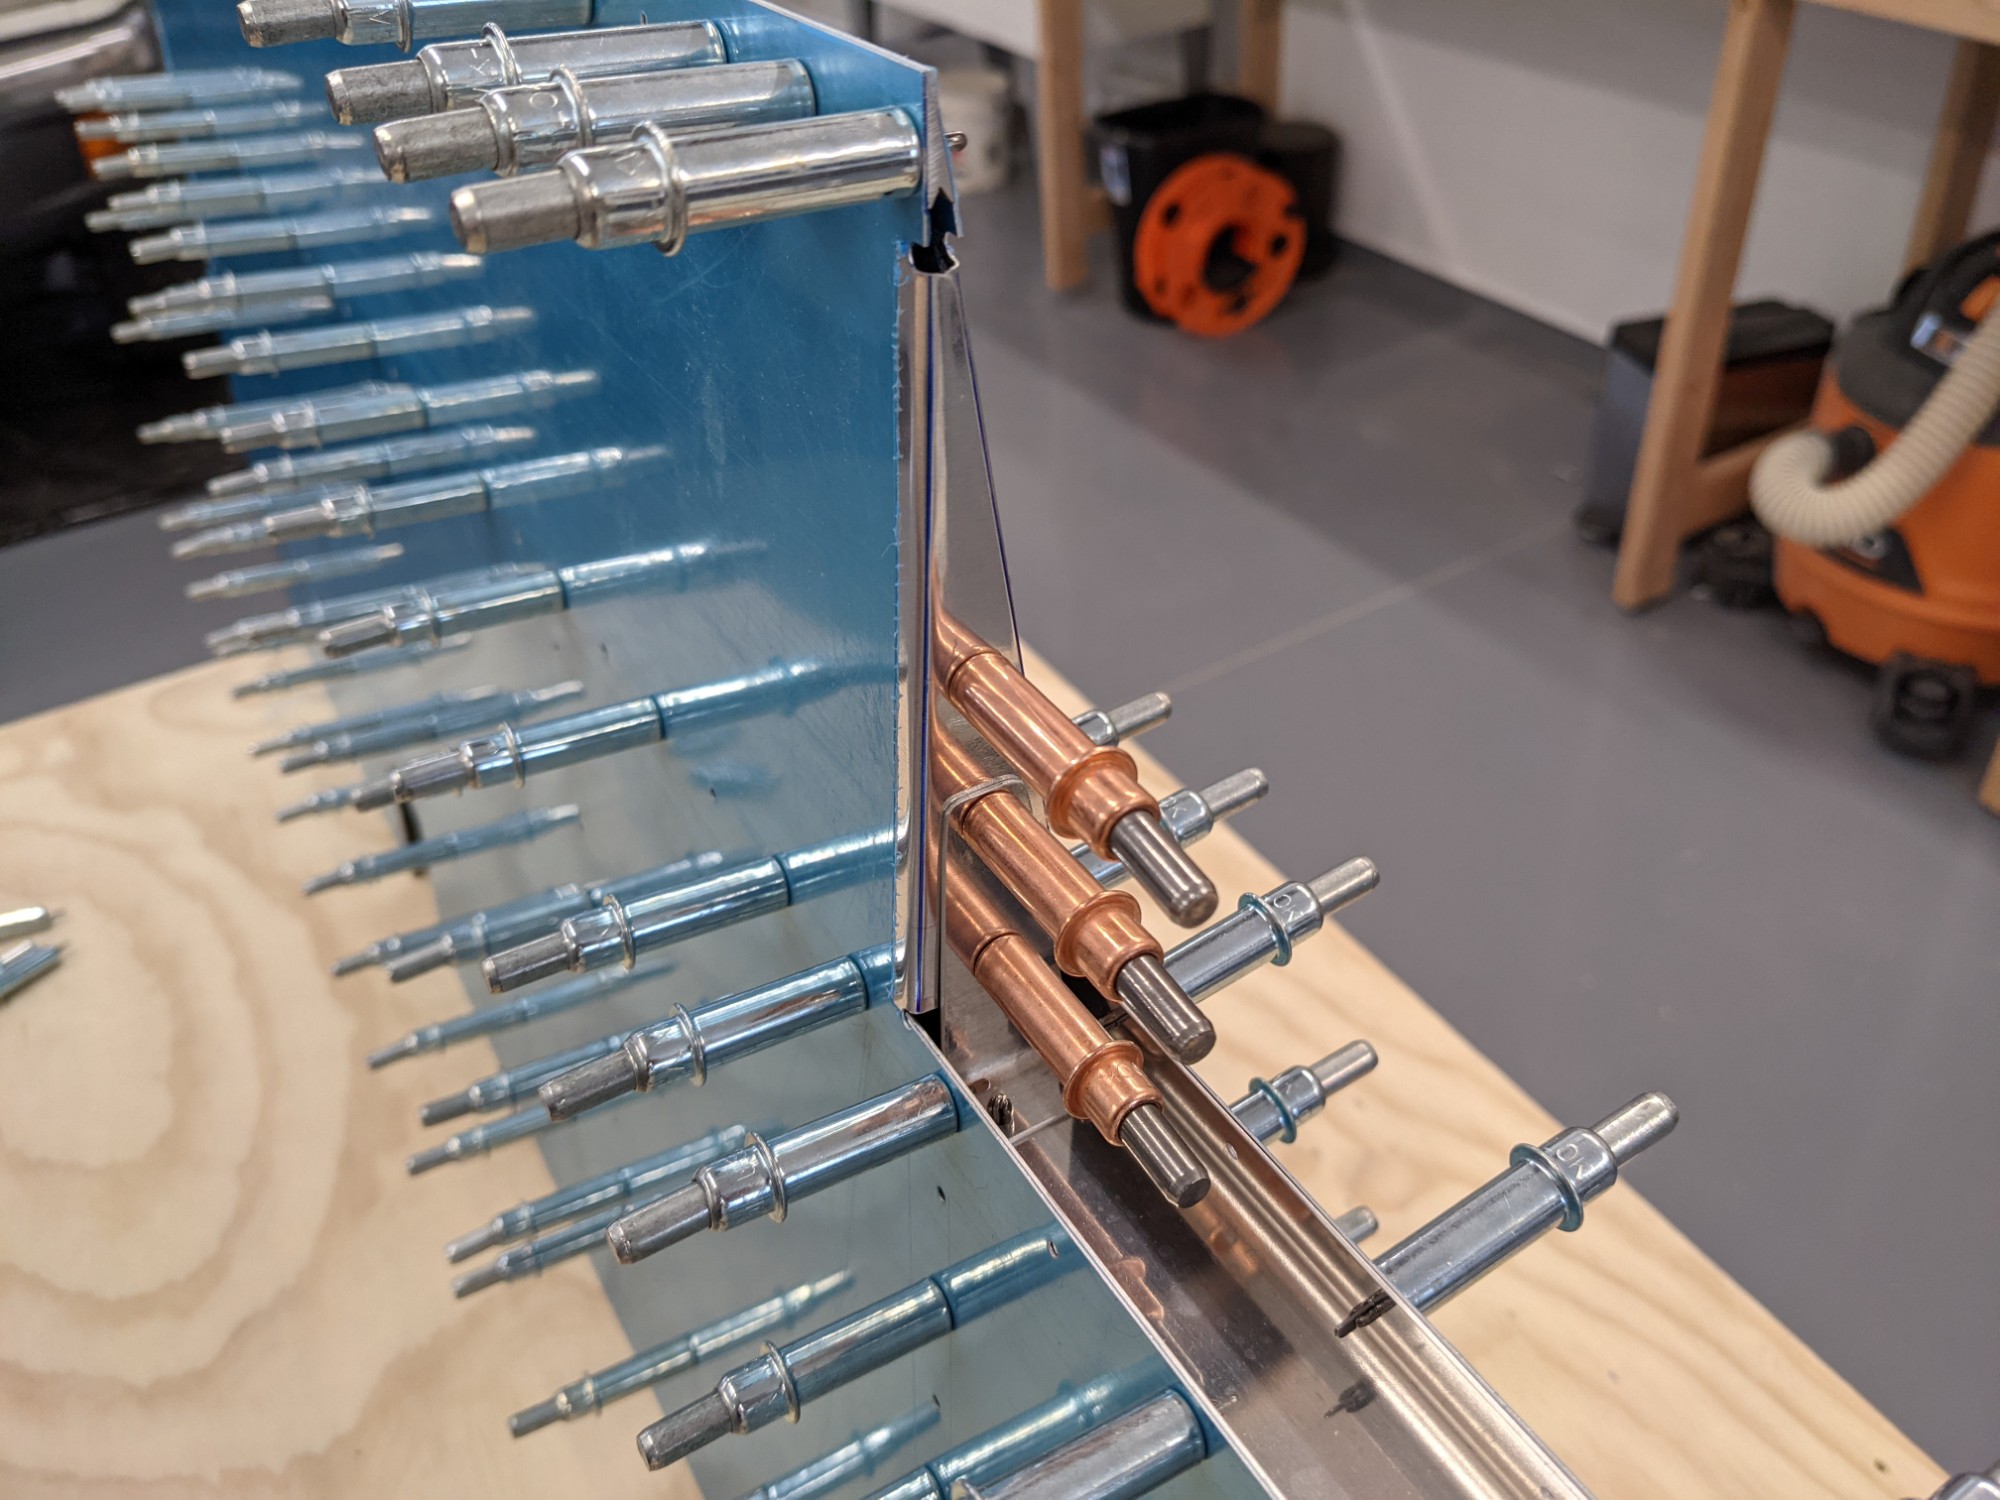
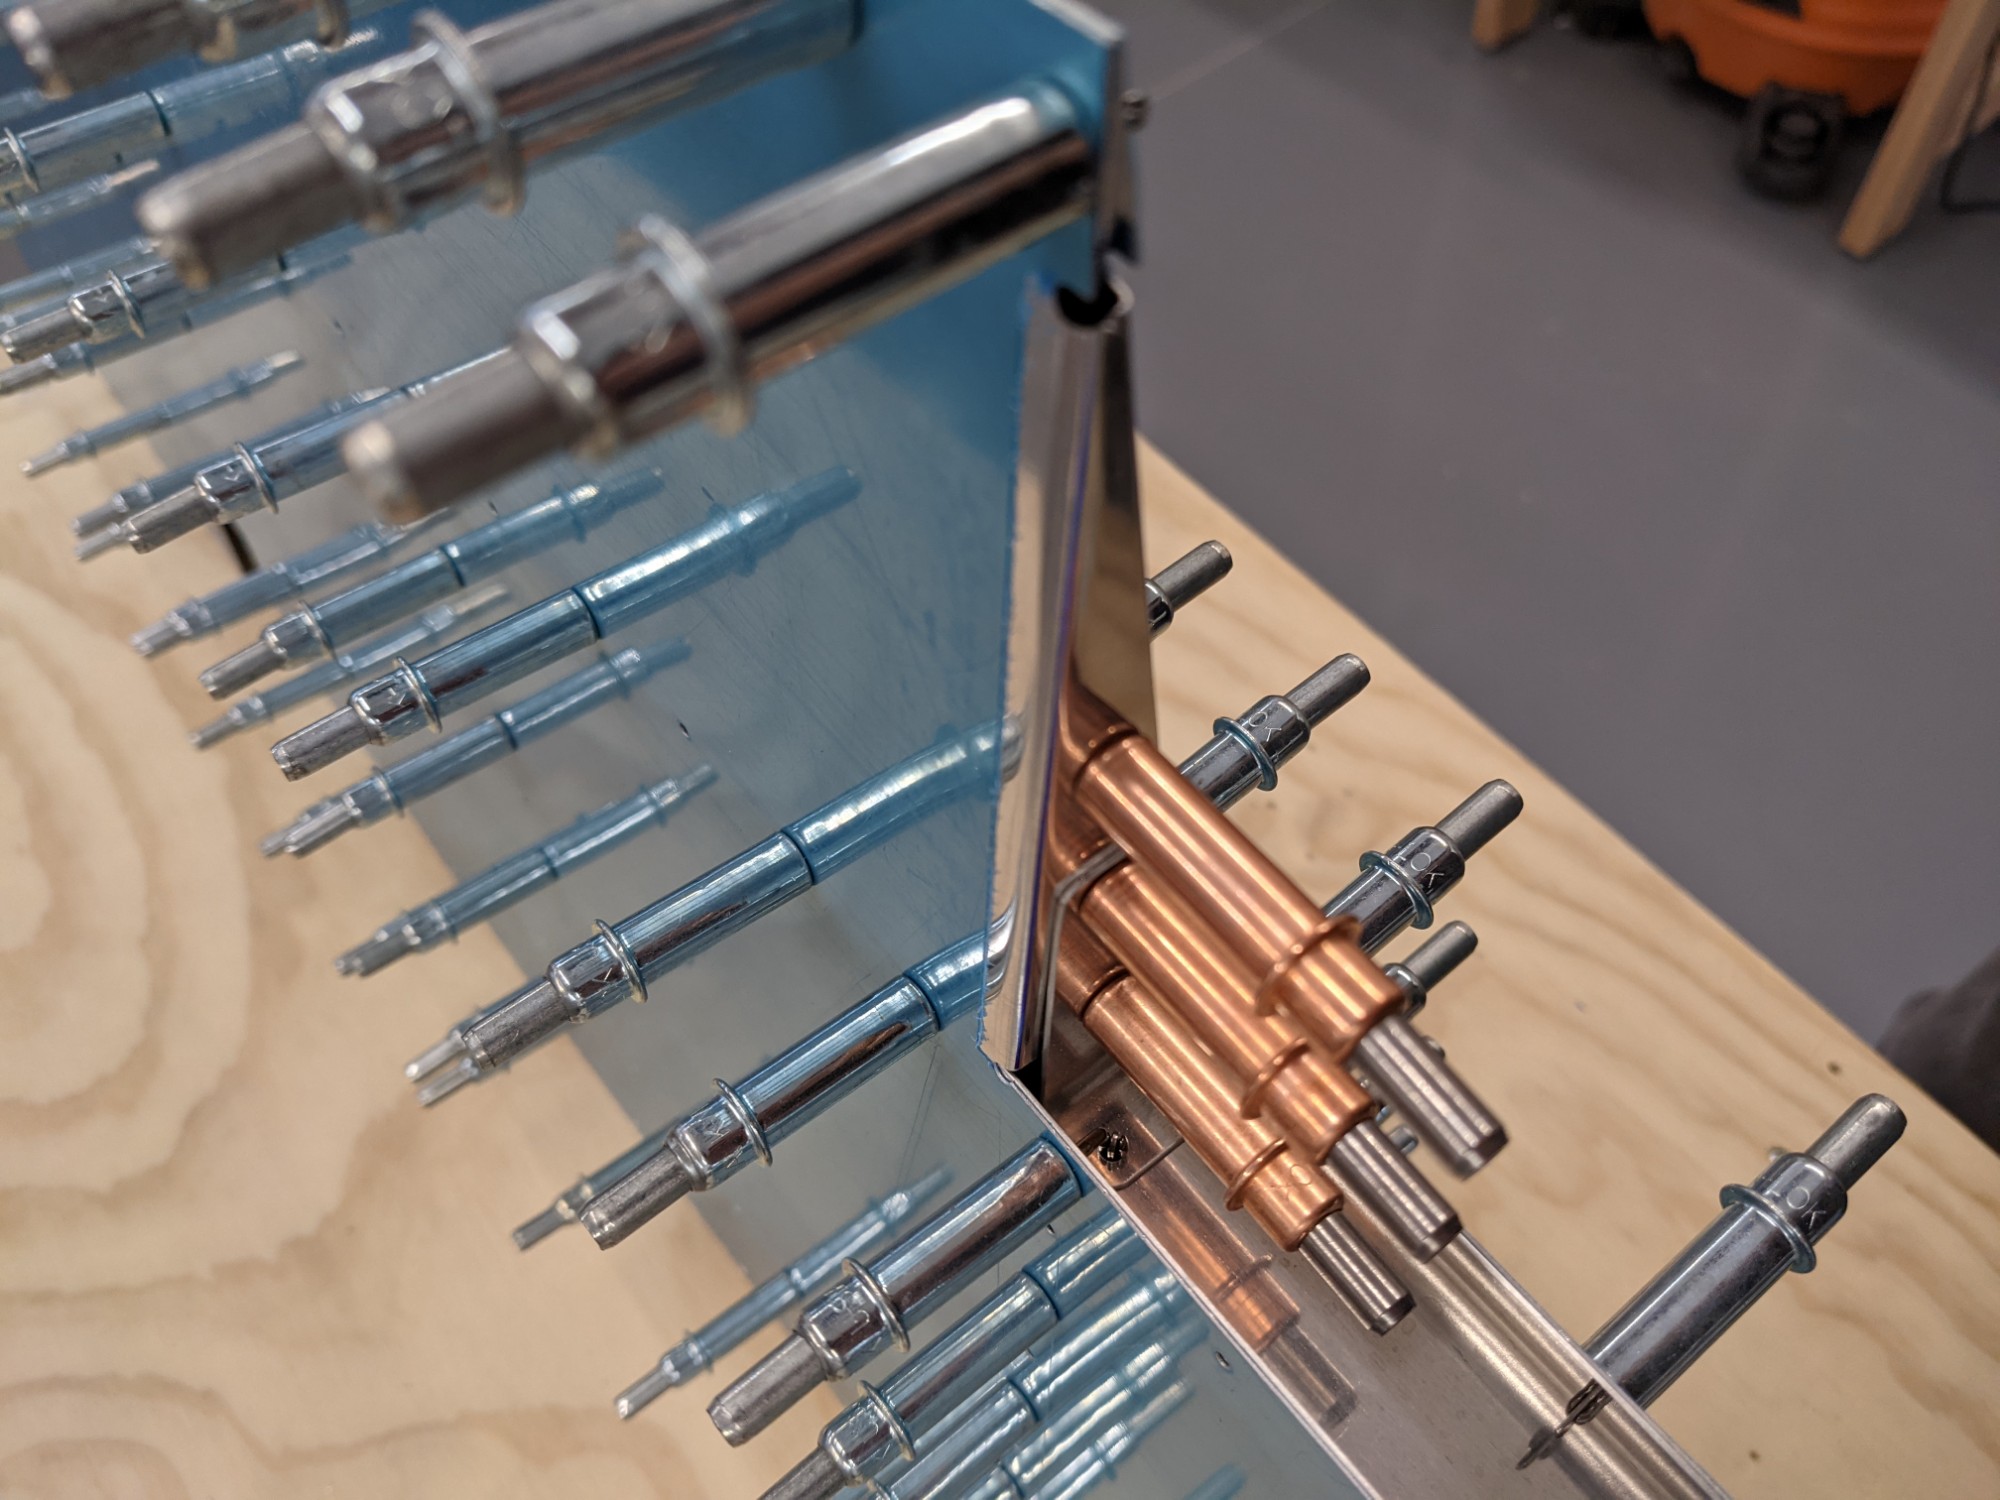
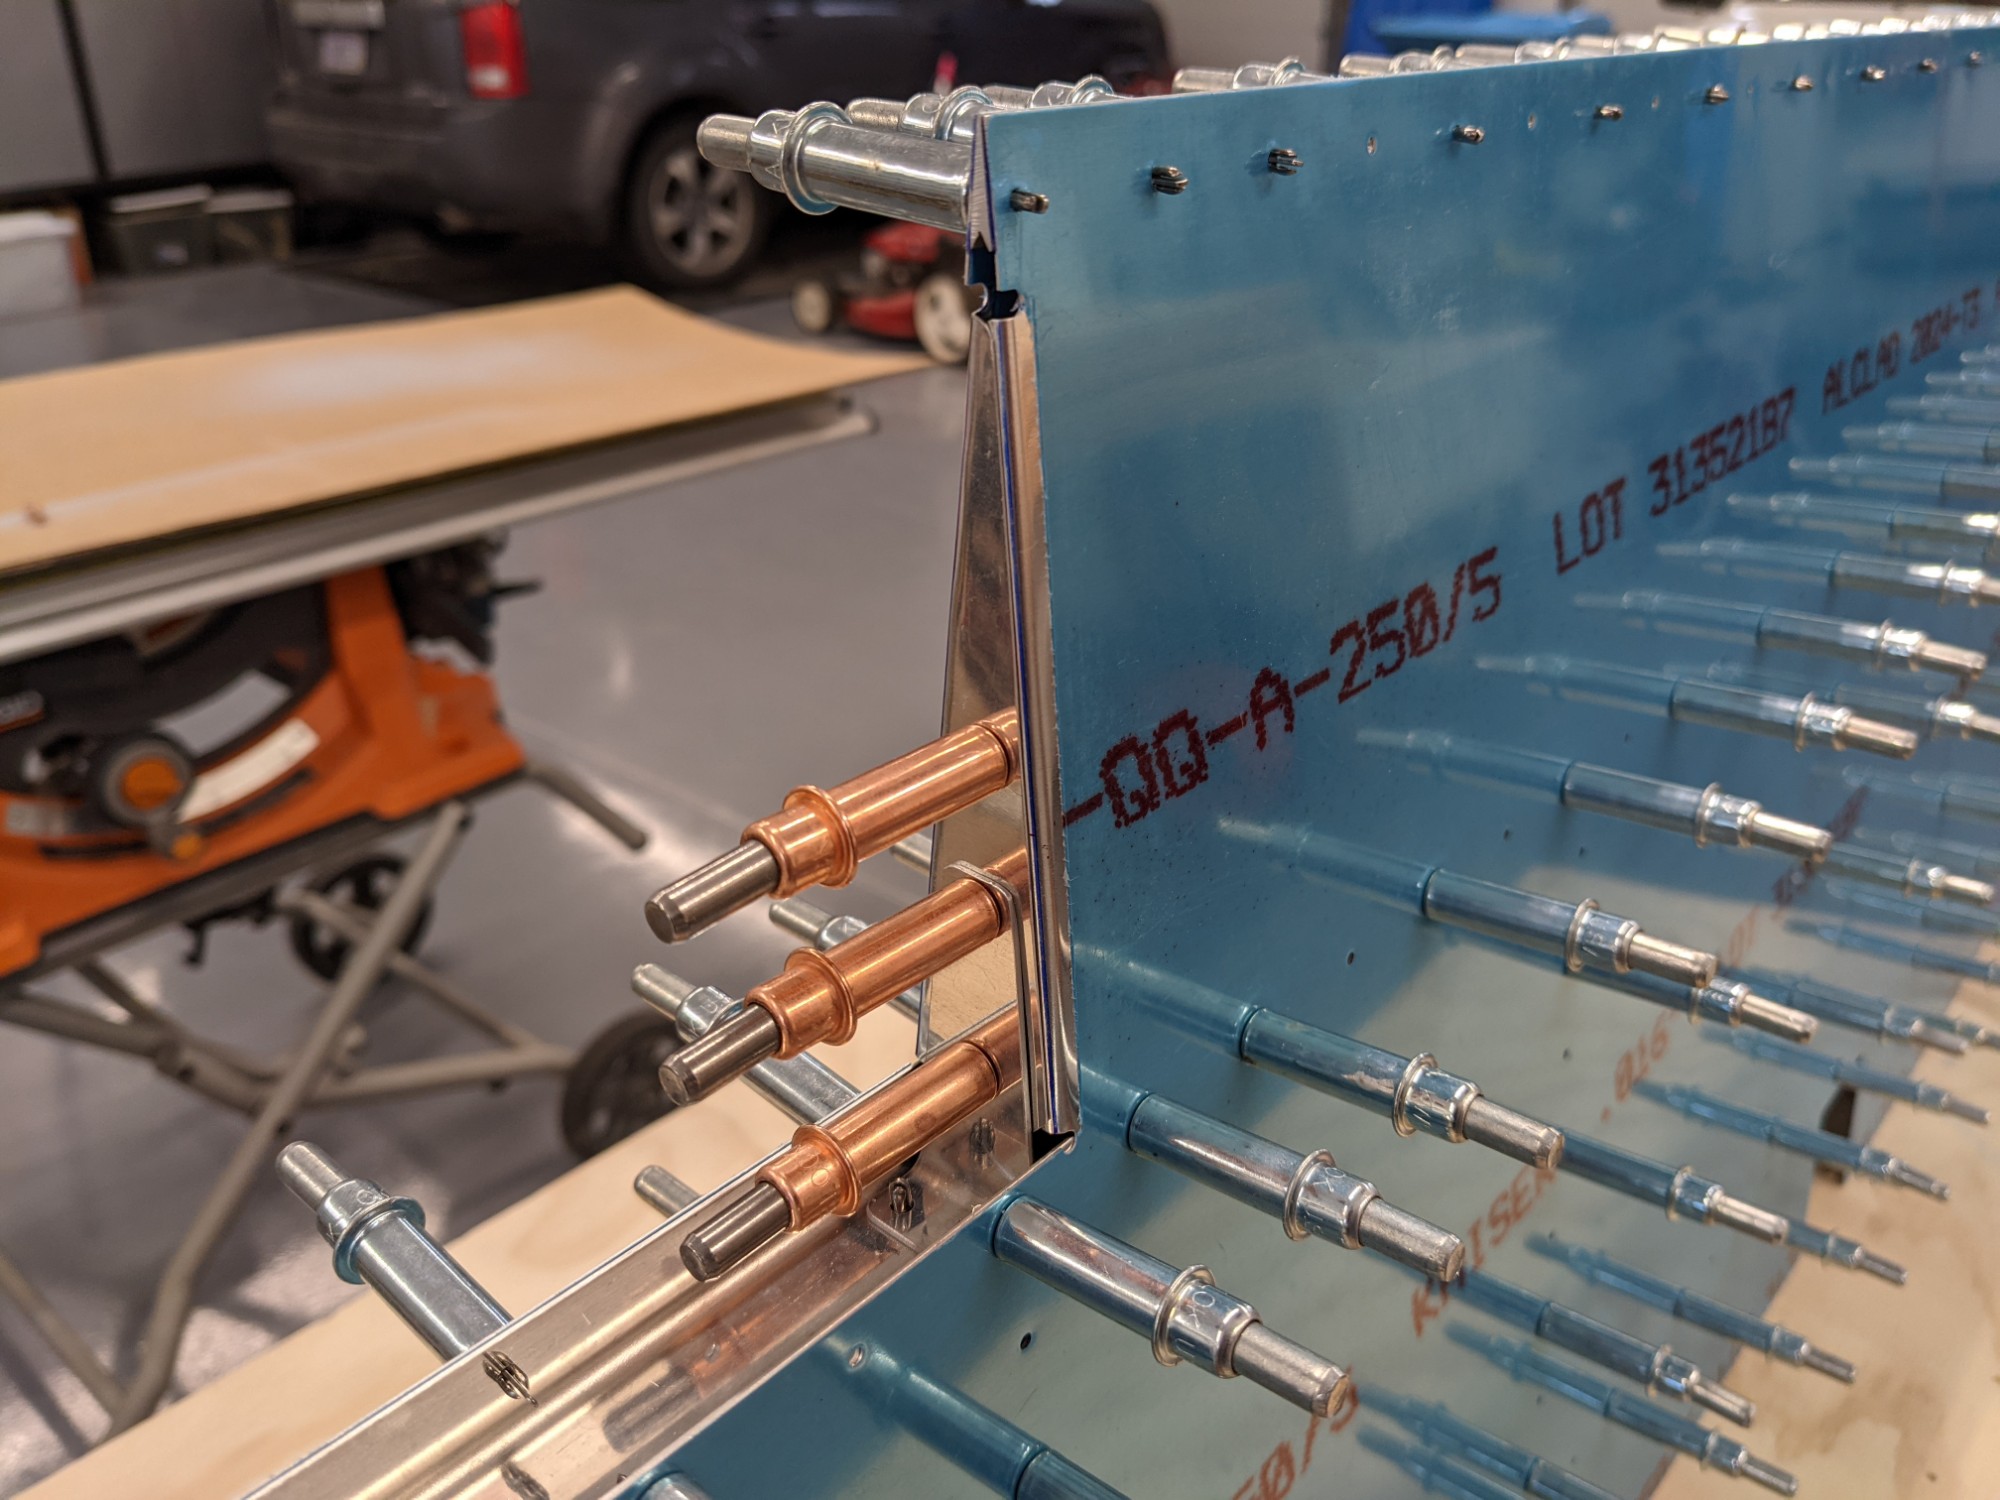
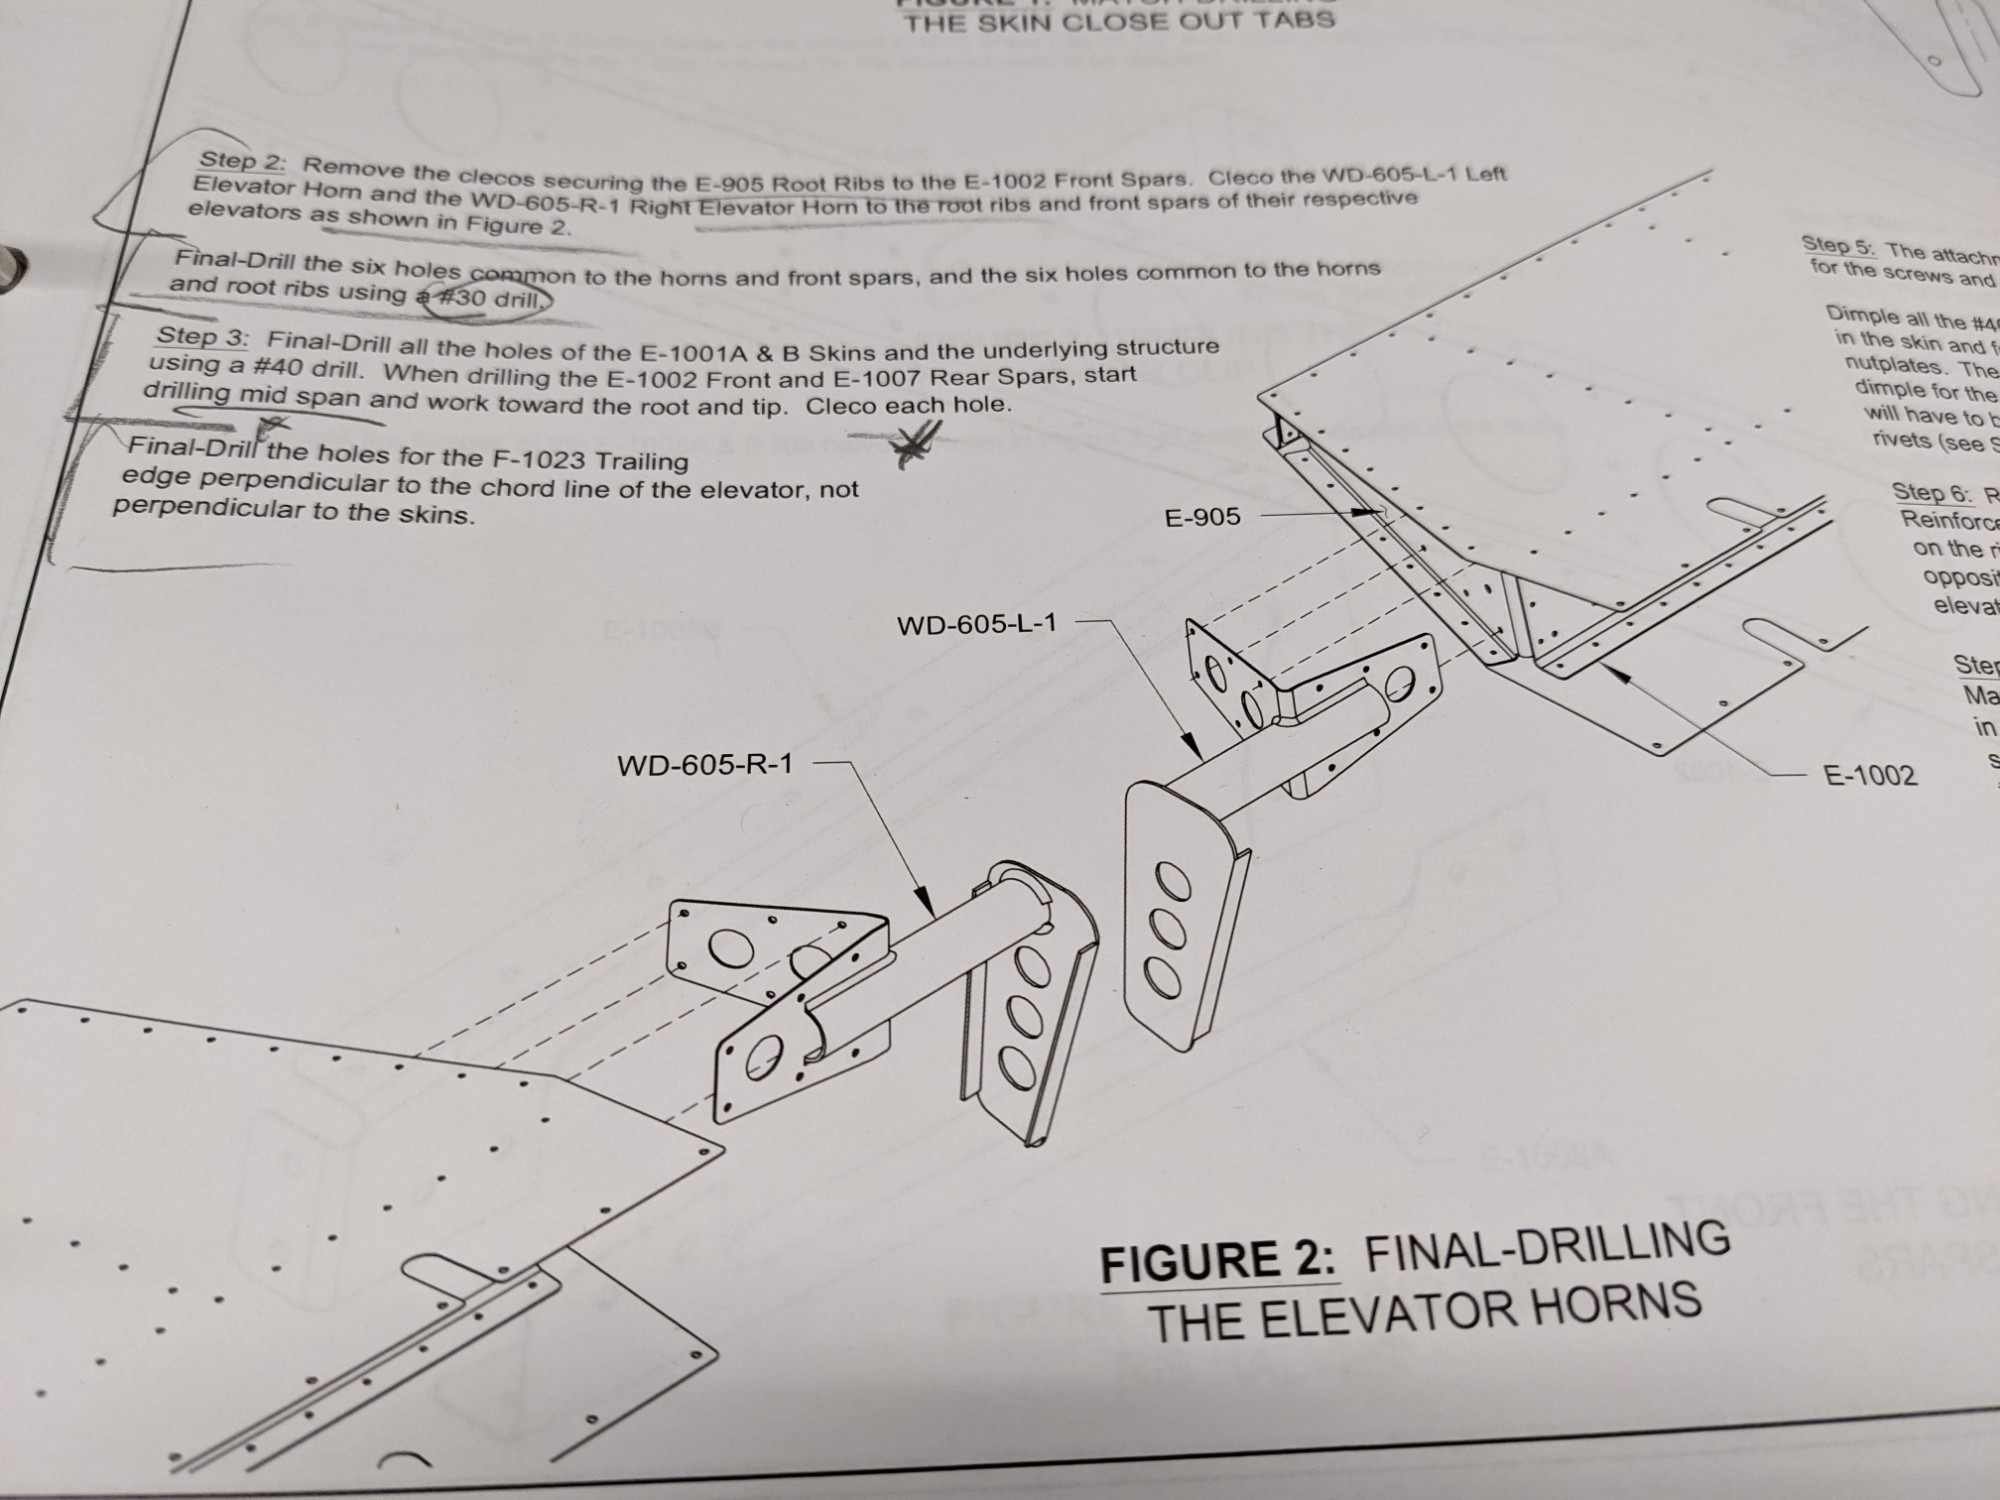
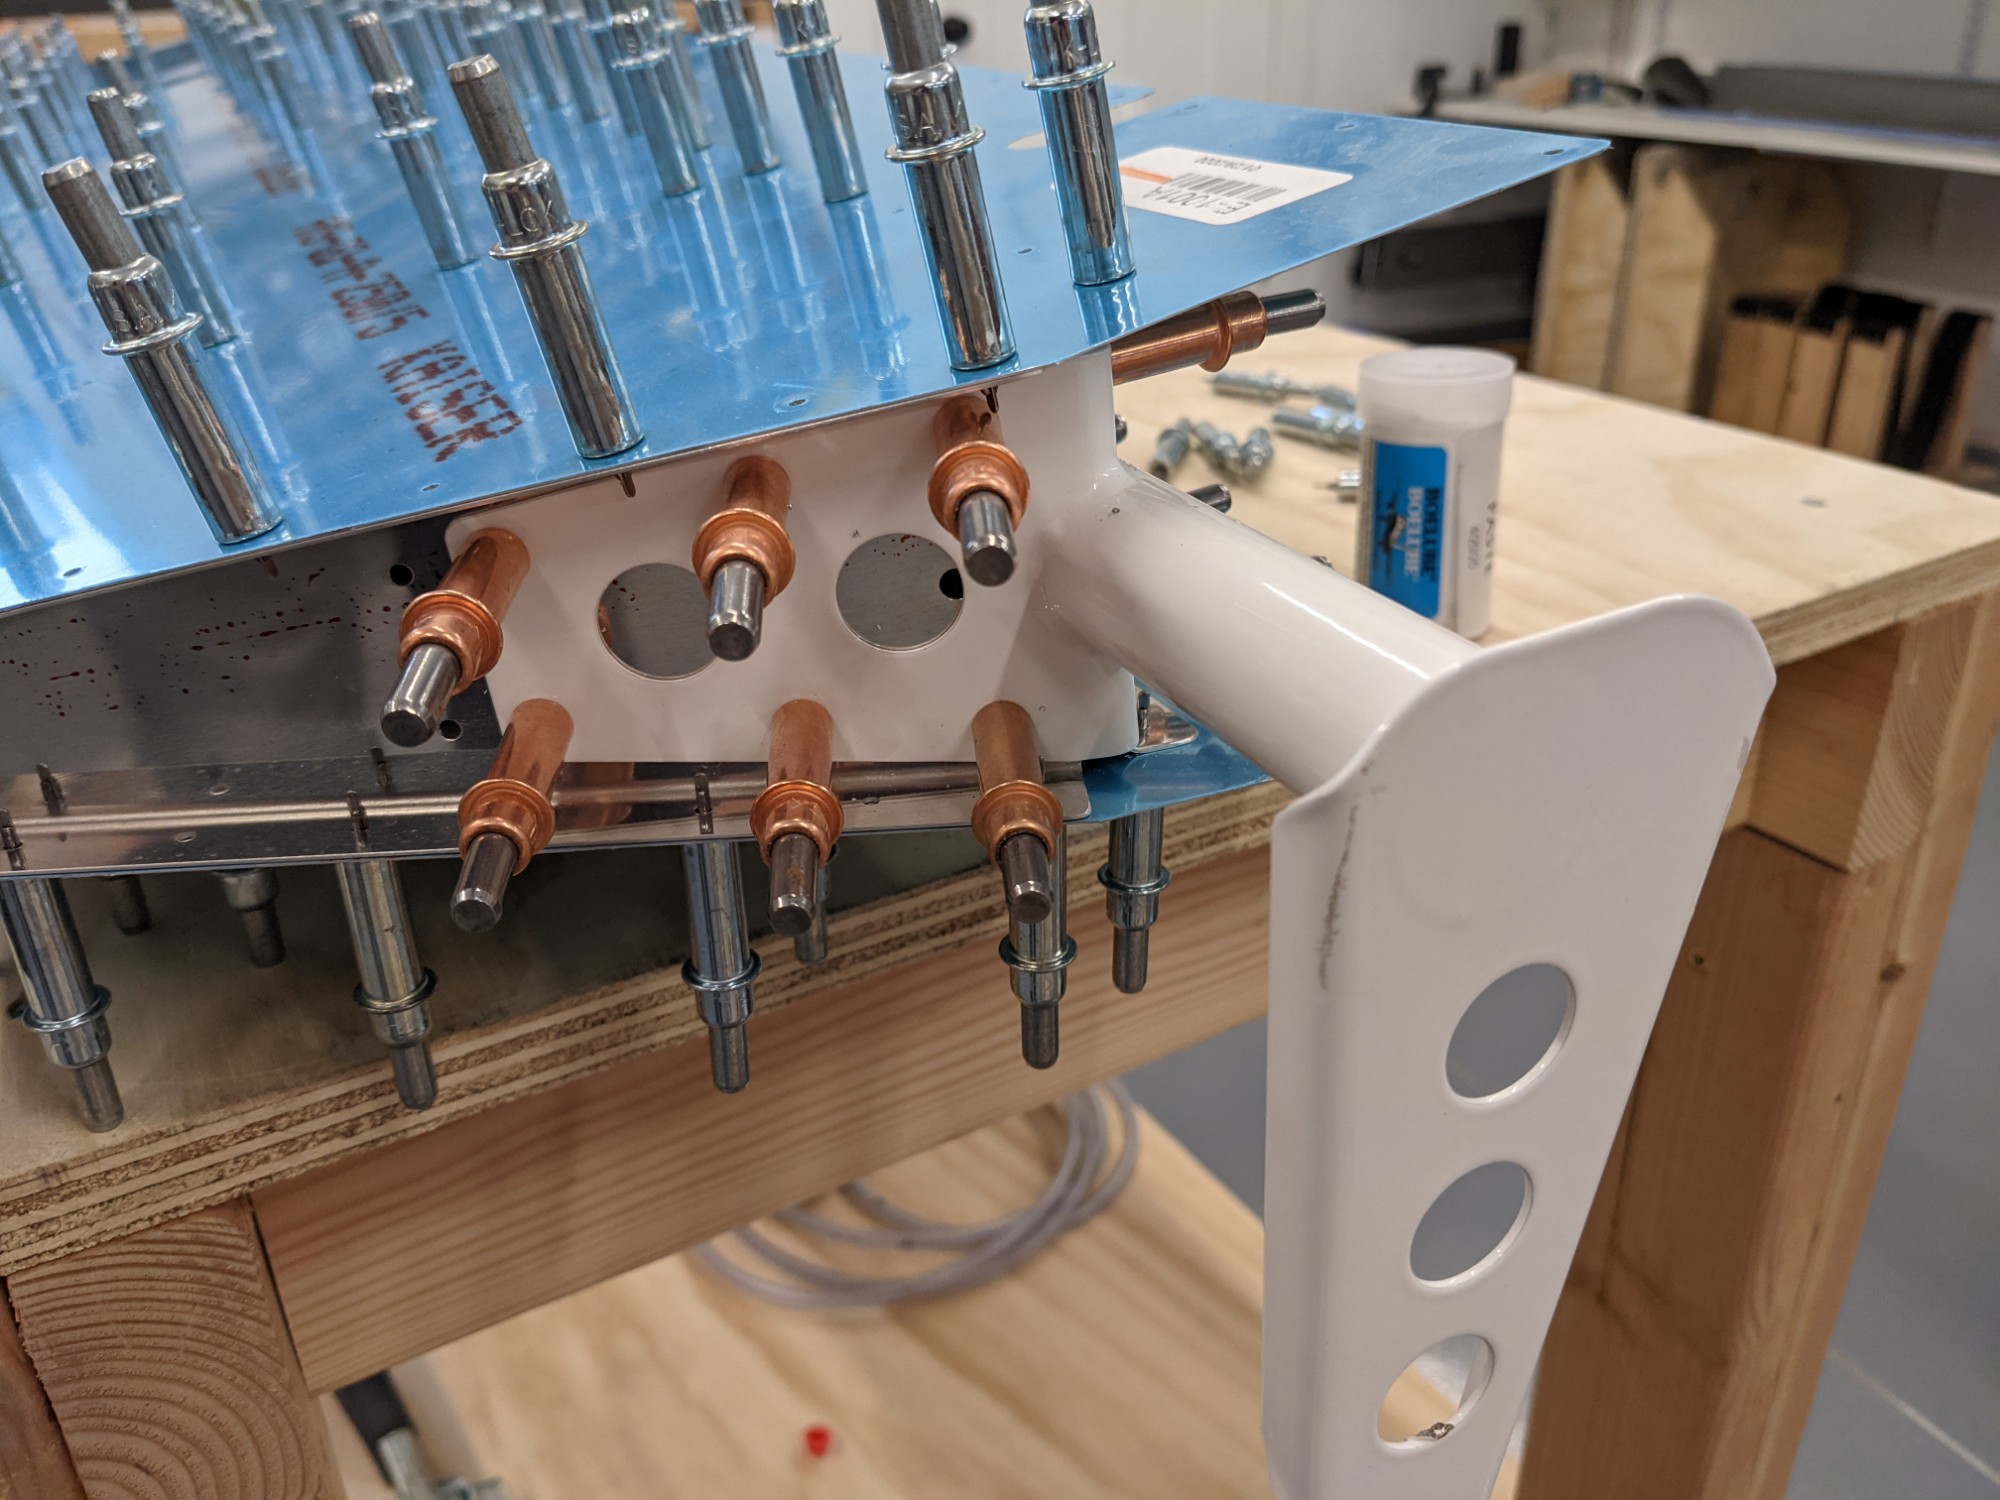
Next up is attaching and final sizing the holes common between the elevator horns, the spars, and the root ribs. I also final sized these holes with a reamer.
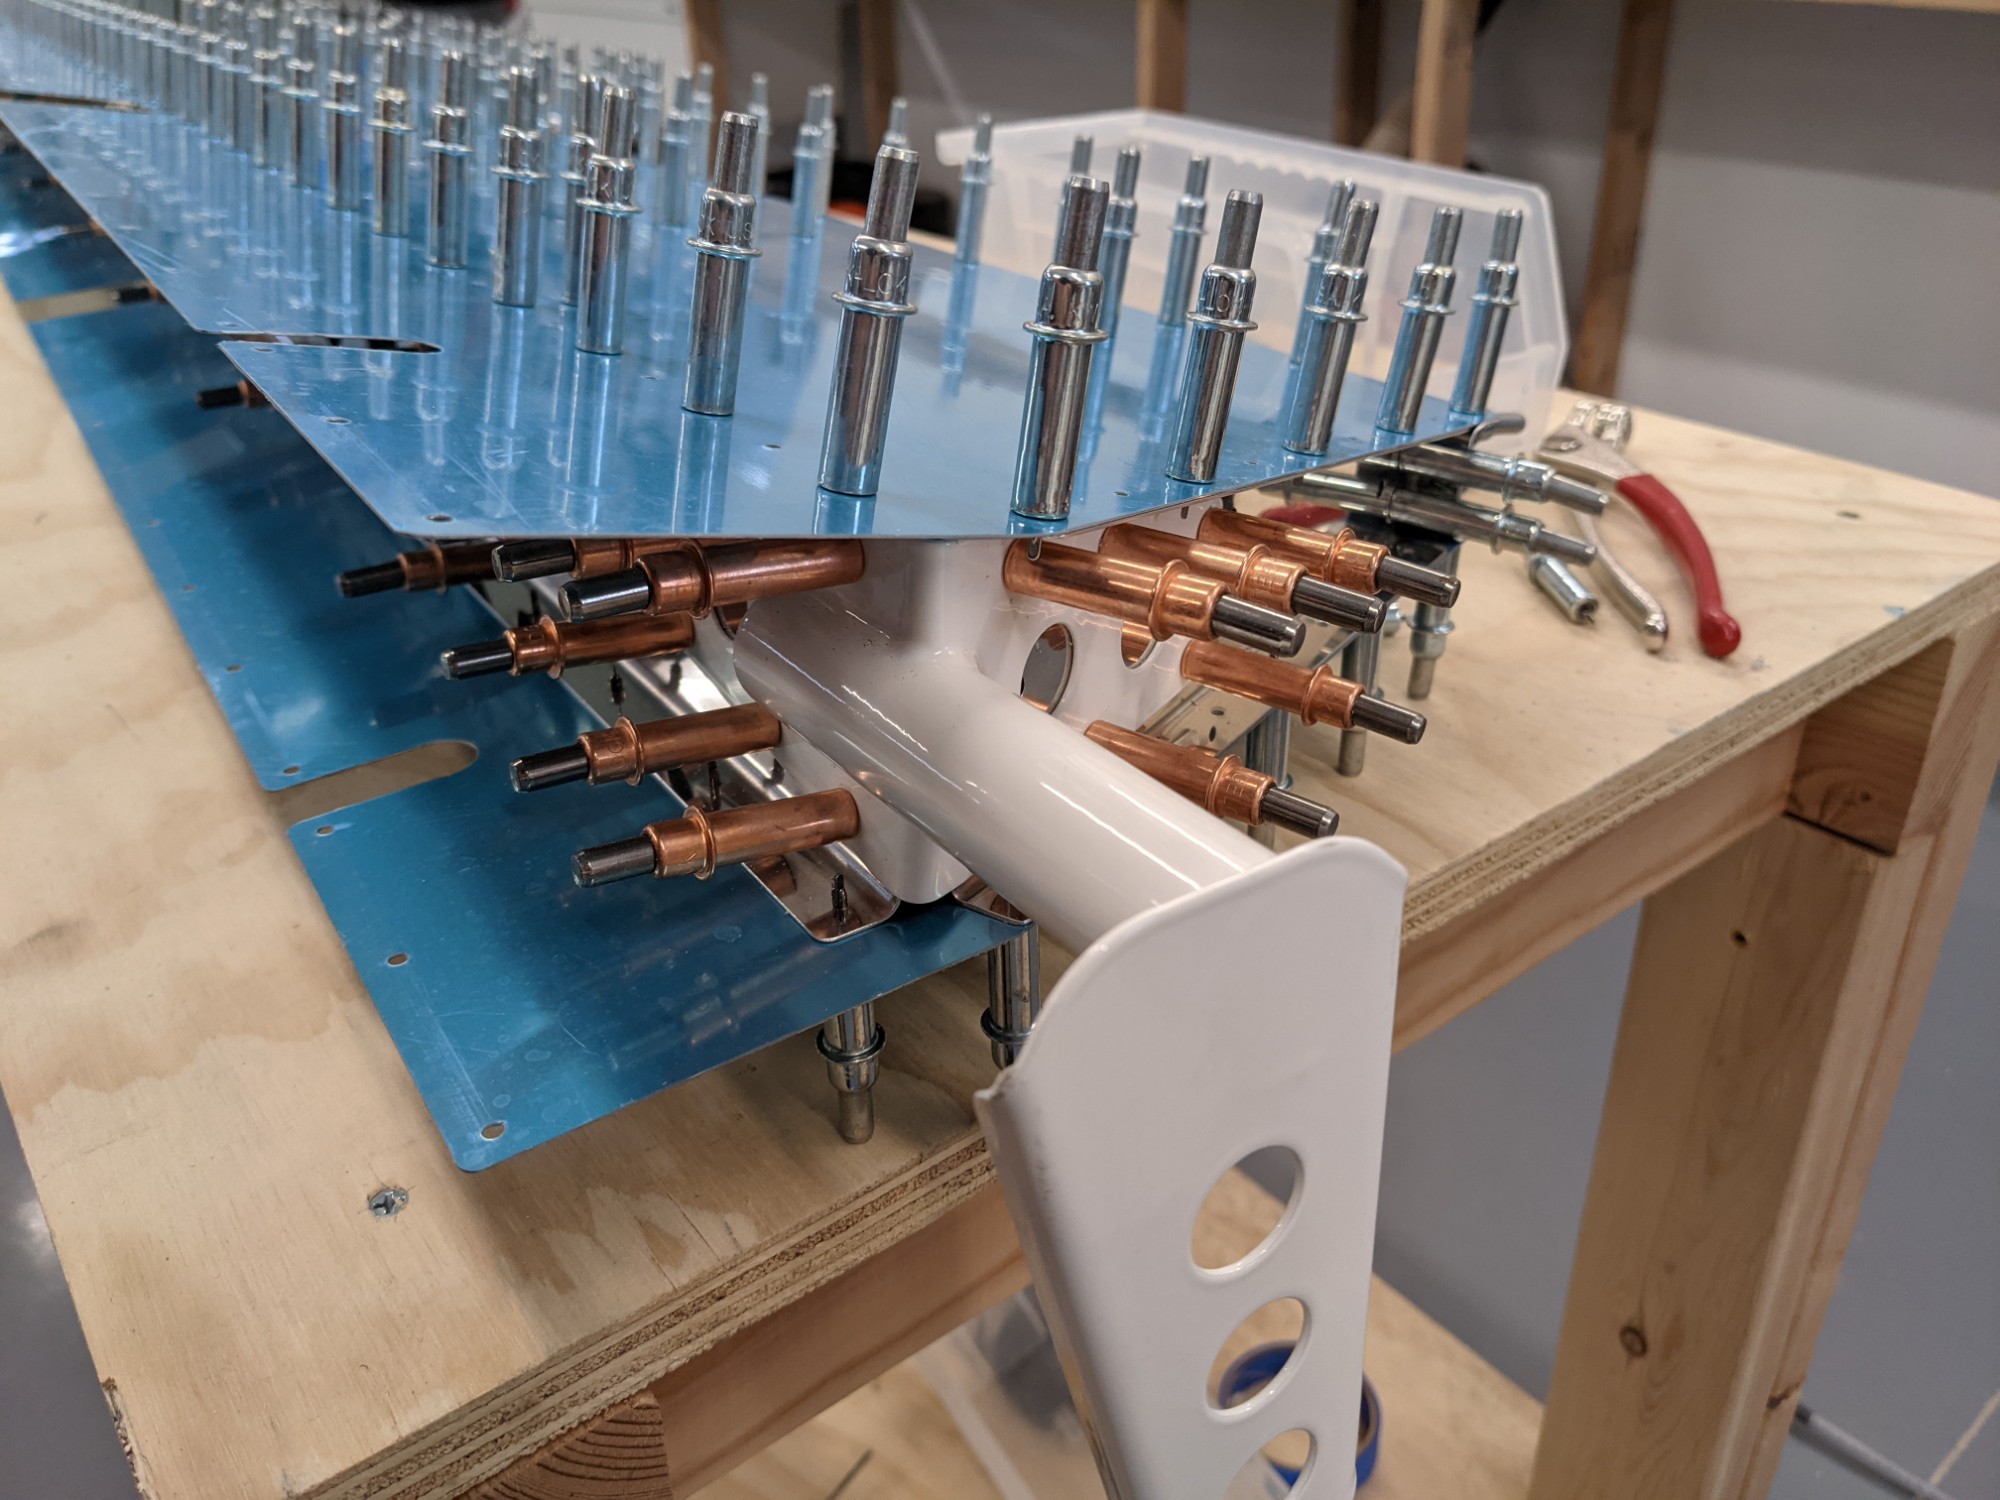
Then the fun part starts, the match drilling of the skins to the underlying assembly. The plans recommend starting from the middle of the spars and working outwards to the edges while clecoing every hole. We did just that and it took about an hour with Leah’s help moving the clecos.
I then final sized the holes in the trailing edge using a guide block that I had created for the rudder trailing edge. It was time for bed so we decided to tackle the other elevator in the morning.