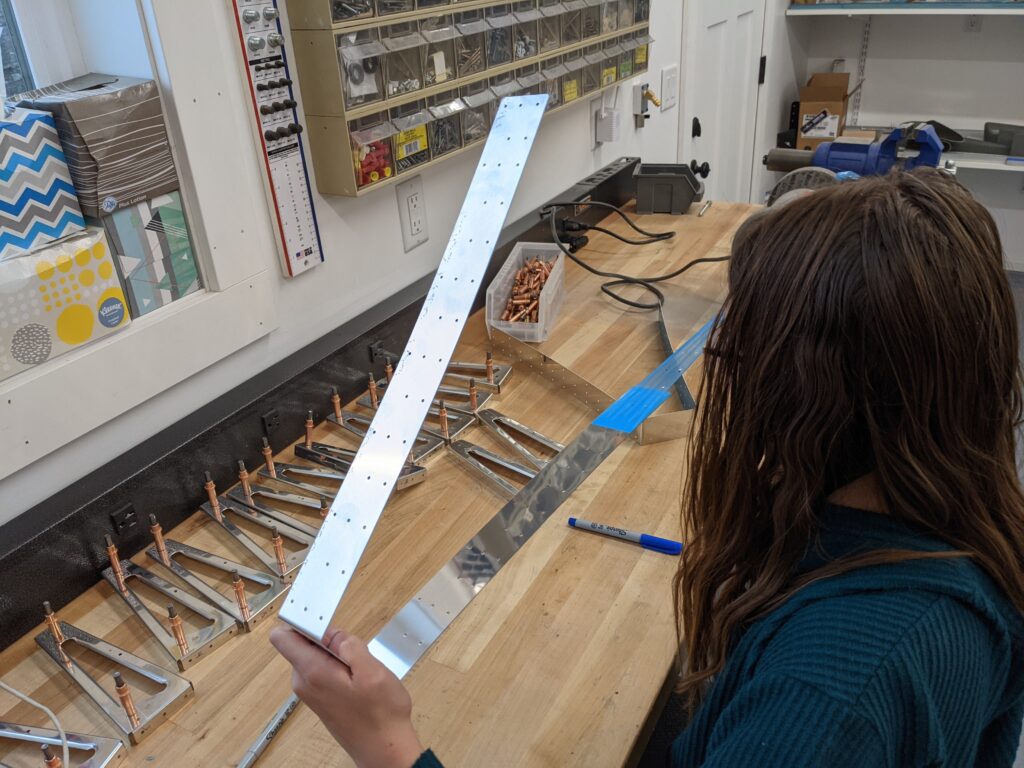
I started prepping parts for the elevators today.
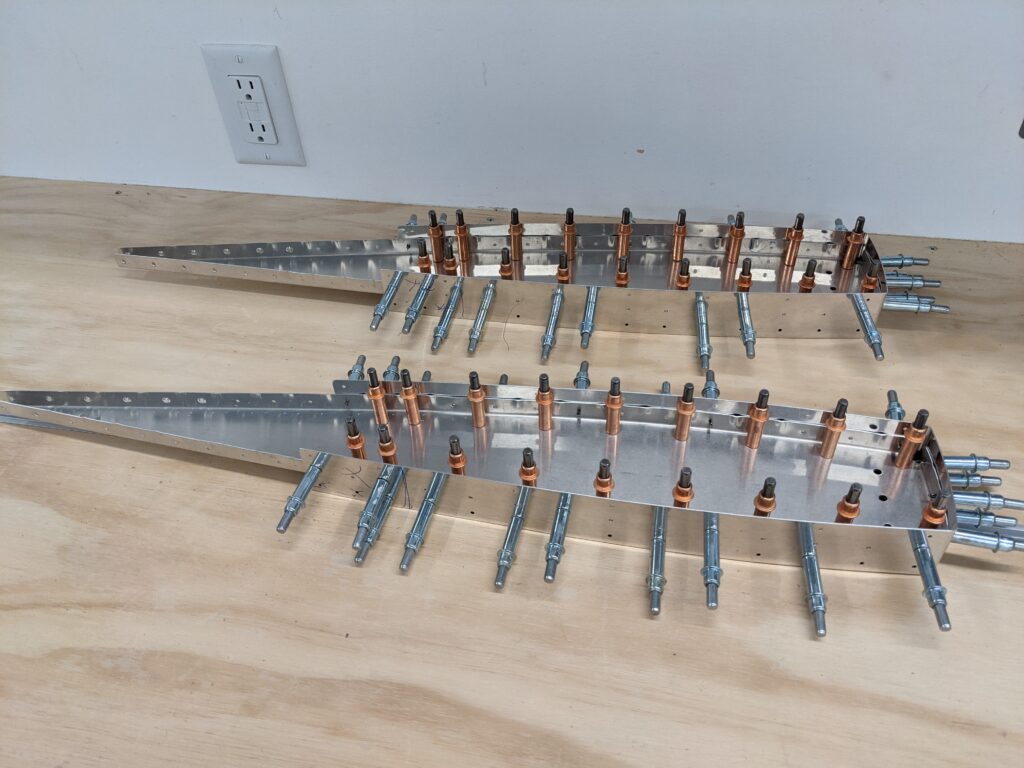
I have a new flush rivet set arriving Monday (a Boeing Anti-Slip Flush Rivet Set) that I want to try out on the horizontal stabilizer before finishing up that assembly. I riveted the bottom side of the front spar using the mushroom set from Cleaveland Tool. I’m happy with the rivets but there is some minor deformation along the rivet line that I want to see if I can improve upon. I figure I might as well try out a different tool now before getting too far along. It is likely technique on my part but I find it challenging to keep the rivet set in a fixed location without a free hand to stabilize it laterally. Since I will be doing most of the riveting by myself I’m curious to see if I can do a better job with an anti-slip rivet set. It has good reviews on the VAF forums for single-person riveting so I figured I would give it a try.
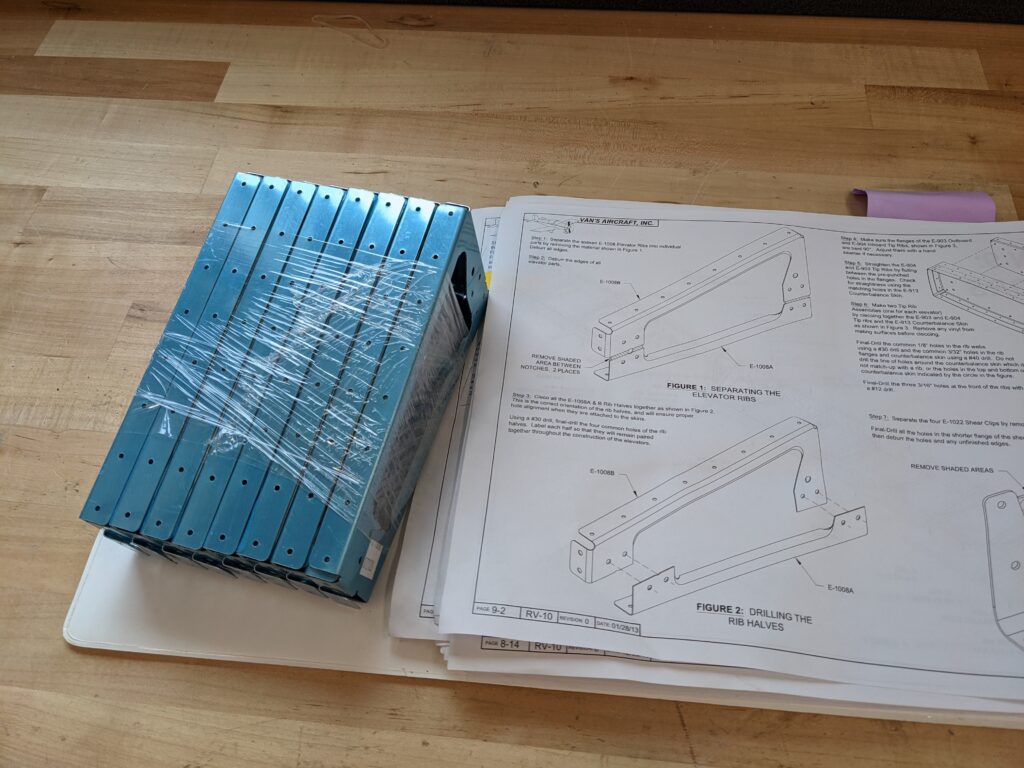
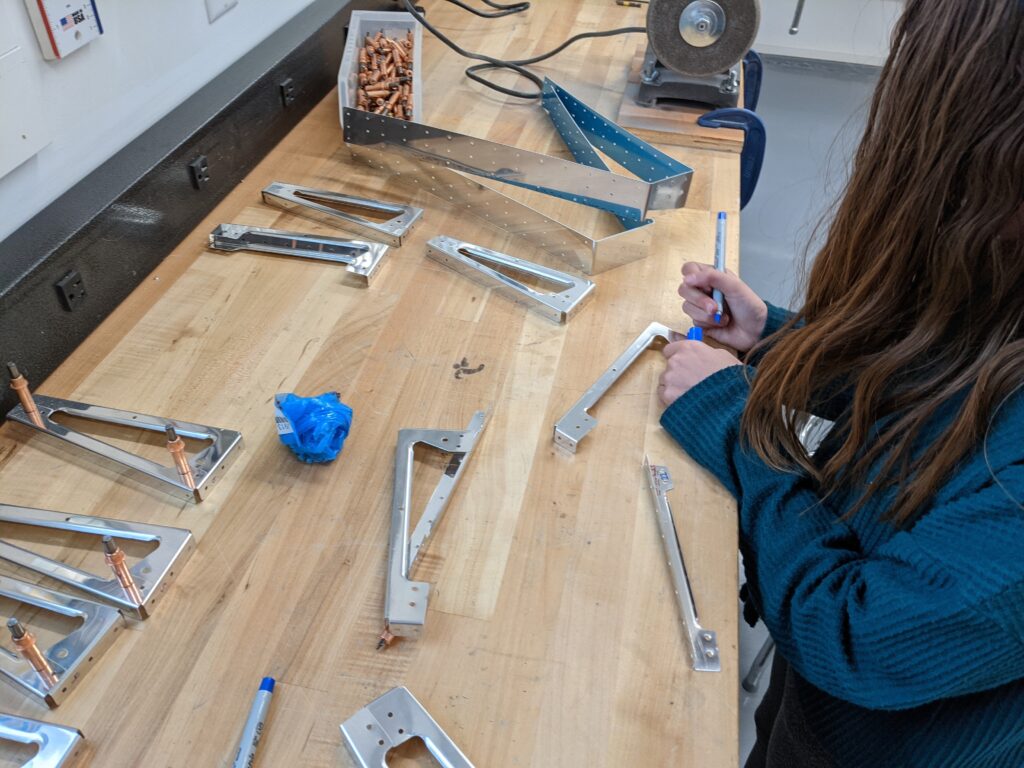
The work on the elevators starts with separating the elevator ribs into two parts.
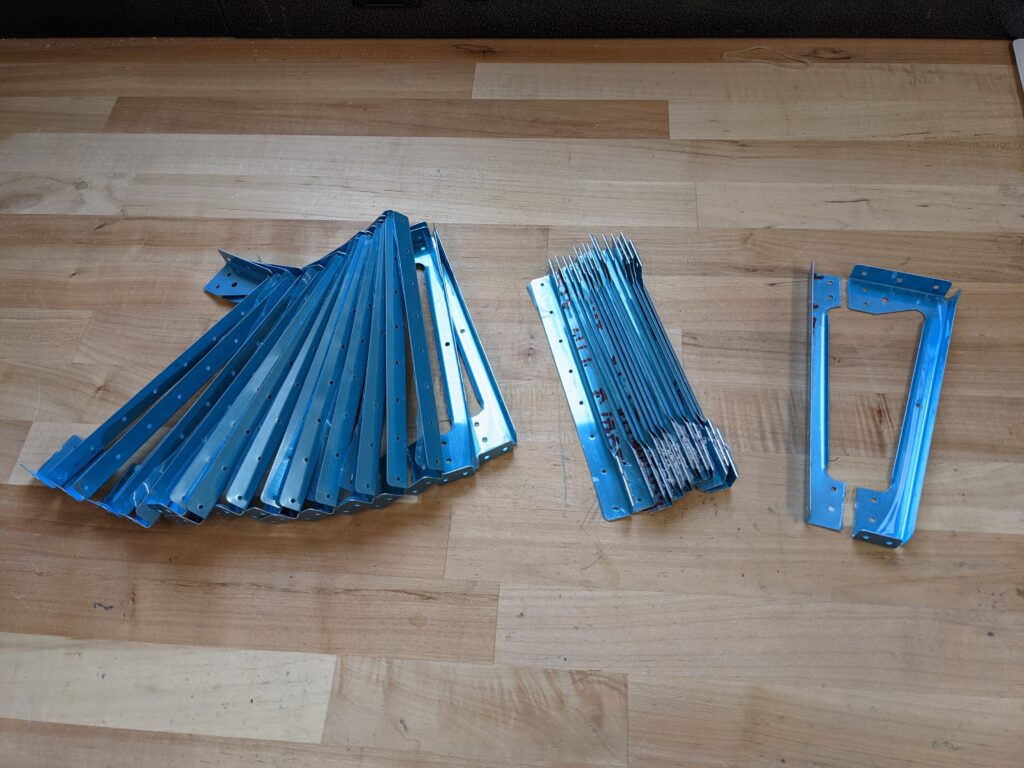
I rough cut these on the bandsaw and finish trimmed them using a disc sander.
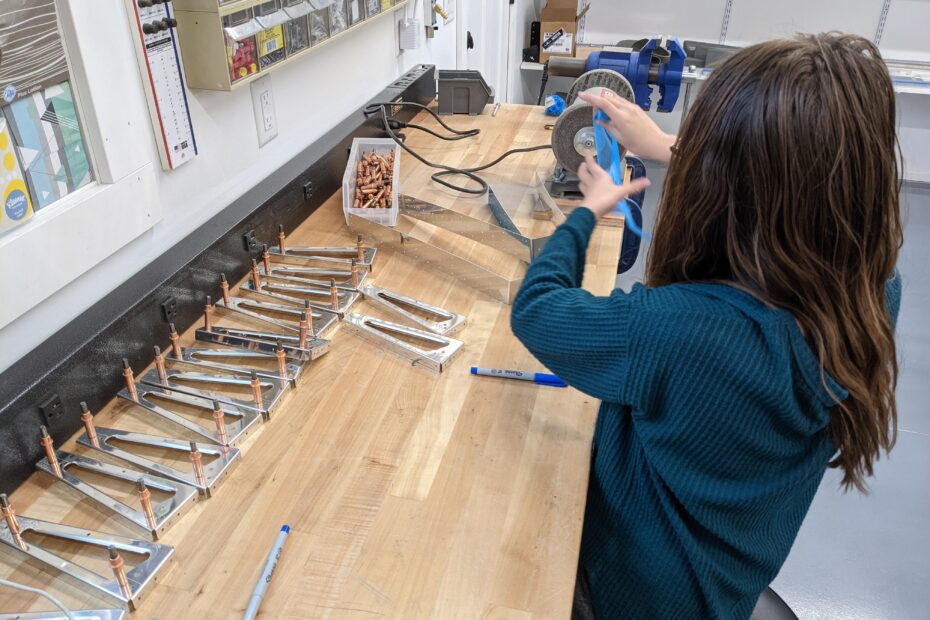
These are the first final-sized-hole parts that I have encountered so I didn’t have to final drill these (Van’s is changing the RV-10 kits over to final sized holes over time). My helper took the blueing off and numbered each corresponding part of the sixteen ribs.
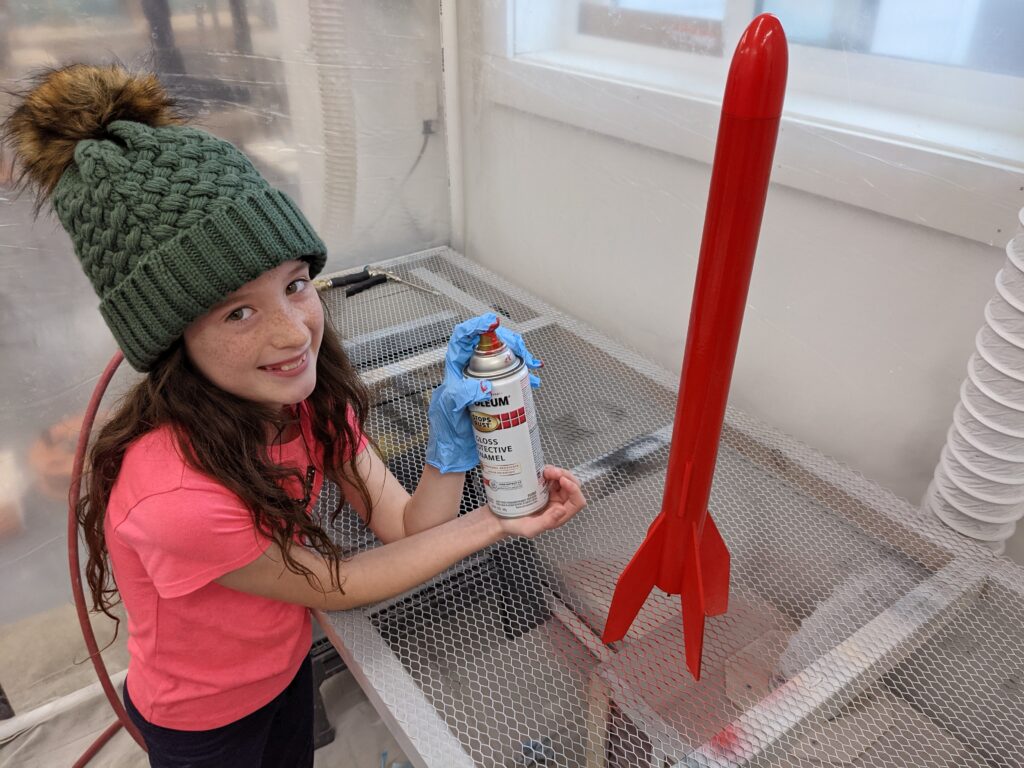
We then took a small detour to paint a model rocket that we have been building that we plan to fly on Christmas Day. The paint booth is coming in handy for more than just building an airplane!
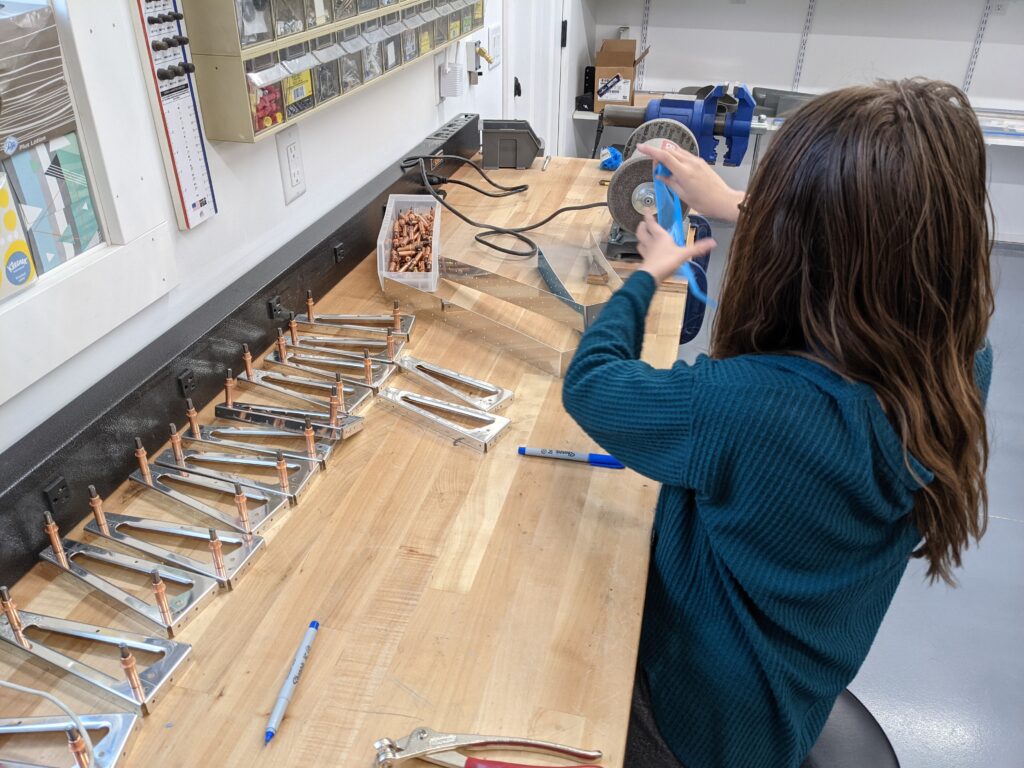
Next up was getting parts ready for the tip rib assemblies.
The ribs require some fluting to straighten them to ensure that the holes line up with the counterbalance skin. I also made a few adjustments with a hand seamer to ensure that the flanges were perpendicular to the webs. I then final drilled the parts and set them aside for future assembly.