
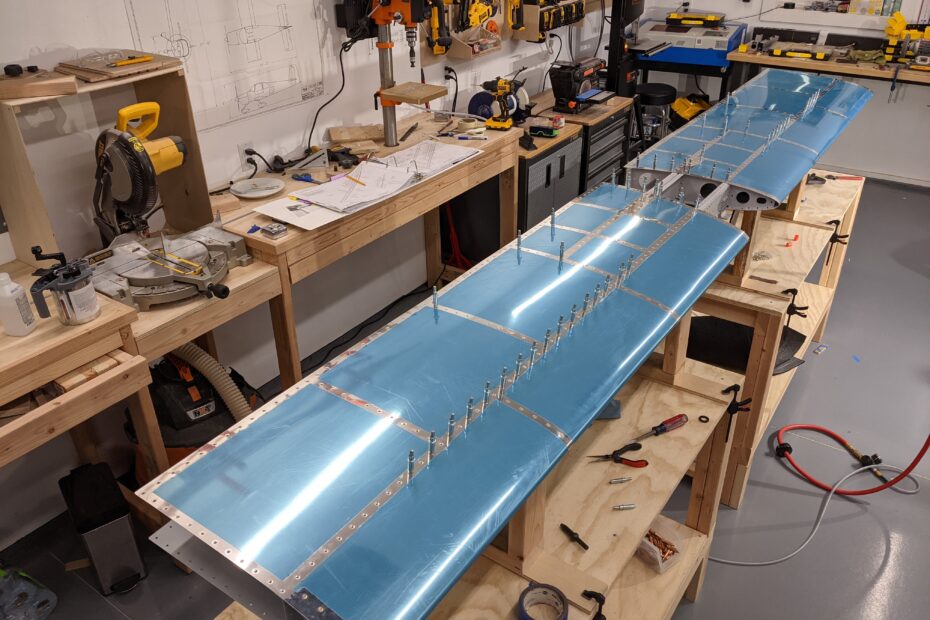
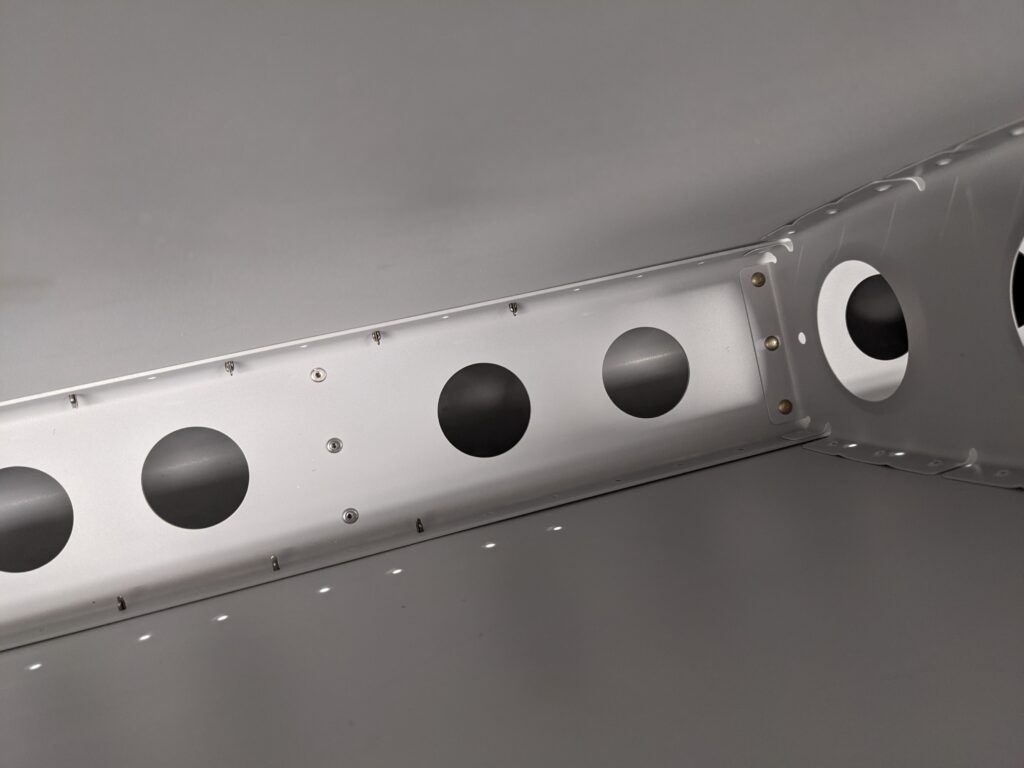
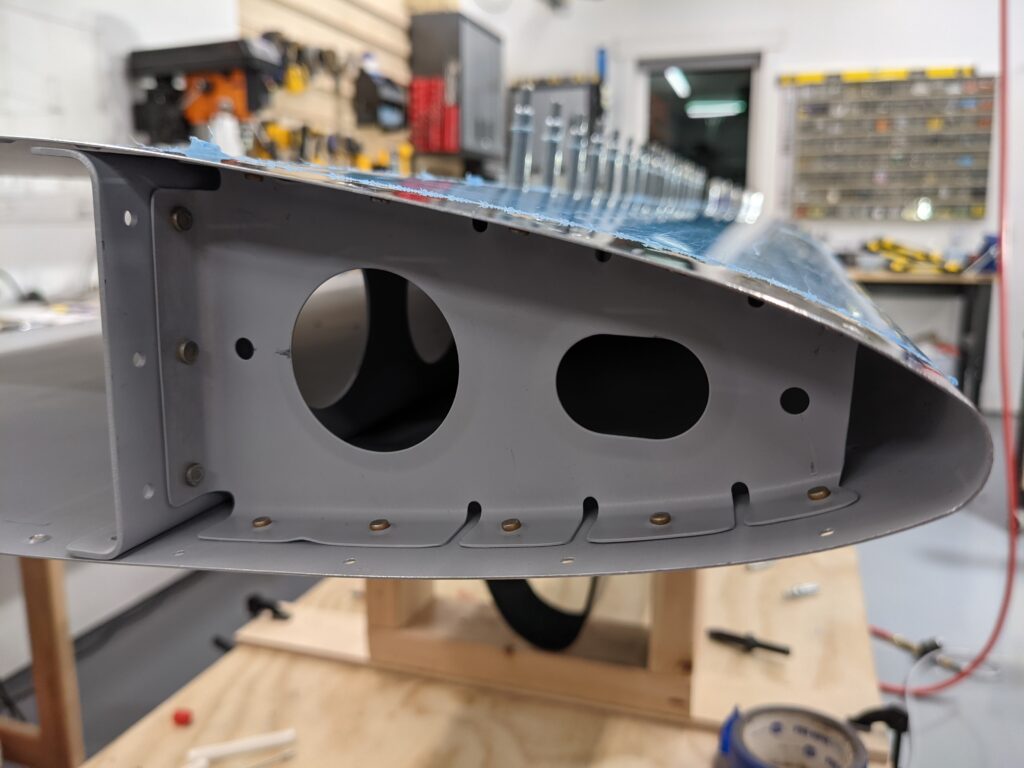
I started riveting the horizontal stabilizer skins this evening. This starts with riveting the nose ribs to the skins. These require use of the rivet gun and bucking bar and were somewhat challenging to rivet in the tight space.
I learned that starting with the second-most forward flange on each rib led to the most success as this tab tends to pull away from the skin when the other rivets are set first. Amber assisted me with holding the skin together on both sides of the ribs which helped a lot with keeping things tight. I had two rivets that I needed to replace (gap between skin and flange) before I got the technique dialed in. I used a rubber washer on the bucking bar when I replaced those rivets to hold the flange against the skin for the initial set.
I used the squeezer on the inboard and outboard nose ribs.
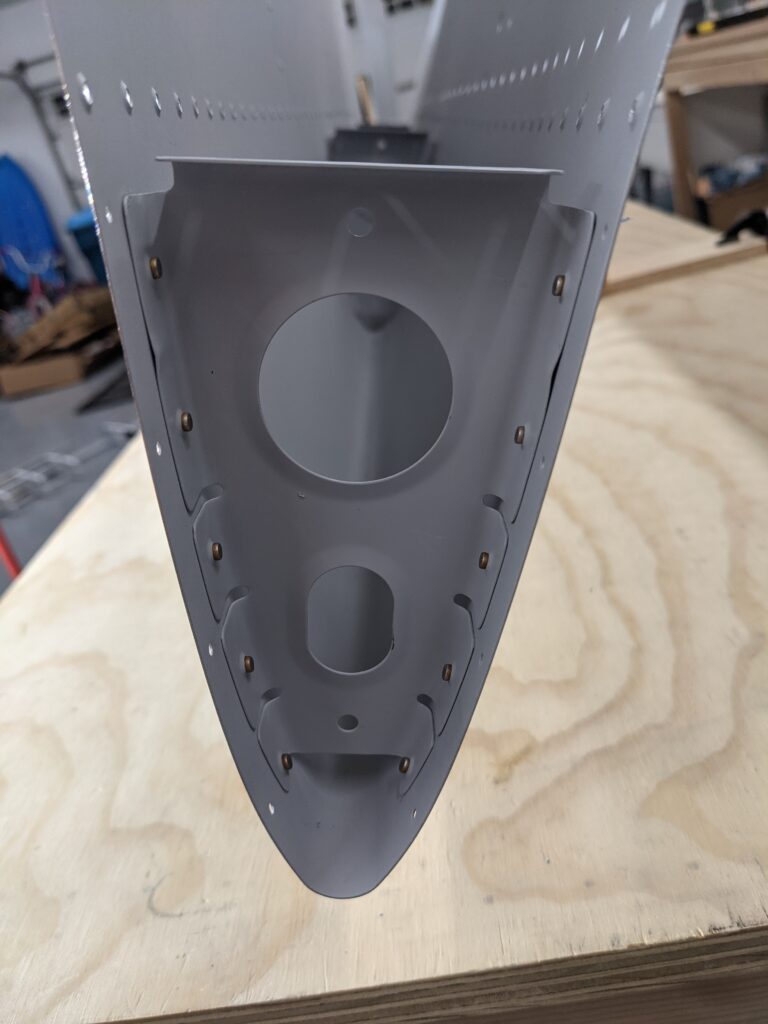
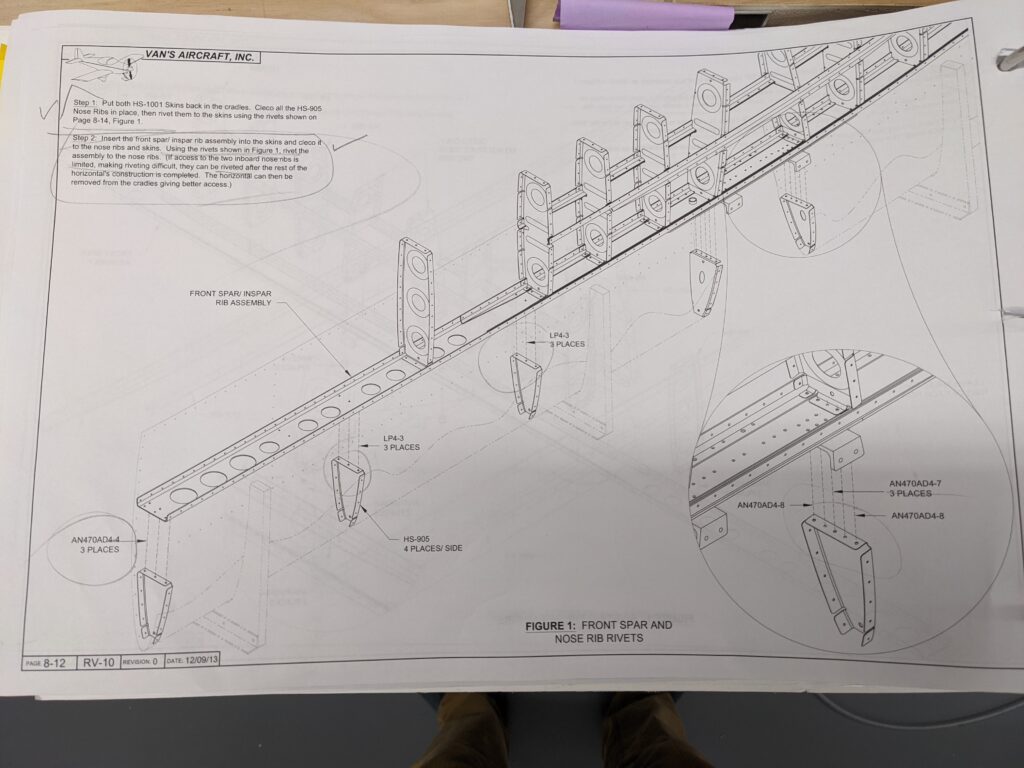
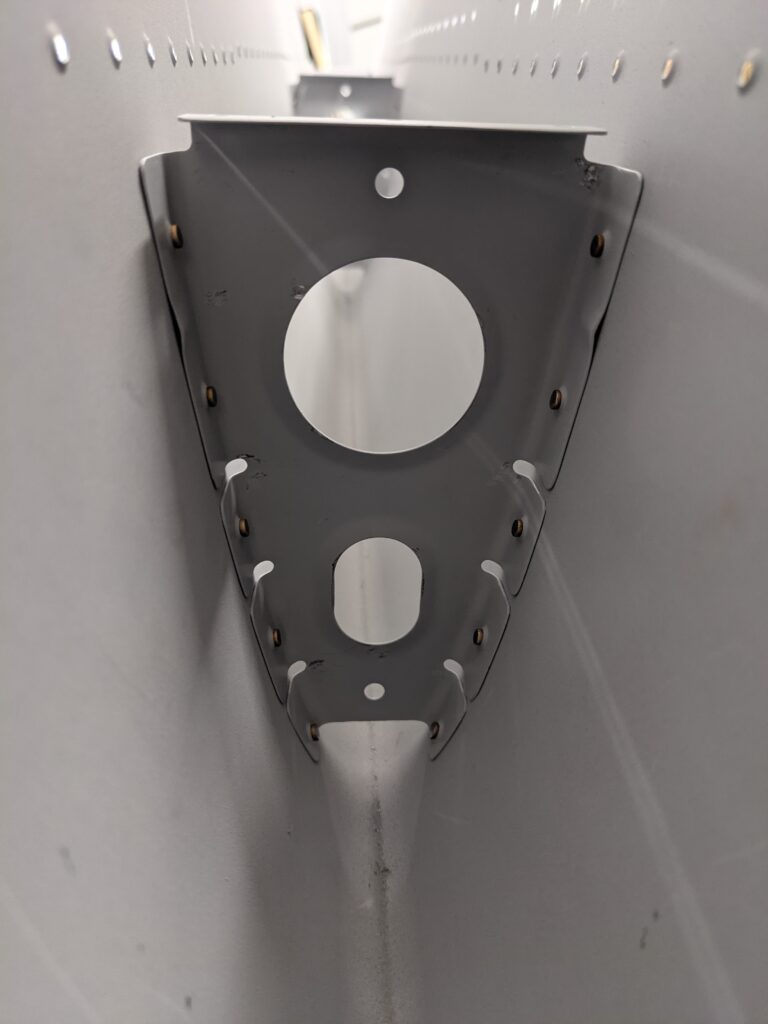
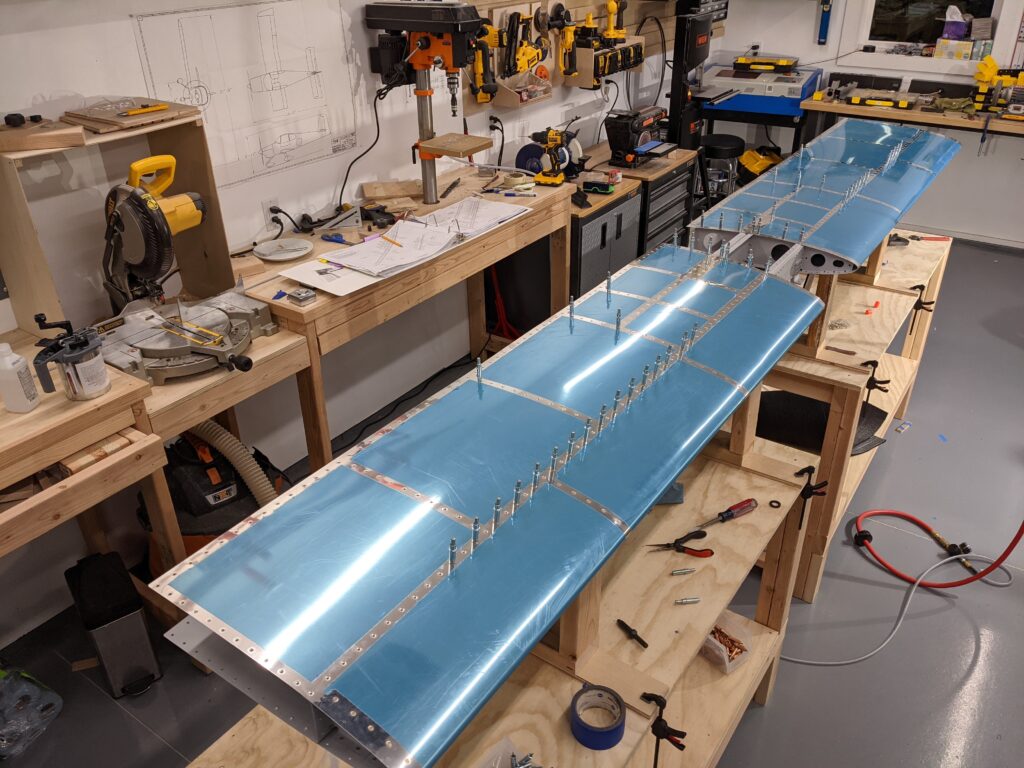
After the ribs are attached the front spar assembly is then placed between the skins and attached to the nose ribs.
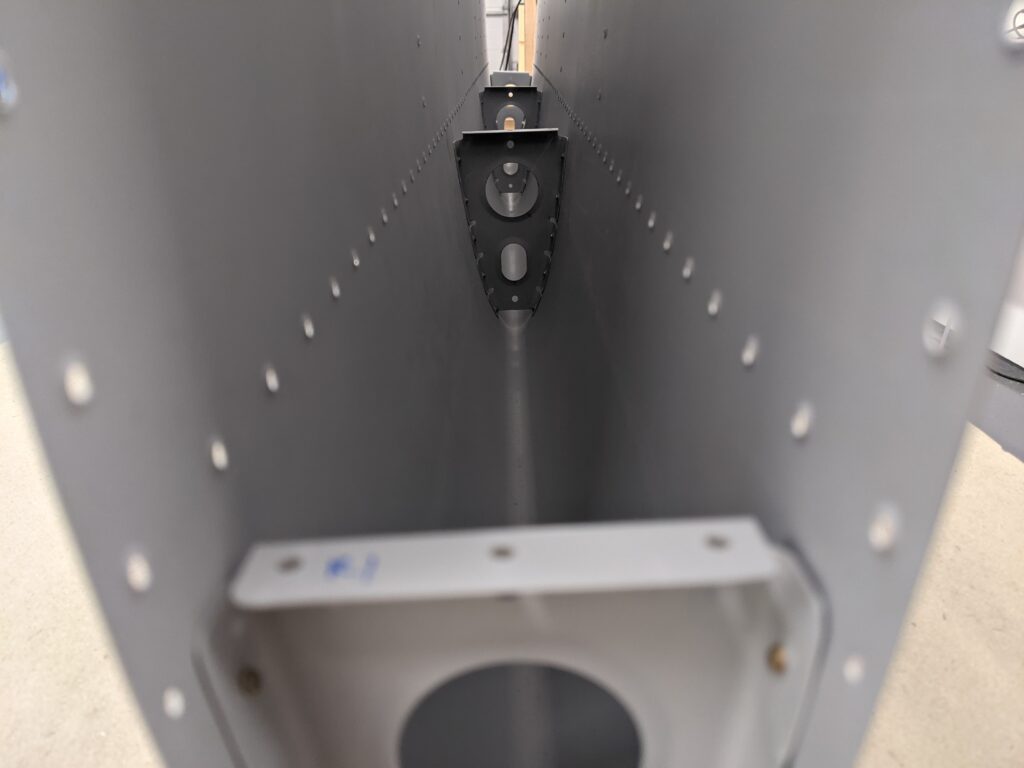
I started with the inboard ribs as these require riveting both the inspar ribs and the nose ribs though the front spar. There was no way to get the squeezer in here so I used an offset cup set and a bucking bar. This was fairly challenging but I took my time and got 9 out of 10 completed to spec the first time. I had one rivet where I let the rivet gun slip and it deformed the shop head. The removal ended up being uneventful and the replacement was a success.
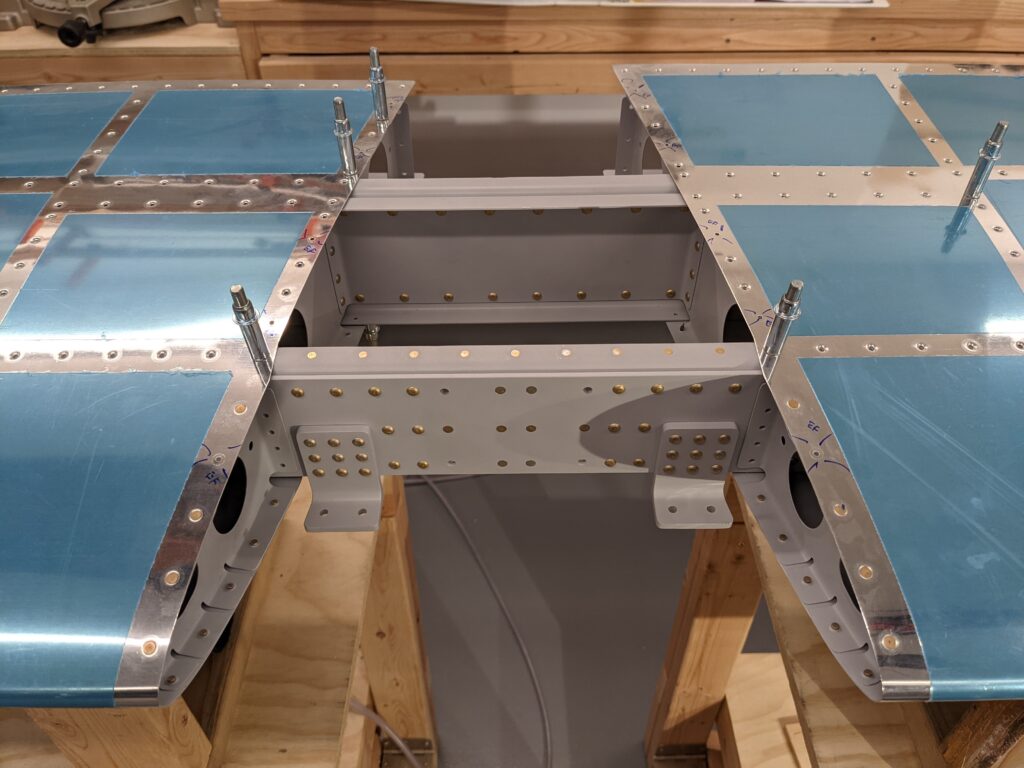
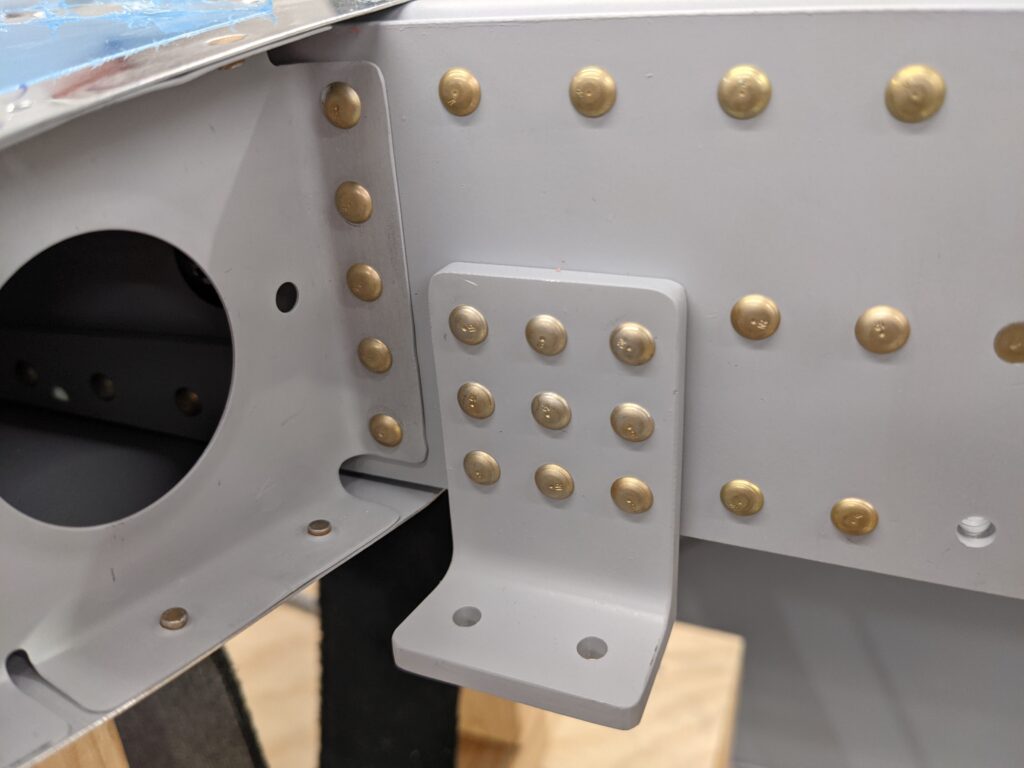
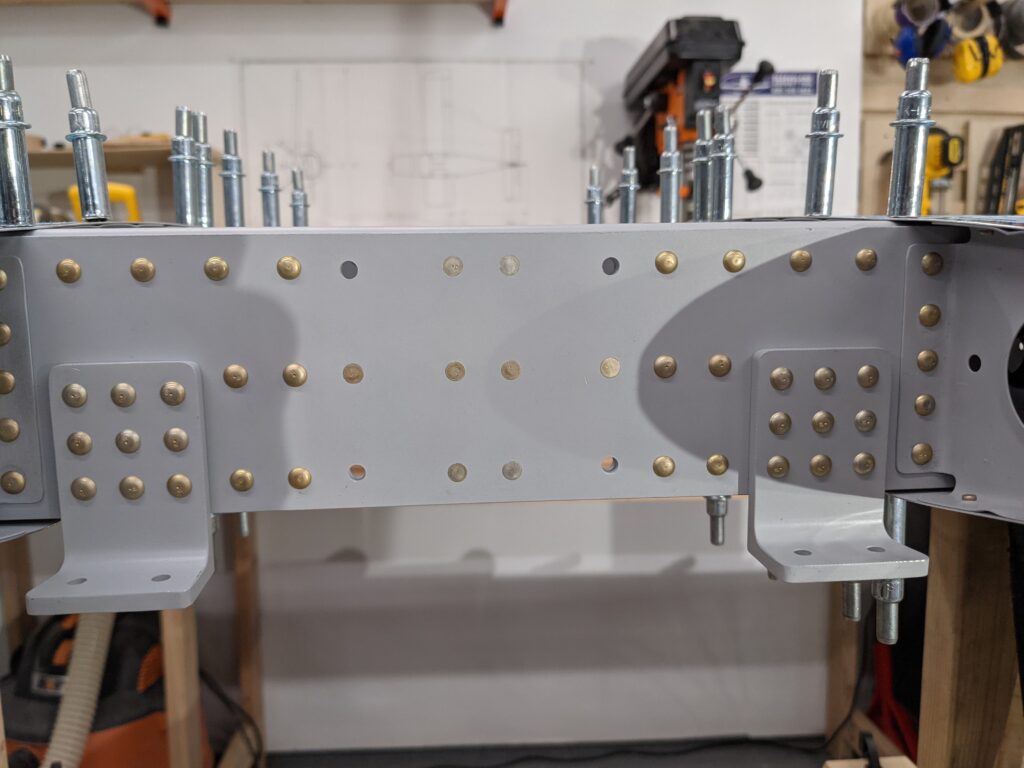
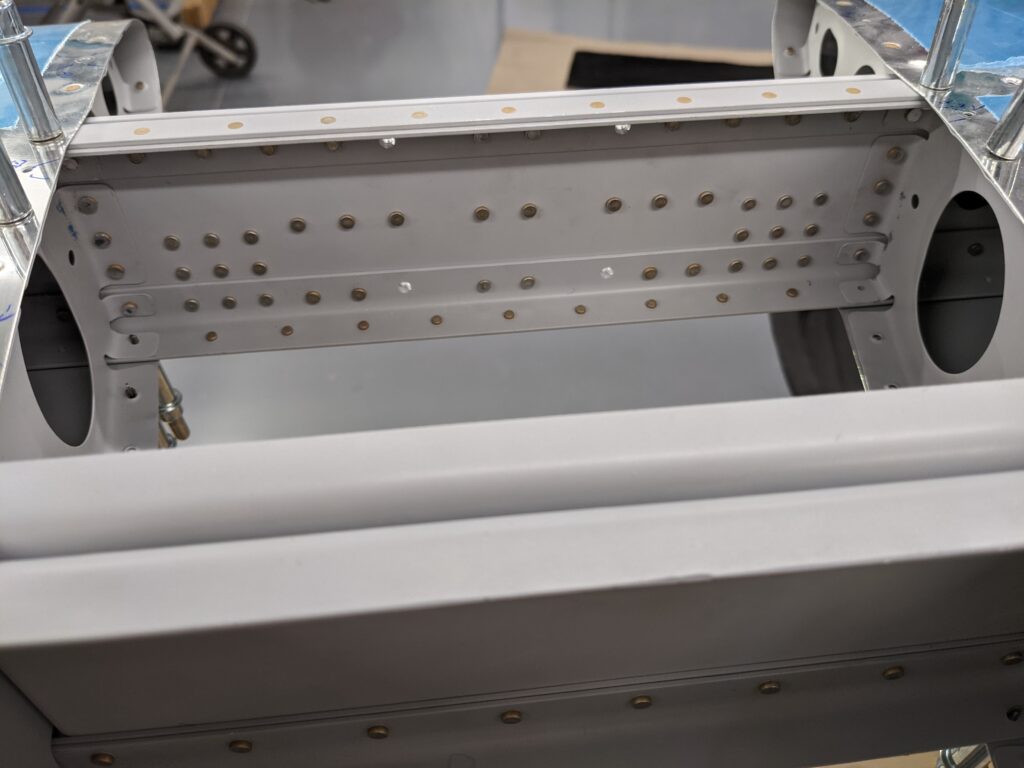
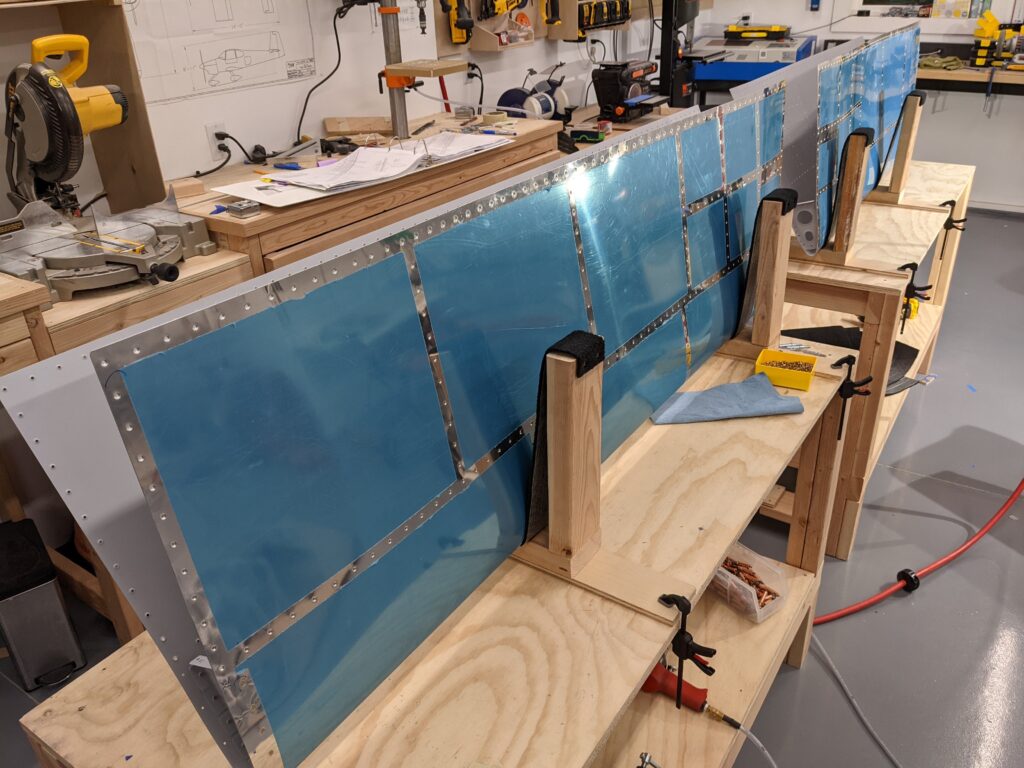
I then moved on to riveting the spar to the rest of the nose ribs. All but the outer two remaining ribs are attached with blind rivets. The blind rivets were quick and easy to set.
I then set the final rivets on the outermost ribs with the squeezer.
Page 8-12 is complete! Next up is setting the rivets along the front spar.