
I put in another solid day today on the horizontal stabilizer.
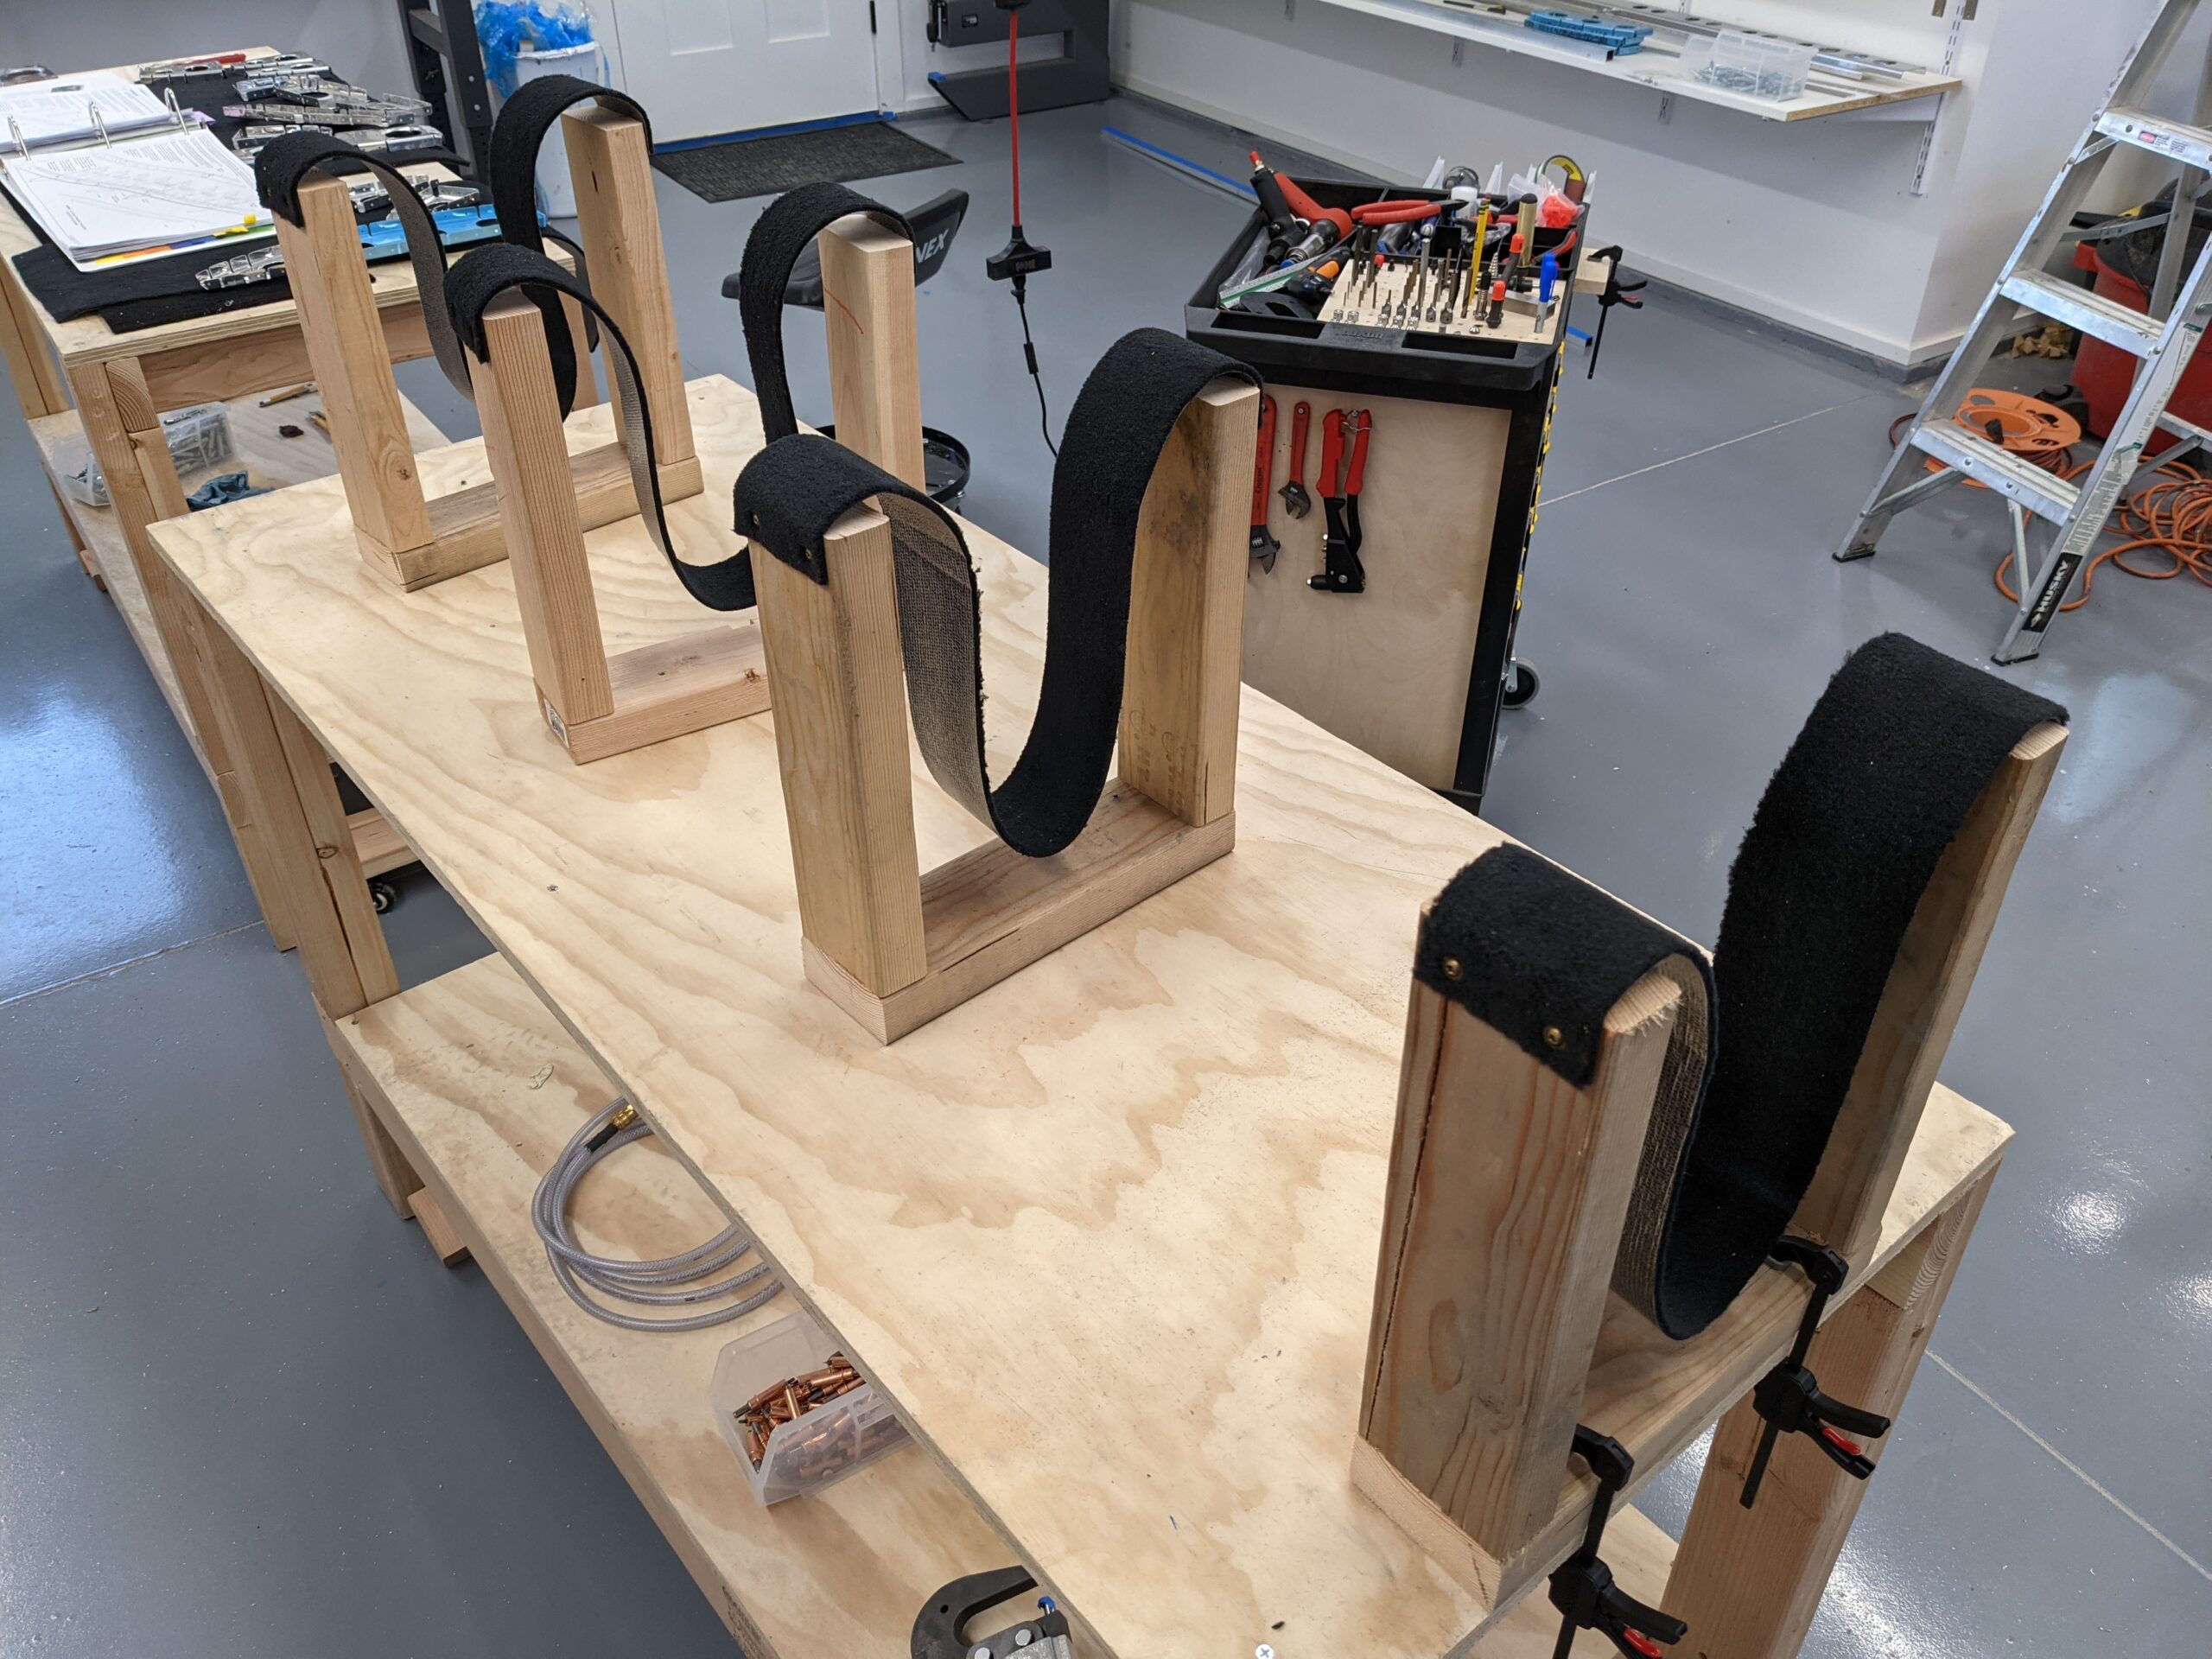
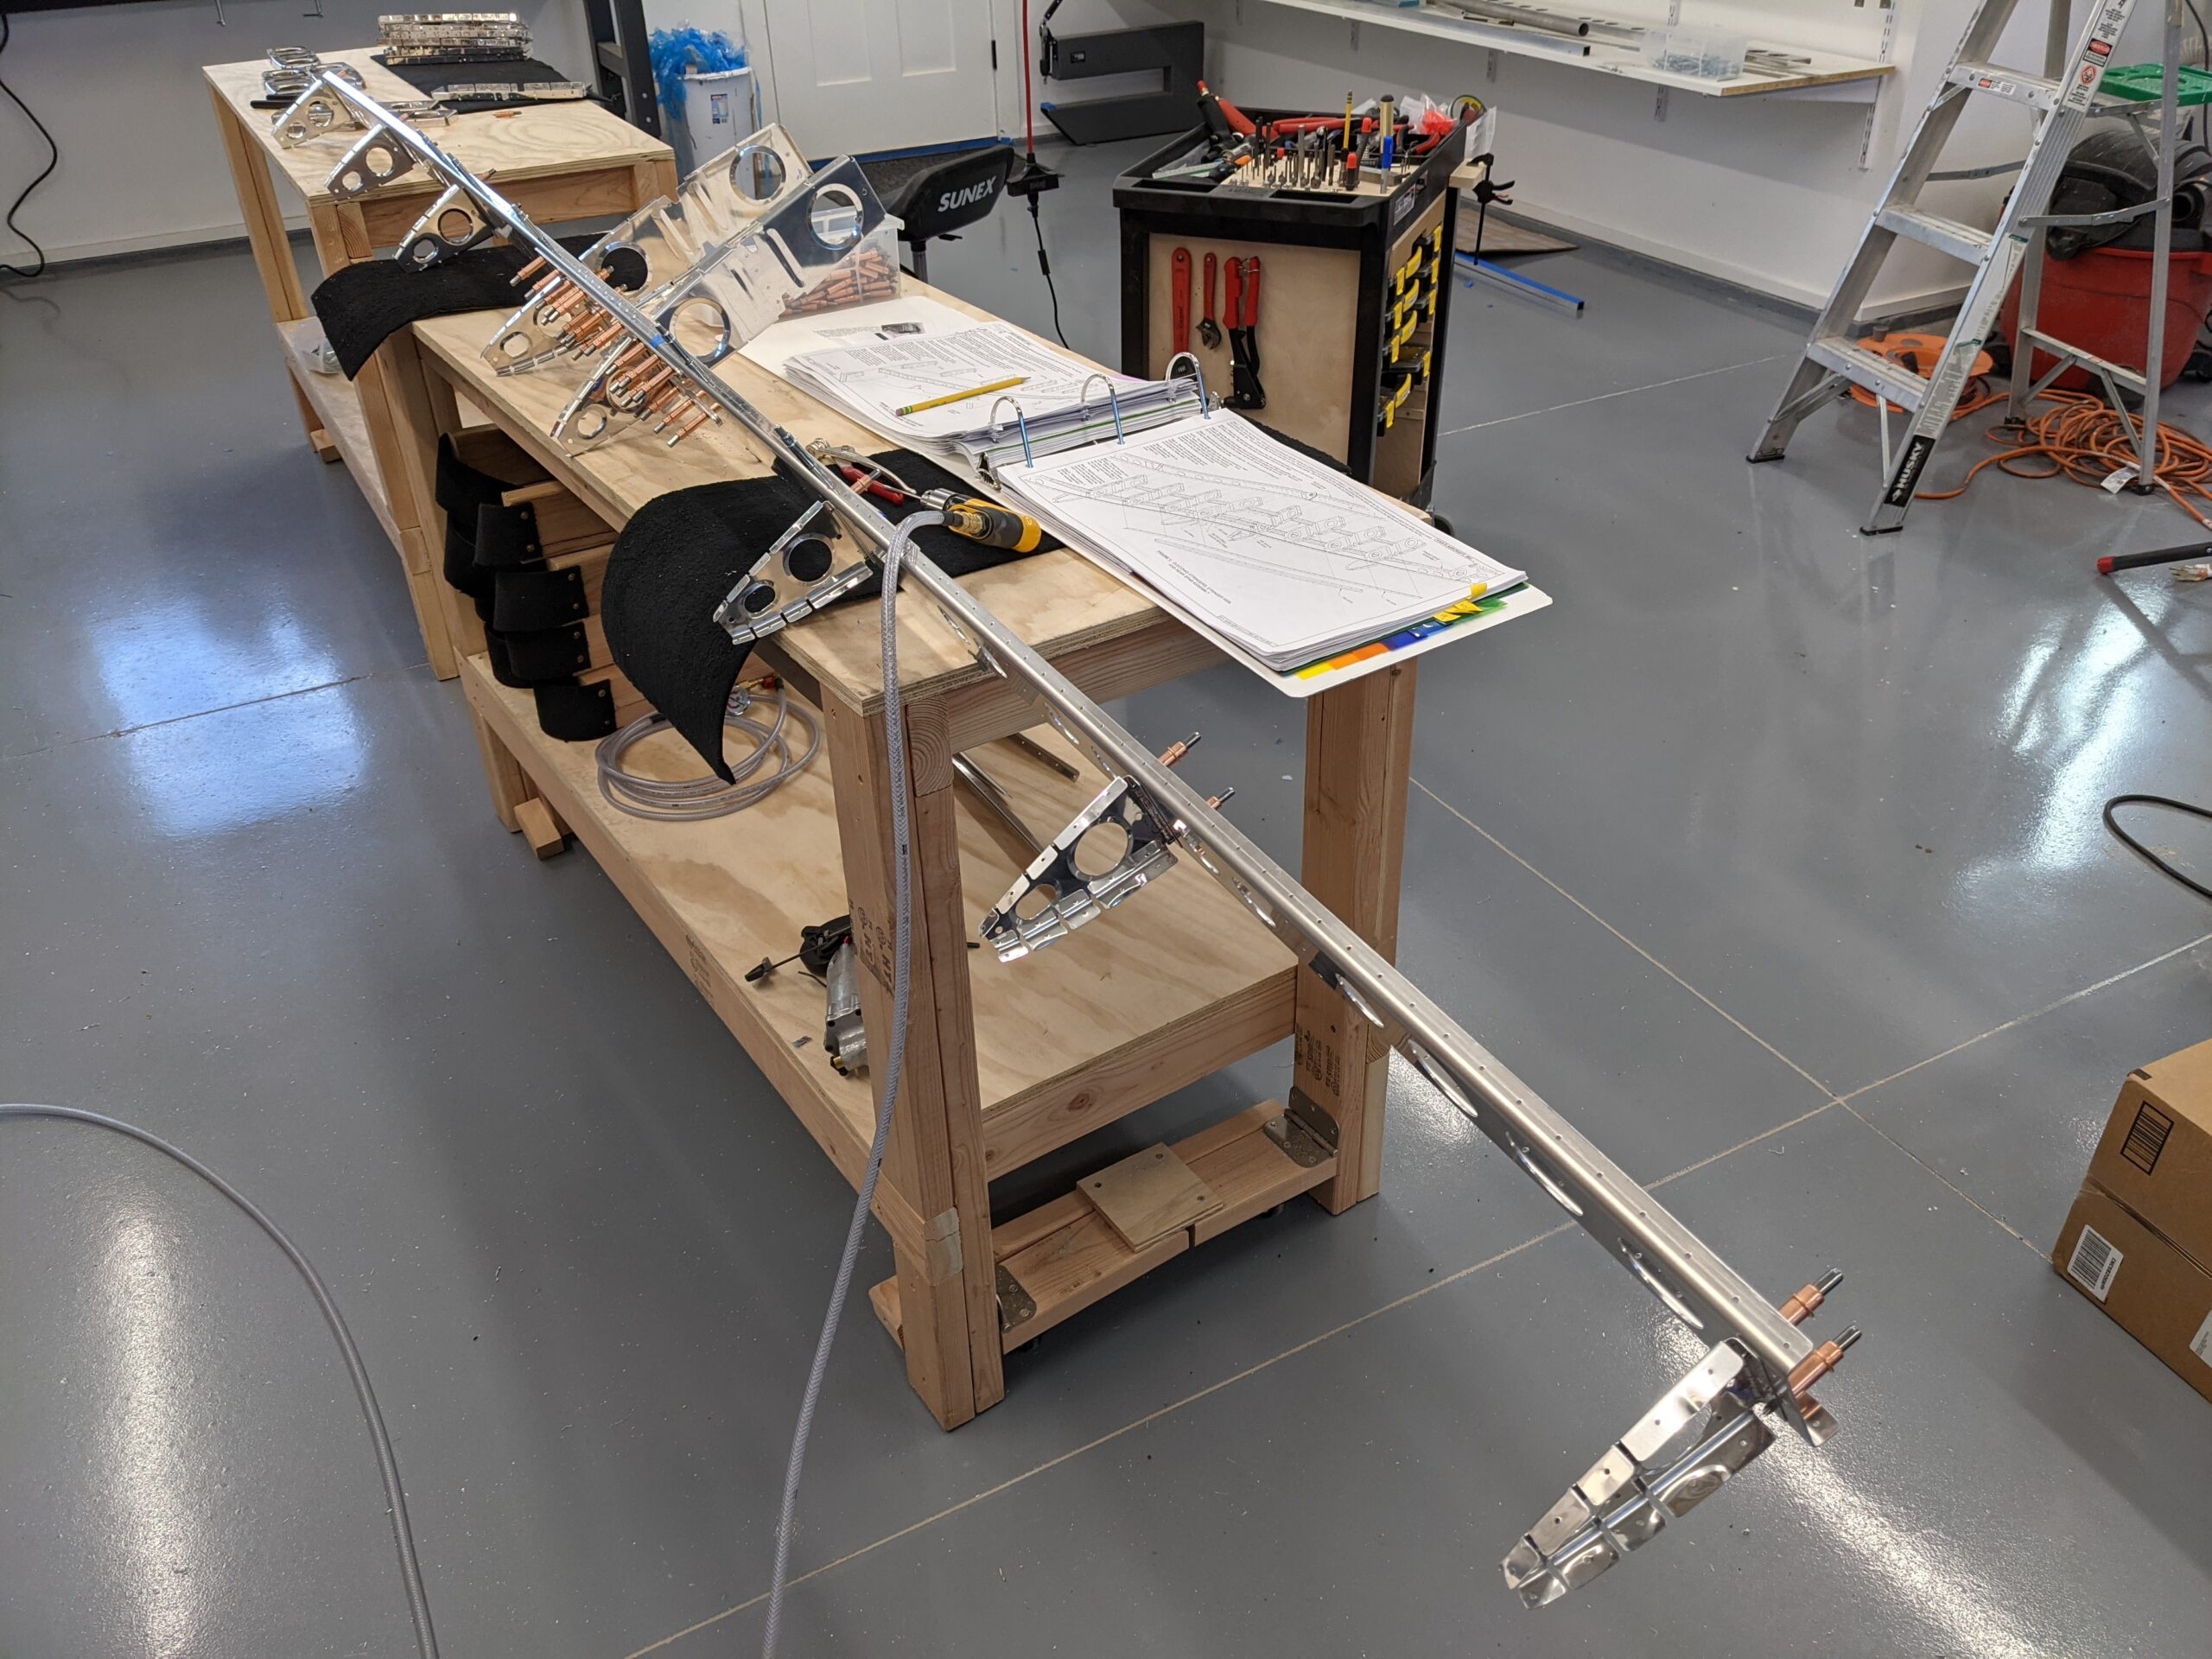
I started out by building some cradles to hold the stabilizer. The plans call for making cradles out of plywood but I went with a simpler approach that would also allow me to move the assembly from side to side during riveting (idea from the Plane Lady and Jason Ellis YouTube channels). I ended up adding a 24 inch long plywood strip to the bases of each of these later to allow me to easily clamp them along the sides of my 24″ wide tables.
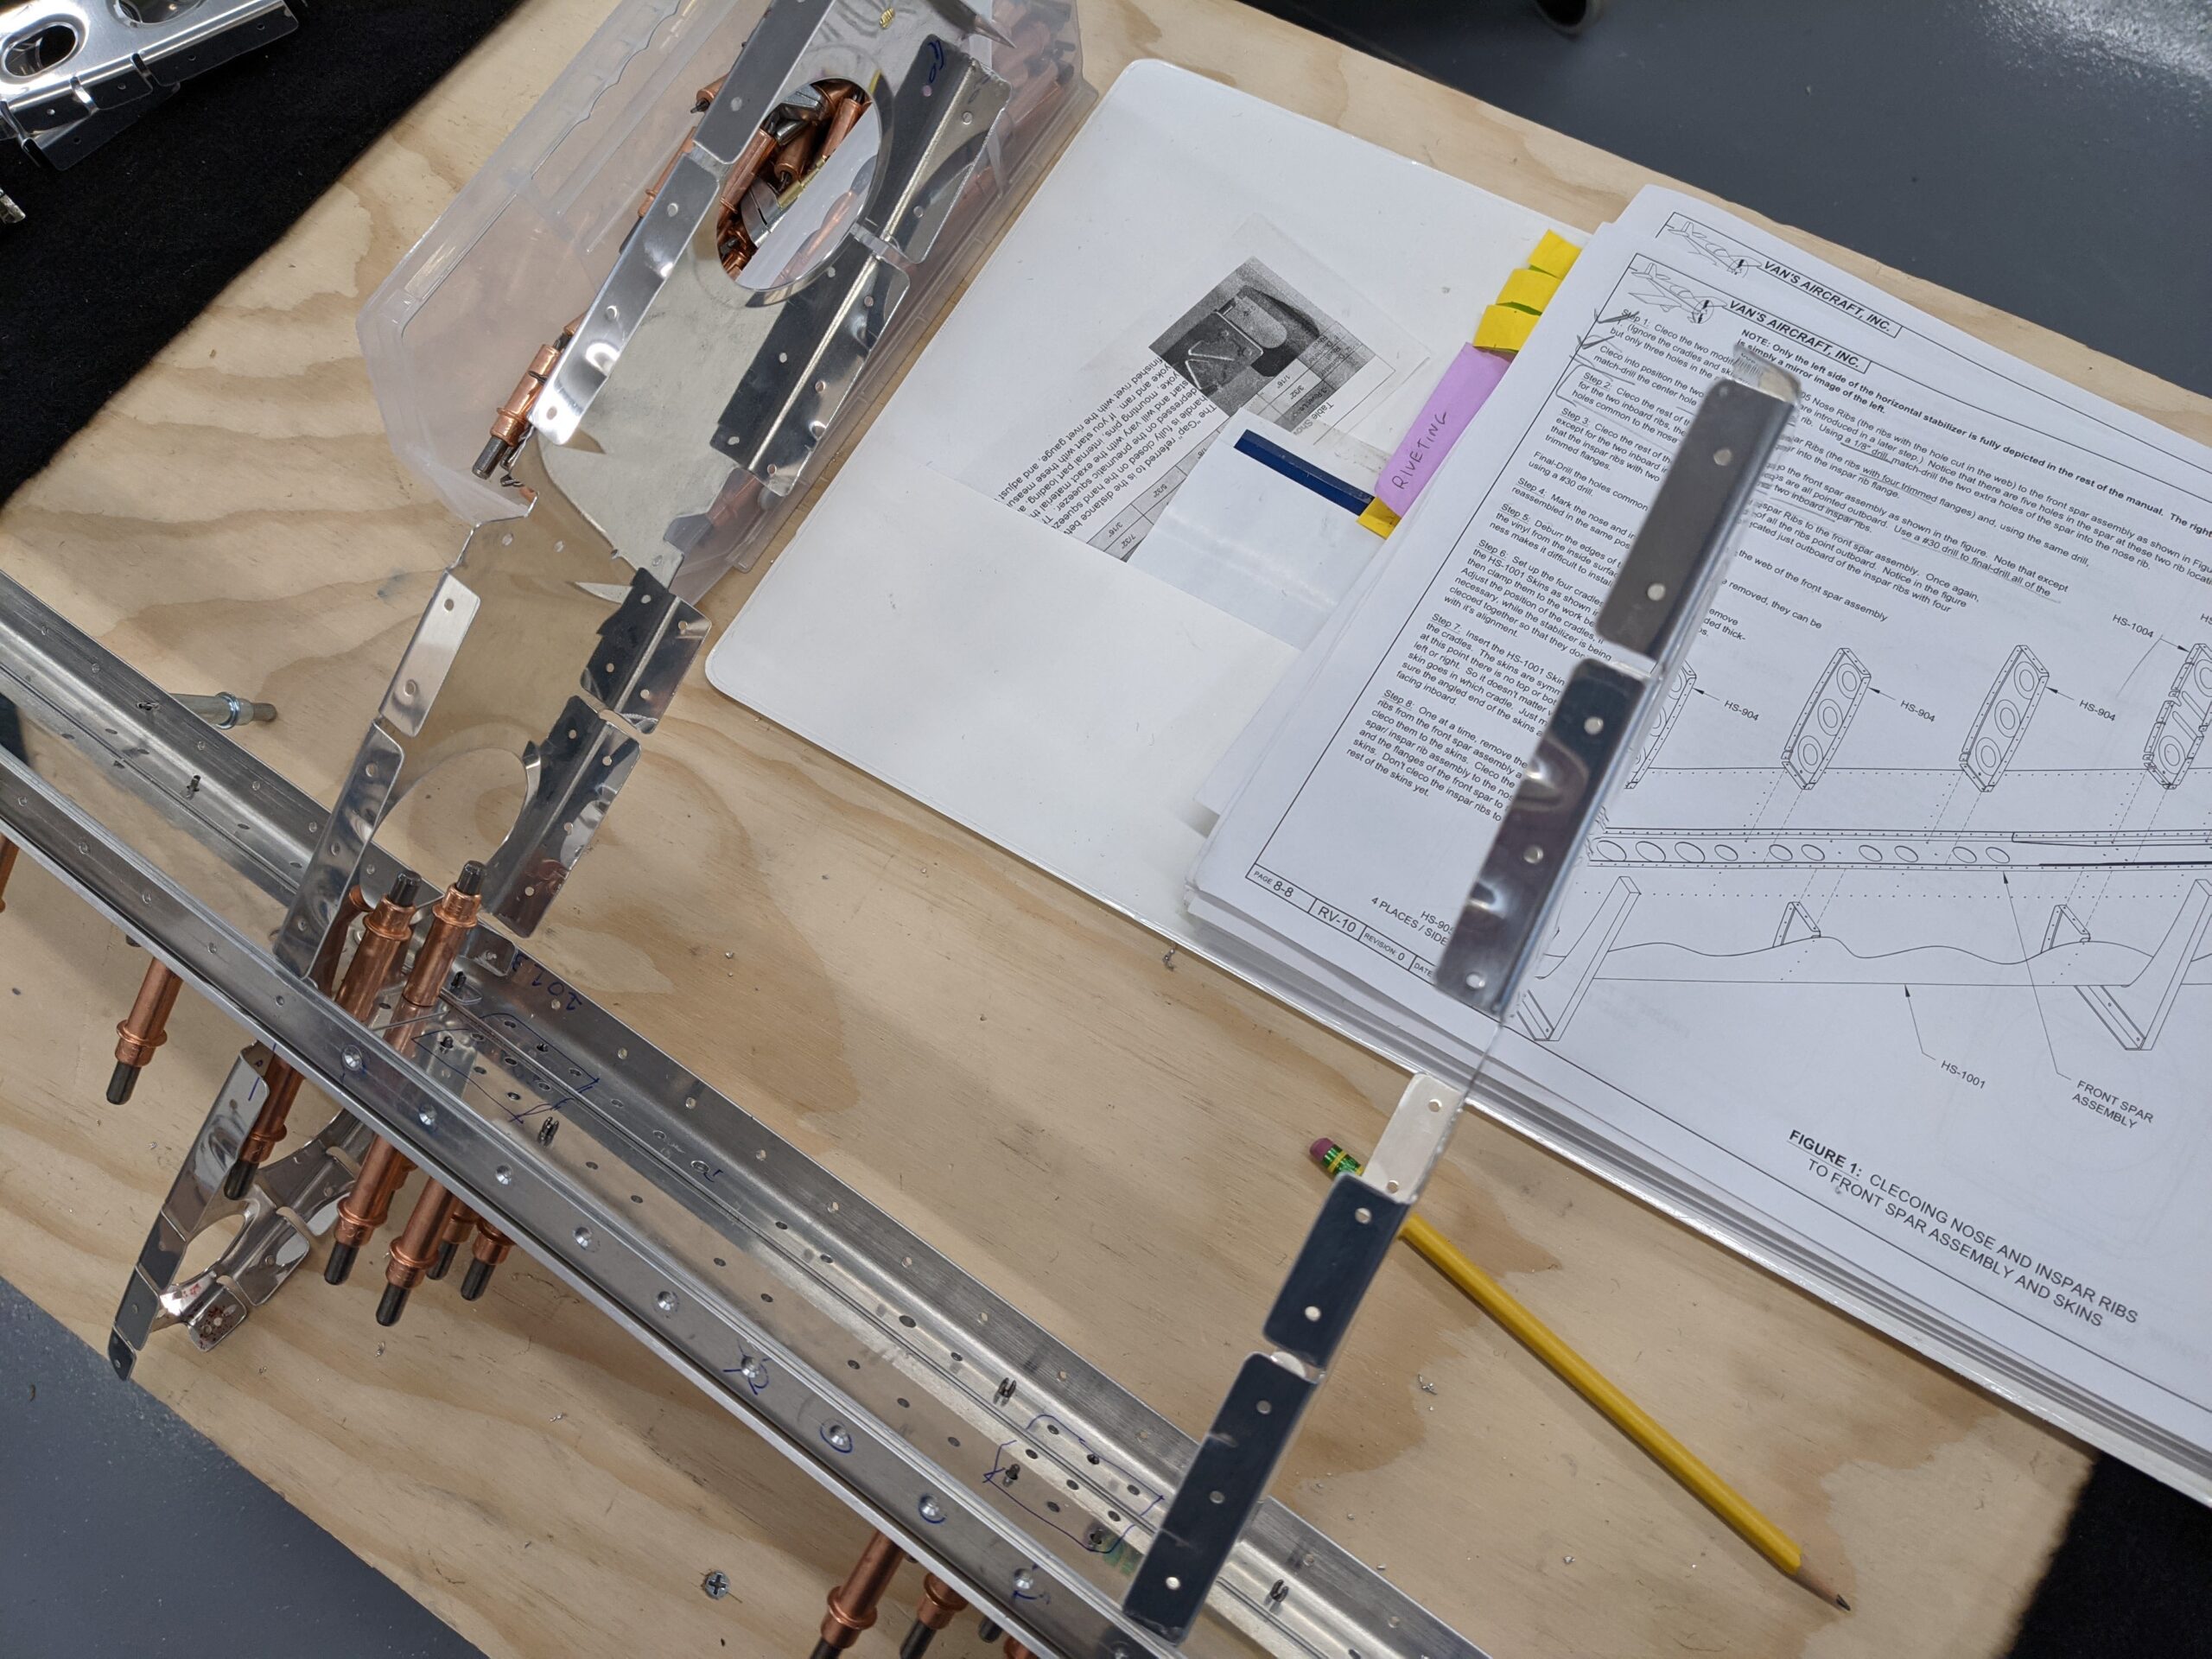
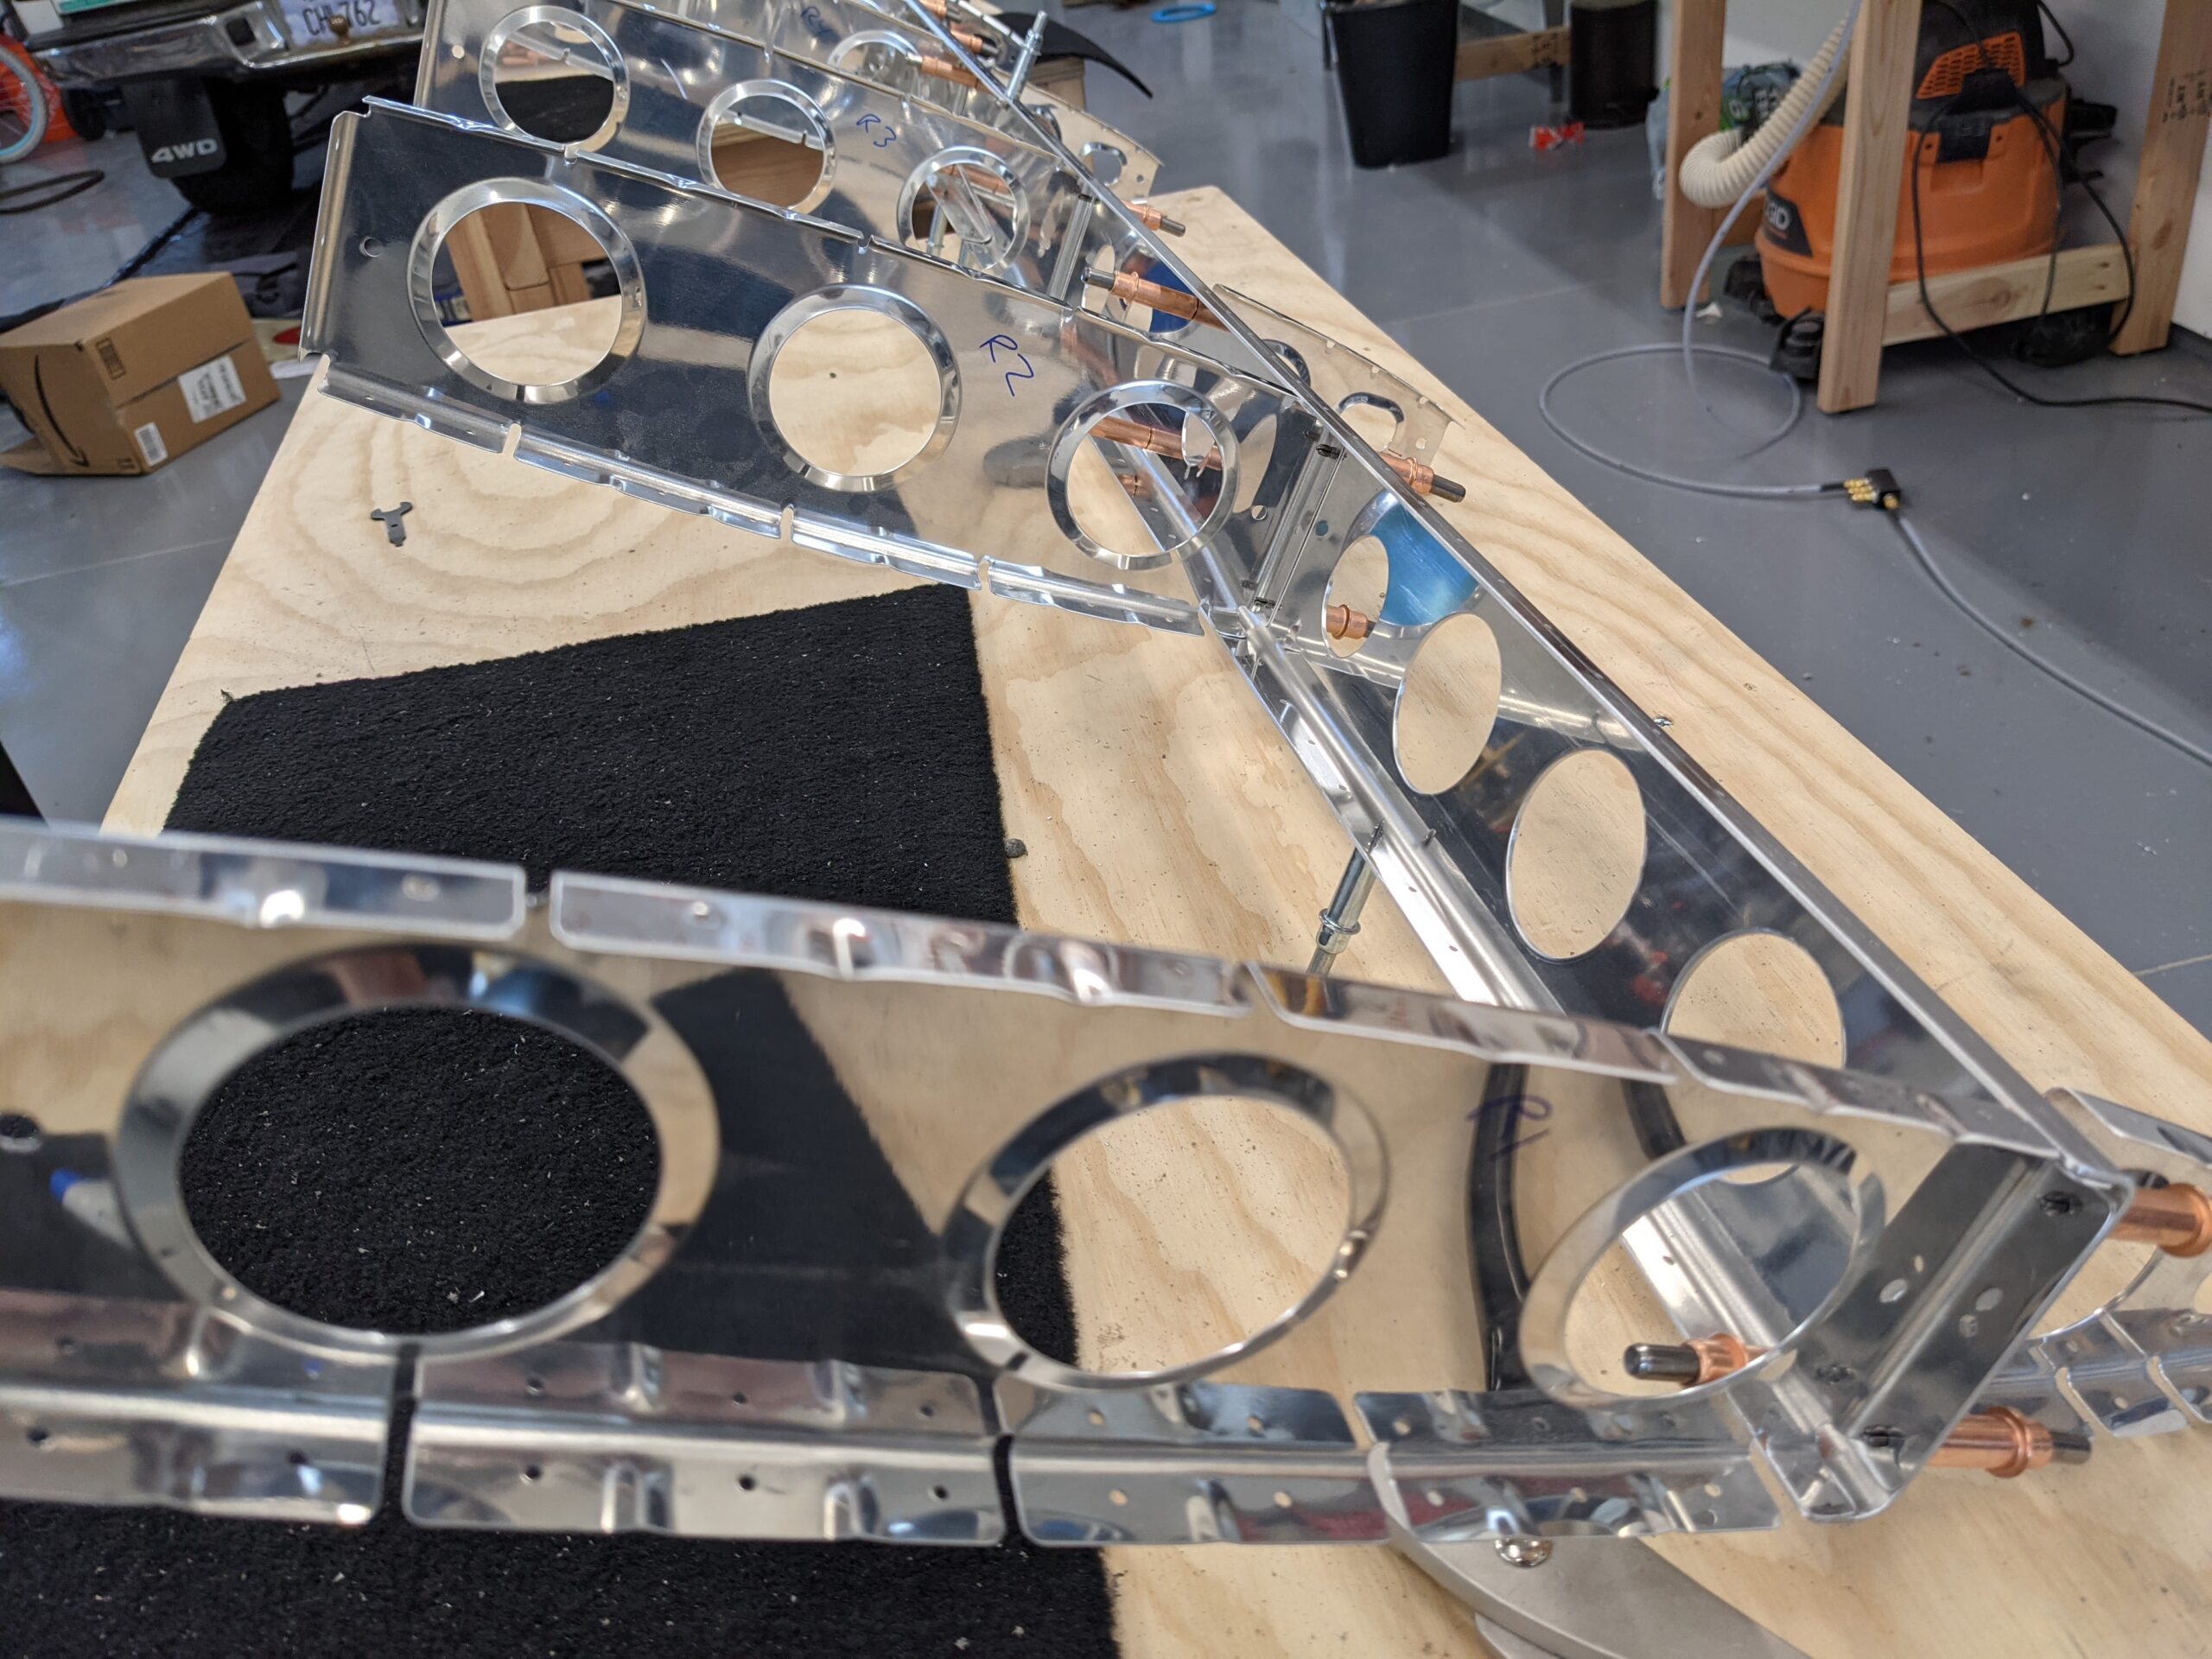
Next up was match drilling the inboard nose ribs to the front spar assembly which adds two additional holes to each rib. The remaining nose ribs were then clecoed to the front spar assembly and all common holes were final drilled with a #30 reamer.
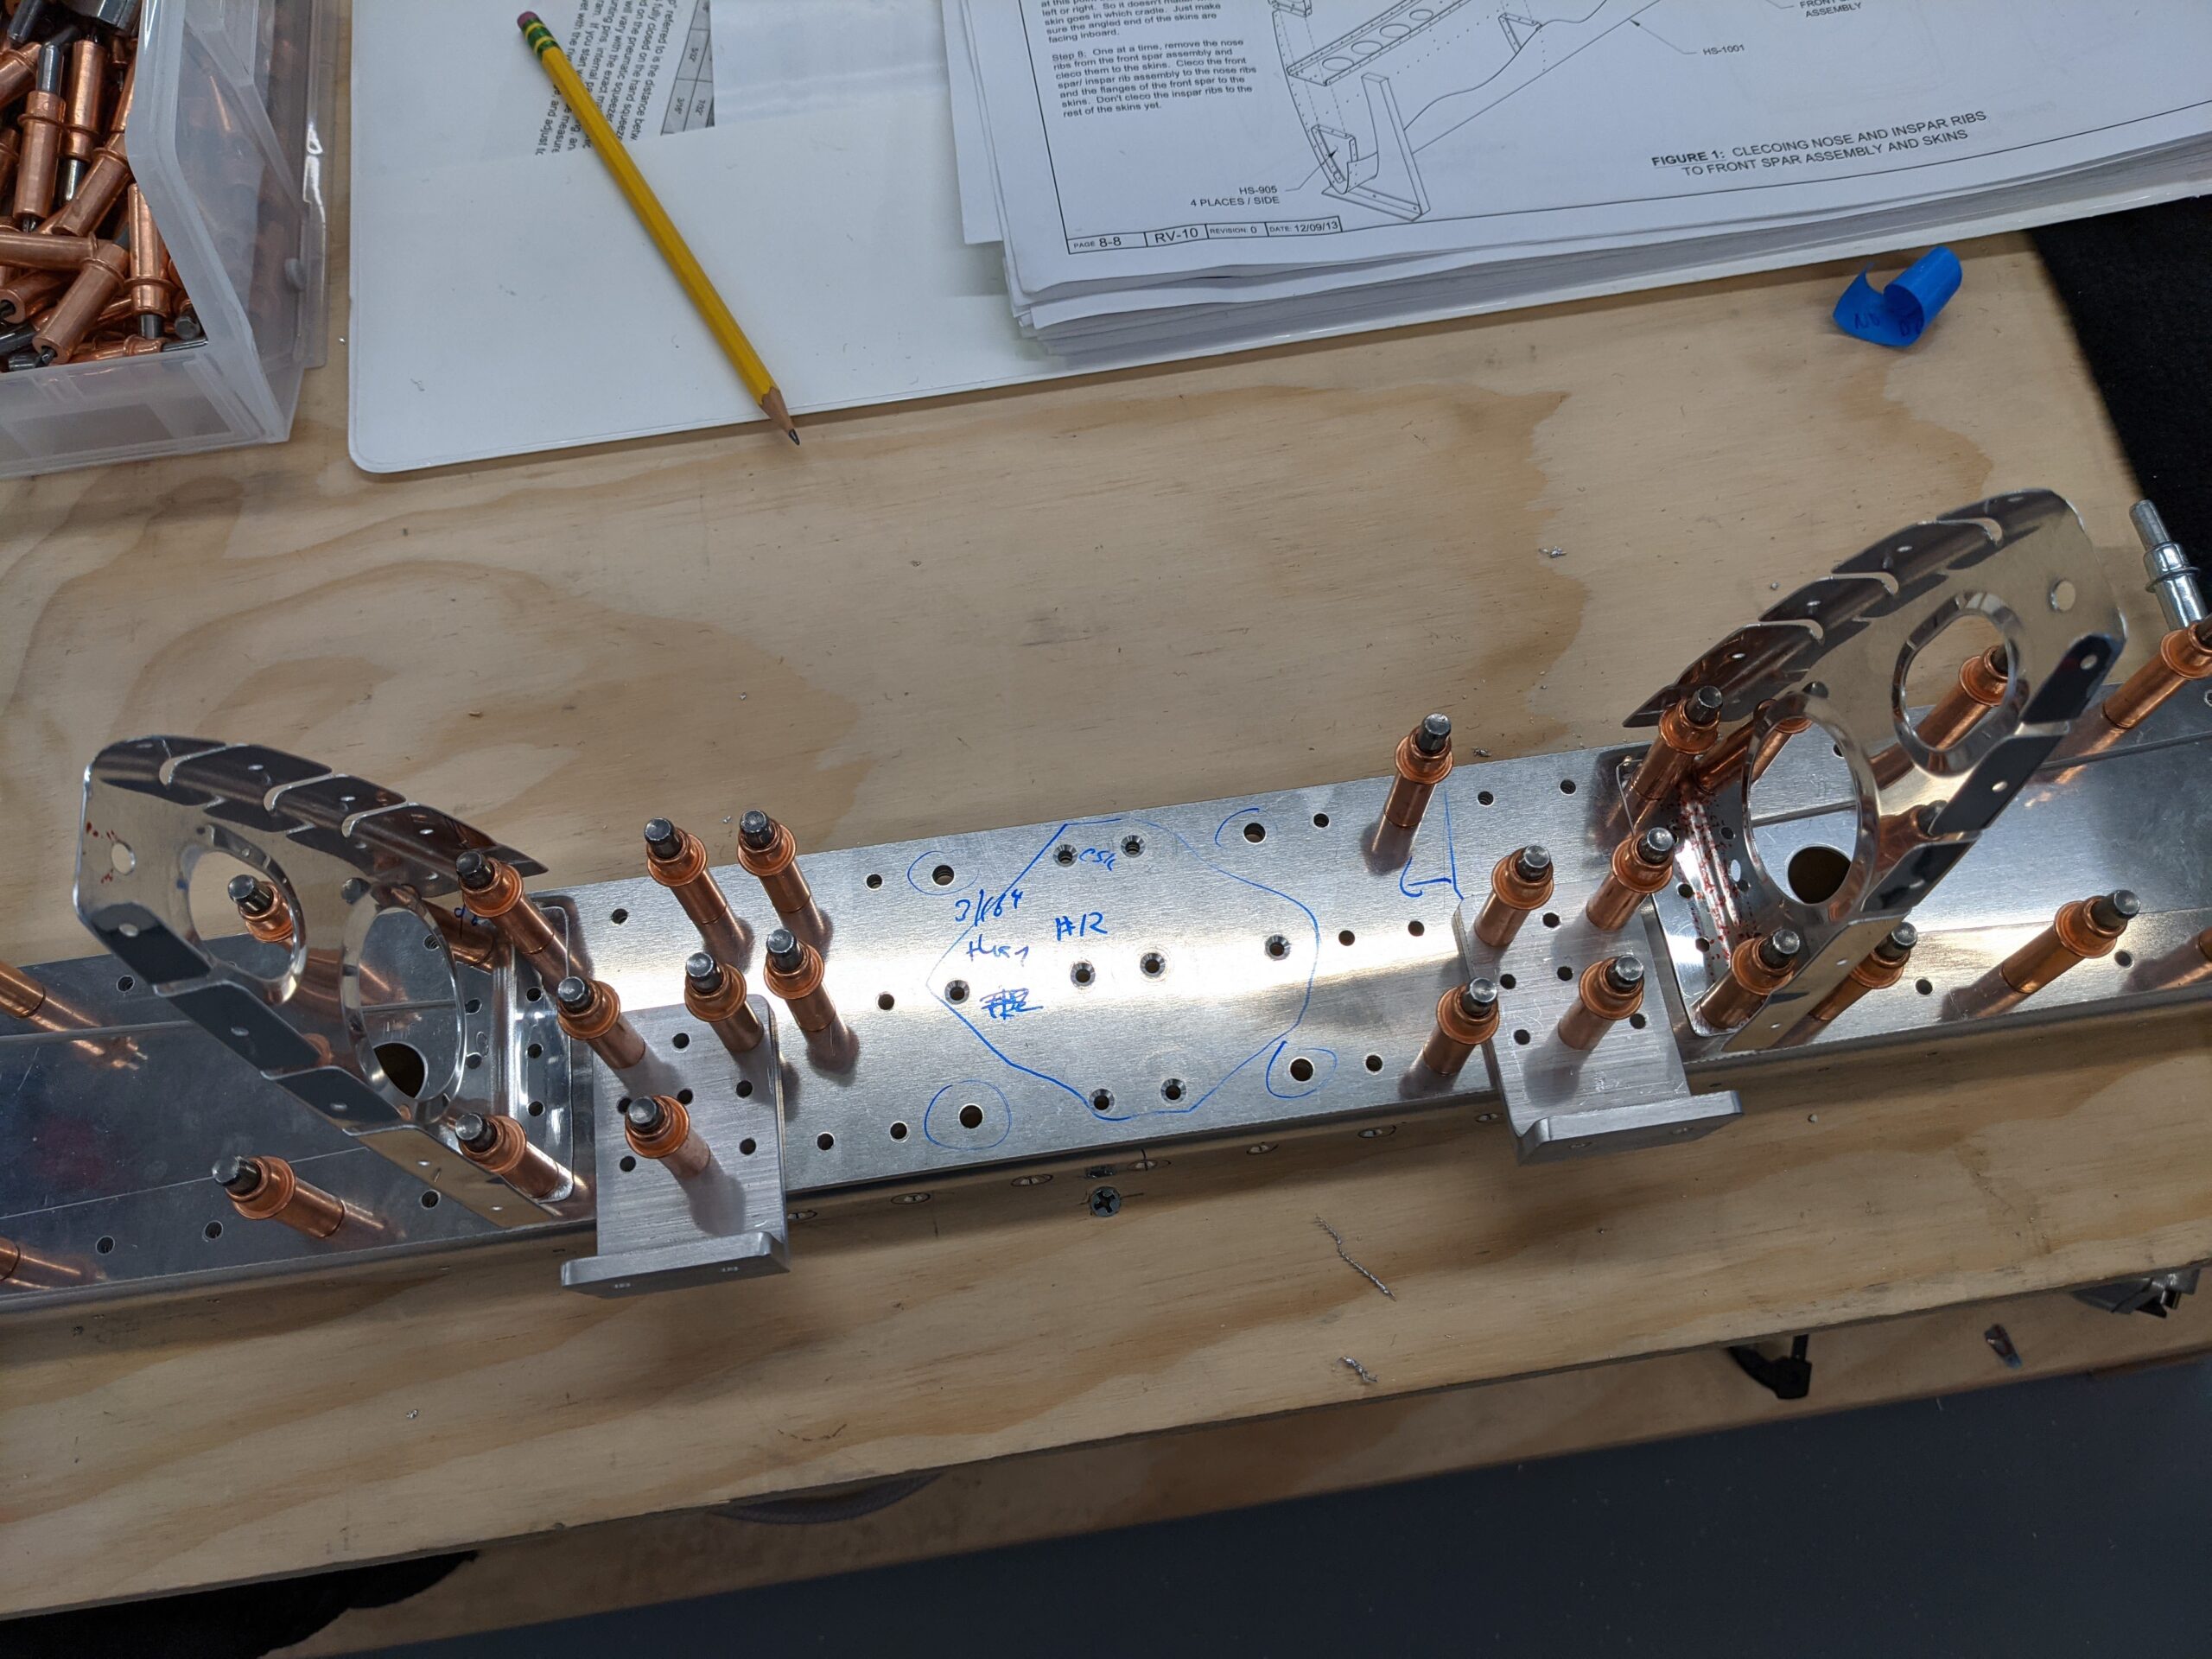
I then fluted and deburred the HS-904 inspar ribs and clecoed all of the ribs to the front spar assembly. All holes common to the ribs and the front spar web were then final drilled with a #30 reamer.
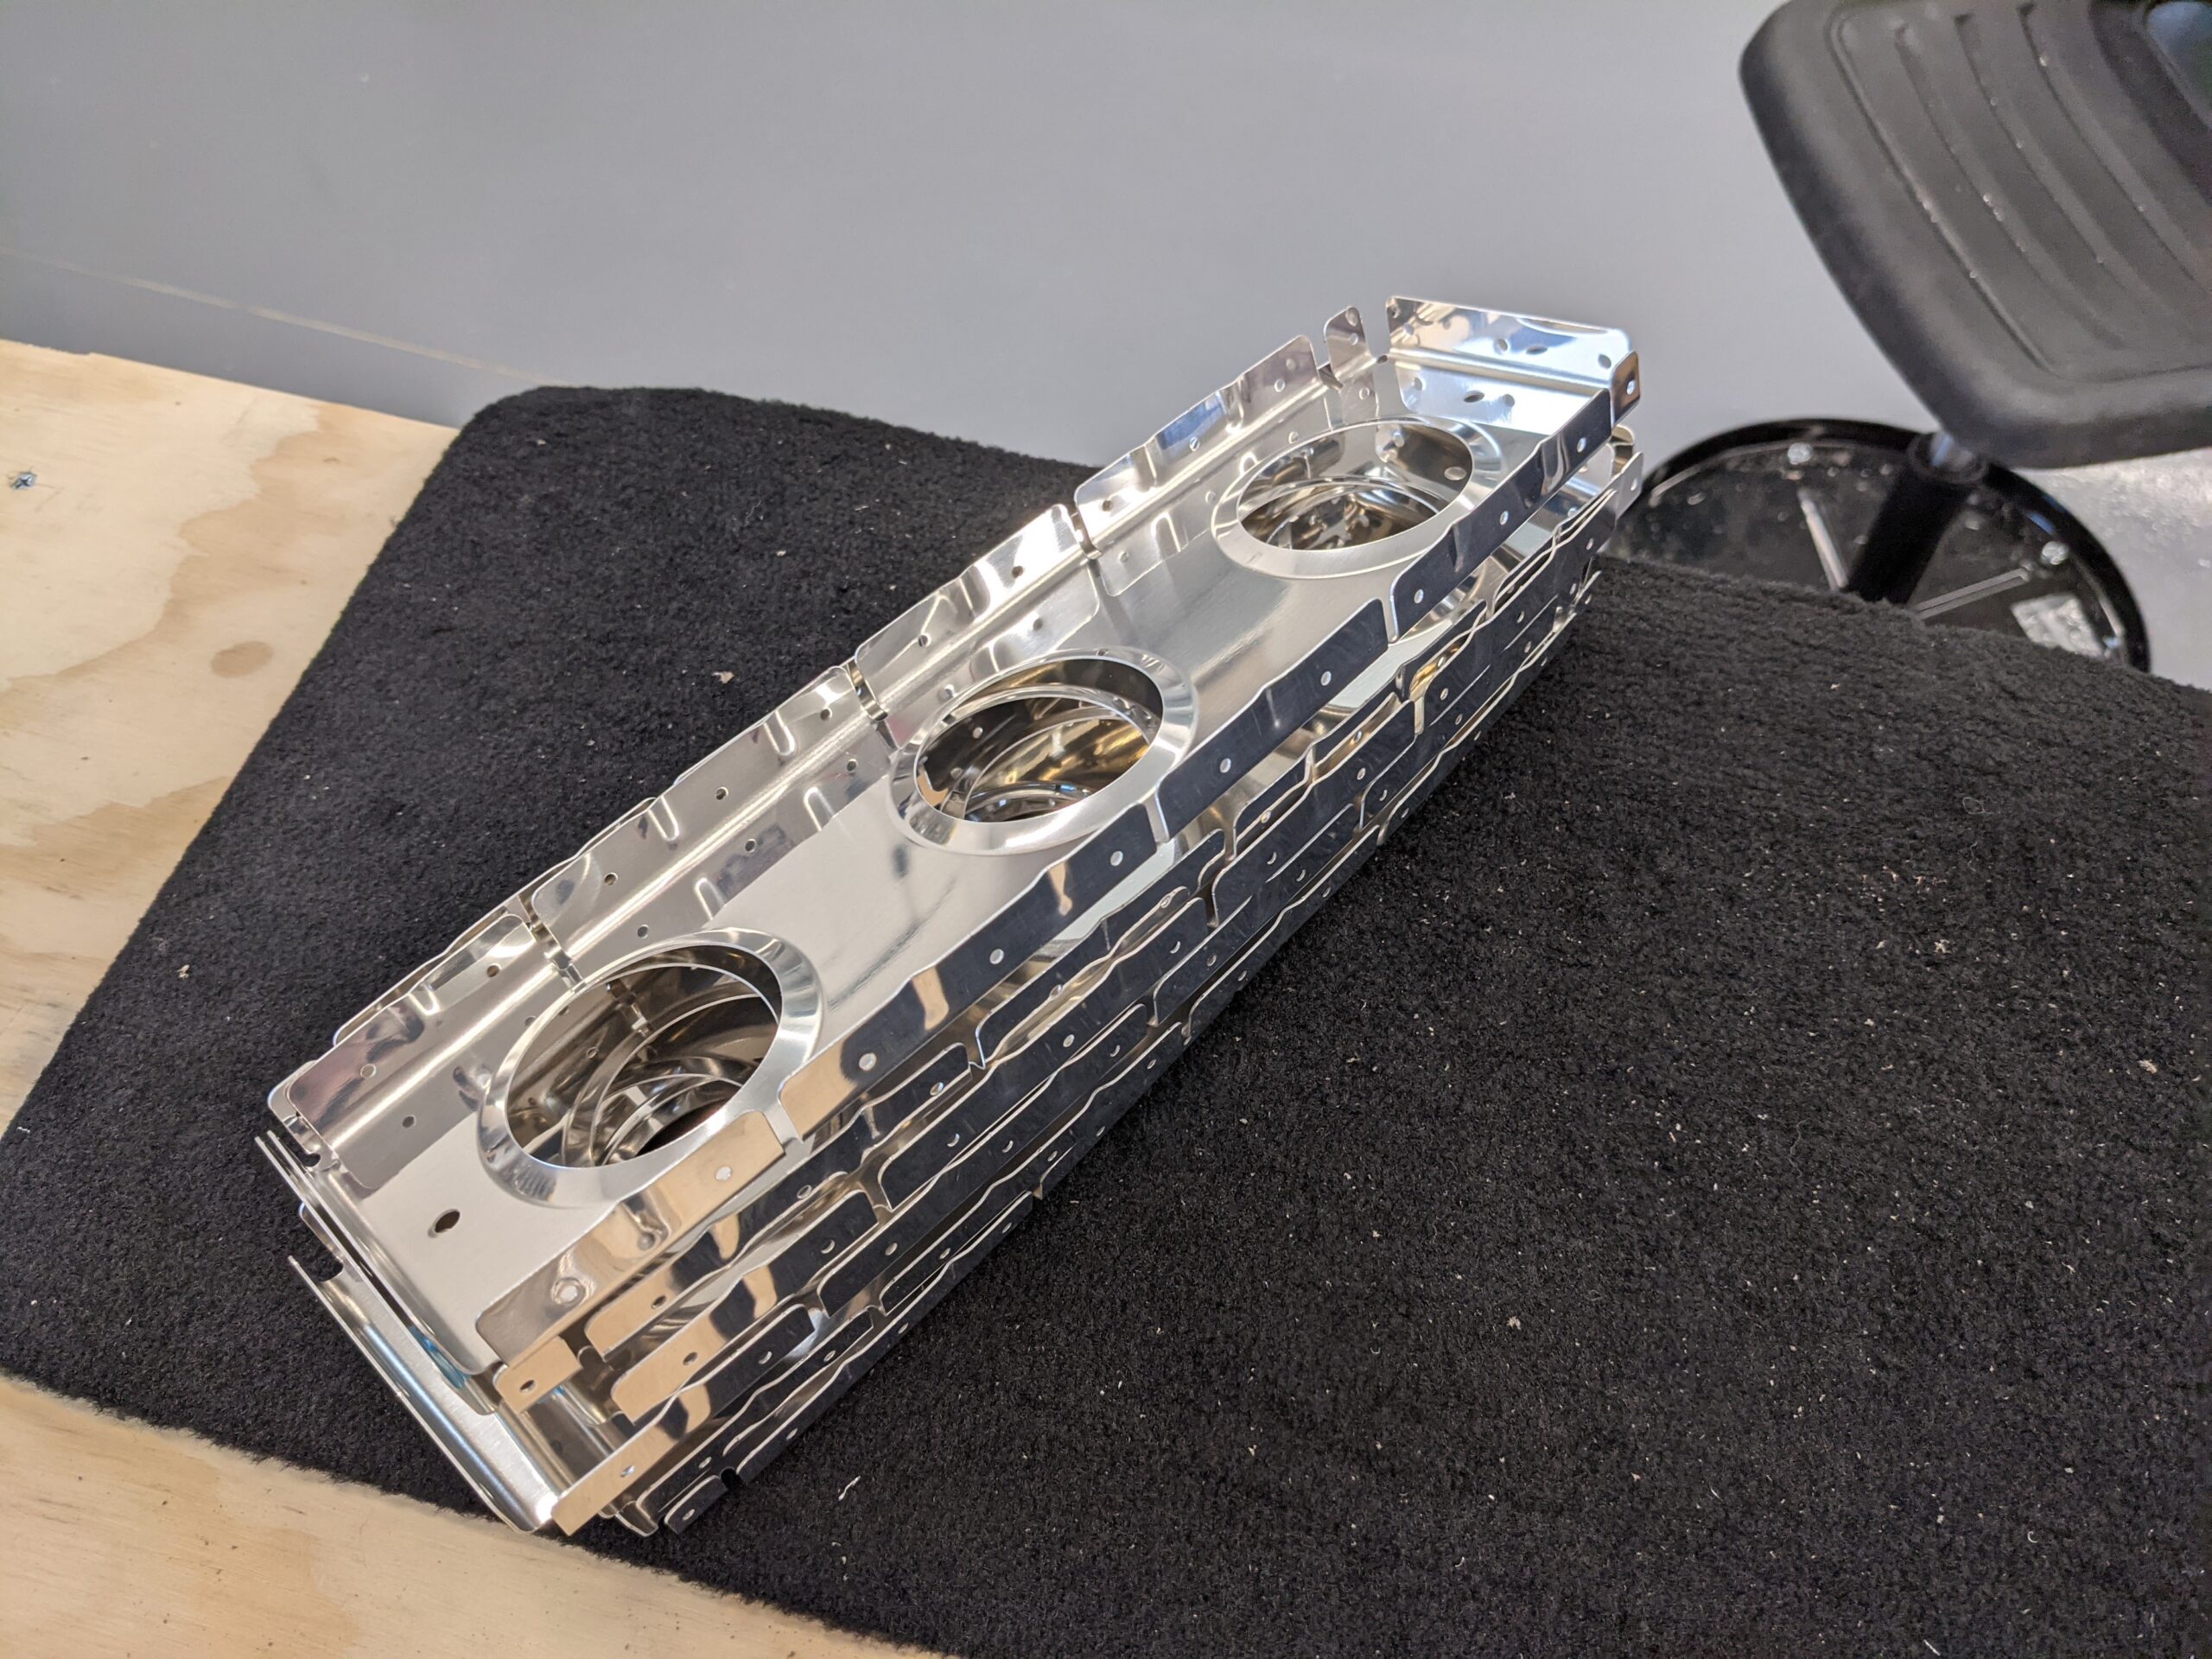
All parts were then marked. I labeled the ribs L and R with numbering starting from the outside. I’ll keep track of these during priming and rewrite the numbers on the flanges as I flip them during priming,.
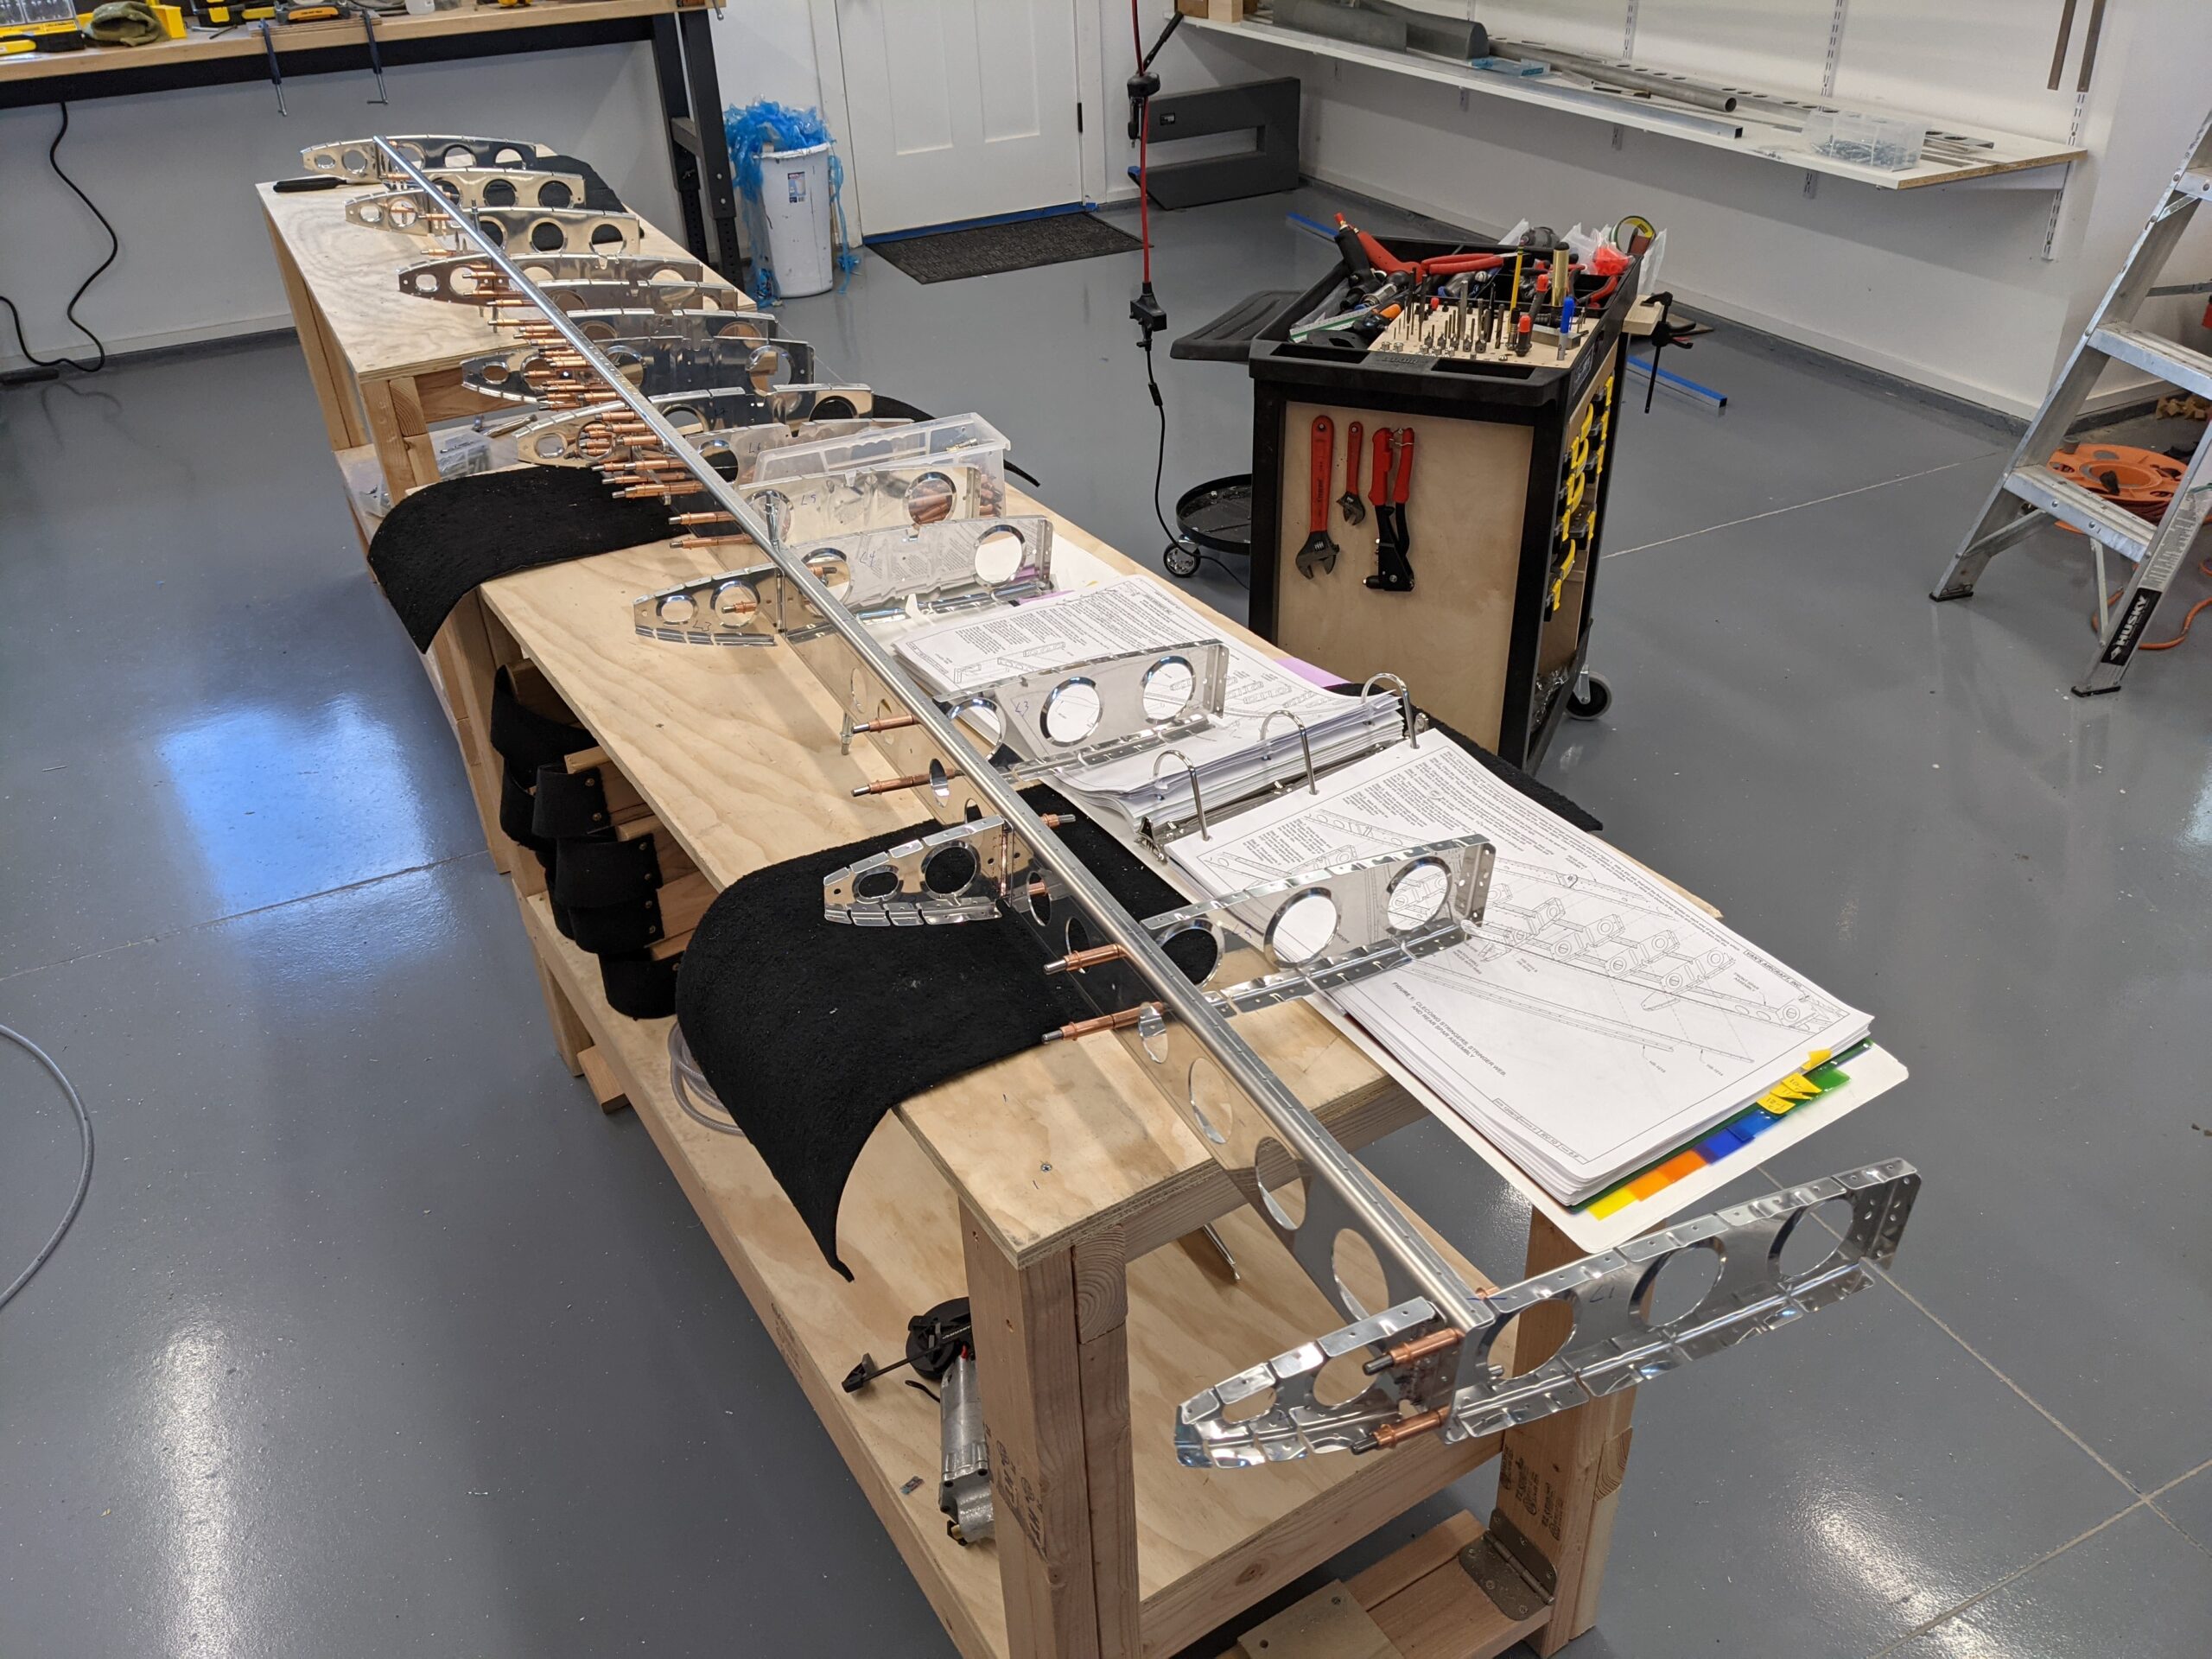
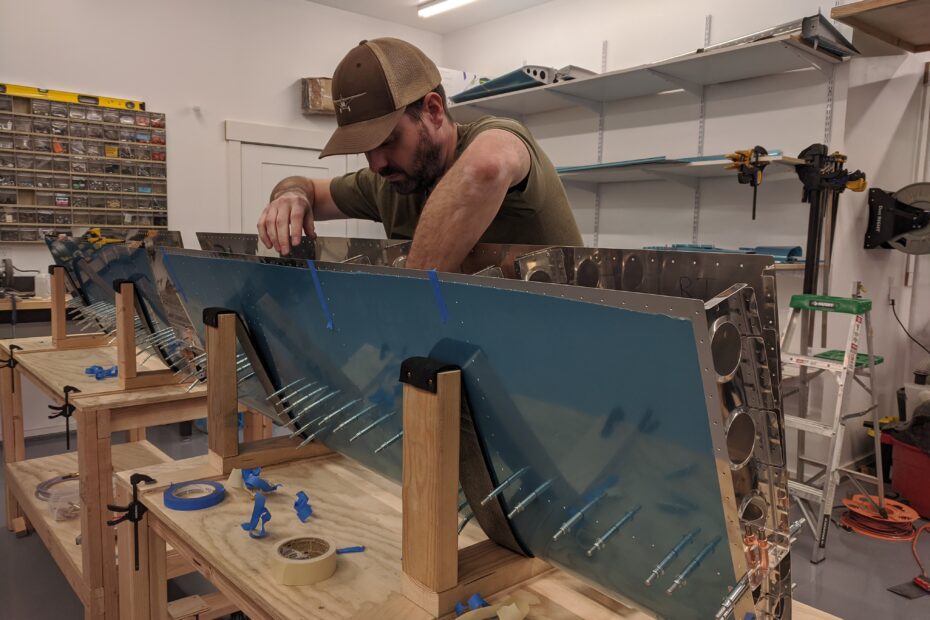
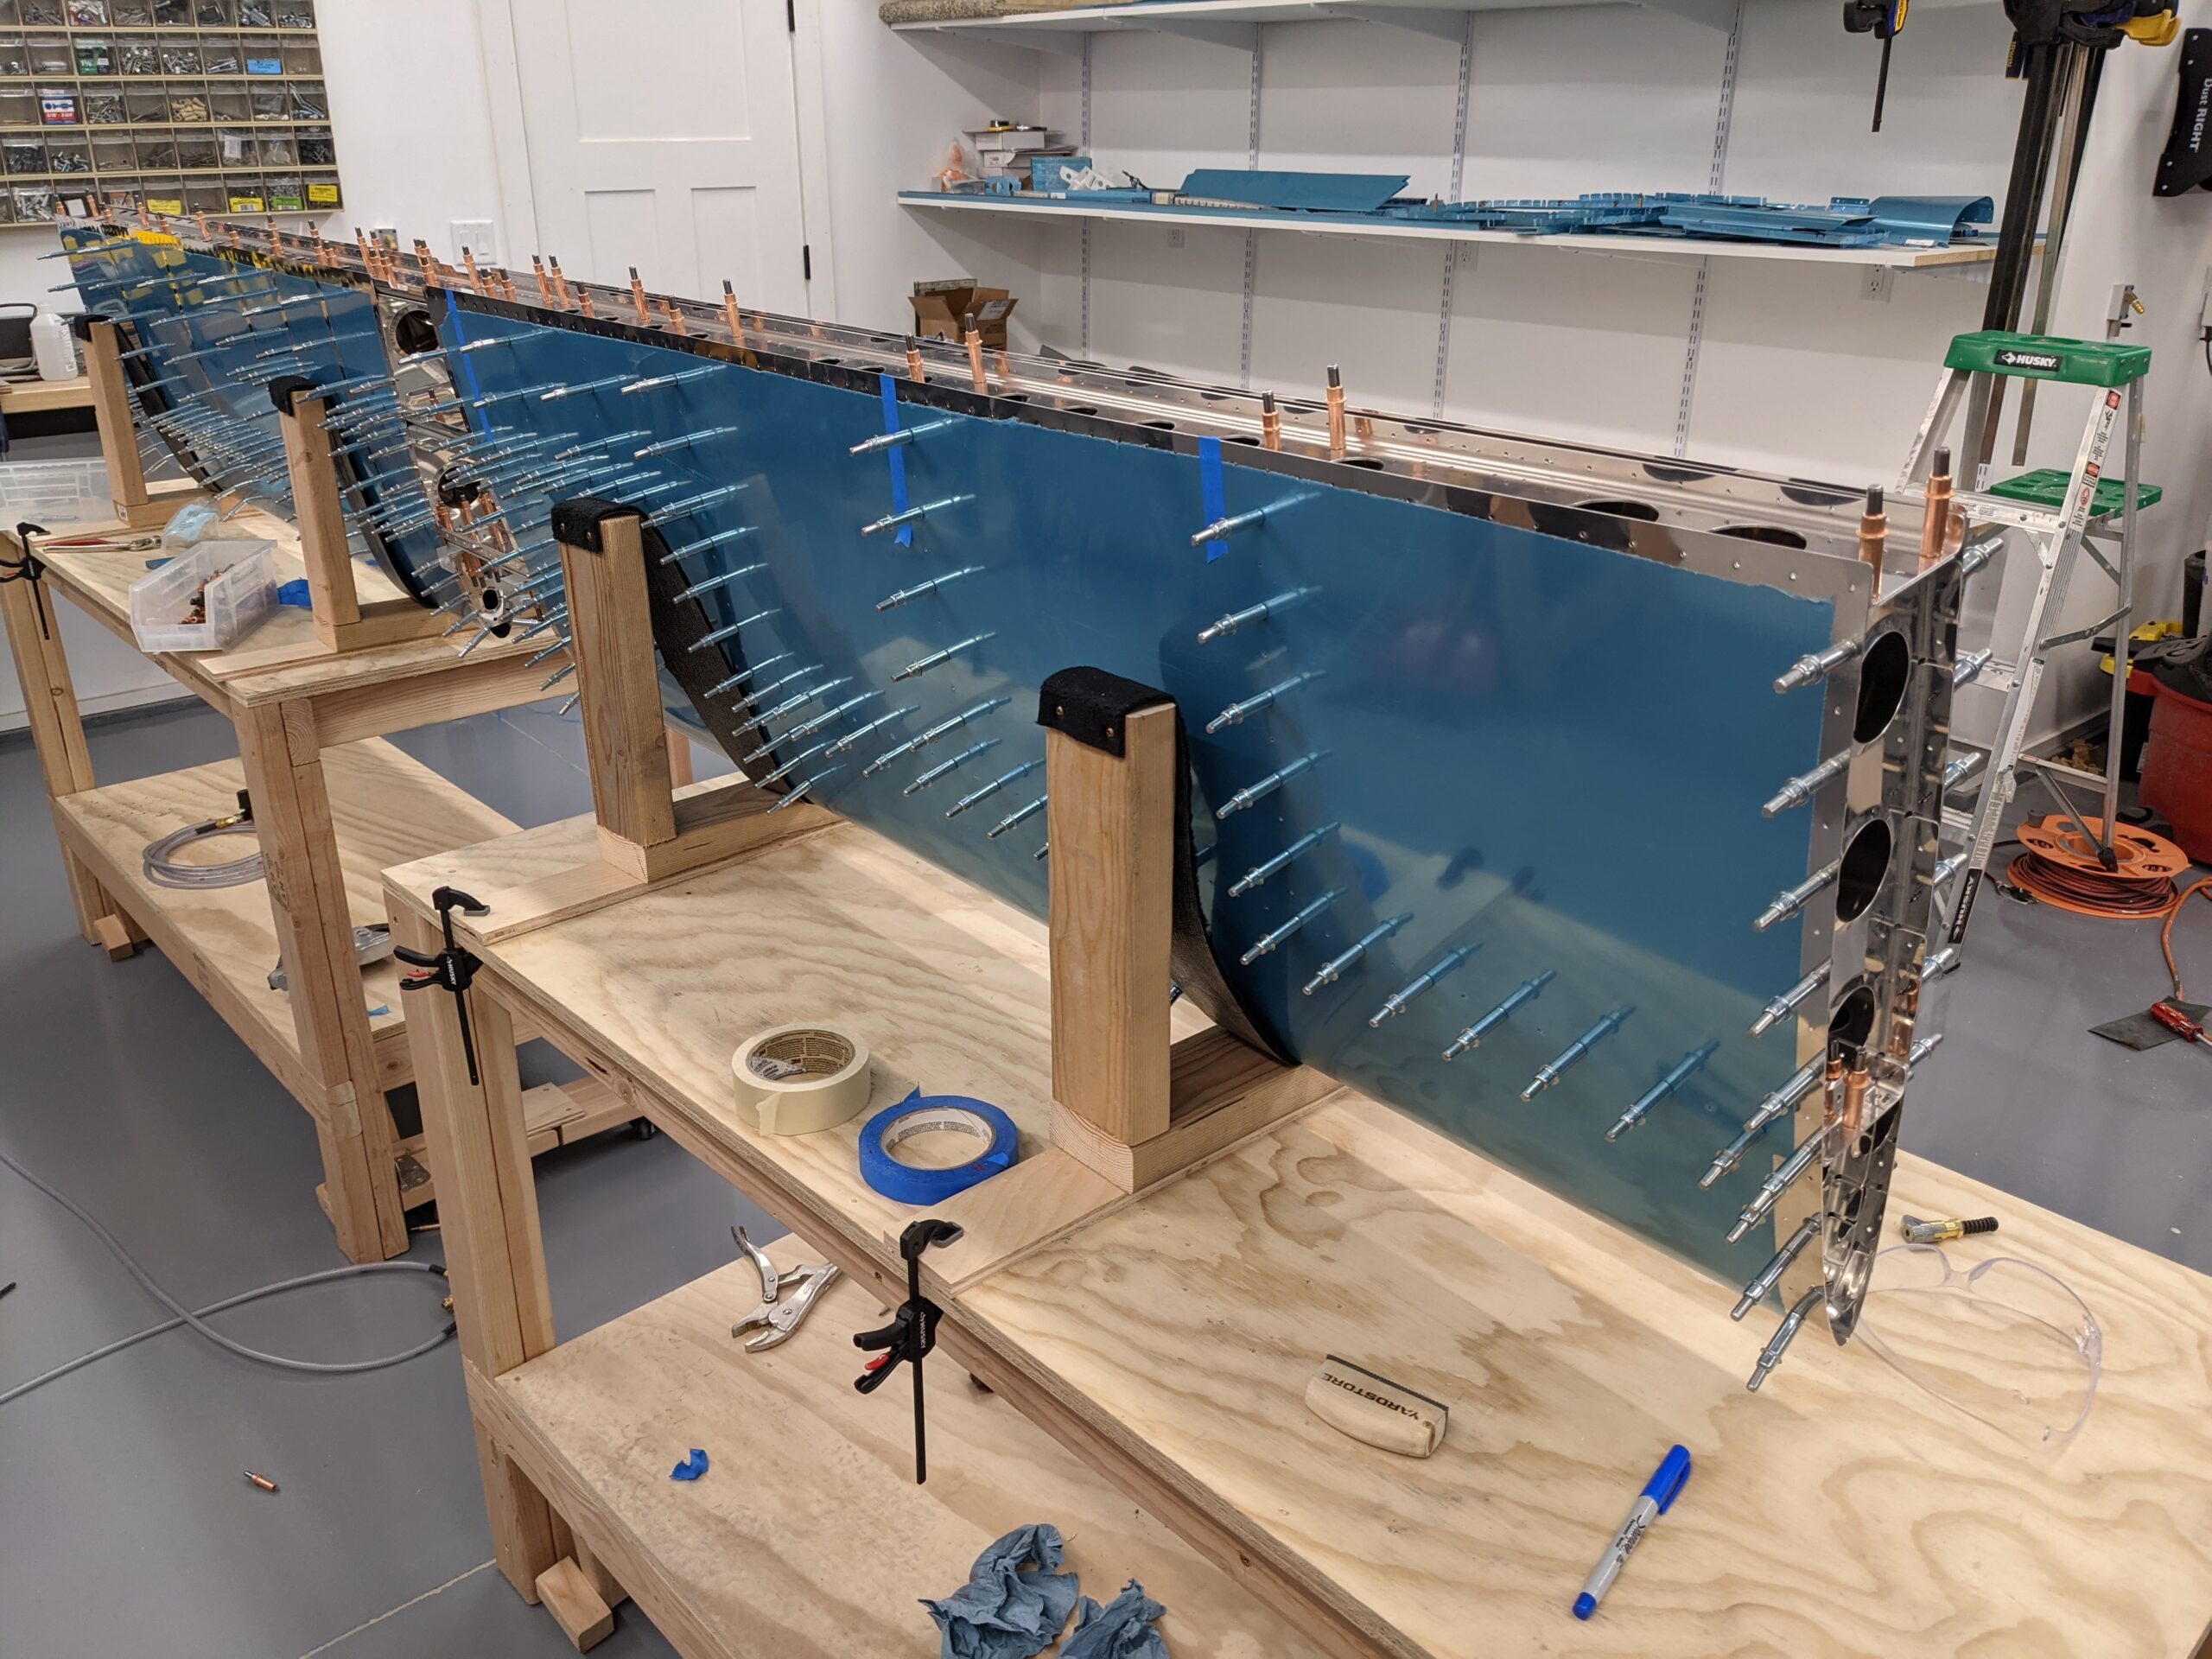
Next up was getting out the ladder to get the skins down from my overhead storage. I removed the interior blueing and kept the exterior protection in place for now.
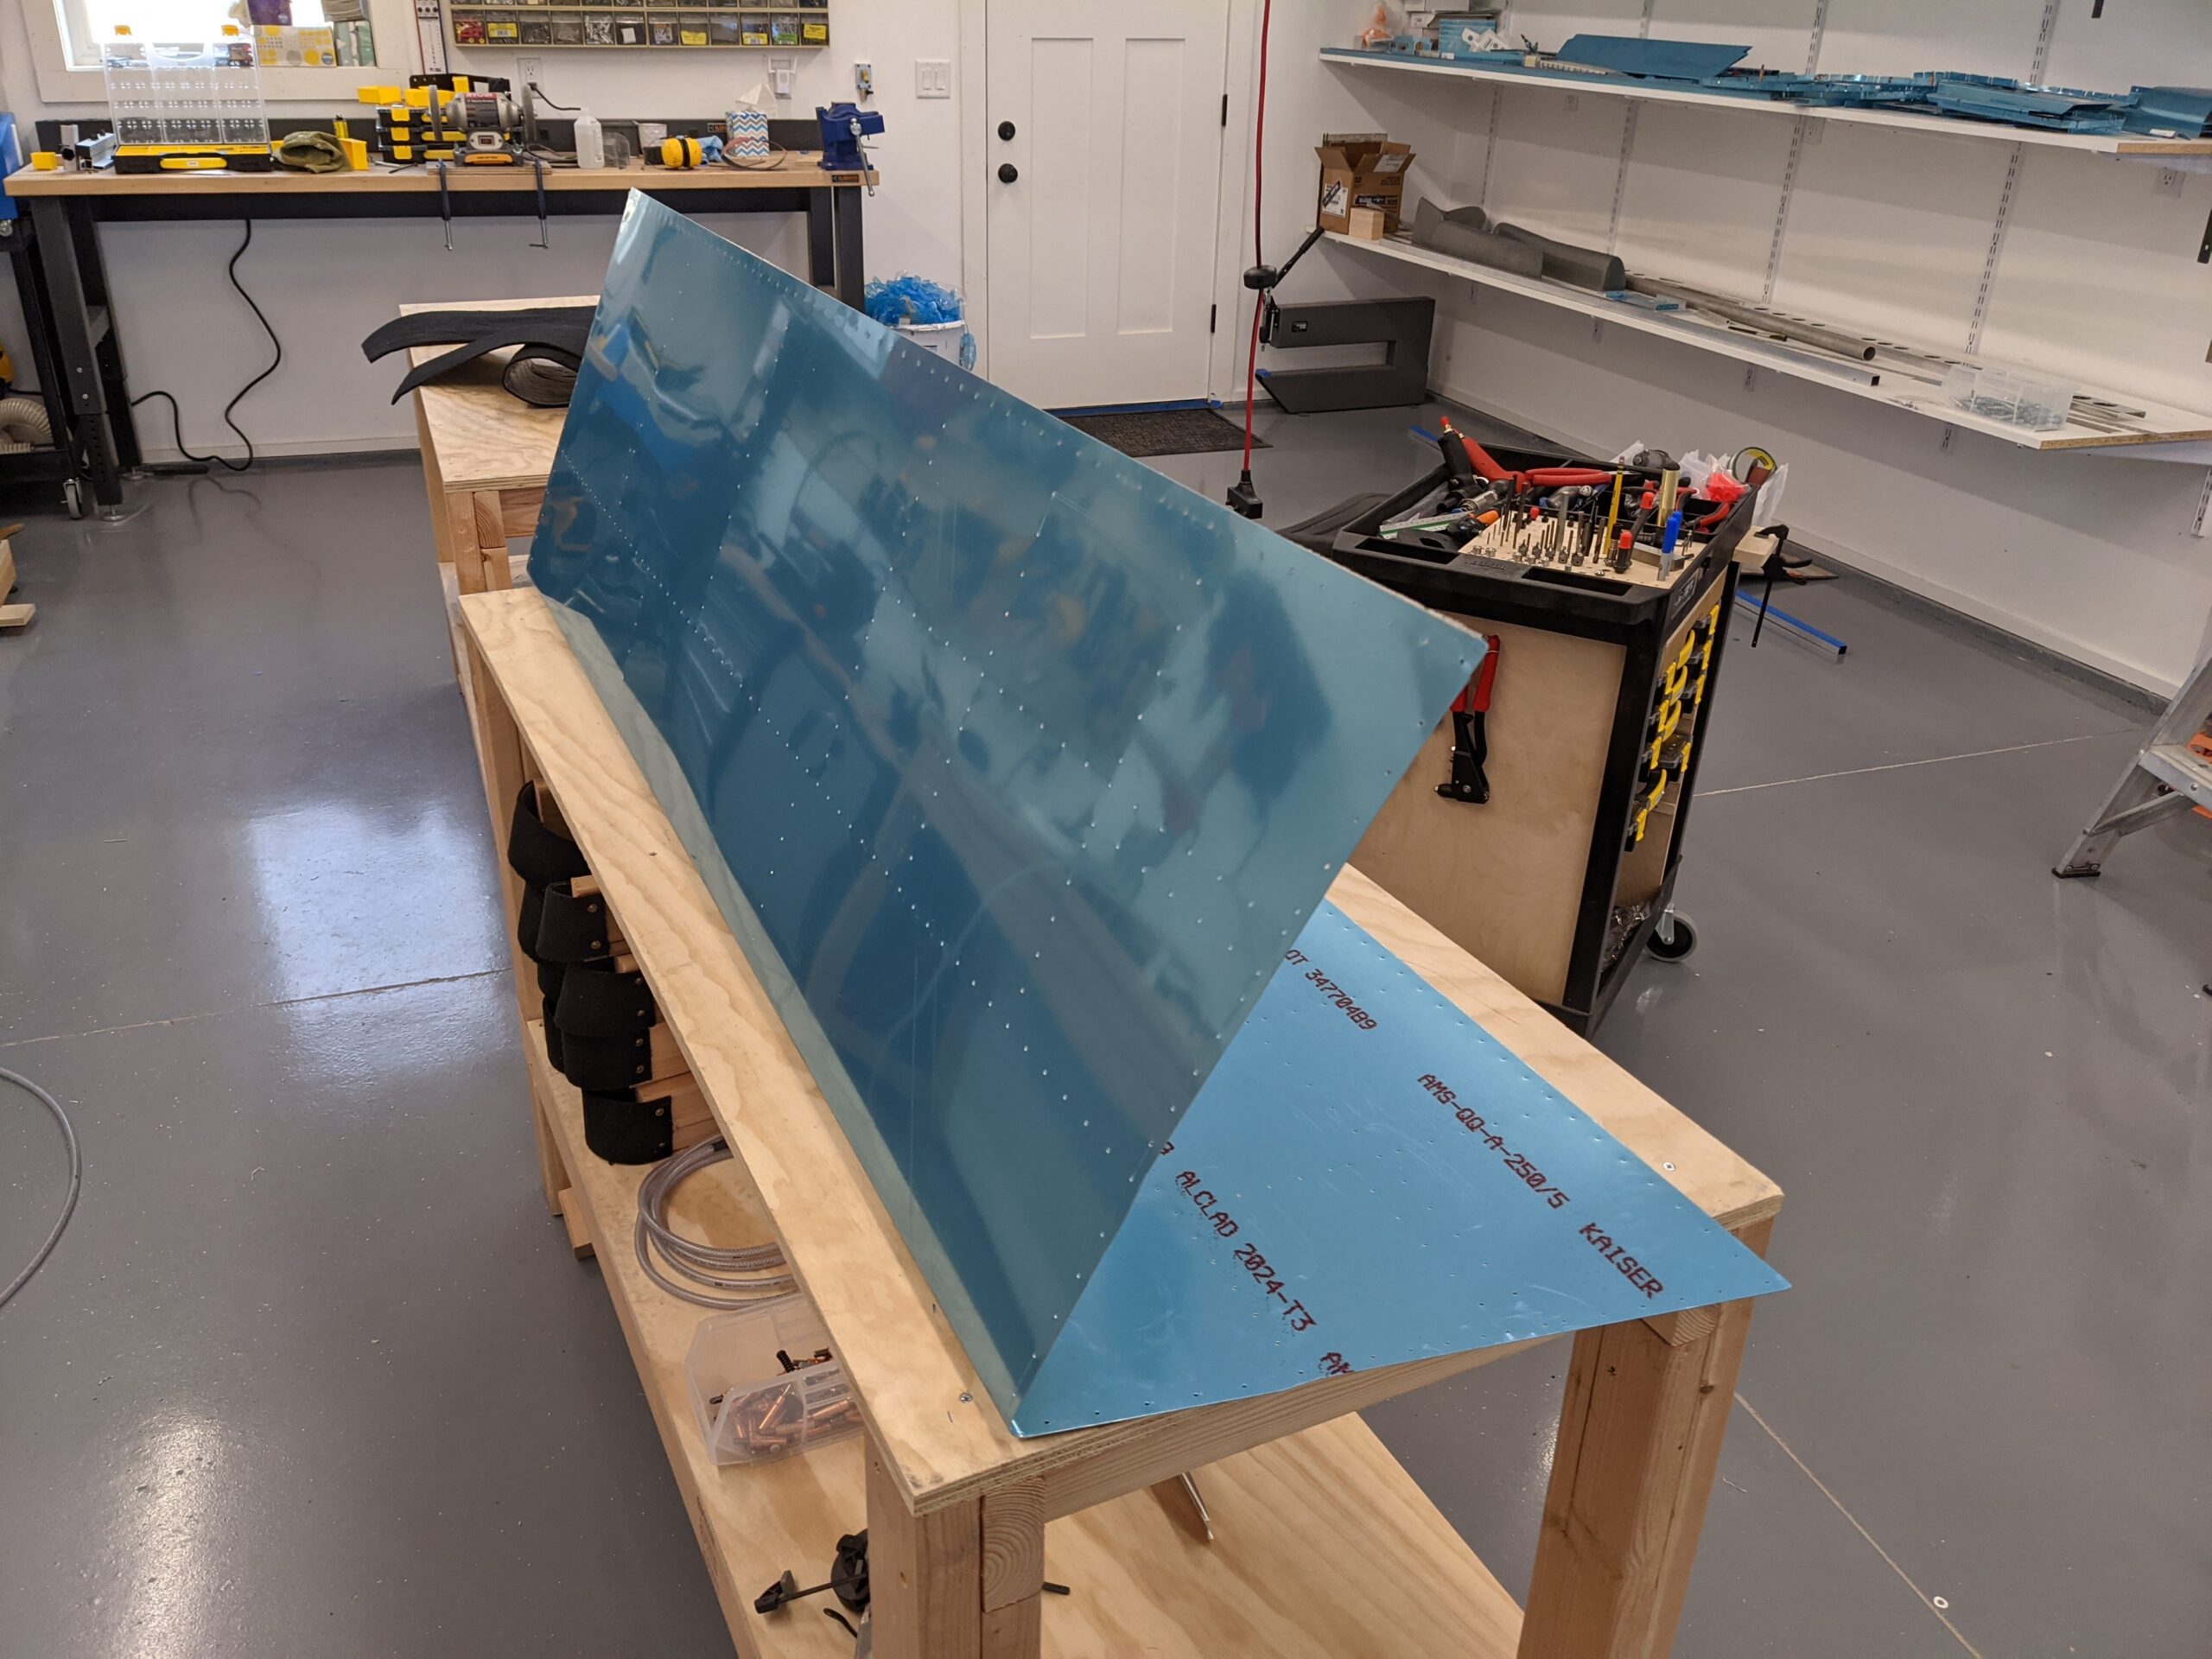
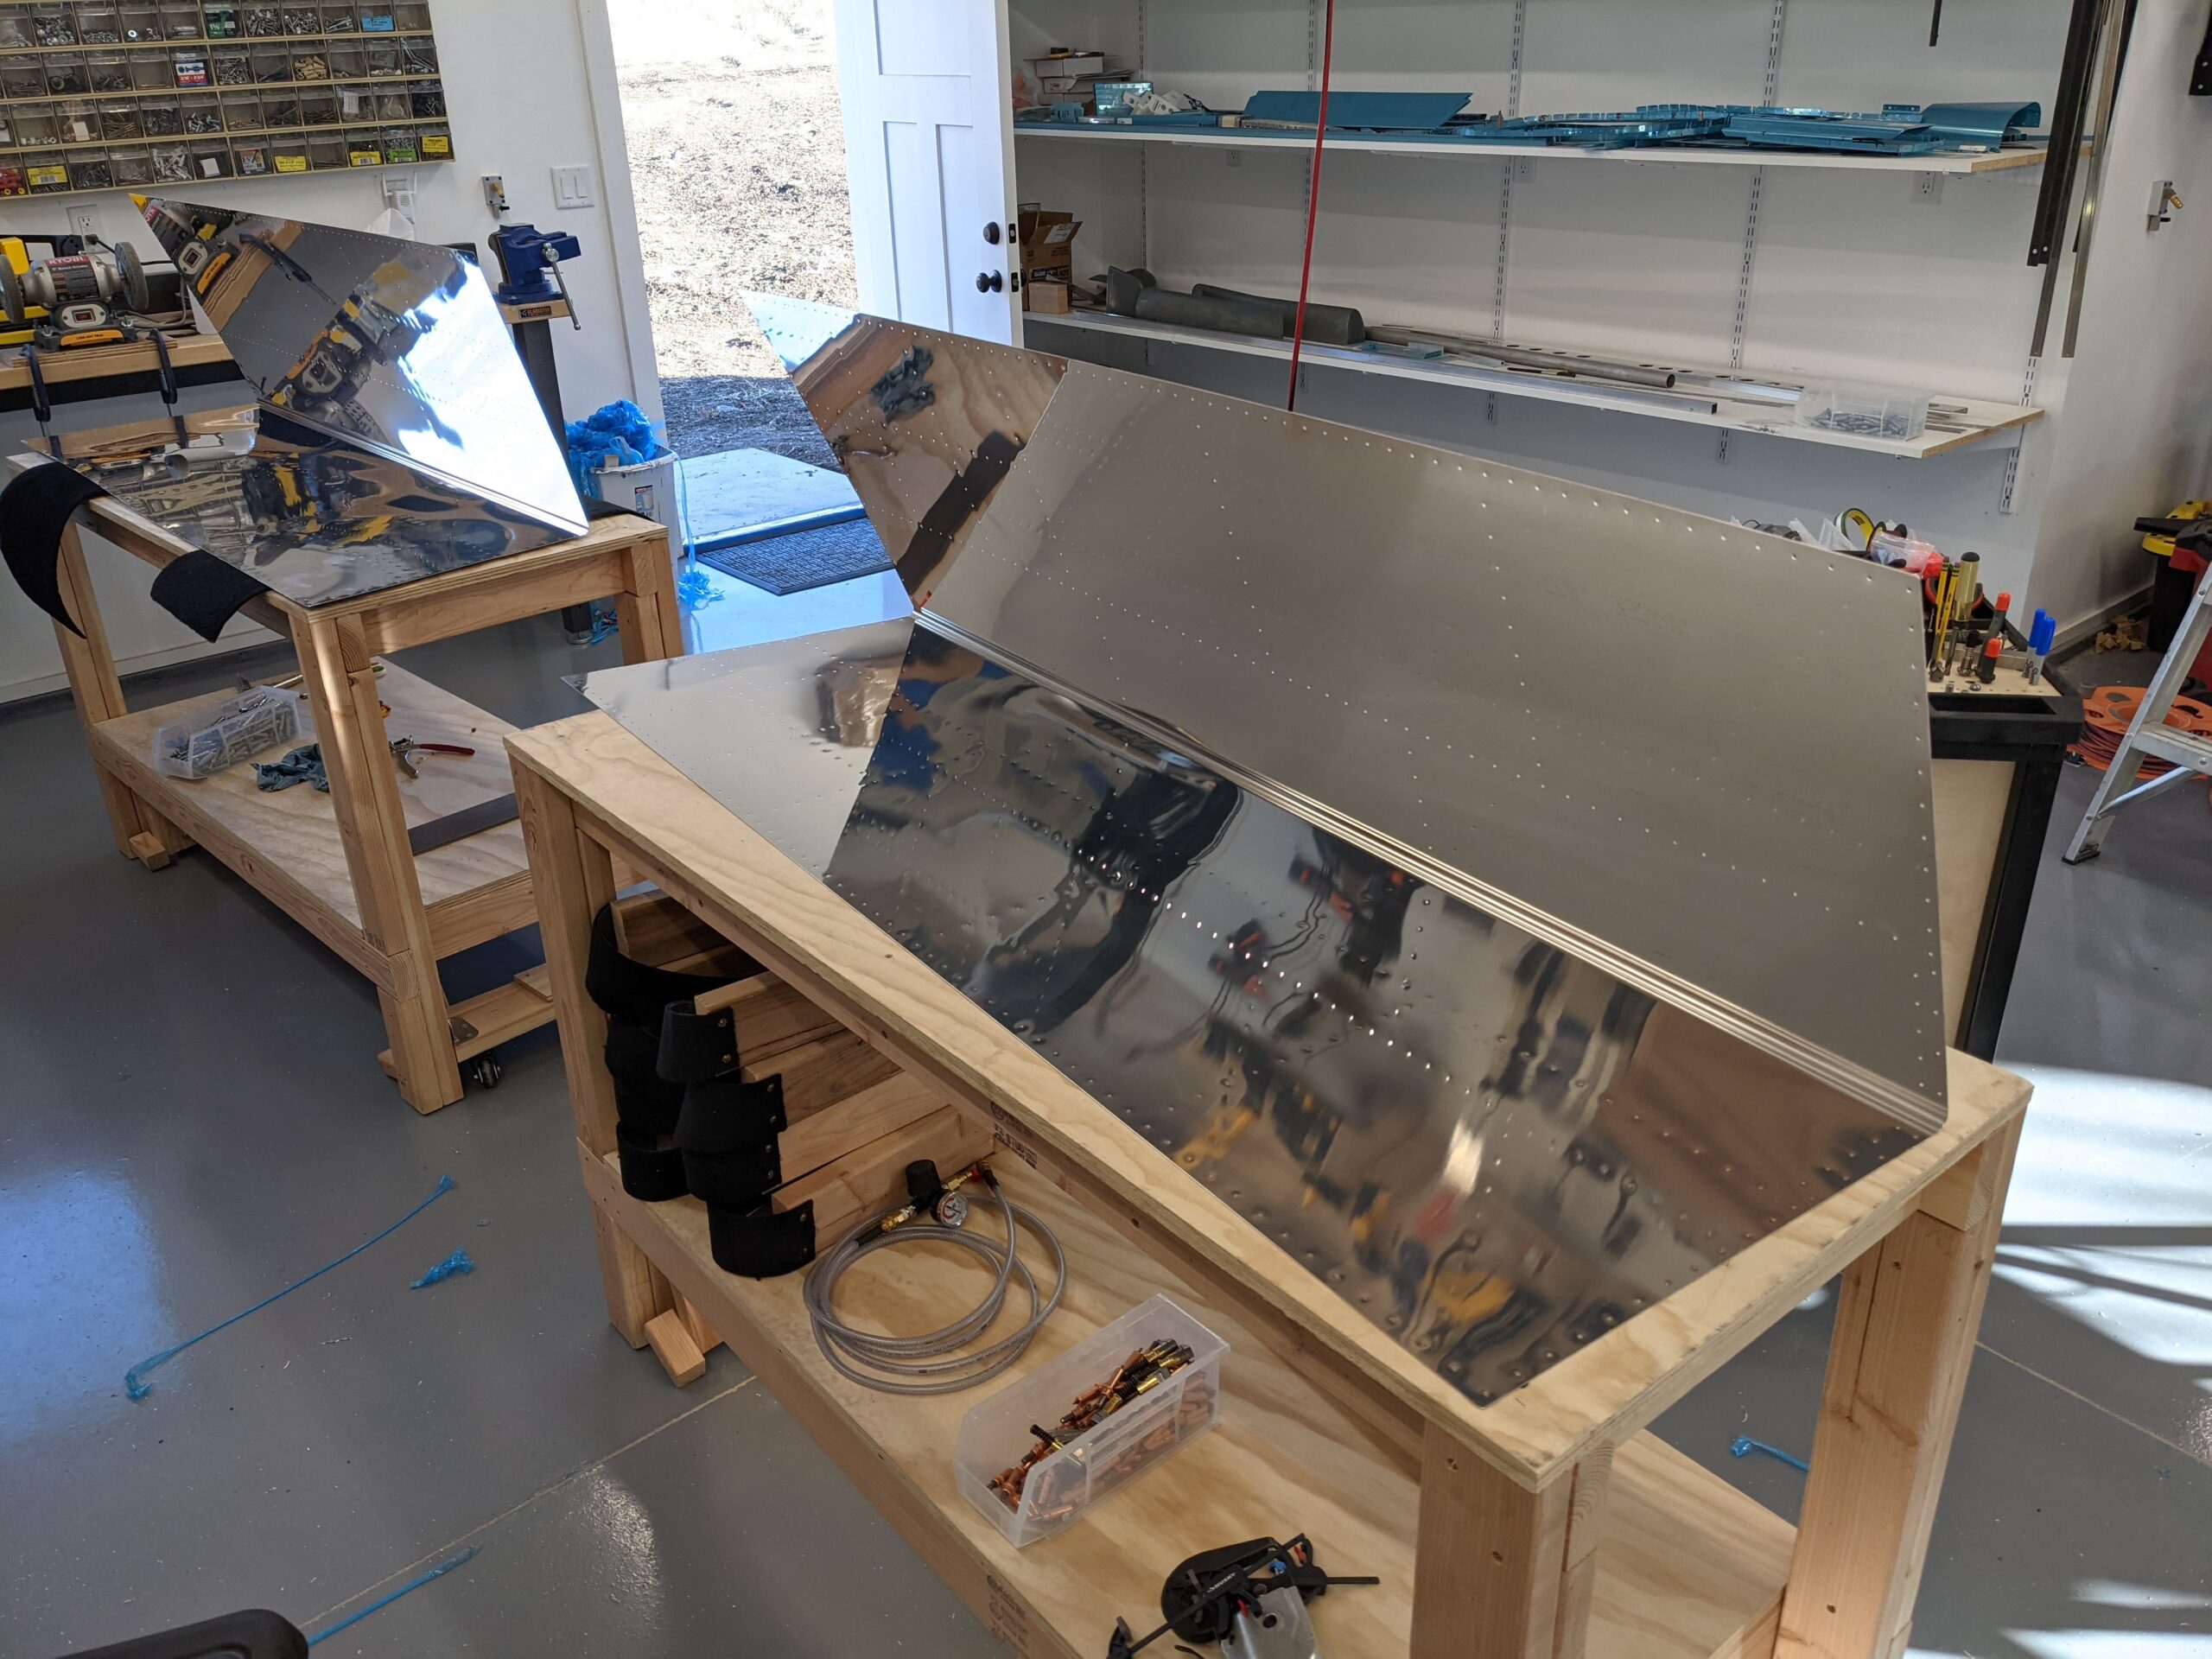
I then deburred the edges of the skins with a vixen file and propped them up in the cradles.
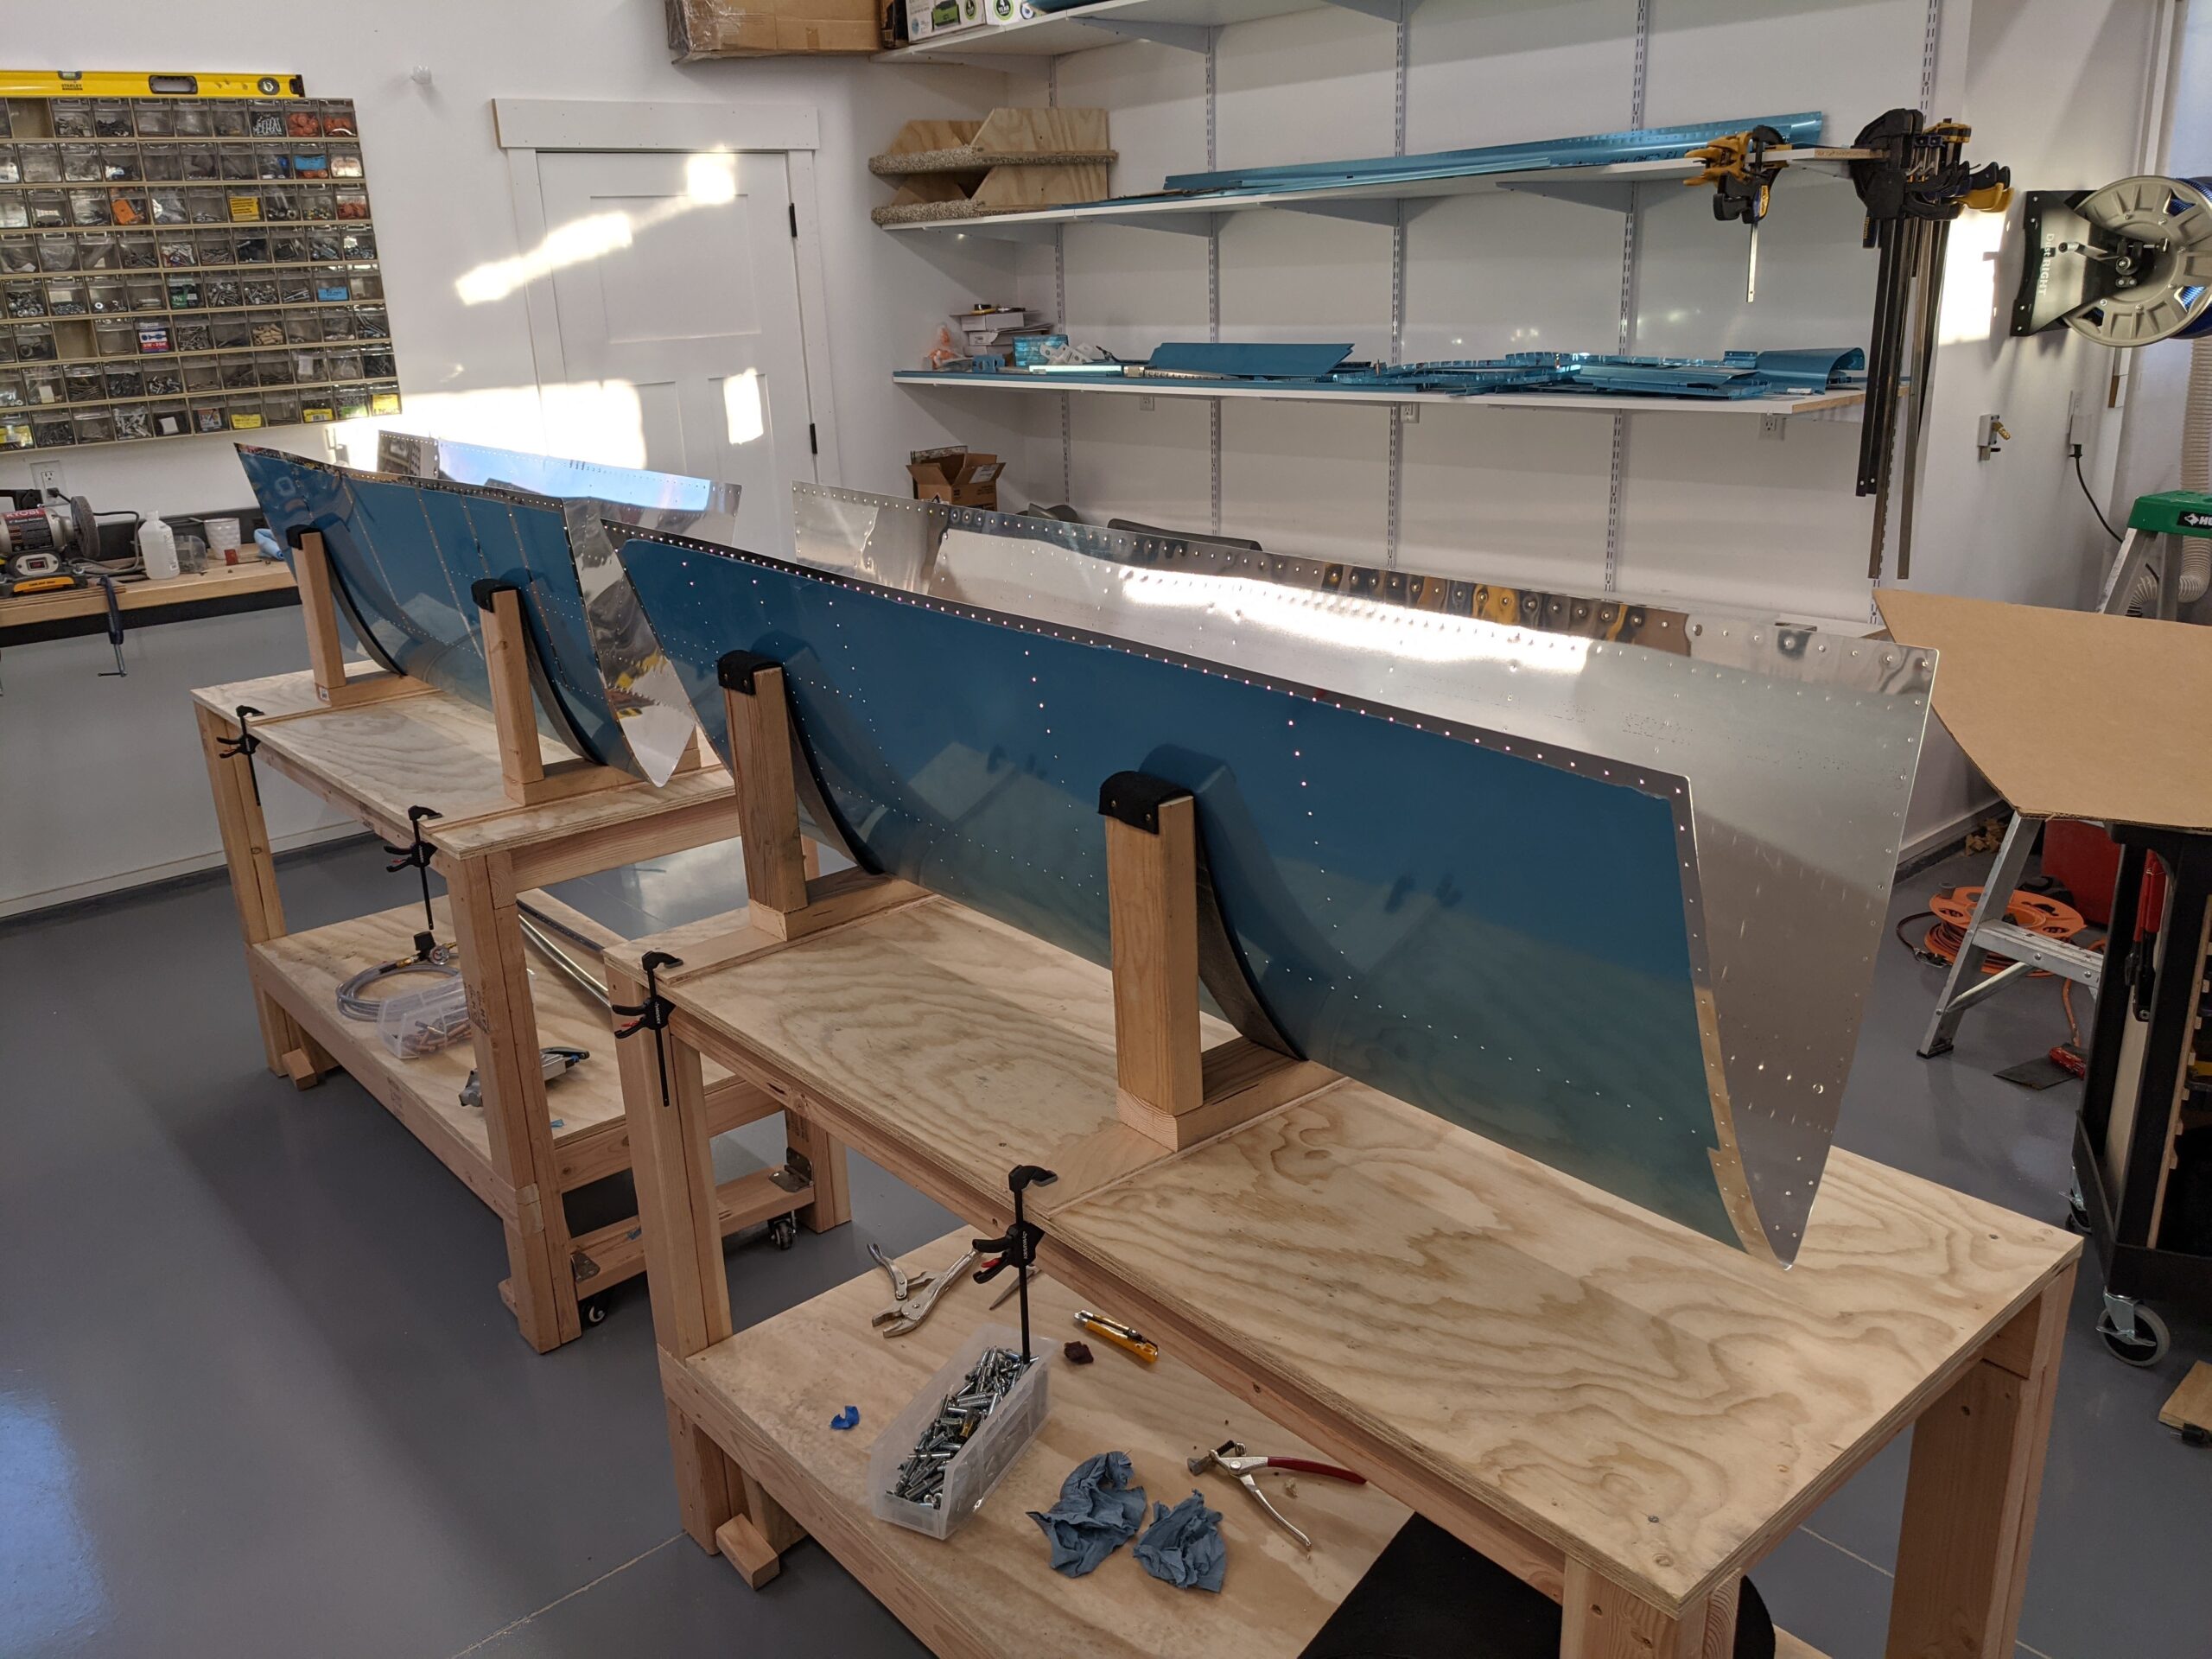
The nose ribs were then transferred one by one from the front spar assembly into the skins and clecoed into place. This was followed by the front spar assembly and the inspar ribs.
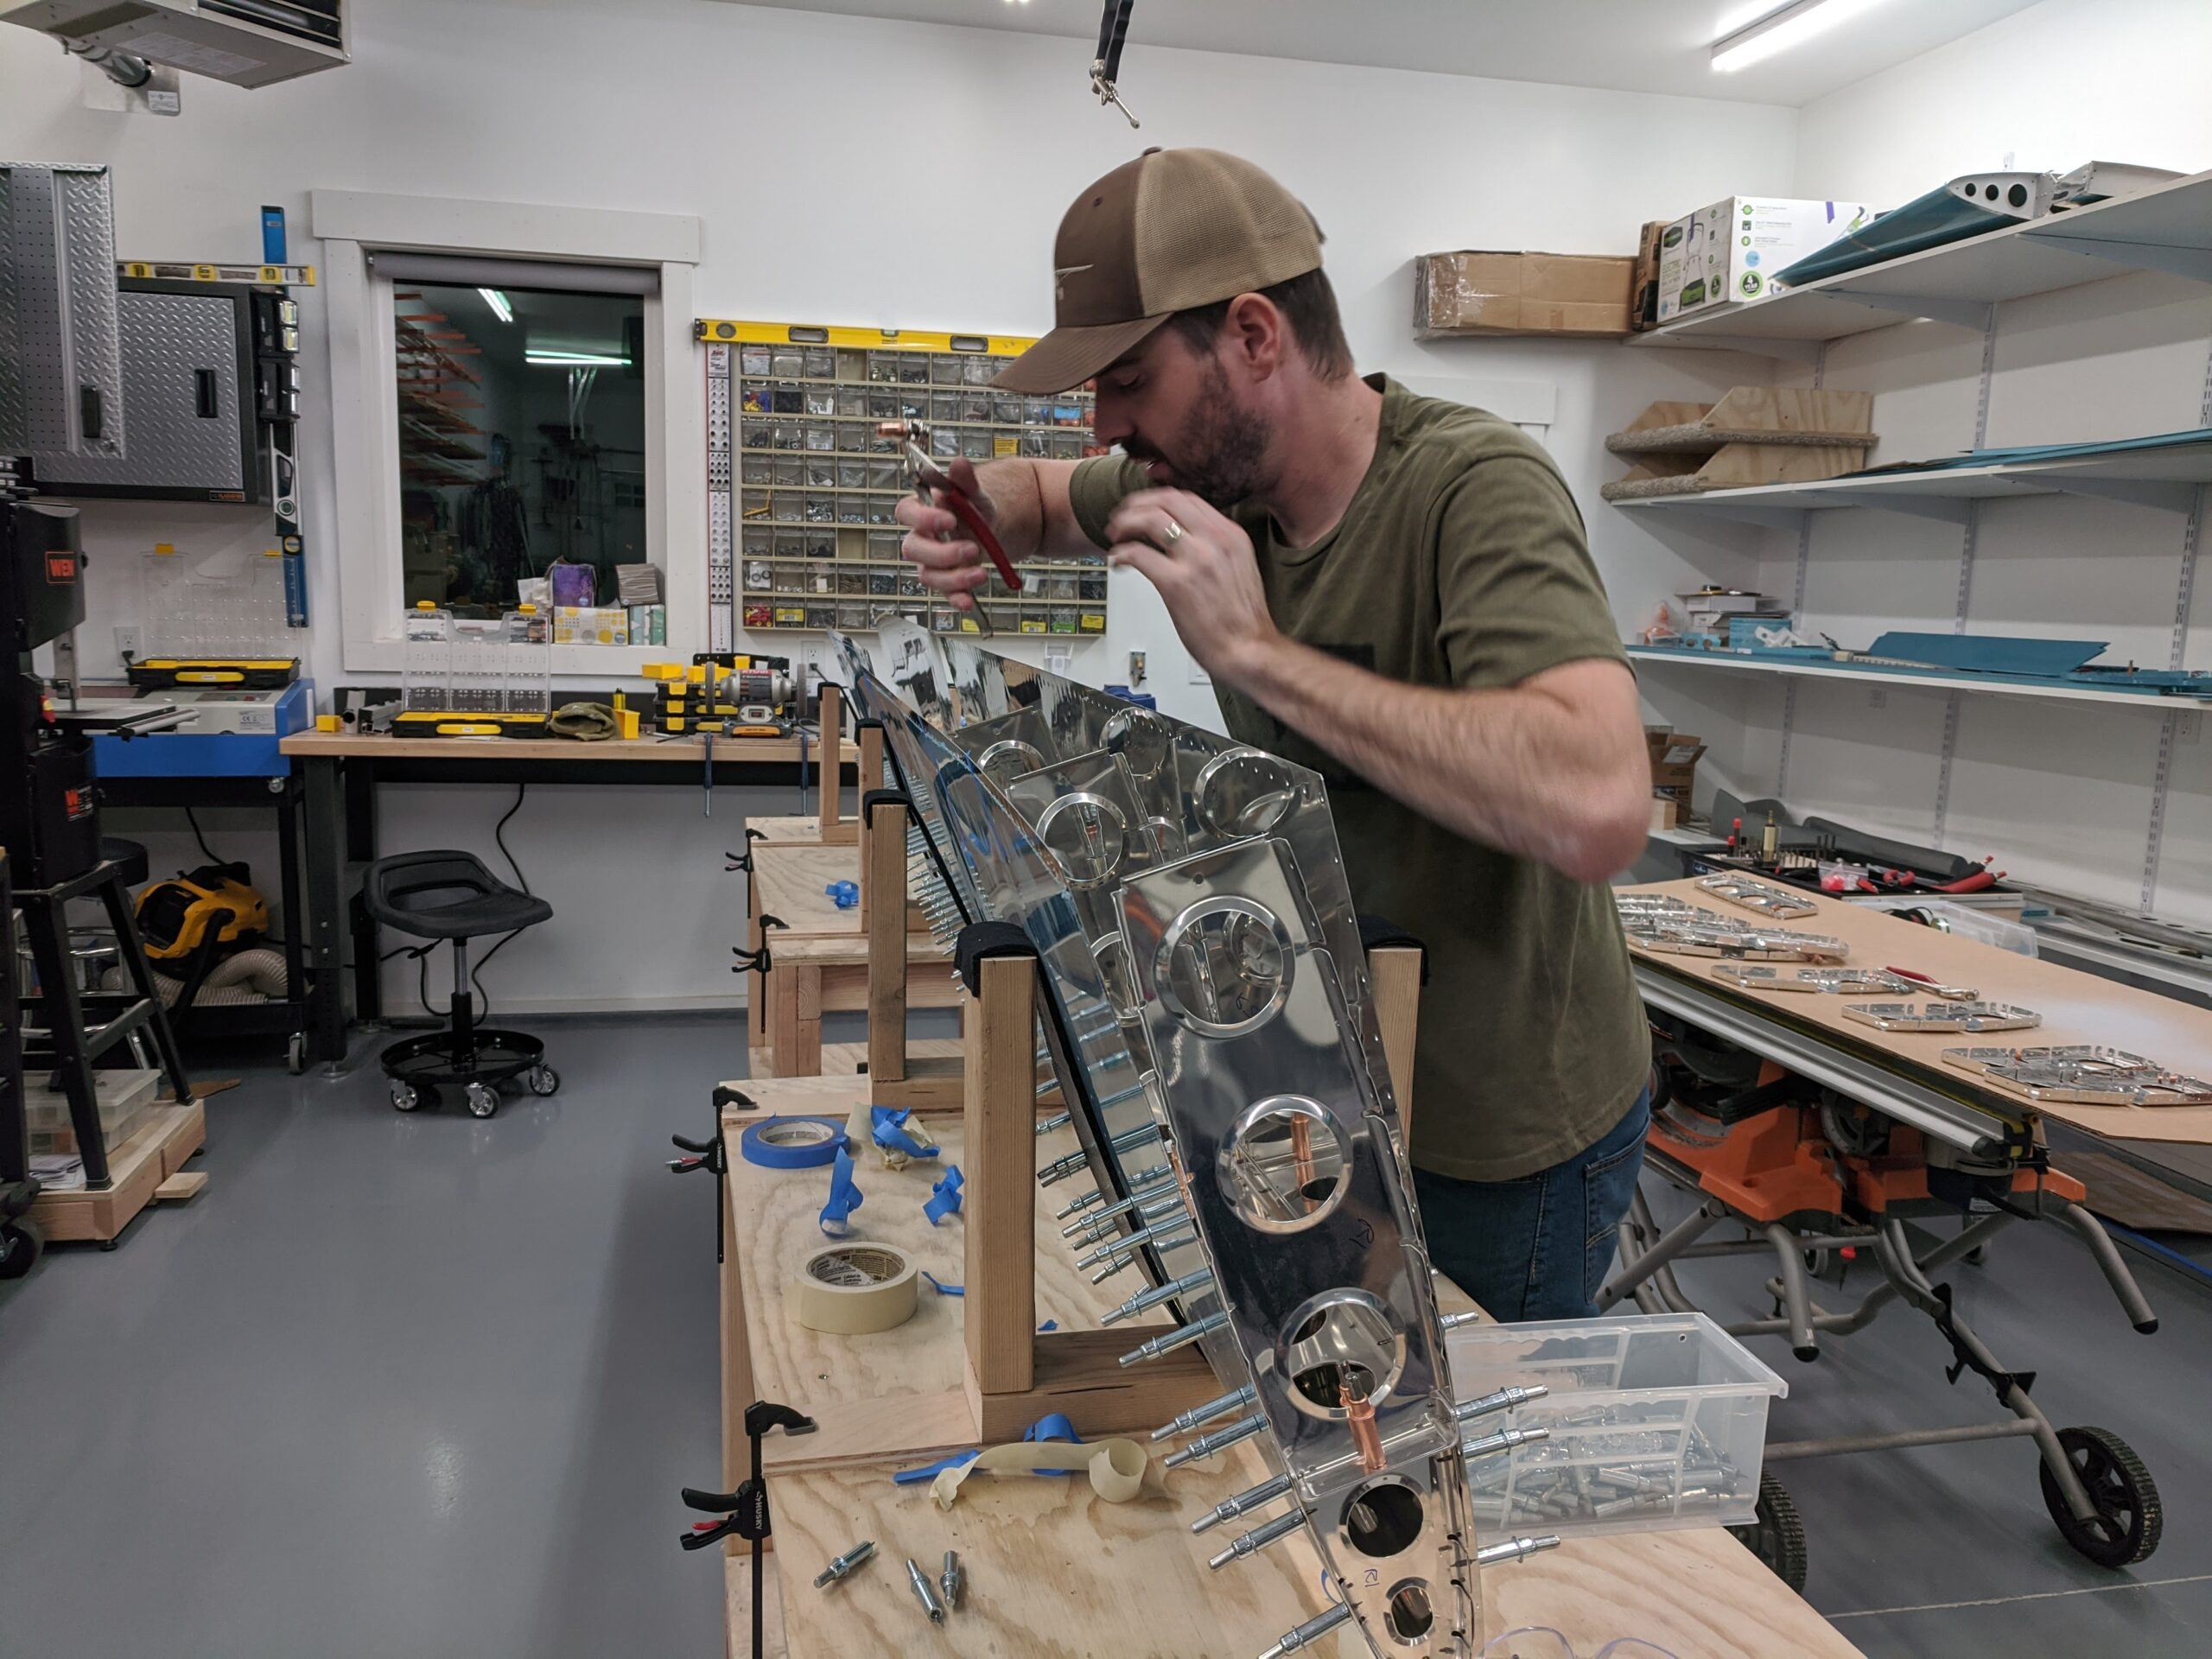
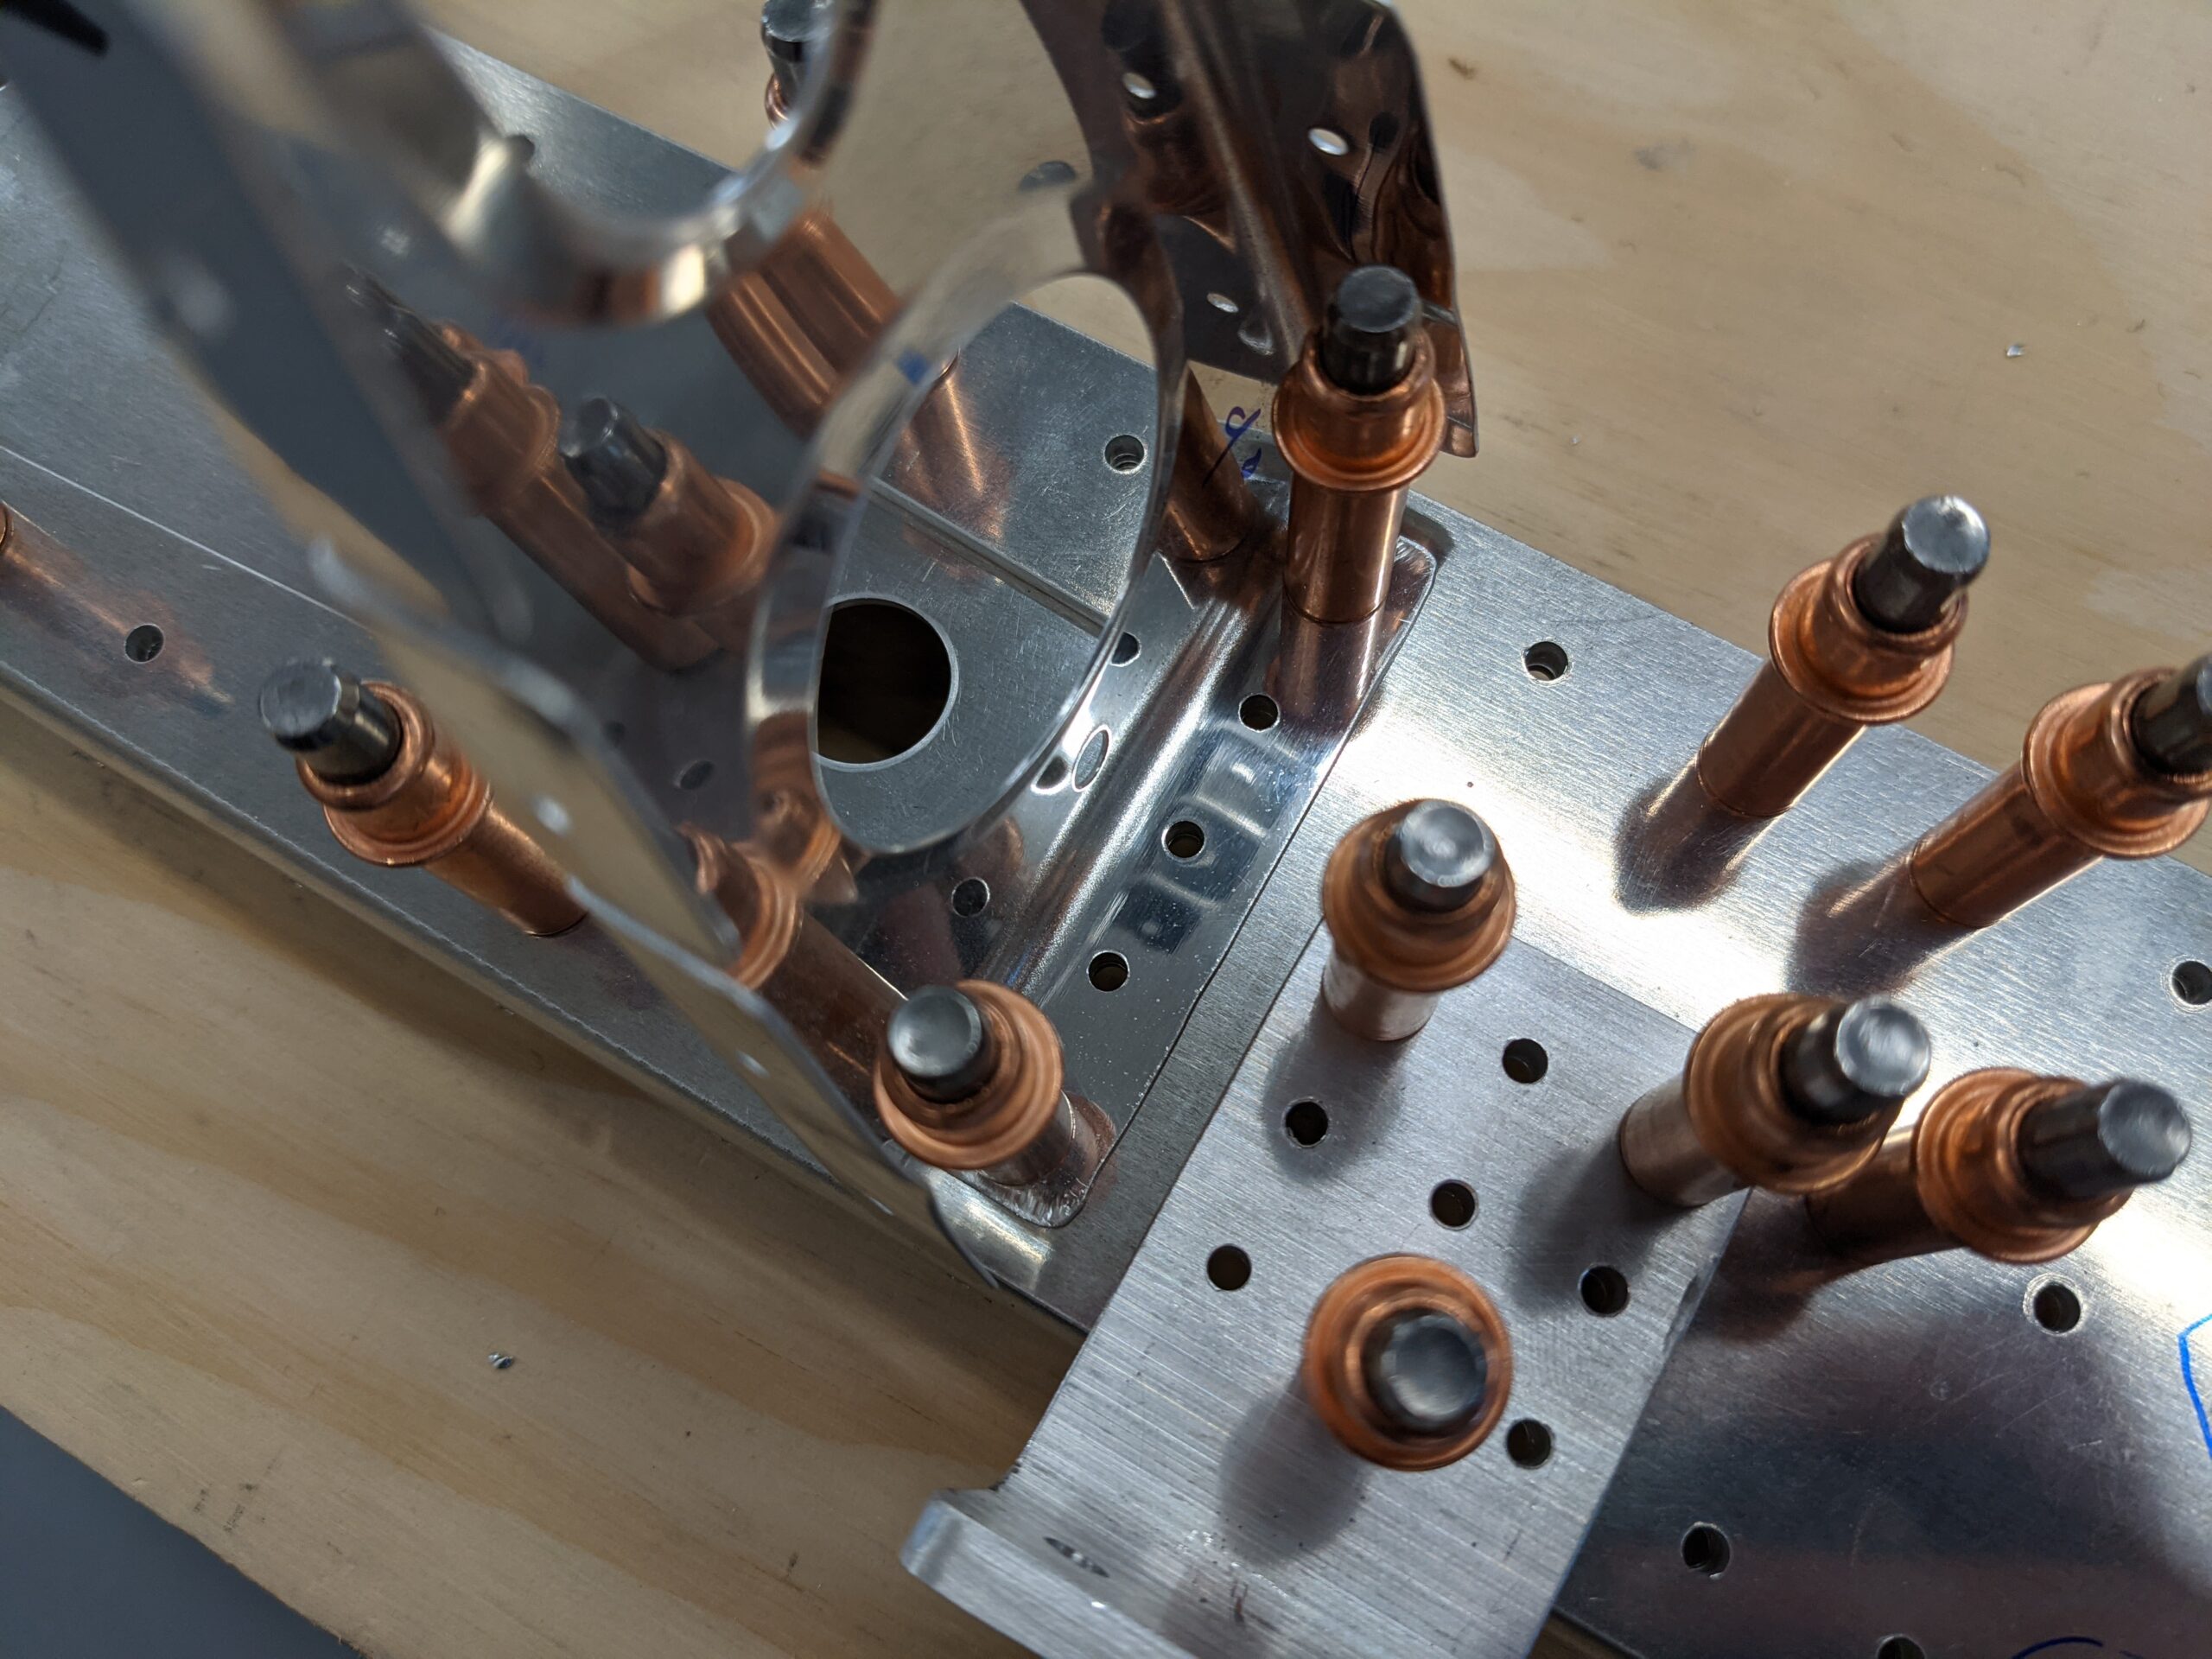
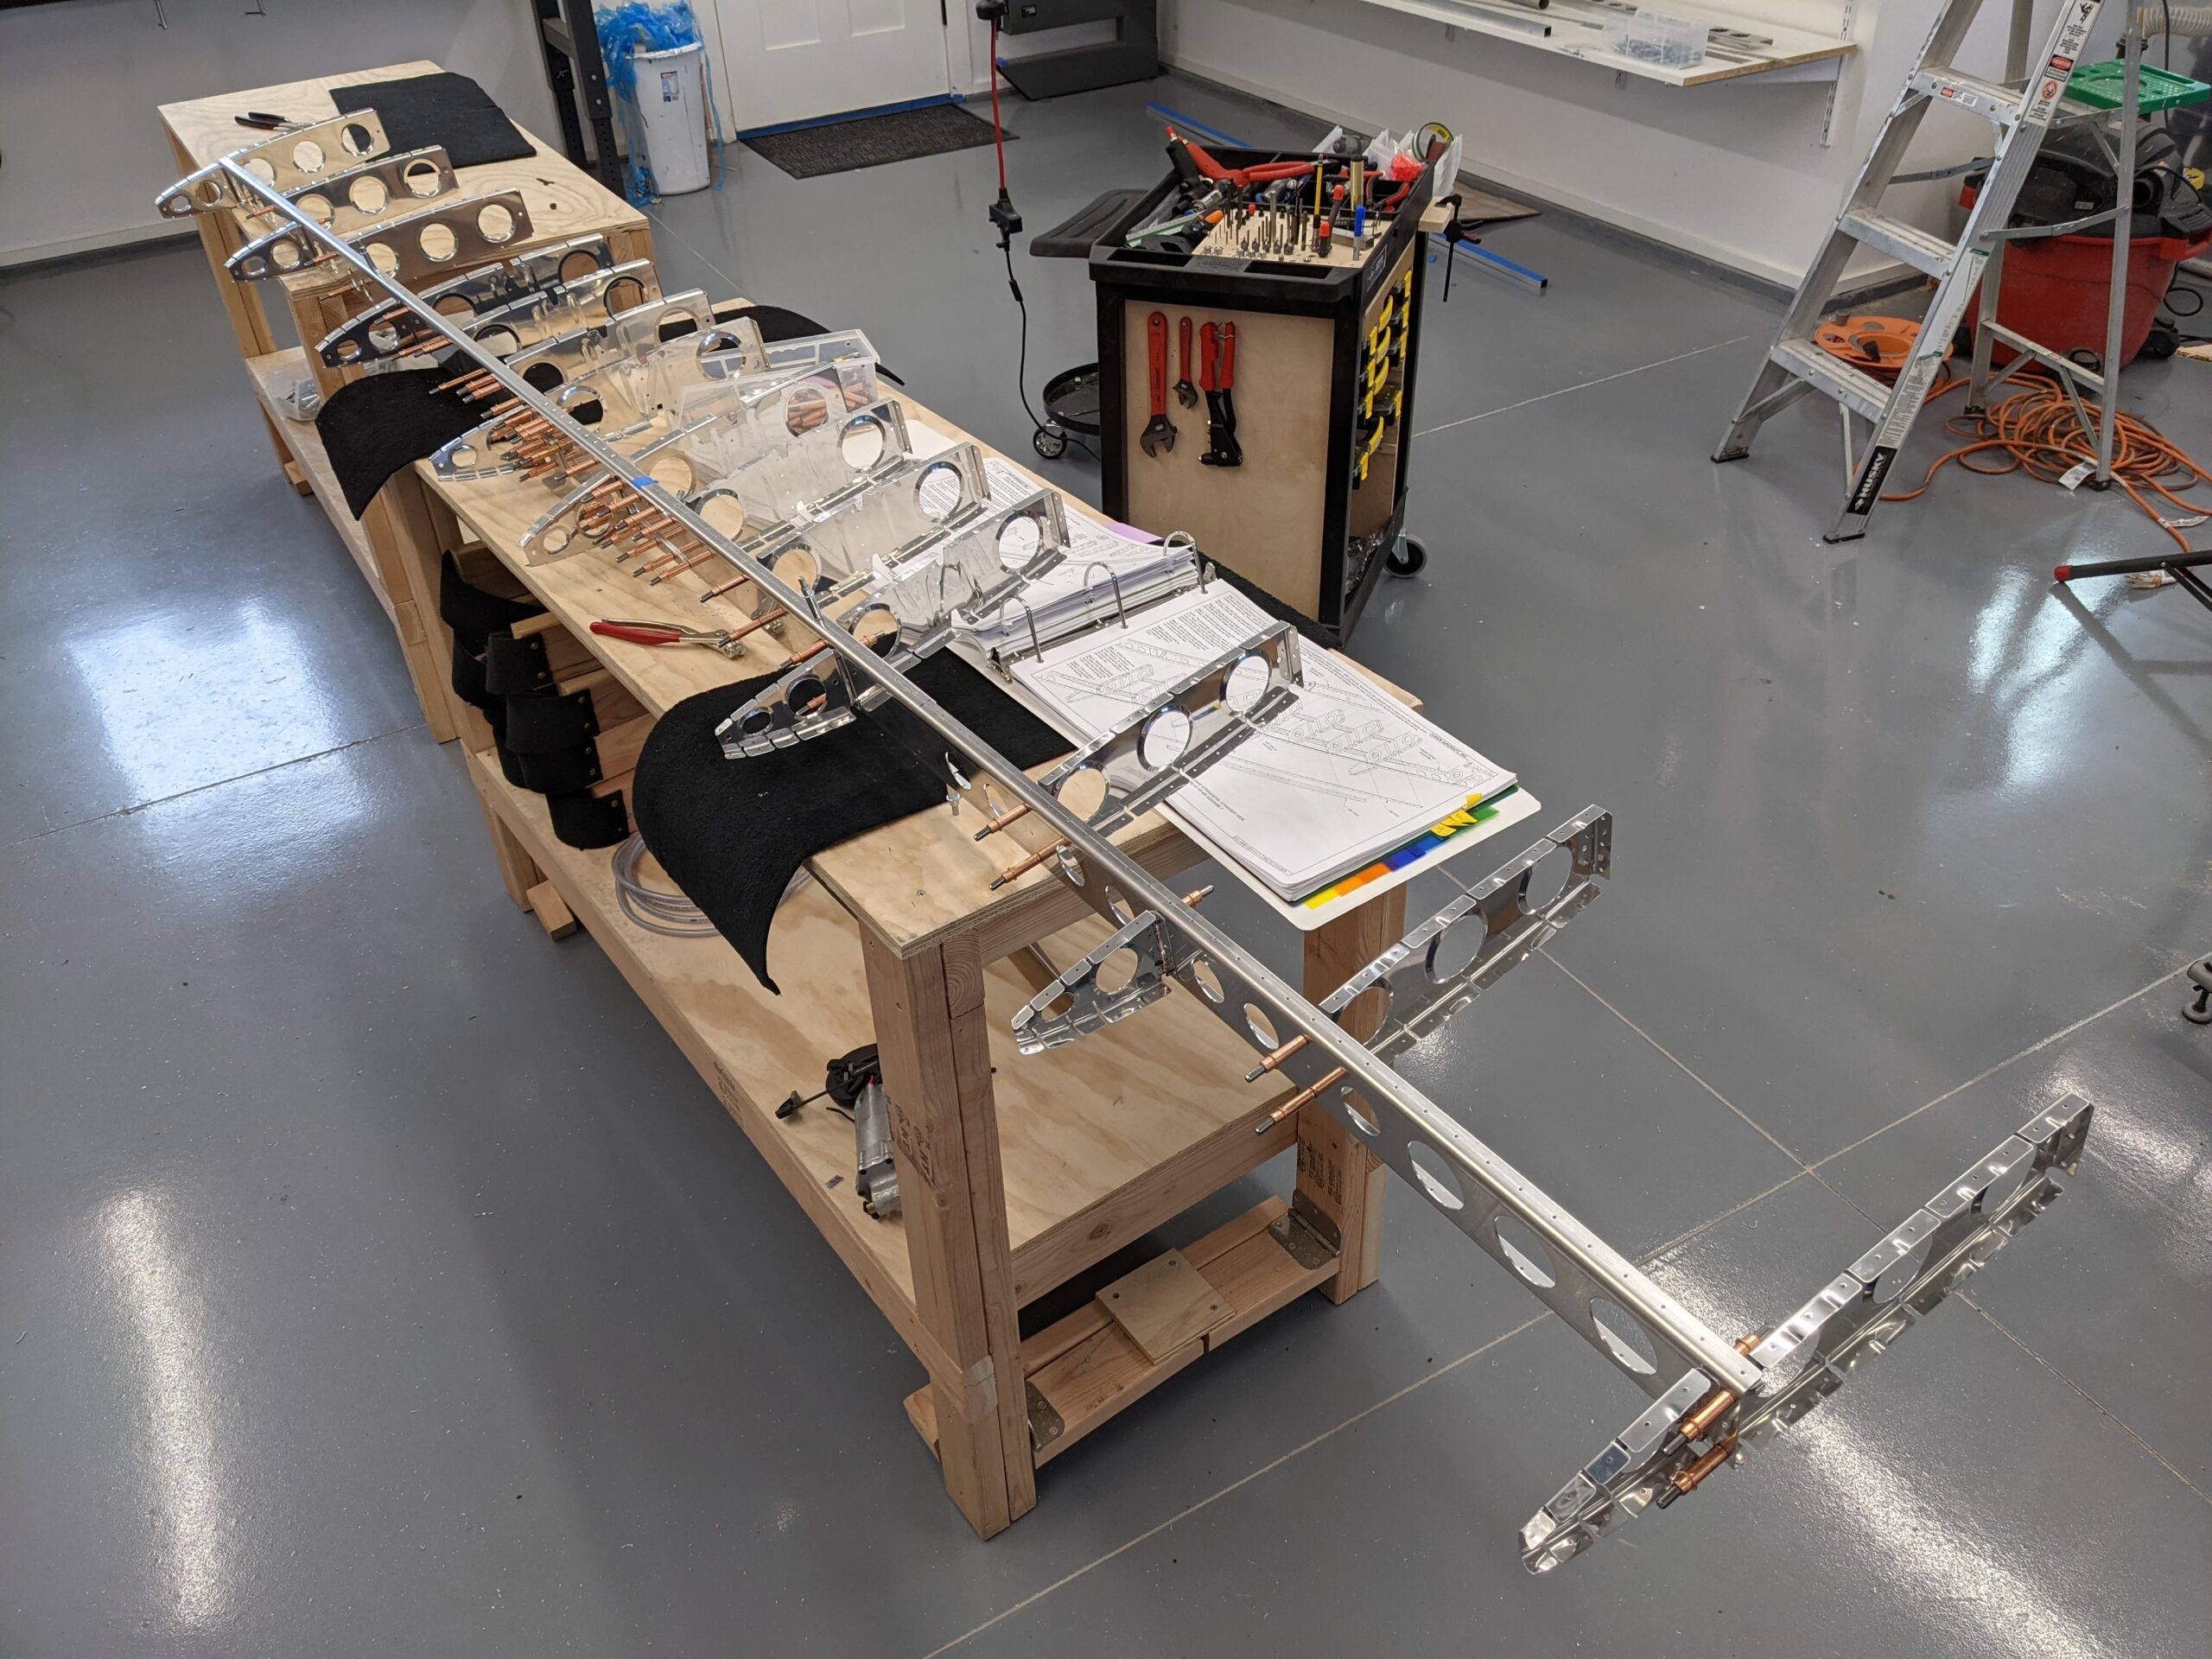
After adding lots of clecos I then assembled and final sized the matching holes of the stringer assemblies and clecoed these into the larger assembly.
The stringer web was then clecoed to the stringers and the inspar ribs and final drilled. I used an angle drill here to get into the tight space.

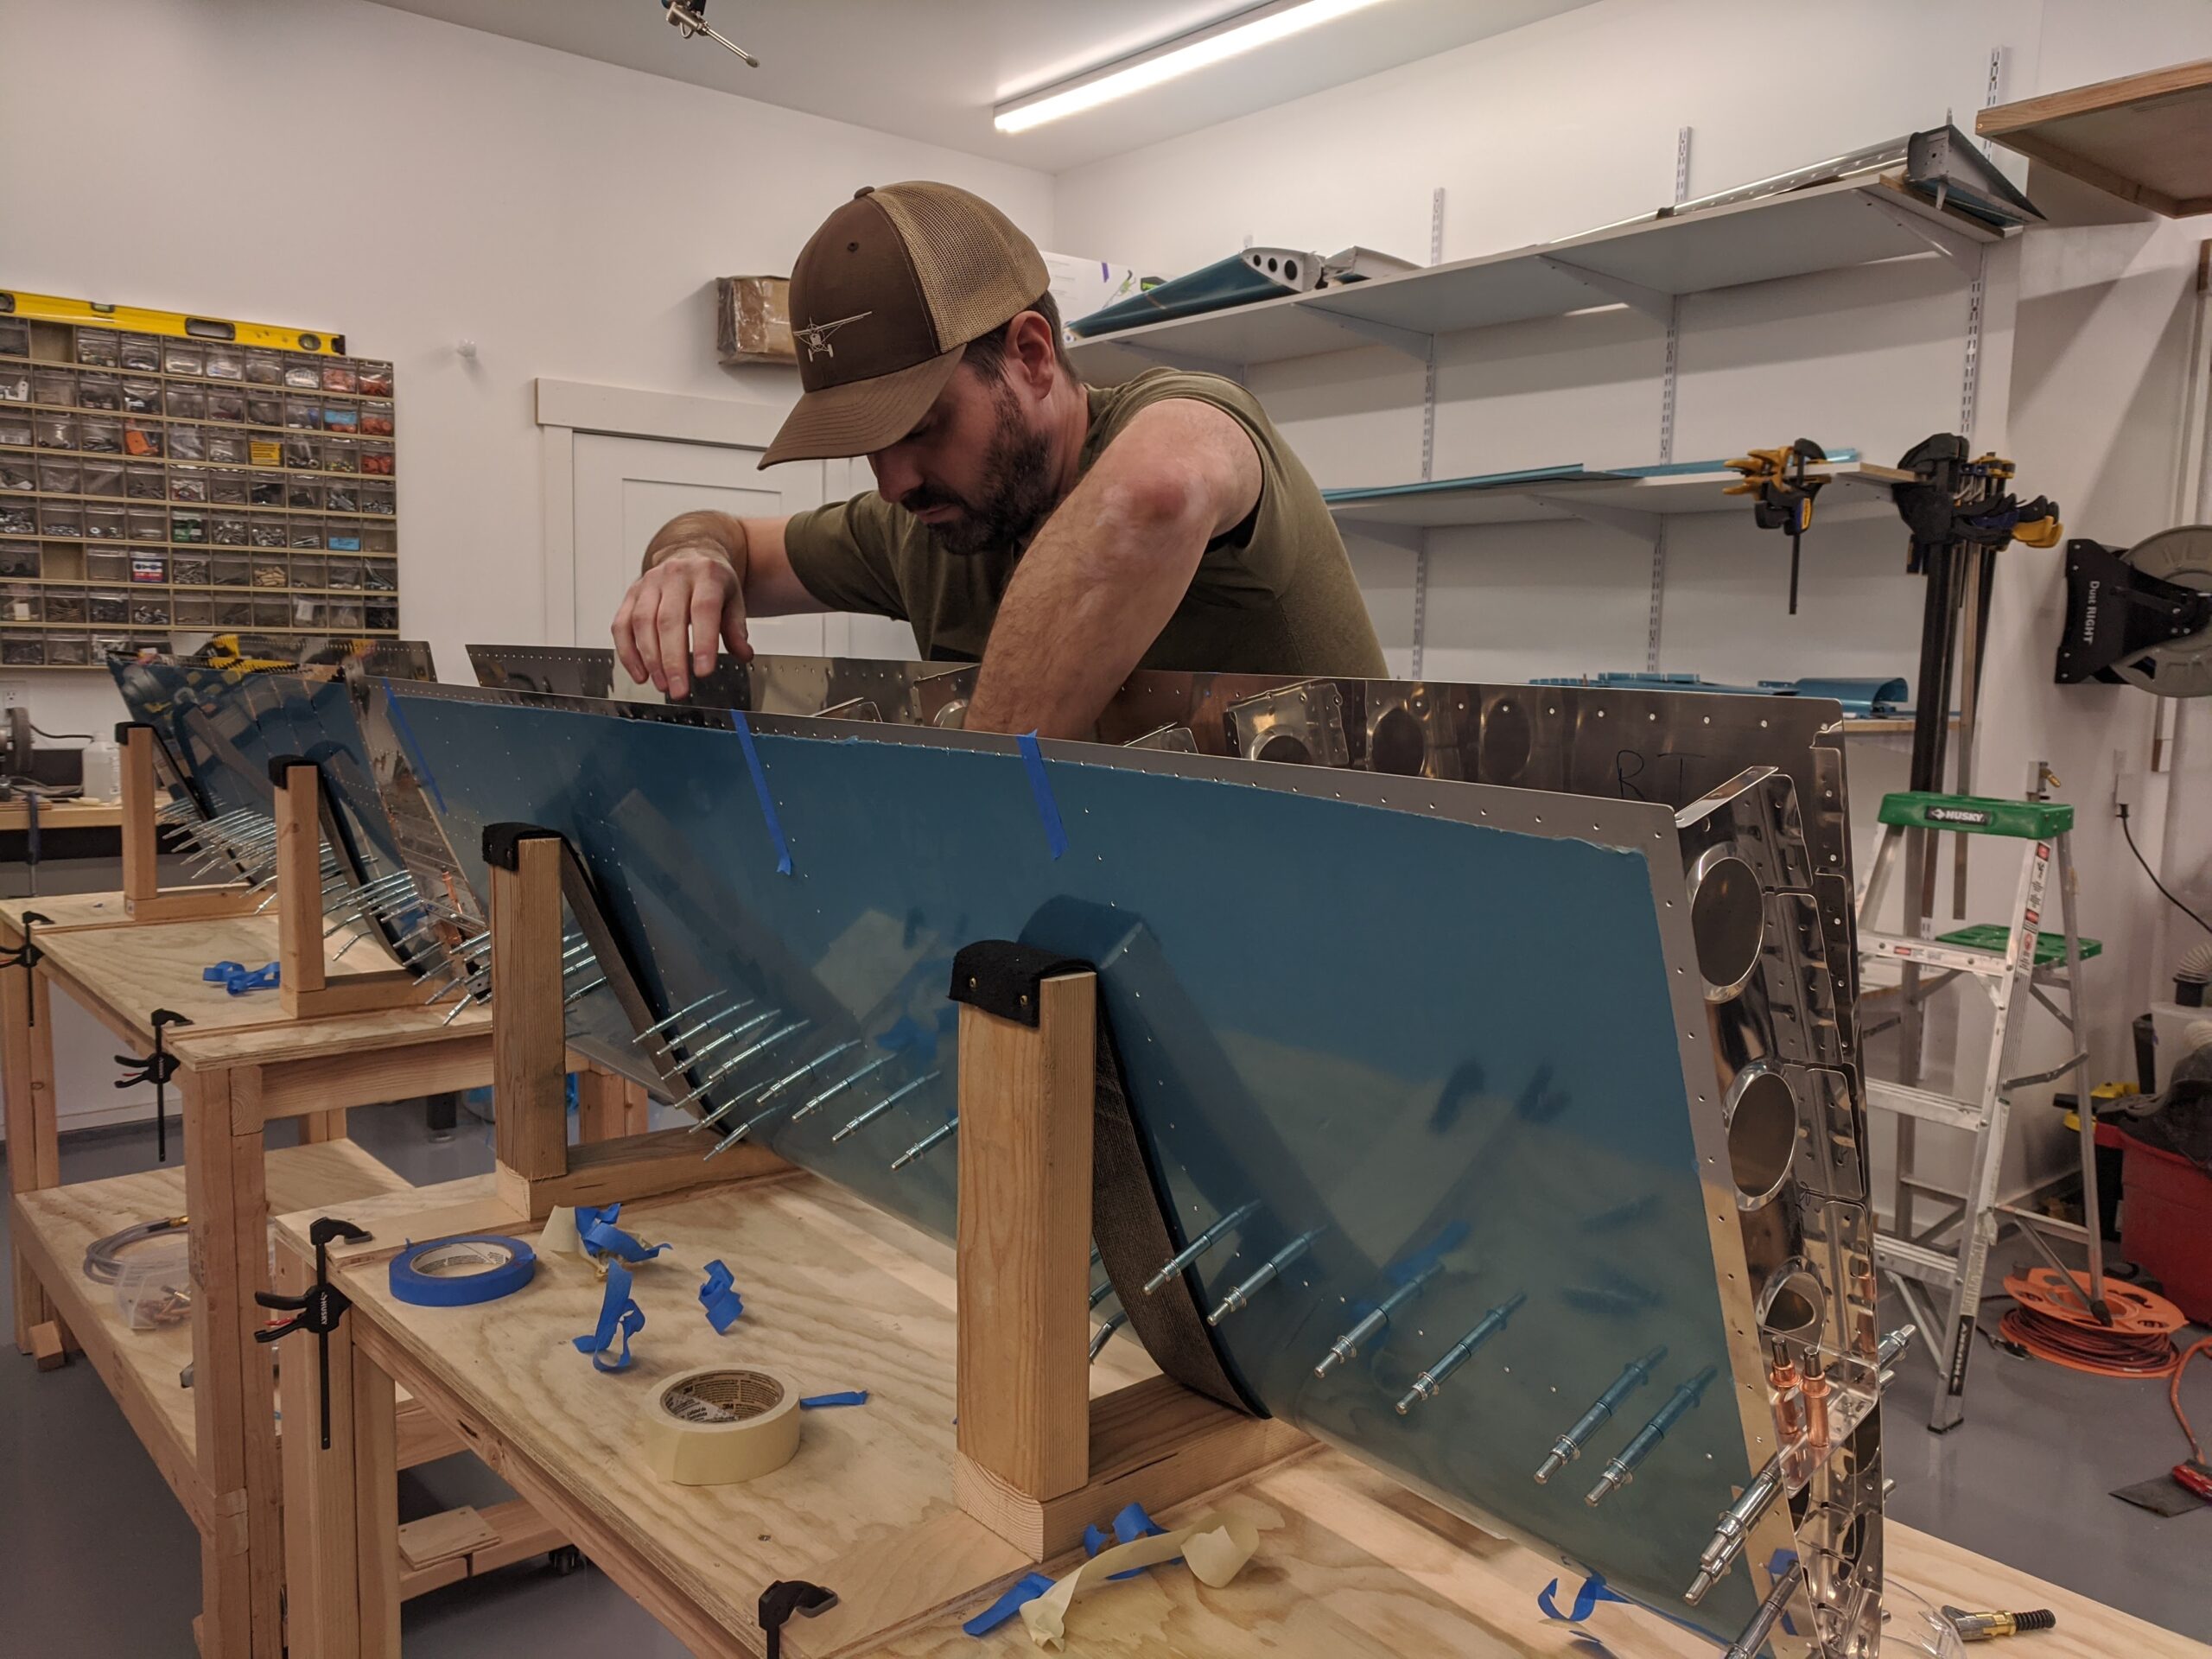
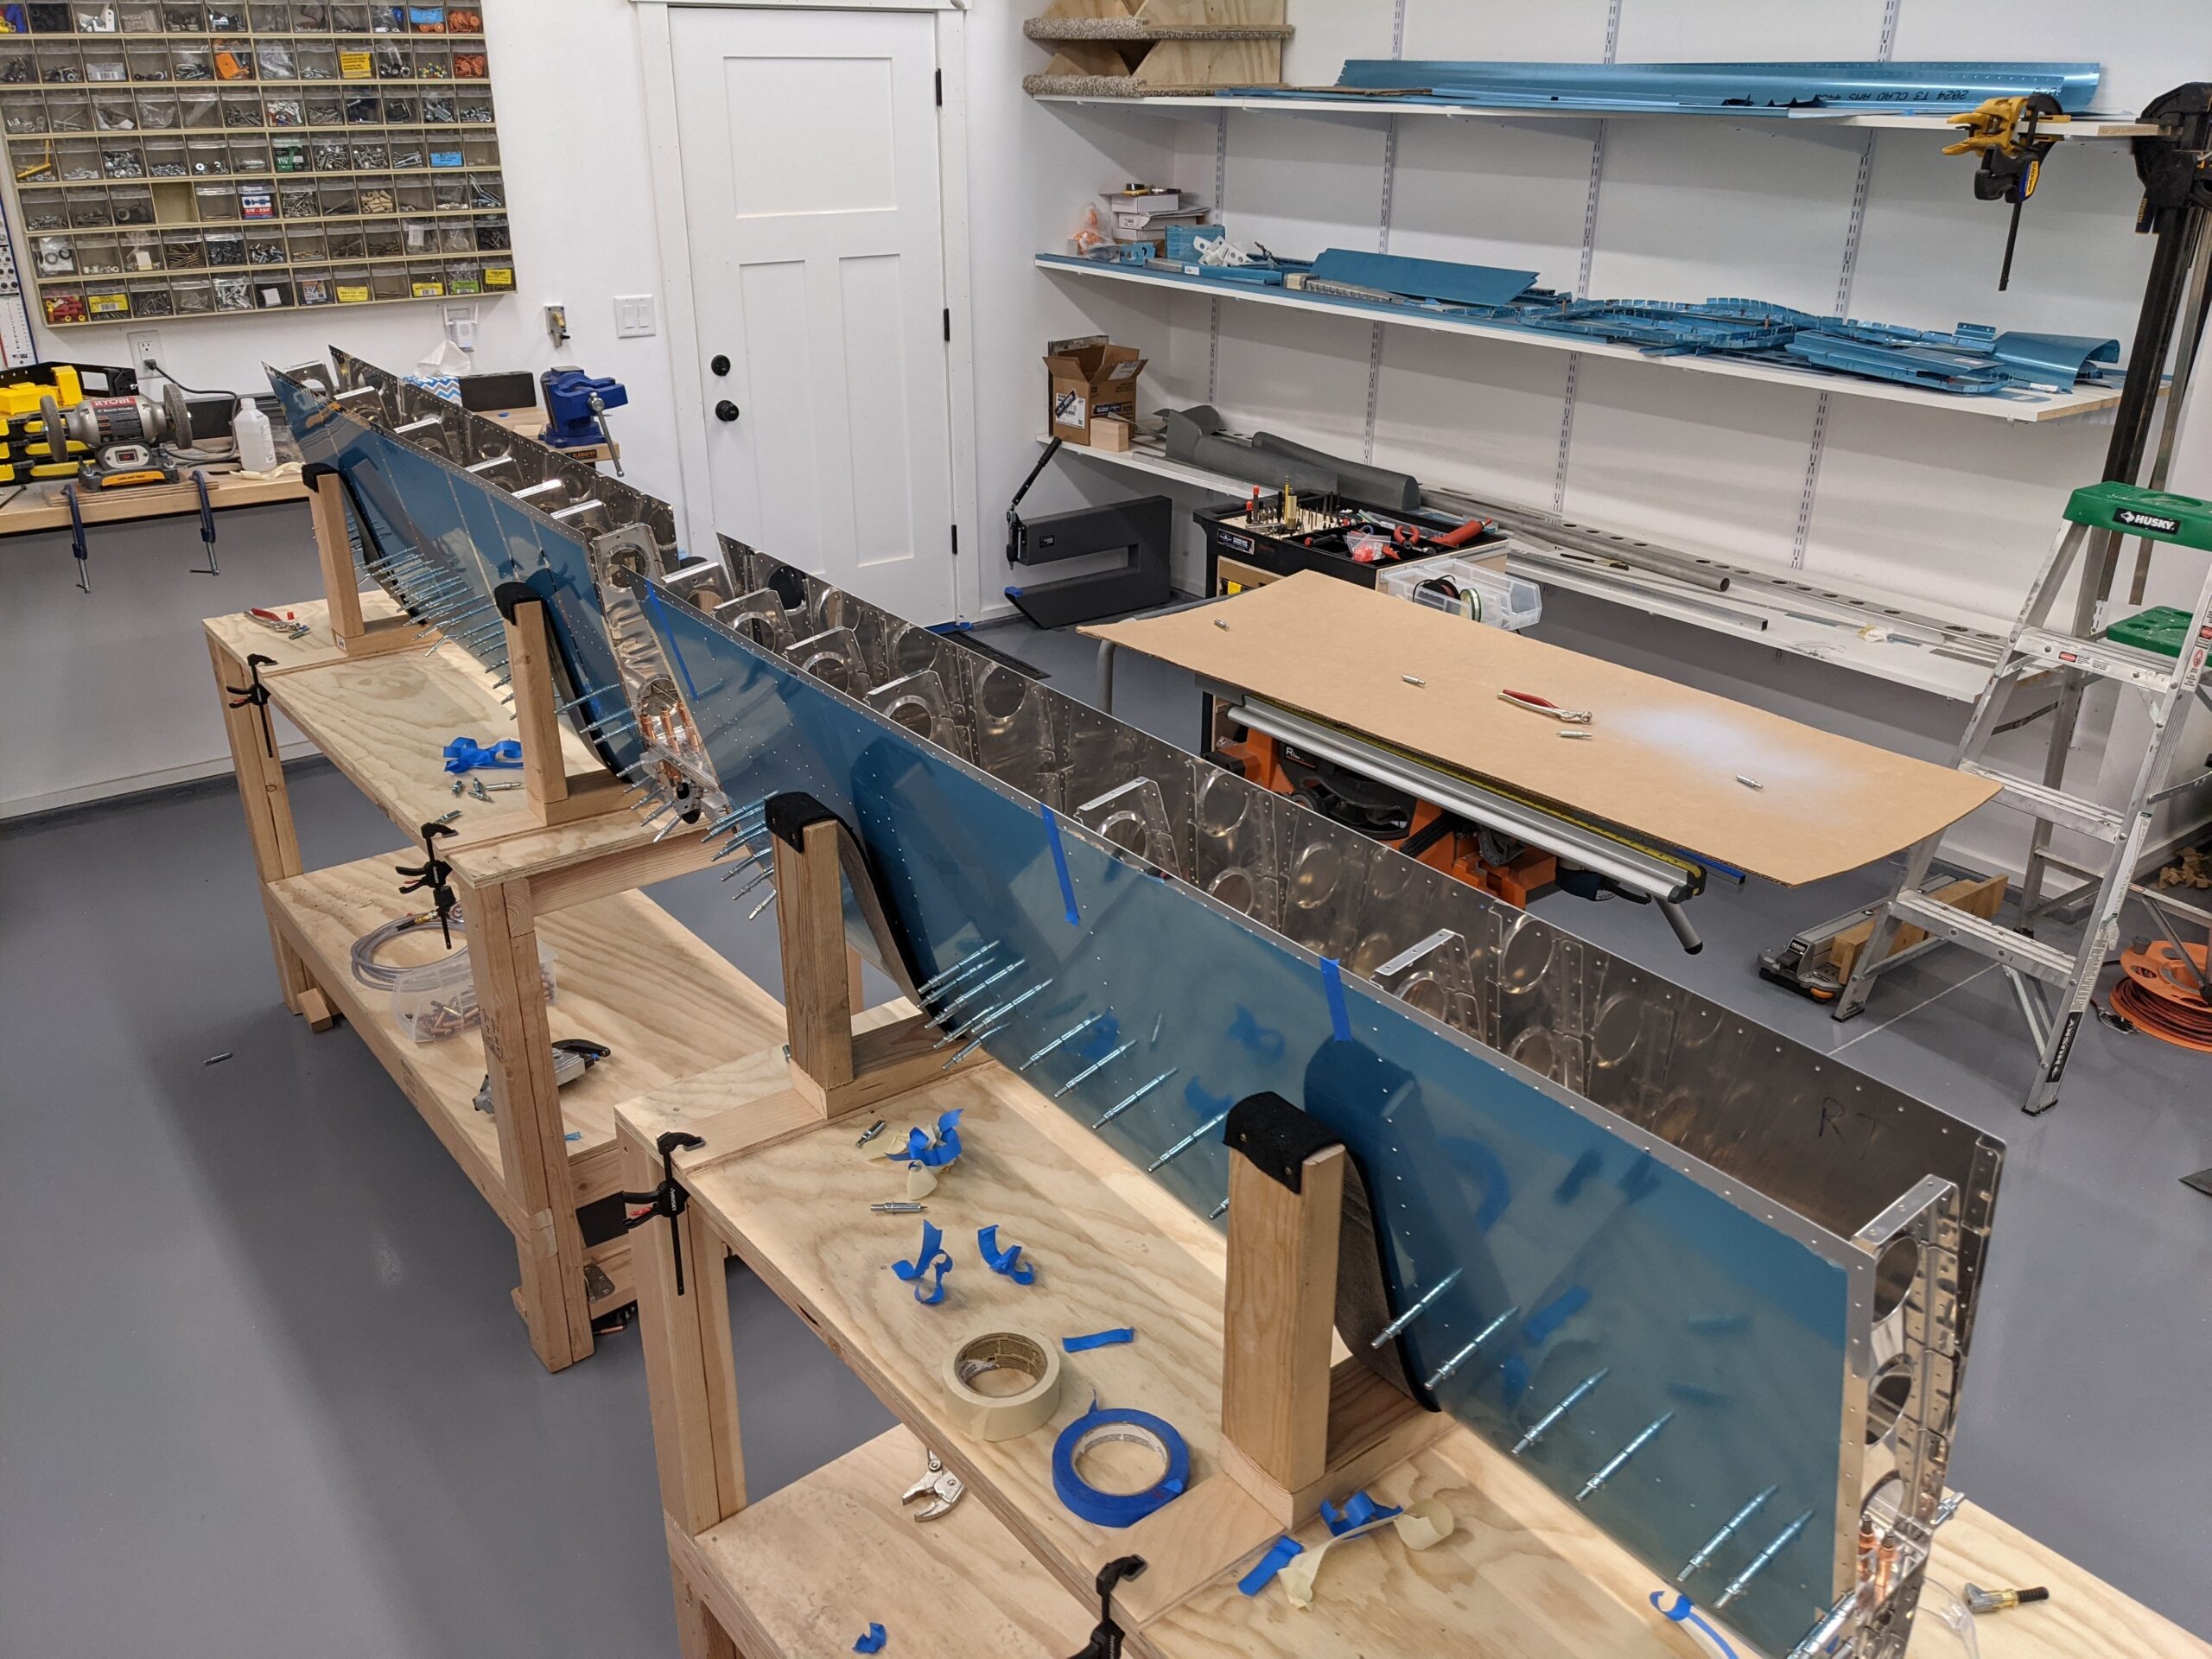
I then added clecos to roughly every second hole and called it a night.
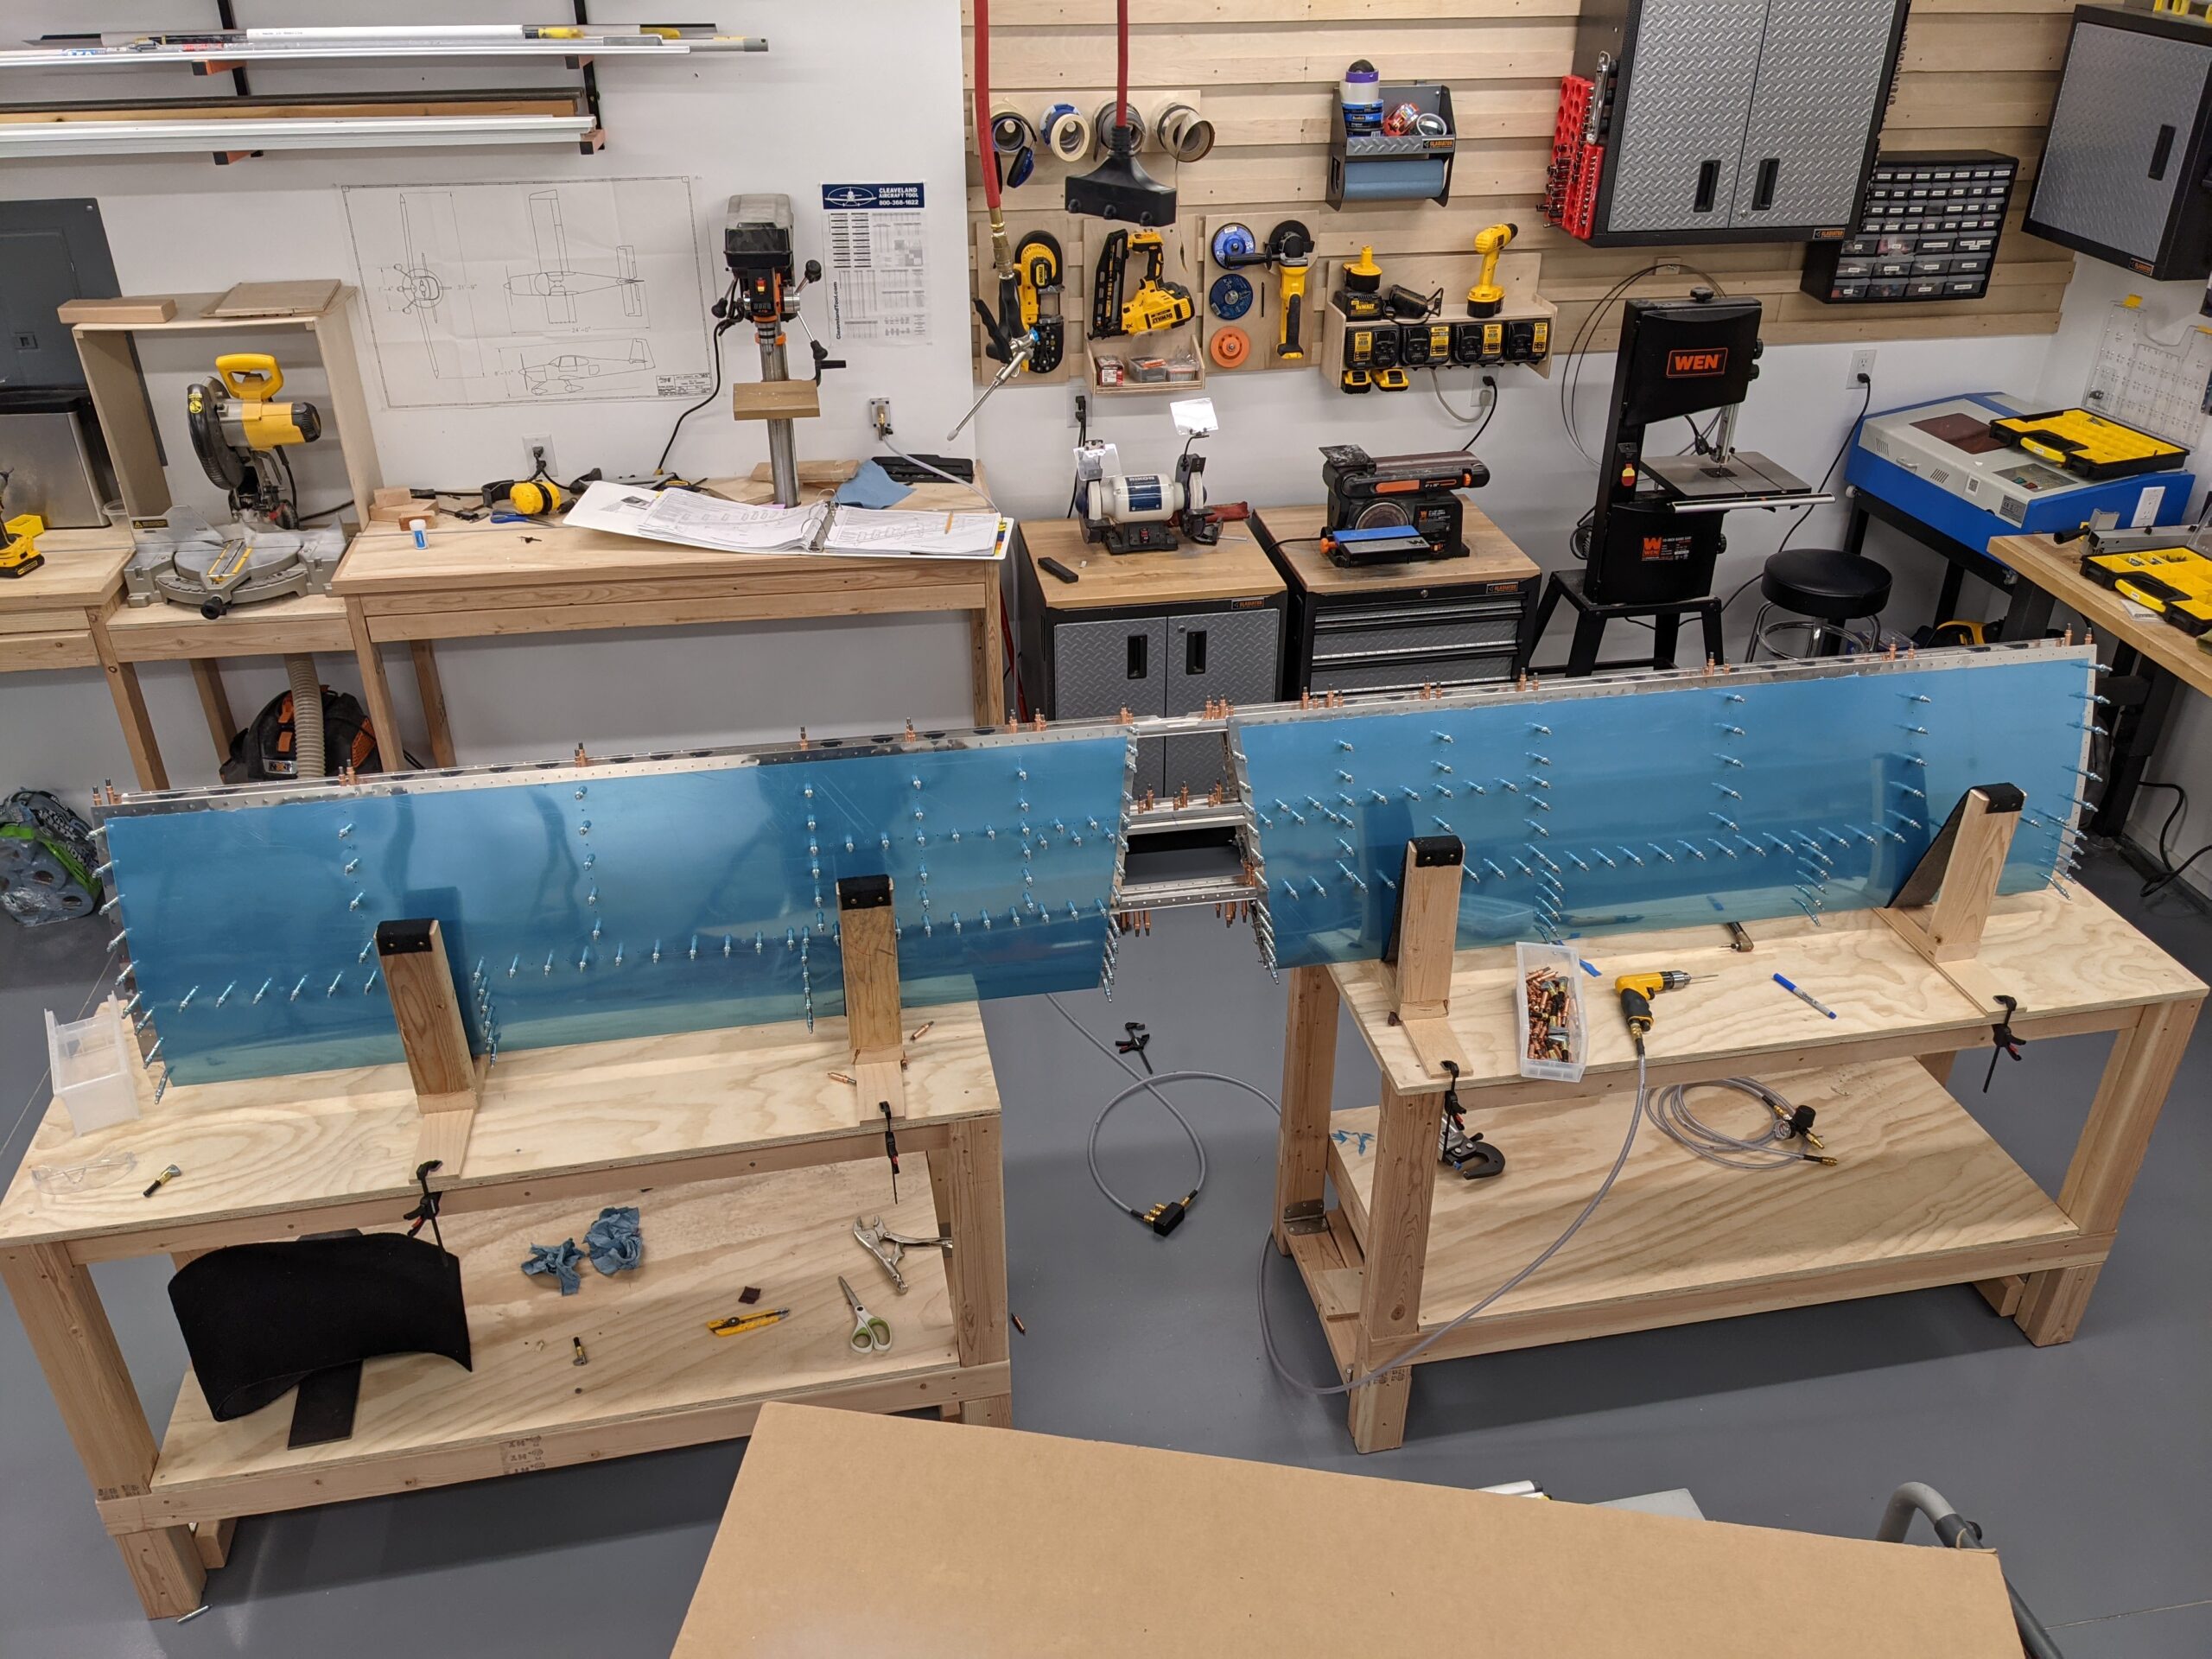
It feels great to make this amount of progress in a couple of days. The scale of the project is starting to become more apparent with the size of this assembly.. this is a big airplane.
Next up is final drilling all of the skin holes before taking everything apart to deburr, dimple, countersink, and prime.