
Thankfully I work for a company that hasn’t been negatively impacted by COVID-19 and I have been able to work from home since March. I also haven’t taken any time off since then so I decided I needed to take a week off to work on the plane 🙂 .
I started on the horizontal stabilizer front spar on Saturday and continued that work today.
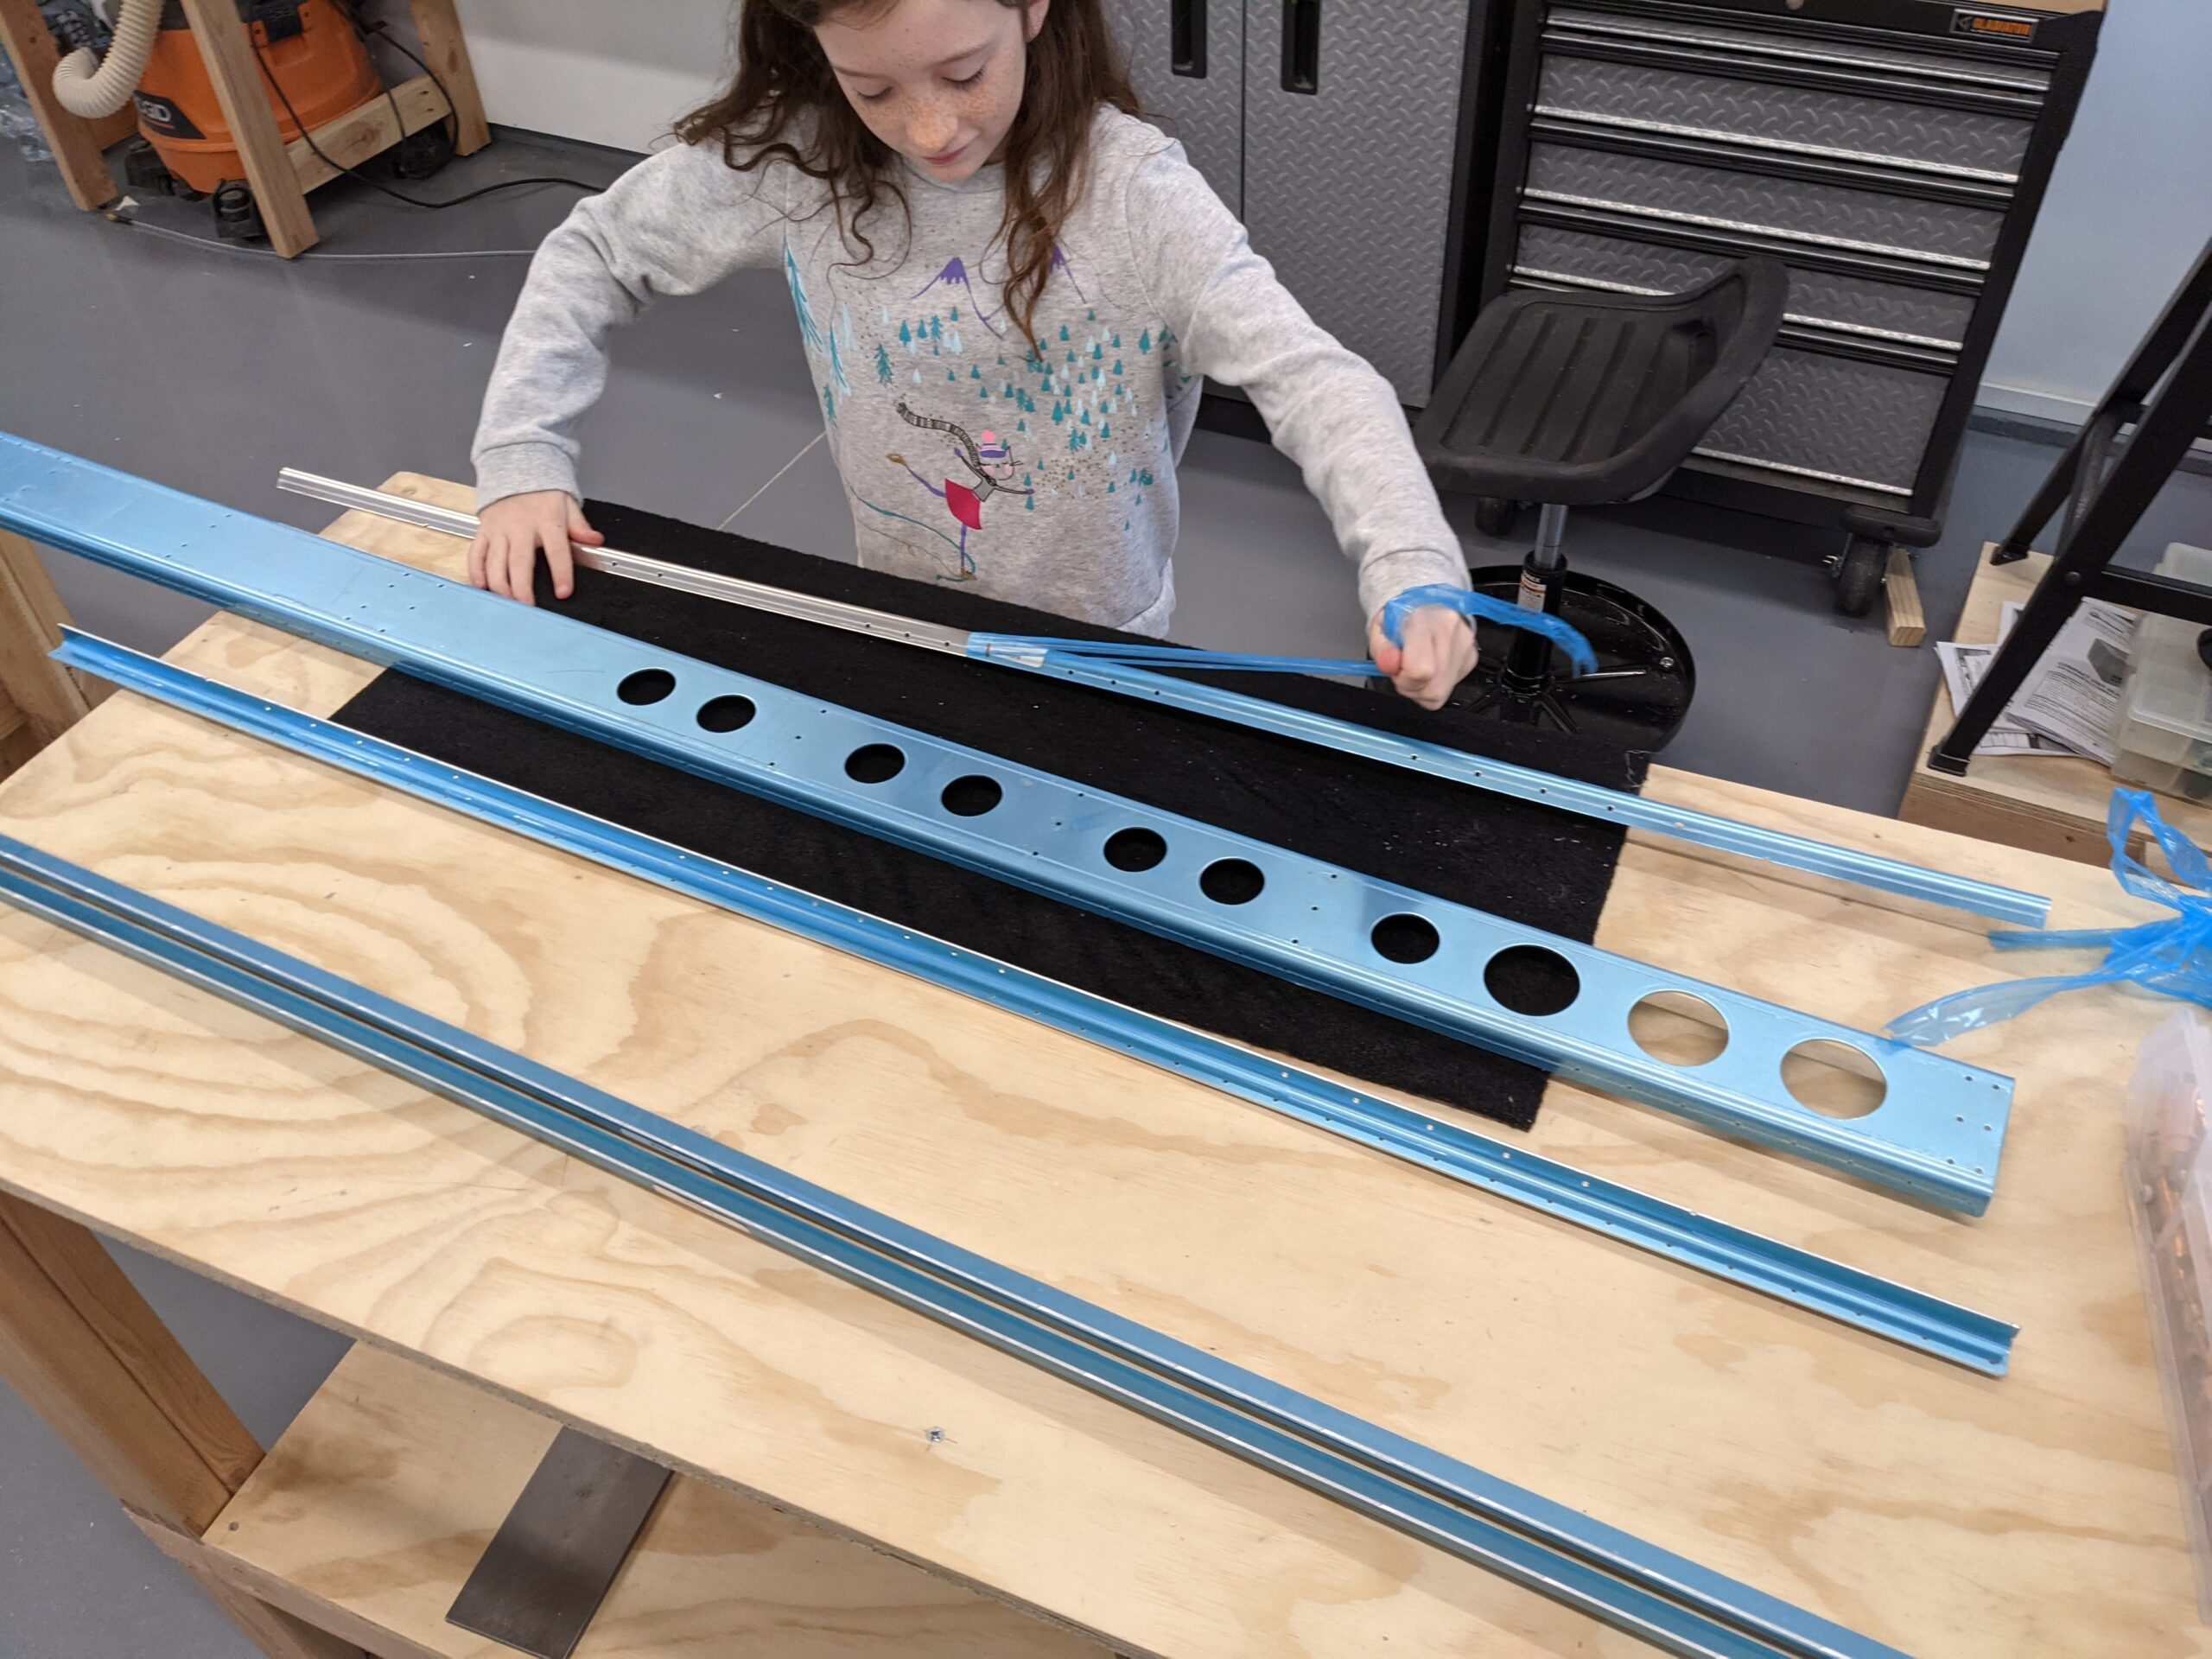
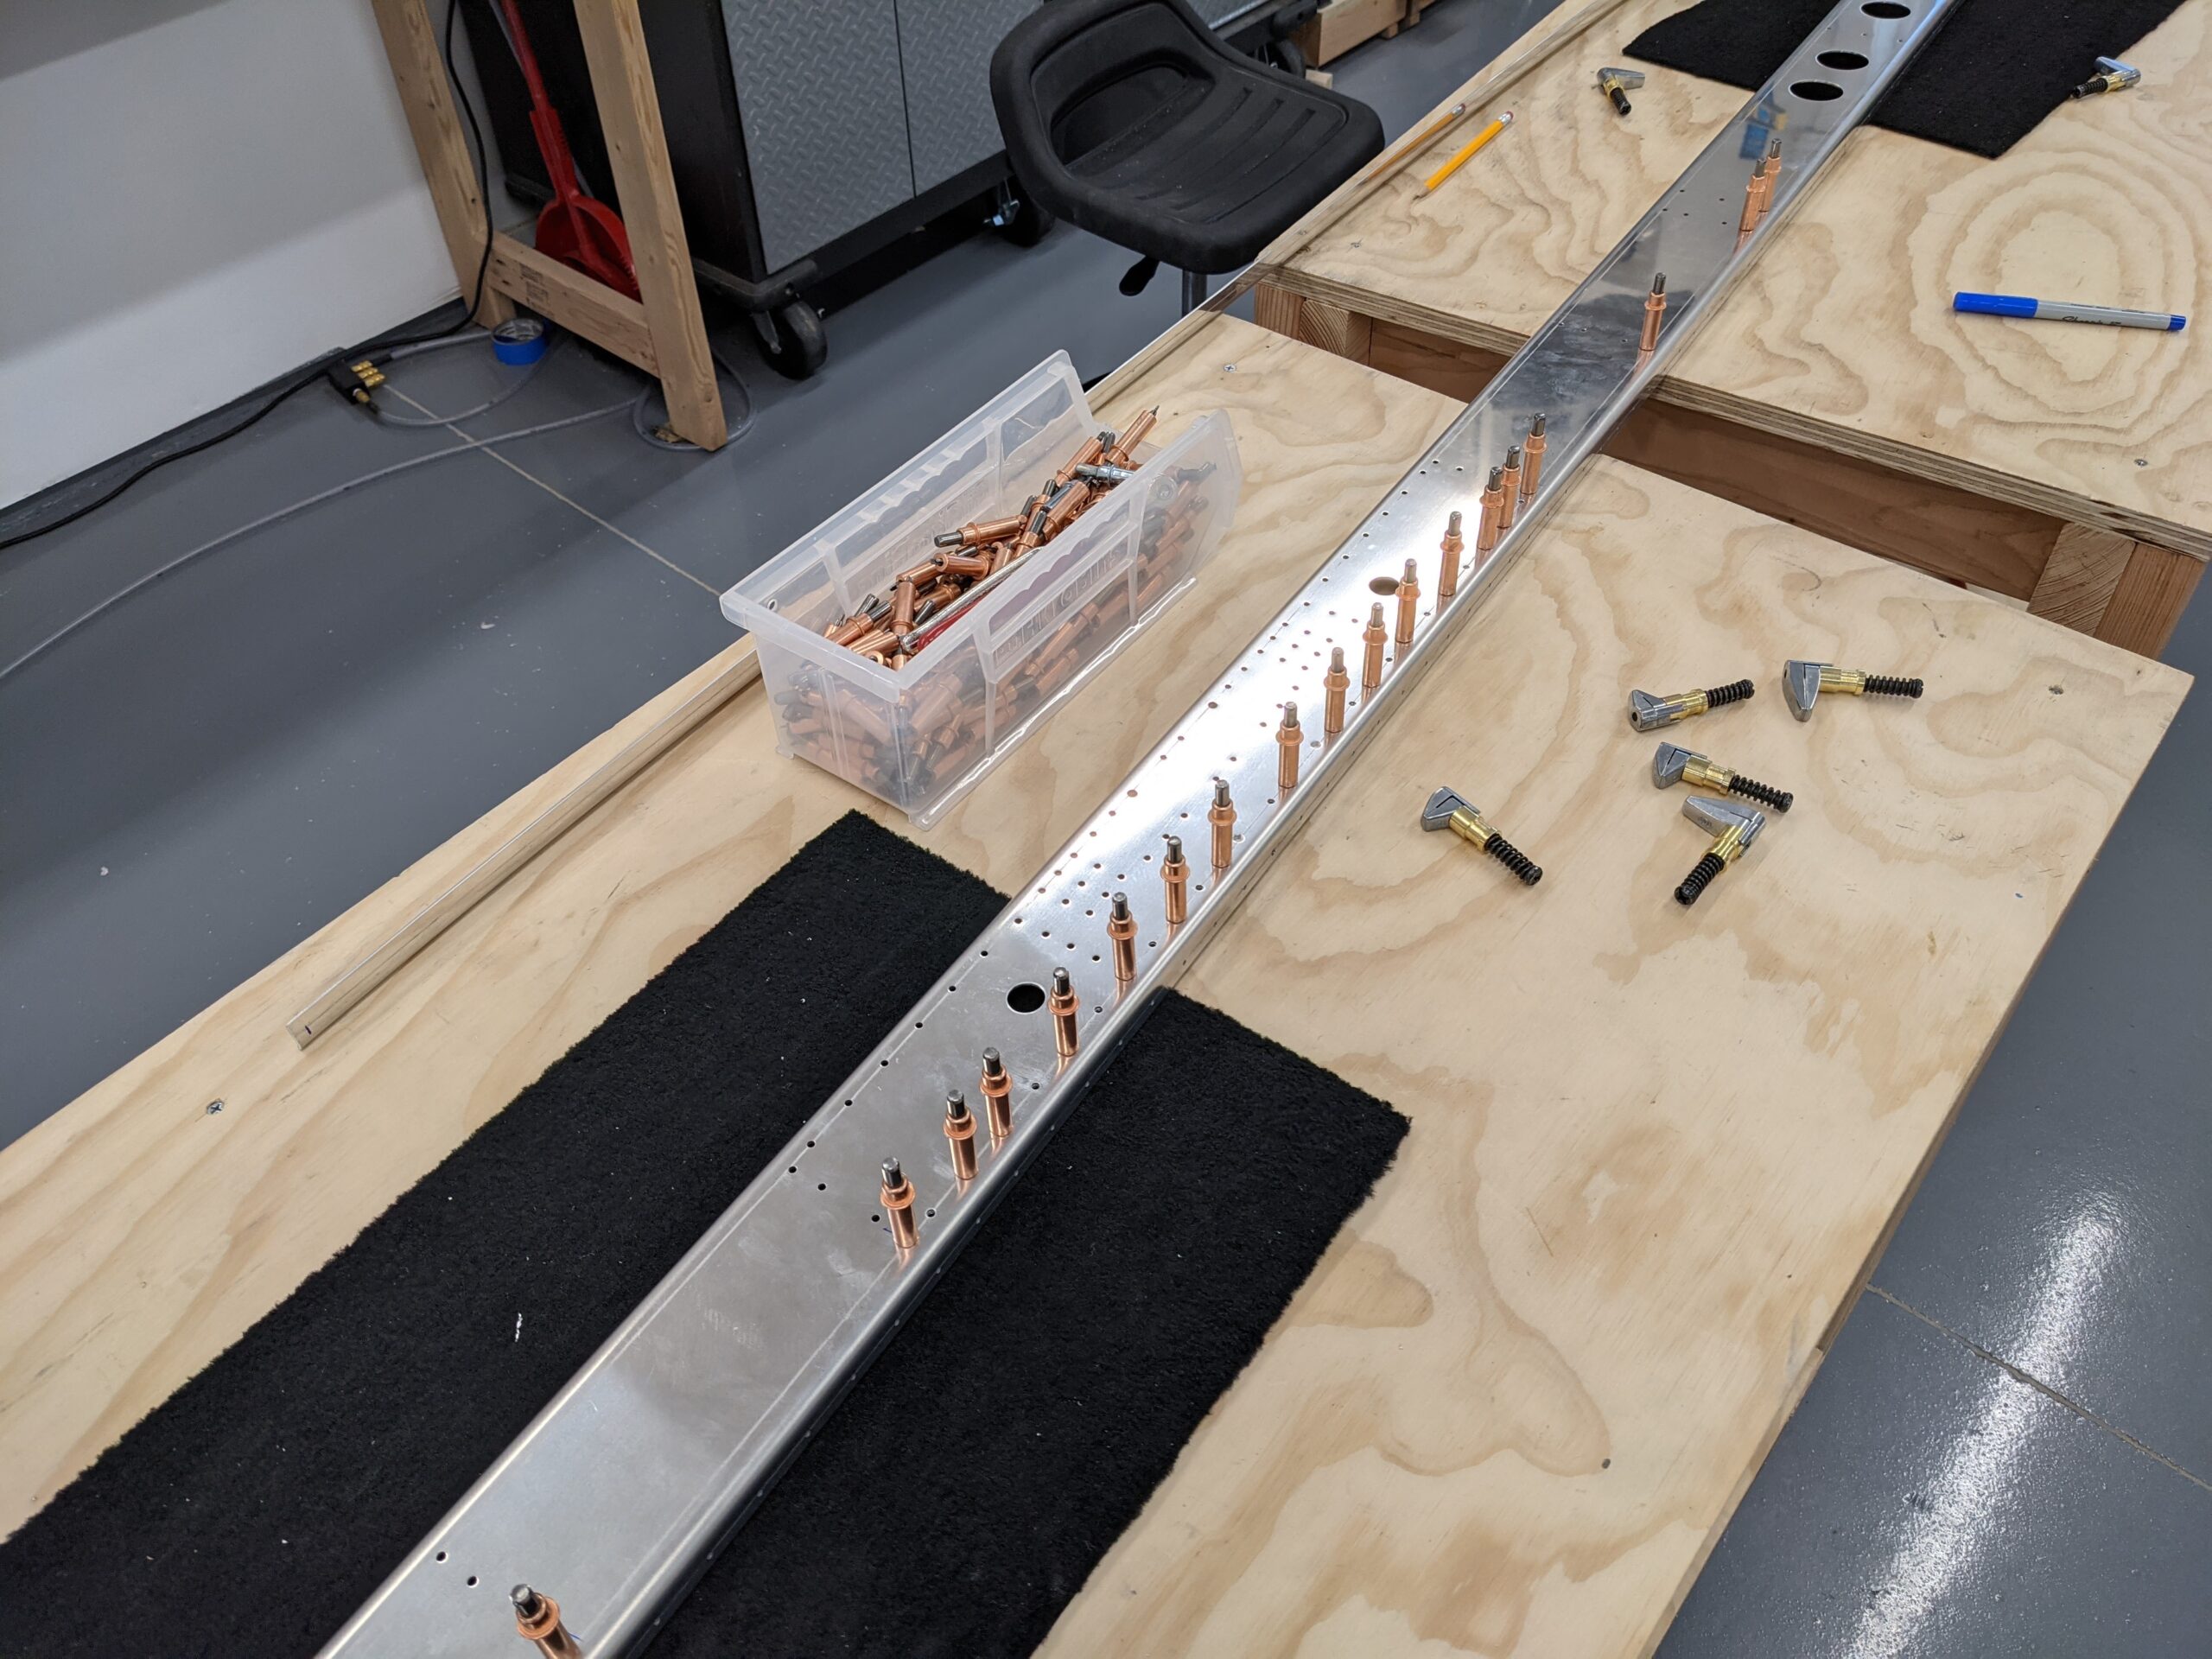
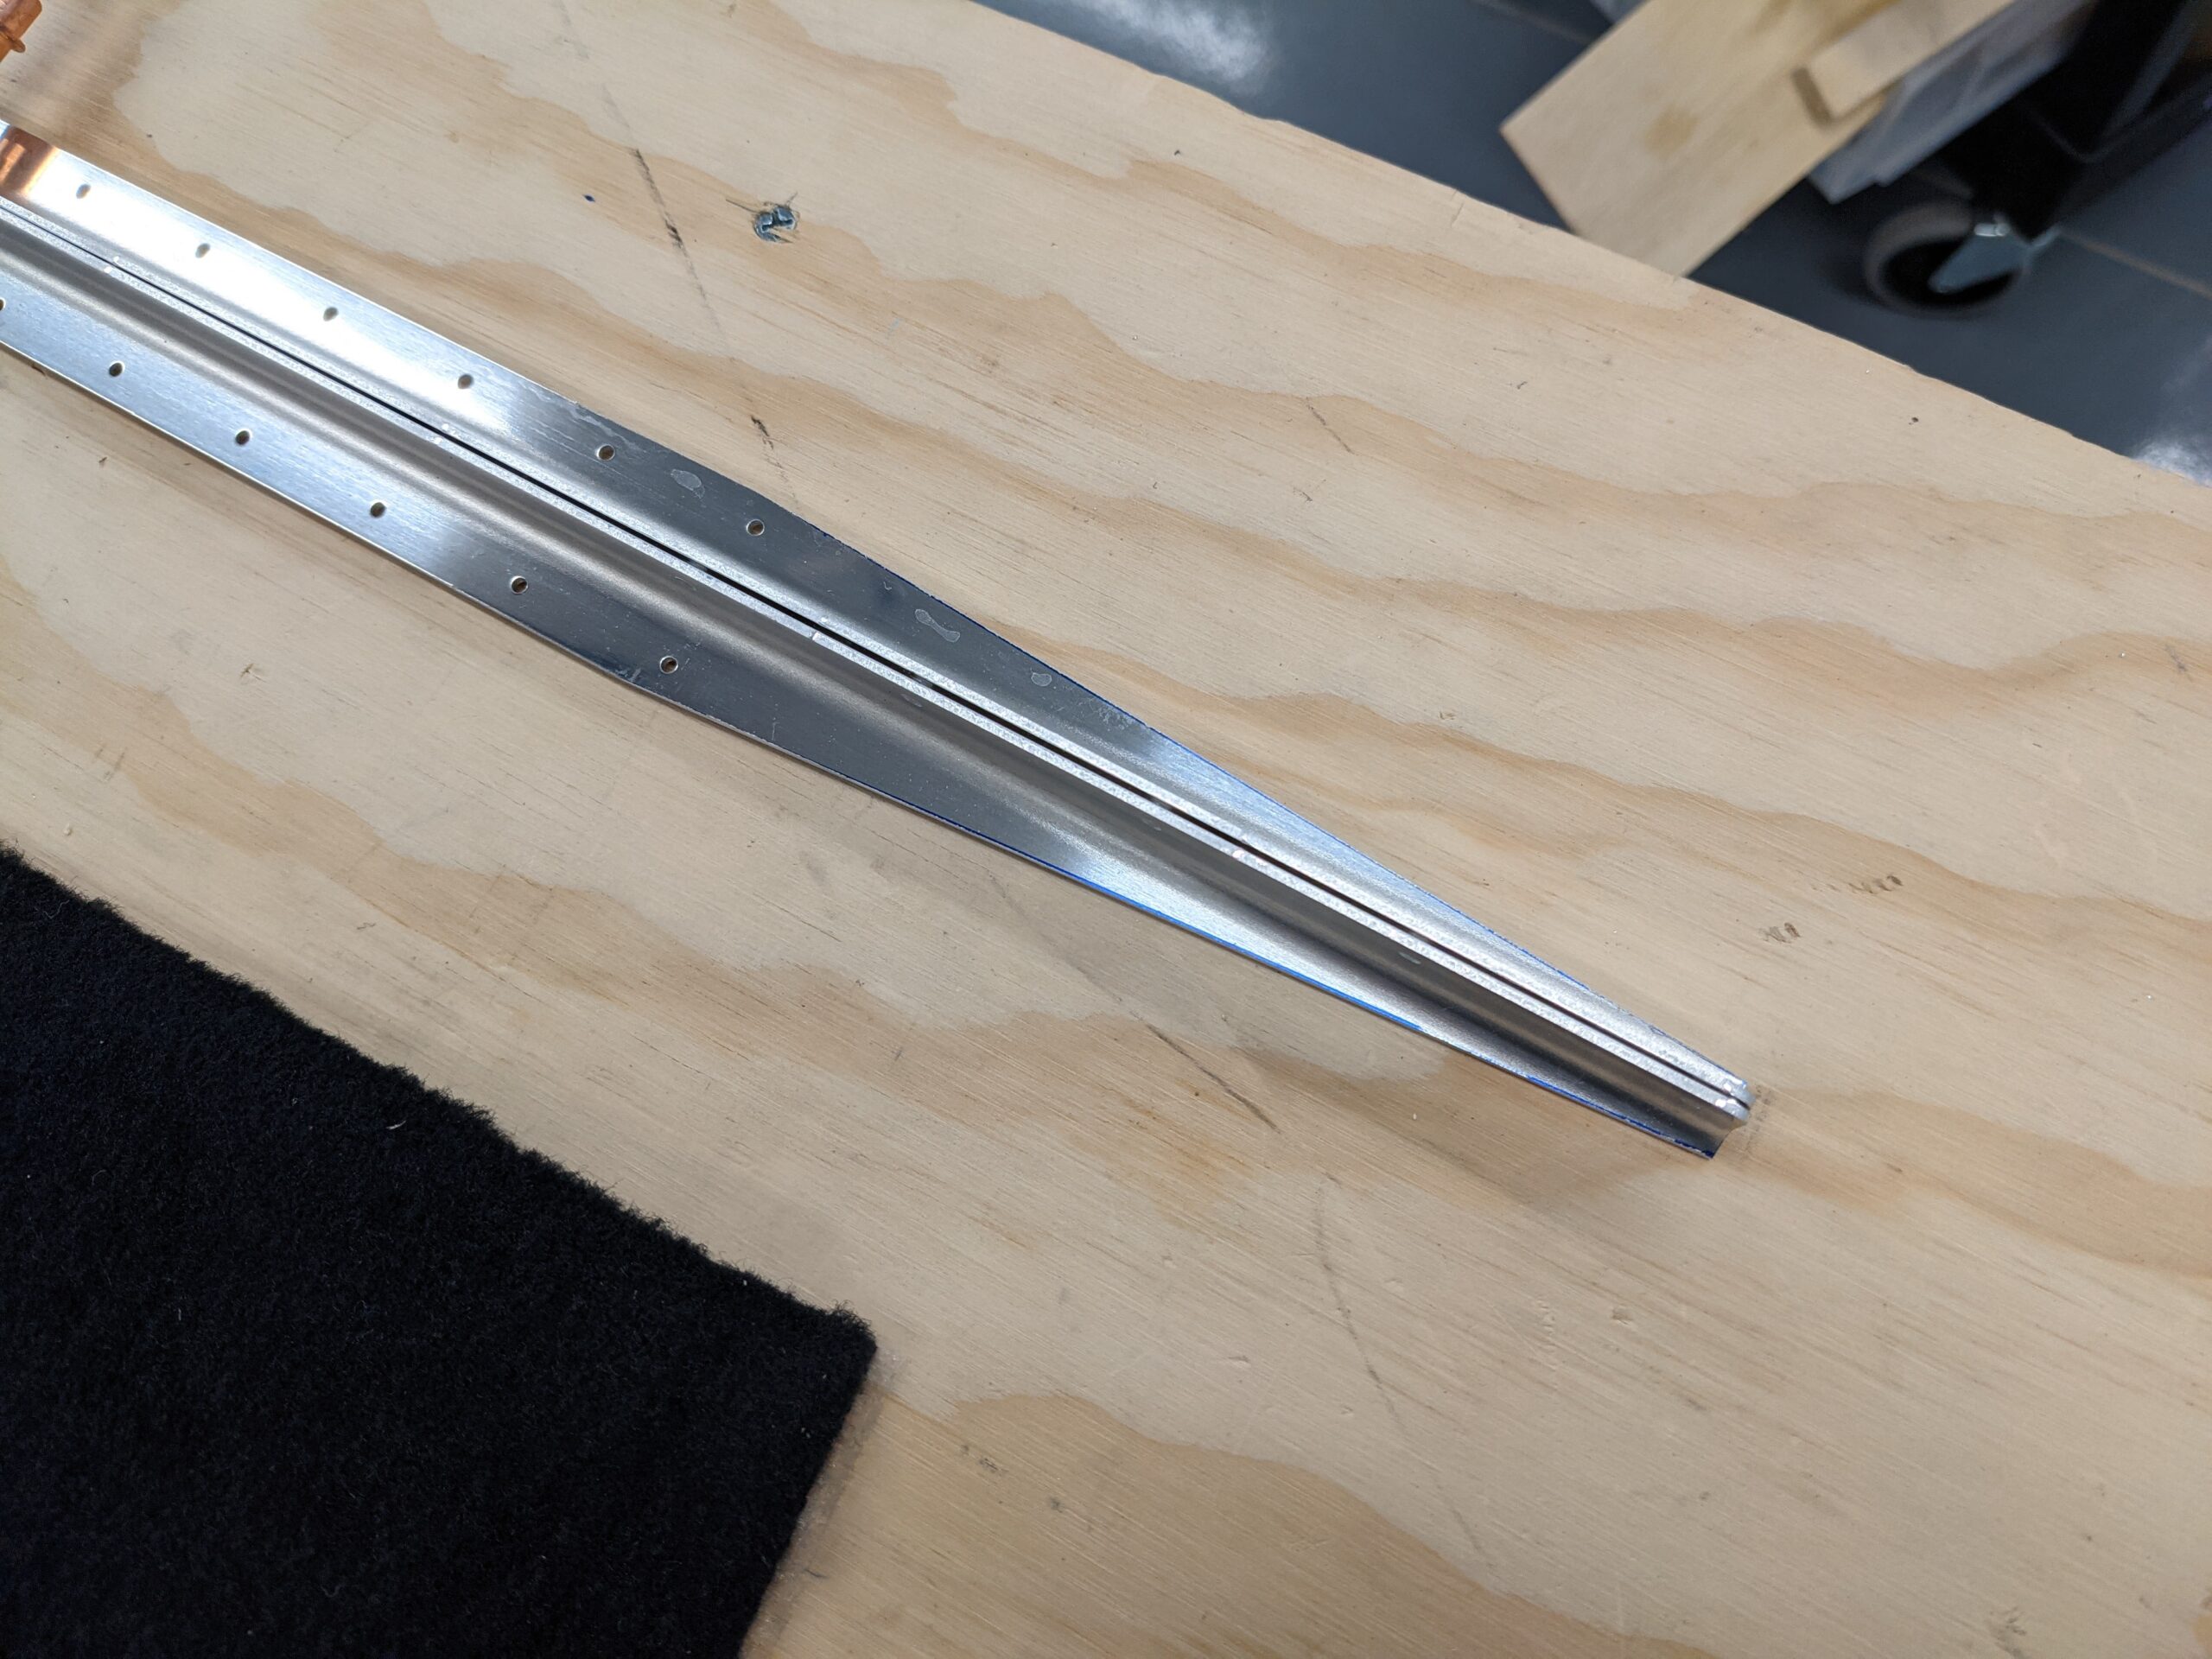
I deburred the spar and trimmed the spar caps as described in the plans. I rough cut the spar caps on the band saw and finished them on the belt sander.
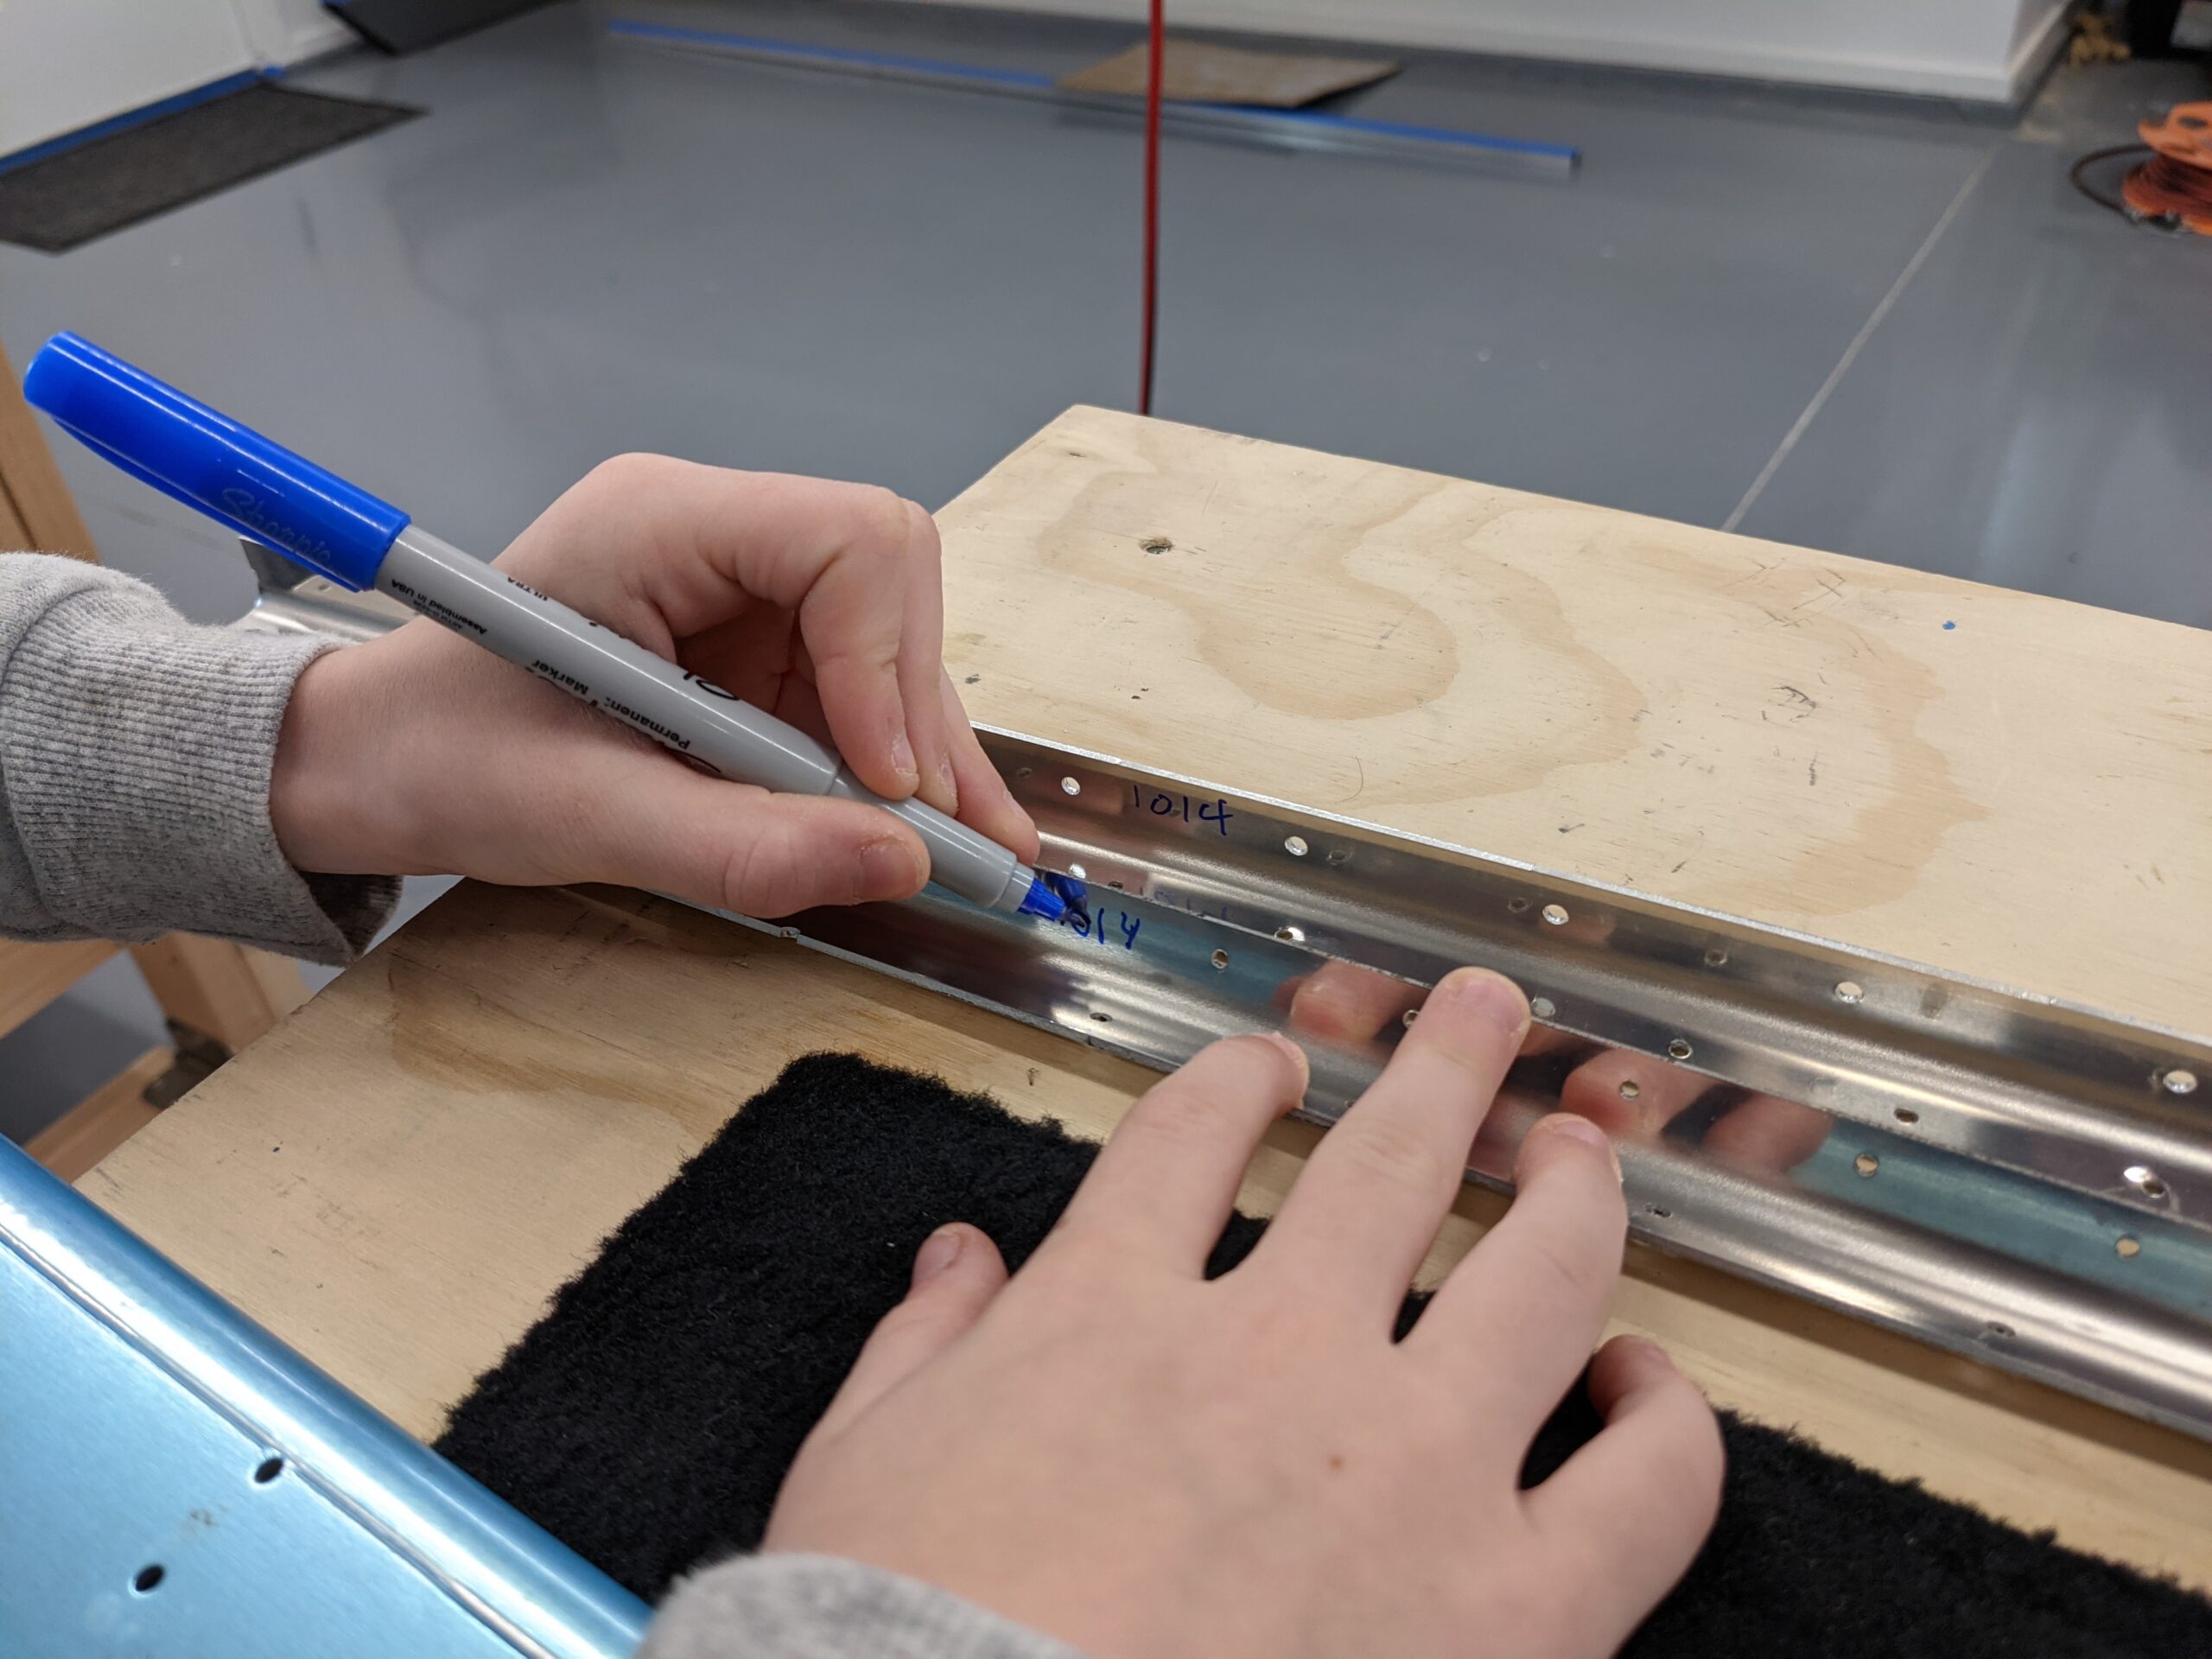
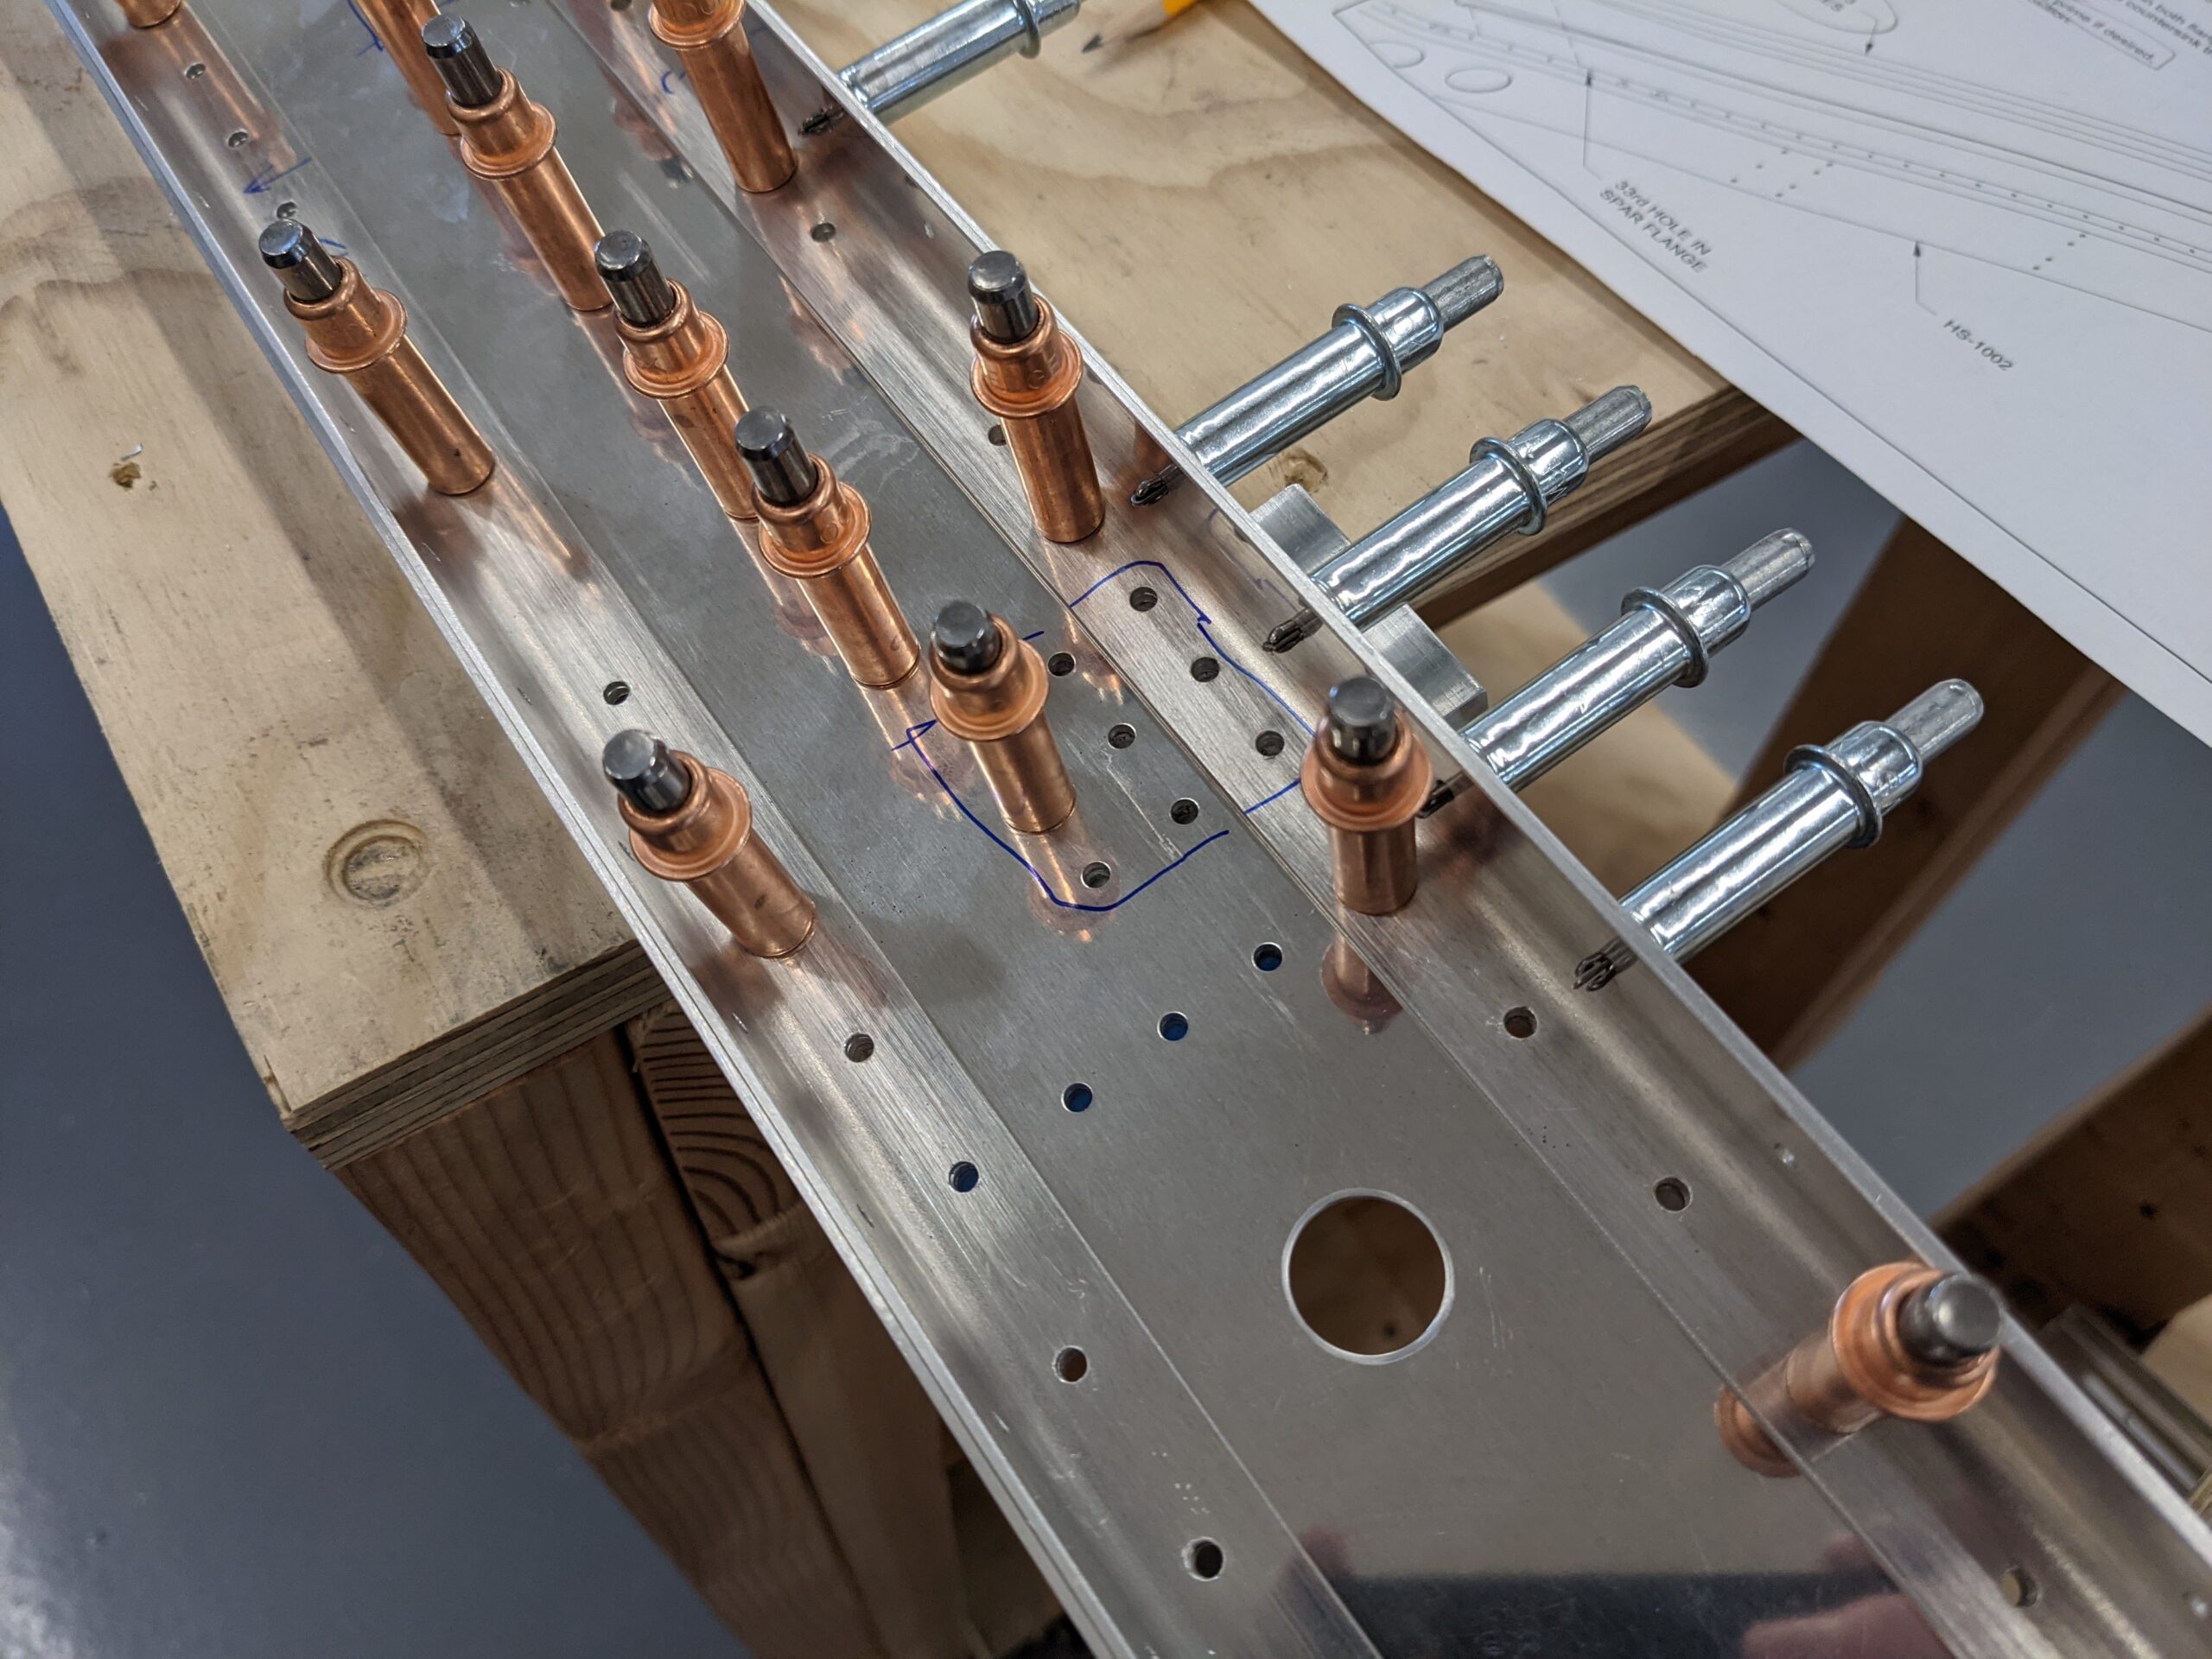
I clamped the parts together to match drill the spar caps to the spar web. I made one small mistake here with the 1/8″ match drilling as I mistakenly read “spar flange” instead of “spar web”. I started one hole and stopped because it didn’t feel right. Sure enough, after re-reading step 2, I should have been drilling the spar web. It seems completely obvious in retrospect but it is so easy to read what you expect vs. precisely reading every detail, even after reading a step multiple times. I placed my first call to the Van’s technical support line and my call was taken immediately. I was told that this wasn’t an issue and it could be remedied simply by upsizing that one rivet to a #4 or by using an “oops” rivet (#4 rivet with a #3 sized head). Whew.. onwards more carefully.
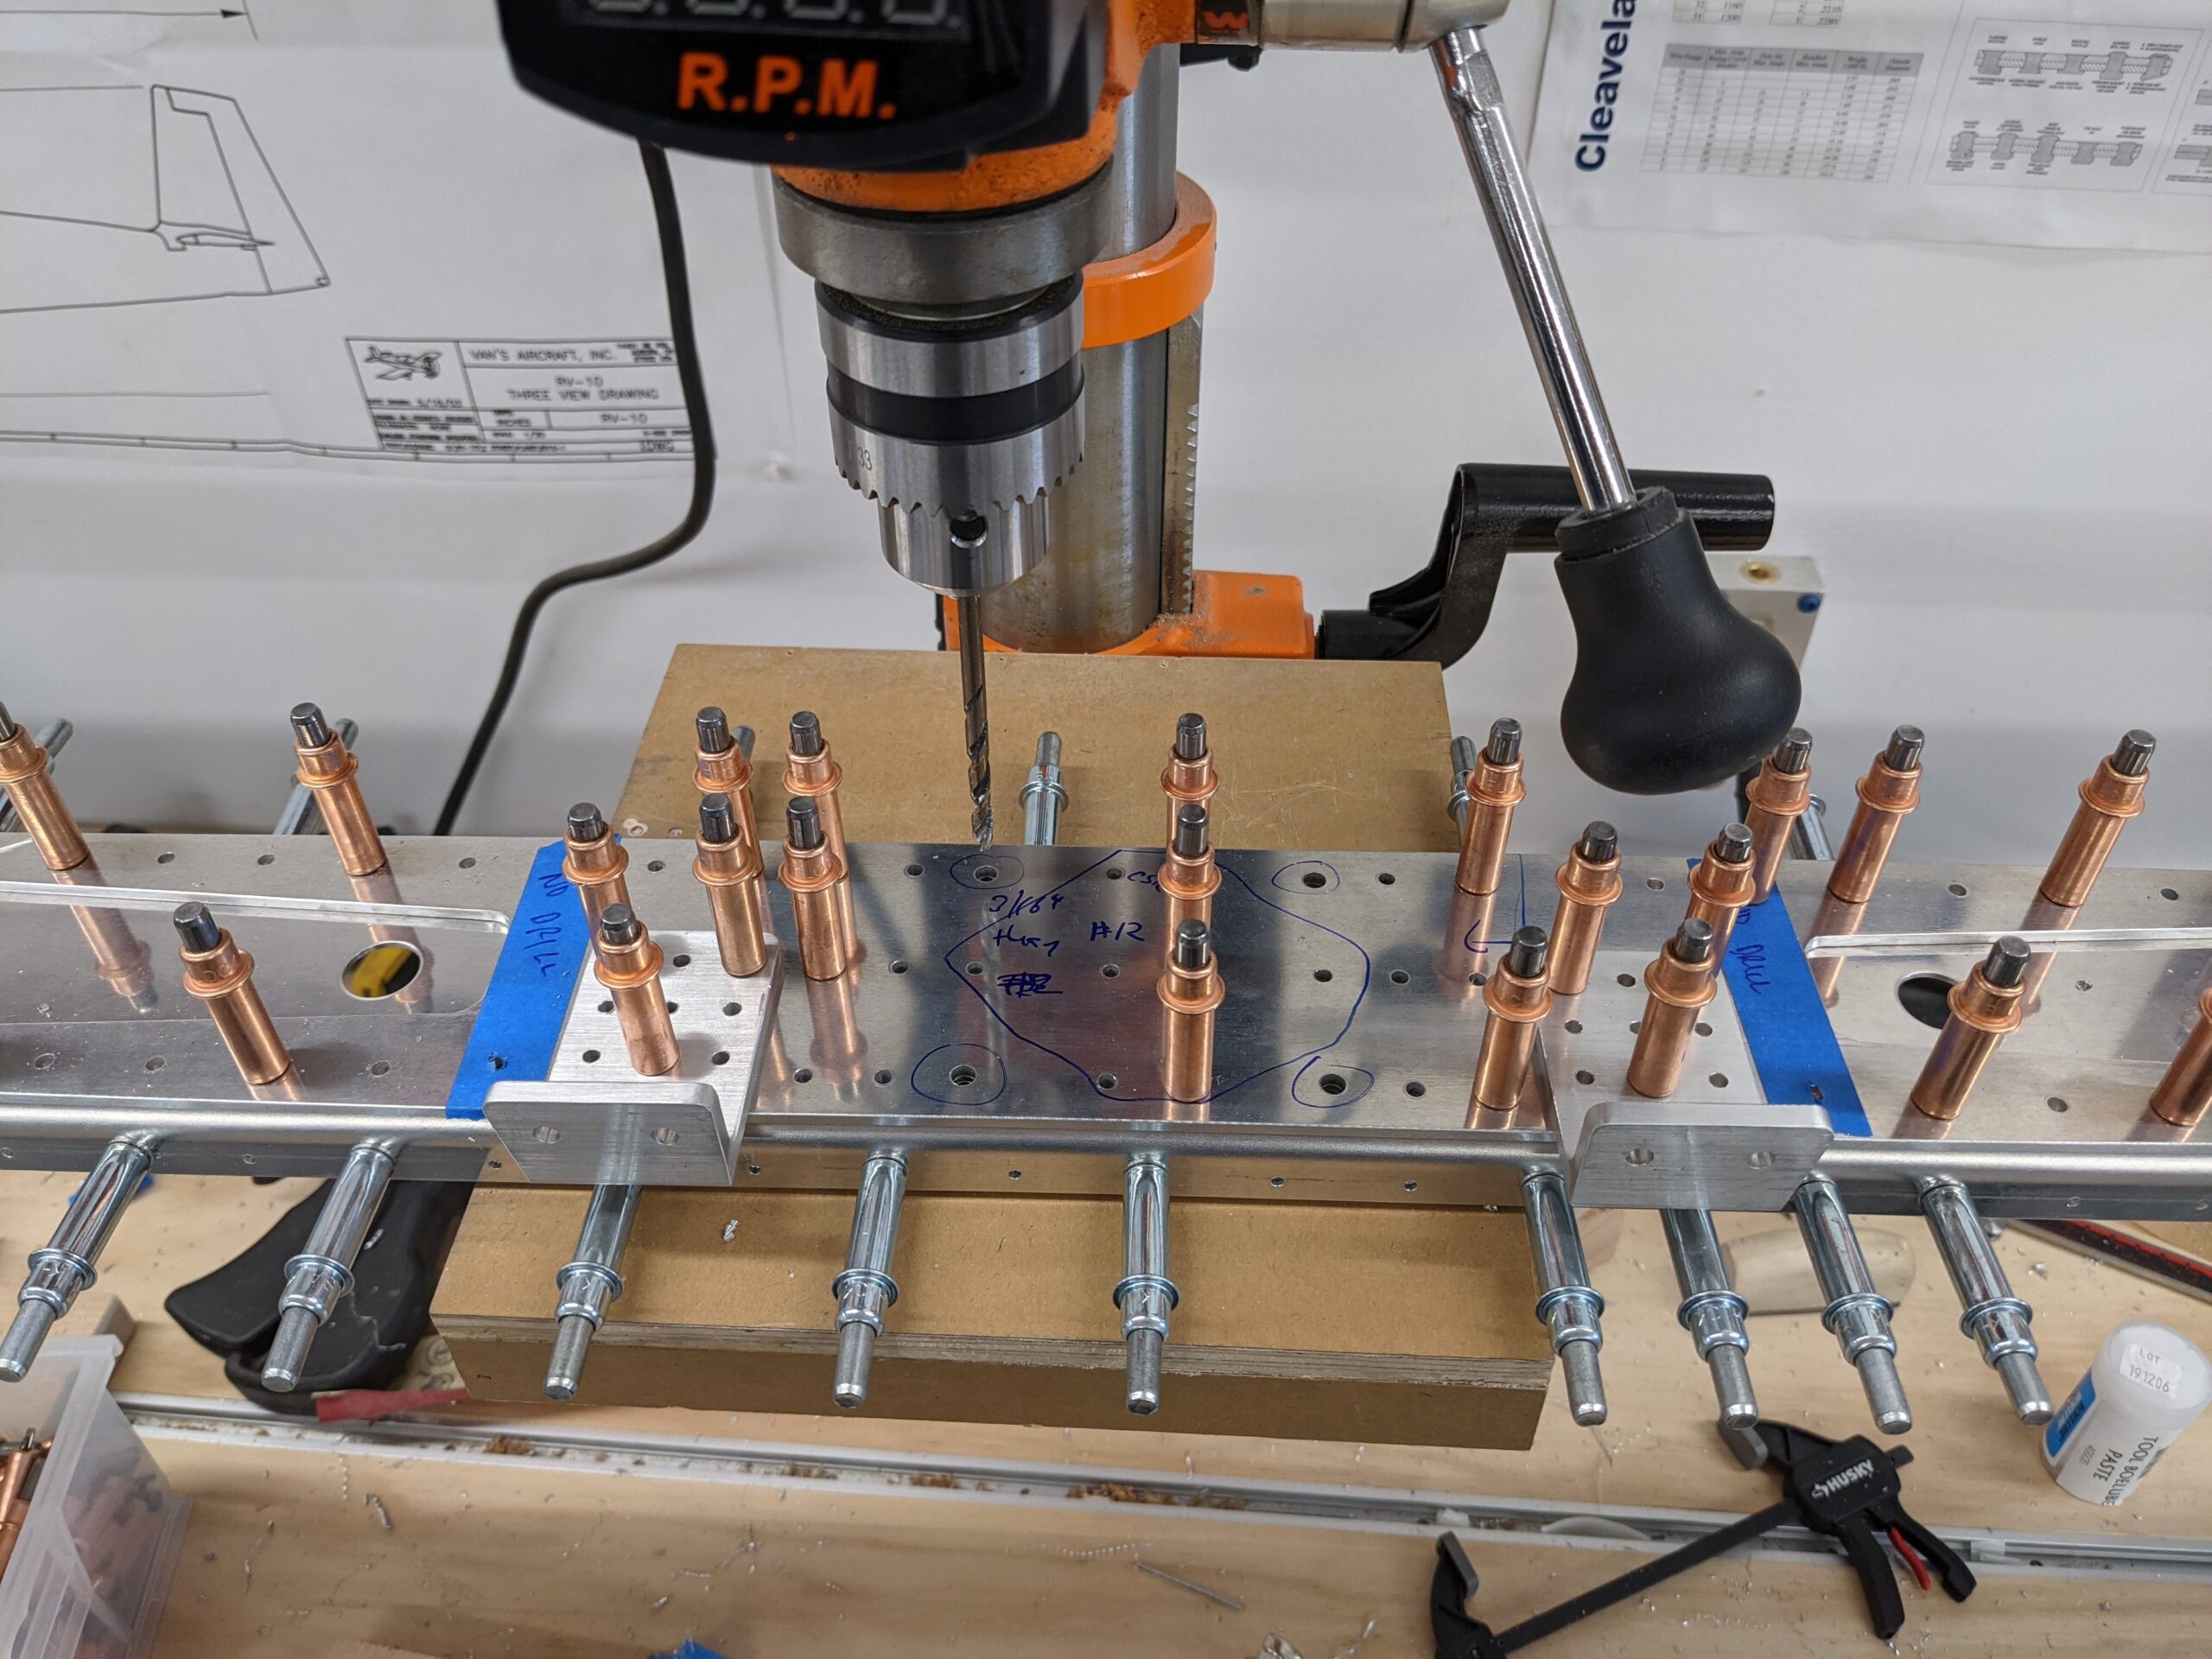
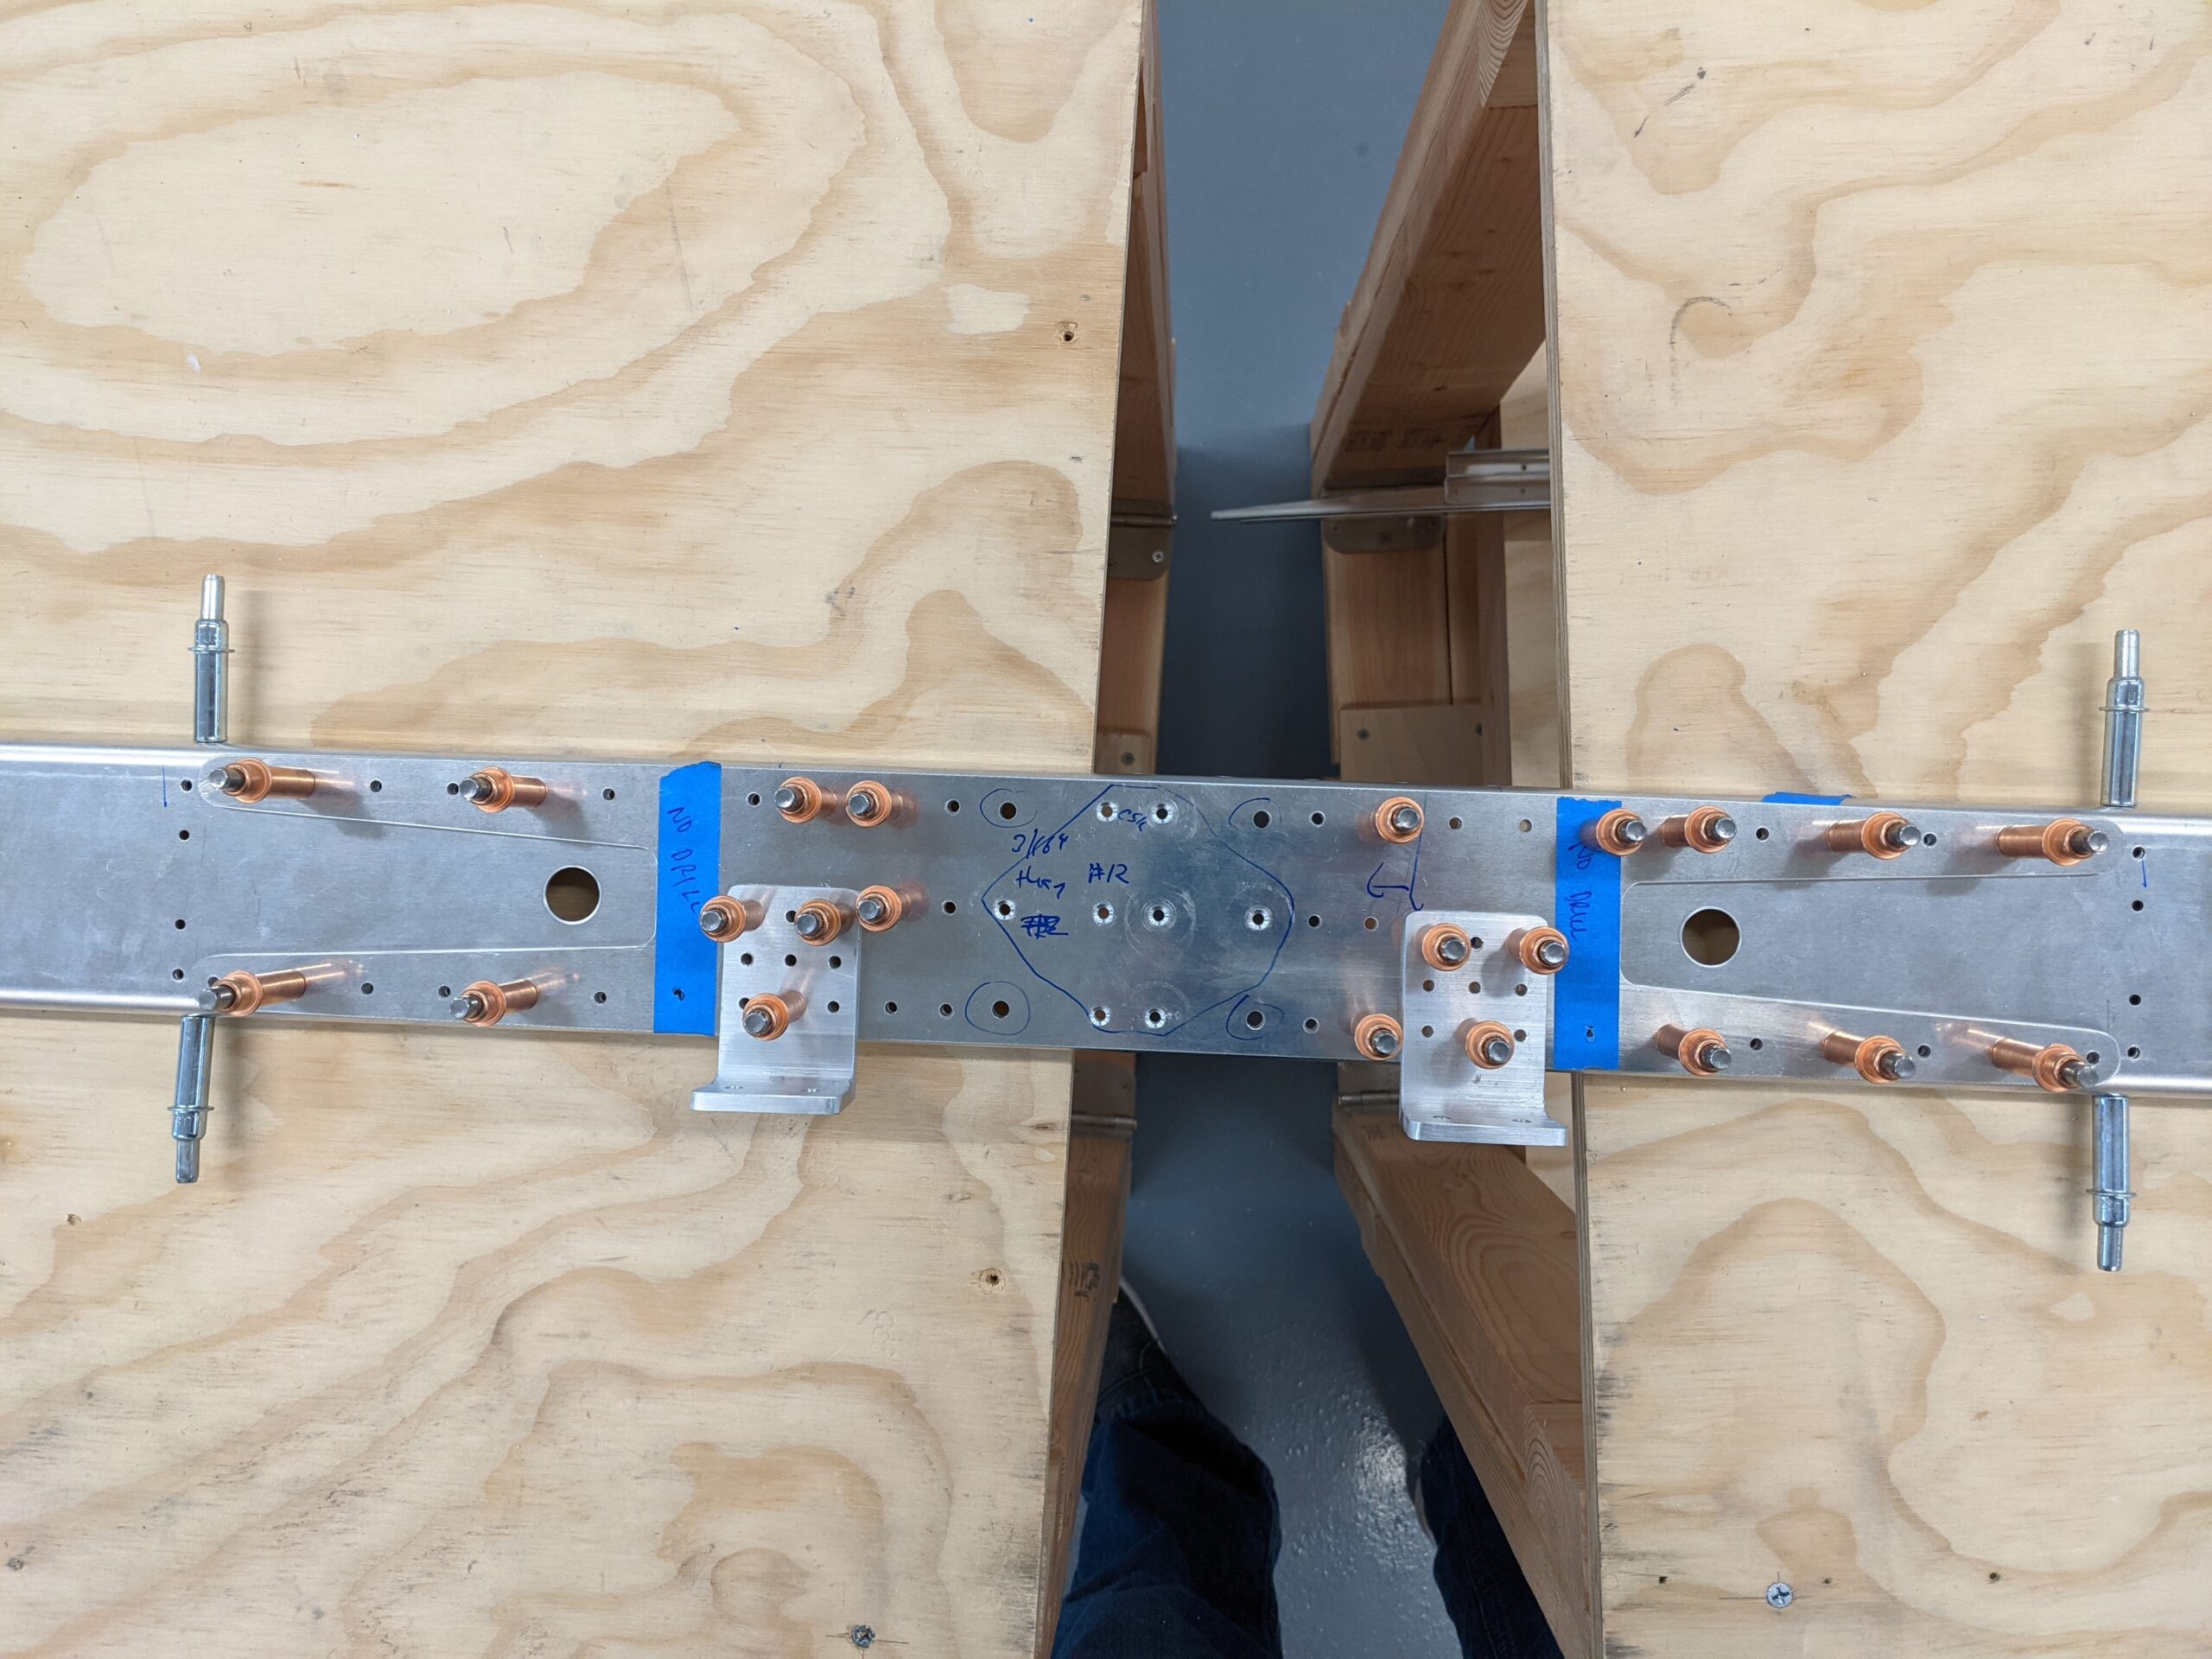
Next up is match drilling front spar attachment brackets. I unfortunately forgot to take photos of this step. I clamped the attachment brackets to a solid, flat extrusion from my band saw fence to ensure that the brackets were square to the spar. I drilled the holes slowly on the drill press and added Boelube to the bit every couple of holes. I was a bit nervous about this step but all went well. The holes came out really clean and square to the spar. I added clecos to every second hole as I went and I finished up by final sizing the initial positioning hole with a #30 reamer.
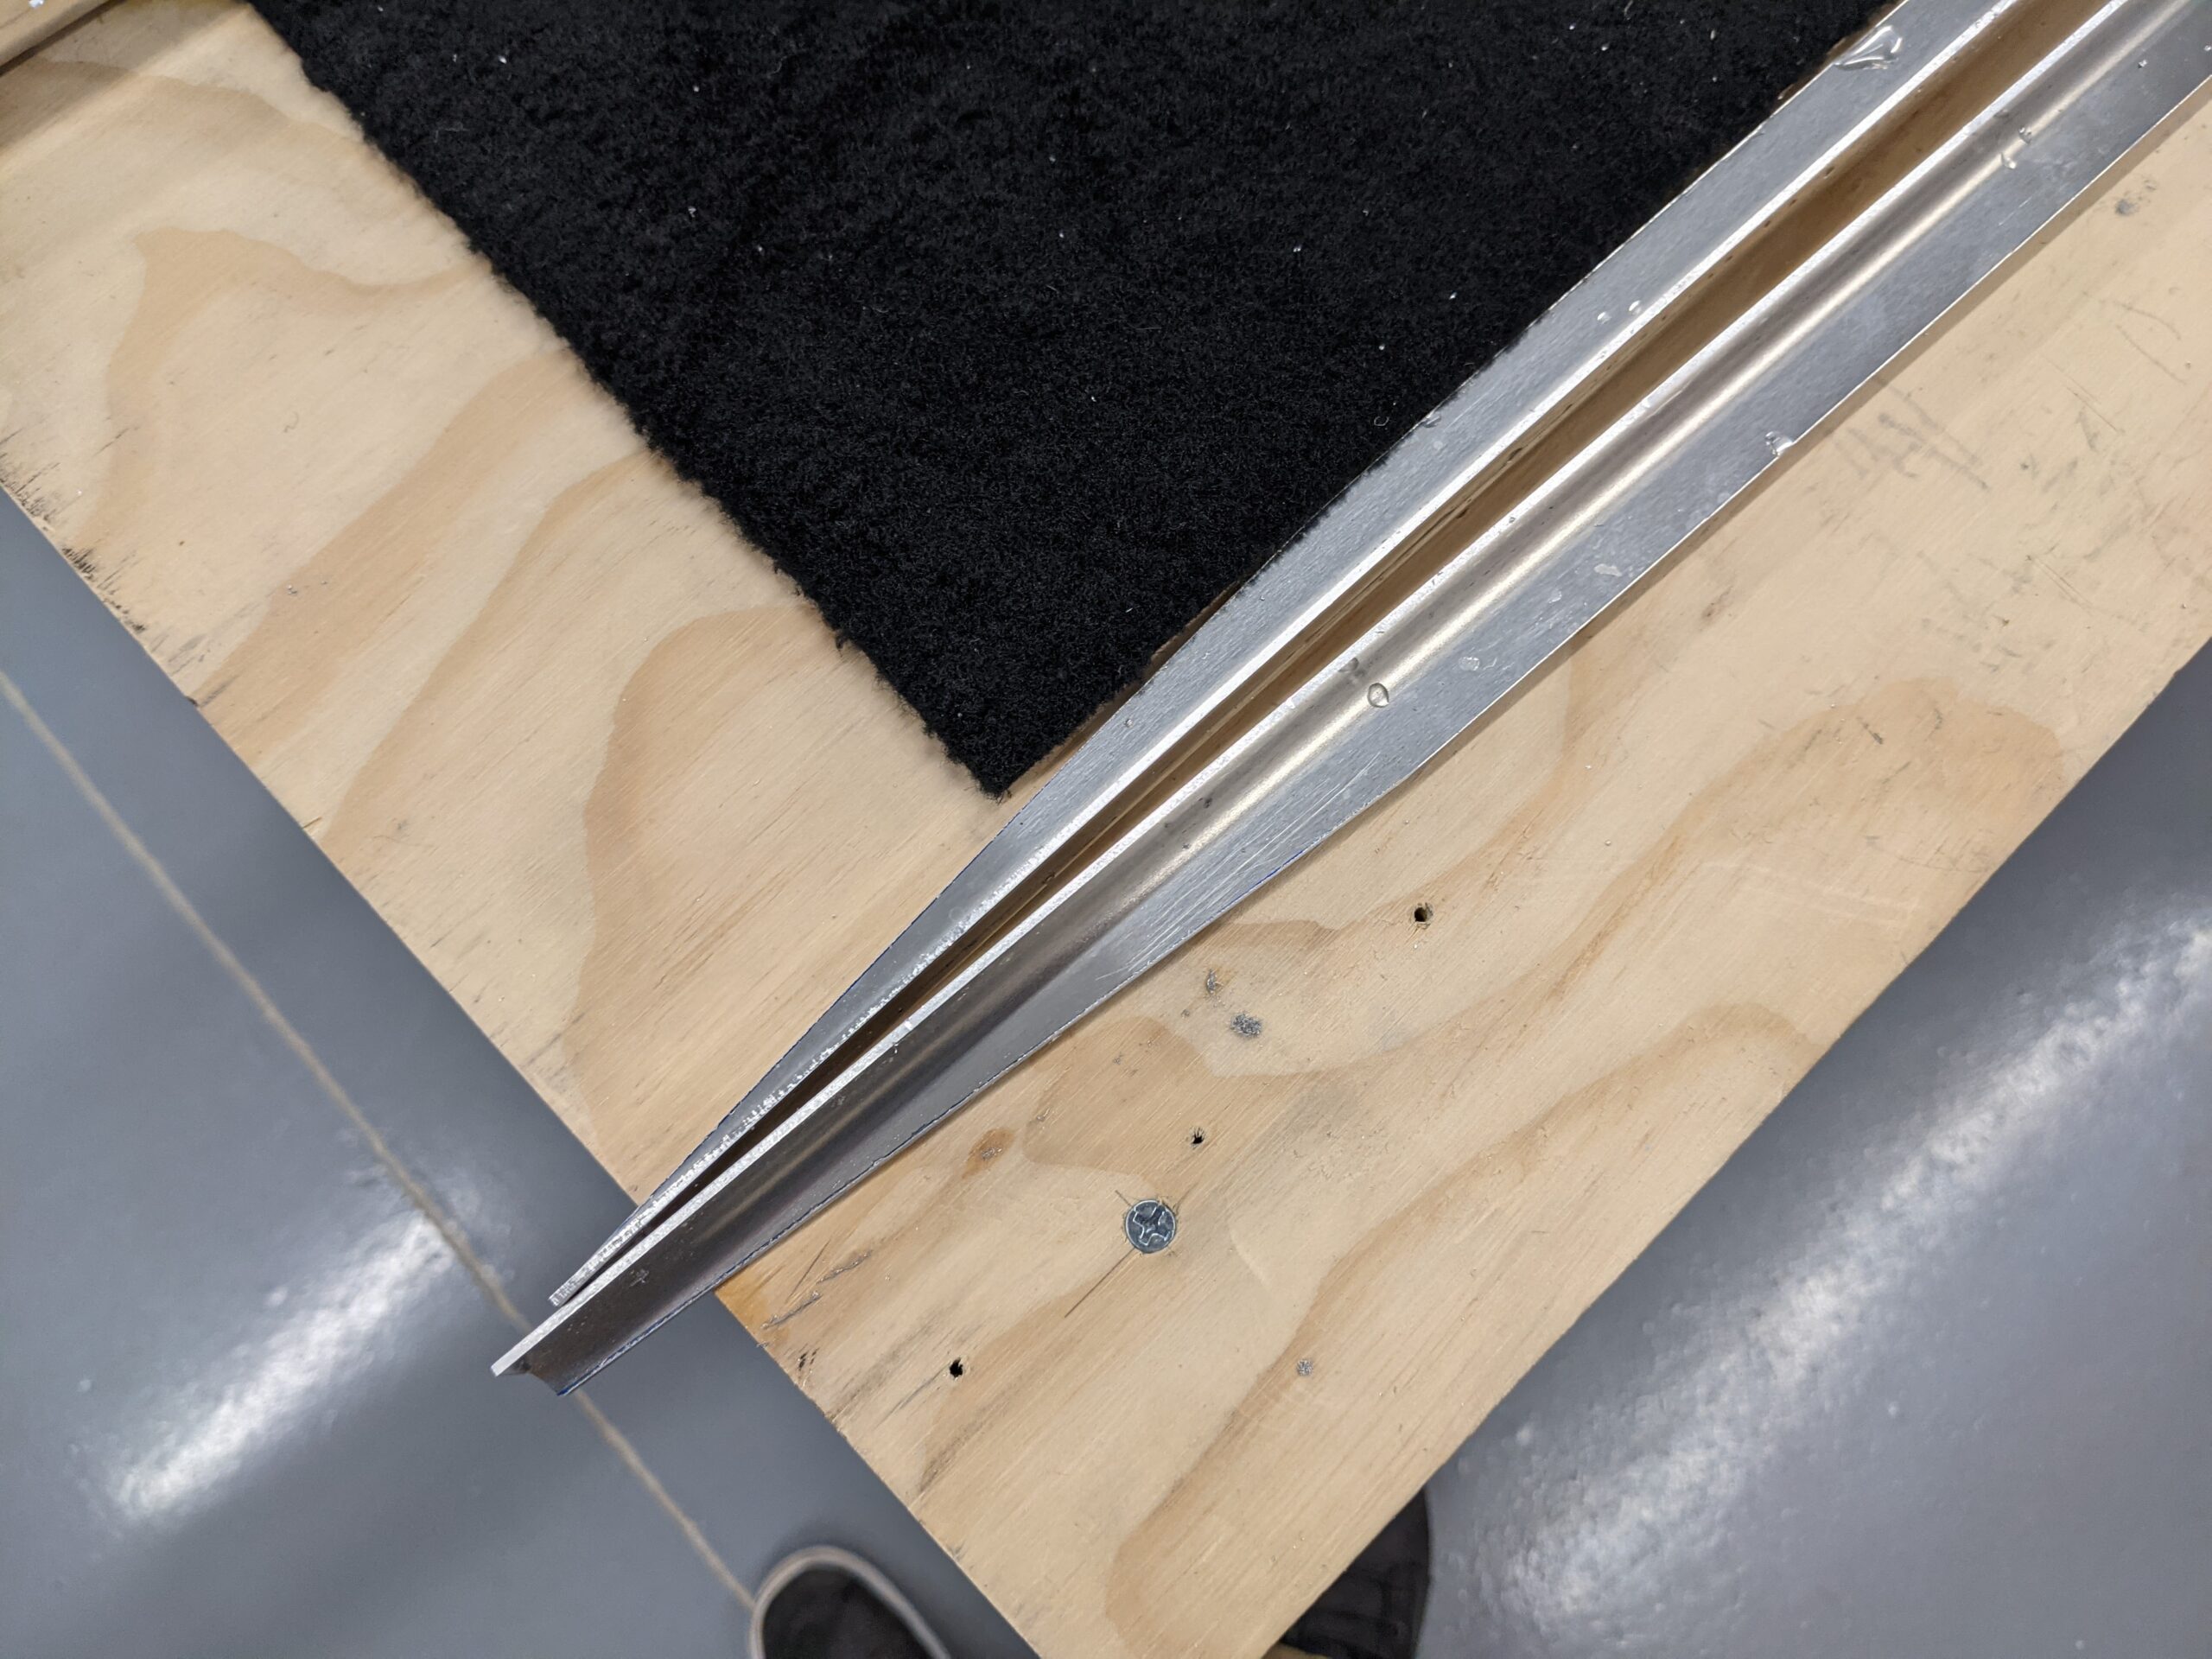
I then match drilled the 3/16″ holes in the spar cap and spar flange to the spar caps and final sized with a #12.
Next up was countersinking the 8 center holes in the spar doubler. Countersinks always take a bit of time to set up to ensure the the depth is set correctly. I also used the drill press for this step.

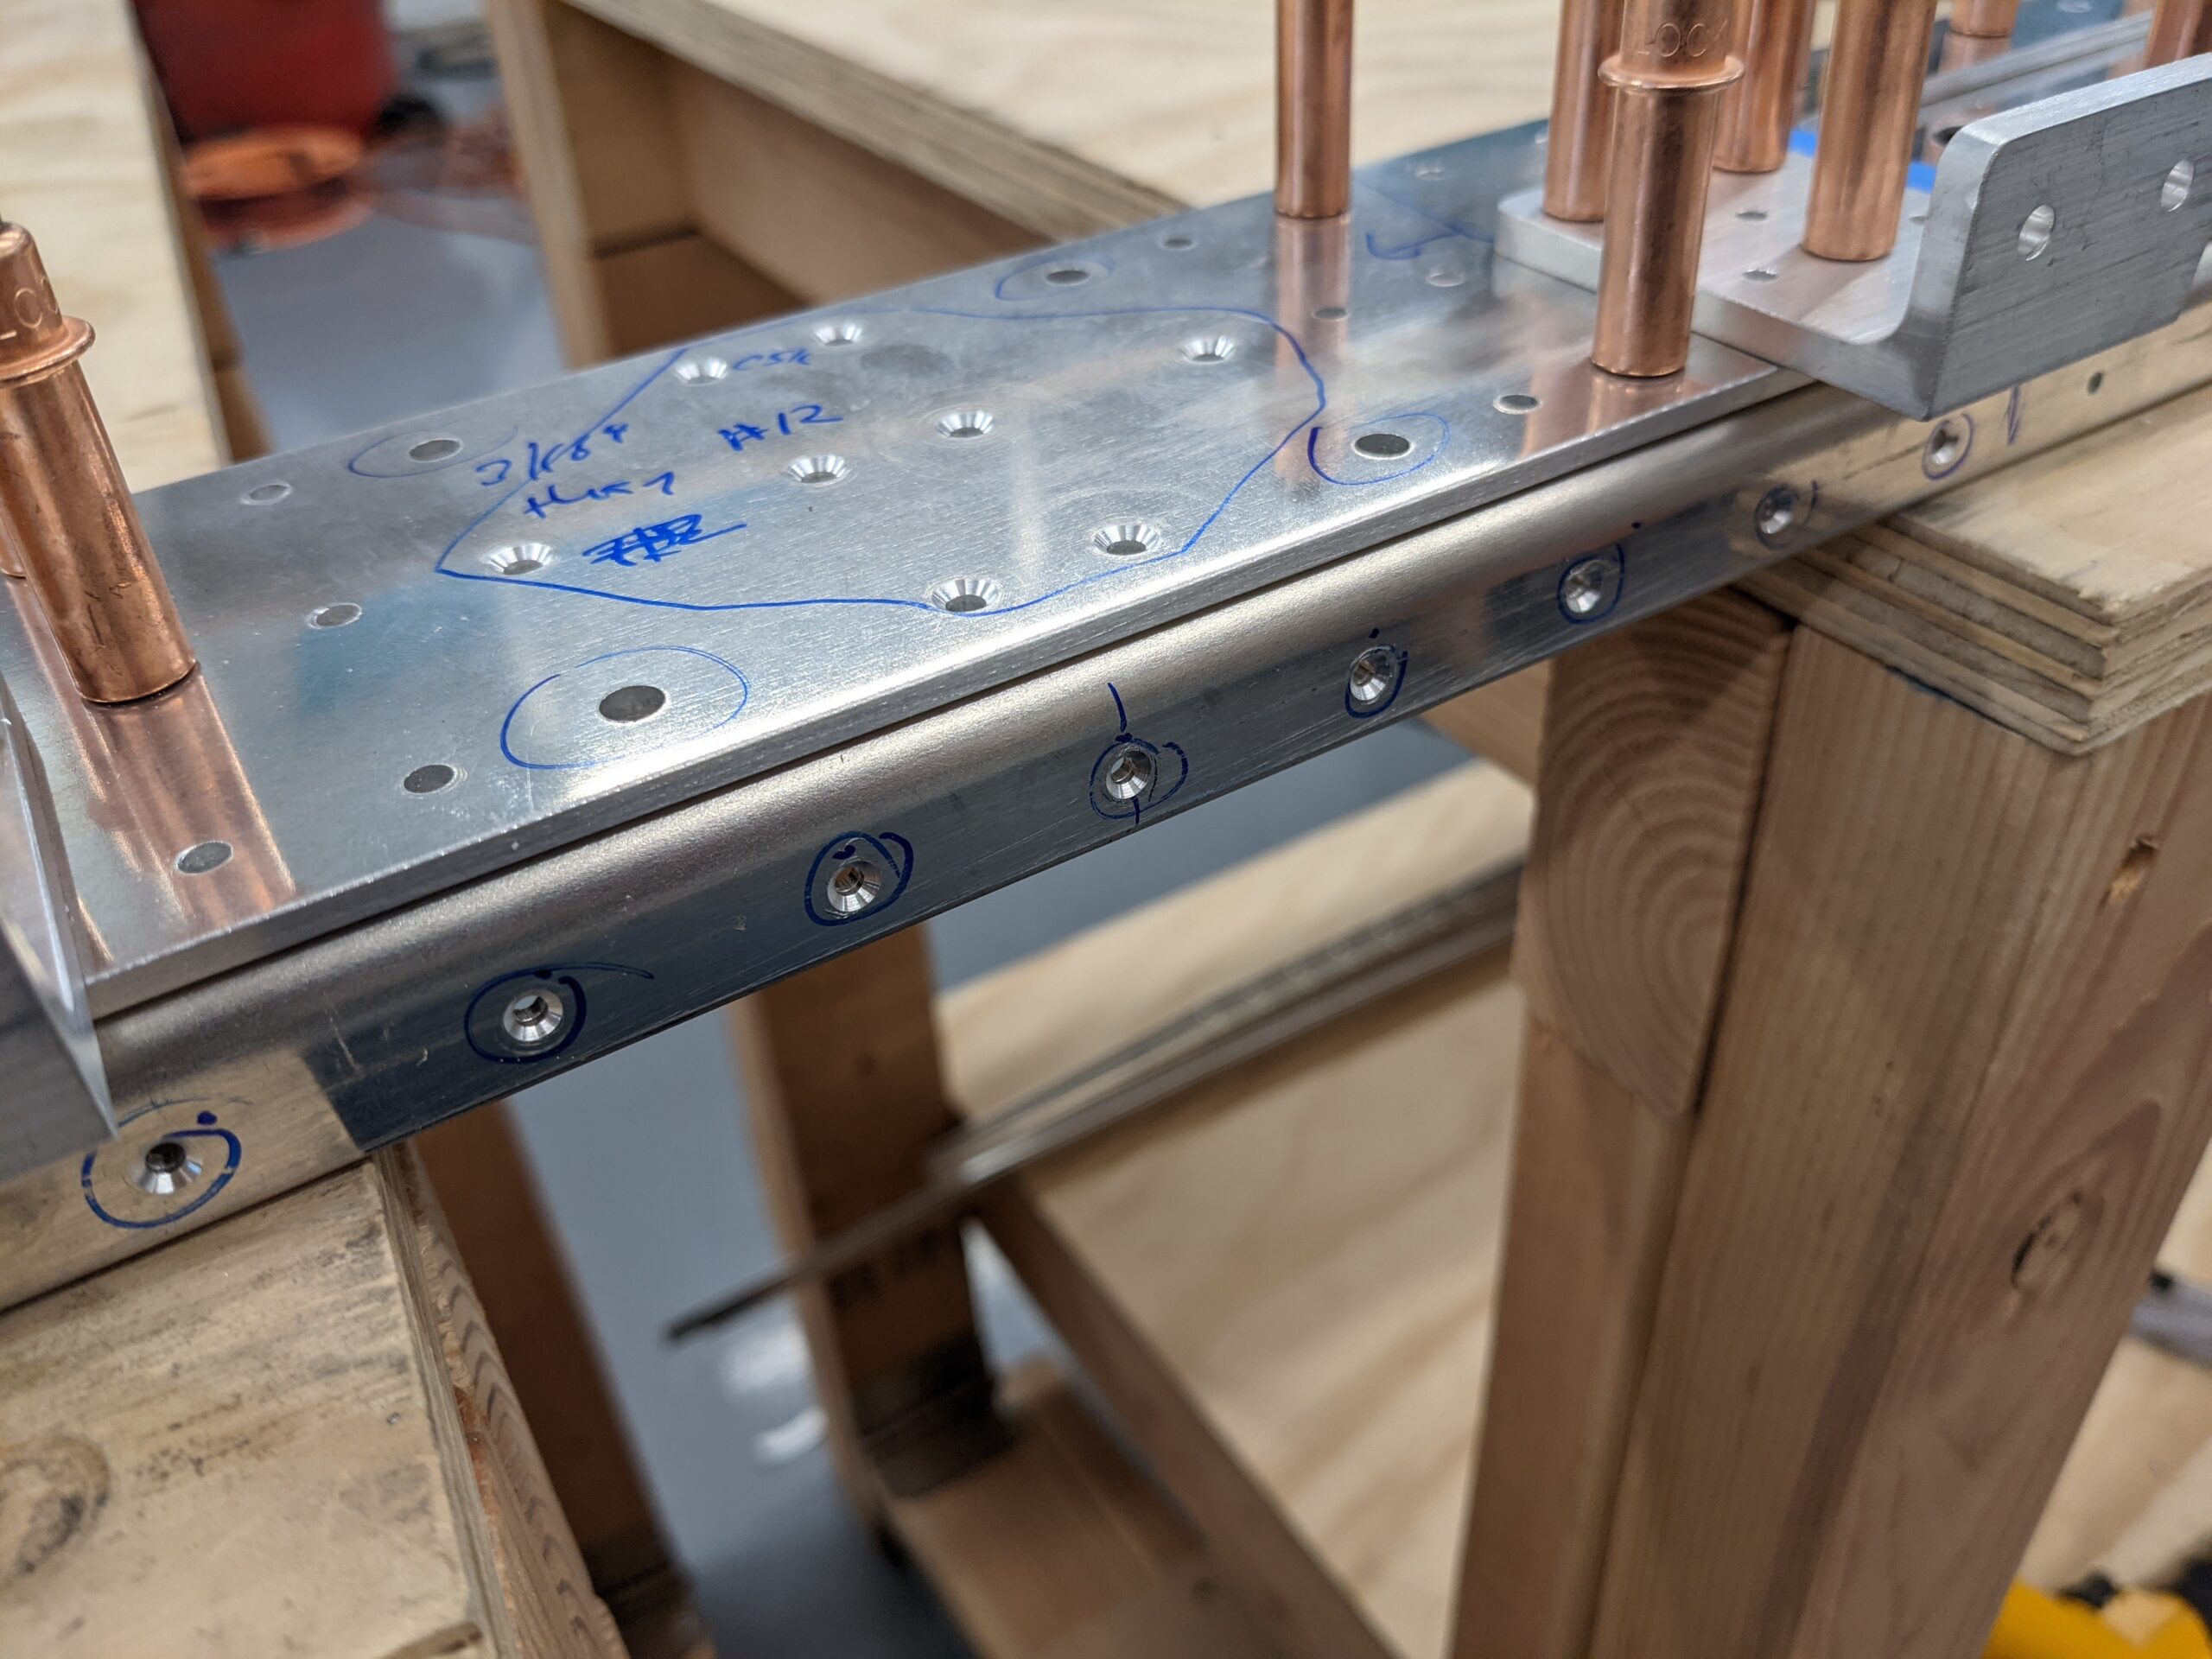
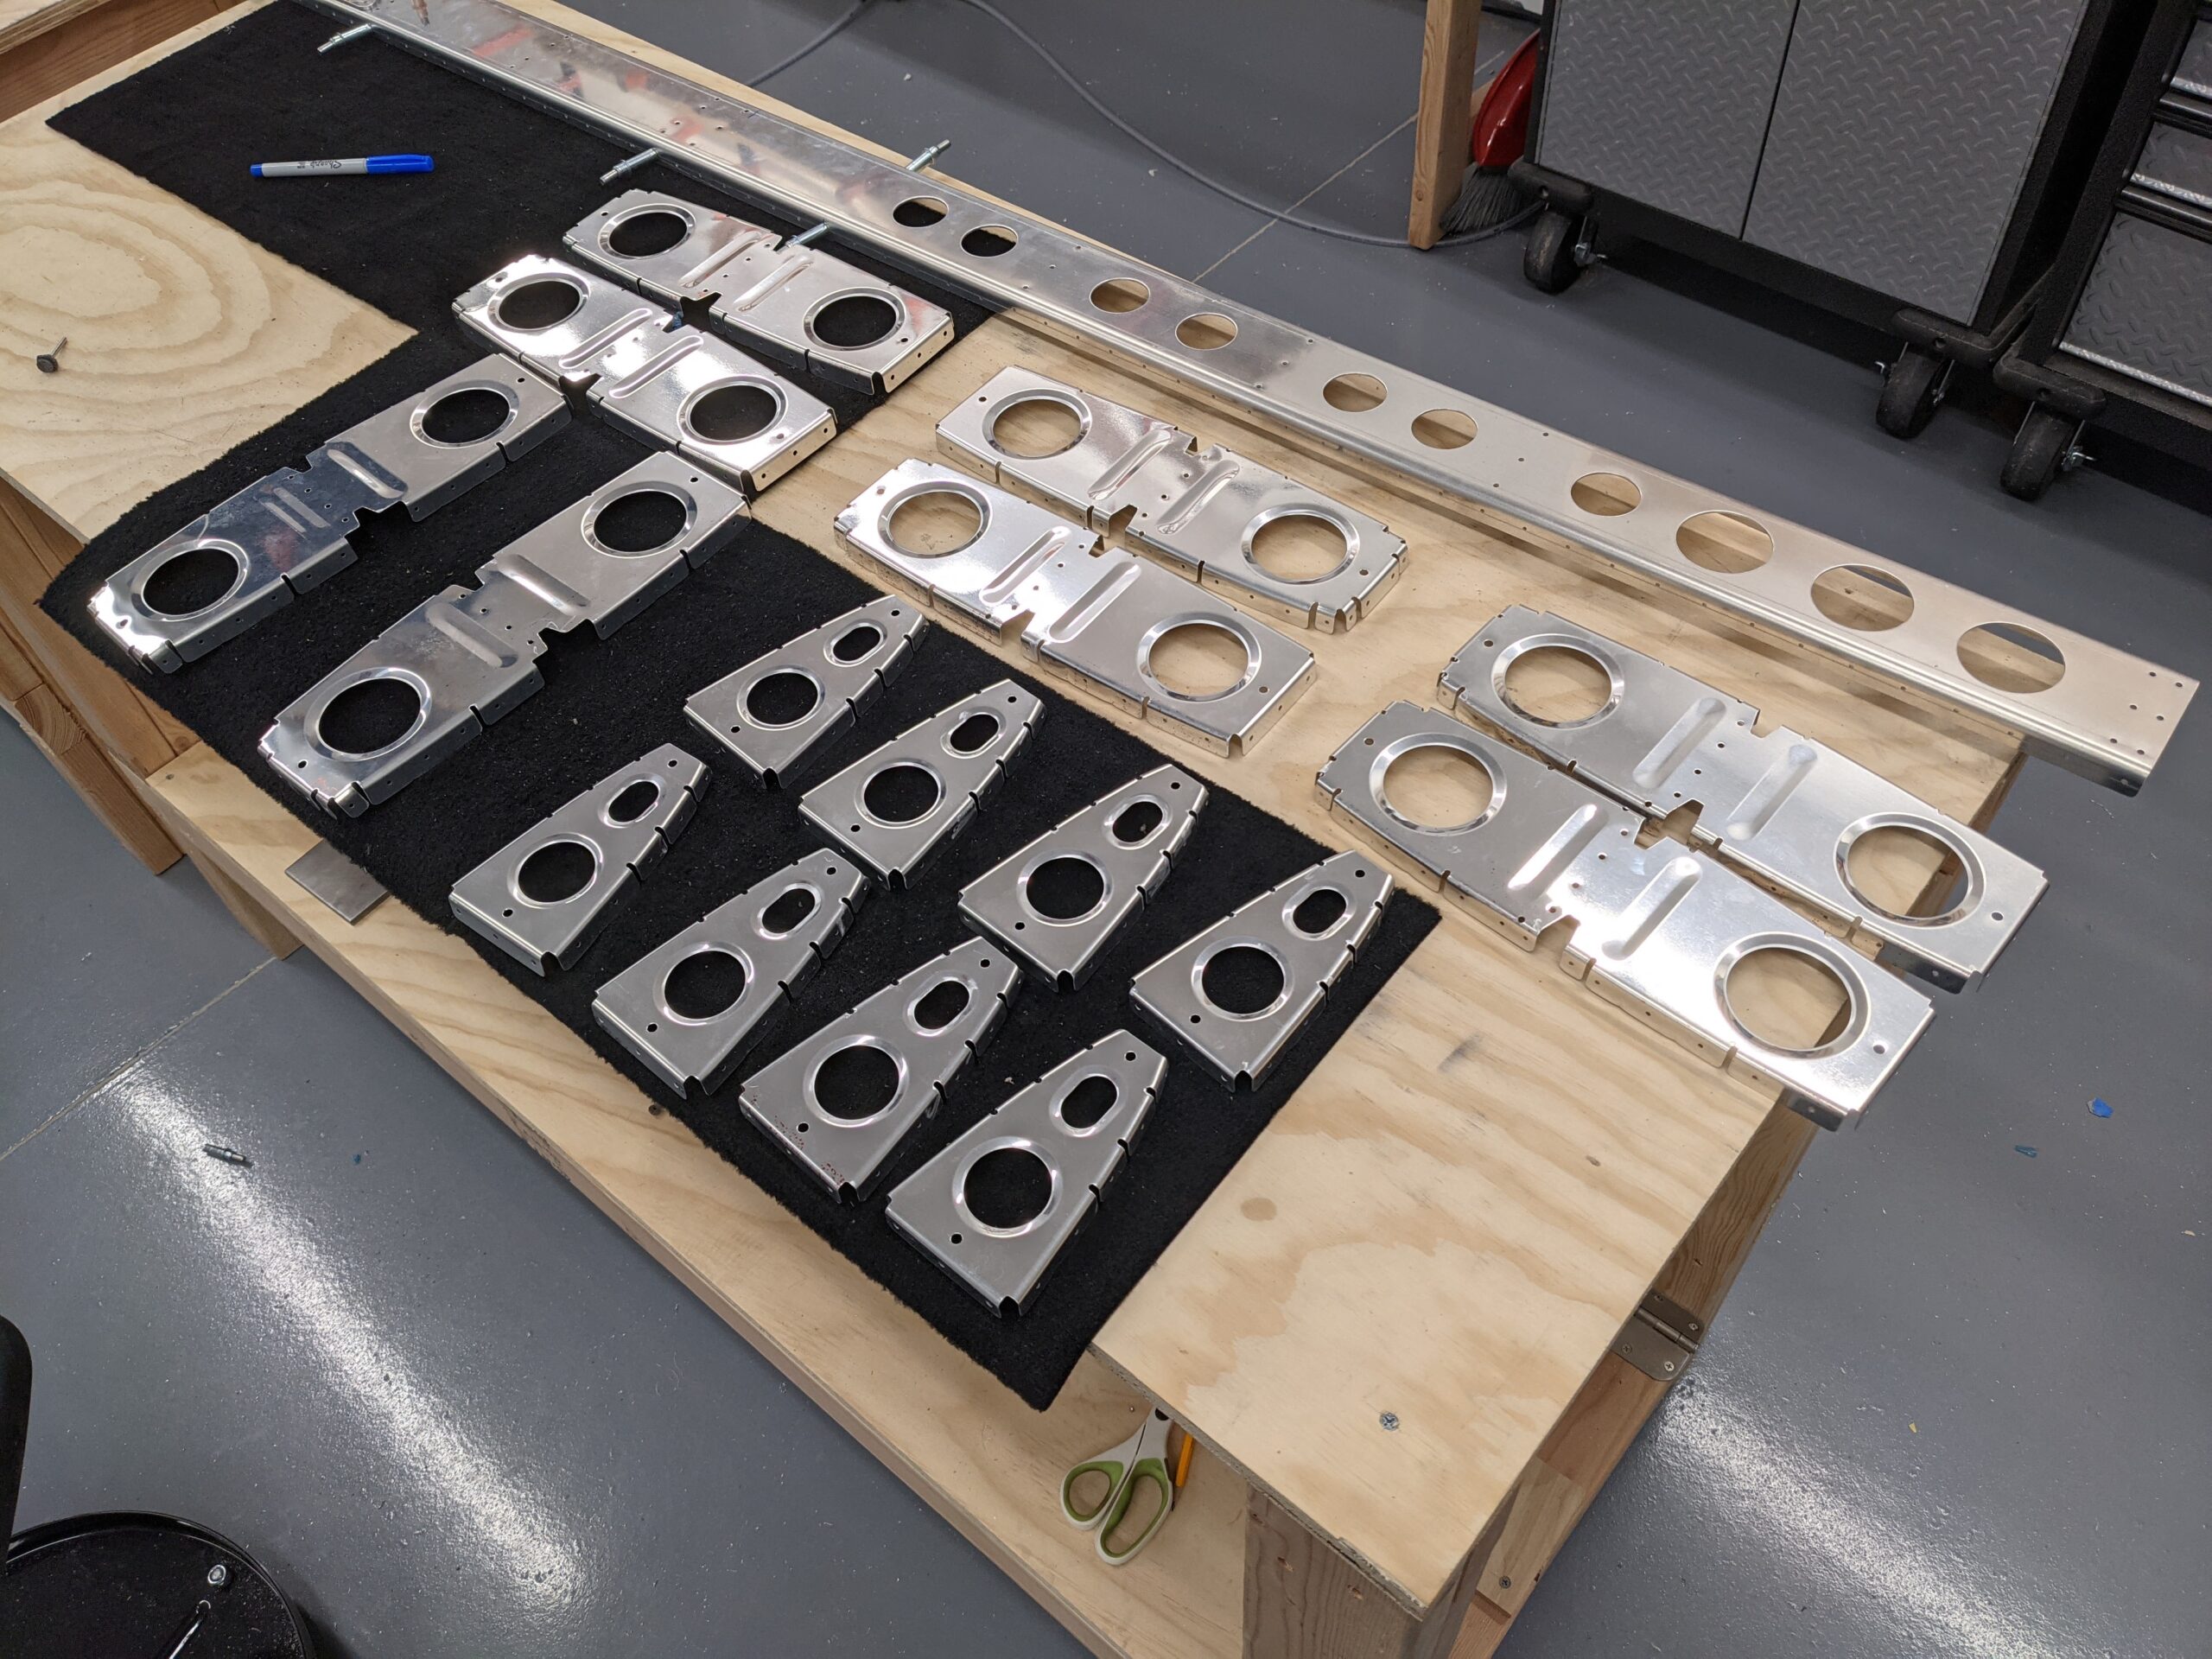
The final step is to countersink the middle nine spar flange holes on the top and bottom of the spar. Front spar parts finished and ready for priming!

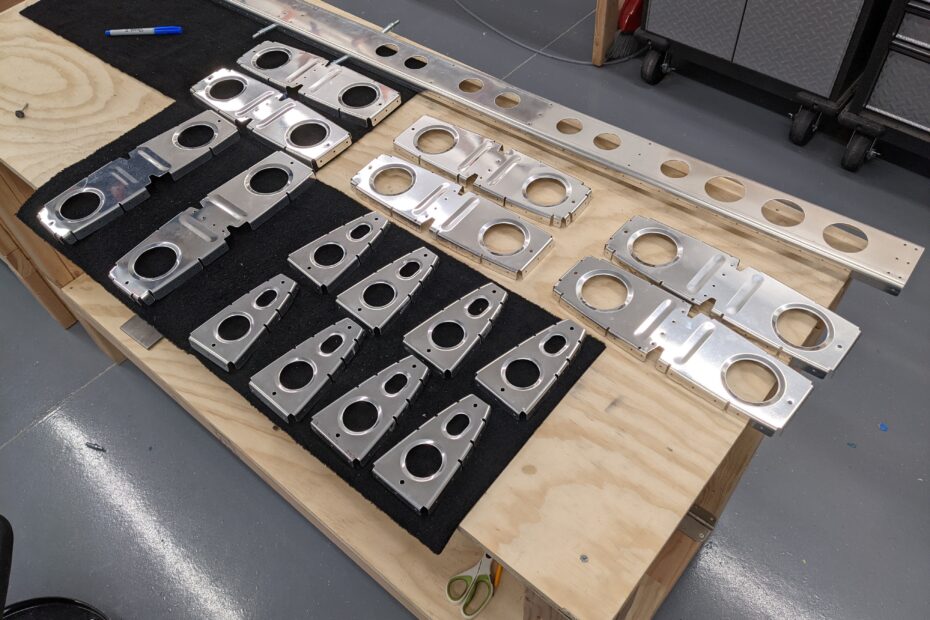
Since I am priming I skipped the riveting step and moved on to the inspar ribs. There are some modifications that need to be made to 4 of the ribs to accommodate the stringers. This involves removing portions of the flange. I used the band saw for rough cutting these and I final sized them on the ScotchBrite wheel. I did some very minor fluting in the 3 hole “tabs” but I’m guessing that the stamping/bending process has improved since the plans were originally written.
I then deburred all of the ribs. This was a nice mindless task after painstakingly thinking through every step on the spar.
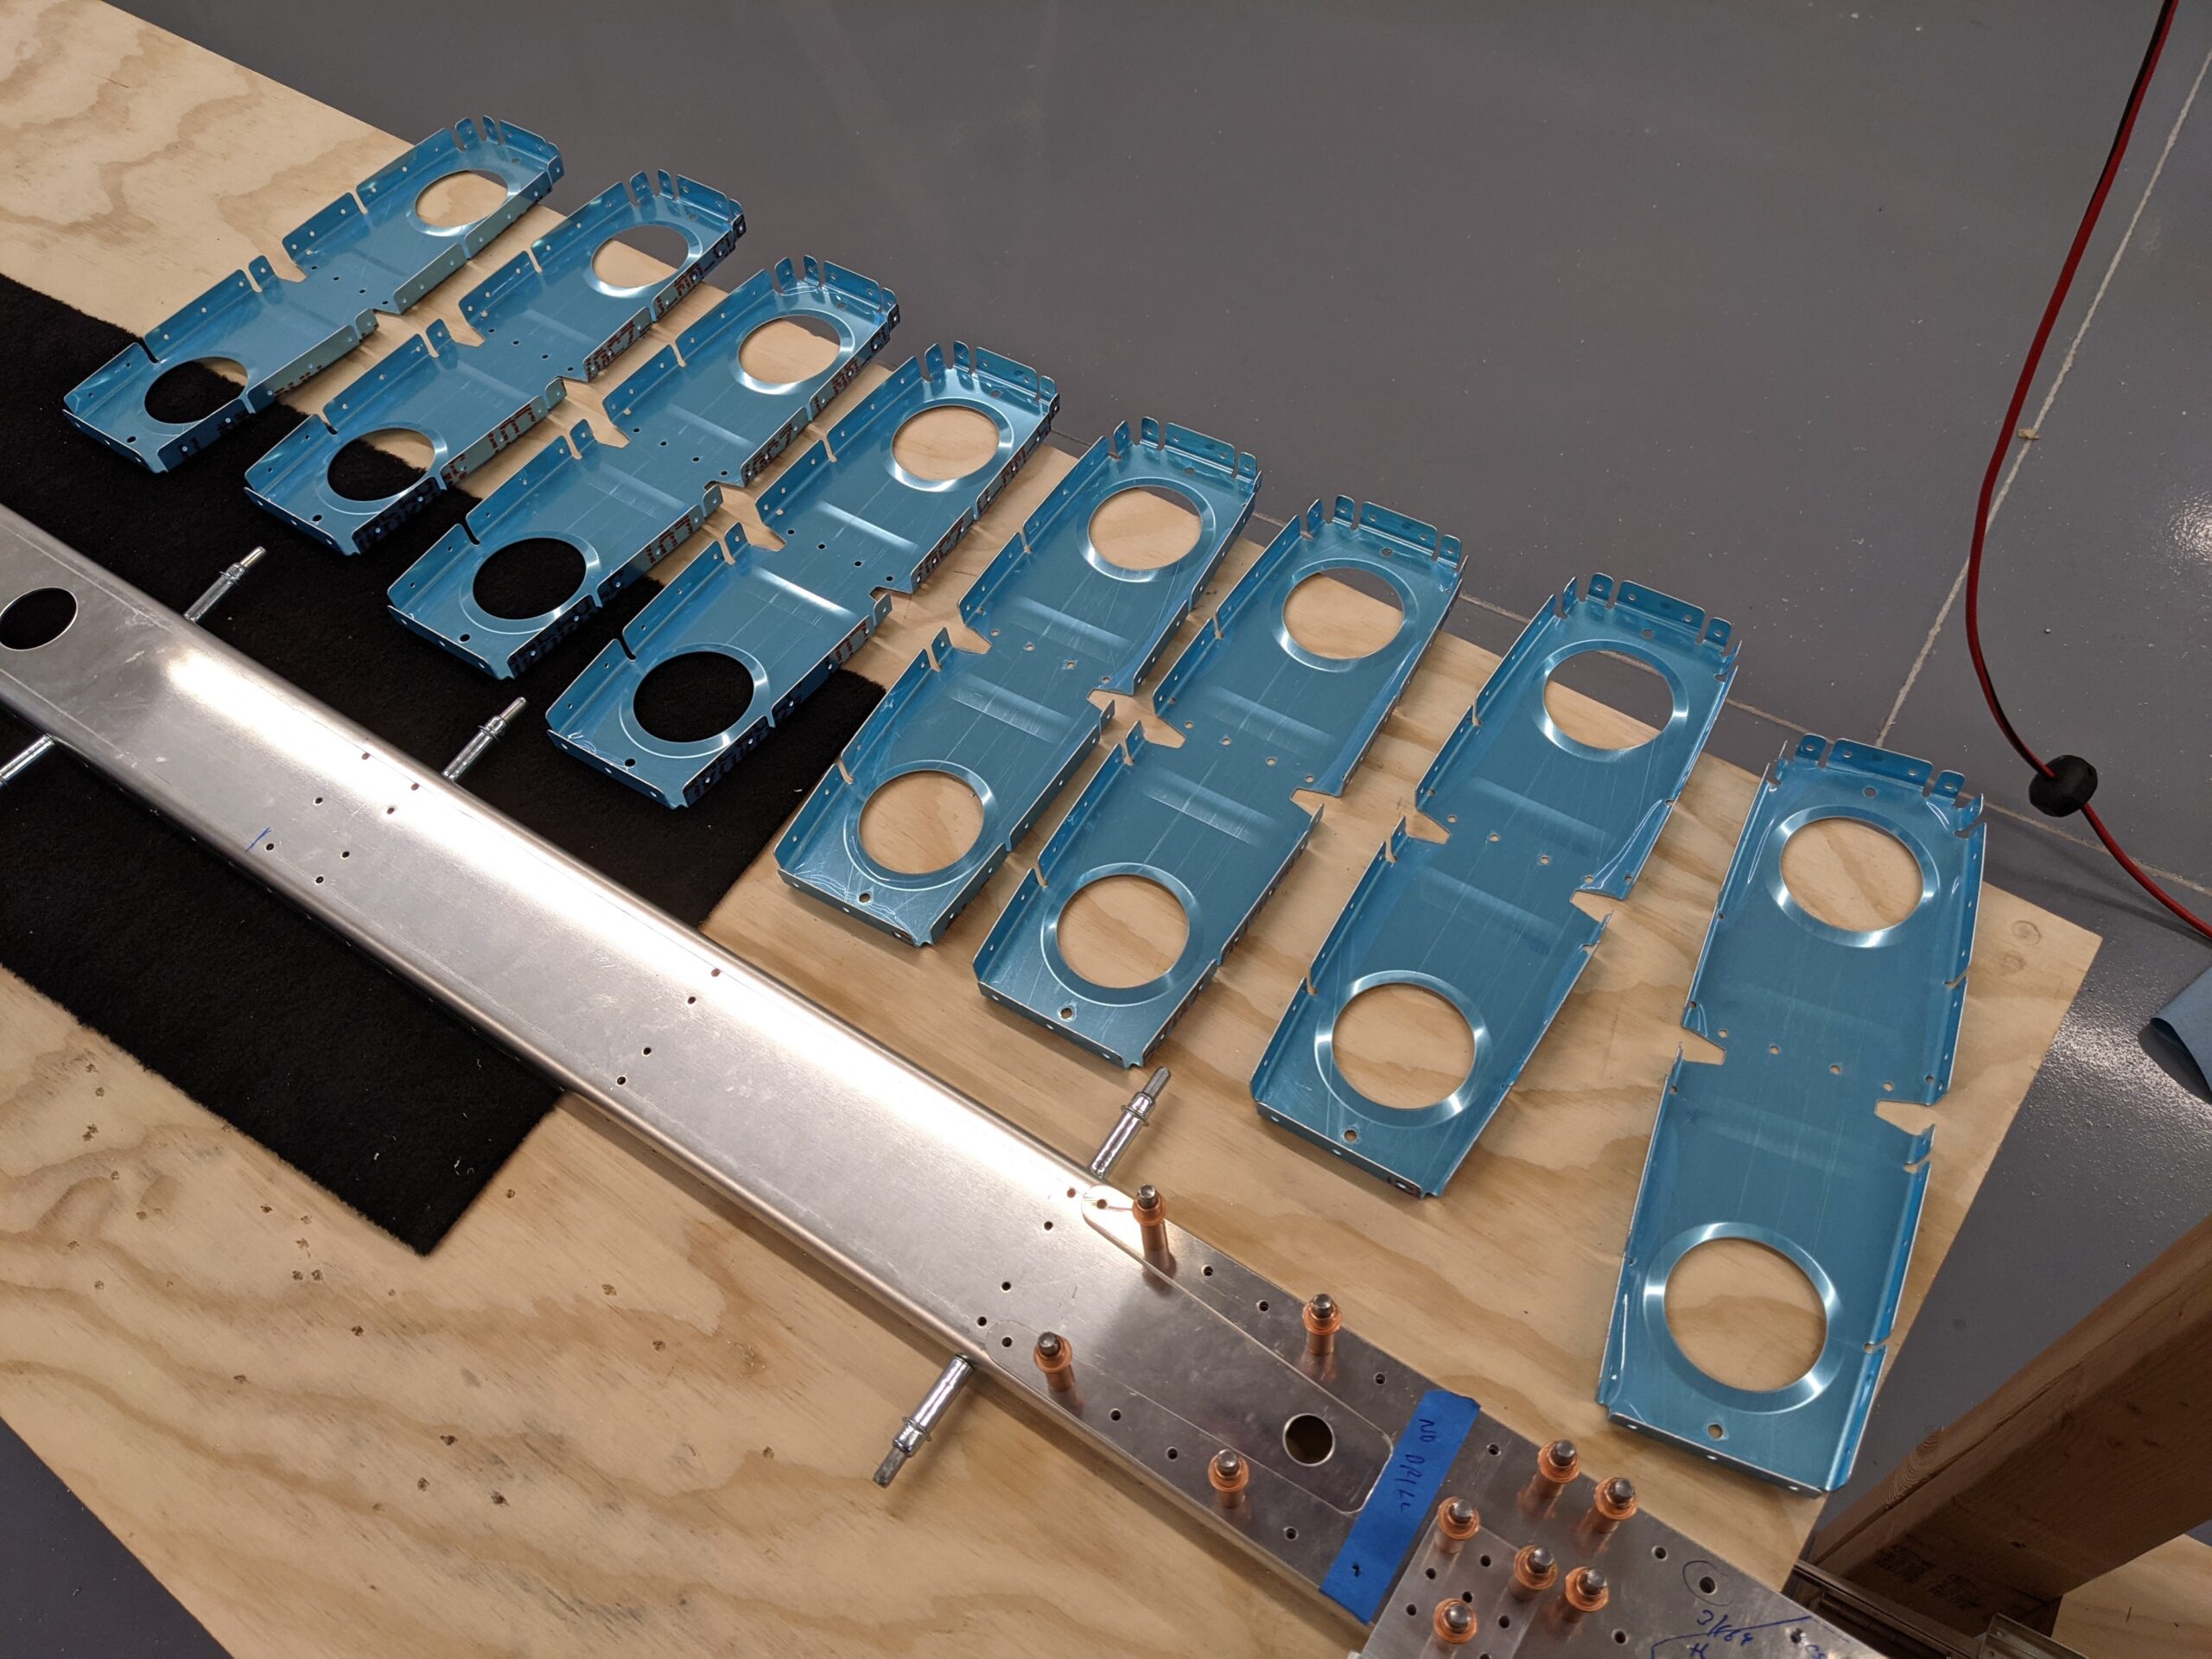
Next up was working on the nose ribs. I completed some very minor fluting of the “two hole” tabs but there also wasn’t much need to flute these. The parts look like slightly different from the drawings (more flanges) and the ribs no longer need a hole to be made in the web for routing the trim cables.
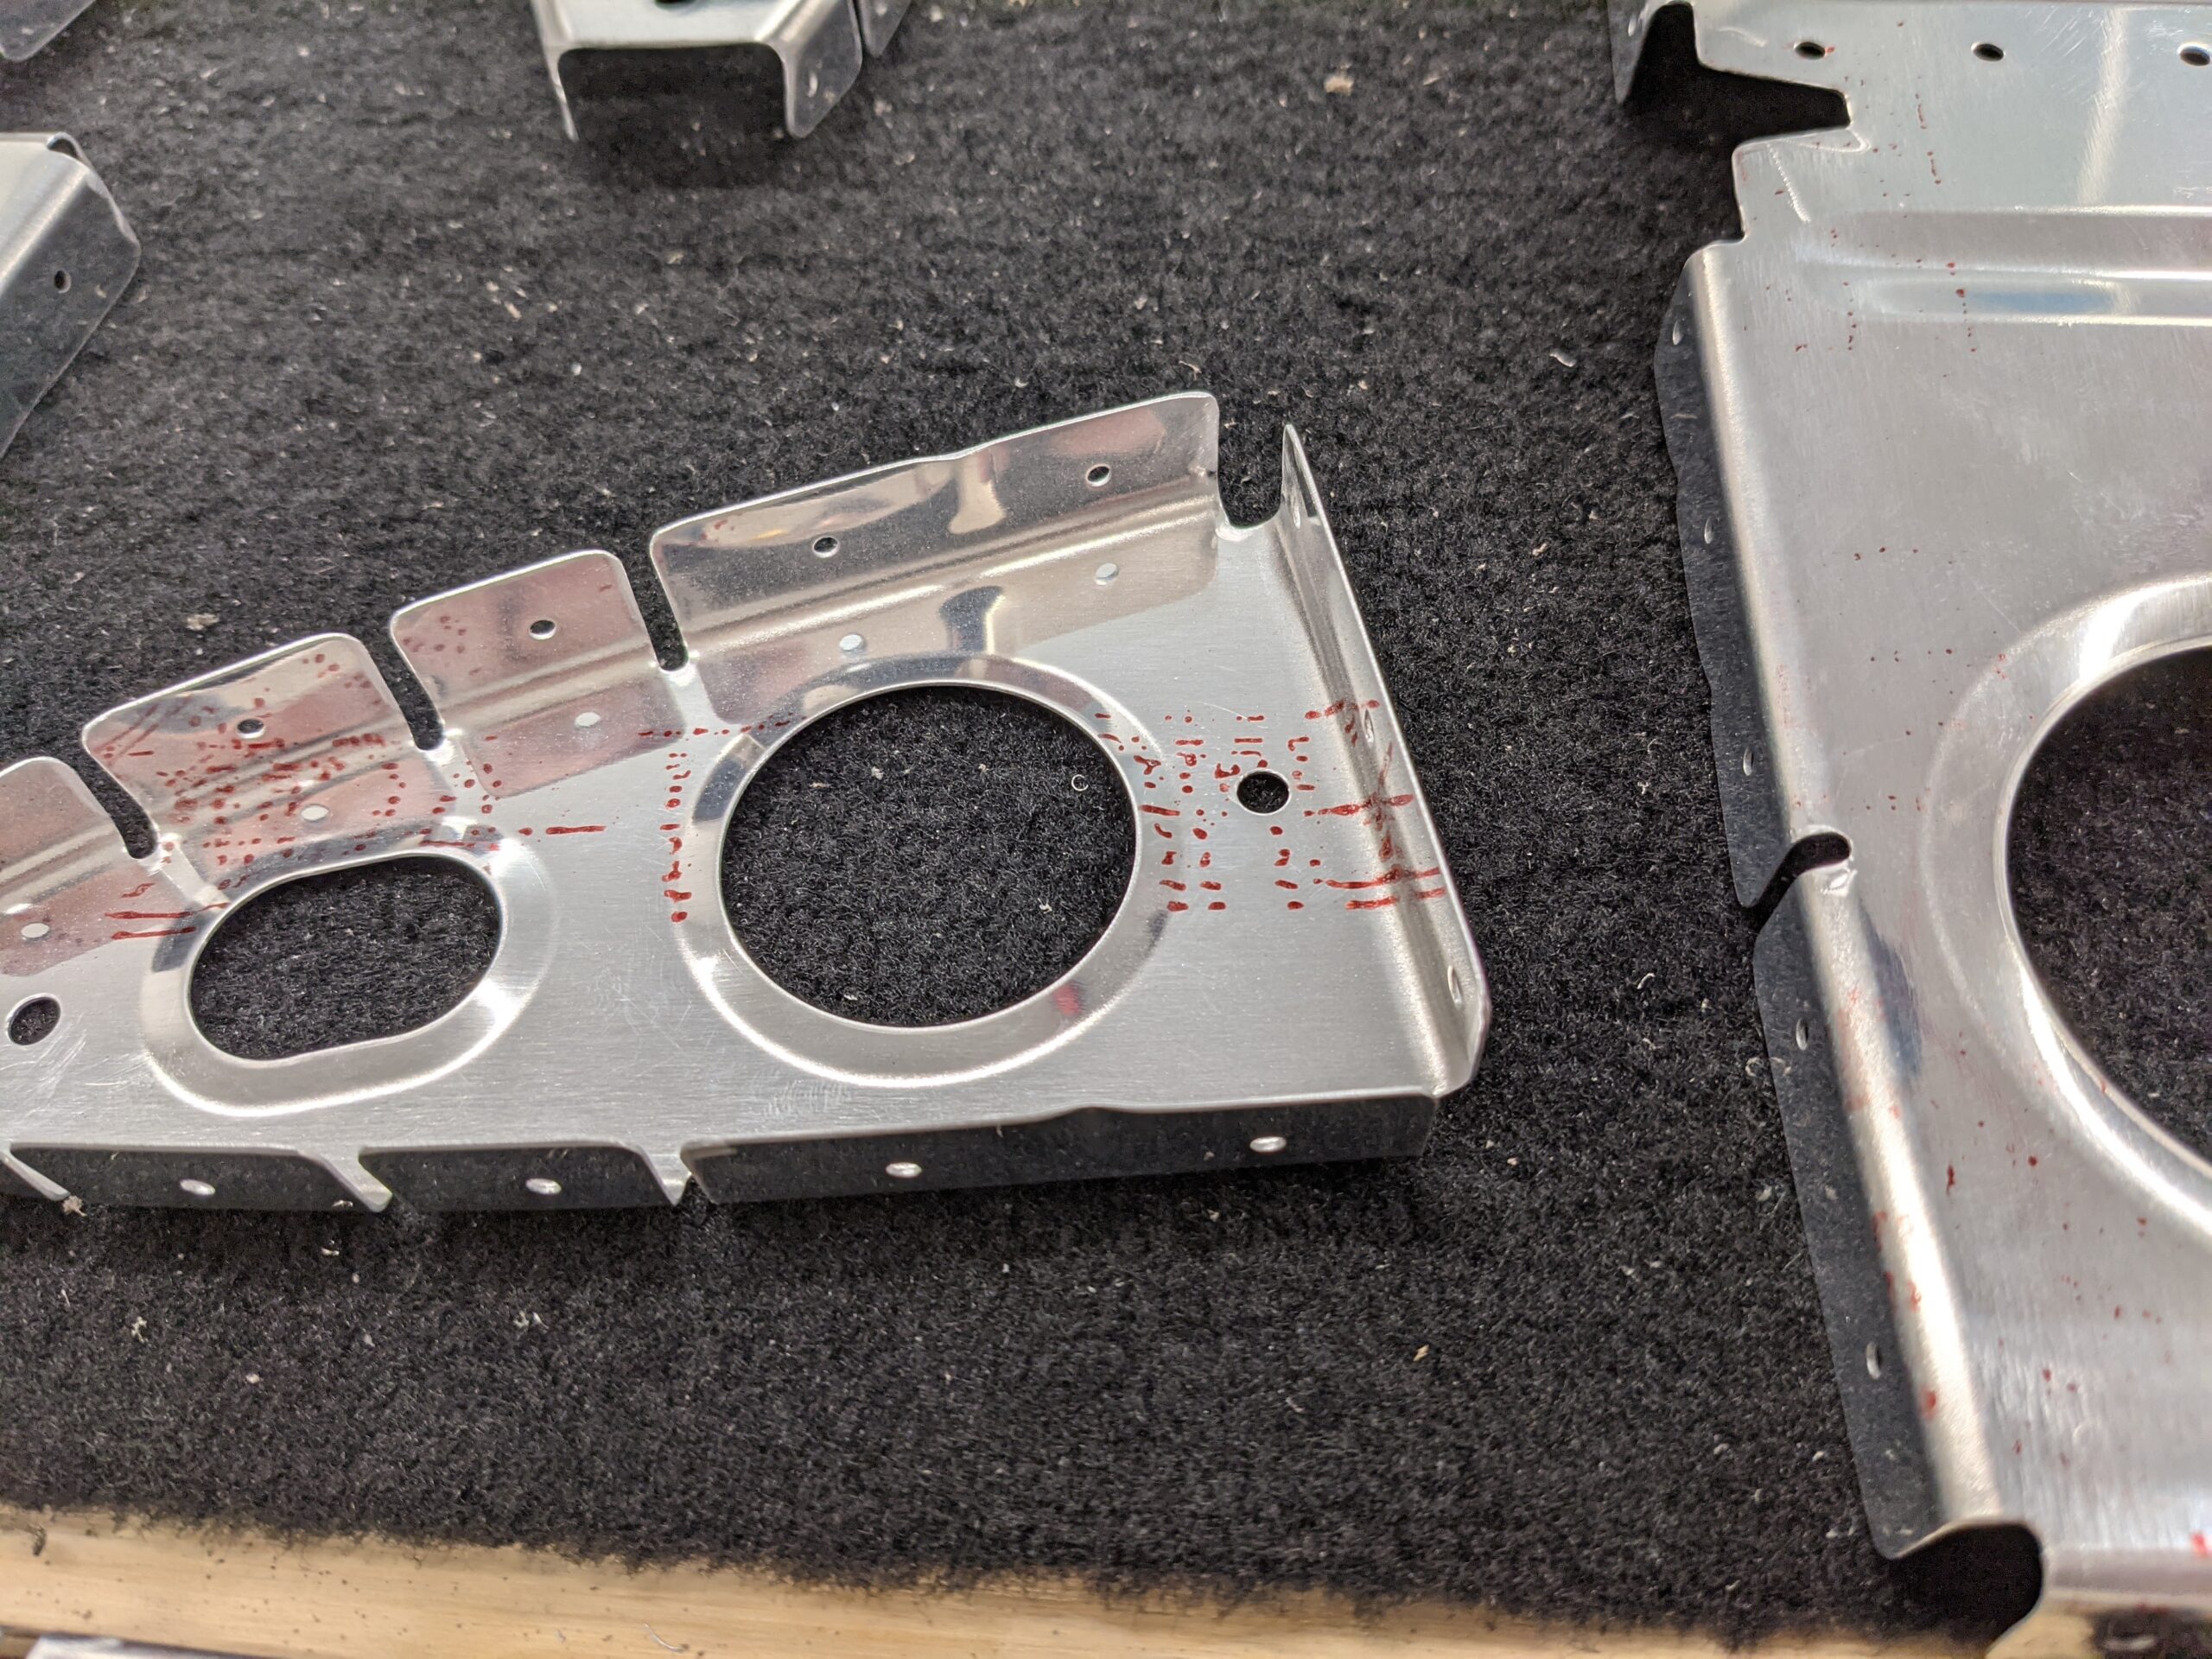
I added a radius to the forward corners of the ribs as I did with the vertical stabilizer nose ribs. I then proceeded to deburr the ribs starting with the ScotchBrite wheel and finished up with a ScotchBrite “wedge” attached to a Dremel mandril.
It doesn’t look like much but it felt like solid progress for one day.. Next up on page 8-7, step 5 is some woodworking to fabricate cradles to support the horizontal stabilizer during assembly.