
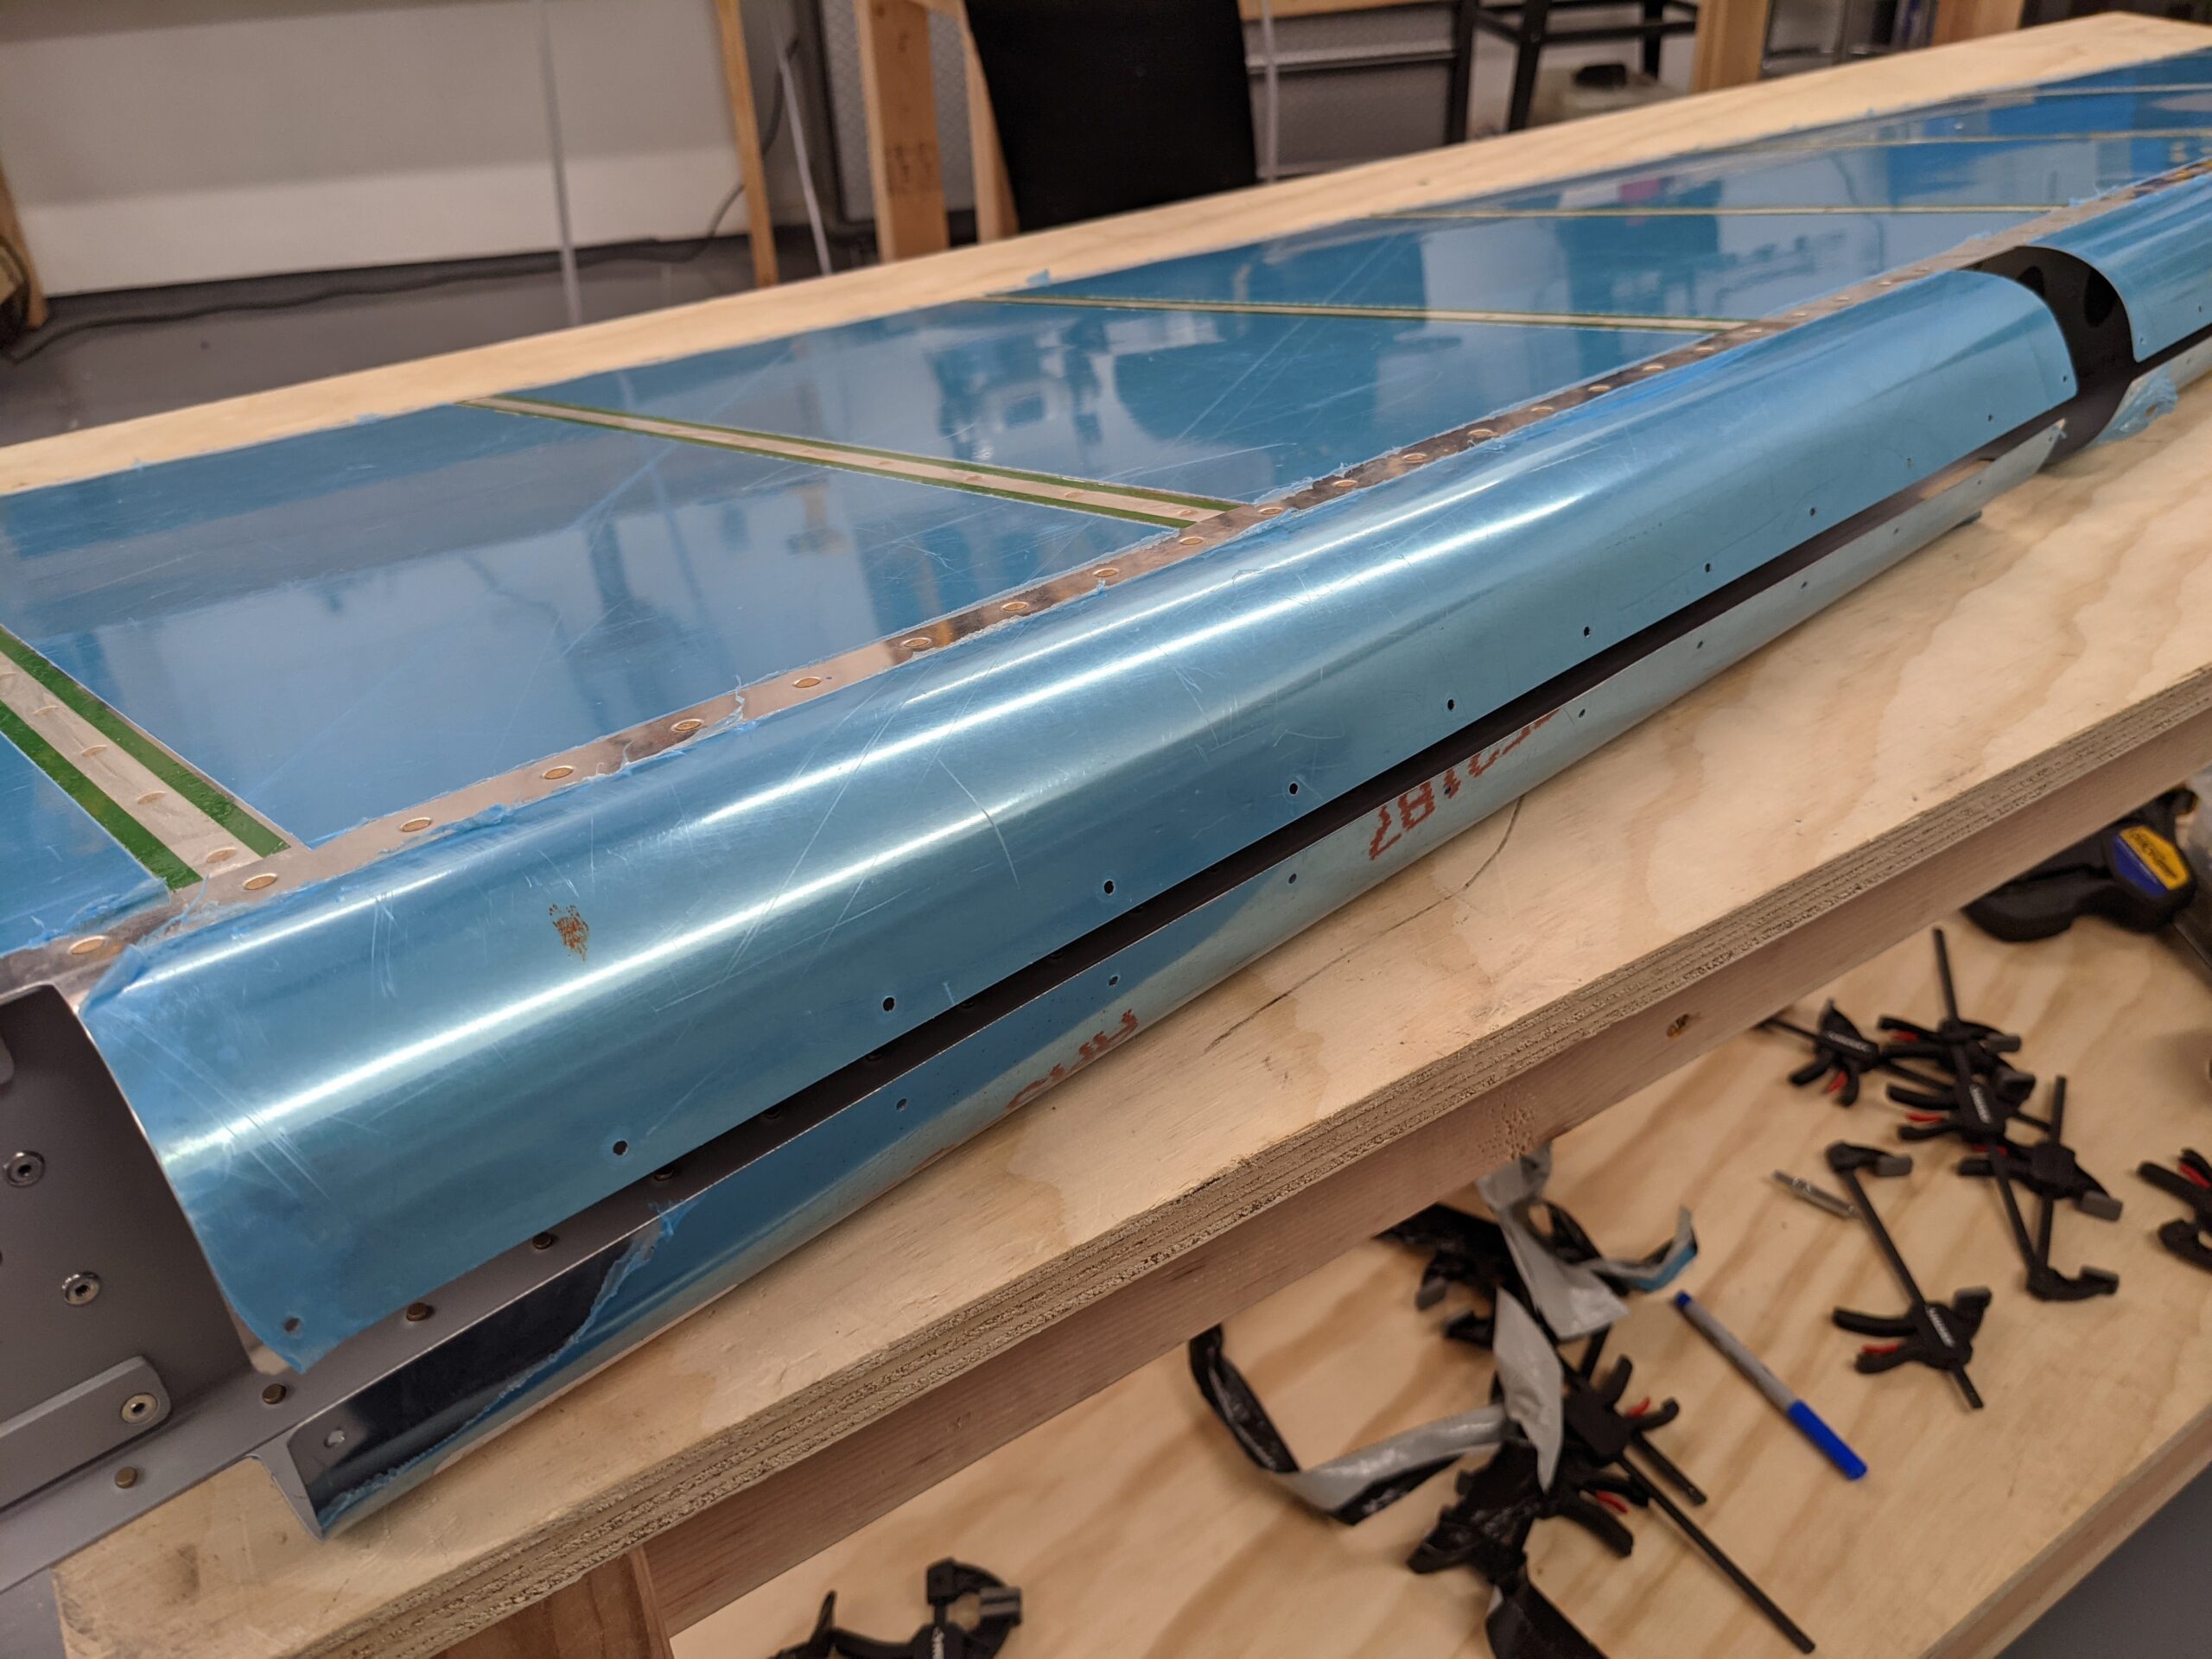
This step took longer than anticipated.. but I should expect that now. I had some extra 1 1/4″ PVC pipe from my paint booth project which I used to roll the rudder leading edge.
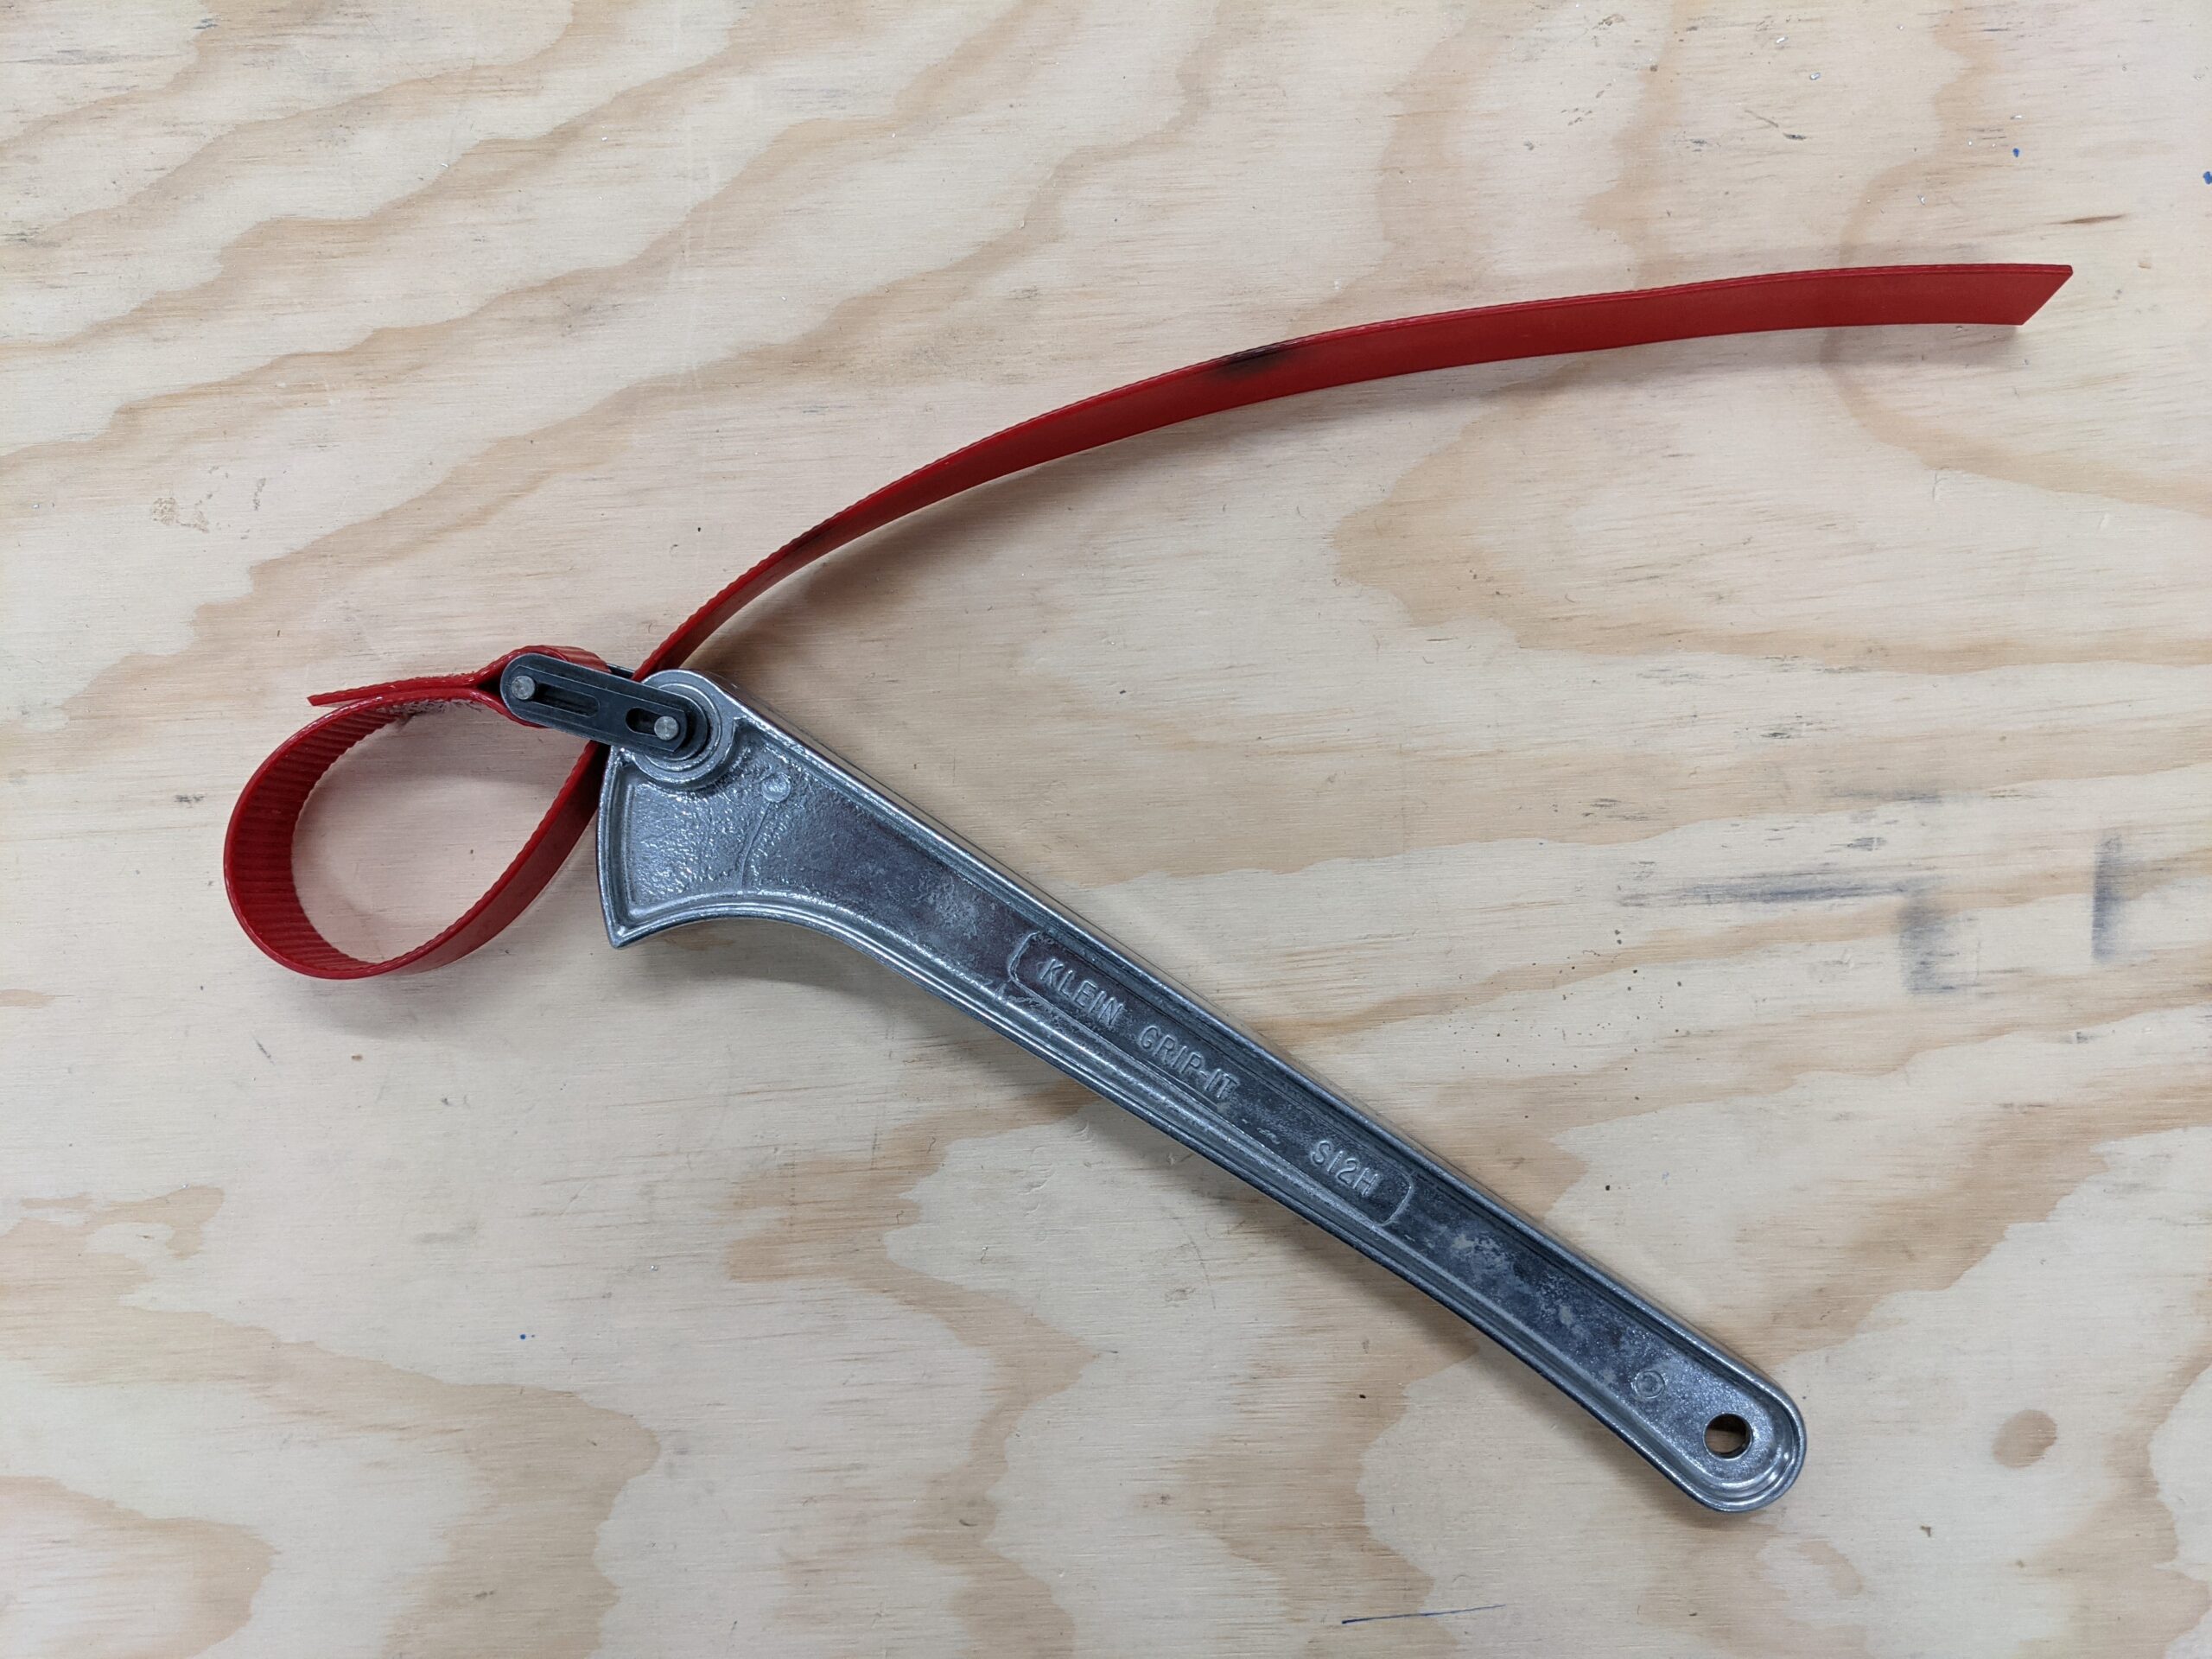
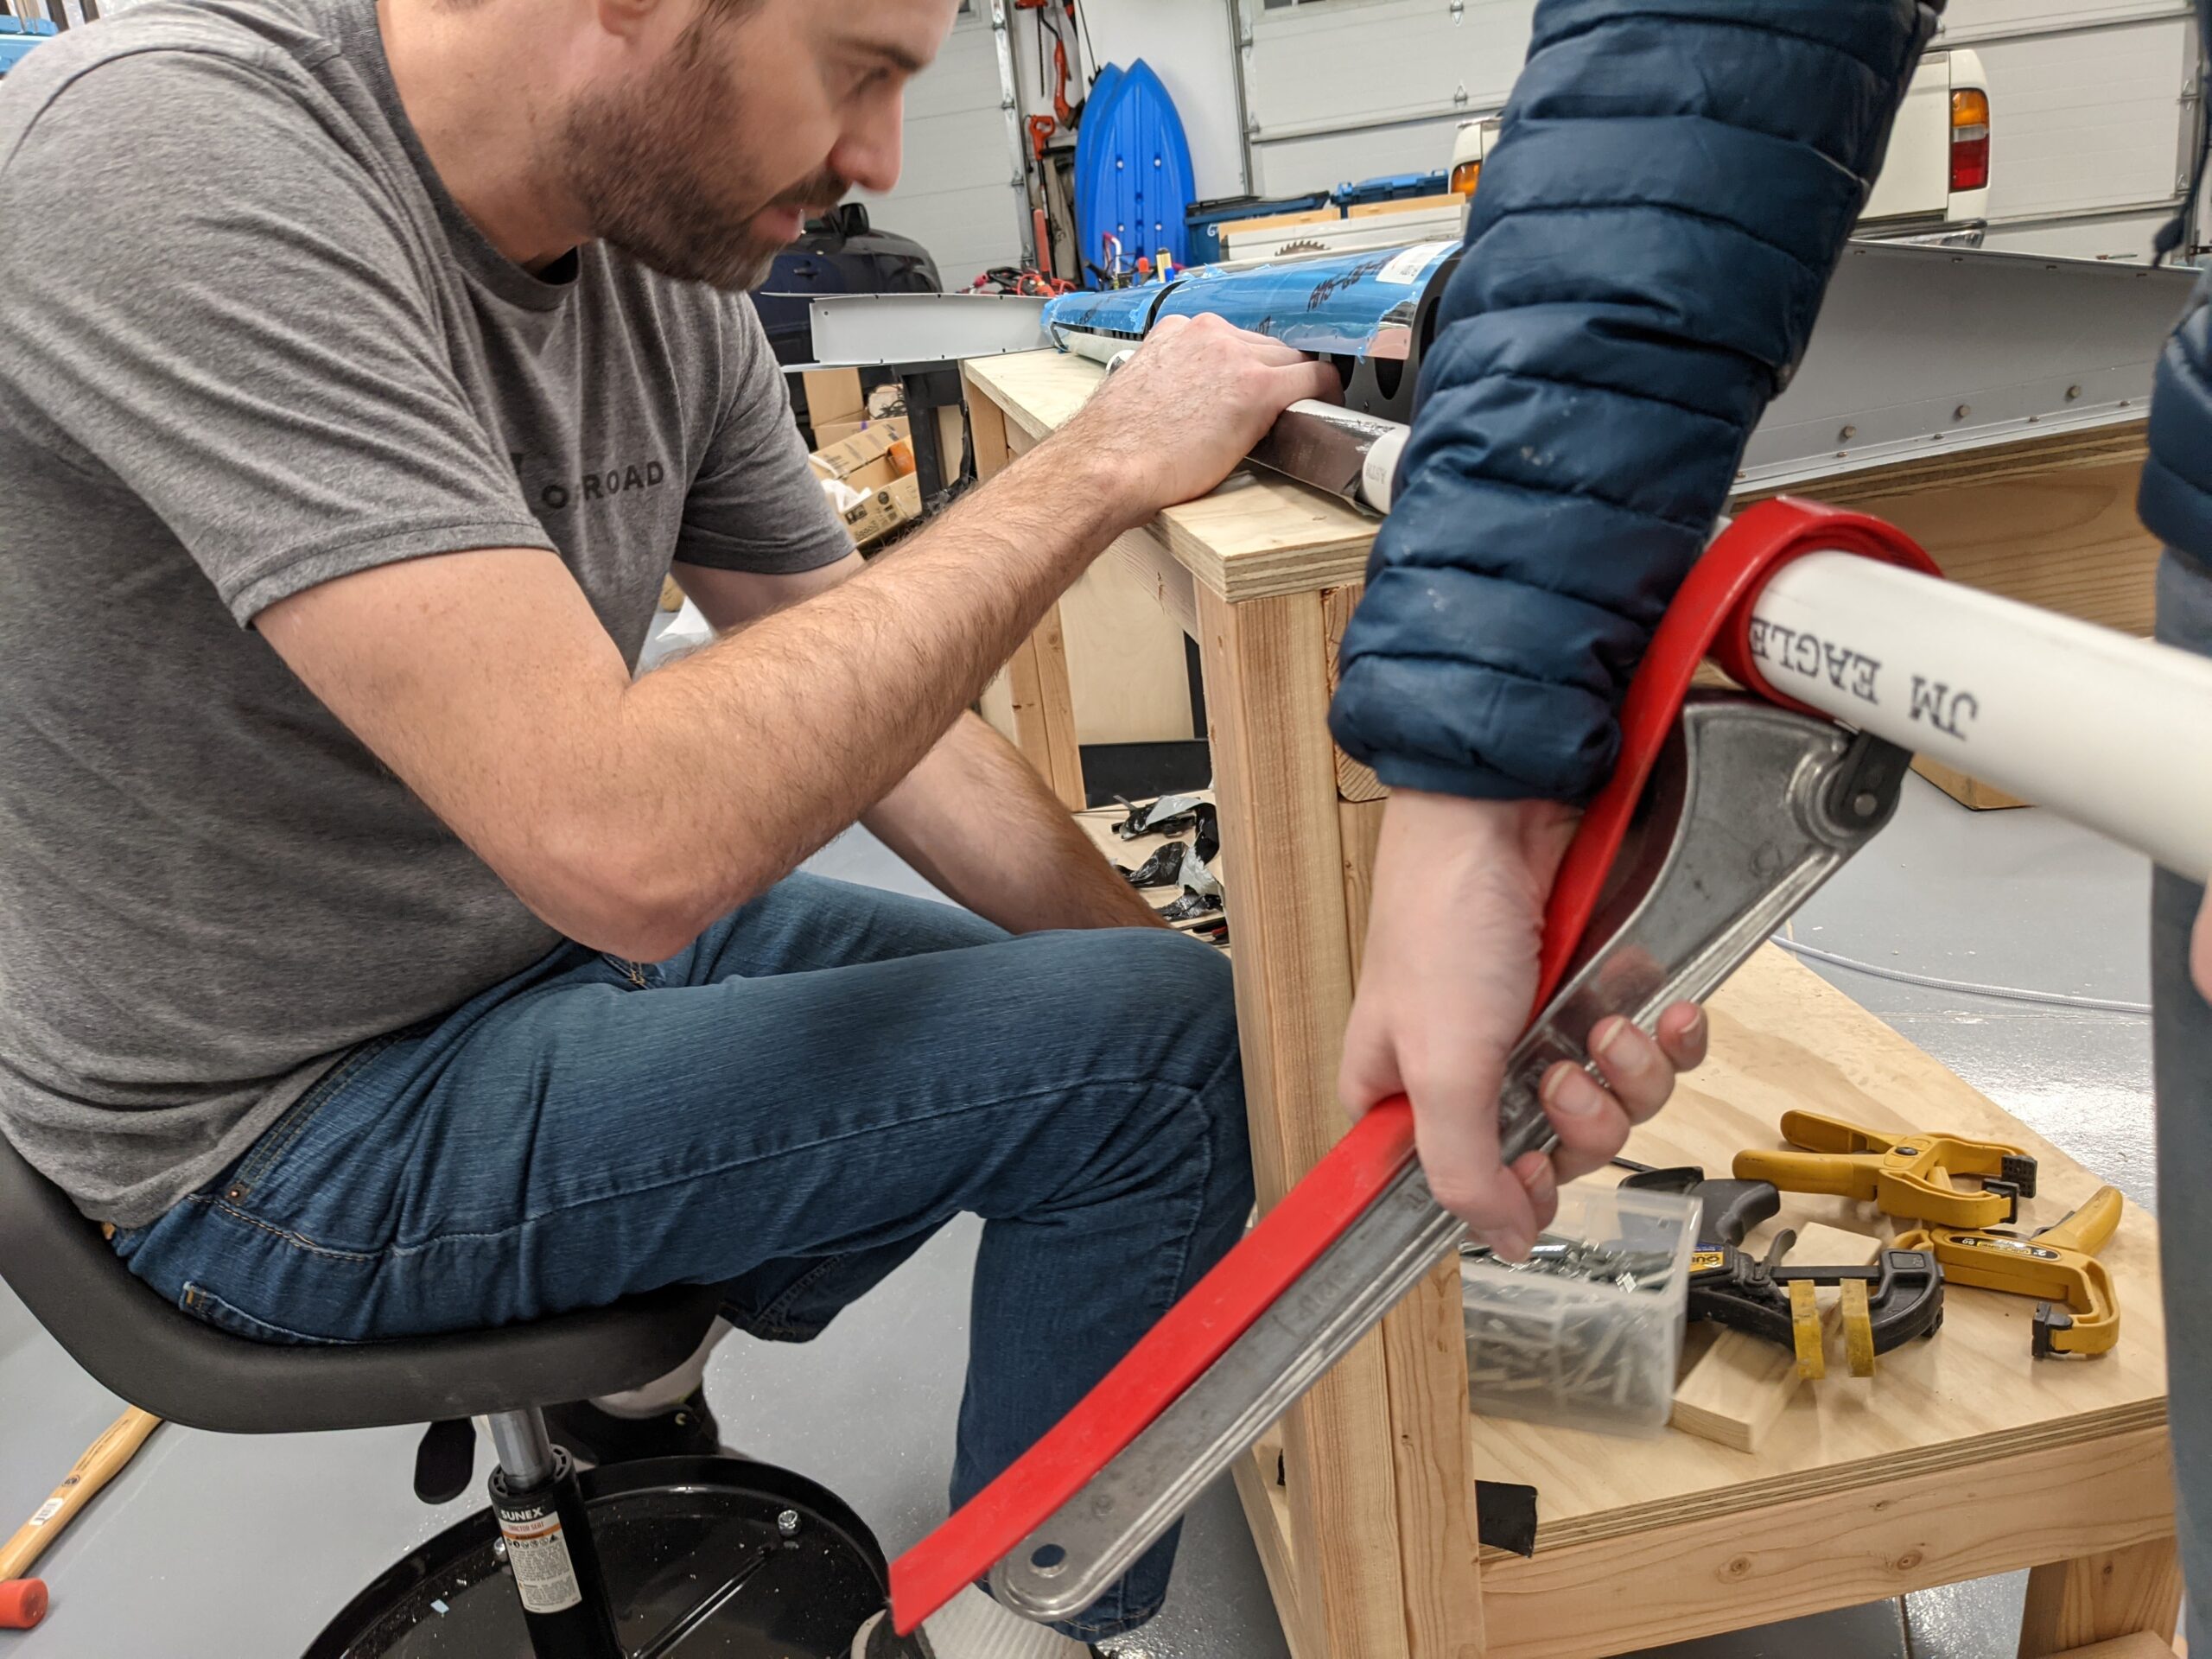
I started out by myself and had some limited success. I decided that I was going to need a lot more torque on the pipe to get a sufficient curve in the skin. I had a strap wrench from a long-ago plumbing project which was very effective at simplifying the task. I held the pipe tight against the skin and the table top while Amber rotated the pipe with the strap wrench. A team effort made this so much easier and we were able to get most of the bend in fairly easily.
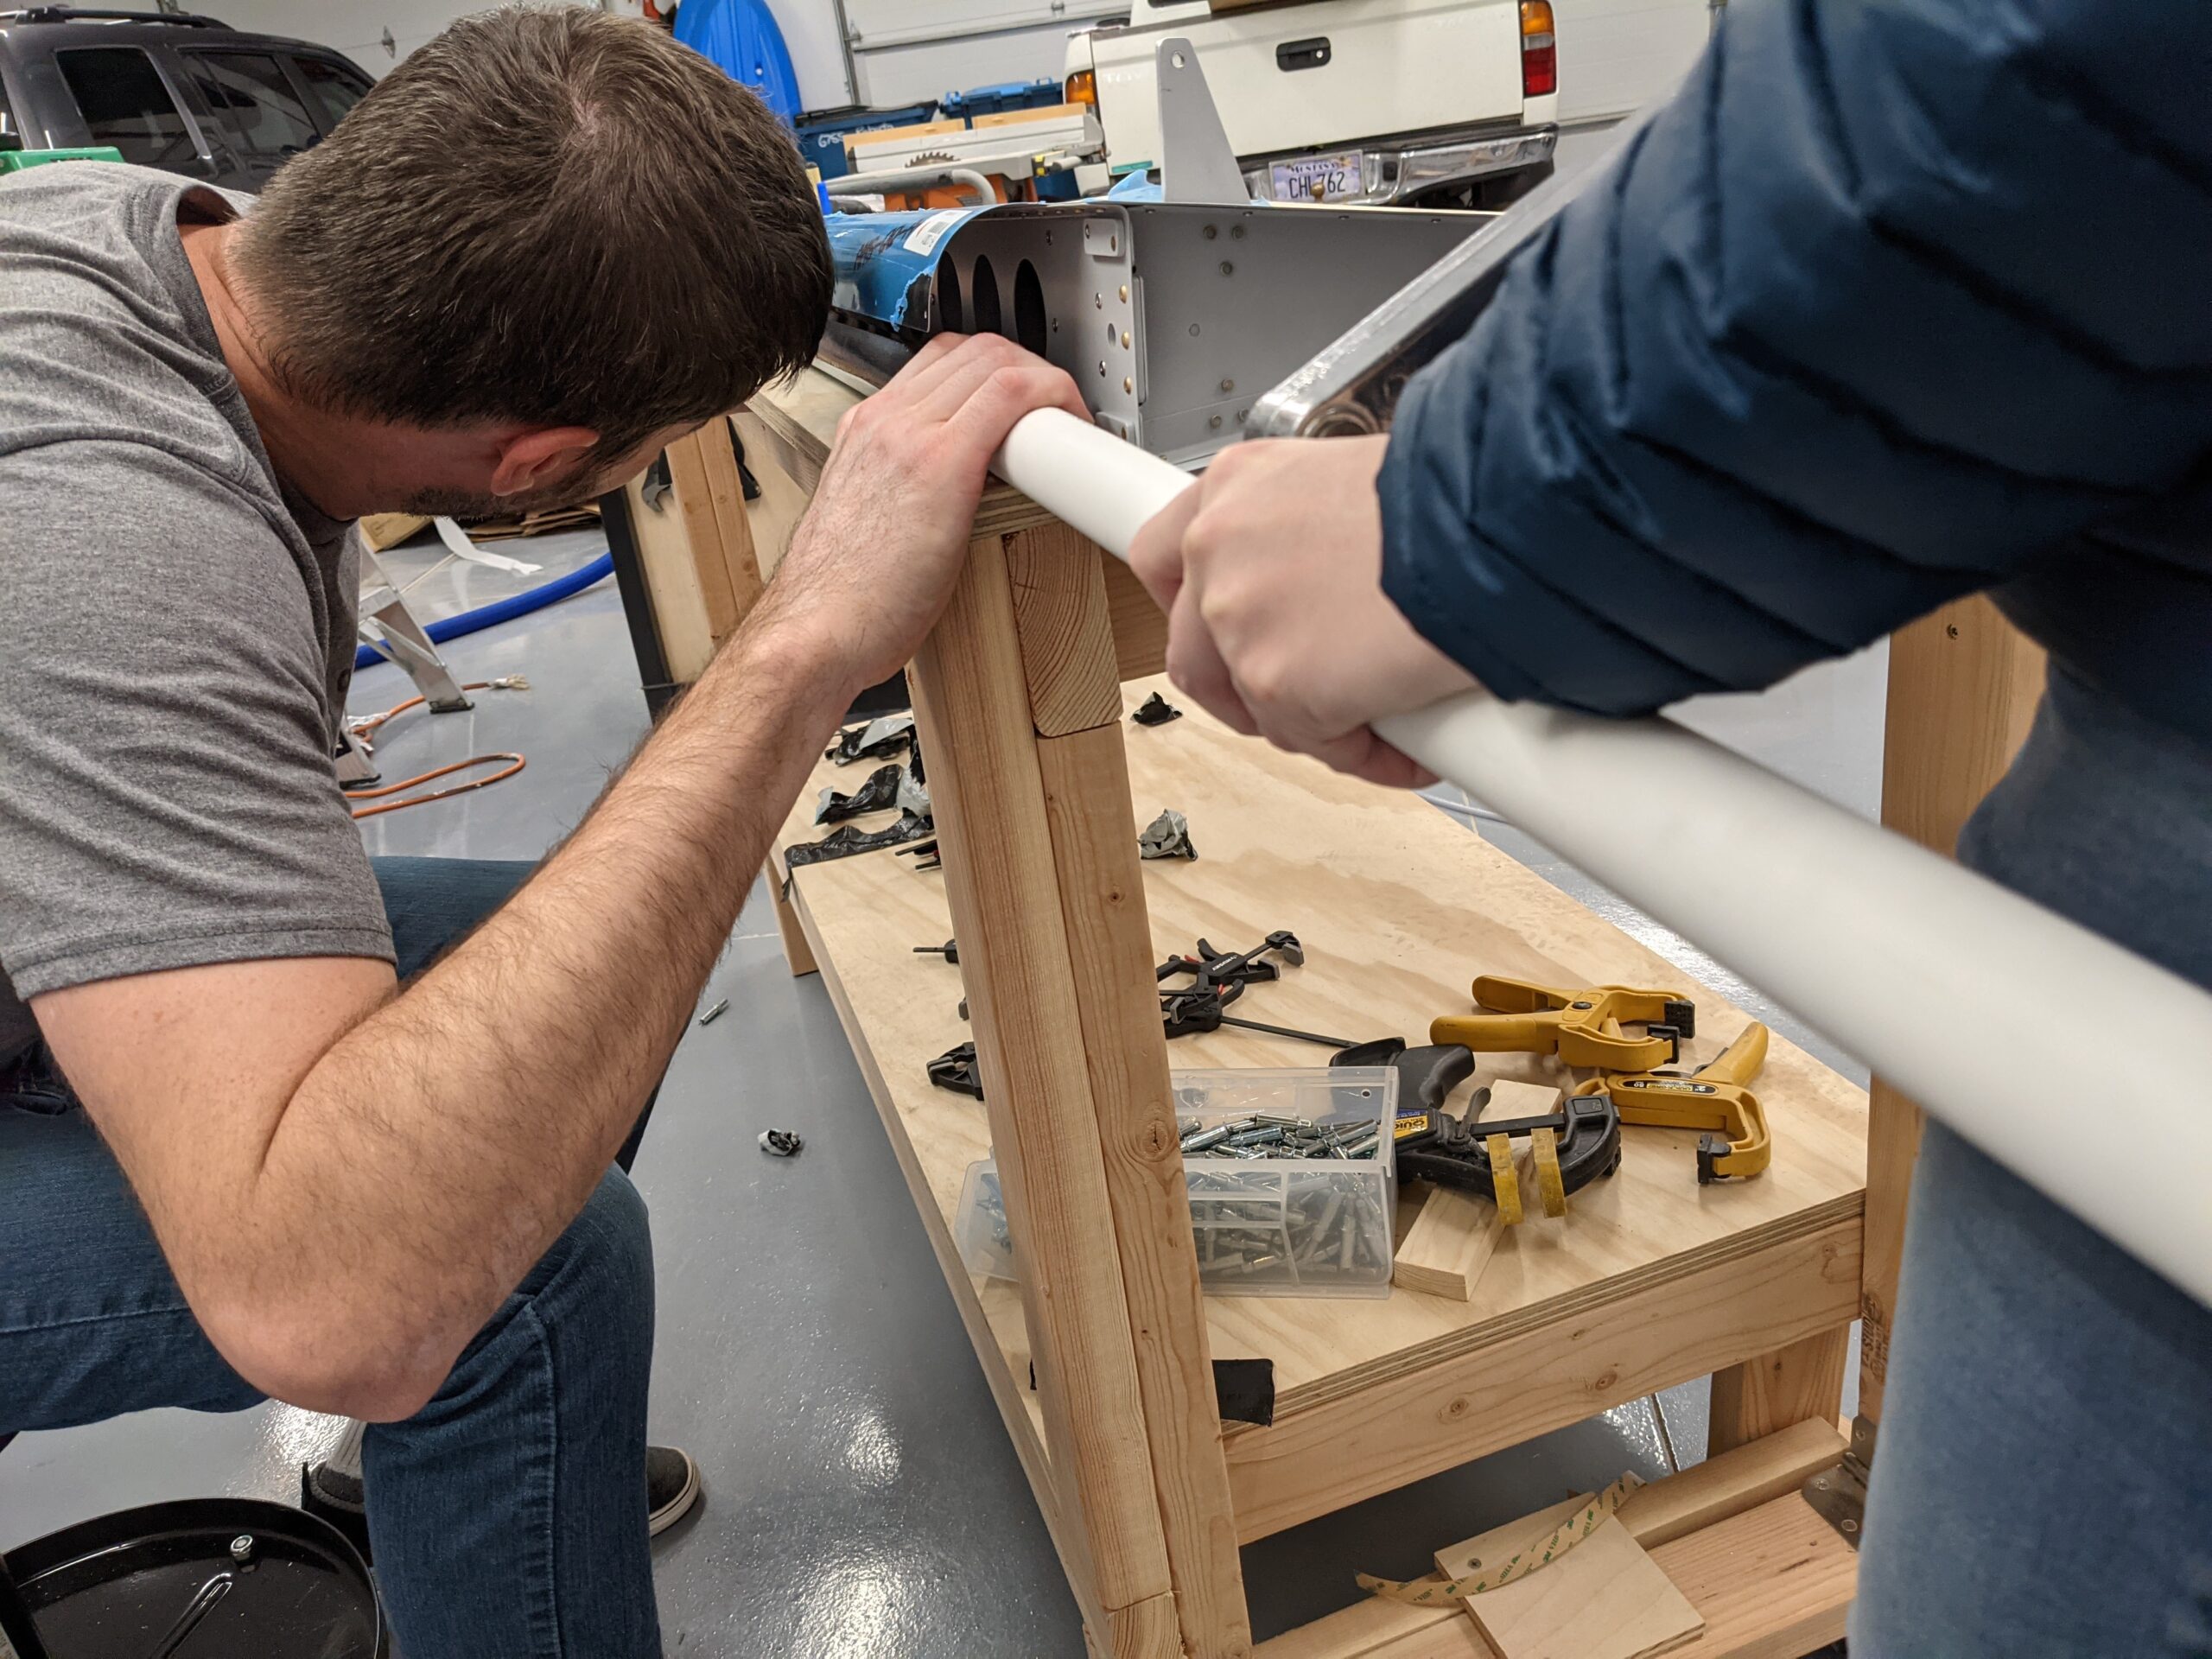
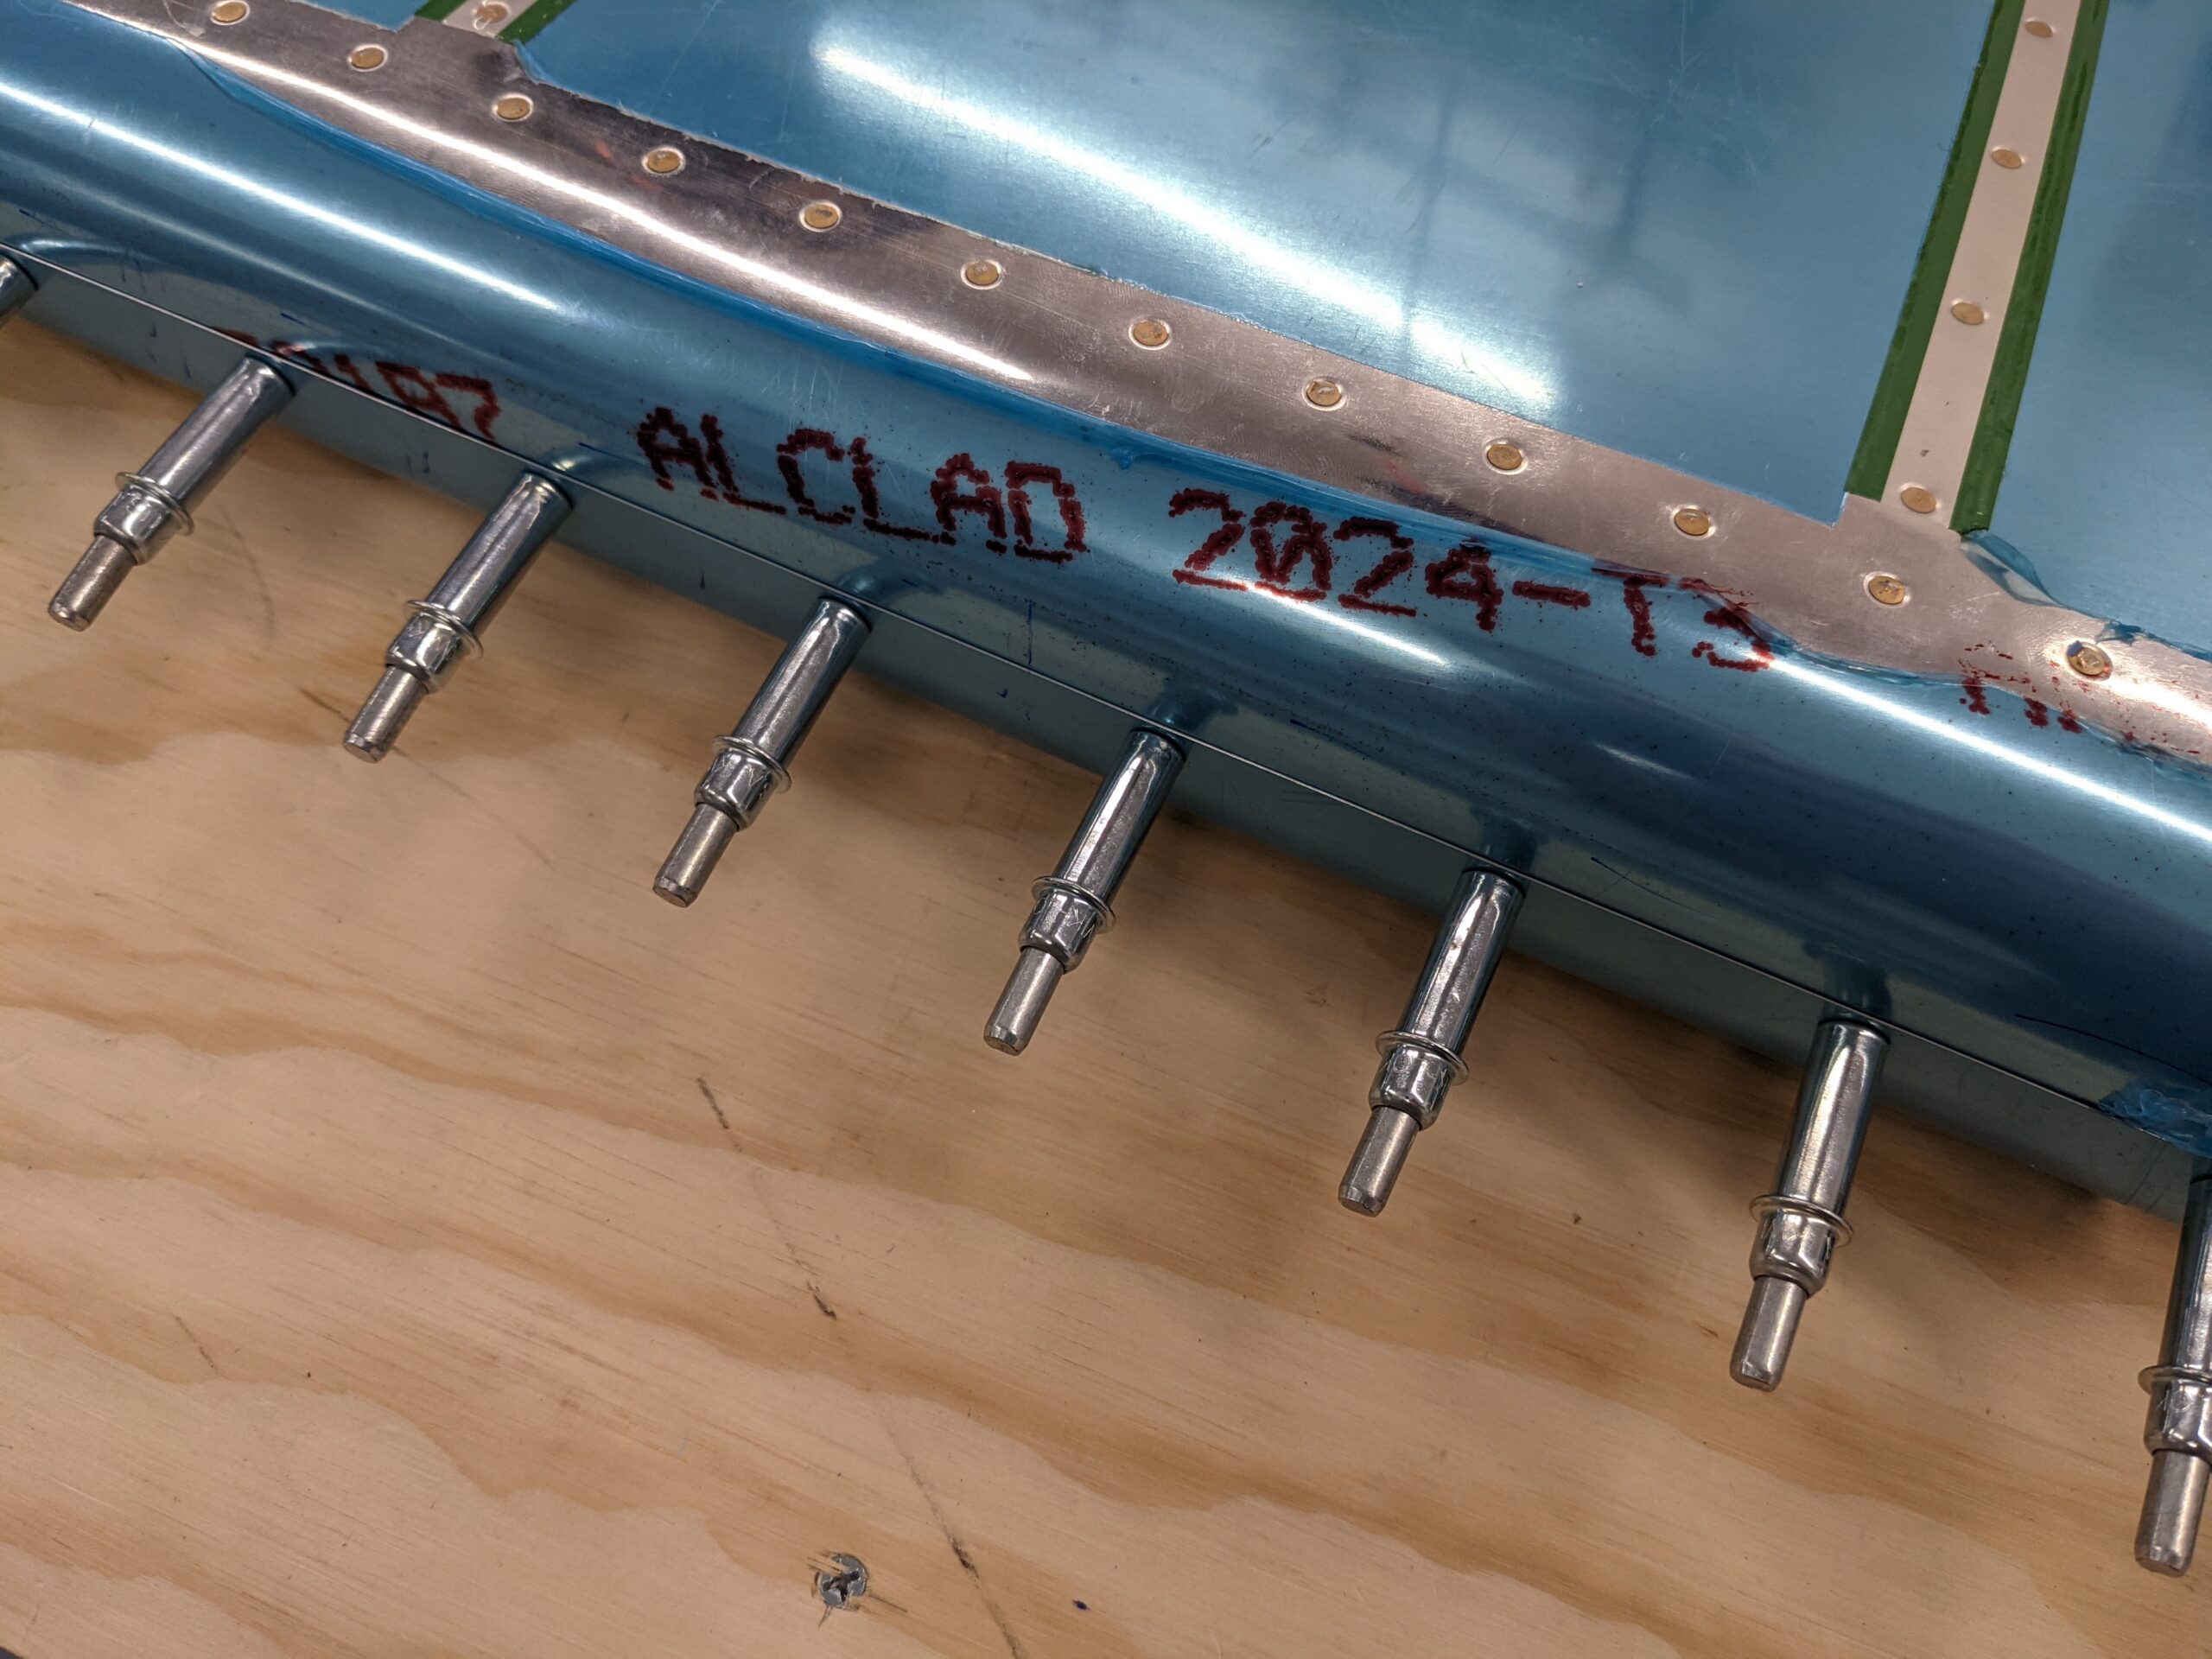
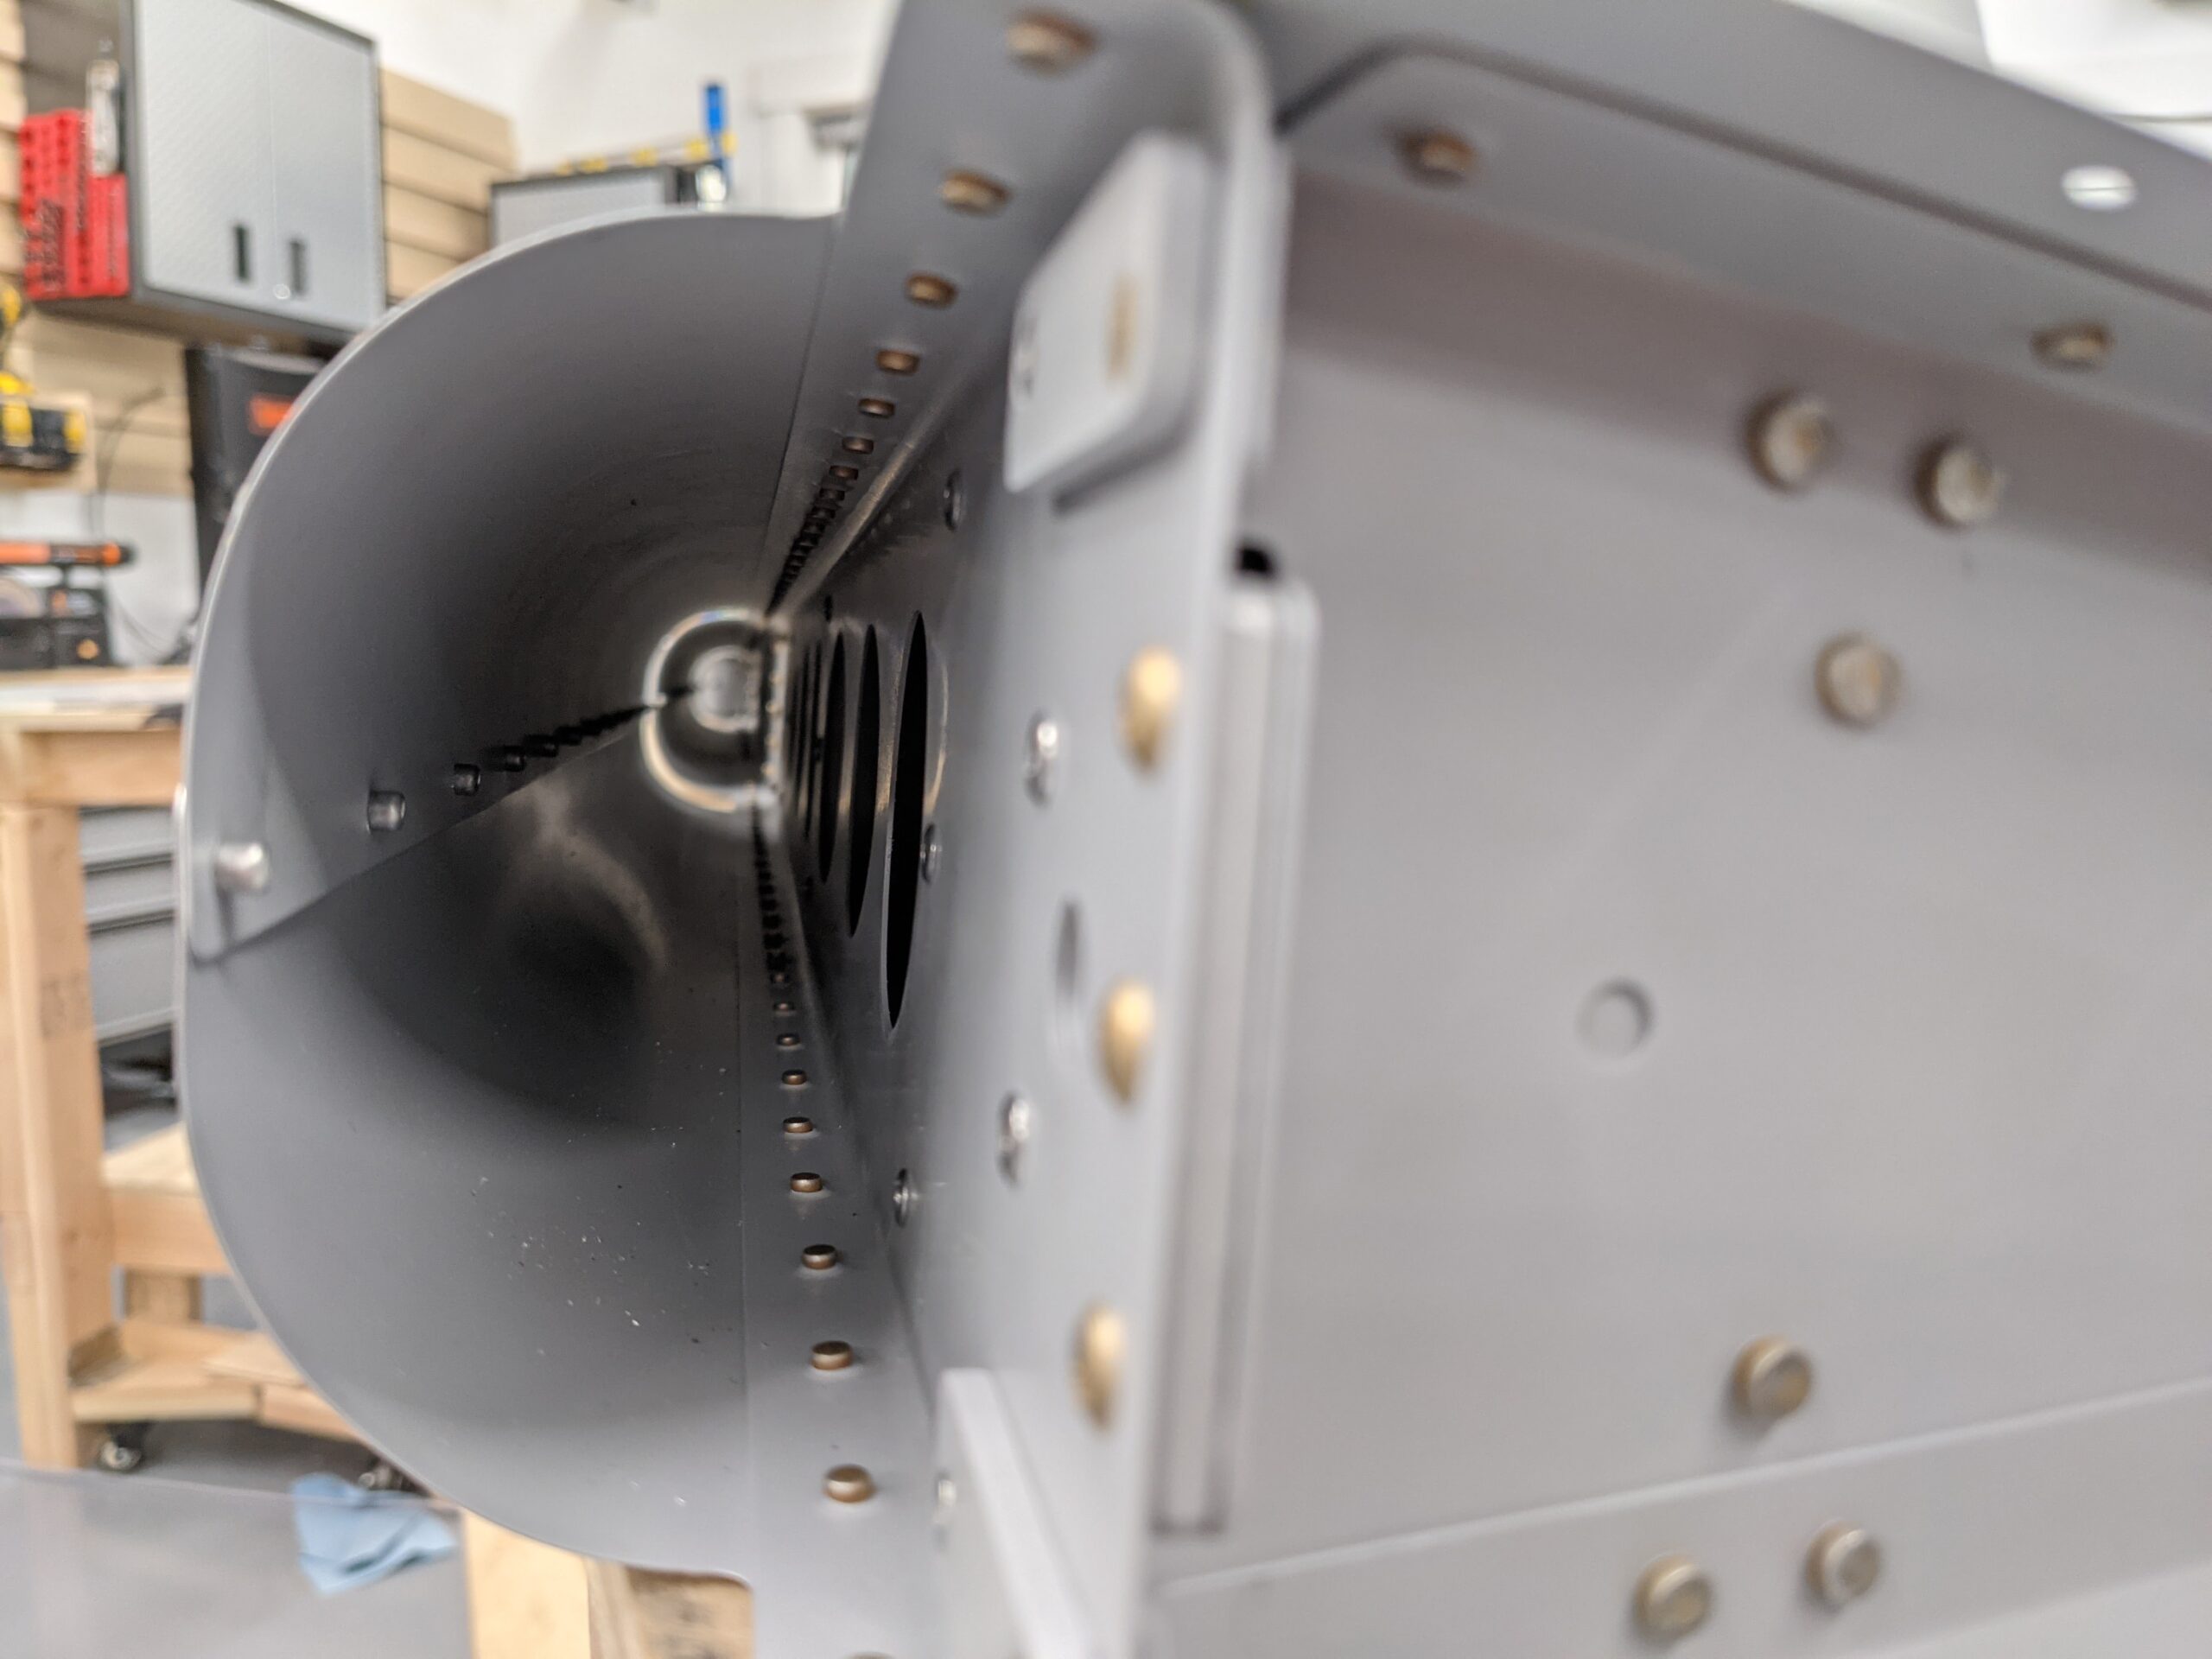
Someone on the VAF forums had mentioned that the pipe should be kept parallel with the spar and NOT the edge of the skin since the spar is tapered and the leading edge widens towards the bottom. I’m glad I noticed that because I probably would have started the roll parallel to the edge of the skin otherwise.
The rolling with the pipe got us close to a quarter inch gap between the skins. I used my fingers to slowly add more bend and reduce the gap. It took several iterations of clecoing the skins, marking any pillows between the clecos, and finessing the bend to get the entire leading edge closed with minimal stress loading on the skins.
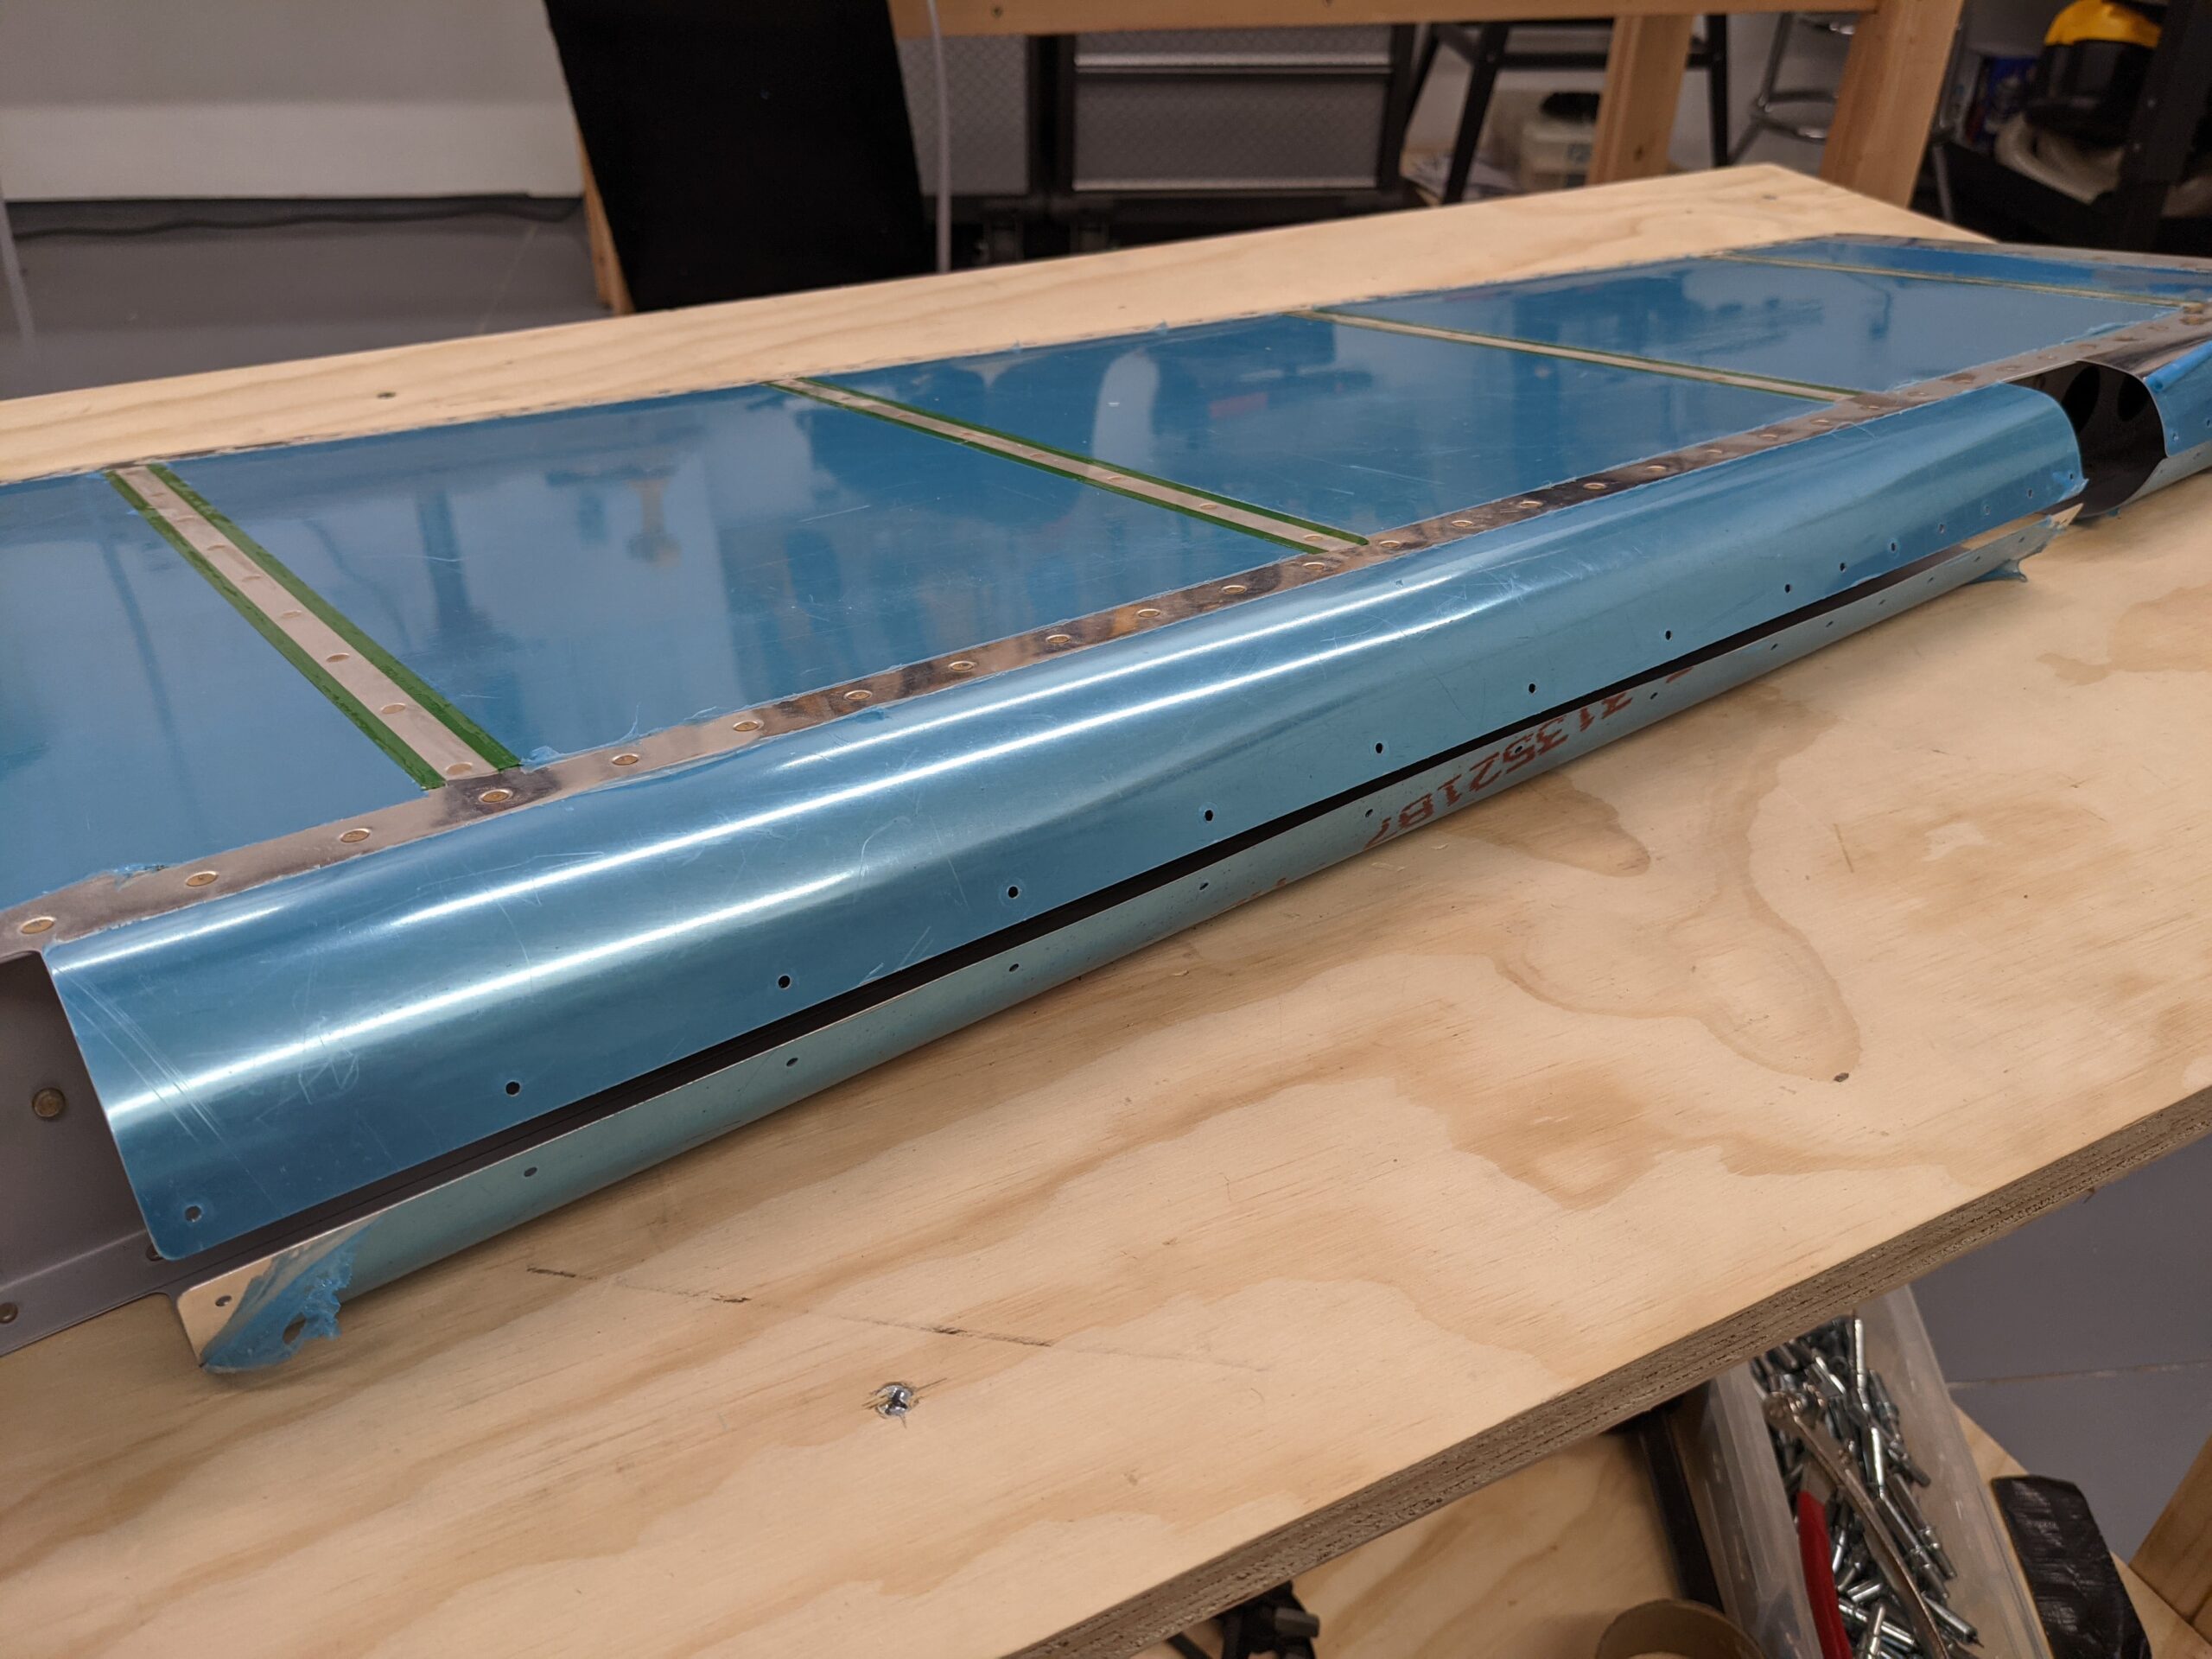
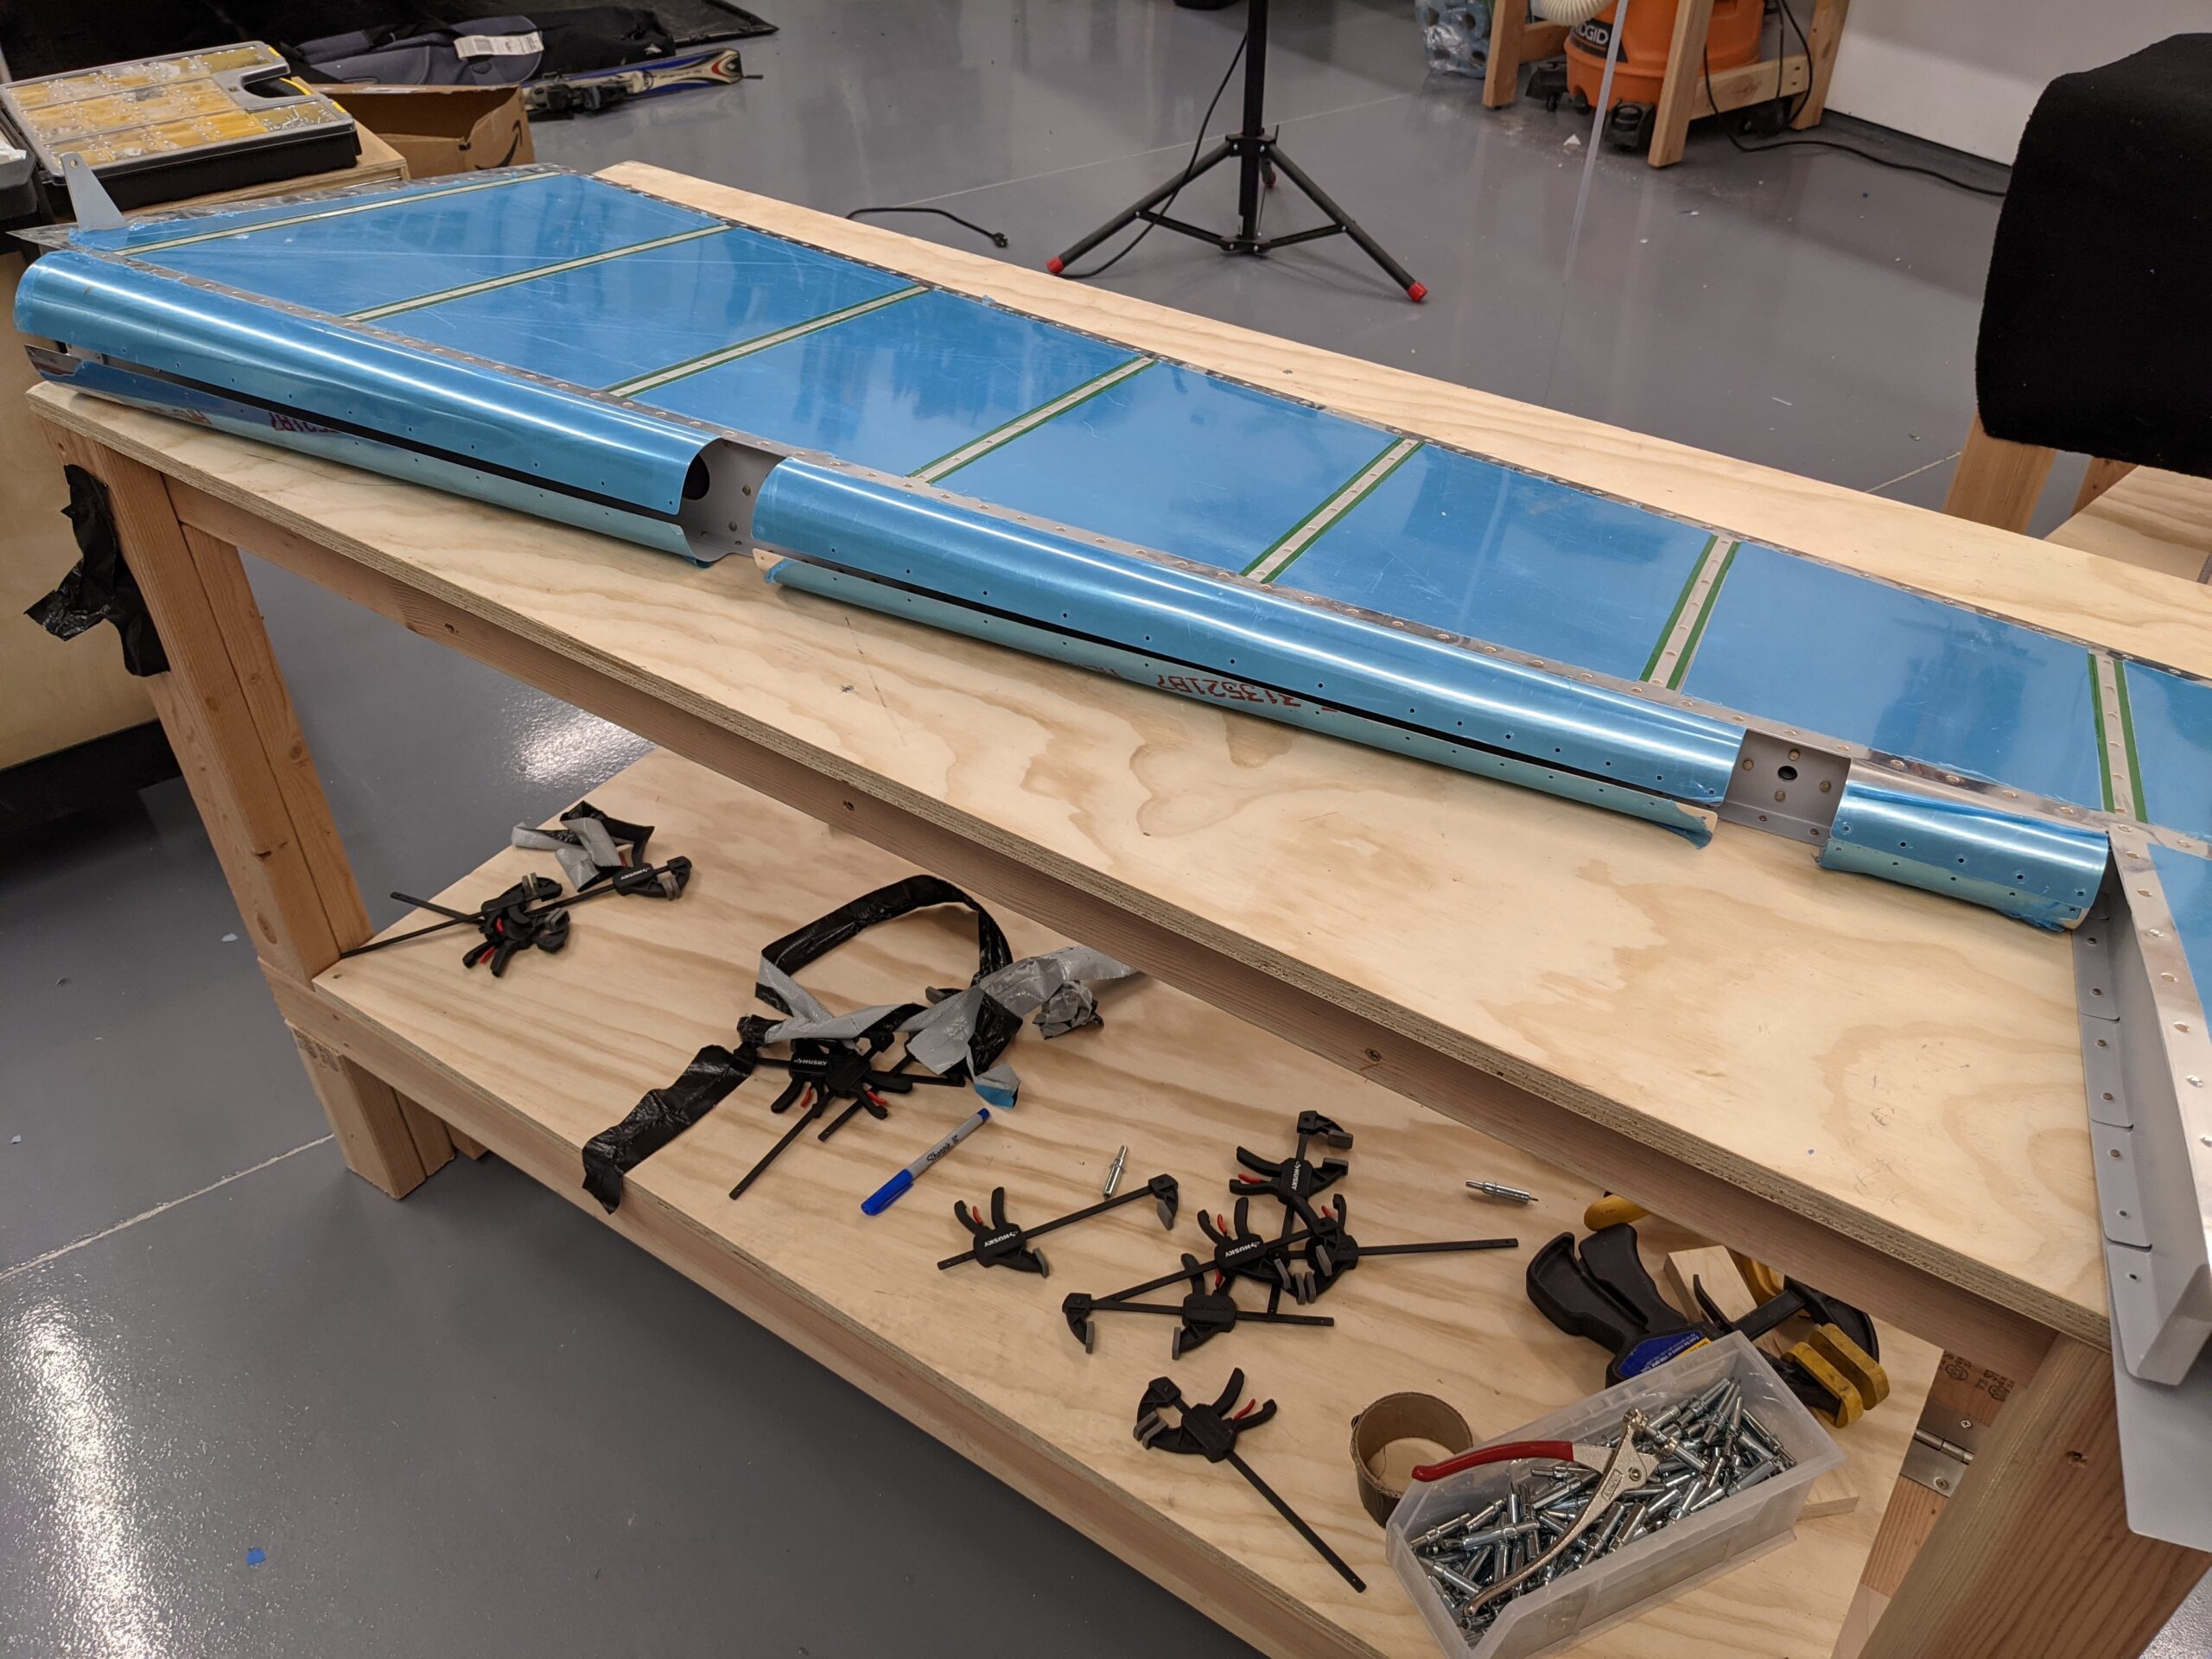
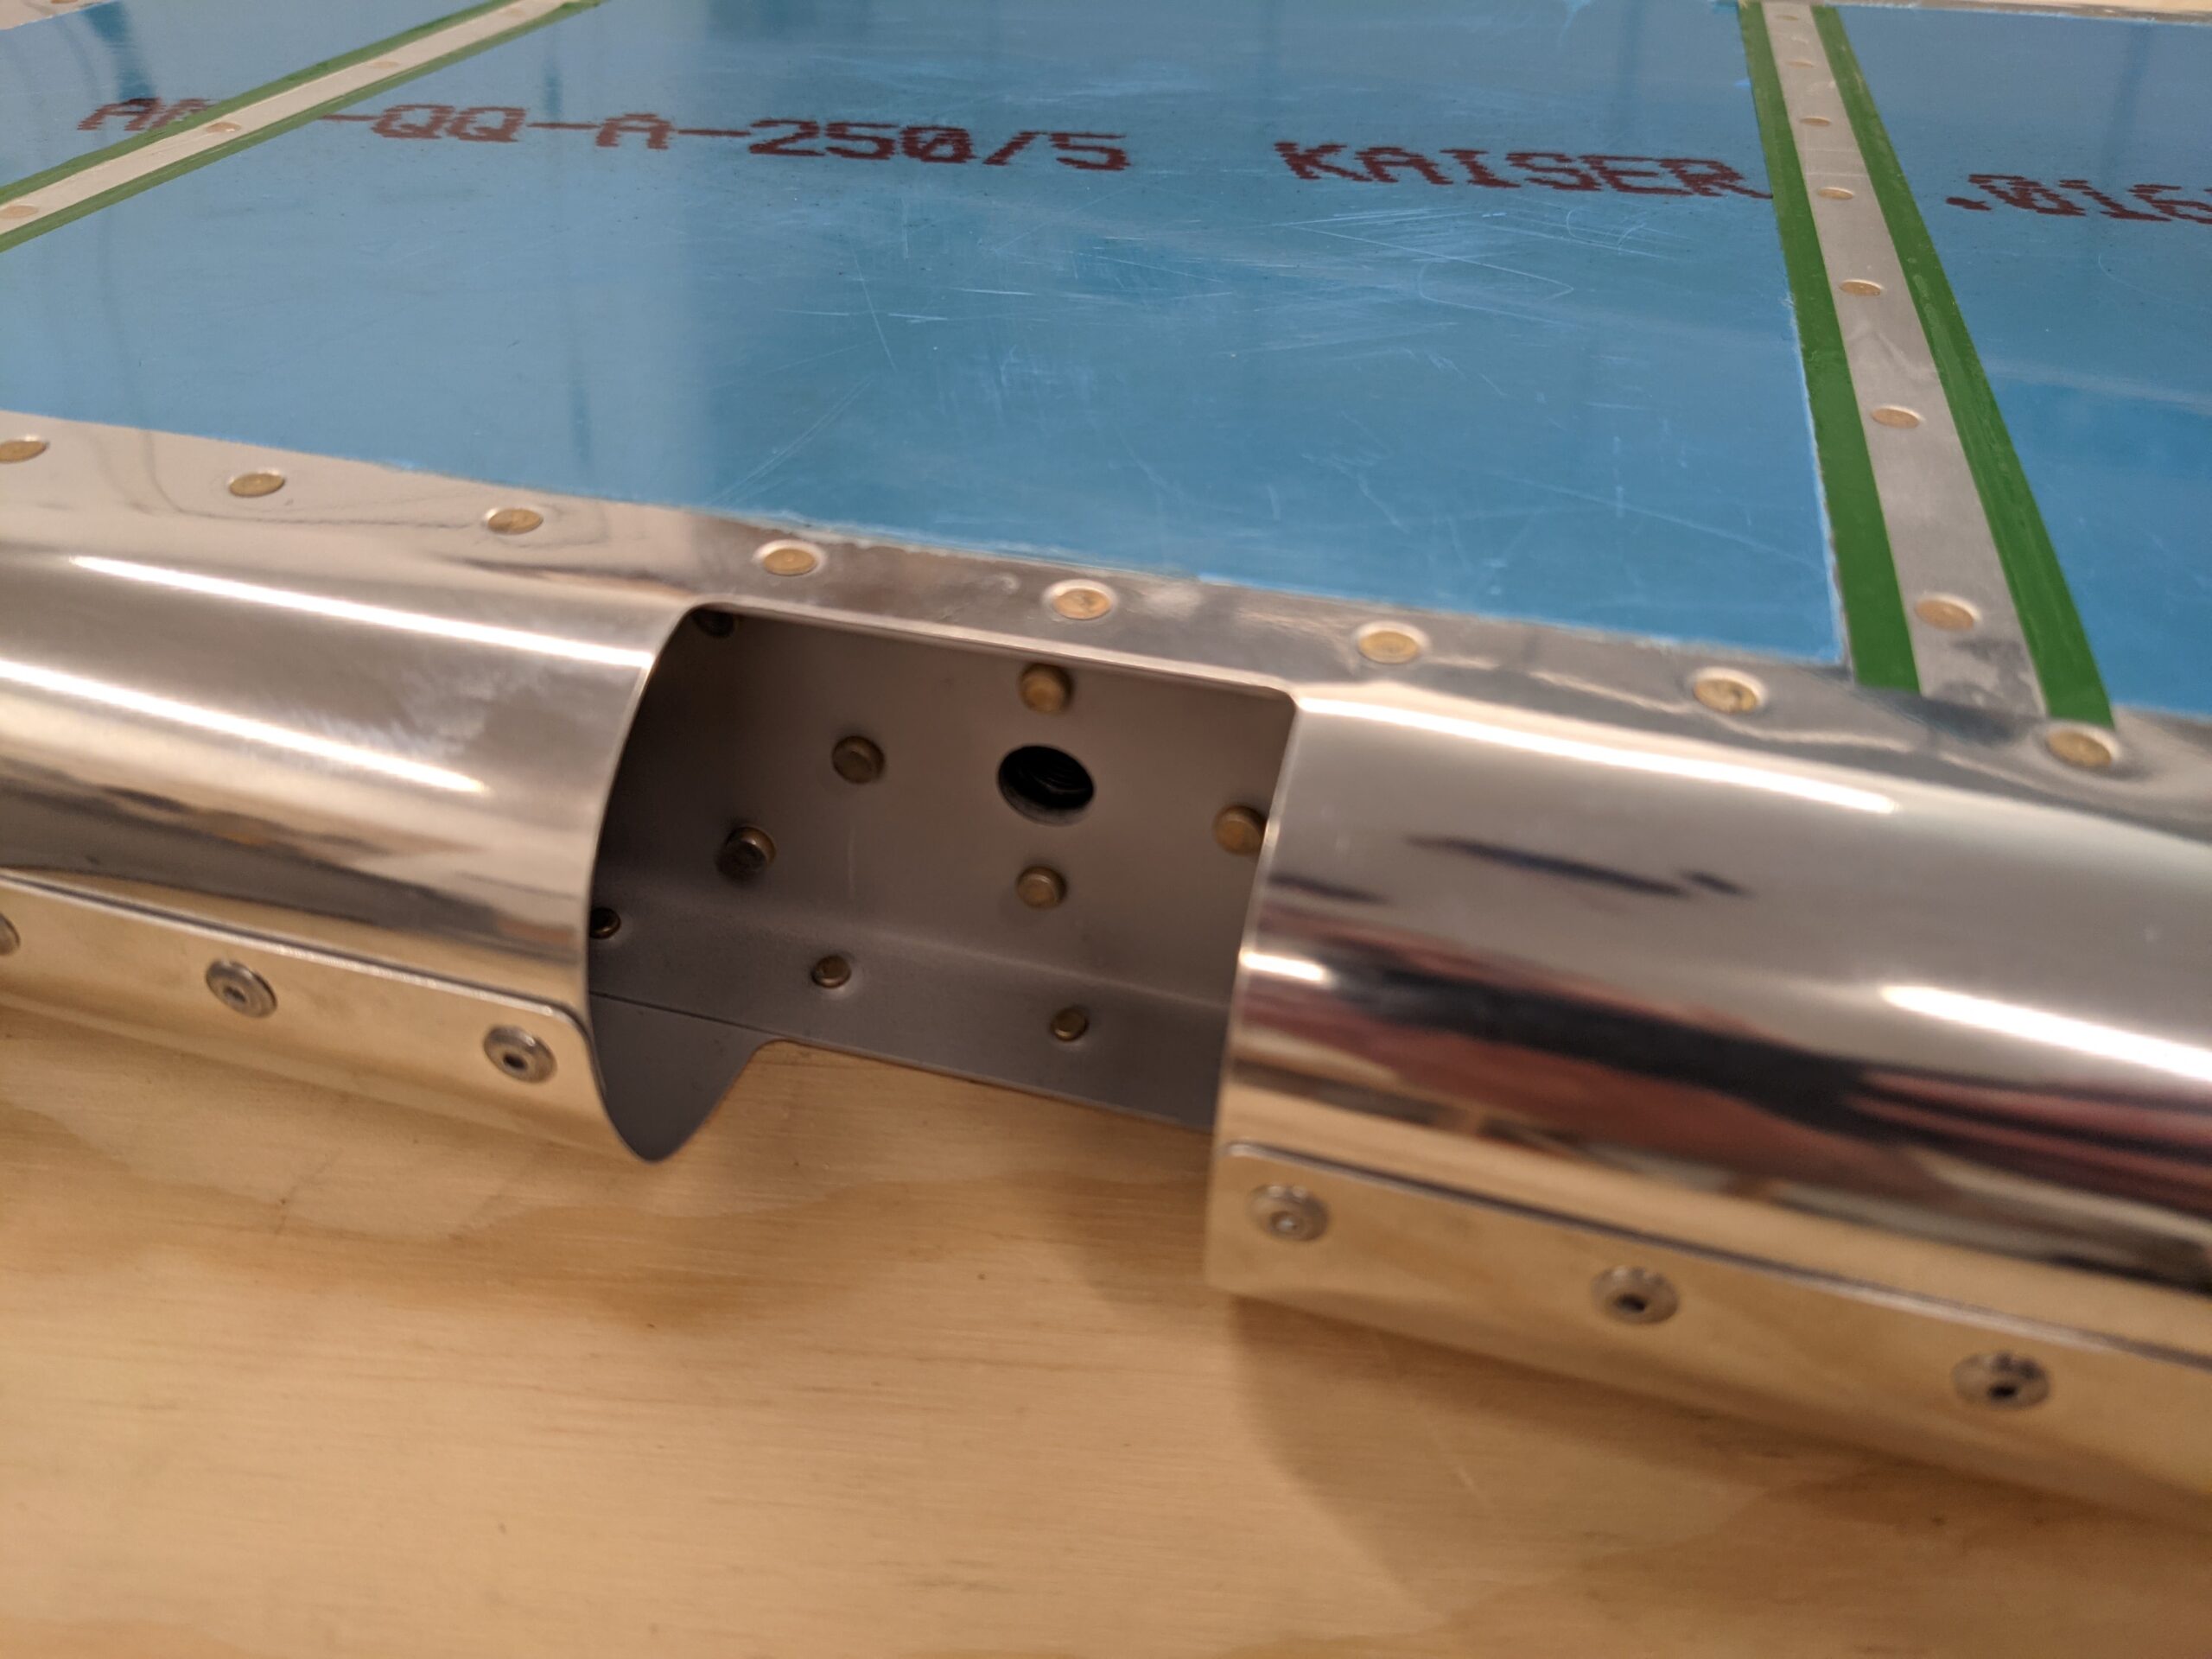
The remaining steps included final sizing of the holes with the reamer, deburring of the holes, and setting the blind rivets.
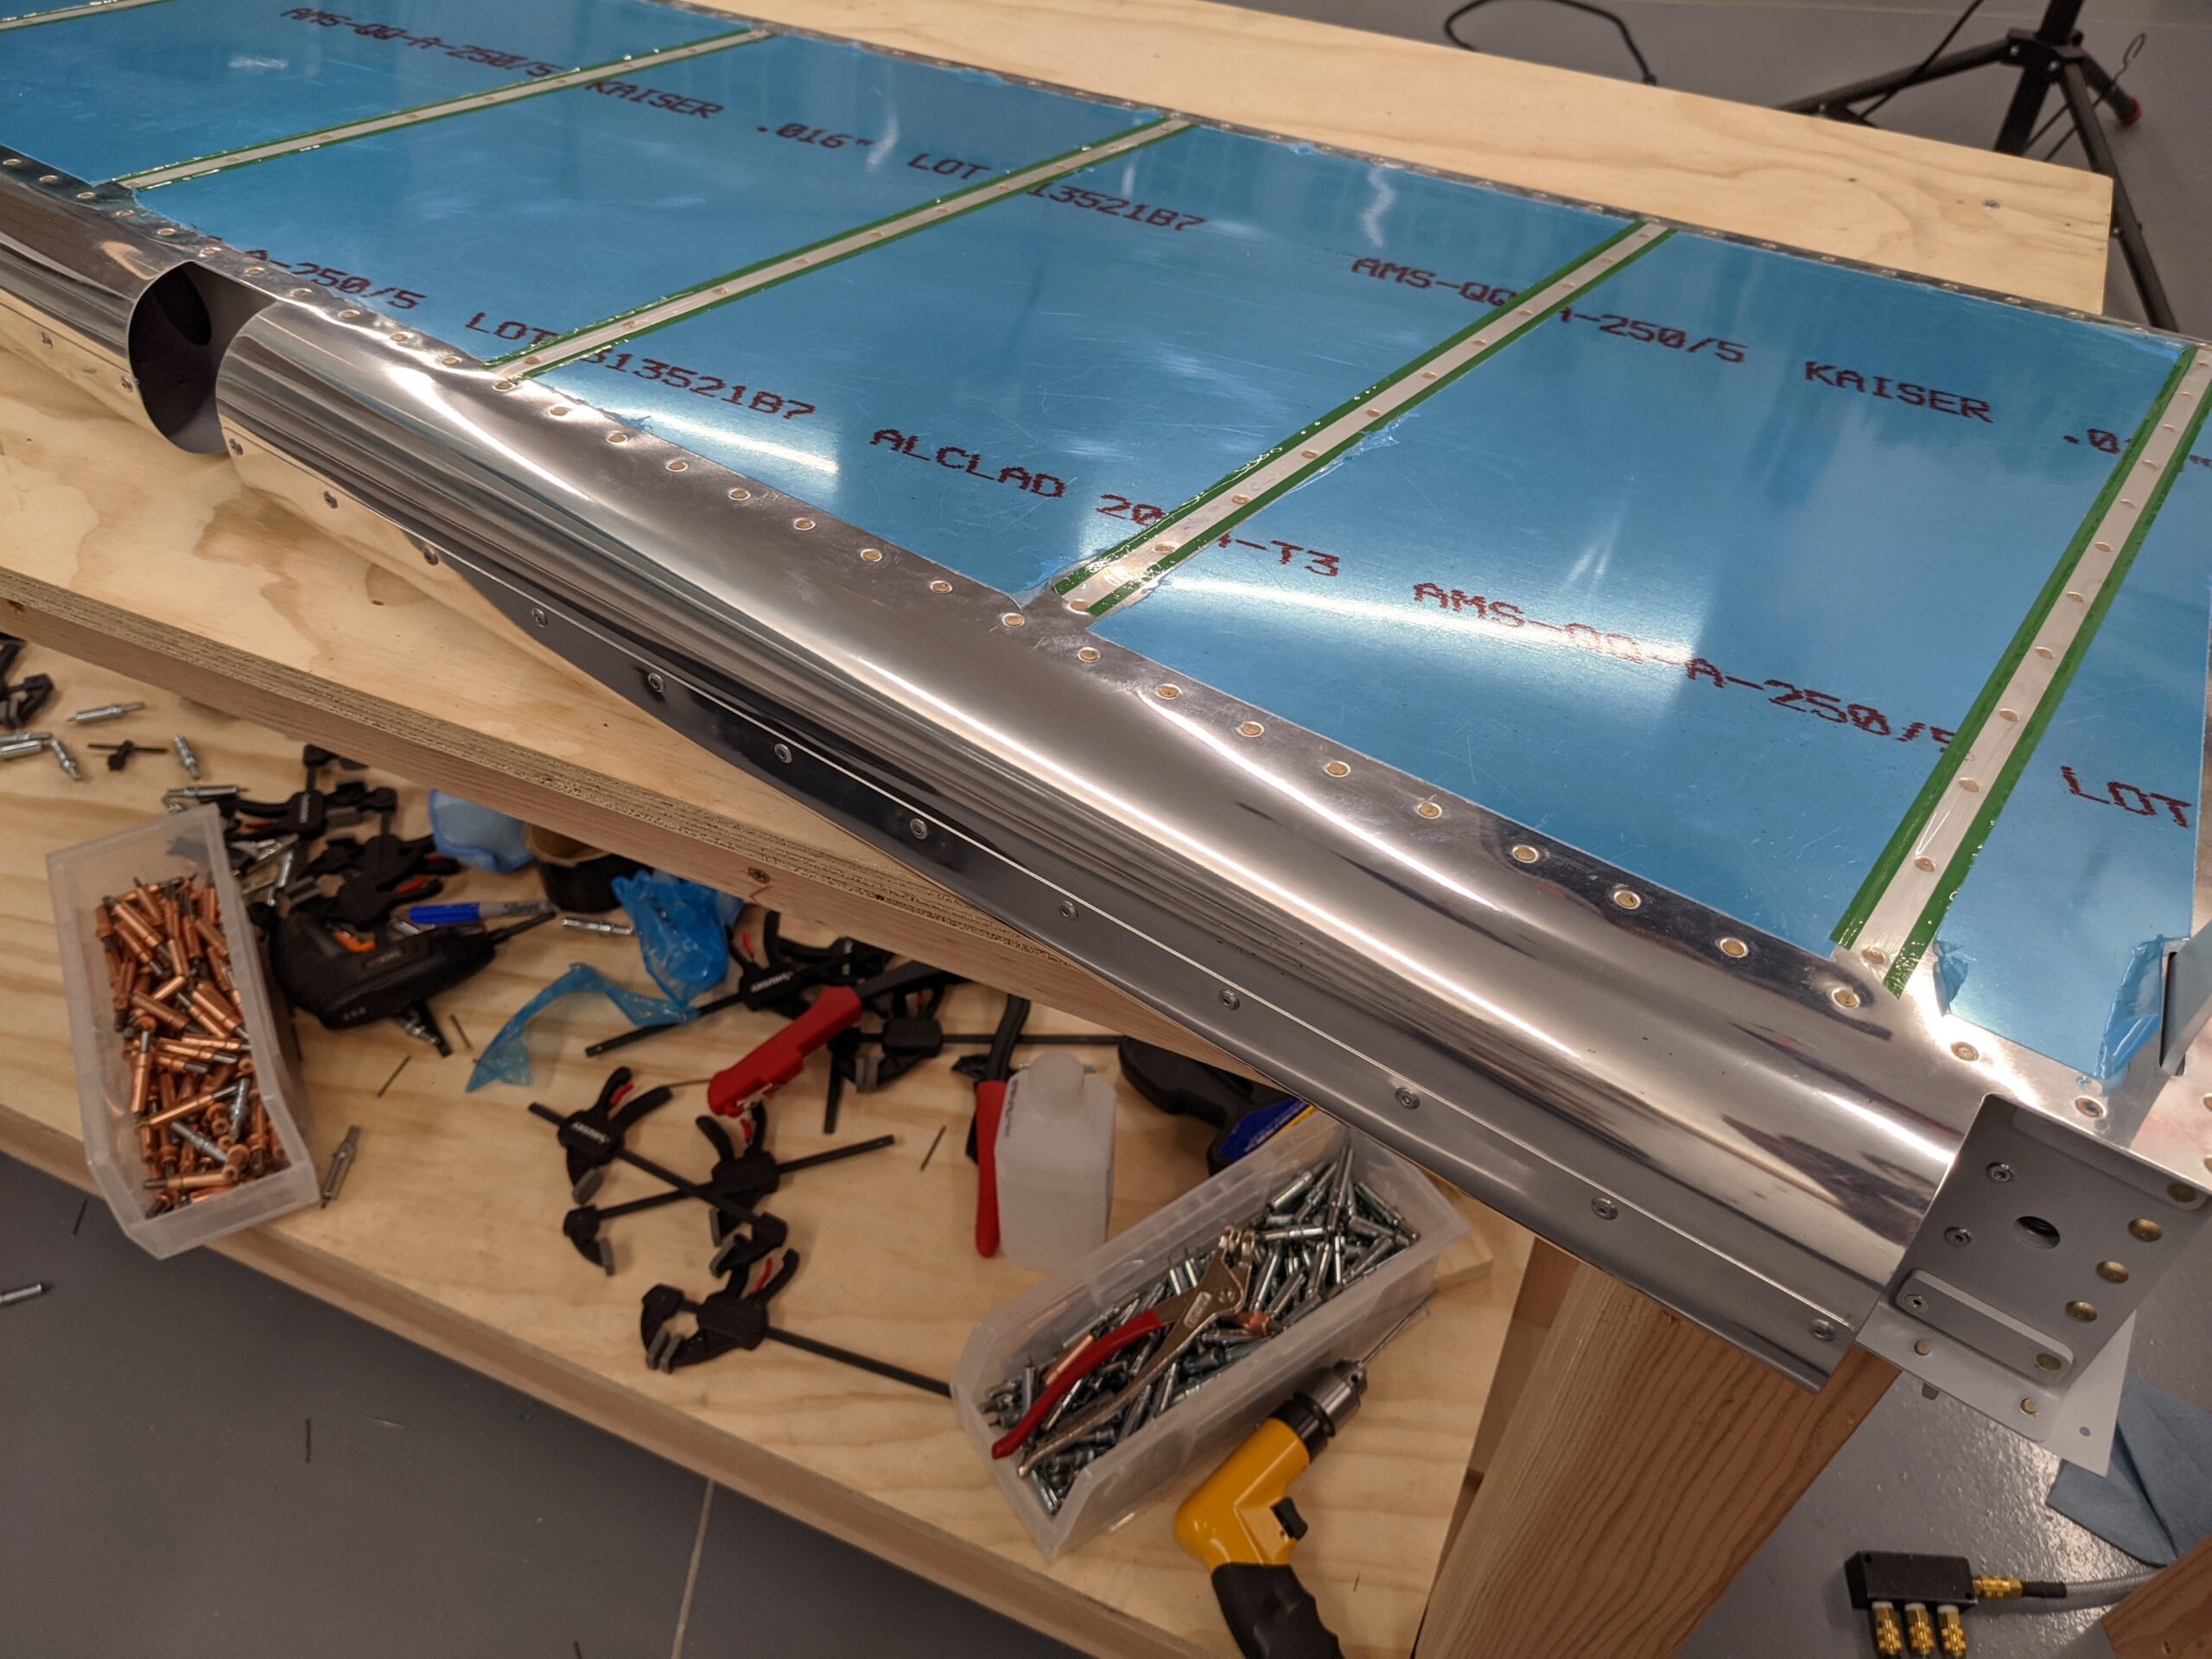
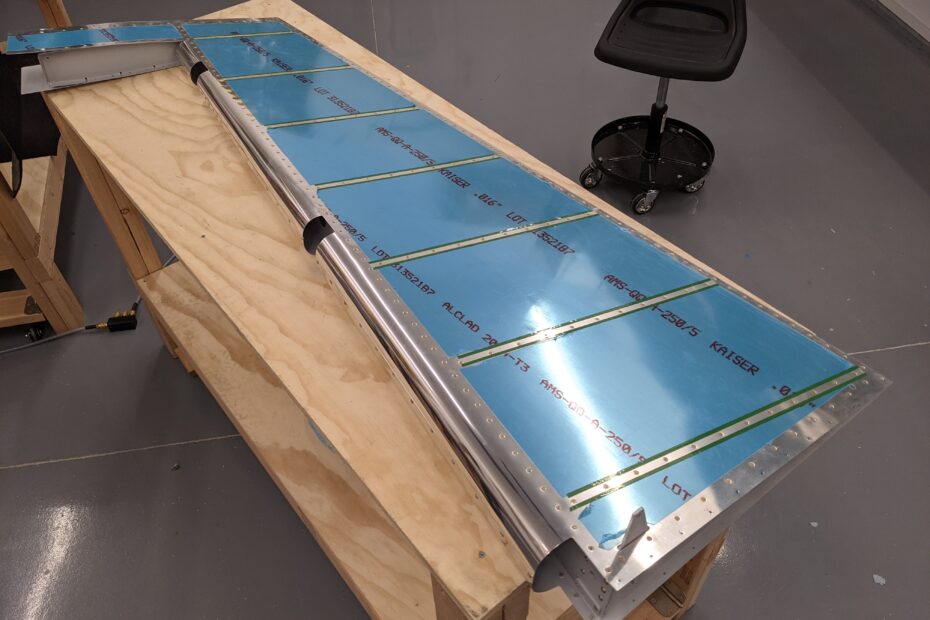
I’m very happy with how the leading edge came out!
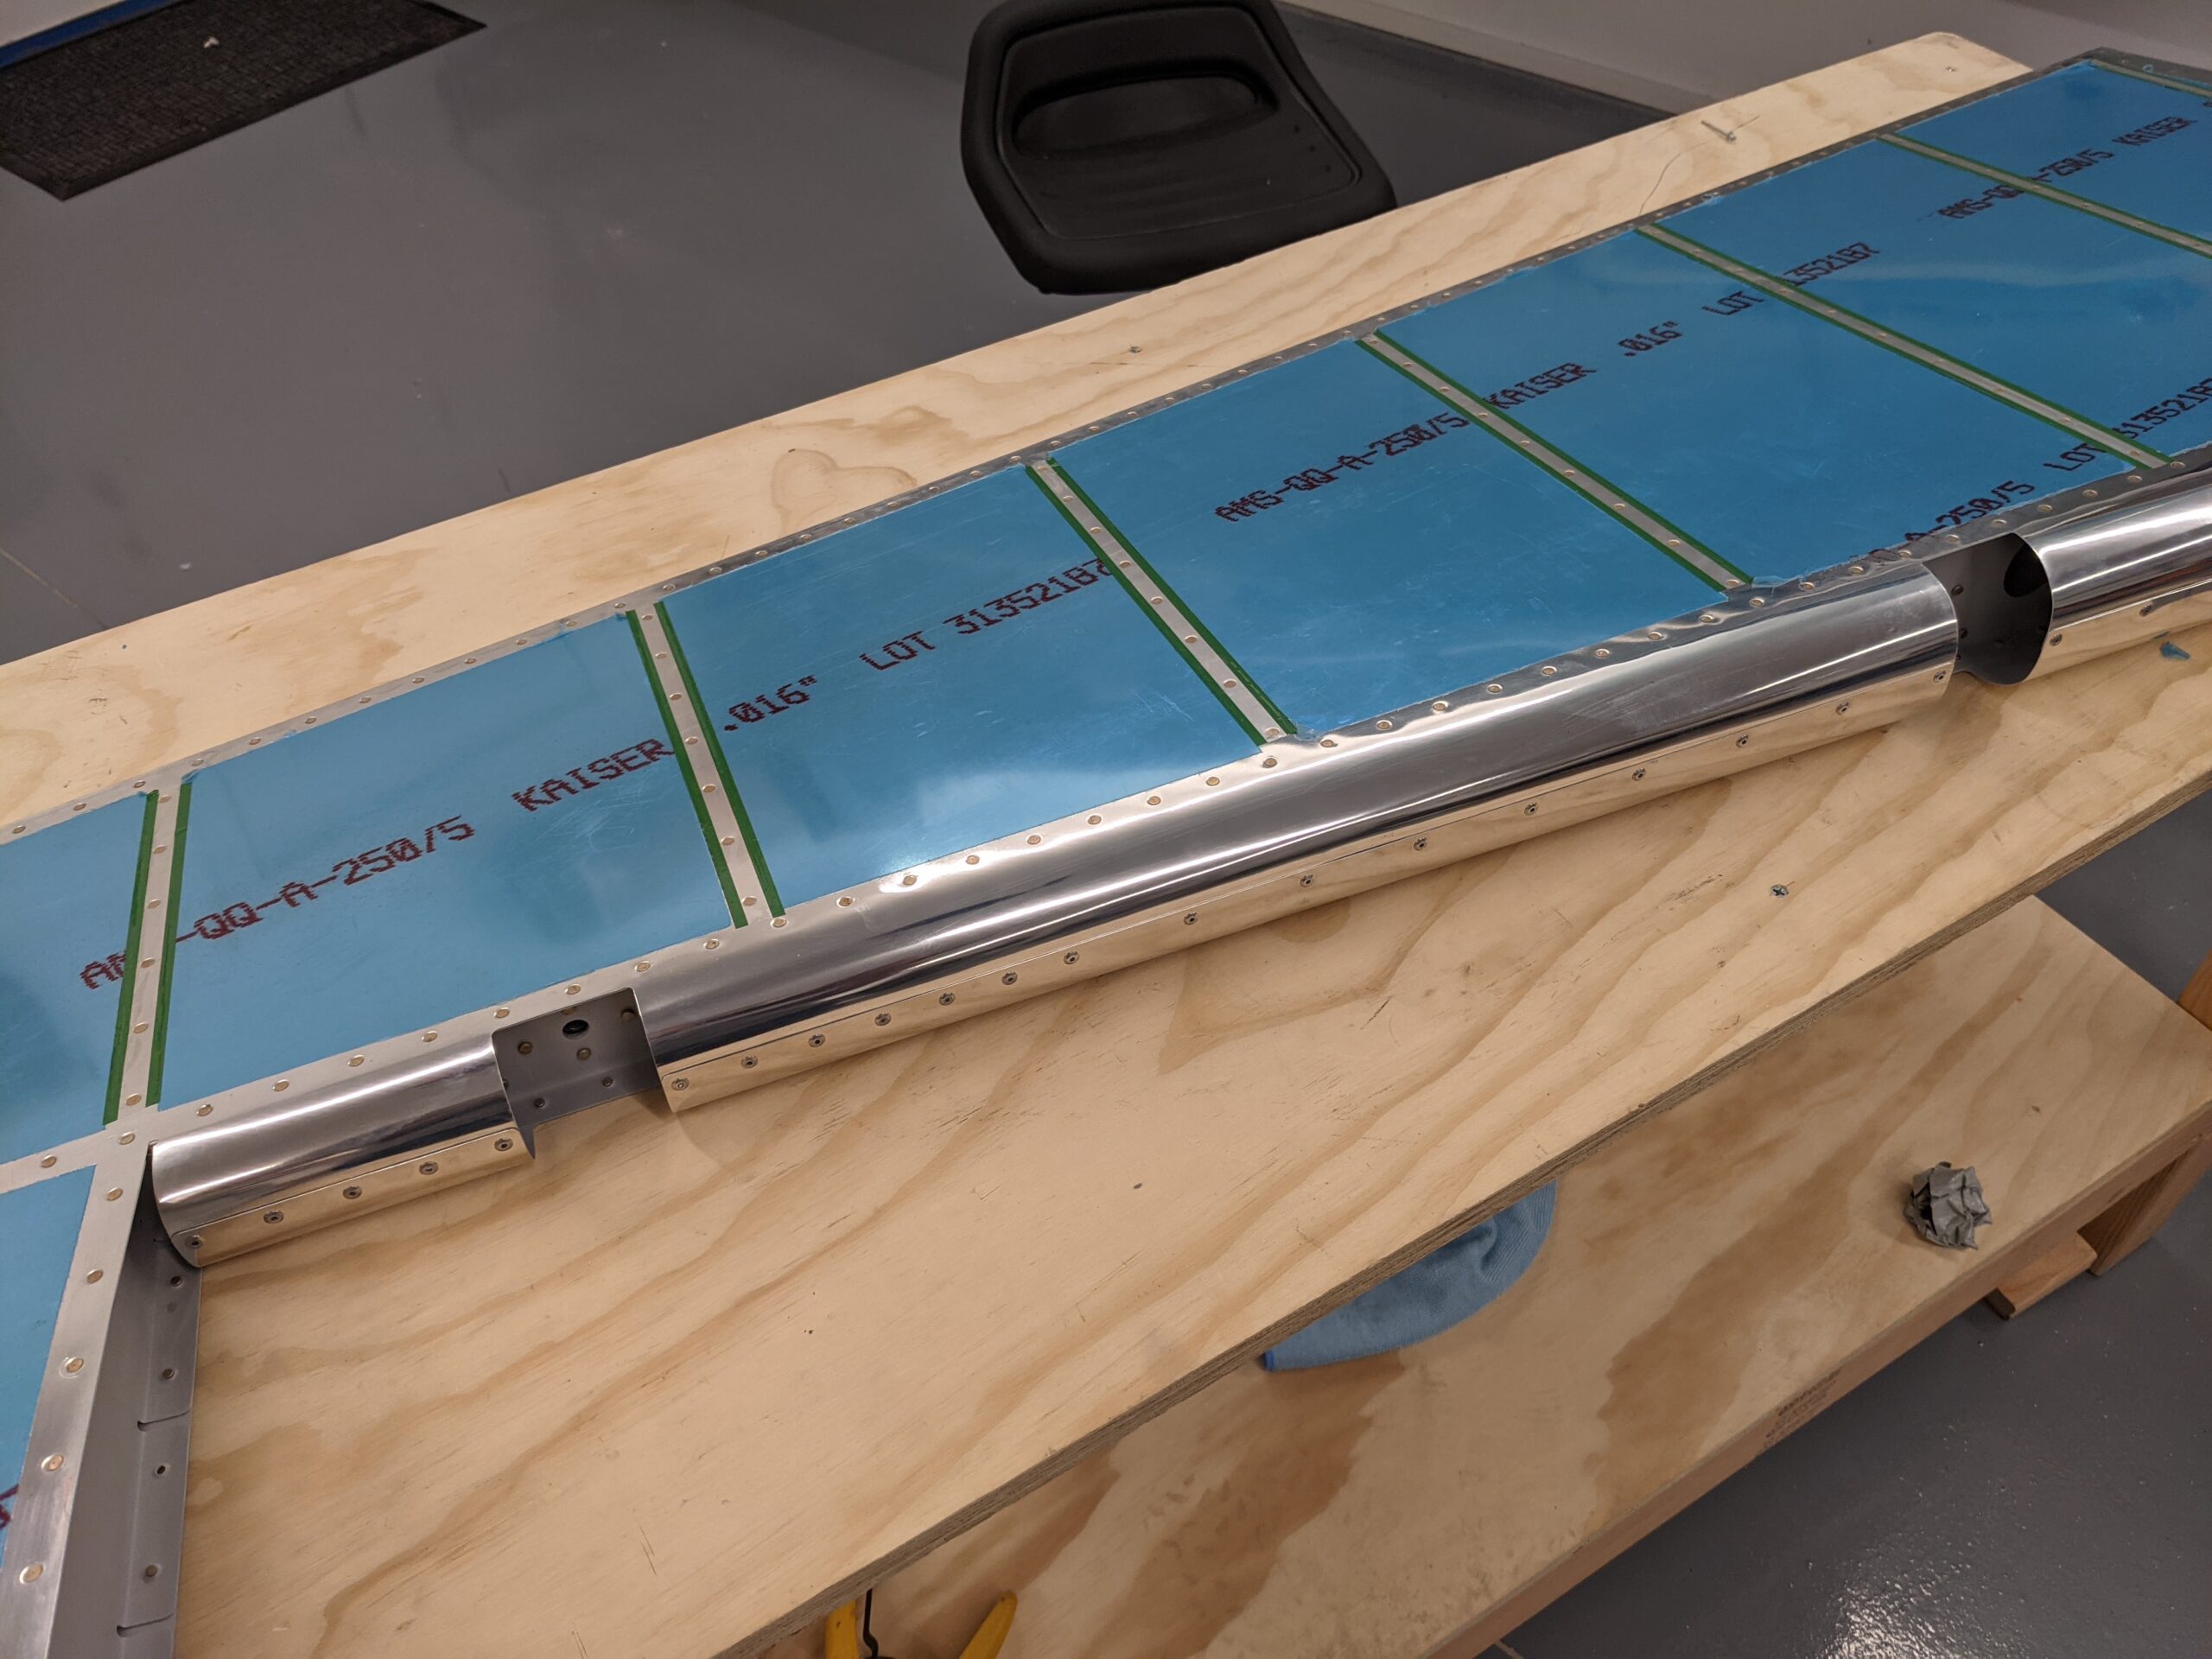
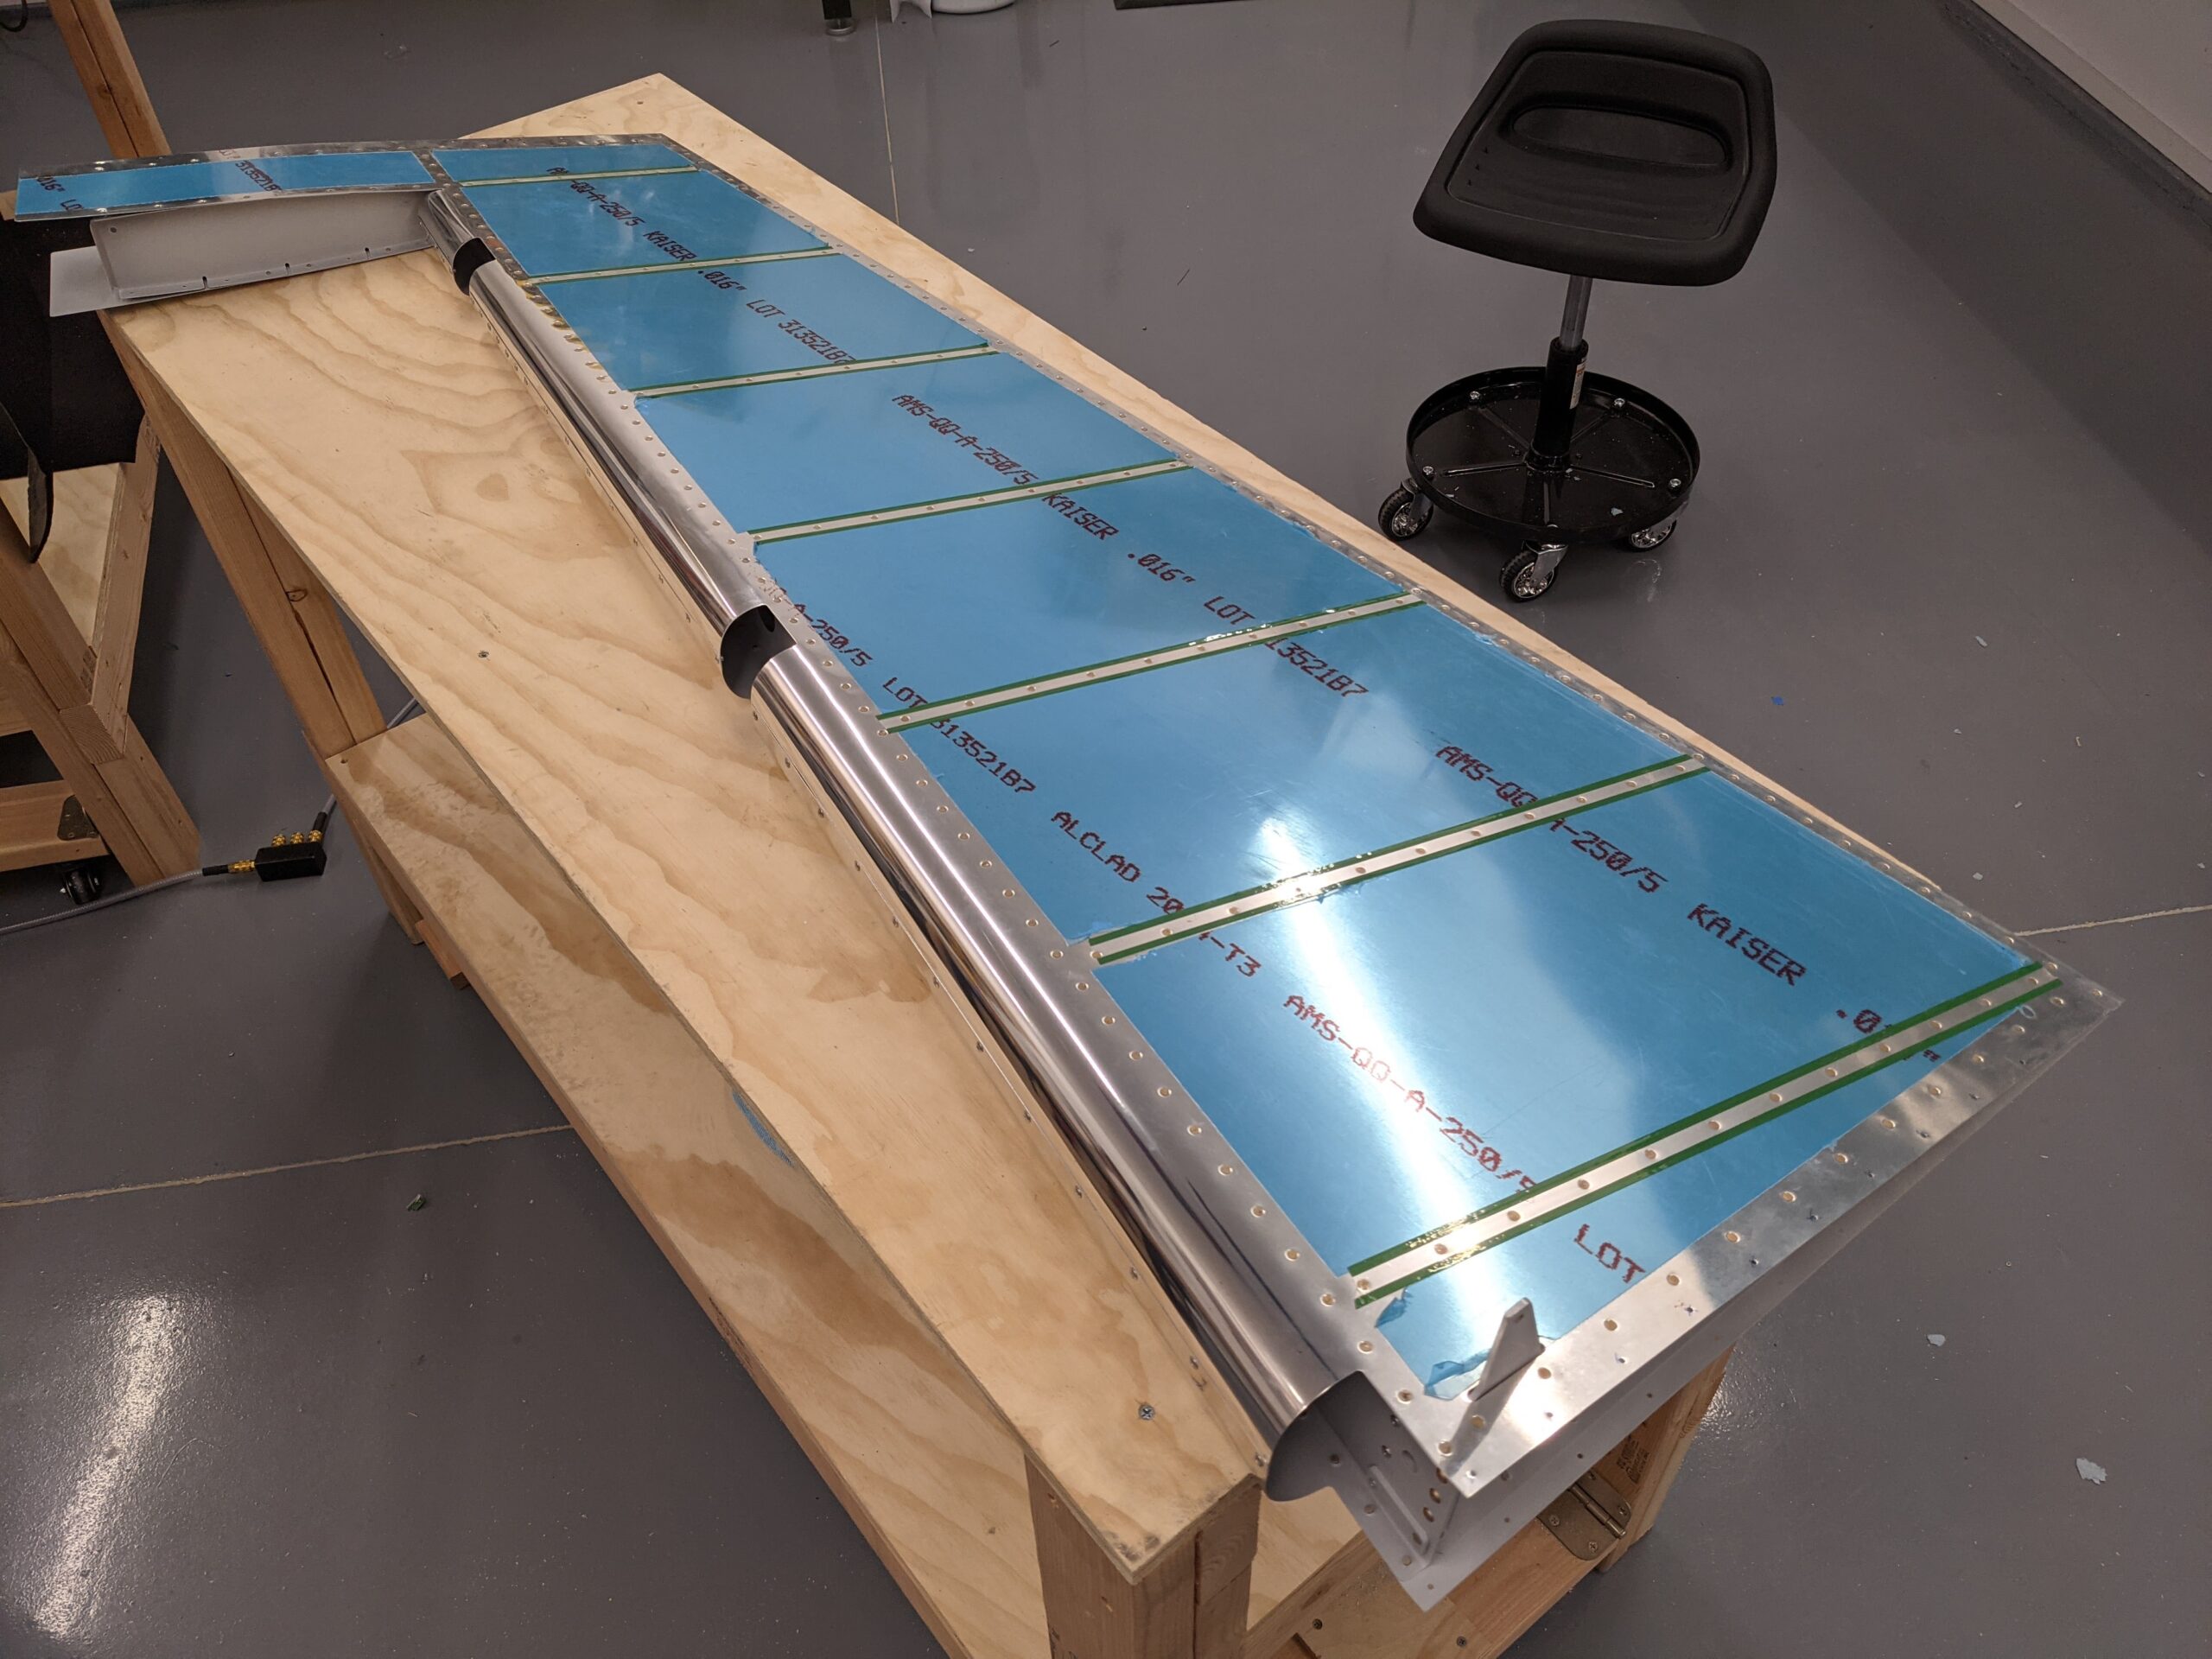
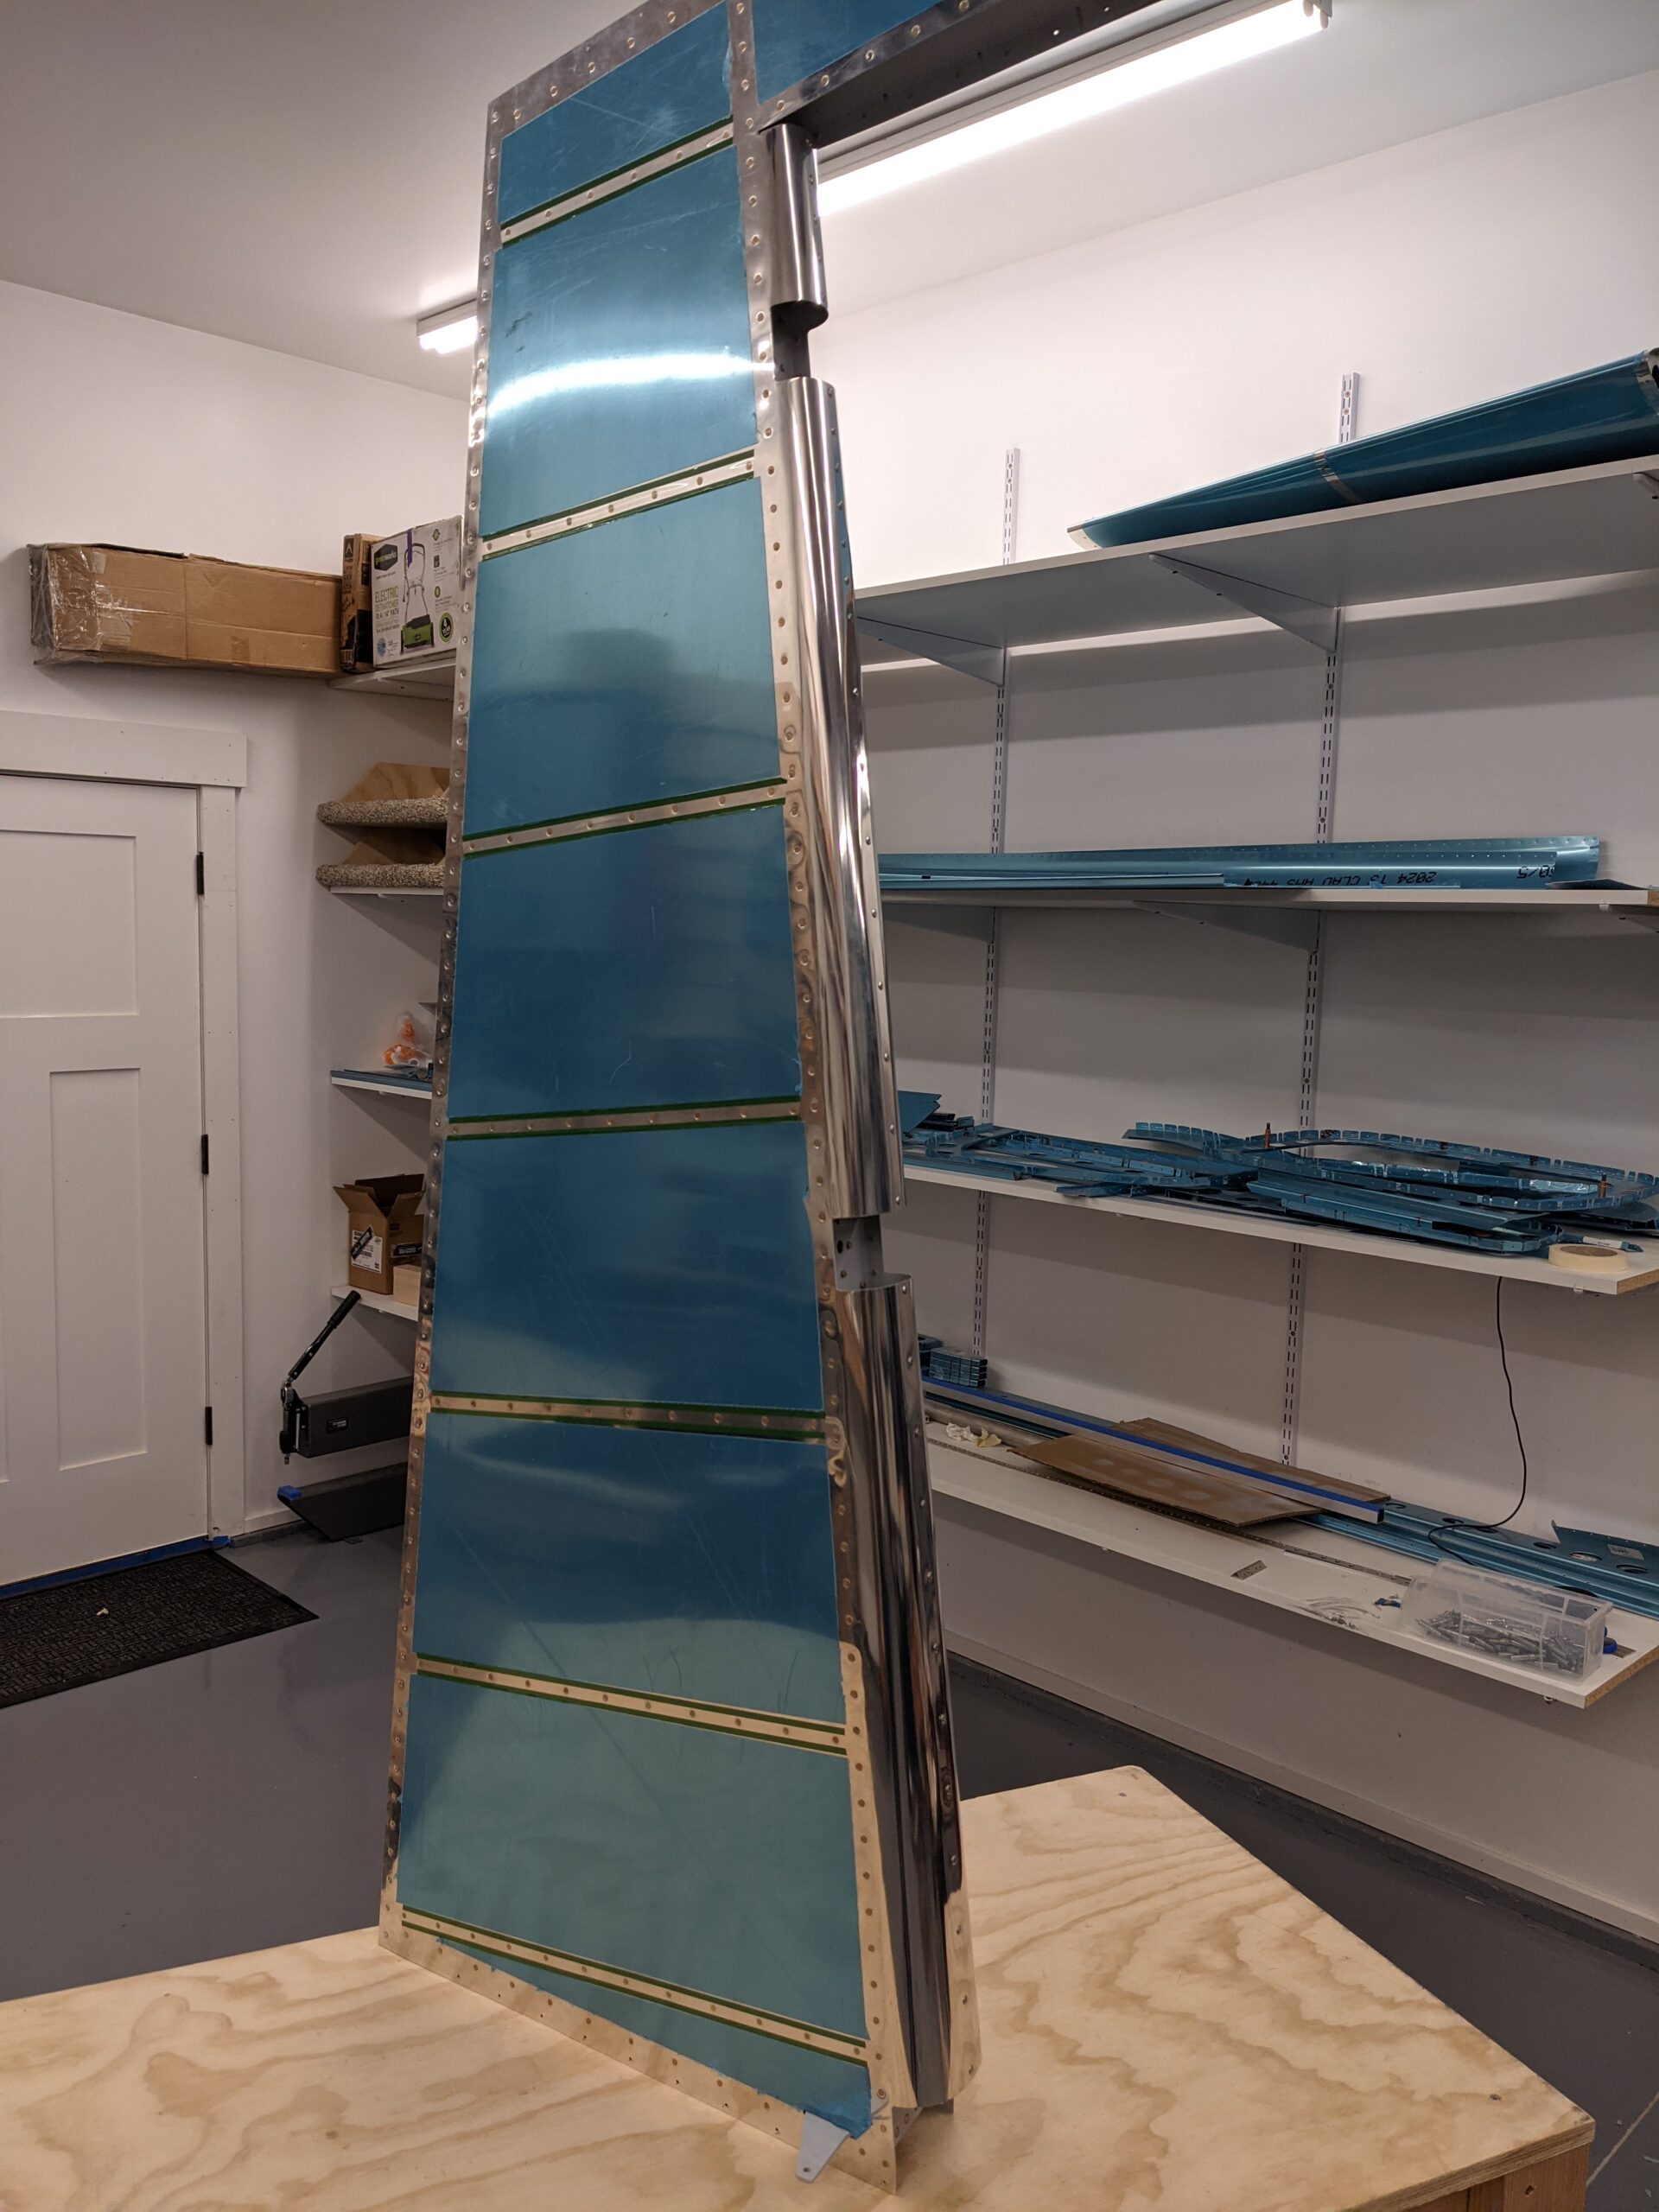
Looks like an airplane rudder. One more step crossed off the list!