
Half of the mental challenge of building an airplane is getting the courage to start on a challenging step, especially when you have so much time already invested in a part. The most recent case of this for me was the riveting of the rudder trailing edge.
I used the practice airfoil kit to try out the technique described in the plans and once I got that down I decided to go for it.
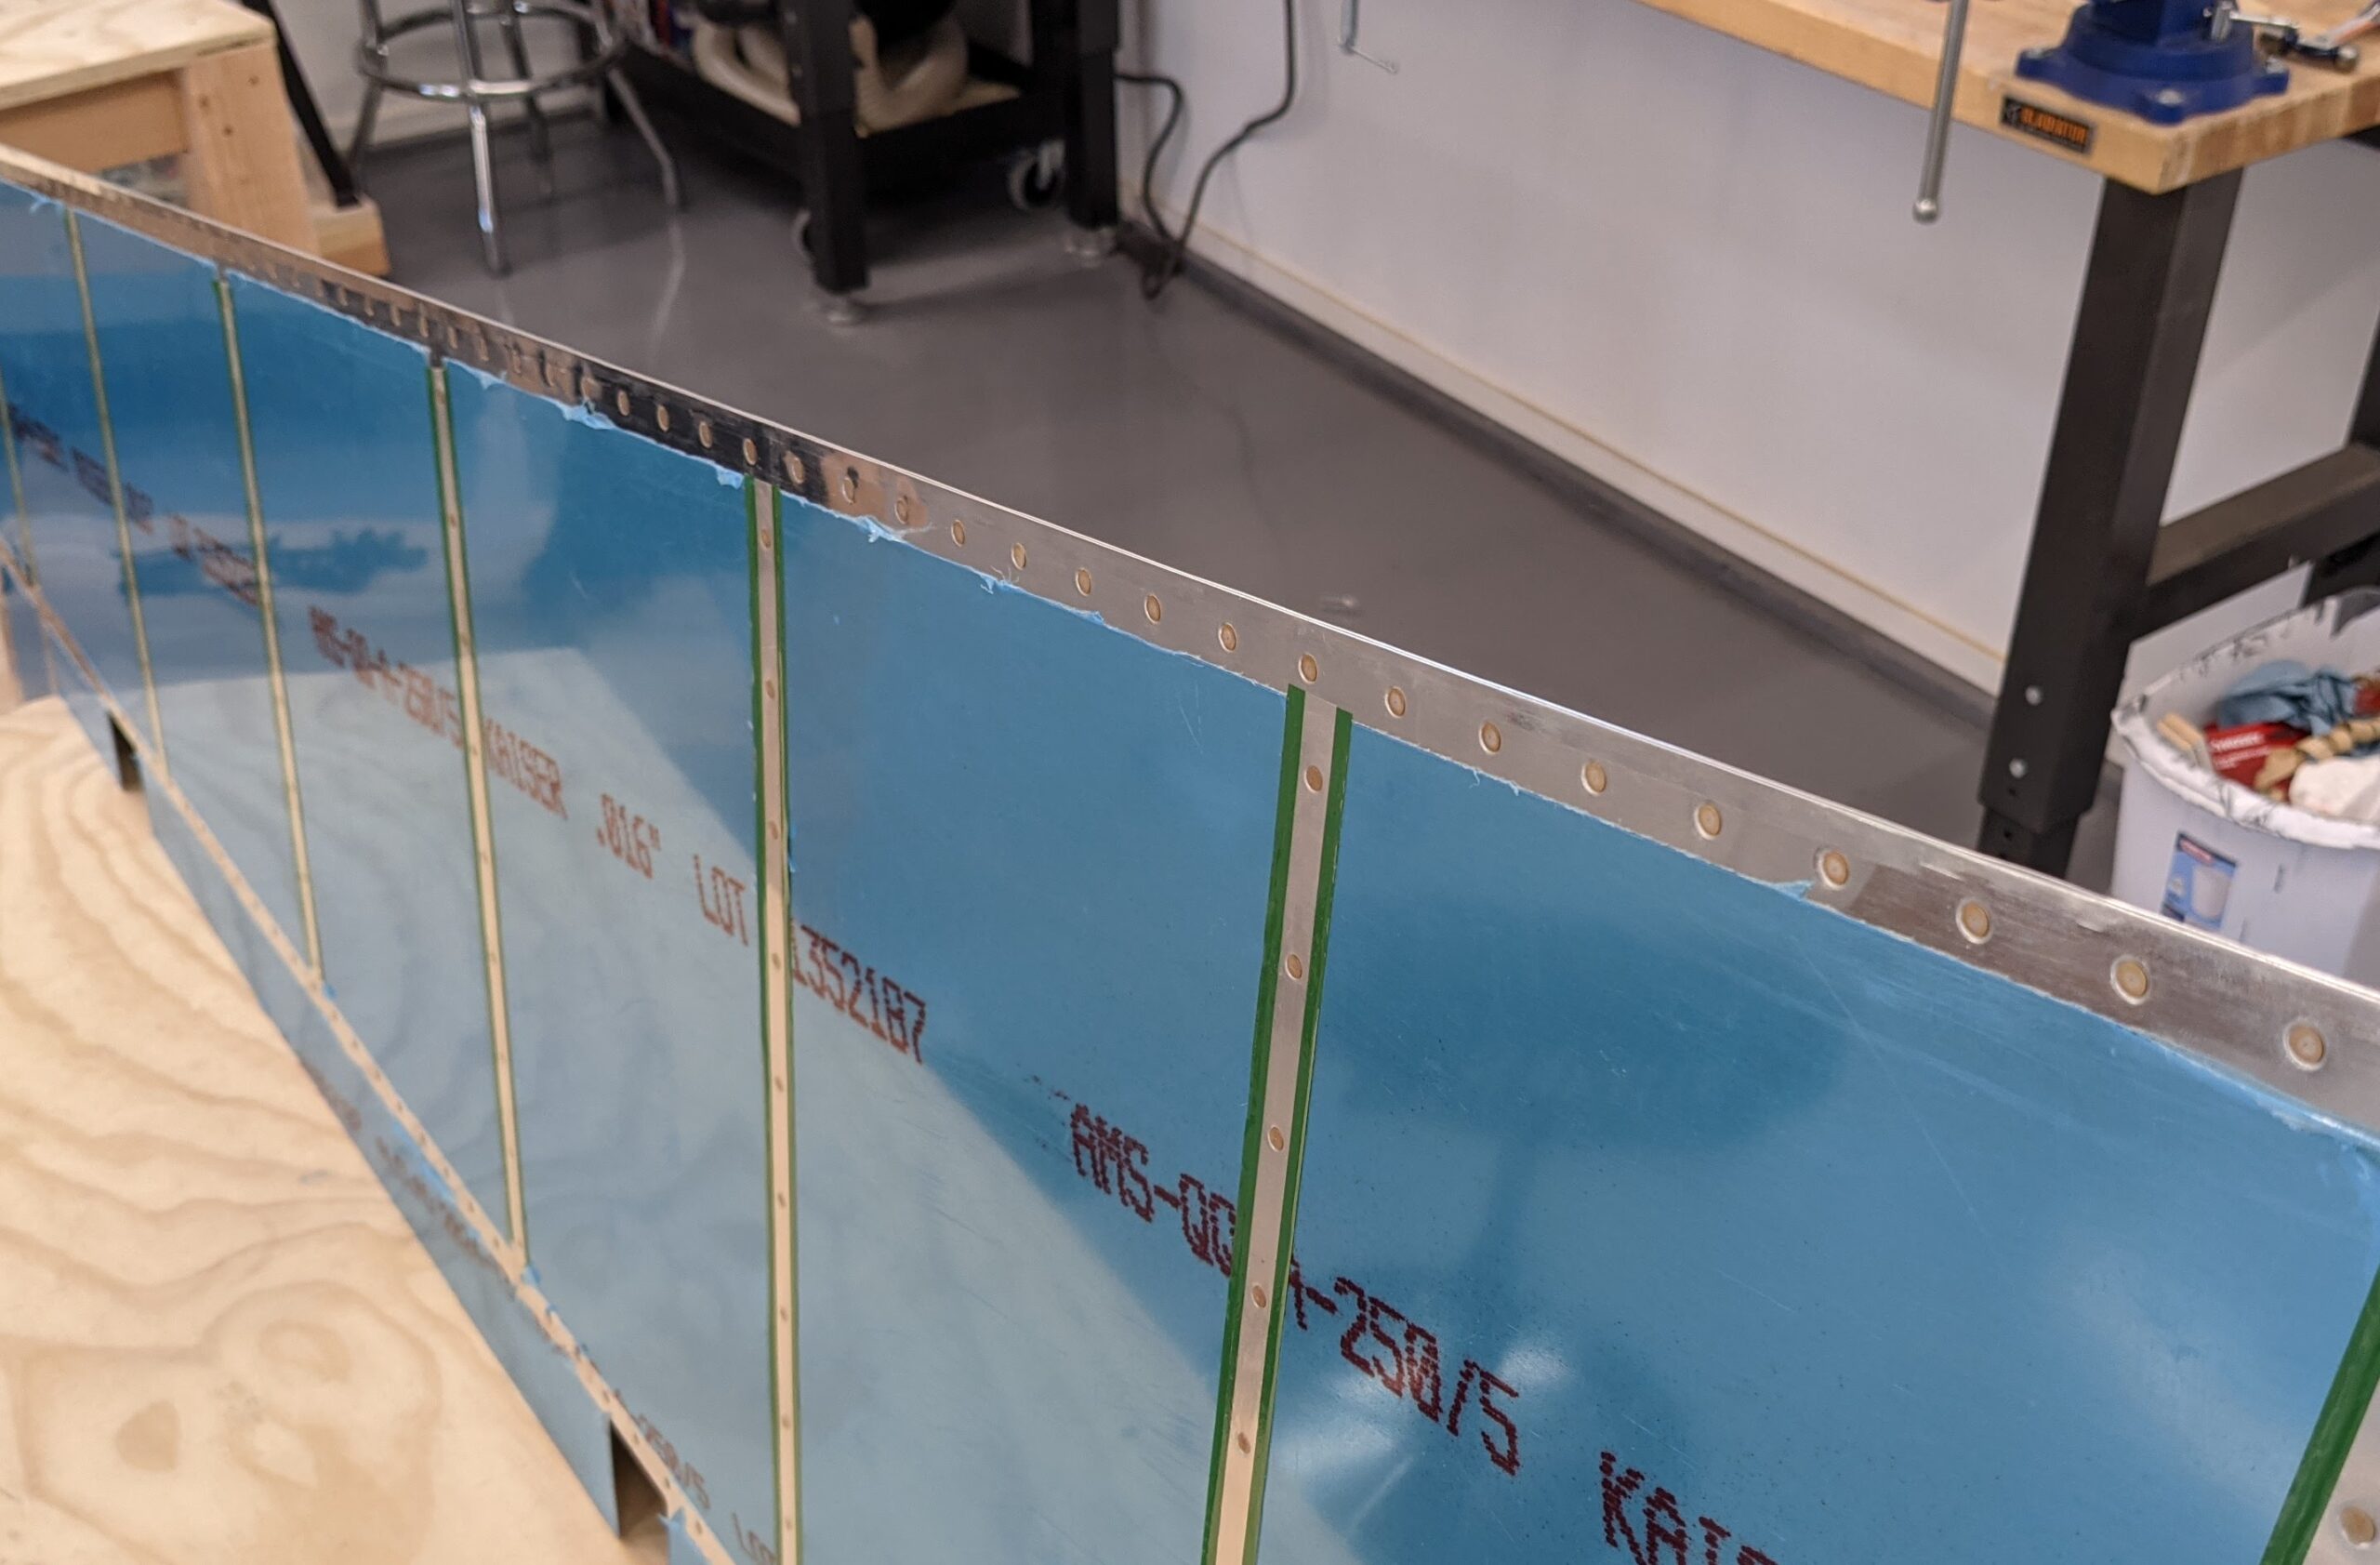
I worked slowly with the back-rivet set using a lower than normal pressure on the rivet gun. After partially setting every 10th rivet I checked for straightness and then incrementally began back-riveting the middle rivet in each section until all were partially set. I then switched to the mushroom set for the final setting of the rivets.
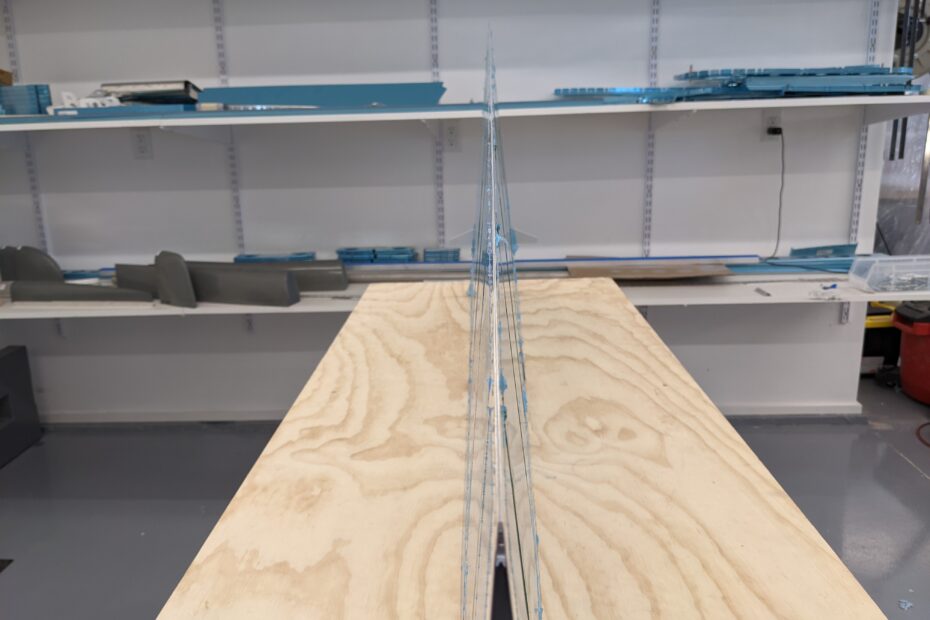
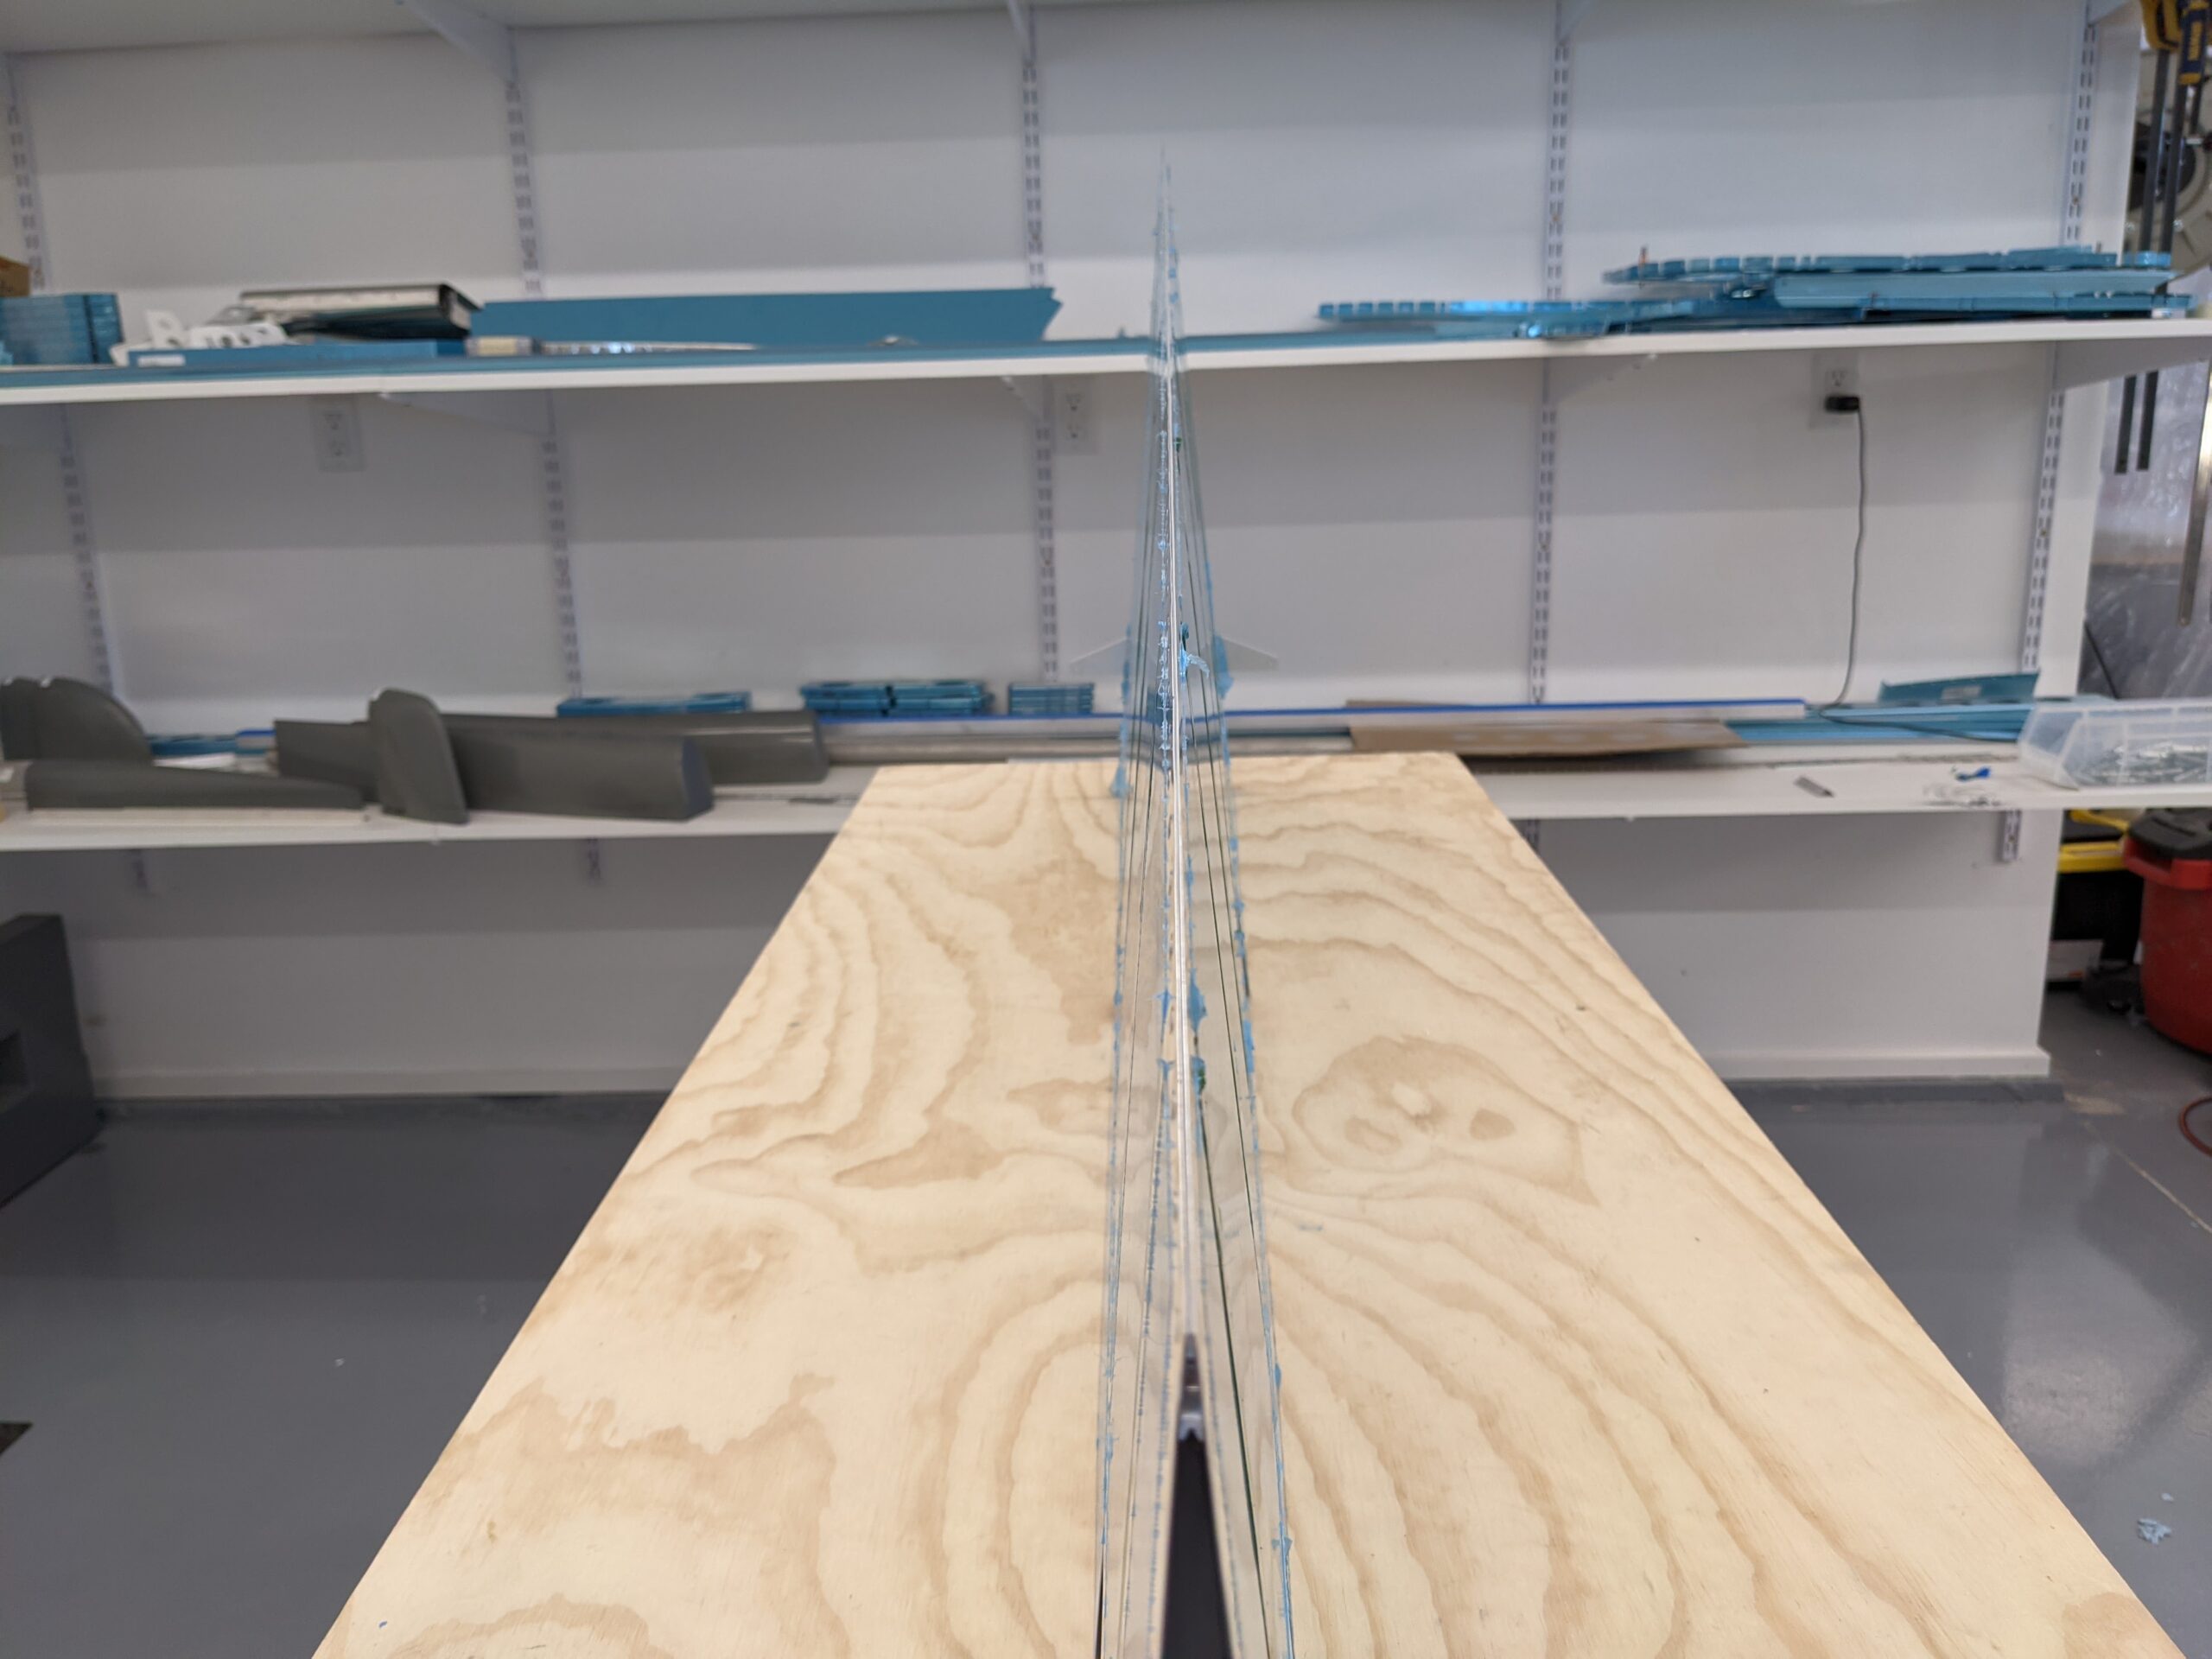
Patience paid off and the edge came out looking much better than I had anticipated! The edge is very straight, the skins are tight along the trailing edge, and there is almost no pillowing between the rivets.

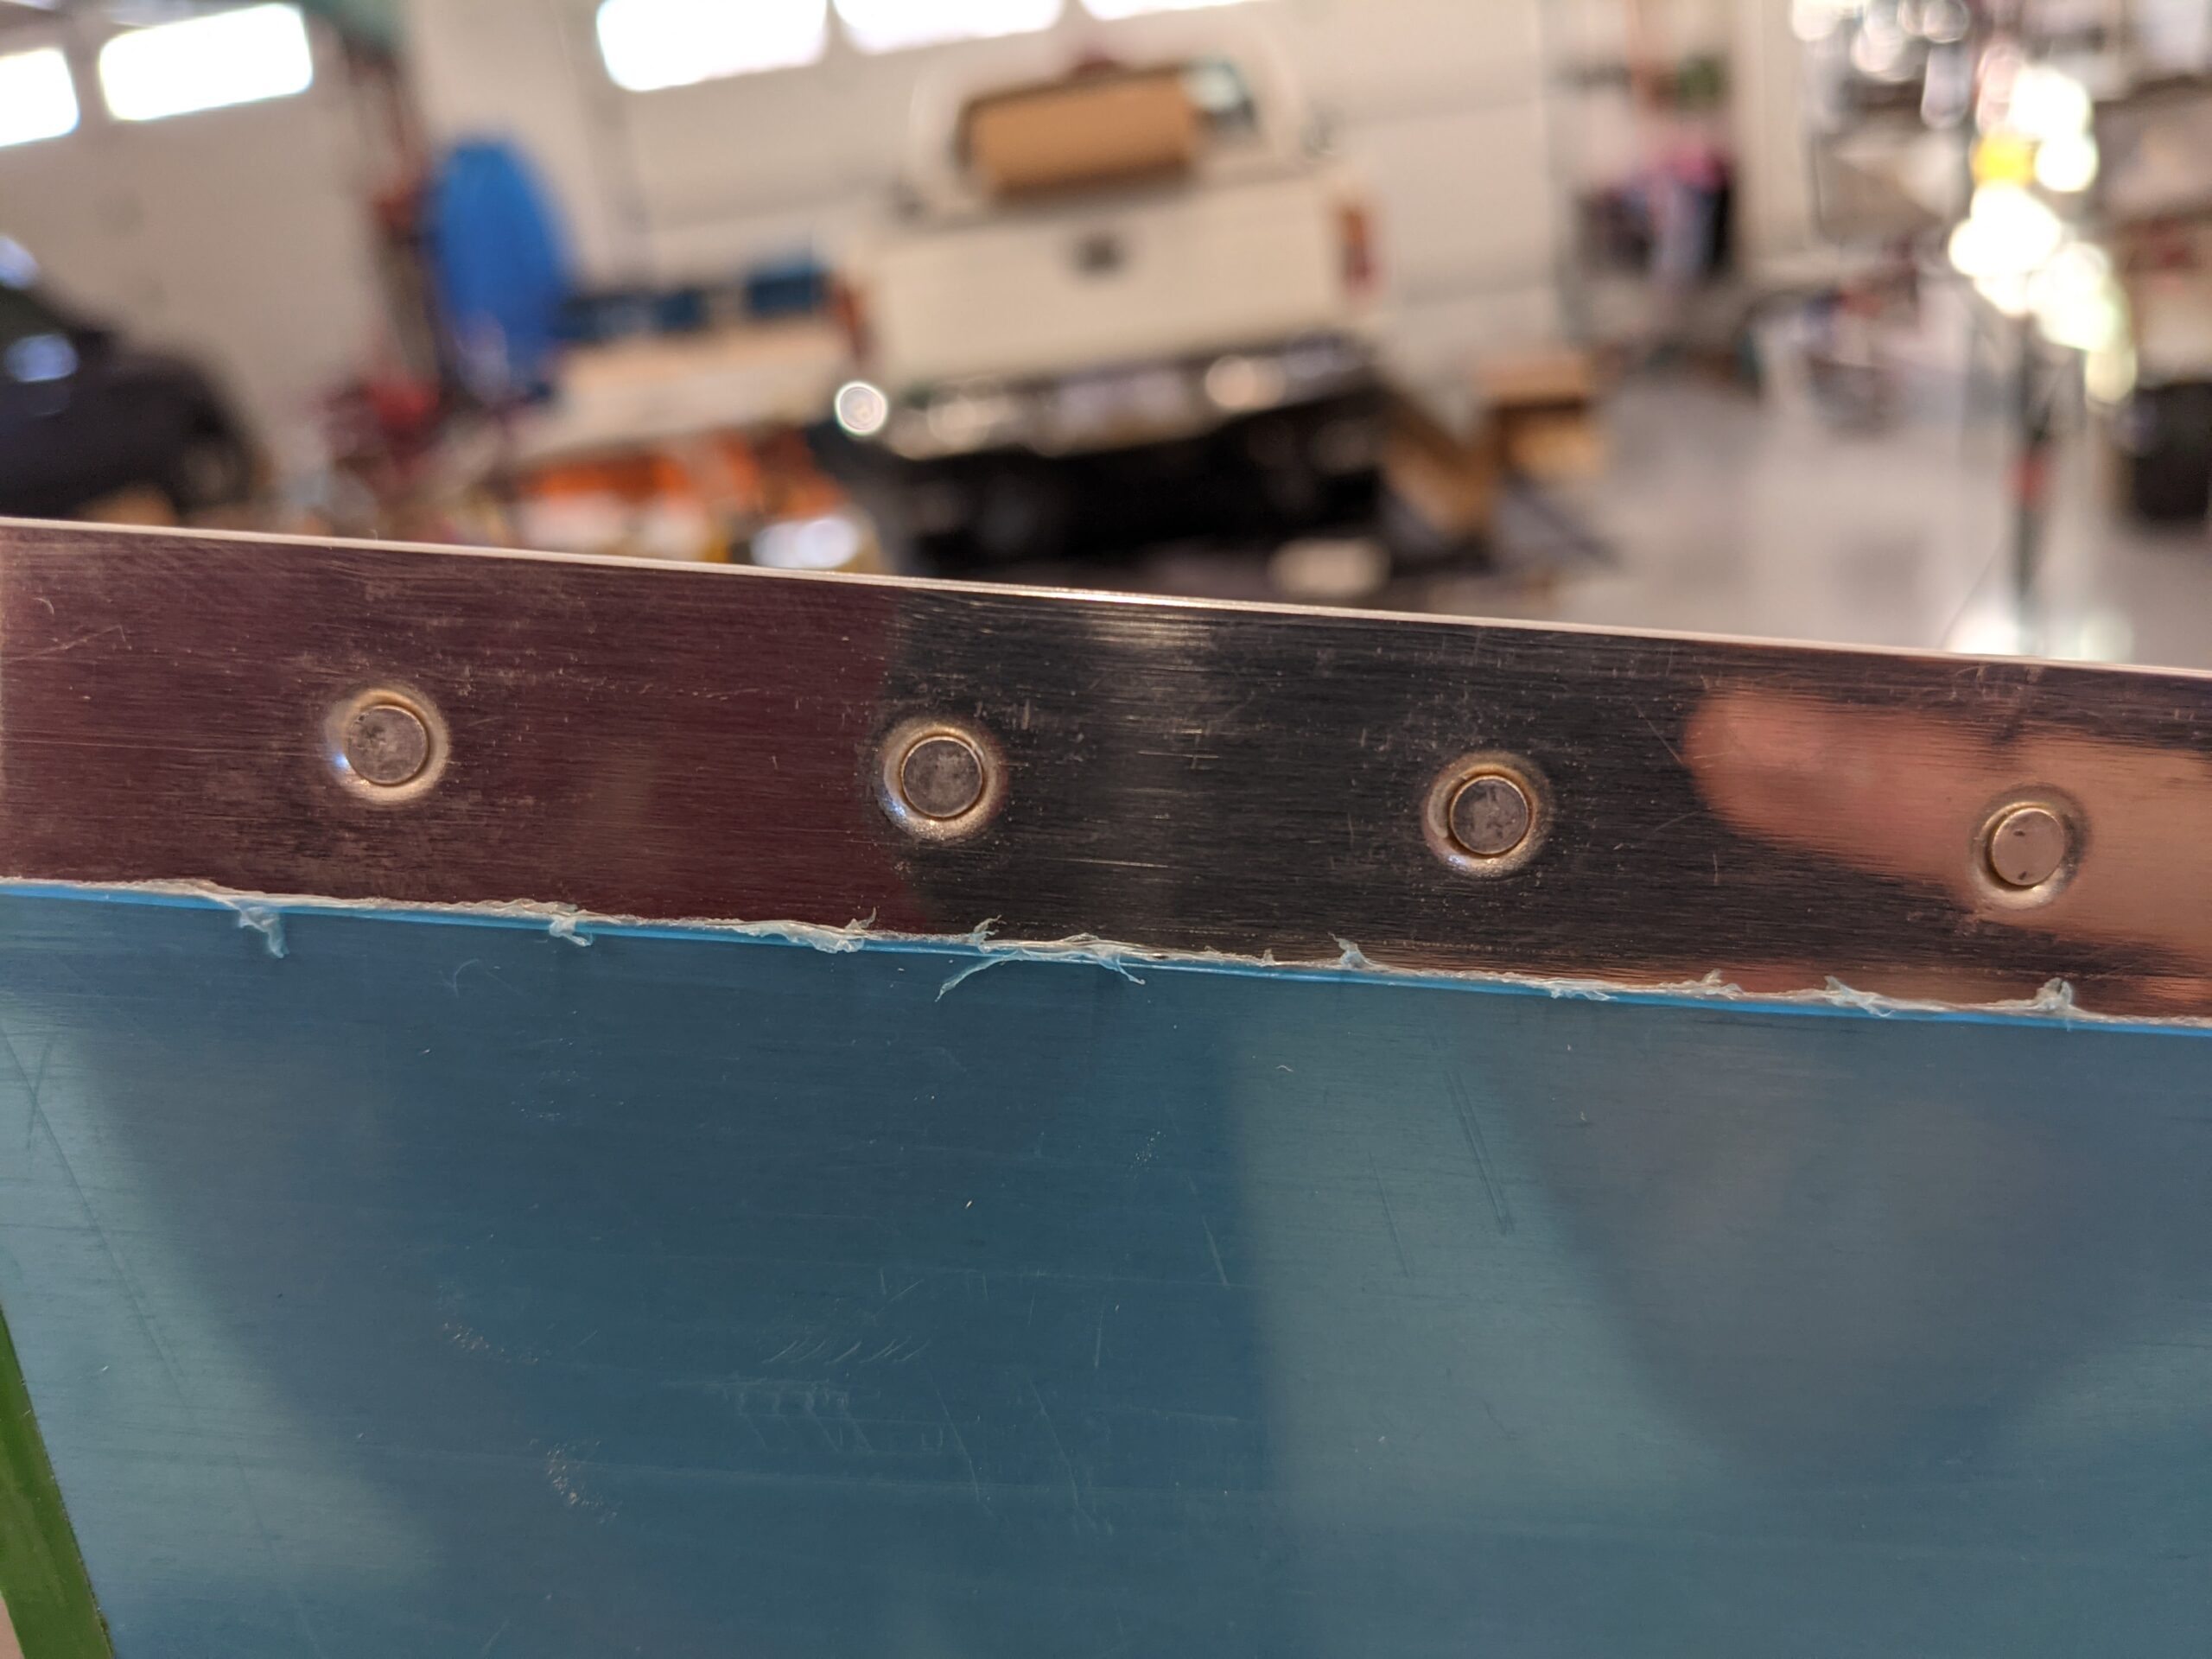
The shop heads also came out better than those that I did on the practice airfoil kit. Overall the skins are much tighter against the AEX strip and that seems to have made the difference in the amount of material available on the shop head side.
Onwards..