I made solid progress on the rudder today. Slow and steady tends to be more successful for me than hurrying up and having to redo things.
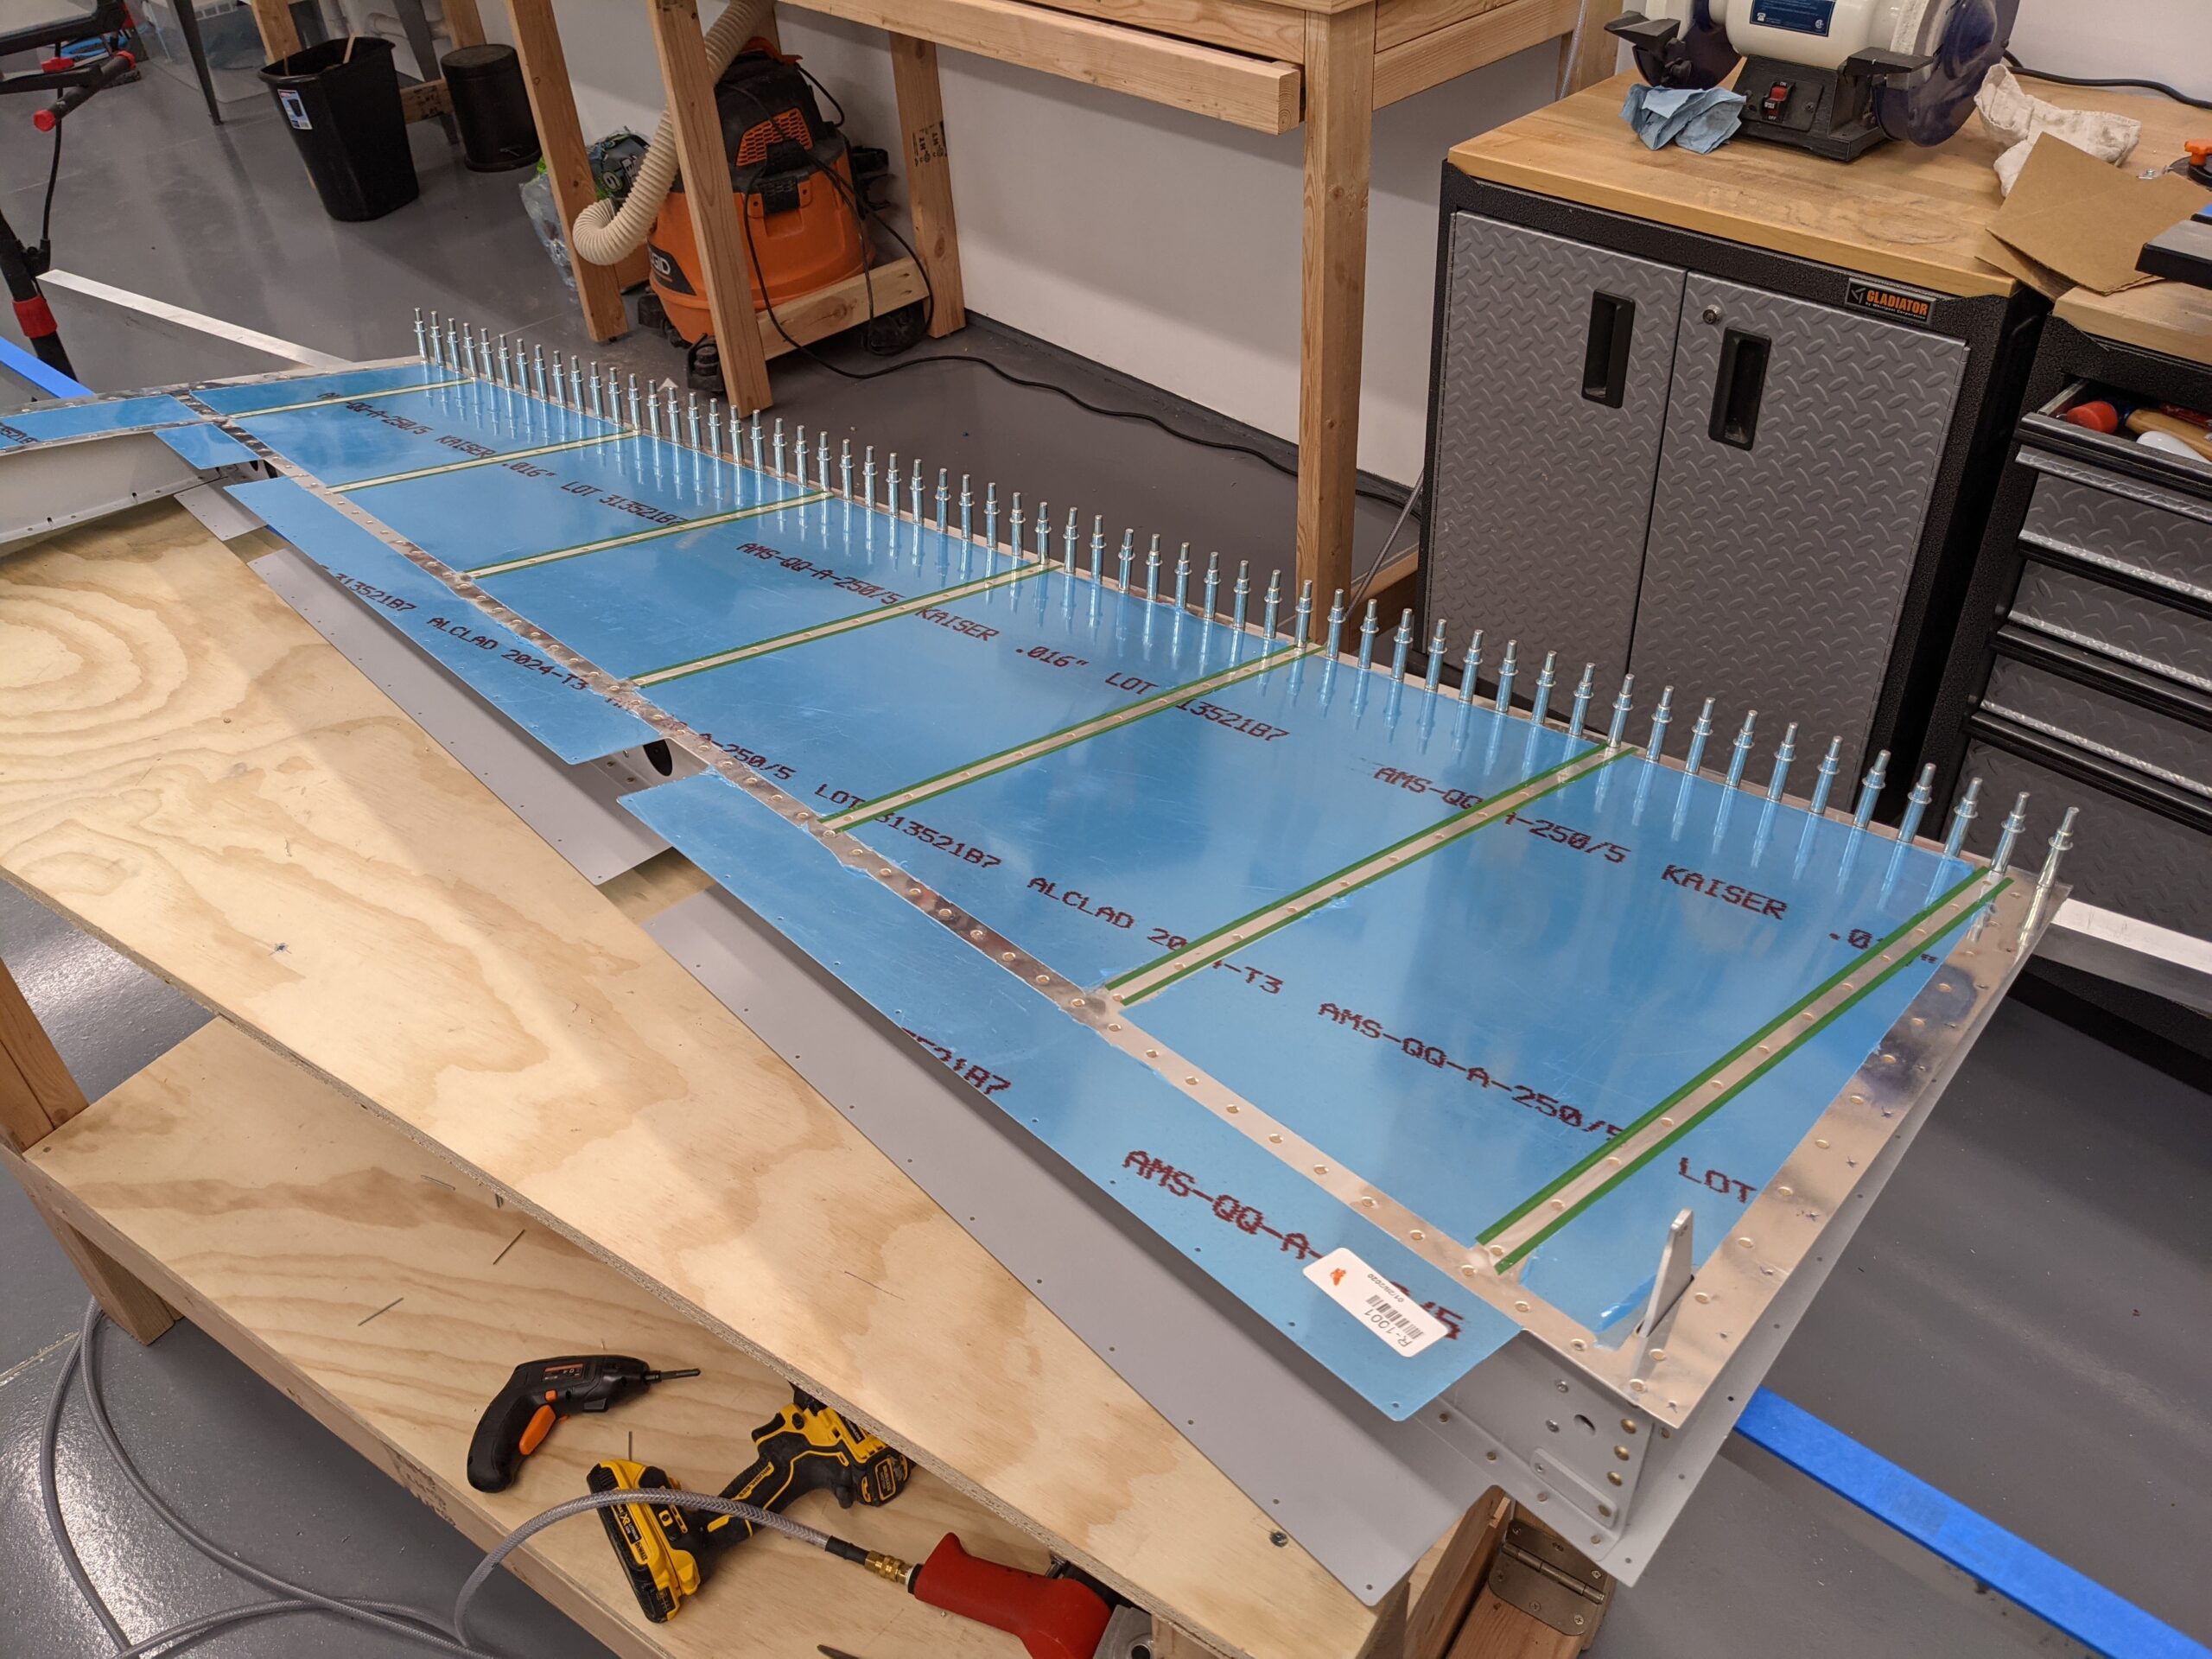
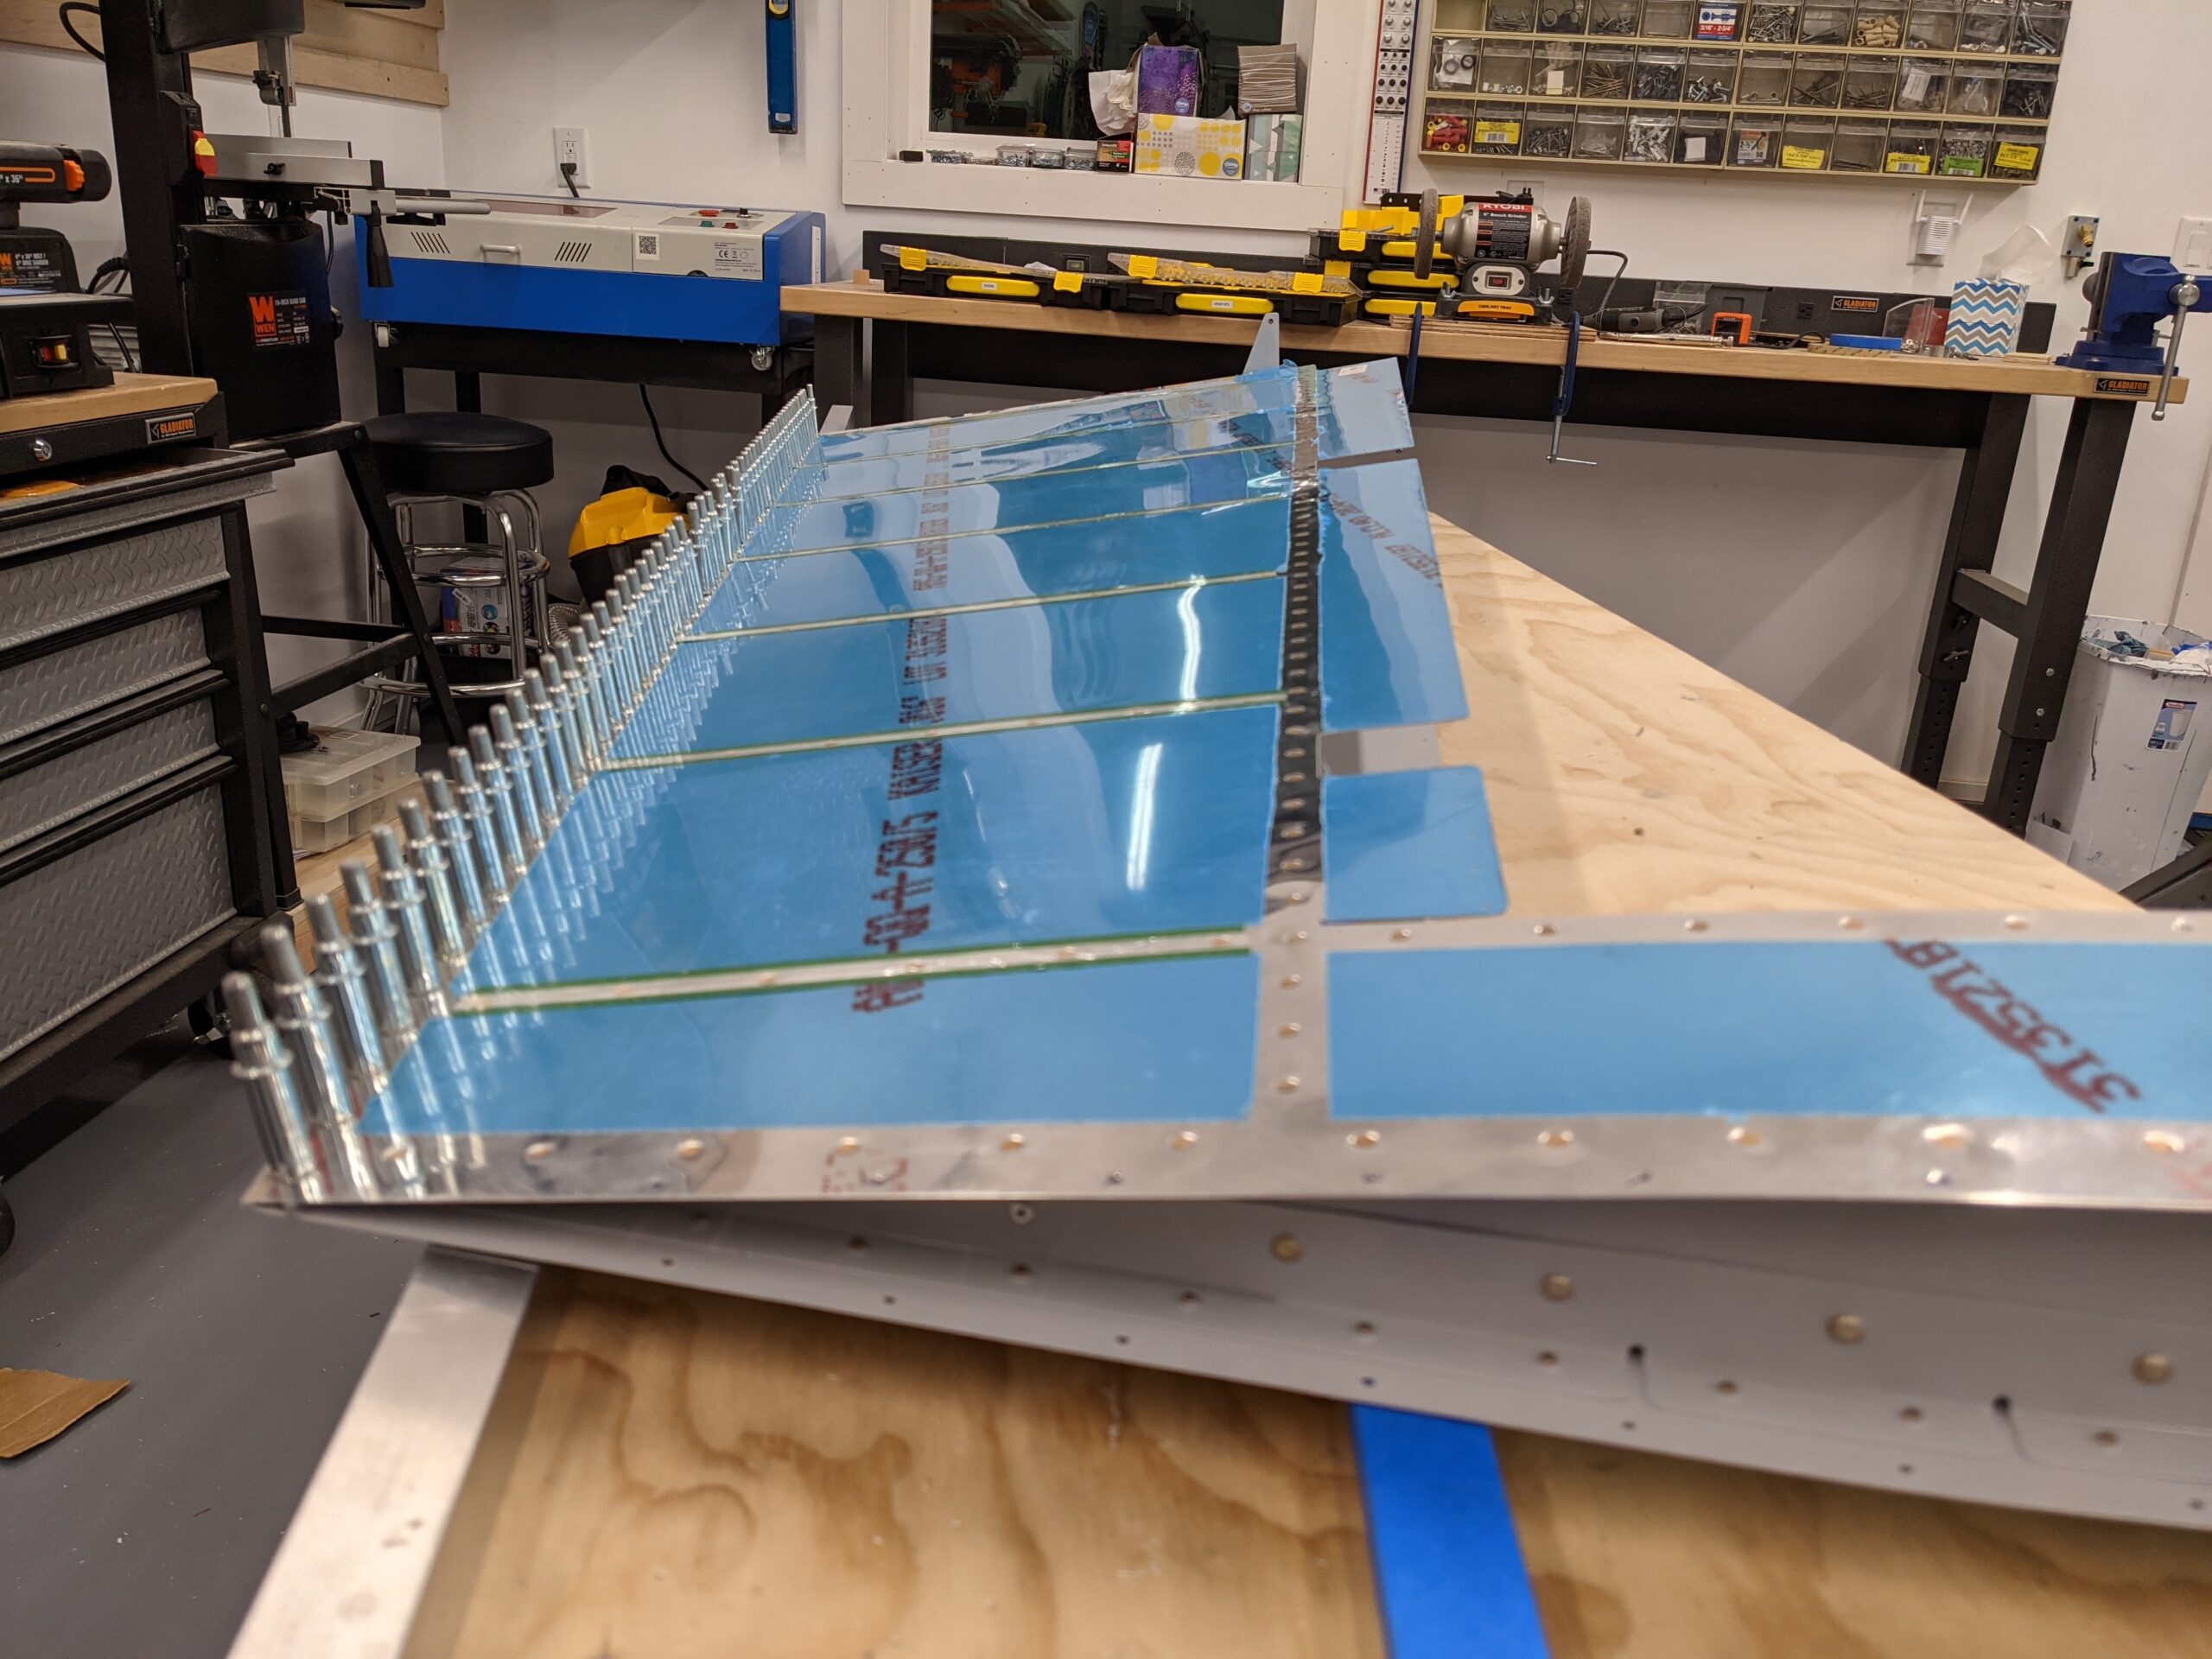
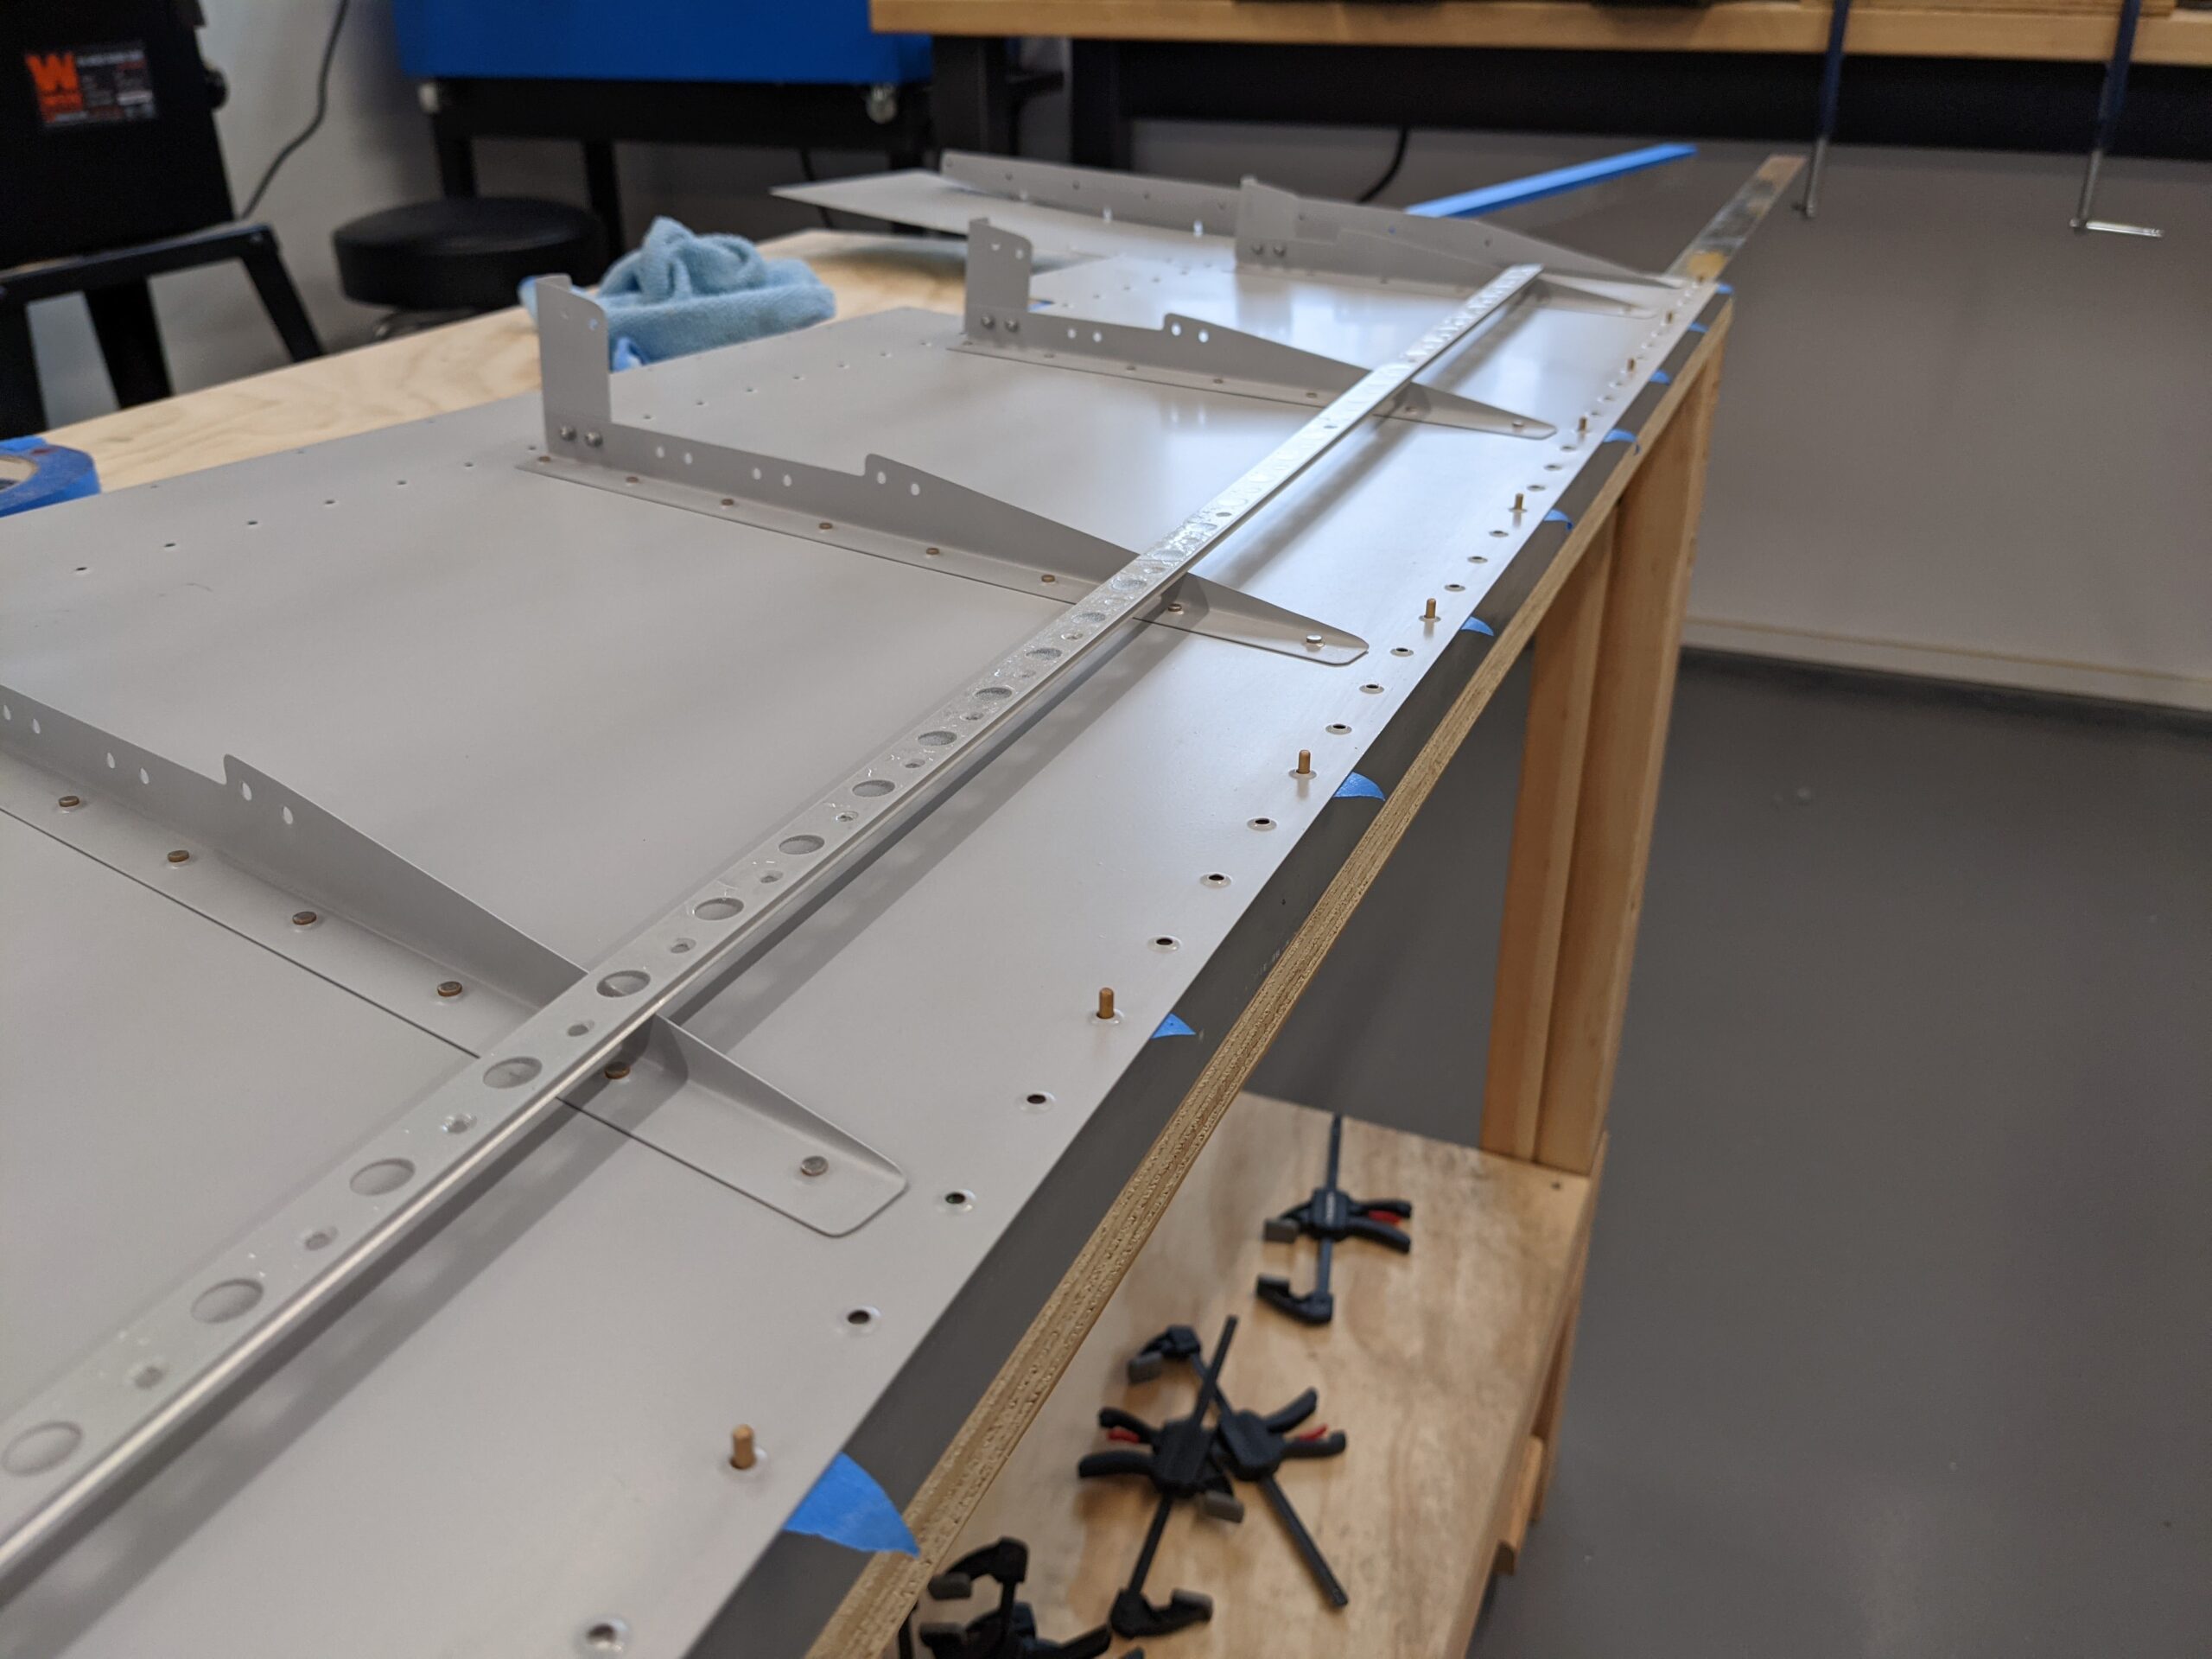
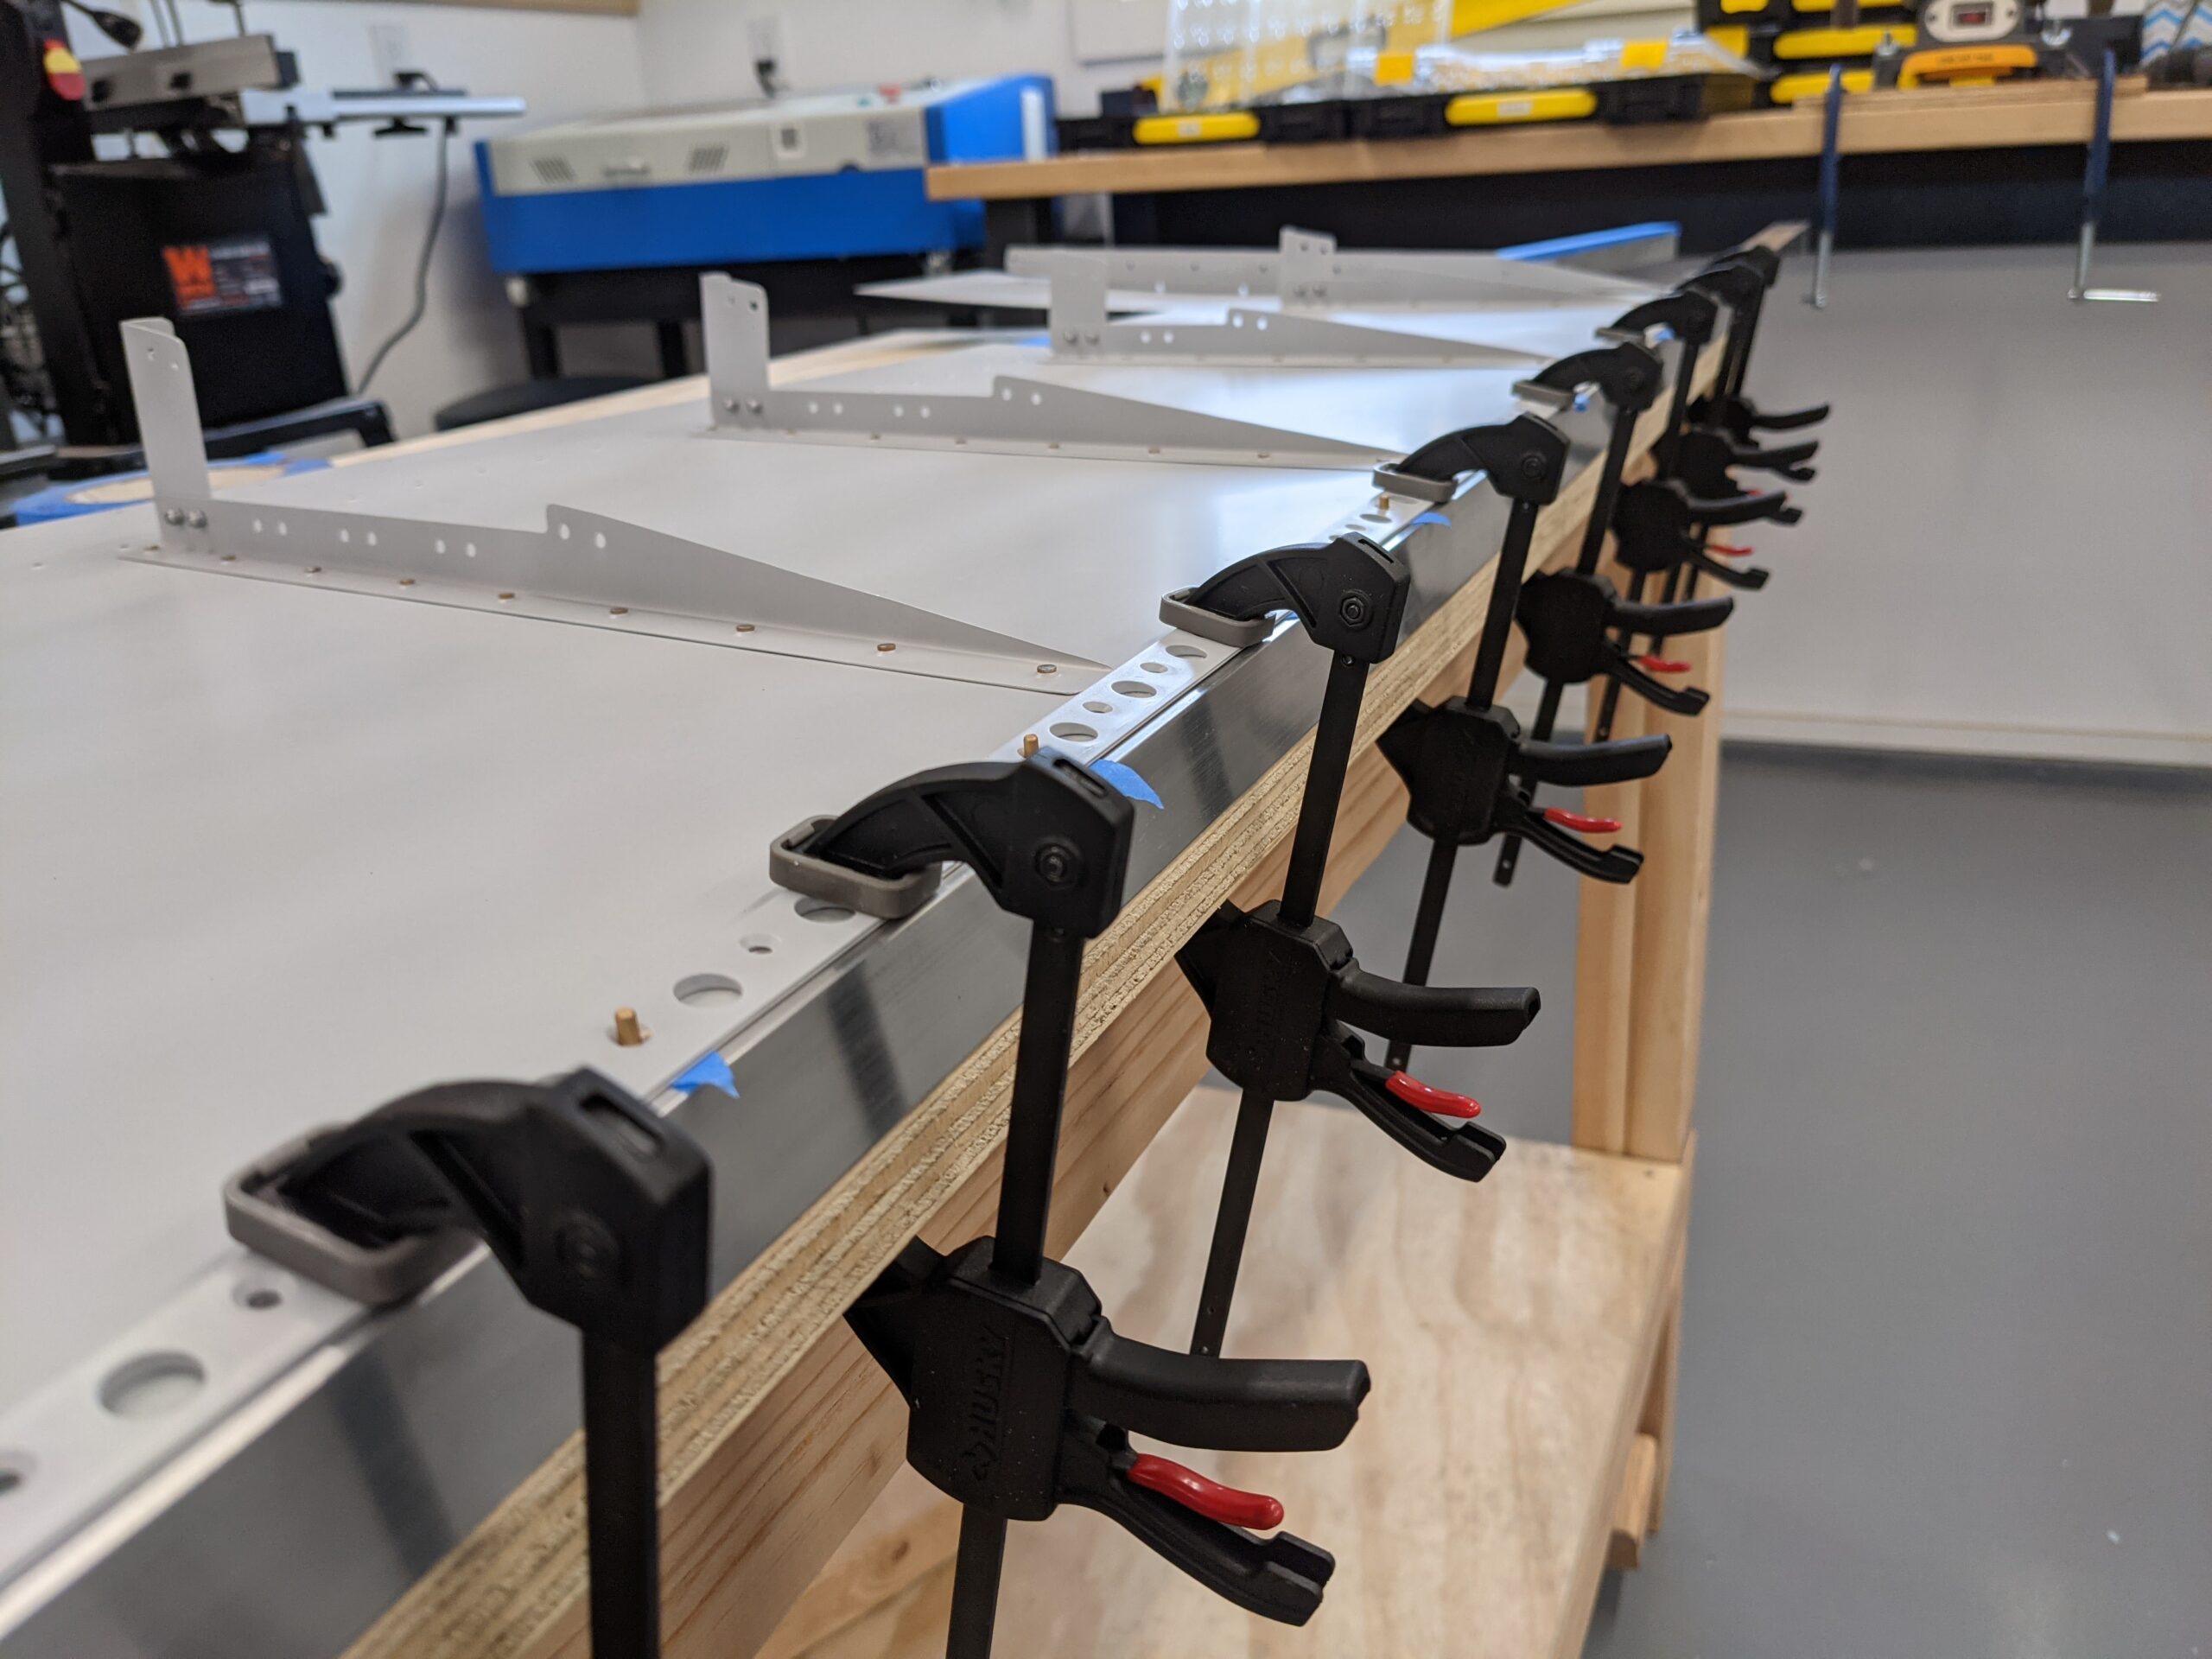
I decided to proceed with the recommended 3M VHB tape method for the trailing edge AEX wedge (vs. the previous proseal tank sealant method that is outlined in the RV-10 plans). I had previously attached a 1″ aluminum square tube to my bench and I shimmed it to make it perfectly flat. I also had an extra square tube to support the rudder and keep things from twisting. This ended up working out really well and was simpler than some of the more involved approaches on the VAF forums (match drilling an aluminum angle etc.).
I started by cleaning the parts well and then attached the 3M tape to the AEX wedge. I inserted rivets in the skin to provide a guide for the wedge and then pushed it down onto the skin while keeping the skin flat. I then attached the tape to the other side of the wedge, leaving the backing strip in place.
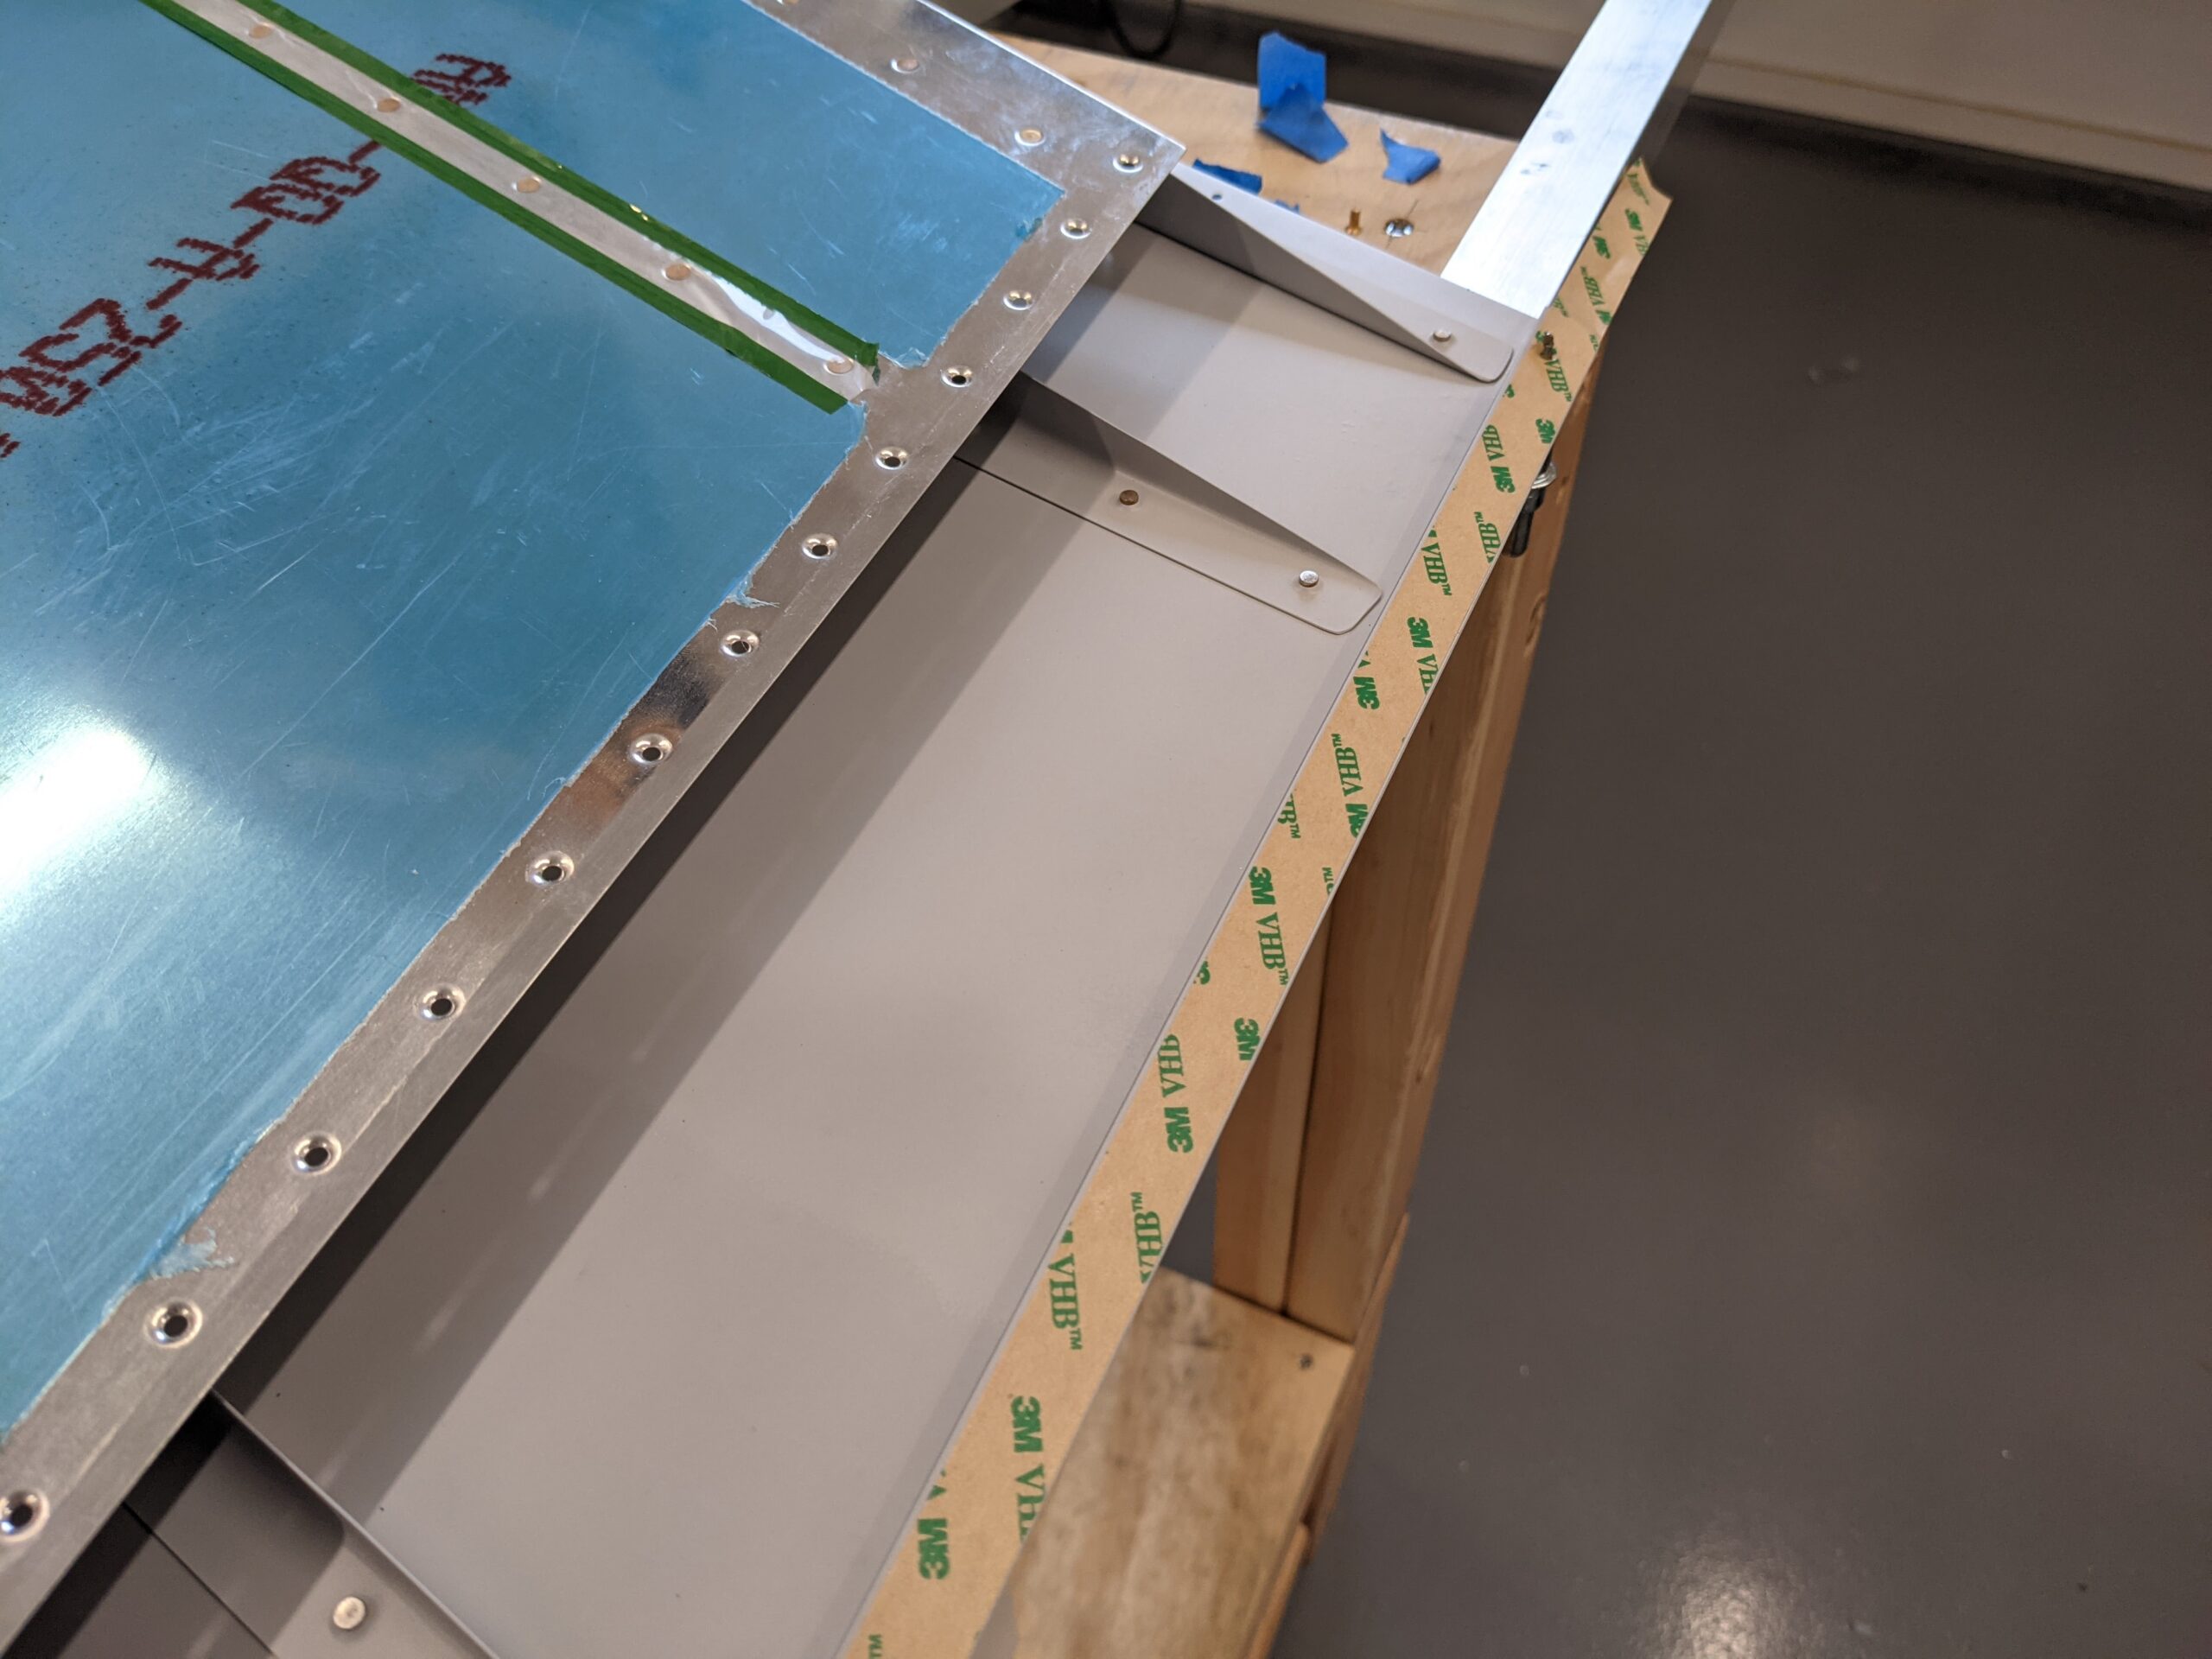
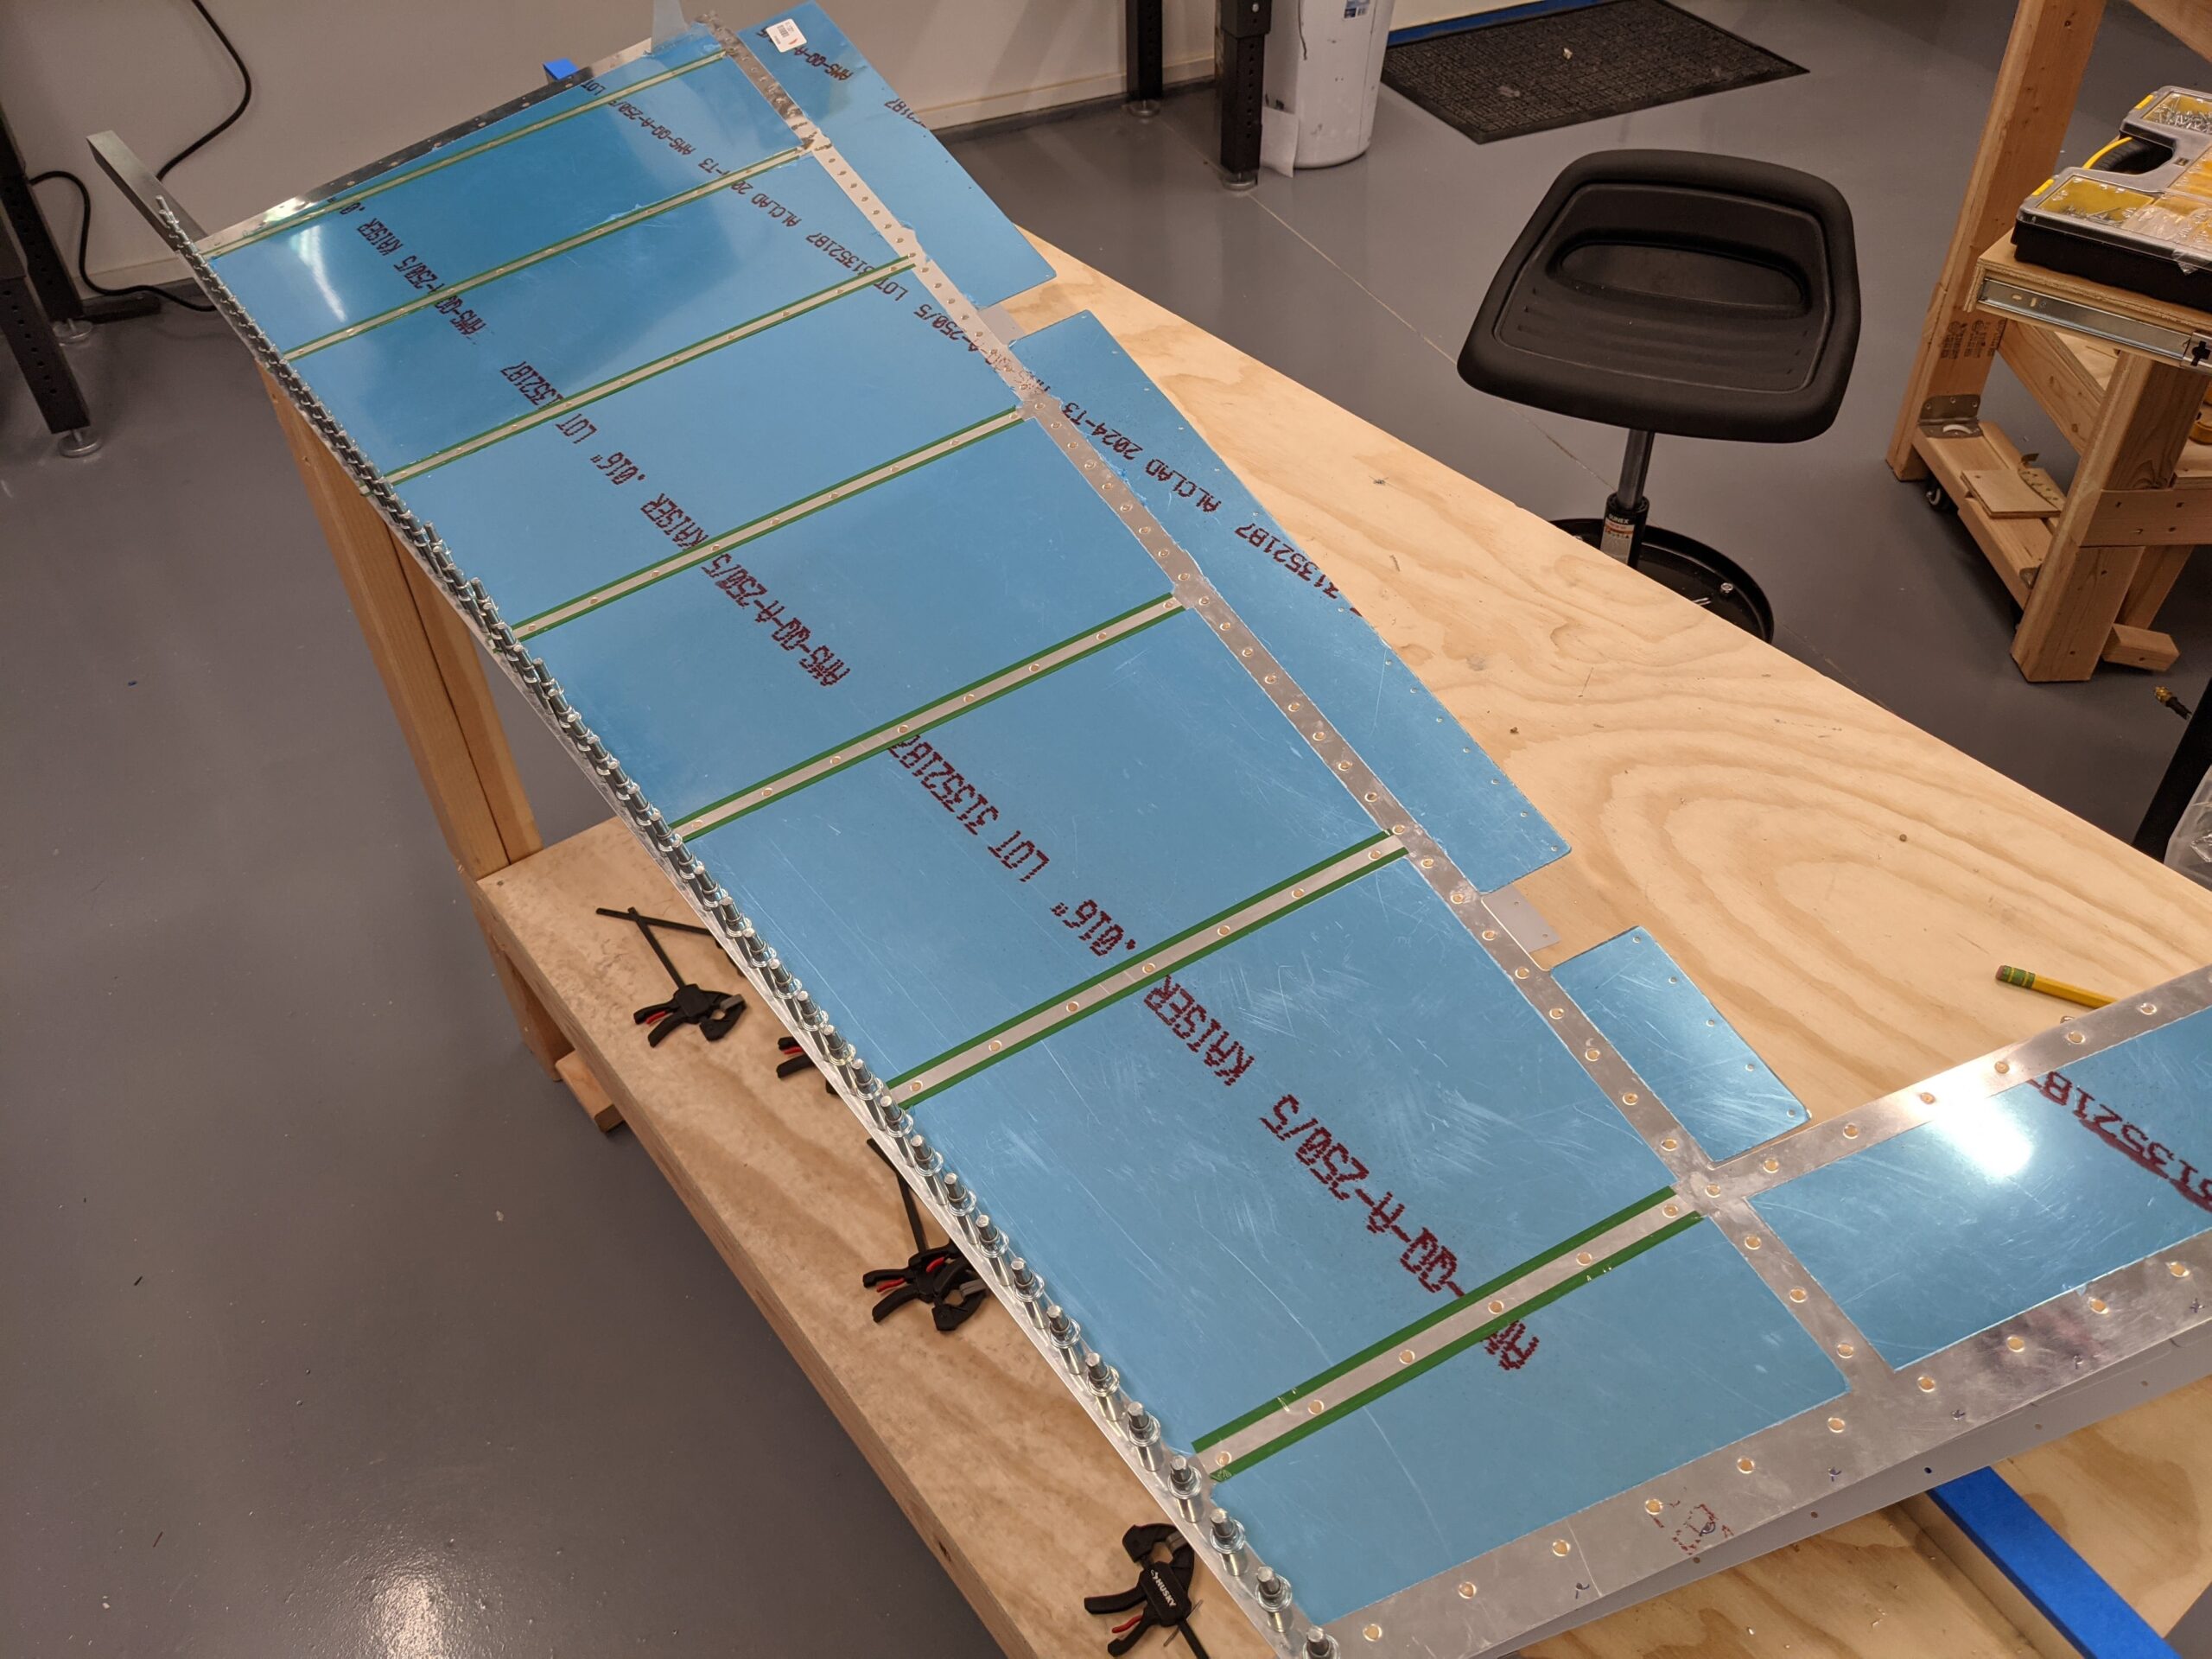
I then proceeded with attaching the left skin stiffeners and shear clips. This required some assistance from my wife to hold the skin and get the holes aligned. After getting a few stiffeners in place I noticed that one of my blind rivets wasn’t set correctly (it had partially squeezed on the factory head side of the stiffener). Such are the way things seem to go when you are making good progress. After exploring a few options for getting into the tight space between the skins we figured out a way to remove the rivet without causing harm. After a solid 30 minutes we were able to make forward progress again.
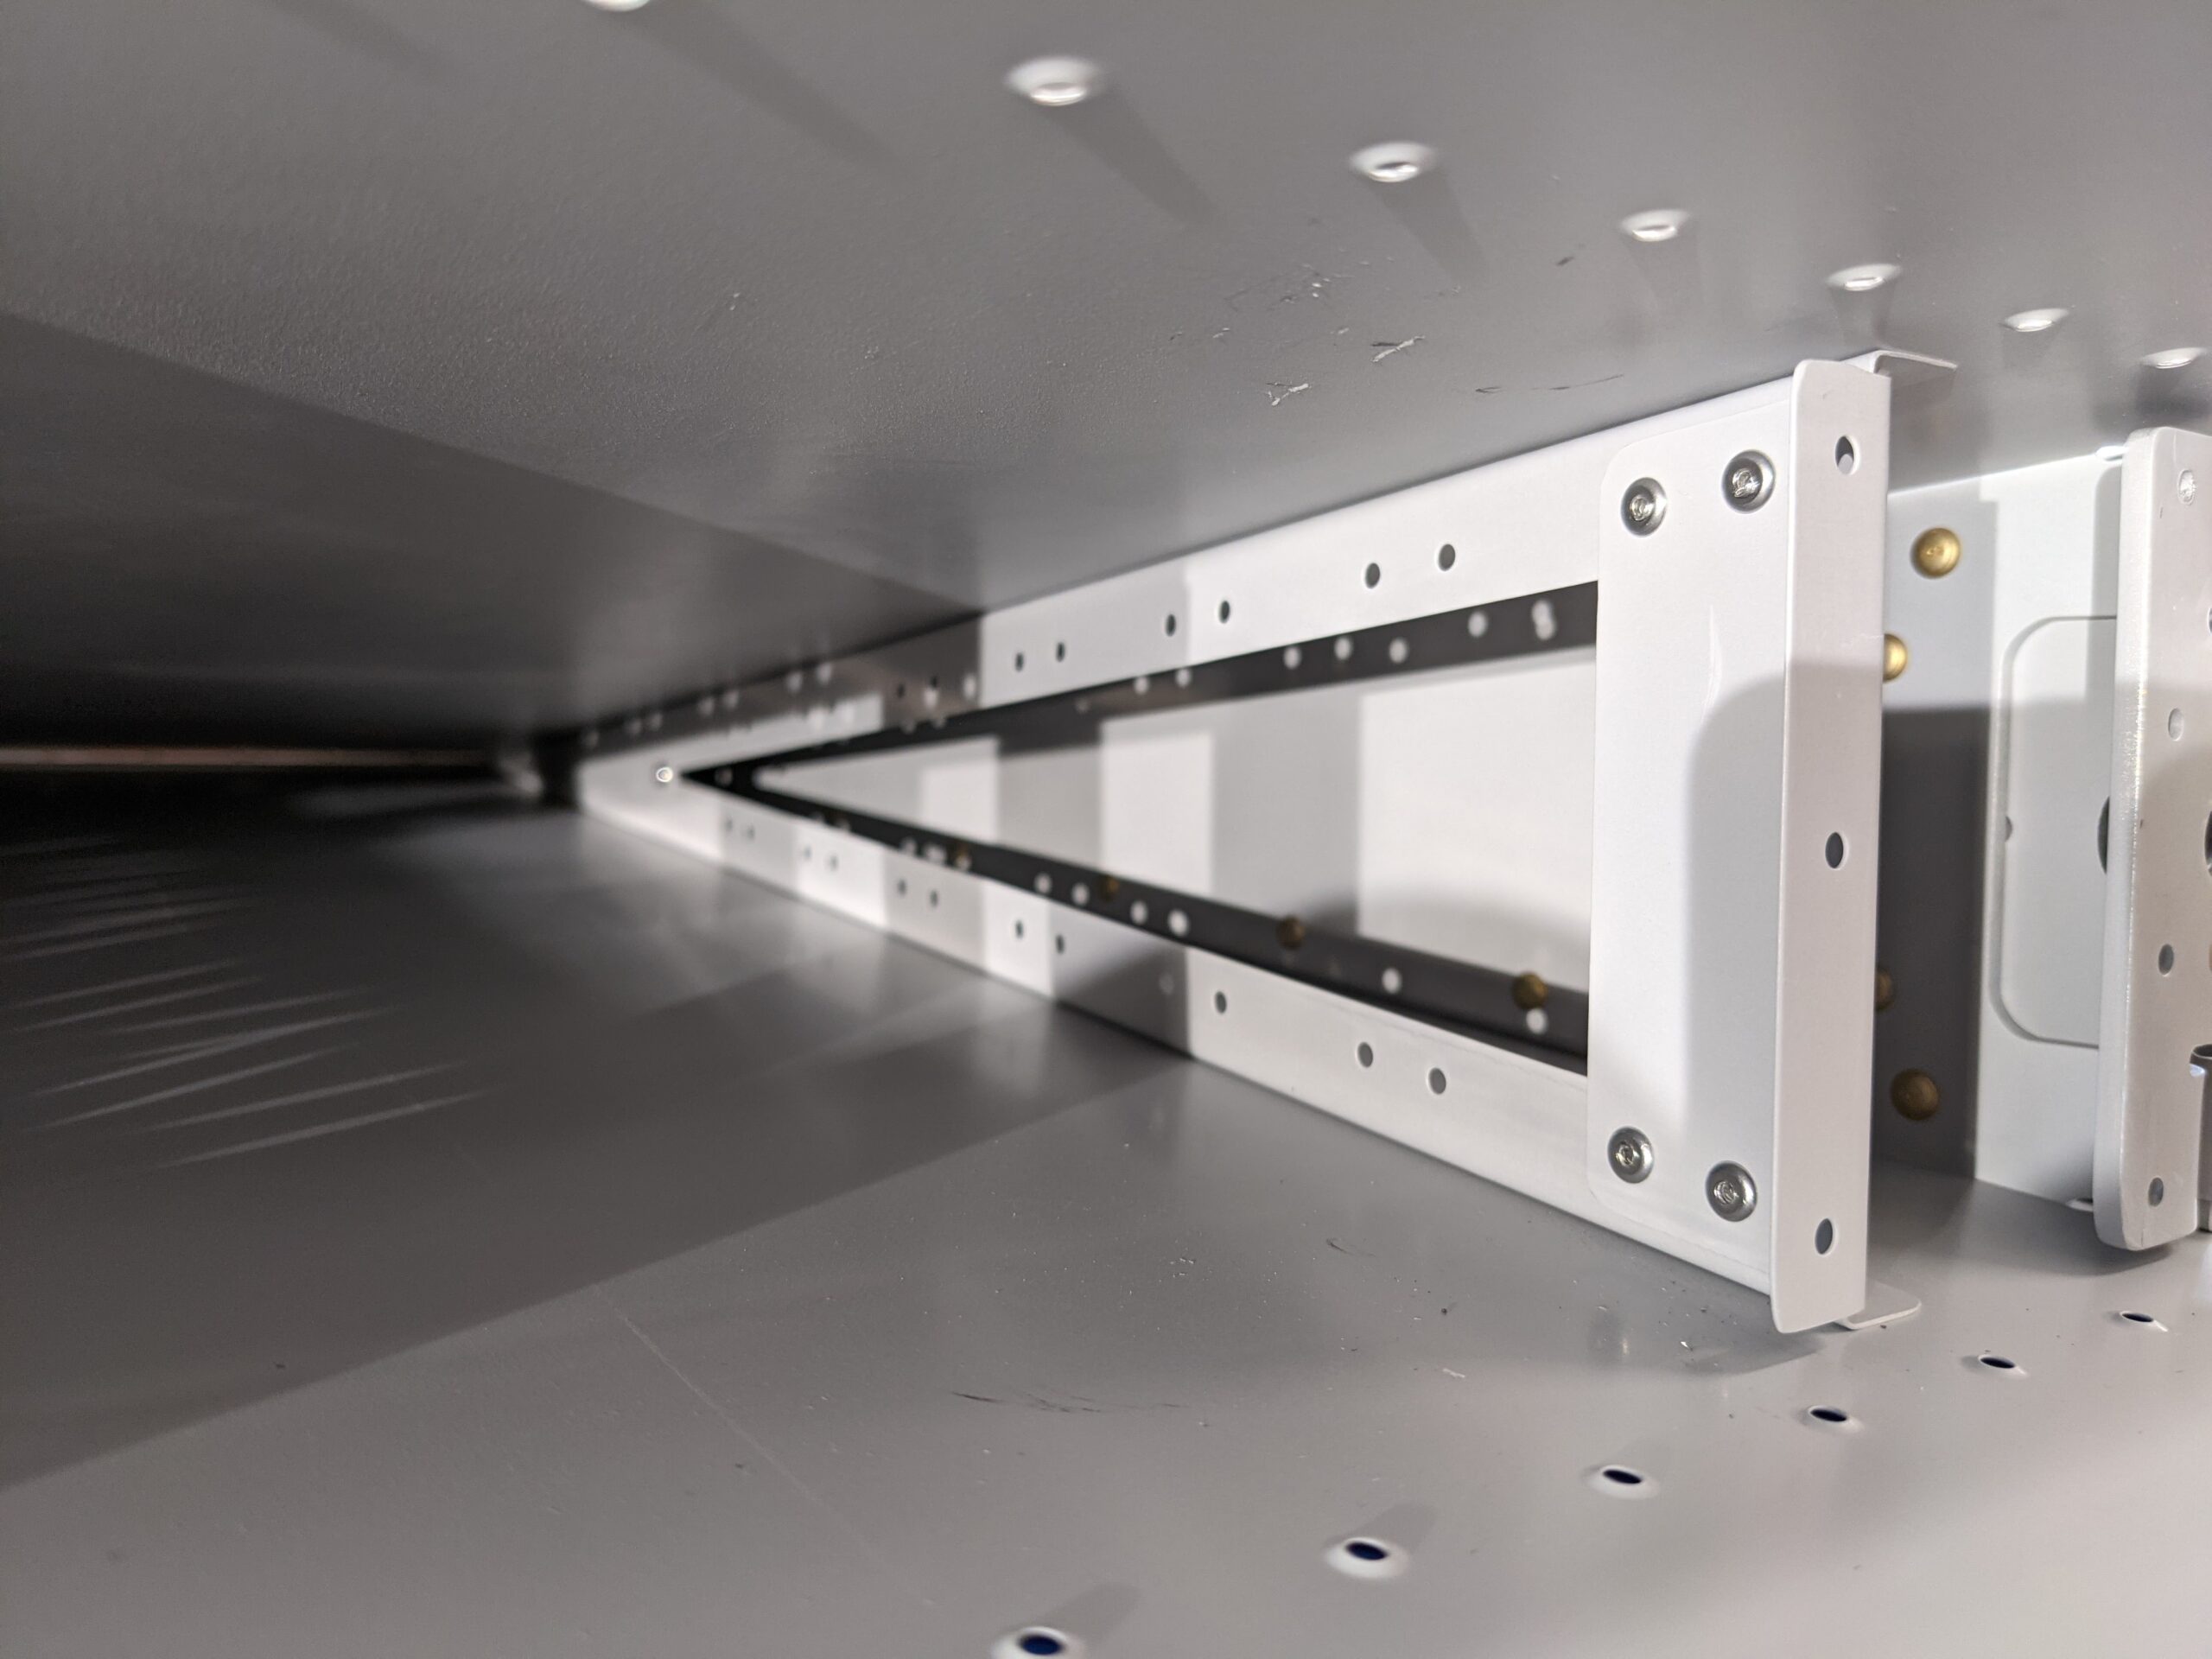
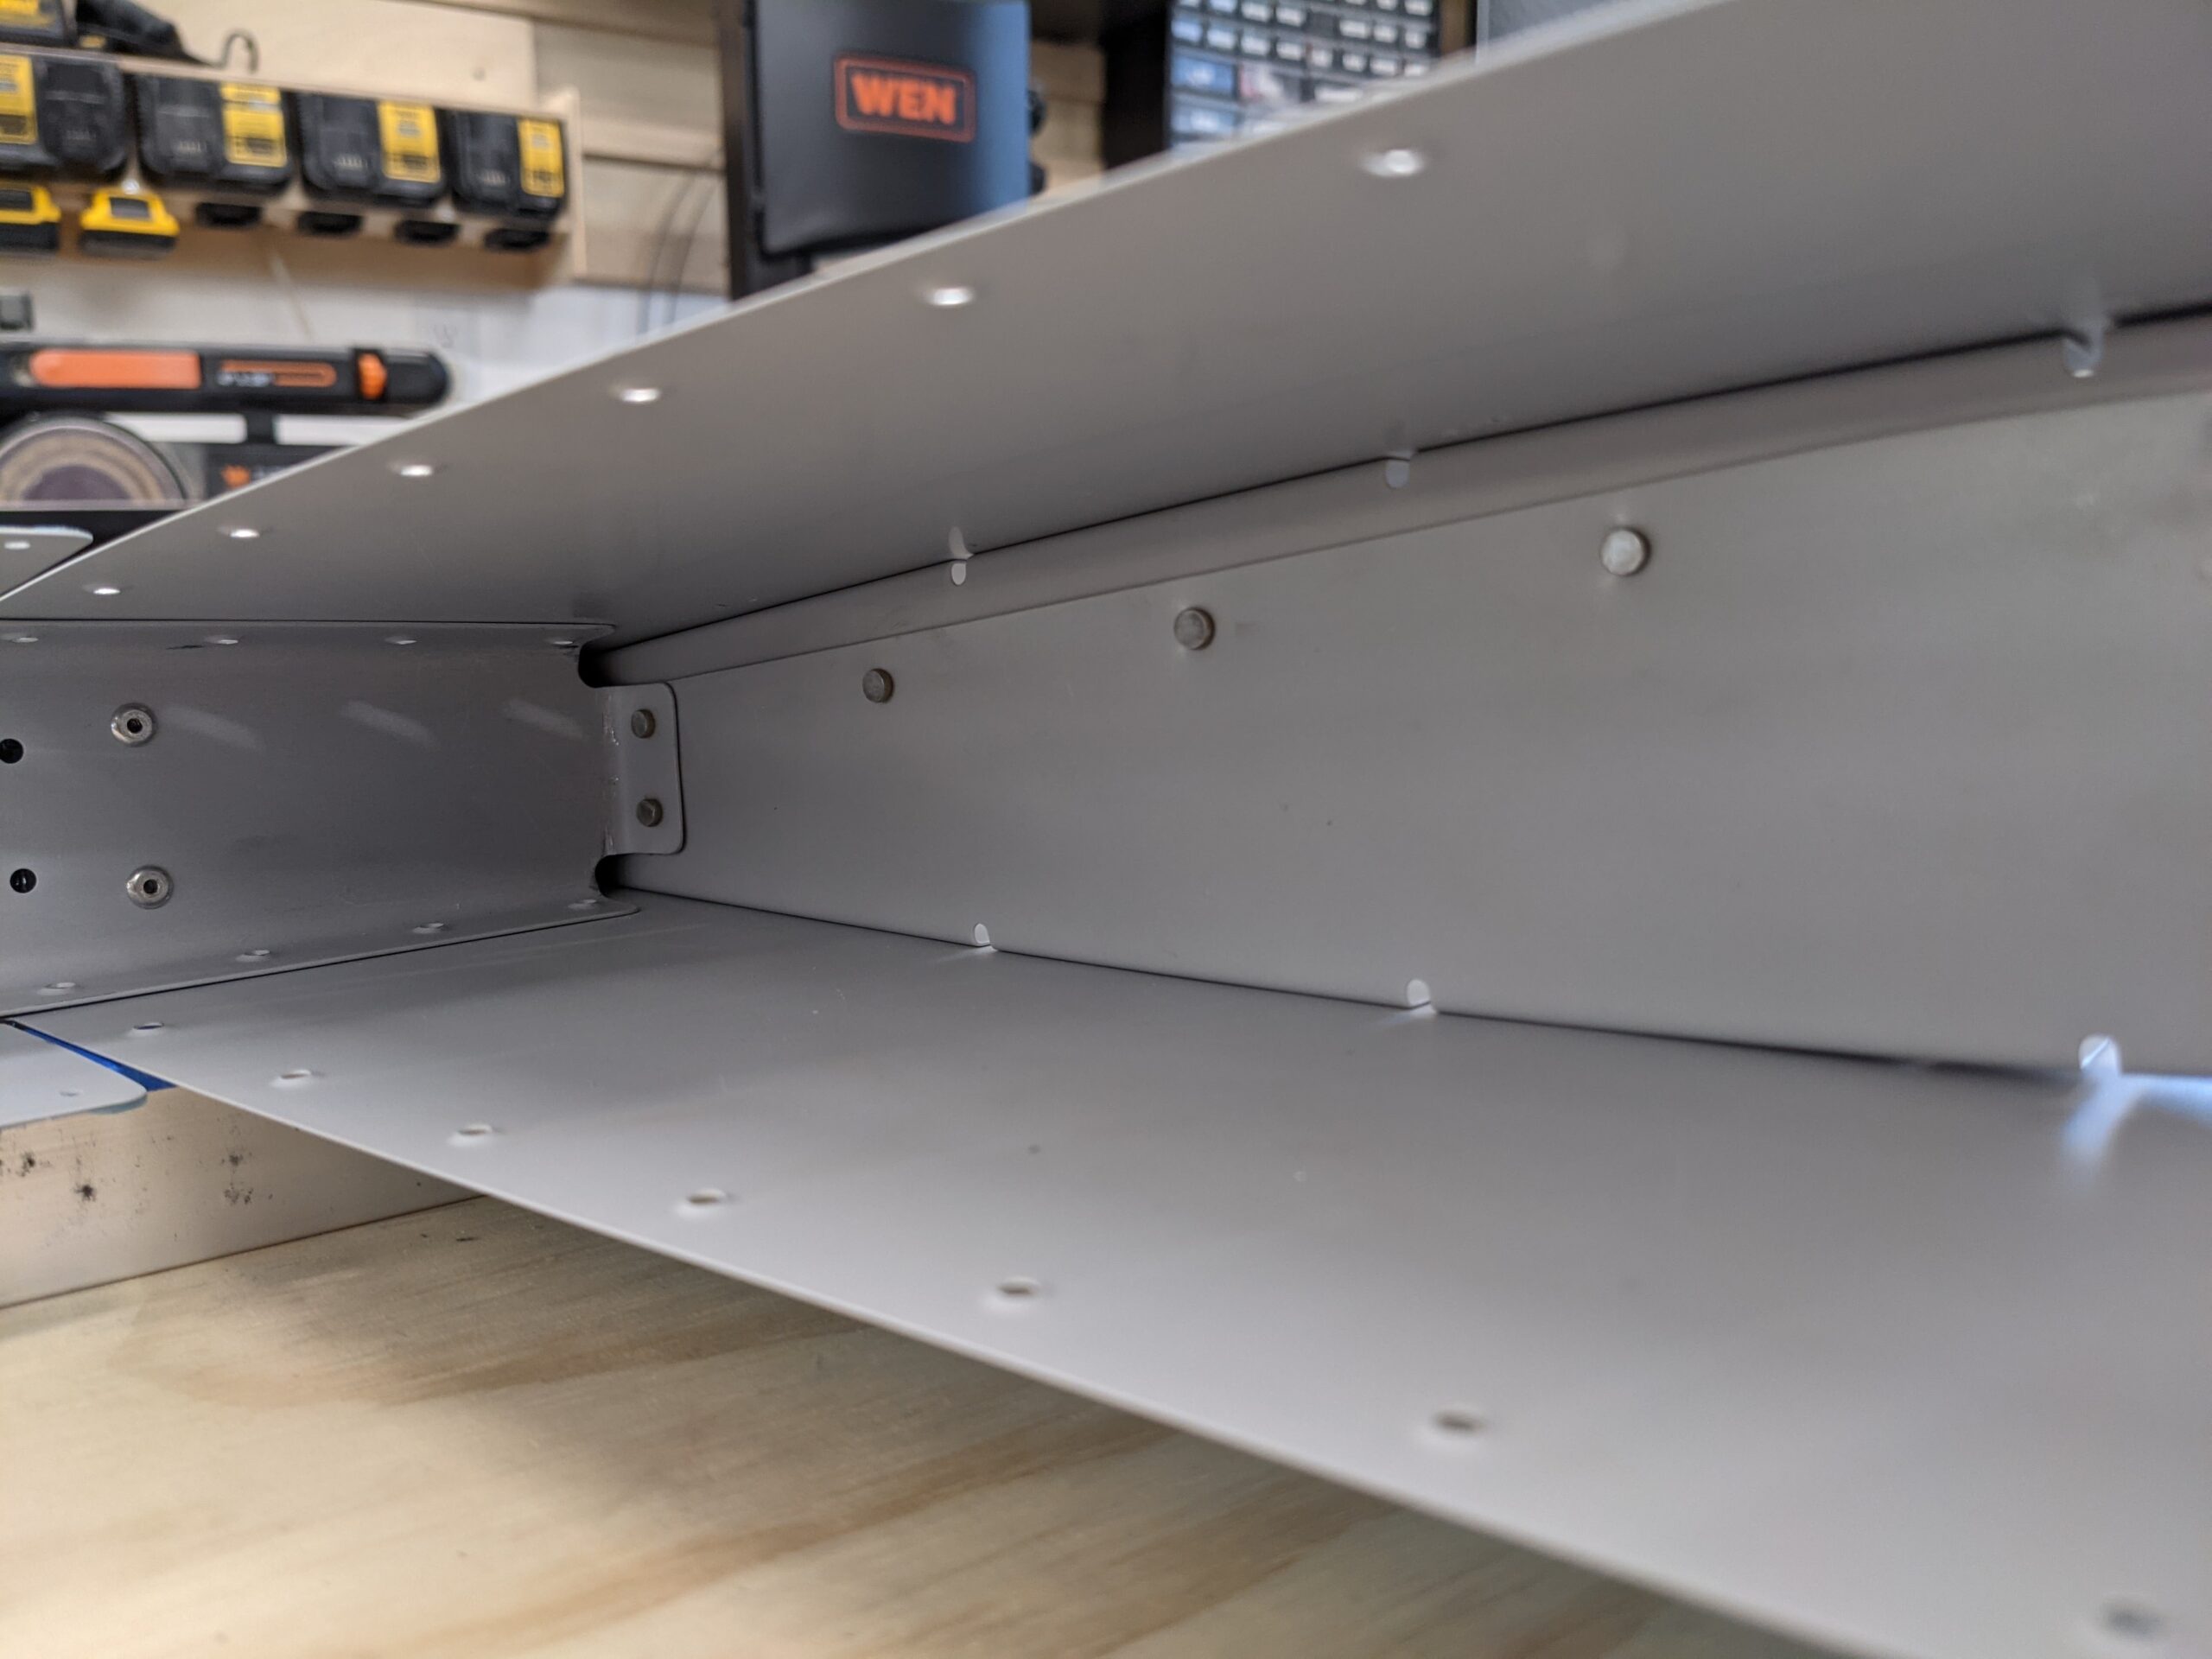
Next up is attaching the rear spar to the shear clips. More blind rivets.
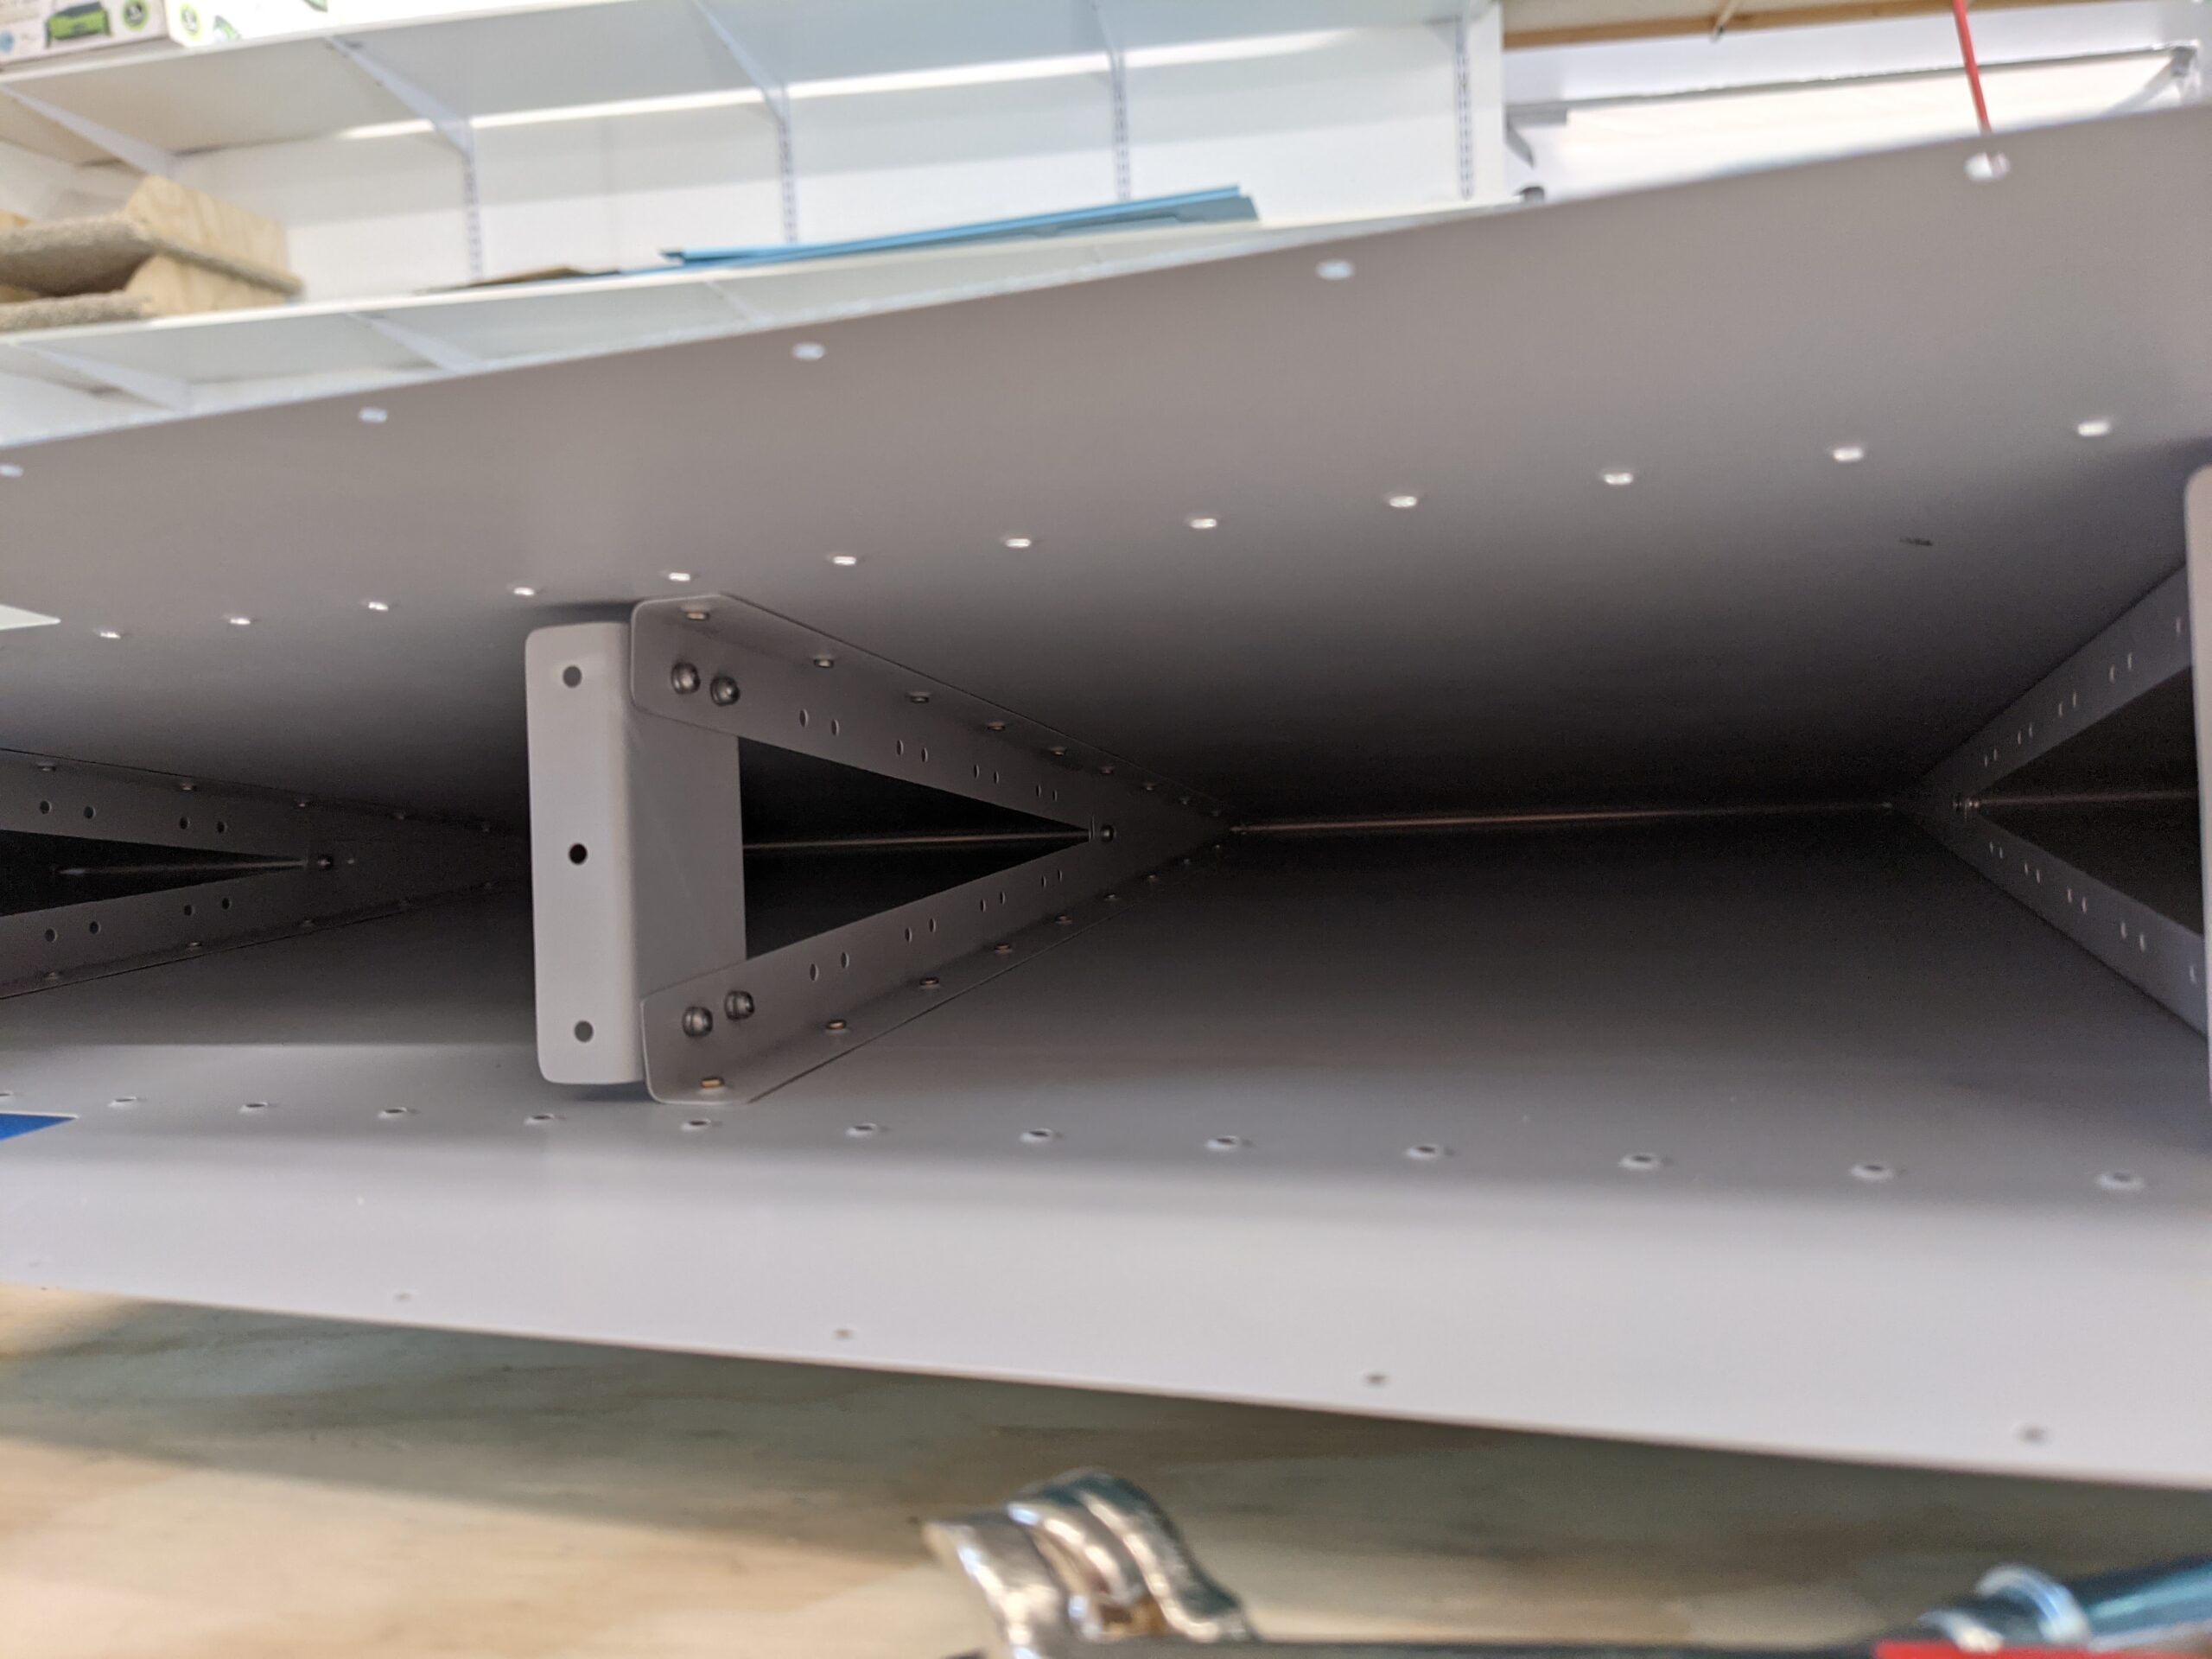
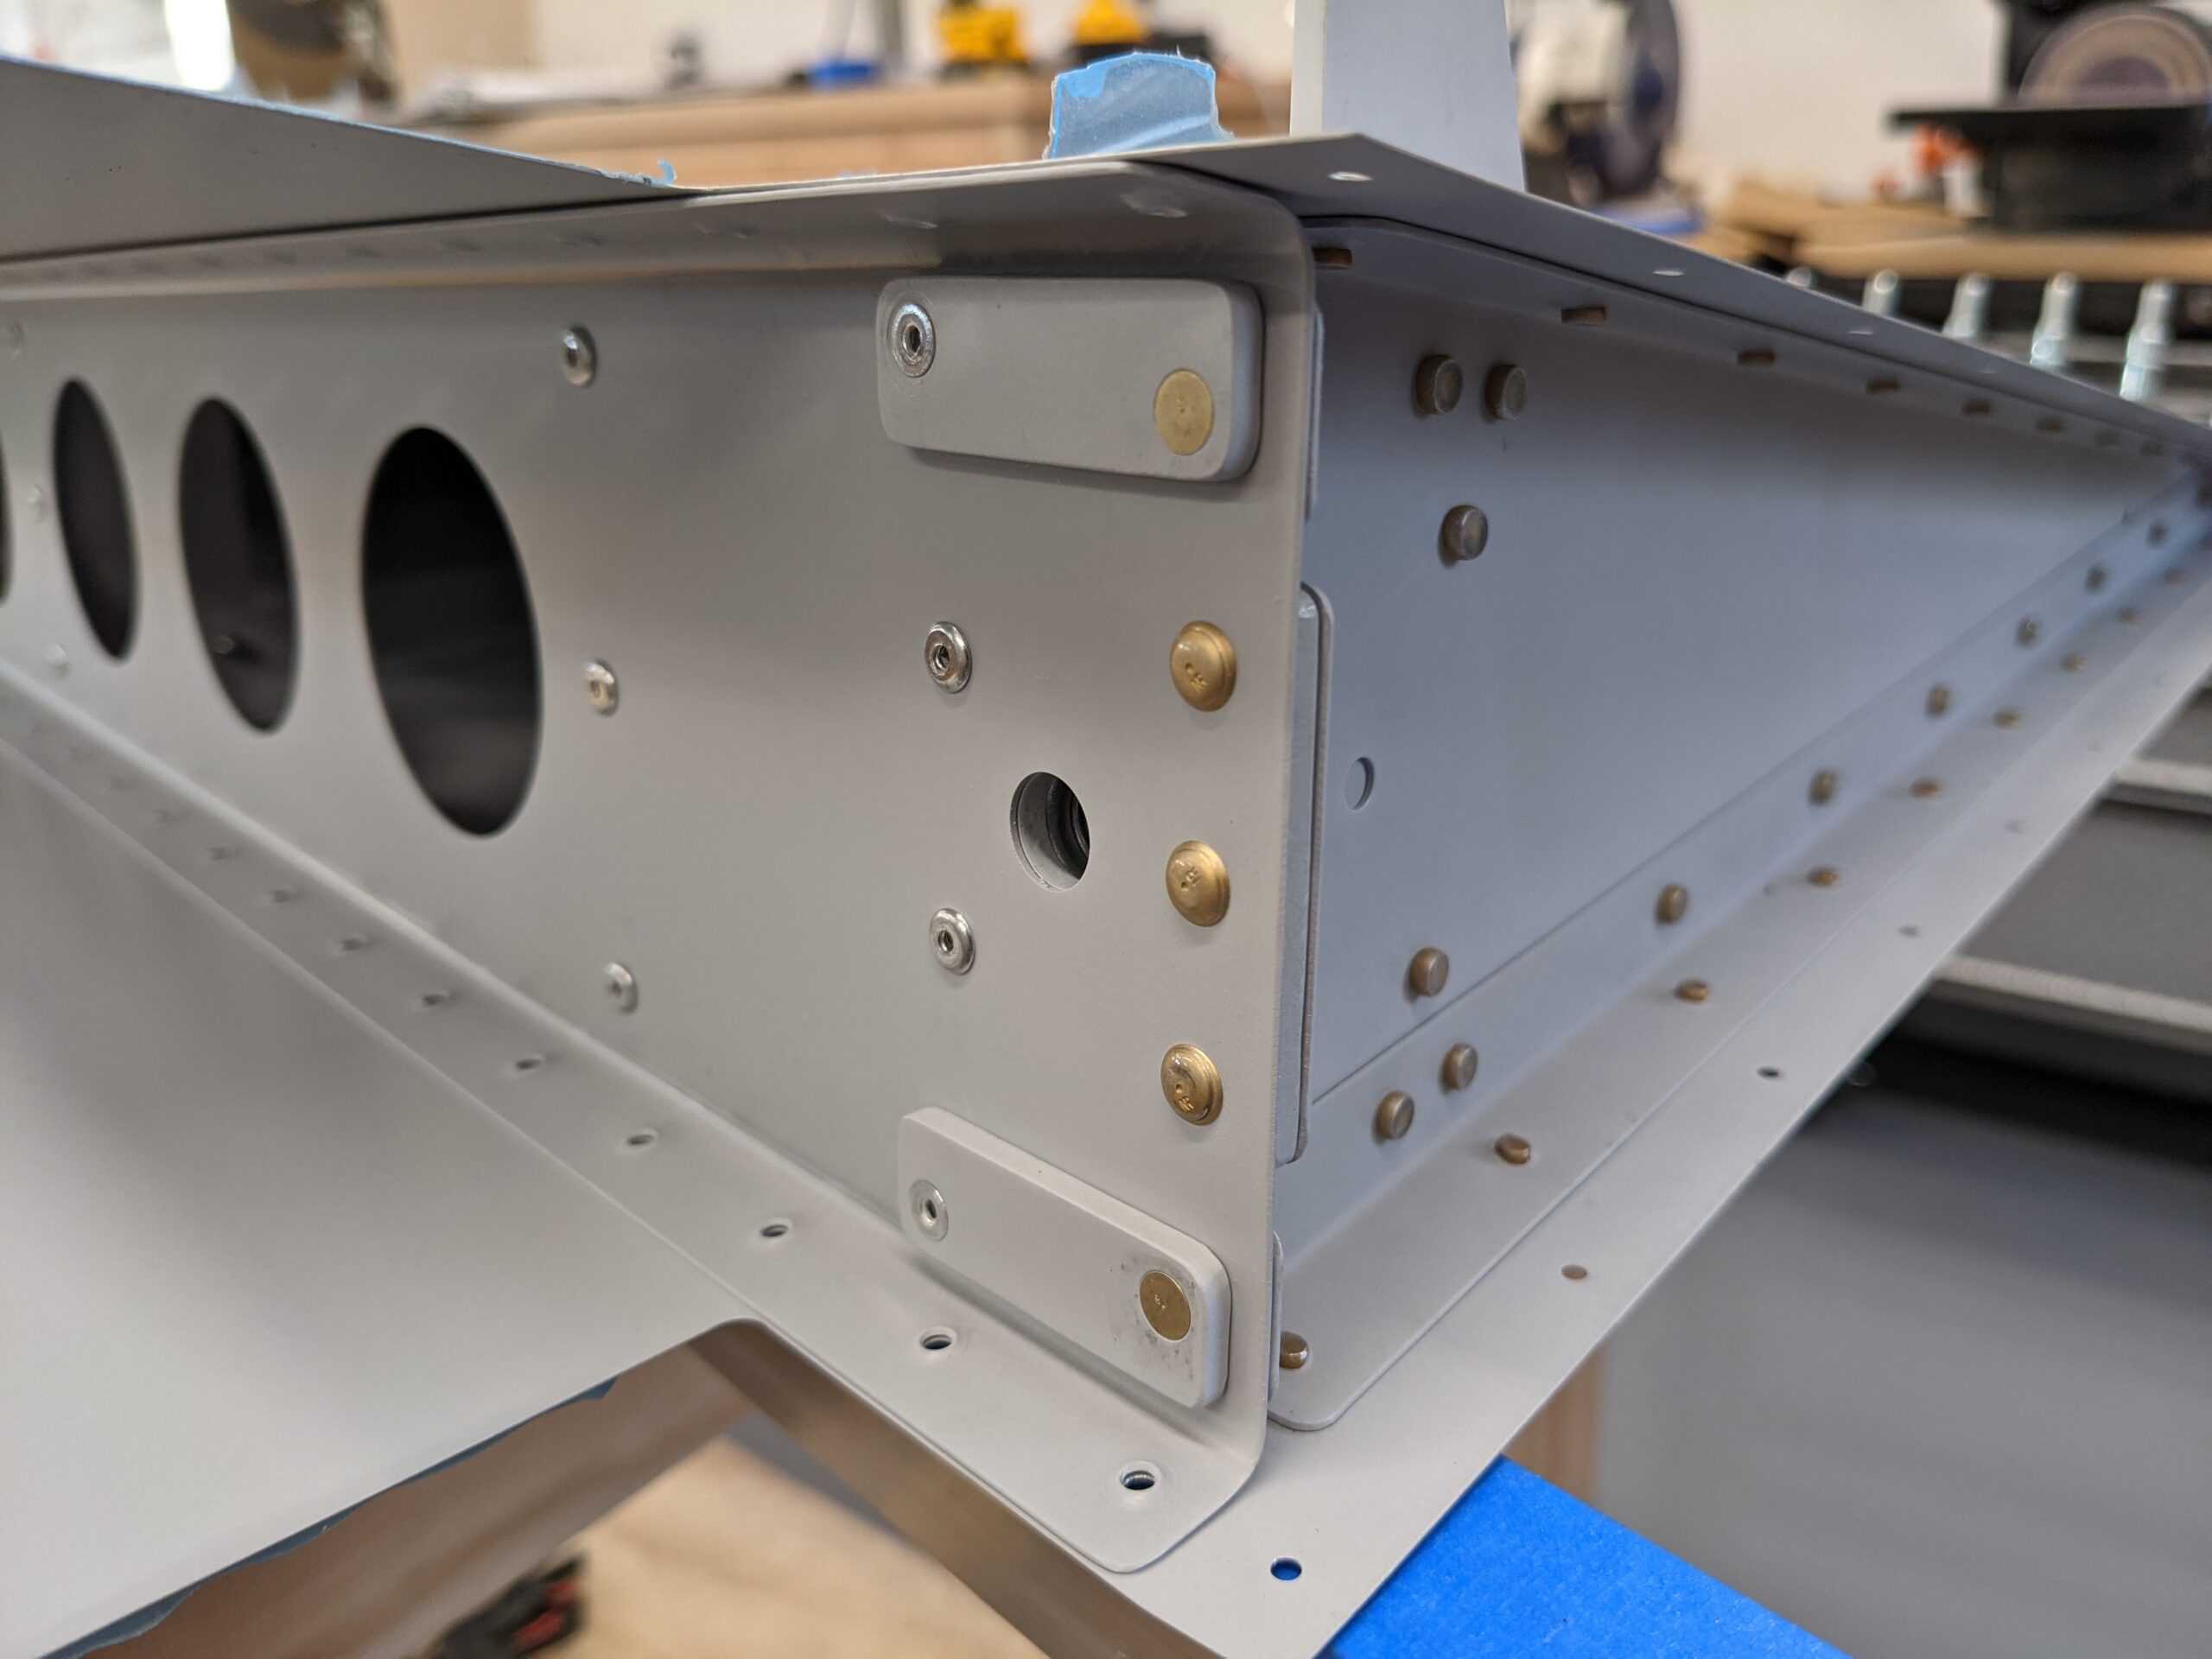
Now that rear spar is in place we rivet the rear spar to the rudder horn and attach the rudder stop plates. This is a mix of blind rivets and solid rivets.
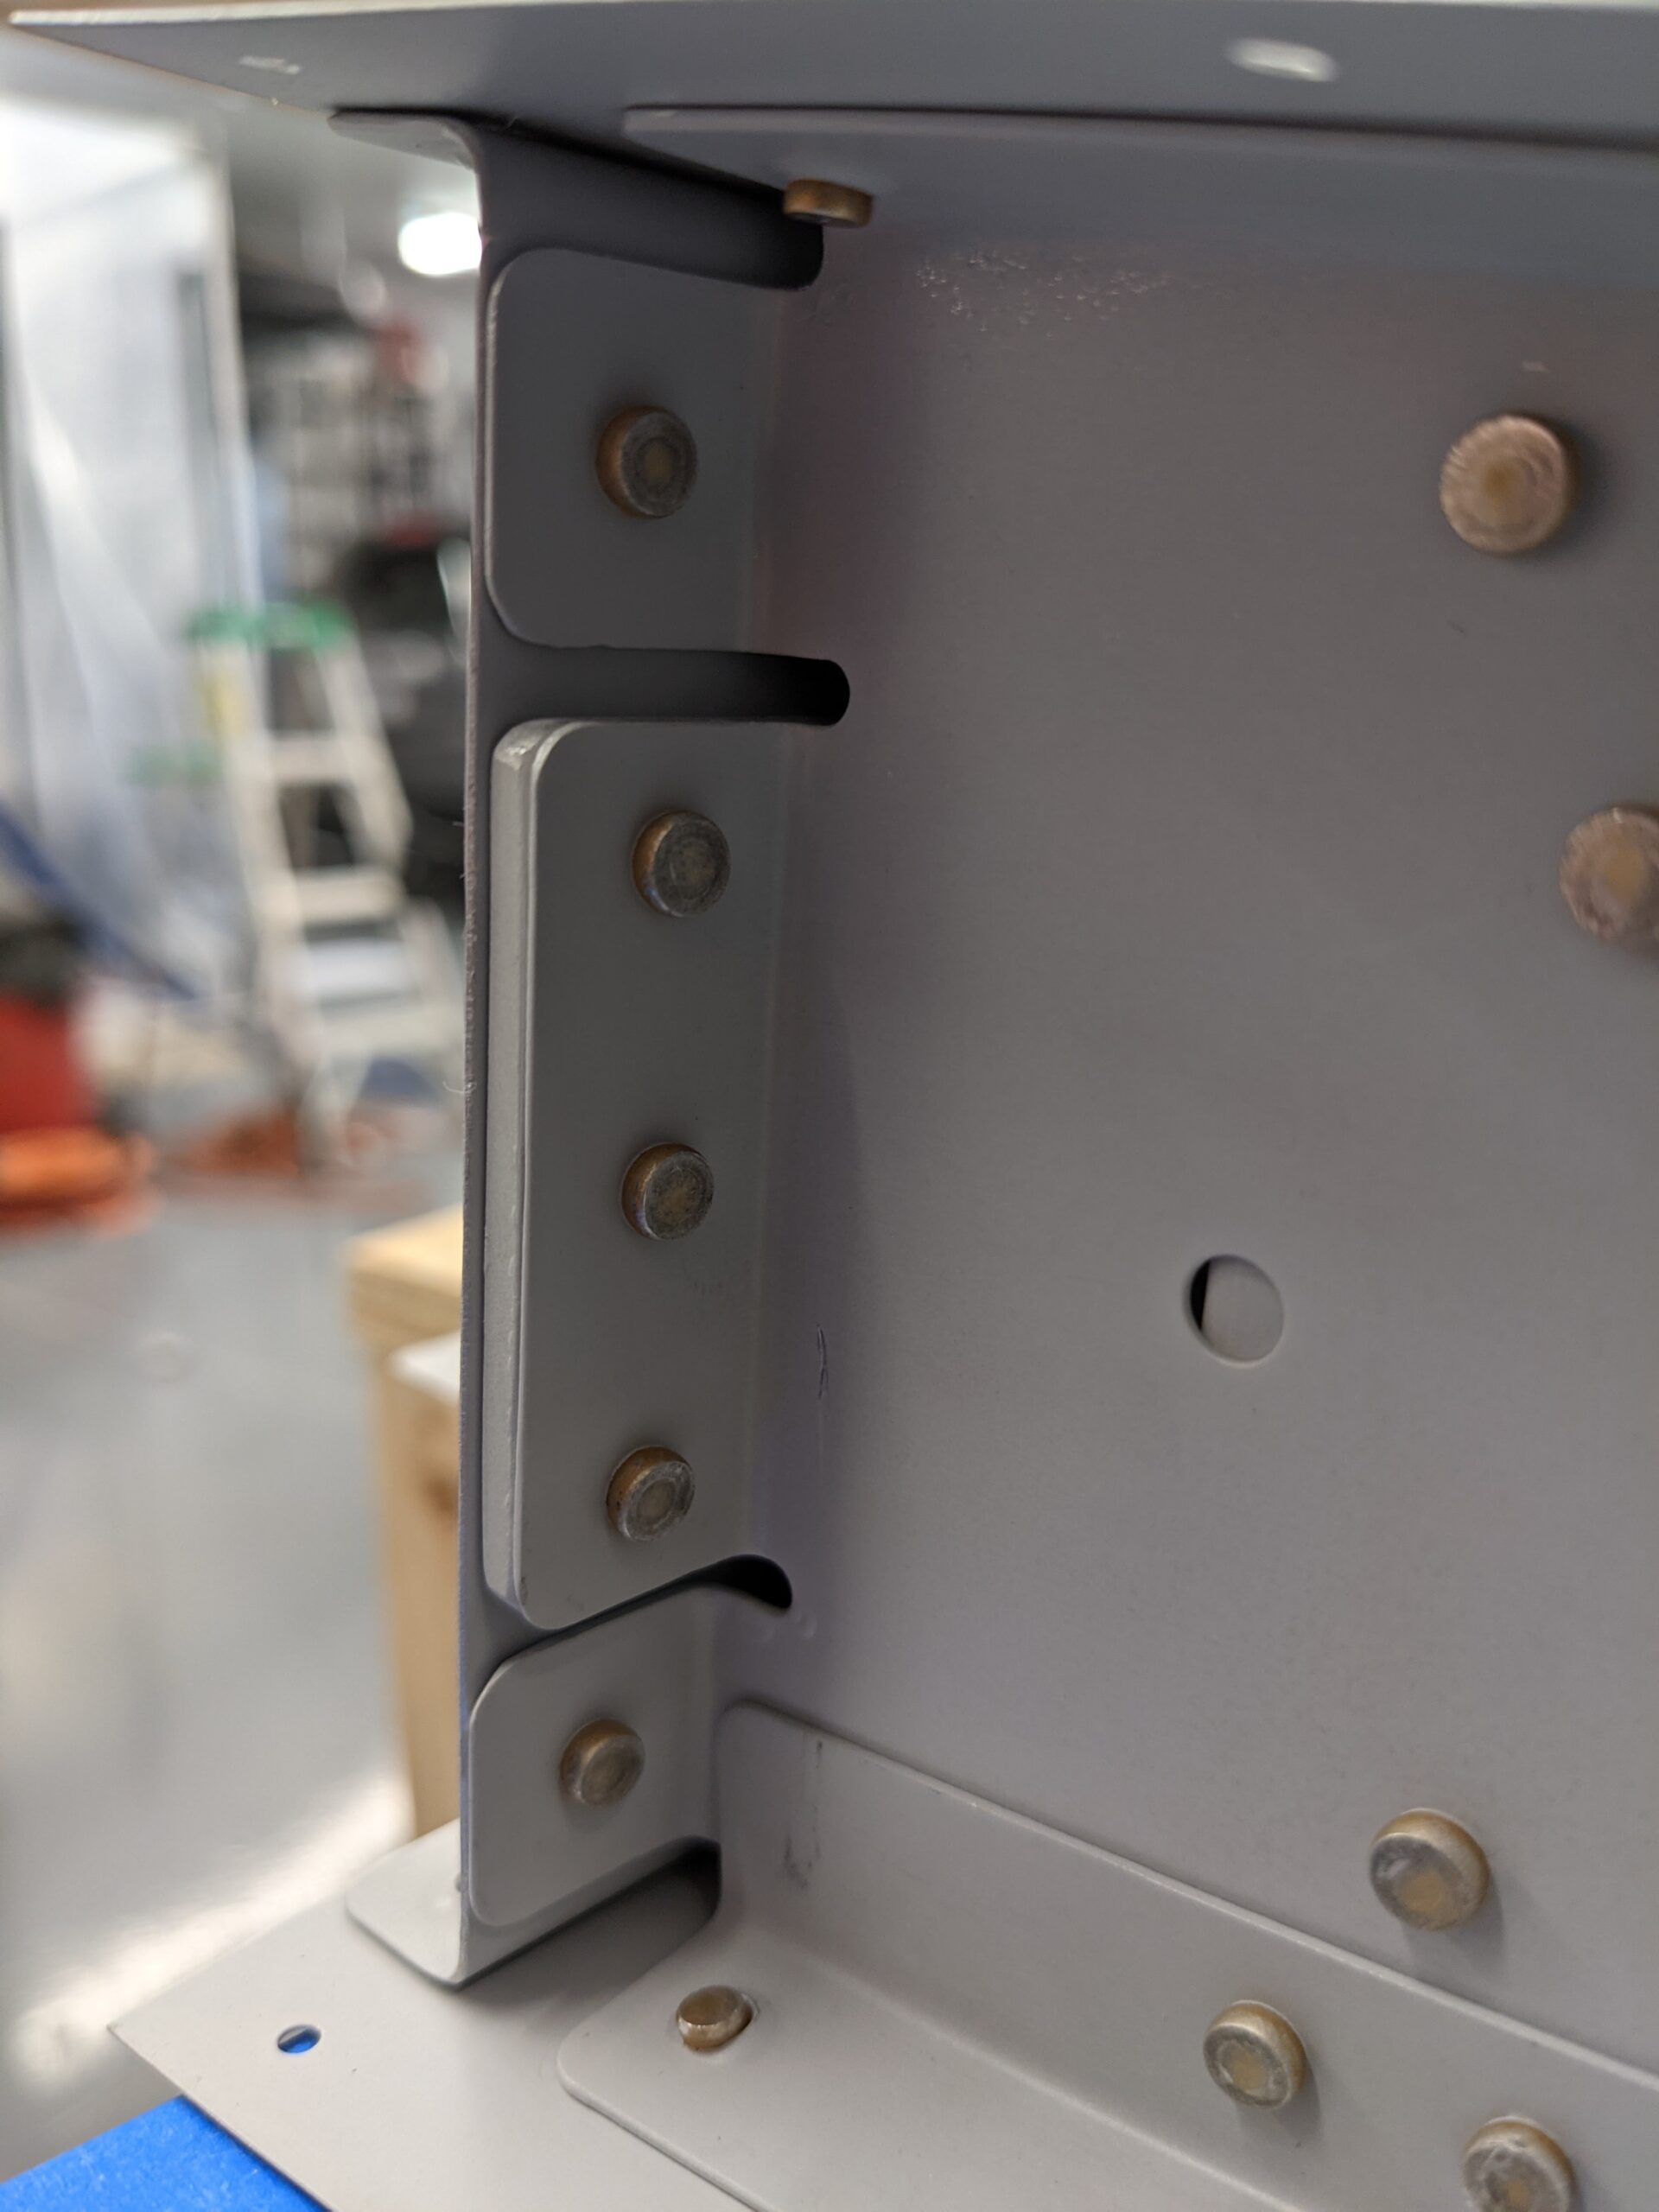
After this is complete the top rib halves are riveted together and riveted to the top of the rear spar.
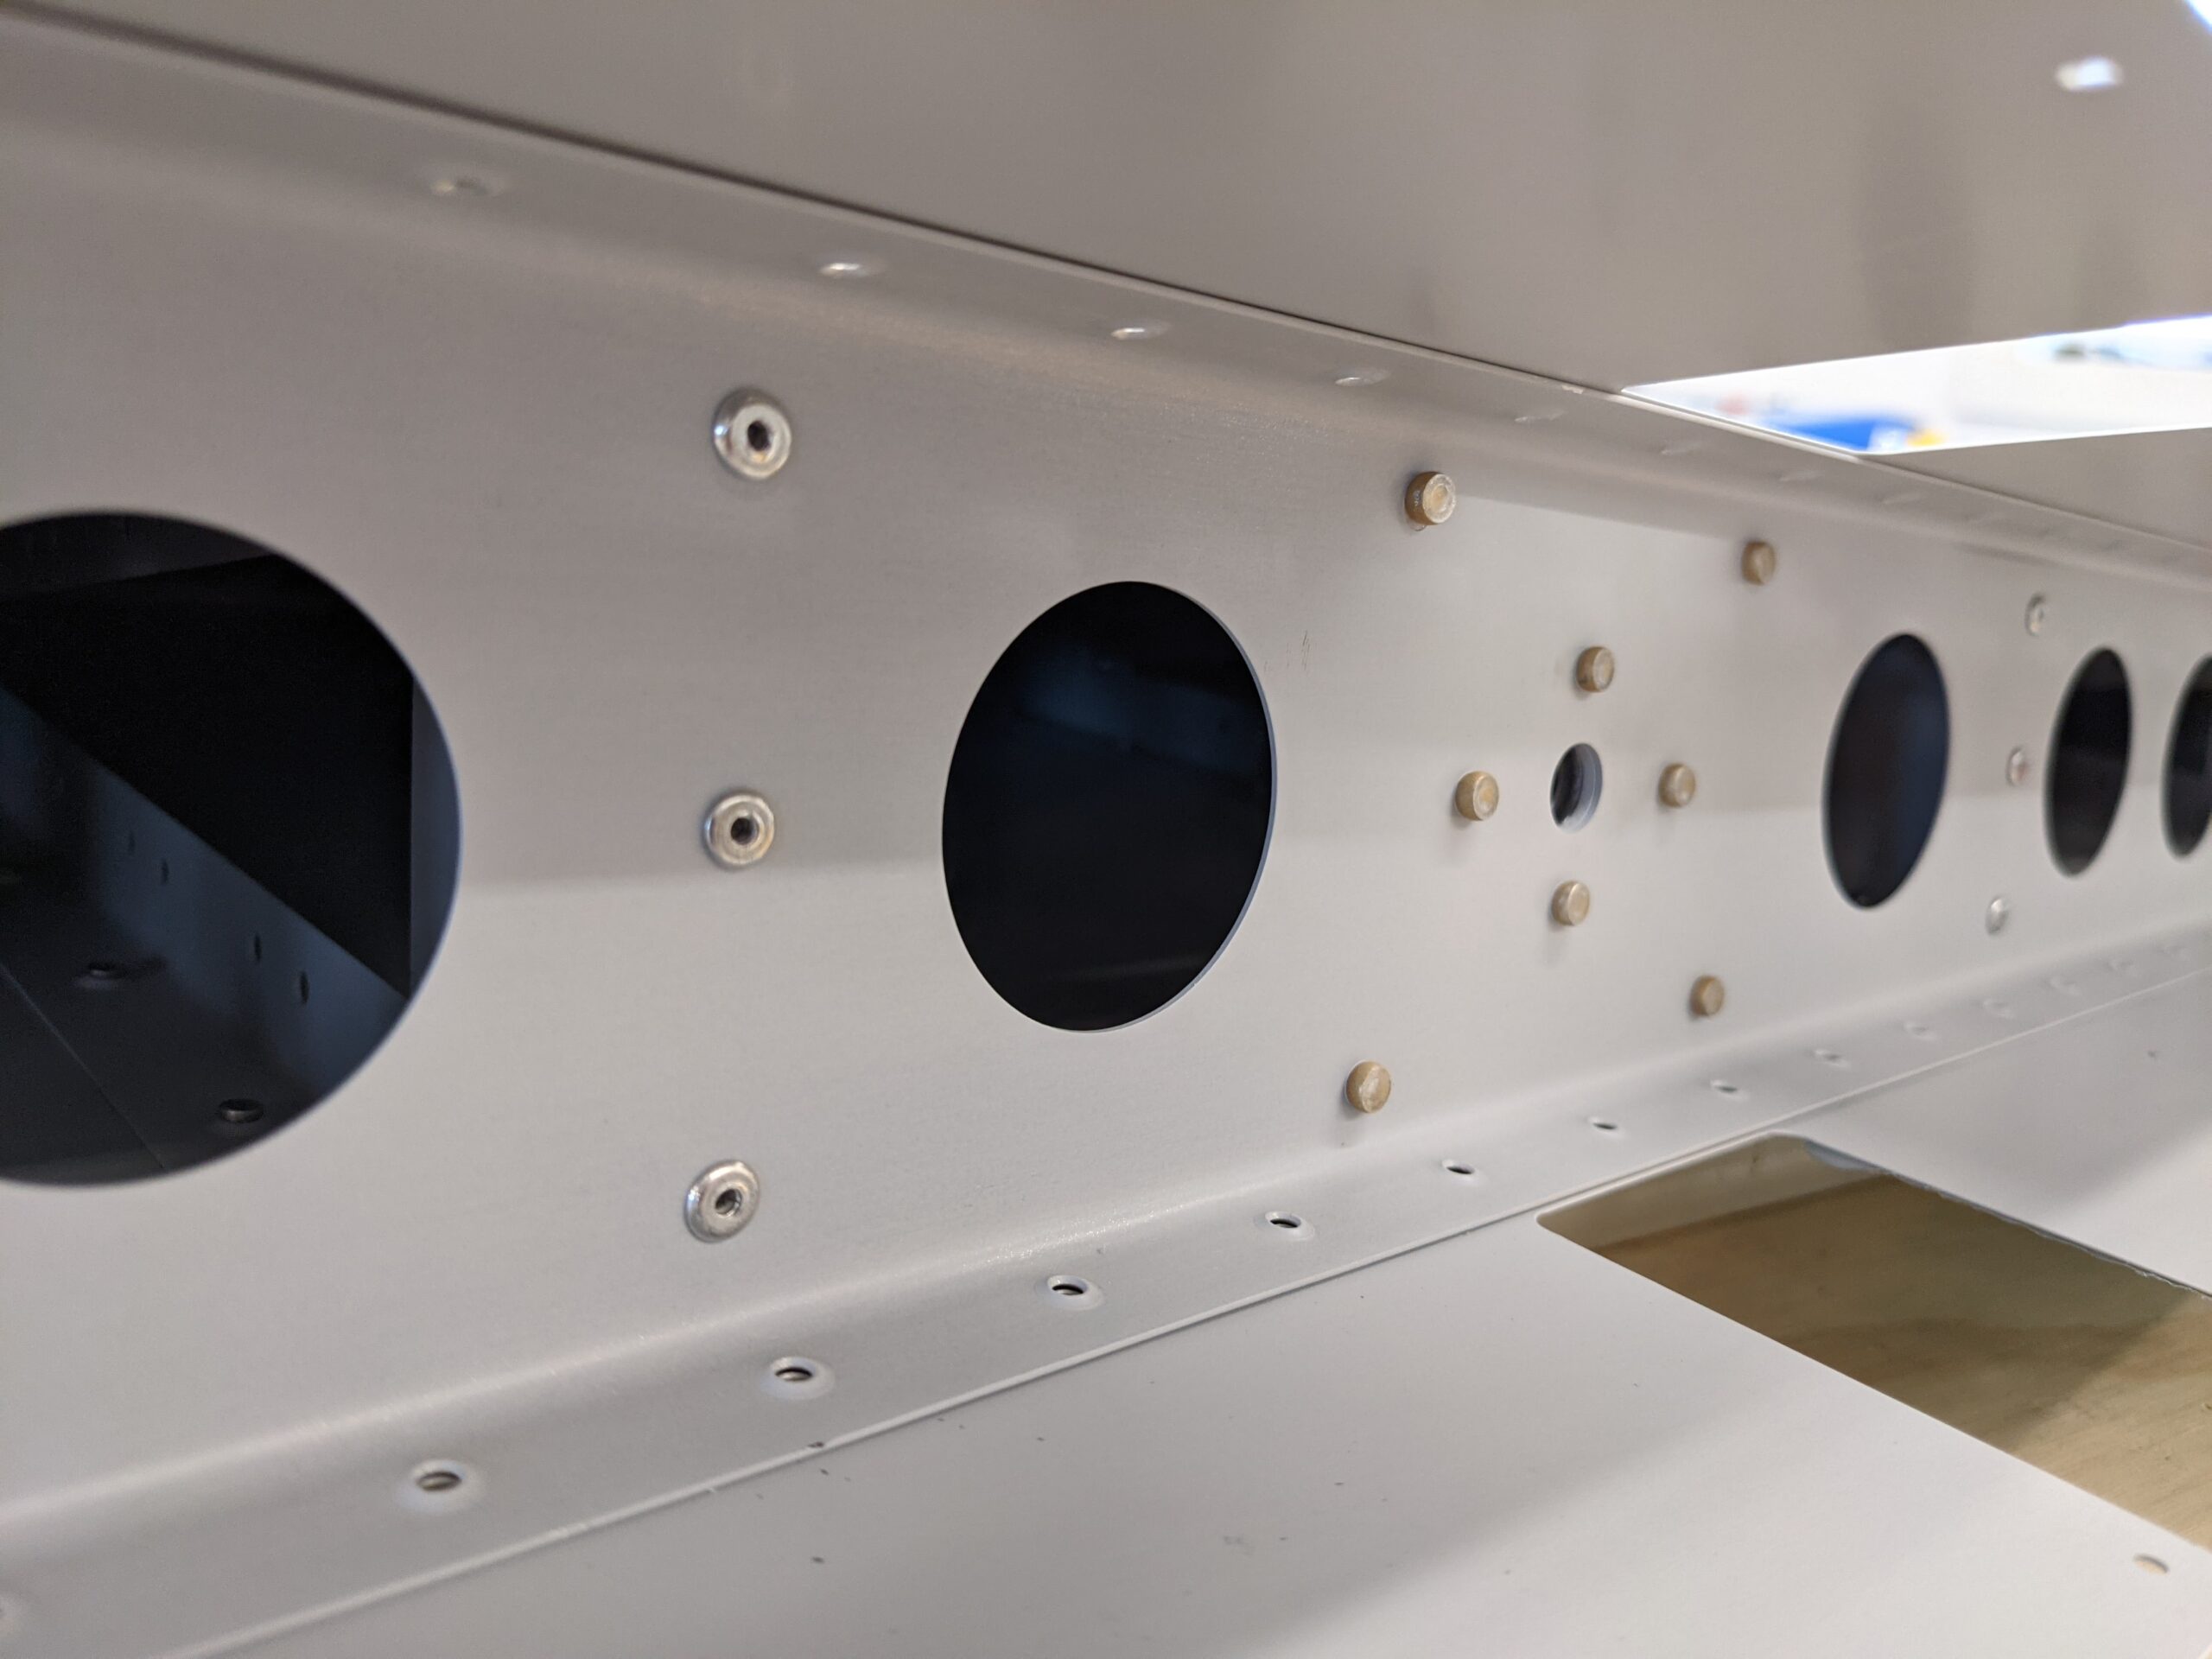
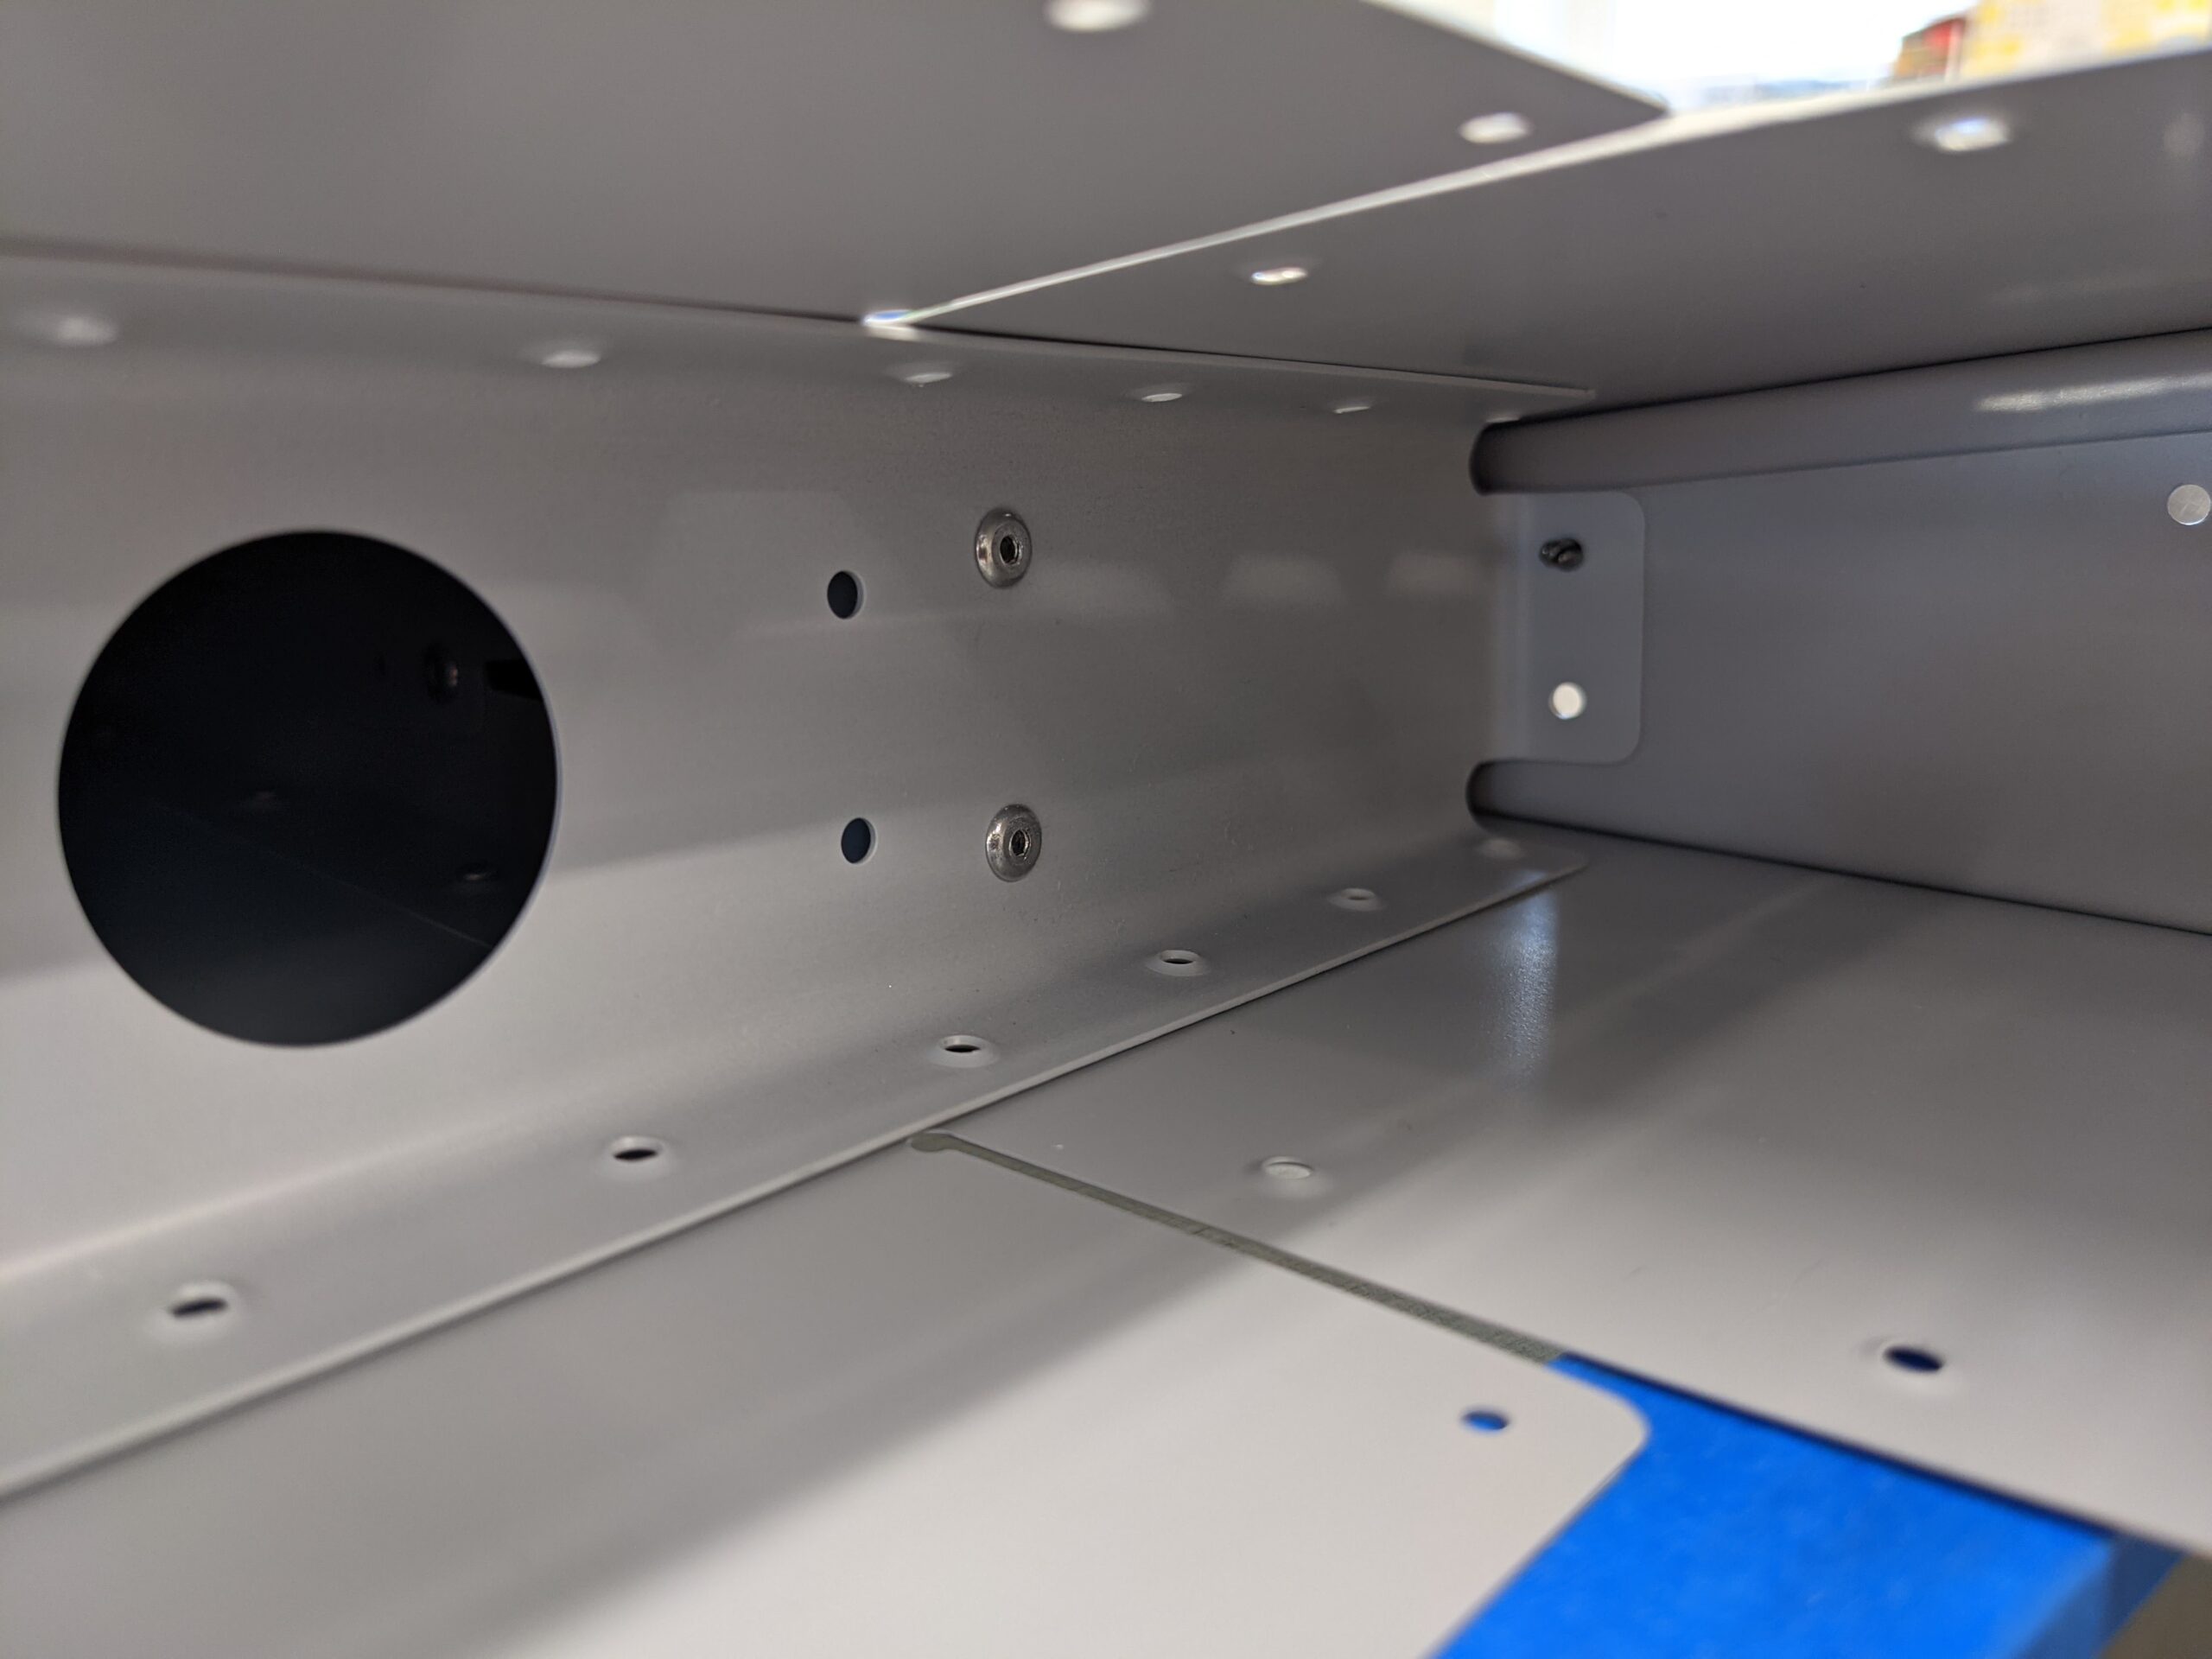
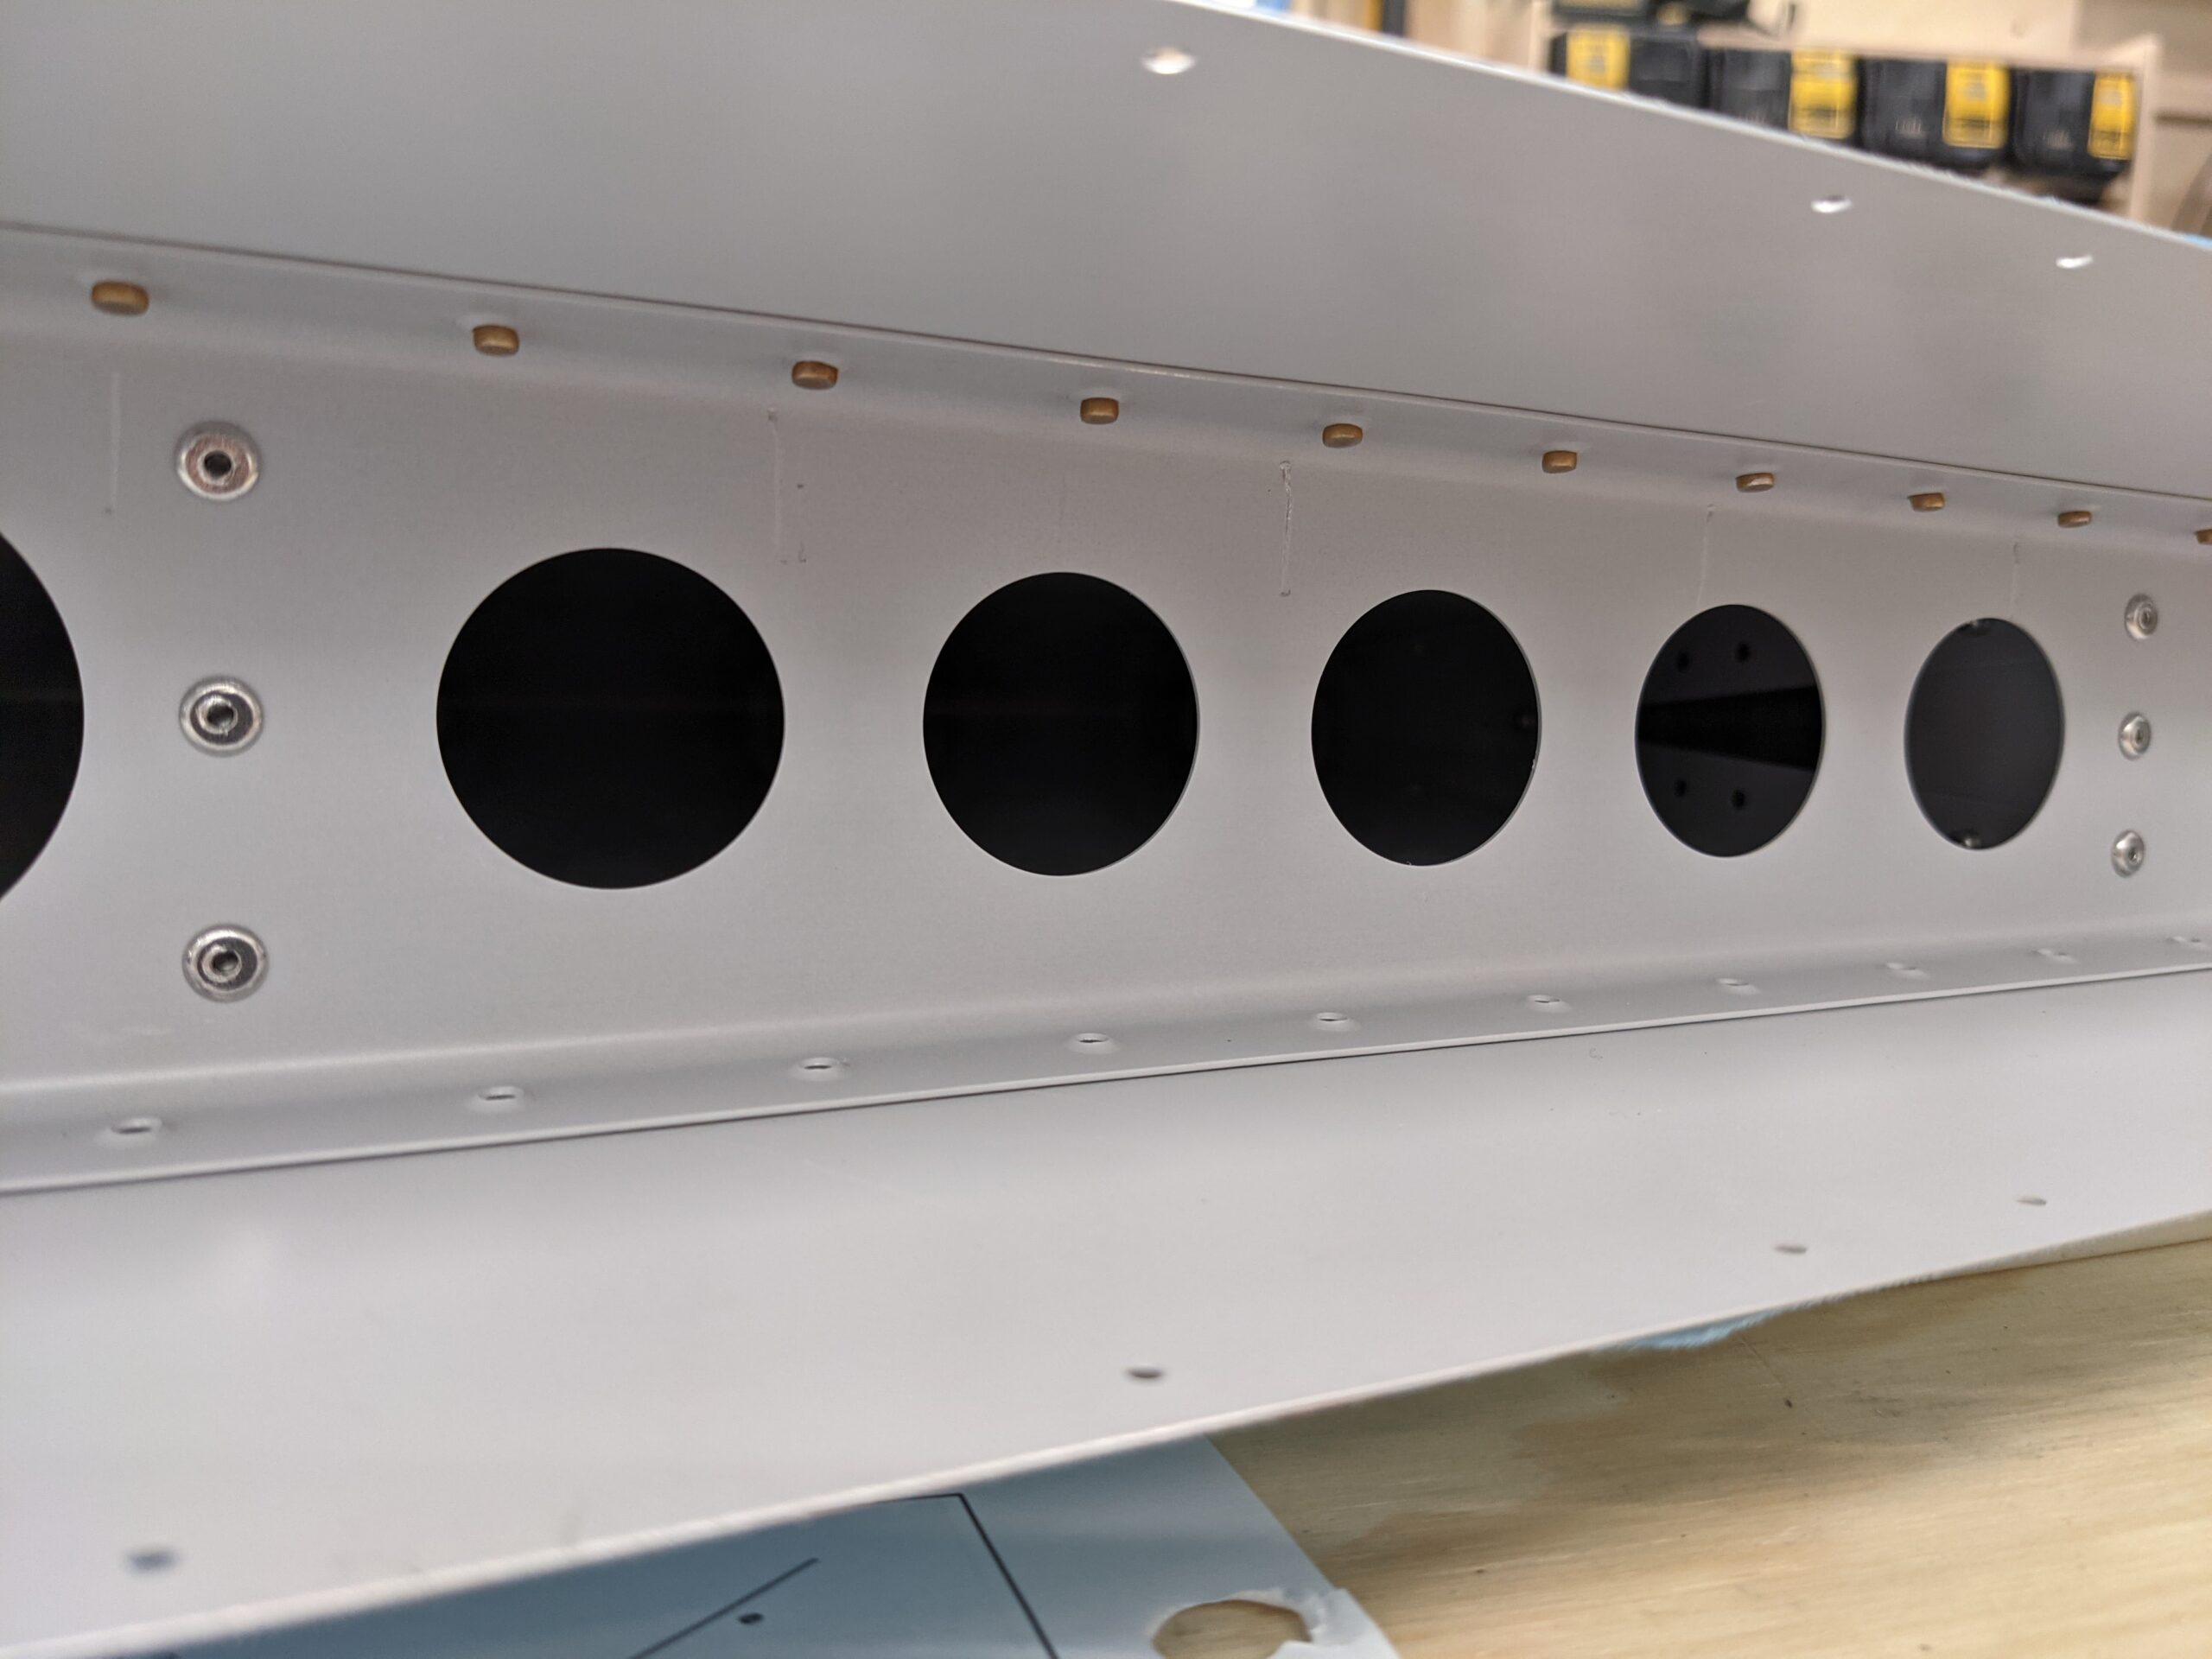
Once this is complete the skins are riveted to the rear spar. I was able to use the pneumatic squeezer for all of these by using a 4″ thin nose yoke.
The final step before riveting the trailing edge is to attach the counterweight rib.
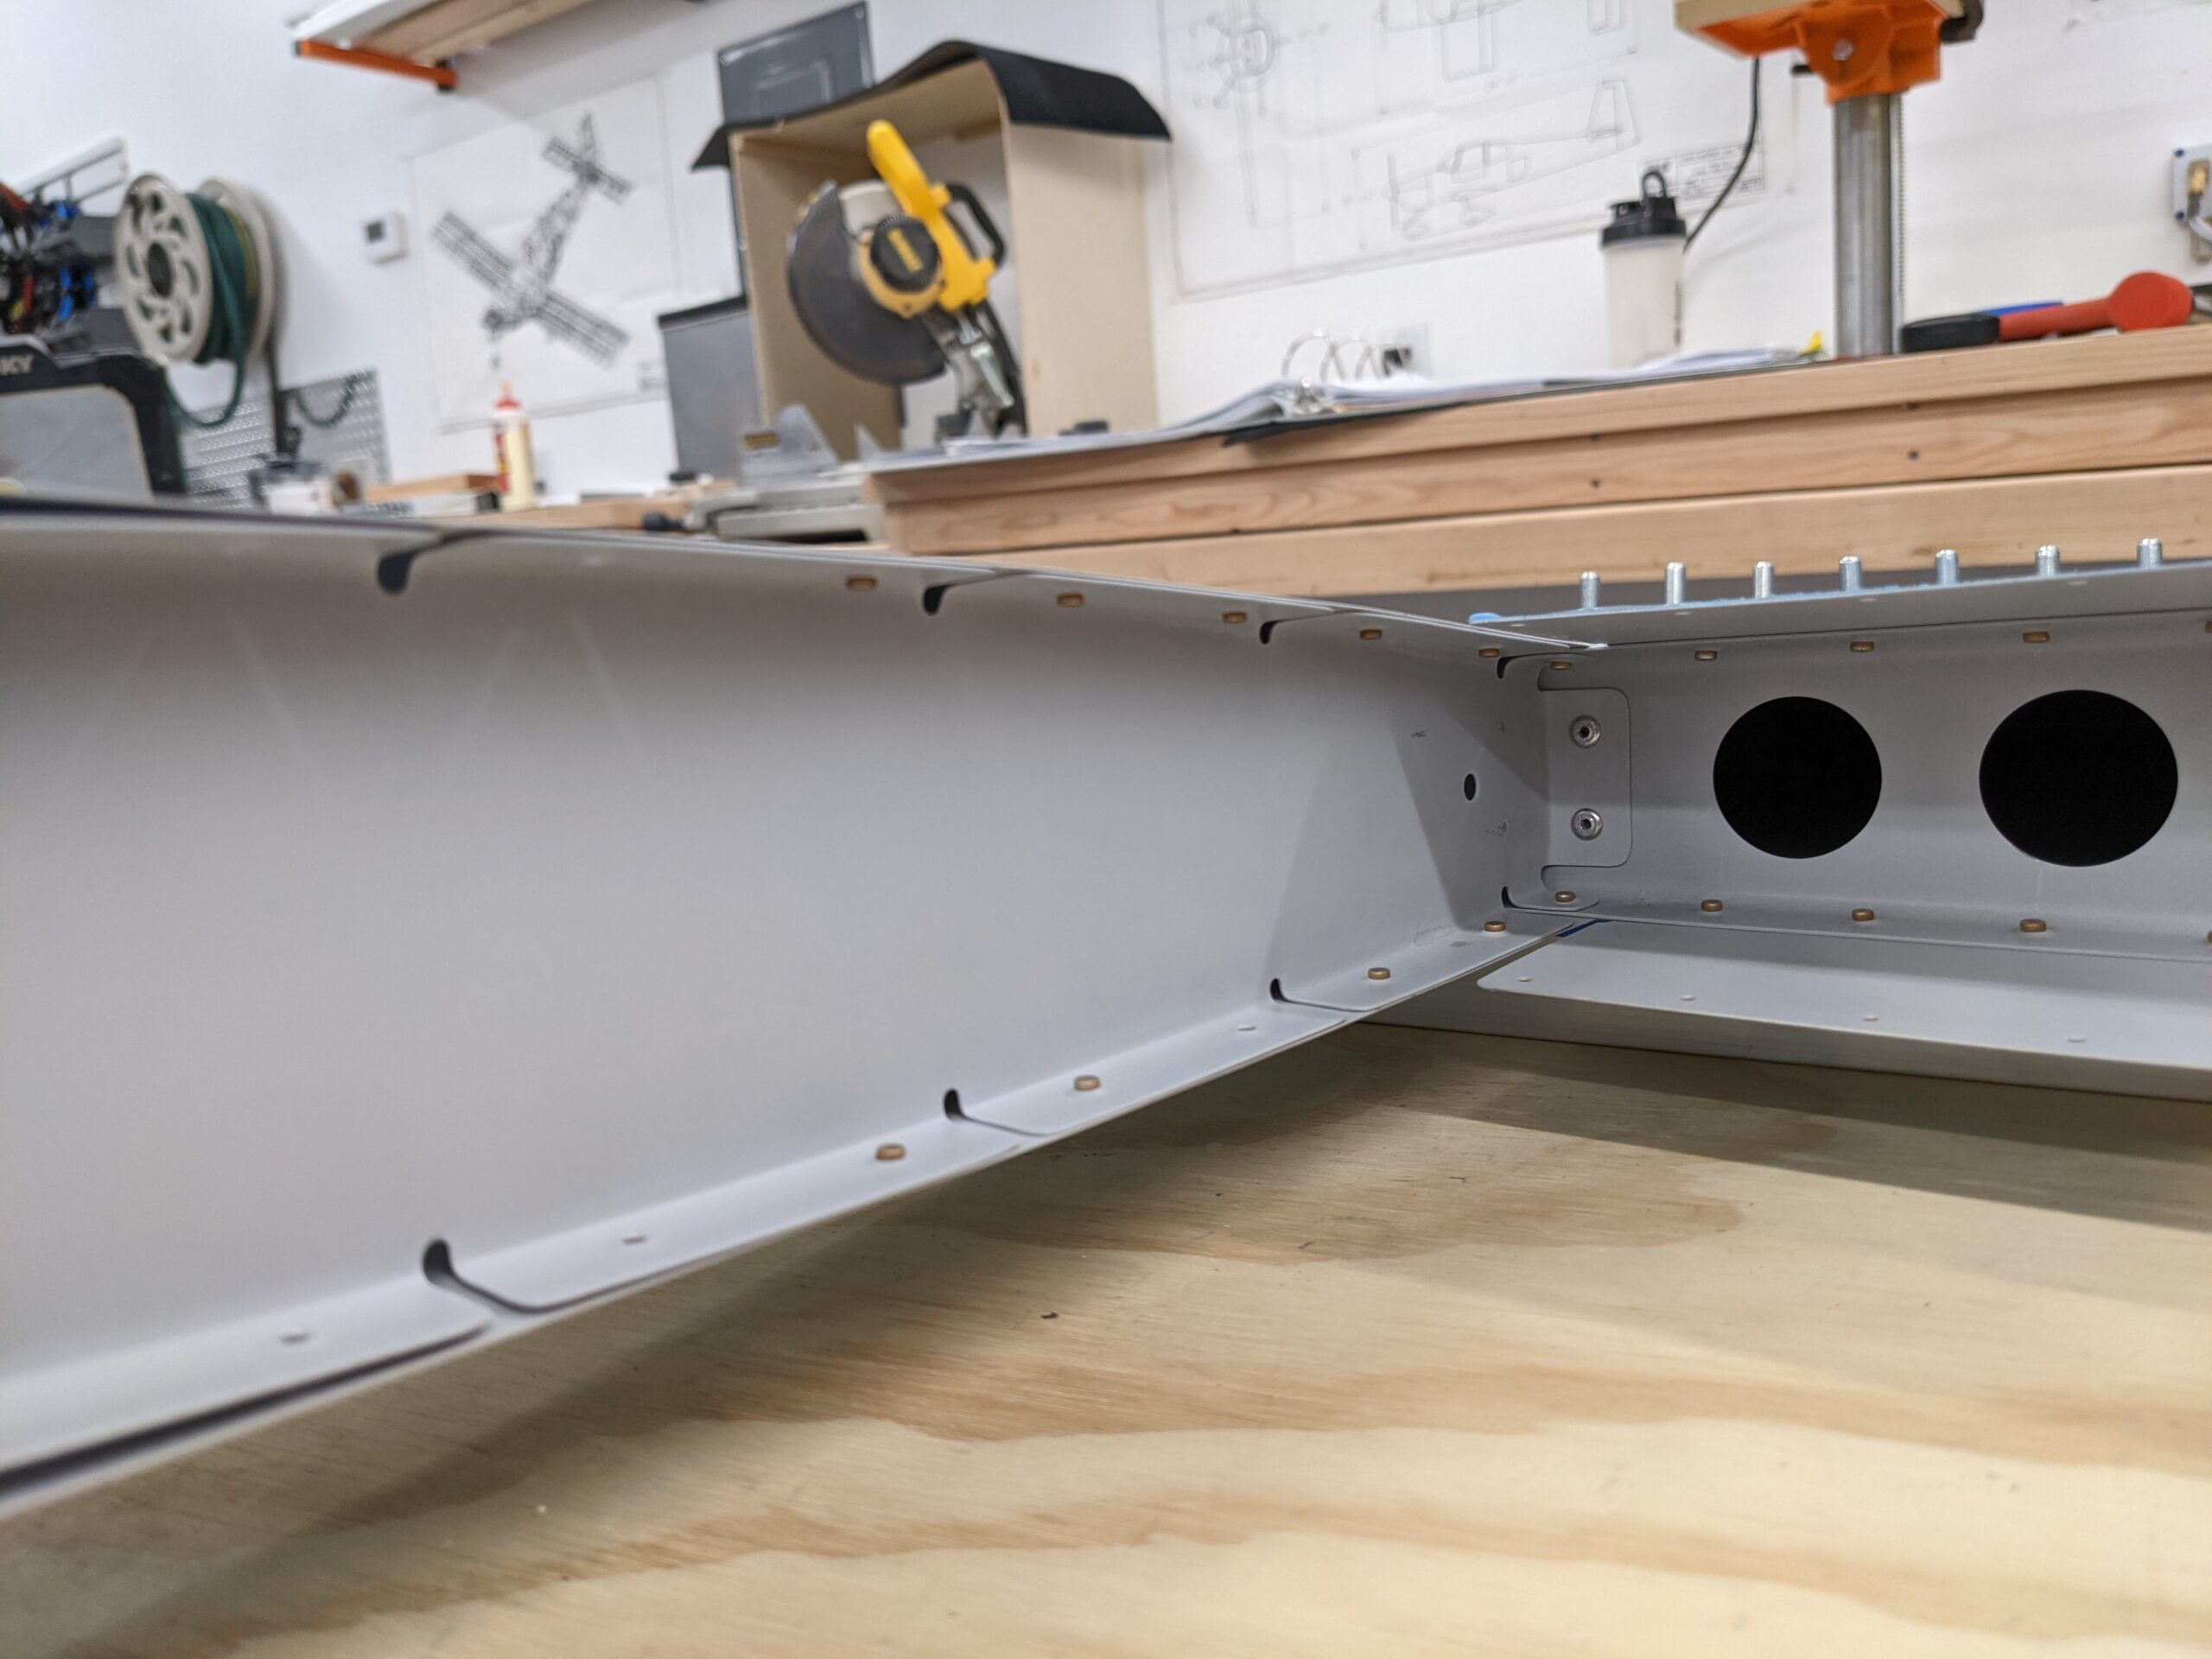
Done for today. Rudder is looking nice and straight. Next up is the riveting of the trailing edge..