

I had previously prepped and primed all of the rudder parts so I was able to jump right into riveting today.
First up is riveting the rudder horn and bottom rib. Everything was easy to access here with the pneumatic squeezer.
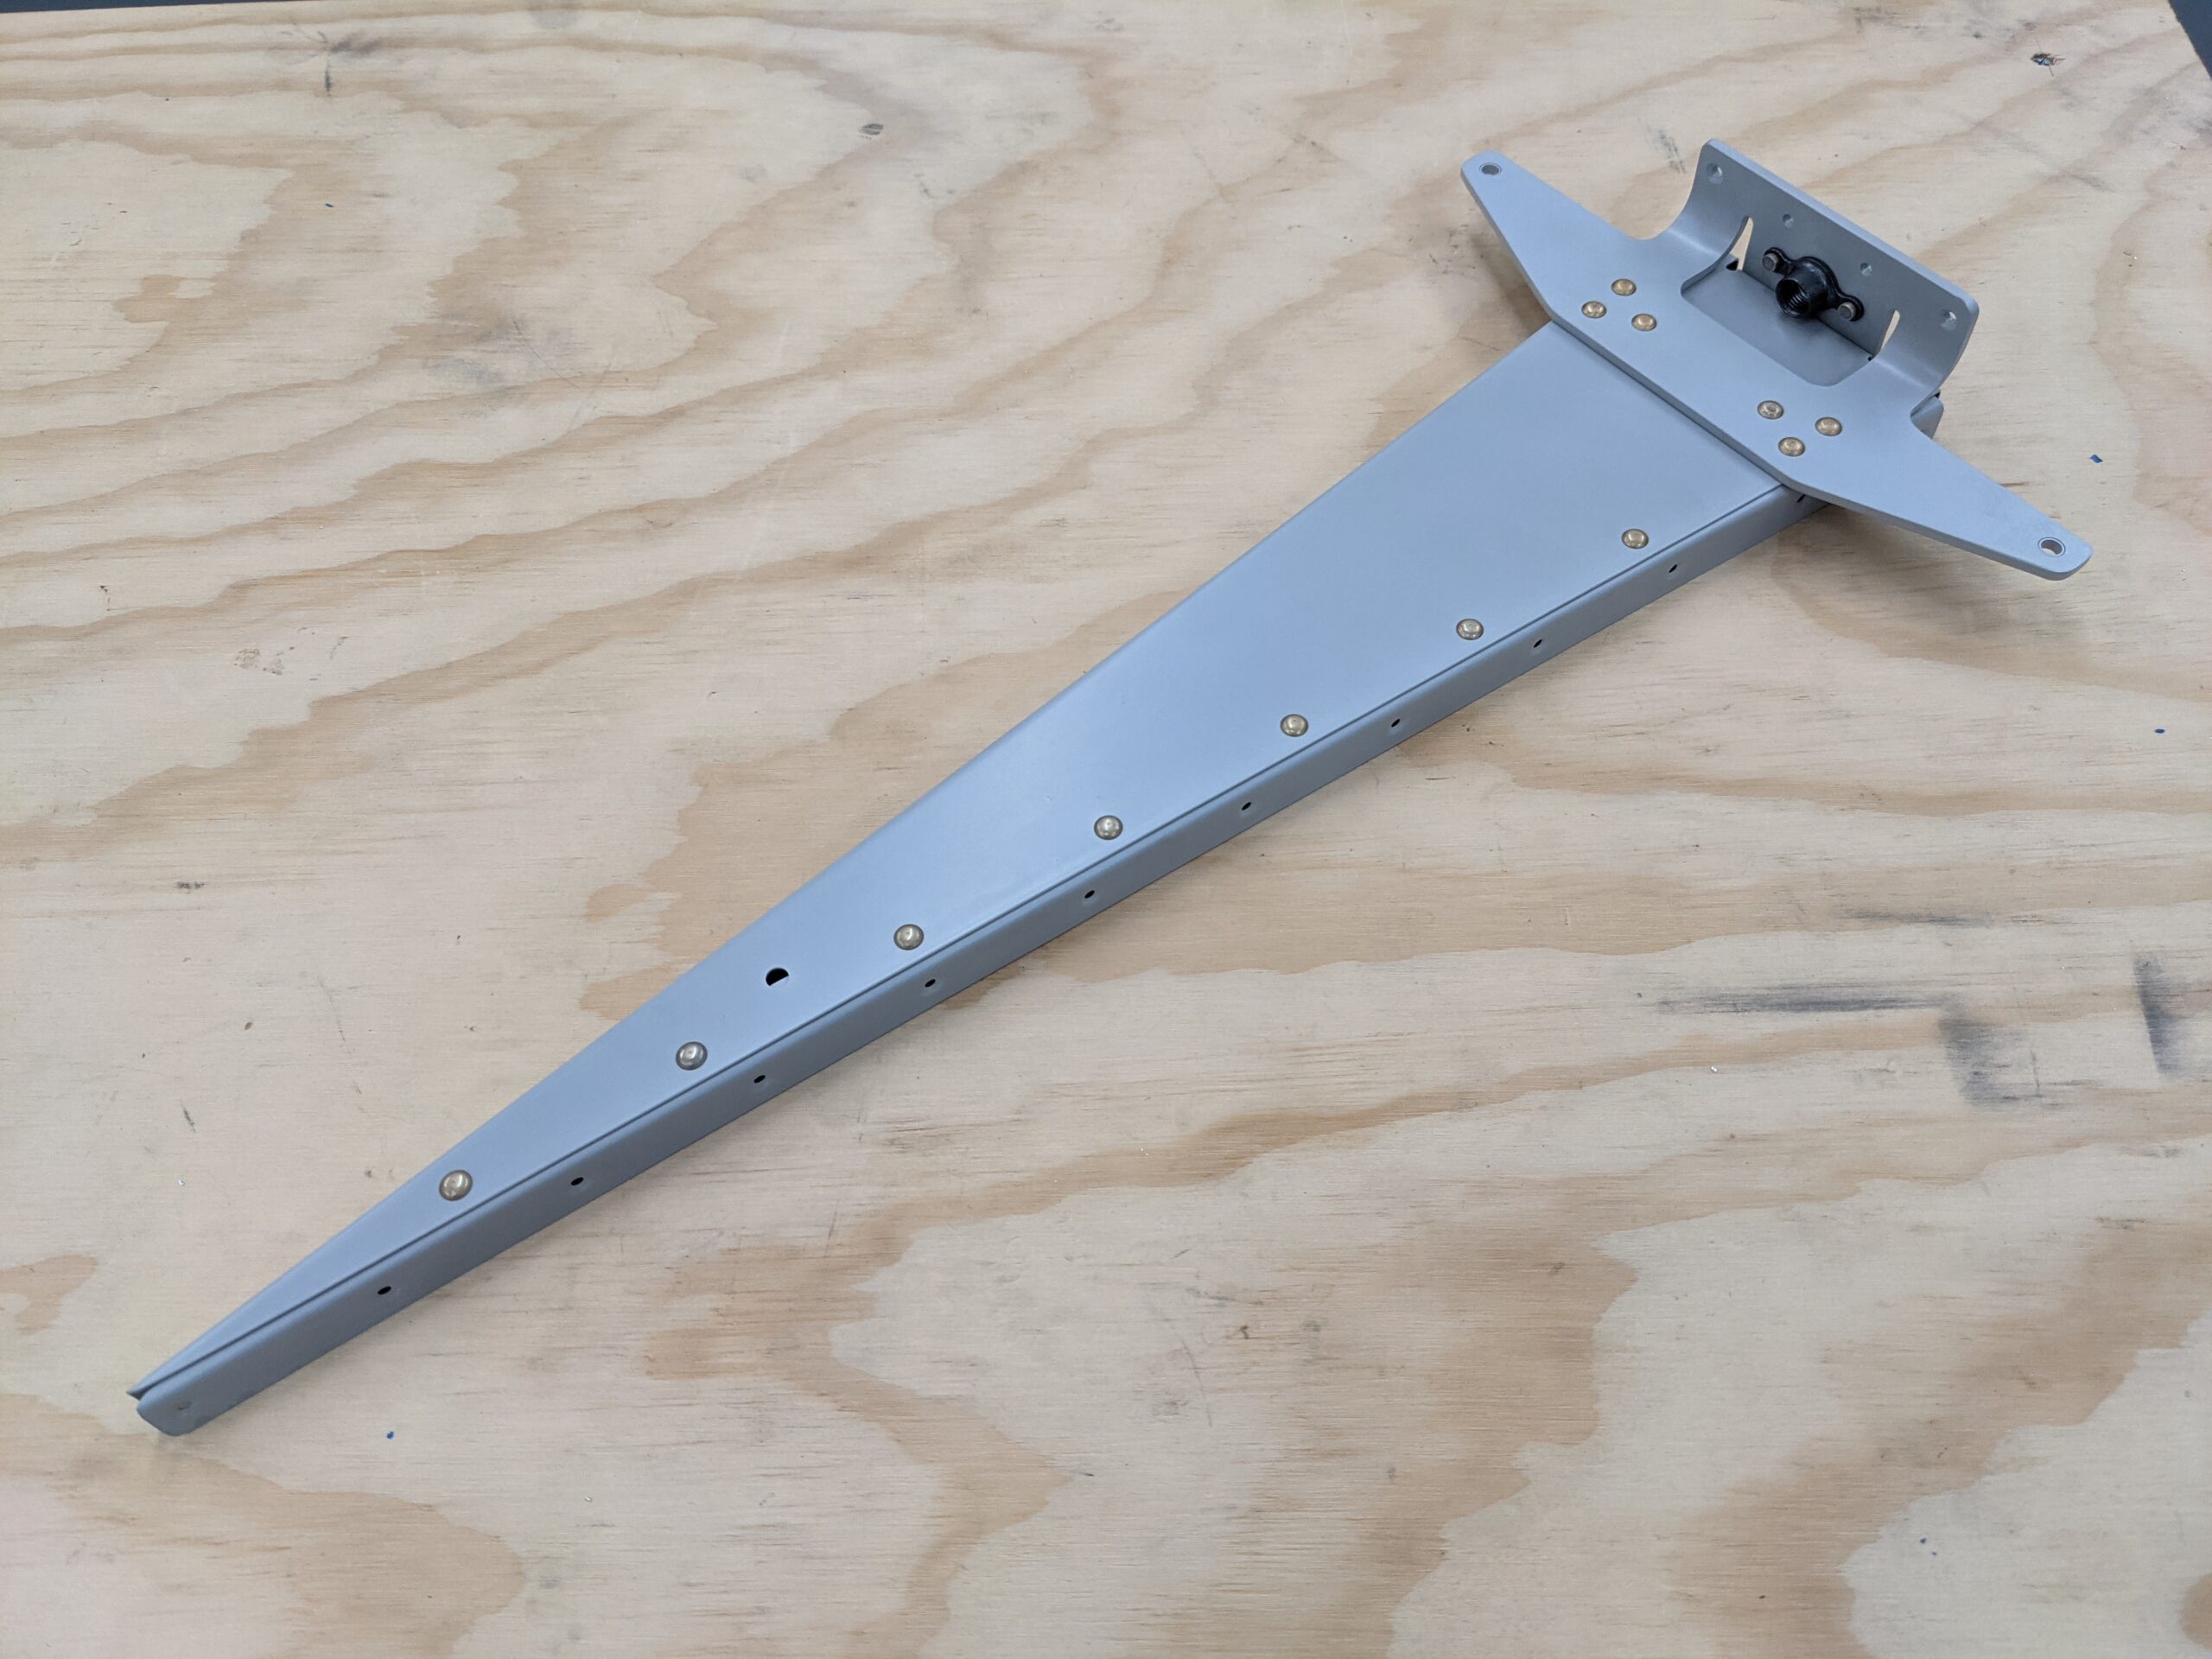
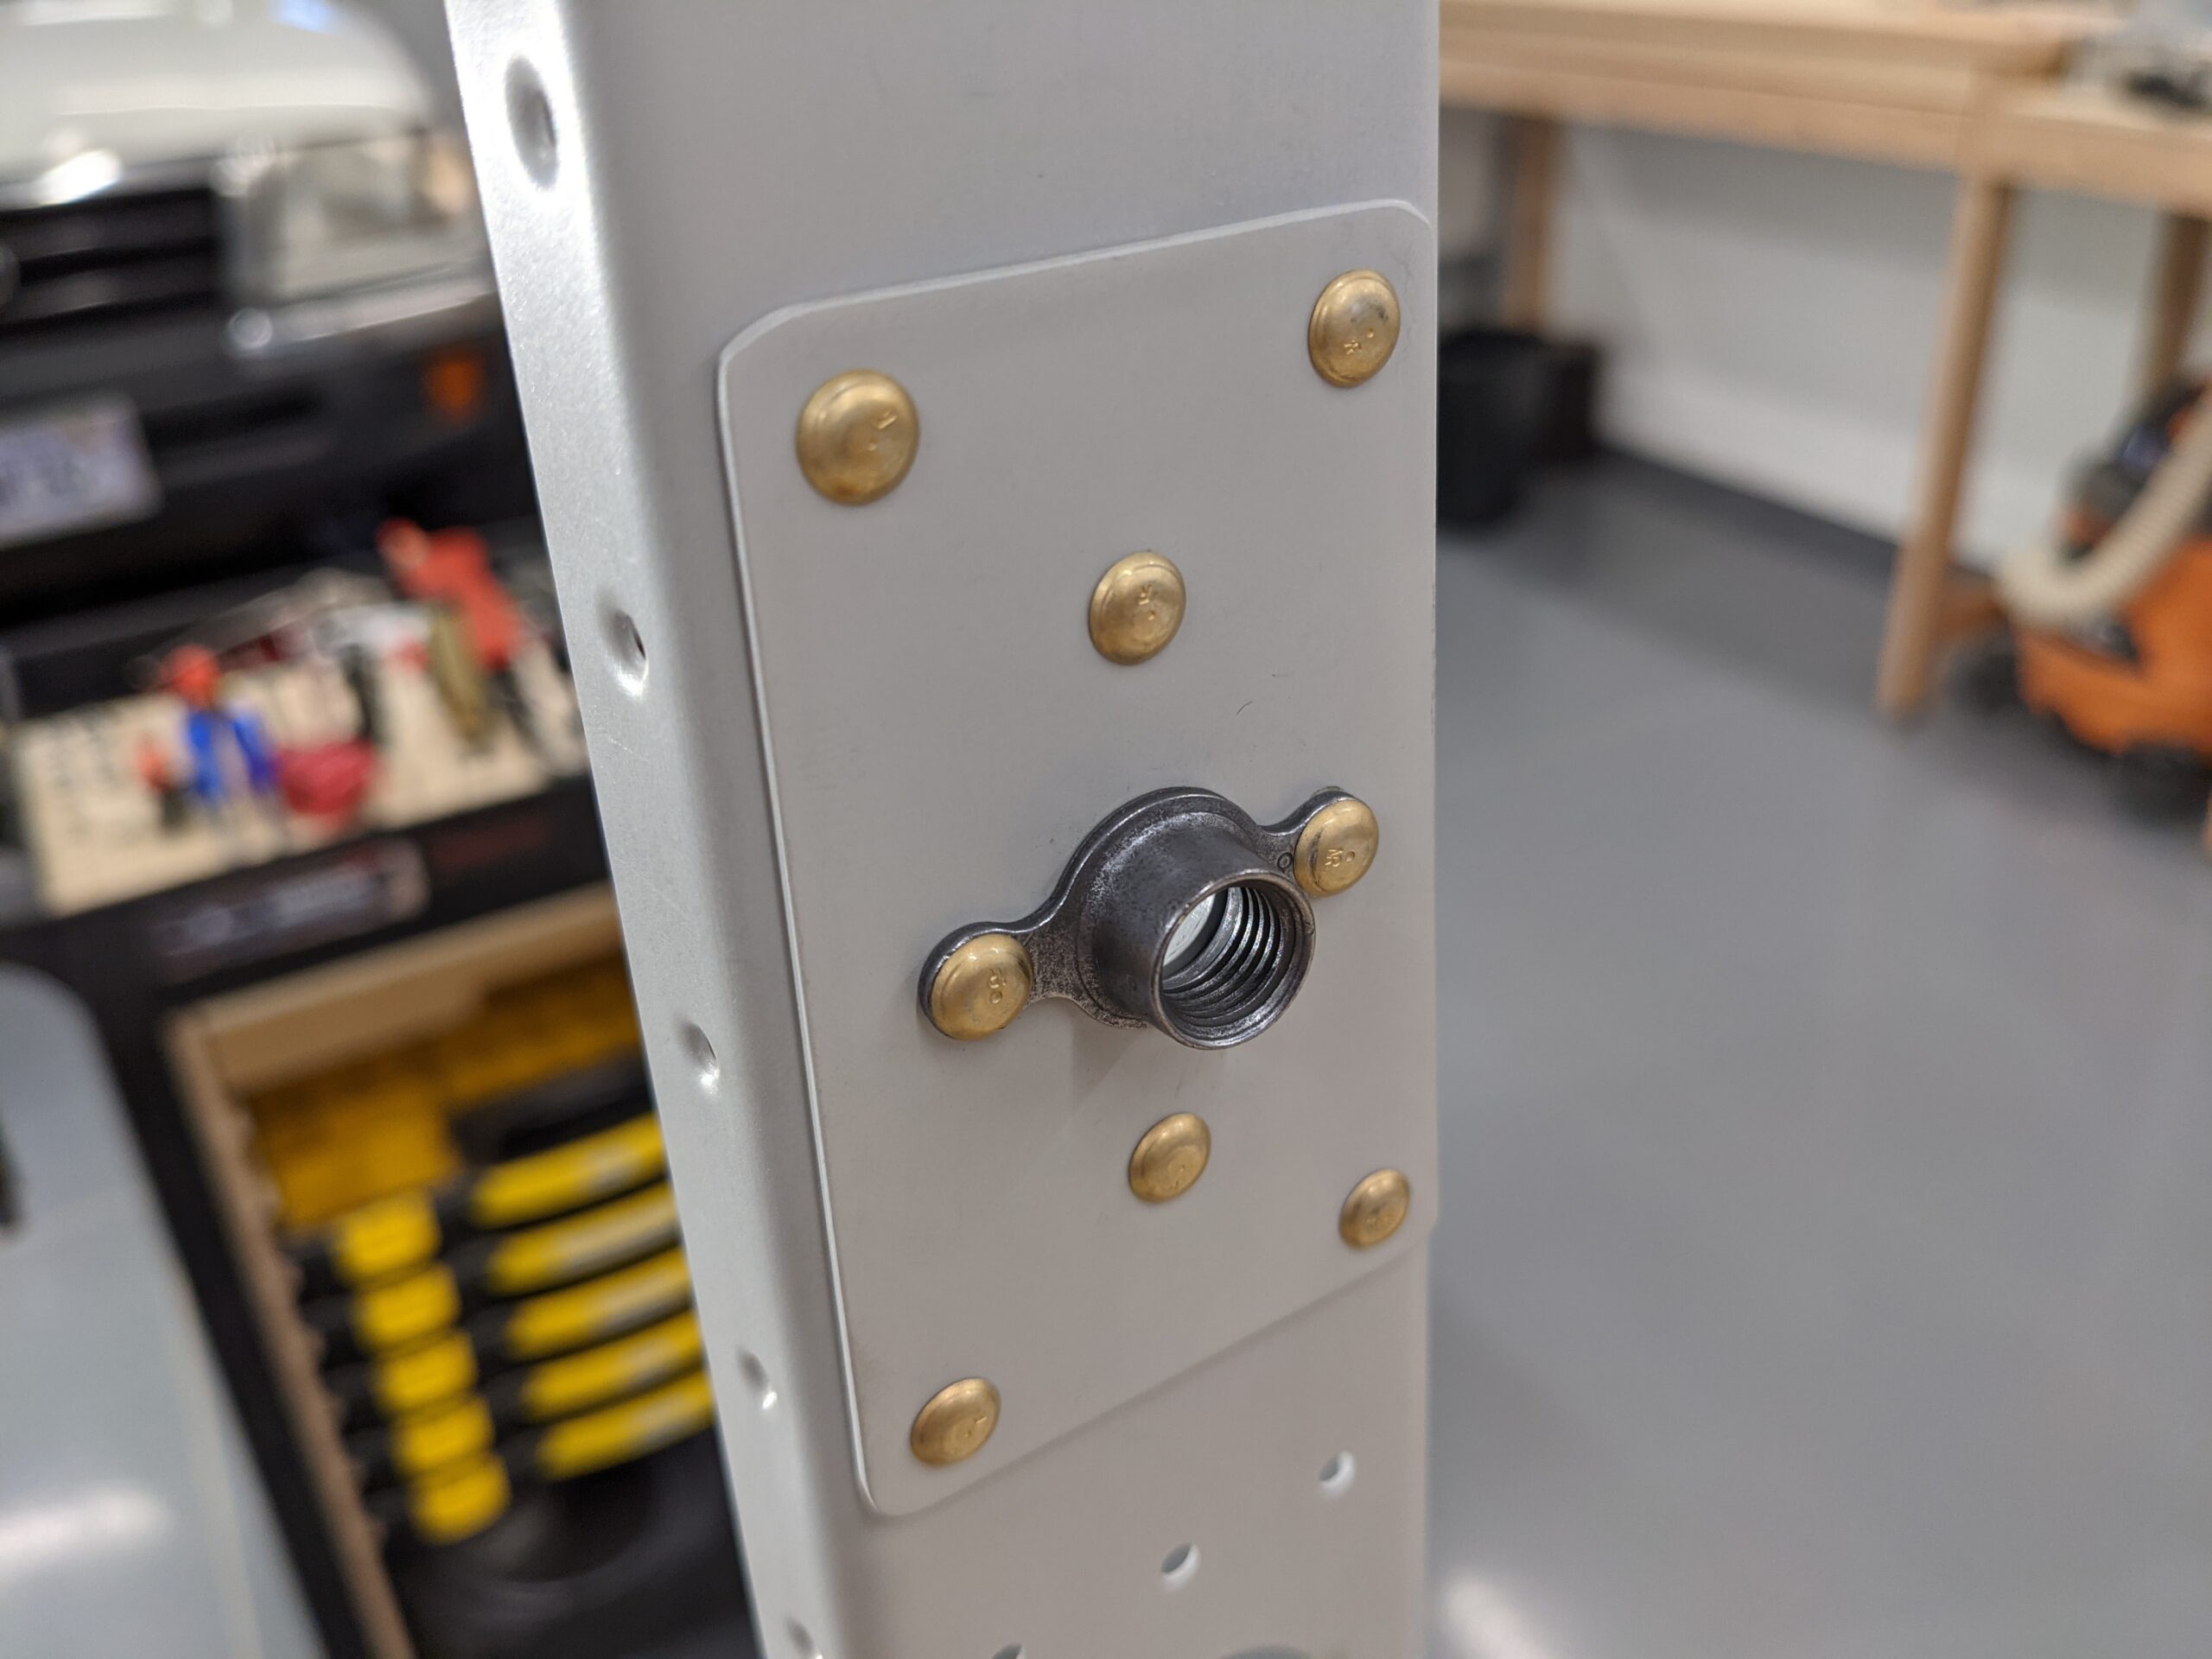
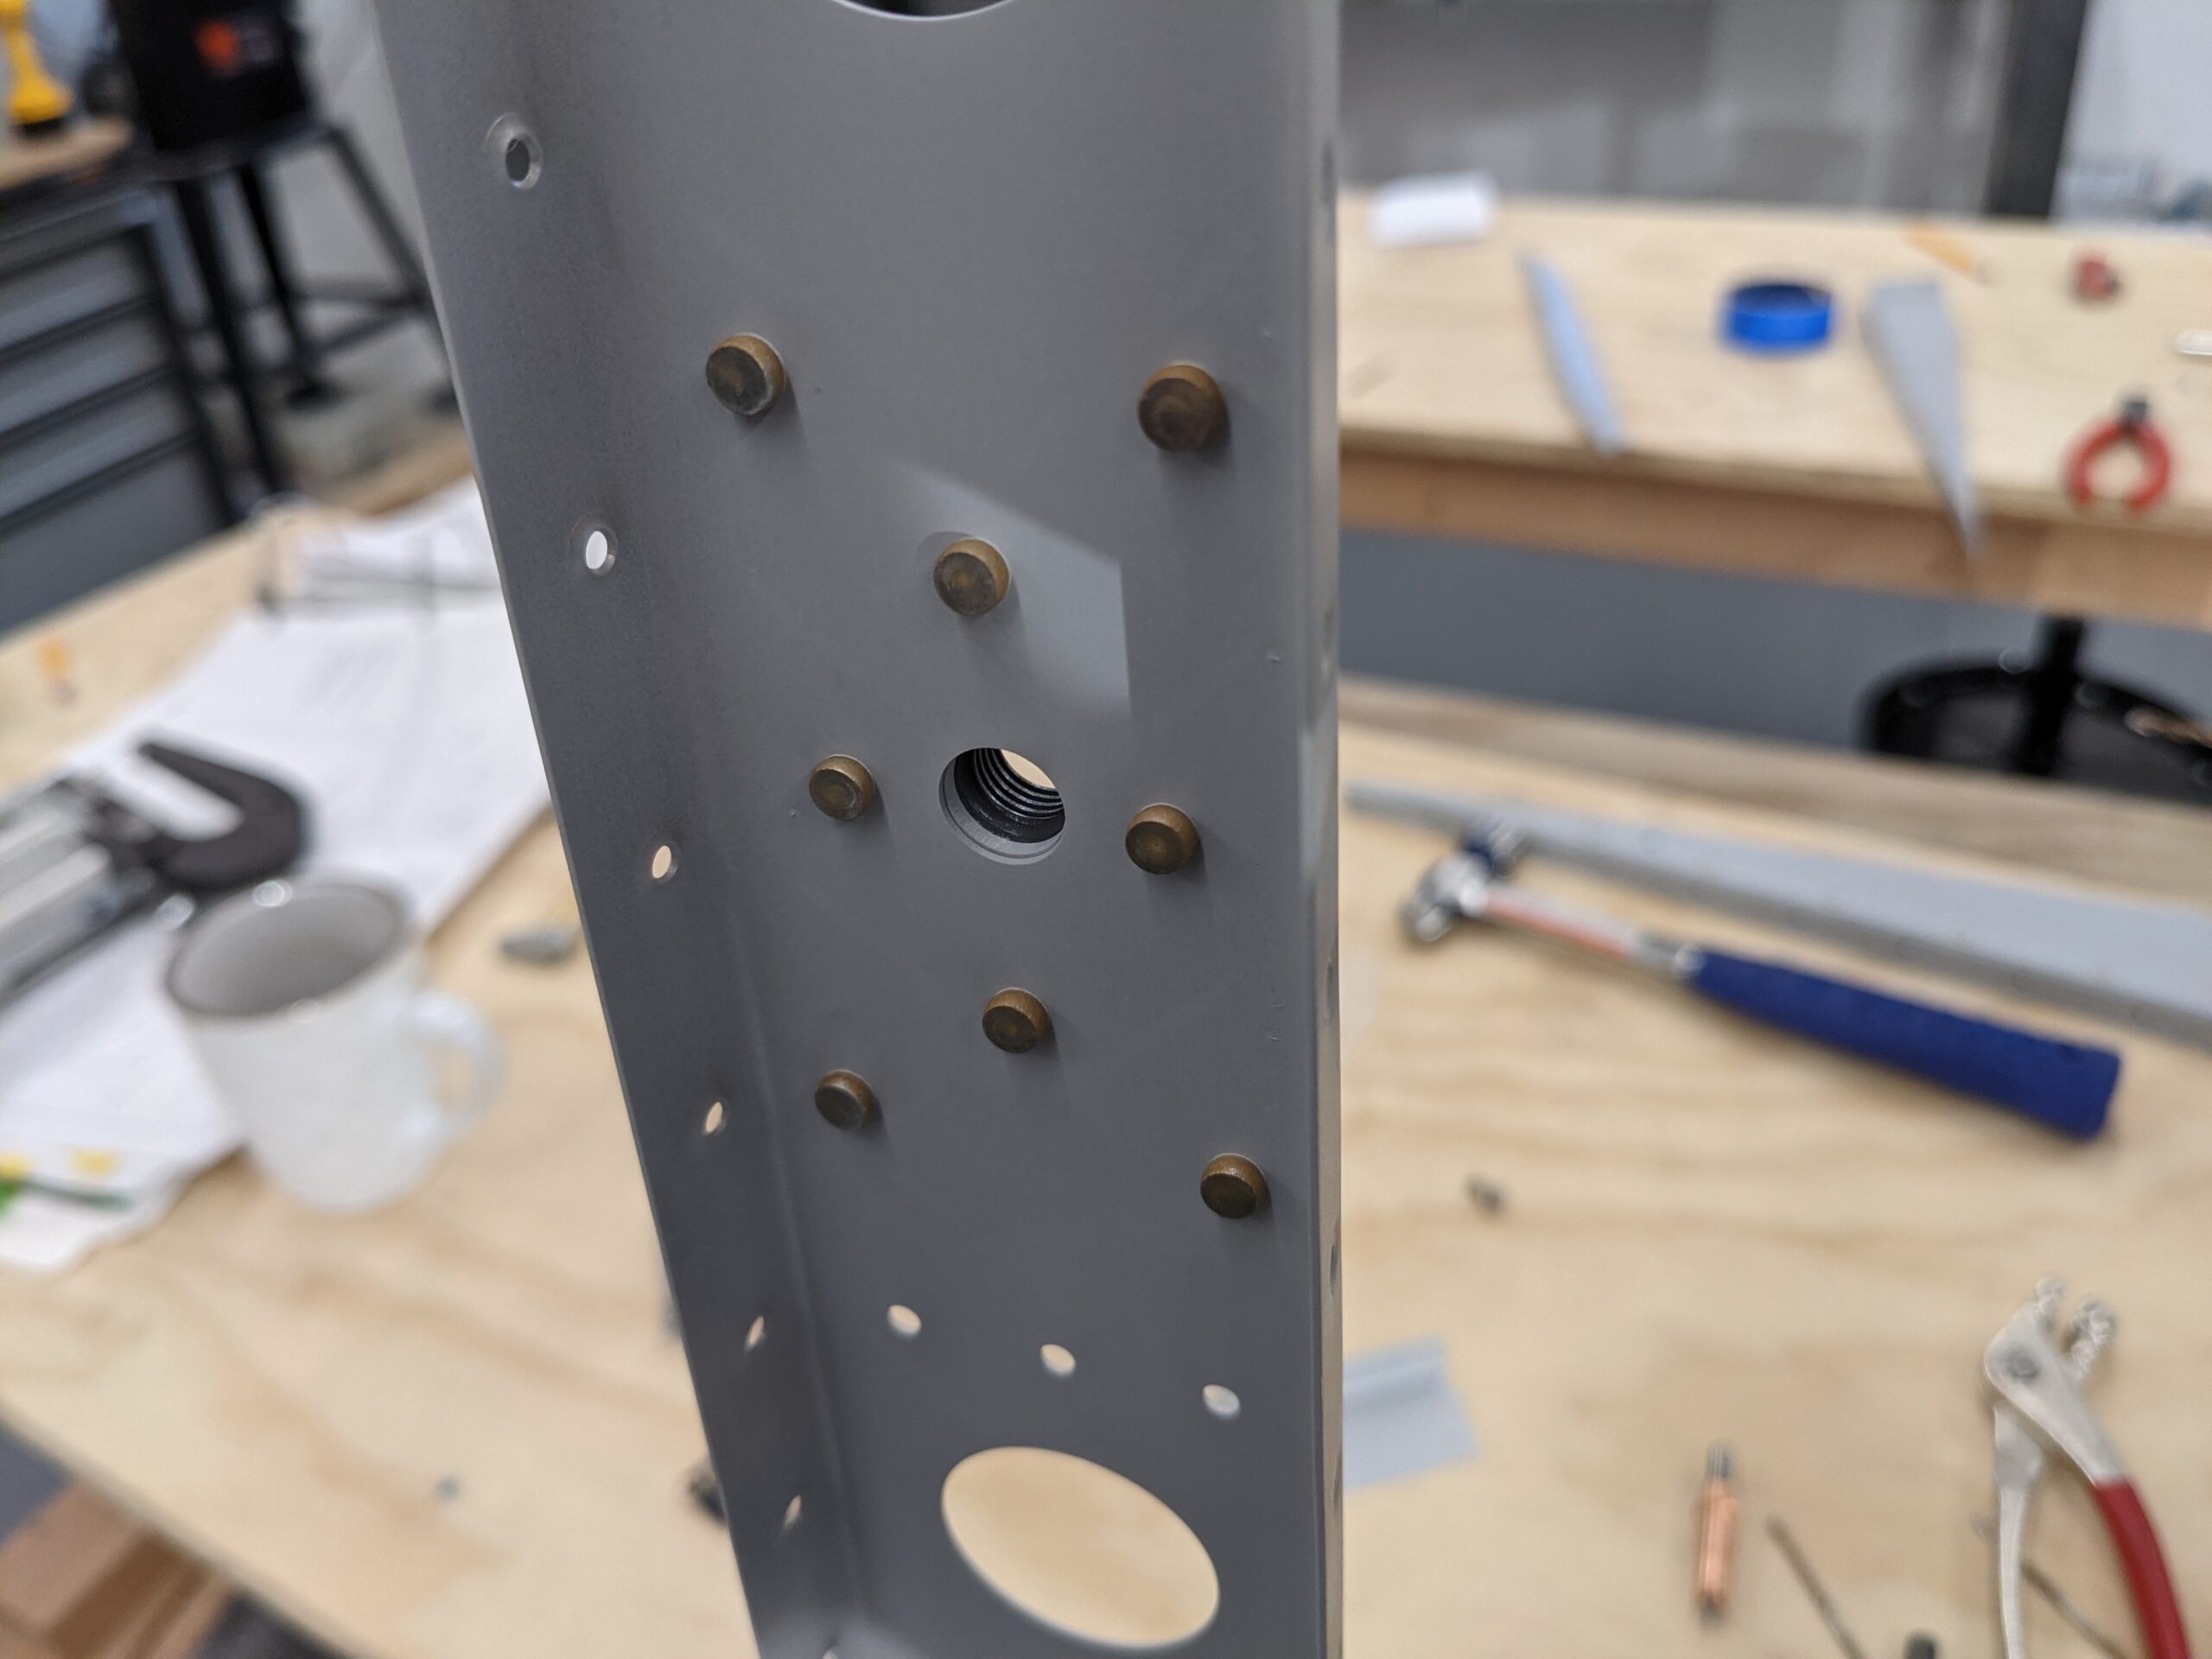
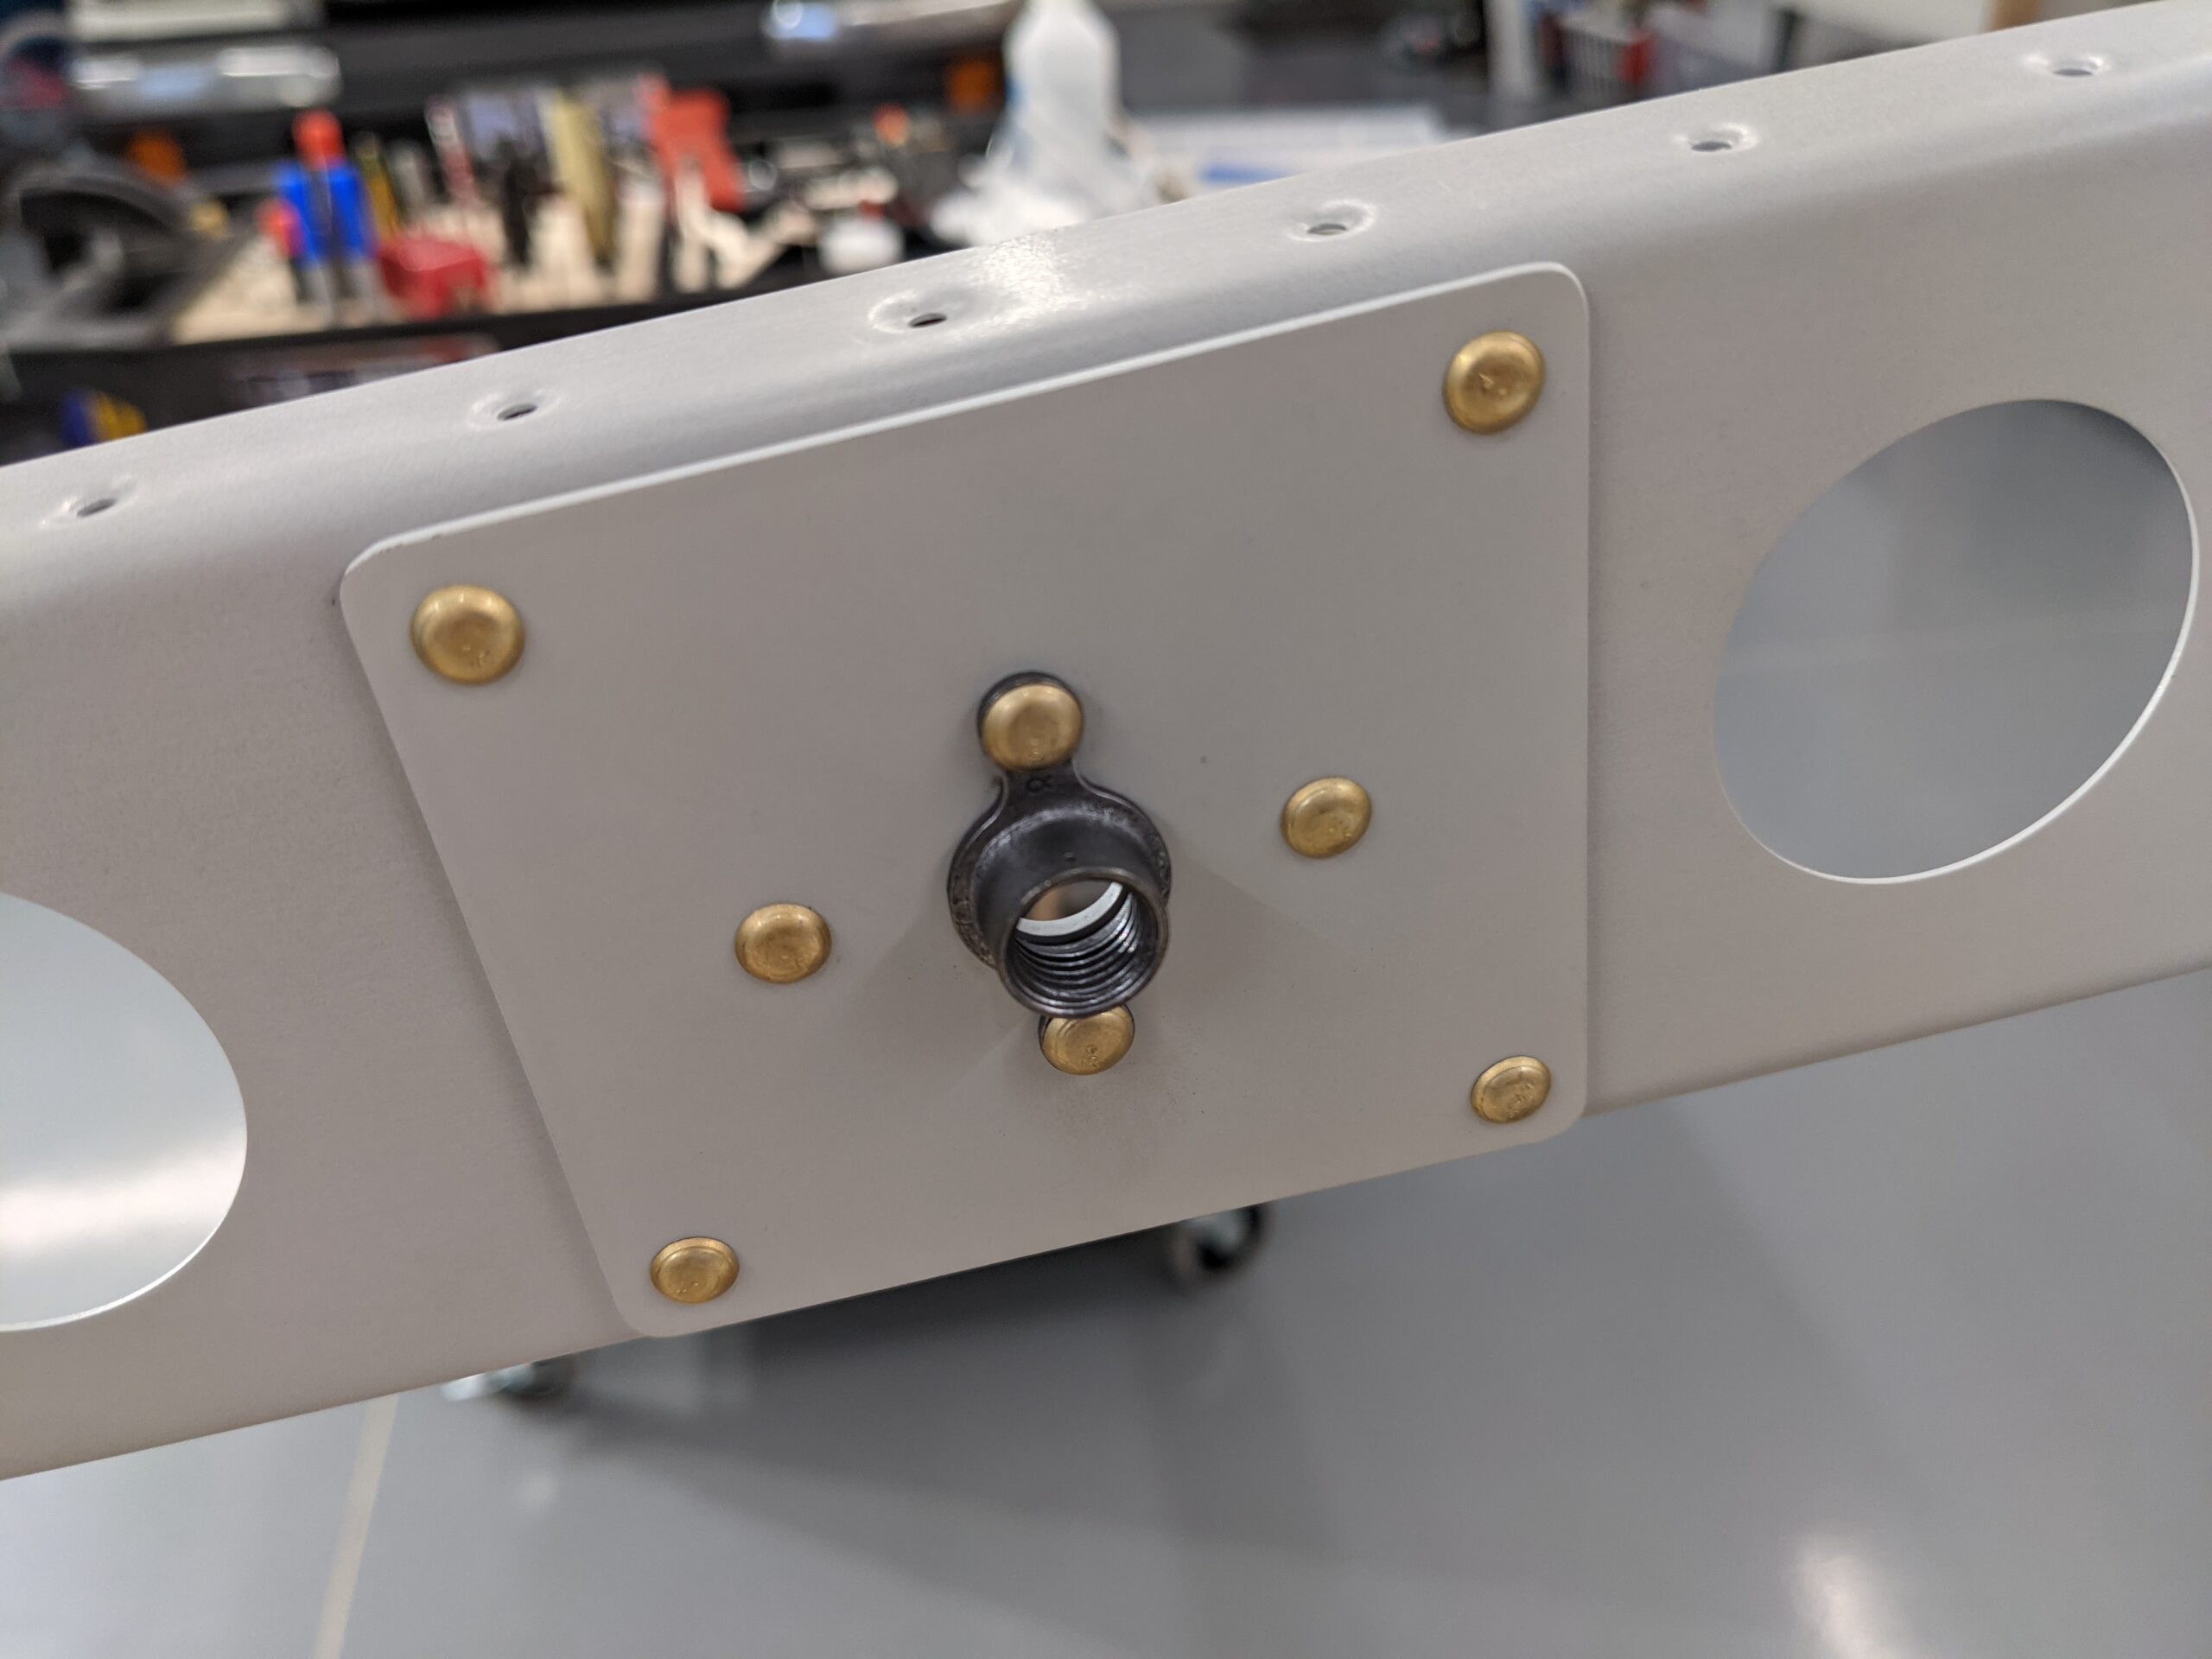
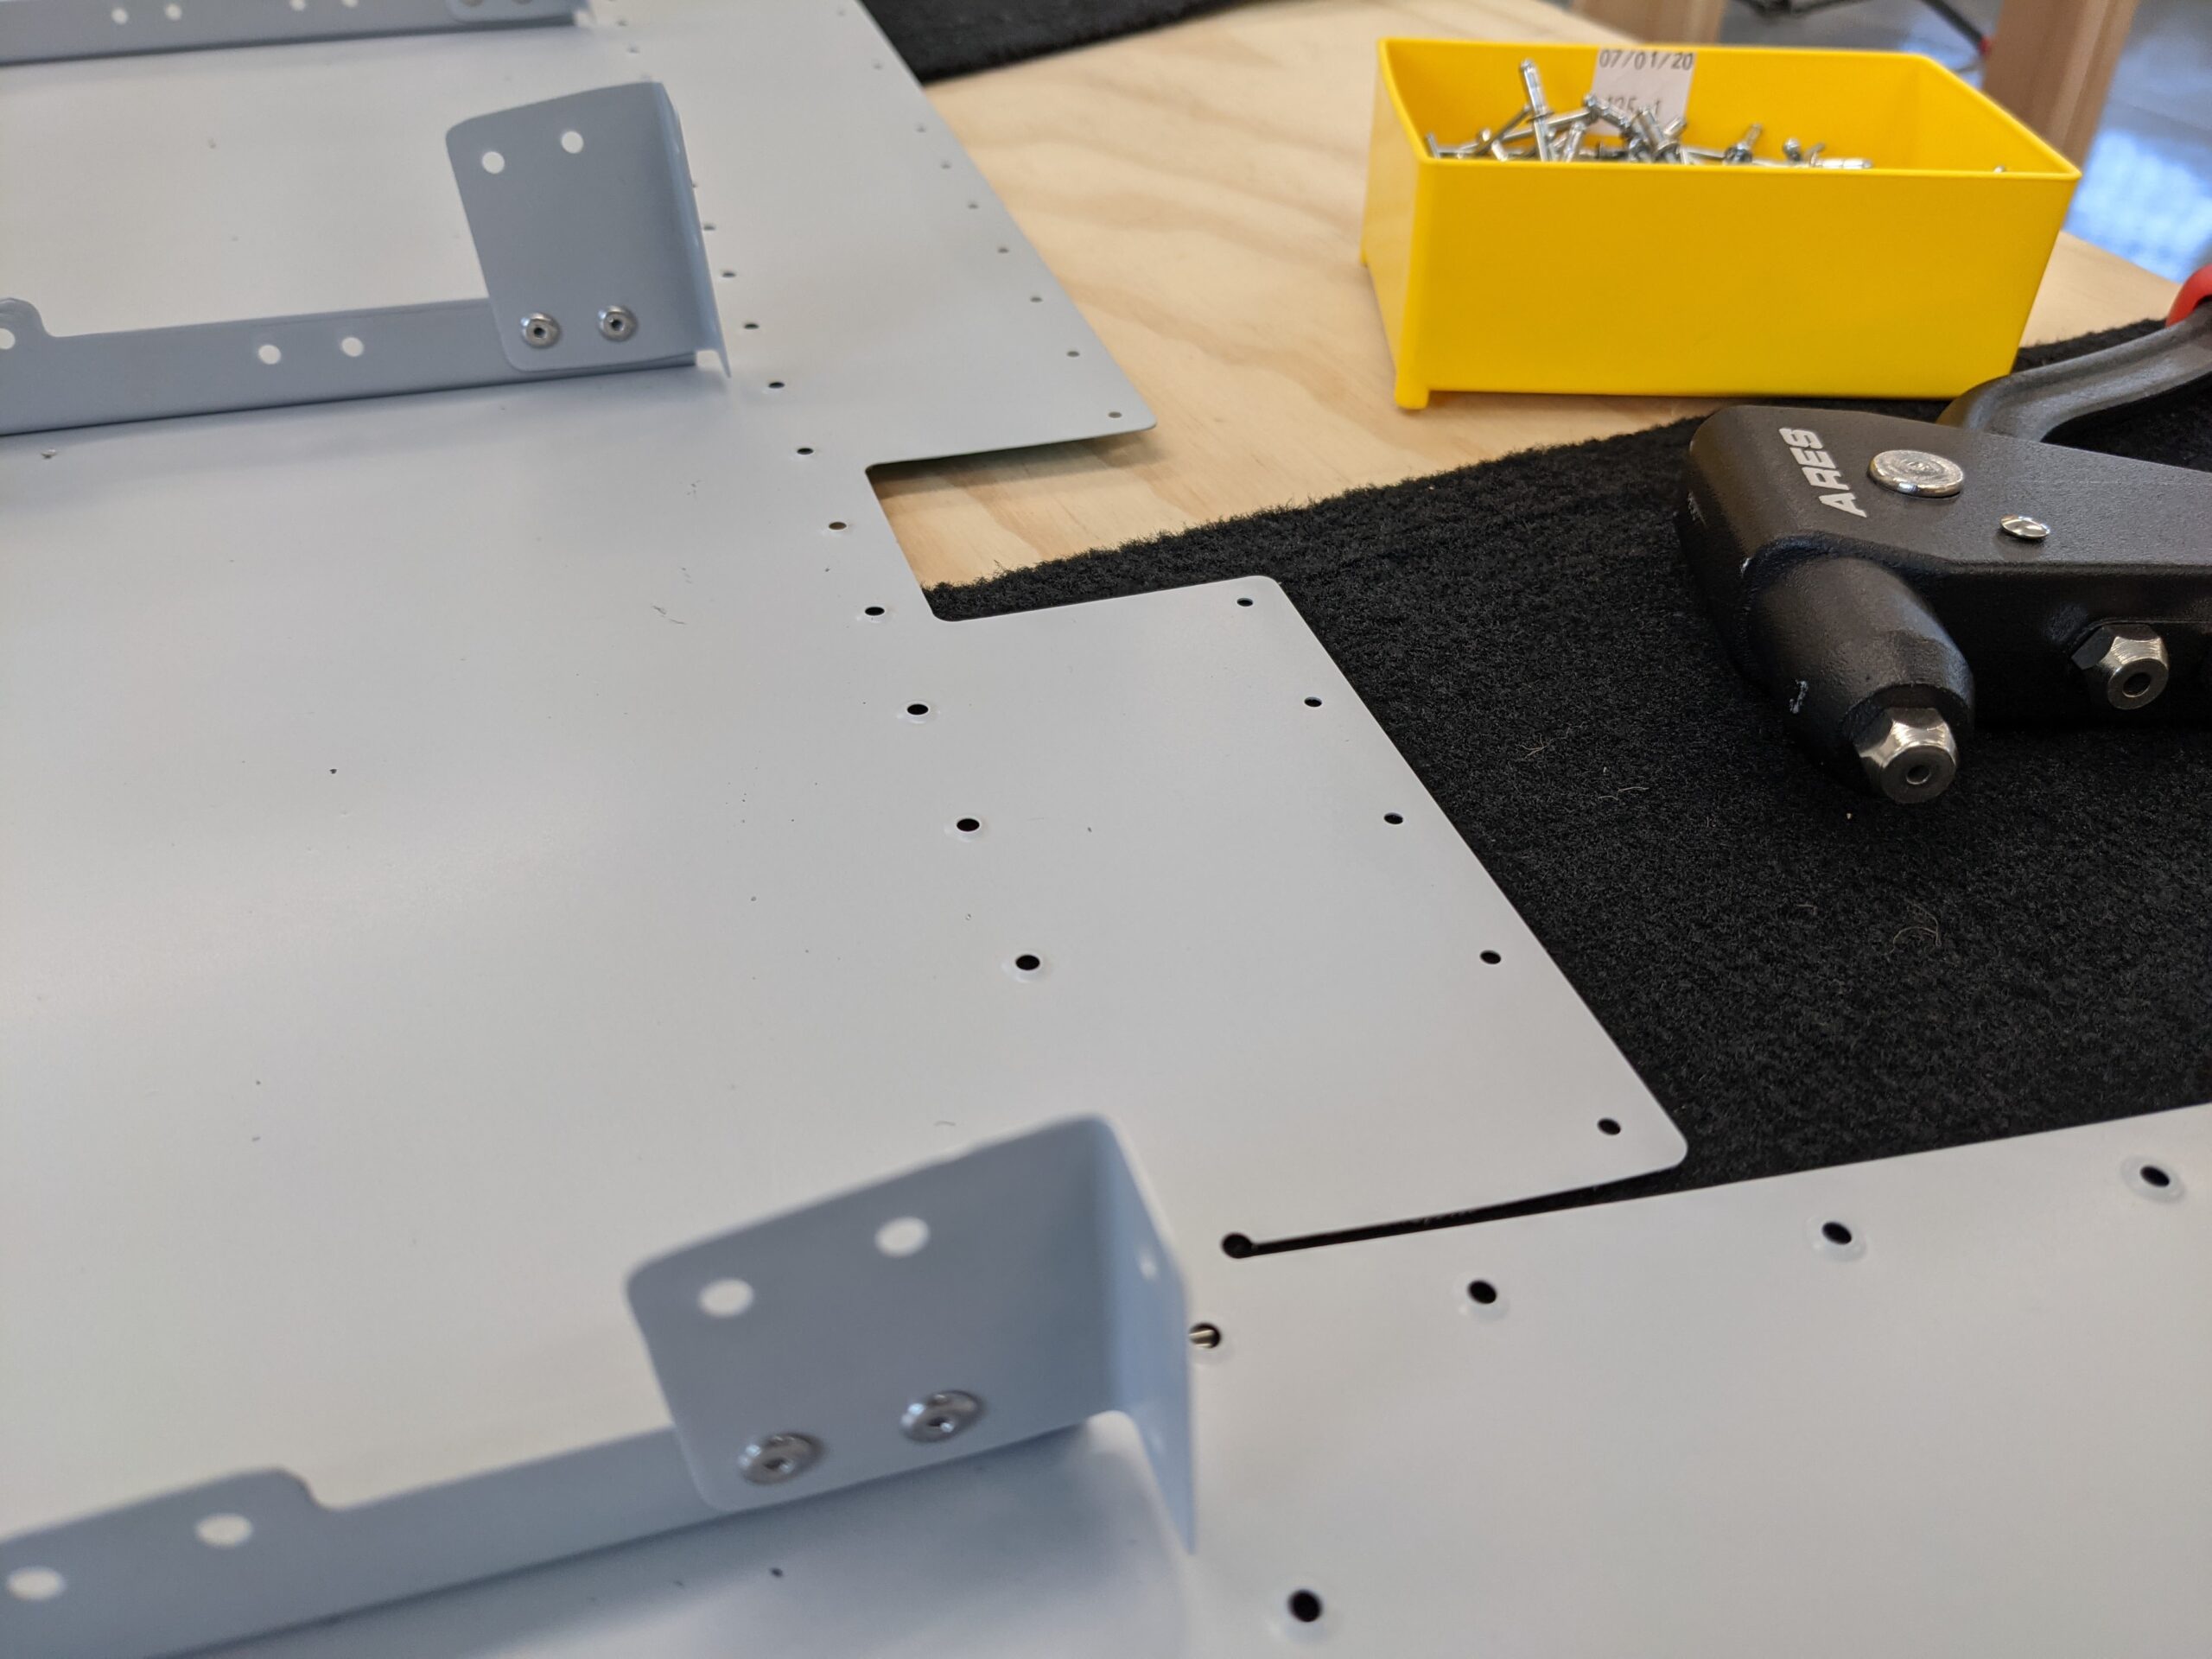
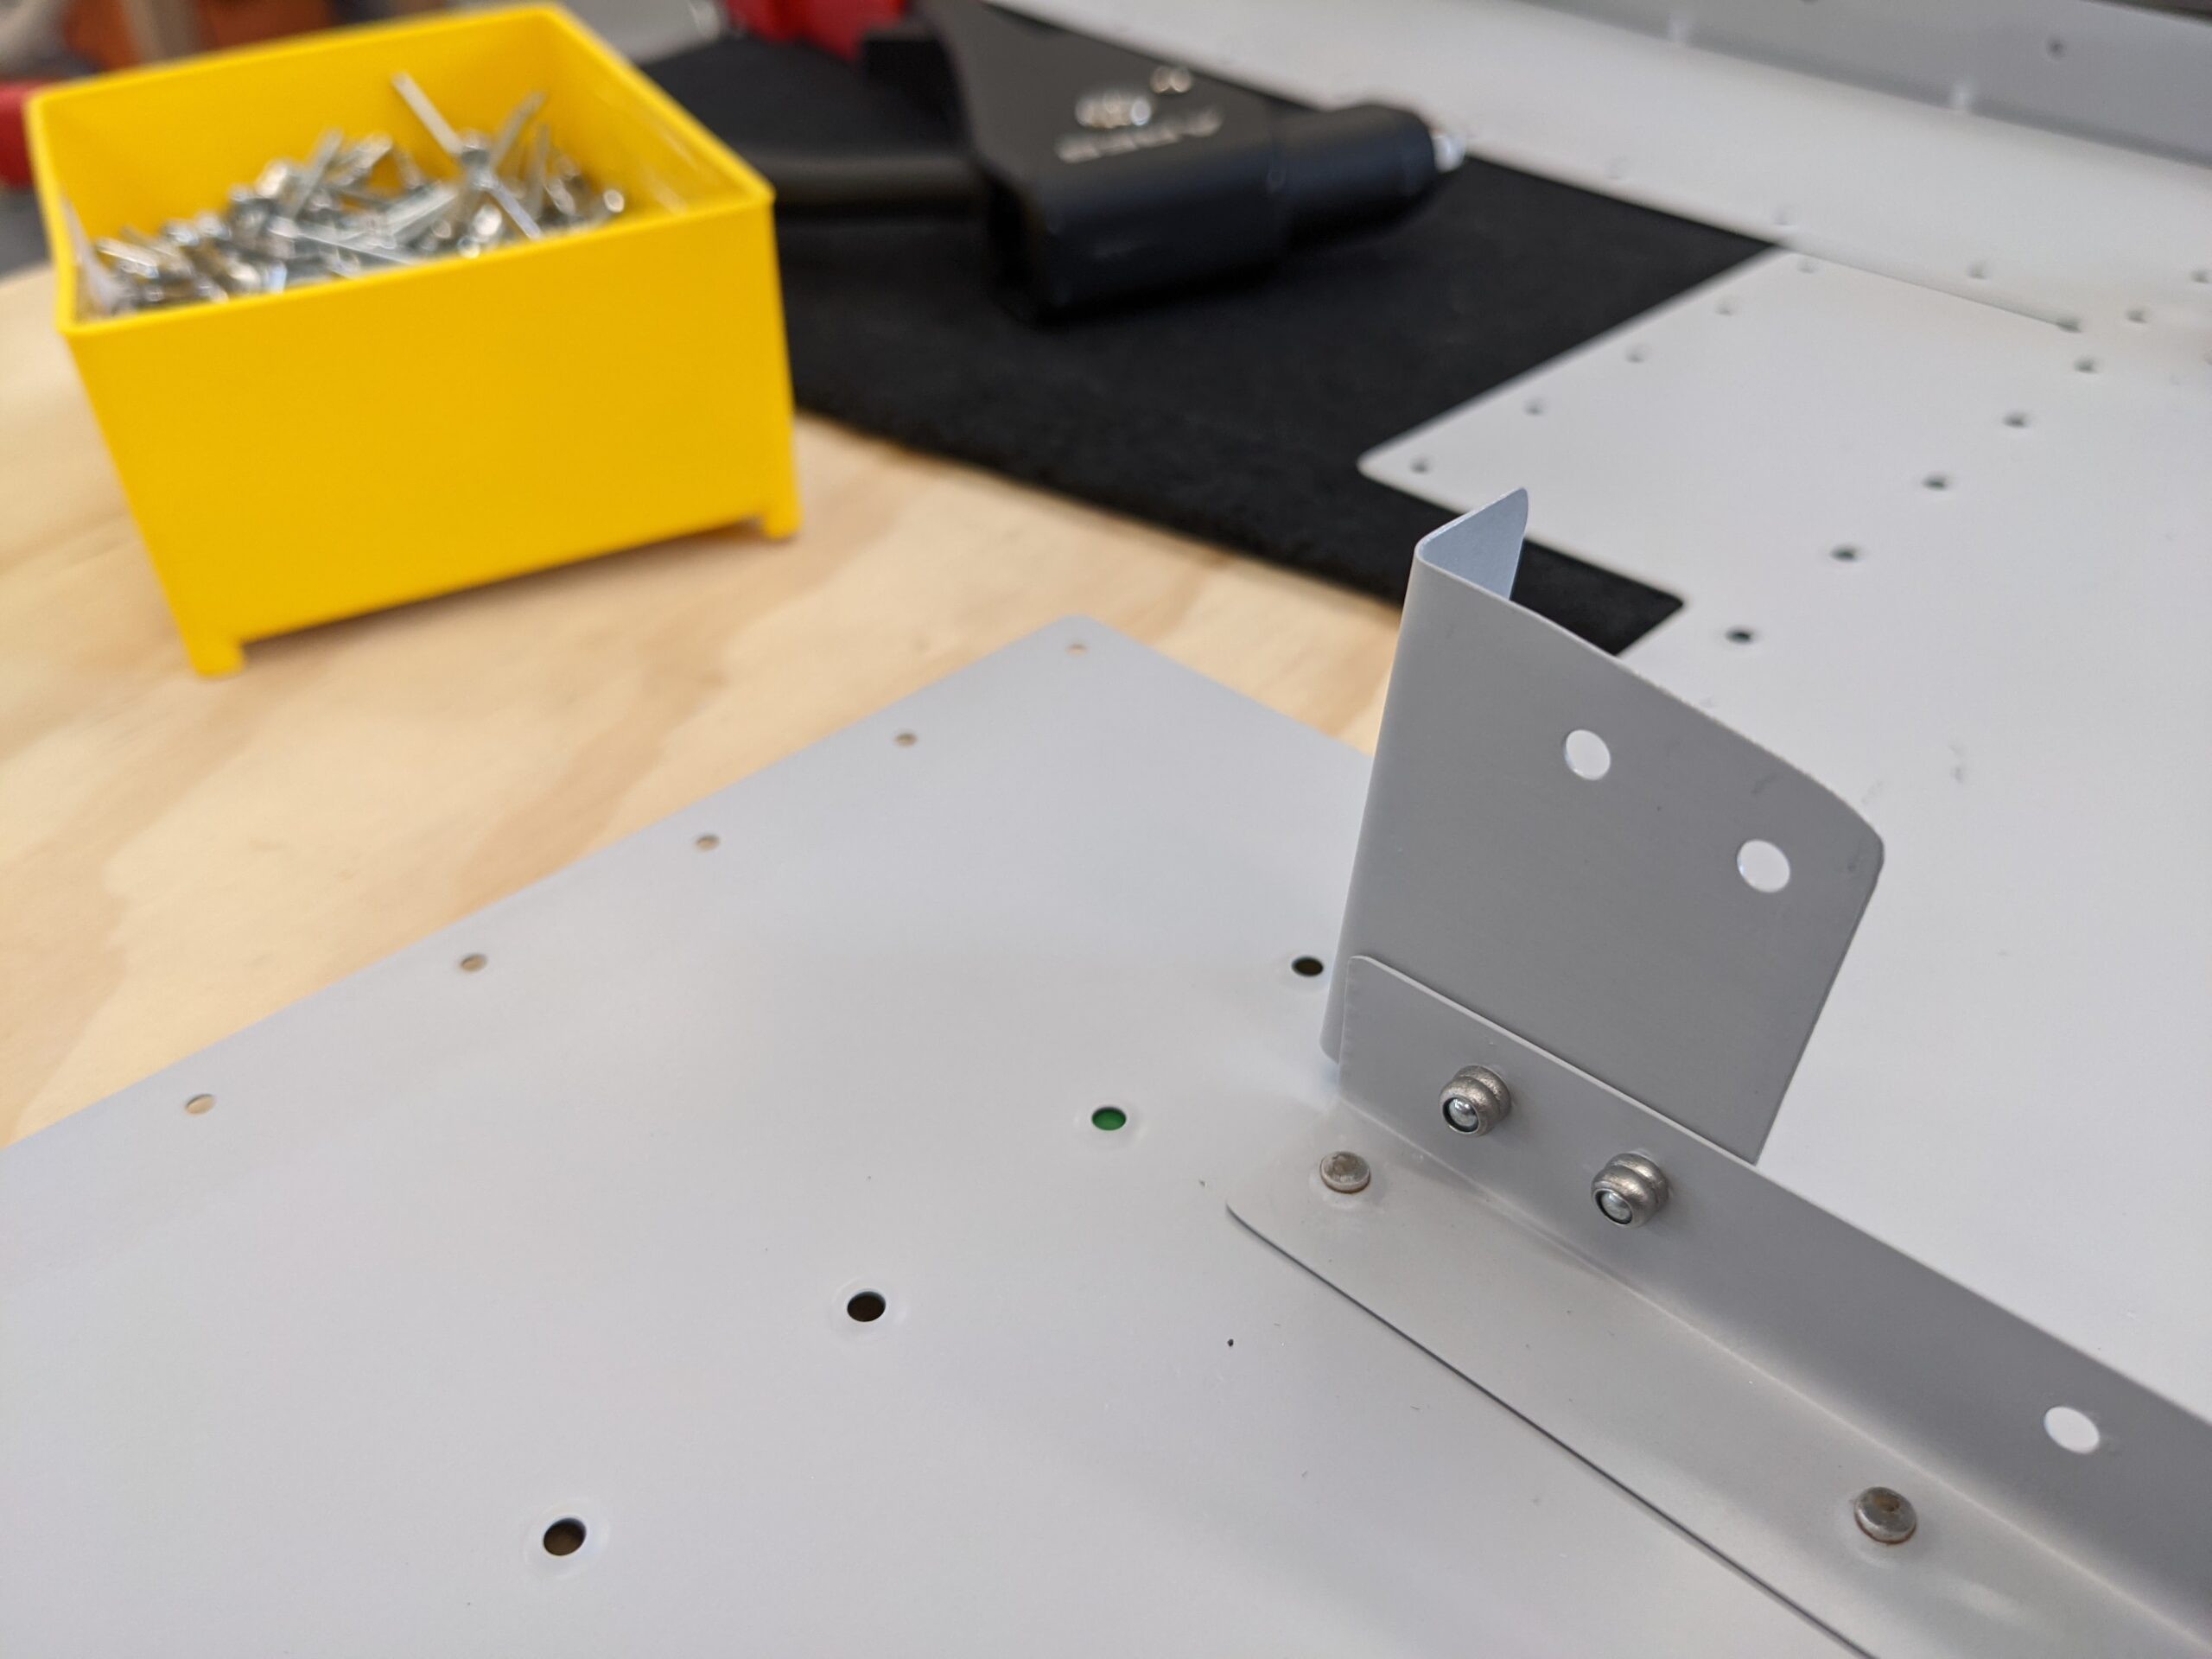
Next up is attaching the reinforcement plates and nut plates for the two remaining rudder attach points.
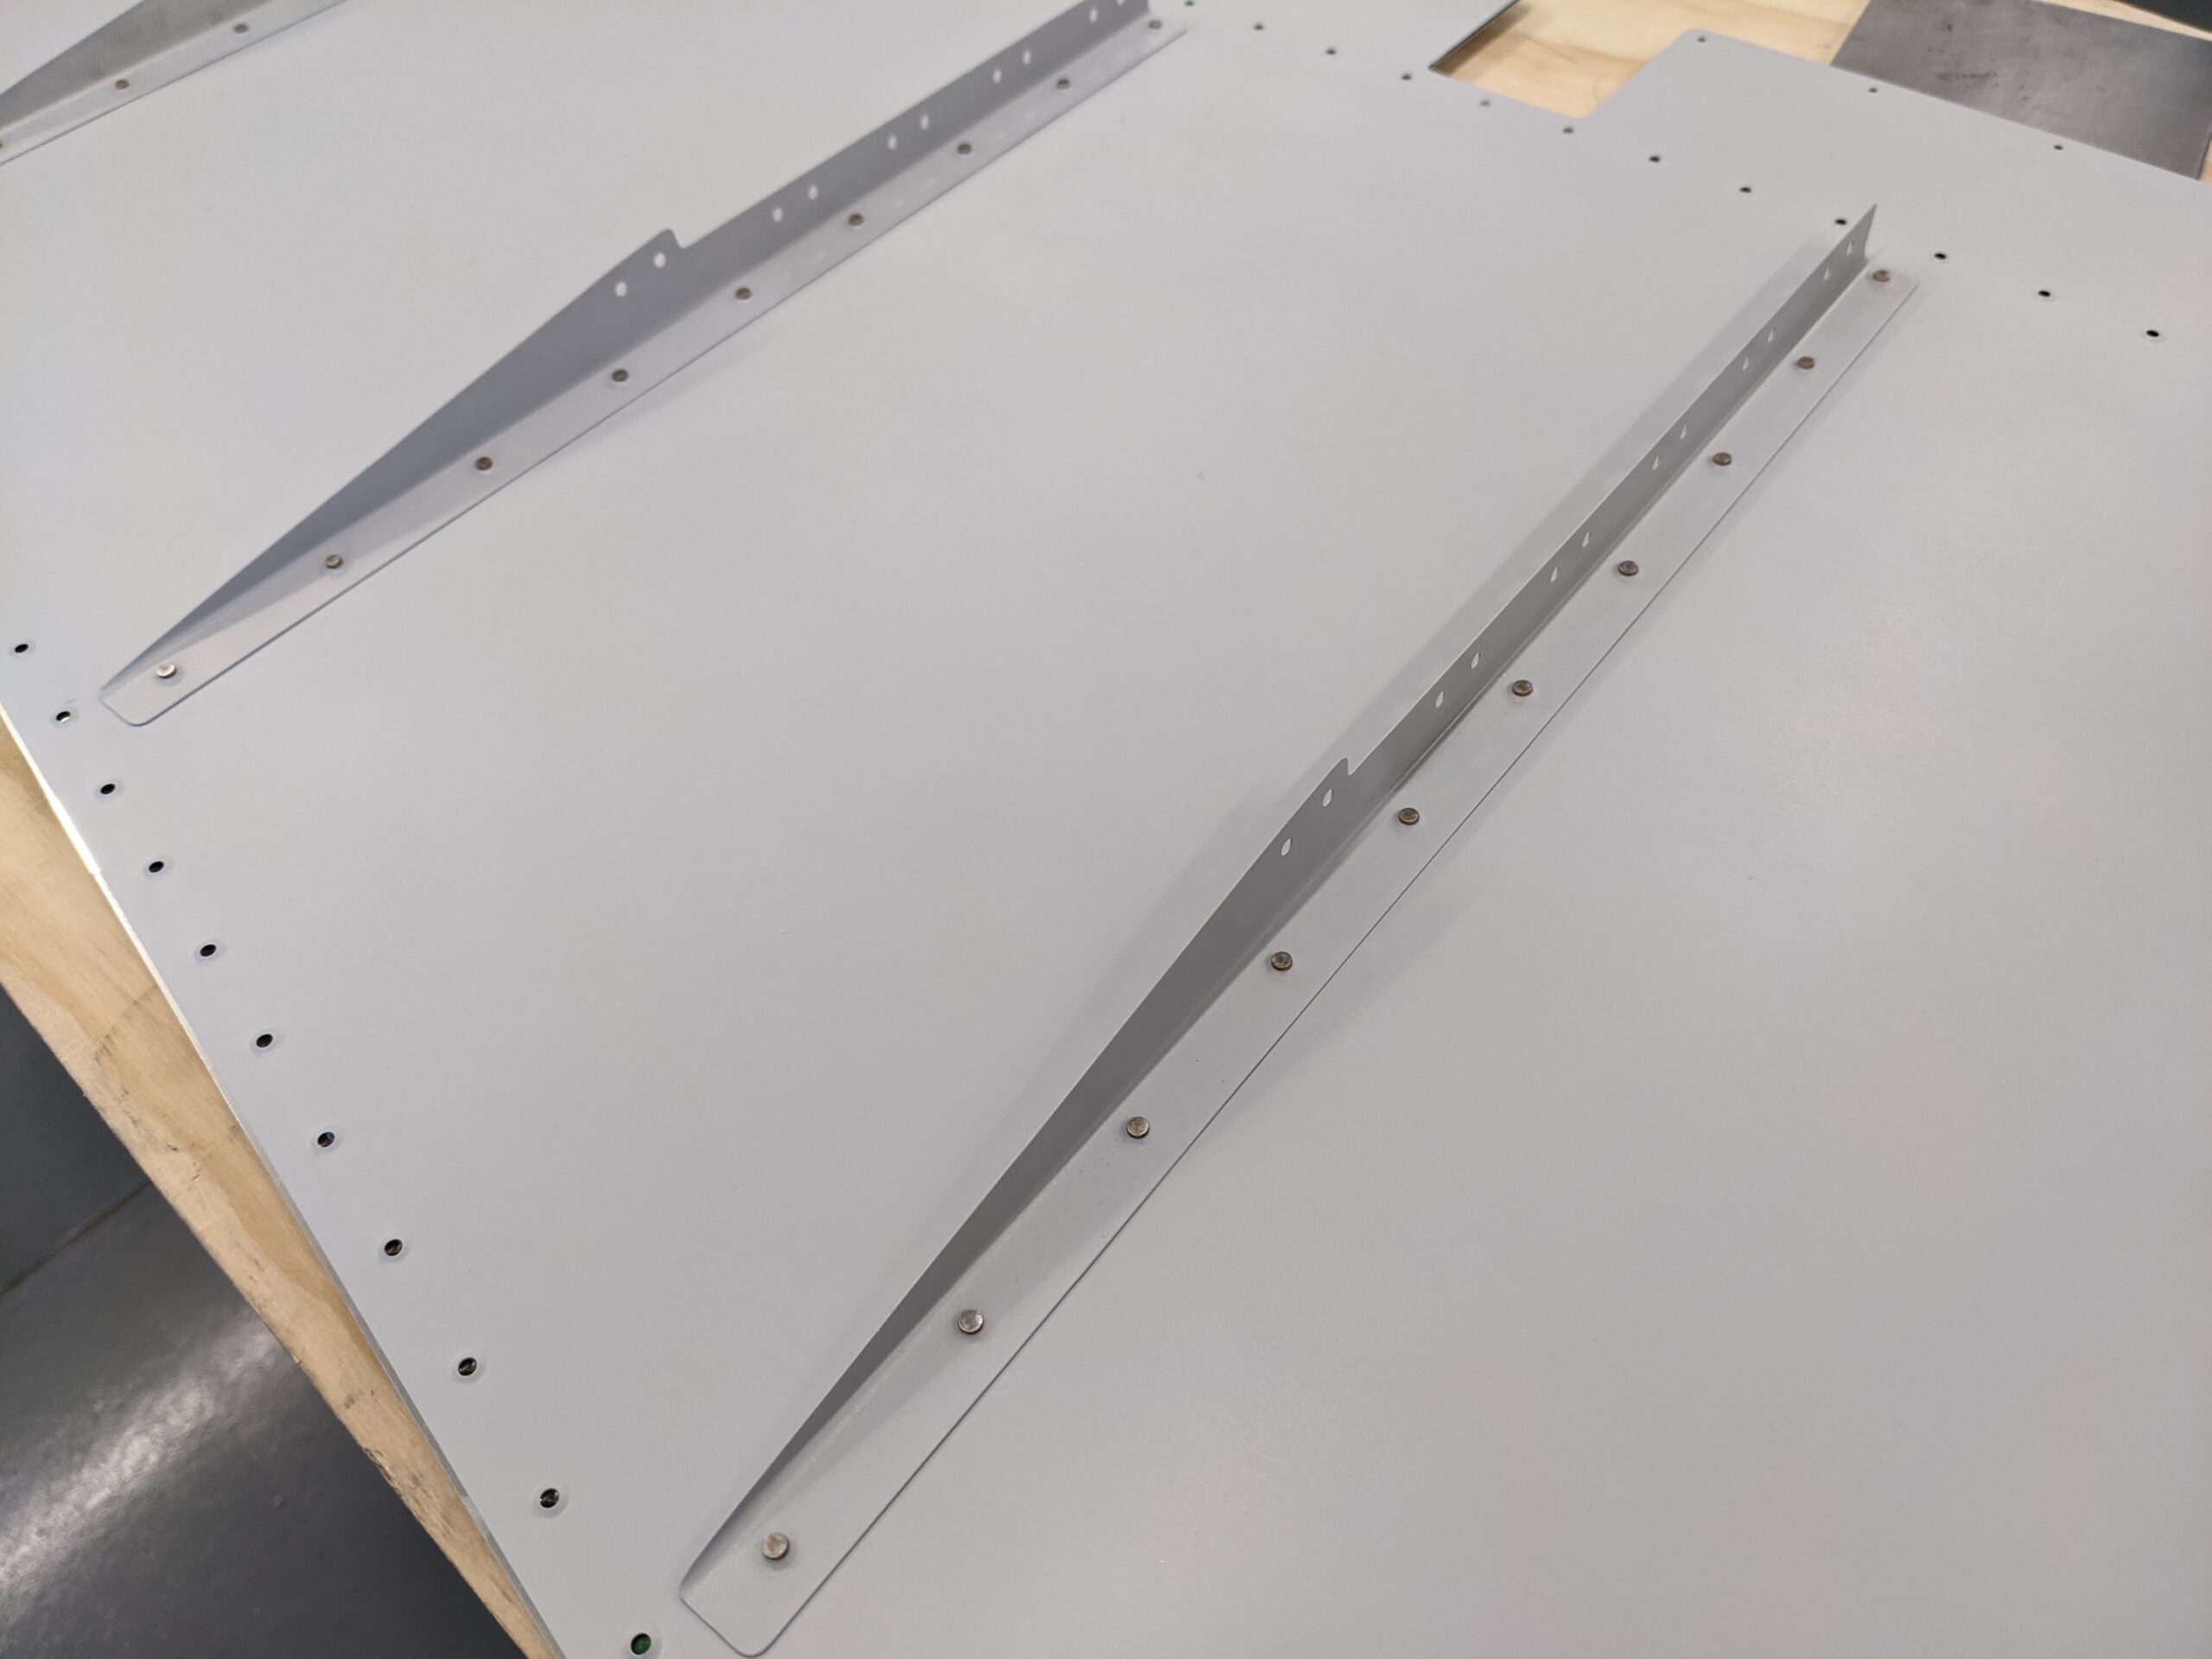
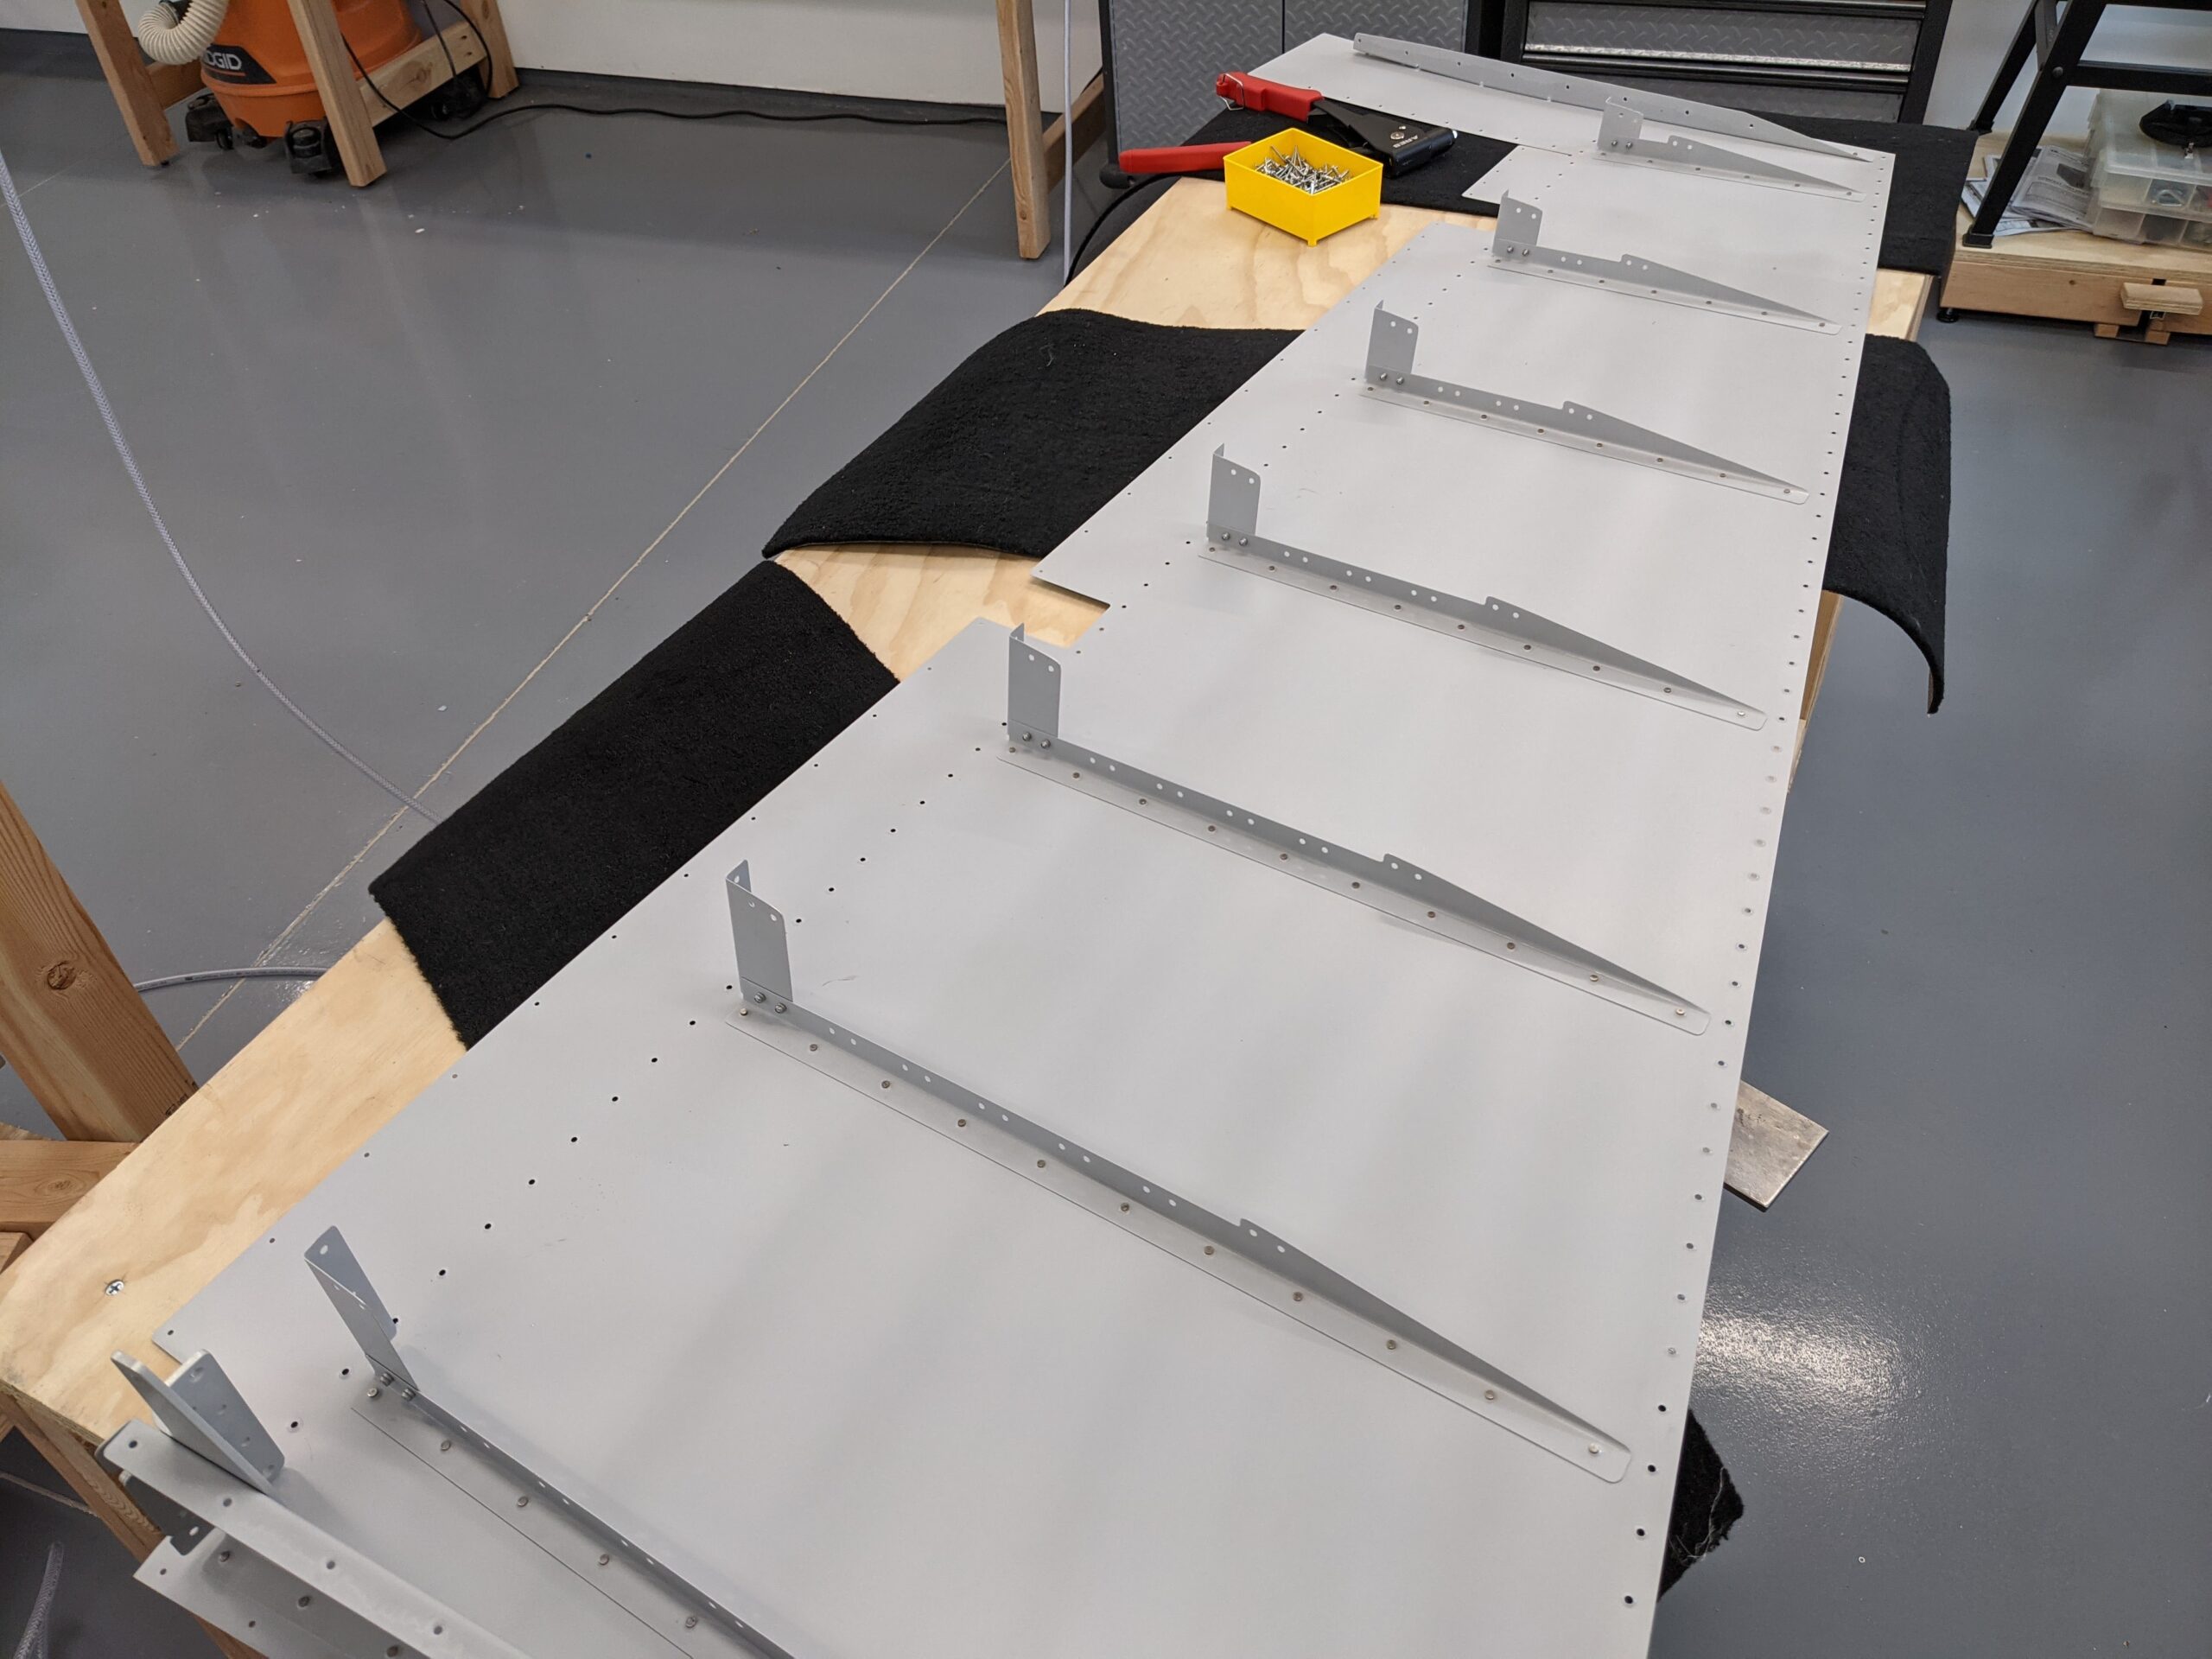
Those tasks went quickly and we then started on the back-riveting of the stiffeners to the rudder skins. I had a helper to place rivets so we placed them all and used riveting tape to secure them when we flipped the skins over.
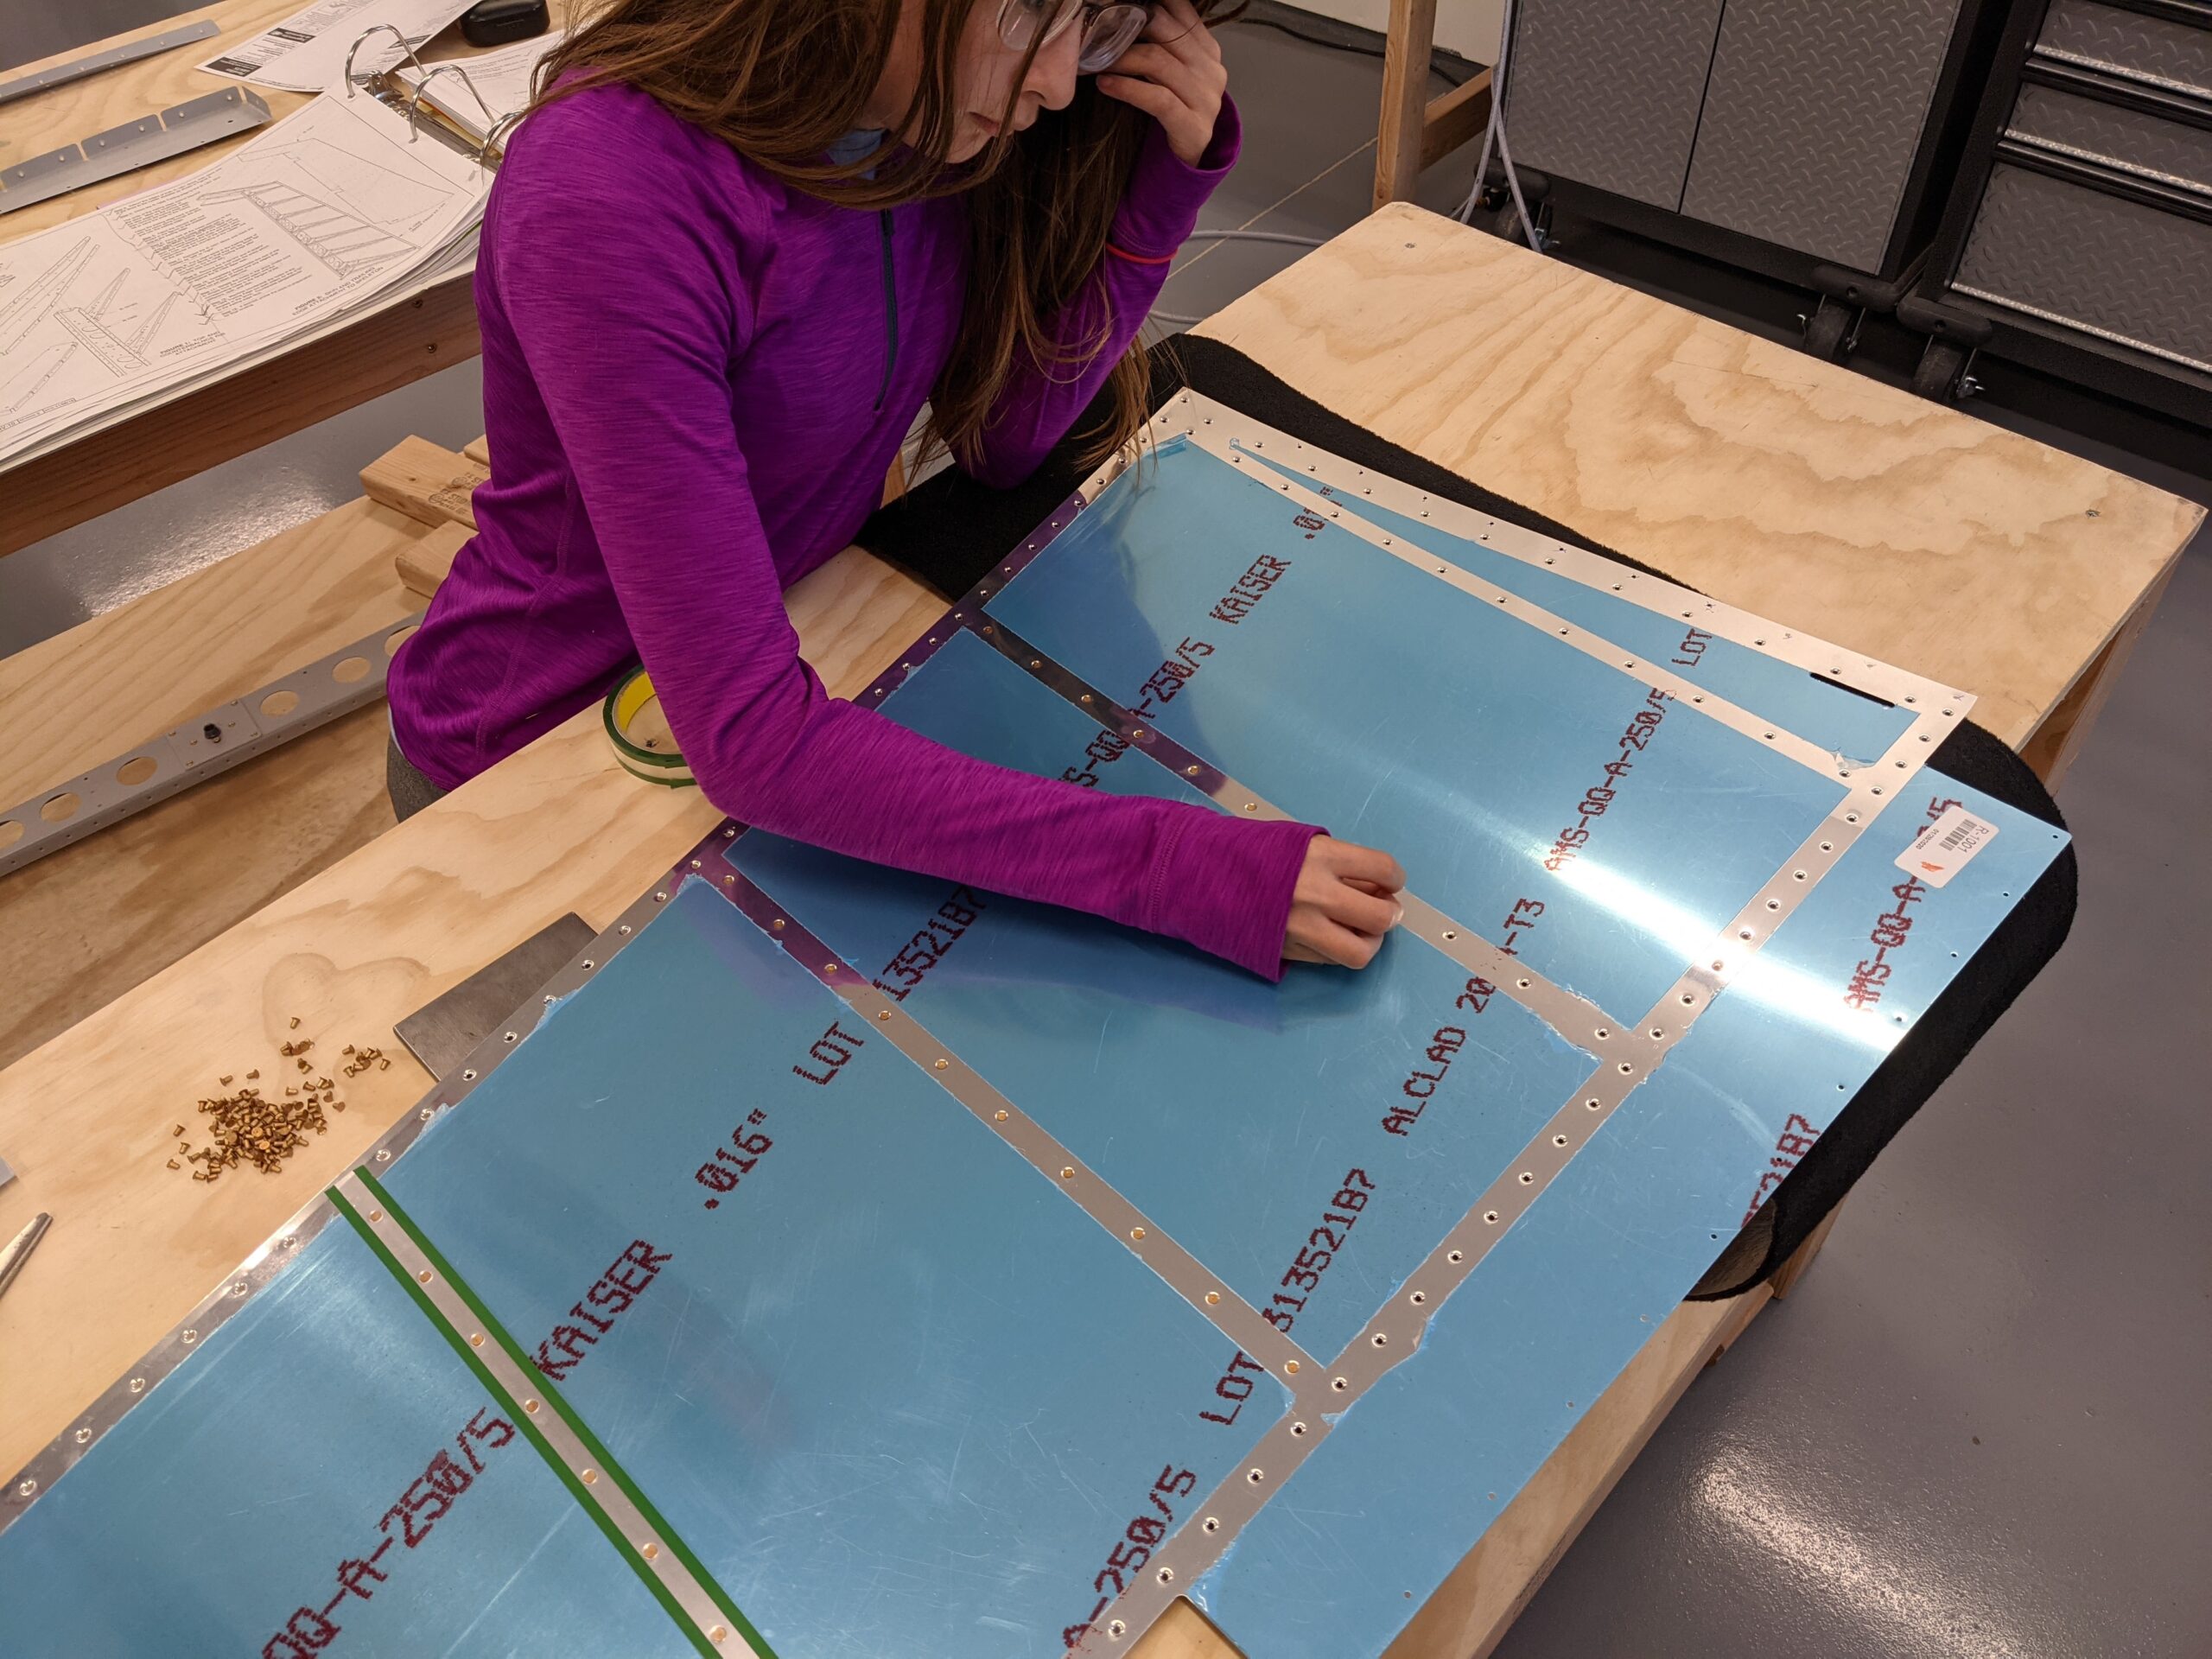
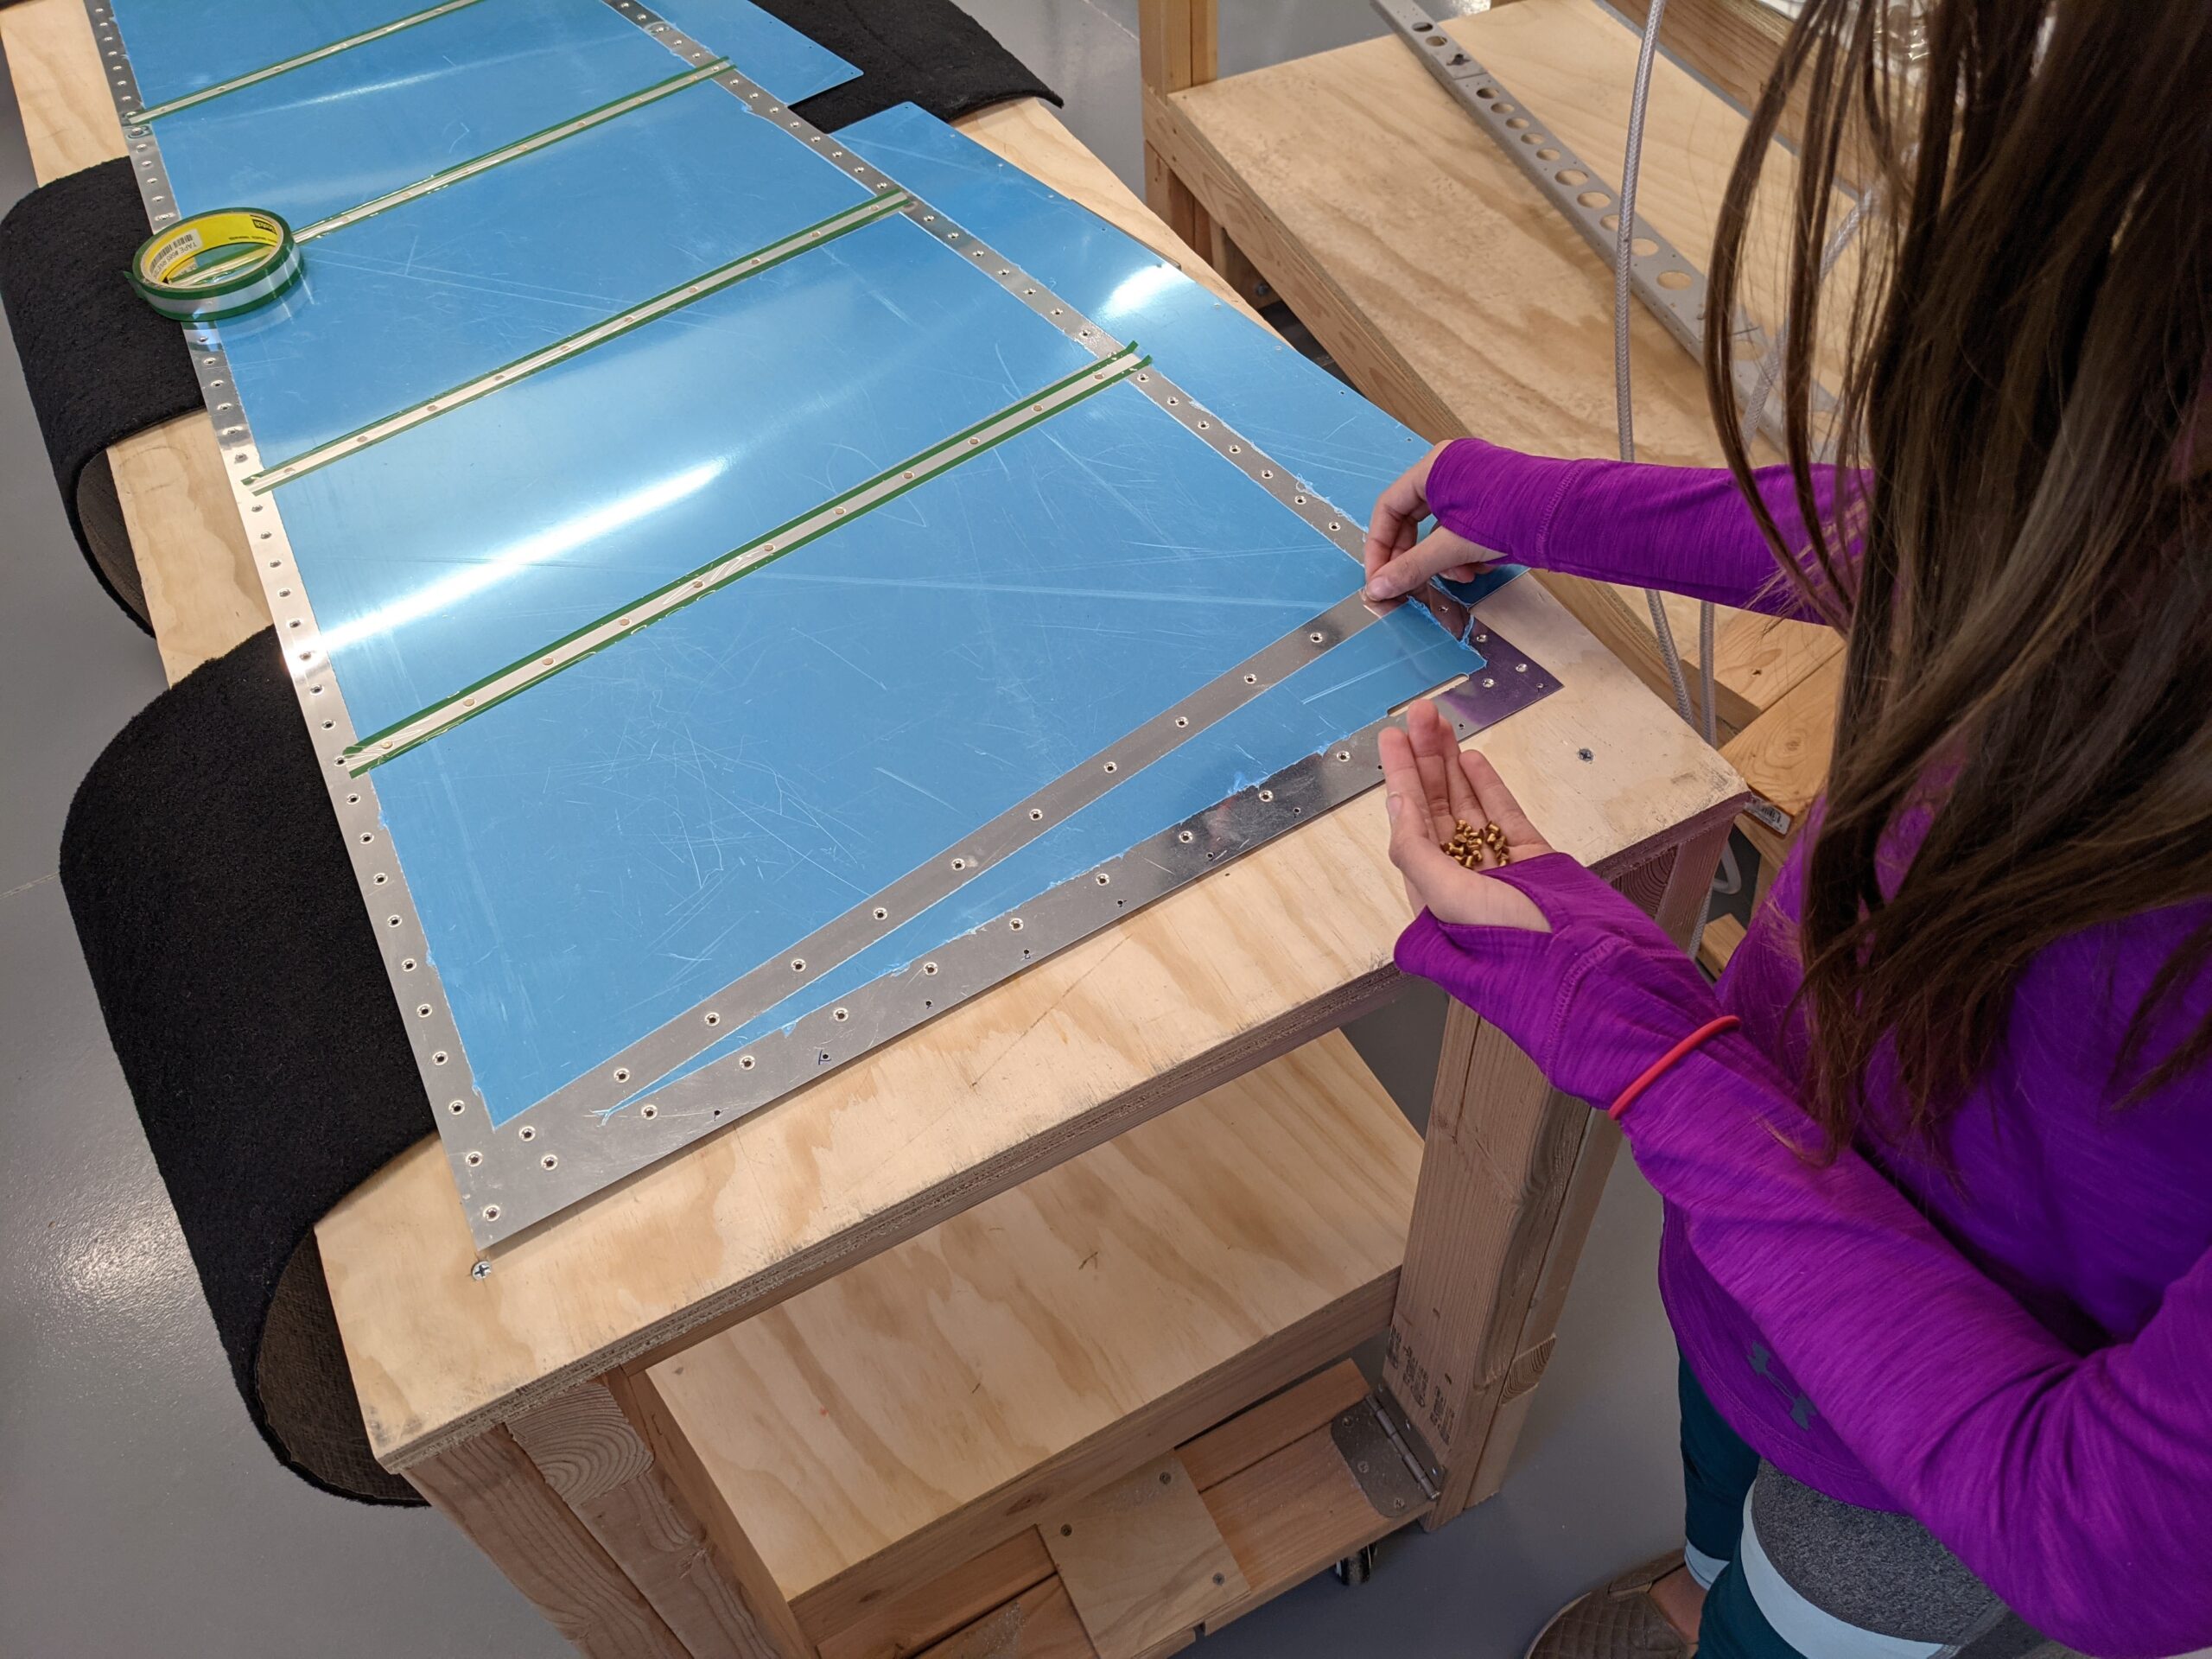
This was my first real attempt at back-riveting. The riveting went quickly and the rivets came out looking really good.
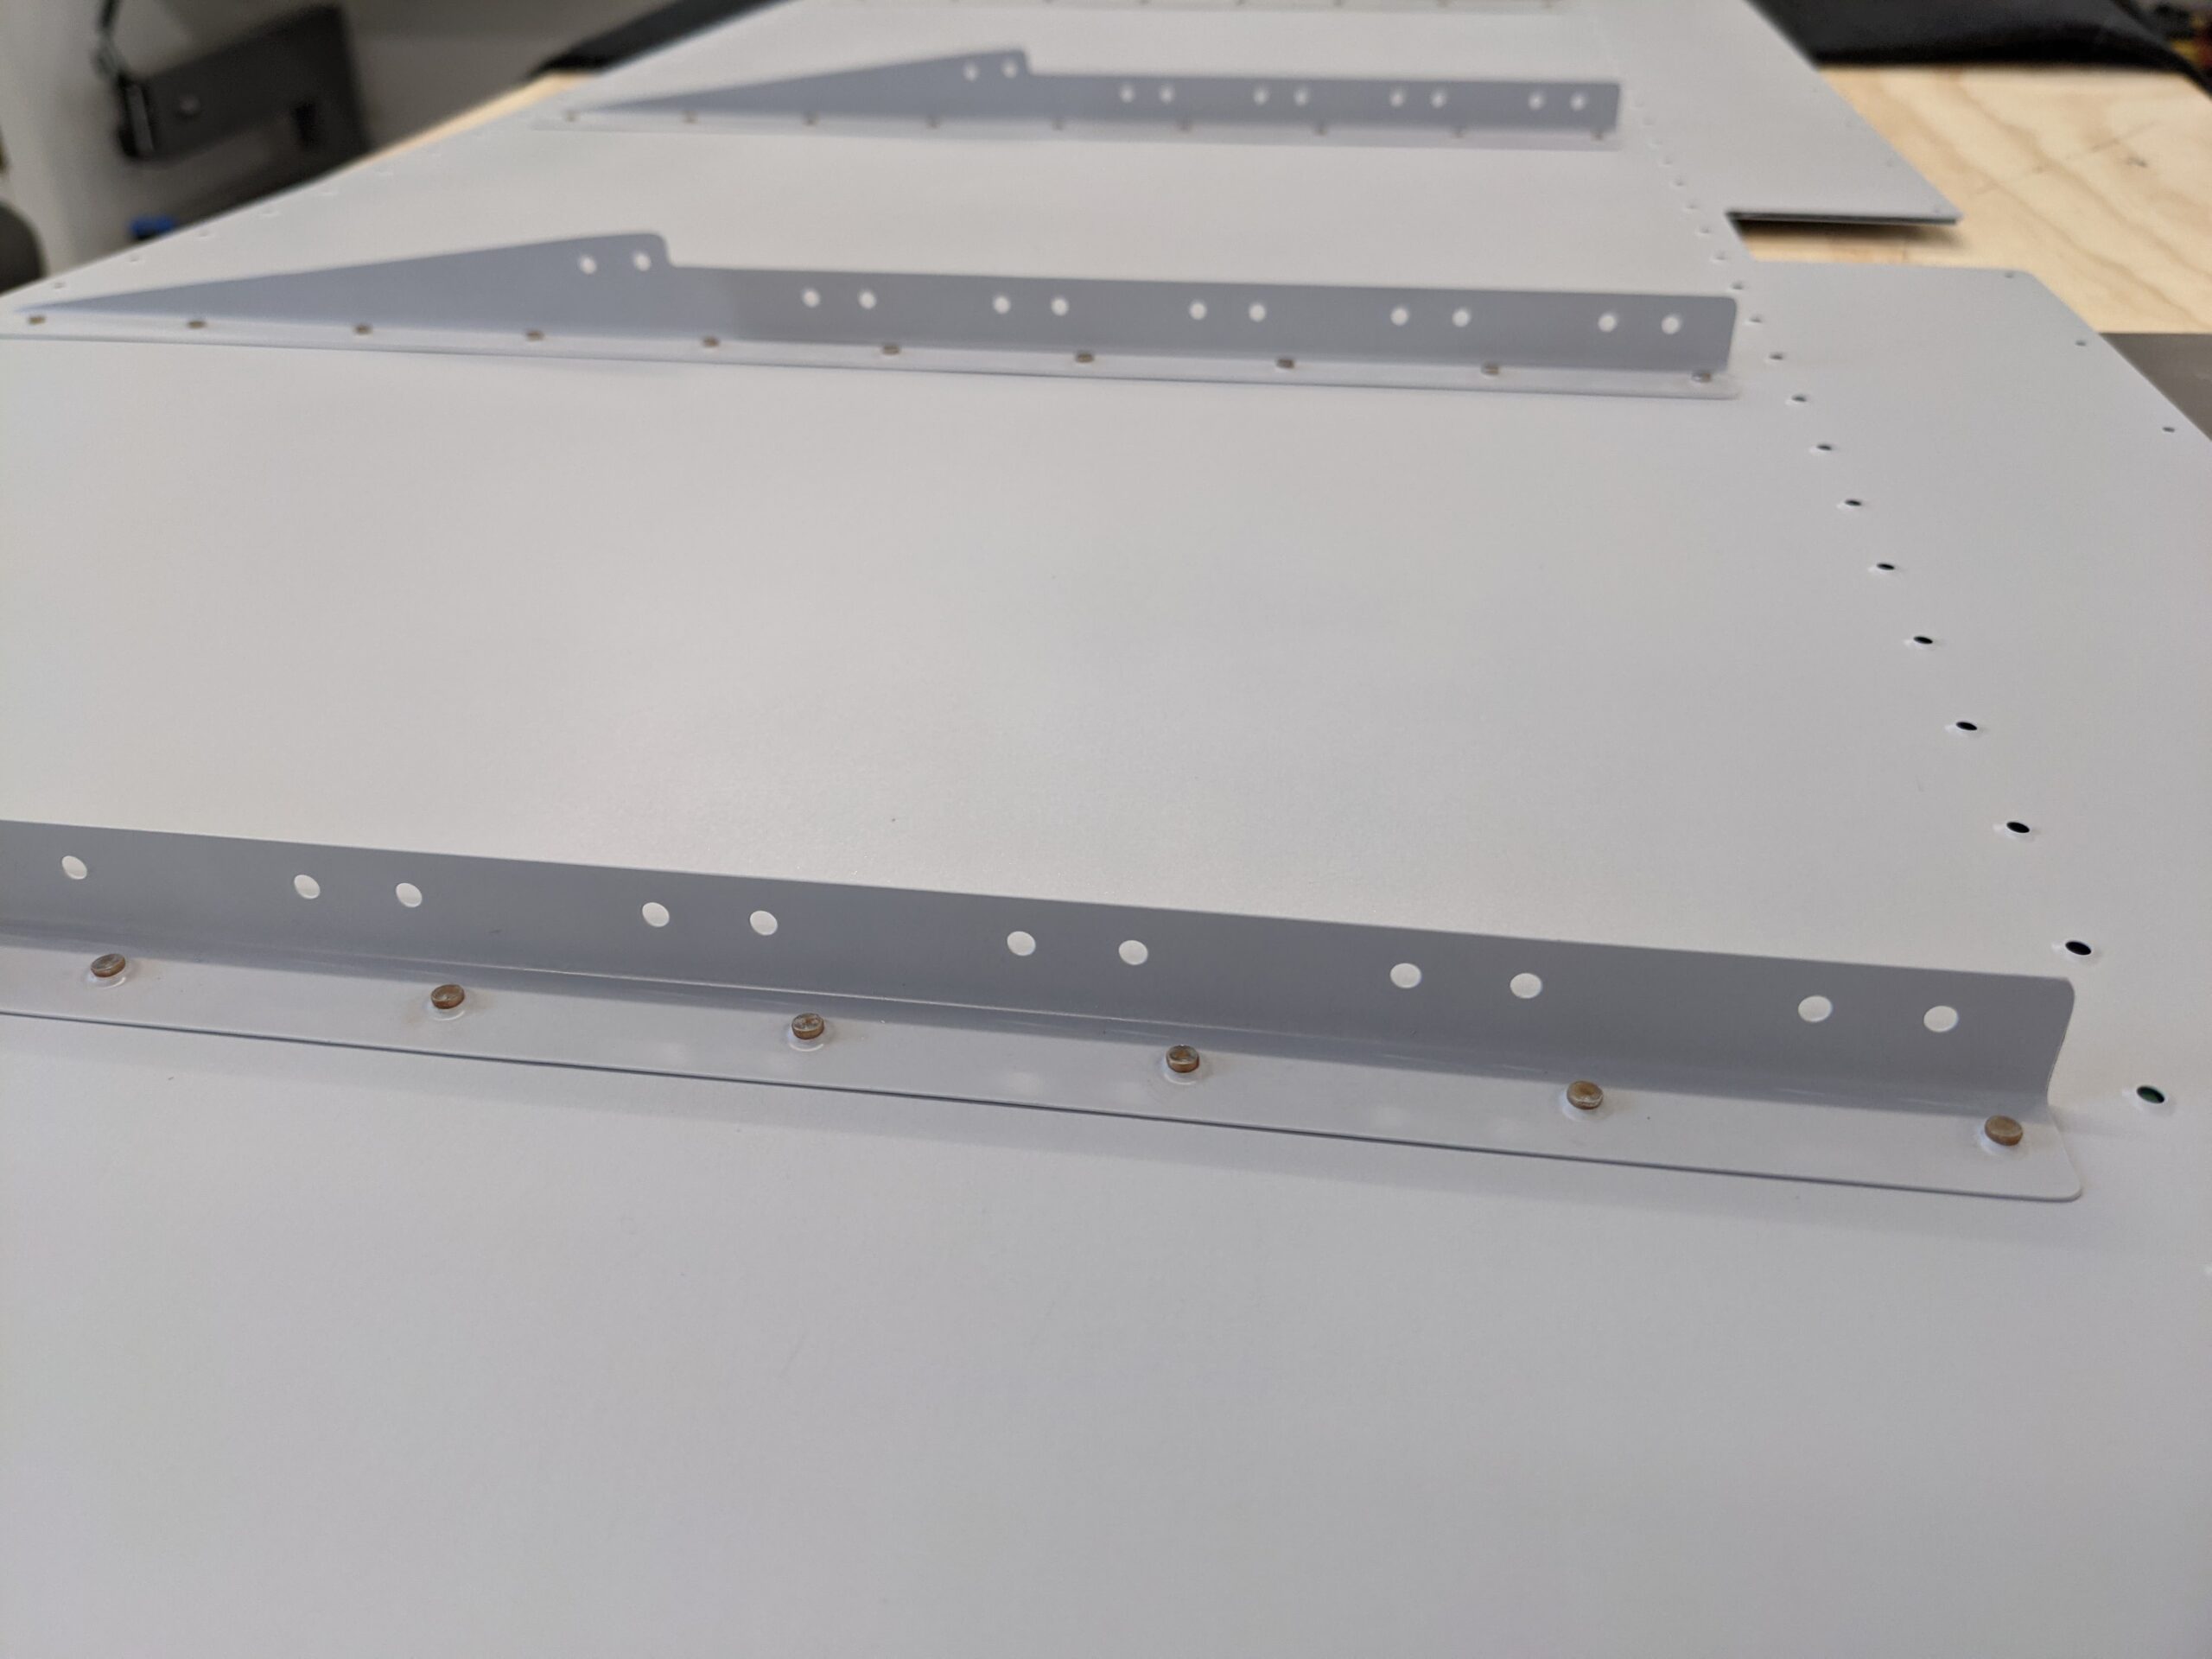
Attaching the bottom rib to the skin was next.
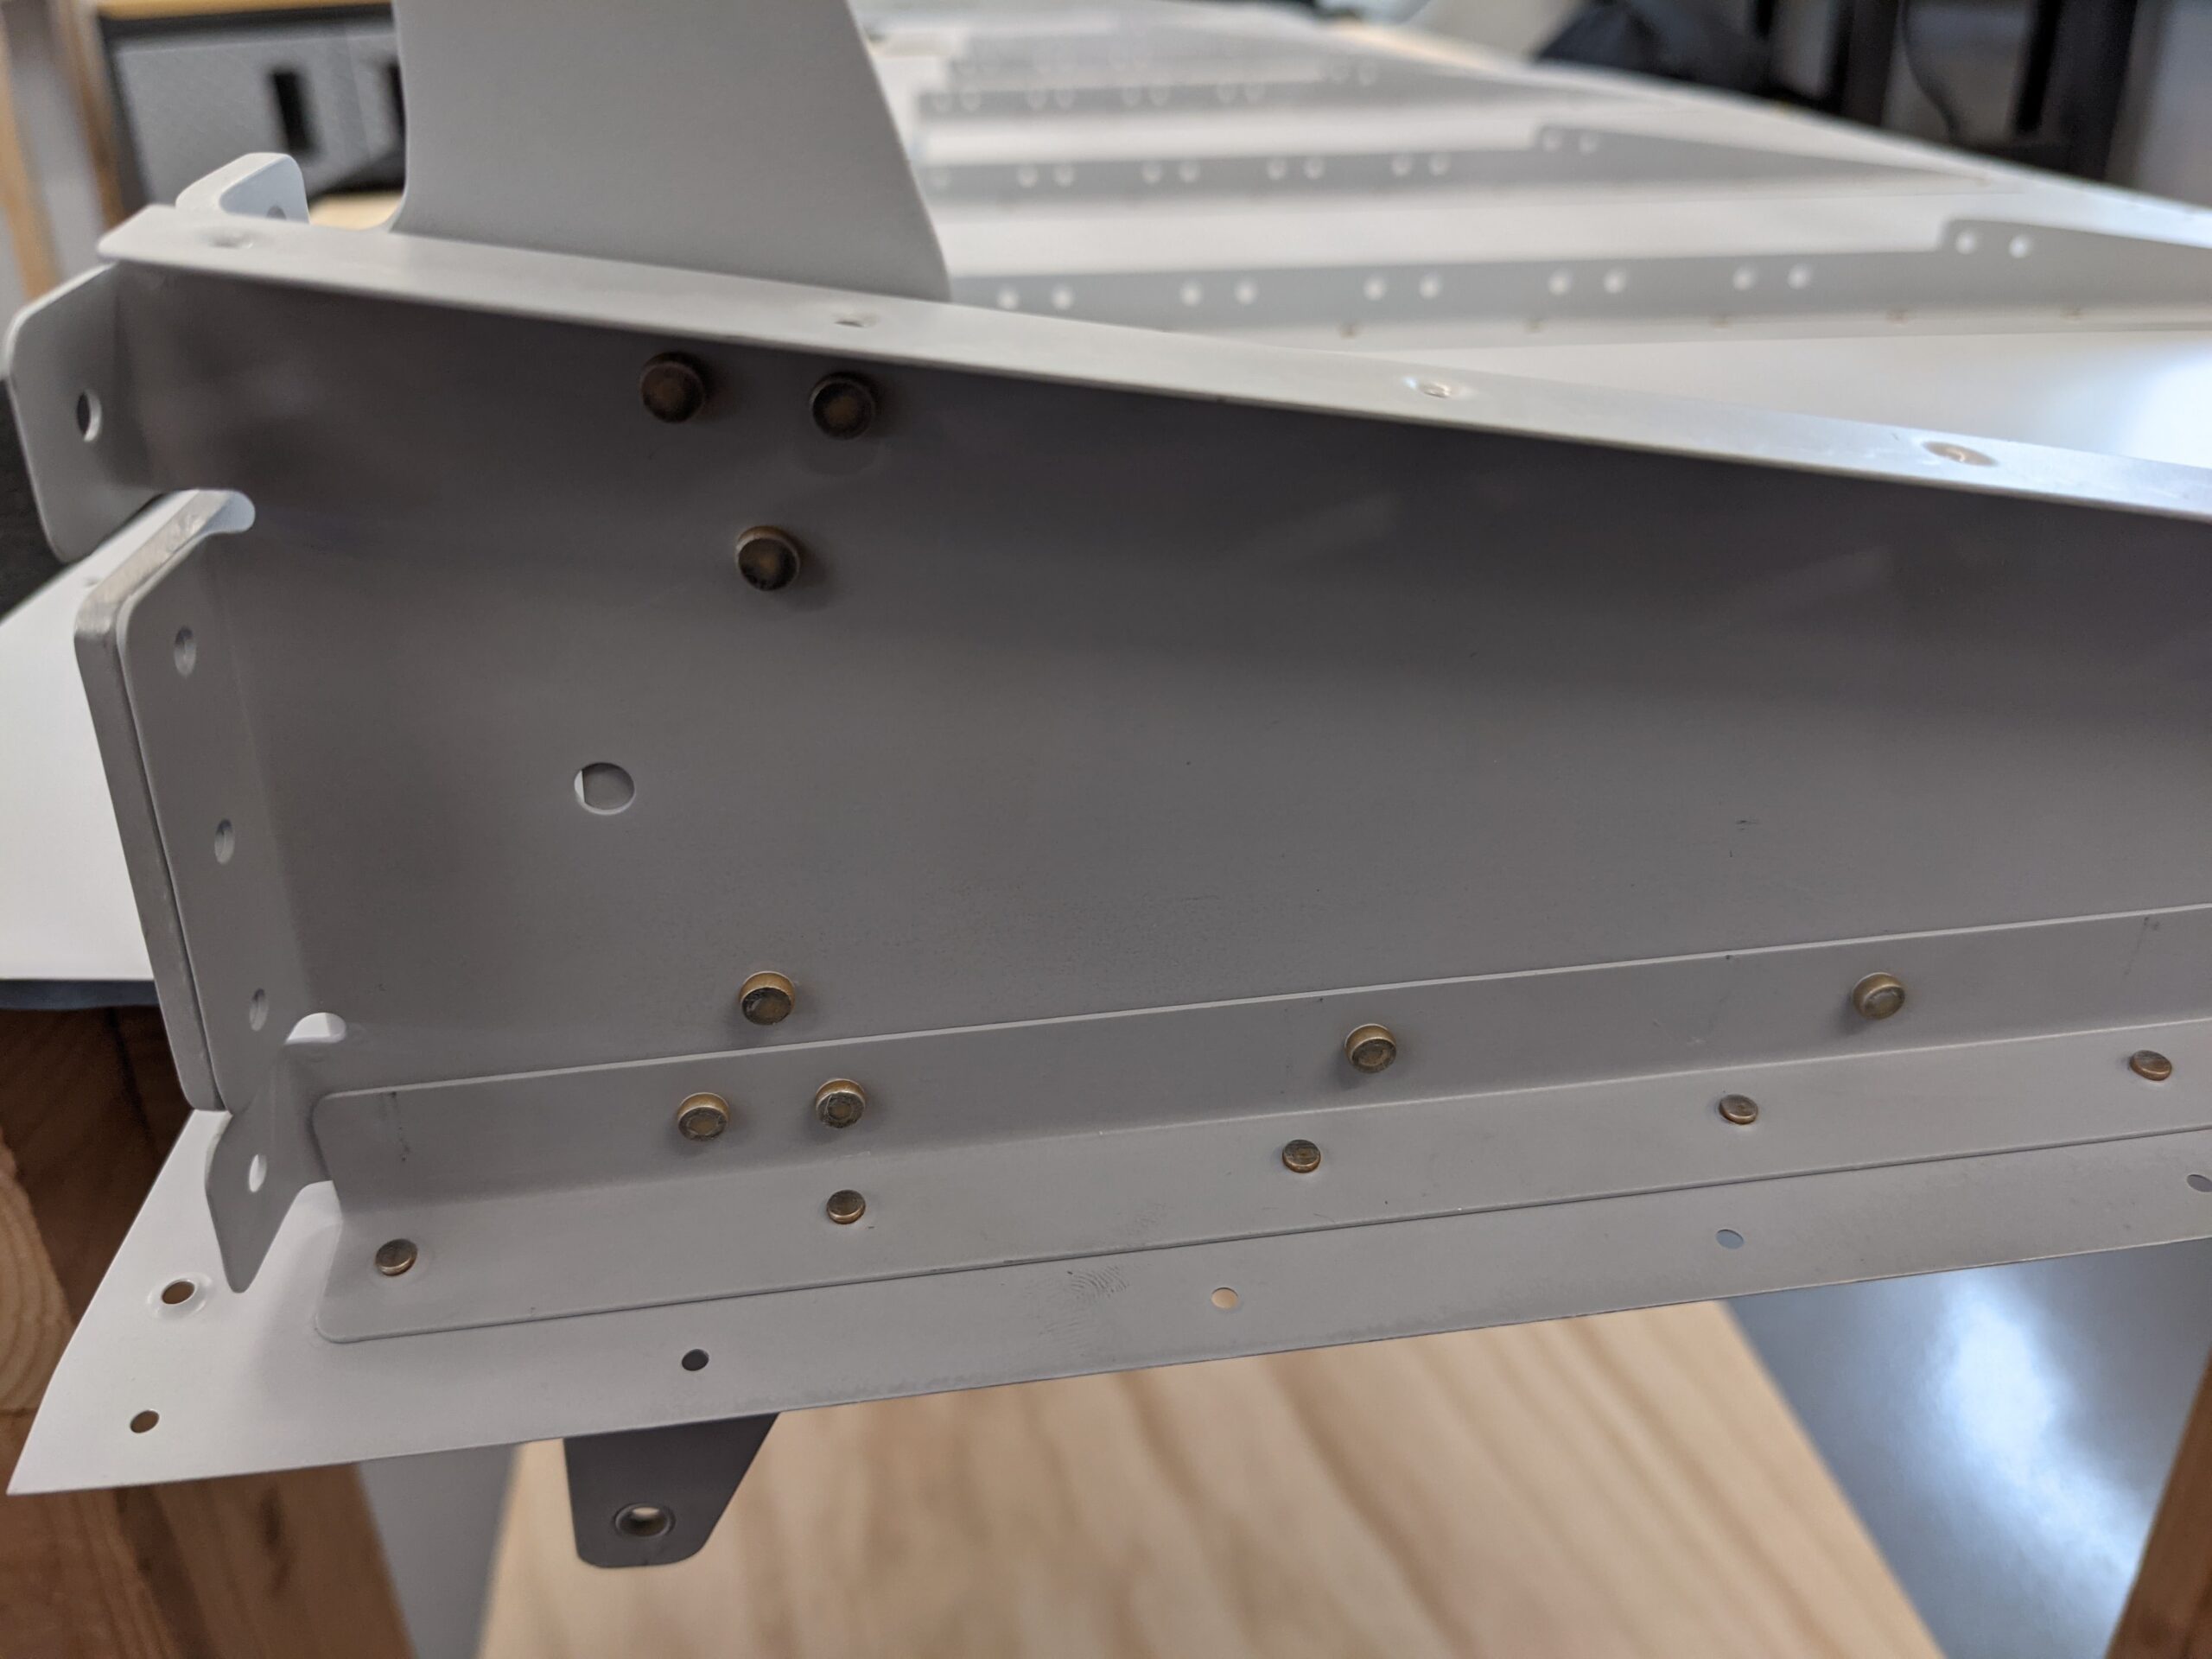
Setting the last rivet at the aft end of the bottom rib was challenging as there is very limited room. On the opposite skin the plans call for a pull rivet but the plans expect a solid rivet here. With some assistance, I was able to get the thin nose squeezer yoke in there. I had to slowly squeeze the shop head to create more clearance to allow the factory head to flush up against the skin. It took a bit of finessing but it looks good and is set to spec.
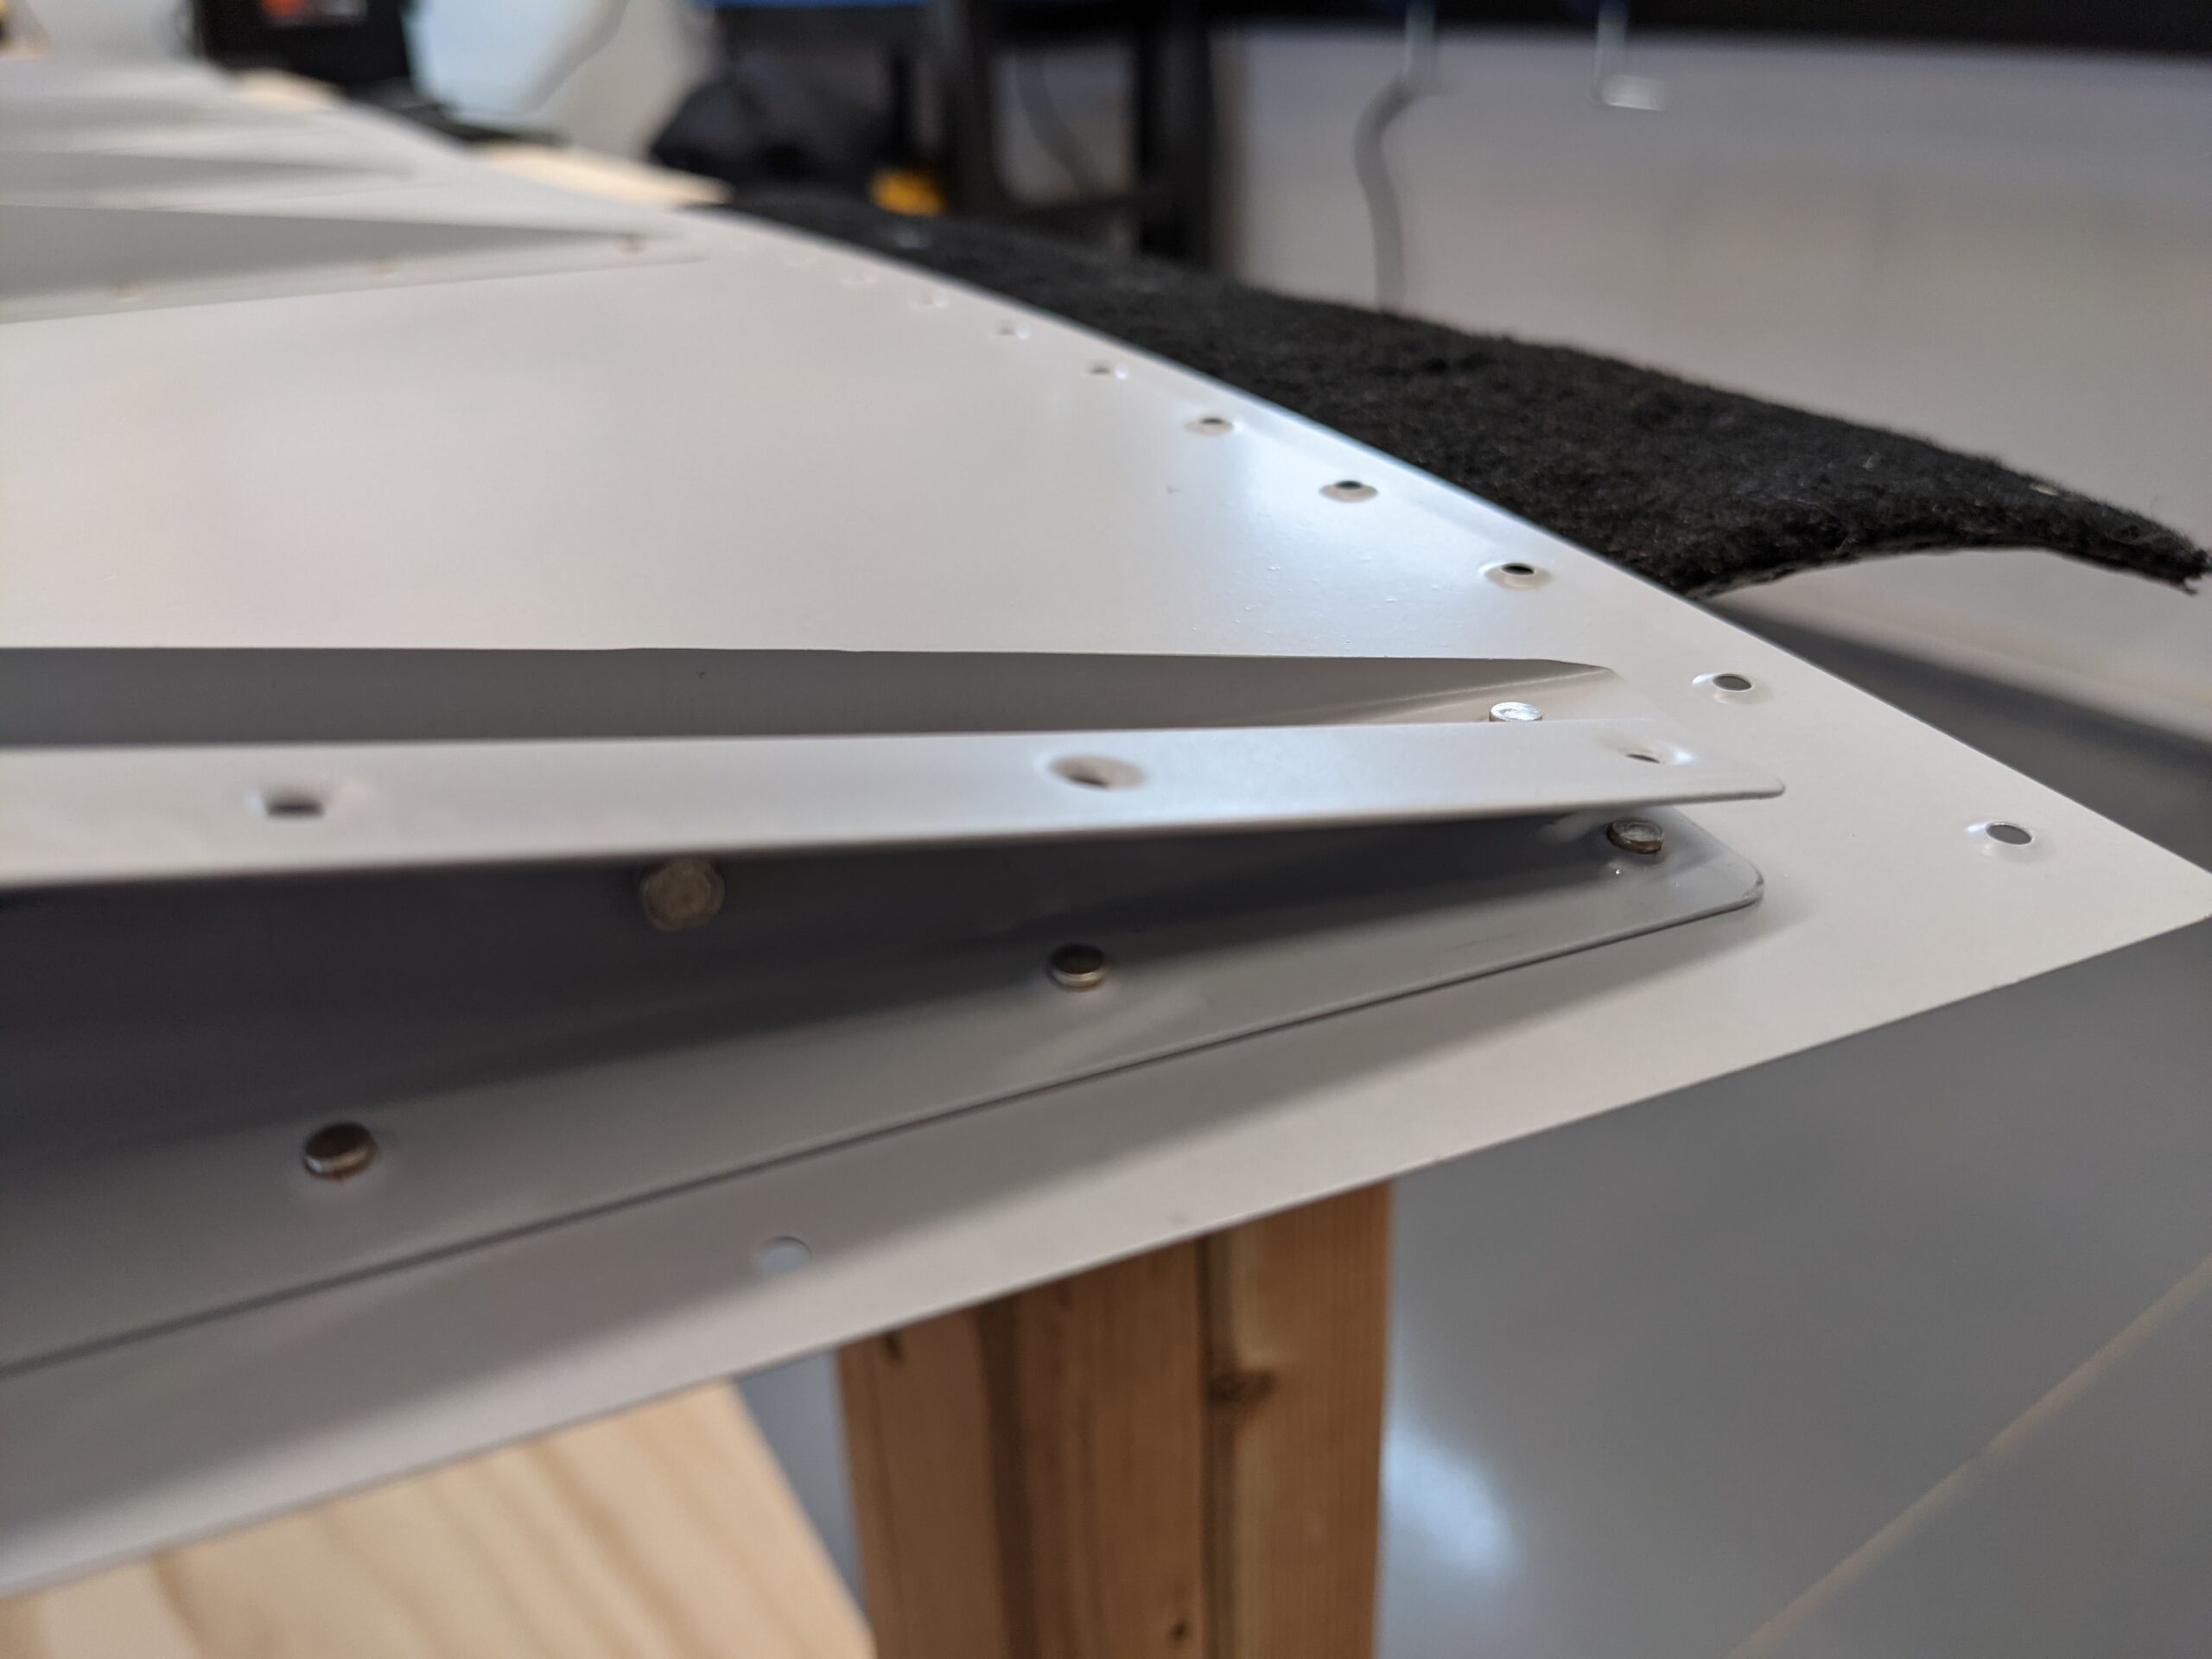
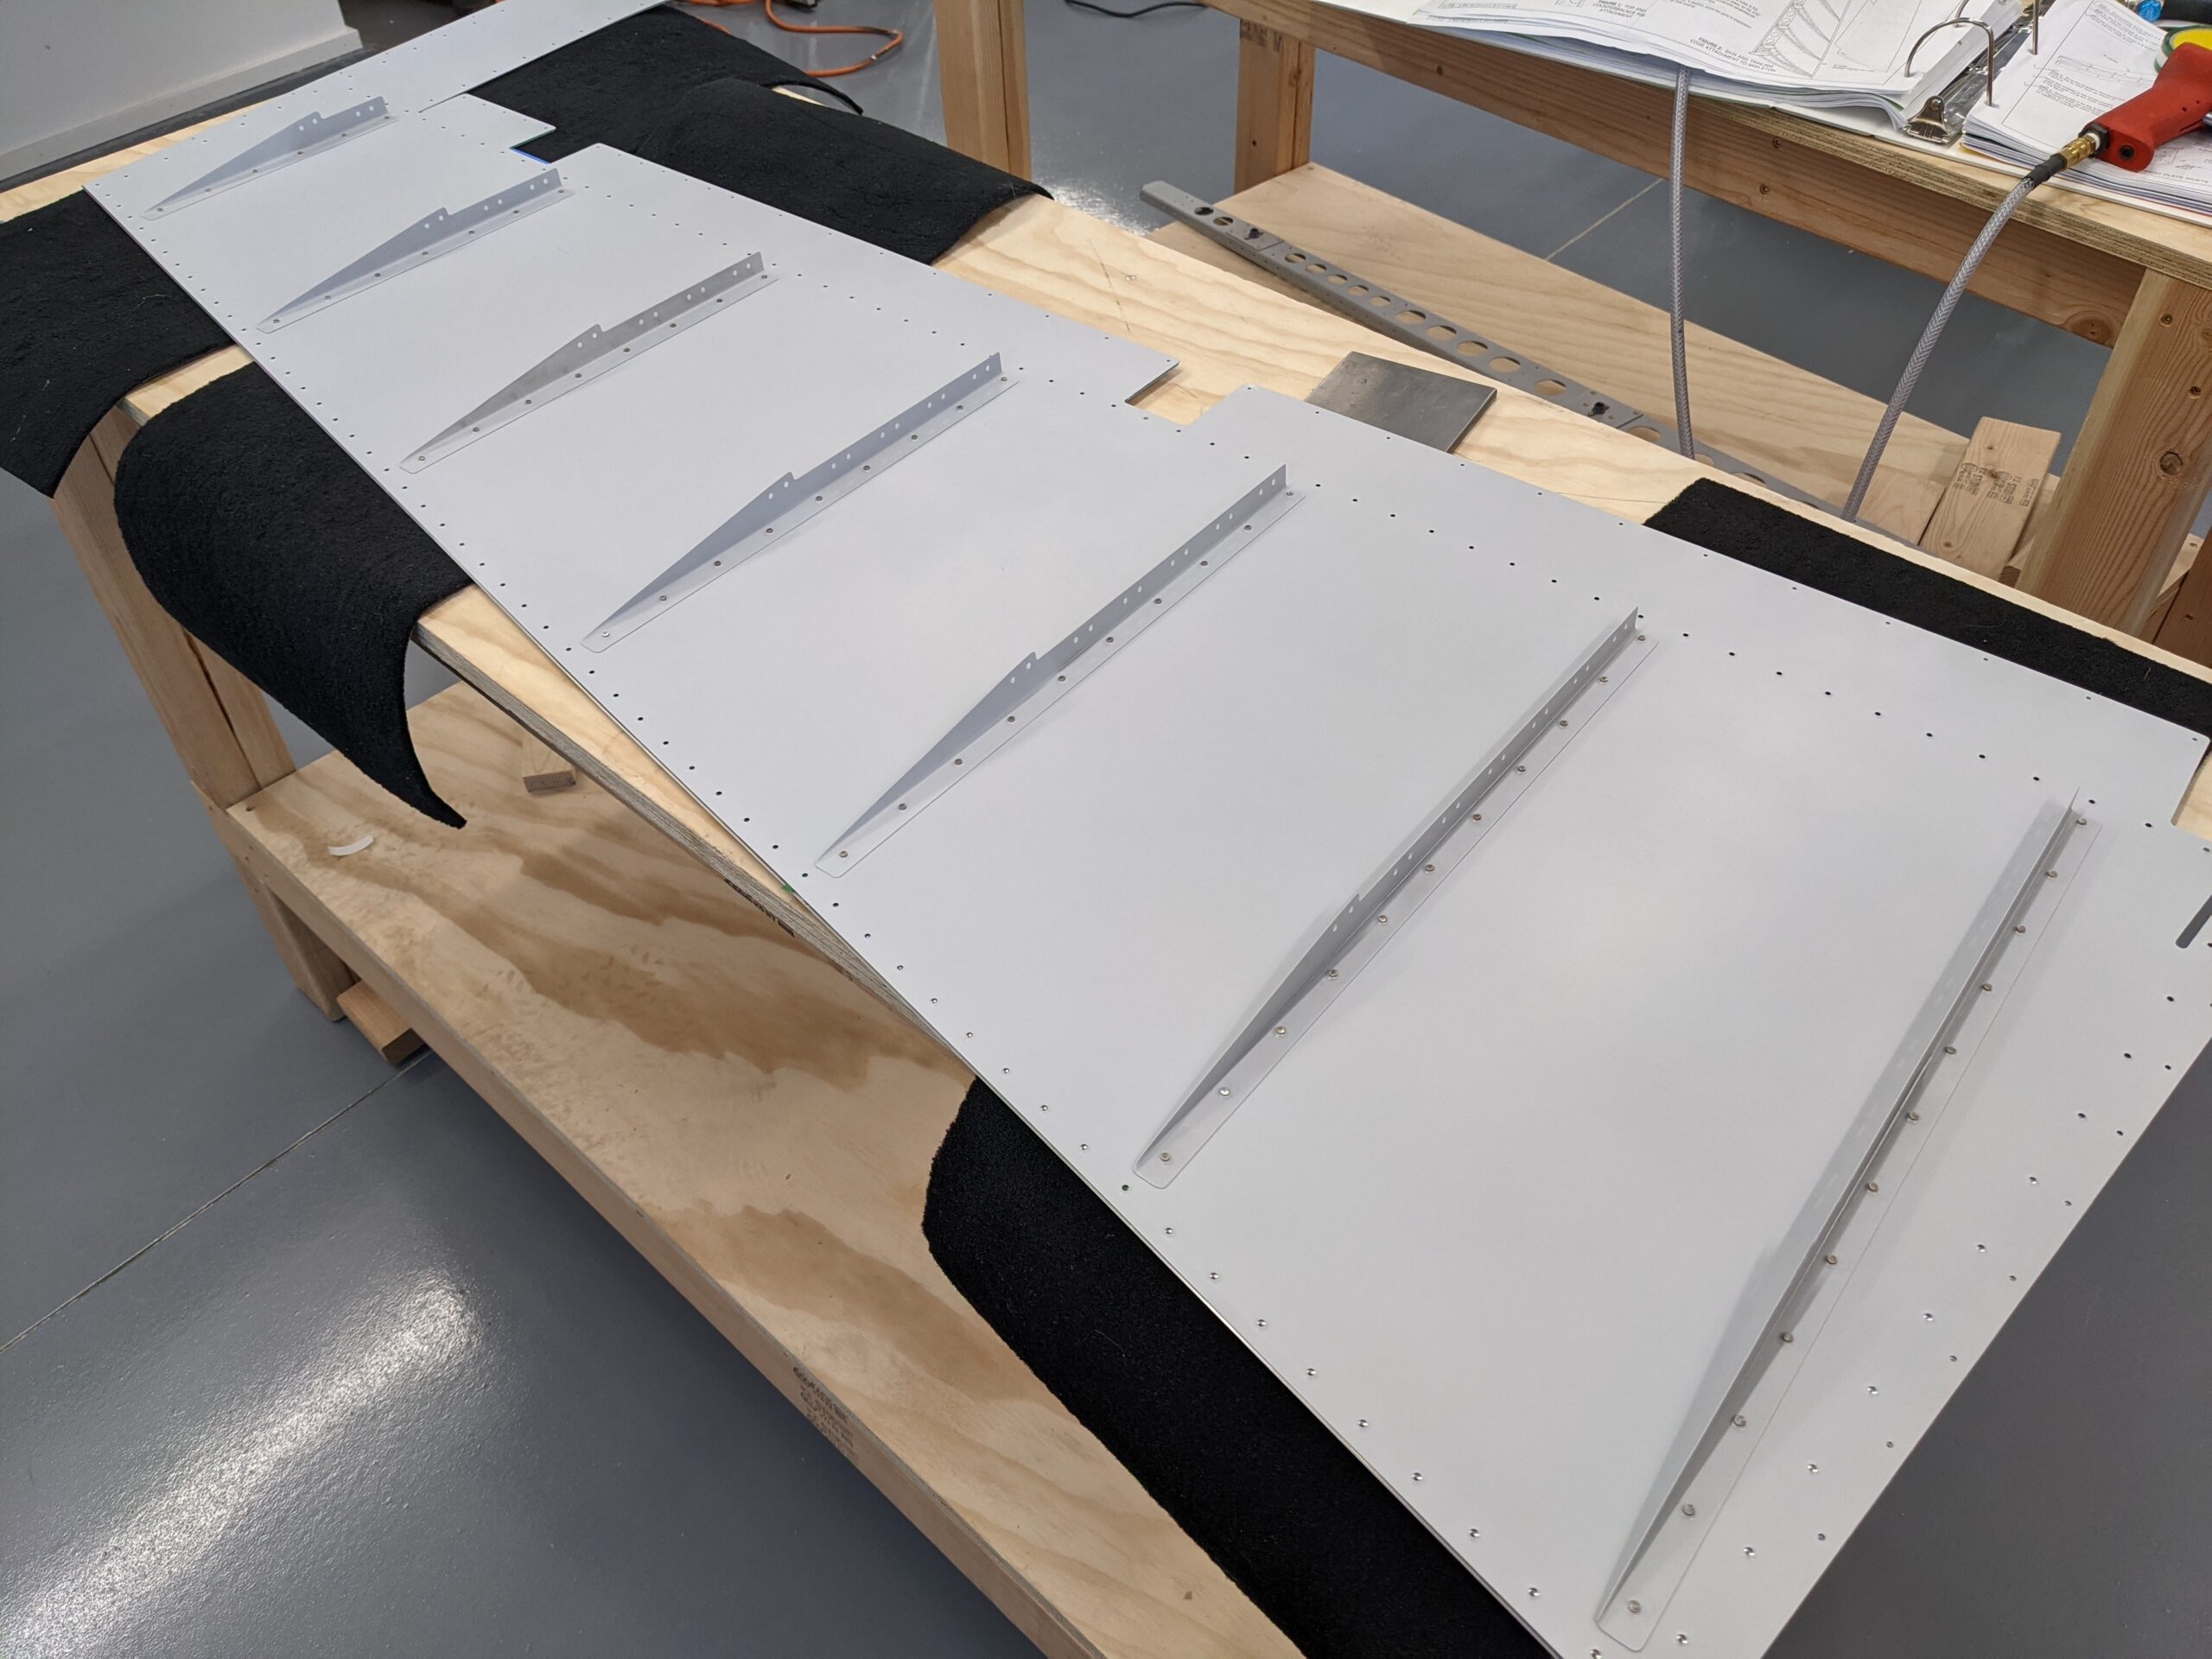
Next up was attaching the shear clips. This was a quick task as these use pull rivets.
I’m now at the stage where both sides get attached and the rudder gets closed up. The final step is the riveting of the trailing edge with double-flush rivets.
Ensuring that the trailing edge is straight and that the rudder has minimal twist is important here so I paused at this stage to do more research.