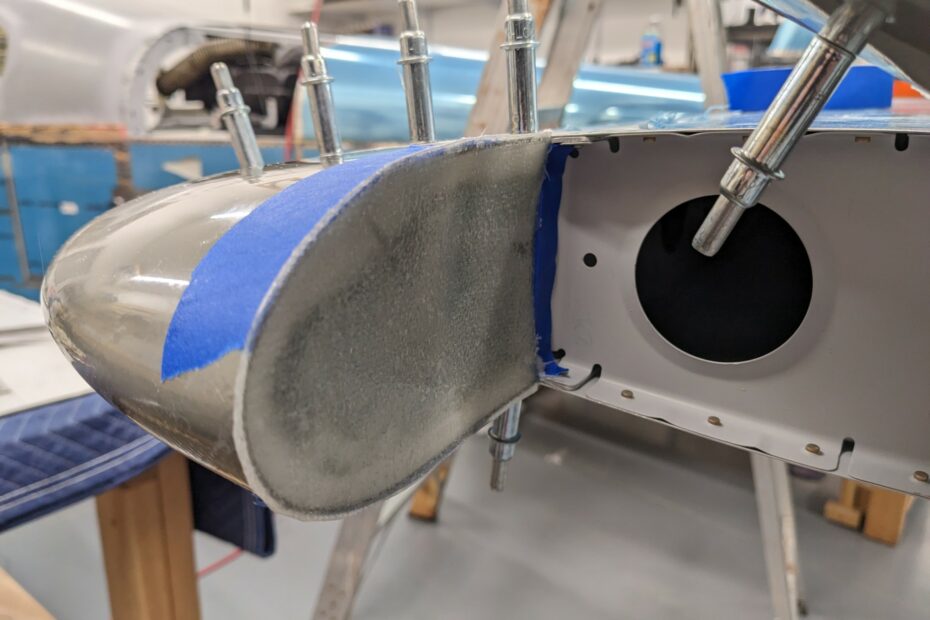
The tip fairings provided are open at the aft end and these openings are closed by the builder.
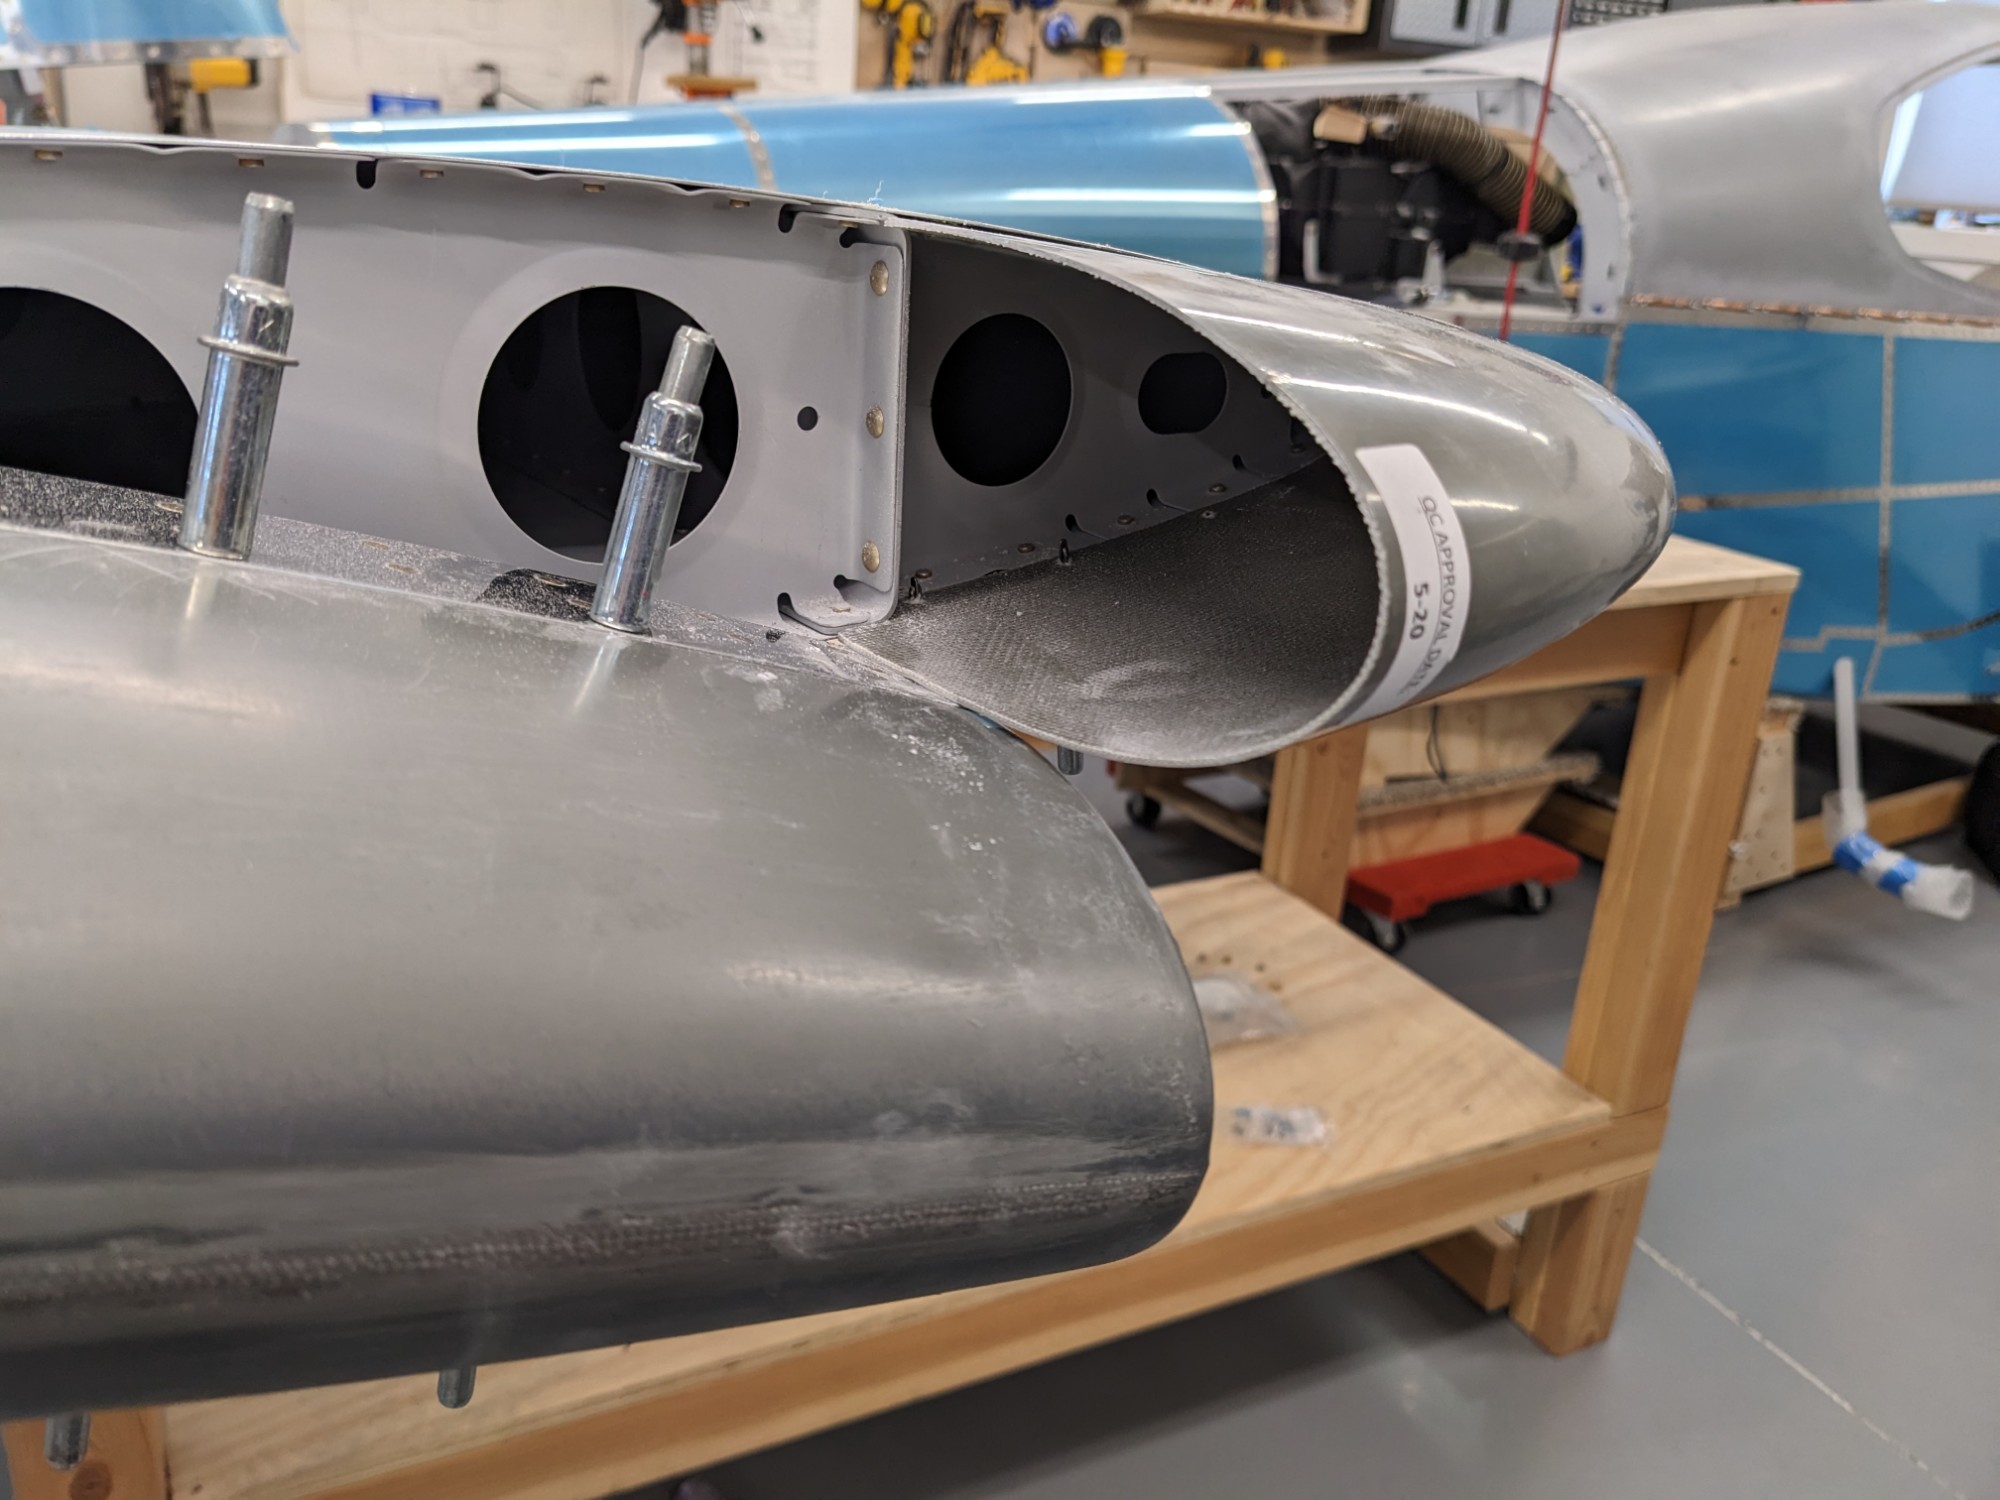
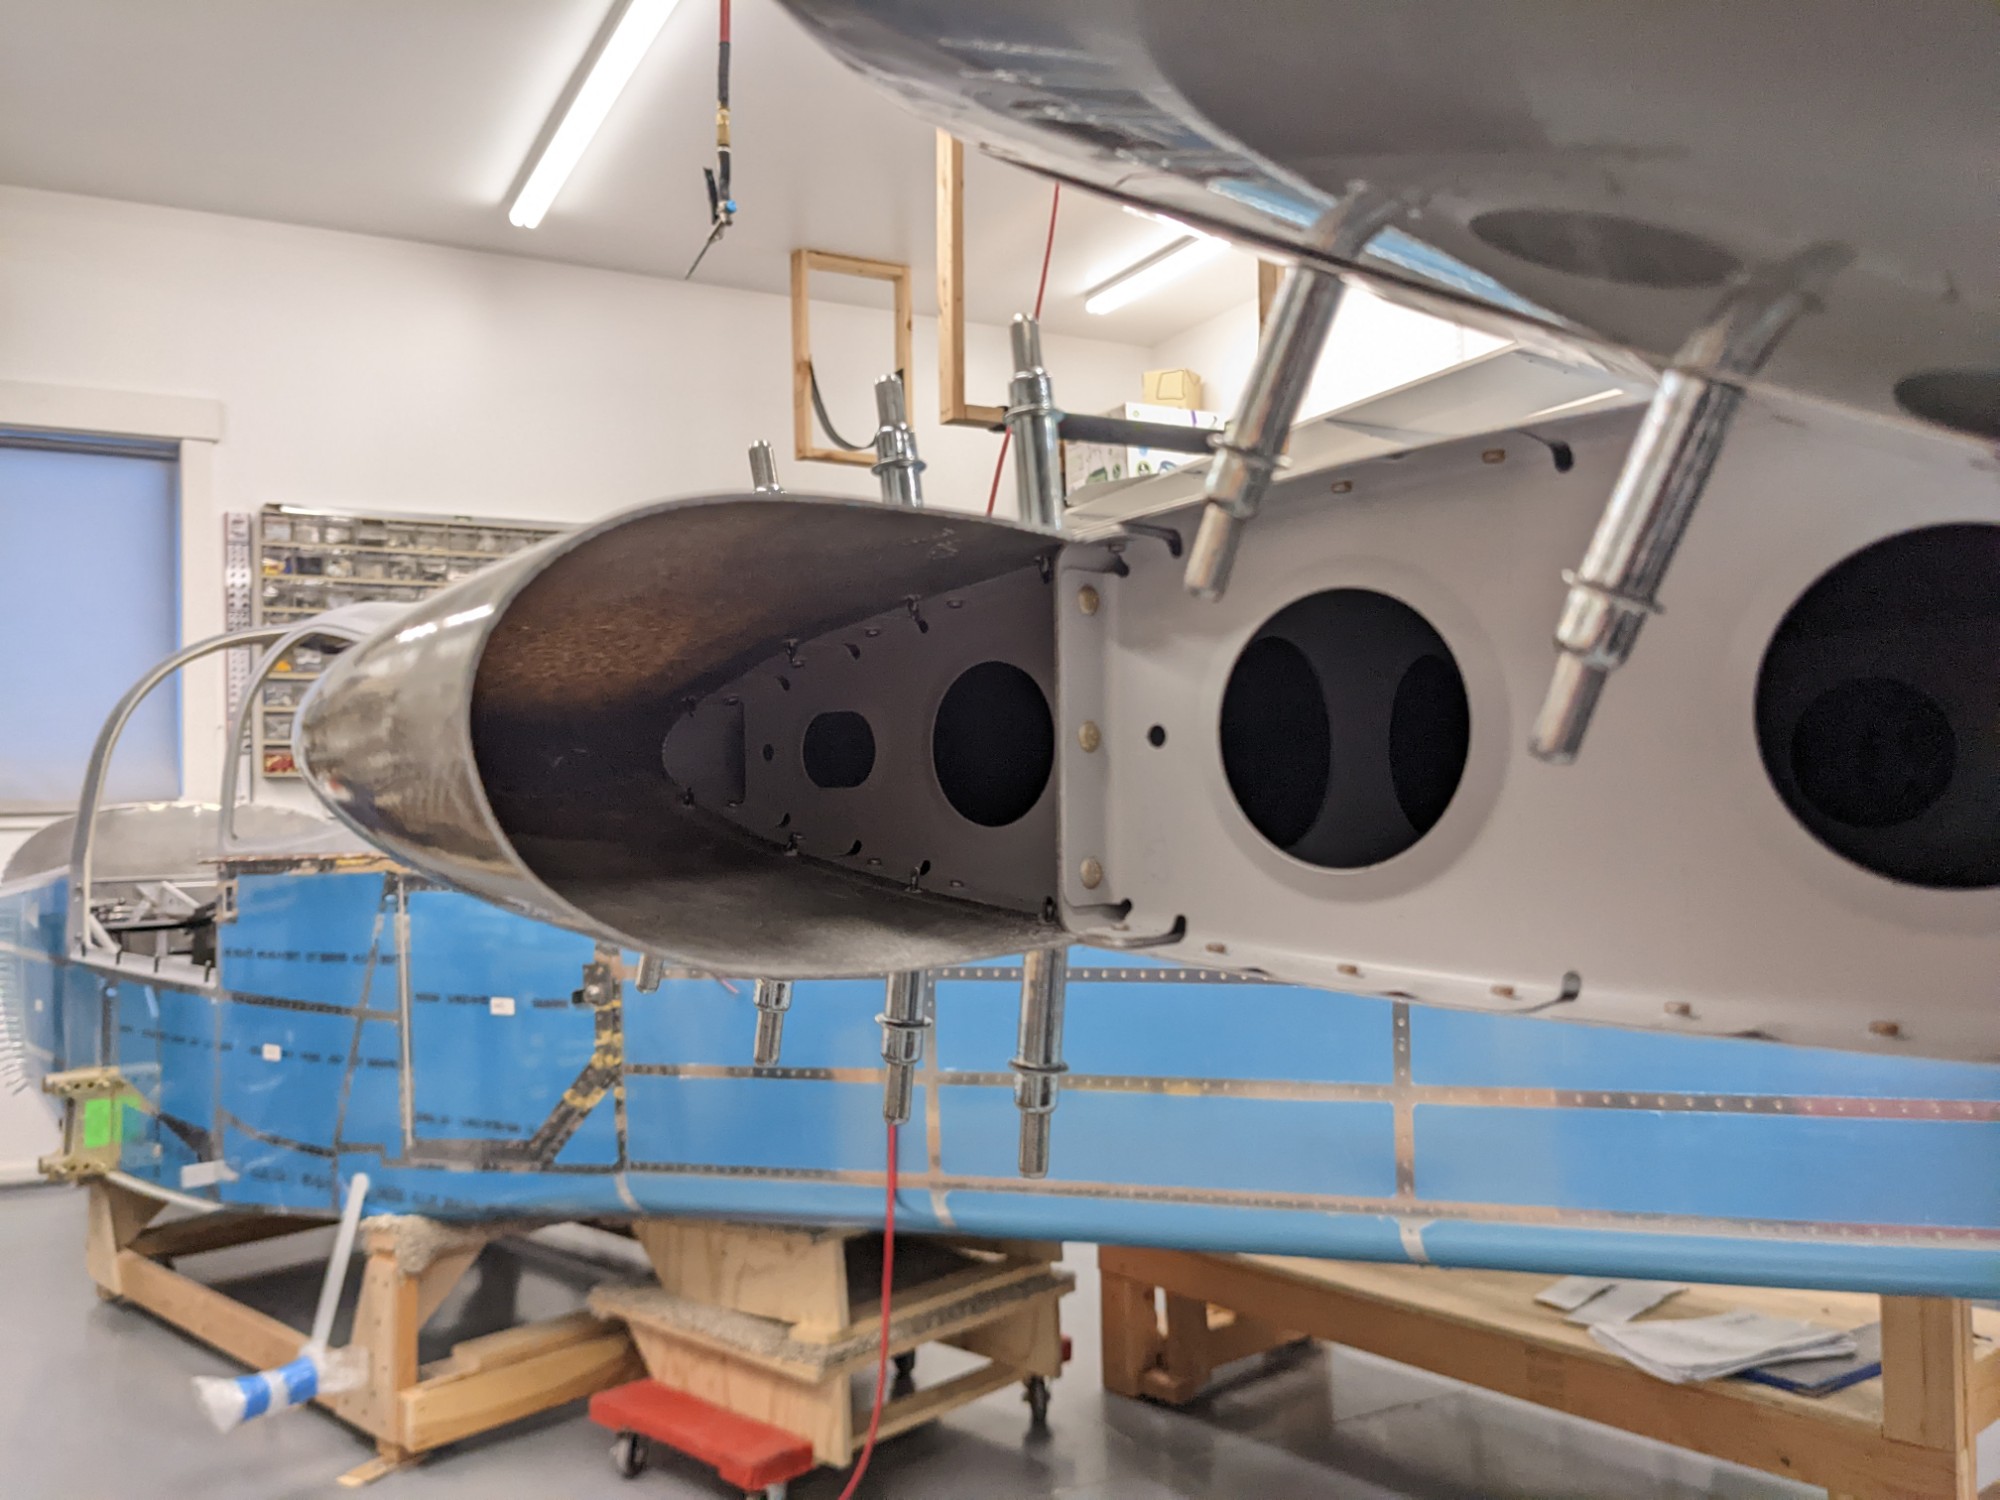
I chose to approach this differently than described in the plans to minimize the amount of filling and shaping that would be required to match the arc of the elevator counterbalance arms.
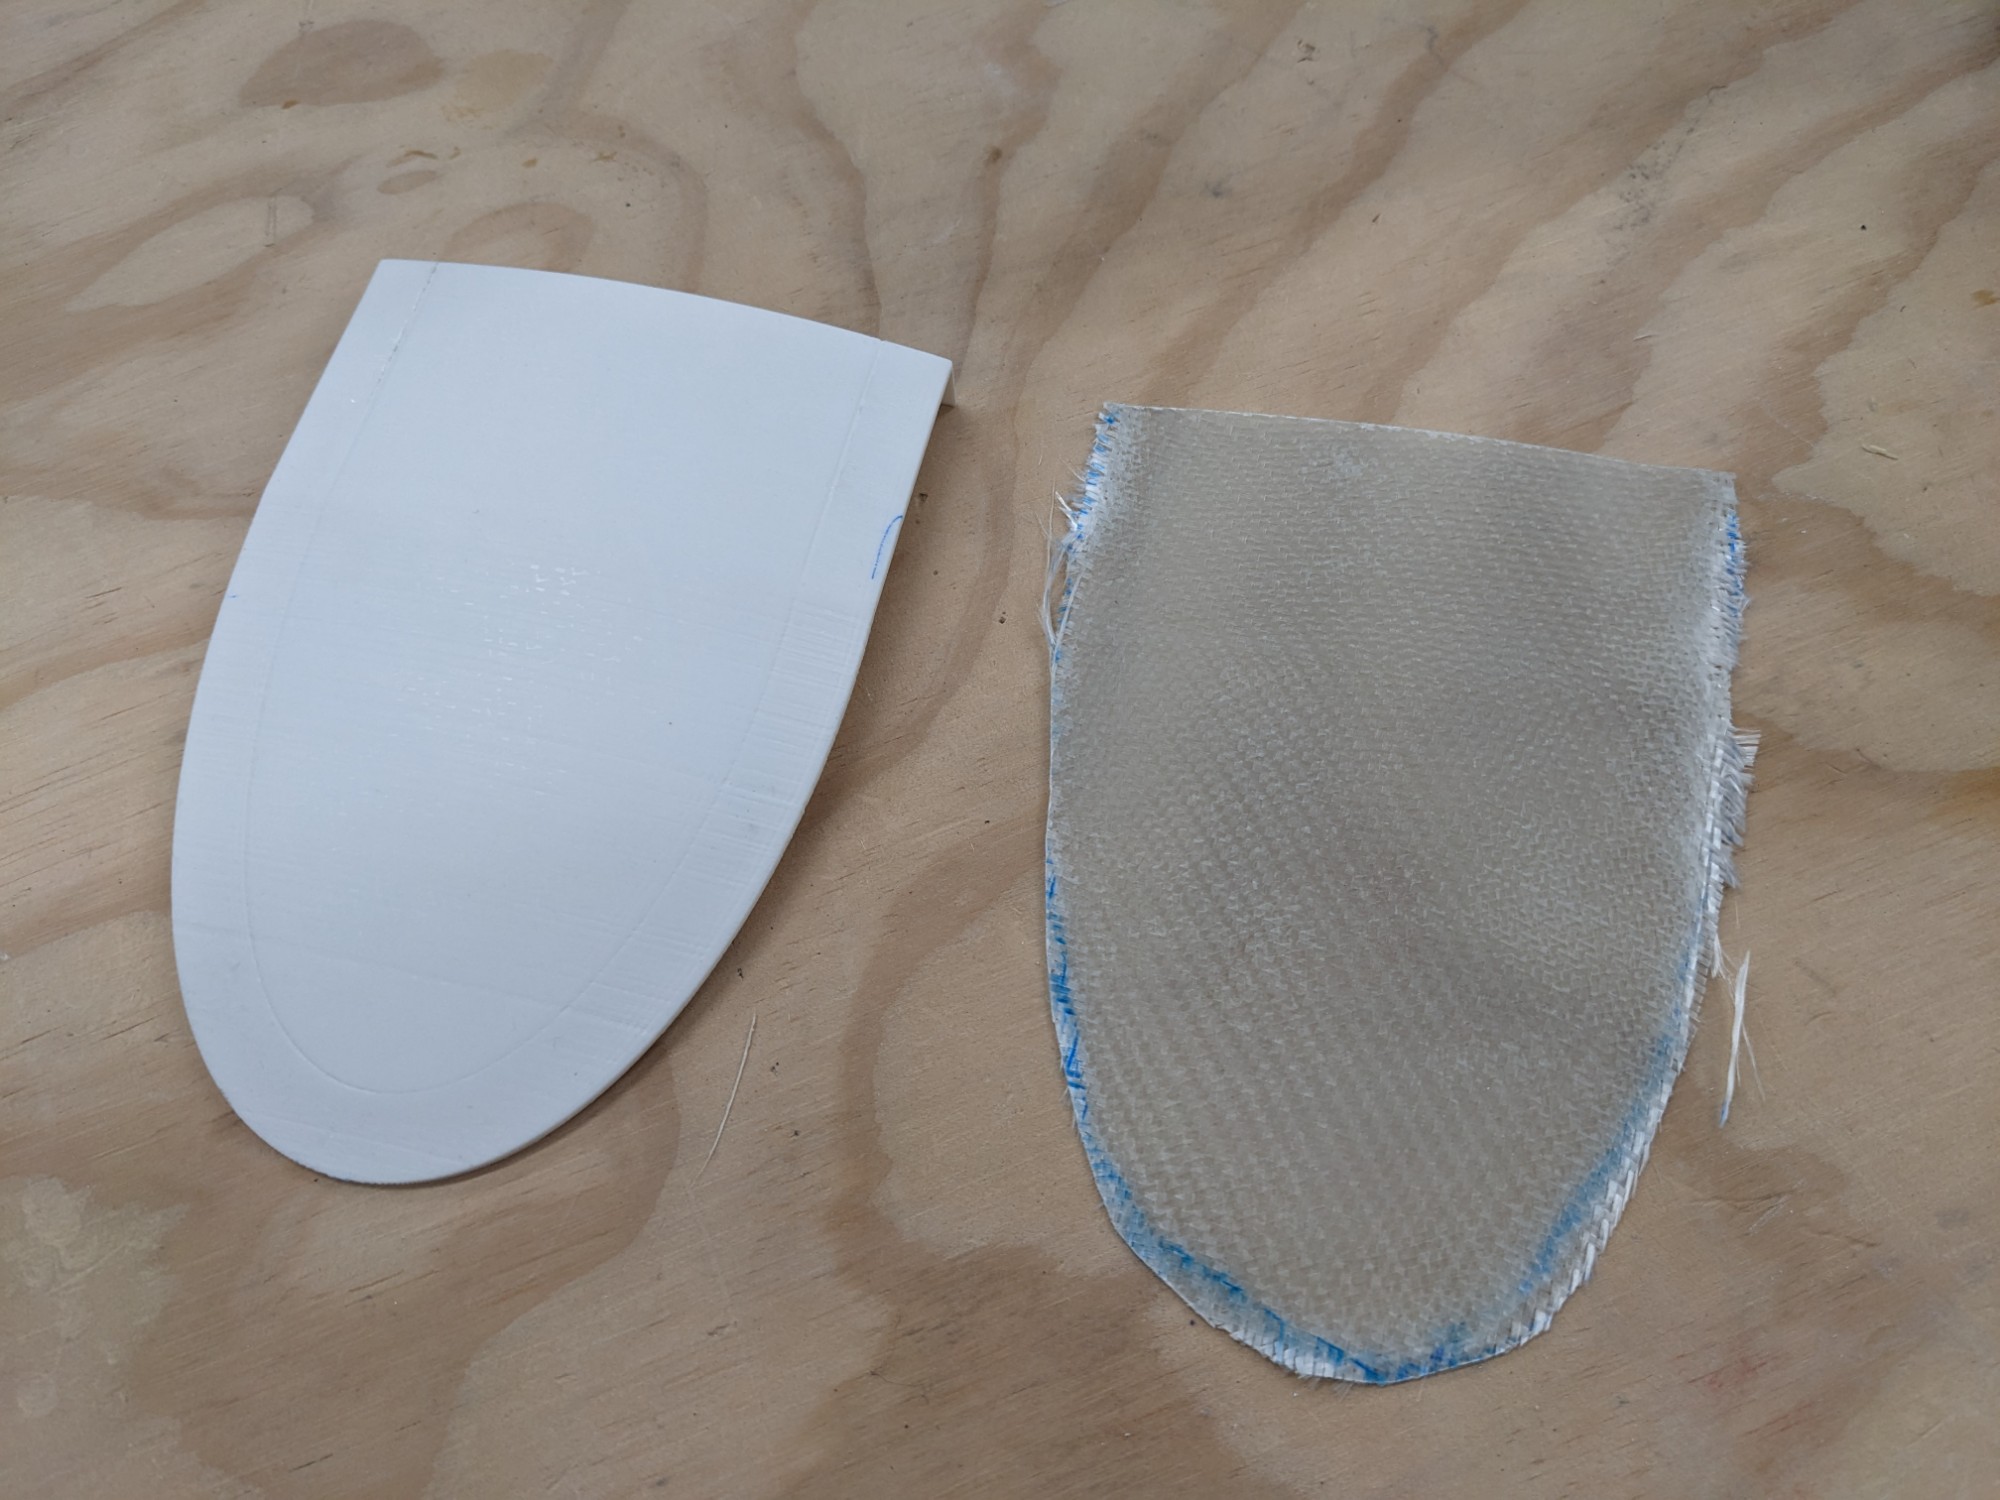
I decided instead to 3d print a mold with the appropriate radius and profile and use that to make the initial fiberglass covers for the openings.
I printed the mold with PLA and used a small amount of release agent. I used two fiberglass plys for each part. The parts were easy to remove after curing and strong enough to not deform while removing.
I then trimmed the parts and temporarily tacked them into place with super glue.
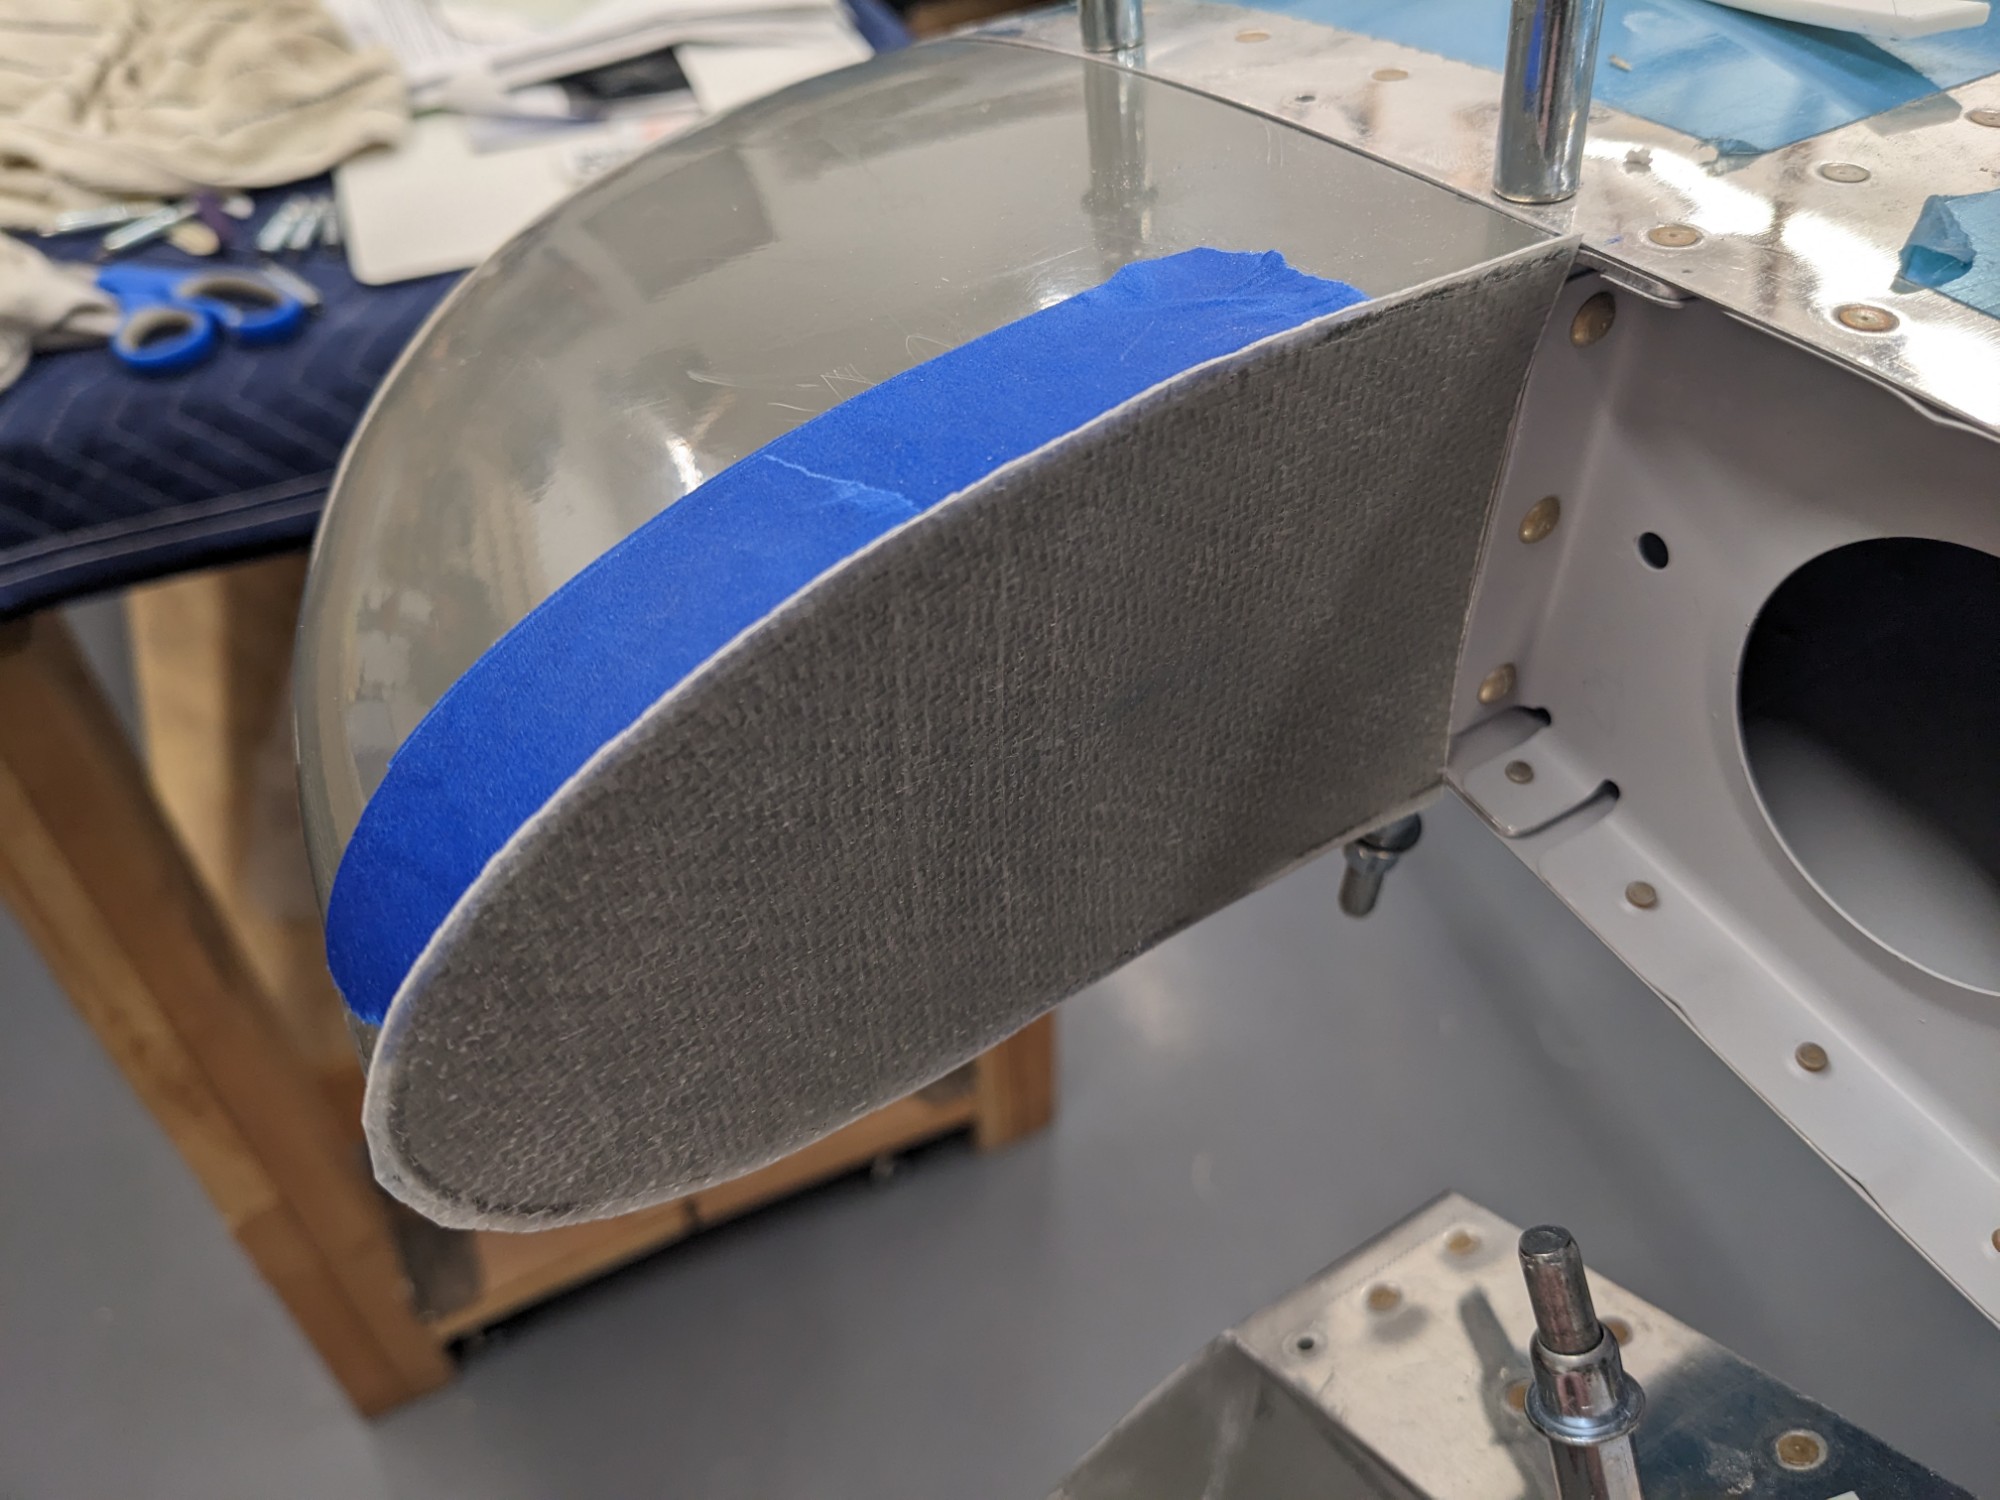
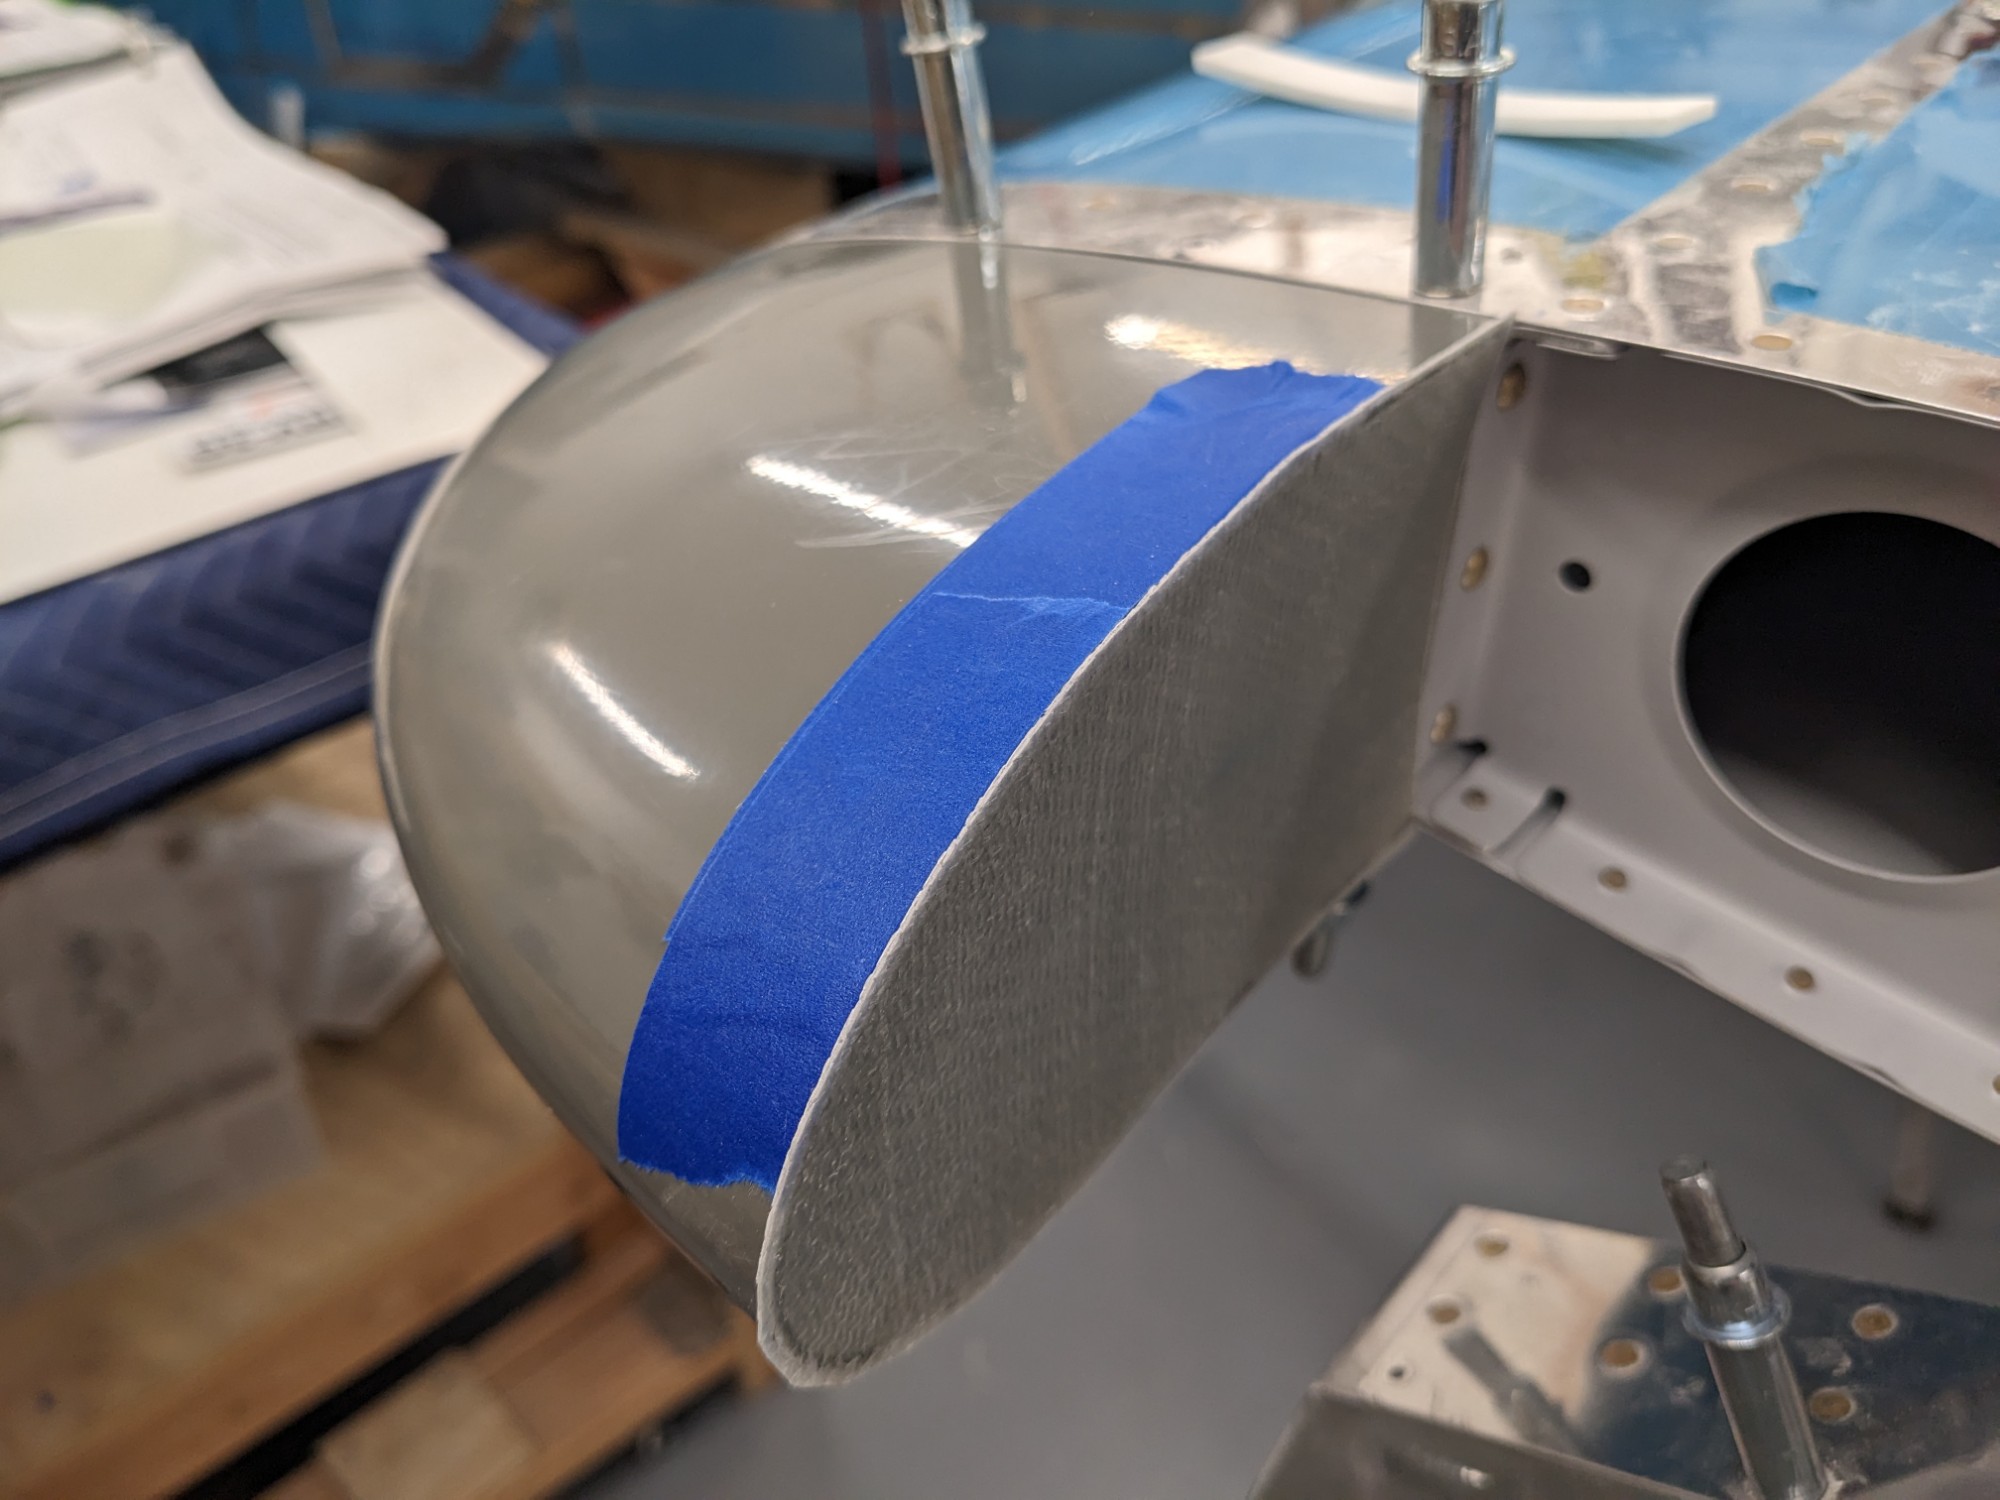
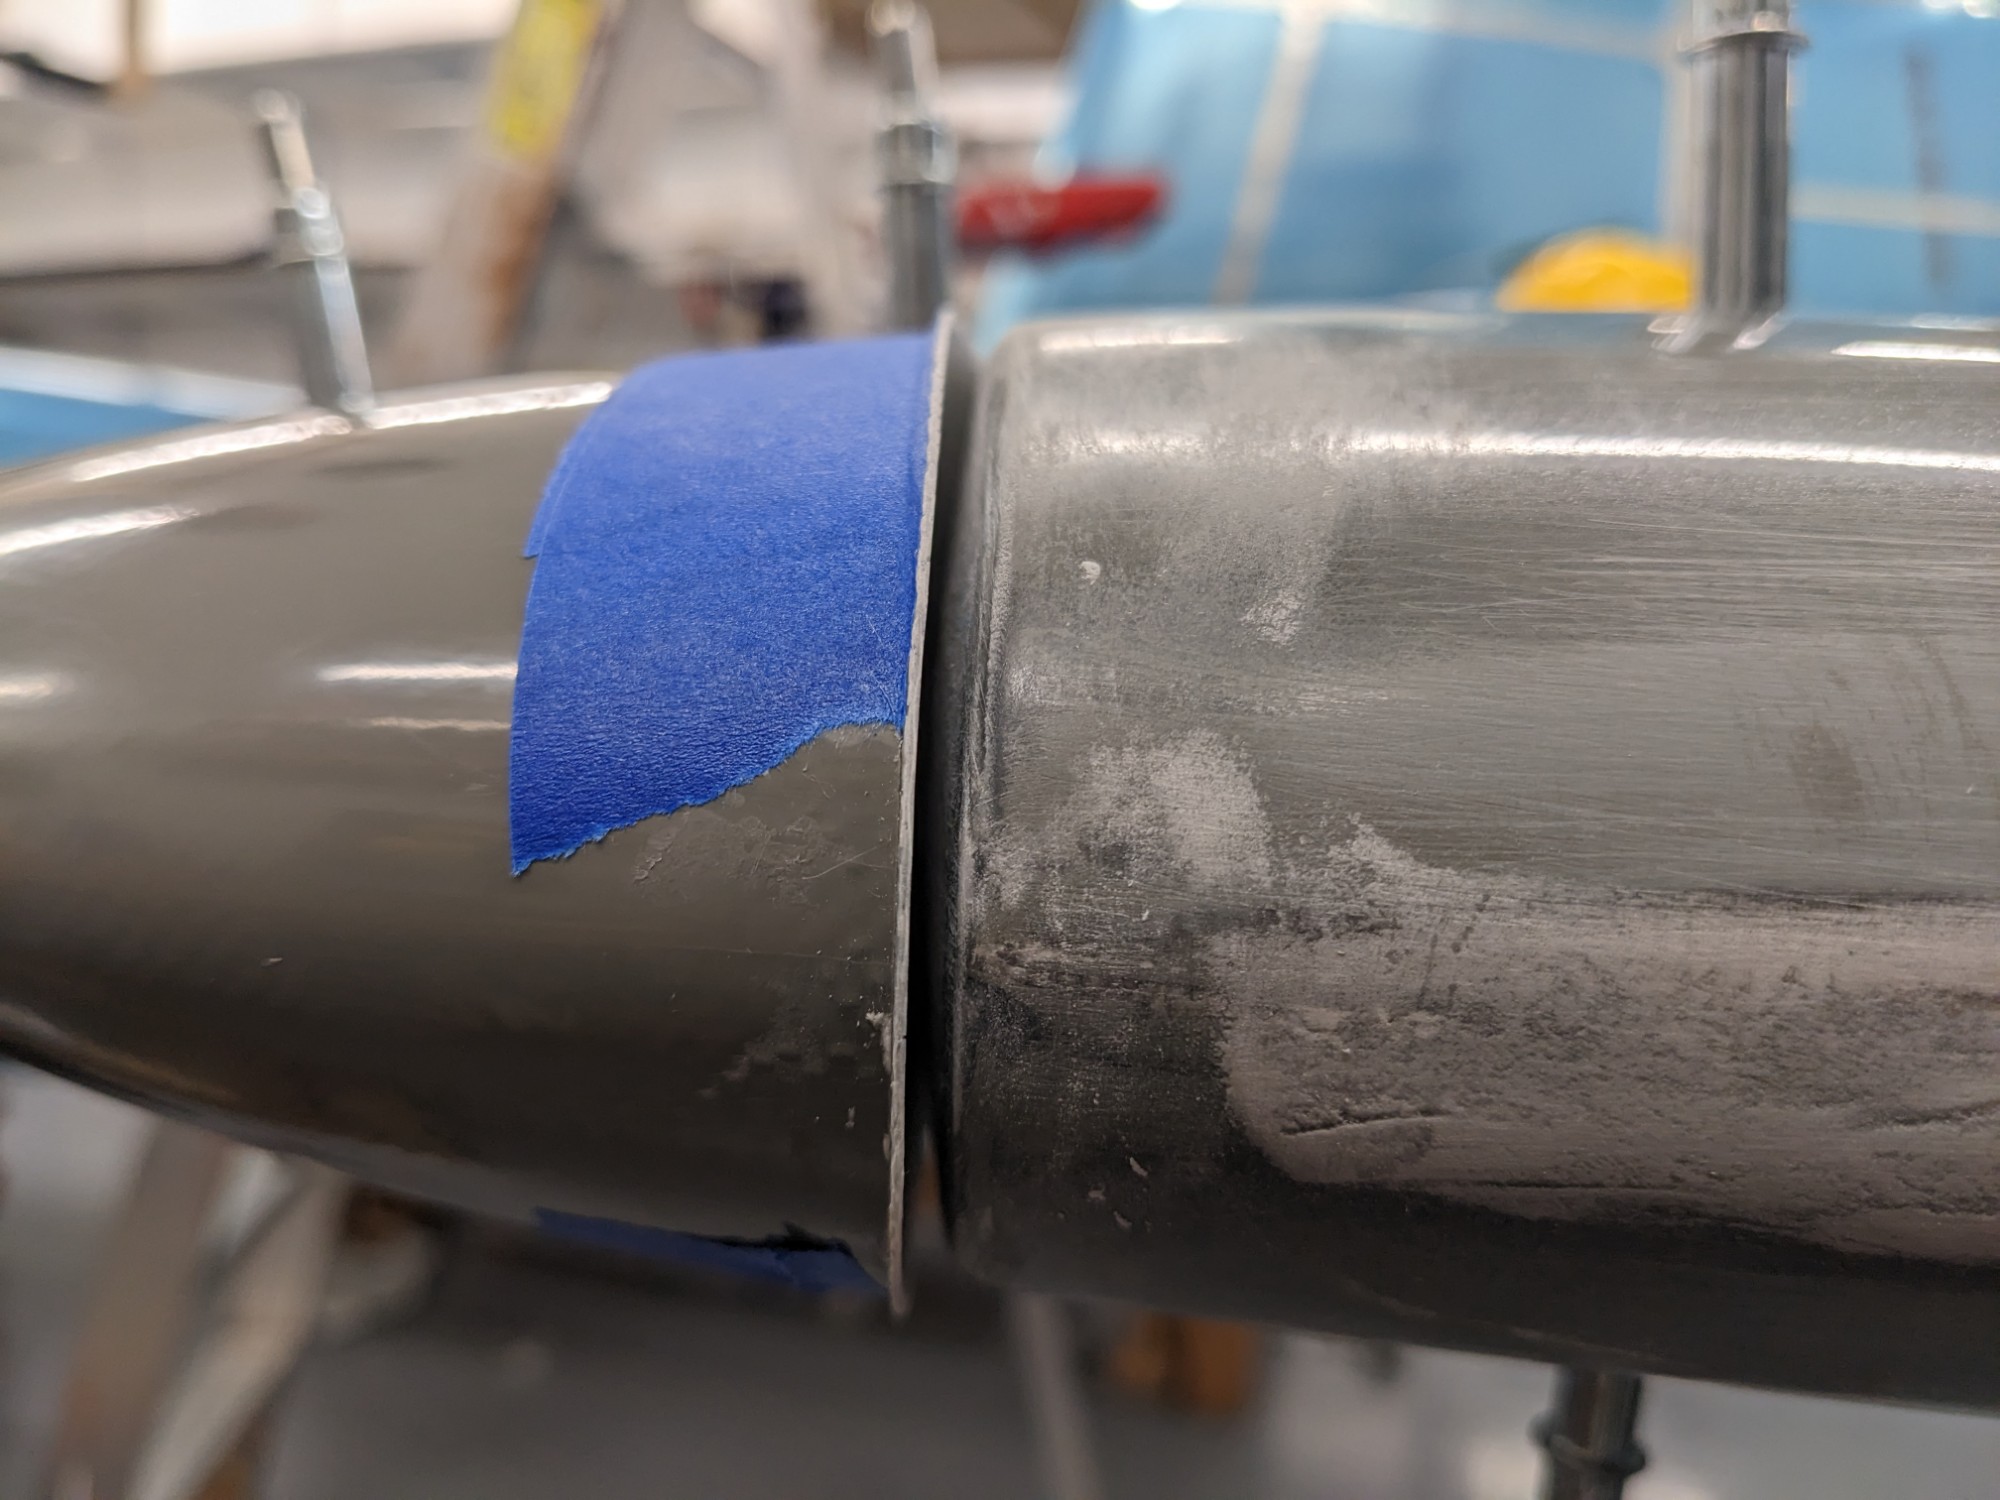
The profile matched the counterbalance arm nicely with an even gap through the swing of the elevator.
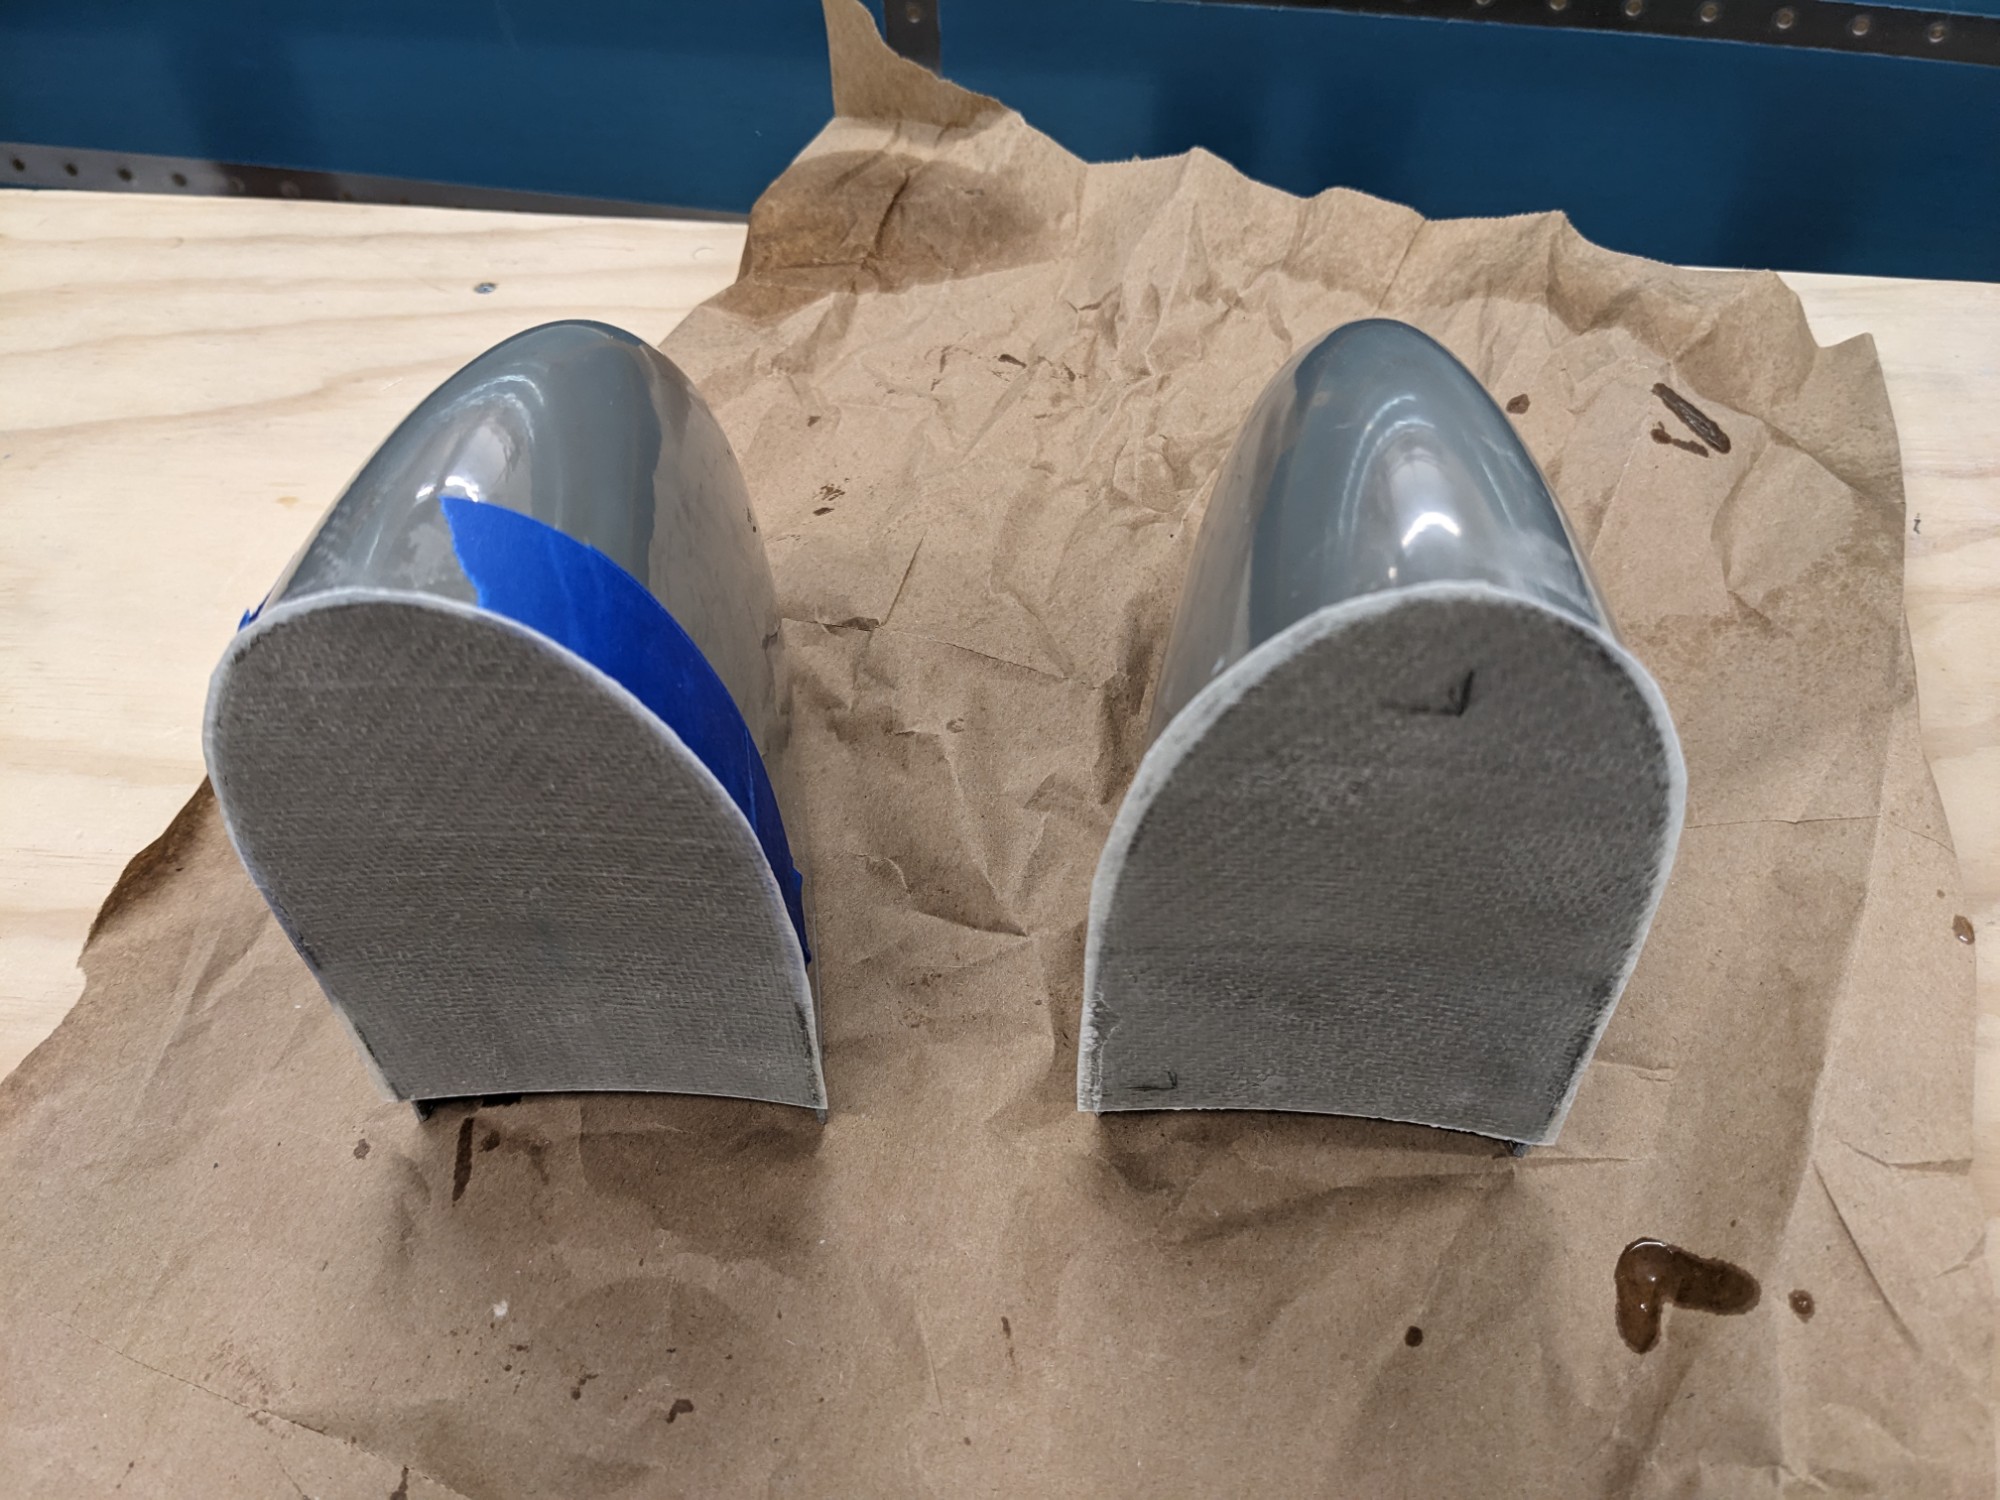
I then created a fillet of flox on the inside seam (so I could radius back the edges as needed later). I covered this seam with a 1″ strip of ply followed by a final ply on the inside face that overlapped onto the original part (total of 3 plys on the face).
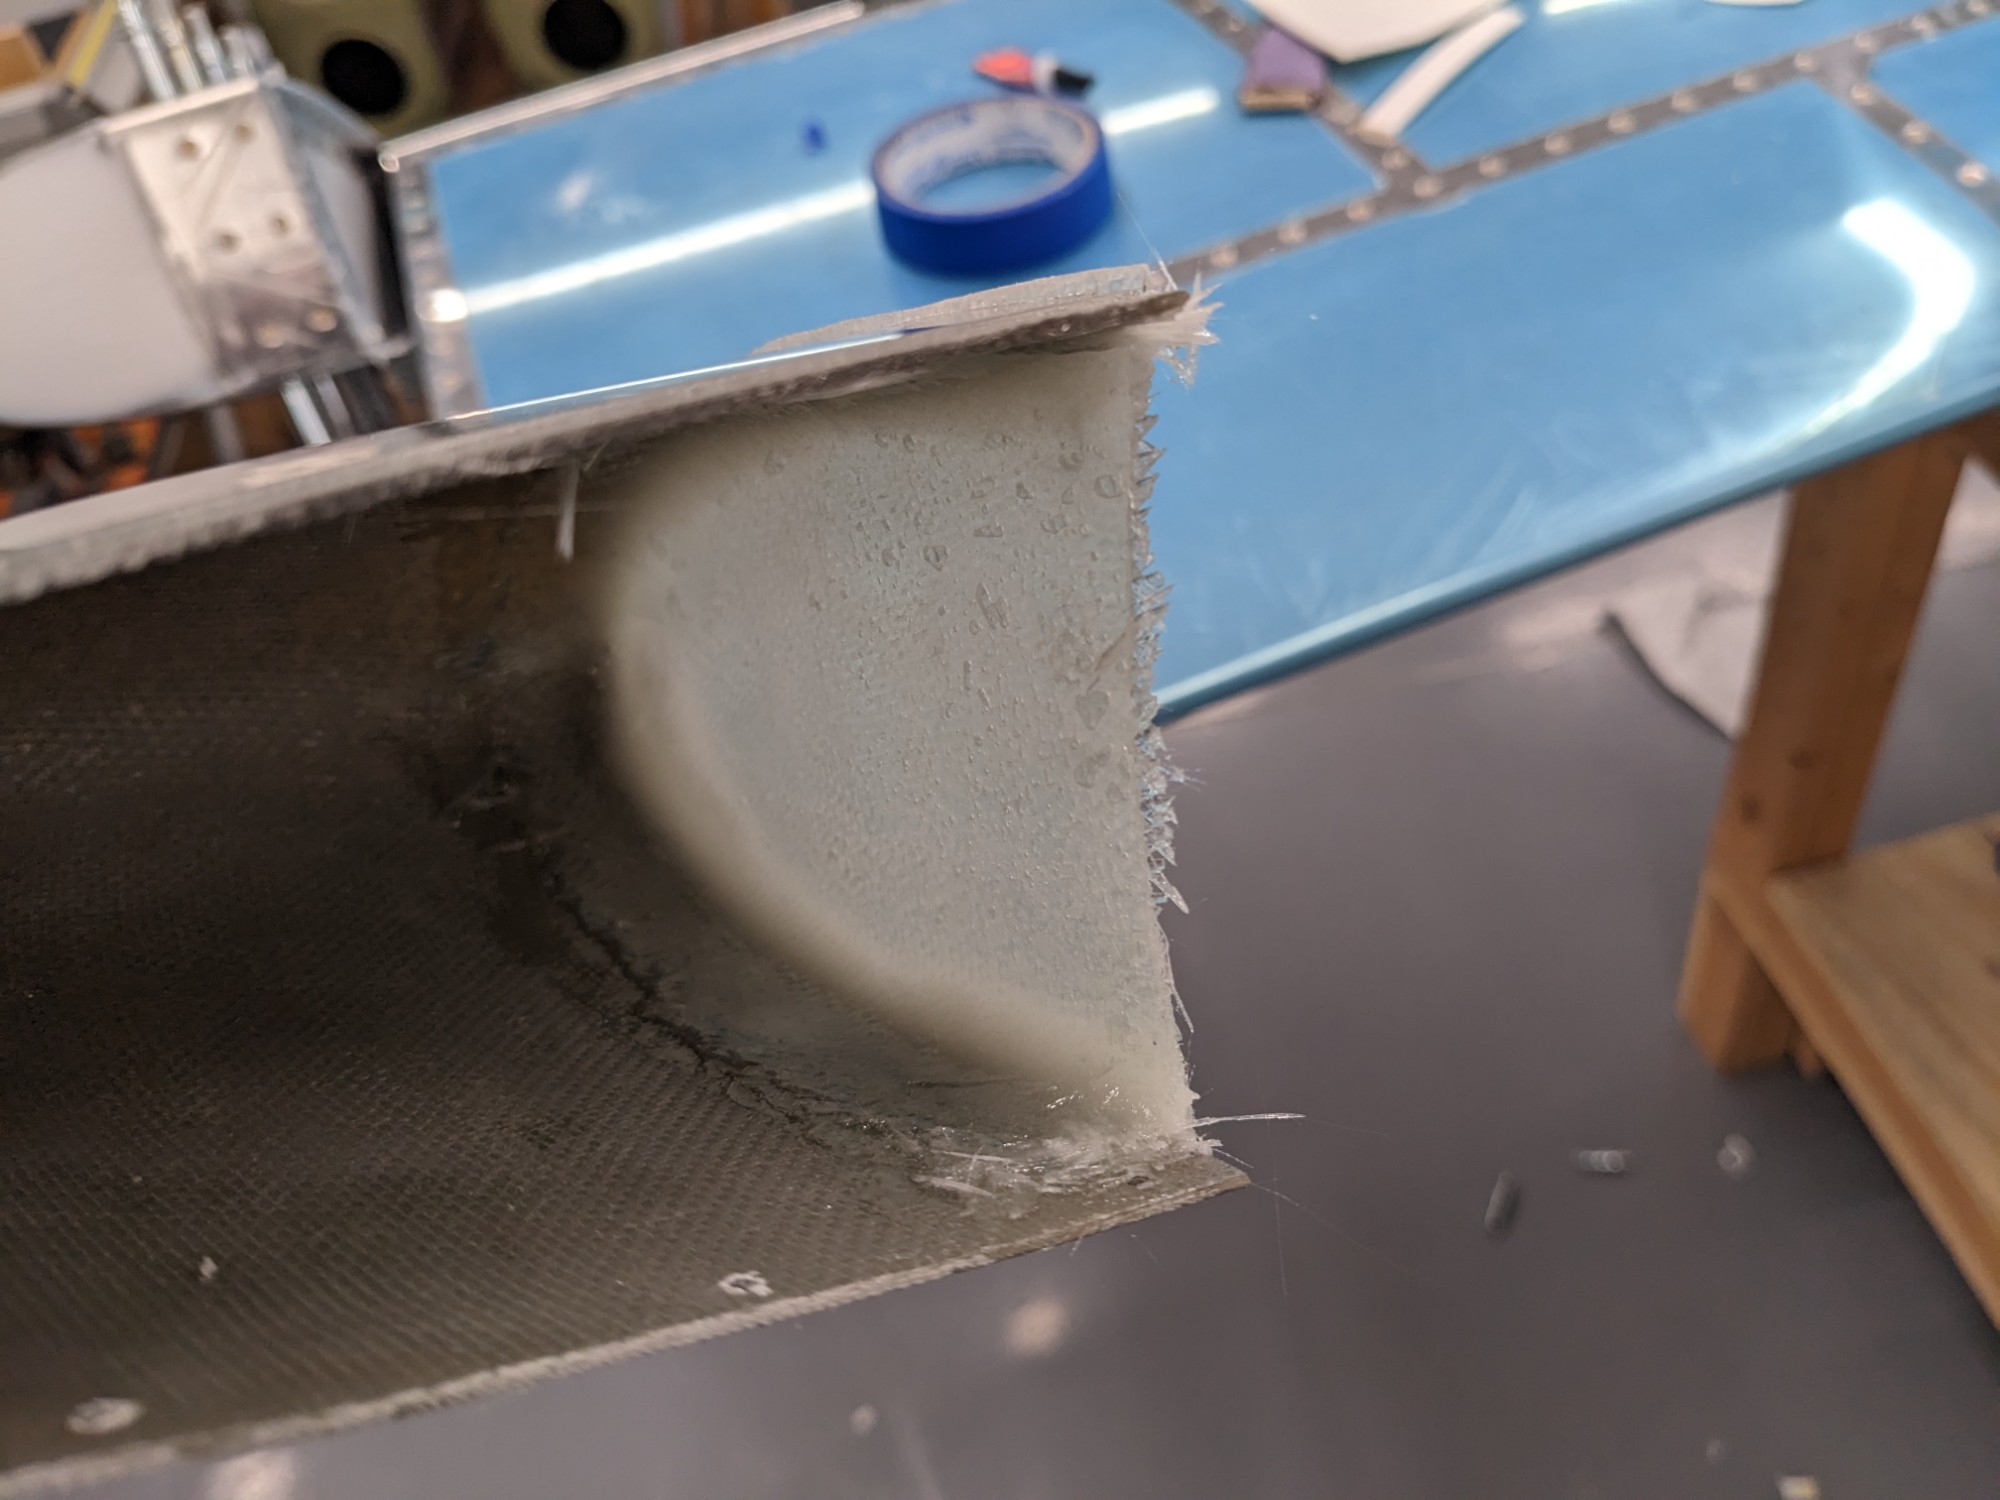
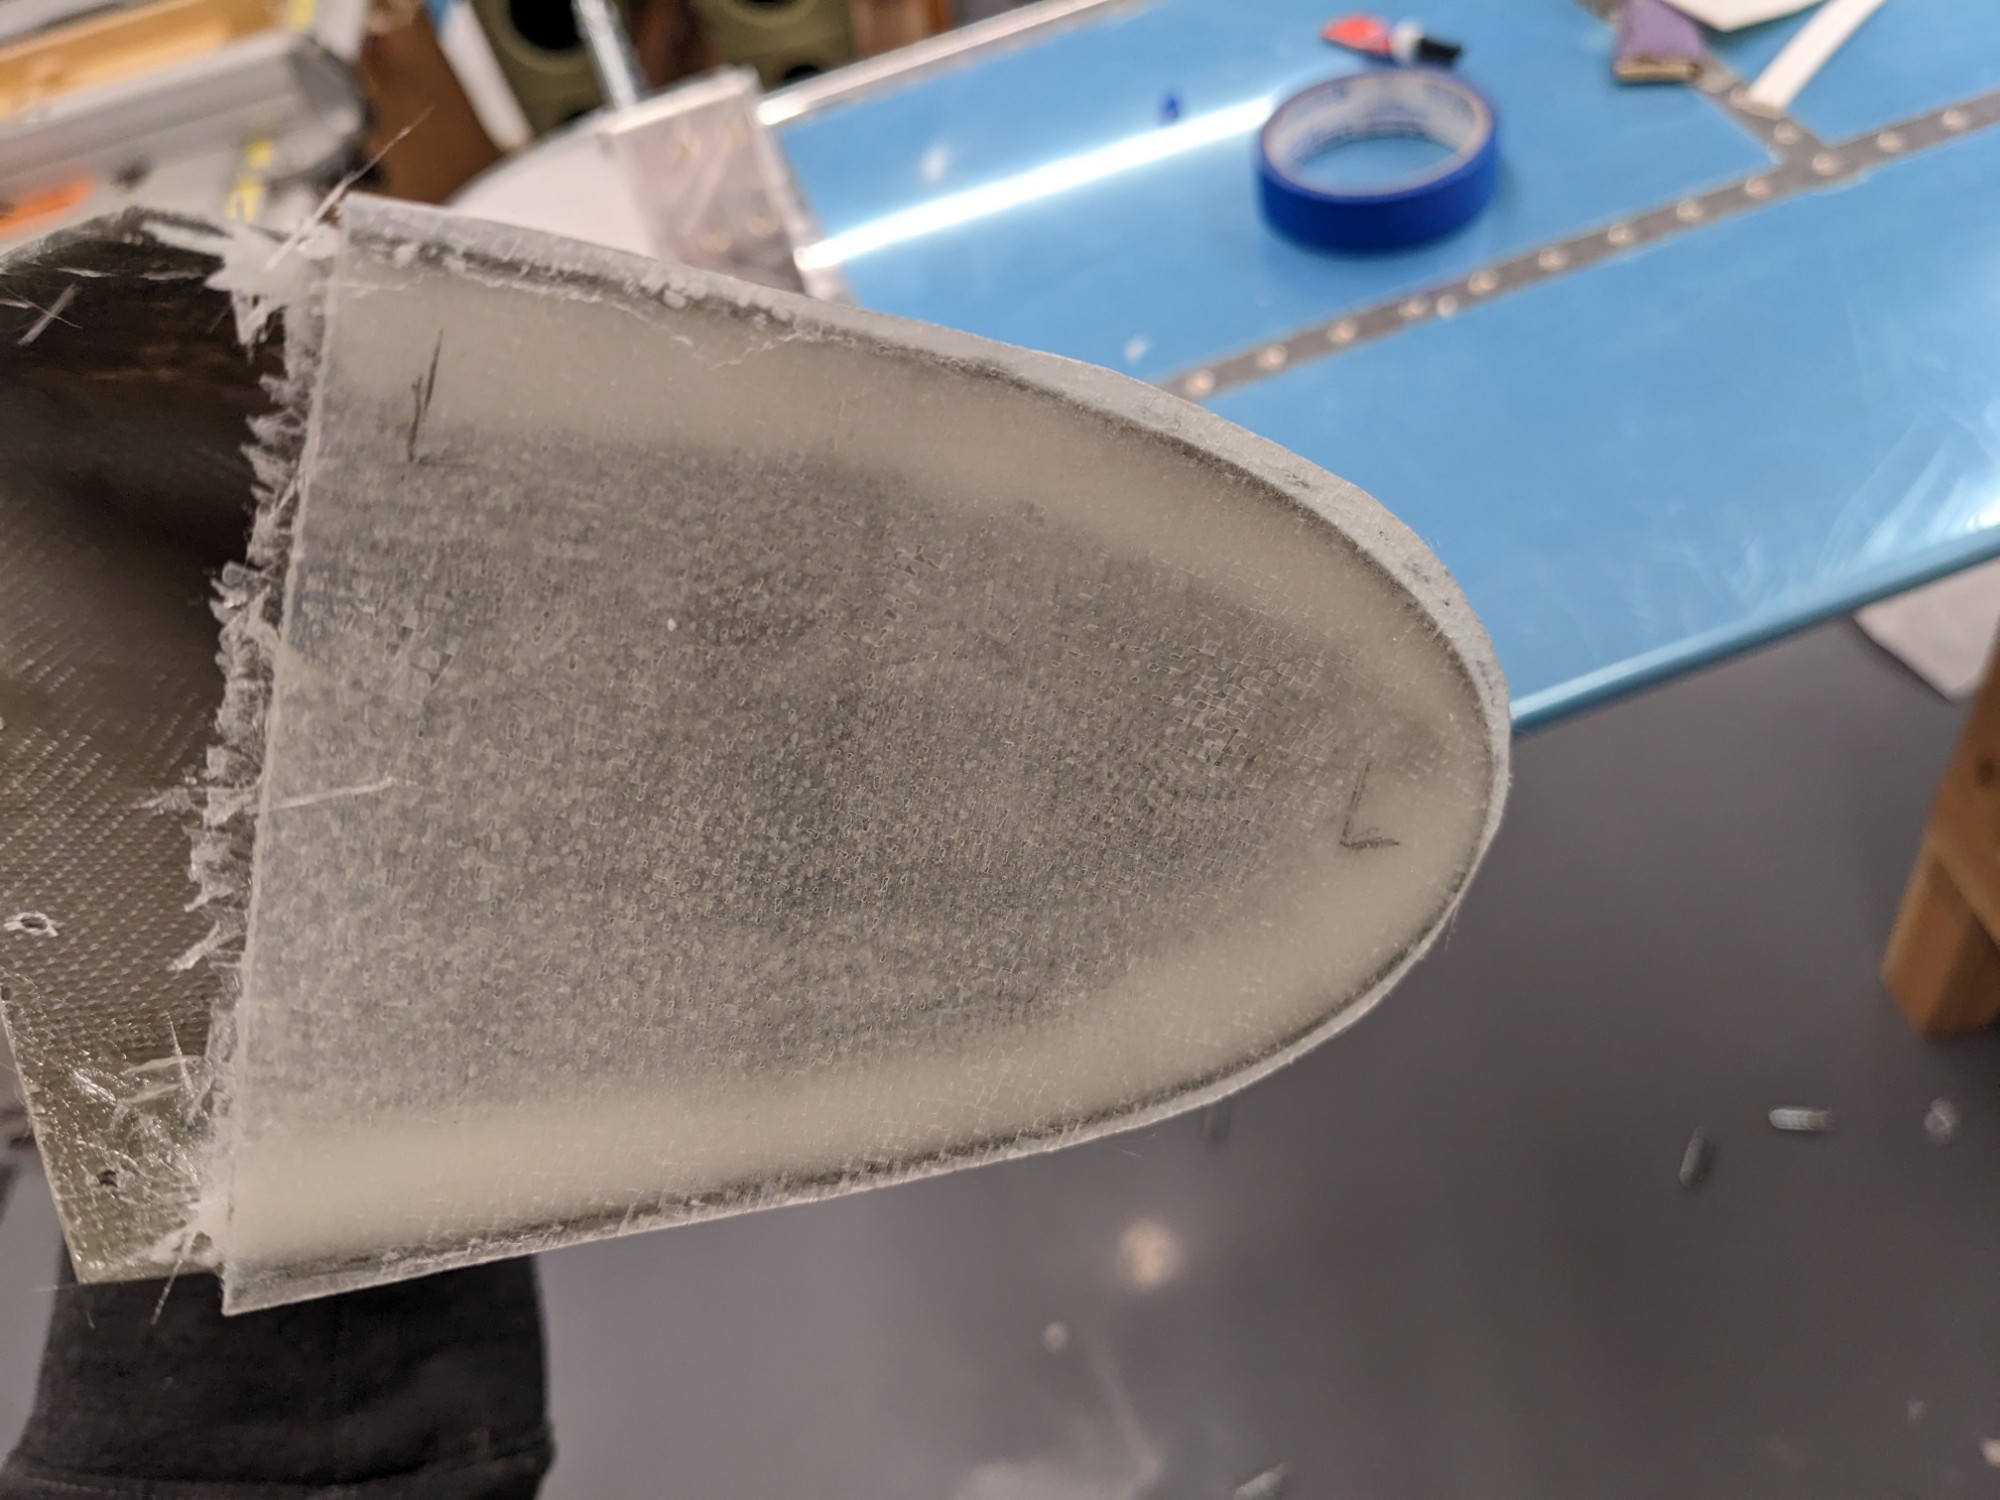
I then put a final thin coat of epoxy on the outside face that I could sand back to smooth it out.
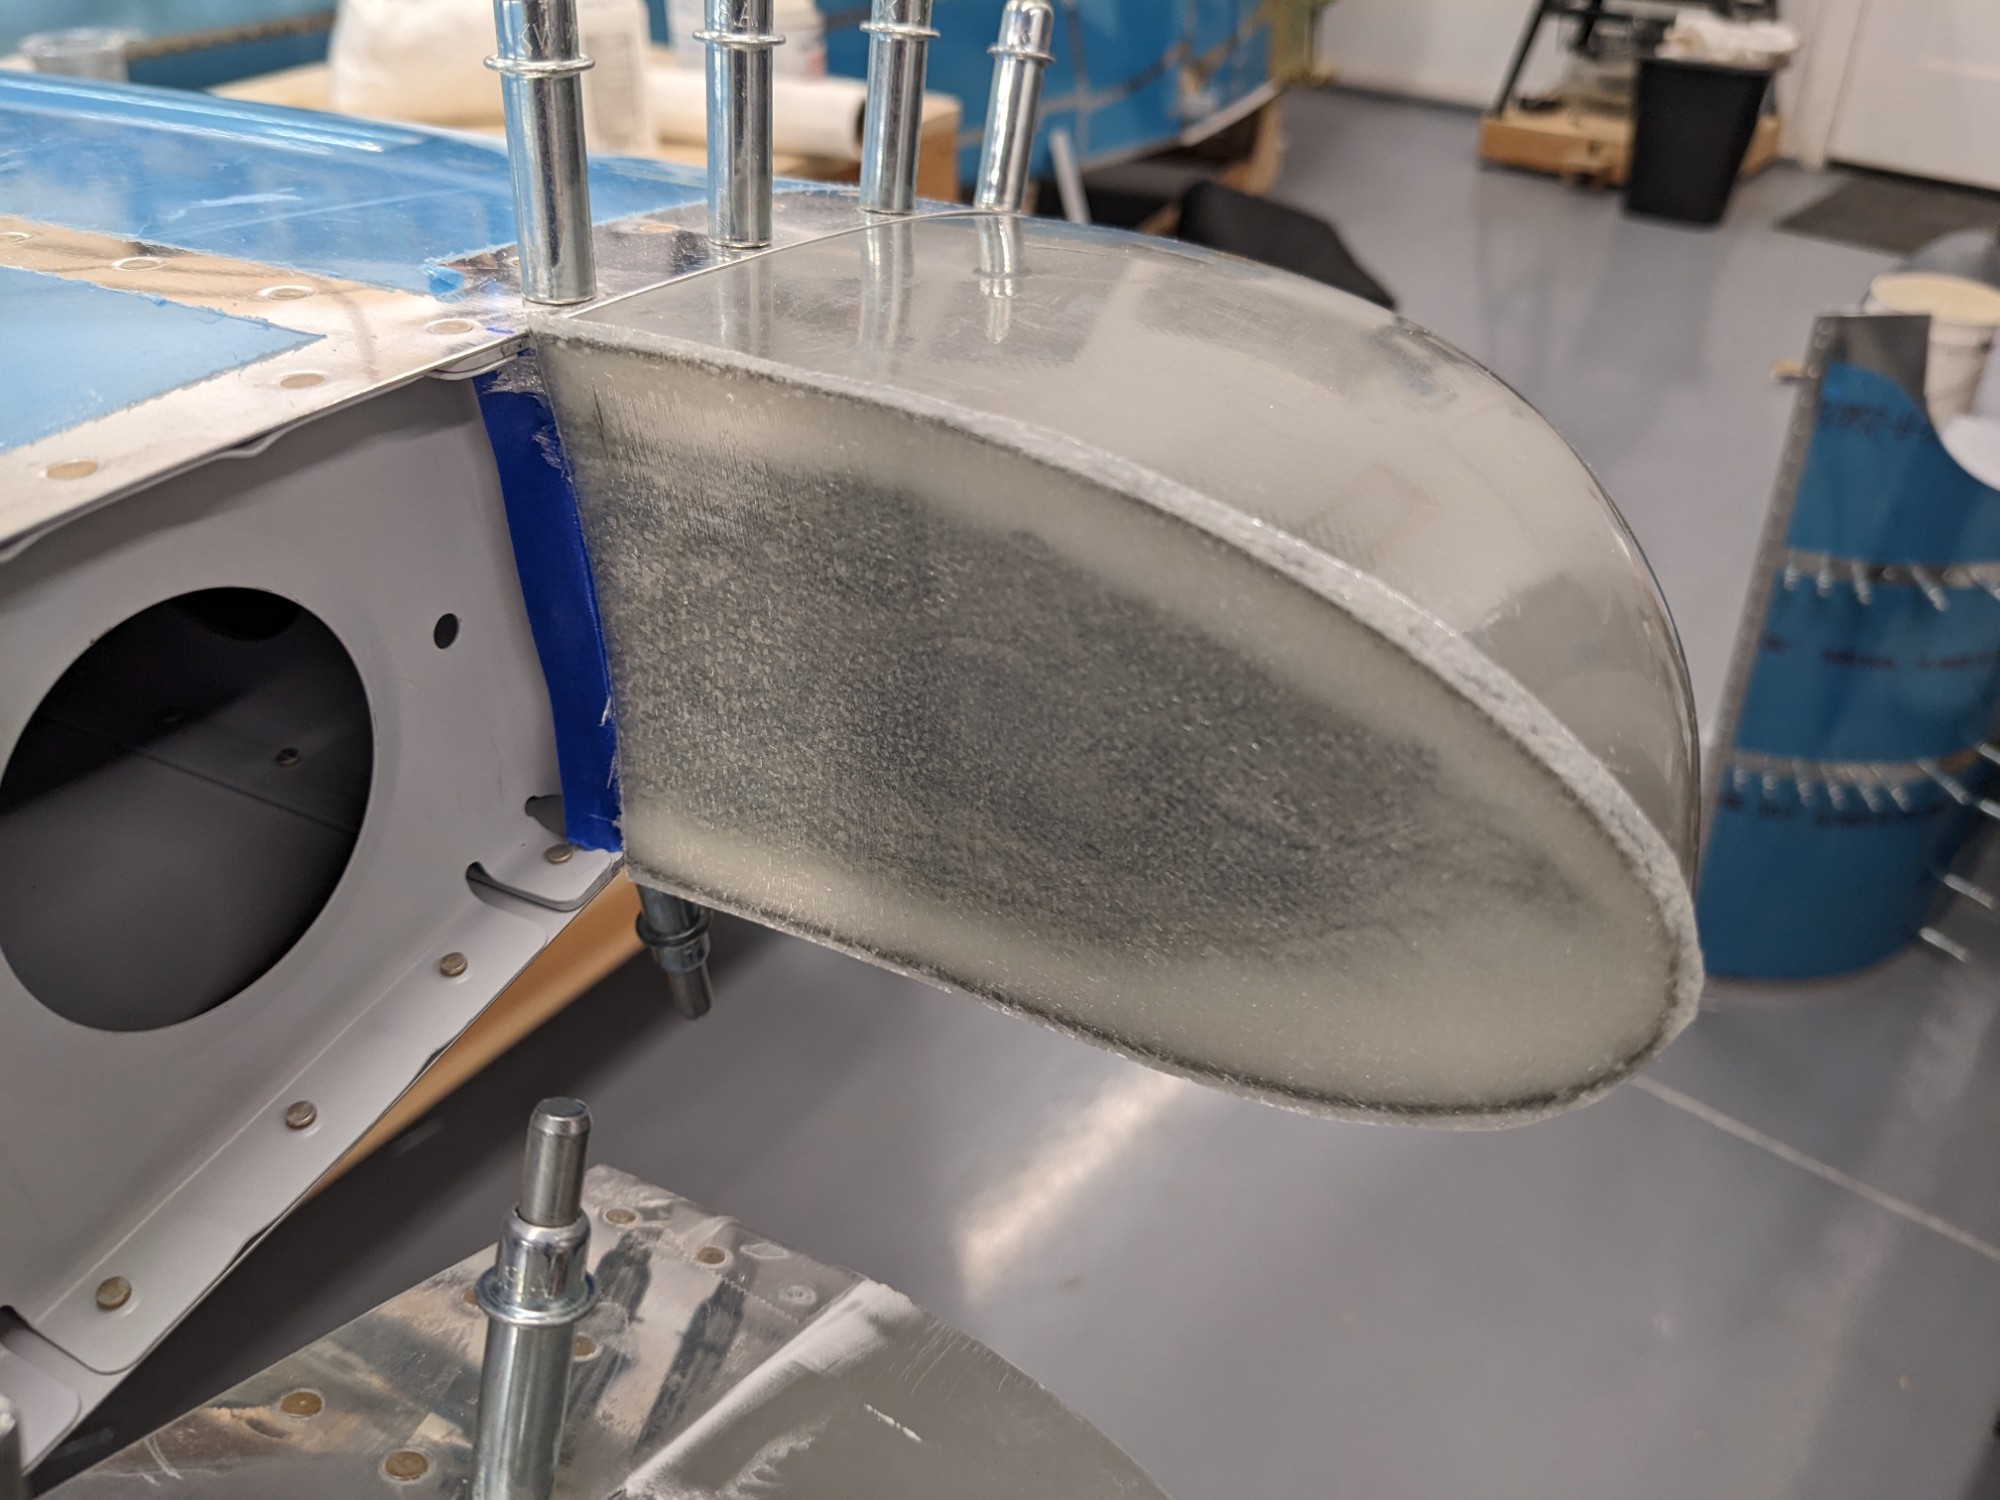
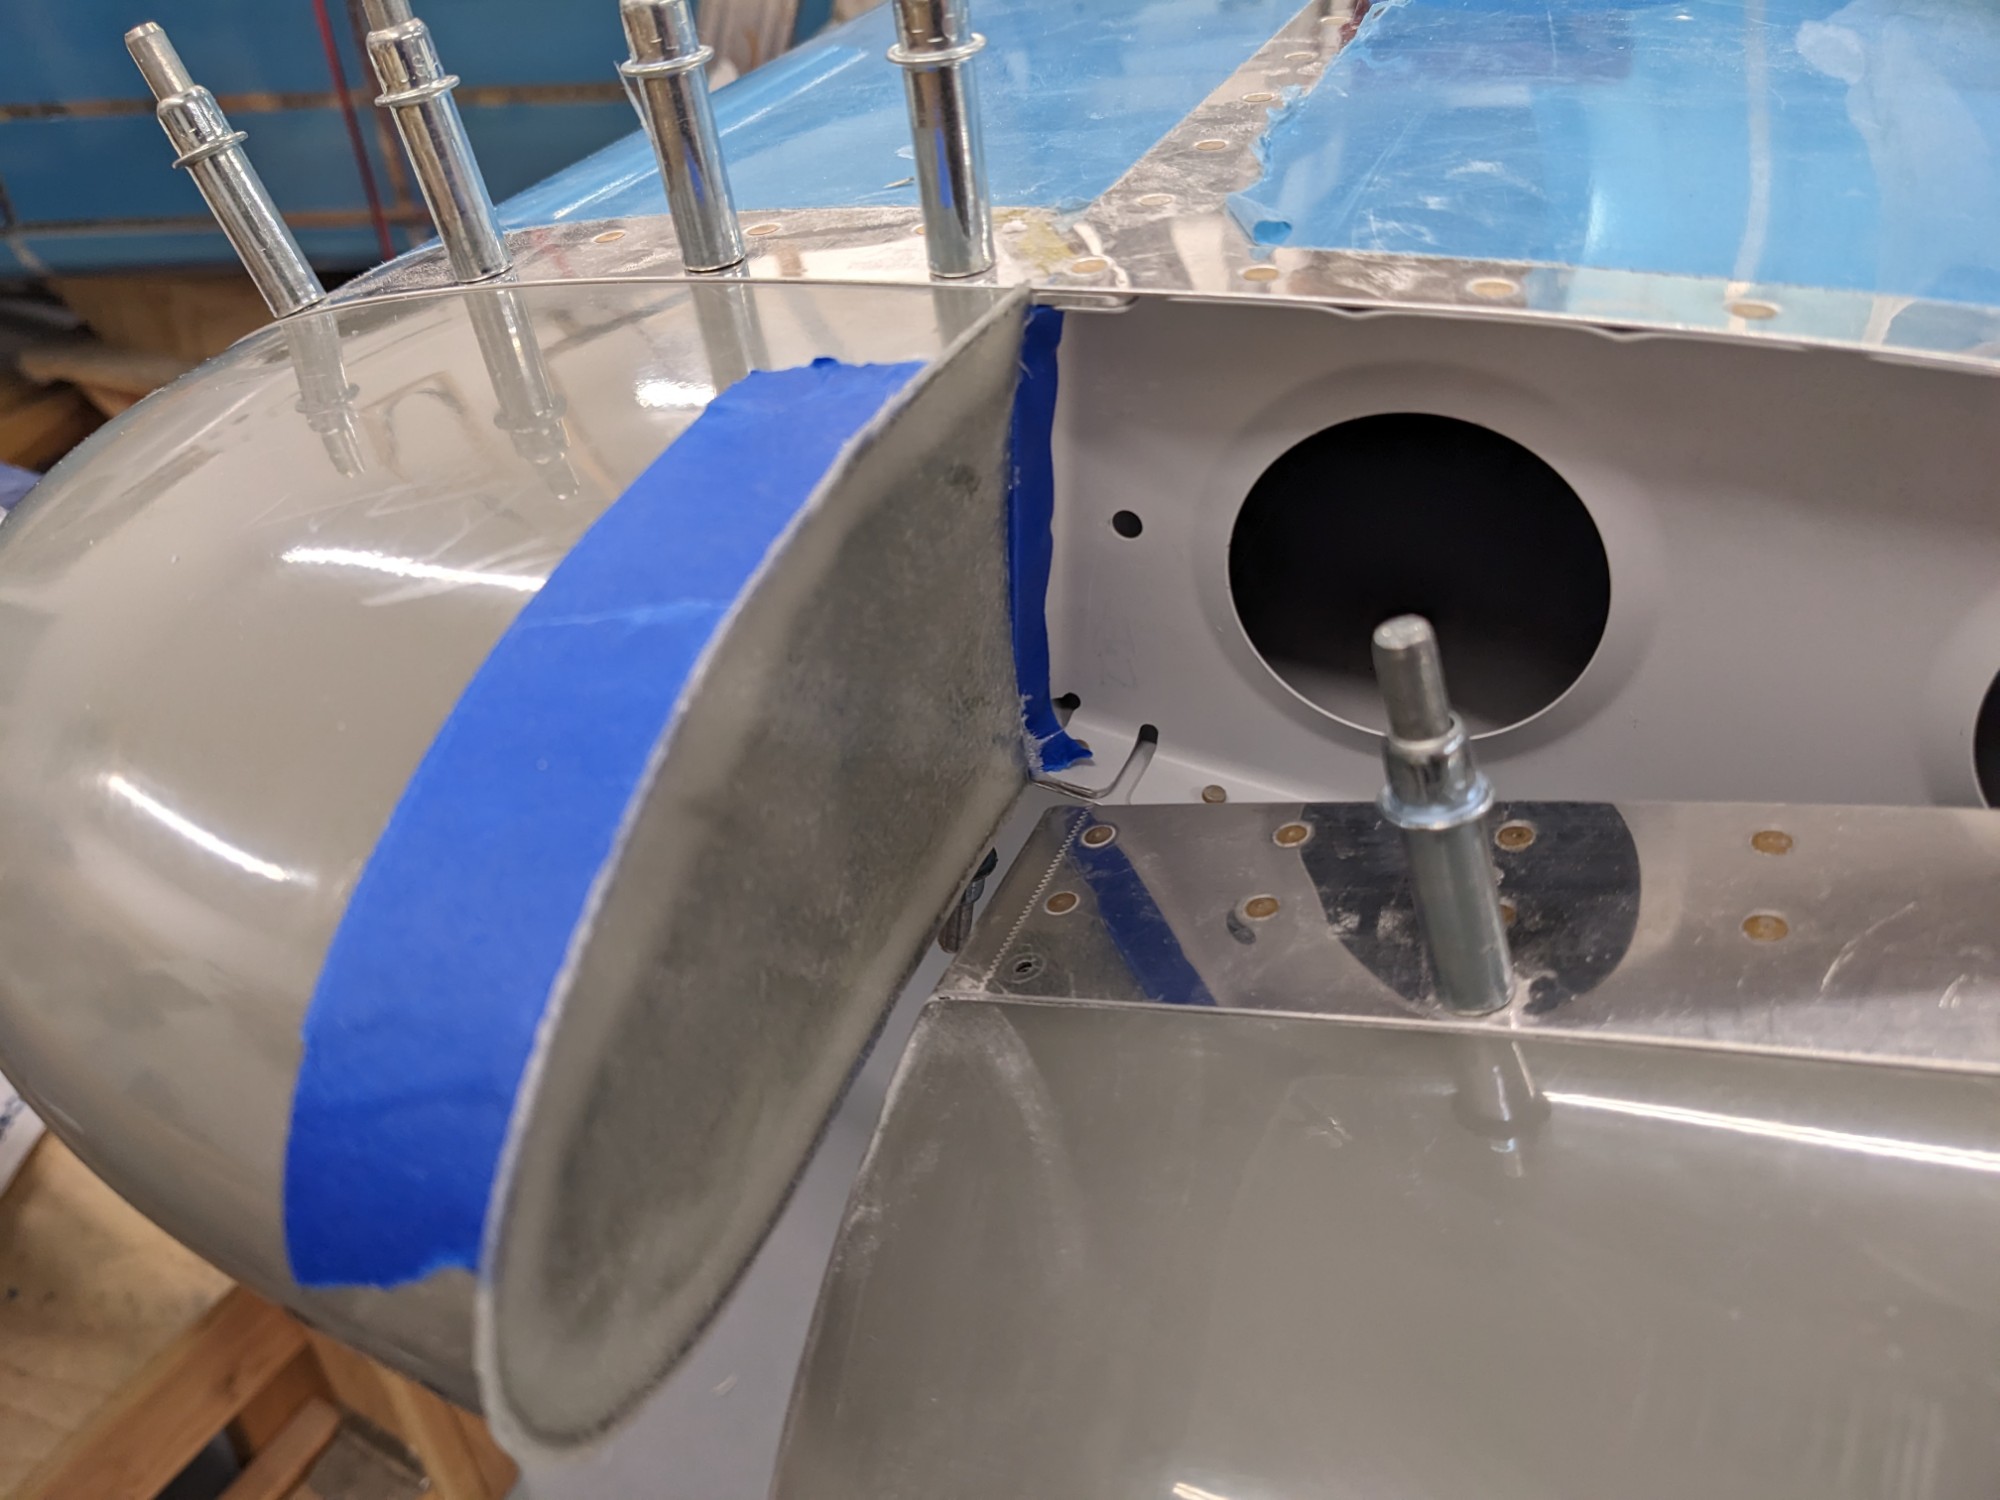
I clecoed the parts back into place while curing to maintain the correct alignment. We’ll see how things look when the parts cure but I’m pretty happy with how they turned out.
