Now that I’m comfortable with sheet metal, it is time to go back to square one and learn a new set of skills. I completed a single fiberglass workshop at Oshkosh but I otherwise have very limited experience with fiberglass.
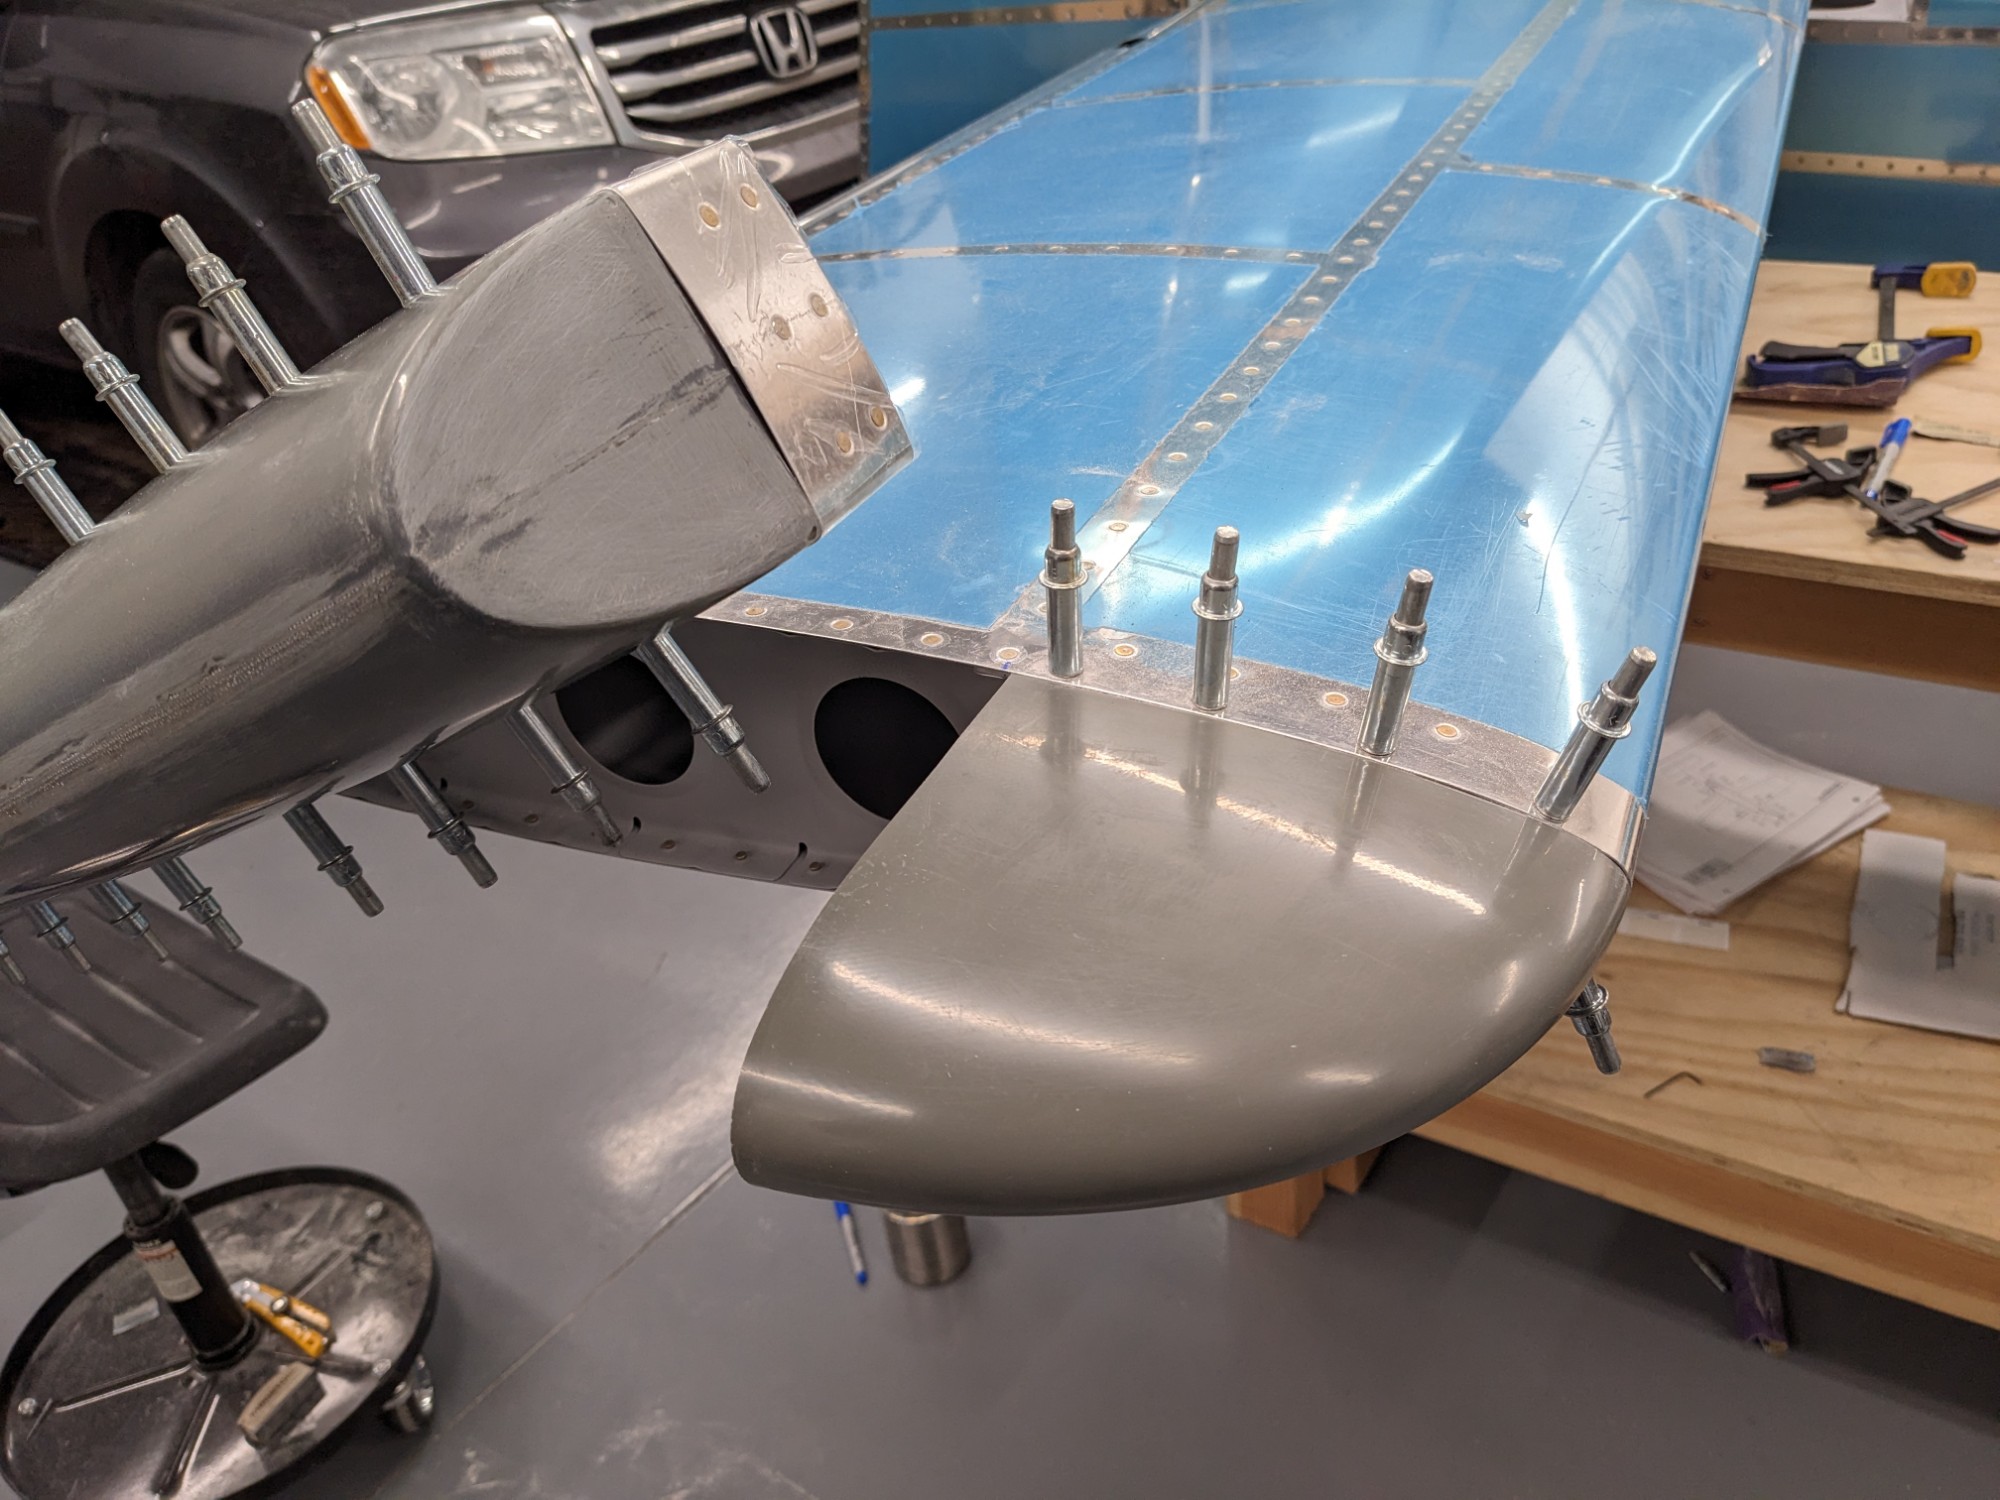
I decided to start out with the elevator tip fairings.
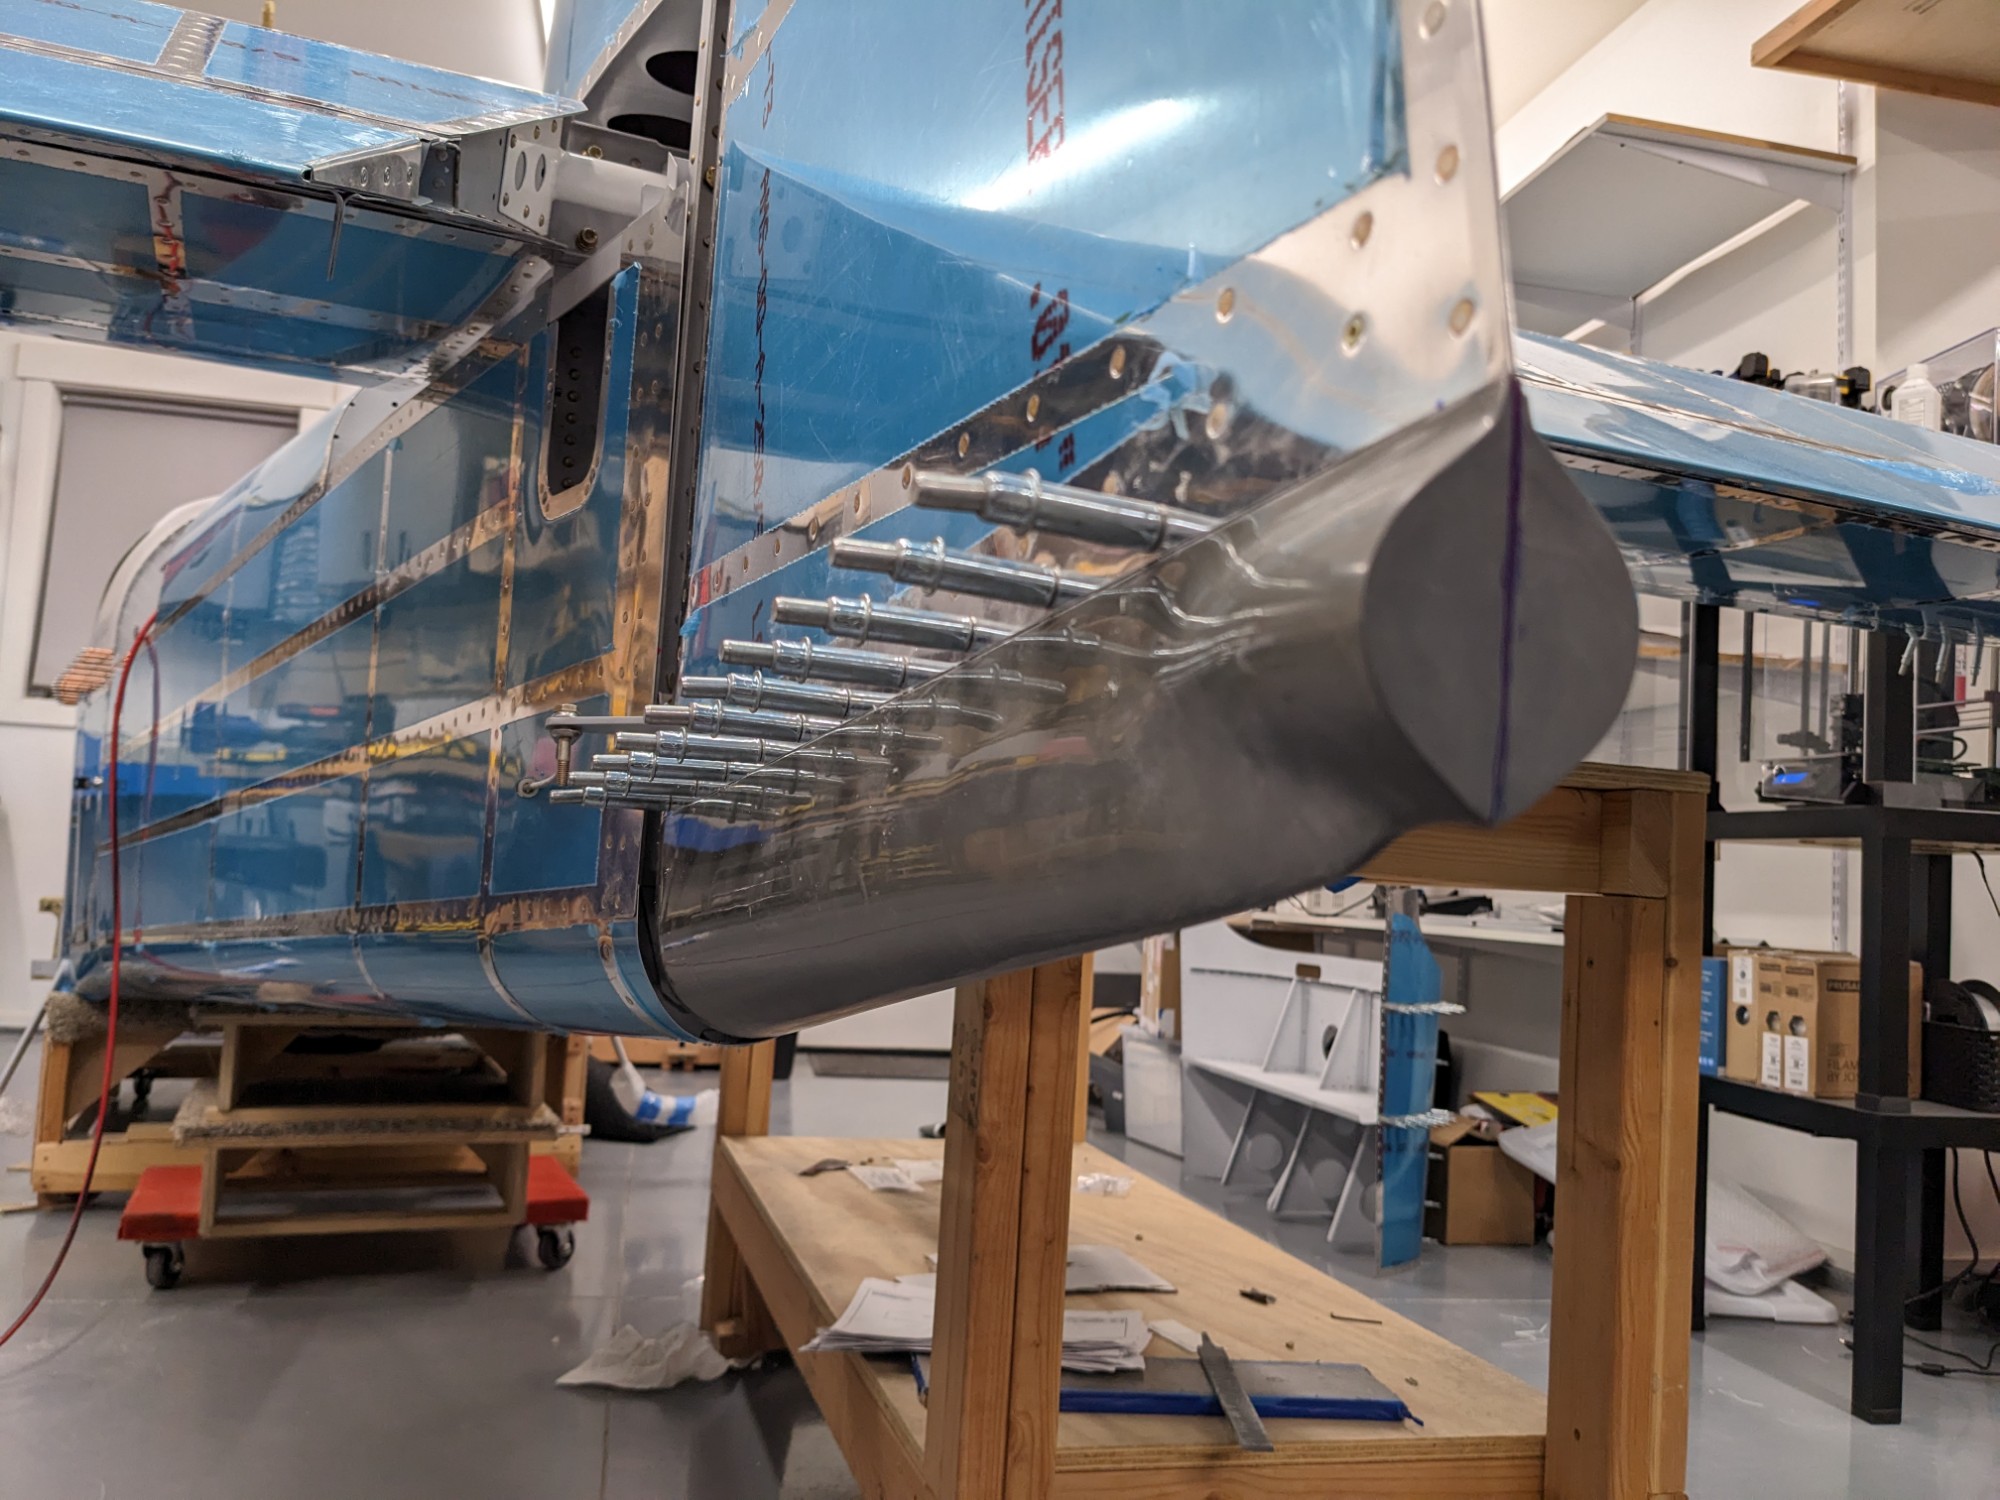
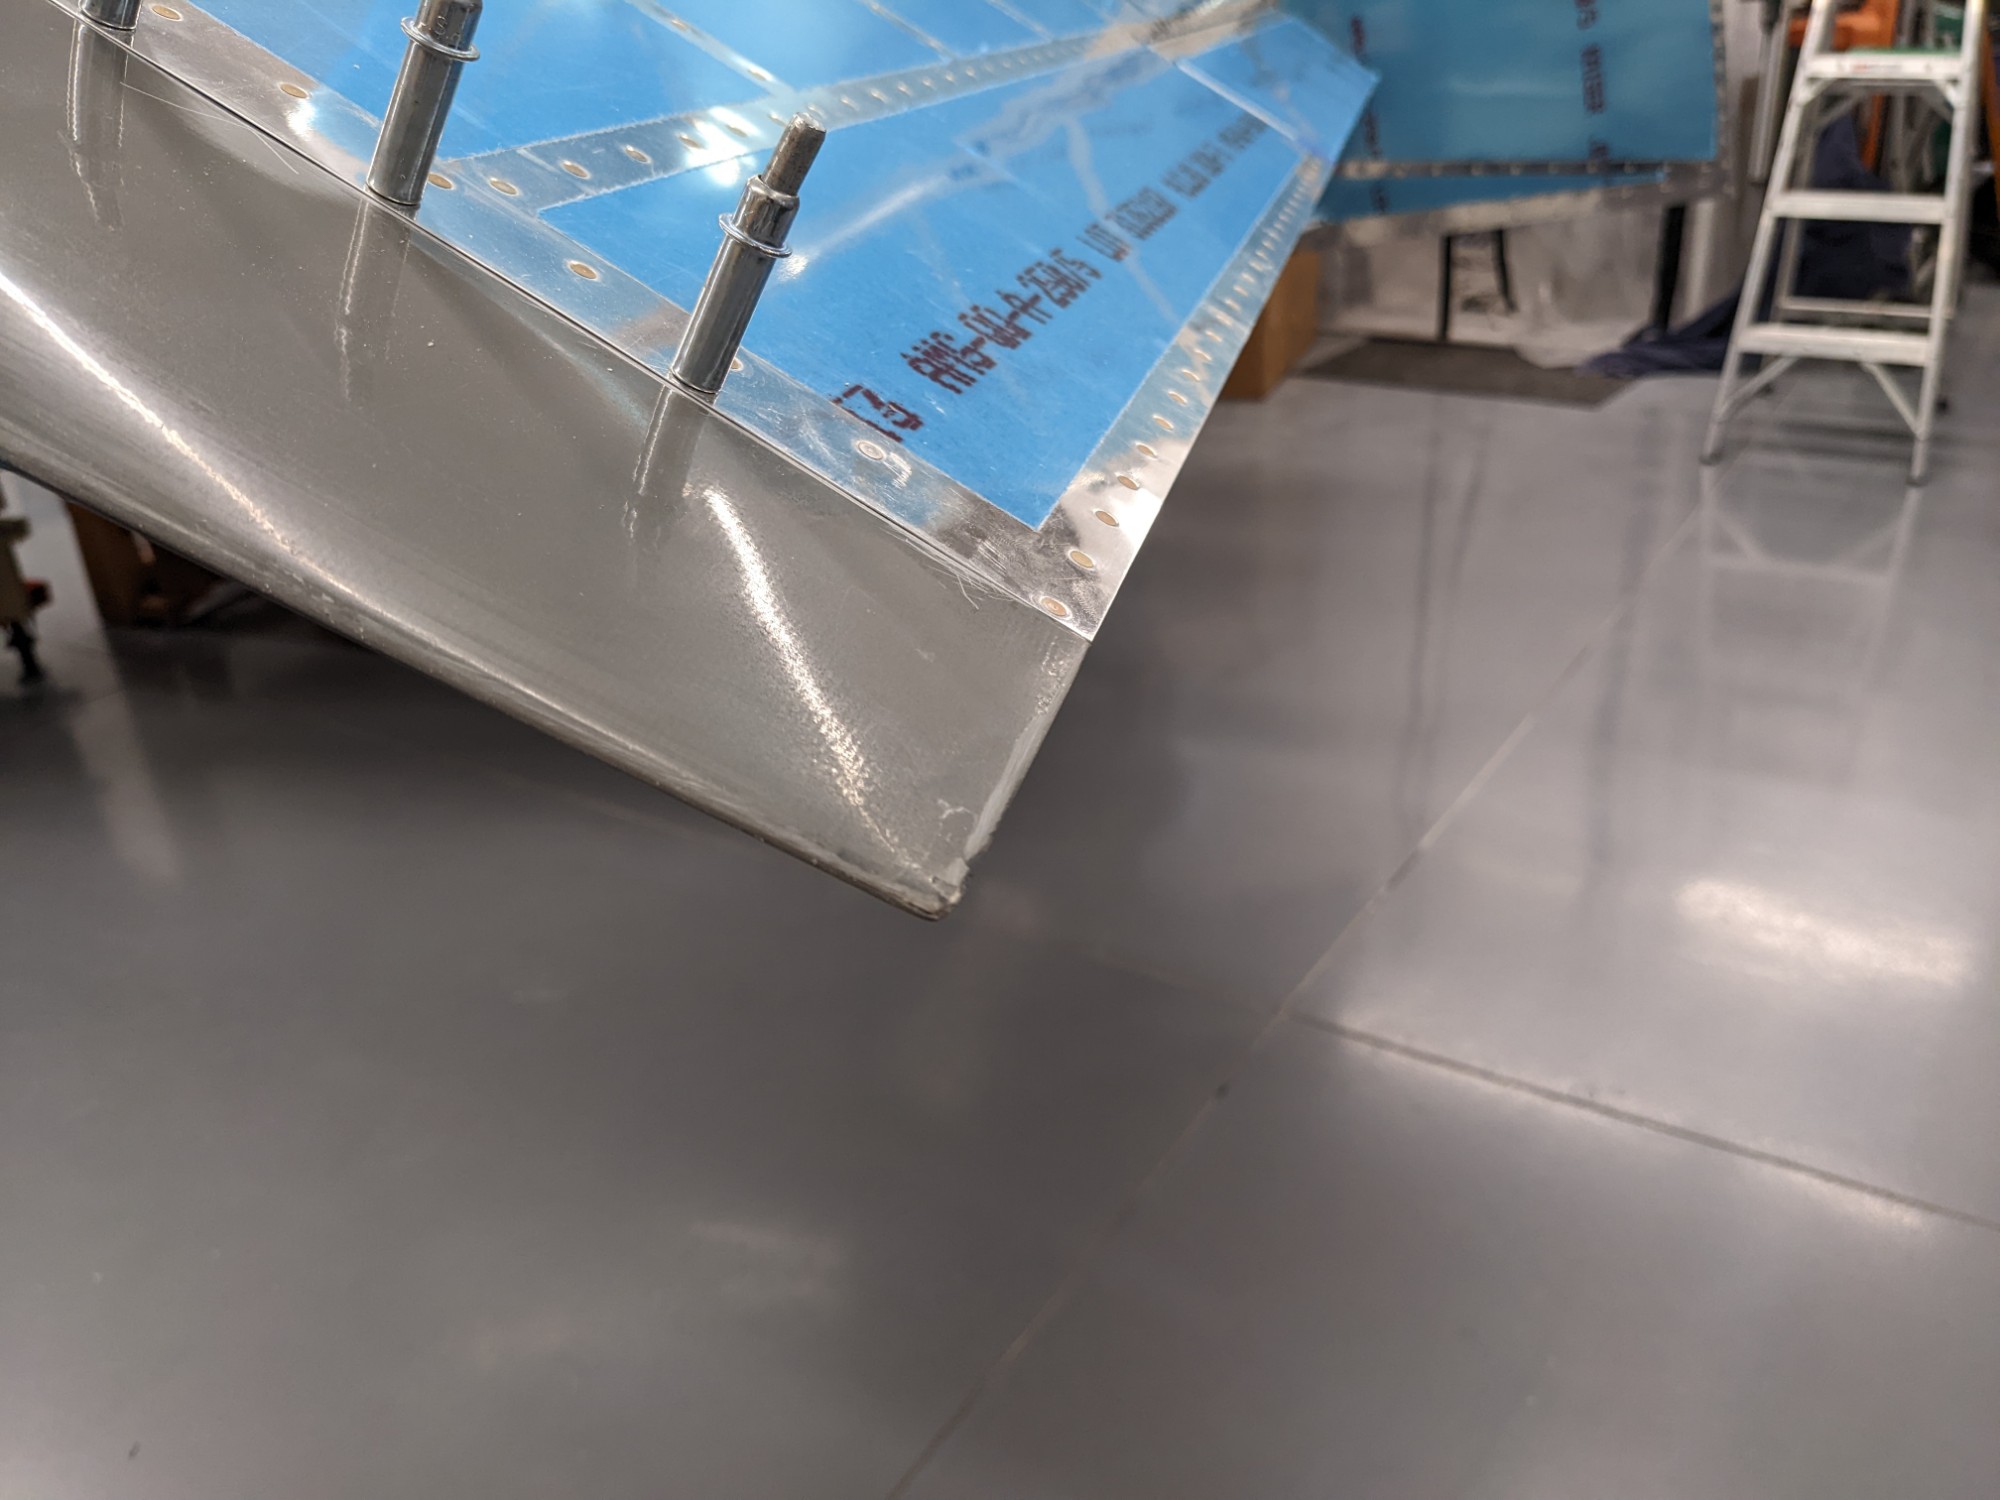
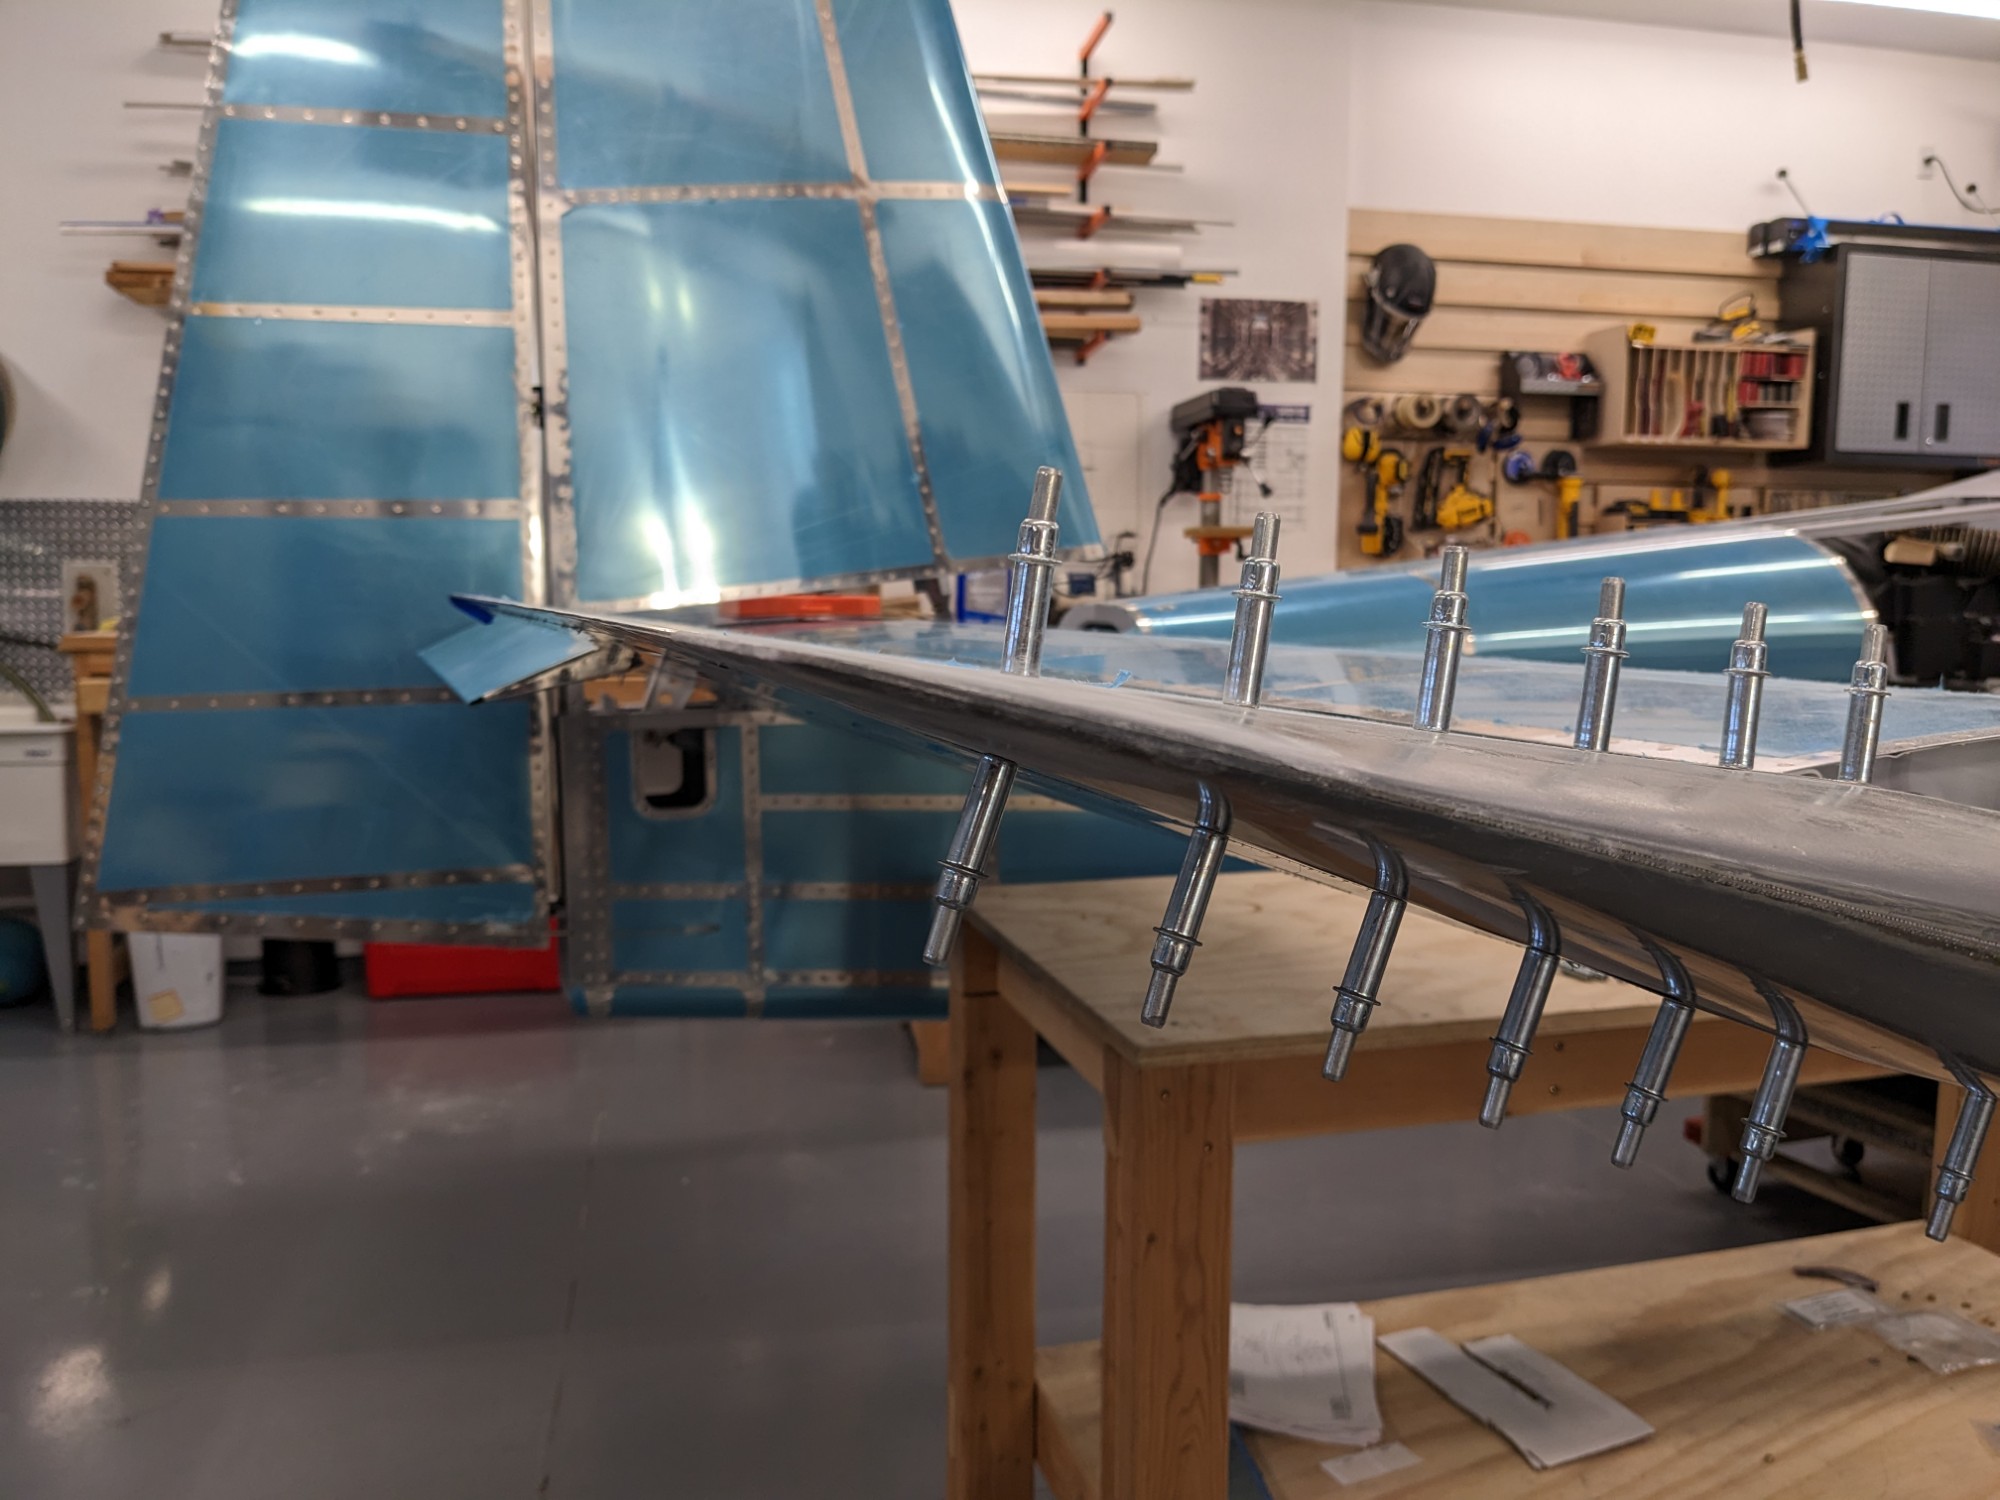
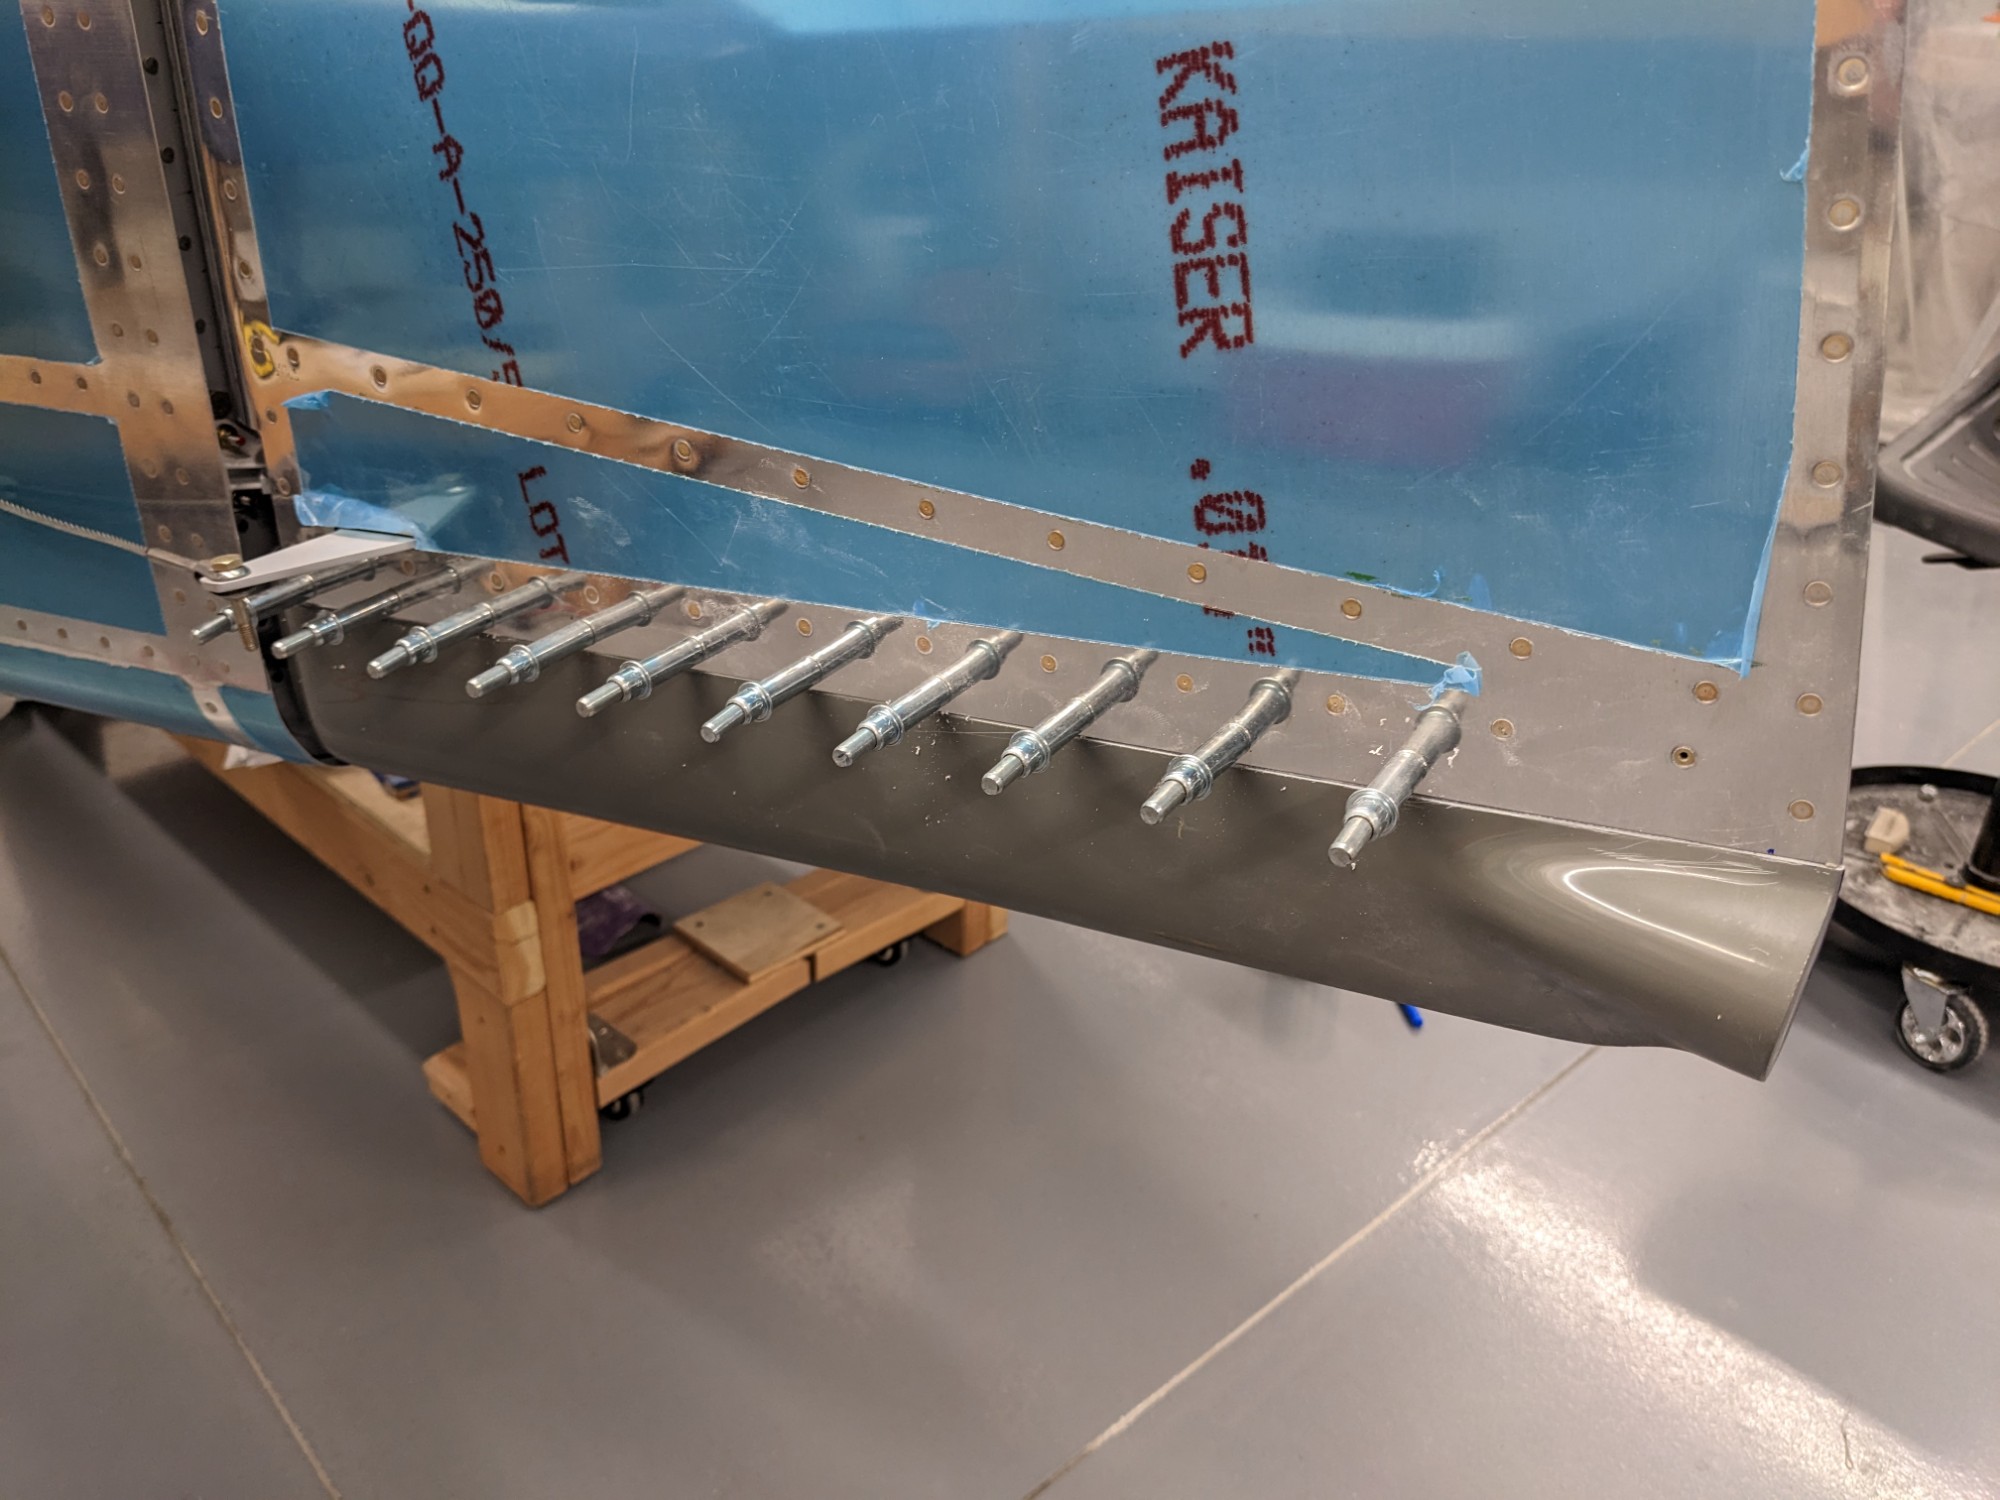
I used a vixen file to square the inside edge of the flange and trimmed the flanges to the depth of the underlying rib flanges. I then trimmed the aft flange to clear the wedge at the aft of the elevator. I used some foam blocks to temporarily expand the fairing while match drilling. It took a decent amount of finessing the flange to get everything to fit well and avoid pushing the counterbalance arm inwards.
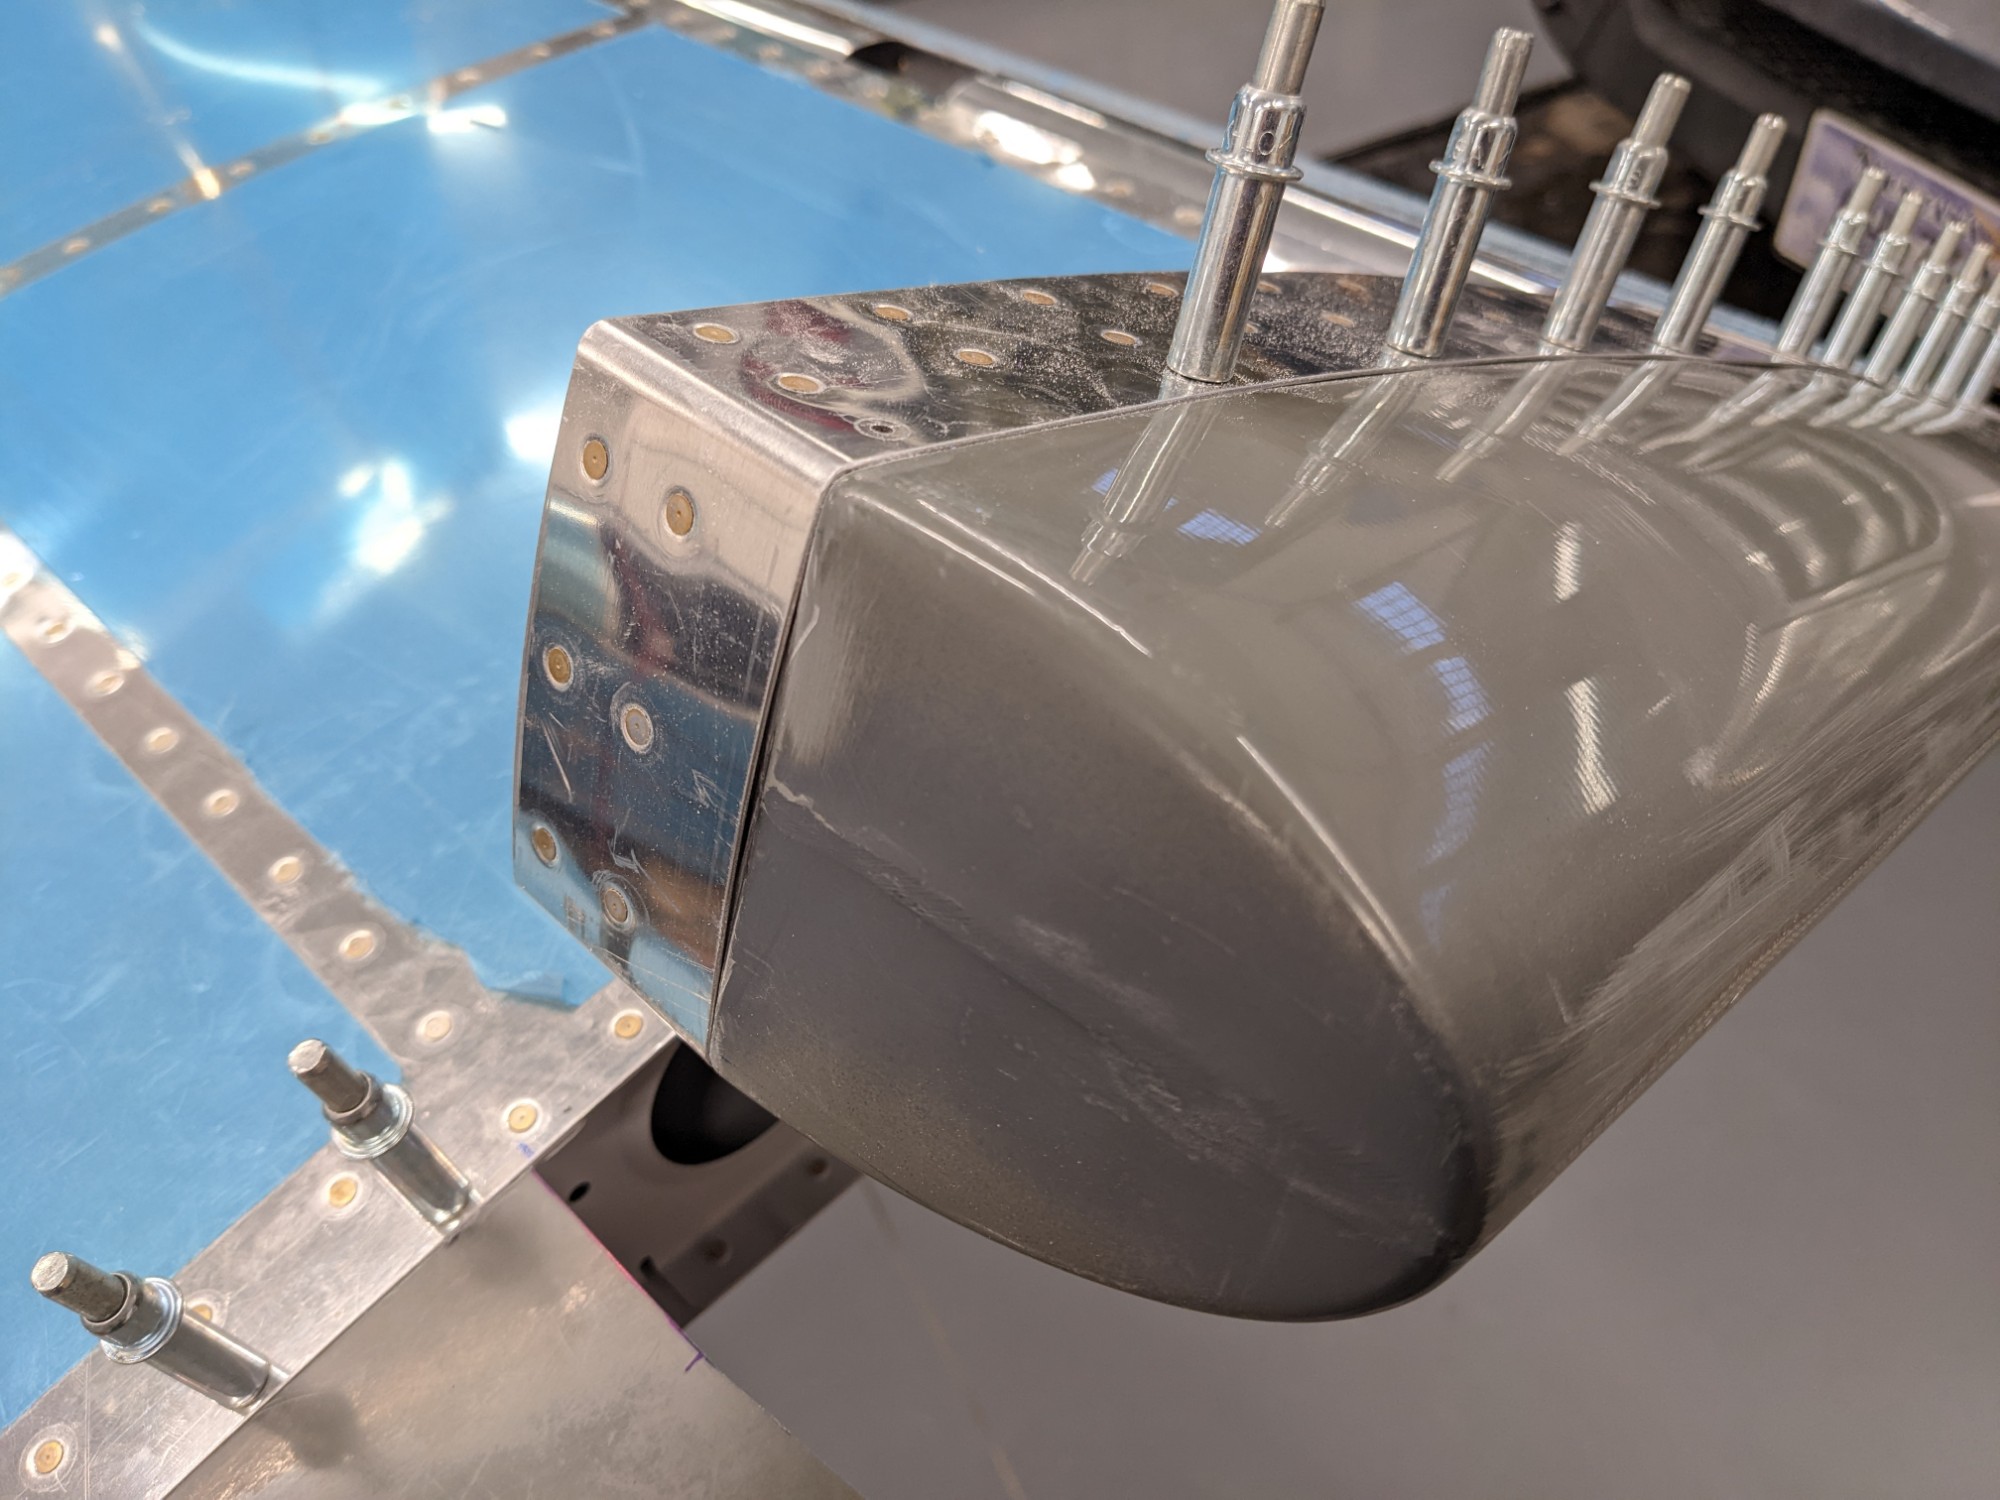
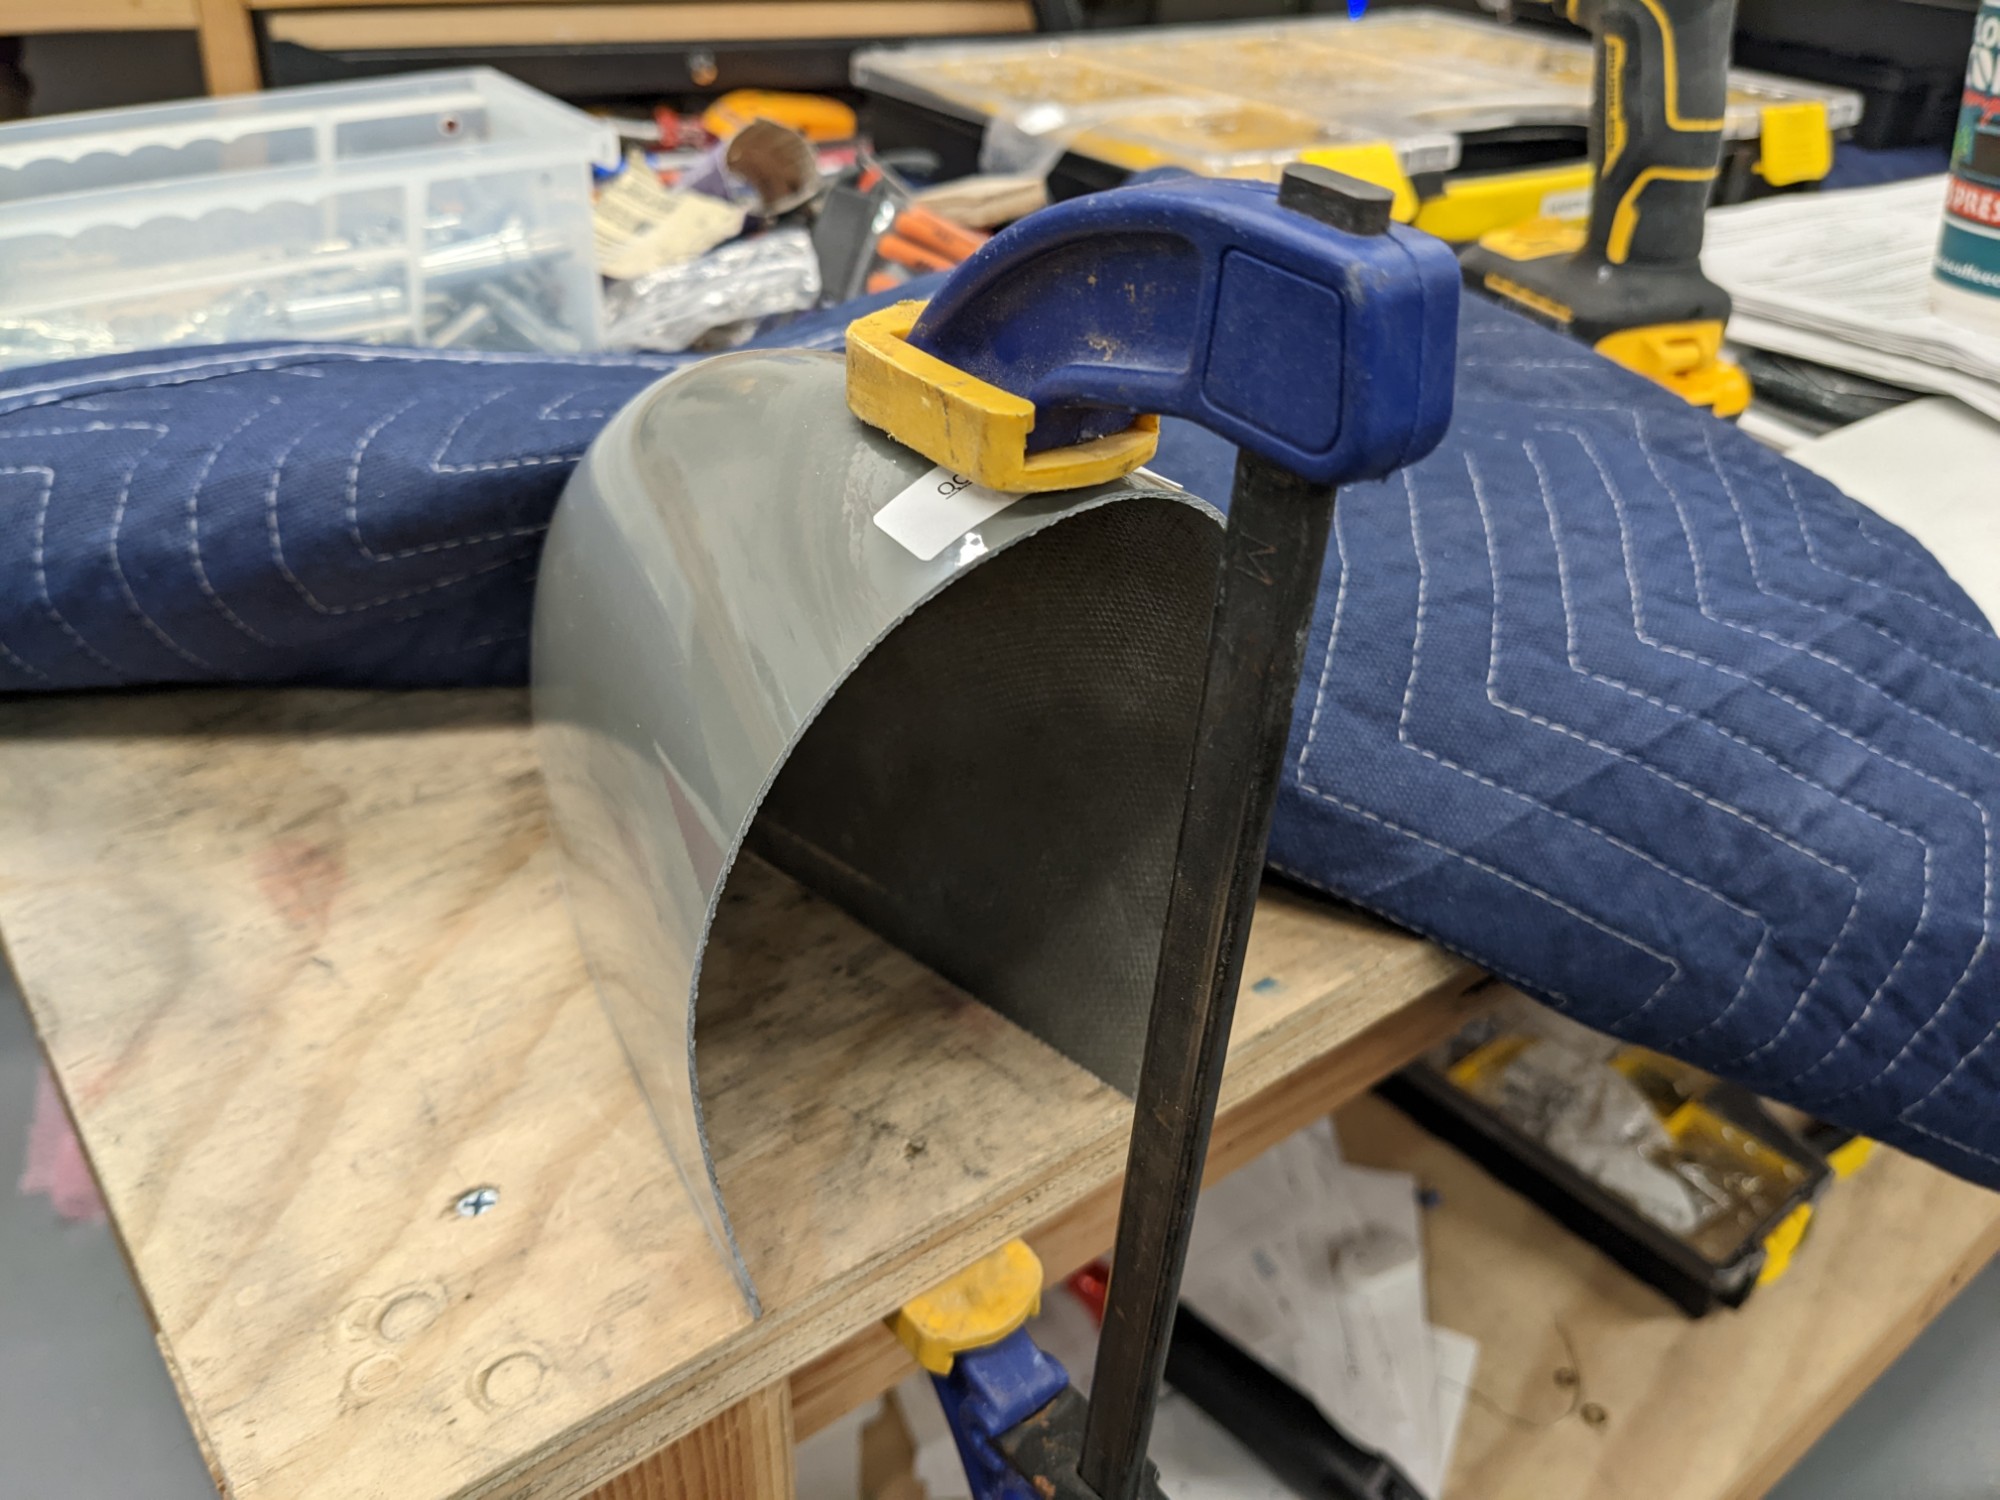
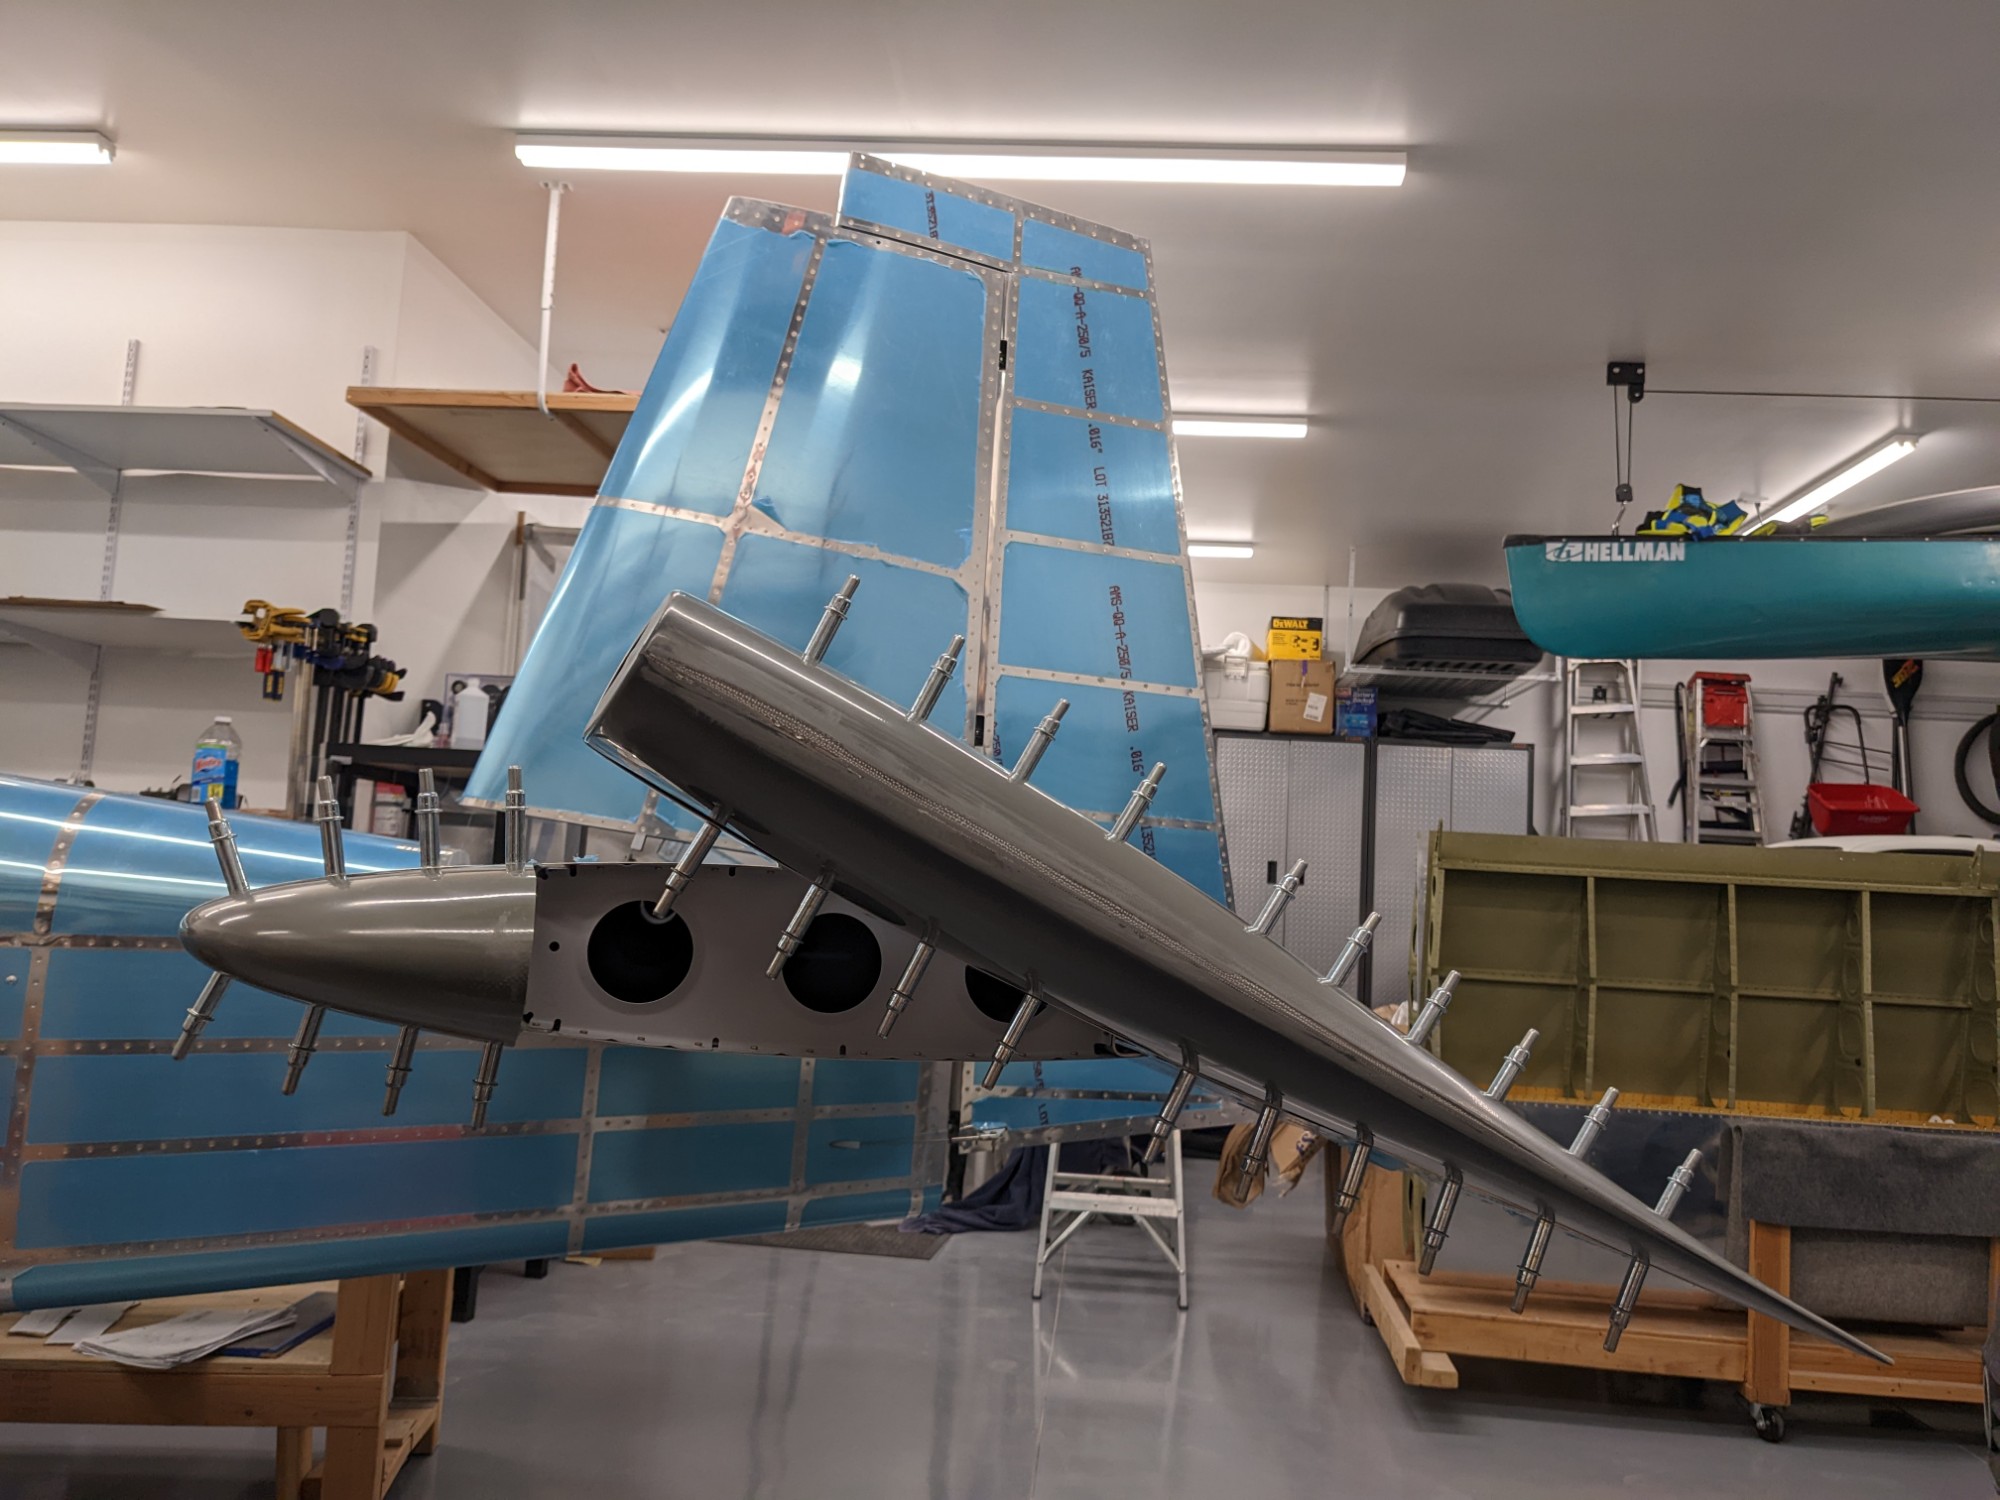
I then fitted the stabilizer fairing. The fairing needed expanded to align with the profile of the elevator fairing so I gently applied pressure with a clamp while heating it with a heat gun. I then squared up the flange and match drilled it.
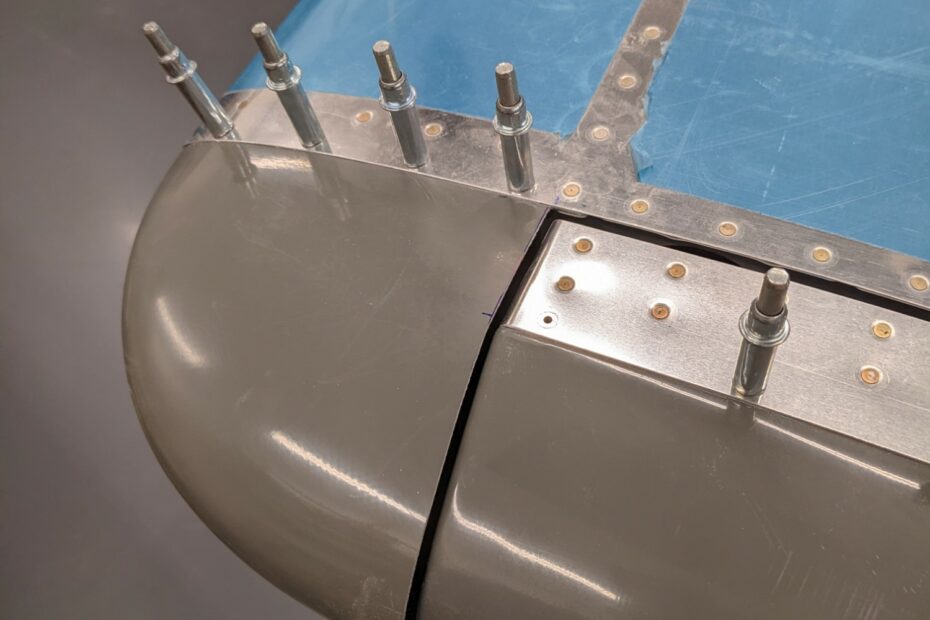
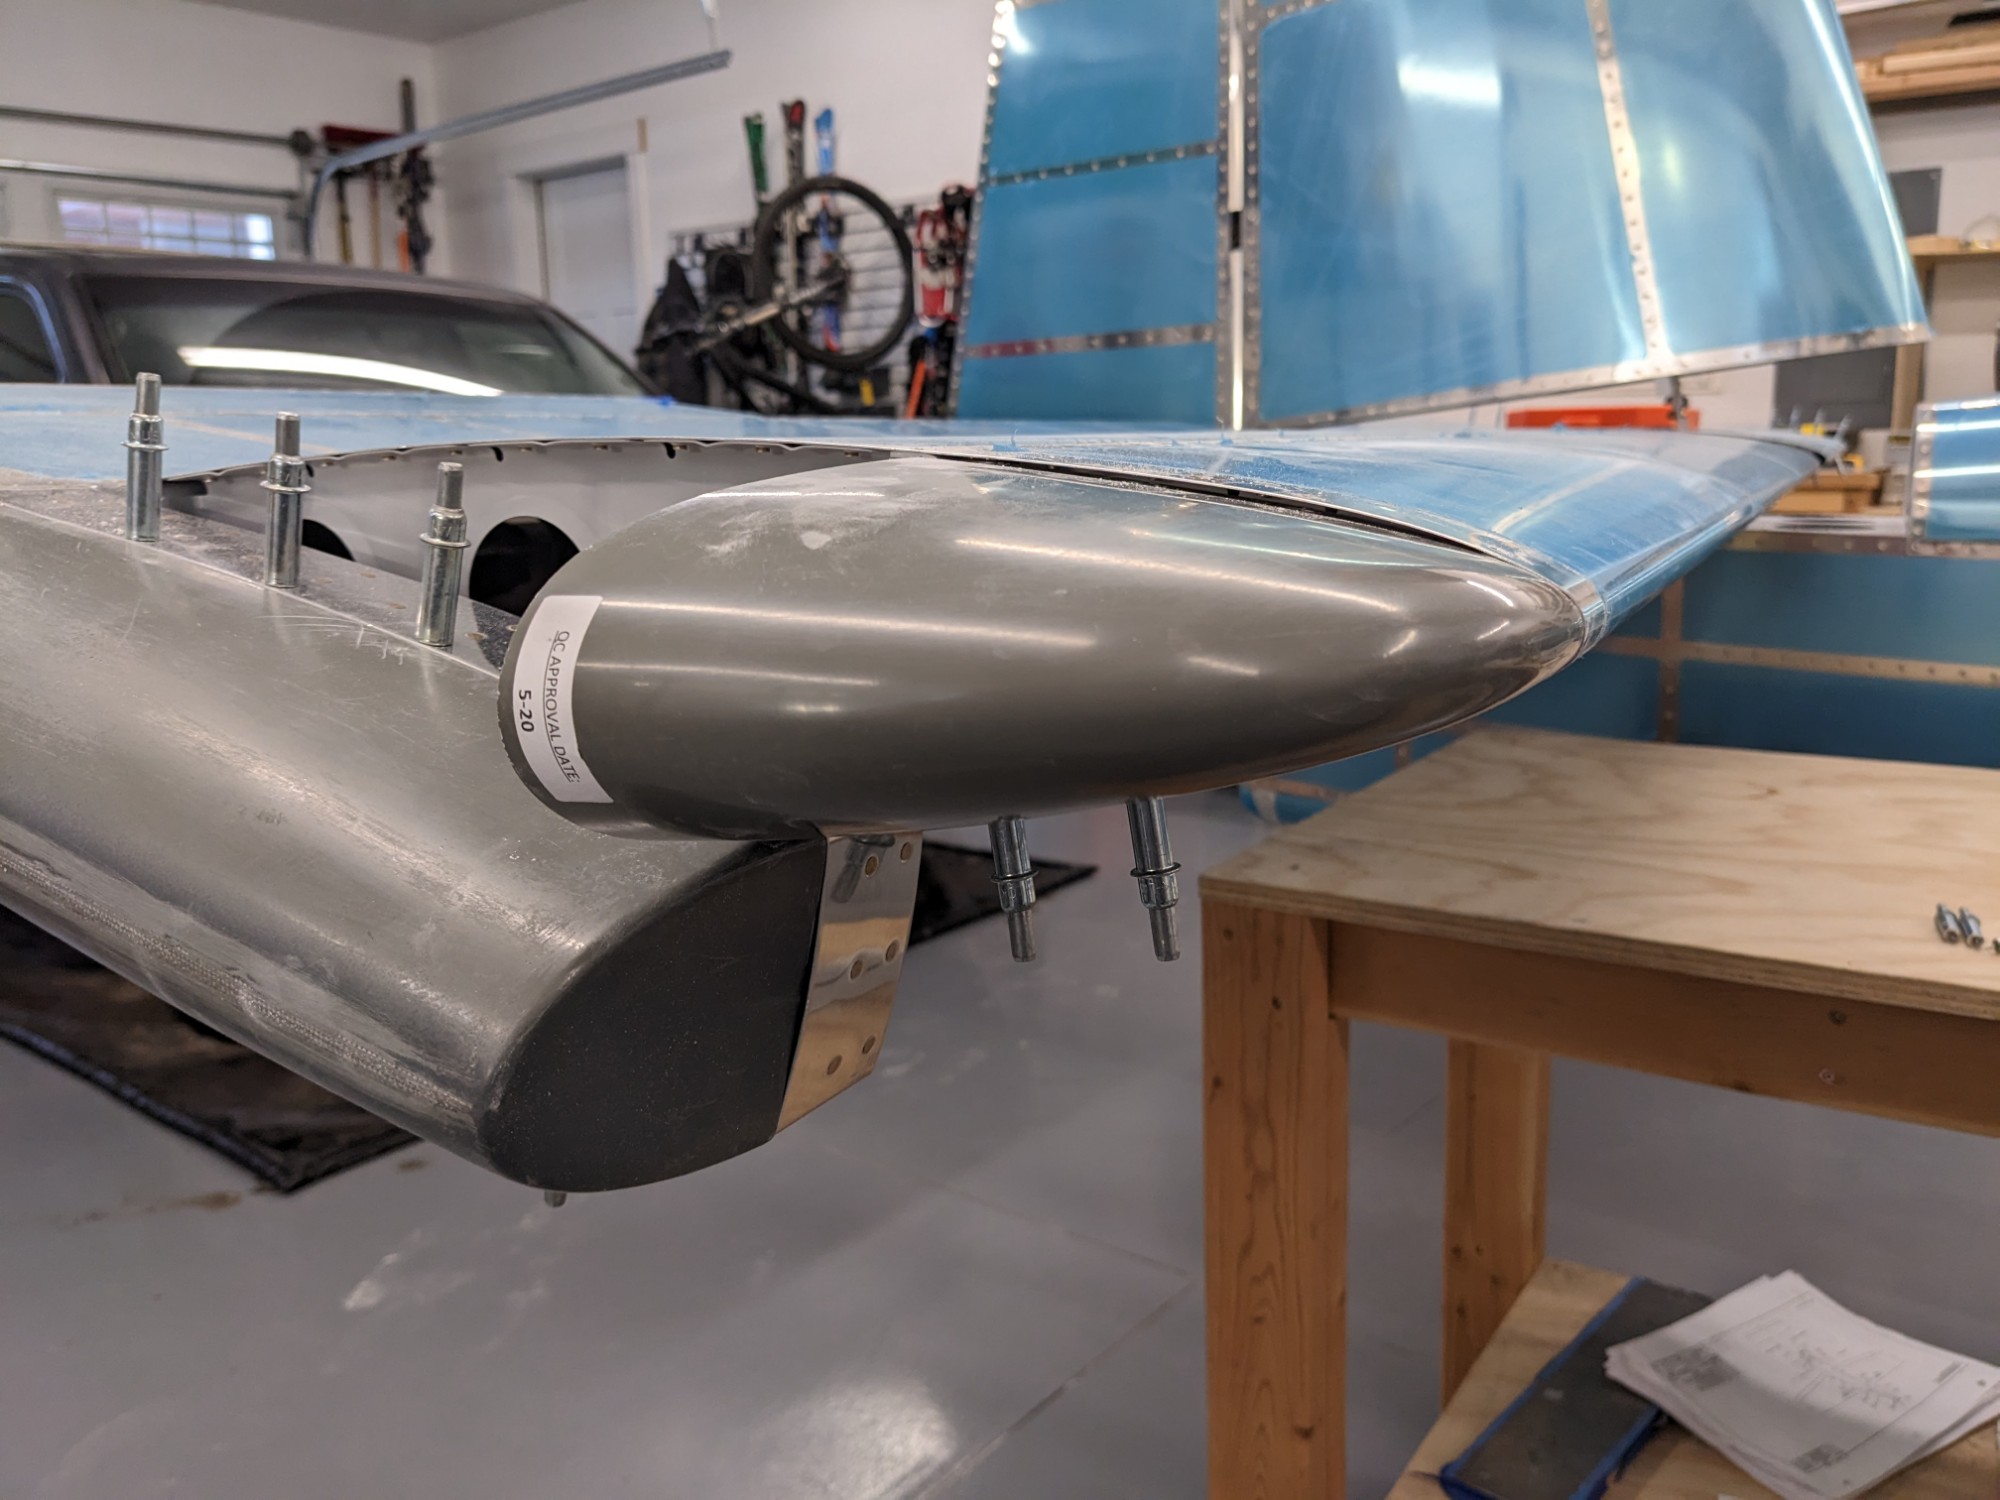
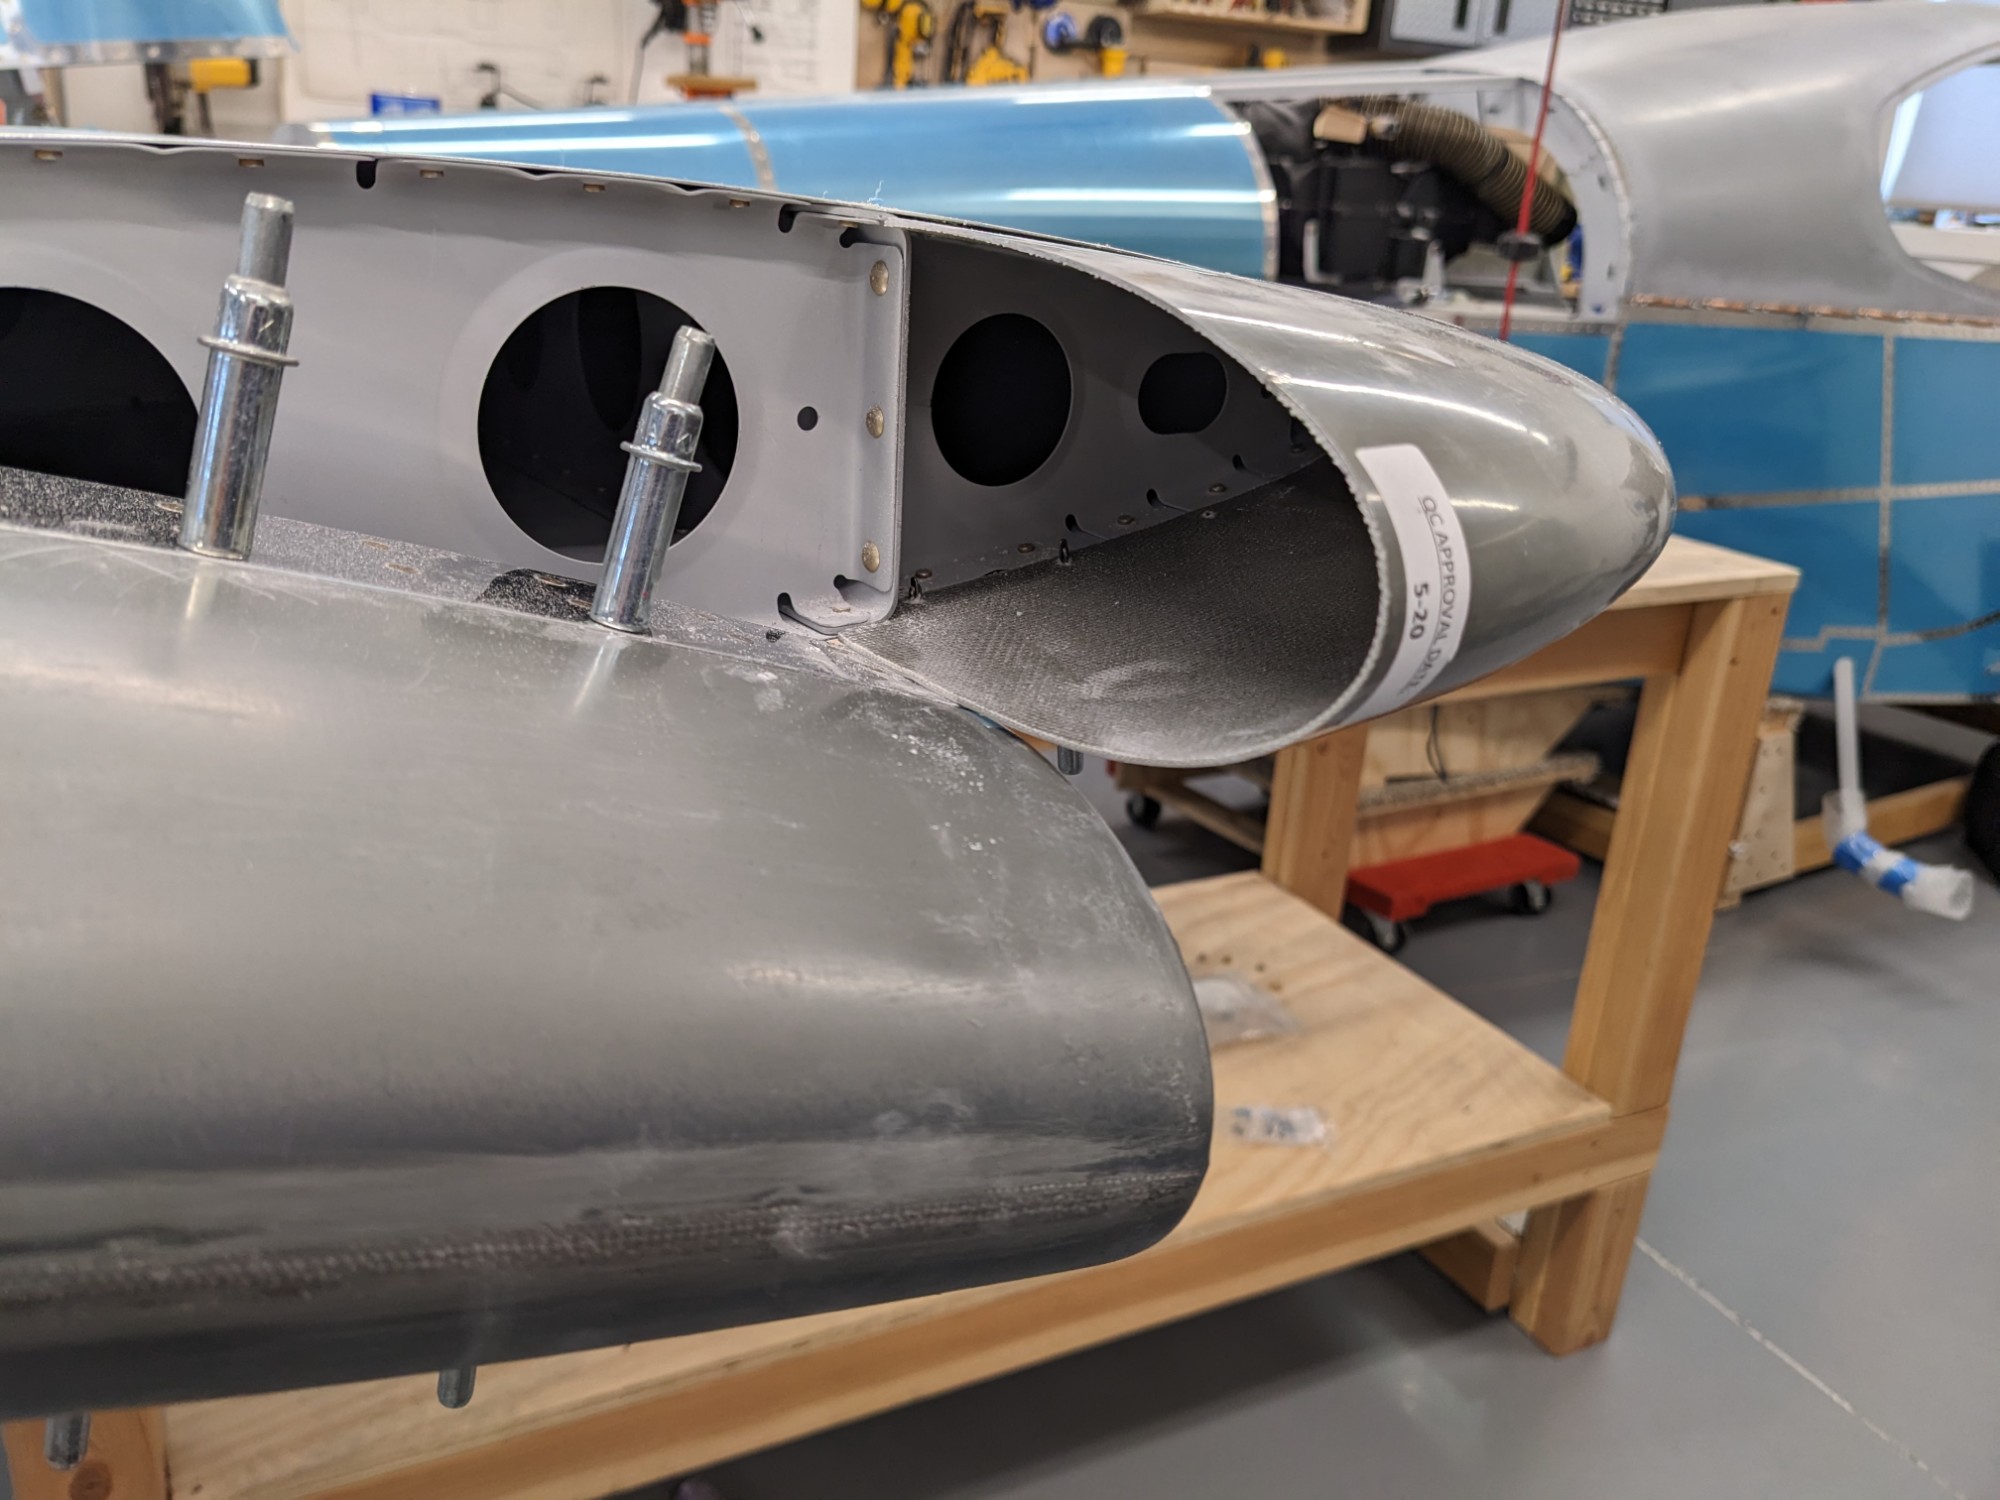
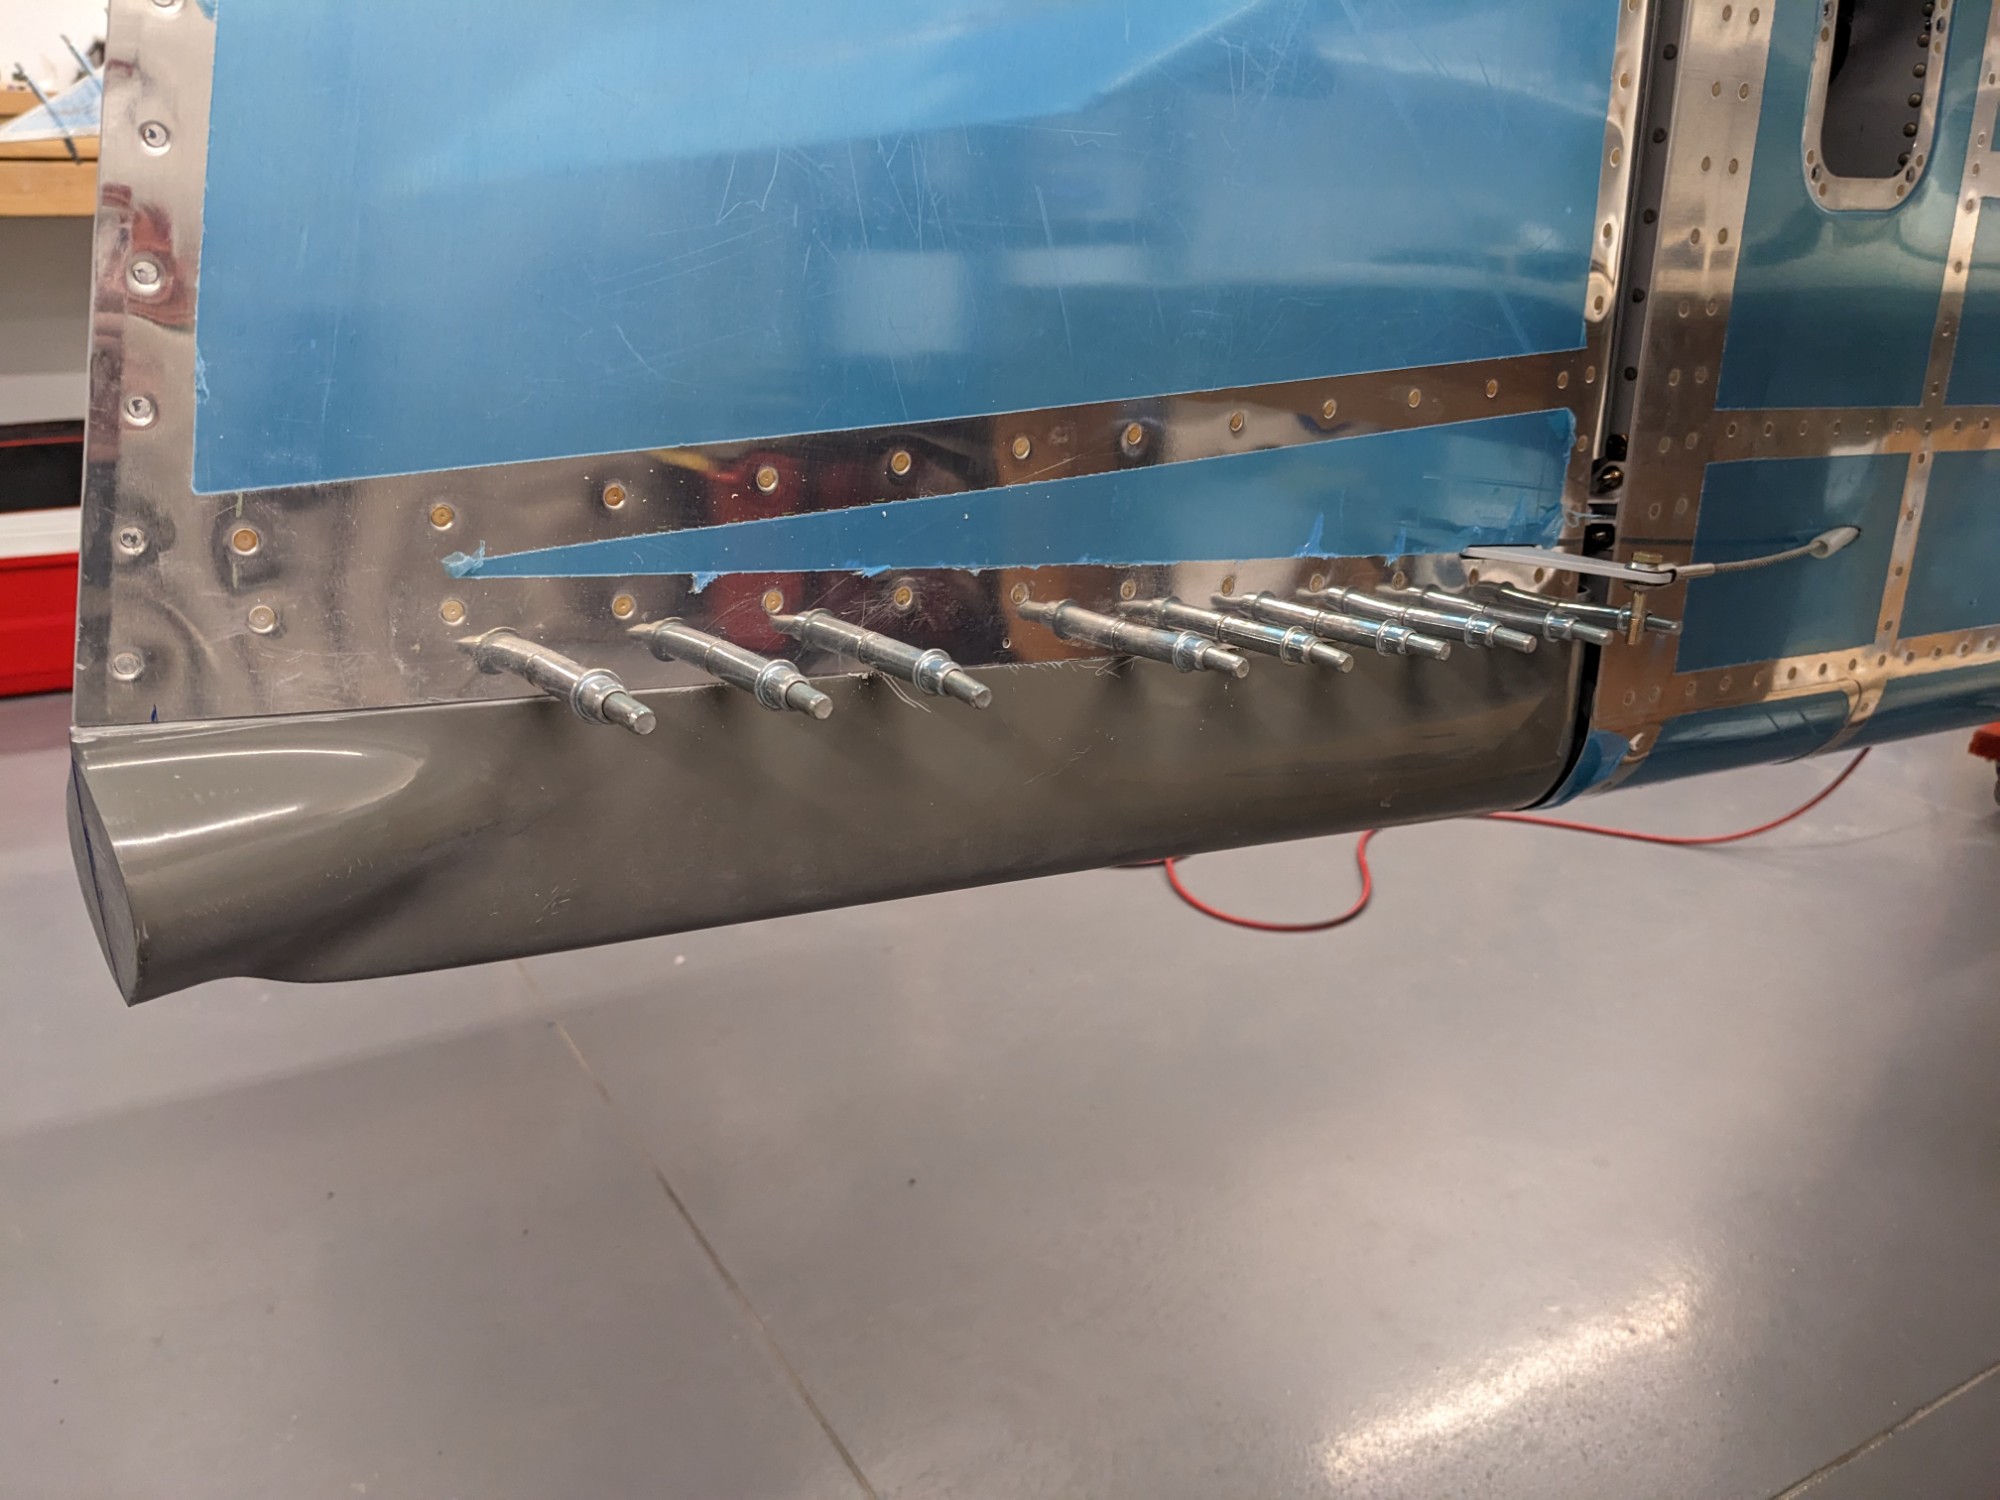
Once clecoed into place, I used the elevator fairing to mark the part for trimming. I trimmed it back enough to clear and then sanded it close to a 1/8″ gap.

Next, I squared the aft edge to the trailing edge.
Rinse, repeat for the other side.
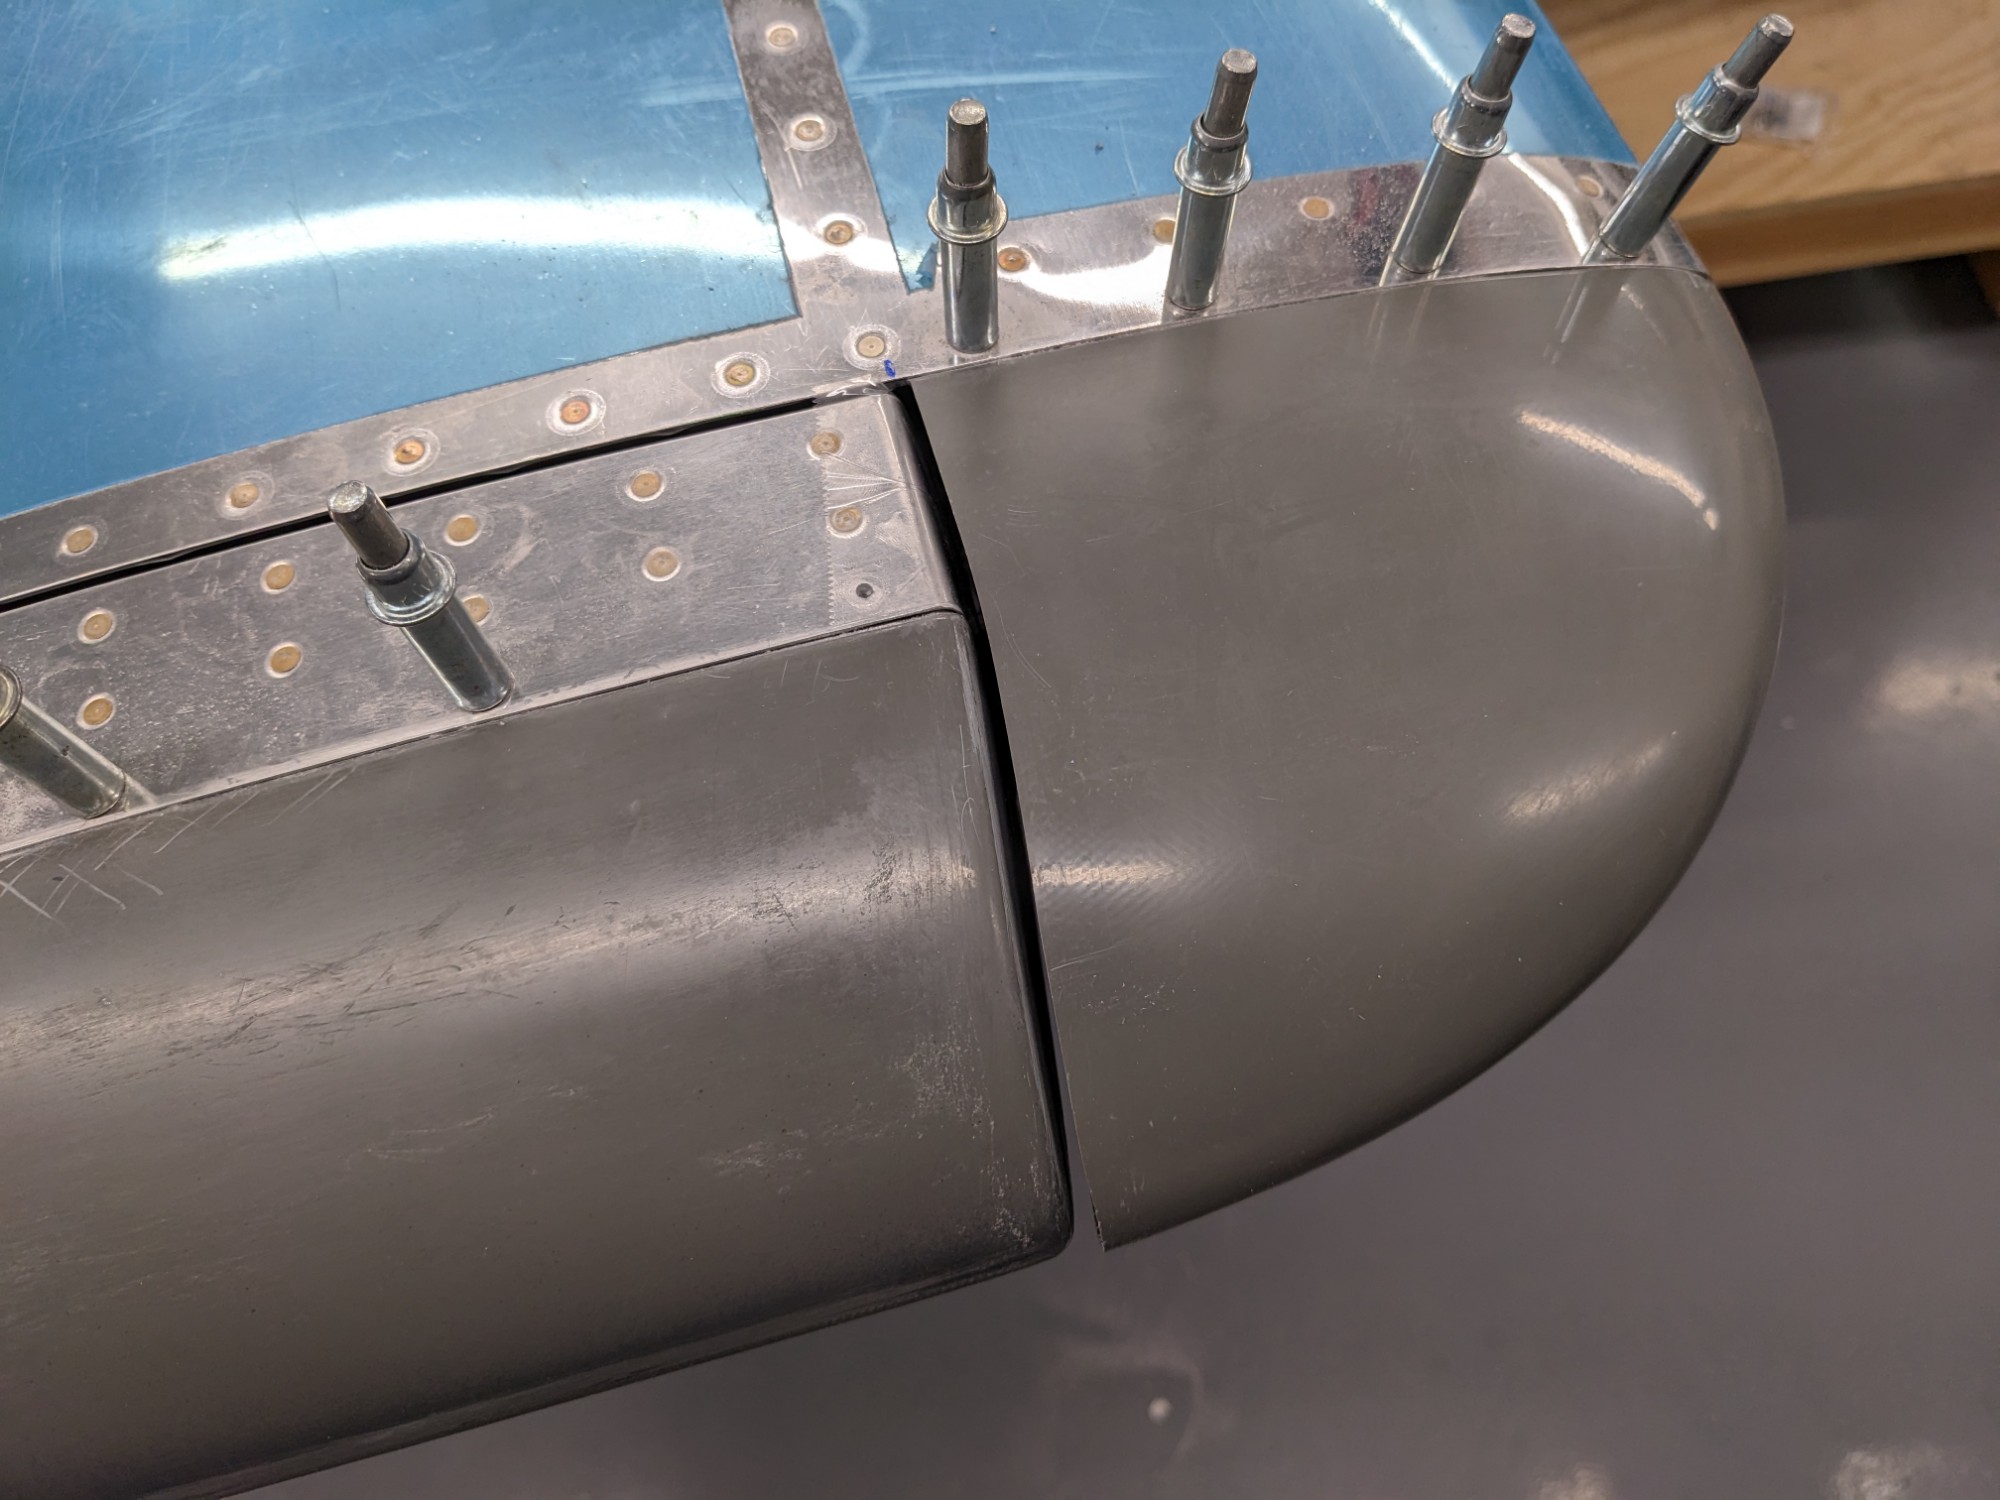
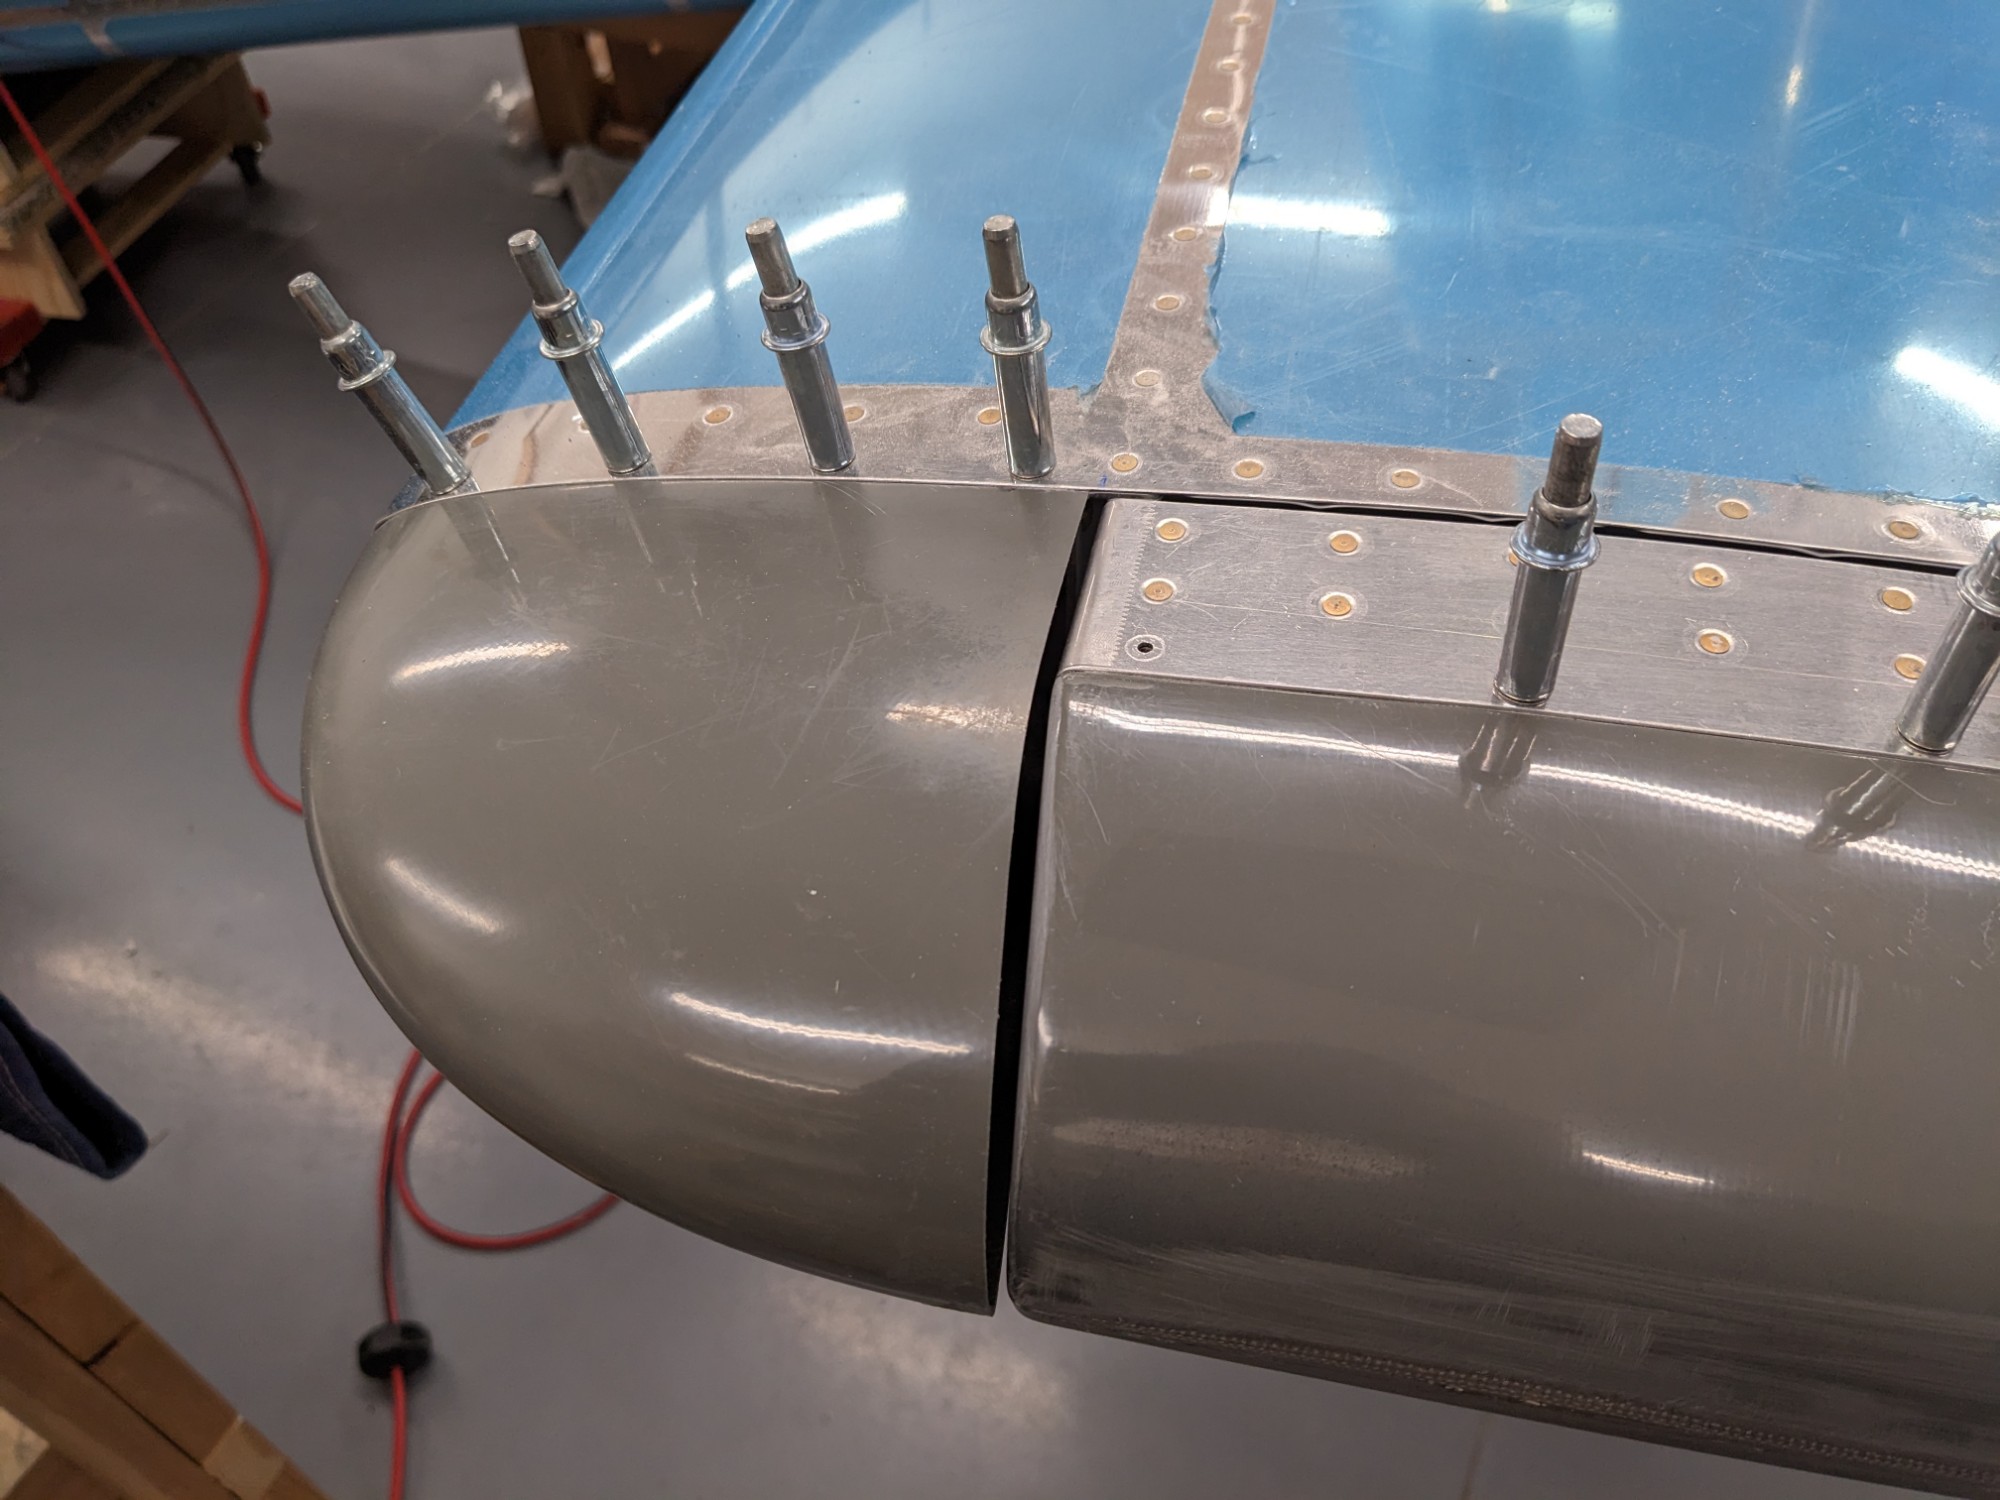
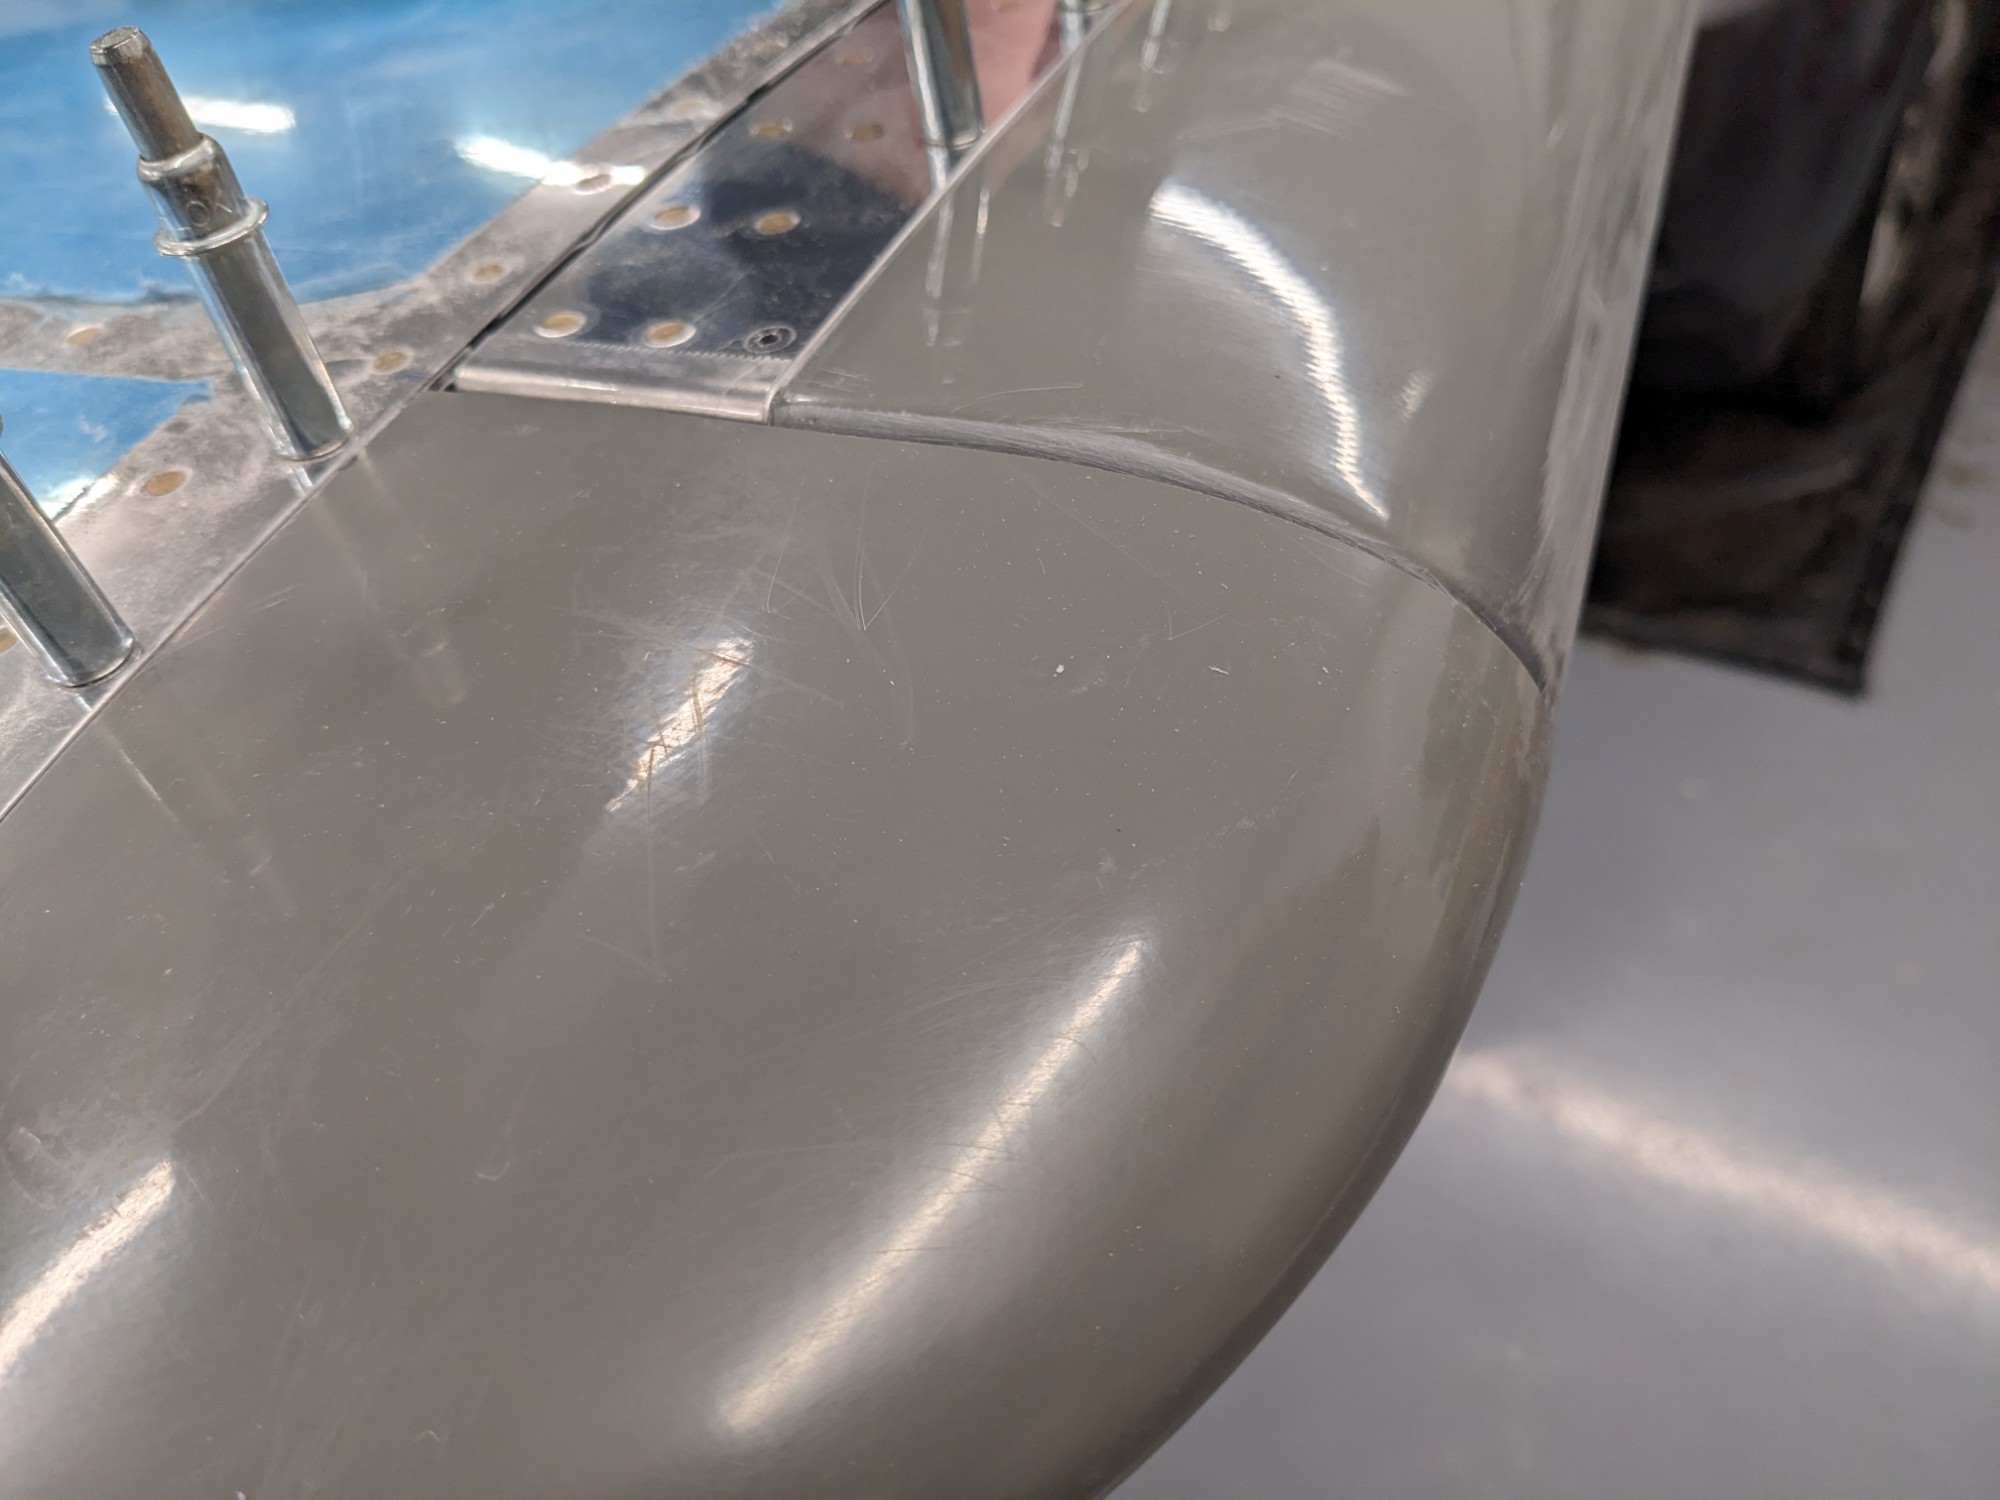
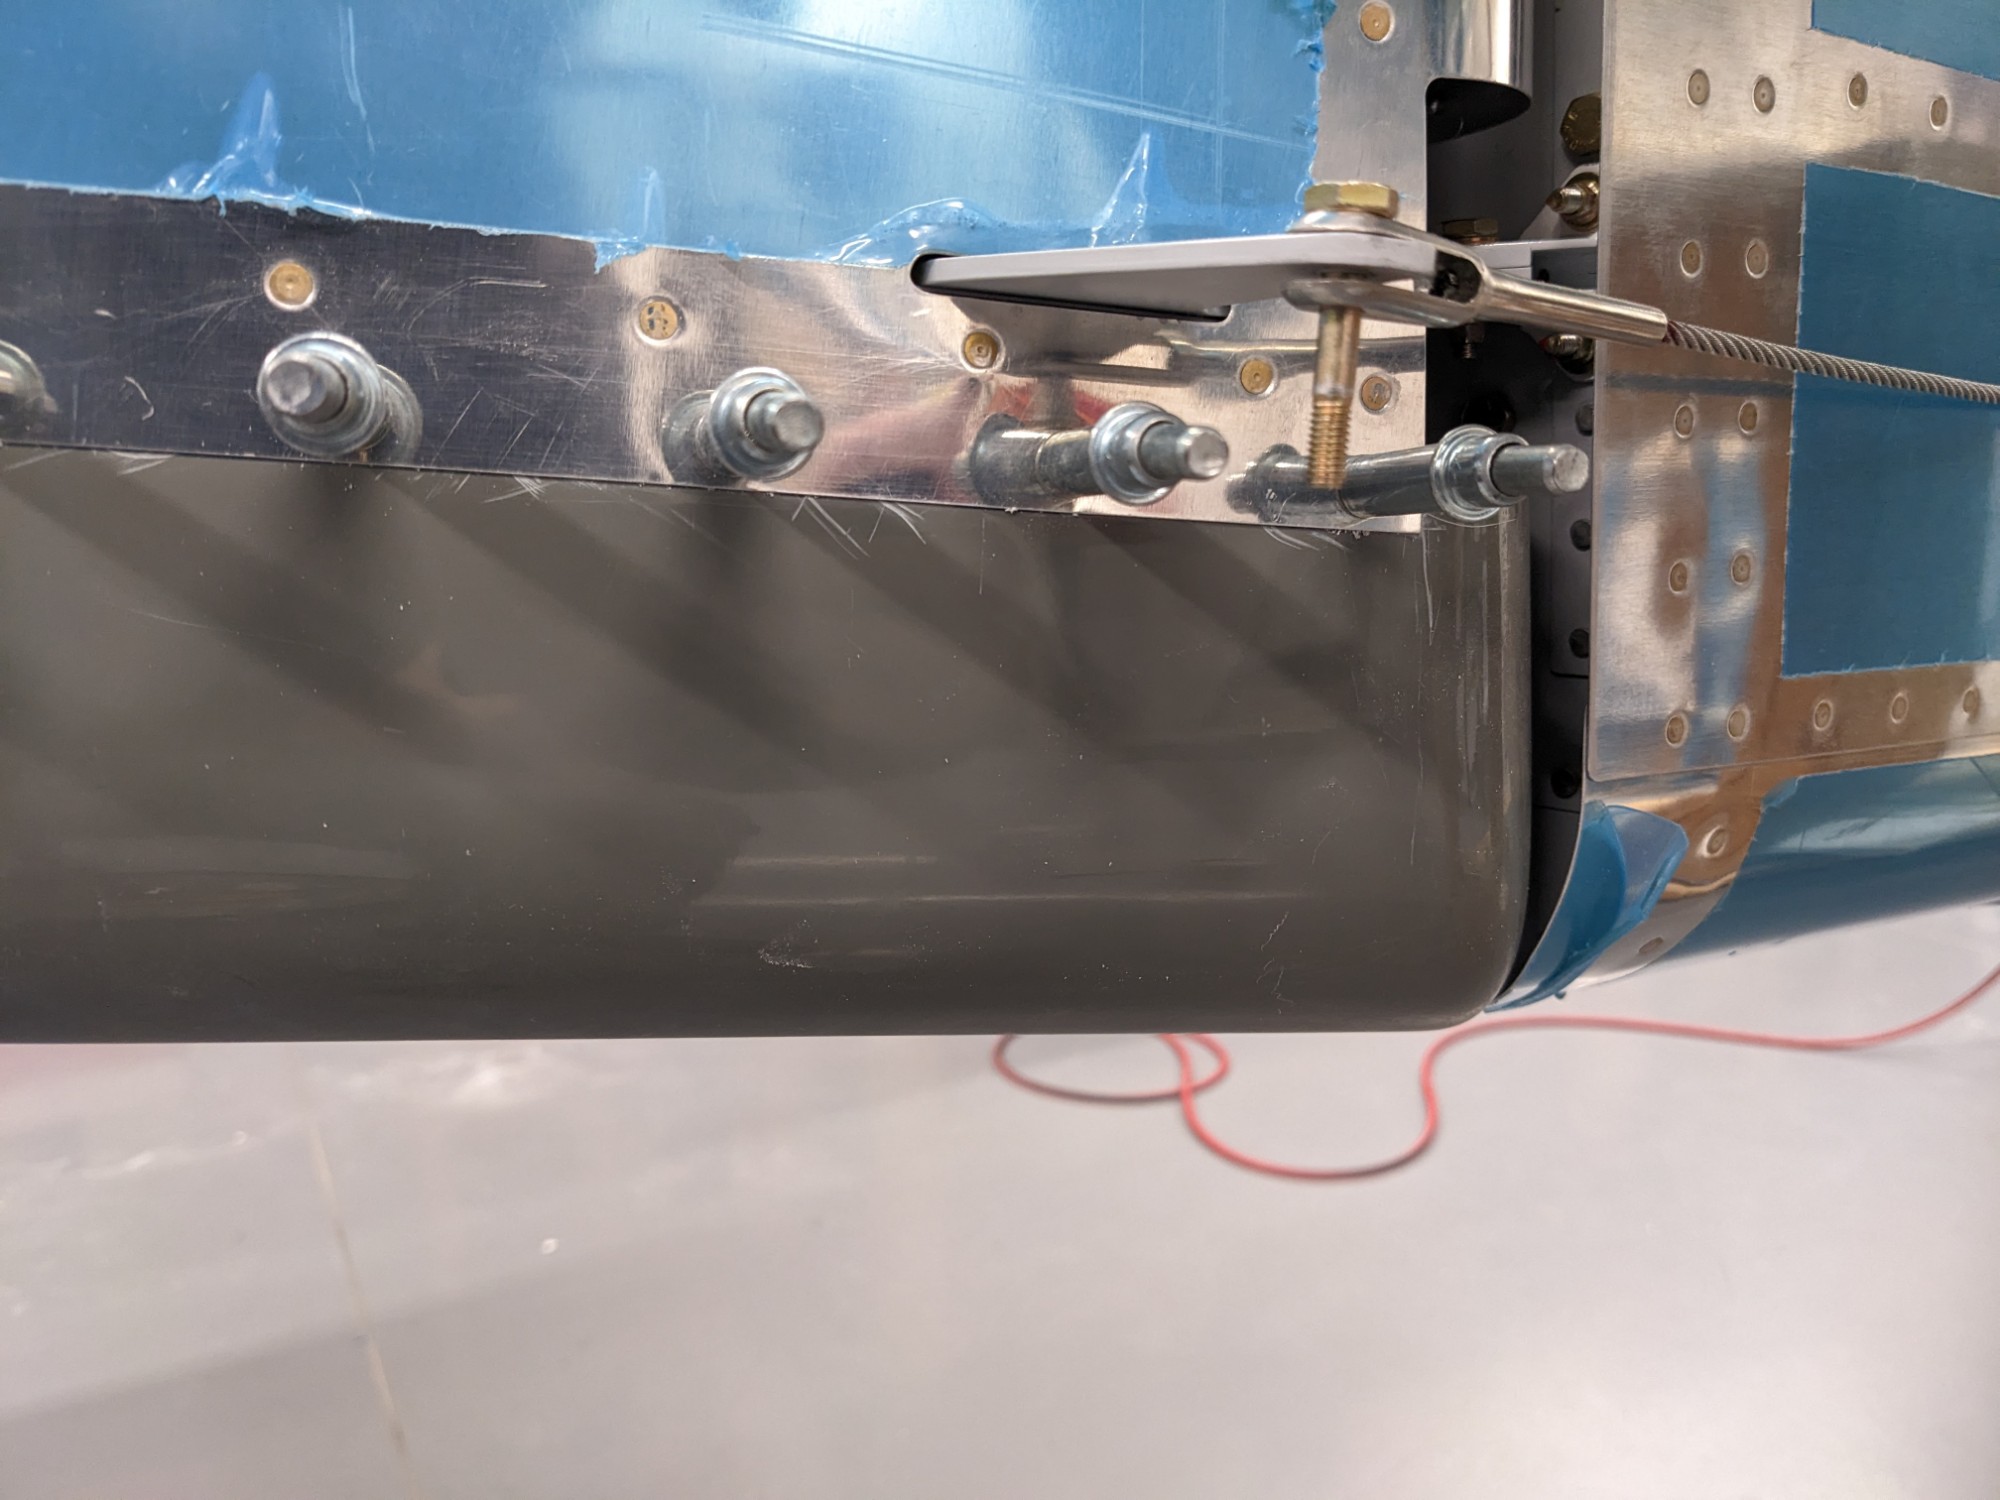
I used a heat gun and a rounded block of wood to shape the stabilizer tip fairings so that the profile matched the leading edge of the elevator fairings. This worked really well to align the transition.
Next up was the bottom rudder fairing. I squared up the flanges, trimmed them, etc. and match drilled it into place.
I marked the centerline on the aft edge as I’ll be removing the portion for the aft light (I’ll have position/strobe lights on the aft of my wingtips so I won’t need this).