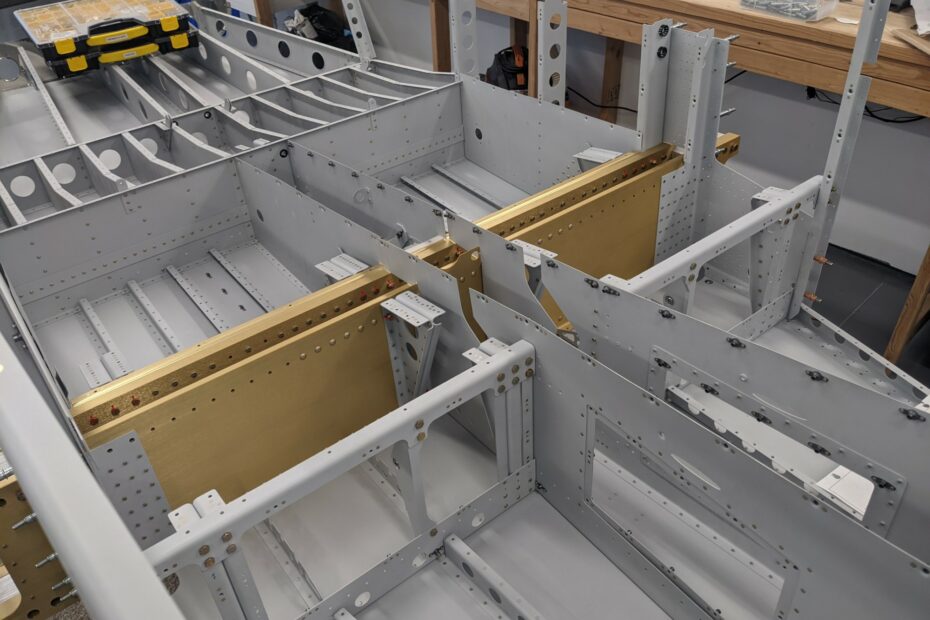
The forward fuselage section is finally complete! I ran into a snag with some holes in the firewall section (forward fuselage rib flanges) that hadn’t been dimpled (my mistake, but it also wasn’t mentioned in the plans and I wasn’t wise to the omissions yet when I worked on the firewall section). I got the dimples sorted out with a rivet set from Cleaveland that allows a dimple die to be used in a rivet gun.
The USPS lost my first shipment of the tool so I had to place another order 😠. We then broke my male dimple die while using the rivet set 😟. I ordered replacement dies (yes, I ordered two in case we had the same problem again). The dimple dies weren’t in stock and we then had to wait an additional week for manufacturing ☹️.. all told we lost about to a month (and a few extra purchases) to get back to where we were previously. Thankfully, the process worked out in the end and all of those rivets came out really well.
We’re doing a lot of team riveting now and we’re getting it down to an art (not a single rivet removal was needed for all of the rivets in this log entry). Thanks Amber for your help!
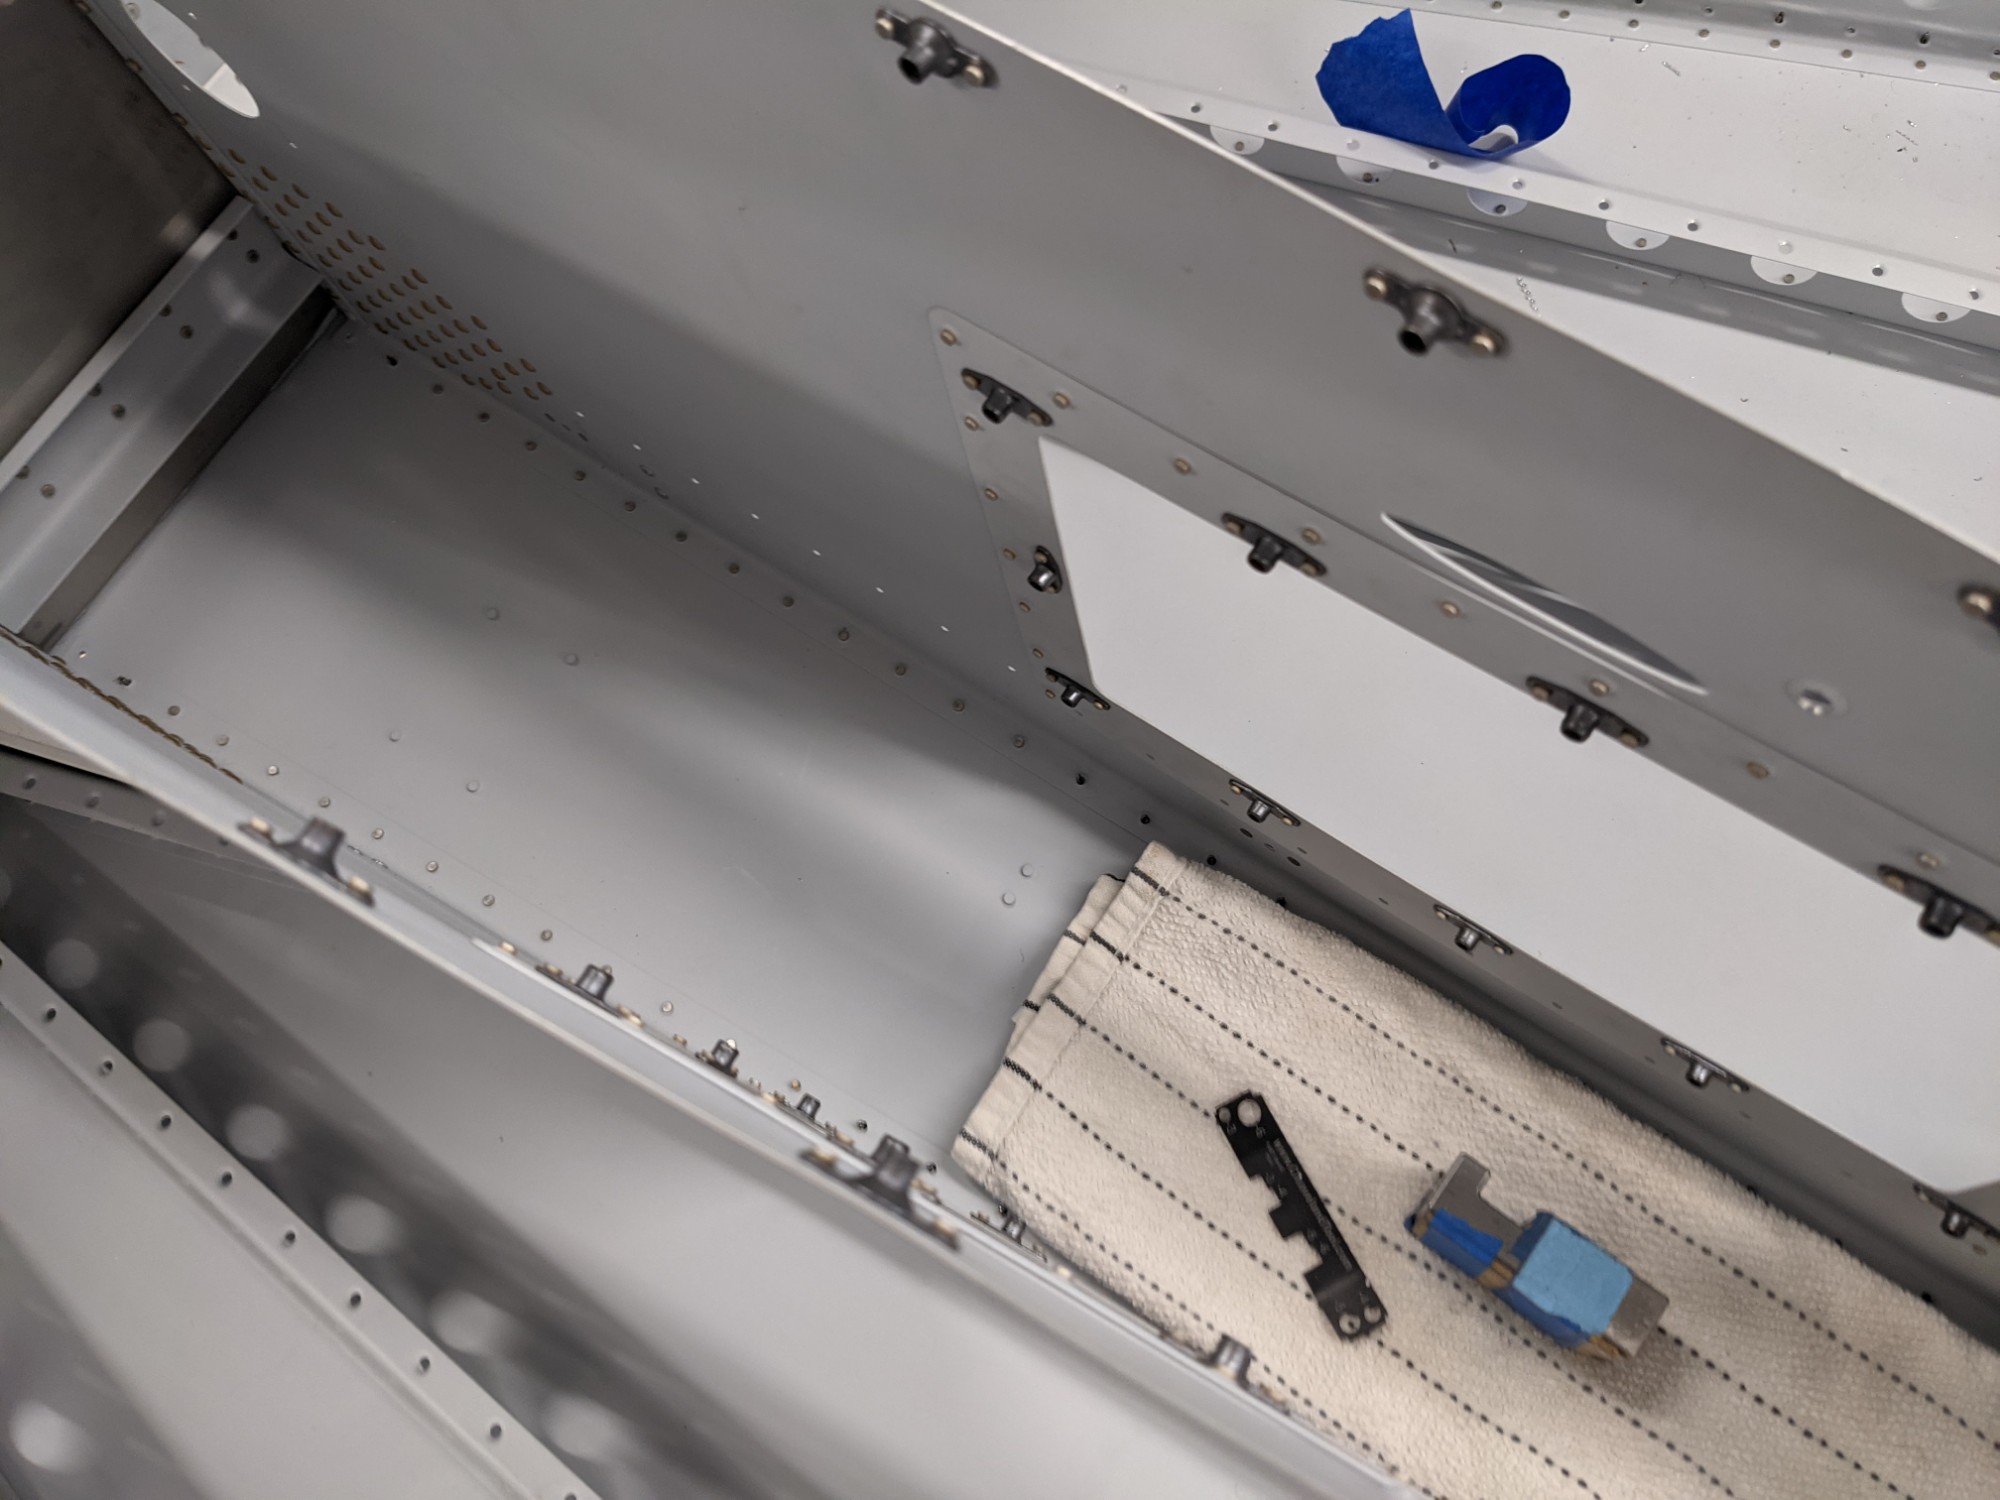
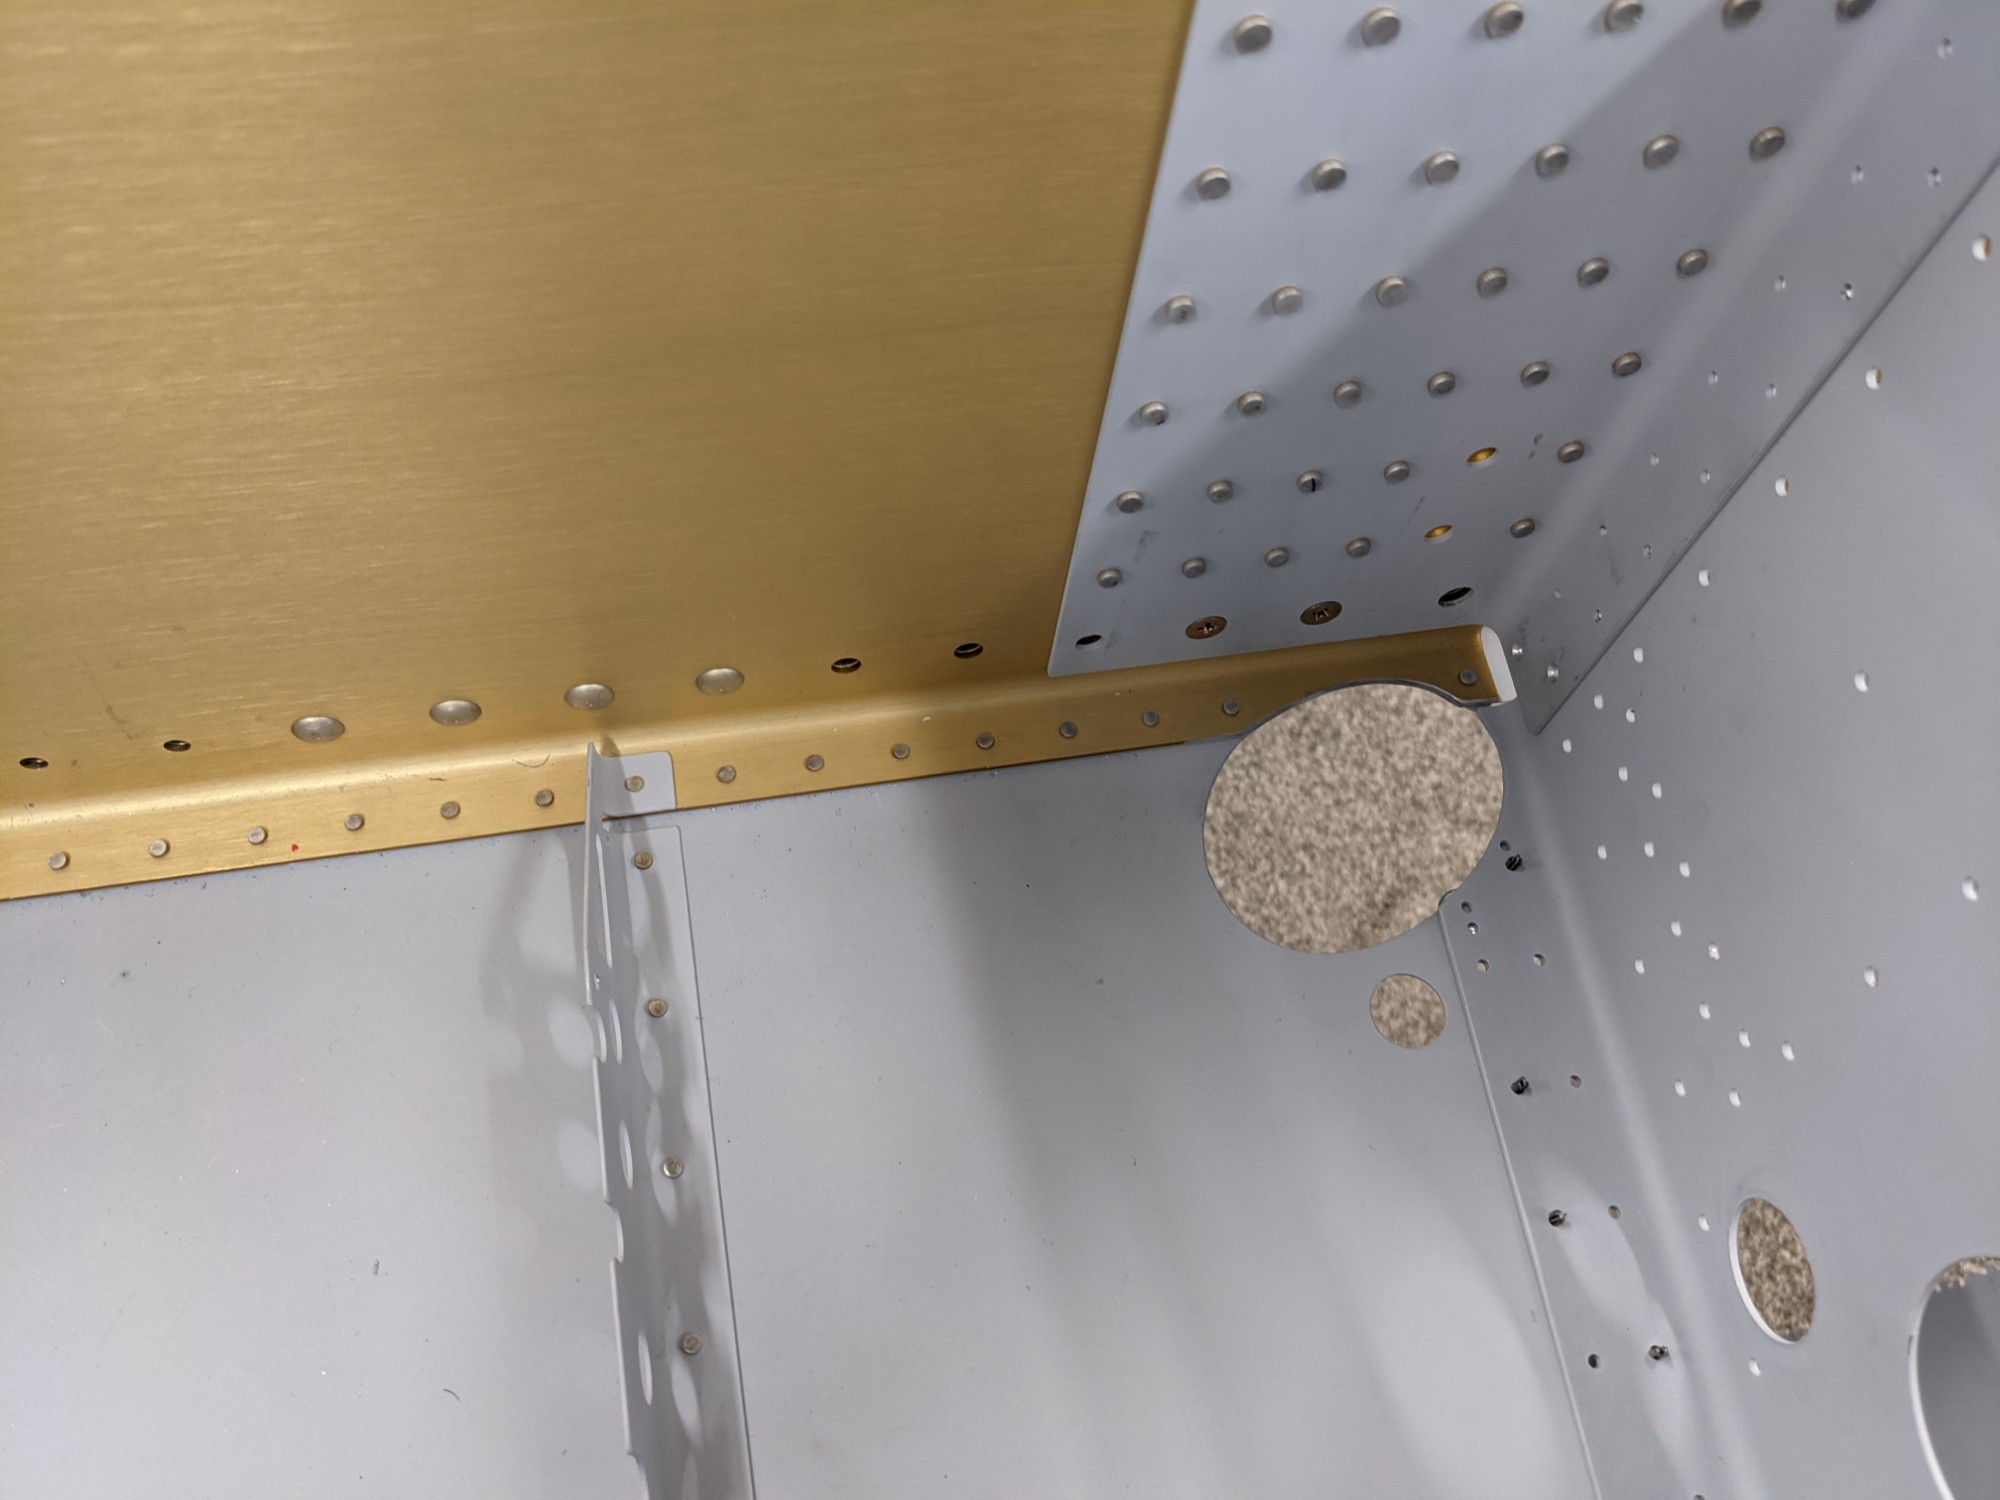
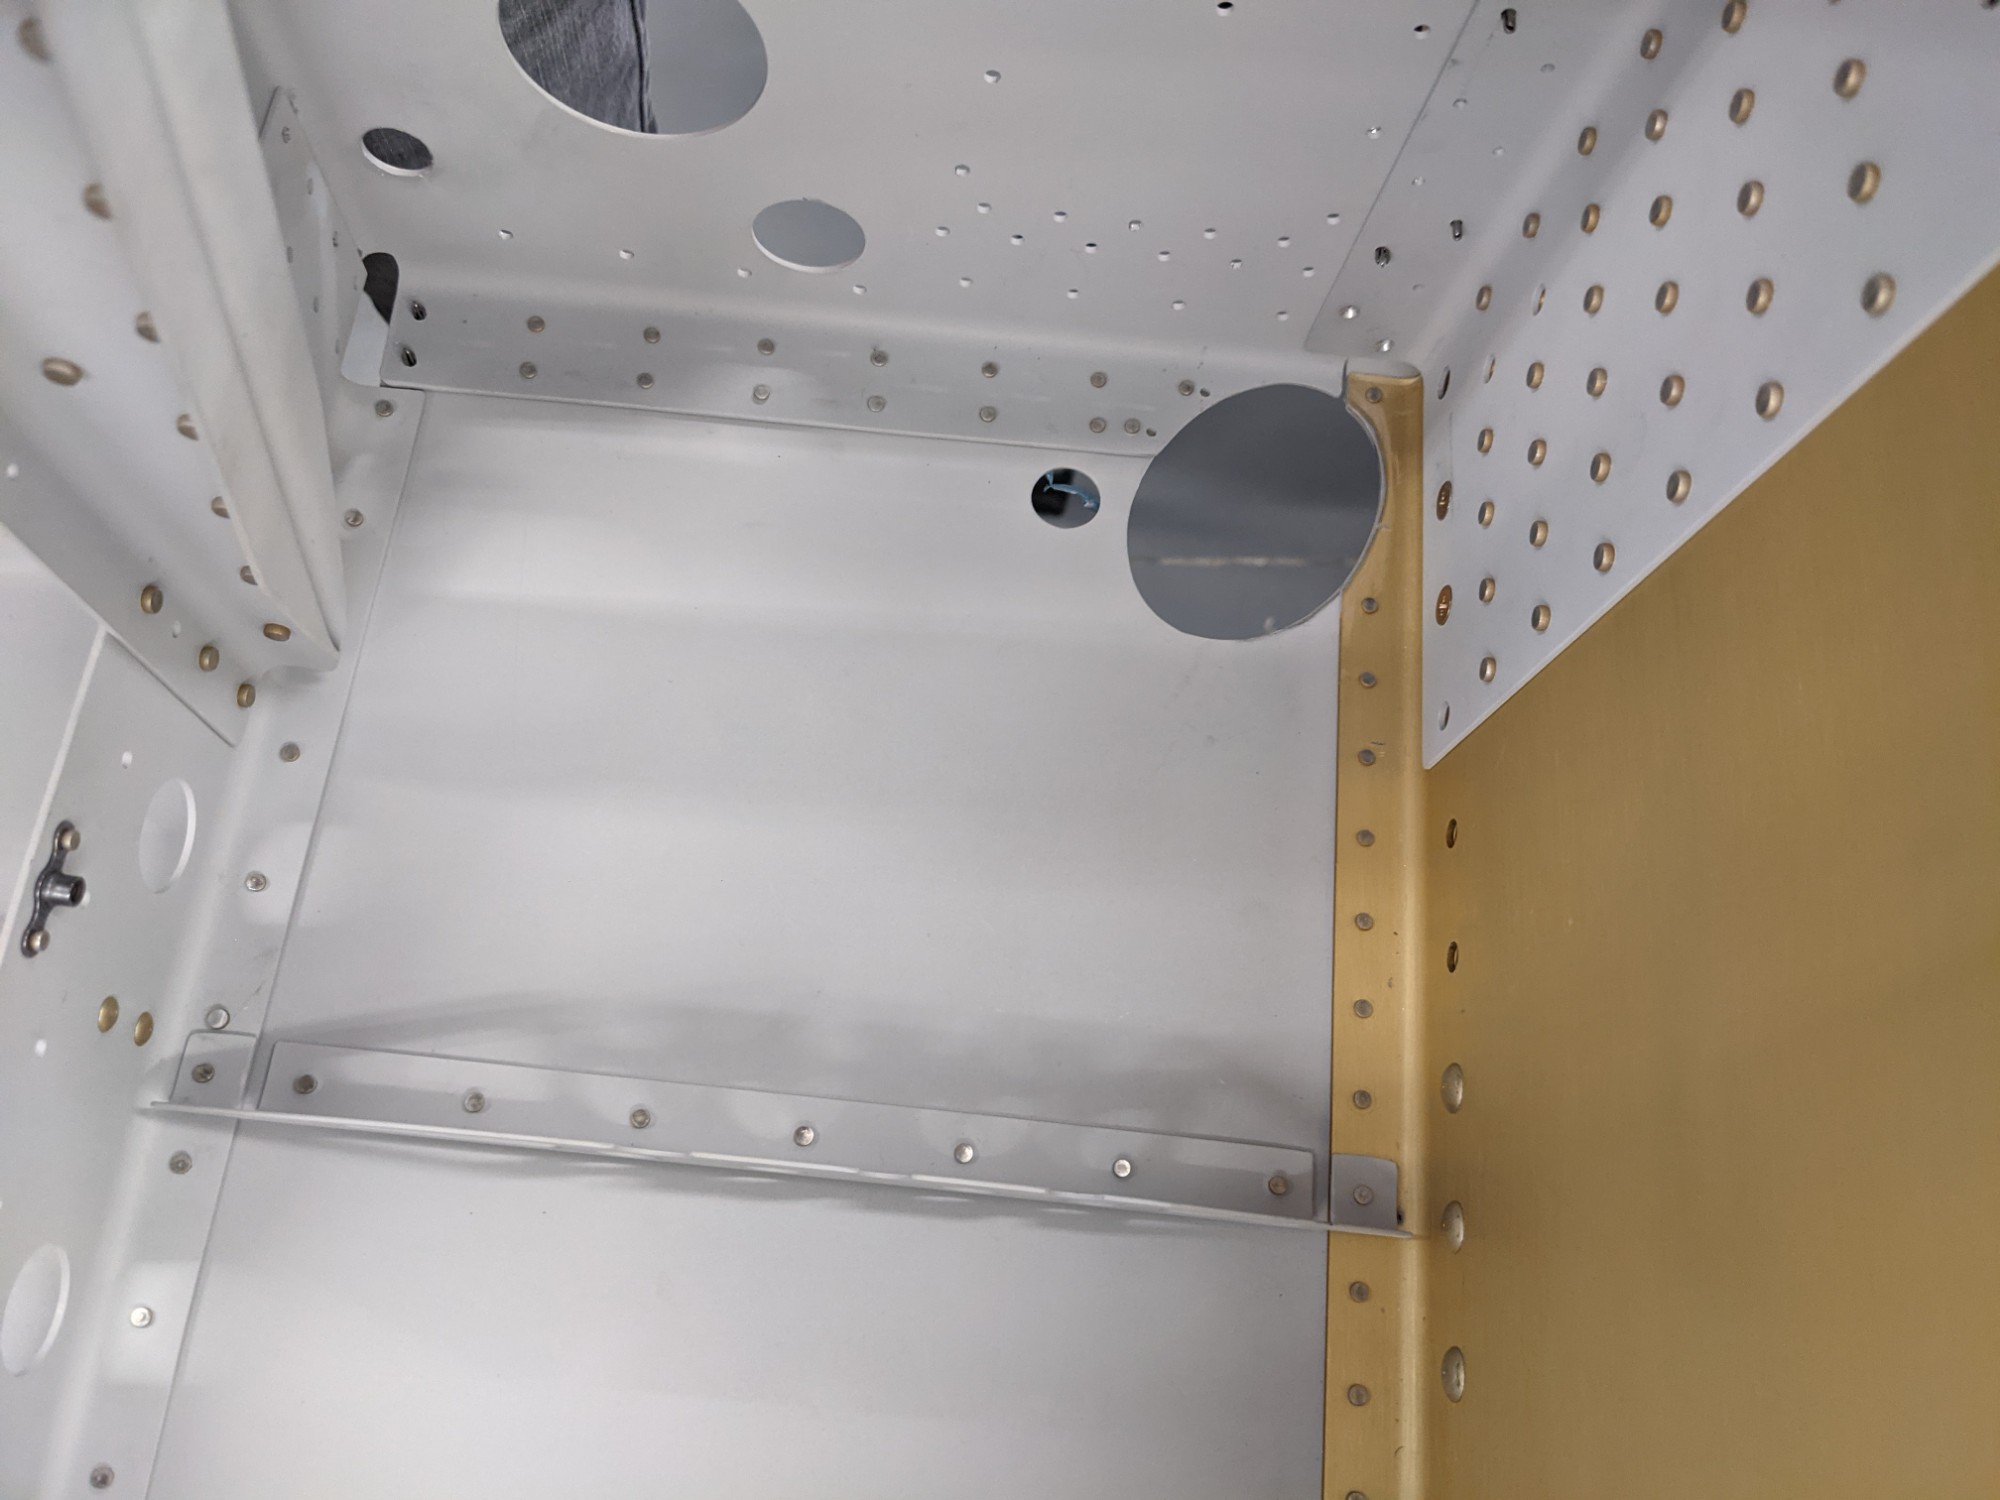
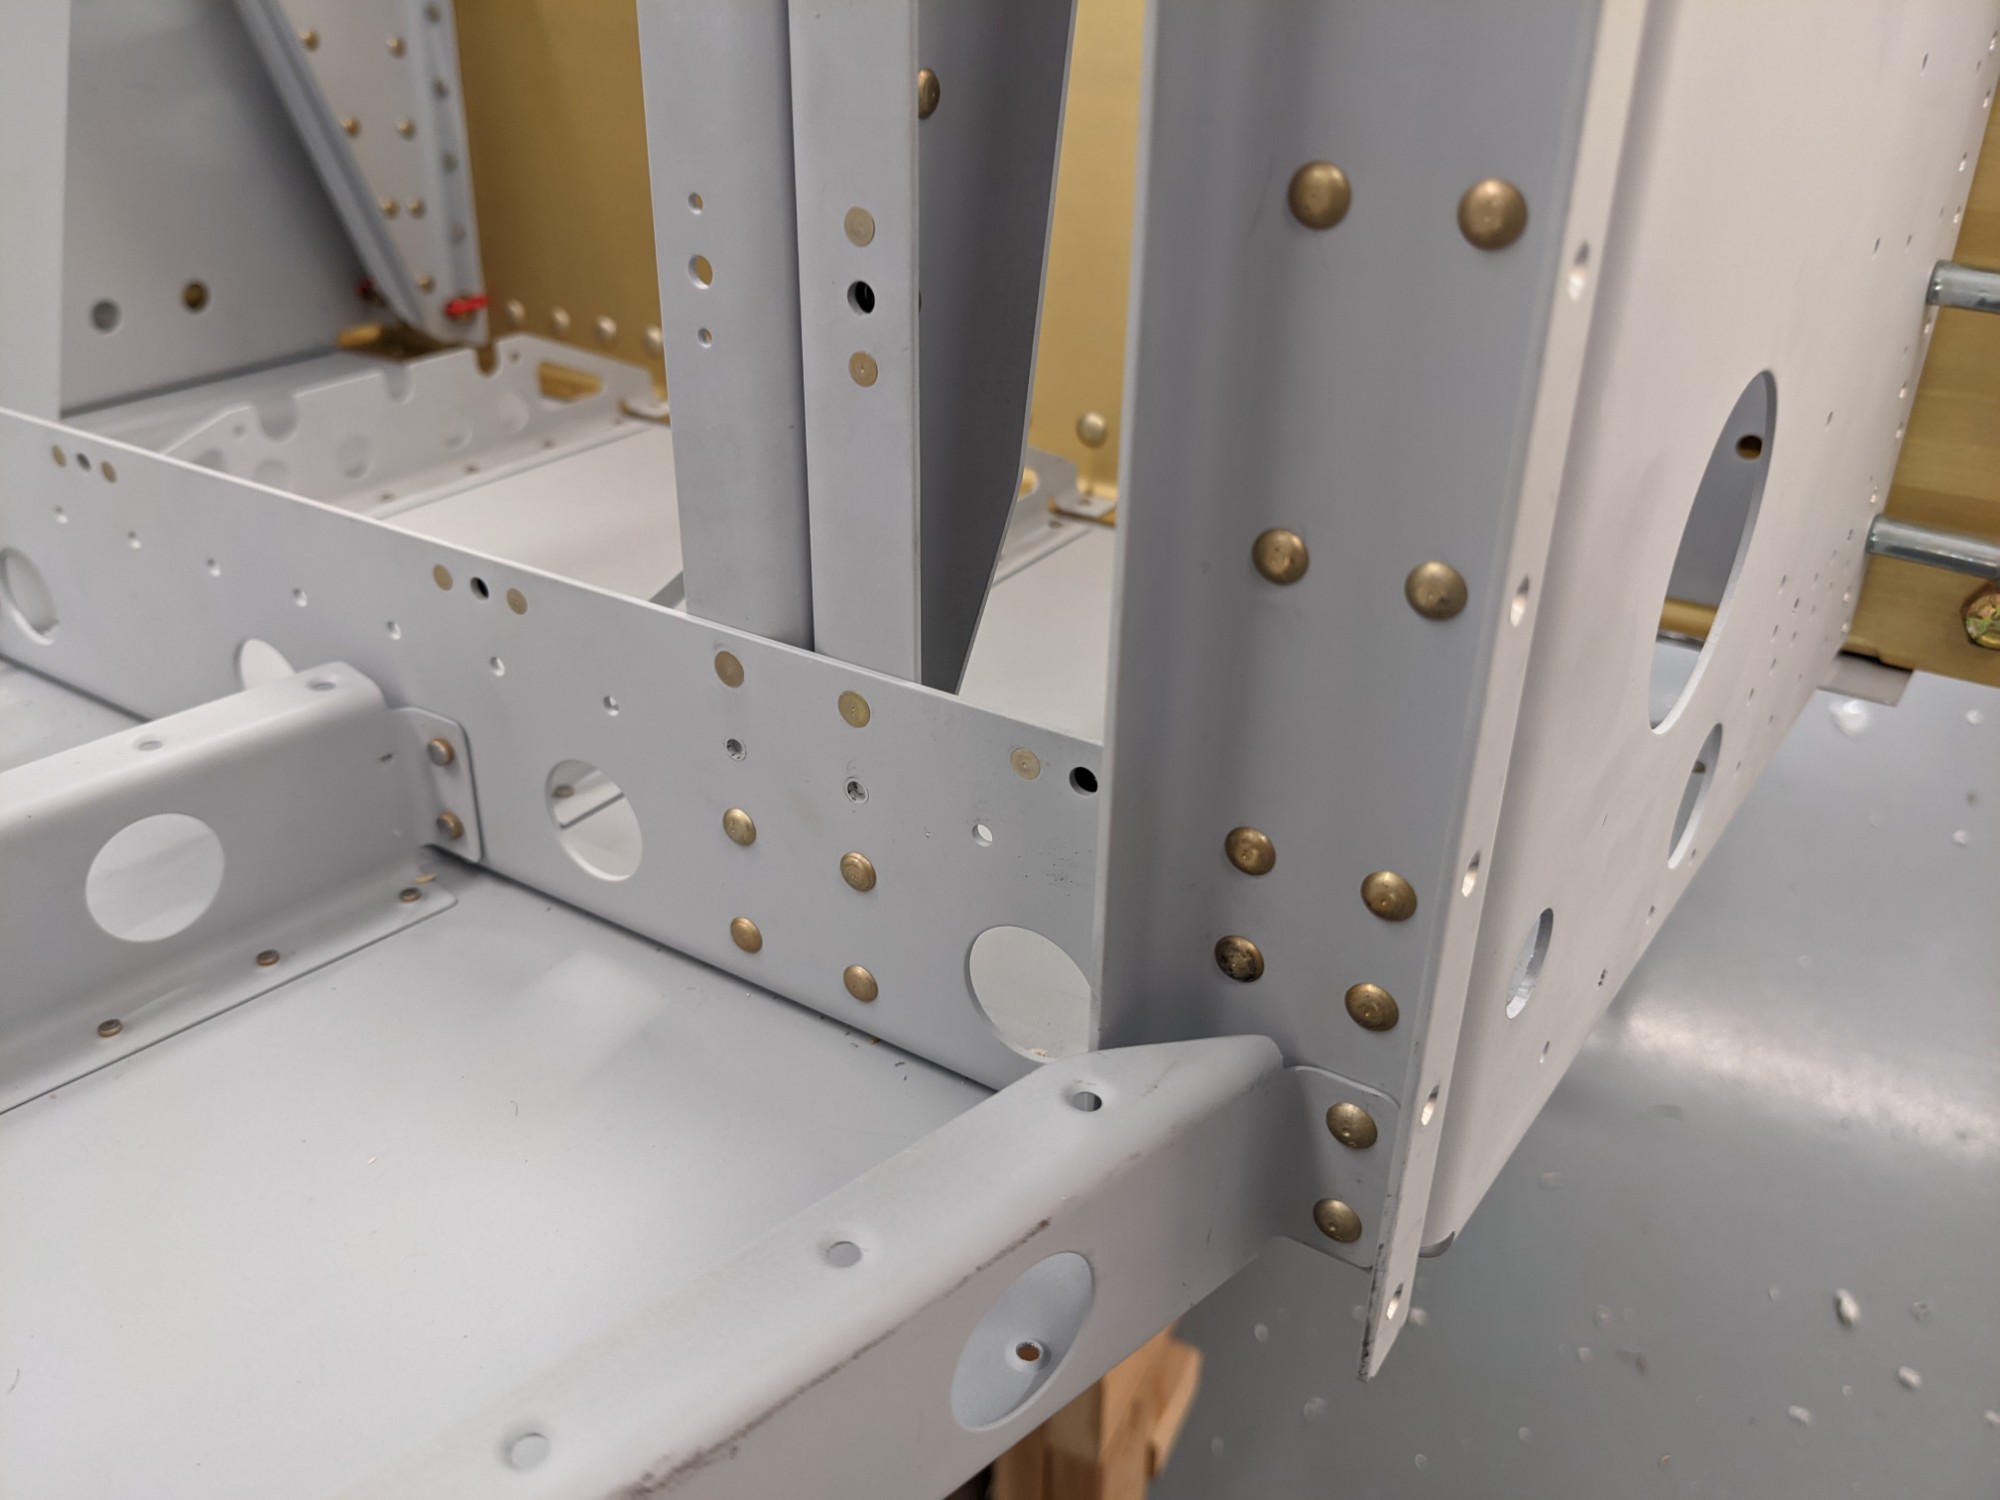
We then riveted the aft ends of the systems brackets and the skin holes along the forward bulkhead.
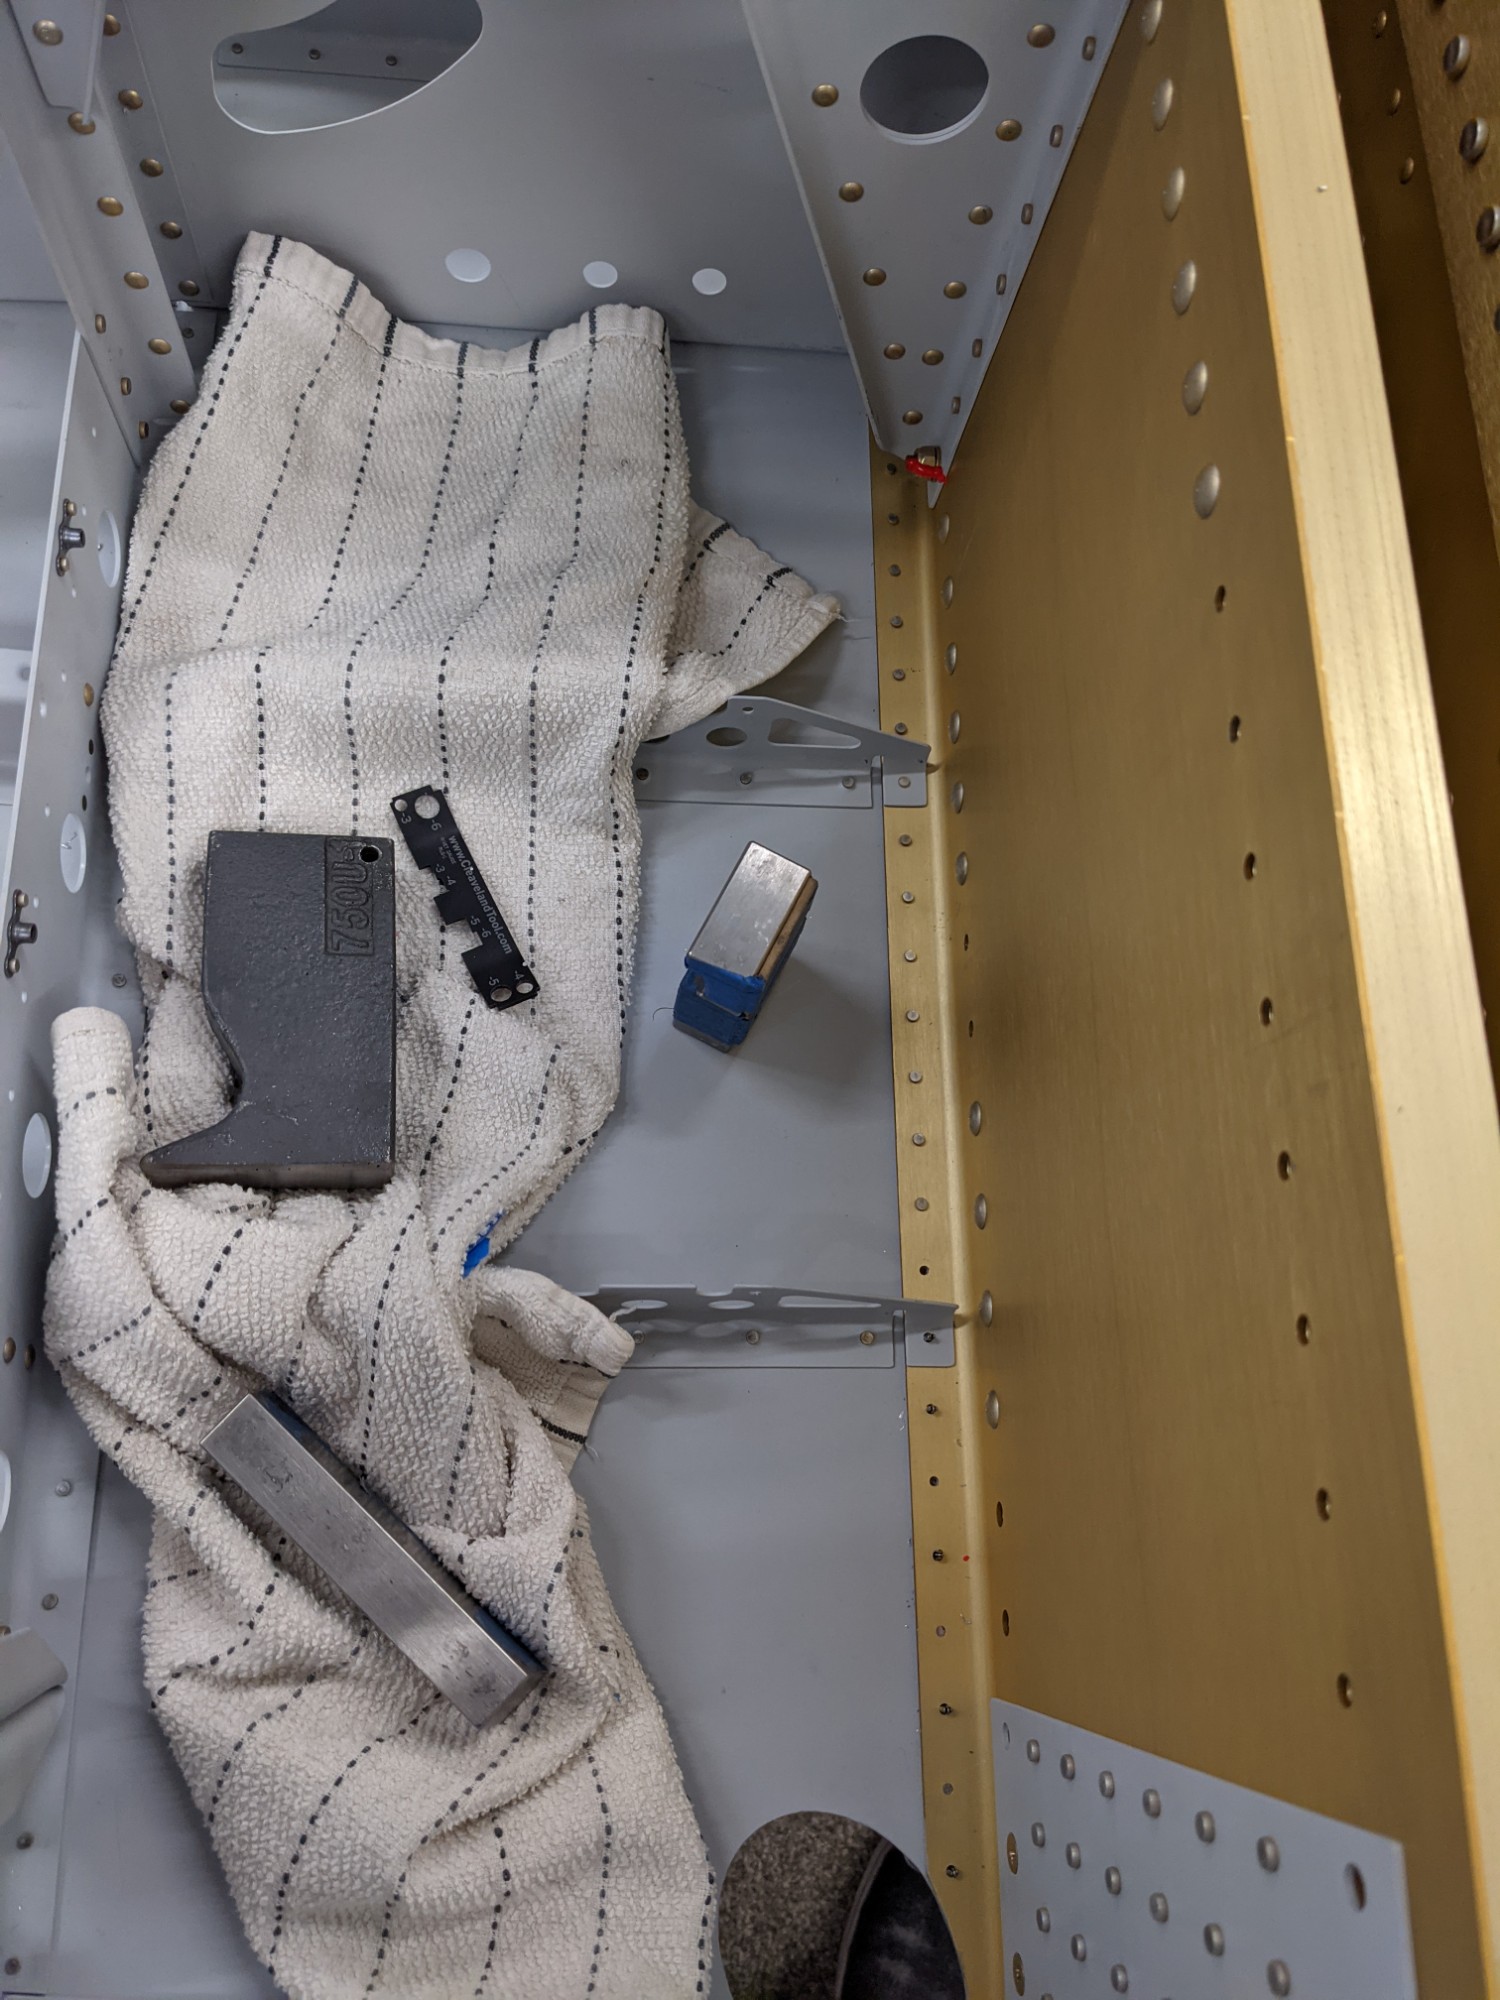
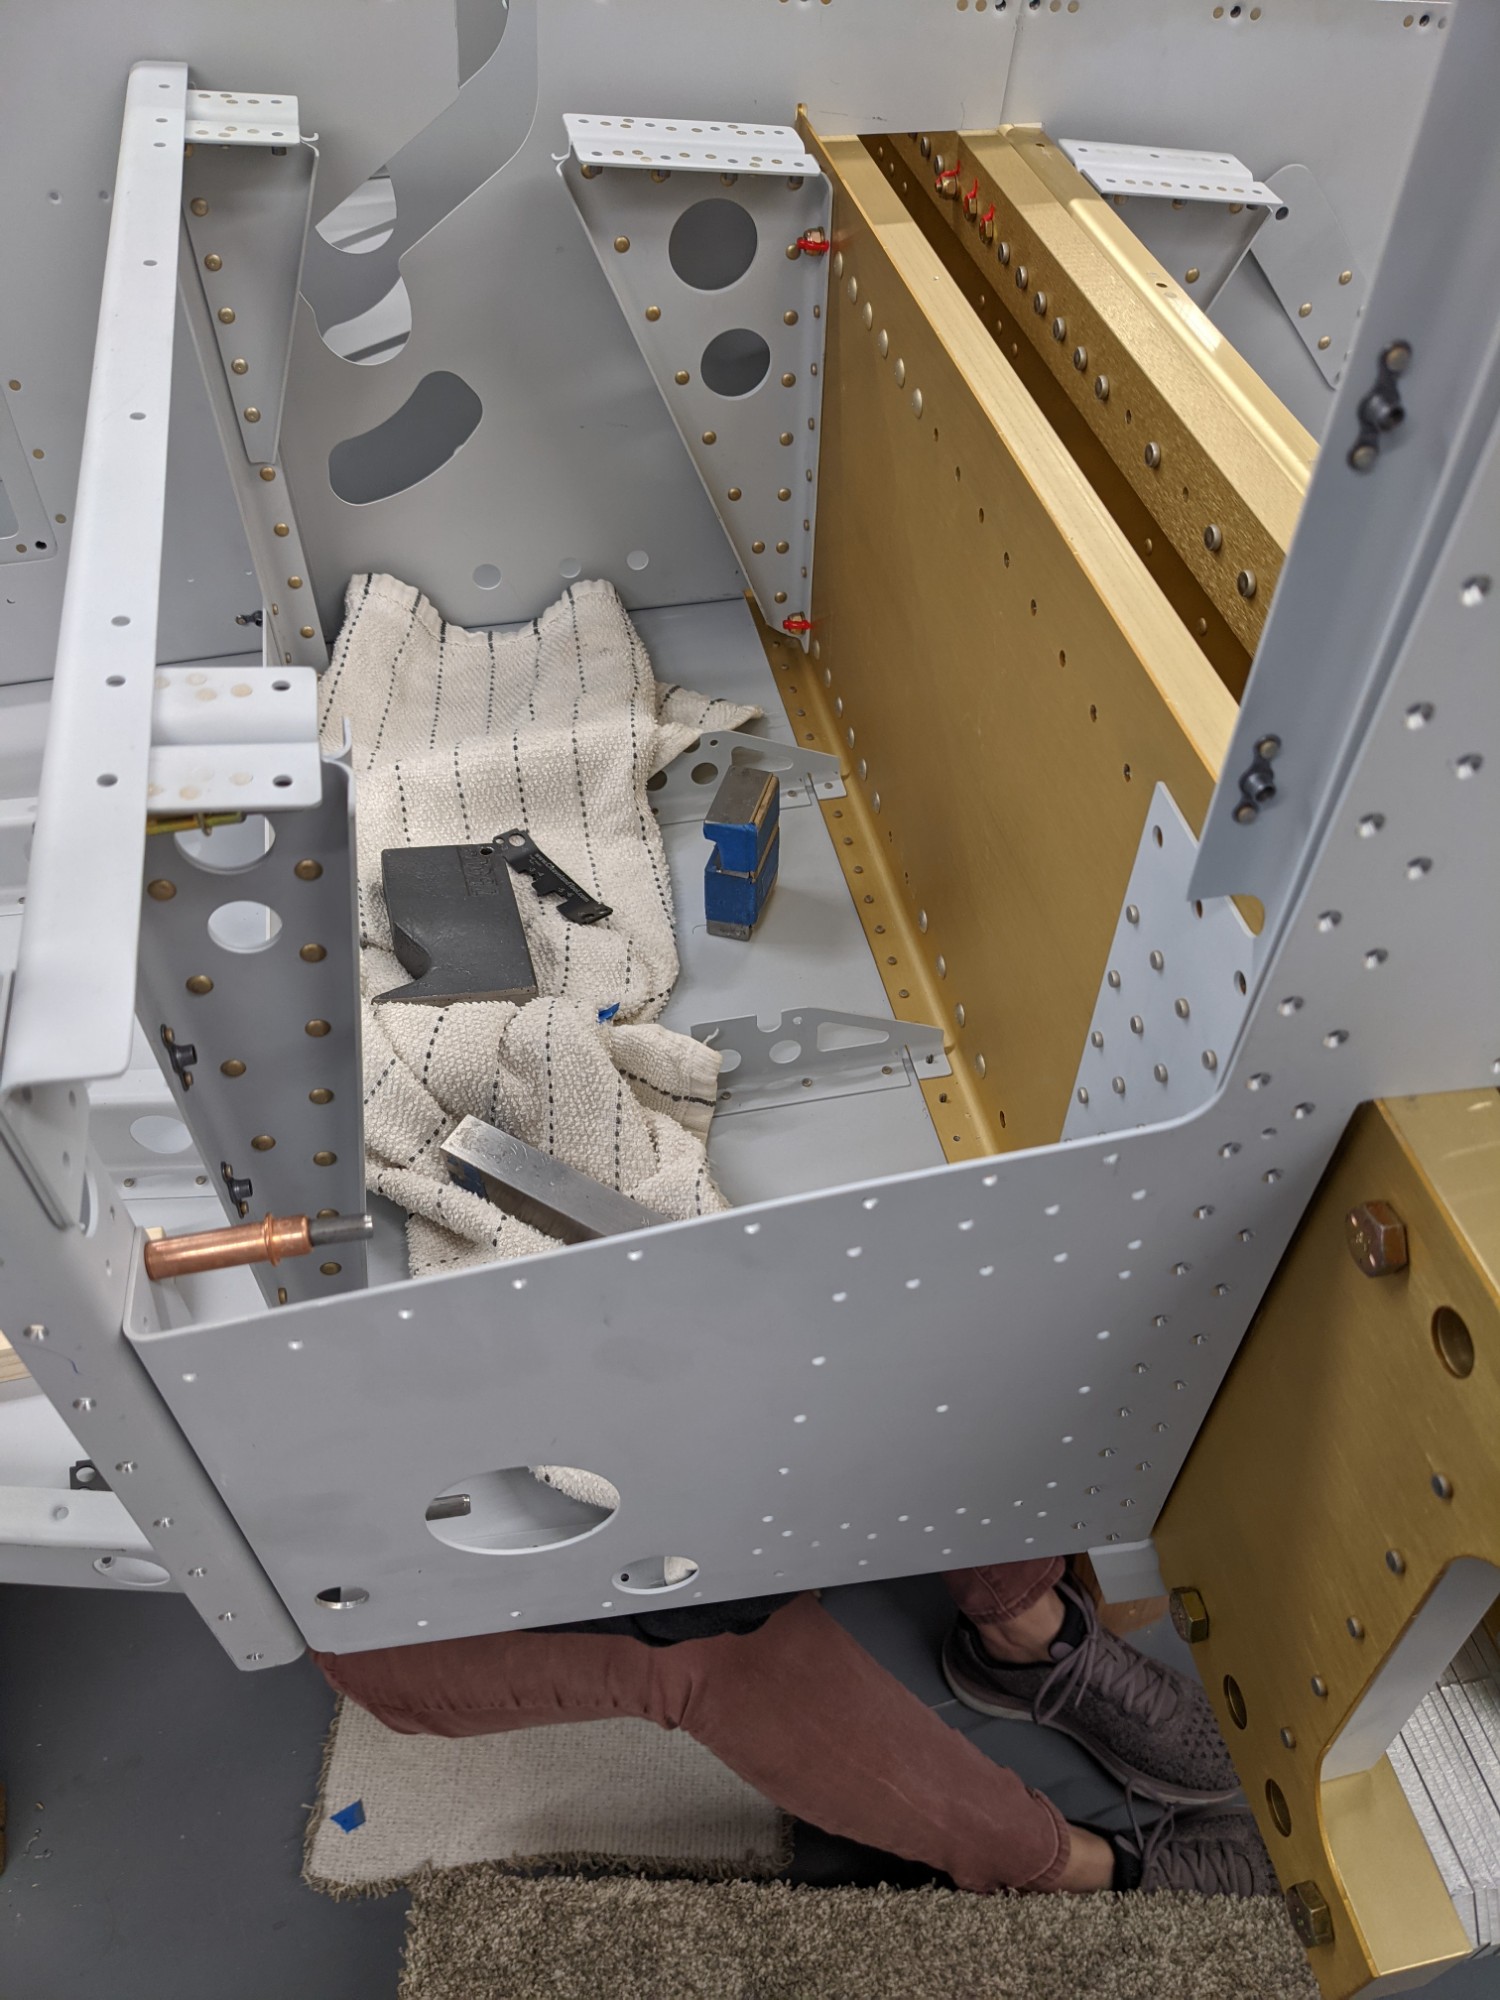
We didn’t have to use double-flush rivets as there was sufficient clearance under the gear leg mounts.
I deburred, dimpled, and primed the forward forward floor panels.
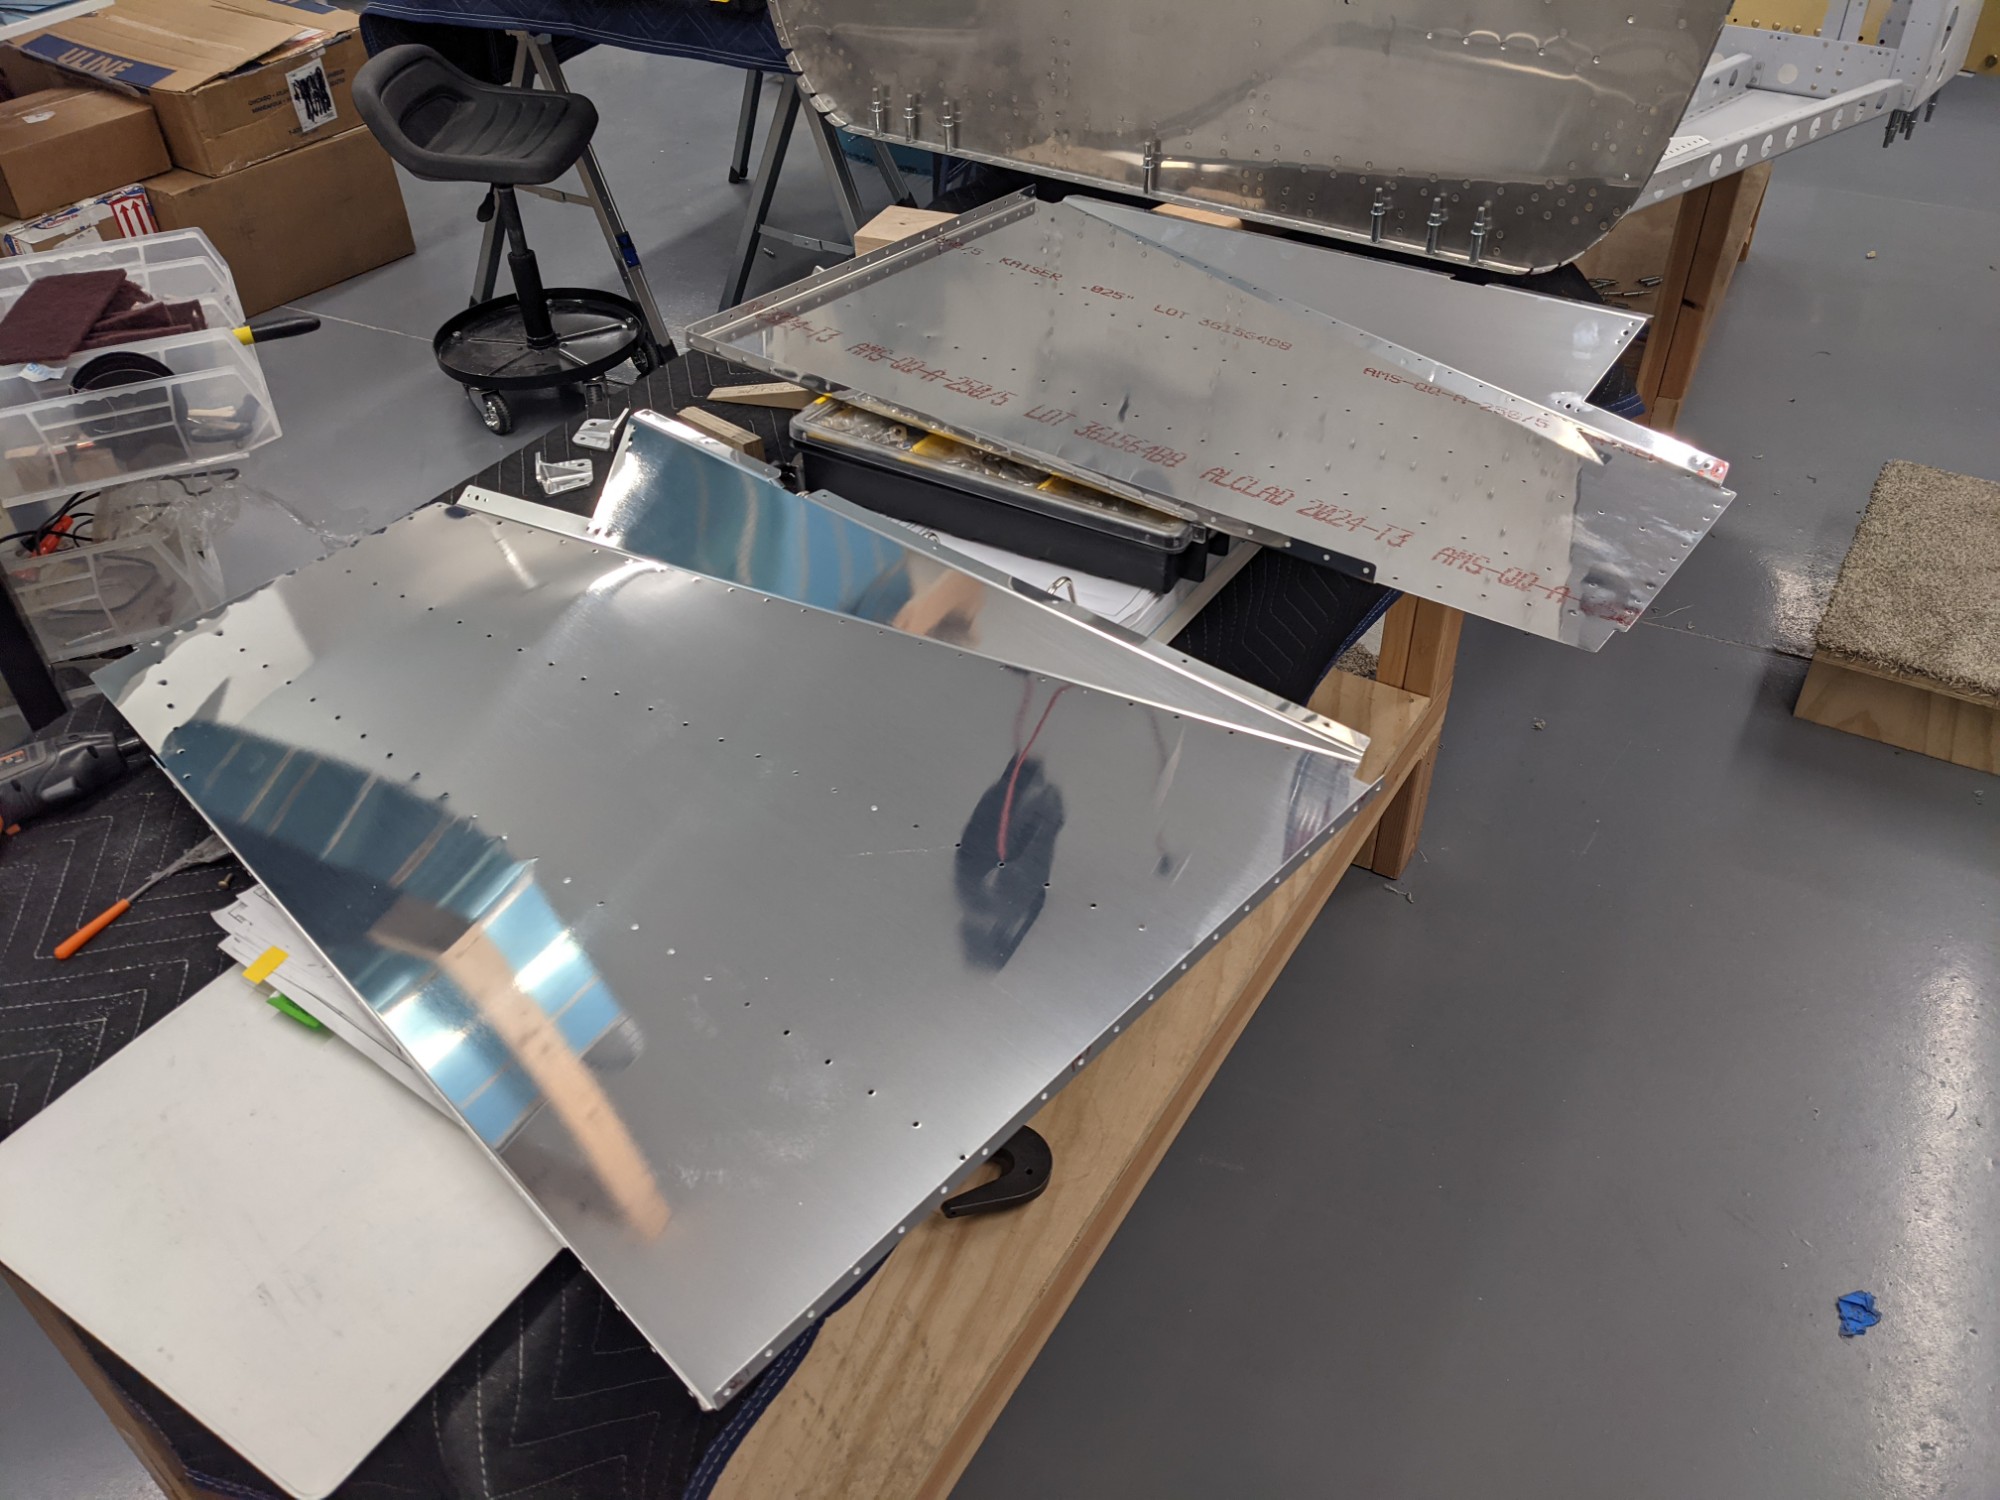
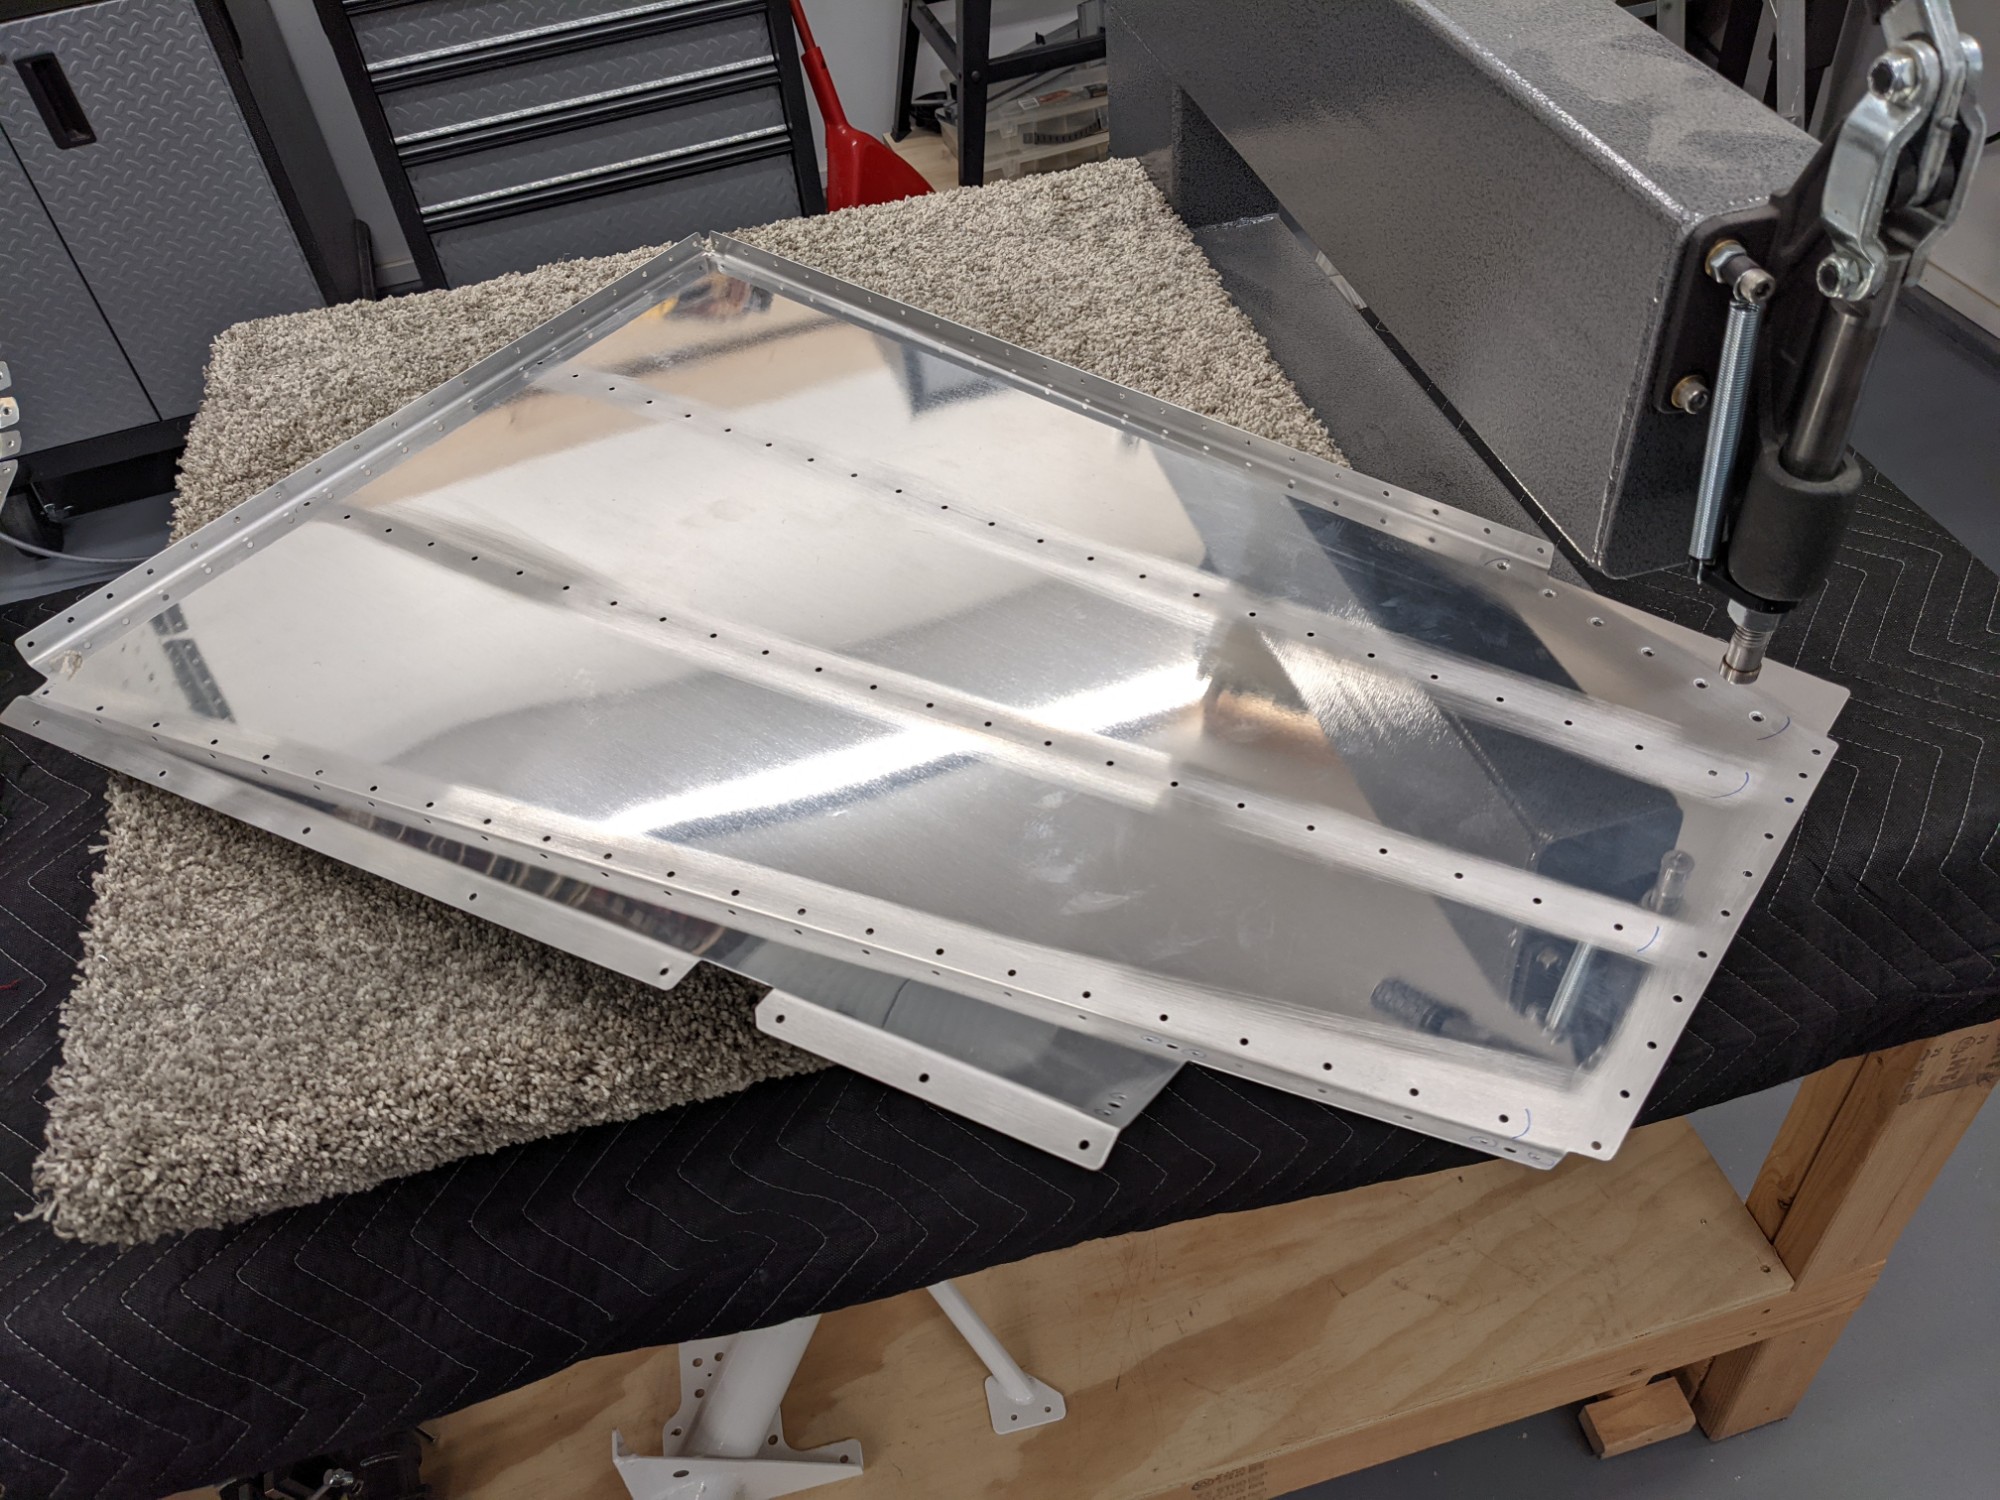
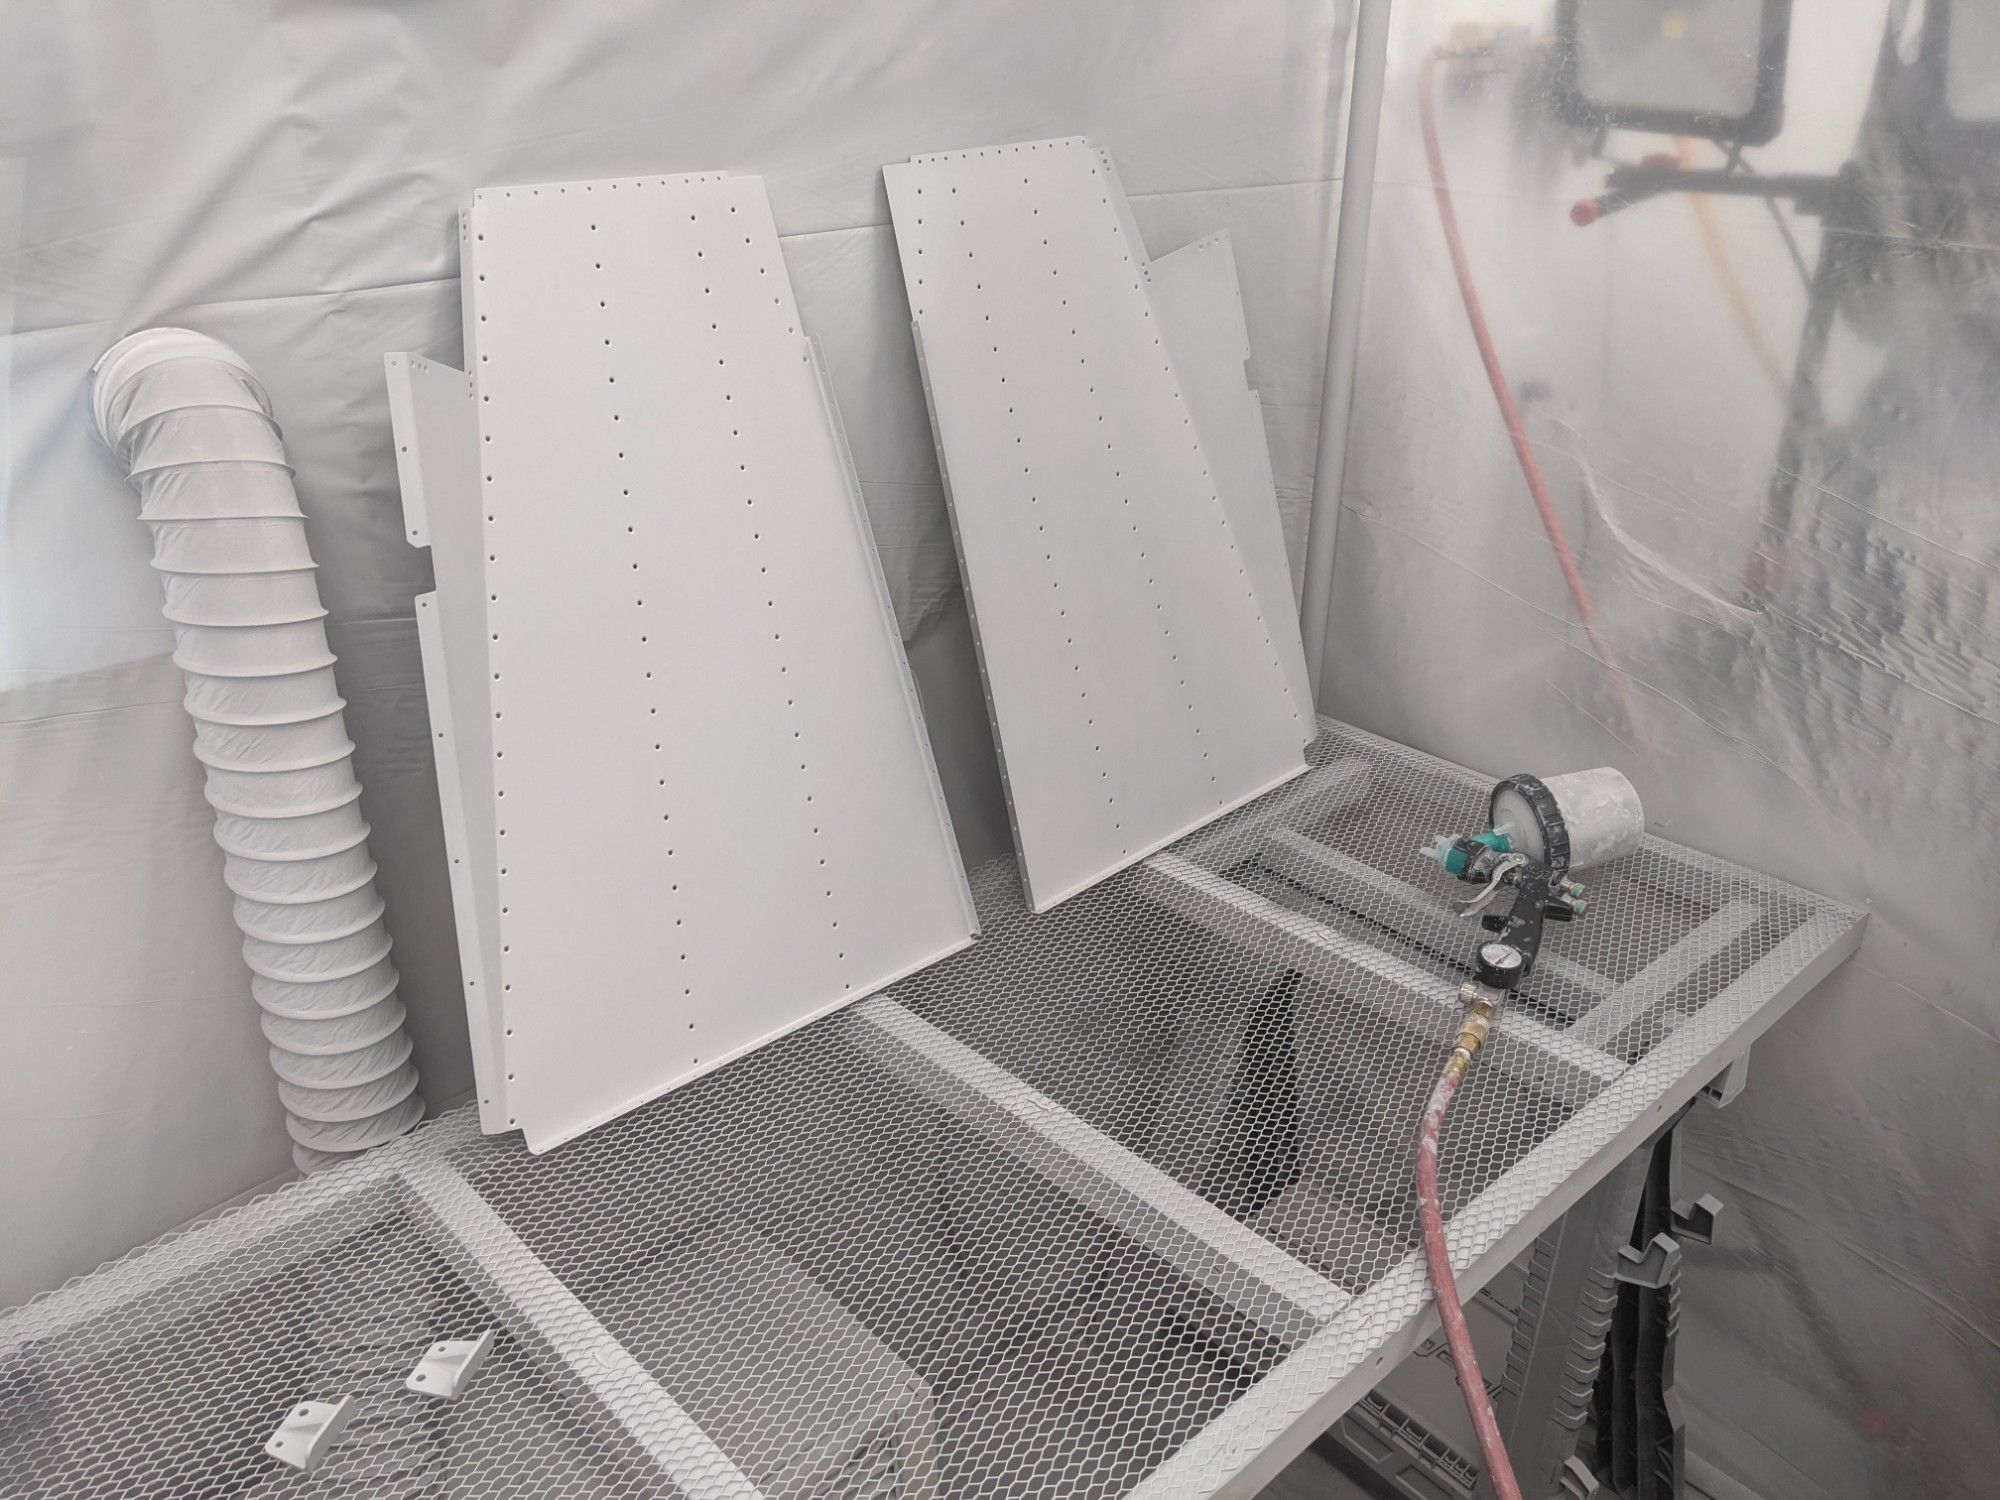
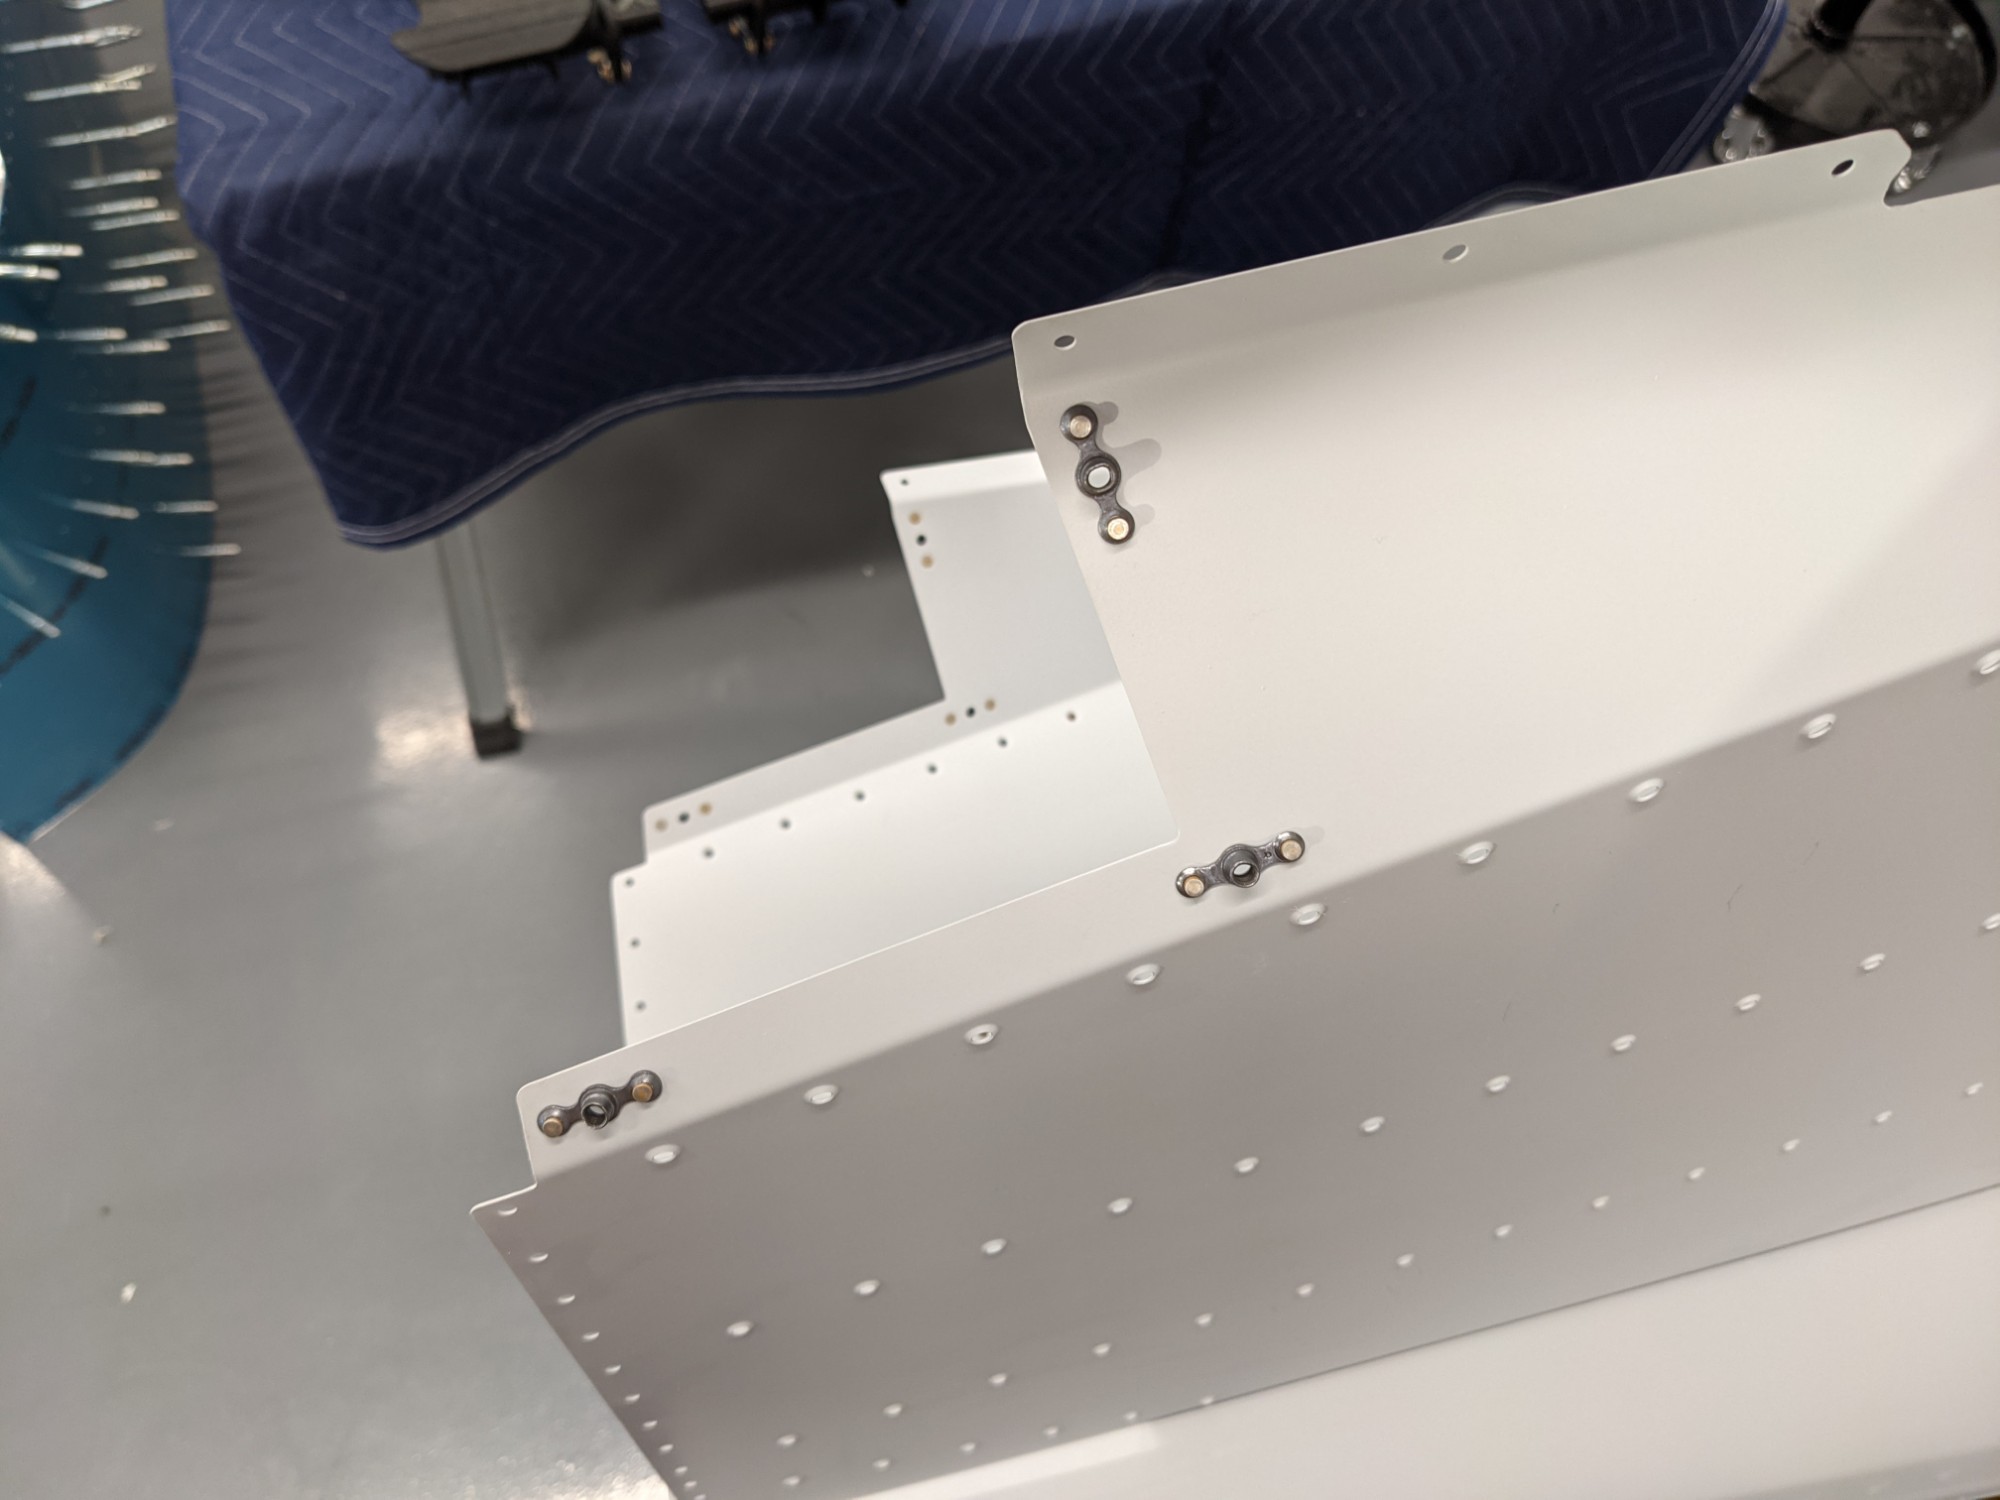
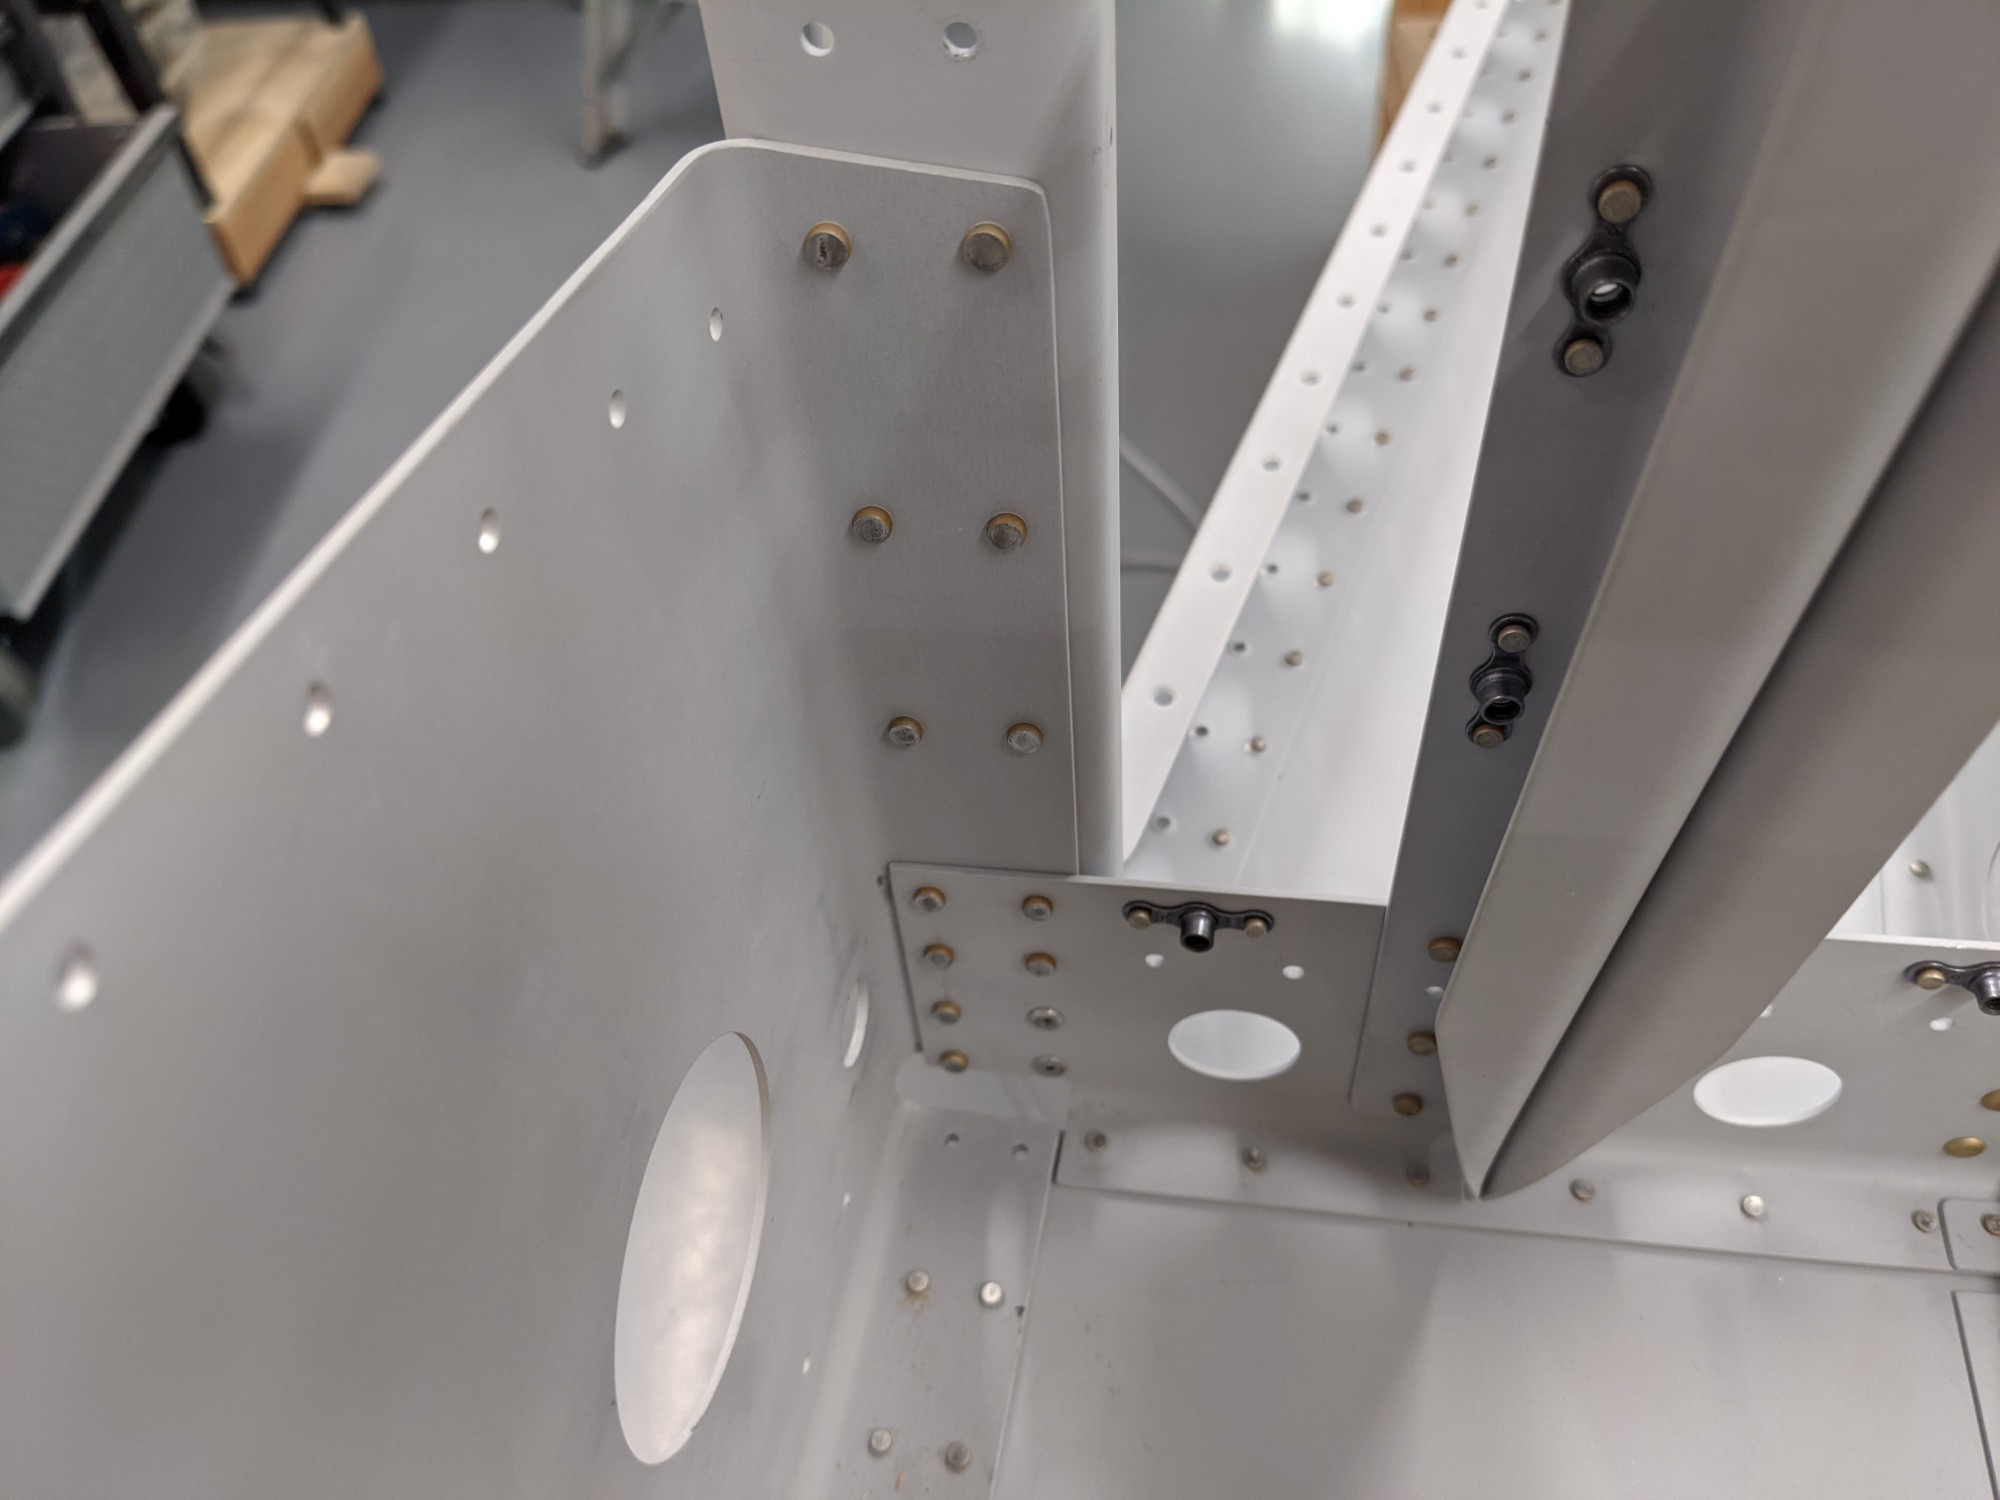
Once dried, I riveted the nutplates that attach the engine mount bolt access panels.
I then bolted the forward fuselage bulkhead (front seat section) and the control column mounts into place.
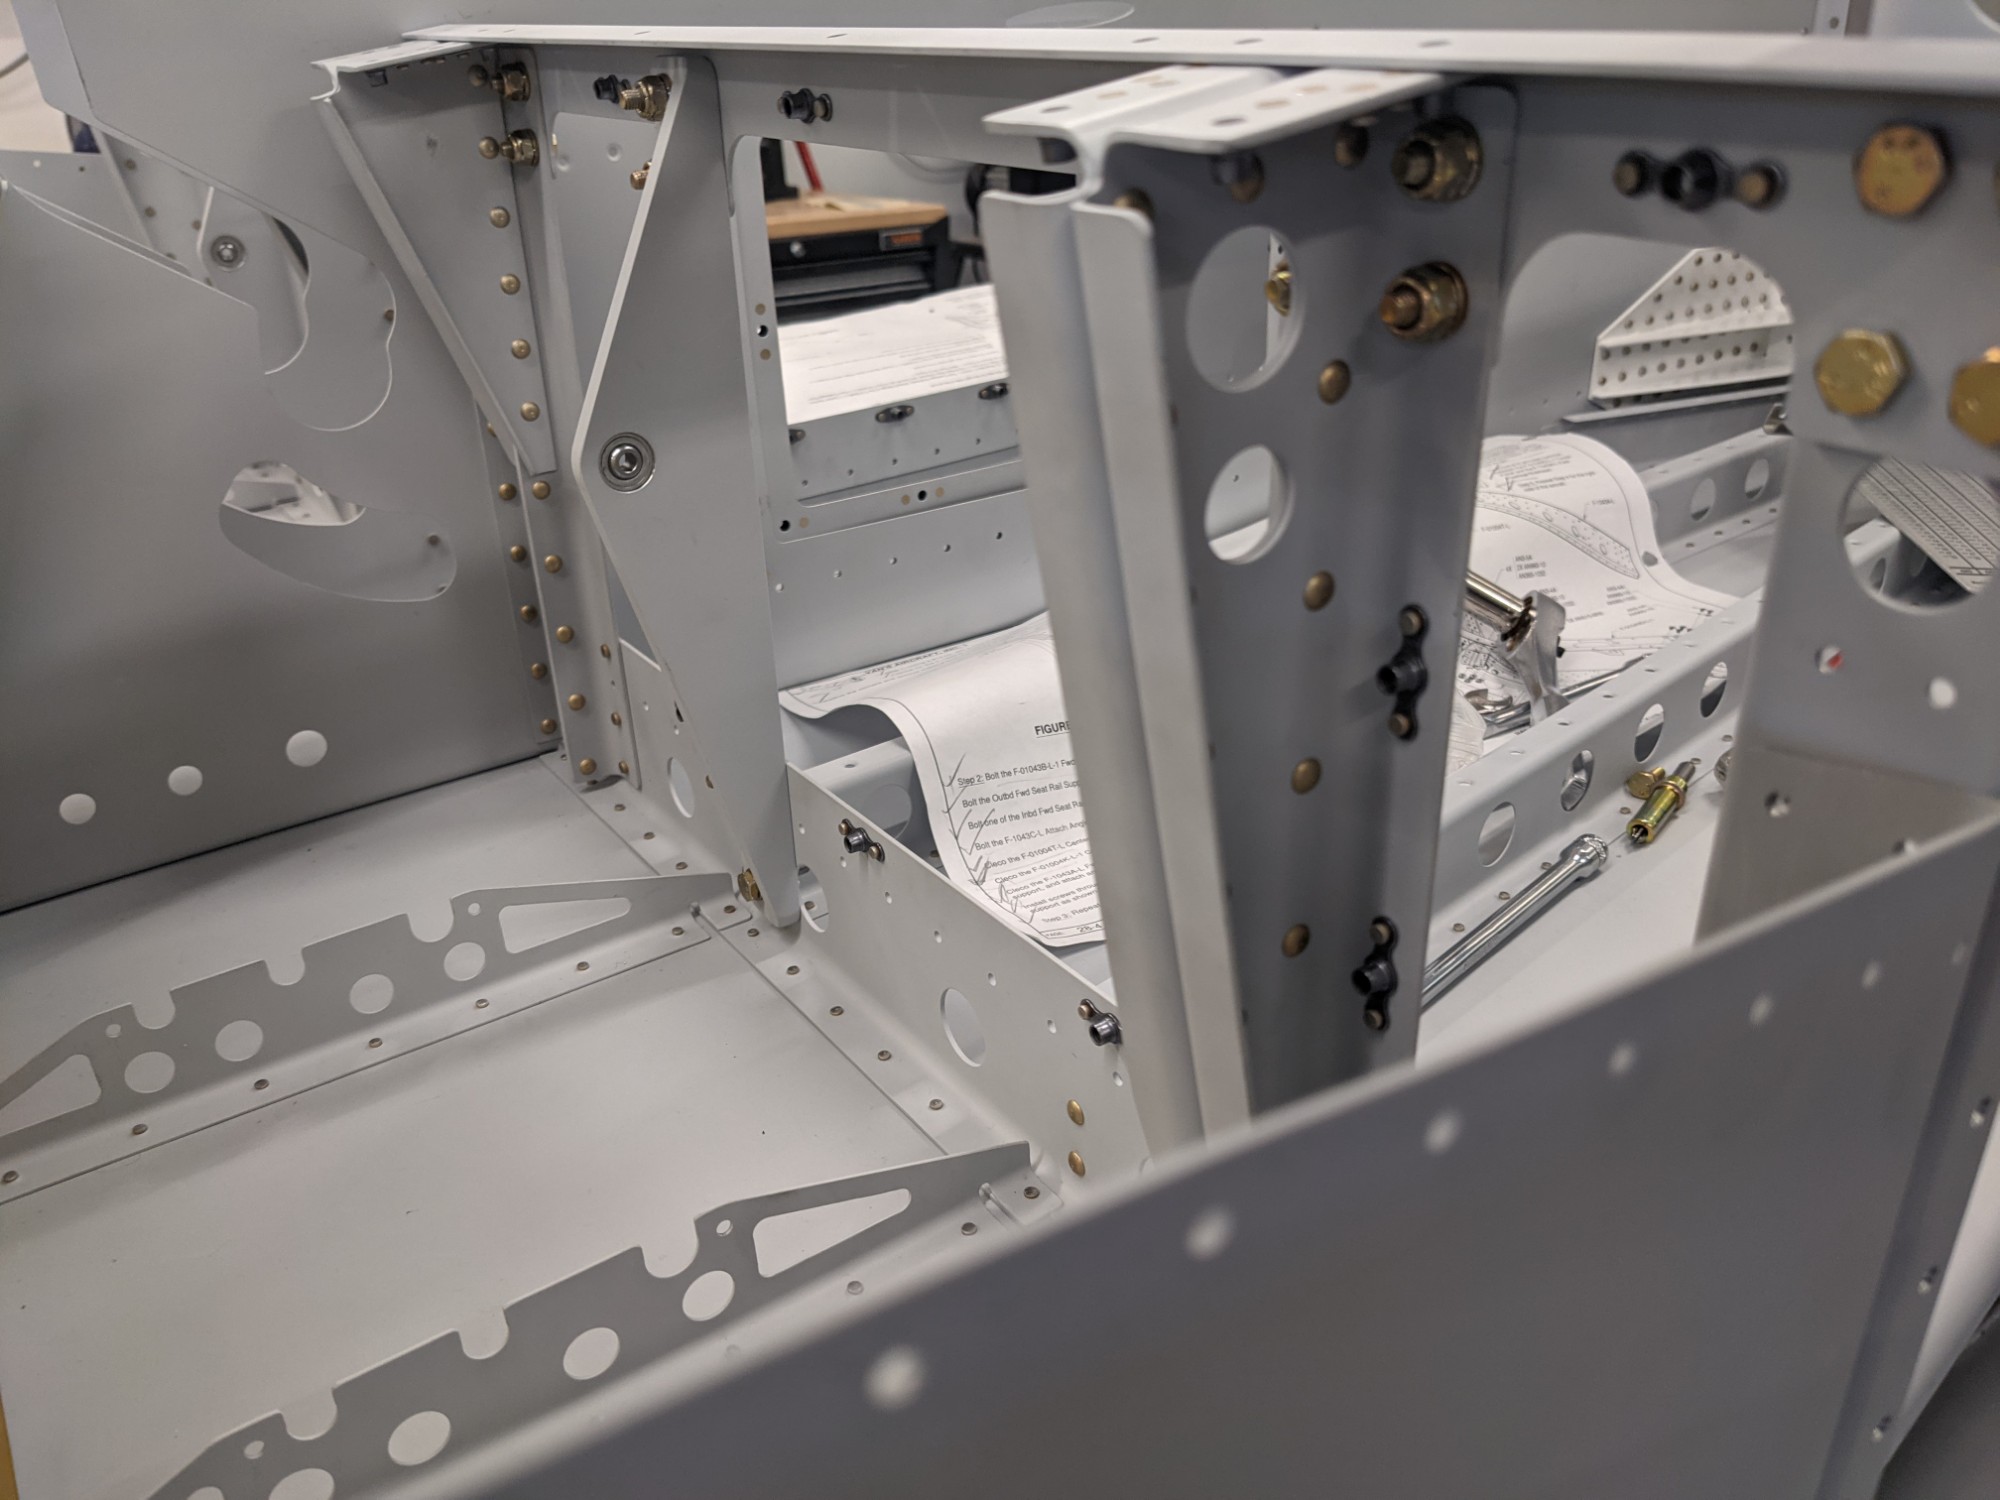
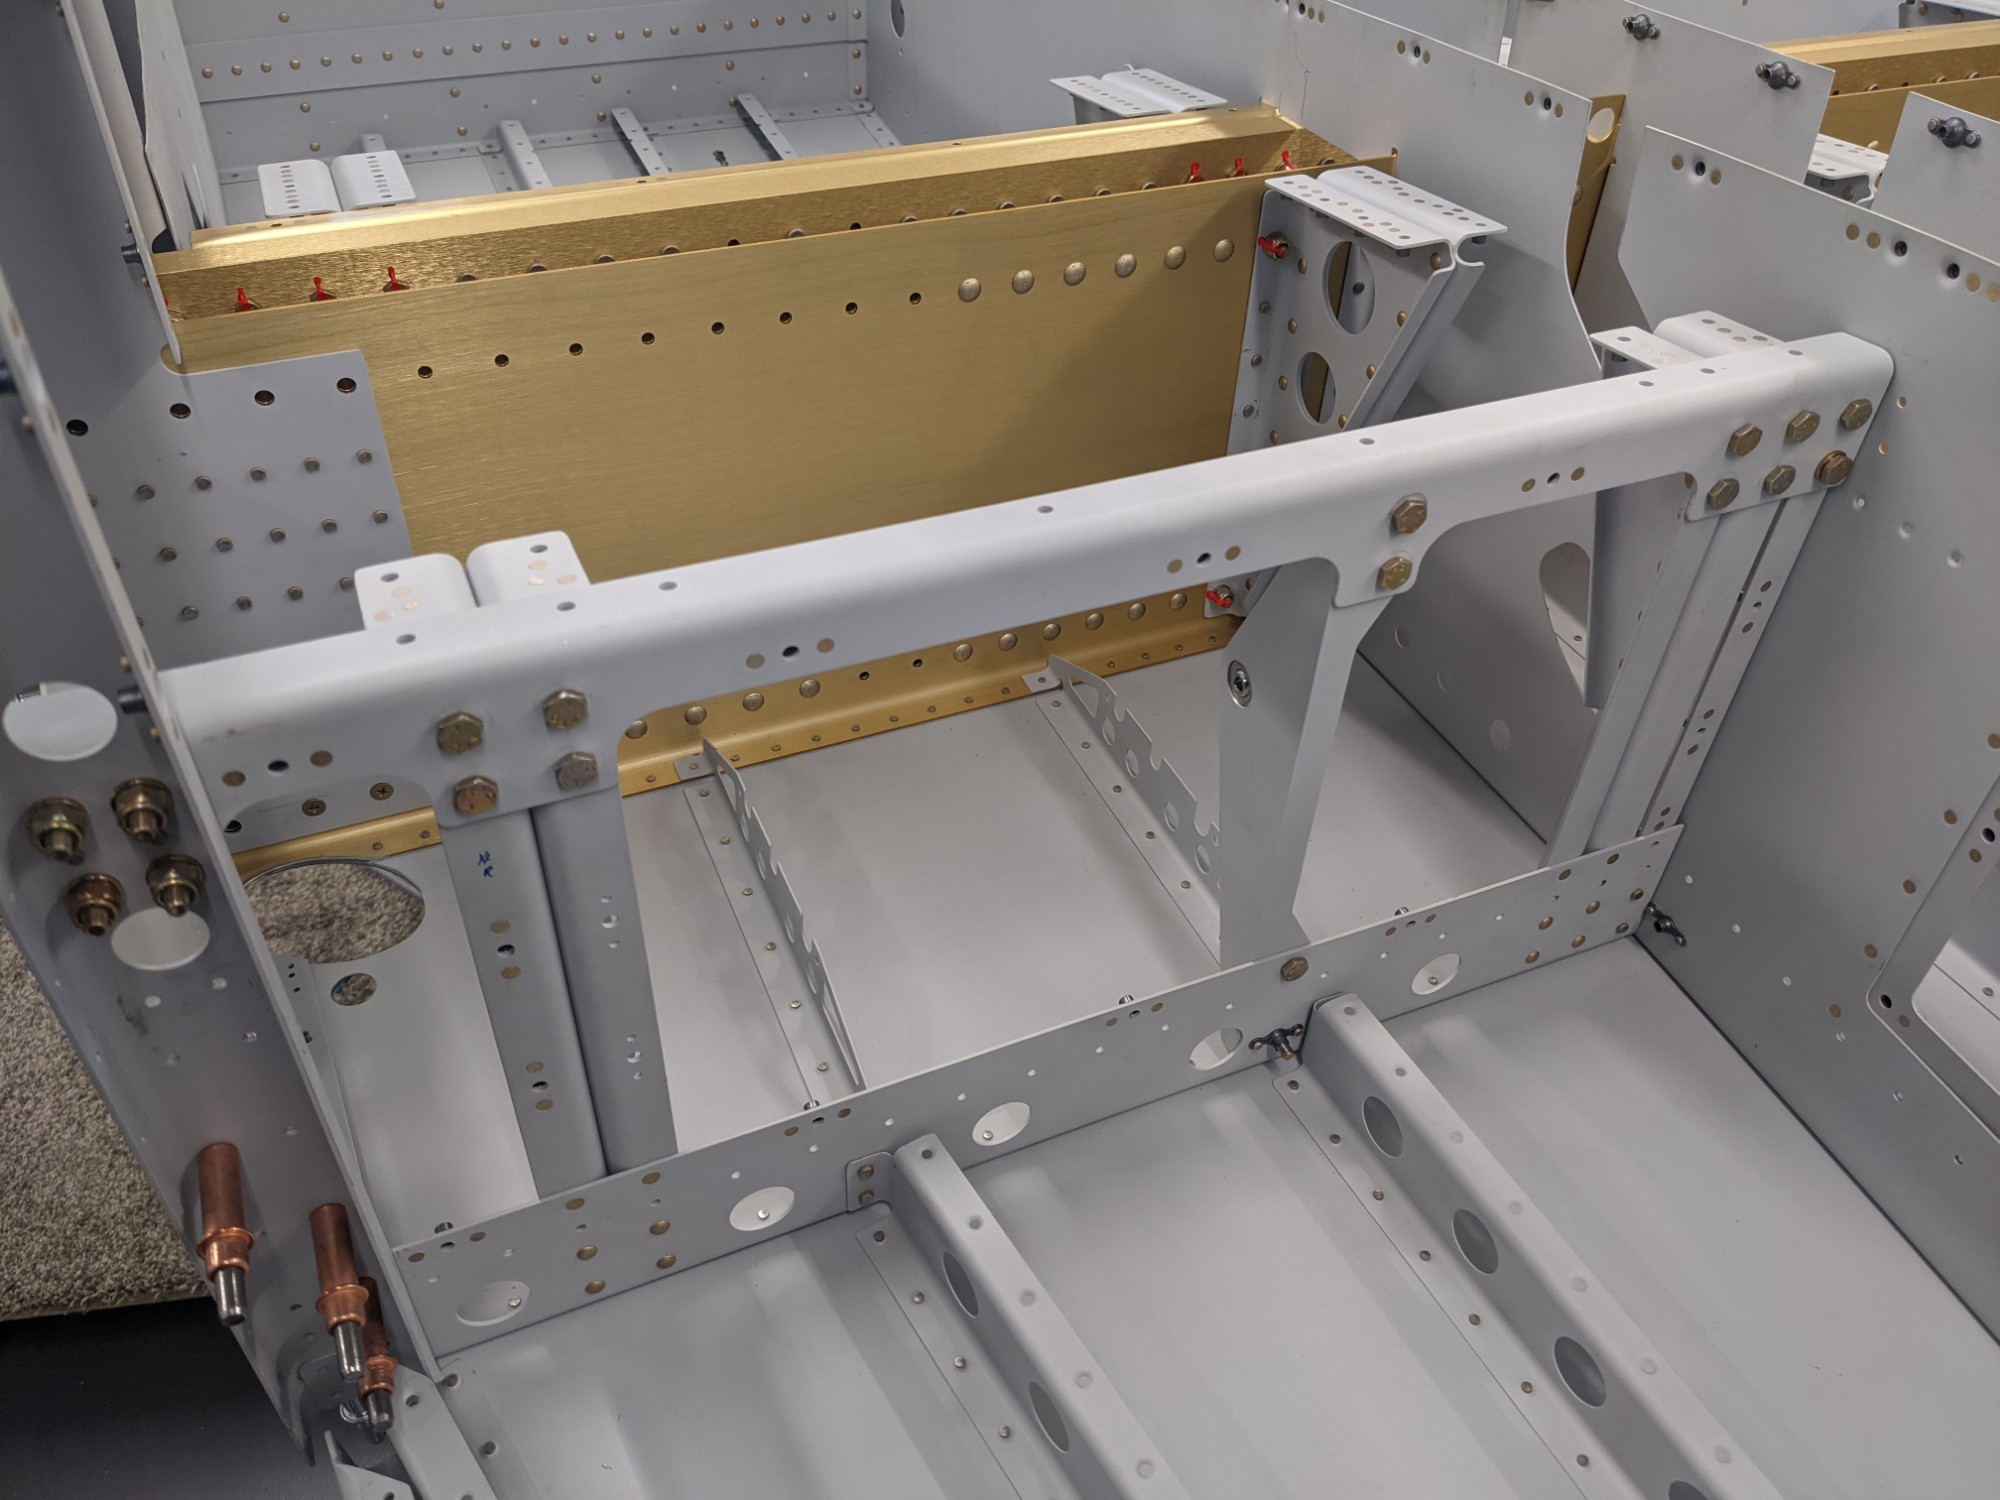
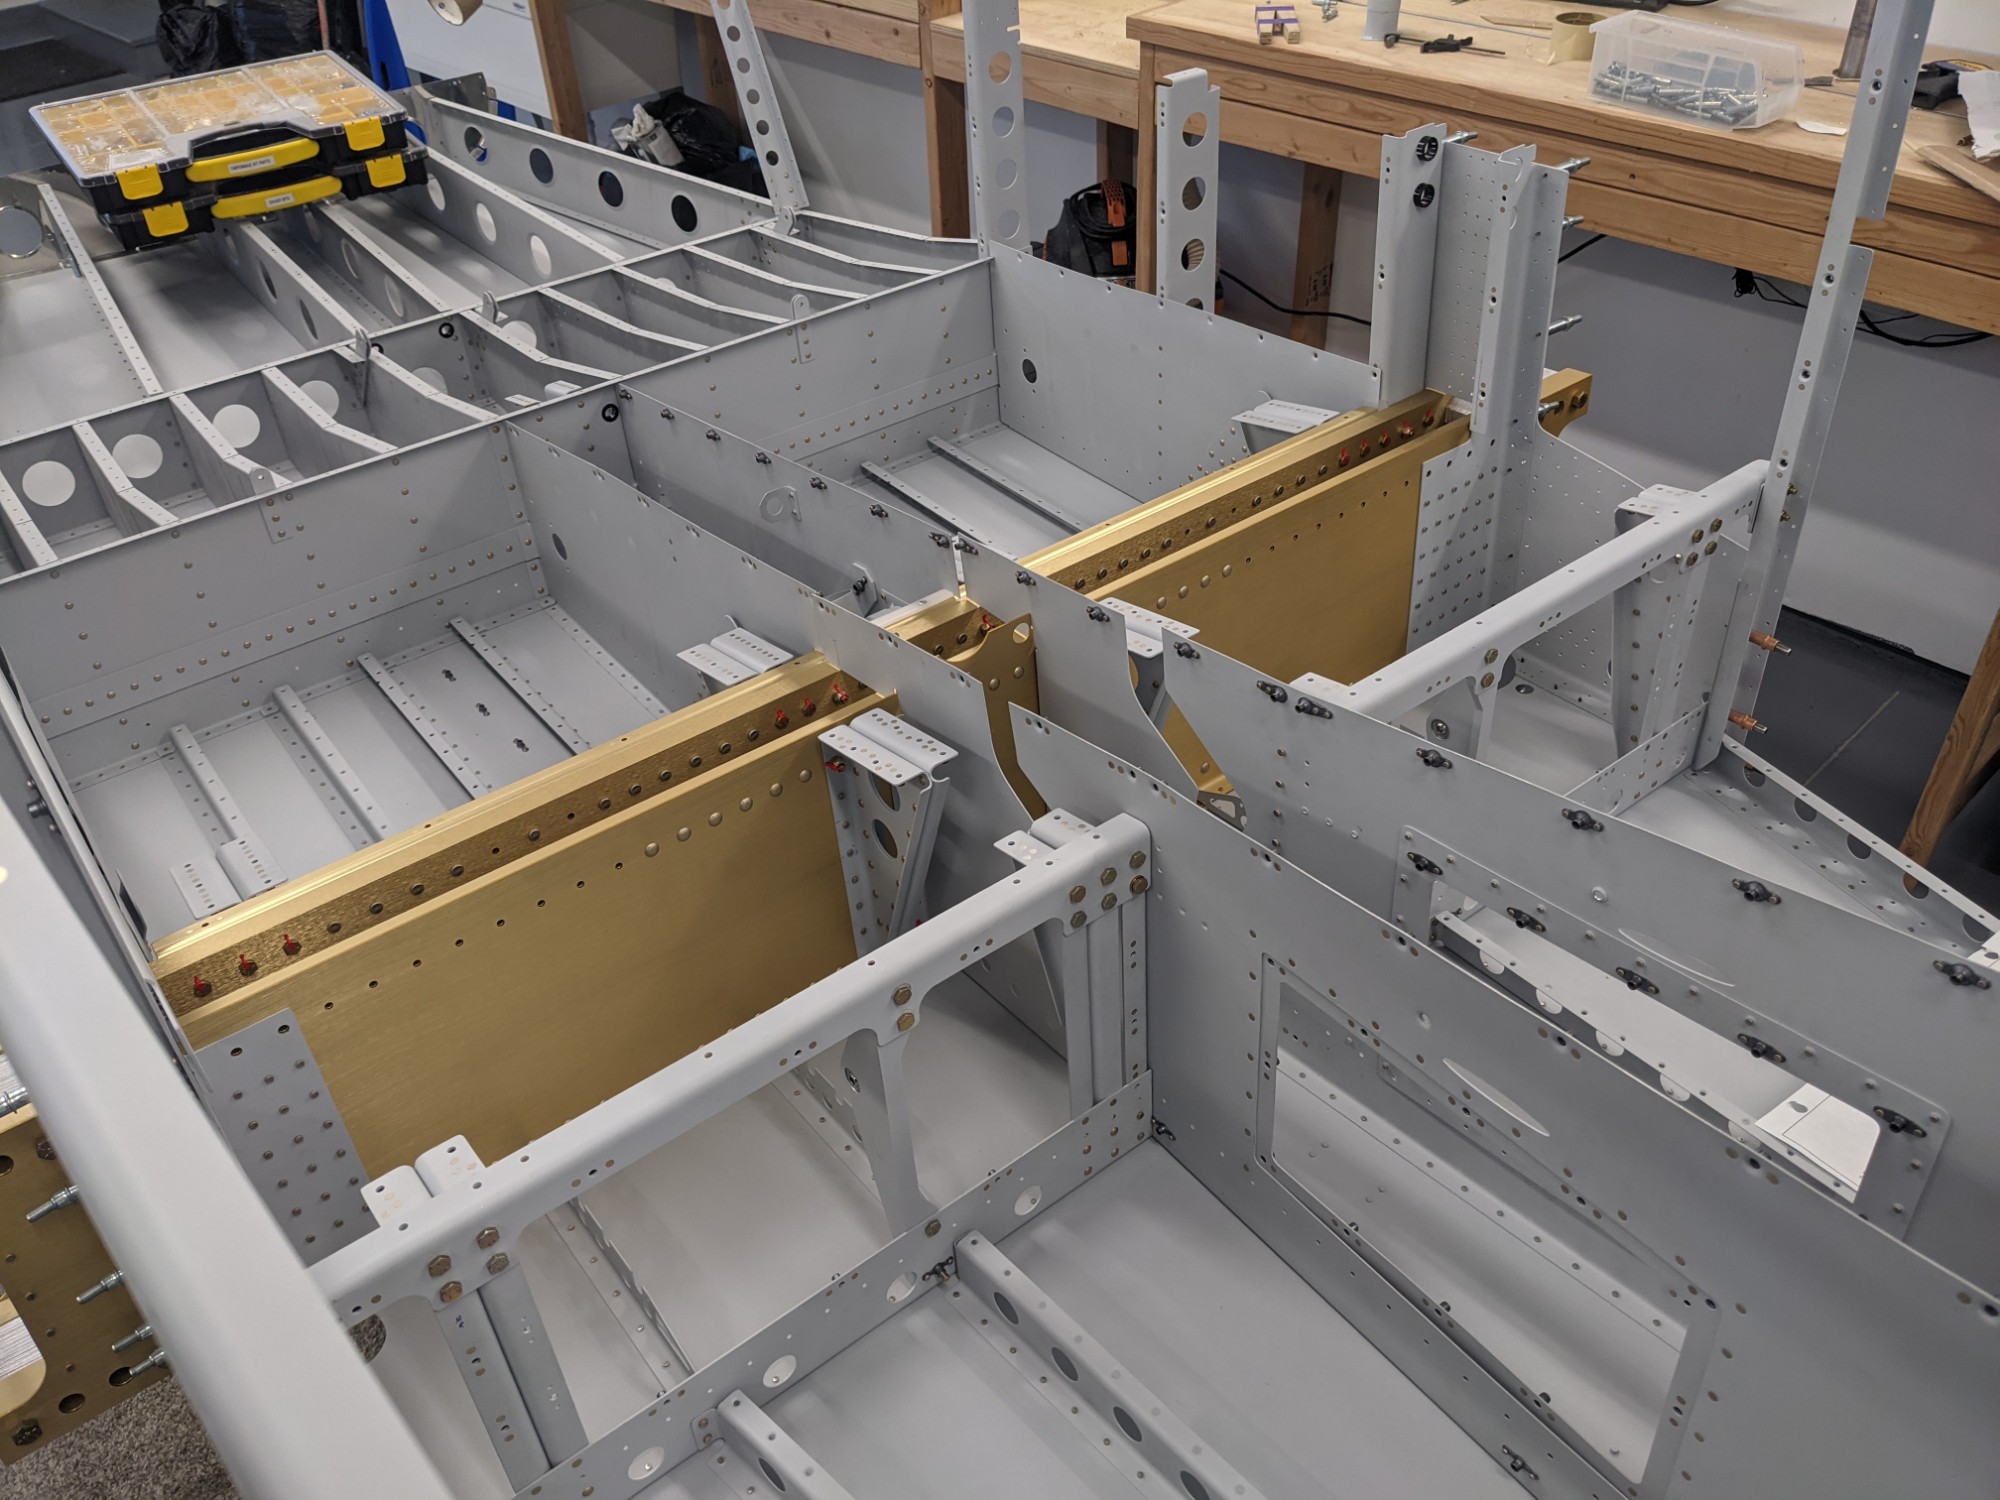
We then riveted the side plates to the bottom skins and the the seat bulkheads.
I then prepped and primed the parts for the seat floor assemblies.
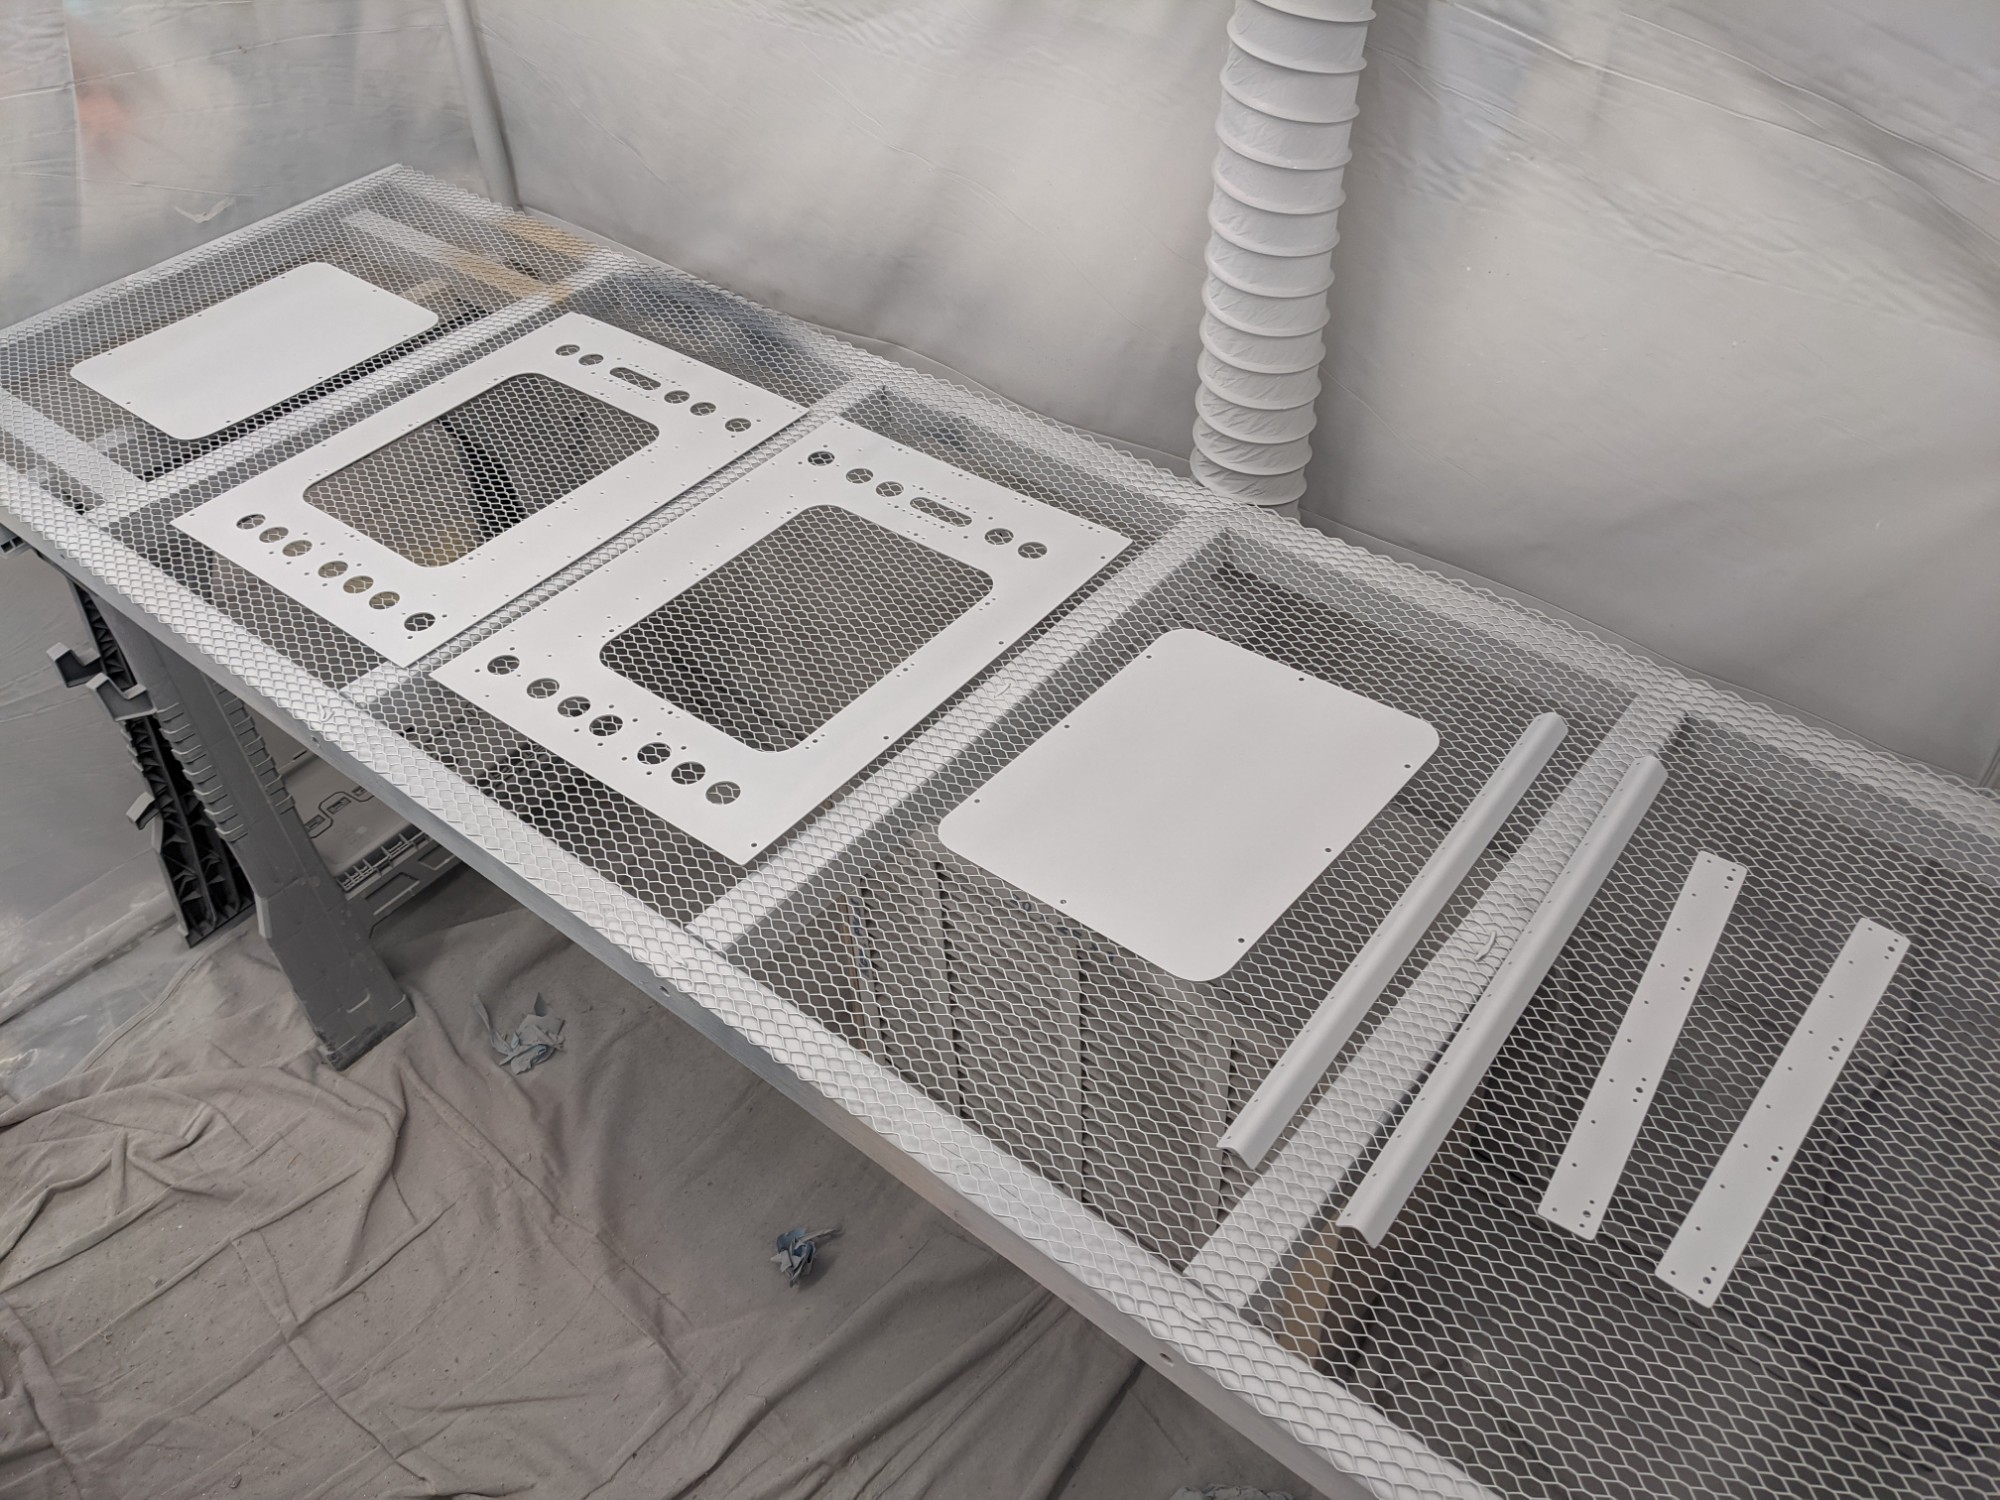
Once dried, I riveted the nutplates into place and riveted the parts together.
Everything fit together nicely.
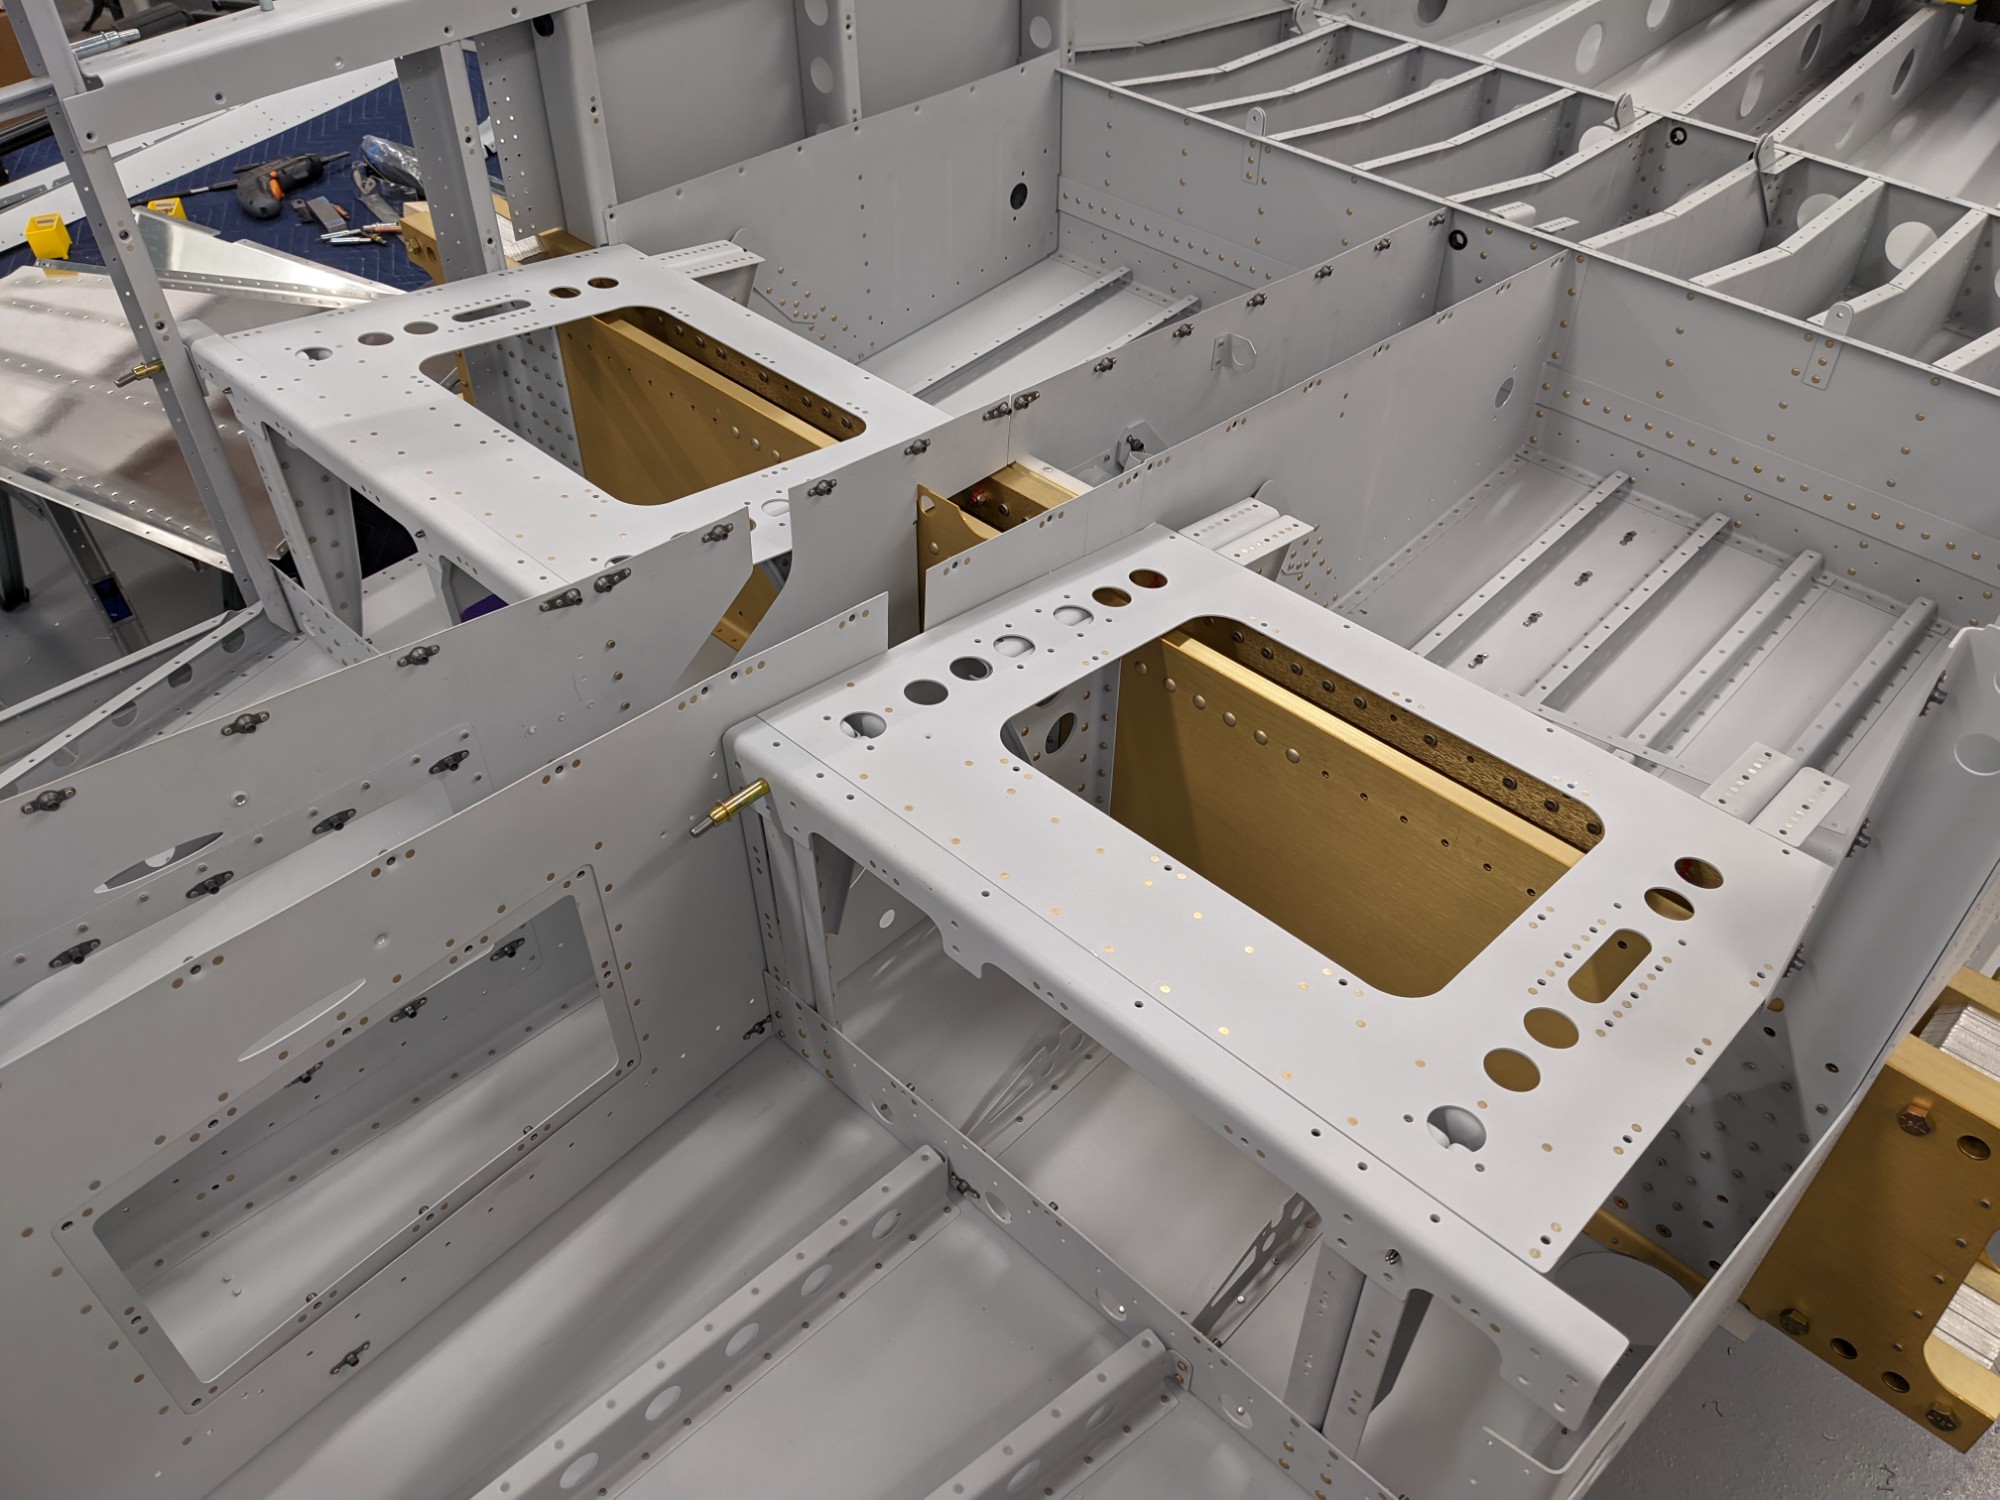
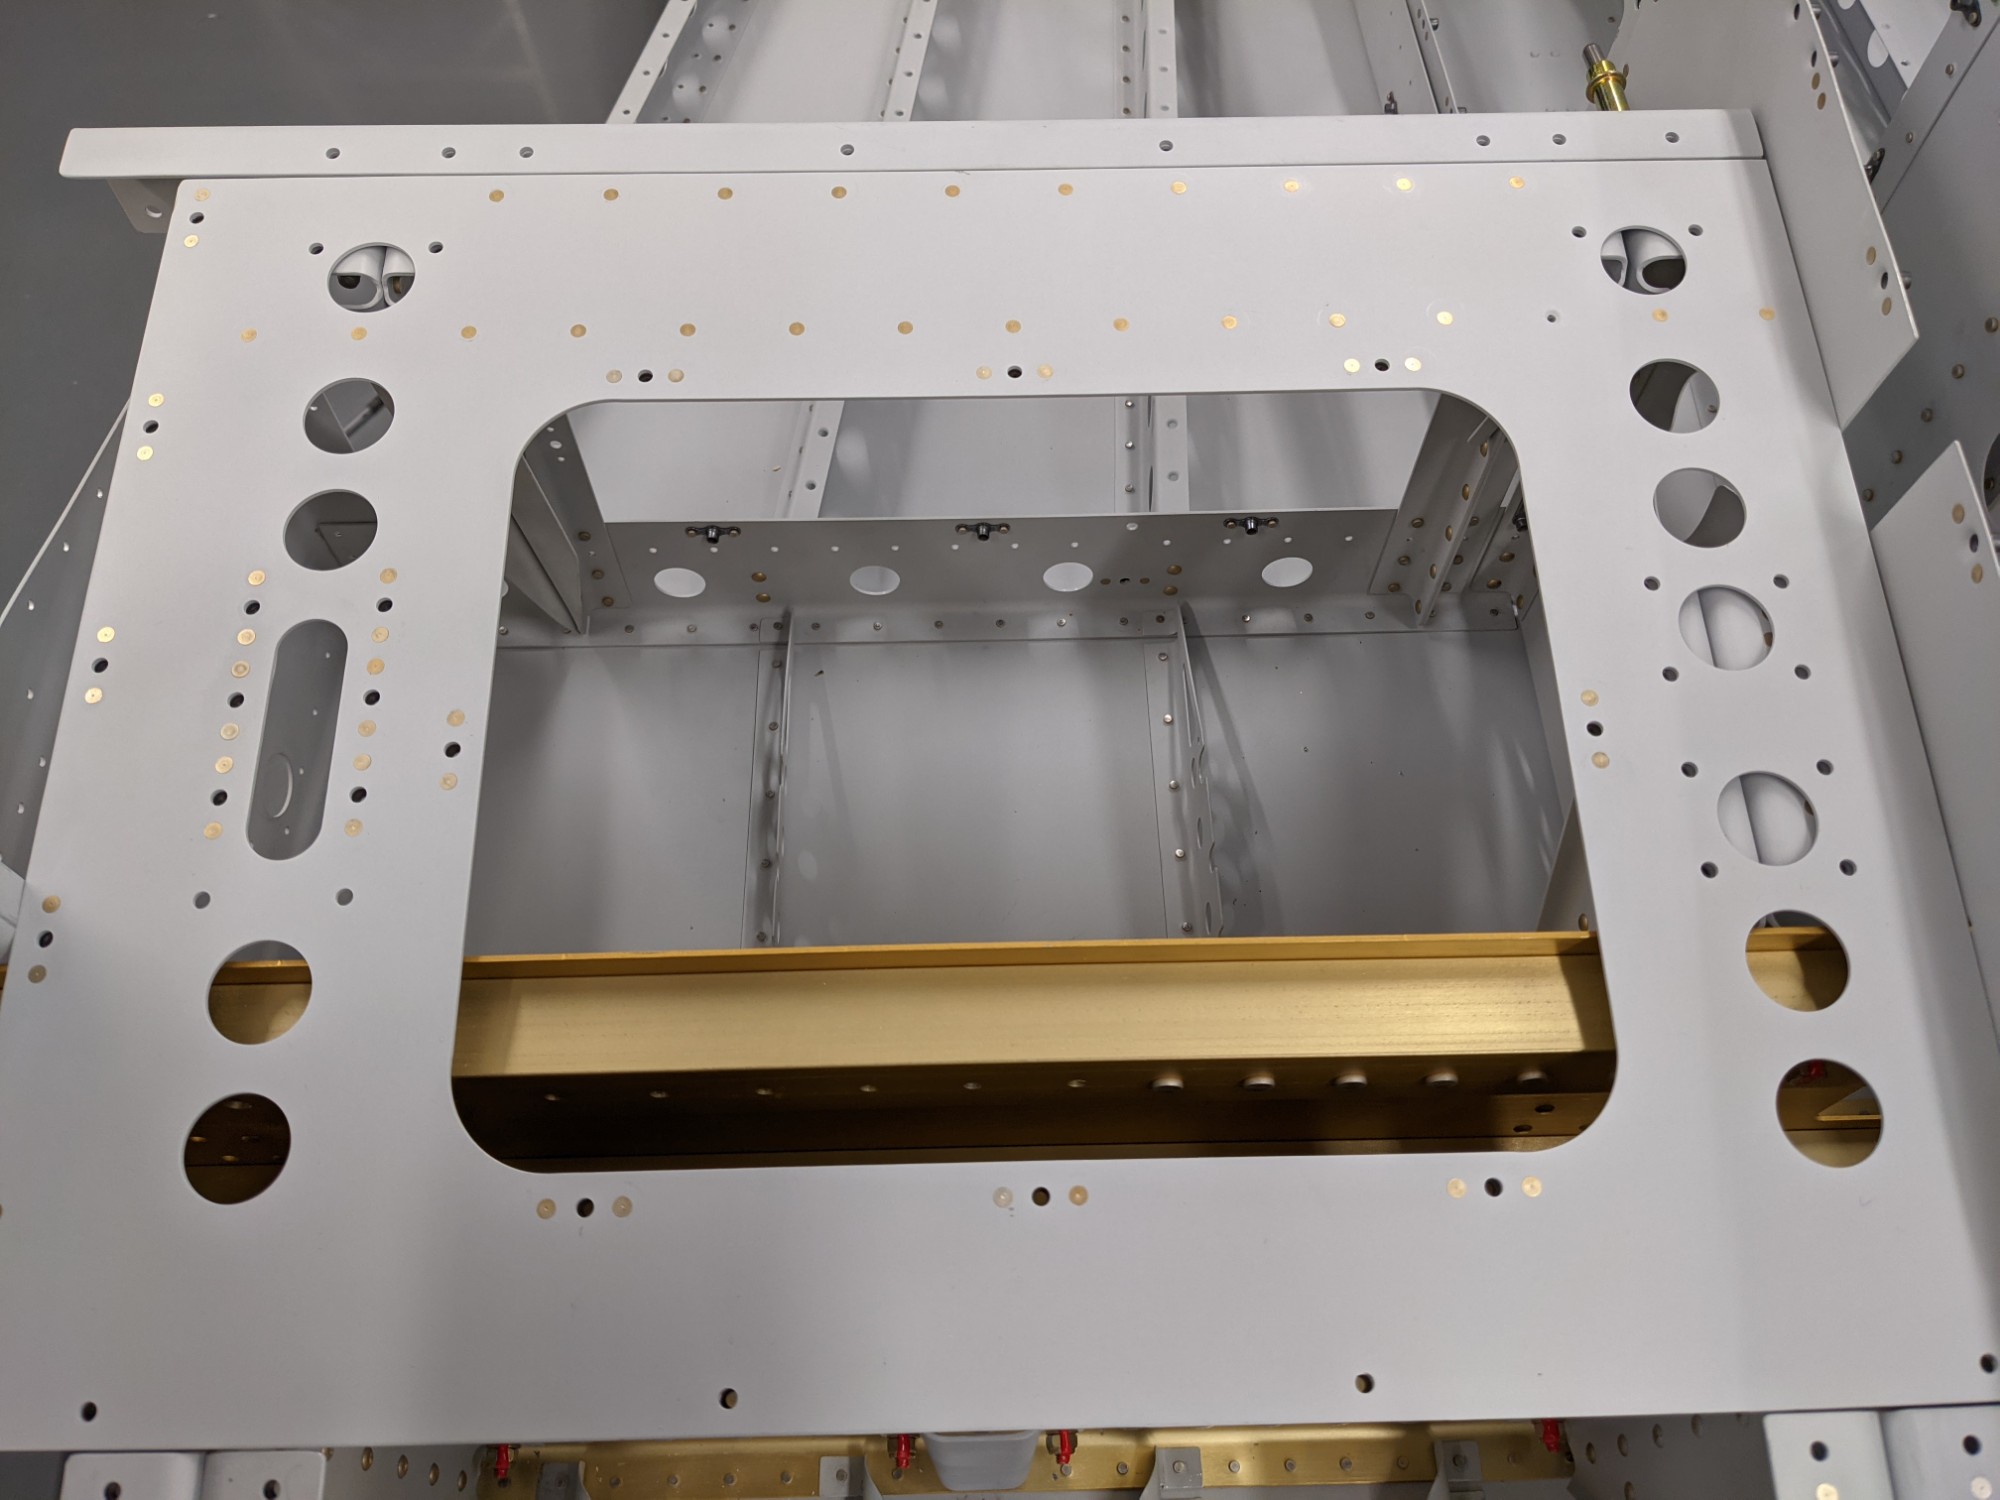
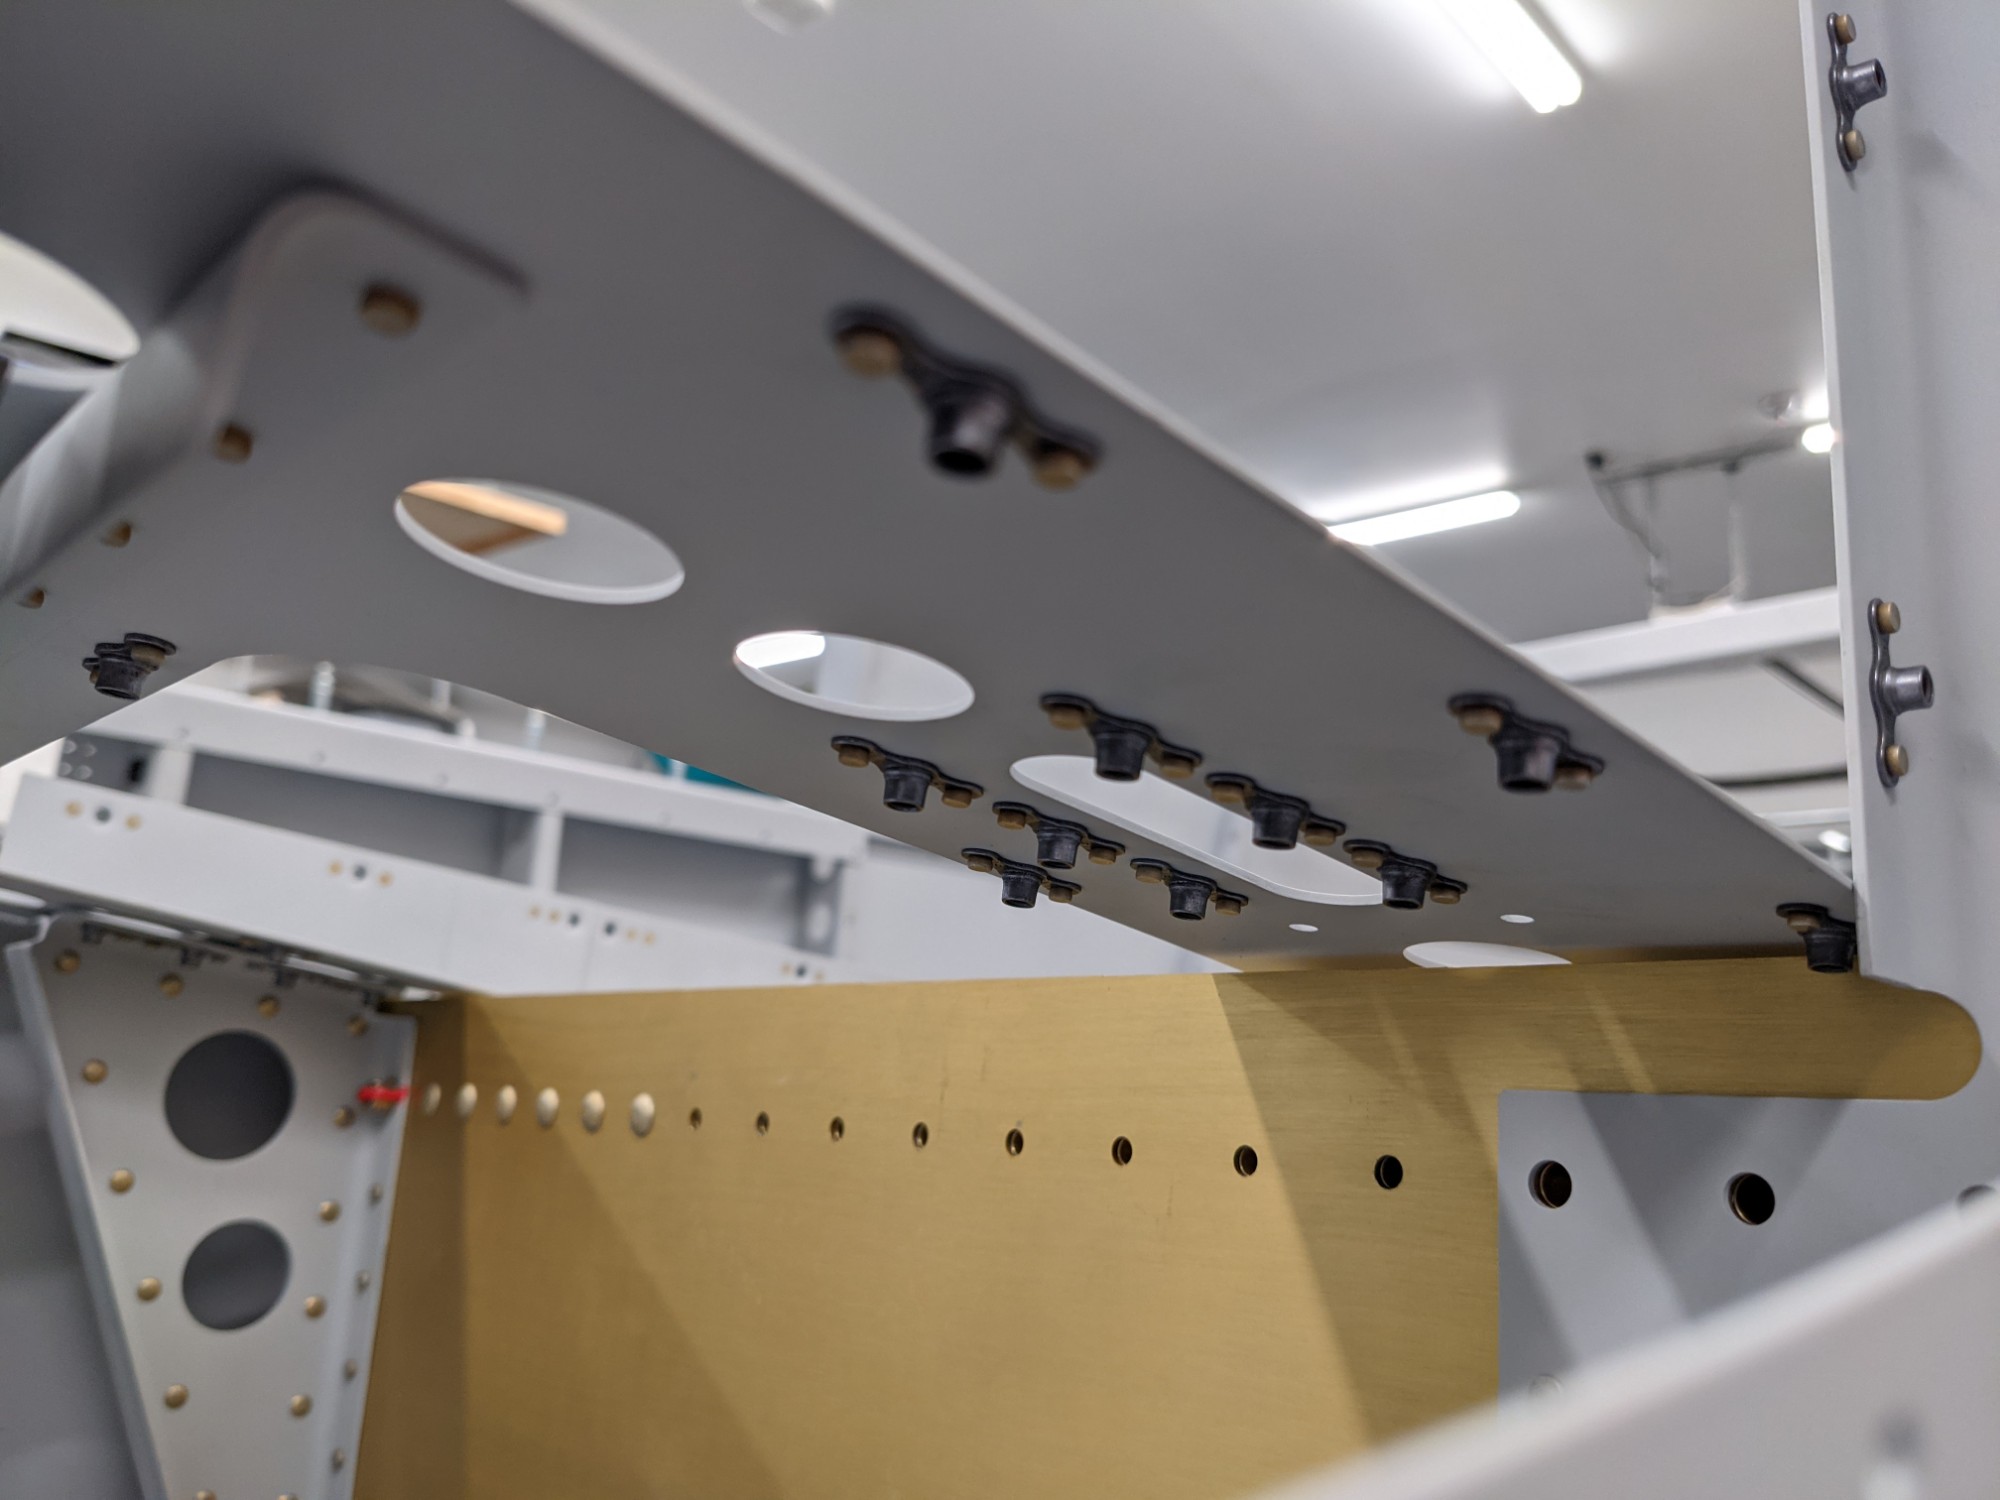
The forward fuselage section can now be checked off on the plans!
