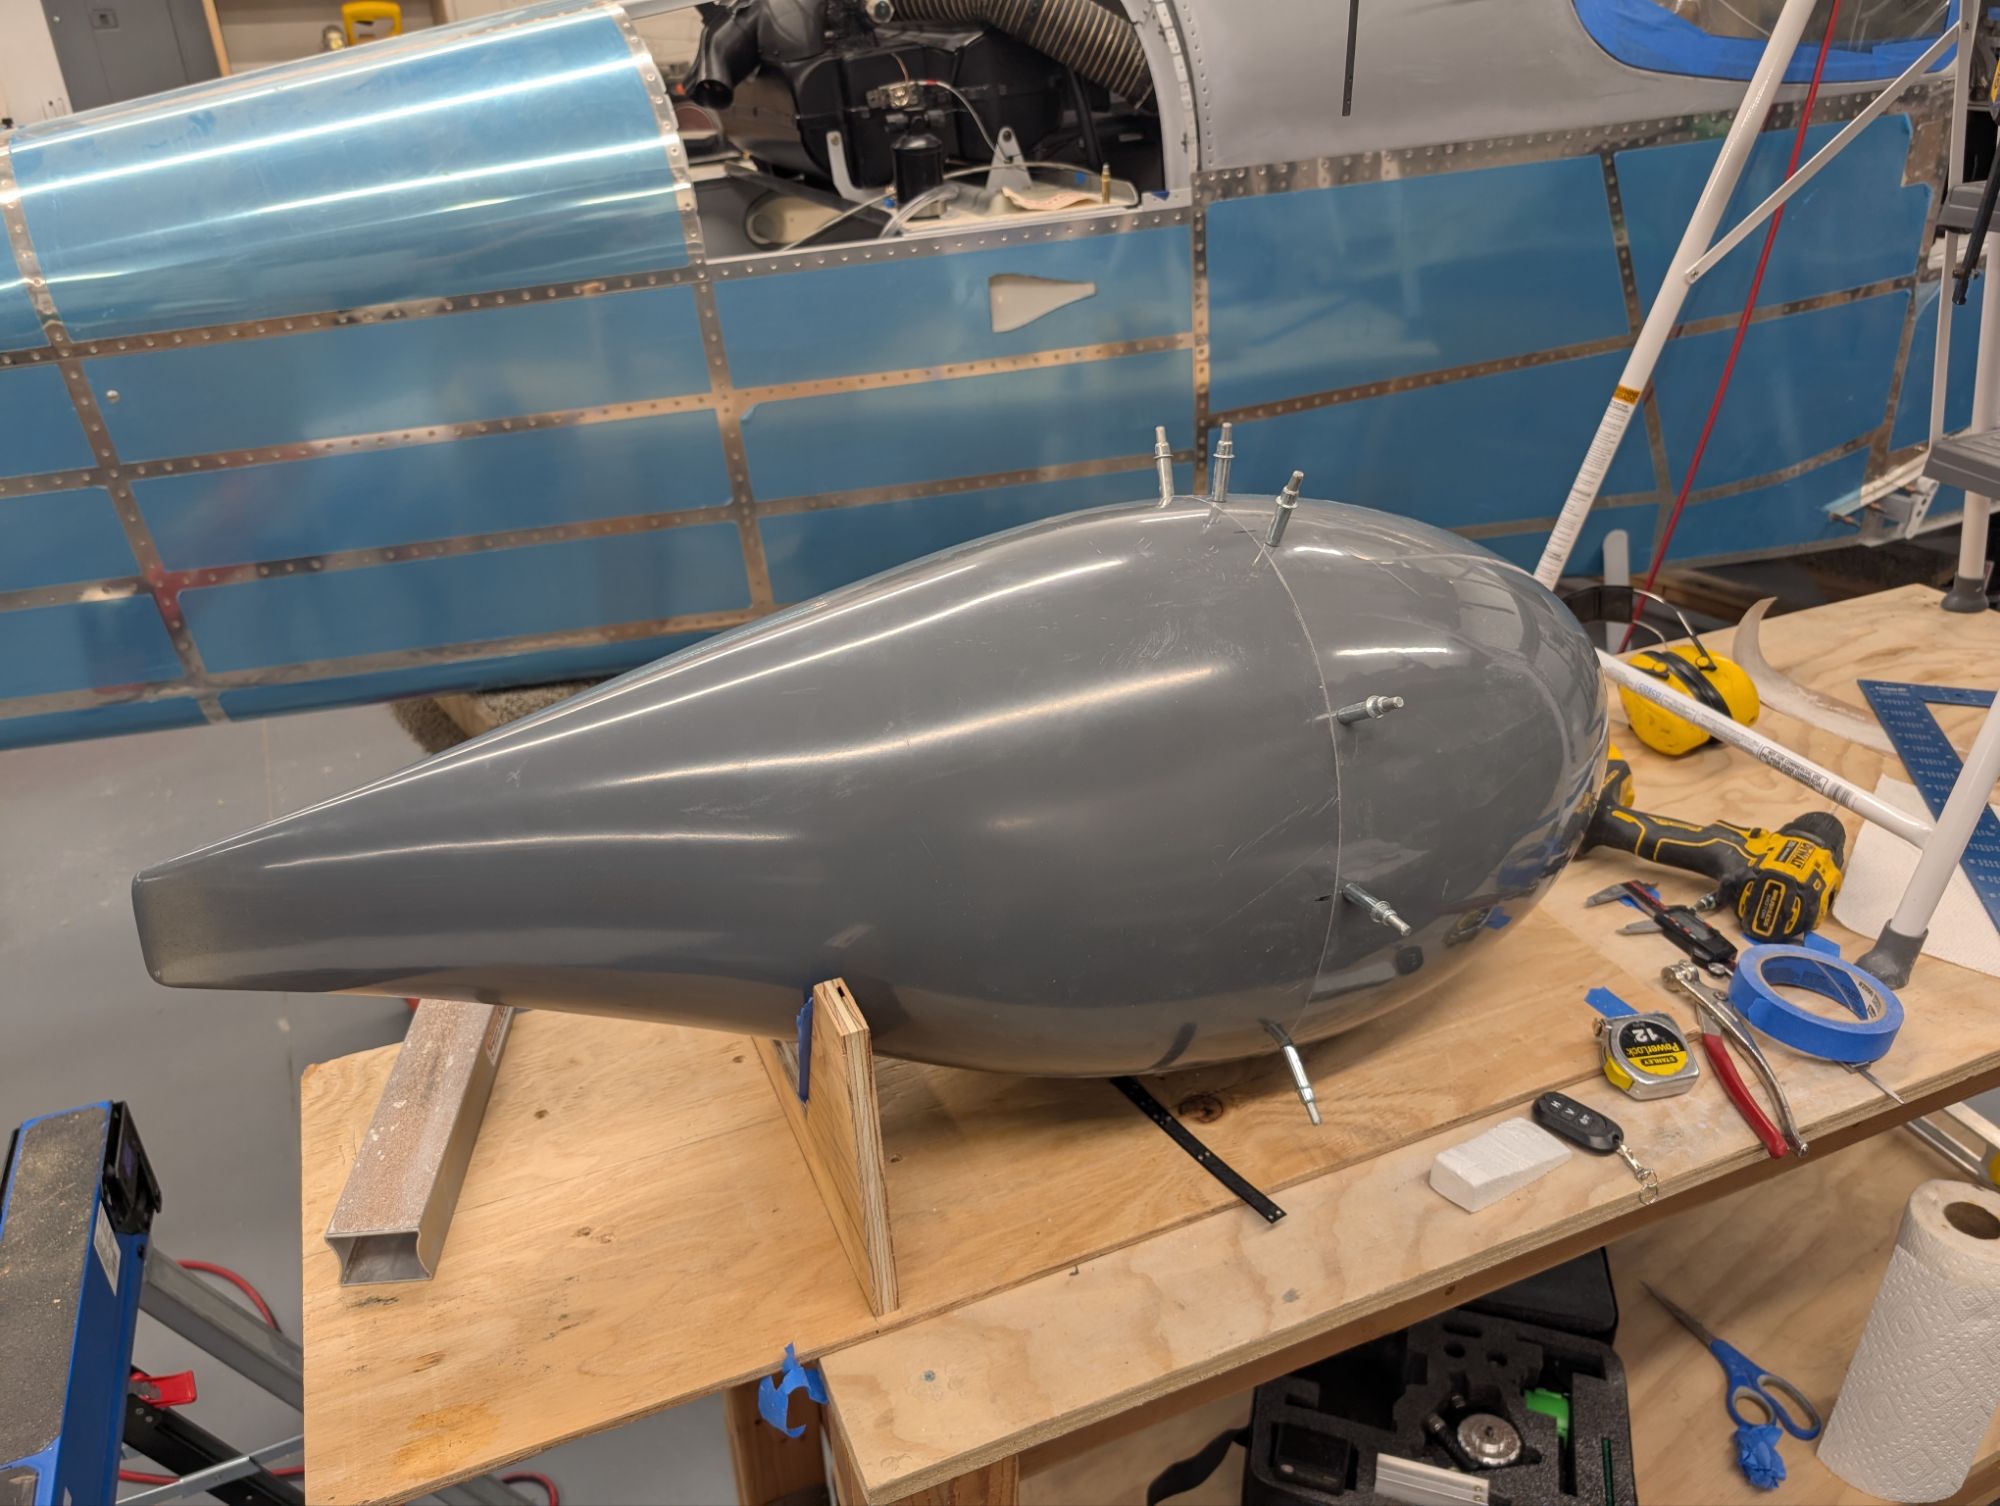
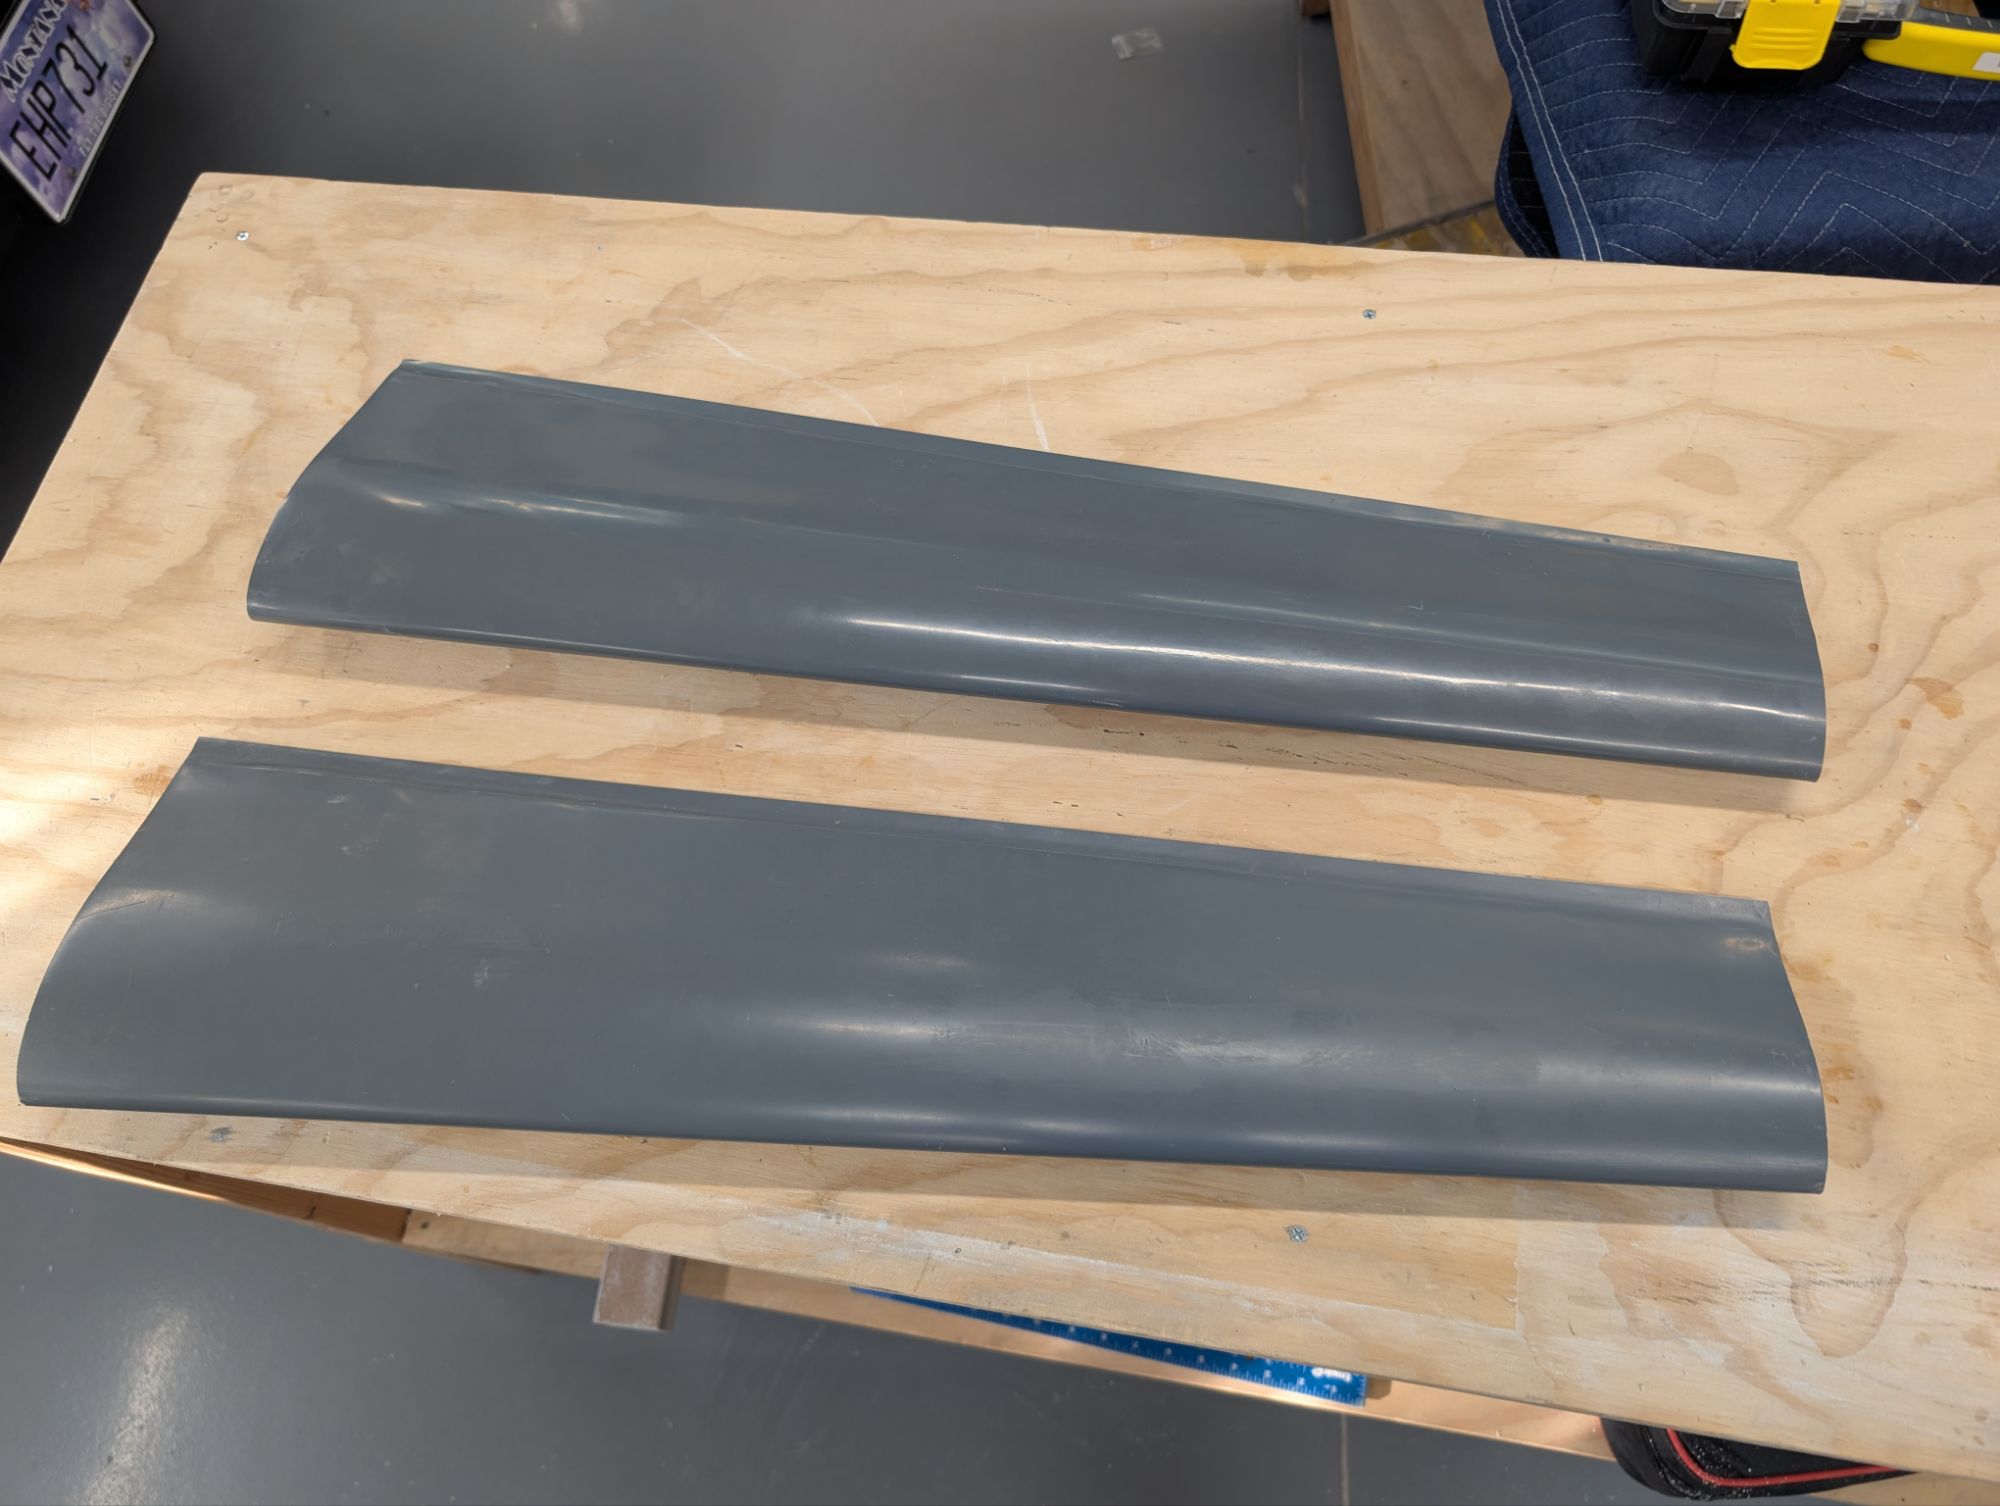
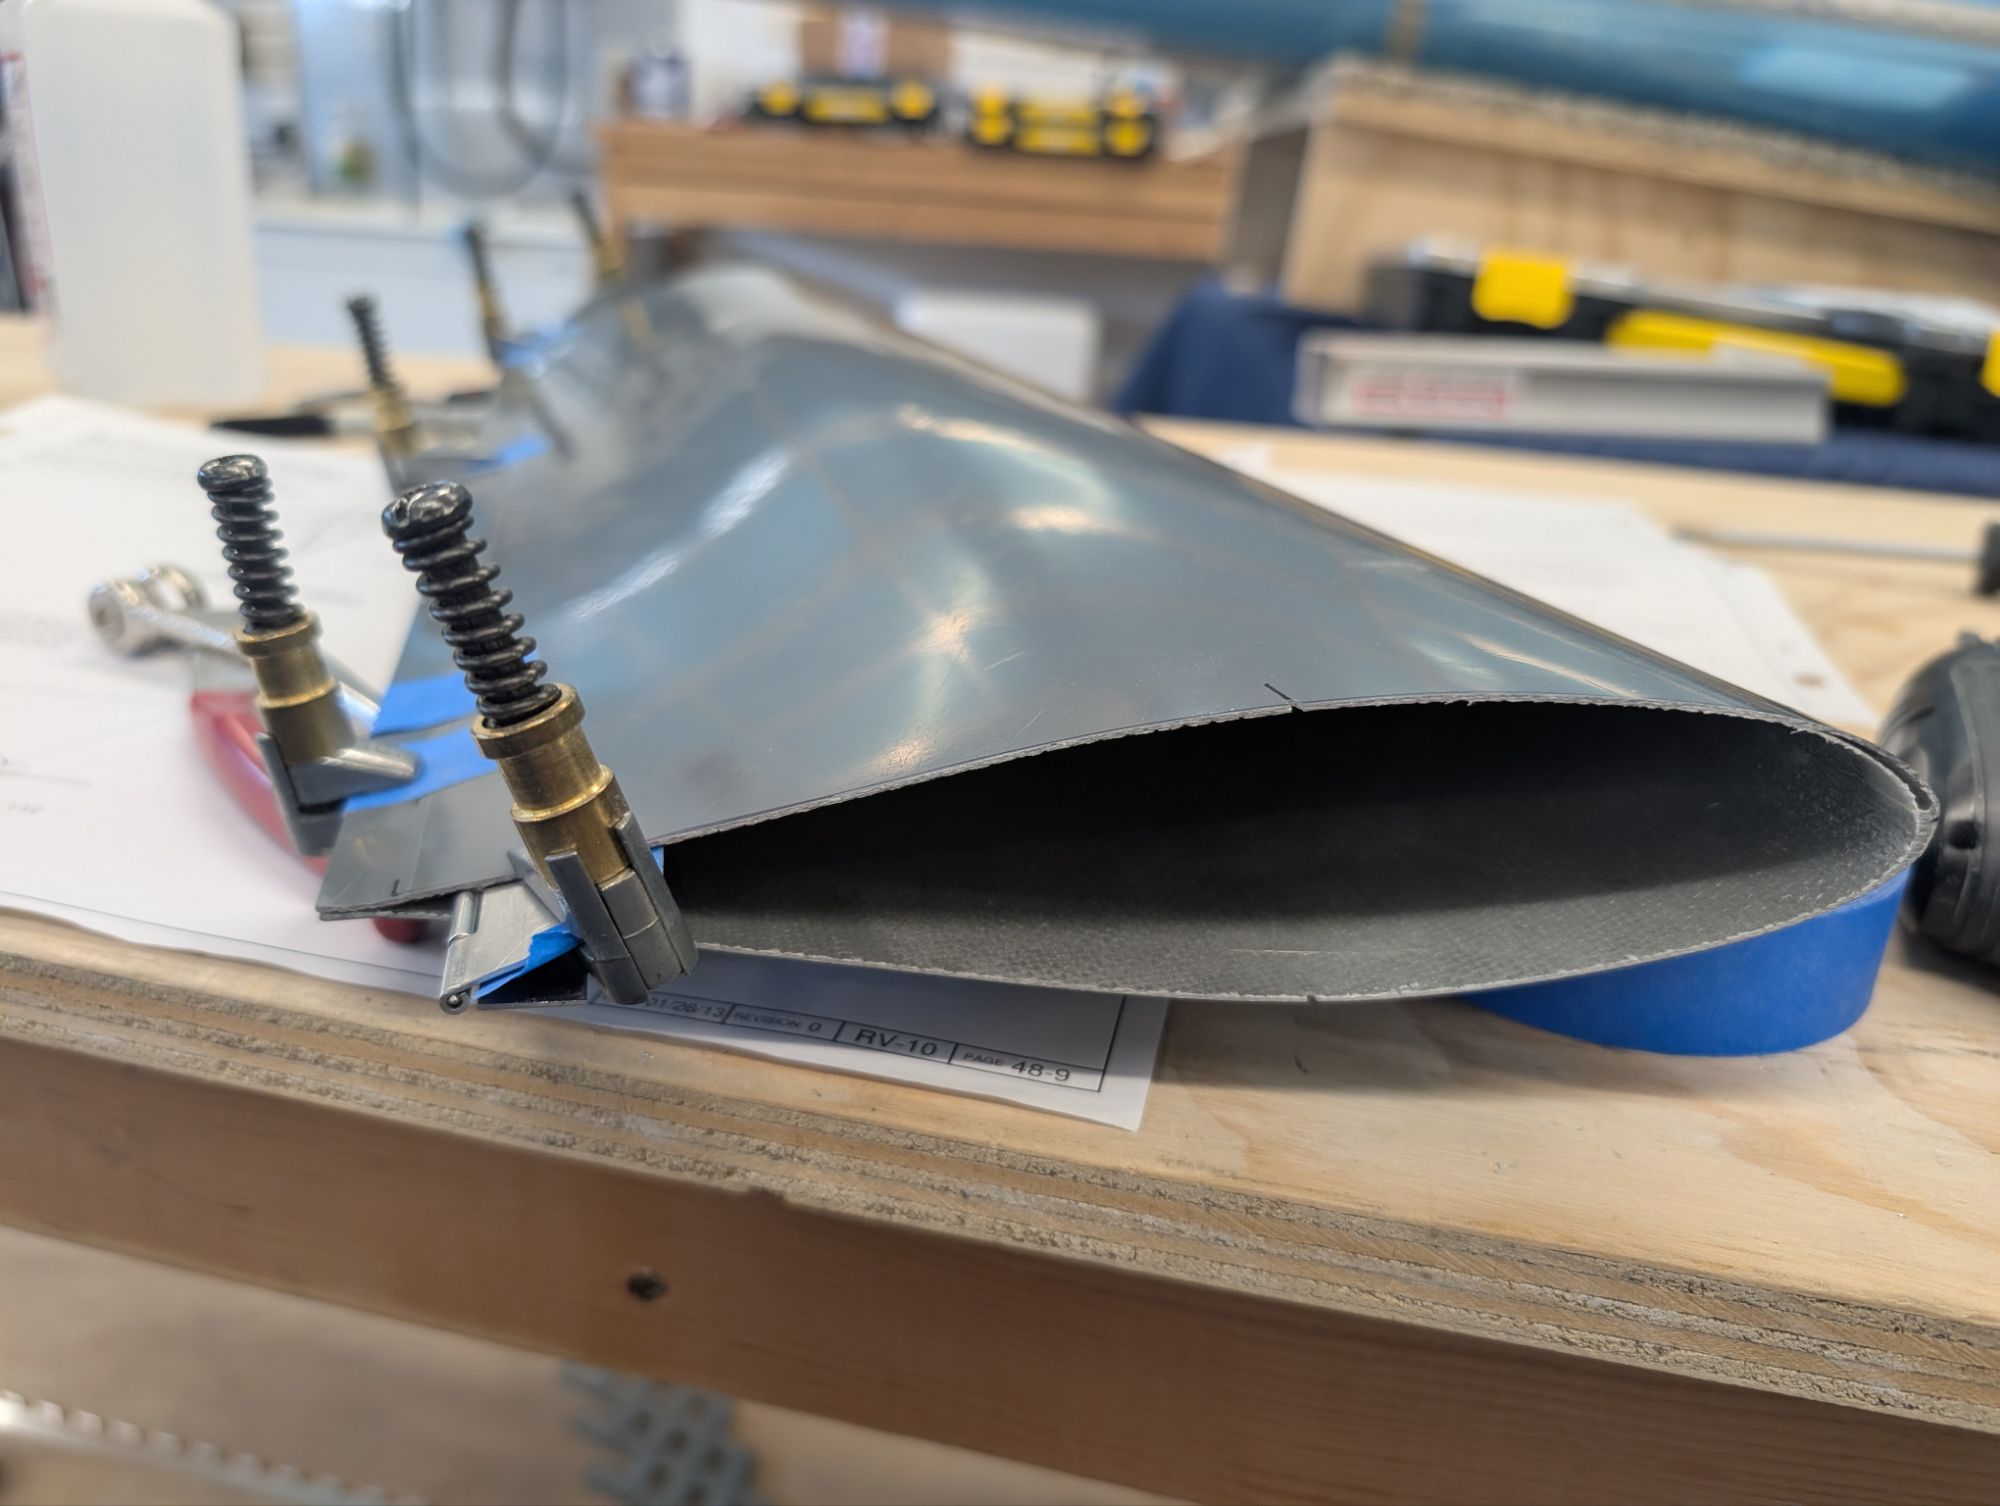
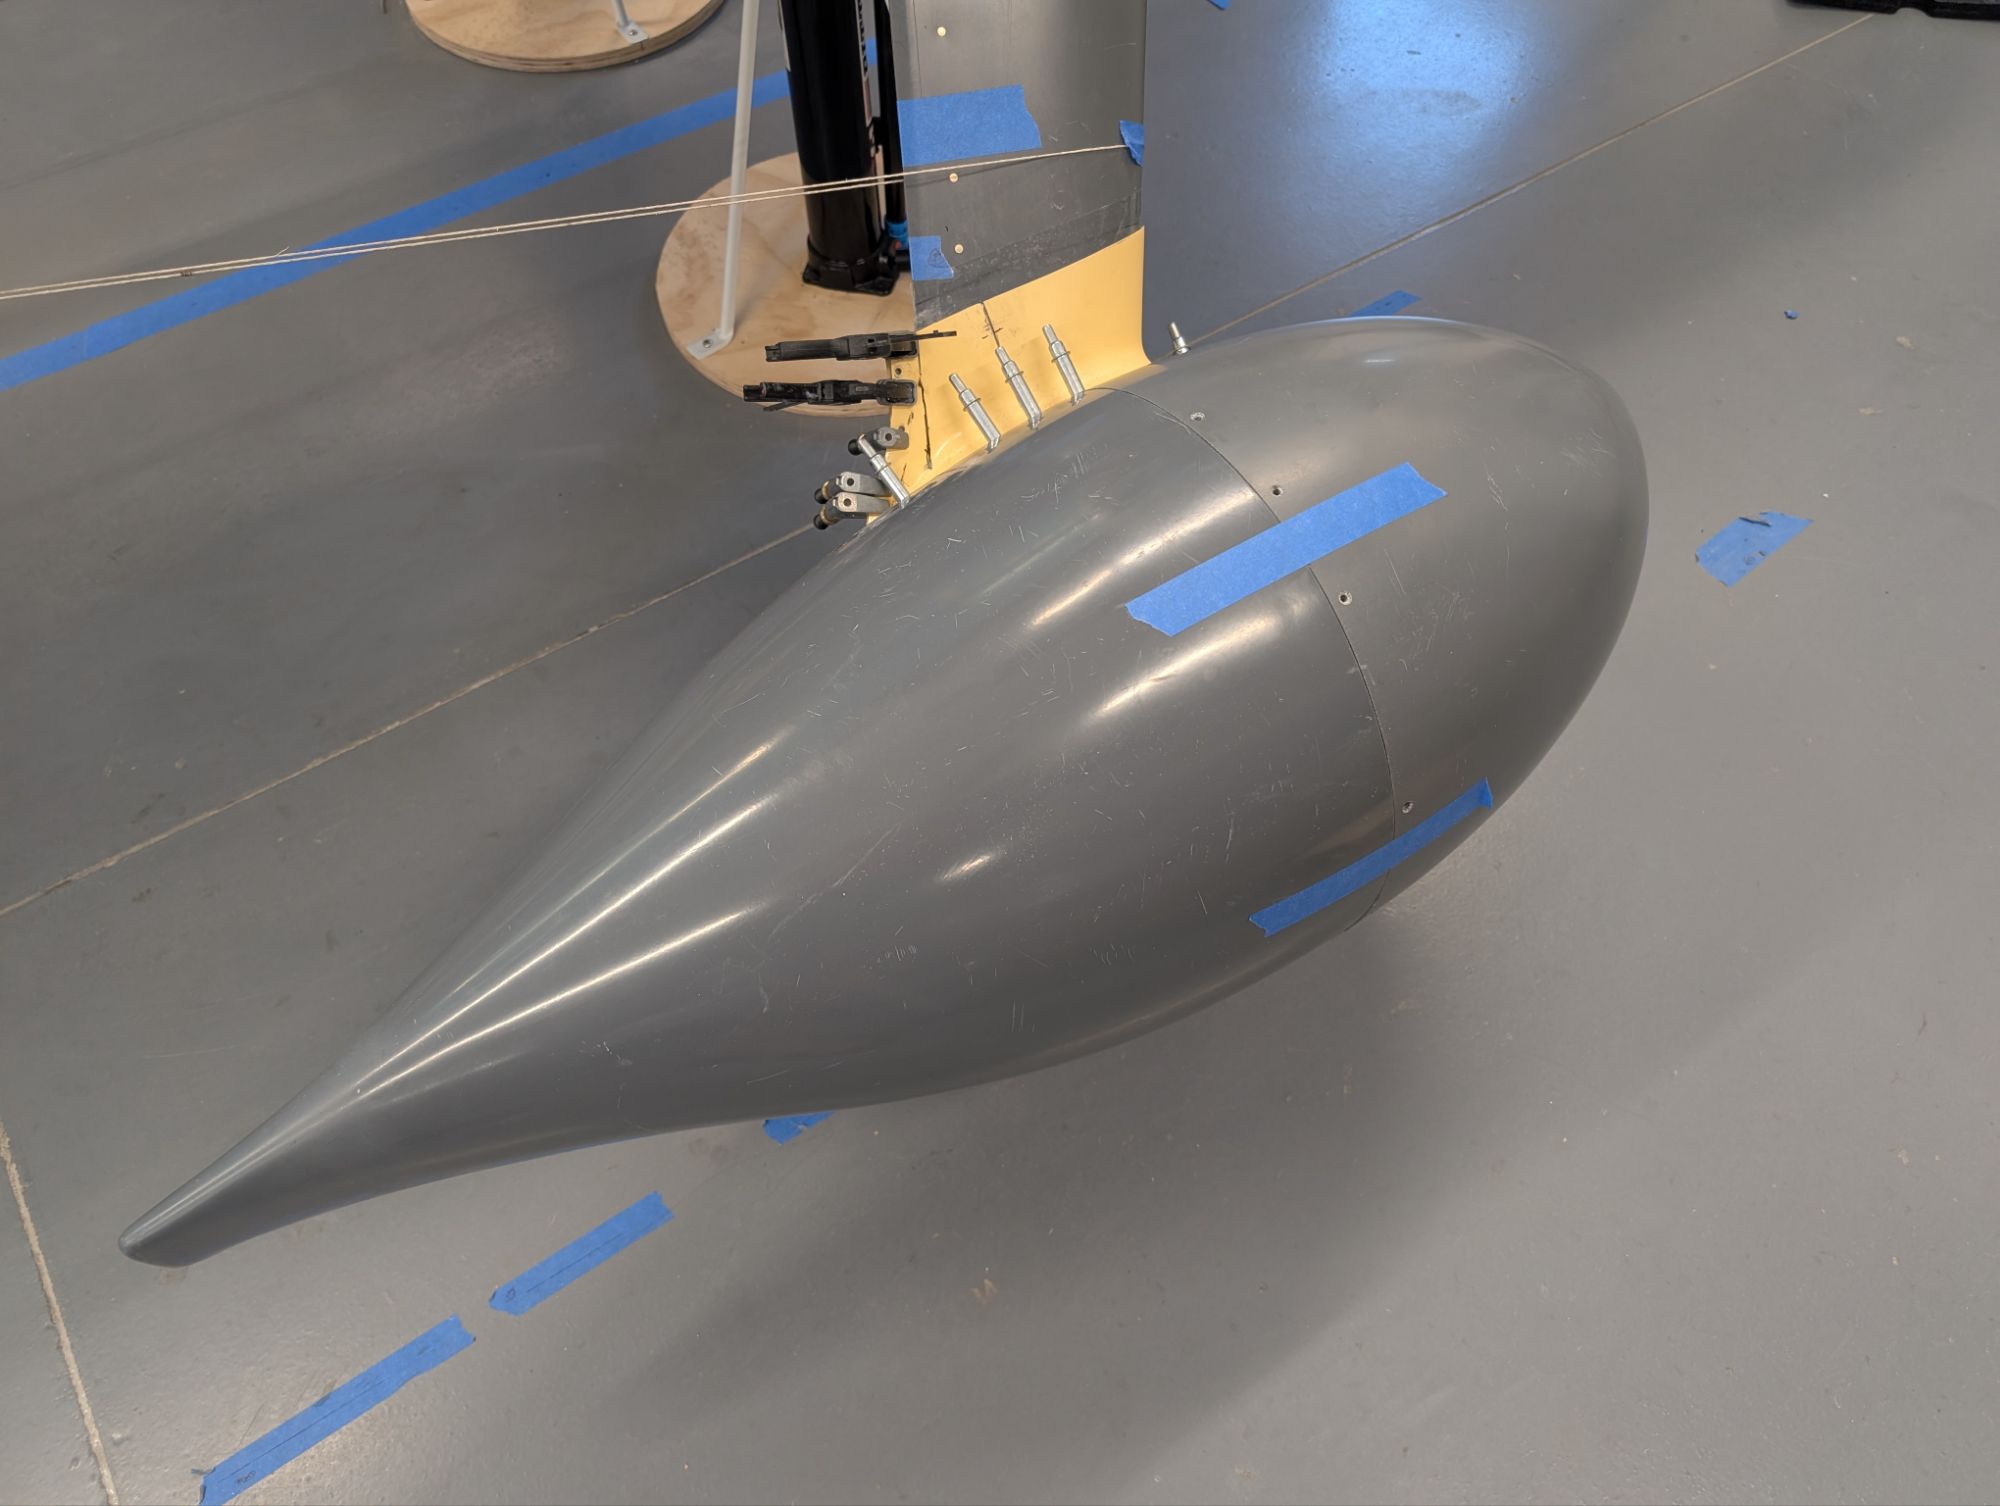
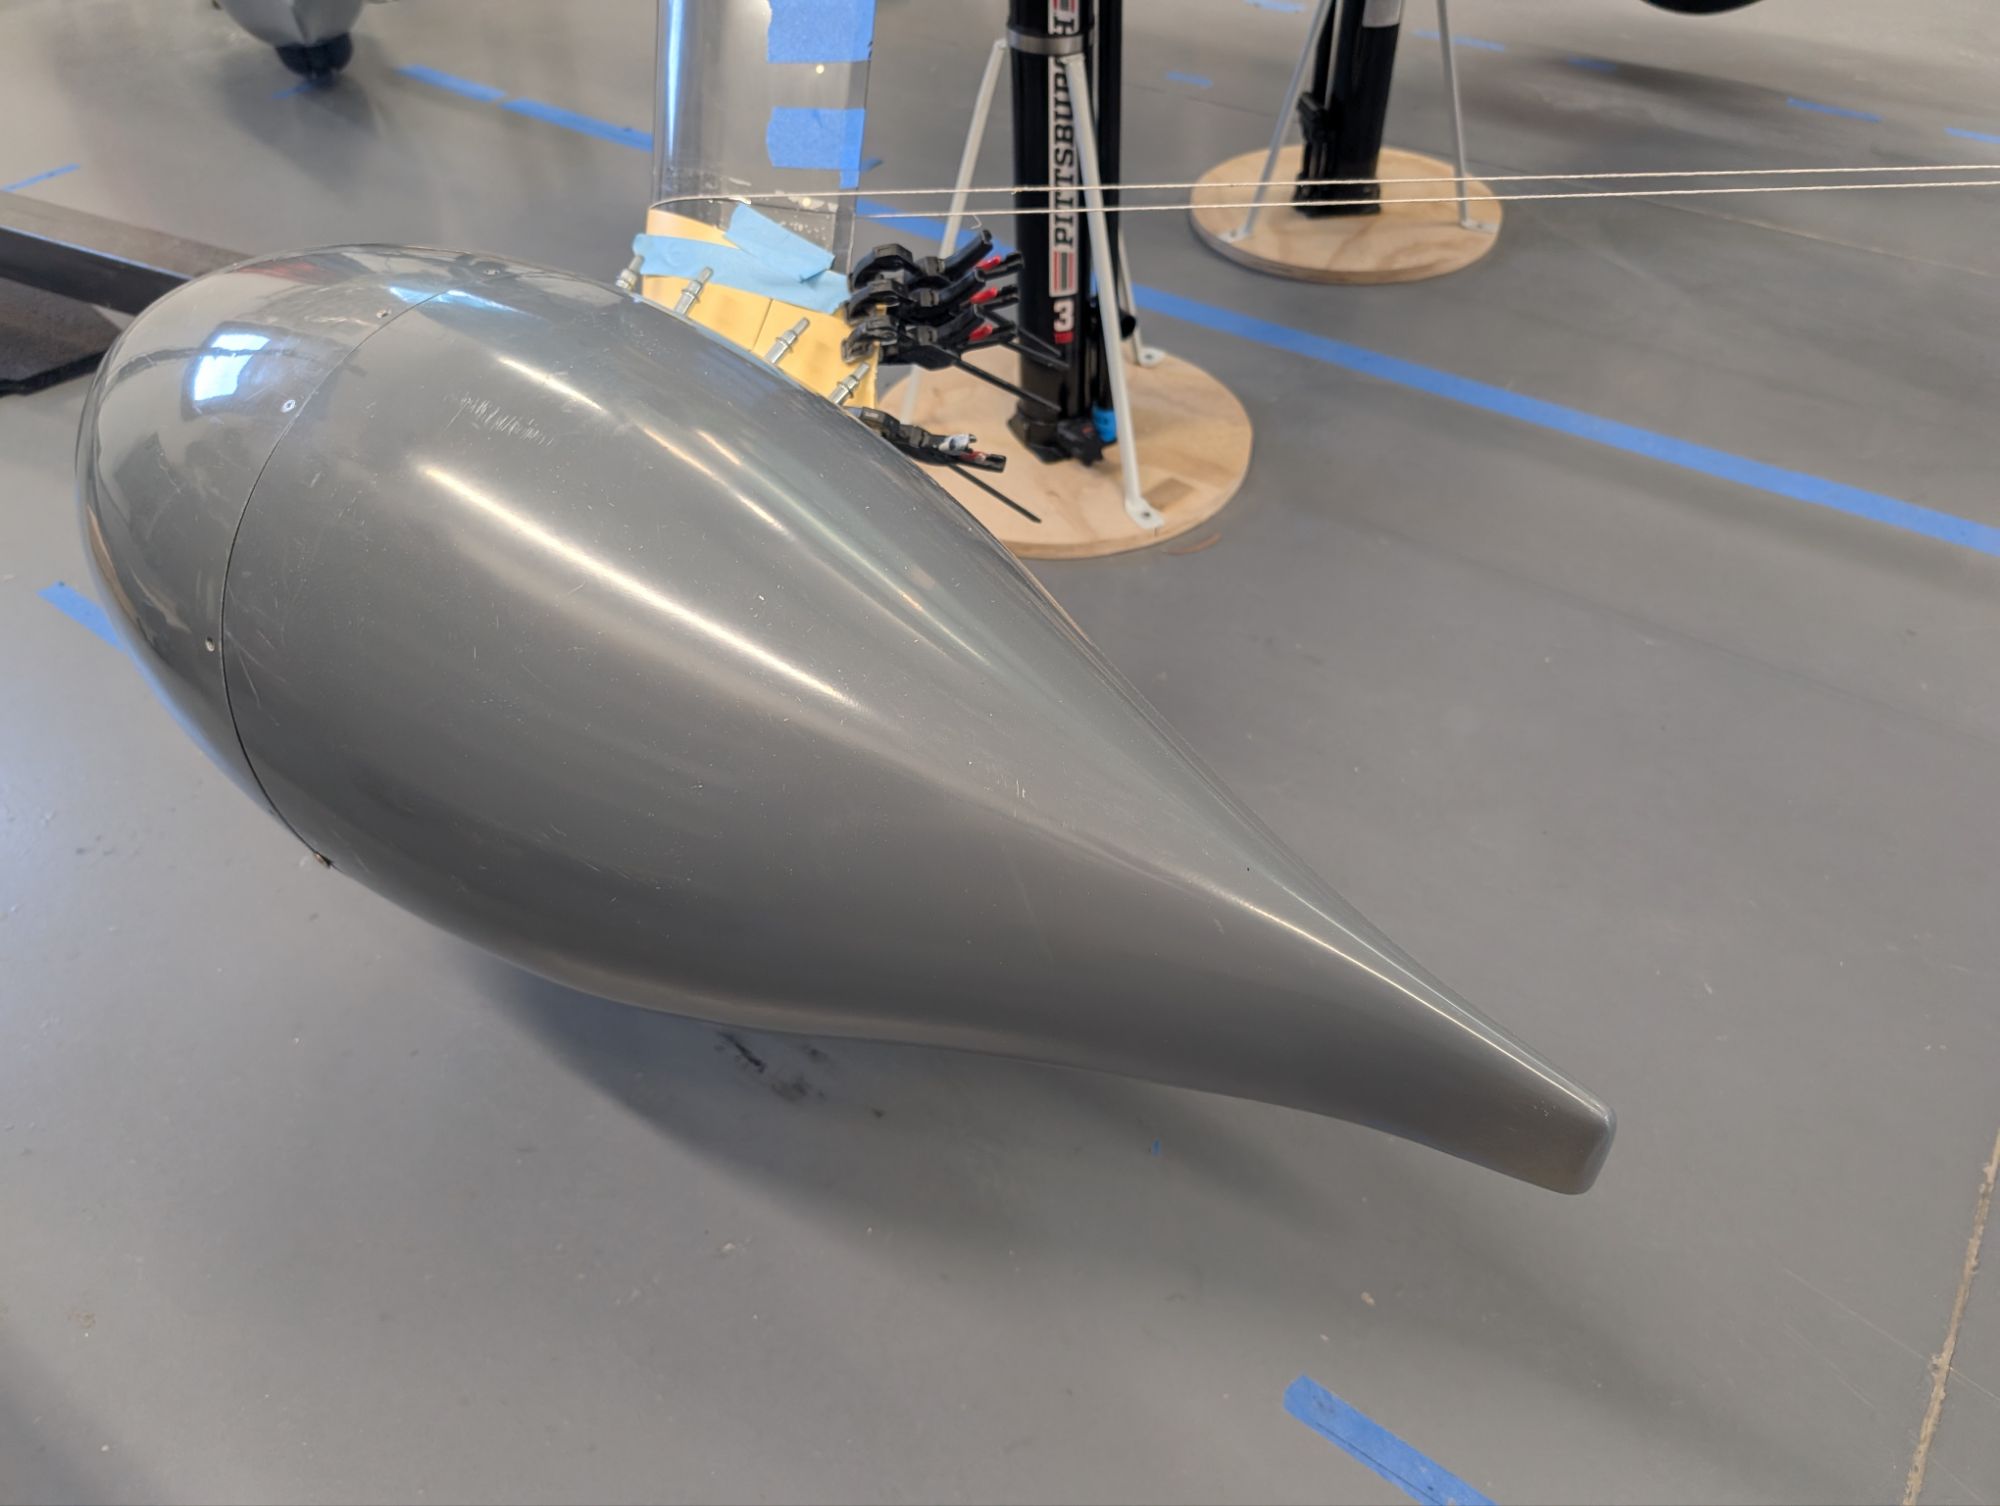
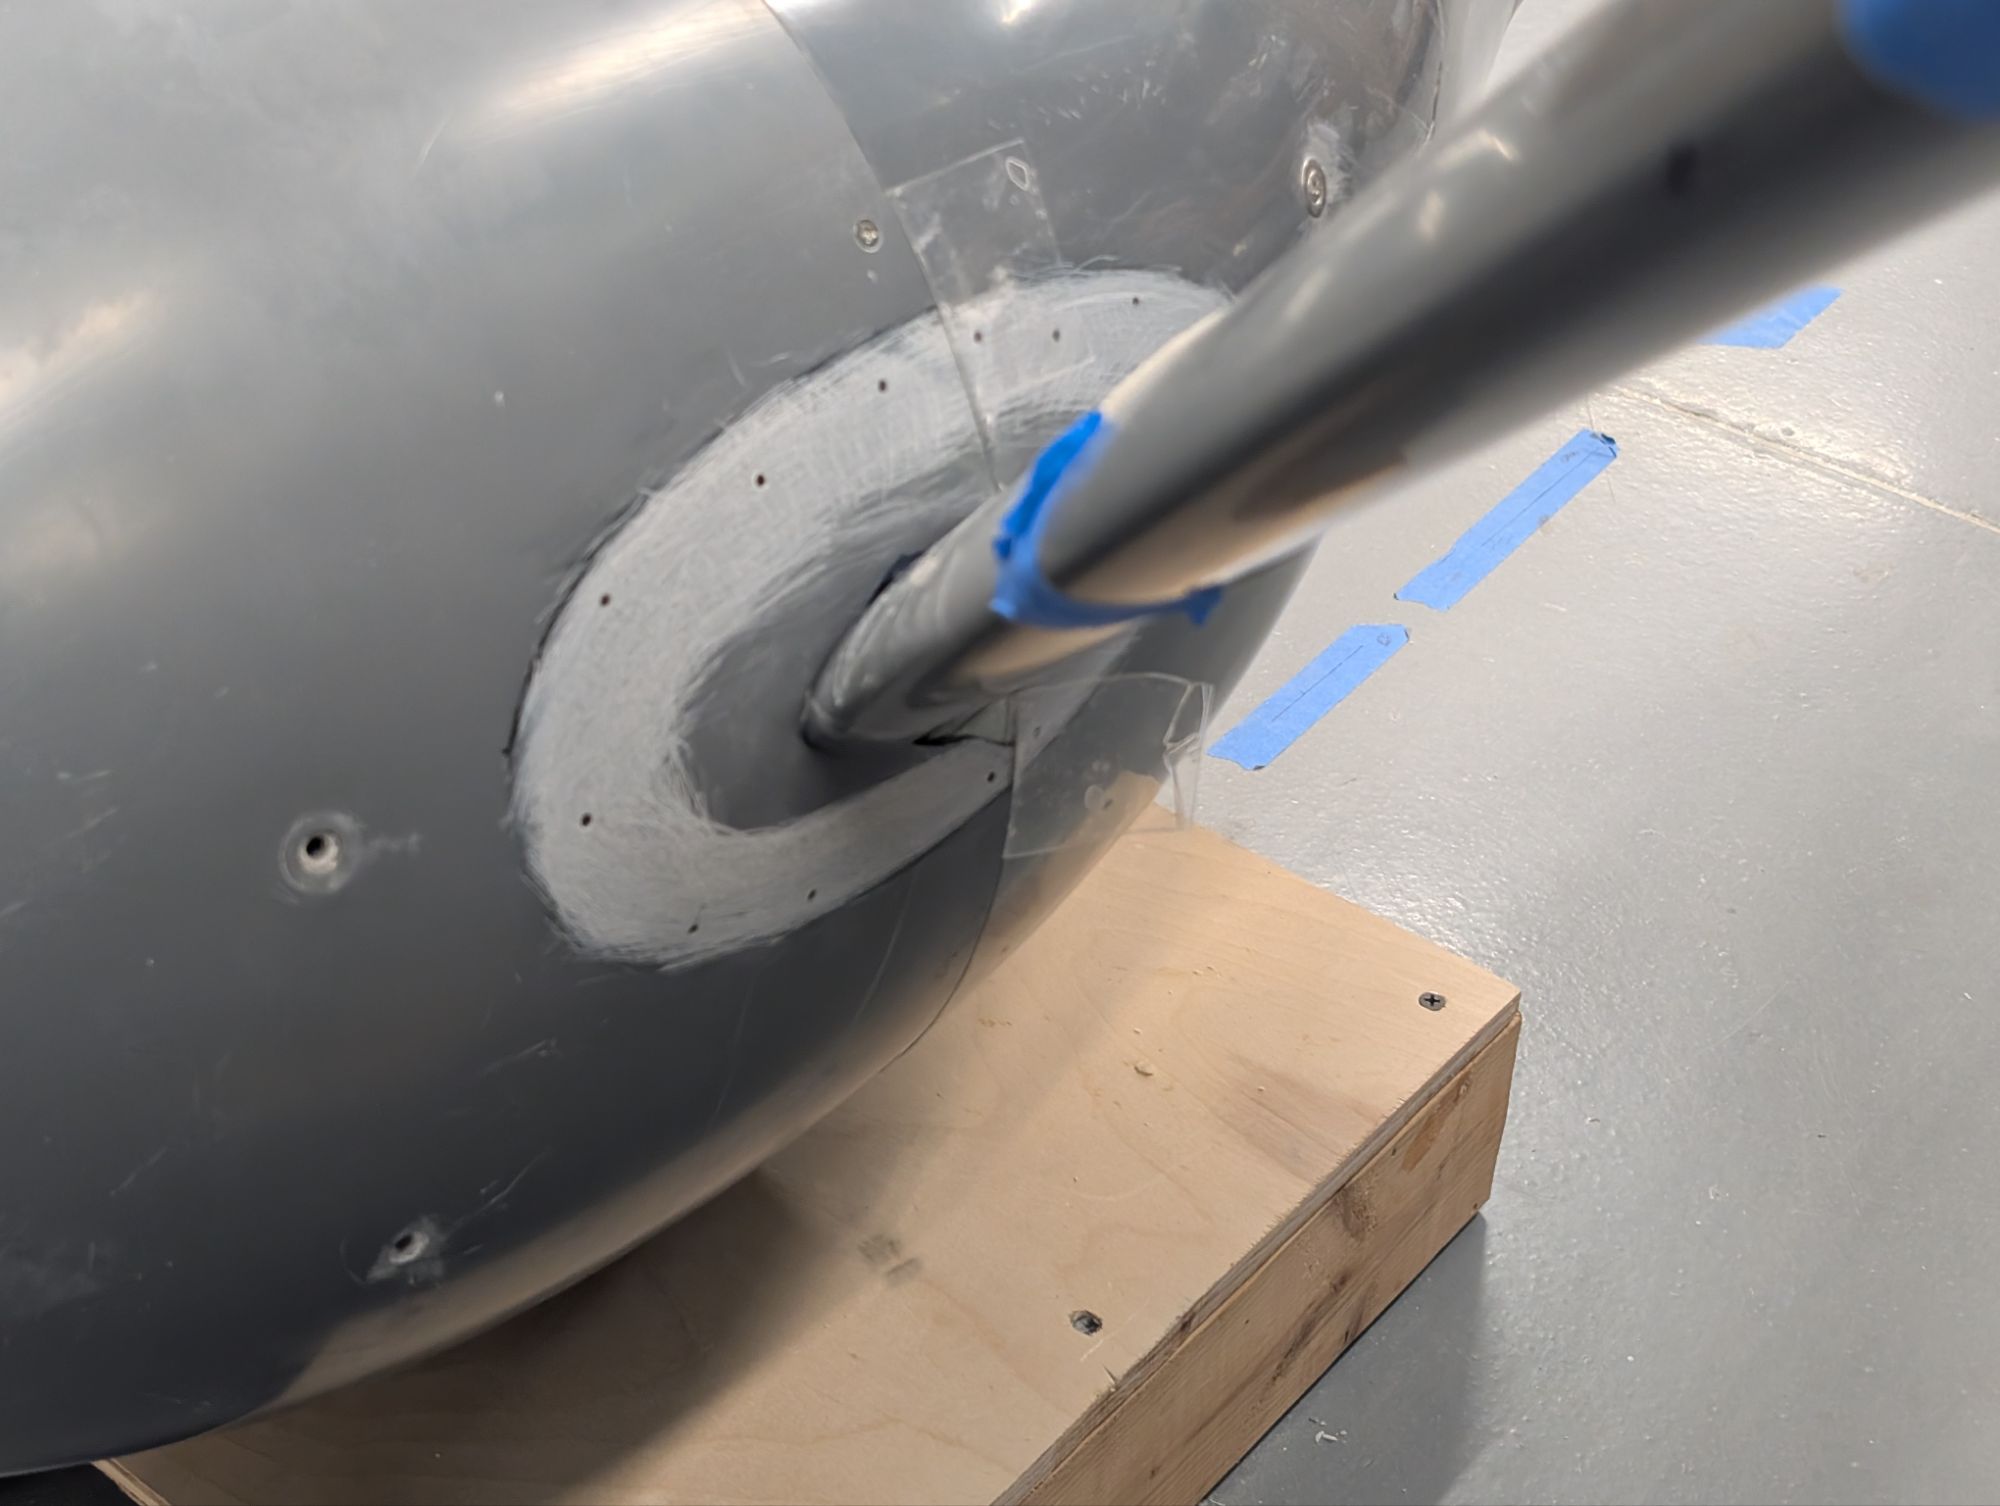
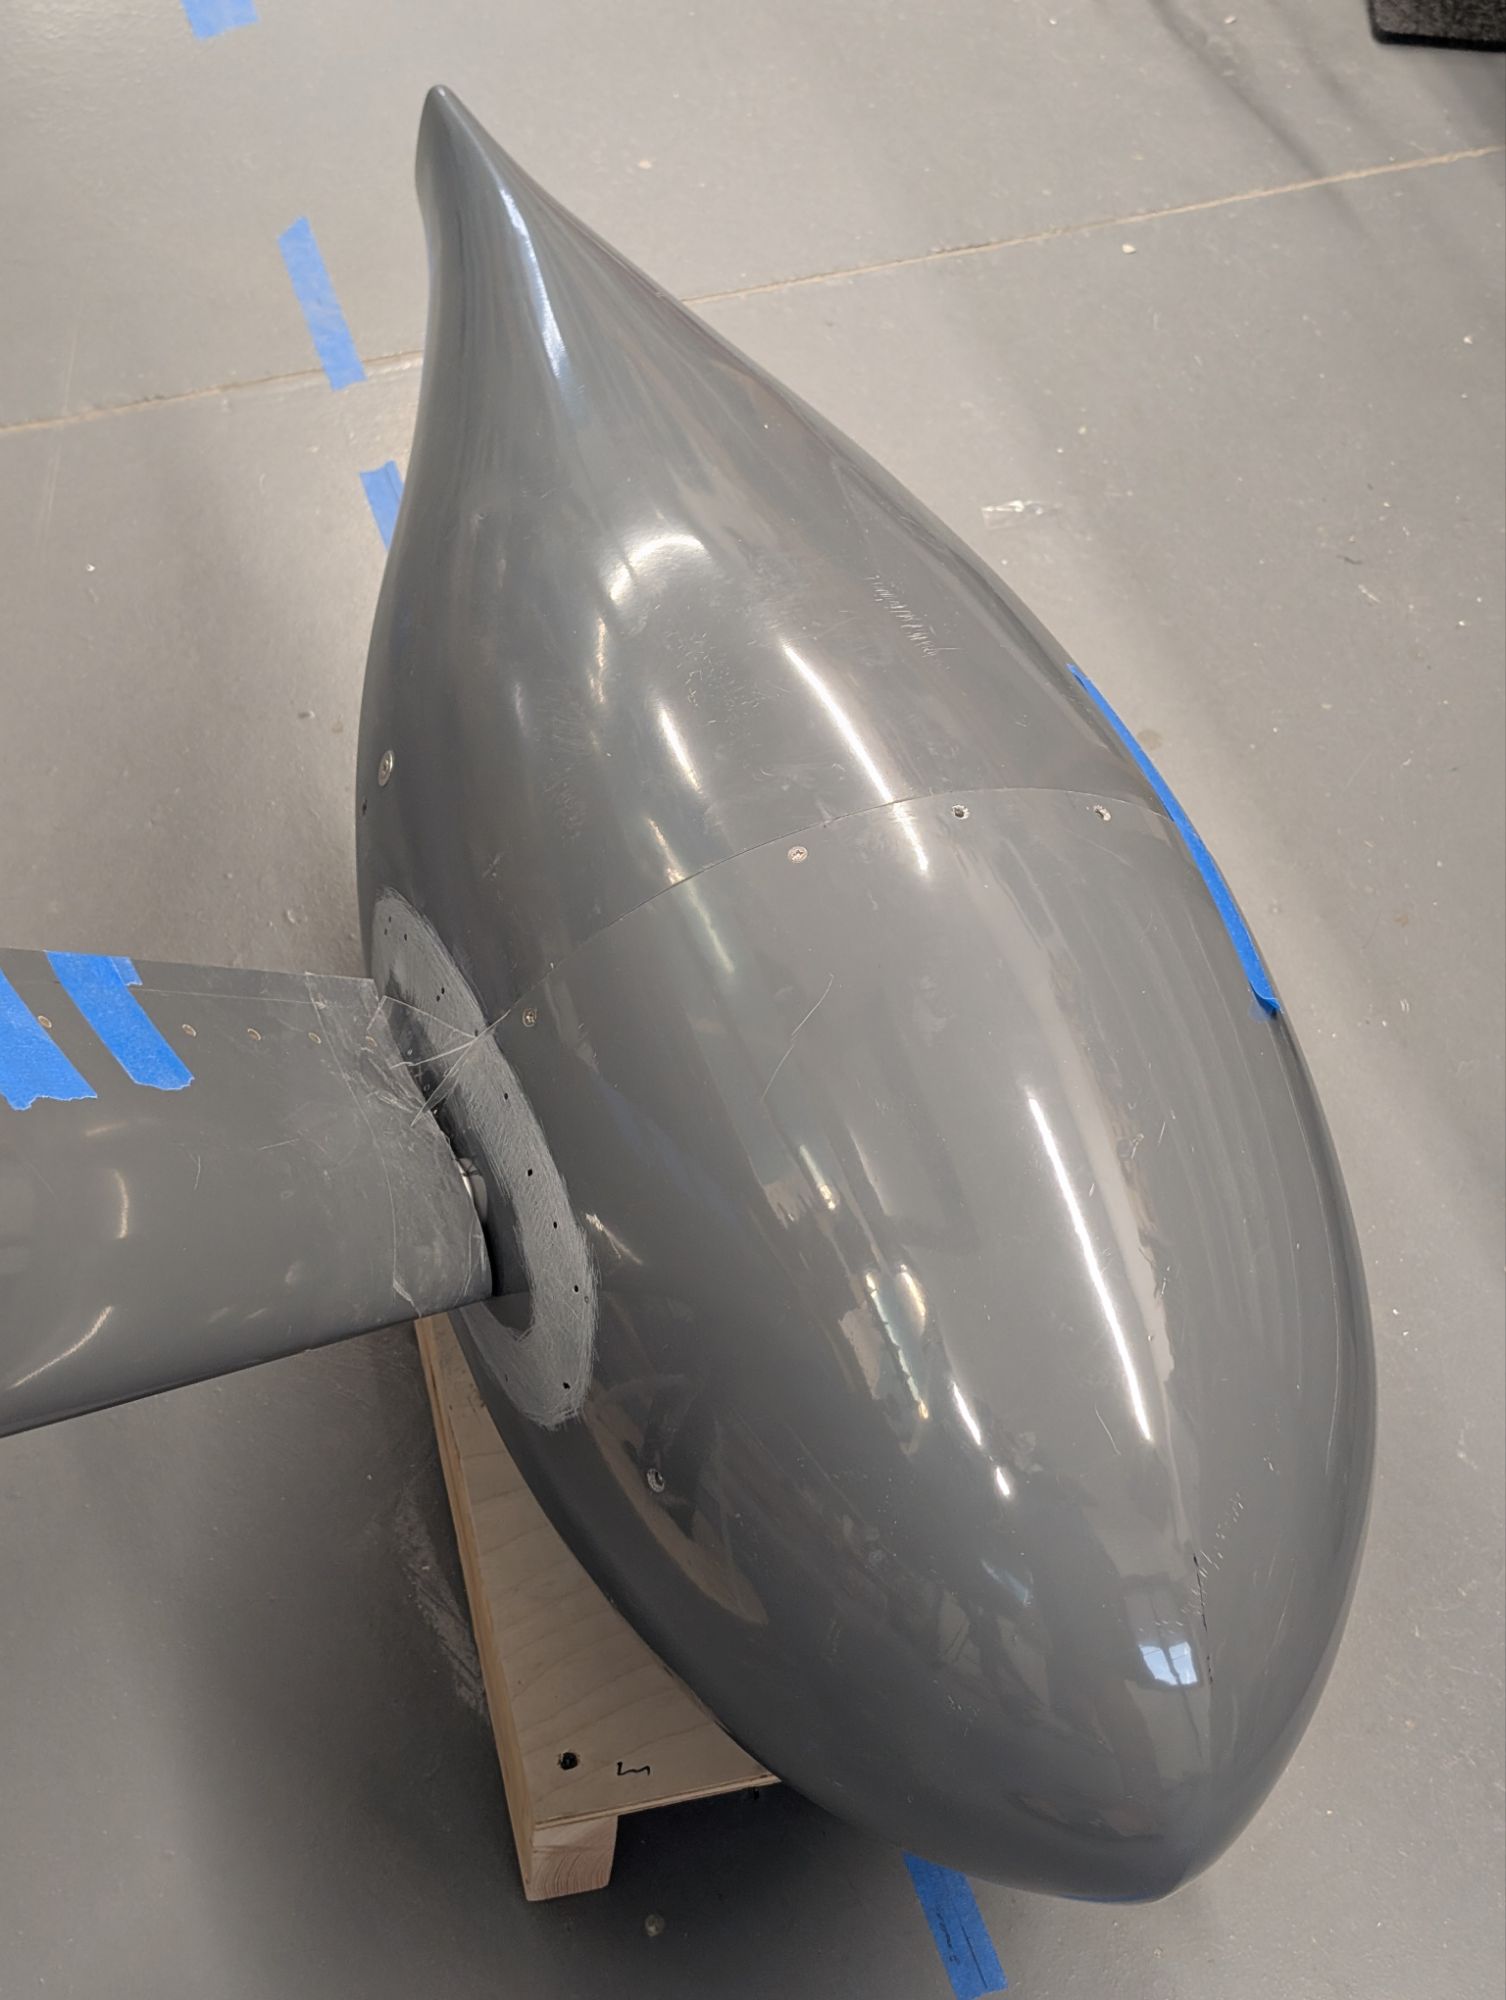
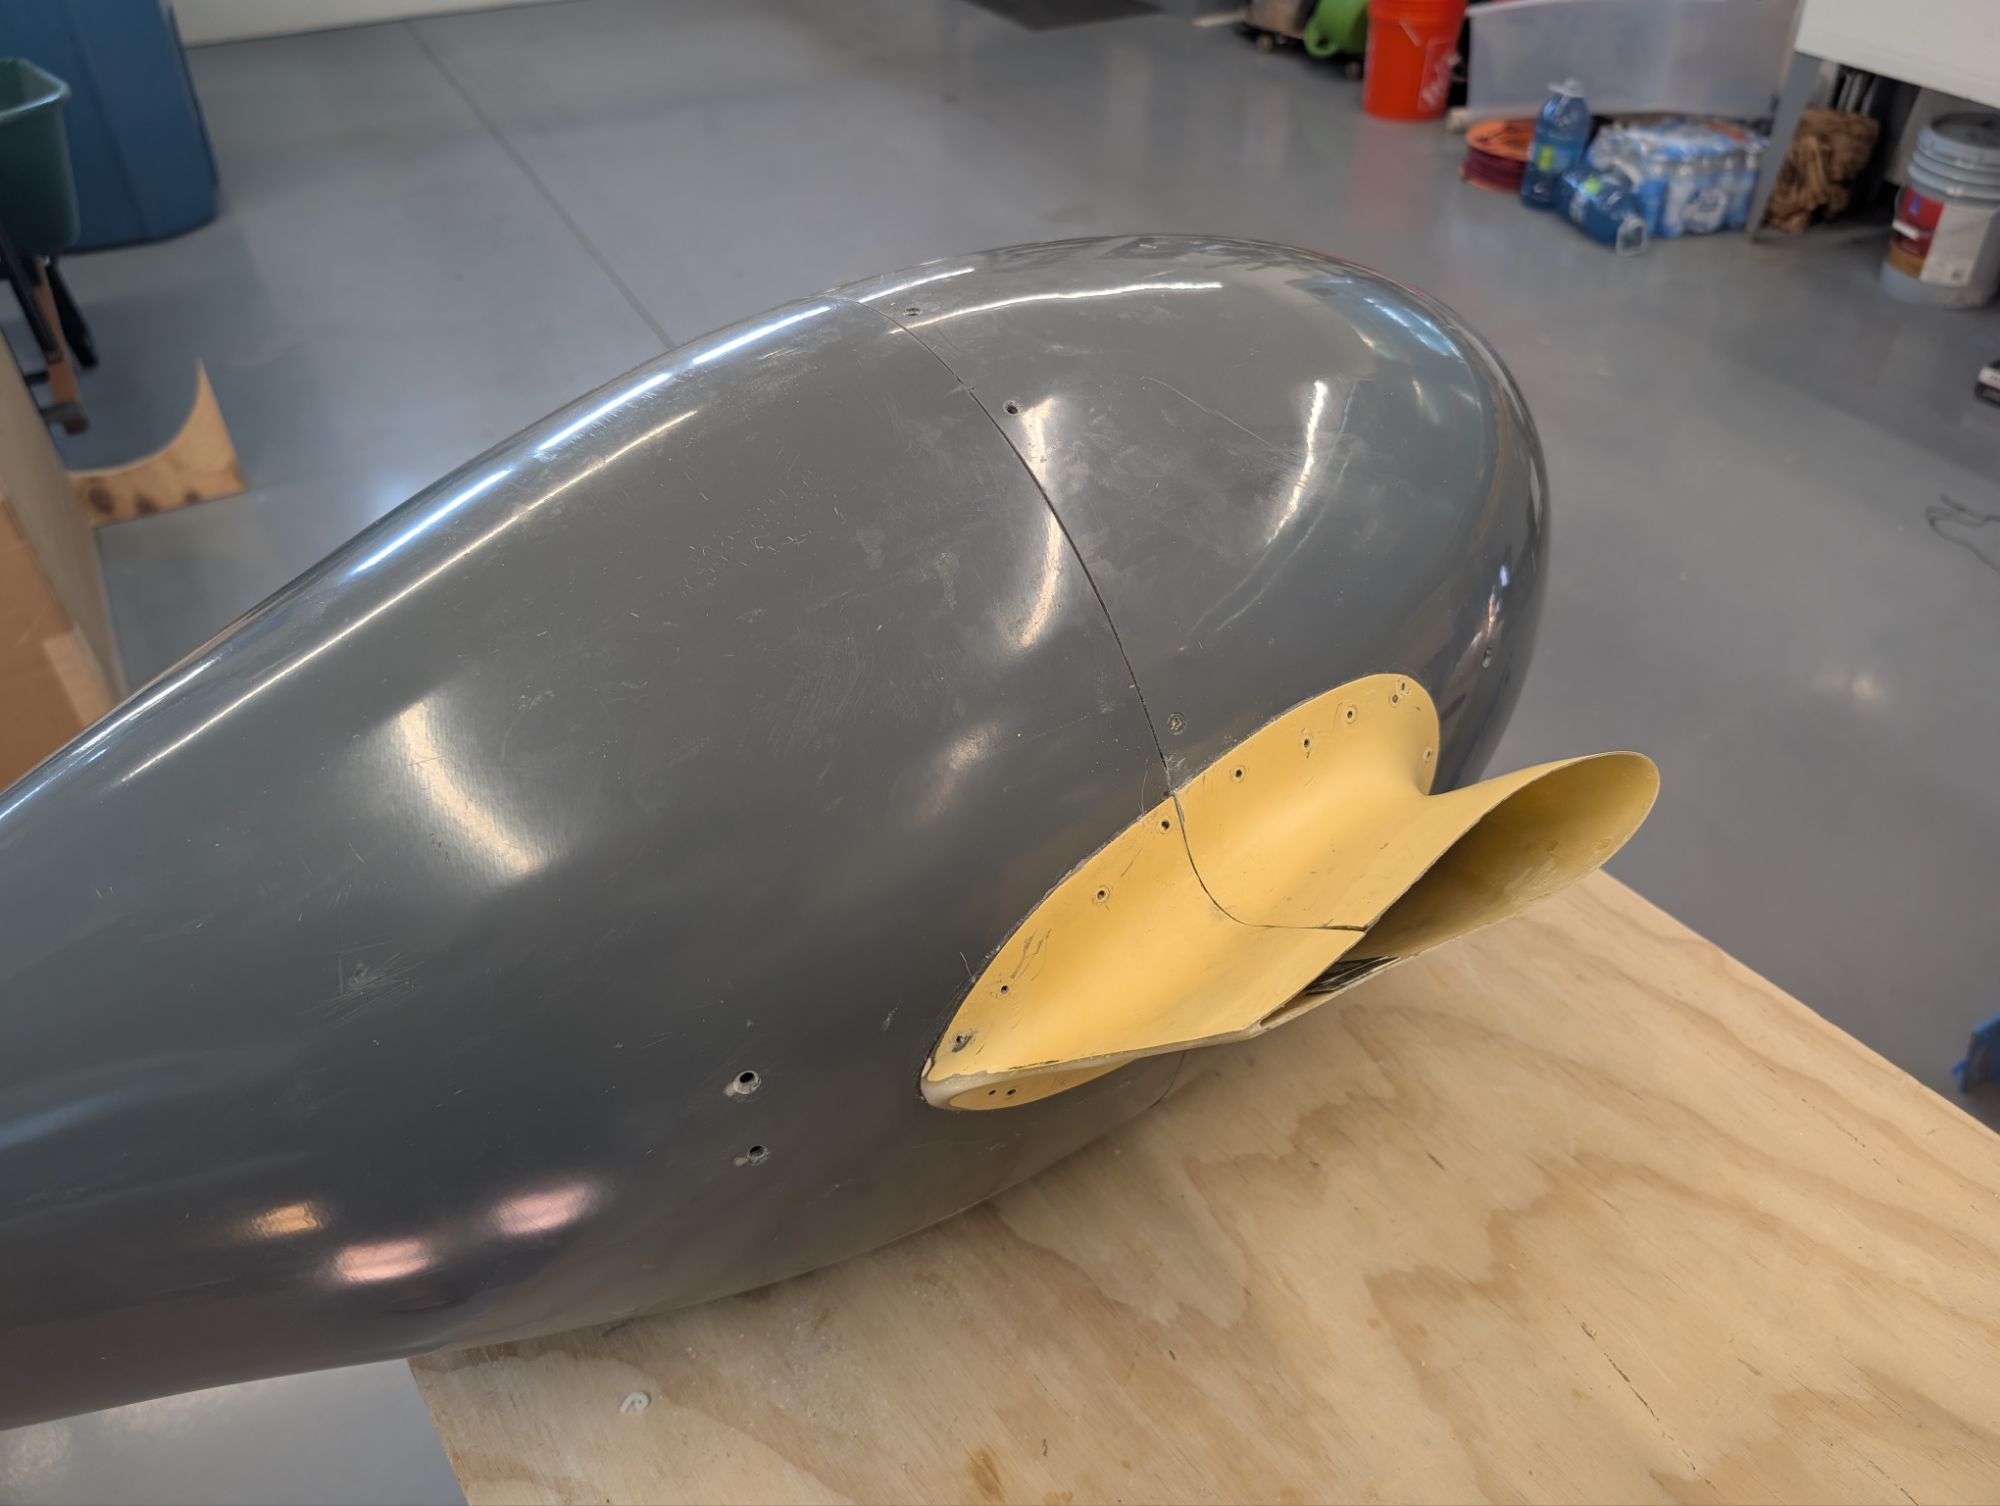
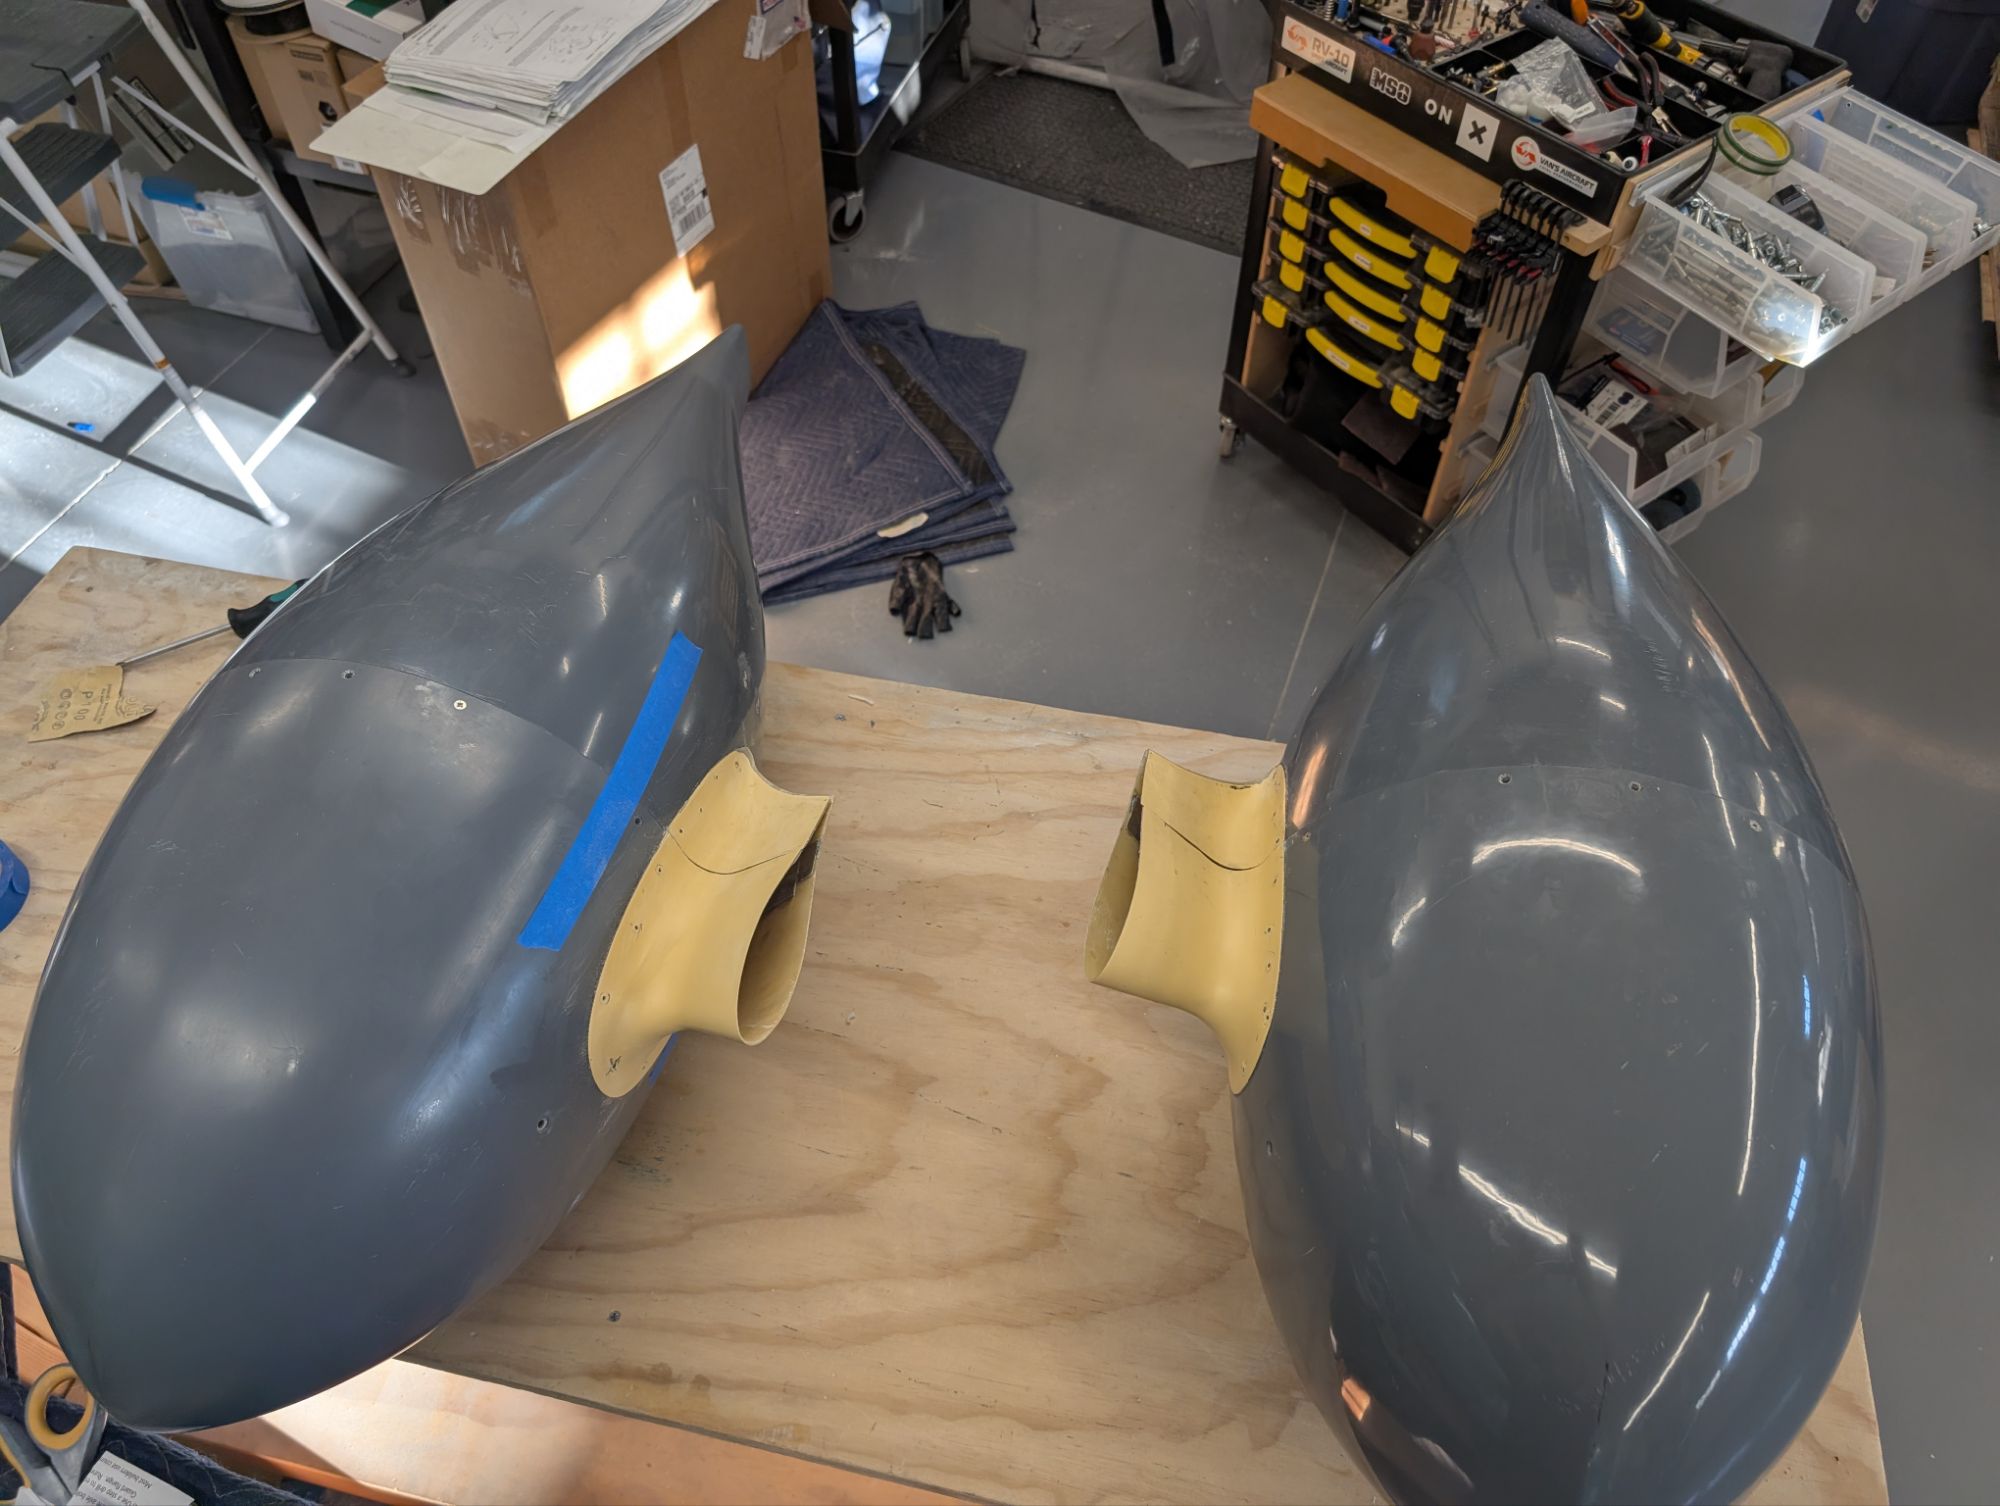
I prepared the fairings per the plans (this was a lot of work with many iterations—lining up rounded parts is tricky, and I wanted to get these well aligned with the airstream).
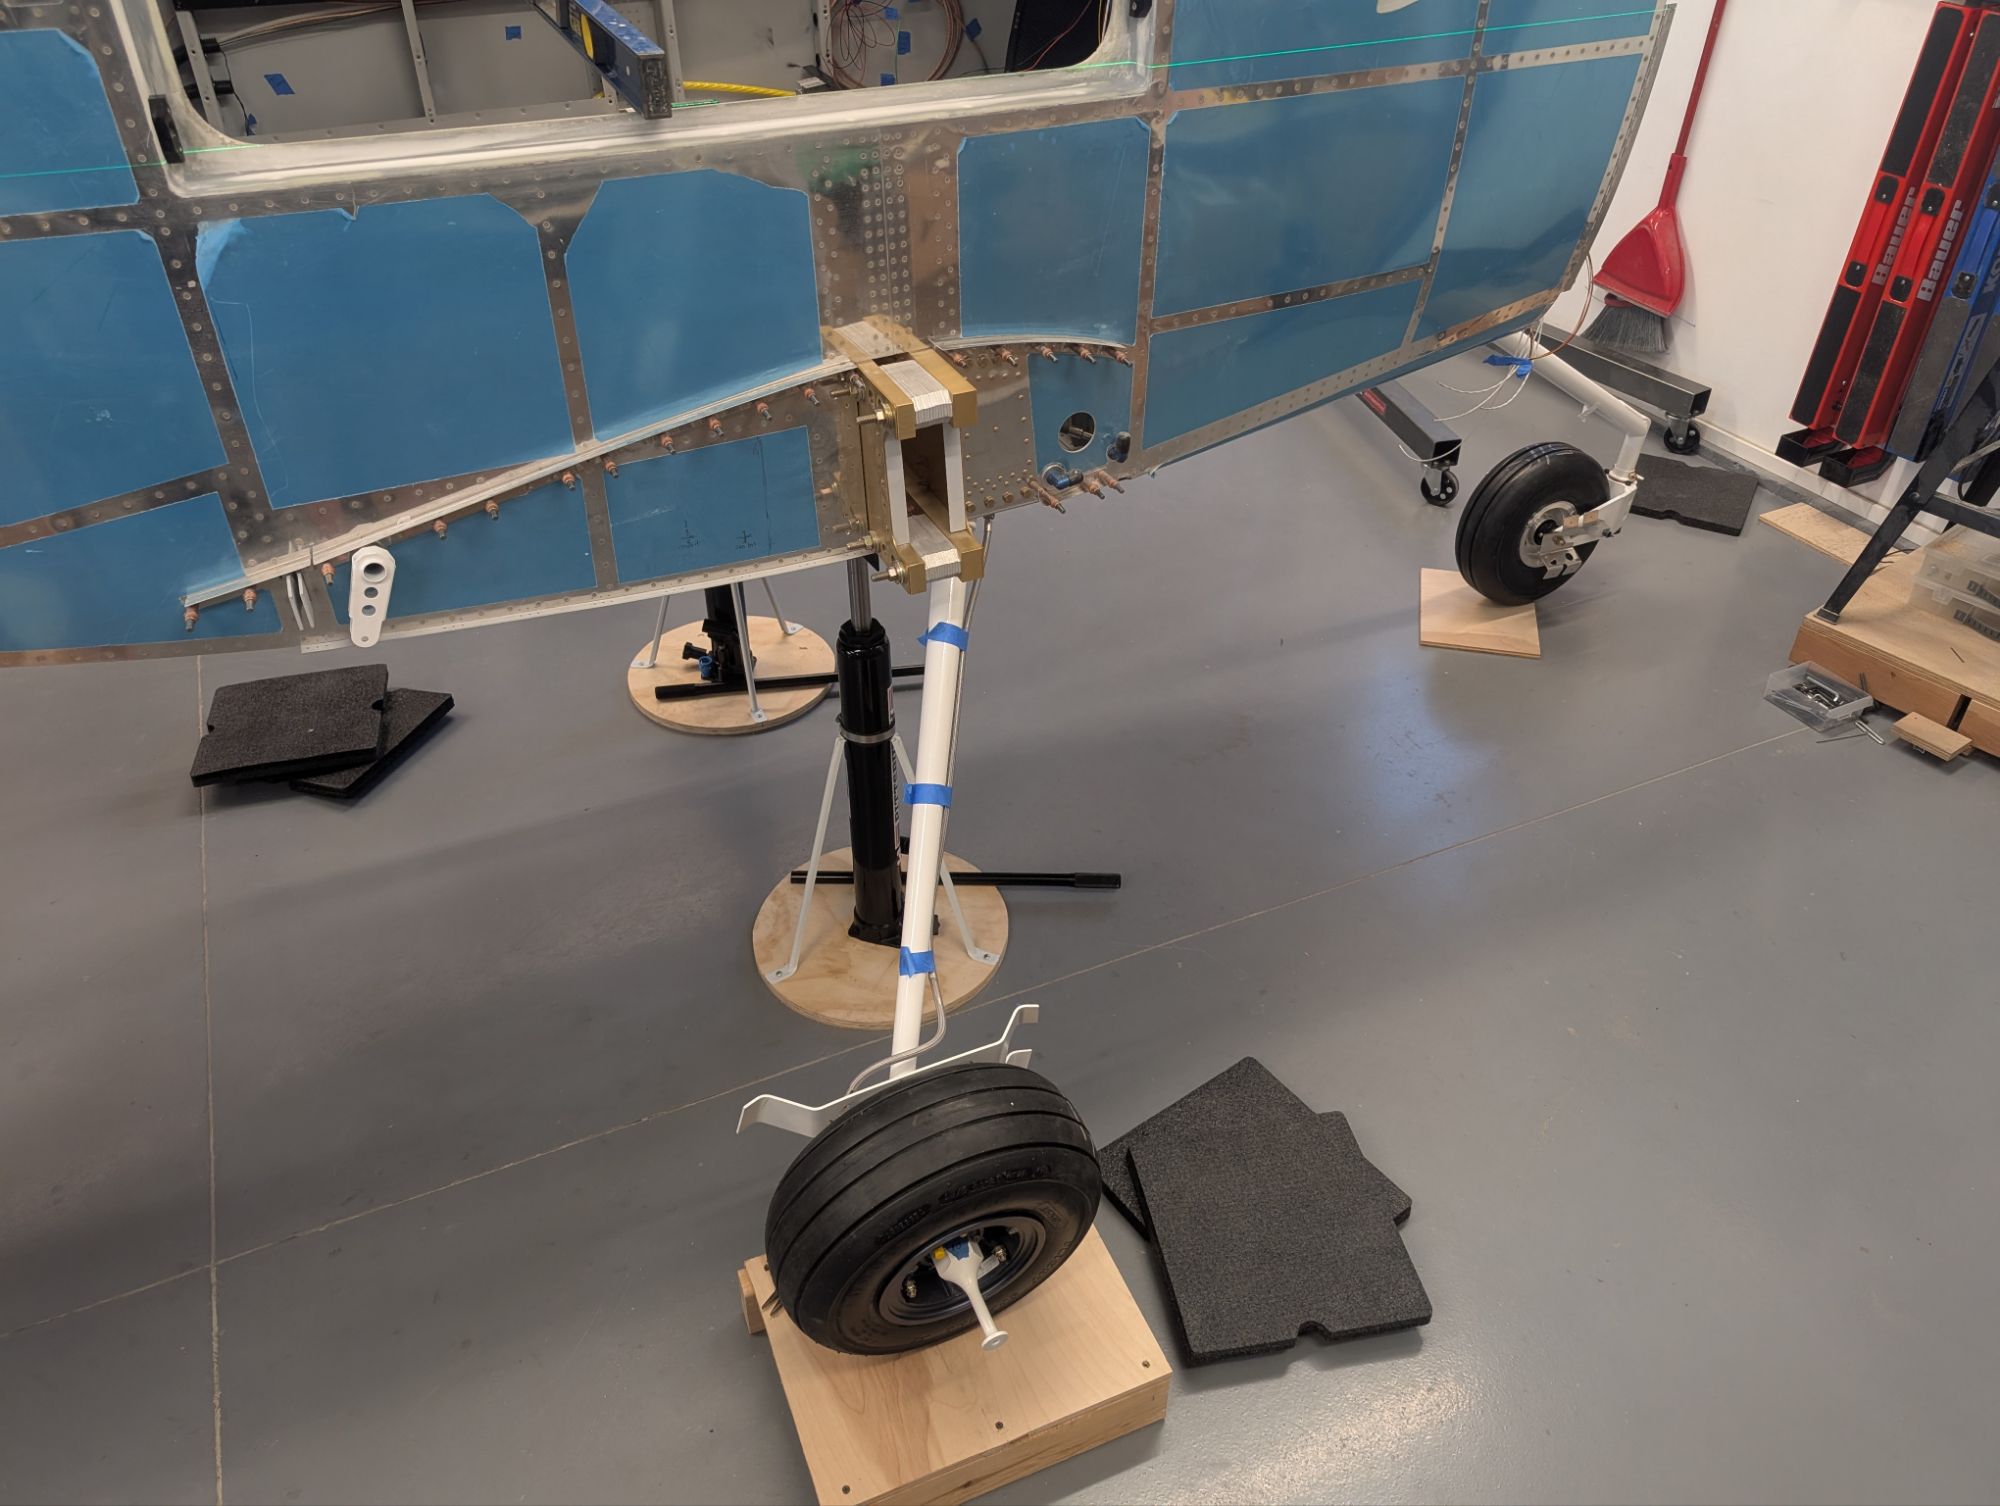
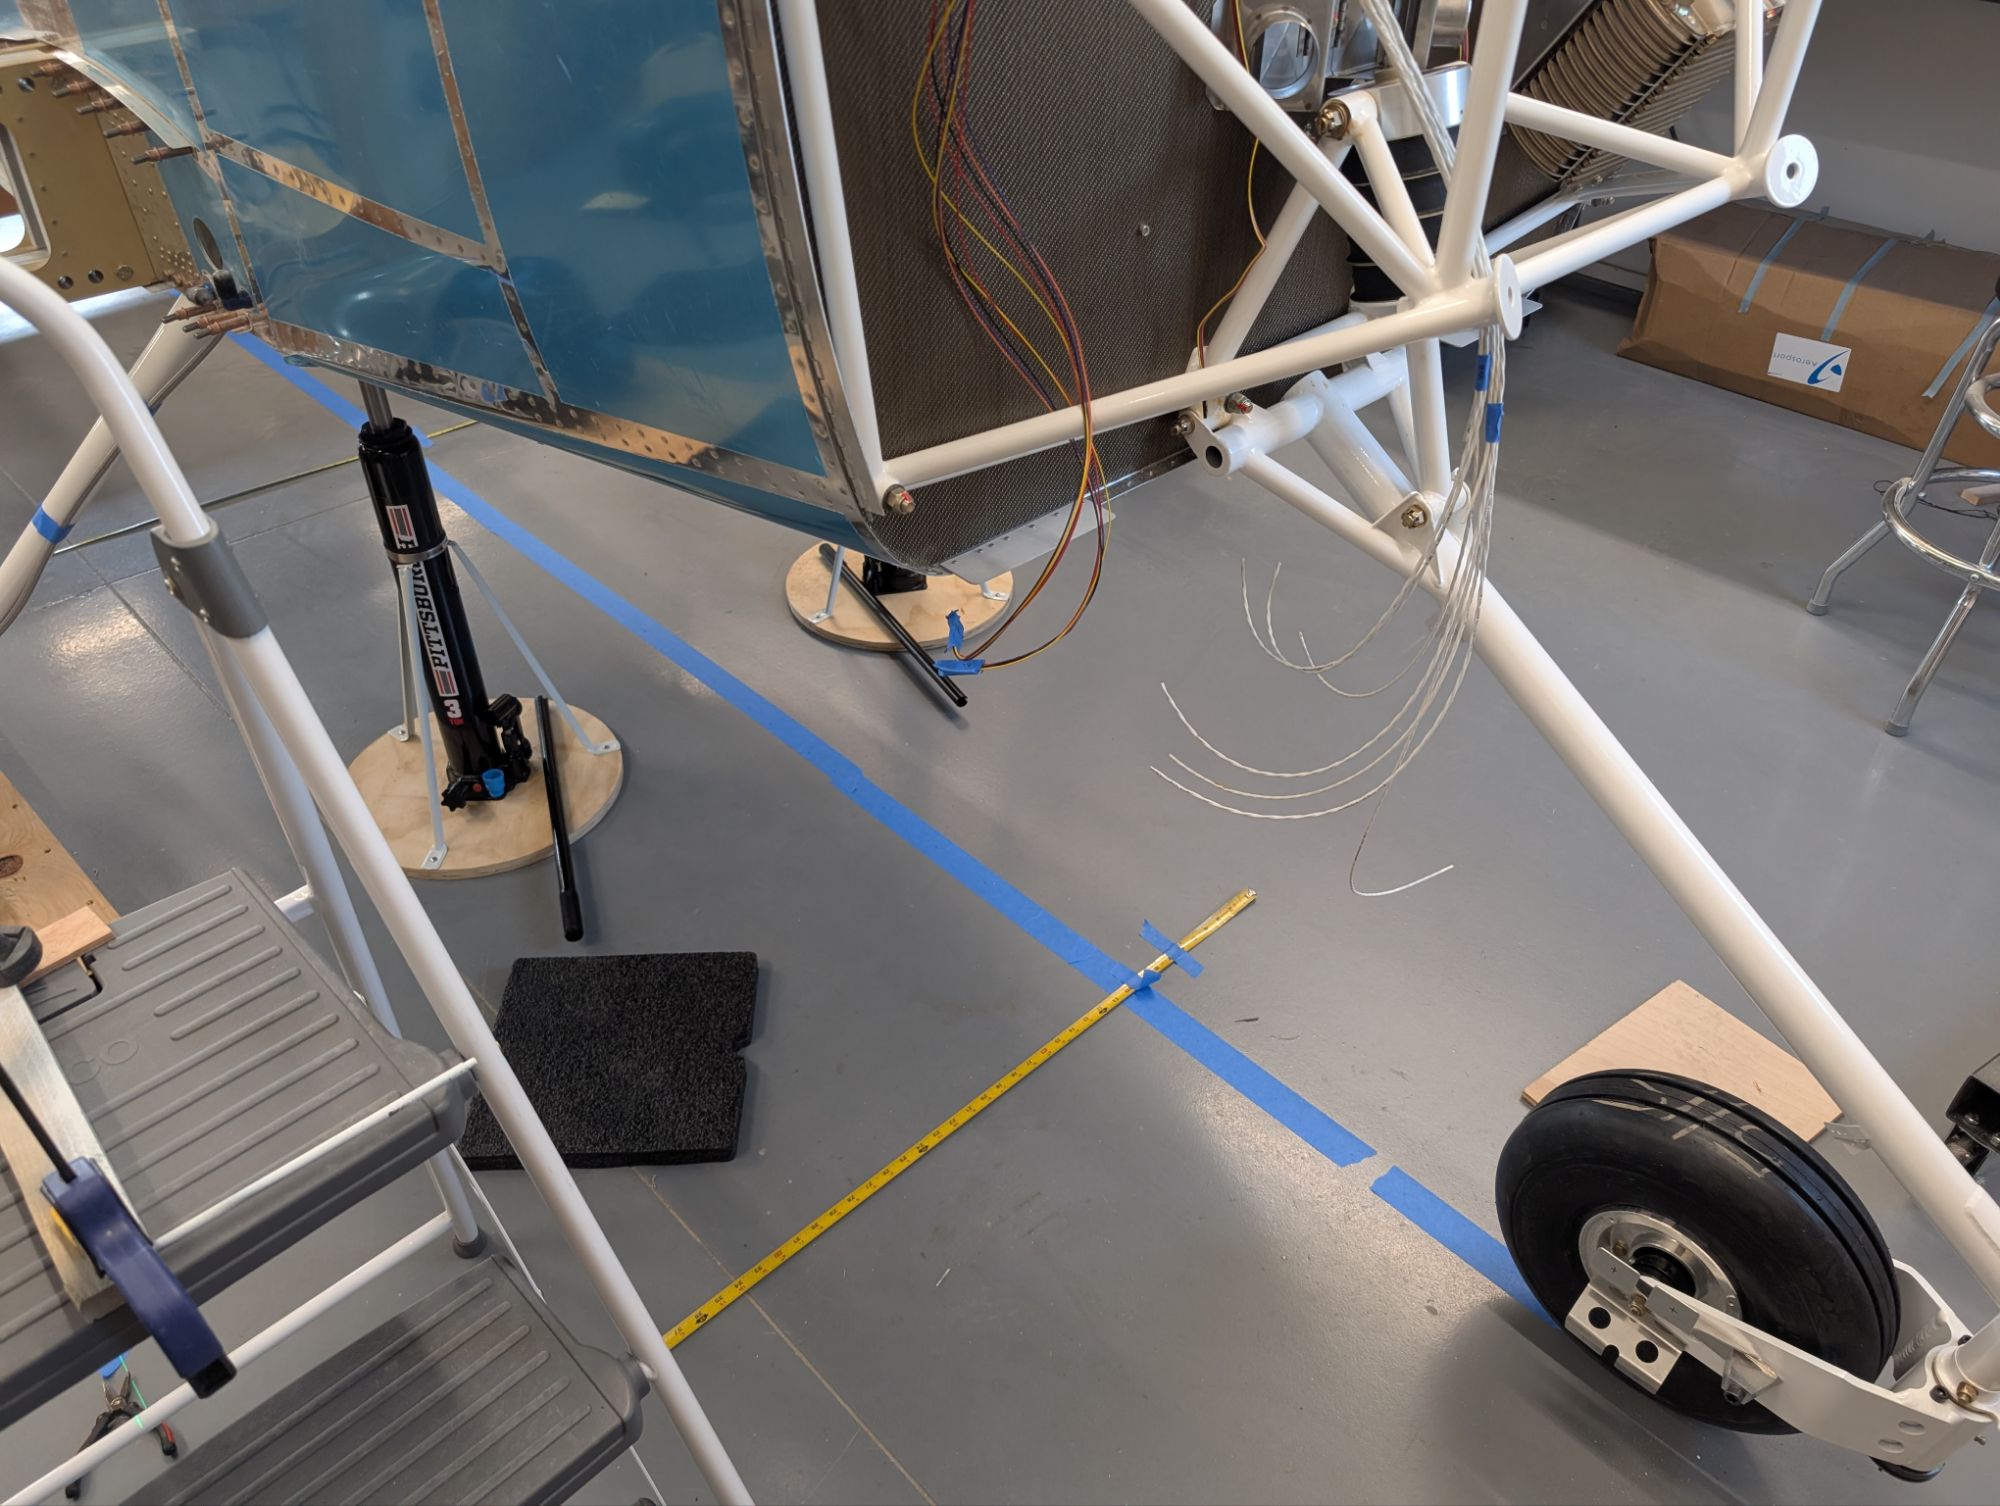
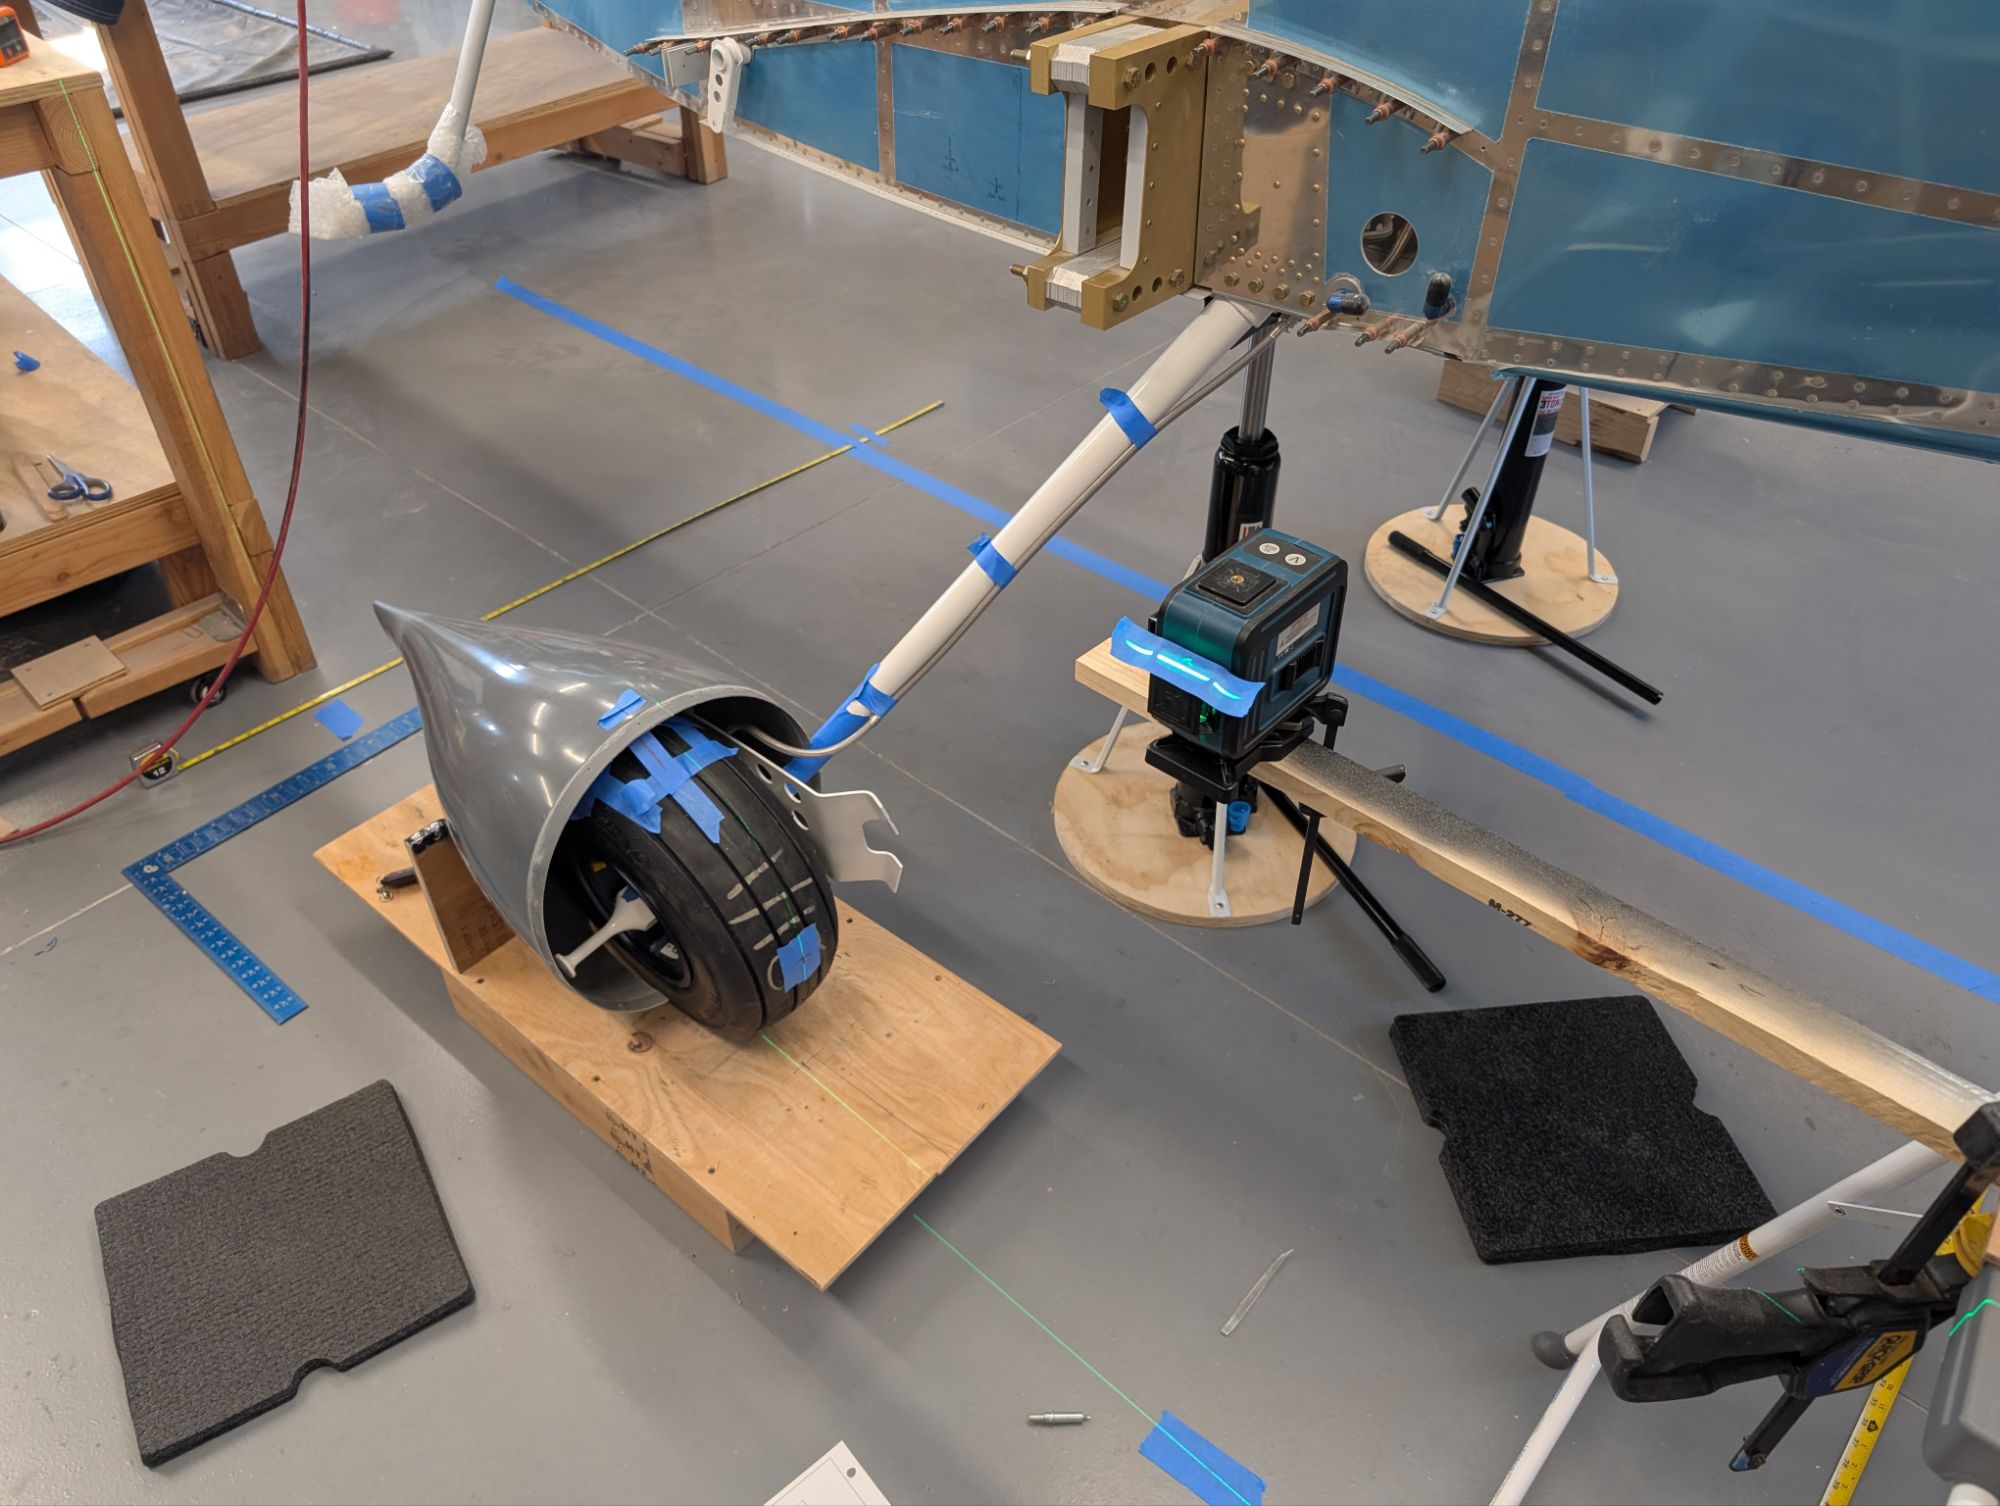
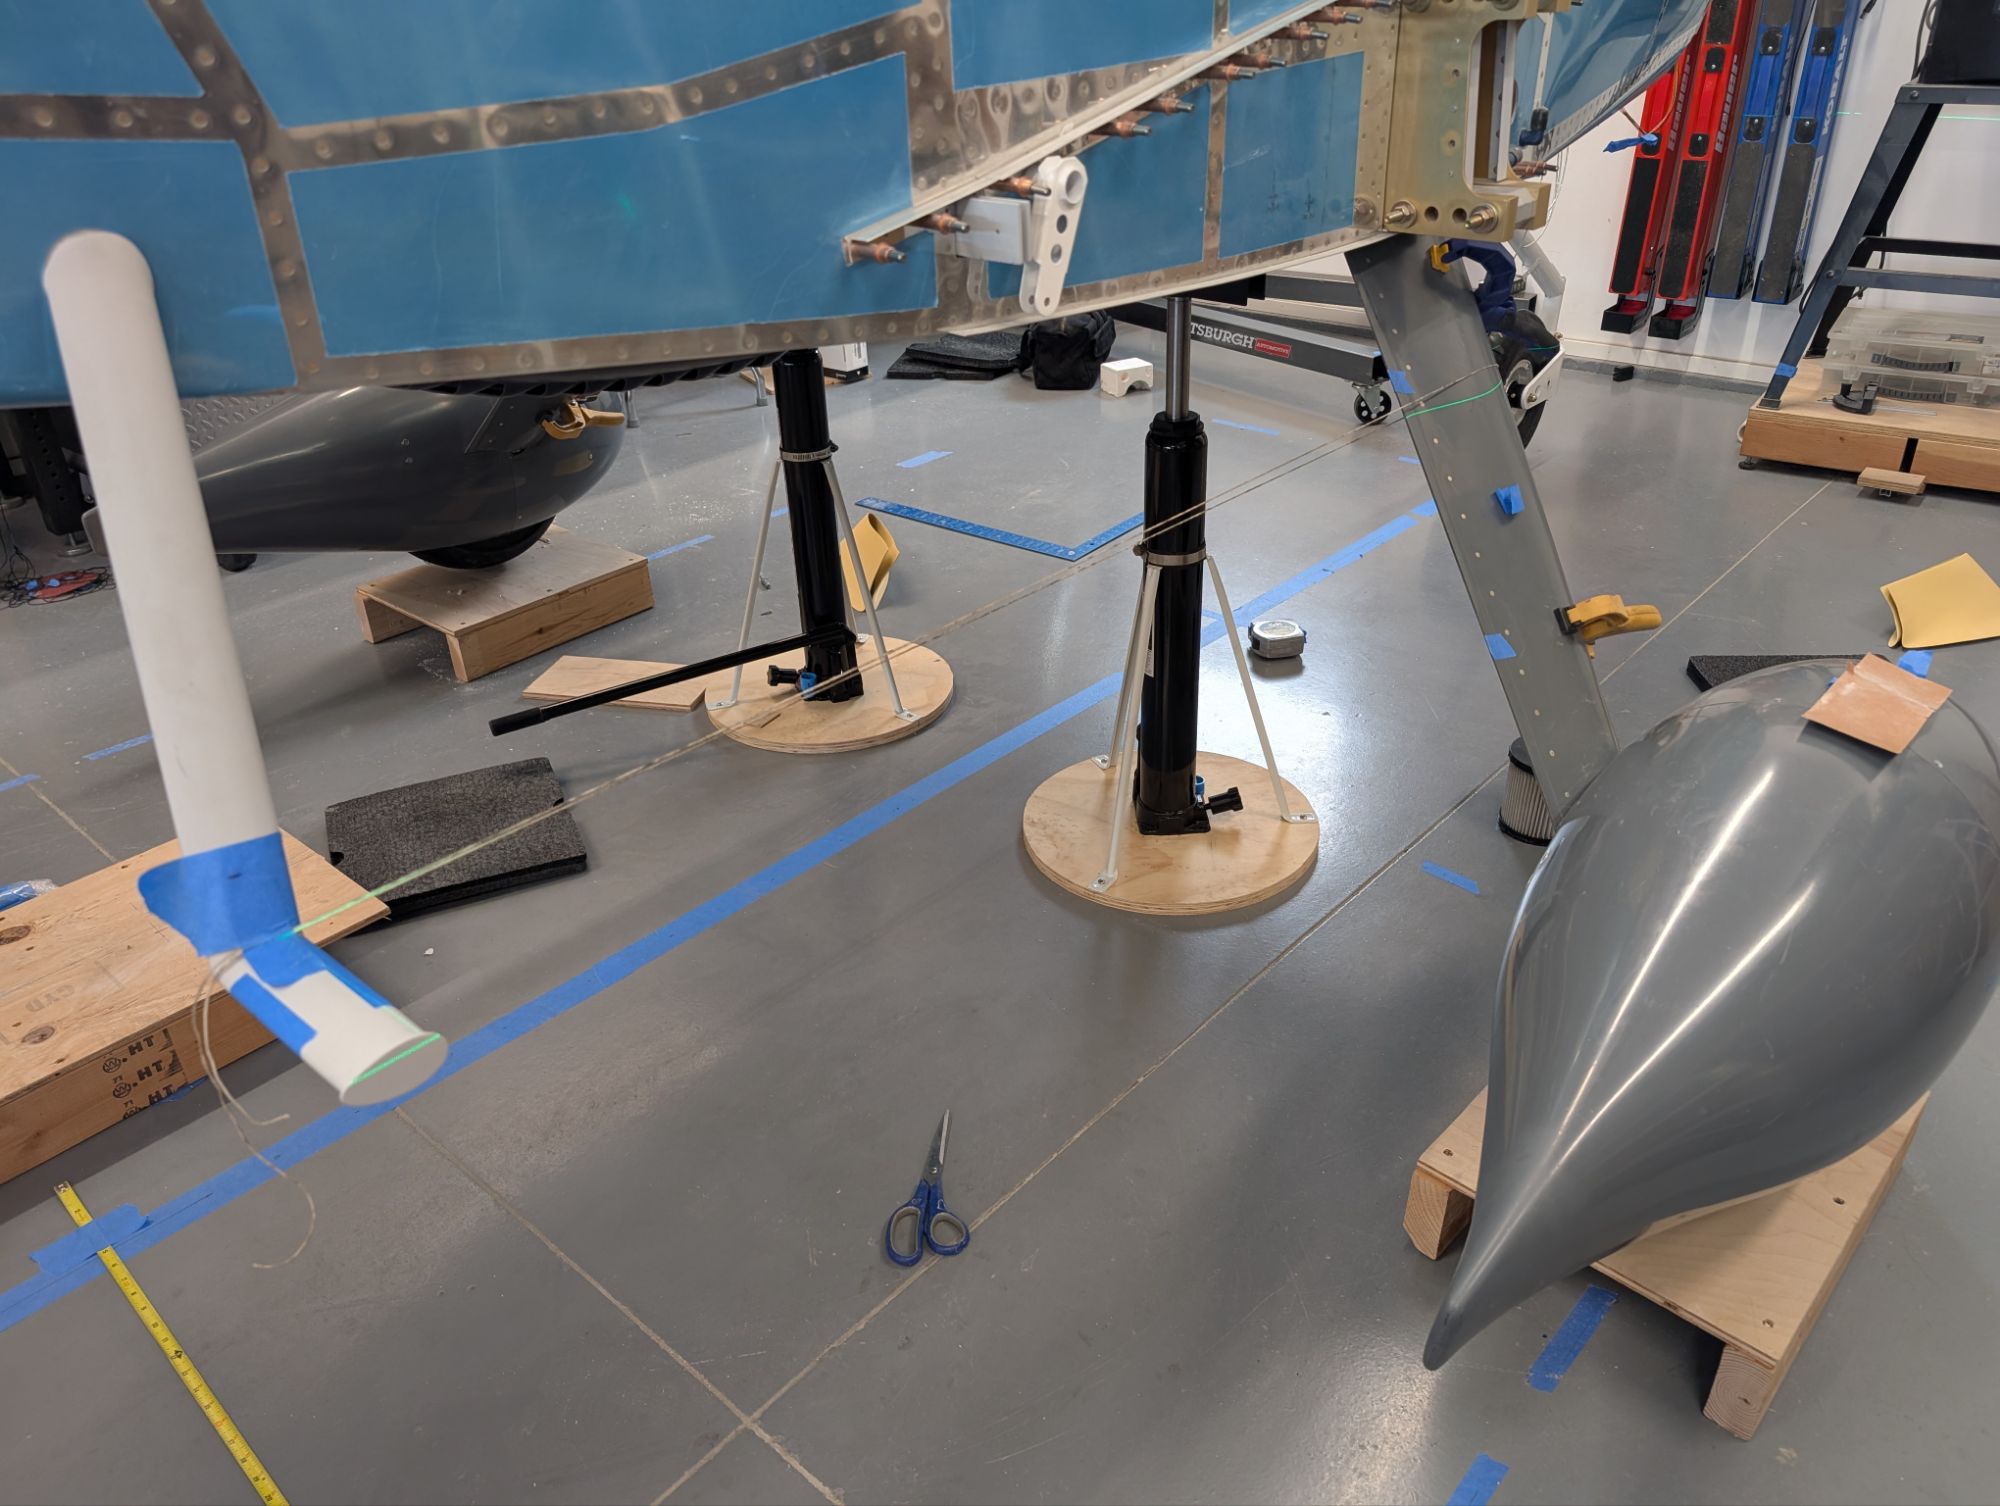
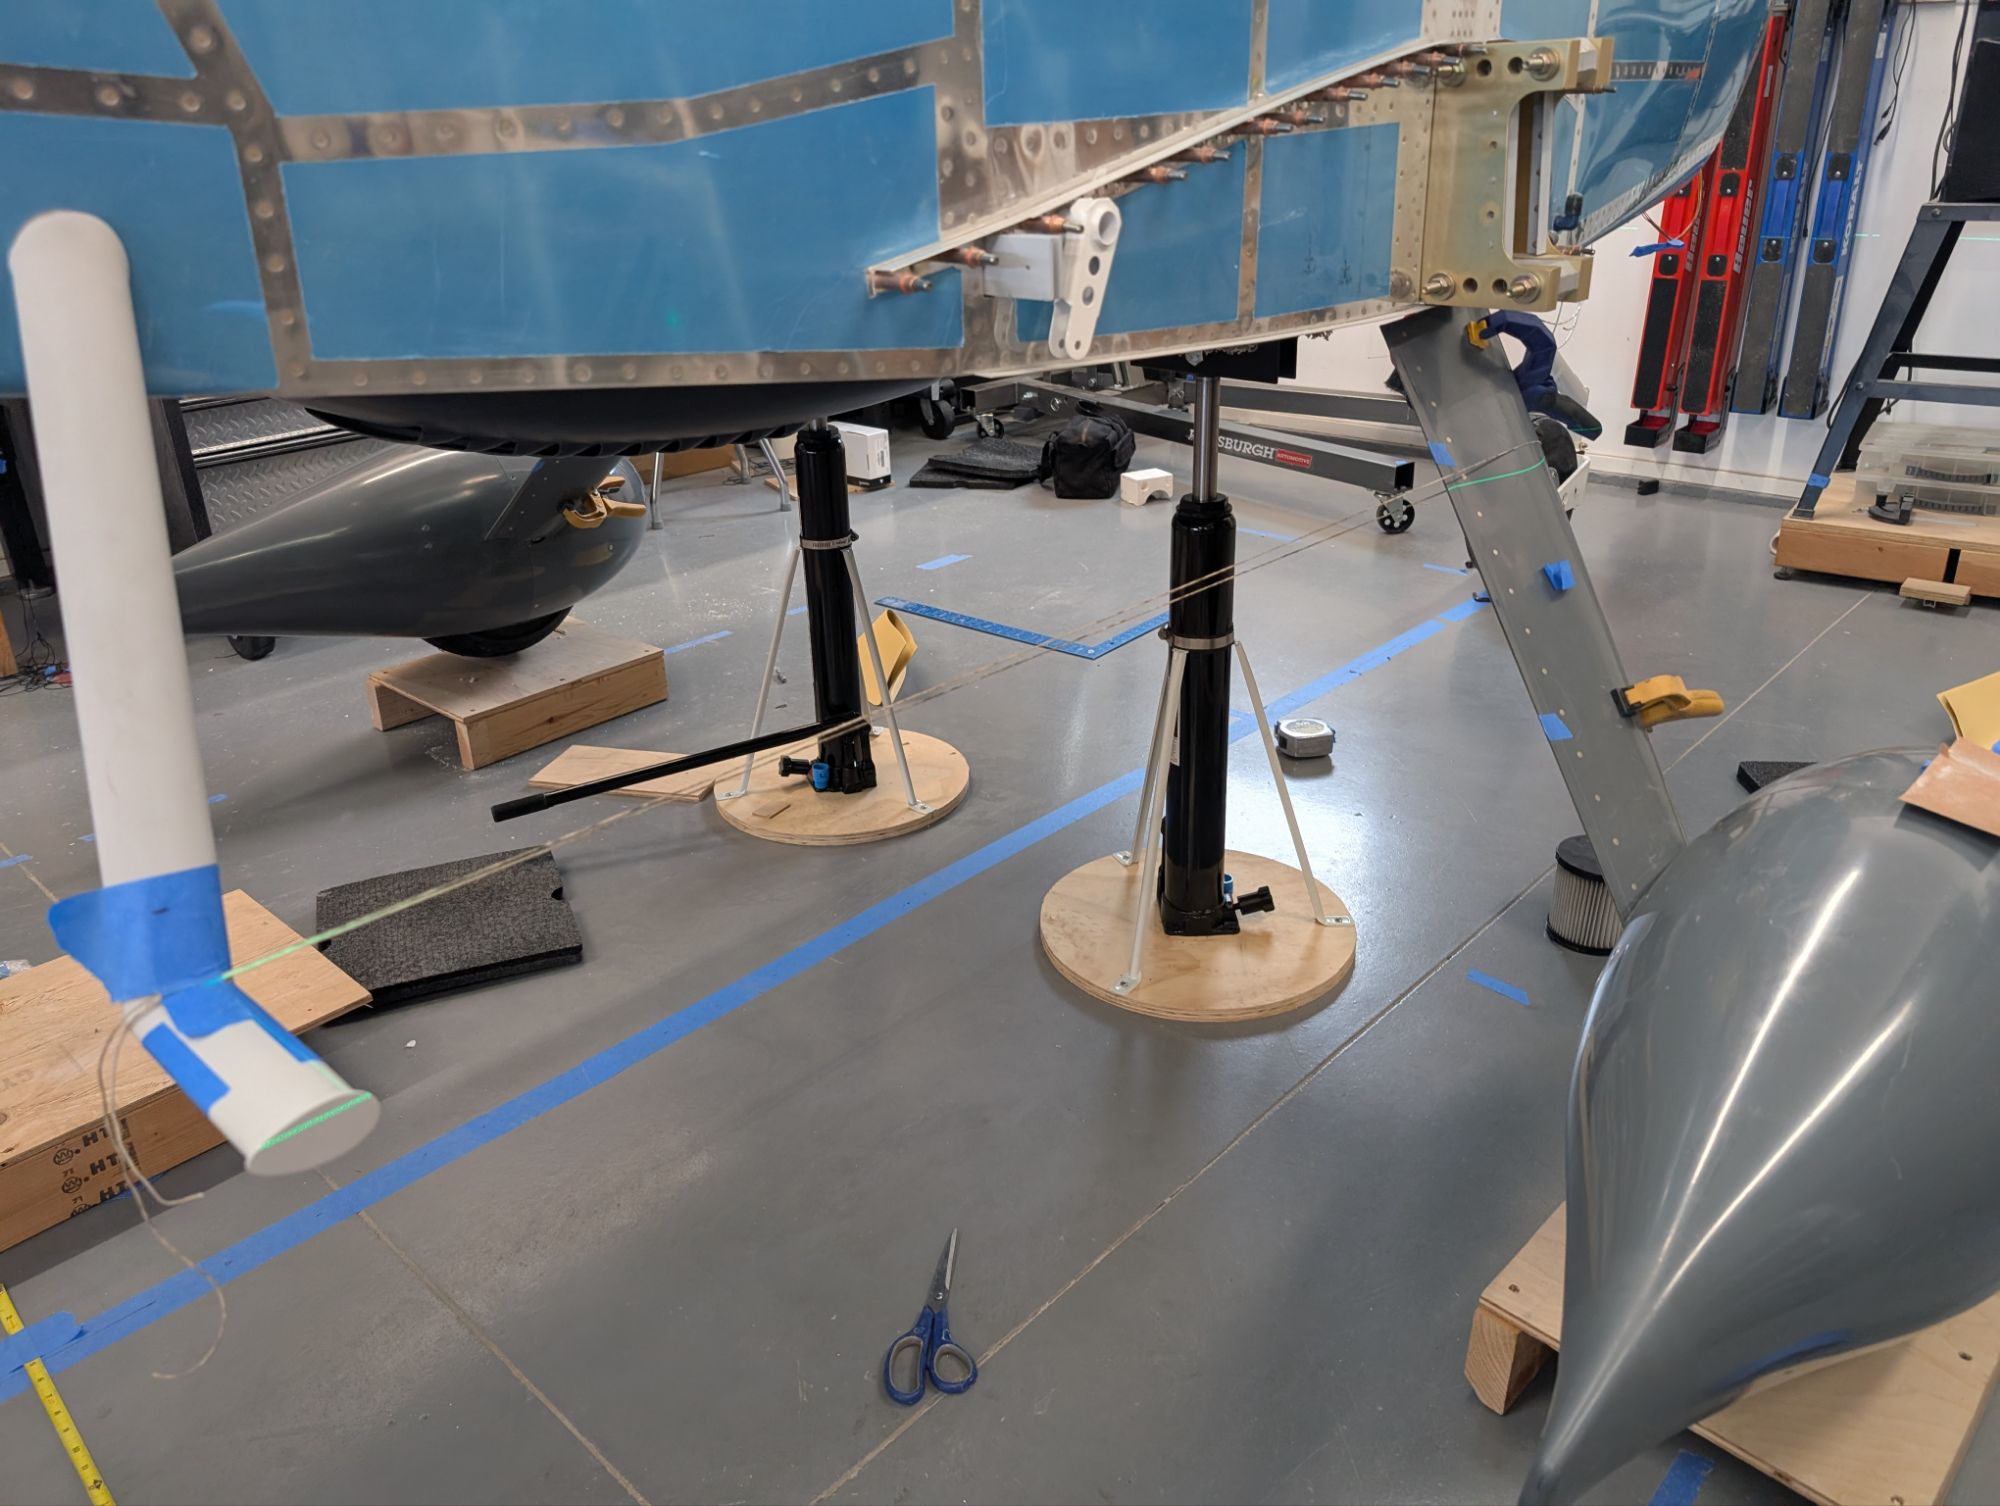
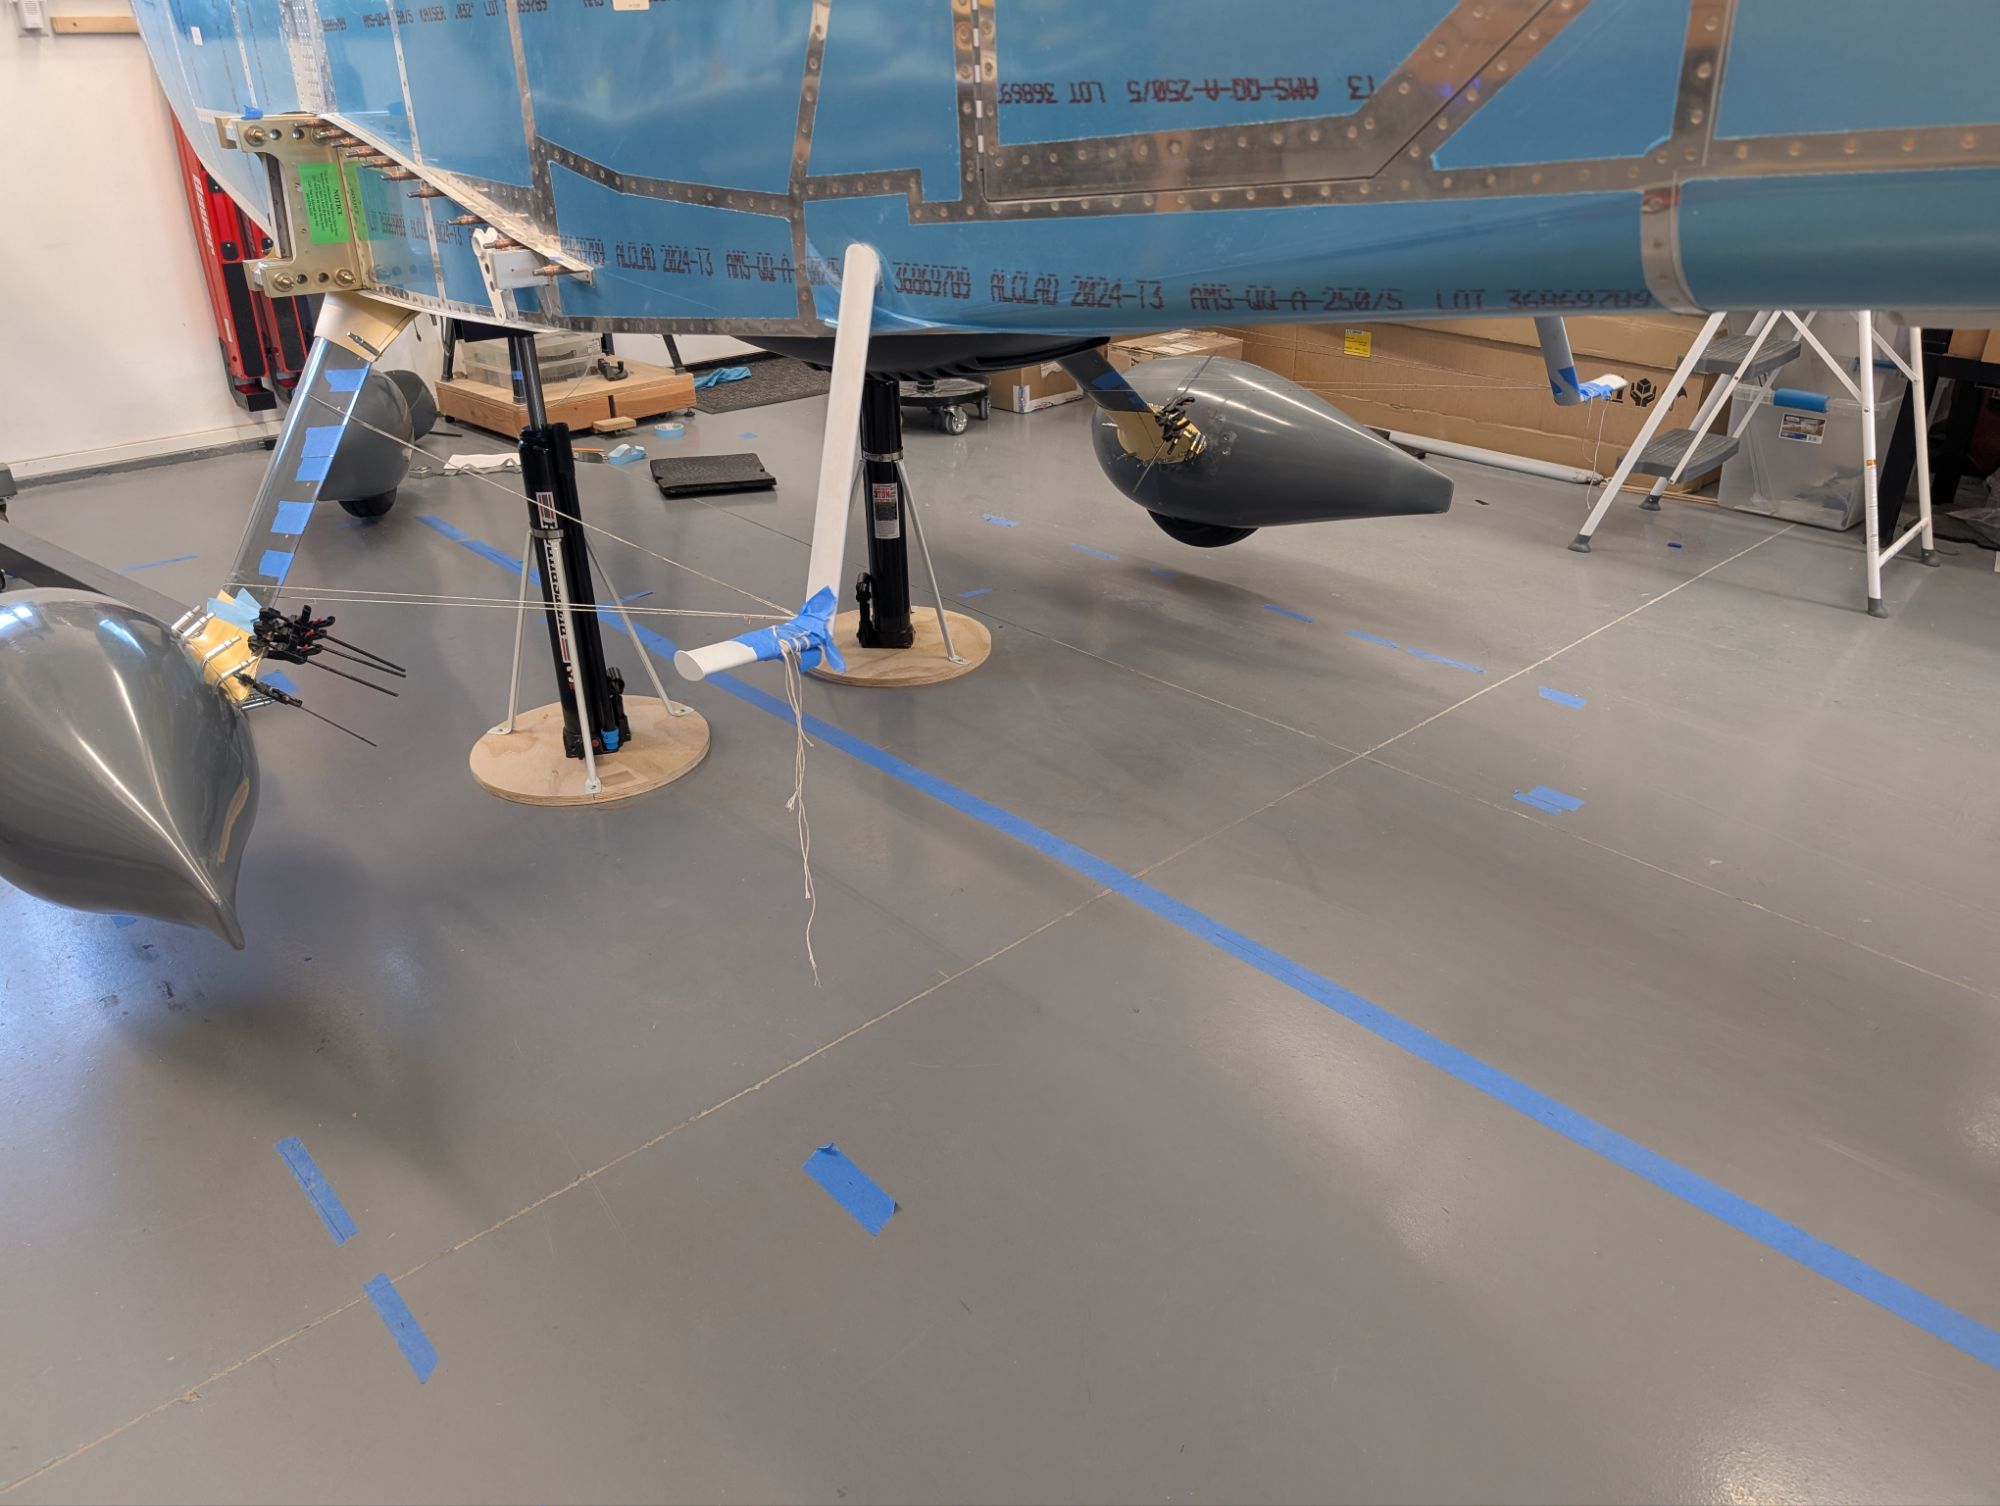
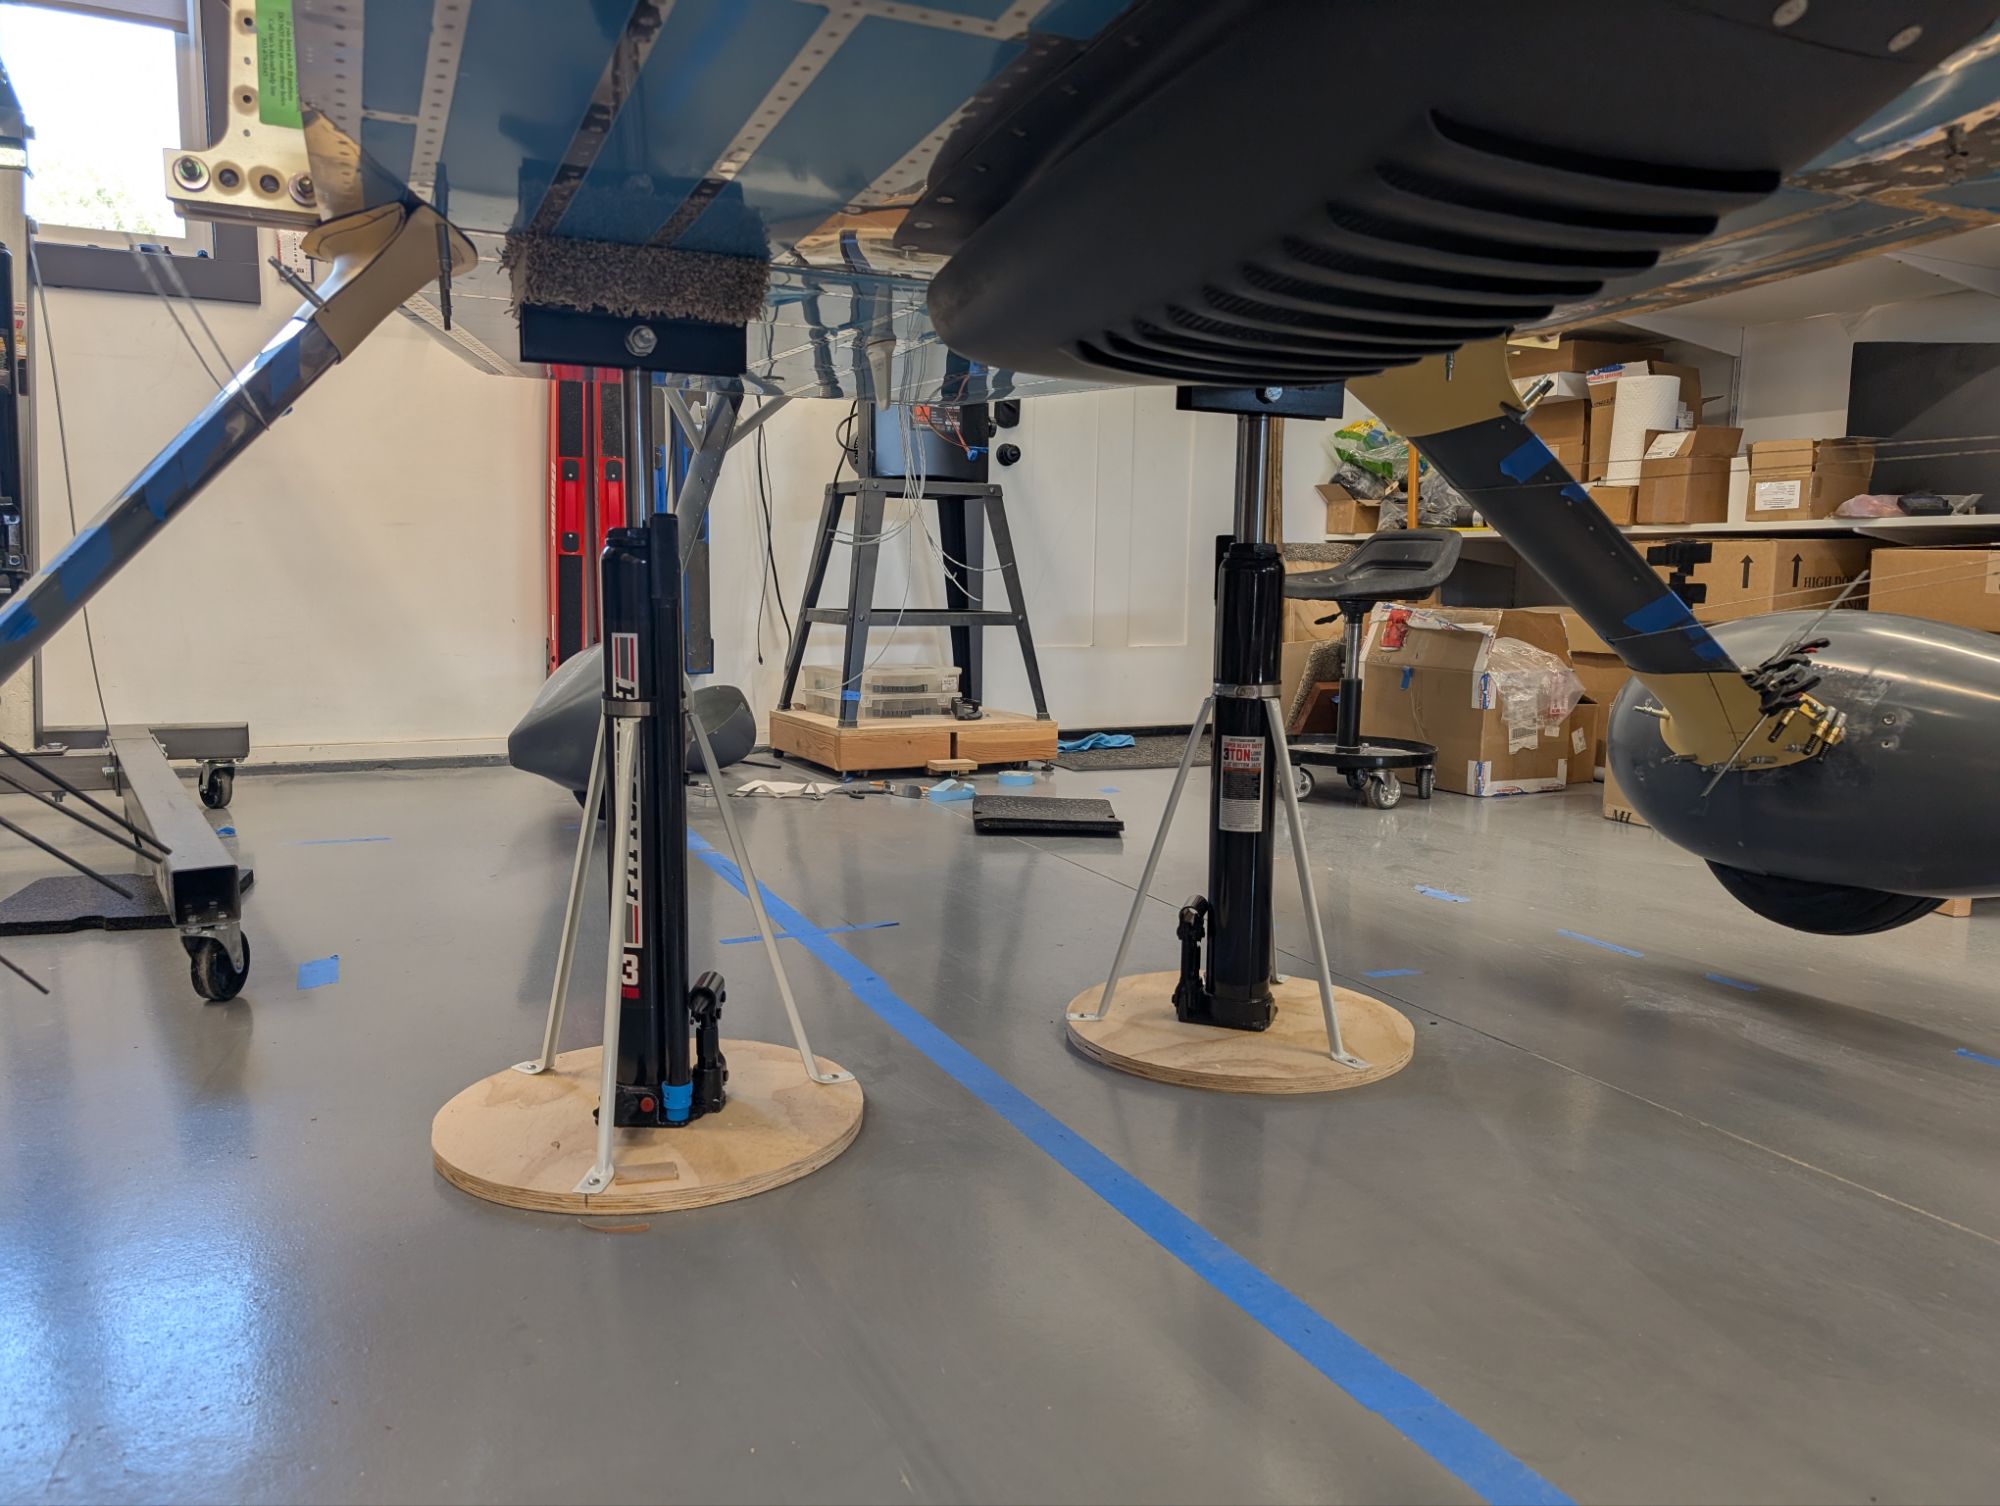
I used jack stands to raise the airplane into flight attitude and used a laser level to align the fuselage with markings on the floor.

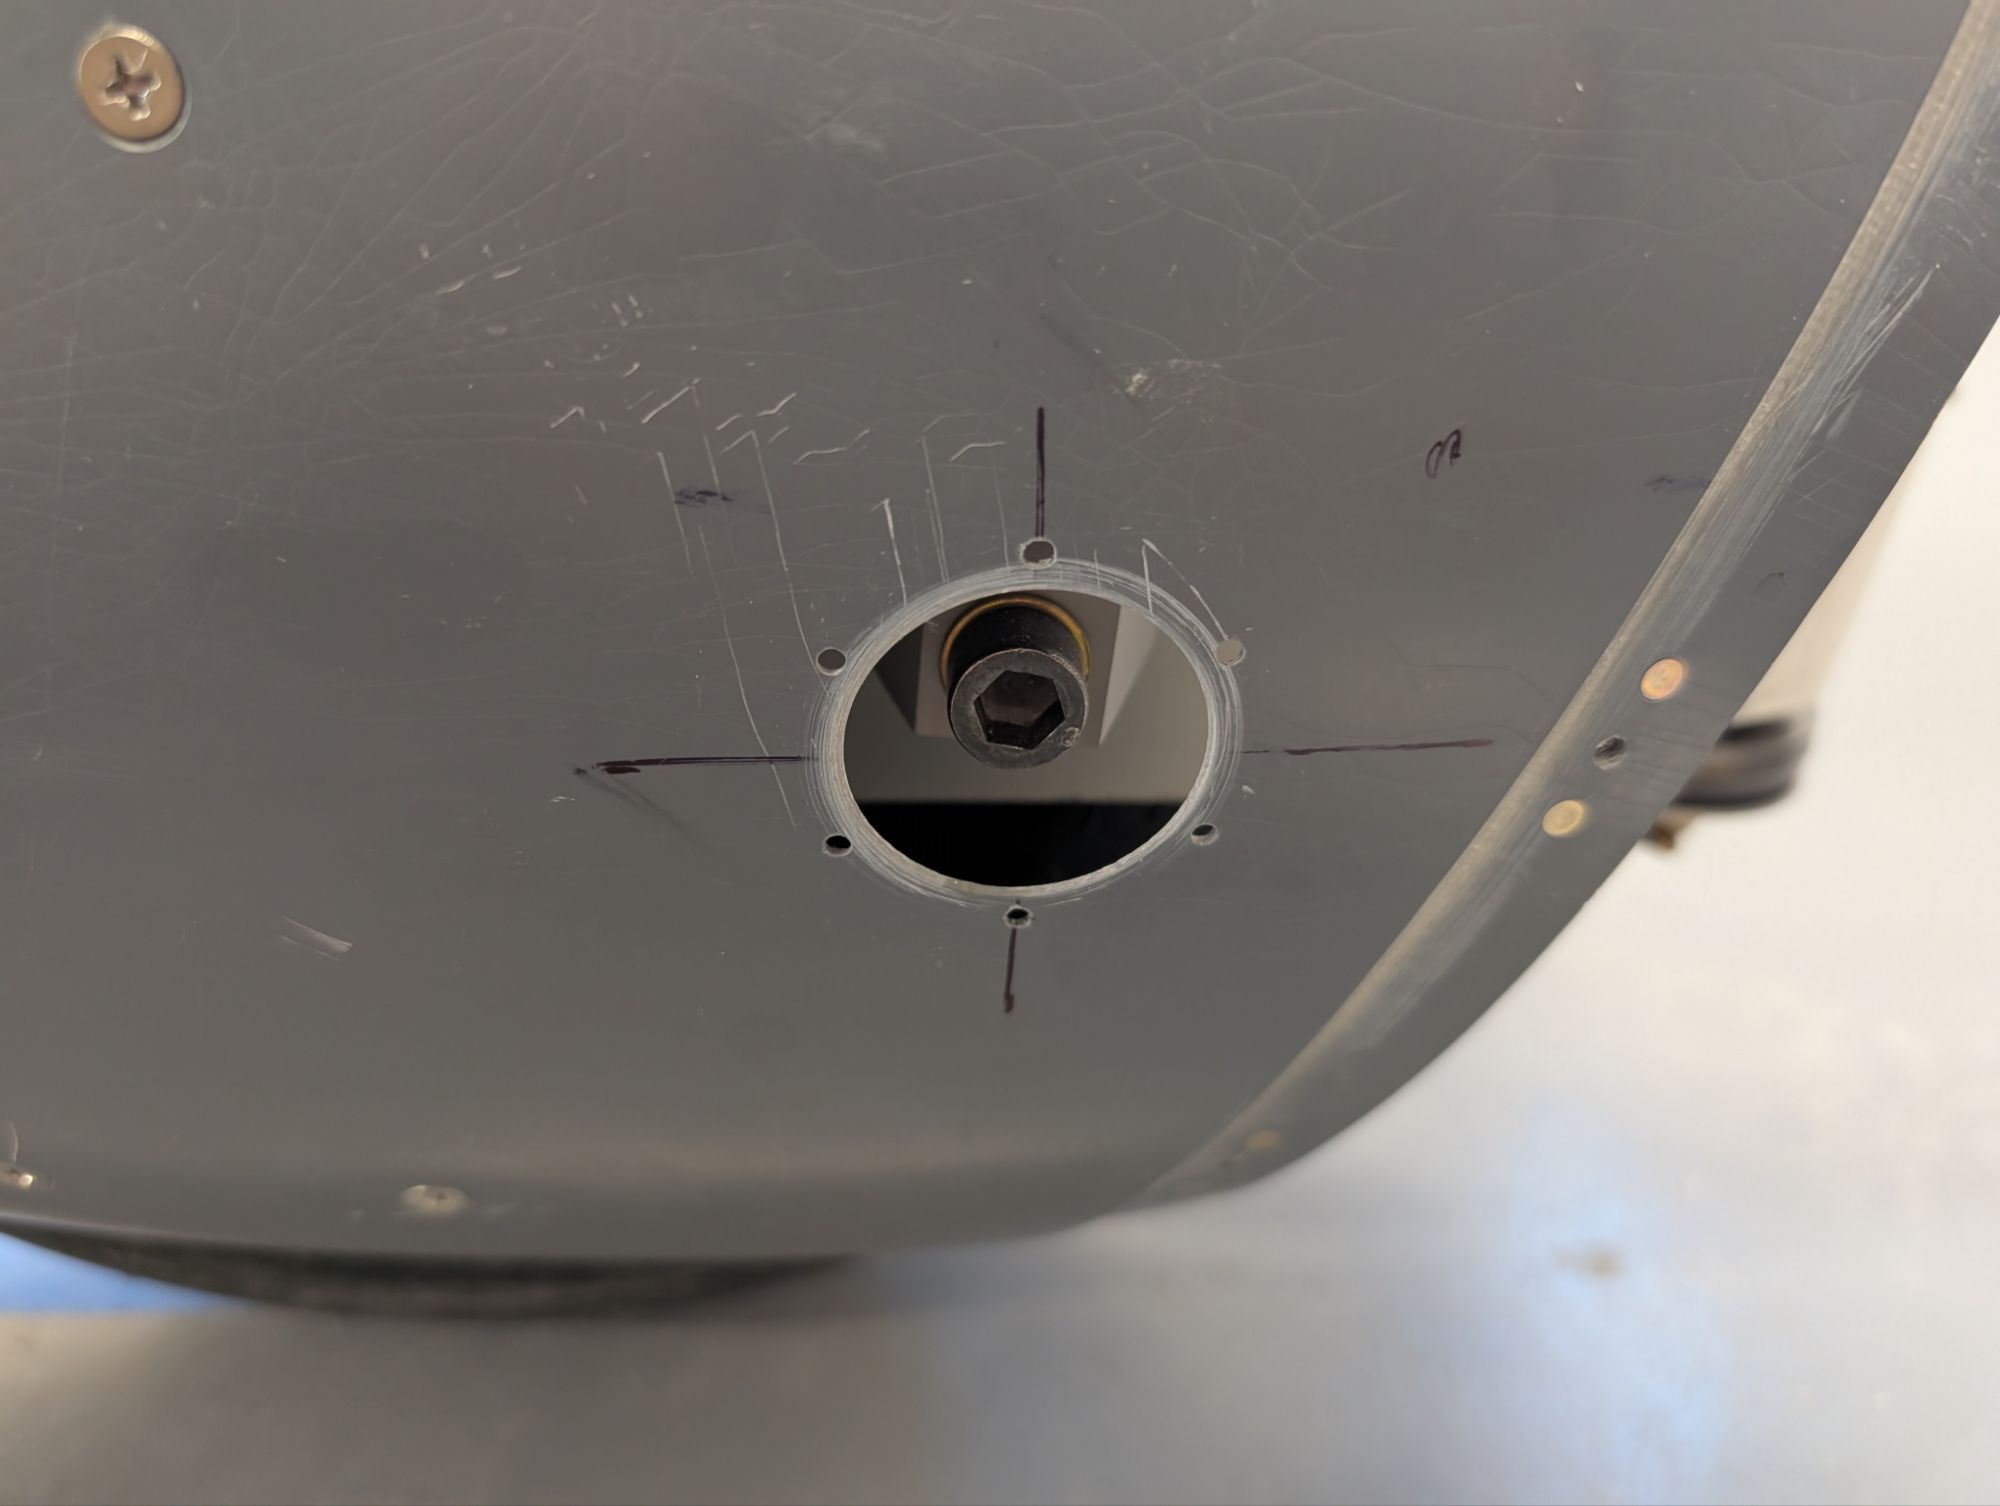
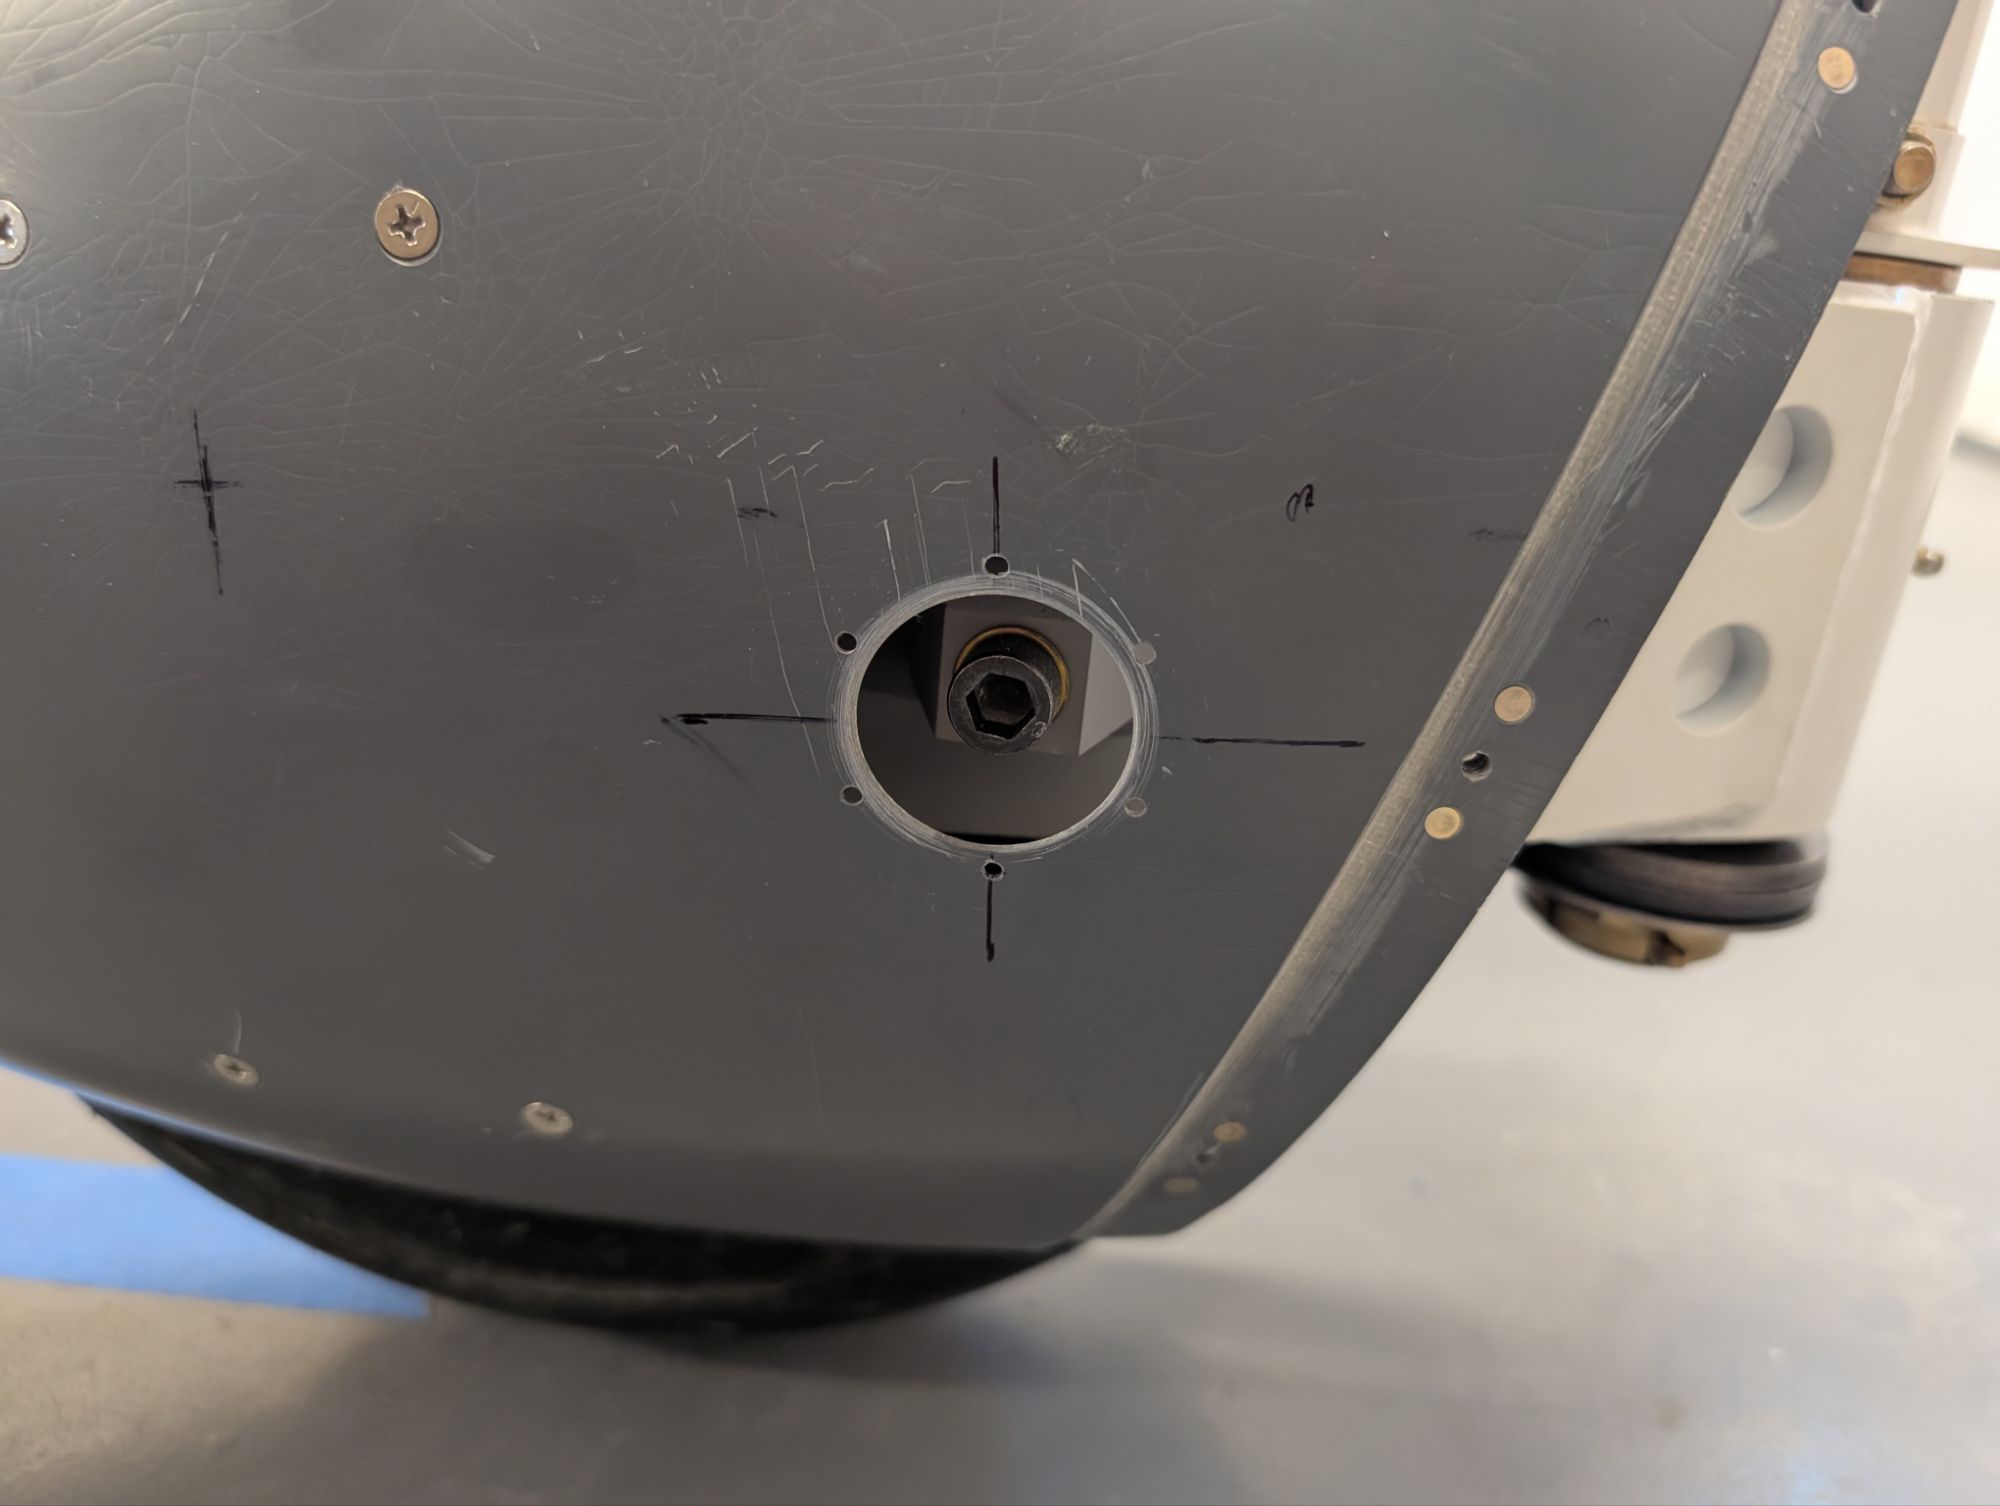
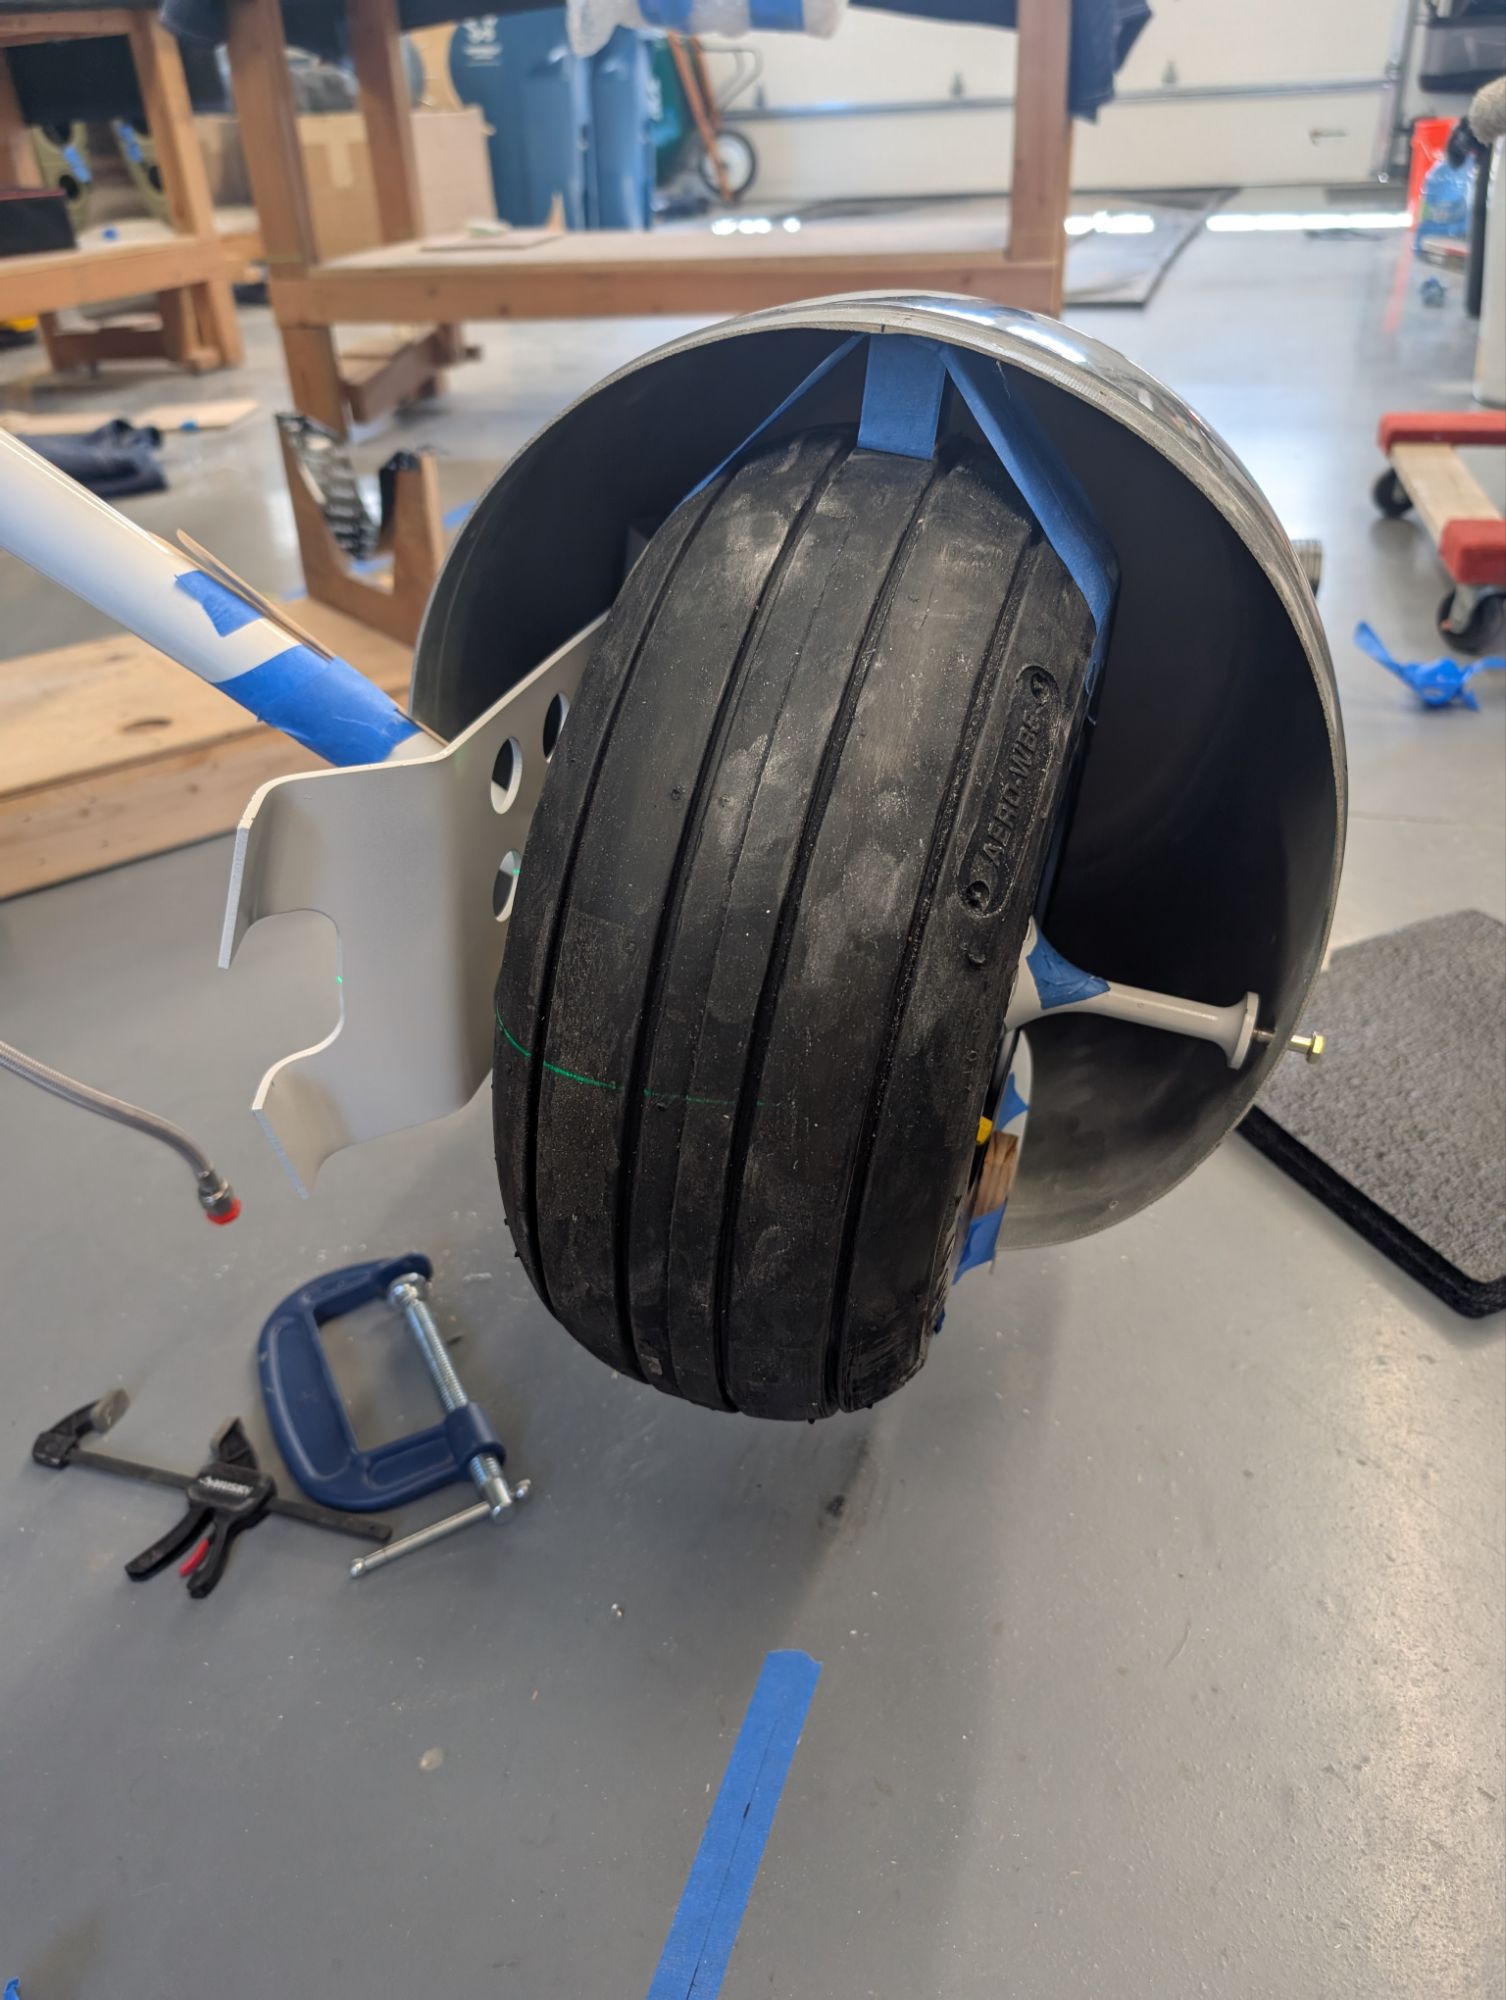
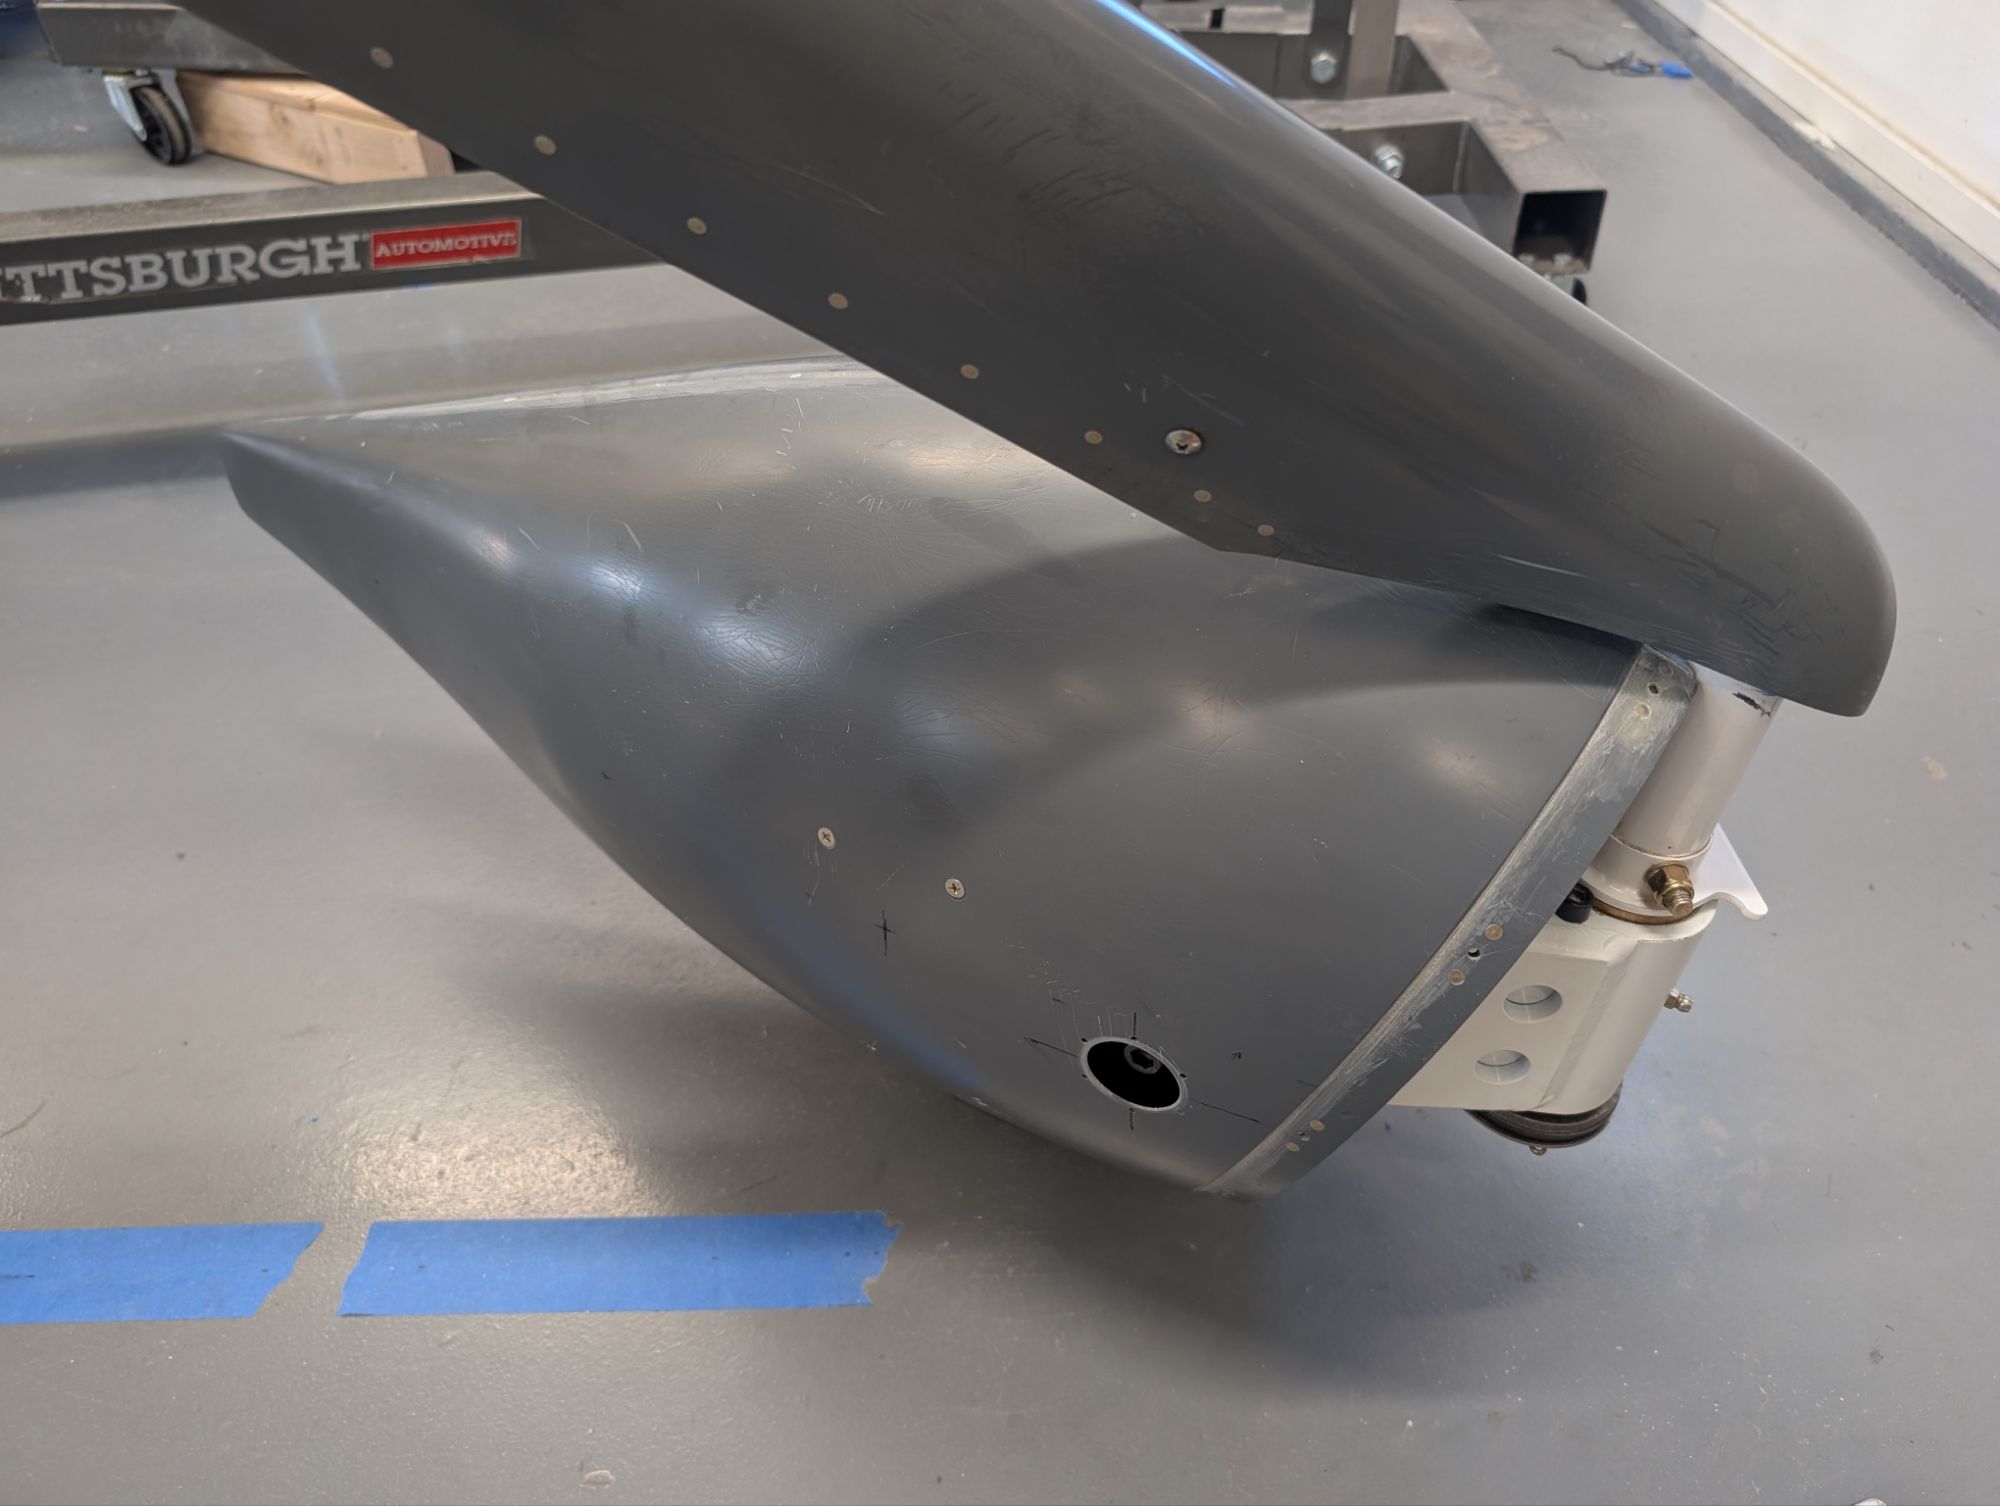
Fitting the main wheel pants is tricky, as they have to be aligned in three dimensions, and there isn’t a solid way to secure them while aligning. I used a bright led on a stick to light up the holes for drilling. This was a bit of guesswork, and the alignment was finessed by shifting the holes while working towards the final size.
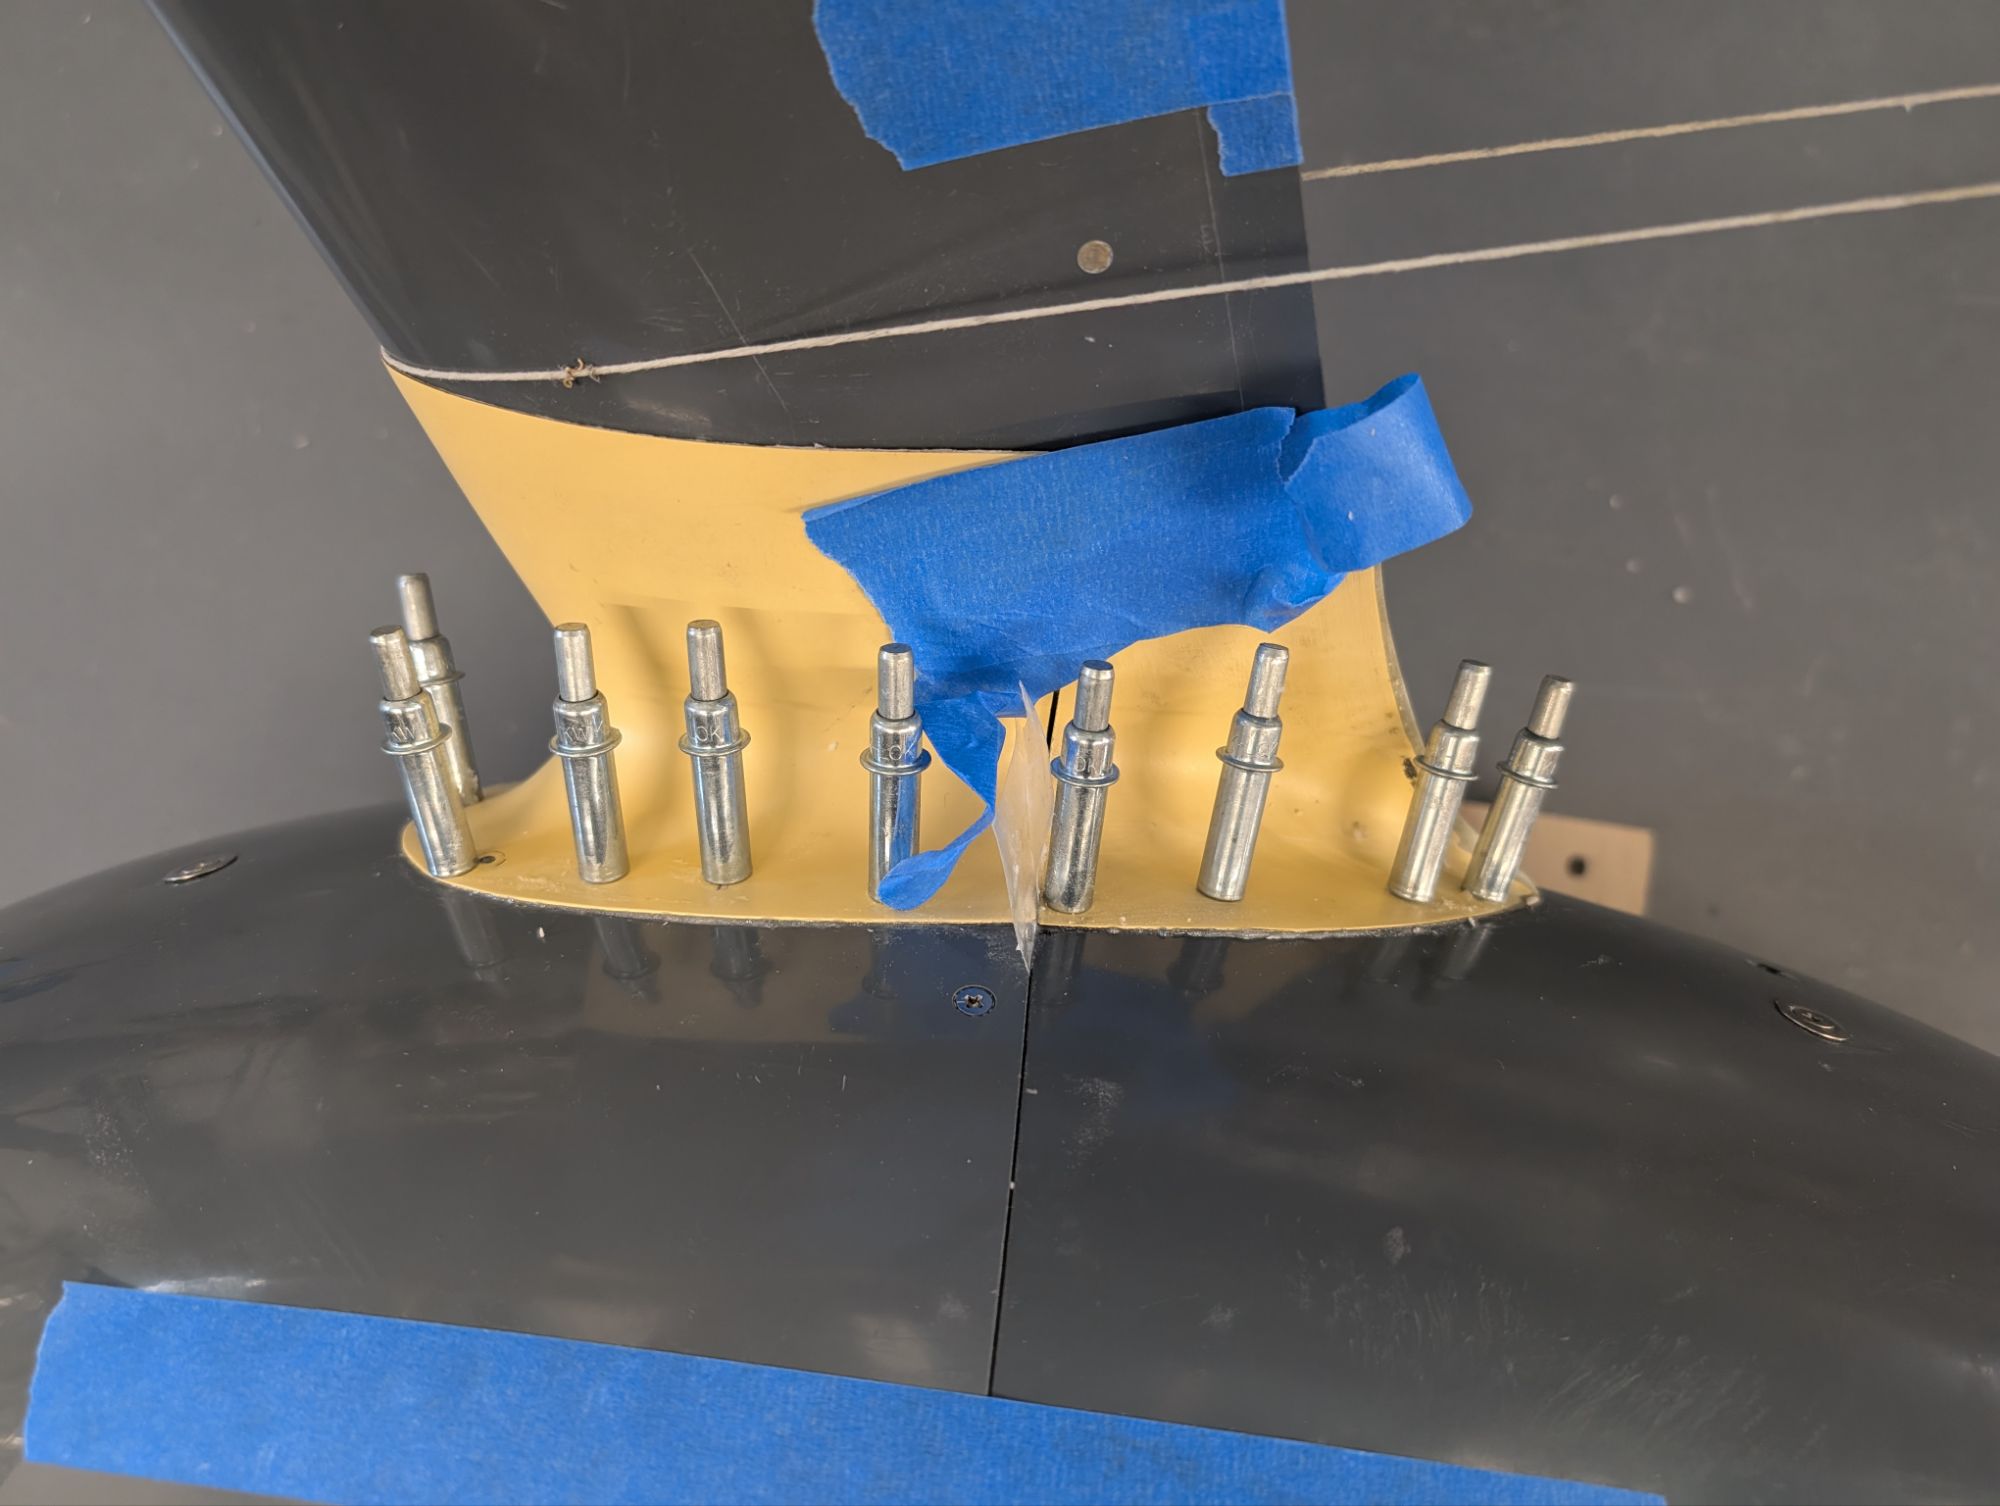
I don’t have any pictures, but building up the mounting areas with epoxy/flox went well. I used candle wax to prevent the epoxy from bonding to the screws.
A laser level was really helpful for alignment in three dimensions.

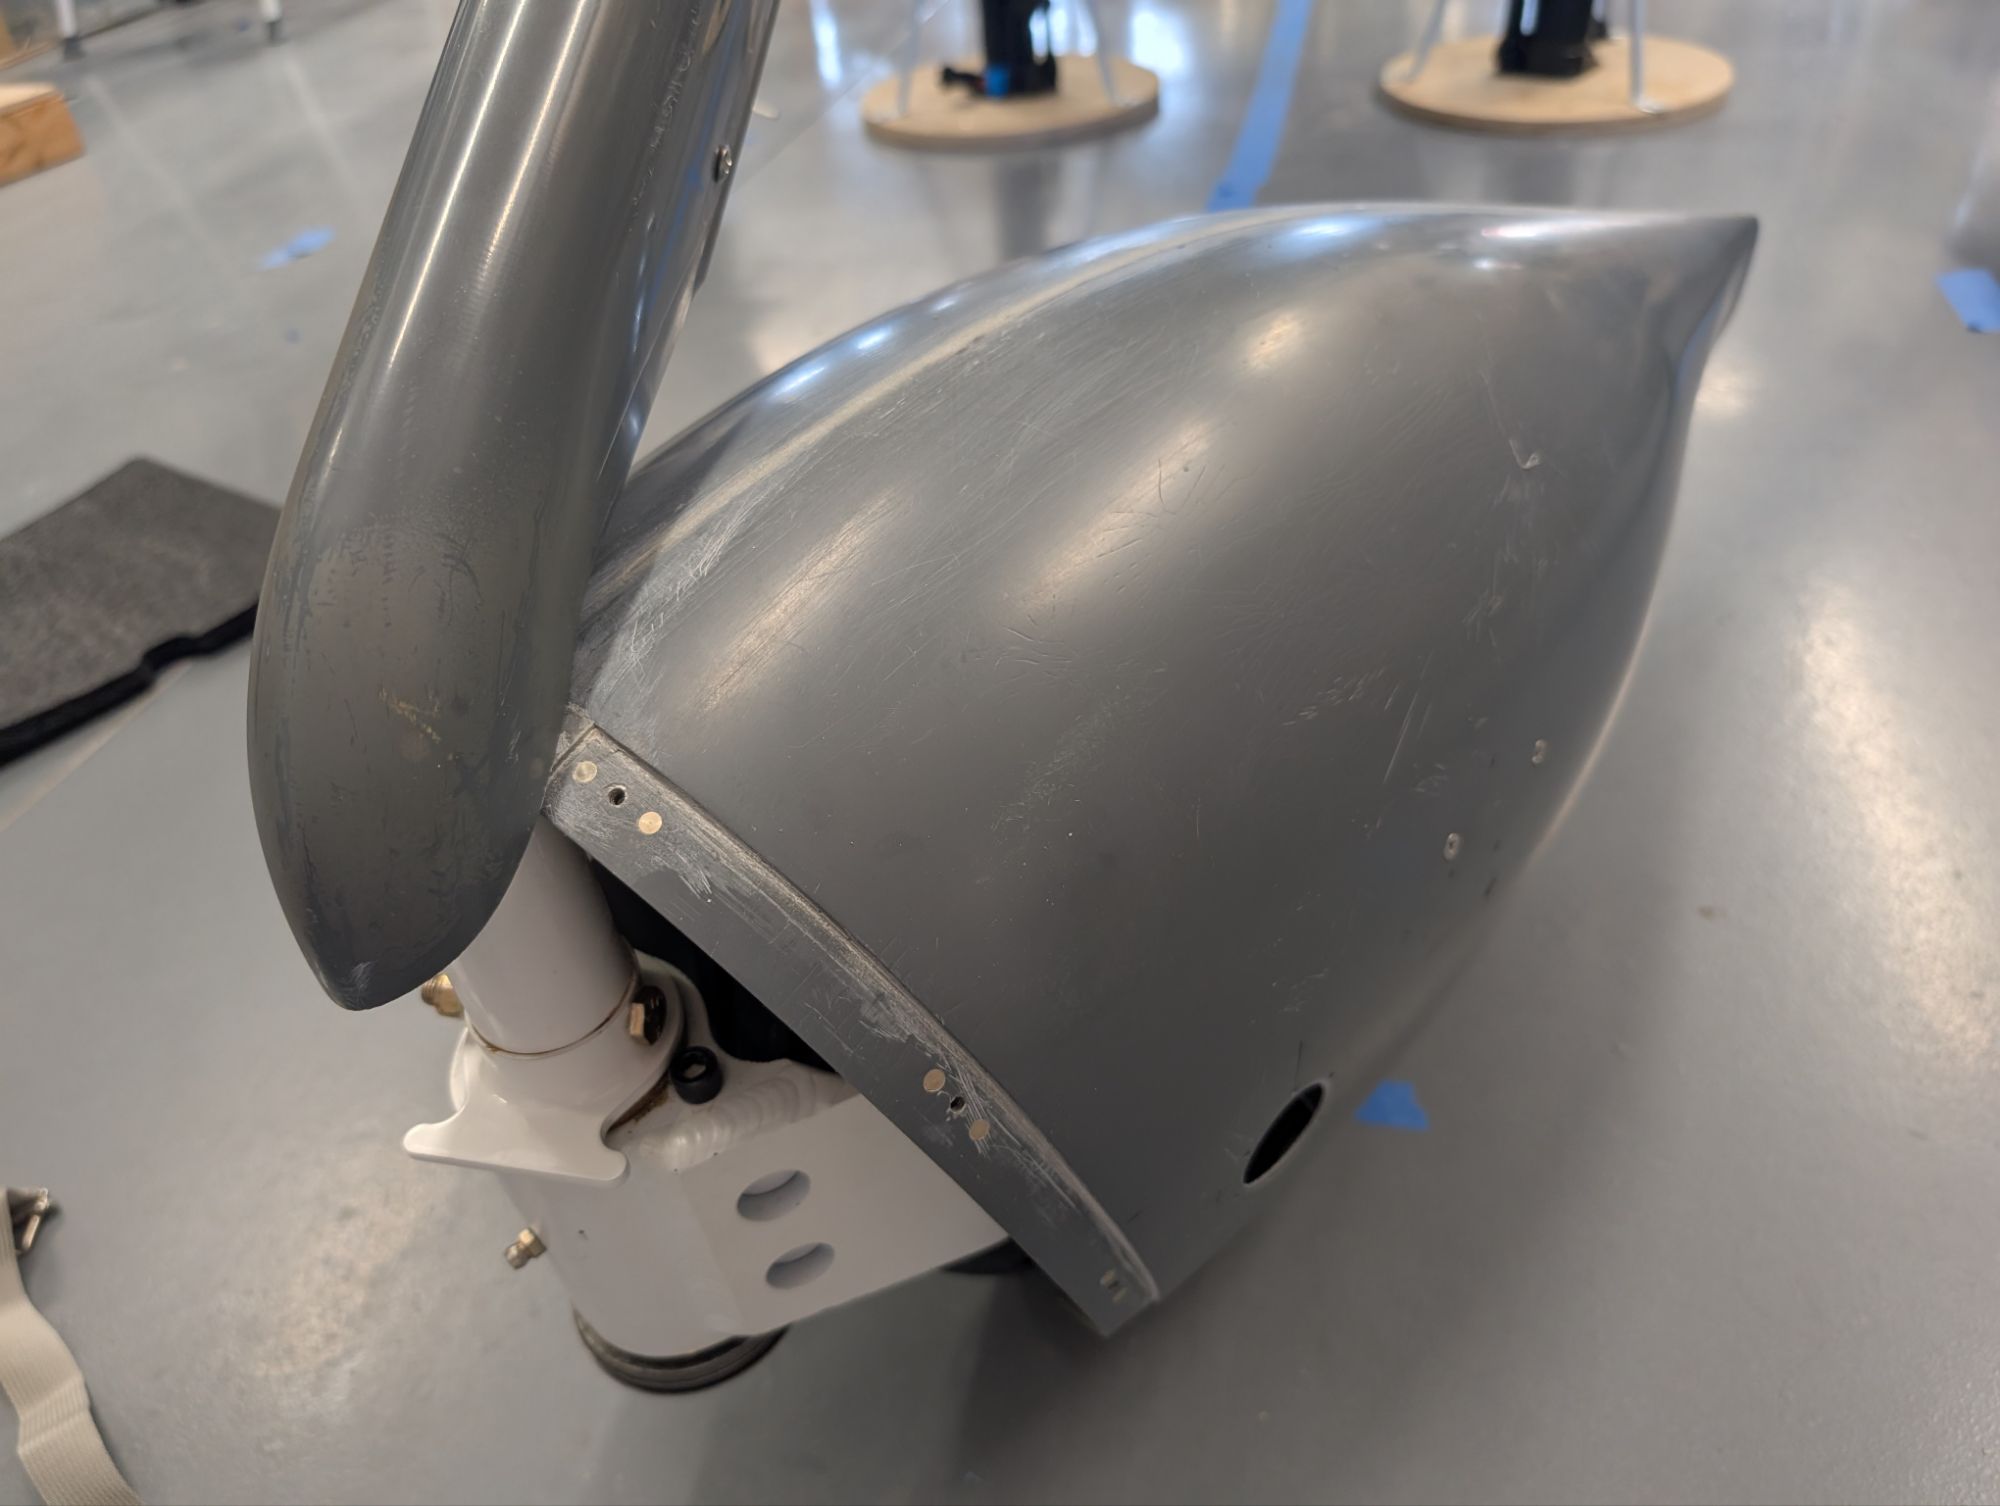
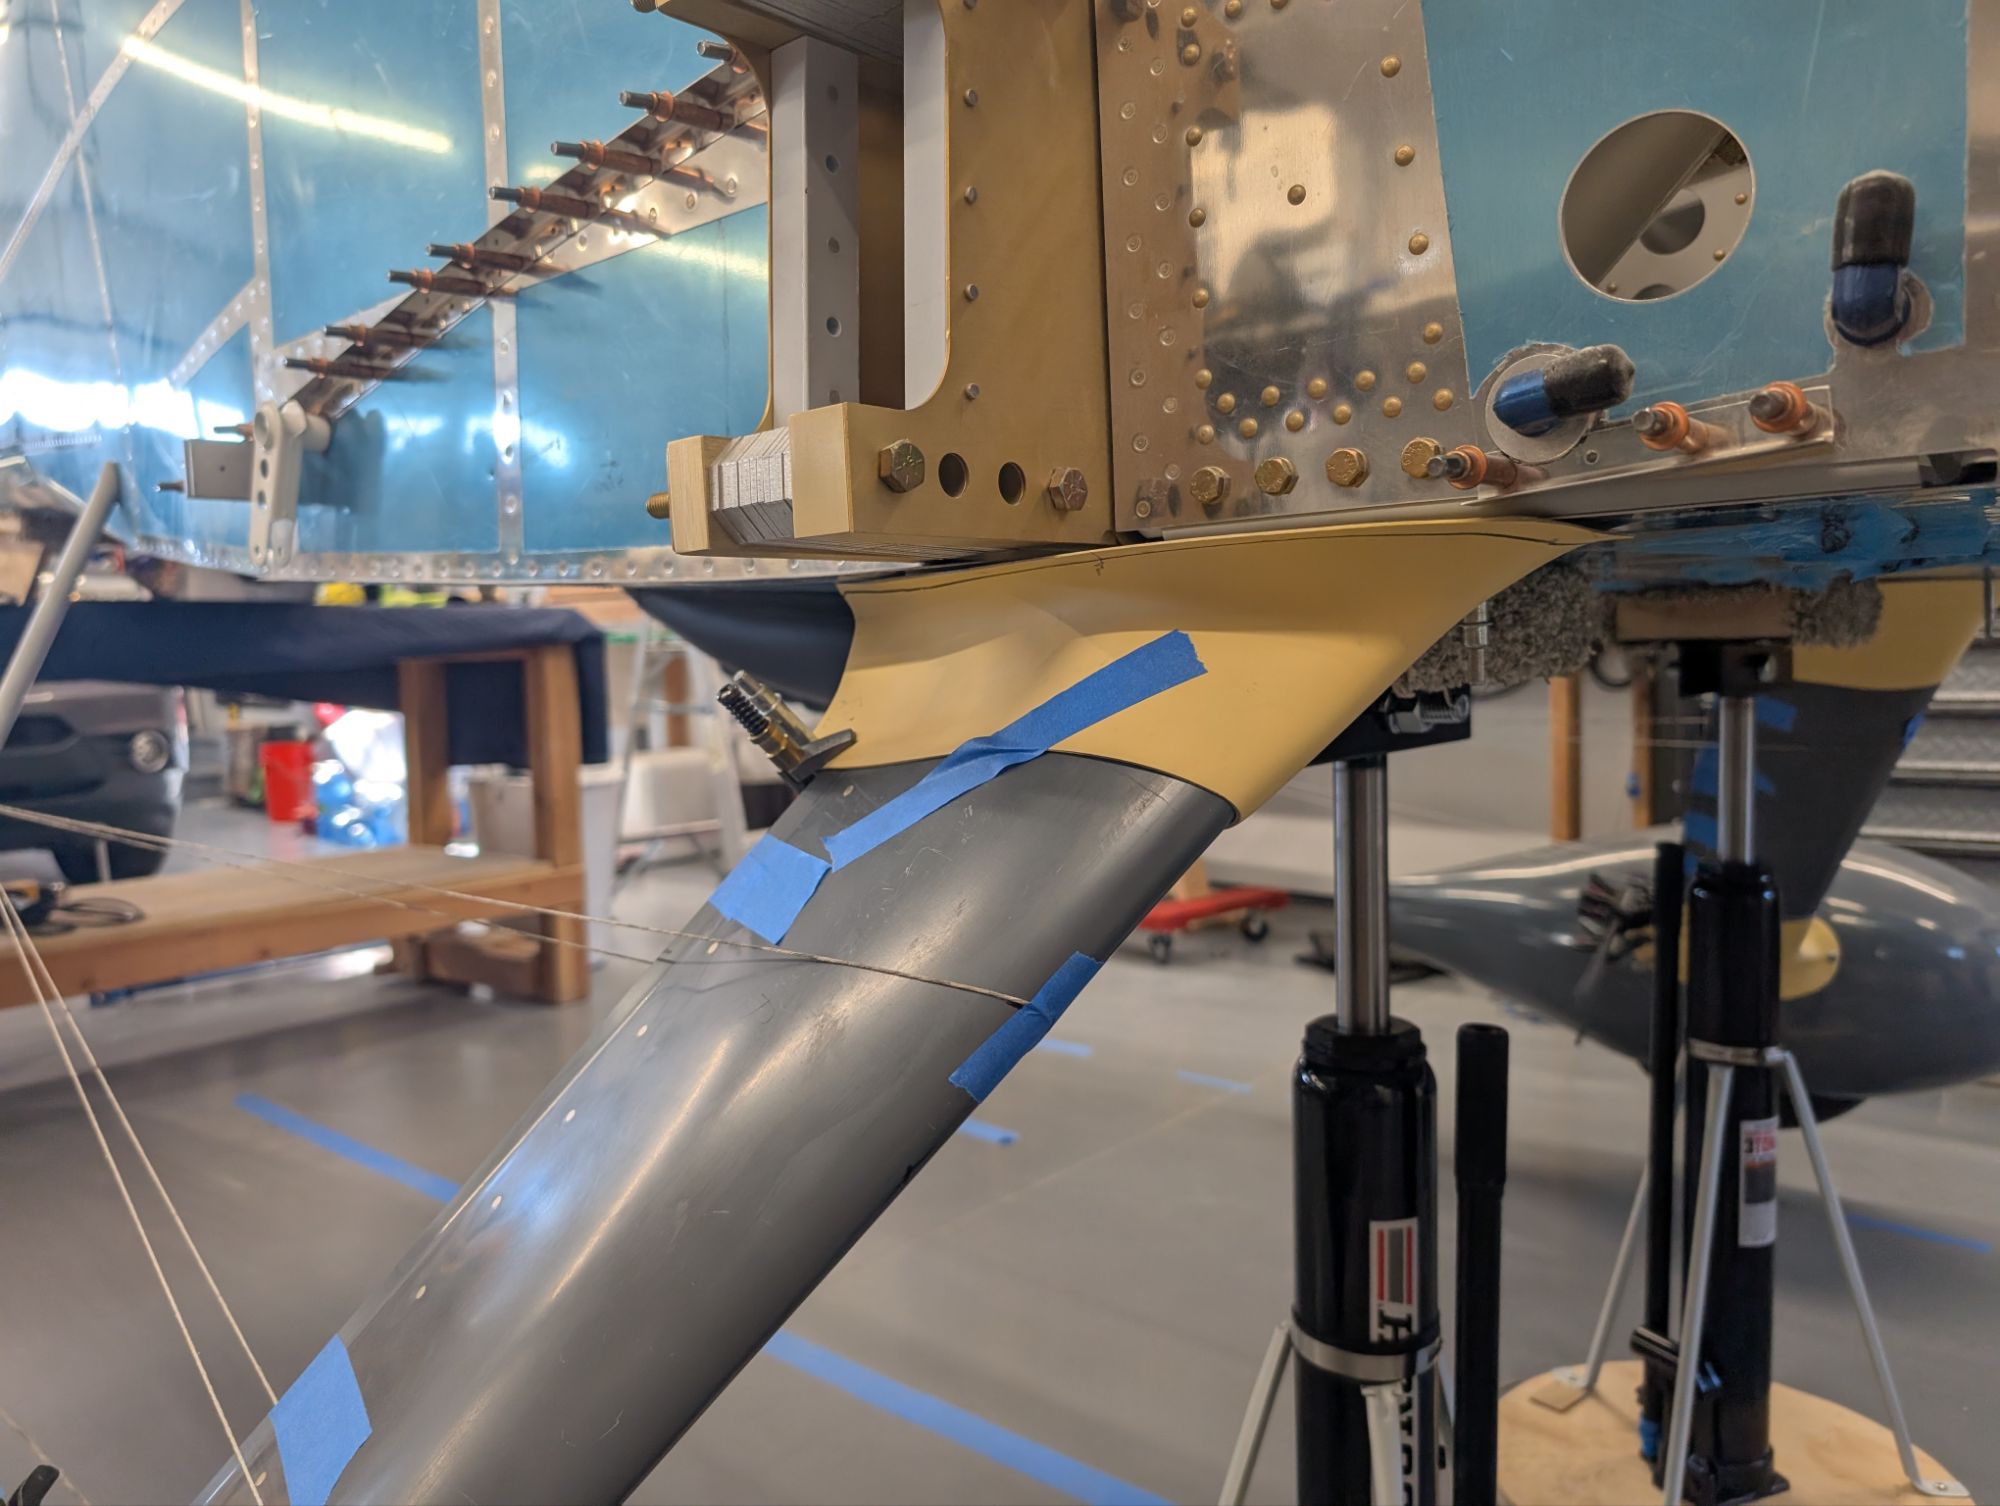
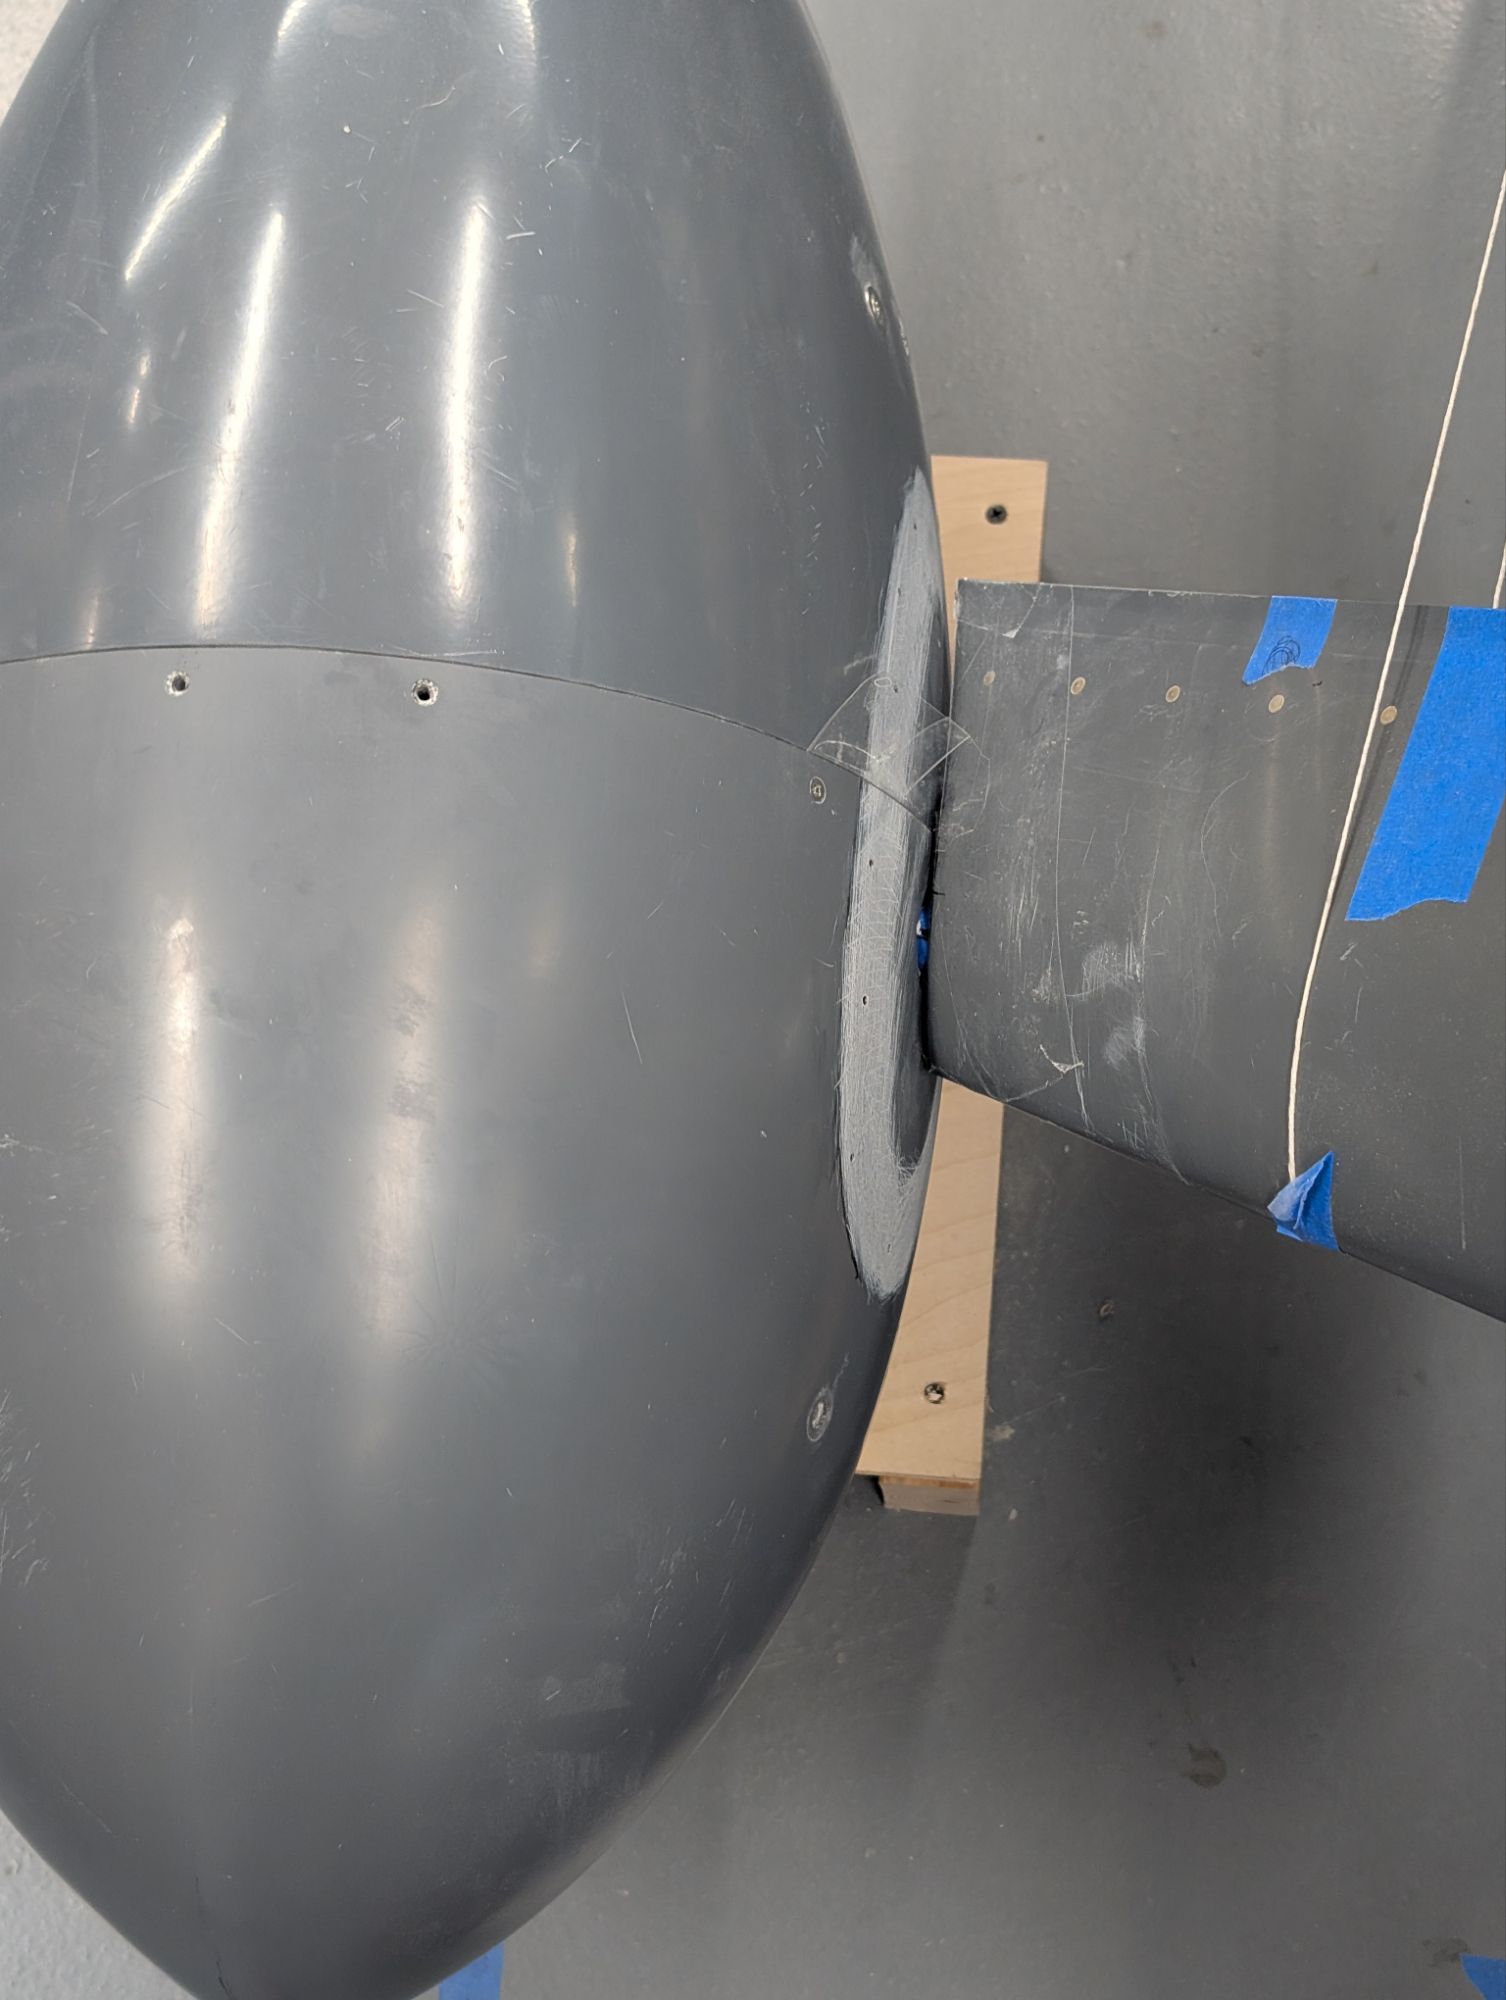
I then fitted the gear leg fairings.
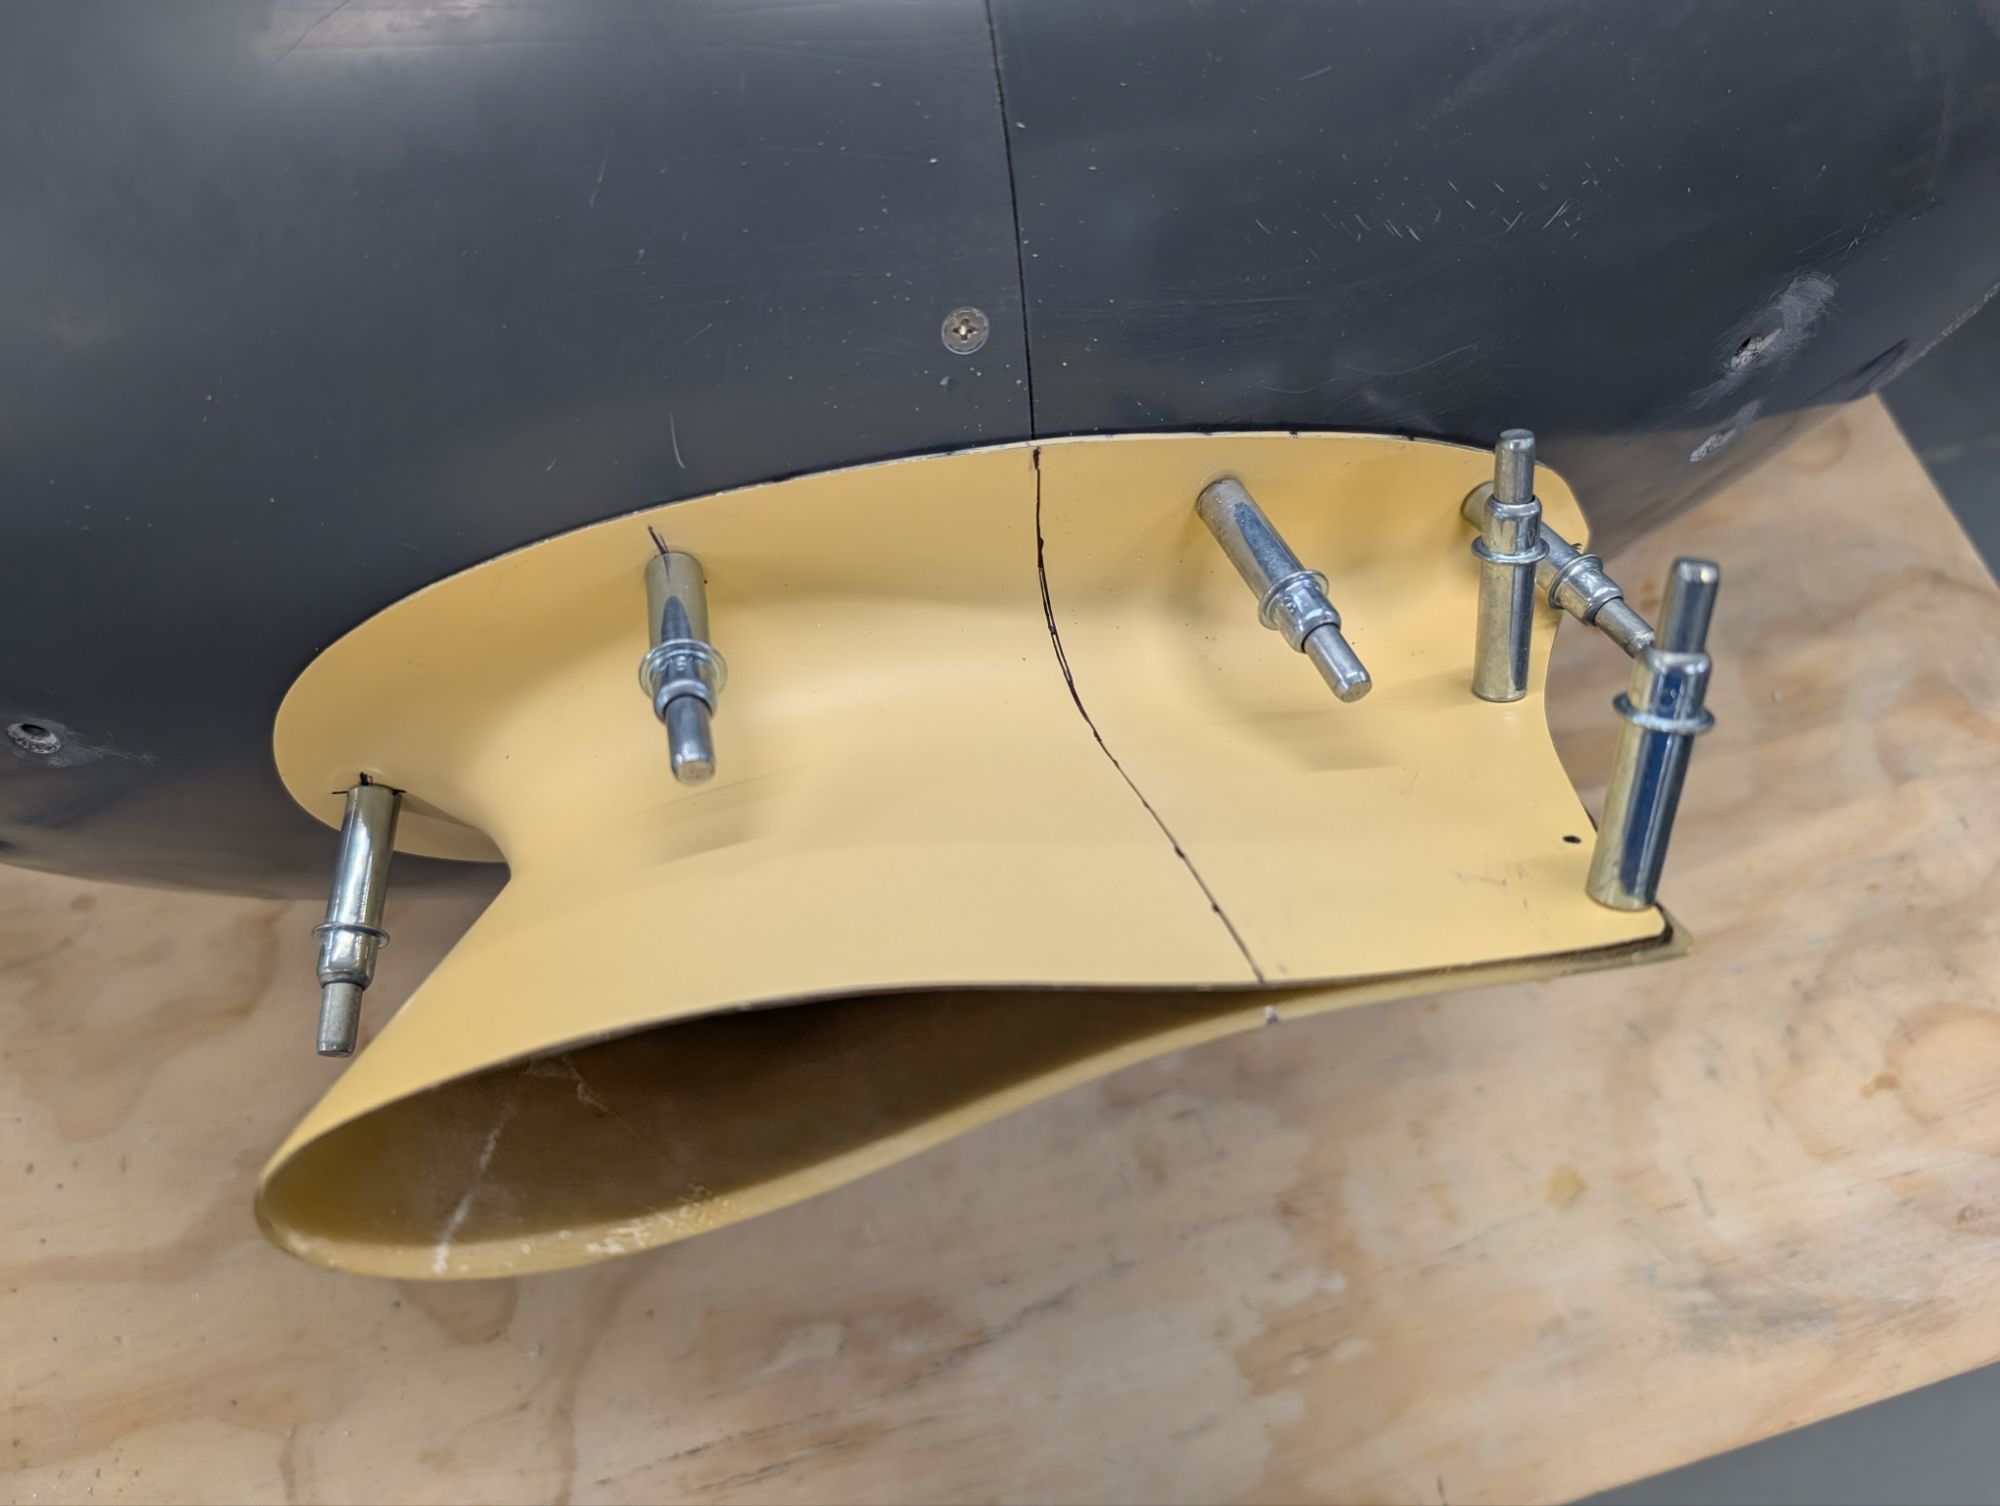
These were tricky to align with the airstream, while also avoiding any twisting. The intersection fairings set this position so there are several parts to align to get to the final position.
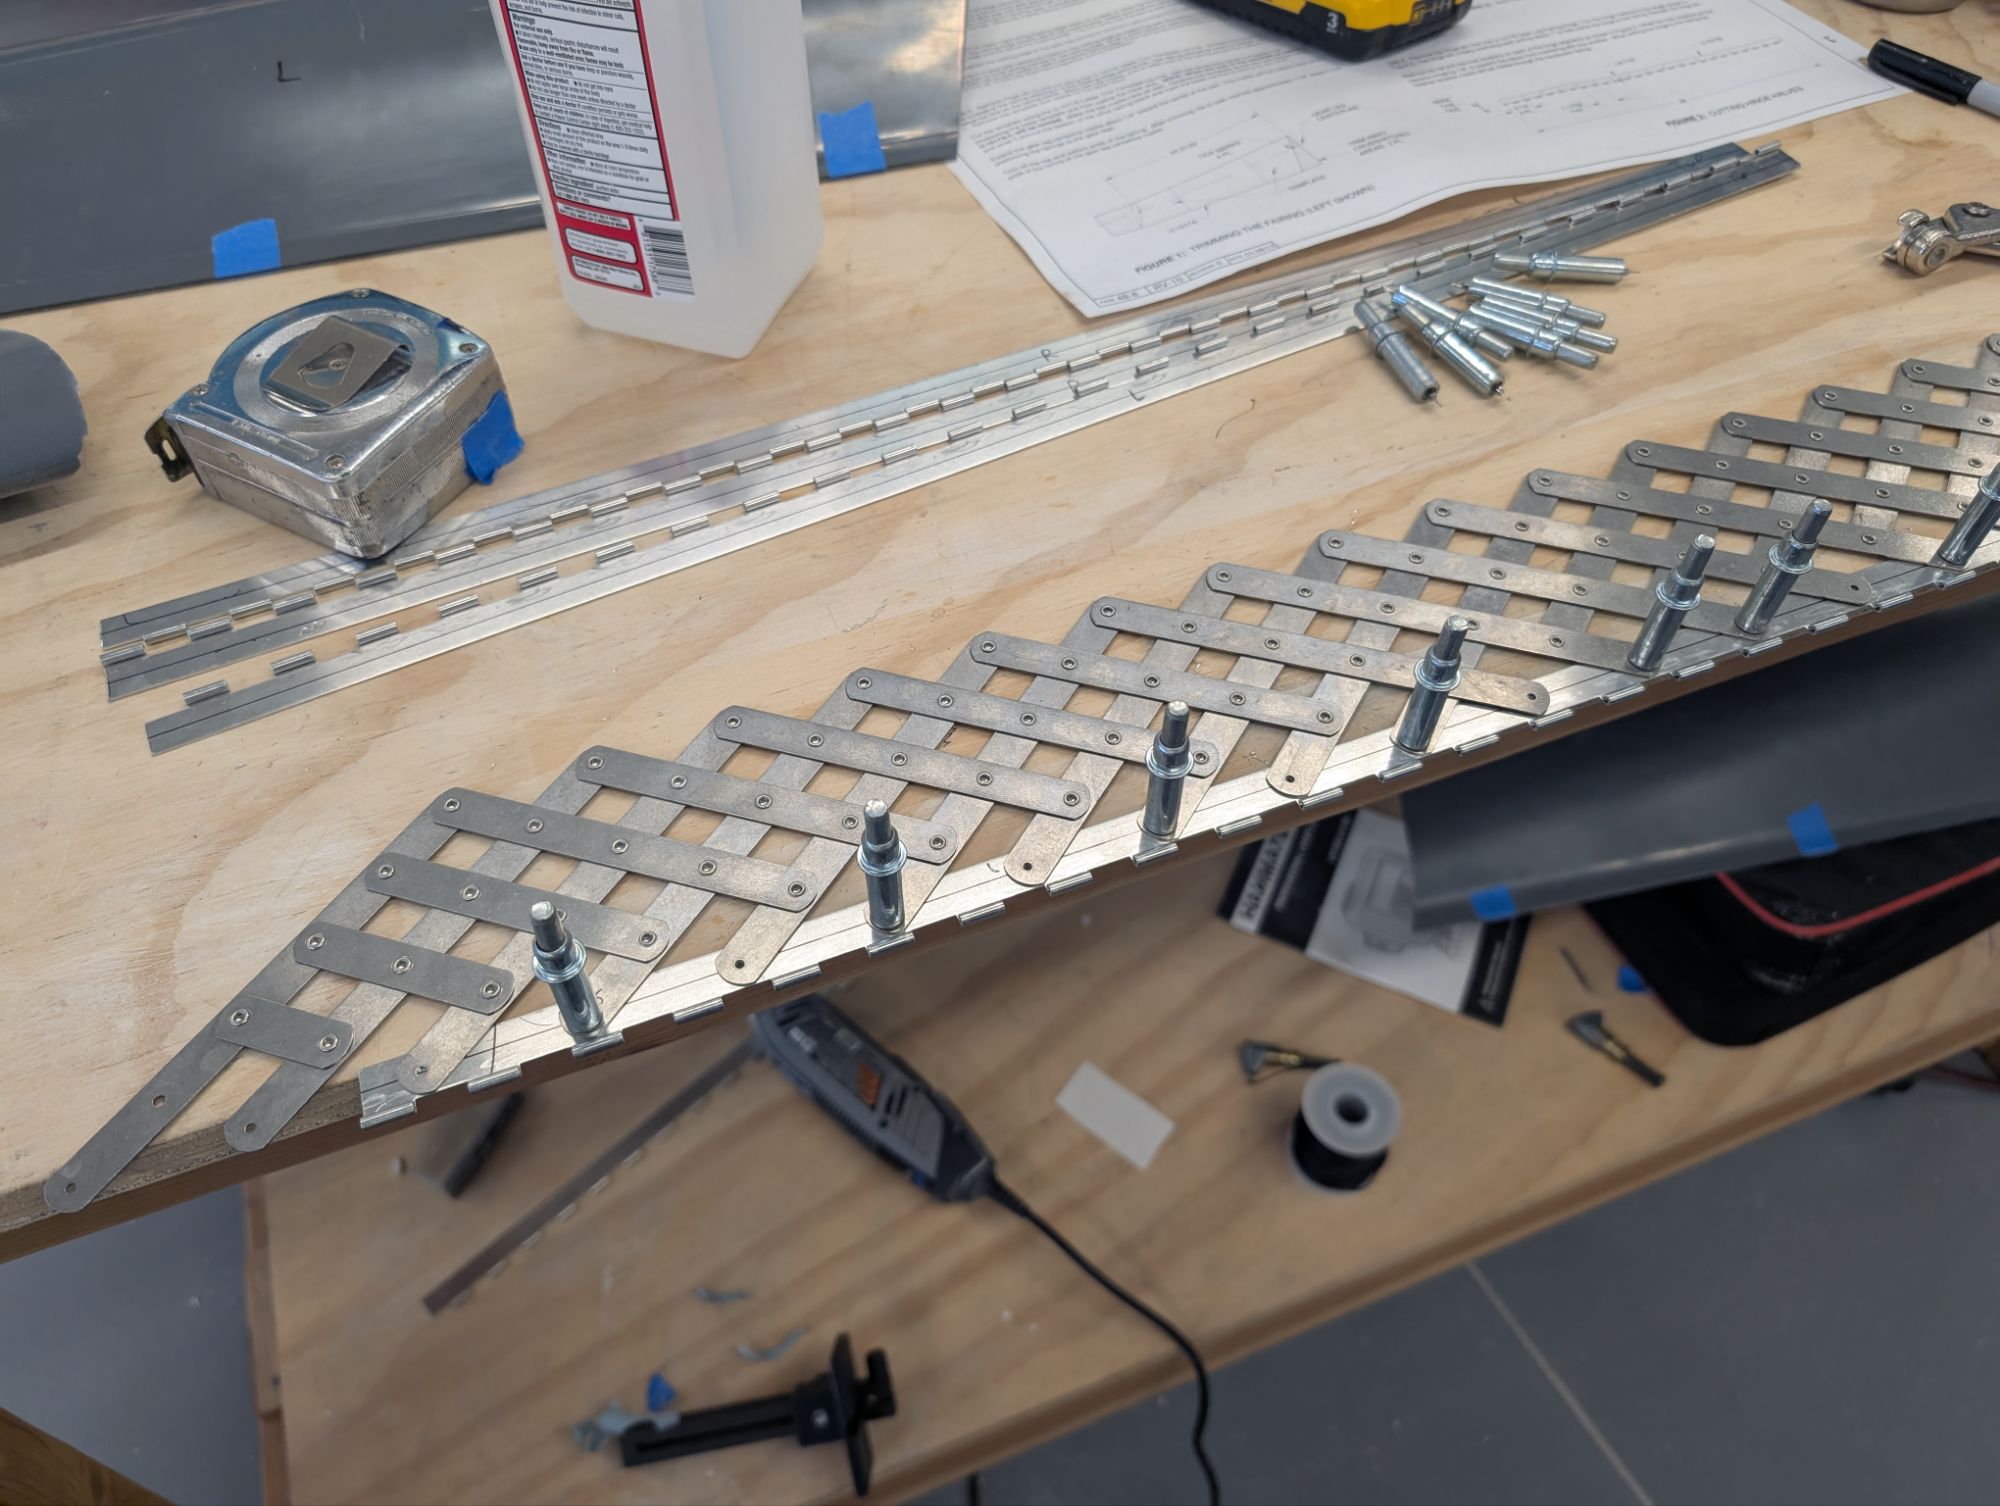
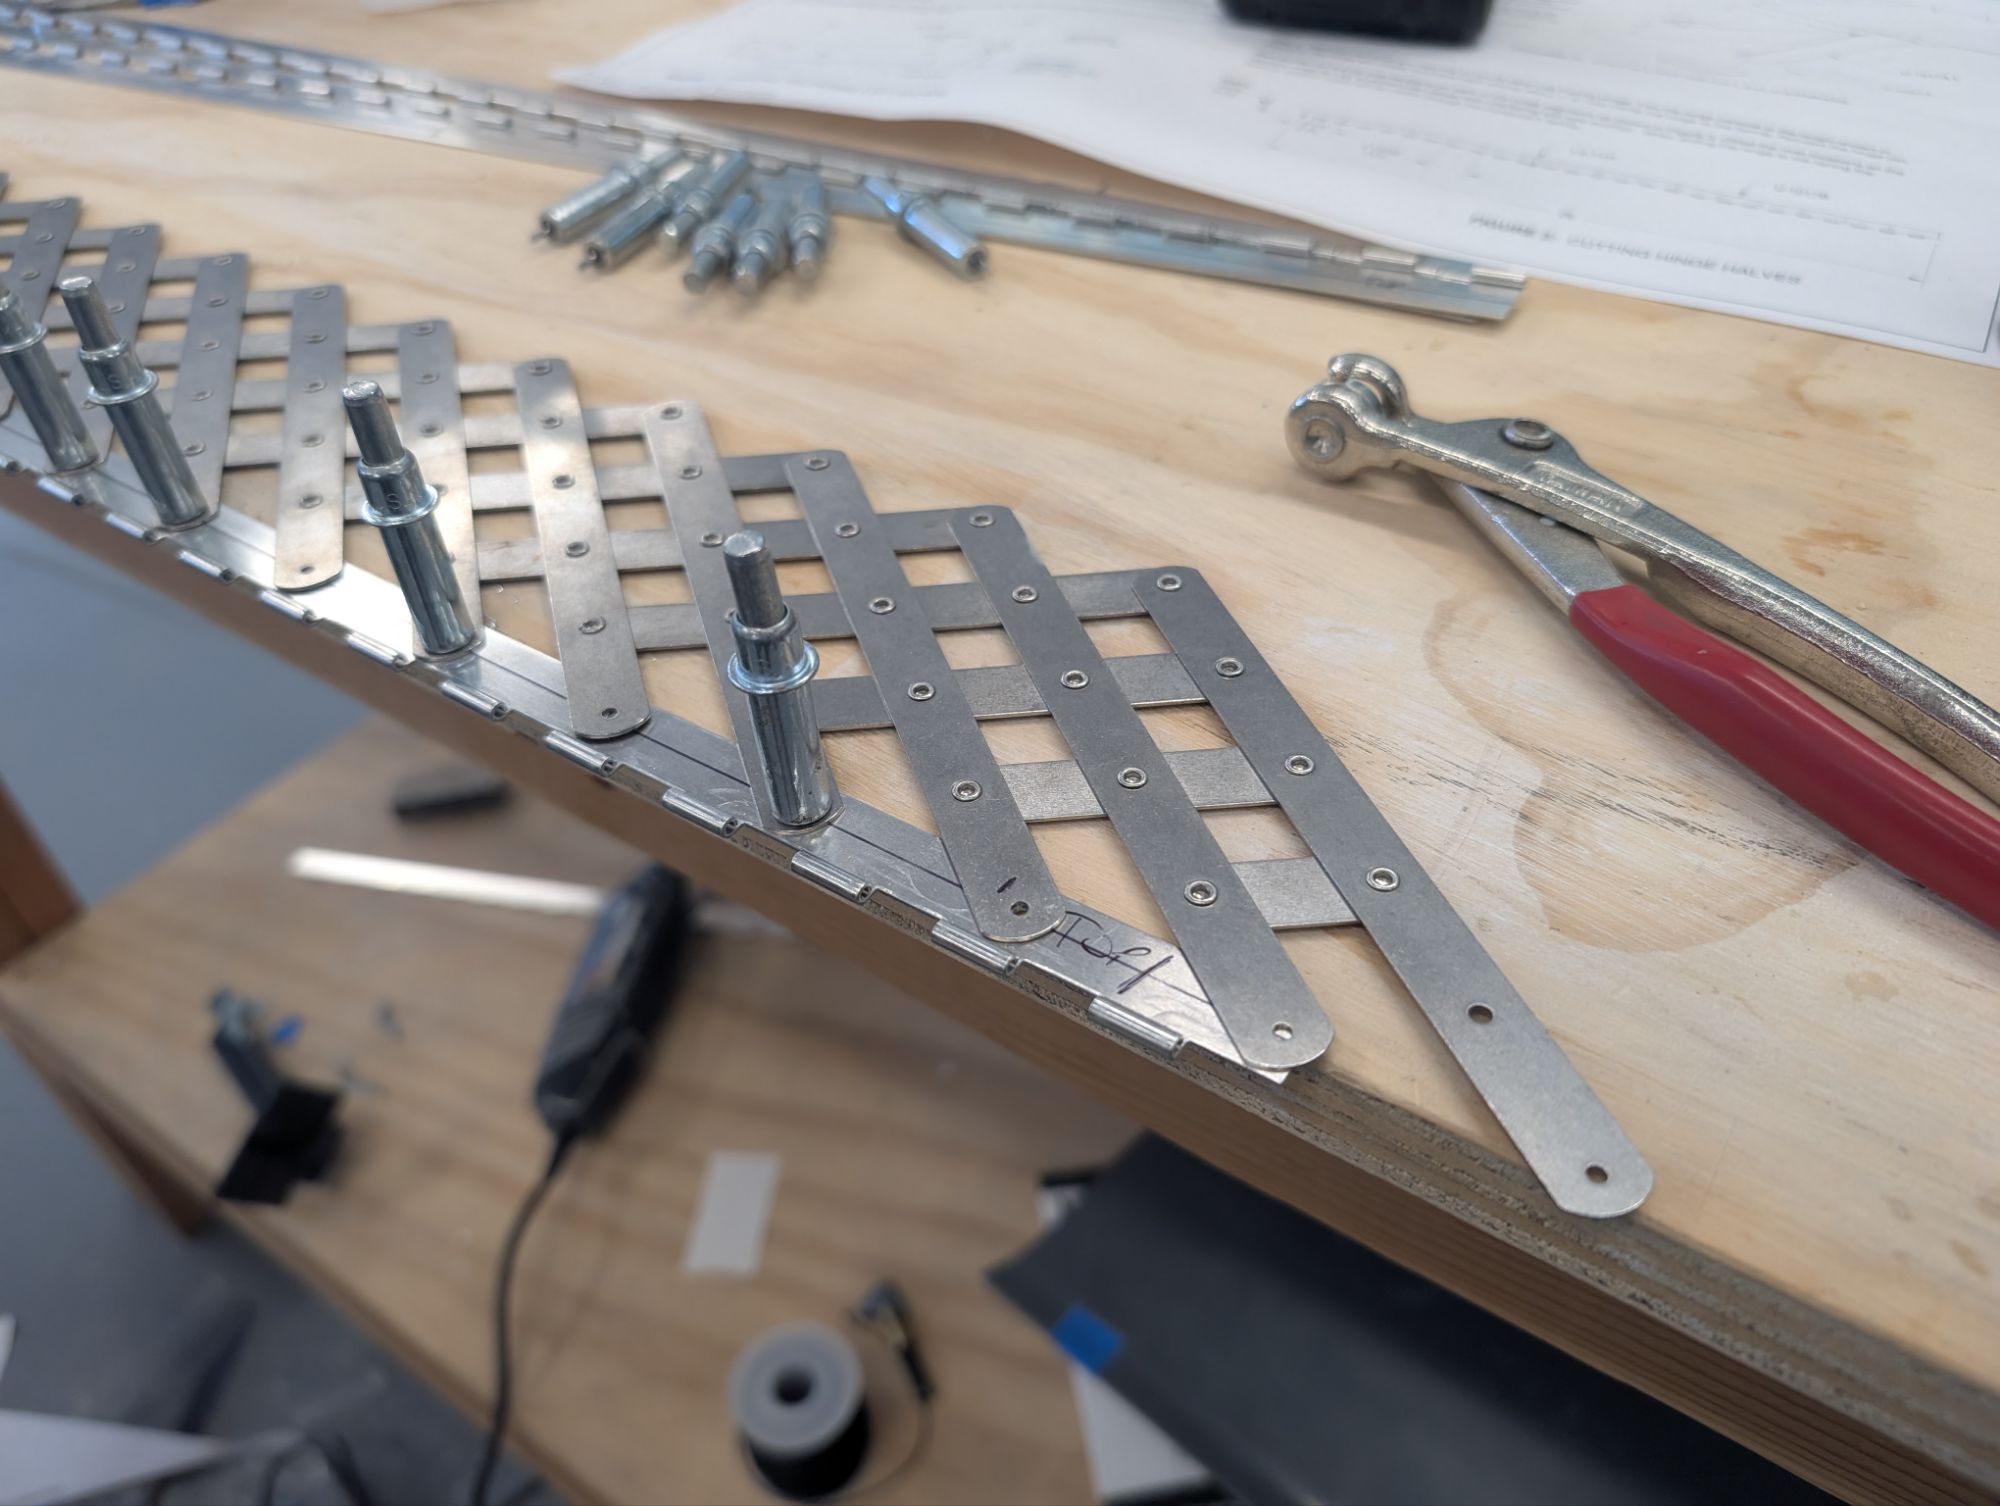
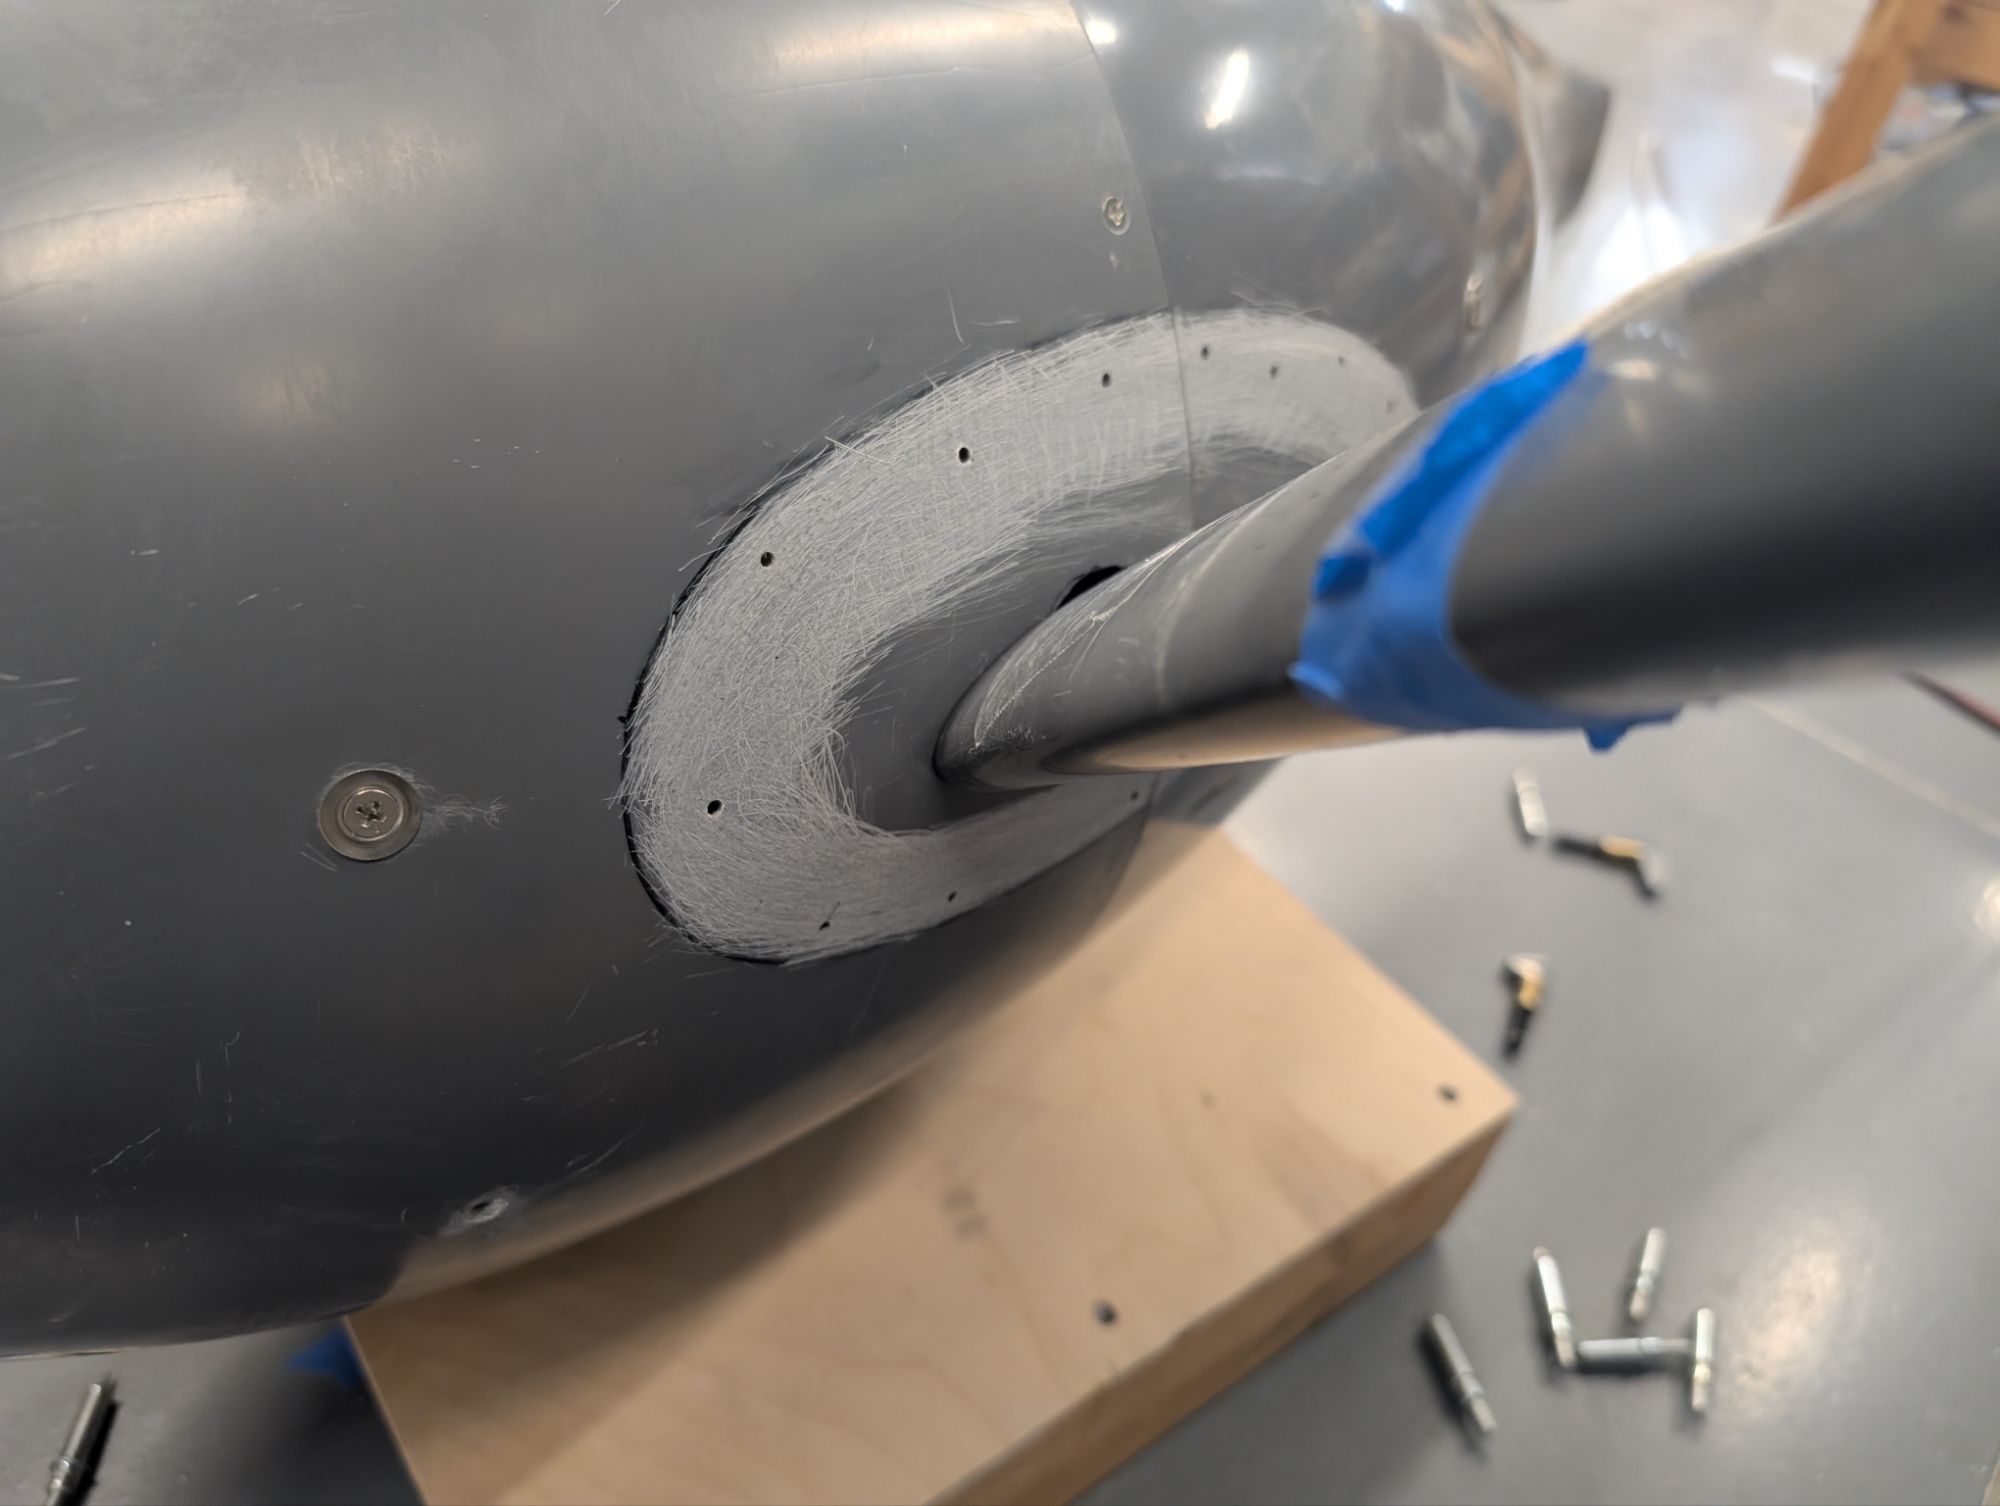
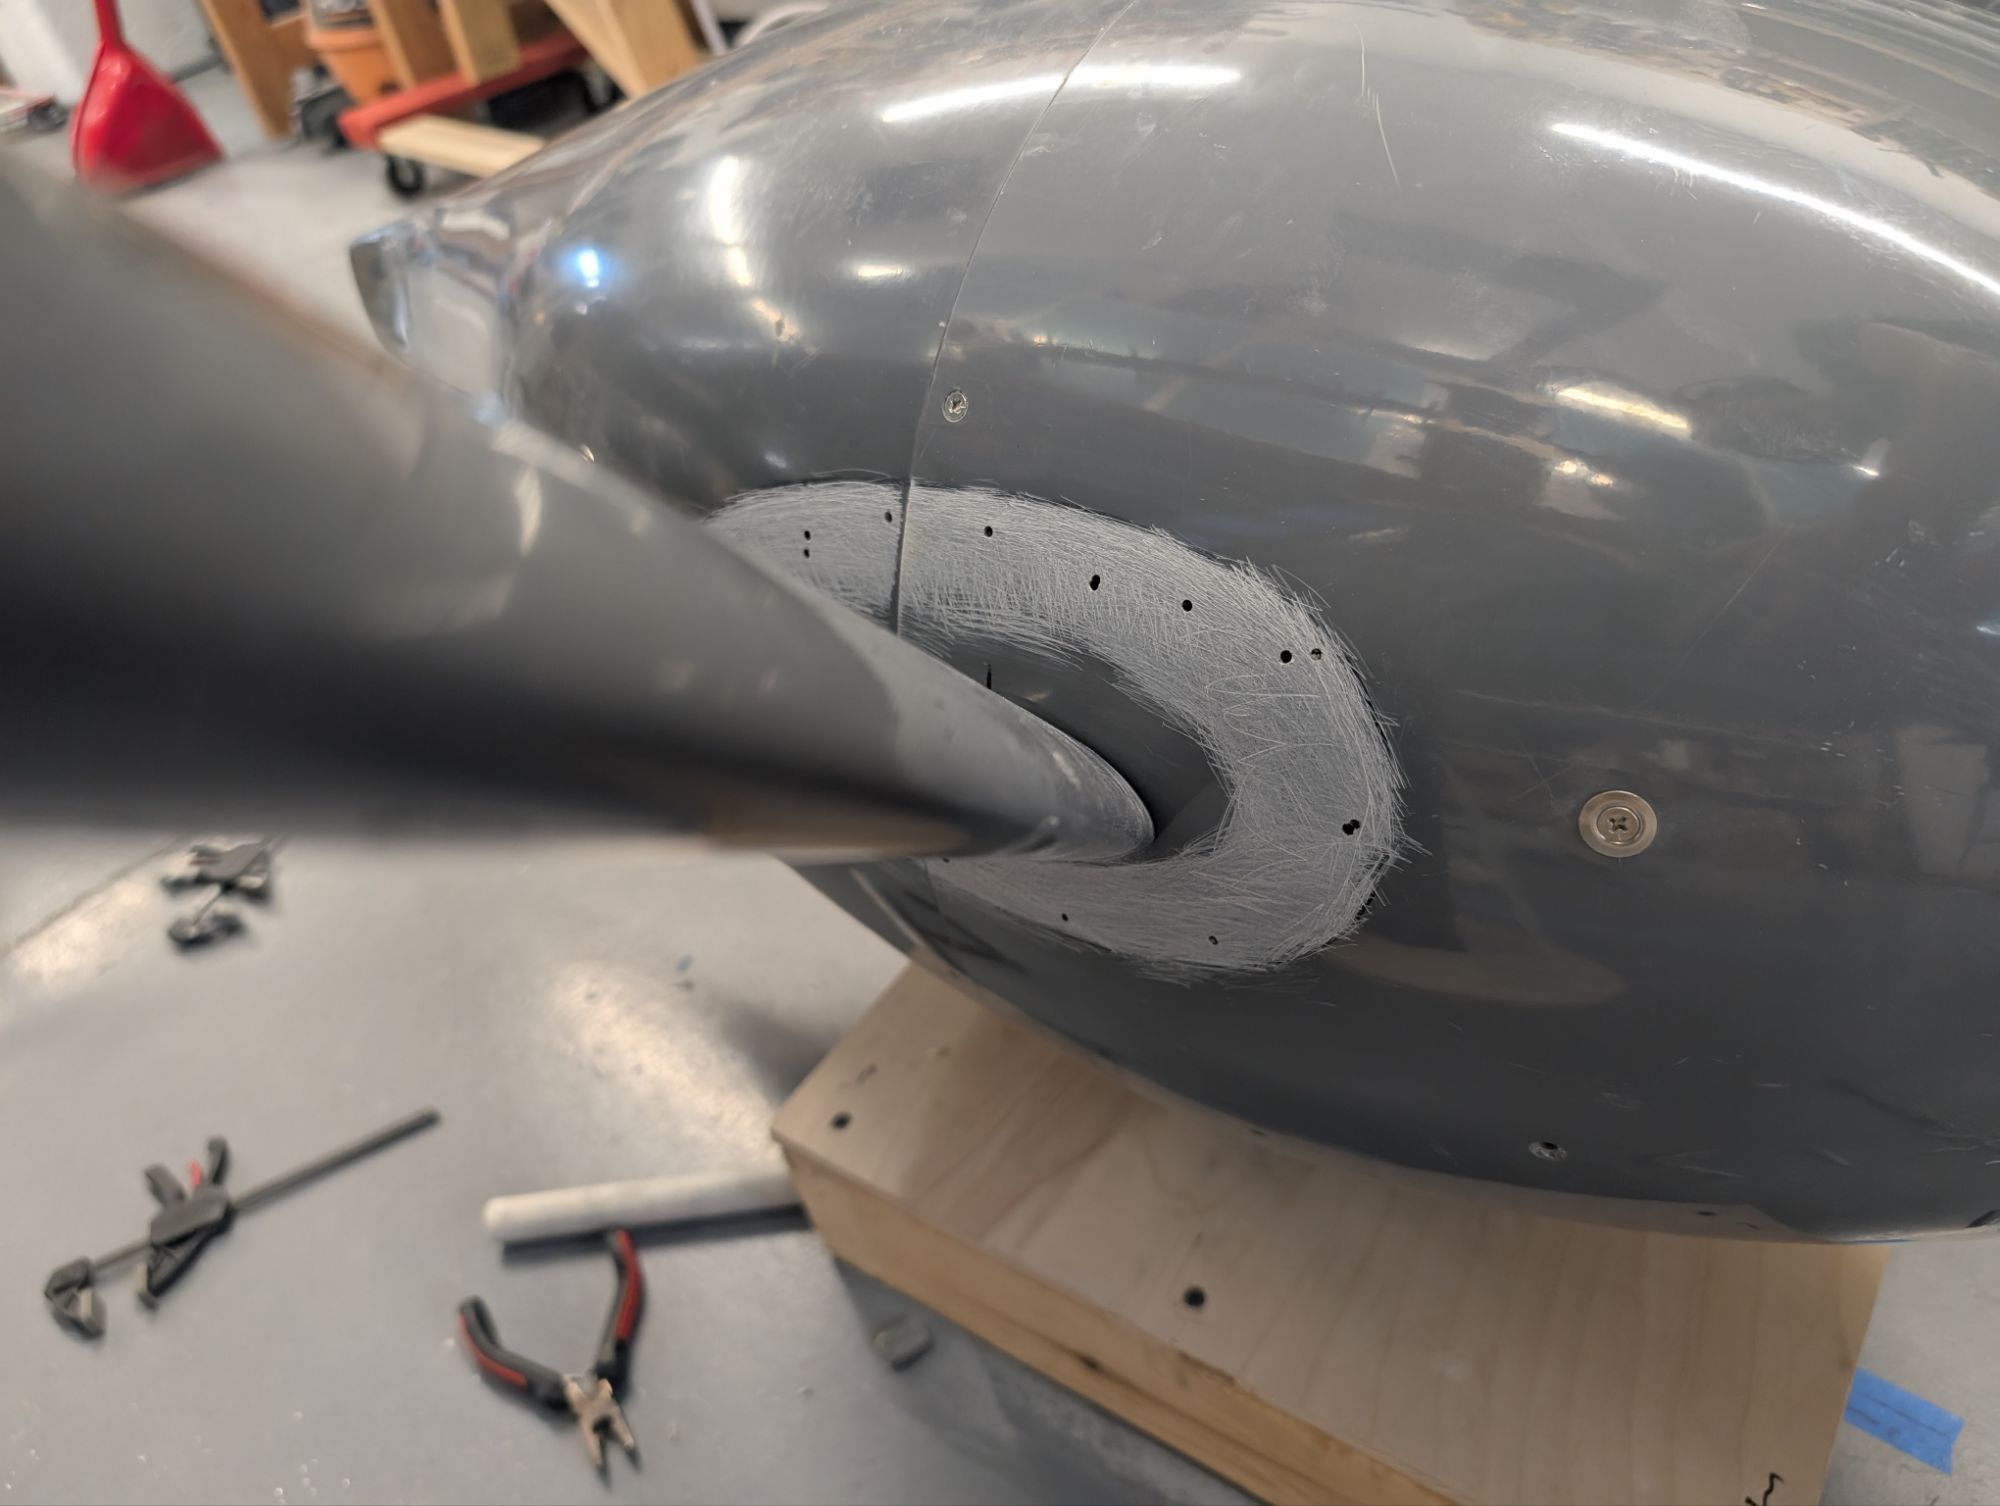
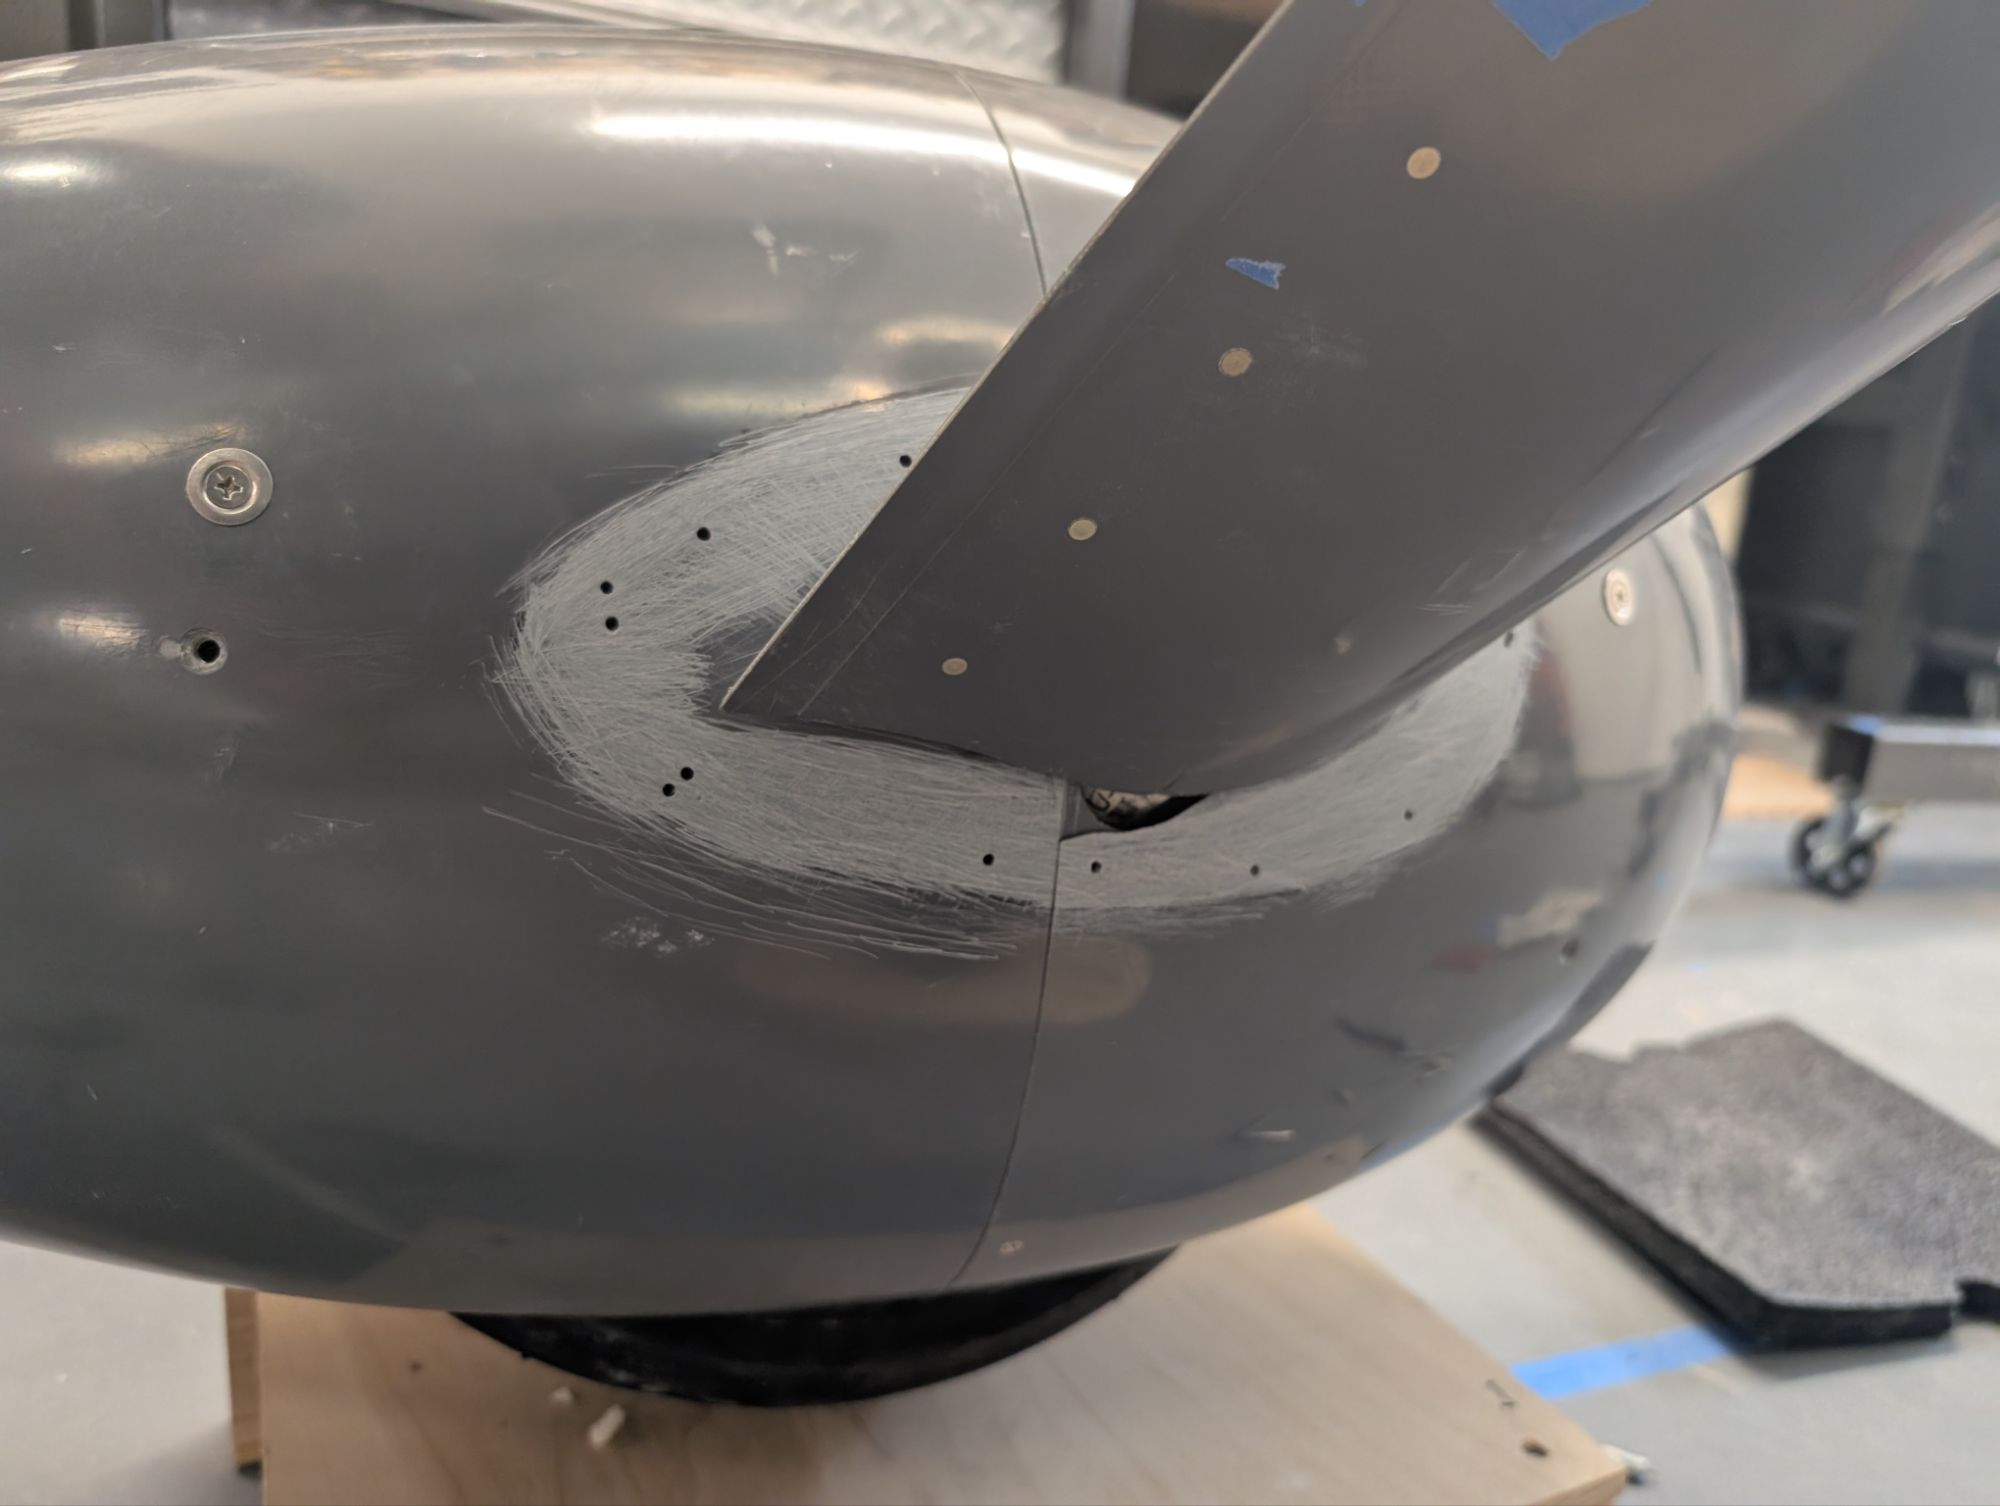
I used RVBits intersection fairing and I chose to split them to simplify maintenance.
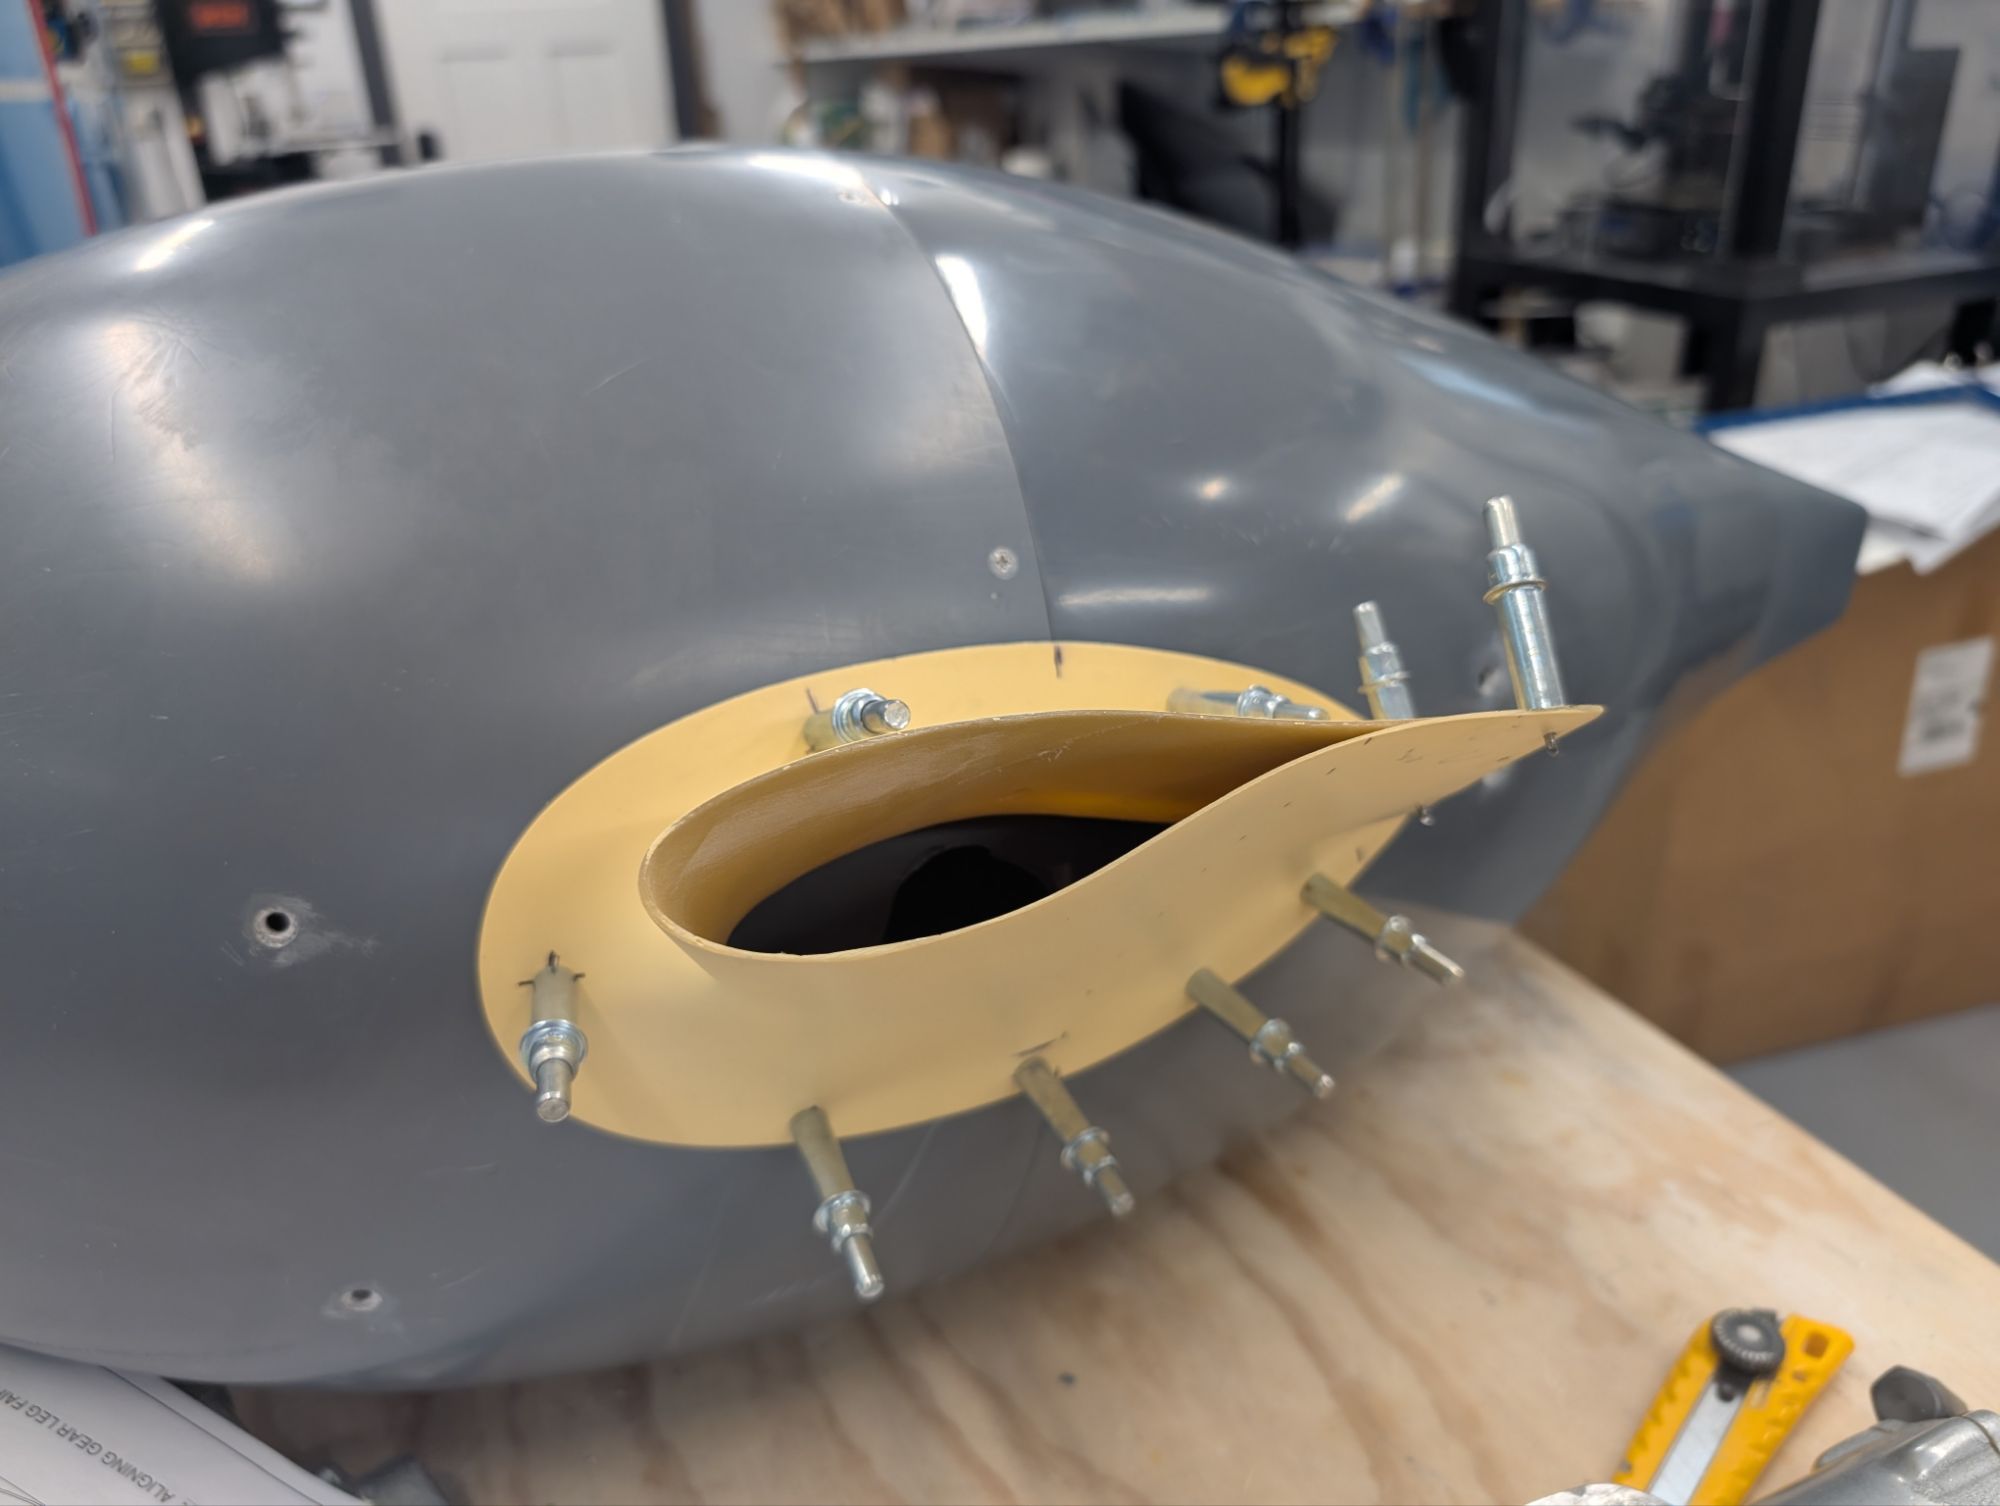
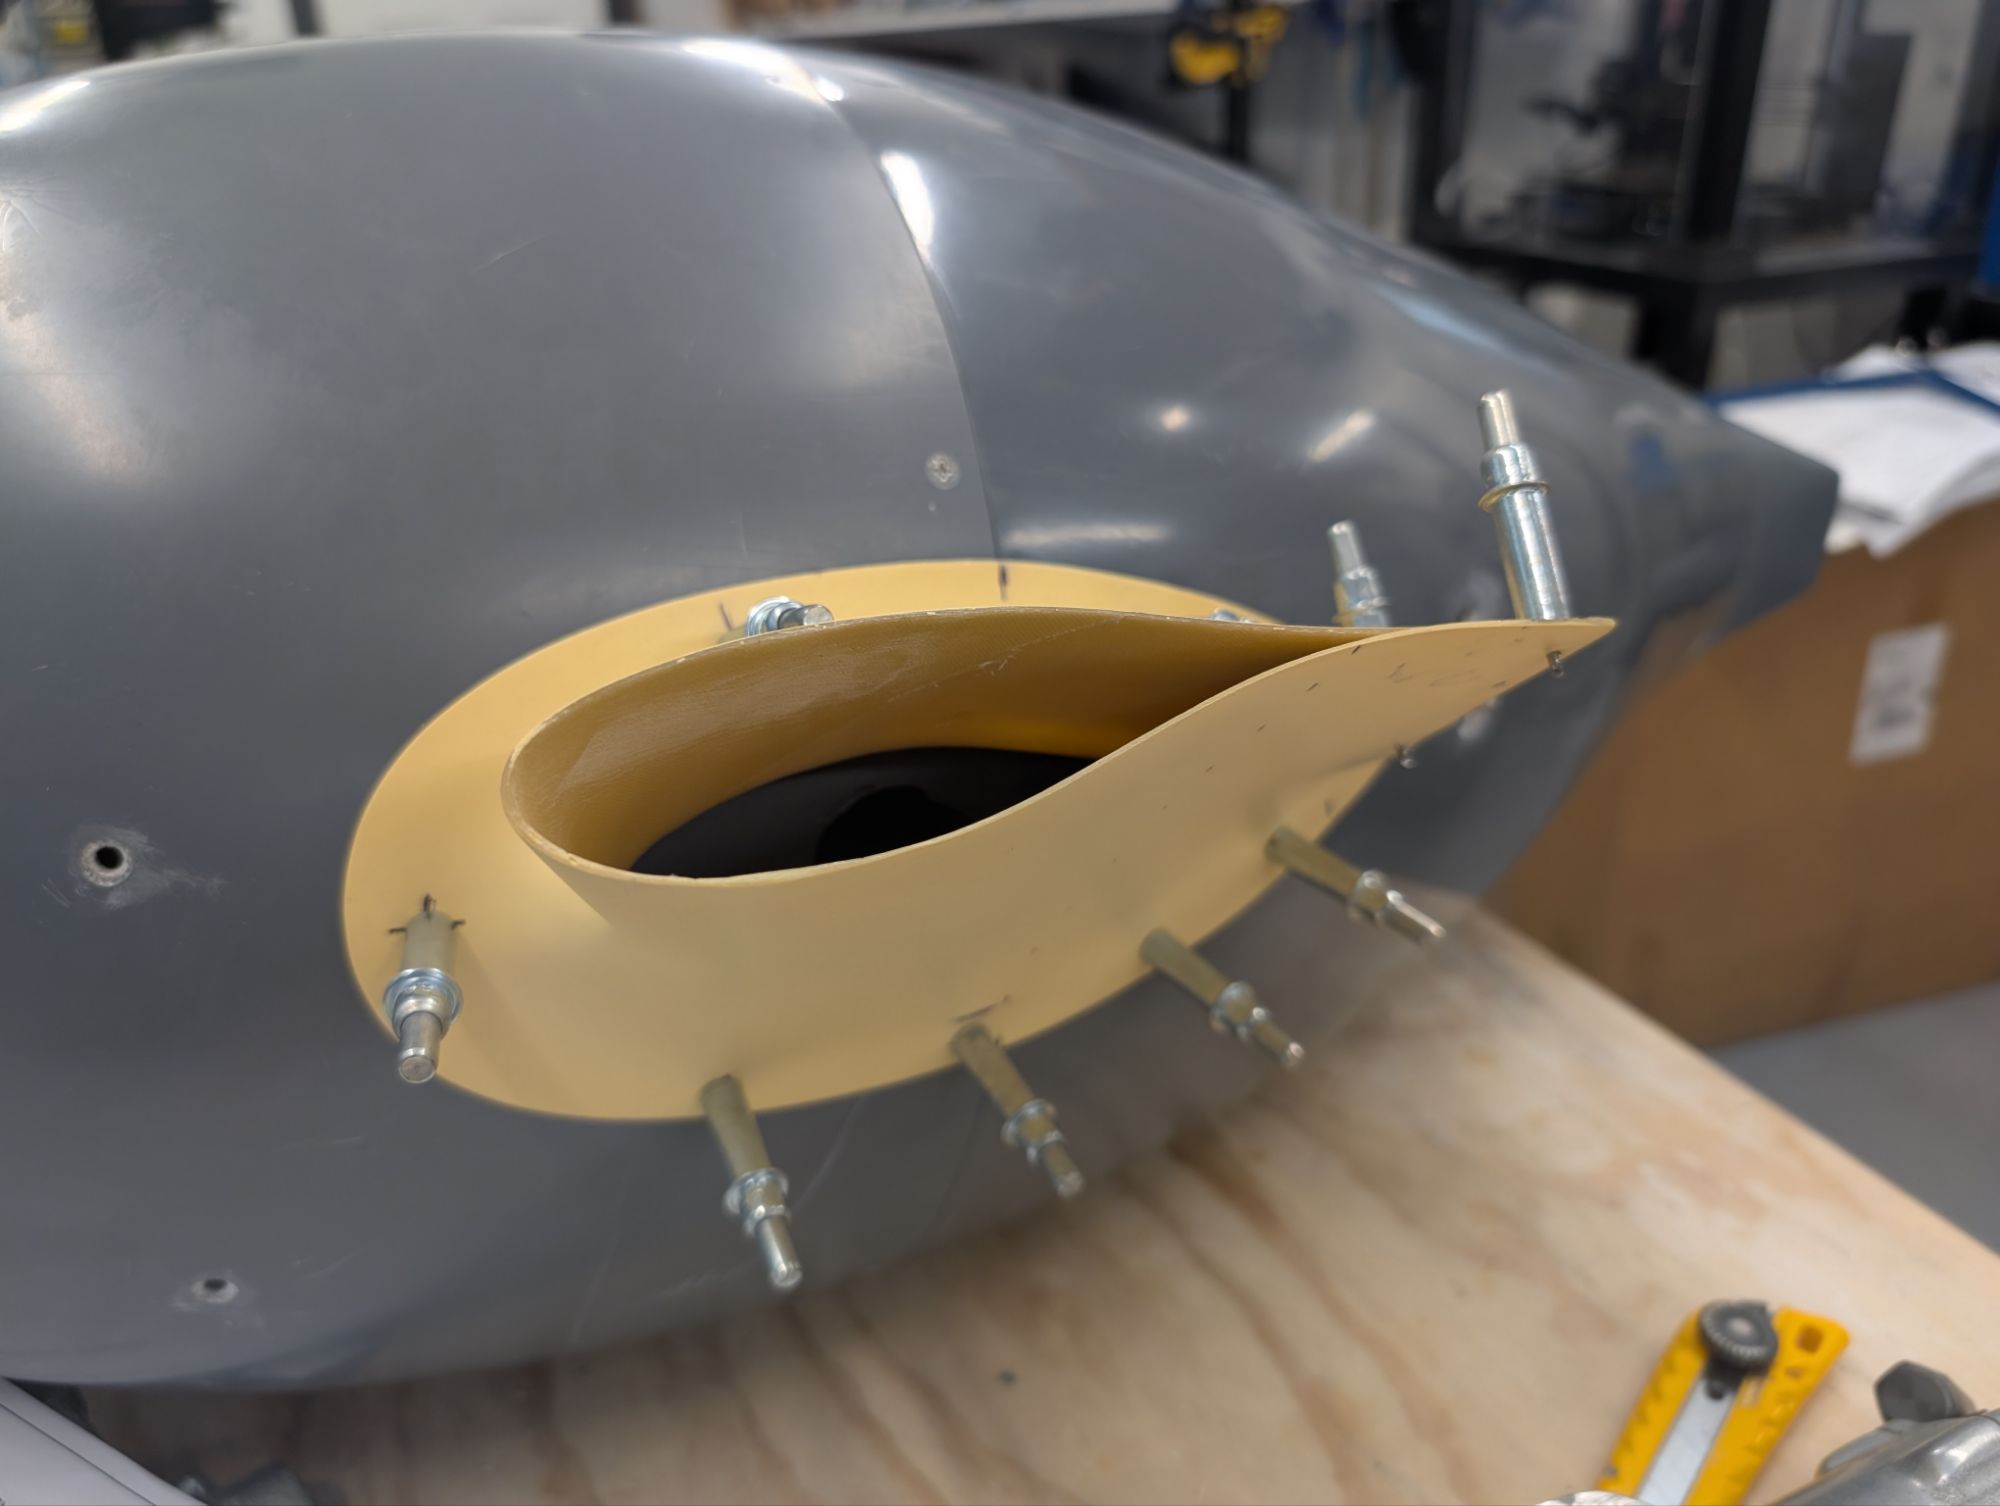
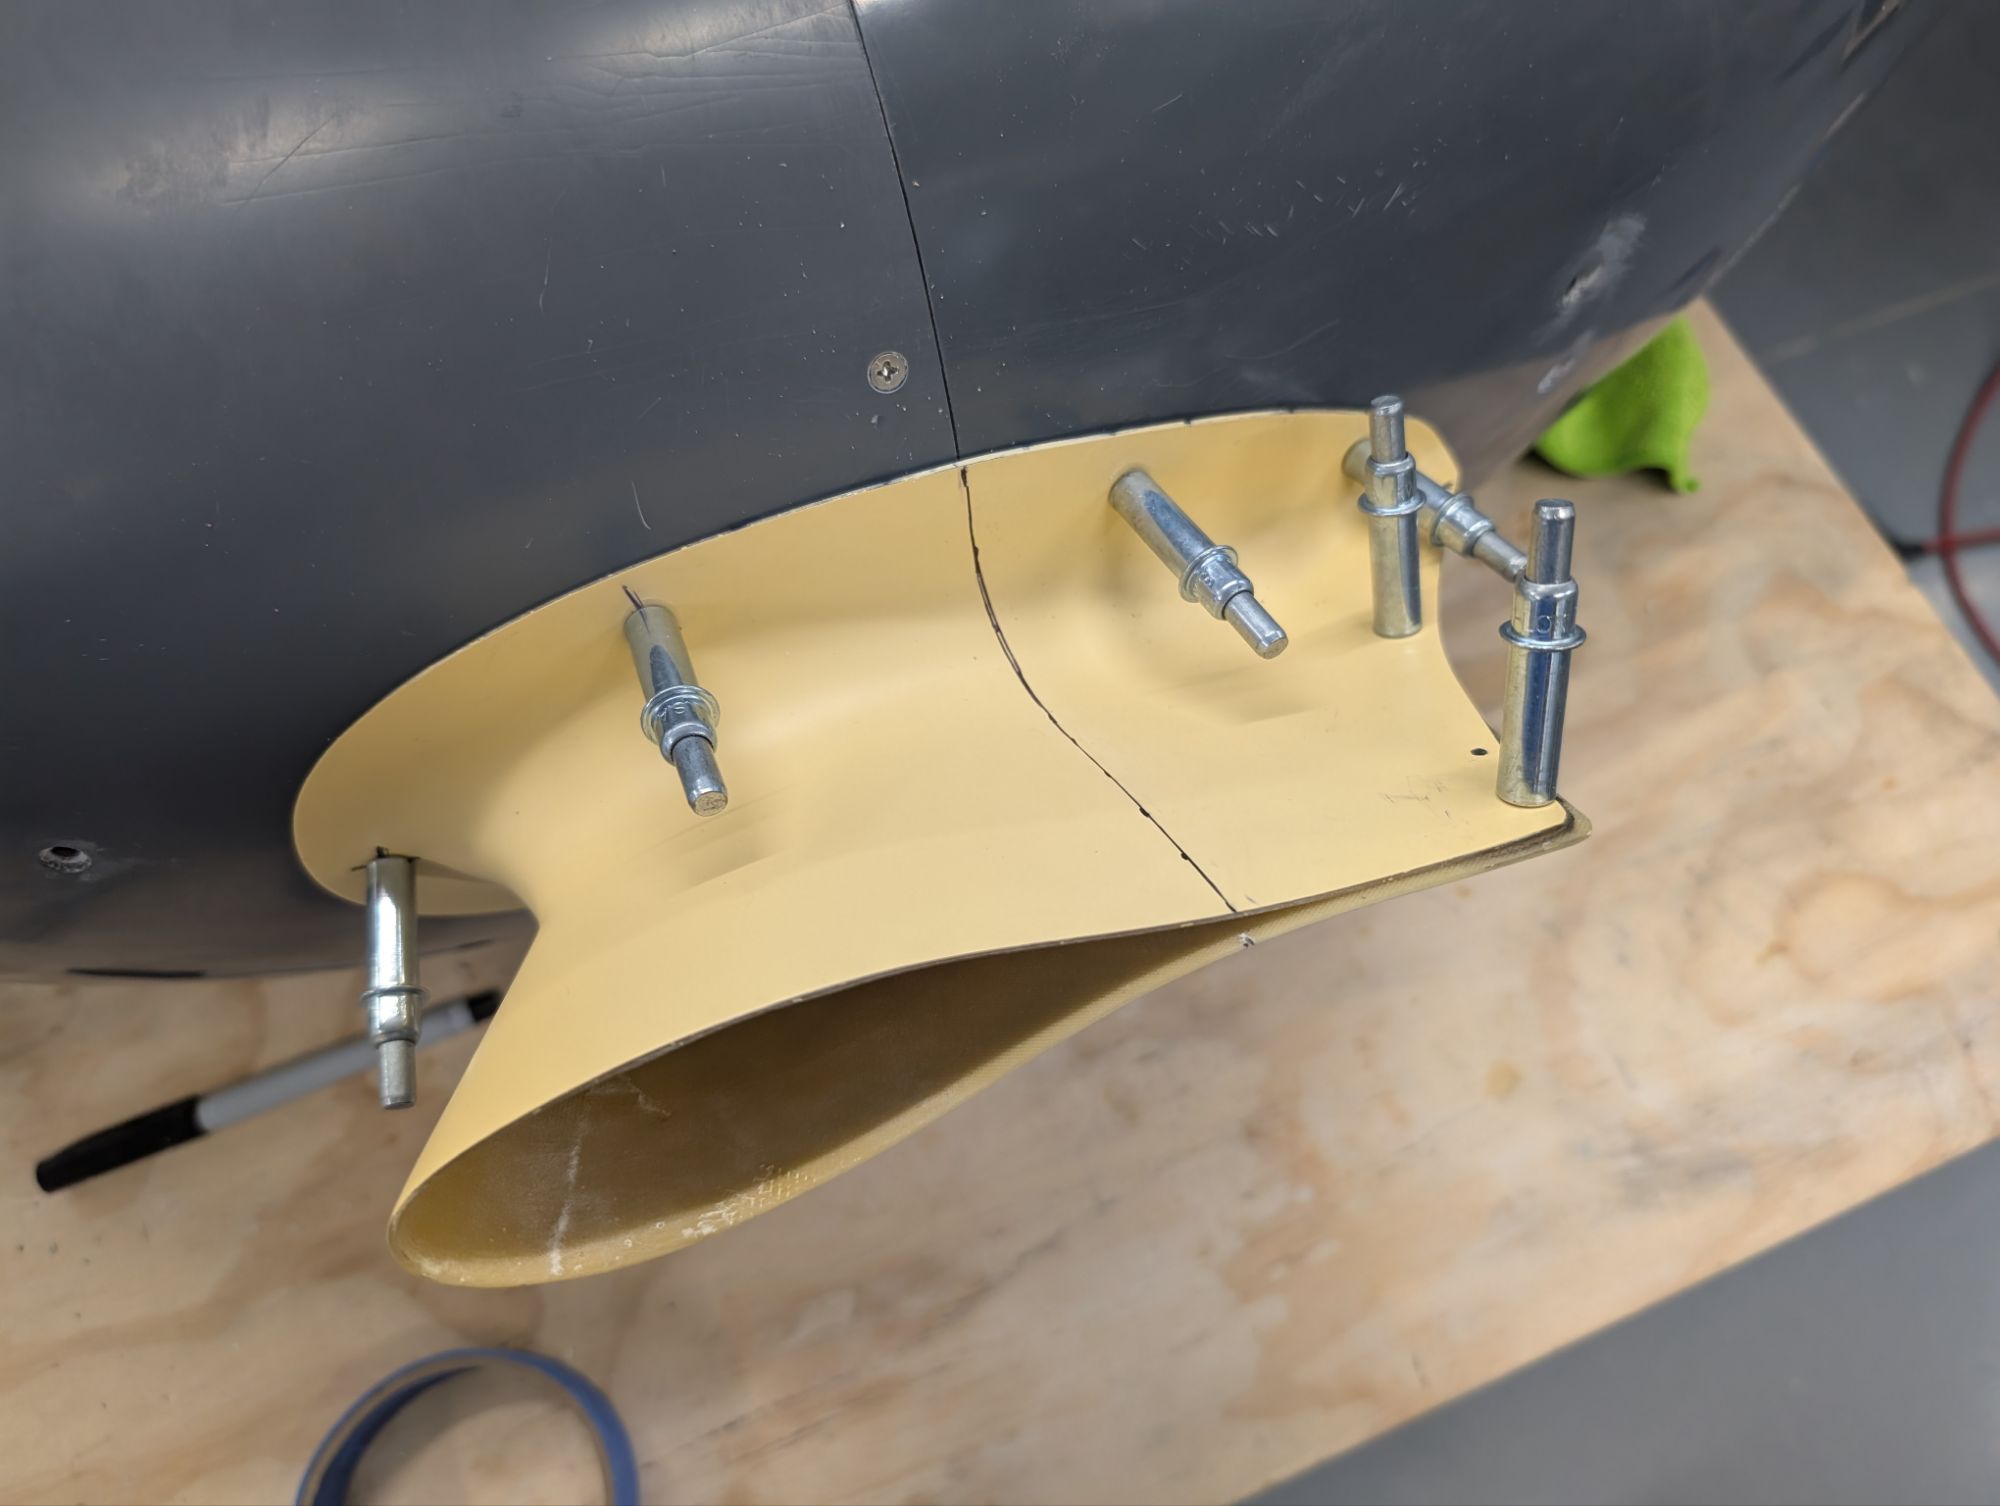
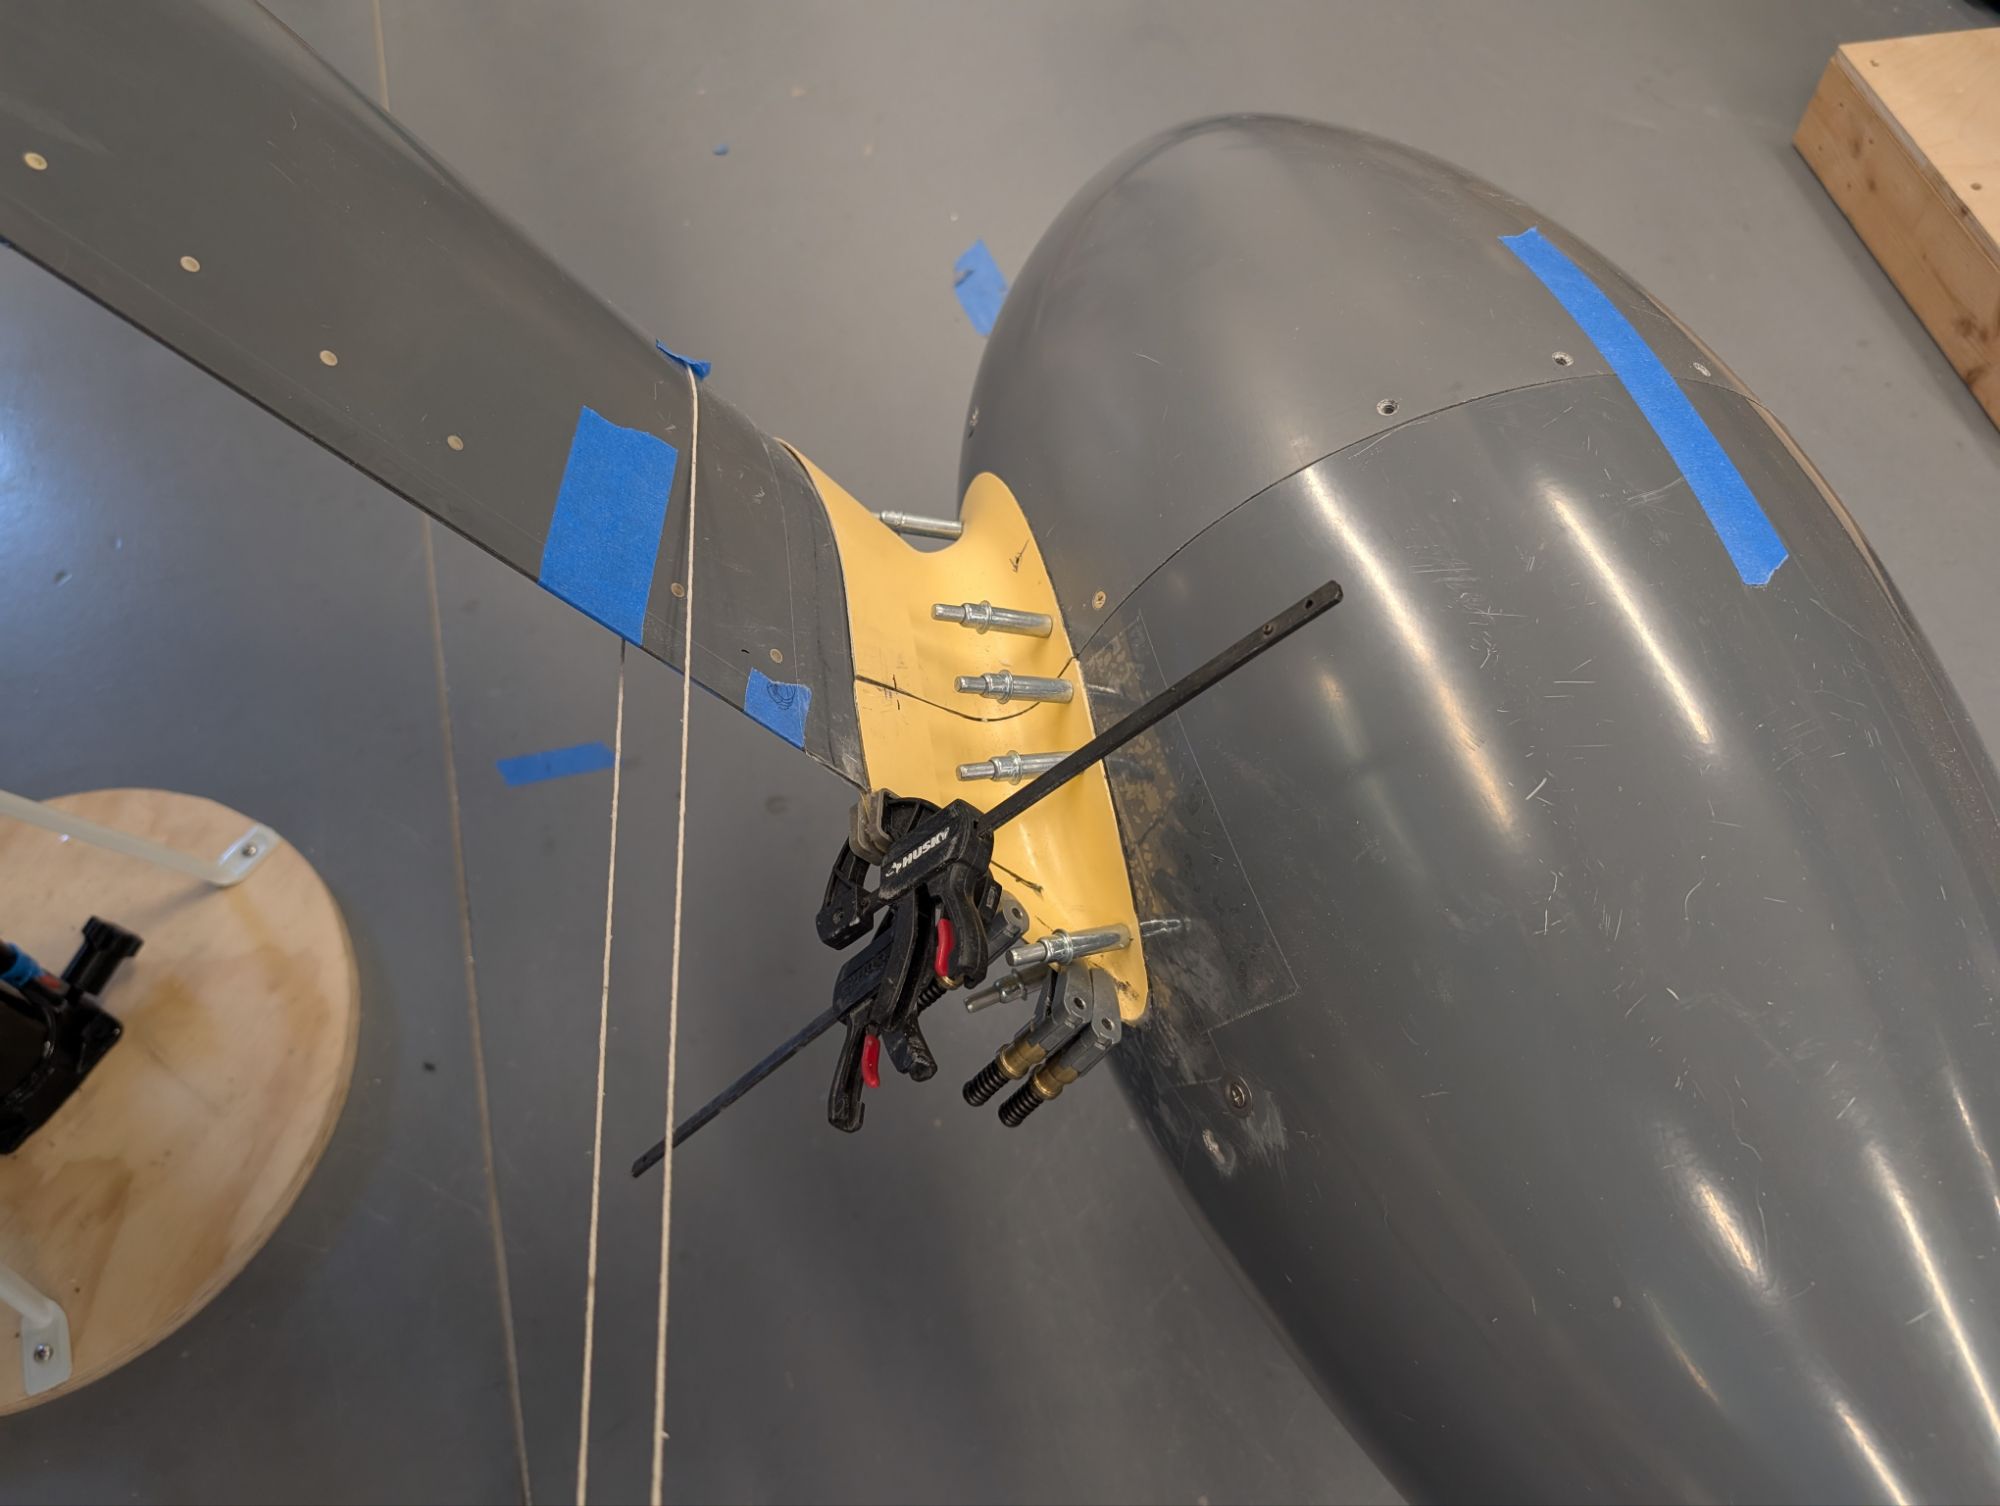
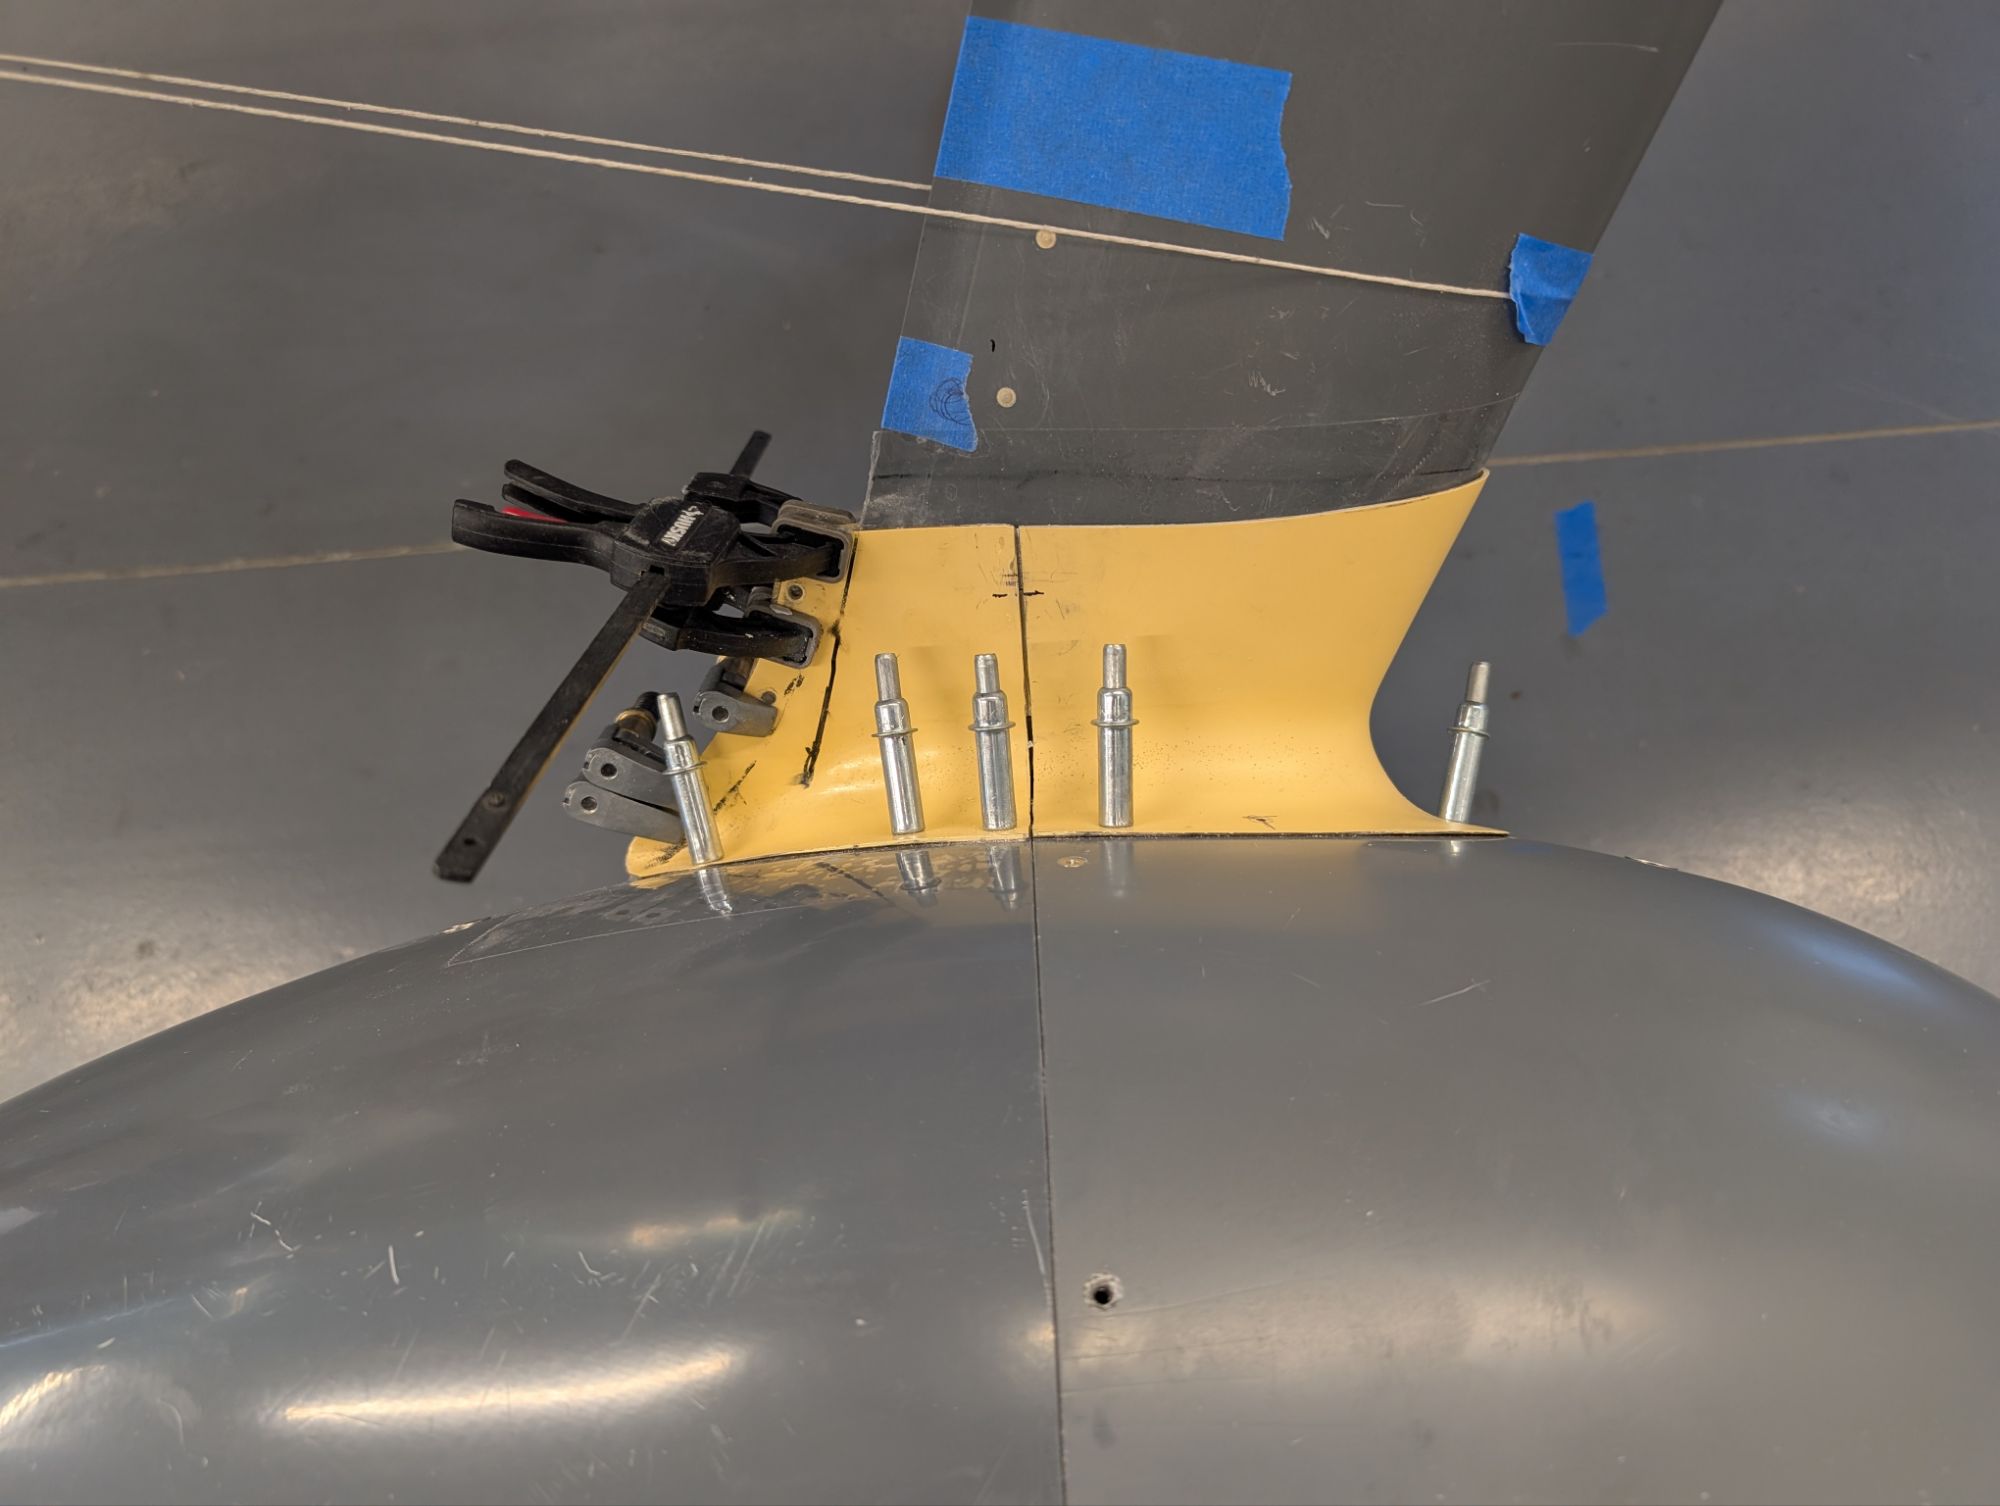
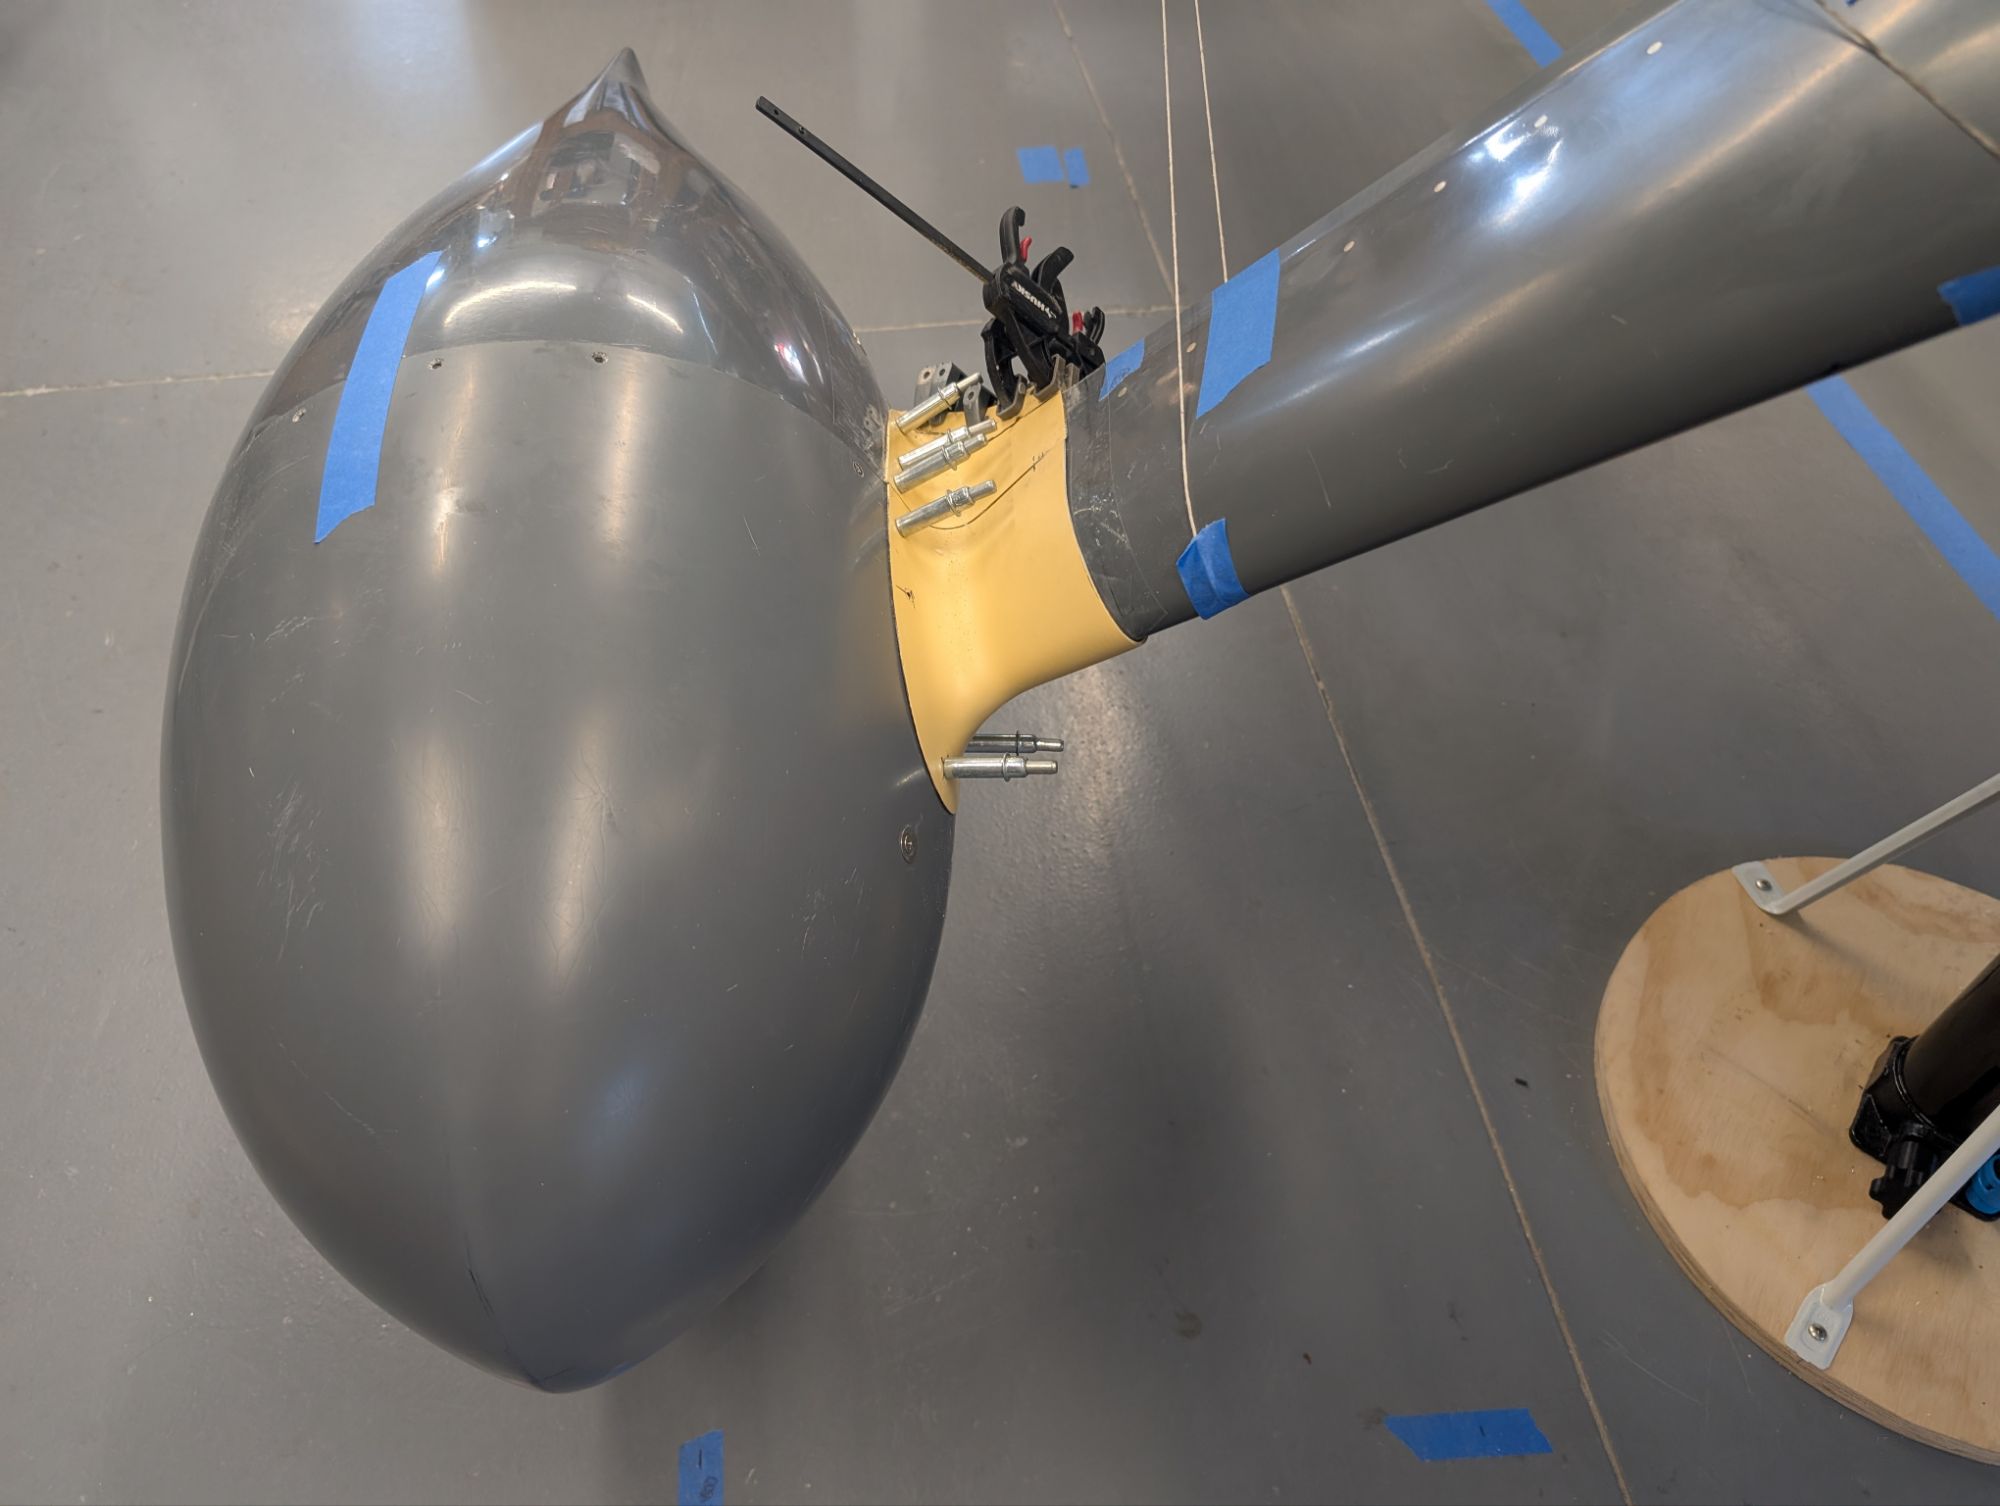
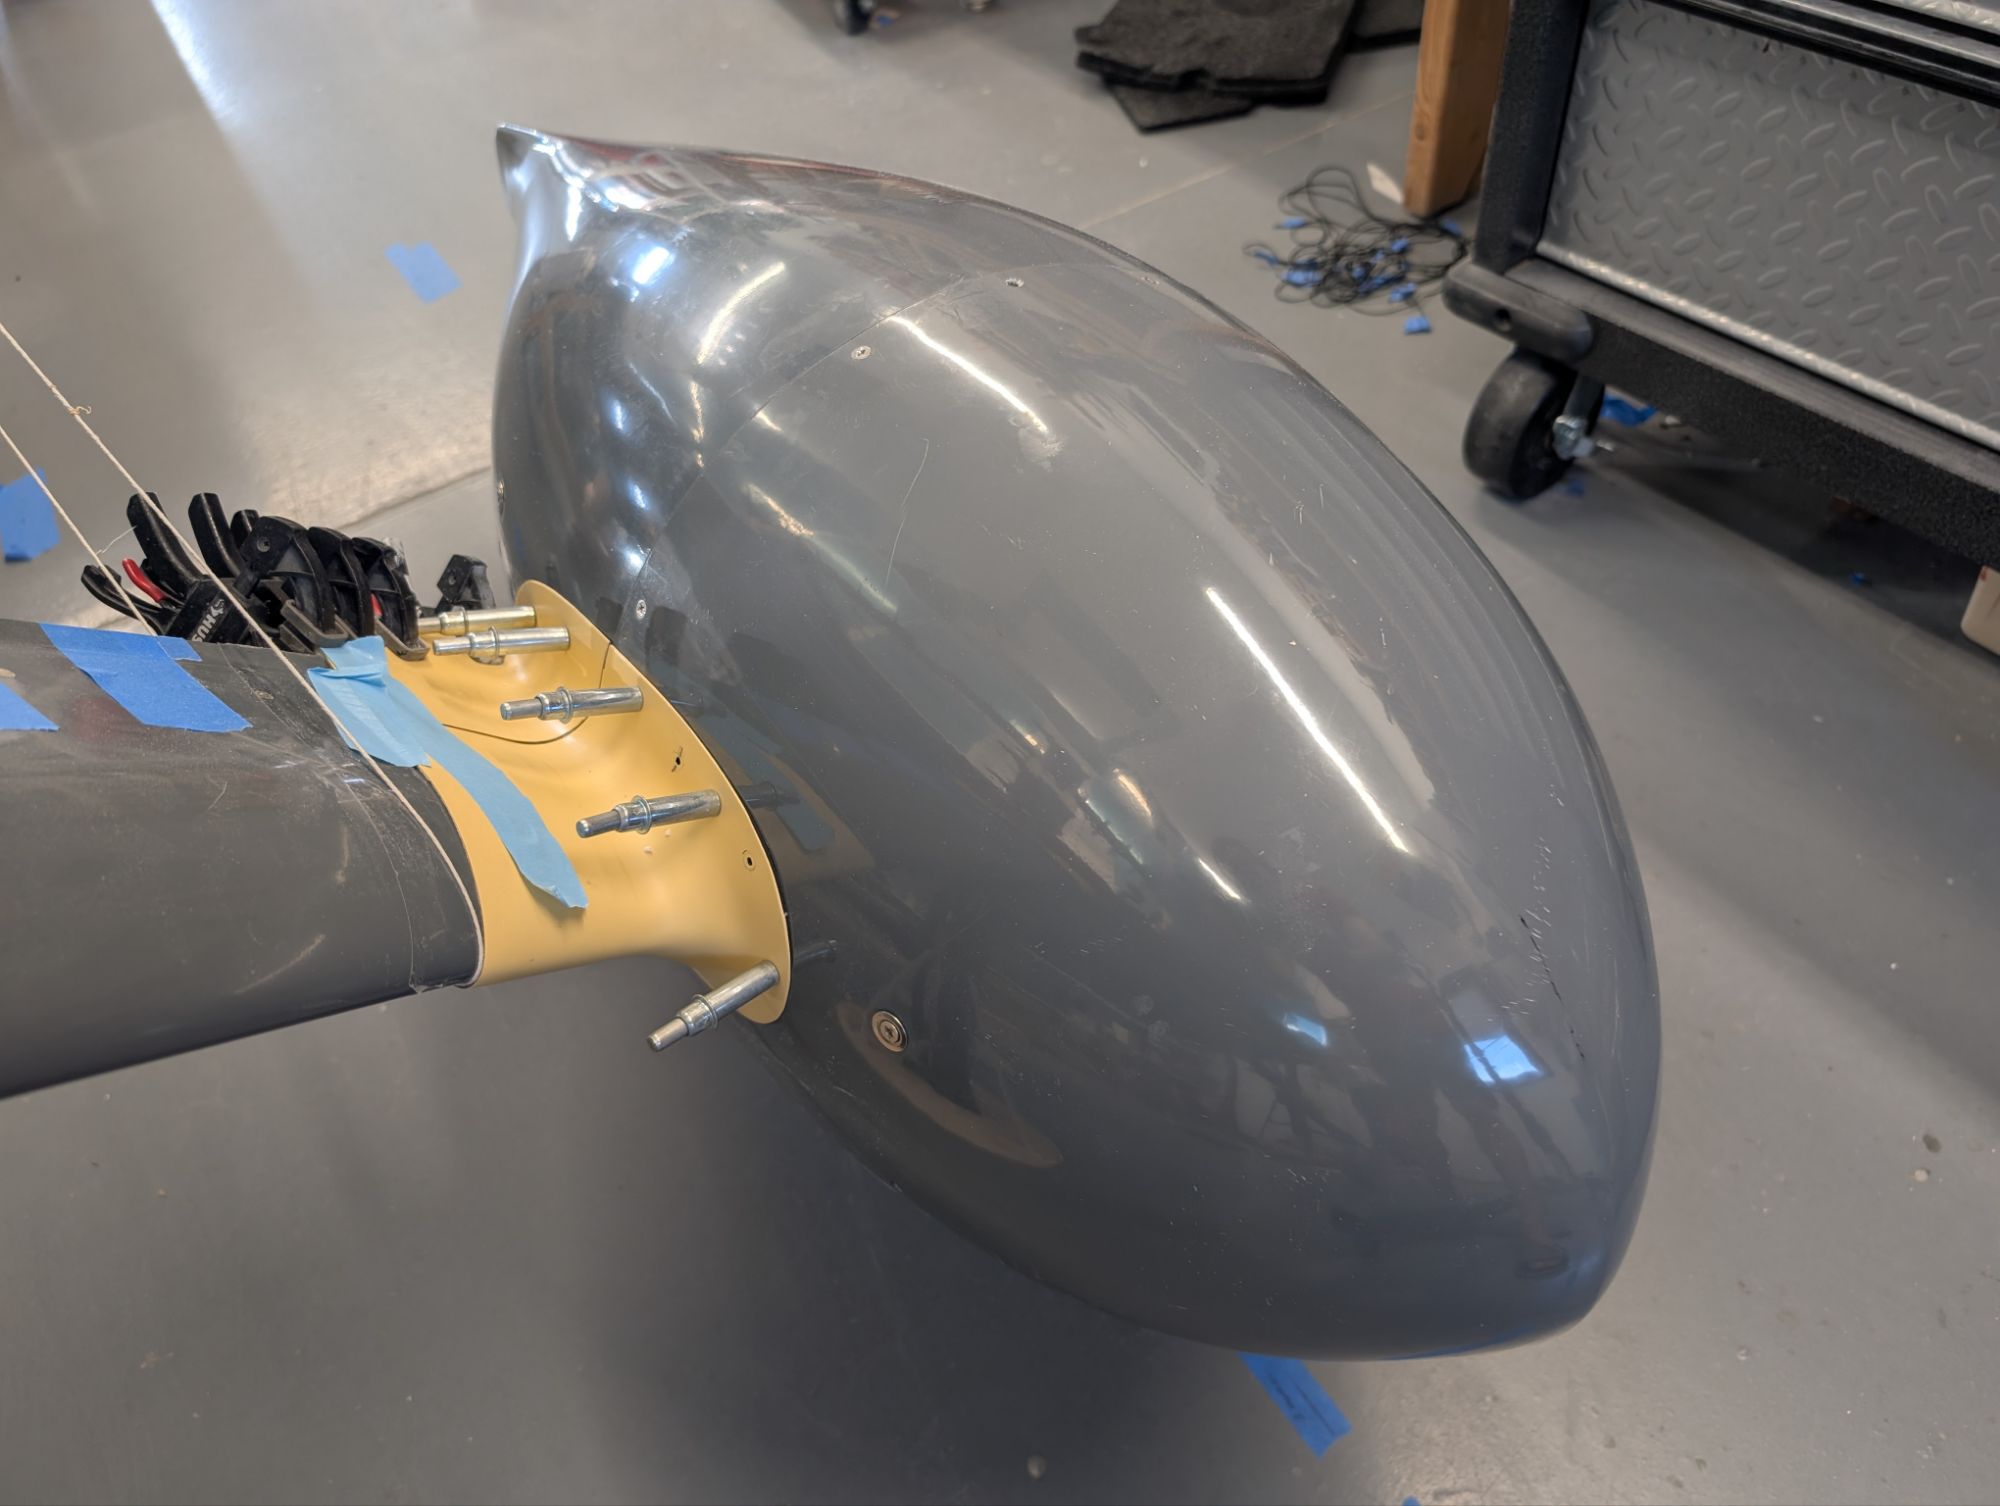
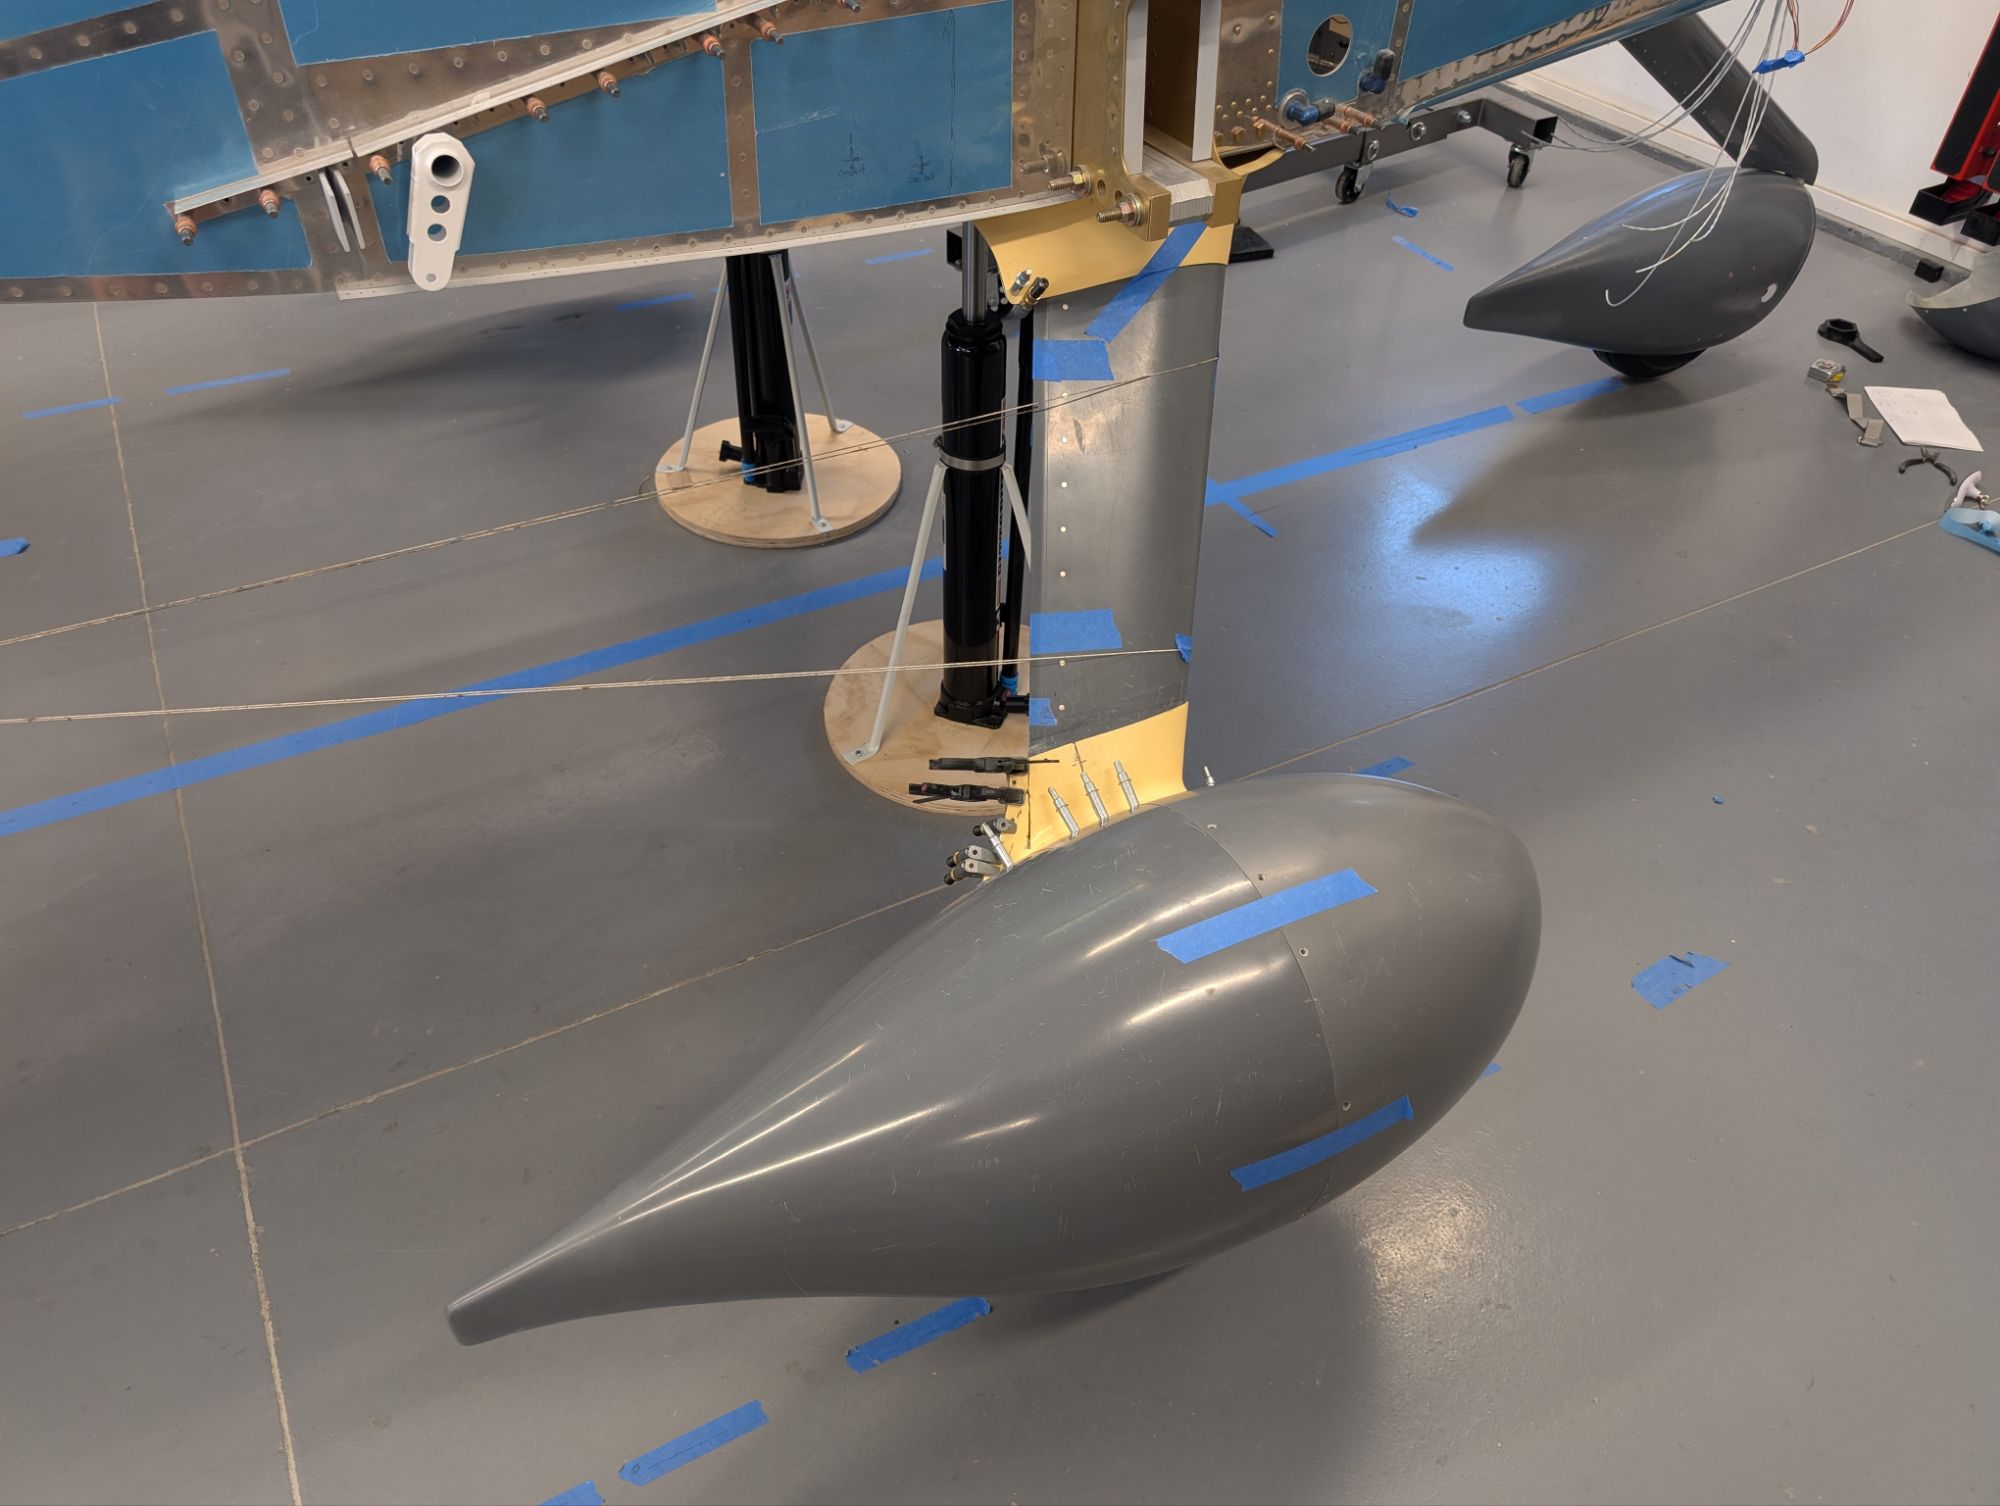
I roughed up the bonding surfaces and bonded the intersection fairings with an epoxy/cabosil/flox mix.


I added Tug Guards from FlyBoy Accessories to protect the wheel pants from damage from tow bars. I used #3 flat-head screws from Bolt Depot to secure the tug guards. This makes them removable for paint.