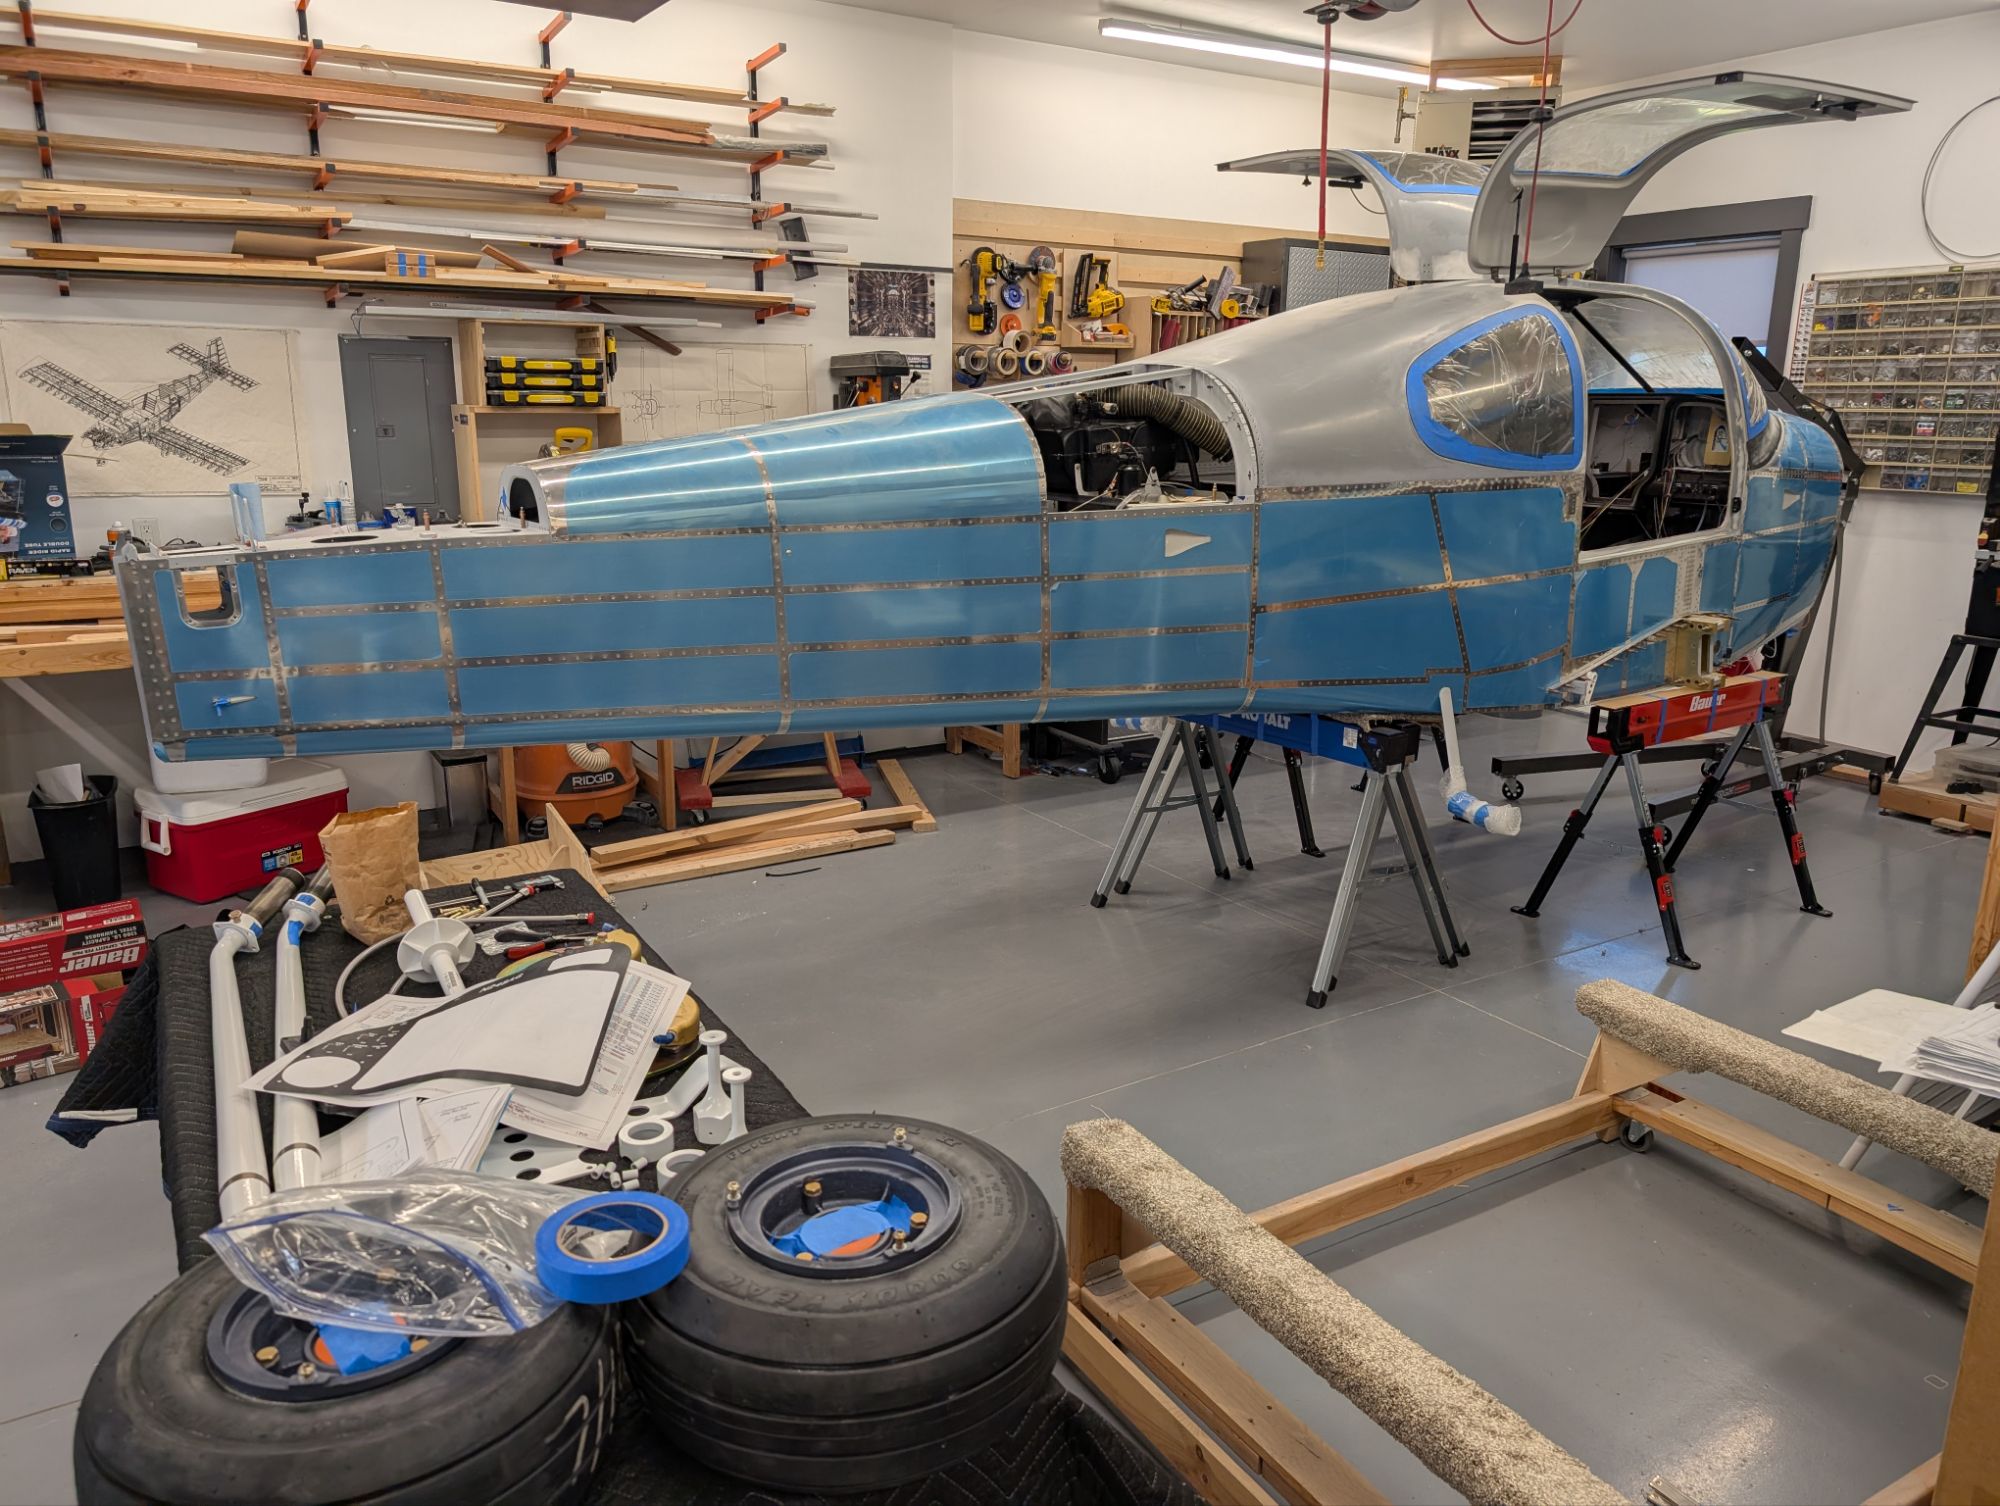
Lifting the fuselage to install the landing gear was the primary challenge in completing this step. The fuselage accumulates a lot of weight by this stage in the build. We removed the tail feathers to make it more manageable.
After considering various options, we chose to incrementally raise it, using an engine hoist strapped to the engine mount and a sawhorse at the aft of the baggage compartment.
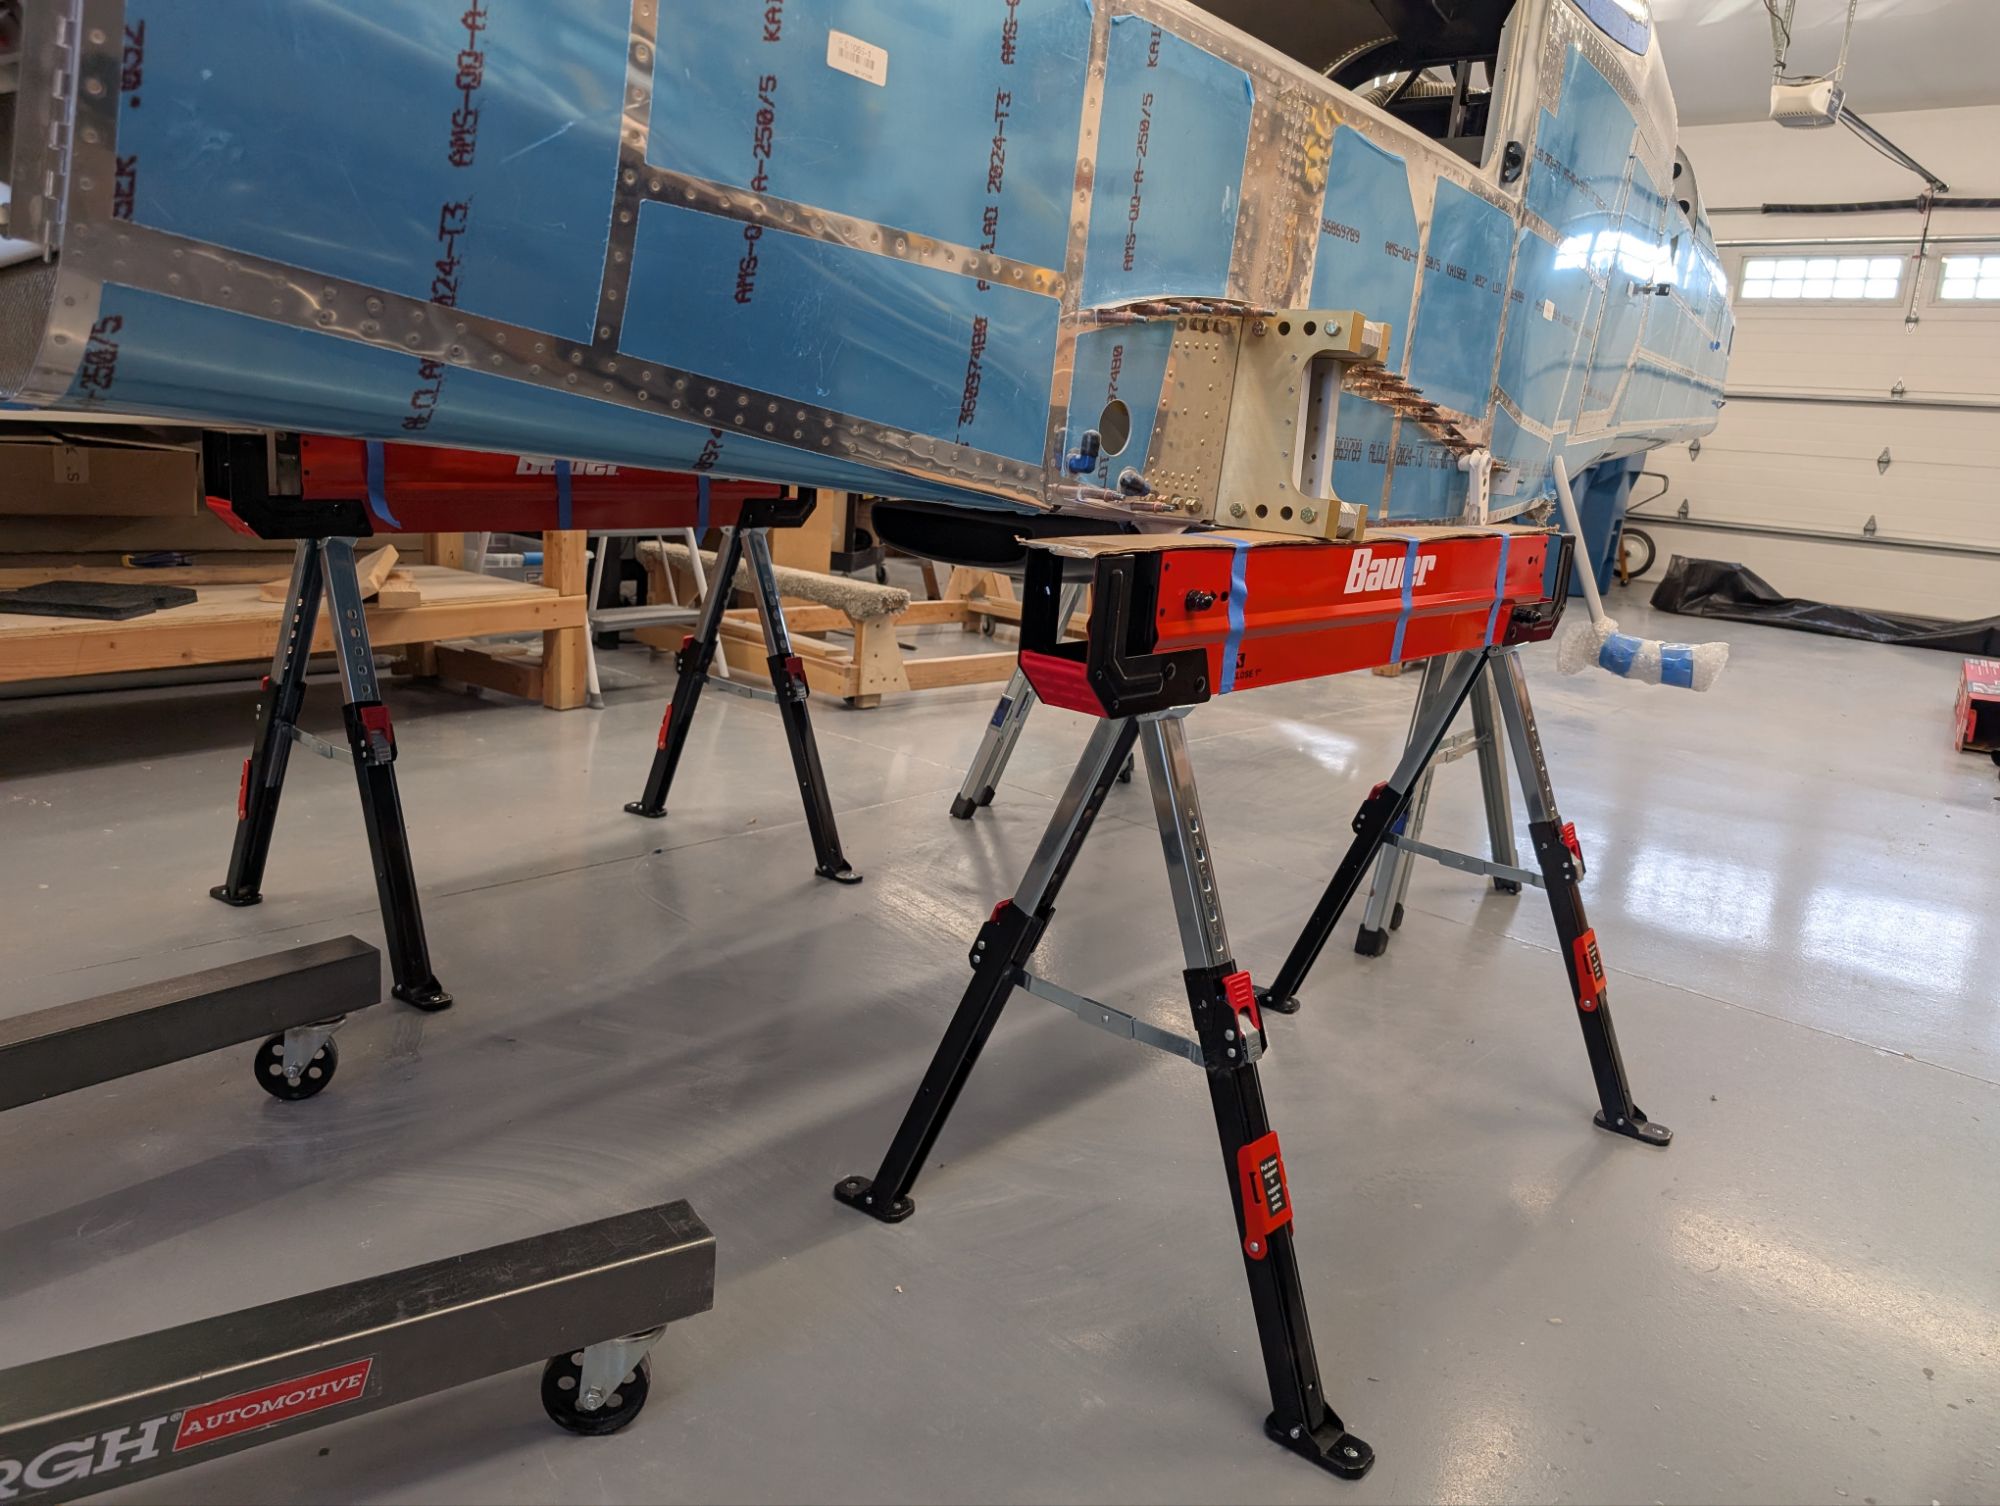
We used two adjustable sawhorses under the wing spar carry through to incrementally raise the fuselage (and give us some safety if something failed). The engine hoist was braced against the wall to prevent the fuselage from sliding forward.
This process worked well with just two of us. It ended up being a non-event, and the fuselage was raised without issue.
The fuselage cart was removed and torn down. It worked really well, and the height was perfect for the build.
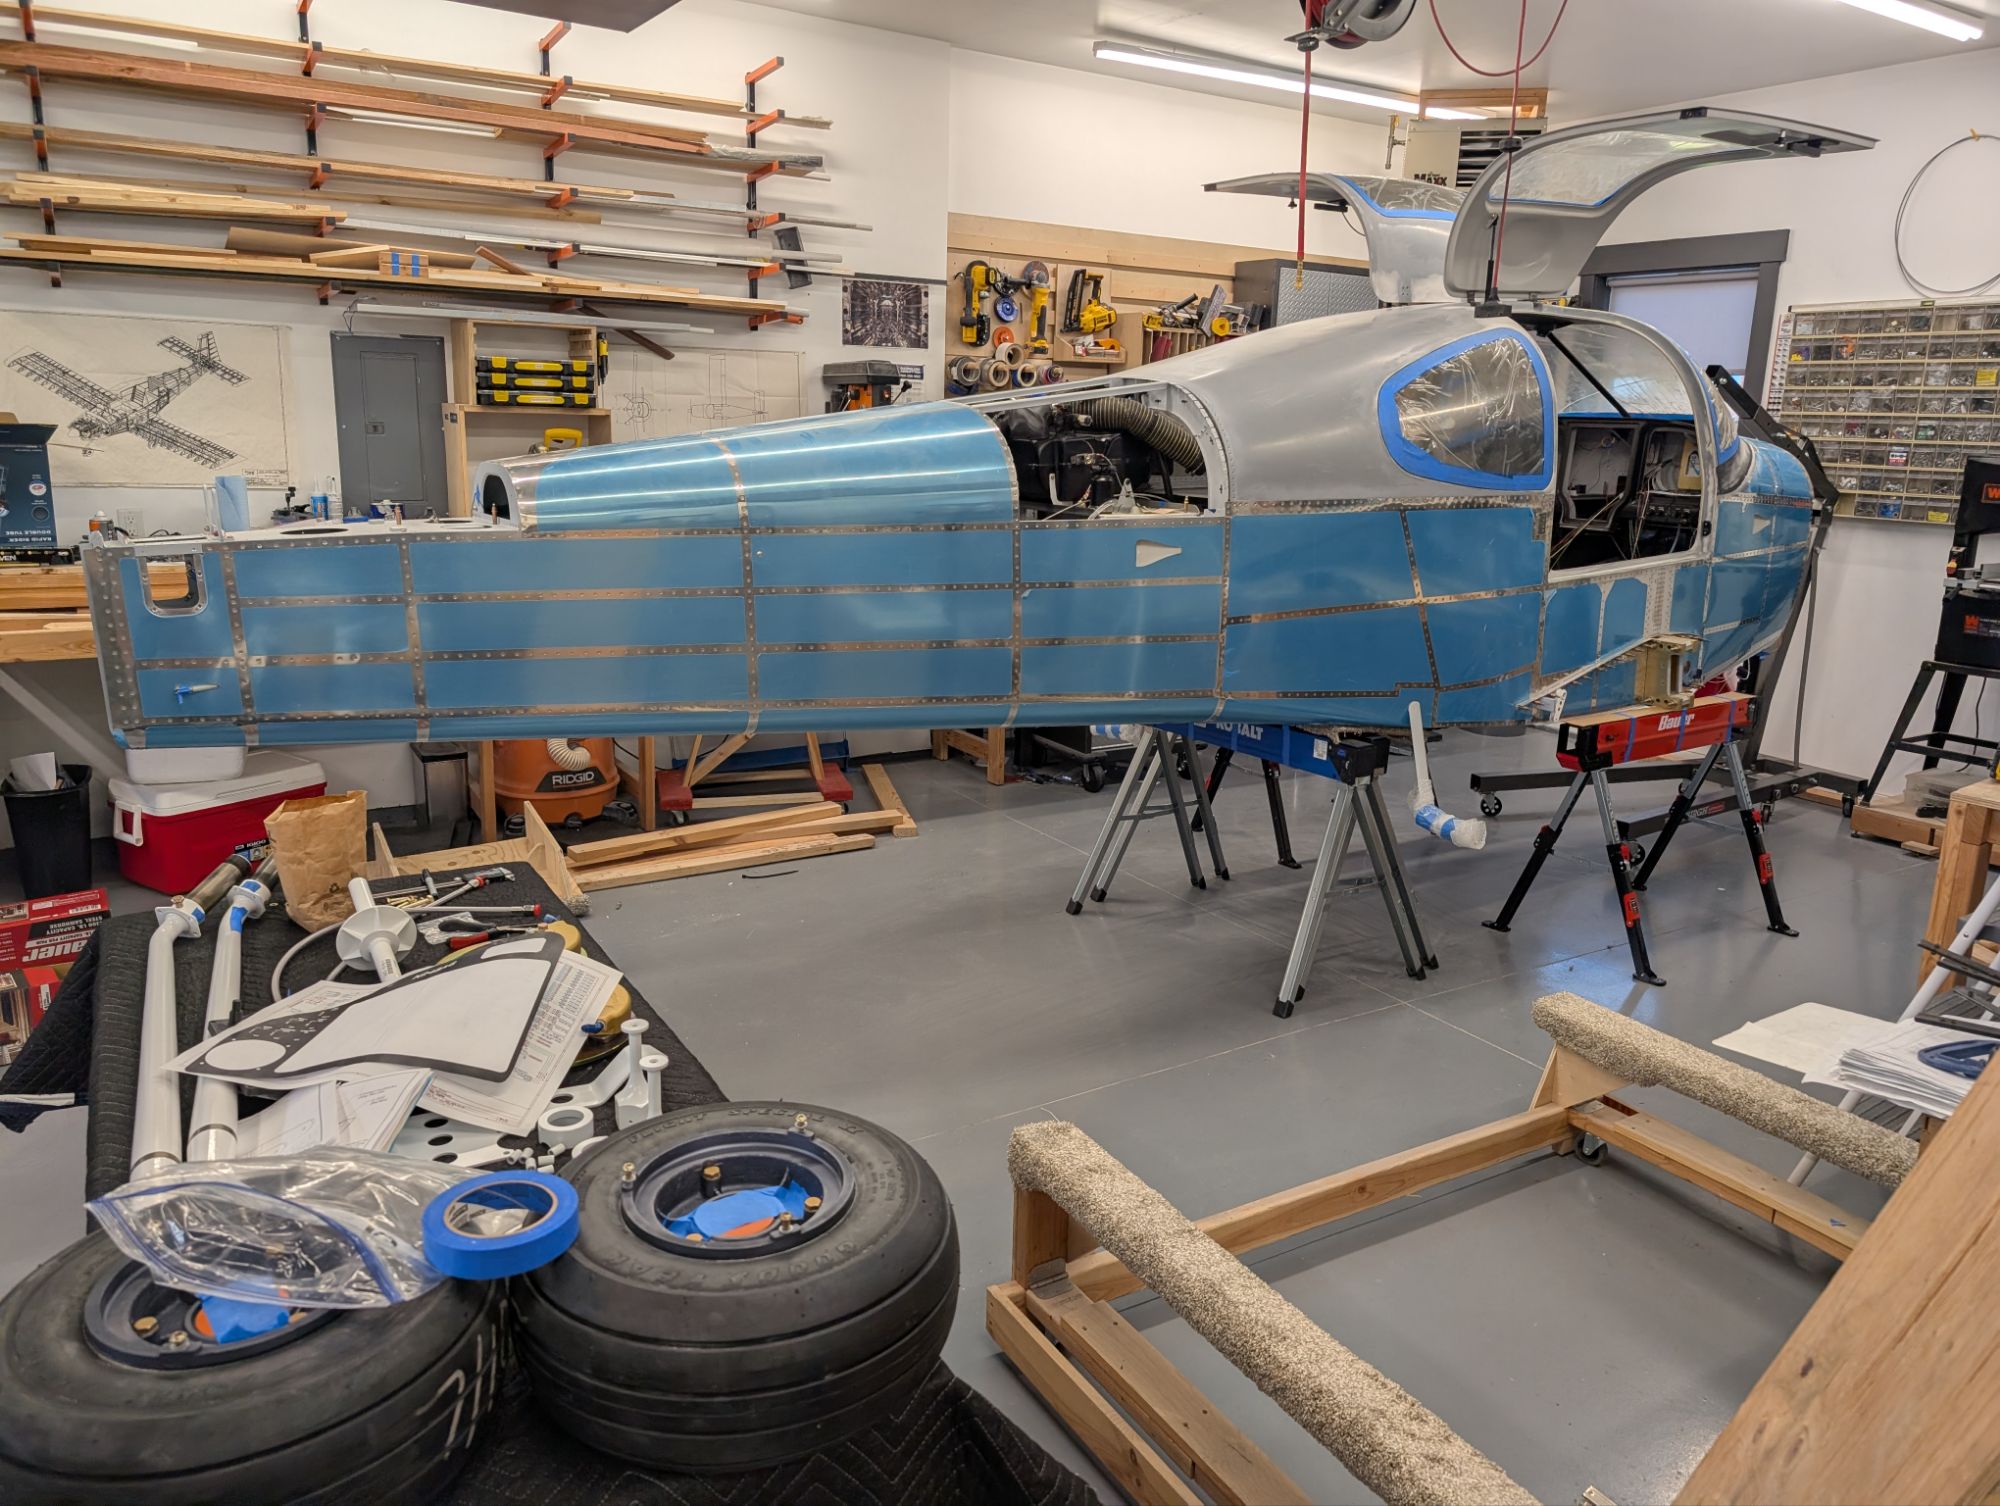
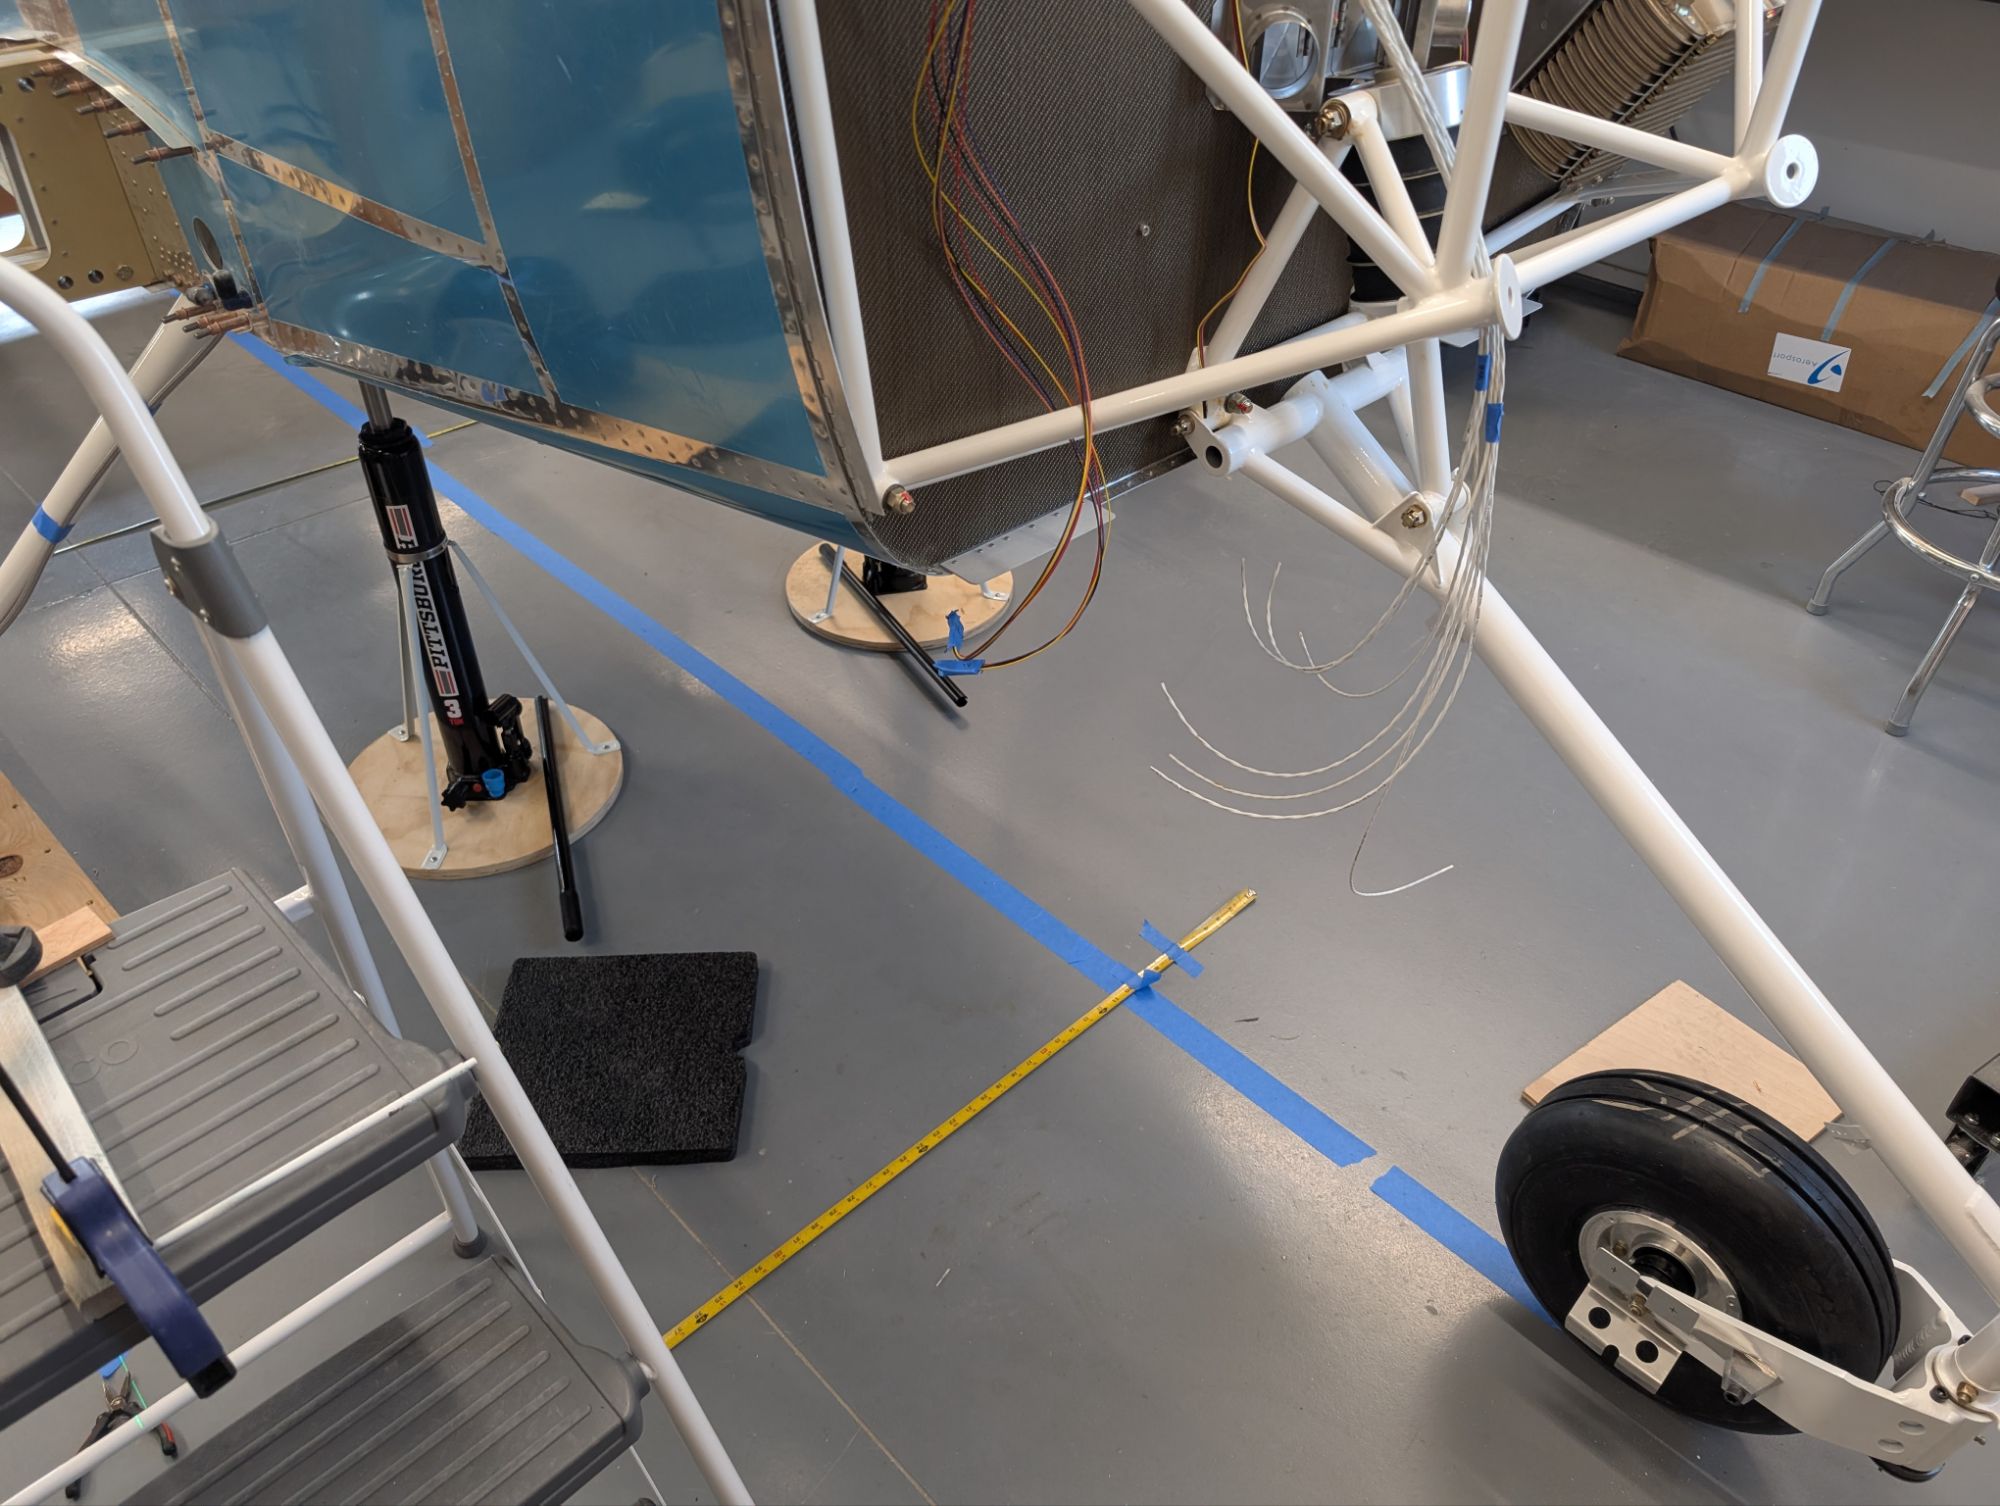
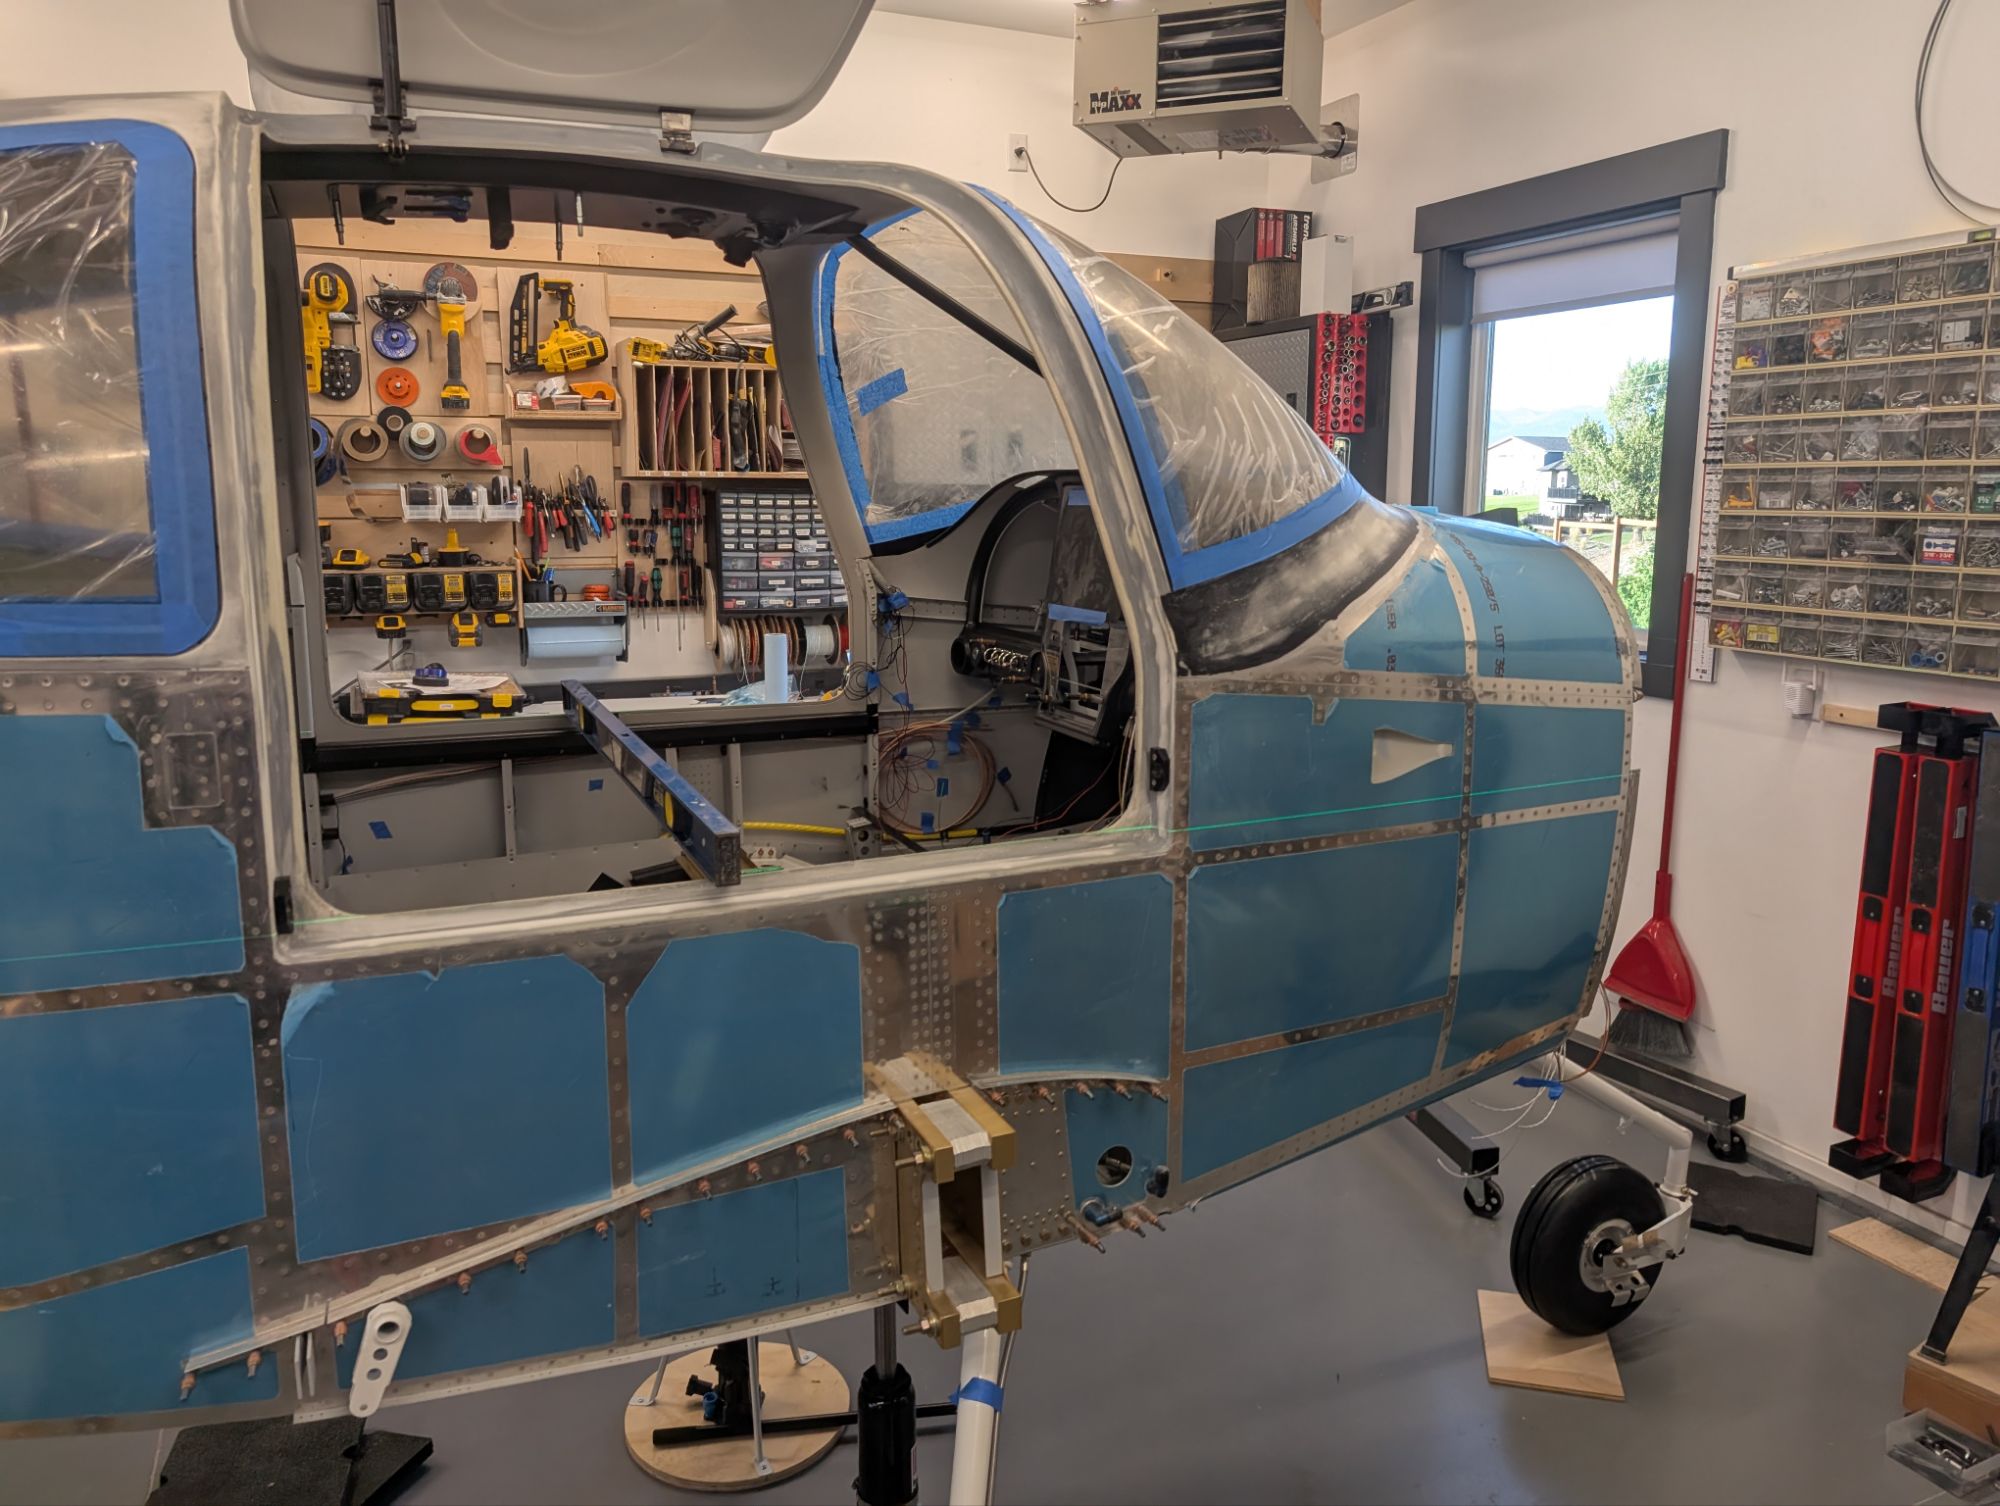
The airplane feels much larger when it is elevated.
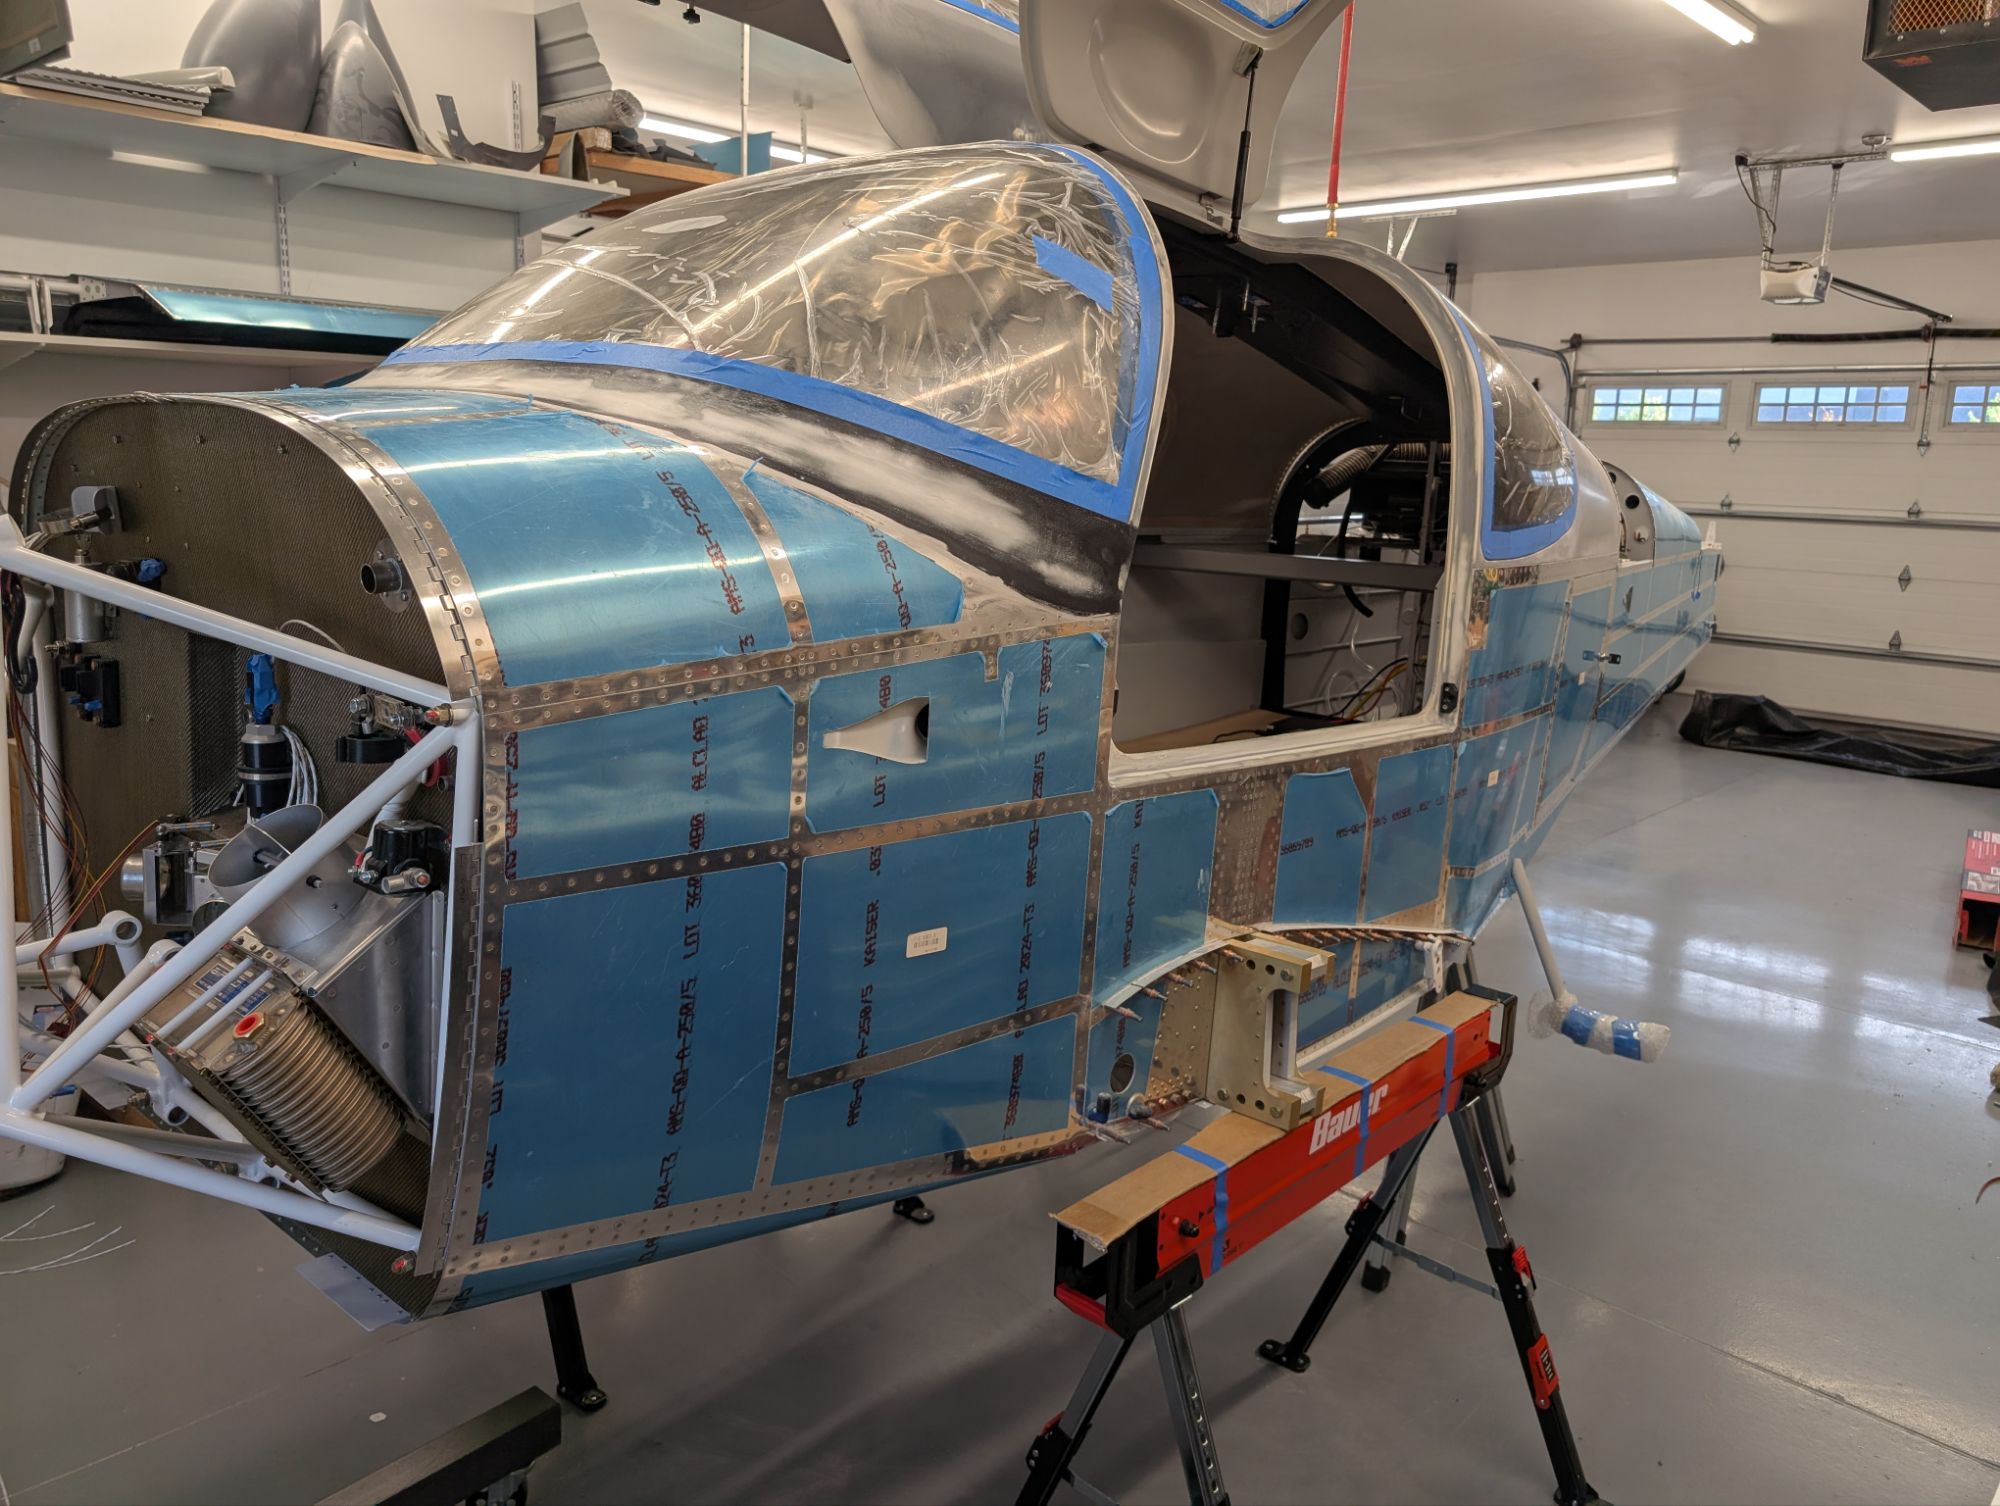
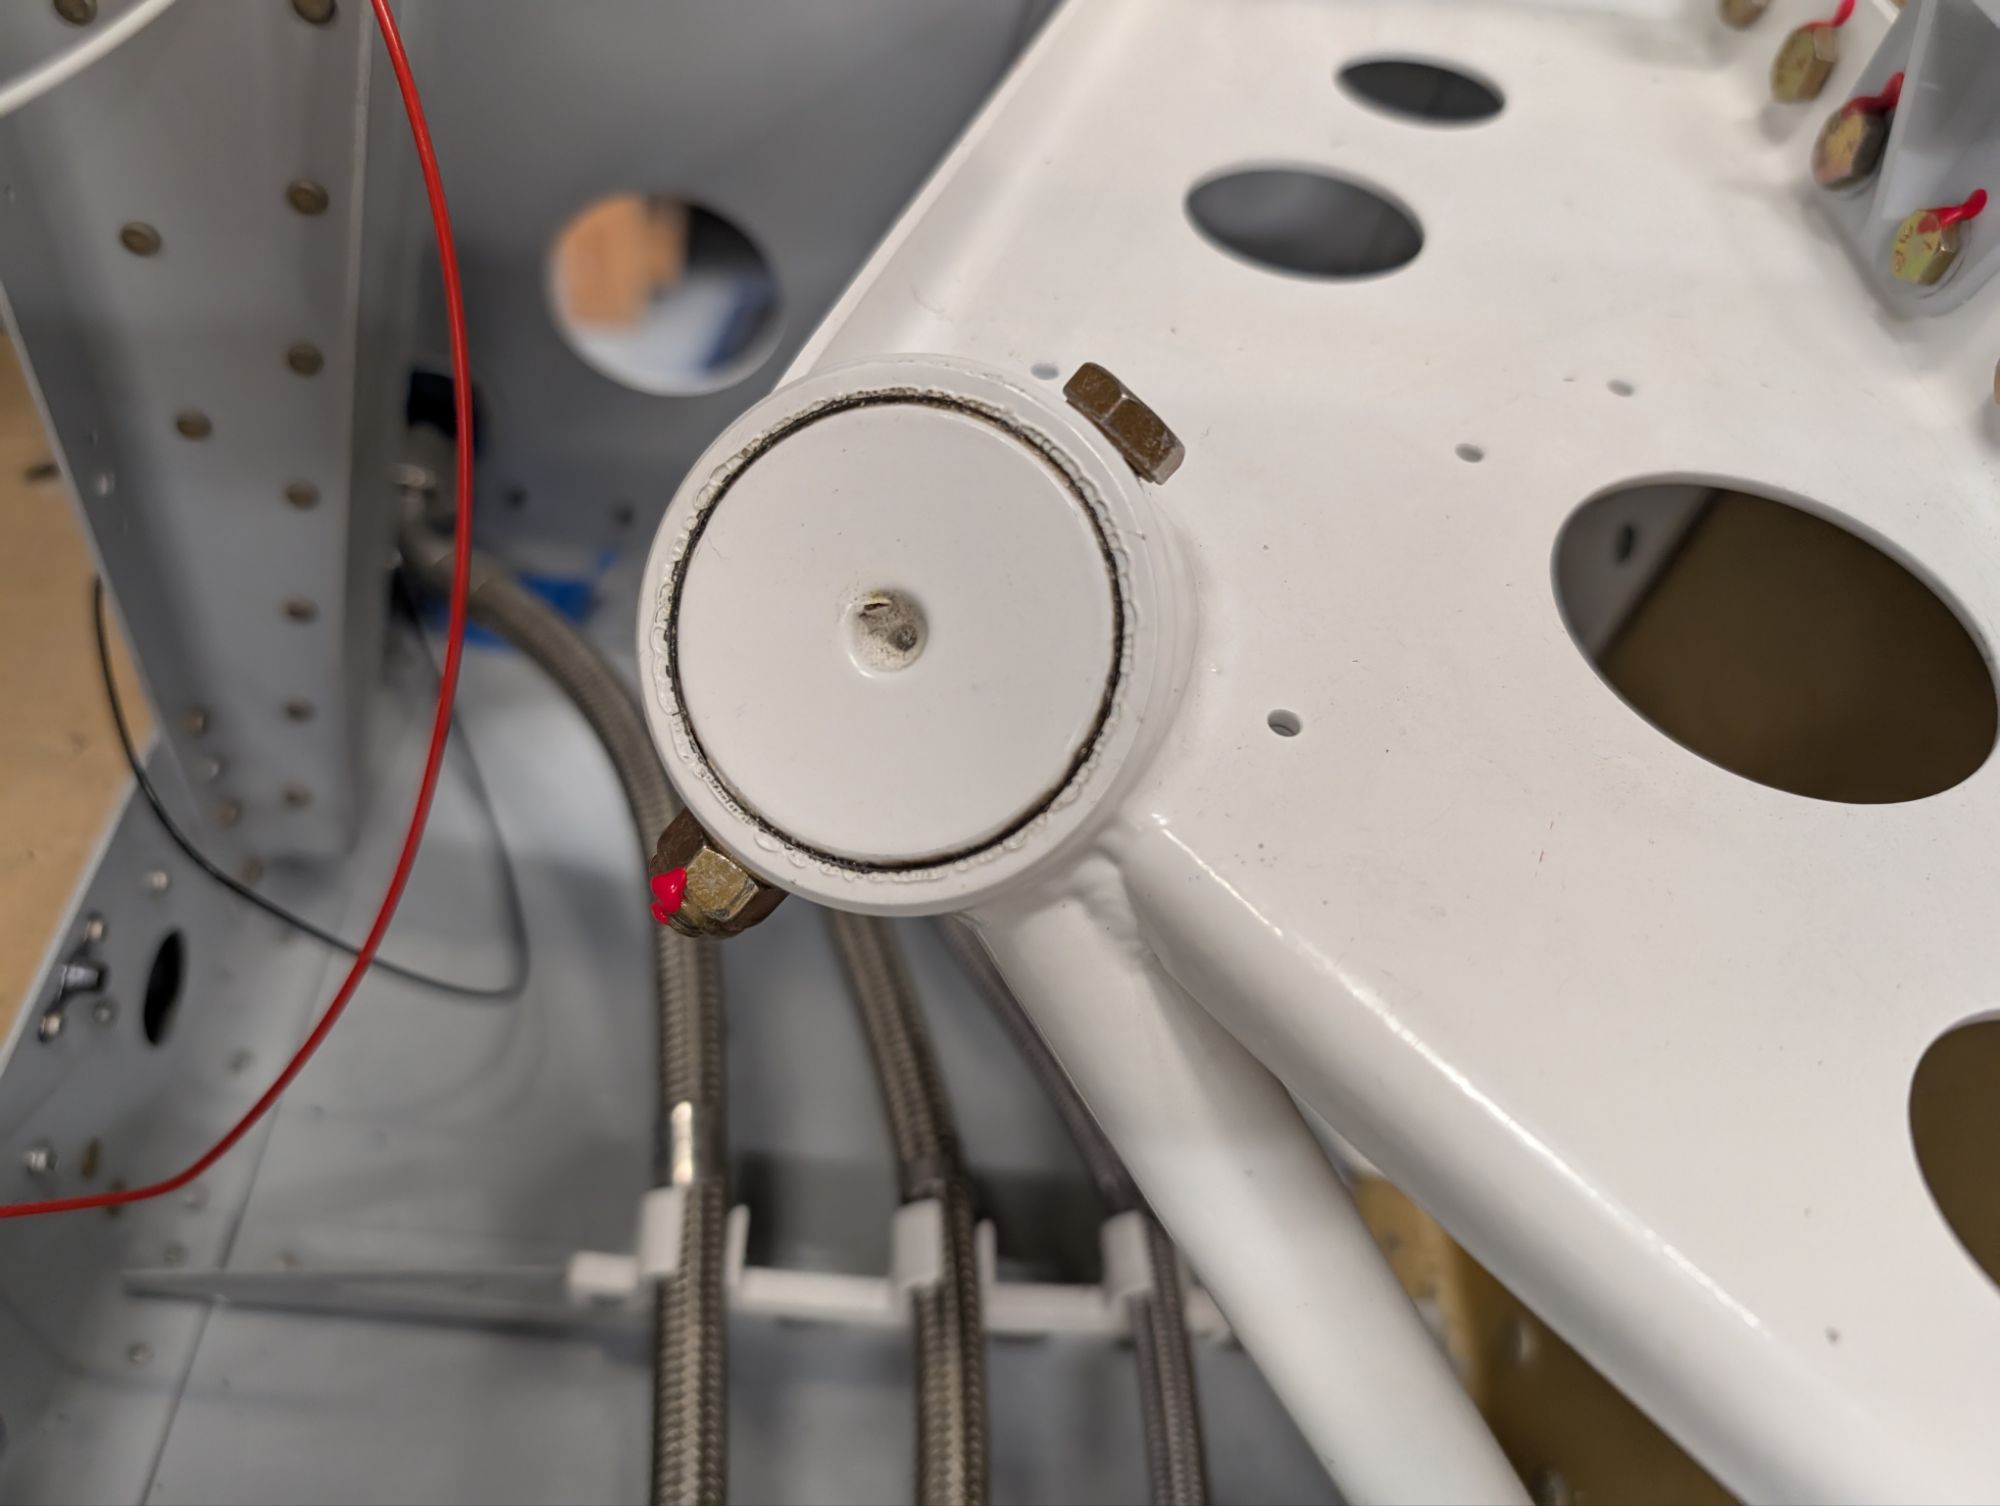
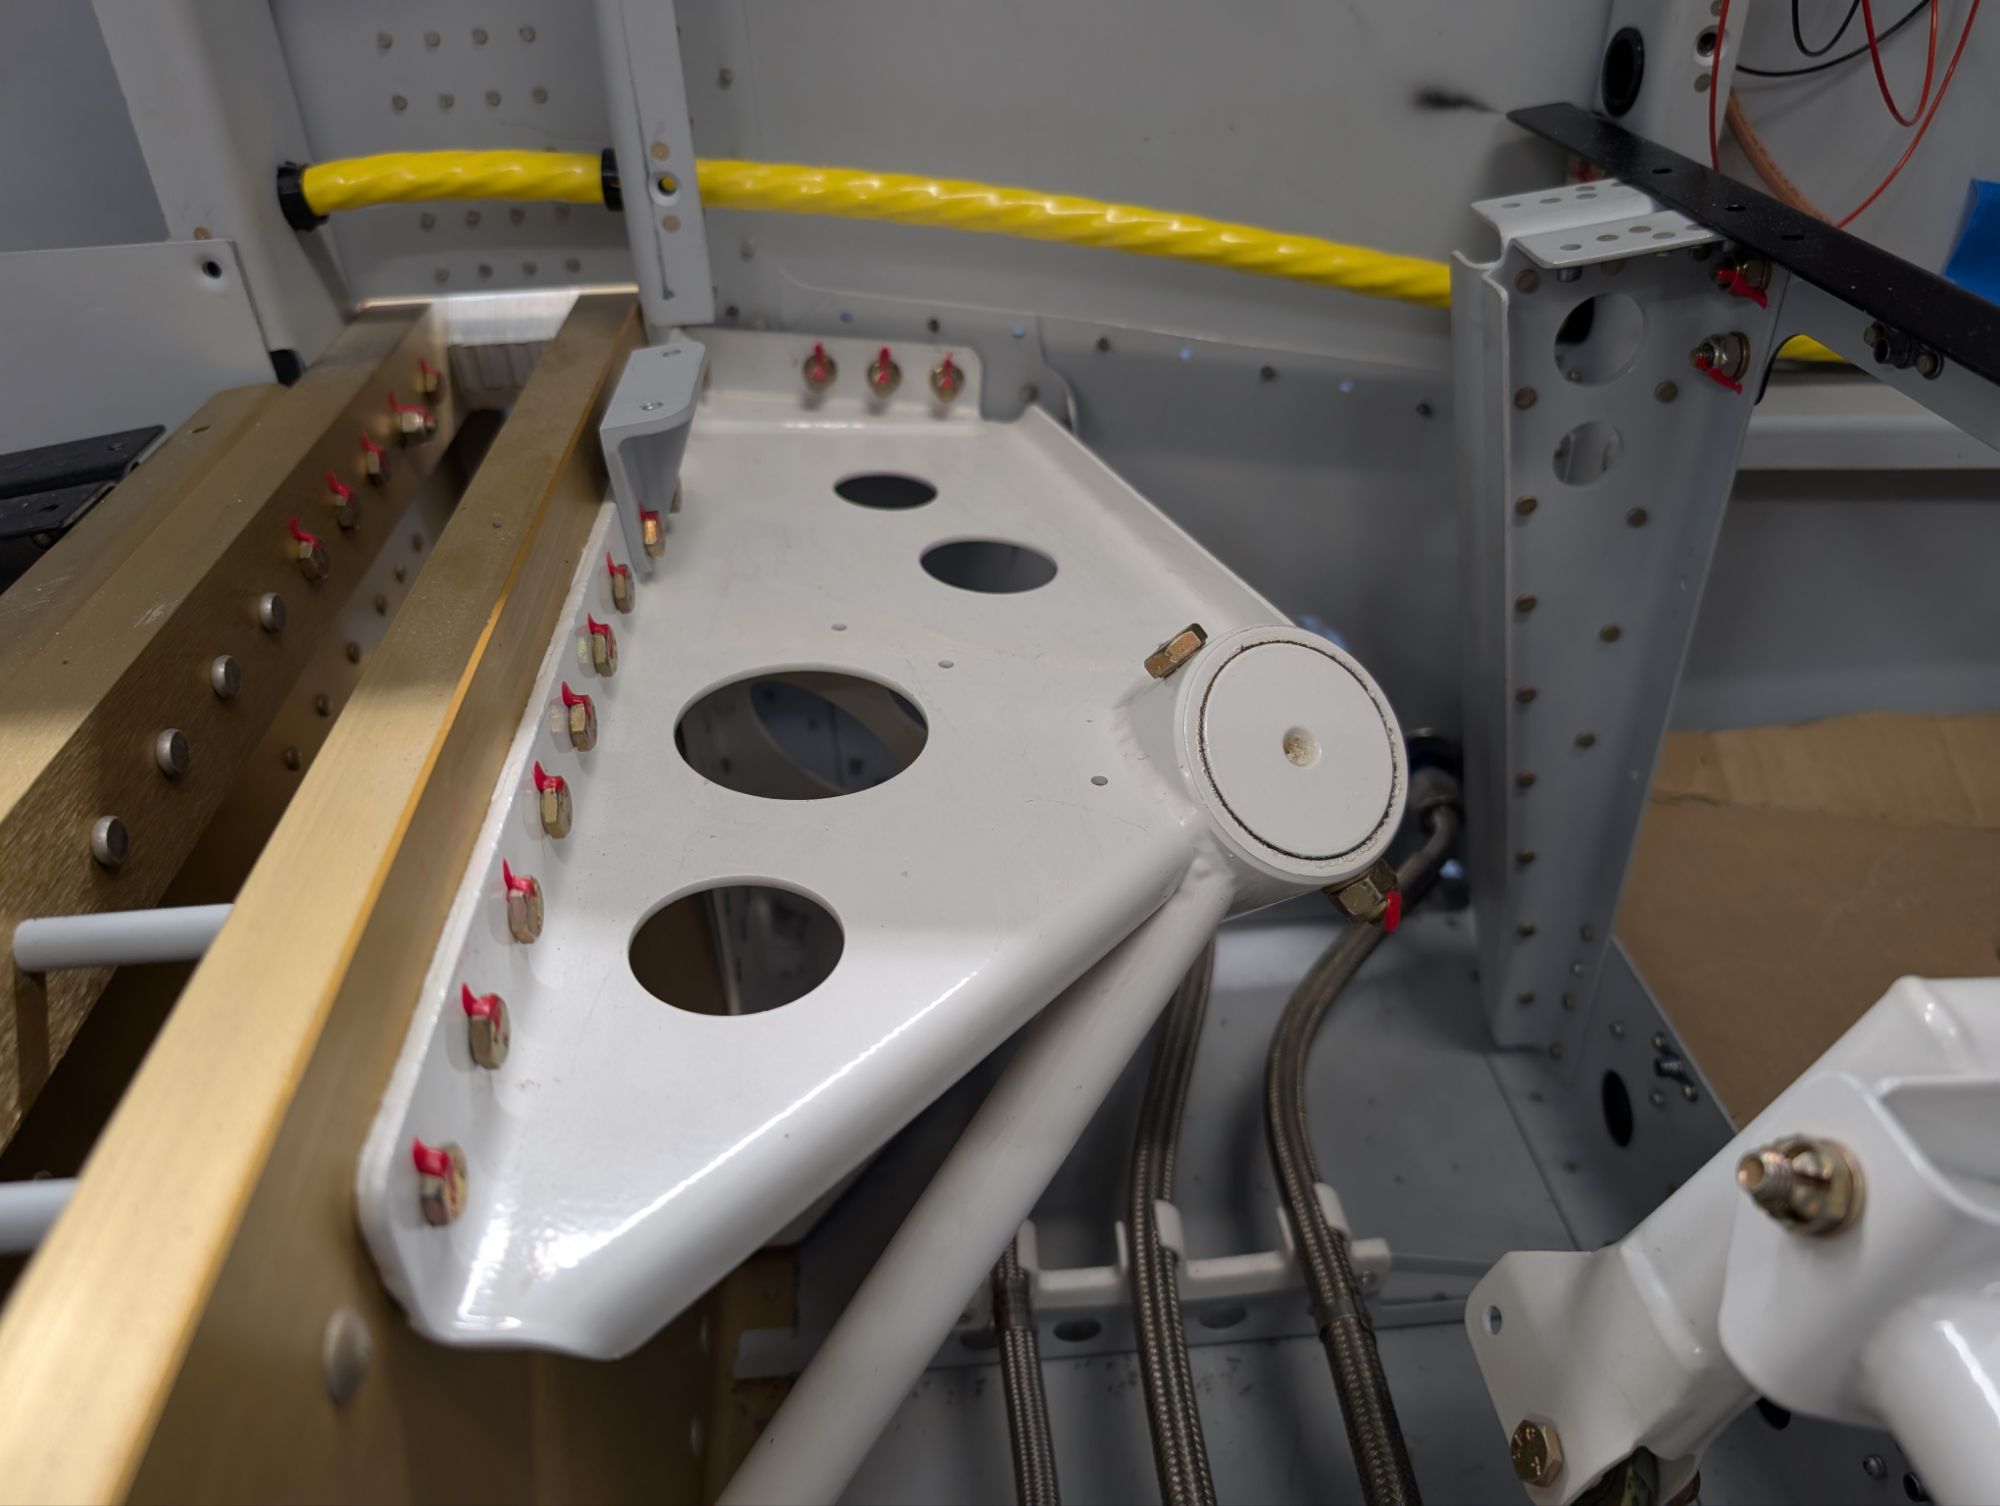
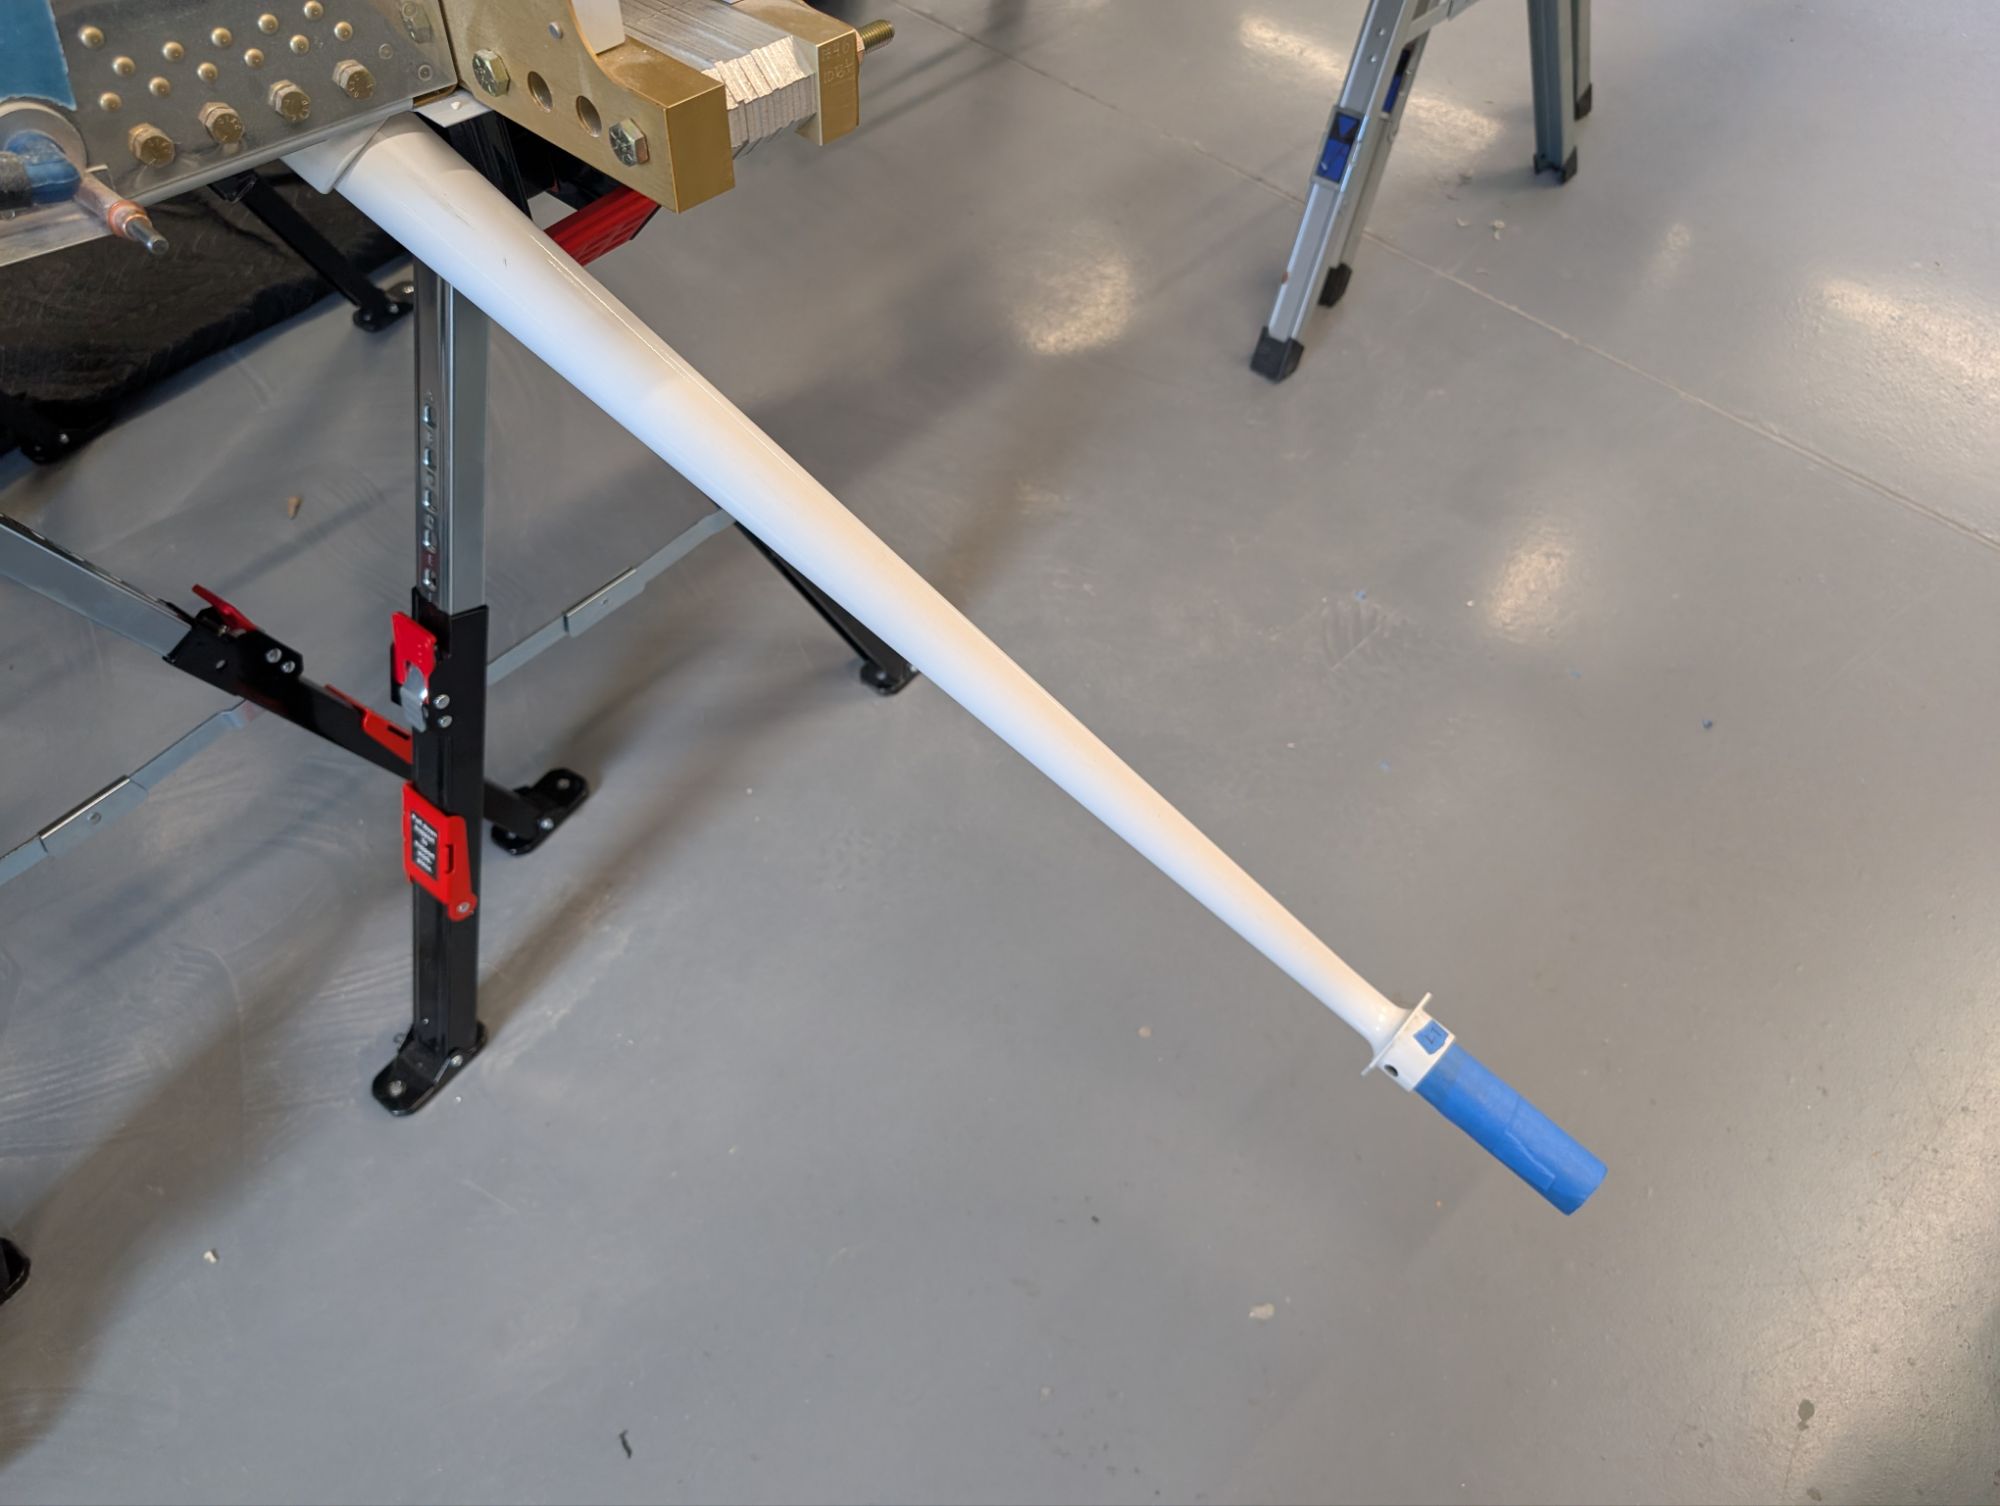
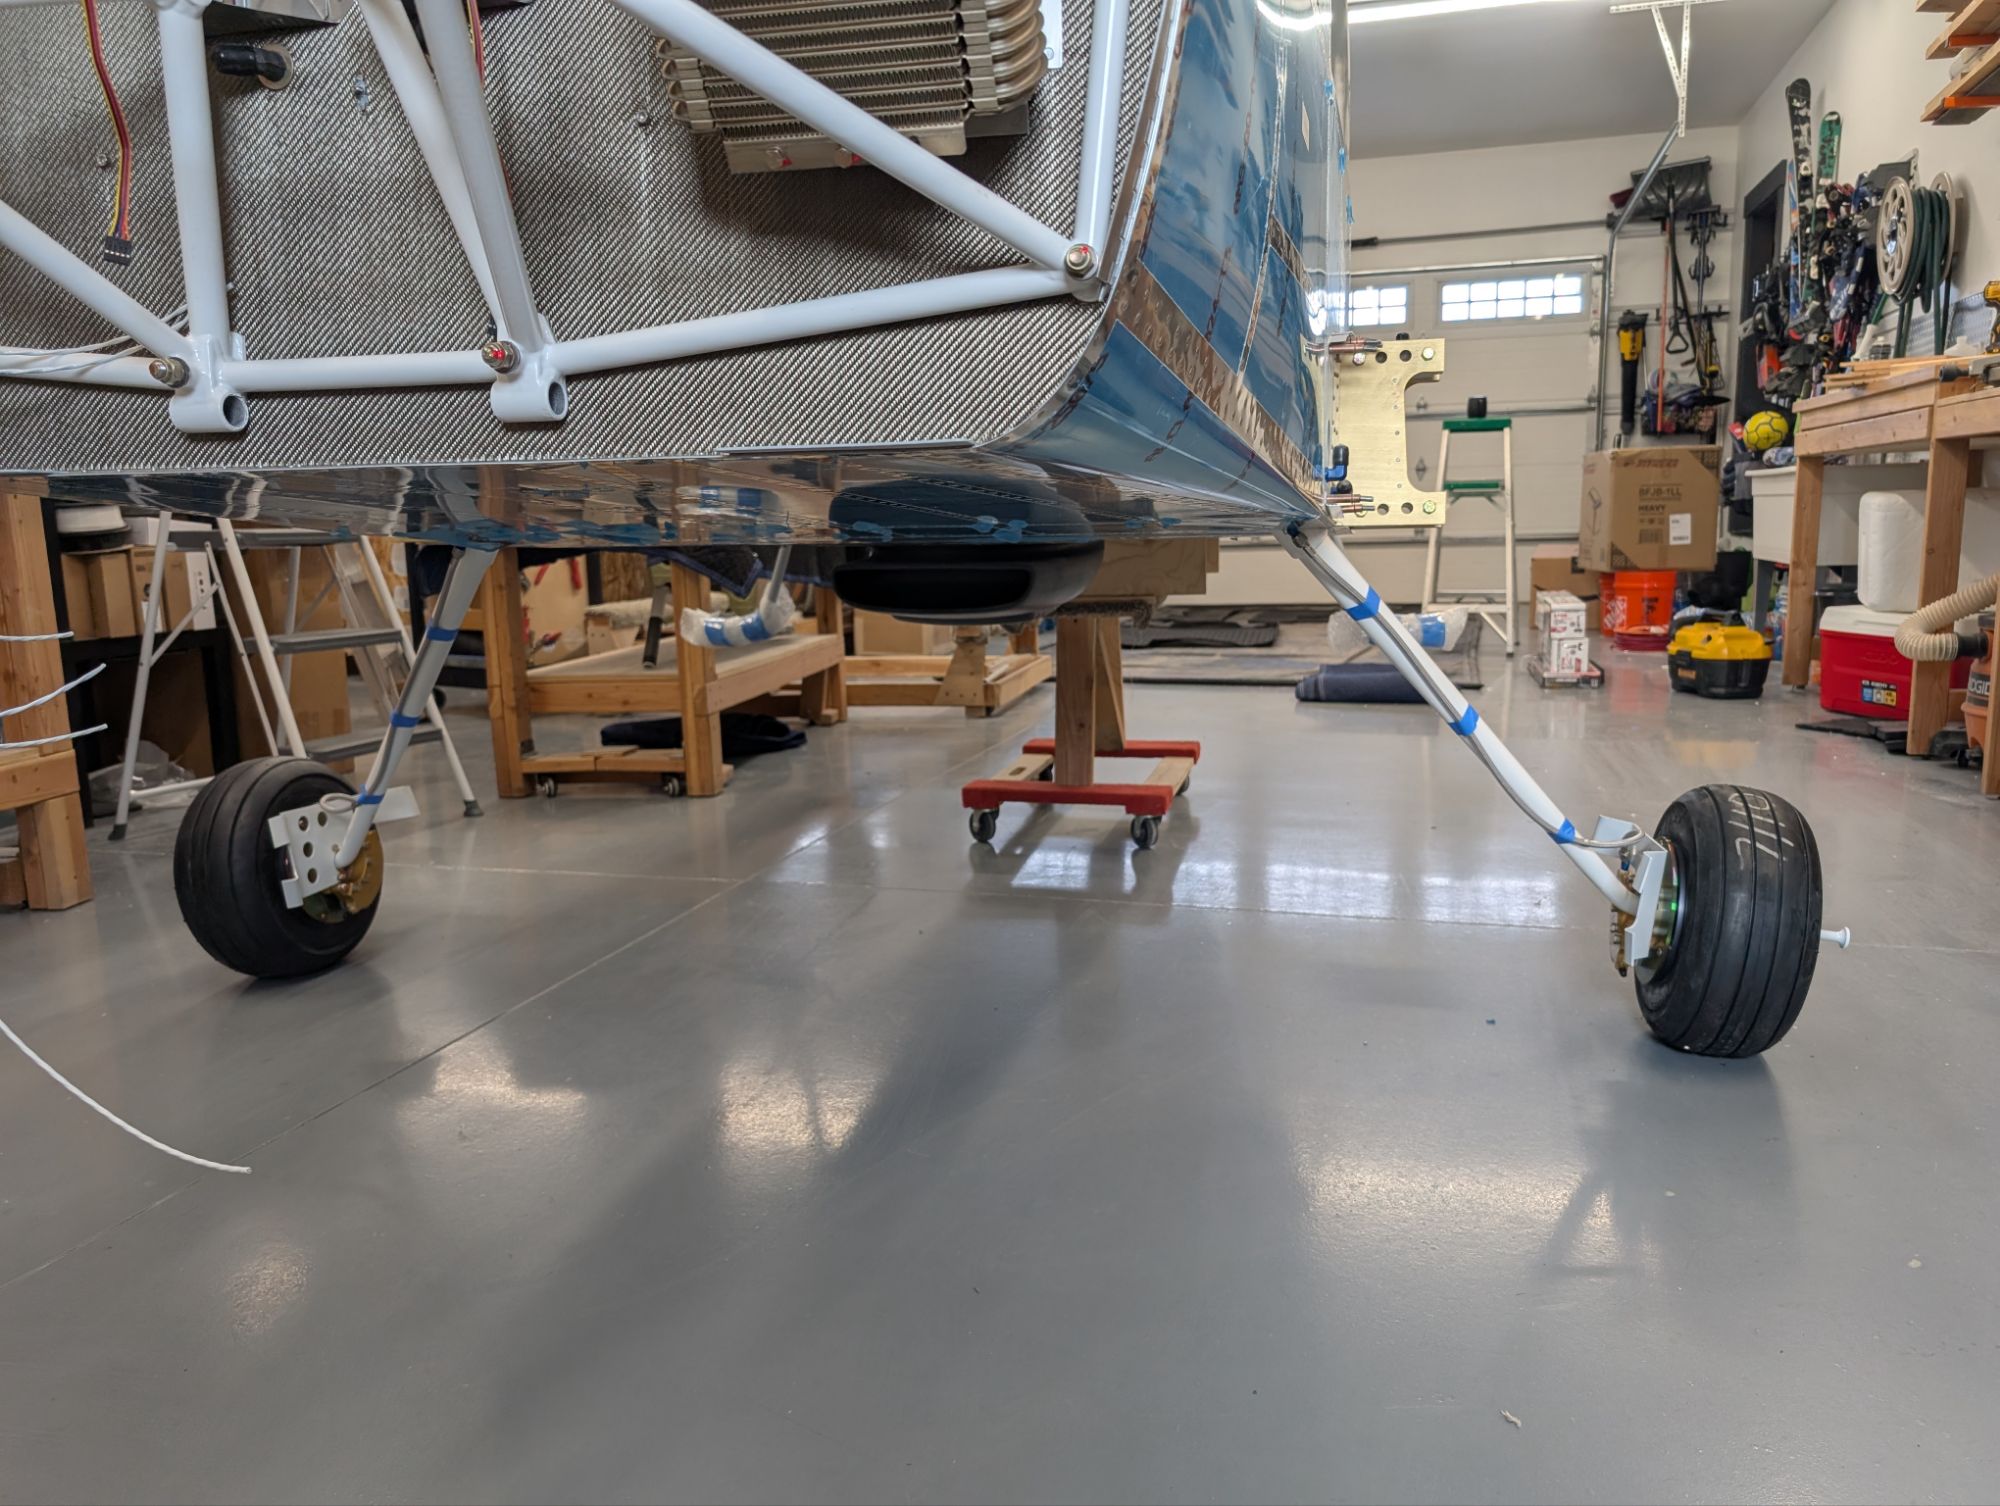
Attaching the main gear legs was straightforward.

I prefitted the Matco brake parts on the bench, which made for an easy install of the wheels and brakes.

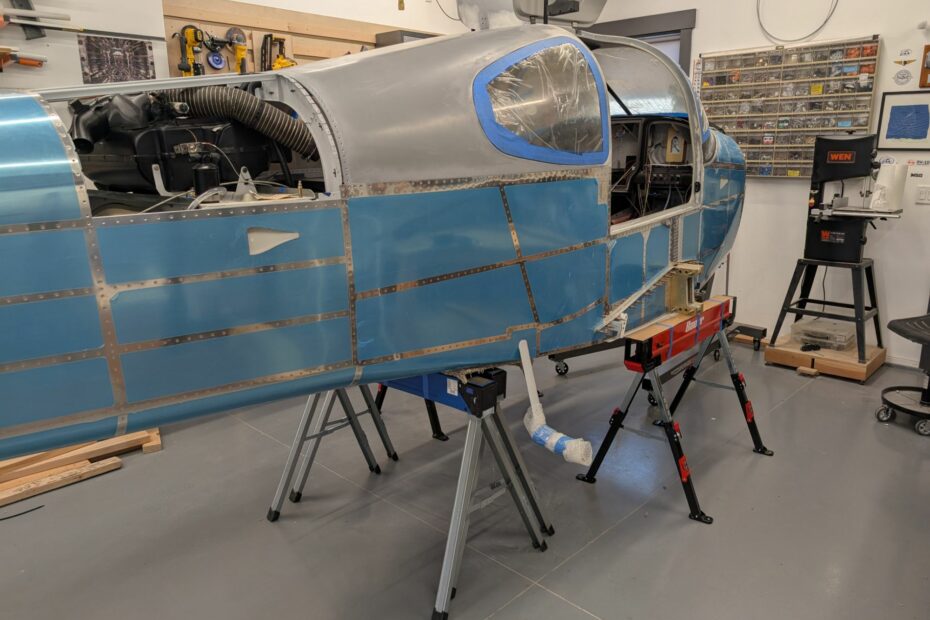
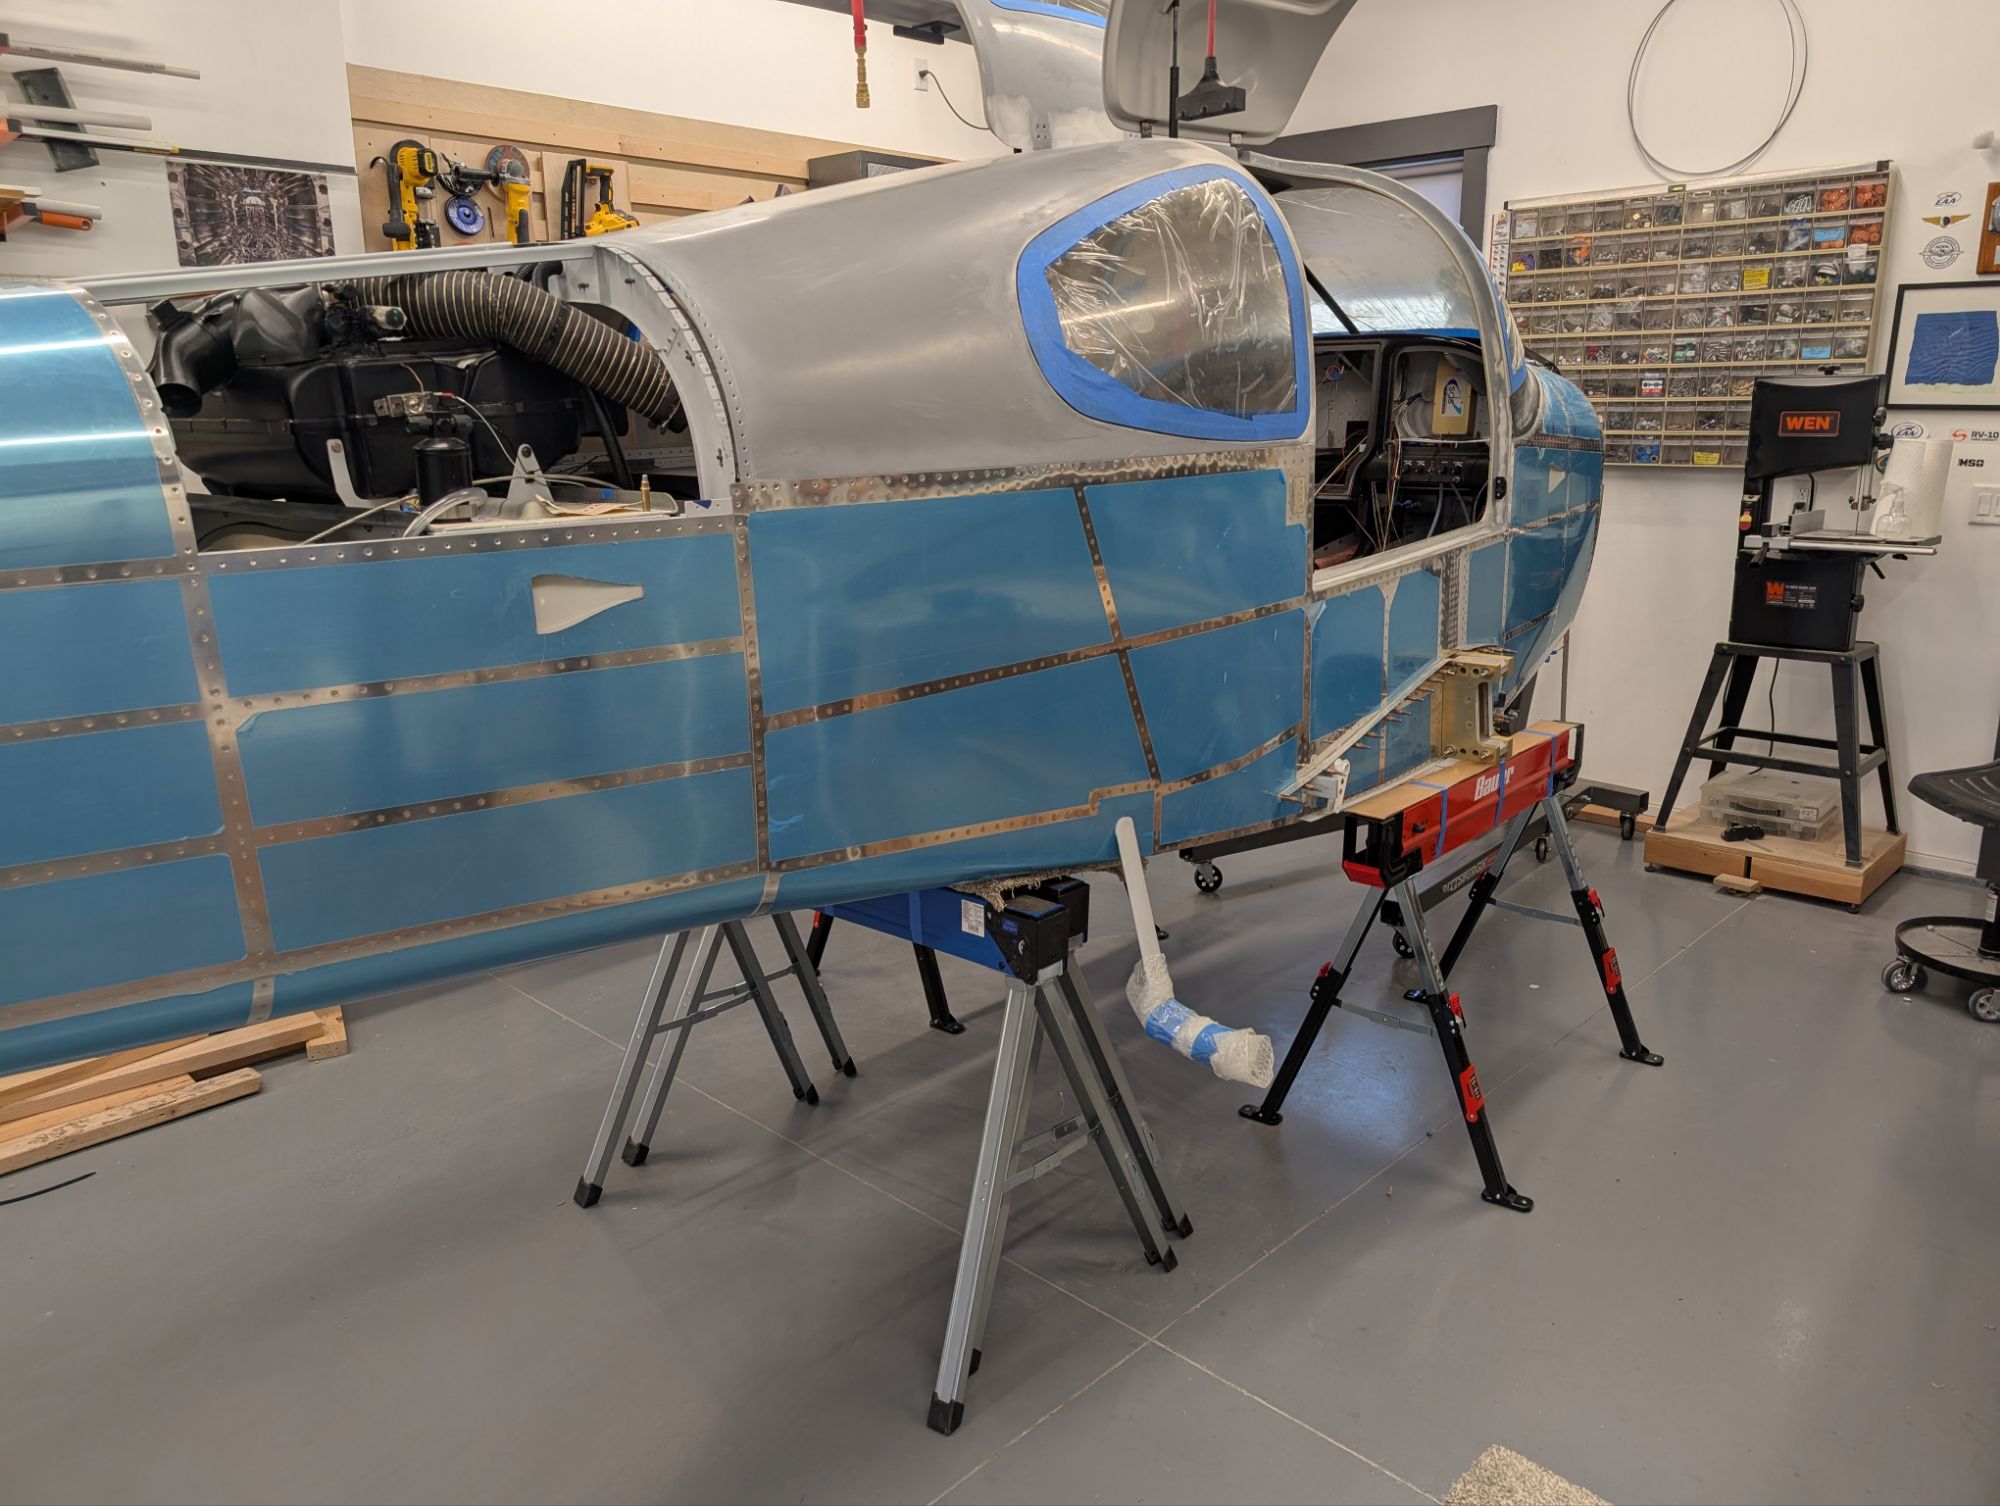
Lowering the fuselage on the wheels was a matter of lifting the tail, removing the sawhorses, and lowering it down. The fuselage is tail-heavy without the engine.
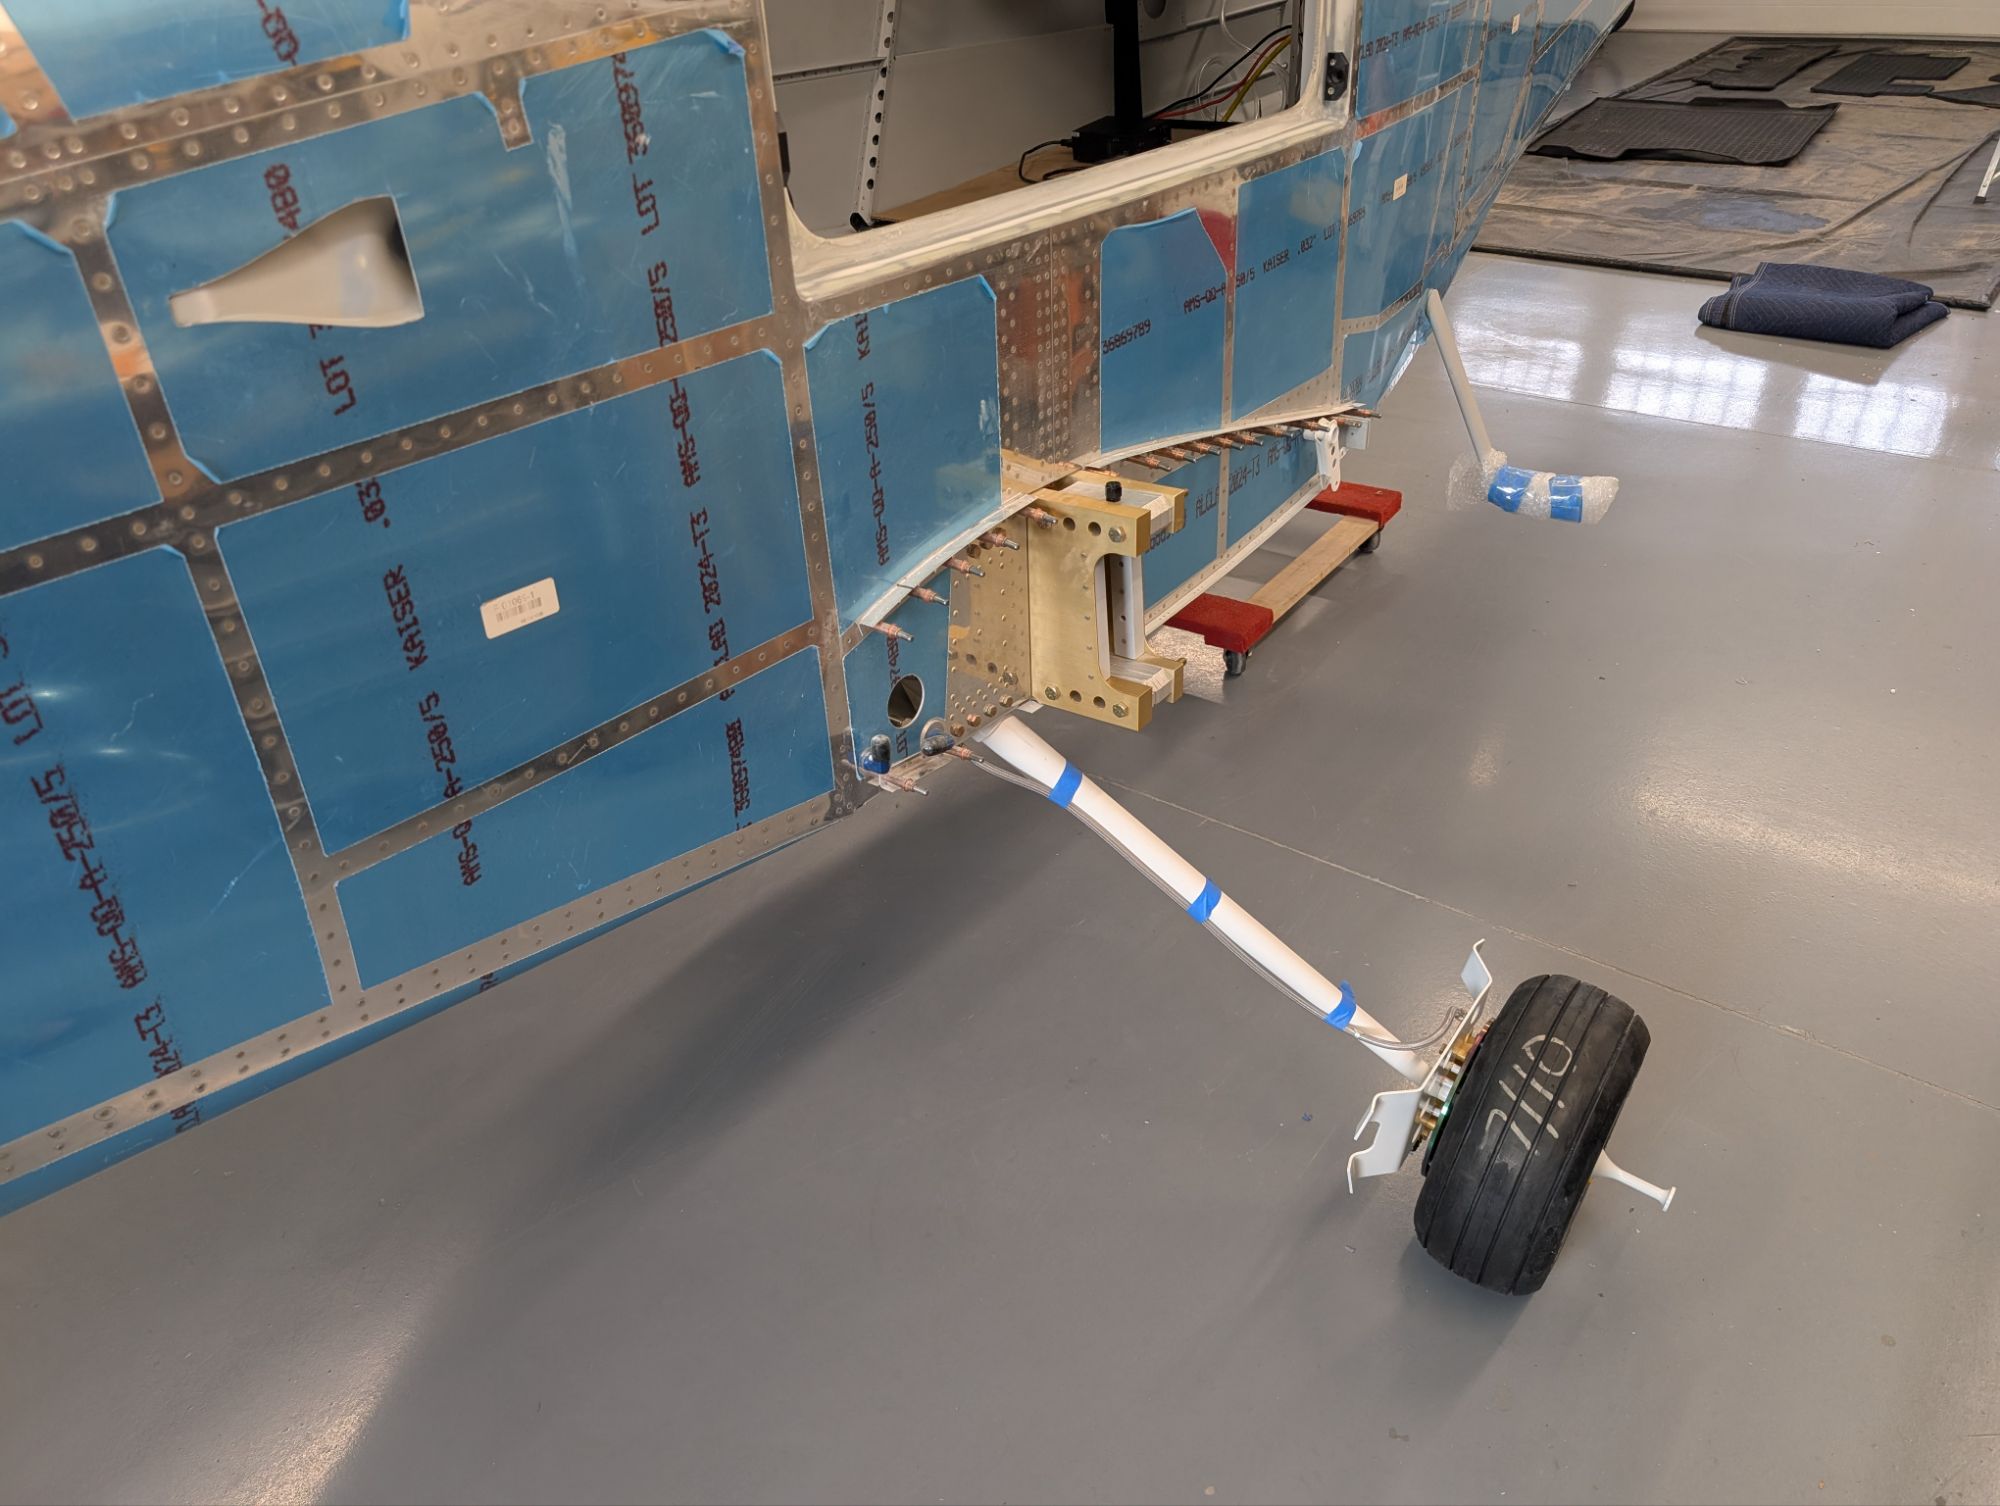
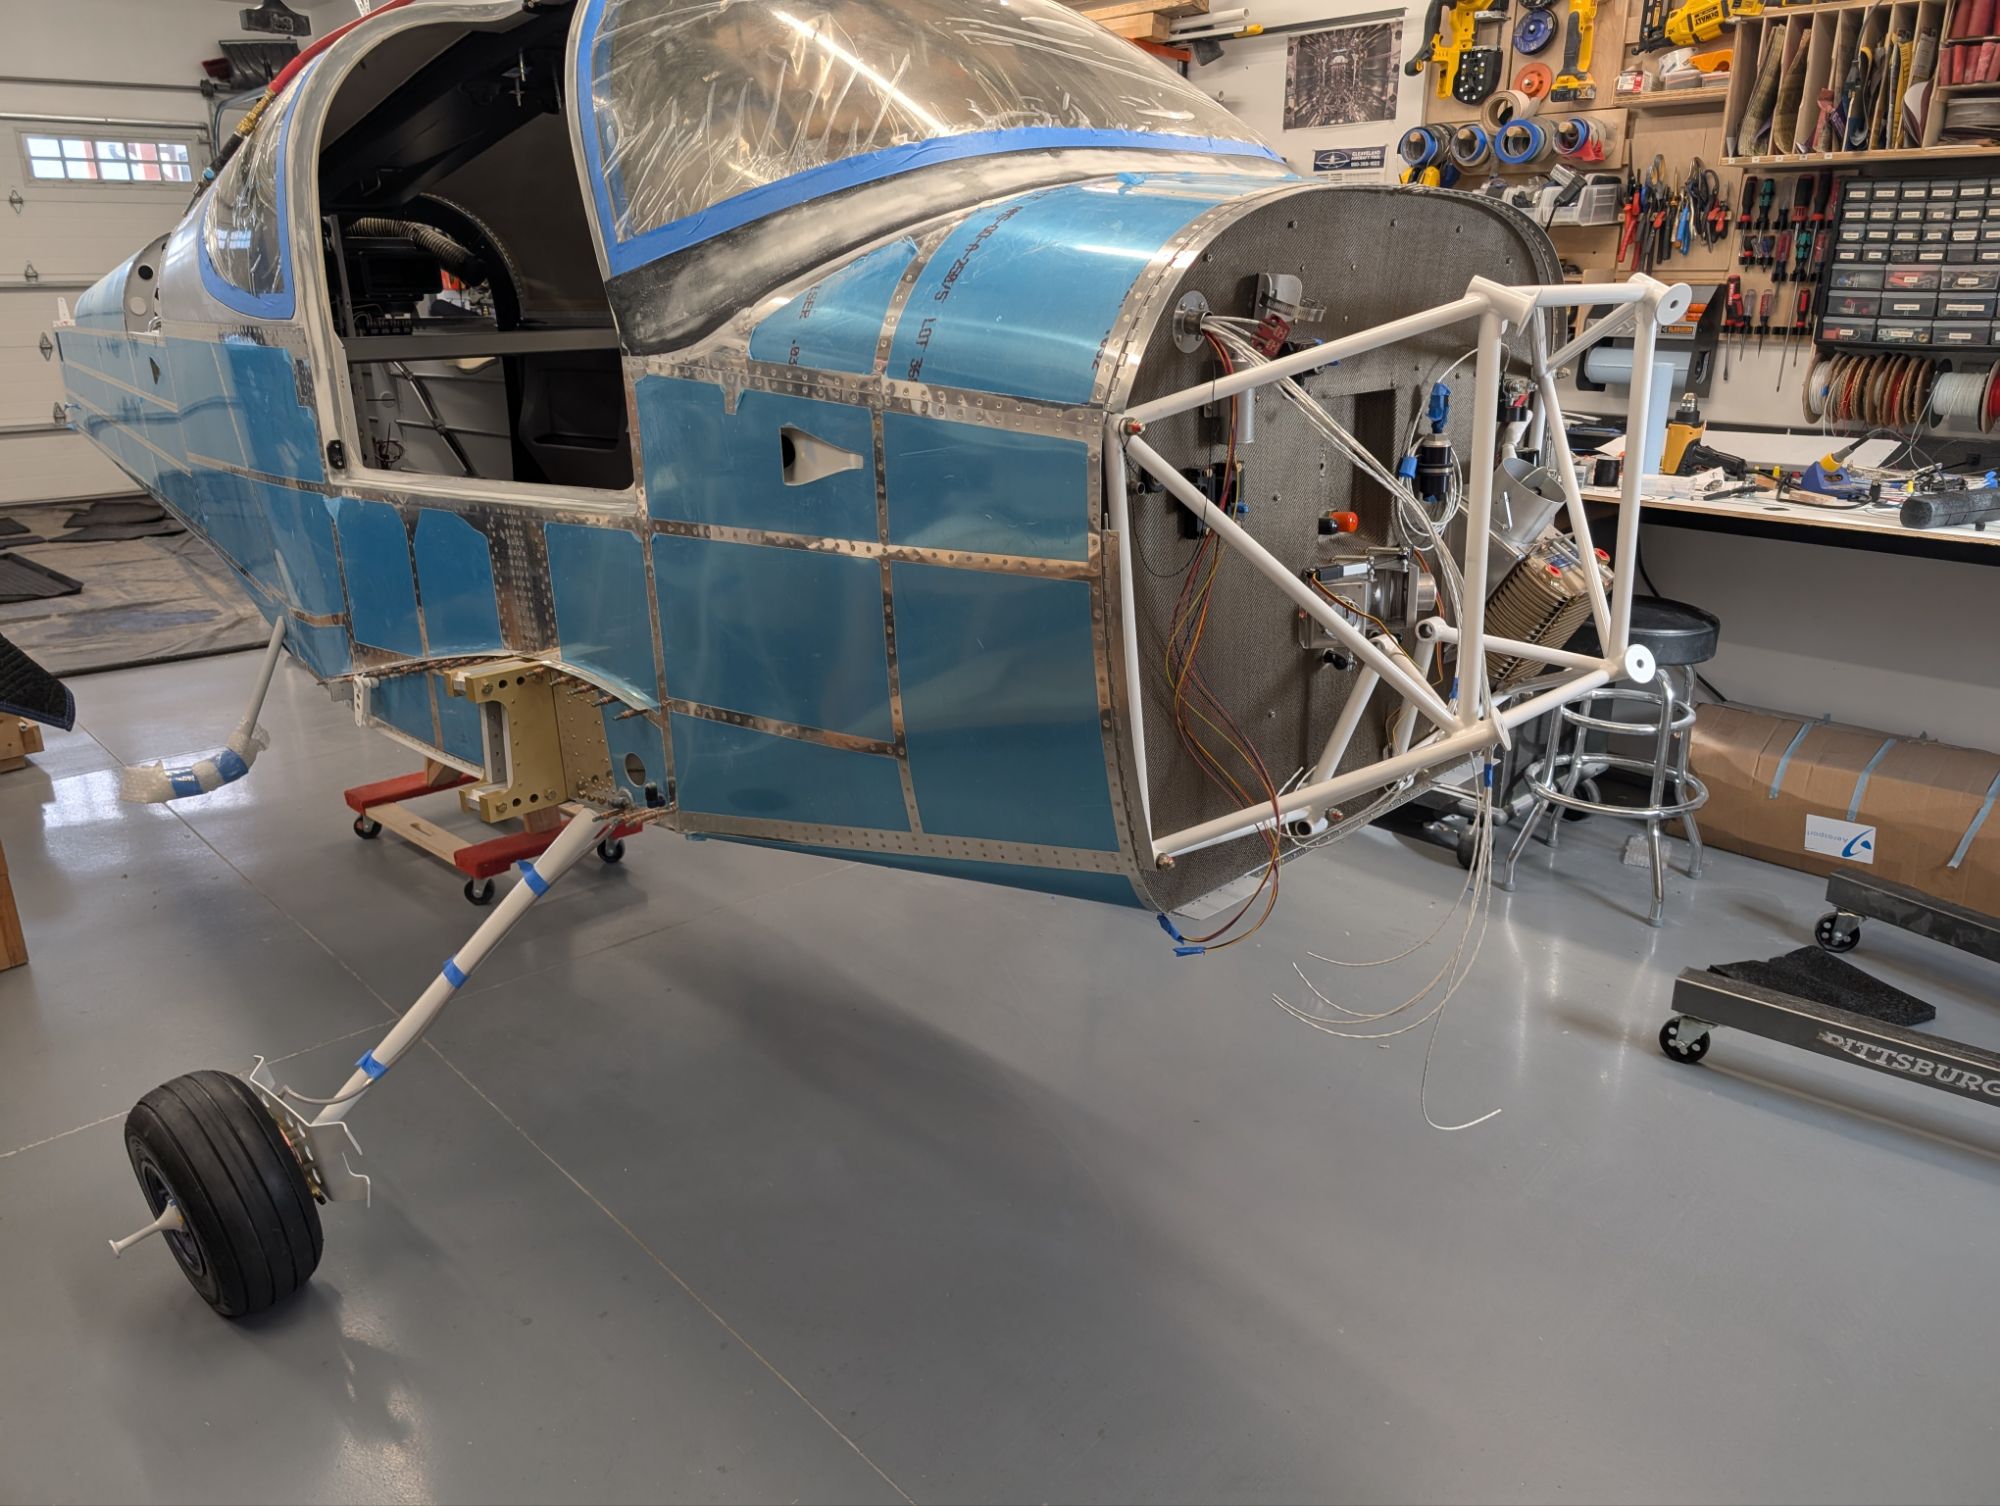
Next up was the installation of the nose gear.
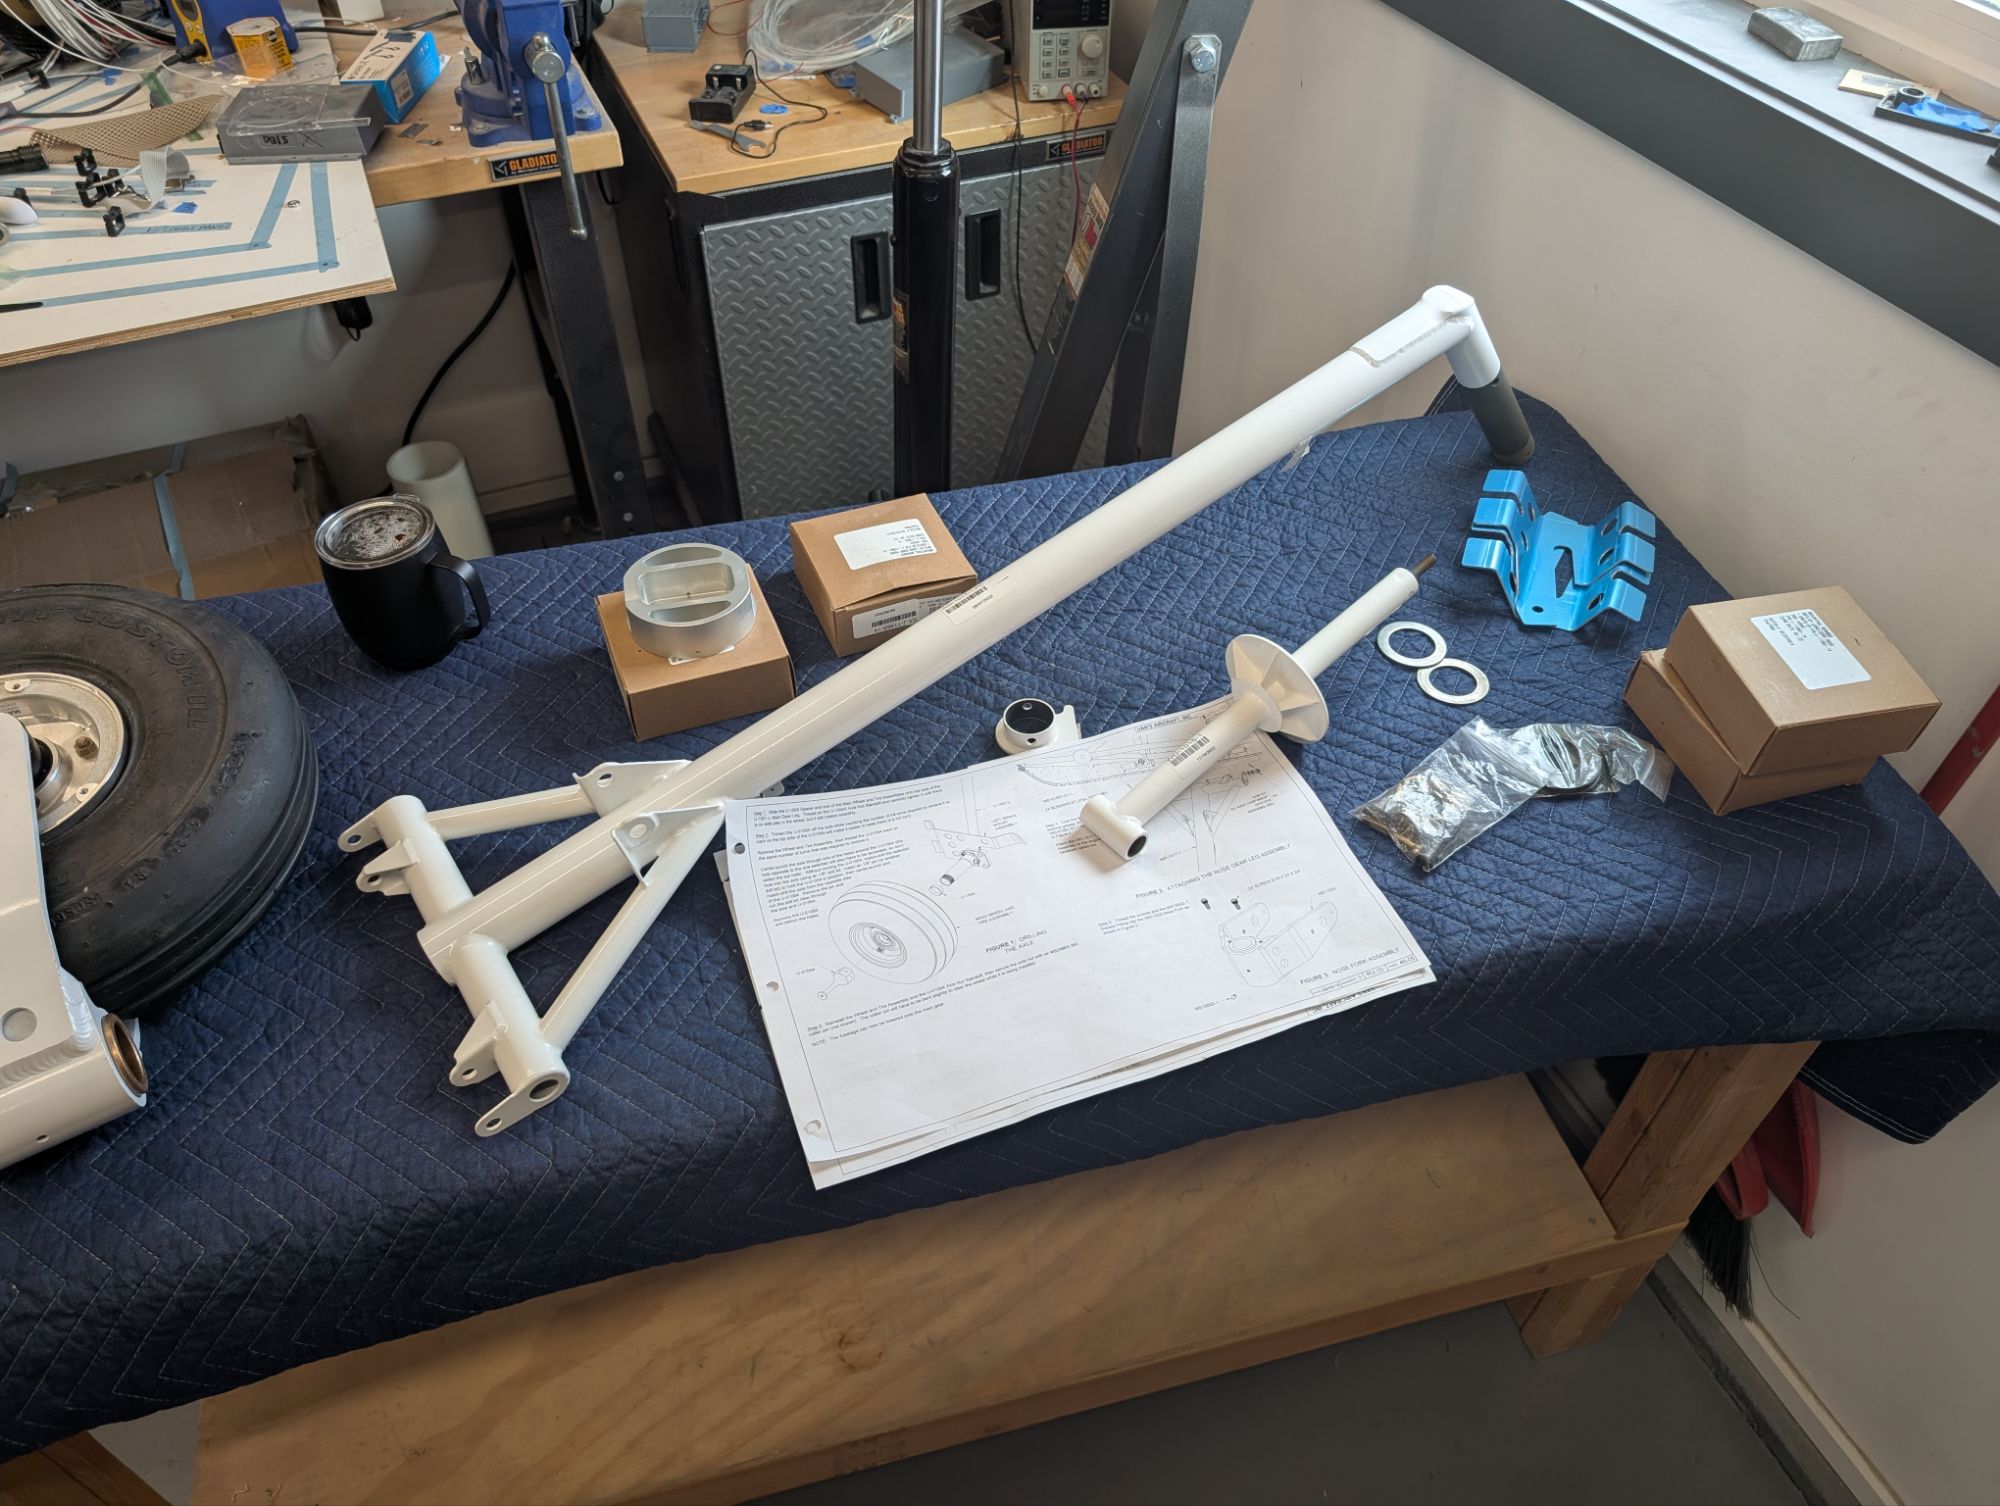
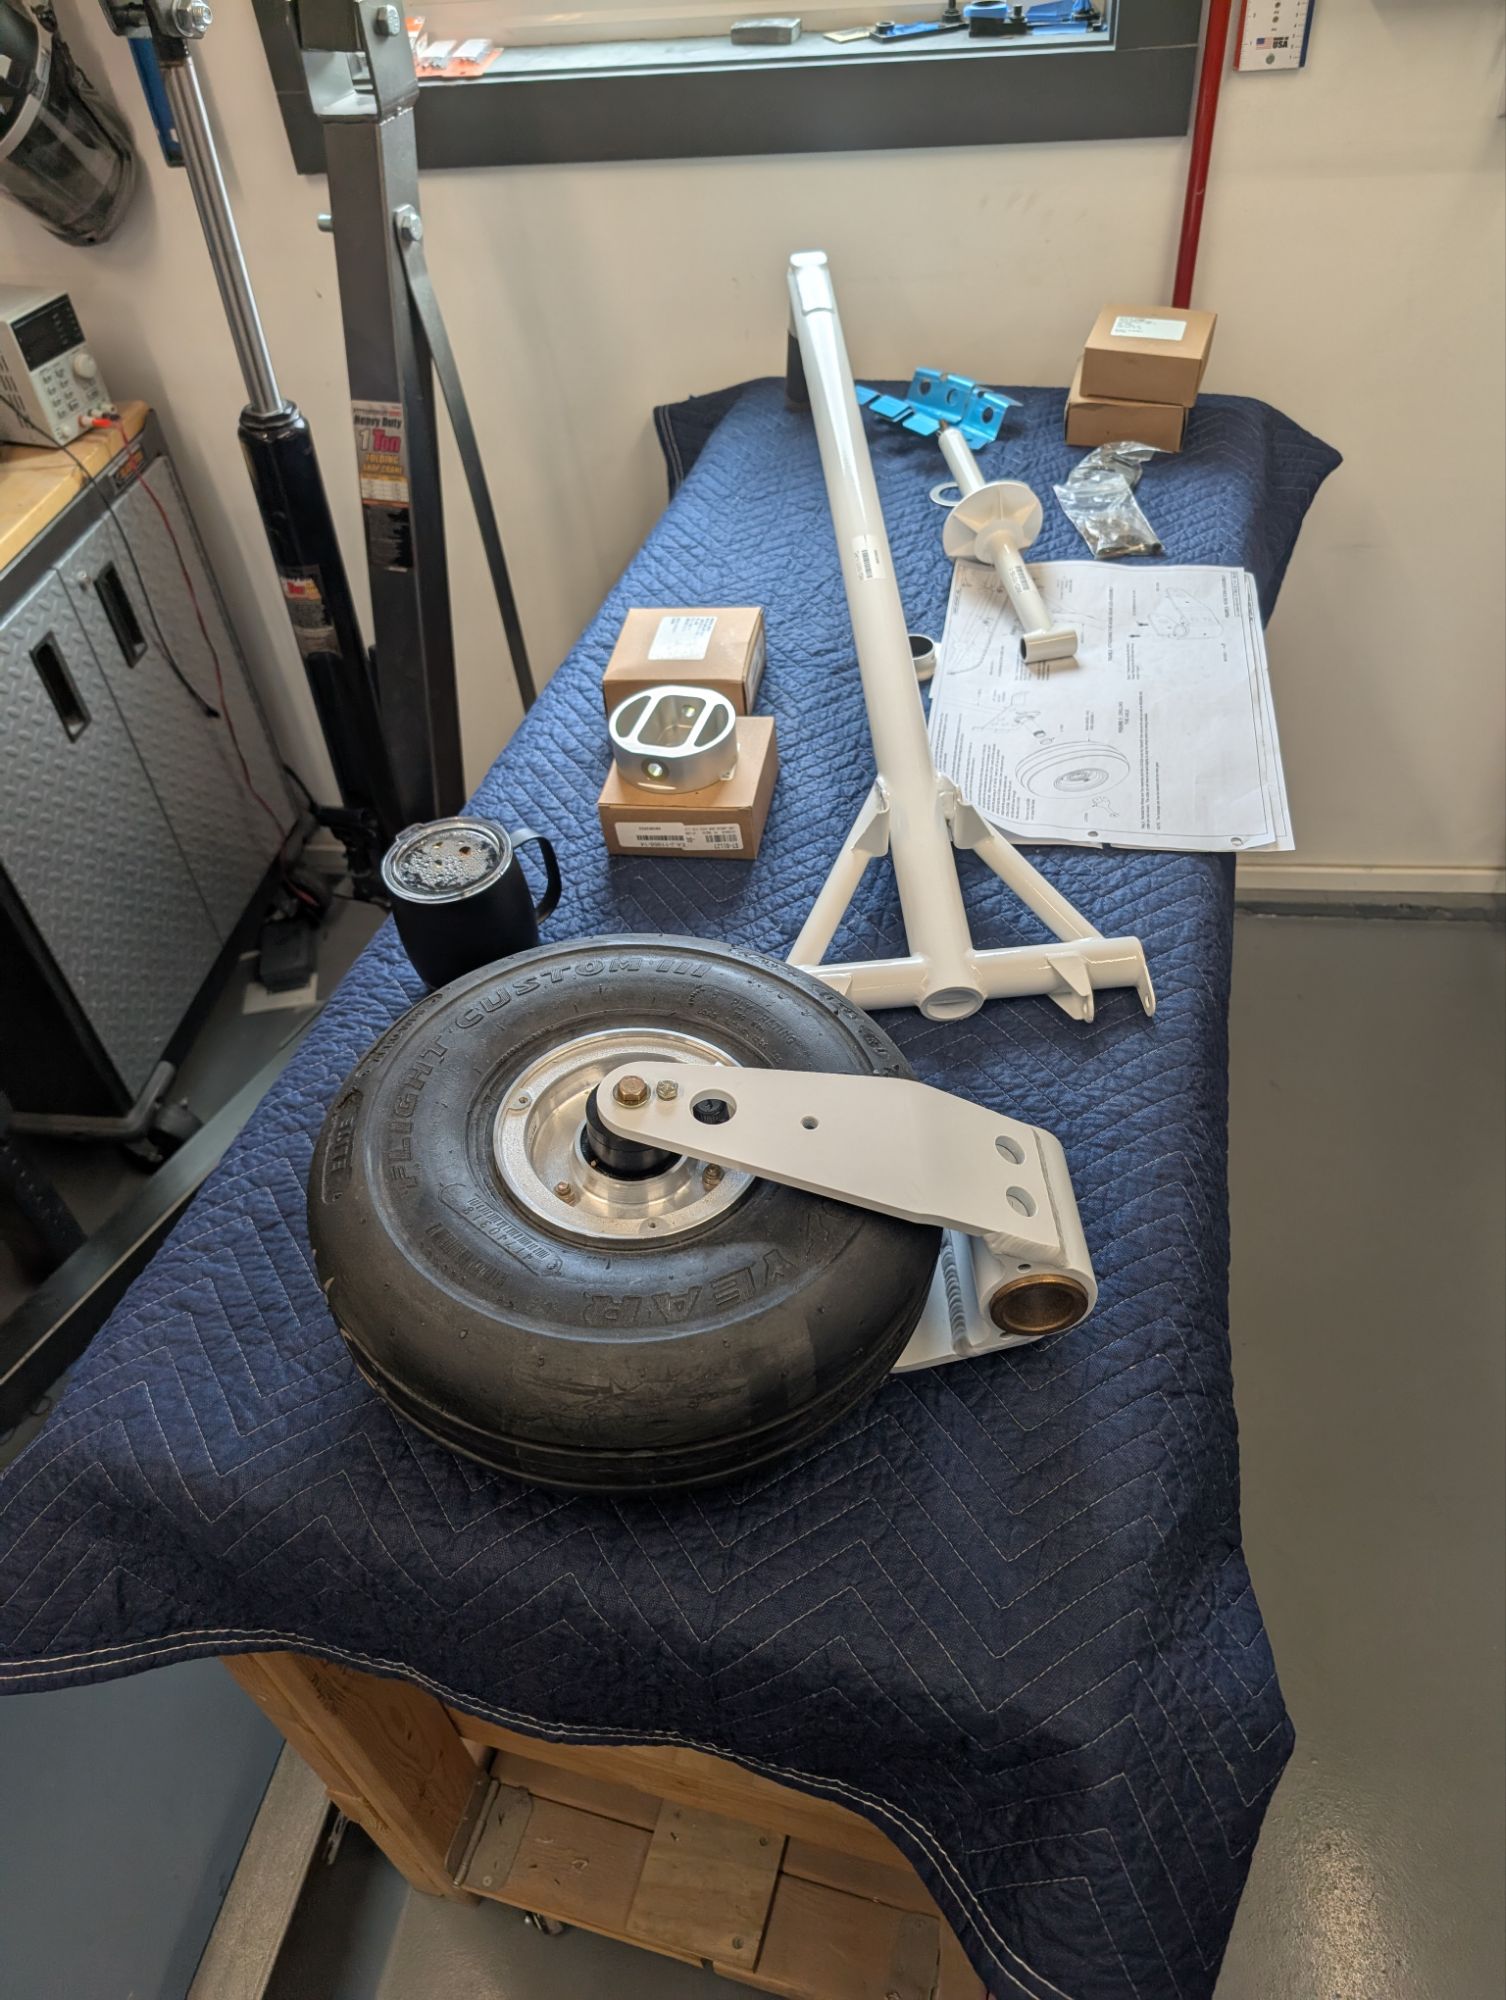
The nose gear was easy to install.

There was a small amount of lateral play in the nose gear shock absorber on the pilot side when under load, so I consulted with Van’s and decided to add a thin shim washer in that location to remove the play. I used this part from McMaster-Carr: 316 Stainless Steel Ring Shim (0.012″ Thick, 3/4″ ID).