
With the tanks mounted, I’m ready to start installing the aileron actuation parts.
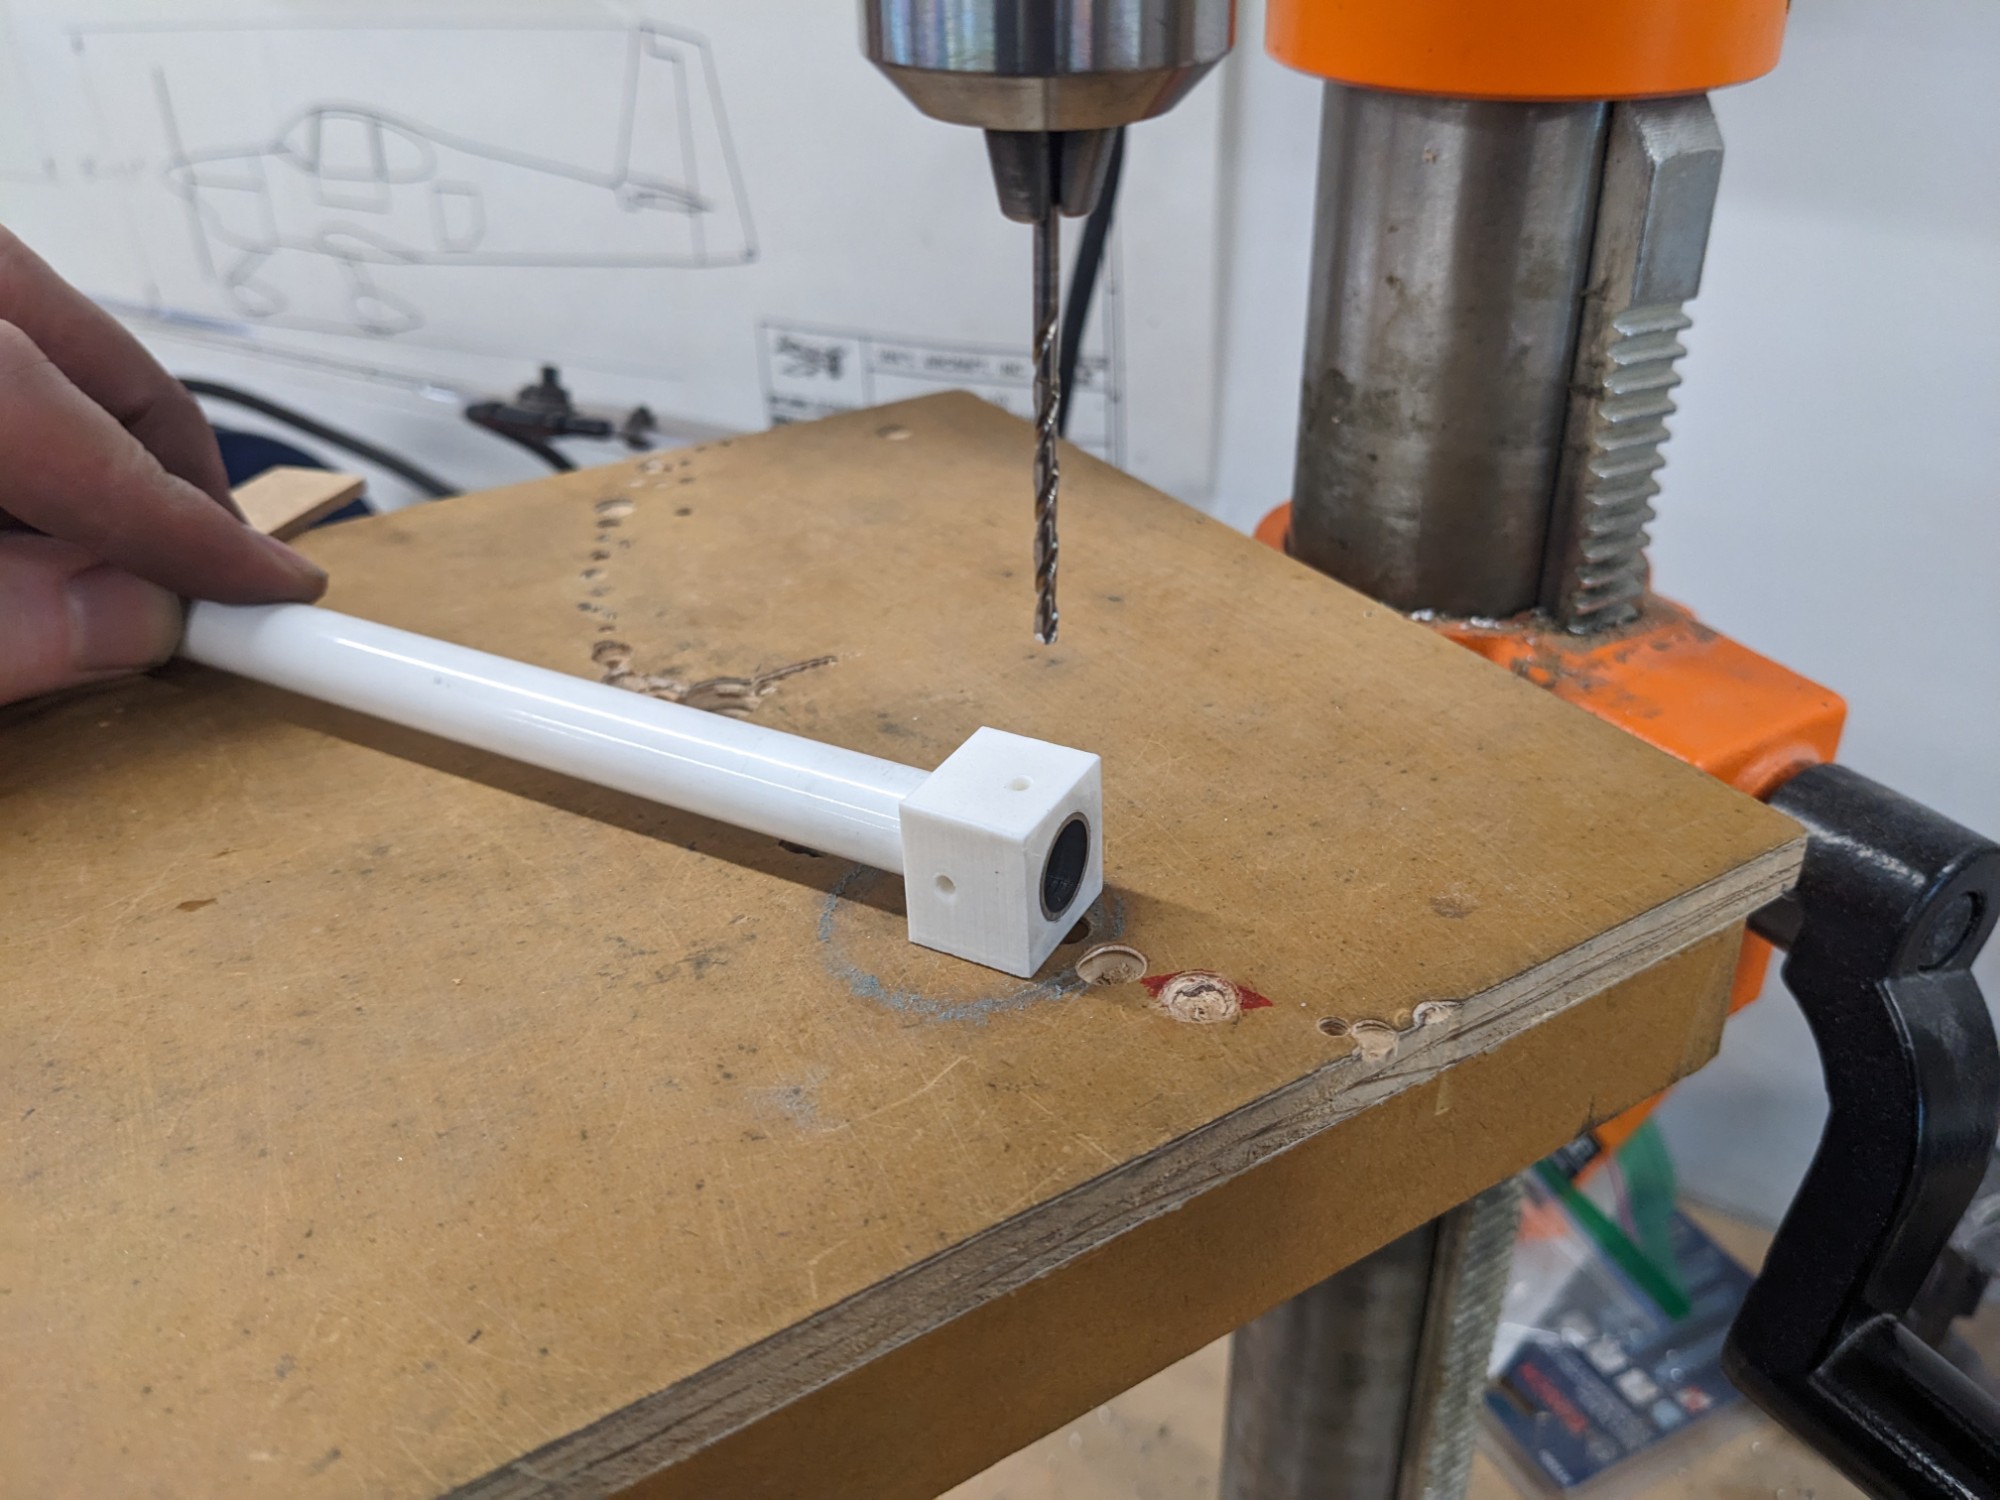
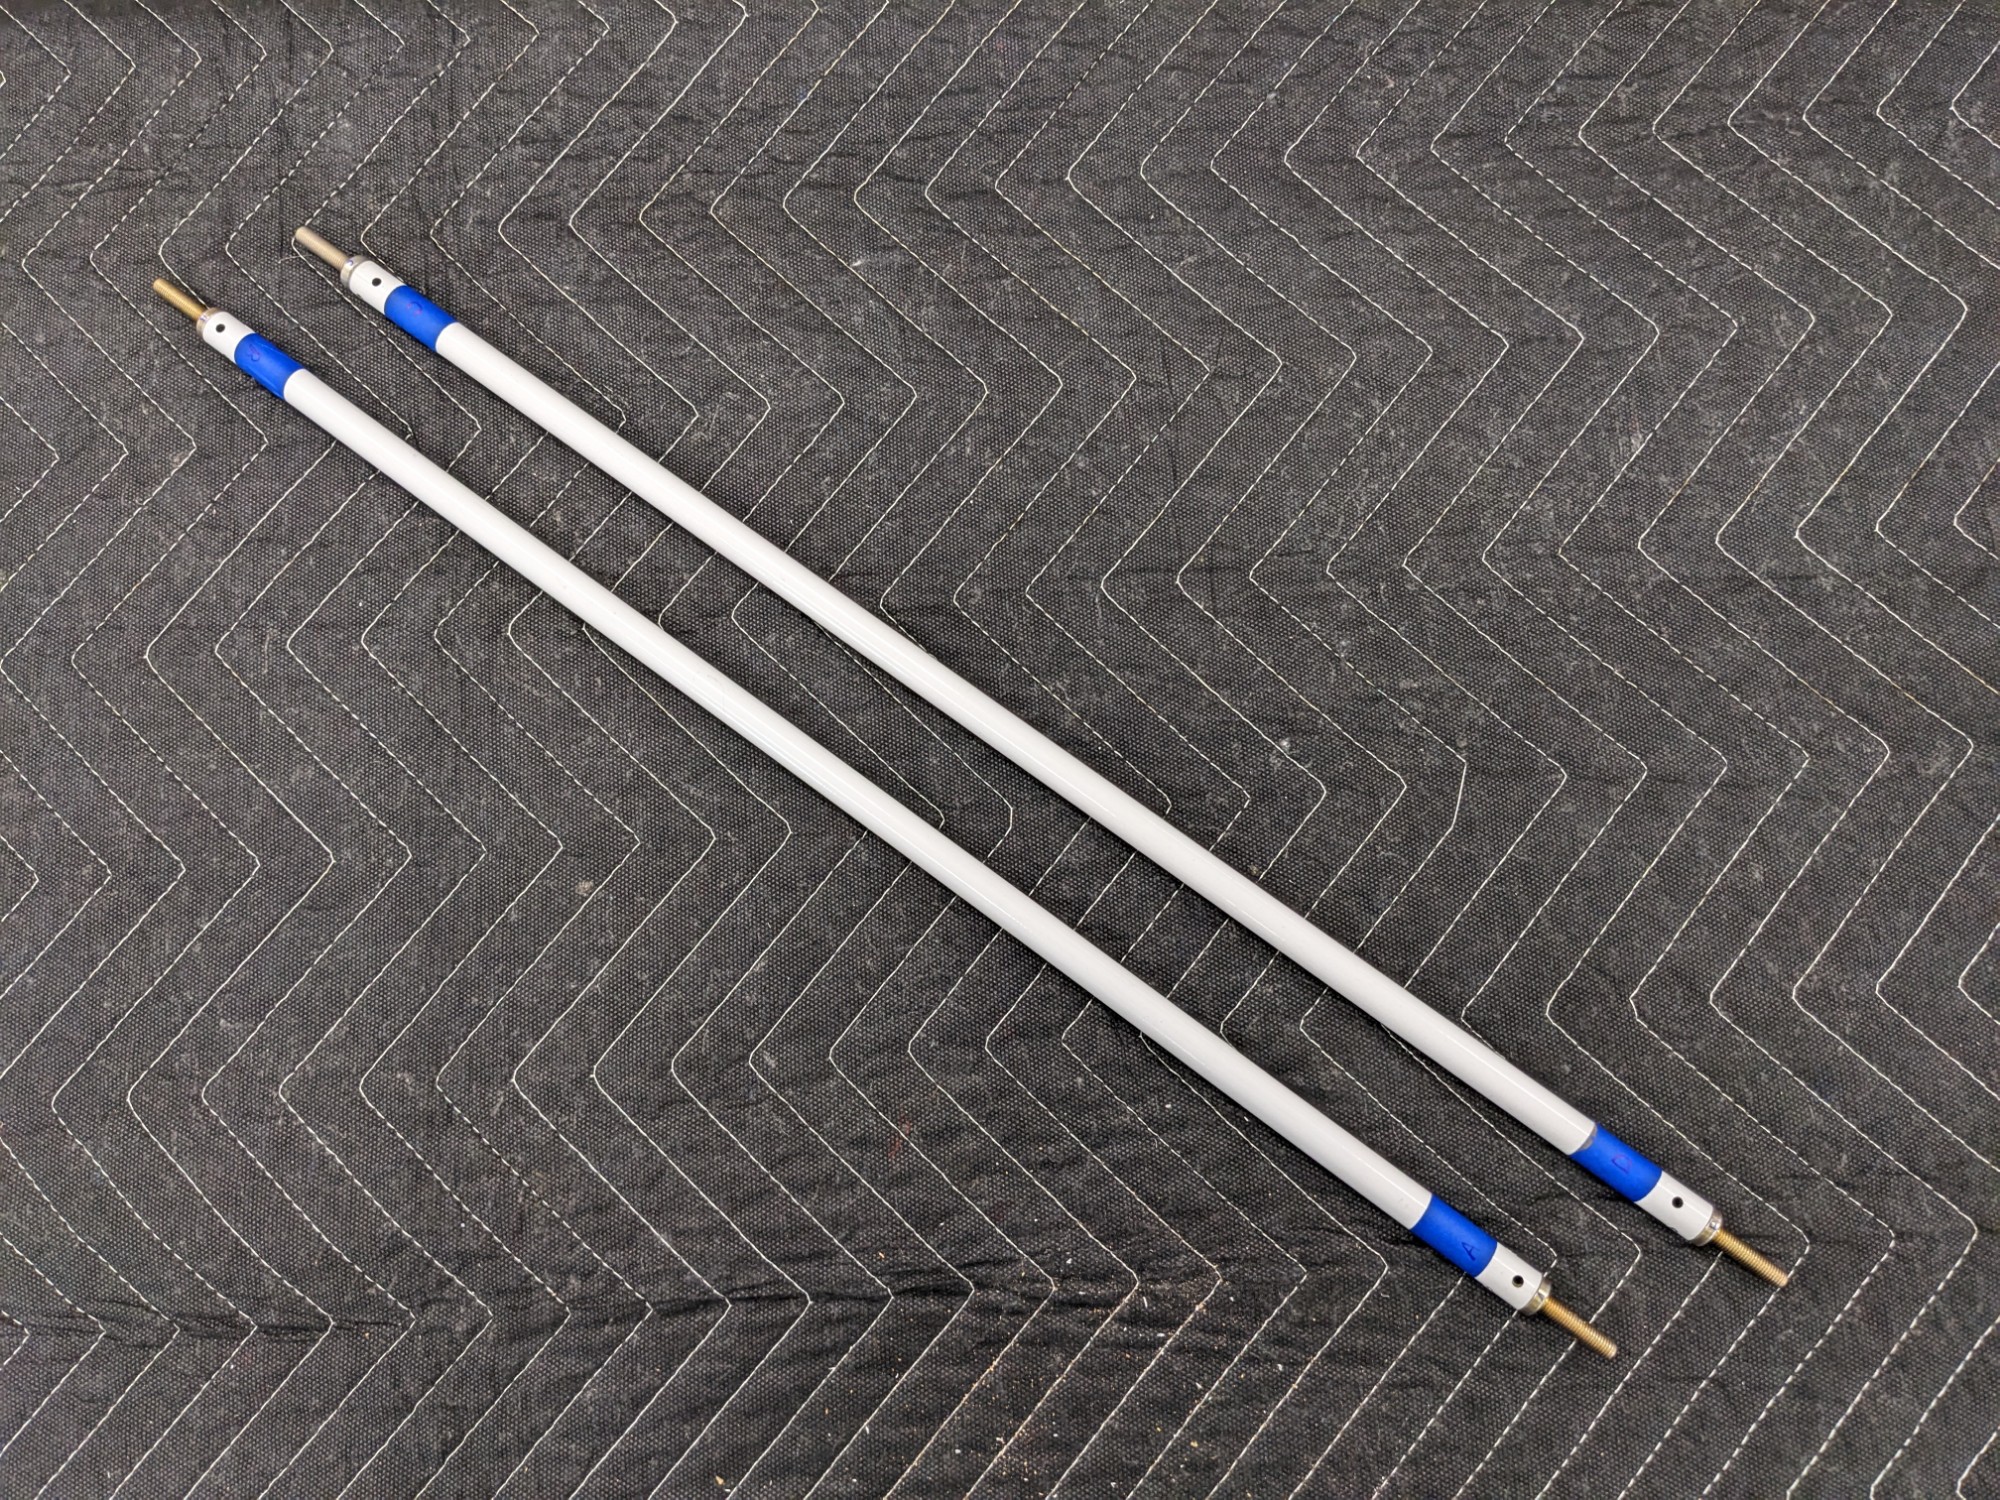
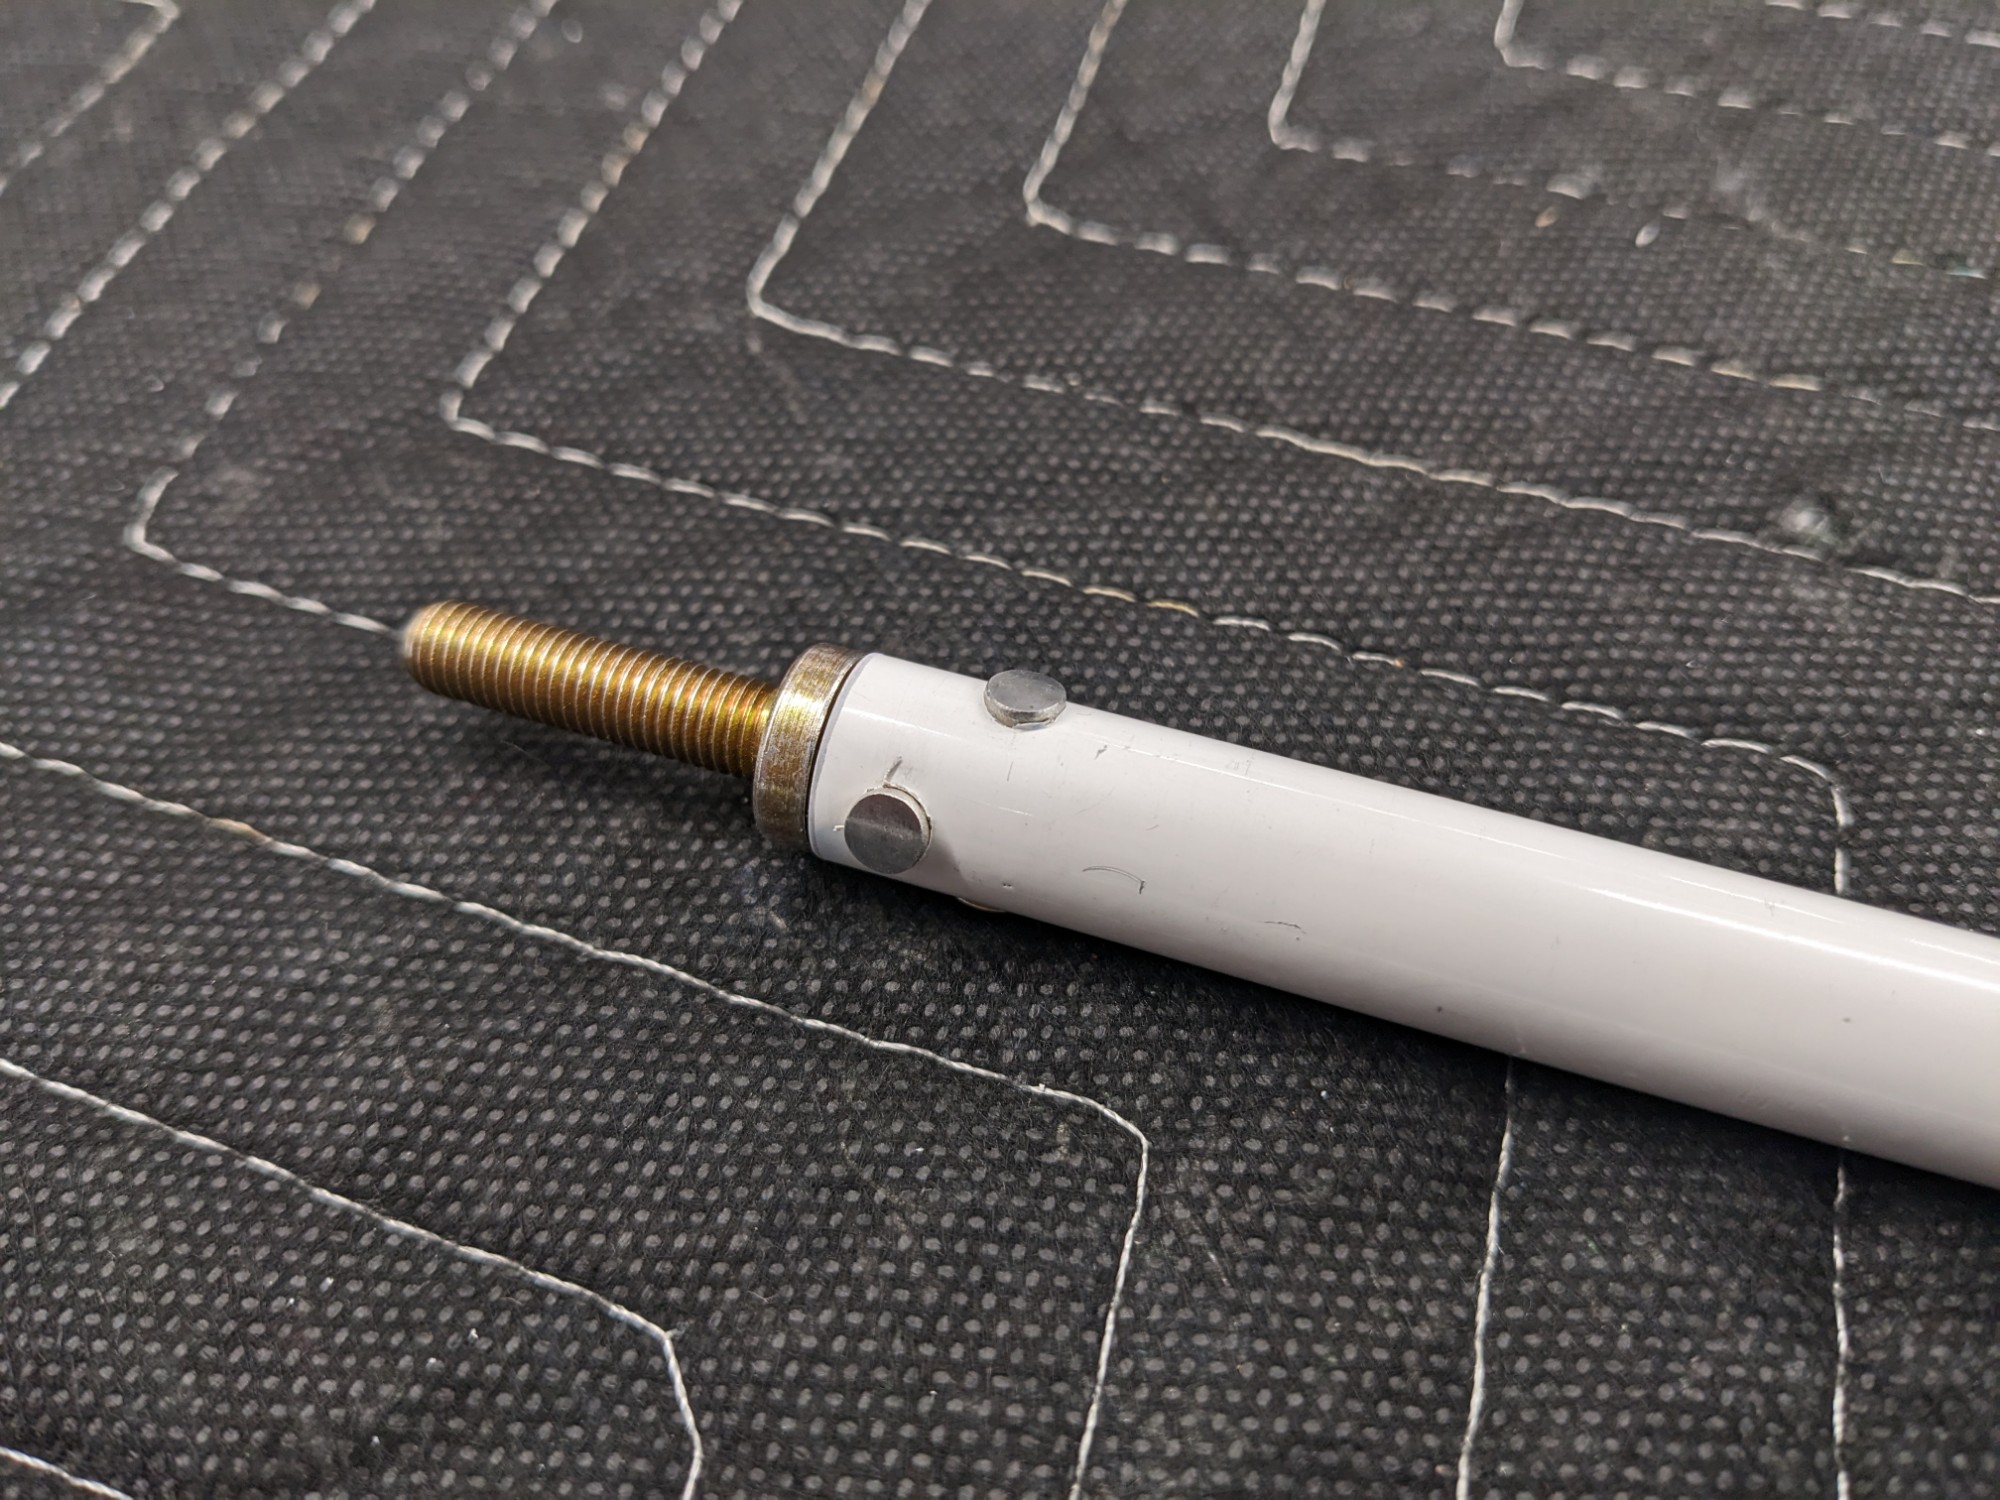
I started by preparing the main aileron push rods. I cut these to length then drilled the threaded rod ends. I designed a 3d printed drill guide to drill these holes (Onshape model available here).
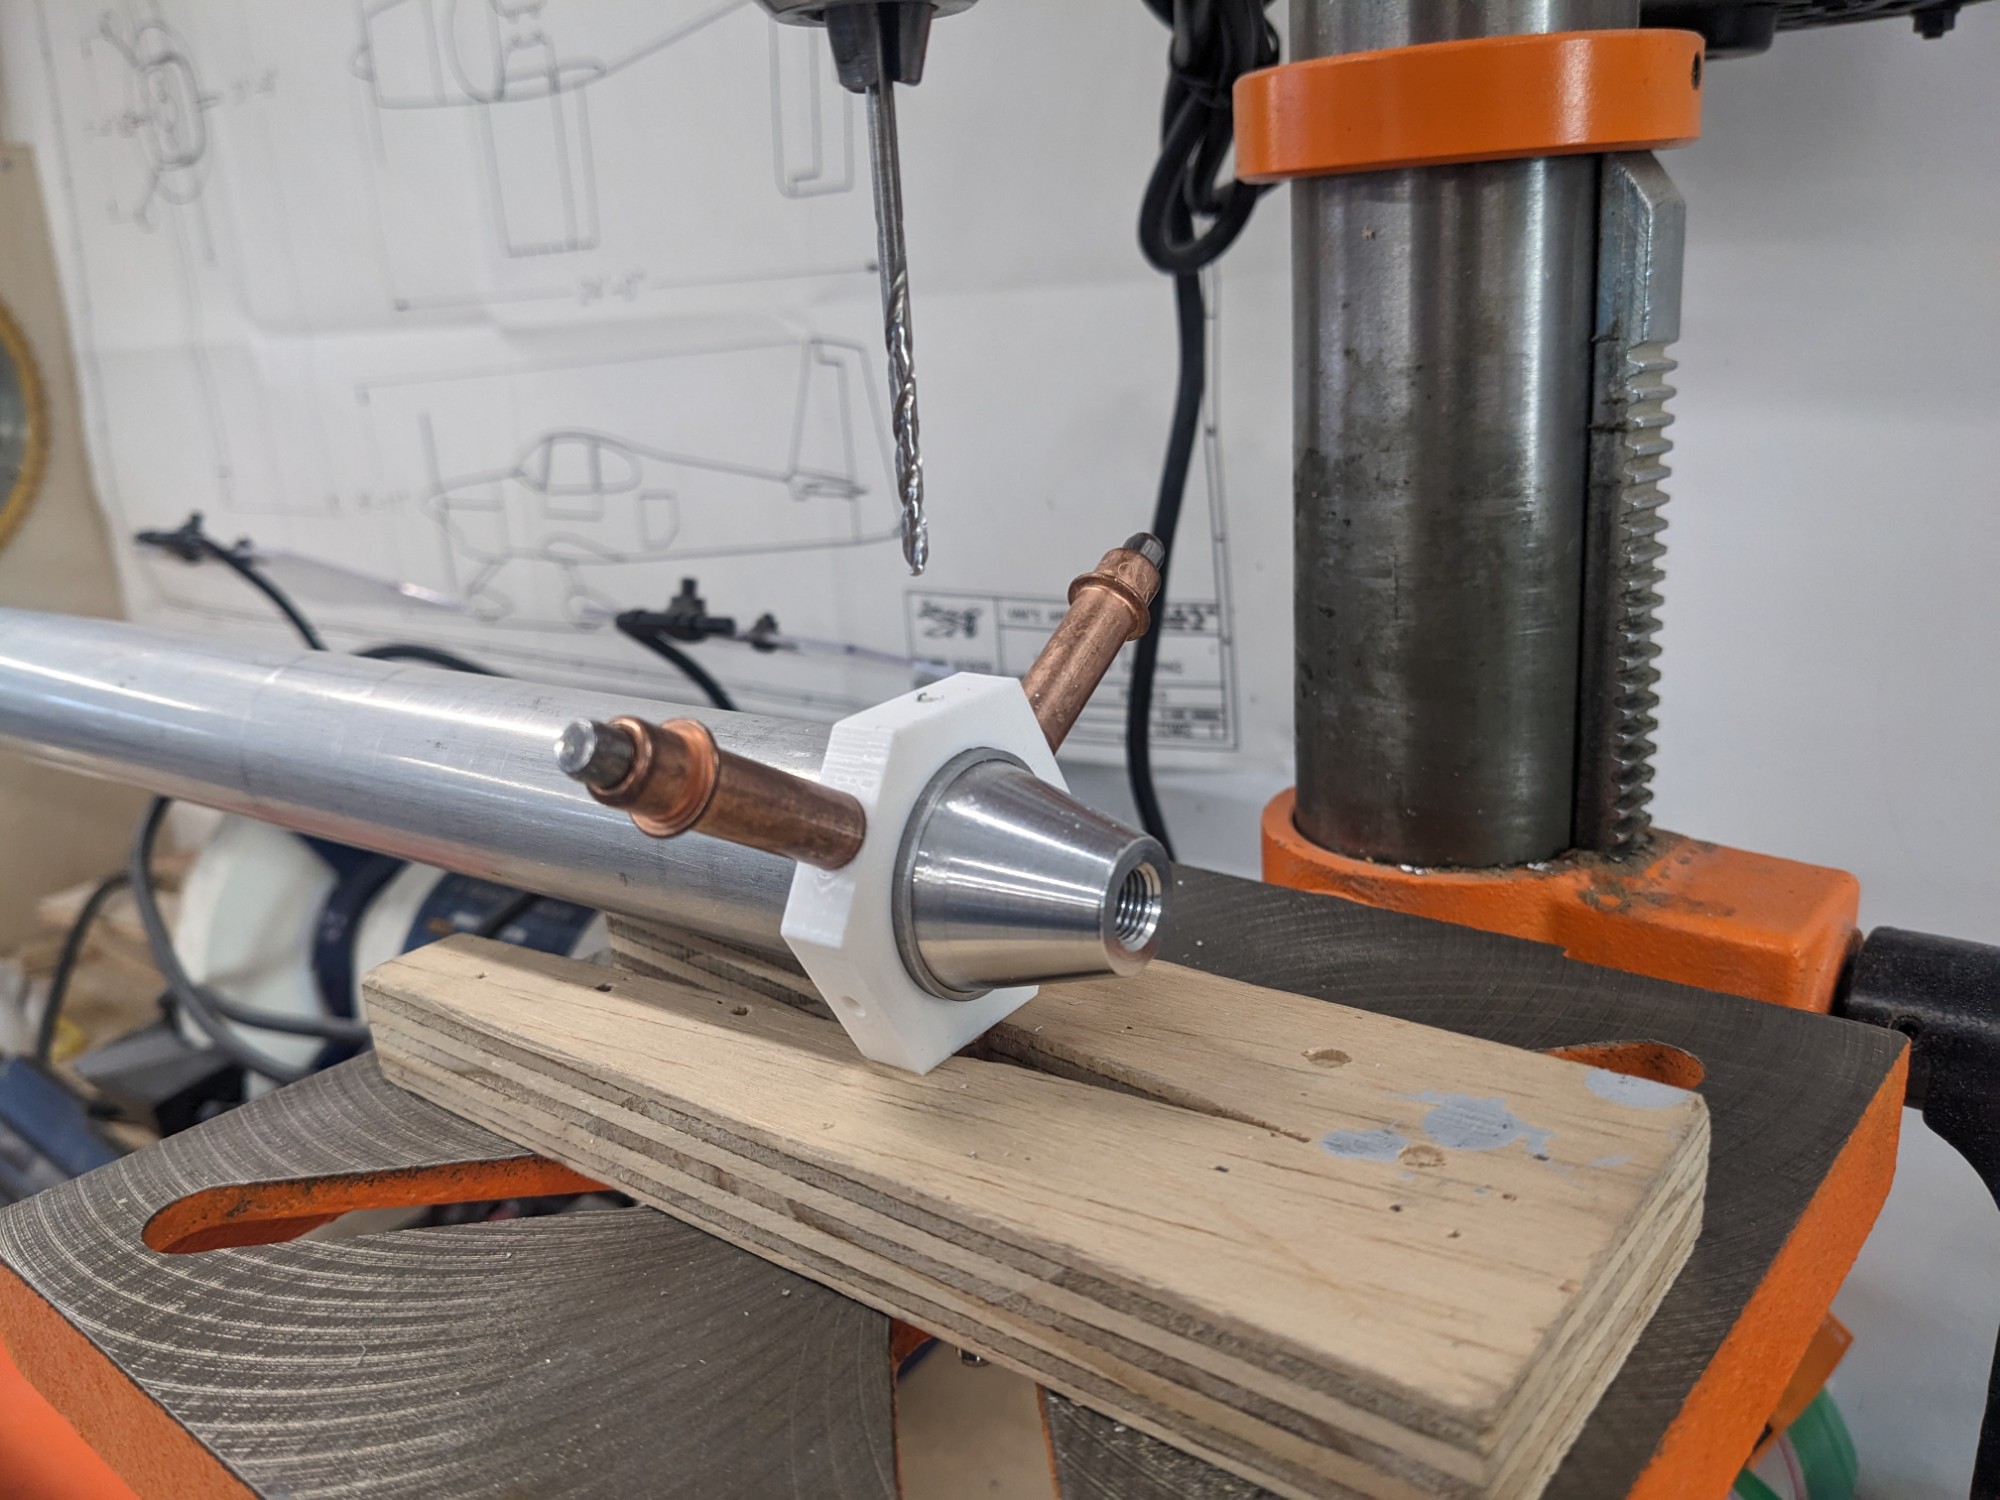
I then fabricated the shorter steel pushrods that connect to the ailerons. I made a small 3d printed drill guide for these holes also (Onshape model available here).
The threaded rod ends are slightly larger than the inner diameter of the tube so I used sandpaper on a metal rod to widen the opening.
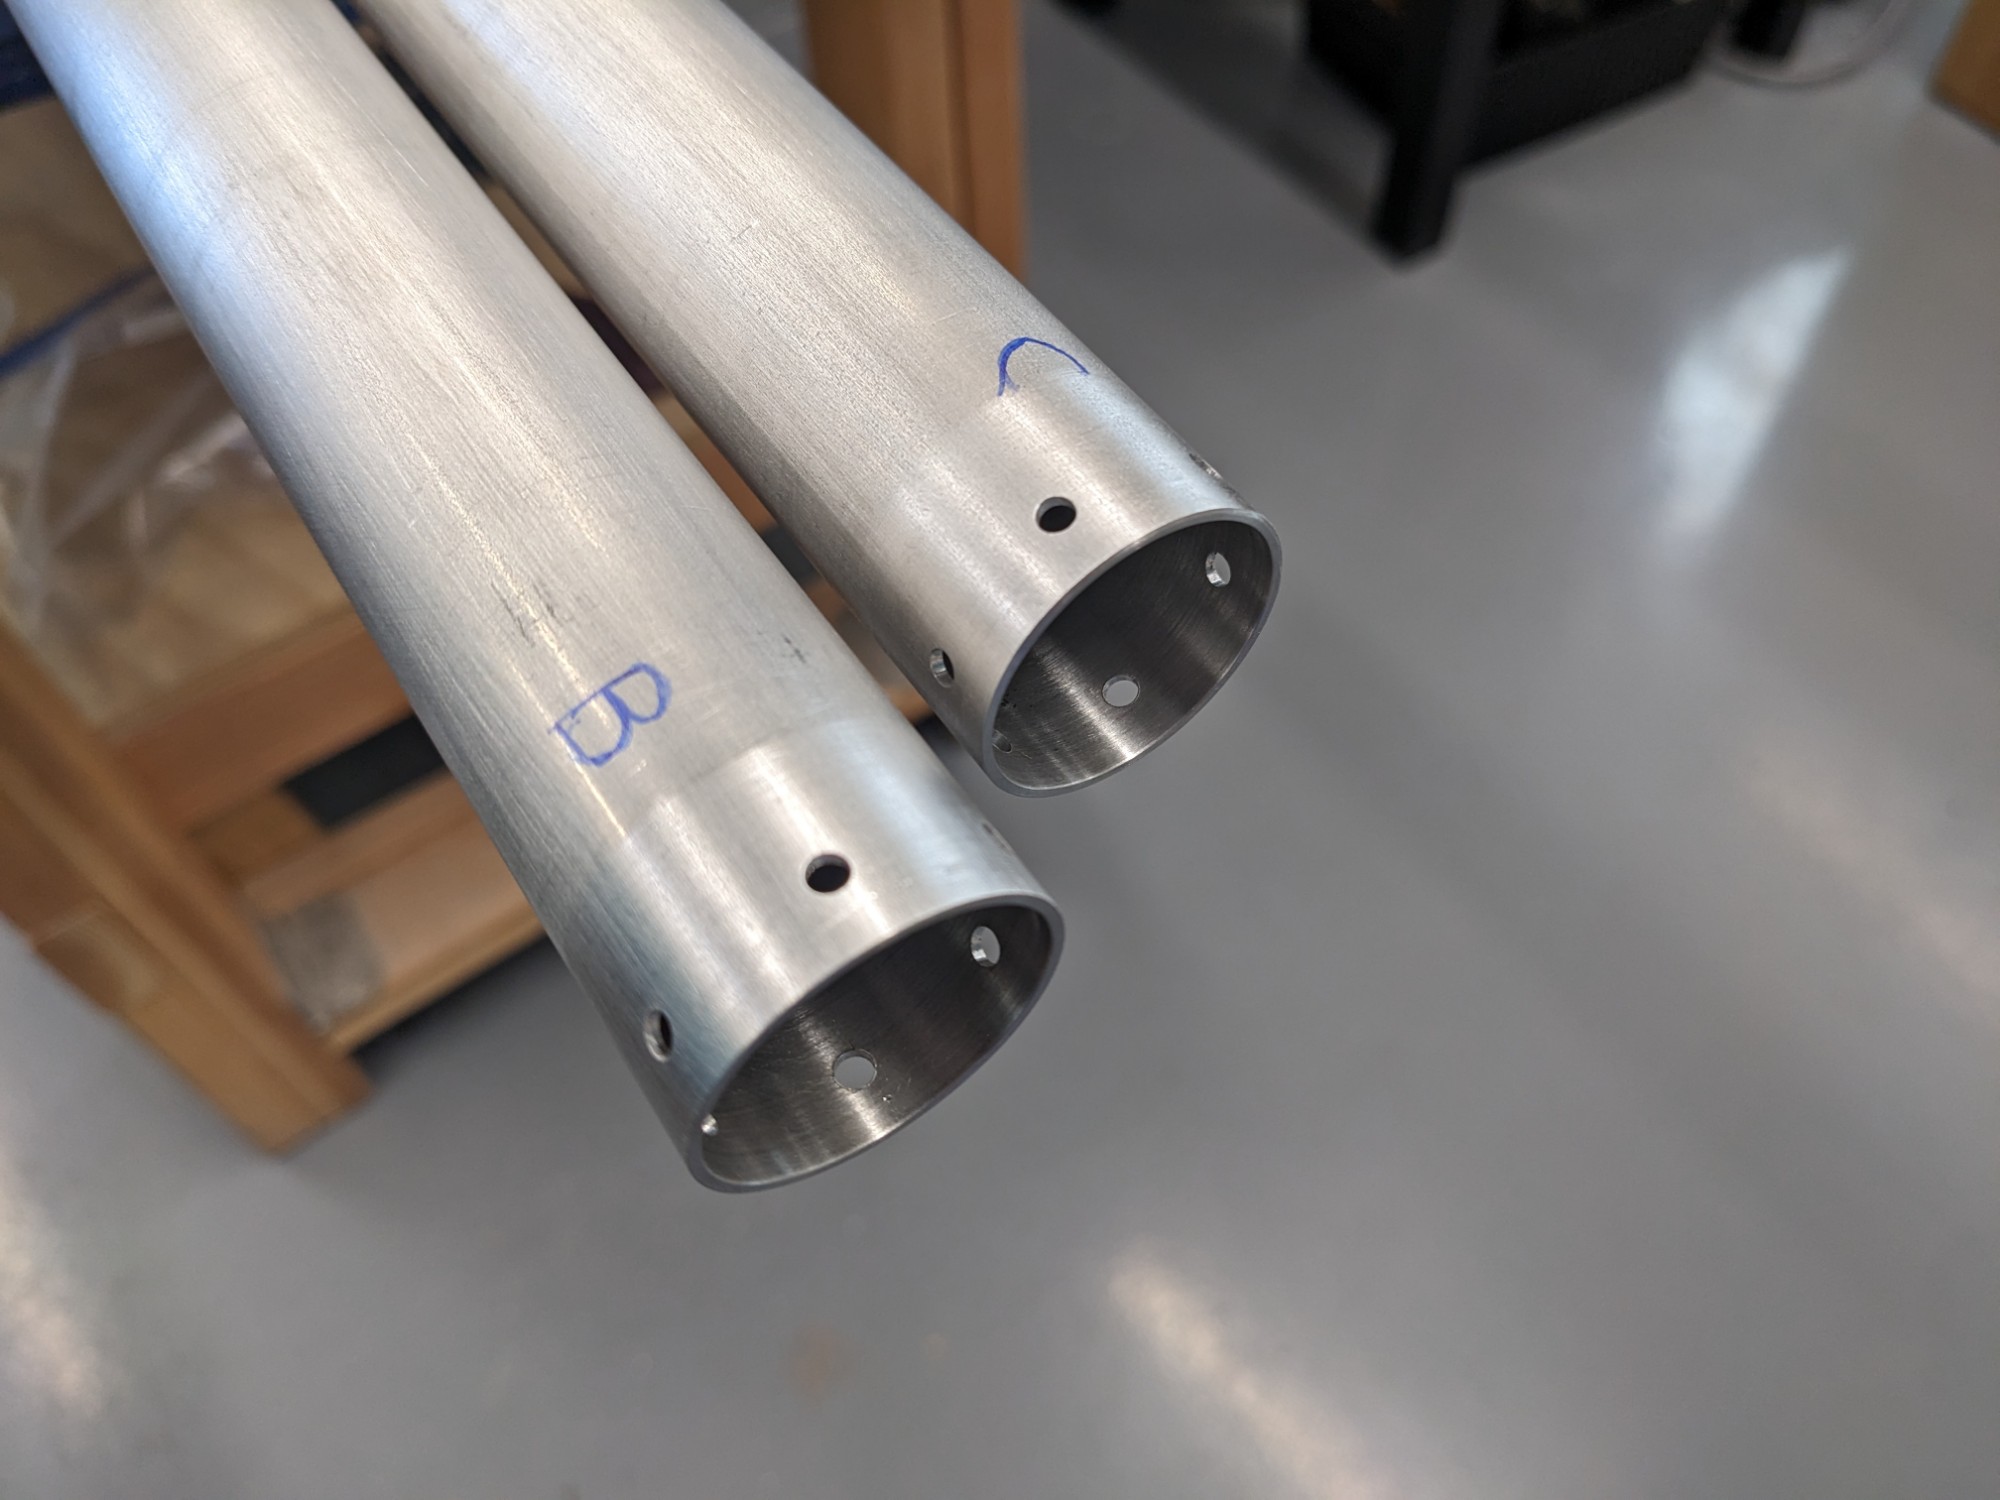
After match drilling the rod ends, I deburred the parts and primed the inside of the rods.
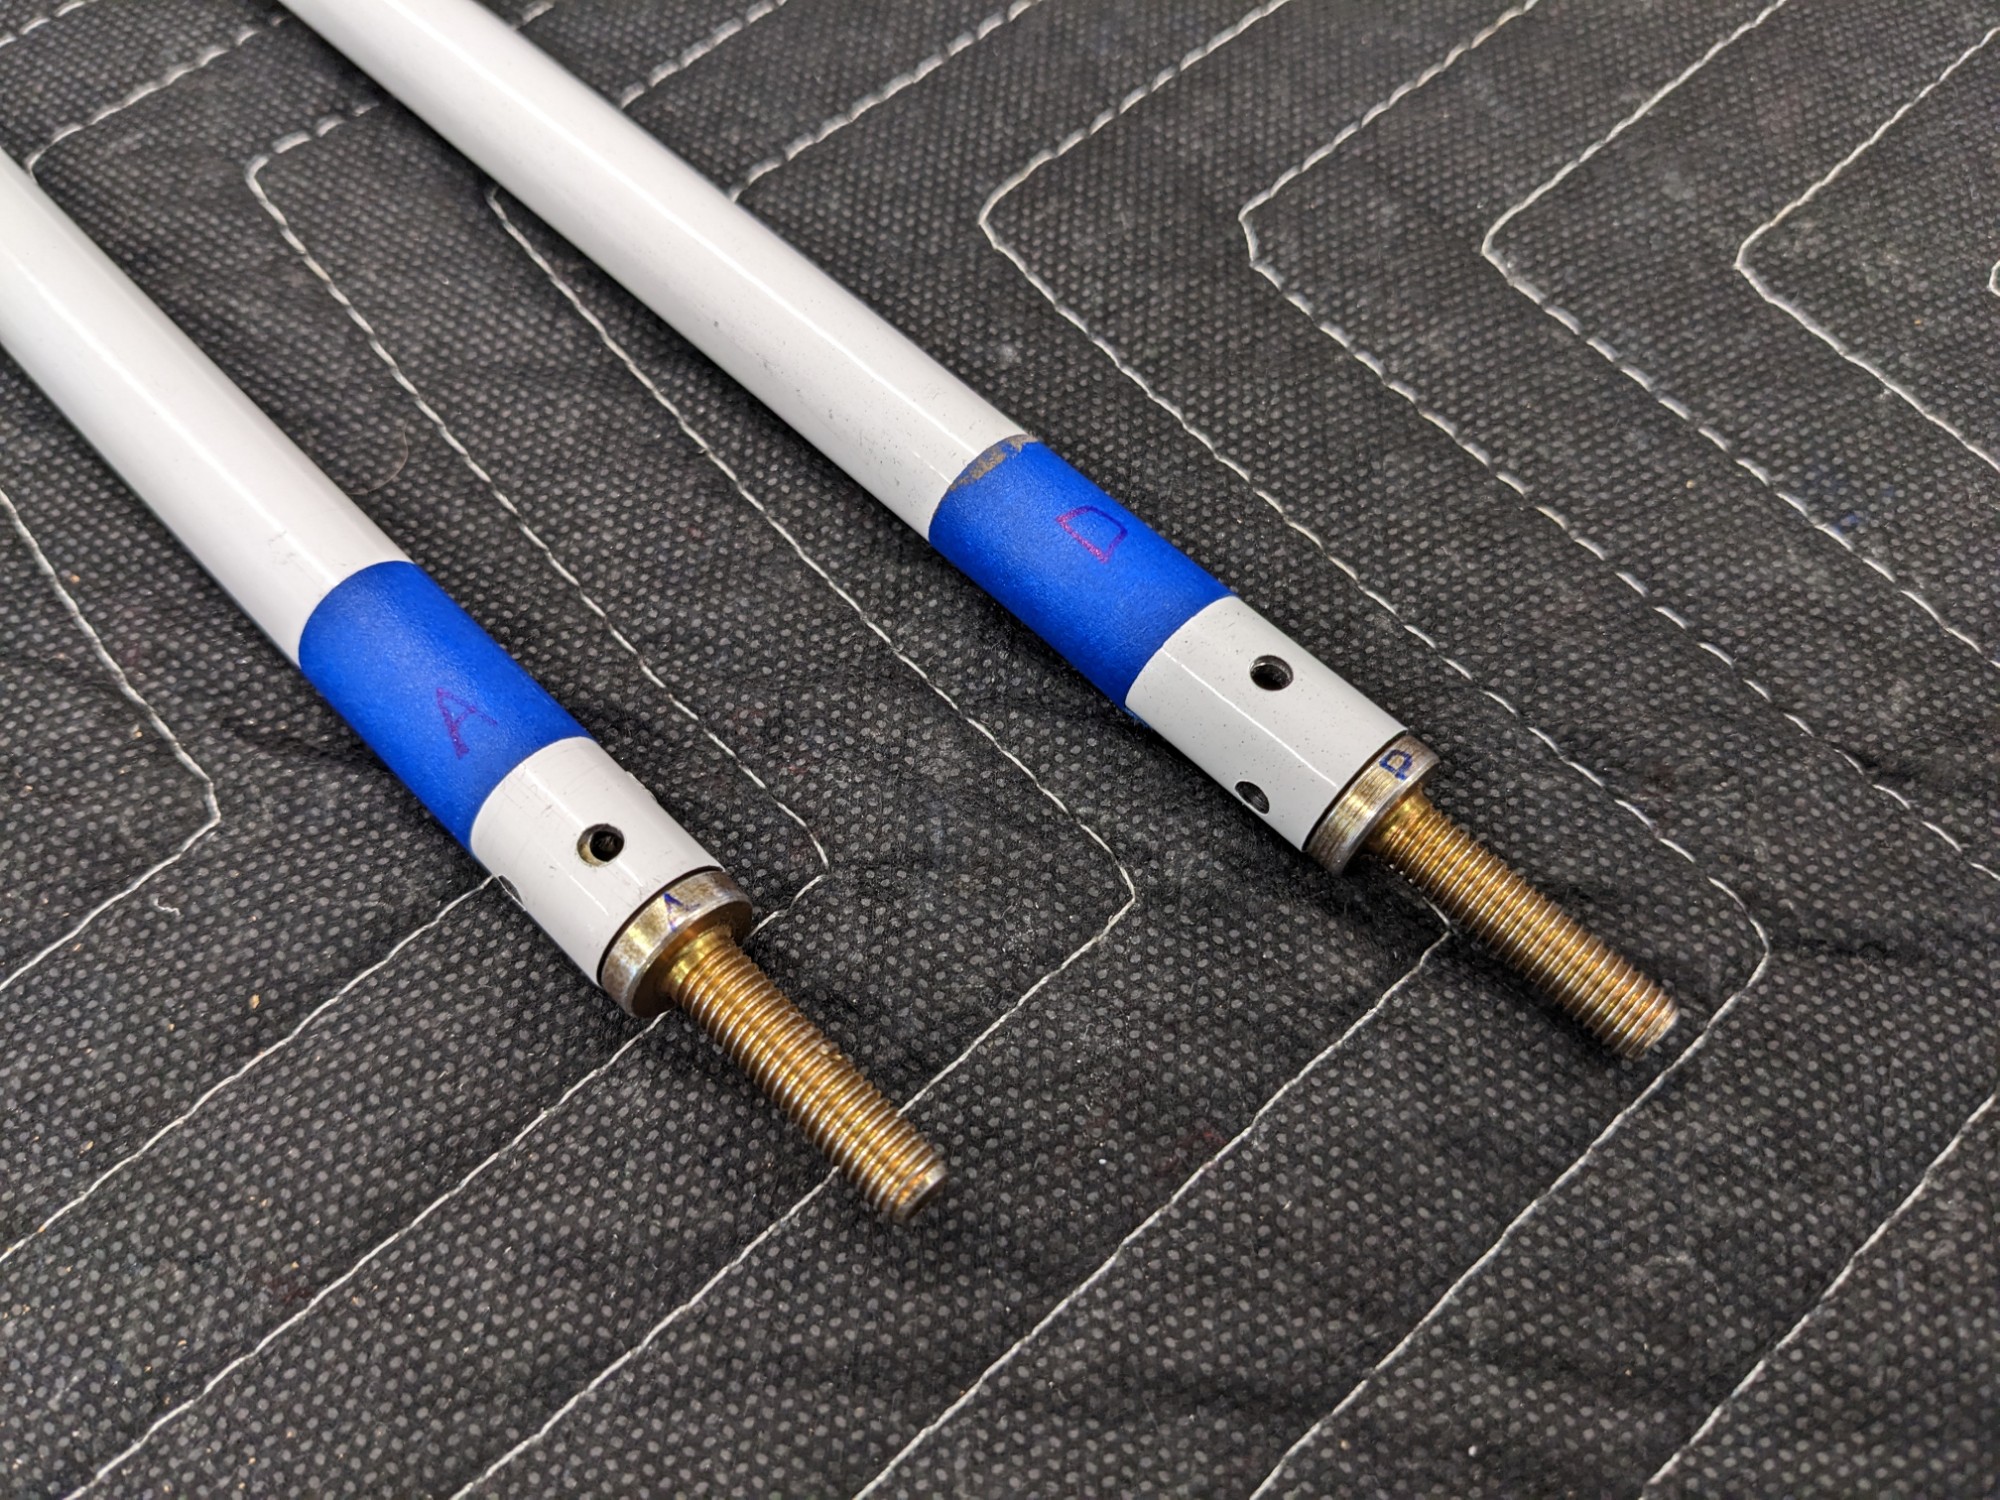
Other builders have mentioned that these are tricky to rivet due to the length of the rivets used and the hollow core in the threaded rod ends. I chose to use the rivet gun (instead of the squeezer). I found that a solid initial set gave me the best shop head as there was less chance for the middle to deform.
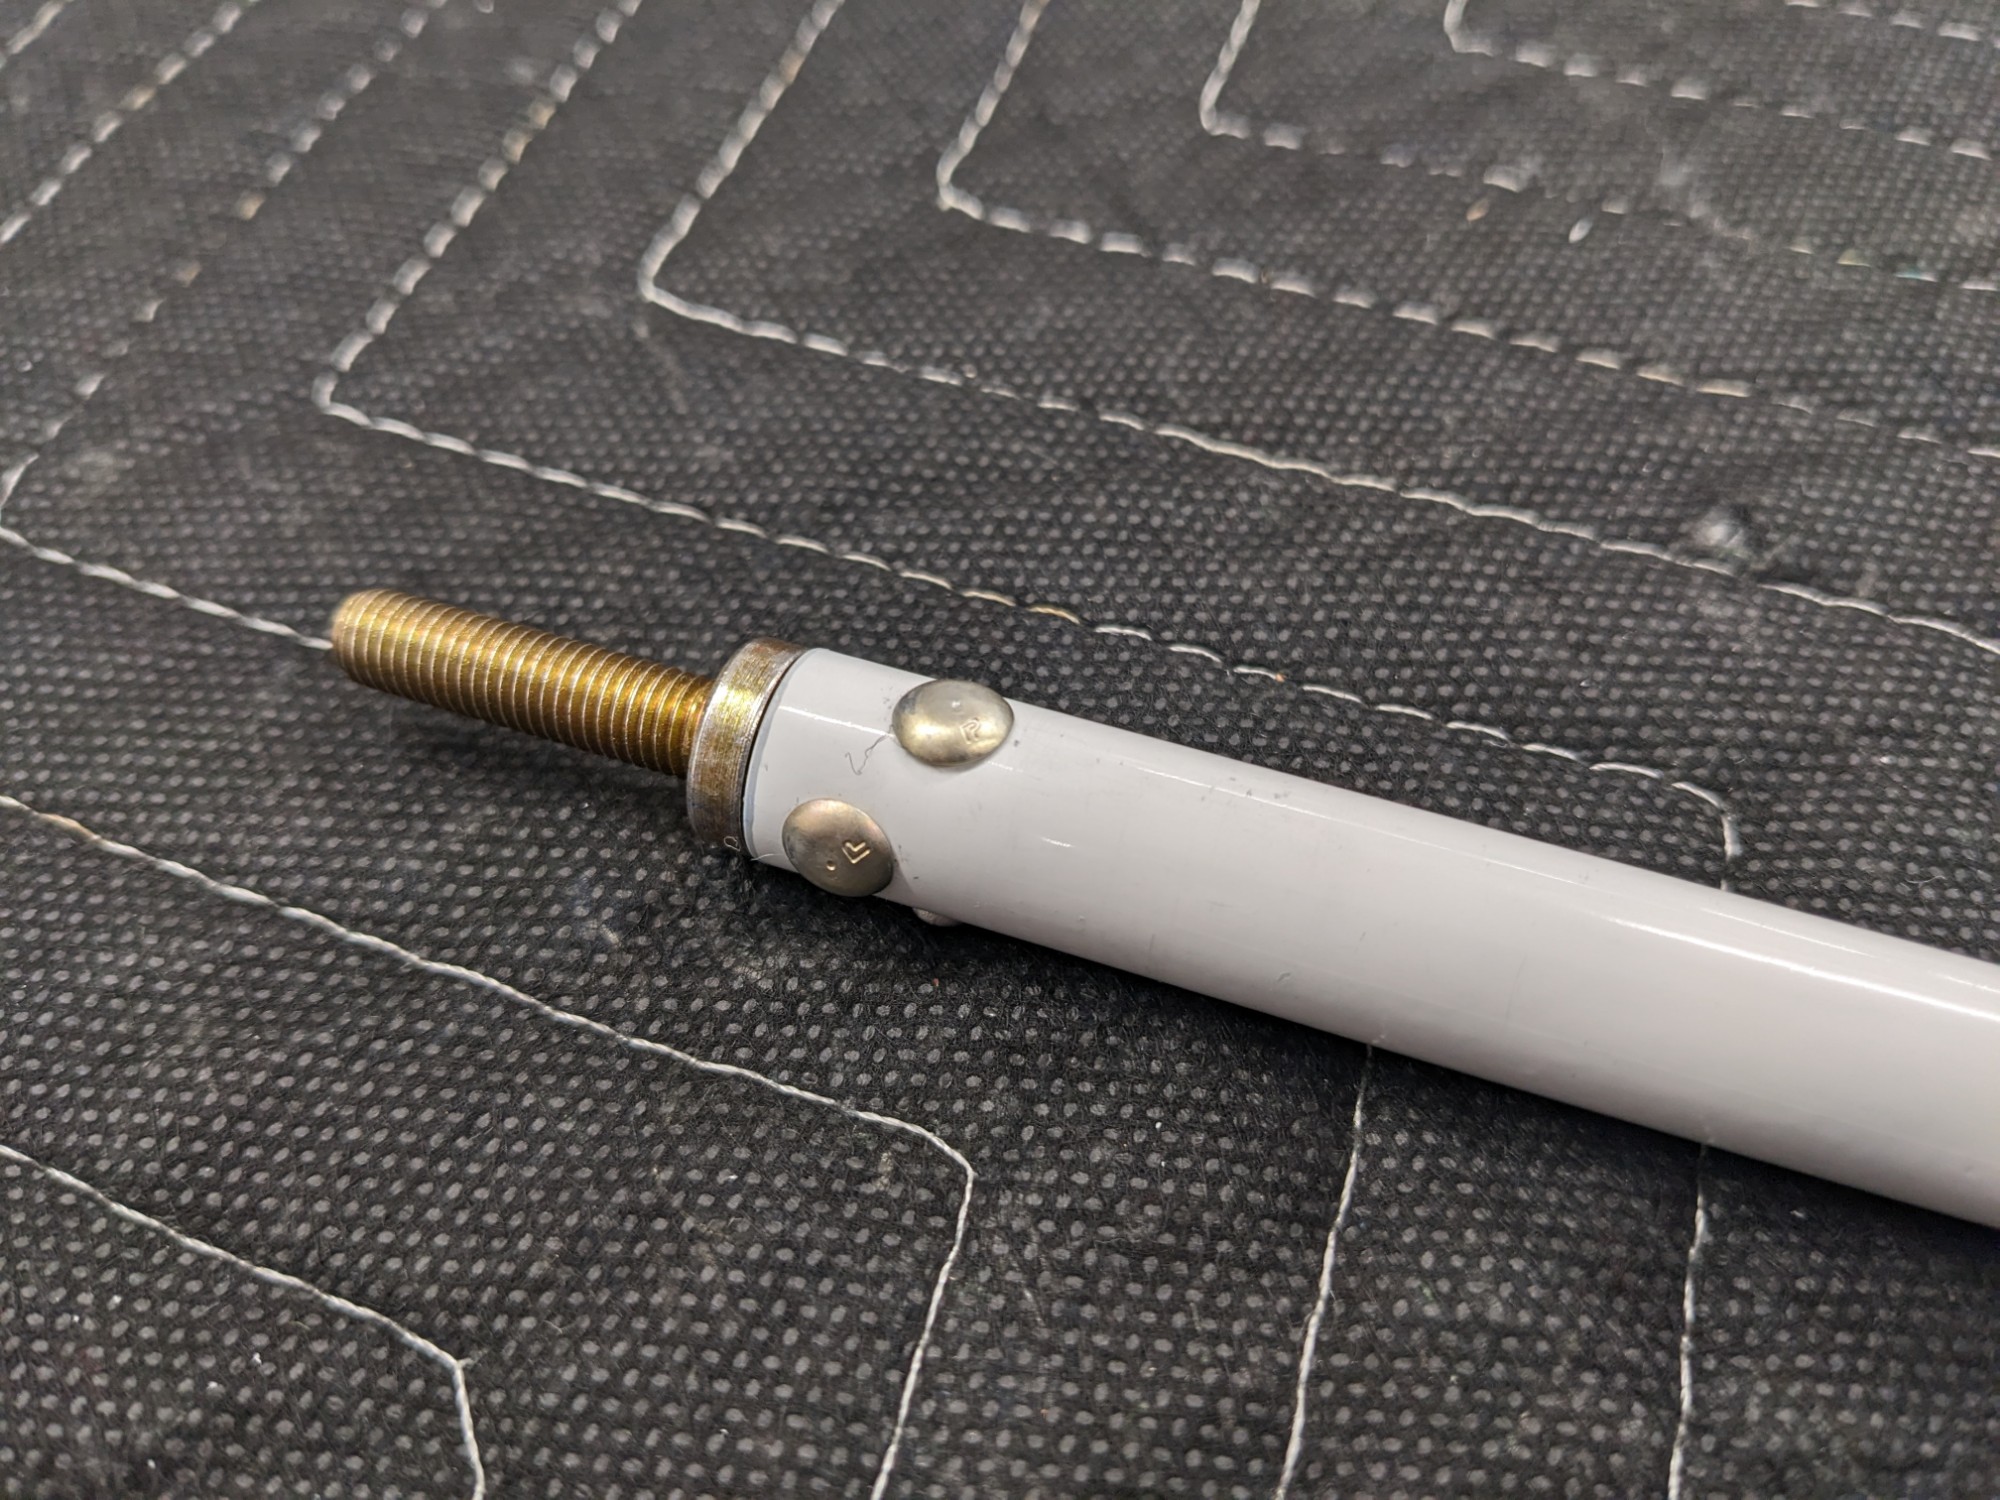
I deliberately set the shop heads well to provide clearance when assembled into the wings (others have mentioned that these can rub on the pushrod opening if they protrude too far).
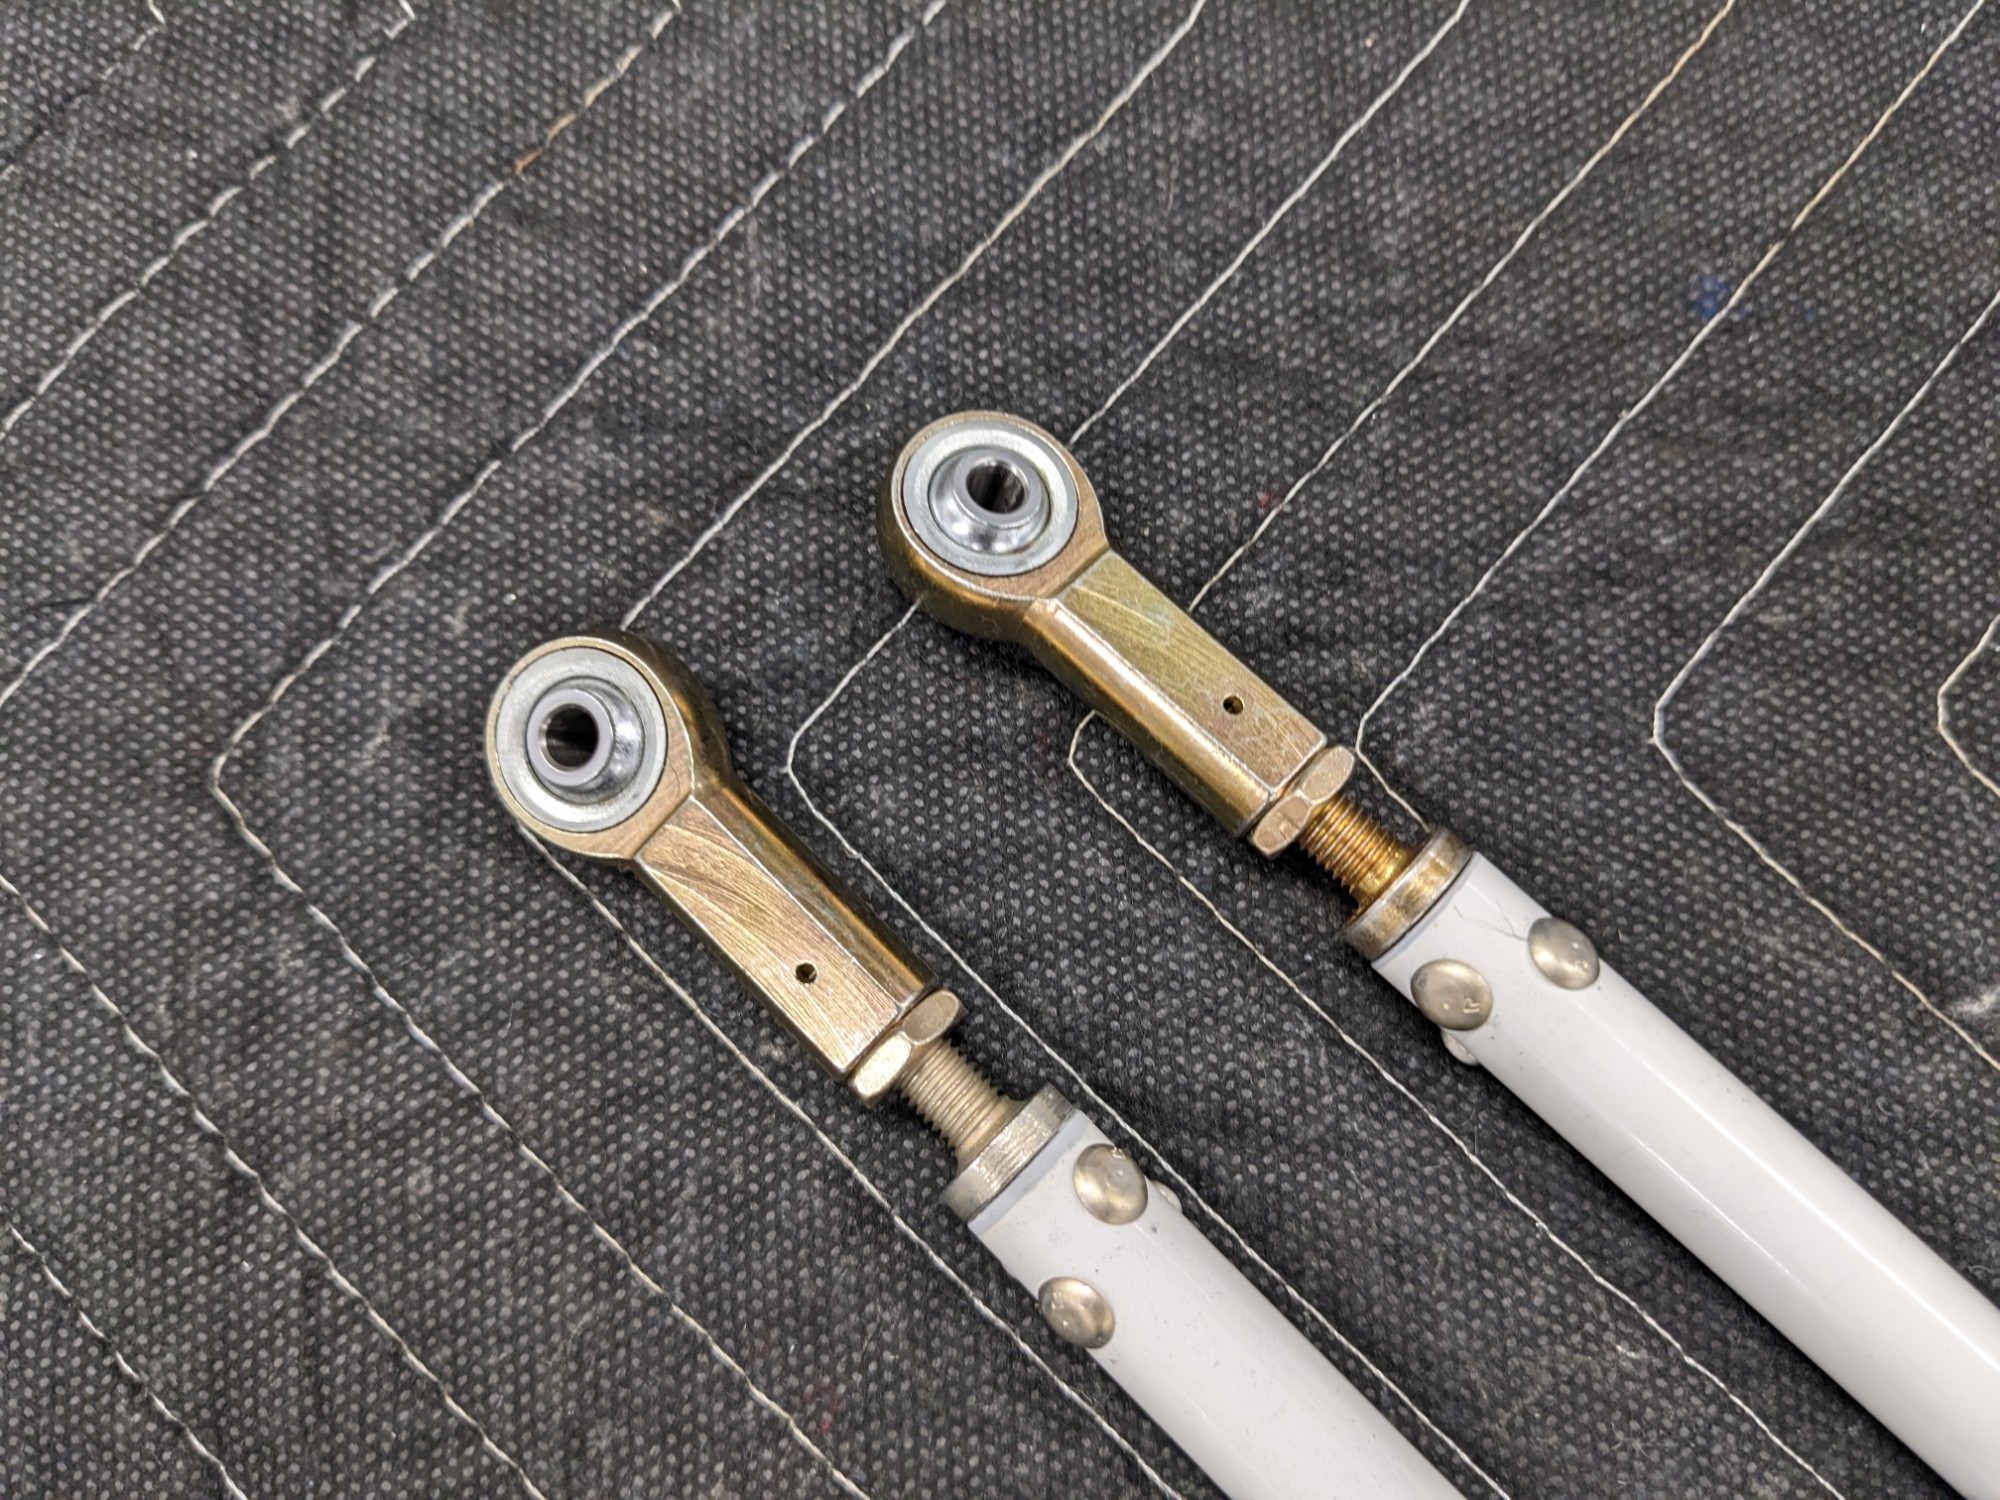
I then attached the jam nuts and rod end bearings.
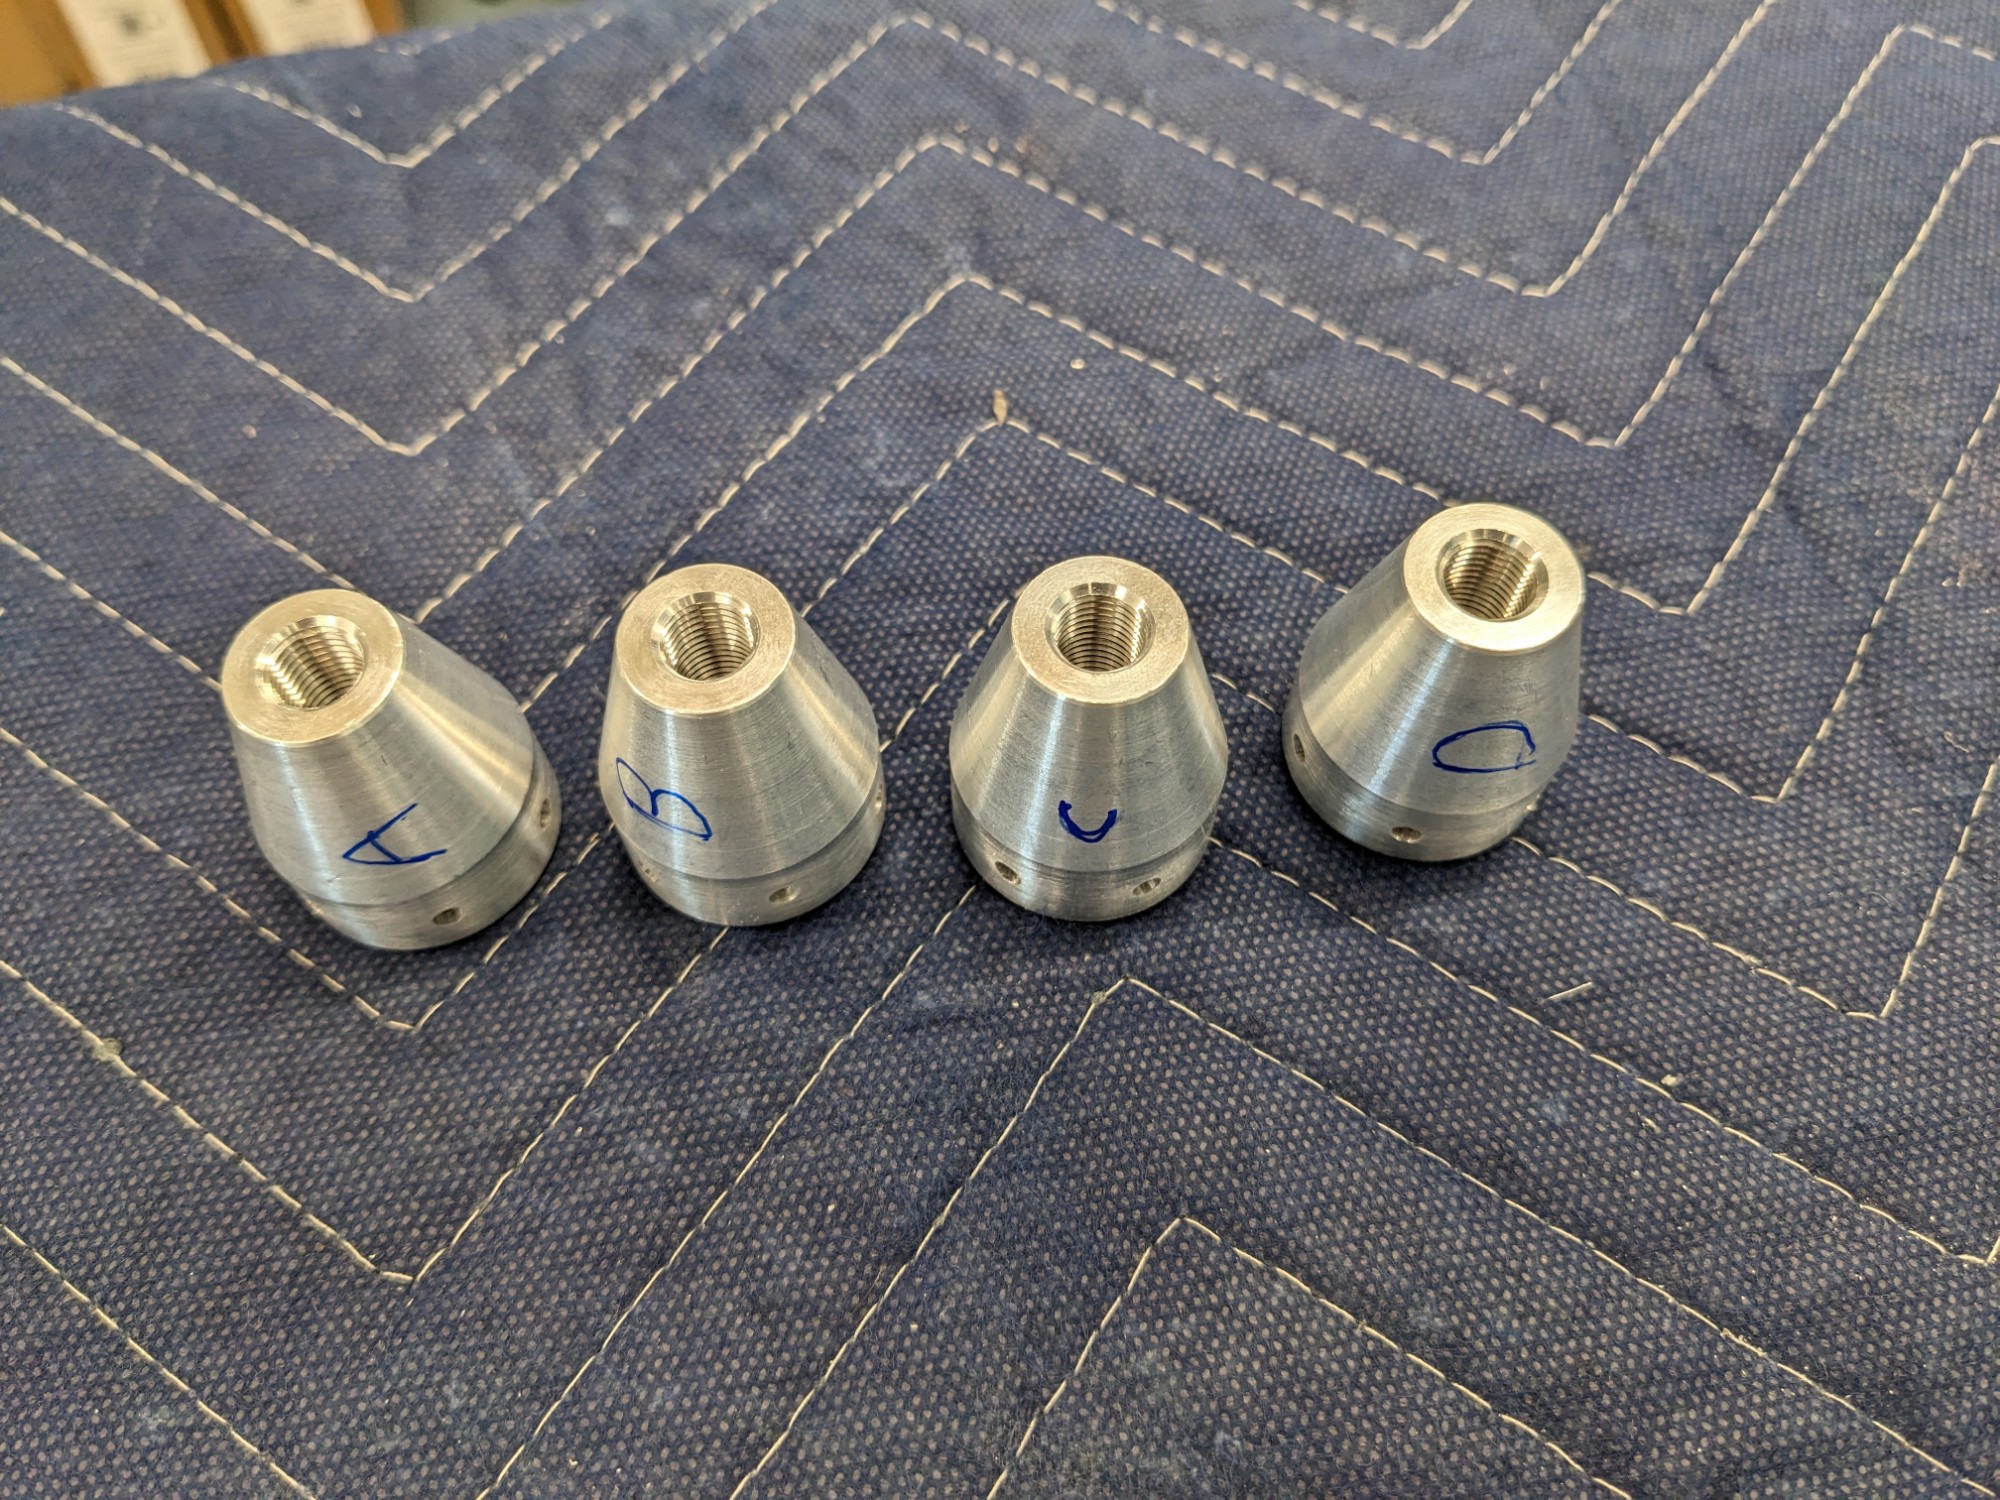
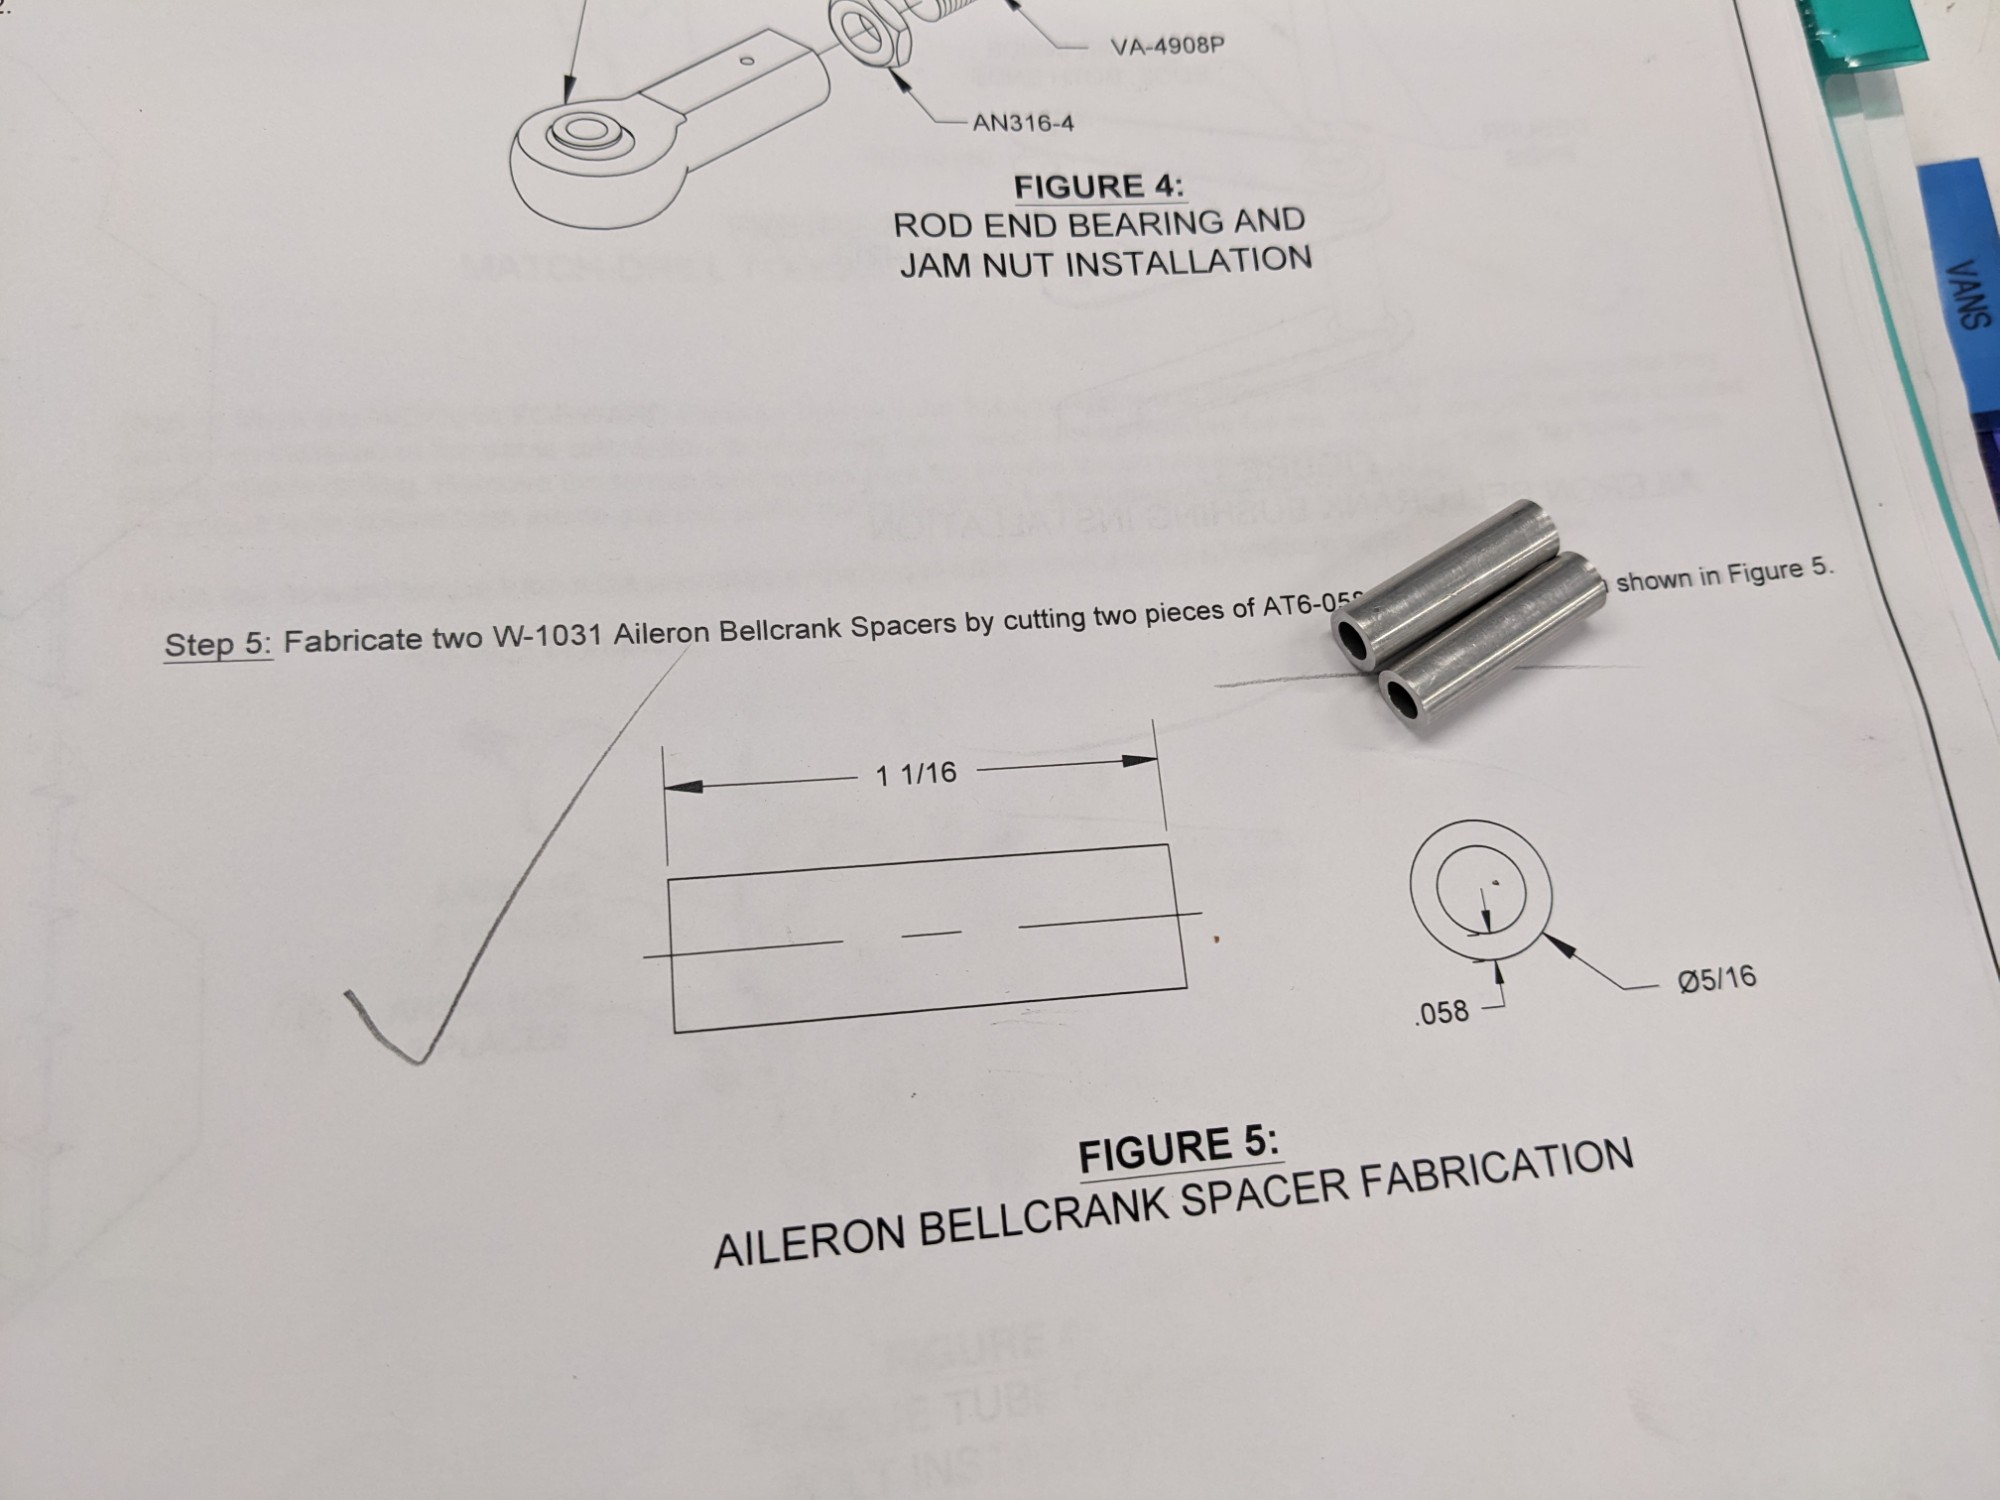
Next up was fabricating some spacers and bushings.
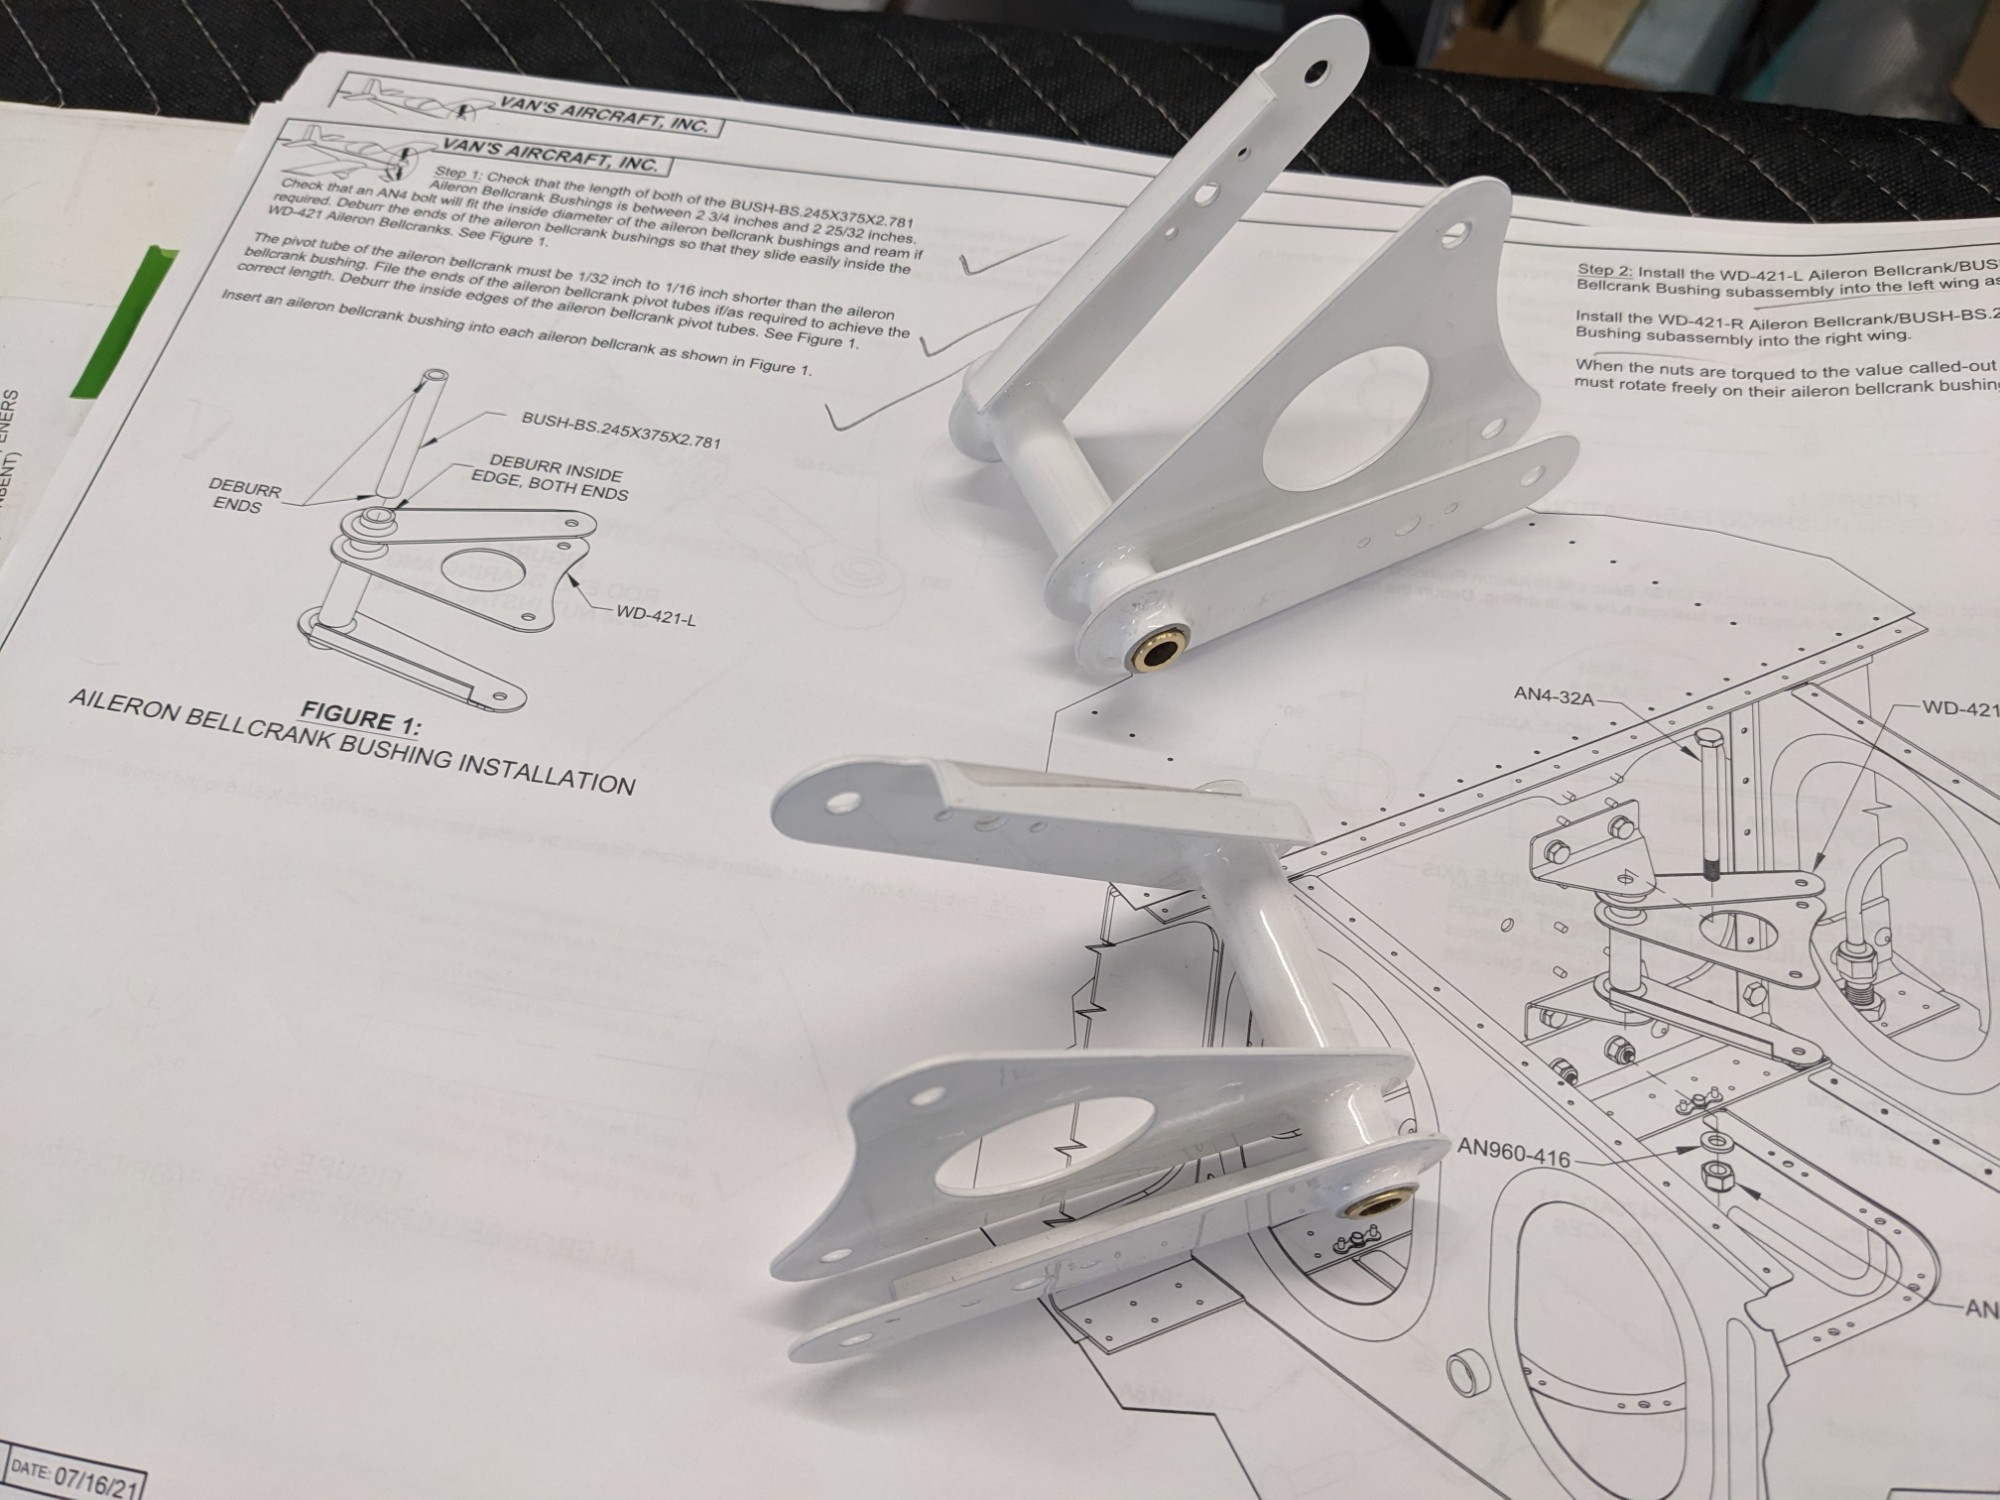
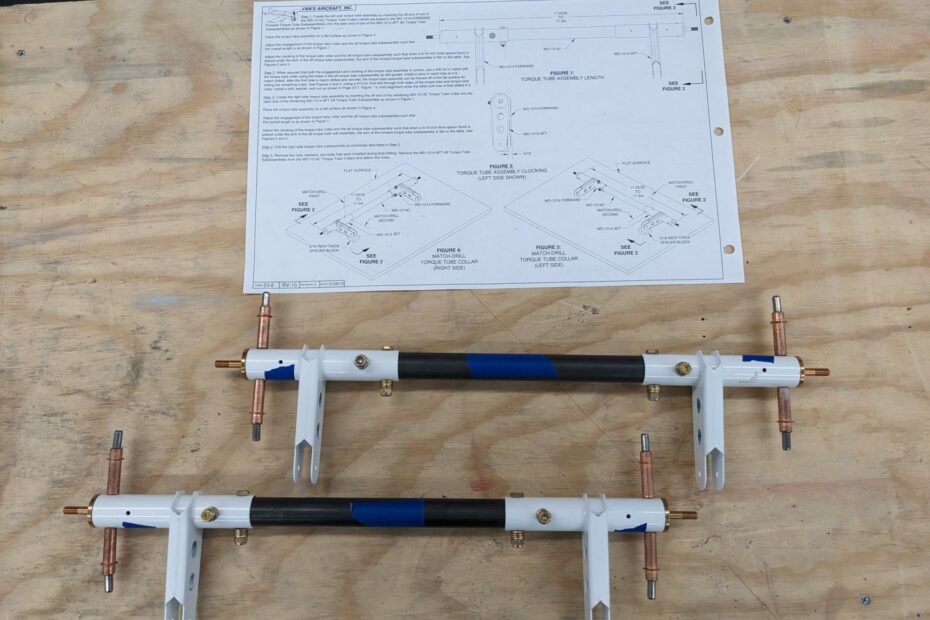
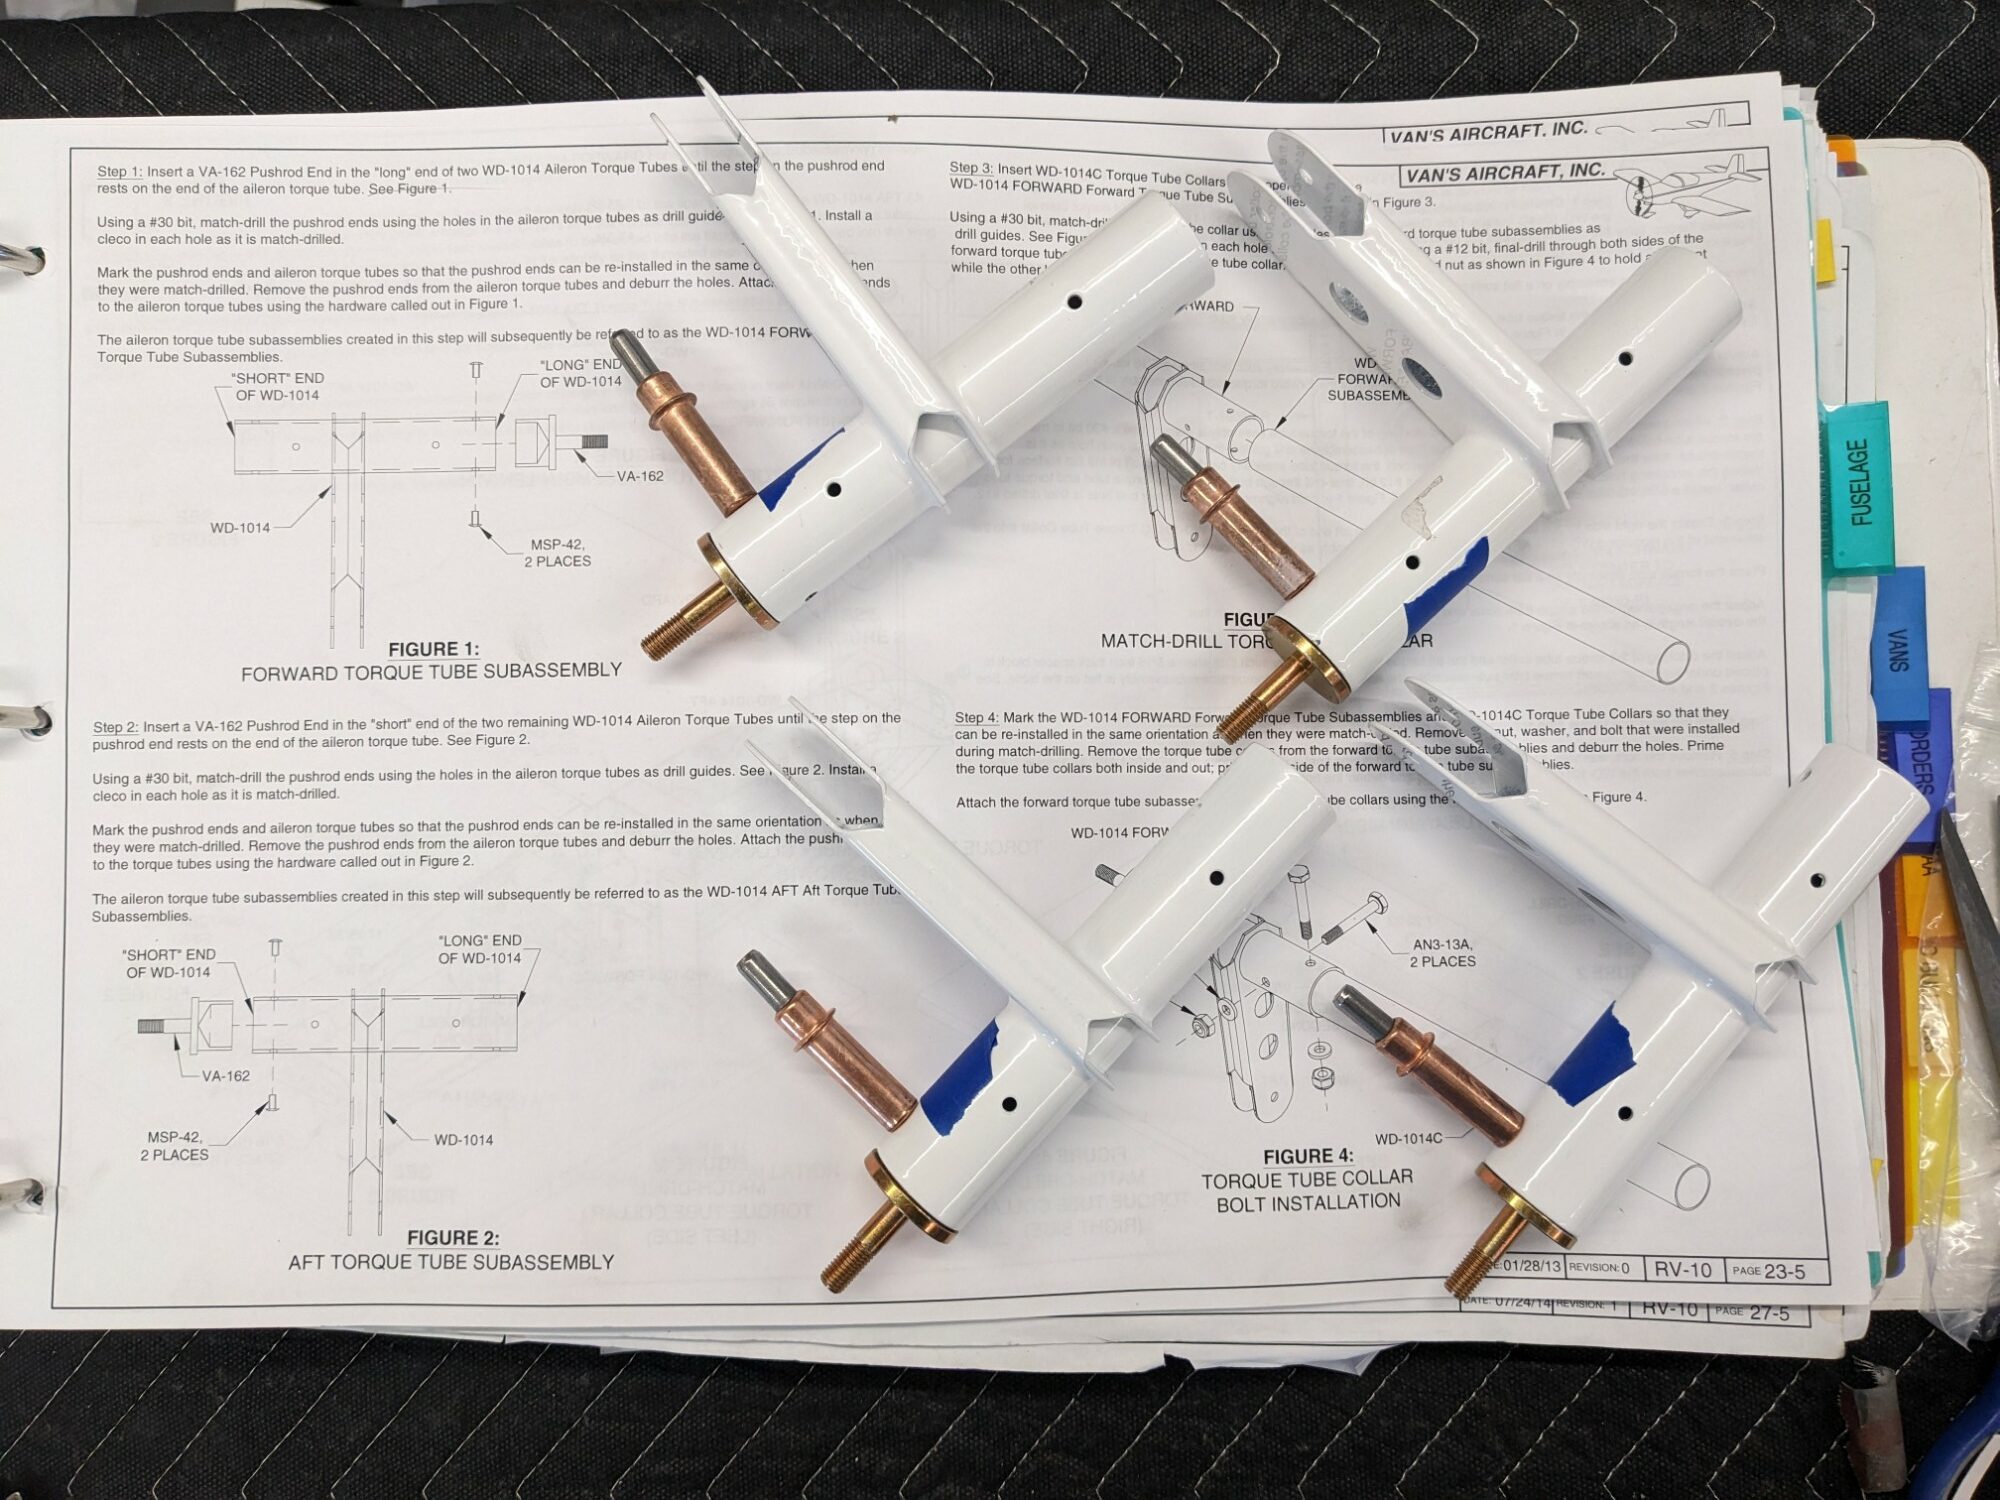
Finally, I fabricated the aileron torque tube assemblies. These reside in the wing root area and transfer the motion from the stick push rods into the wing push rods.
I drilled the holes per plans and upsized them for AN3 bolts. I used a #13 drill bit followed by a 3/16″ reamer on all of these to avoid play in the bolts.
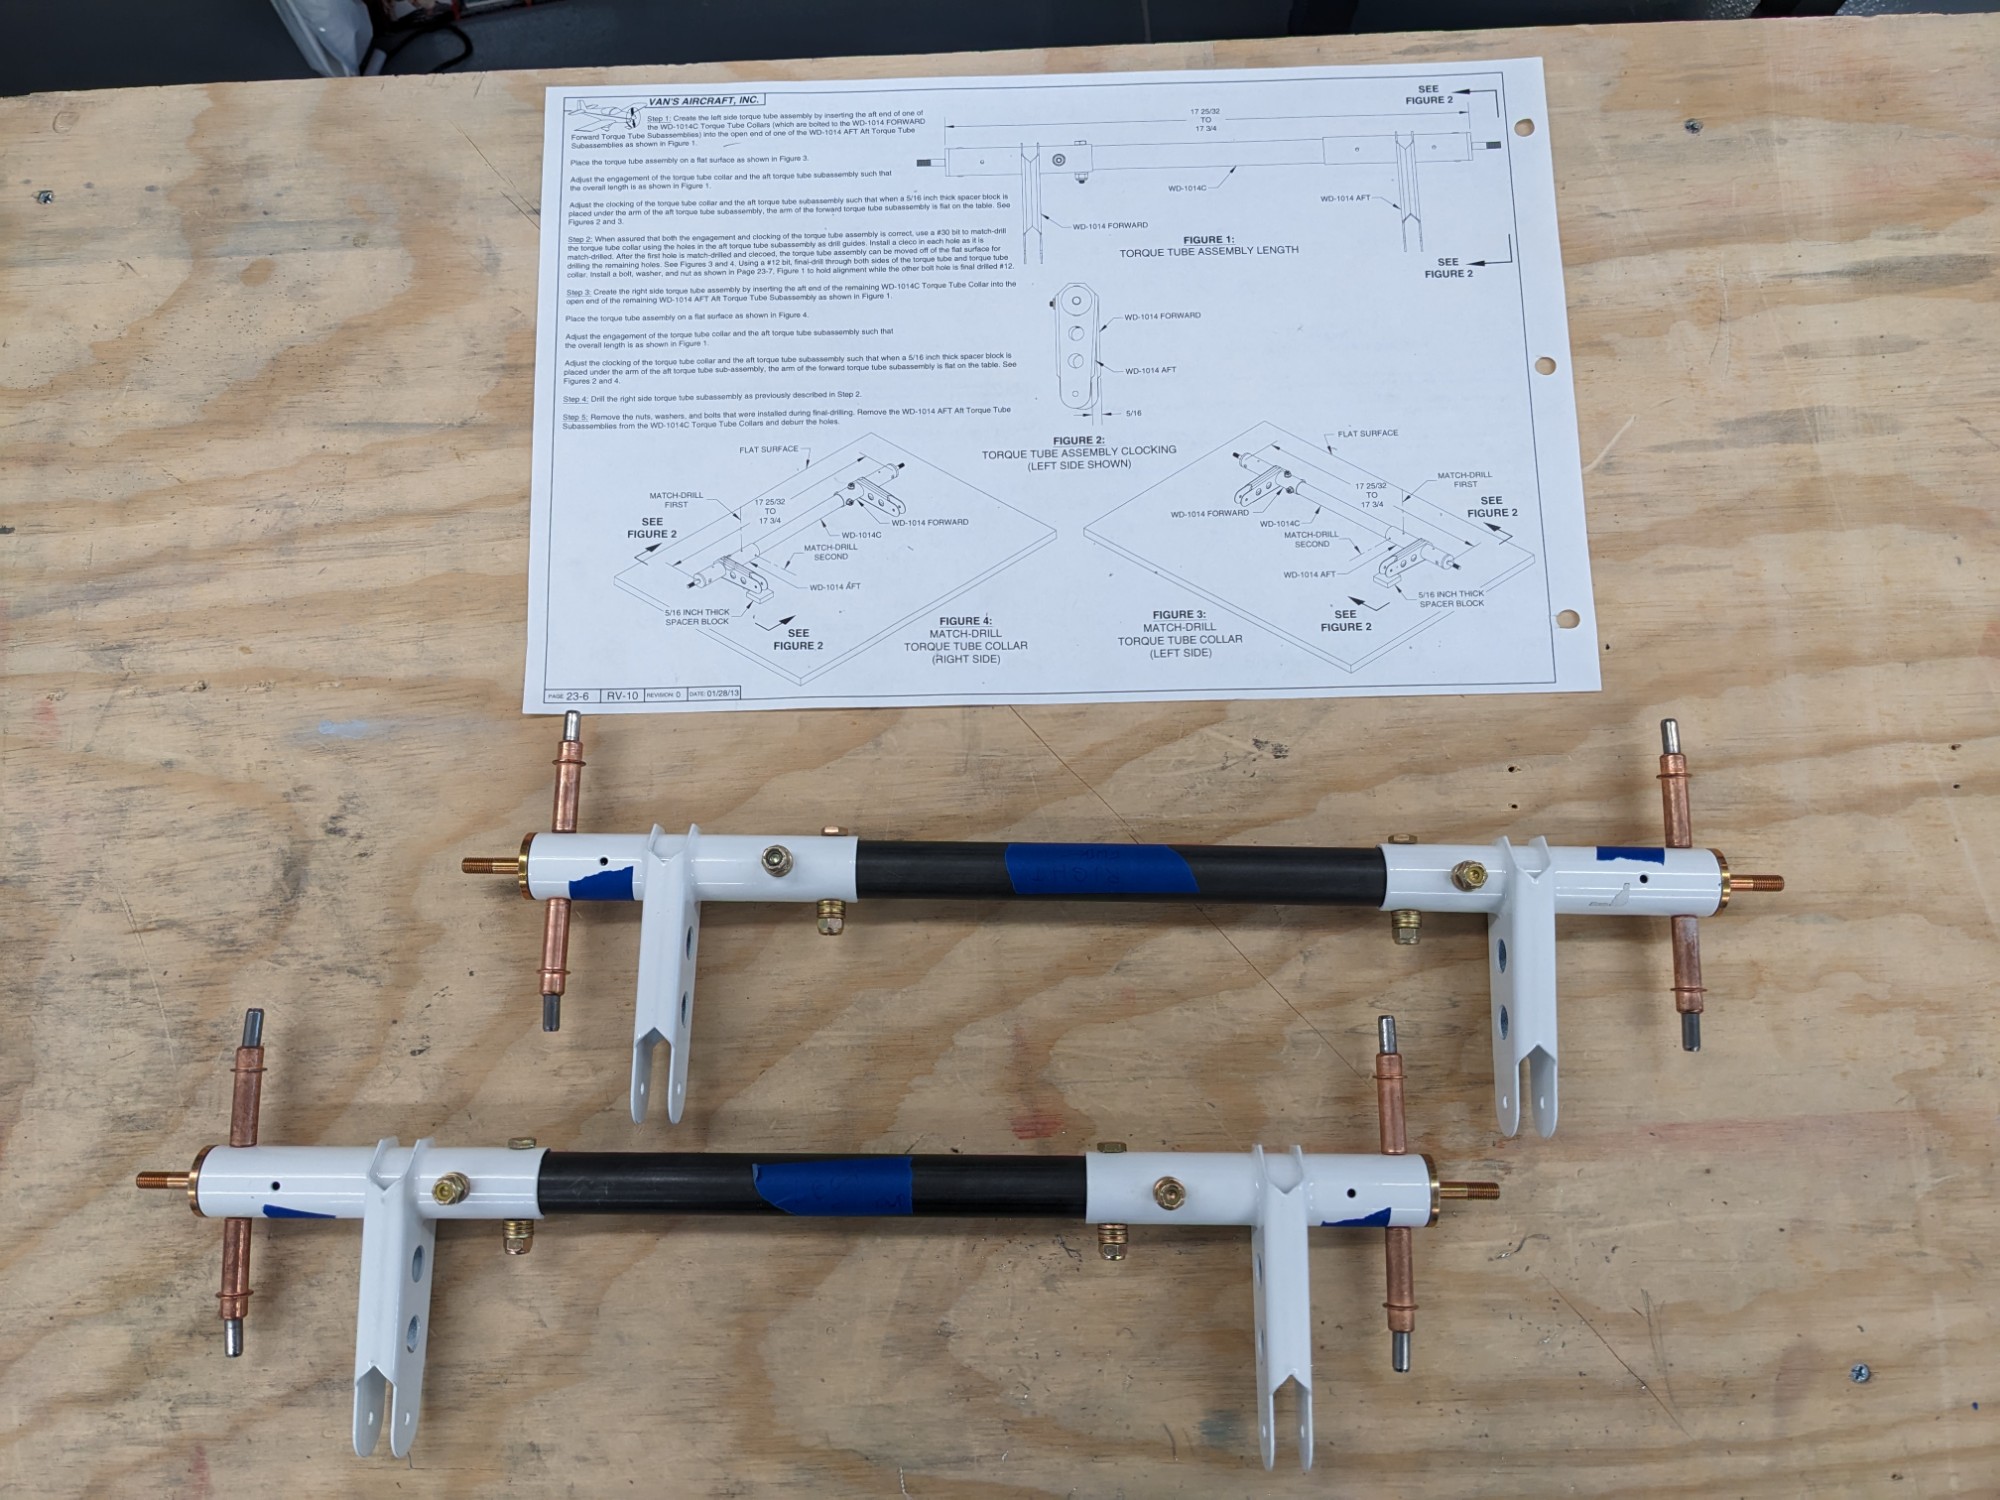
I’ll need to prime these before installing them but these are otherwise ready to be installed.