
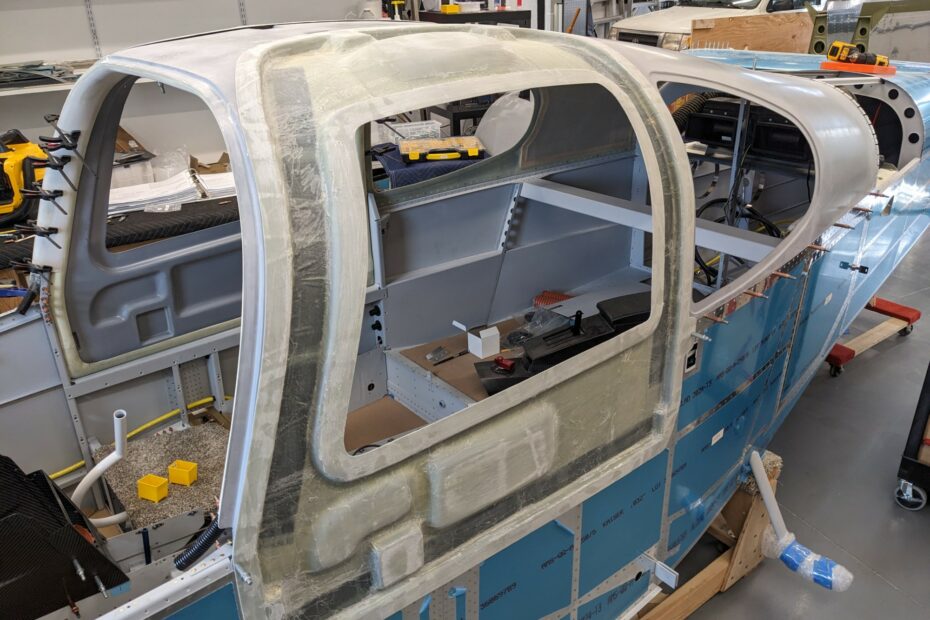
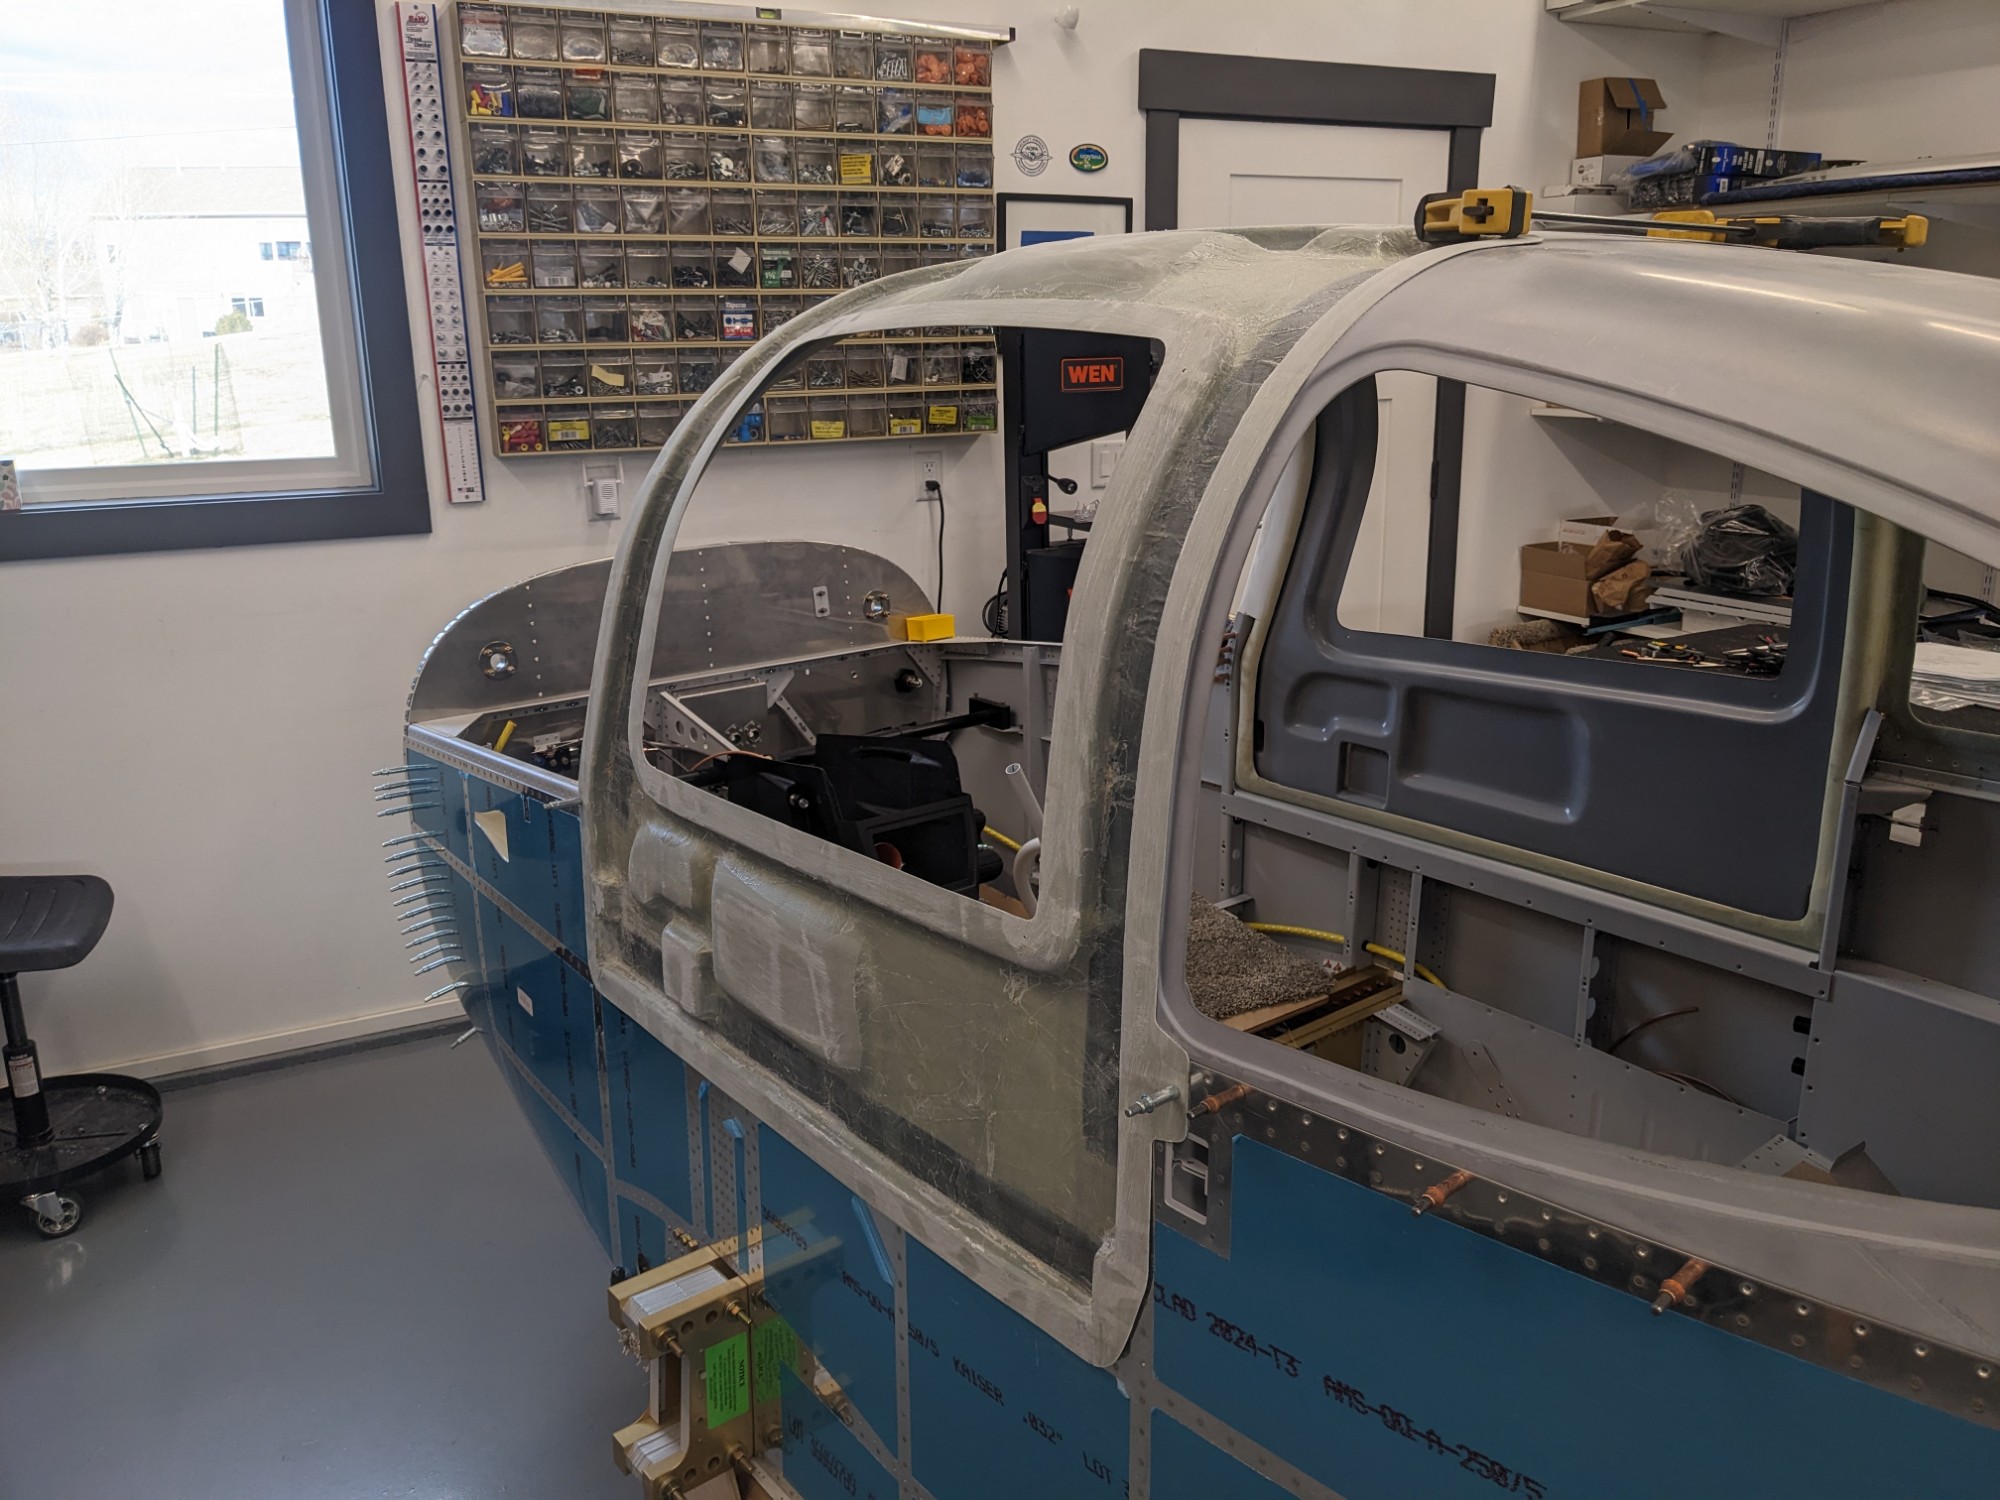
Time to get started on the doors… I’m expecting this to be a journey given what others have said about this part of the build.

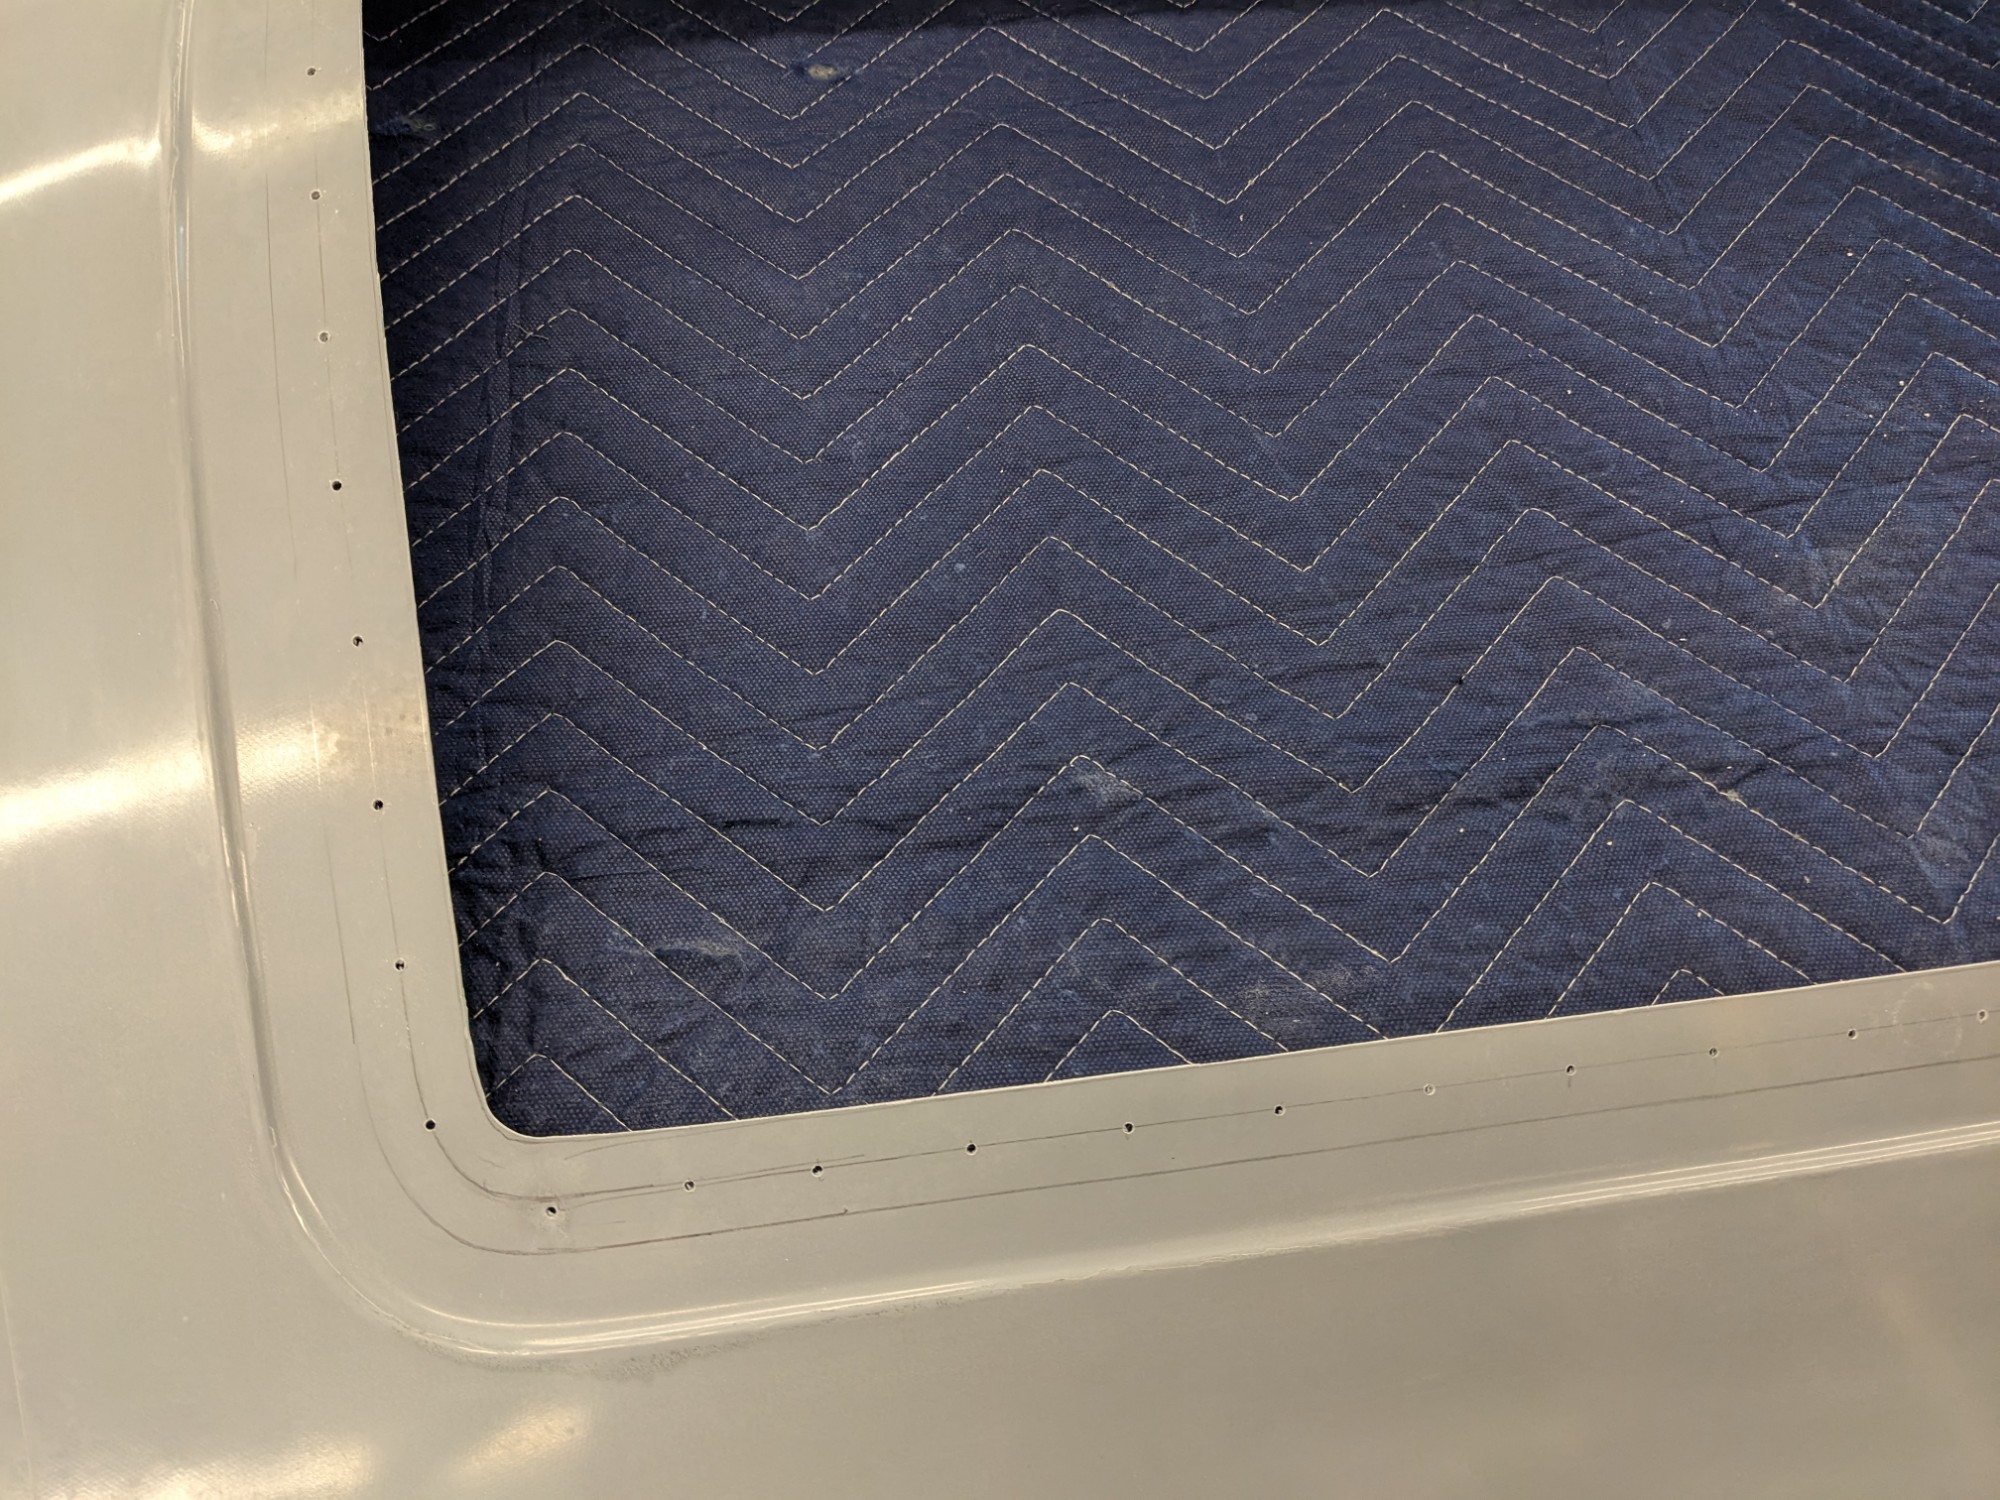
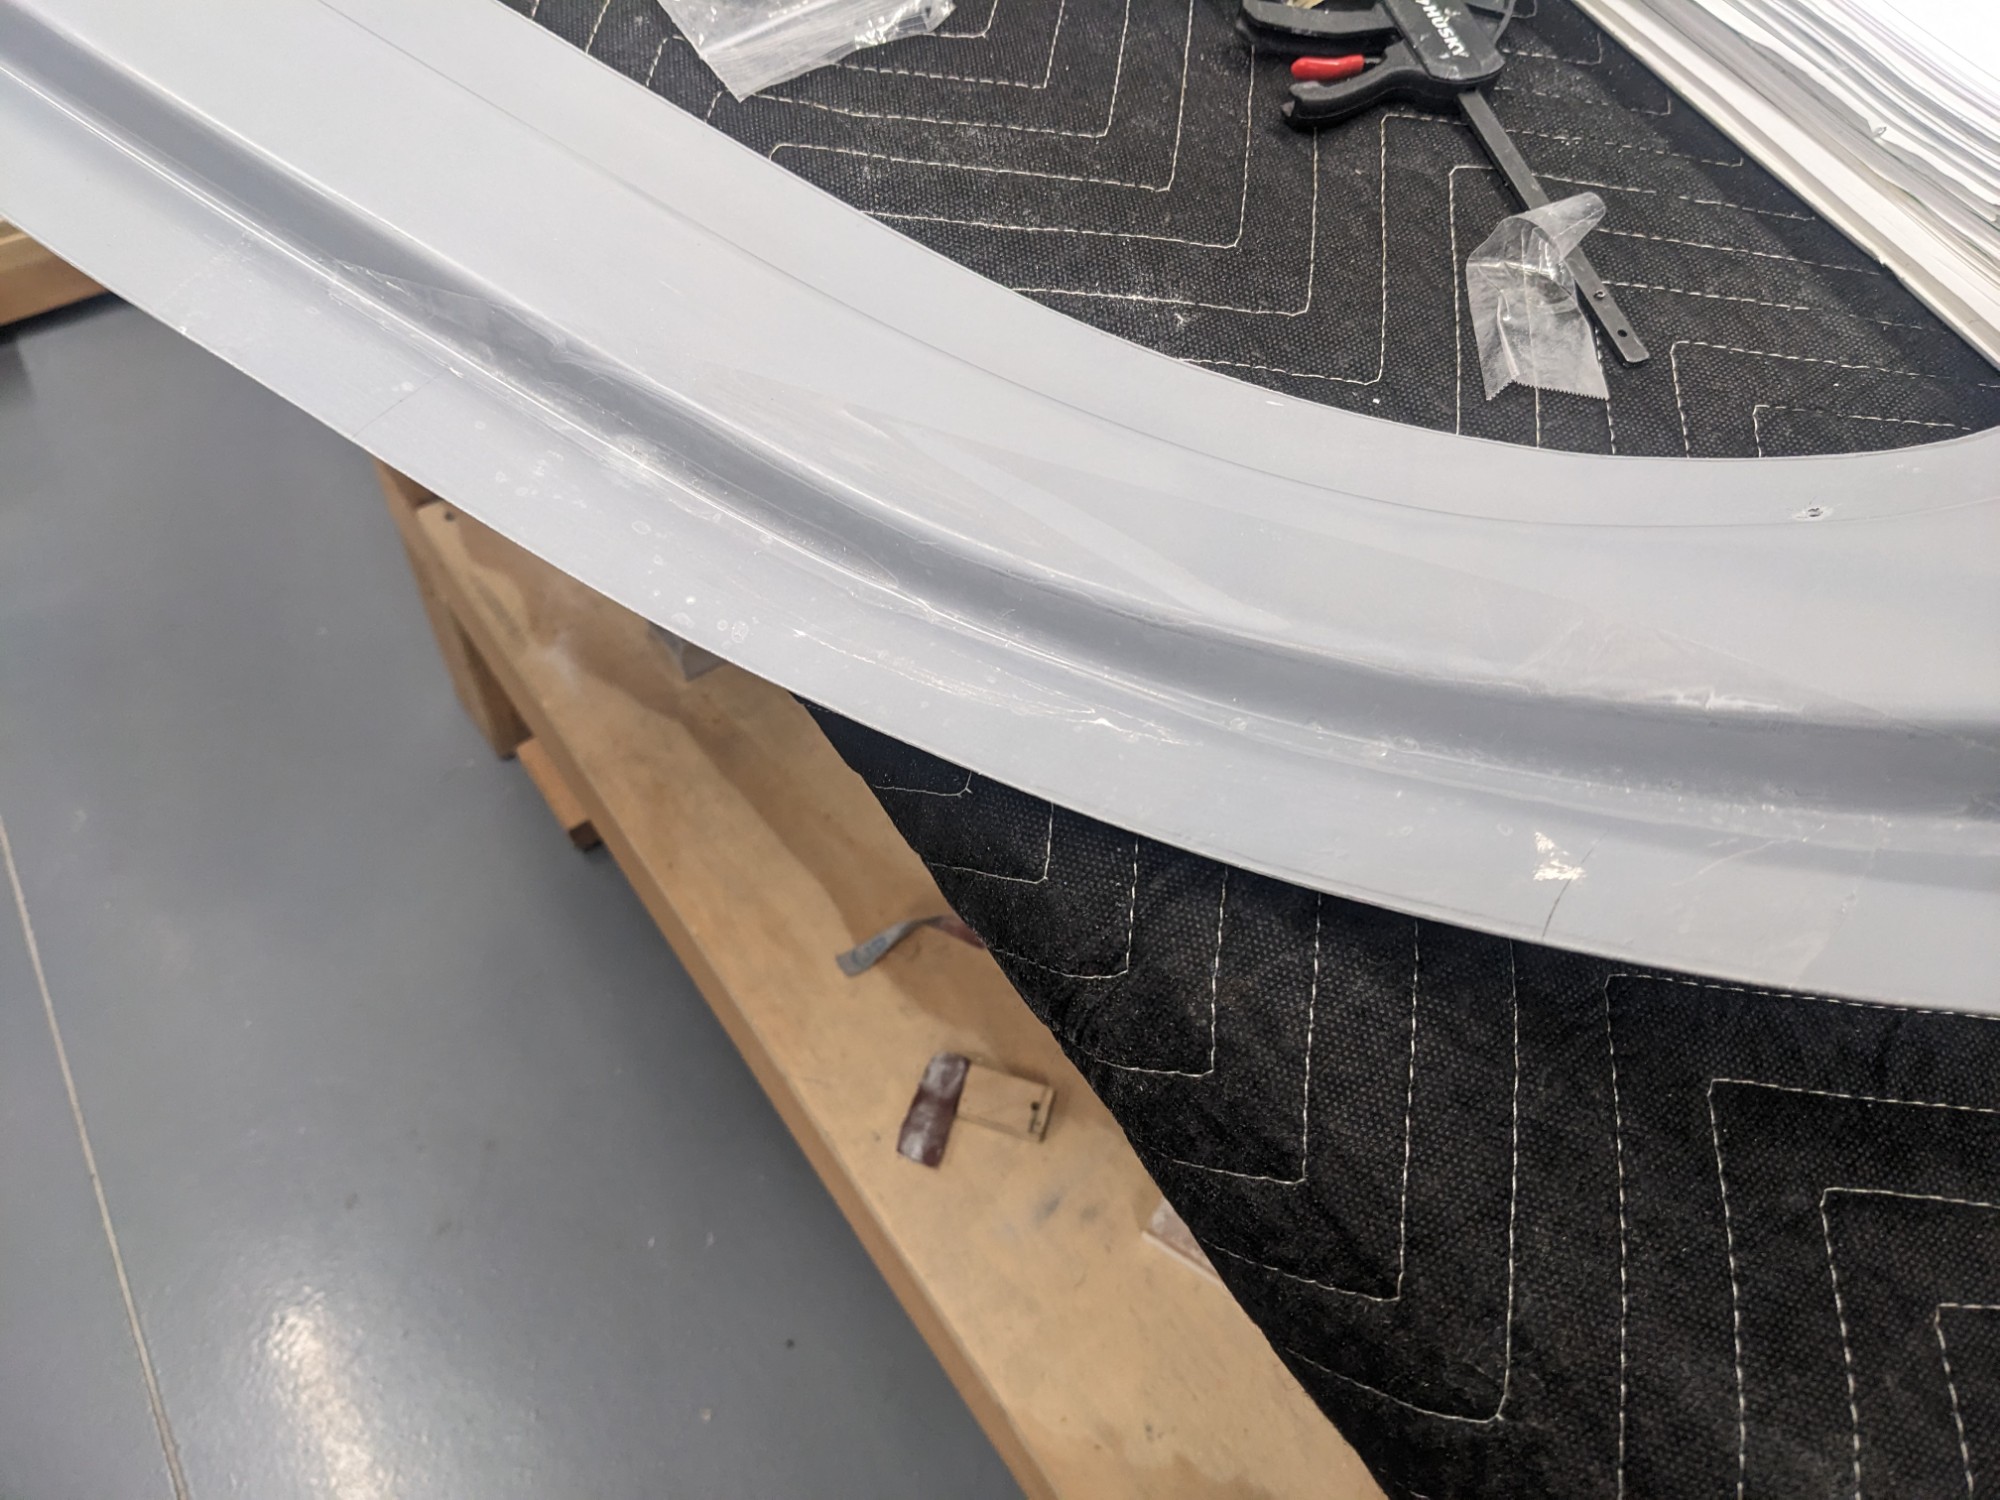
I started out by marking and trimming the edges.
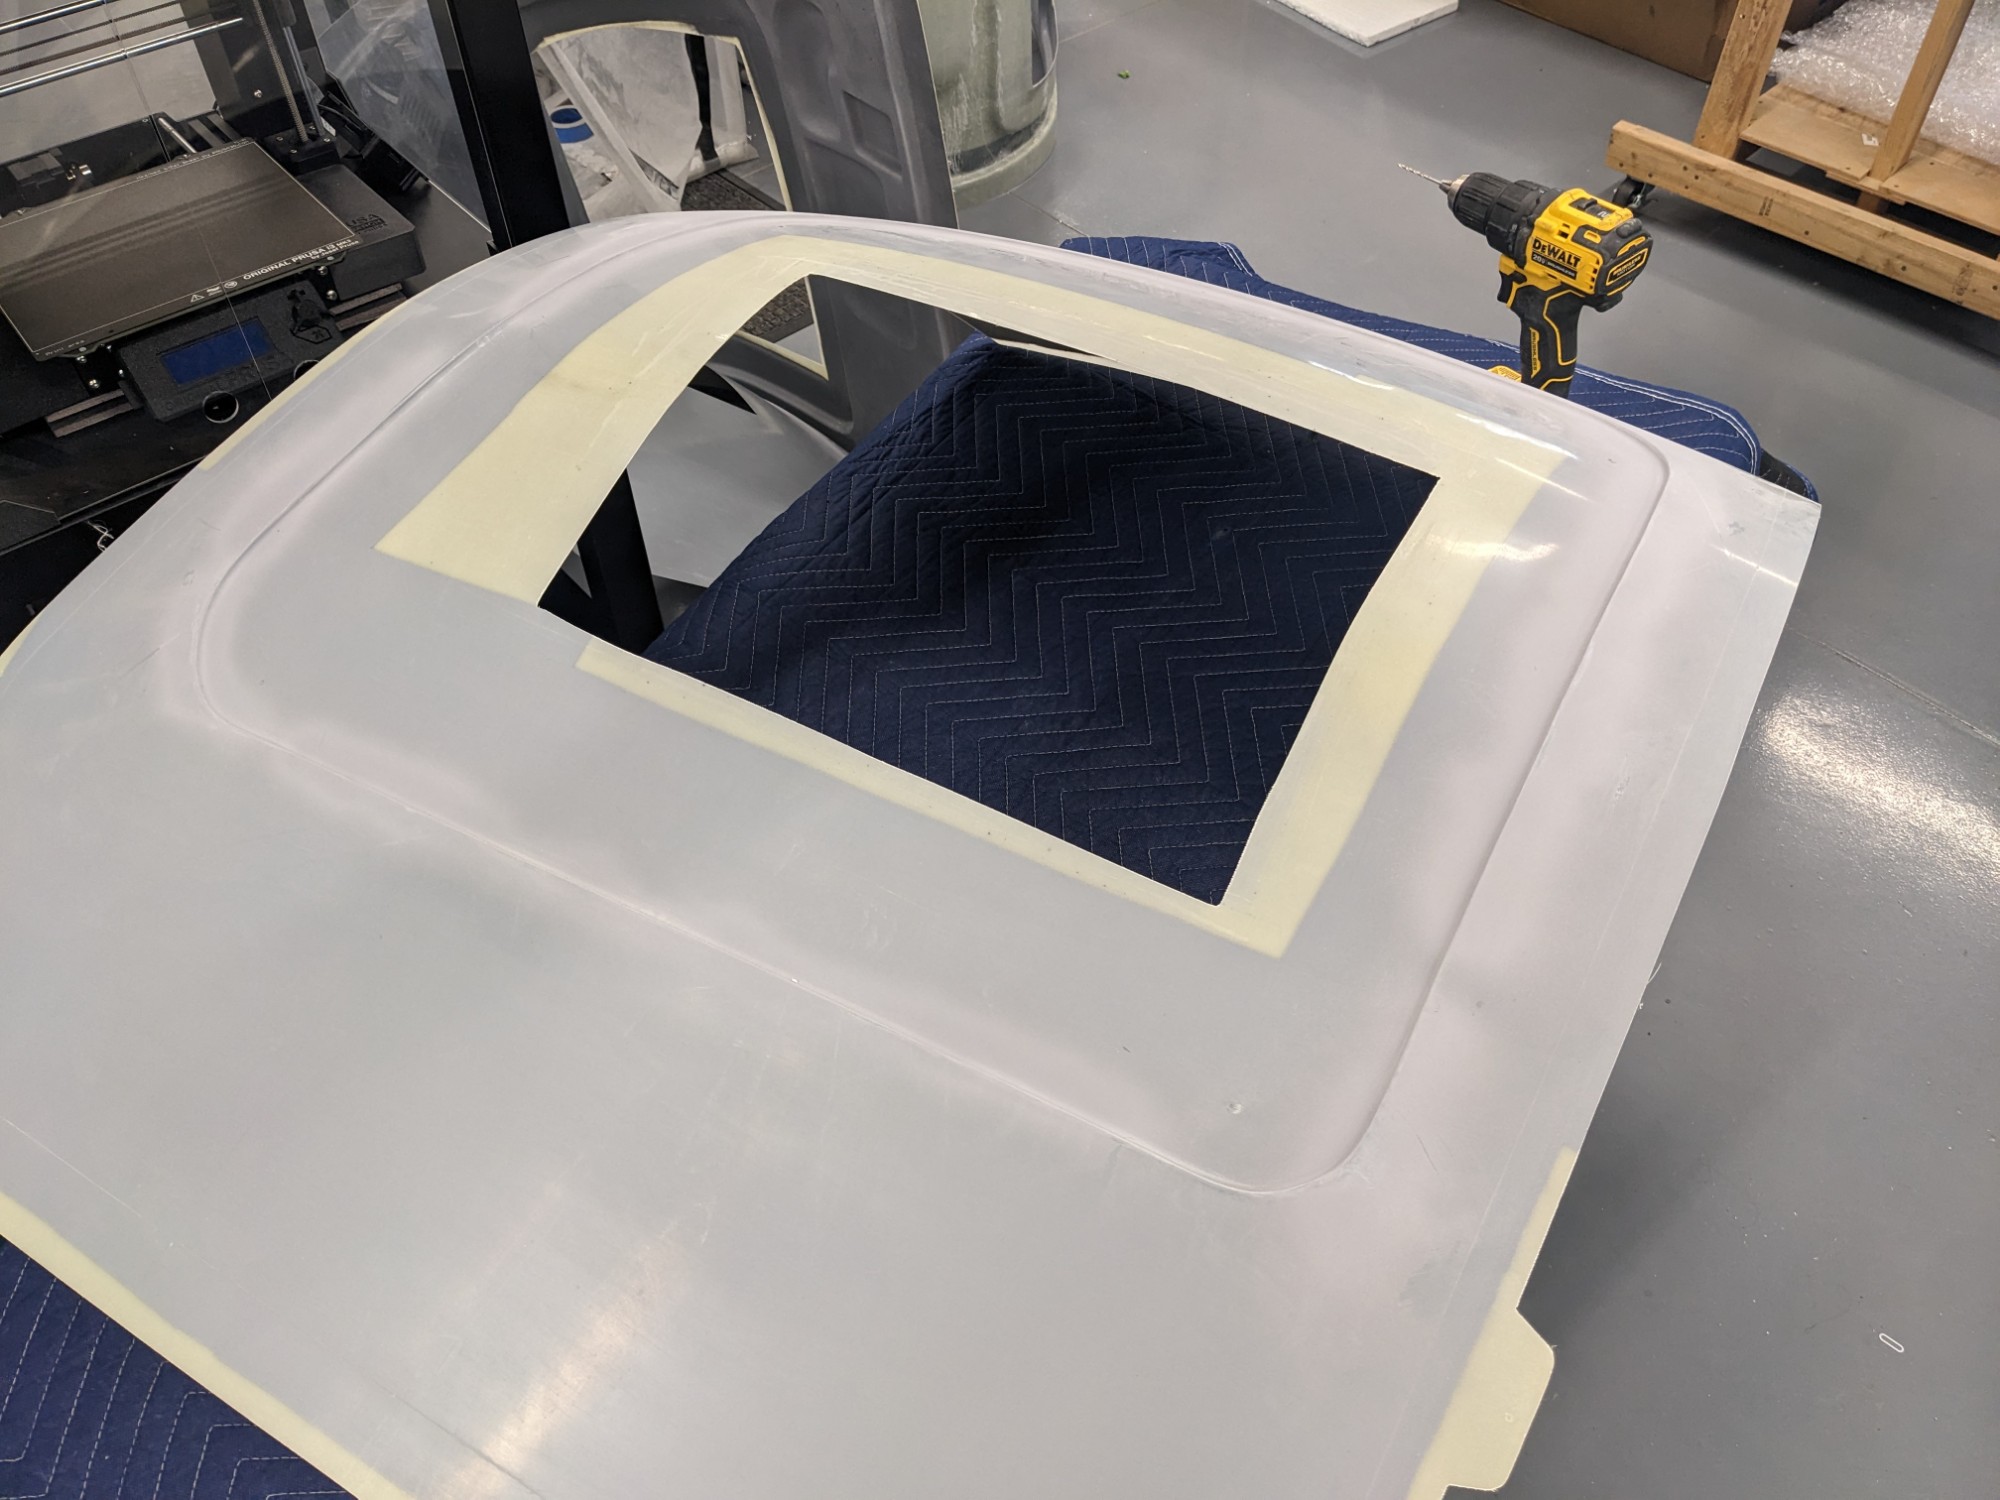
I used a piece of wood with holes drilled at the necessary distances to mark the lines. I then trimmed the doors and drilled the holes around the window flange.
One door had very little extra material along the top window flange.
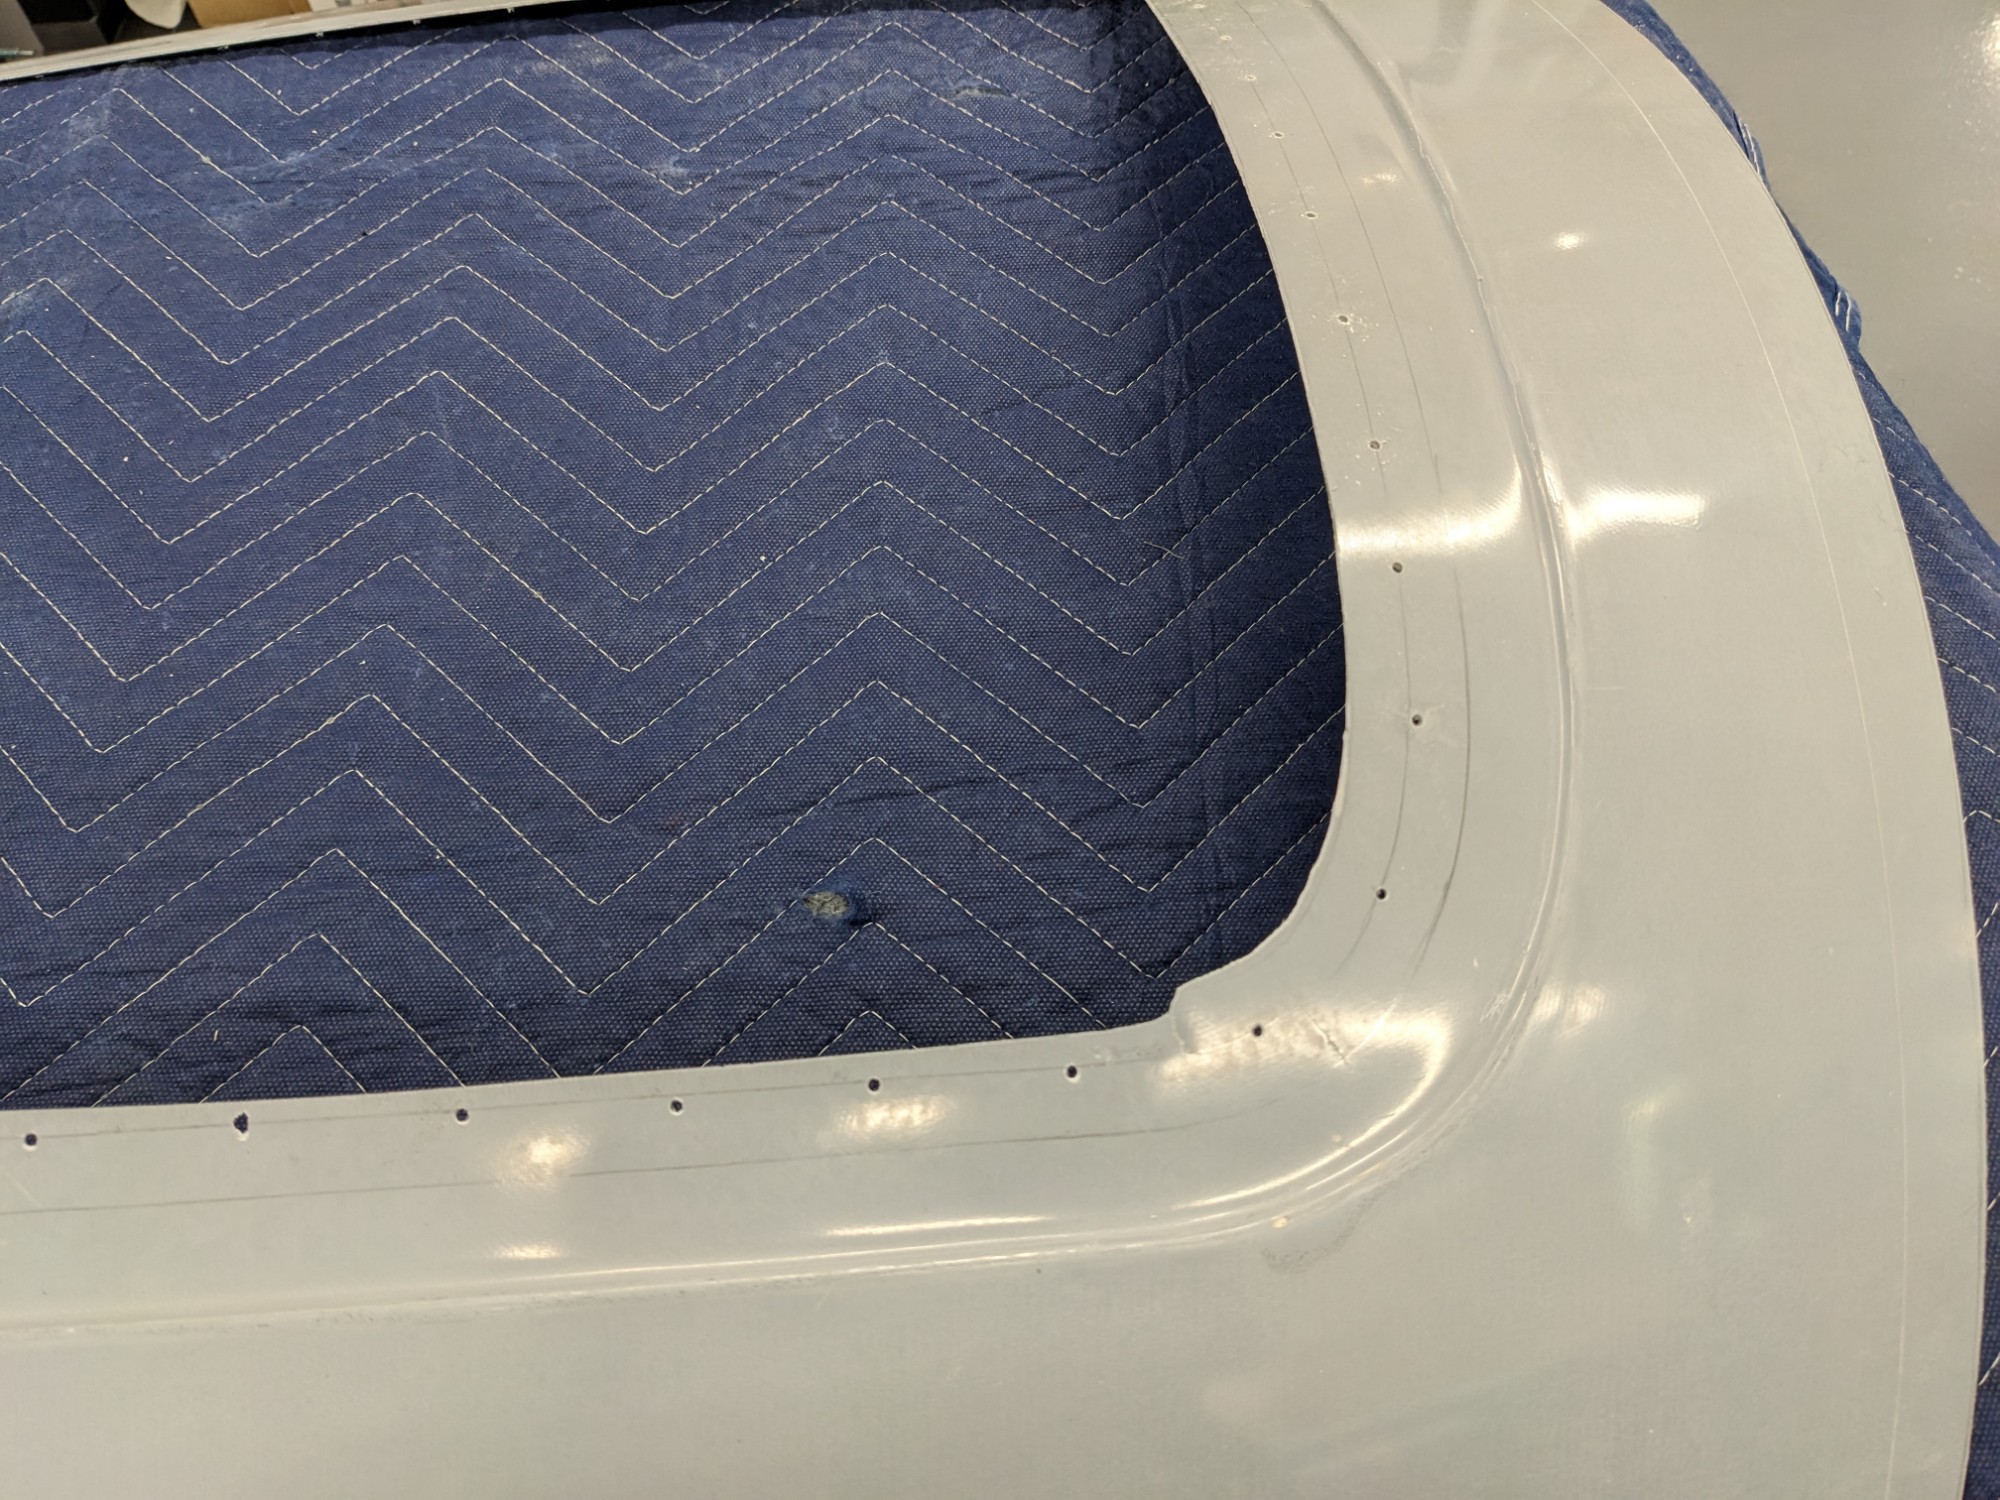

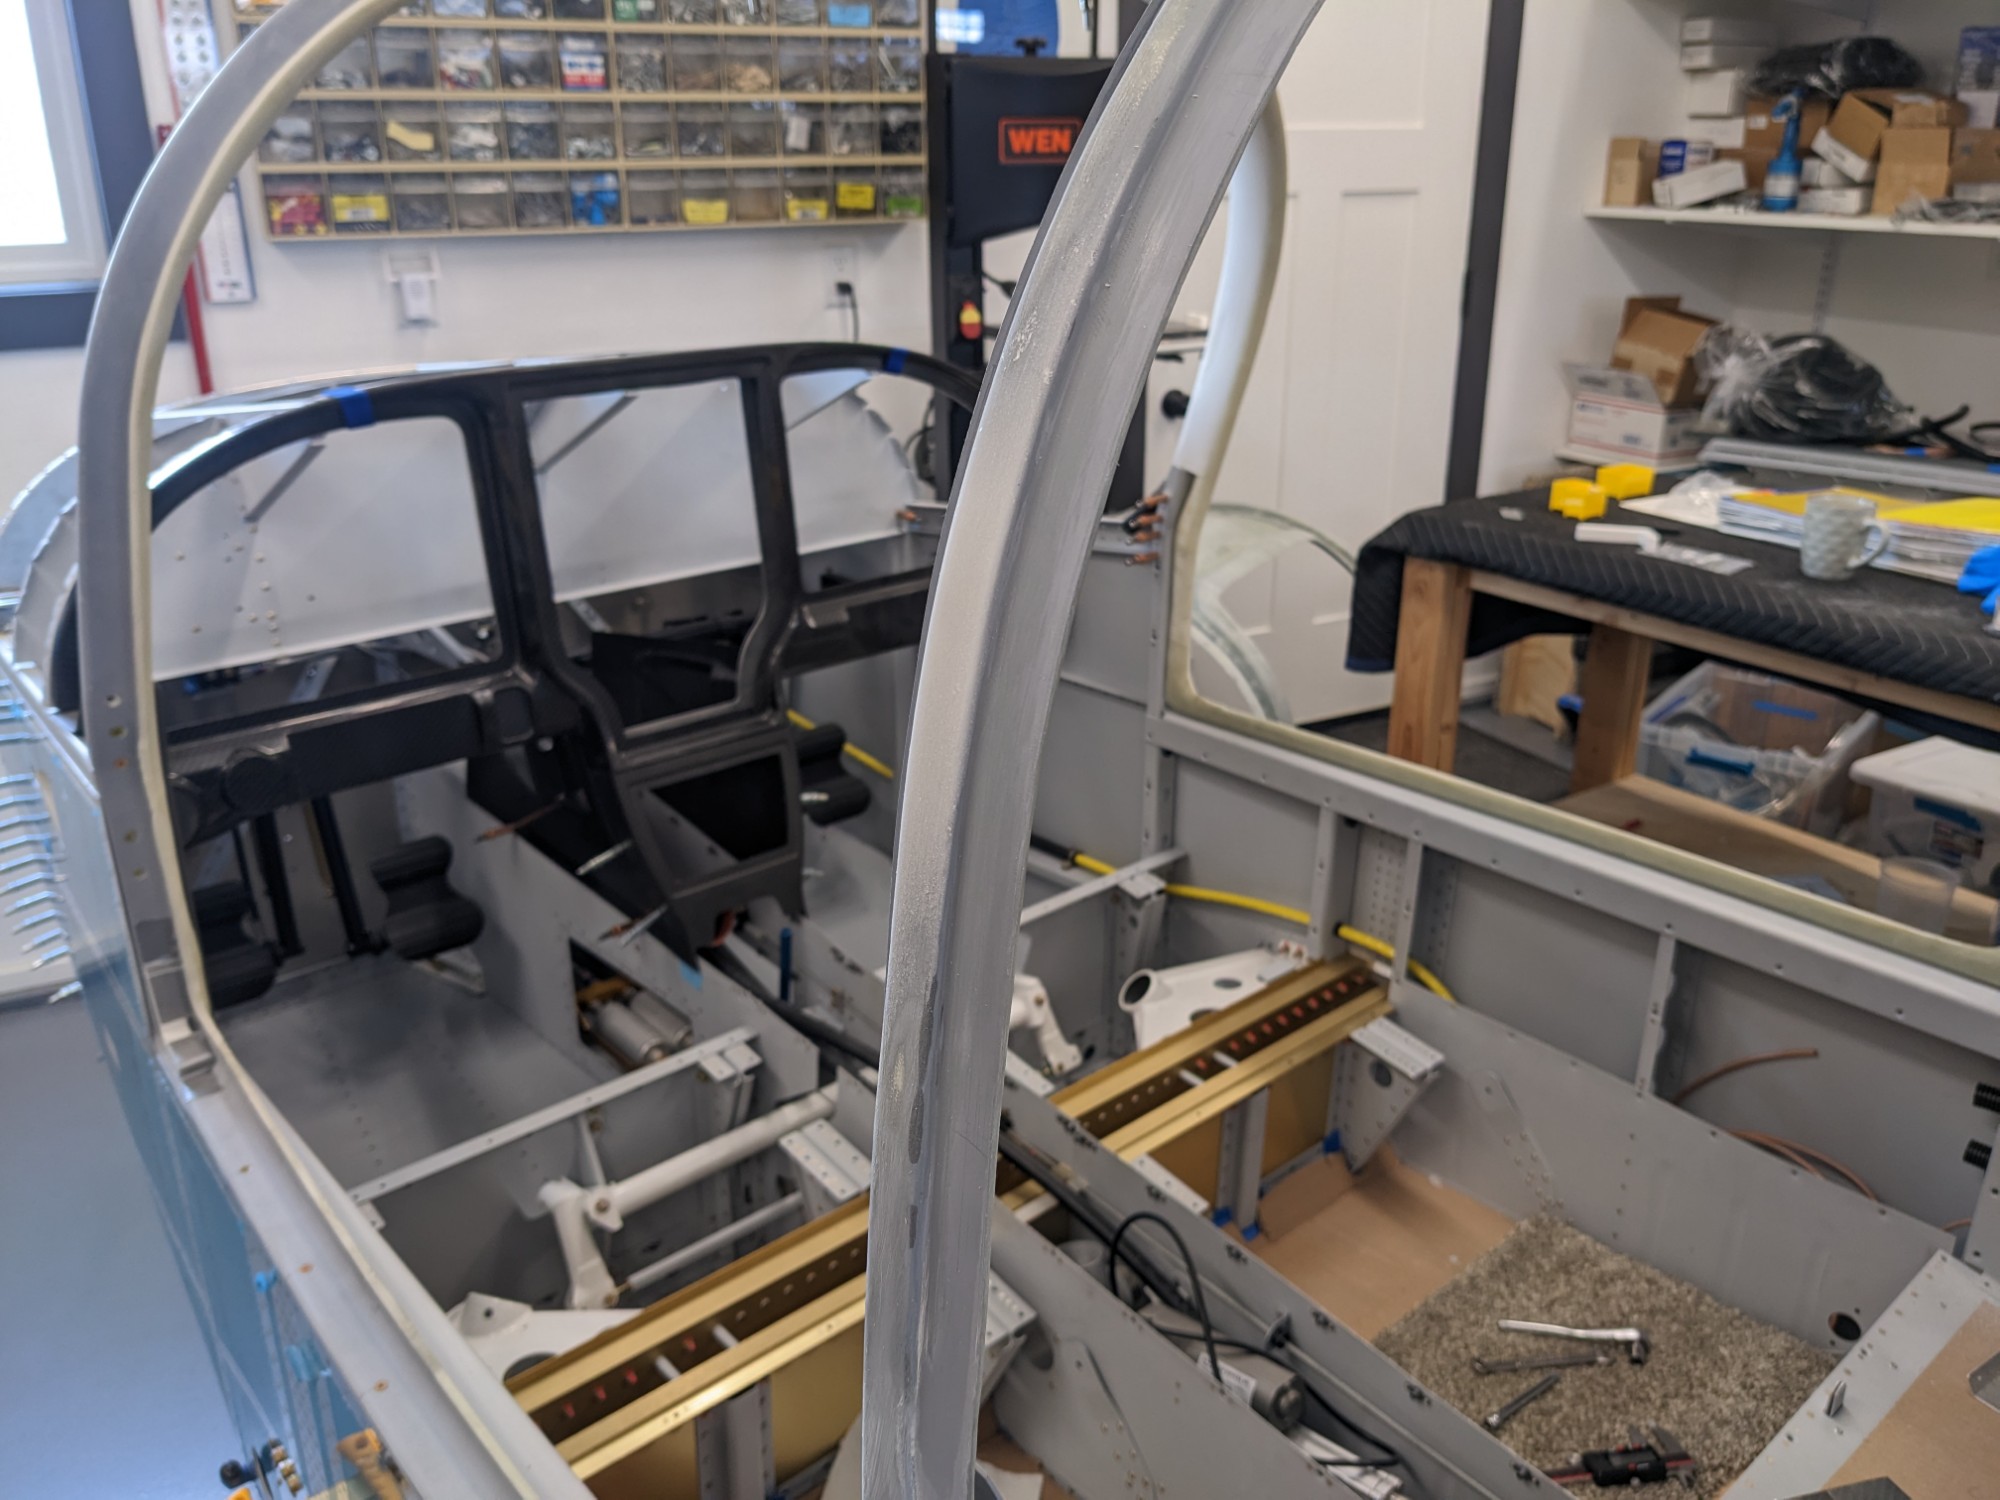
The guide holes in the pilot side door kind of lined up but the holes in the co-pilot door were a long way off. The alignment holes between the door shell halves hardly lined up at all. It looks like I’ll have to do a fair bit of measuring to determine how best to position them. I am planning on using door seals from McMaster Carr as others have done.
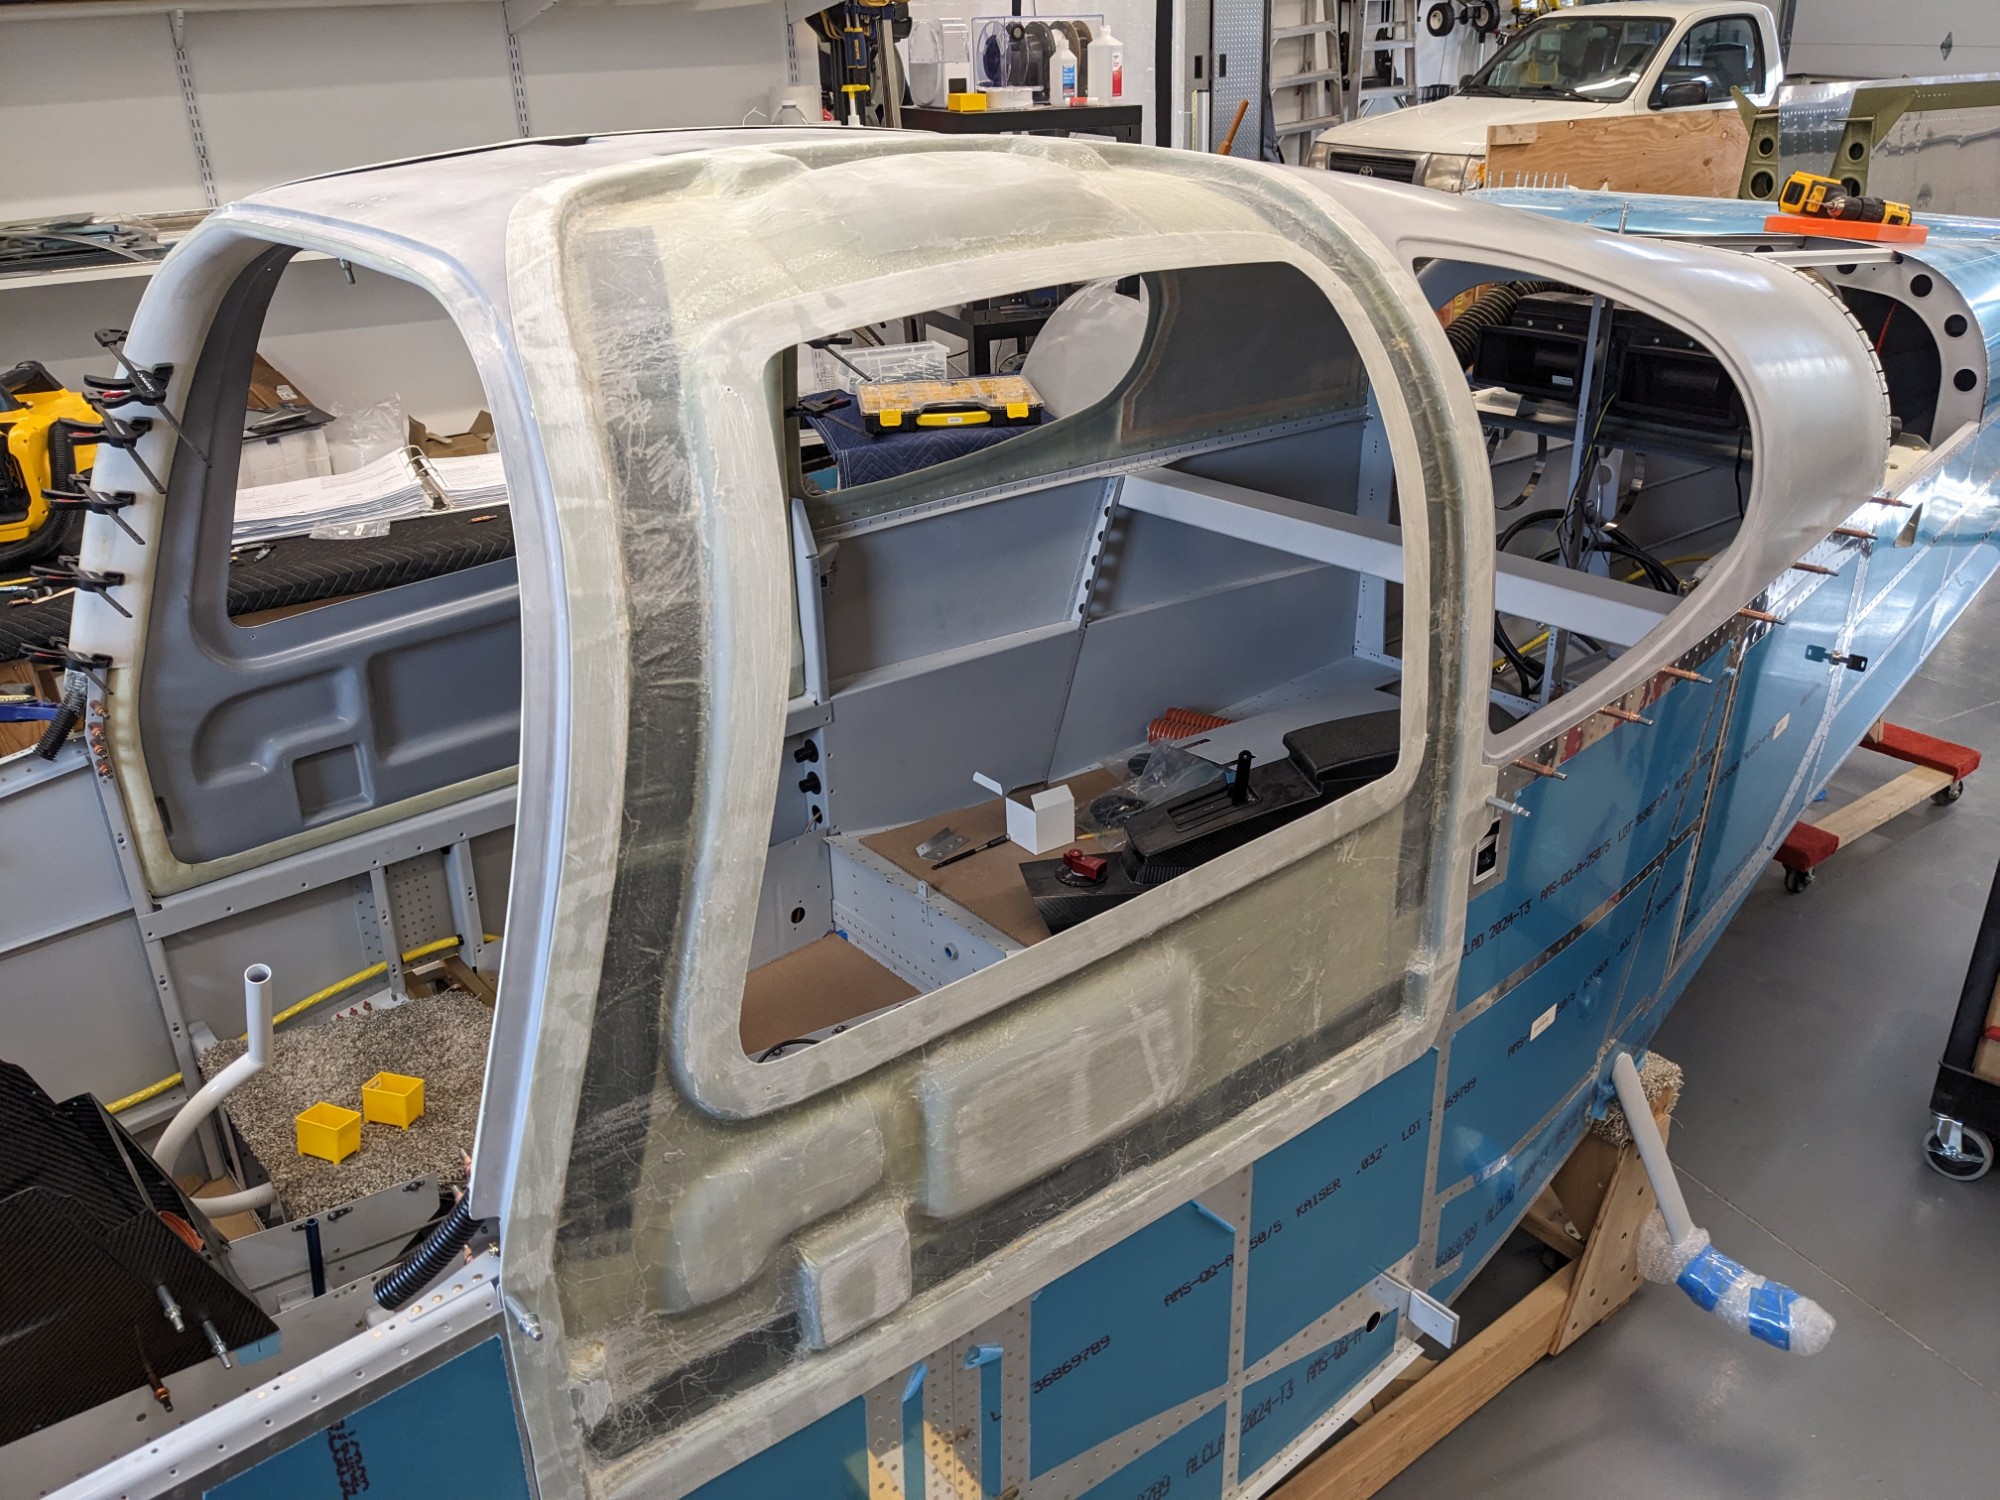
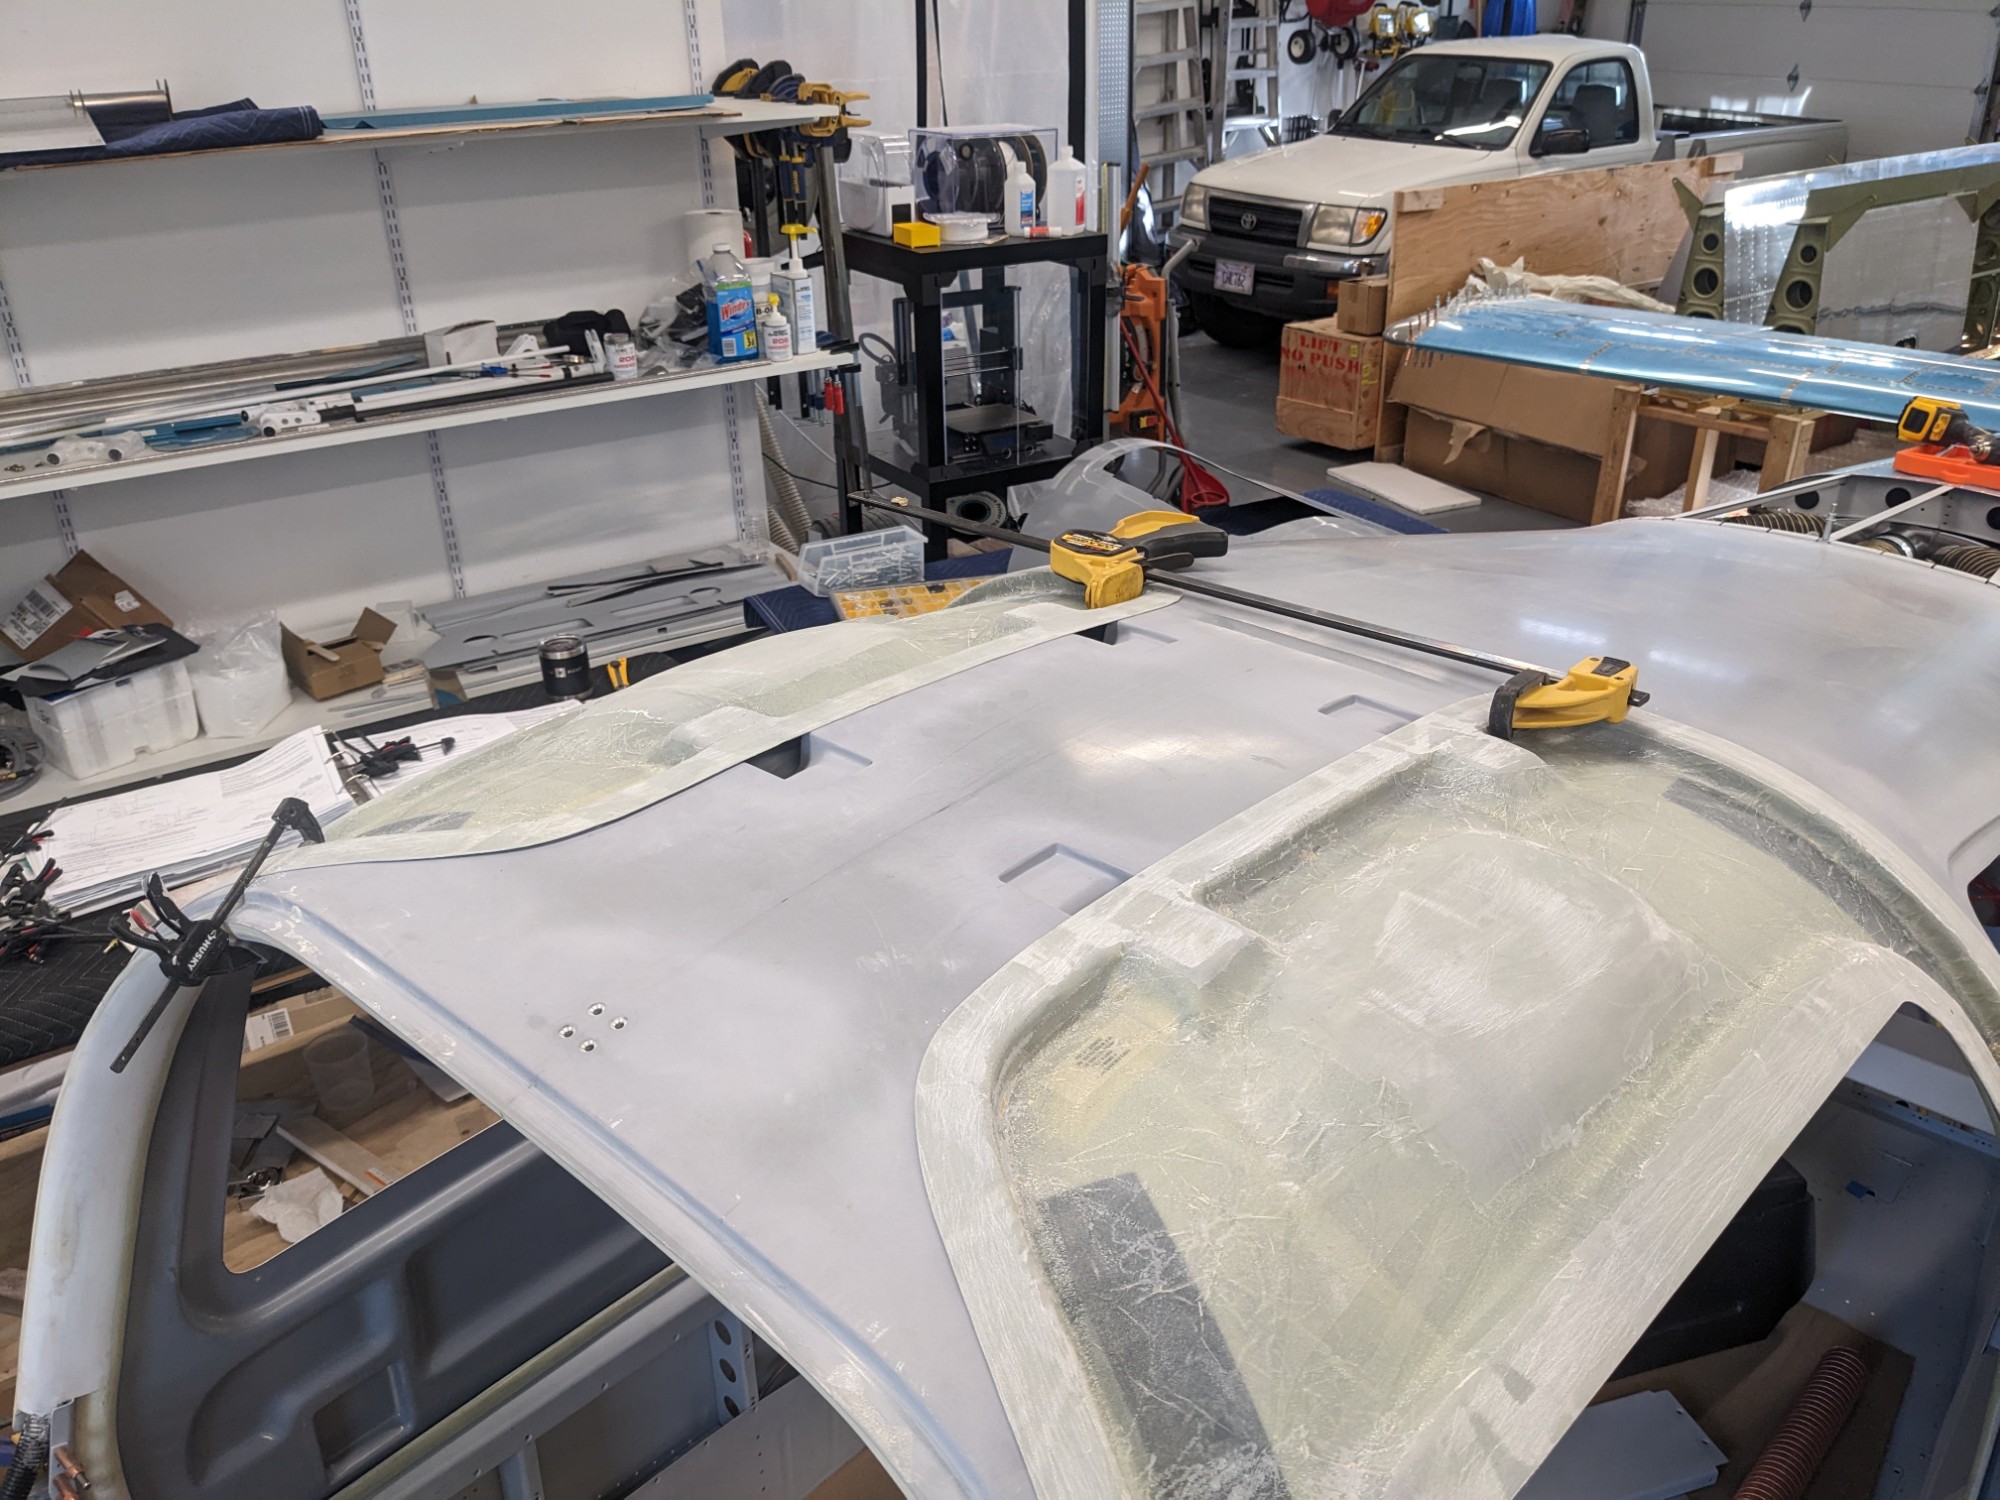
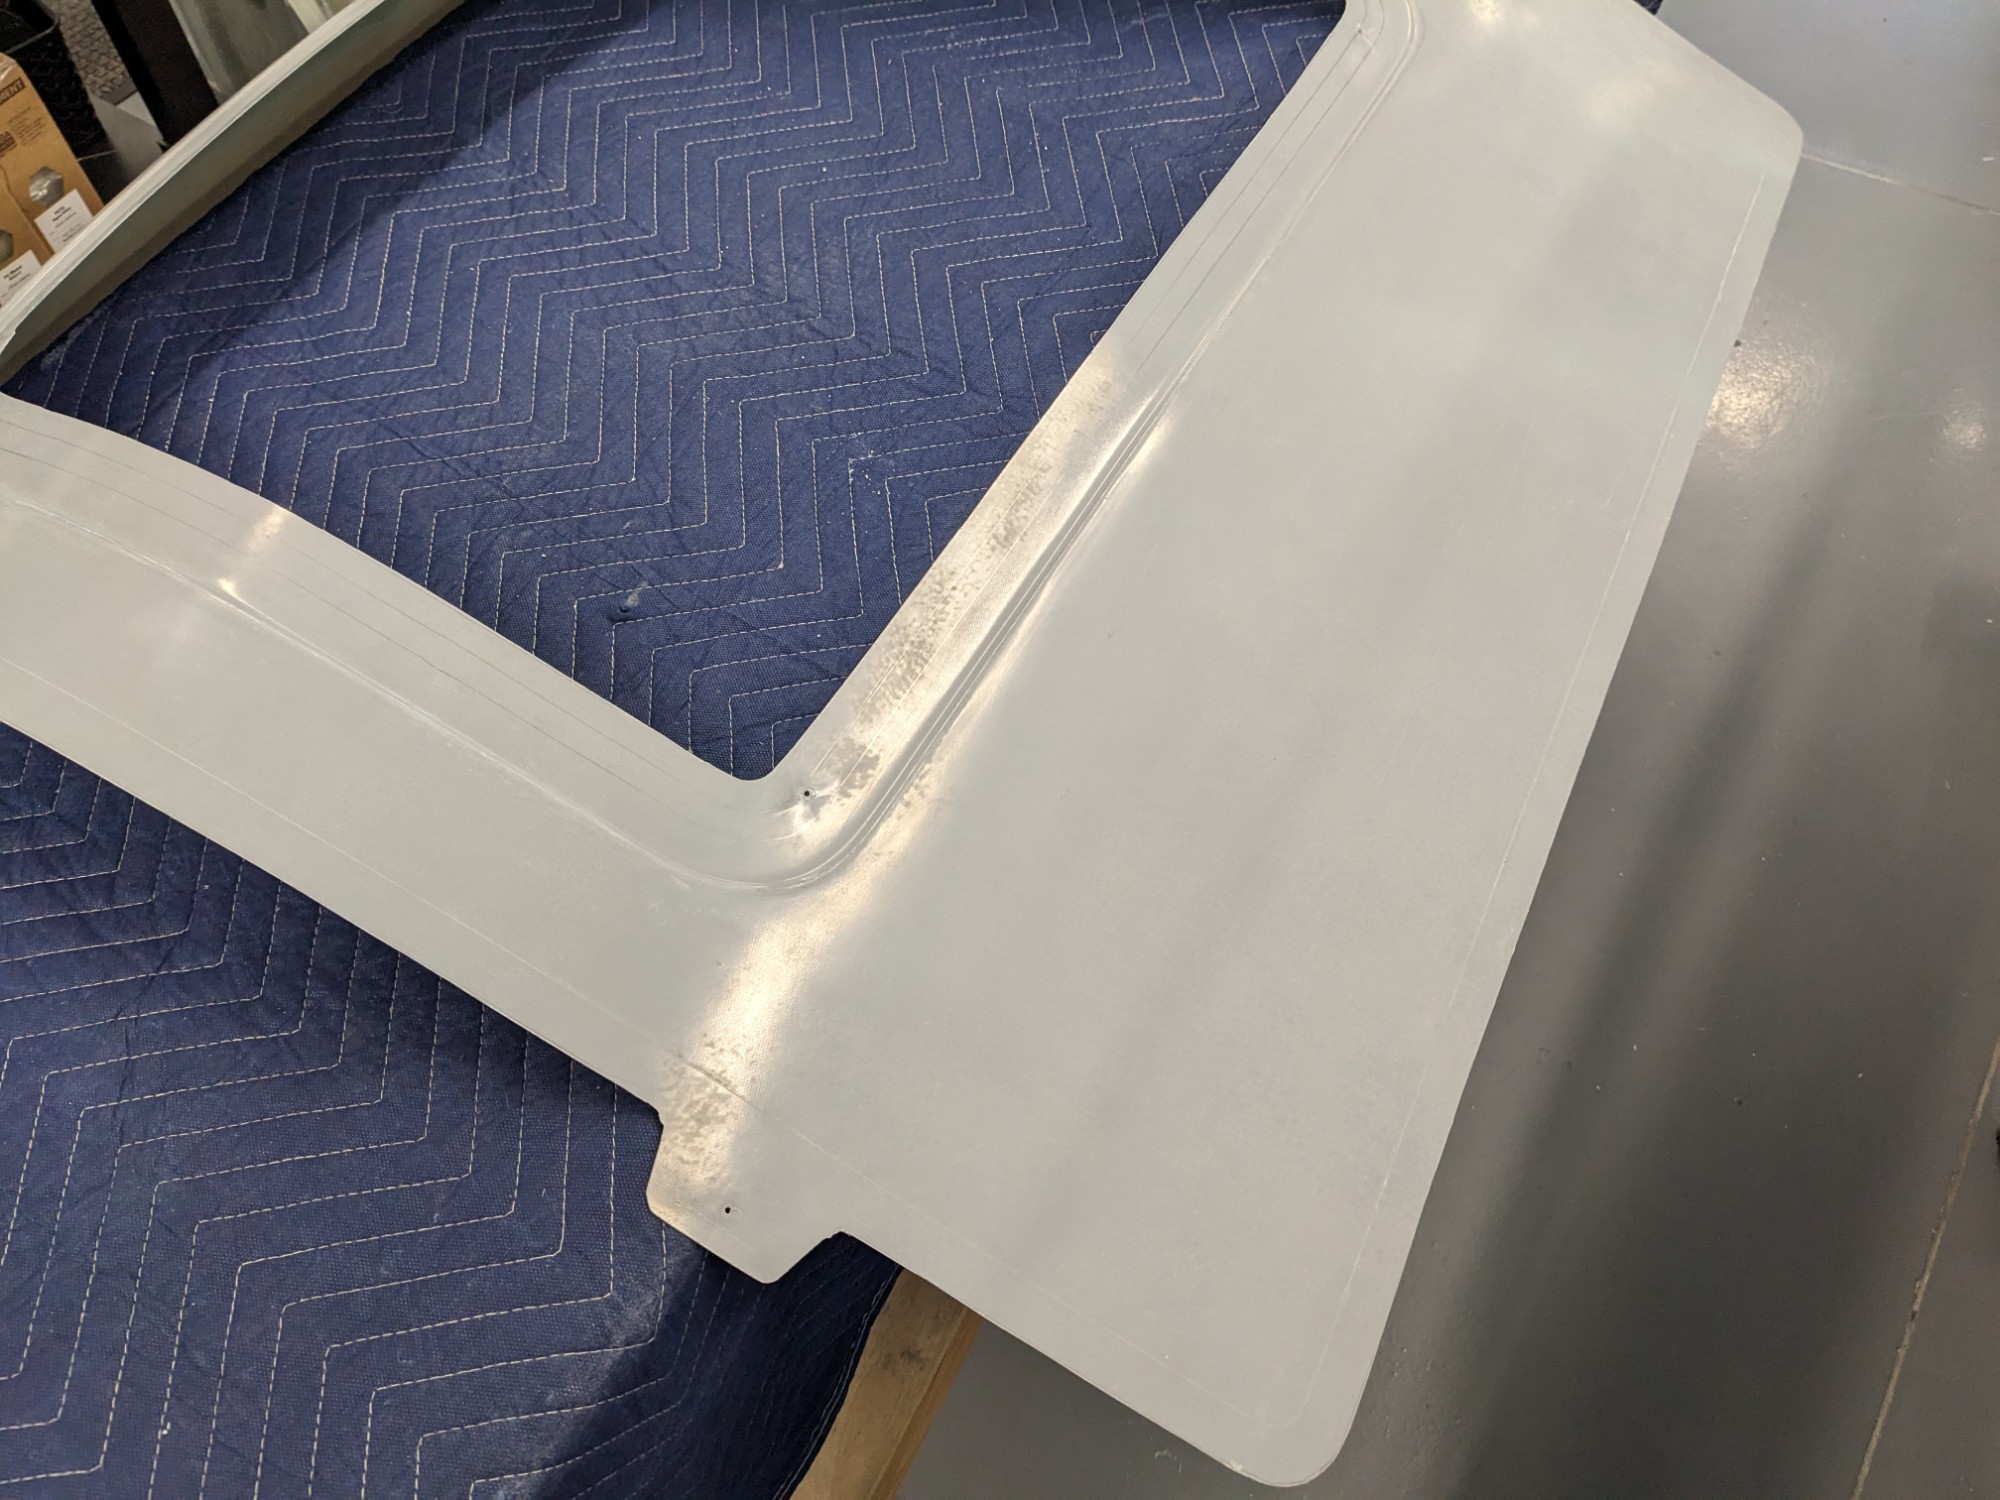
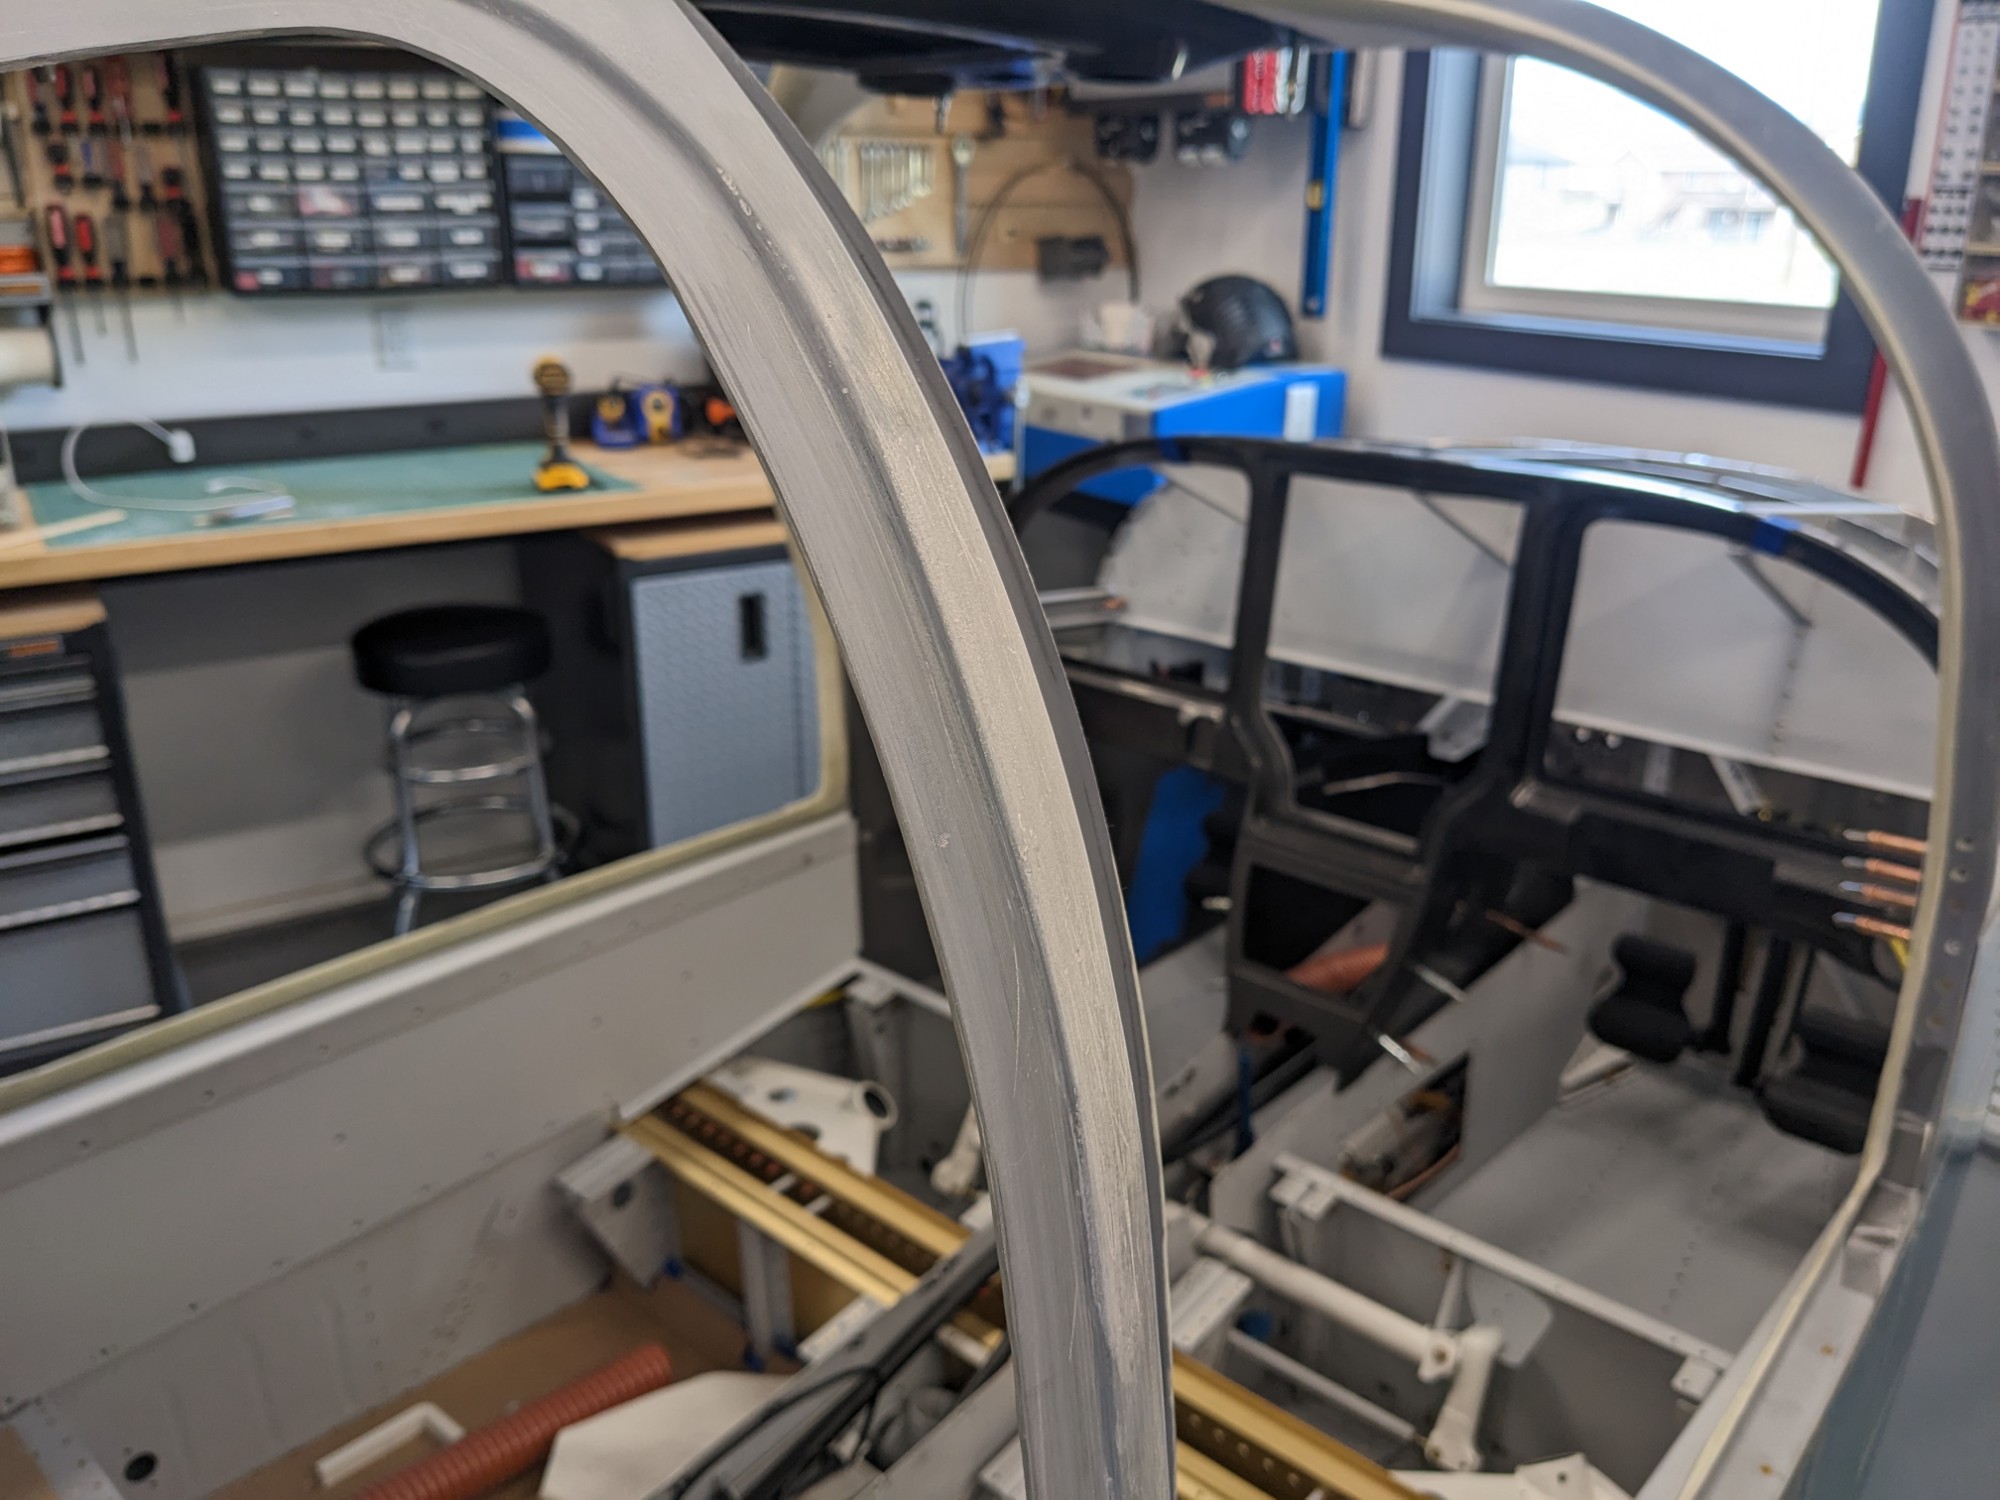
The rear pillars on the cabin top have a pronounced flat spot that is much thinner than the rest of the window flange. I have seen mention of this on other build logs, so I decided to build this area up now before fitting the doors.
I roughed up the surface and then taped off the area with packing tape.
I then masked off the door to use it as a mold for the curve.
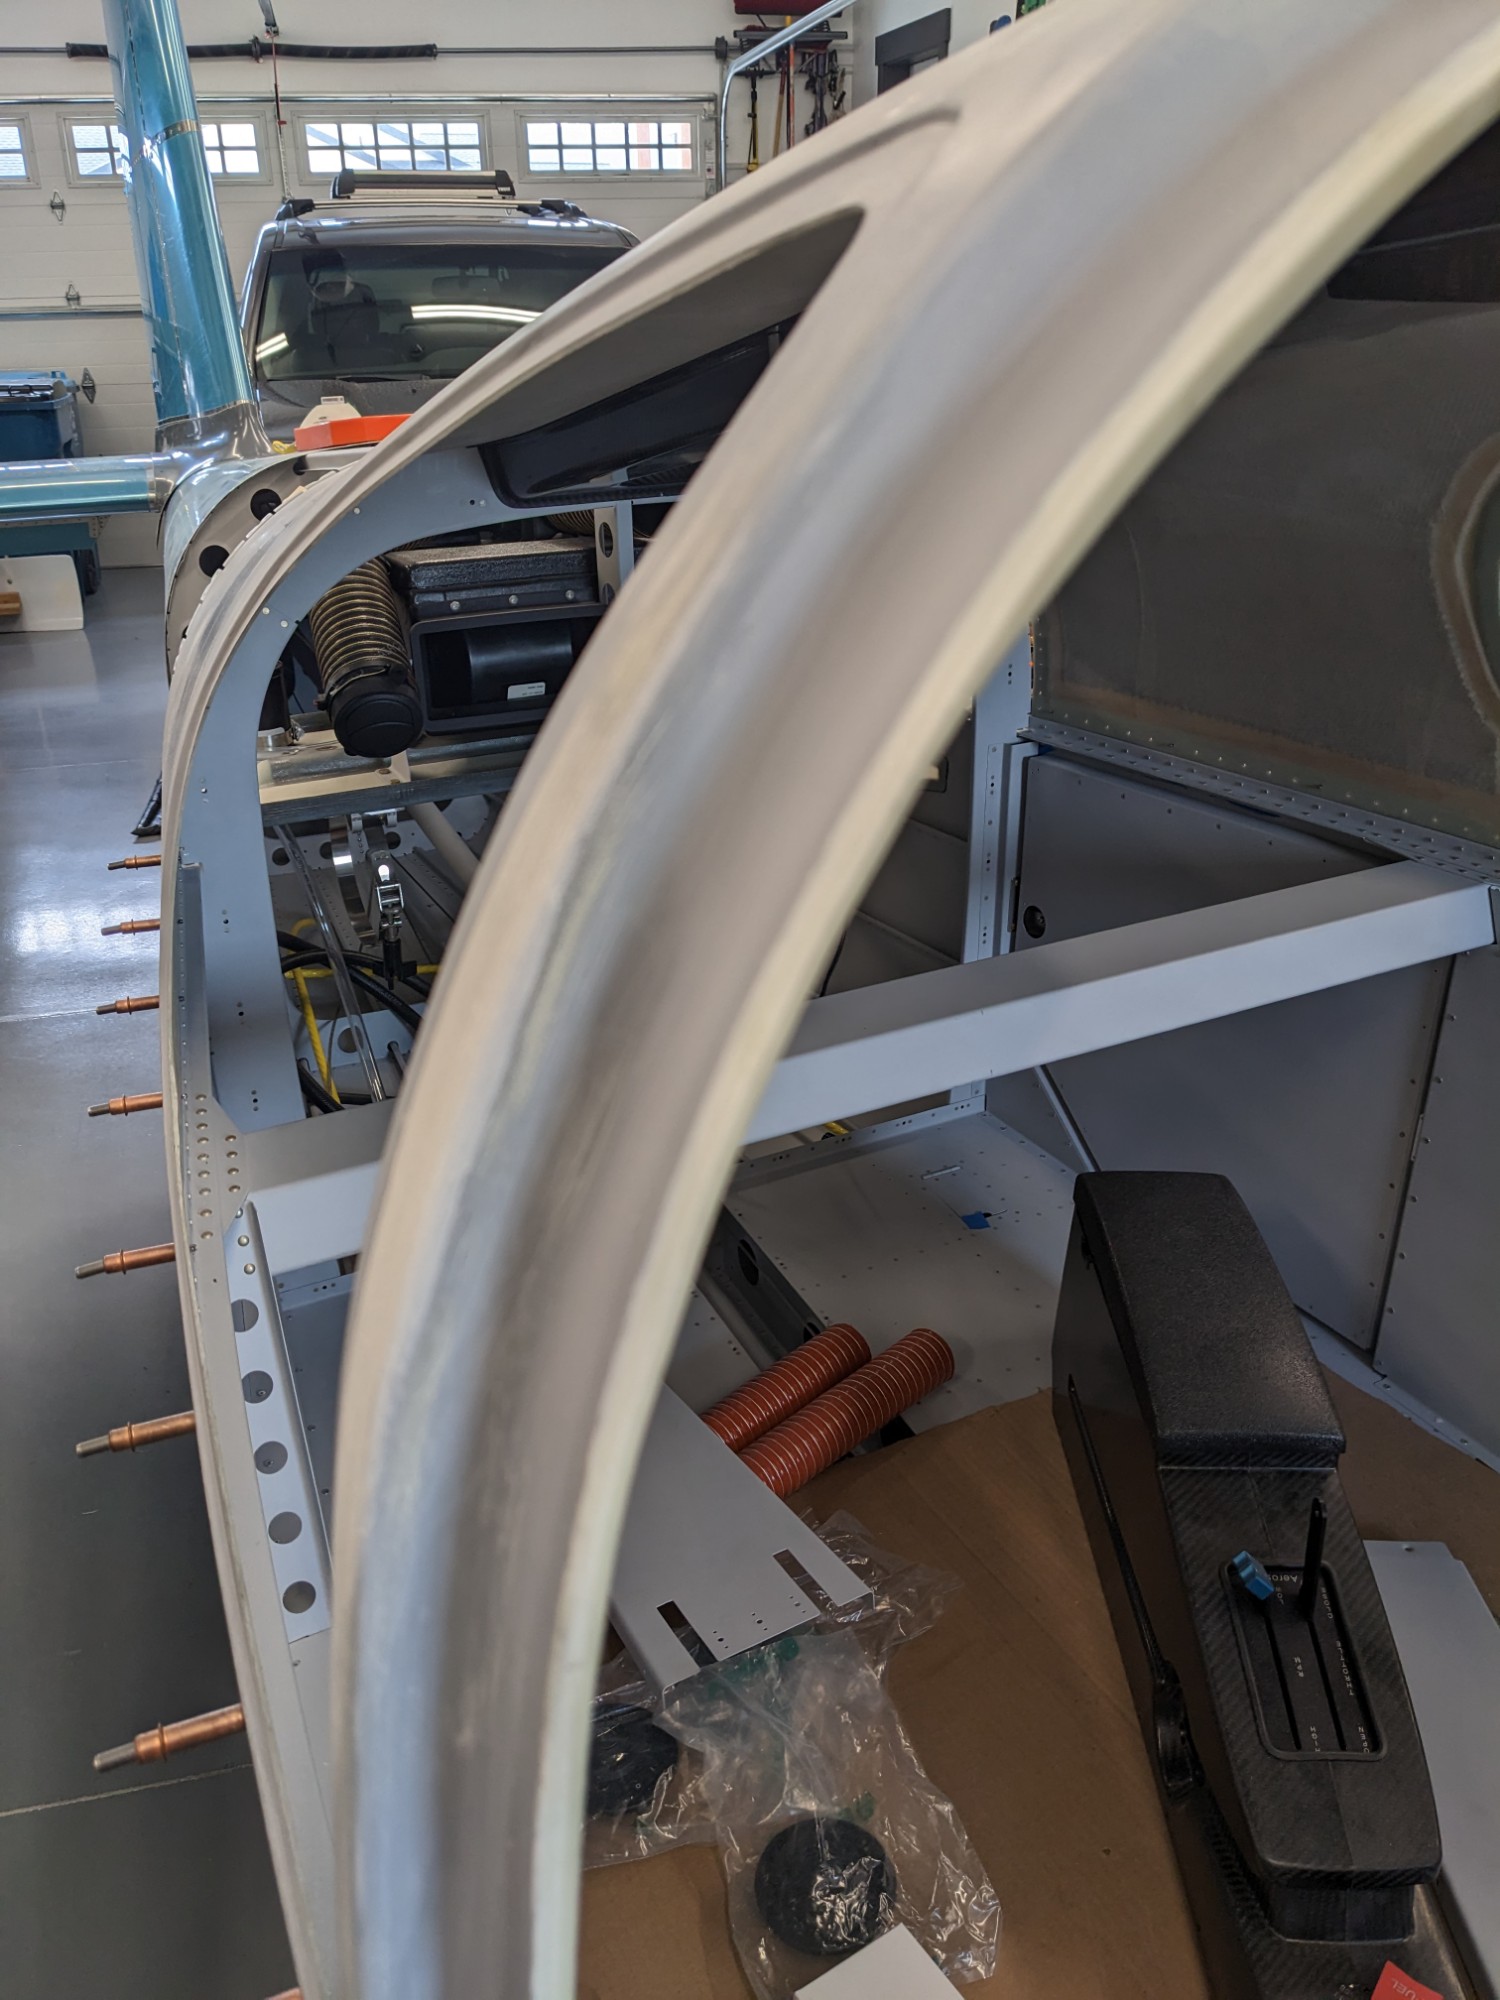
I then mixed up some flox with cabosil and built up the area.
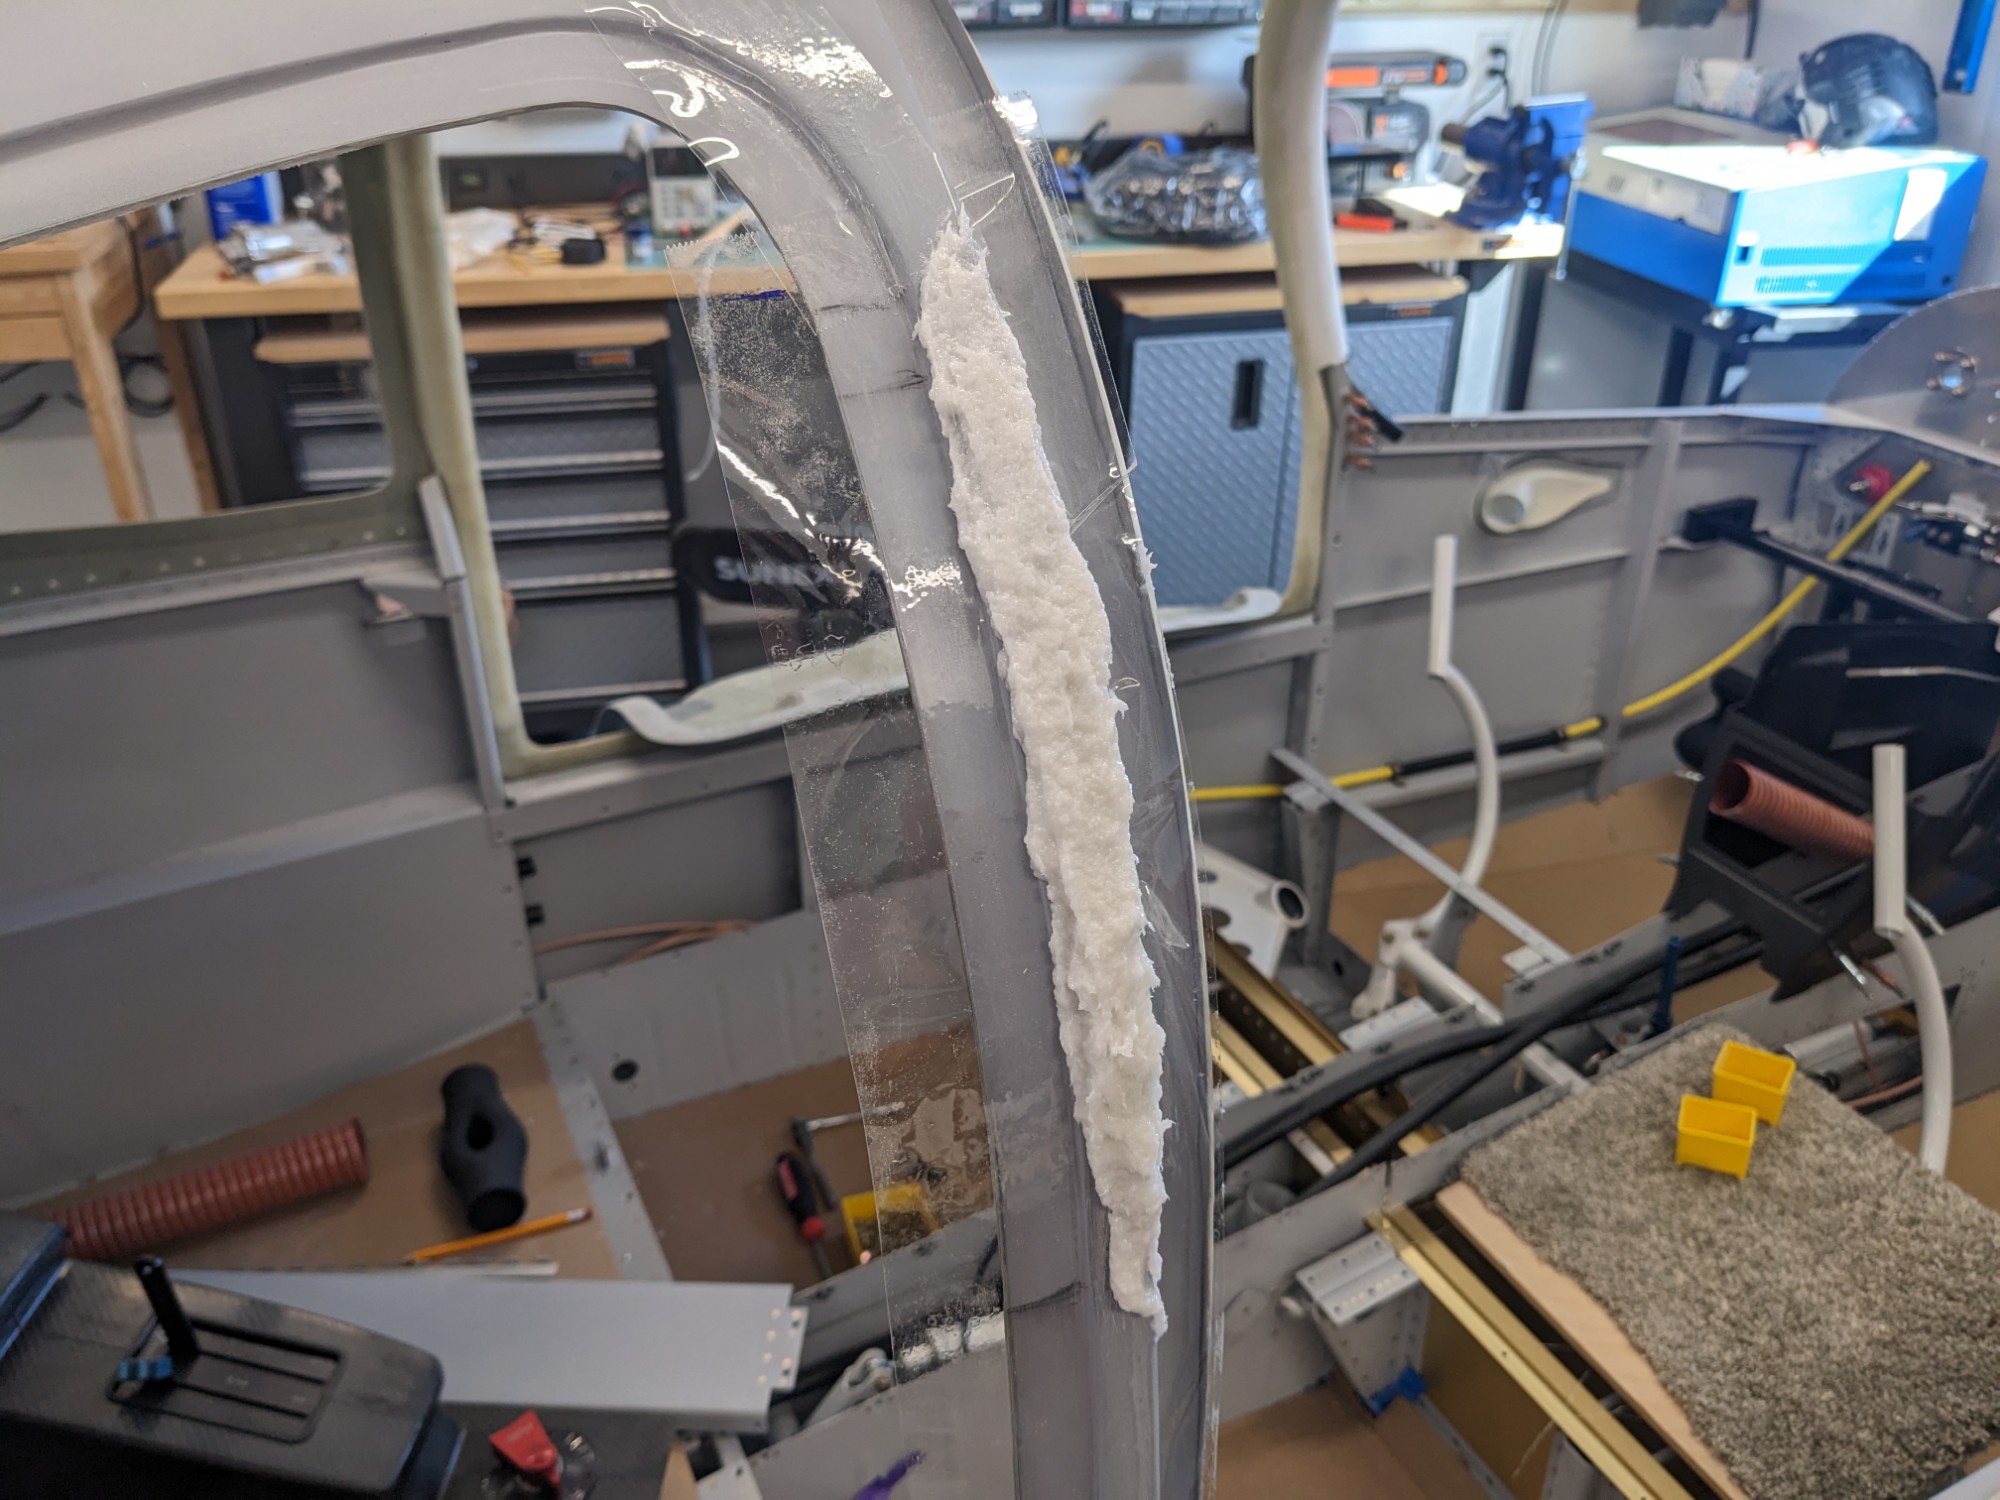
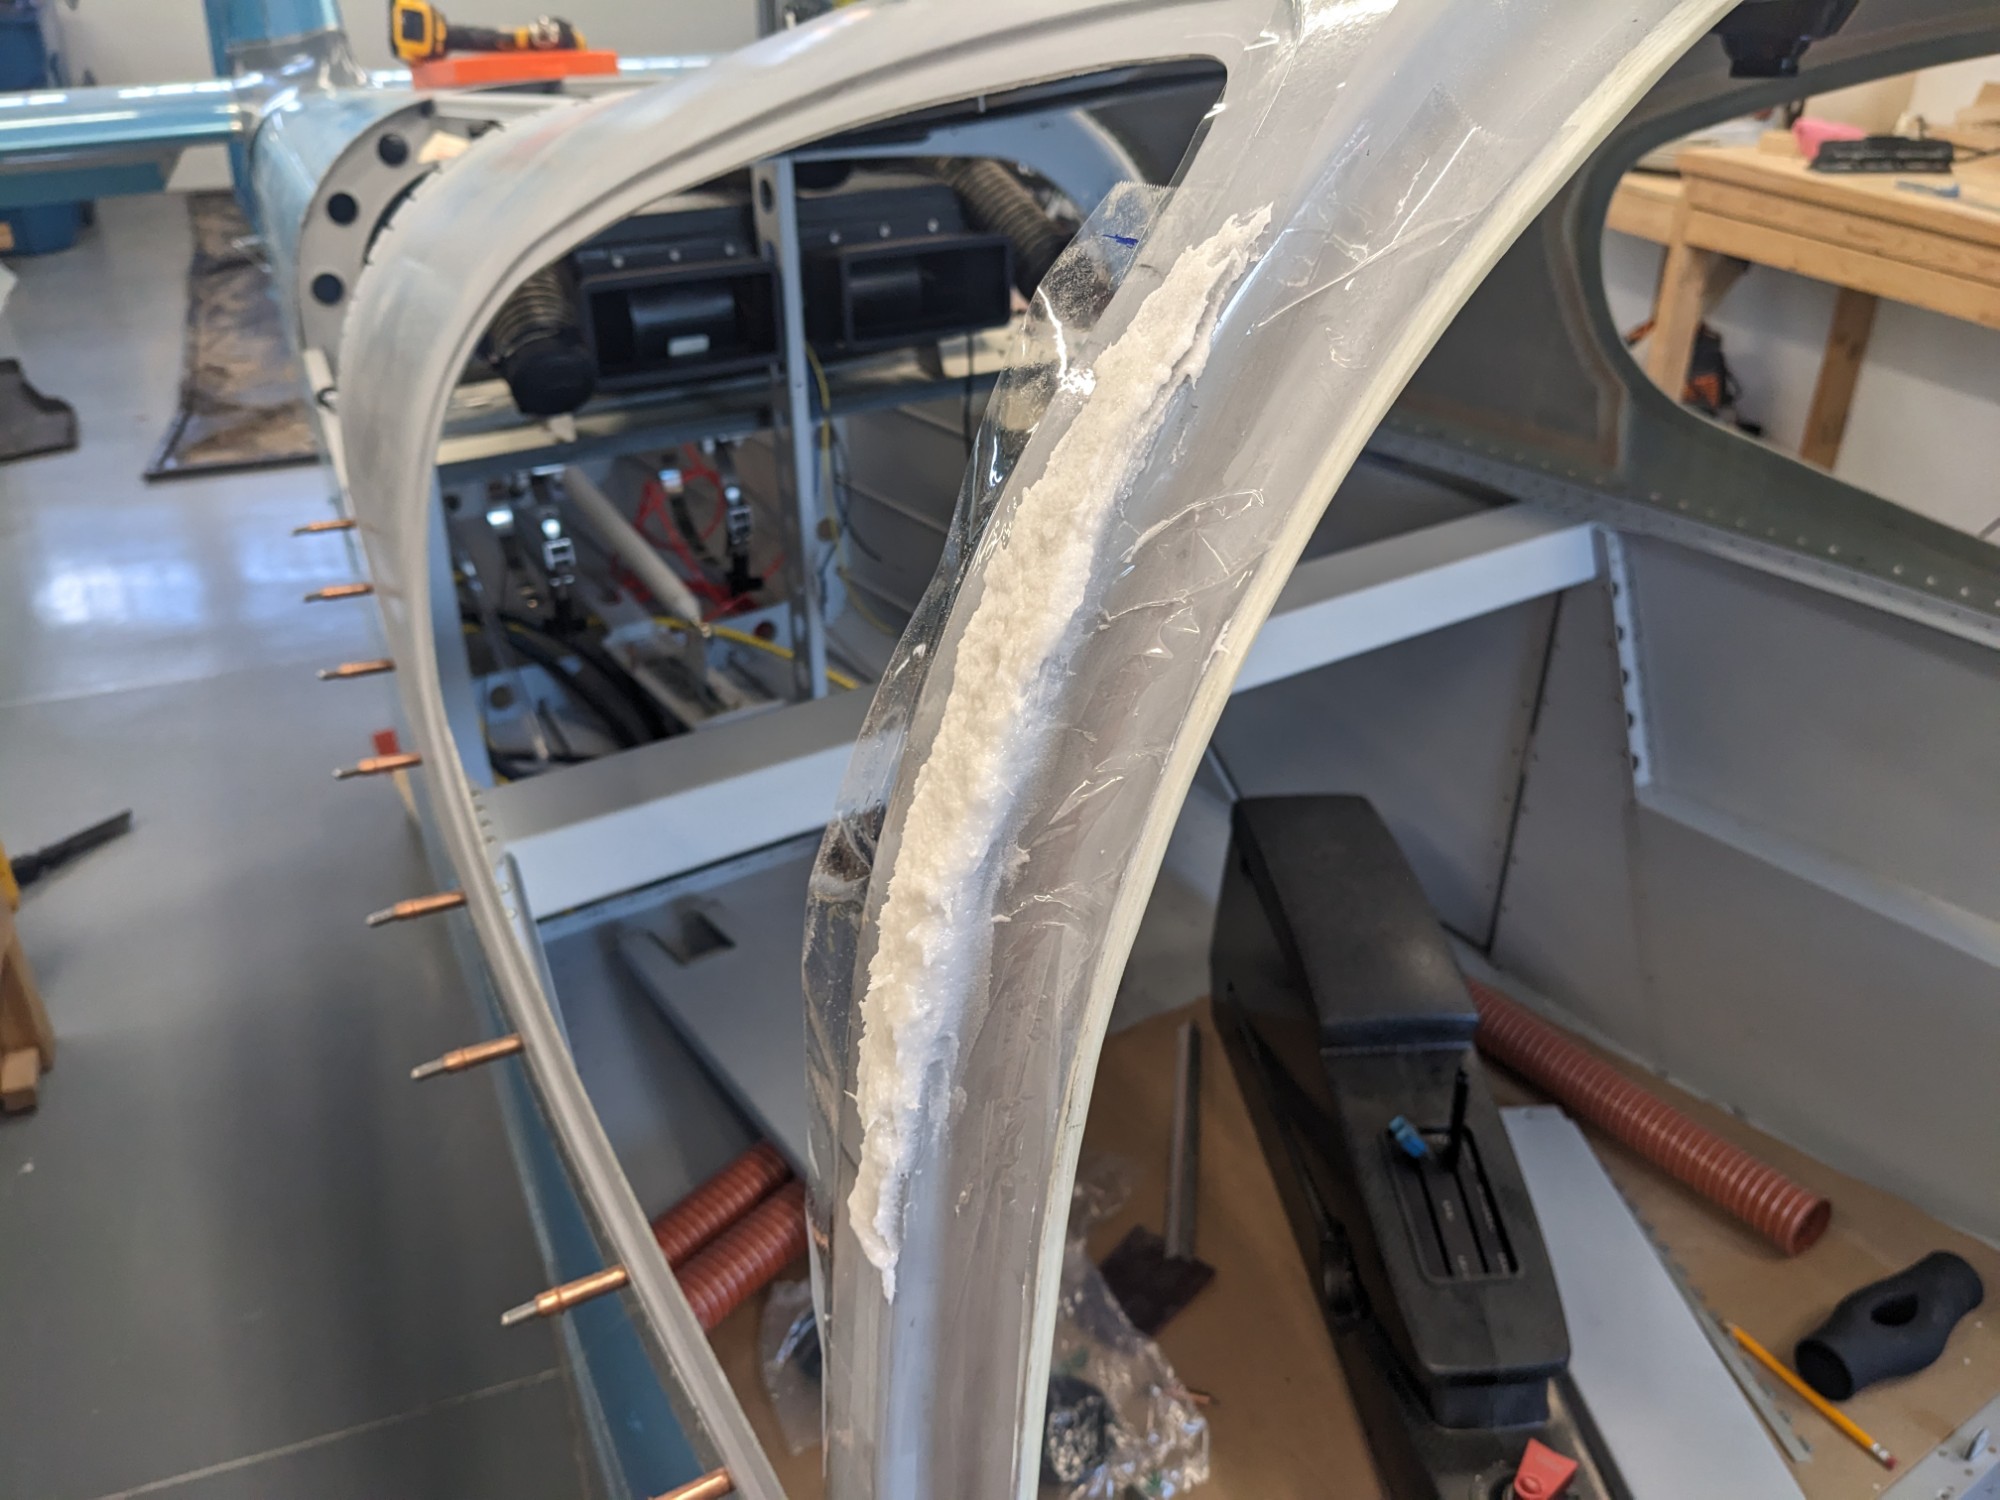
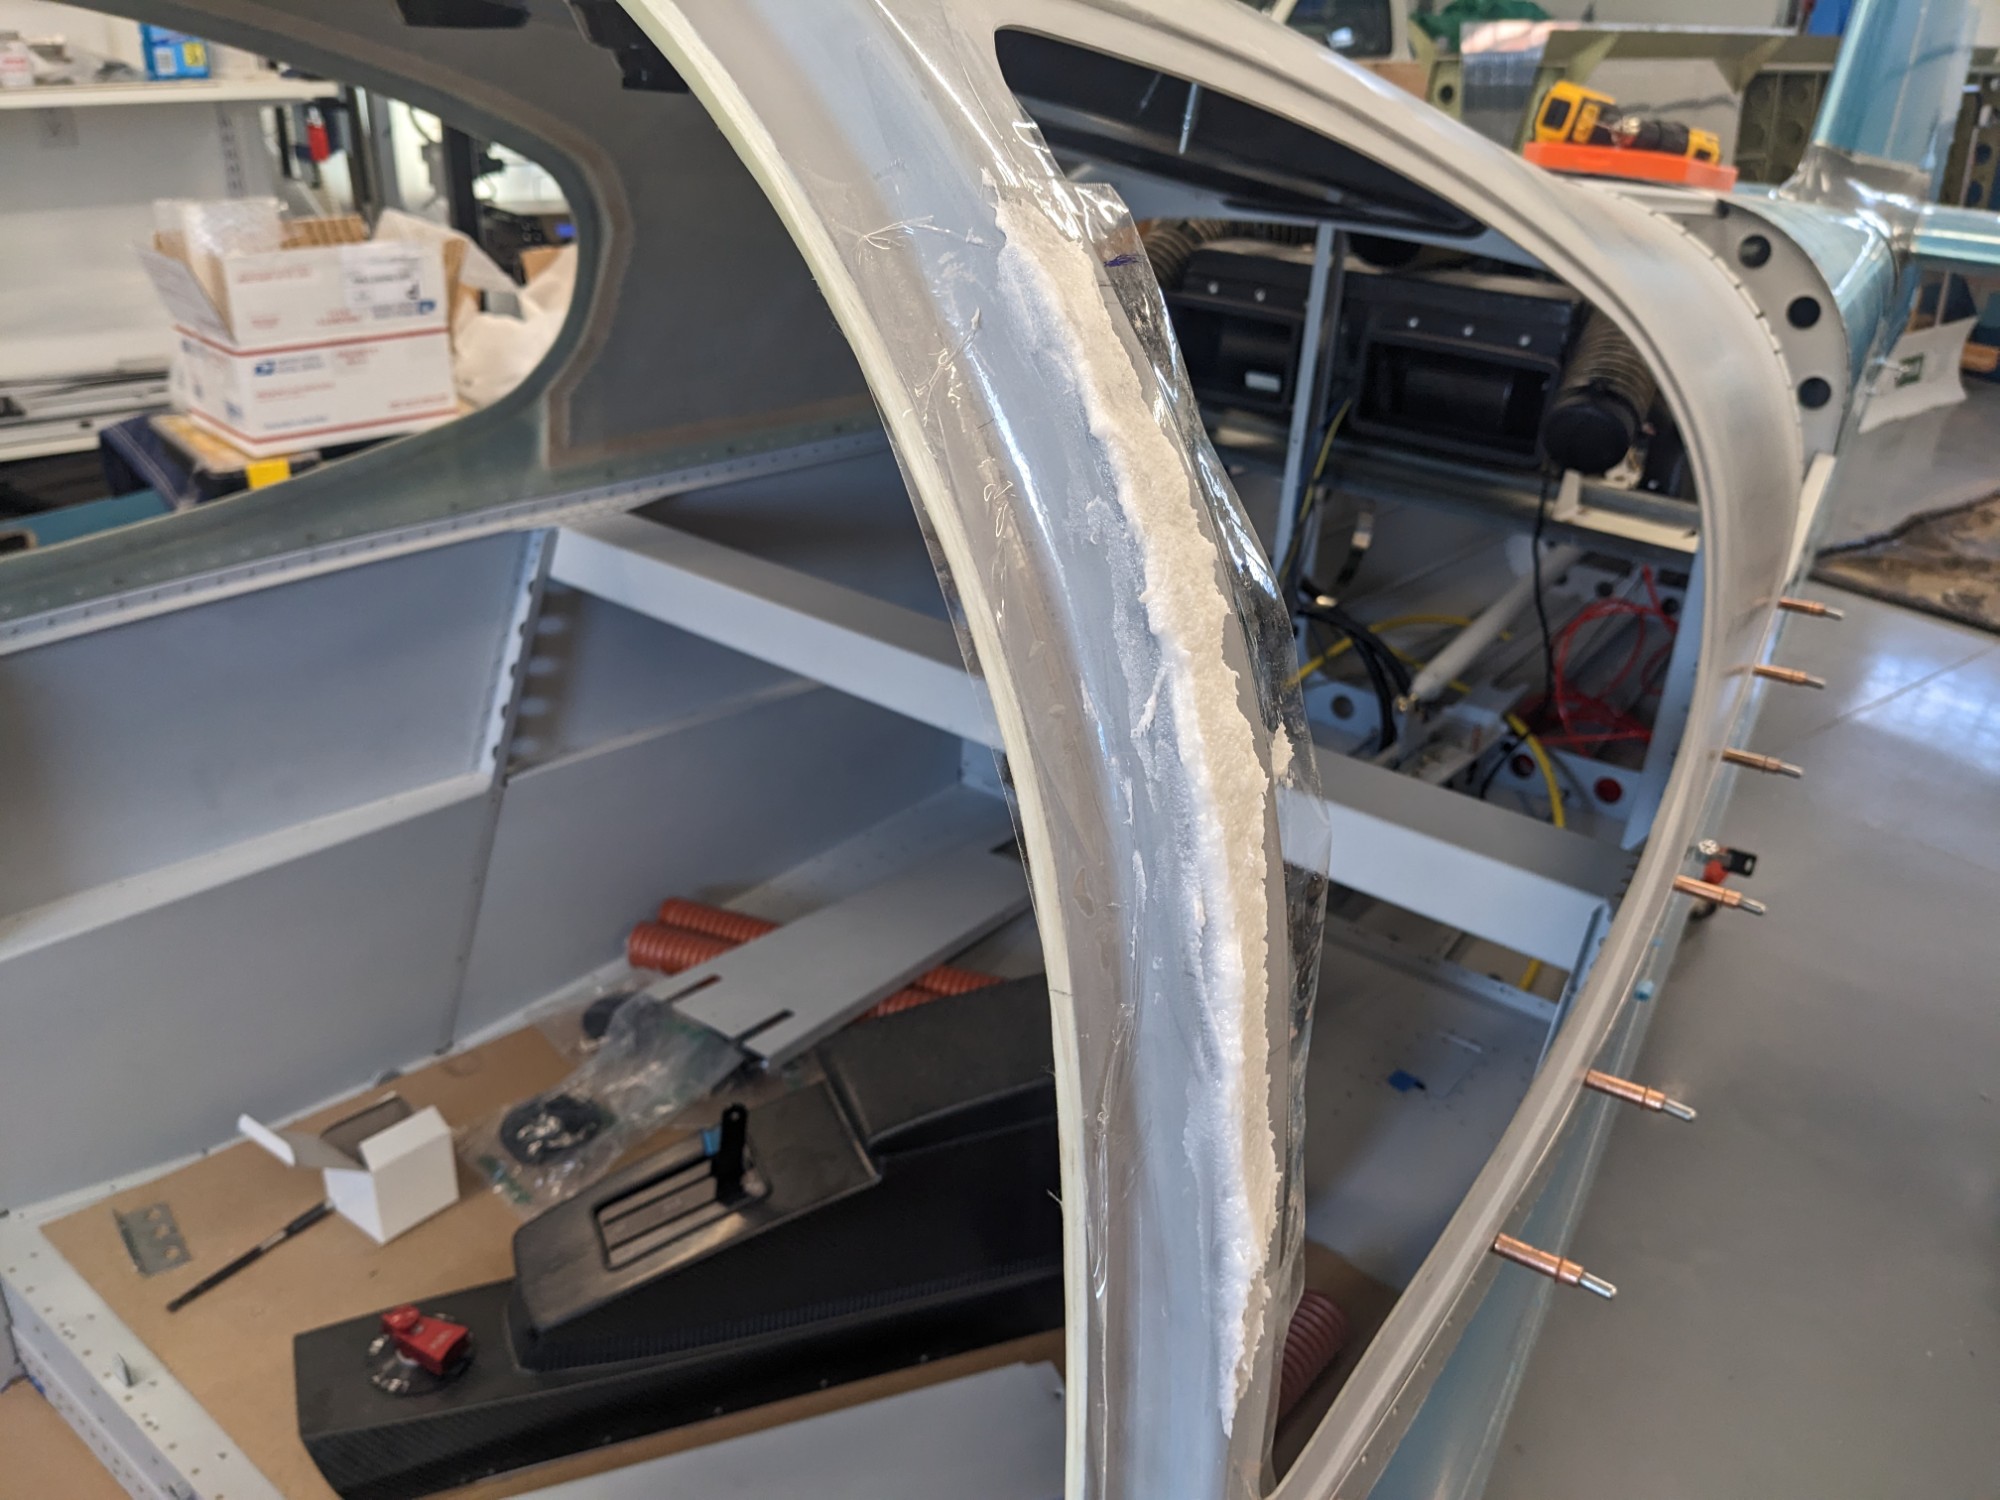
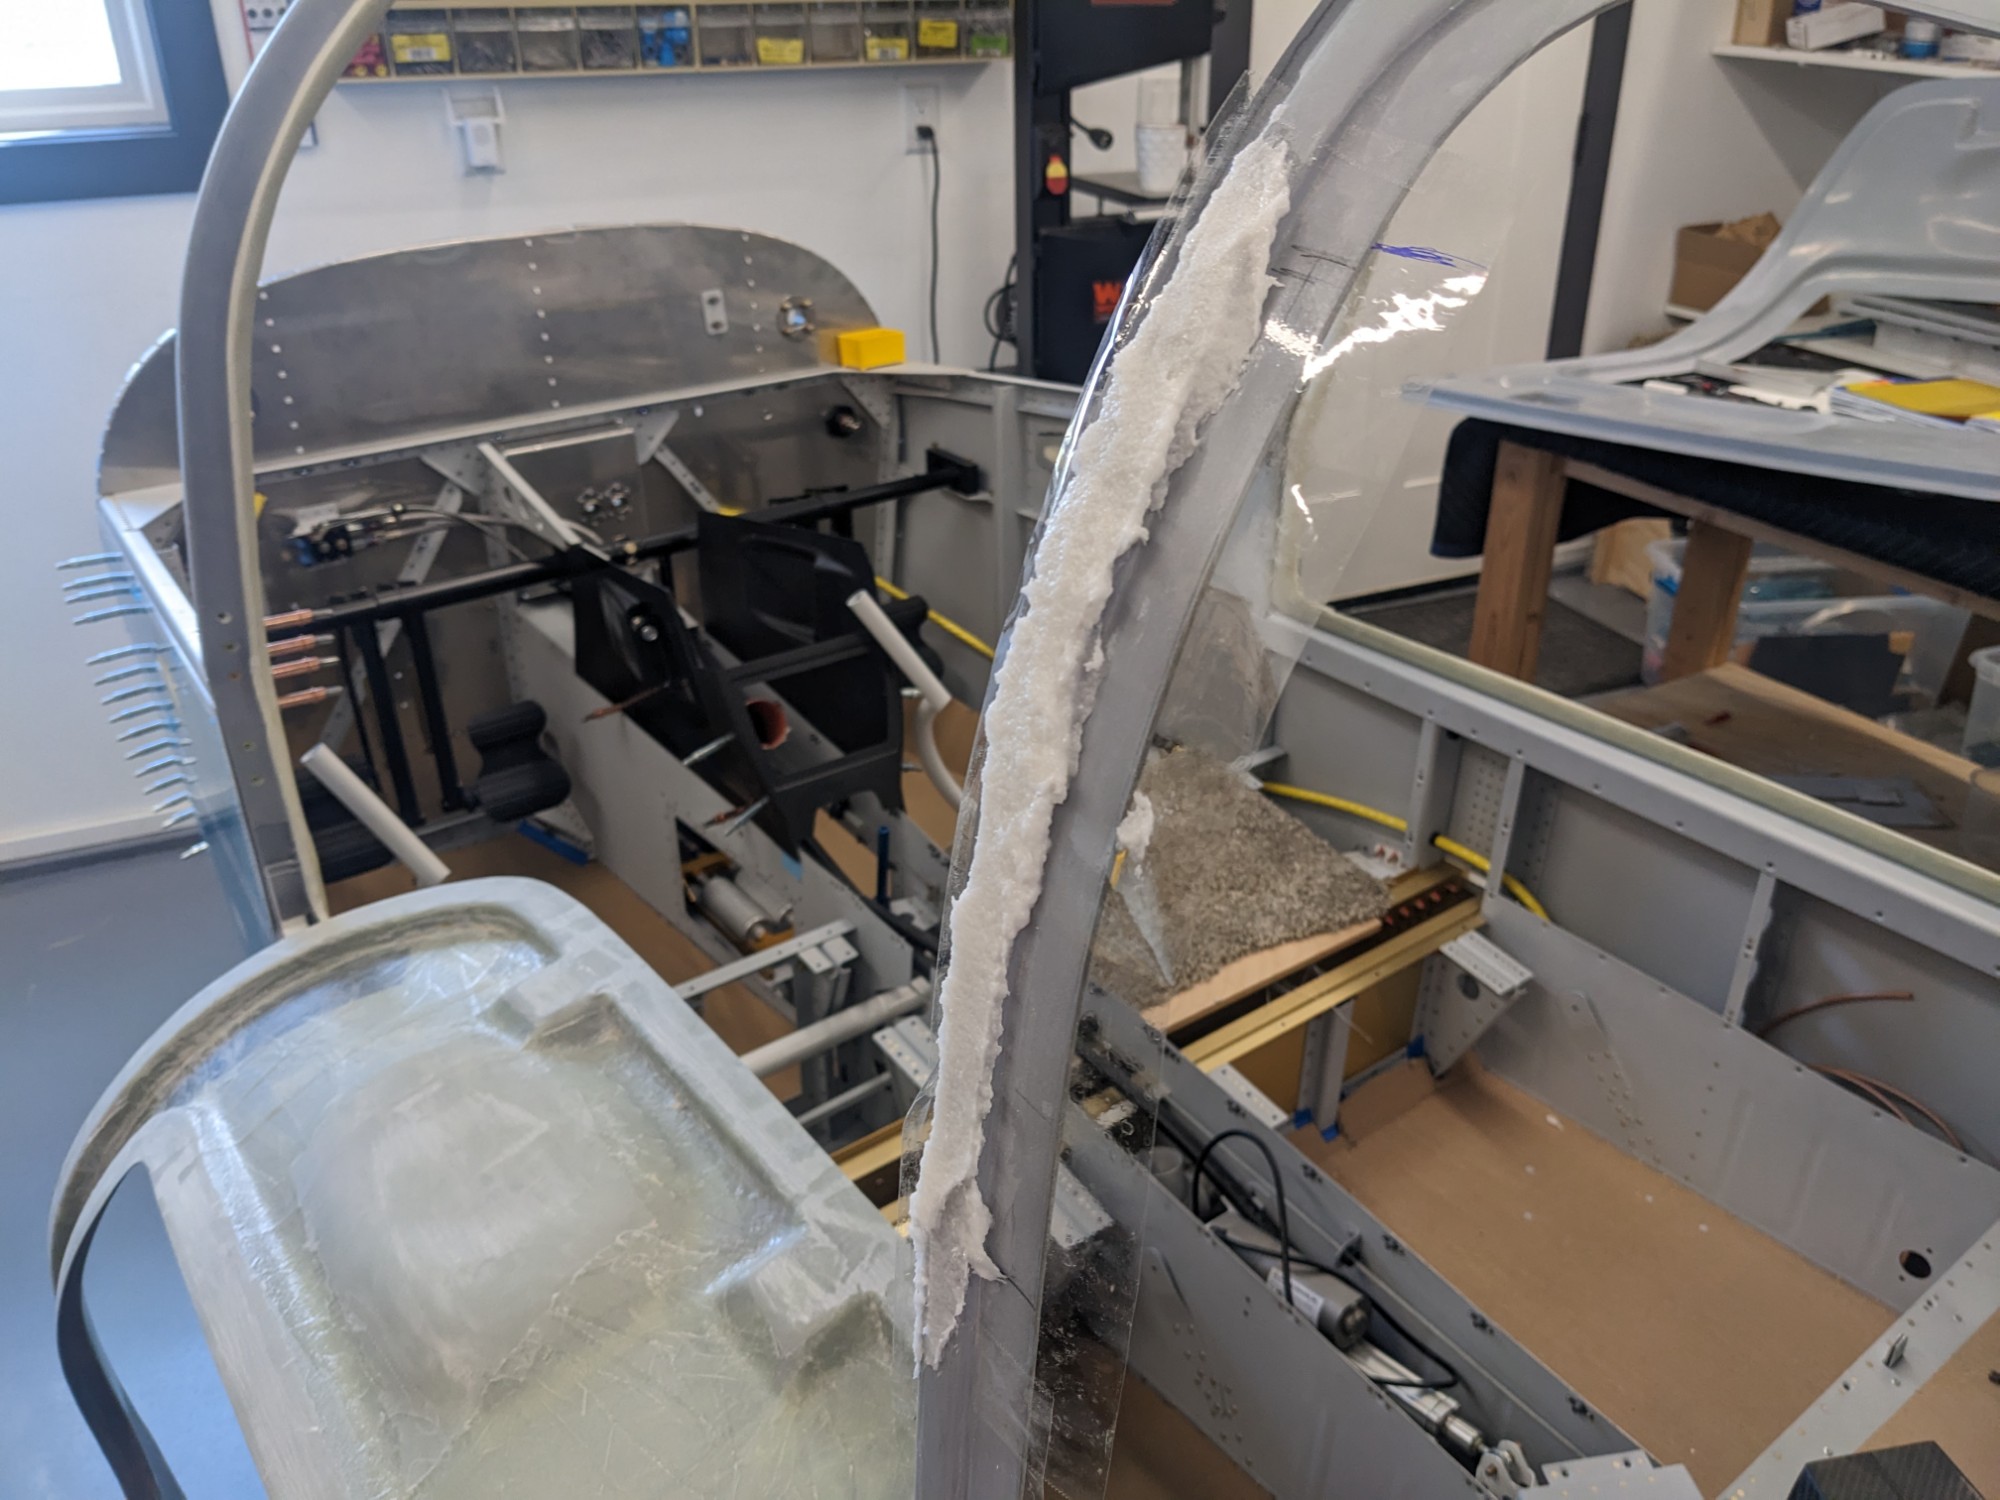
I then clamped the doors into place to squeeze out the extra and match the curve of the posts to the curve of the doors. I covered paint stir sticks with packing tape to fill the area for the window flange. The idea here was to reduce the amount of epoxy that would flow into the flange area.
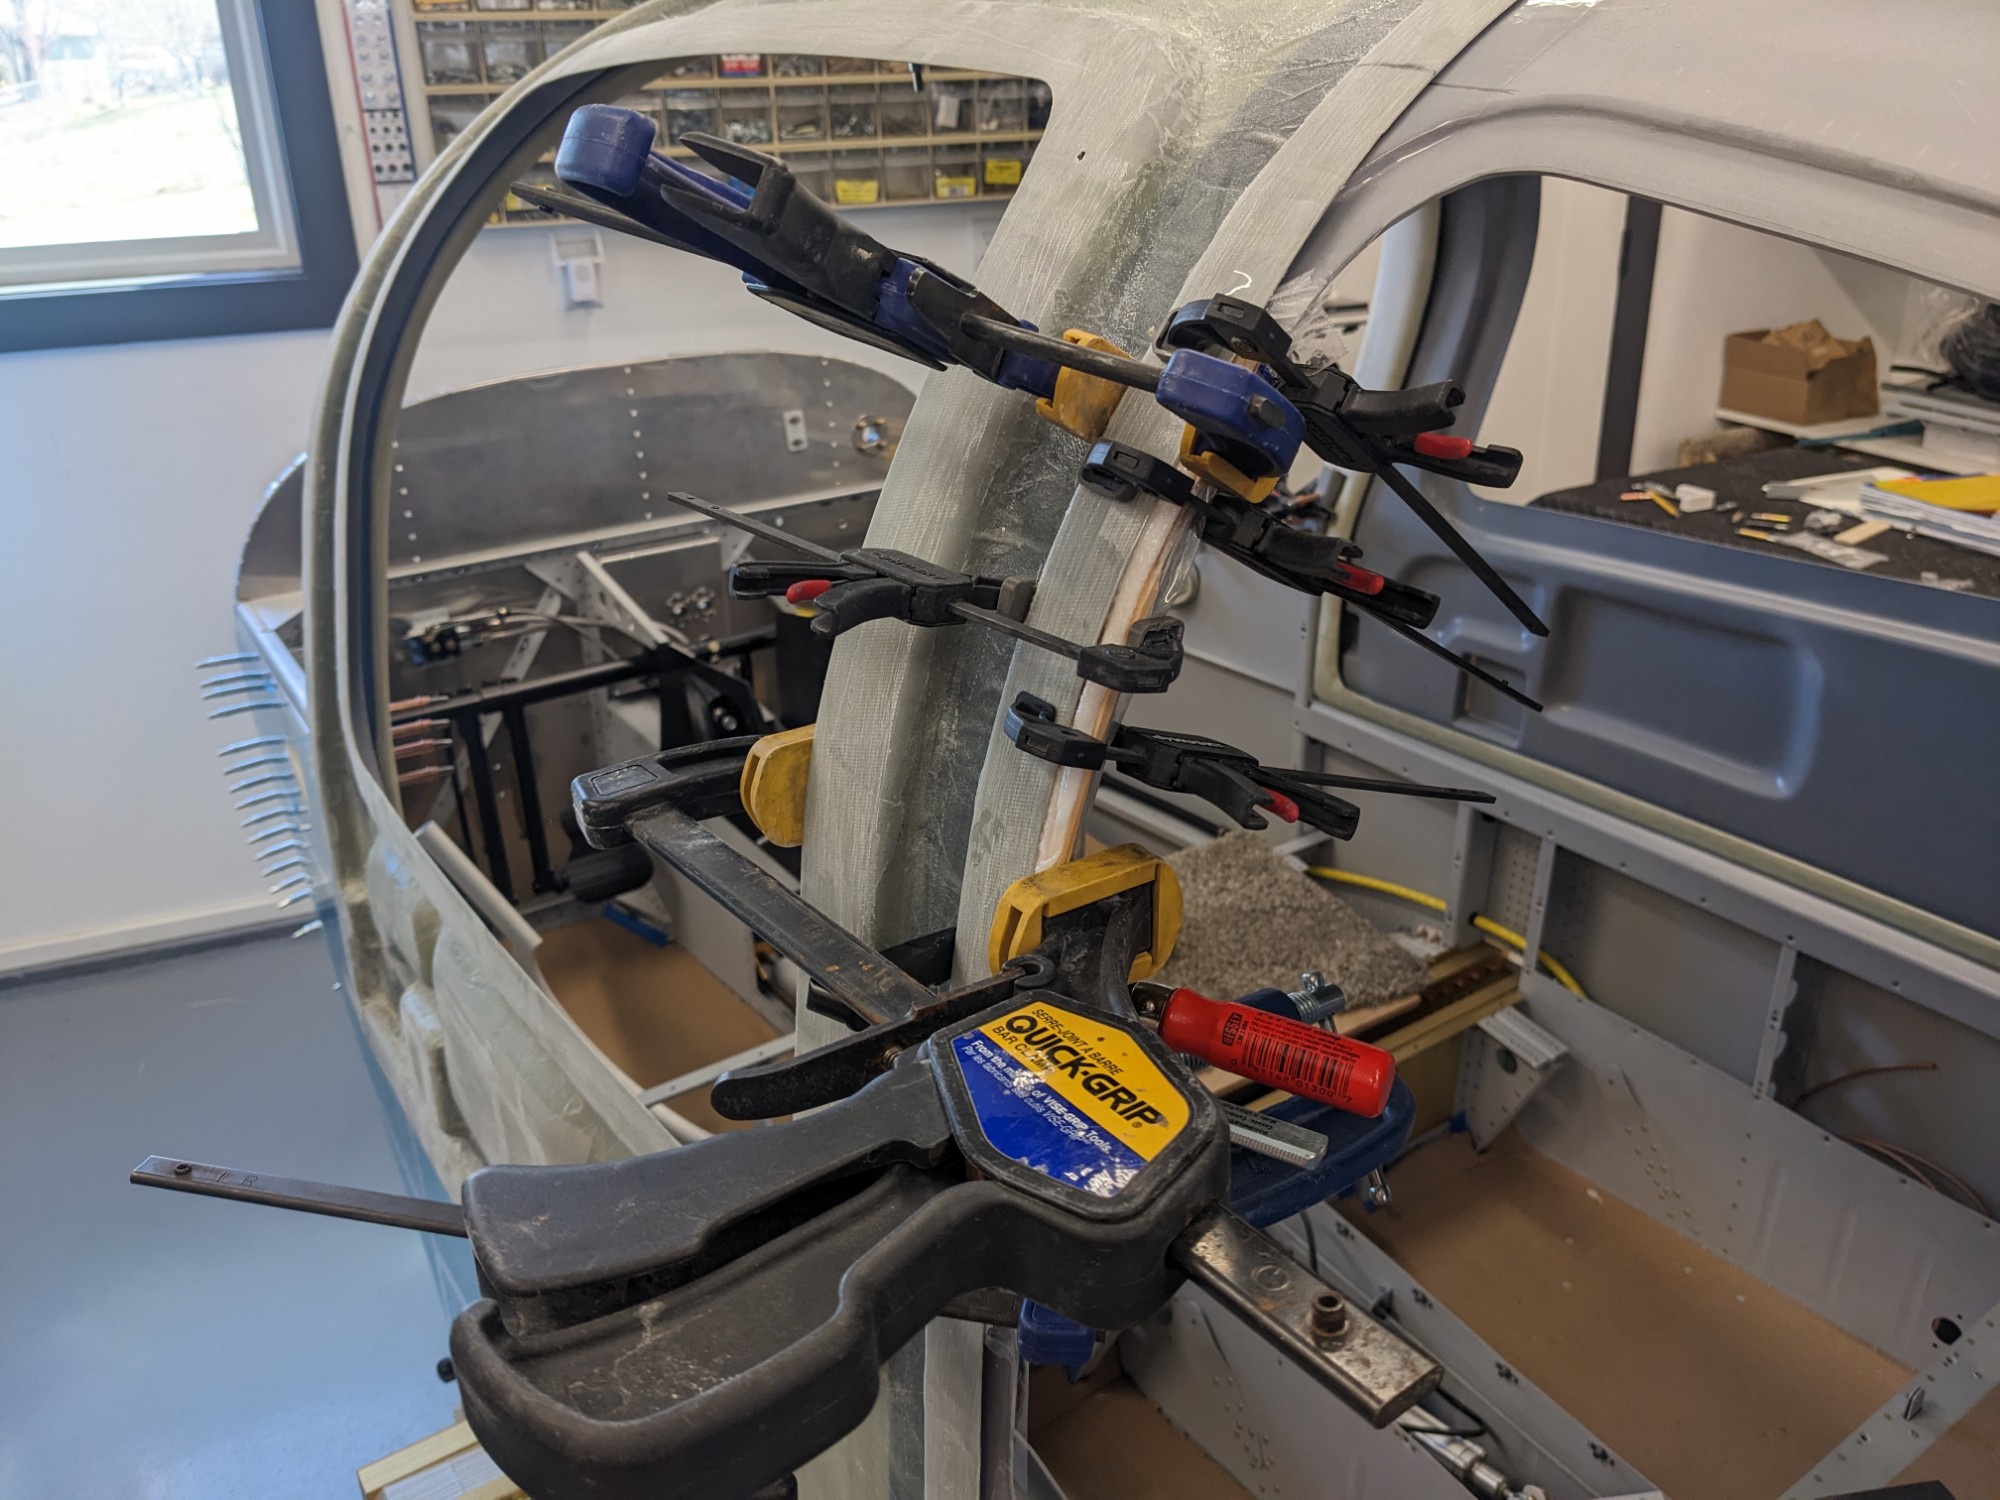

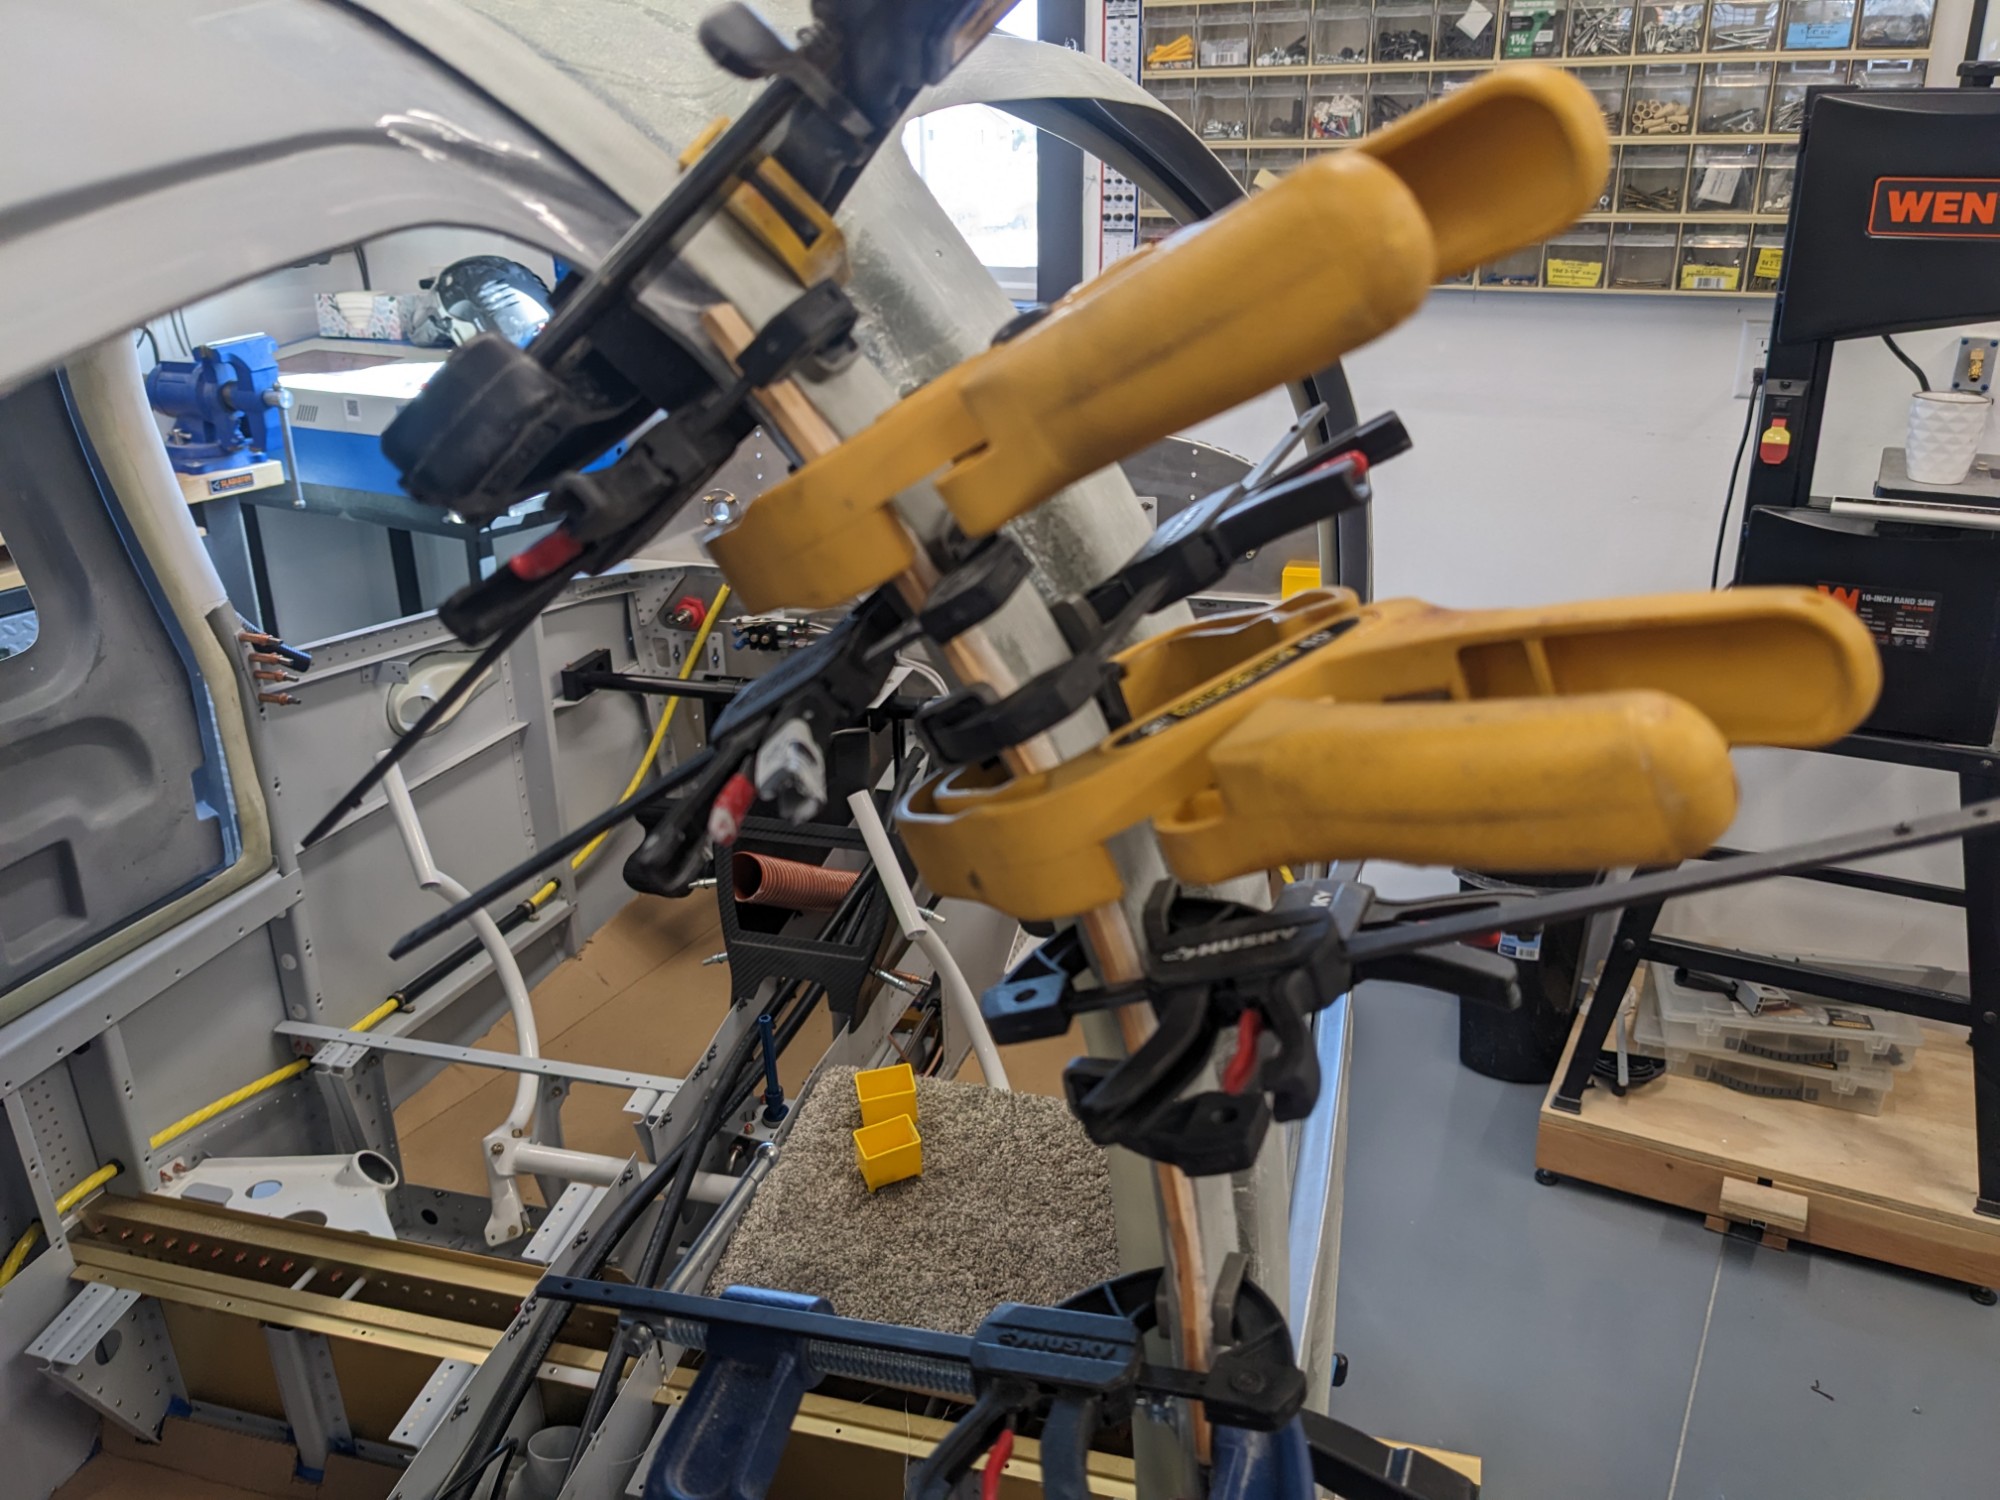
This technique worked out really well and filled in the area nicely. The epoxy that overflowed onto the packing tape was easy to remove.
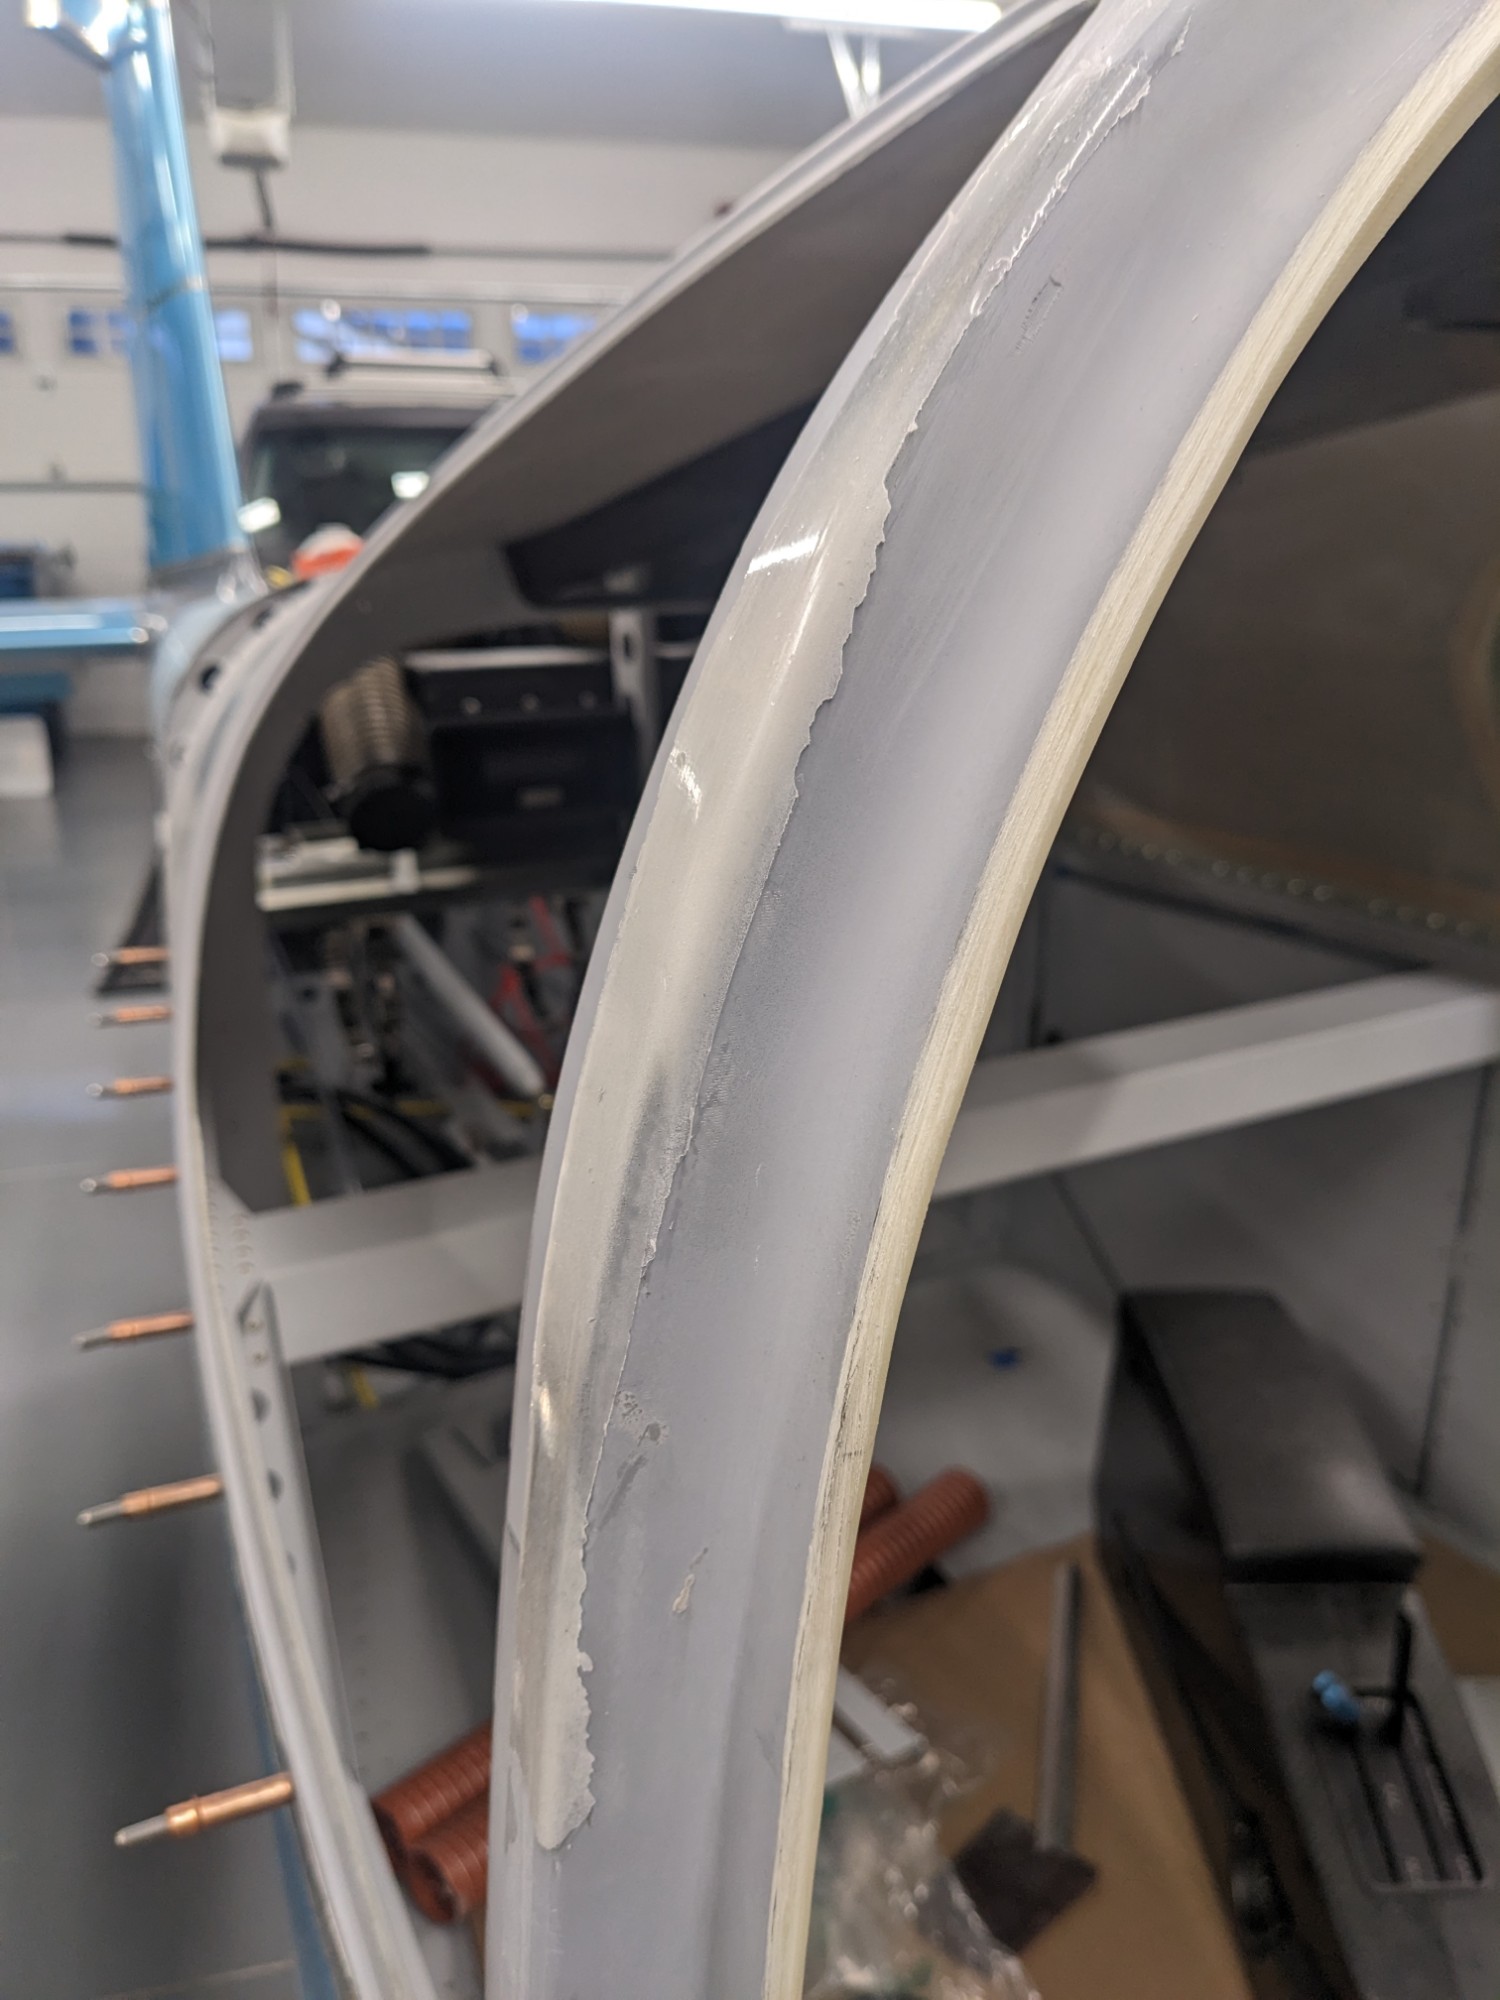
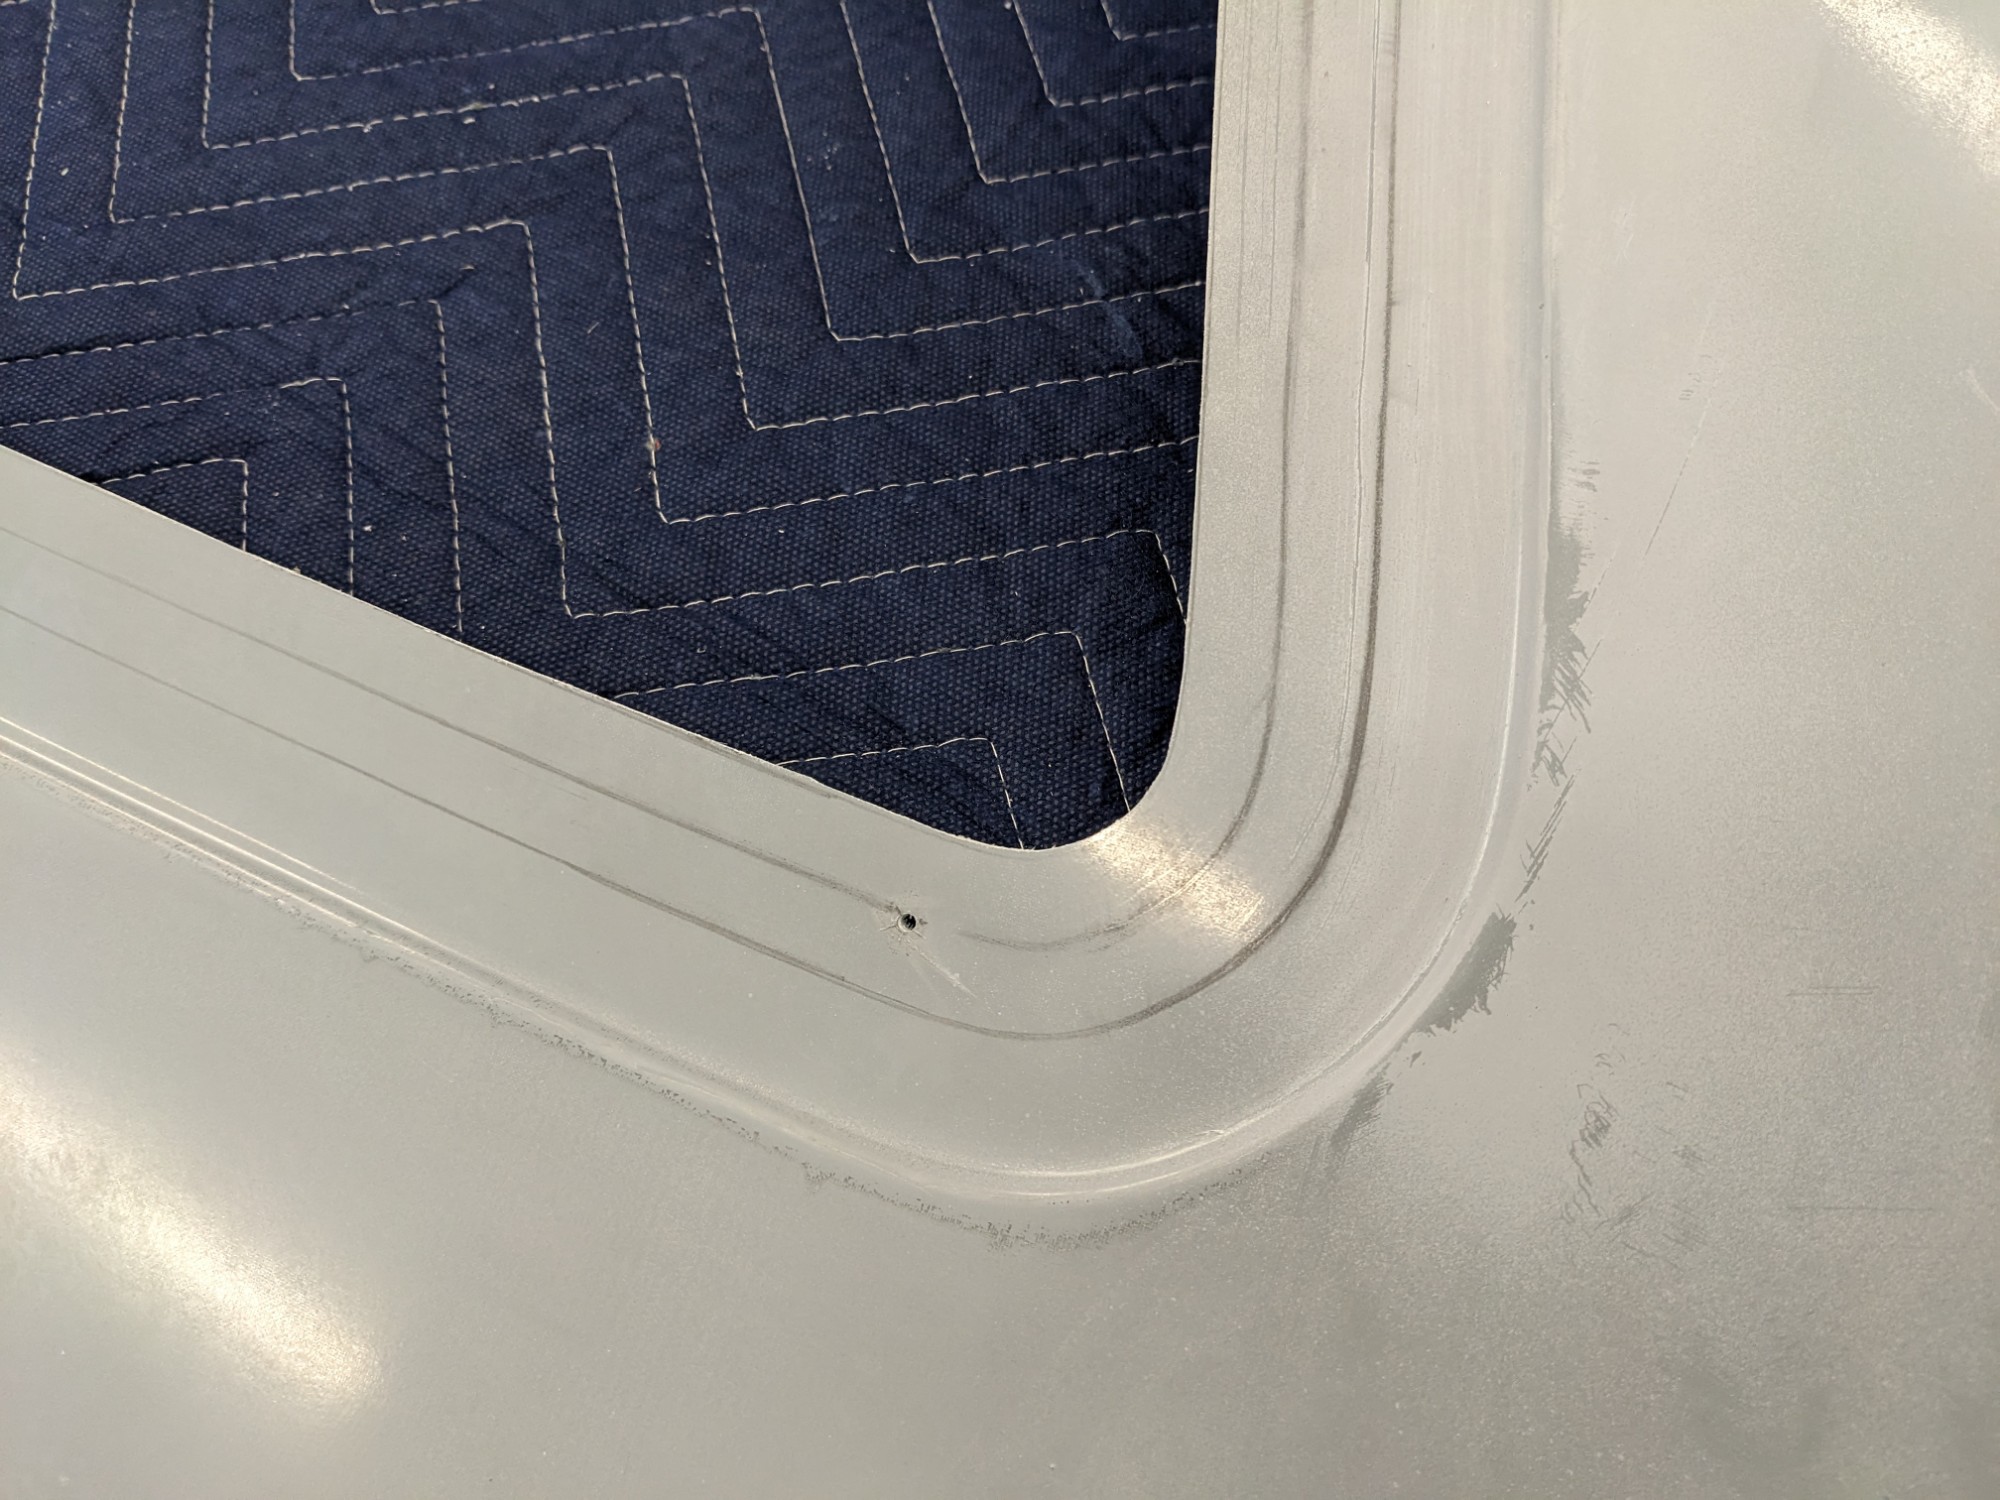
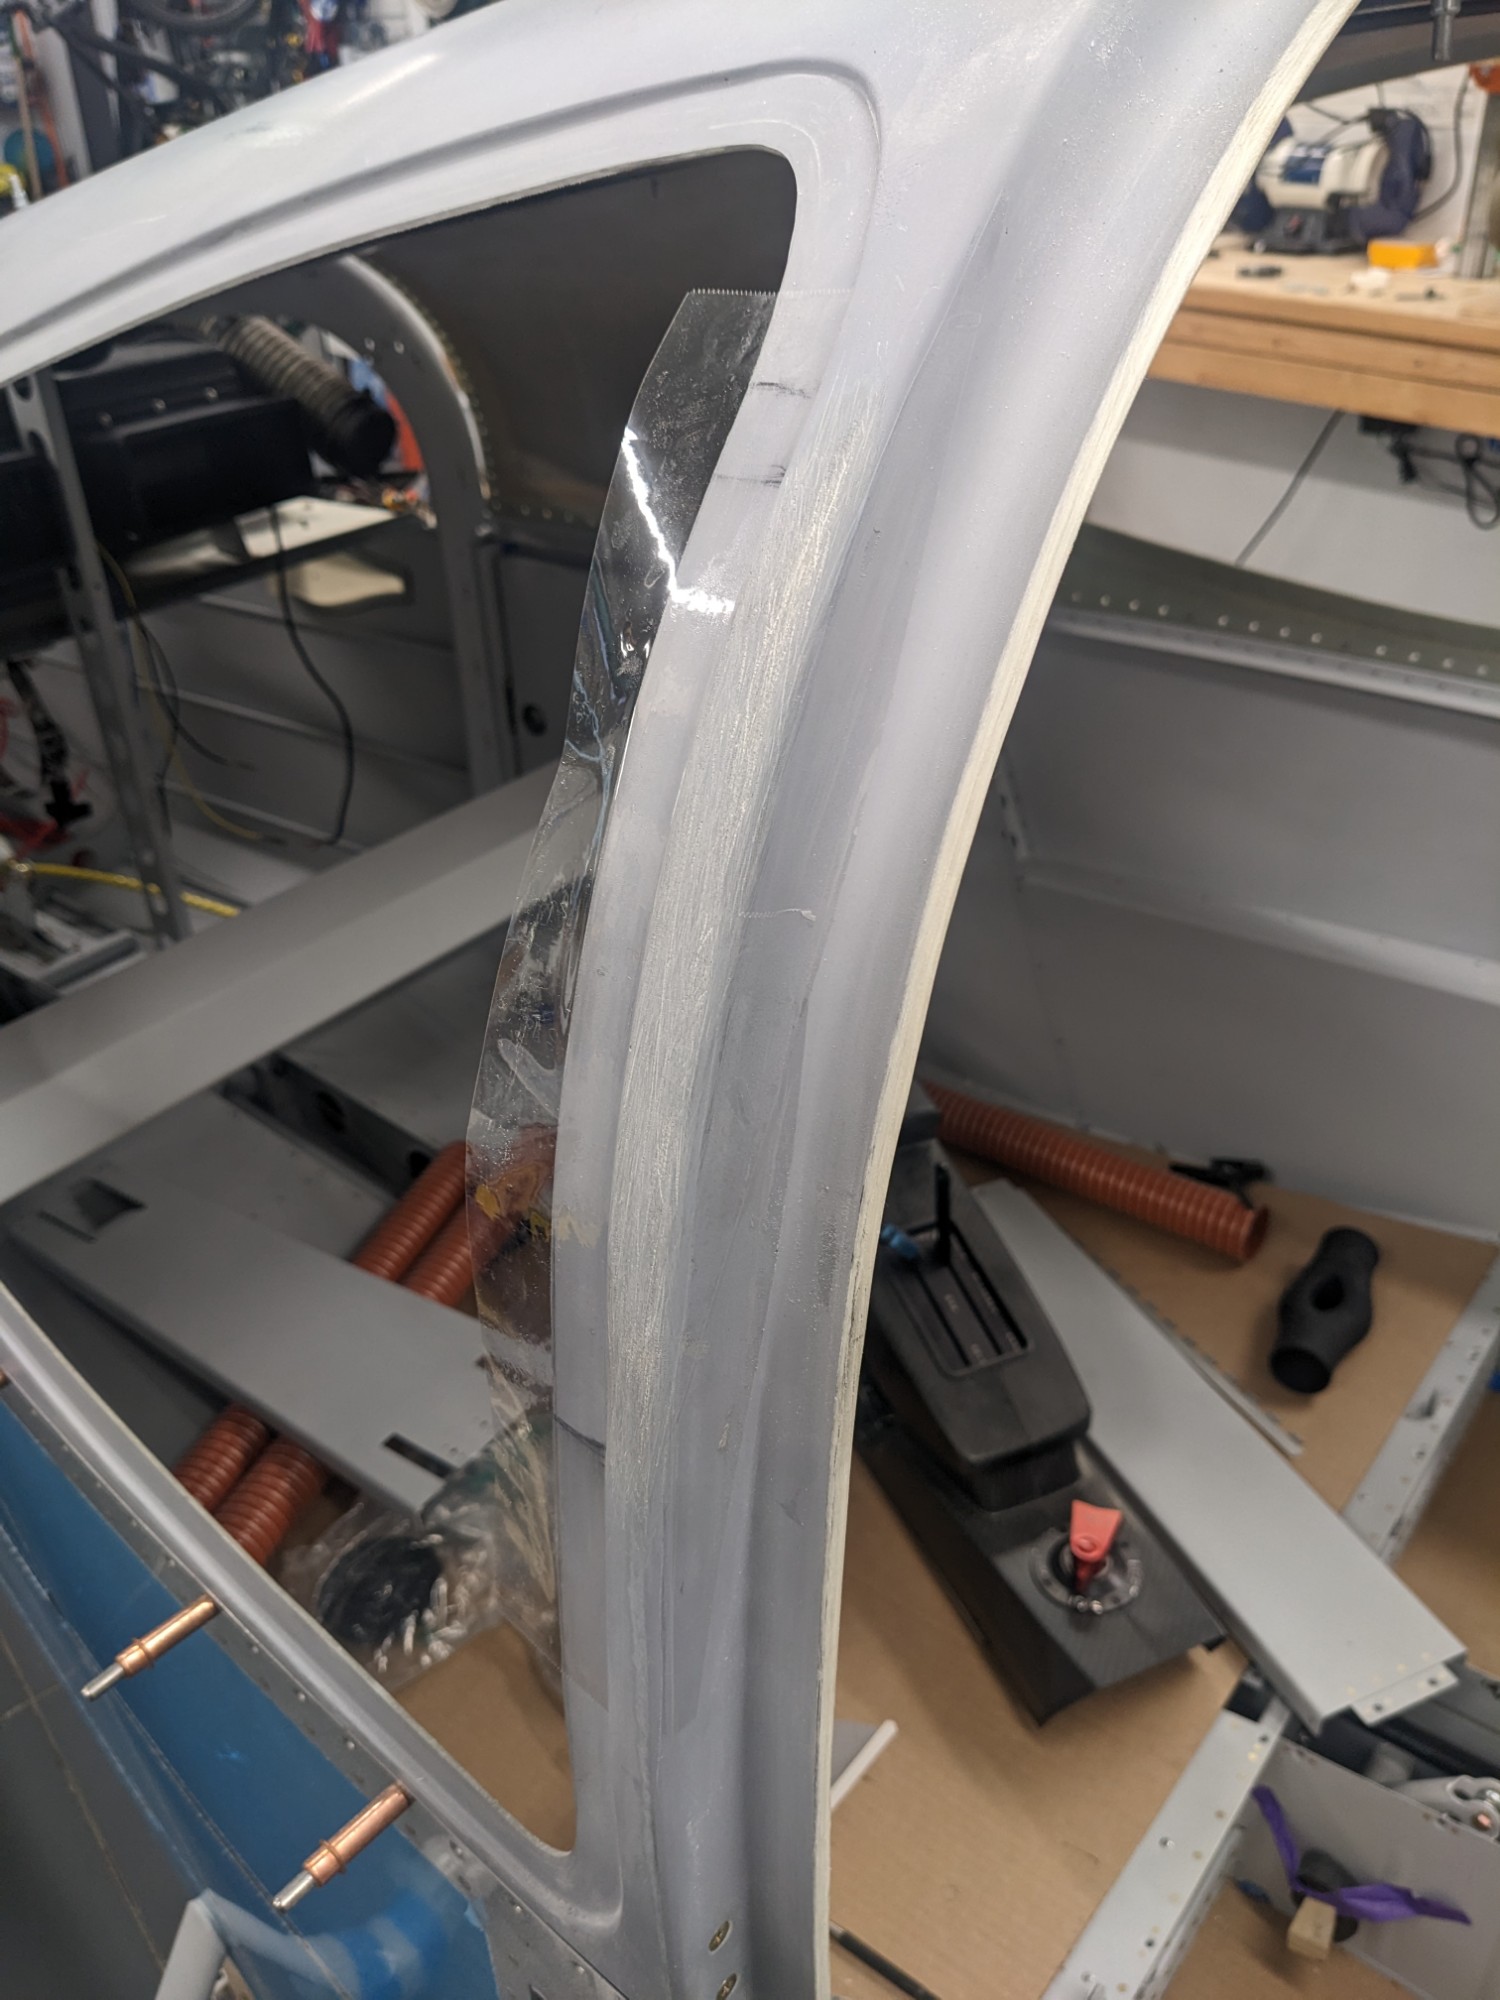
I sanded down and shaped the curve with a Permagrit block, then matched the radius of the edges.
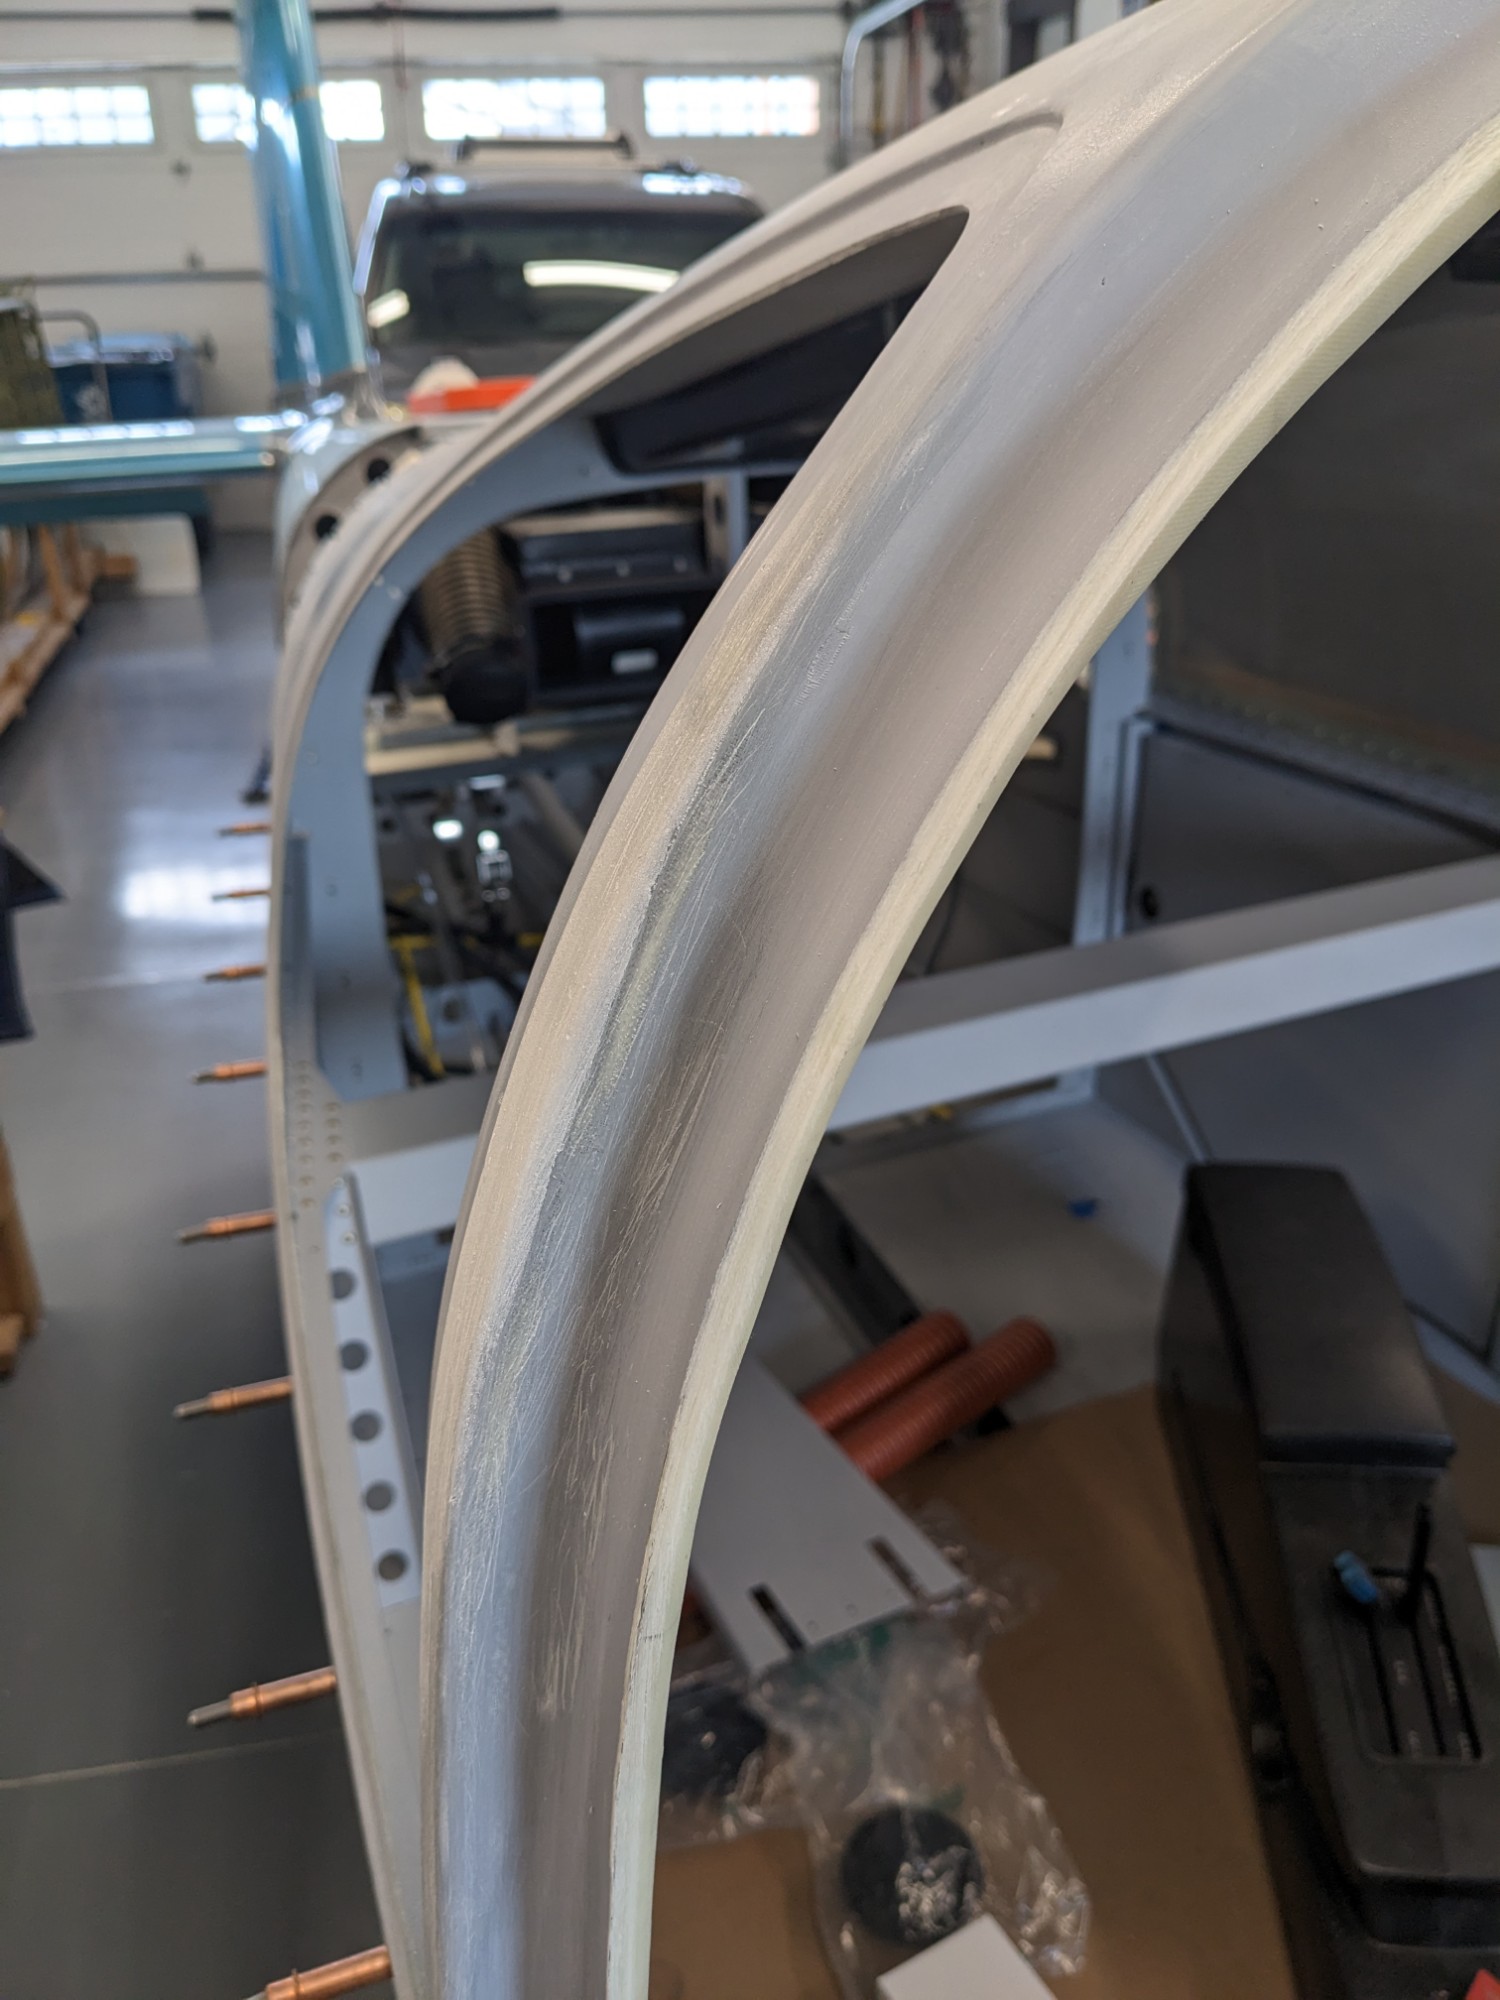
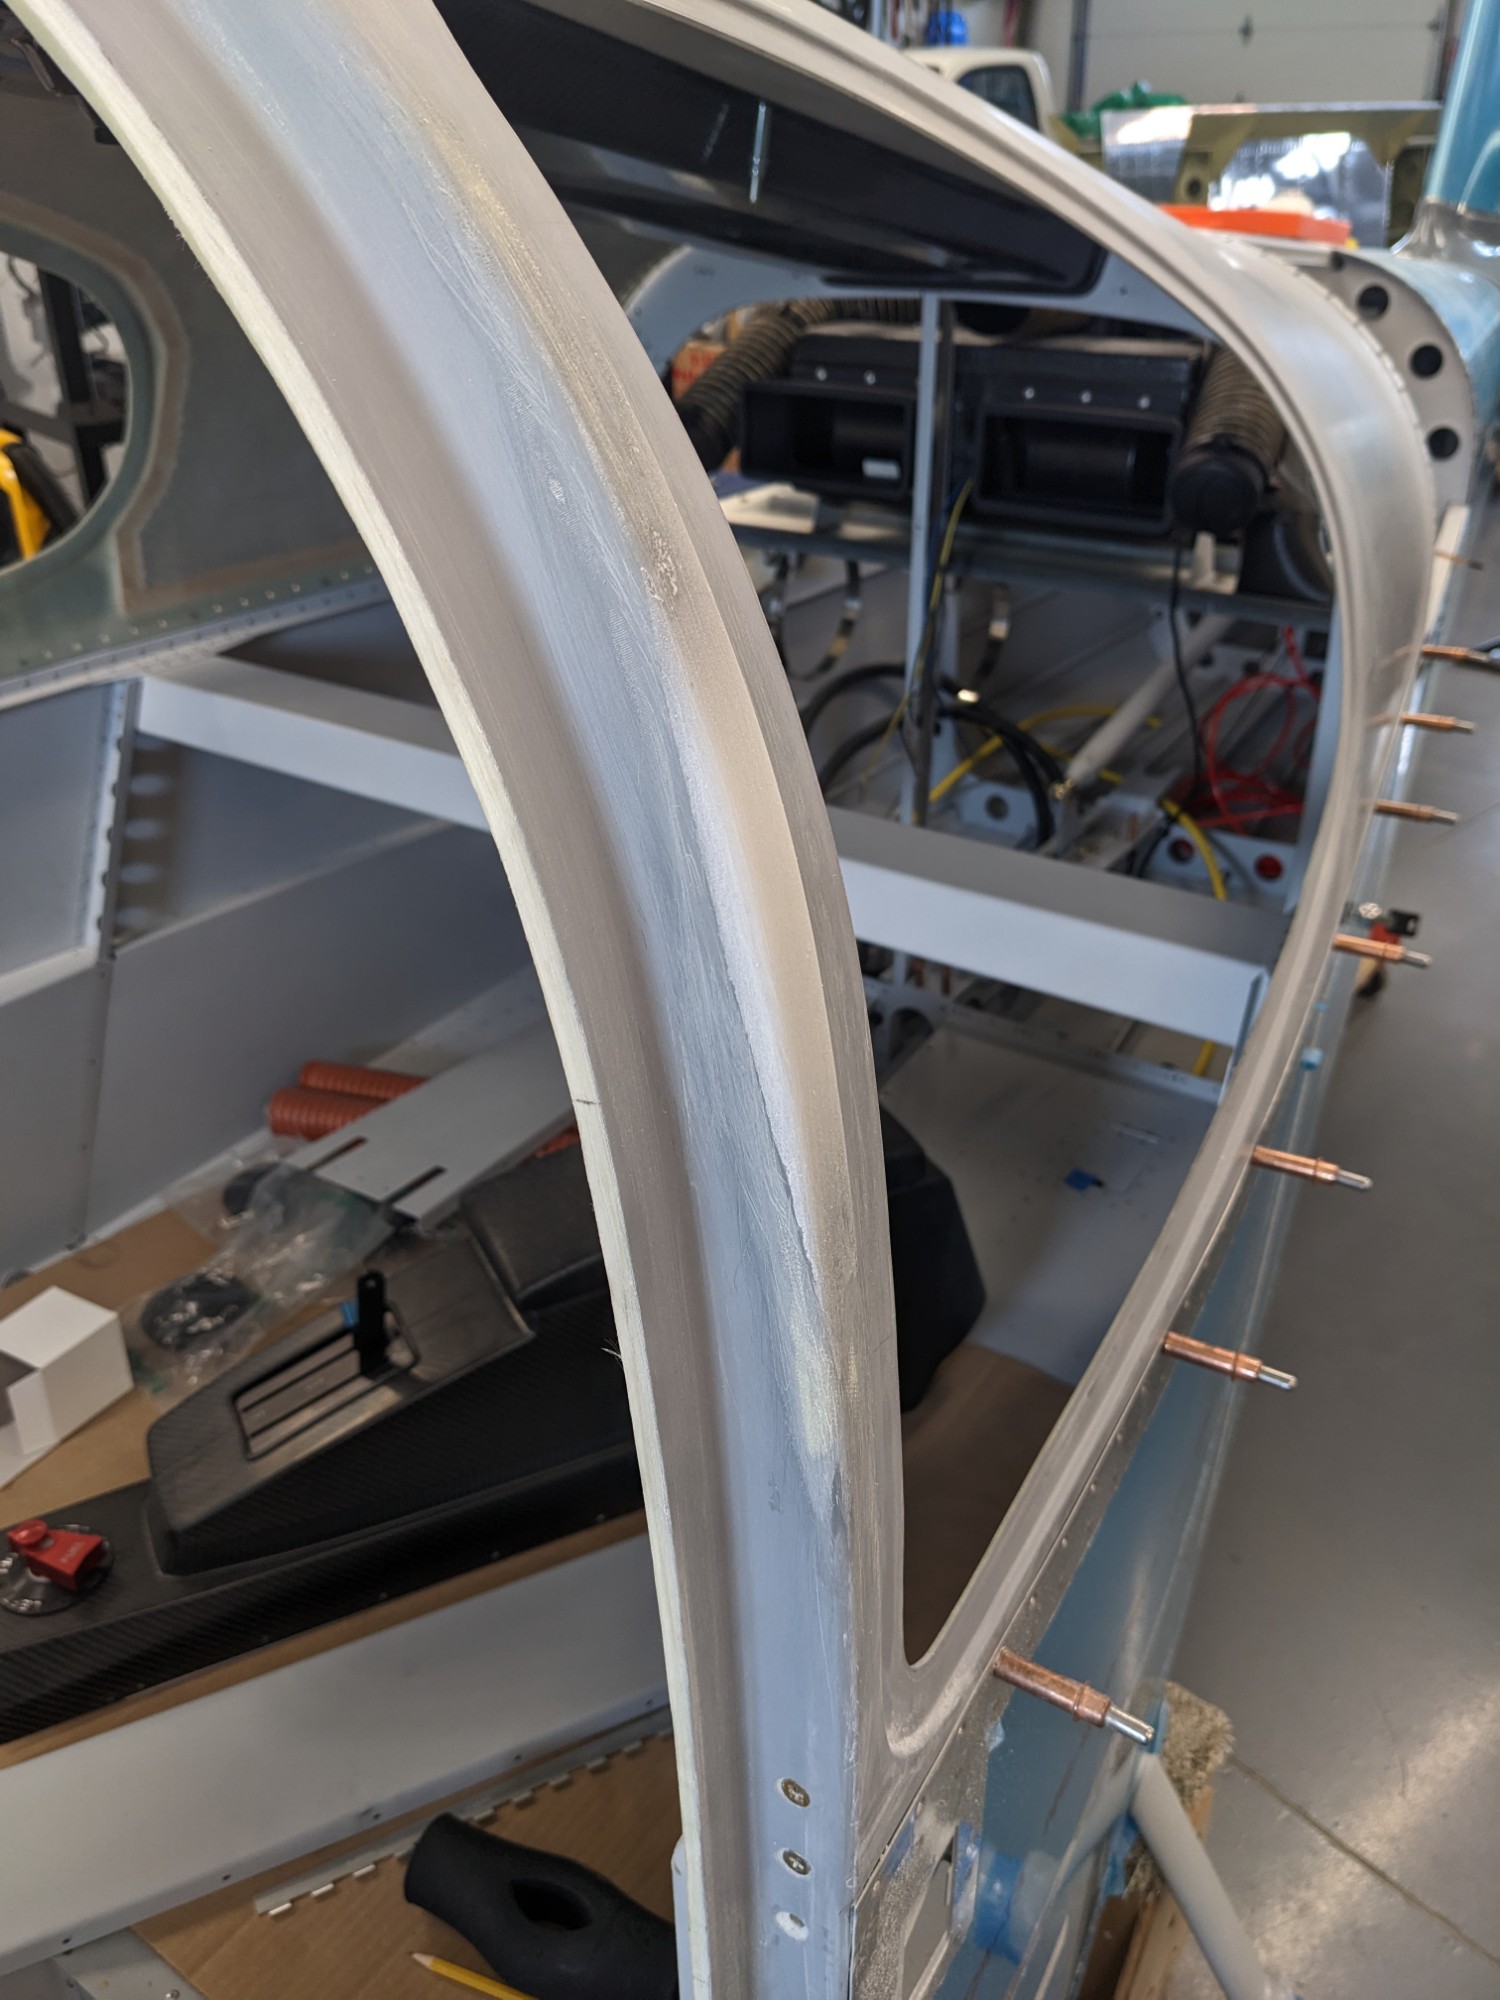
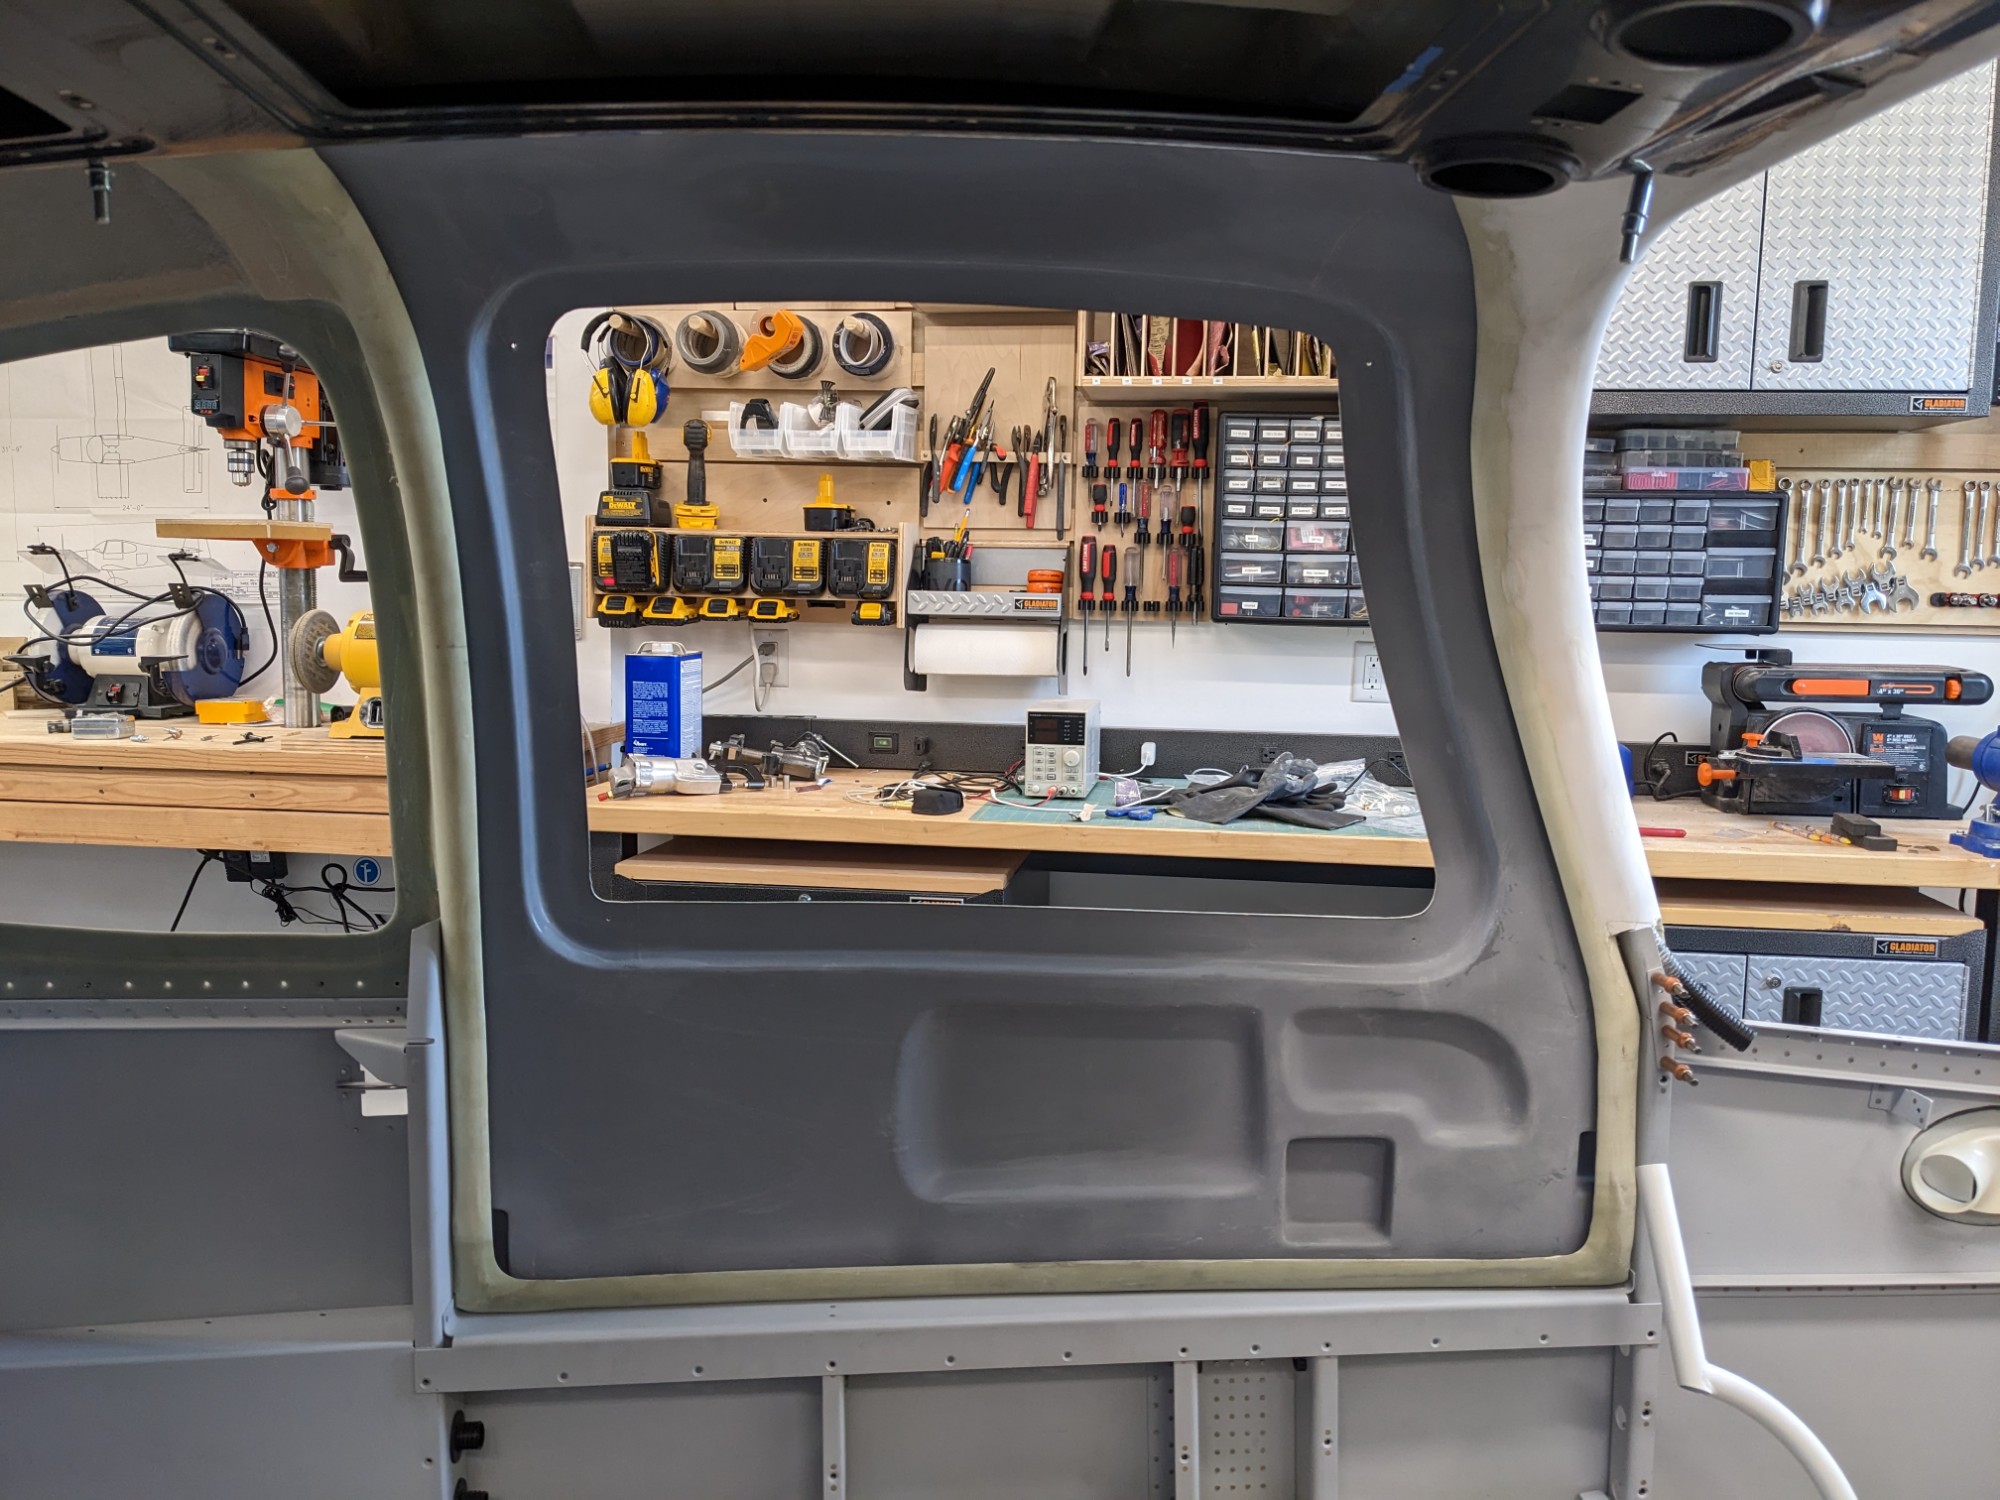
I test fit the windows with the new flange and they fit much better now. I’ll have plenty of body work to do here later but this should be good enough to fit the doors correctly.