

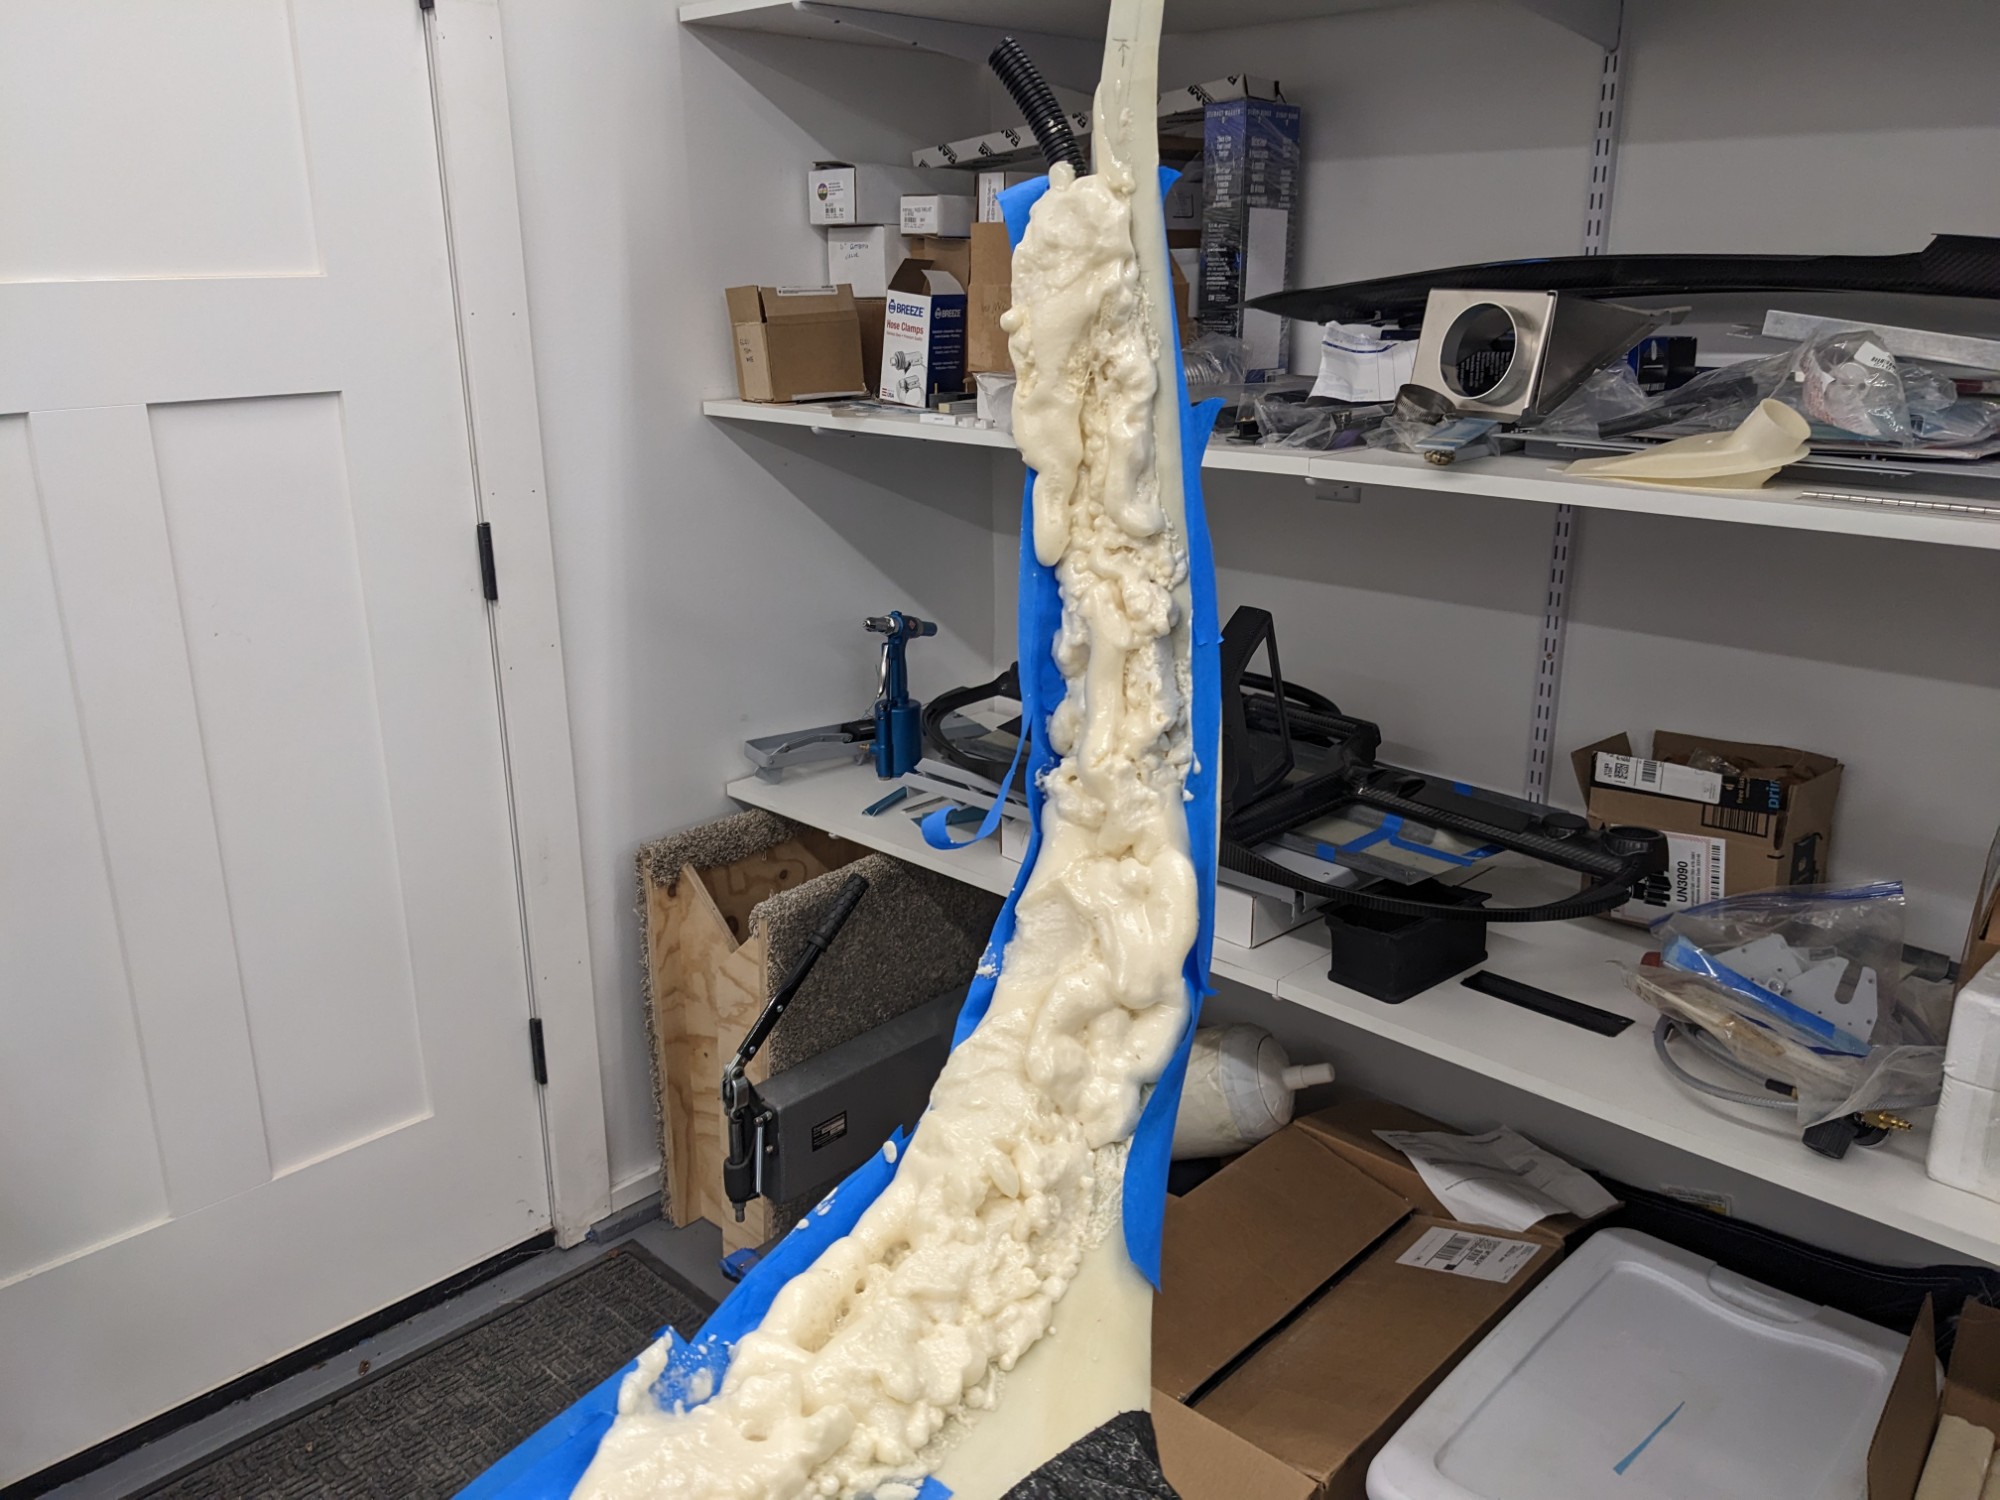
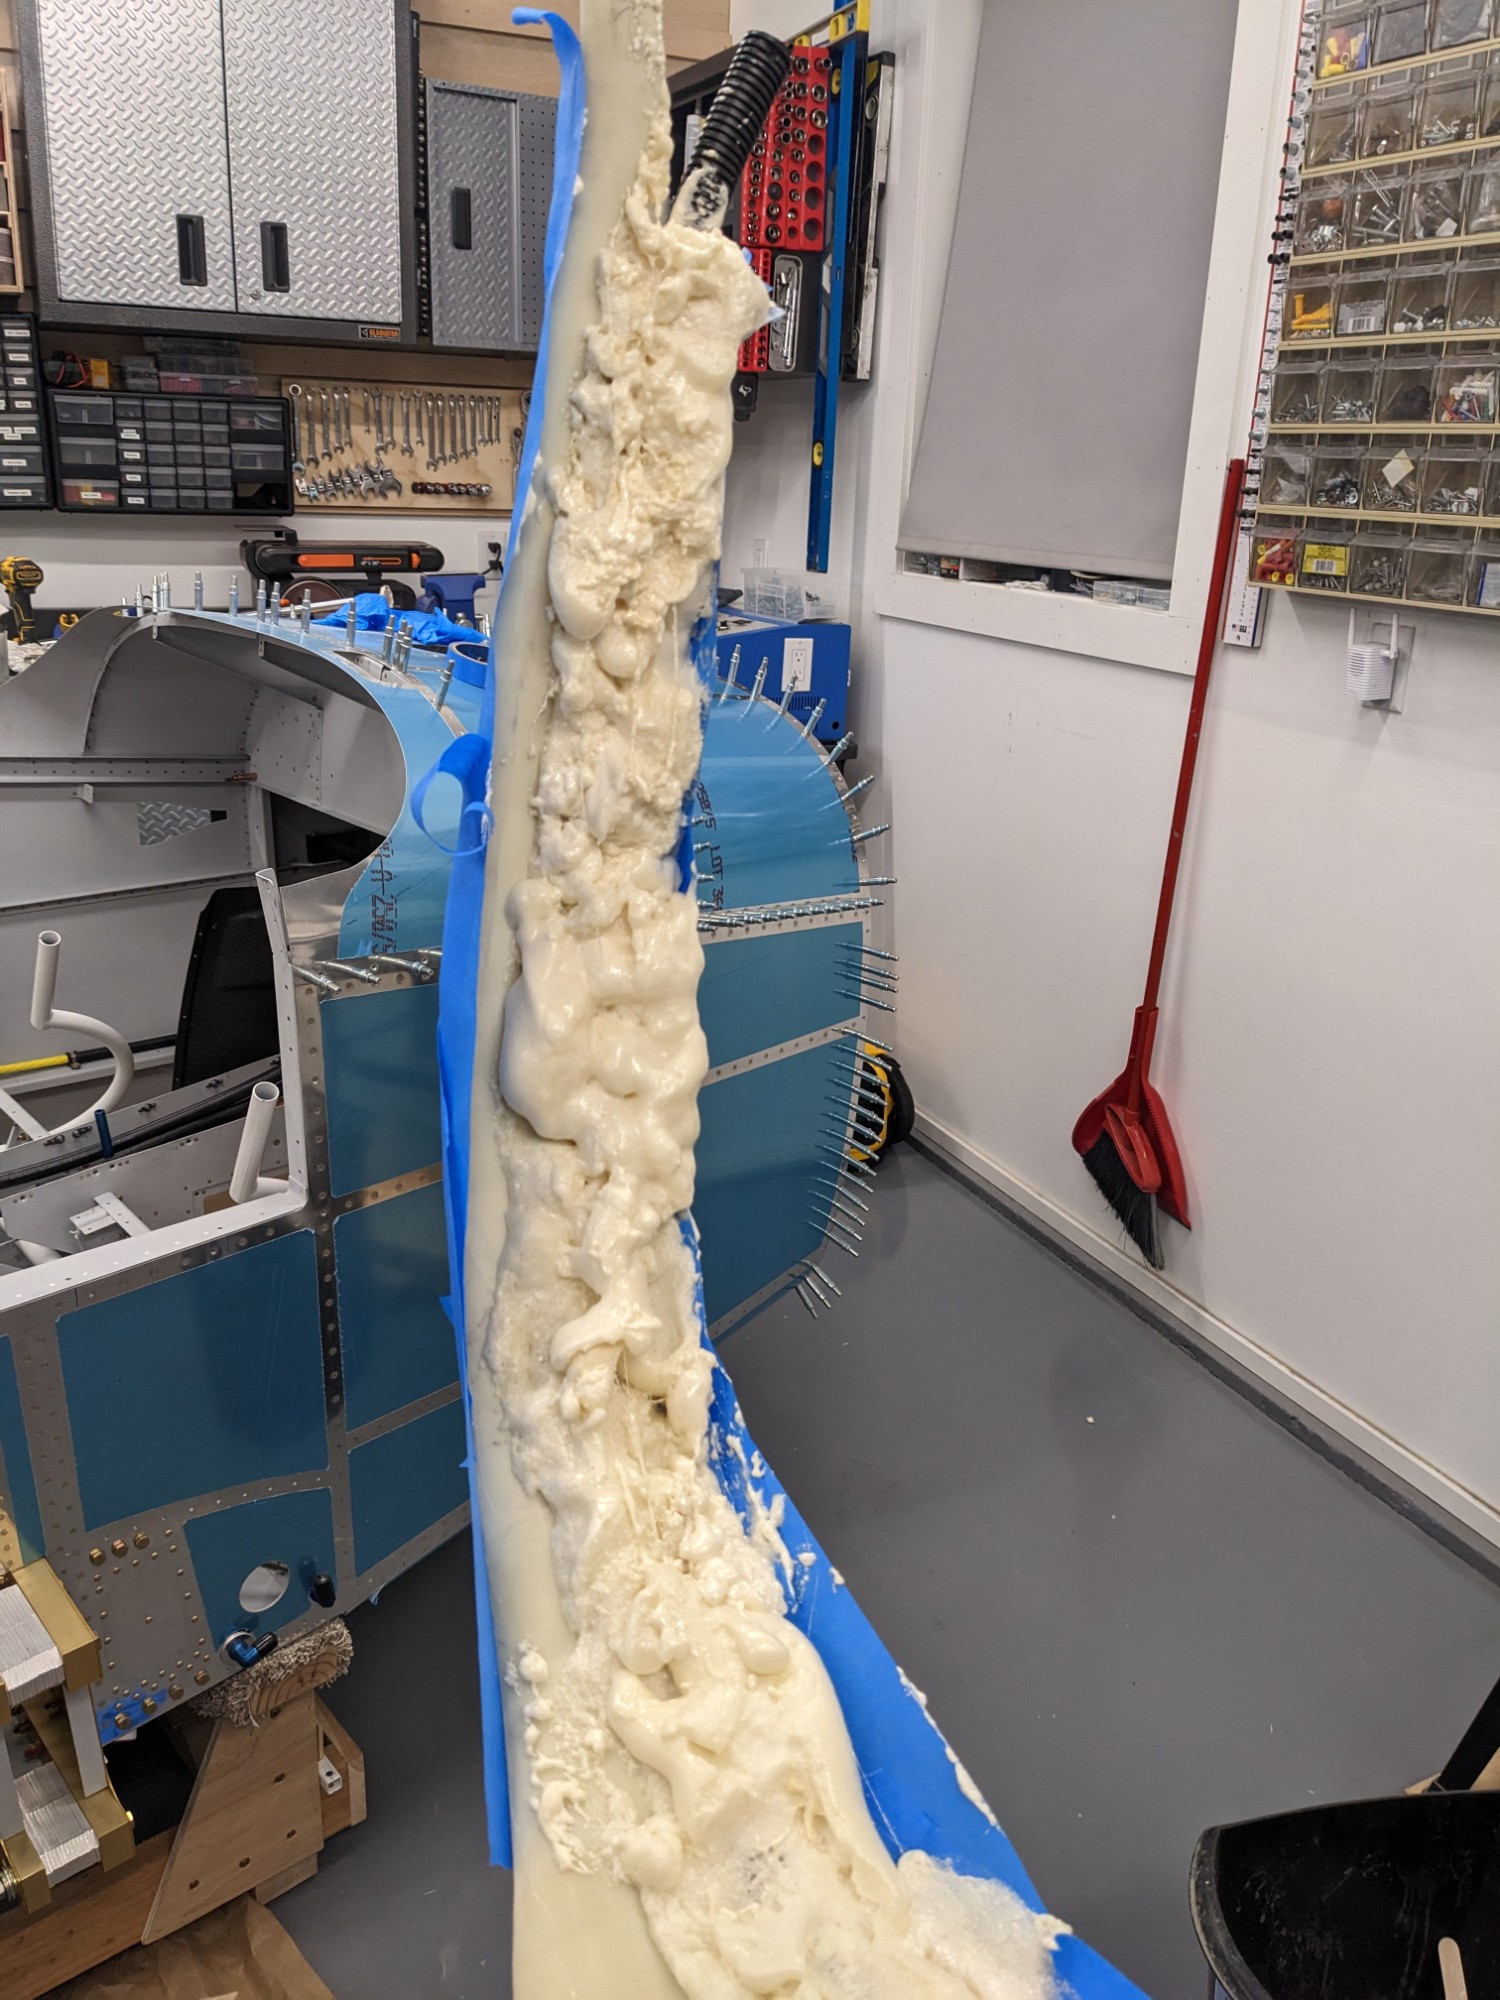
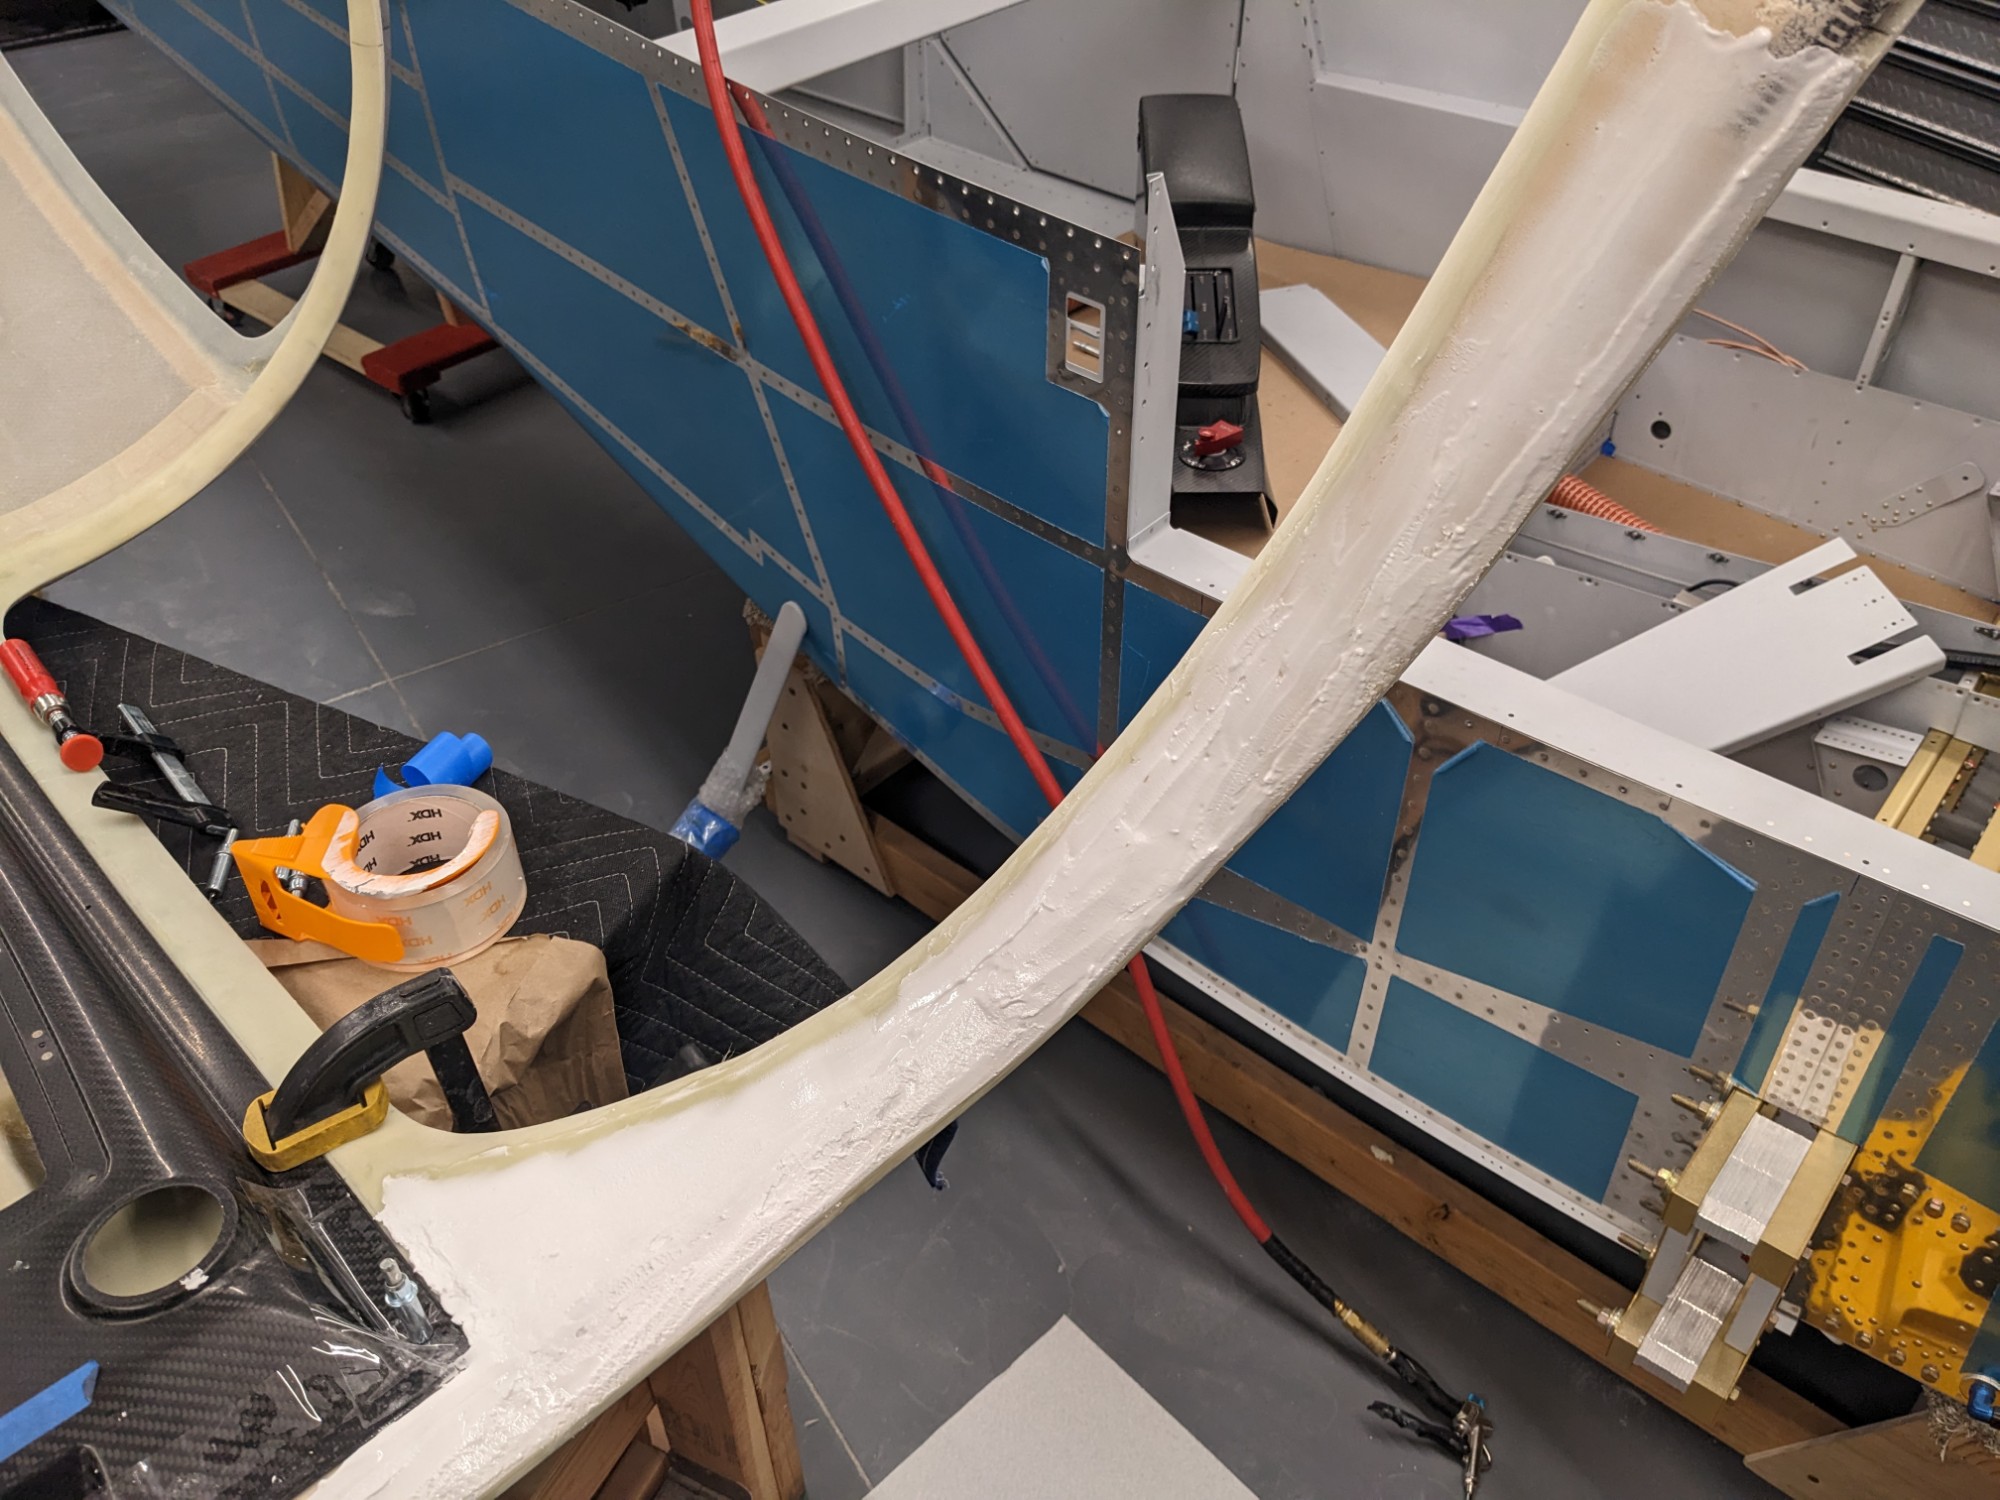
As others have done, I decided to run conduit in the cabin top A pillars. This will allow me easily route wires into the overhead console and better finish the interior transition to the windshield.
I started by roughing up the fiberglass and tacking conduit into place with super glue.
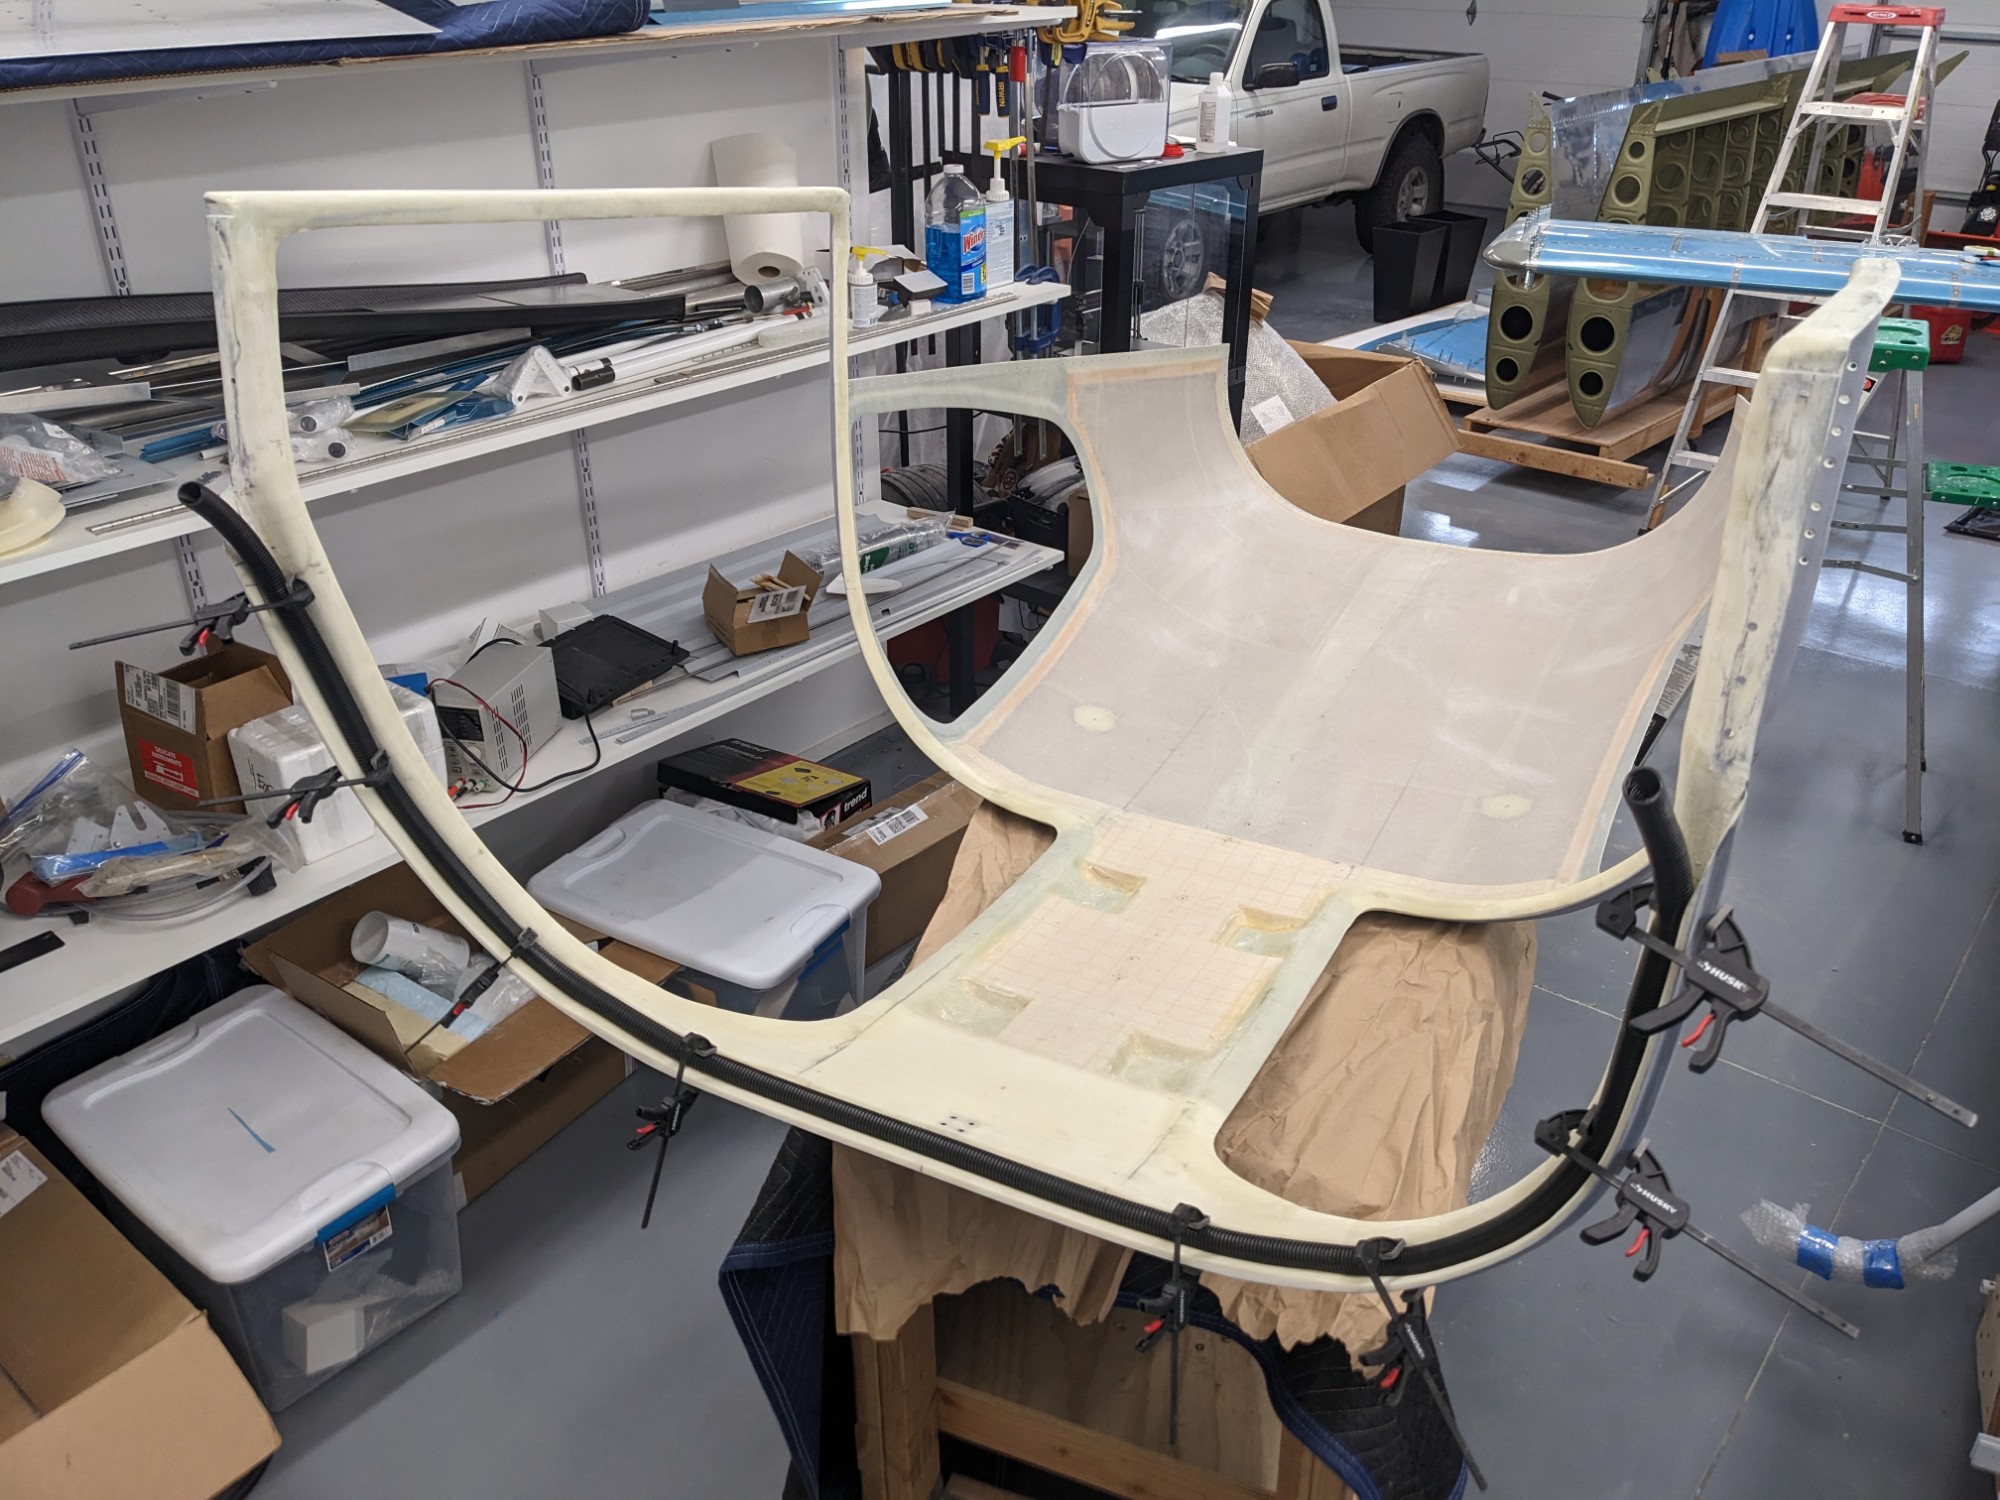
I then fashioned some dams from painters tape and filled the area with 2lb two-part polyurethane pour foam. This didn’t go quite as I had planned as there is almost no working time.
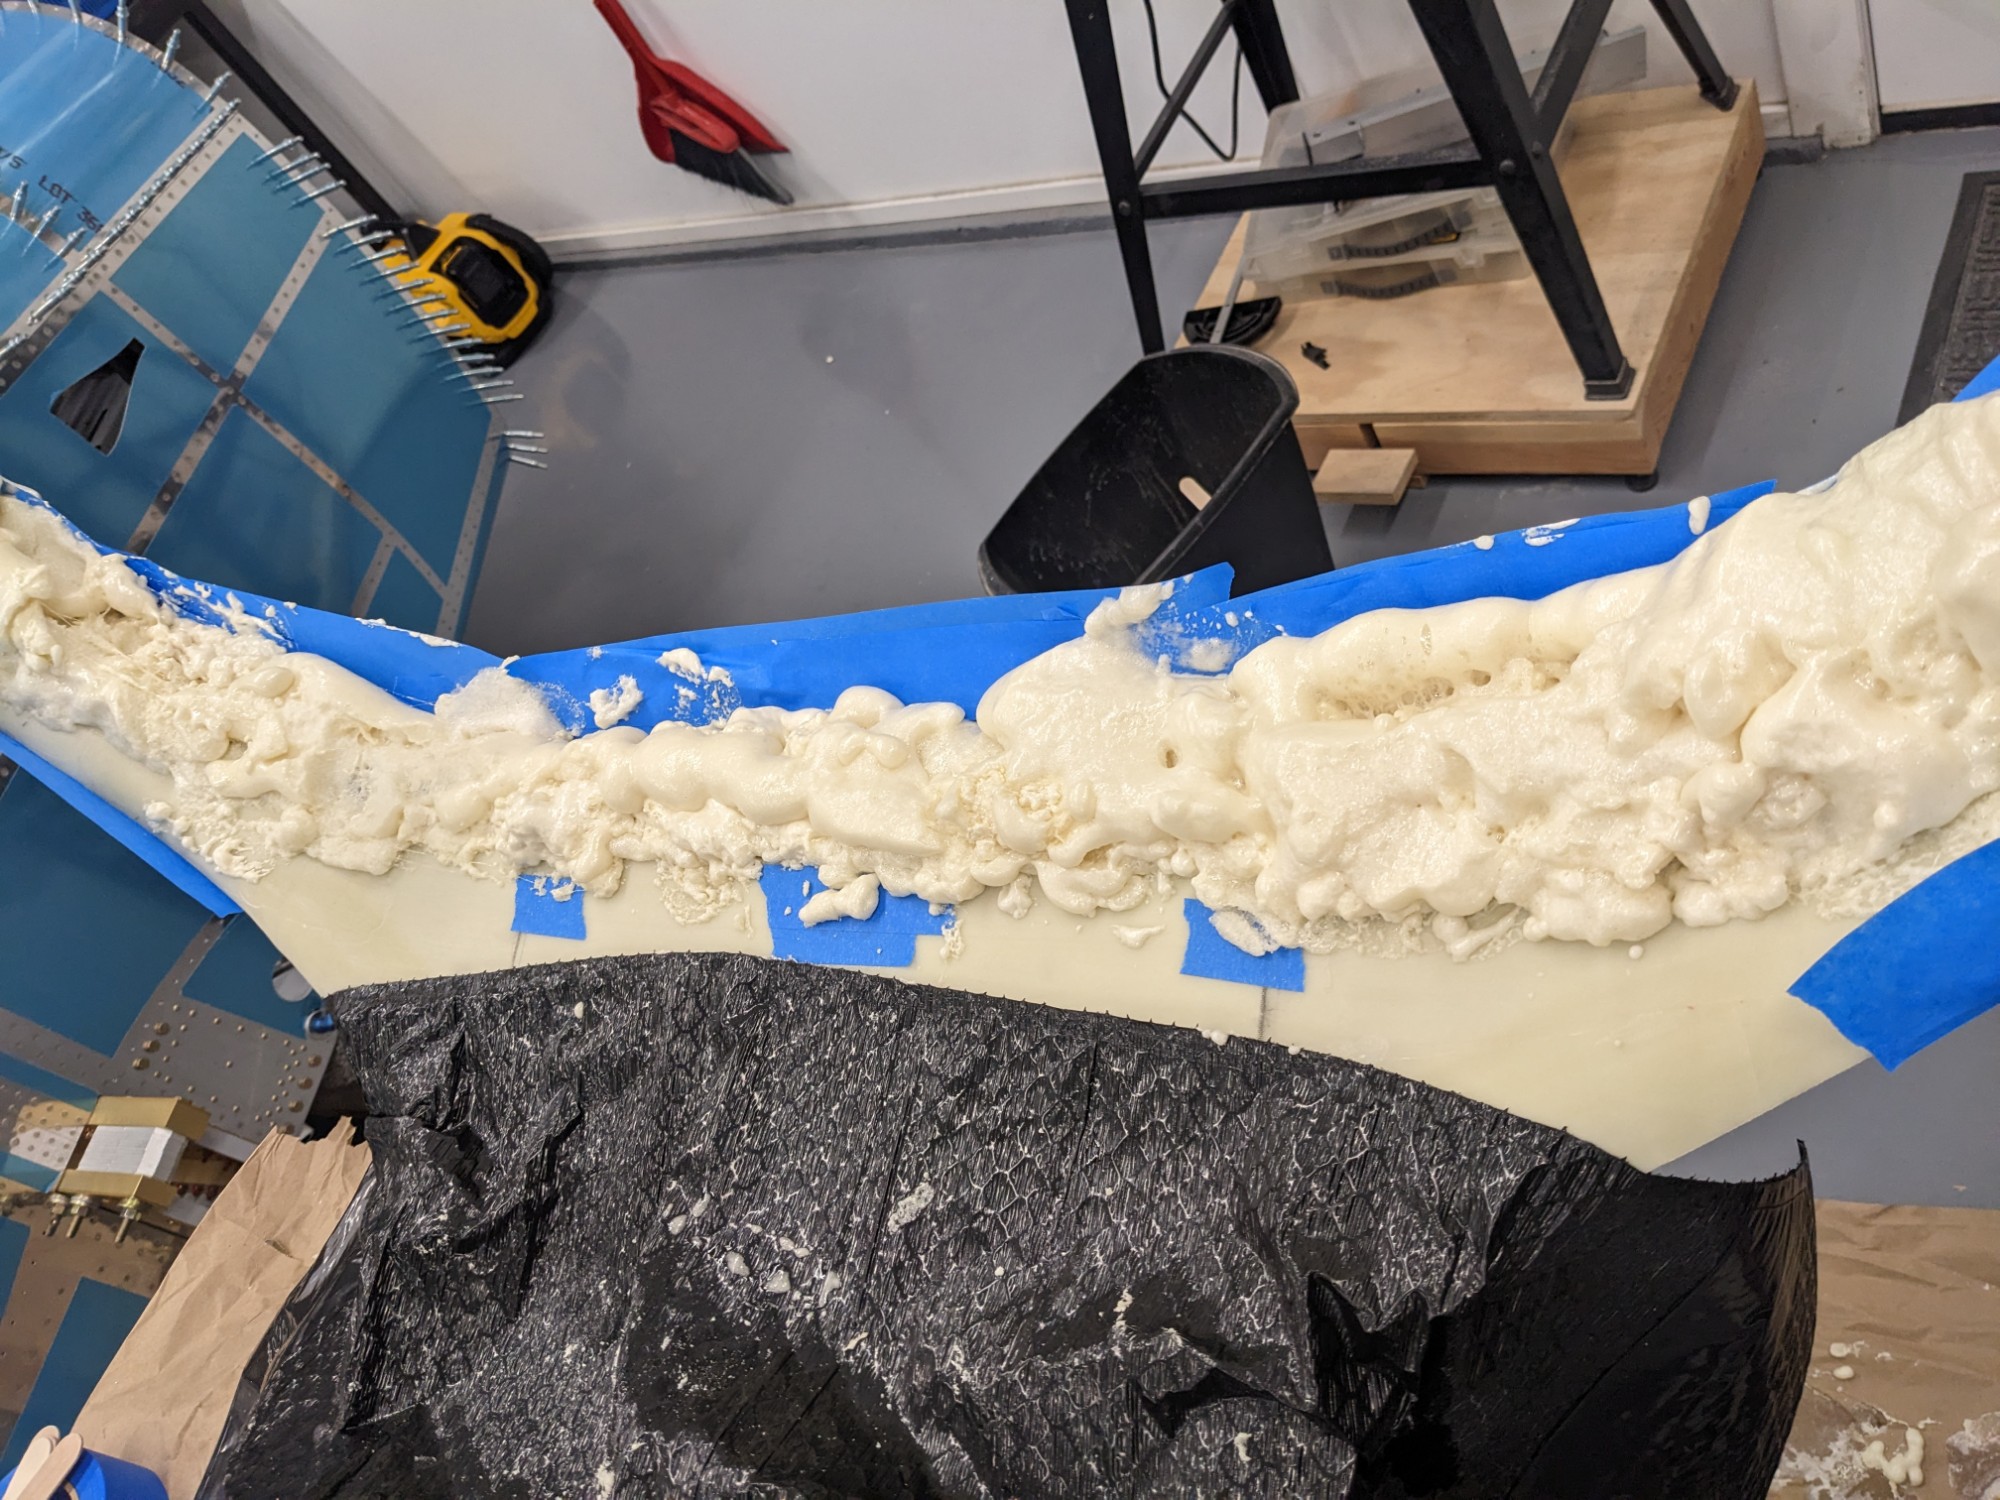
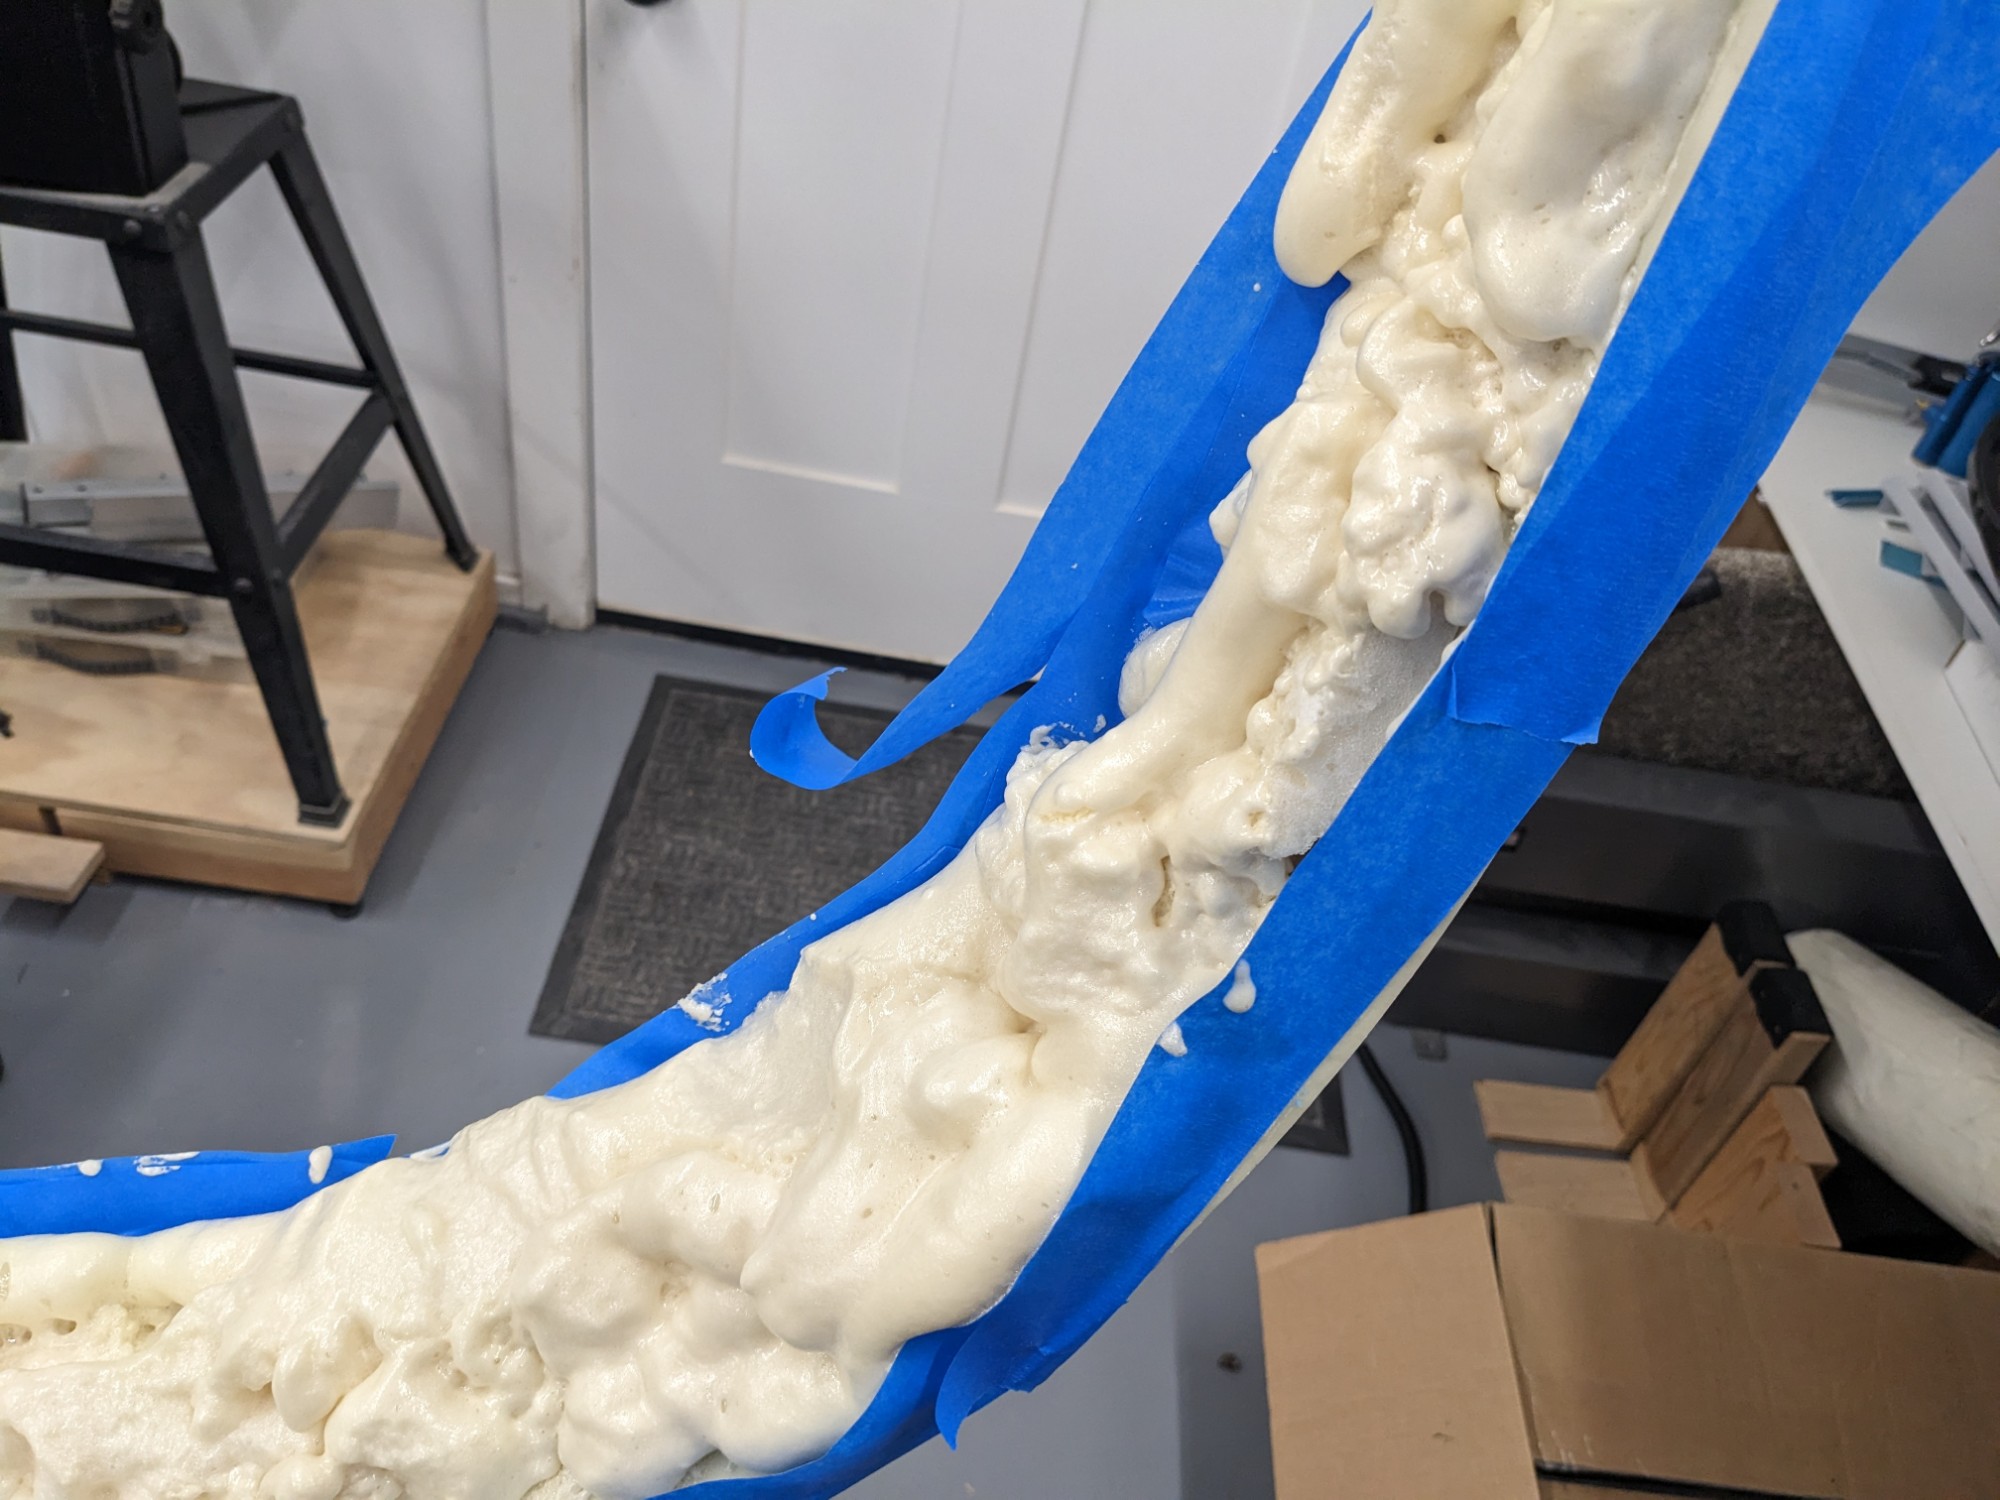
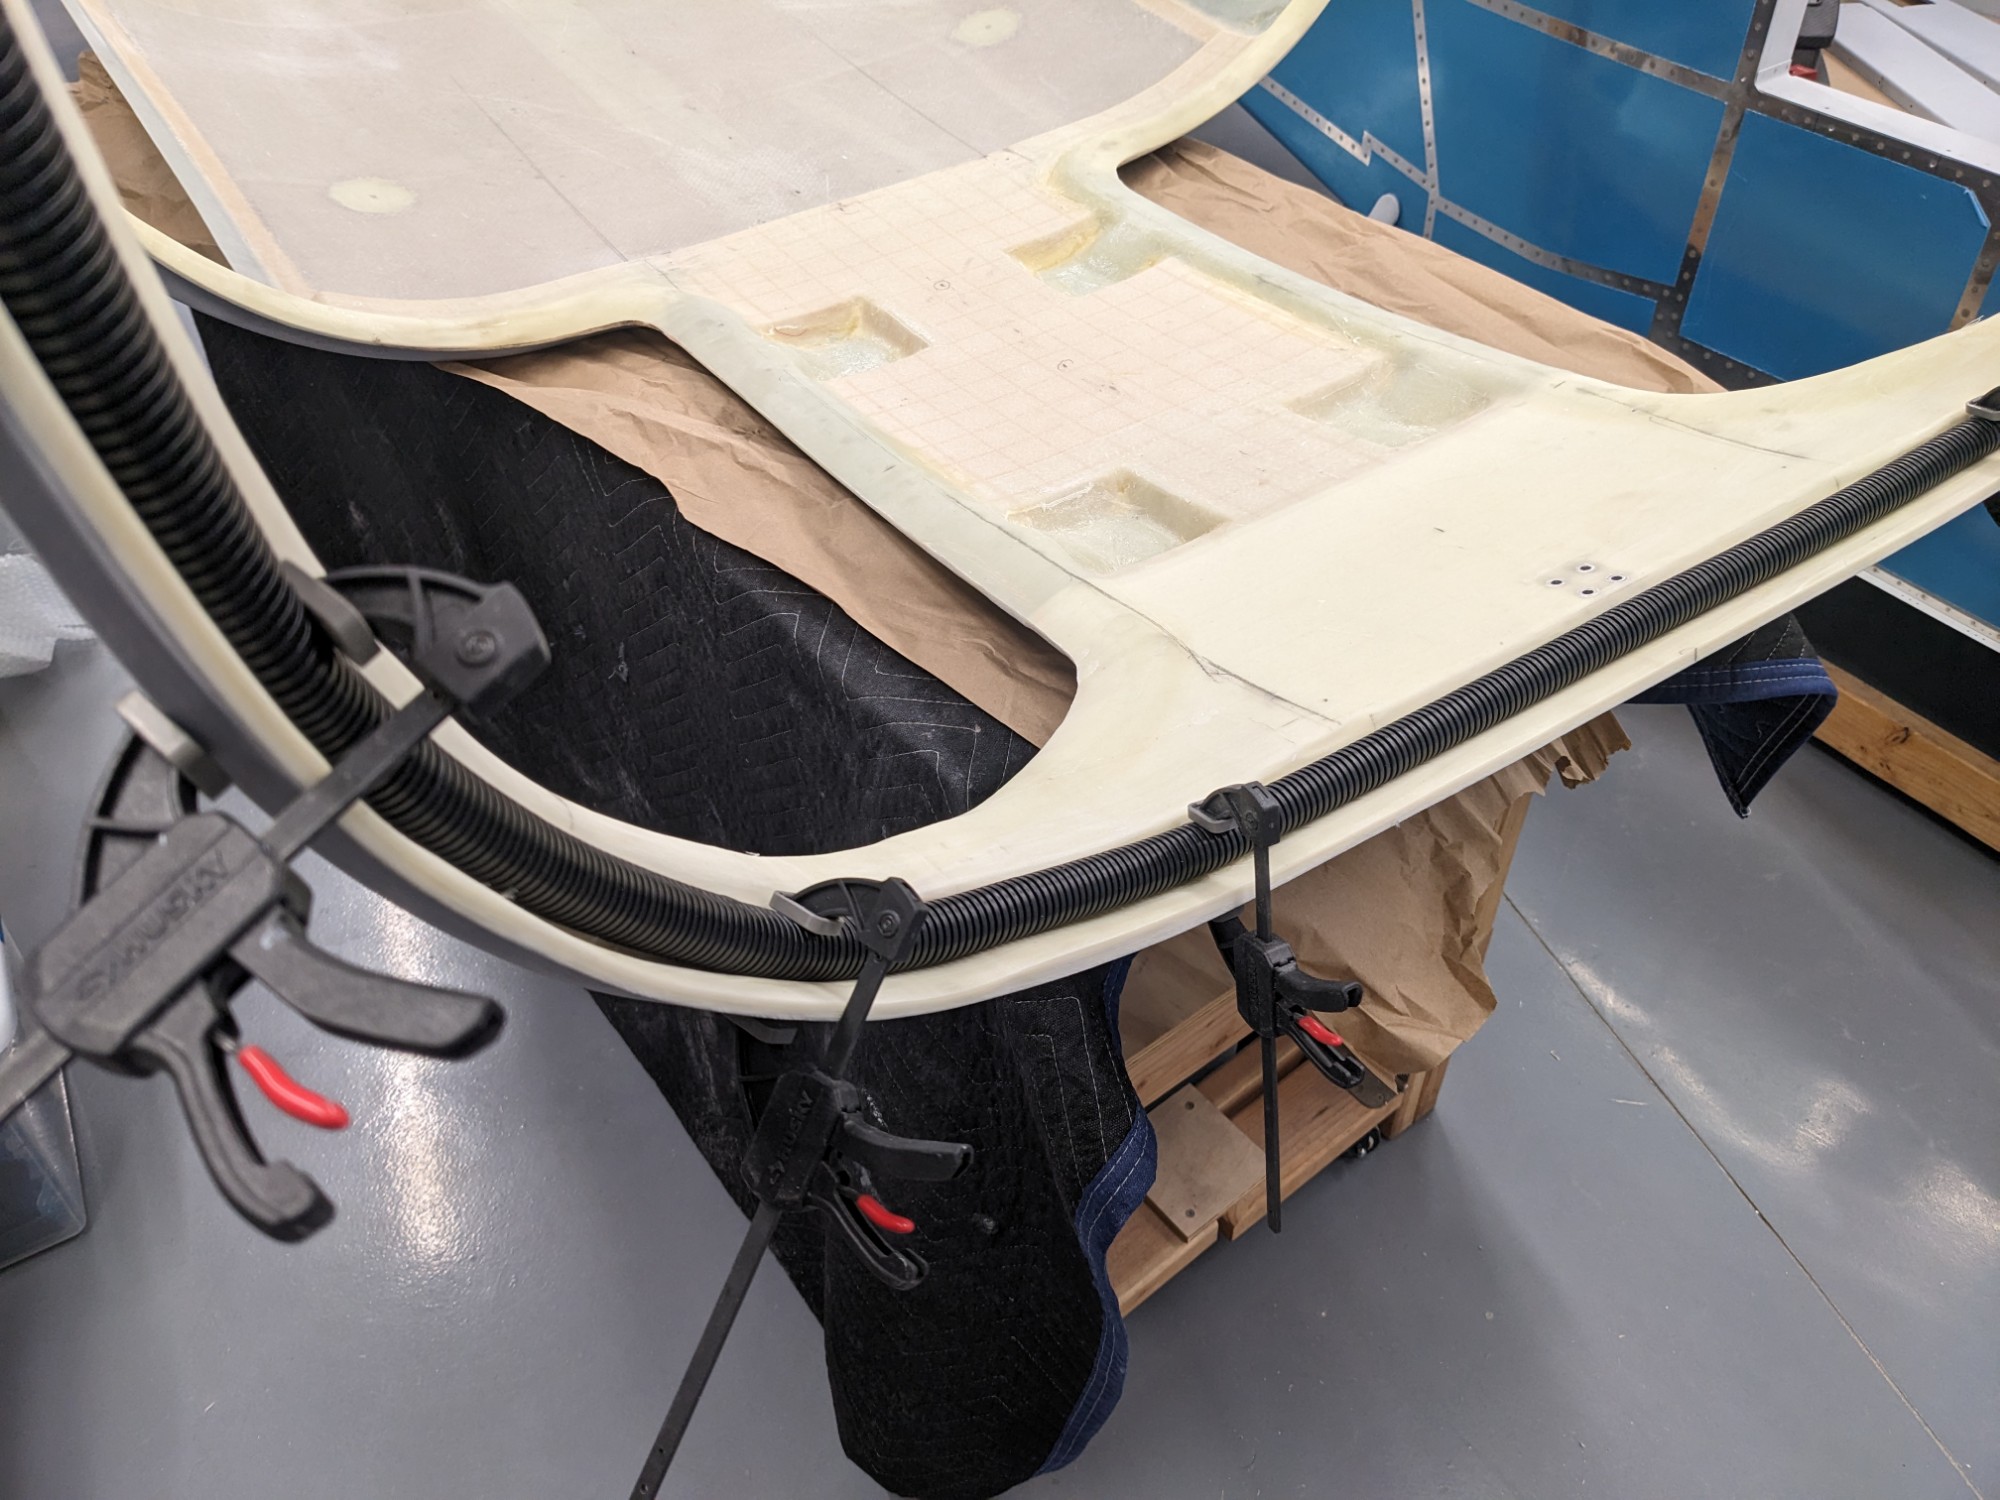
After it cured I carved it back with a knife, sandpaper, and a file. I then mixed up some West Systems microlight filler to fill any remaining voids.
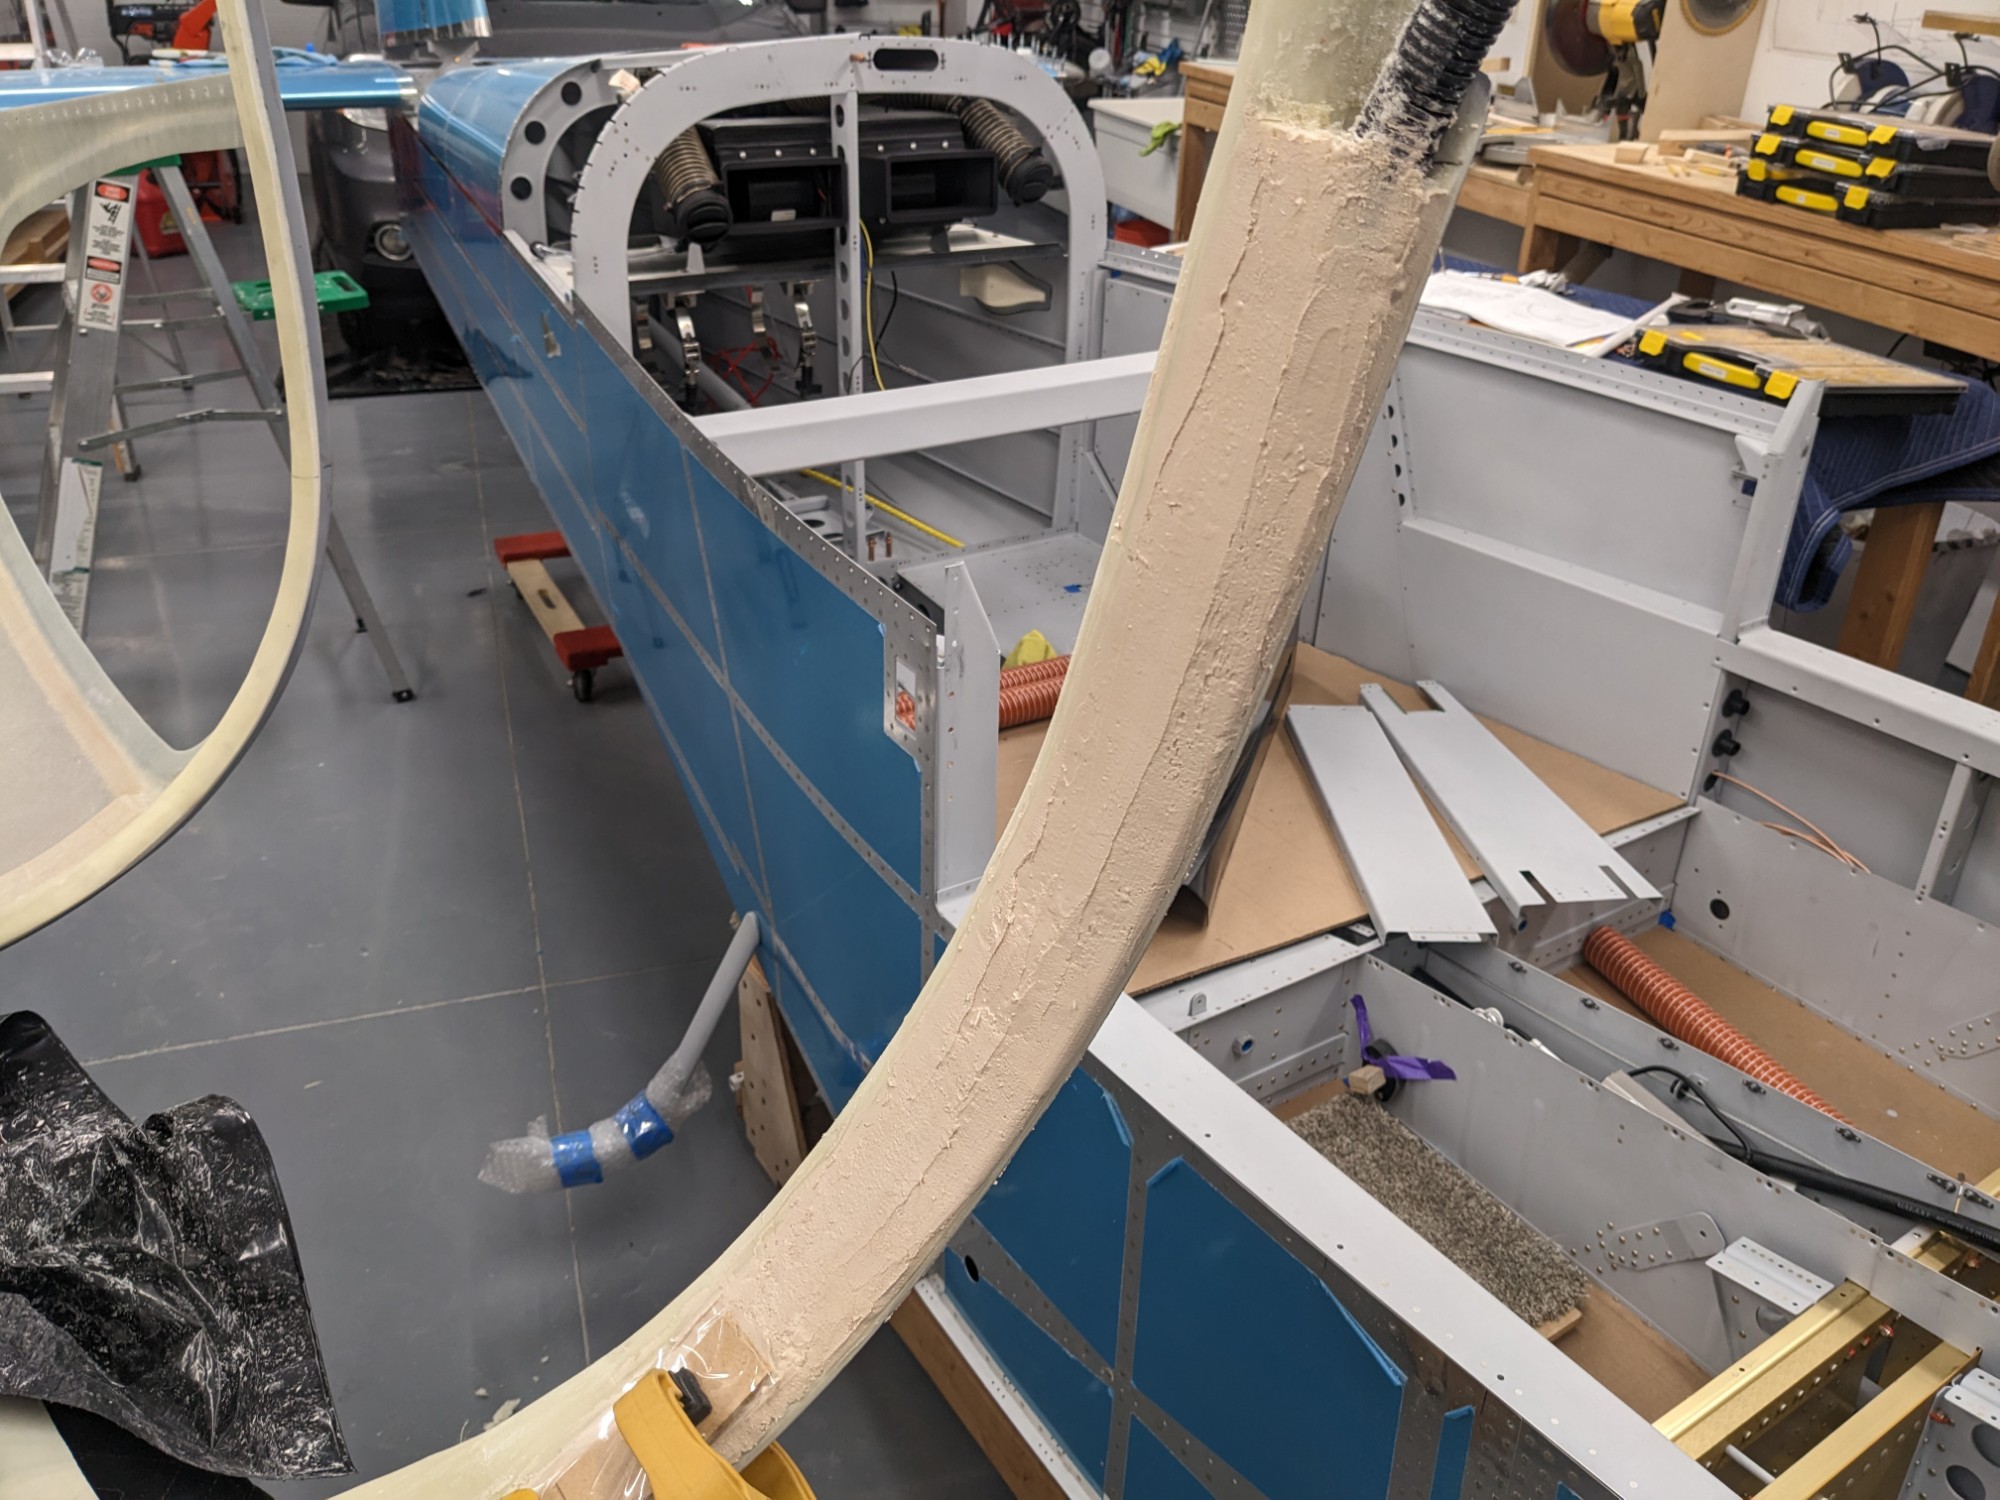
I wanted to keep the pillars as low profile as possible to avoid limiting the viewing angles out of the windshield. The conduit was a bit thicker than the cavity in places so I compressed it into an oval shape with blocks covered in packing tape while the filler cured.
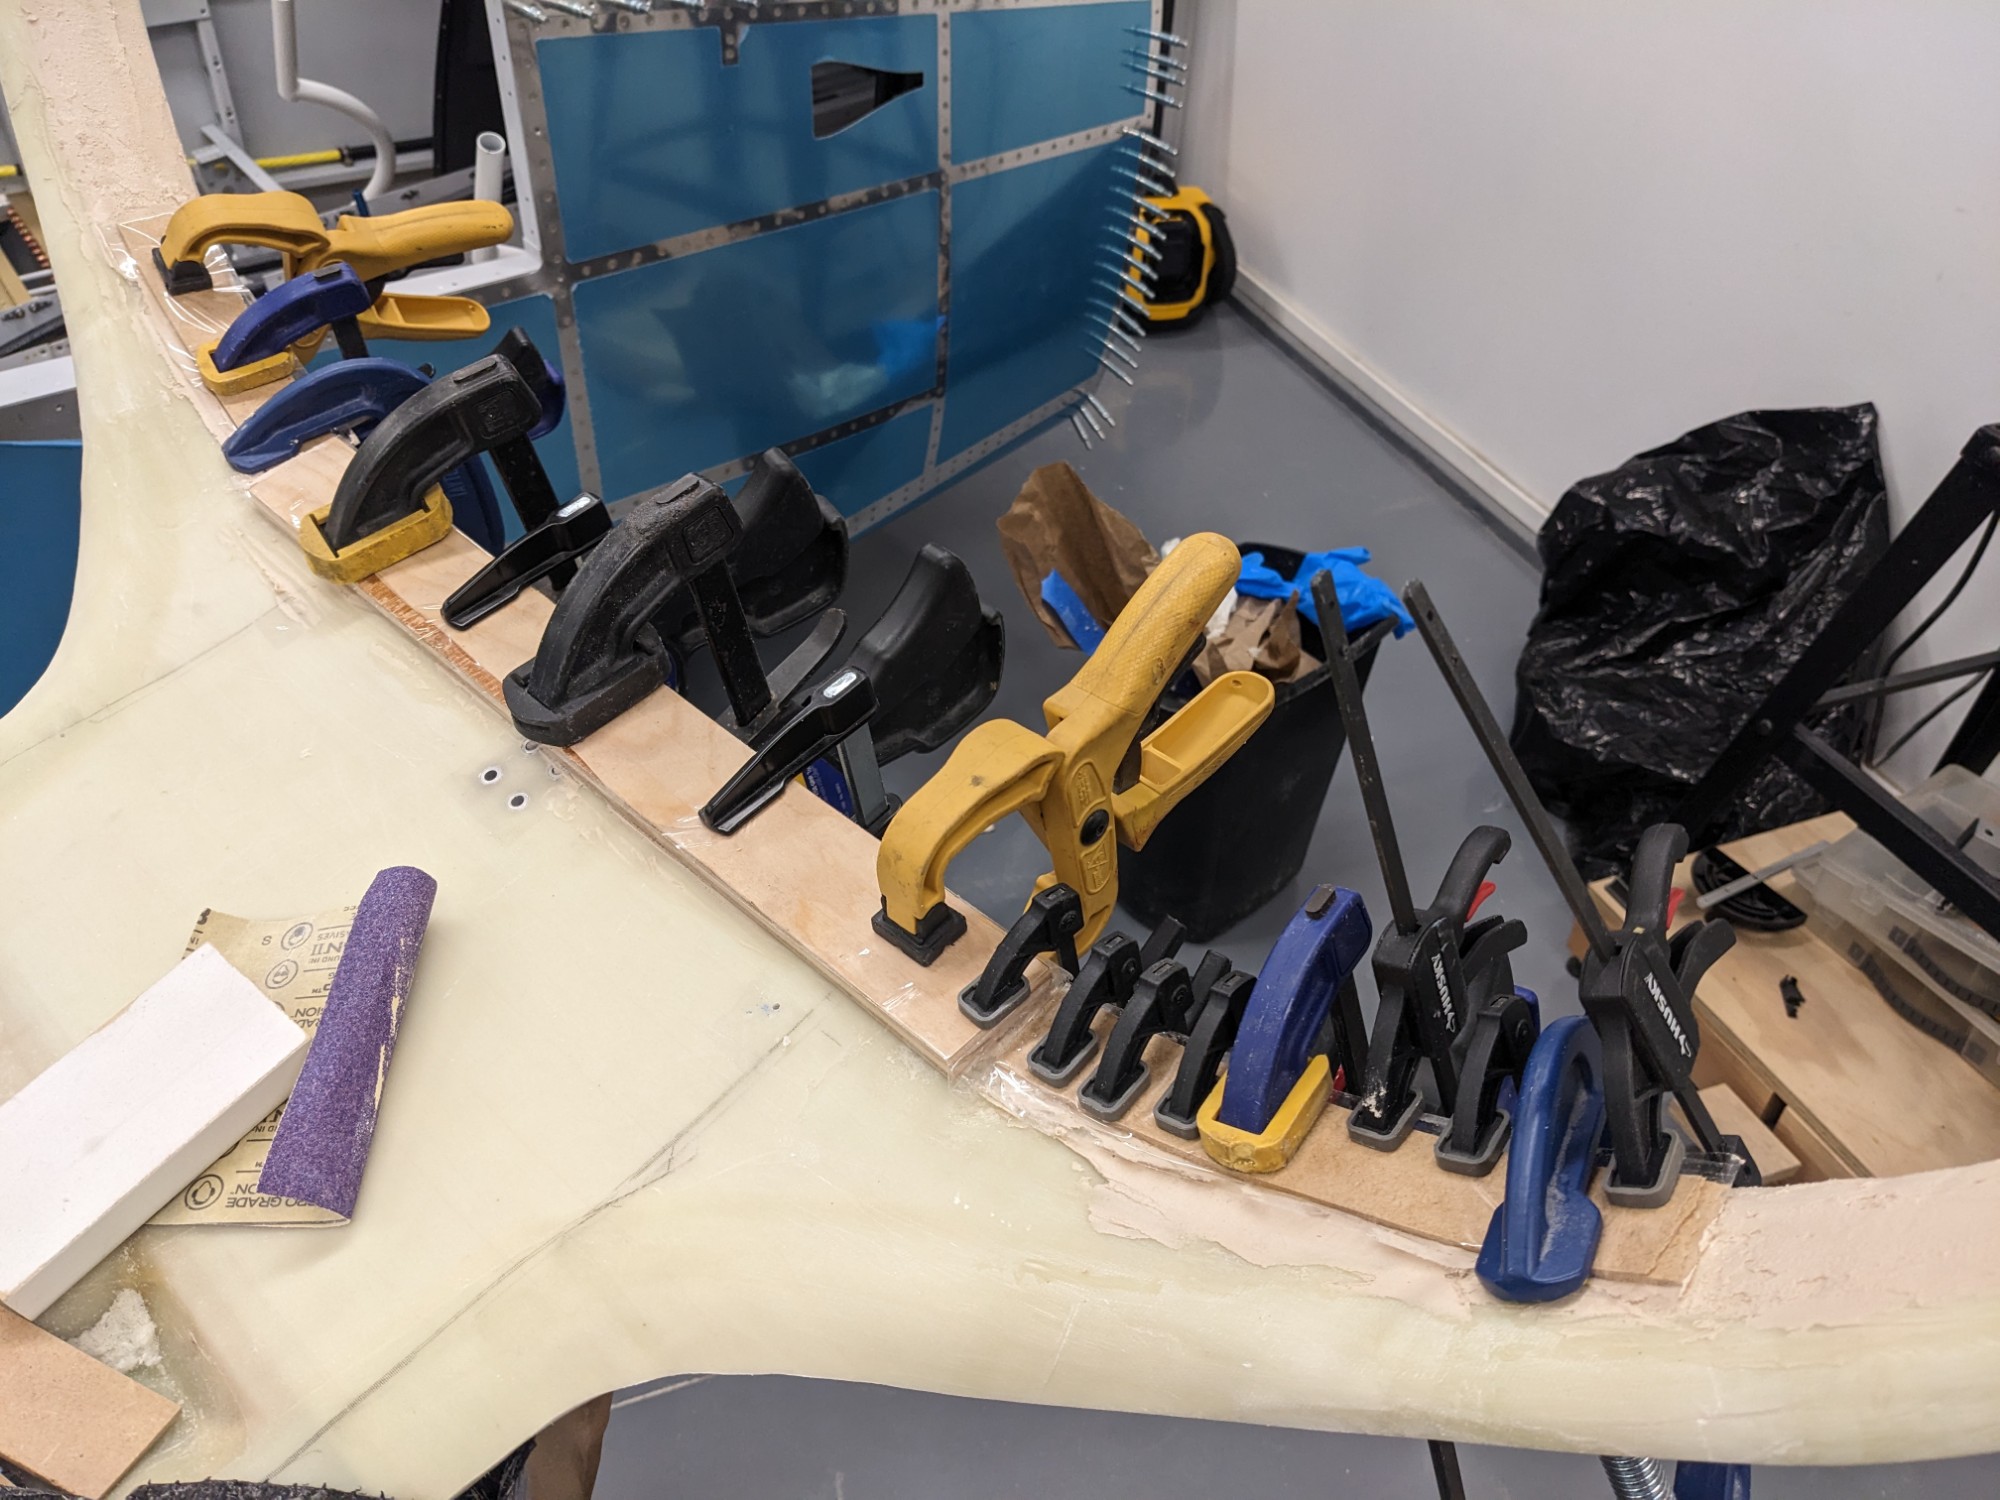
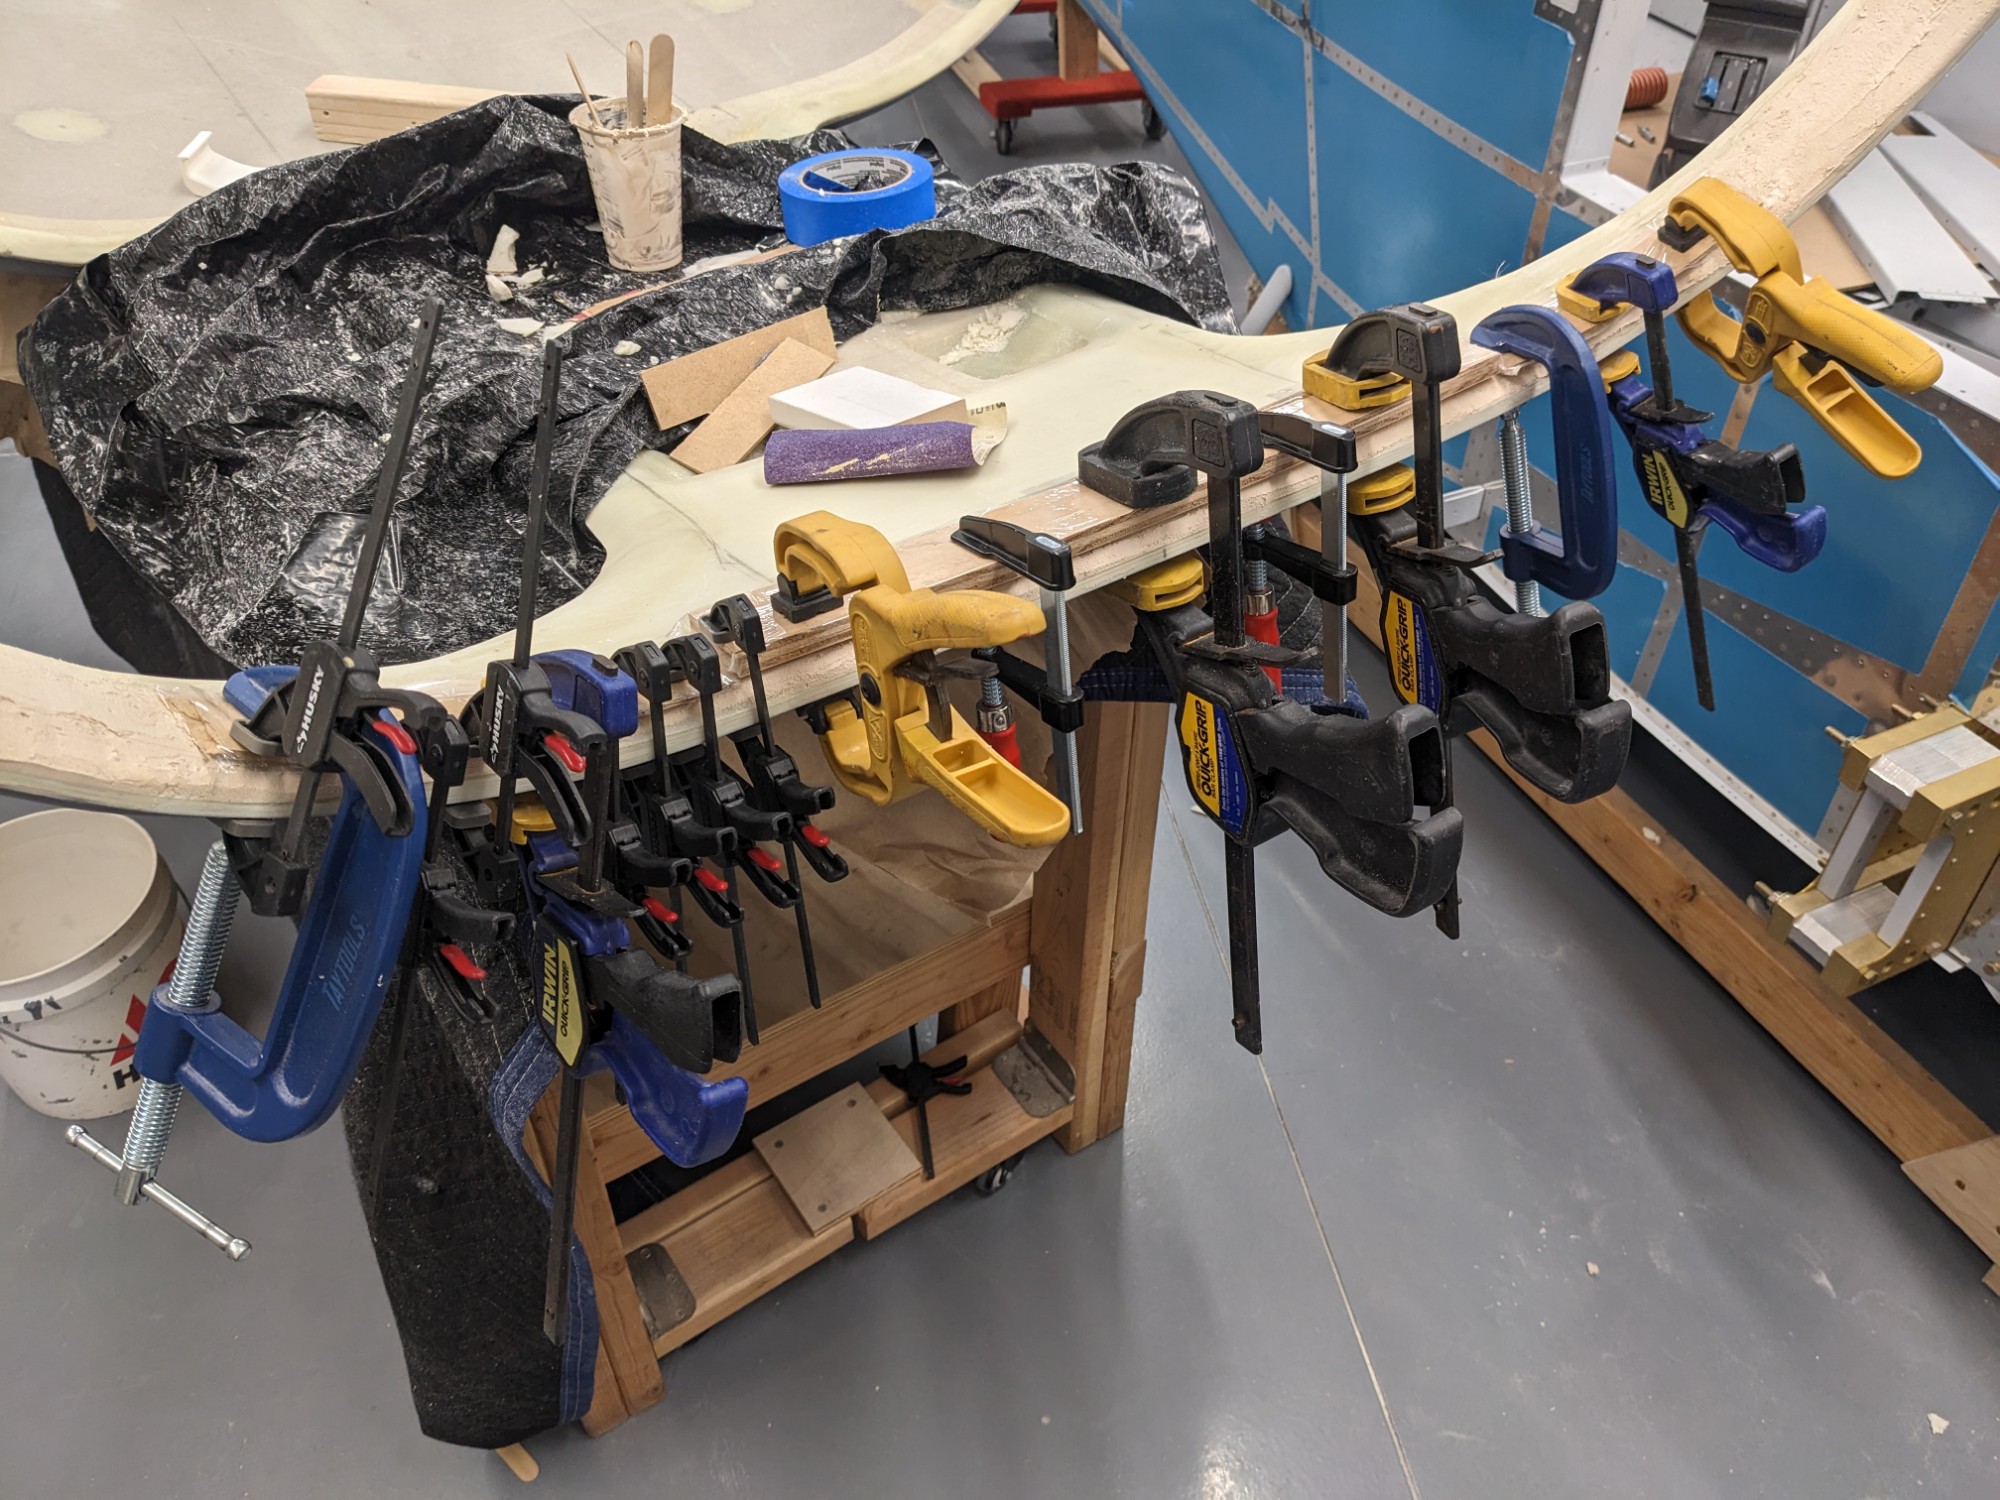
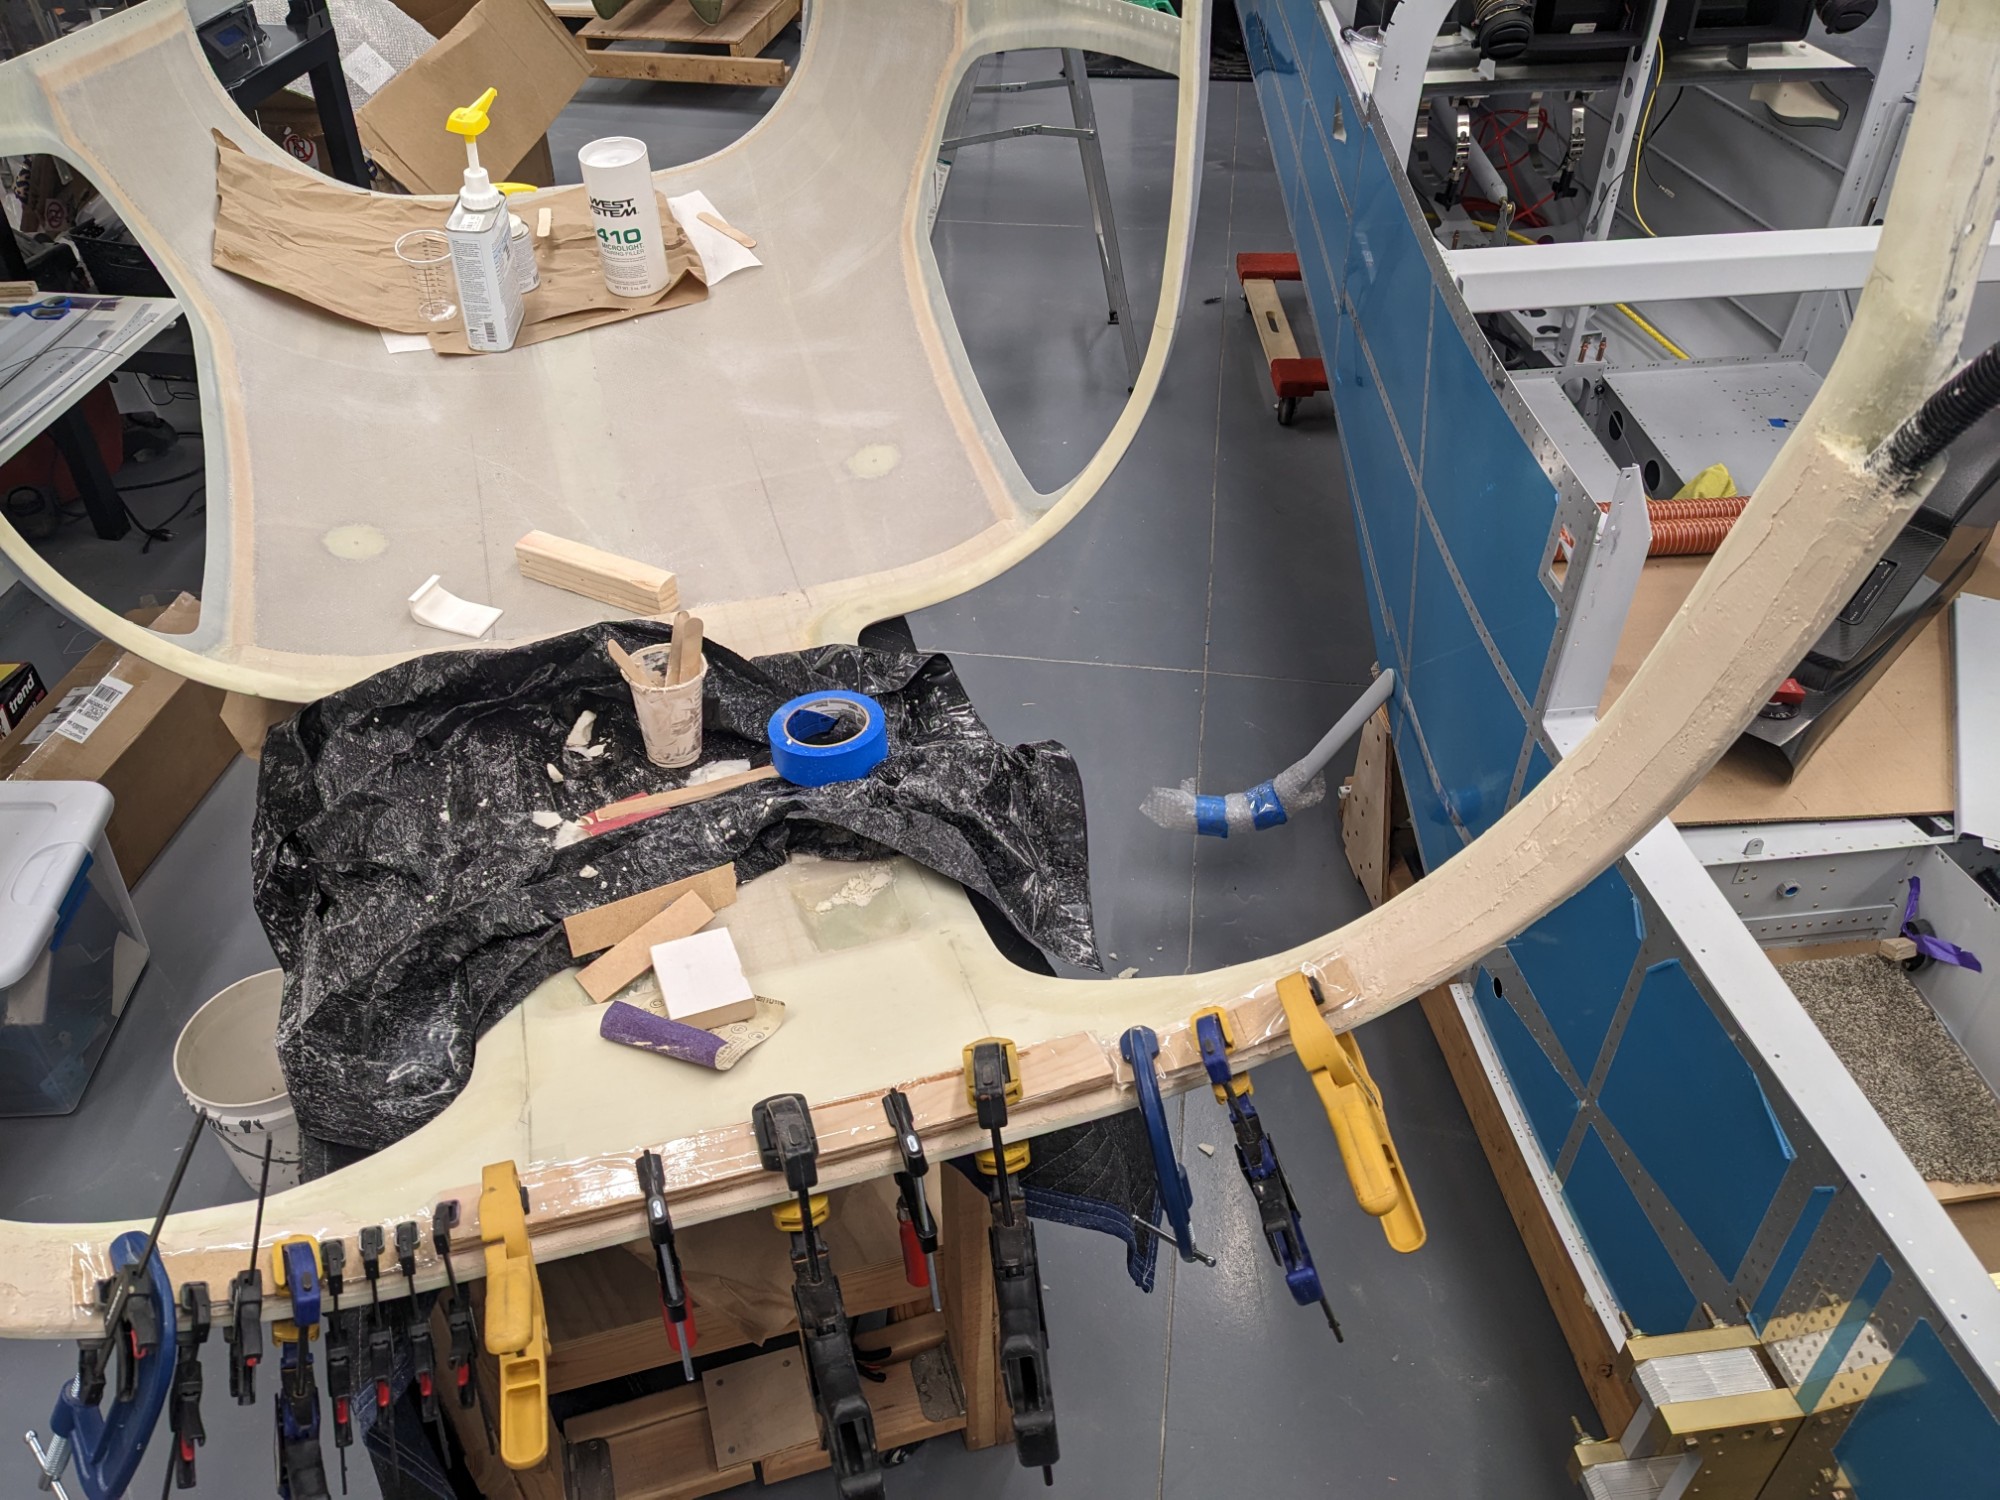
After sanding, I added a layer of micro to create the general profile I wanted.
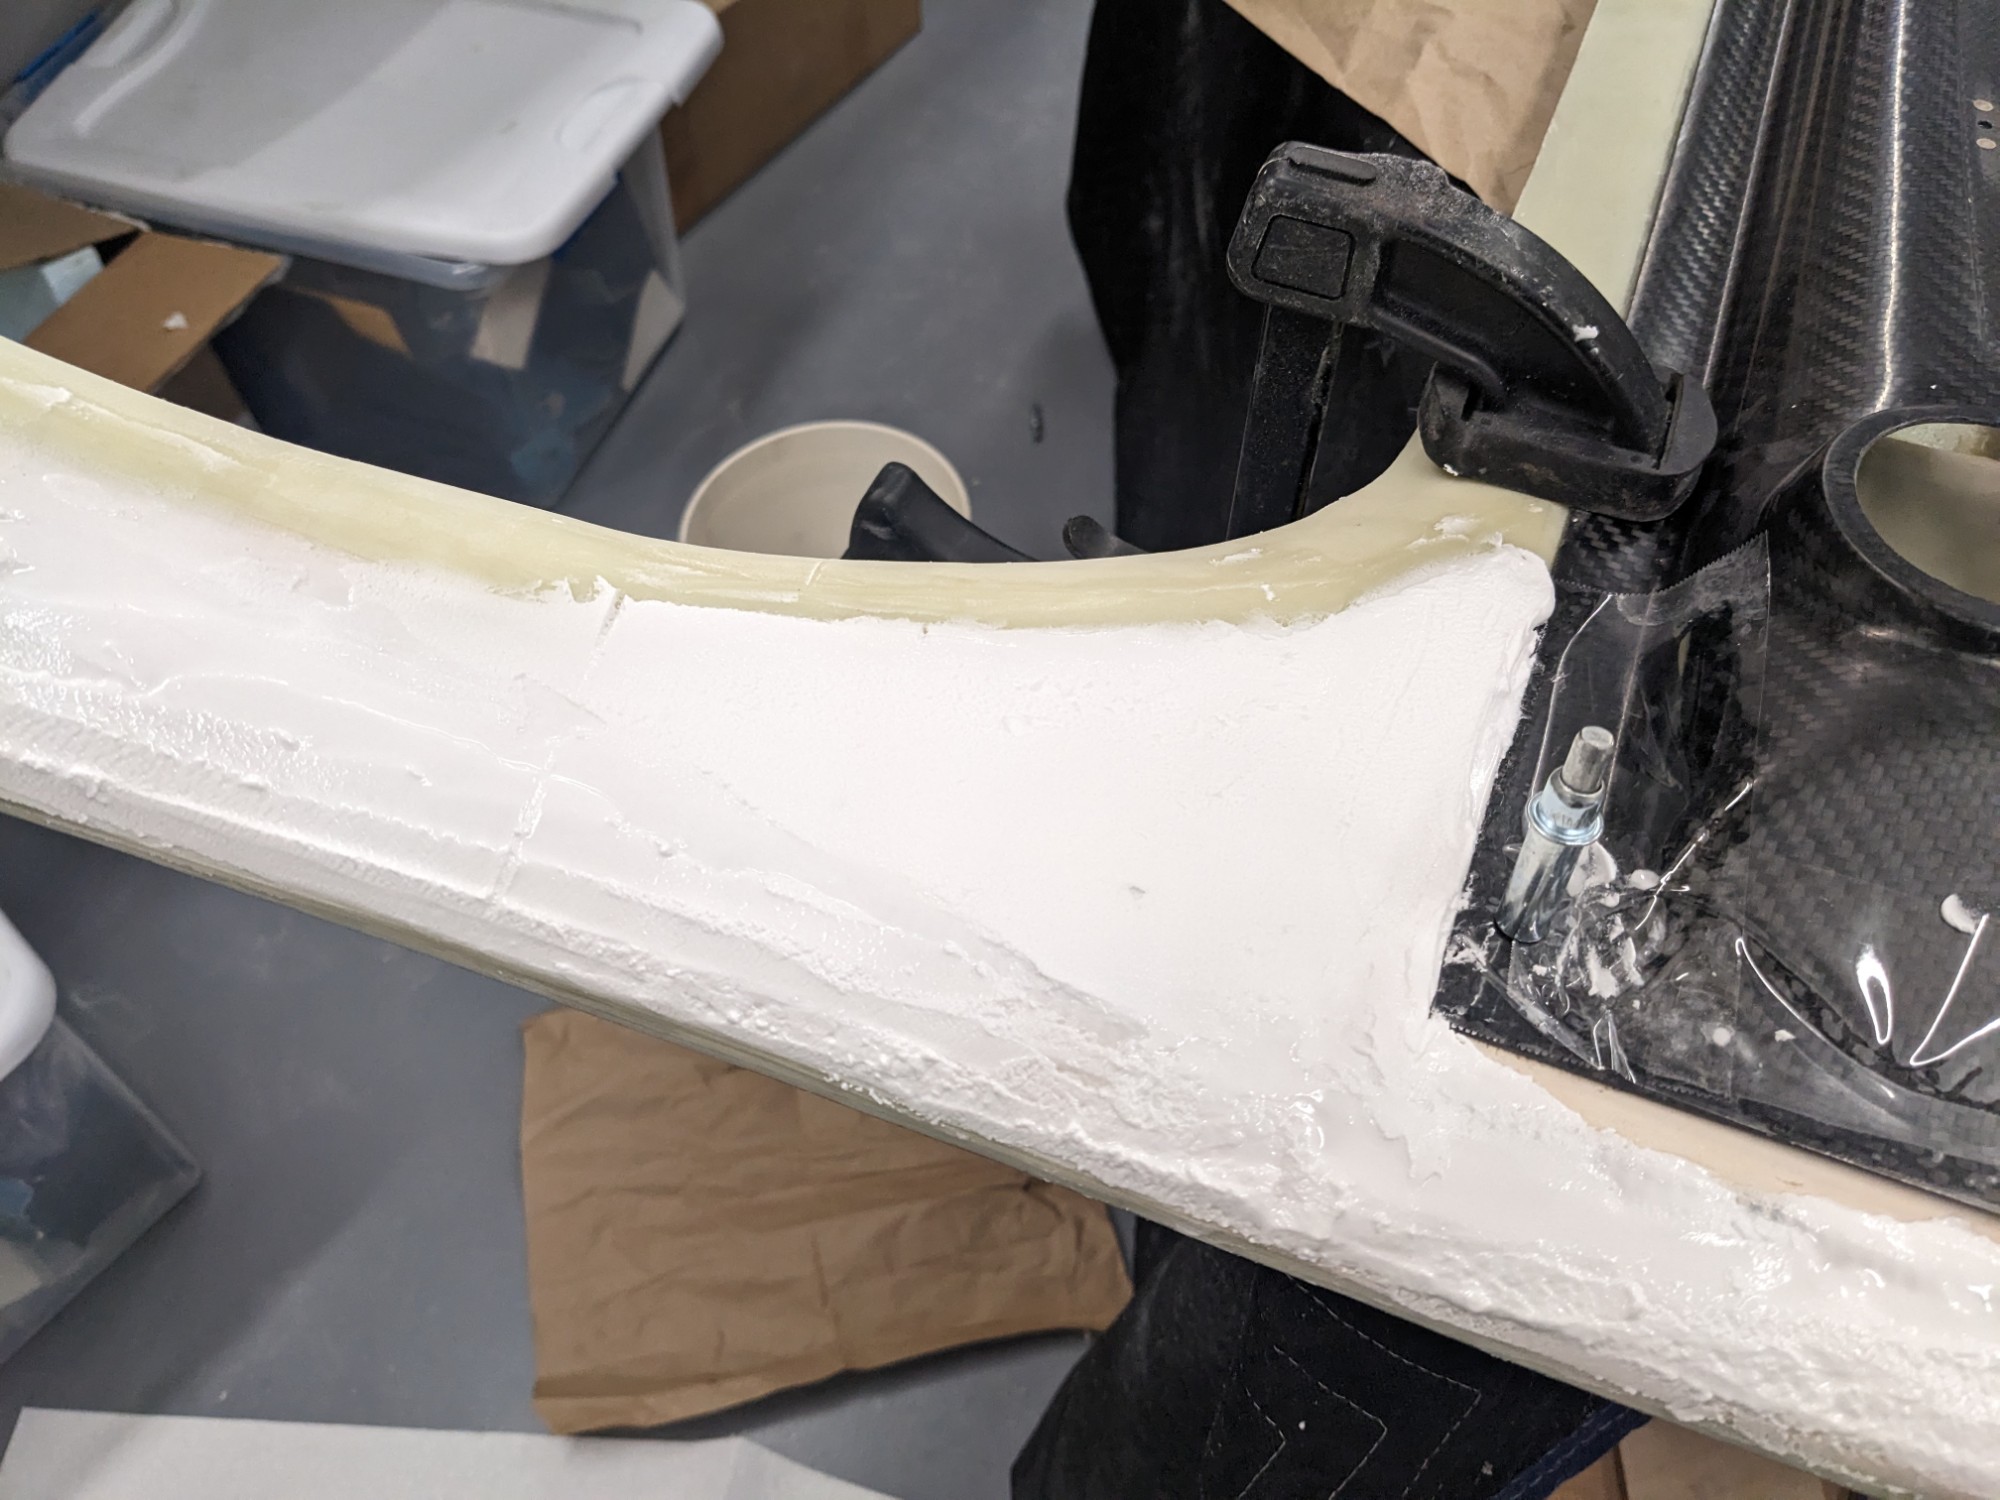
This was then sanded back to the profile that I was looking for (I used a 3d printed profile as a guide while sanding).
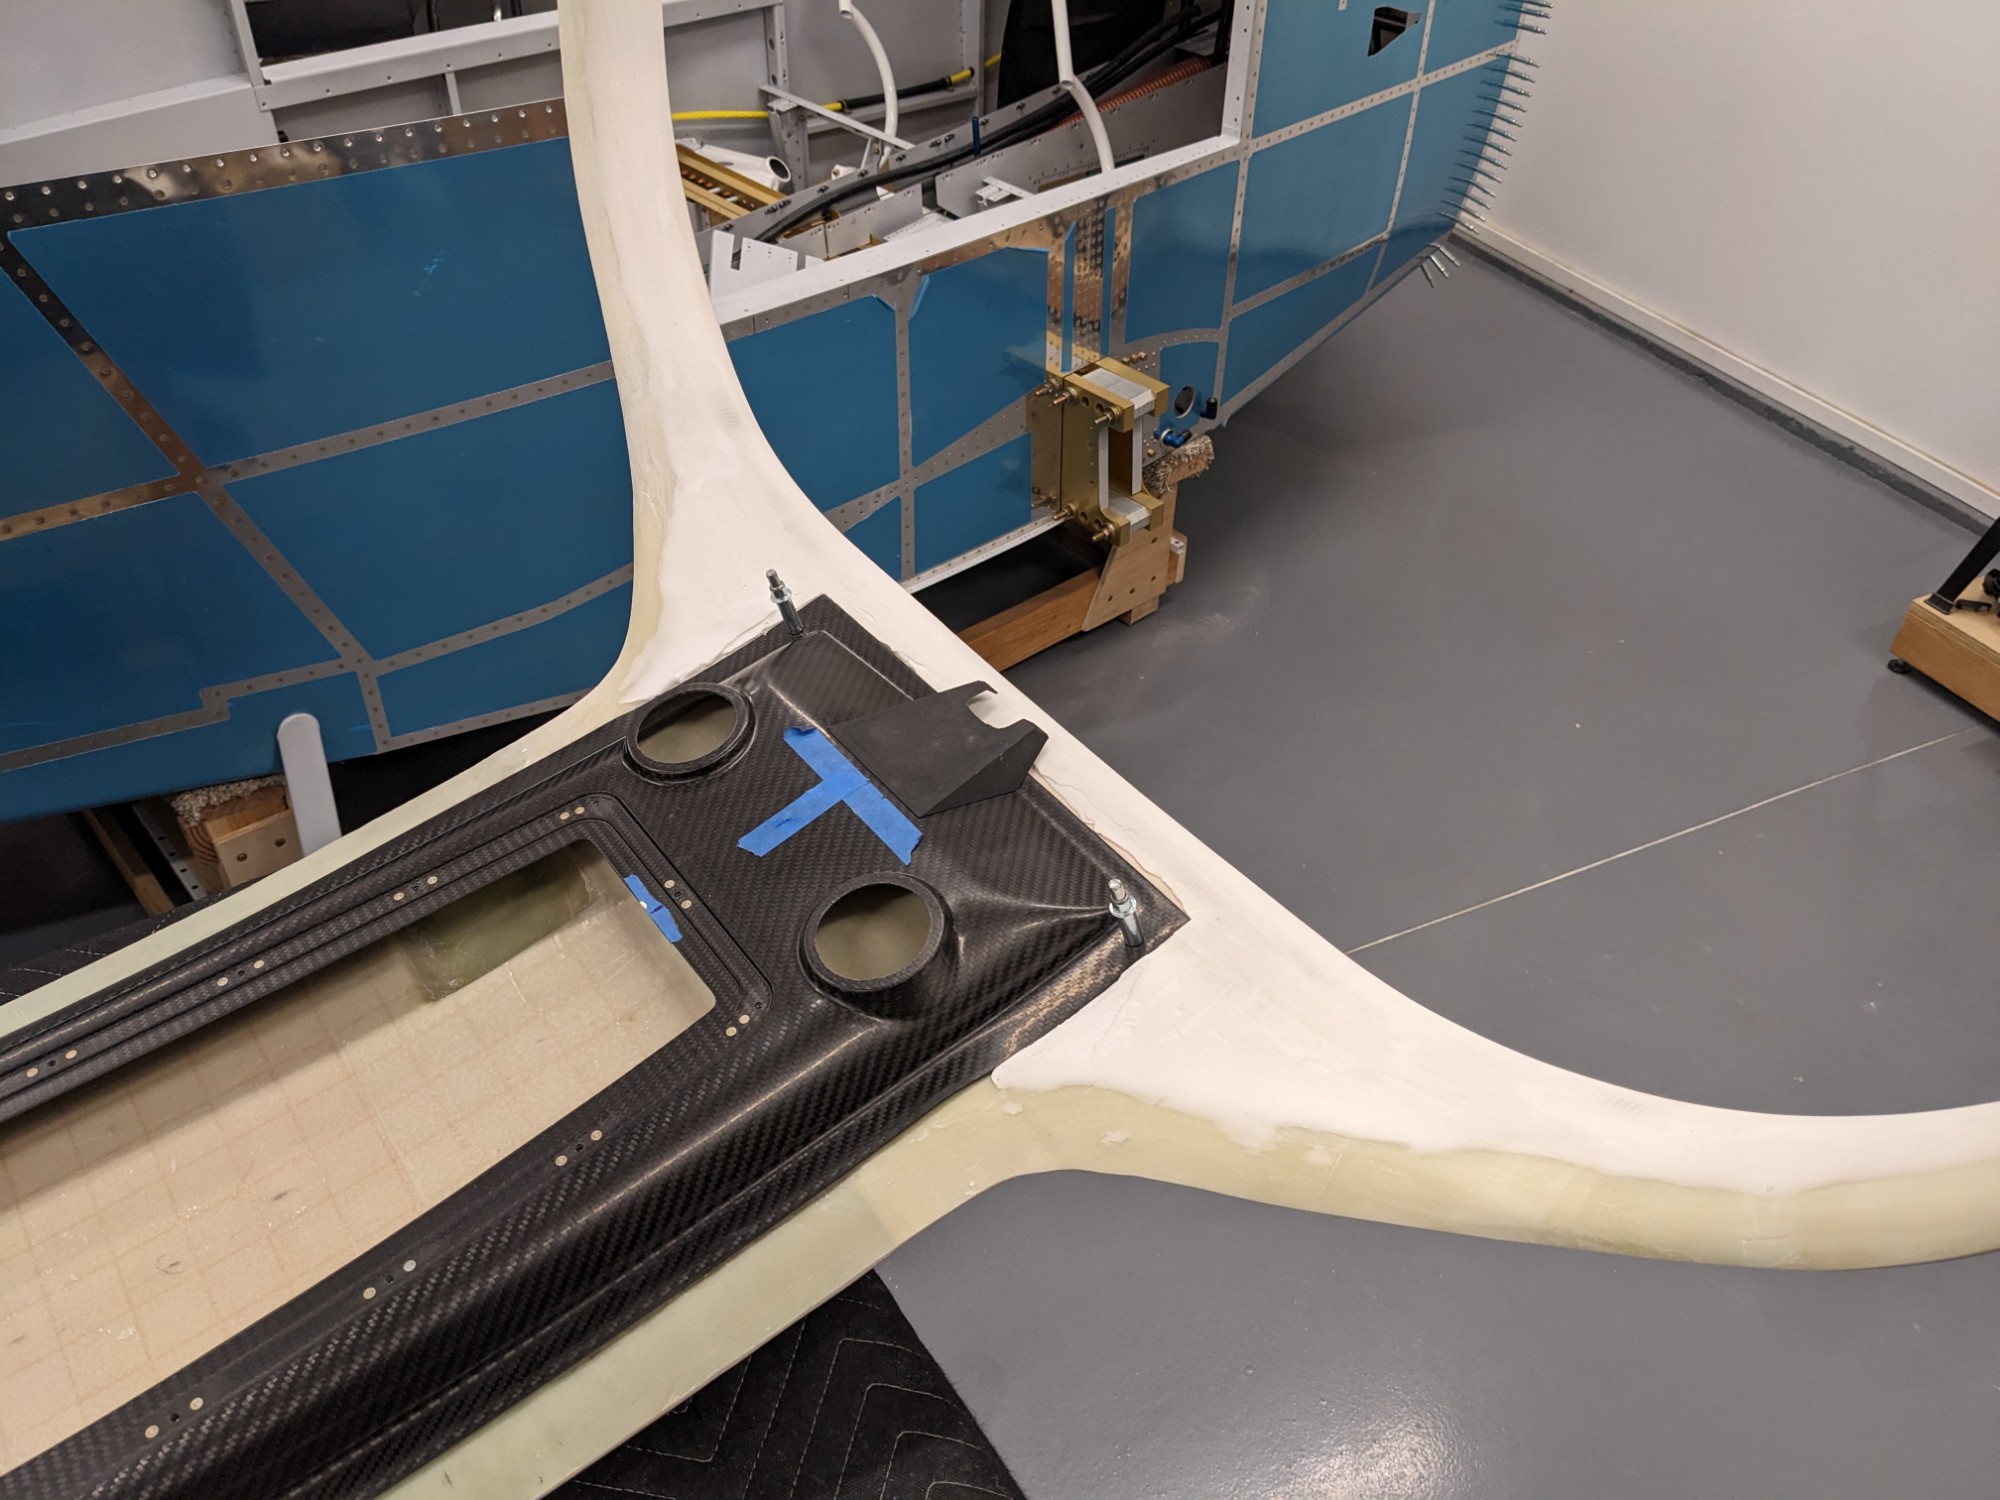

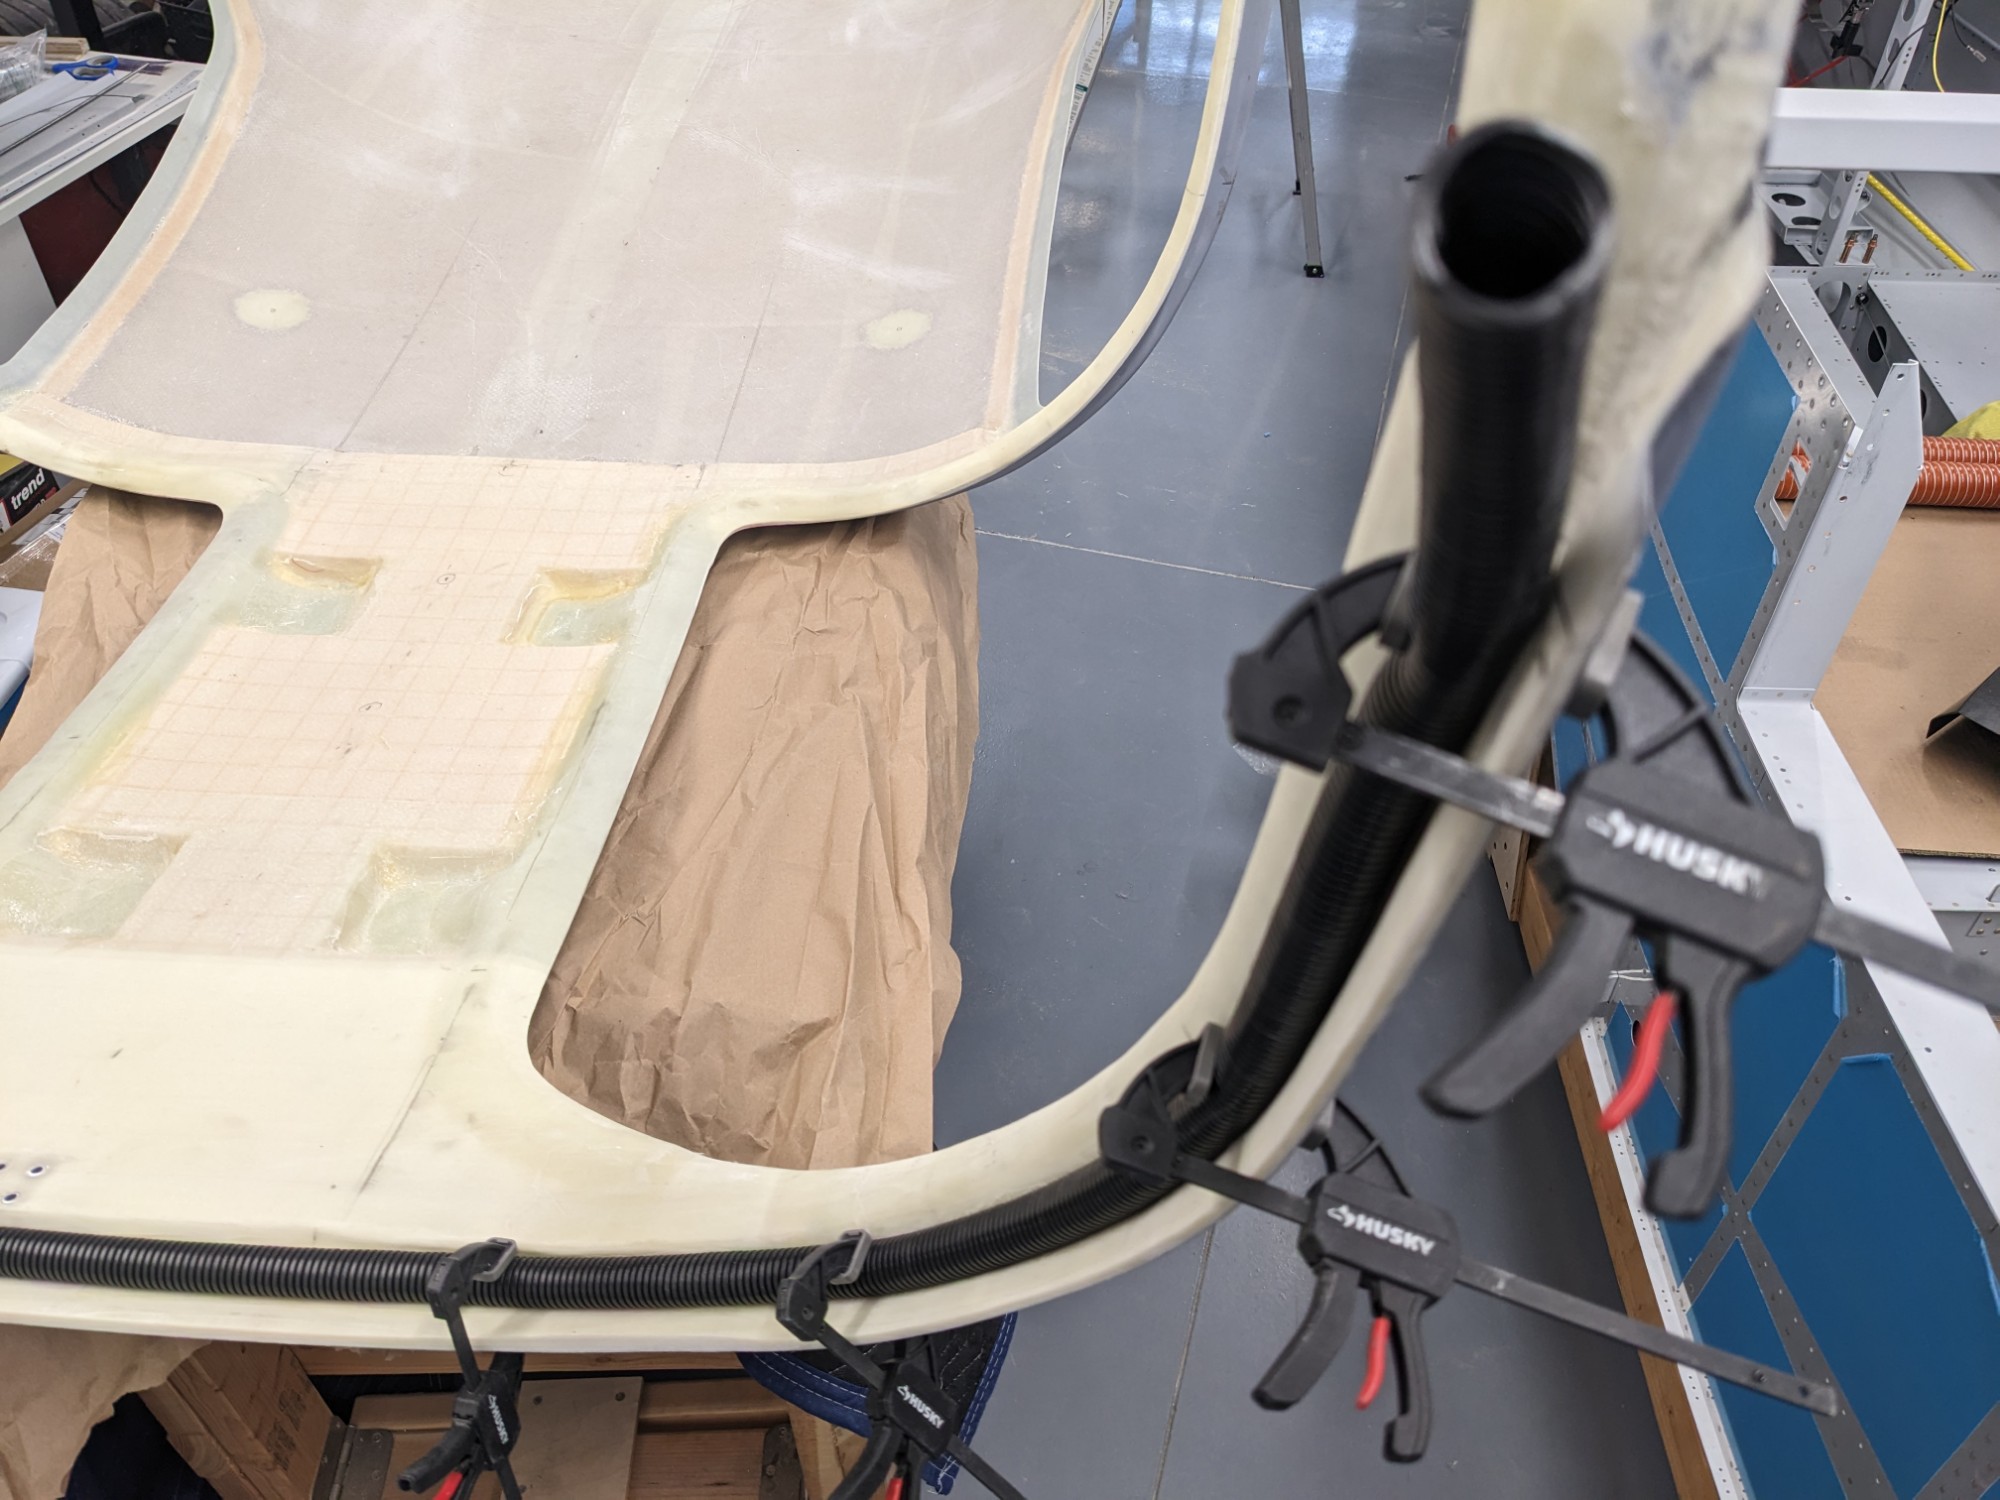
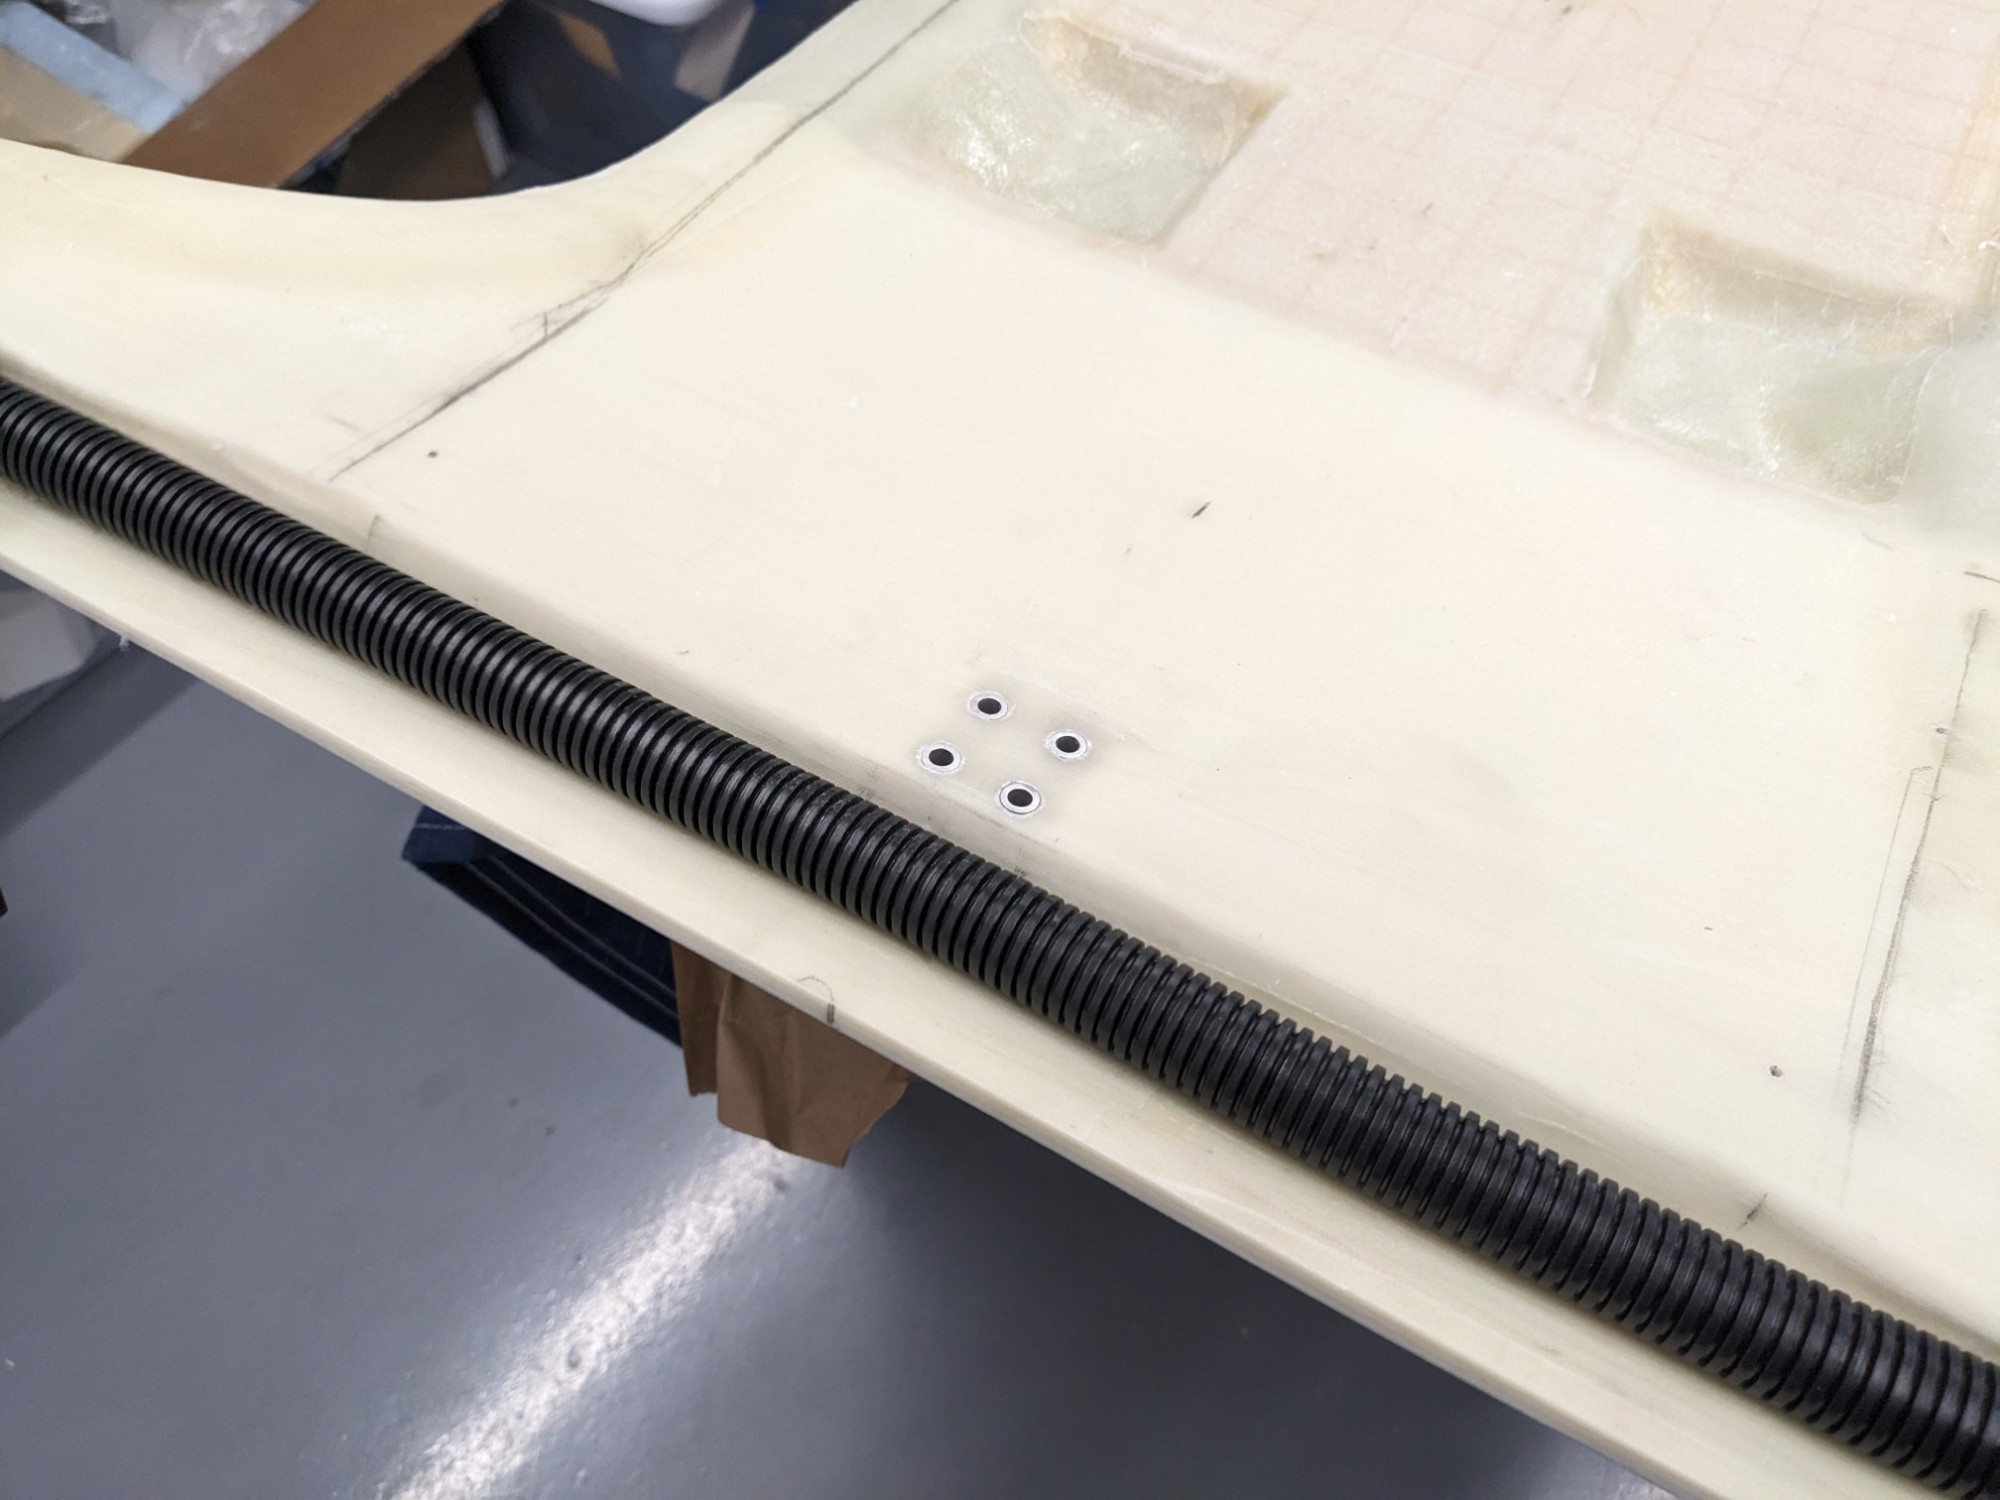
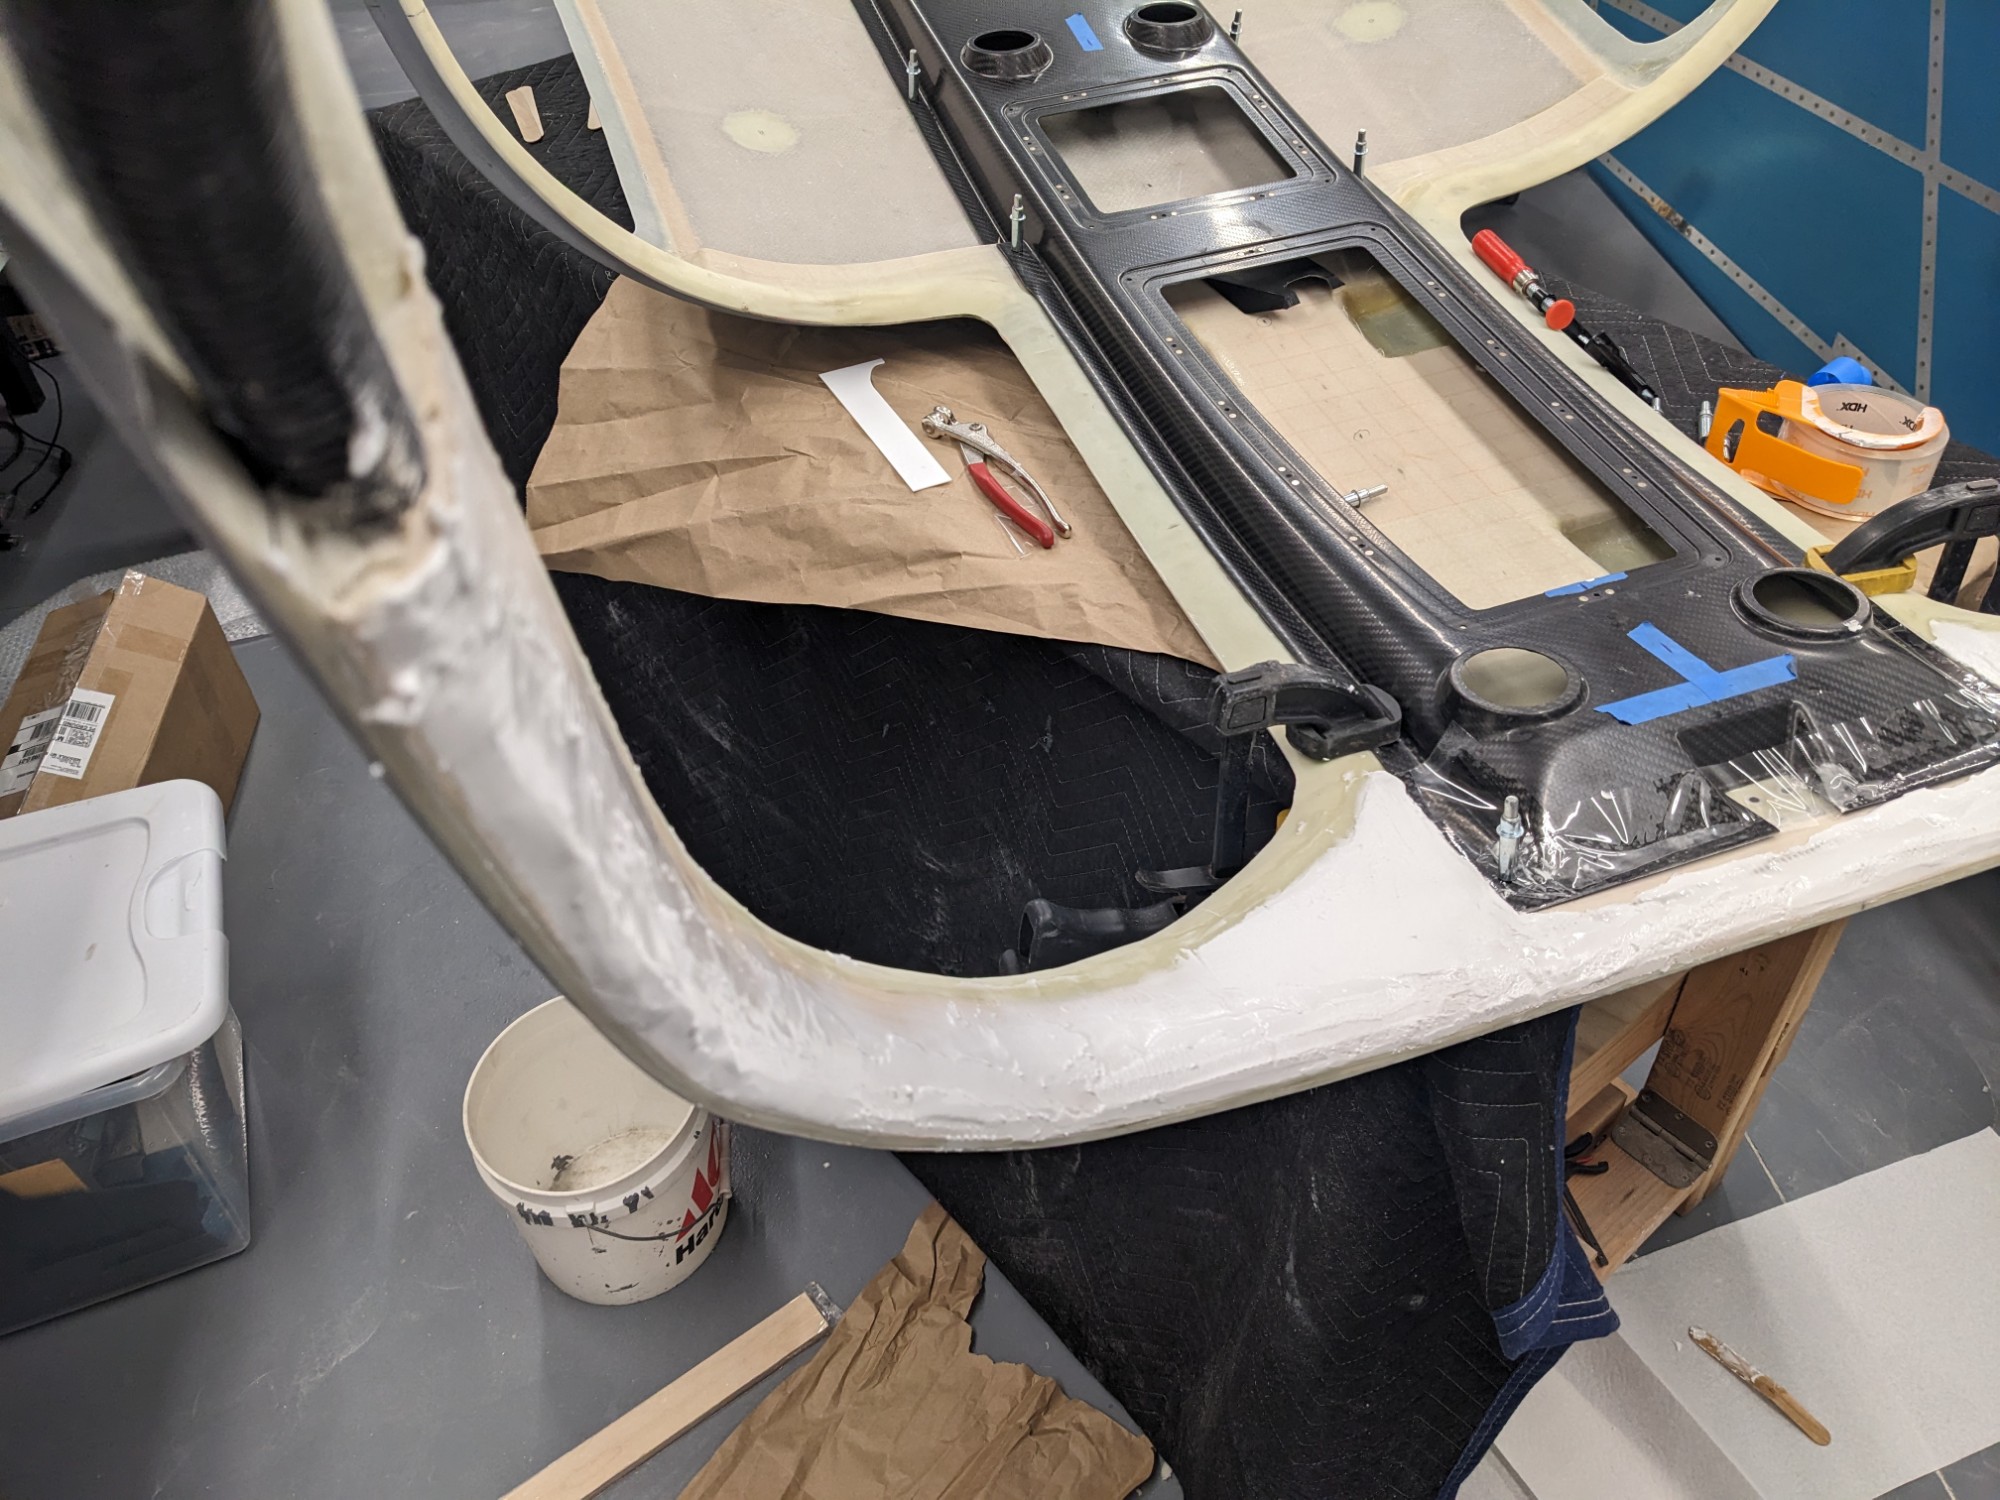
The final profile came out really well and this will do for now as I have more work to do on the overhead console before epoxying it into place.
I plan to add a couple of layers of glass before final finishing to ensure I have a solid surface before final blending with the overhead console.