
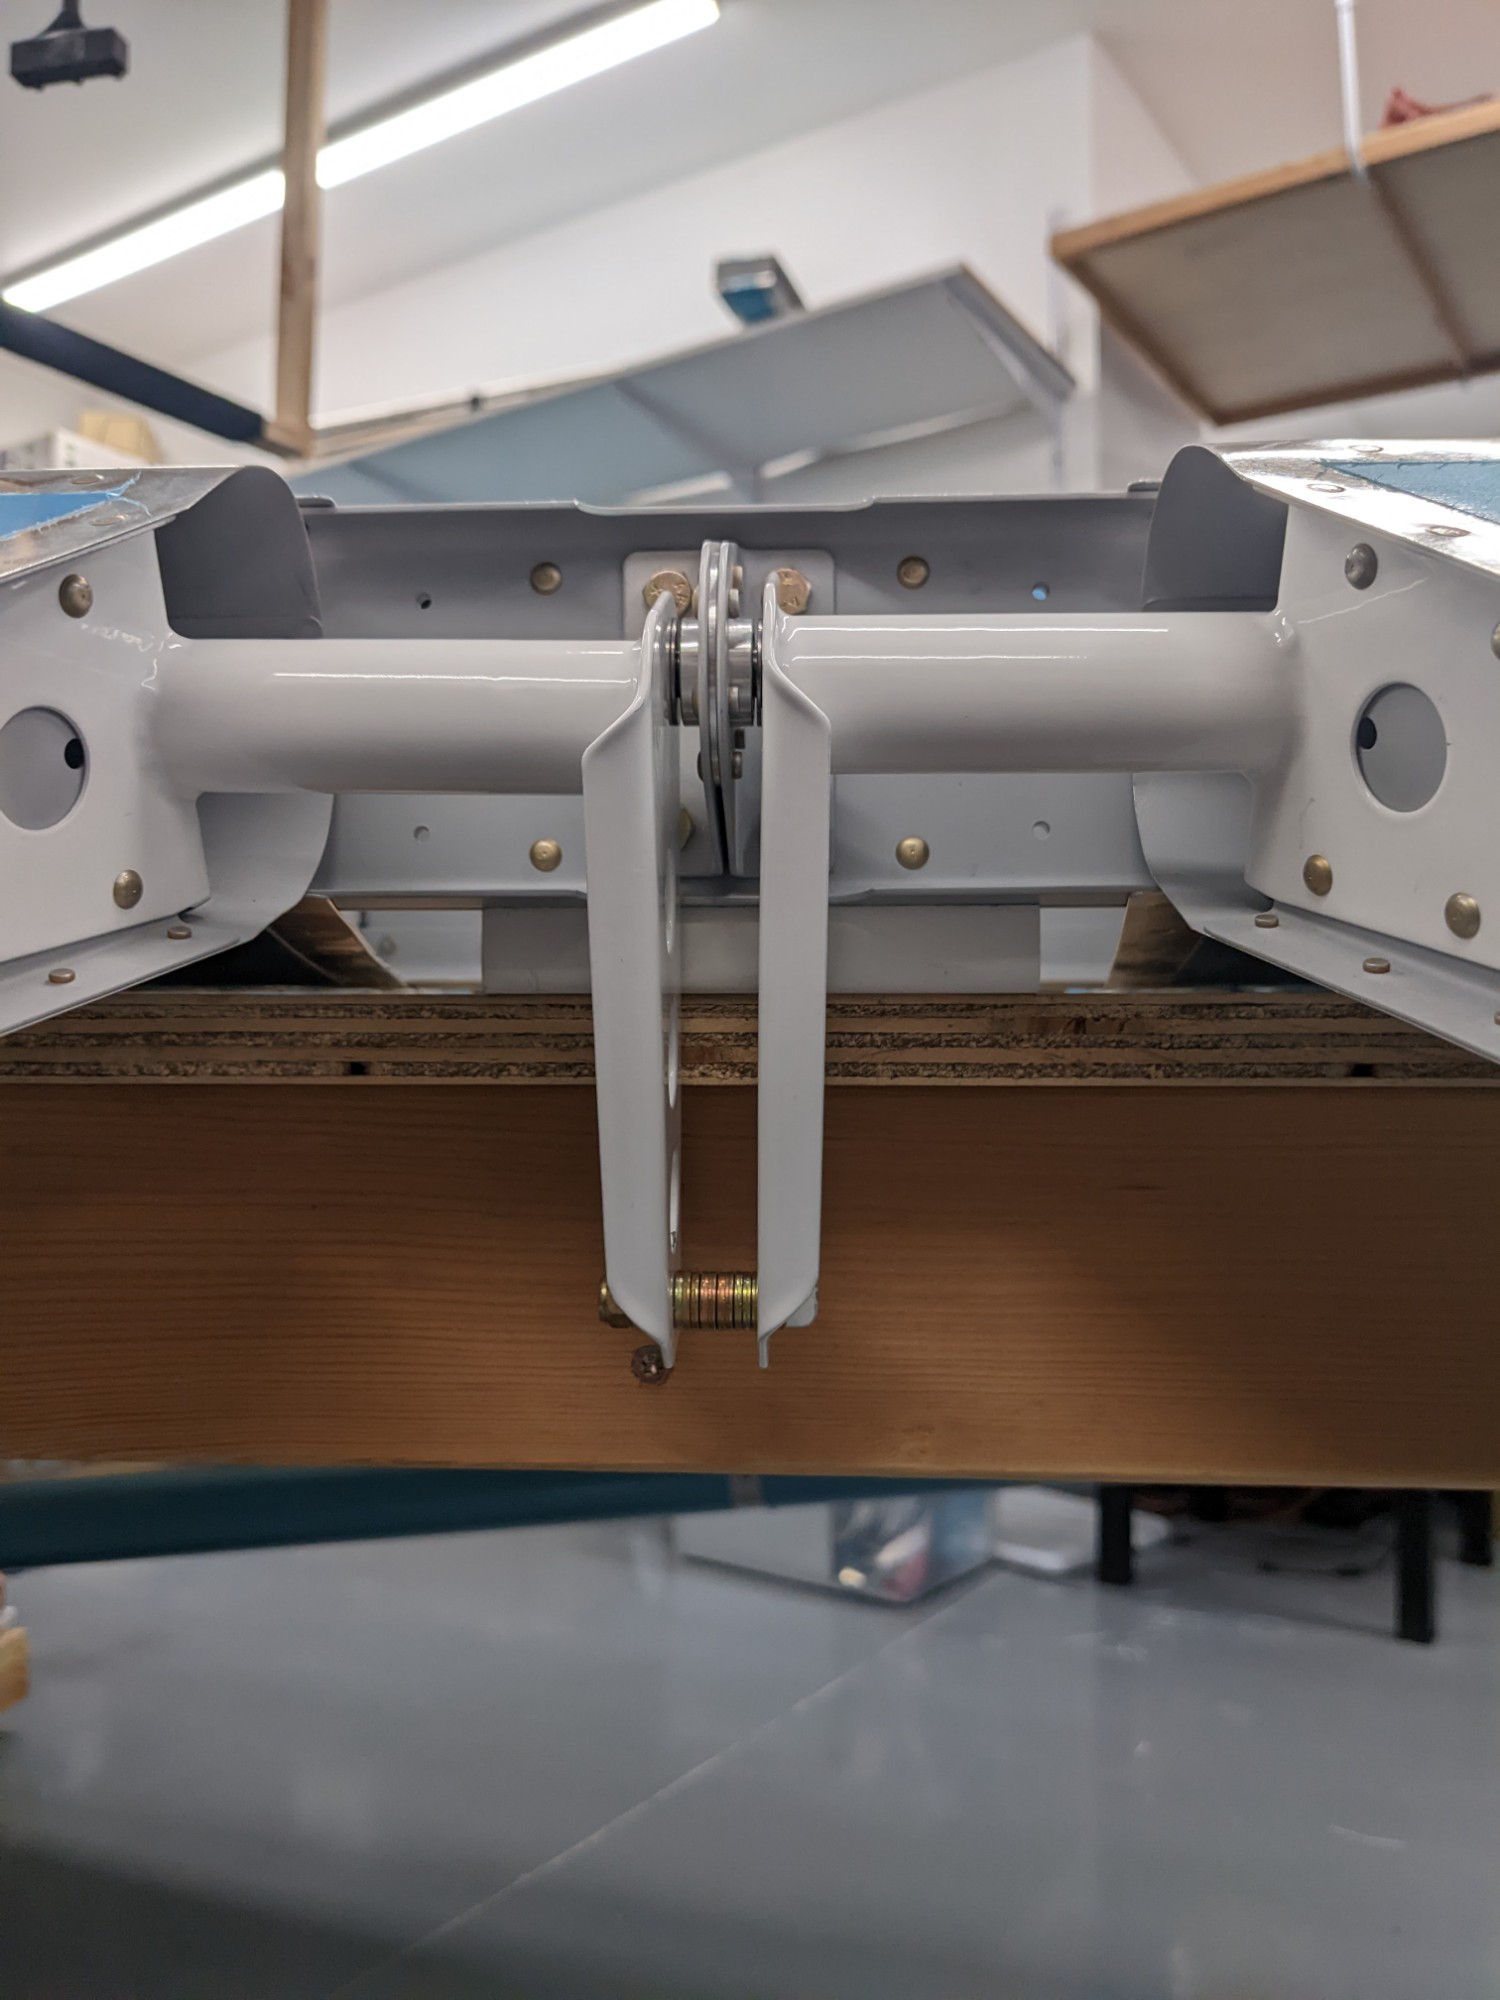
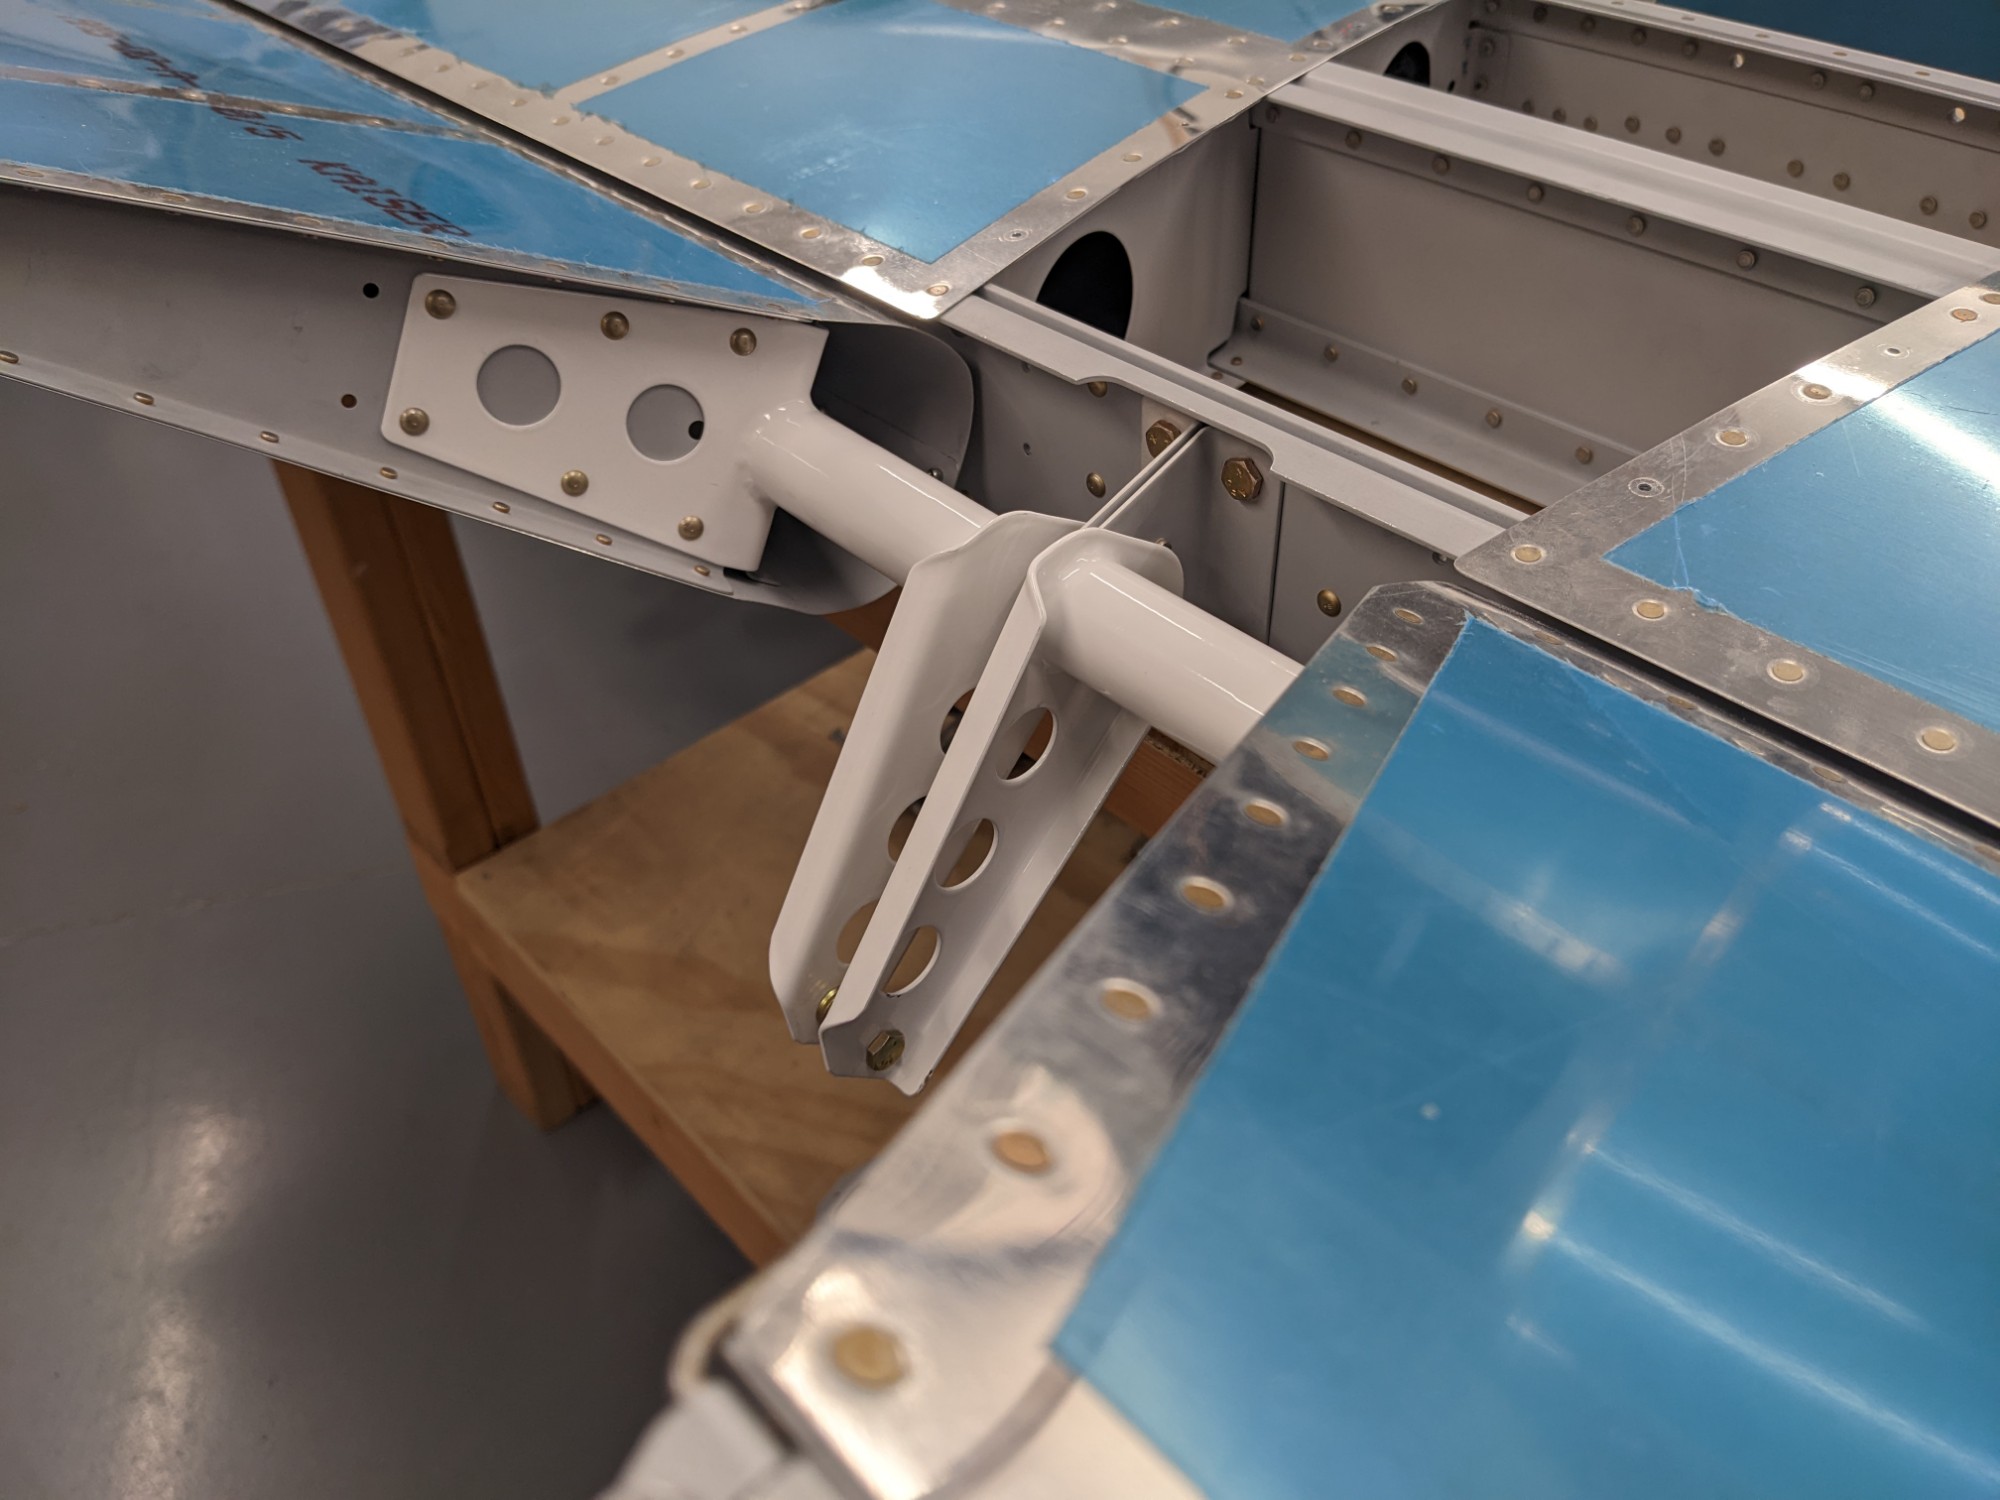
Next up was drilling the holes in the elevator horns that set the final position and alignment of the elevators.
The hole through the bearing was simple enough to drill with the provided drill bushing. I ran the elevator through the full range of motion first with some pencil lead on the end of bushing to see where it would align with the control horn.
In doing so I noticed that there is a slight amount of downward sag (about 1/32″) in the neutral position as would be expected as the mass of the inboard elevator is unsupported beyond the prior rod end bearing. I expect that a very slight deflection during rotation wouldn’t be consequential, but I decided to compensate for it. The axis of rotation came out perfectly centered on the resulting hole when supported.

Next up was drilling the holes for the elevator pushrod. The plans indicate that this hole should be drilled “as straight and as square as humanly possible” which is a bit of a foreboding instruction.
I made a drill block for a 3/32 bit for an initial hole, and as luck would have it the bit still drifted slightly. Thankfully I had started with a small pilot hole, so I had enough room to adjust the alignment for the final size hole. That said, I proceeded very carefully from there and spent a decent amount of time with a small file to move the secondary hole in the right direction before trying to upsize it. After making a series of drill blocks, I finally got the holes aligned and where I needed them.
I finished the final hole with a 3/16″ reamer guided by a 3d printed drill guide (I really didn’t want to mess this critical hole up).
All is well that ends well and the holes came out great.
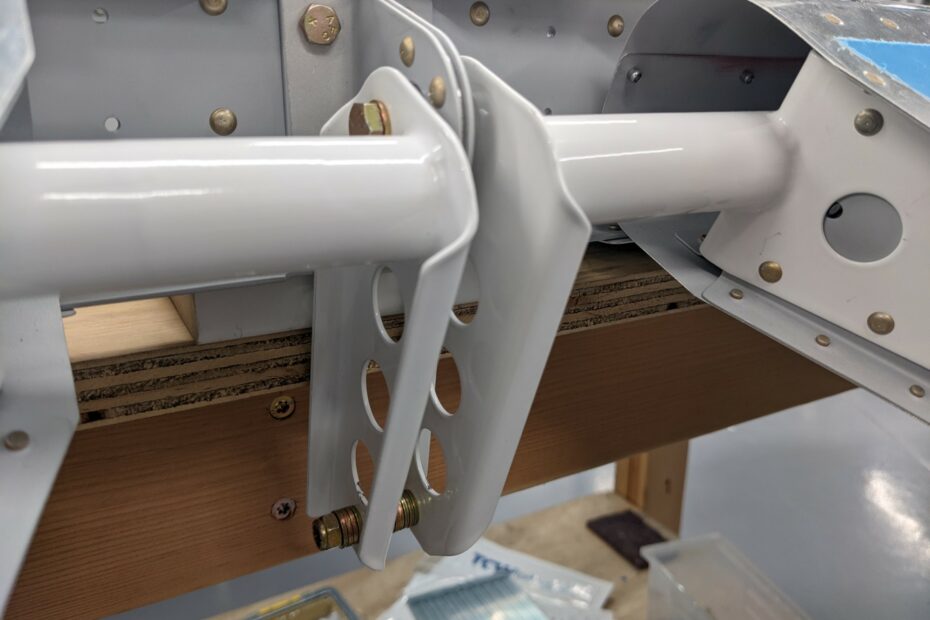
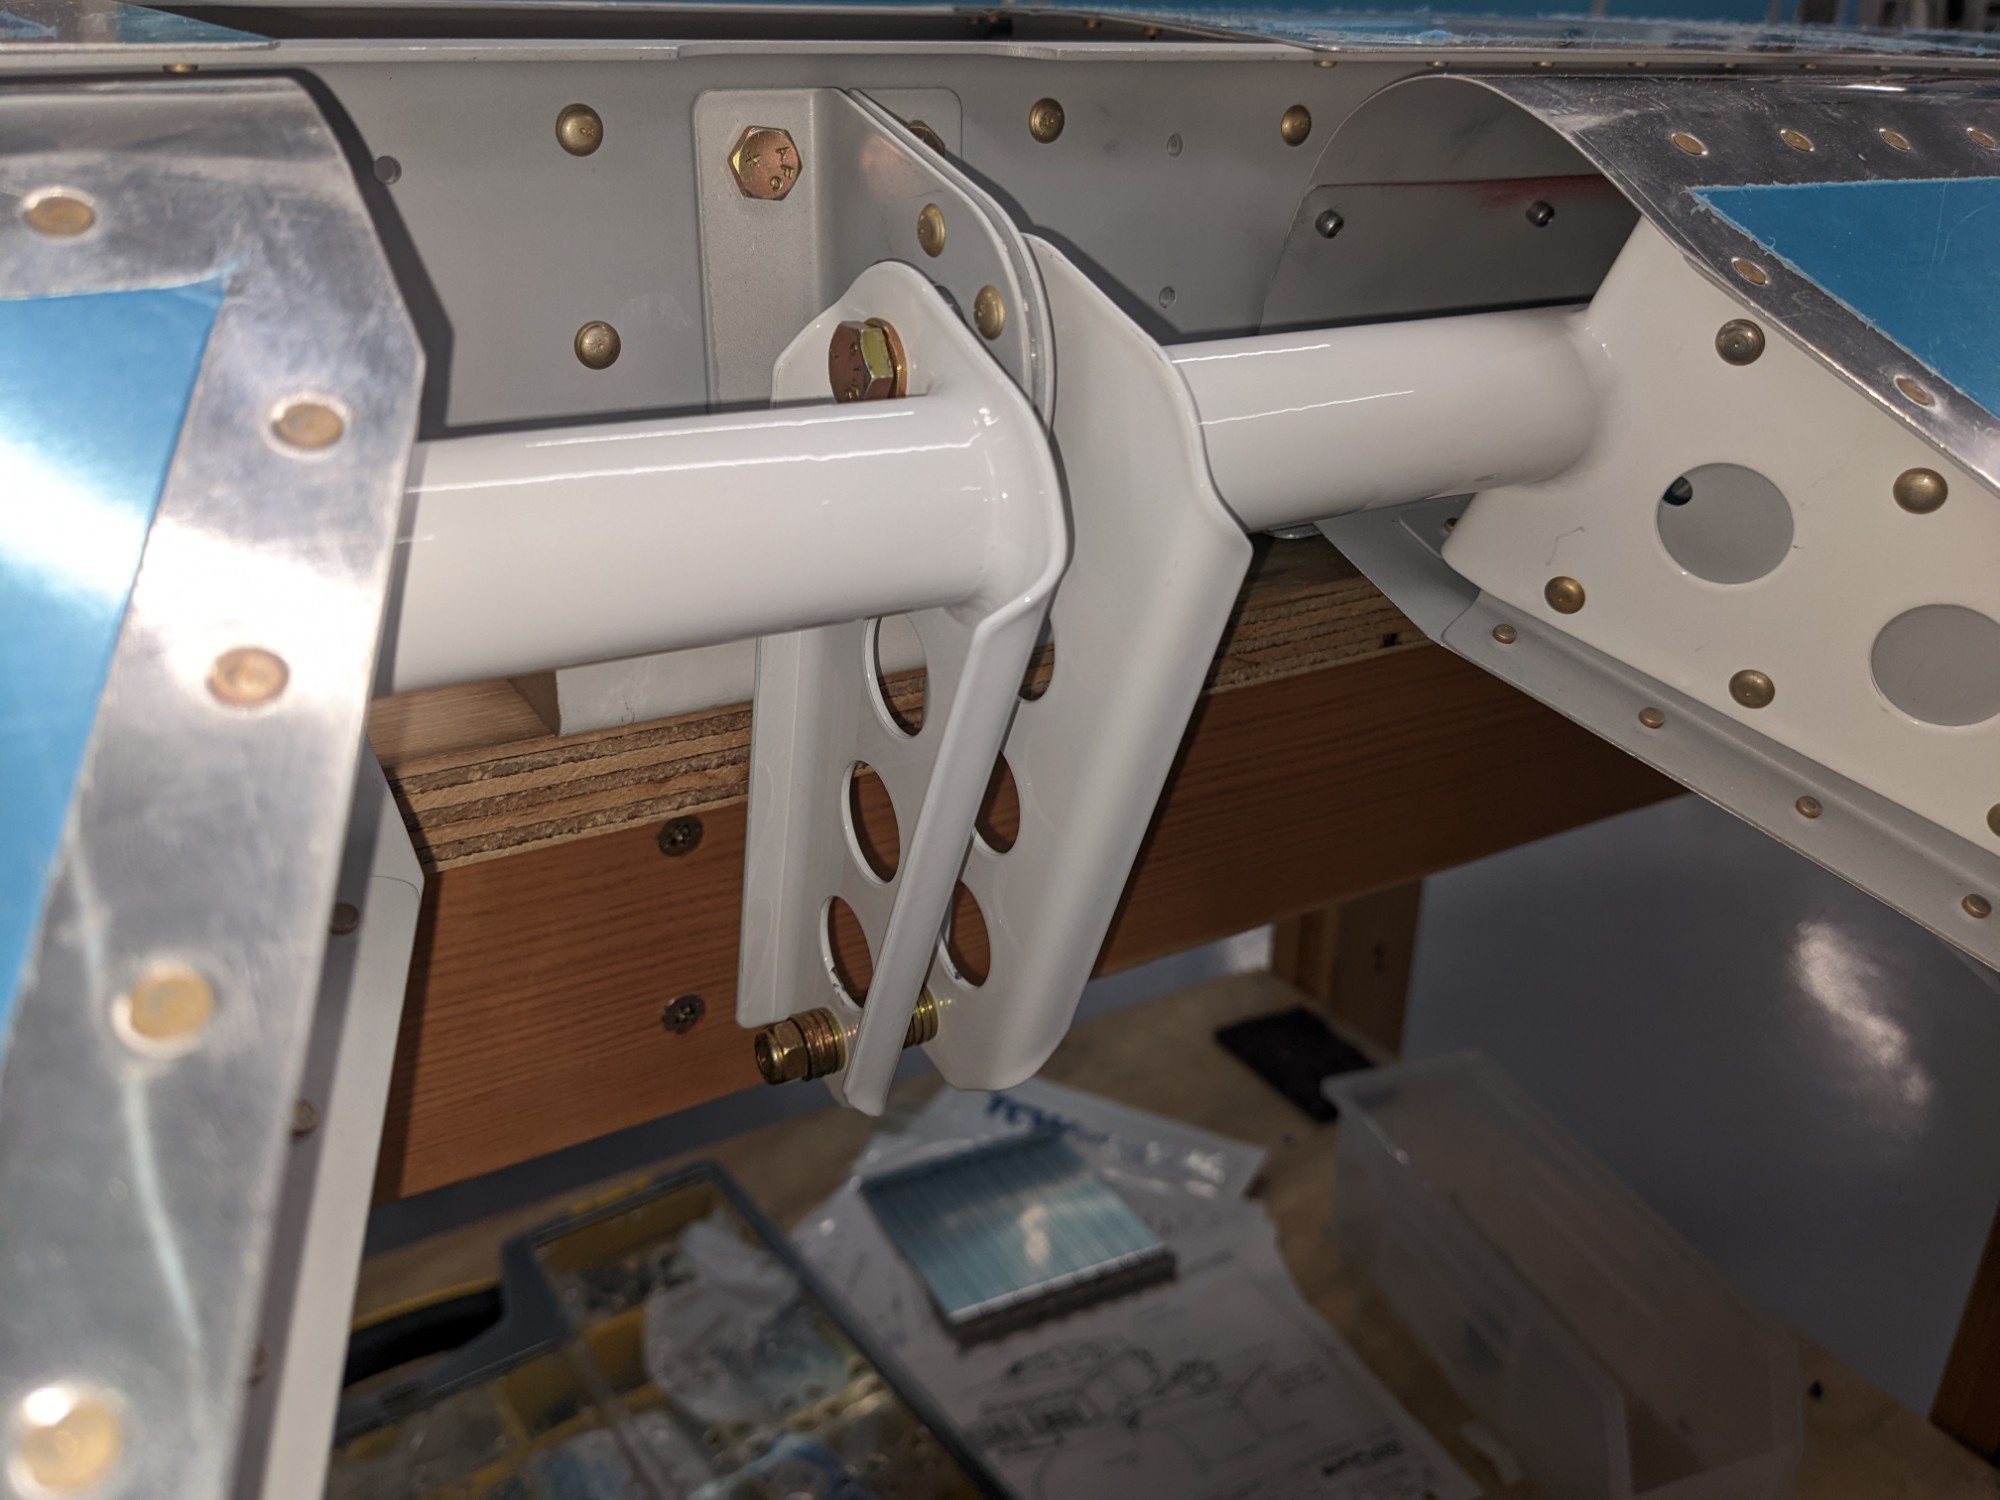
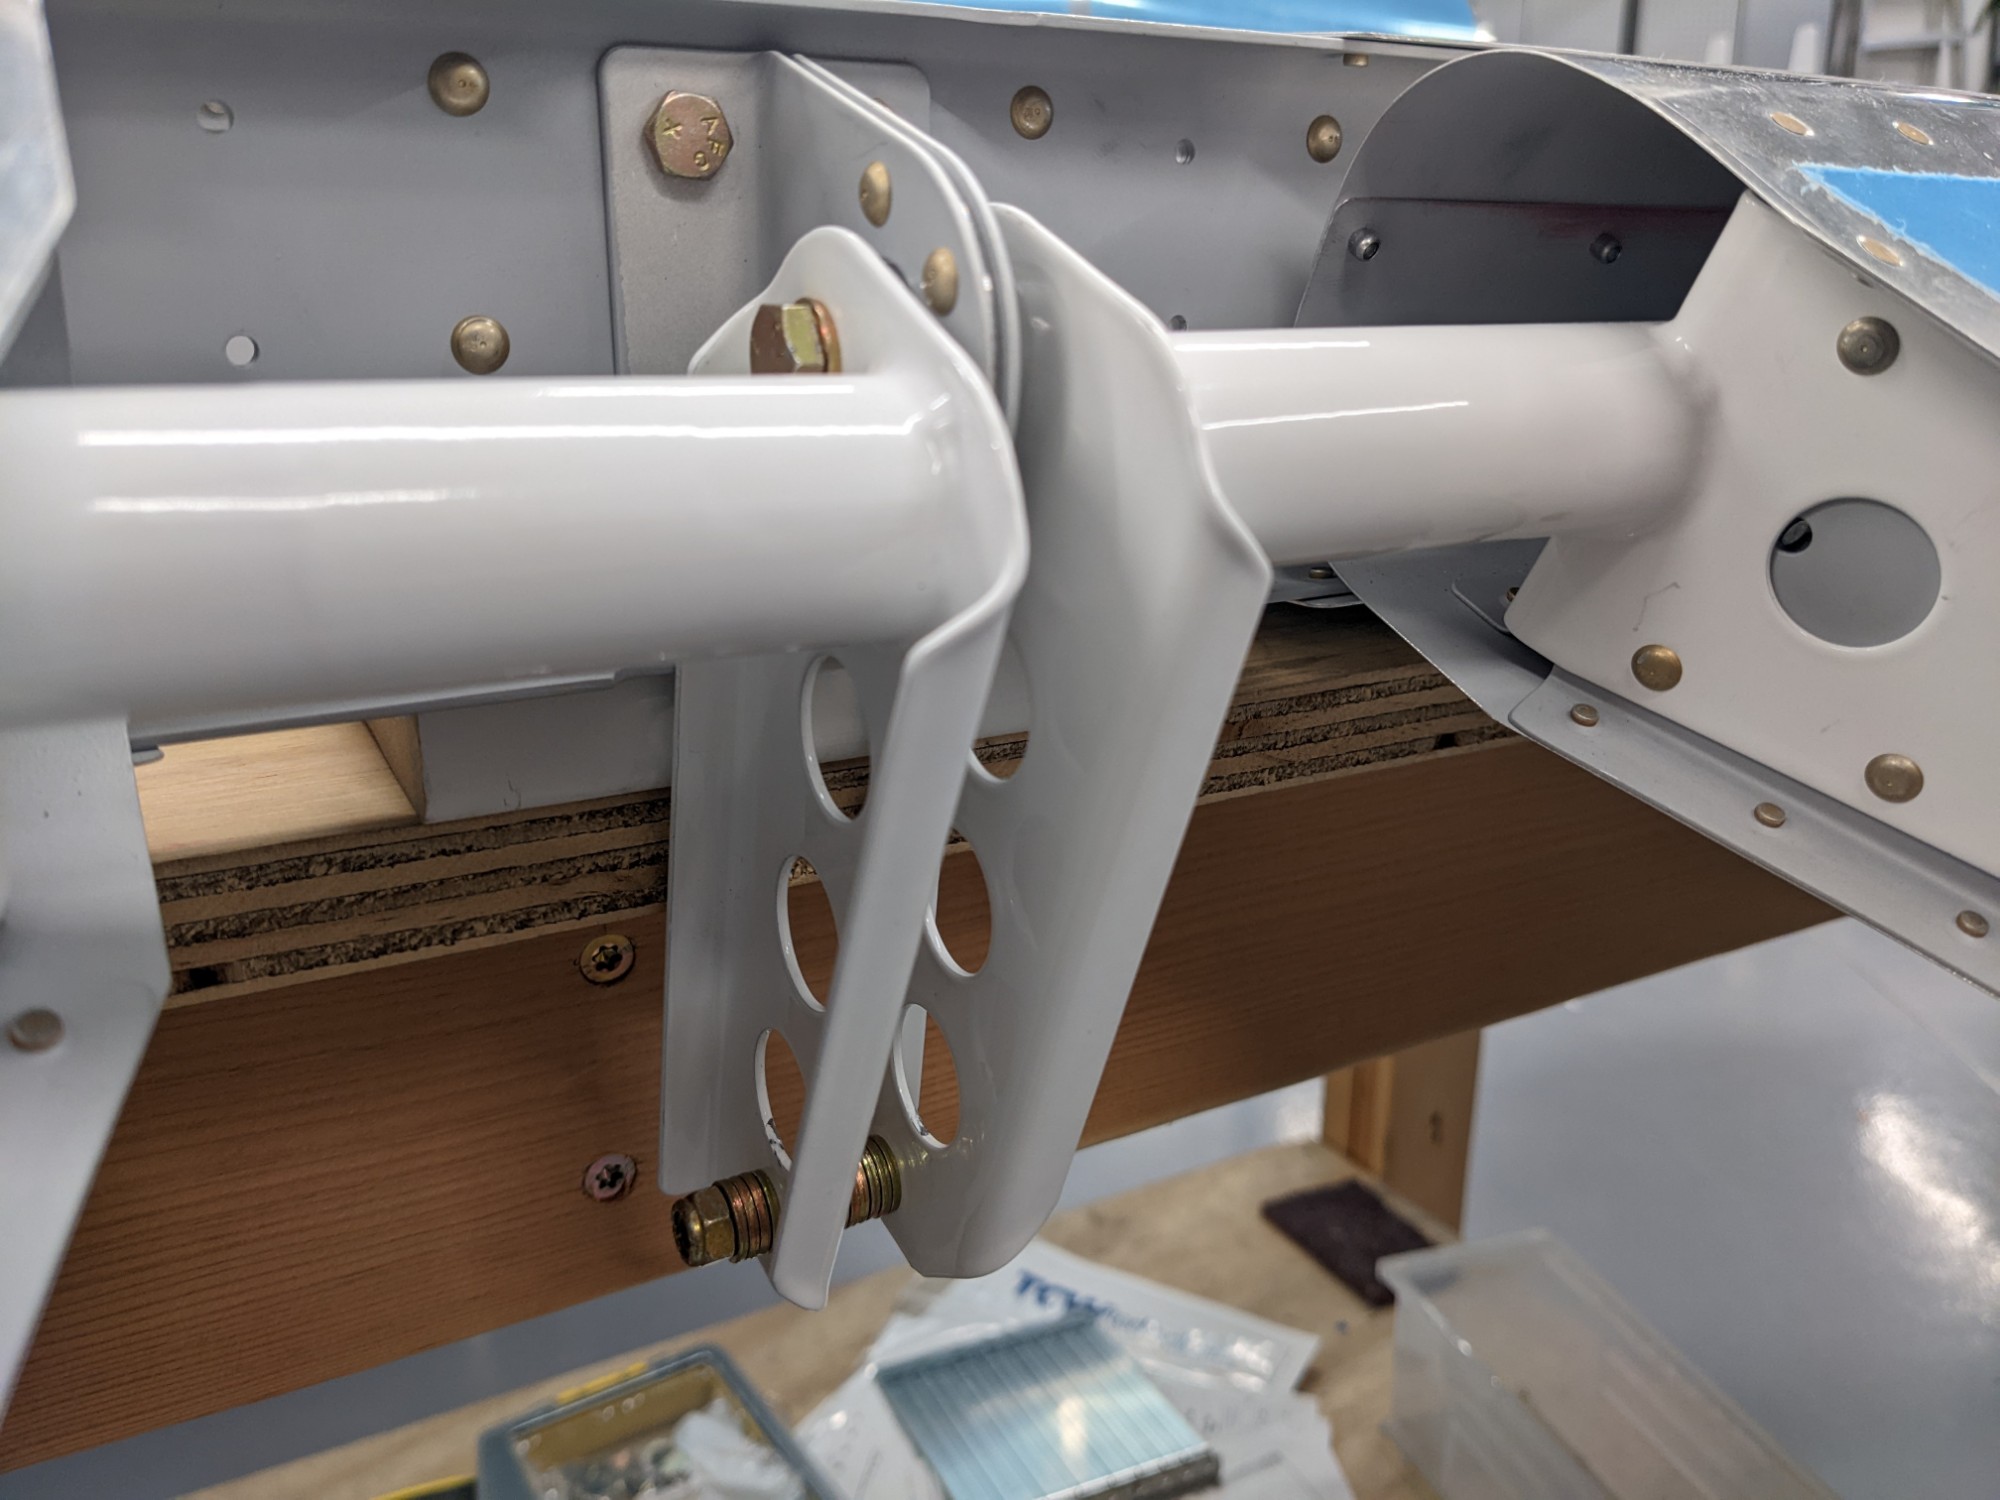
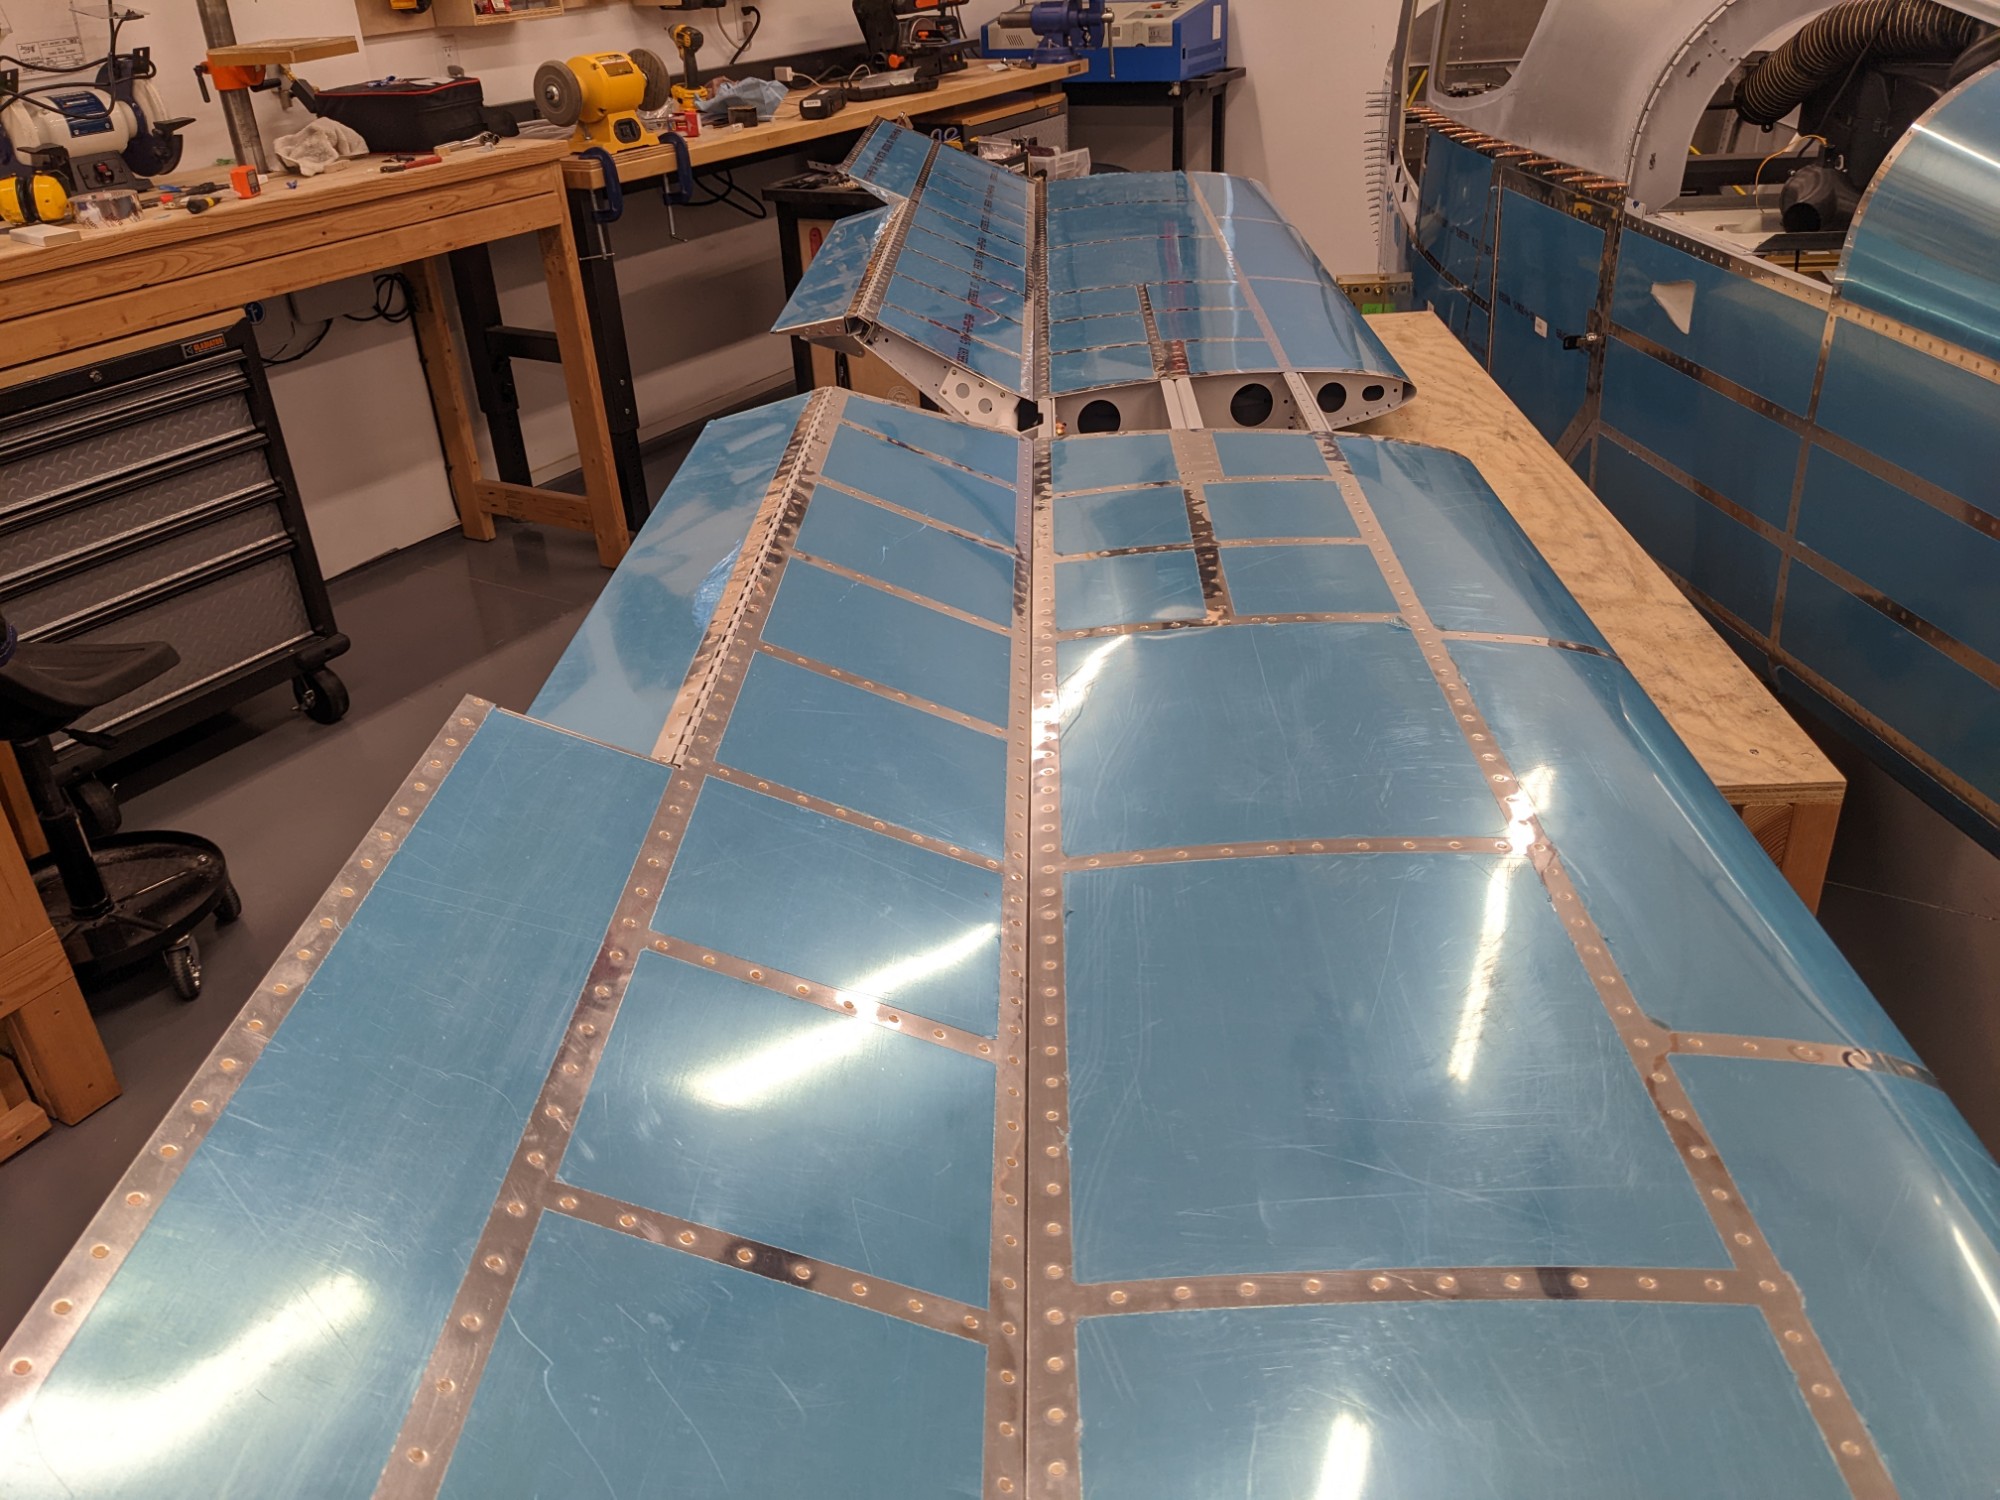
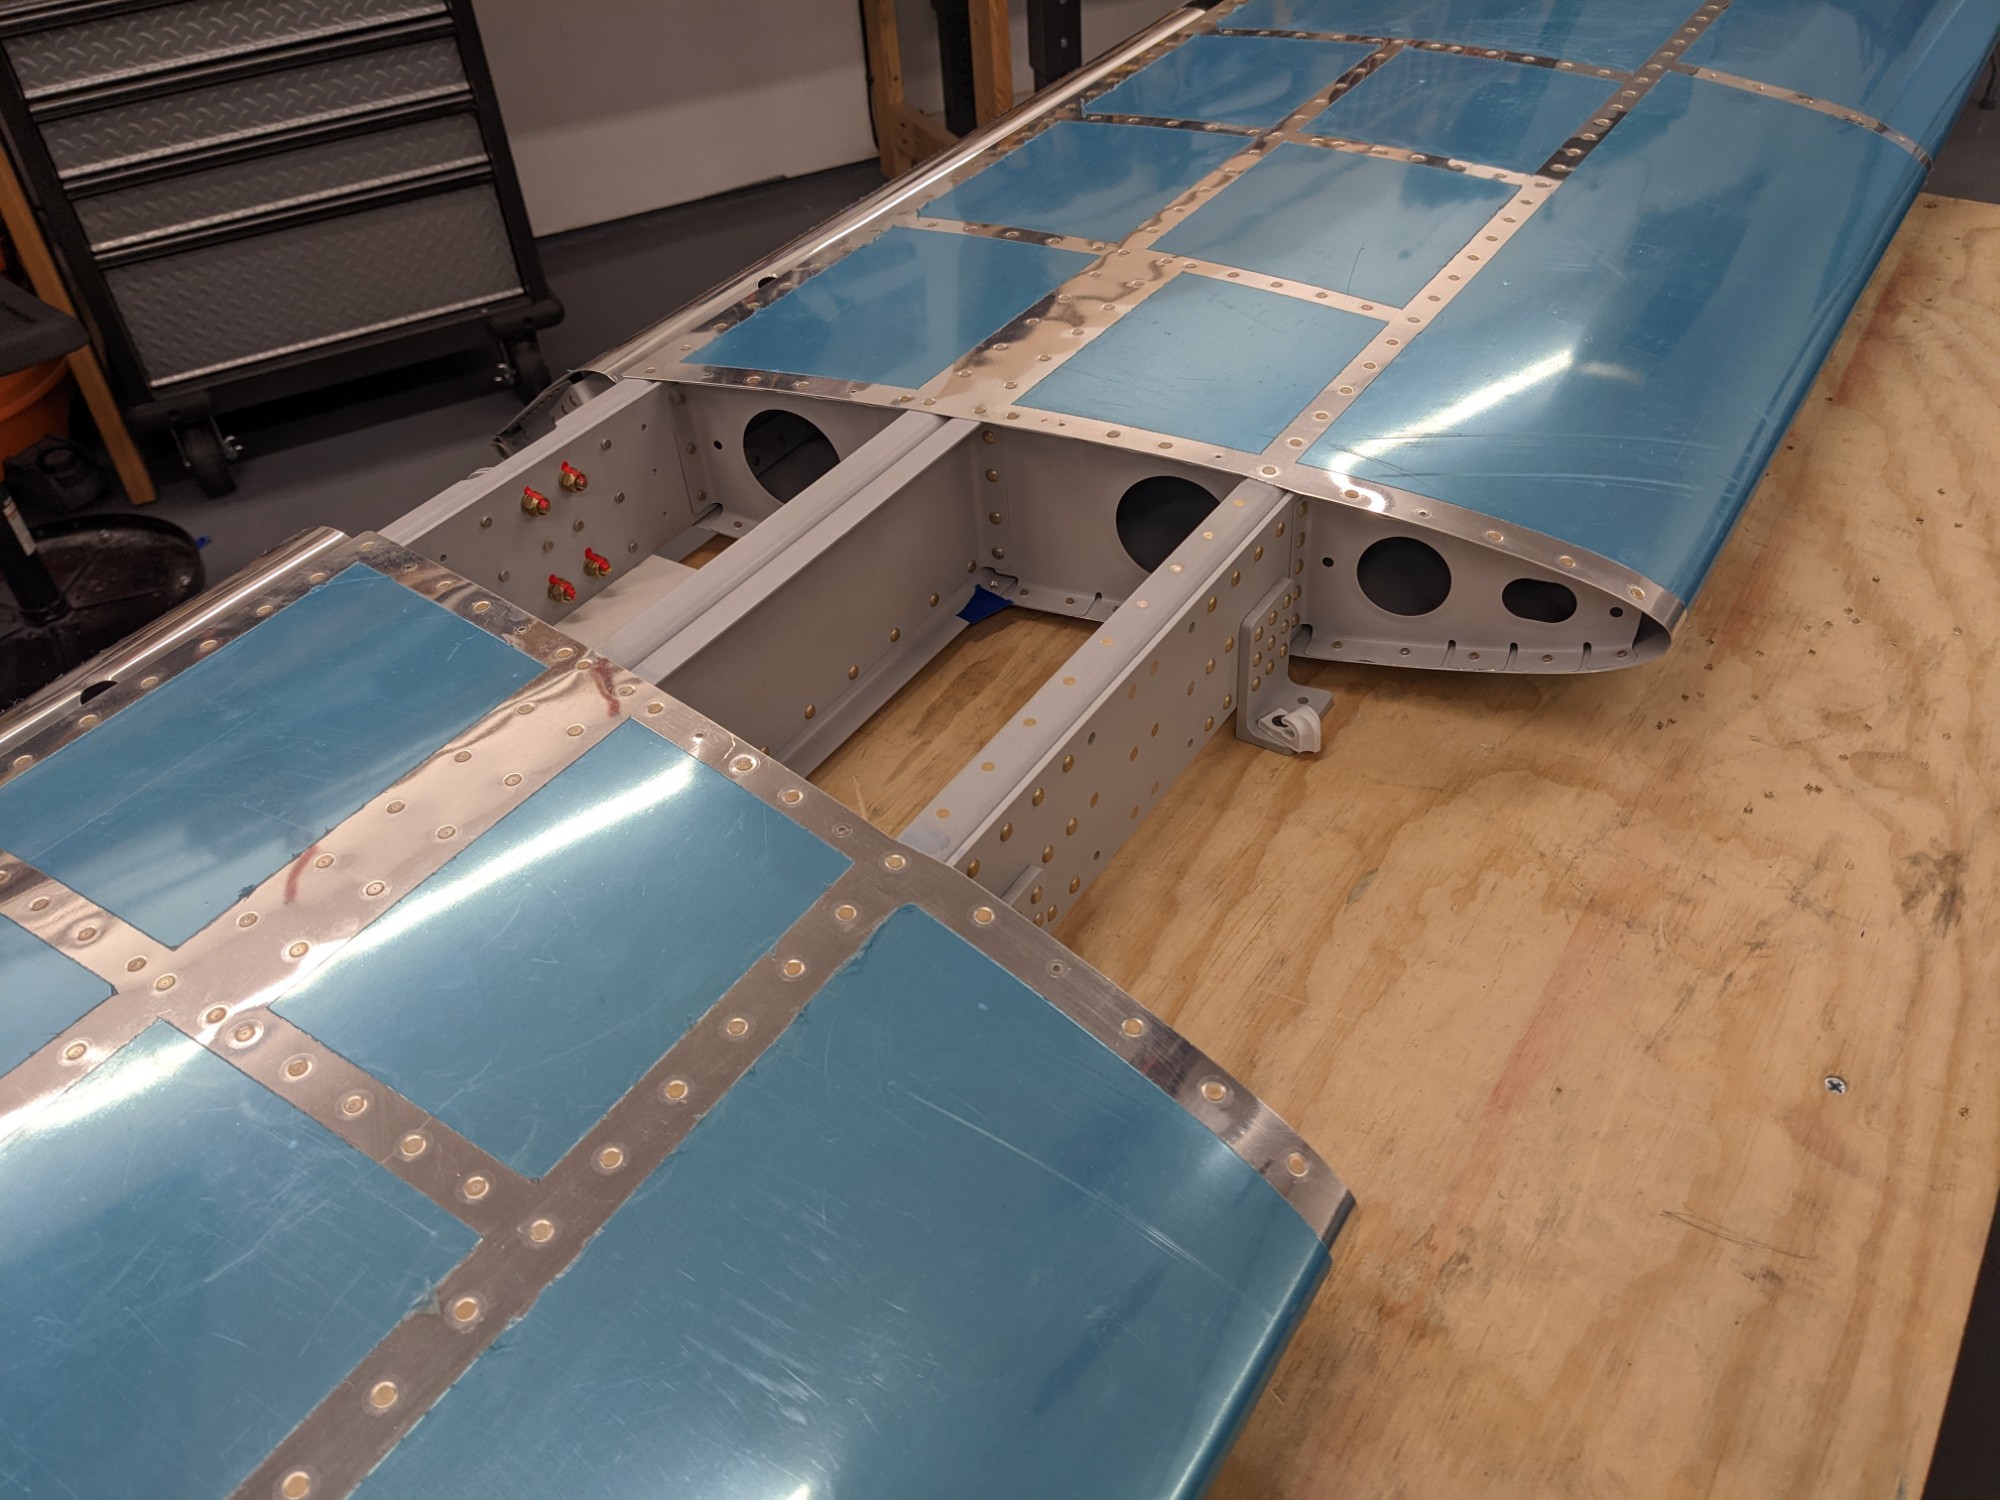
The elevators move smoothly through the full range of motion and the counterweights align with the stabilizer in the neutral position.
Onwards..