I decided to jump ahead and start working on the control system so that I can get a better understanding of the clearances that I will need before making holes for conduit and A/C lines.
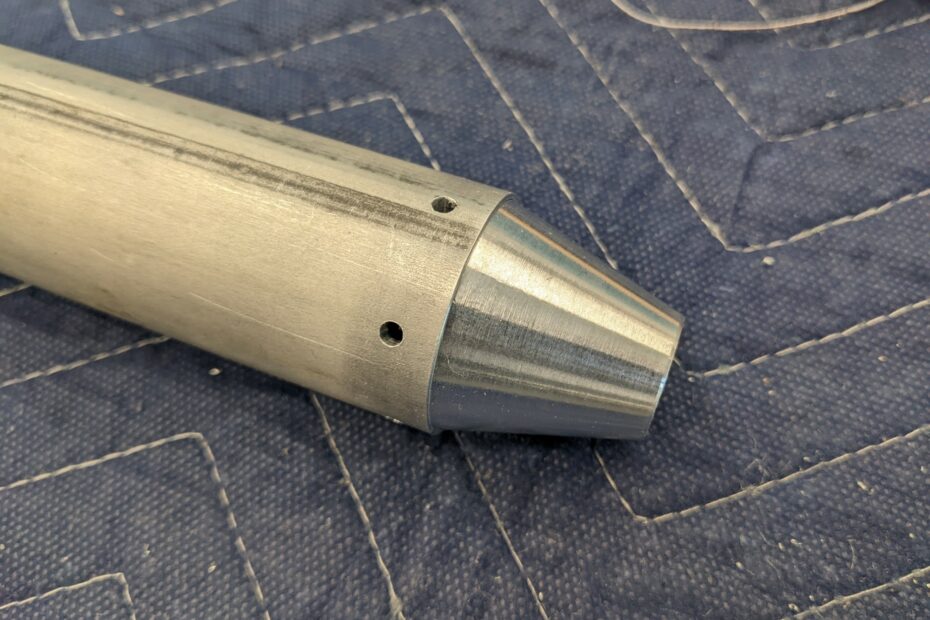
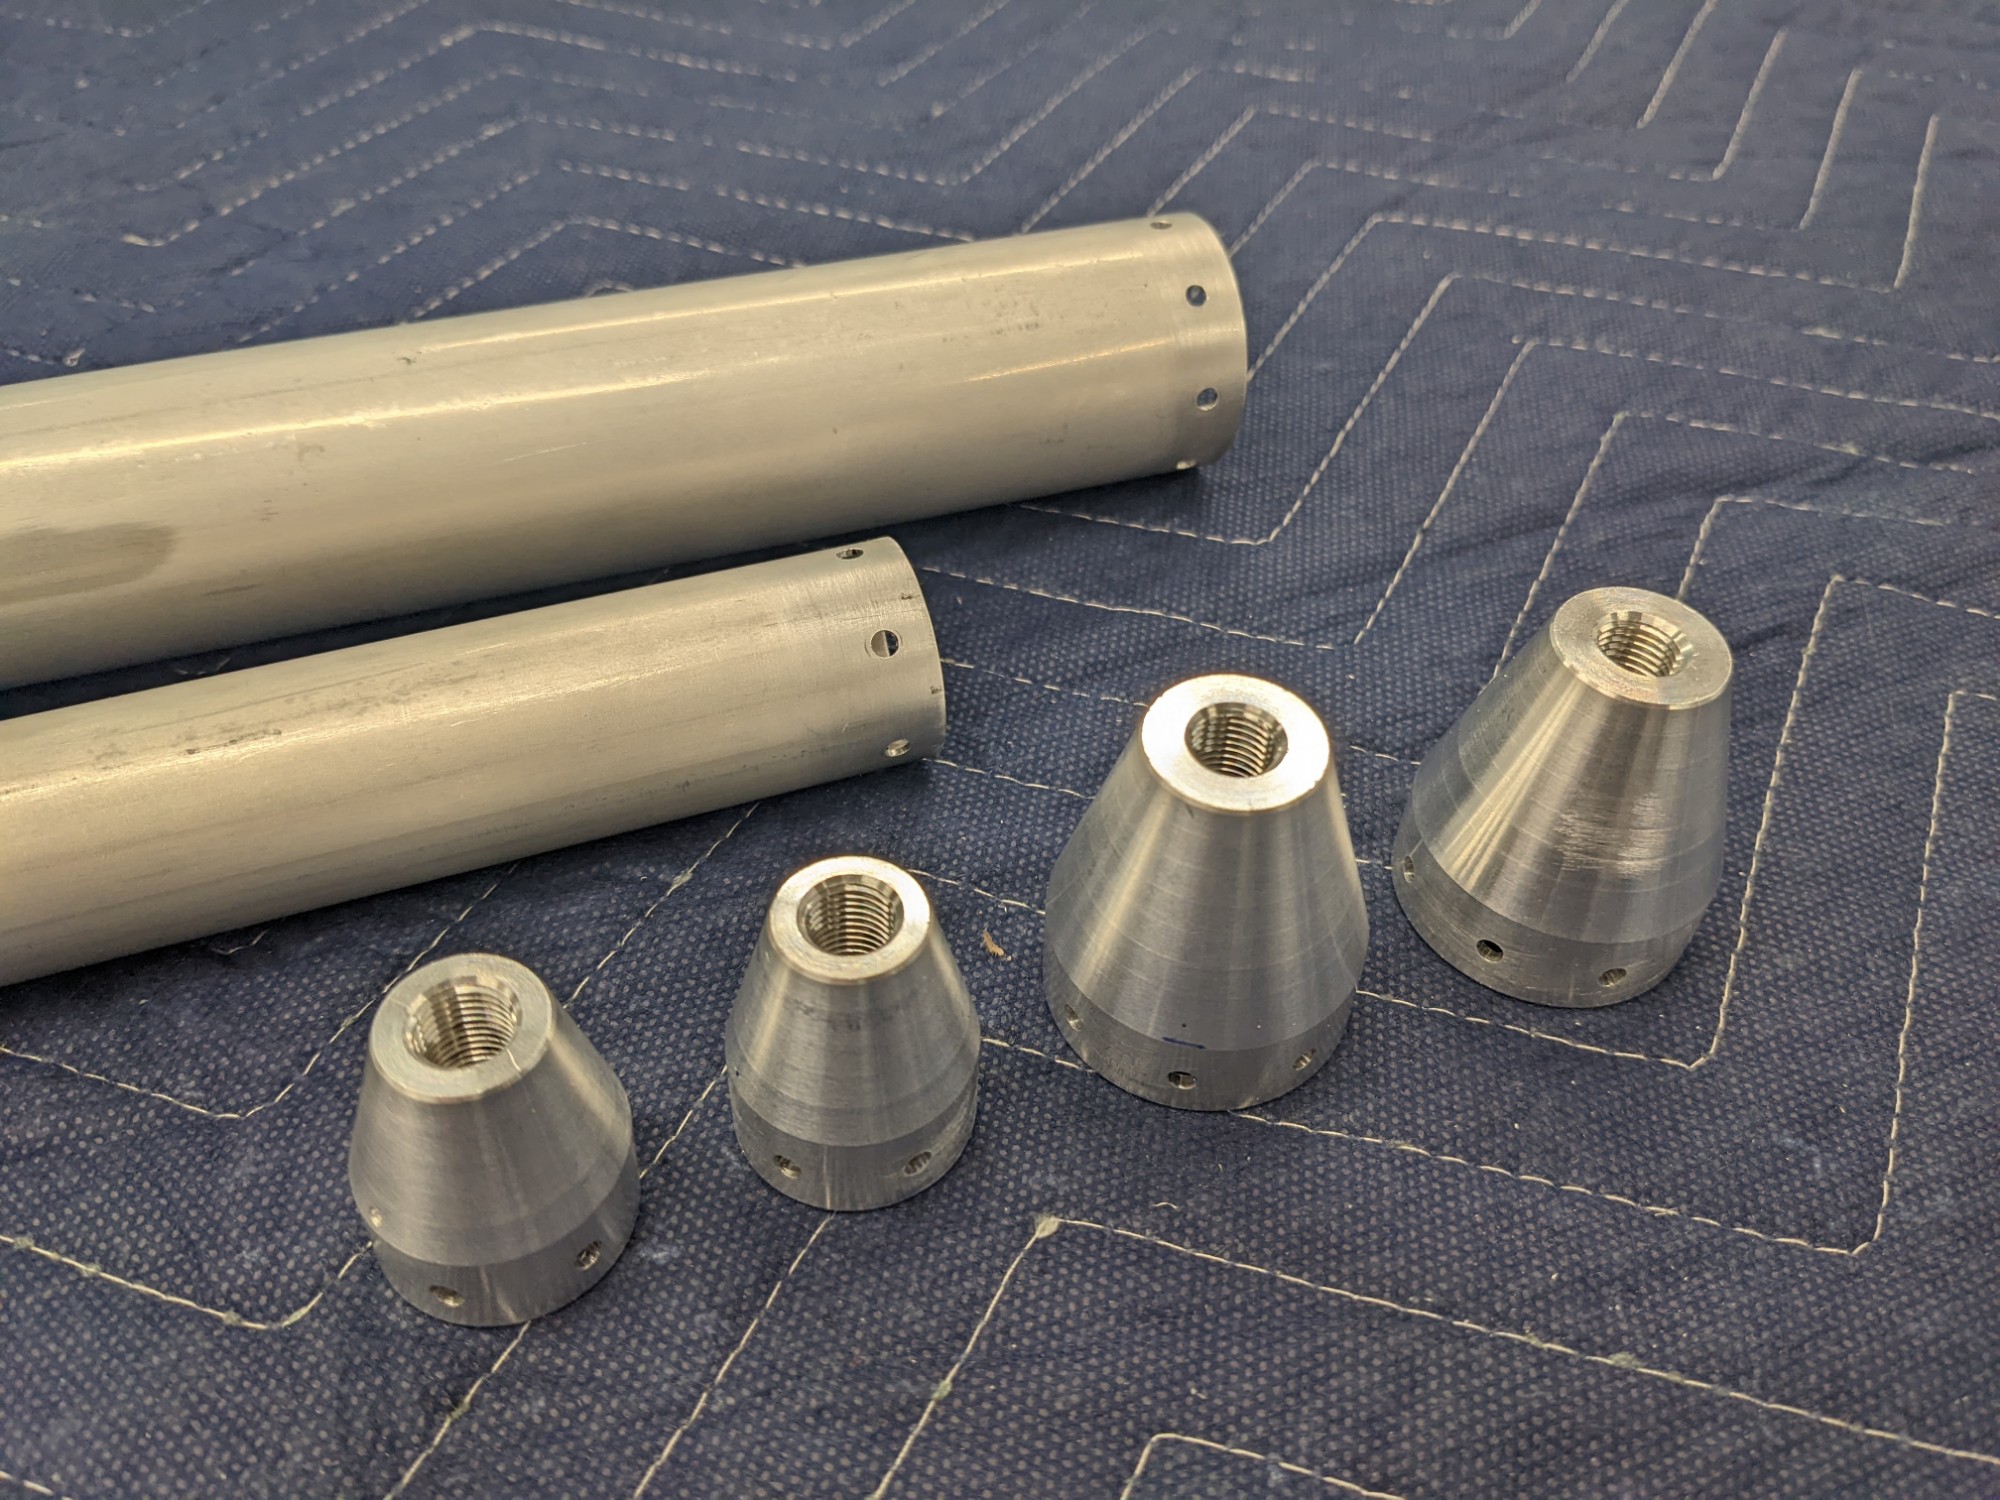
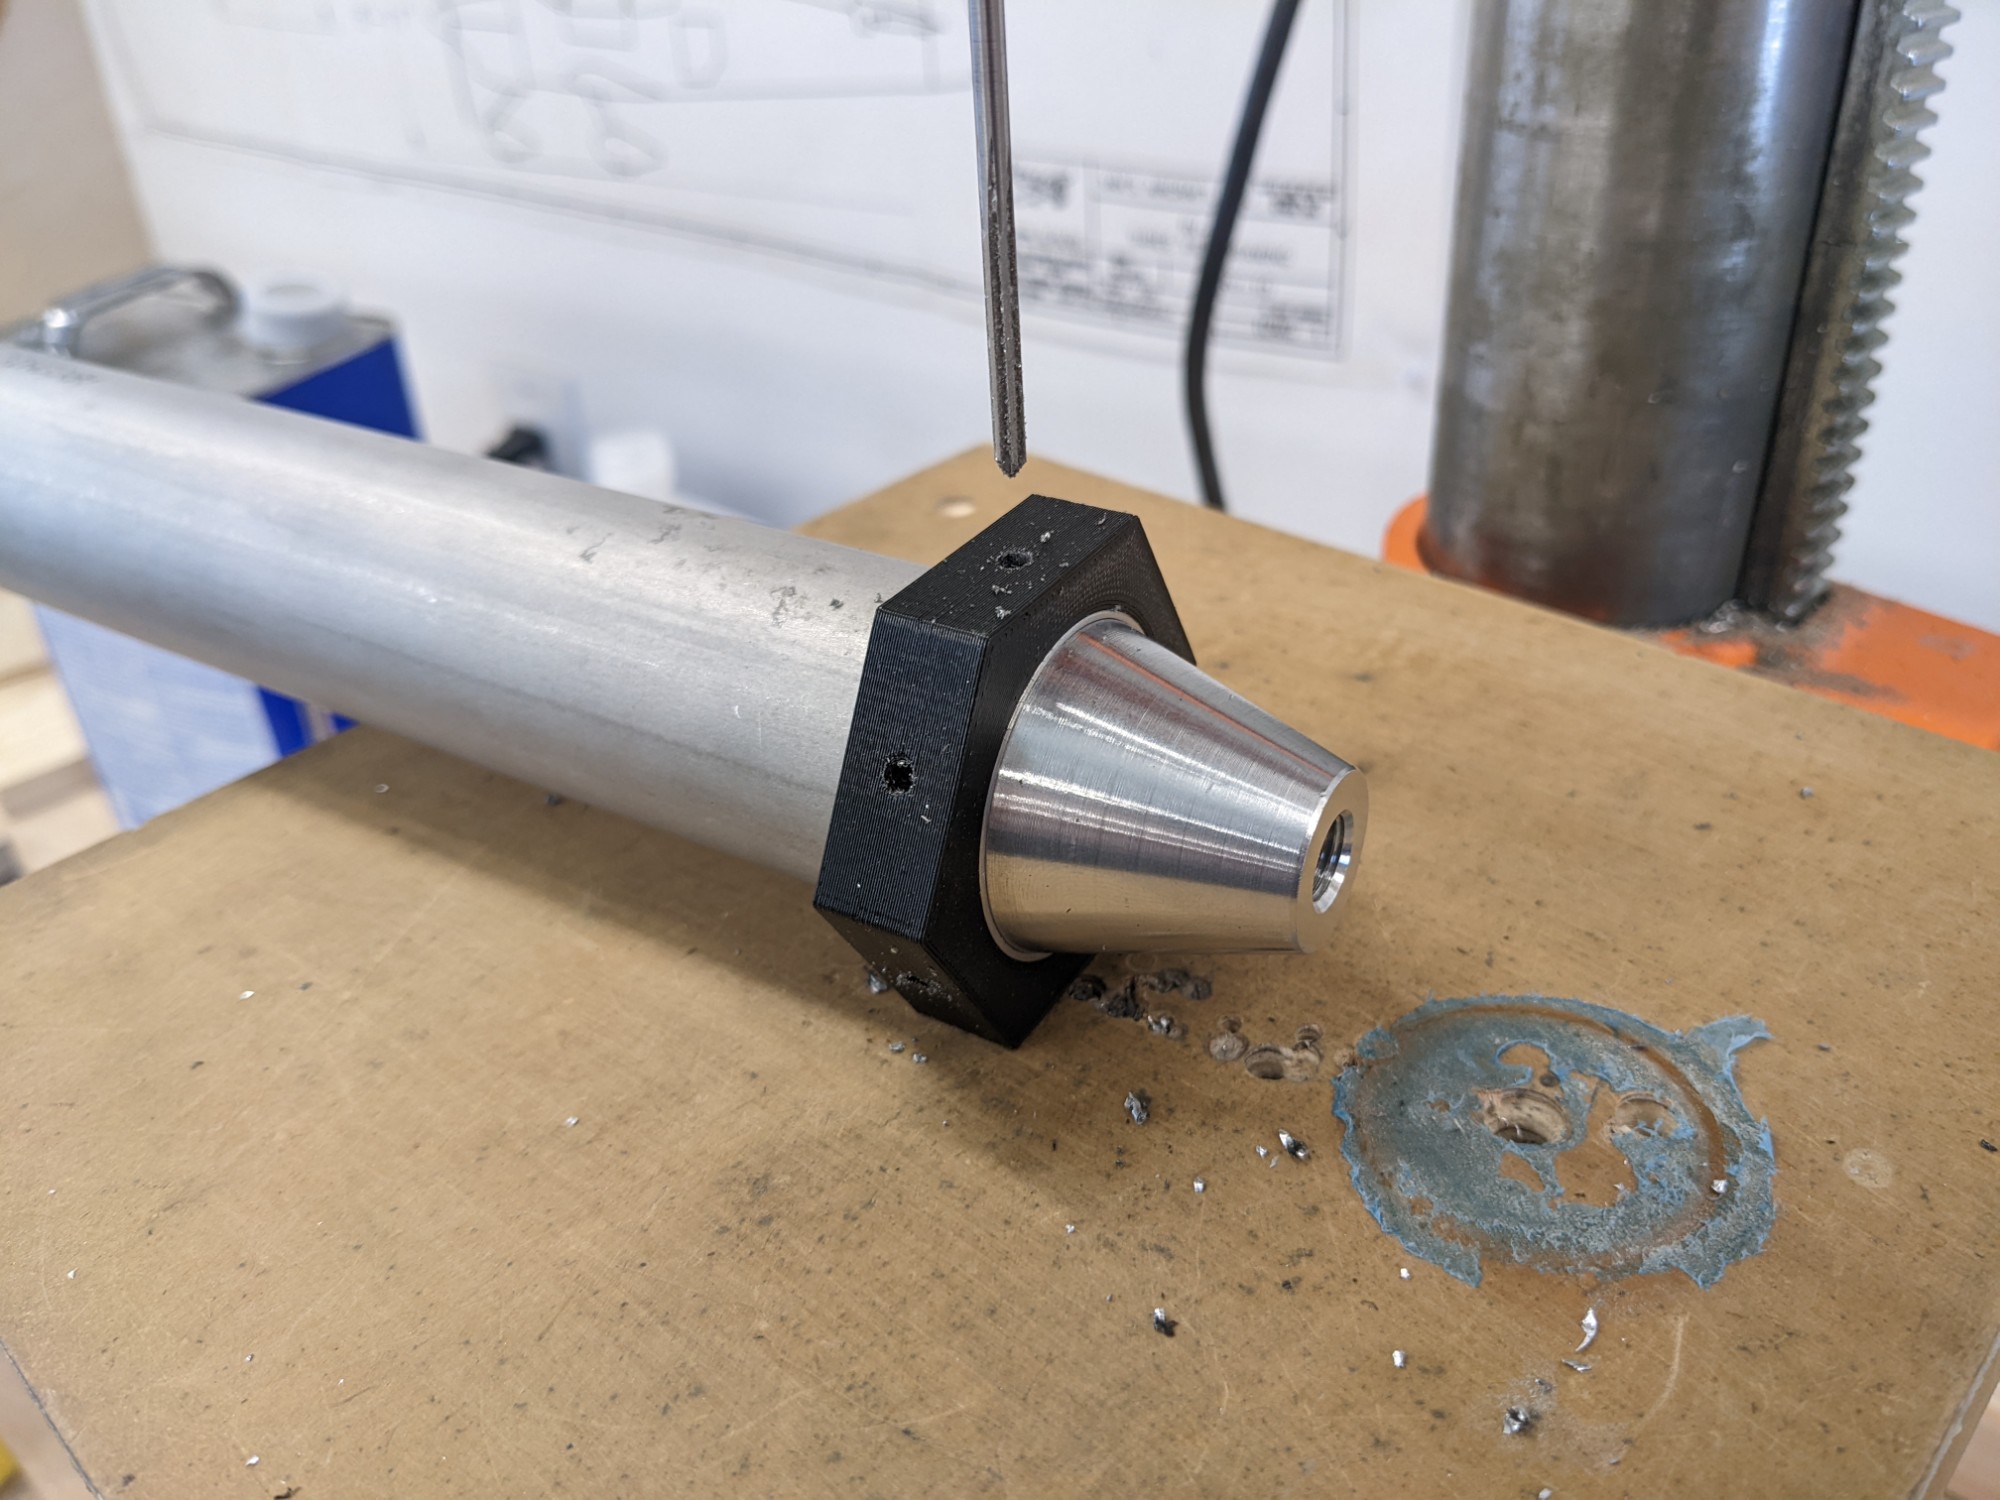
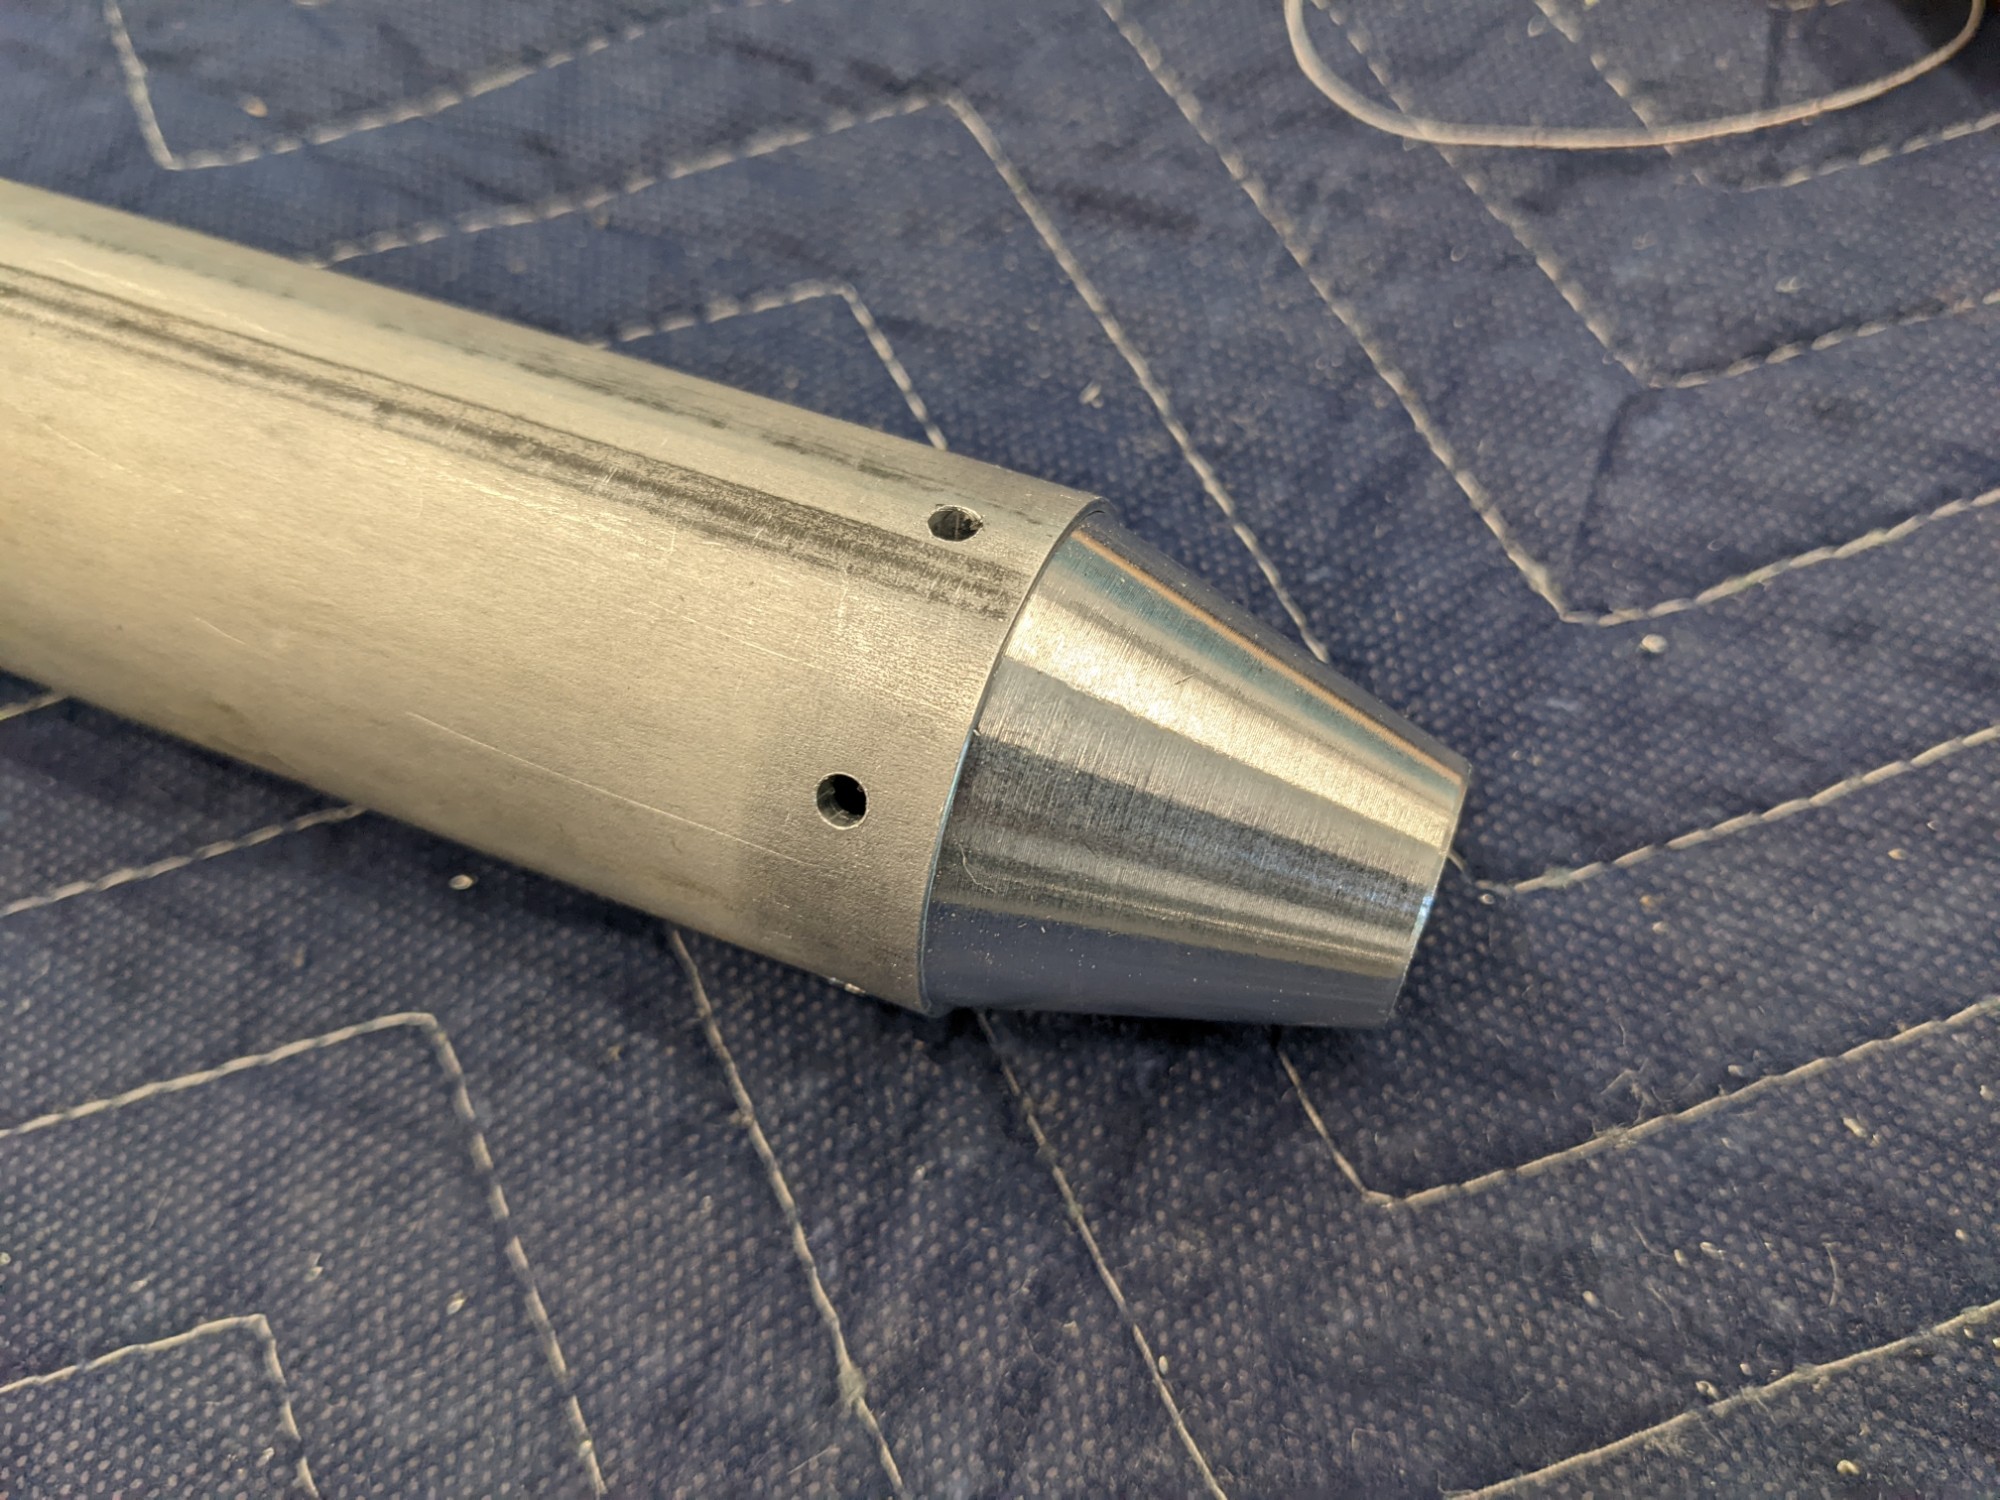
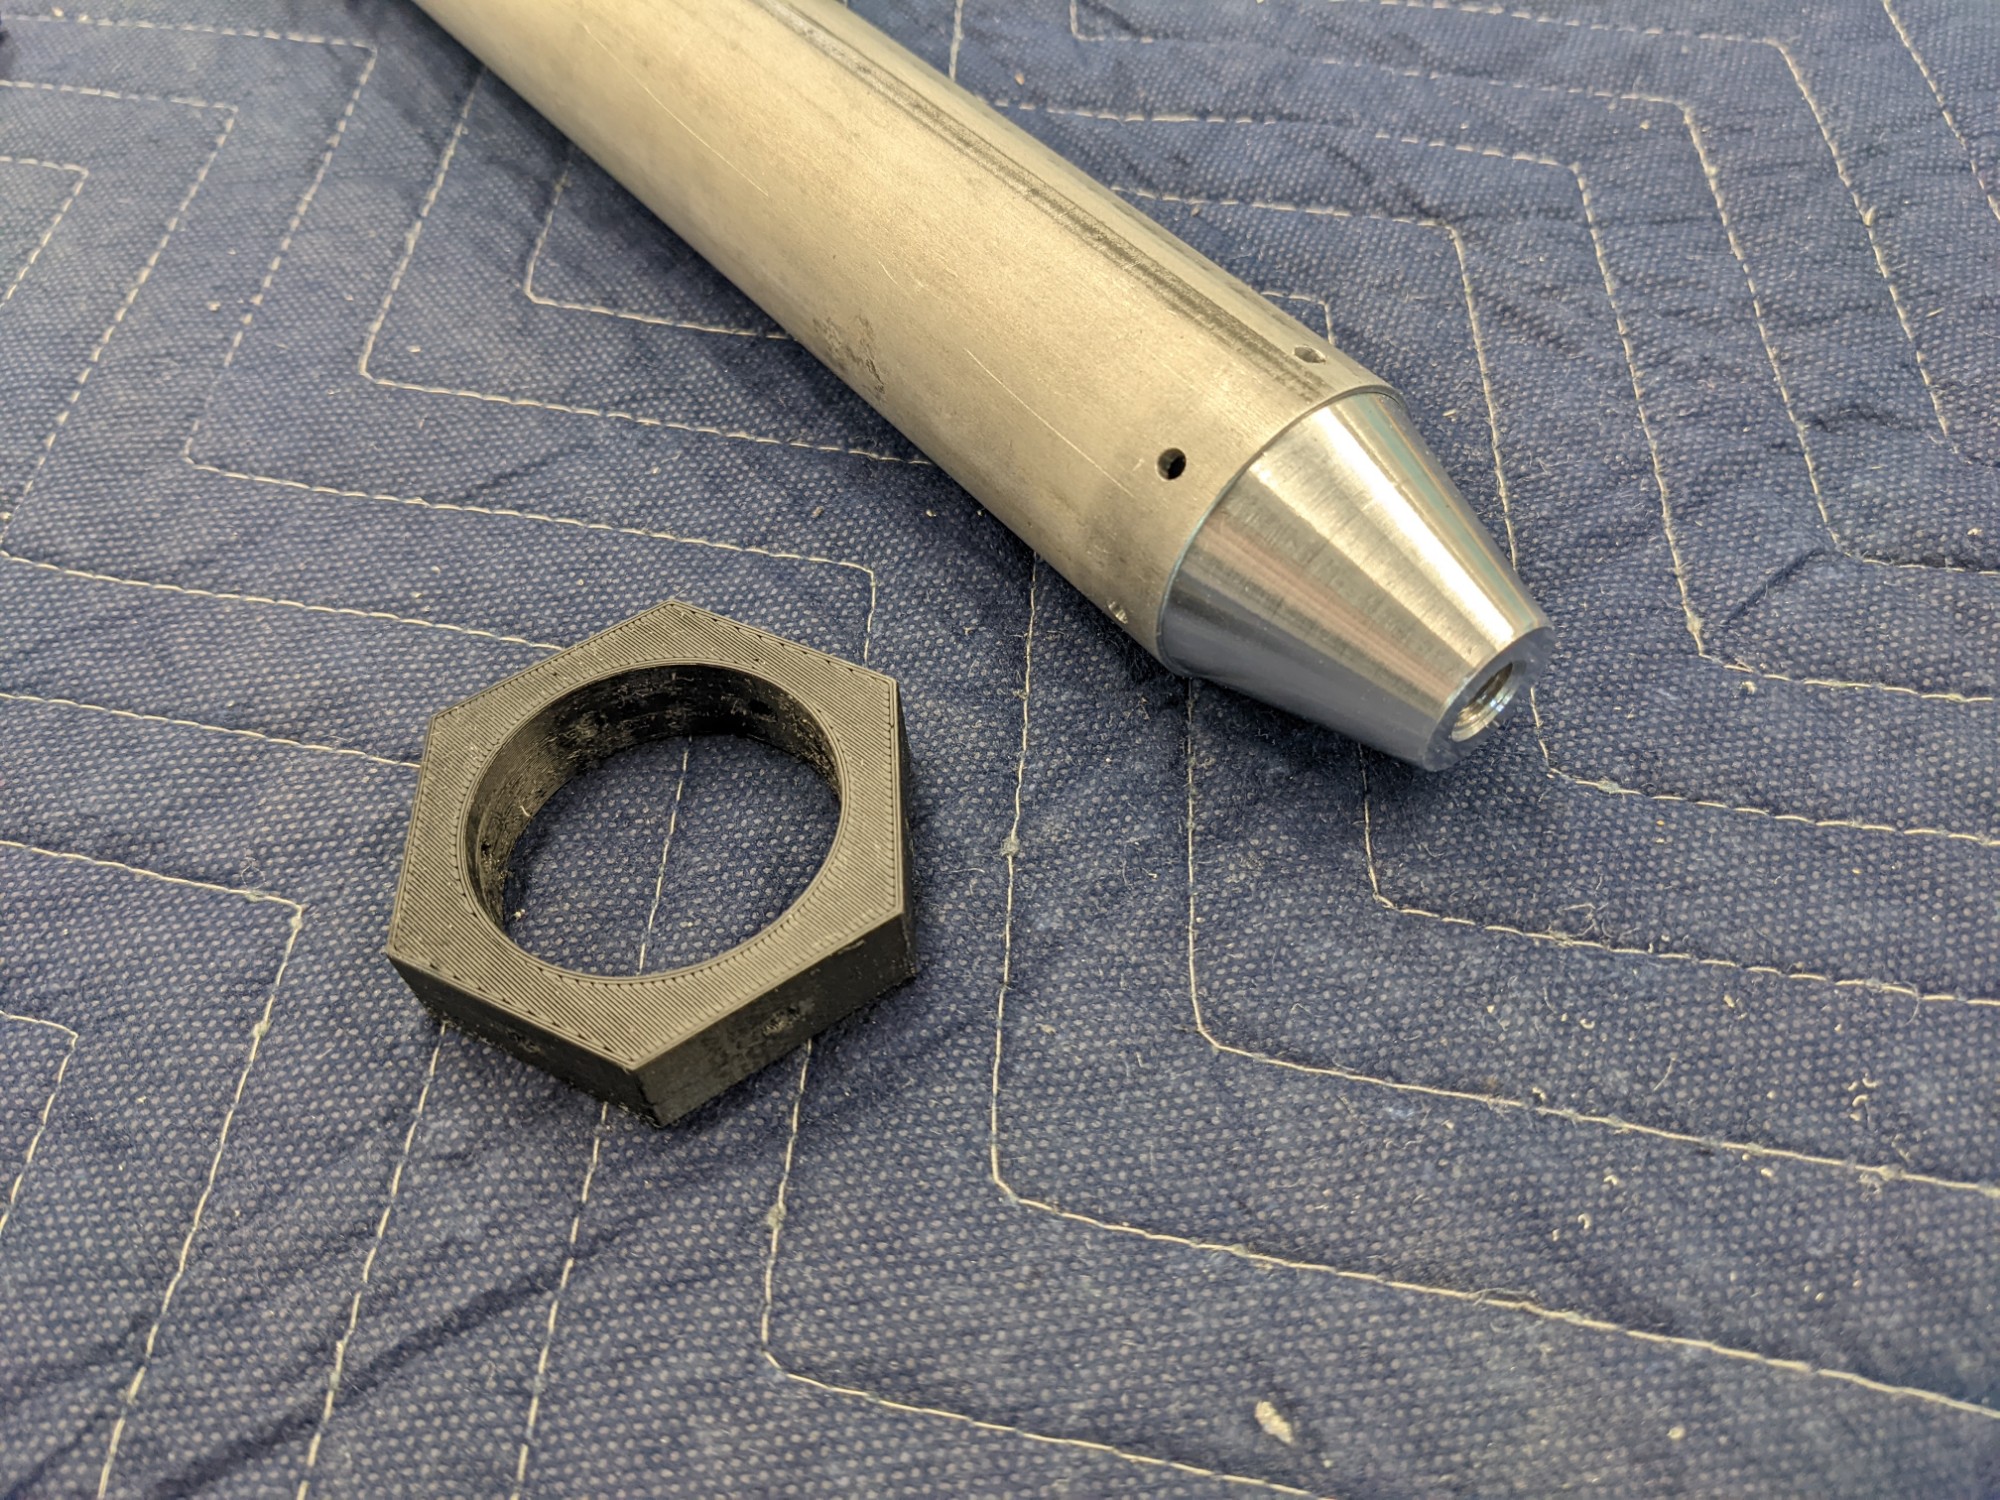
I cut the push rod tubes to length and then drilled the holes for attaching the rod end bearings.
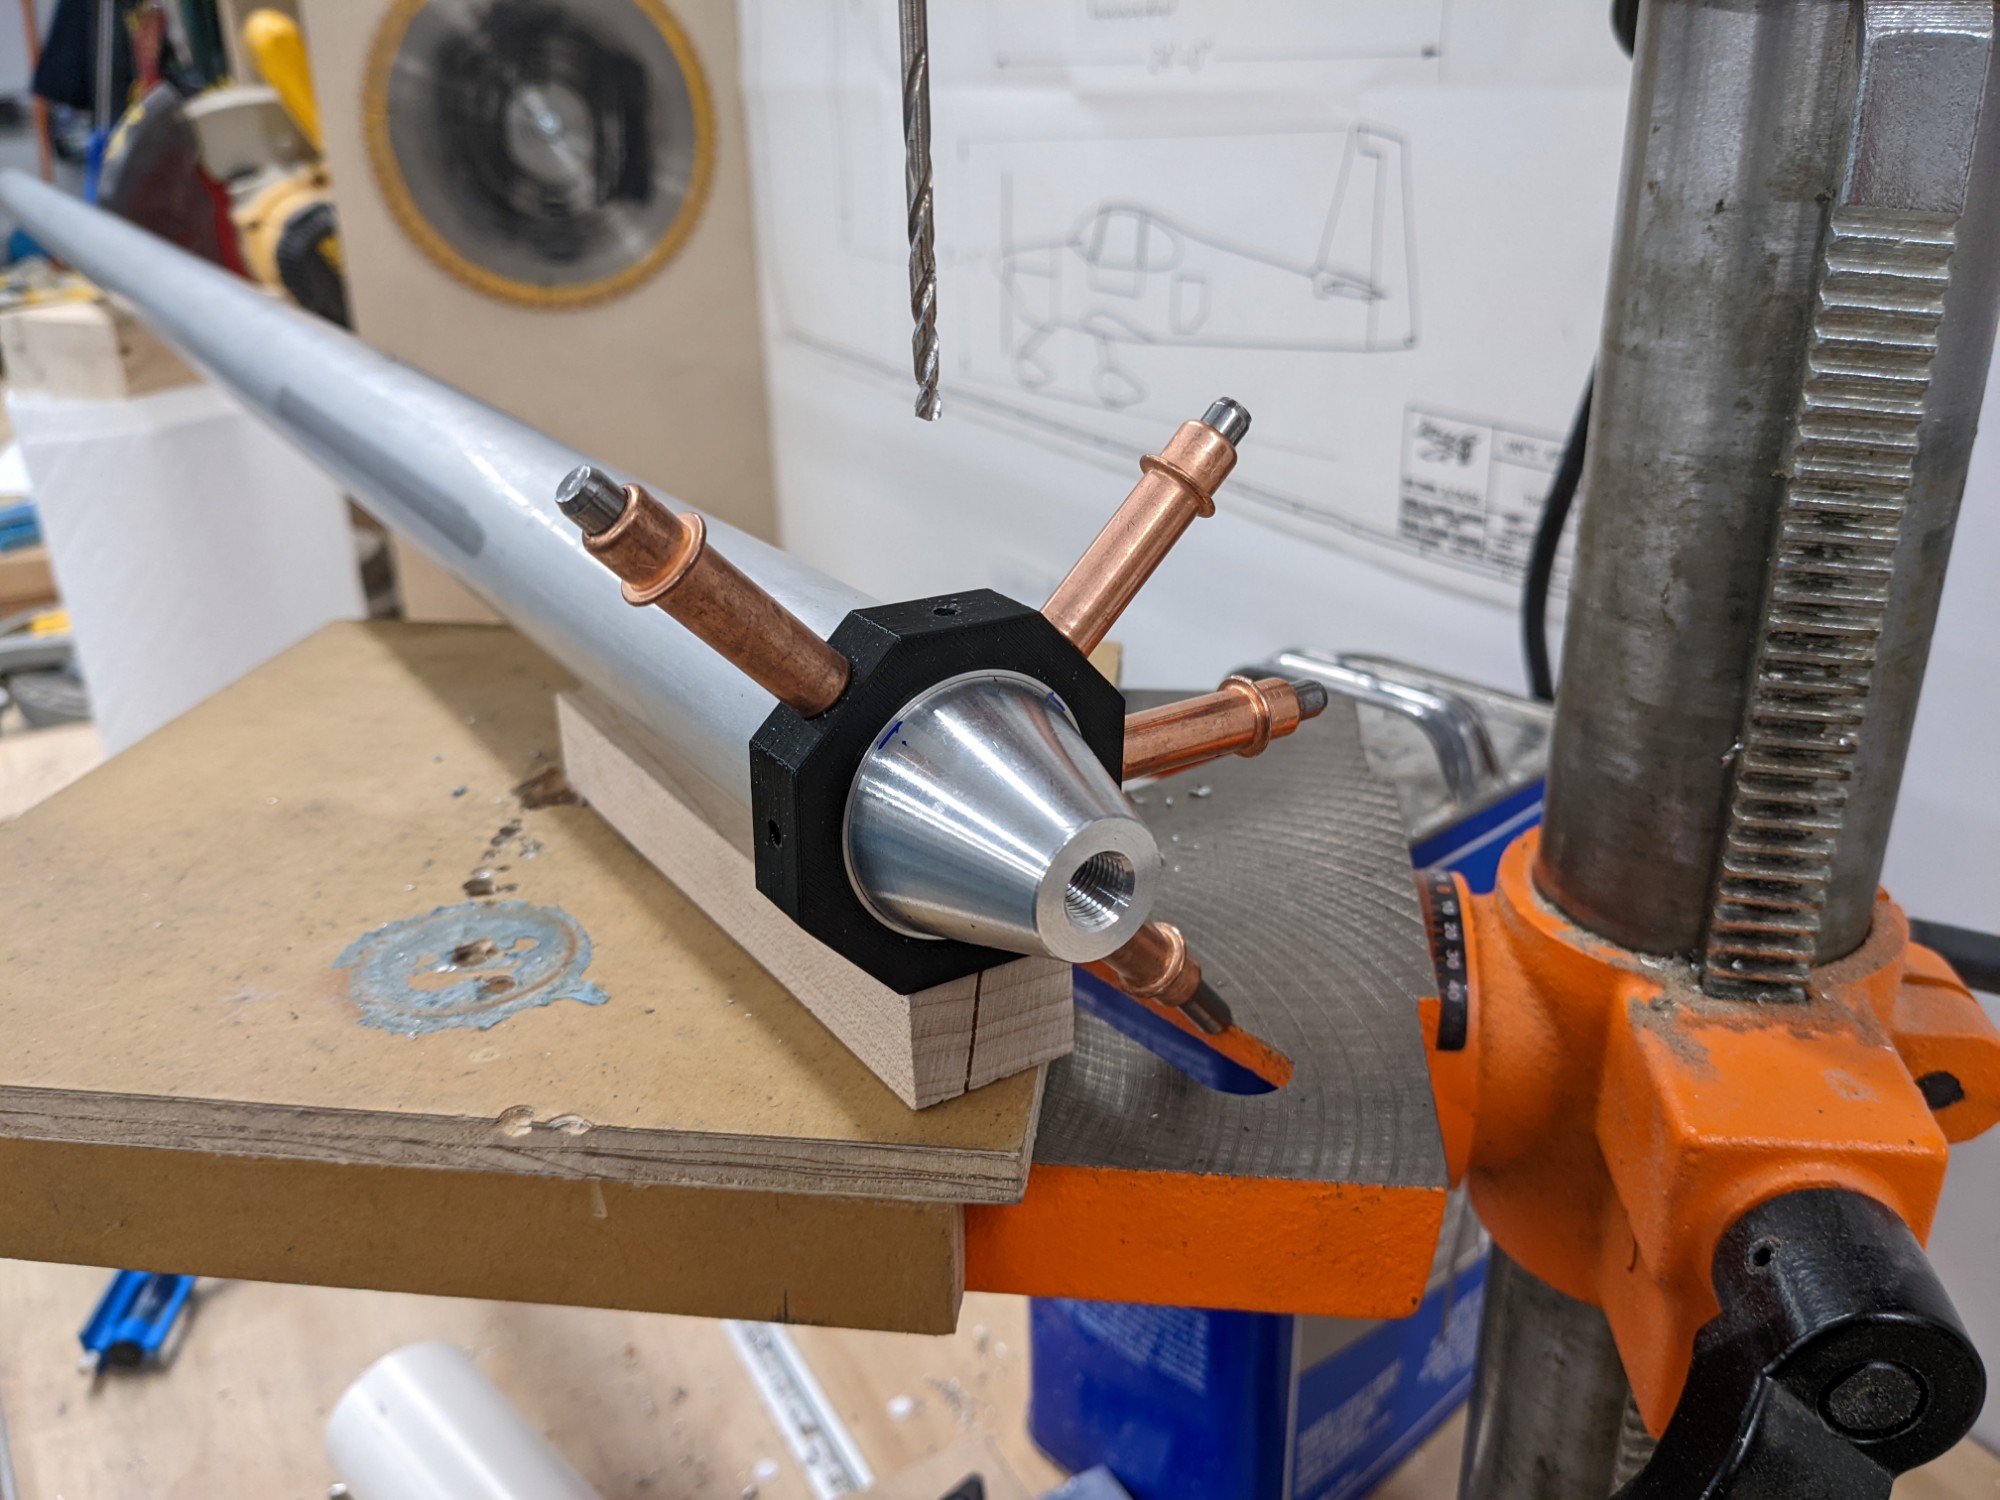
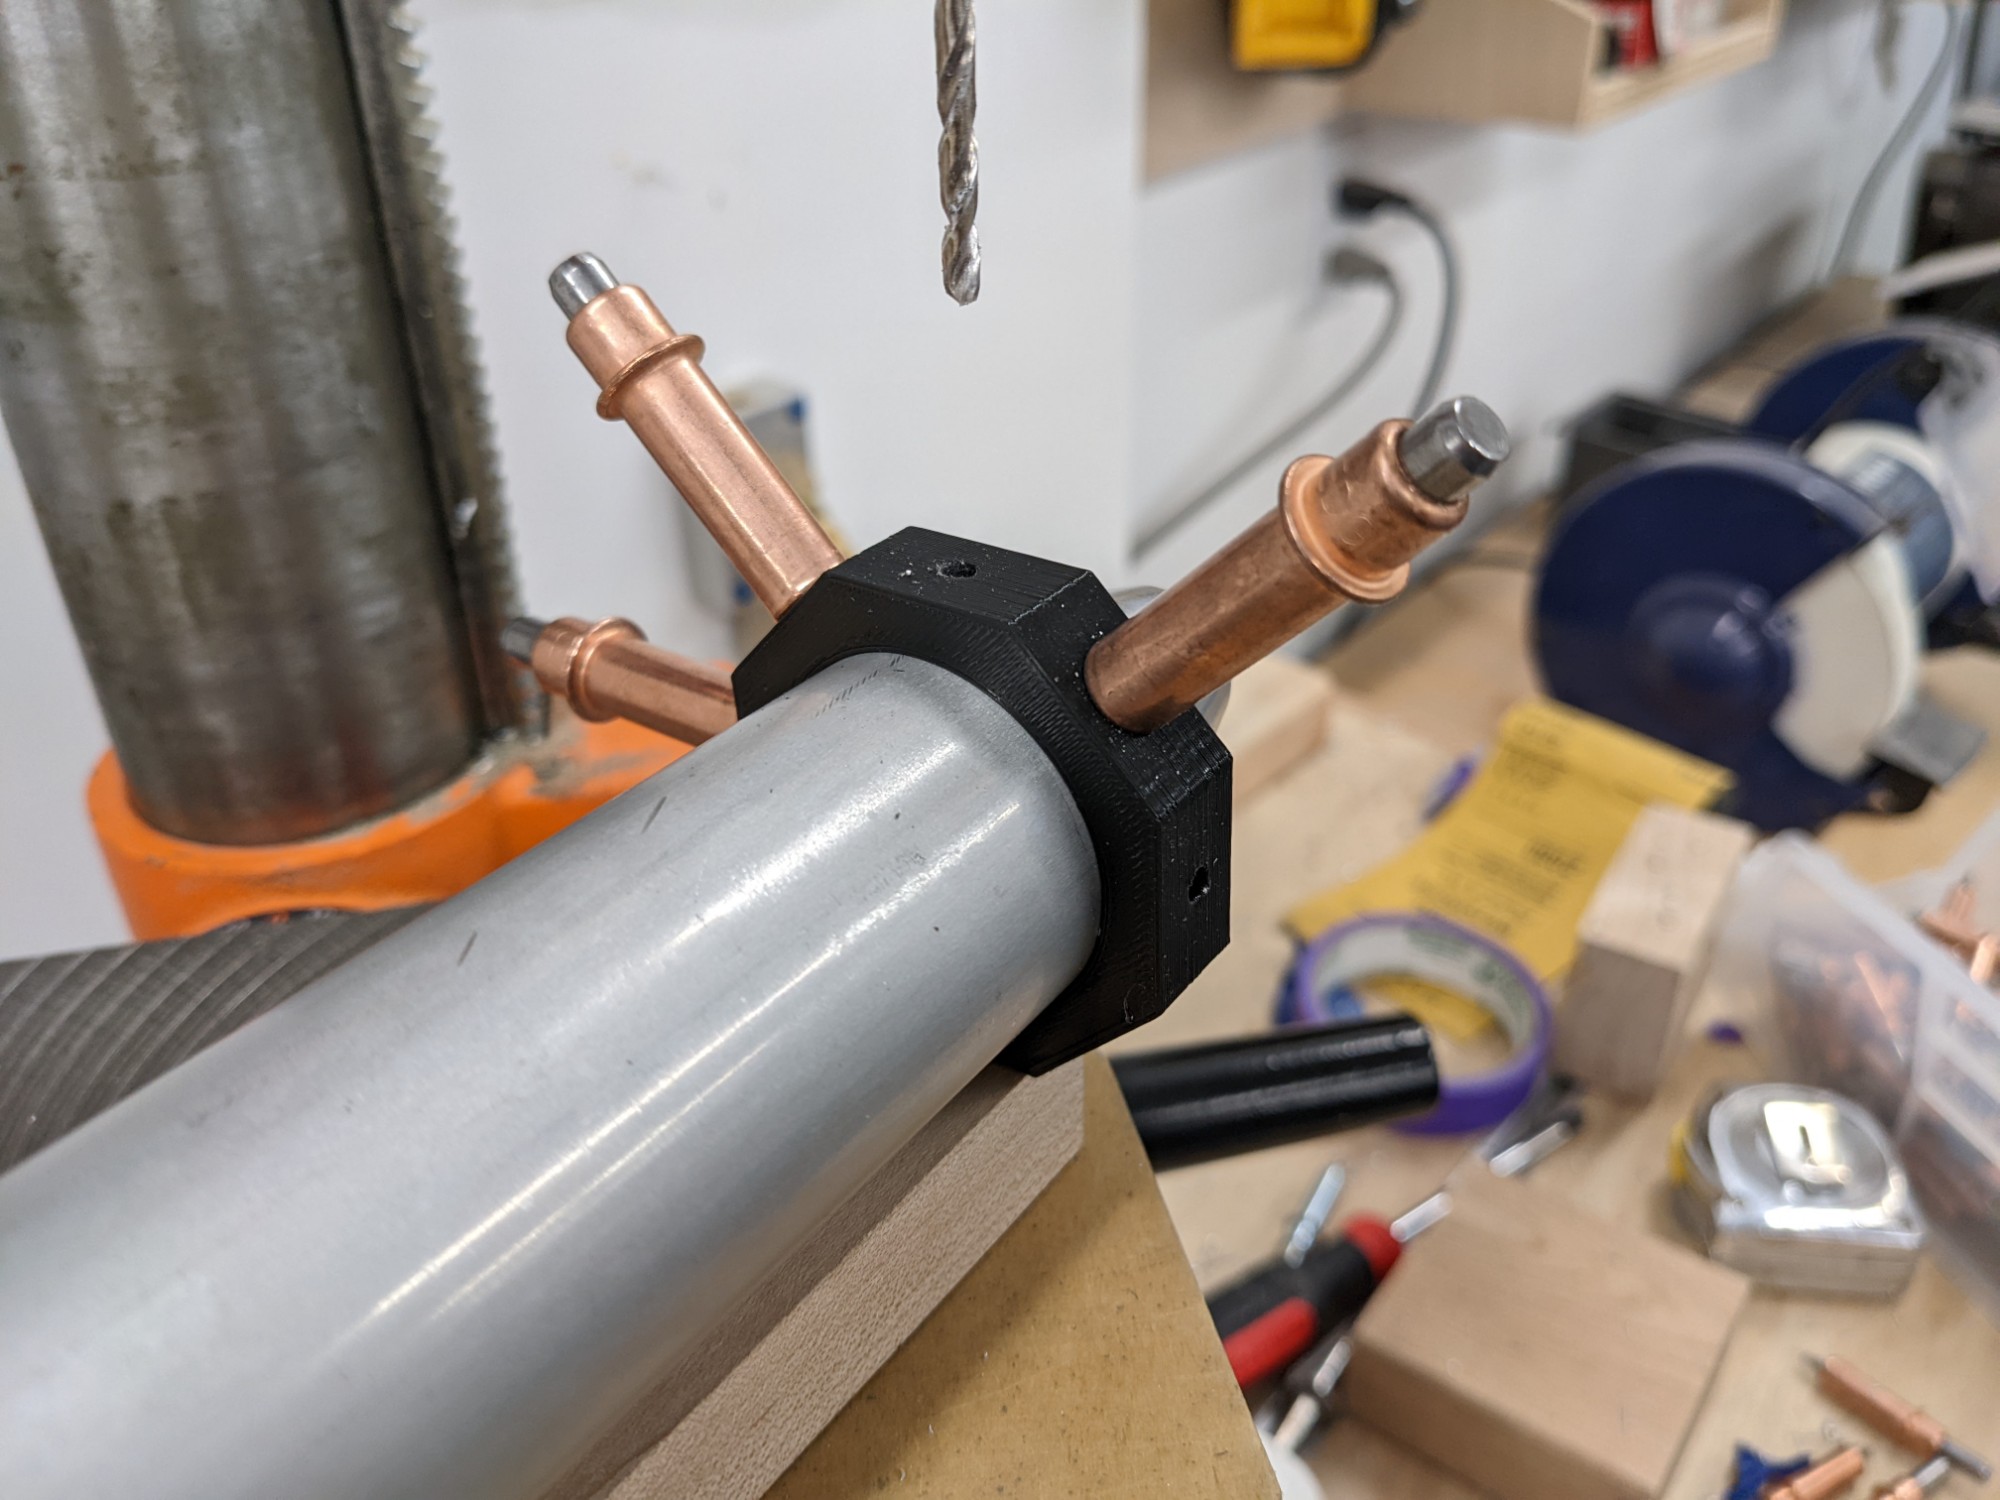
I designed some 3d printed drill guides instead of using the paper templates in the plans (Onshape model here, needs edited for the various sizes, note that the F-1090 pushrod requires 8 rivets). This made it quick and easy to get the holes positioned precisely.
![](https://airplane.allanglen.com/wp-content/uploads/2022/02/pxl_20220209_0527141936443206616426317368.jpg)
![](https://airplane.allanglen.com/wp-content/uploads/2022/02/pxl_20220209_0527177295715707533611988685.jpg)
![](https://airplane.allanglen.com/wp-content/uploads/2022/02/pxl_20220209_0535051713691823251025495634.jpg)
![](https://airplane.allanglen.com/wp-content/uploads/2022/02/pxl_20220210_0045292093392618847365527468.jpg)
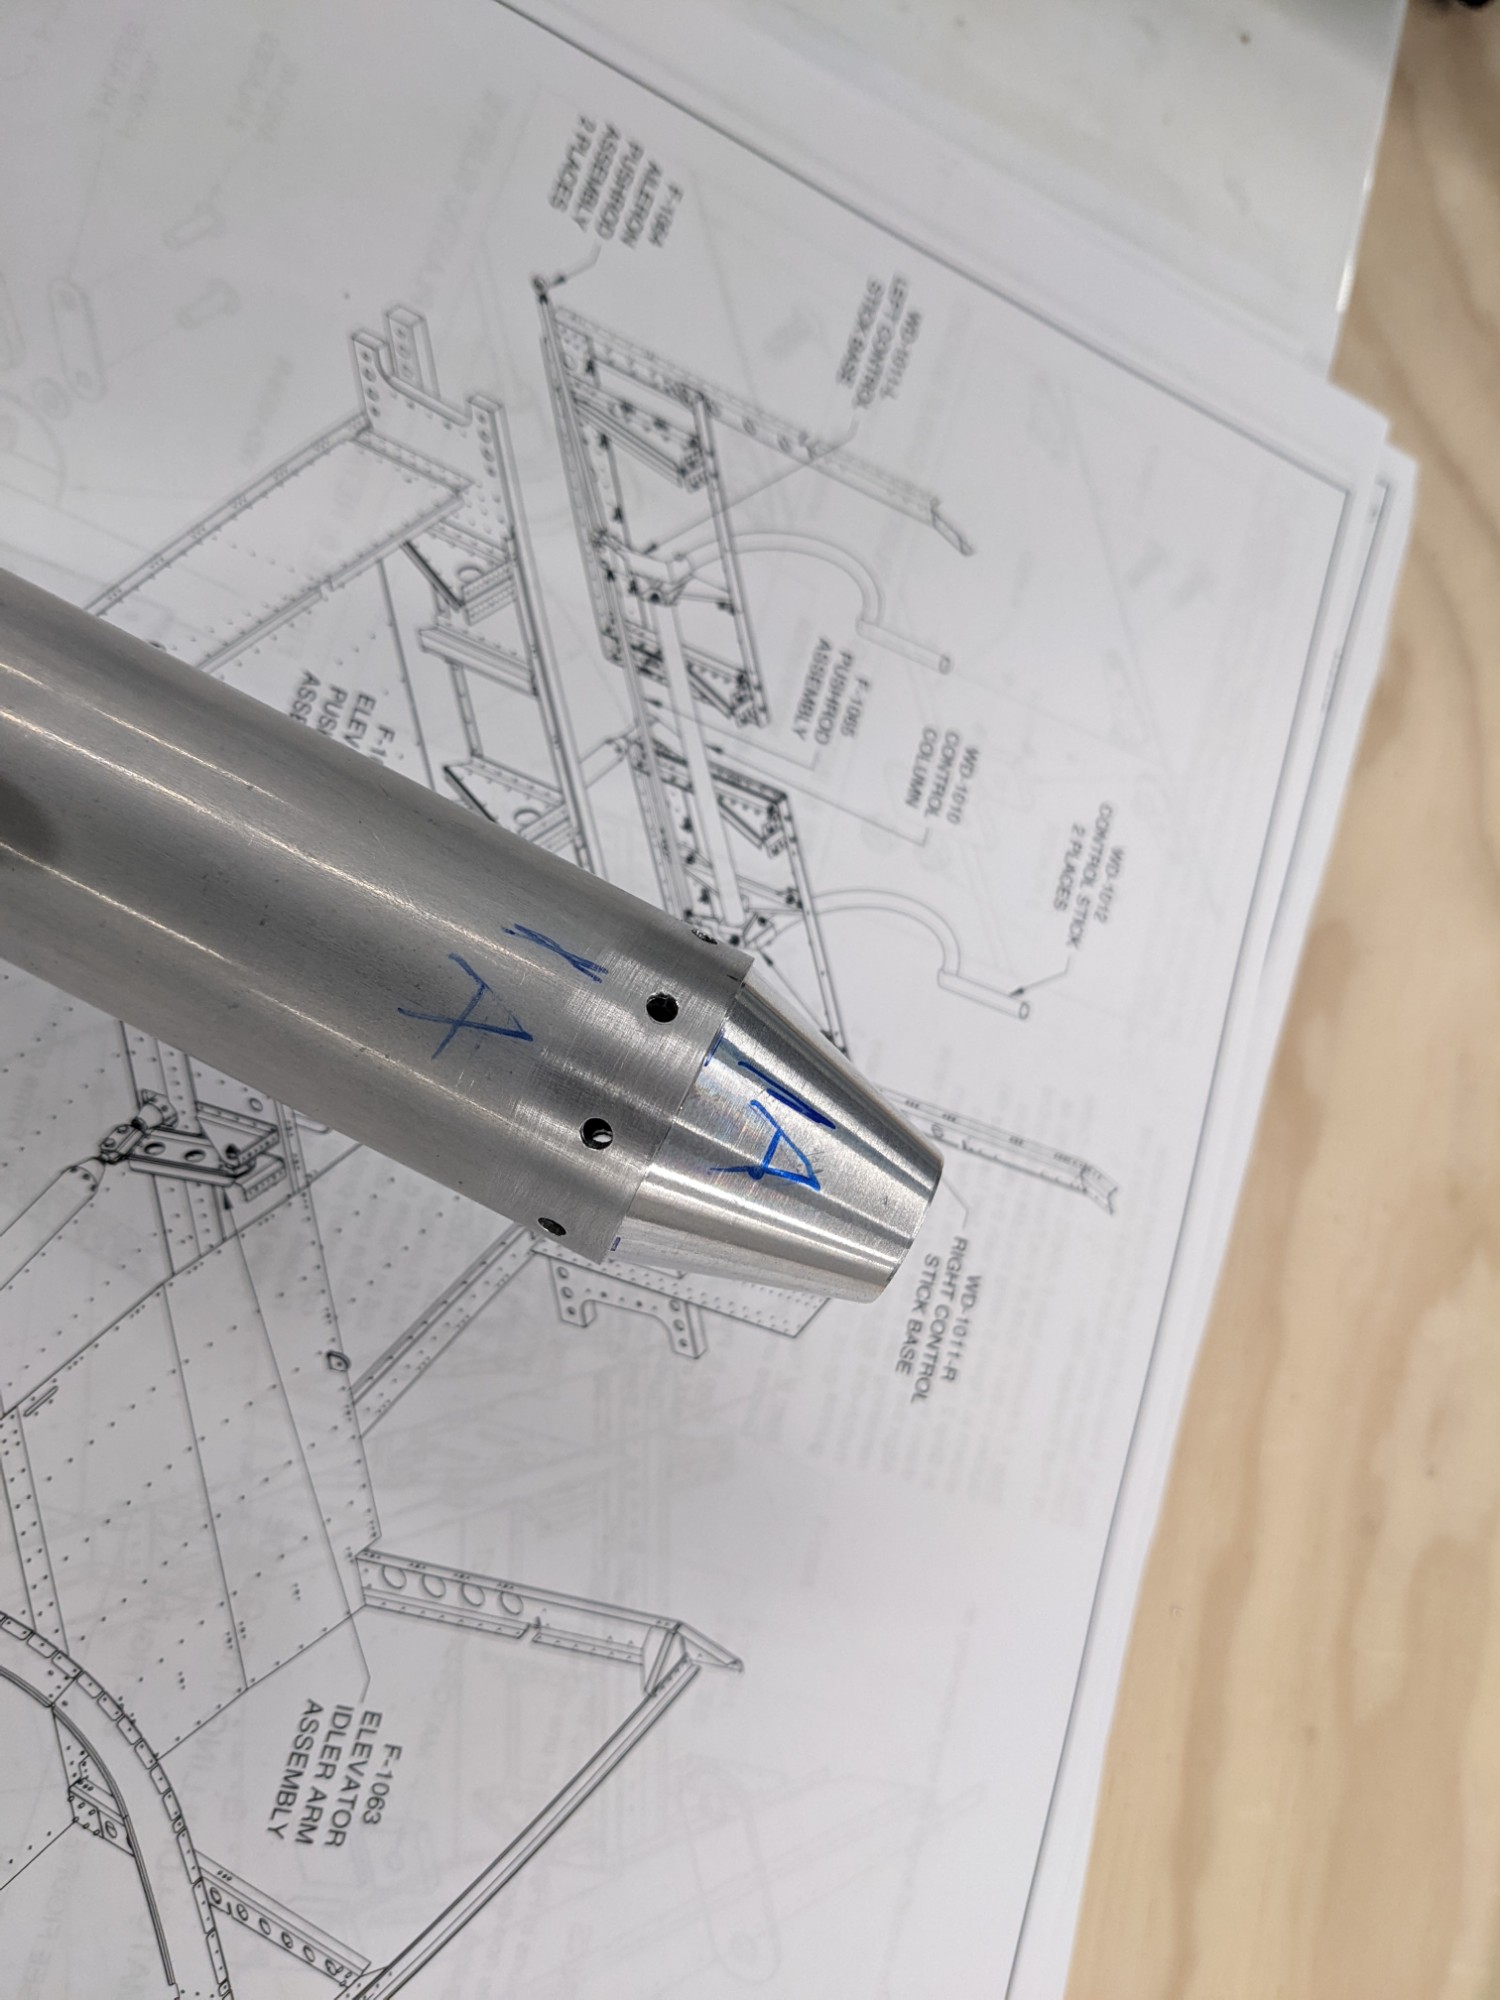
I also prepared the push rod that is assembled in the tail attach section.
![](https://airplane.allanglen.com/wp-content/uploads/2022/02/pxl_20220212_2138435151137590092509967959.jpg)
![](https://airplane.allanglen.com/wp-content/uploads/2022/02/pxl_20220212_2139235468999219971279973053.jpg)
![](https://airplane.allanglen.com/wp-content/uploads/2022/02/pxl_20220212_2139311795922560377958004757.jpg)
I also prepared the elevator idler.
![](https://airplane.allanglen.com/wp-content/uploads/2022/02/pxl_20220209_1425422719096680823107302434.jpg)
![](https://airplane.allanglen.com/wp-content/uploads/2022/02/pxl_20220209_1458011817998994681015317011.jpg)
![](https://airplane.allanglen.com/wp-content/uploads/2022/02/pxl_20220209_150323480744293382115017611.jpg)
![](https://airplane.allanglen.com/wp-content/uploads/2022/02/pxl_20220210_0044022283089935851131212813.jpg)
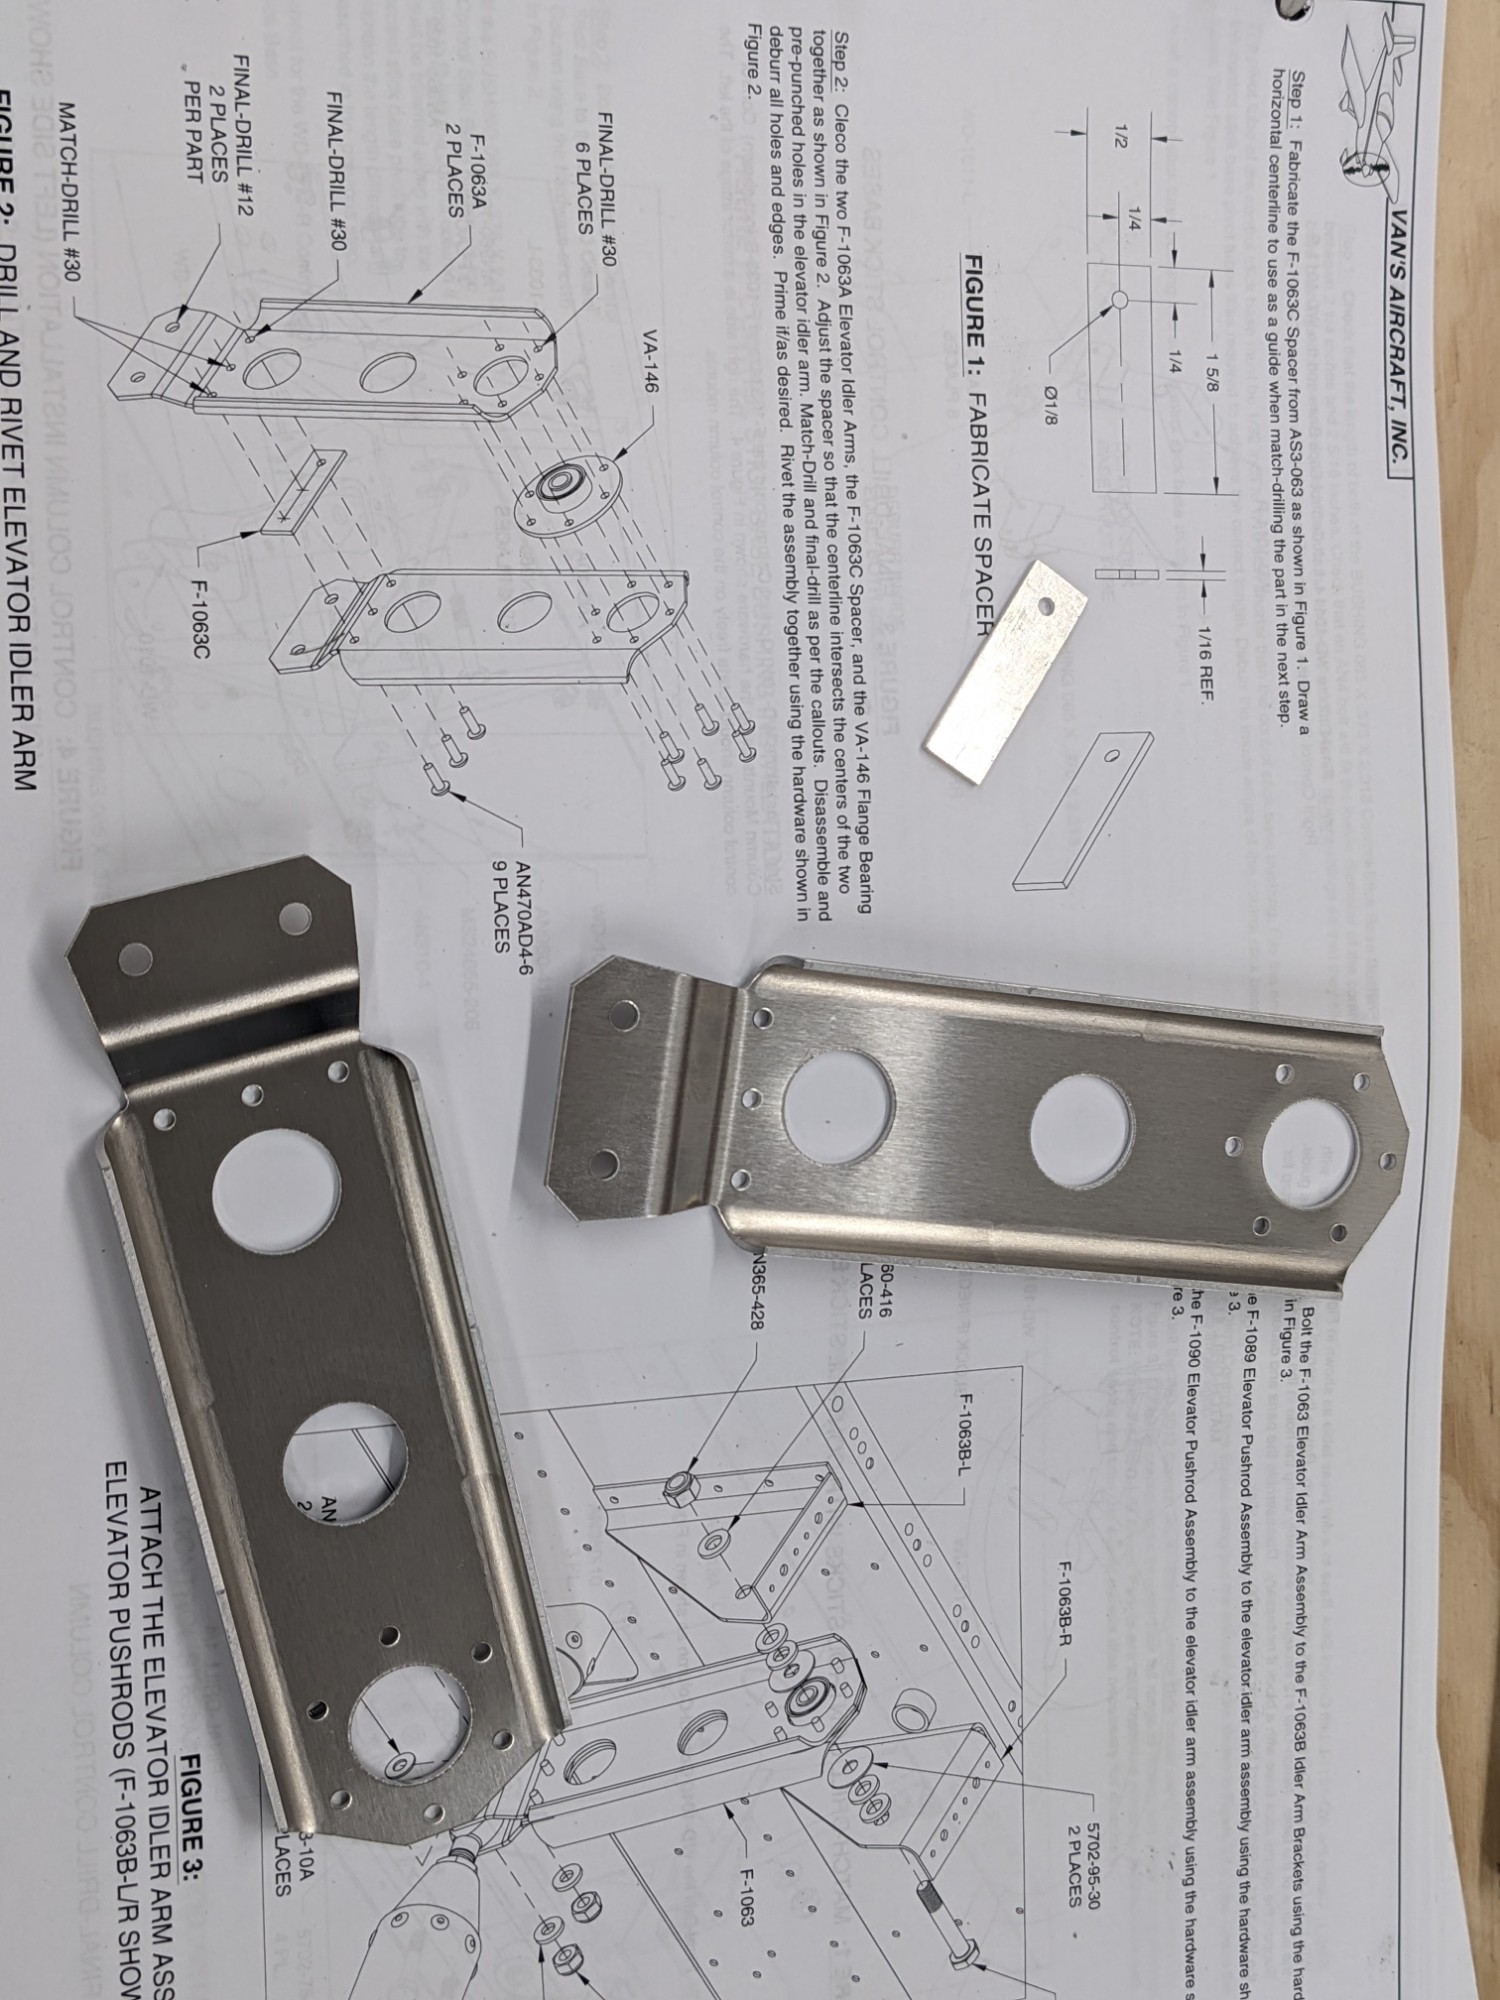
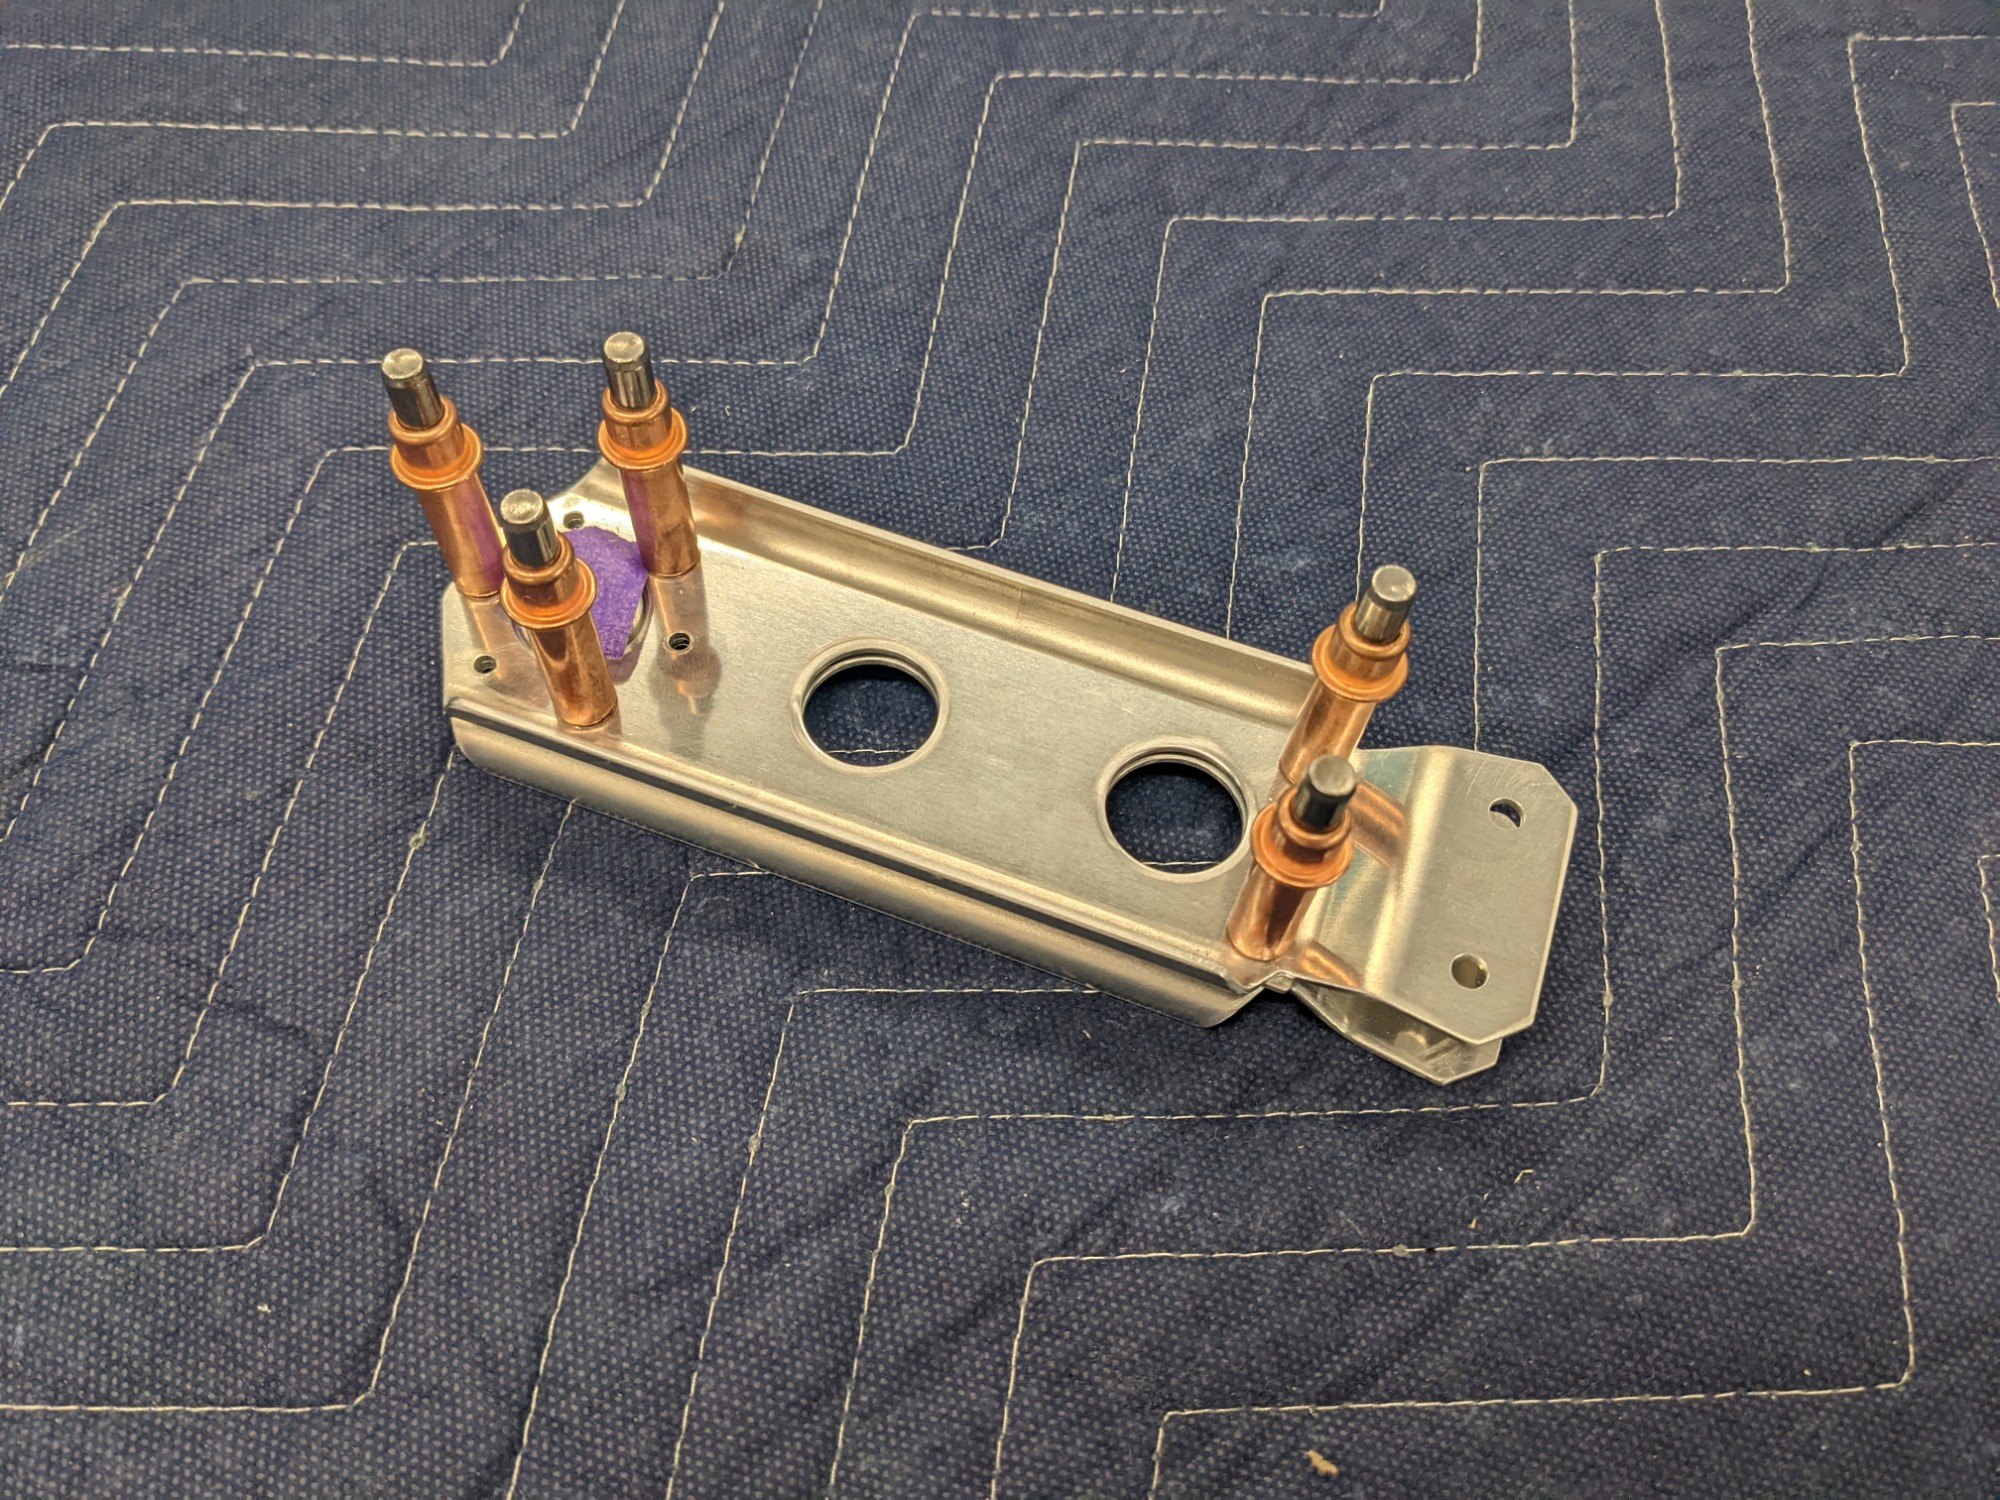
These are now ready to prime.