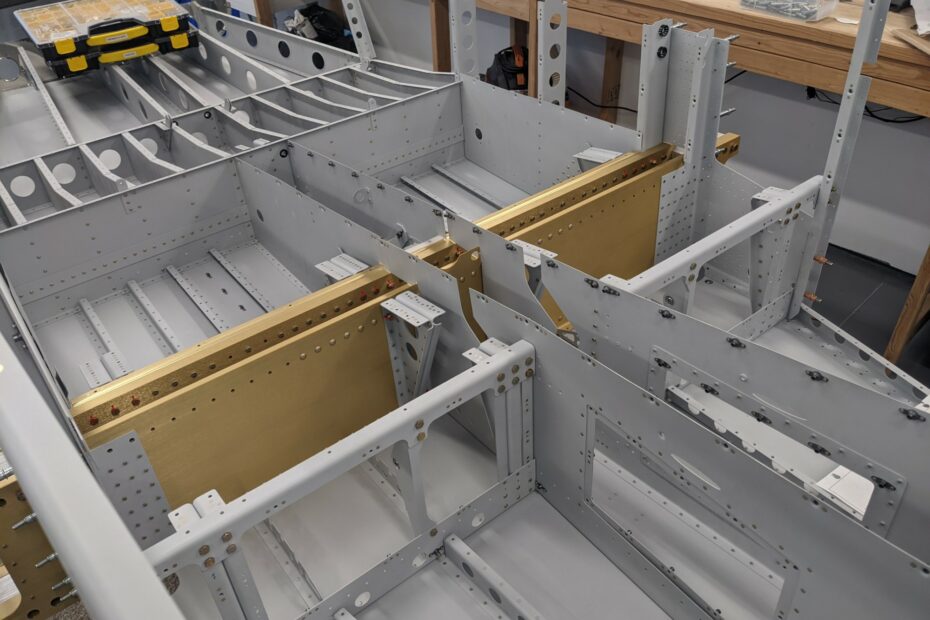
The forward fuselage section is finally complete! I ran into a snag with some holes in the firewall section (forward fuselage rib flanges) that hadn’t been dimpled (my mistake, but it also wasn’t mentioned in the plans and I wasn’t wise to the omissions yet when I worked on the firewall section). I got the dimples sorted out with a rivet set from Cleaveland that allows a dimple die to be used in a rivet gun.
The USPS lost my first shipment of the tool so I had to place another order 😠. We then broke my male dimple die while using the rivet set 😟. I ordered replacement dies (yes, I ordered two in case we had the same problem again). The dimple dies weren’t in stock and we then had to wait an additional week for manufacturing ☹️.. all told we lost about to a month (and a few extra purchases) to get back to where we were previously. Thankfully, the process worked out in the end and all of those rivets came out really well.
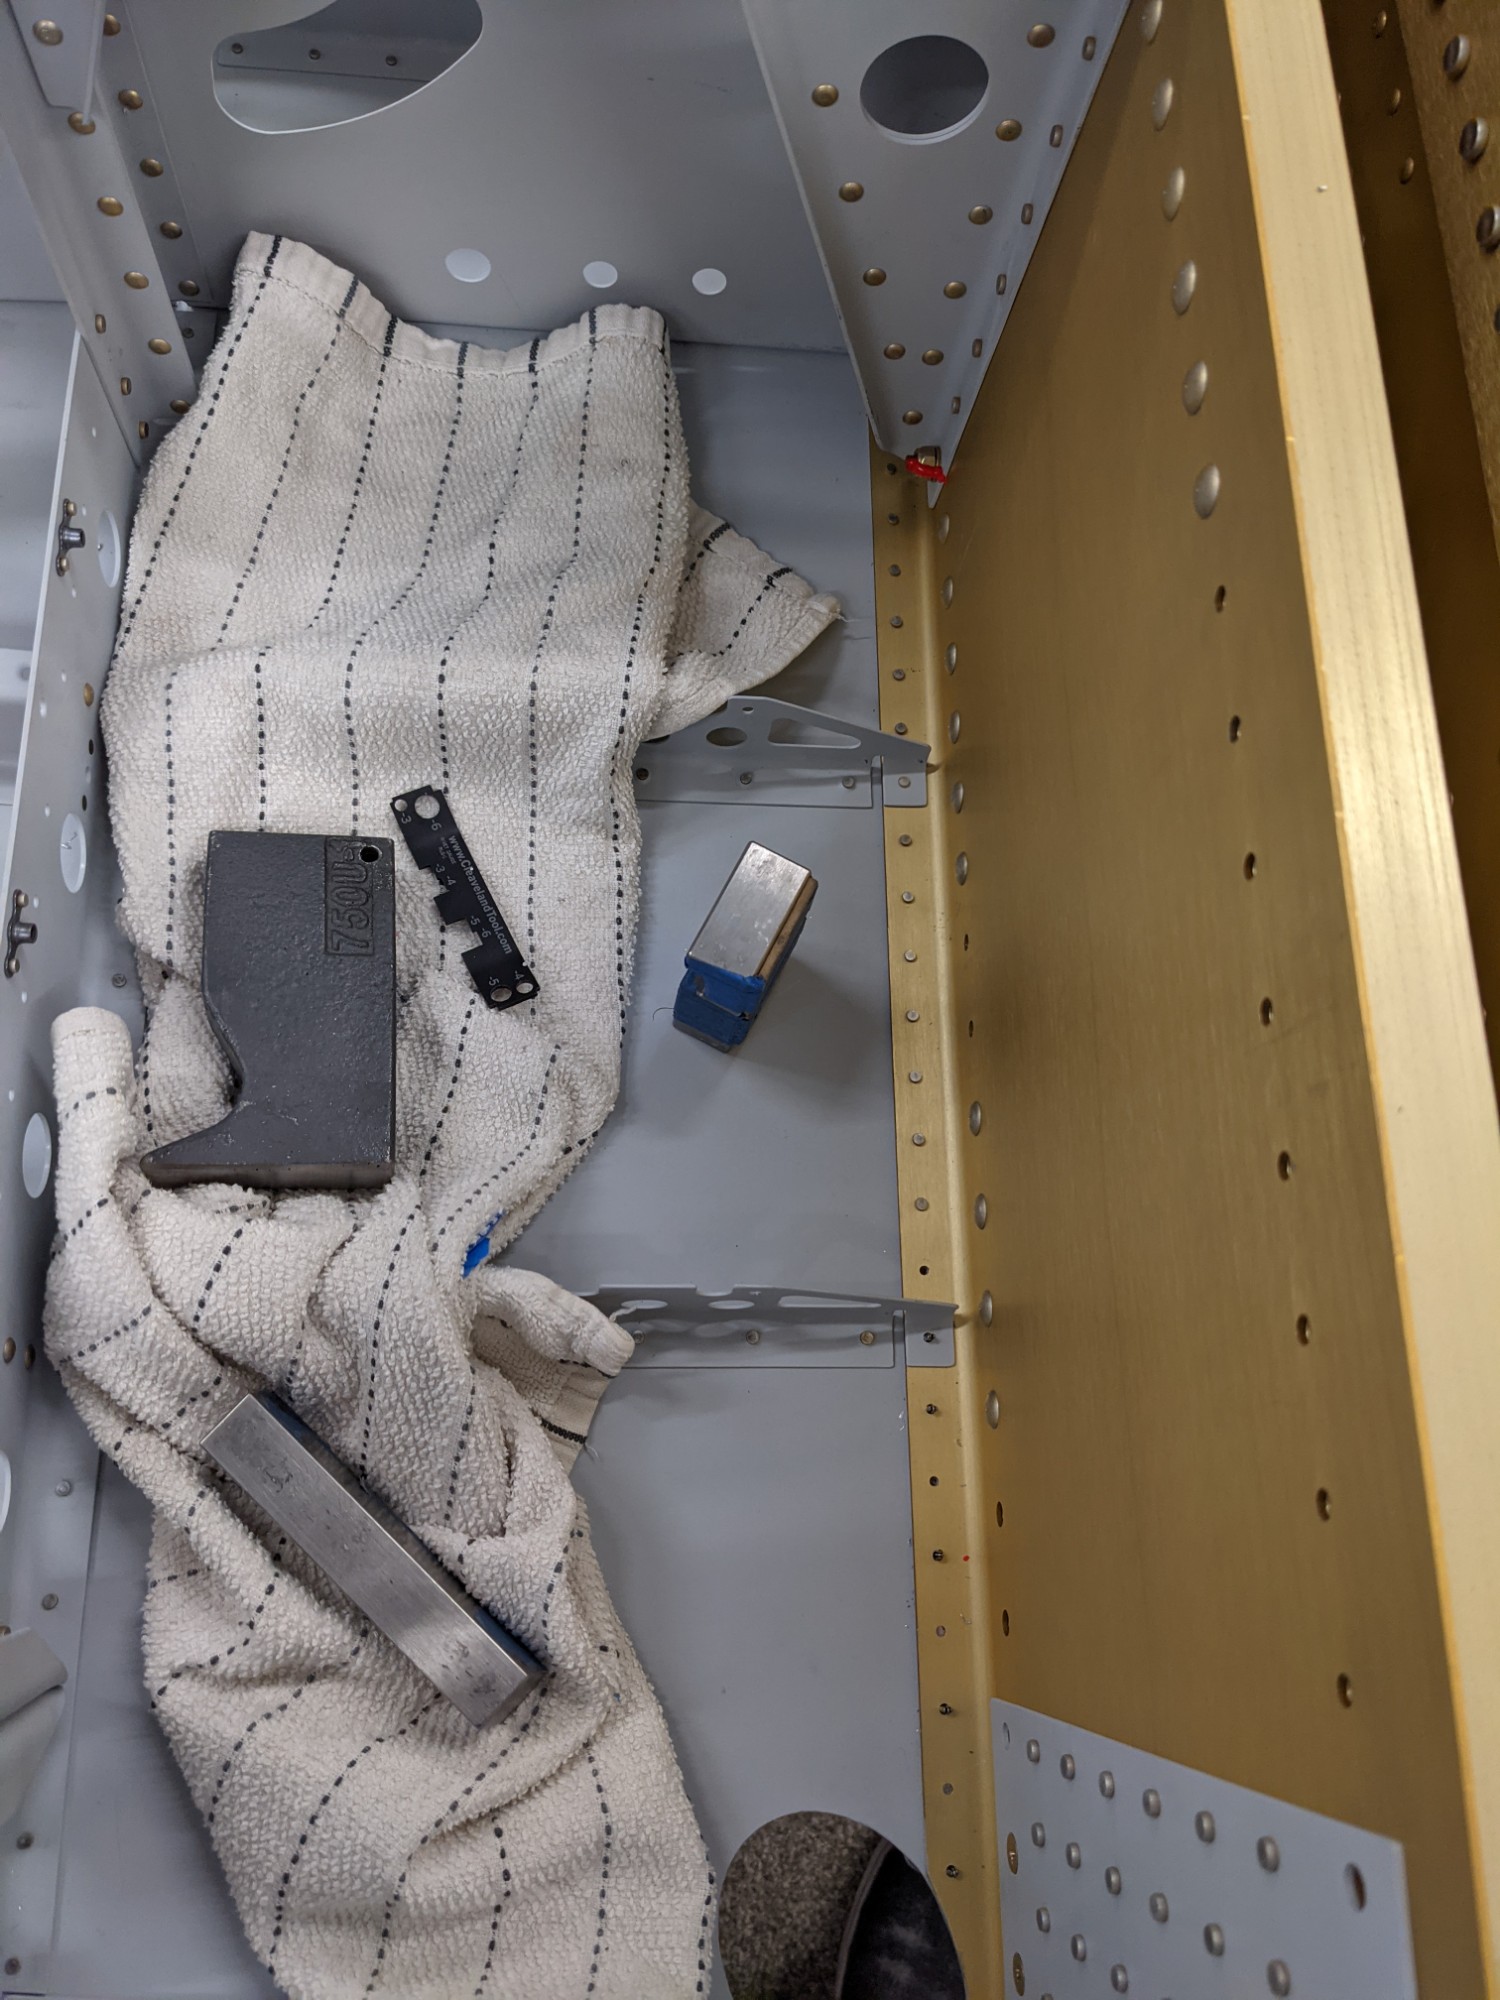
We’re doing a lot of team riveting now and we’re getting it down to an art (not a single rivet removal was needed for all of the rivets in this log entry). Thanks Amber for your help!
![](https://airplane.allanglen.com/wp-content/uploads/2021/11/pxl_20211125_1929237781407240385352141212.jpg)
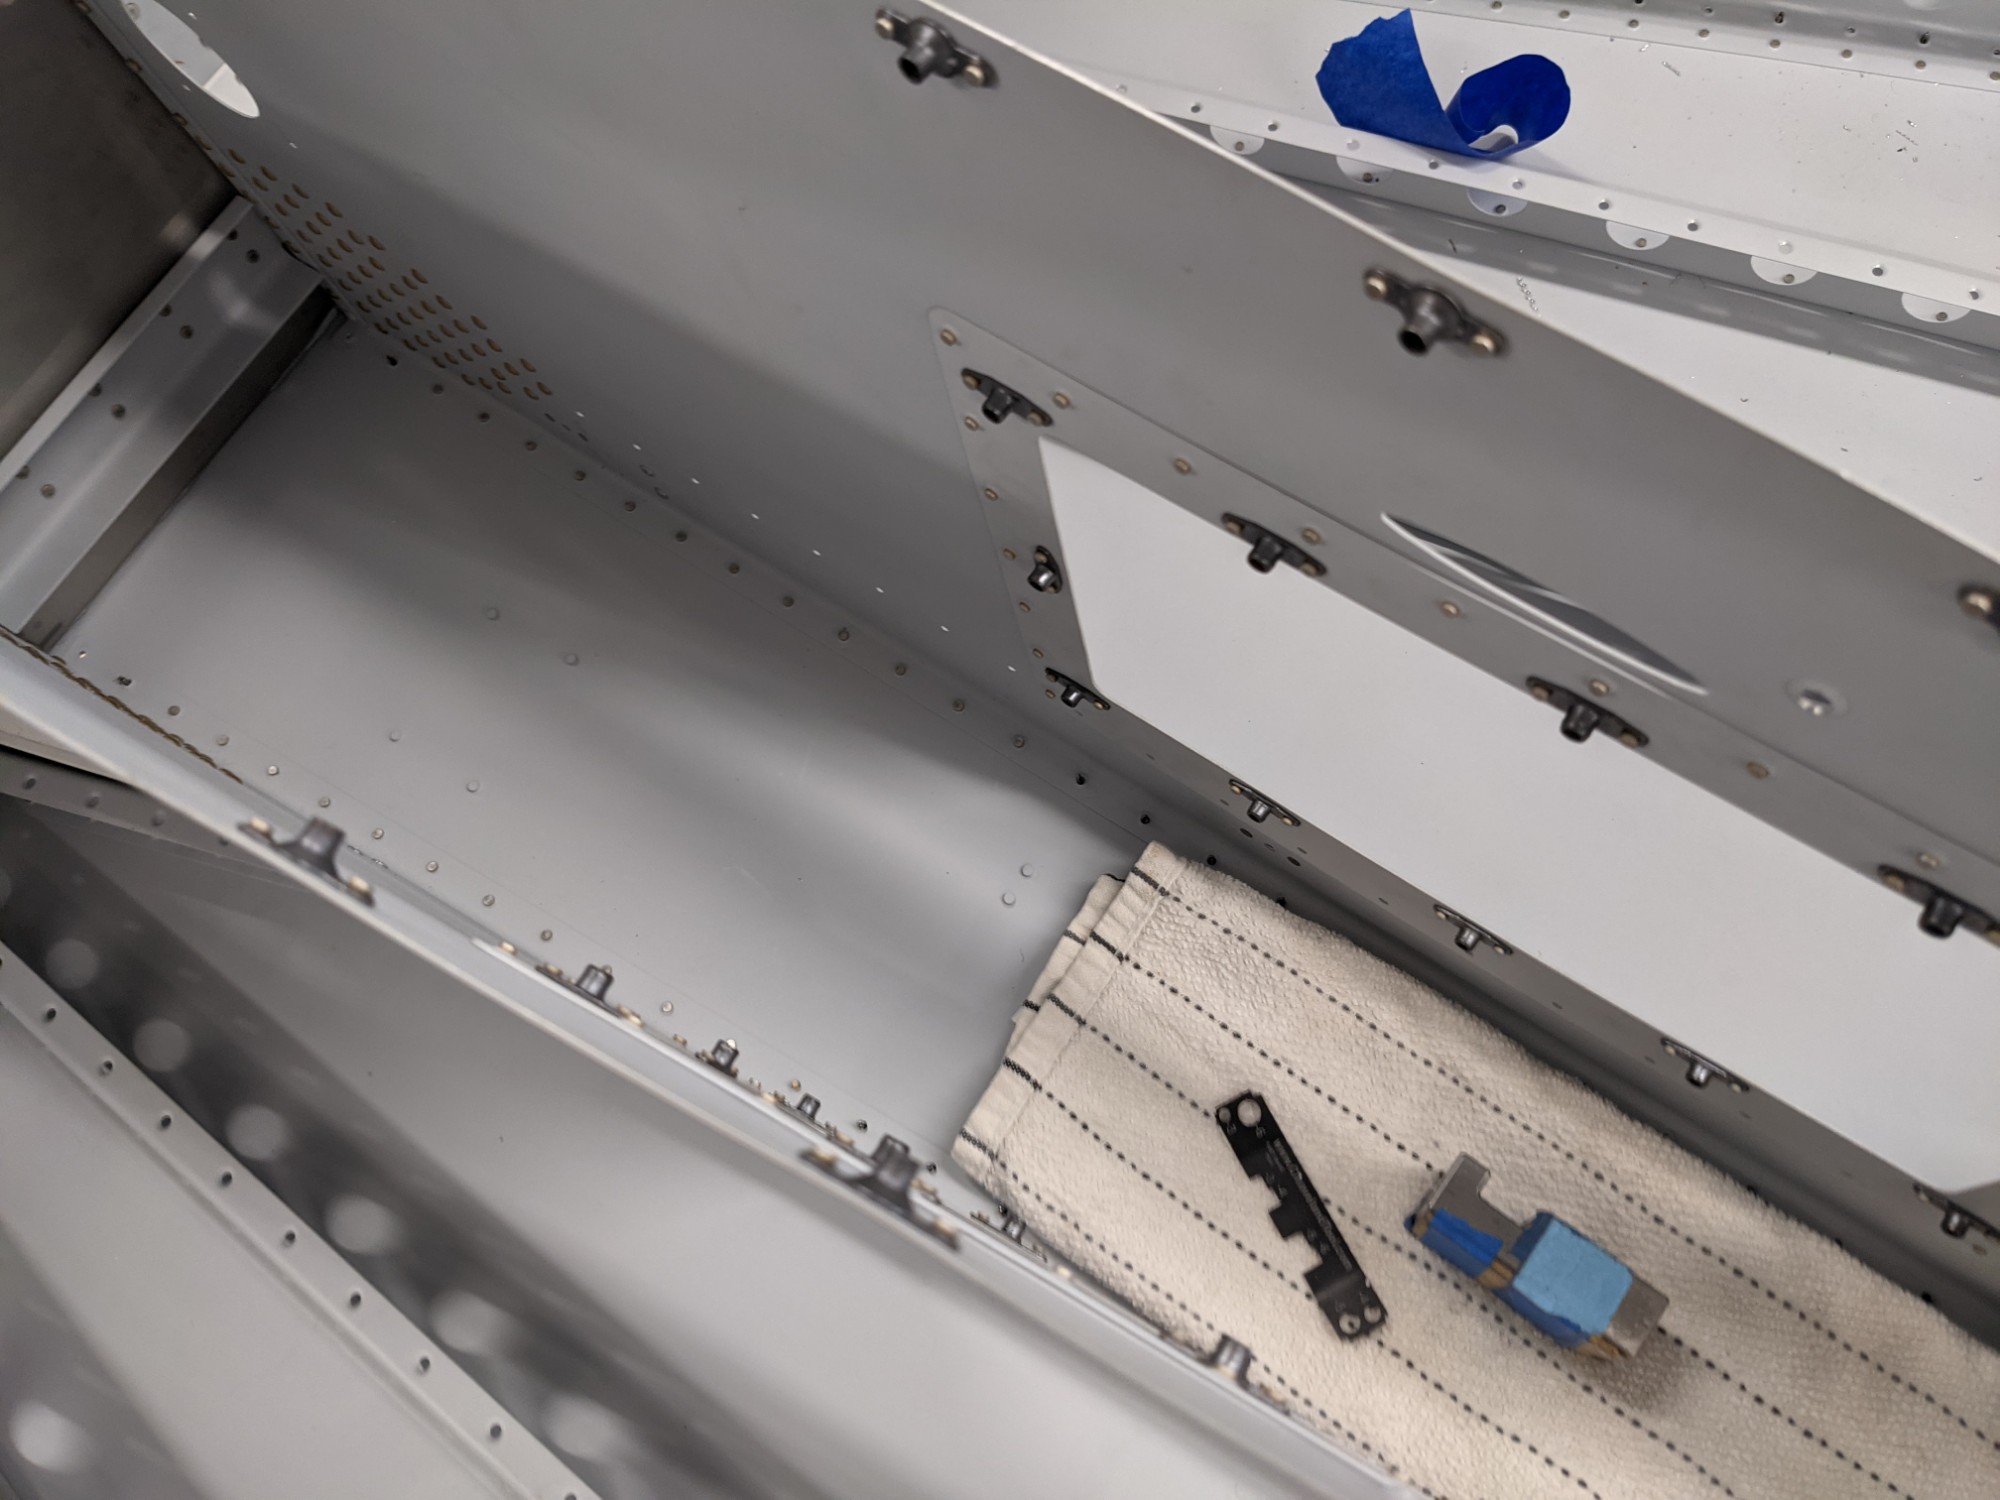
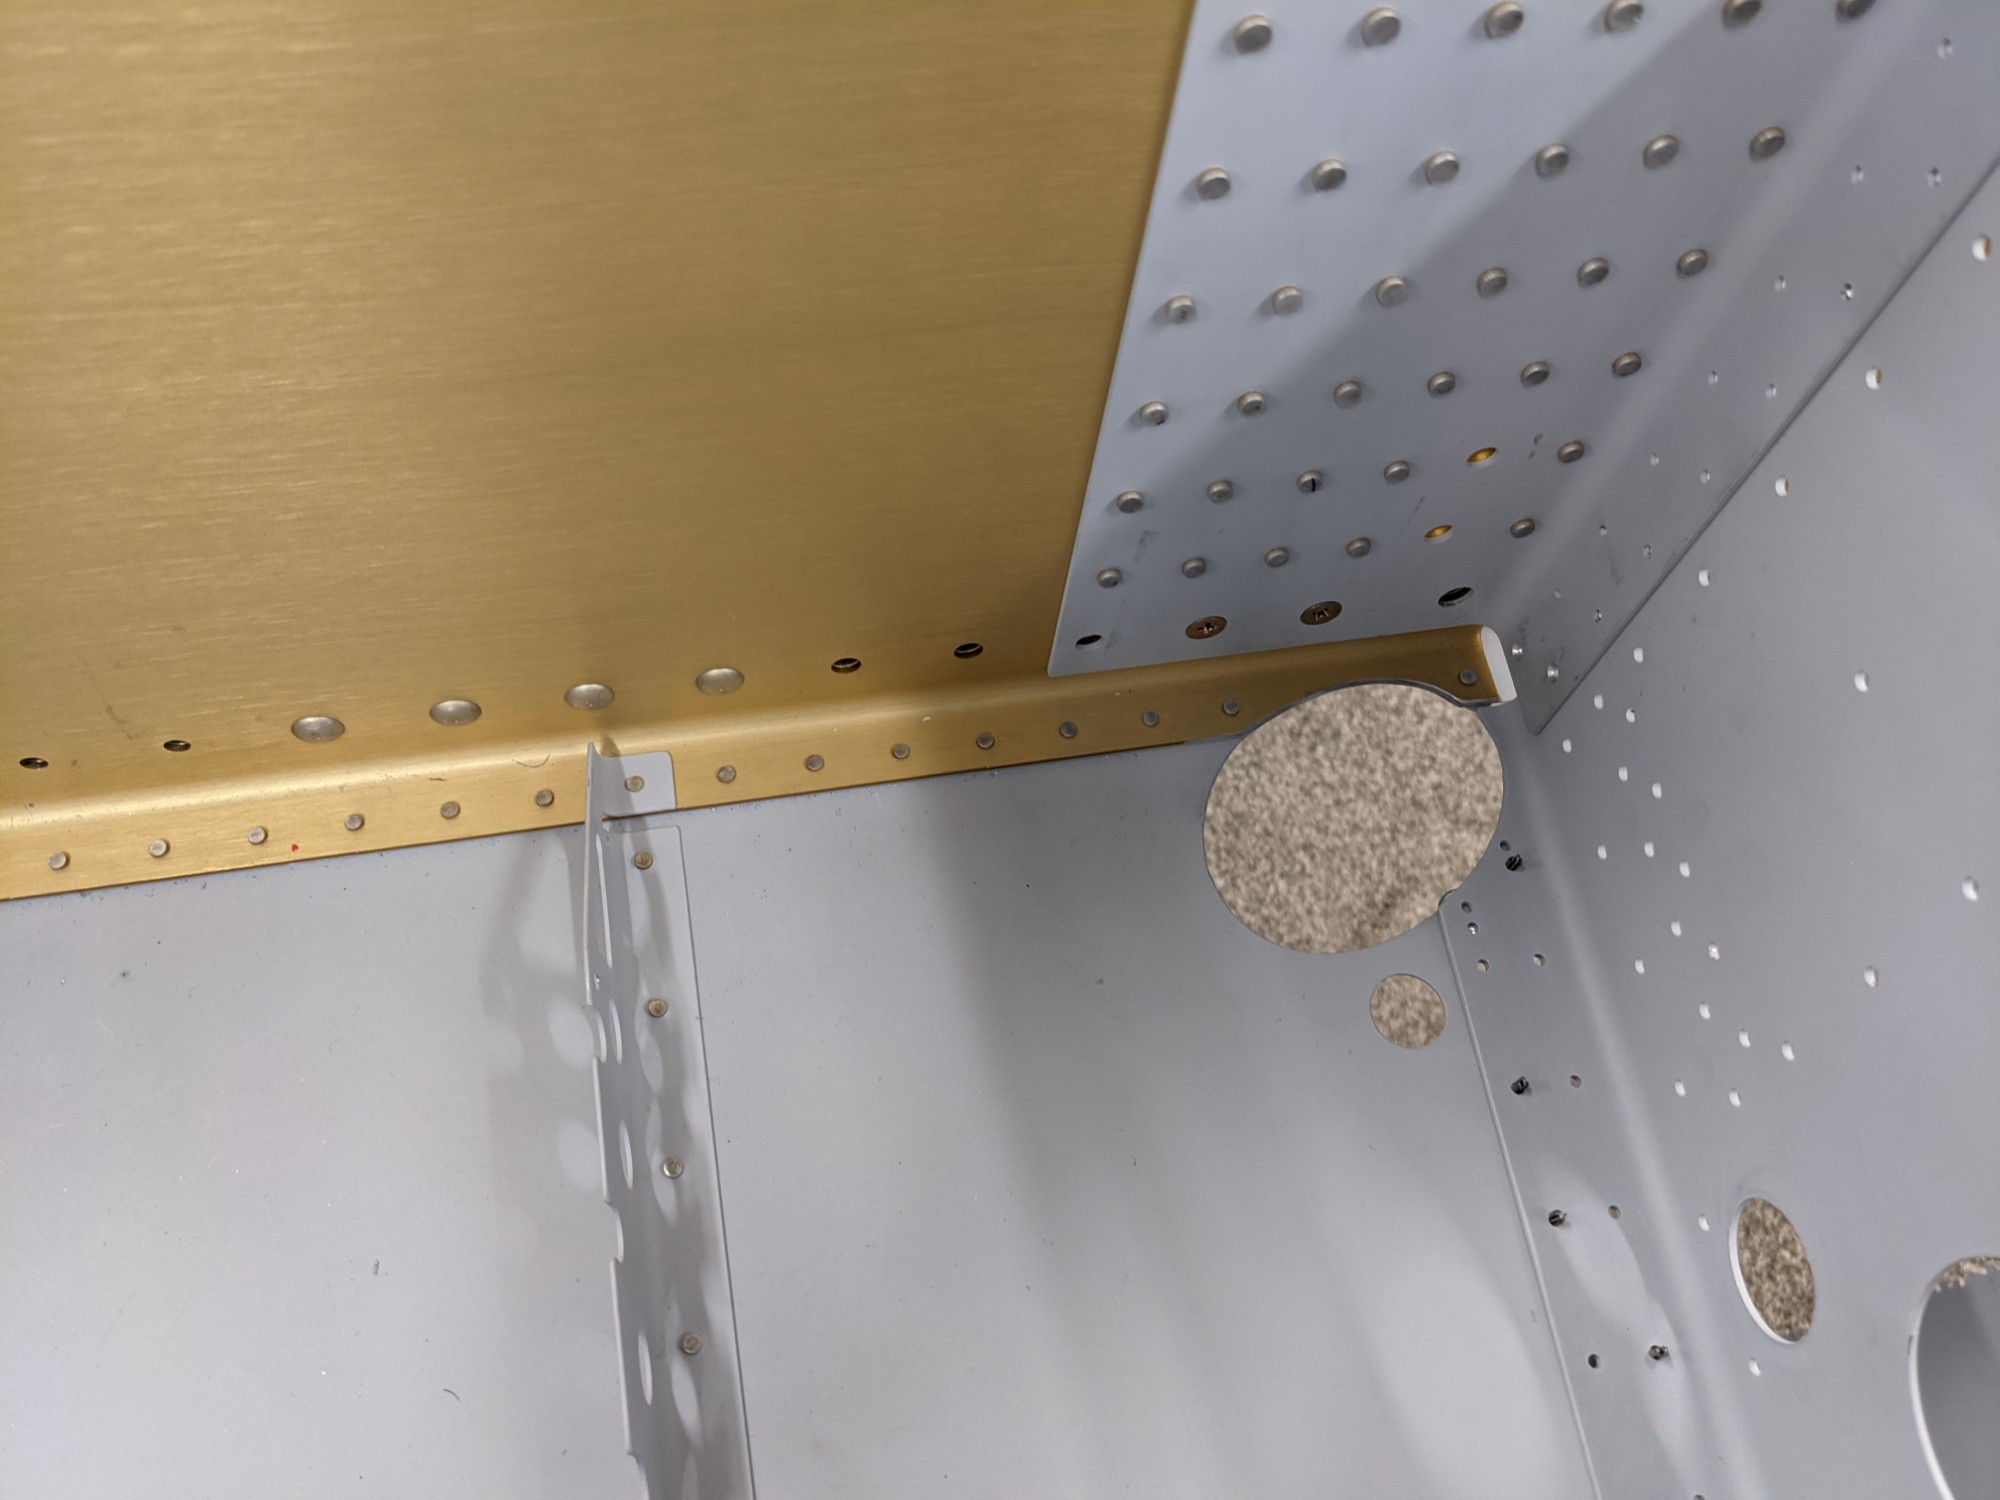
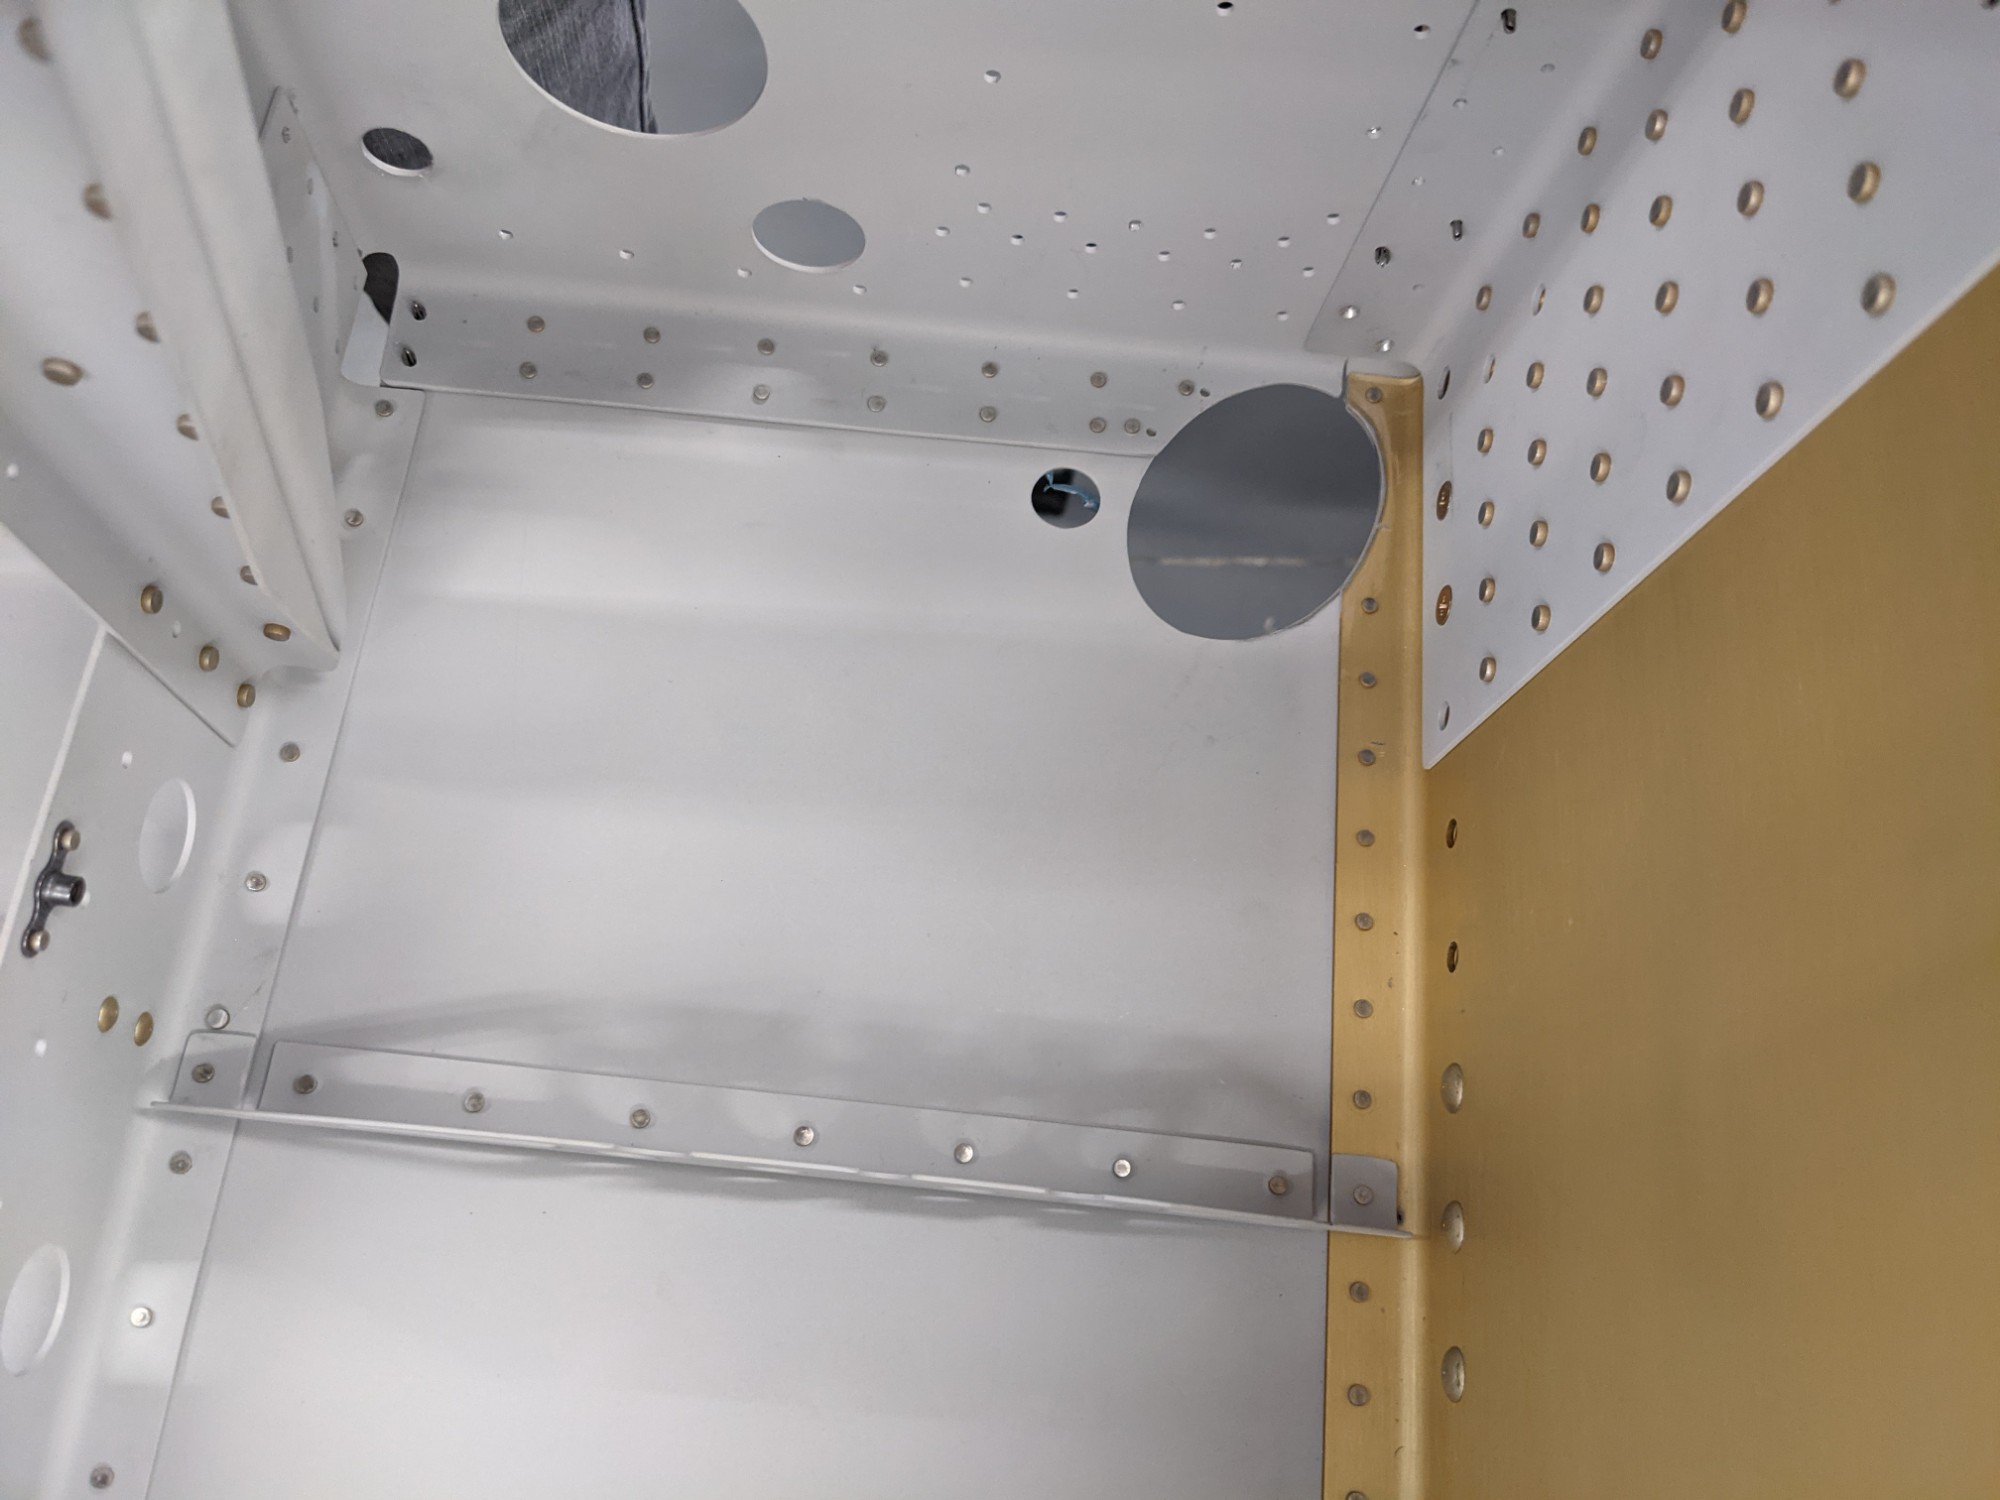
We then riveted the aft ends of the systems brackets and the skin holes along the forward bulkhead.
![](https://airplane.allanglen.com/wp-content/uploads/2021/11/pxl_20211125_2145232714750585767555368418.jpg)
![](https://airplane.allanglen.com/wp-content/uploads/2021/11/pxl_20211125_2145298103843488847183550753.jpg)
We didn’t have to use double-flush rivets as there was sufficient clearance under the gear leg mounts.
![](https://airplane.allanglen.com/wp-content/uploads/2021/11/pxl_20211125_2315082433134866099273303501.jpg)
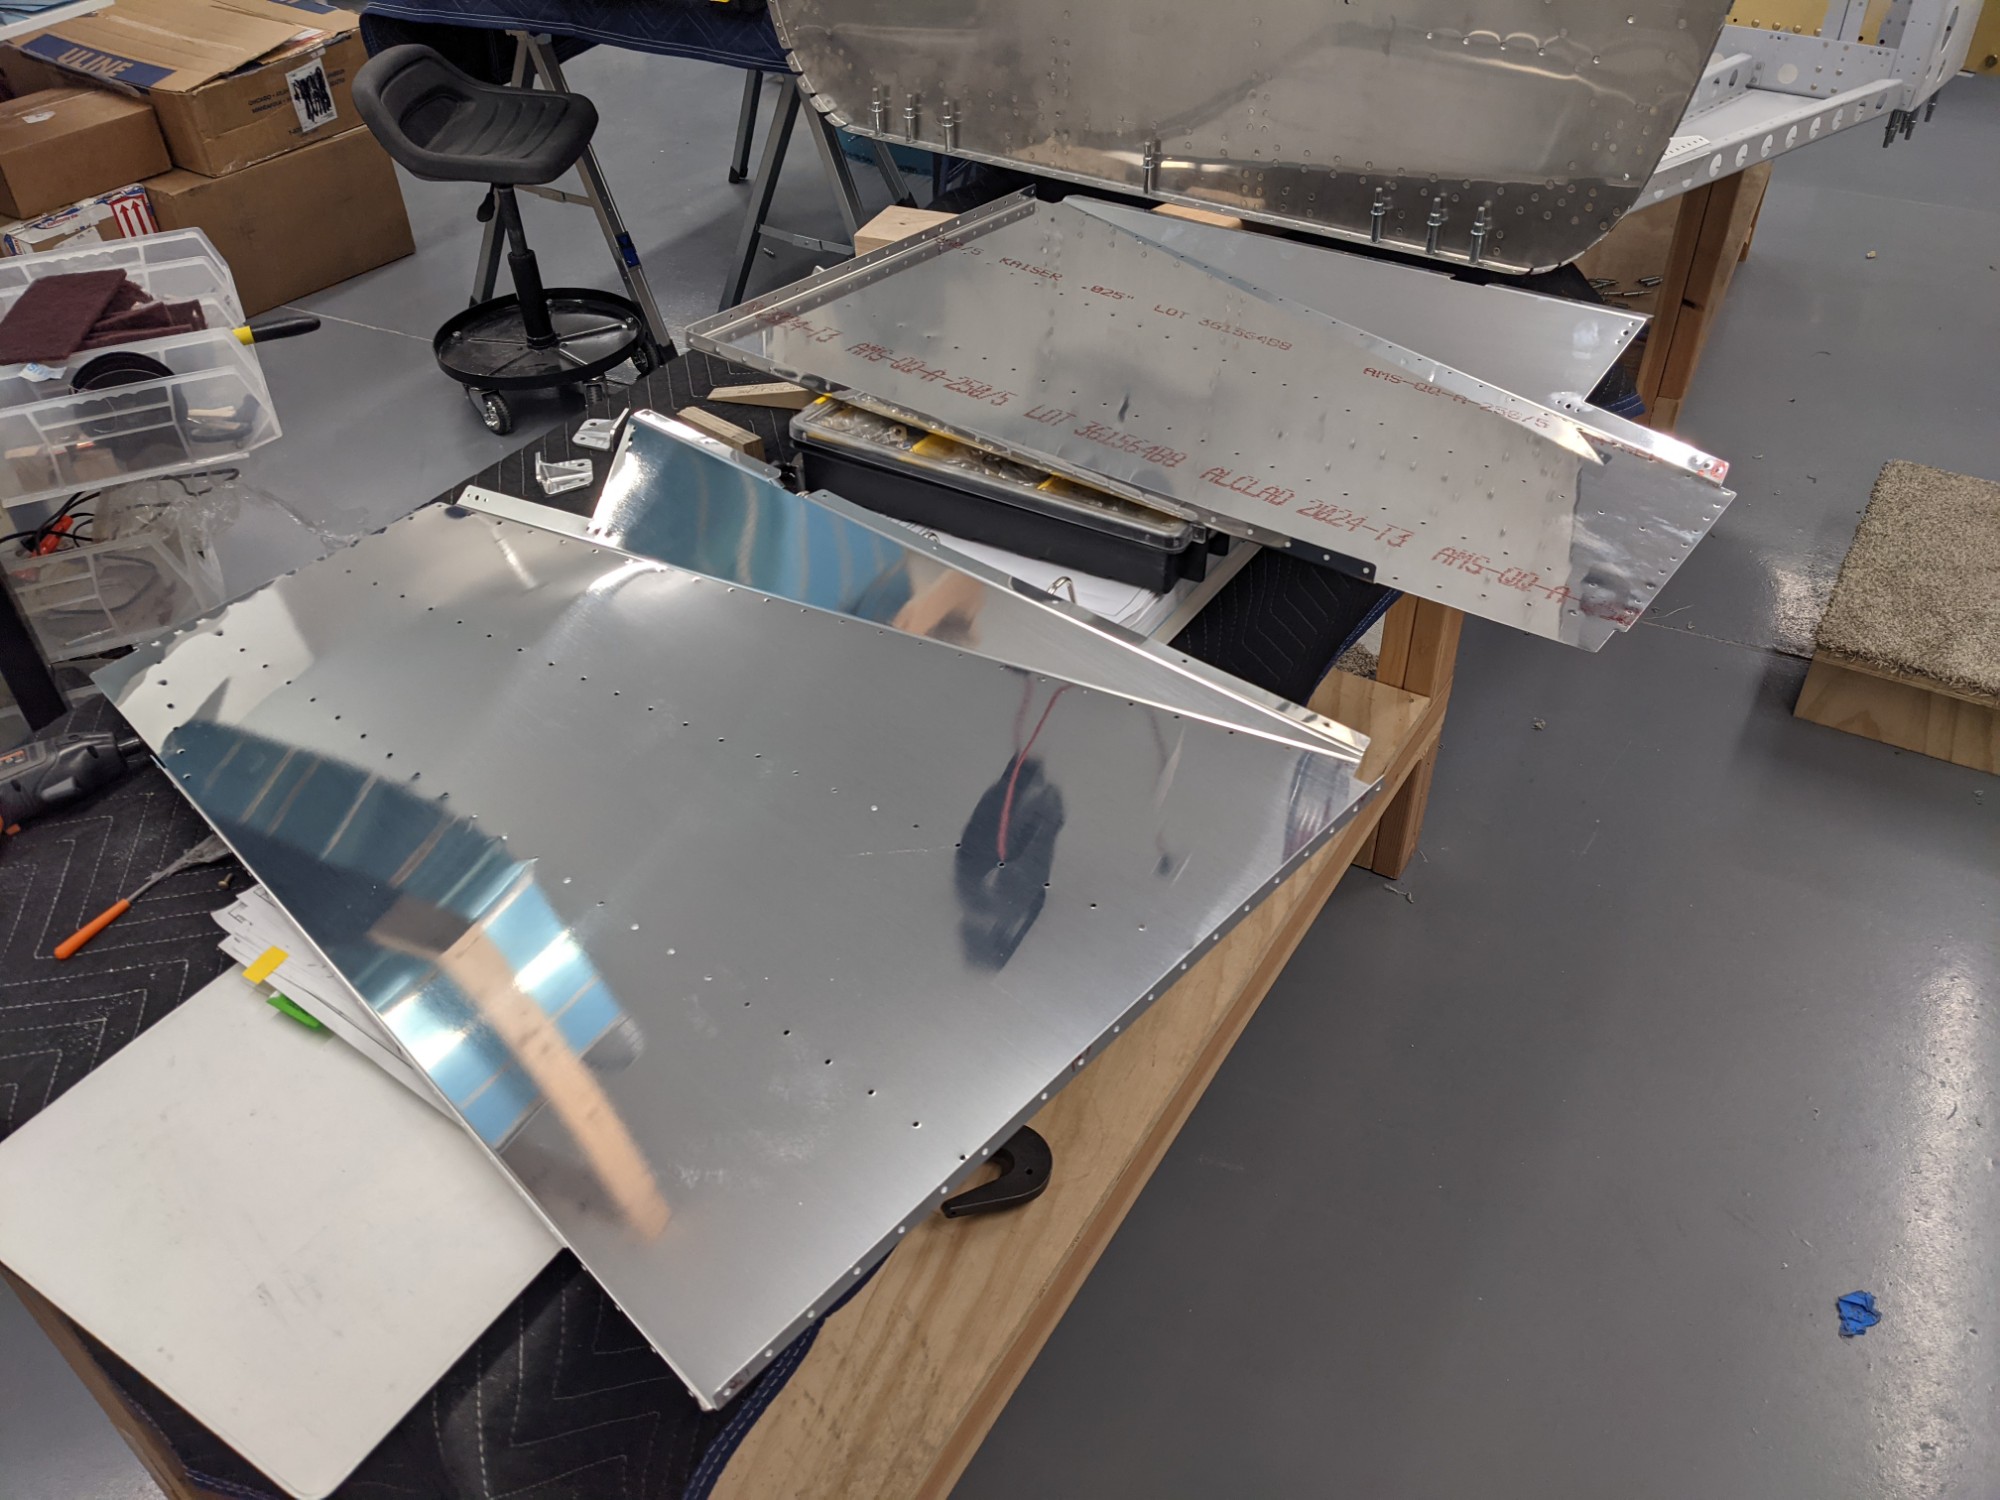
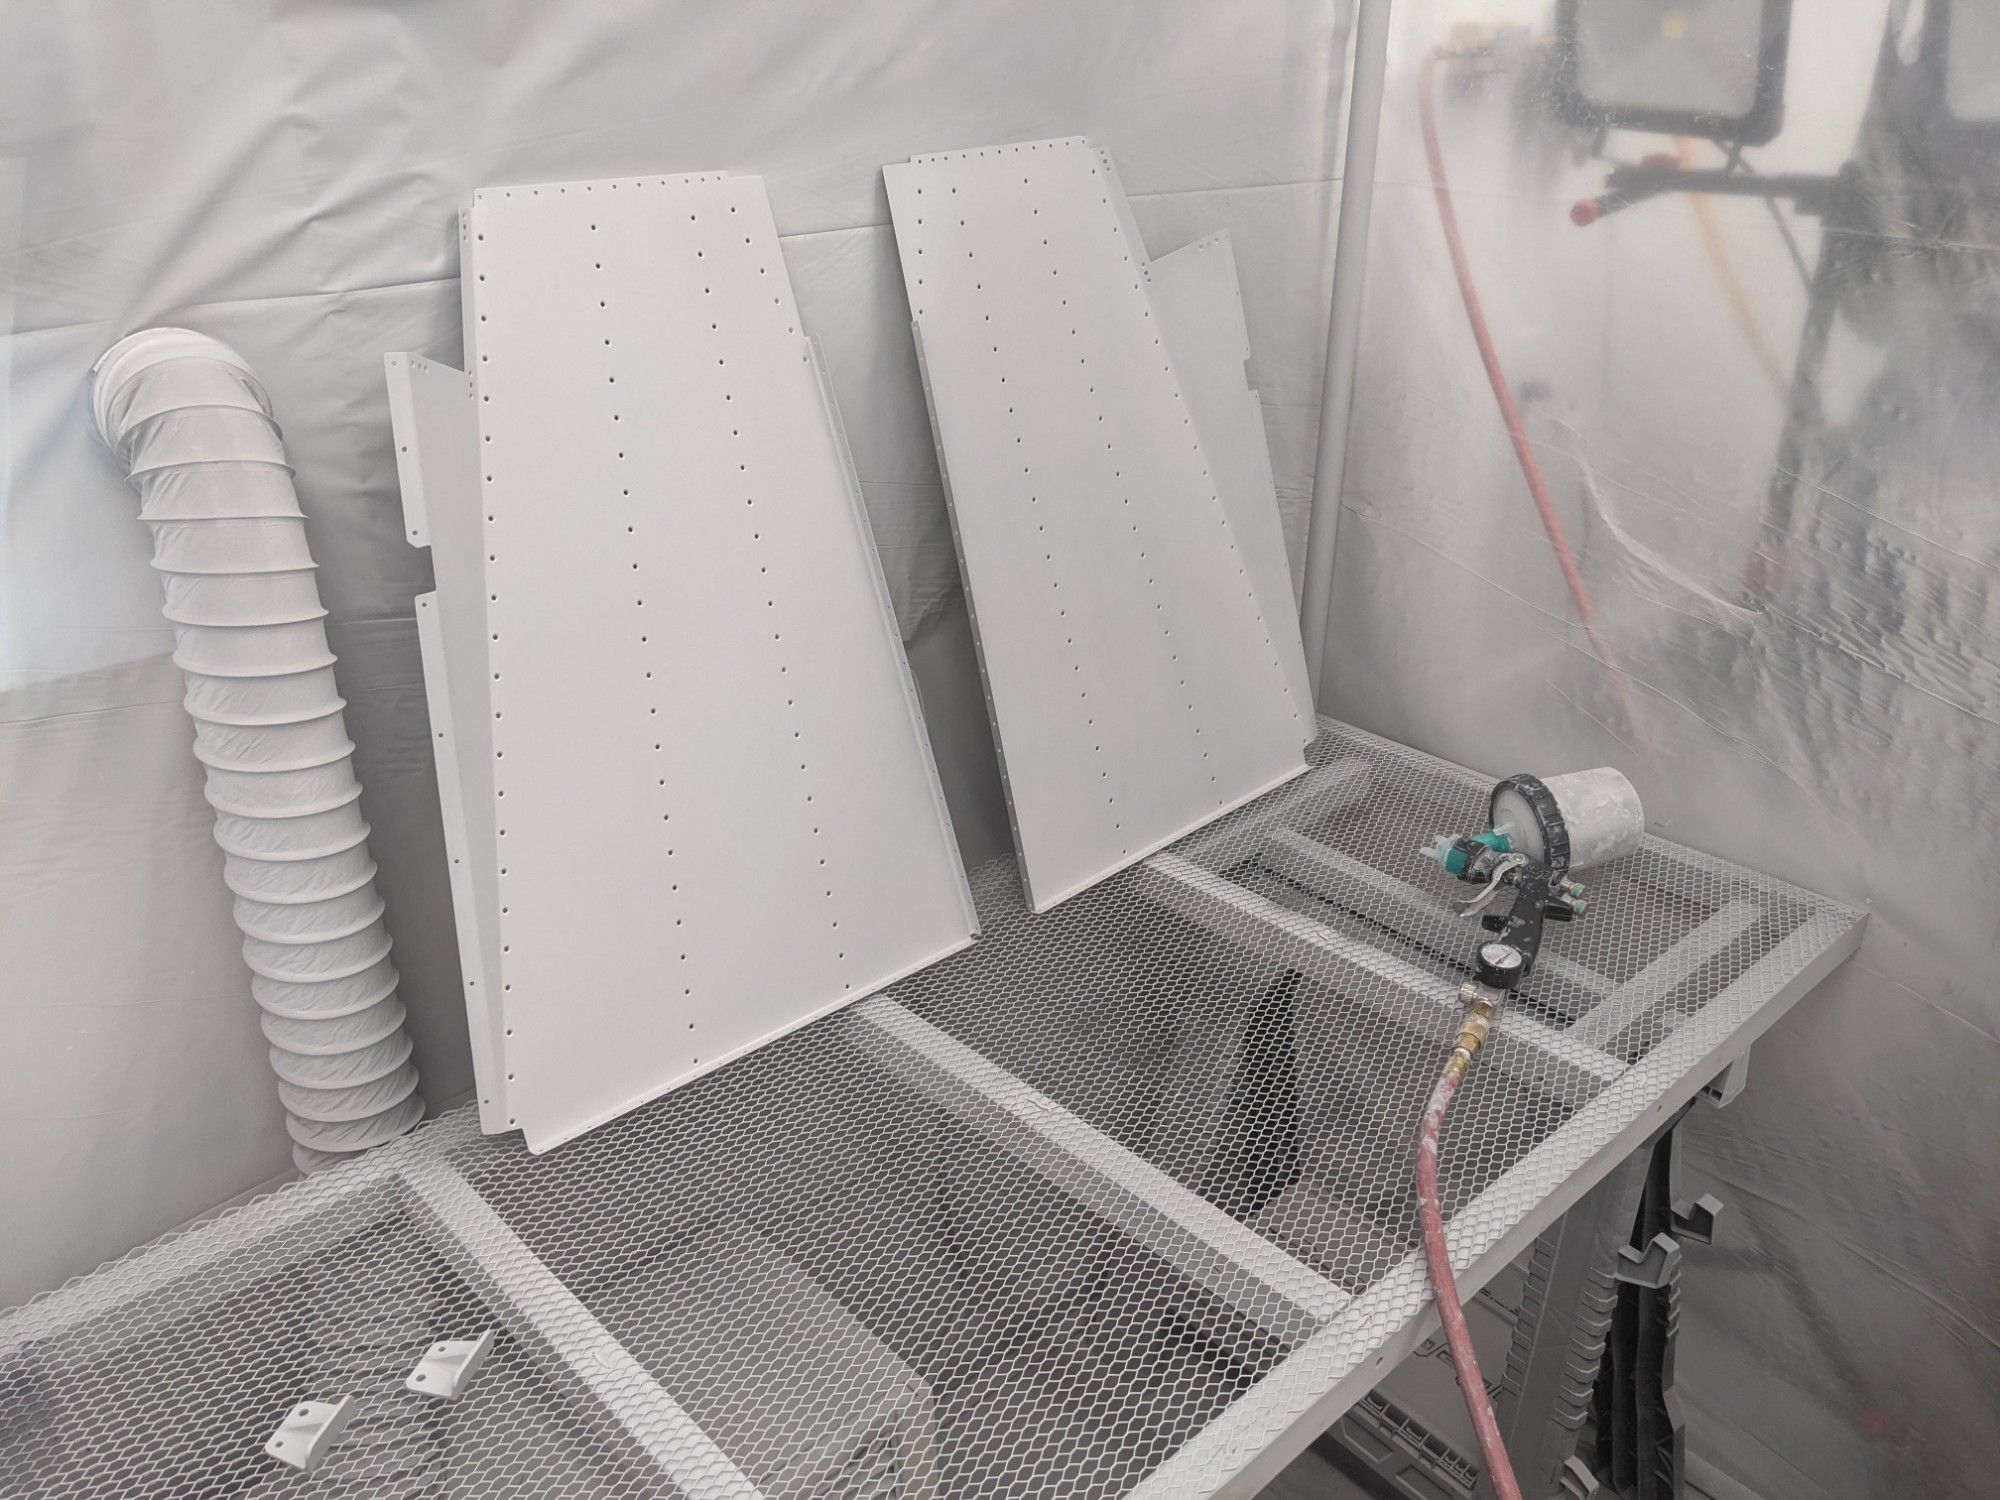
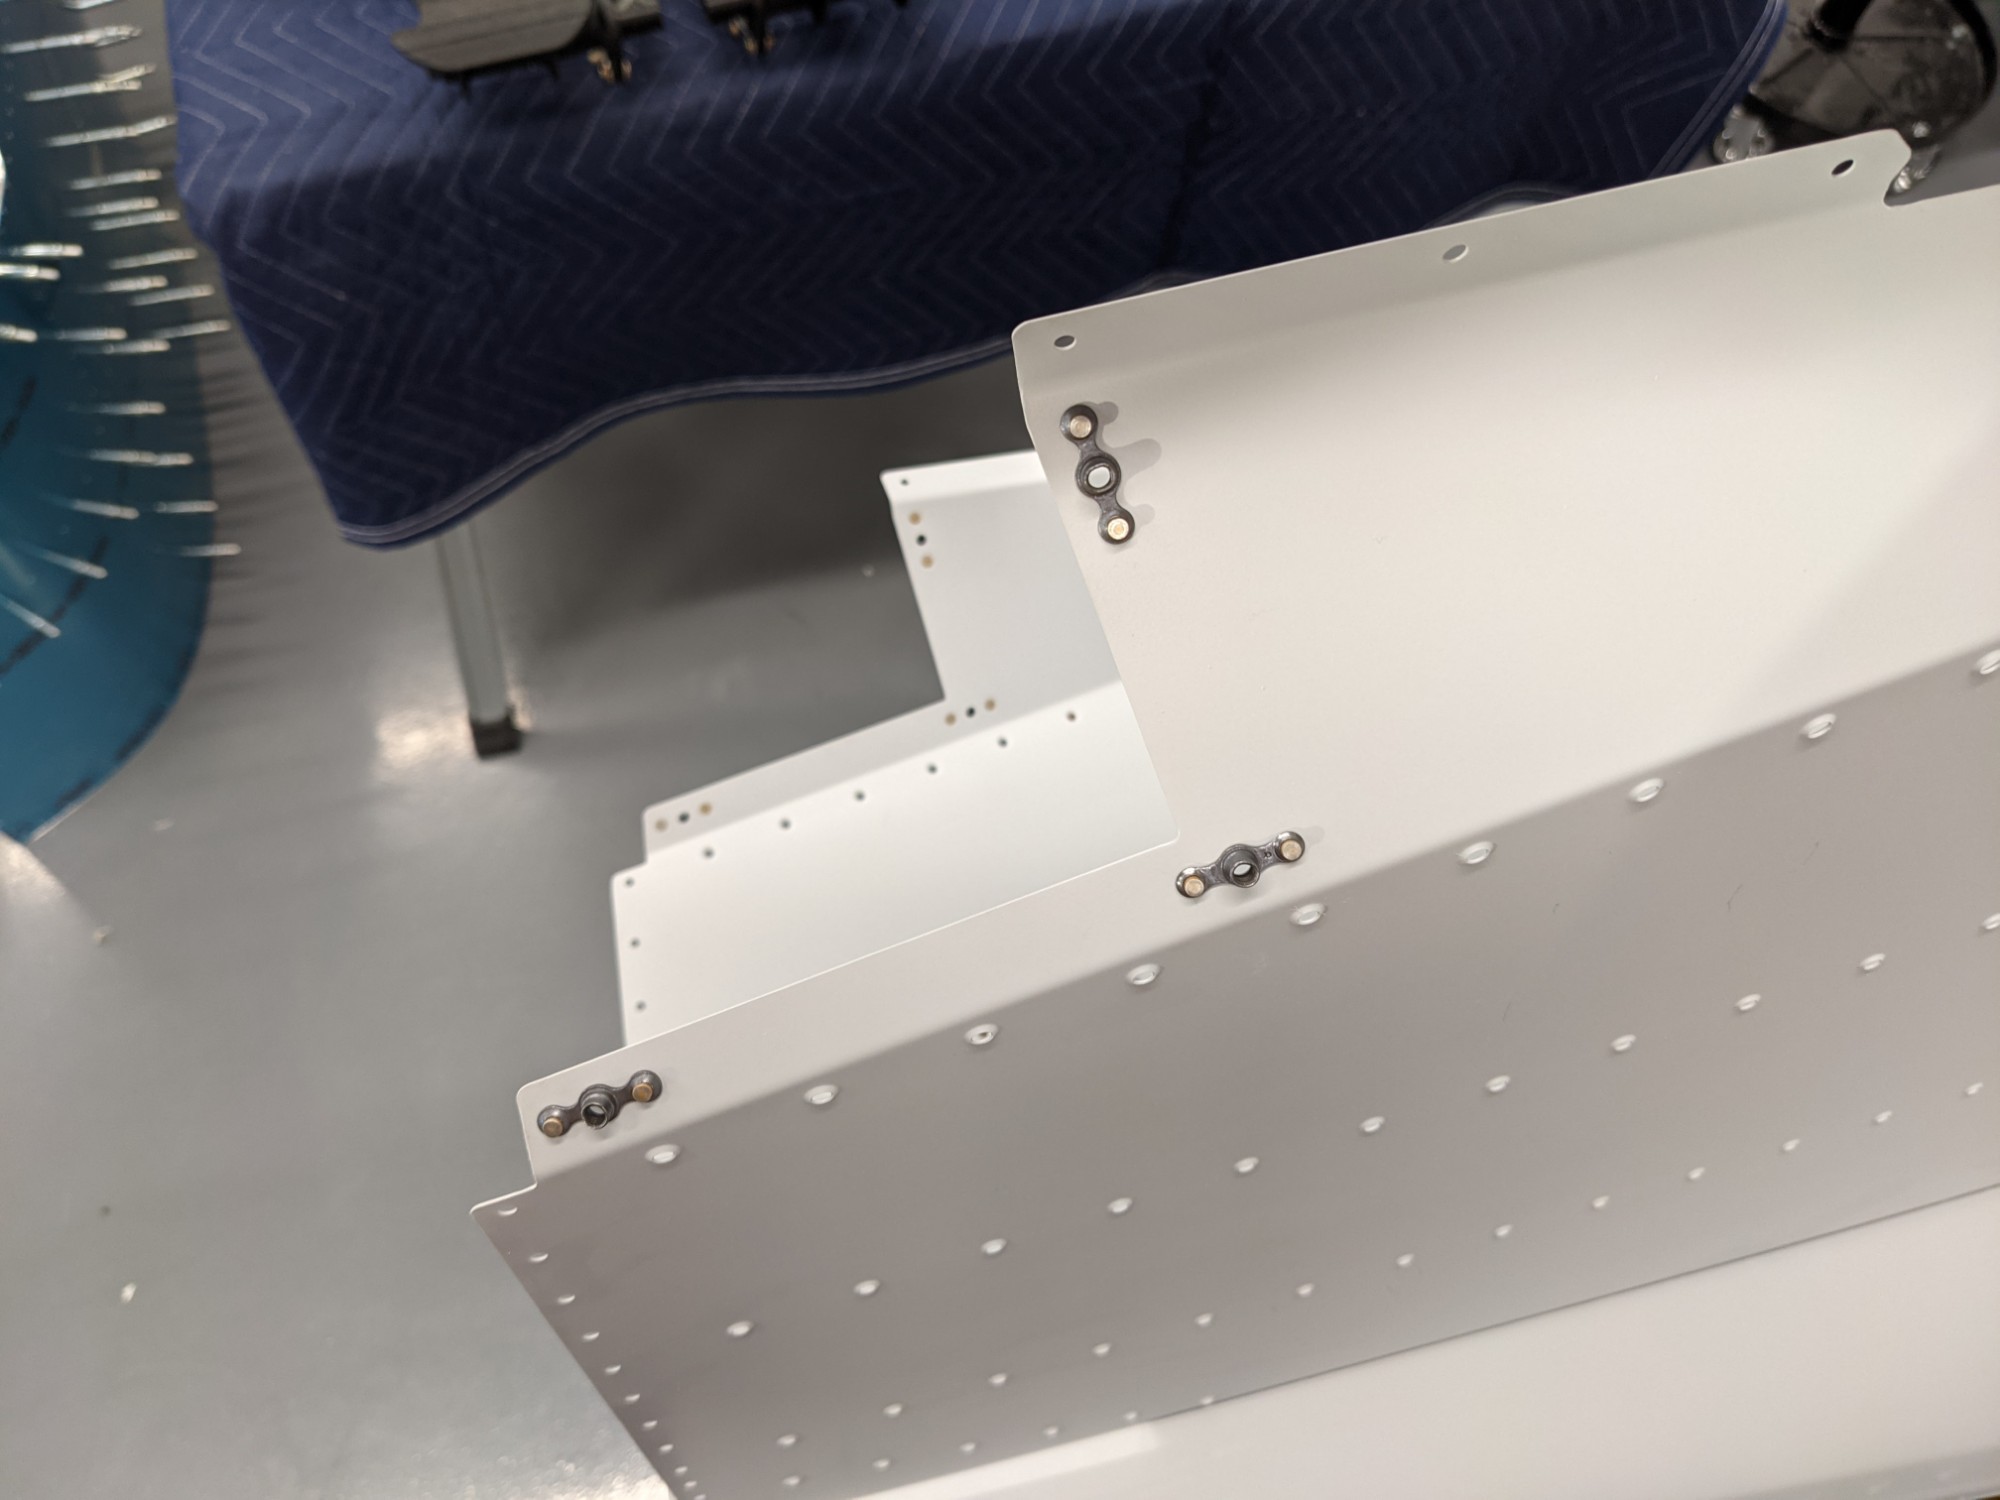
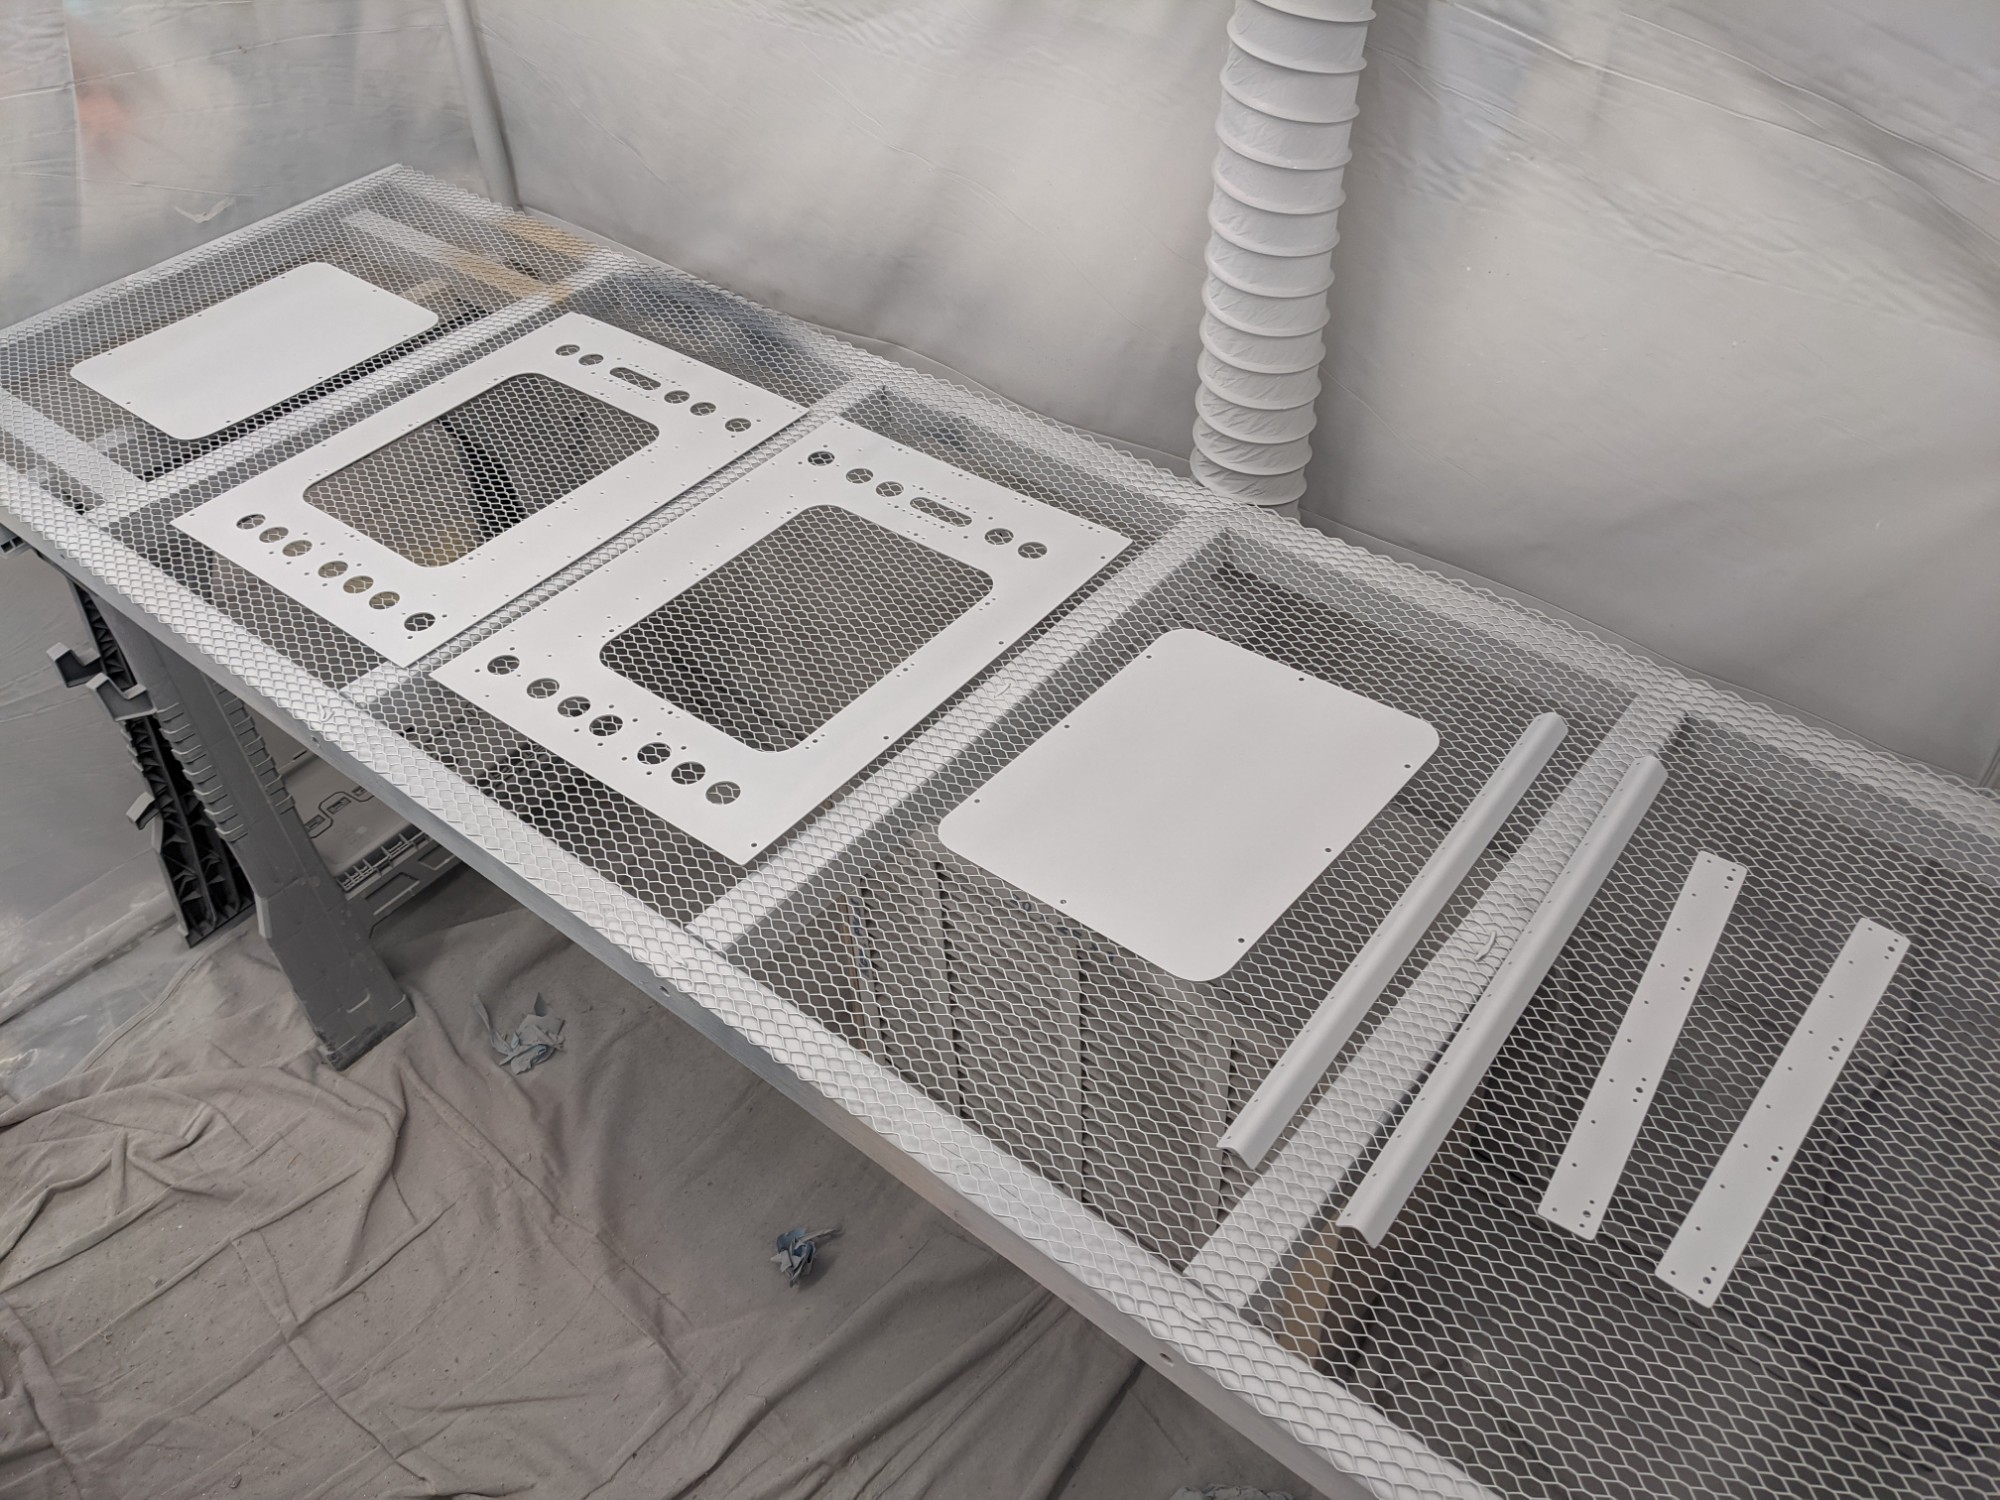
I deburred, dimpled, and primed the forward forward floor panels.
![](https://airplane.allanglen.com/wp-content/uploads/2021/11/pxl_20211126_0022576031691570689968843402.jpg)
![](https://airplane.allanglen.com/wp-content/uploads/2021/11/pxl_20211126_0133460222383150313553775555.jpg)
![](https://airplane.allanglen.com/wp-content/uploads/2021/11/pxl_20211126_1655075605743316757237862929.jpg)
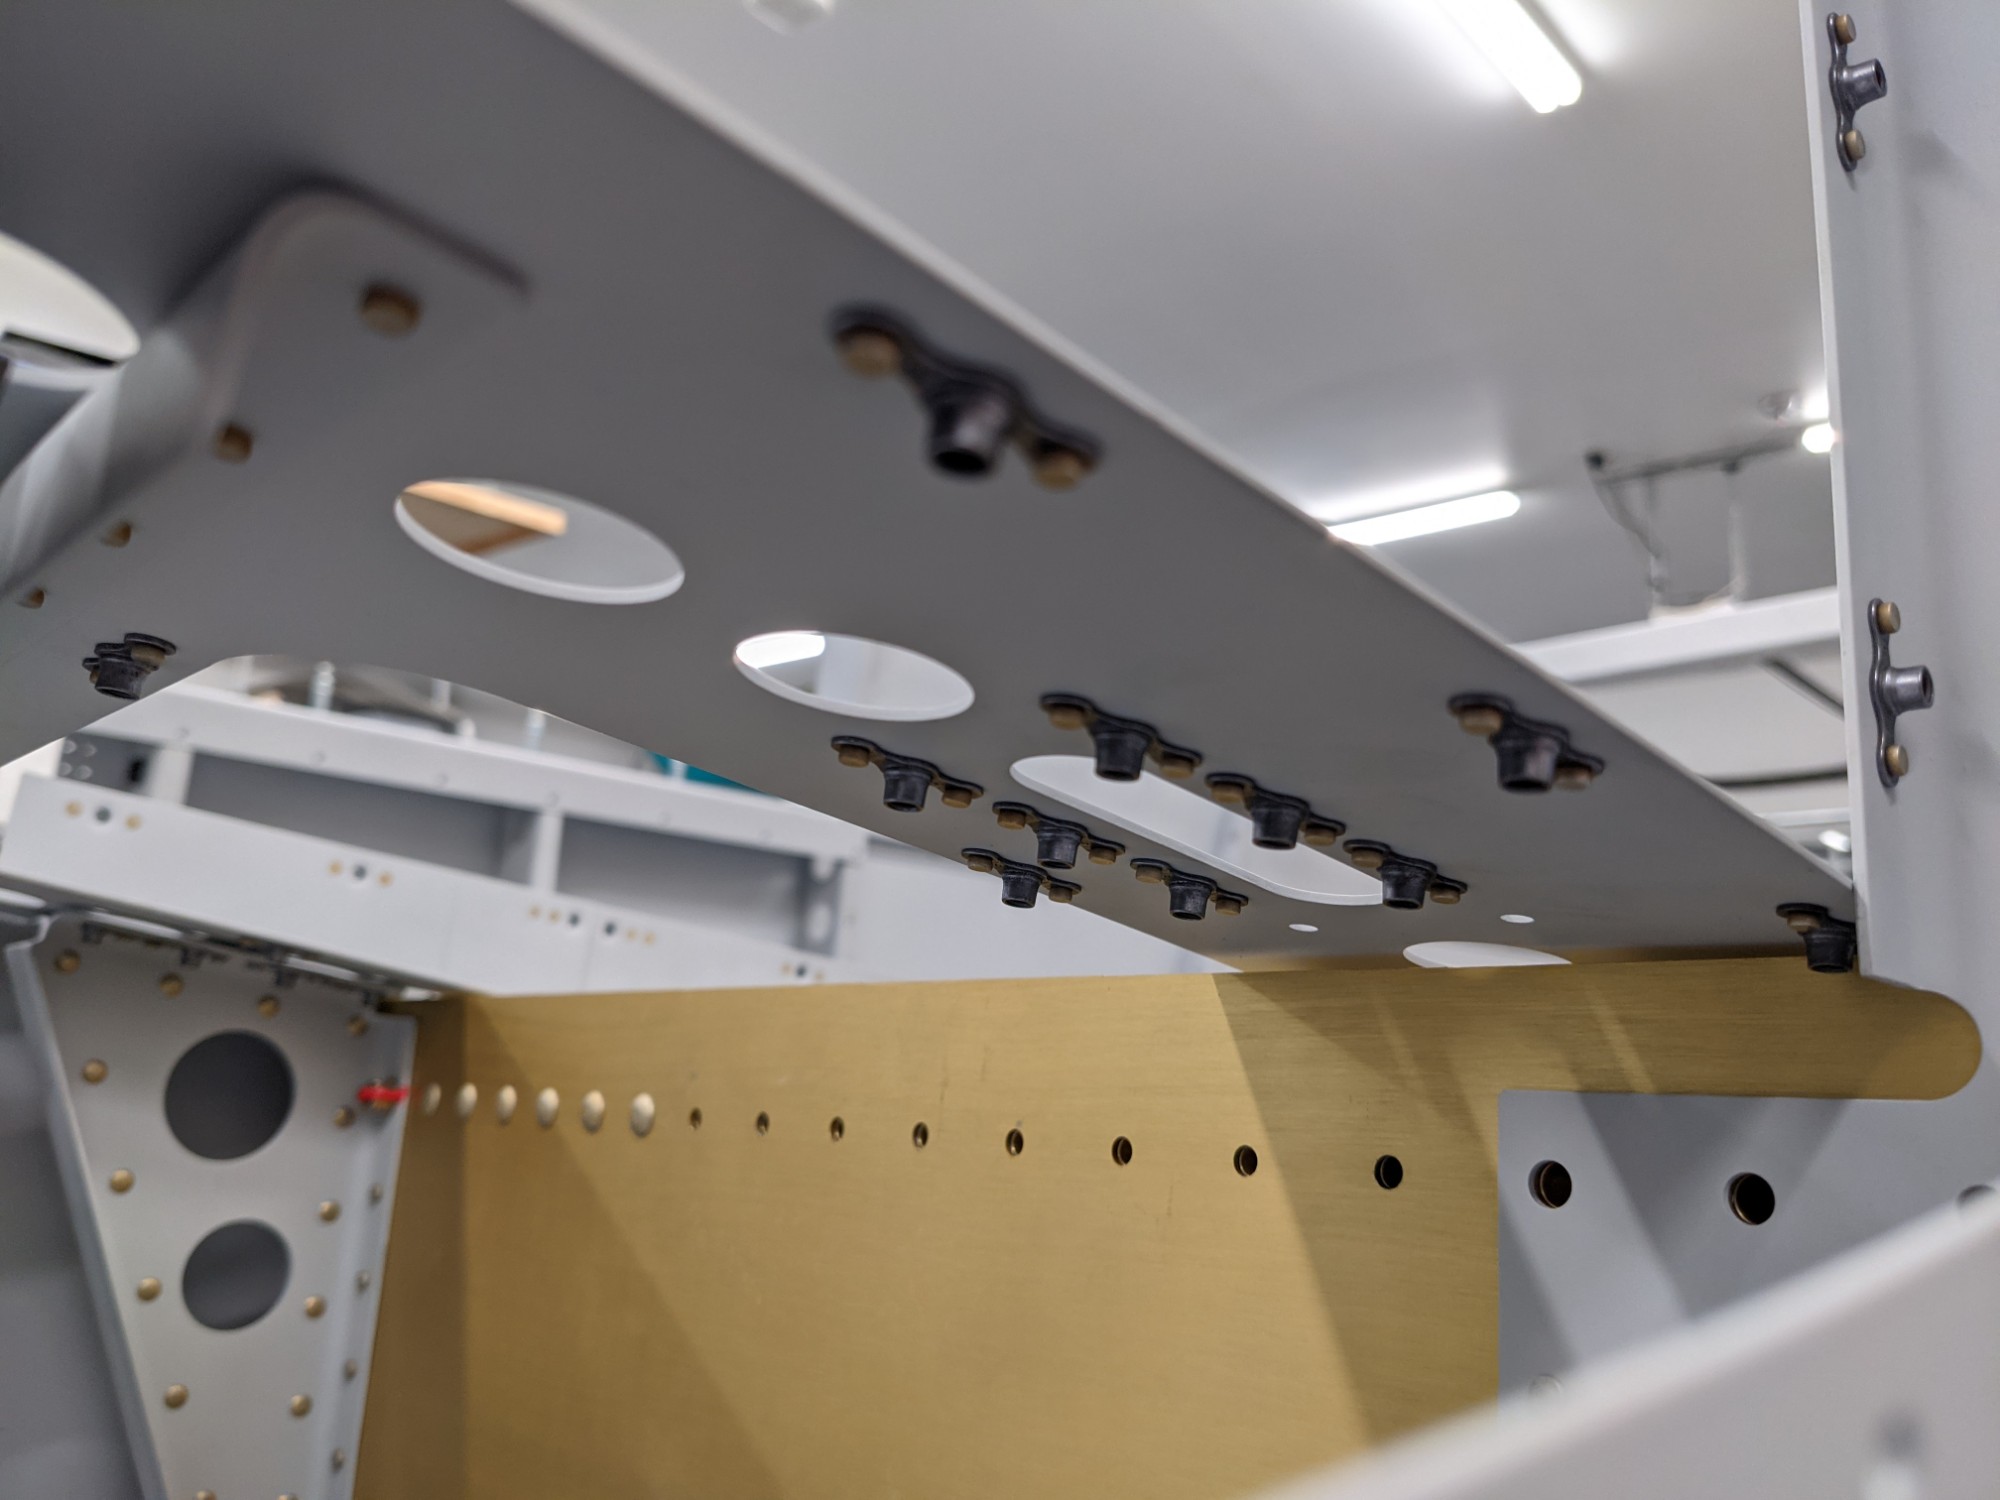
Once dried, I riveted the nutplates that attach the engine mount bolt access panels.
![](https://airplane.allanglen.com/wp-content/uploads/2021/11/pxl_20211128_2258120095381641951731112635.jpg)
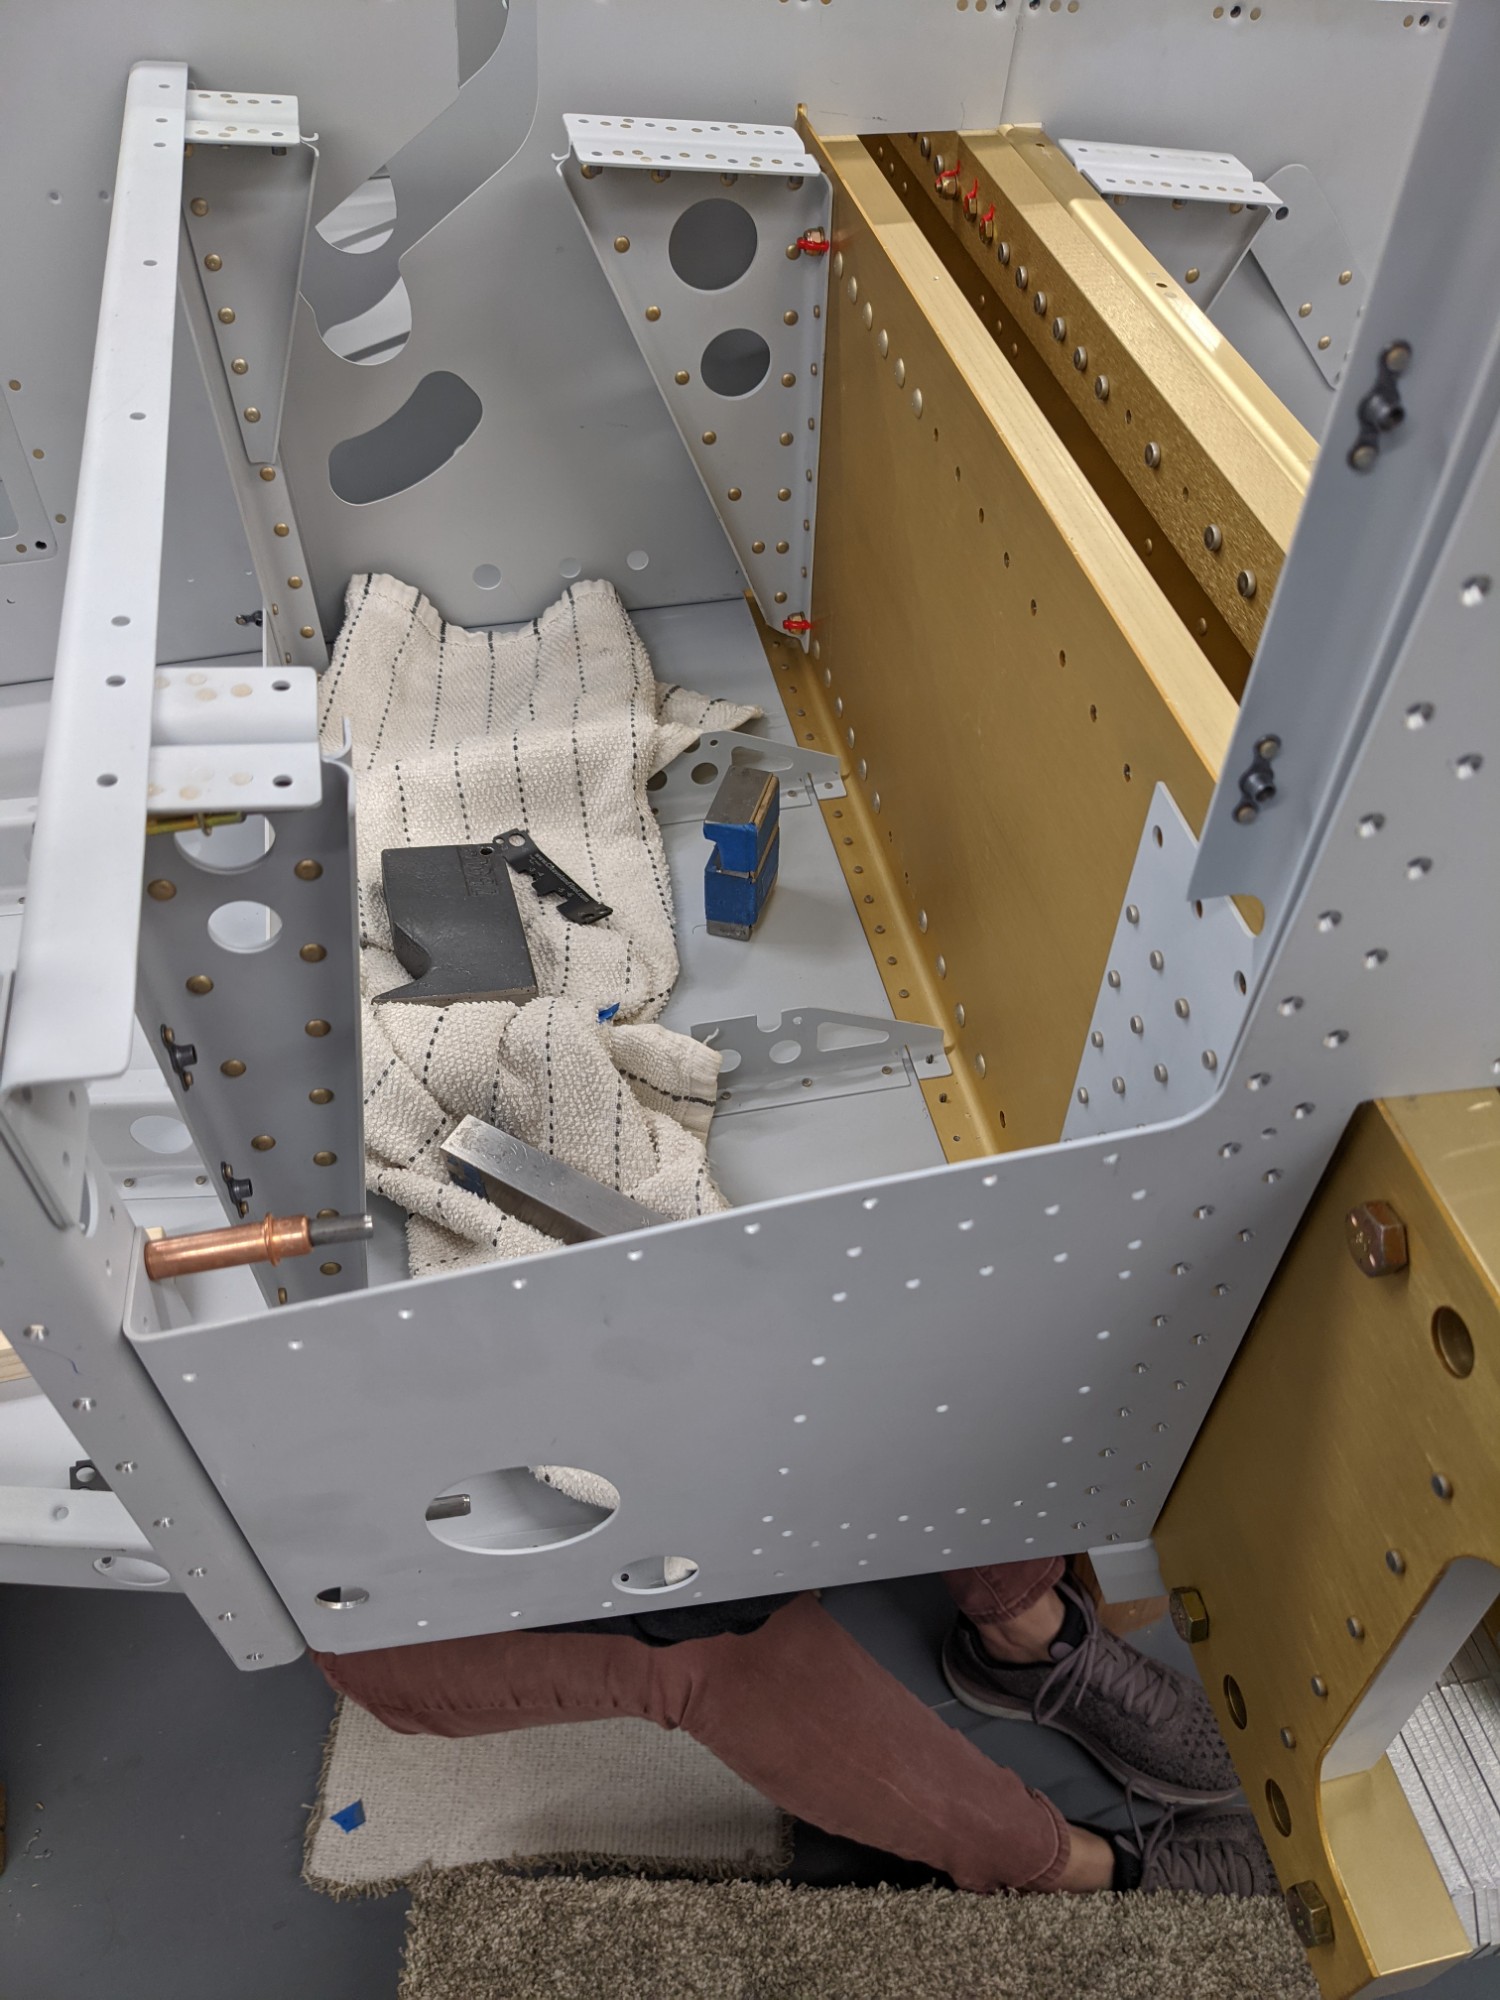
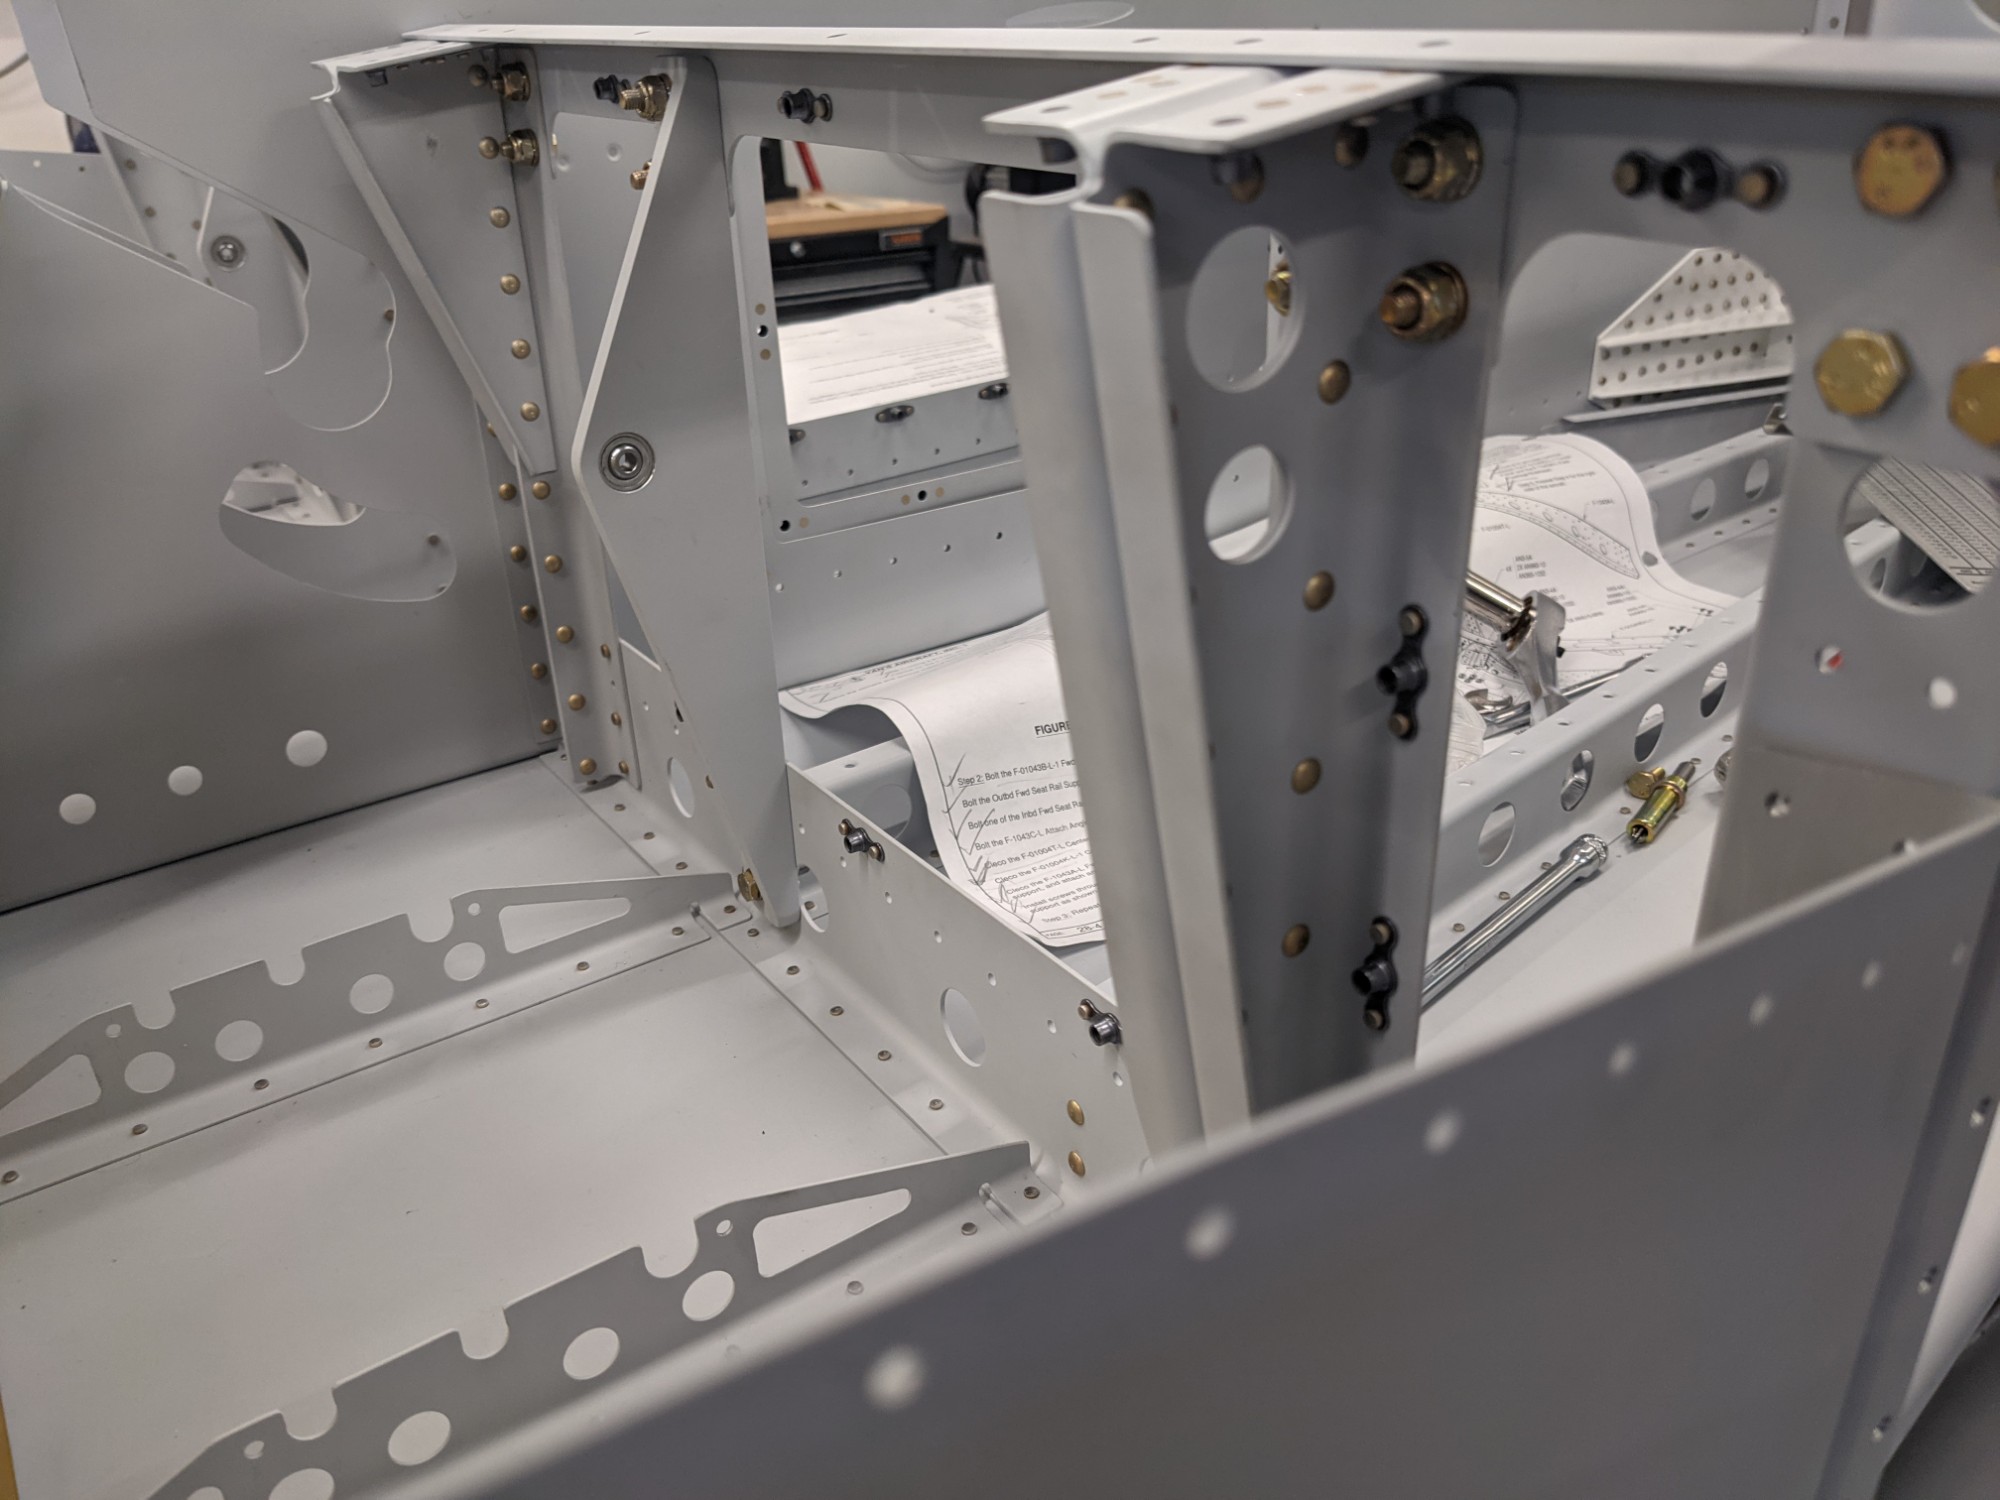
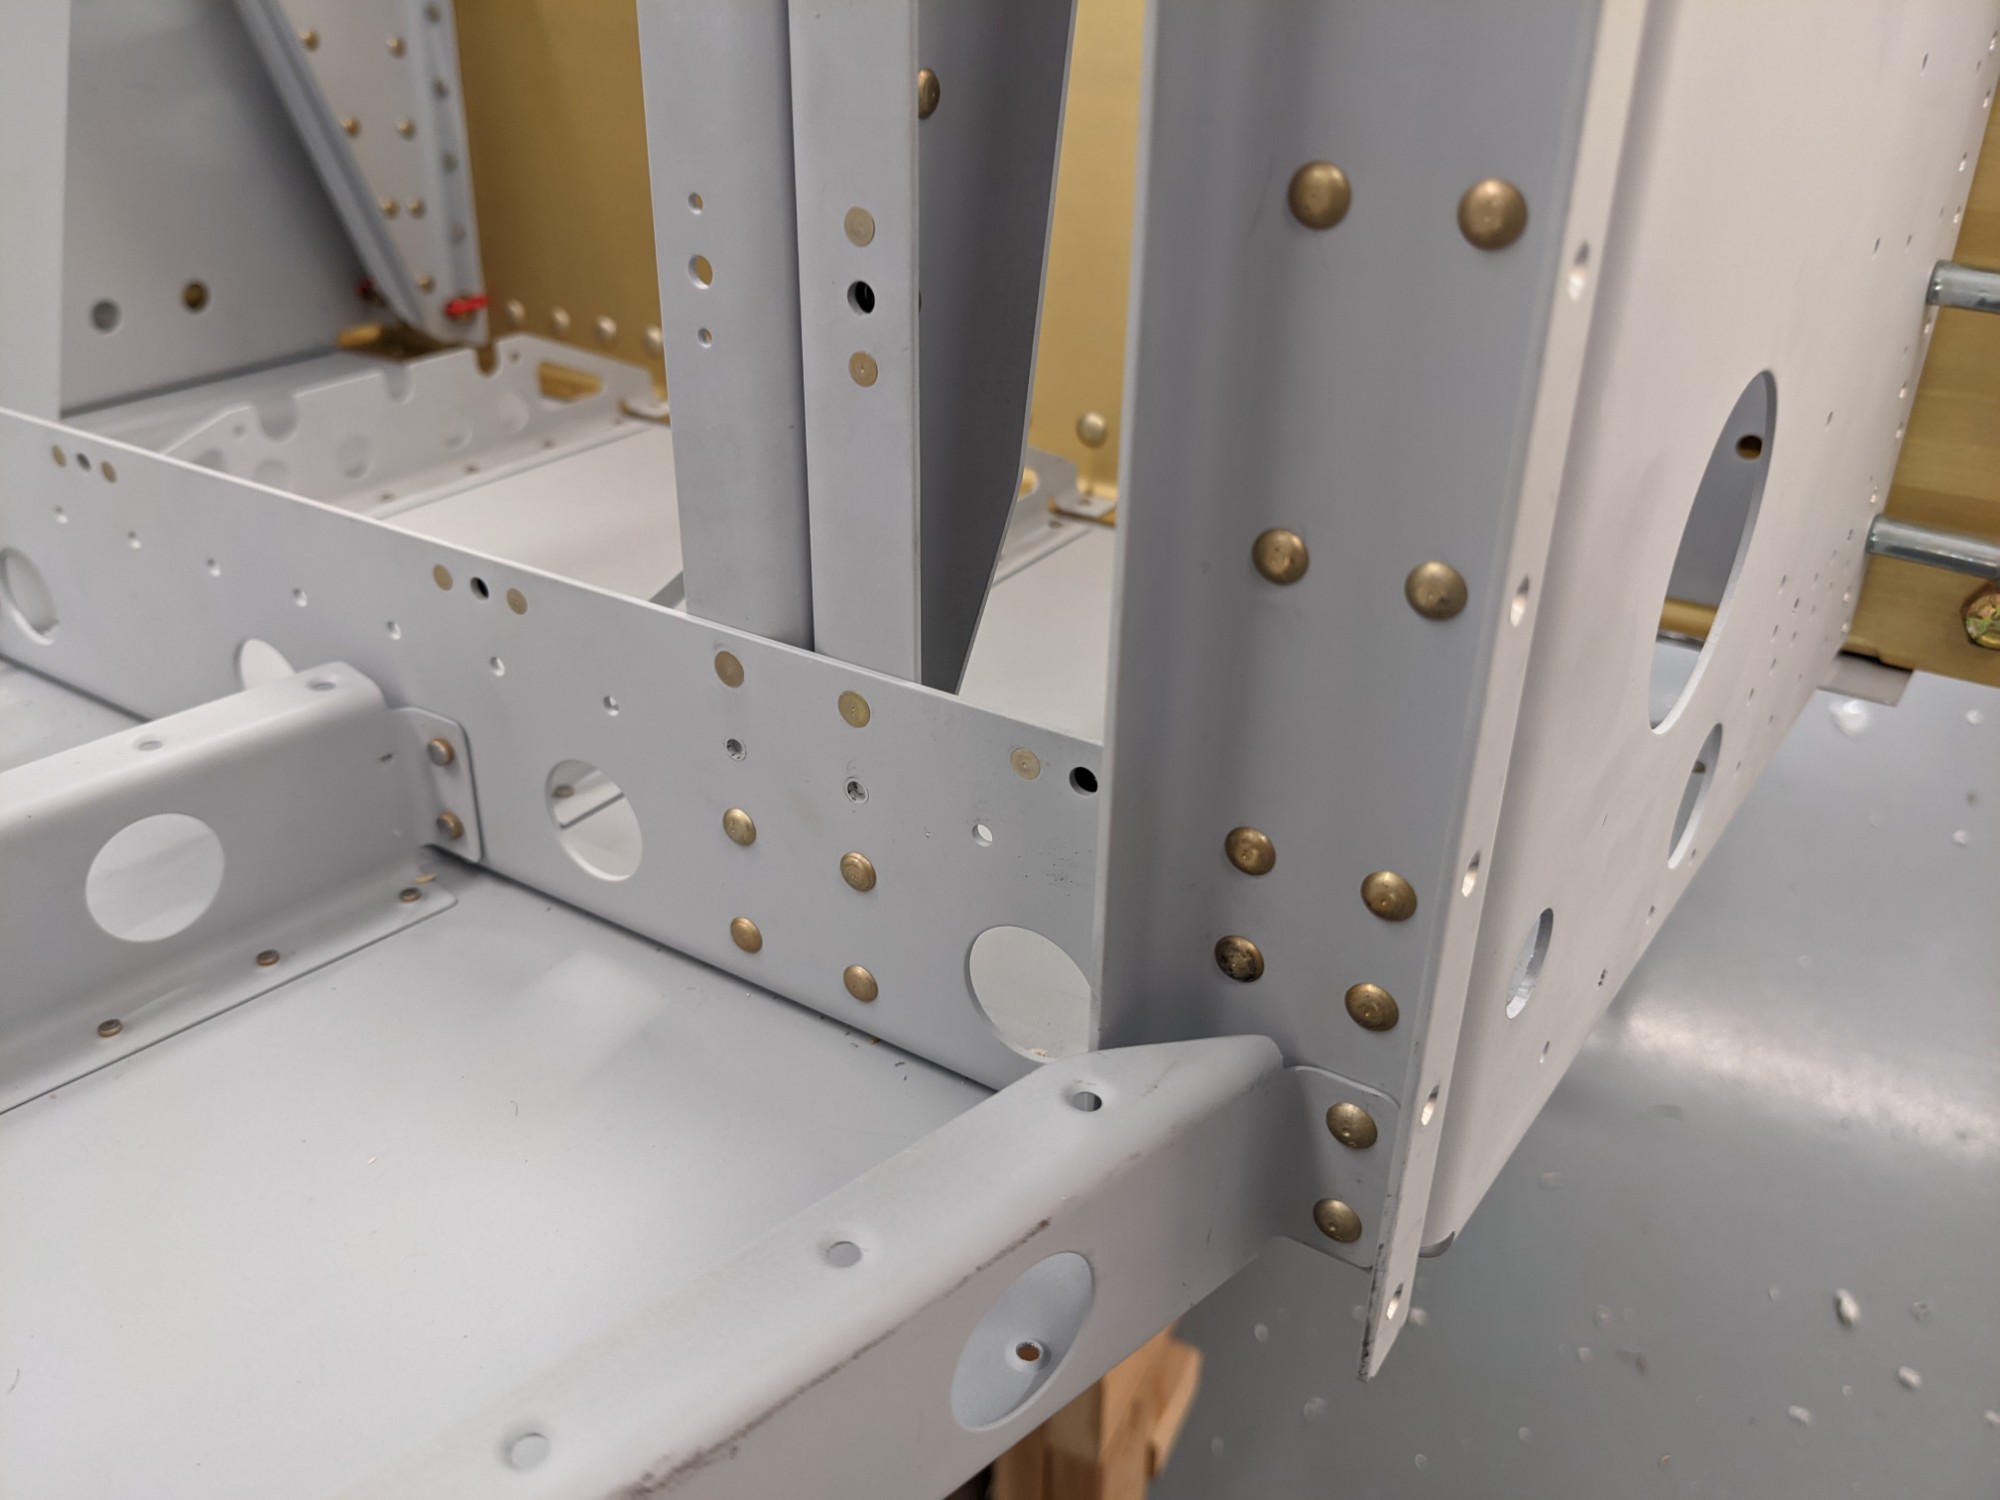
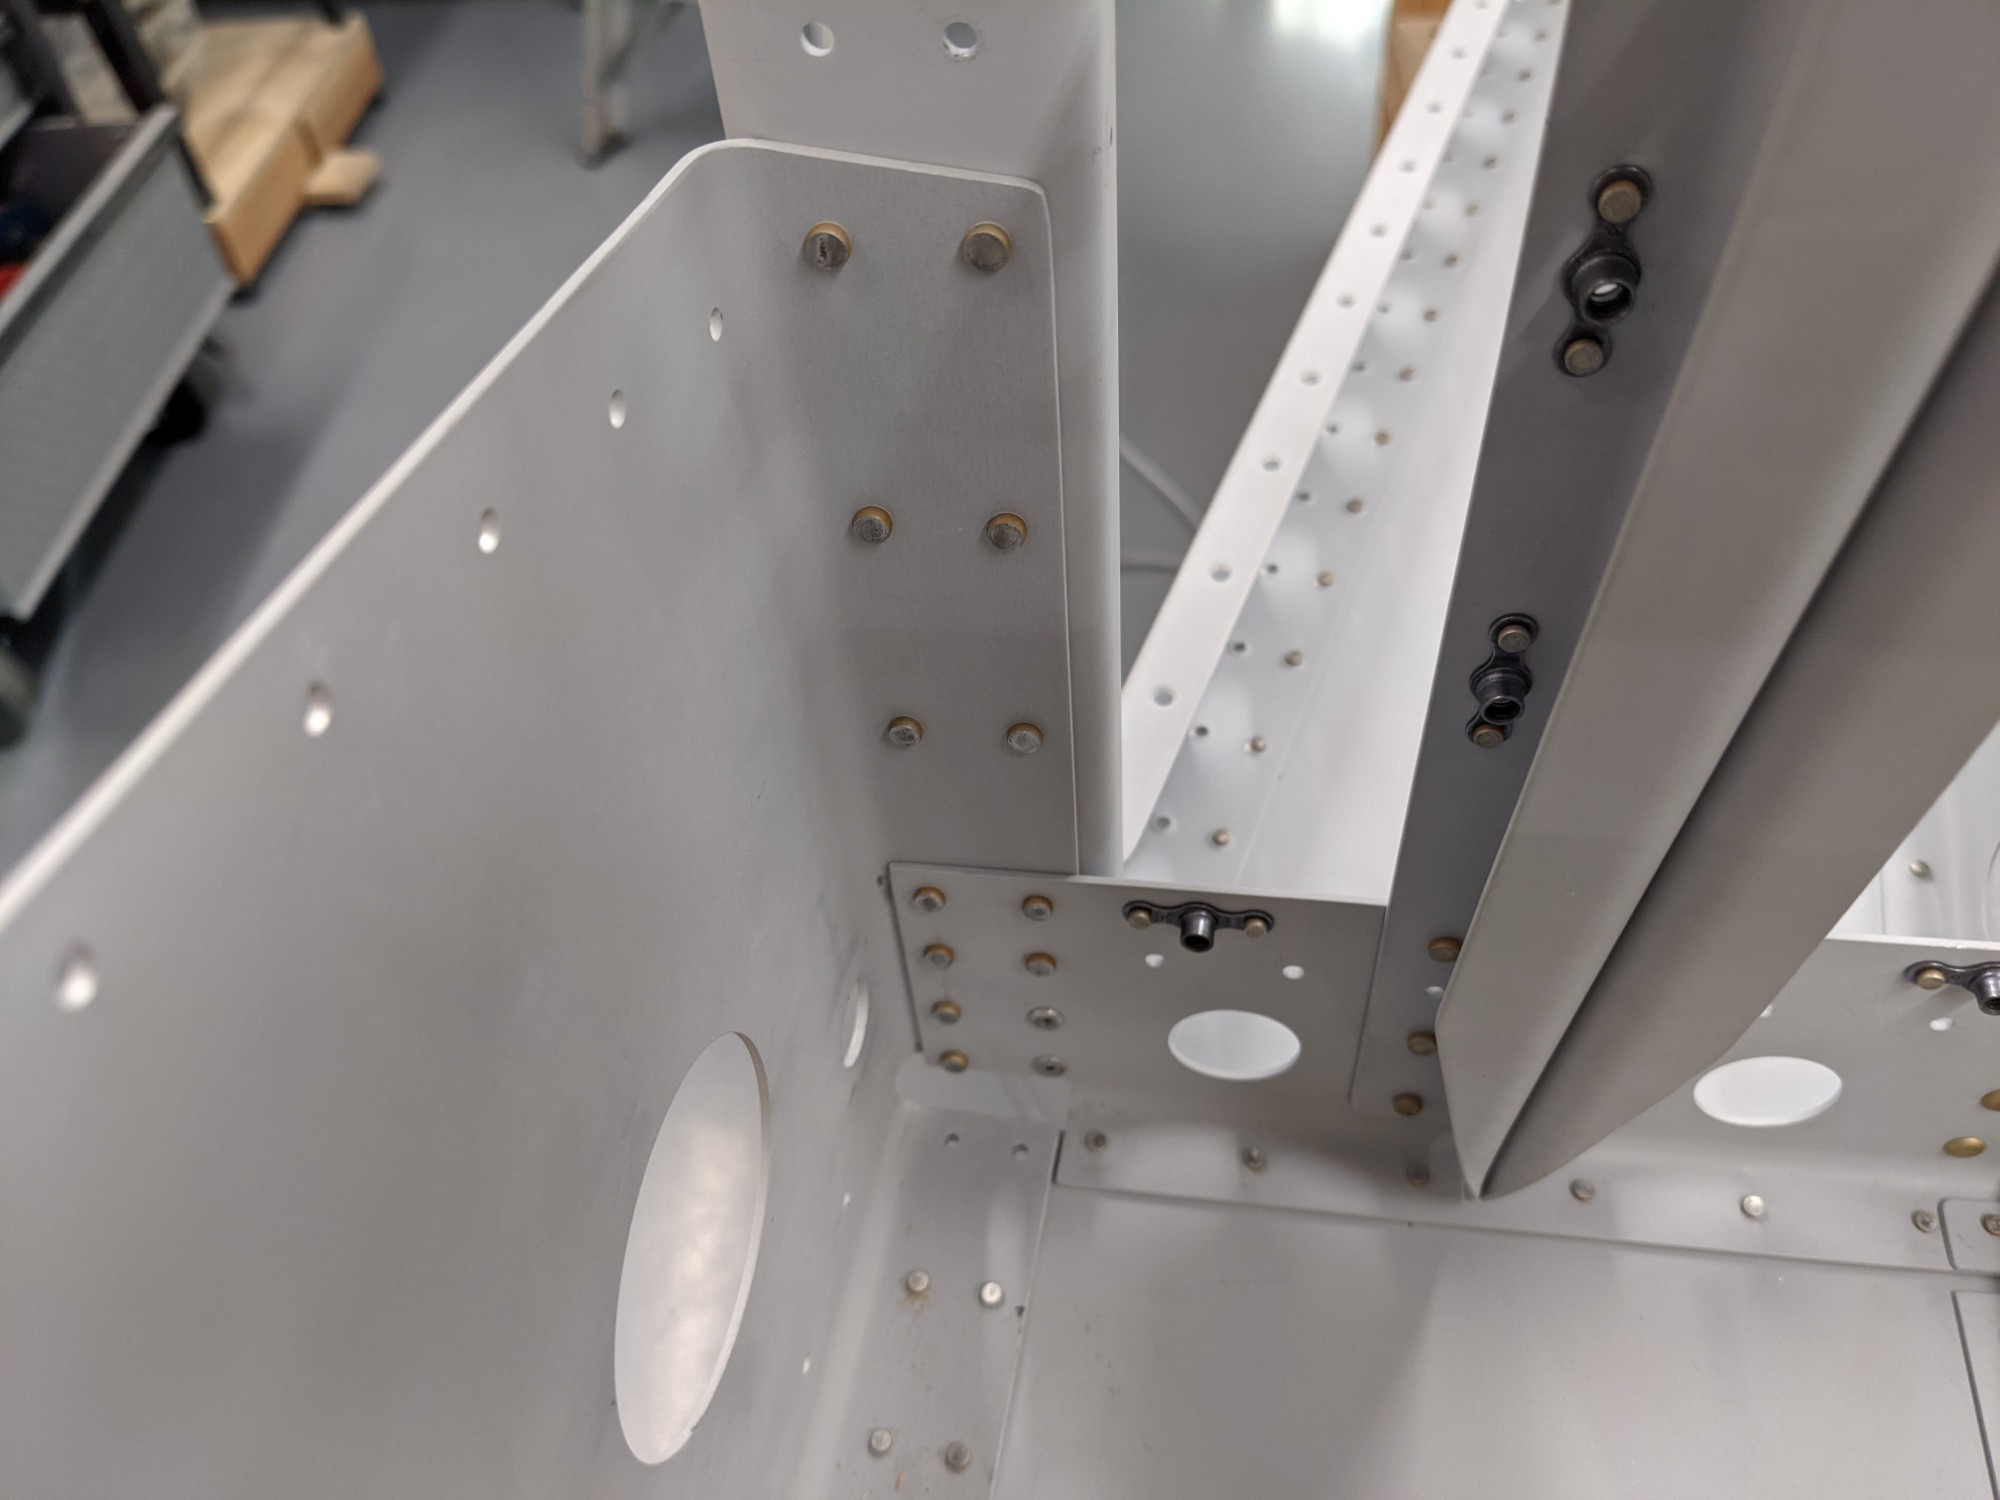
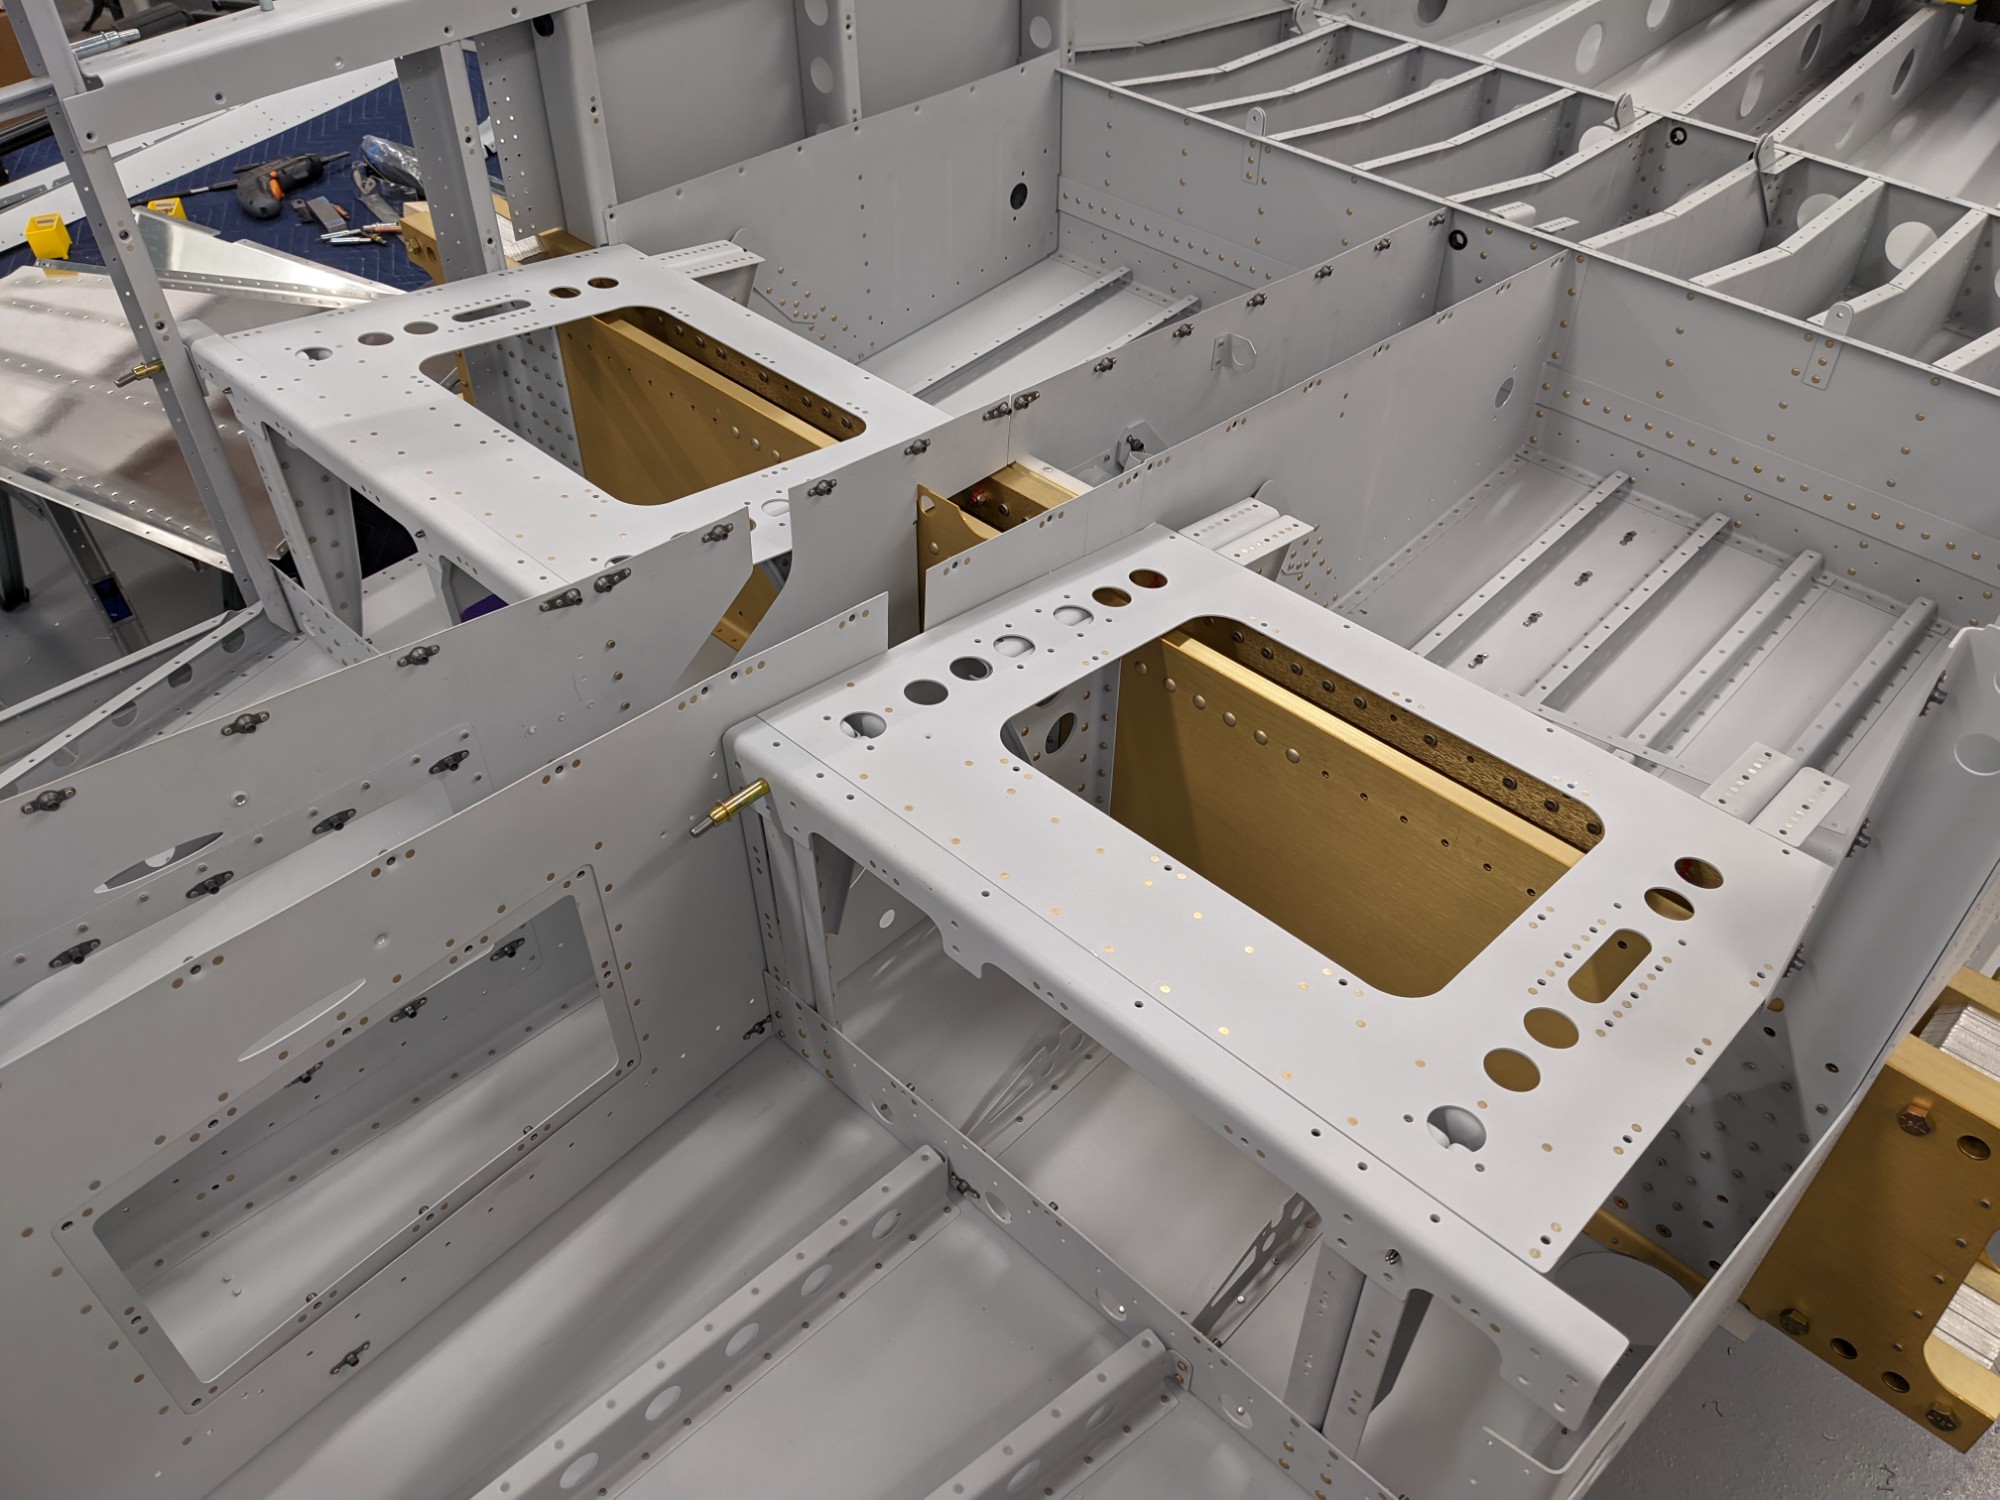
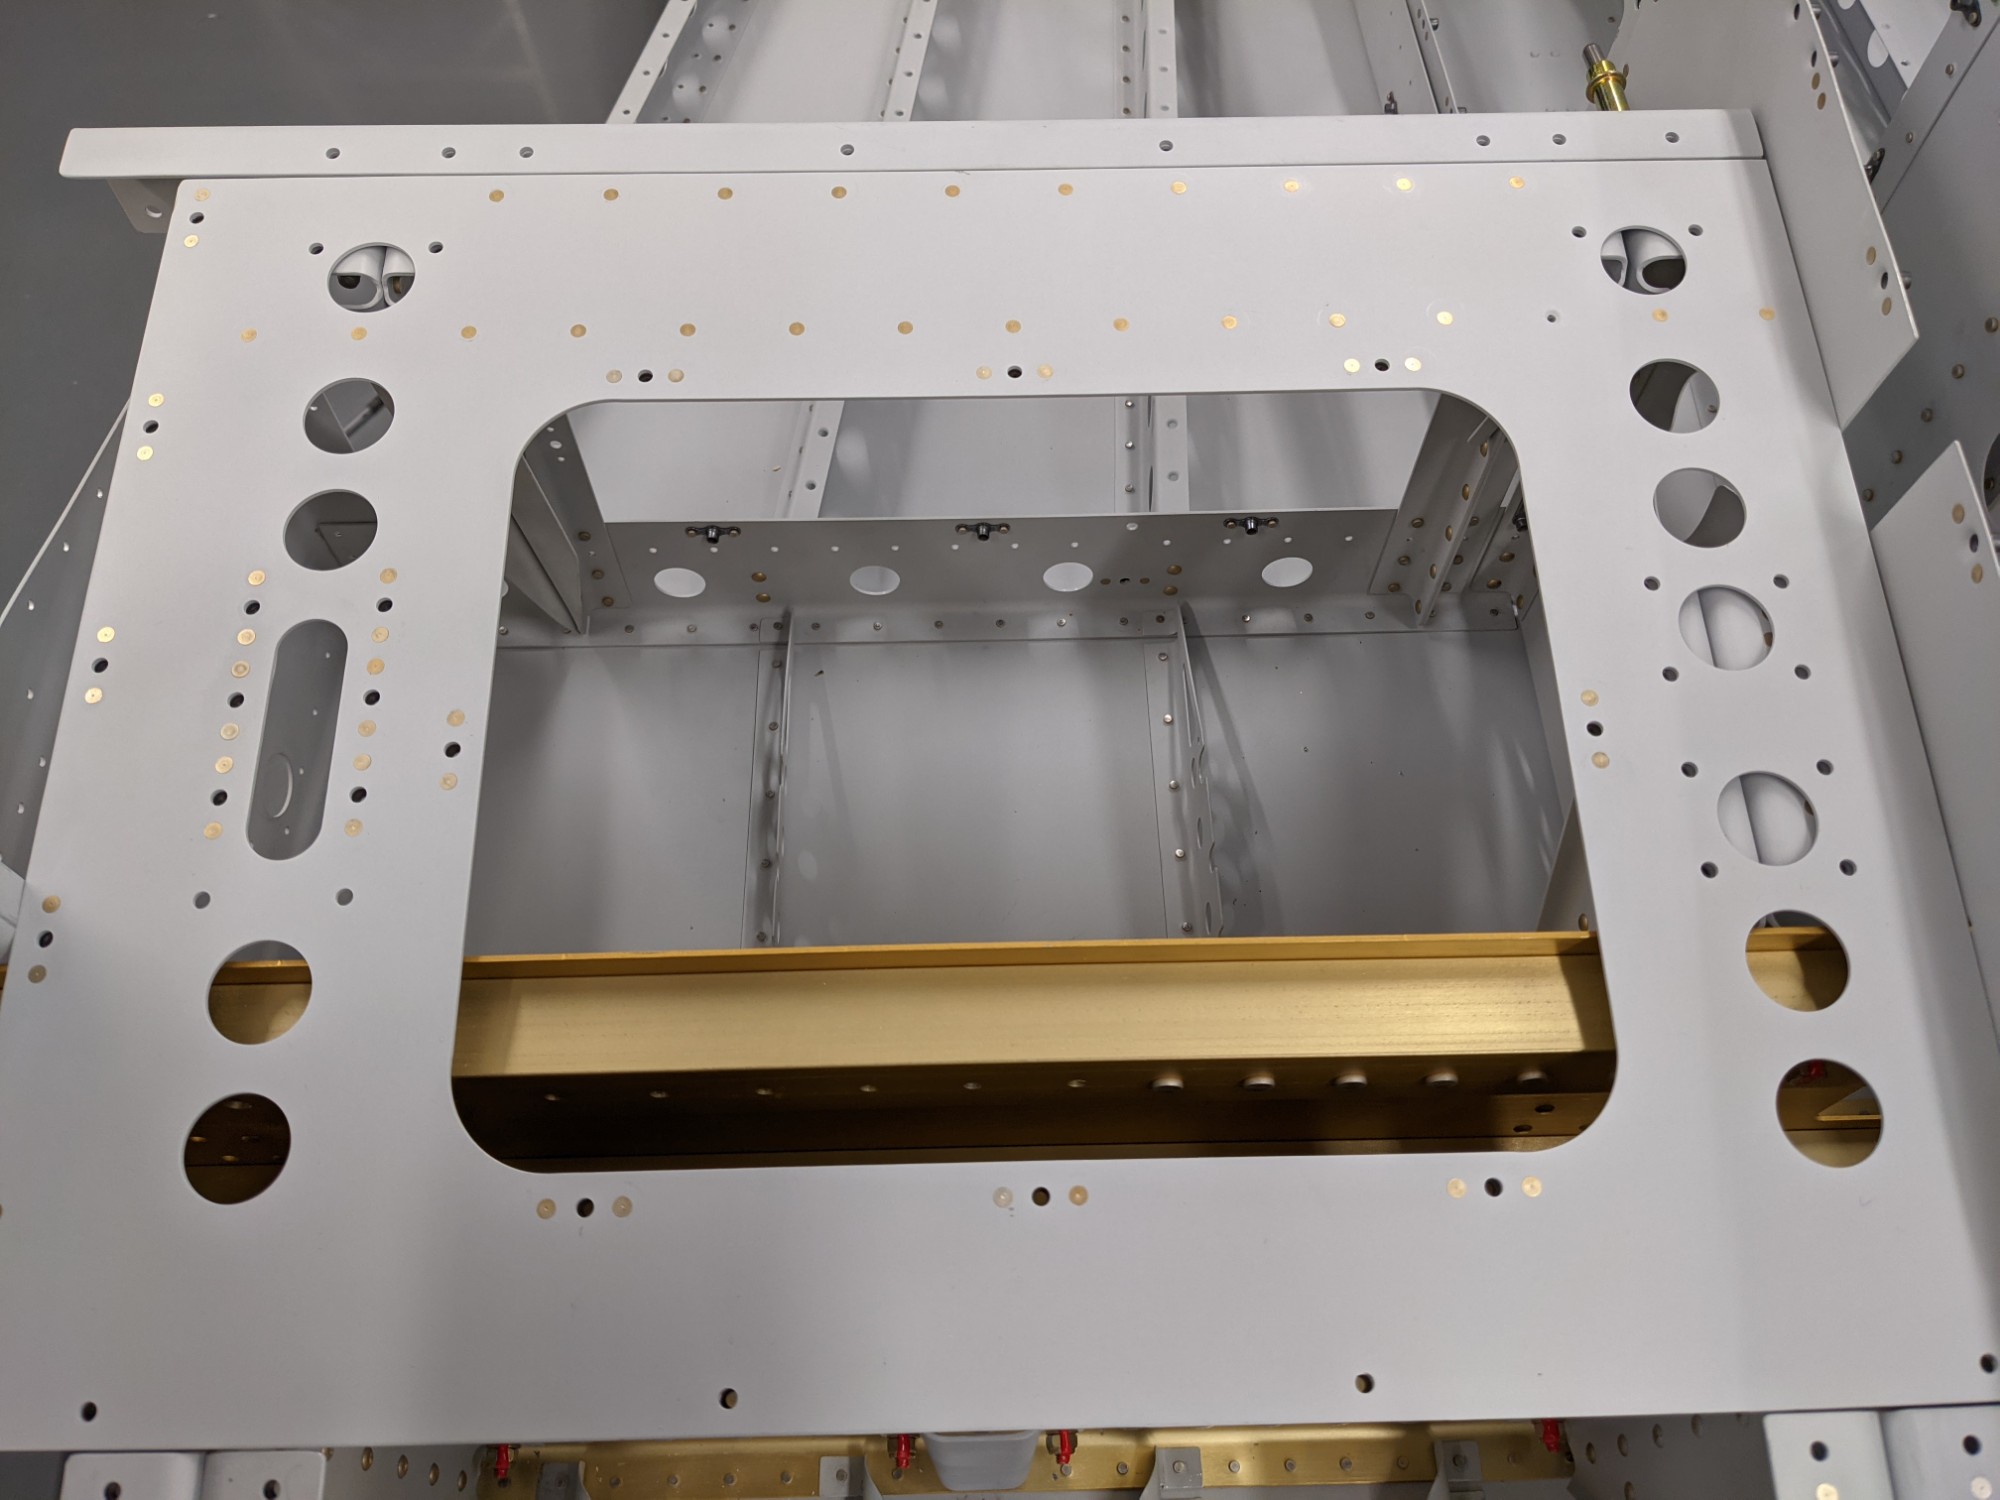
I then bolted the forward fuselage bulkhead (front seat section) and the control column mounts into place.
![](https://airplane.allanglen.com/wp-content/uploads/2021/11/pxl_20211127_1811532189101781048095947905.jpg)
![](https://airplane.allanglen.com/wp-content/uploads/2021/11/pxl_20211127_1812475312405068766983549304.jpg)
![](https://airplane.allanglen.com/wp-content/uploads/2021/11/pxl_20211127_1812555496444549318054017265.jpg)
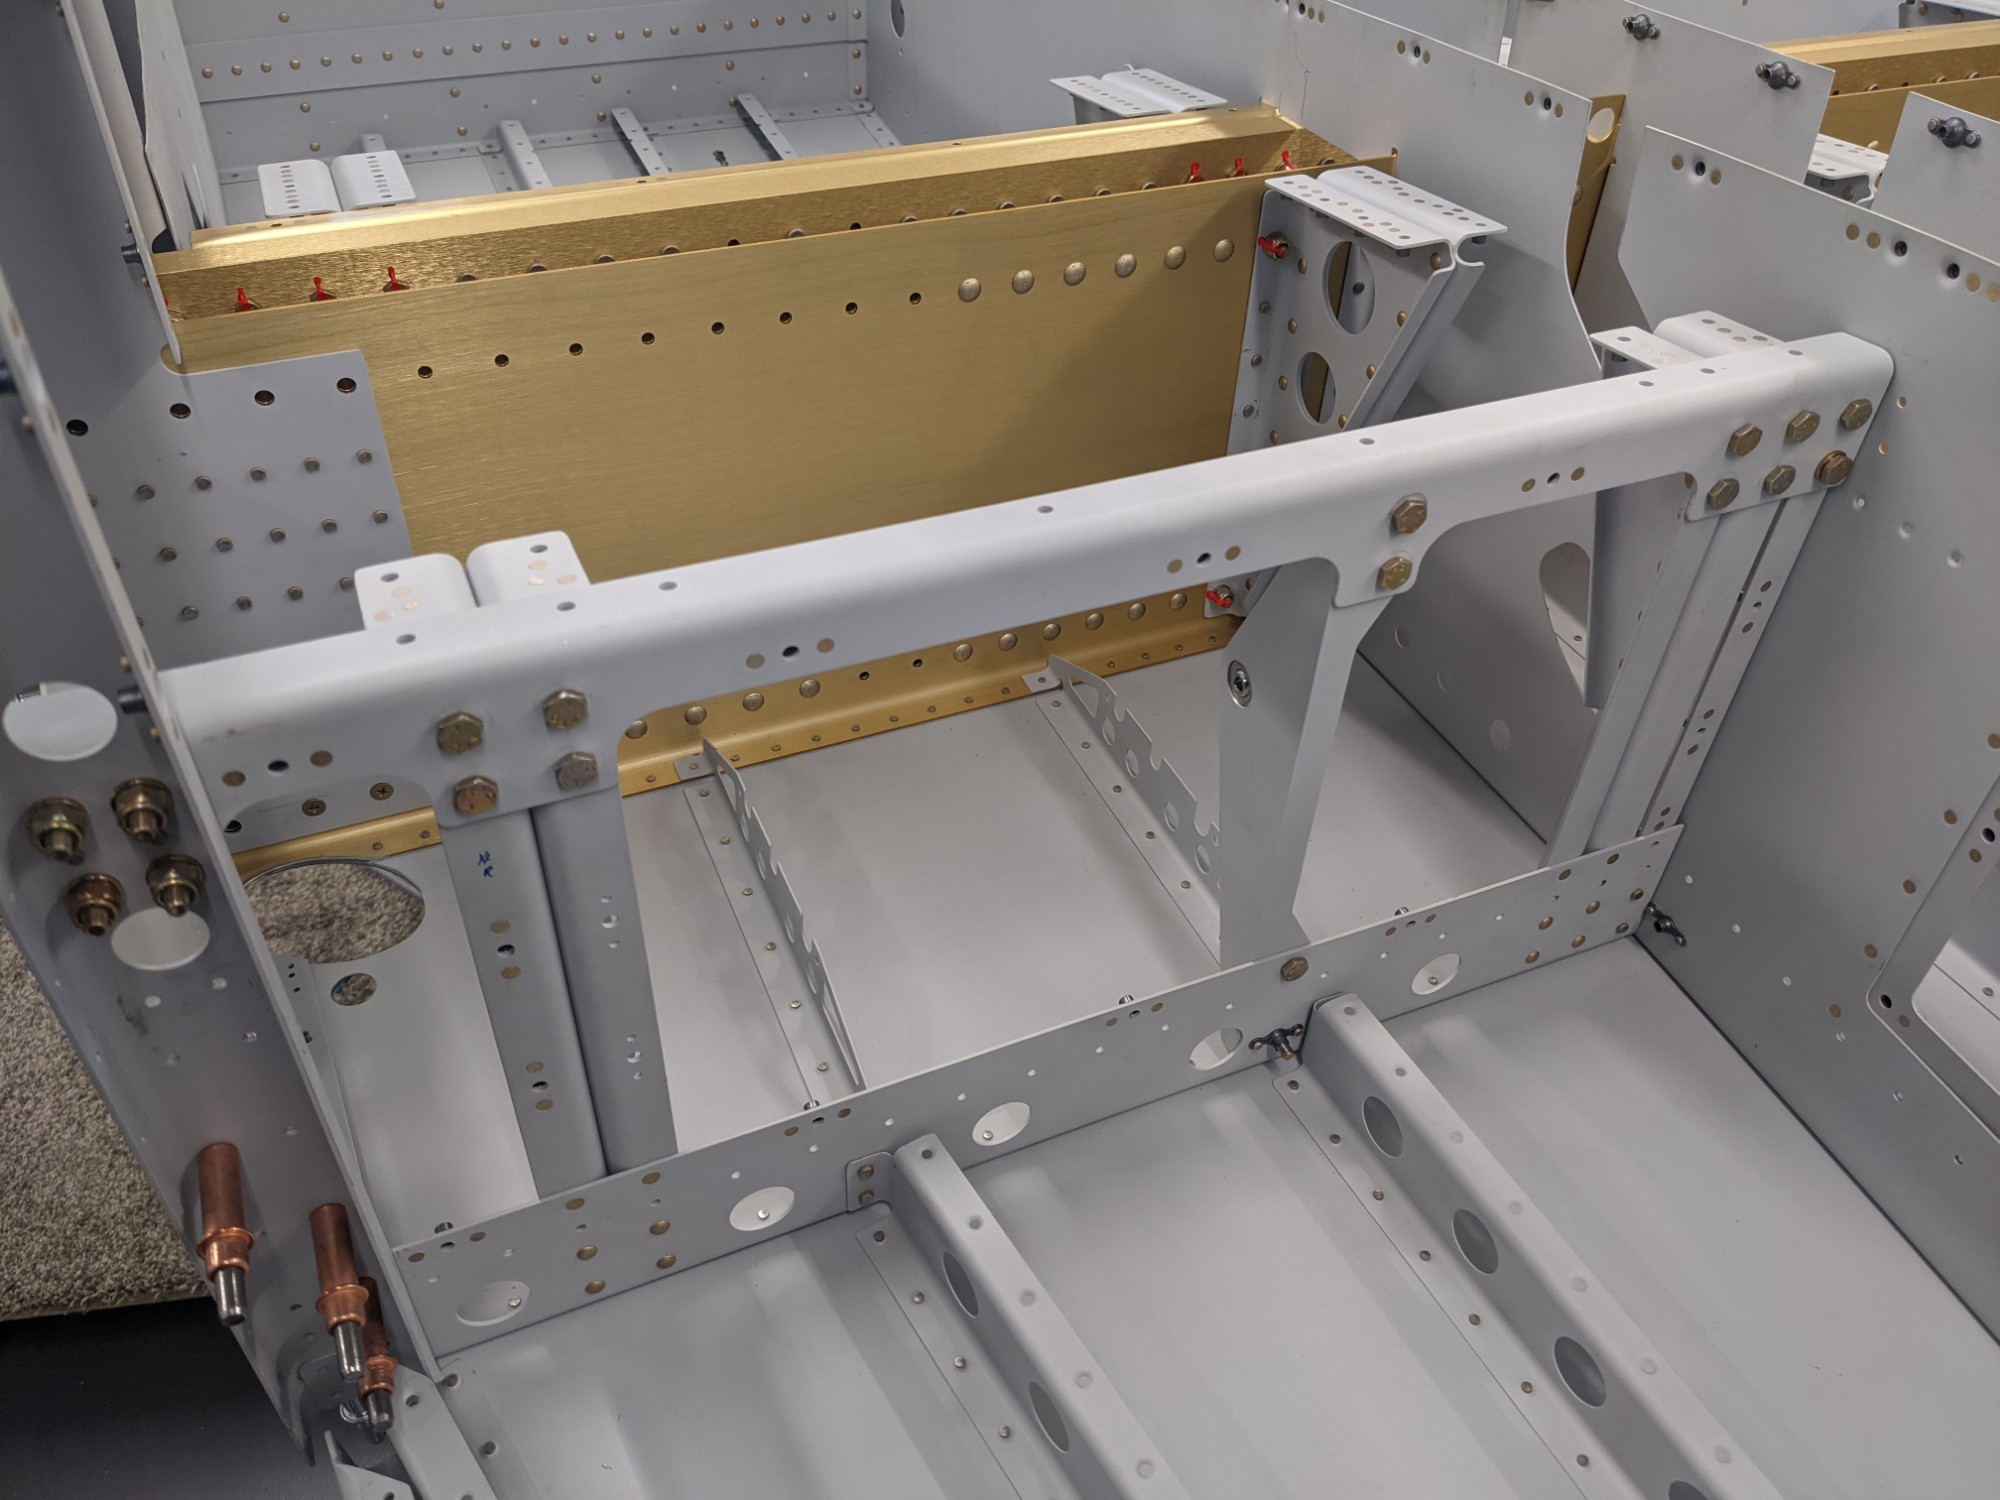
We then riveted the side plates to the bottom skins and the the seat bulkheads.
![](https://airplane.allanglen.com/wp-content/uploads/2021/11/pxl_20211128_2155028892559824739411658260.jpg)
![](https://airplane.allanglen.com/wp-content/uploads/2021/11/pxl_20211128_2241554532727069100204008371.jpg)
![](https://airplane.allanglen.com/wp-content/uploads/2021/11/pxl_20211128_2242042597443875290652526857.jpg)
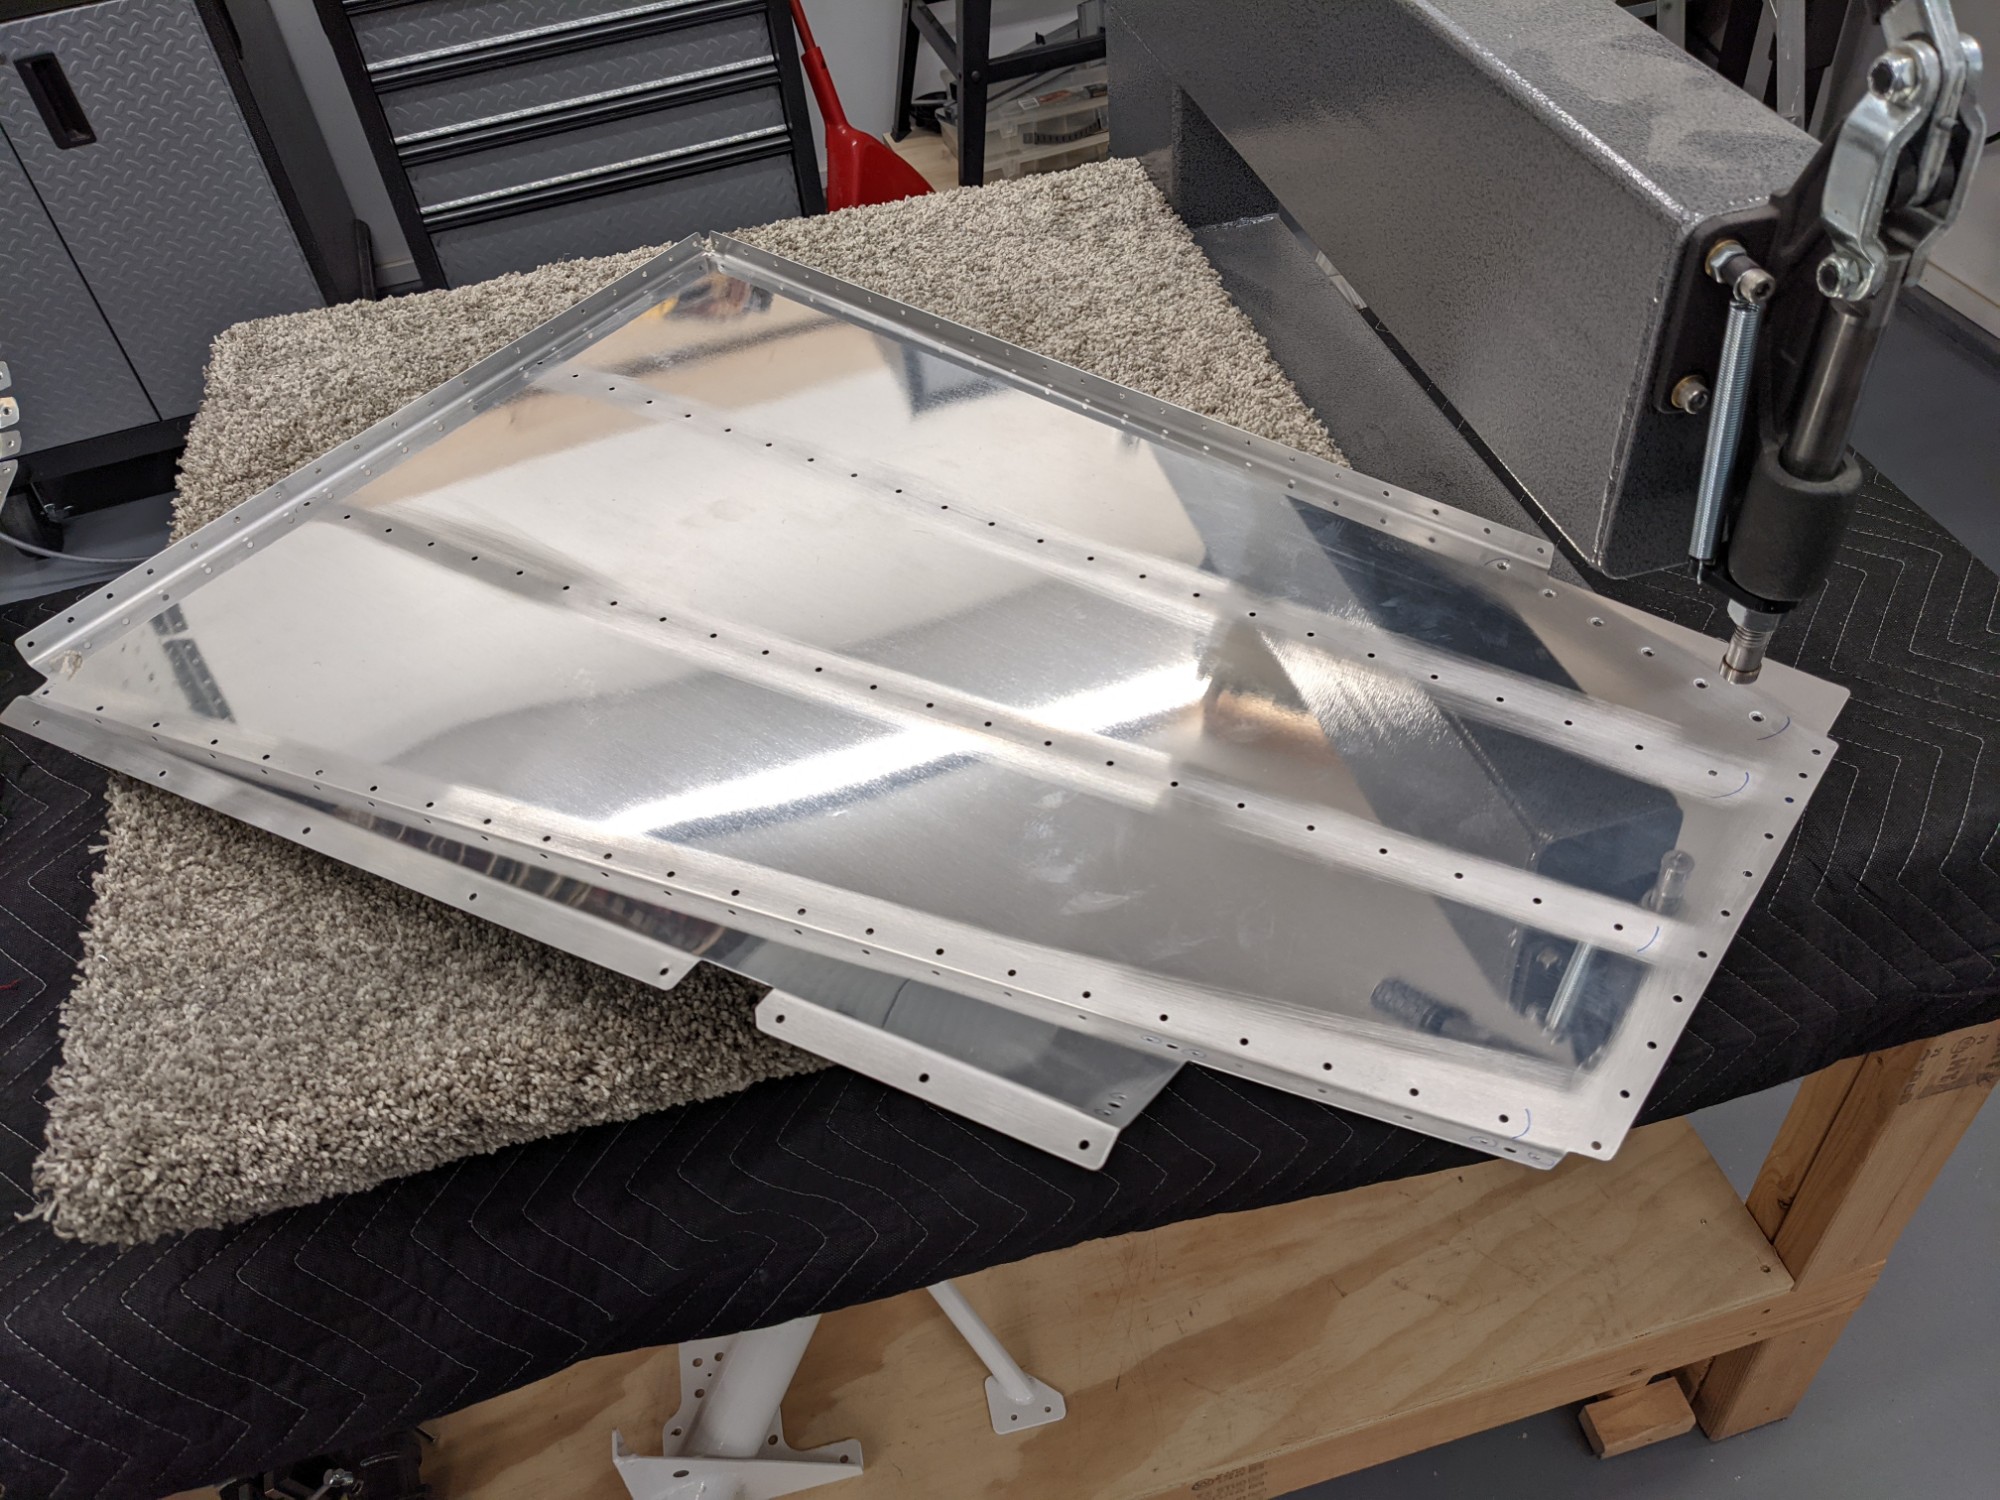
I then prepped and primed the parts for the seat floor assemblies.
![](https://airplane.allanglen.com/wp-content/uploads/2021/11/pxl_20211126_0309599165842576061968348705.jpg)
Once dried, I riveted the nutplates into place and riveted the parts together.
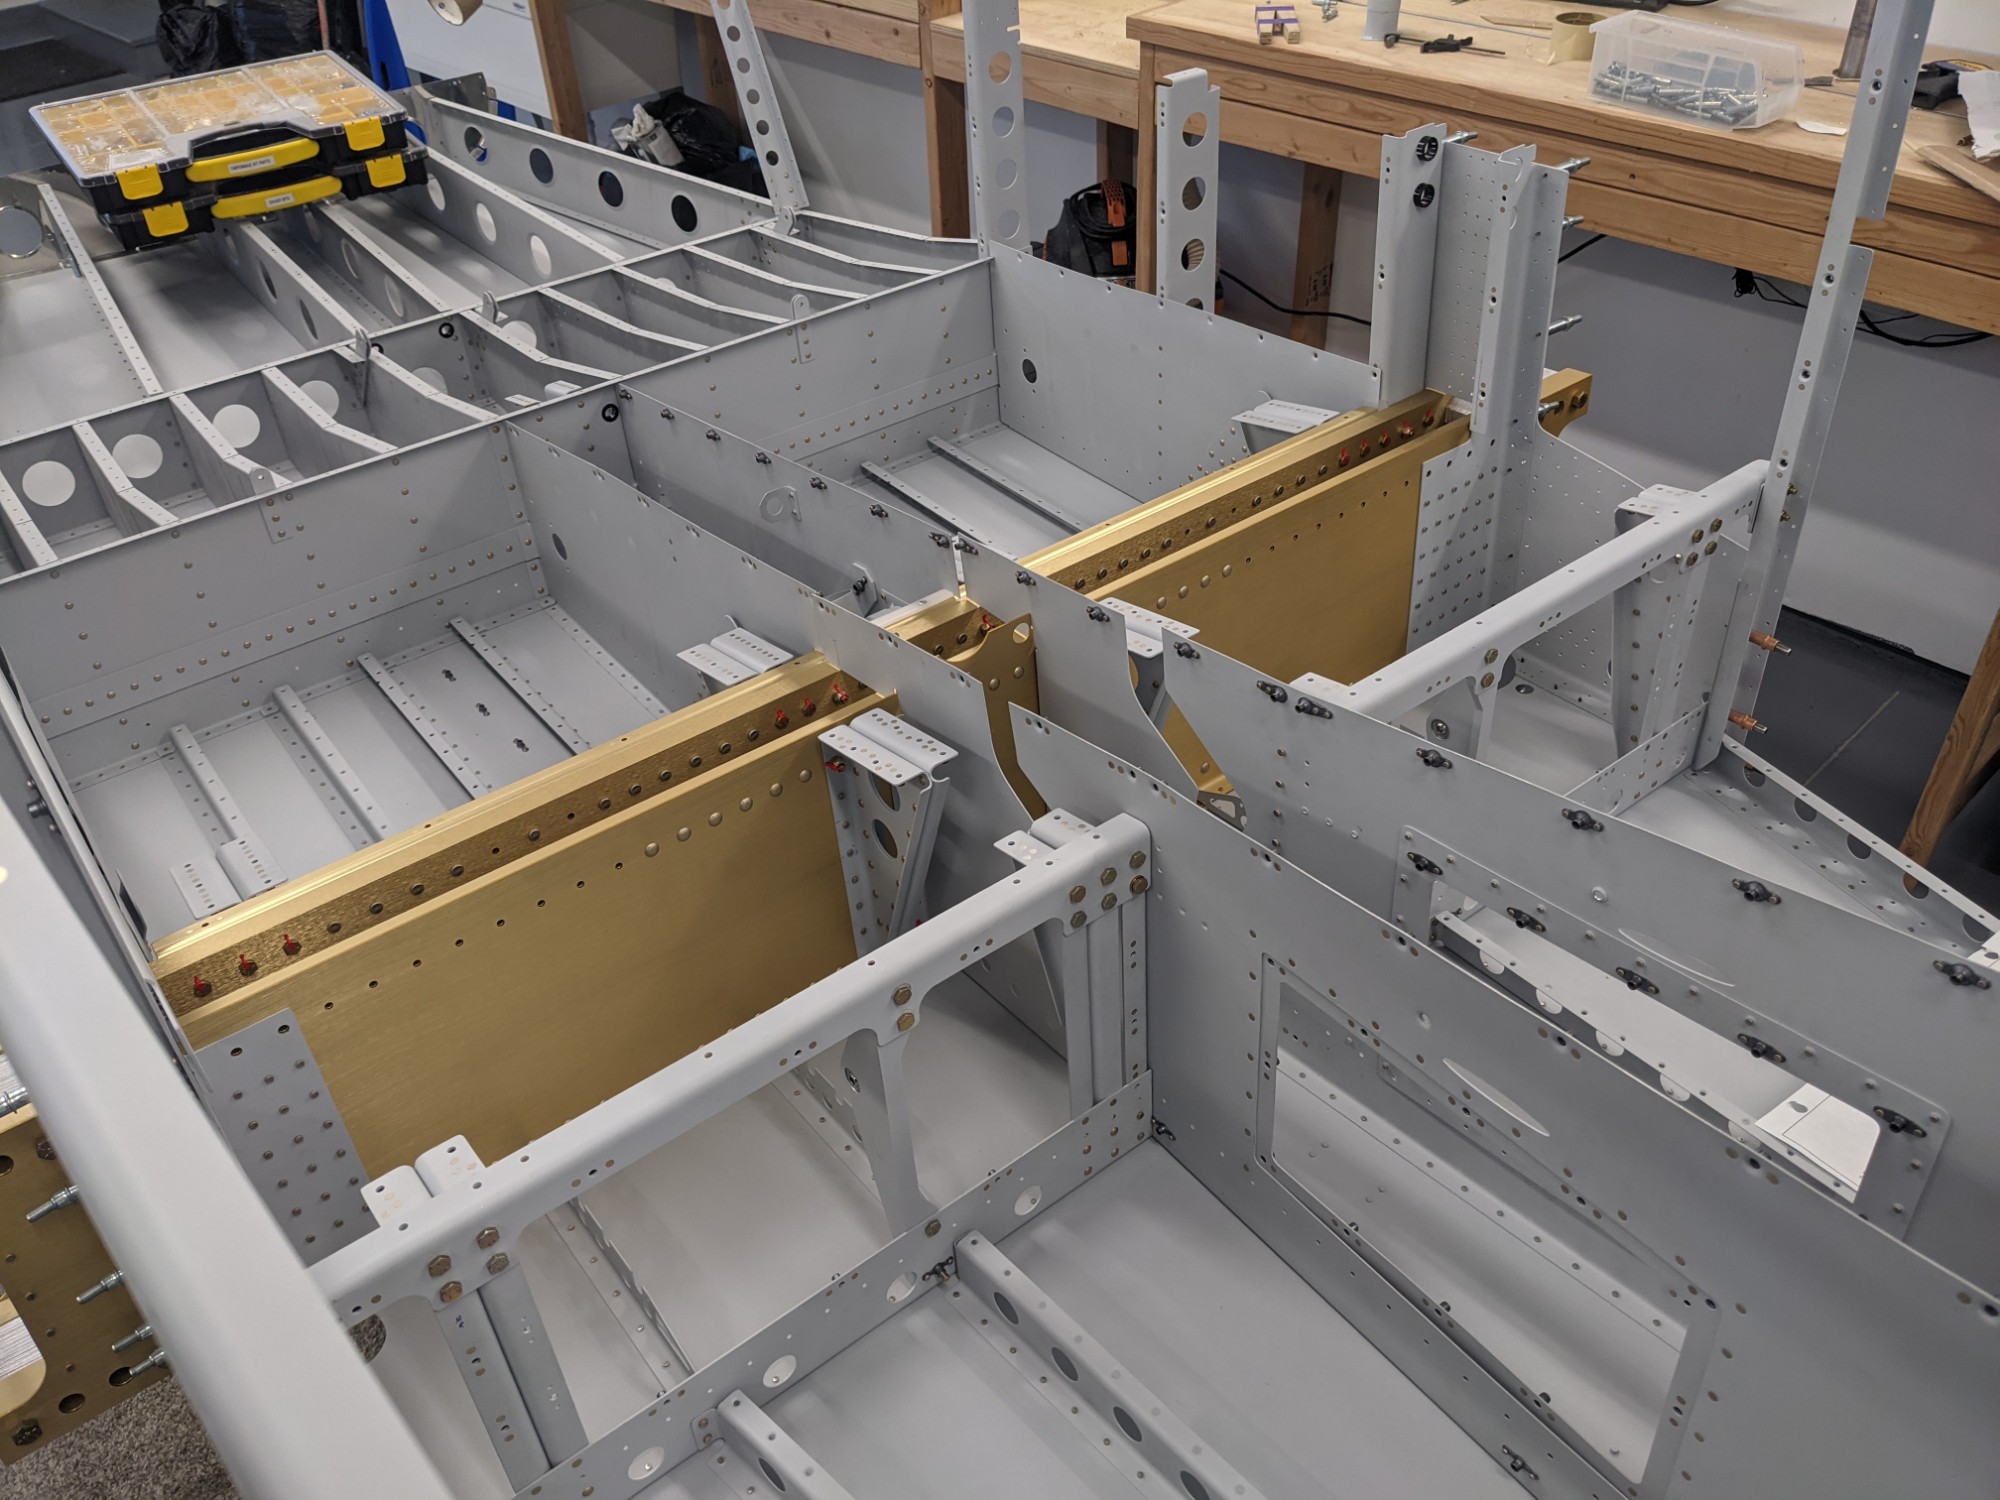
Everything fit together nicely.
![](https://airplane.allanglen.com/wp-content/uploads/2021/11/pxl_20211126_043815209600004219311503368.jpg)
![](https://airplane.allanglen.com/wp-content/uploads/2021/11/pxl_20211126_0438361598899667359507094509.jpg)
![](https://airplane.allanglen.com/wp-content/uploads/2021/11/pxl_20211126_0438475821690407111244602867.jpg)
The forward fuselage section can now be checked off on the plans!