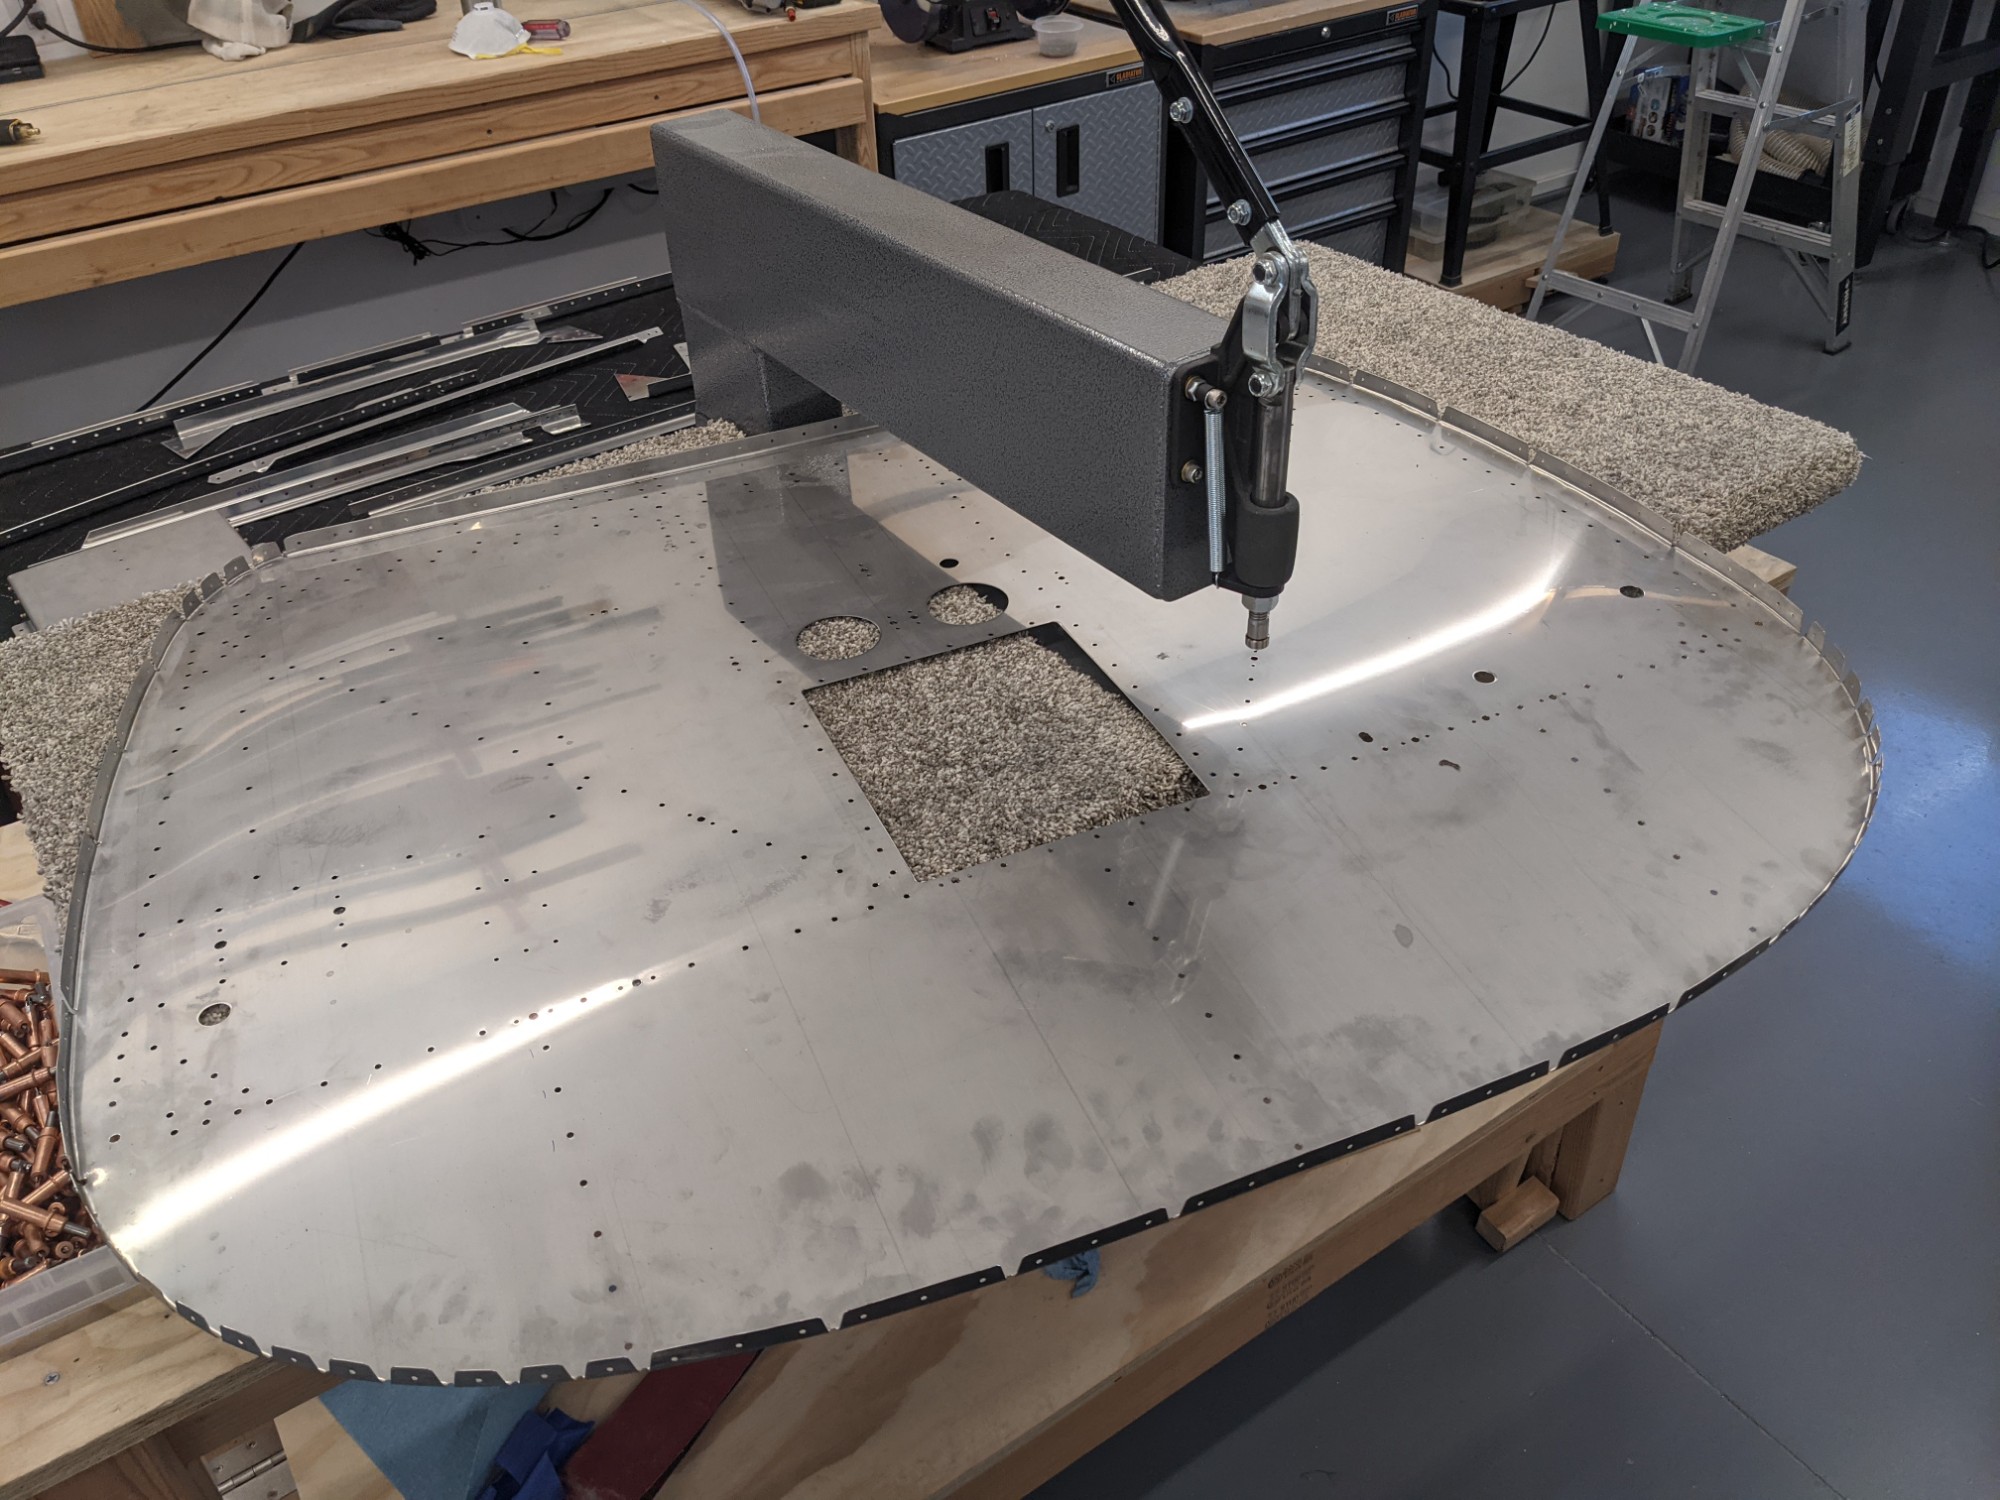
While waiting for the primer to cure I got back to work on the firewall. I had previously decided to order a new firewall recess and not upsize the holes this time. I’ll plan on making whatever changes I need there later for eyeball fittings when I have the size specifications for the engine control cables.
I deburred, dimpled, and riveted the holes in the firewall recess. These holes were all final size.
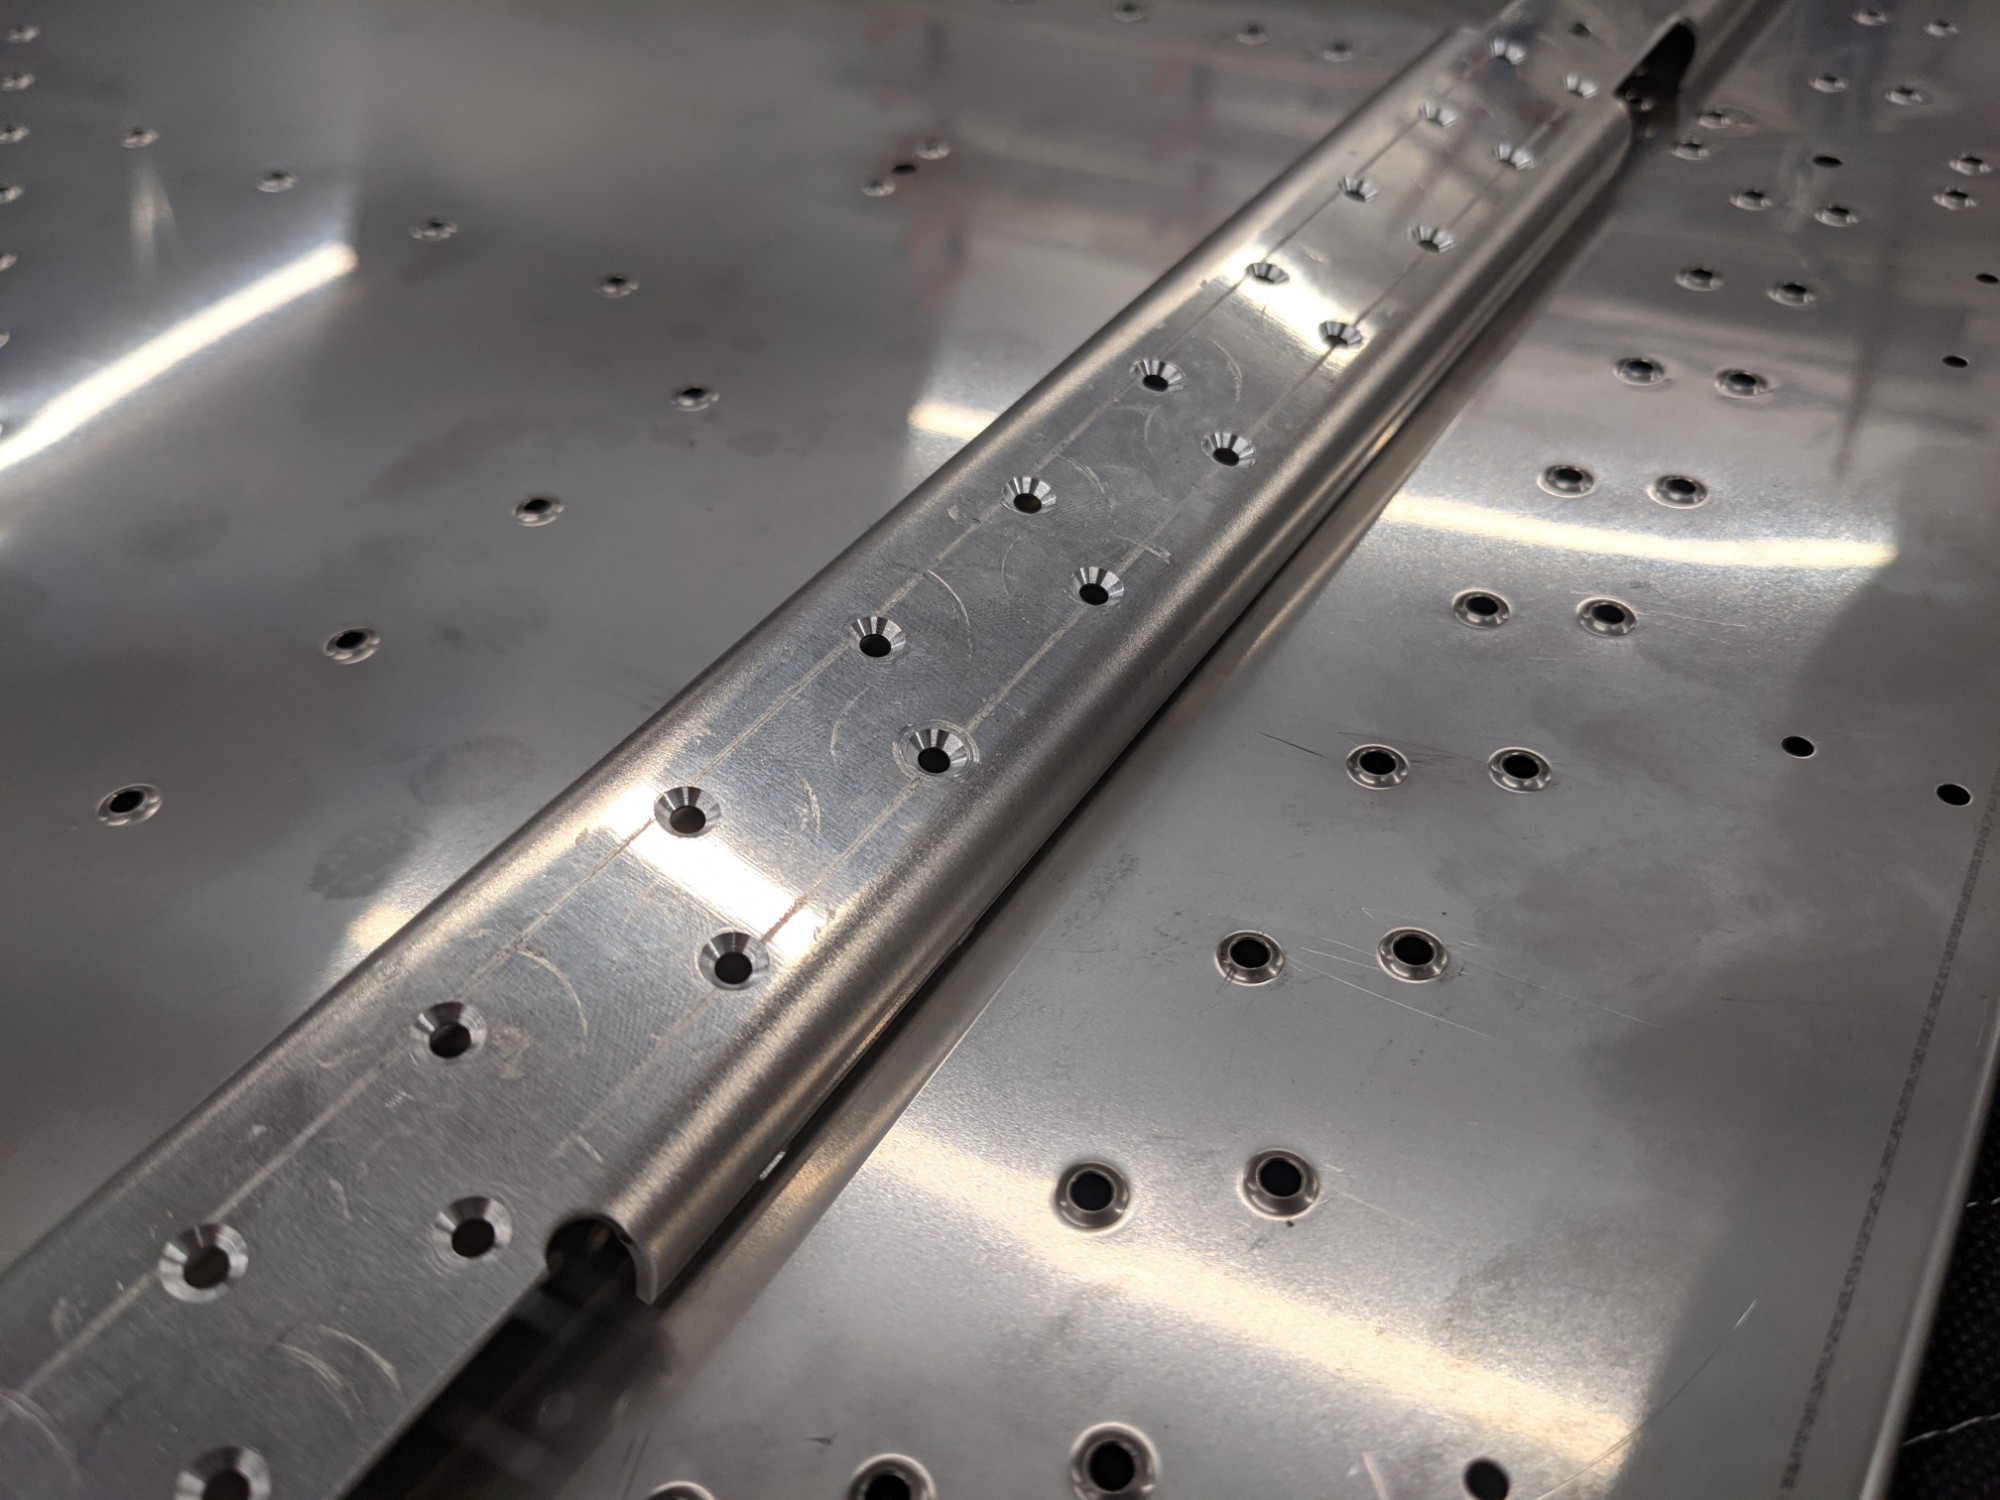
I then match drilled the holes to the parts that I had previously clecoed to the firewall.
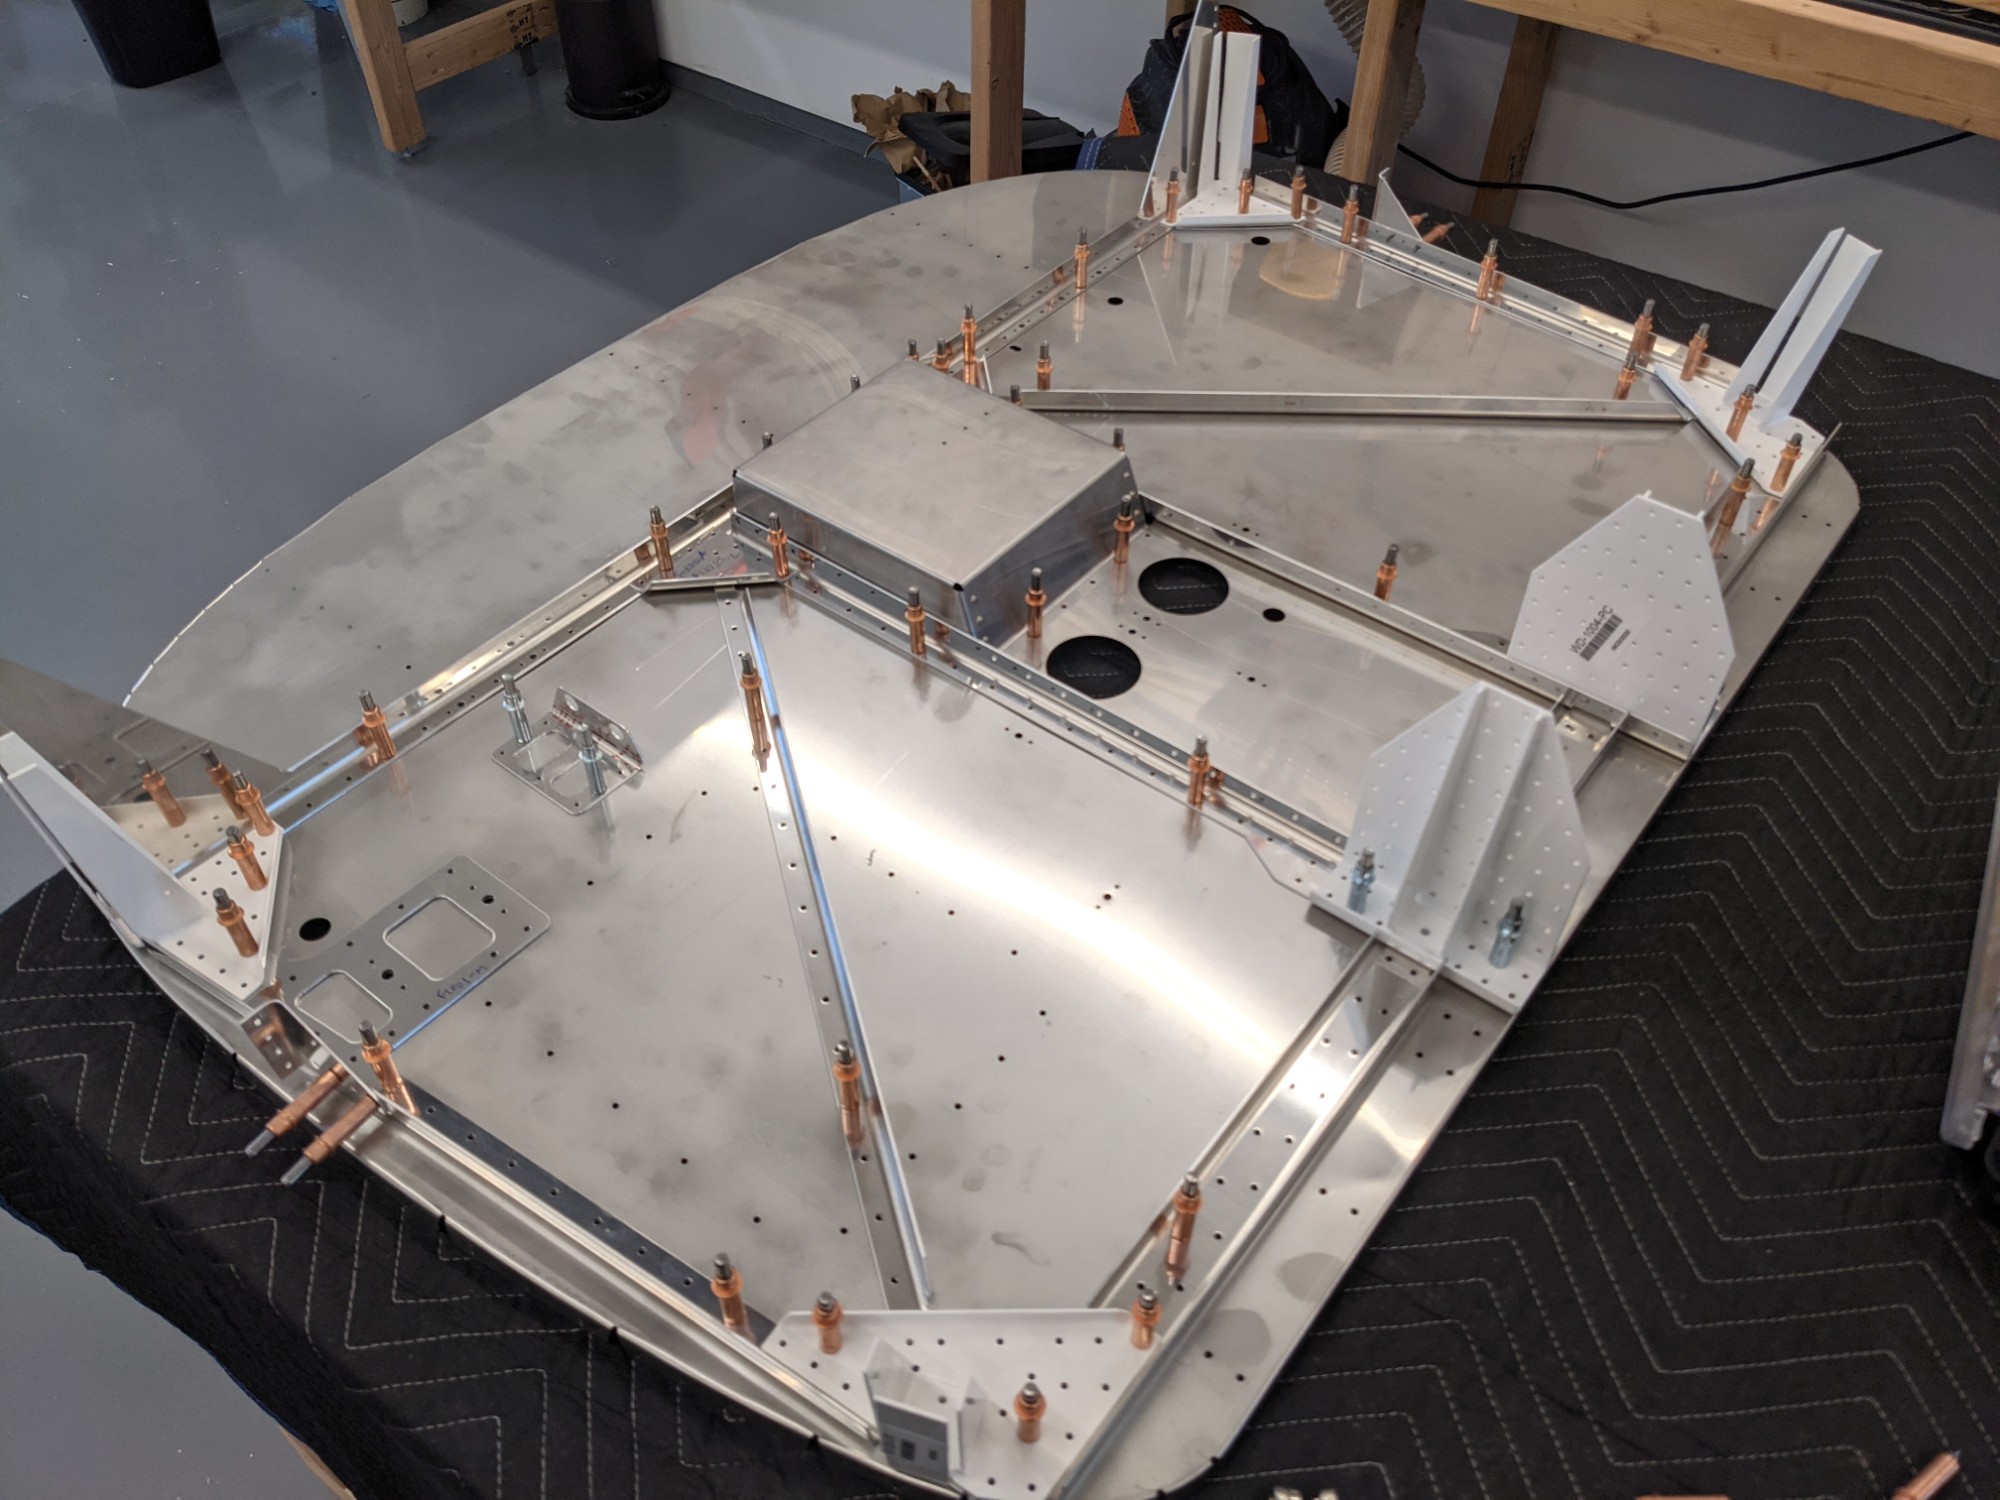
Most of the parts already had final-sized holes (yay!) so I only had to final size the holes that corresponded with the powder-coated parts. I used an awl to align things (tip that I read somewhere) and this seems especially important when aligning between parts with final and non-final-sized holes (to avoid making things oval). Clecos have too much movement to align well enough when drilling.
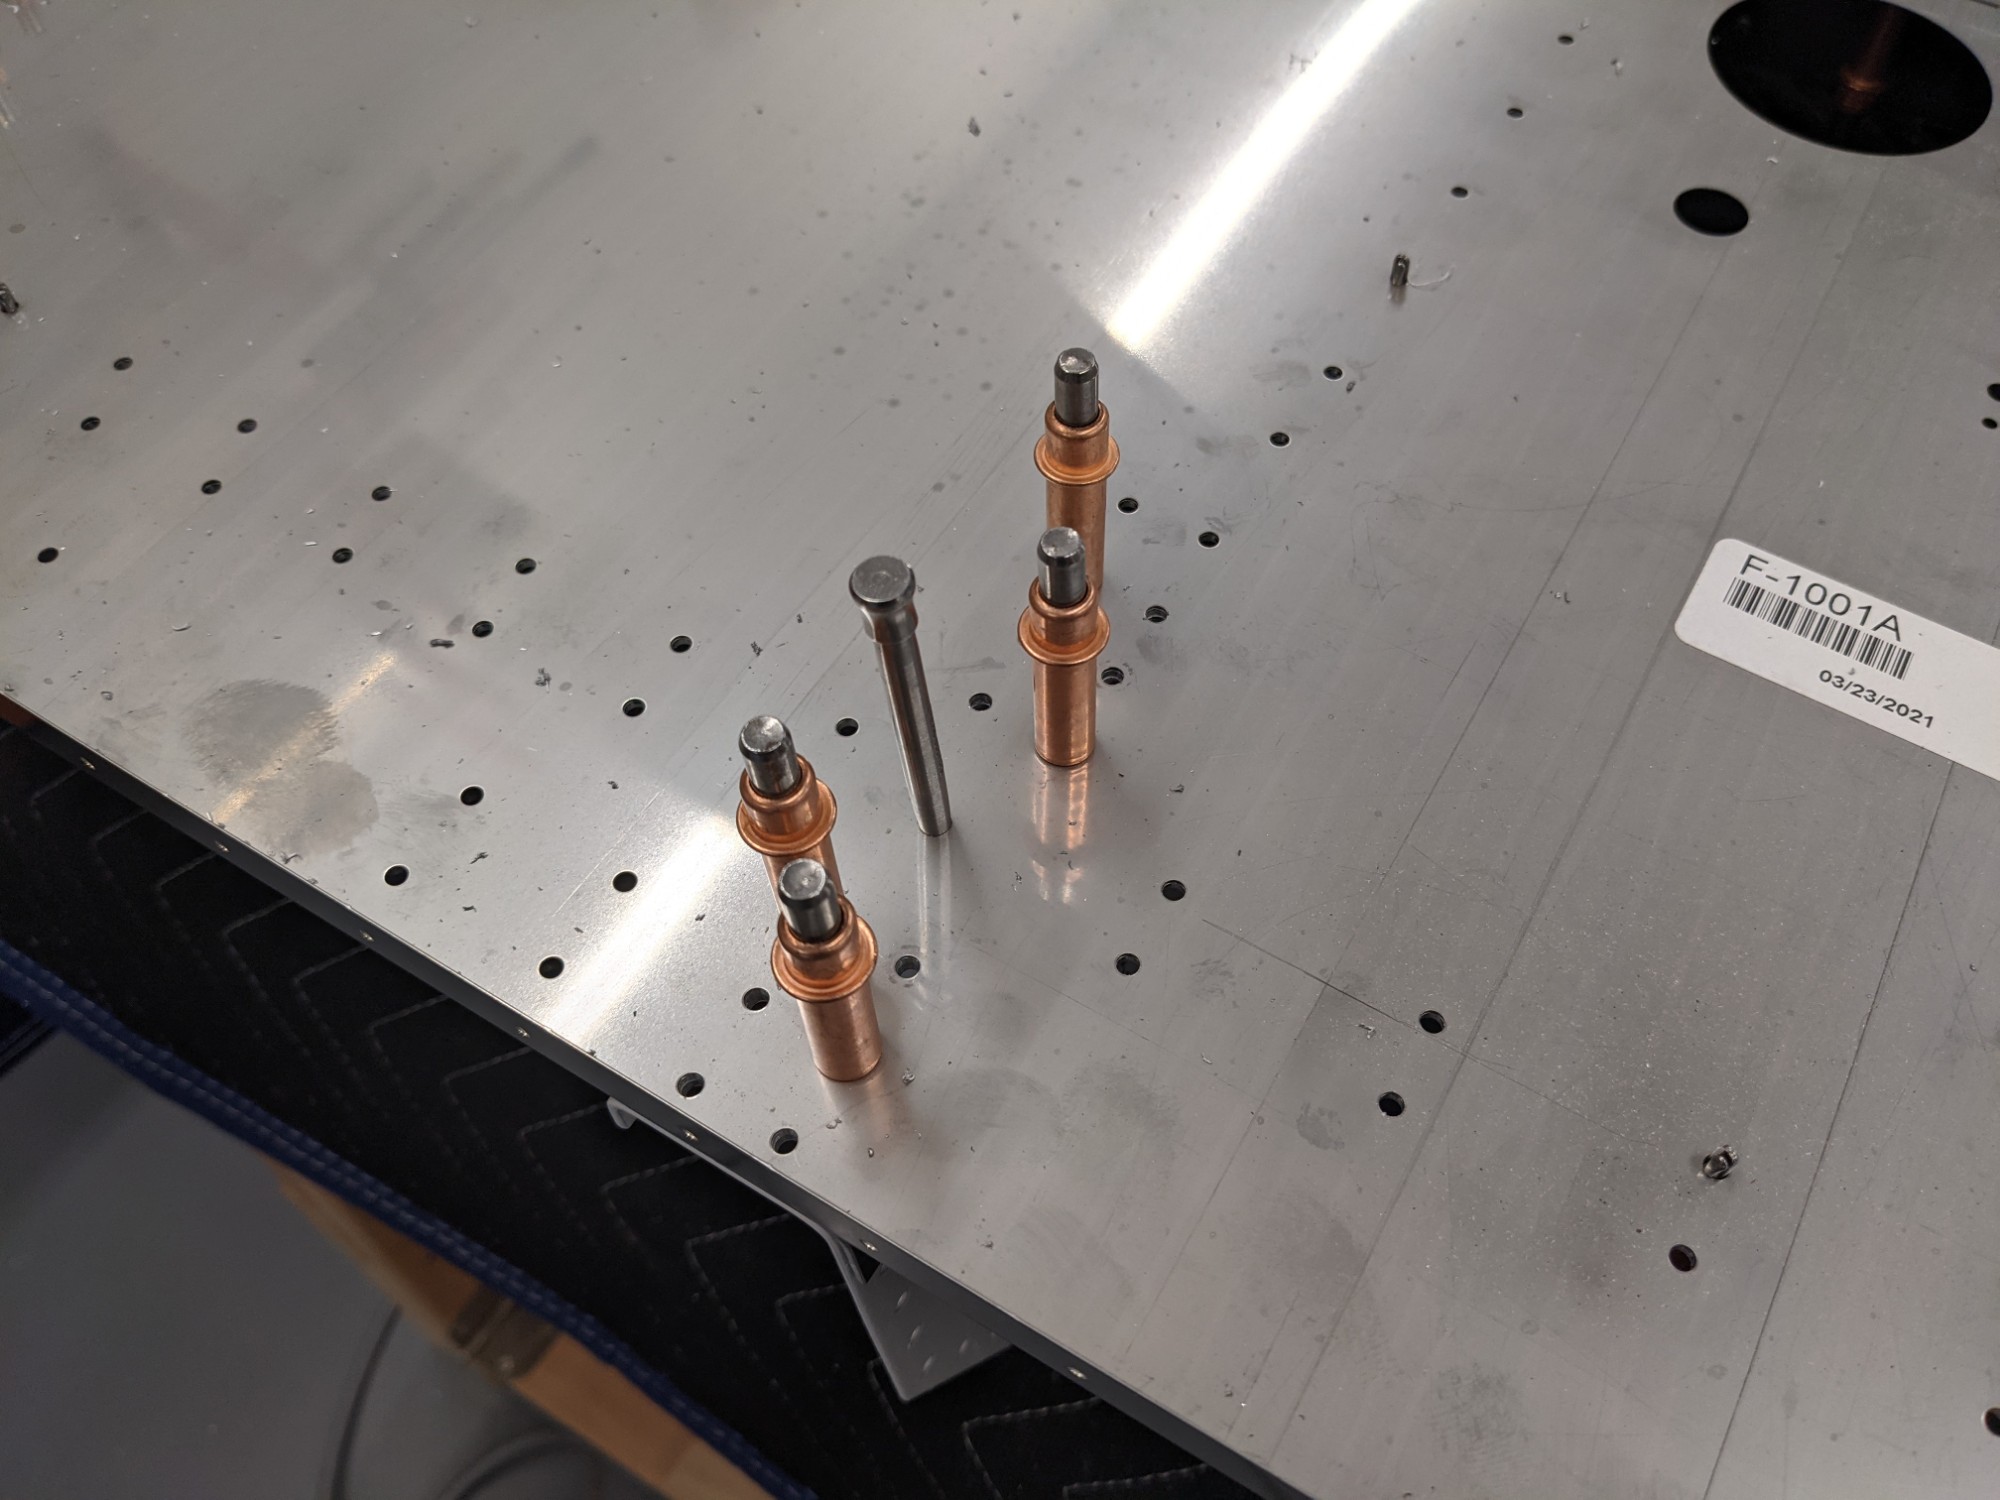
I then took everything apart for deburring and dimpling. I deburred with a slice of a small scotchbrite wheel mounted in a Dremel to avoid dulling the edge on my deburring bit.
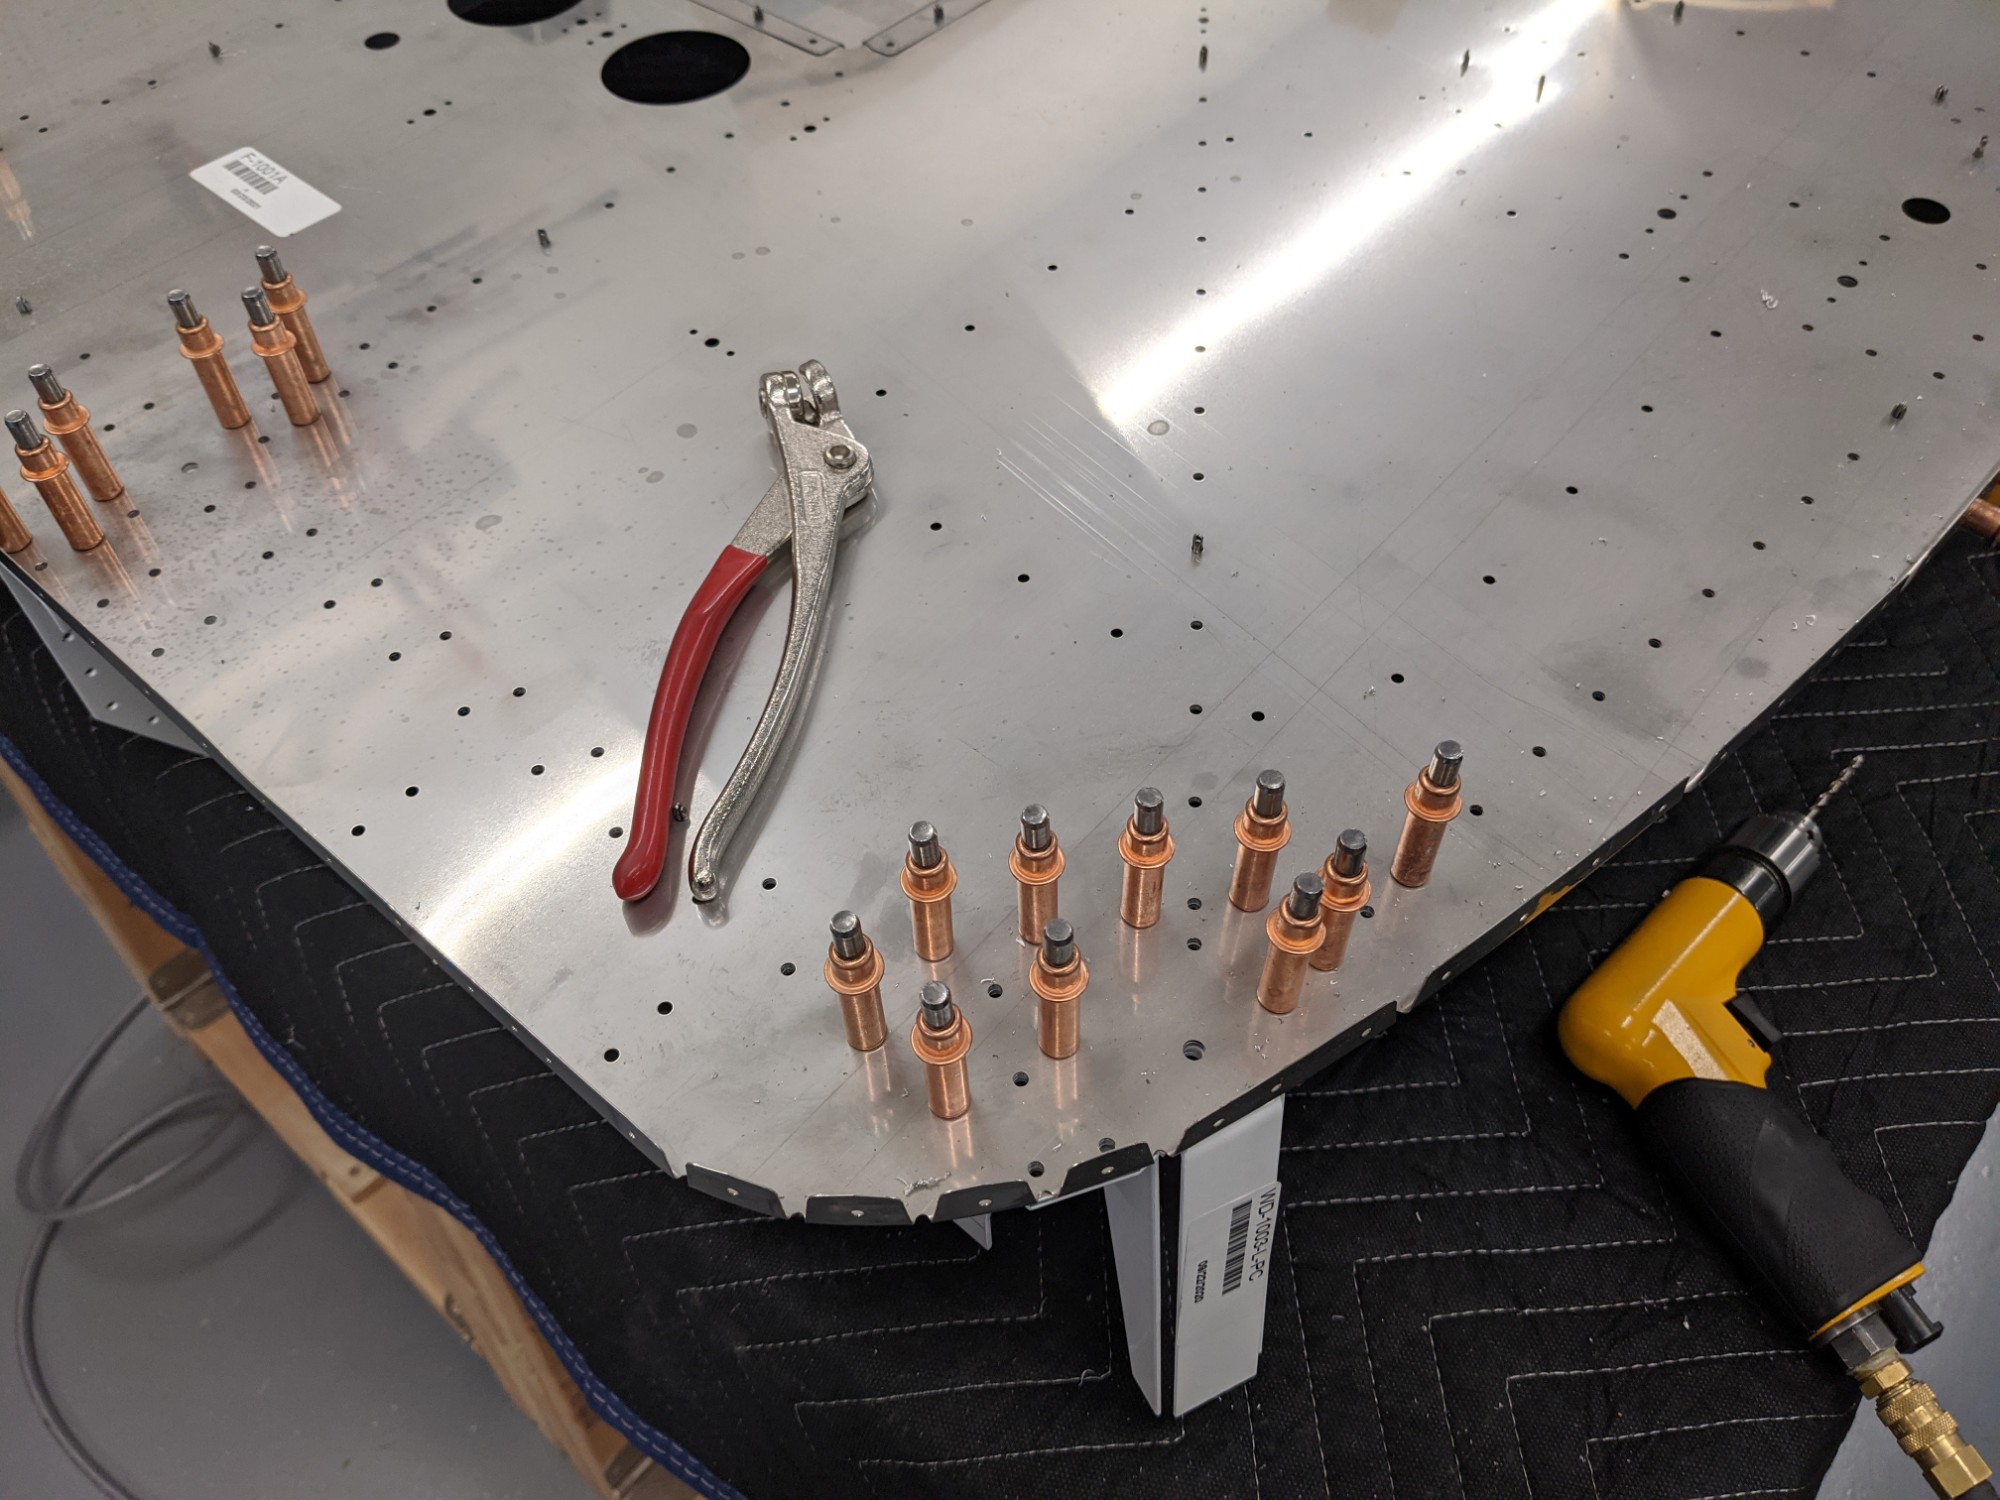
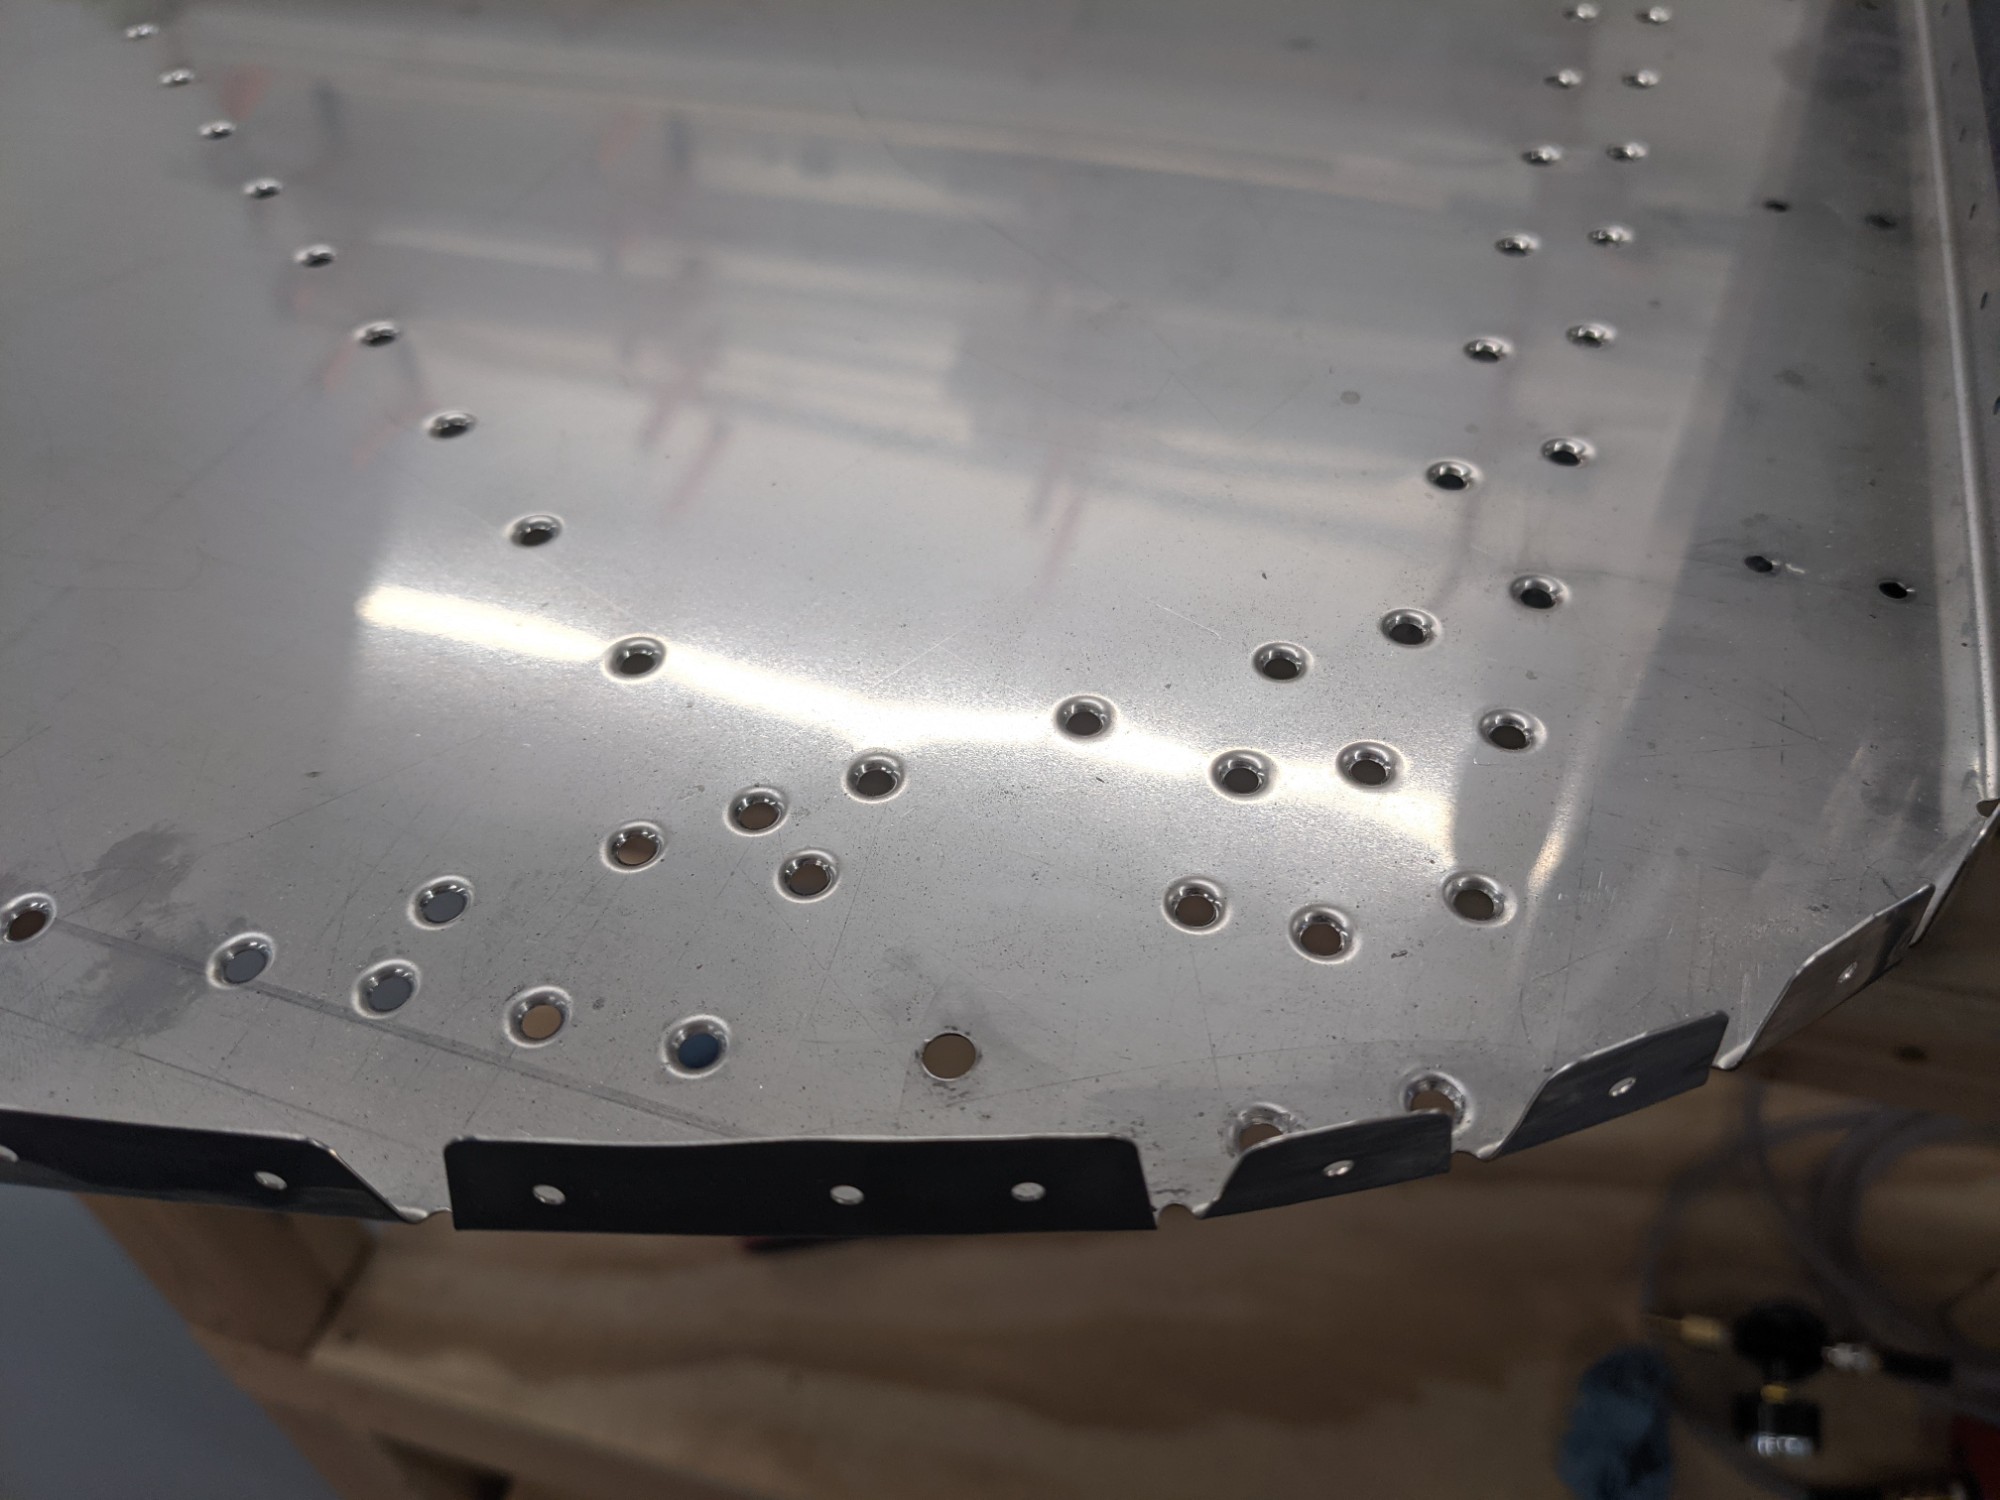
Dimpling was easy but I spent a lot of time digging through the plans to make sure I was dimpling the right things. The plan says “all rivet holes” but it isn’t clear if that means those that correspond with the current parts or everything. I did discover that the oil cooler rivets (which aren’t in this section) do need dimpled now. And the holes for the ribs behind the instrument panel. The pairs of holes along the bottom don’t appear to need dimpled now as I can get a squeezer in there later. It will be easier to cleco the bottom fuse ribs into place (the stiffeners under the floor) if those dimples aren’t in the way so I left those for later.
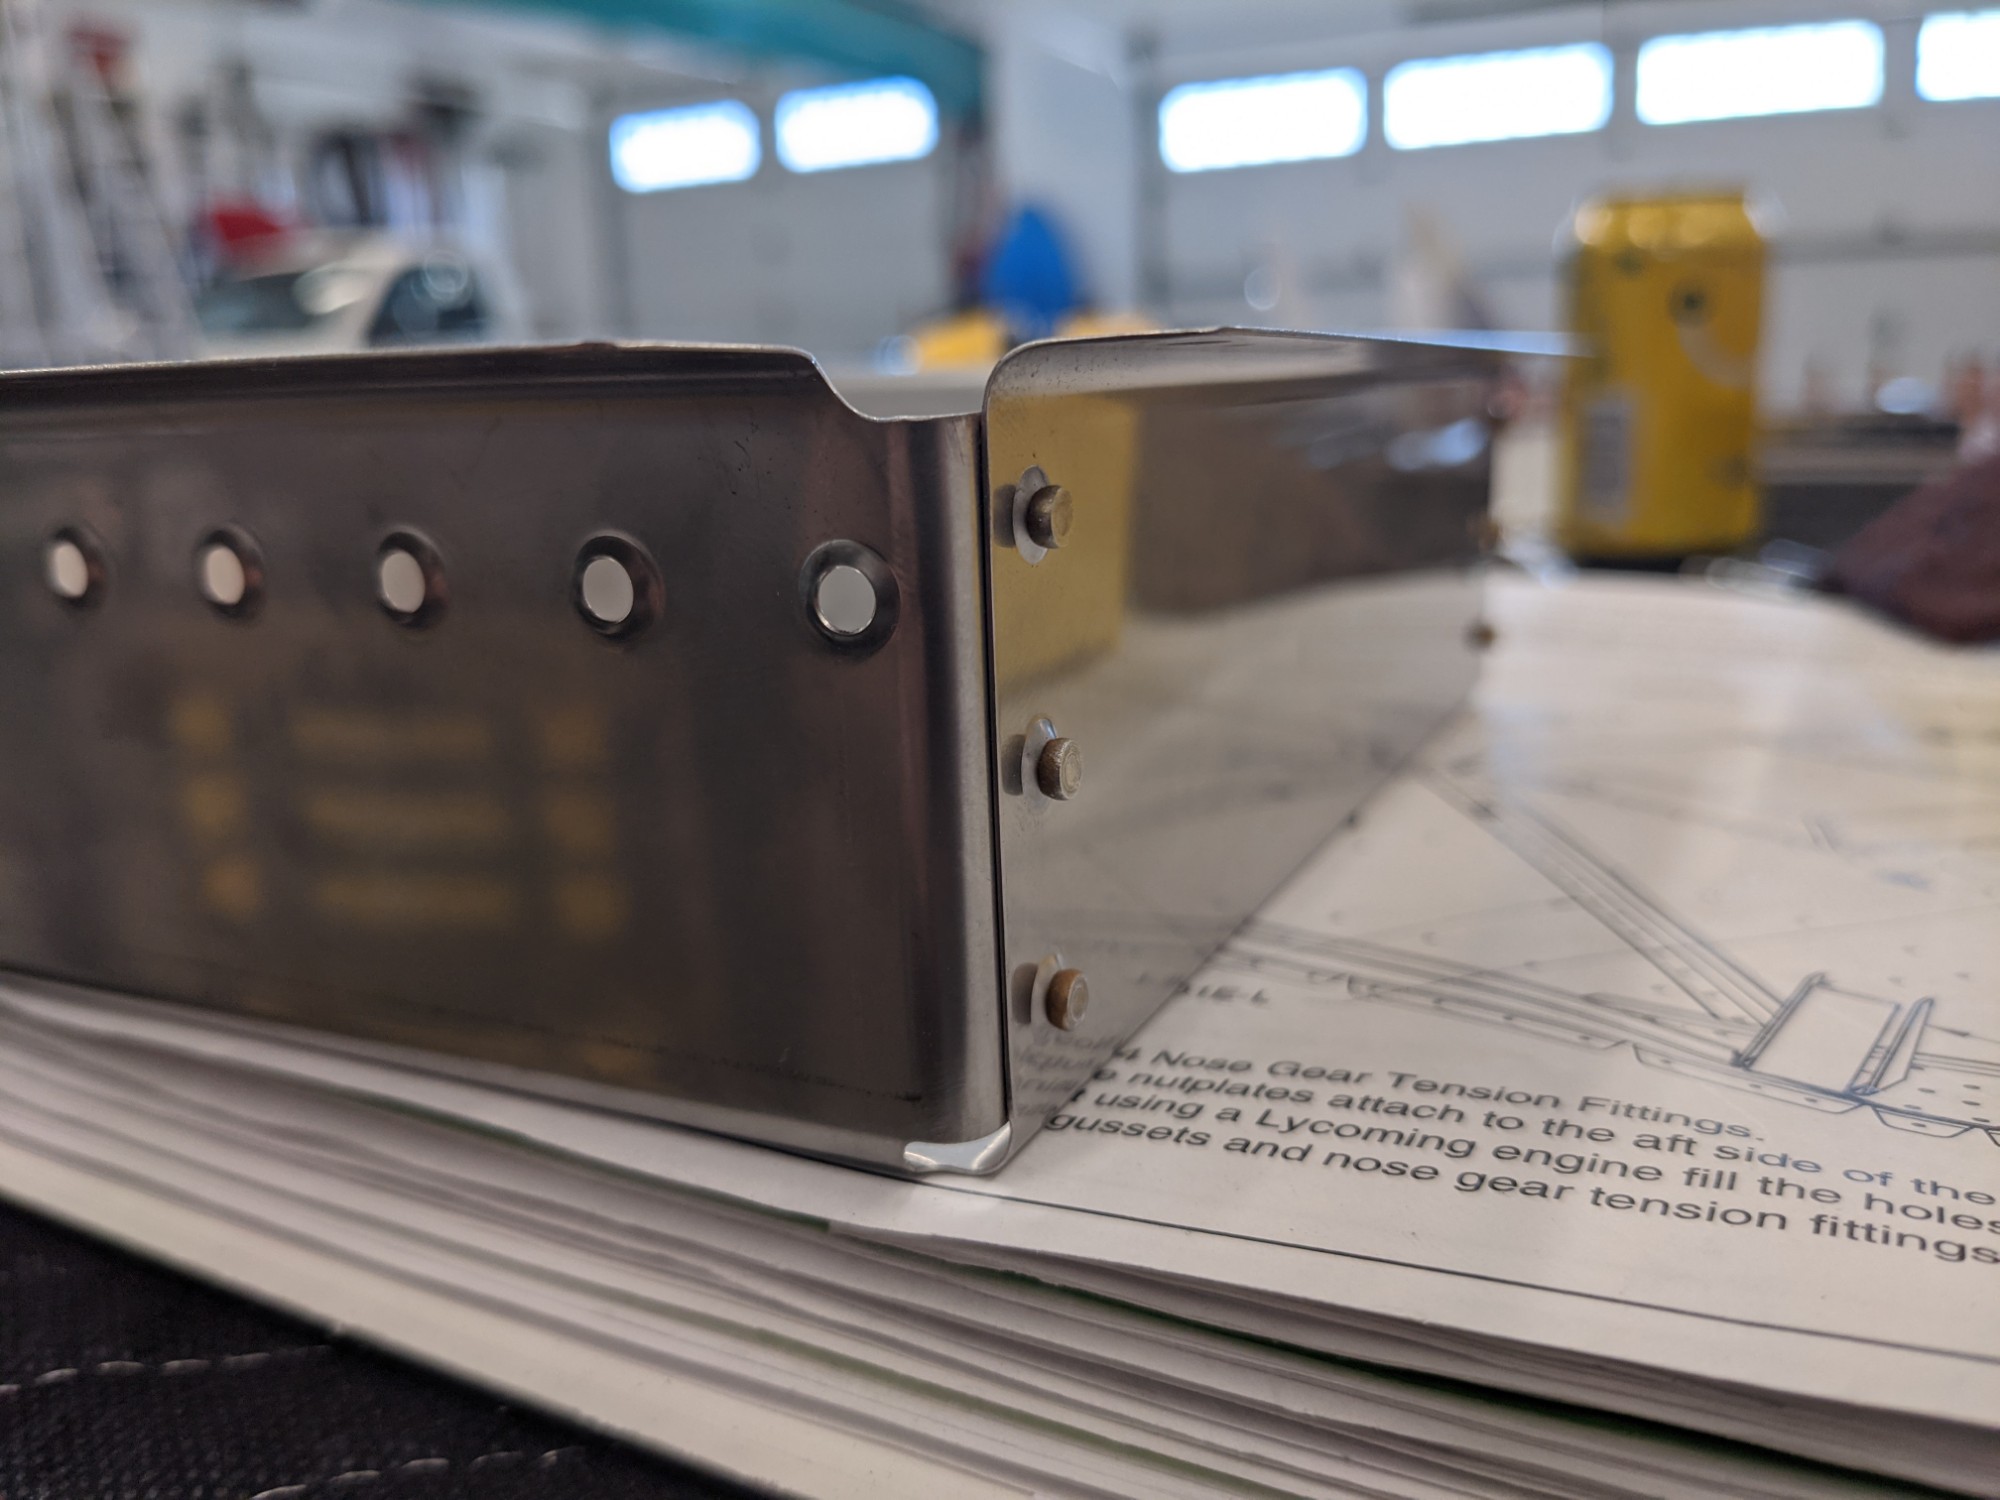
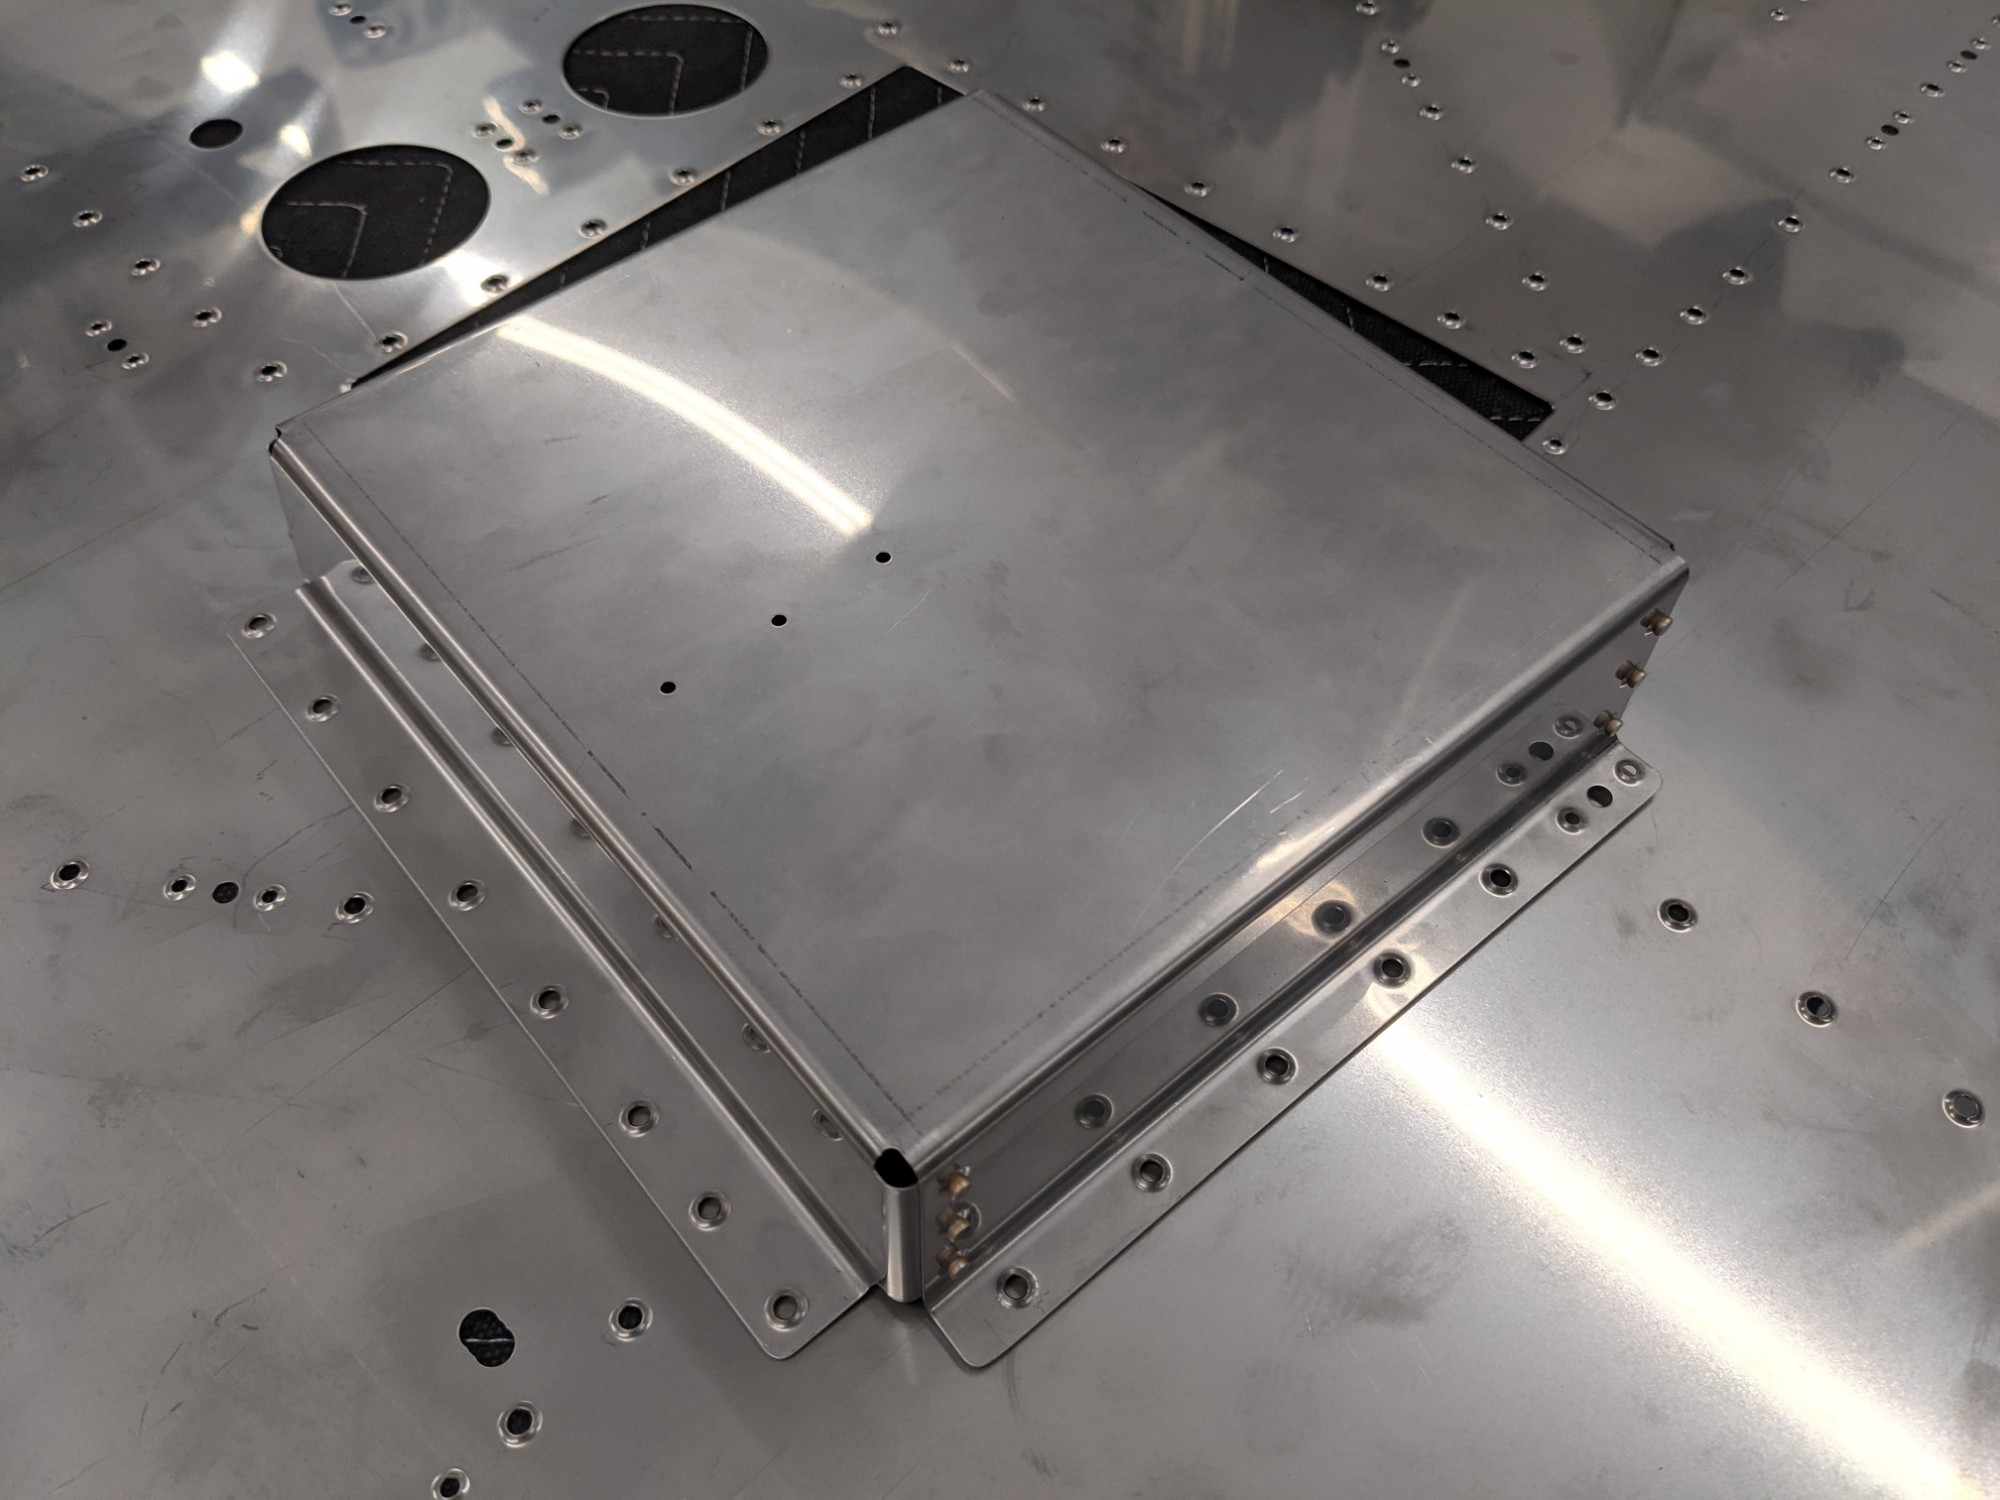
There are also two nutplates that get riveted to the forward side of the firewall.
I wasn’t sure how those get dimpled as I have not “reverse” dimpled the mounting holes on prior nutplates but I gave that I try and it works just fine. I then dimpled those holes in the same direction as the others so that the flush side of all rivets will be on the forward side of the firewall.
Edit: Duh, wasn’t thinking and realized a day later that the above didn’t make sense. There is something attached to the other side, so they would have to get dimpled in the other direction. The lower nutplate is used for a vertically aligned set of adel clamps for the brake lines. These dimples were easy enough to reverse. The upper dimple is used for an adel clamp for the heater box cables. In this case, the adel clamp can fit beween the shop heads so I left this one alone as it won’t be an issue.
The thin stainless steel dimples really easily.
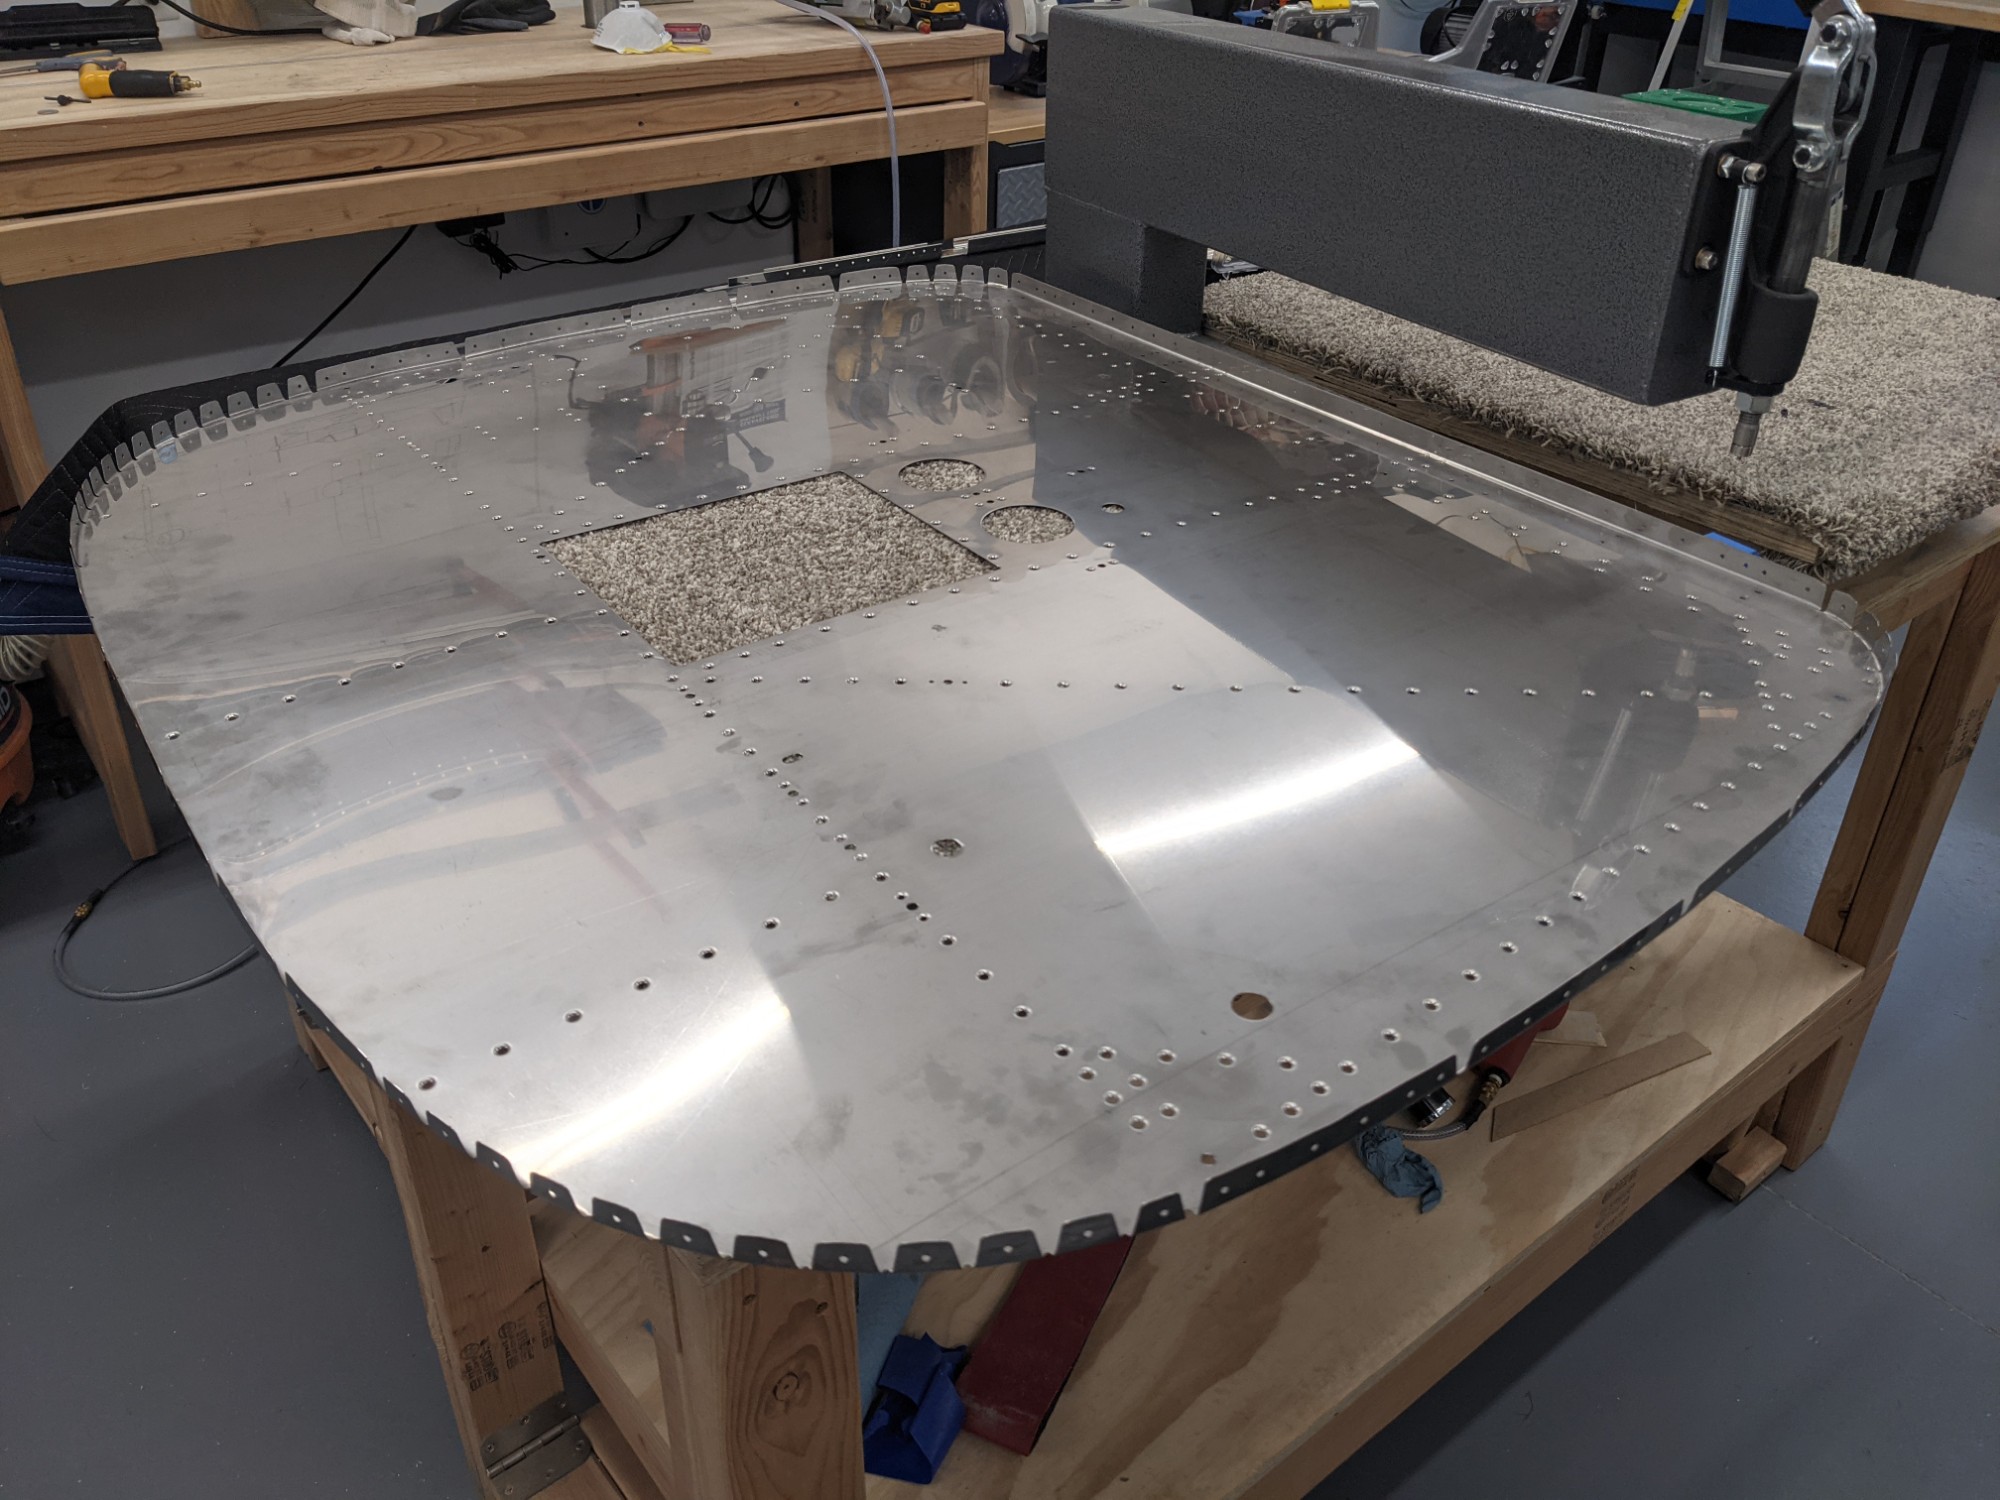
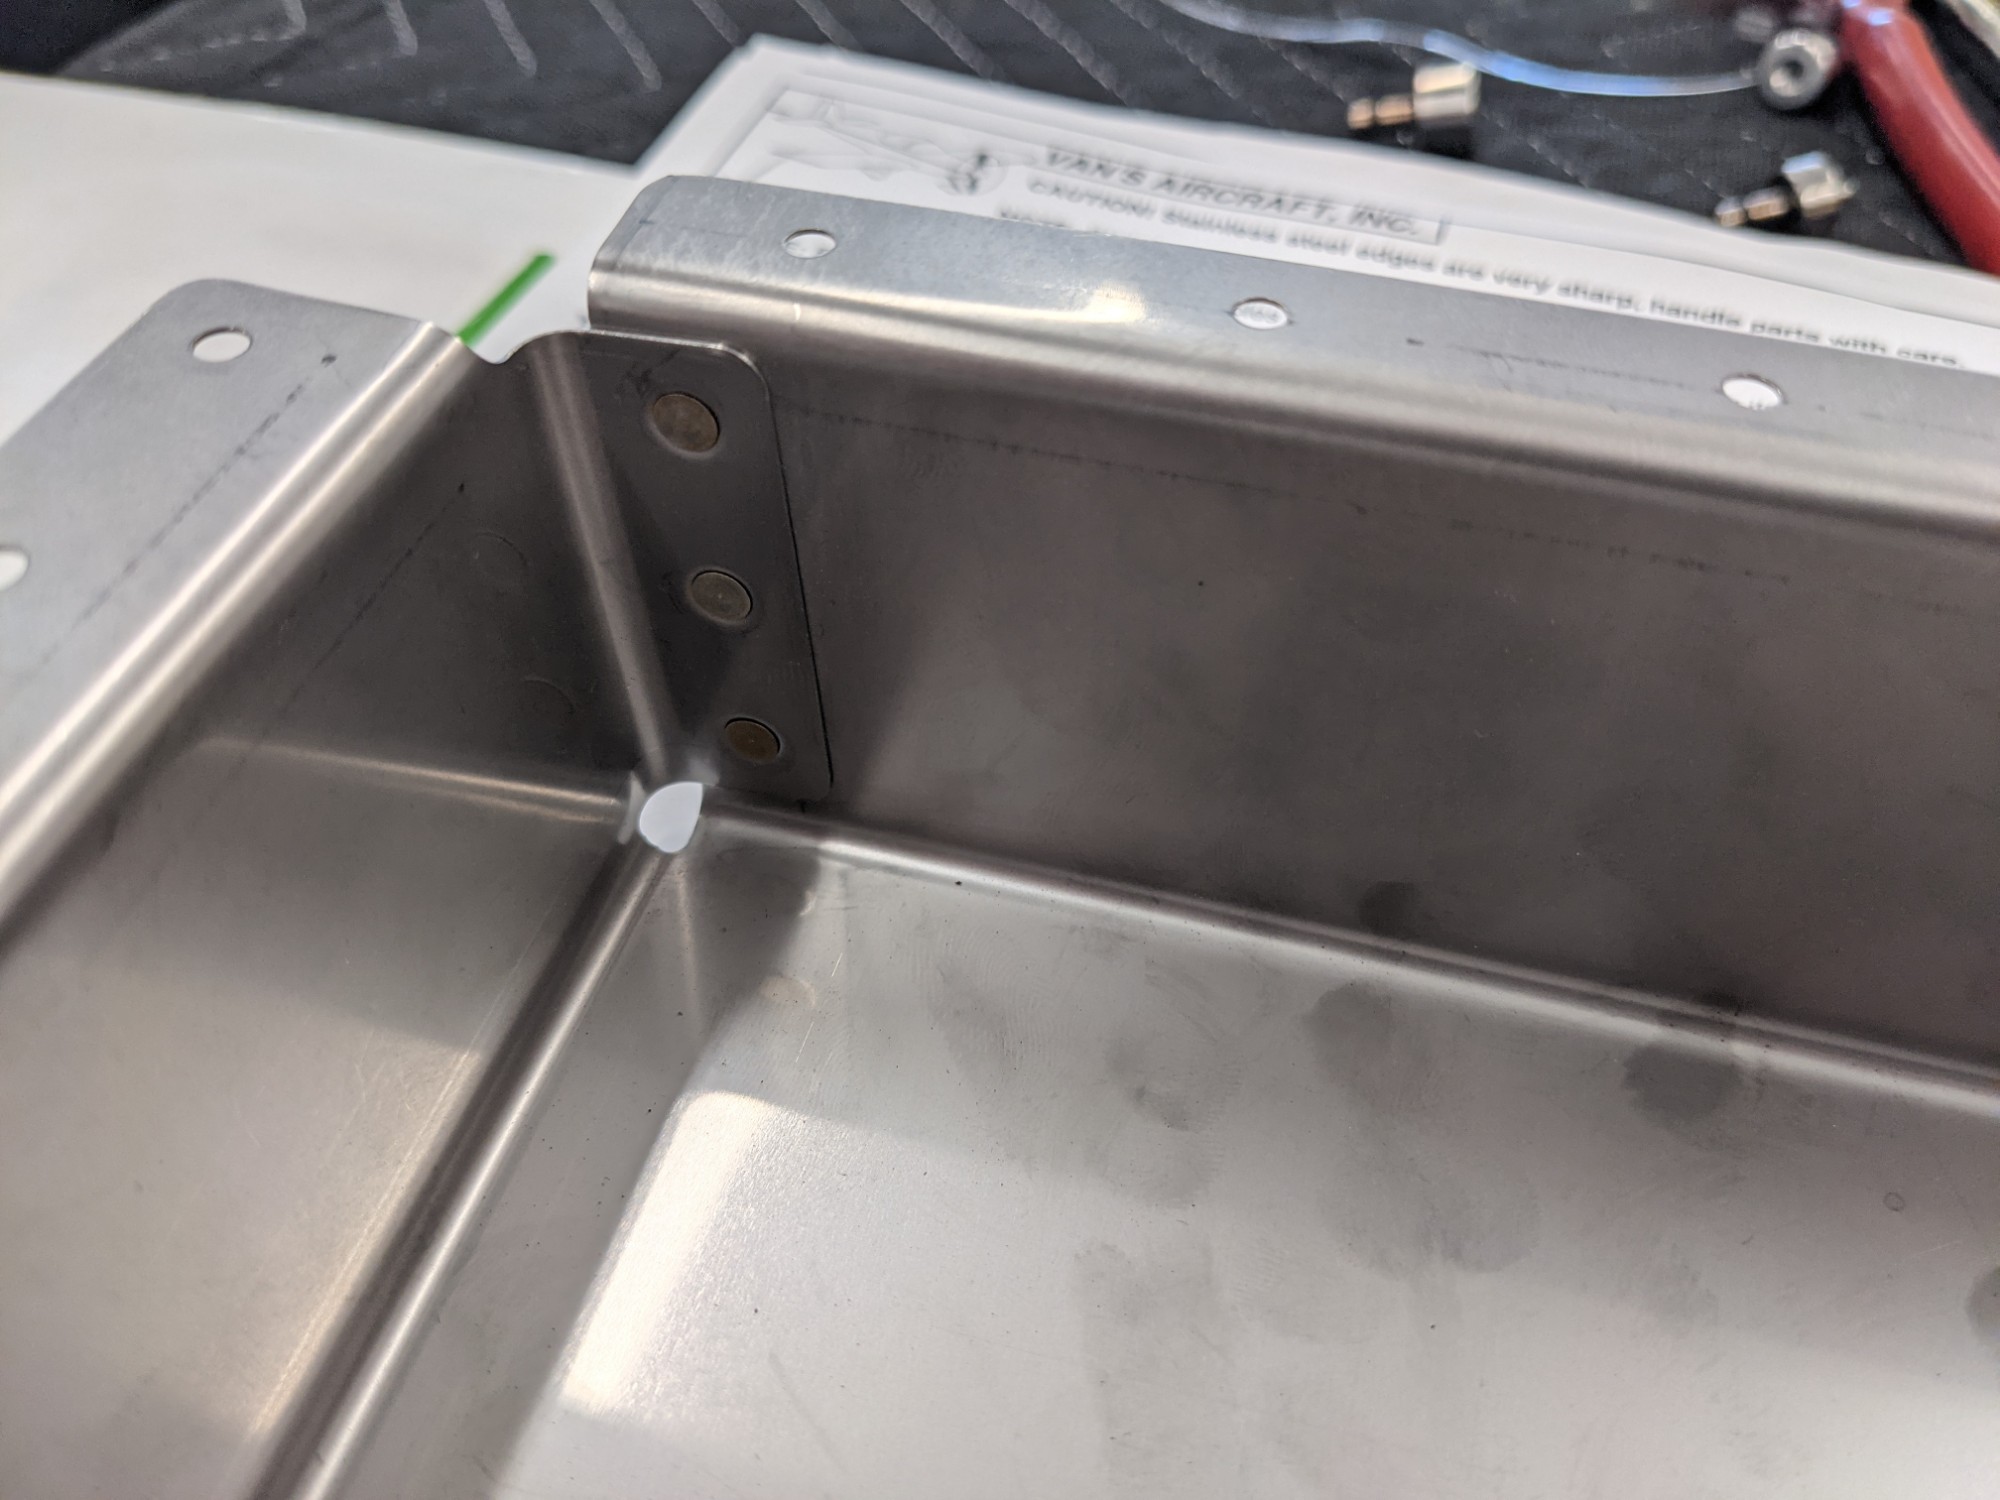
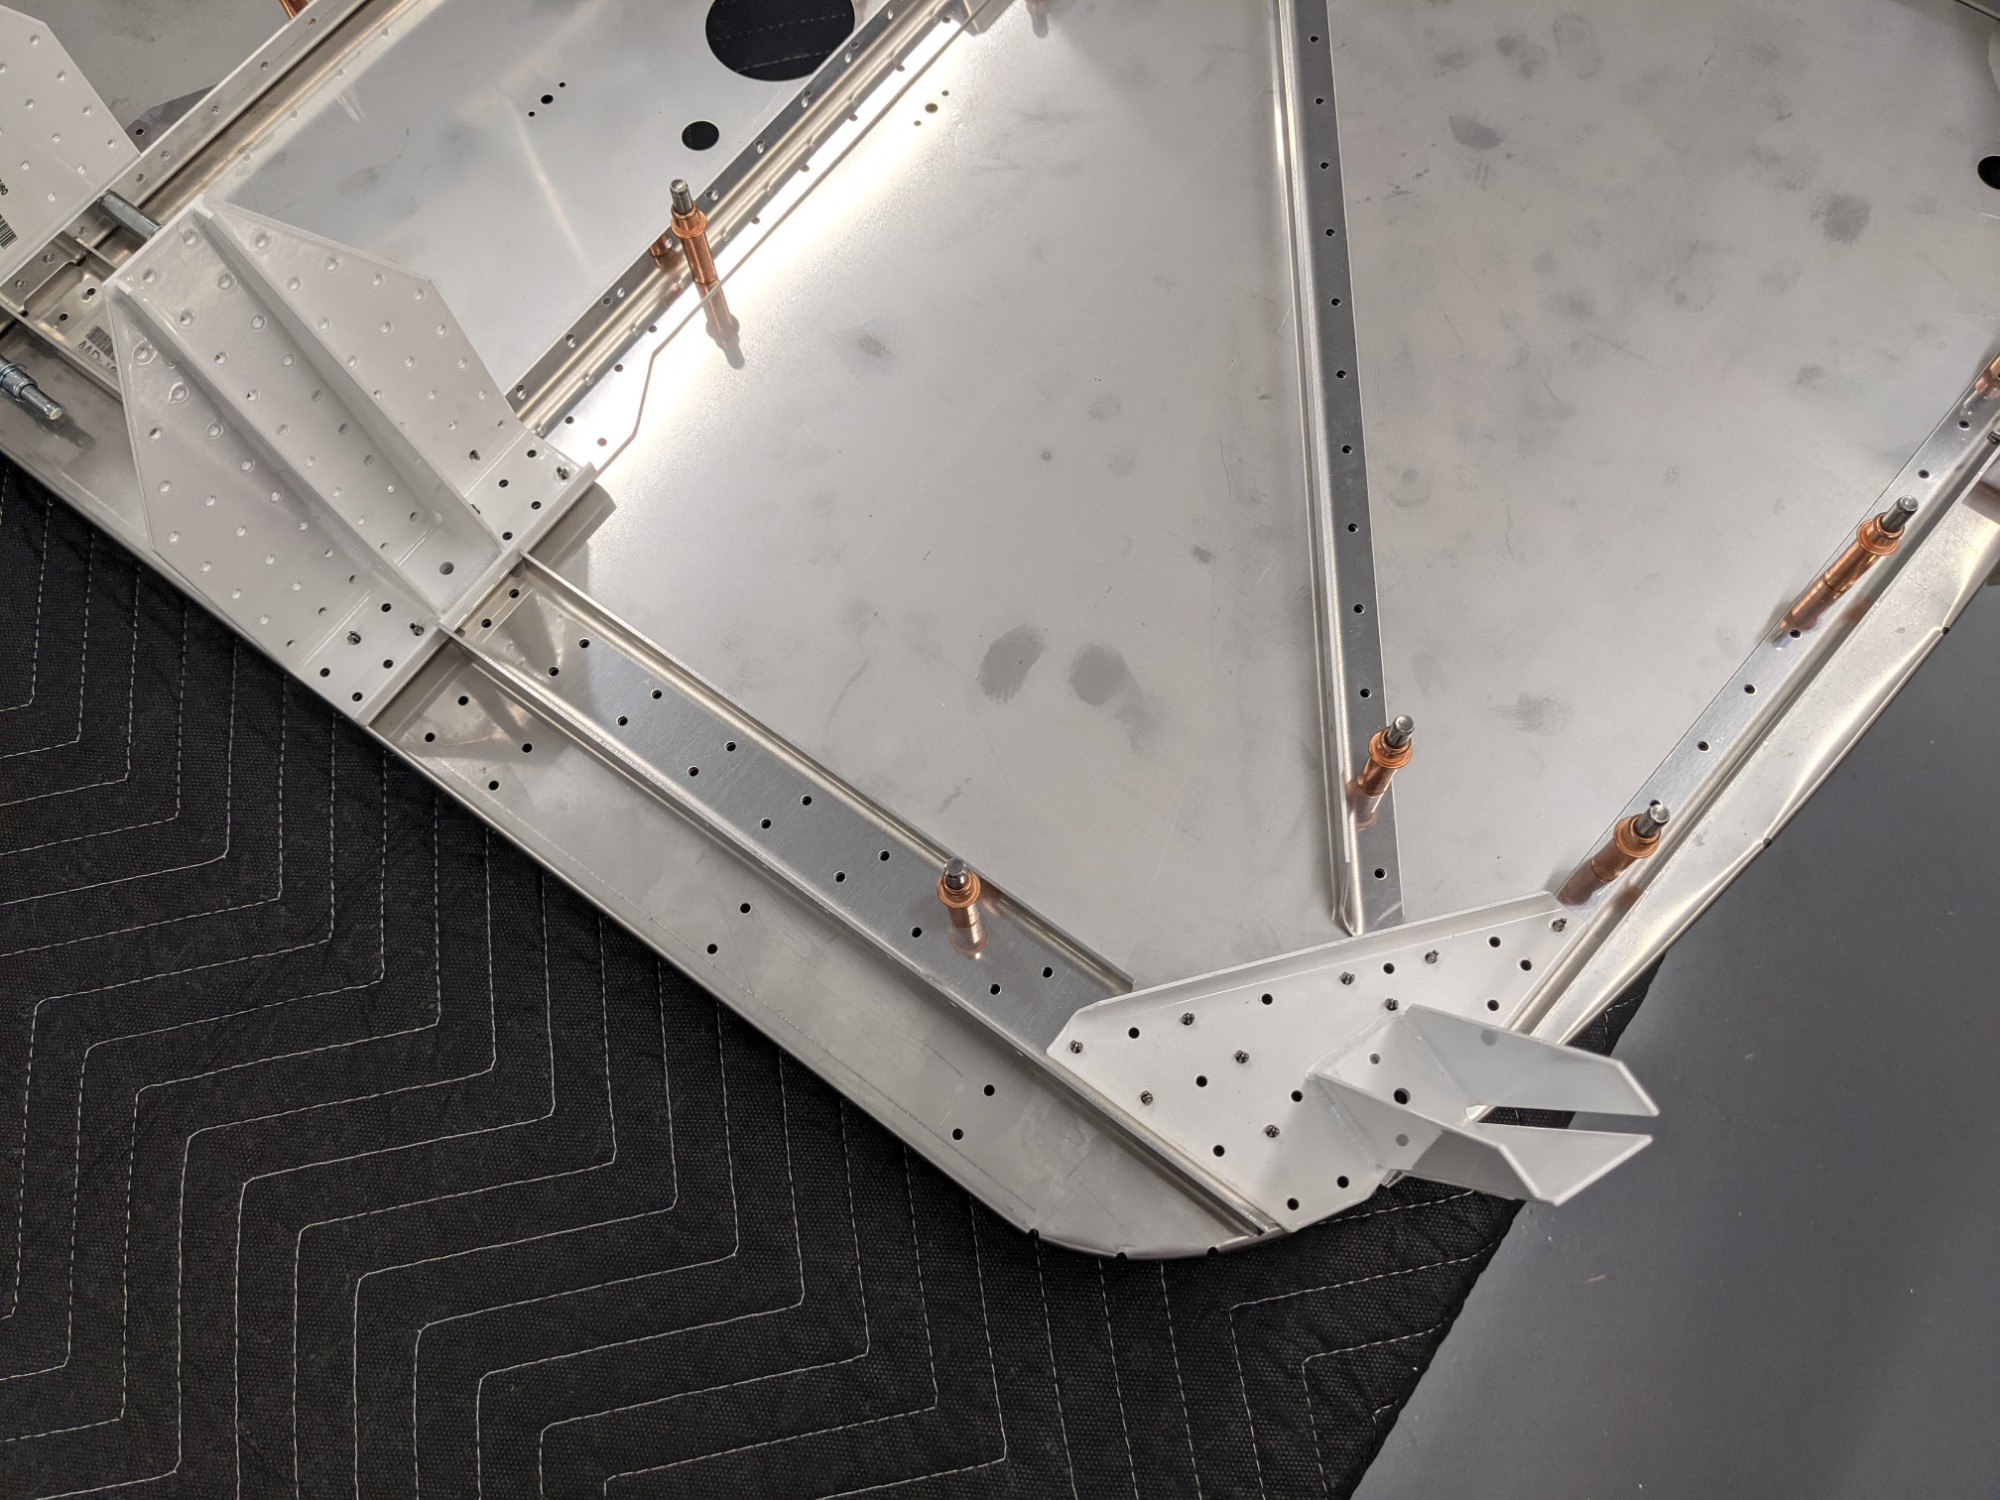
I then dimpled the flanges on the firewall recess.
All of the aluminum parts that attach directly to the firewall are then countersunk to accept the dimples. I got my #30 countersink depth set up (flush plus 0.007) and got started on countersinking.
To be continued…