
I got started on prepping and priming tailcone parts today. Clean, etch, rinse, dry, prime, repeat.
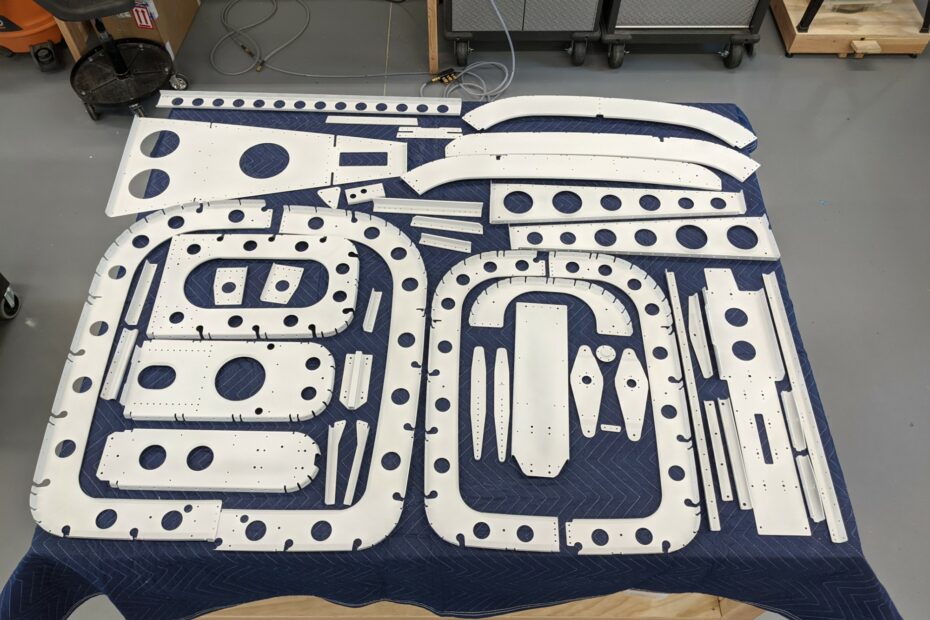
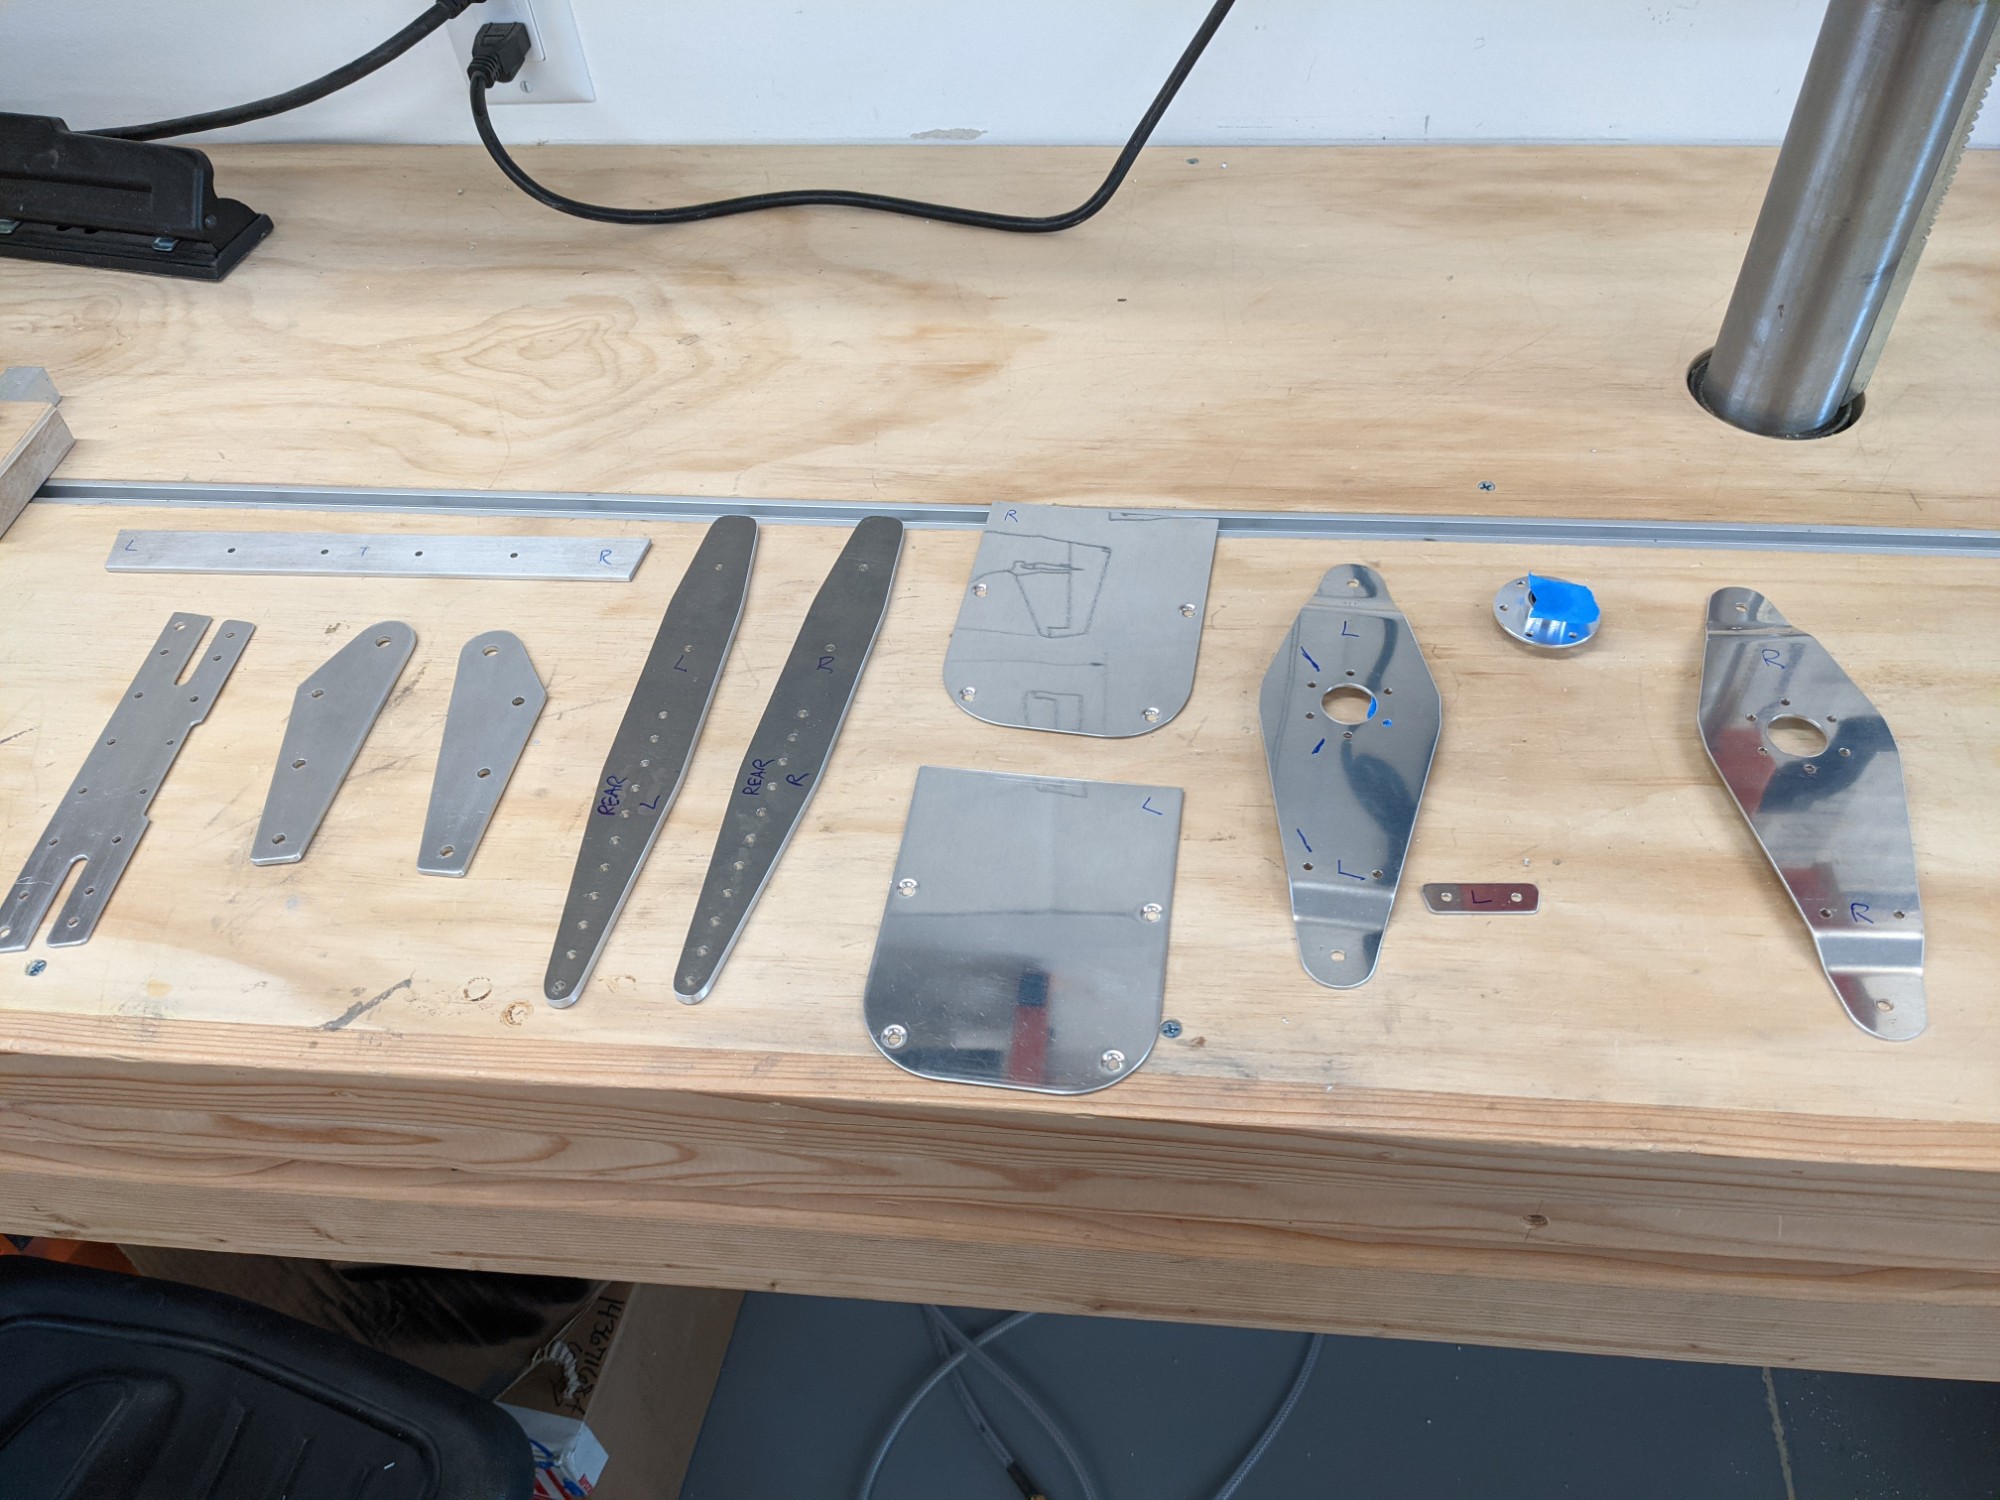
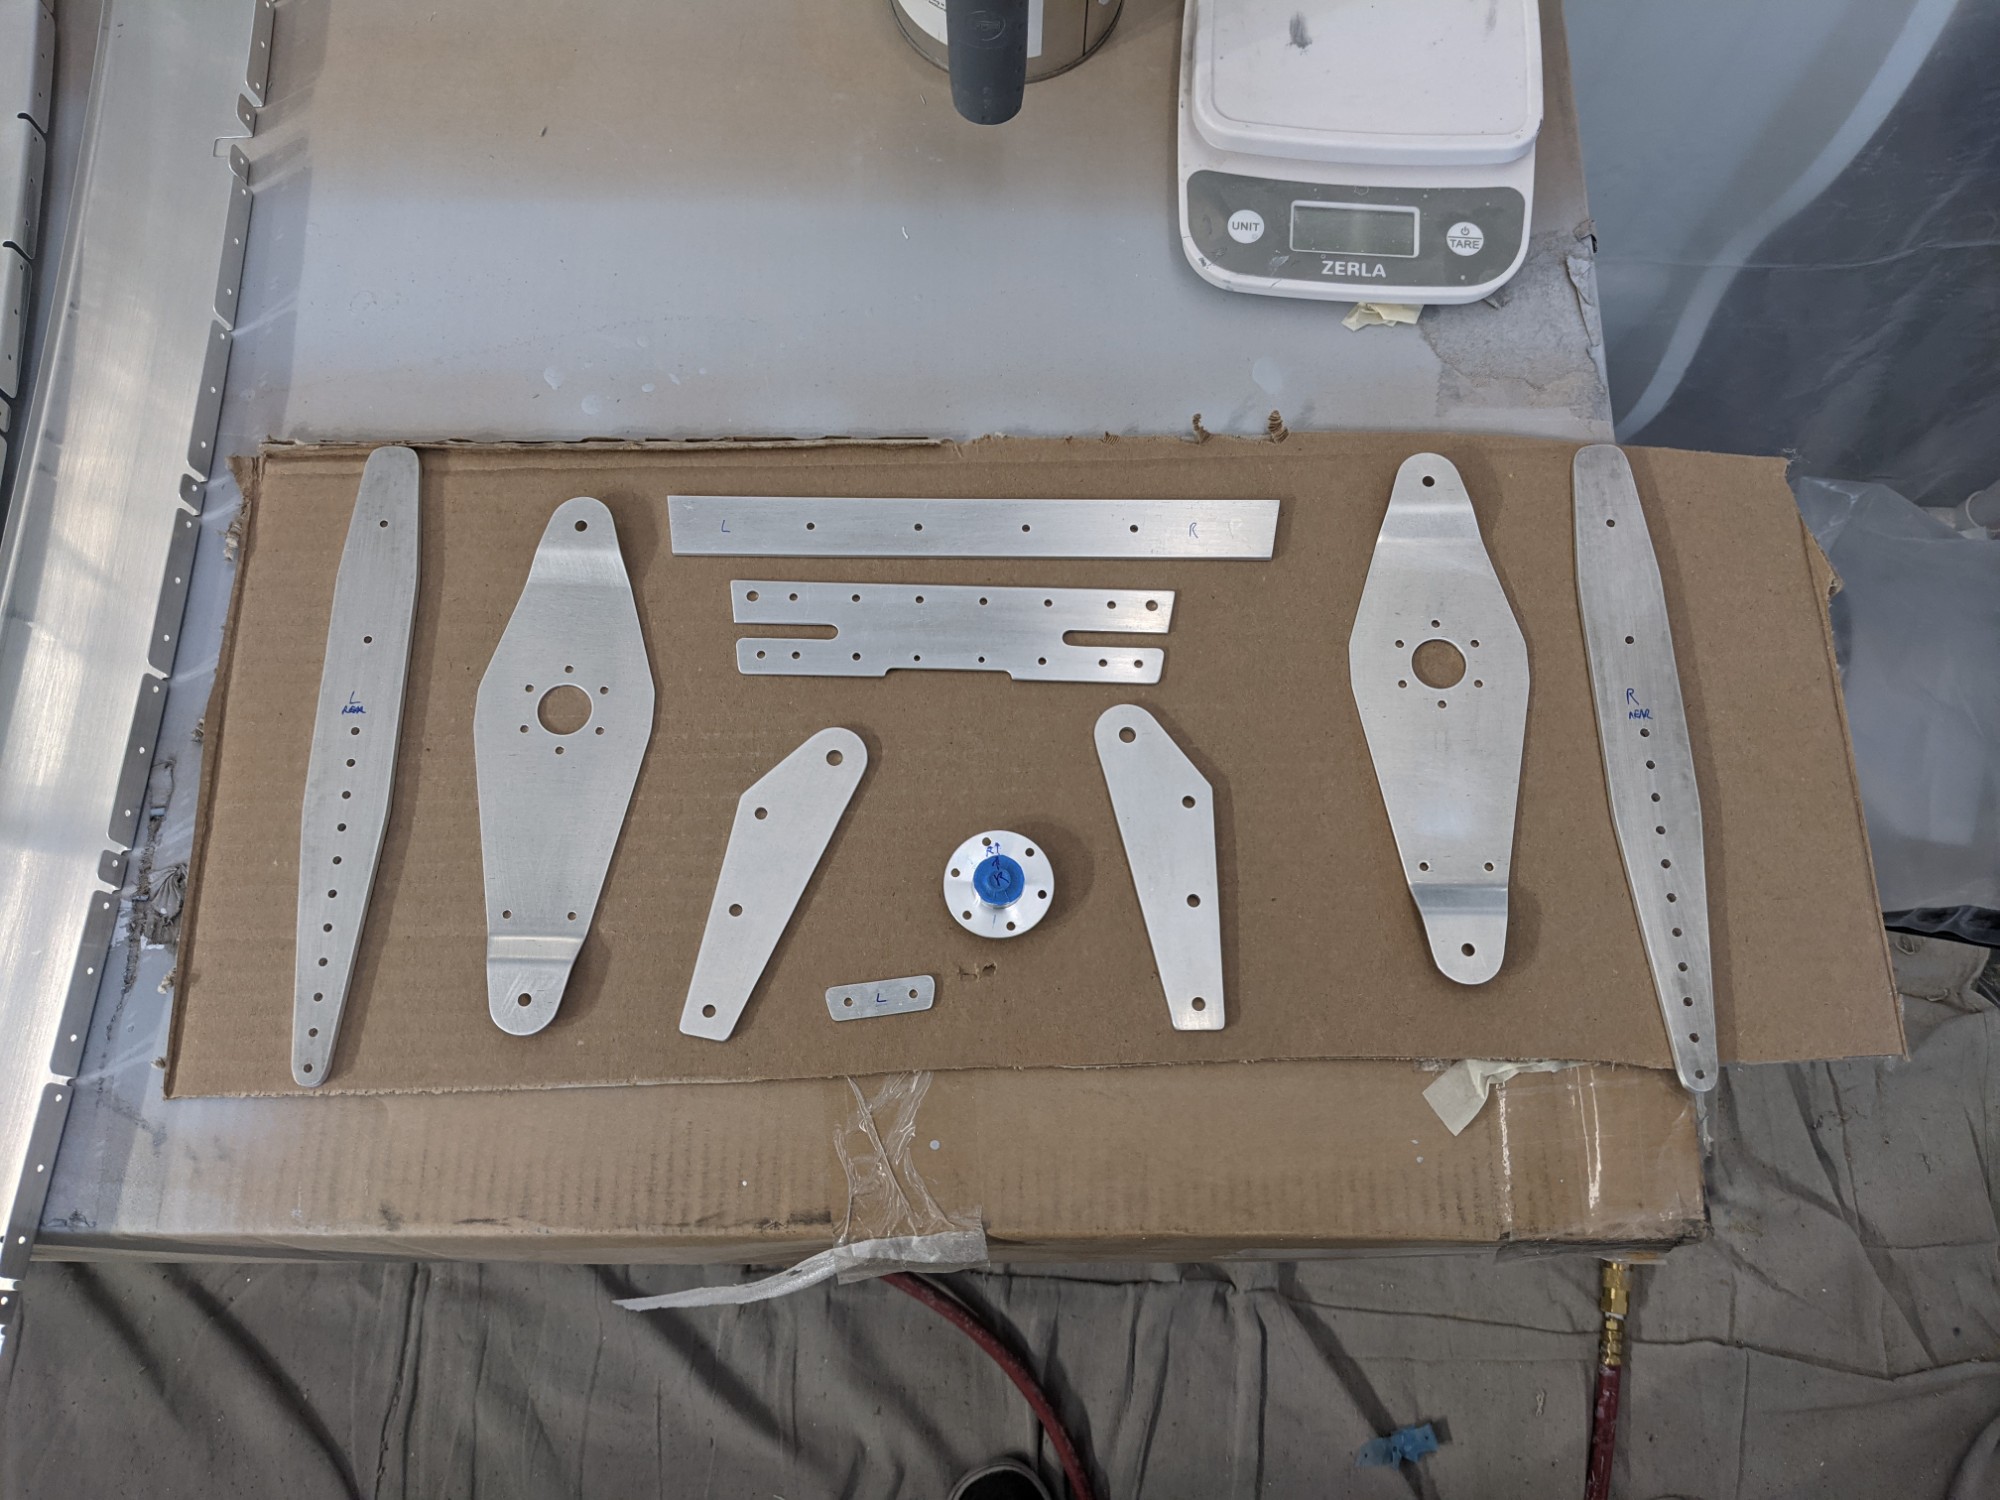
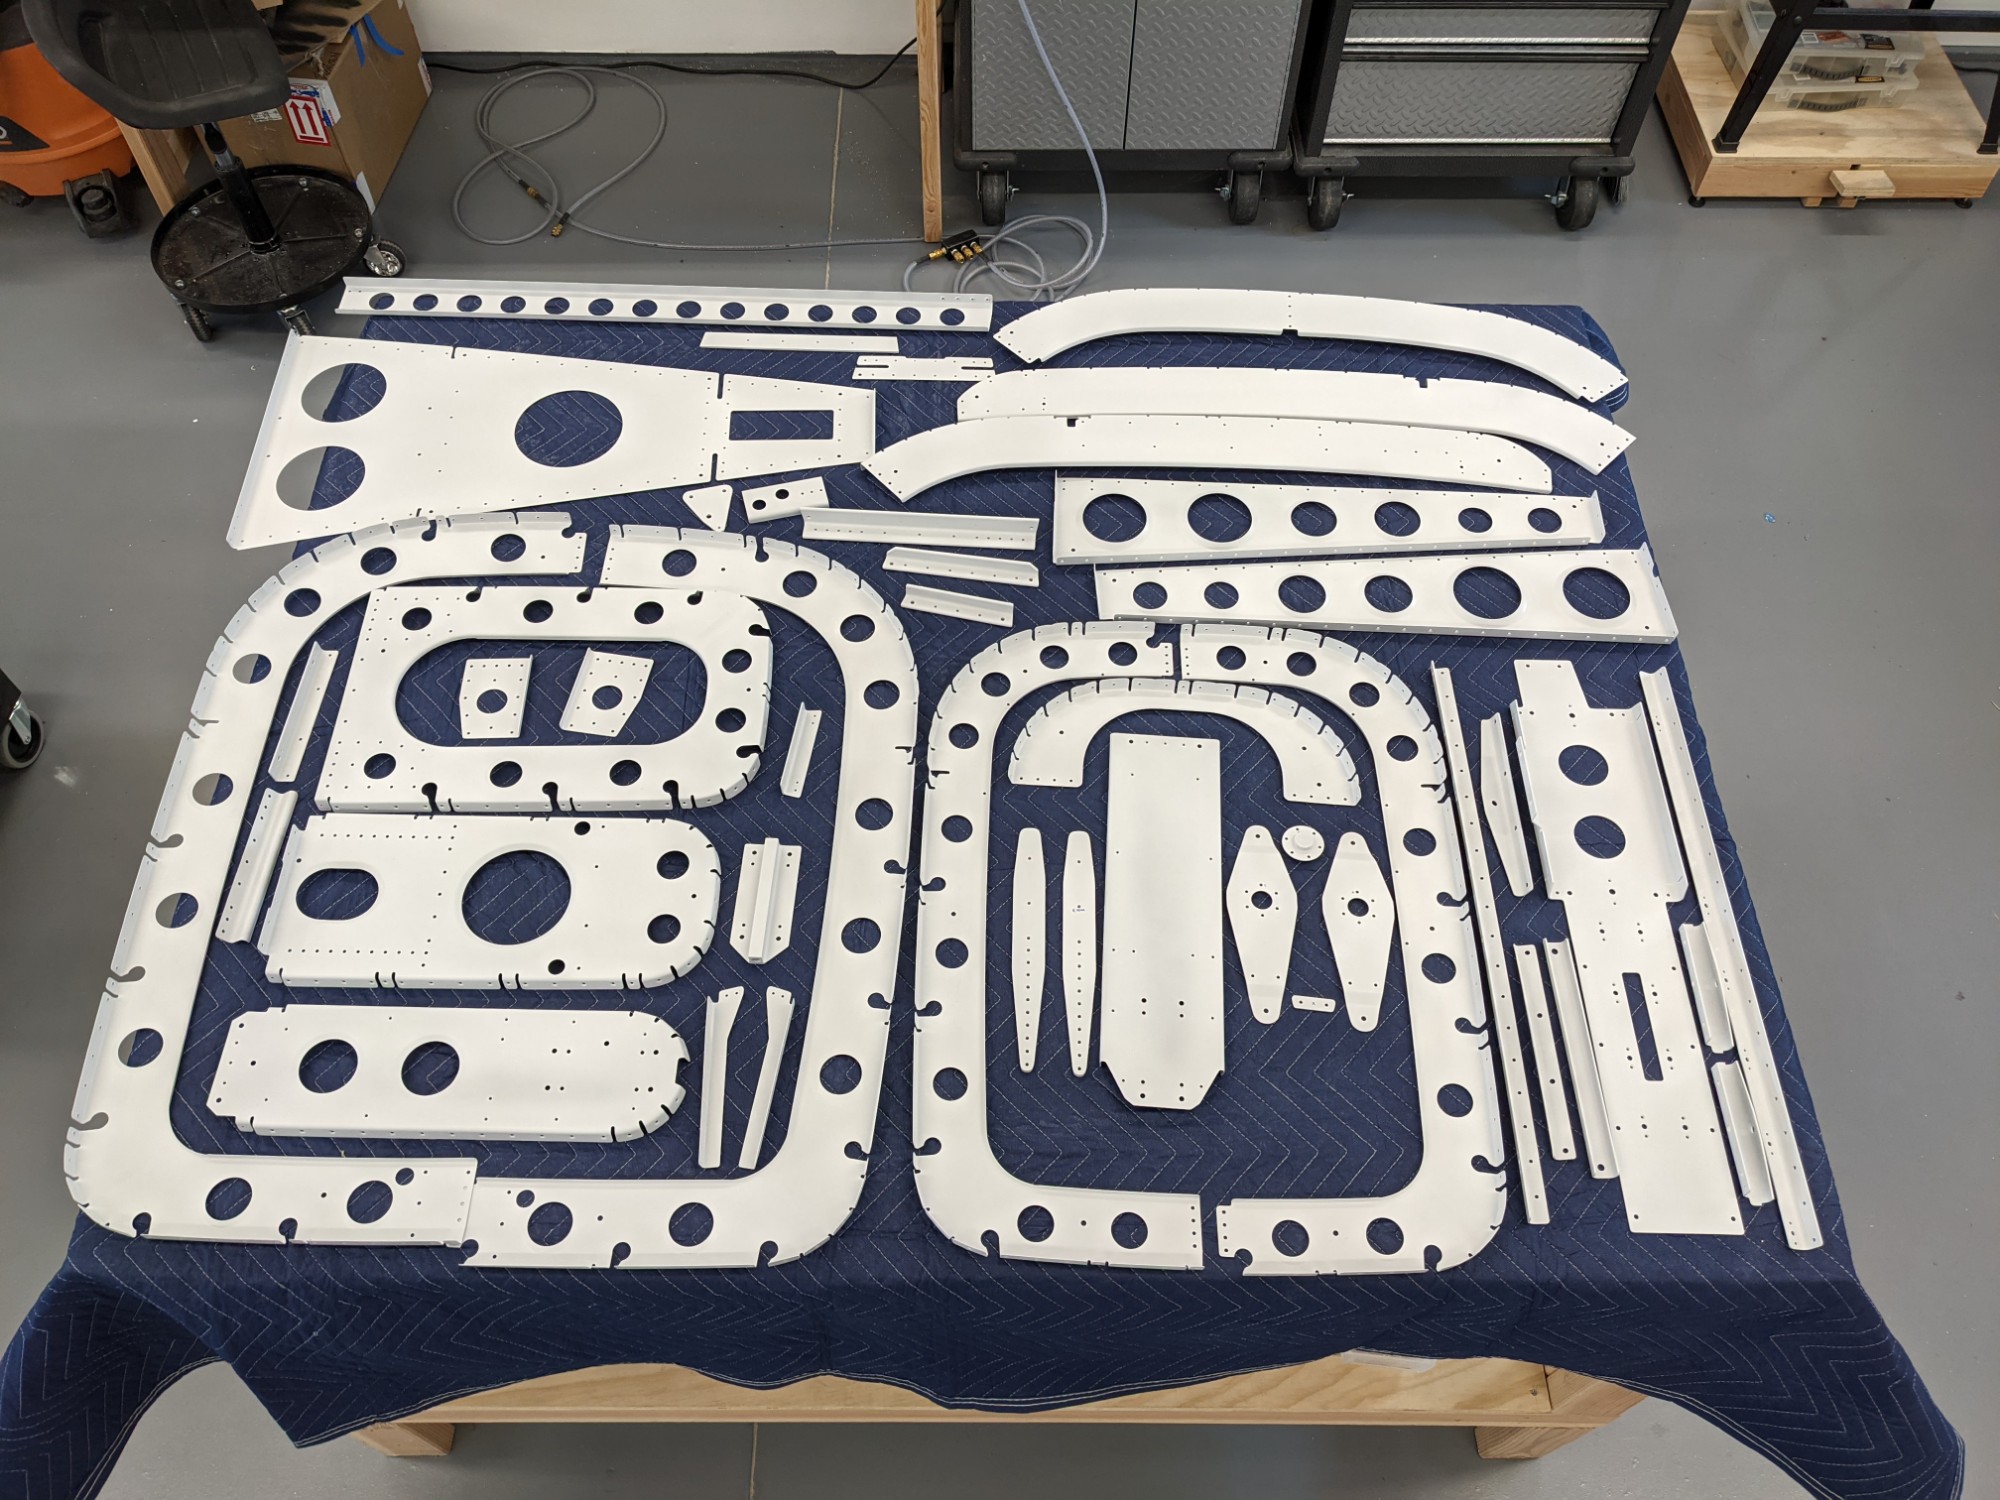
I separated the symmetrical parts from those that can only fit one way. These need remarked at each stage to make sure they are installed in the same orientation as when match drilled.
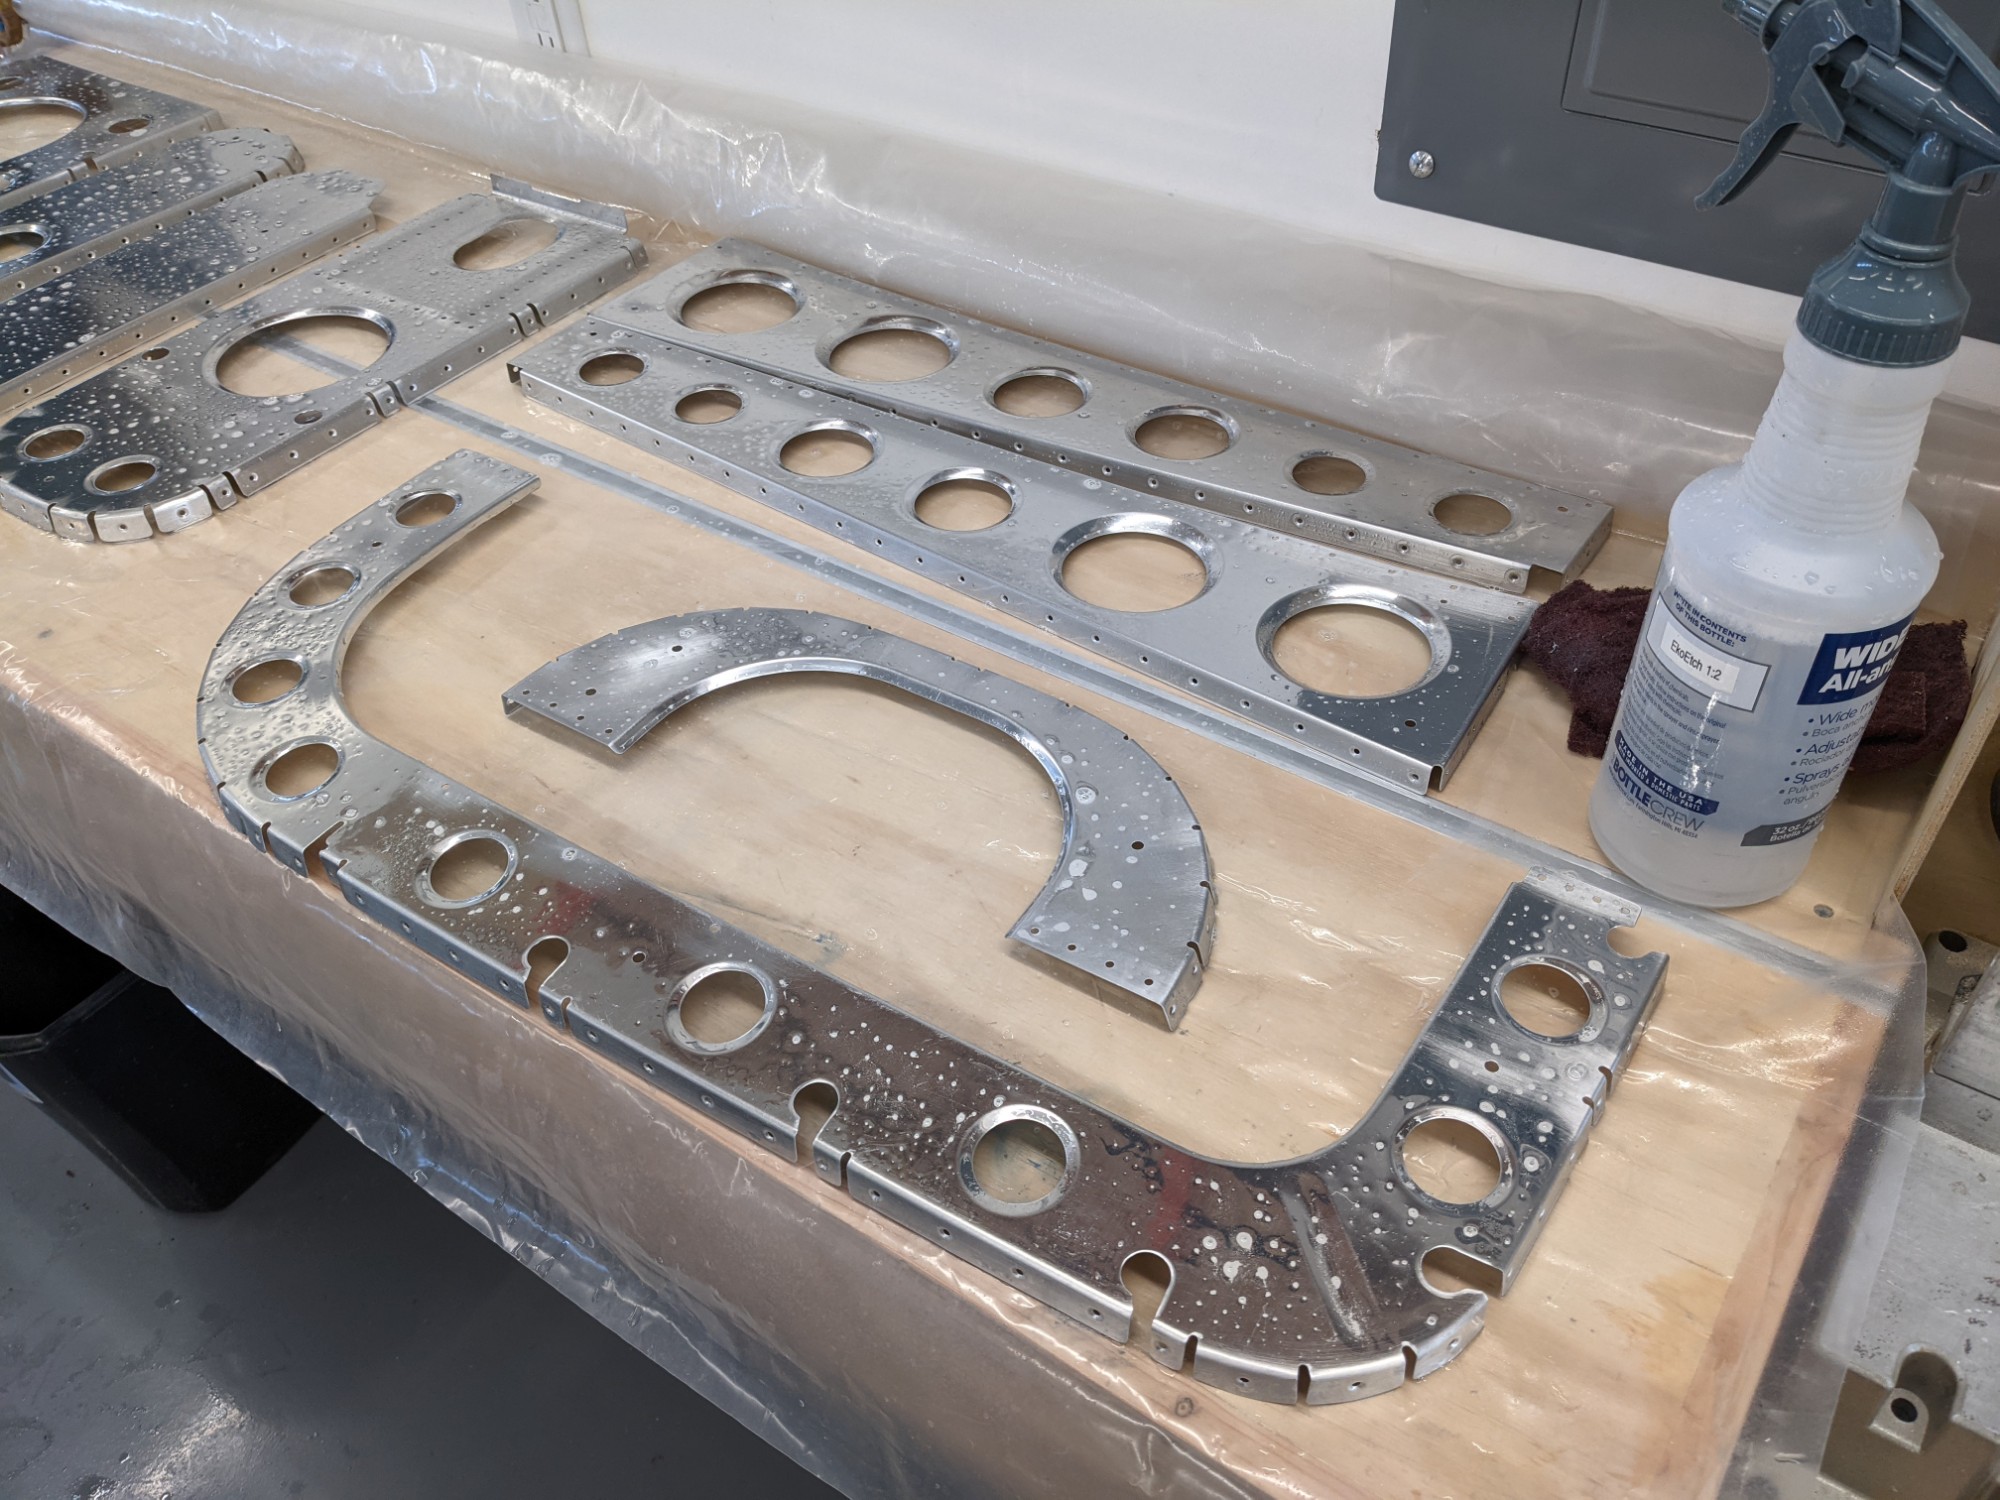
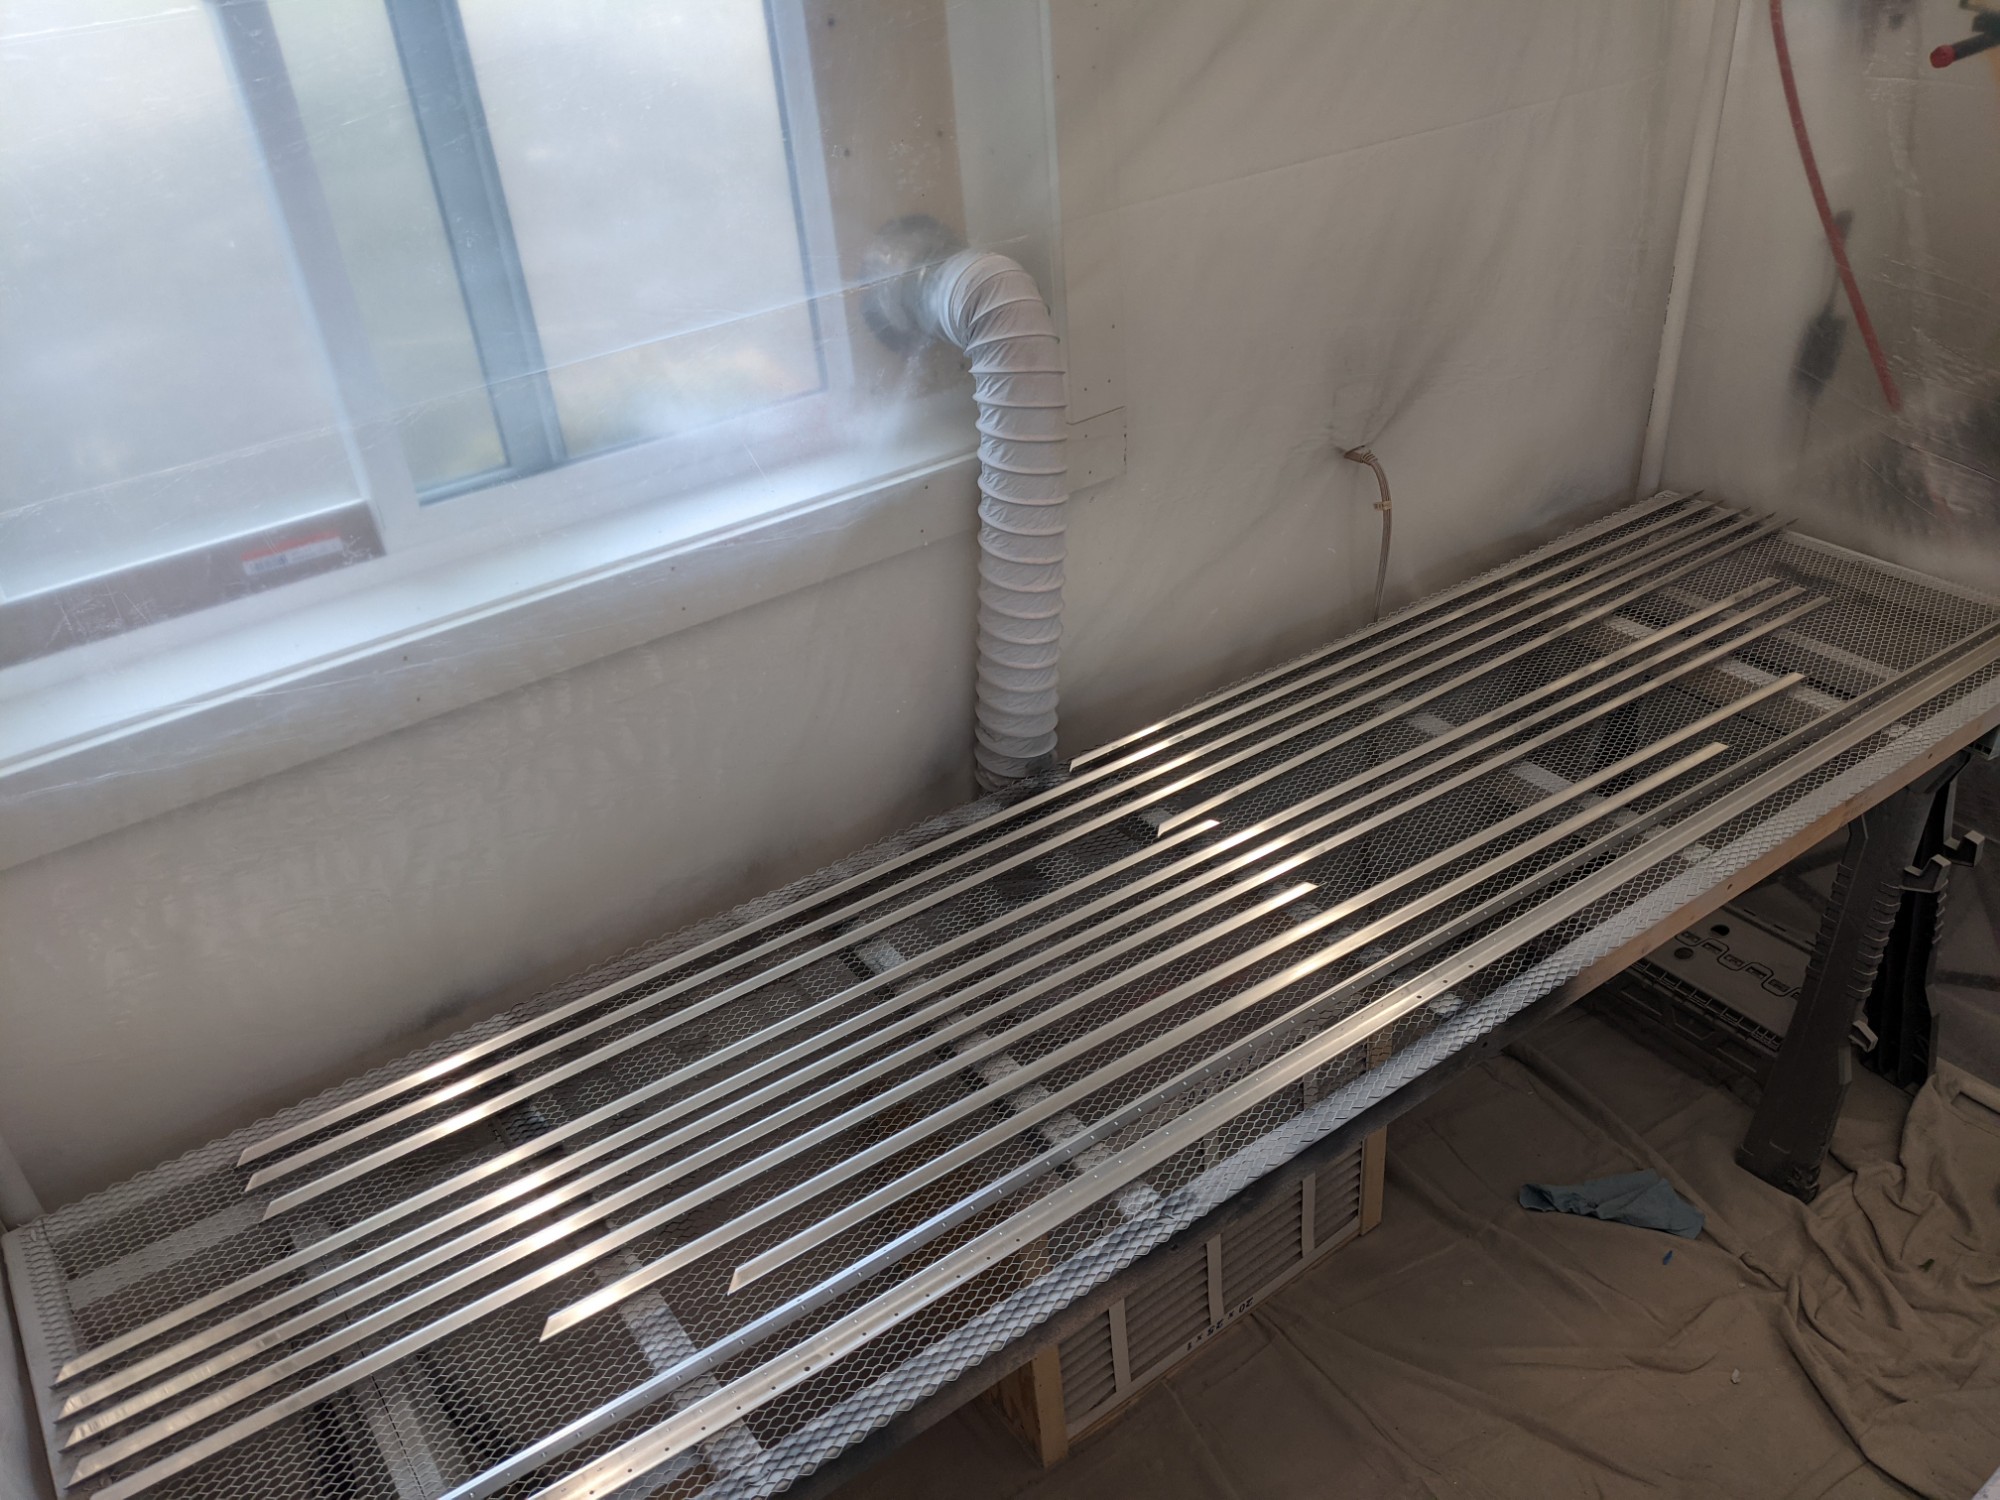
First batch cleaned, dried, and loaded up in the paint booth.

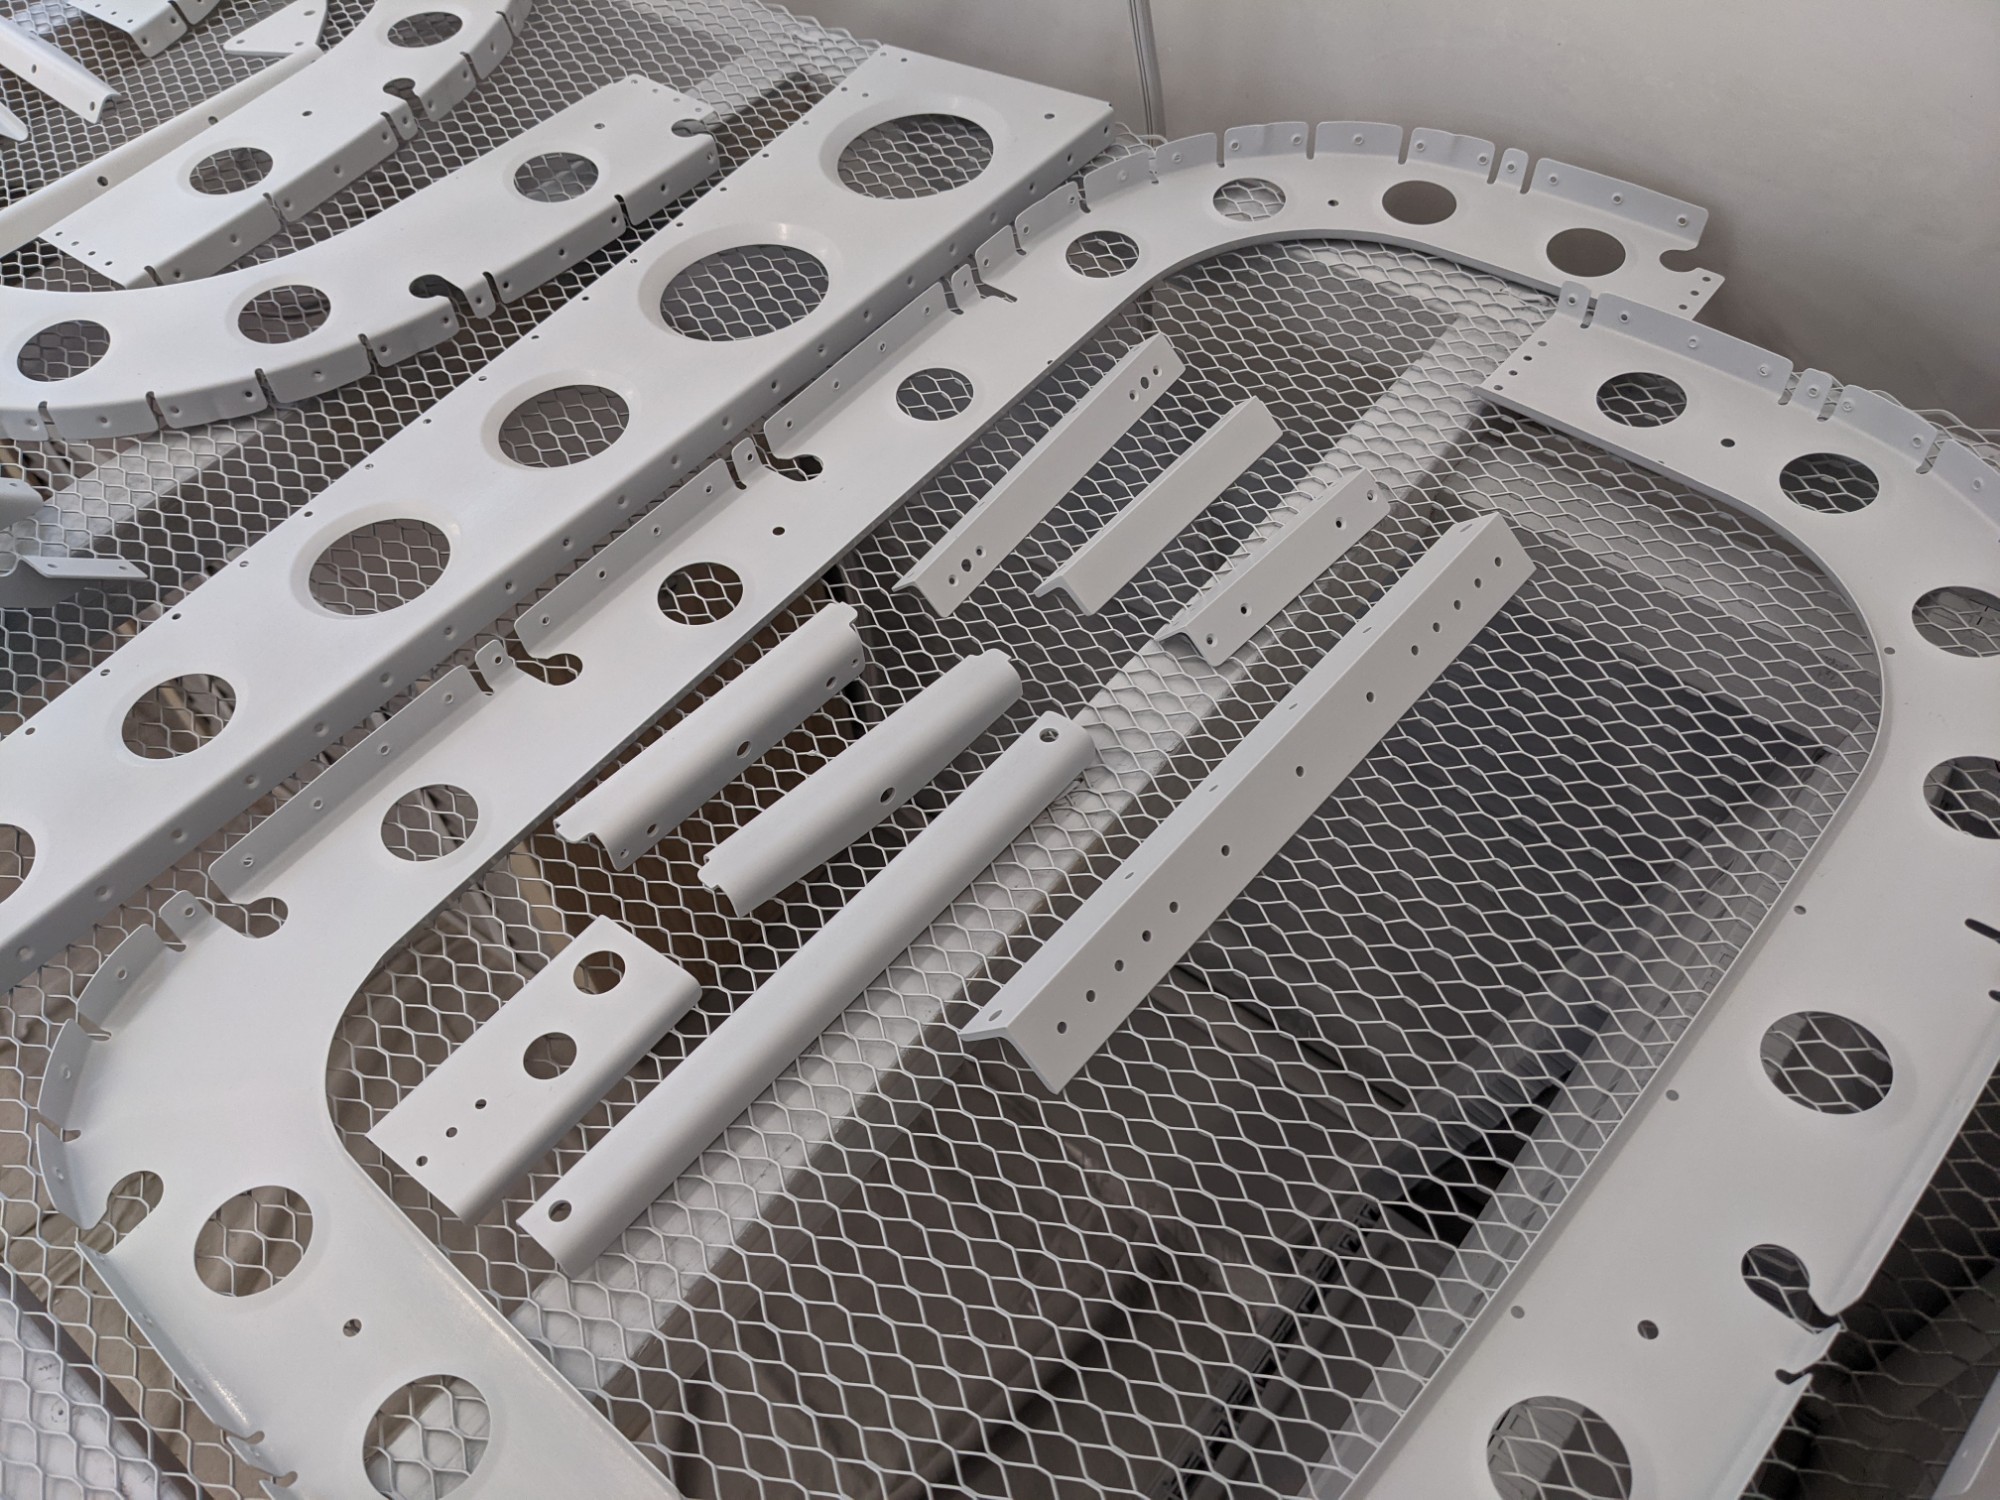
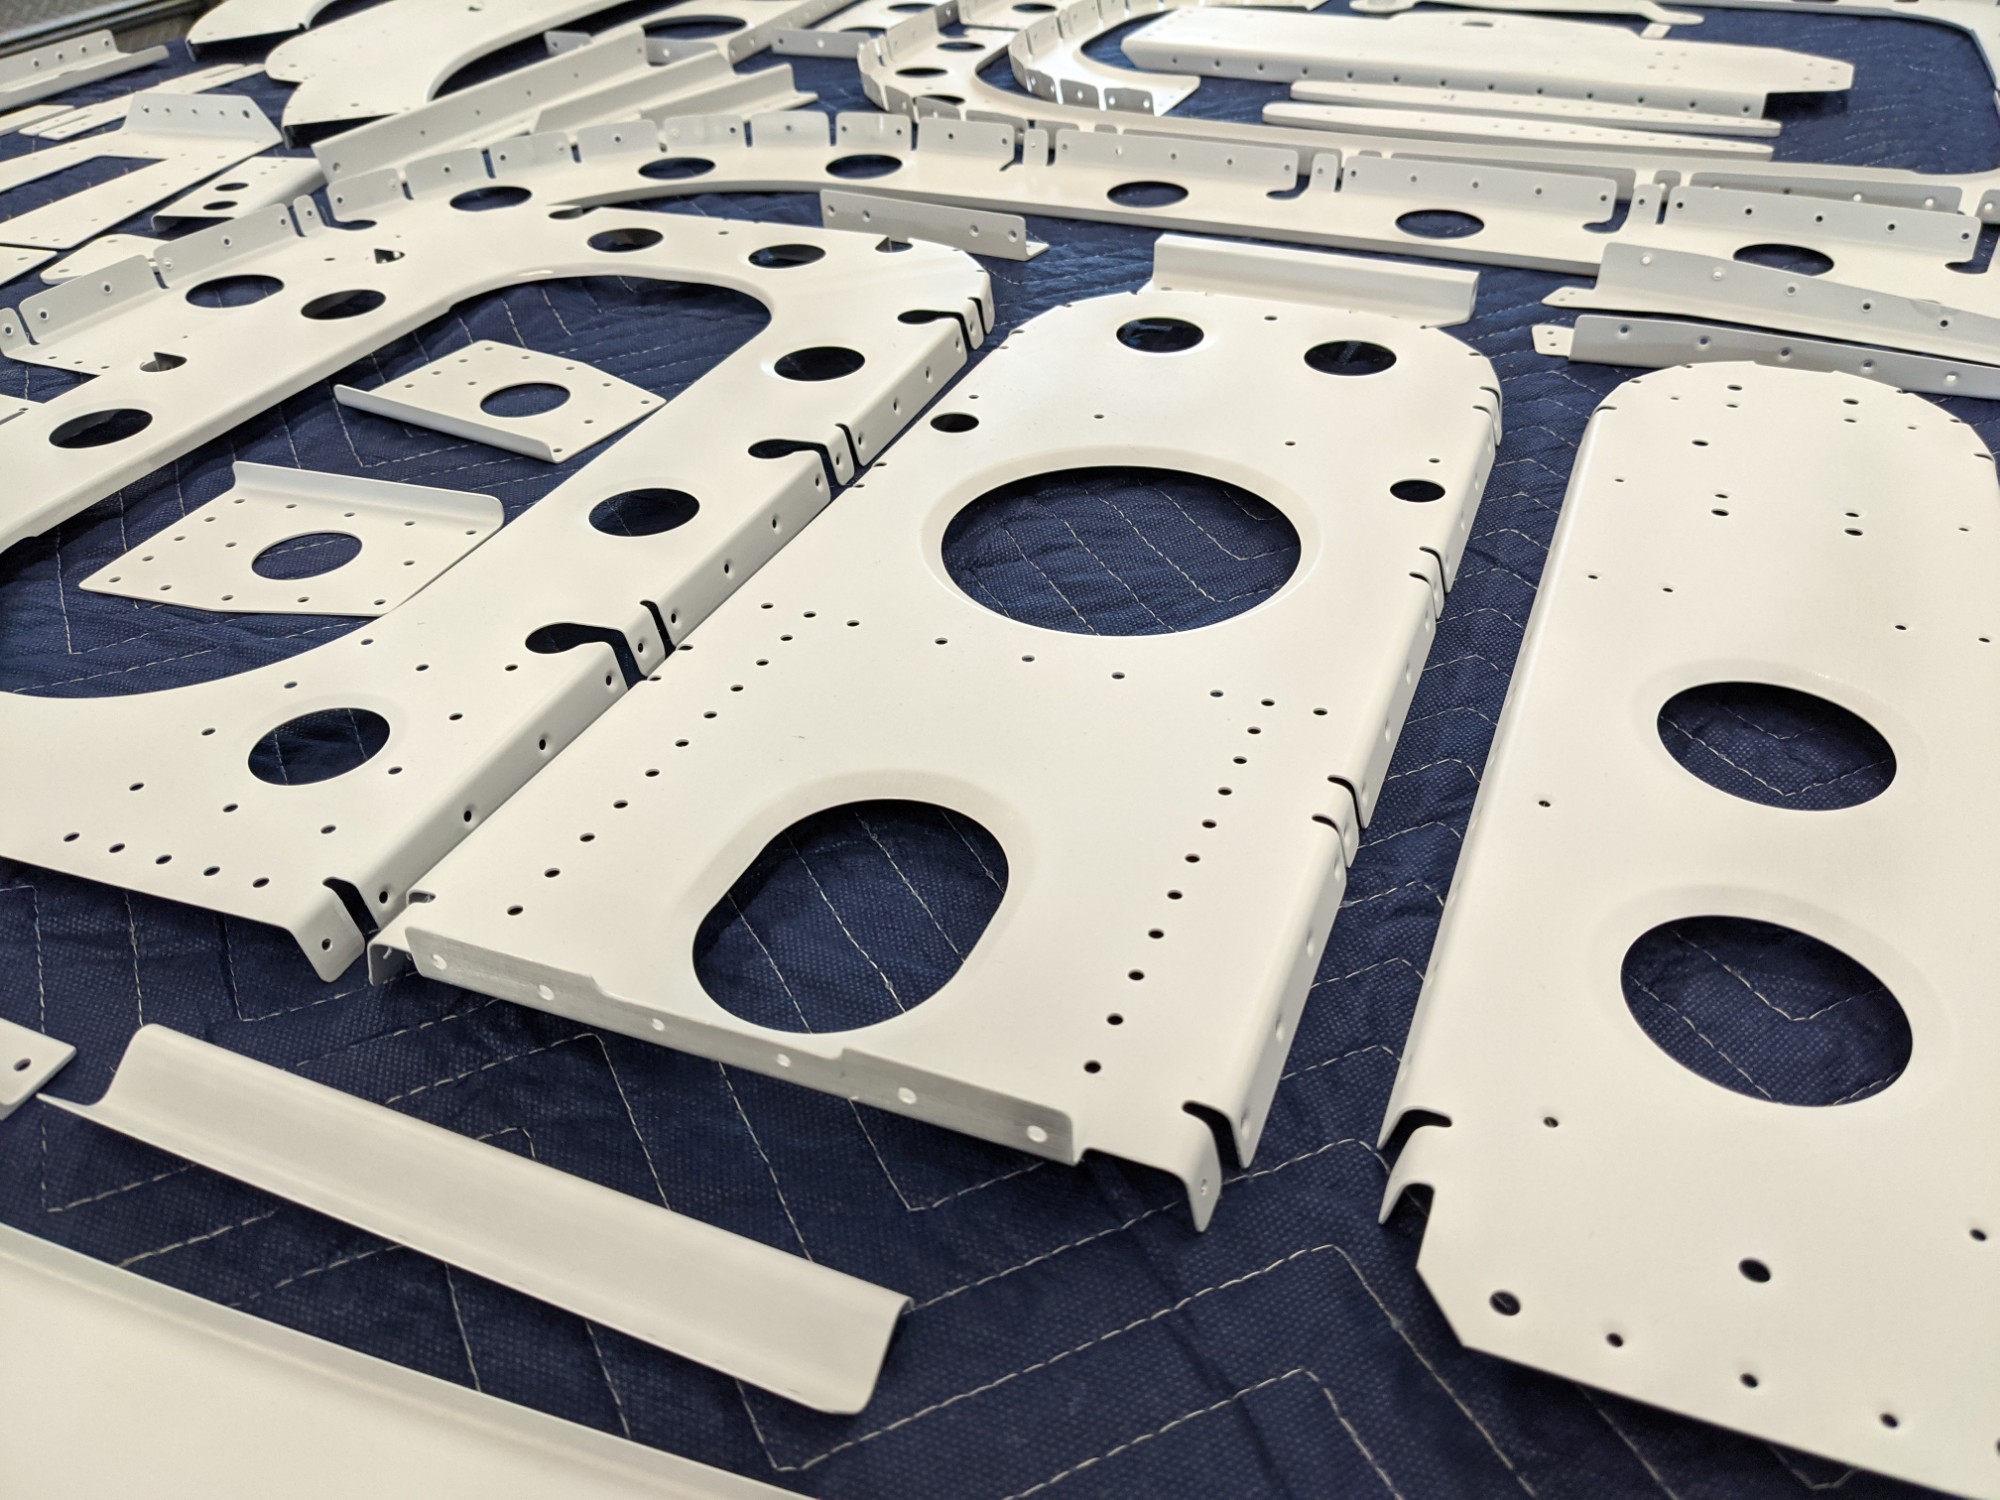
Primer applied to one side.
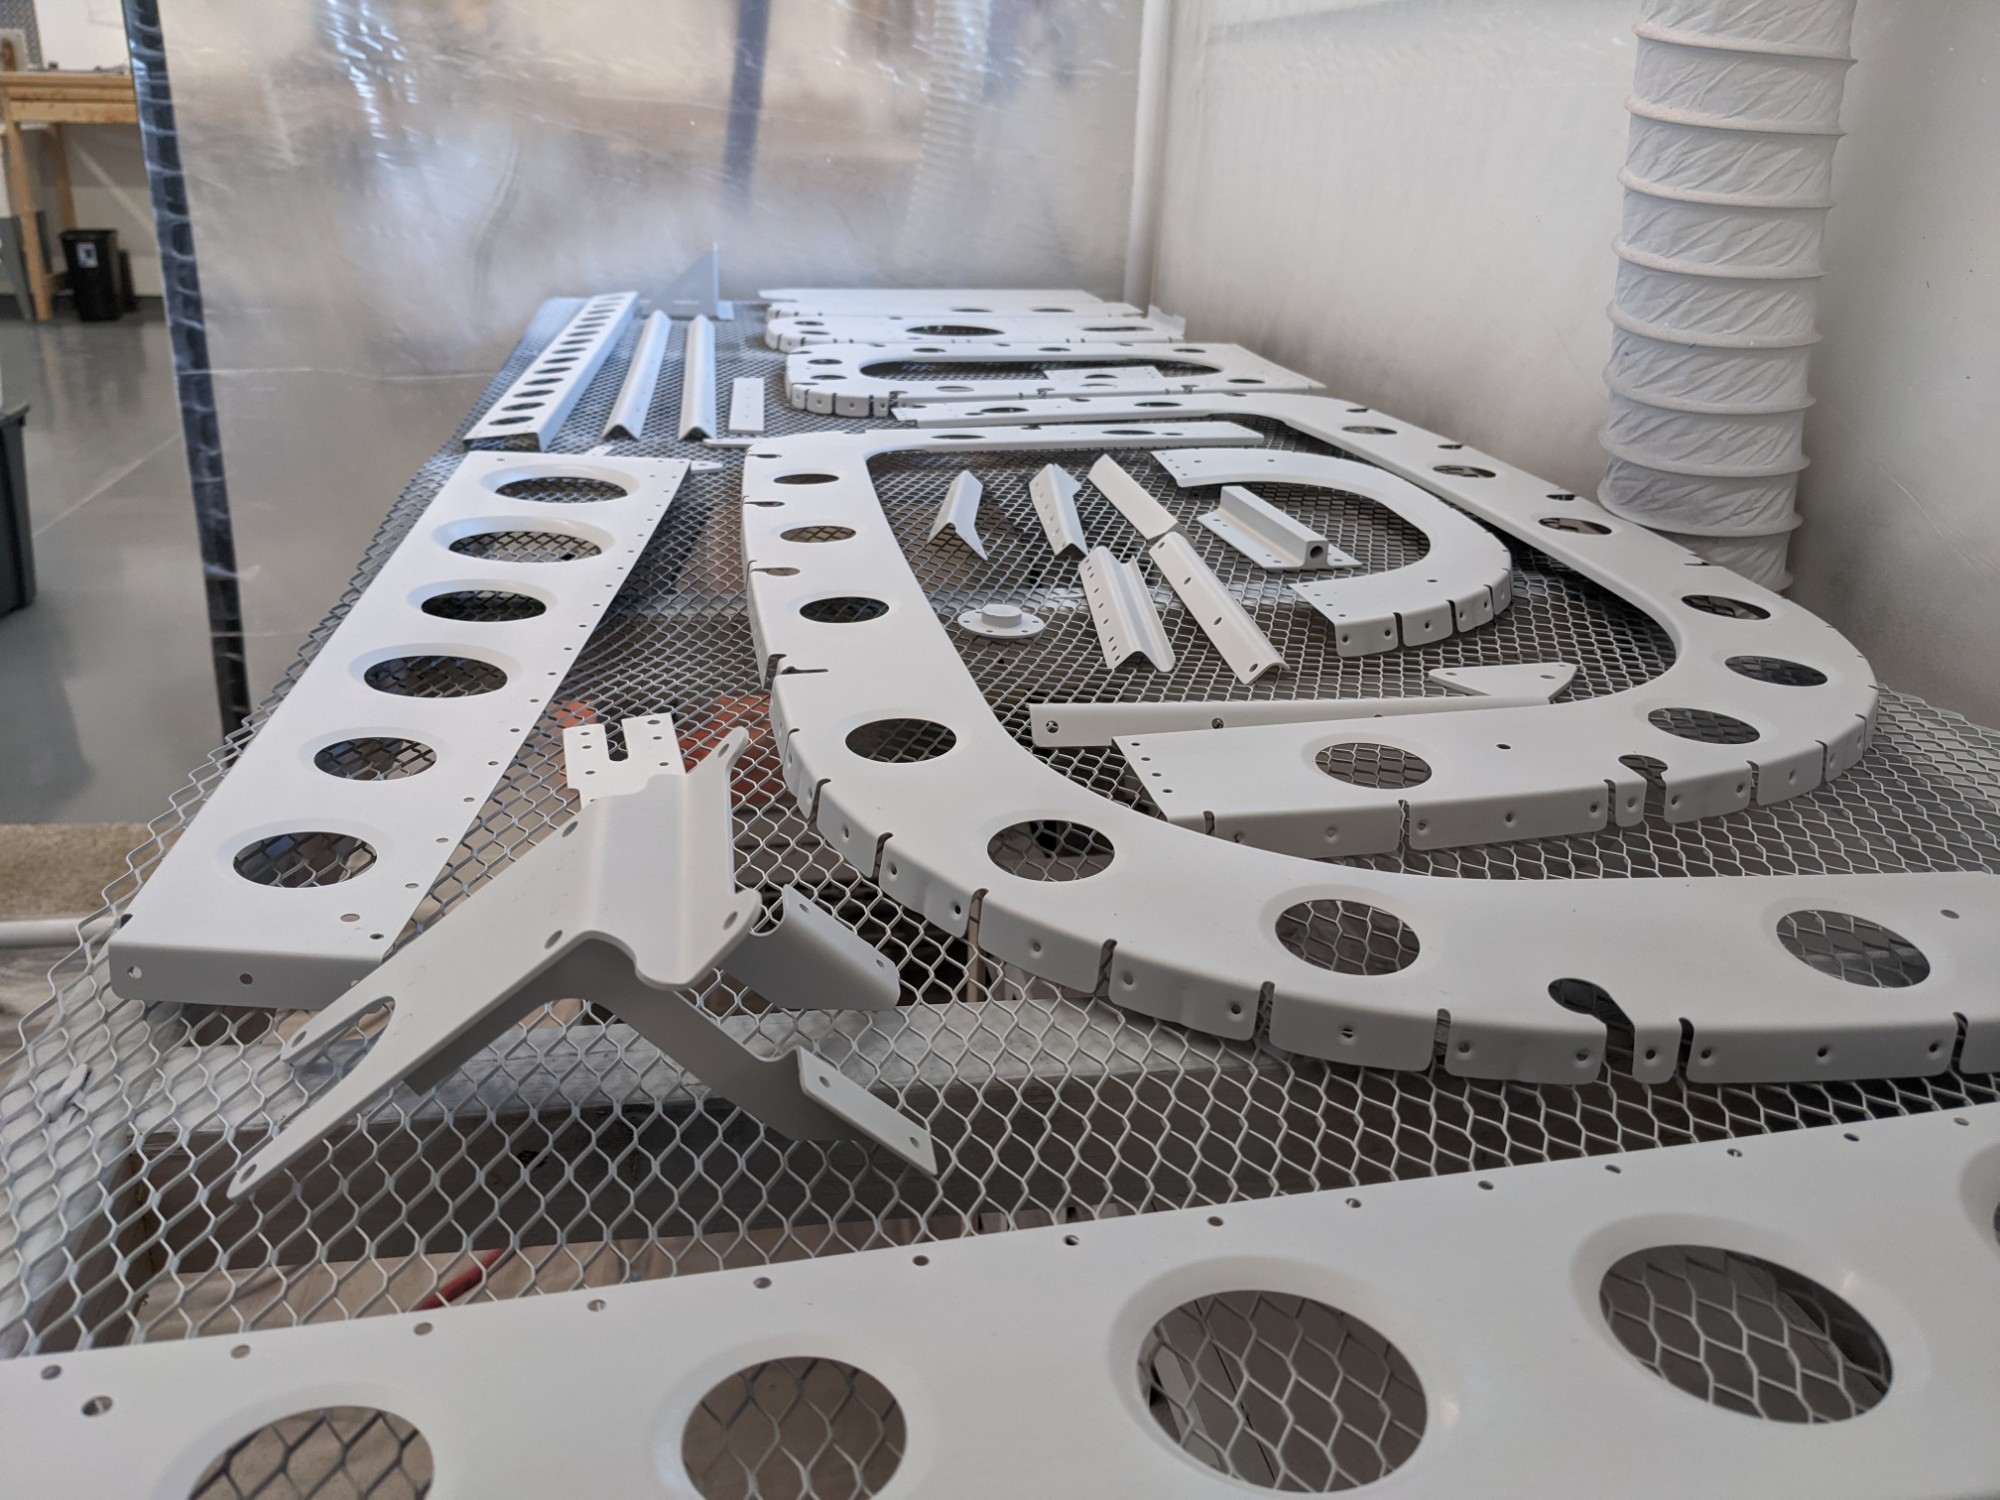
I let them dry about an hour before flipping and priming the second side. I have found that this is plenty of time for the primer to harden up and be safe to flip. I increase the shop temperature to 70 F while priming.
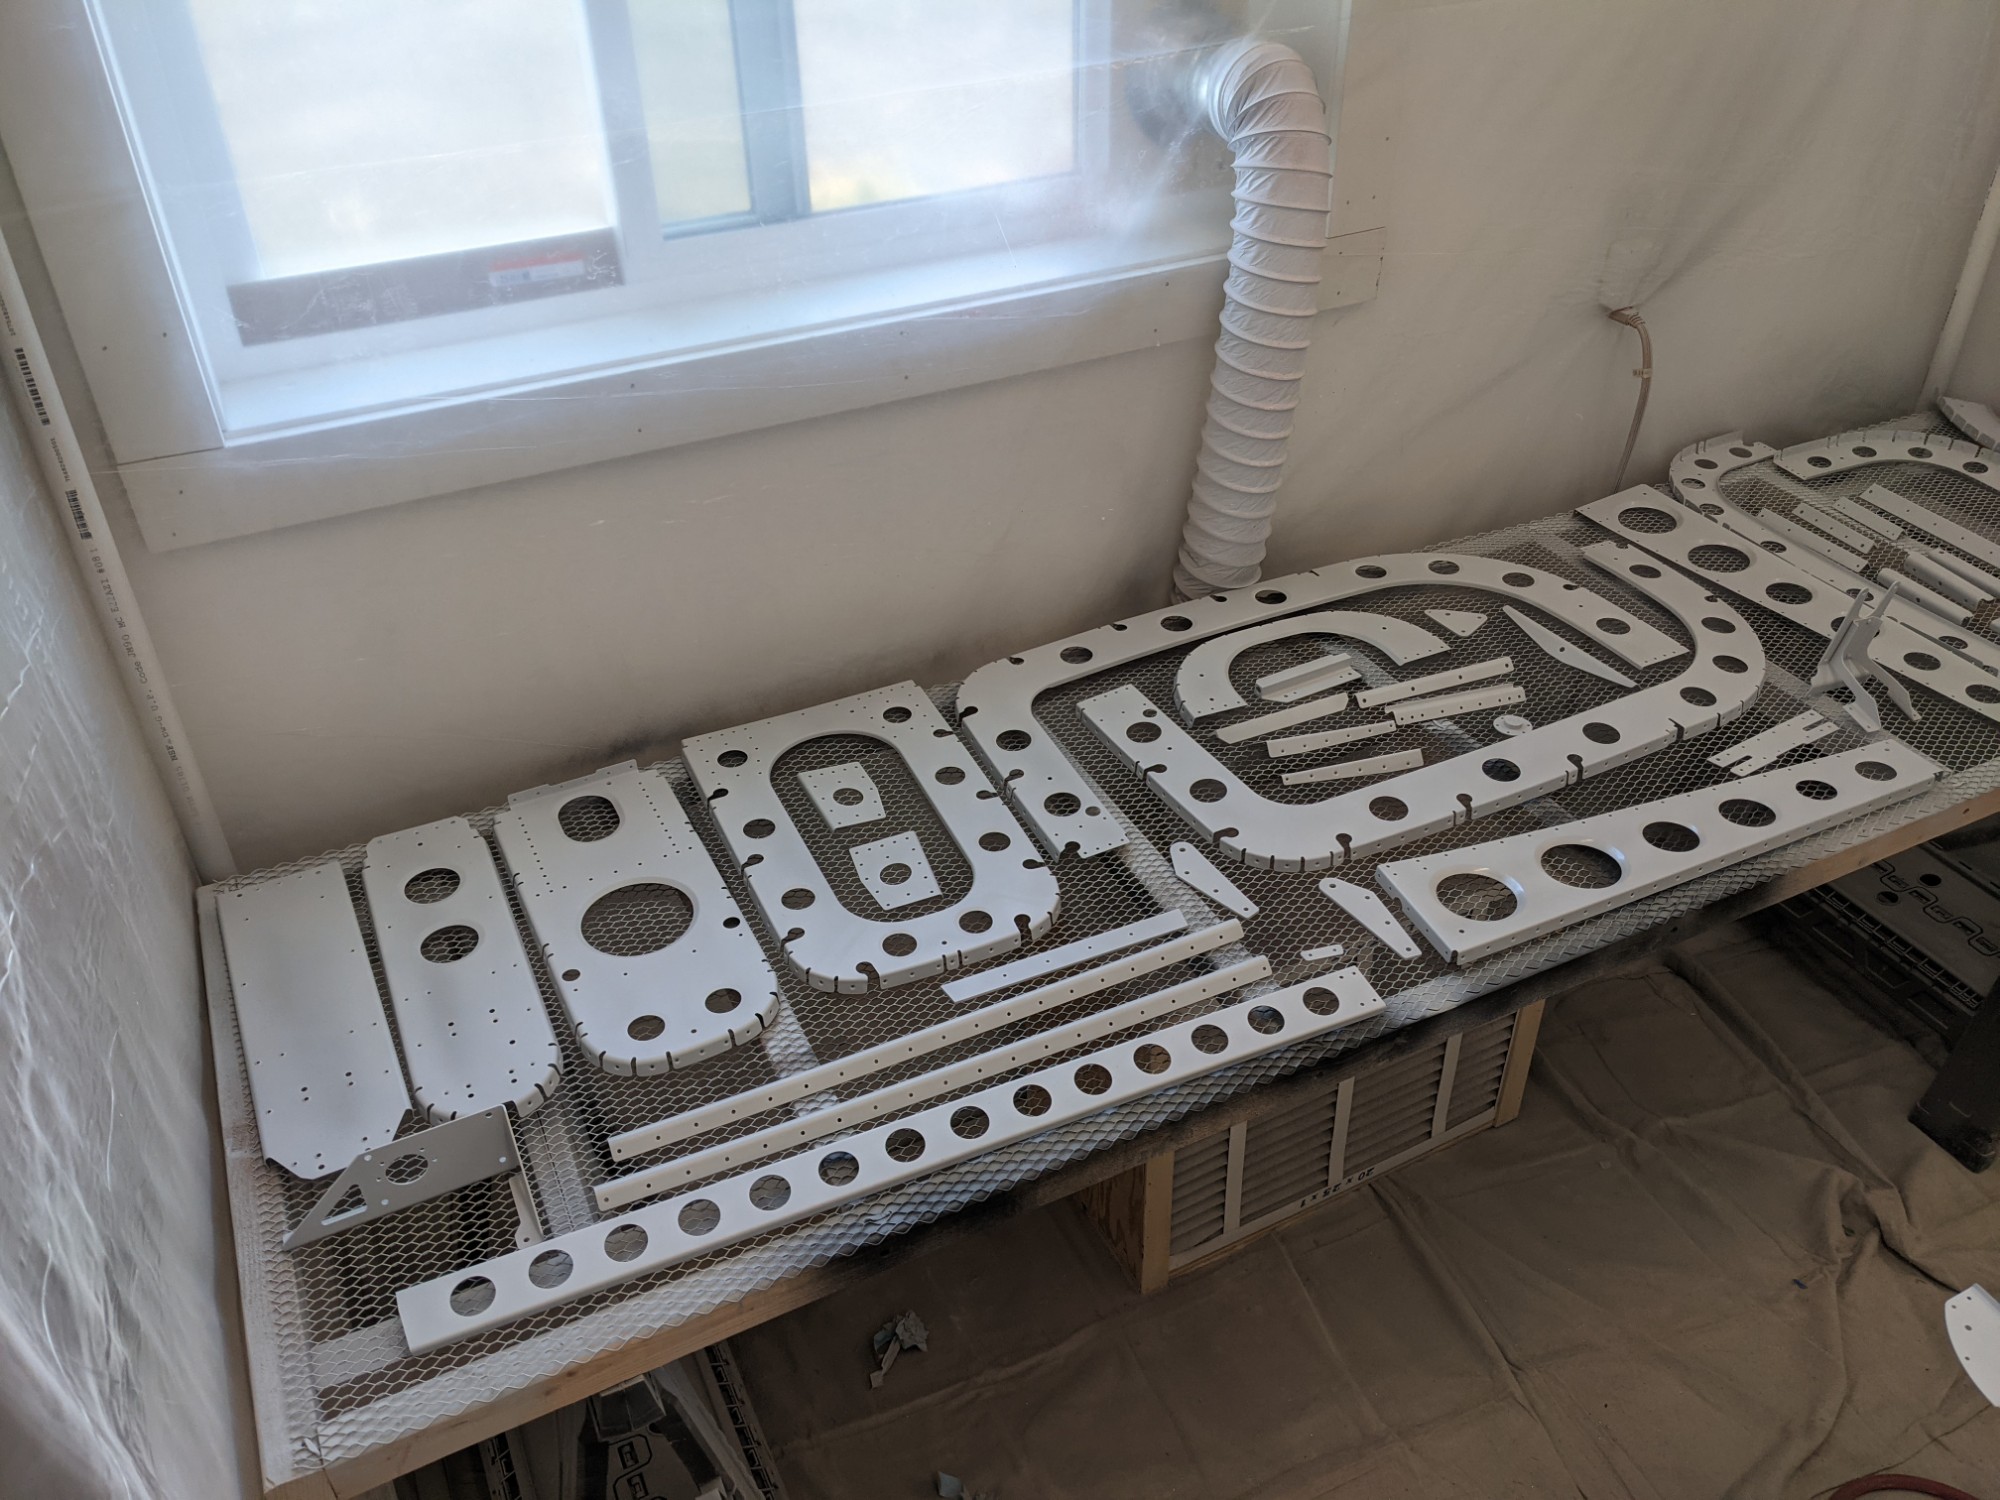
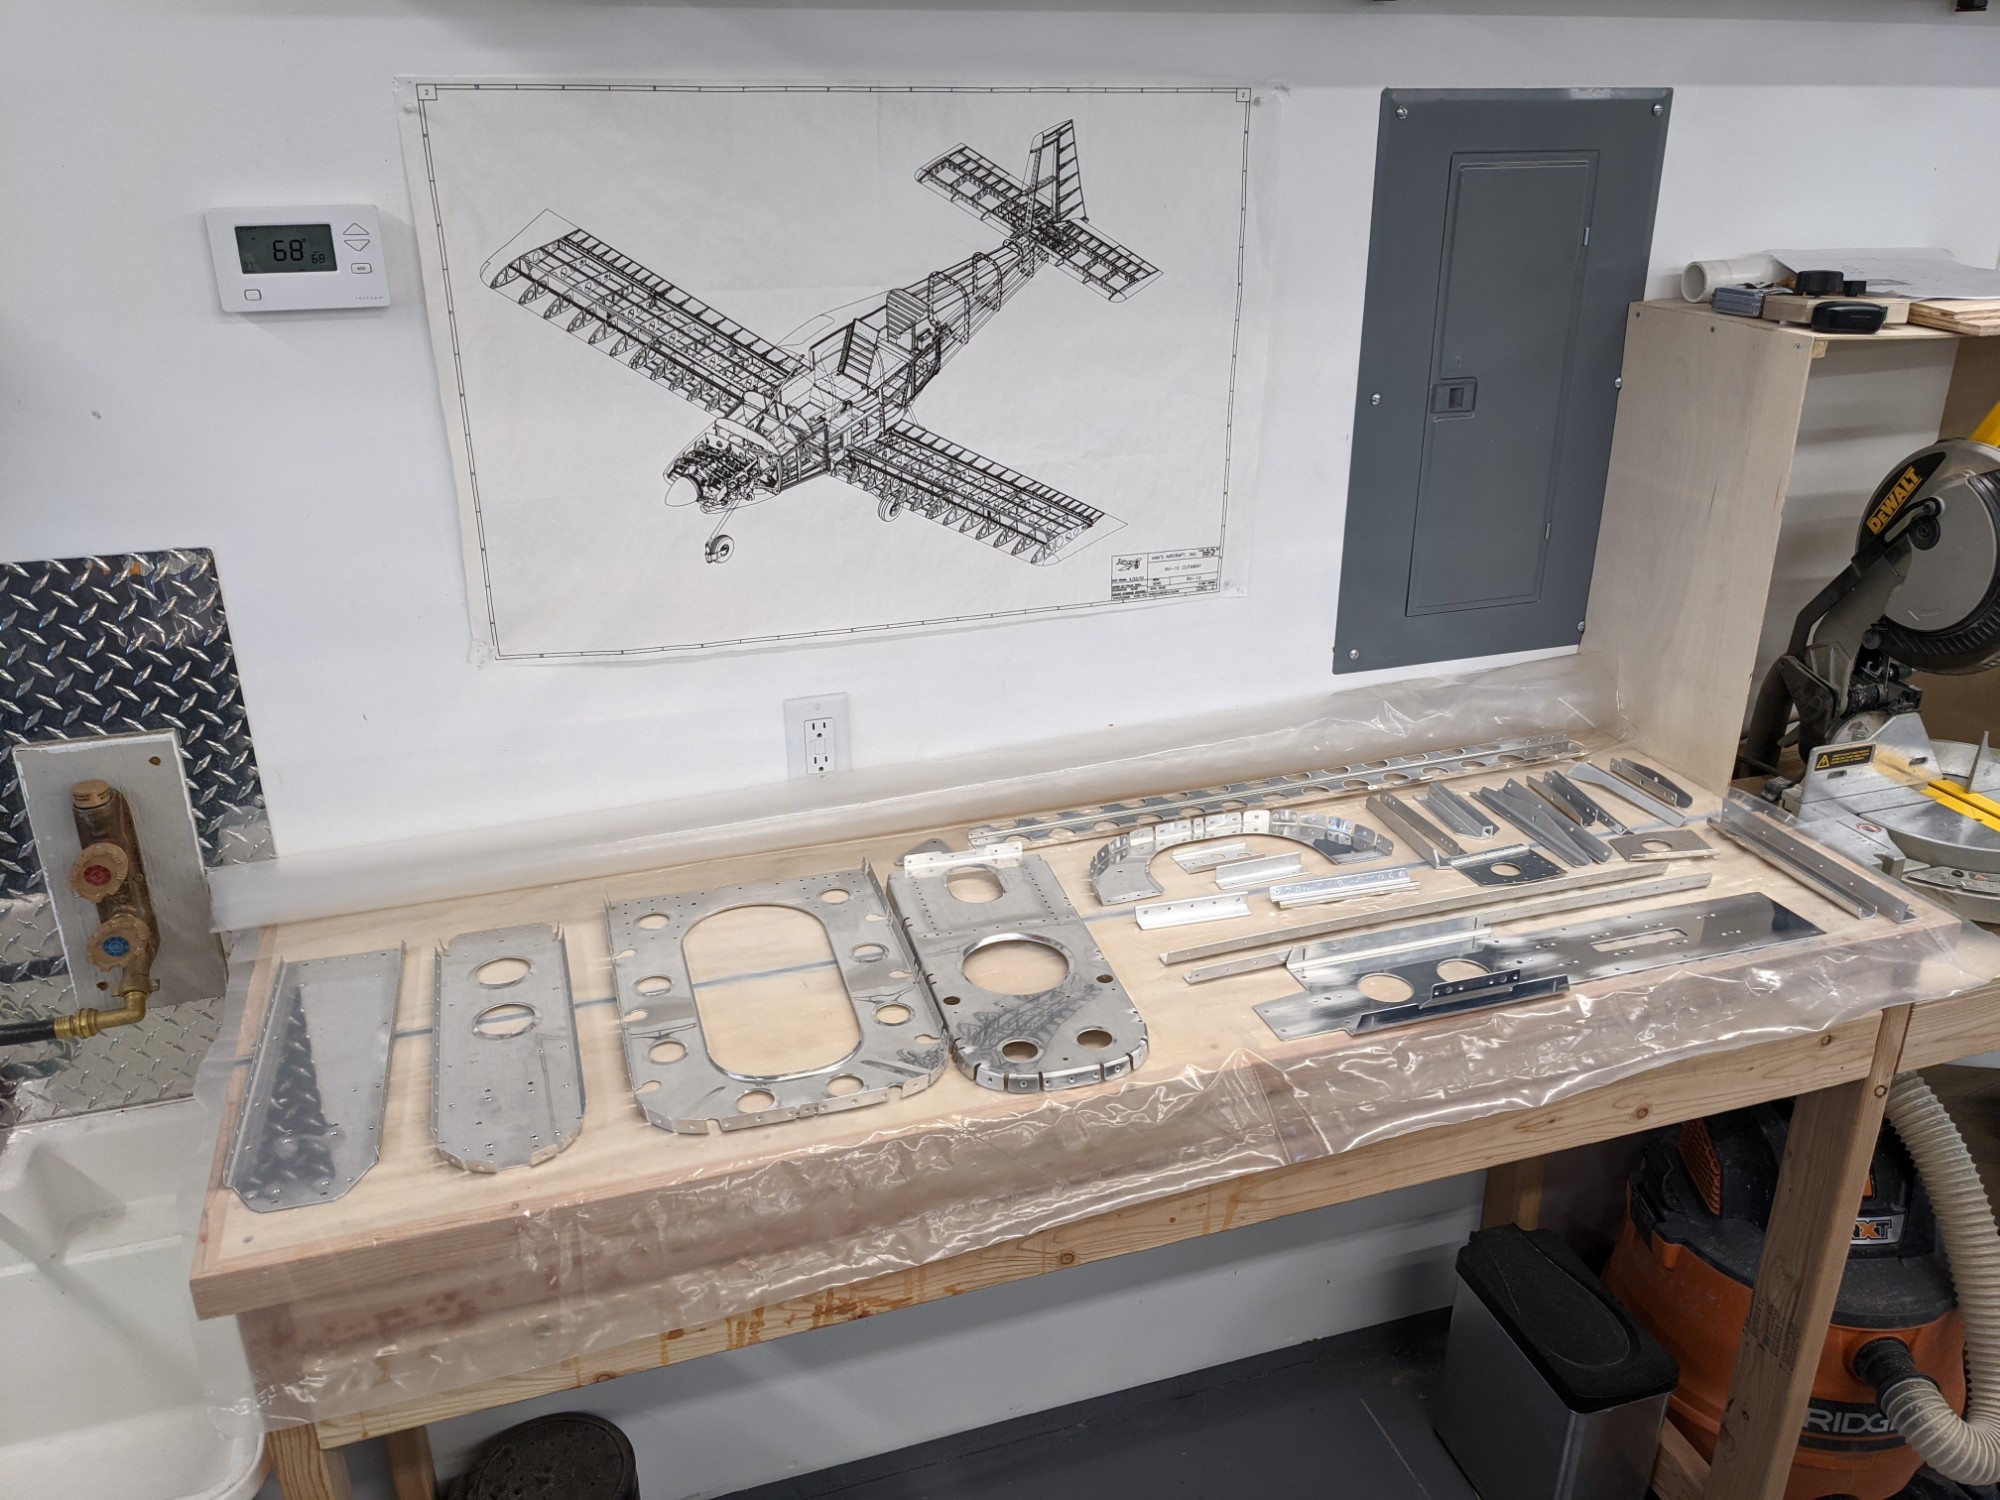
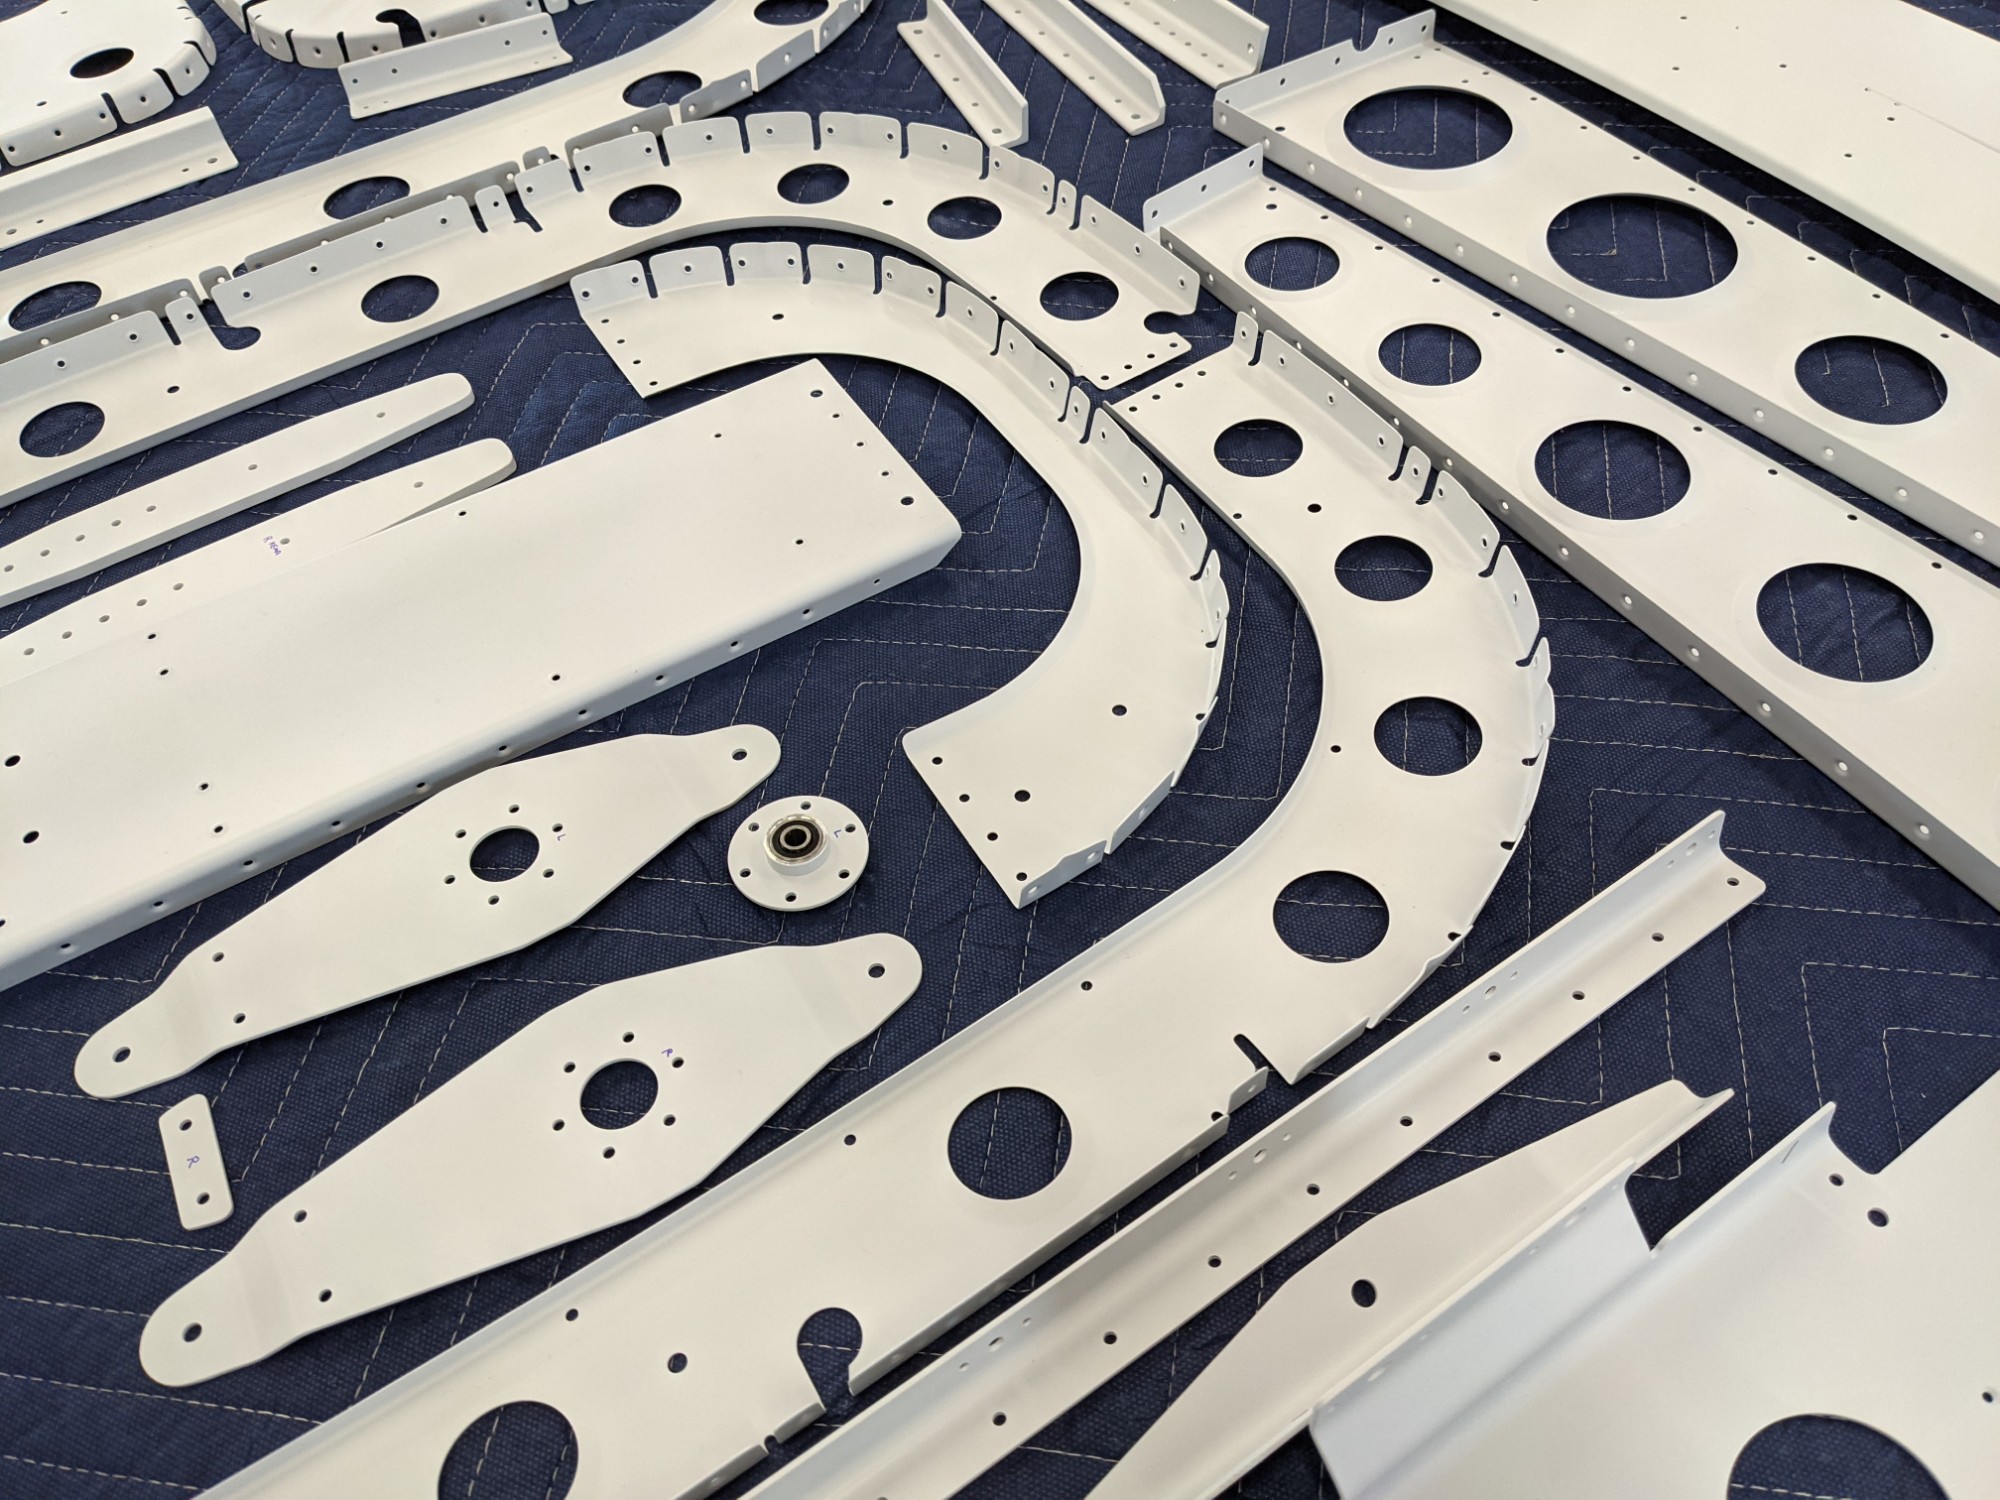
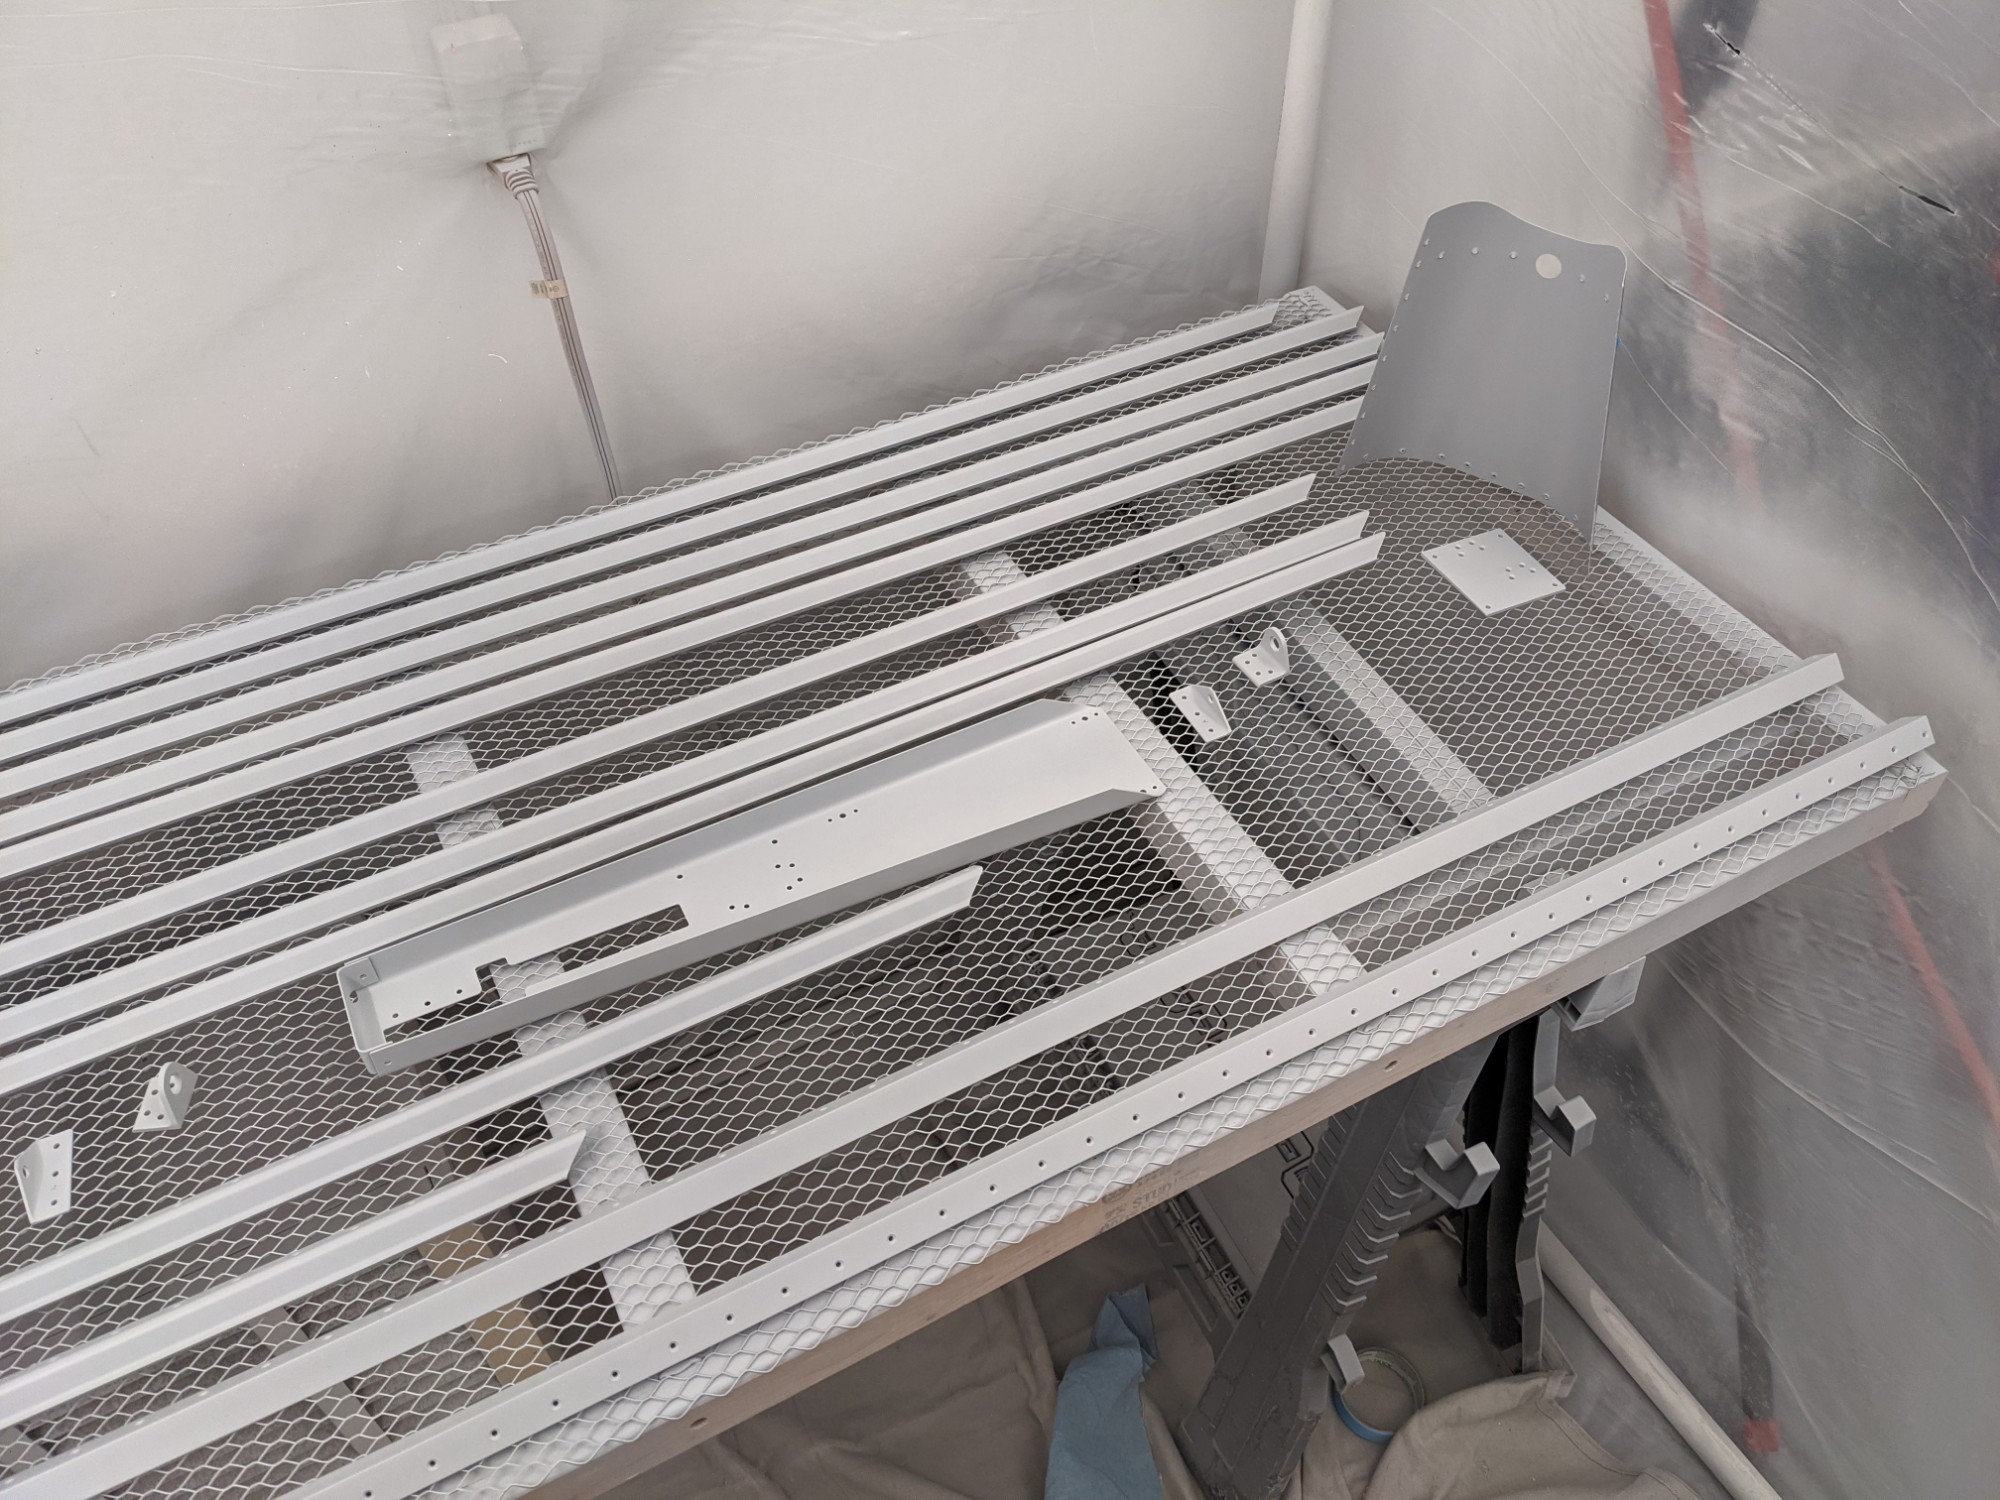
First batch complete and laid out on my workbenches to fully cure. I had to make room for the second batch of parts (longerons, stiffeners, and a few other remaining parts that didn’t fit in the first batch).
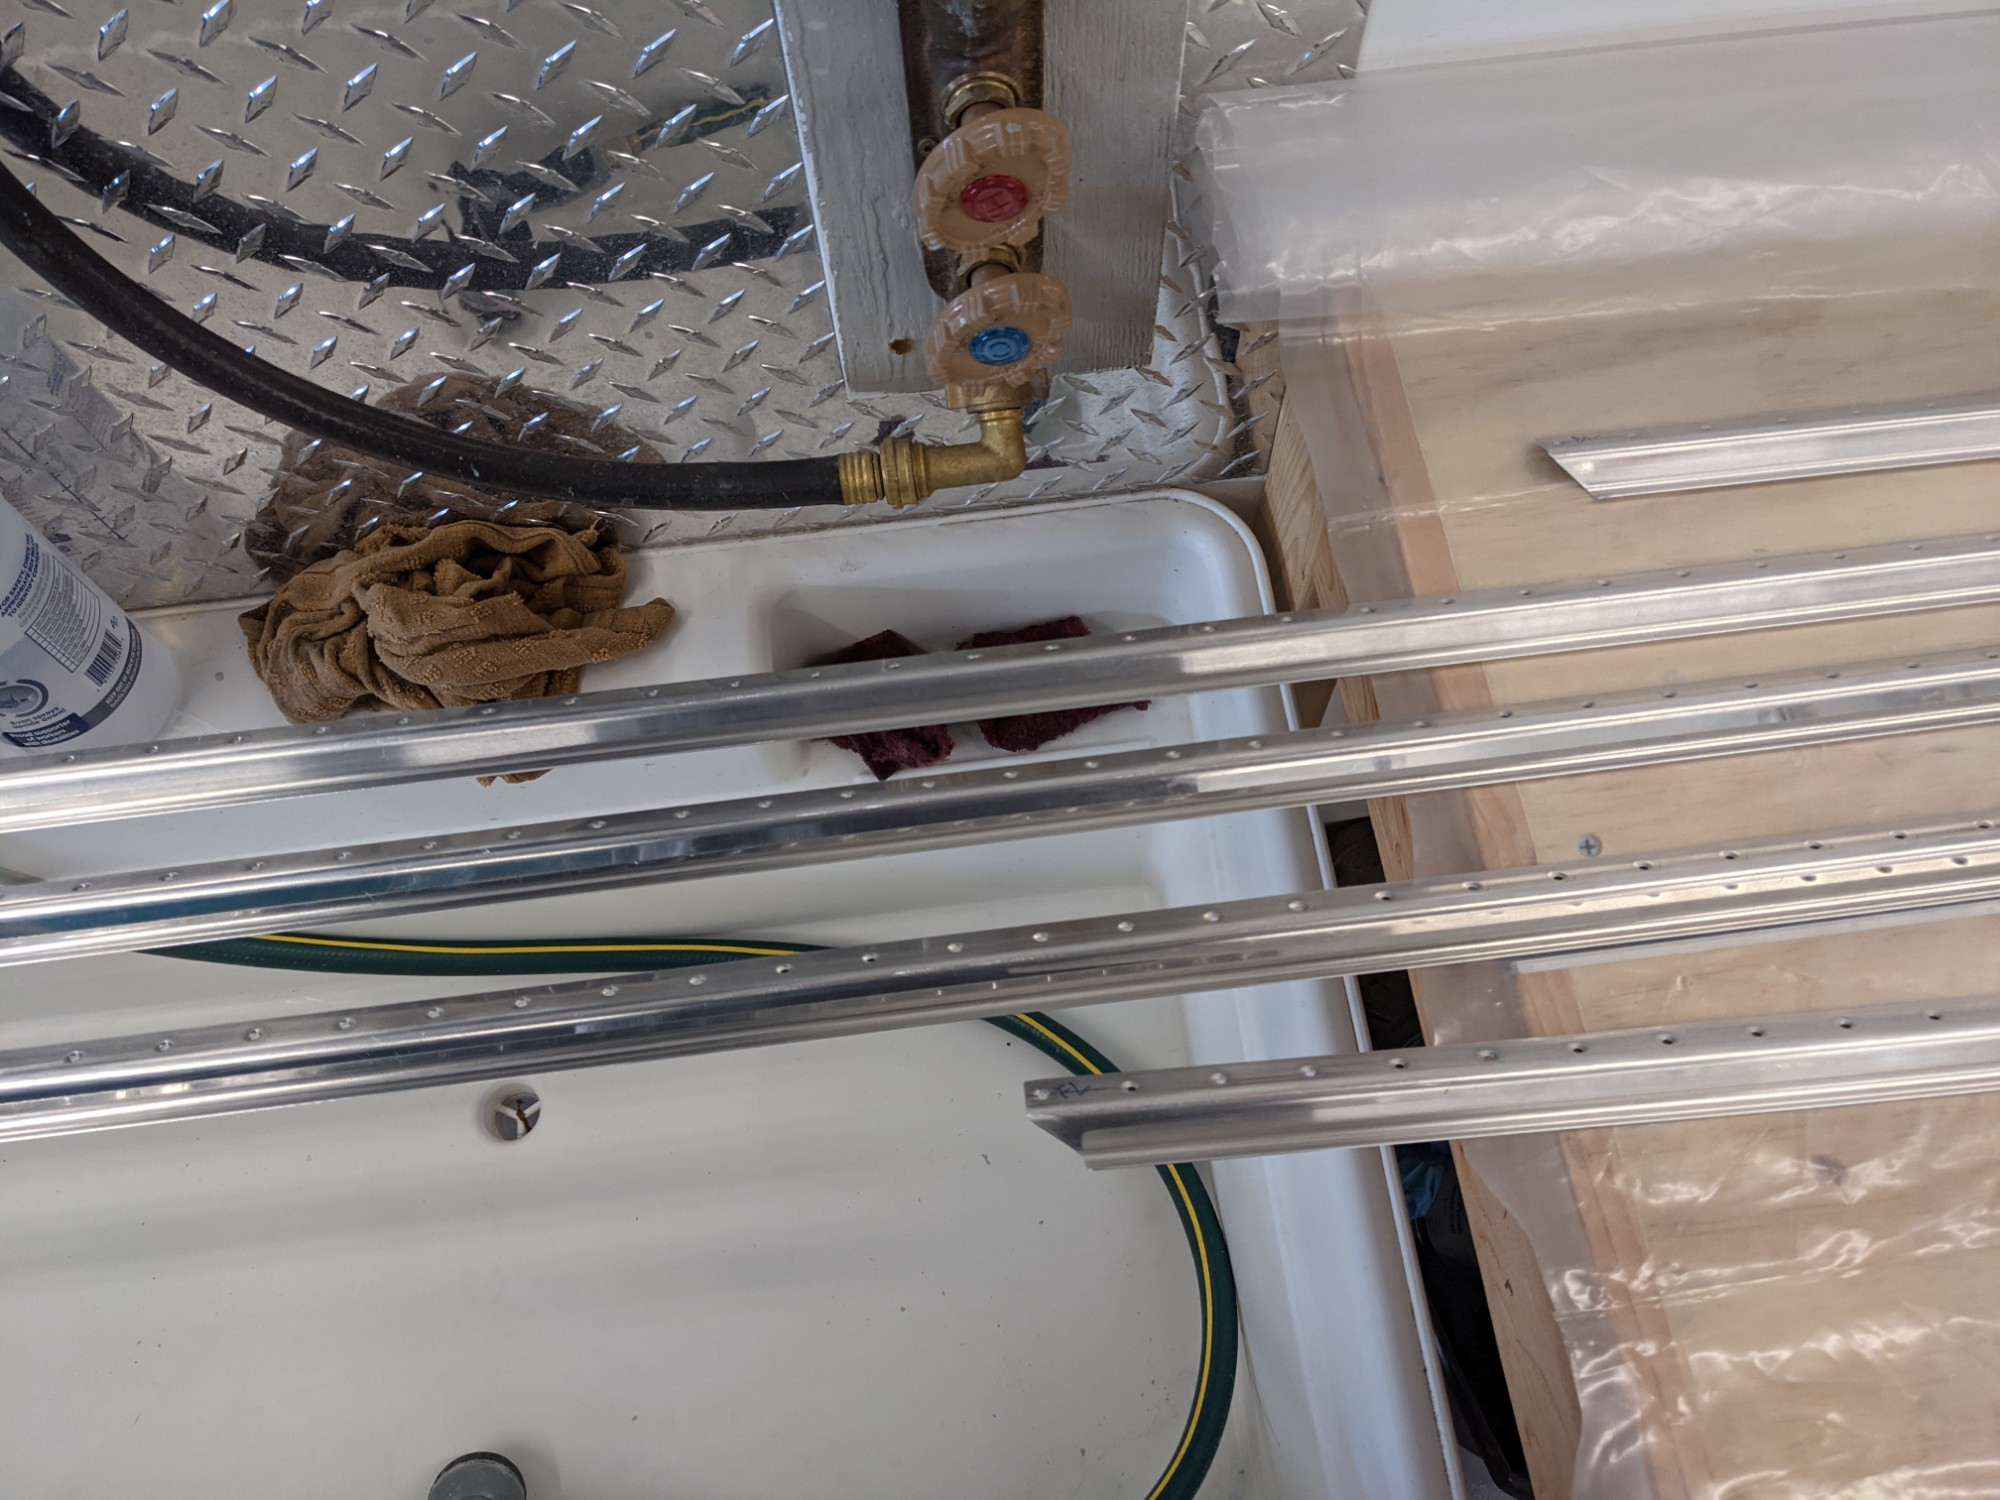
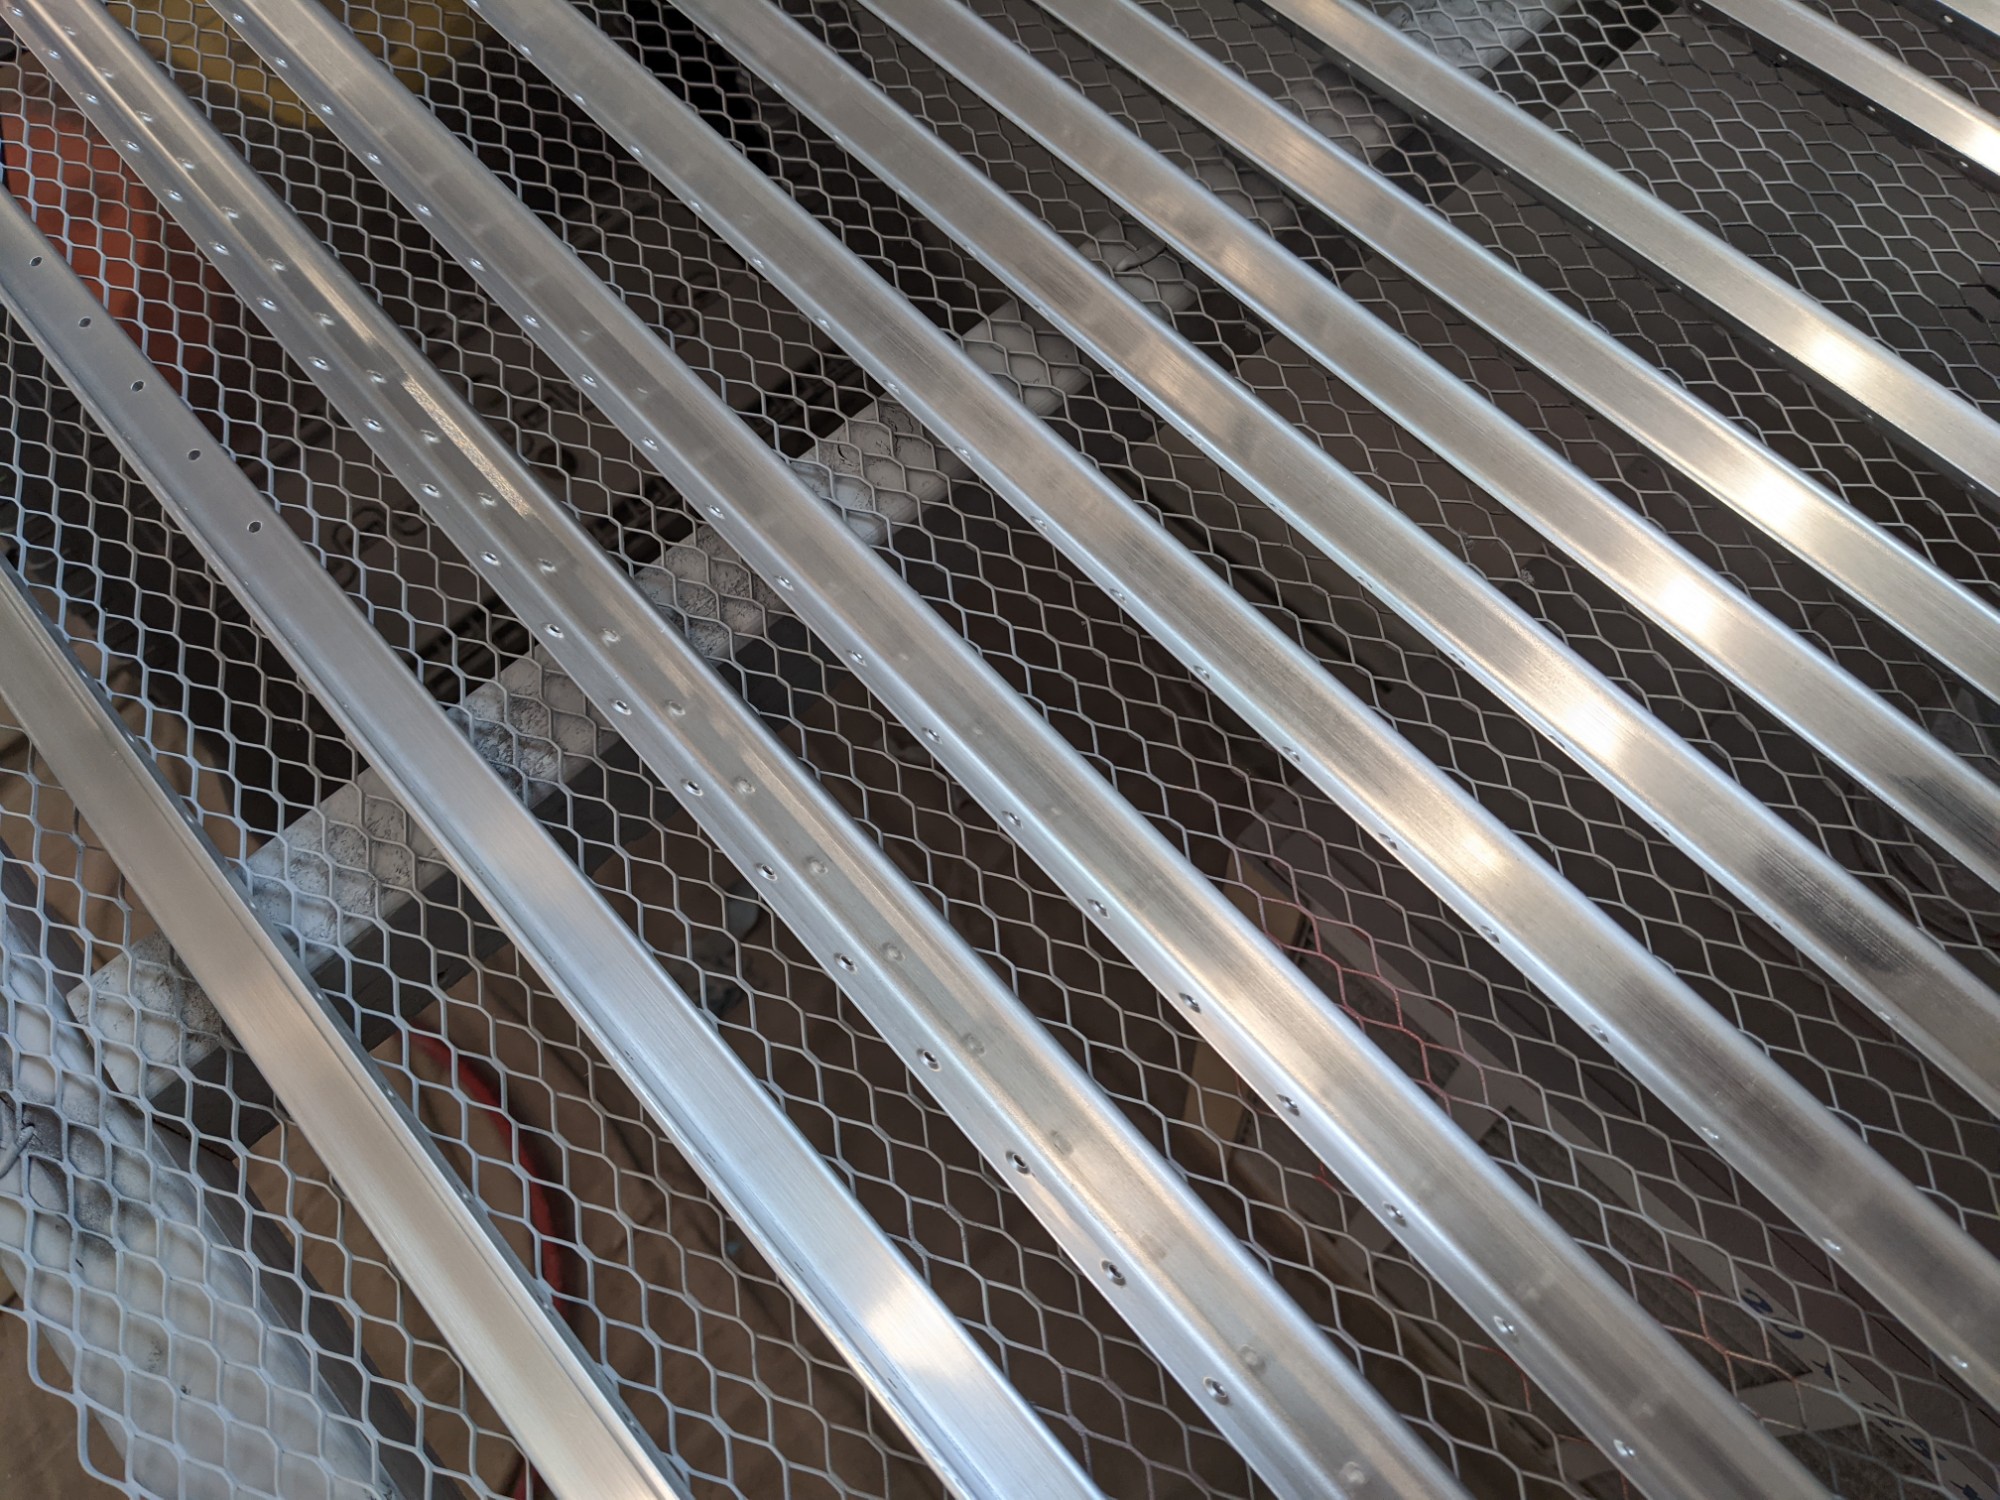
I then cleaned, etched, and rinsed the longerons and stiffeners. The stiffeners need to be tracked and re-marked to make sure they go back in the same place.
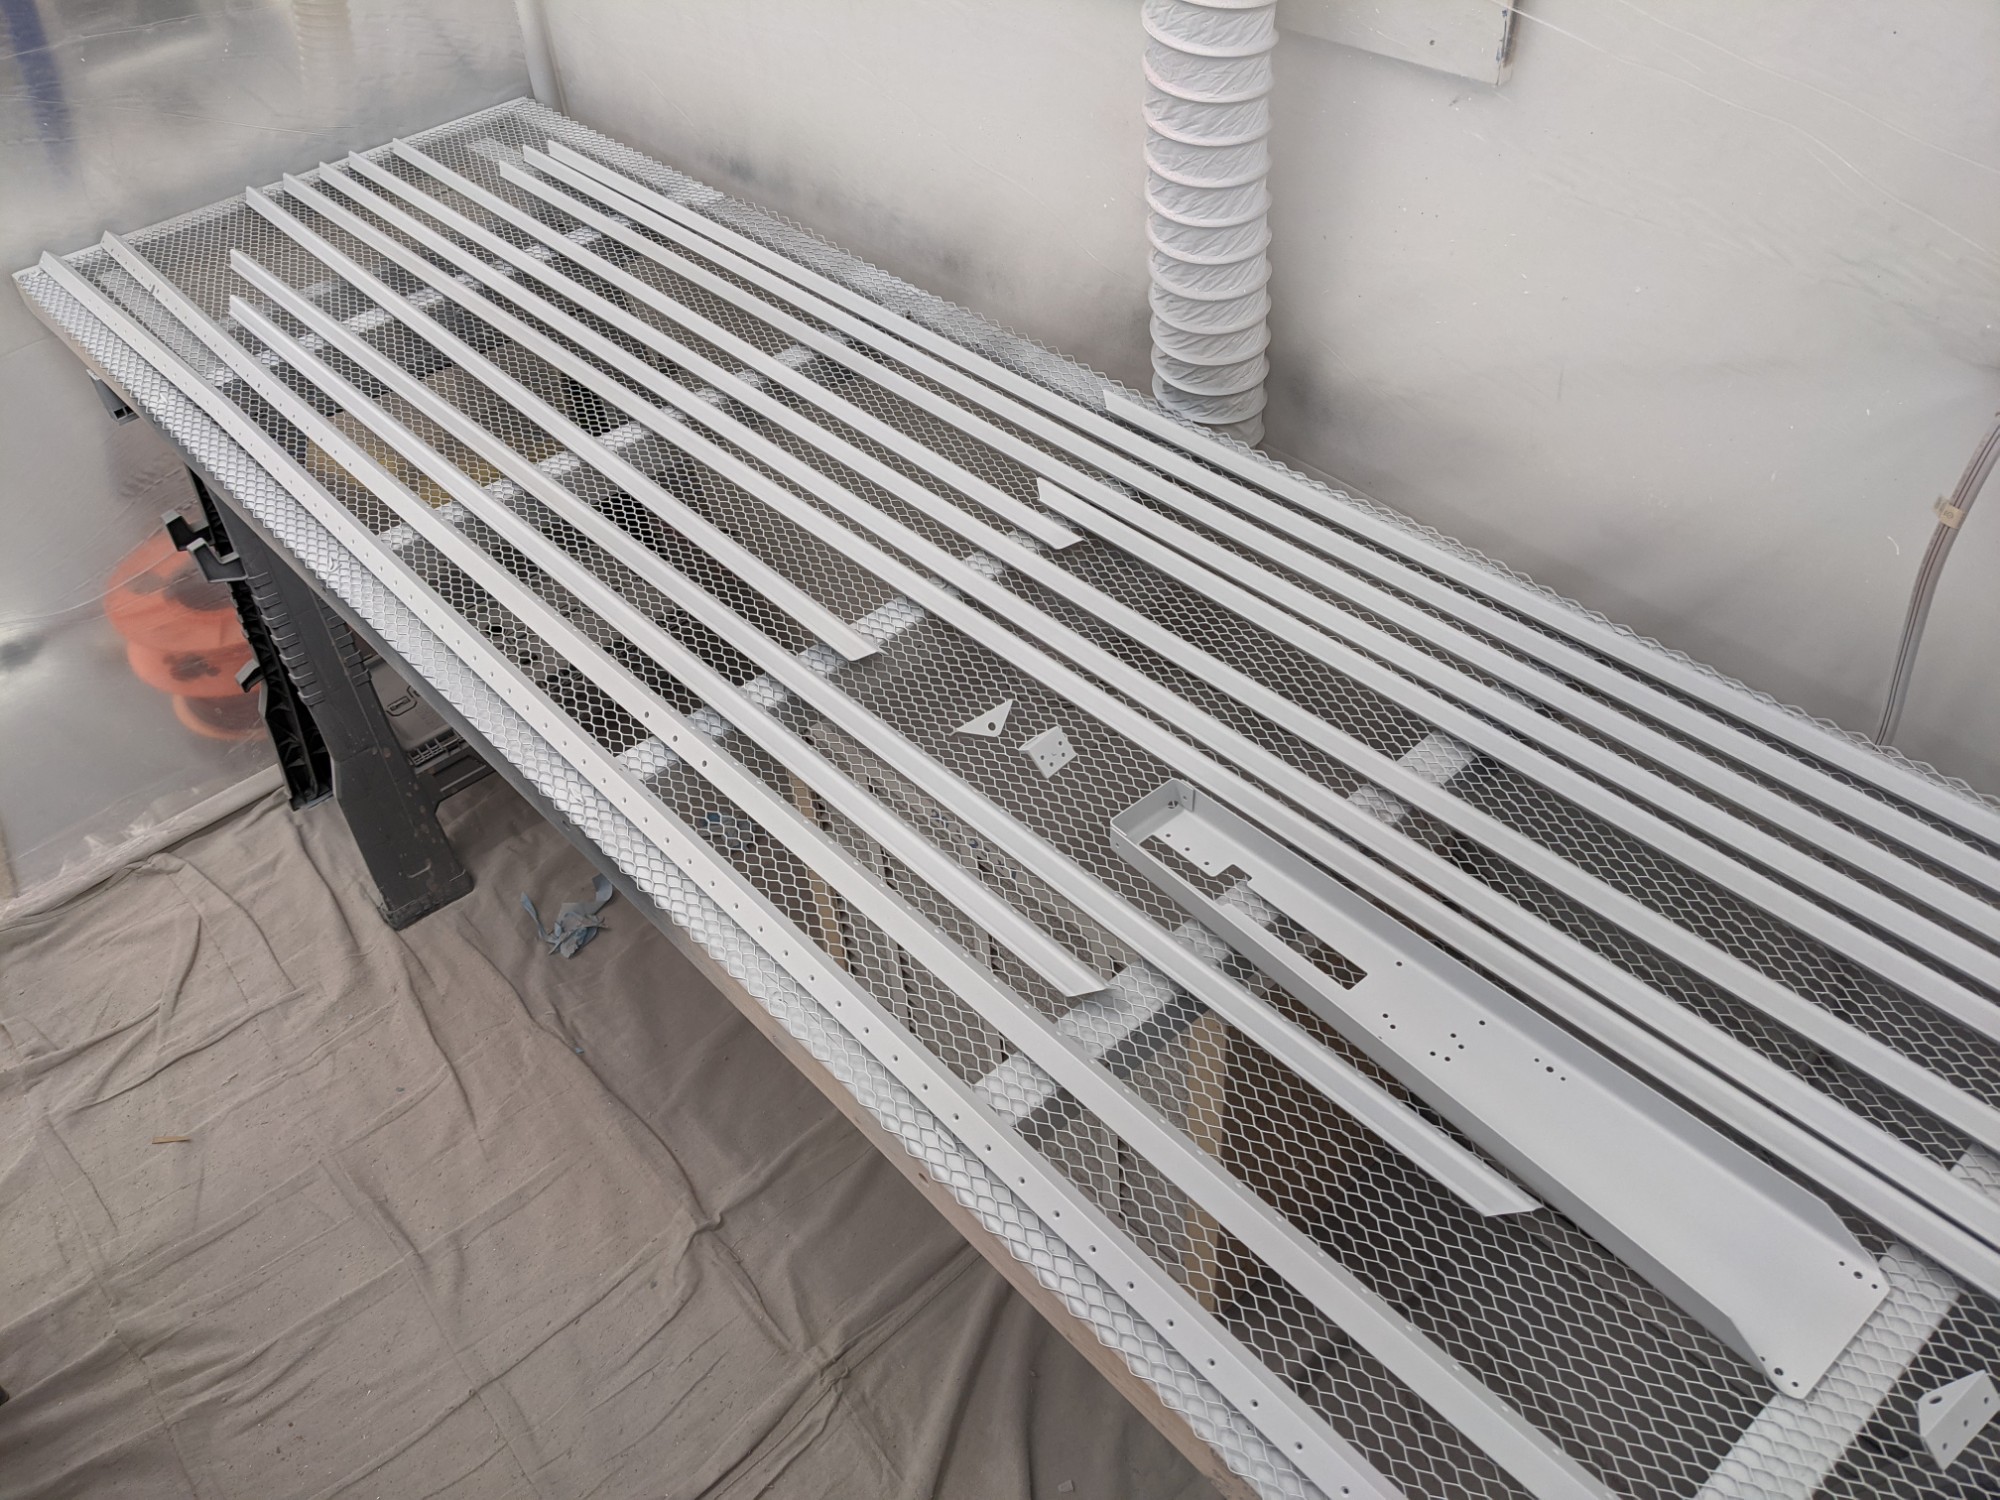
Second batch loaded up in the paint booth.
Everything is now primed but the skins…