This log entry includes work from multiple small work sessions.
My order for a 6″ #13 drill bit arrived so I finished up the remaining AN3 bolt holes on the aft deck (drilled to #13, reamed to 3/16″).
![](https://airplane.allanglen.com/wp-content/uploads/2021/03/pxl_20210310_1813088276060598239809363169.jpg)
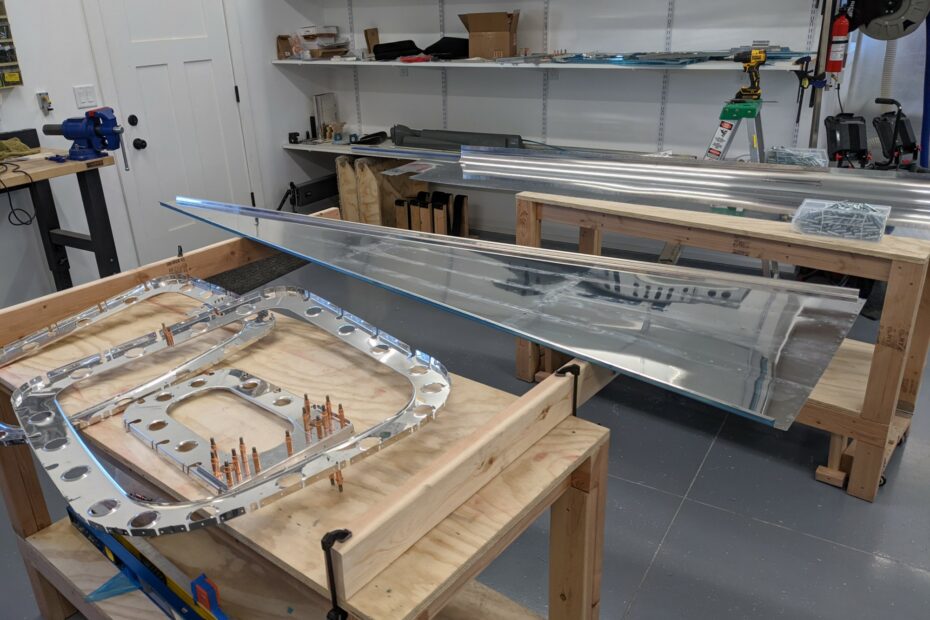
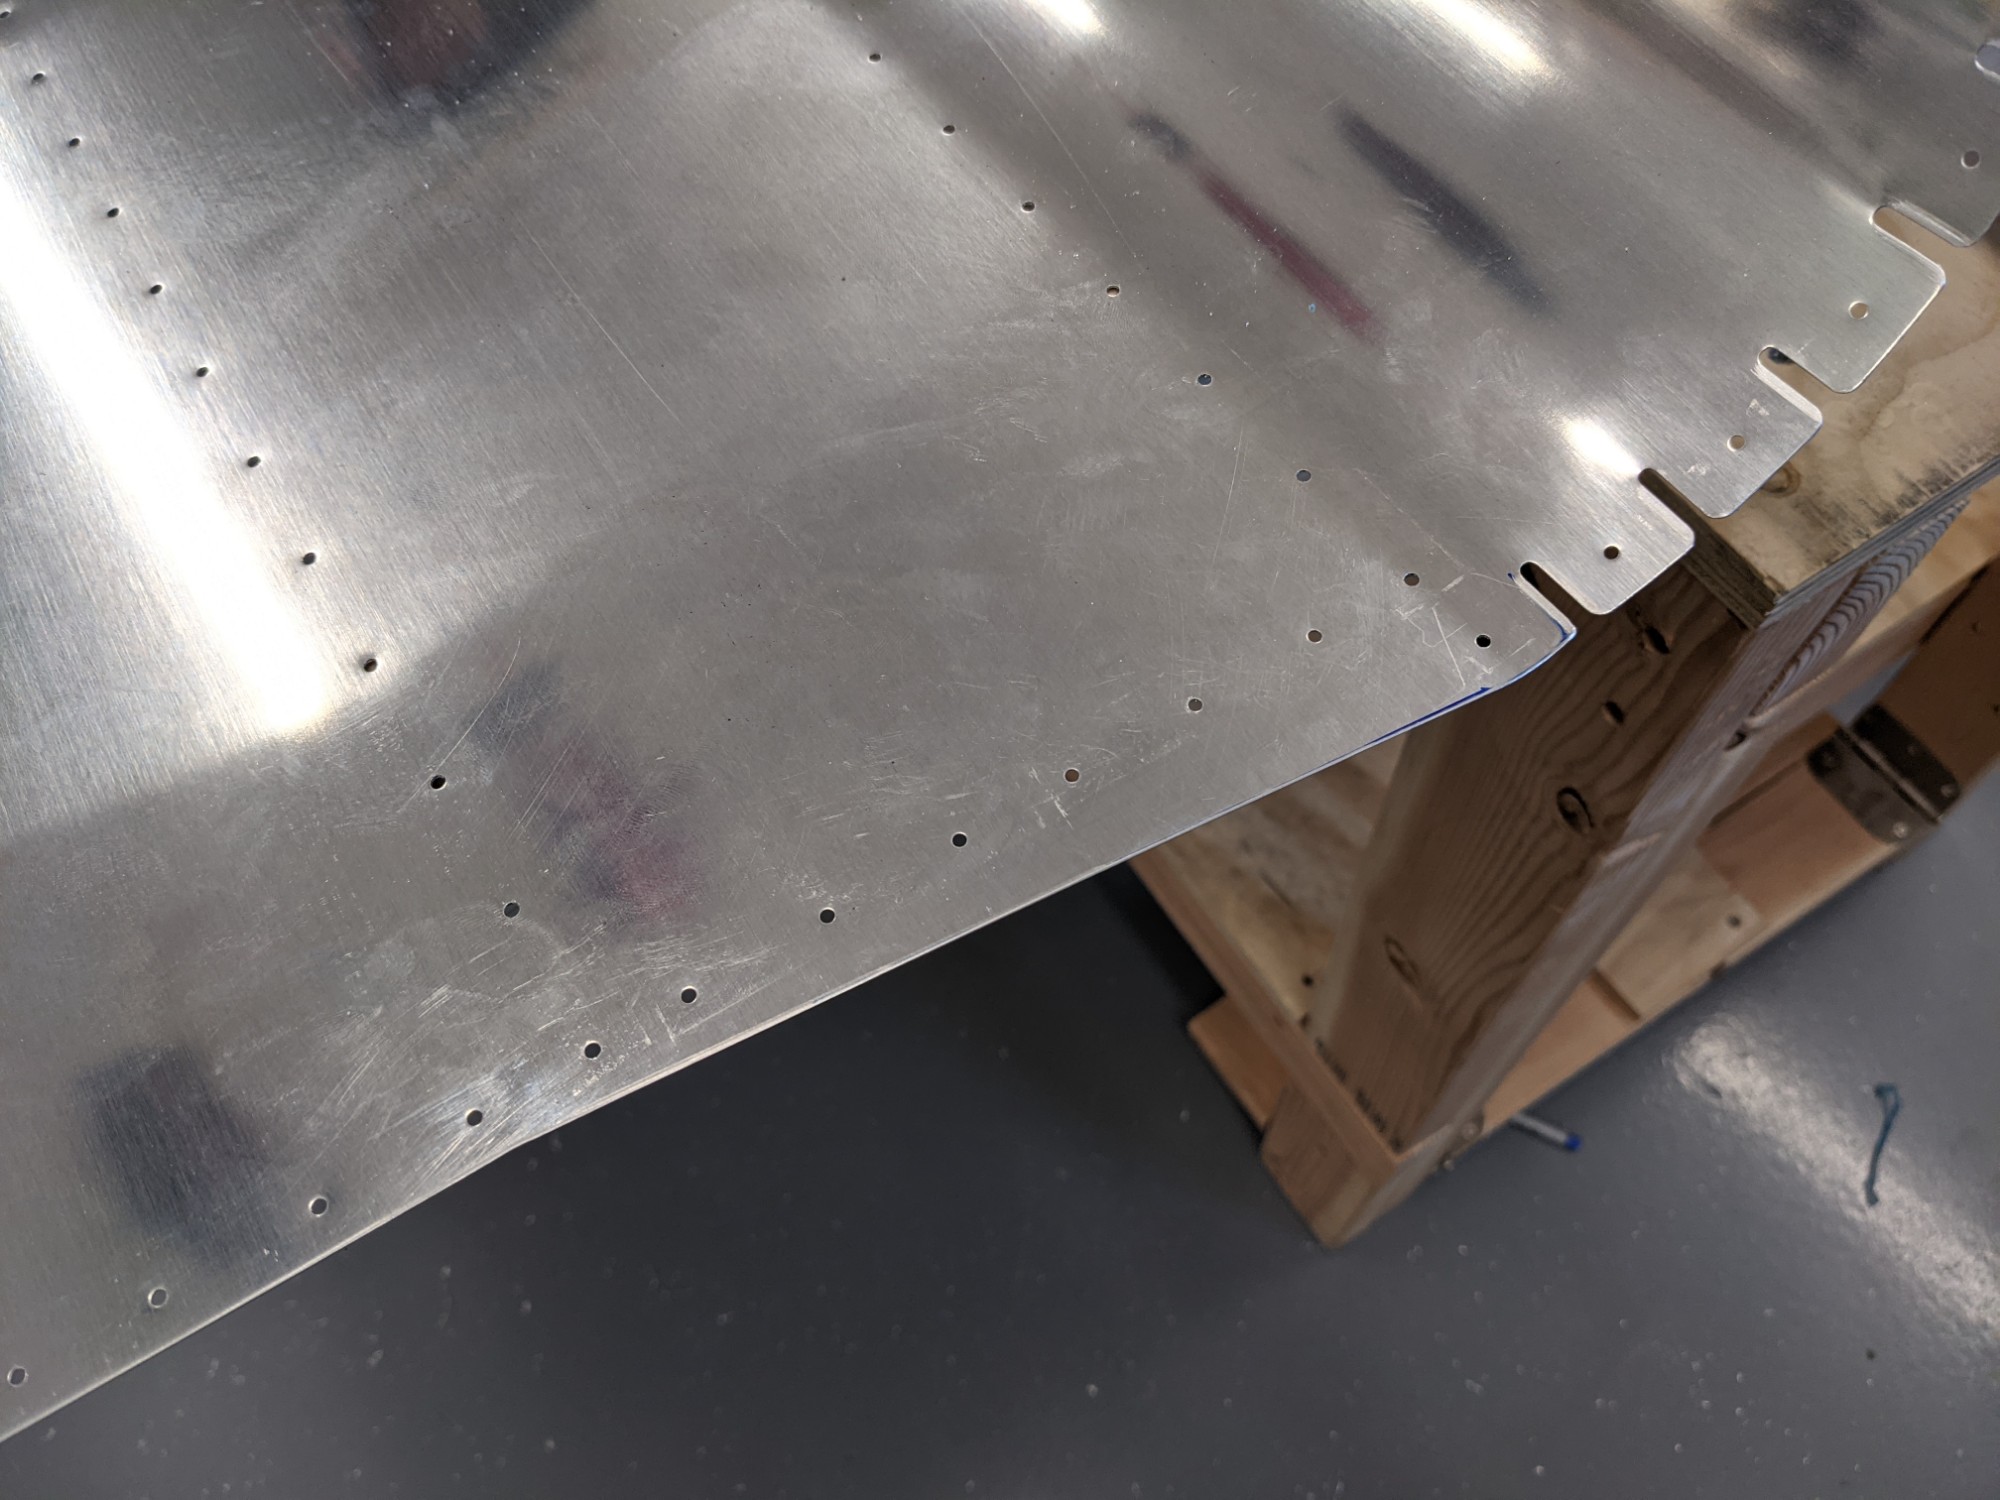
At this point the top skins get detached and everything eventually gets disassembled.
![](https://airplane.allanglen.com/wp-content/uploads/2021/03/pxl_20210310_2100307353528790890376900687.jpg)
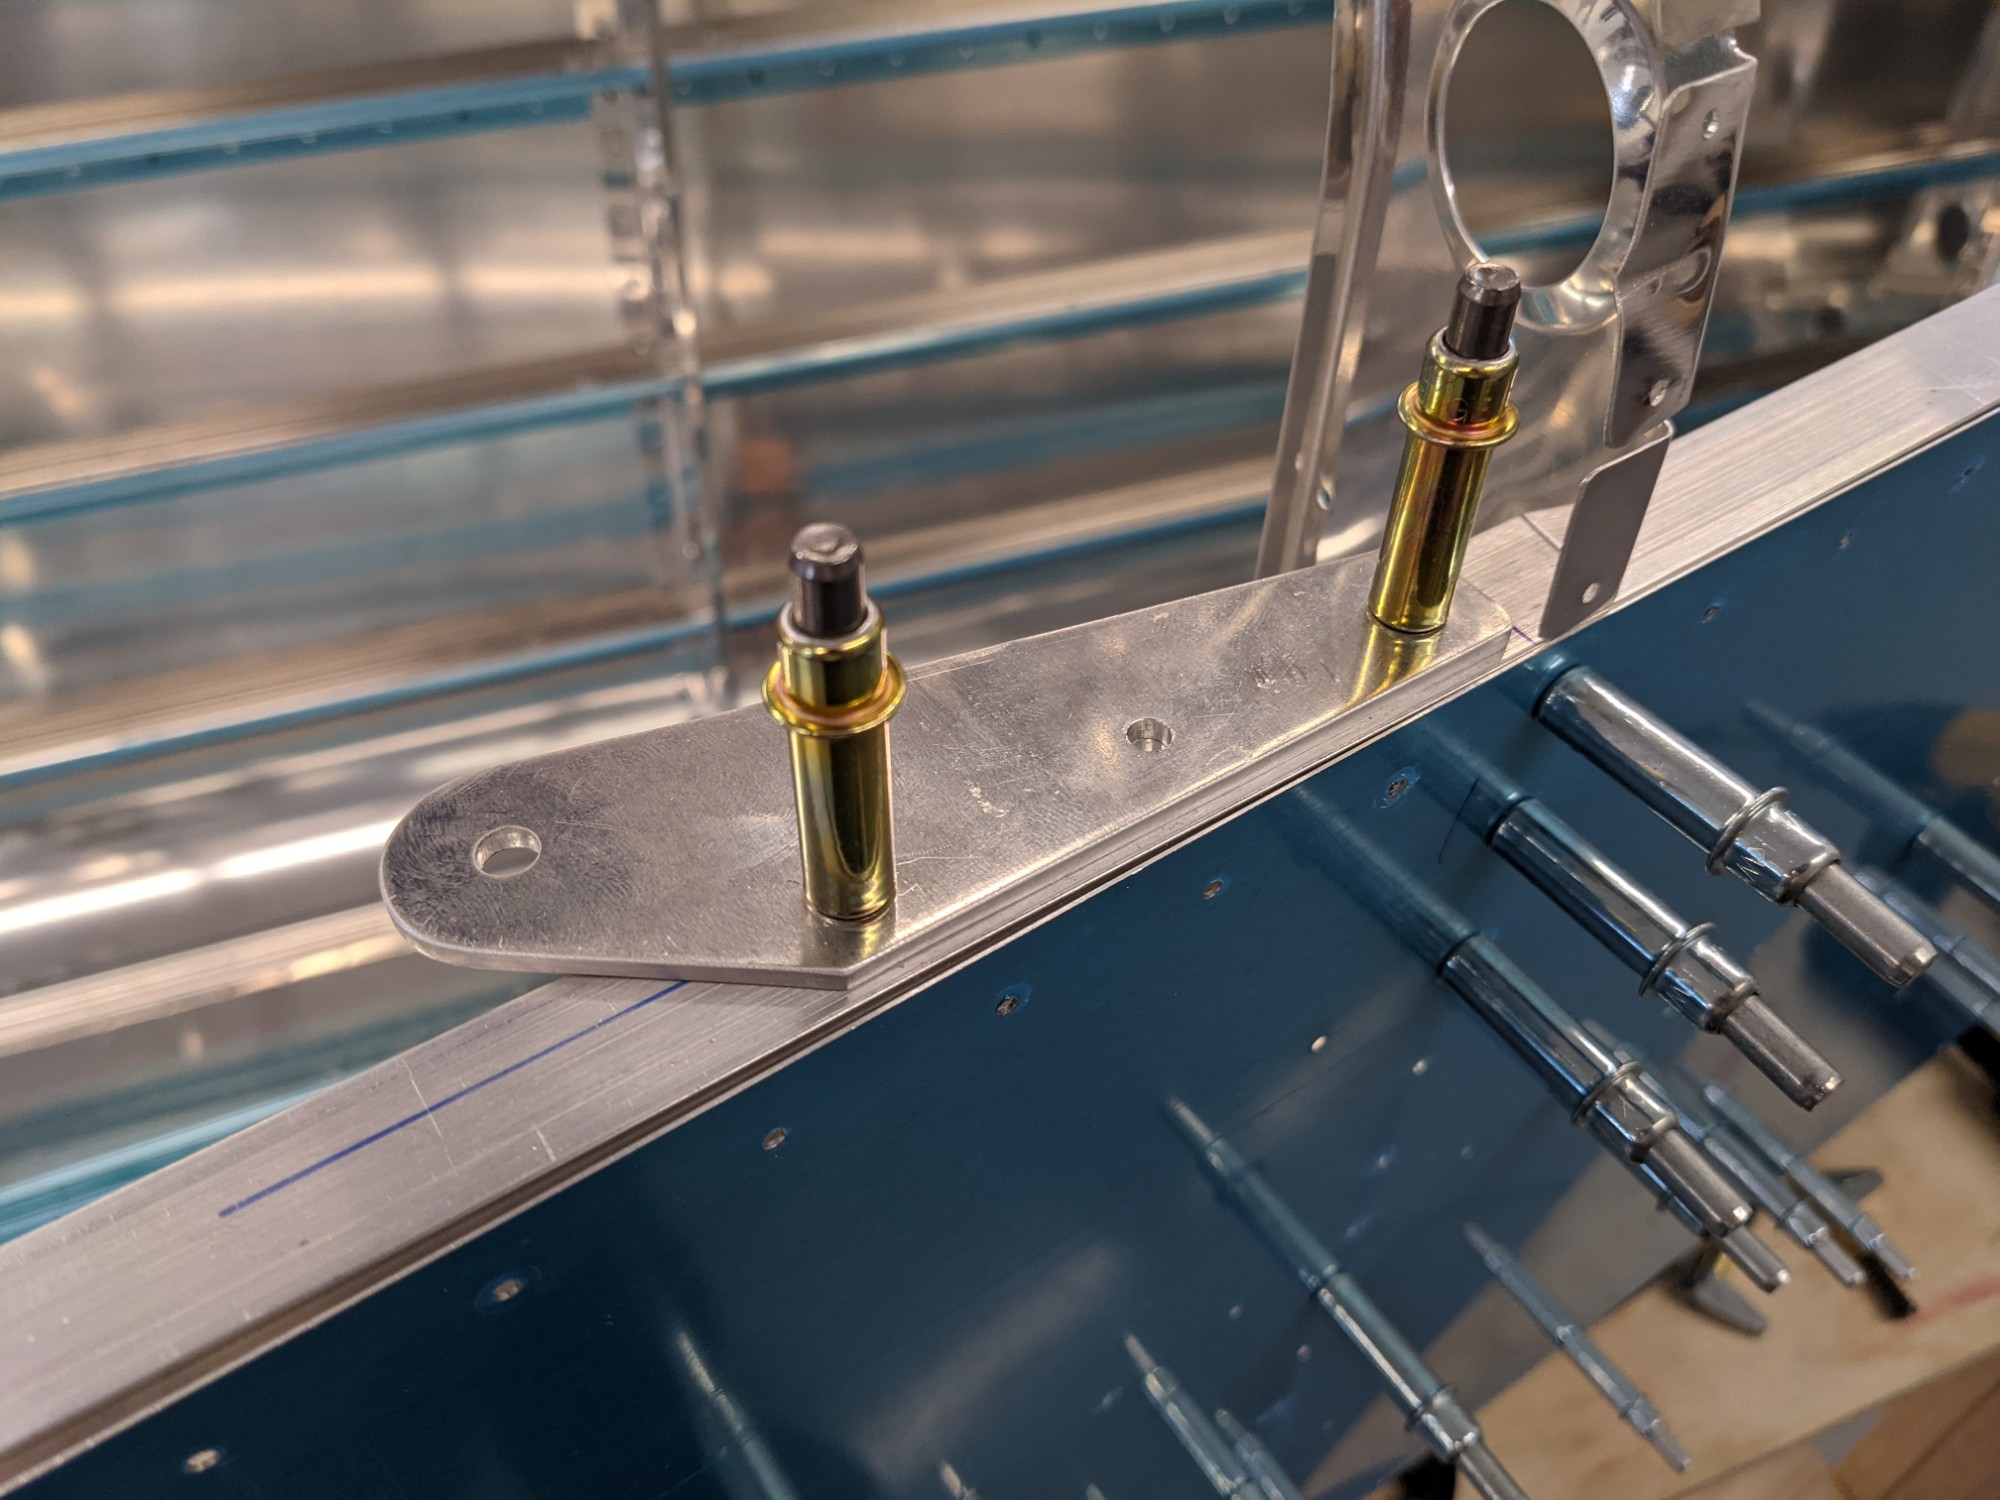
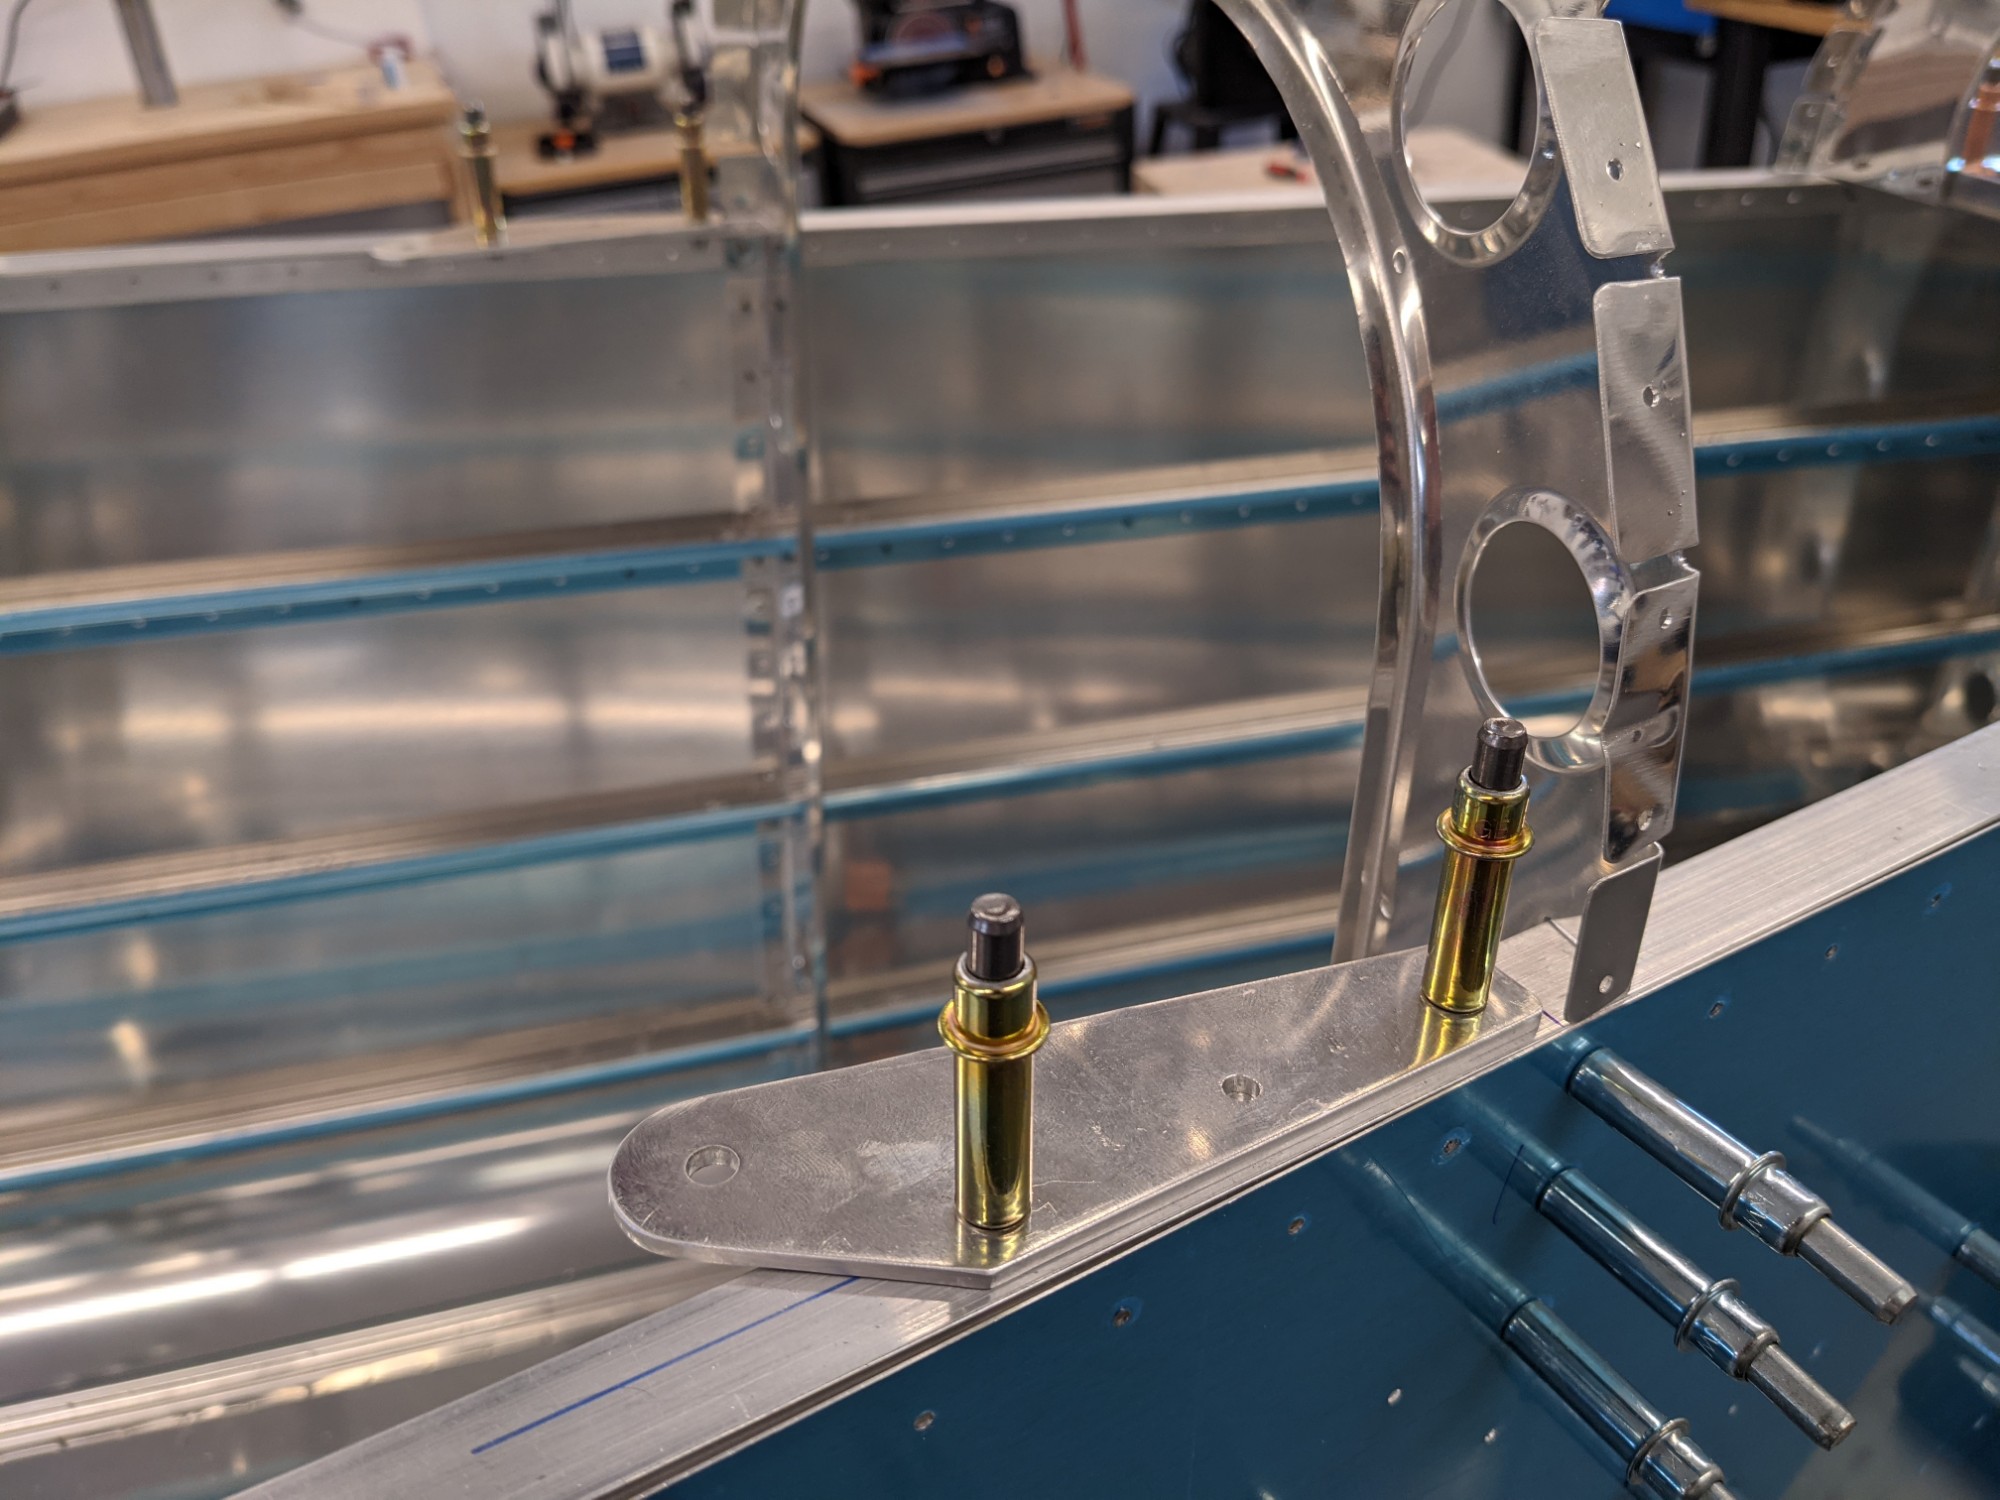
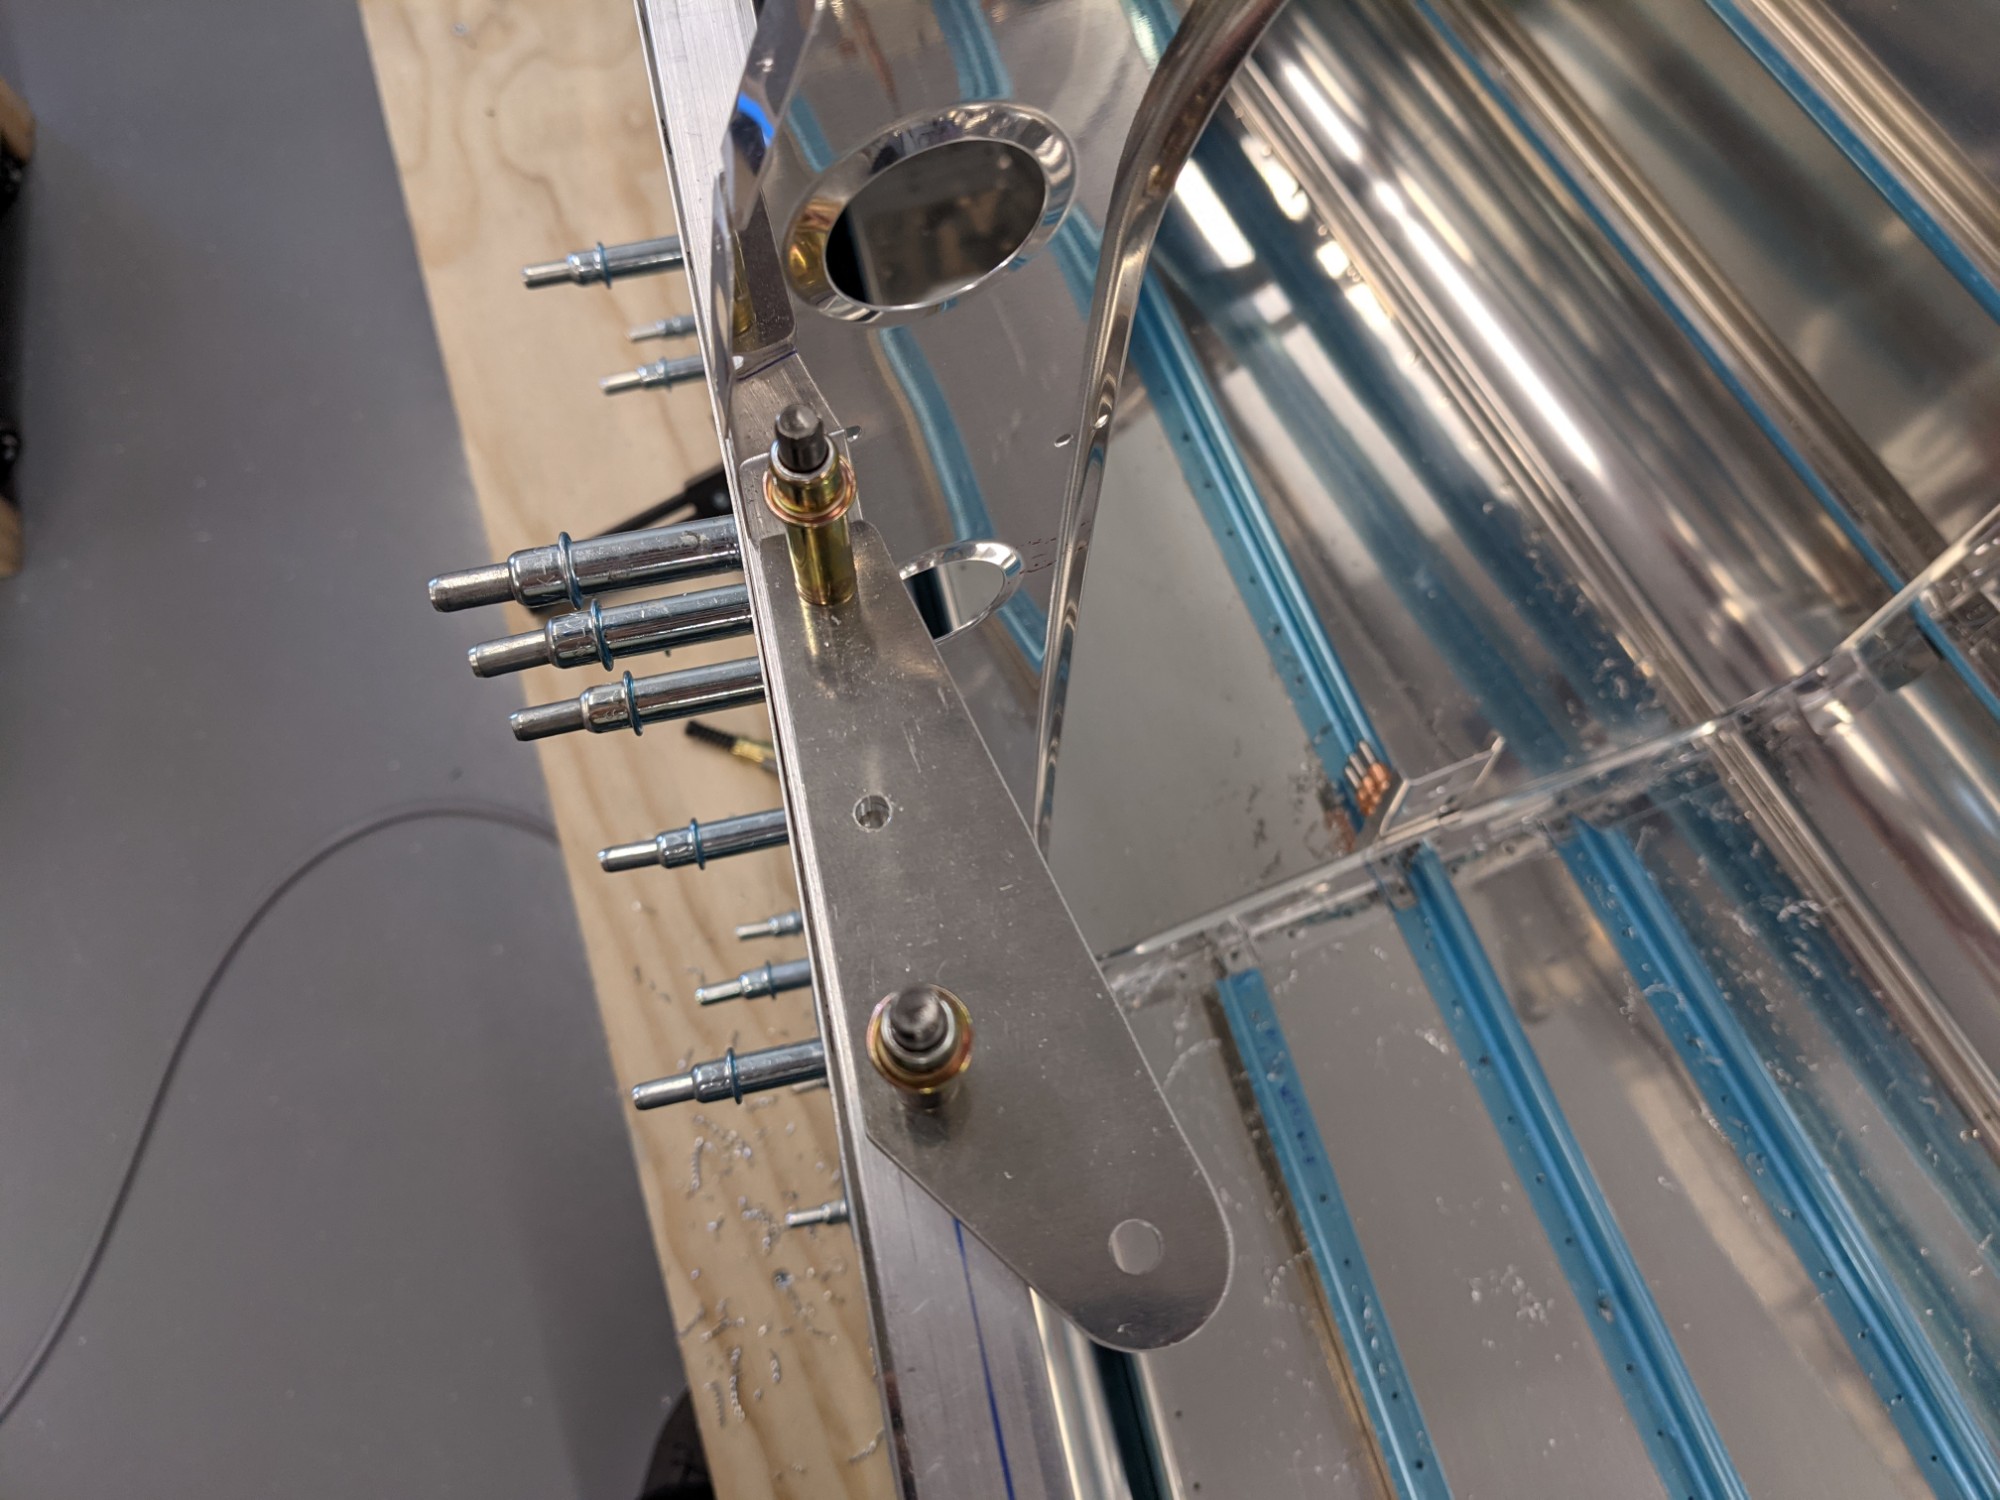
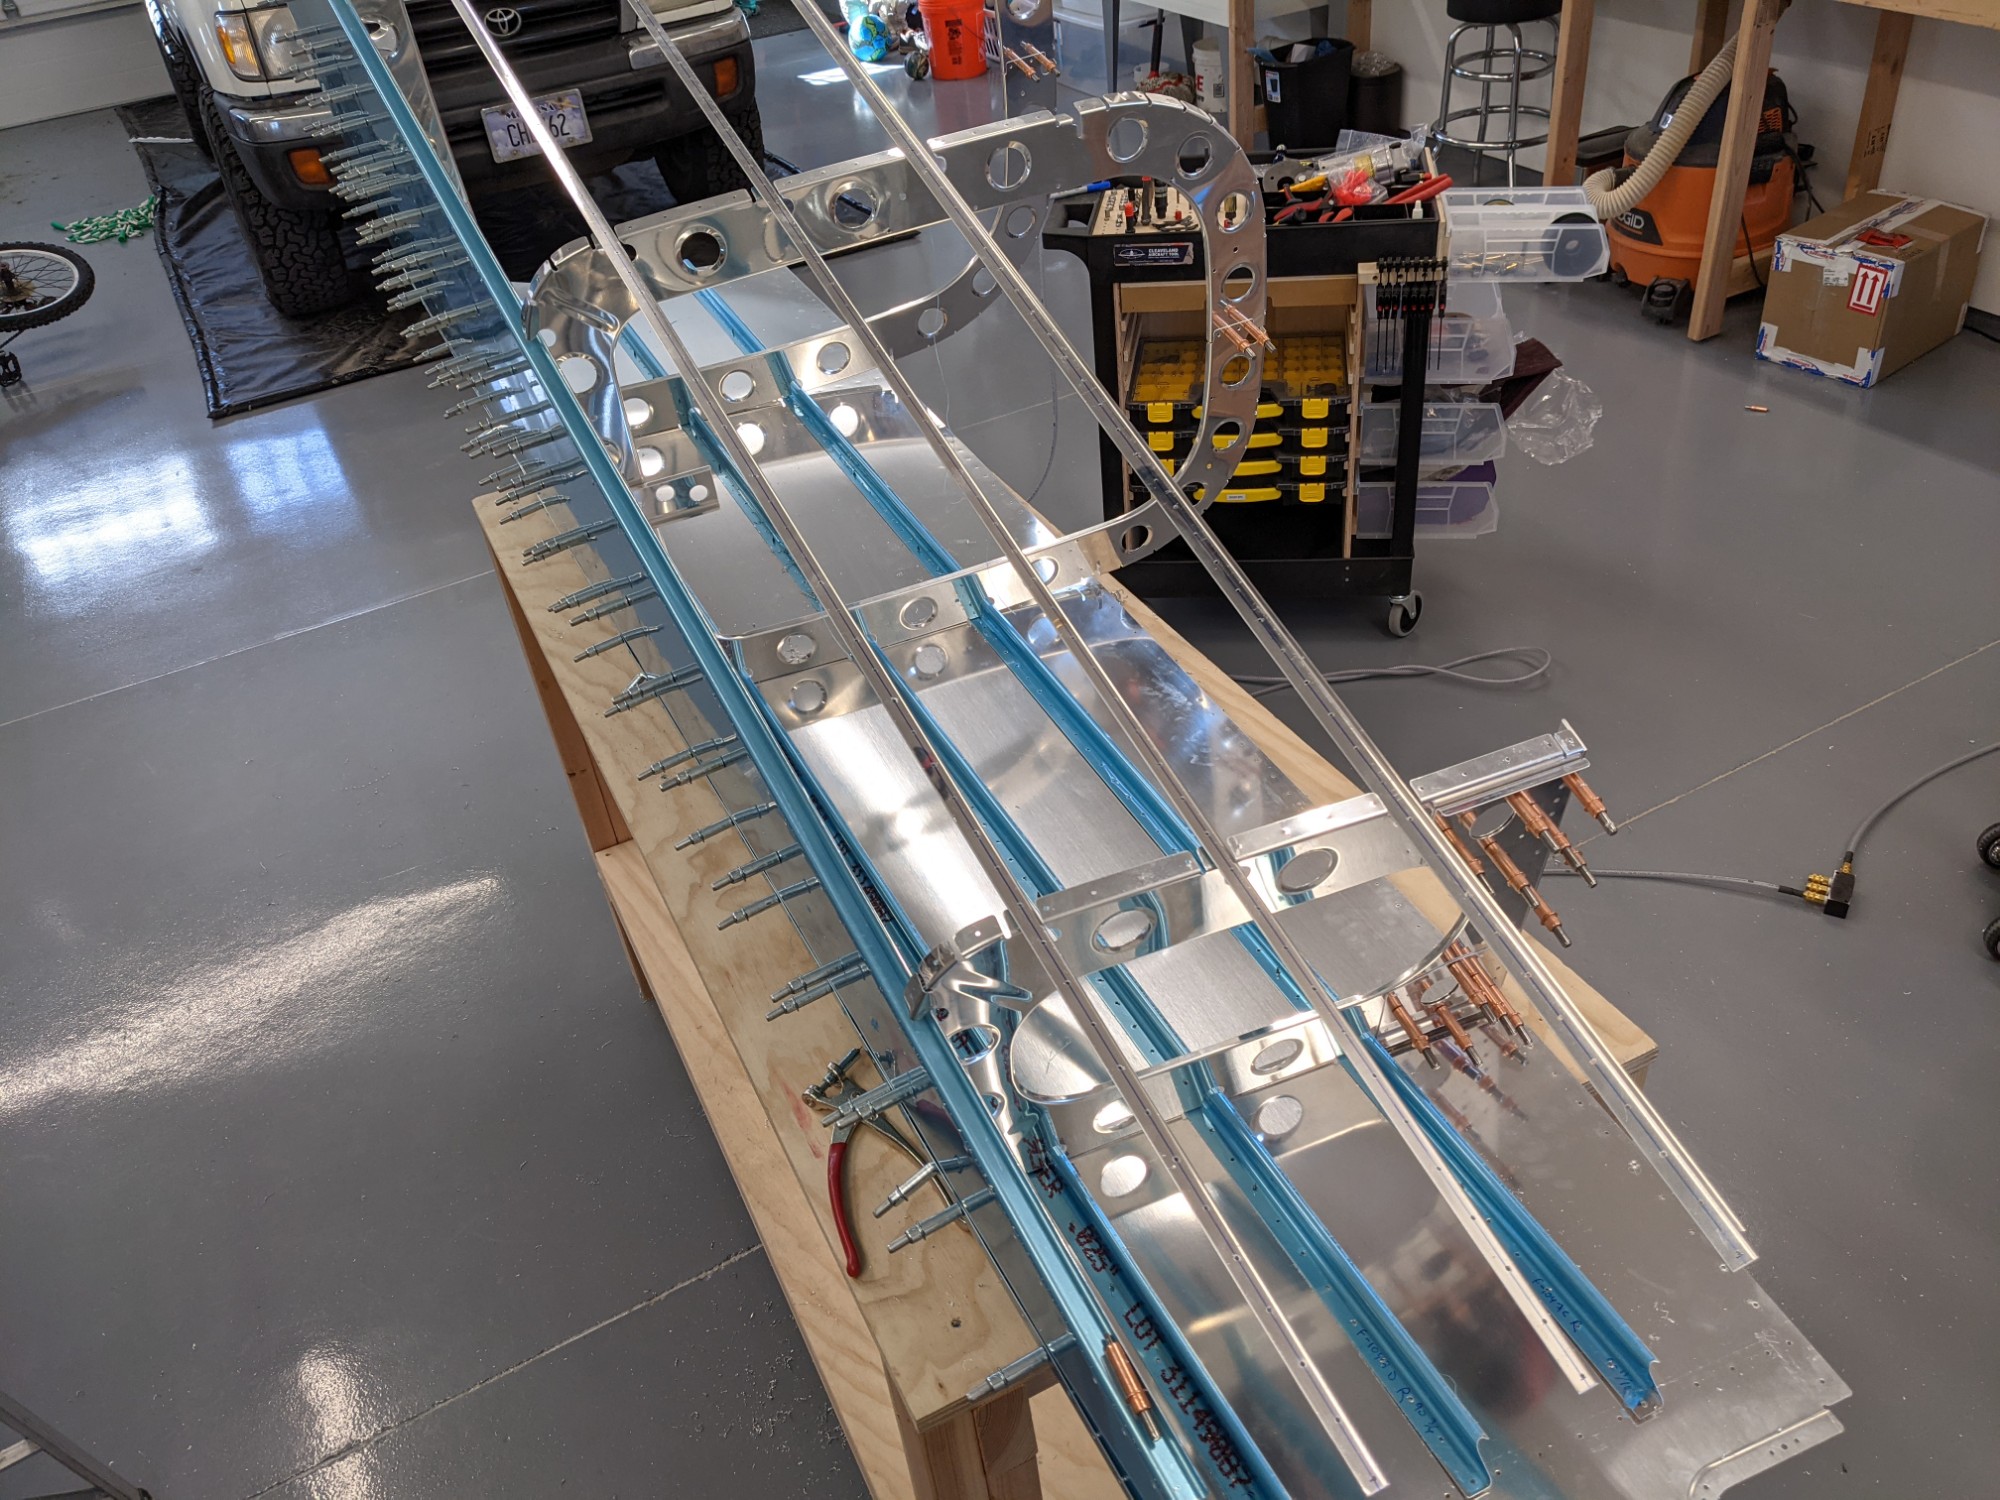
I then match drilled the seat belt anchors to the longerons. The plans have you offset the bracket by 1/8″ inch from the apex of the longeron. I measured against some scrap and determined that I could reduce the offset by a 16th and have sufficient offset for the washer to lay flat on the longeron. This gave me slightly more edge distance so I adjusted the position accordingly.
I matched drilled with a #13 drill but and reamed to final size with a 3/16″ reamer.
![](https://airplane.allanglen.com/wp-content/uploads/2021/03/pxl_20210310_2049045702806283944342162450.jpg)
![](https://airplane.allanglen.com/wp-content/uploads/2021/03/pxl_20210310_2049105972920719283210731743.jpg)
![](https://airplane.allanglen.com/wp-content/uploads/2021/03/pxl_20210310_2049240086109949215405592065.jpg)
And now it all gets taken apart..
![](https://airplane.allanglen.com/wp-content/uploads/2021/03/pxl_20210310_21361576033482582153711949.jpg)
![](https://airplane.allanglen.com/wp-content/uploads/2021/03/pxl_20210310_2136195826175352995972831716.jpg)
![](https://airplane.allanglen.com/wp-content/uploads/2021/03/pxl_20210310_2156107677375171239566706635.jpg)
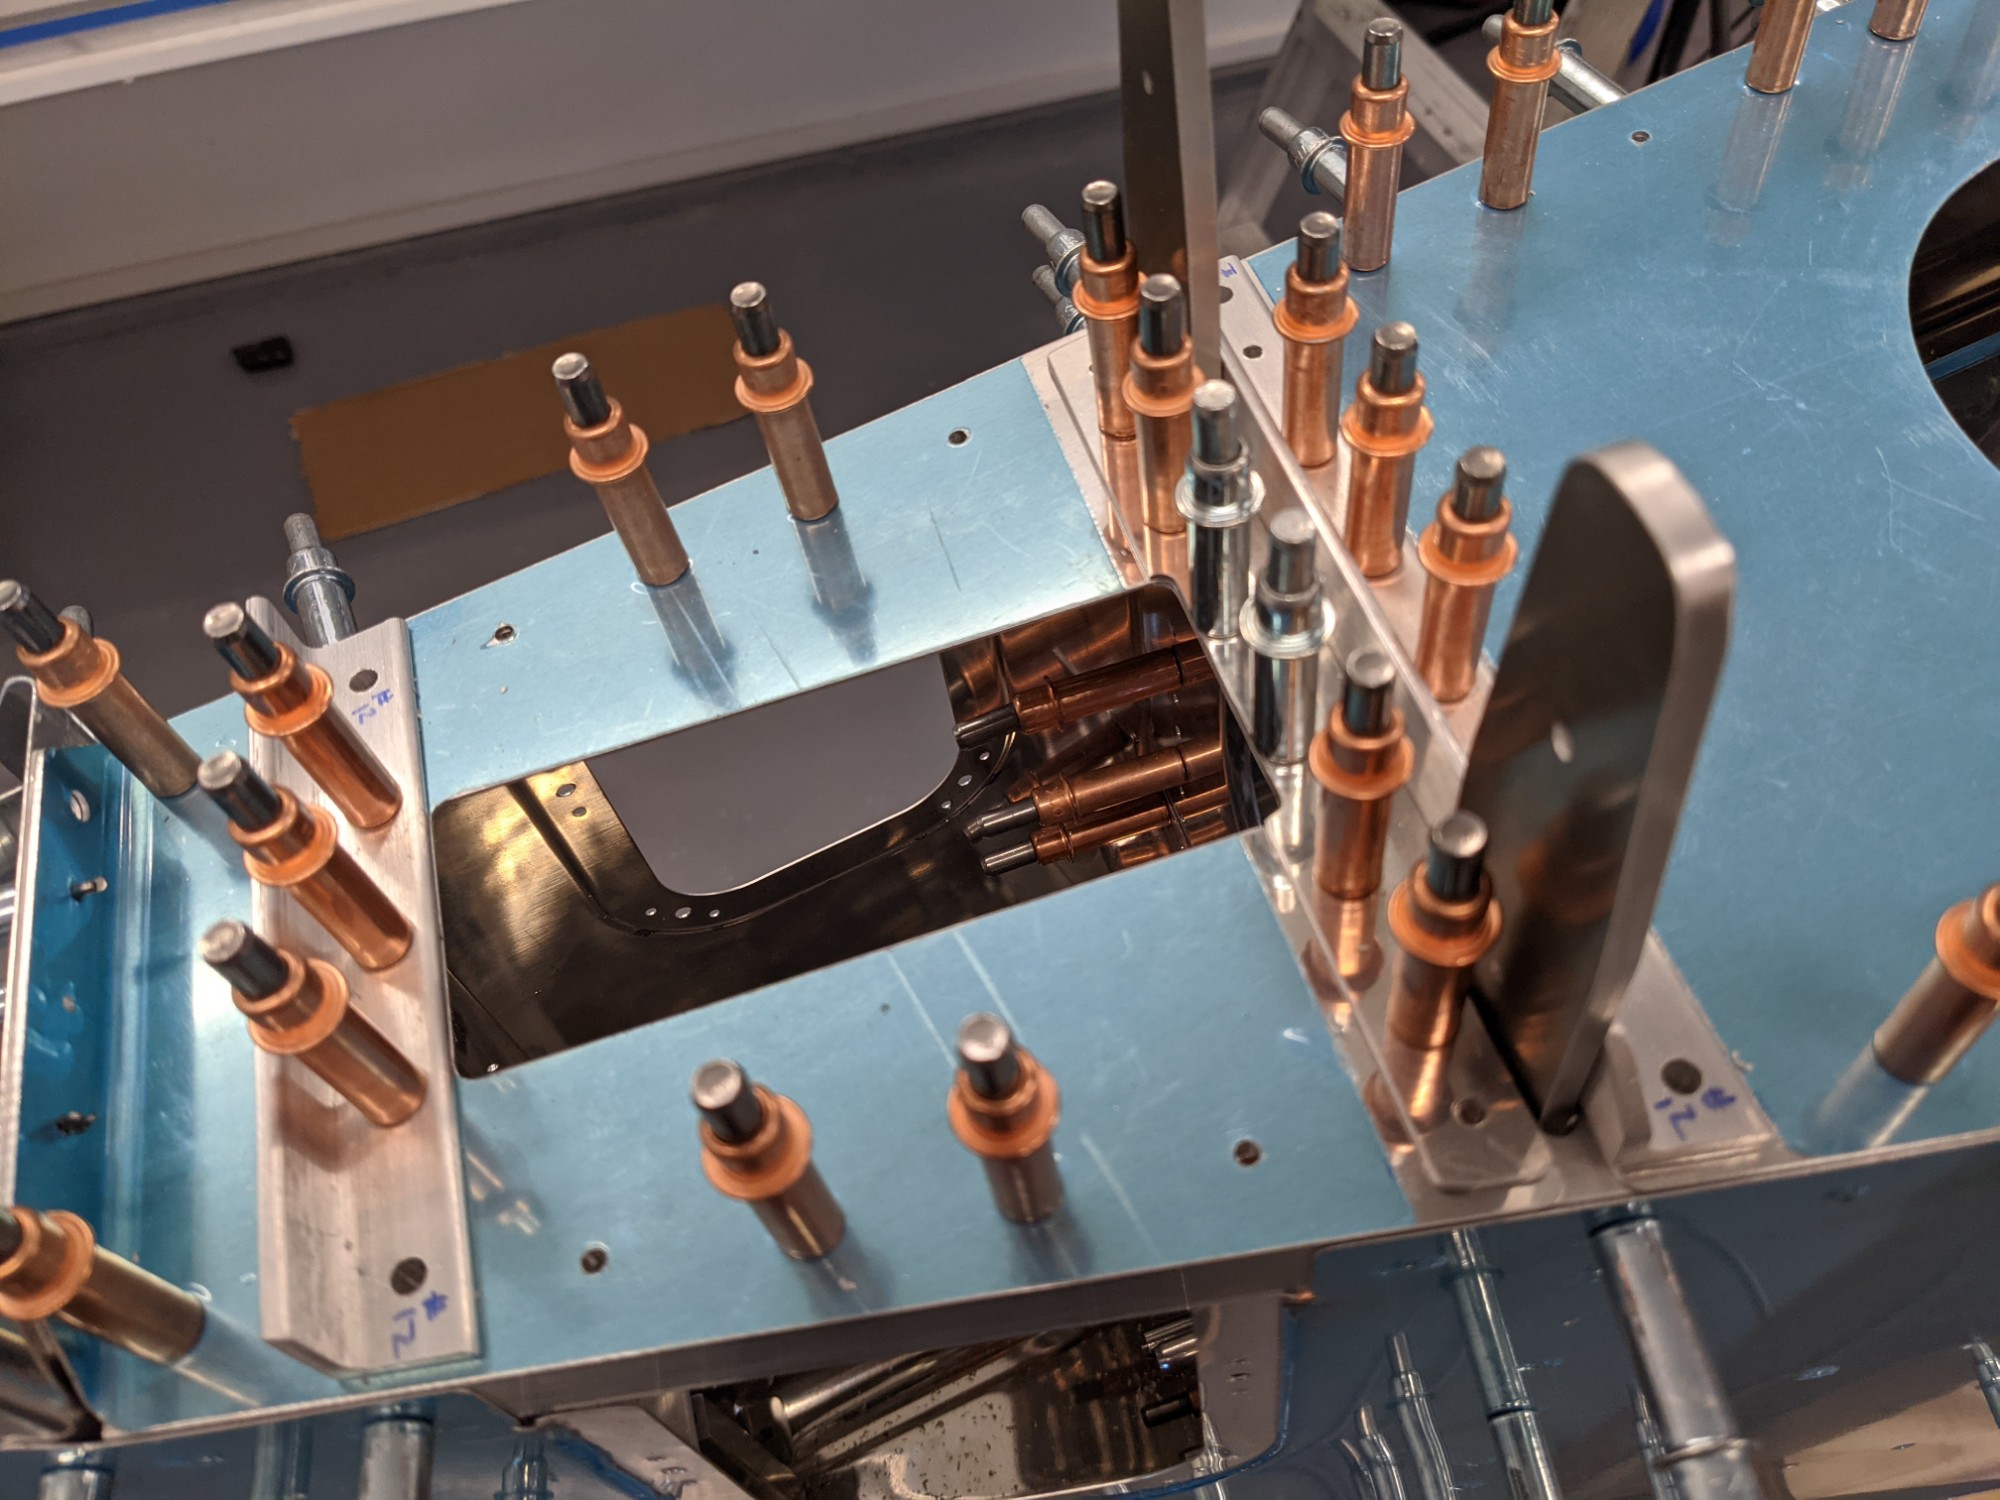
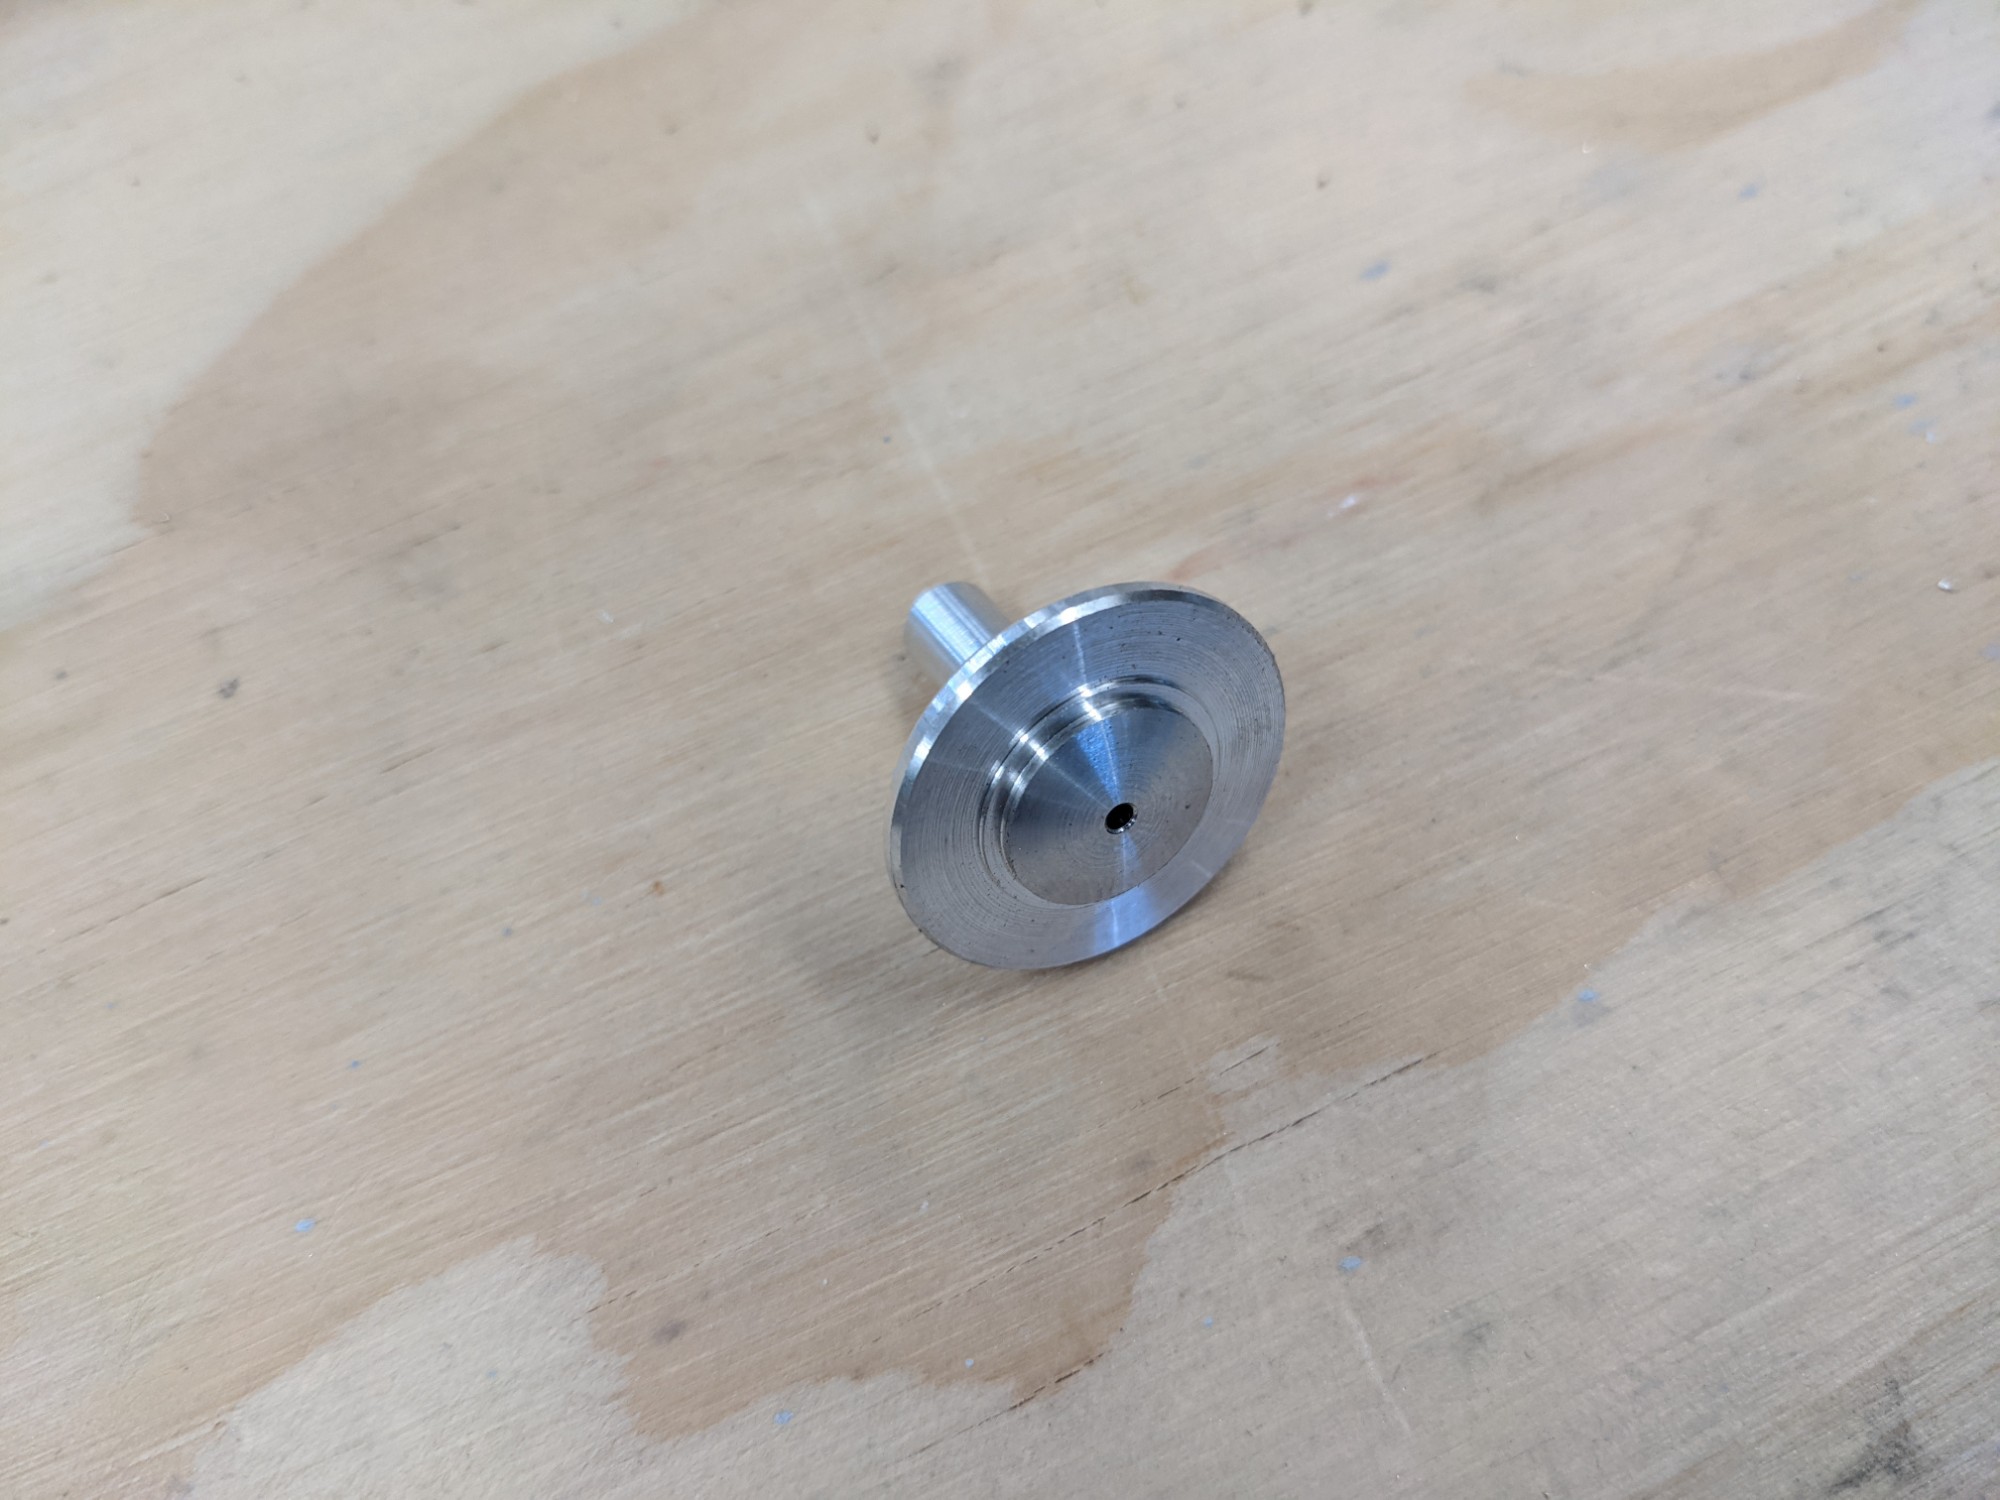
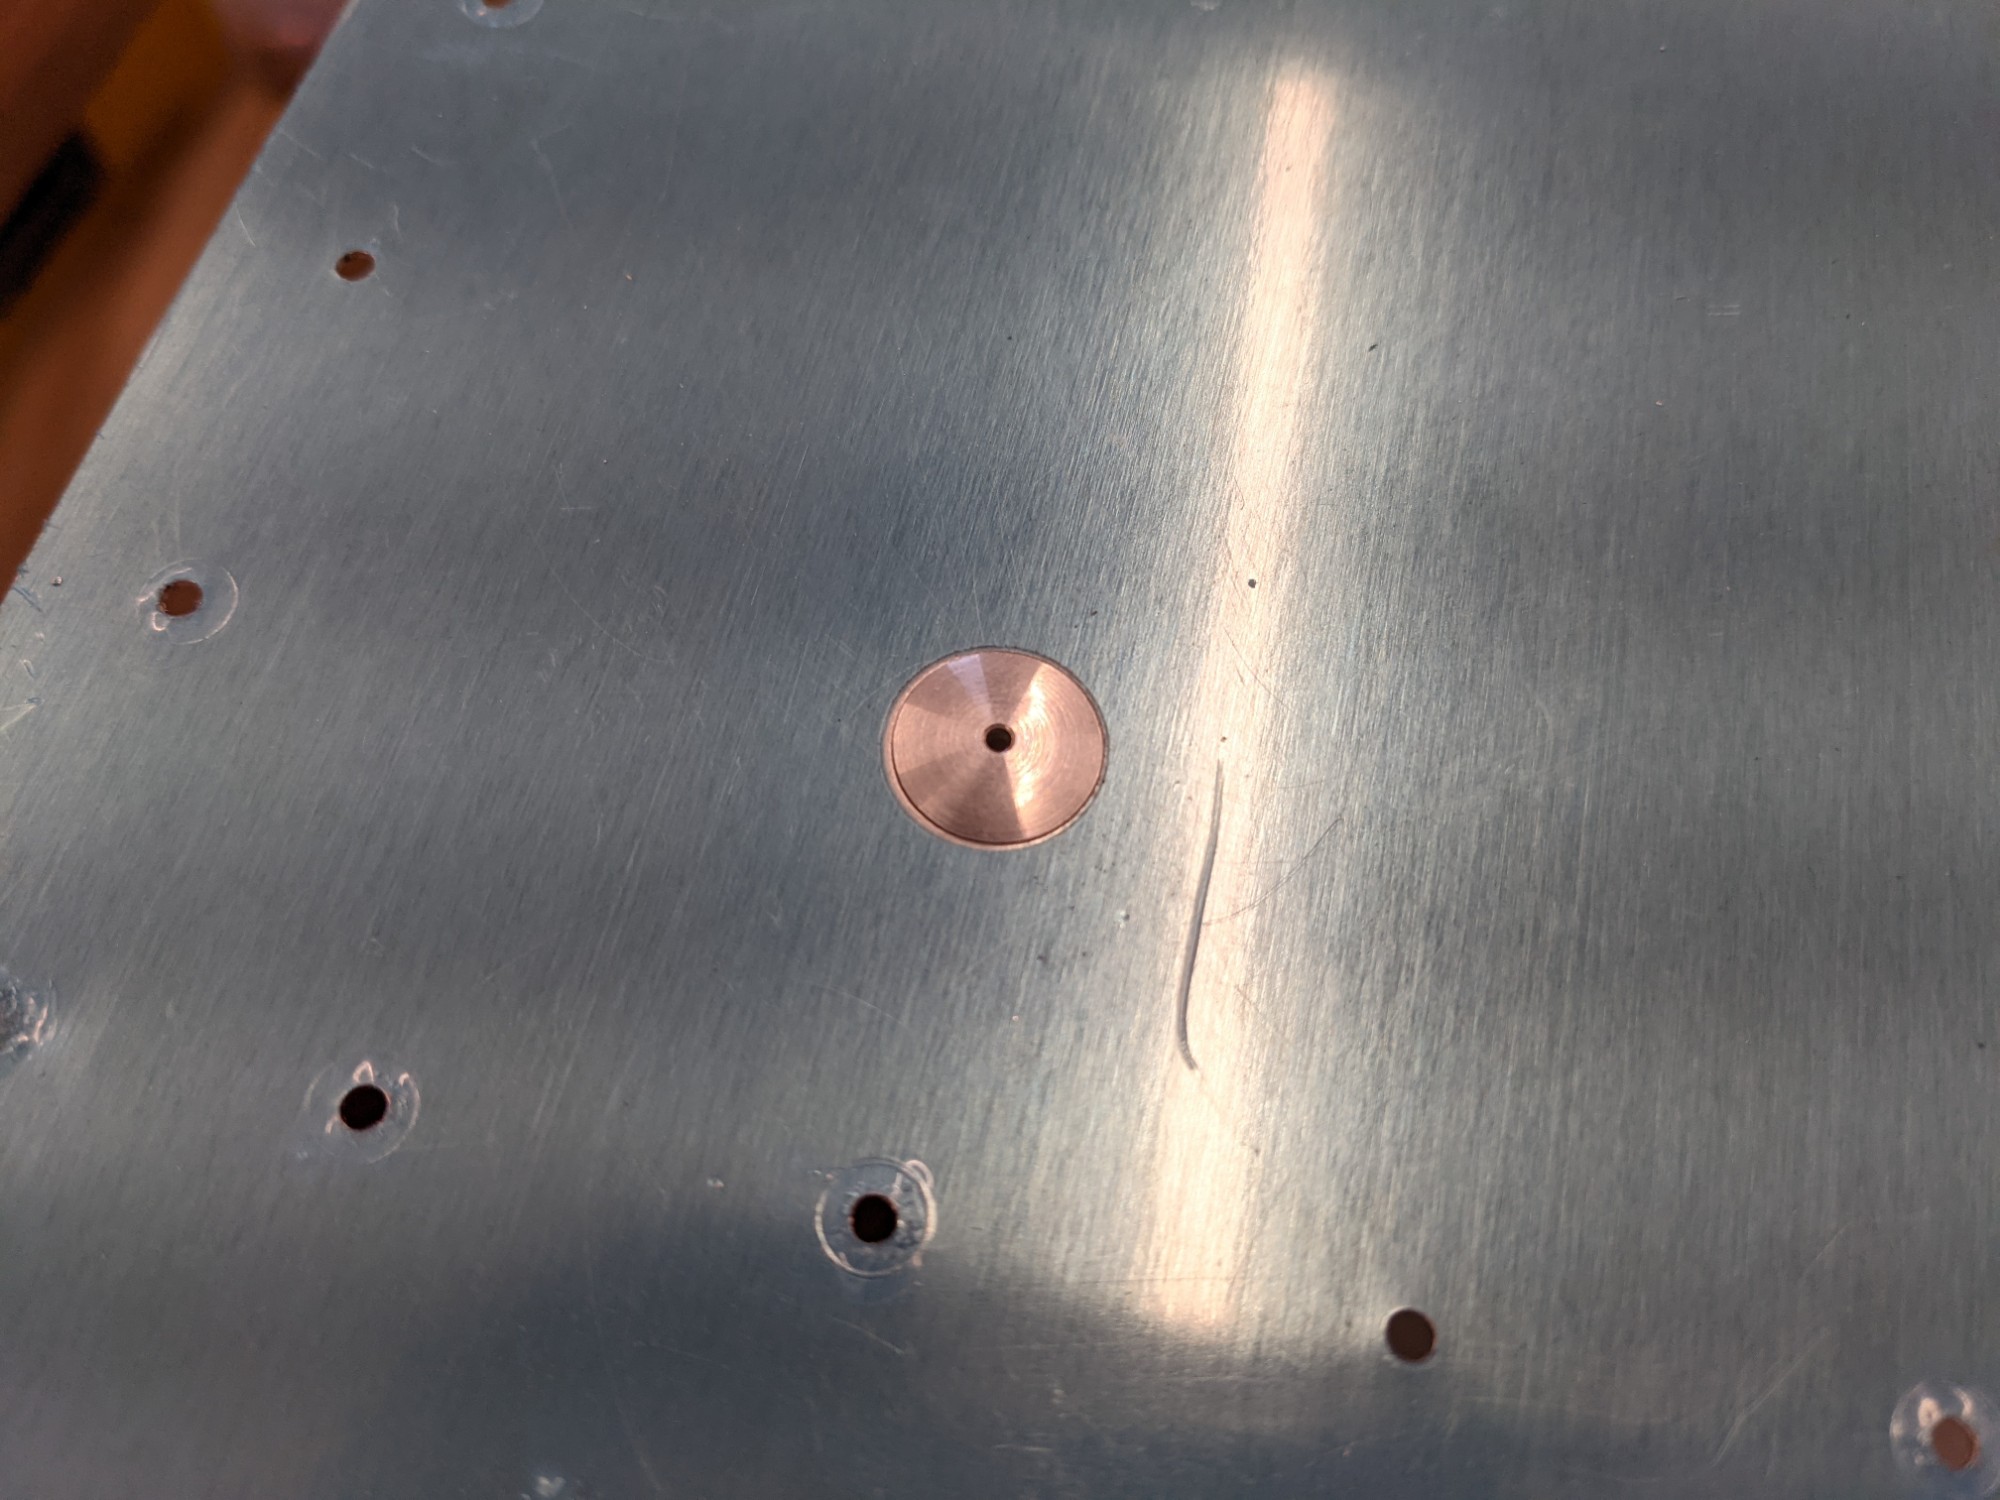
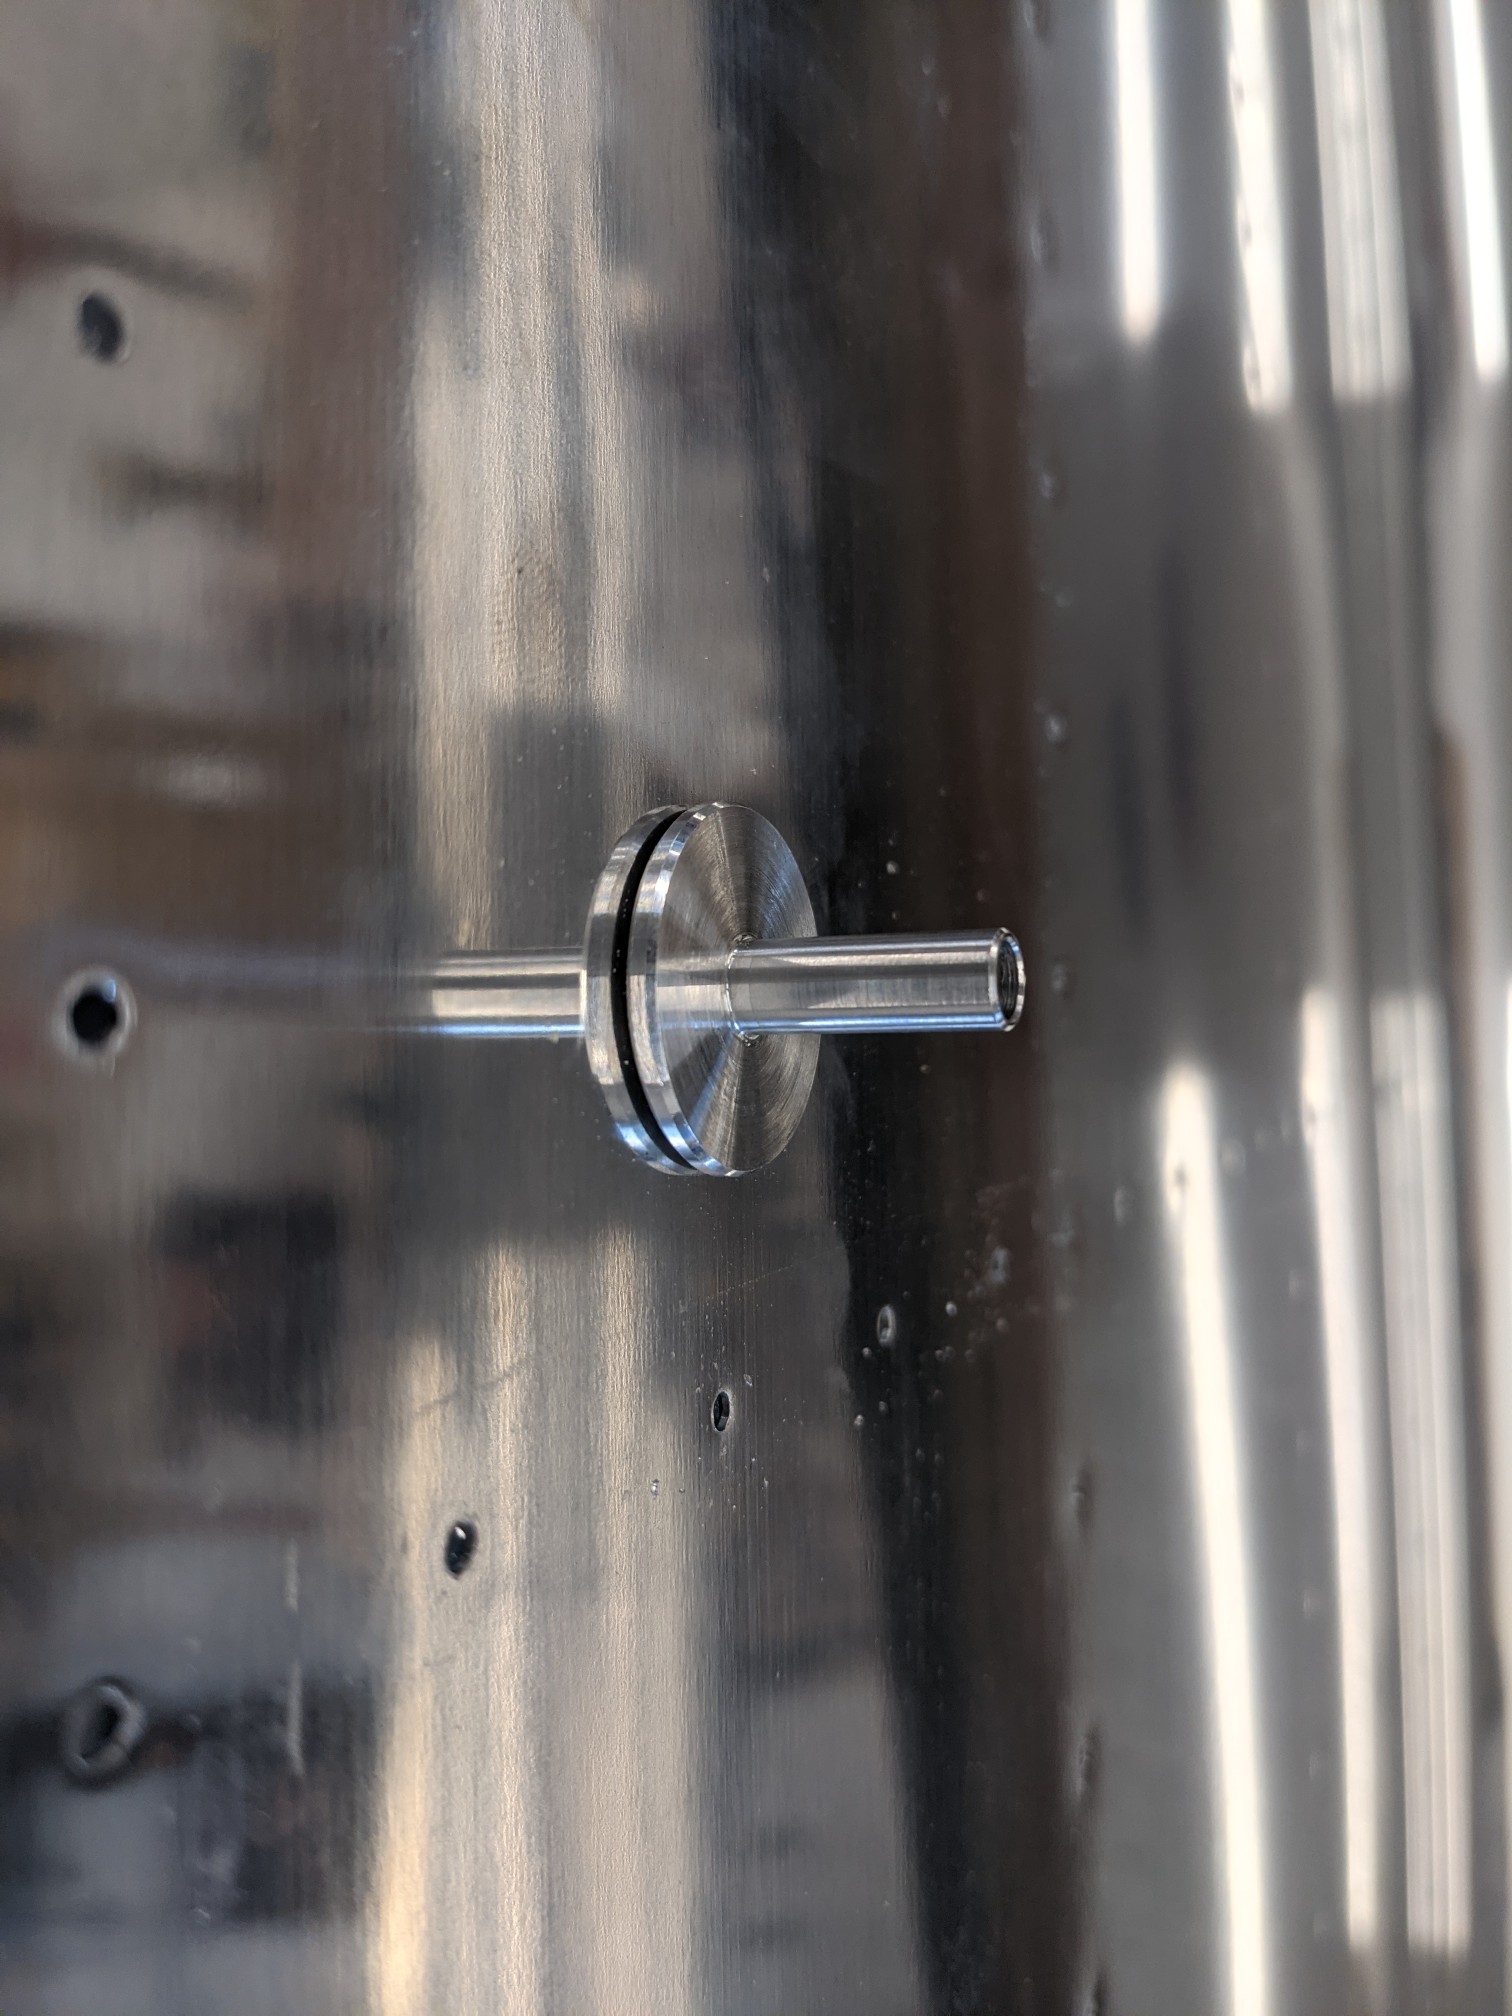
I am installing the Cleaveland Aircraft Tool static ports so I upsized the holes to 1/2″ to fit the machined ports. The static ports have a secondary flange to provide a gap for the adhesive that bonds them to the skin. I’ll rough up this bonding area on the skin with sandpaper and mask it off before priming.
![](https://airplane.allanglen.com/wp-content/uploads/2021/03/pxl_20210310_2054451914380996807019602910.jpg)
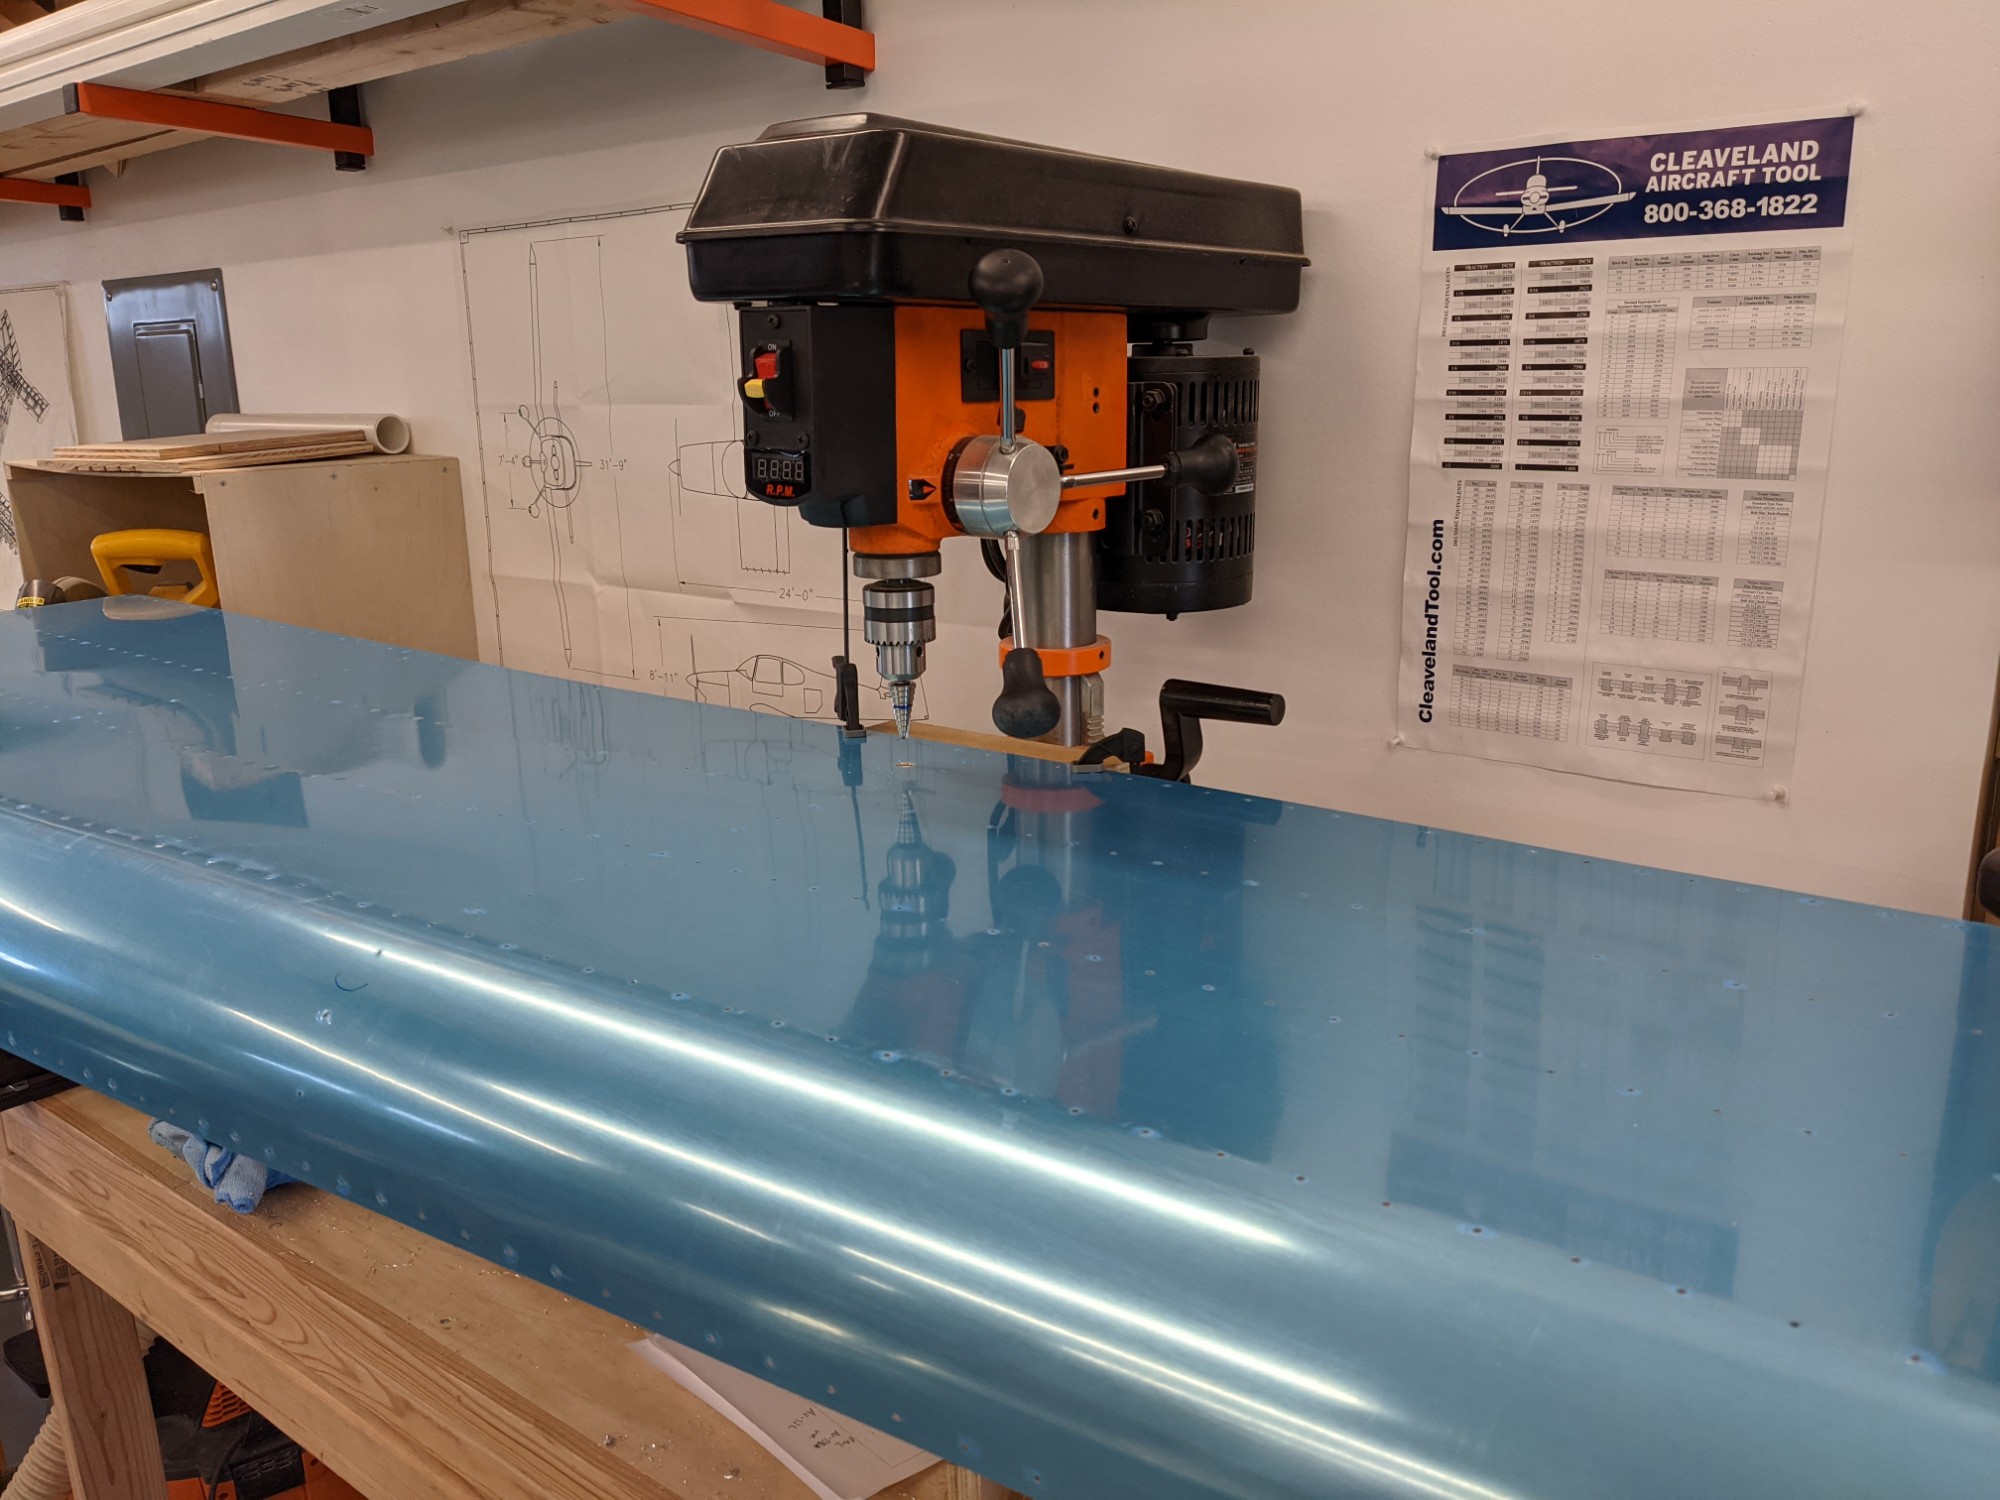
I used the drill press to upside these holes.
![](https://airplane.allanglen.com/wp-content/uploads/2021/03/pxl_20210310_2236184418422053130593590283.jpg)
Success.
![](https://airplane.allanglen.com/wp-content/uploads/2021/03/pxl_20210310_223251986304905033039905365.jpg)
![](https://airplane.allanglen.com/wp-content/uploads/2021/03/pxl_20210310_2238442541456197778035509455.jpg)
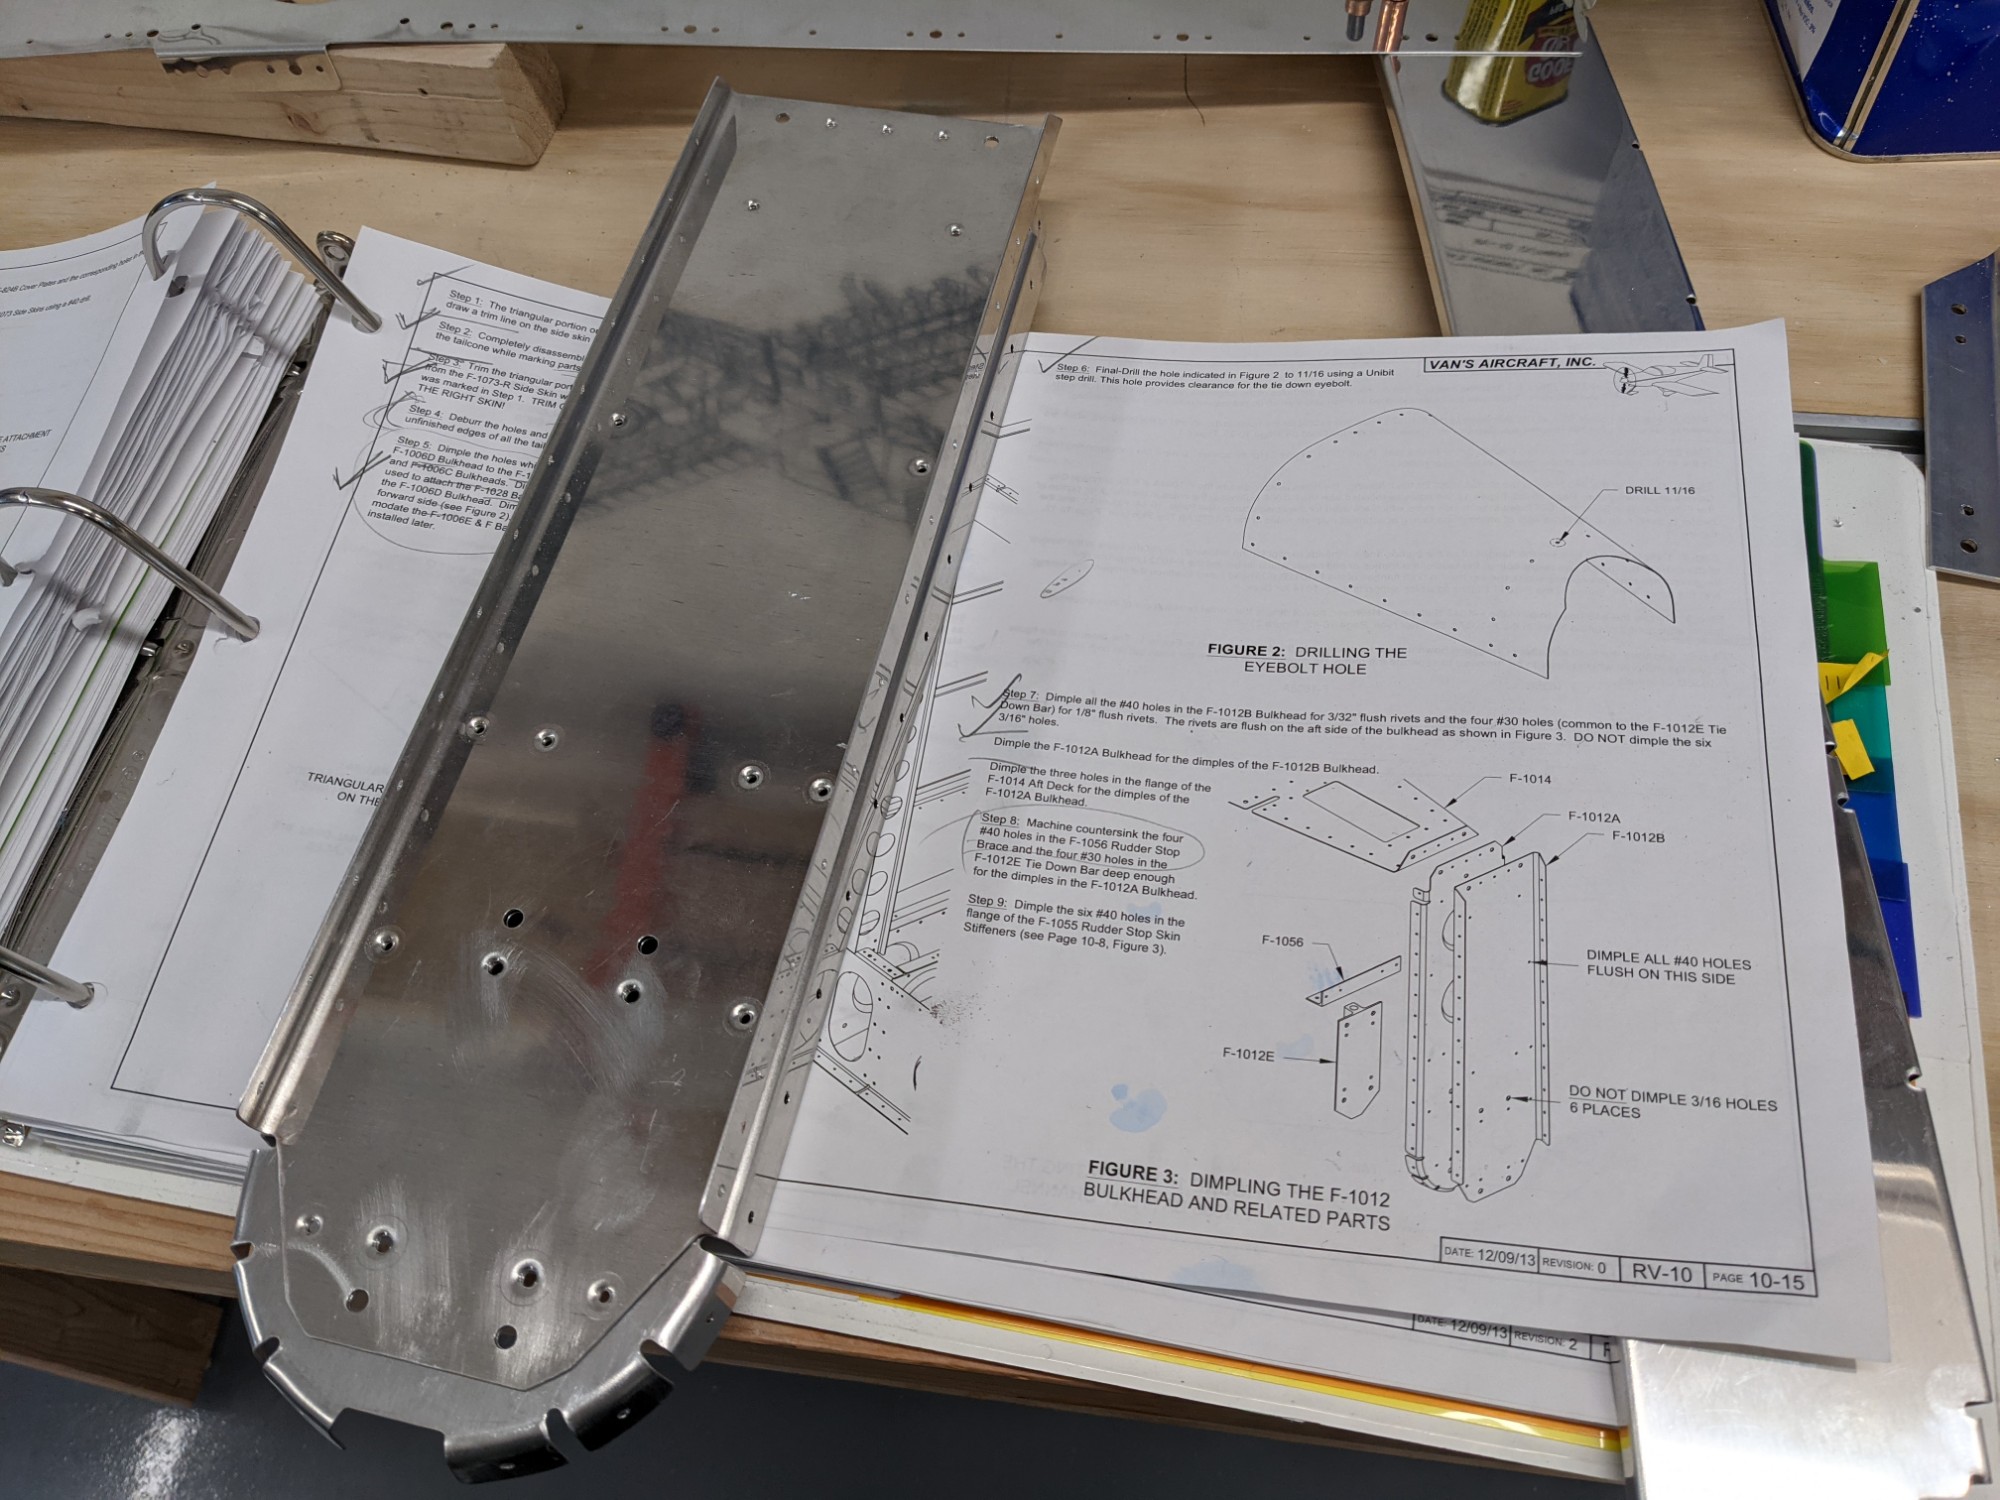
I upsized the hole for the tie down ring using a step drill on the drill press.
![](https://airplane.allanglen.com/wp-content/uploads/2021/03/pxl_20210310_225413663264870502736995332.jpg)
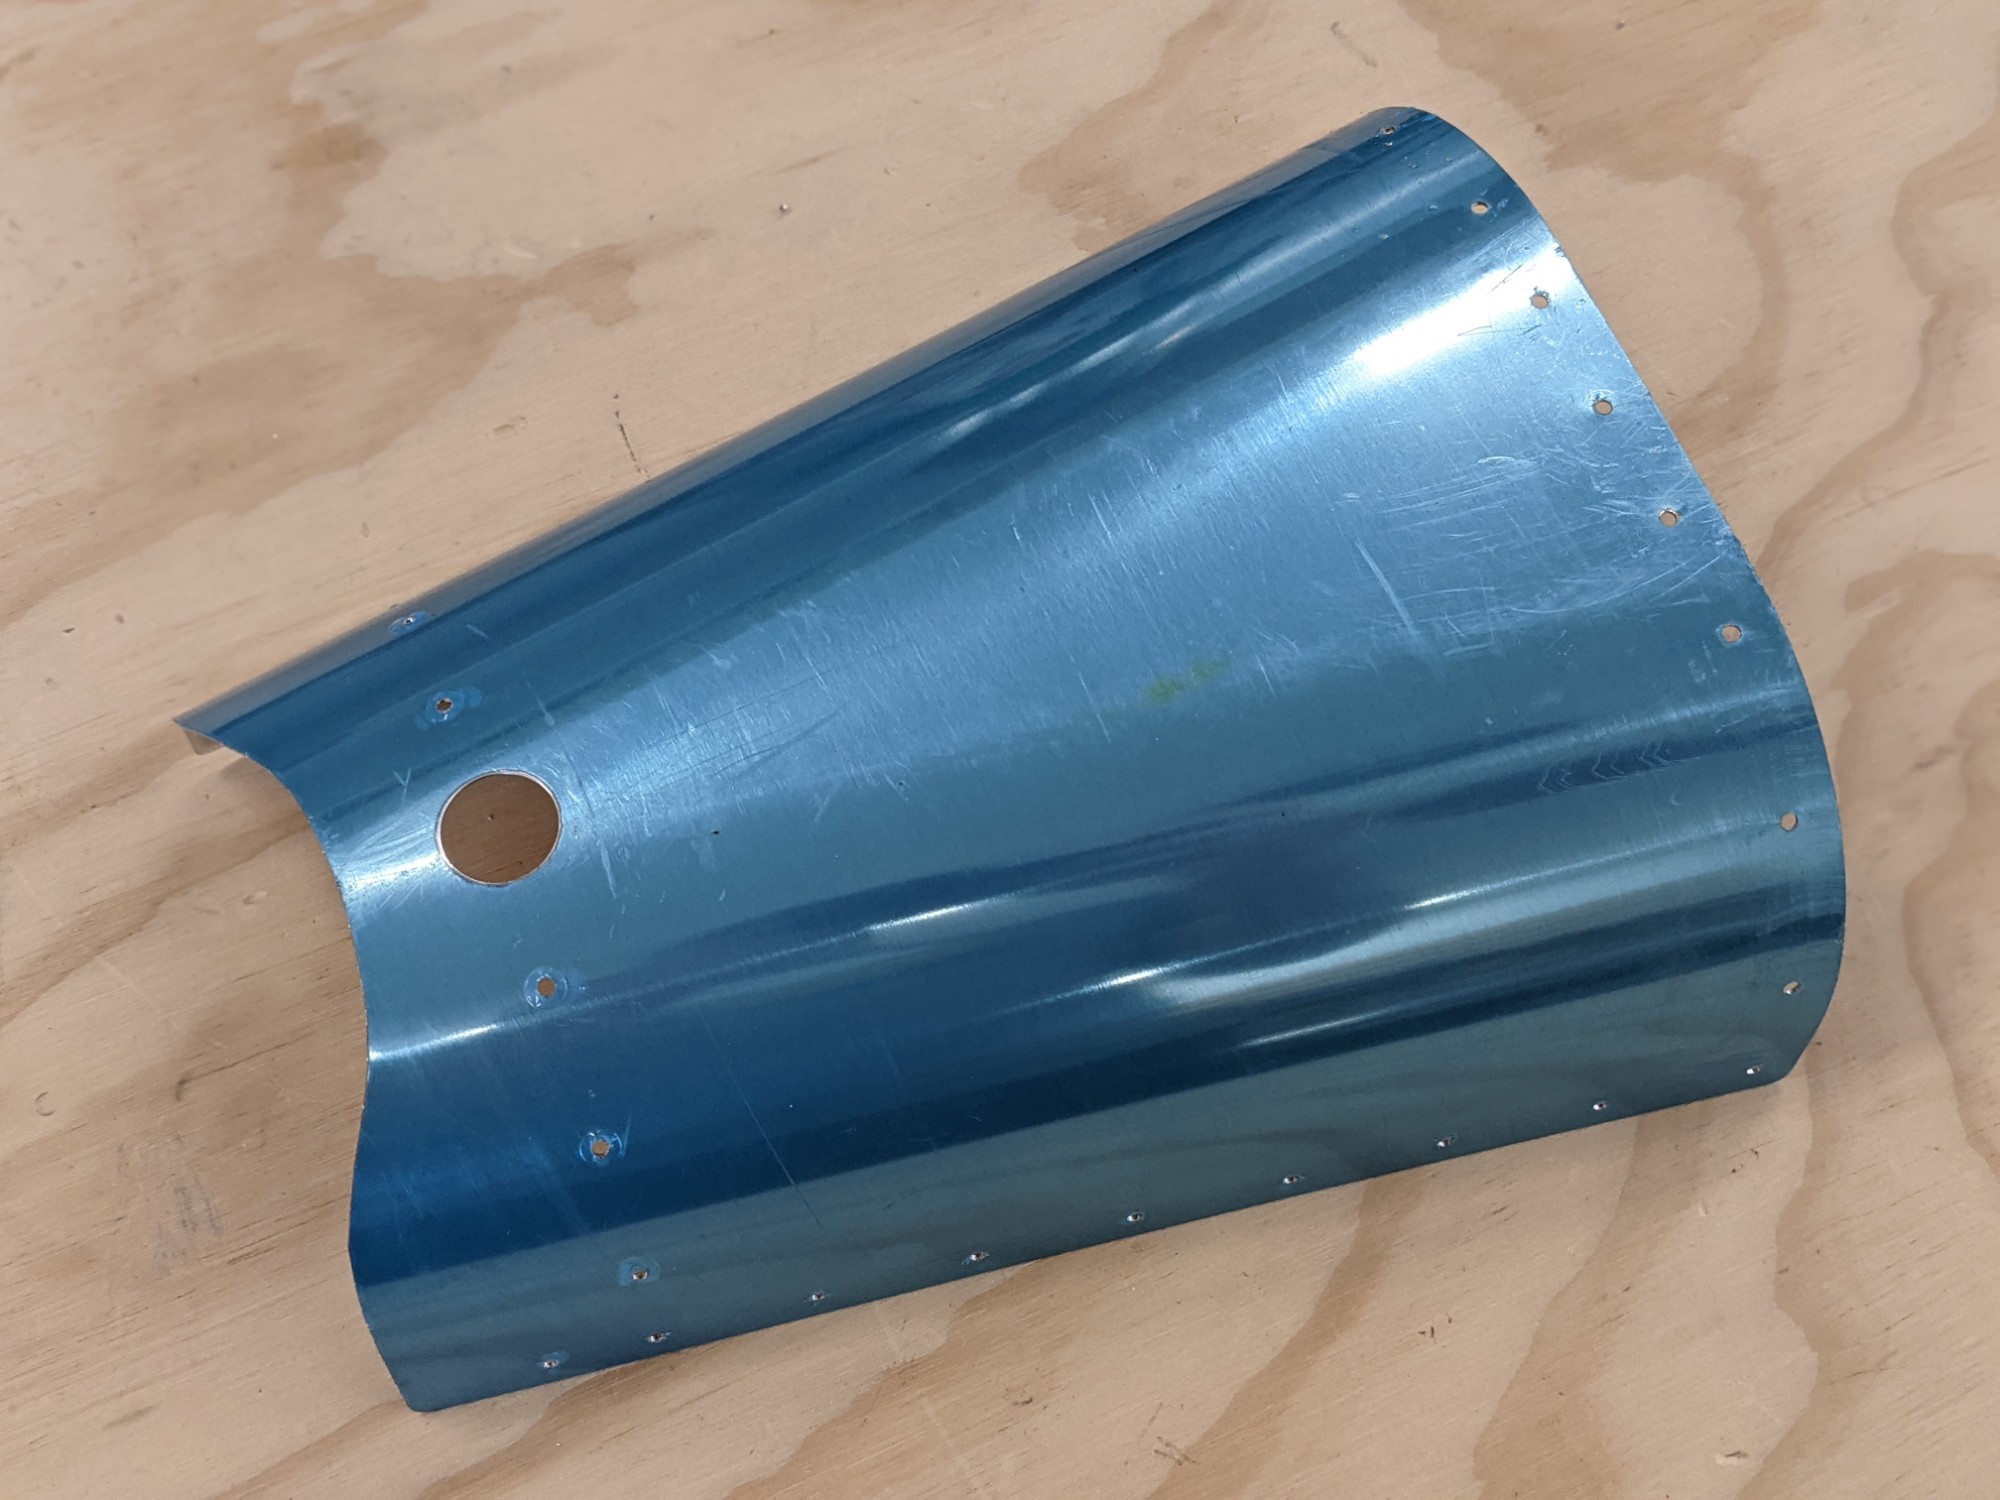
I then trimmed off the forward triangle on the right skin. Amber helped me support the skin while I made the cut on the bandsaw.
![](https://airplane.allanglen.com/wp-content/uploads/2021/03/PXL_20210310_230153232-1536x2048.jpg)
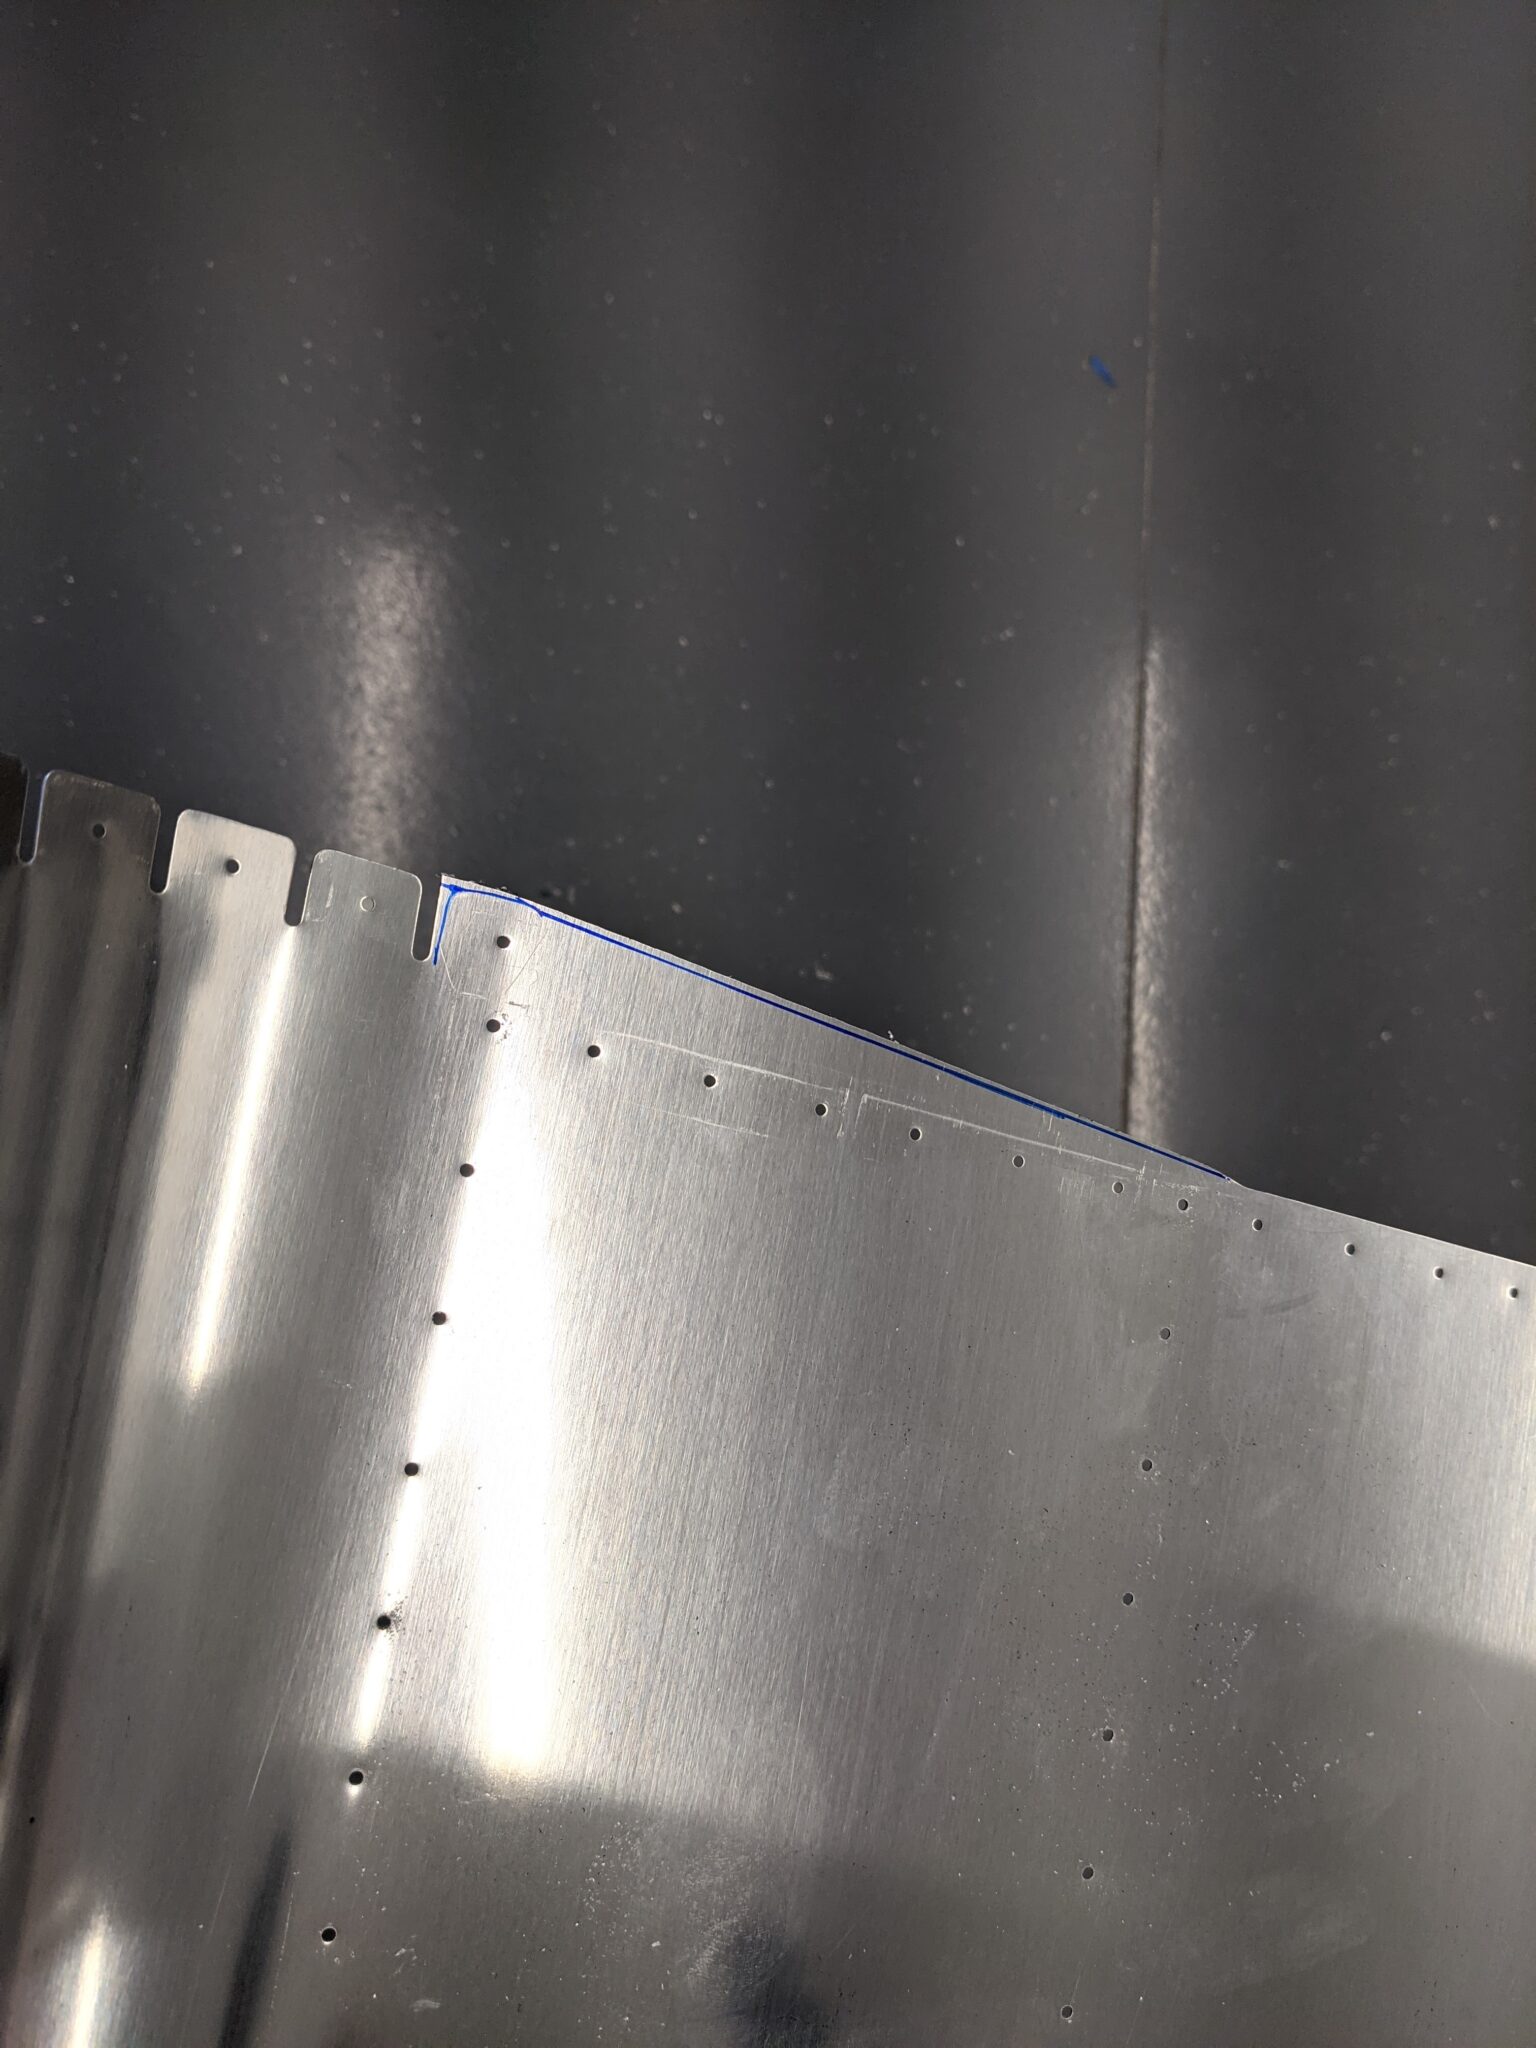
I then finished the edge with a vixen file and some sandpaper.
![](https://airplane.allanglen.com/wp-content/uploads/2021/03/PXL_20210310_230318432-2048x1536.jpg)
![](https://airplane.allanglen.com/wp-content/uploads/2021/03/pxl_20210310_231808148979337365256003916.jpg)
![](https://airplane.allanglen.com/wp-content/uploads/2021/03/pxl_20210310_2318118761926670578050243023.jpg)
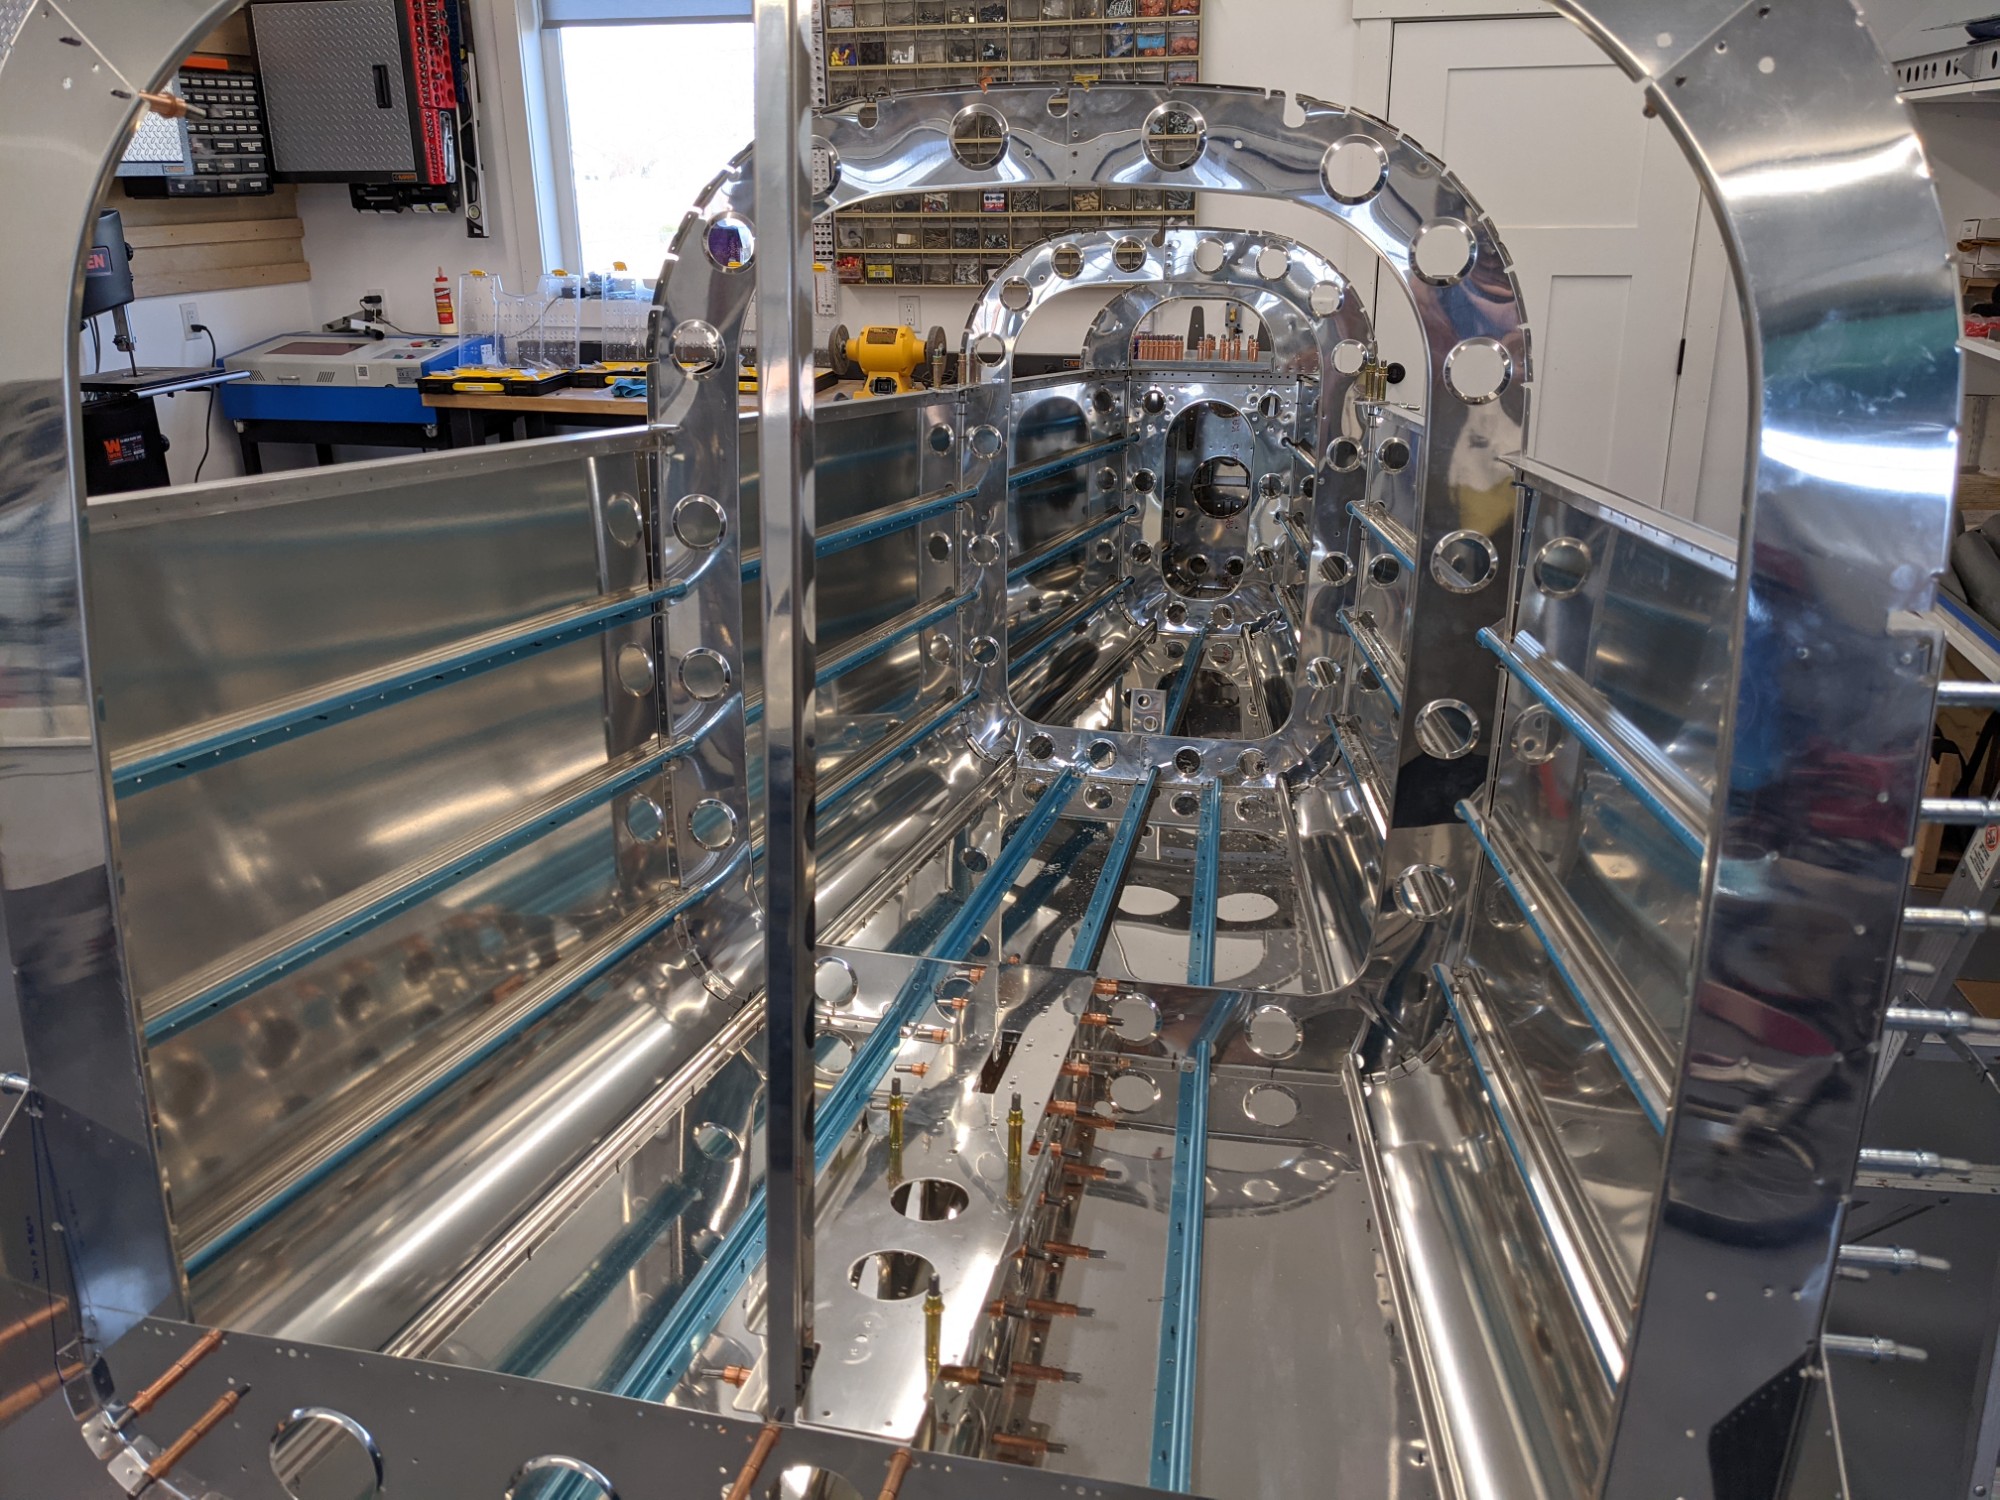
I started deburring parts and set them aside as I went for priming.
The rear bulkhead parts need some dimpling/countersinking for attaching the vertical stabilizer later. I got part of these completed and will finish them in a future work session.
![](https://airplane.allanglen.com/wp-content/uploads/2021/03/pxl_20210311_0053105422681474999956004591.jpg)