
While waiting for a longer drill bit to arrive, I jumped ahead to the next set of parts that need fabrication. These happen to be in the empennage attach section – the end of the empennage kit is in sight!
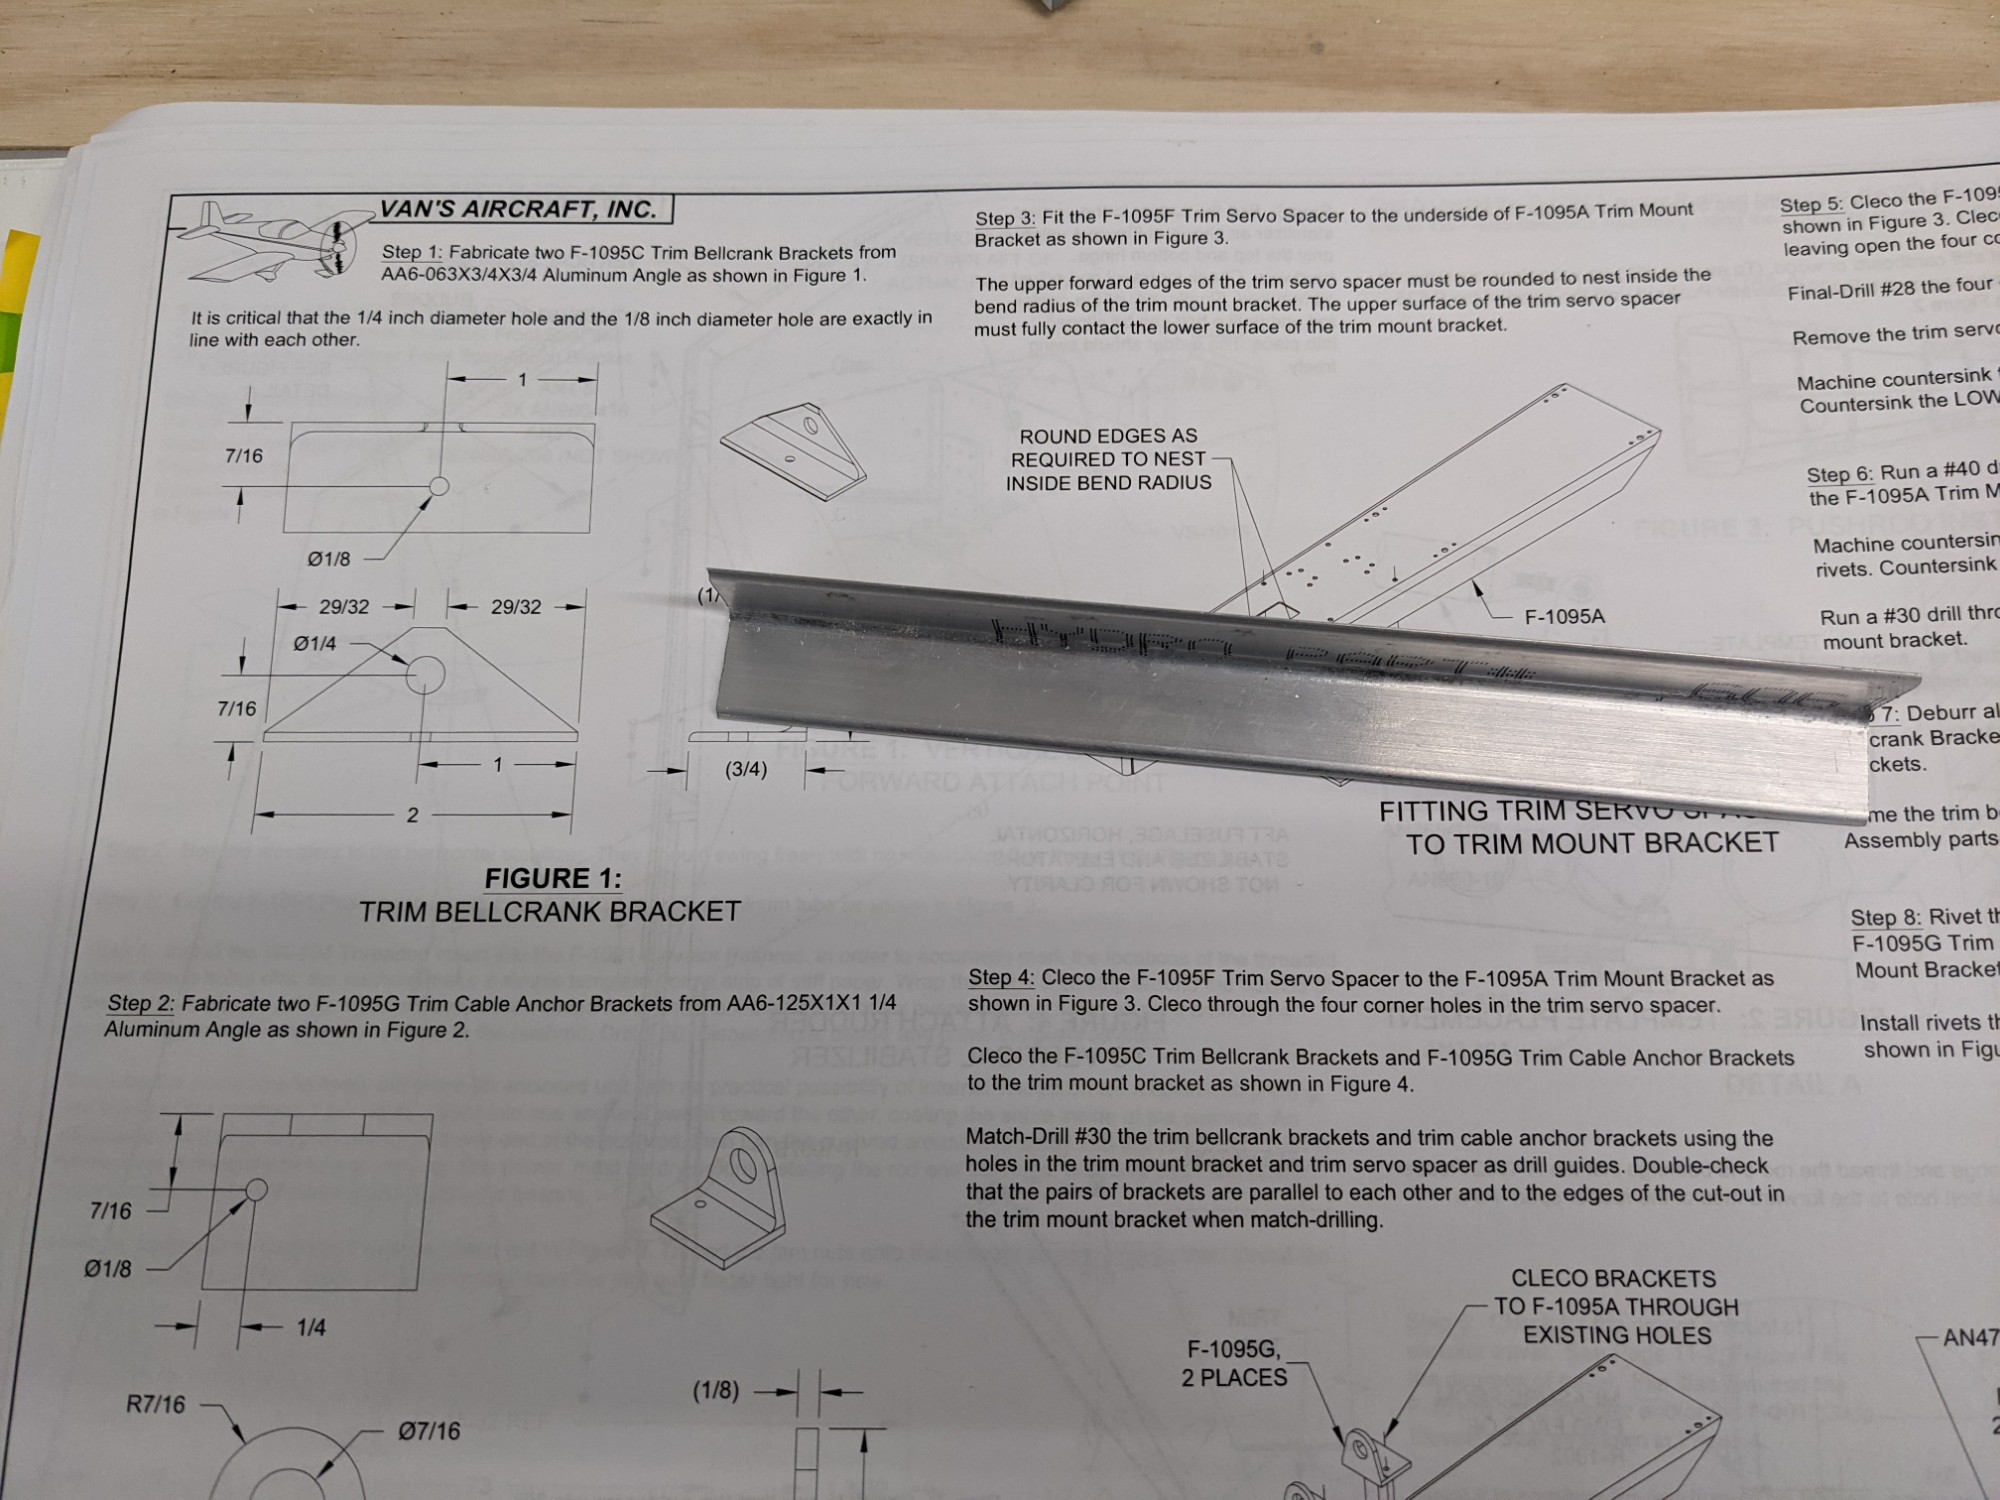
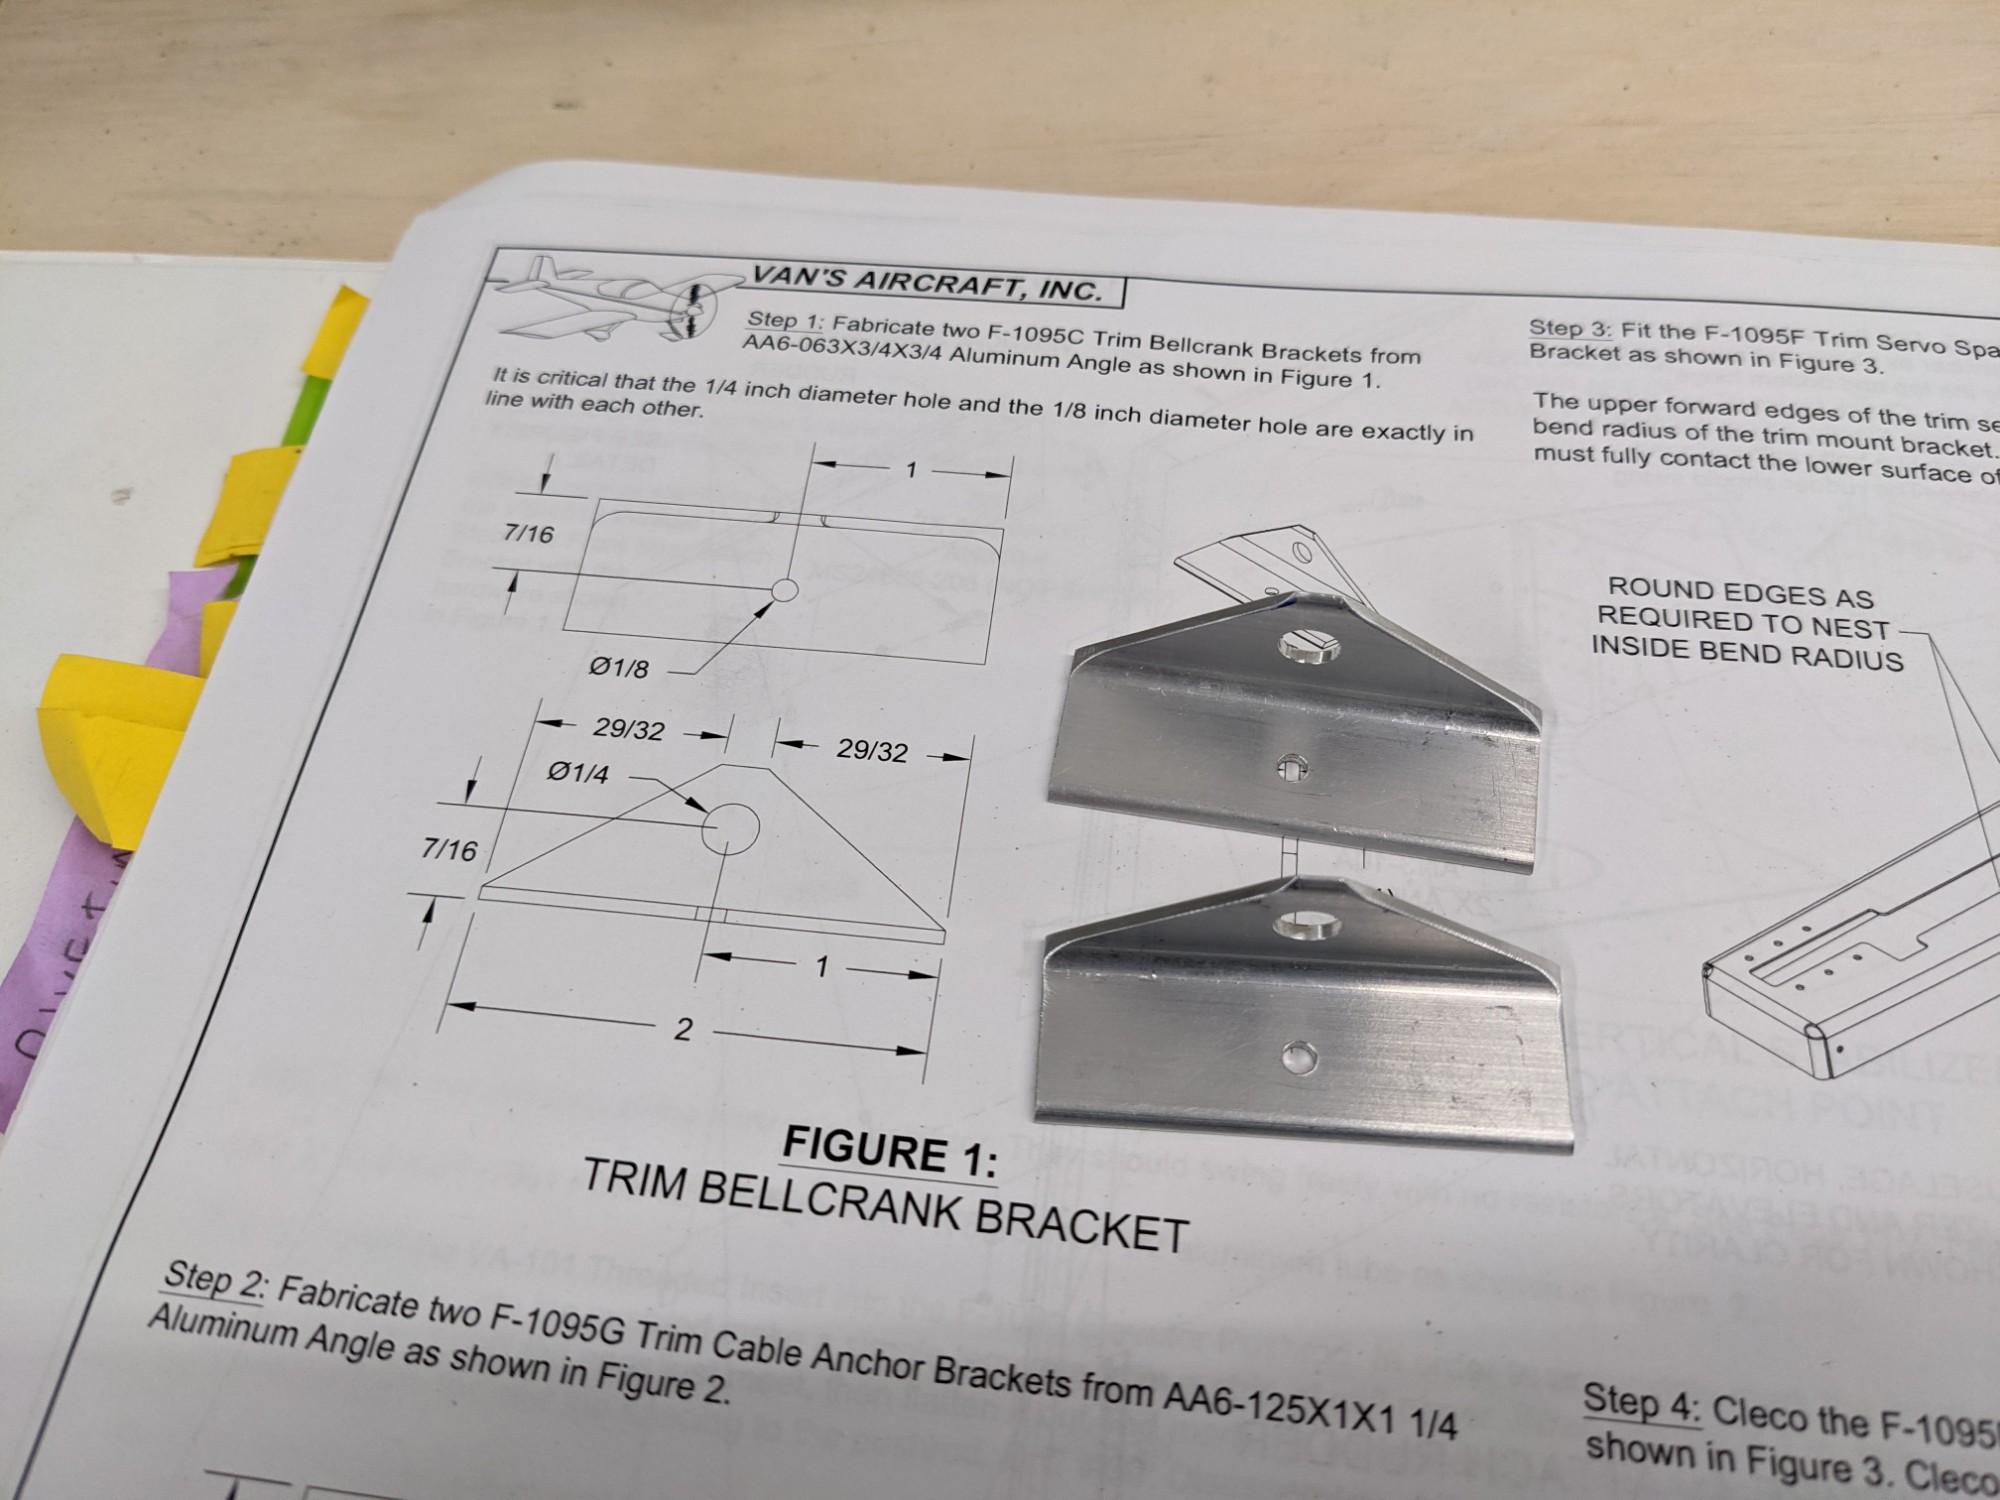
I fabricated the trim bellcrank brackets from 063×3/4×3/4 angle. I marked the hole positions with a caliper, set the locations with a punch, and drilled them on the drill press. I drilled the pilot holes back-to-back and flipped them in between holes to ensure that the holes in each part were exactly aligned.
I then finished the 1/4″ holes with a reamer…
… and trimmed the corners on the disc sander.
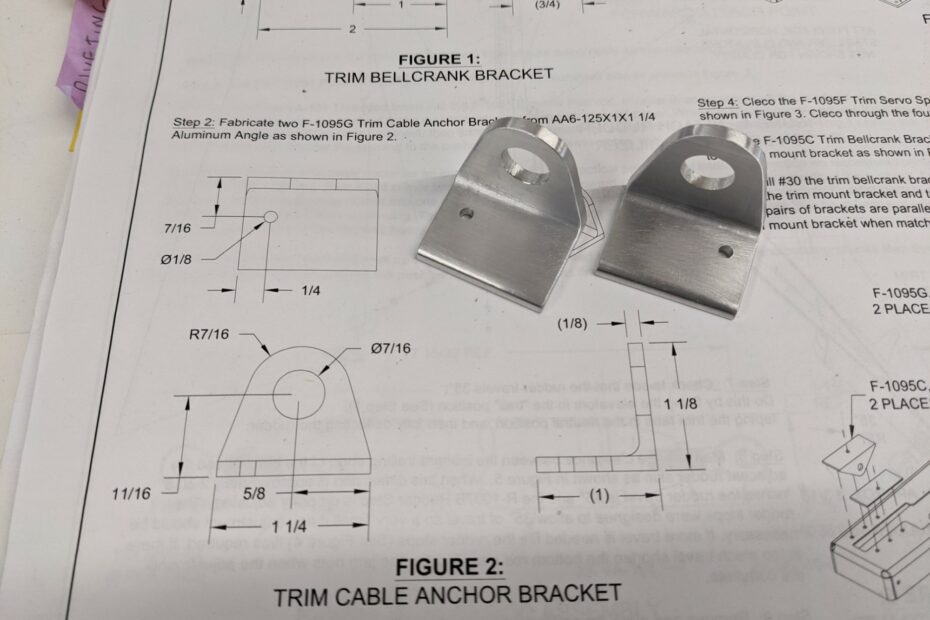
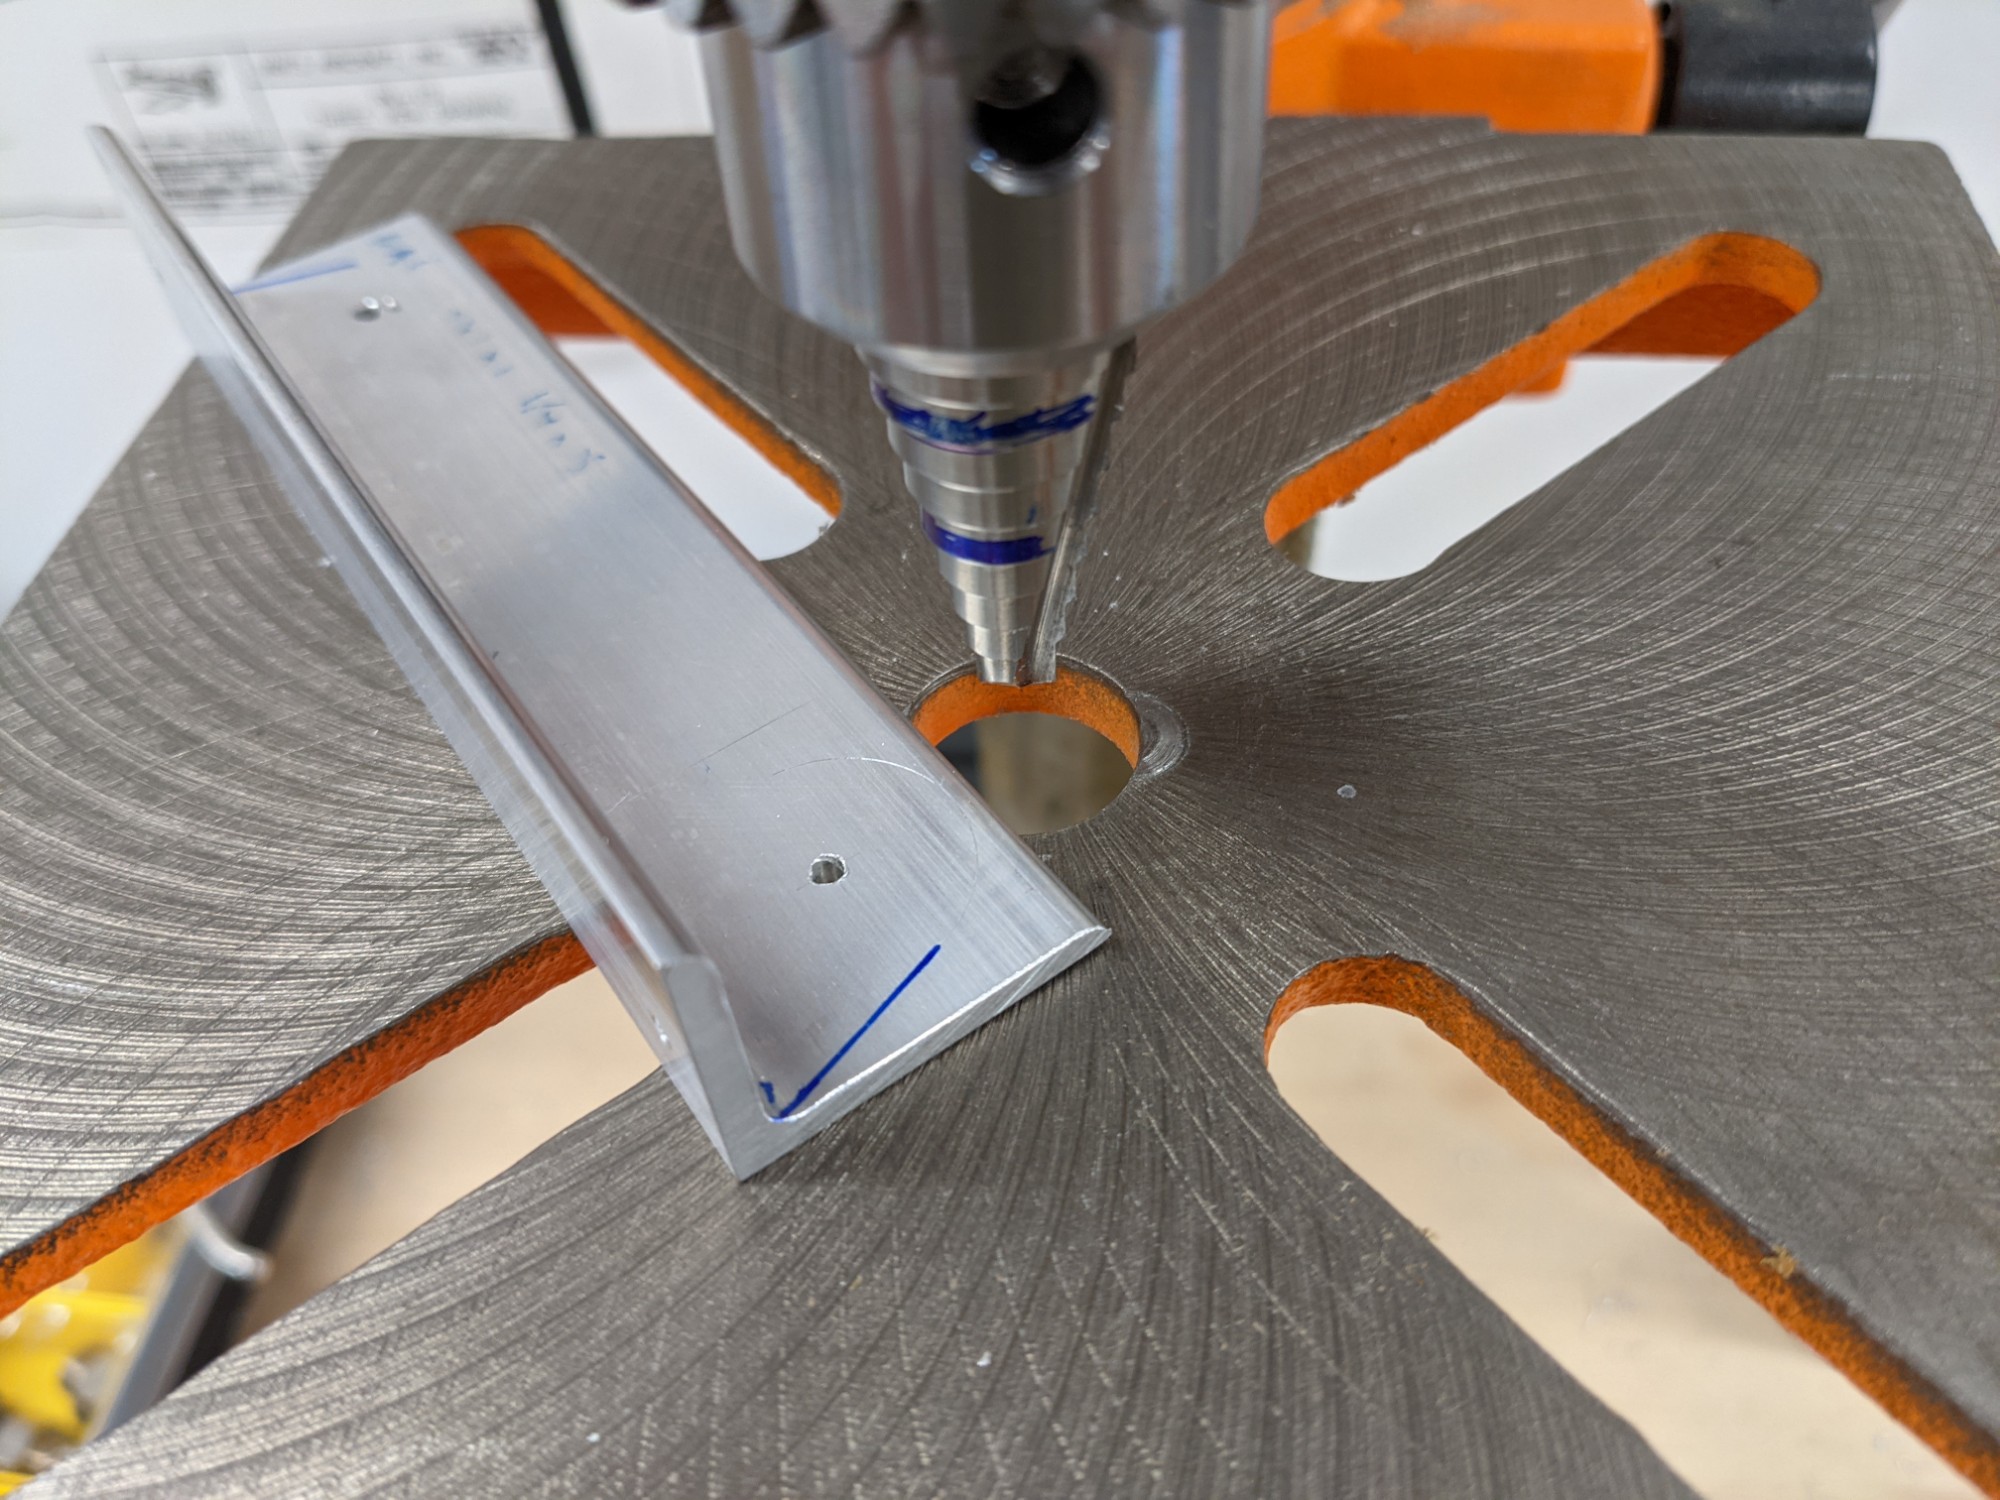
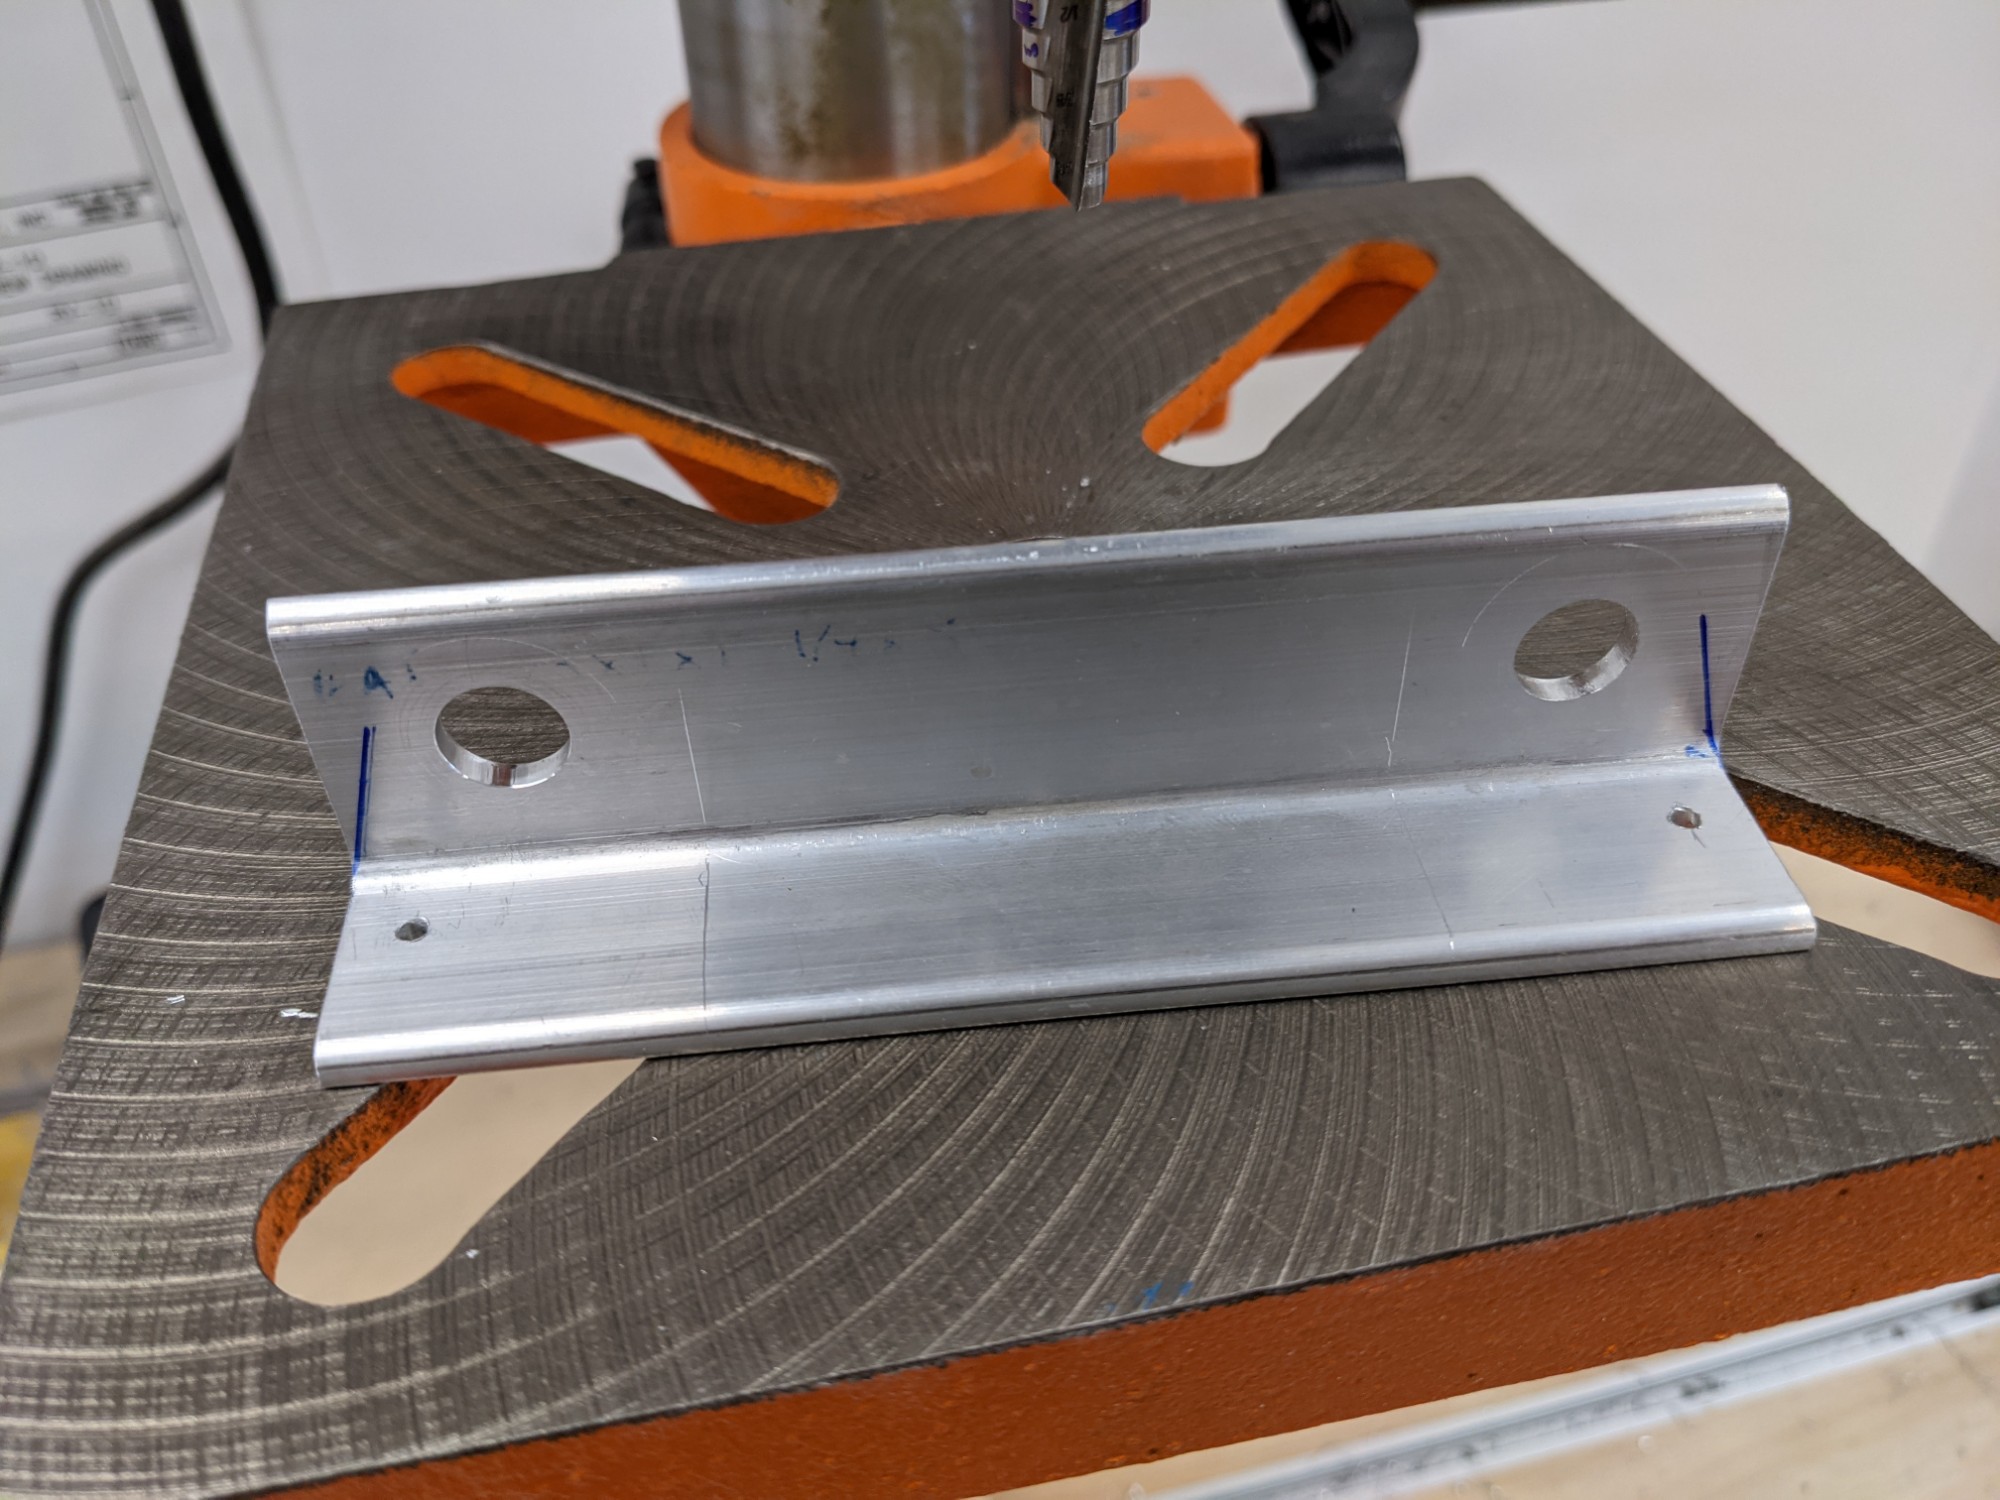
Next up is fabricating the trim cable attach brackets. These are cut from a piece of 125x1x1-1/4 angle.

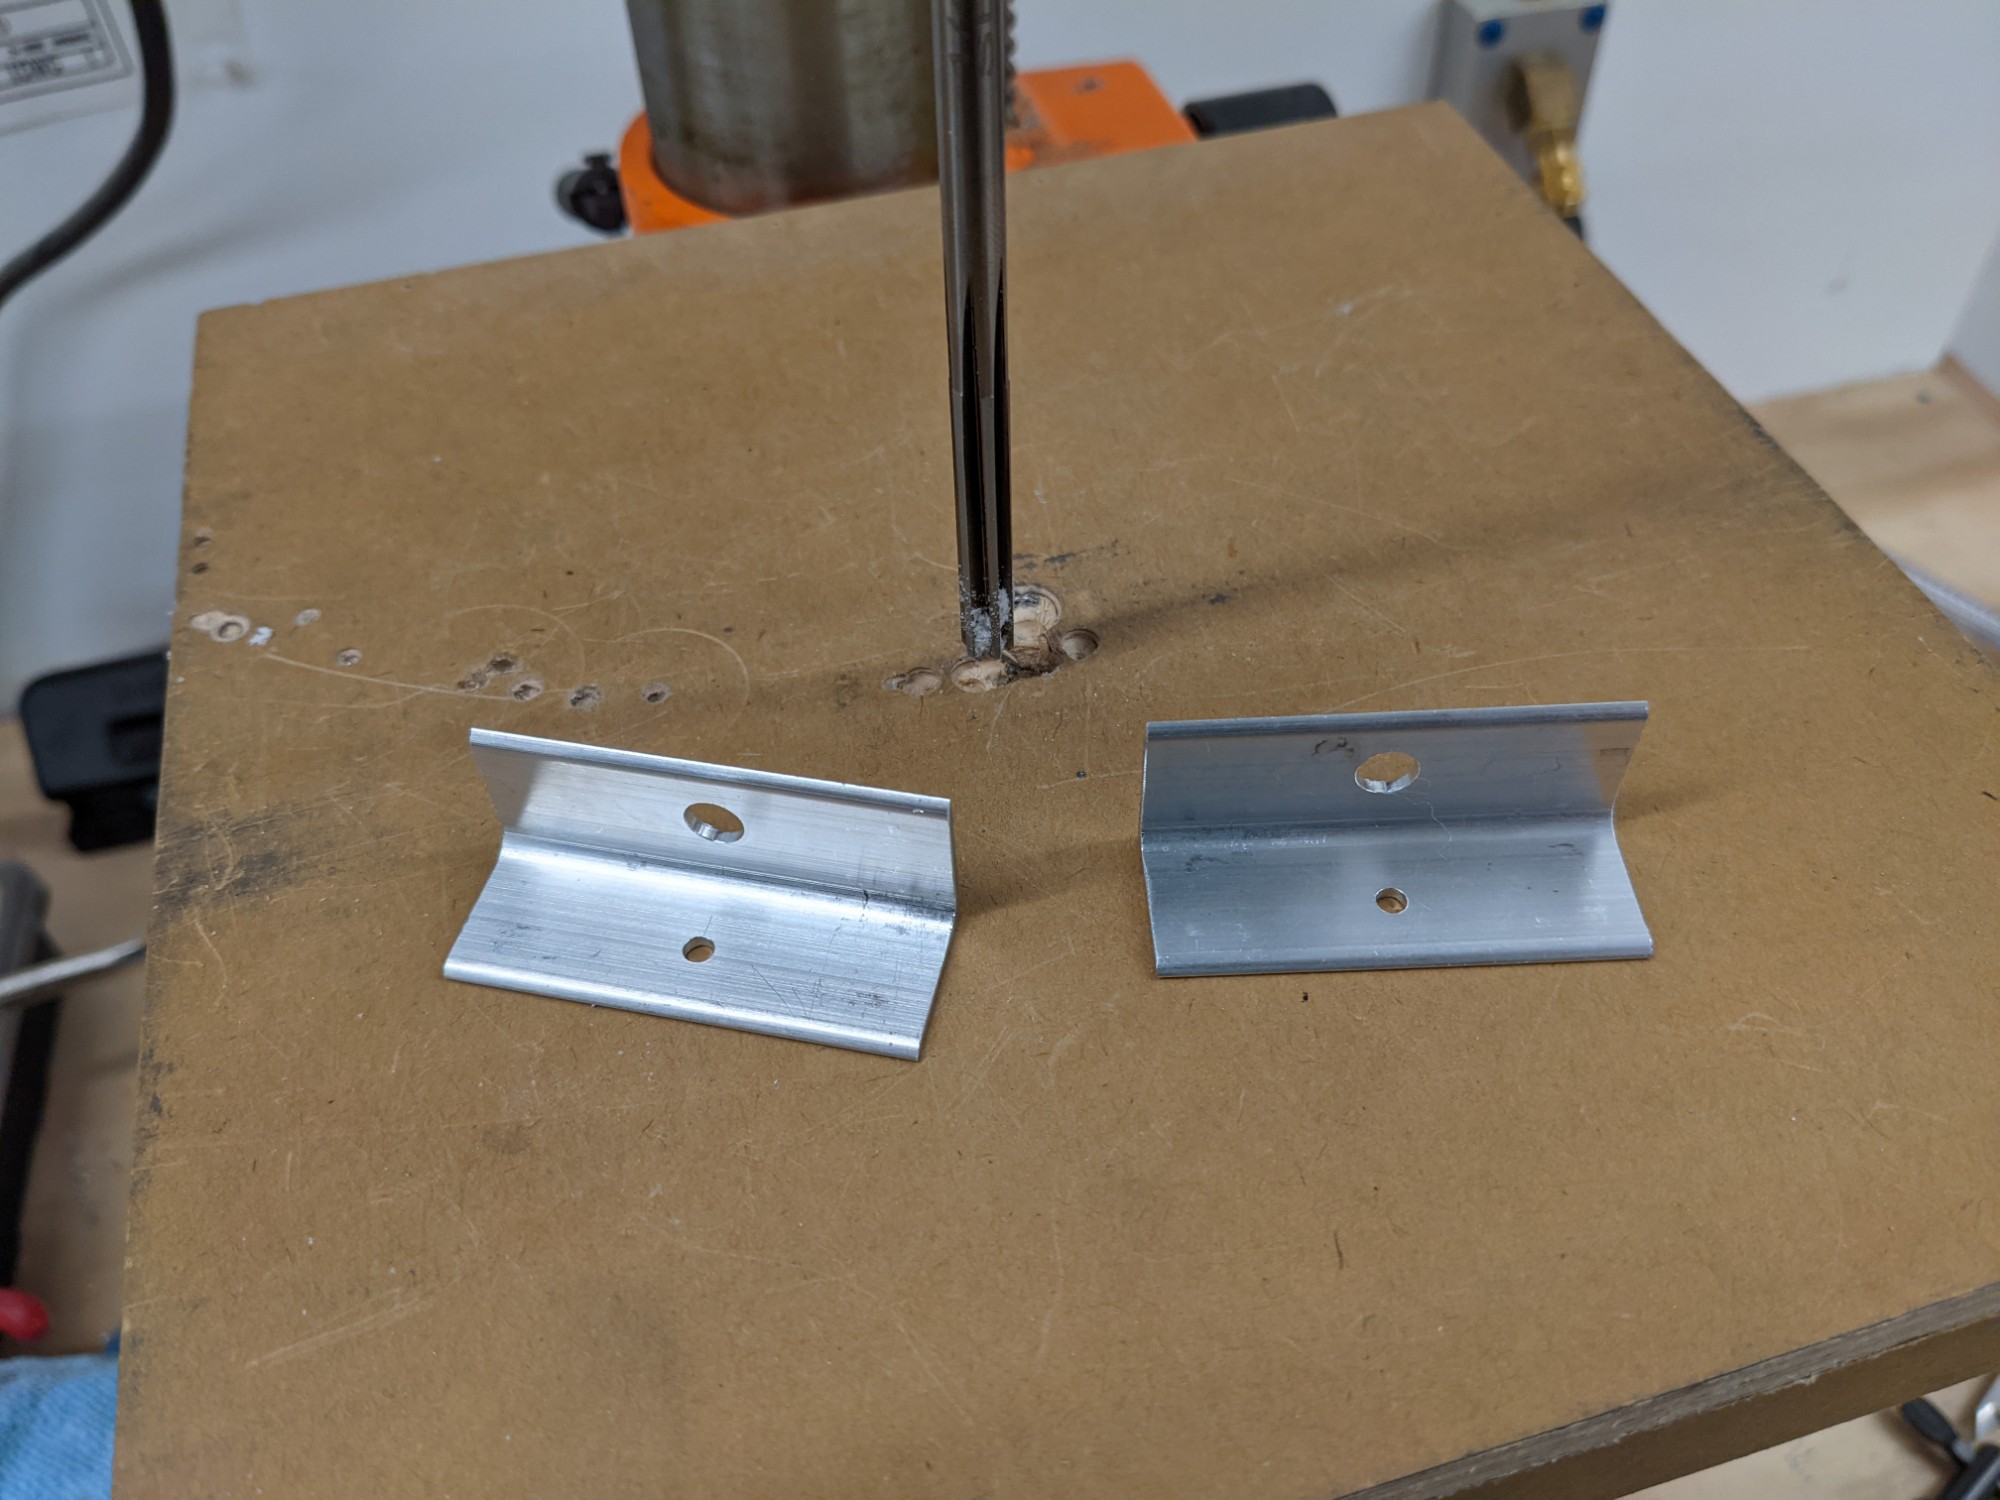
I marked the hole positions with a caliper, set them with a punch, and drilled them on the drill press. The 7/16 holes were upsized with a step drill.
I then shaped the parts on the disc sander and cleaned them up on the ScotchBrite wheel.
