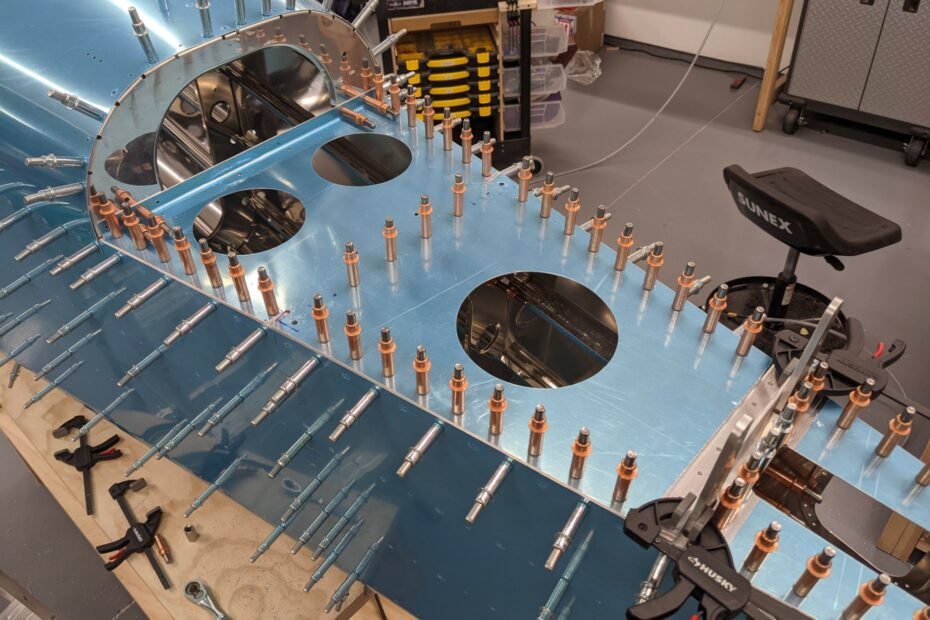
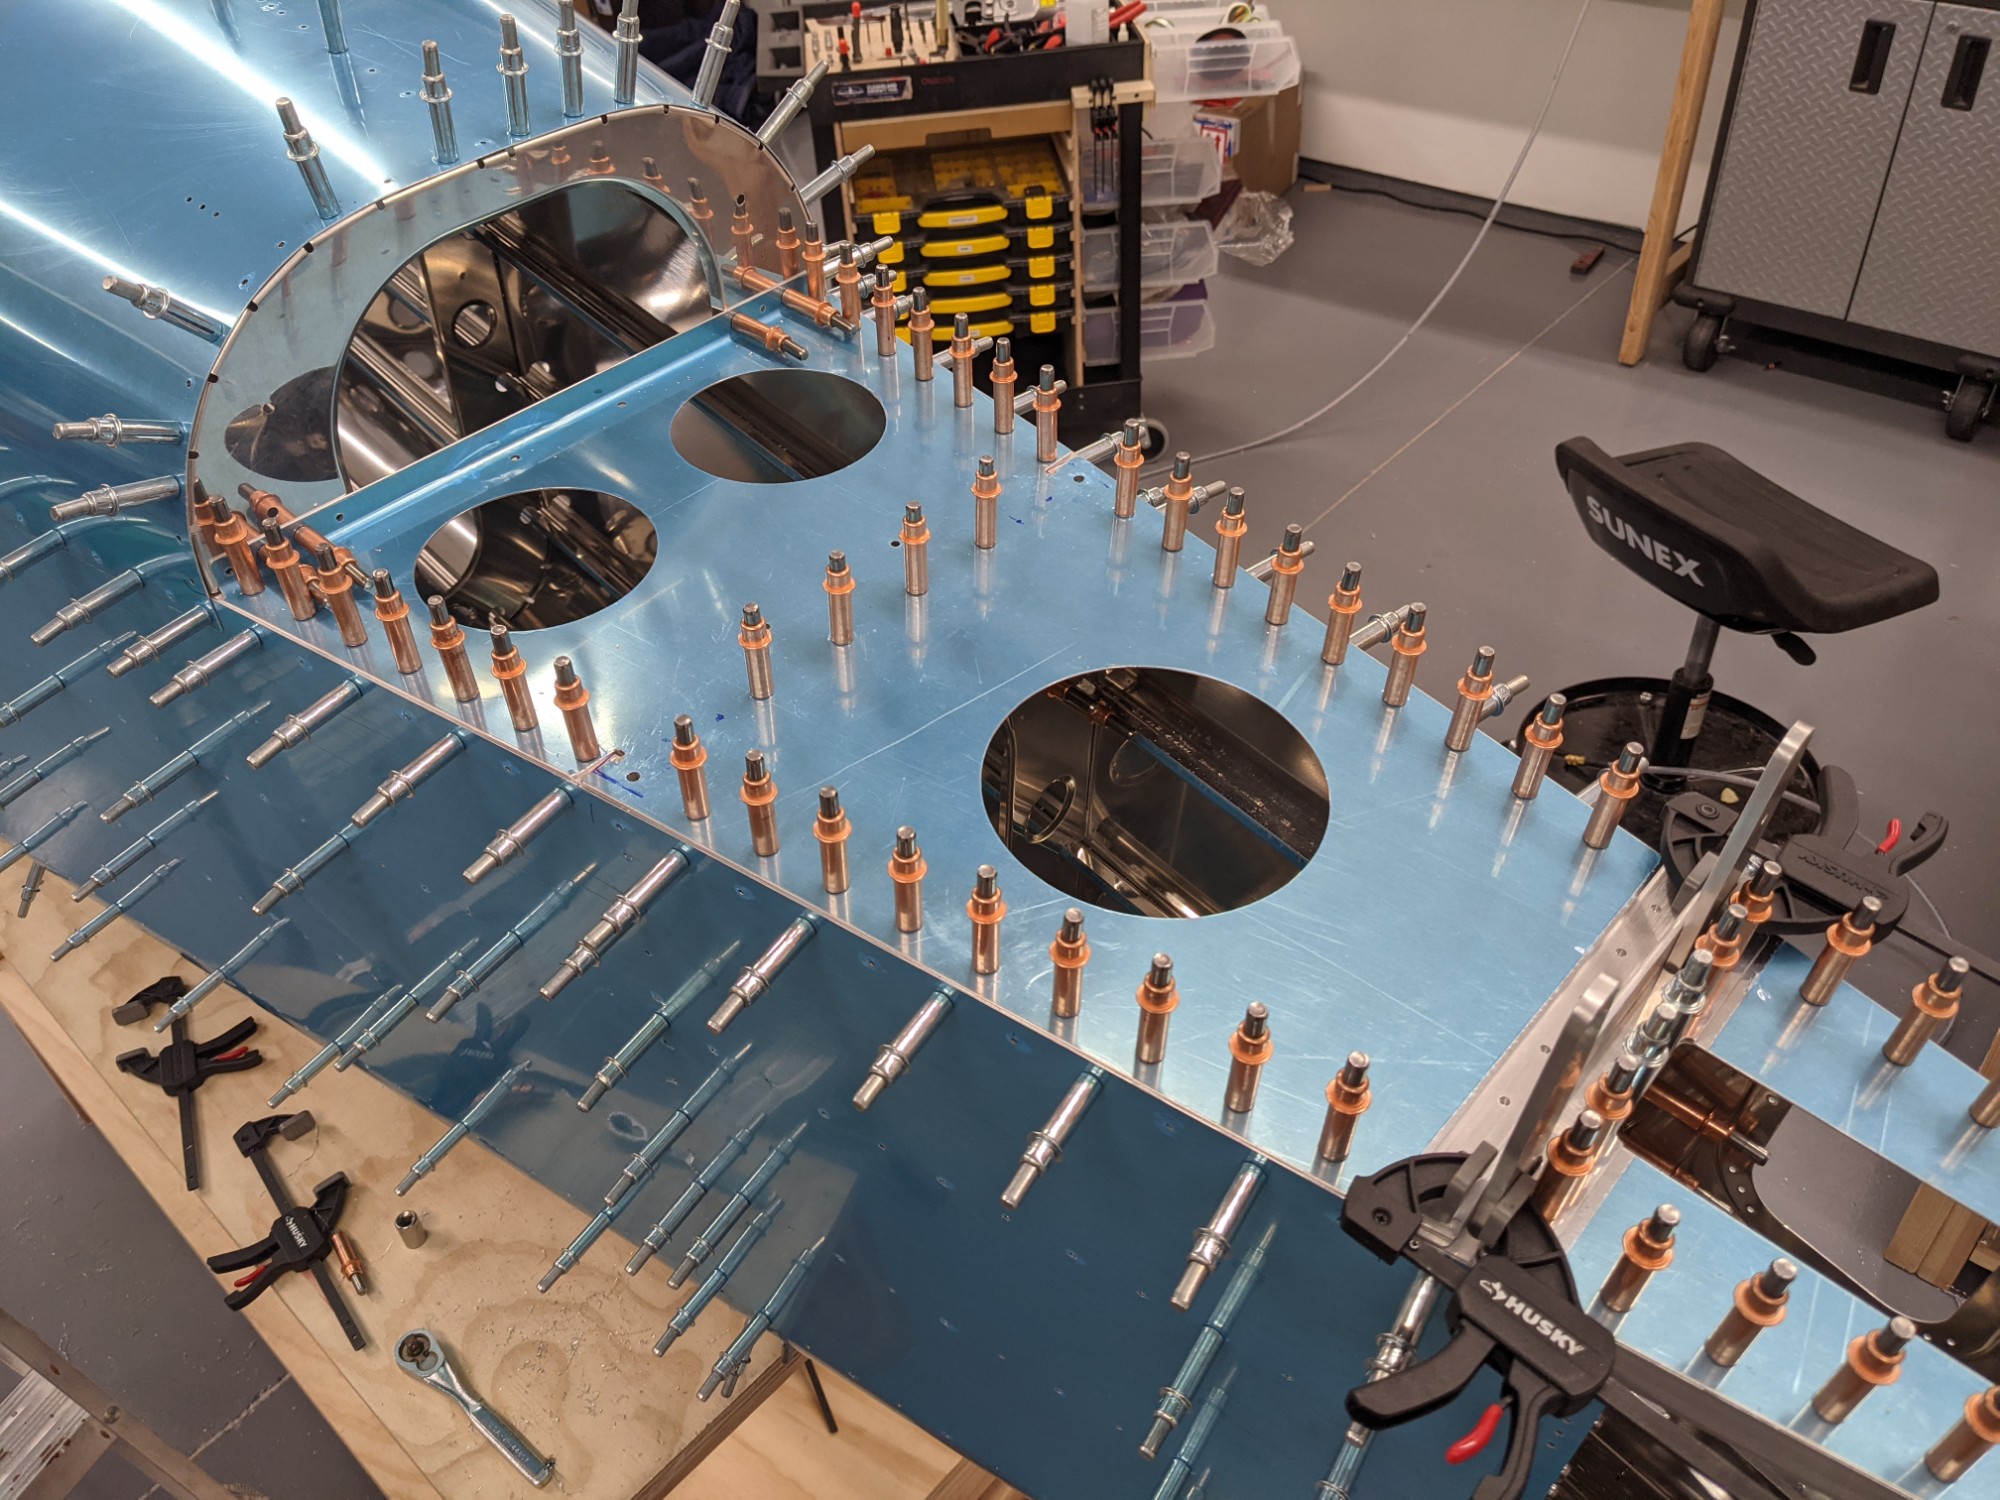
I continued on the tailcone today starting with the match drilling of the stiffeners to the forward top skin. I then match drilled the top skin to bulkhead holes (with the exception of the forward bulkhead).
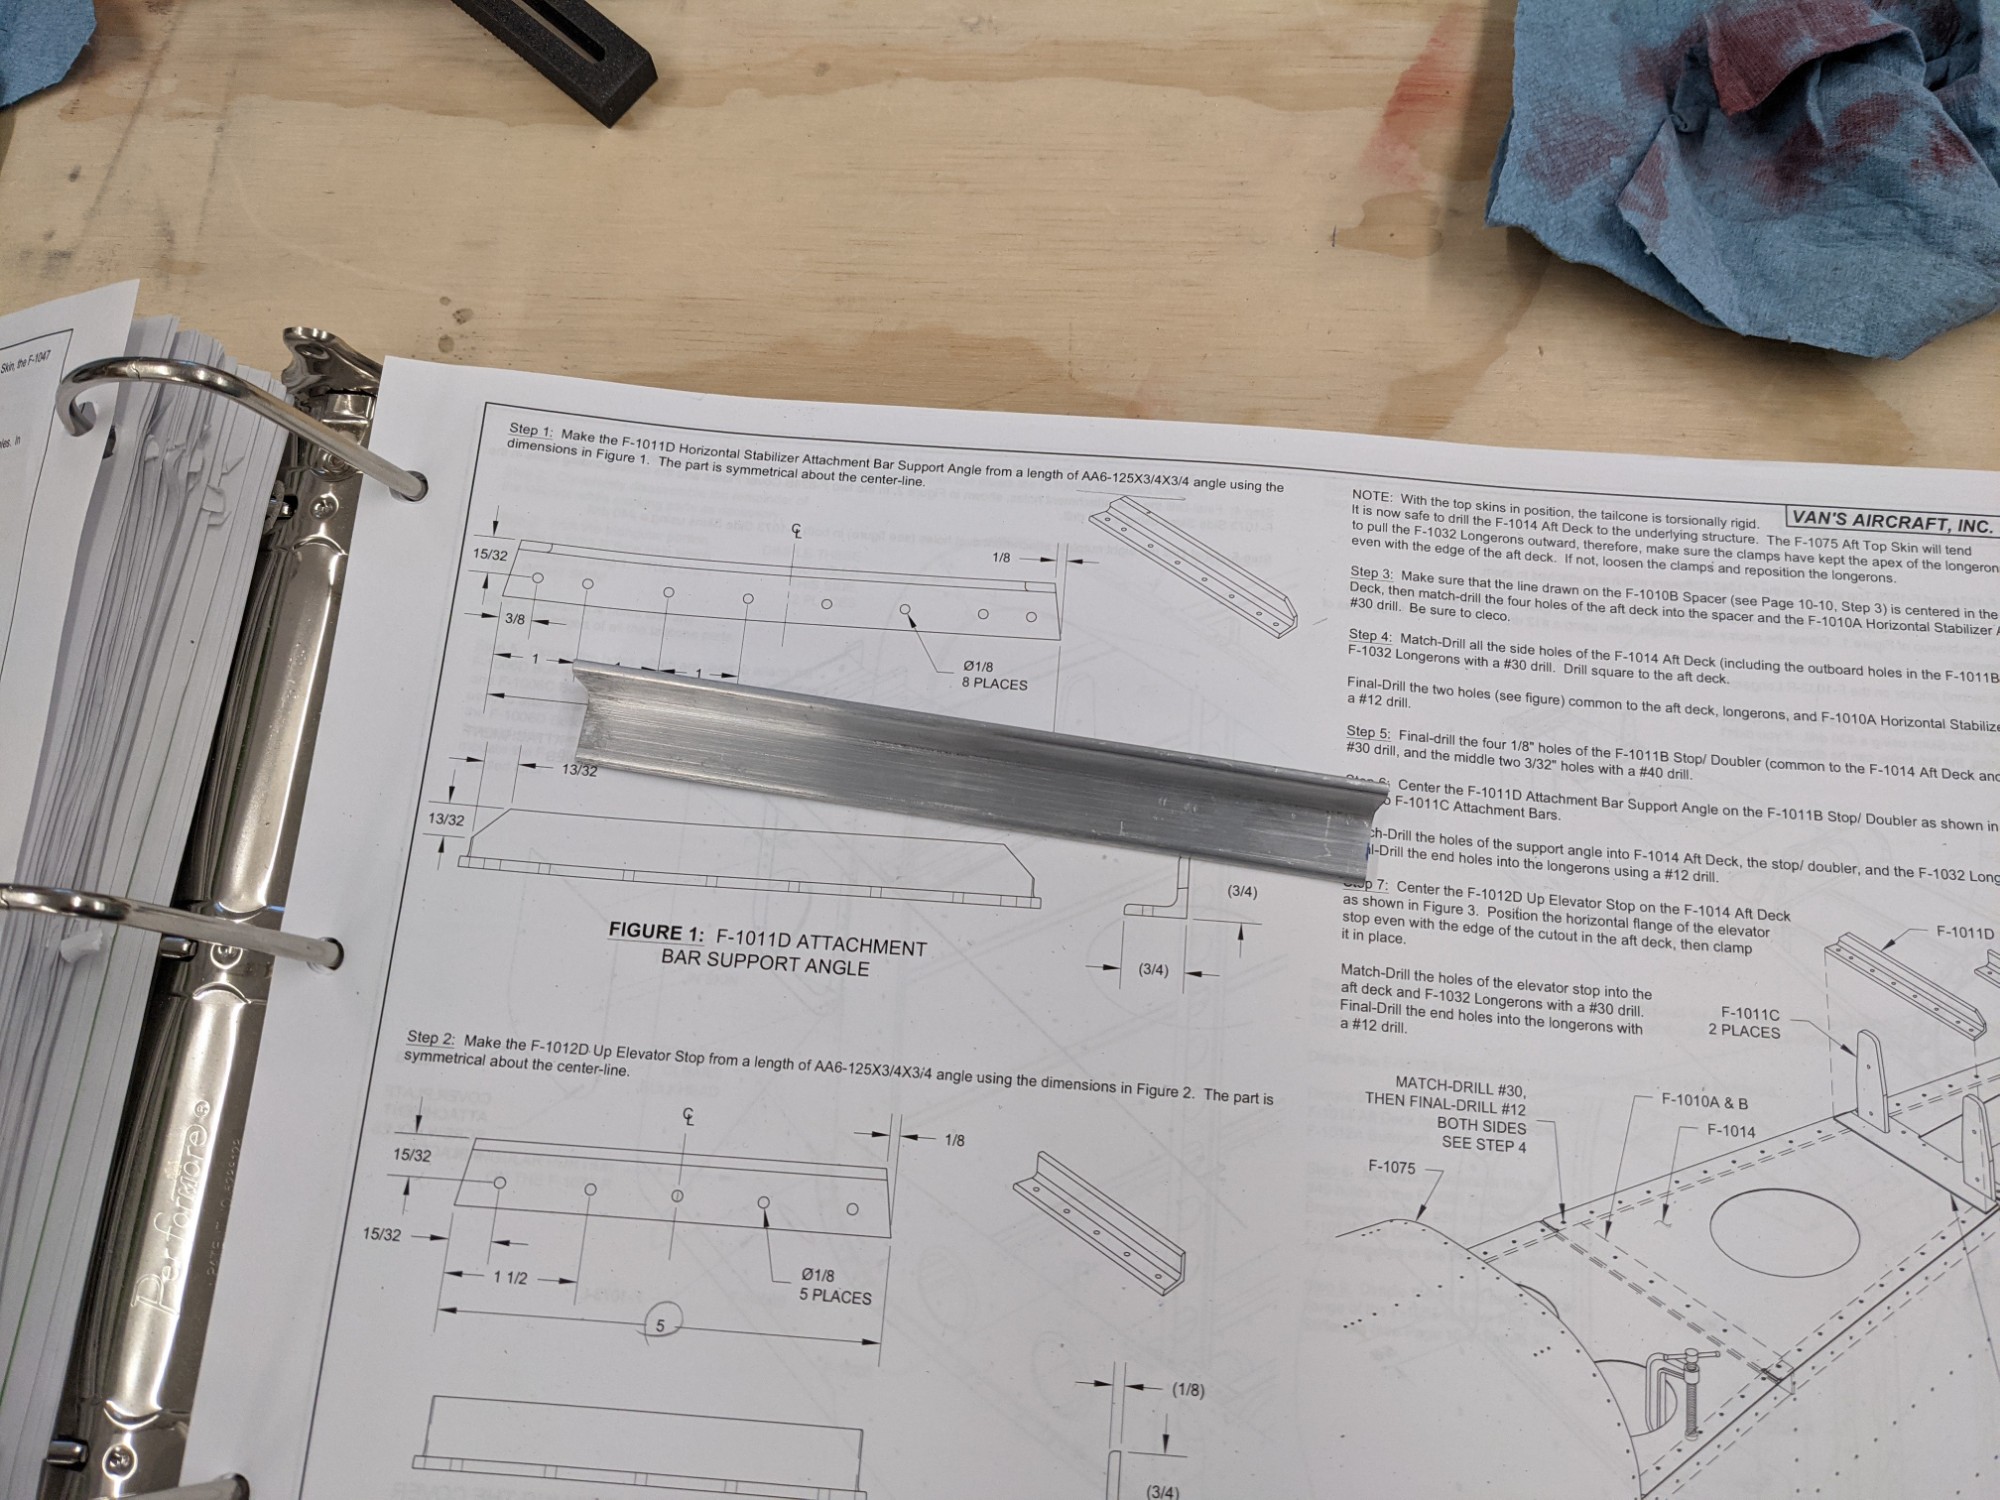
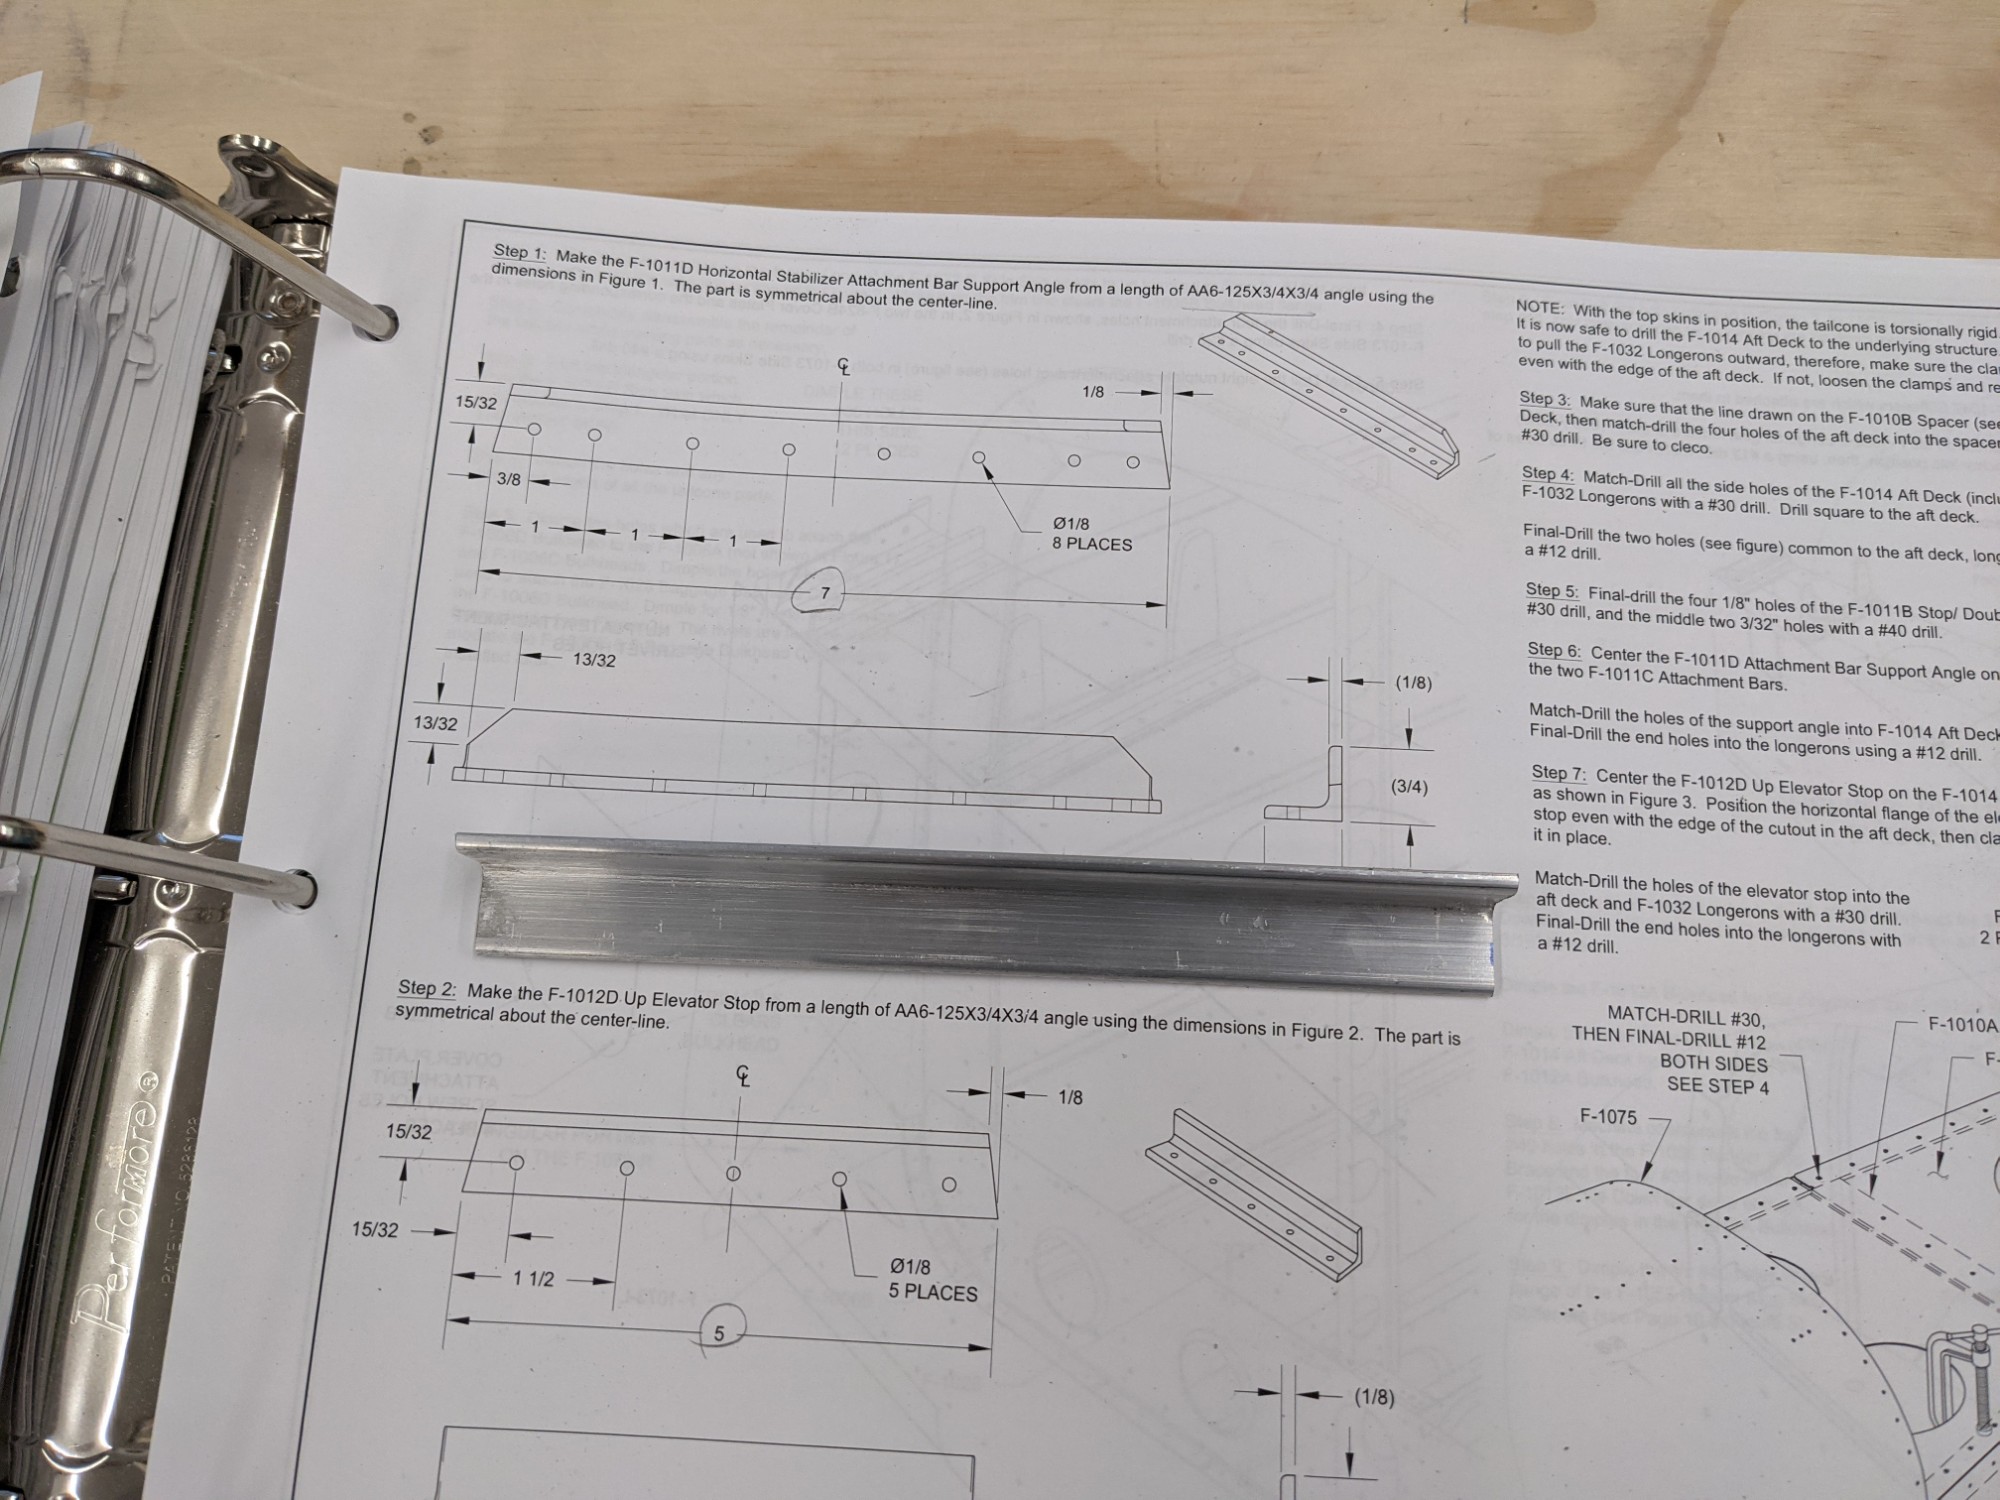
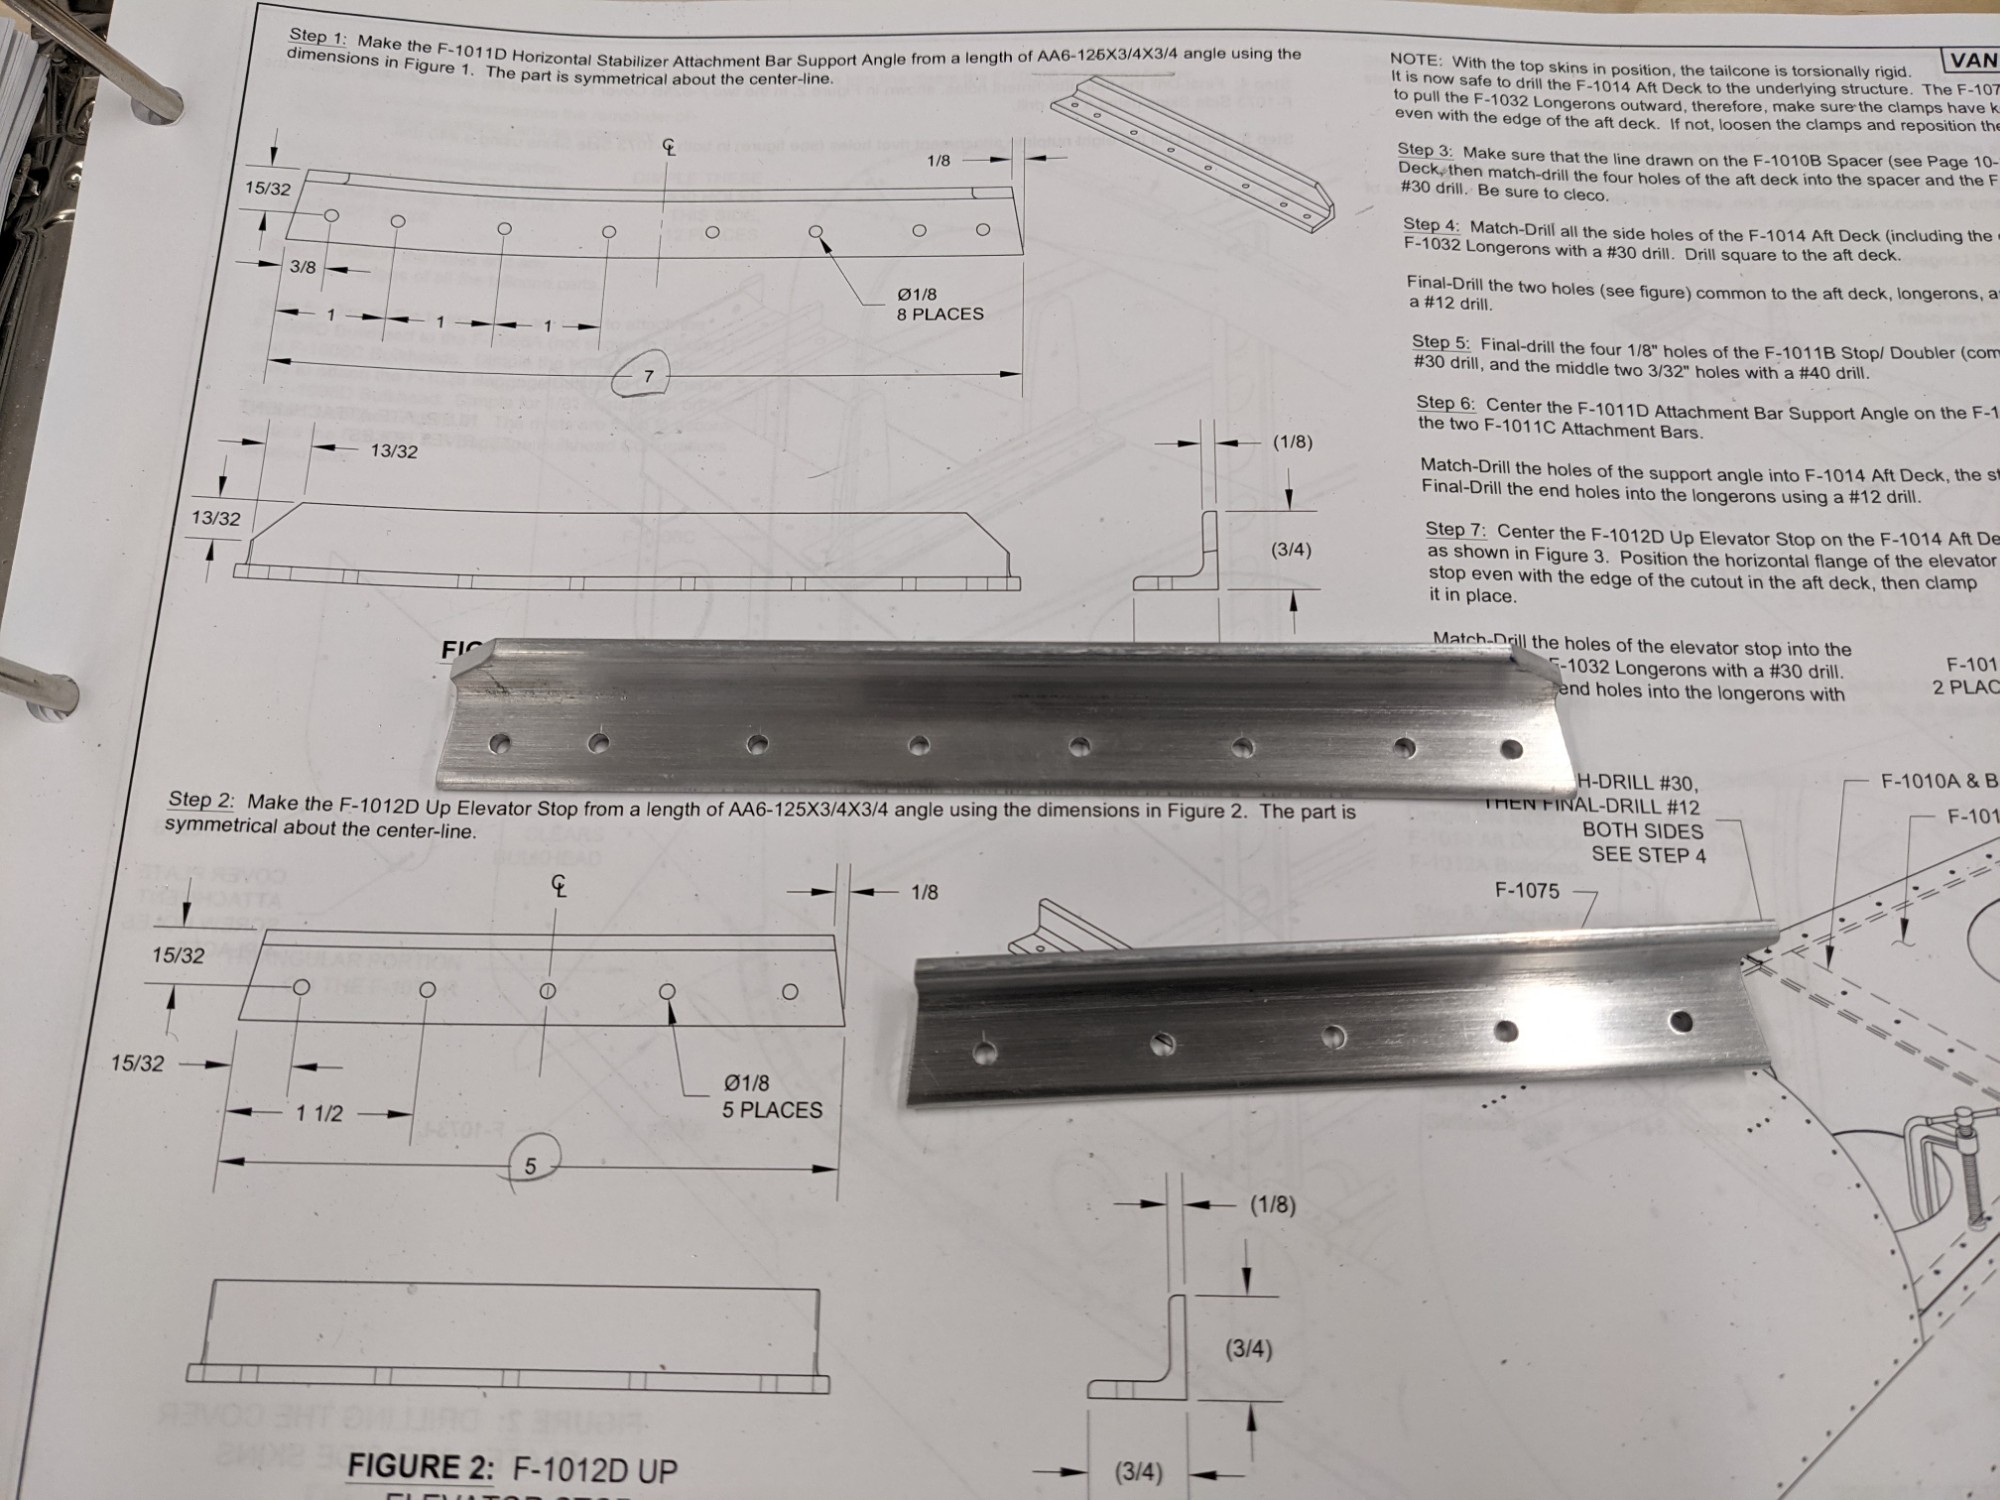
After this was completed I started work on the aft deck. The initial steps have you make the horizontal stabilizer attachment bar and the up elevator stop from a length of 125×3/4×3/4 aluminum angle.
I rough cut these on the bandsaw, angled the ends on a the disc sander, marked the holes with calipers, set the hole locations with a punch, and drilled them to 1/8″ on the drill press.
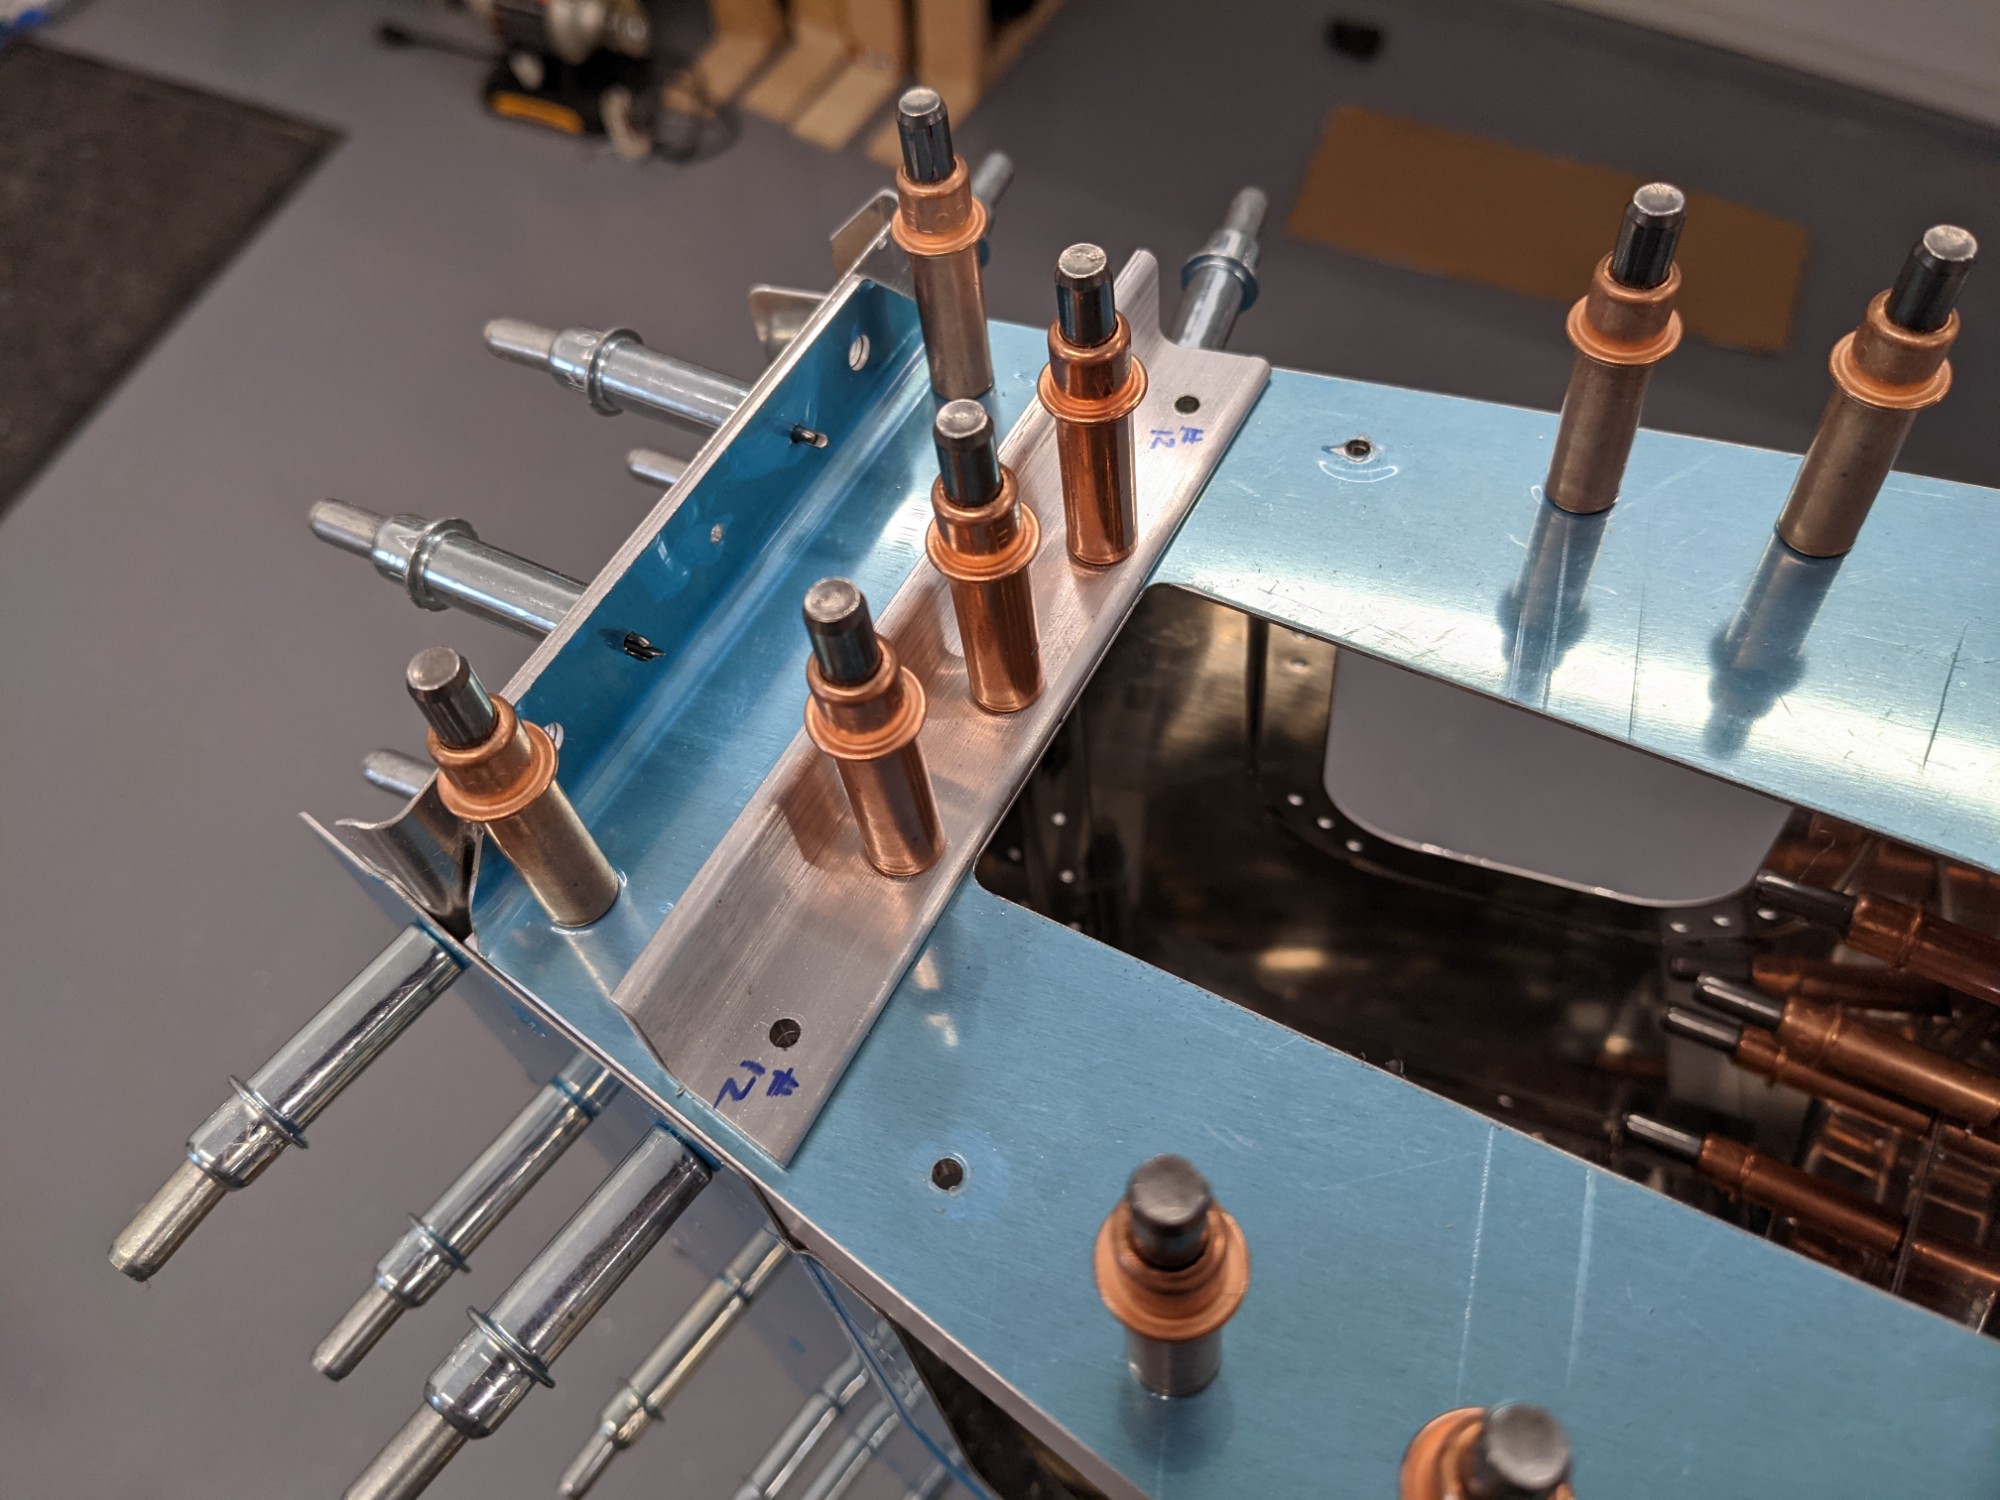
I then aligned the F-1010B Spacer and match drilled it to the aft deck
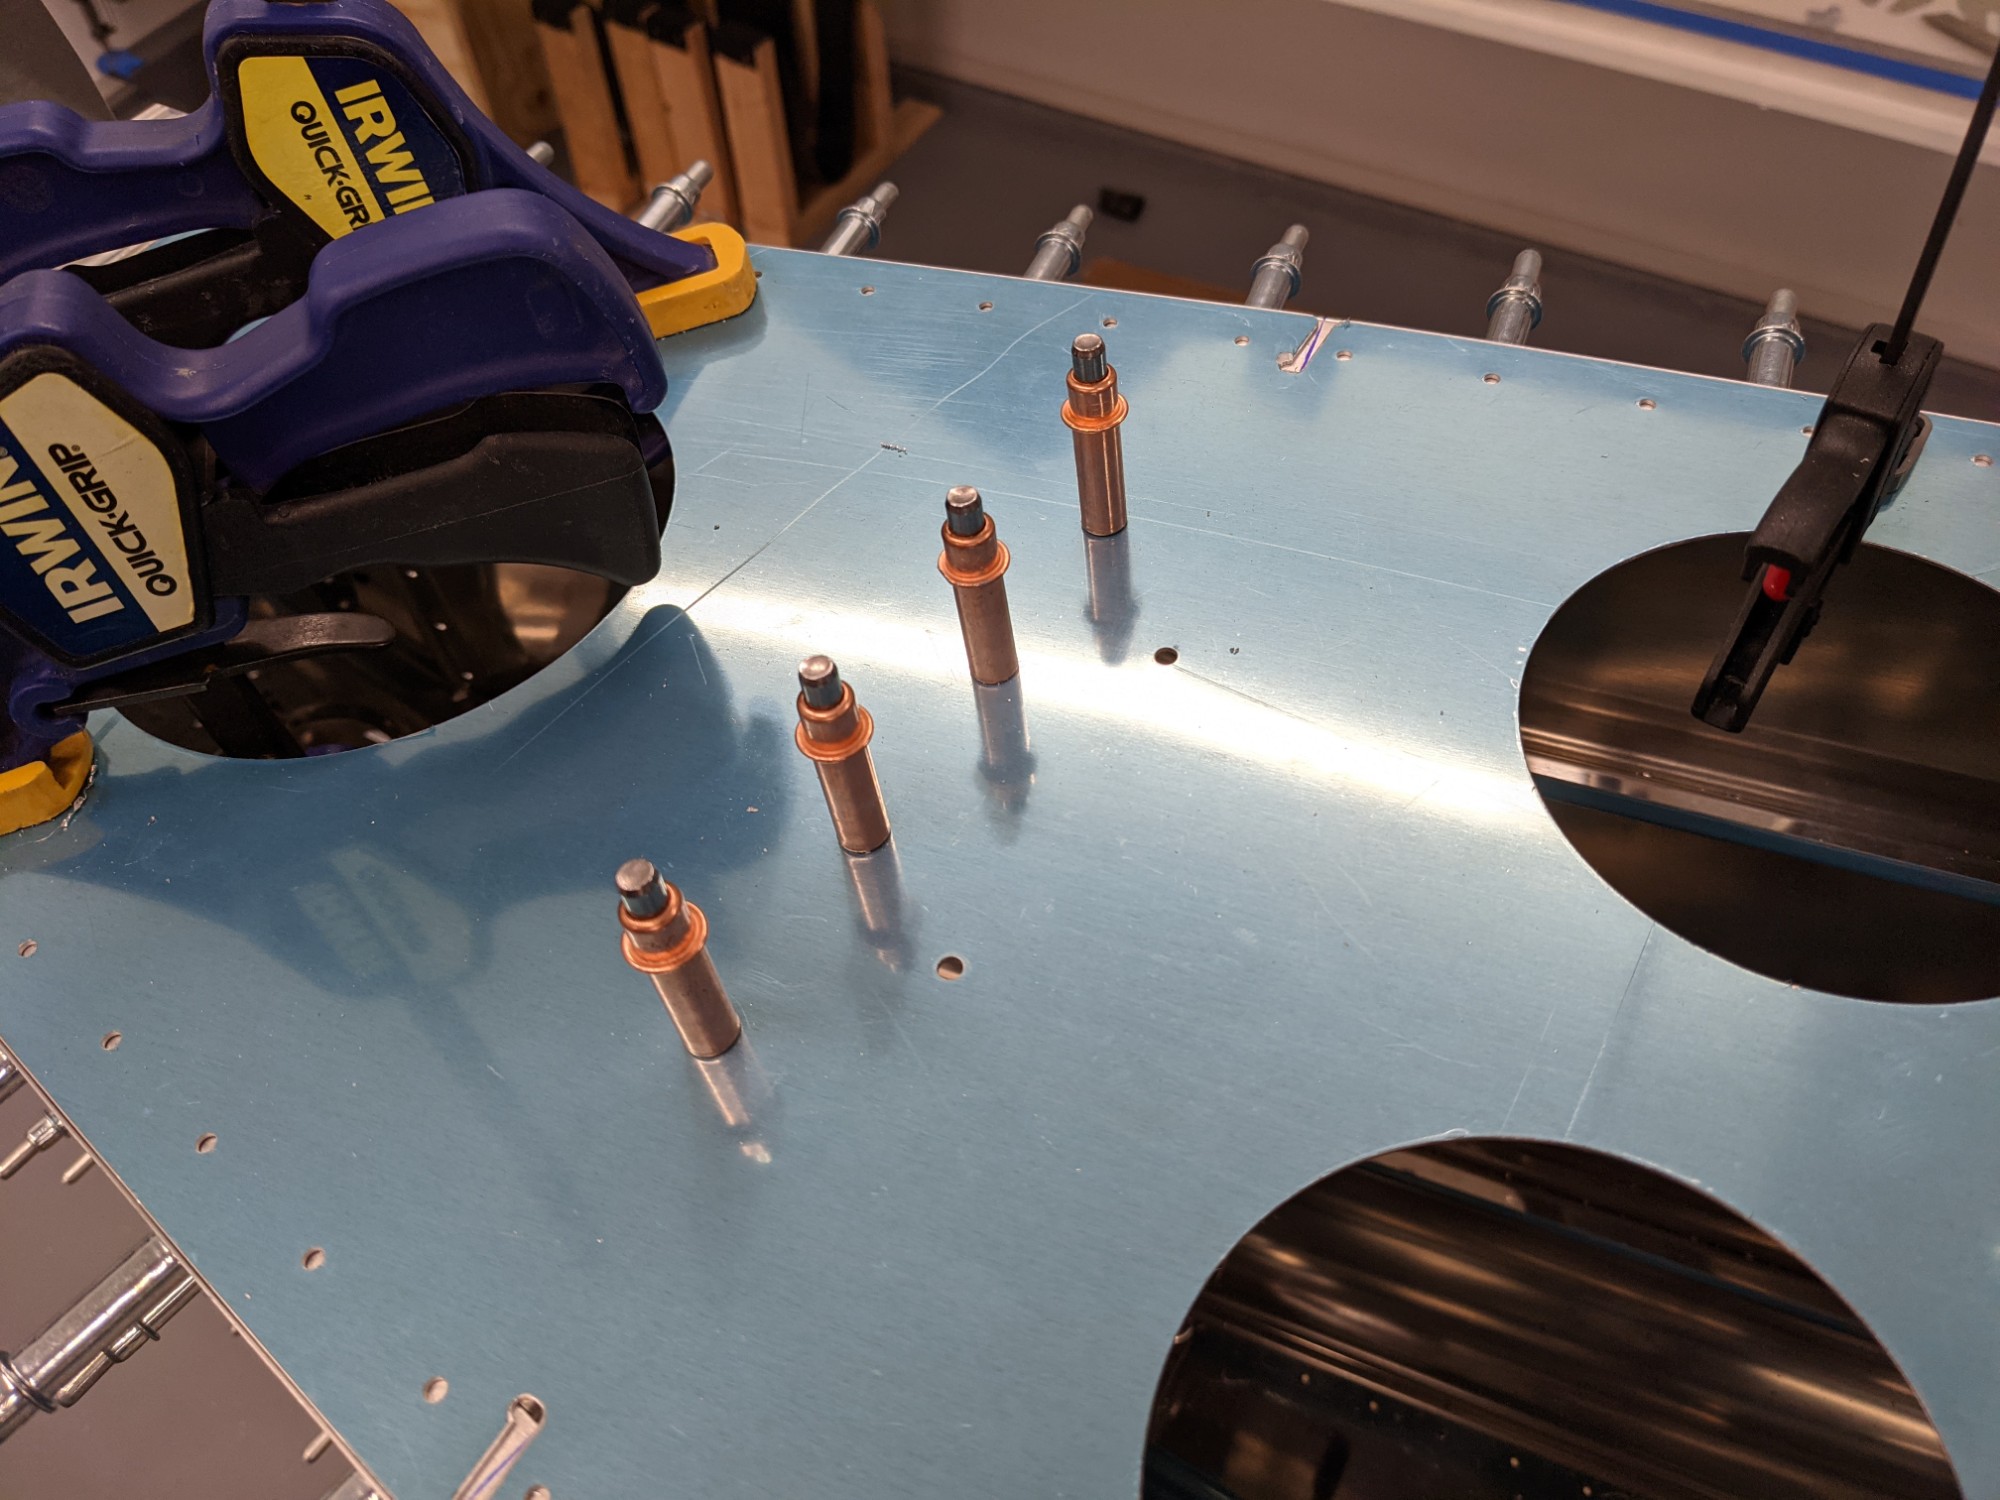
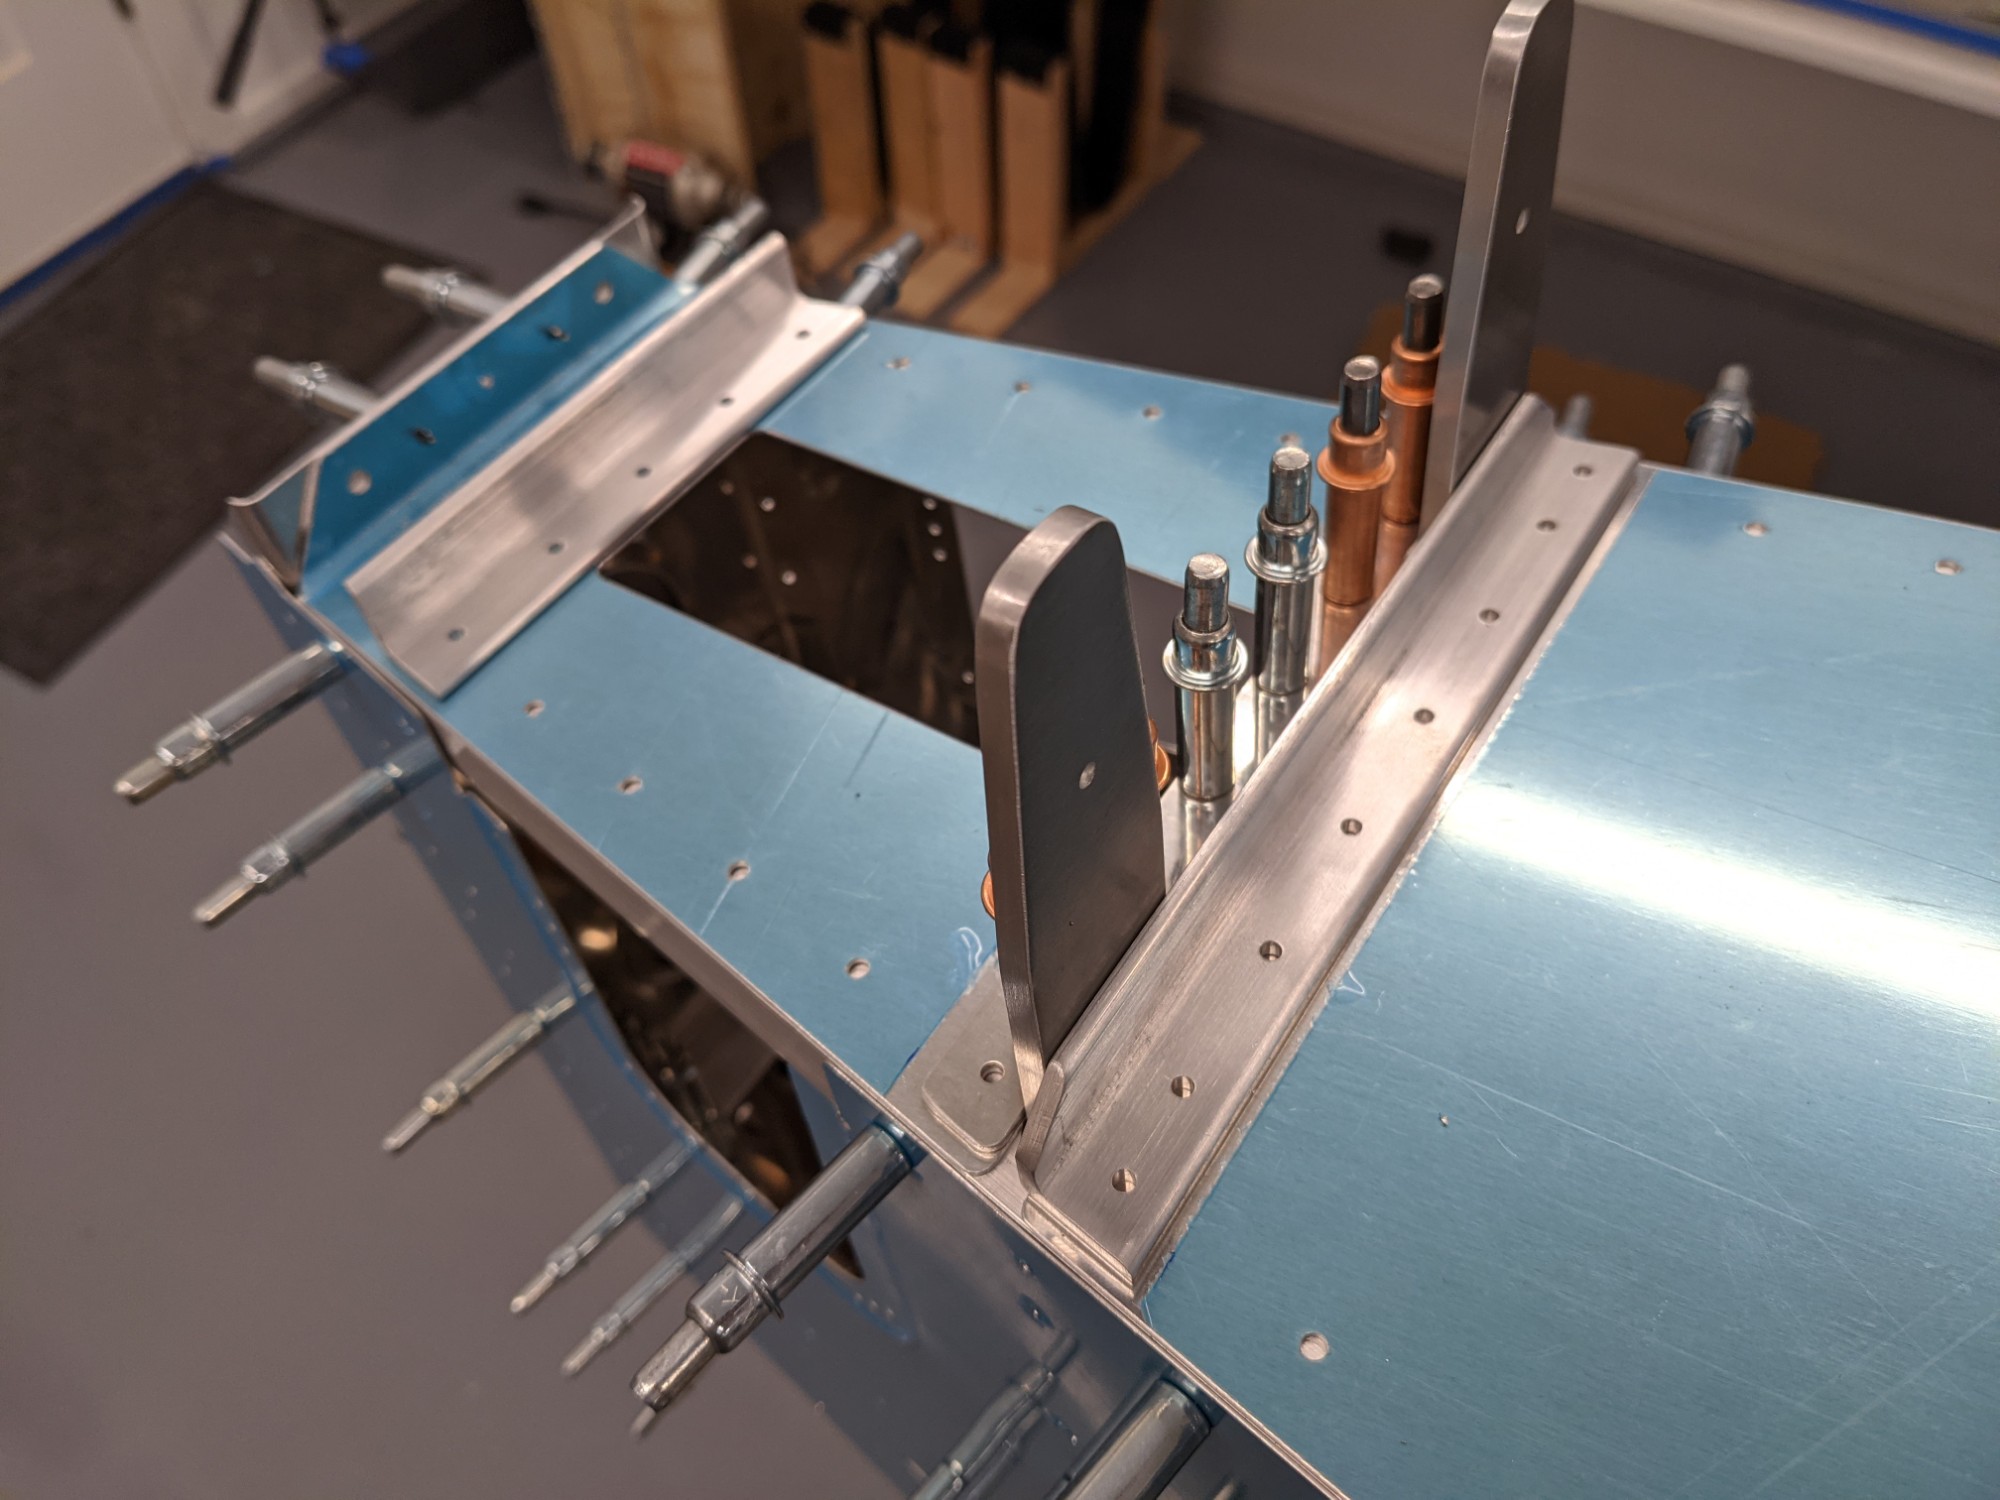
I then final drilled the F-1011B Stop/Doubler holes and the F-1011D Attachment Bar Support Angle.
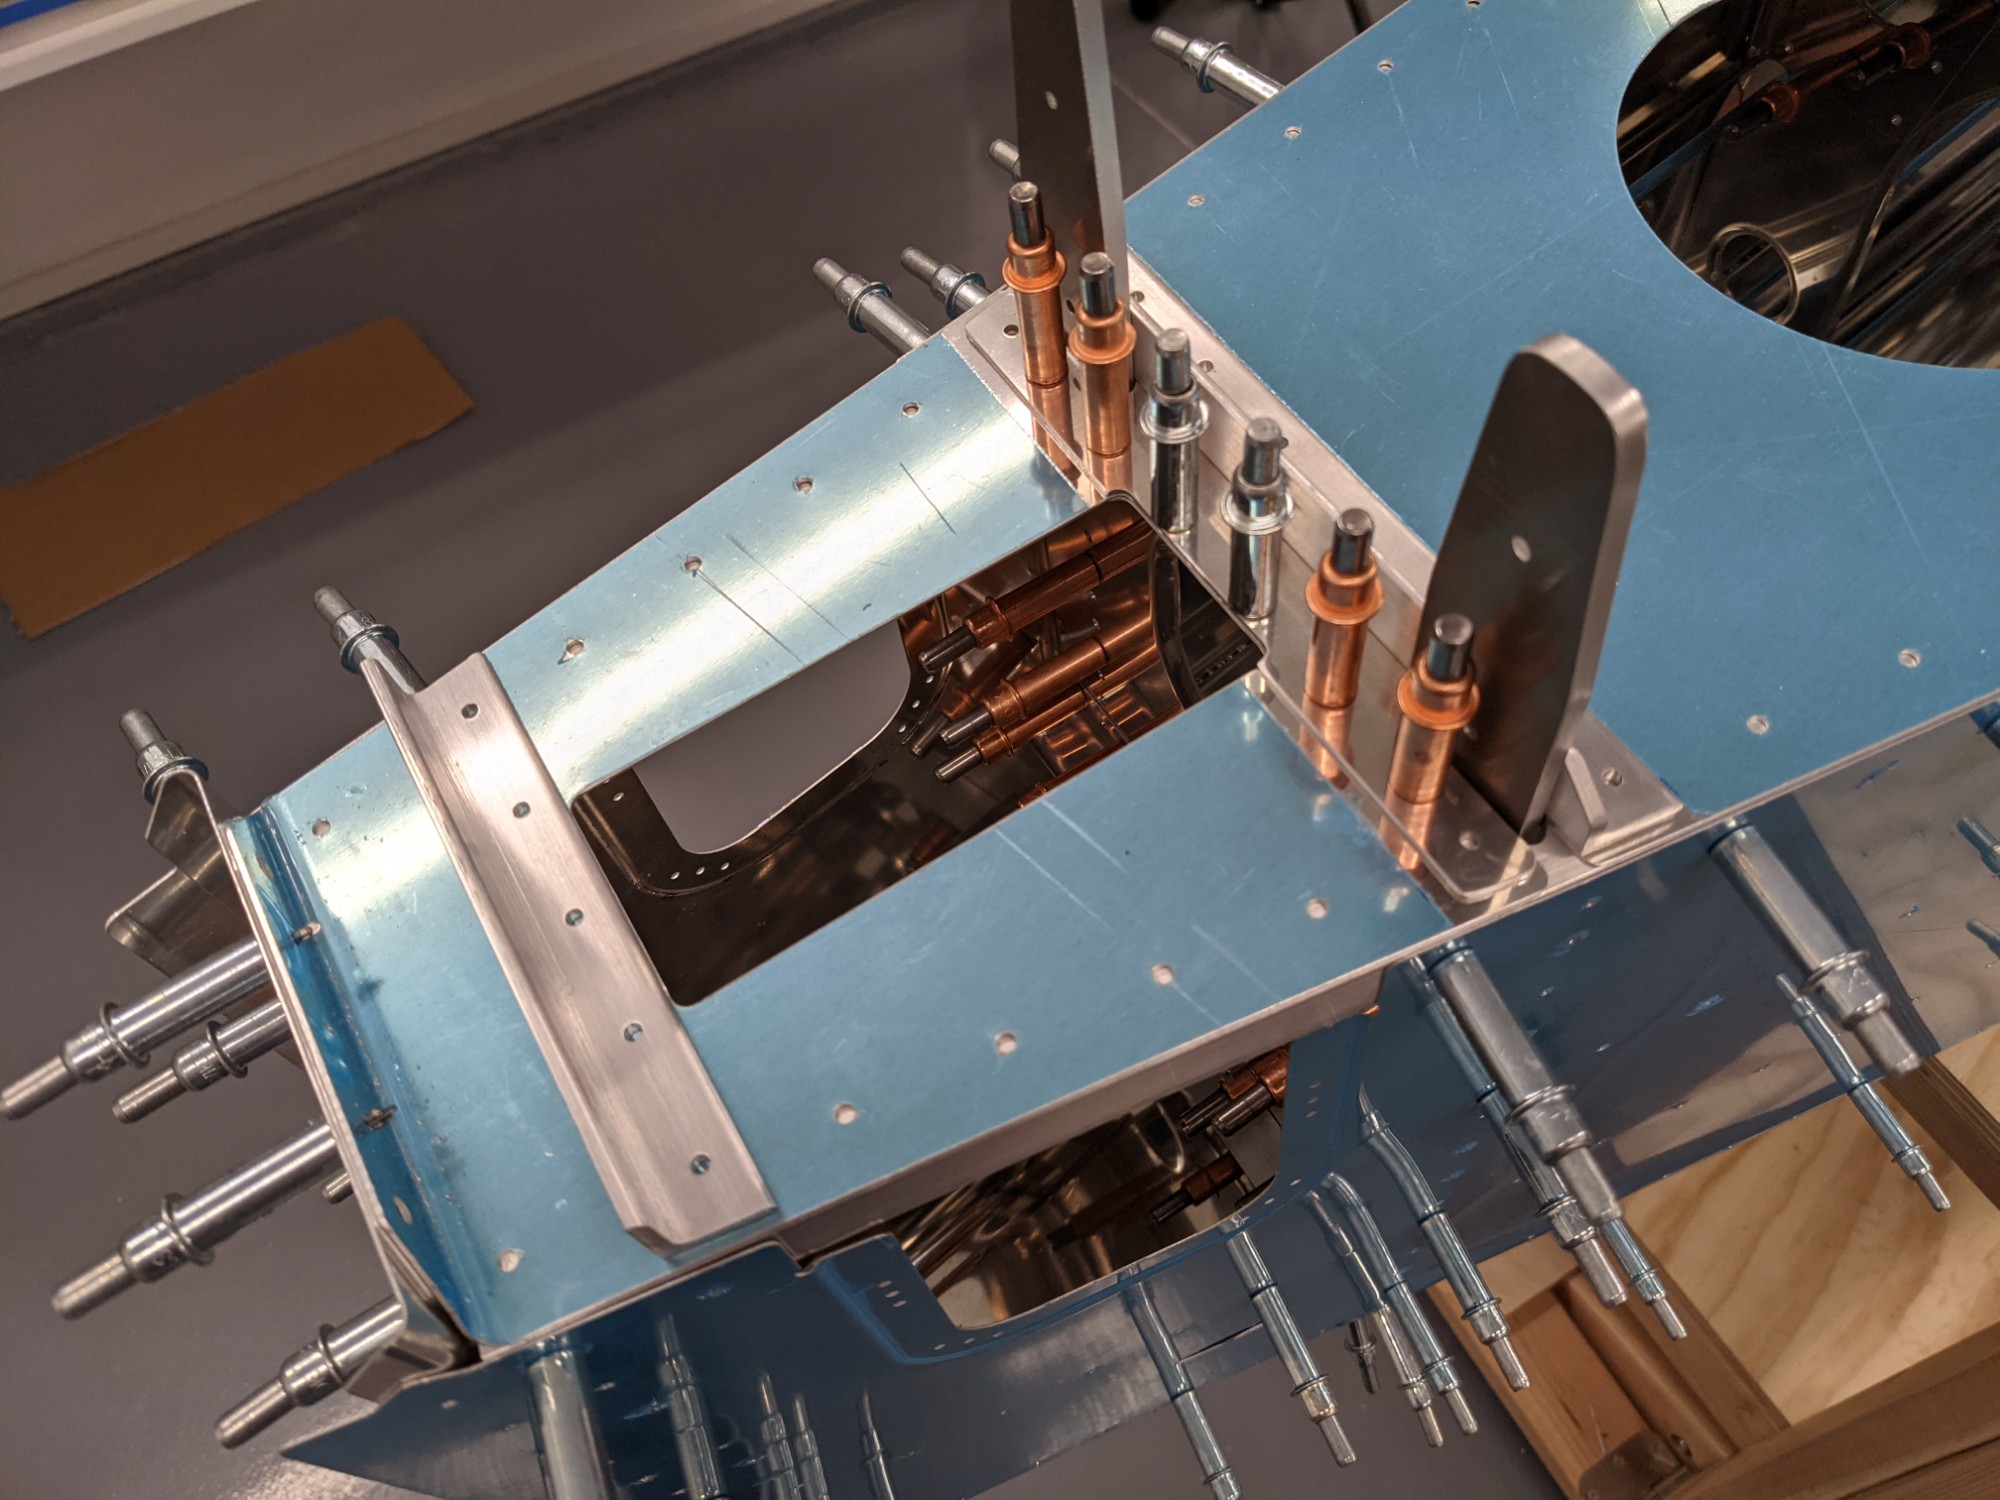
I match drilled the holes into the longerons but I didn’t have a long enough #12 drill bit to get past the elevator attach bars so I’m holding off on that step. I ended up ordering a 6″ #13 bit and a #12 reamer as there are plently of AN3 bolt holes that need to be drilled and a reamer creates a much better hole.
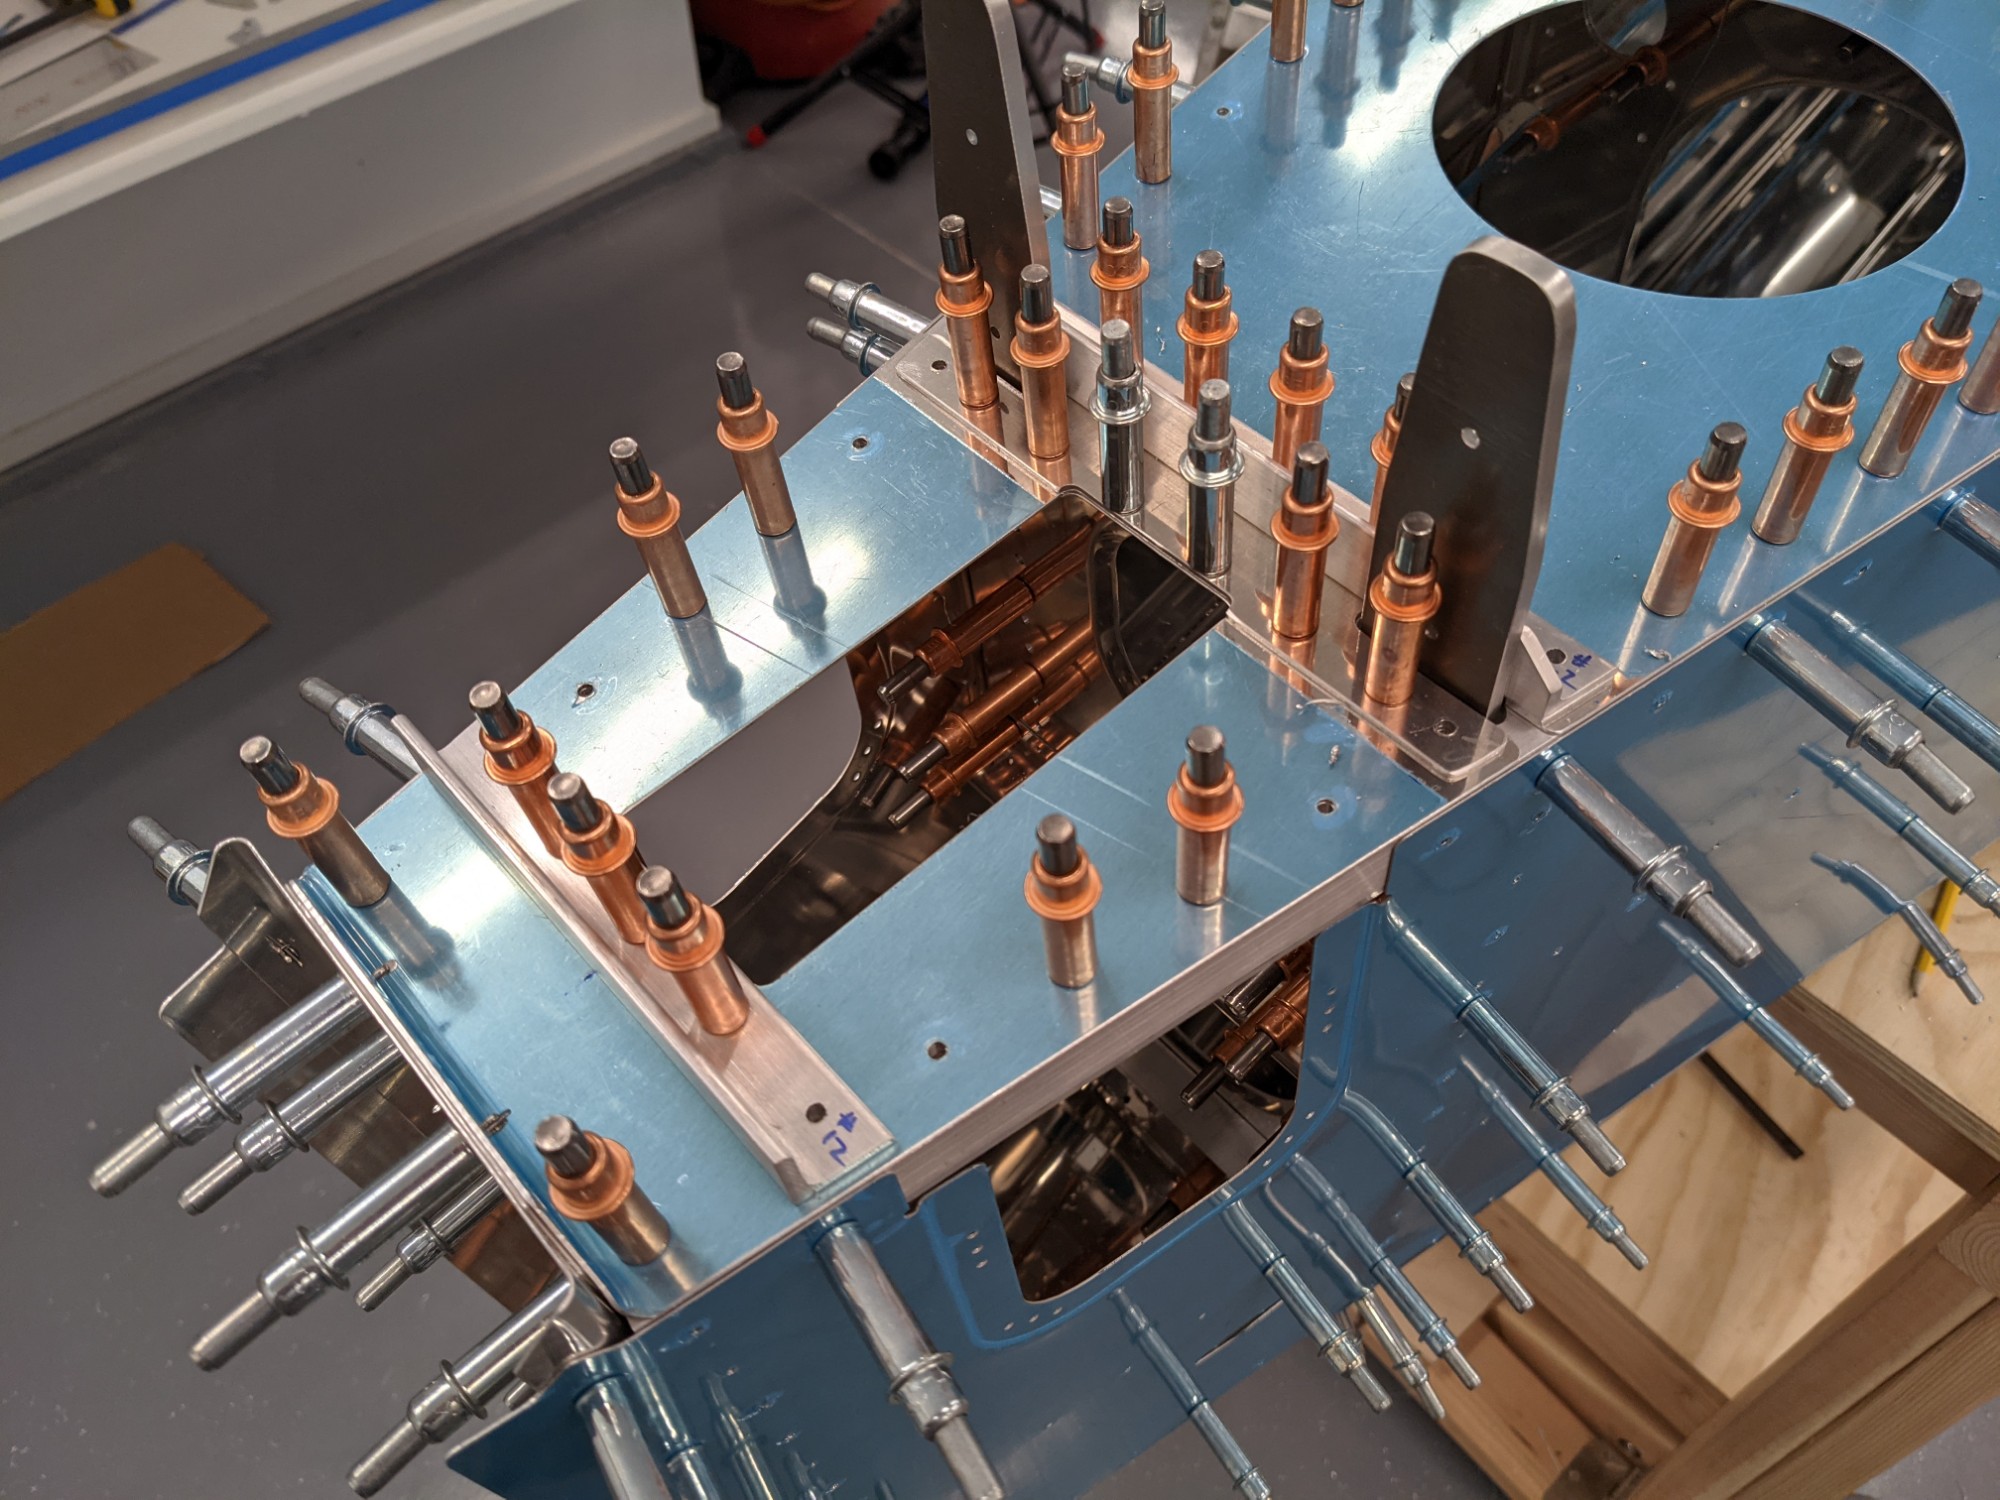
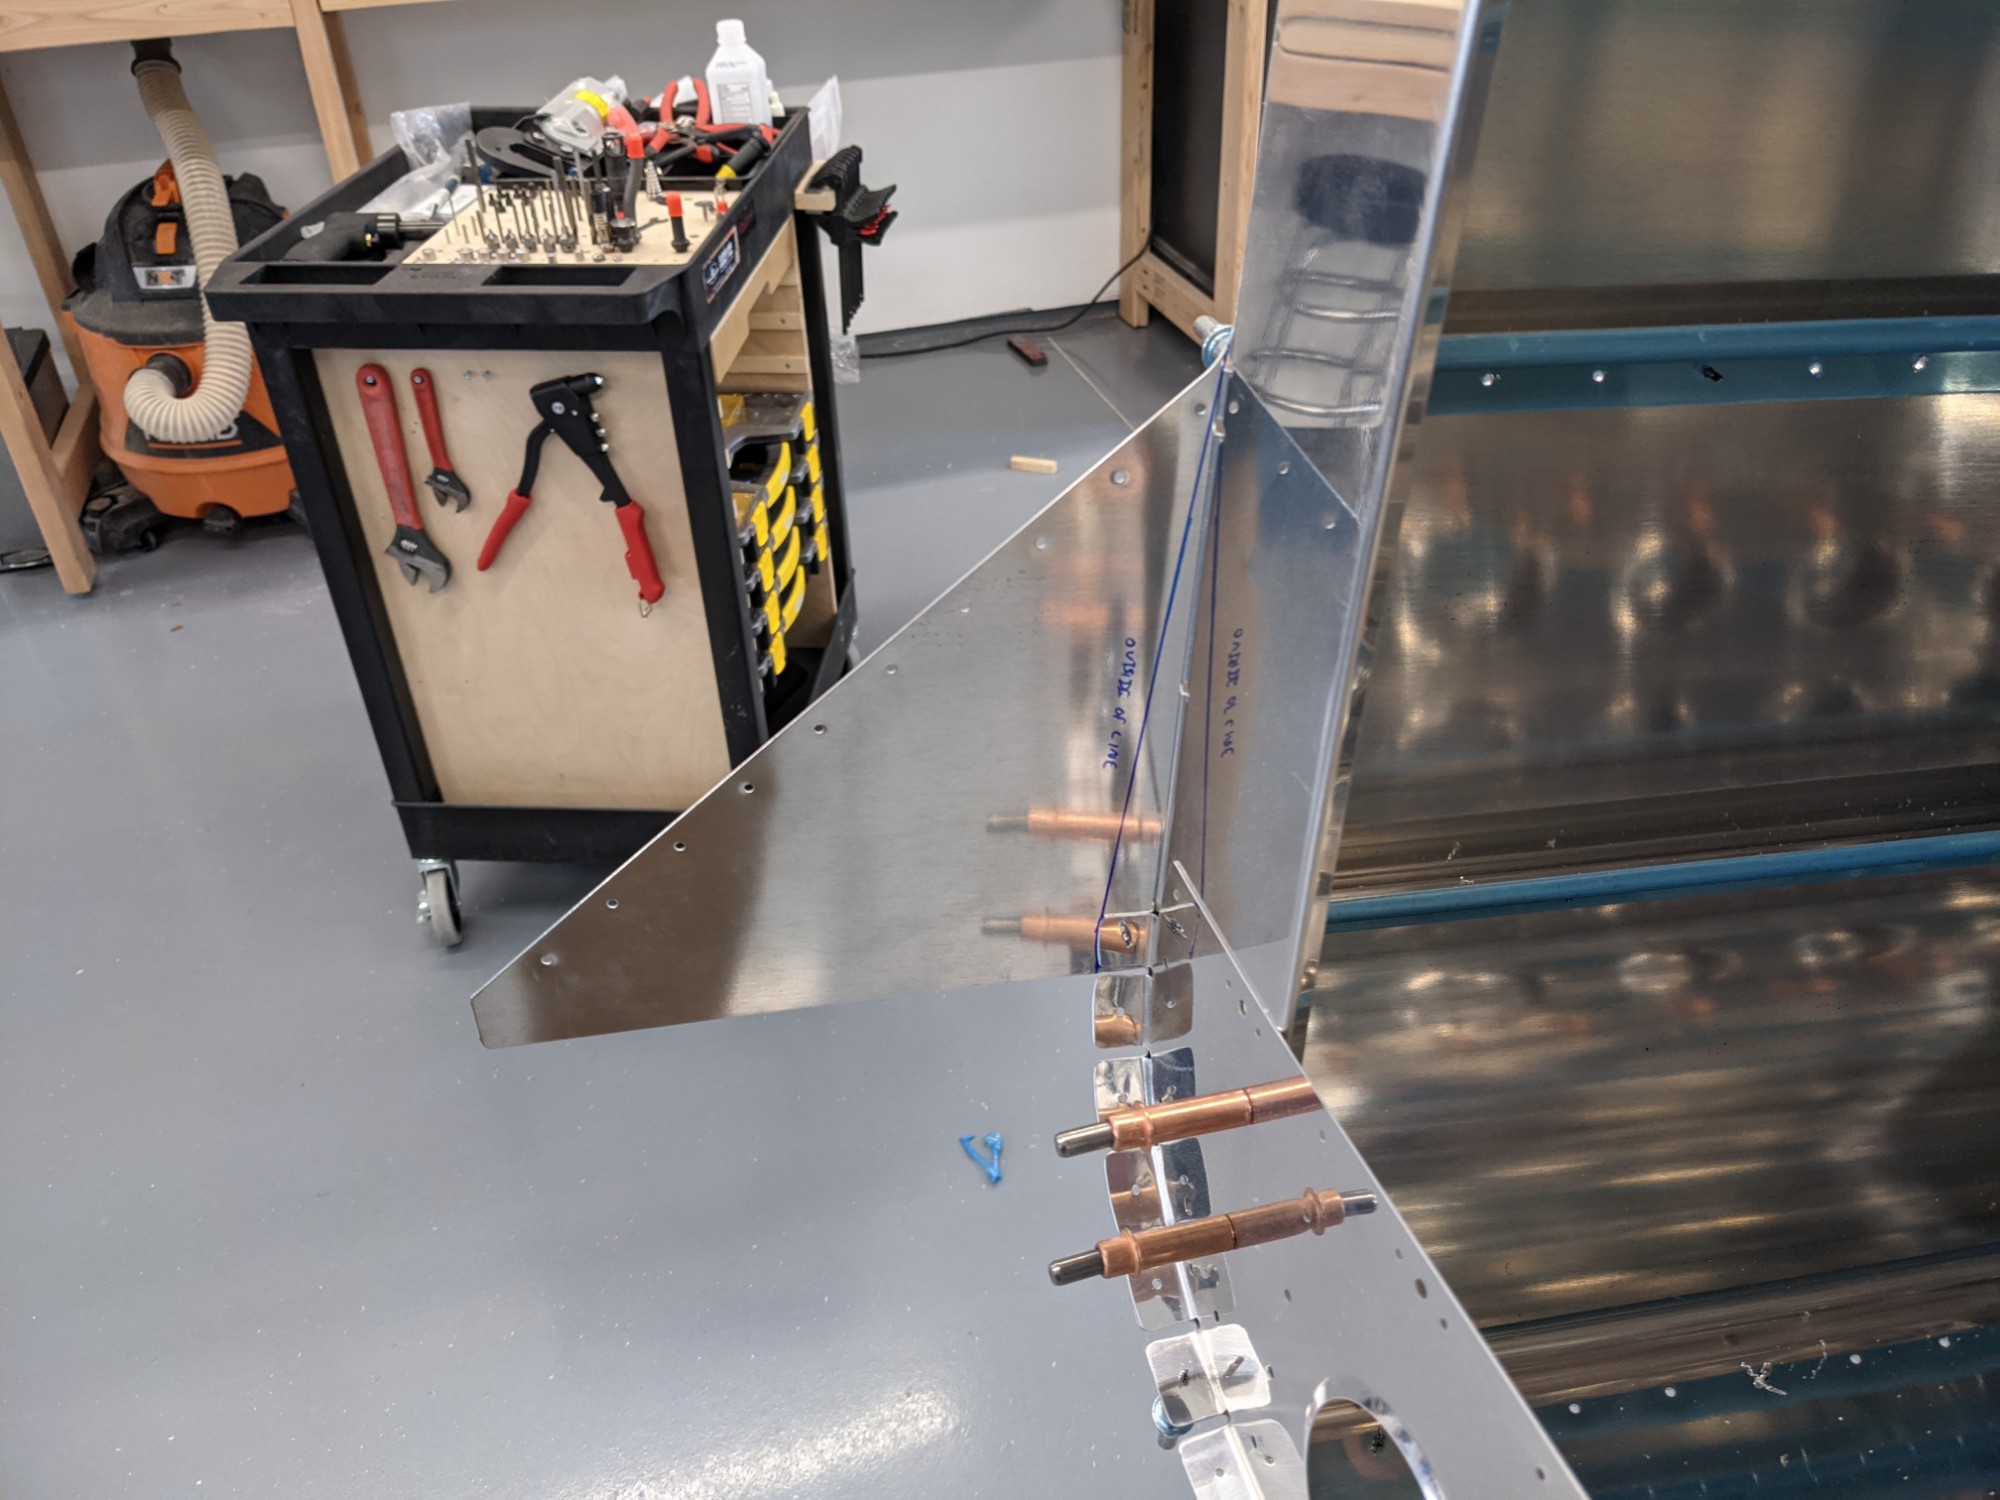
Next, the elevator stop was match drilled to the aft deck and longerons.
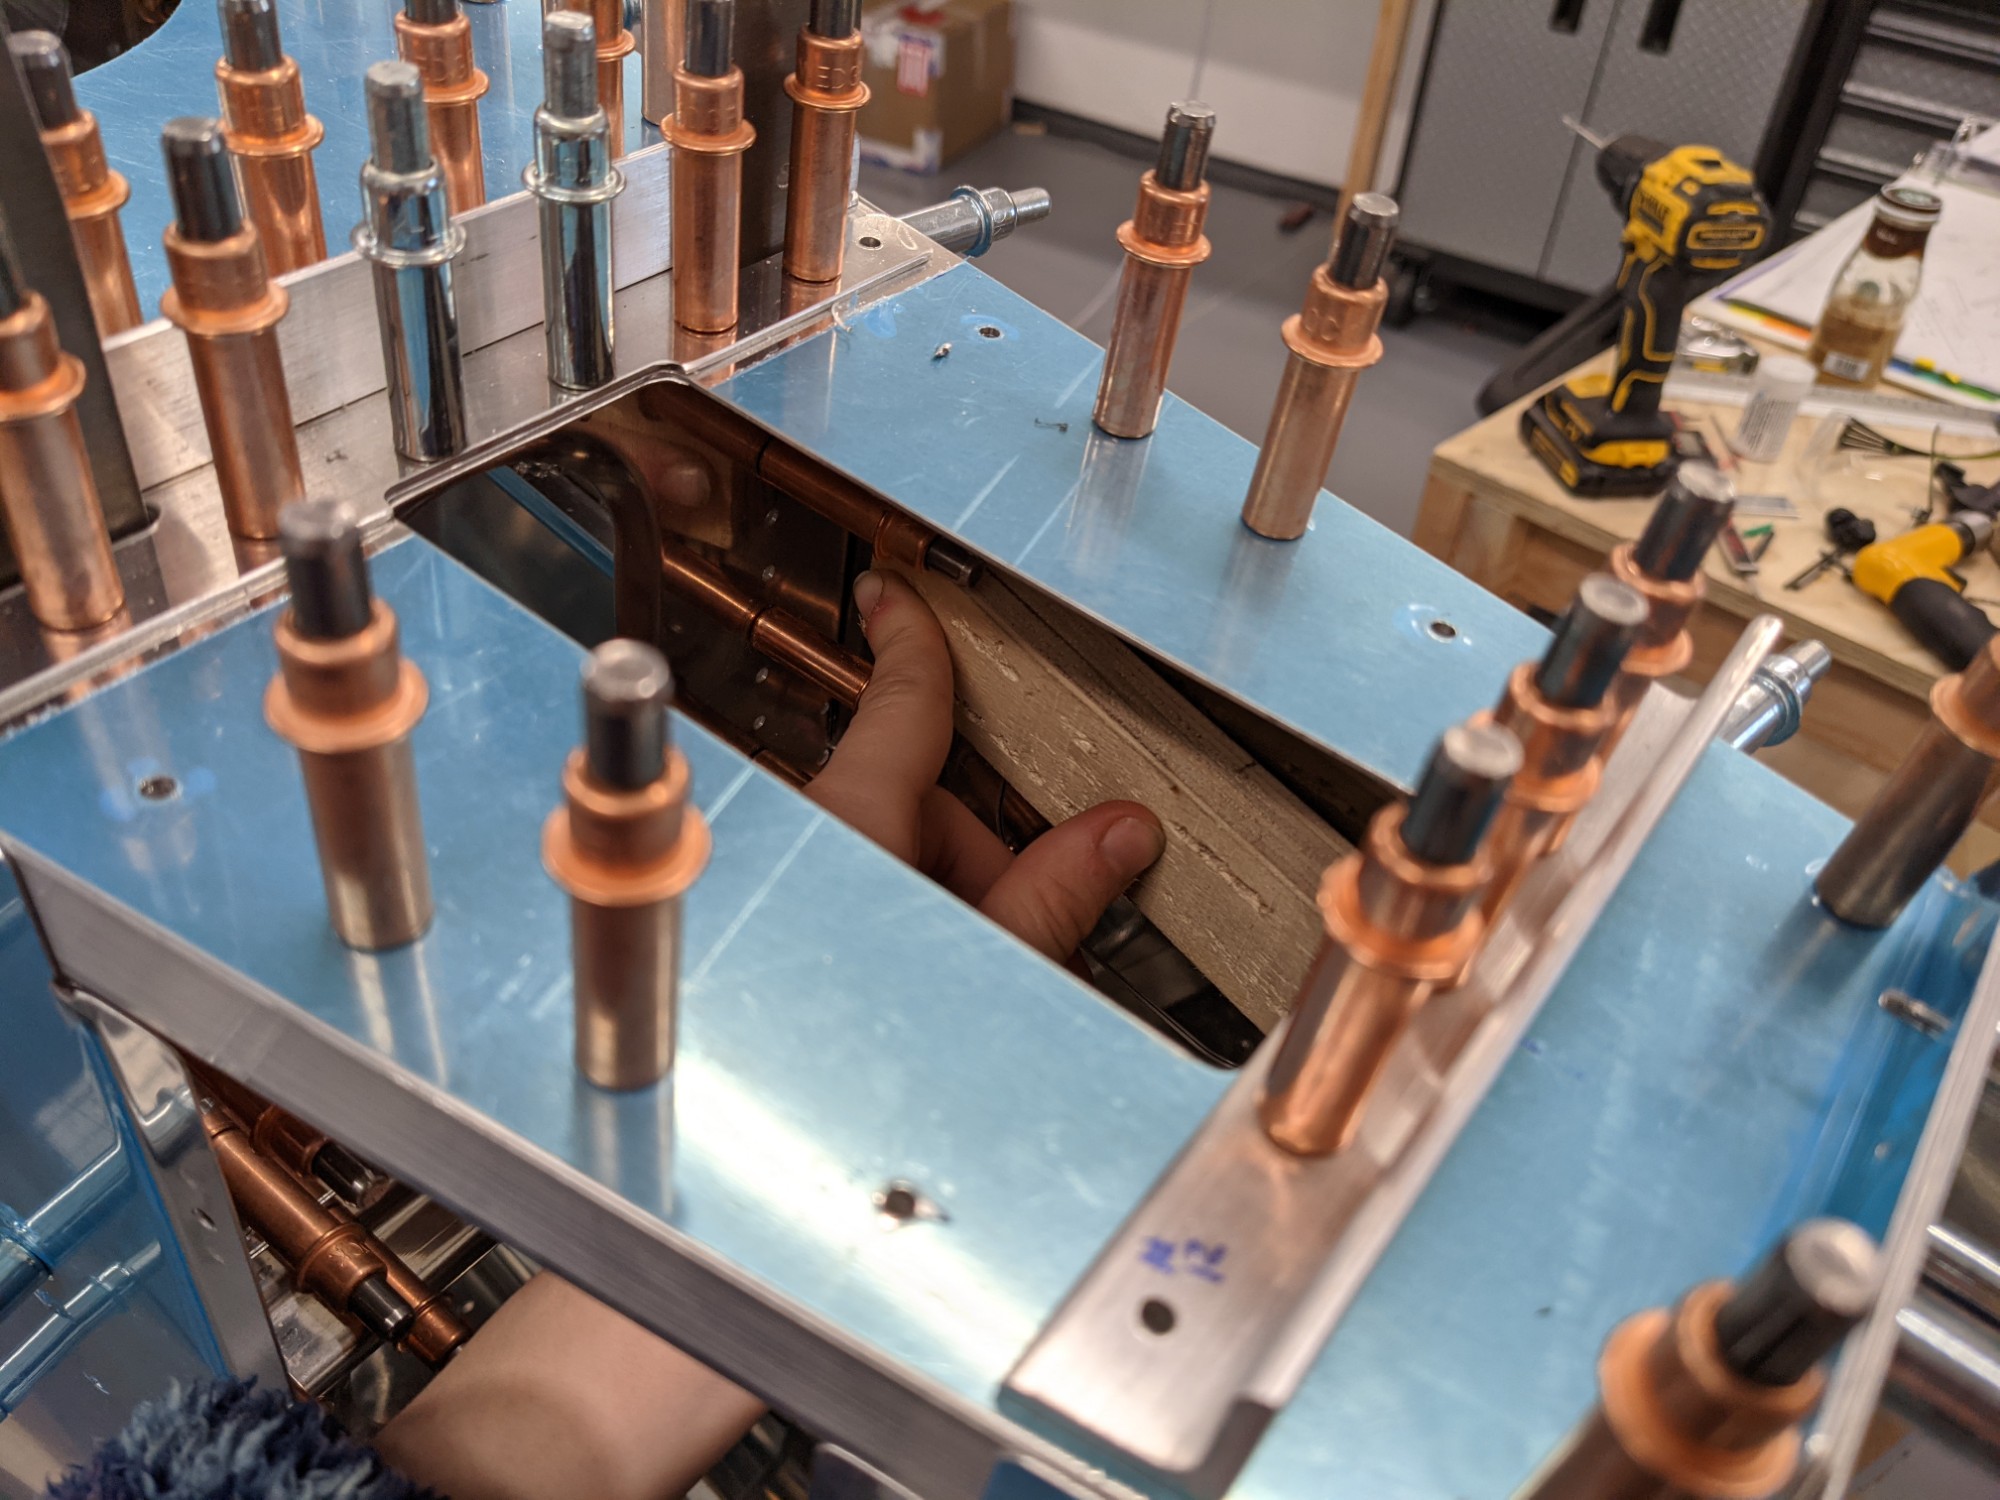
Hannah helped me with match drilling the cover plate attachment holes. These get drilled to #28 so I upsized them first with a #30 reamer. The metal is thin so Hannah held a piece of wood behind the hole to help the bit from grabbing.
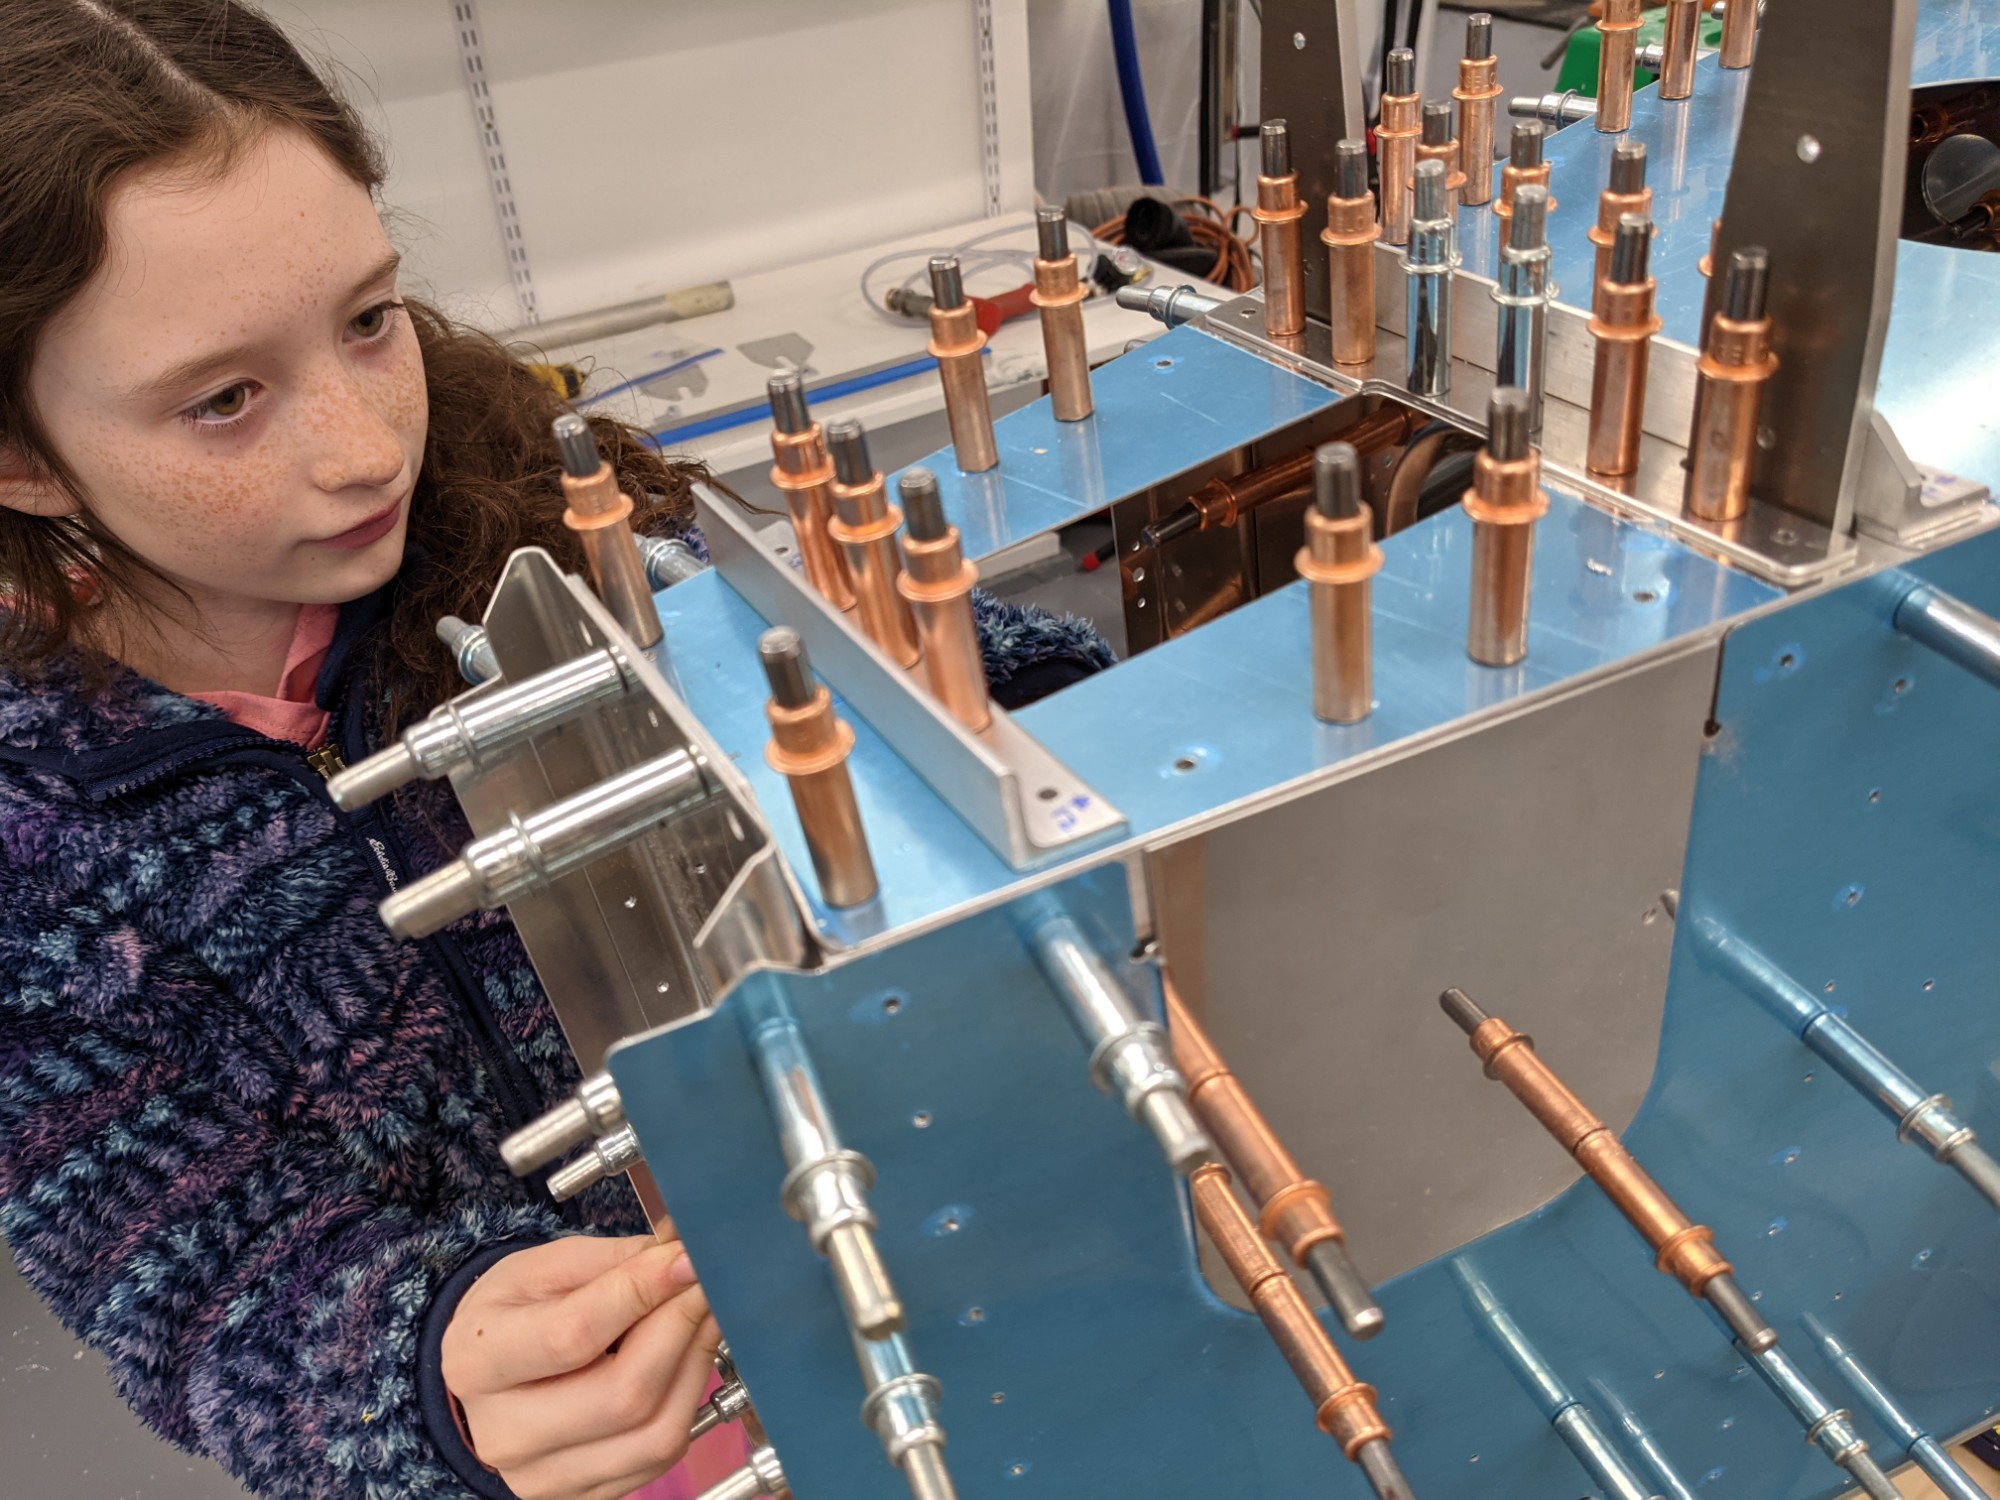
I then final sized the rivet holes with a #30 reamer.
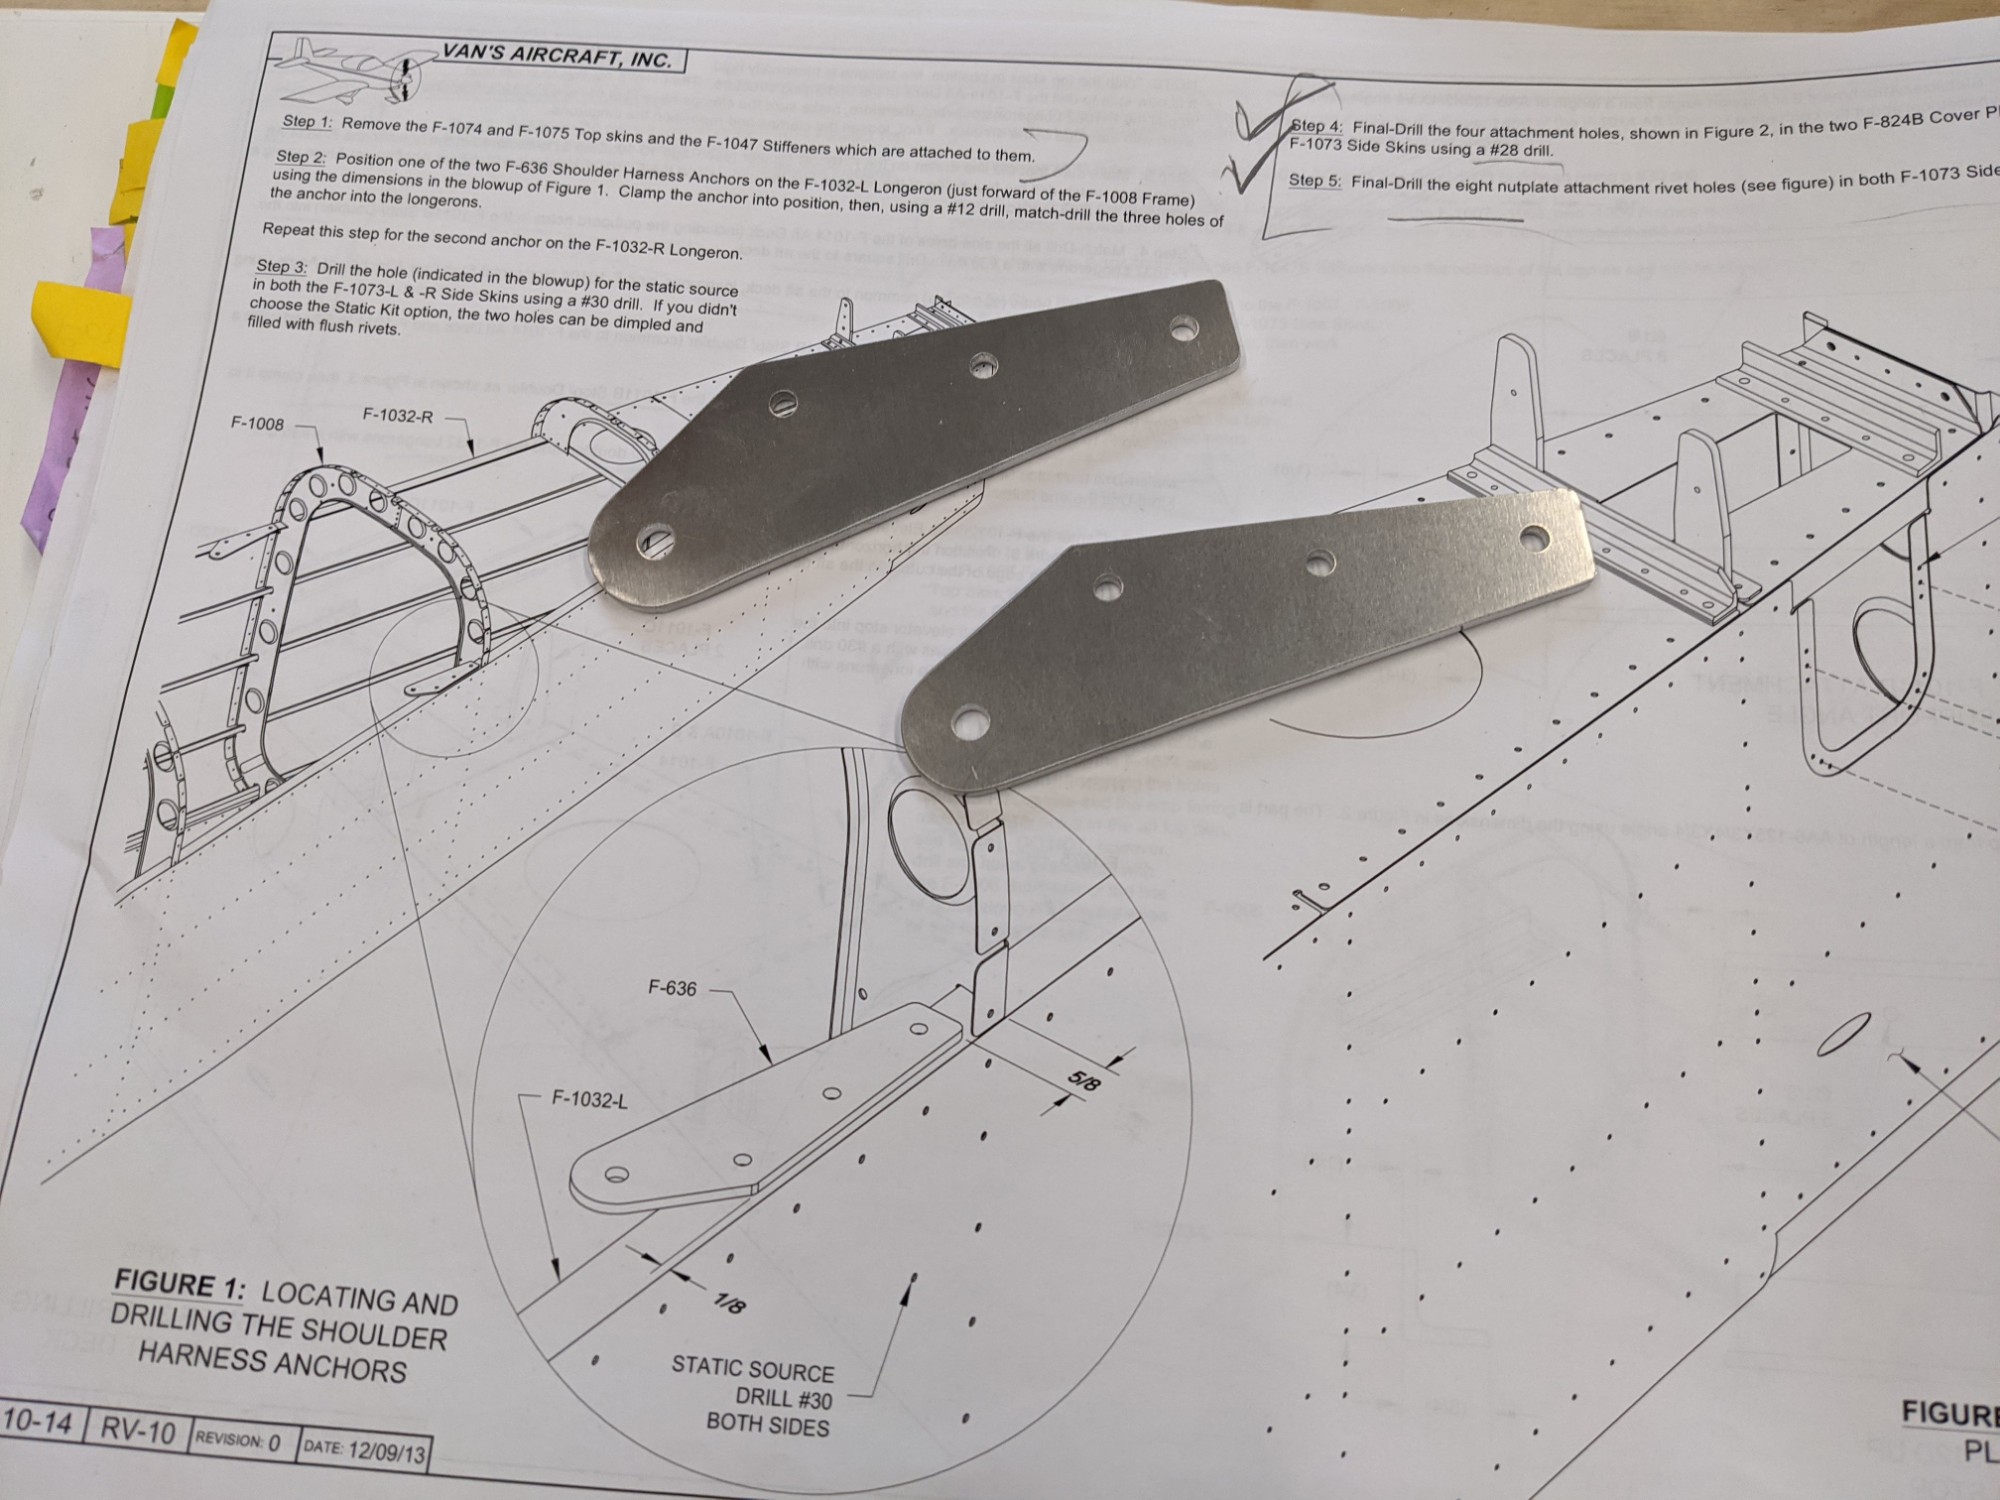
I then deburred the shoulder harness anchors and I will install these after completing the #12 holes on the aft deck.
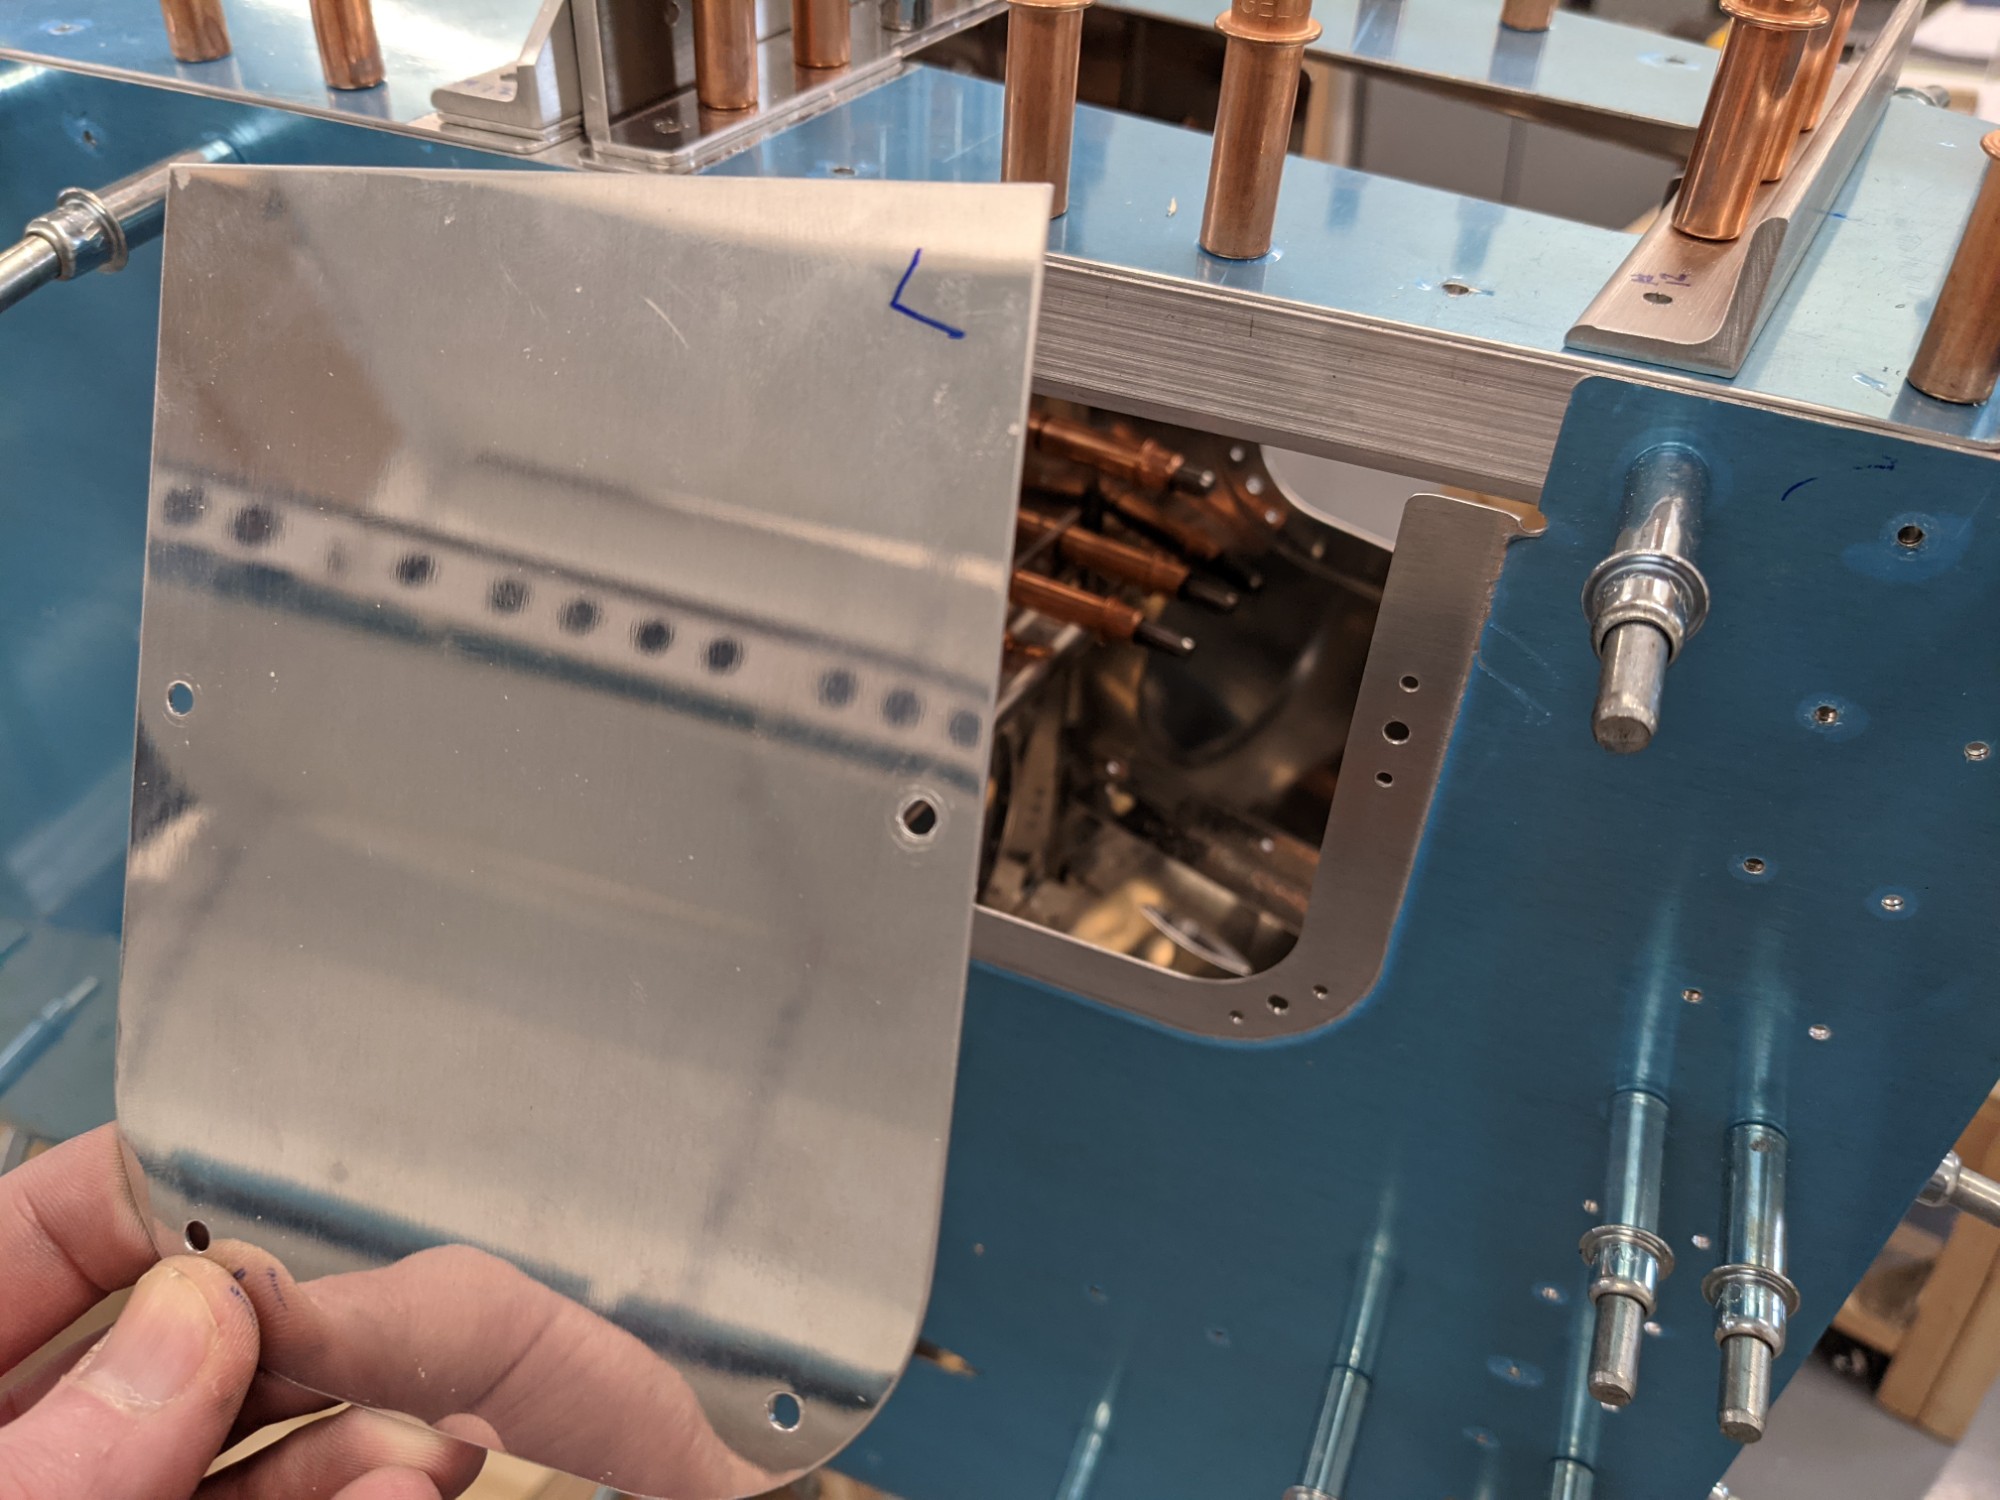
Next, I marked the triangular portion on the right side skin for trimming after disassembly.
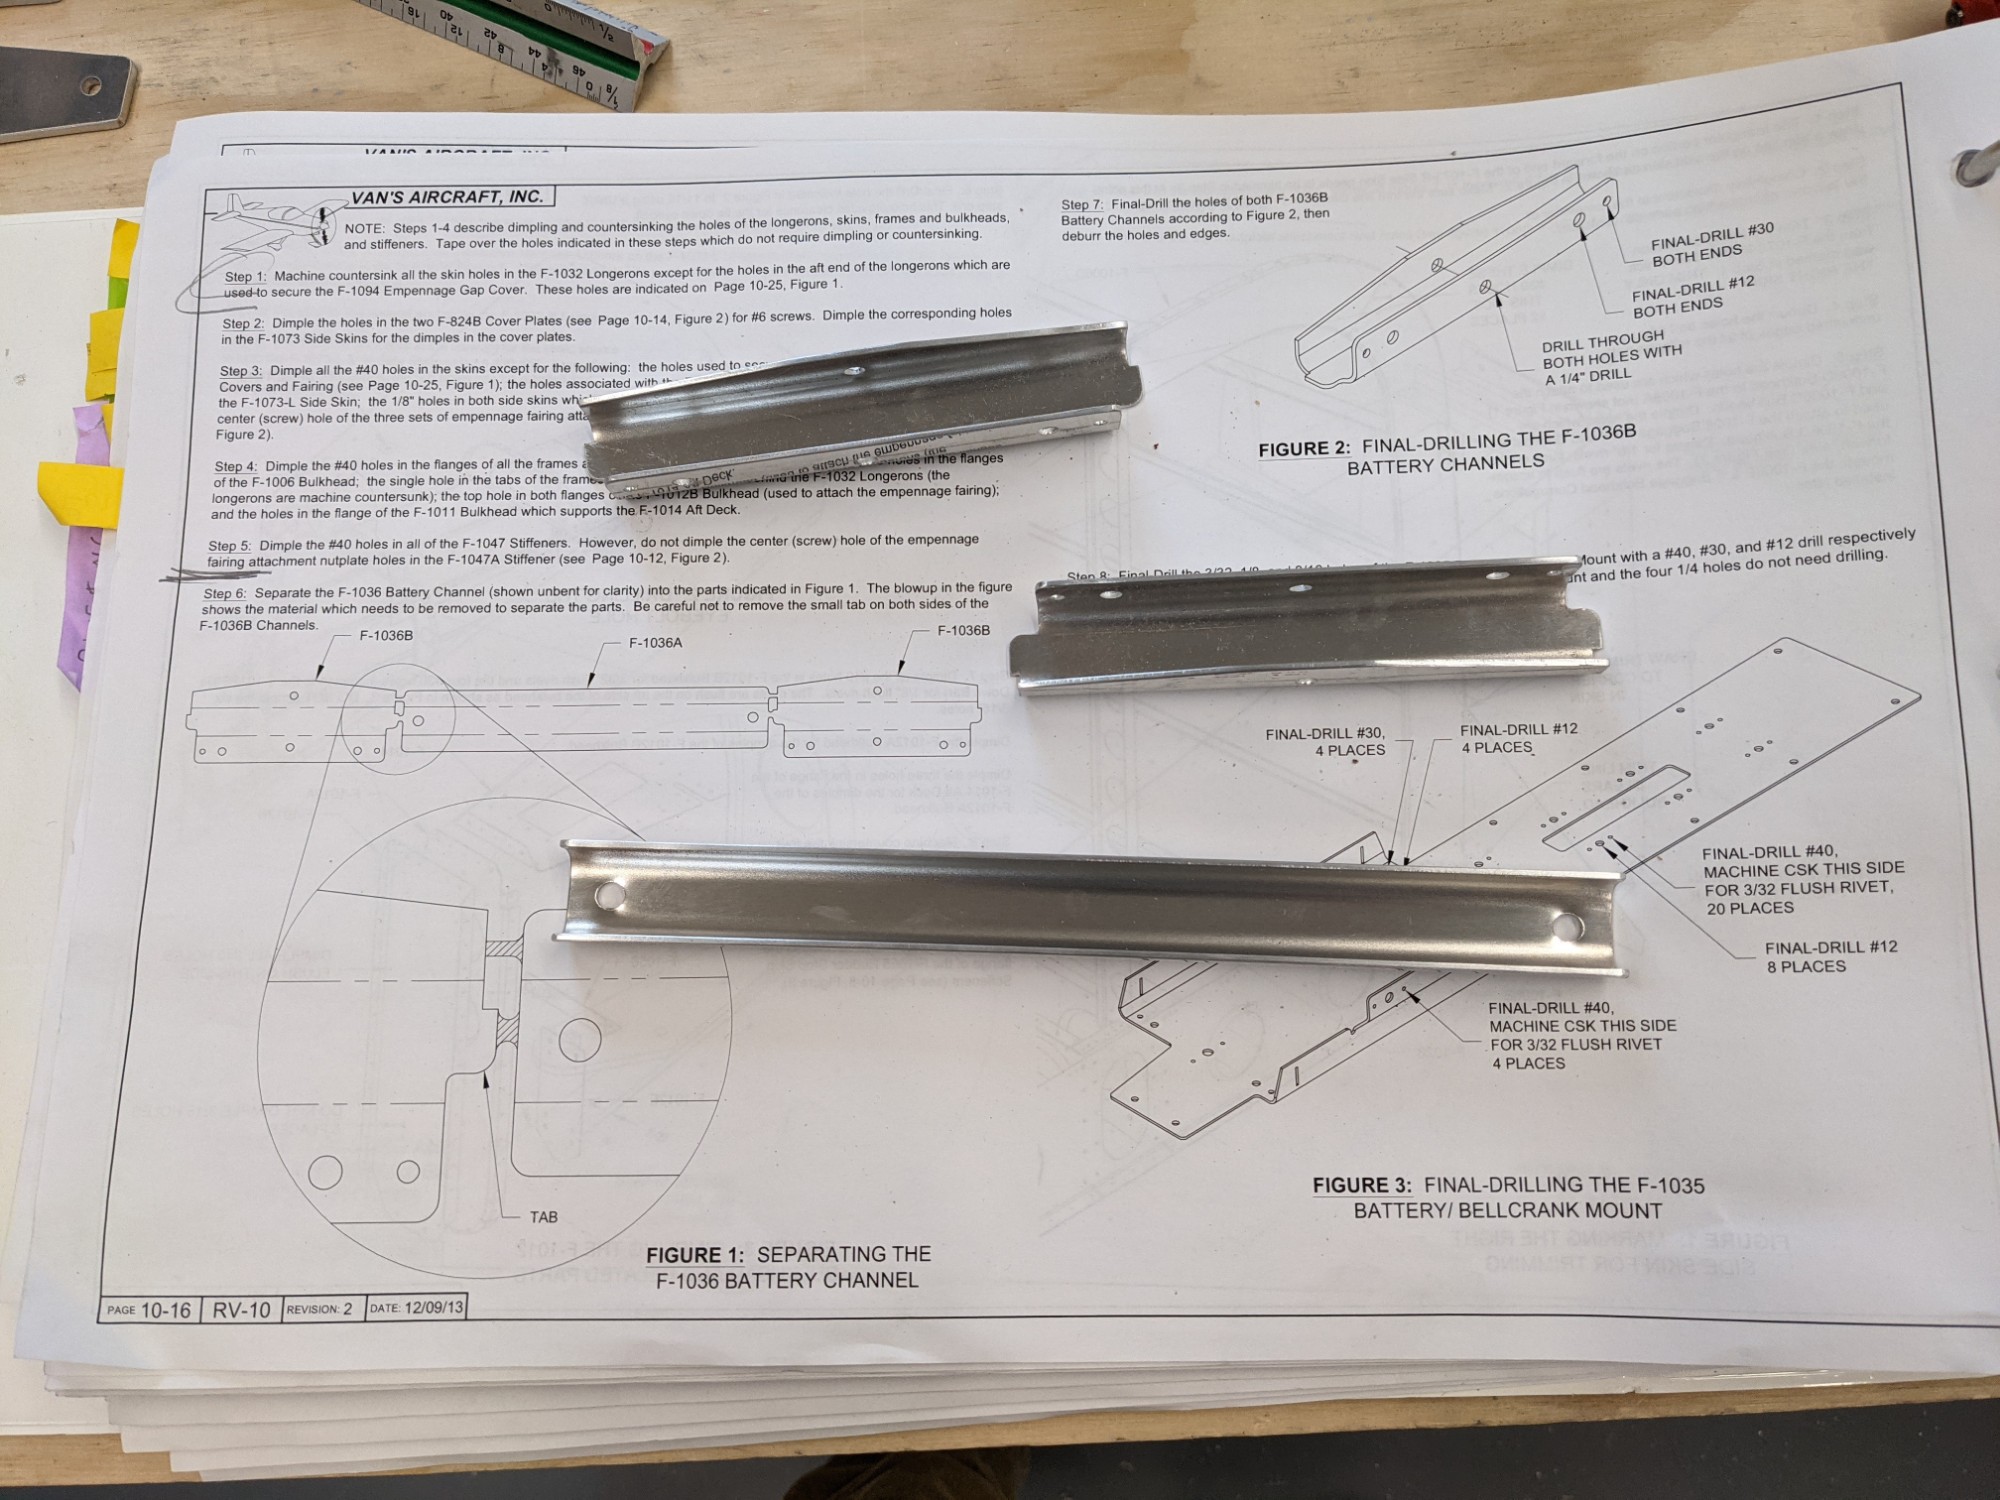
I then separated the battery channel parts. I plan on using an EarthX 900 battery. From pics on the VAF forums, it looks like I can quite easily fit it in the standard battery holder so I decided to proceed with building the standard mount and I’ll modify it if needed in the future.