
While waiting for the elevator and trim tab sealant to cure I decided to do some work on the tailcone this evening.
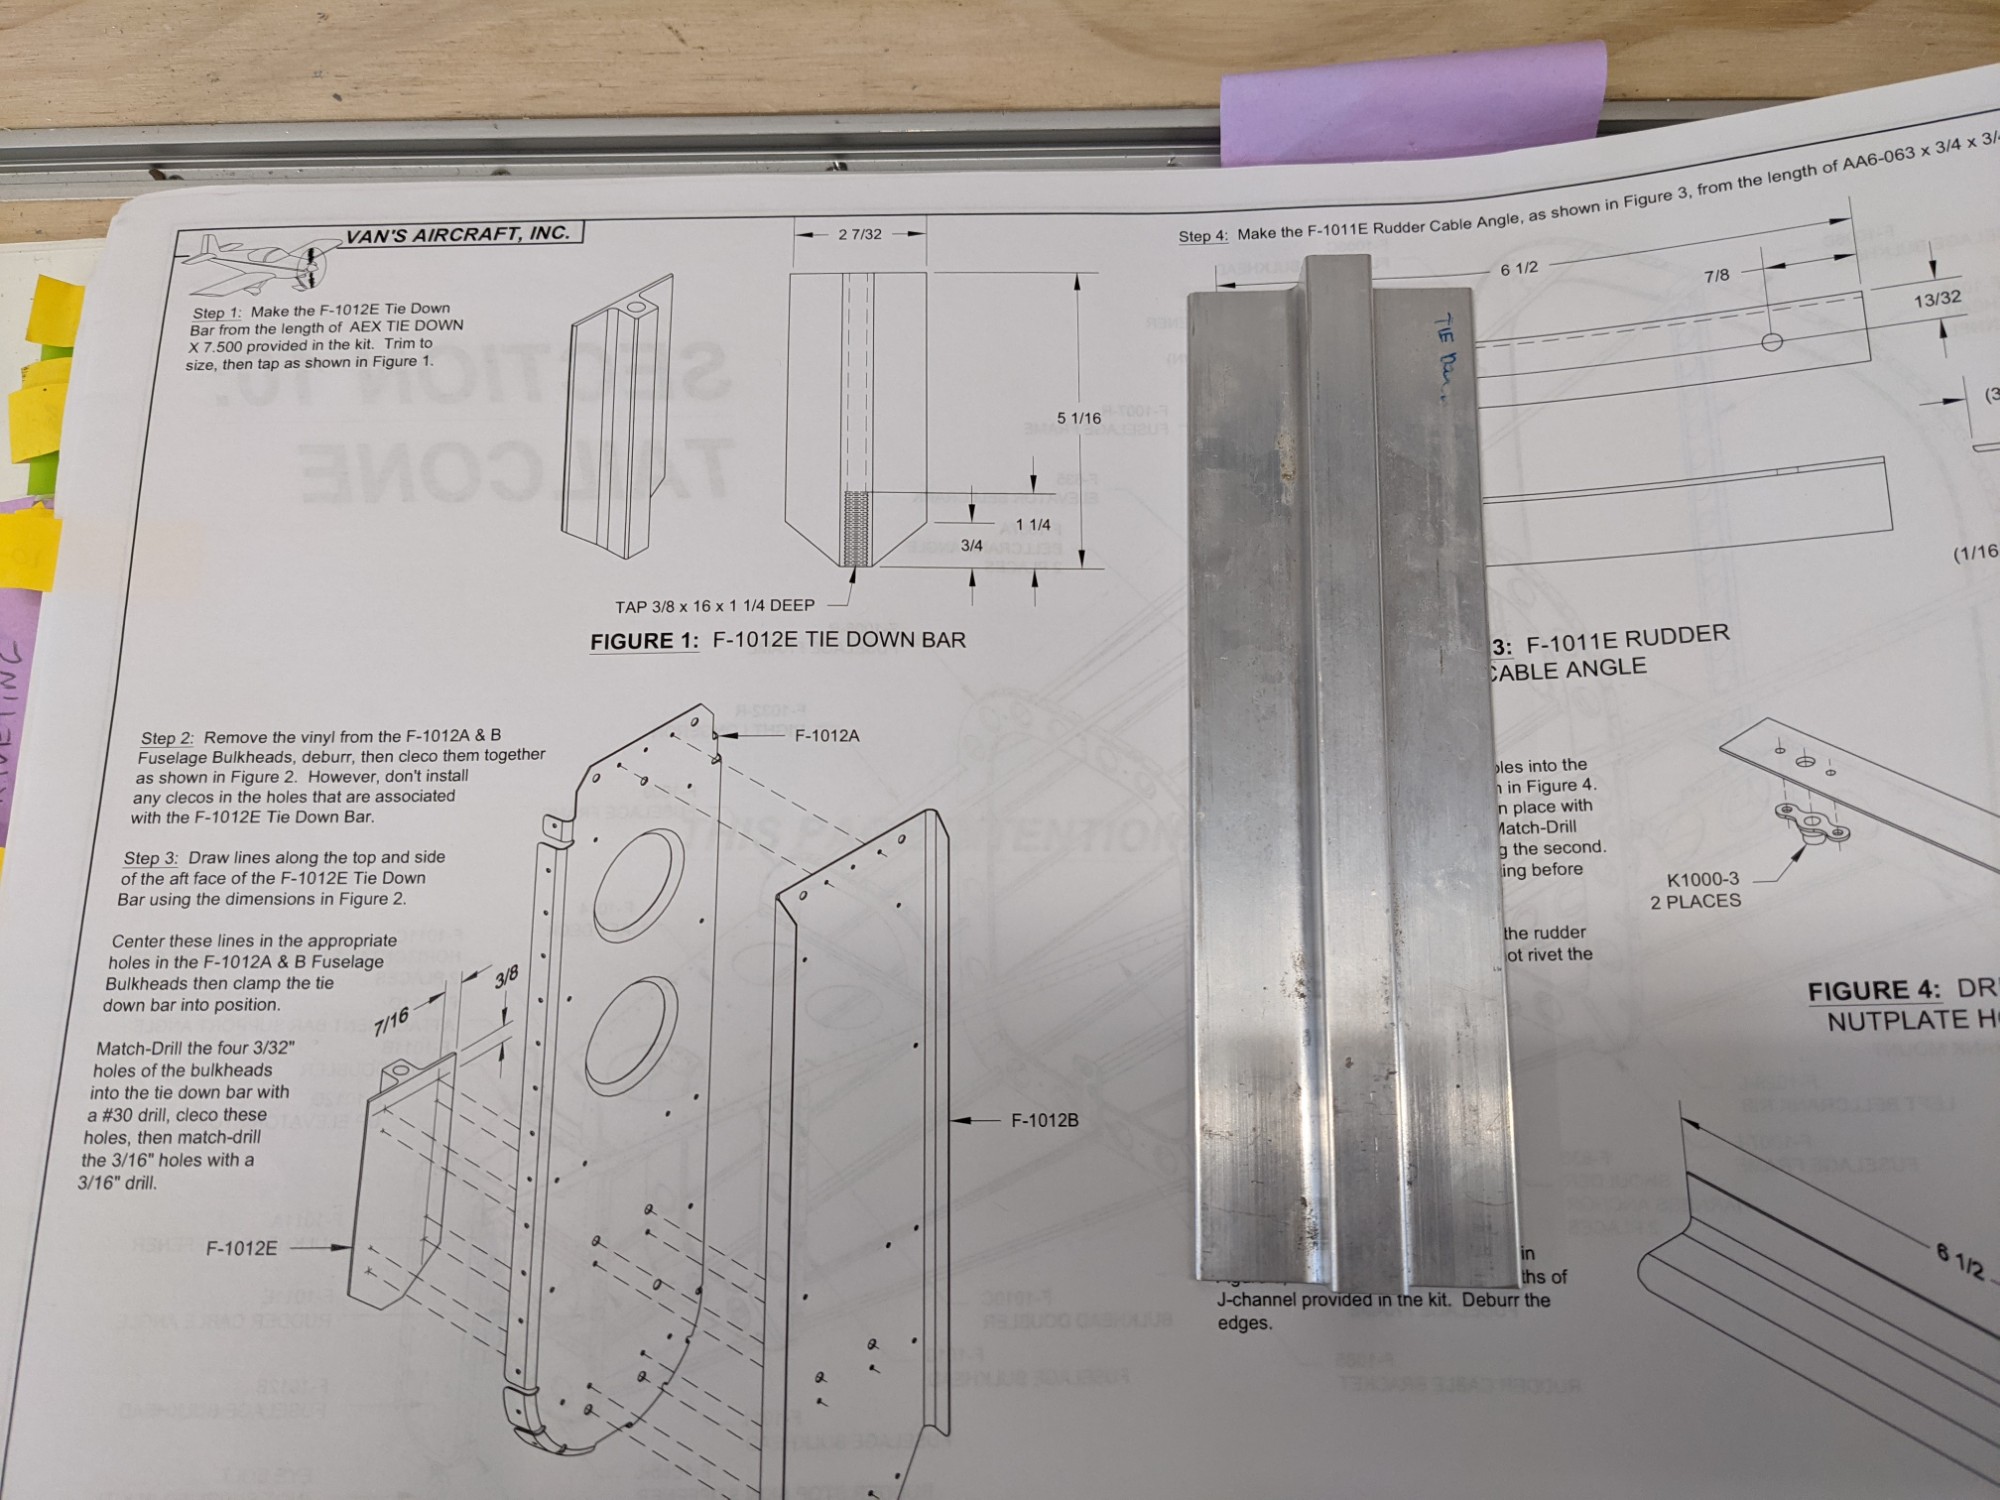
Step 1 has you fabricate the tie-down bar. I decided to tap the hole first (instead of cutting the bar to size) in case I encountered any problems when tapping the hole. That would leave me with enough material to tap from the other end if needed.
I have a .311 straight flute reamer from the Cleaveland kit which I used to size the hole first. A 3/8 tap expects a 5/16 hole (.3125) so the reamer was close enough and less likely to grab than a drill bit.
When tapping the hole I used Boelube paste for lubrication and I backed the tap up frequently to clear shavings.
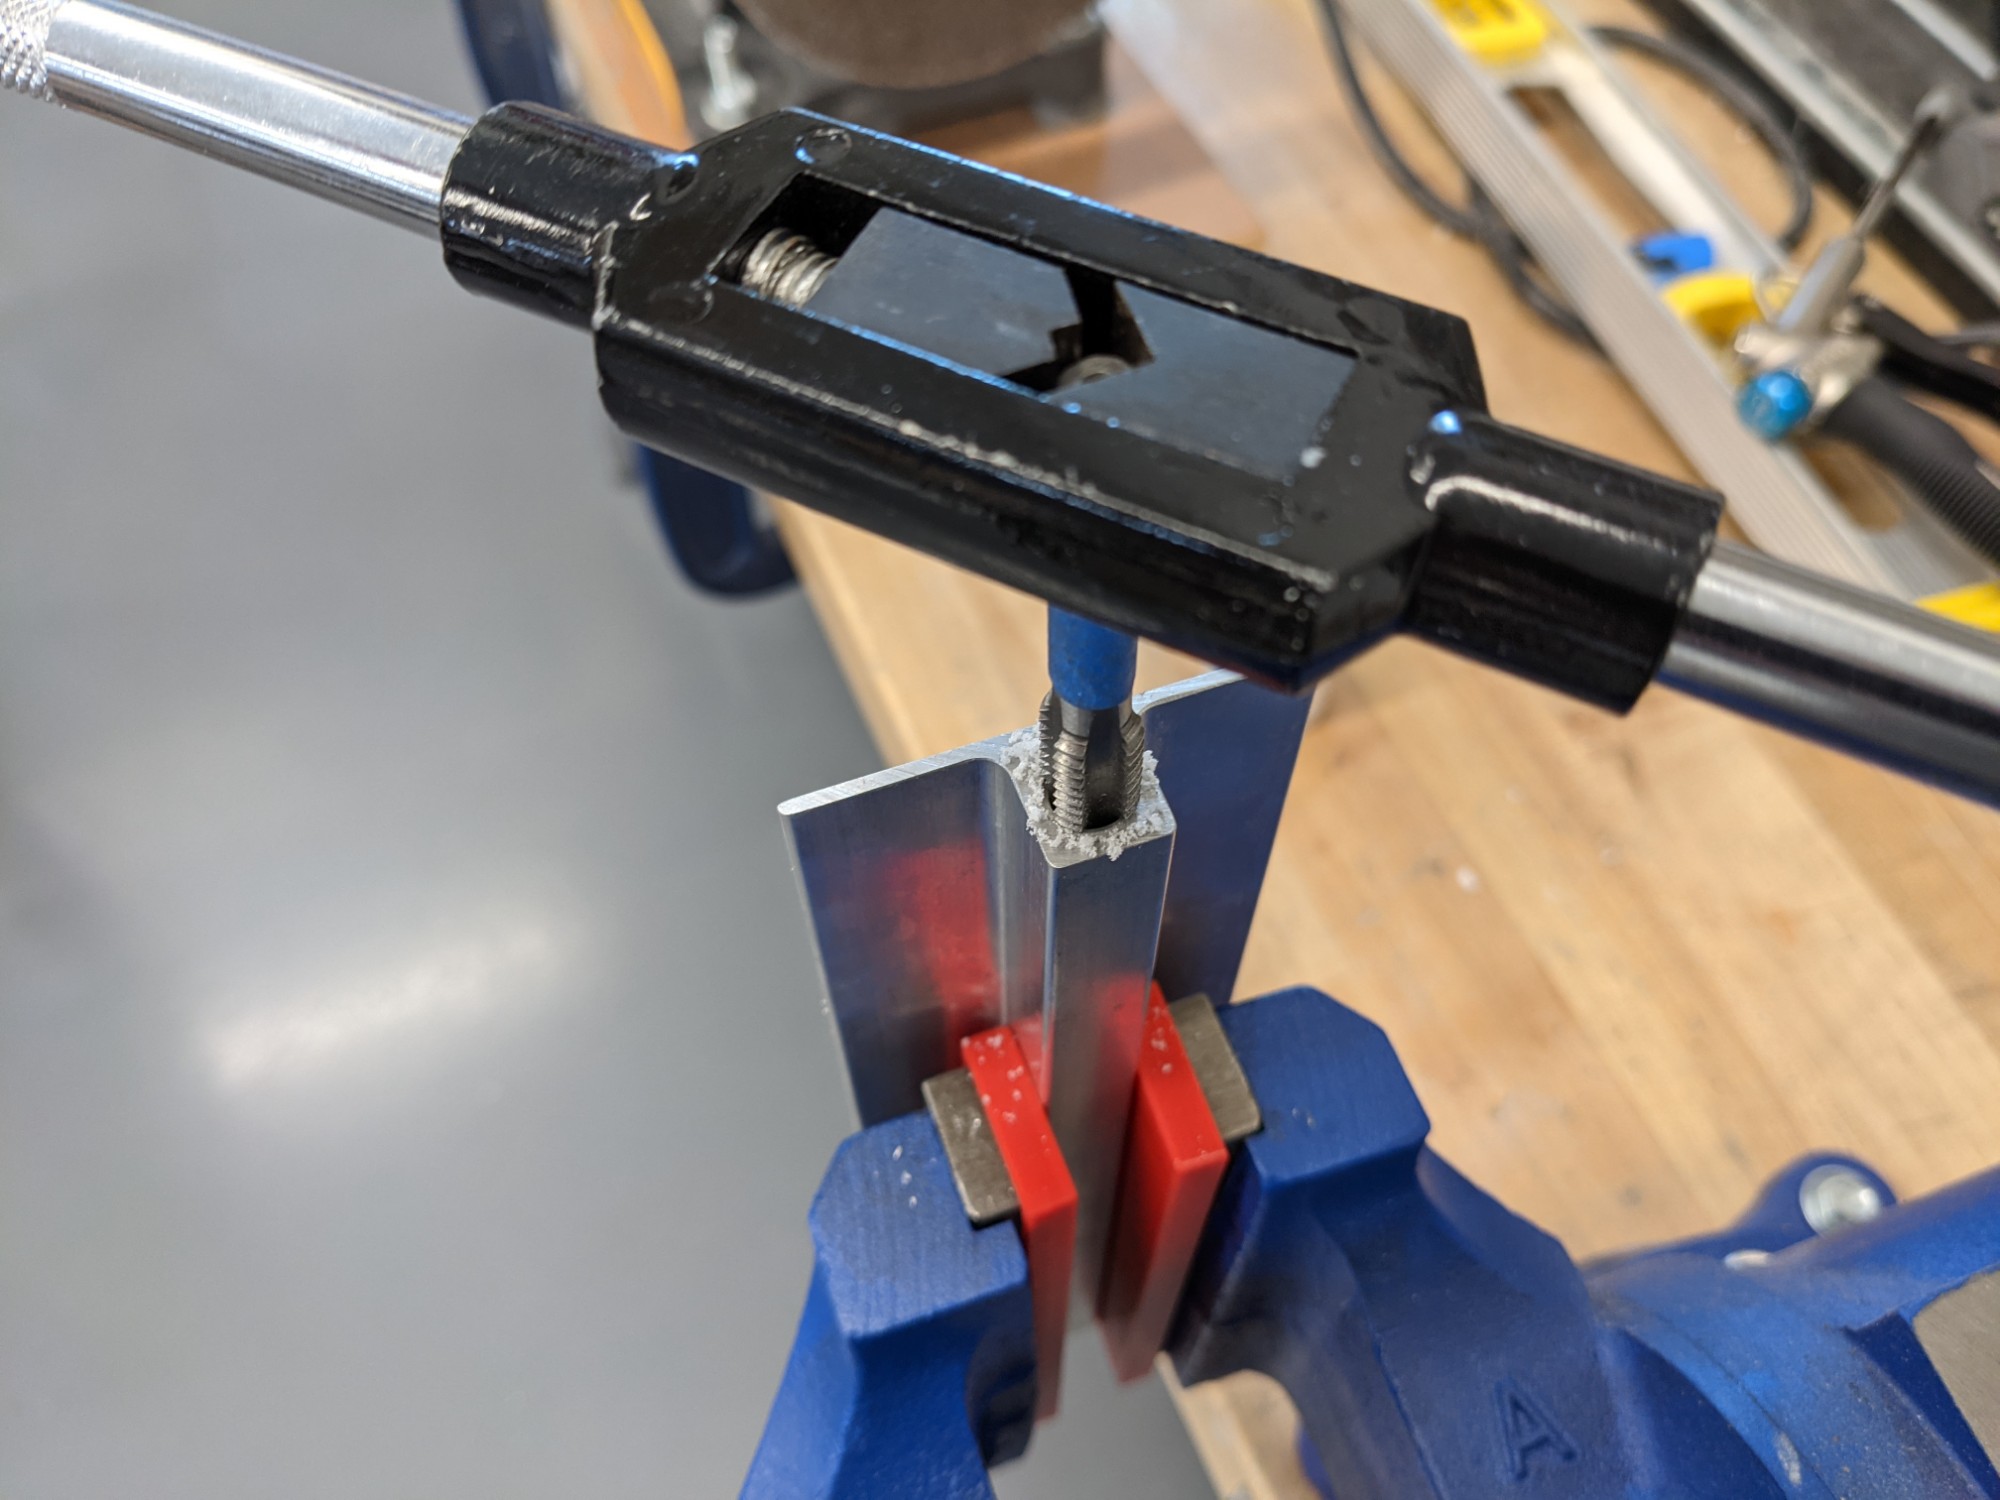
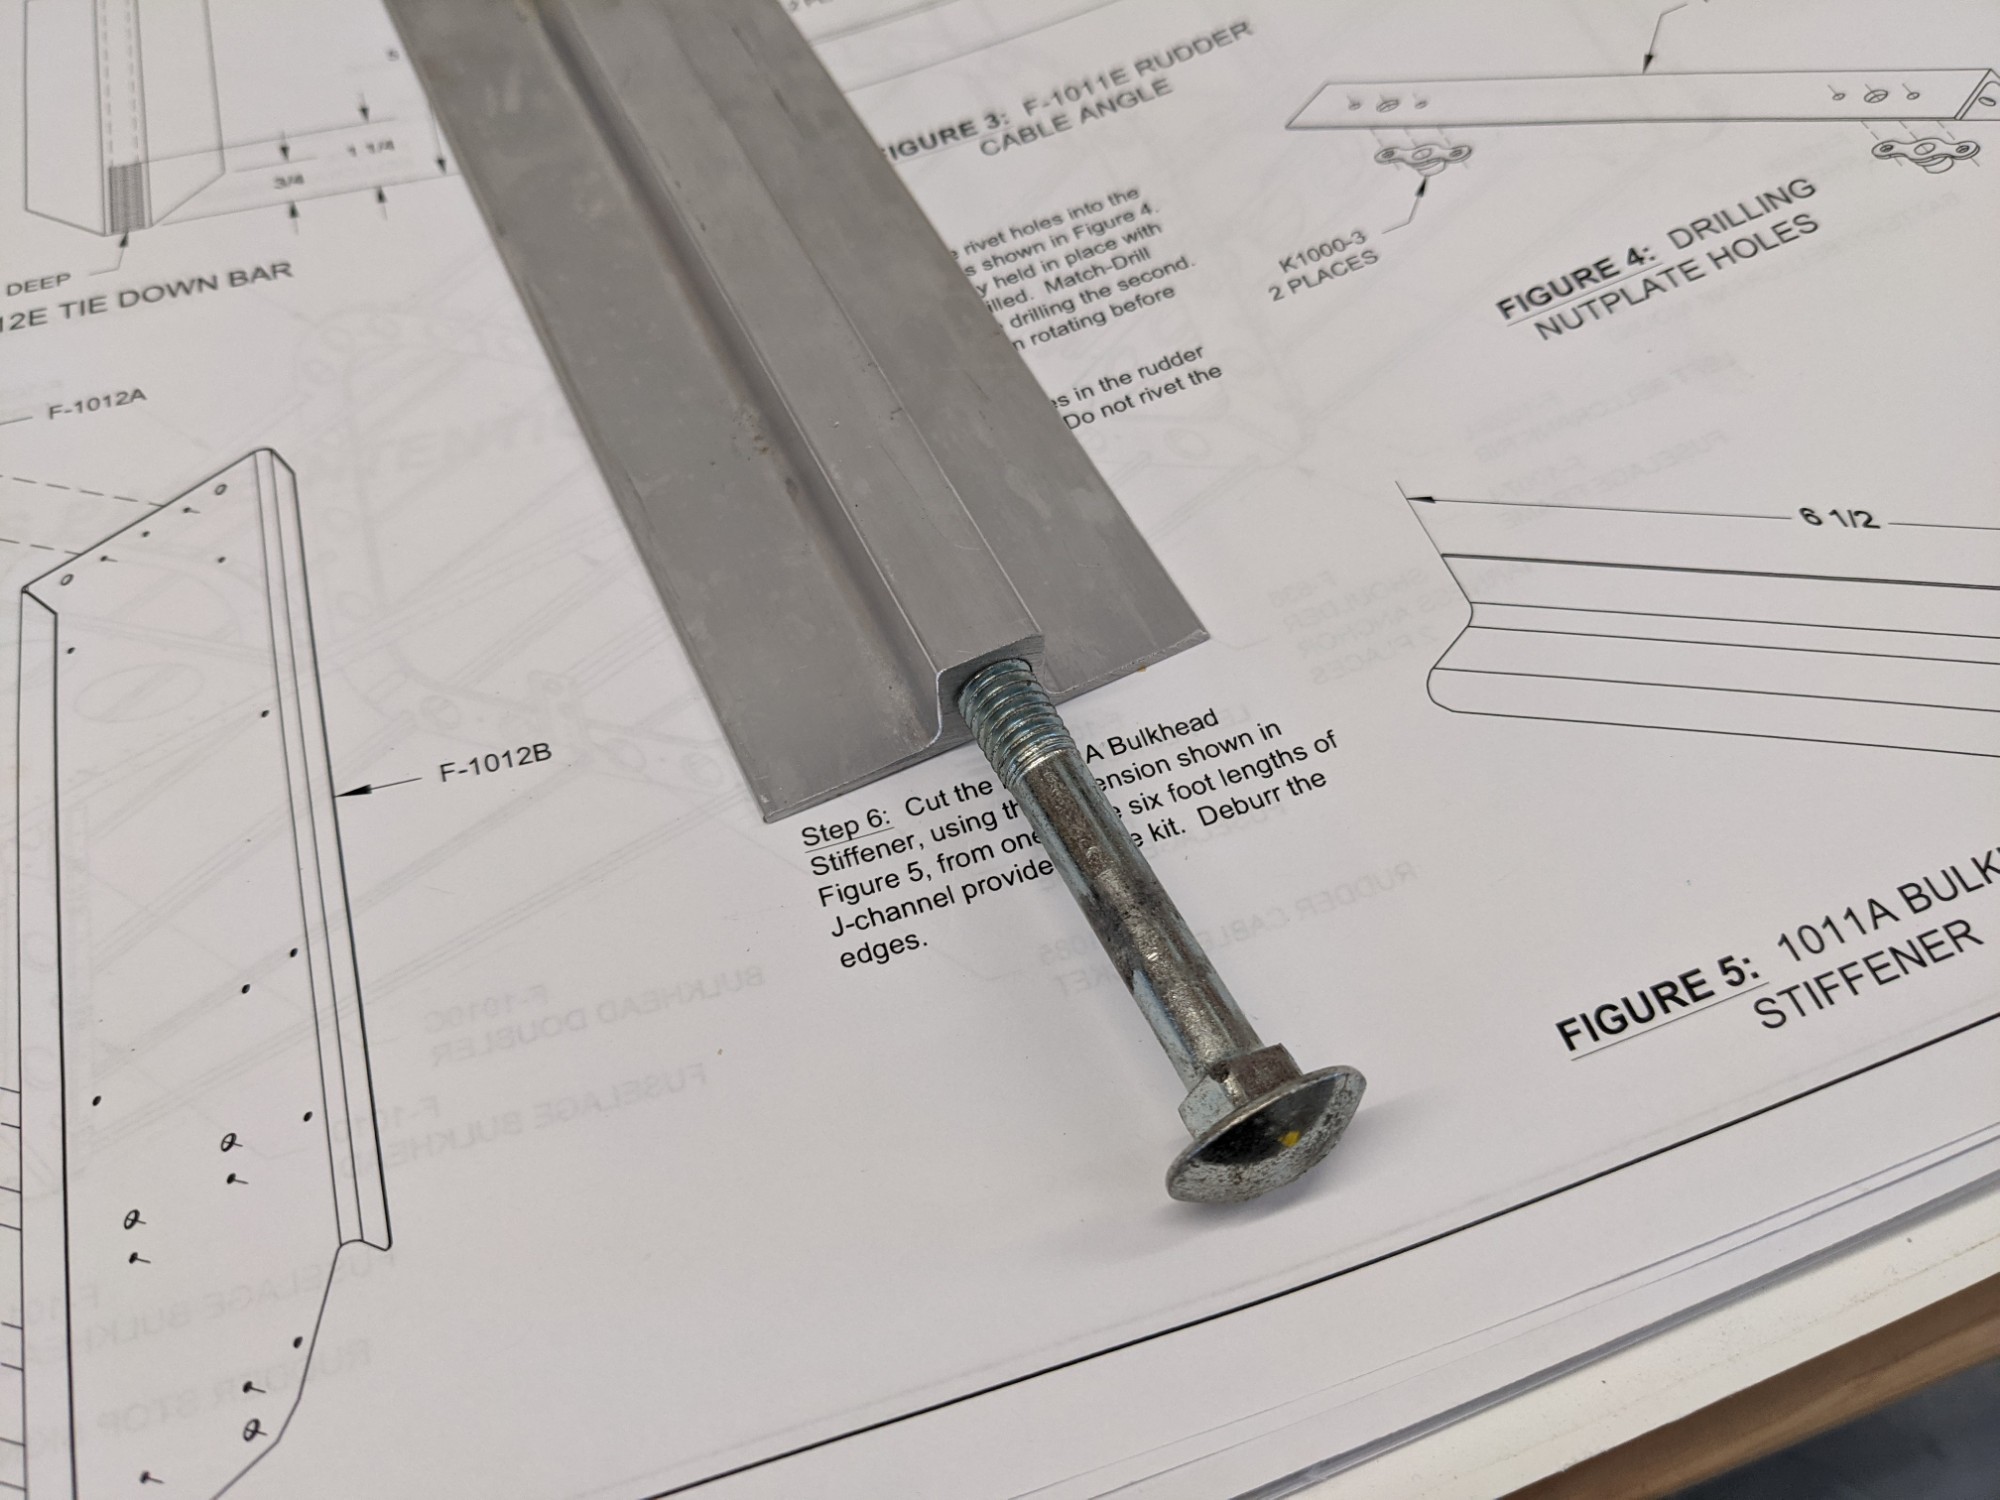
The process went well and a 3/8 NC 16 bolt threads in smoothly.
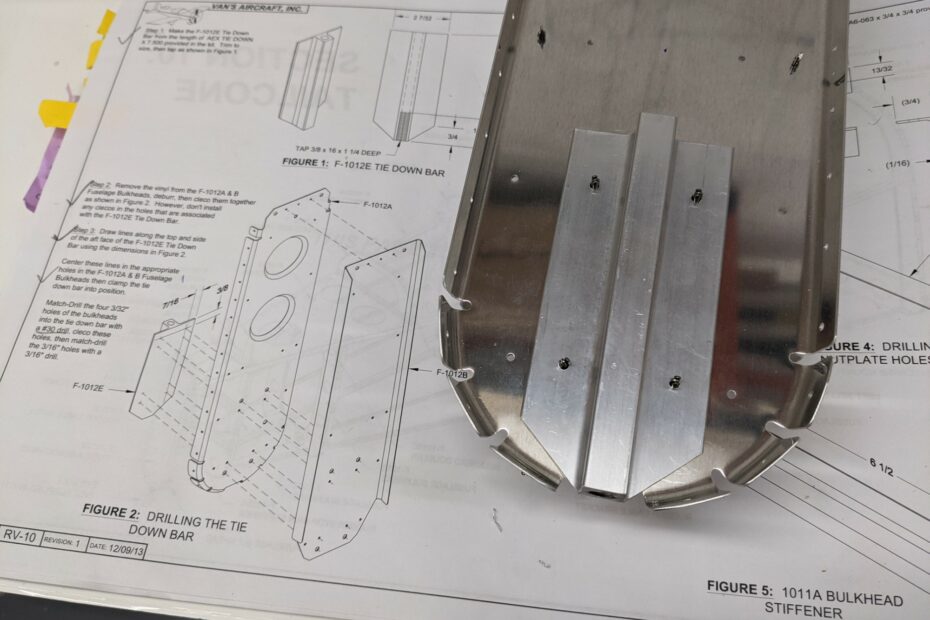
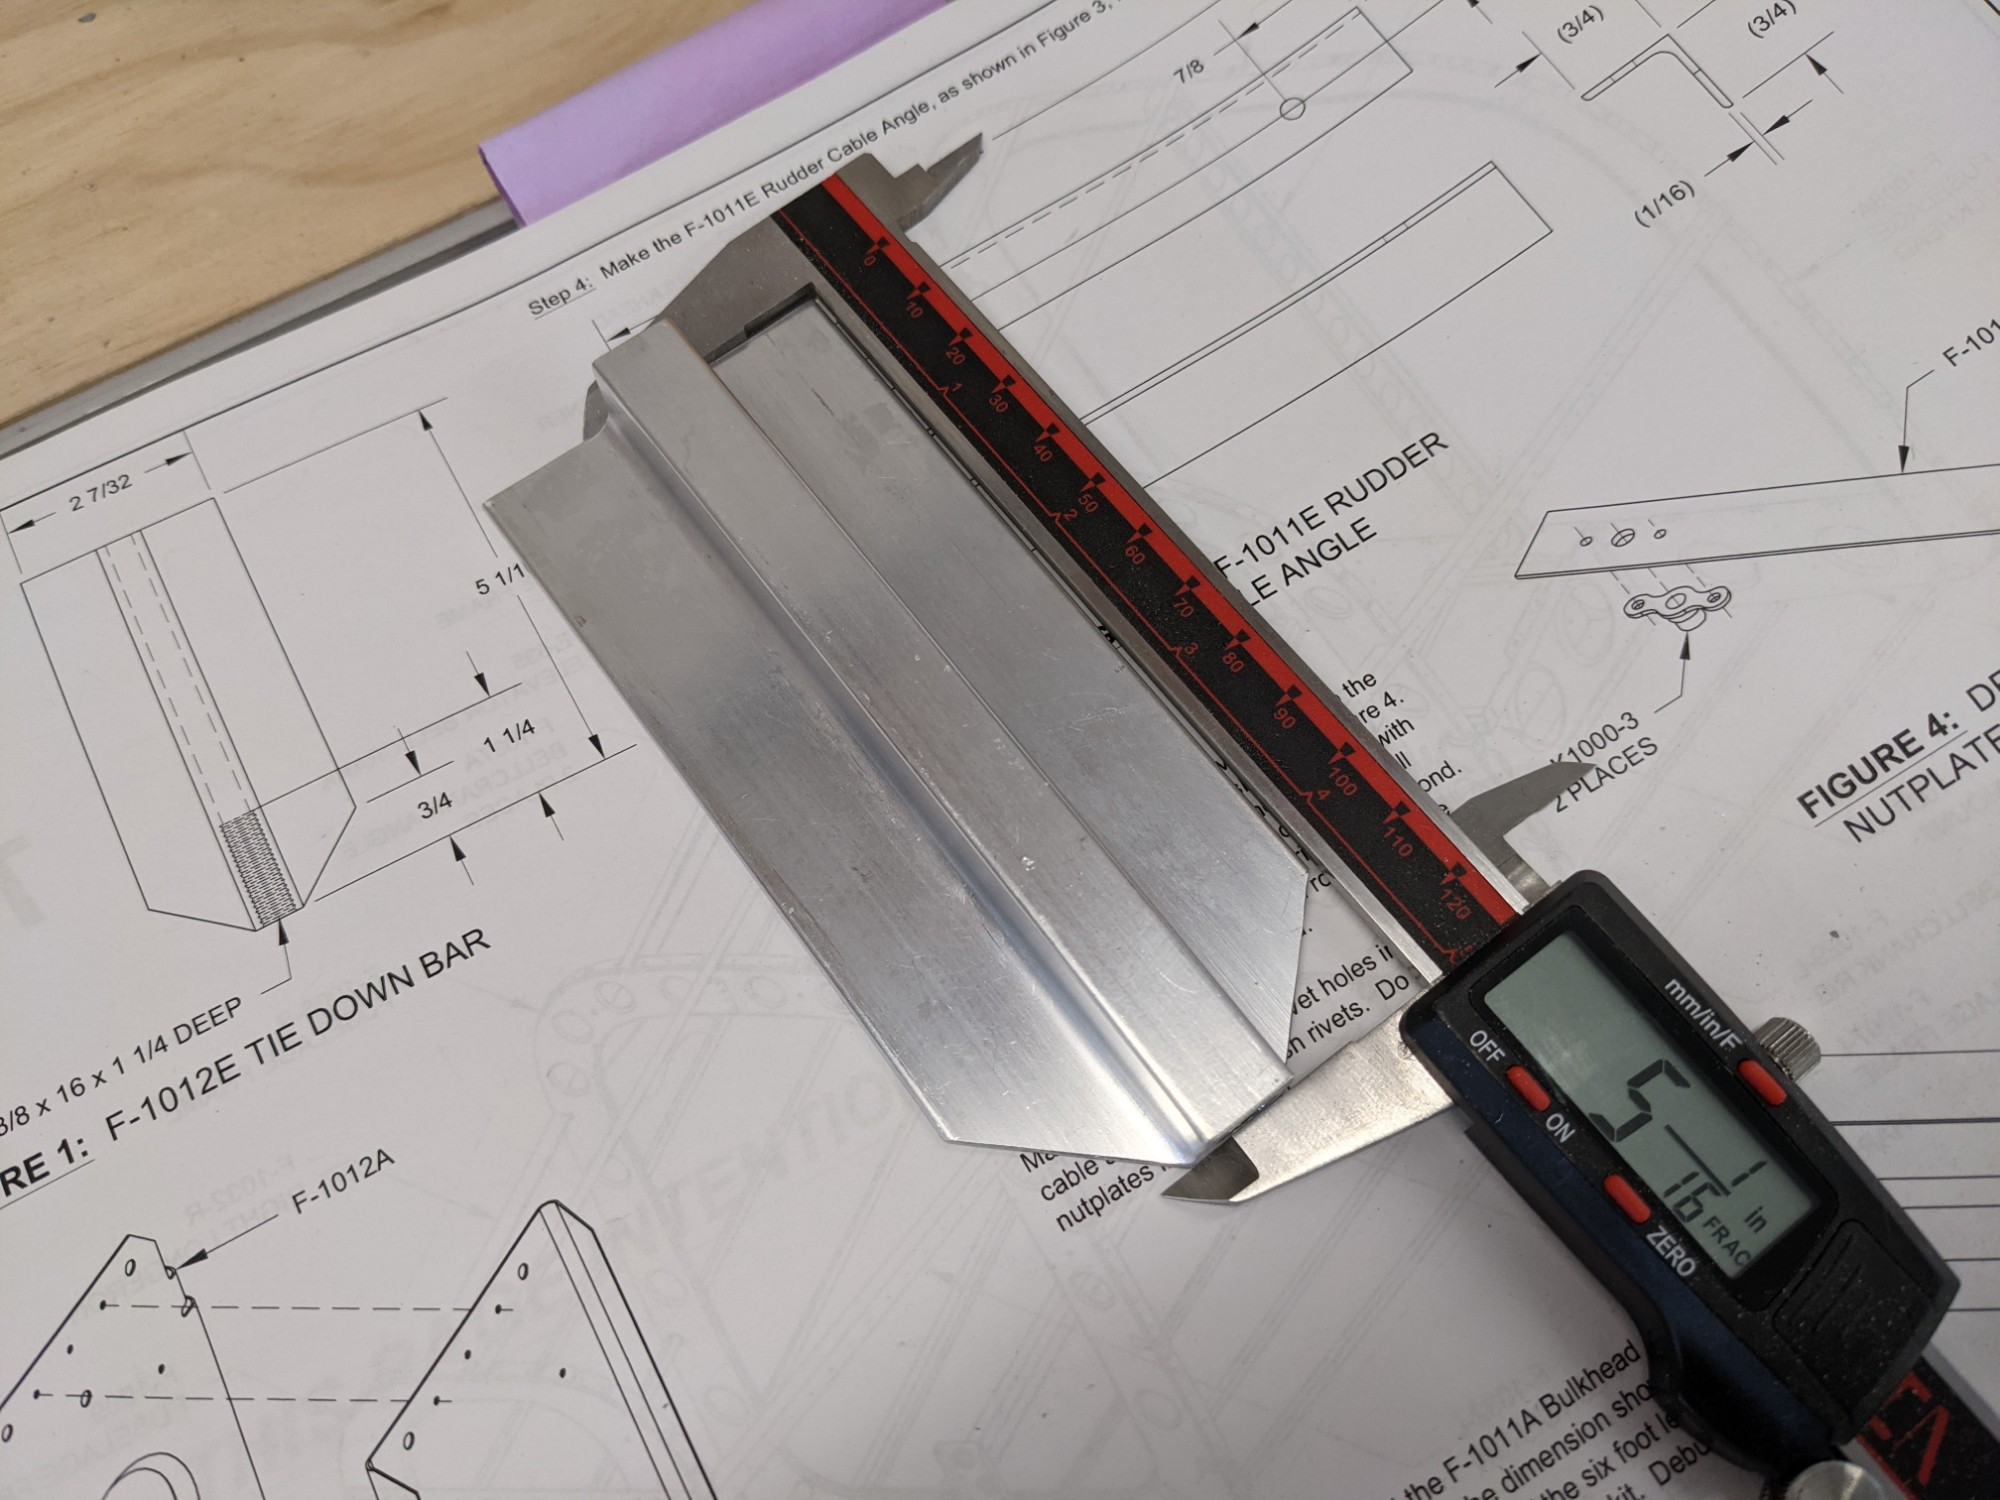
I then marked the bracket, rough cut it on the bandsaw, final sized it on the disc sander, and deburred it on the ScotchBrite wheel.
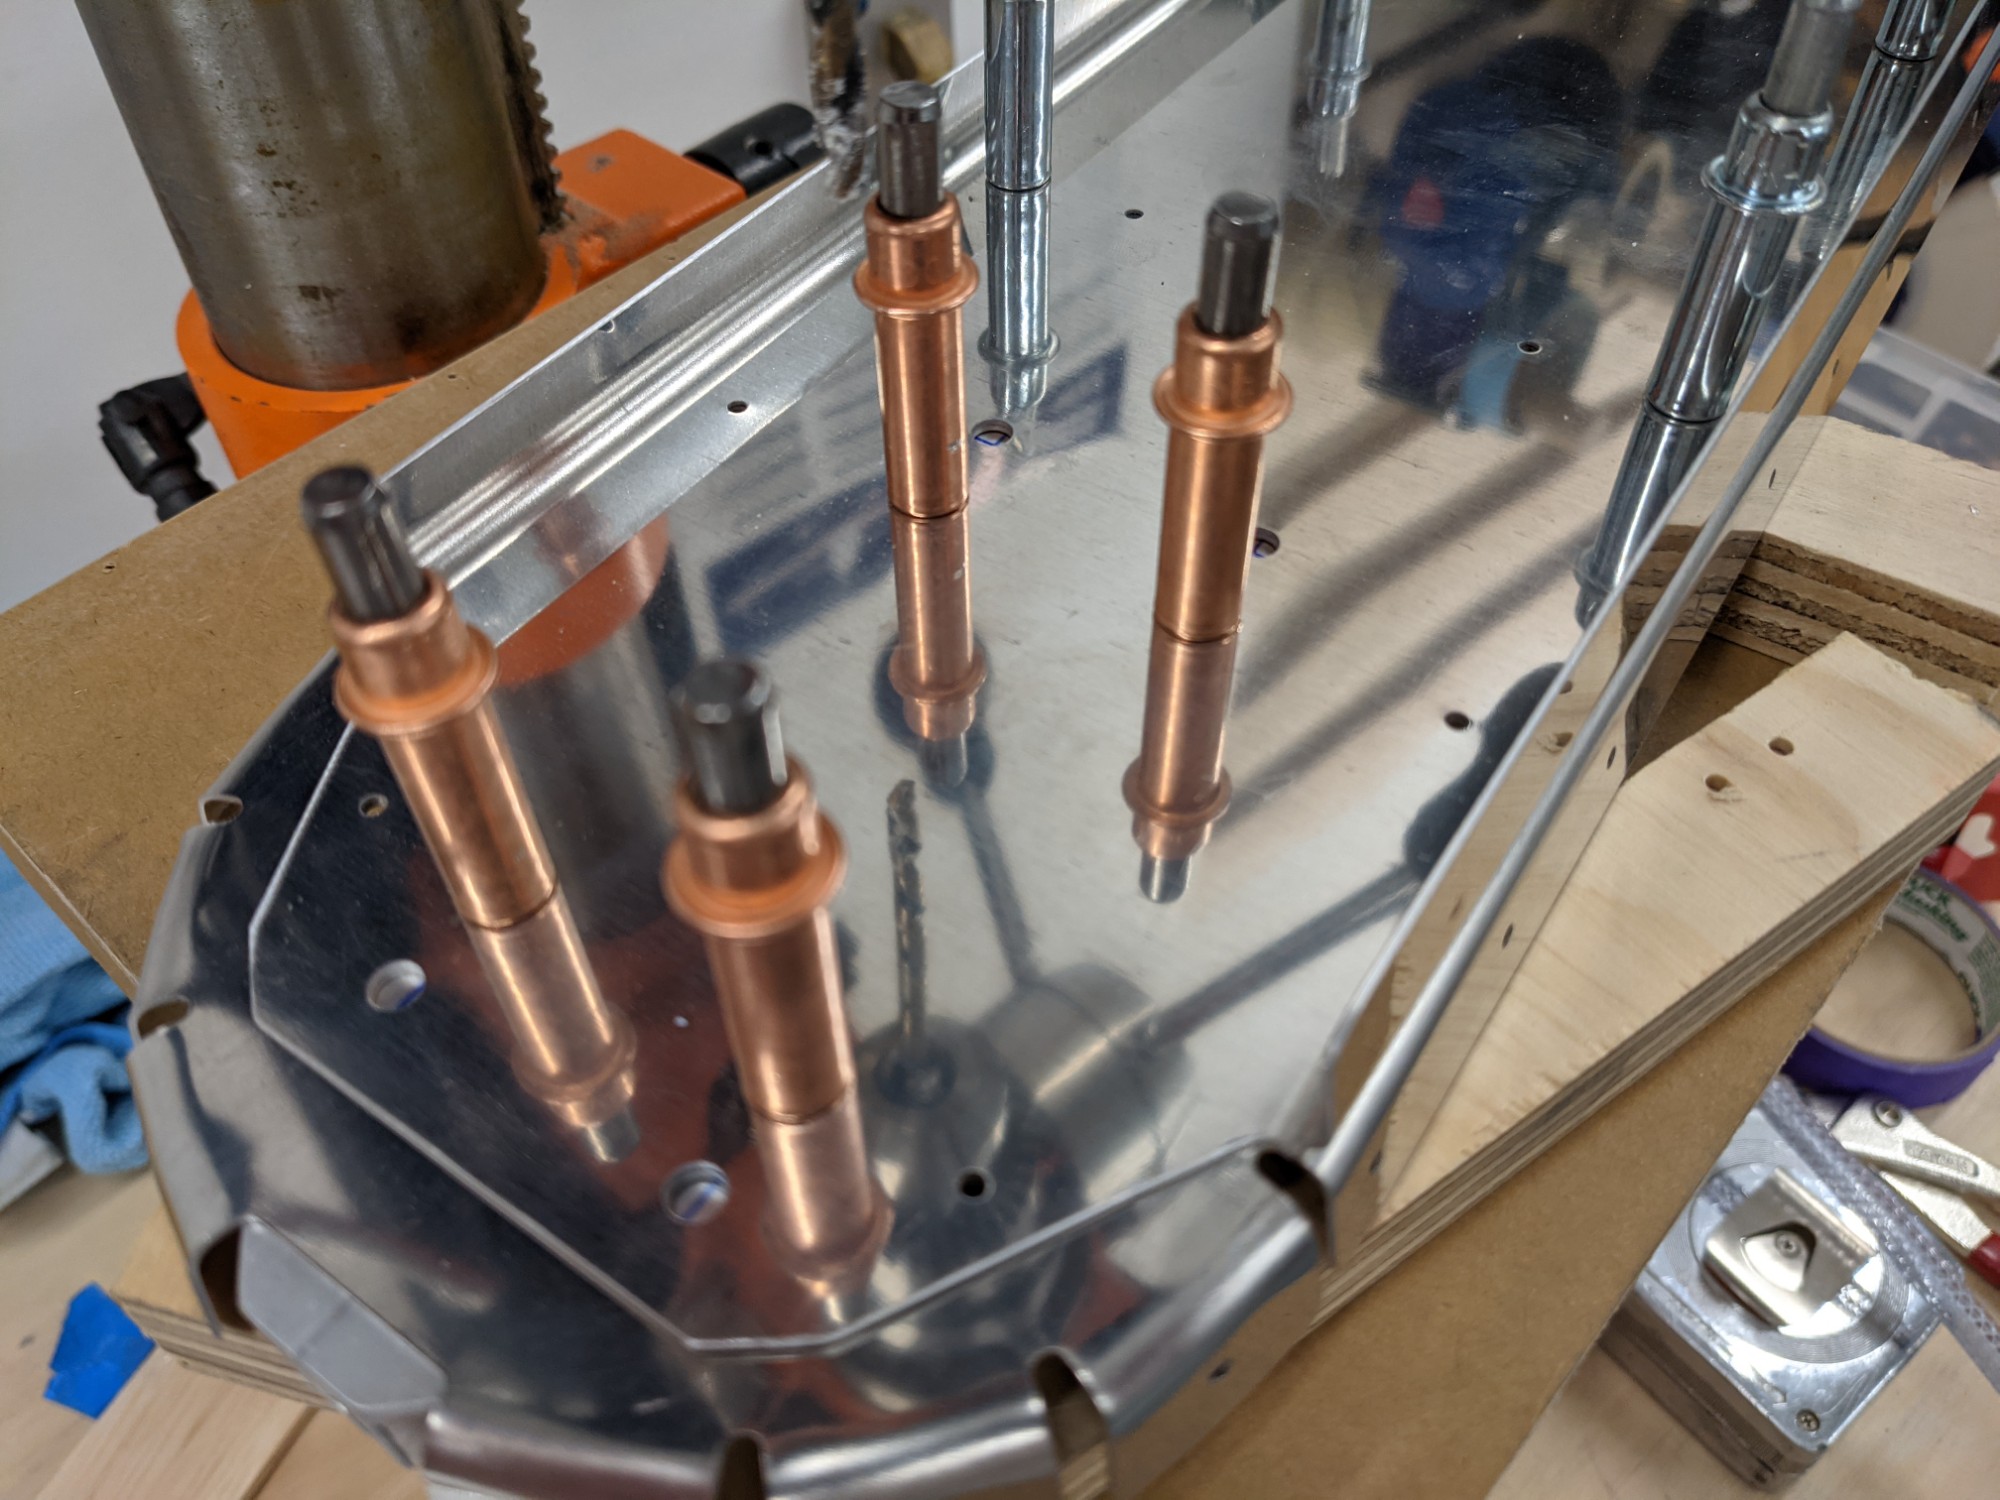
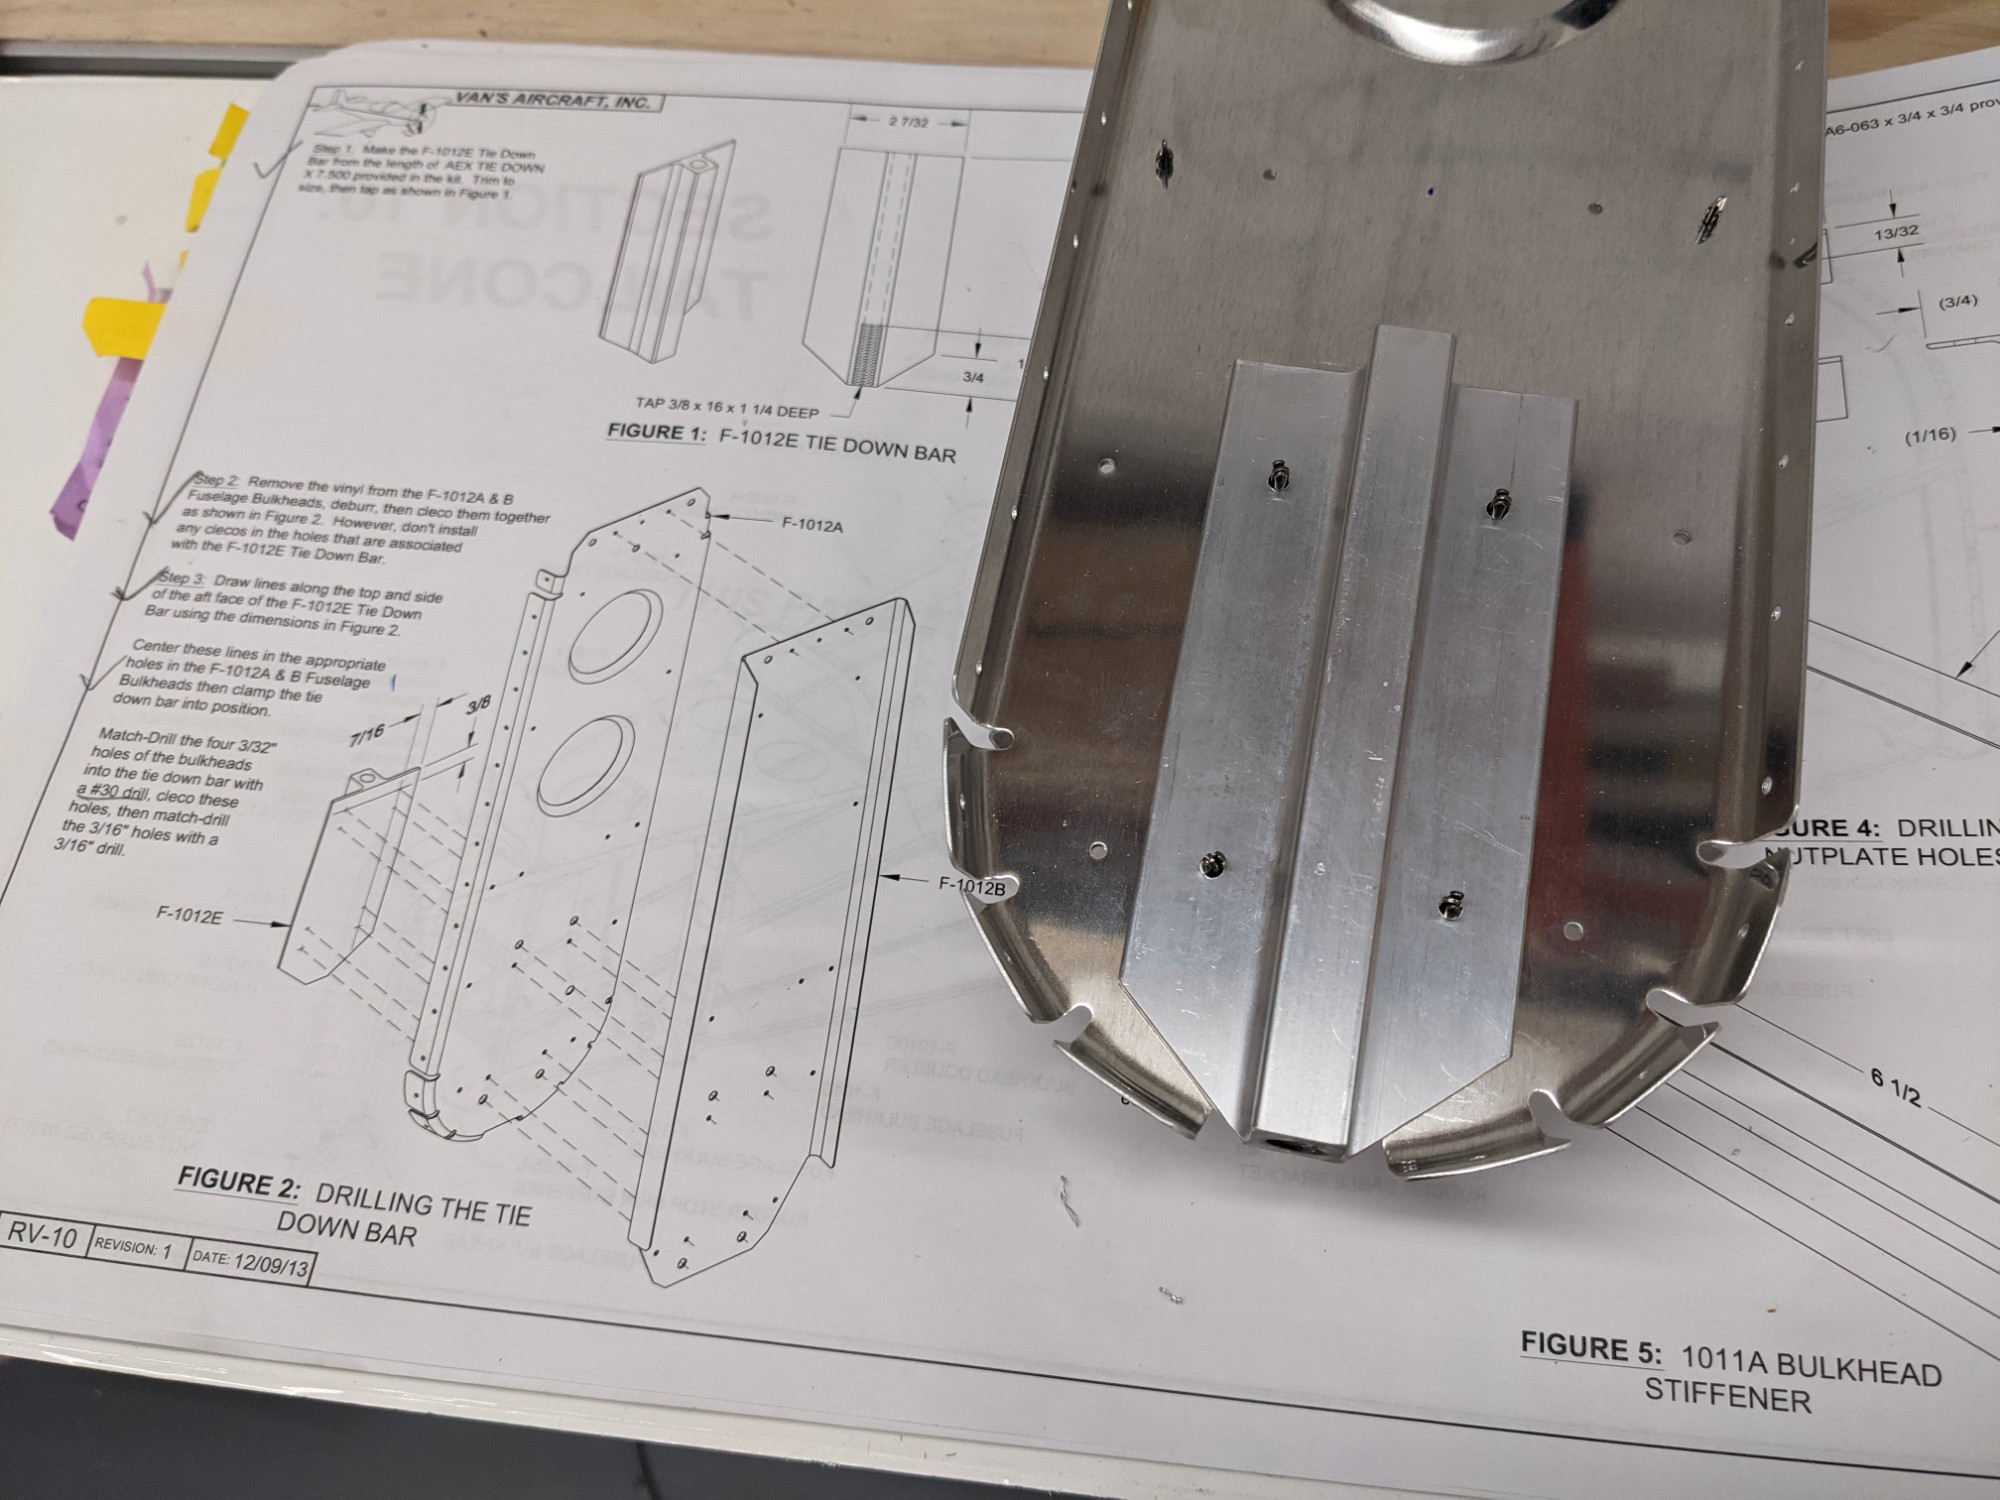
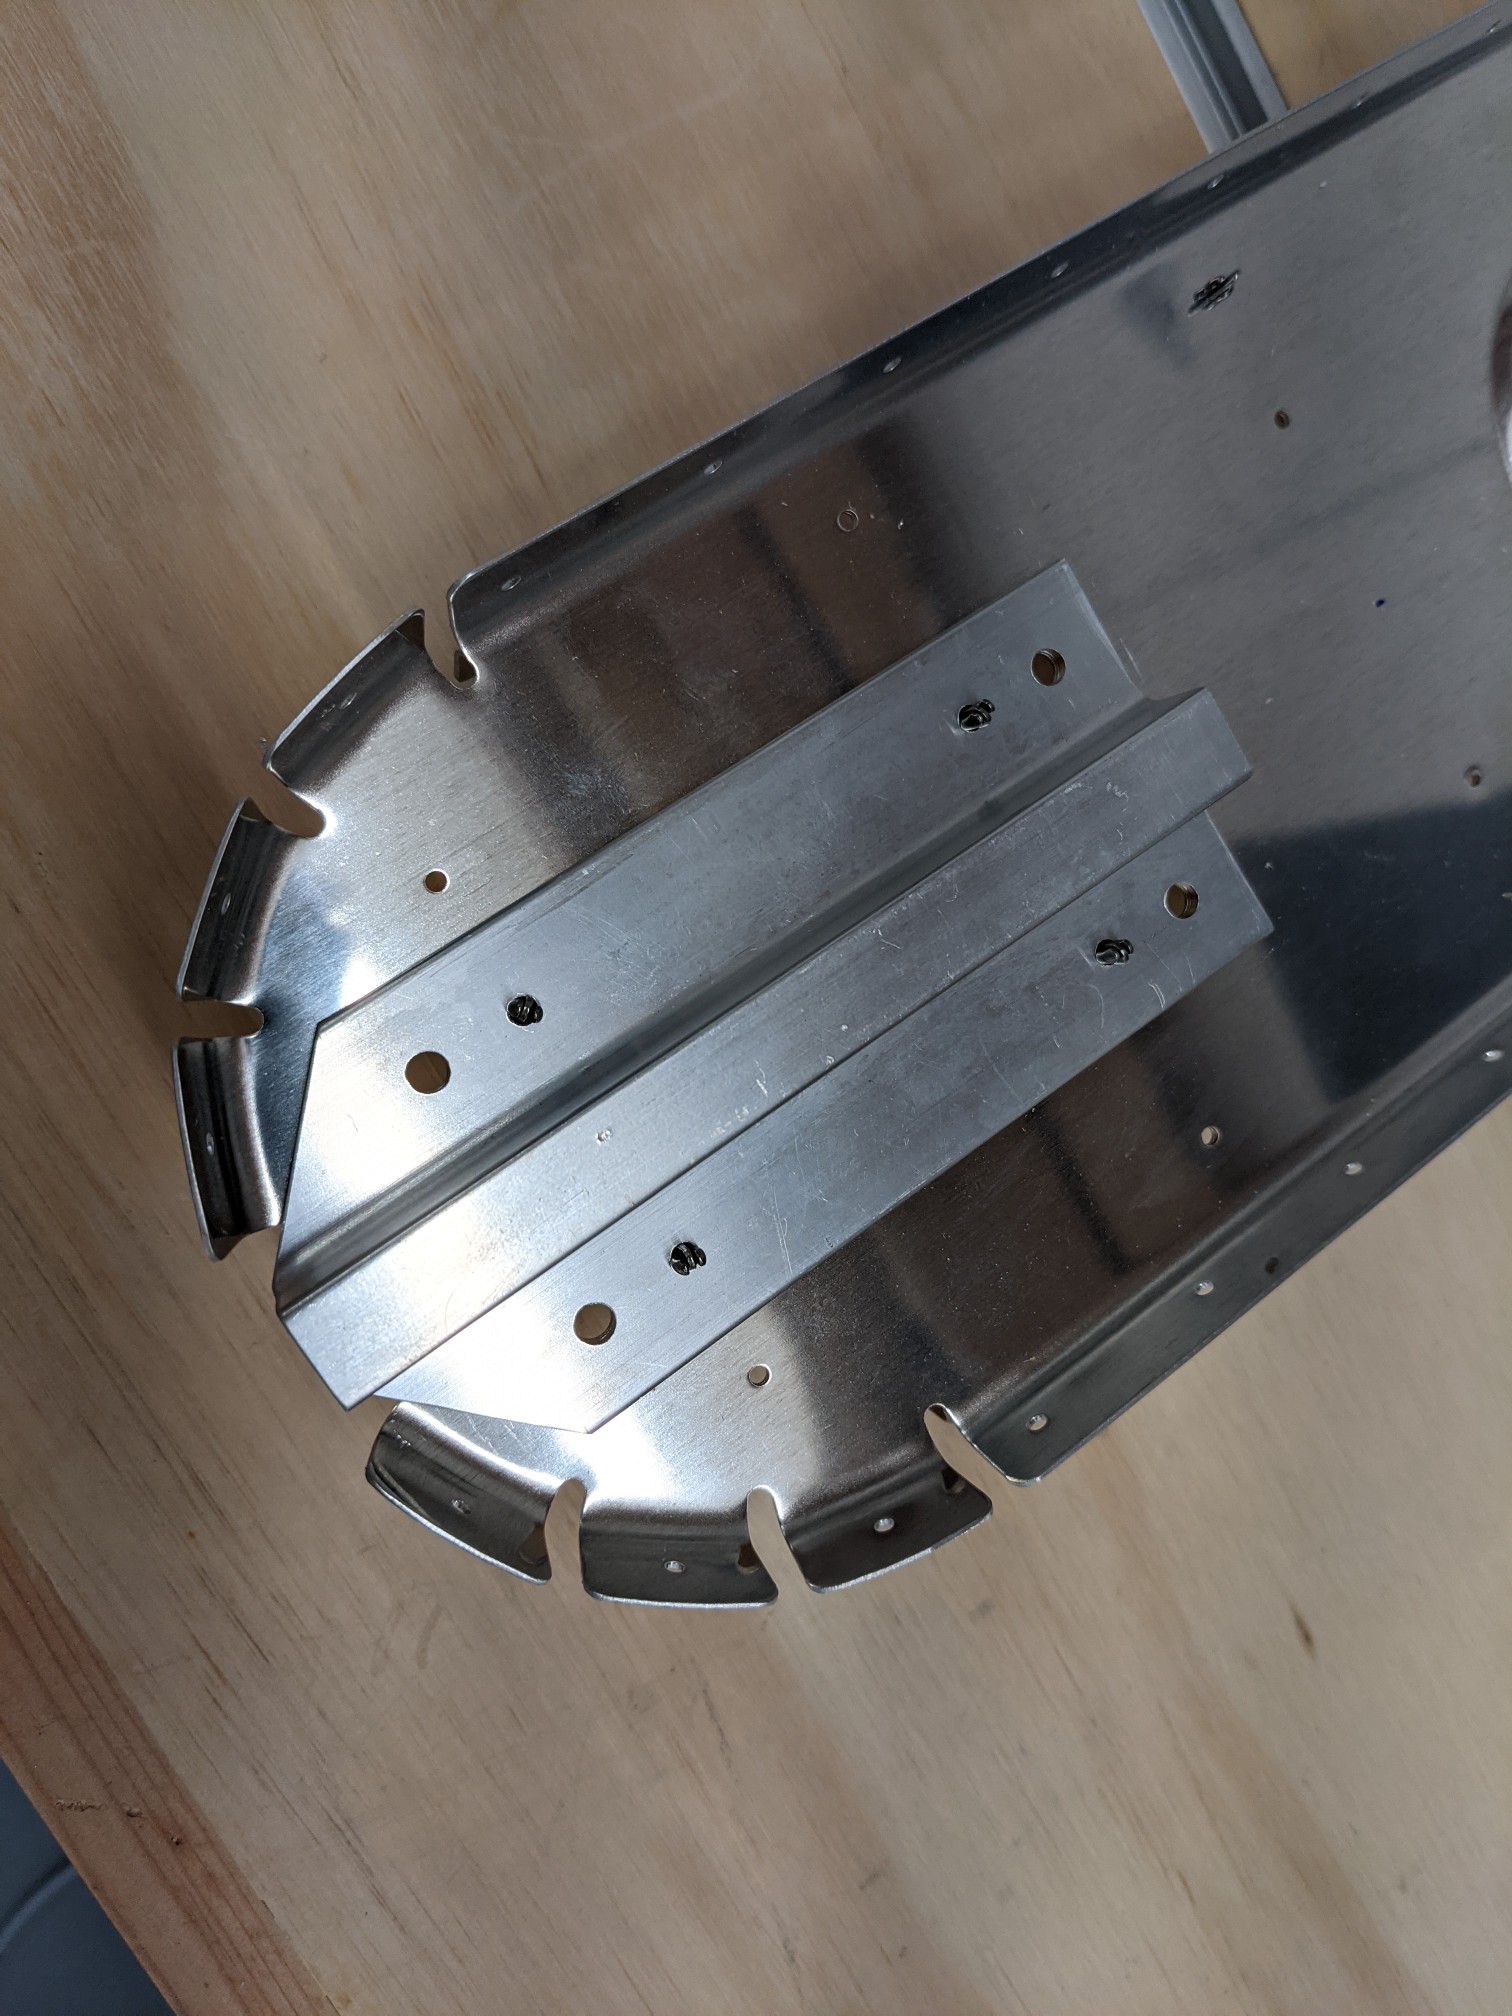
The plans next have you match drill the tie down bar to the fuselage bulkheads. I removed the blueing, deburred them, and clecoed them together. I then marked the bracket, clamped it to the bulkheads, and match drilled the holes on the drill press.
The 3/32nd holes get match drilled to #30 and the 5/16 holes get match drilled at their current size.
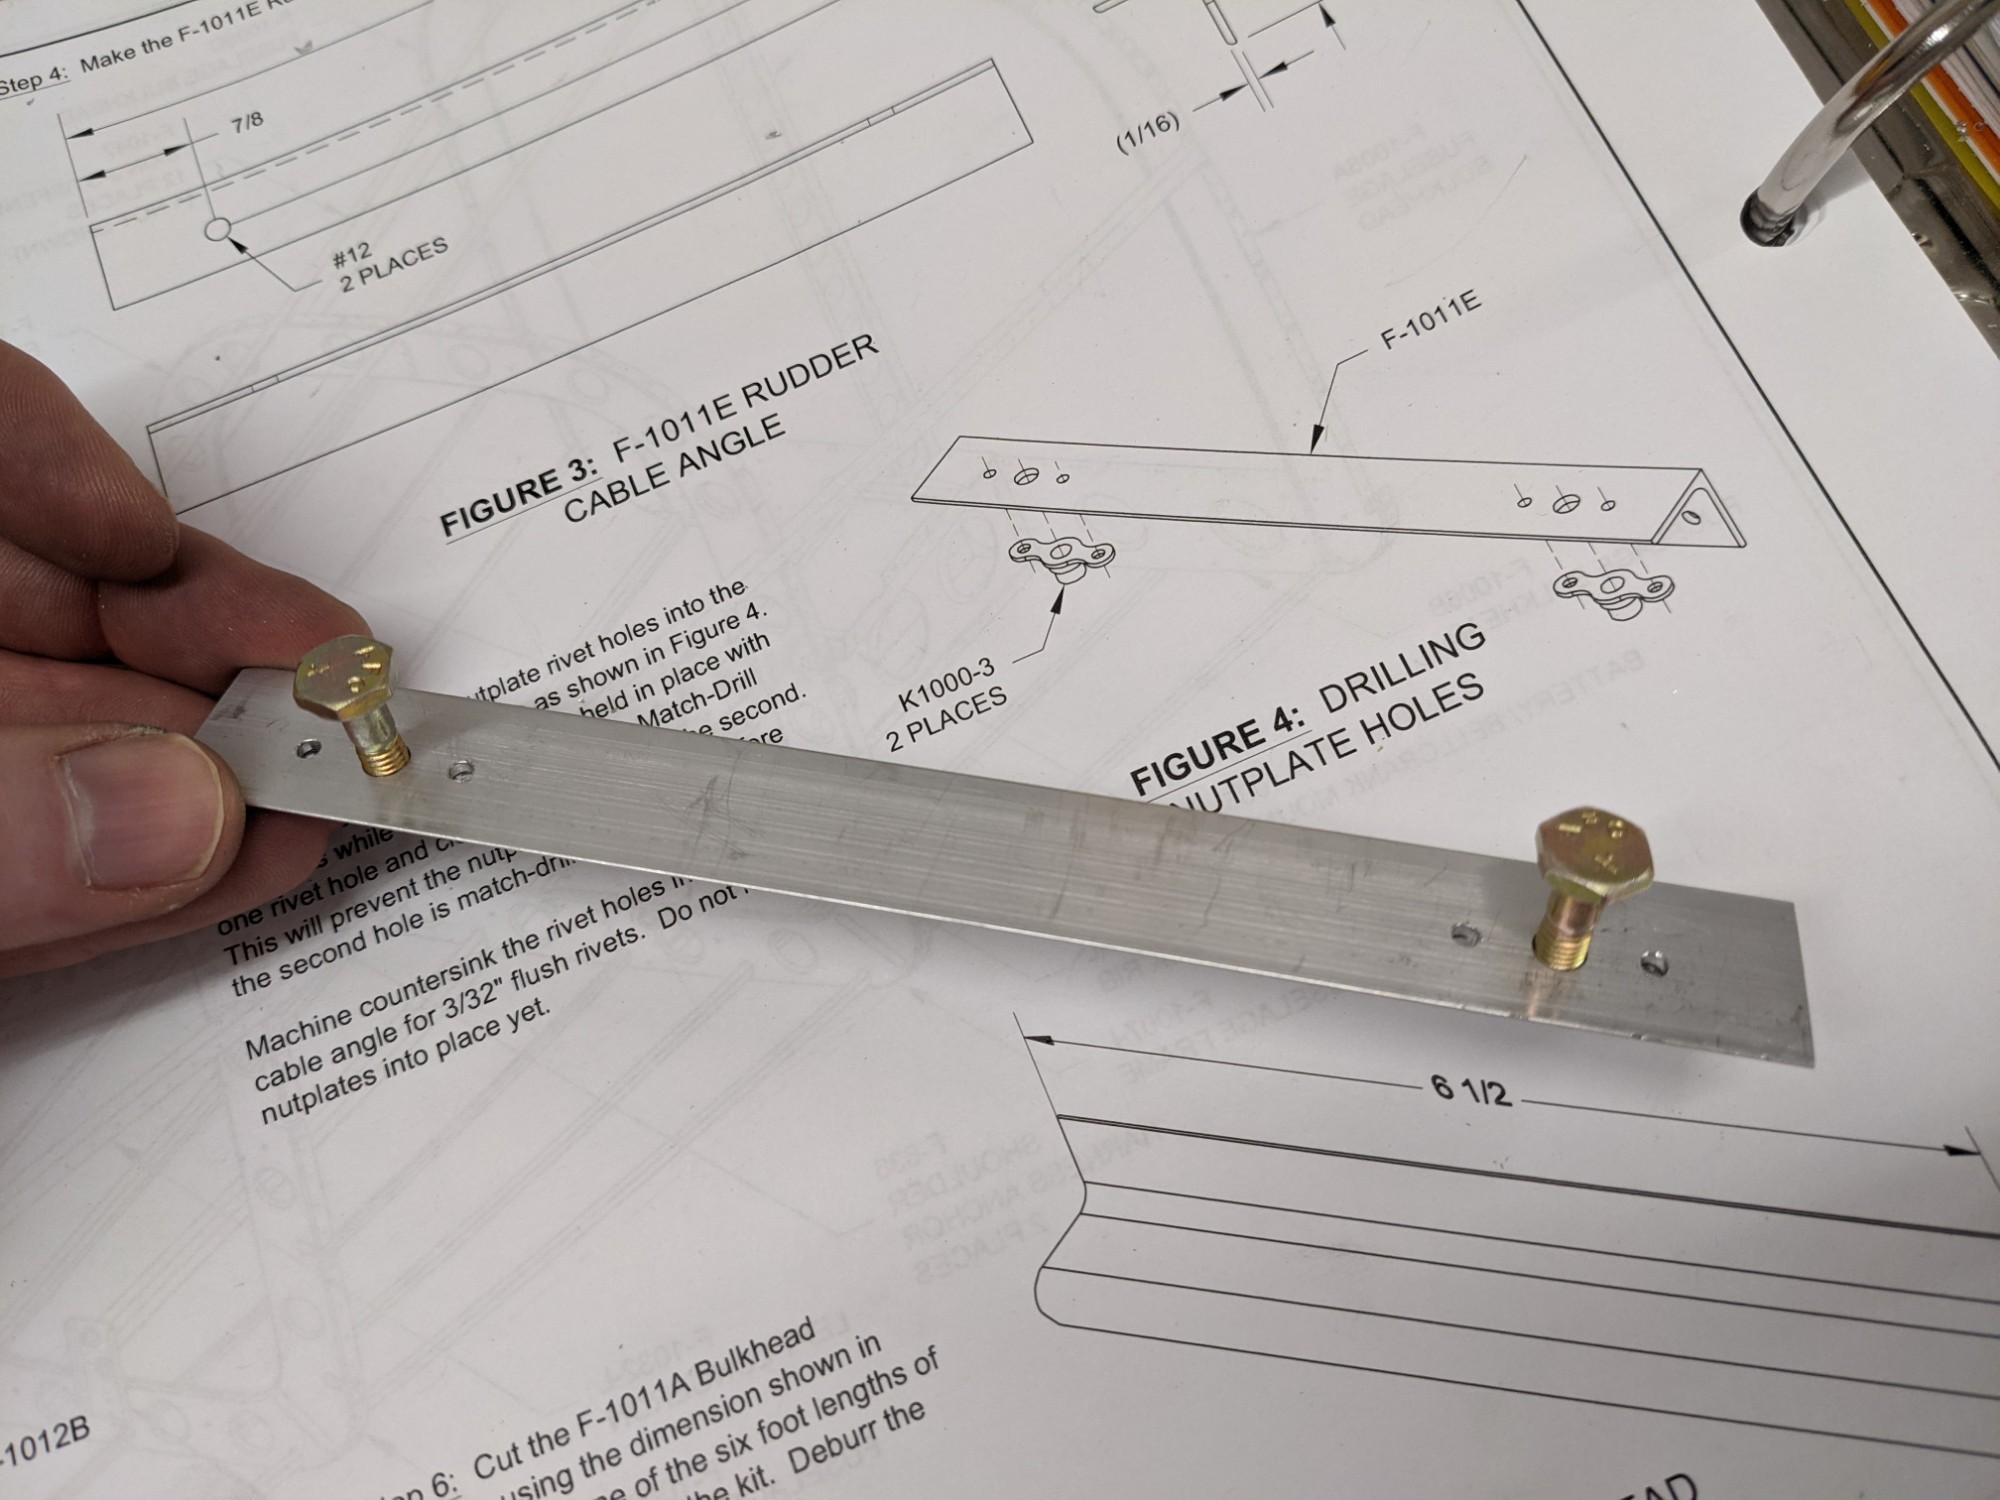
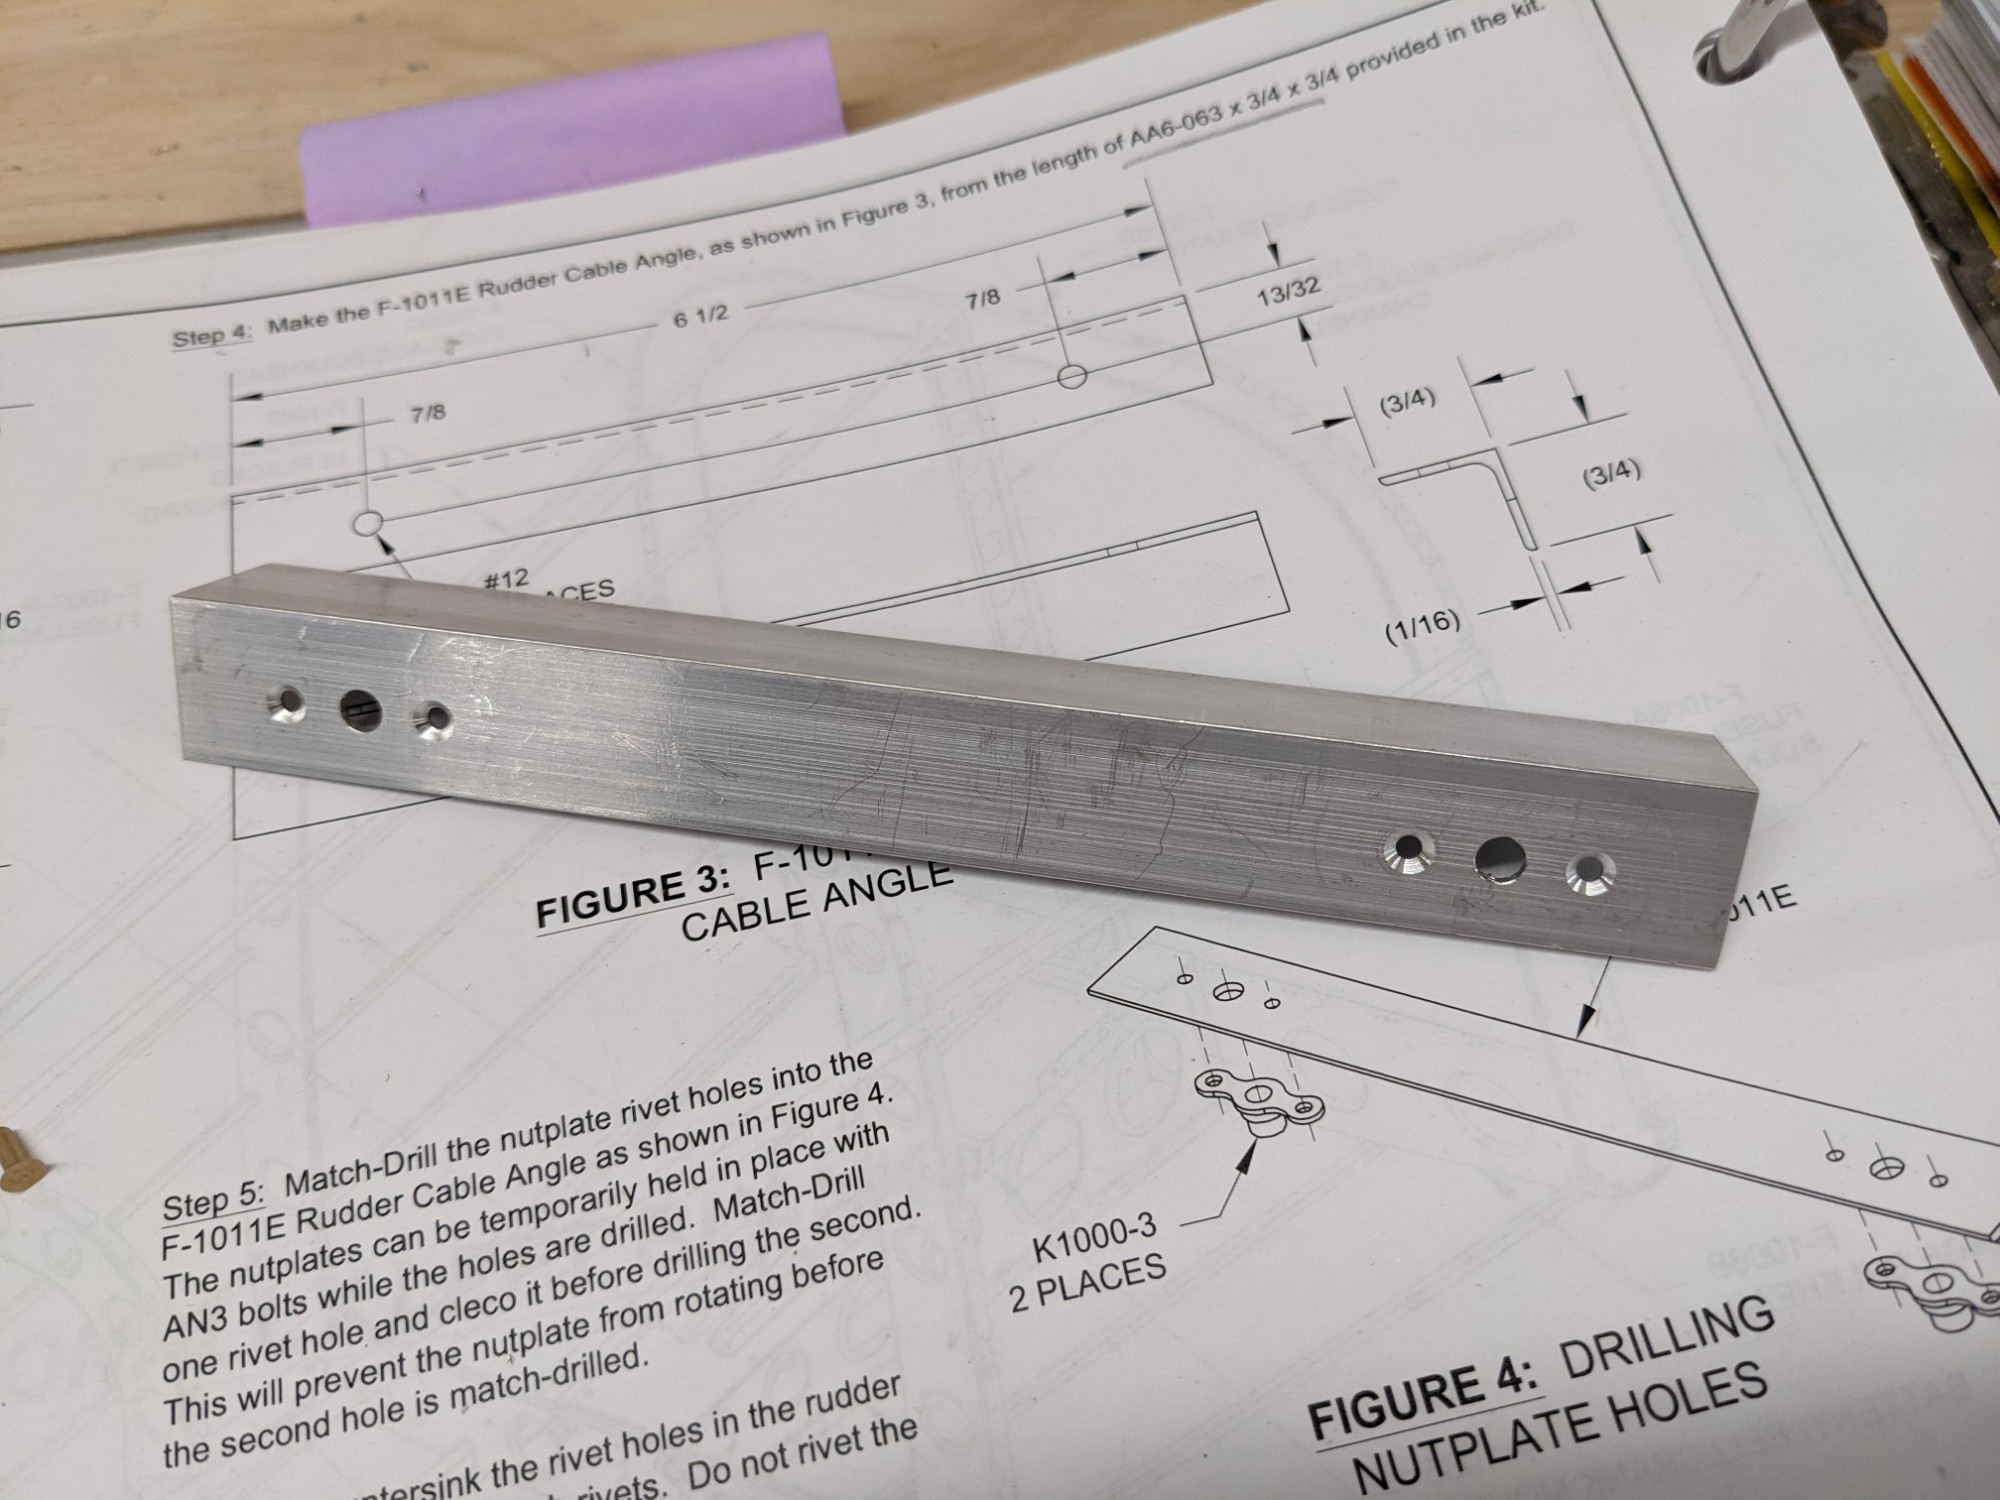
I then fabricated the rudder cable angle. This is cut to length from a piece of 3/4″ x 3/4″ x 1/16″ angle. I marked the hole positions with a digital caliper, set the hole positions with a punch, and drilled the #12 holes on the drill press.
I then partially screwed in an AN3 bolt into the nutplates, clamped them to the angle, and match drilled the #40 holes one at a time, clecoing the first hole while match drilling the second.

After I completed the match drilling I countersunk the holes for flush rivets.
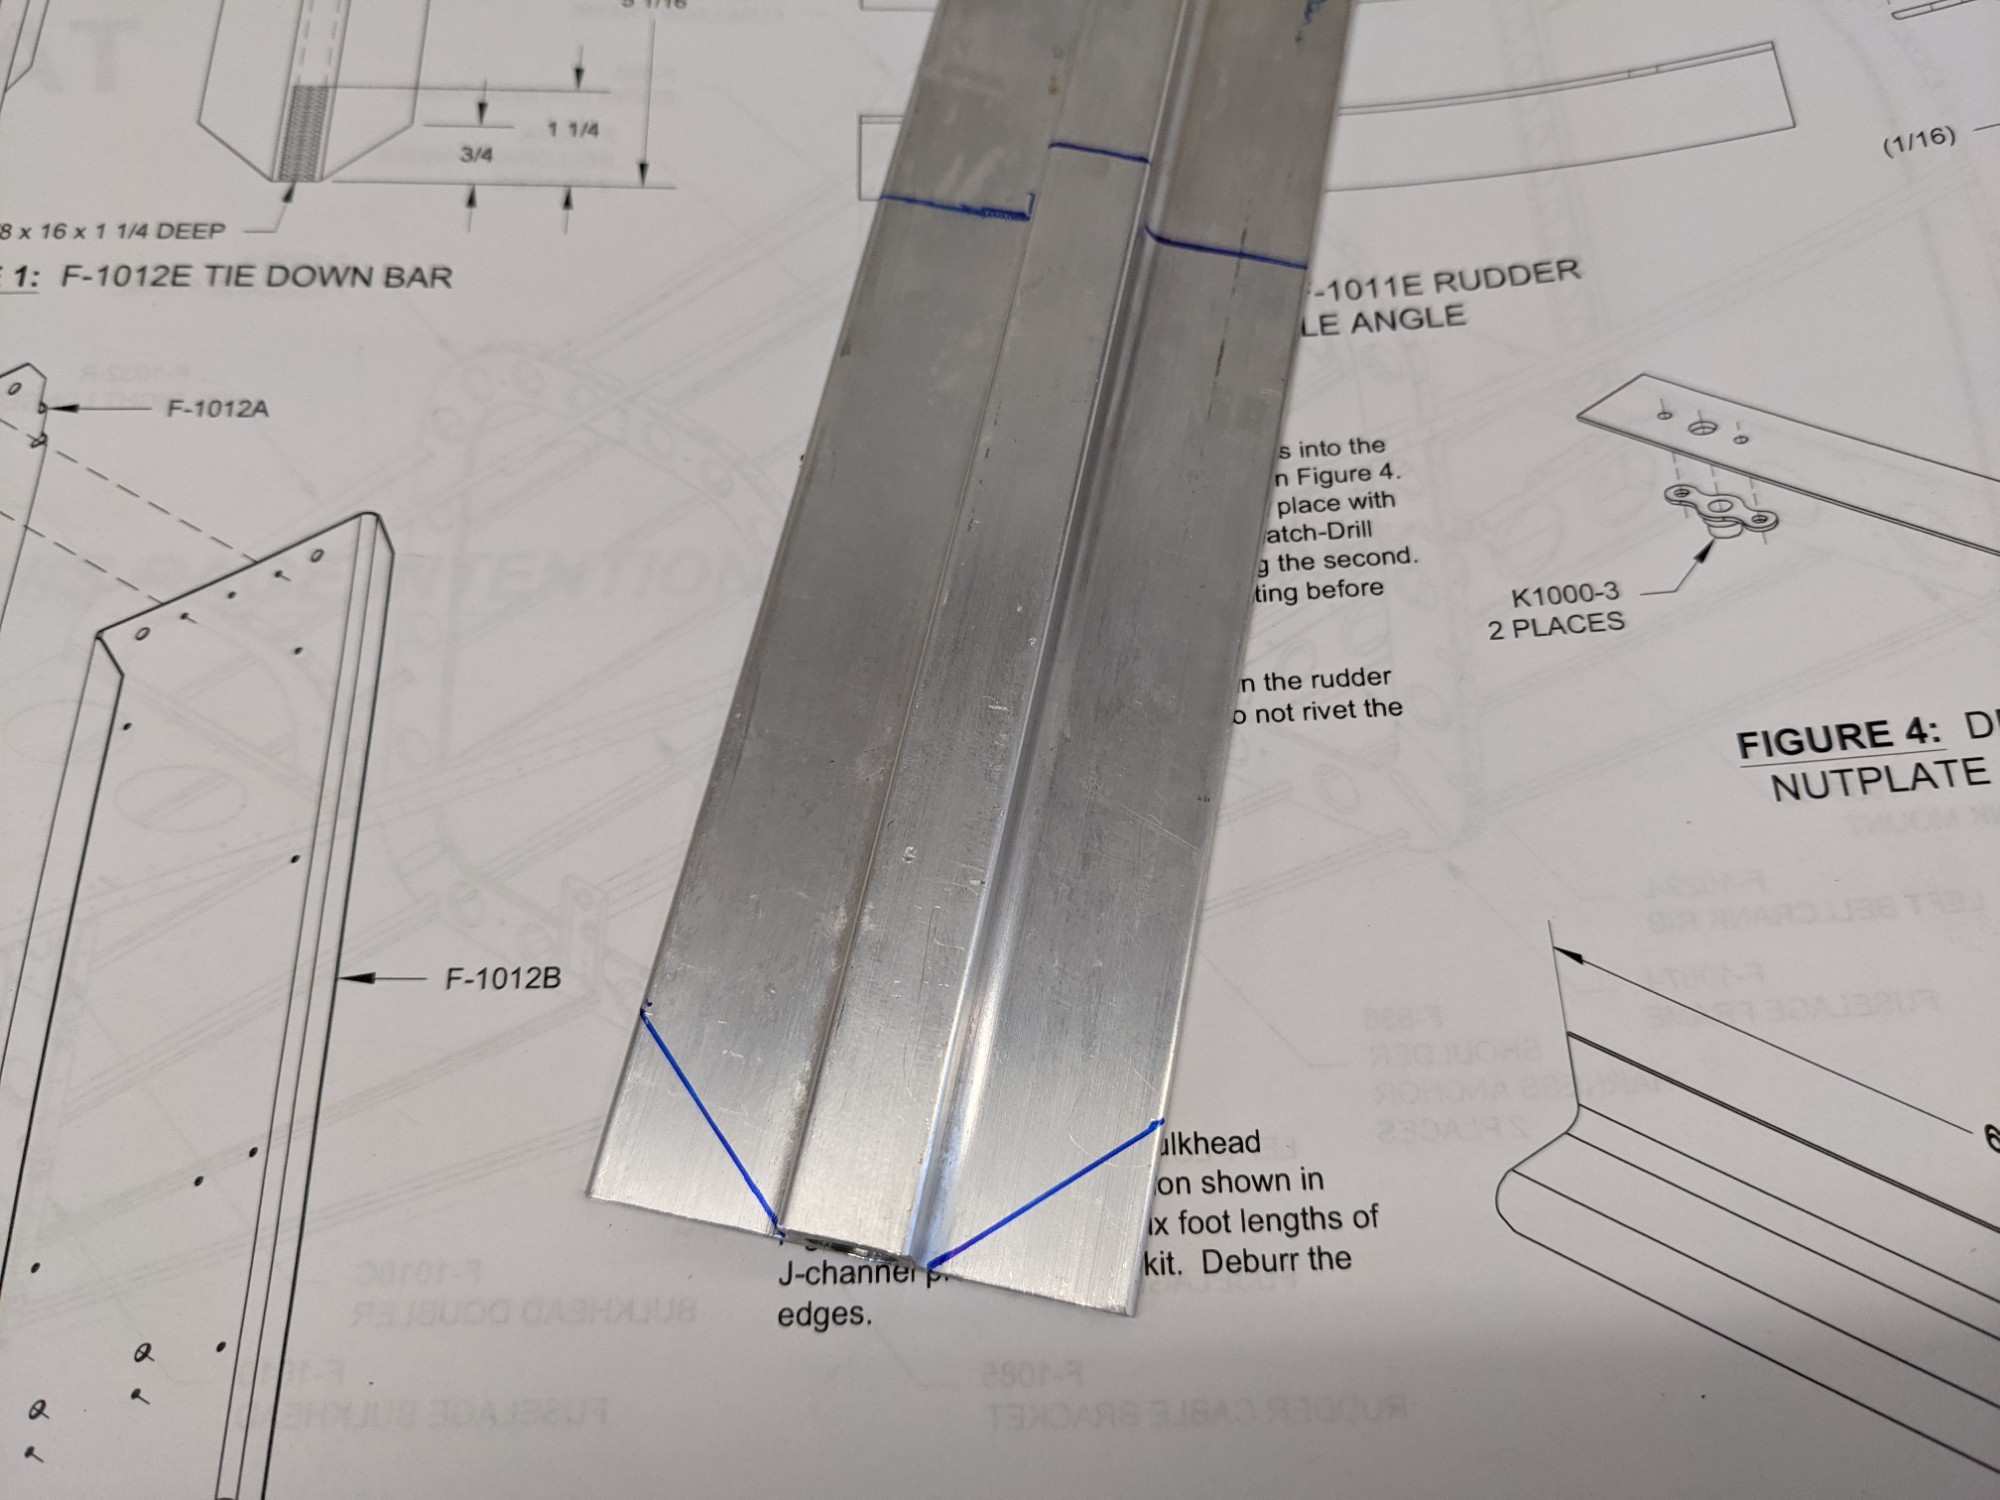
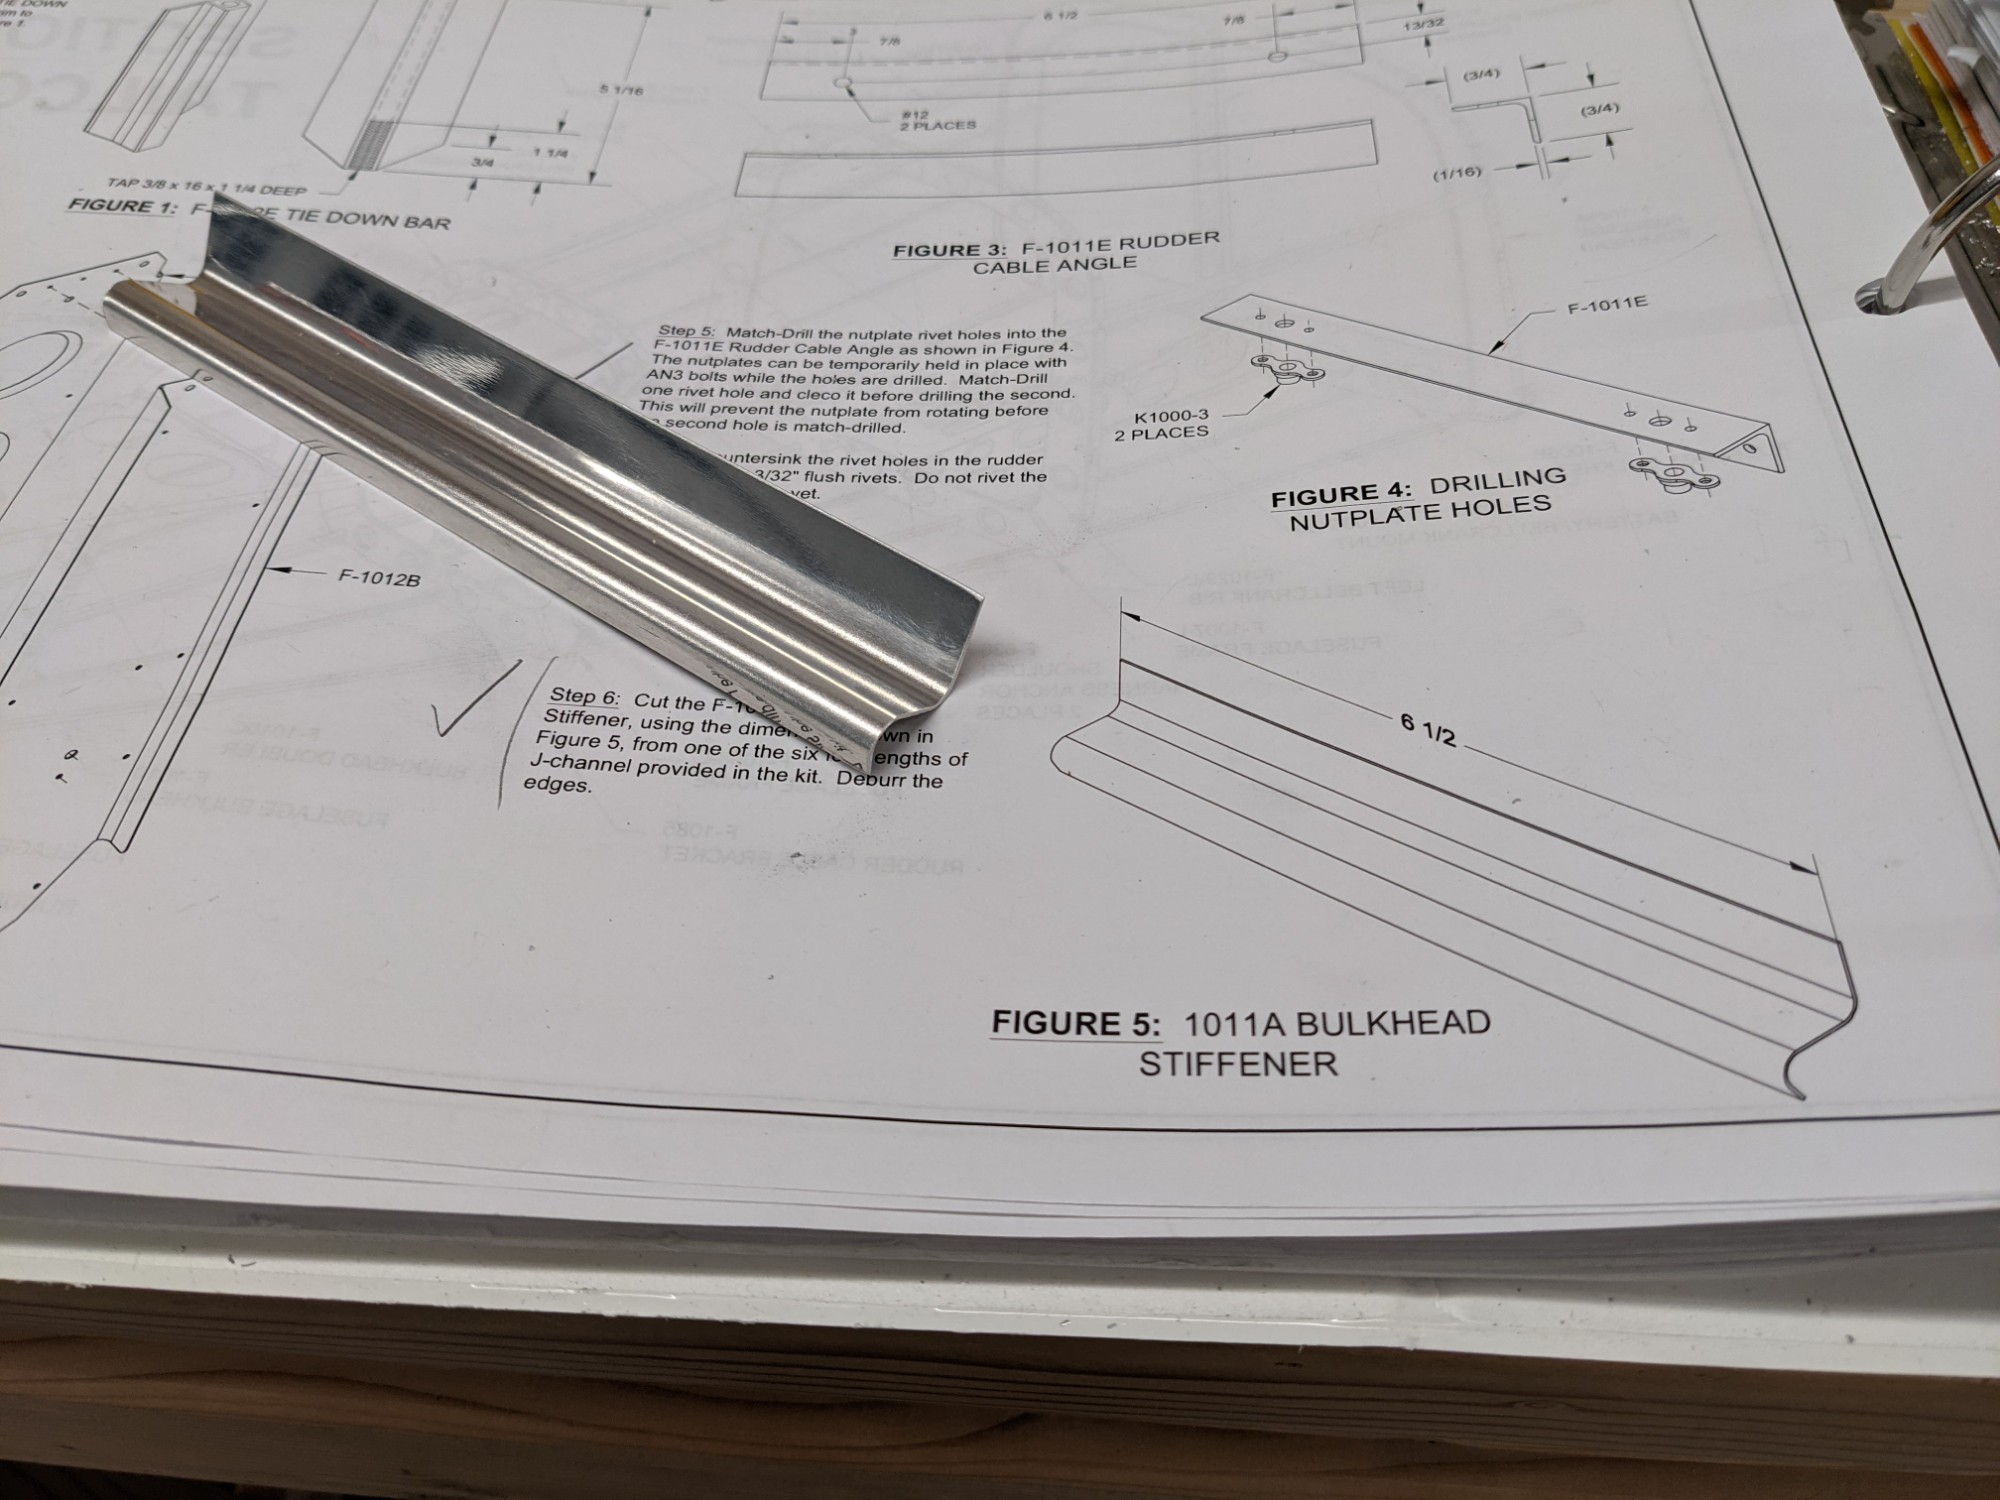
Next up is cutting a 6 1/2″ inch piece of J-channel from a 6′ piece to use as a bulkhead stiffener.
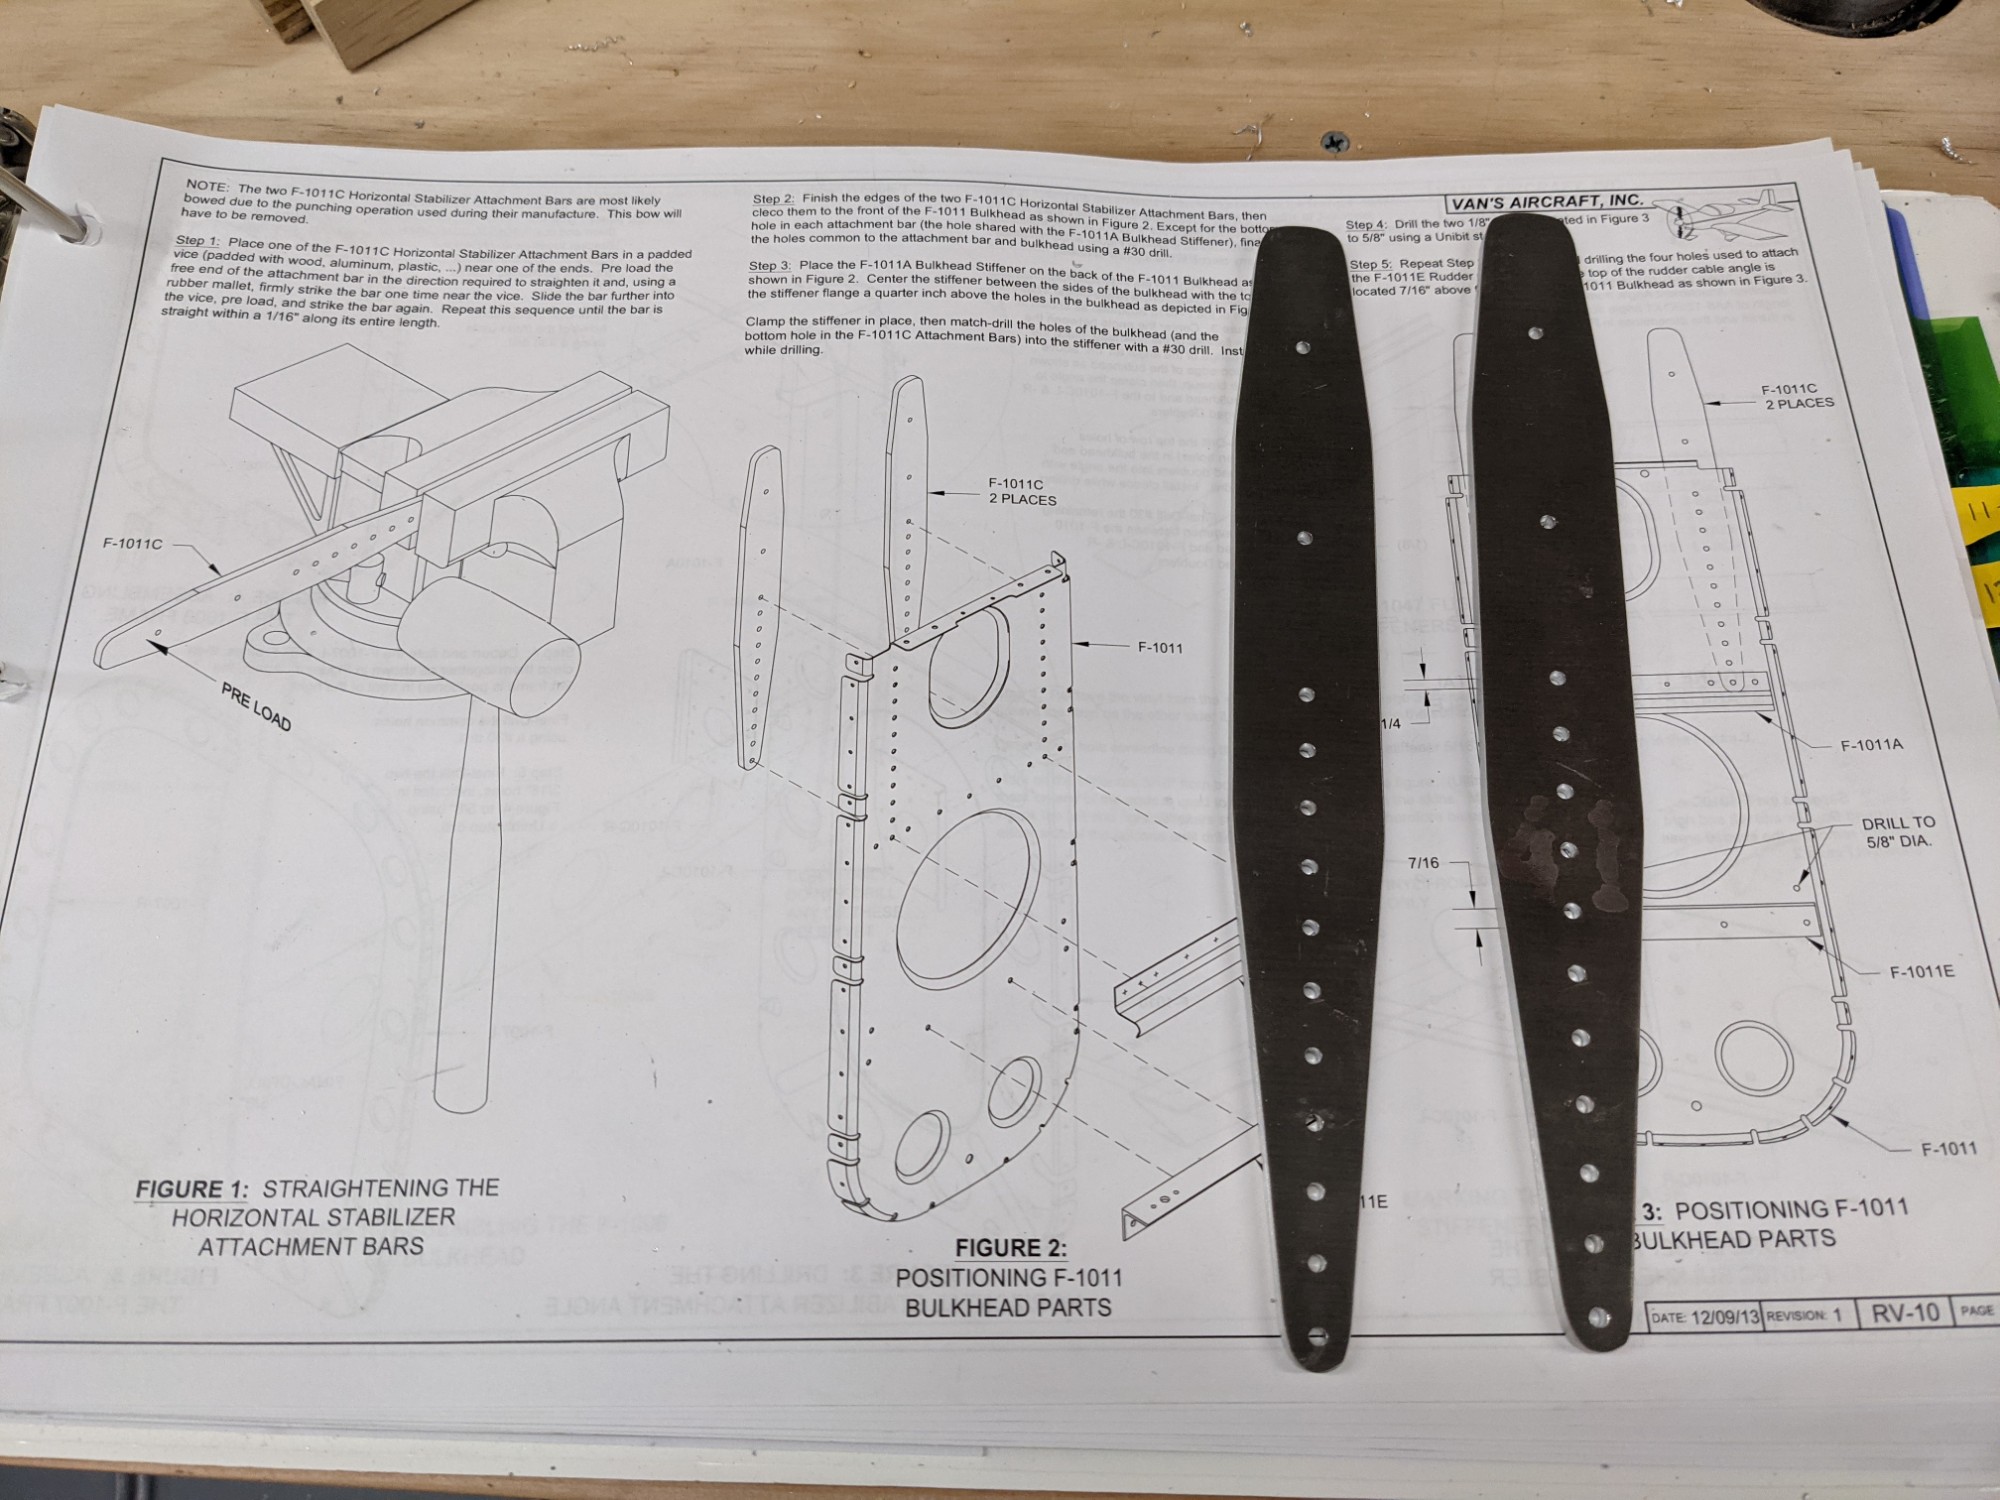
The plans then have you straighten the horizontal stabilizer attachment bars. These have a bend in them from the manufacturing process and need to be straightened. This was quick and easy to do in the vise.
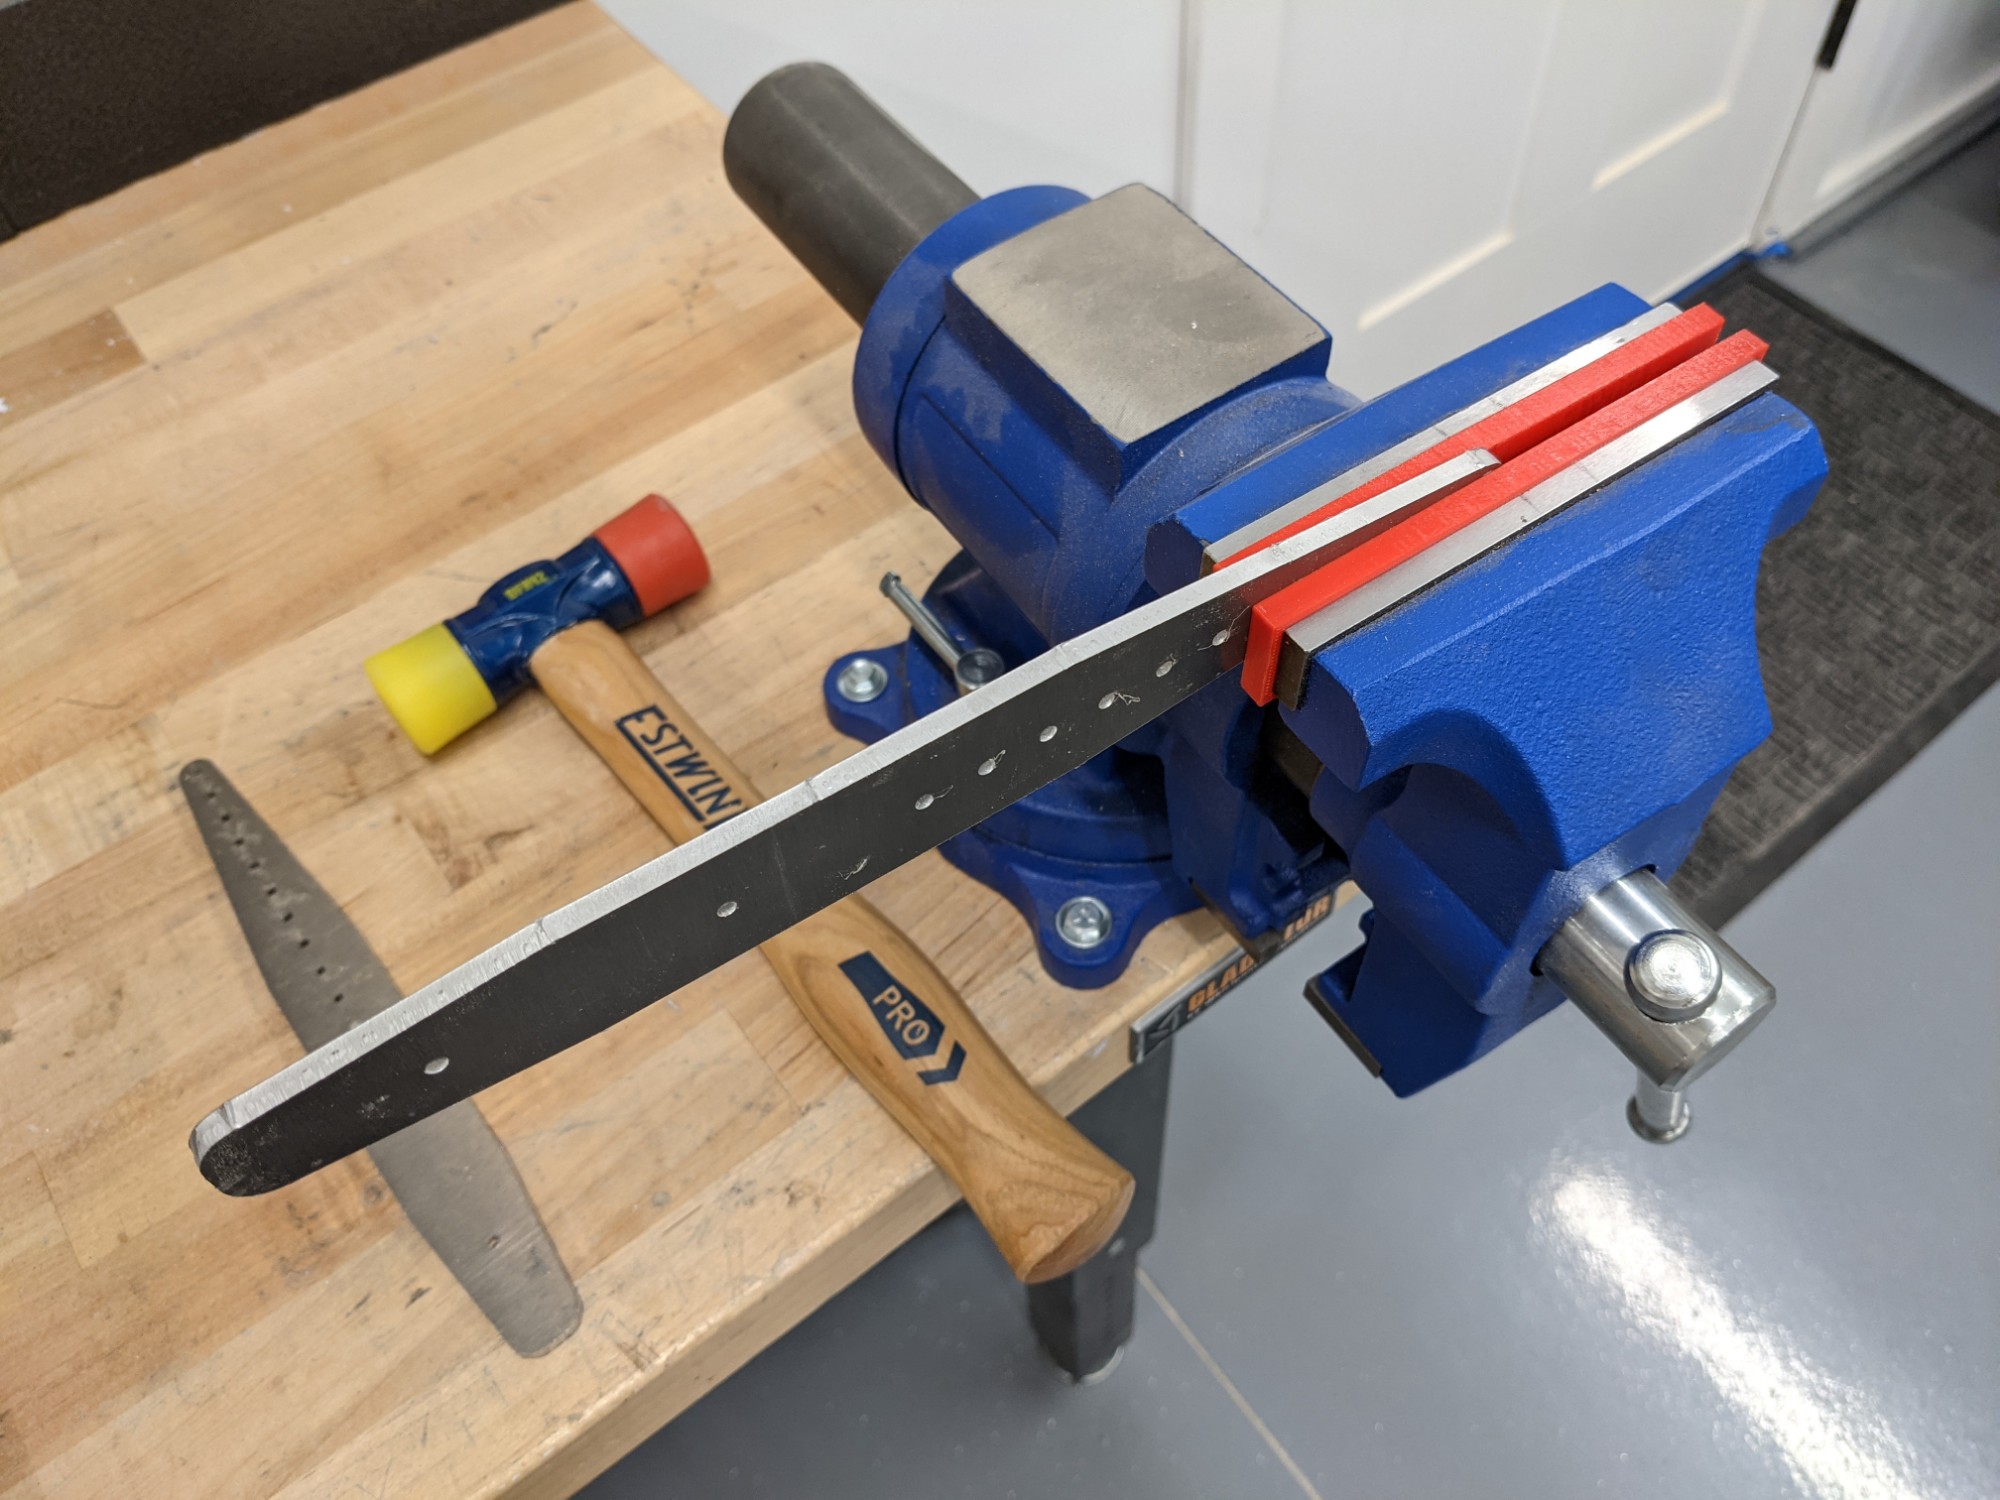
I then cleaned up the edges of both attachment bars. There are a lot of tool marks on these so I clecoed them together and cleaned them up on the ScotchBrite wheel. Clecoing them together makes it easier to keep them square against the wheel while removing the tool marks.
Feels good to get started on a new assembly but I’ll be back to the elevators once the sealant cures..