
I finished up page 6-2 and completed page 6-3 in a few separate work sessions this weekend.
In my collection of notes from other build logs I have a note to avoid attempting to force the VS nose ribs into the skin as they will create outward dents in the leading edge.
This is mentioned in the plans when you get to the horizontal stabilizer but it isn’t noted specifically for the vertical stabilizer. To be fair to Van’s, it is noted on page 05-03 of the General Information section of the plans (Rib Flange Faceting) but it would be nice if this was called out the first time it is encountered.
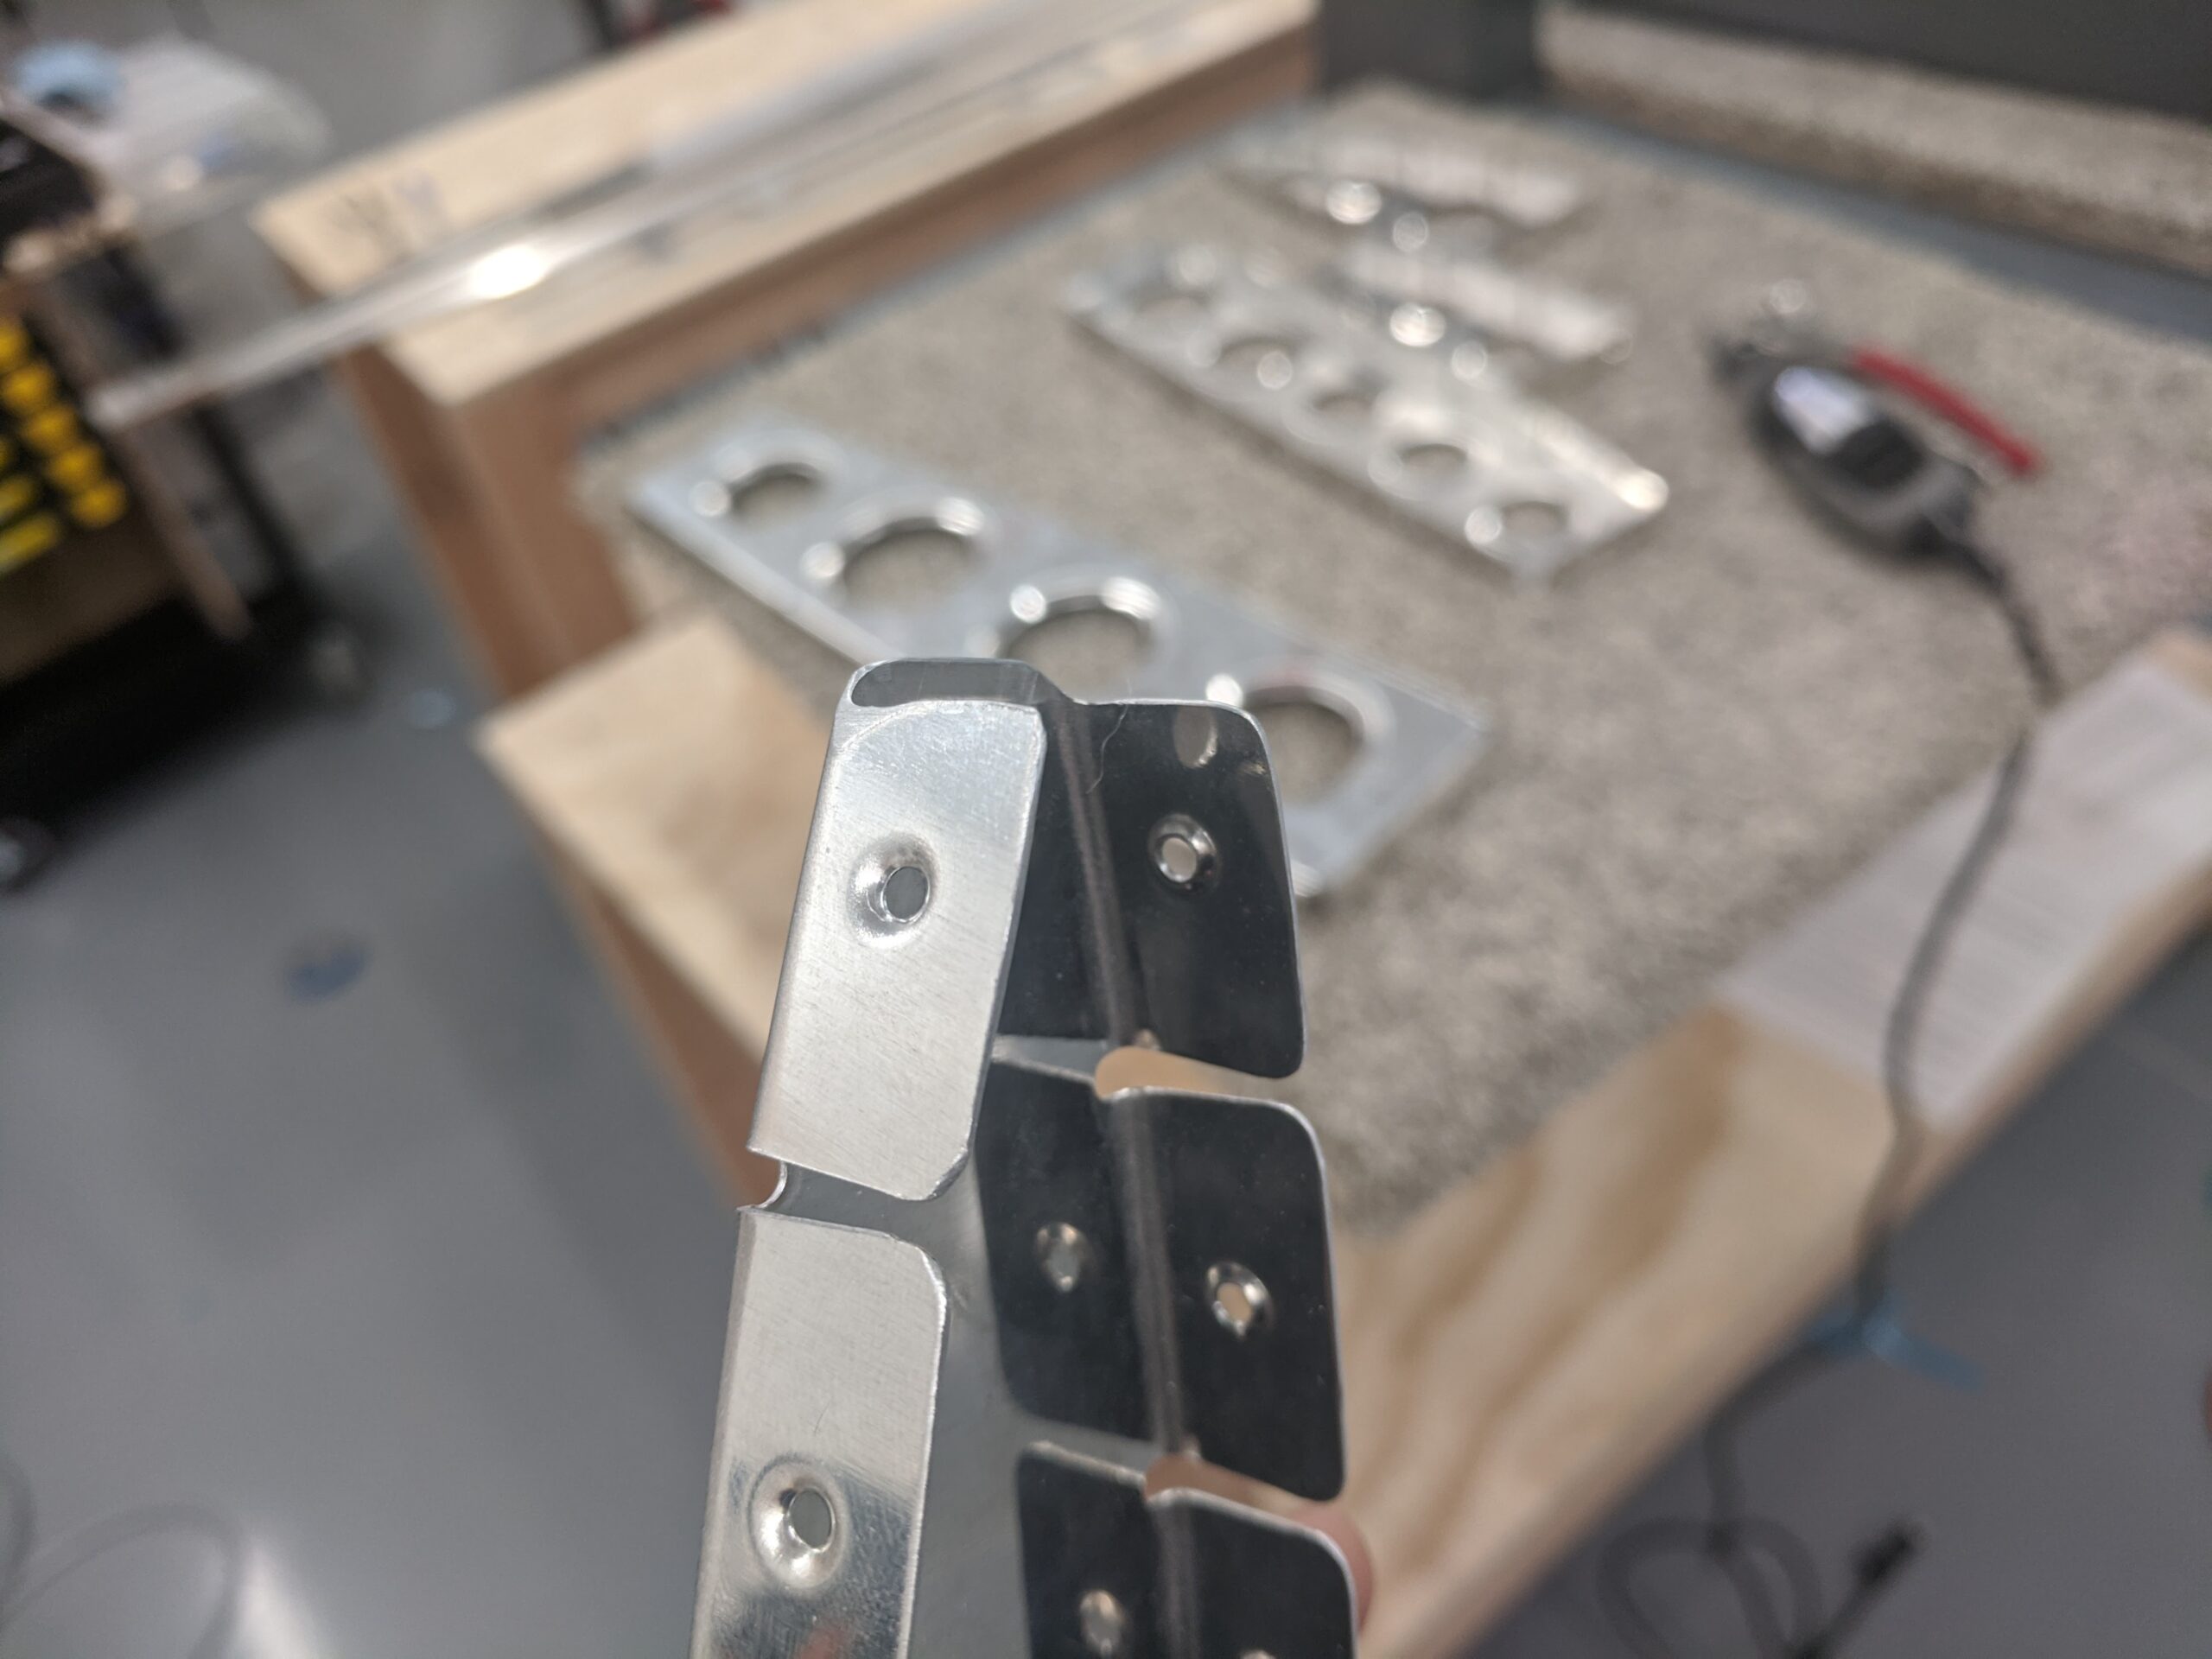
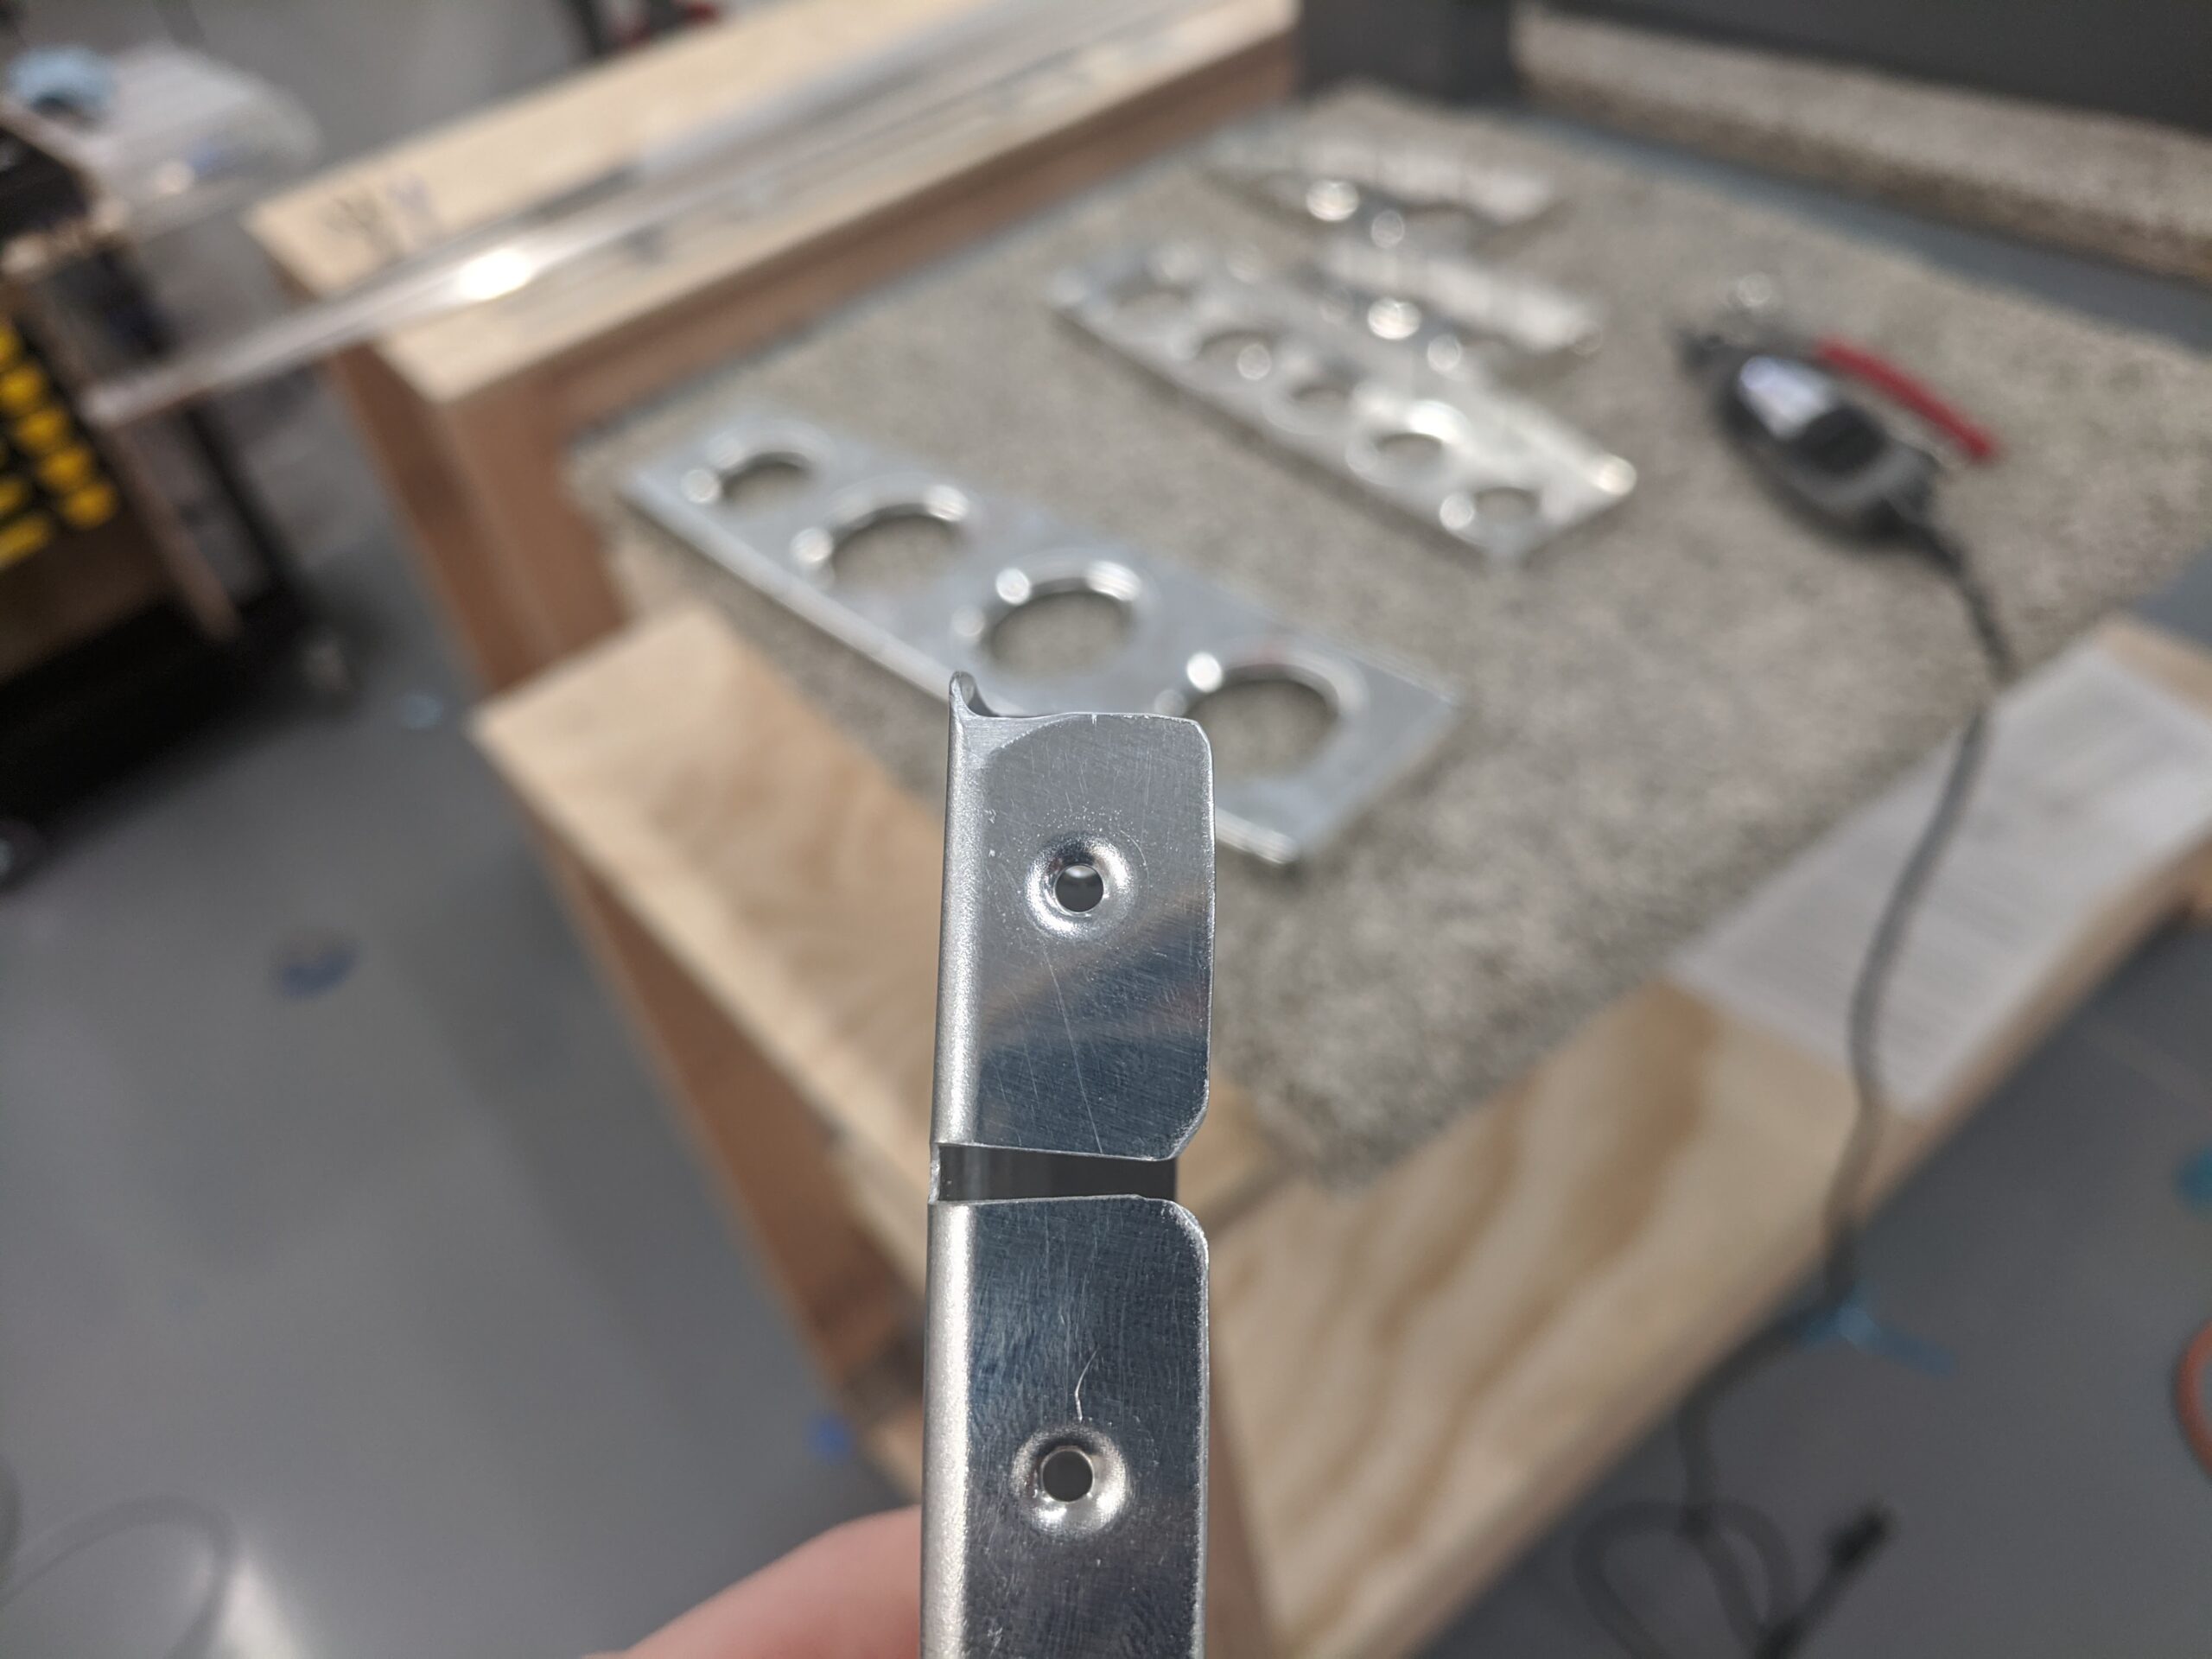
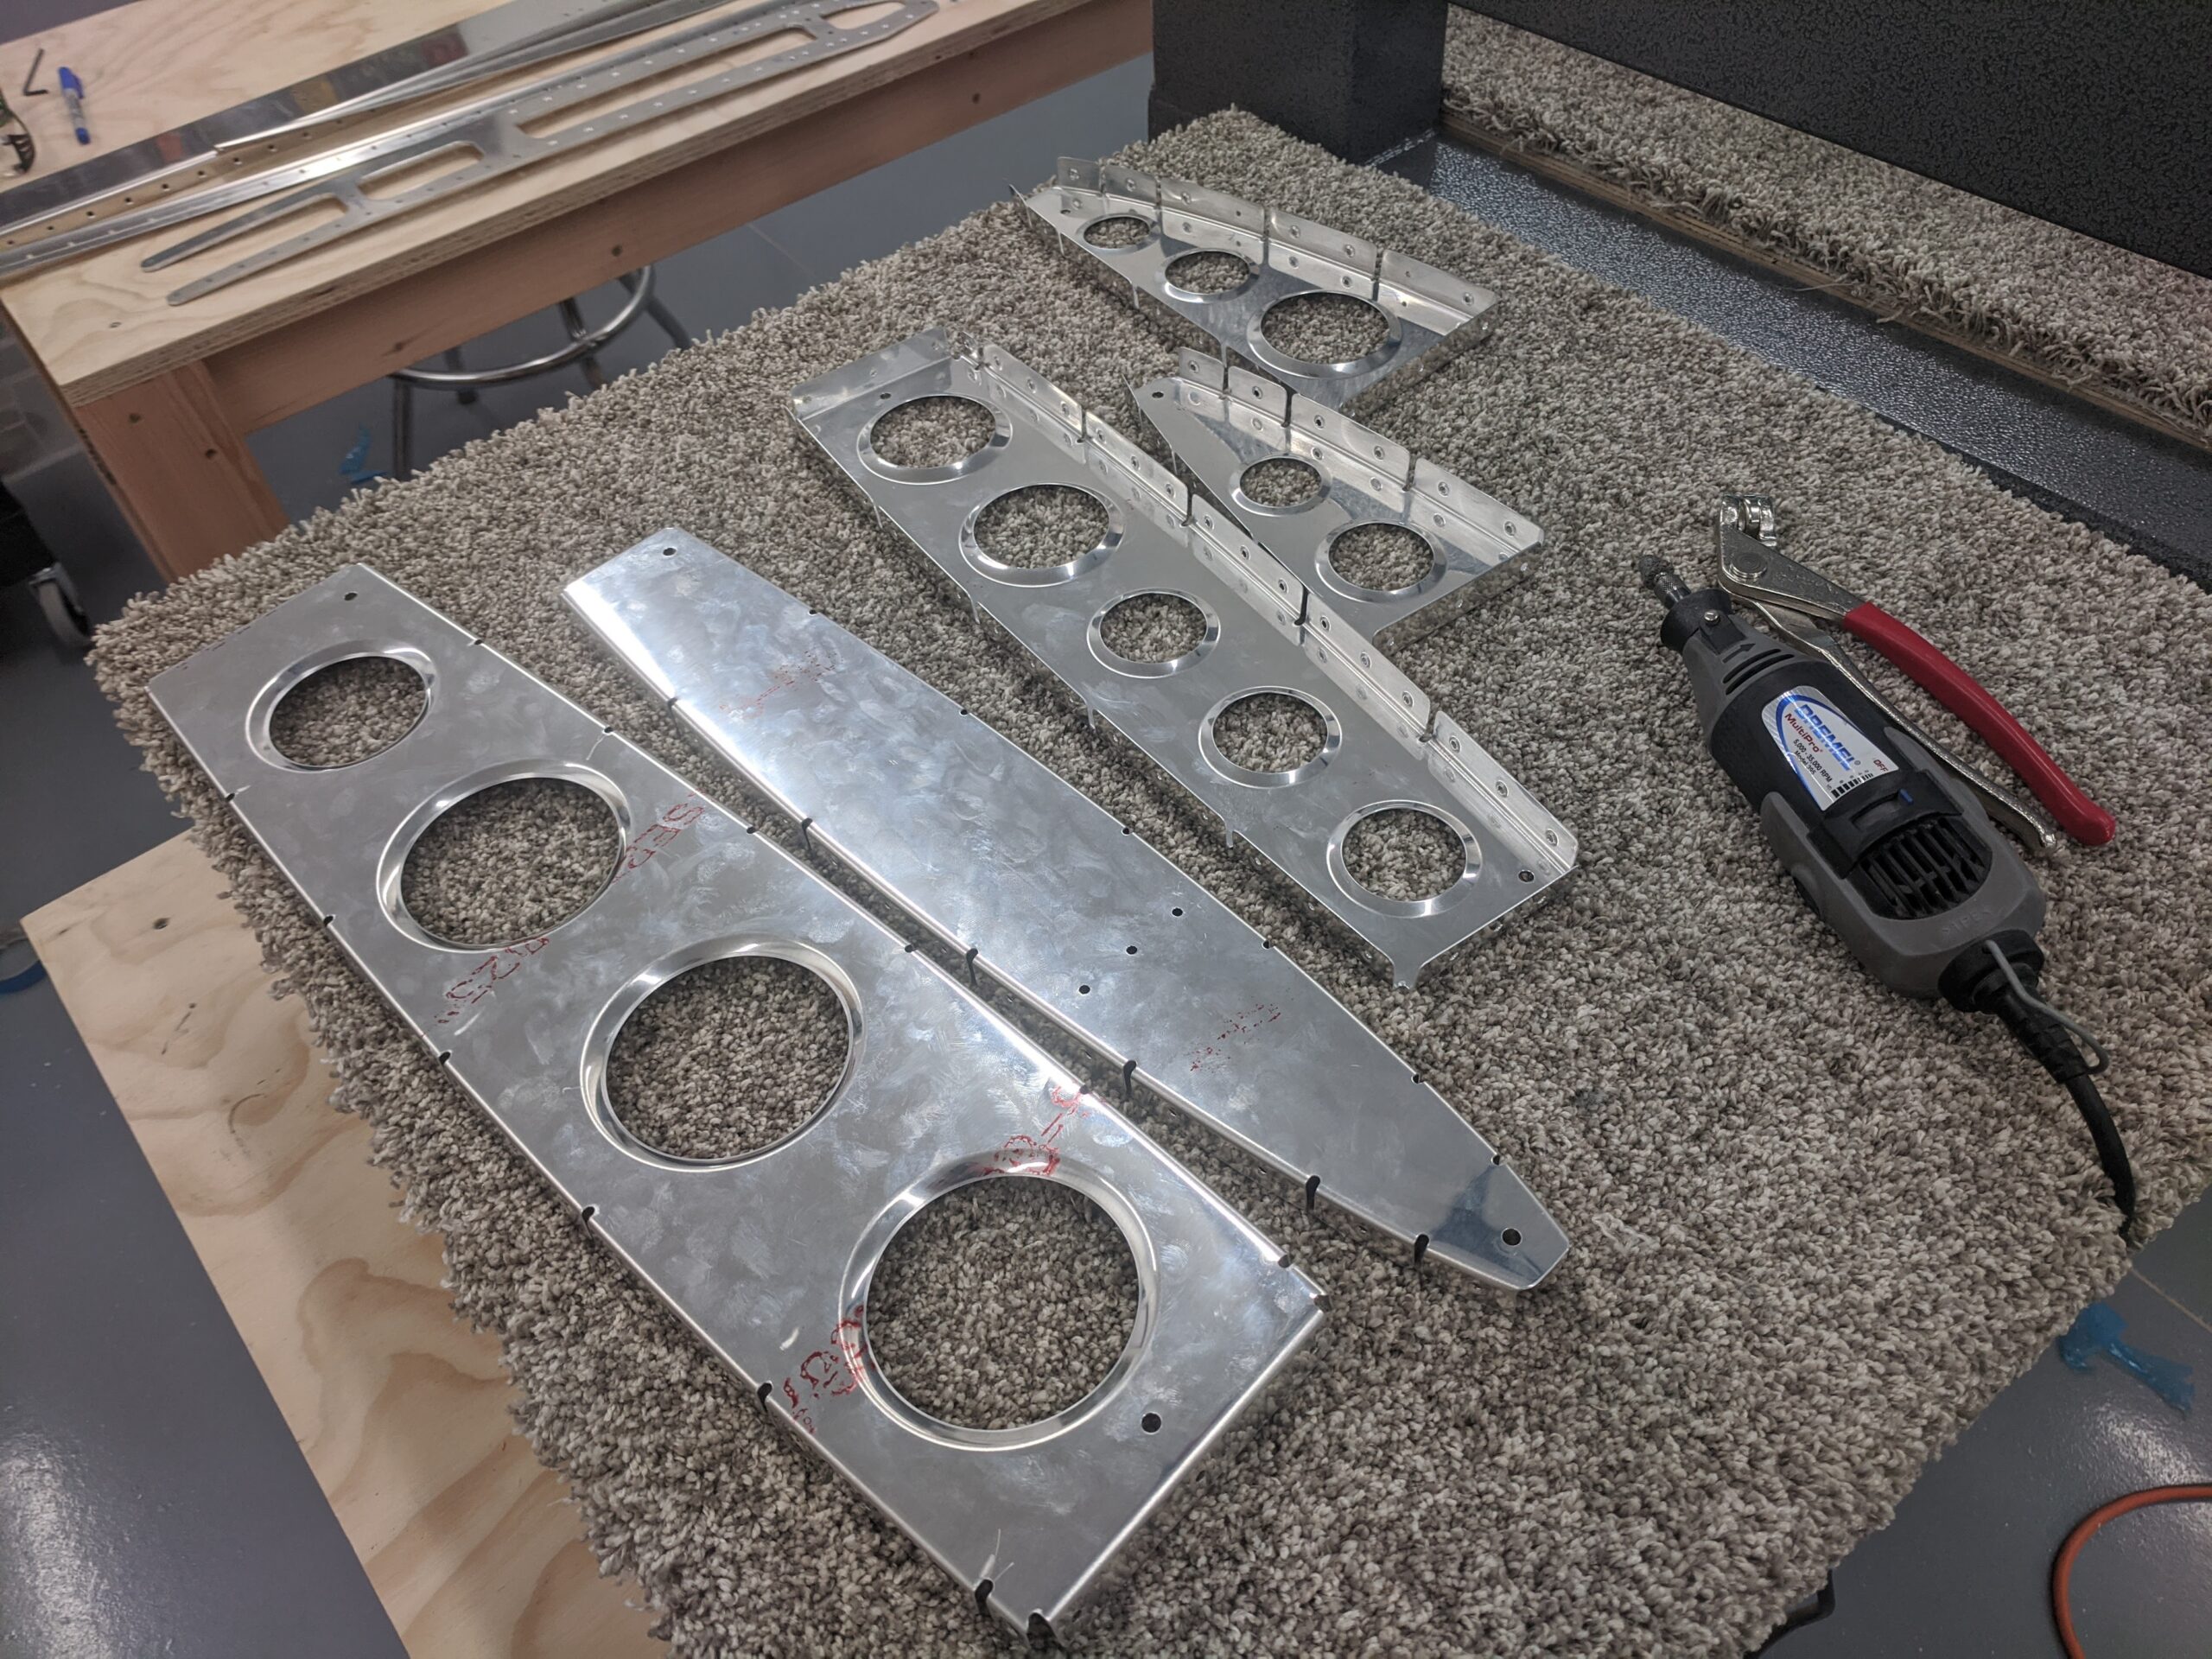
I rounded the forward edge of the VS-1006, VS-1013, and VS-1005 ribs using a ScotchBrite wheel. I found that I had to round them more than illustrated to avoid the forward corners of the ribs from projecting through the skin. Doing so results in the forward flange tabs becoming sharp so I also removed some material from the forward edge of the tabs. The tabs are large enough to keep well within the 3/16″ minimum edge distance for 3/32″ rivets.
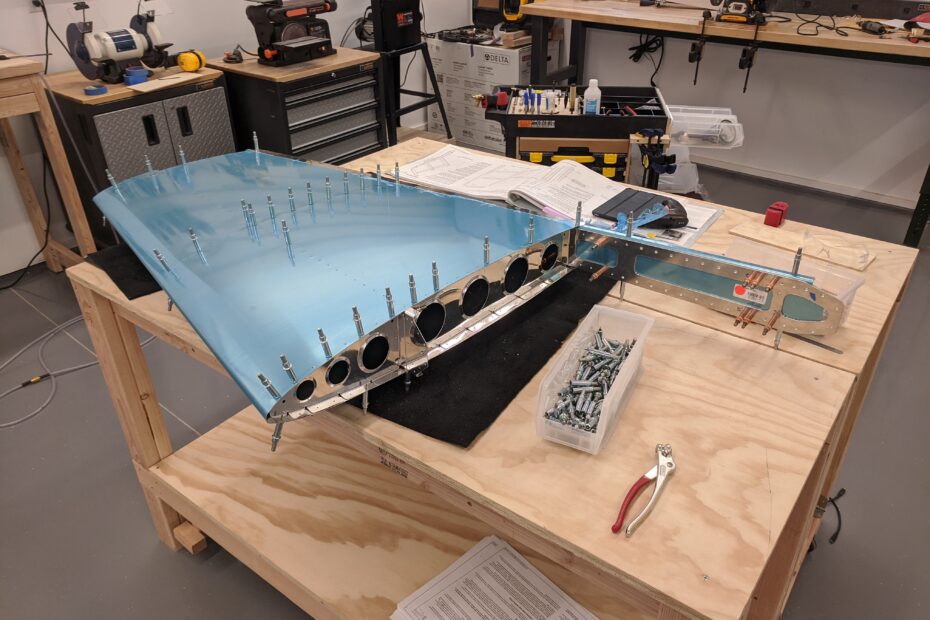
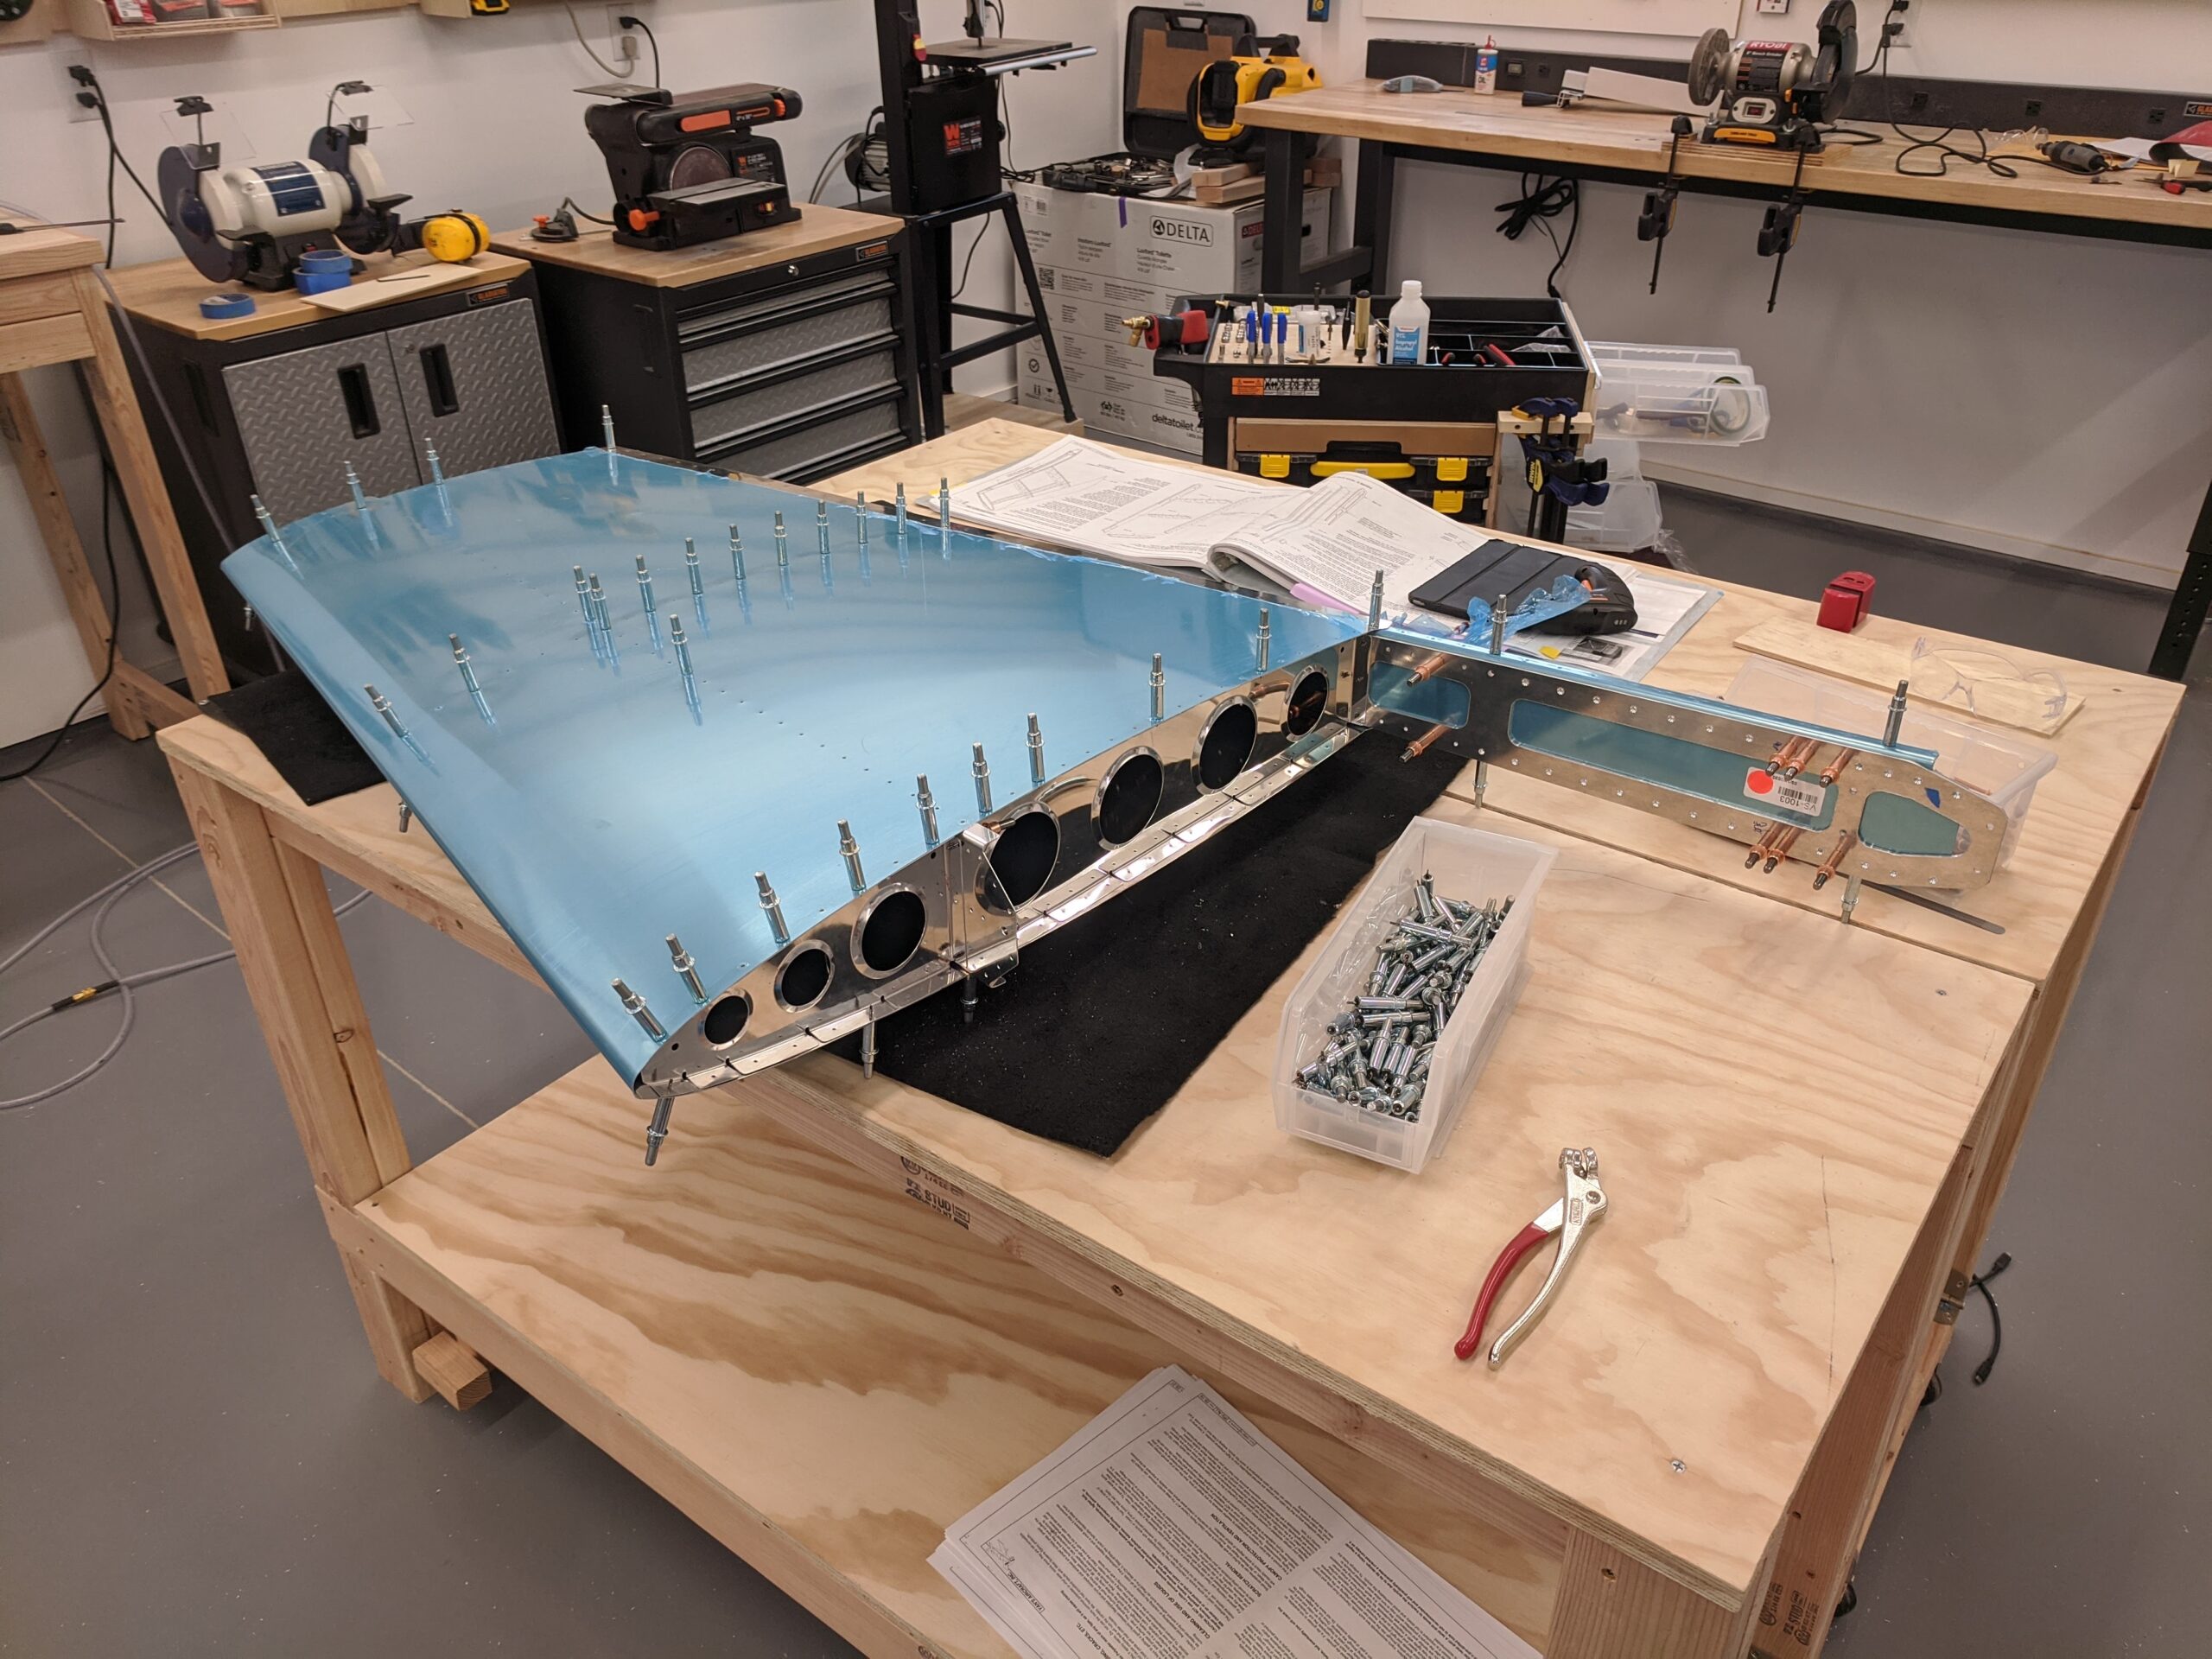
Assembling the skeleton goes quickly. I final drilled the holes with a reamer.
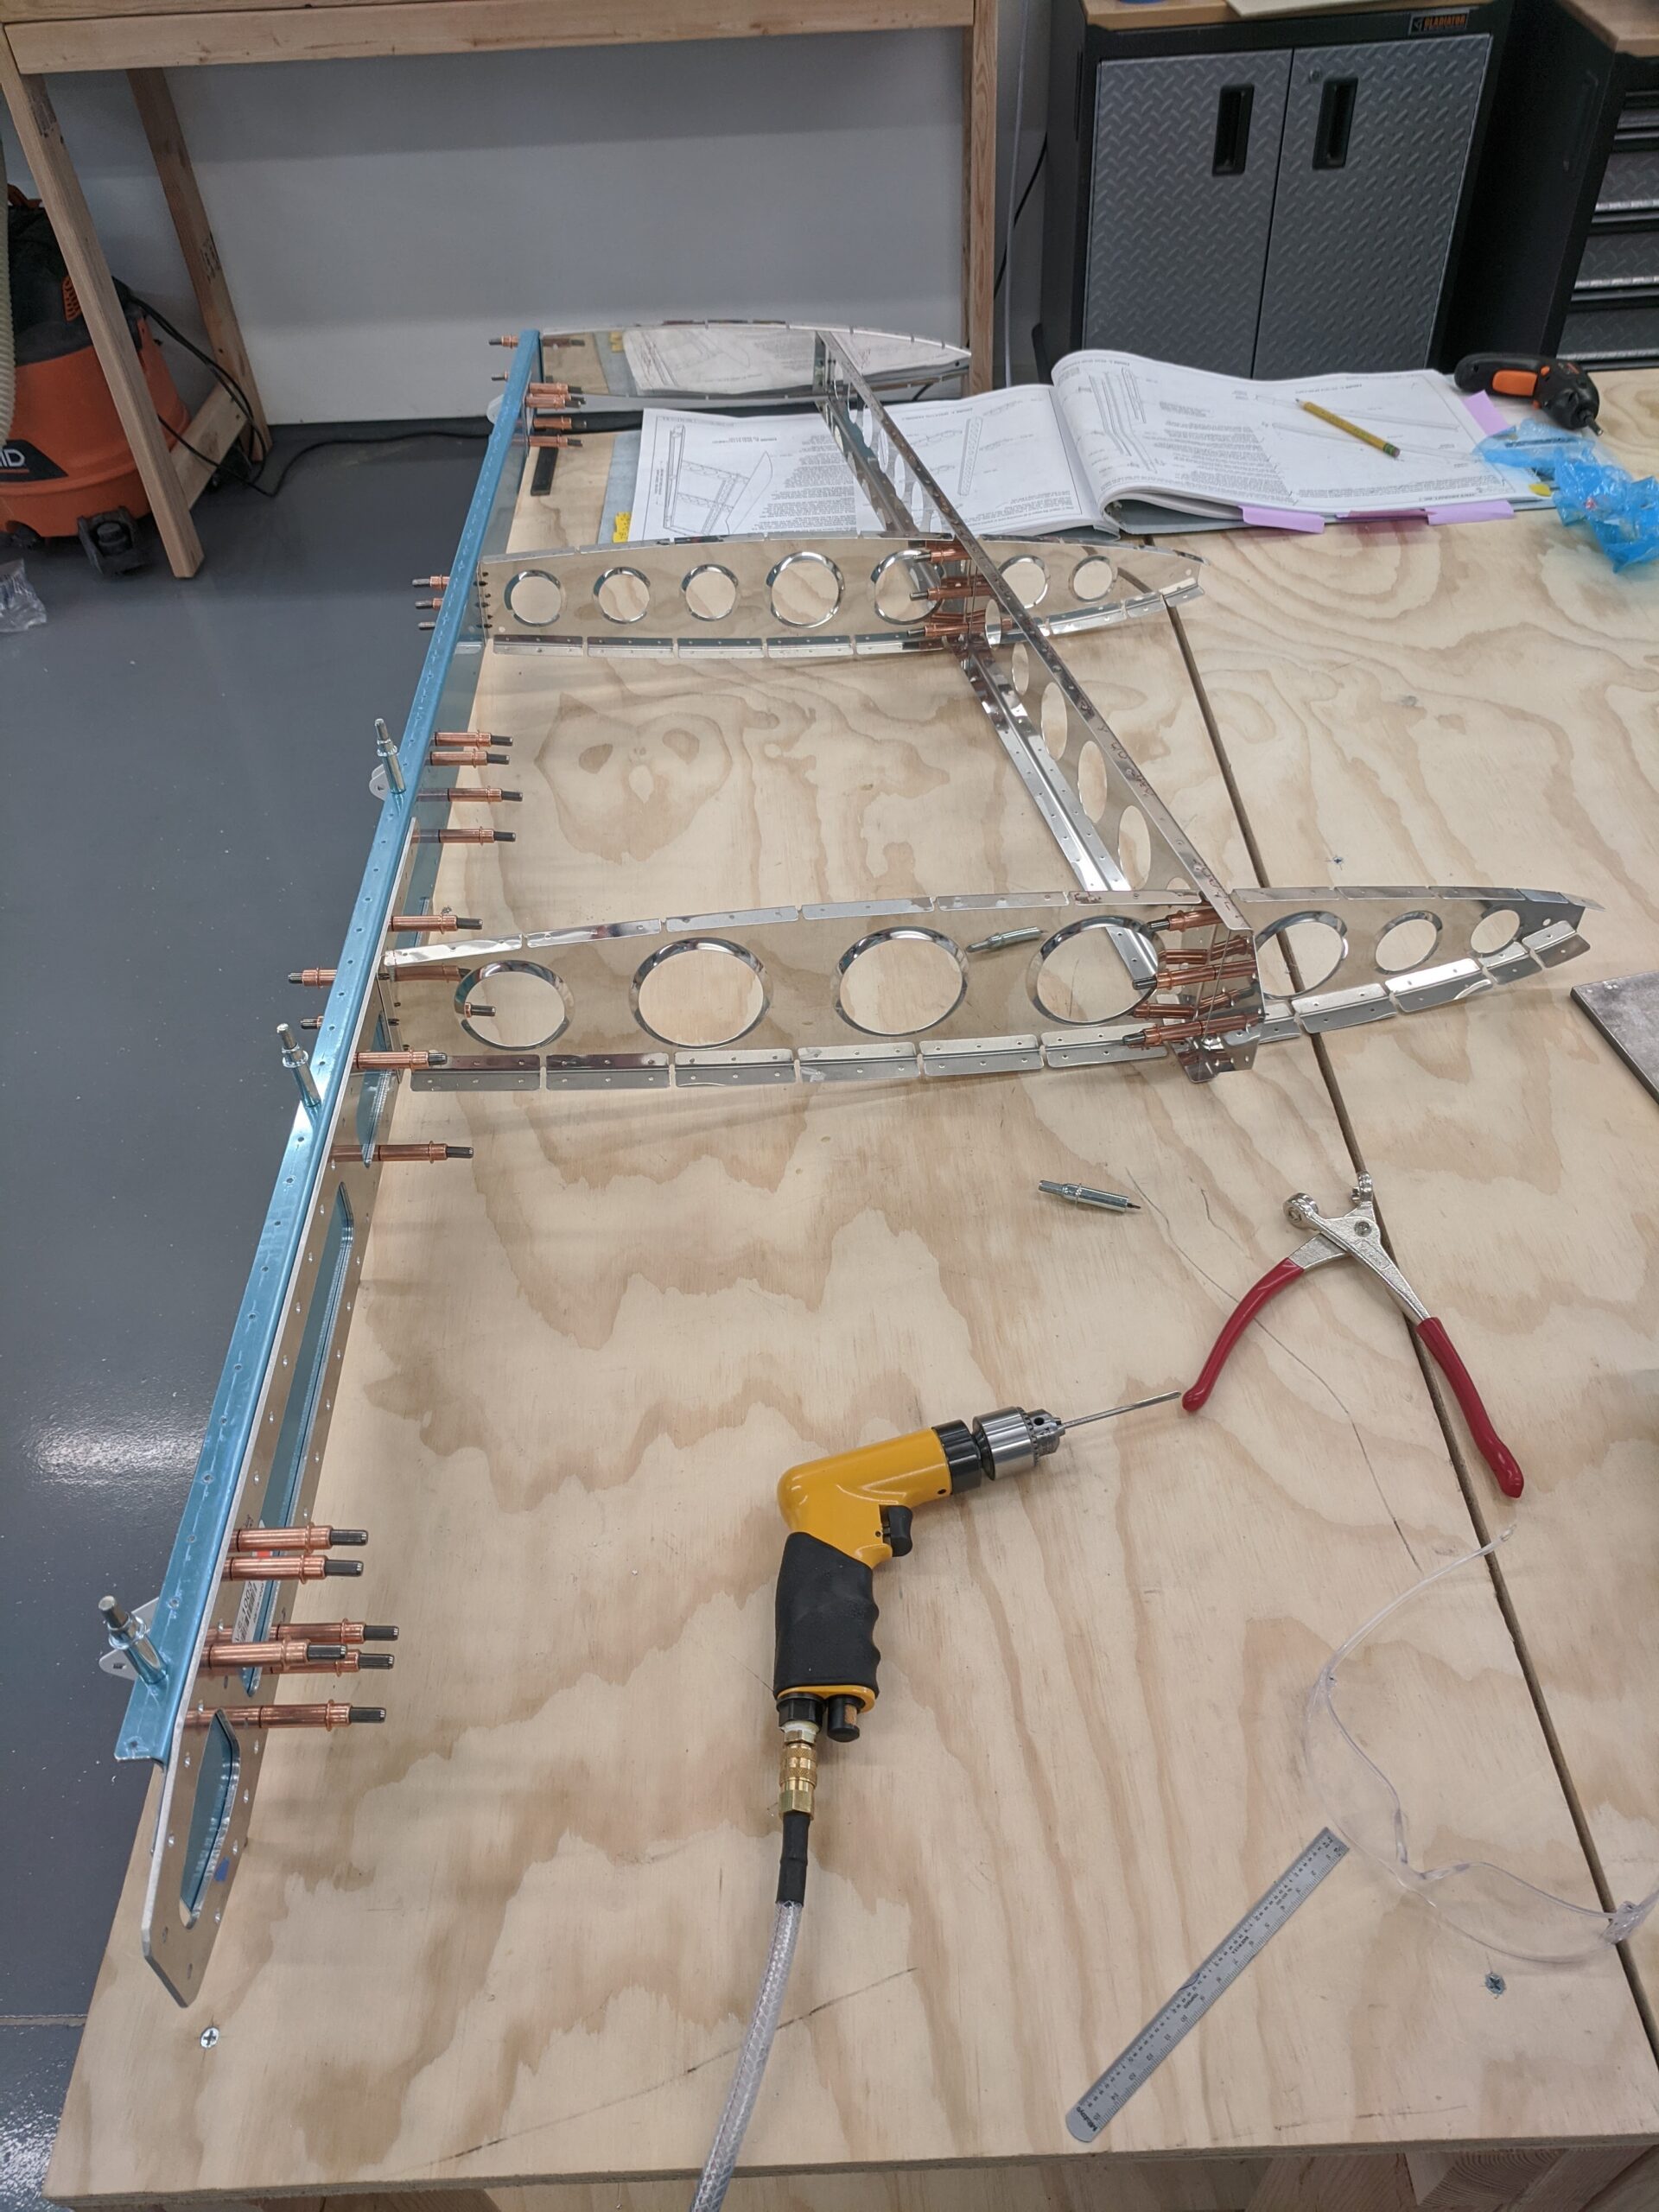
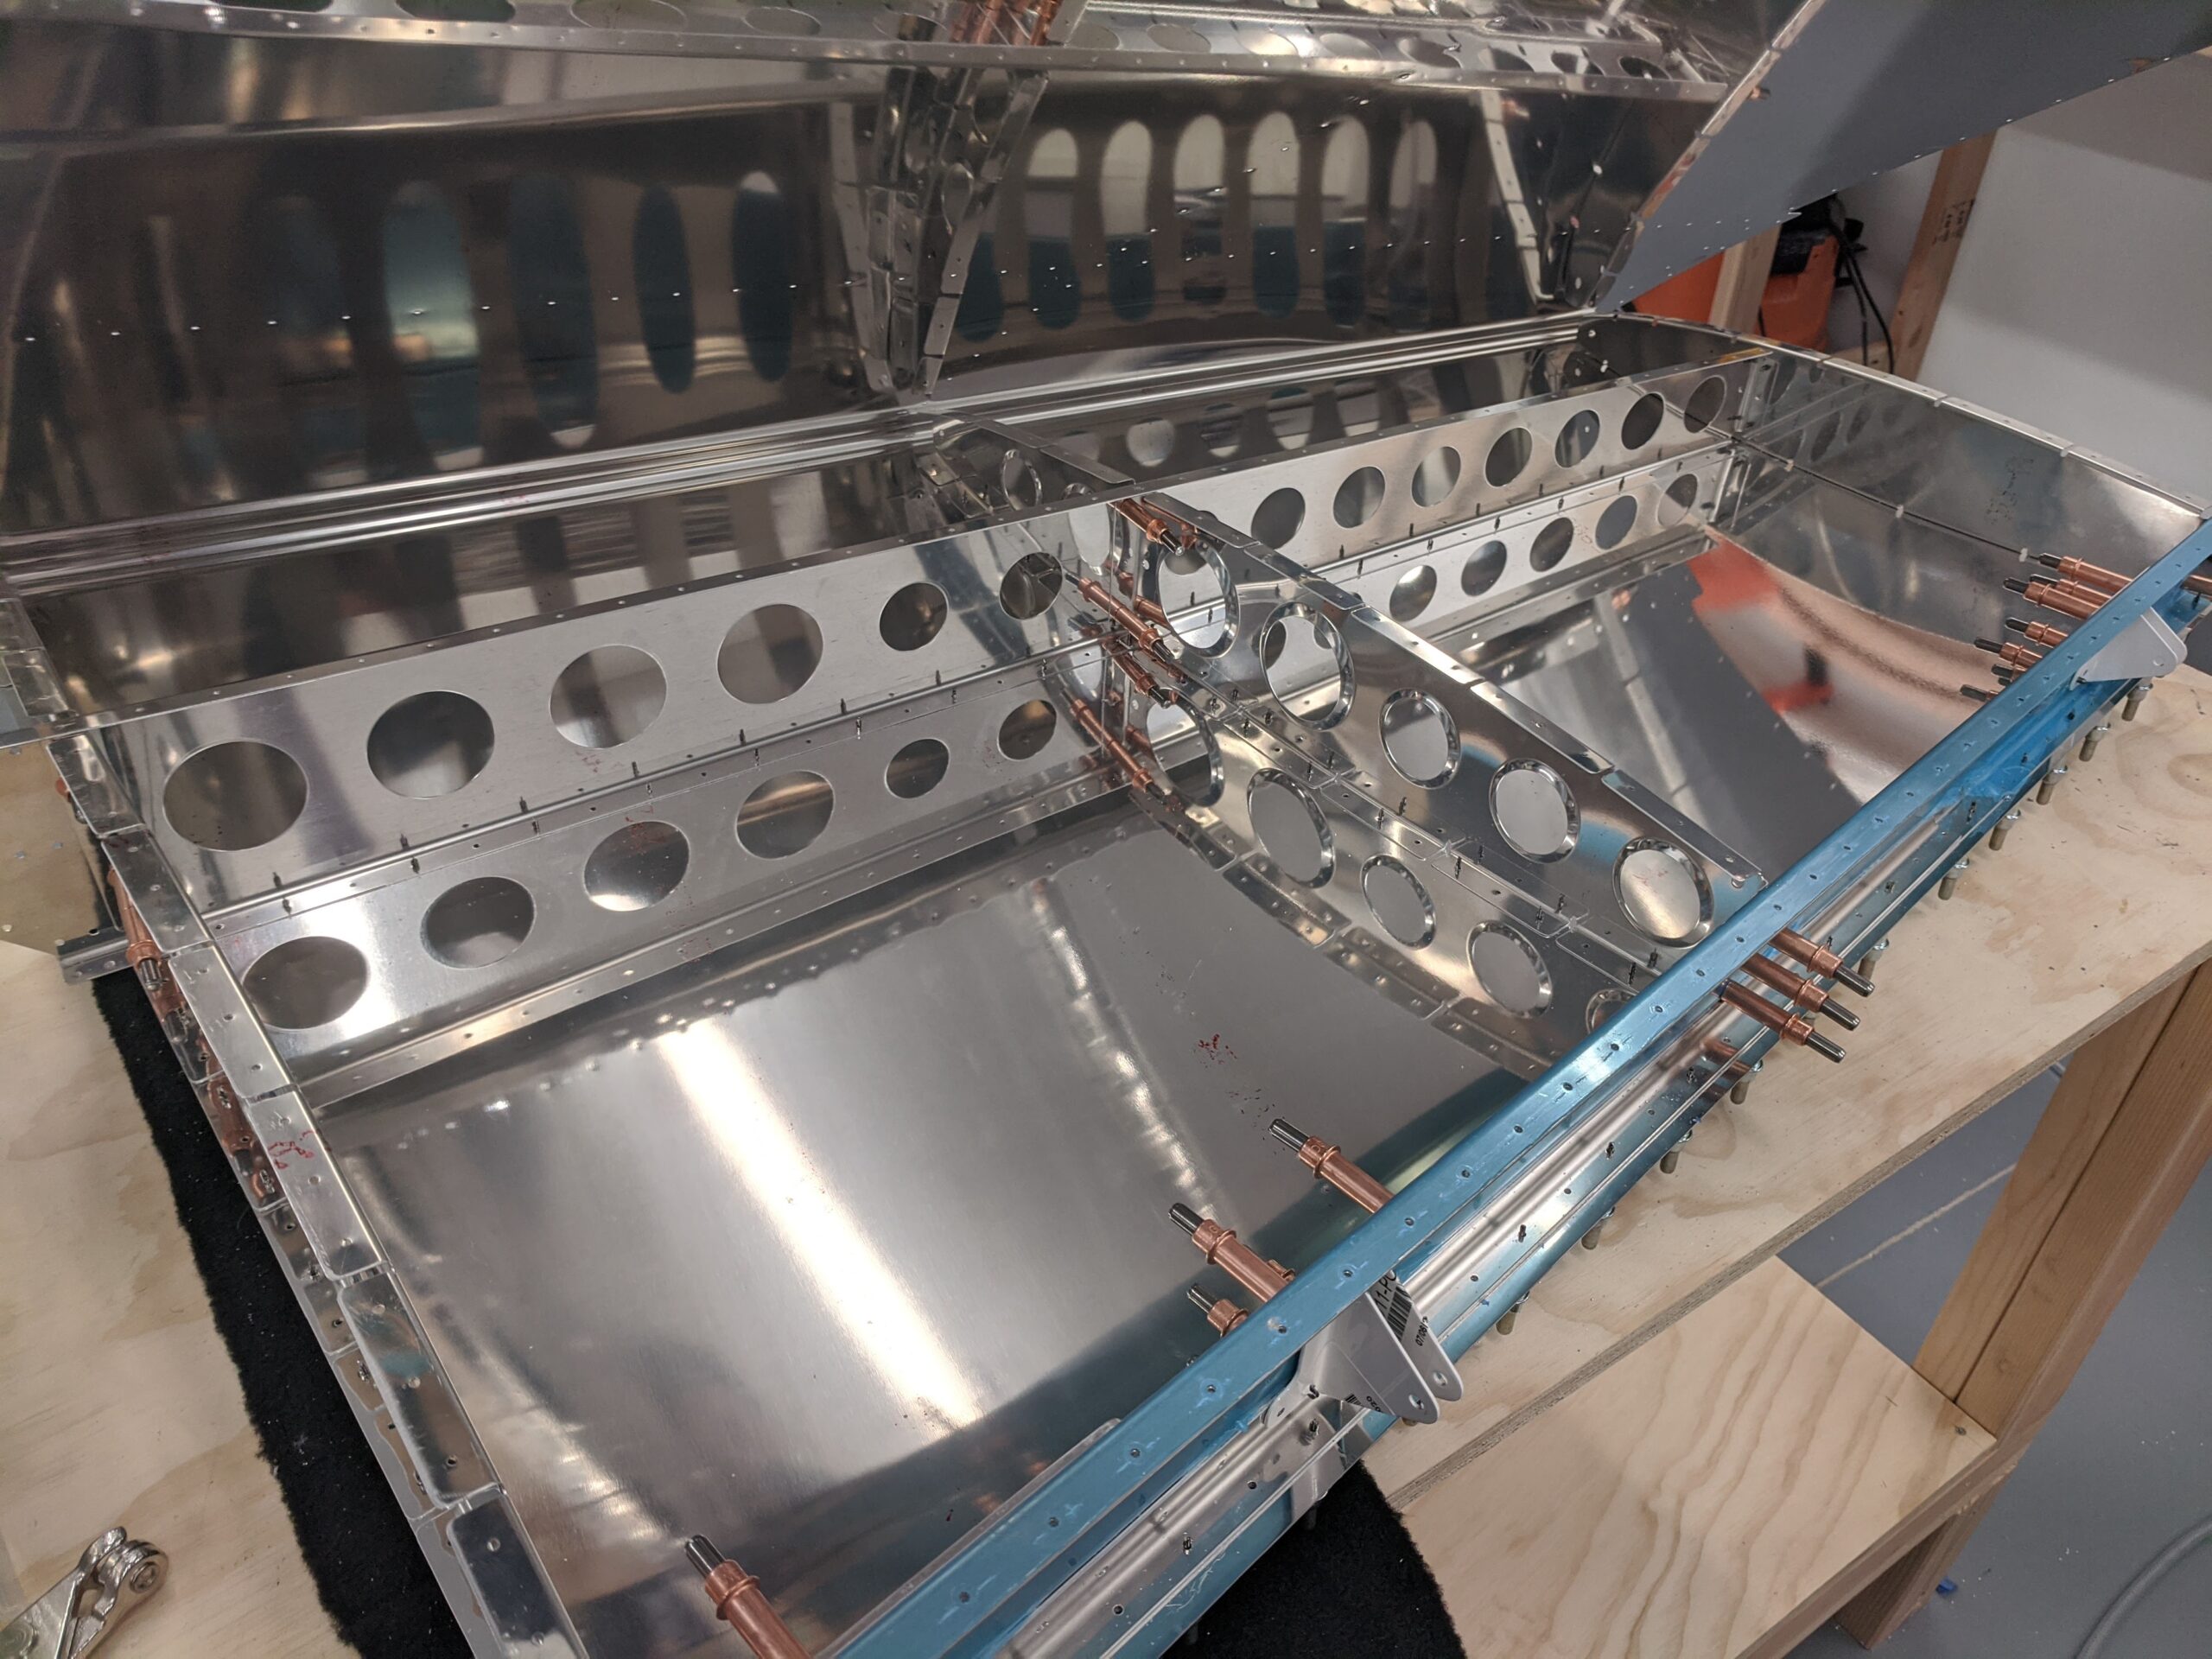
At this stage it starts looking like a real airplane part…
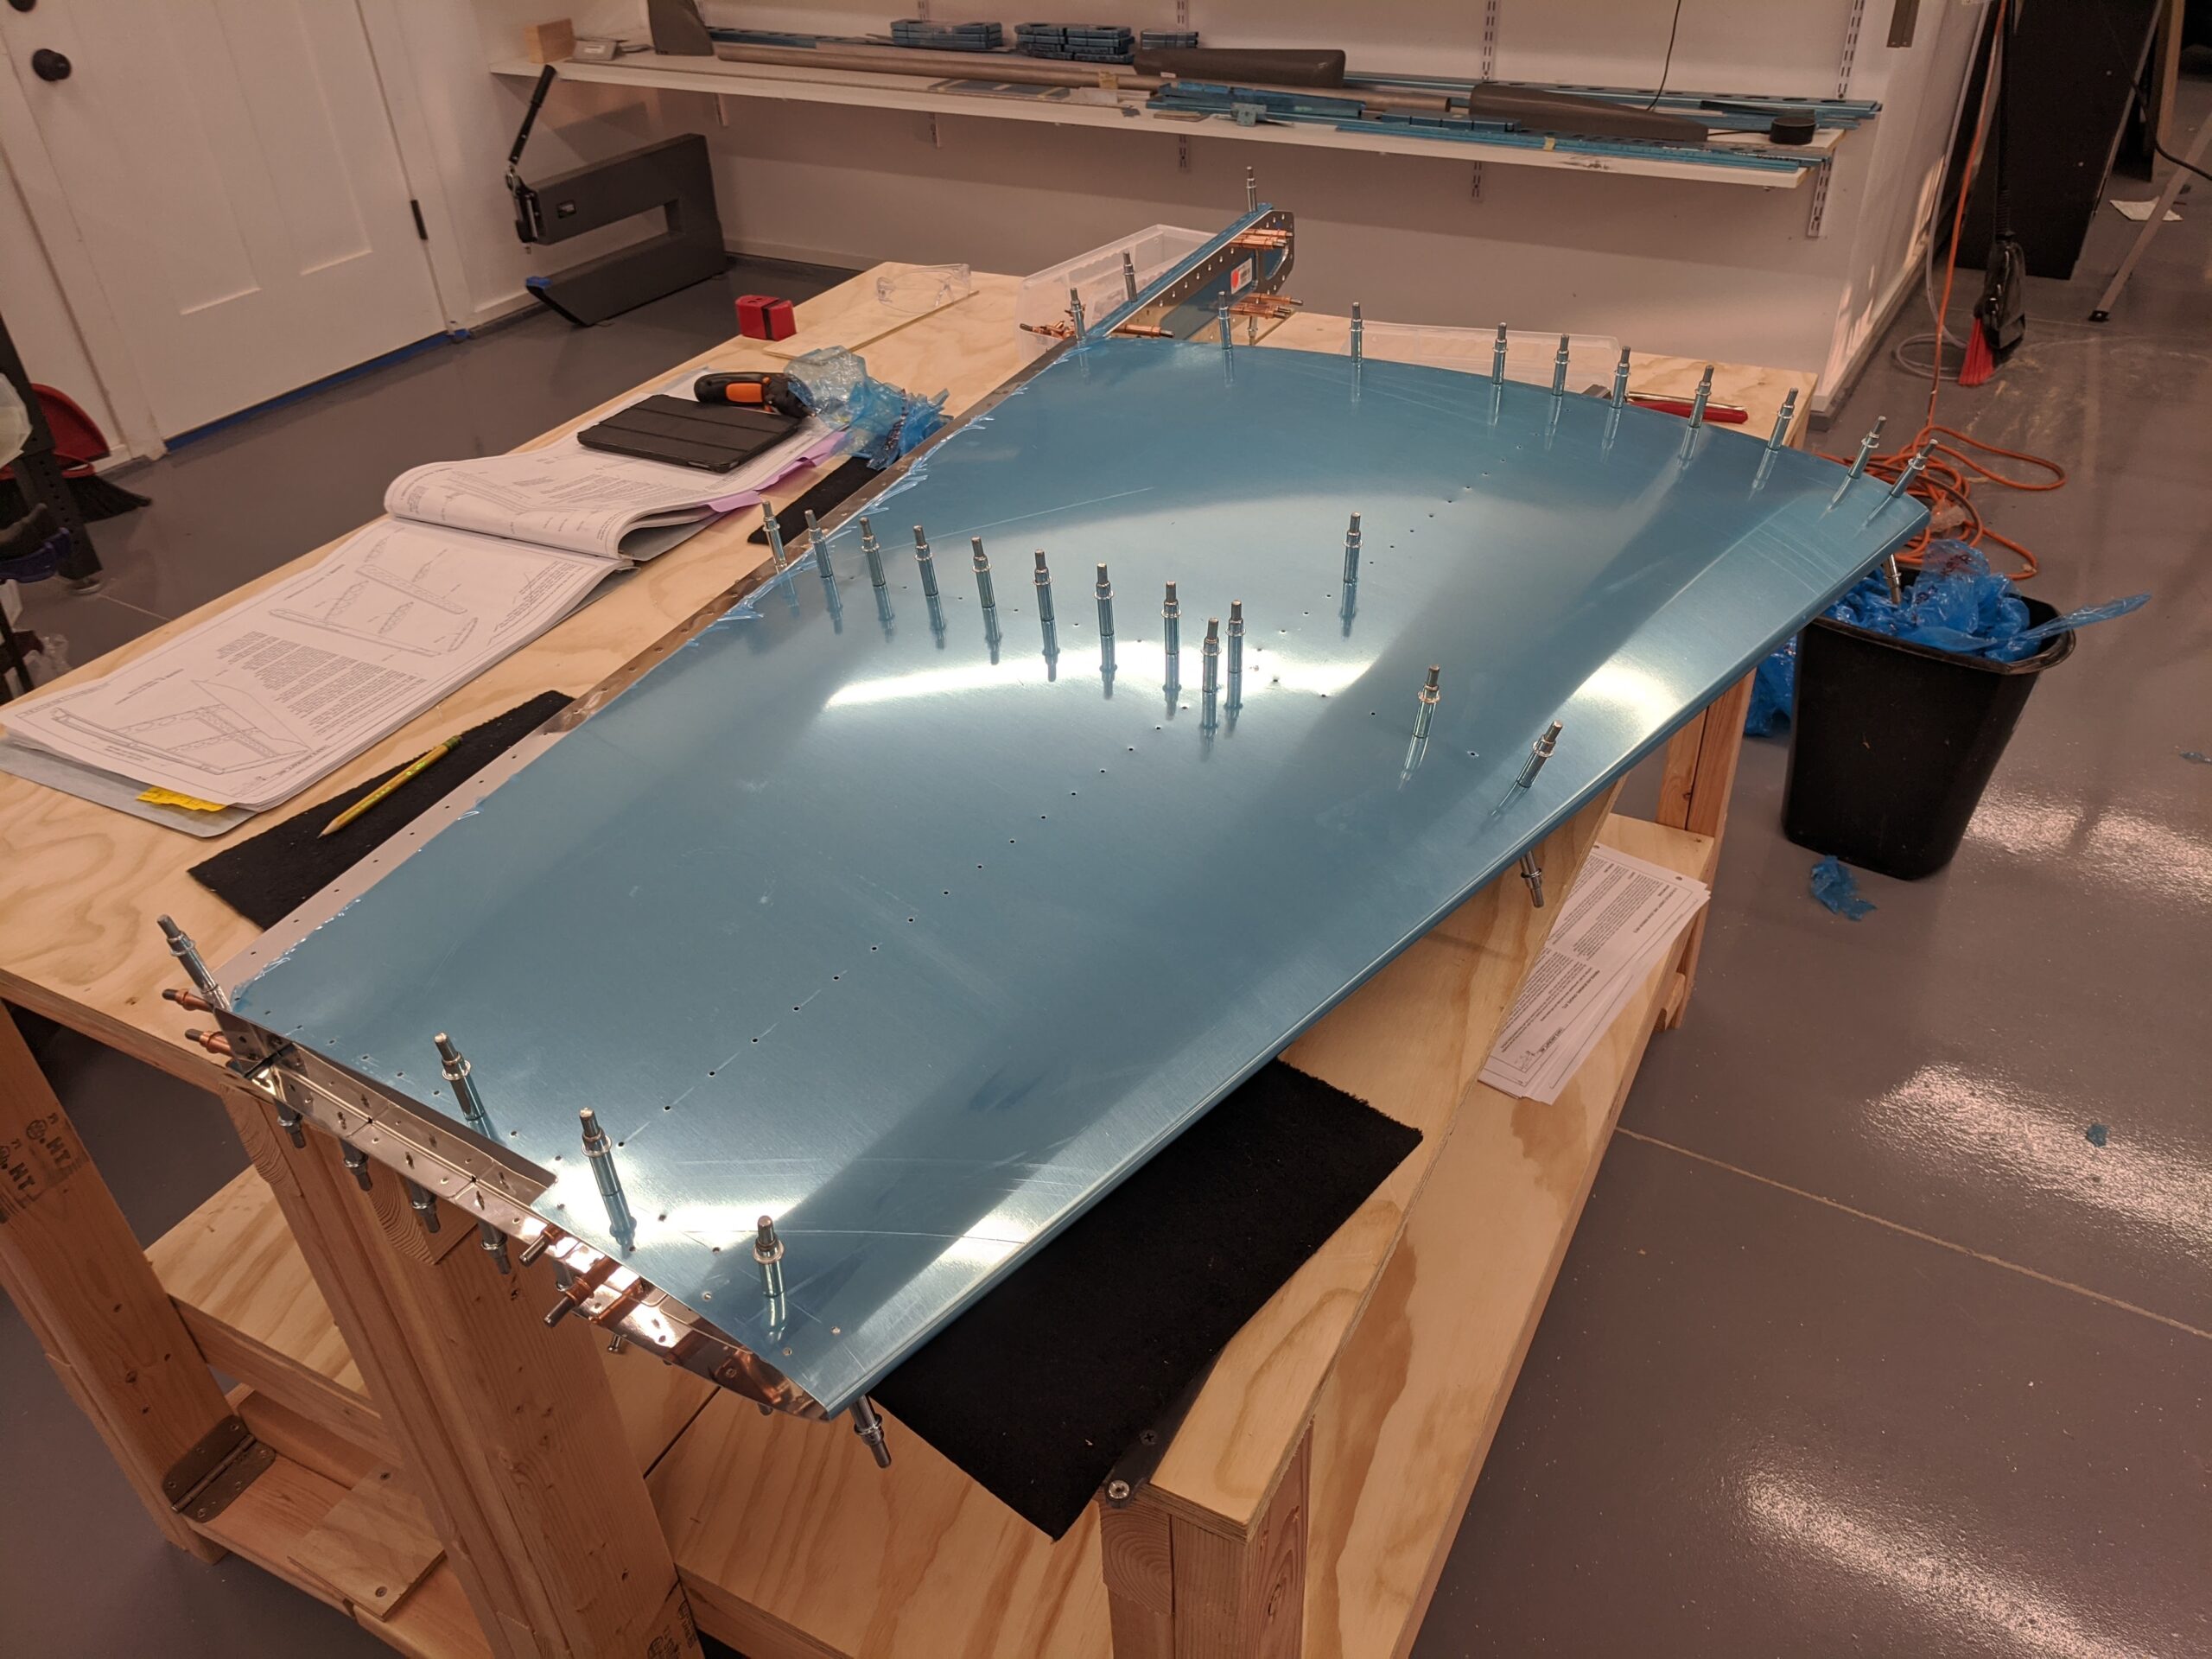
… and then after matching drilling you take it all apart again to deburr, dimple and/or countersink the various parts.
Felt good to make it though another page. Riveting starts on the next page. I’ll be priming so I’m going to need to get my paint booth set up soon.