
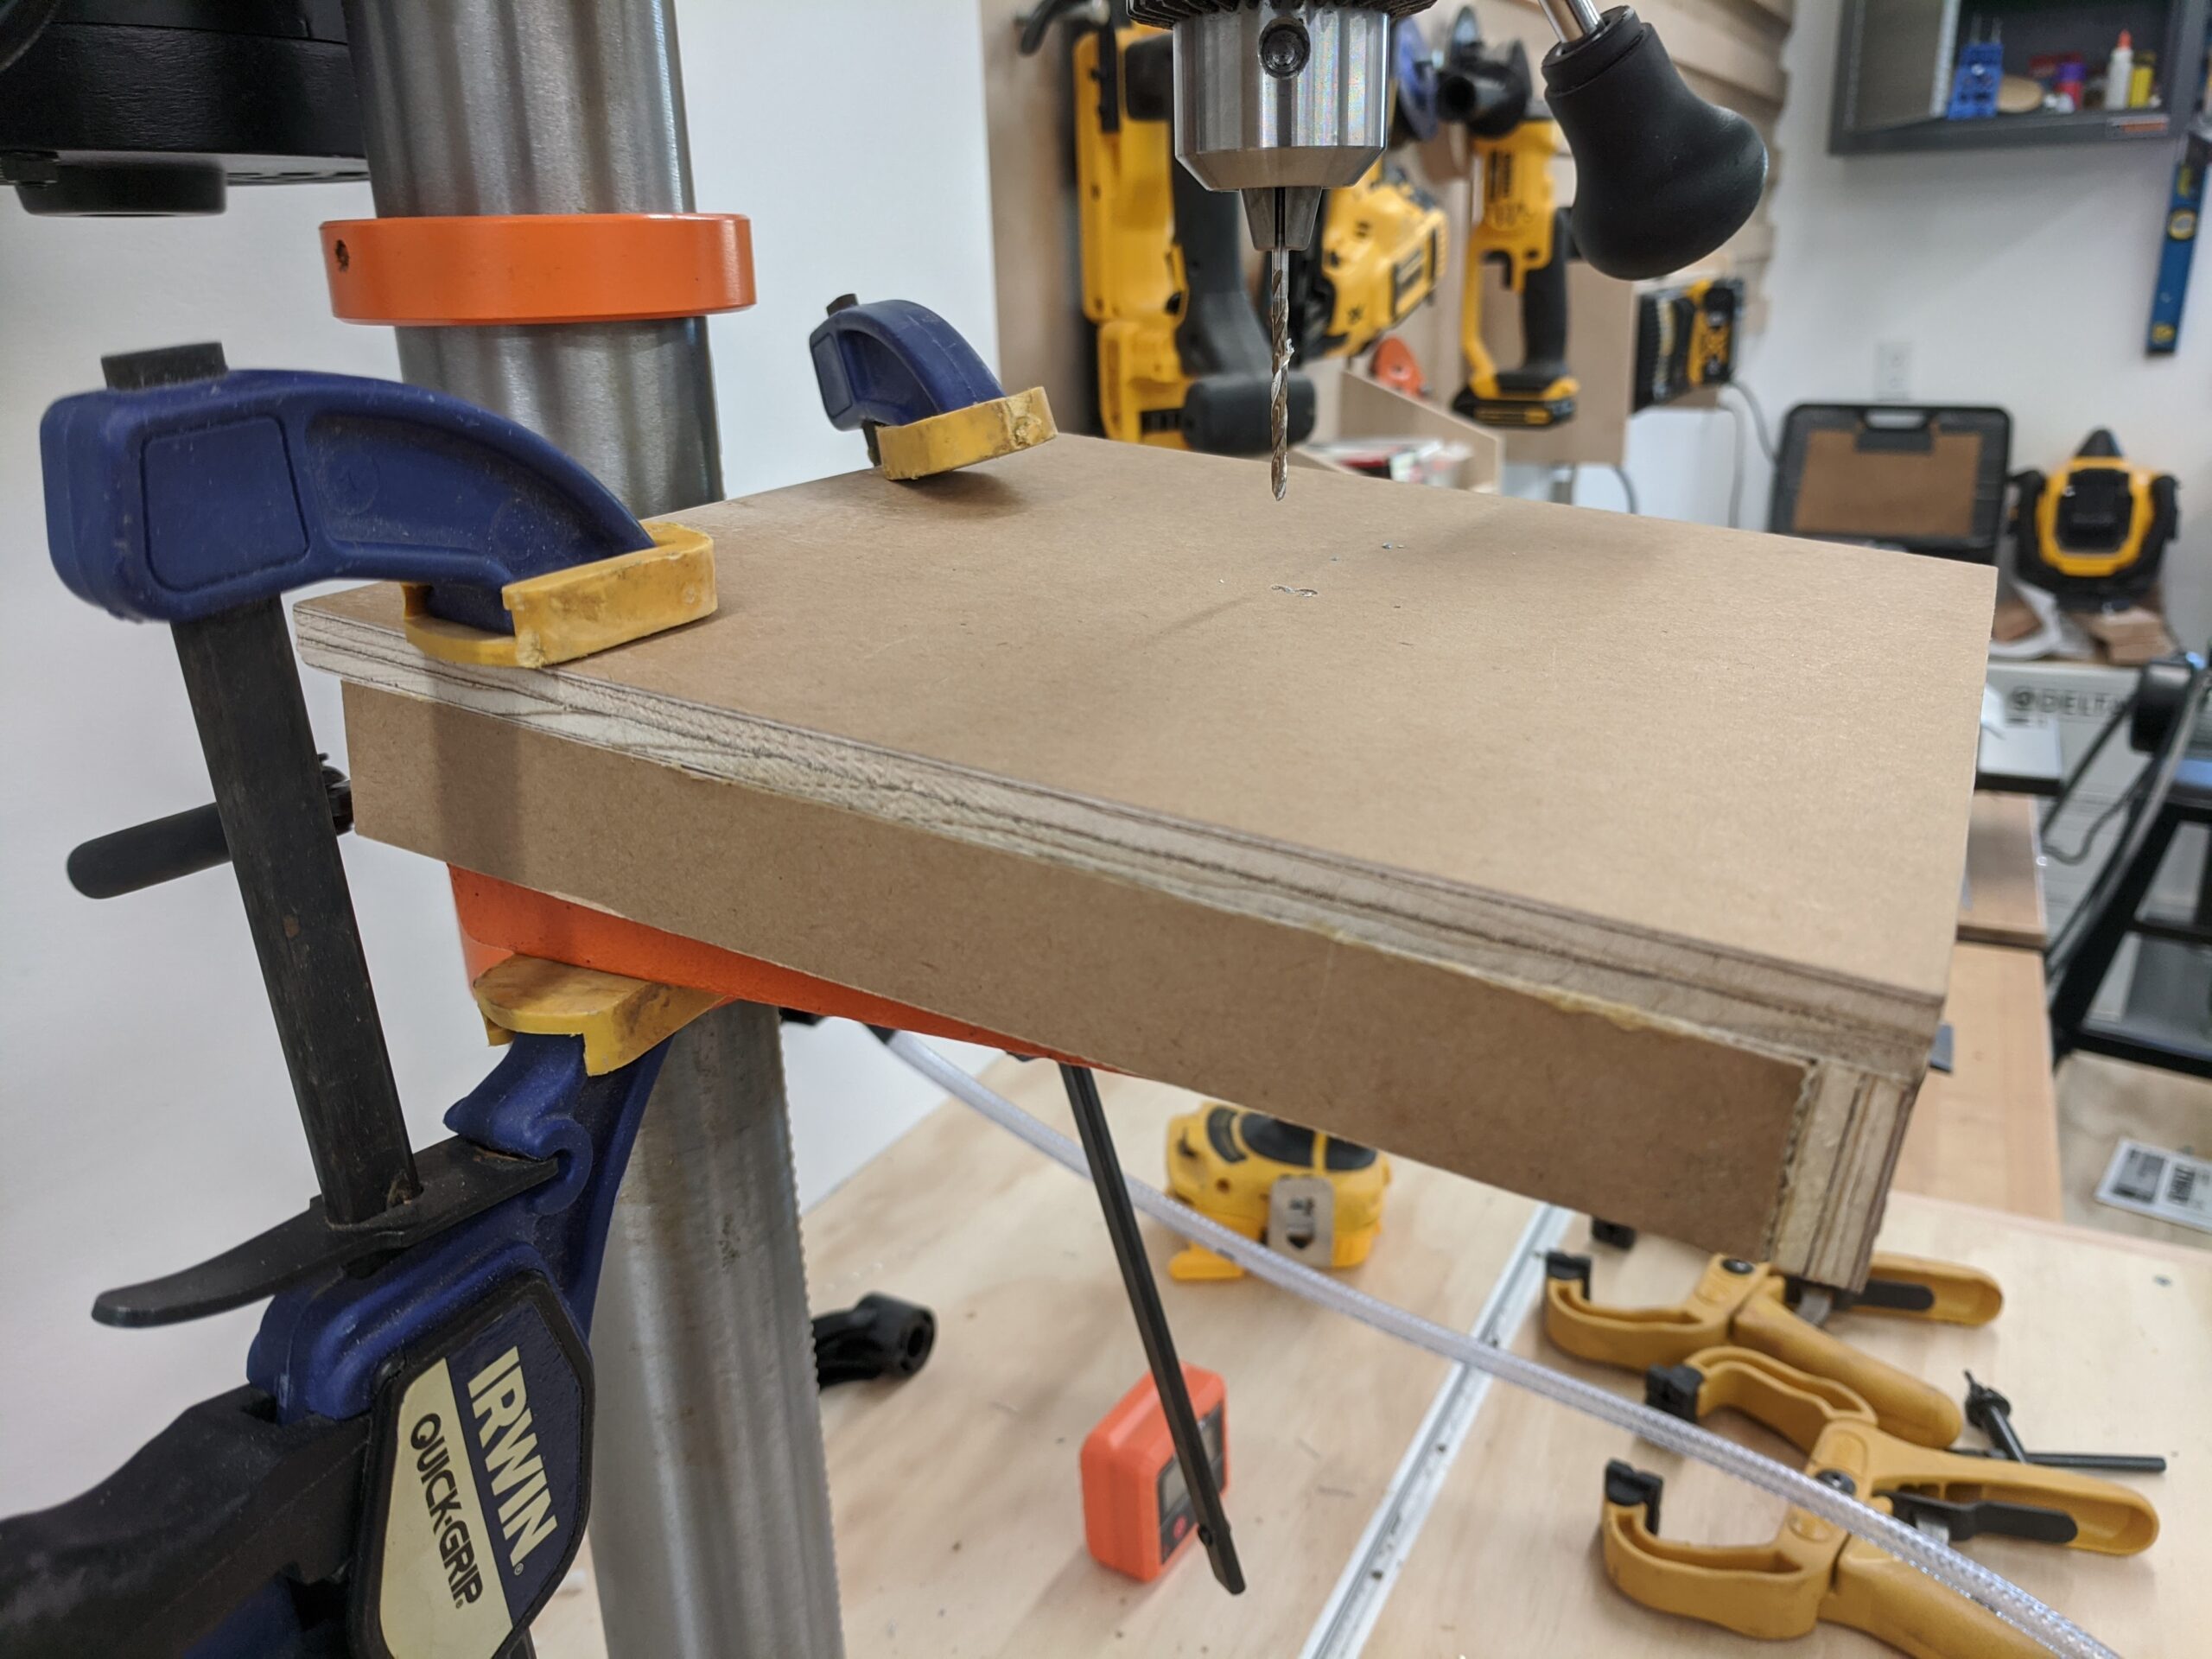
The Van’s airfoil practice kit arrived early on Labor Day – perfect timing. I had another yard project to finish first but got started on the practice kit in the afternoon.
I had already completed the basic starter kit that shipped with the empennage kit. I made plenty of mistakes which didn’t inspire confidence – but learned a lot from simple errors which is why we practice.
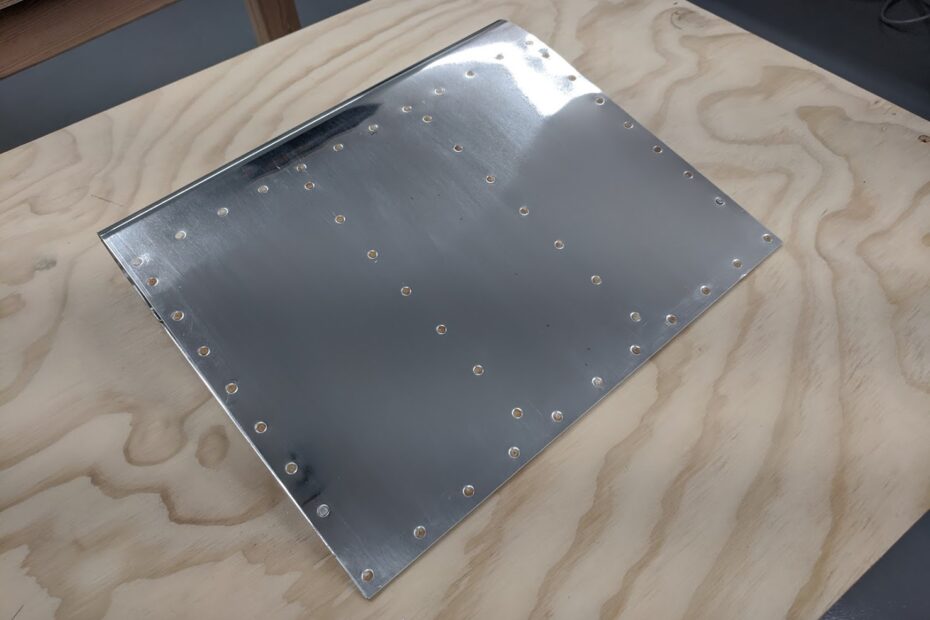
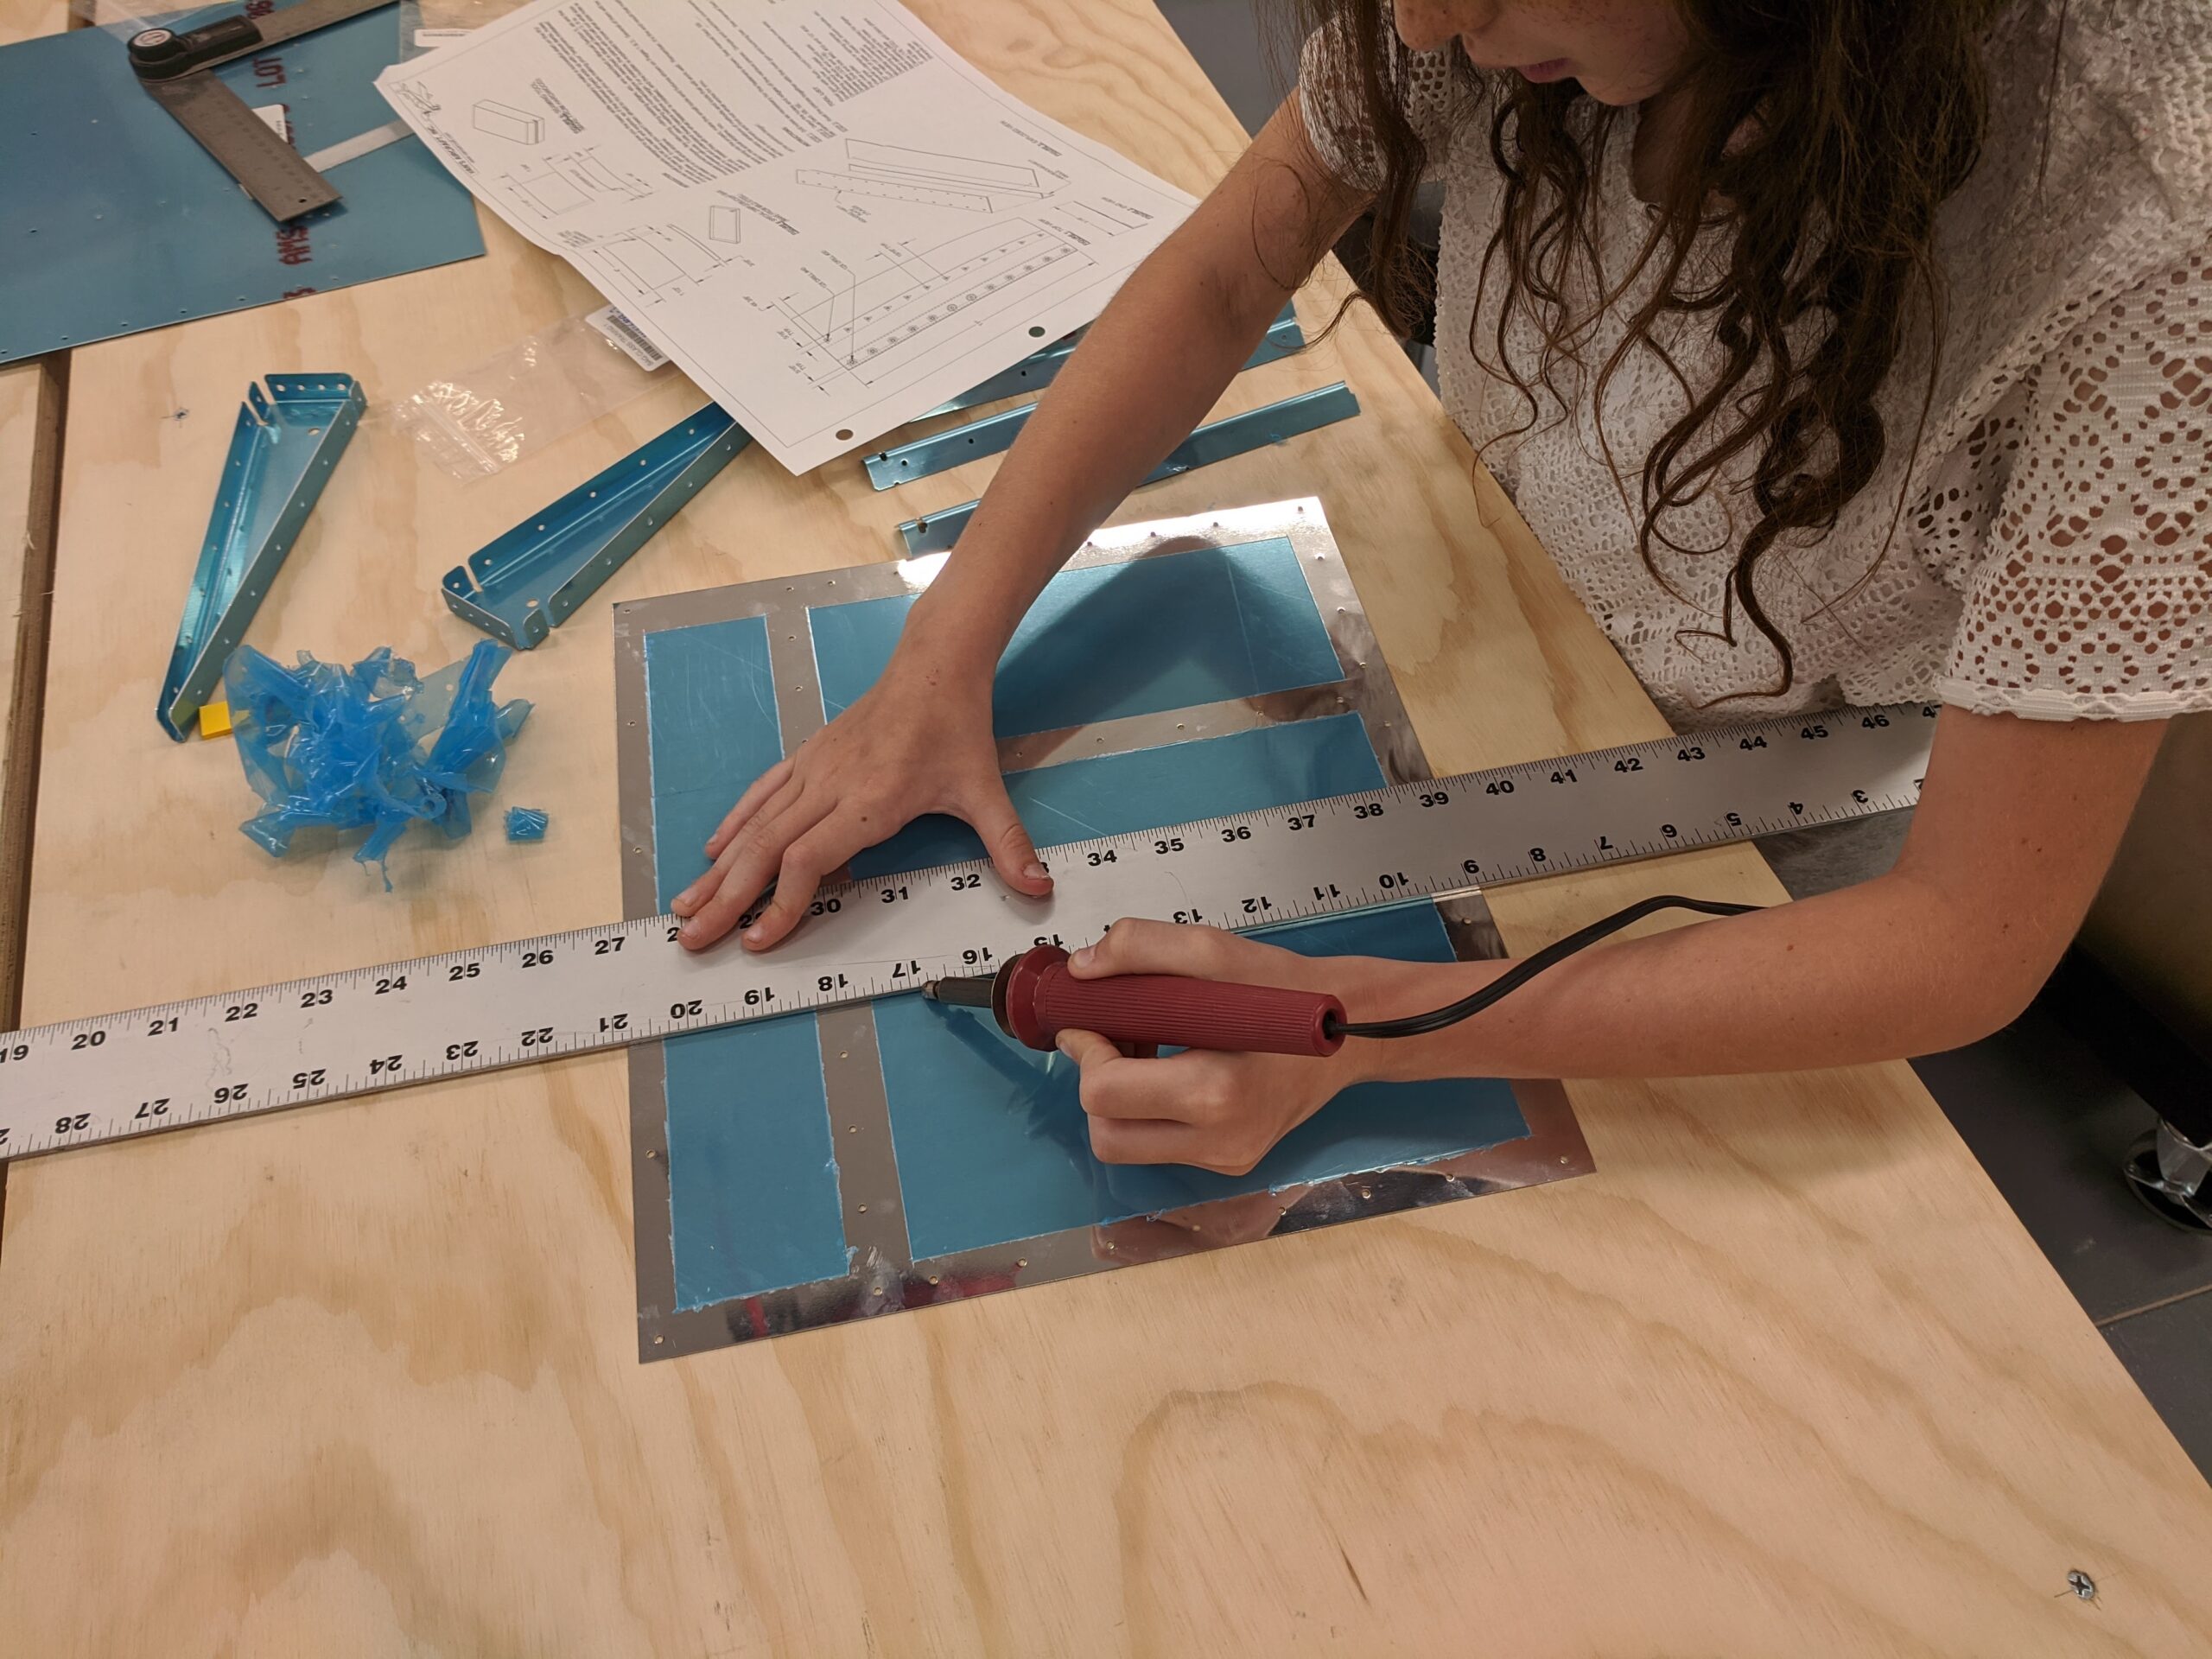
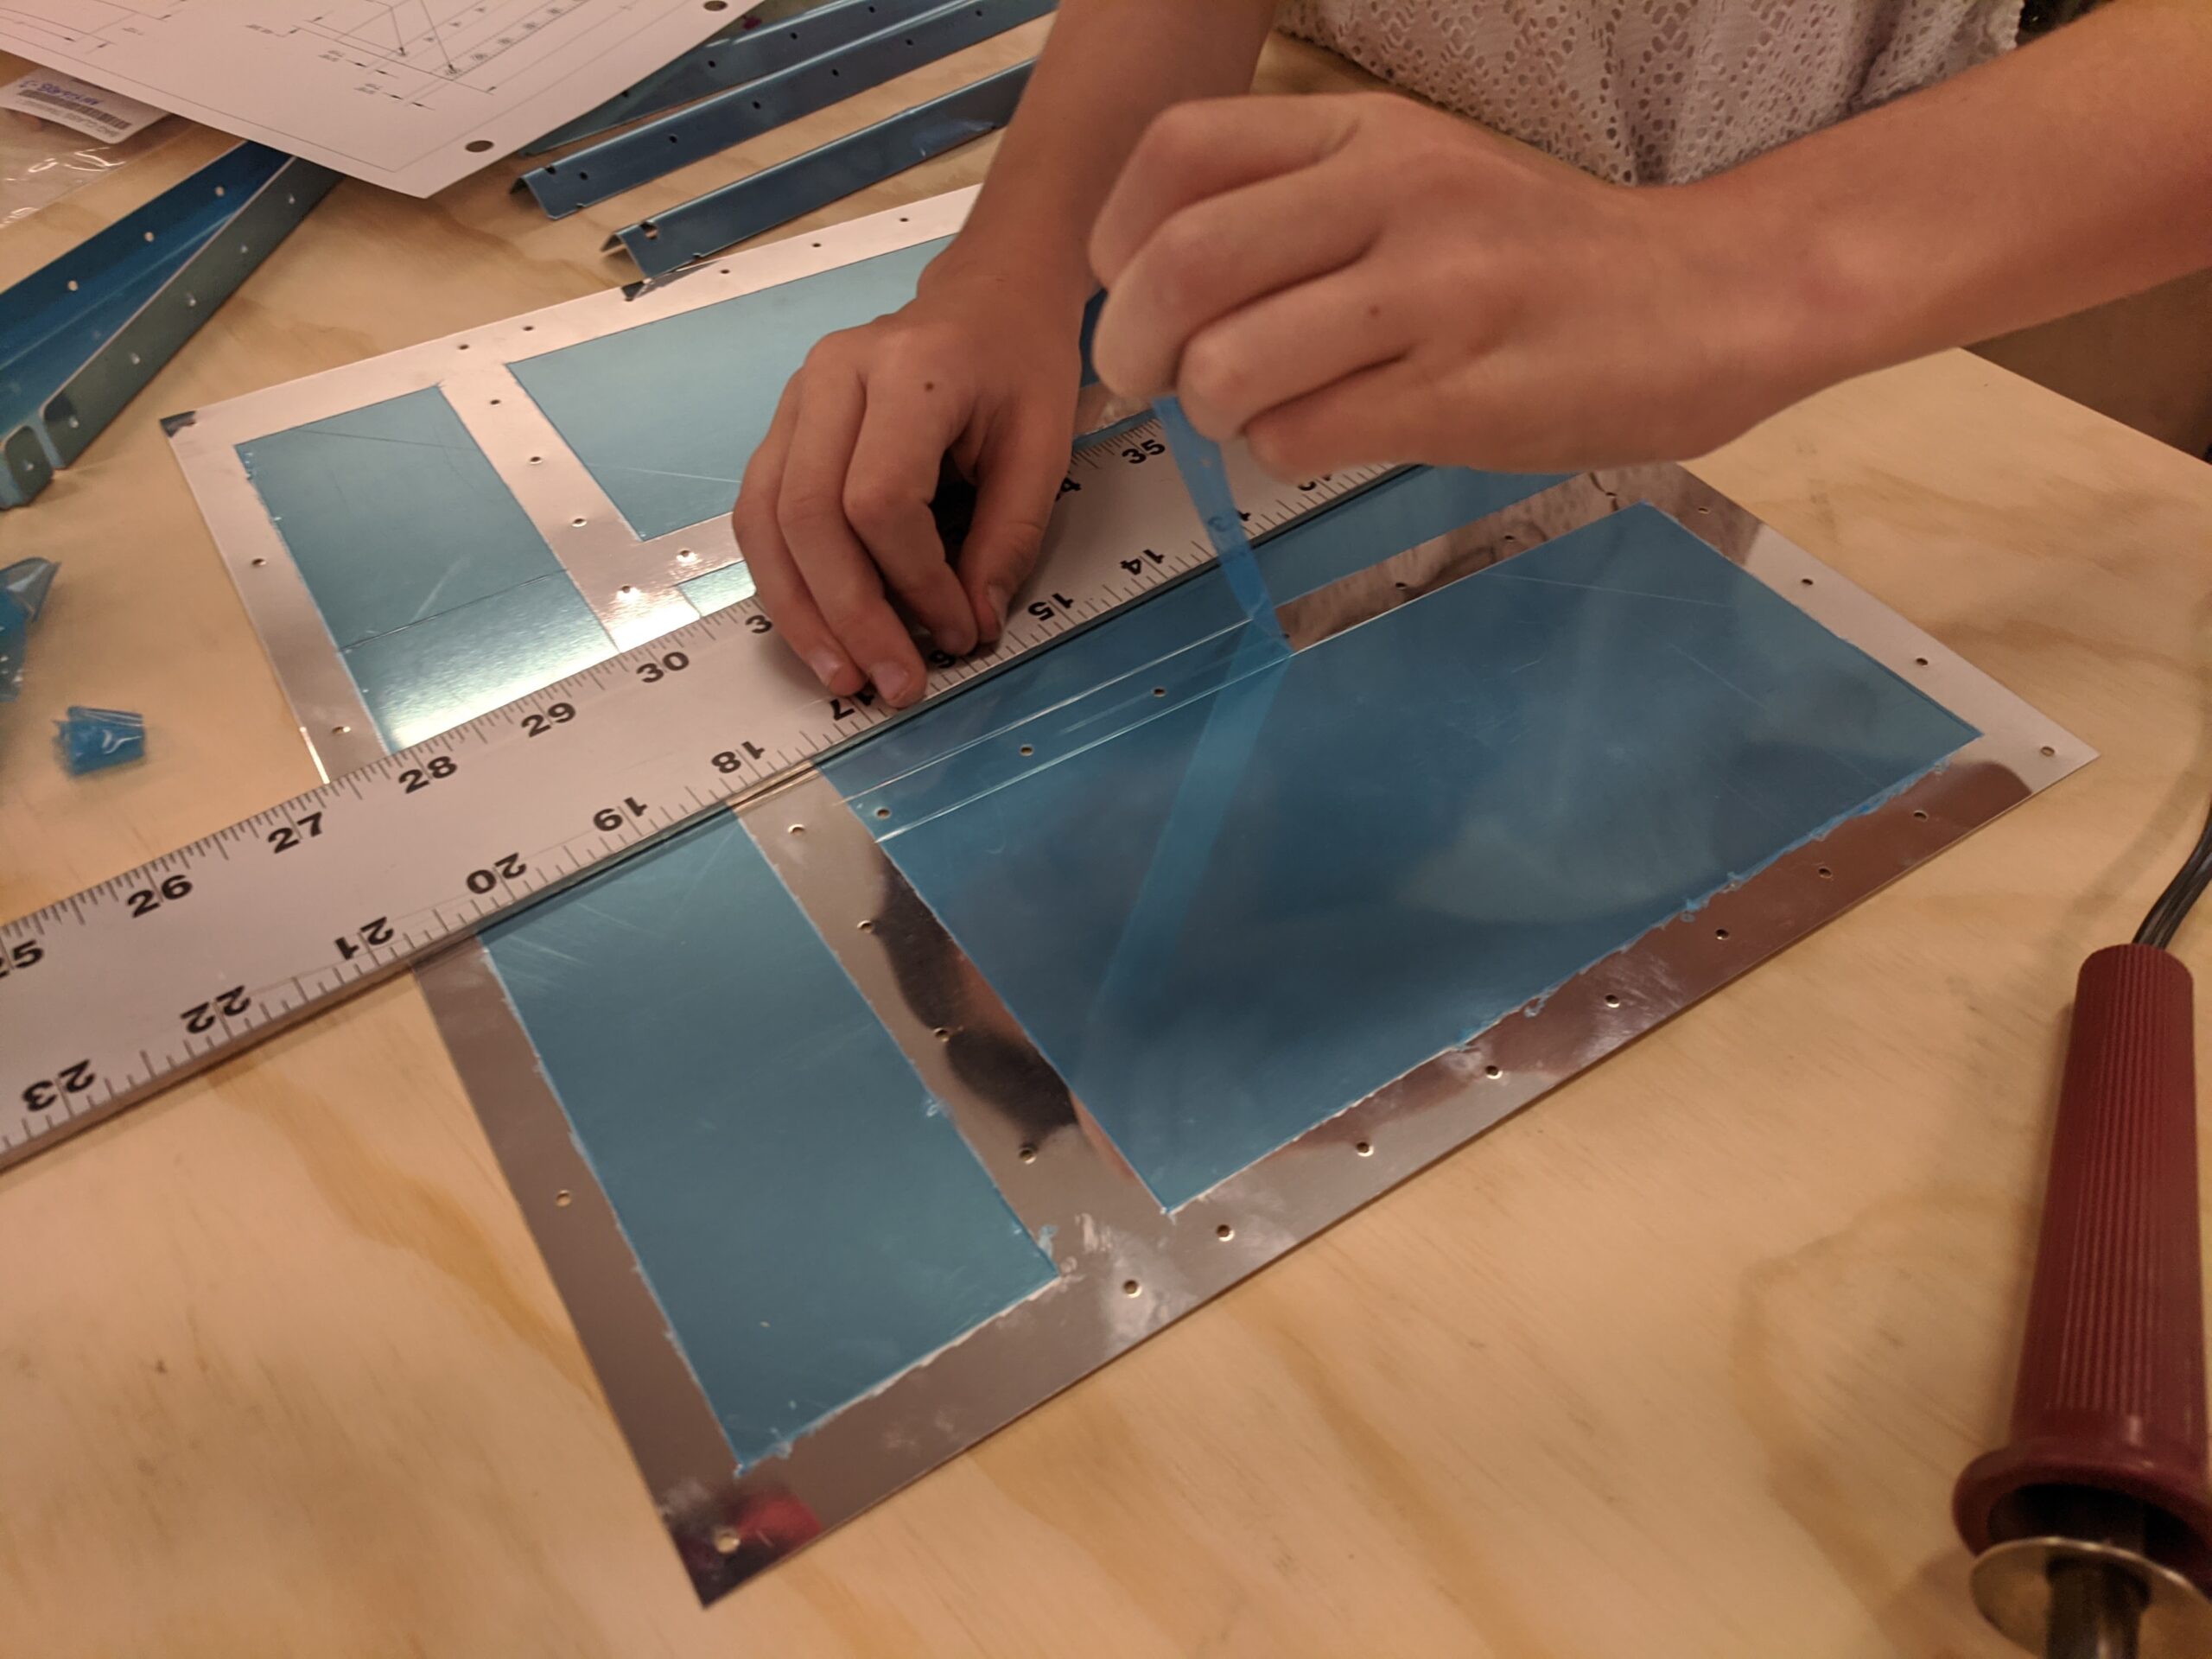
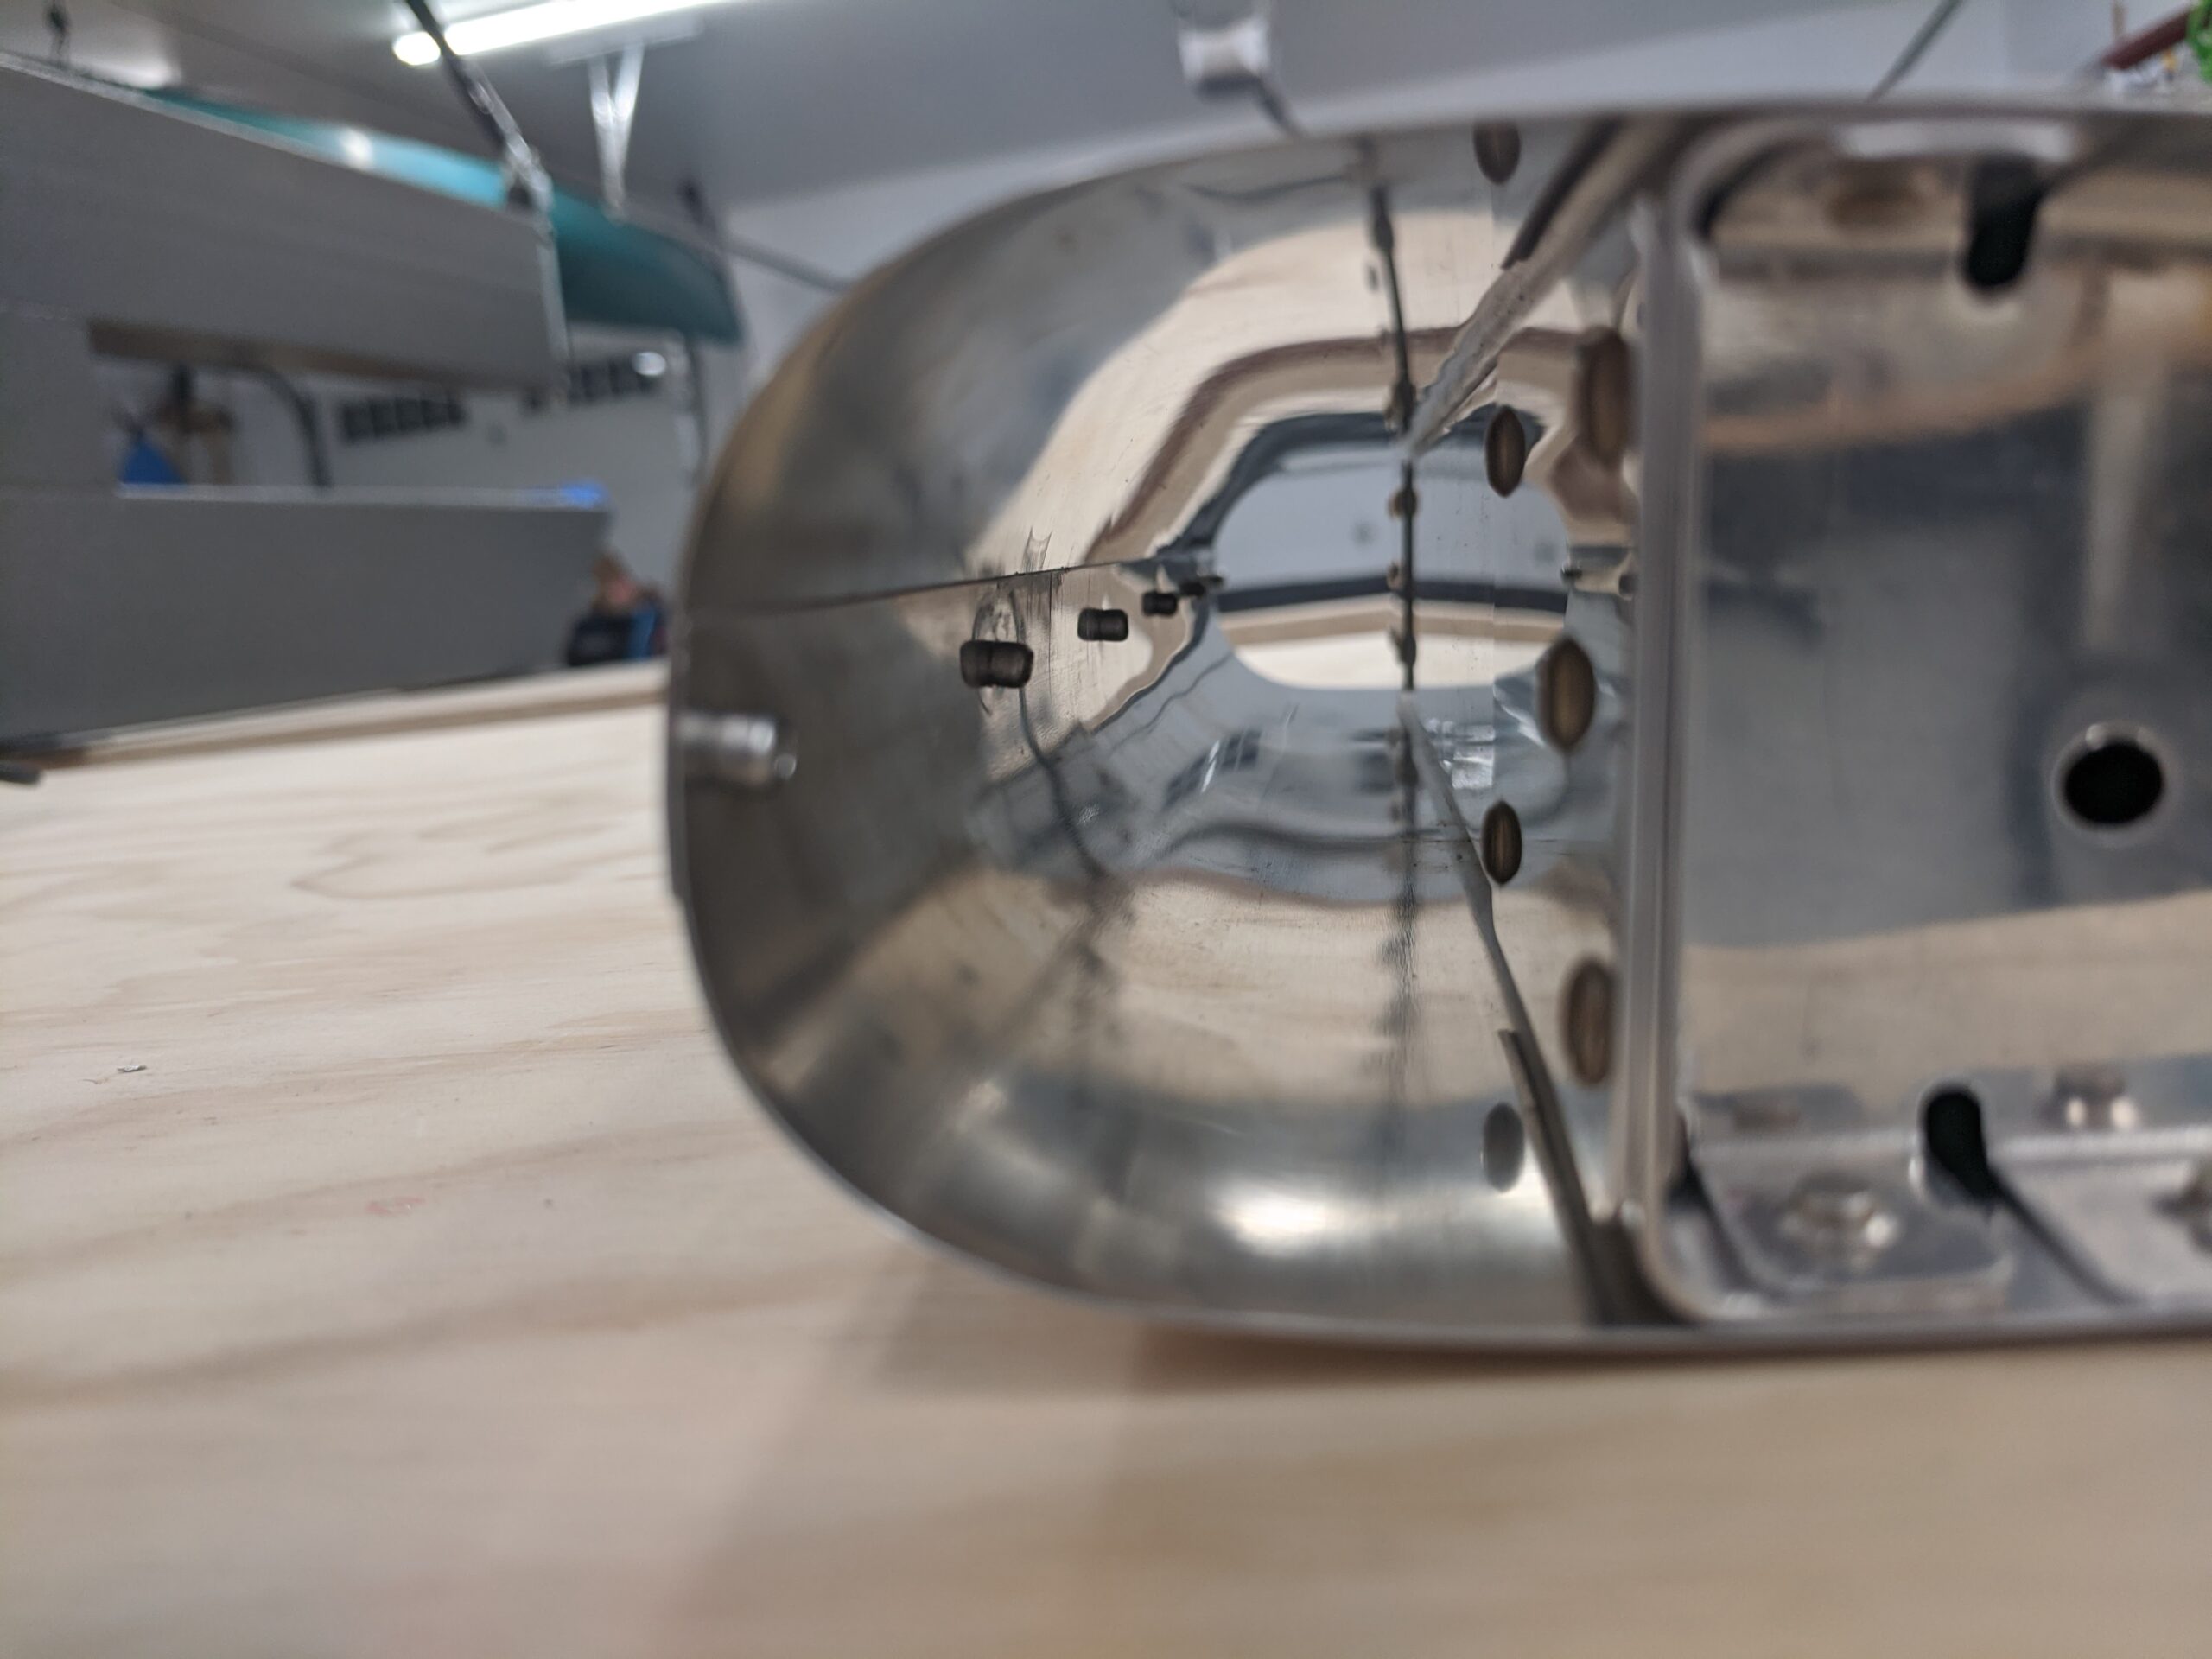
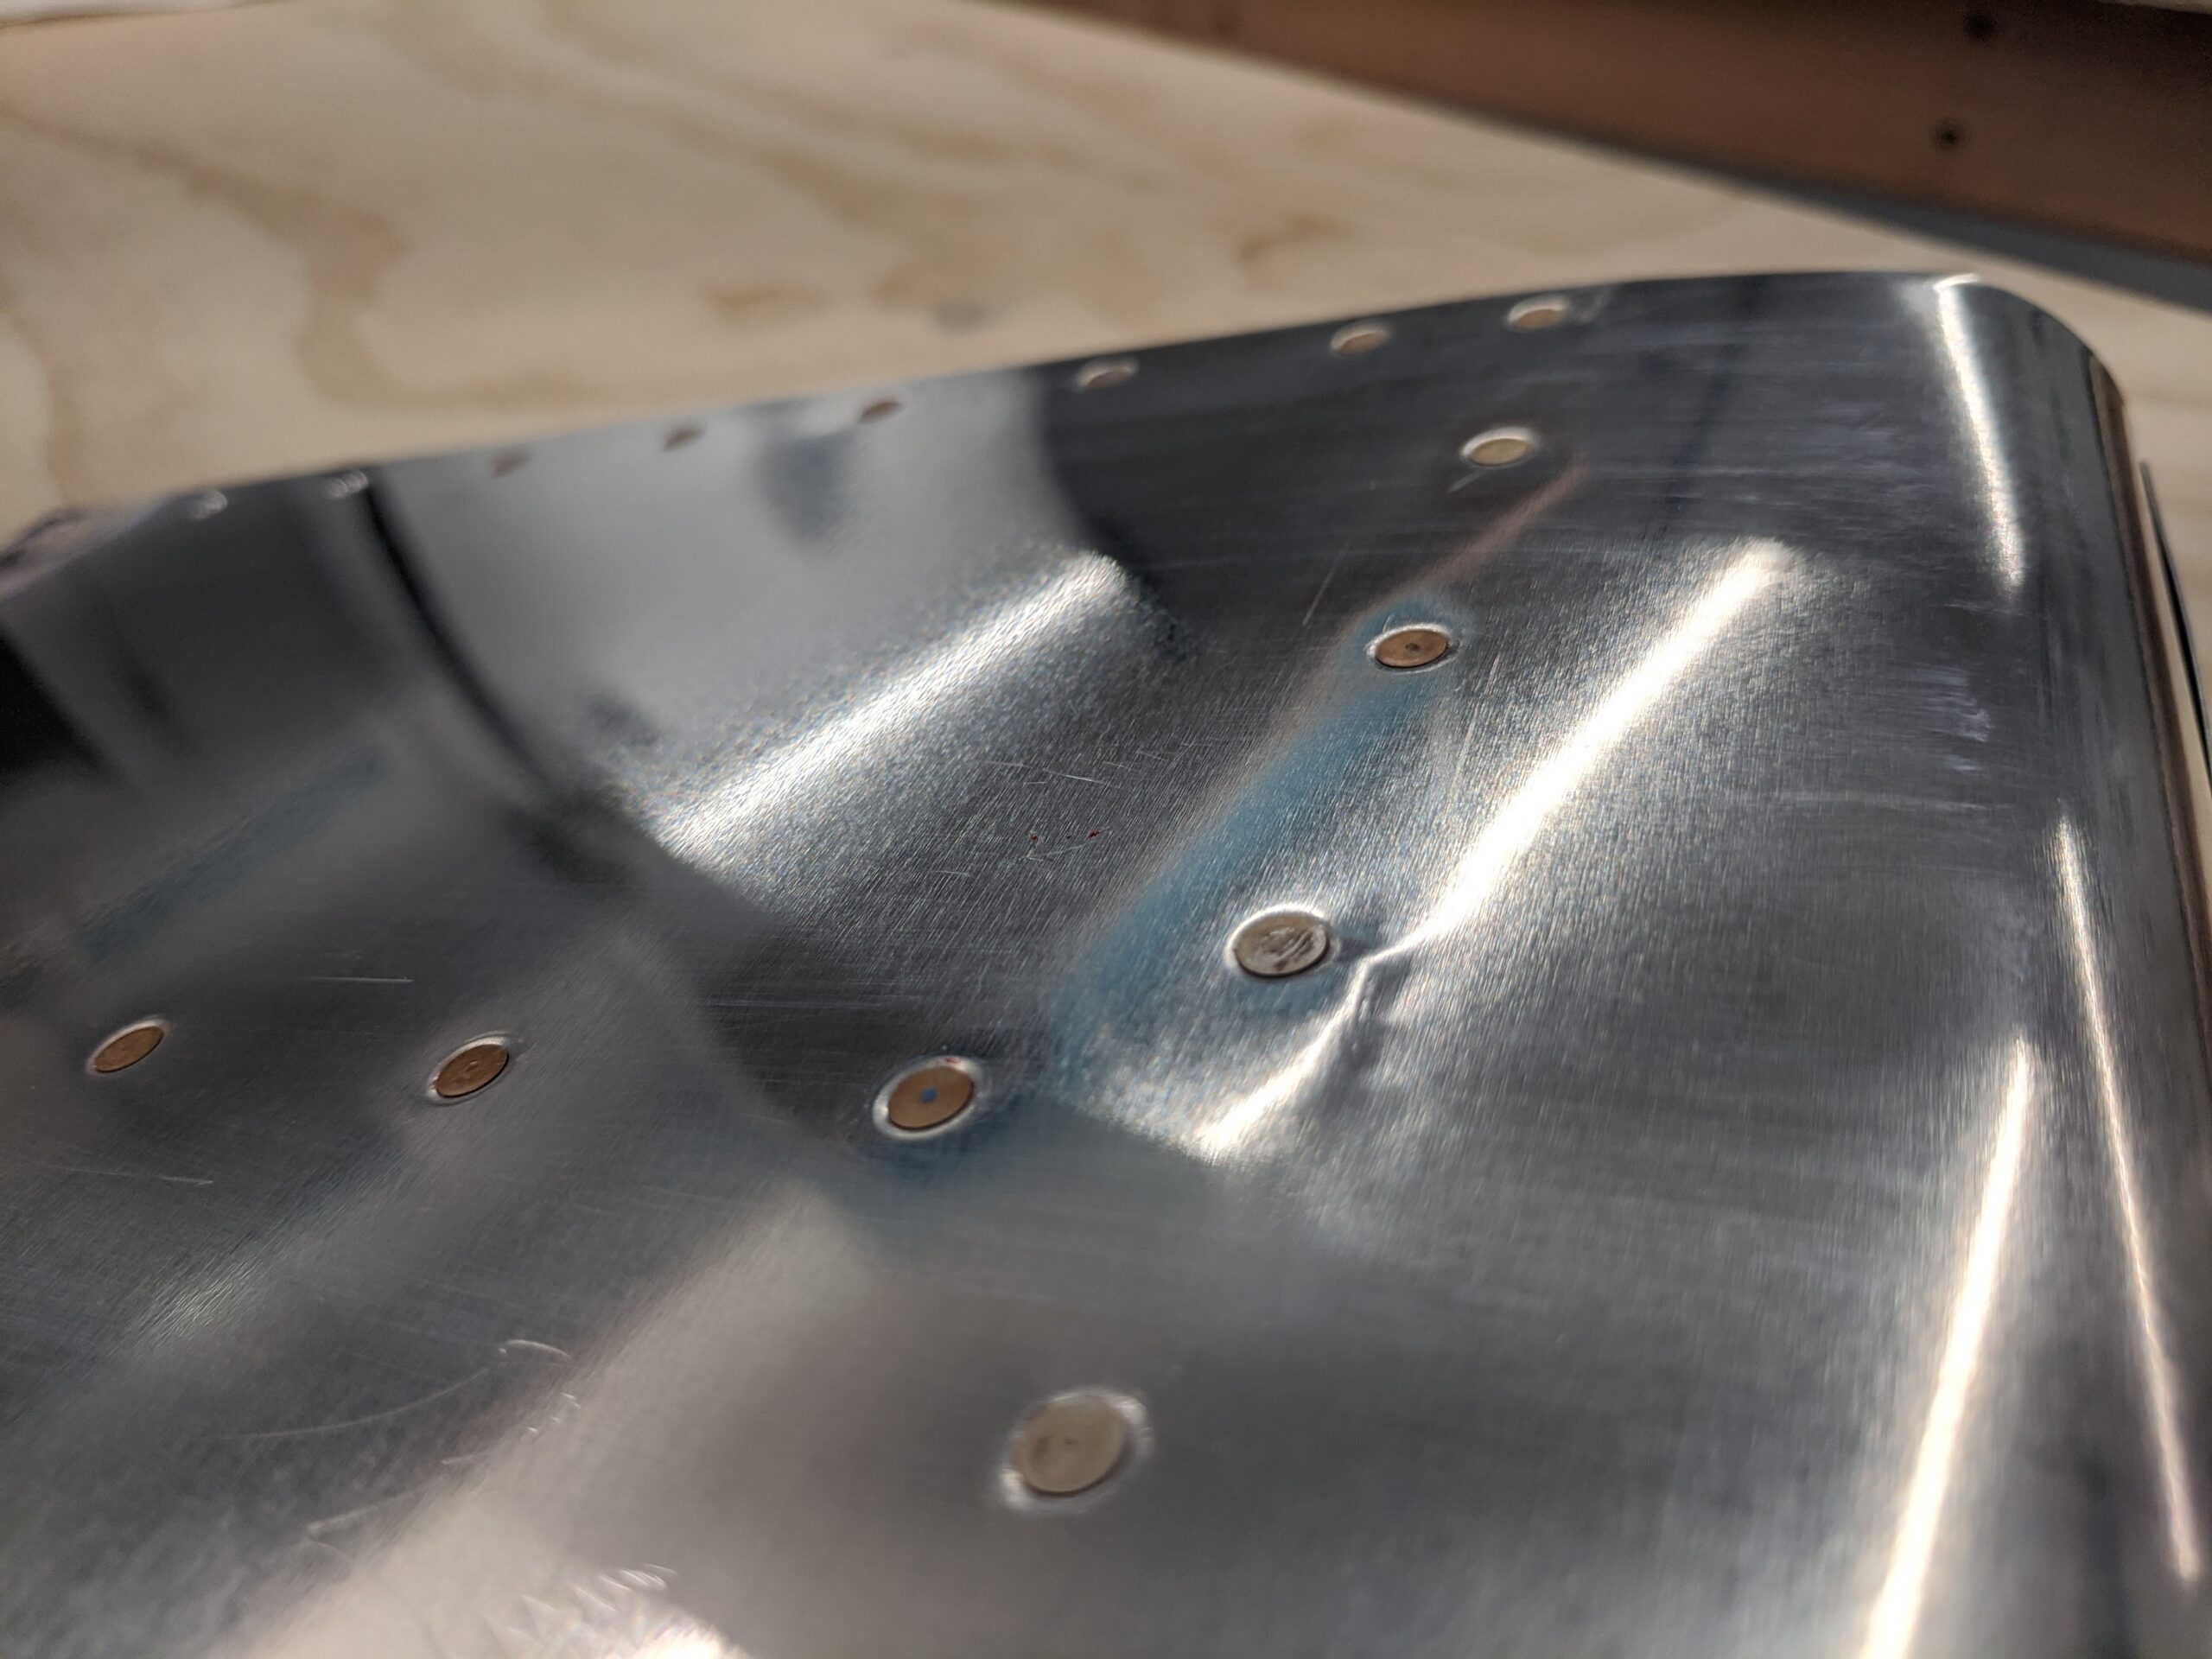
I took my time on the airfoil kit, worked through each step methodically, and completed it in about 5 hours. I’m really happy with how it came out.
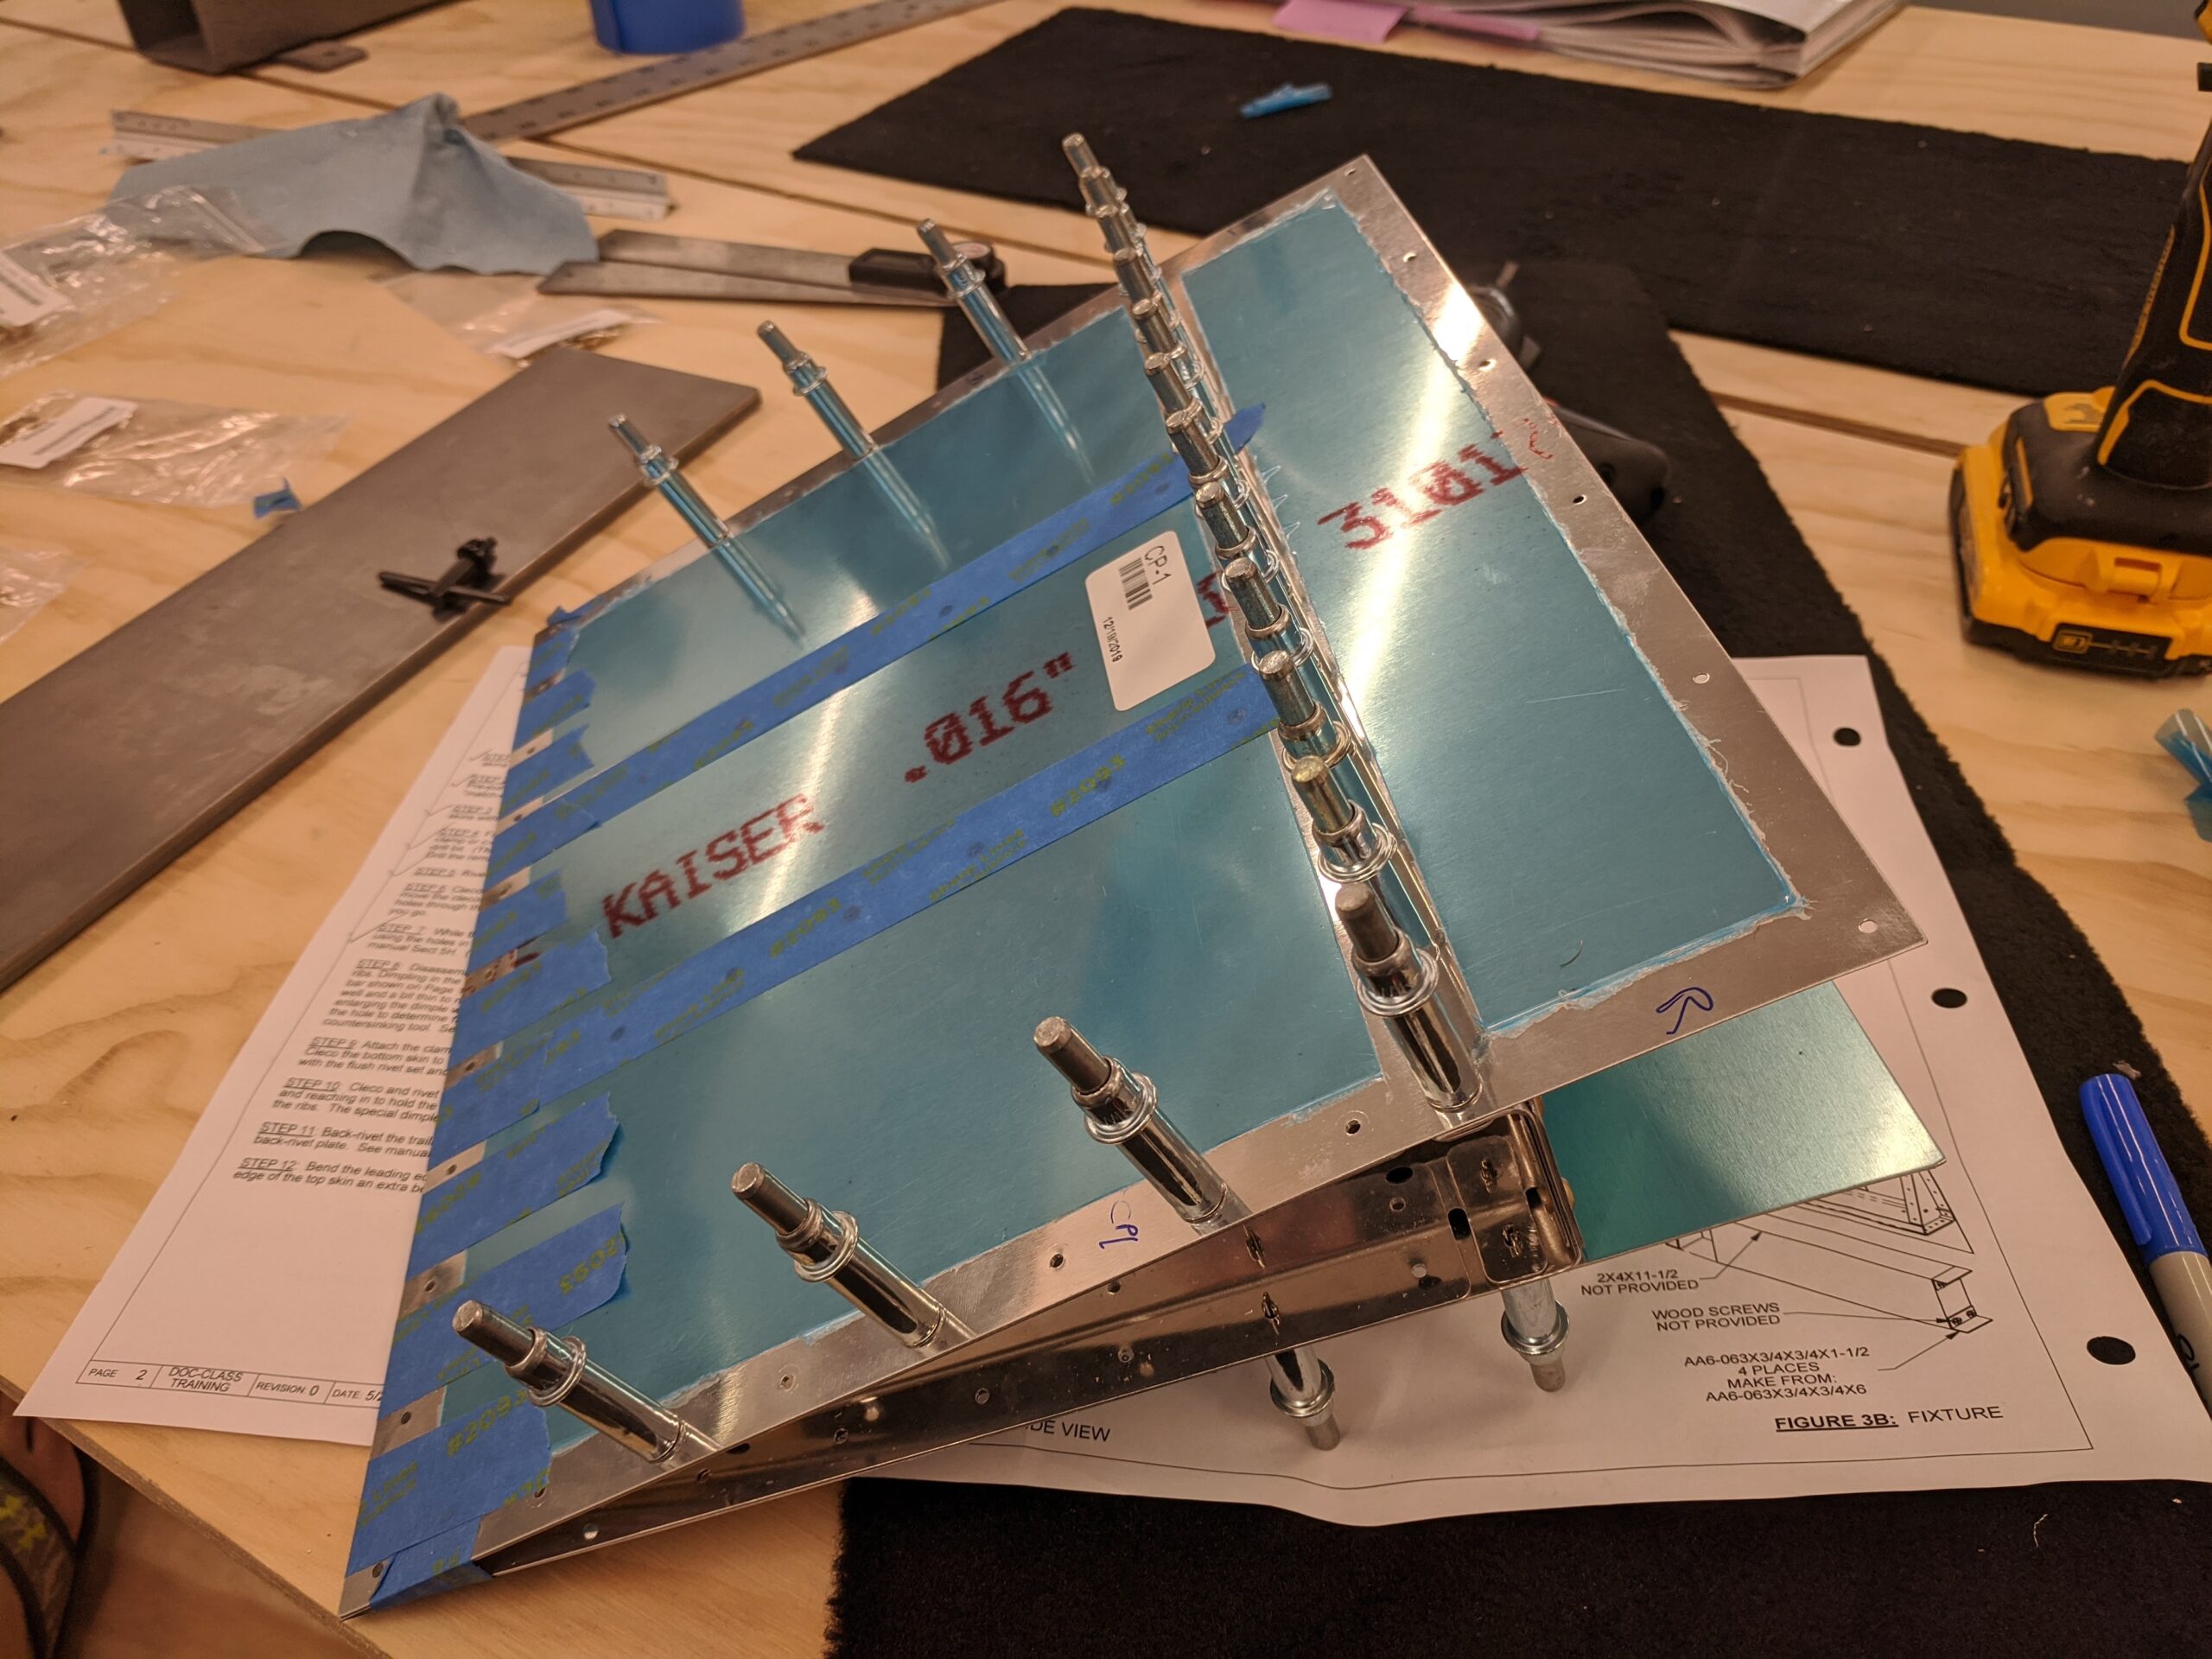

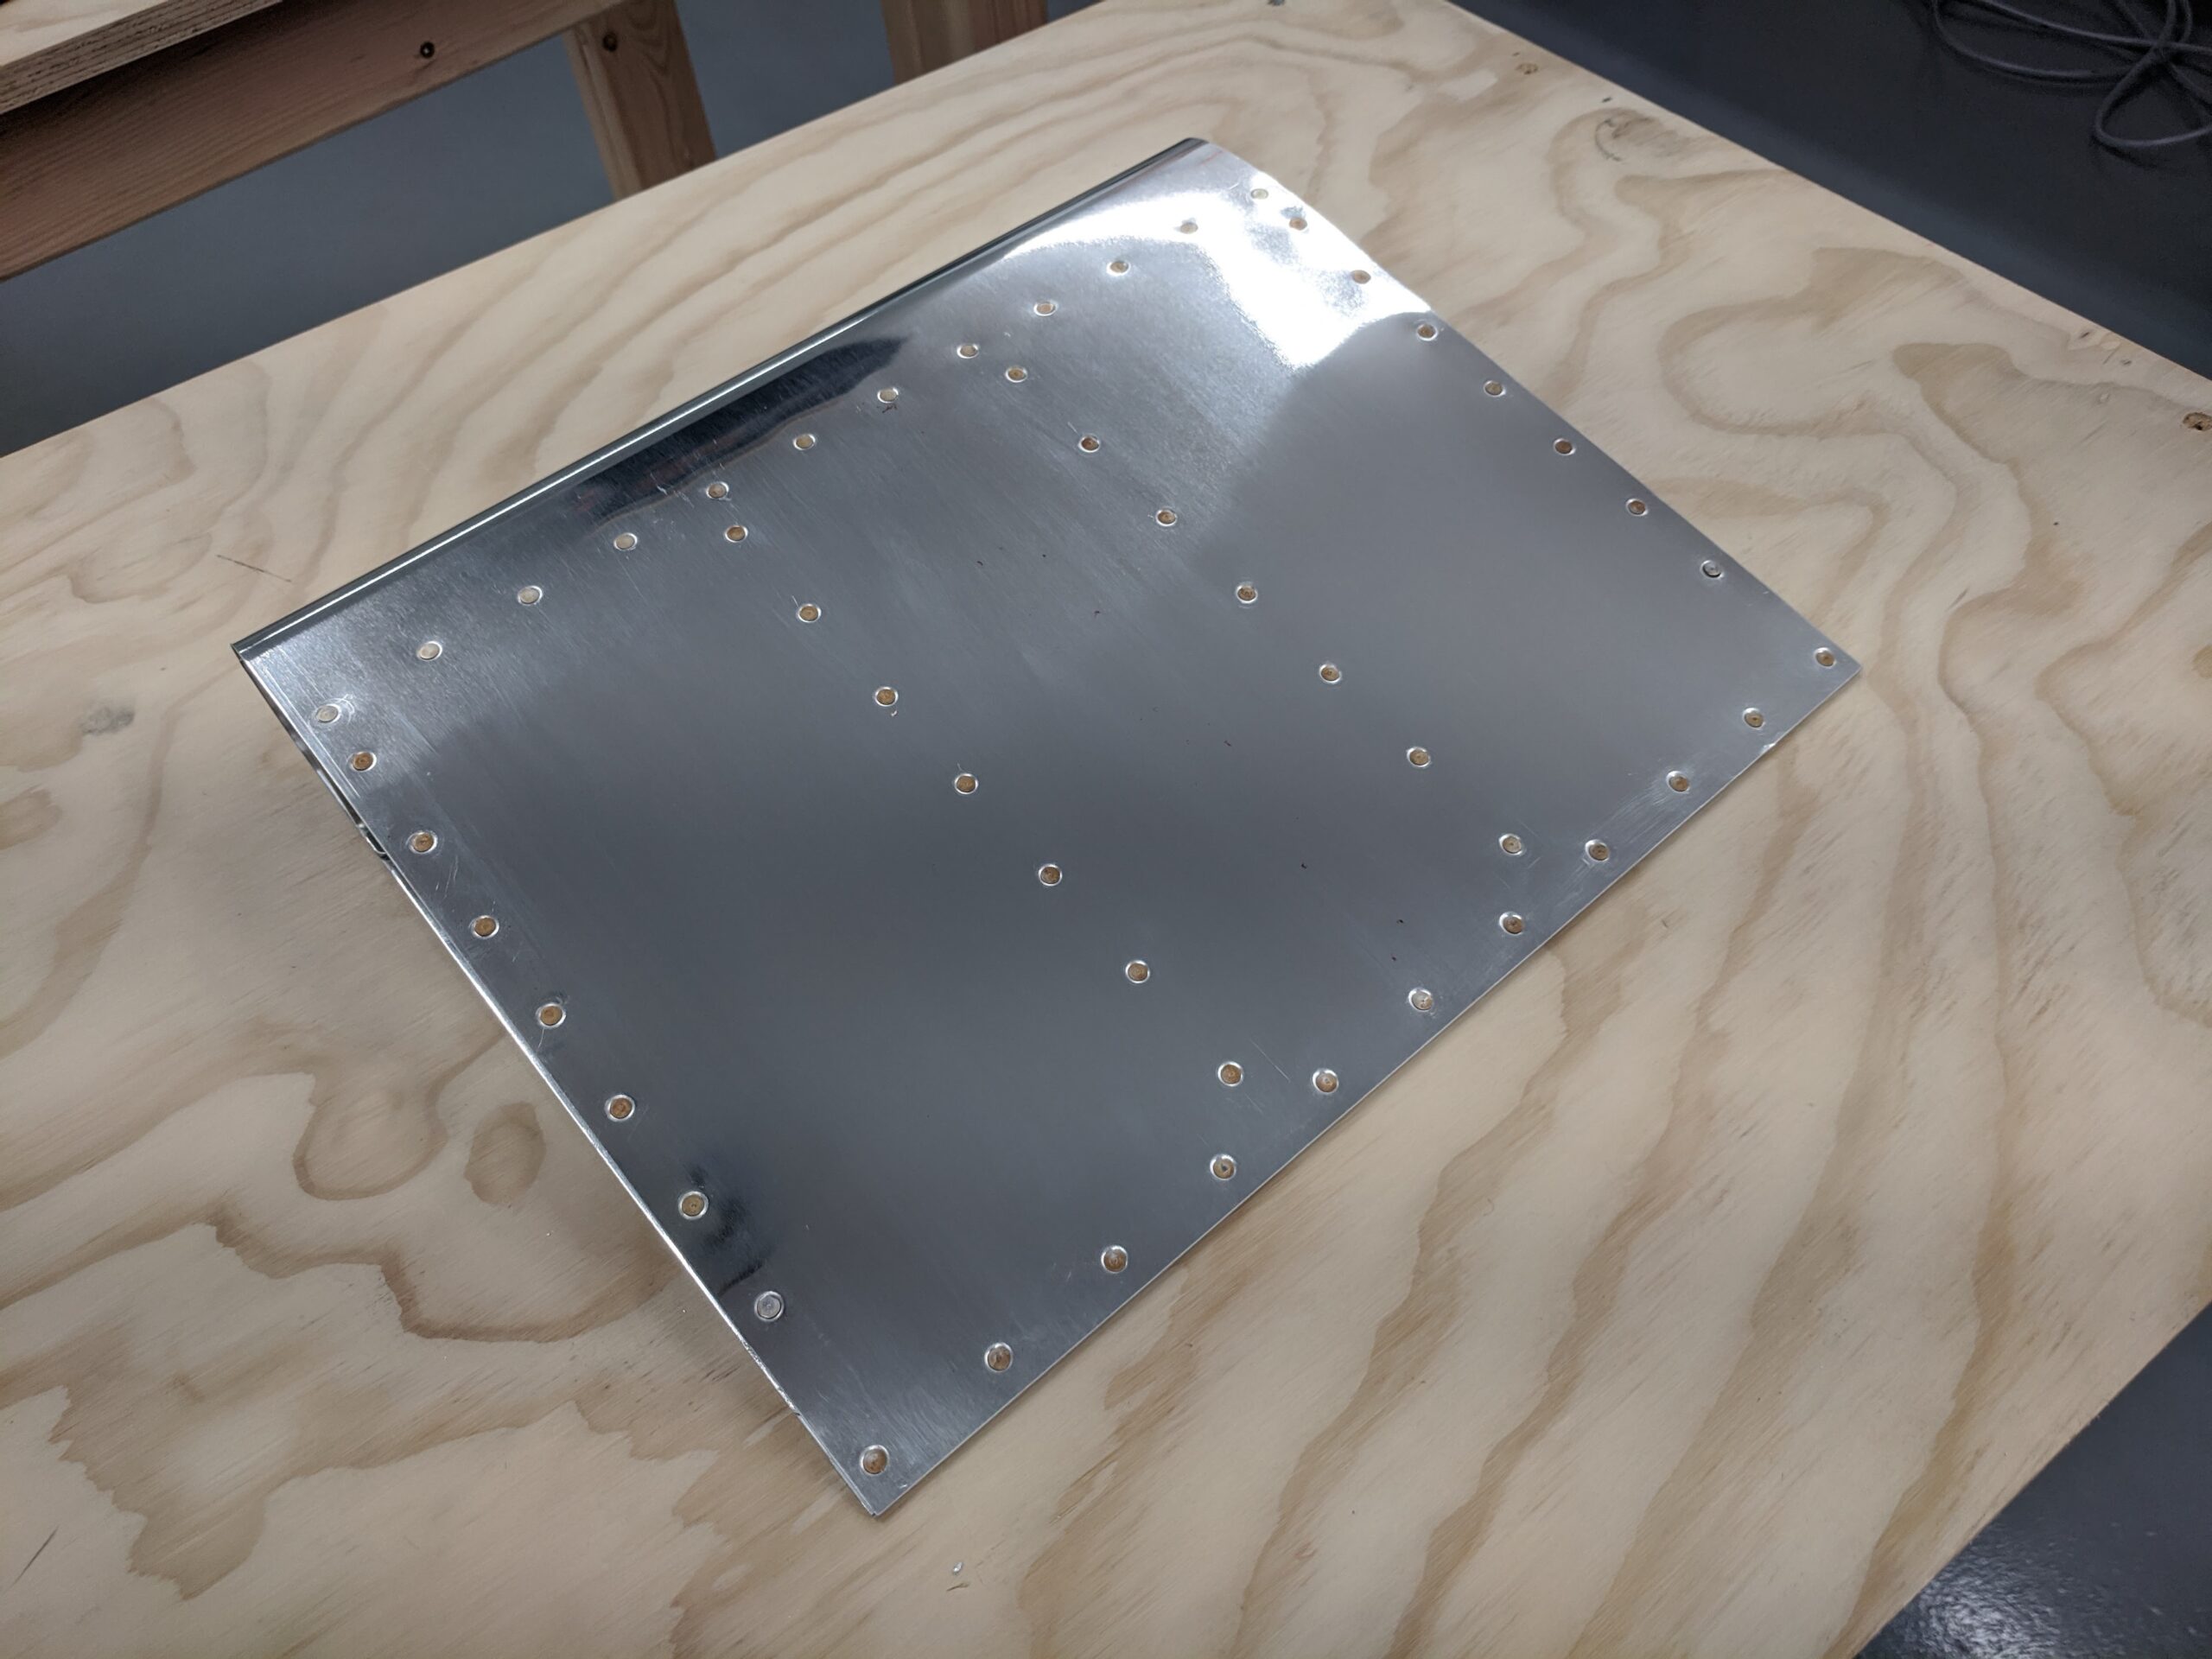
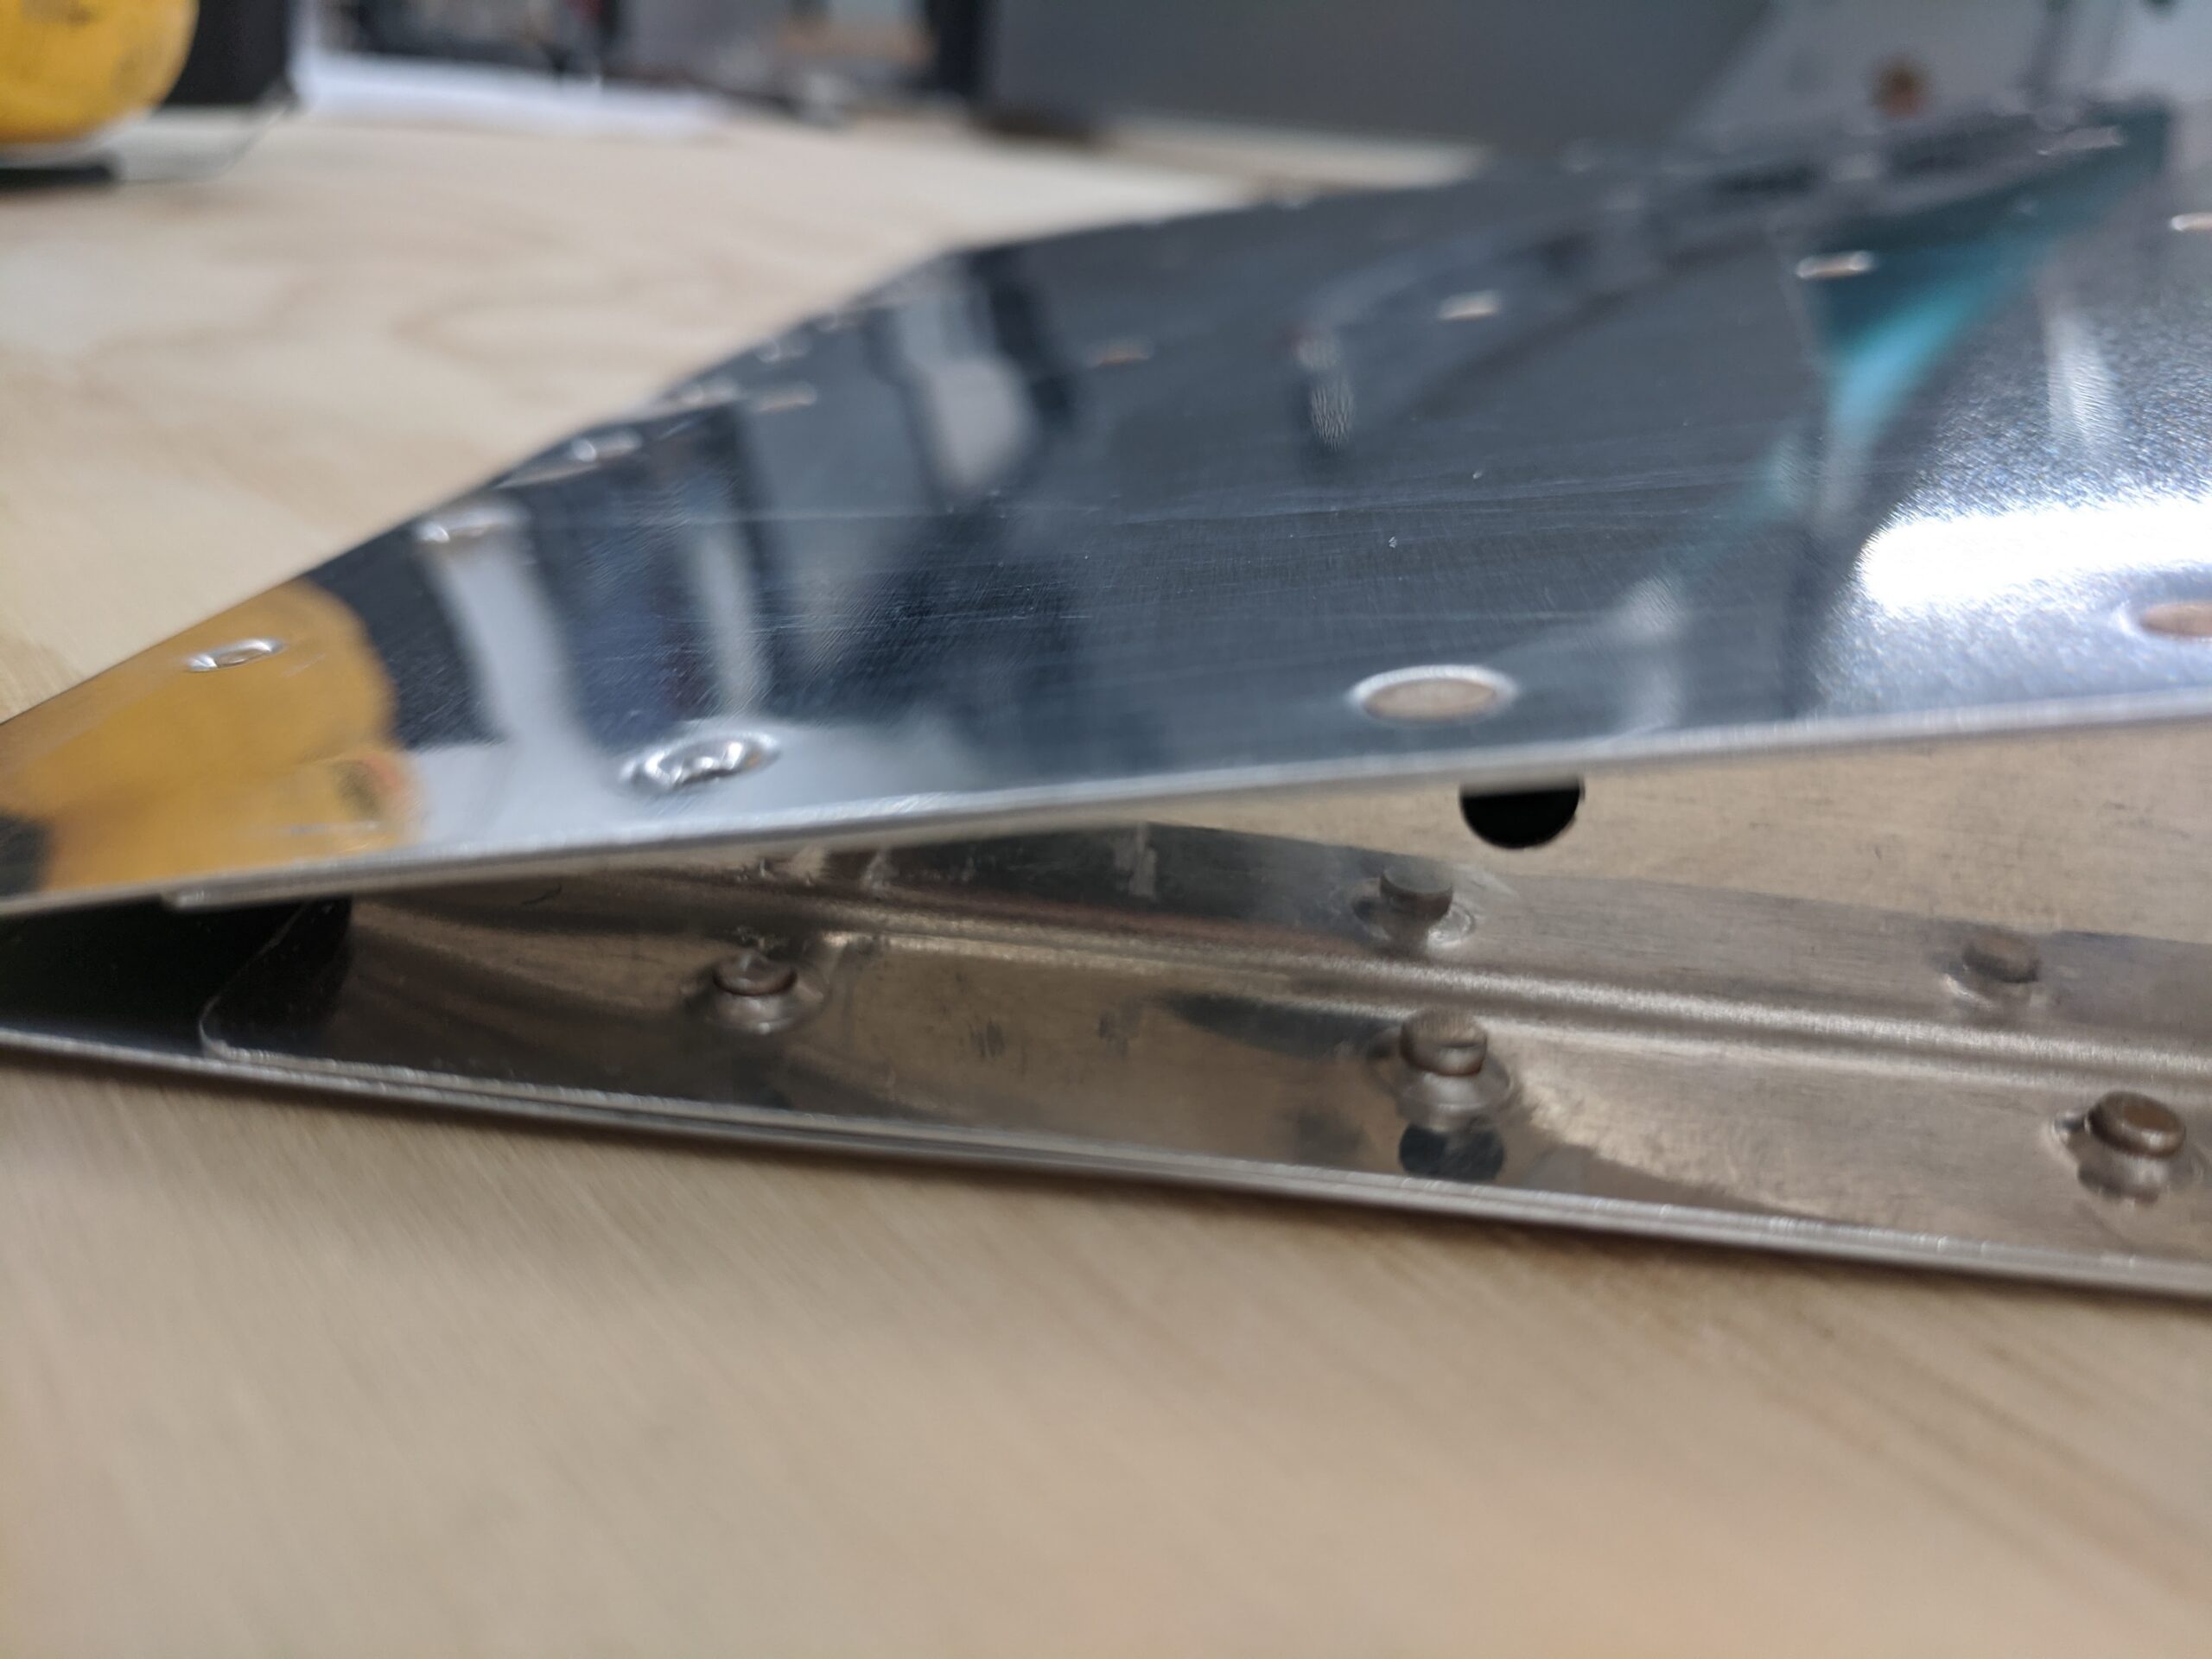
The only area I ran into trouble with were the rivets at the rear of the ribs. My back rivet plate (1/4″) was too tight to get in there. I attempted one of them but the rivet expanded between the skin and the rib. I’m going to order a thin-nose yoke to deal with those rivets on the actual kit.
I made one mistake on the bottom skin where the mushroom head slipped off of the rivet (my lesson learned: don’t watch the shop head while riveting, focus on keeping the rivet gun secure, and trust the “feel” and sound of the rivet gun).
In short, I highly recommend the airfoil kit as a way to build confidence before getting started on the real thing. I would have loved to get to an EAA SportAir workshop but that didn’t work out with the COVID cancellations…
Time to get started on the real thing.