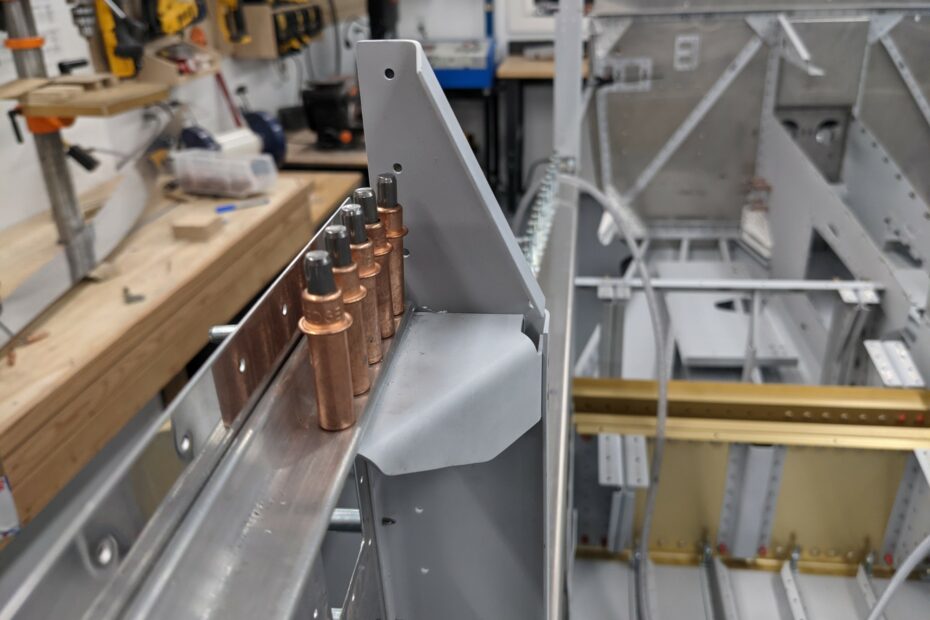
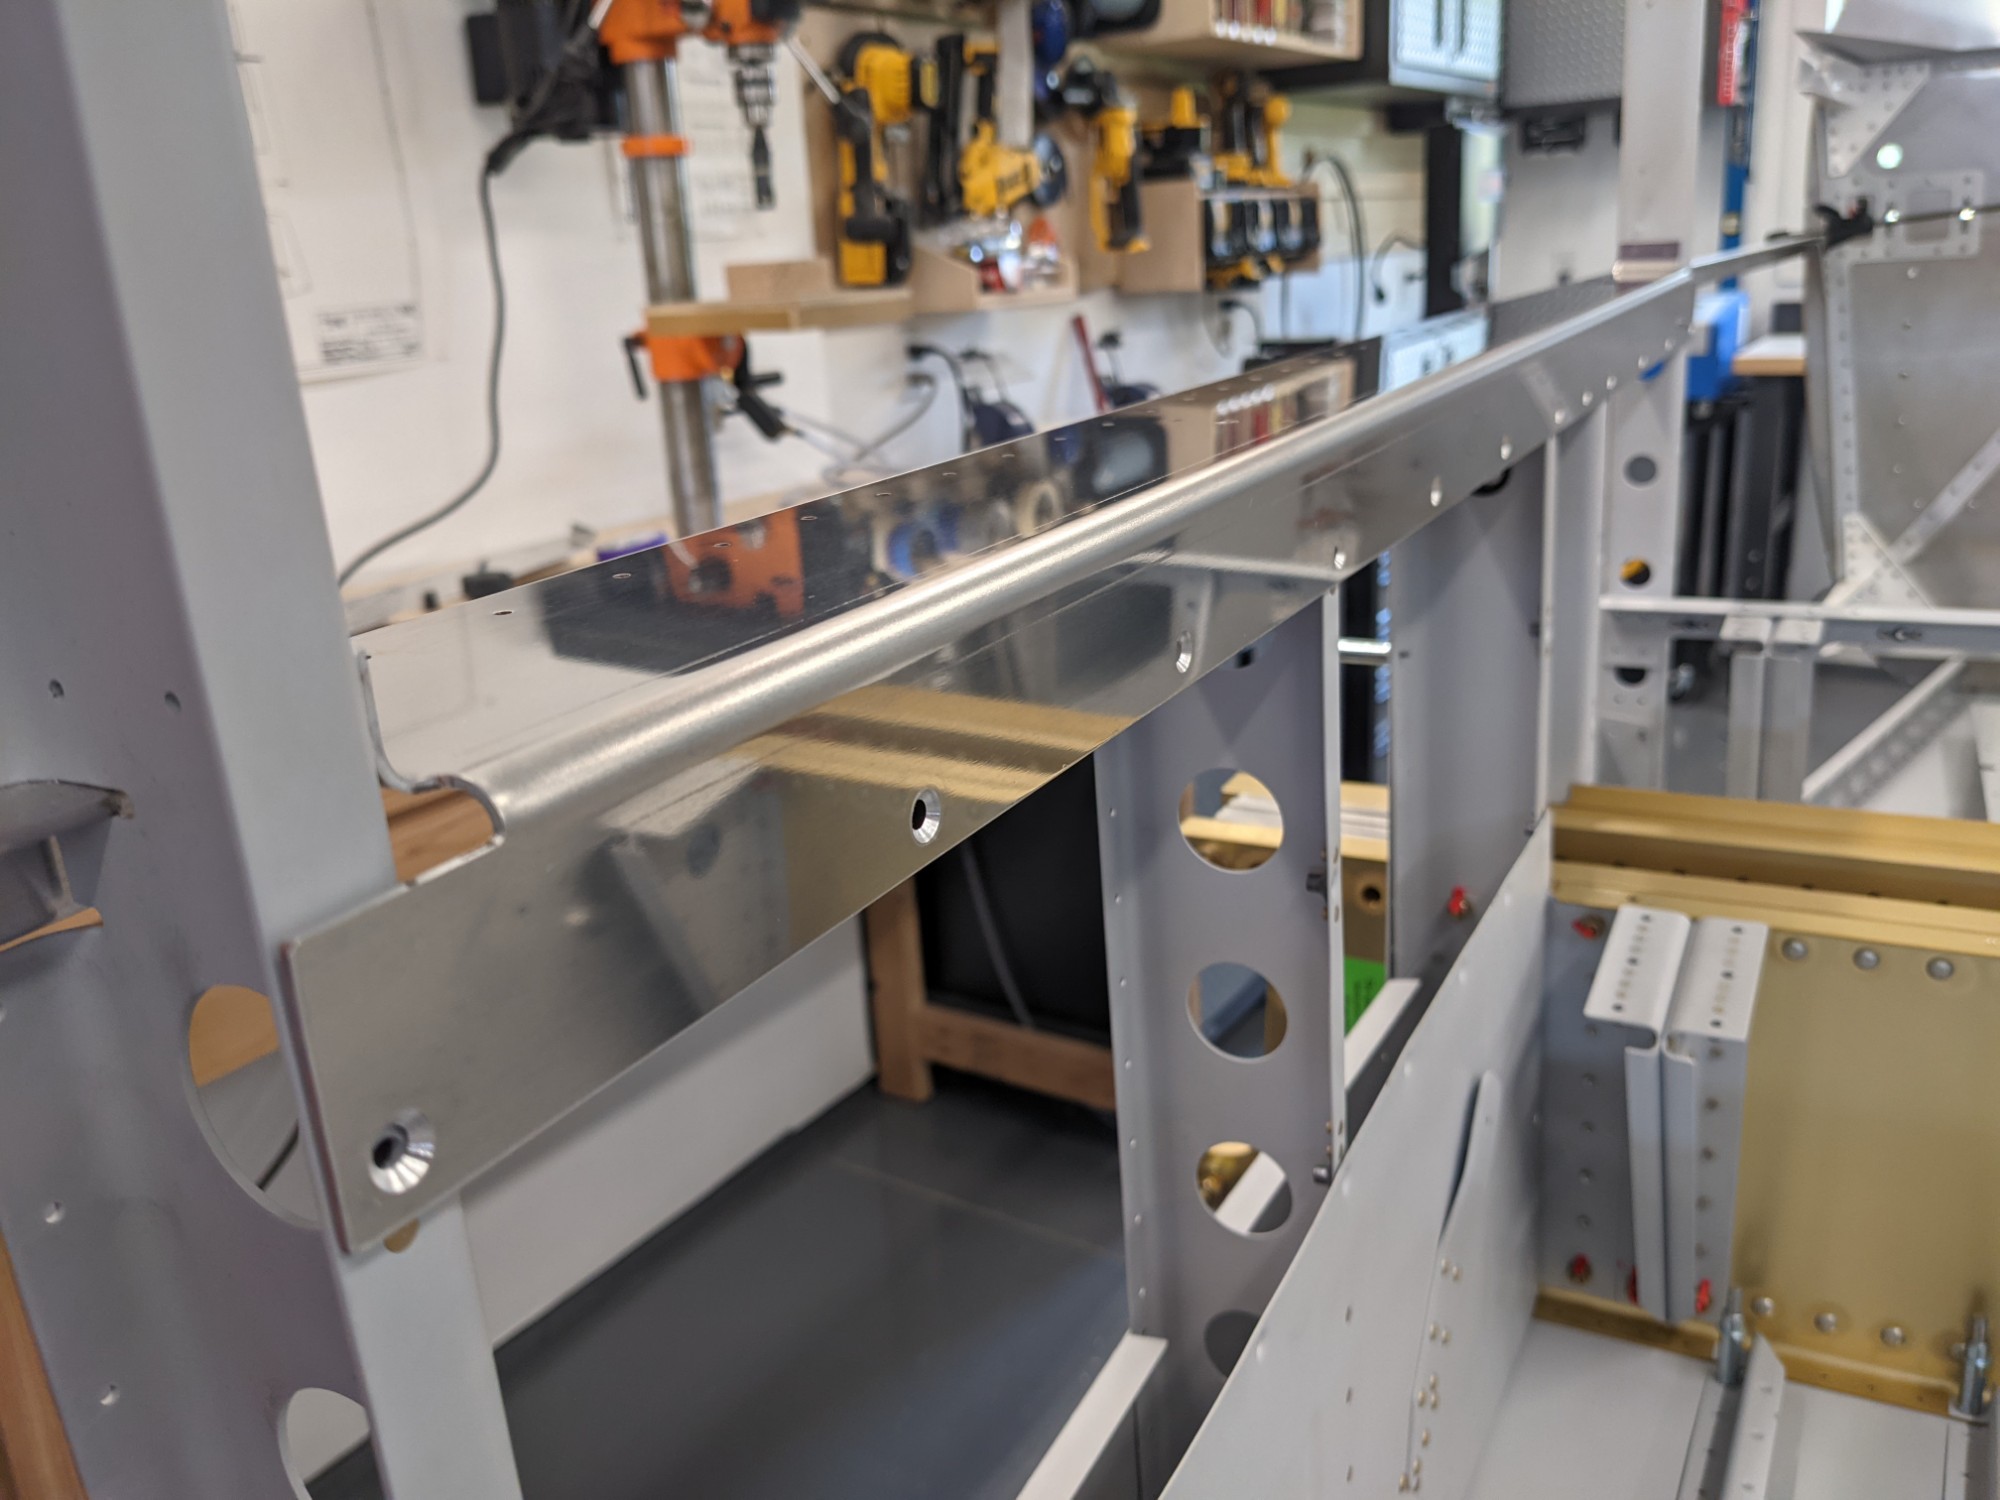
My next task was to deburr the side decks and countersink the flange holes for #8 screws.
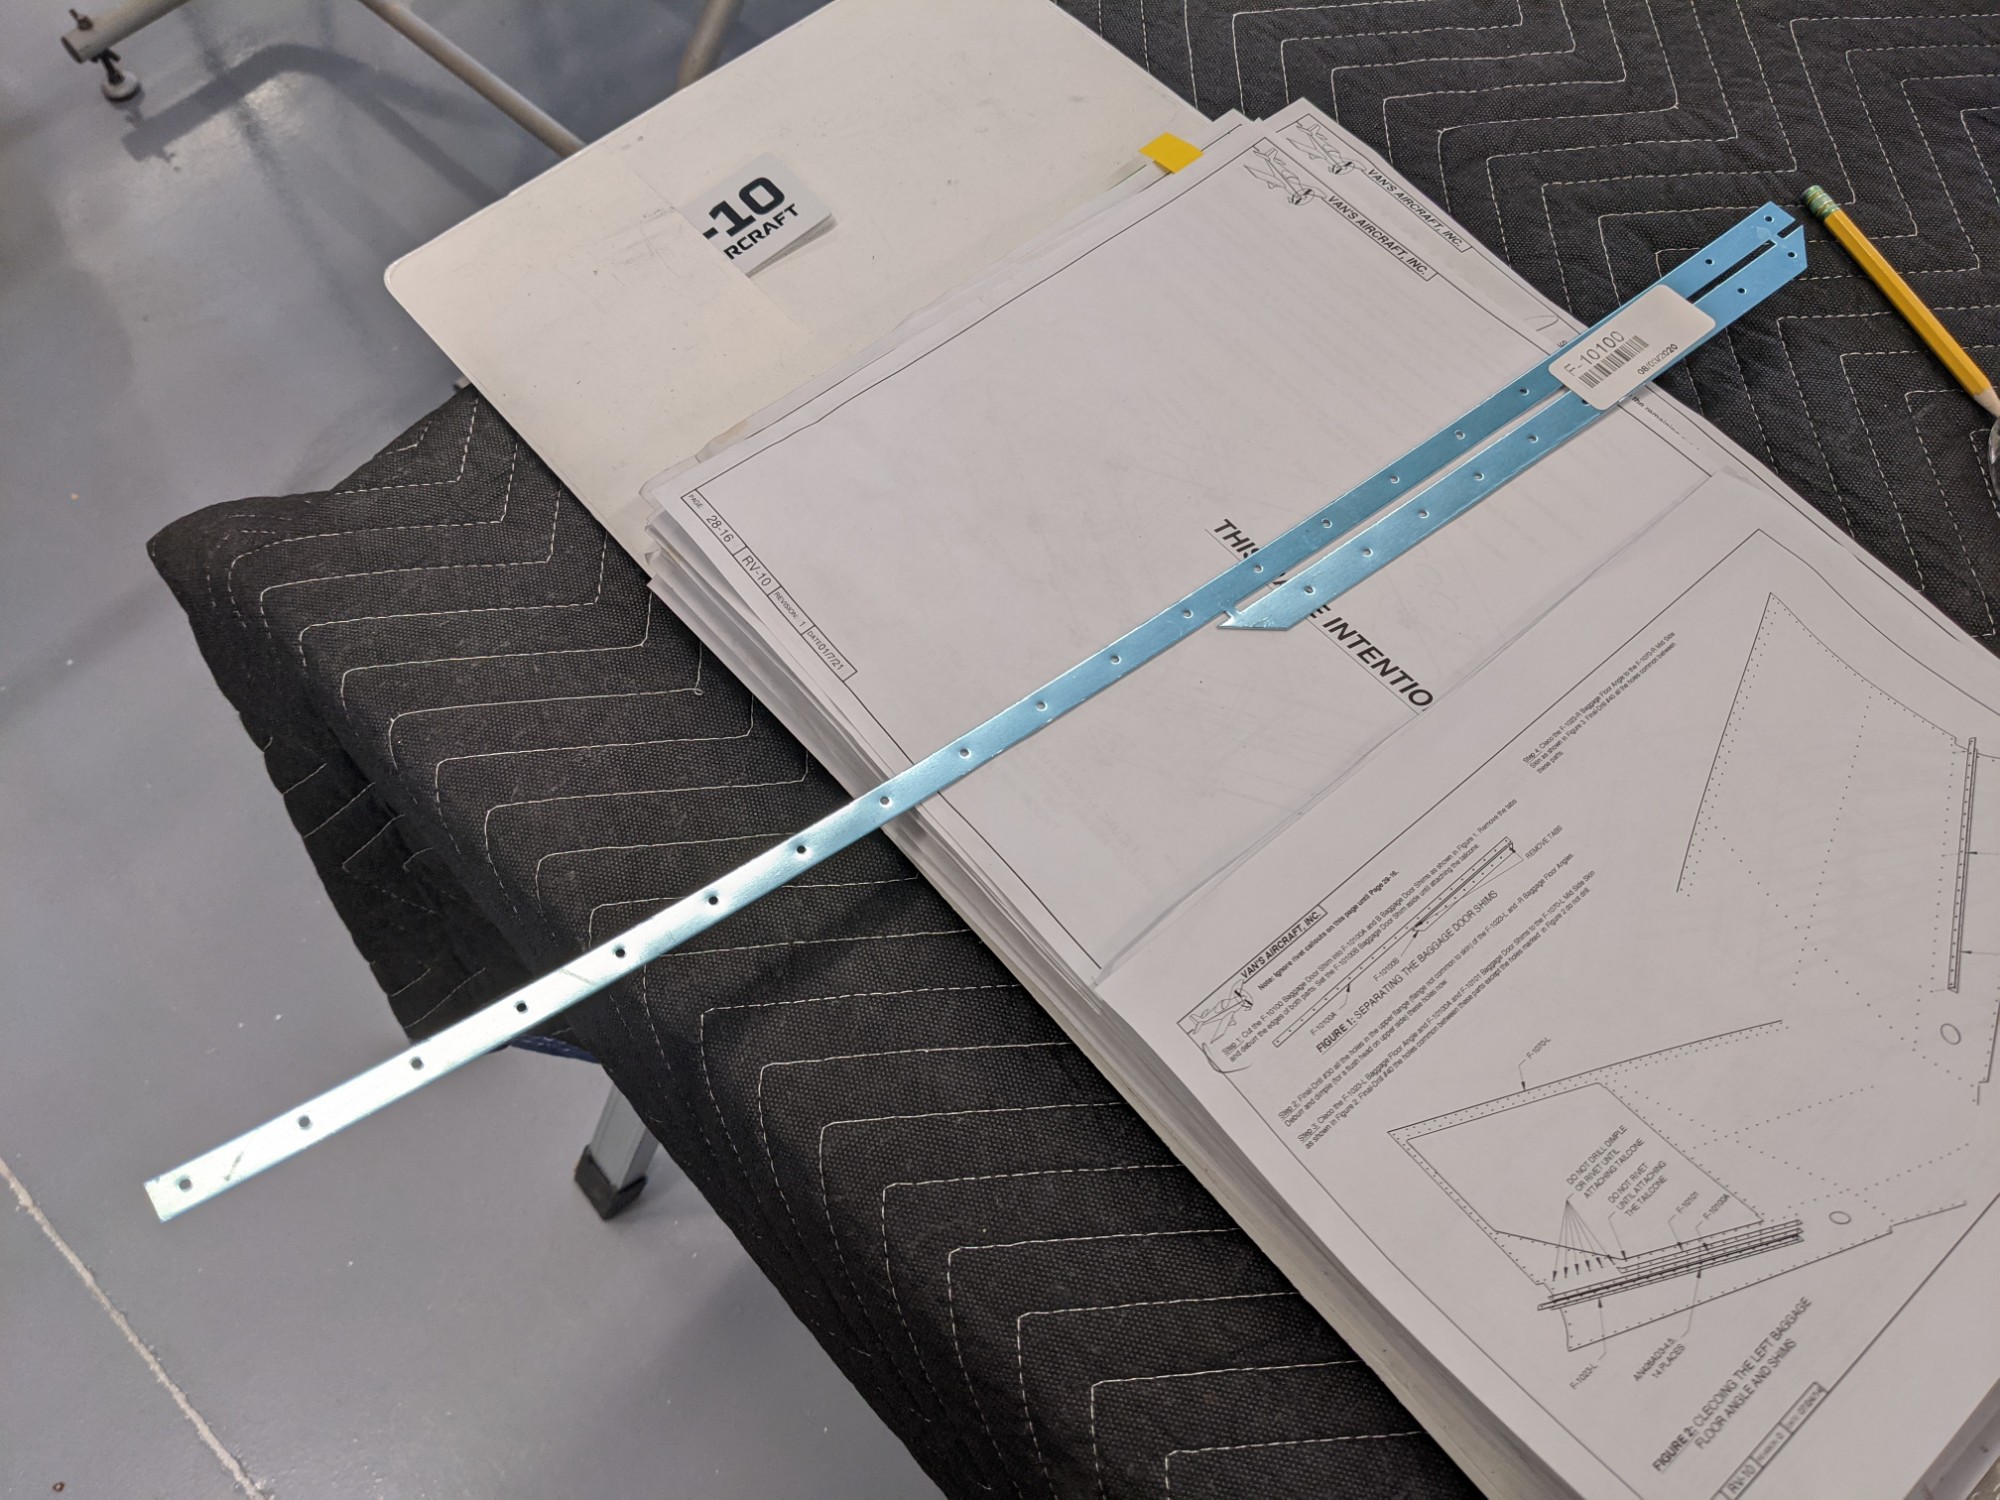
I then prepped the angles and parts that attach the skin to the baggage compartment floor.
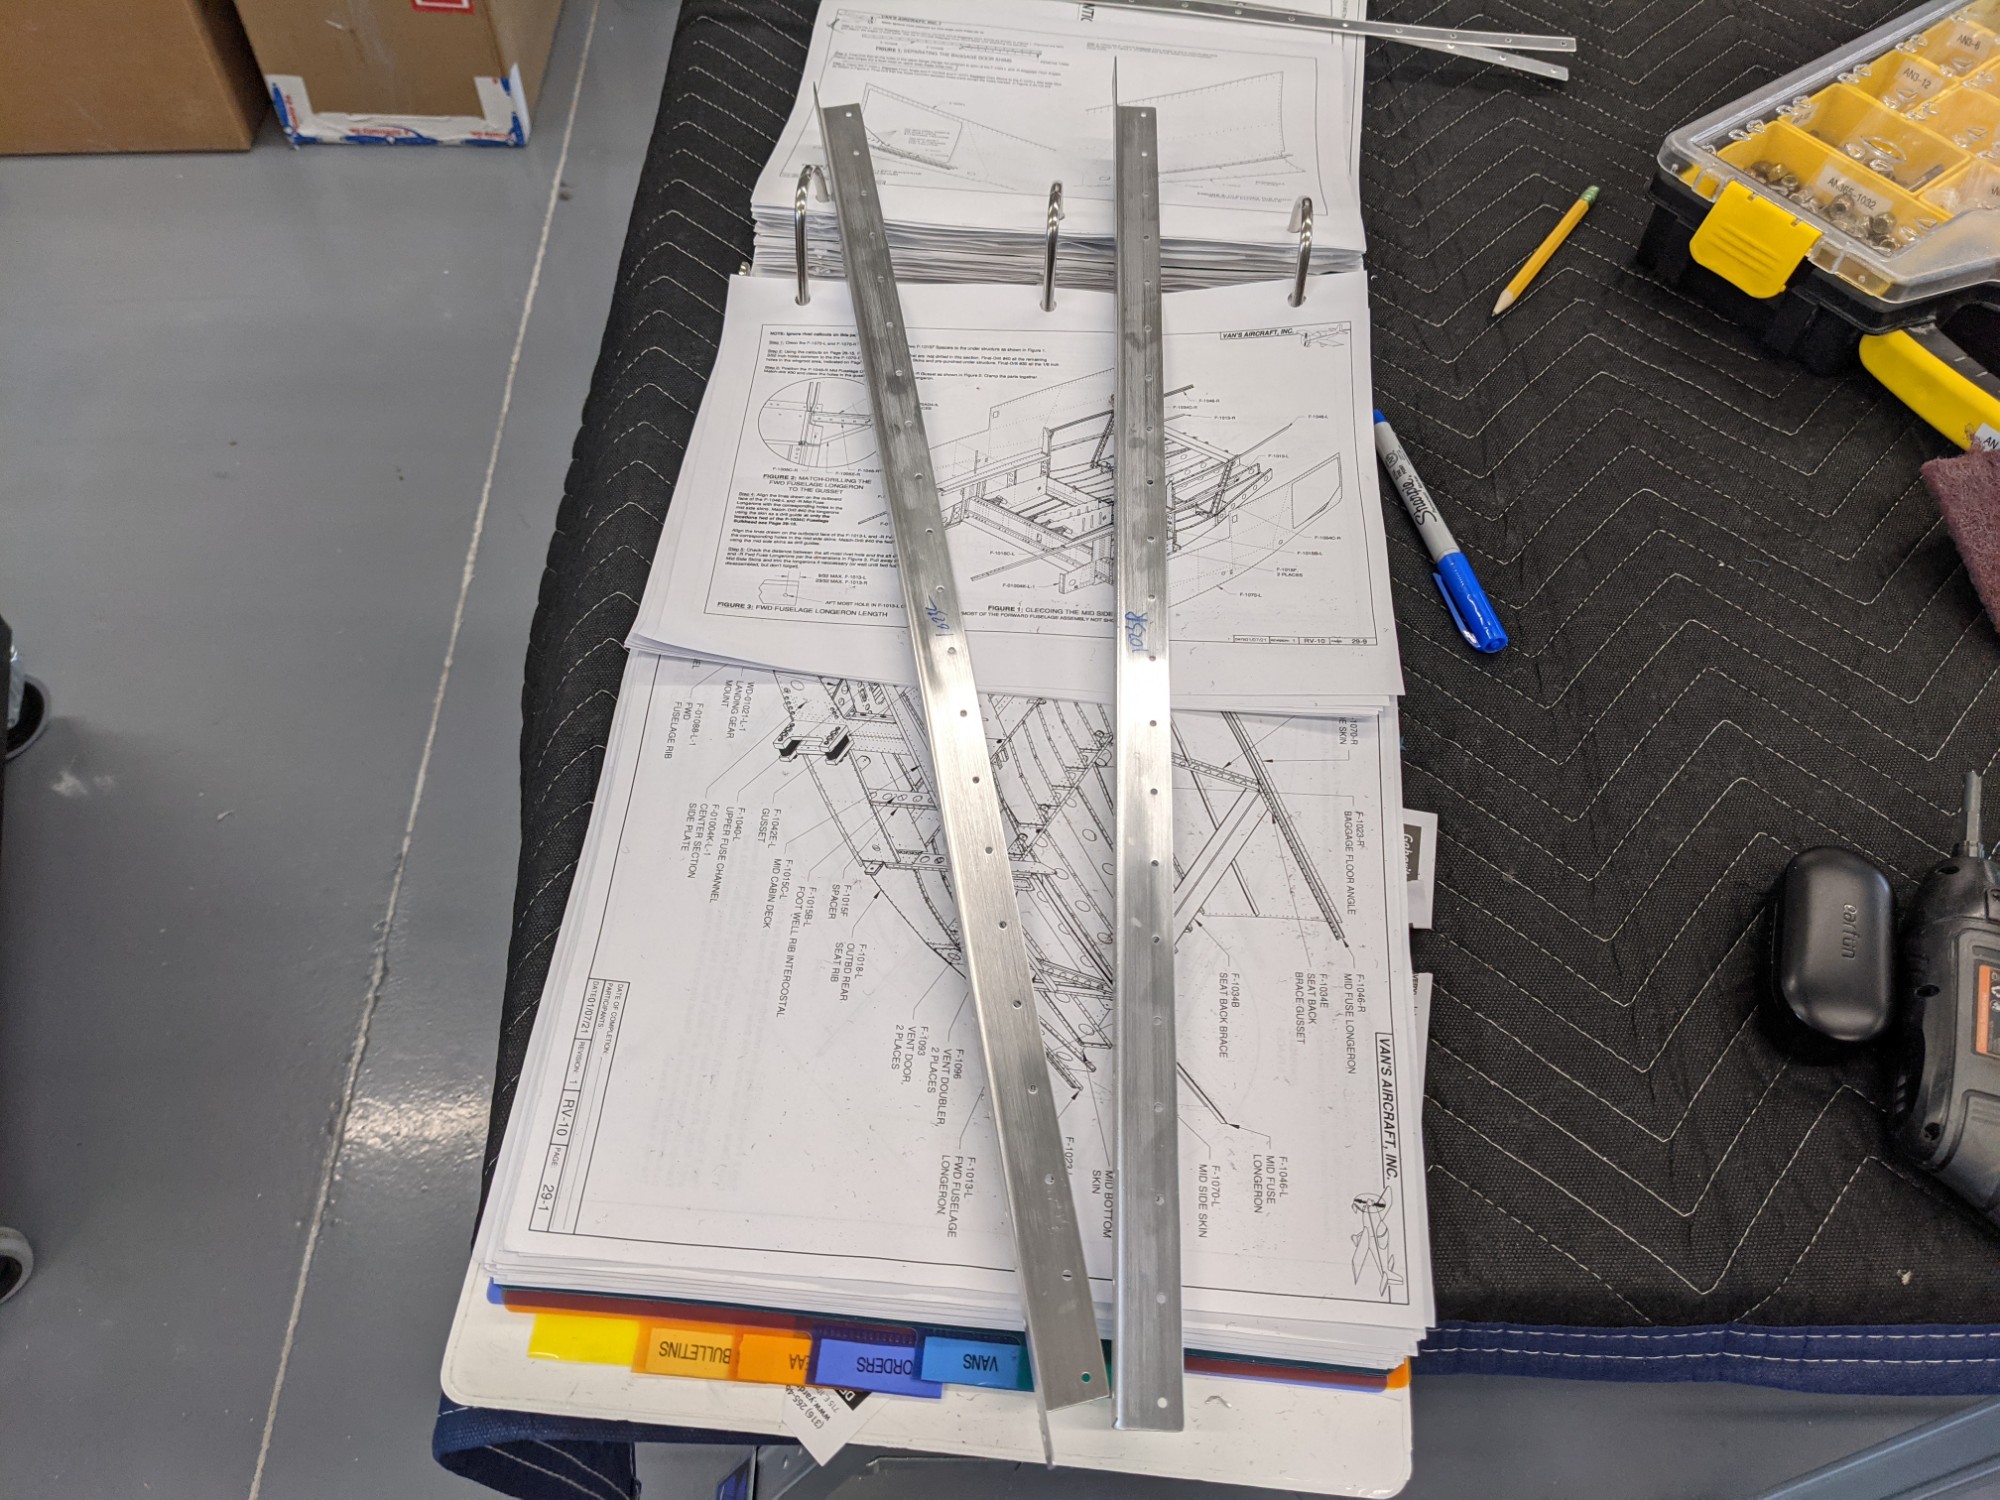
Once this was complete, I match drilled the specified holes in the side skins. Most of these were already final sized so there wasn’t much to do.
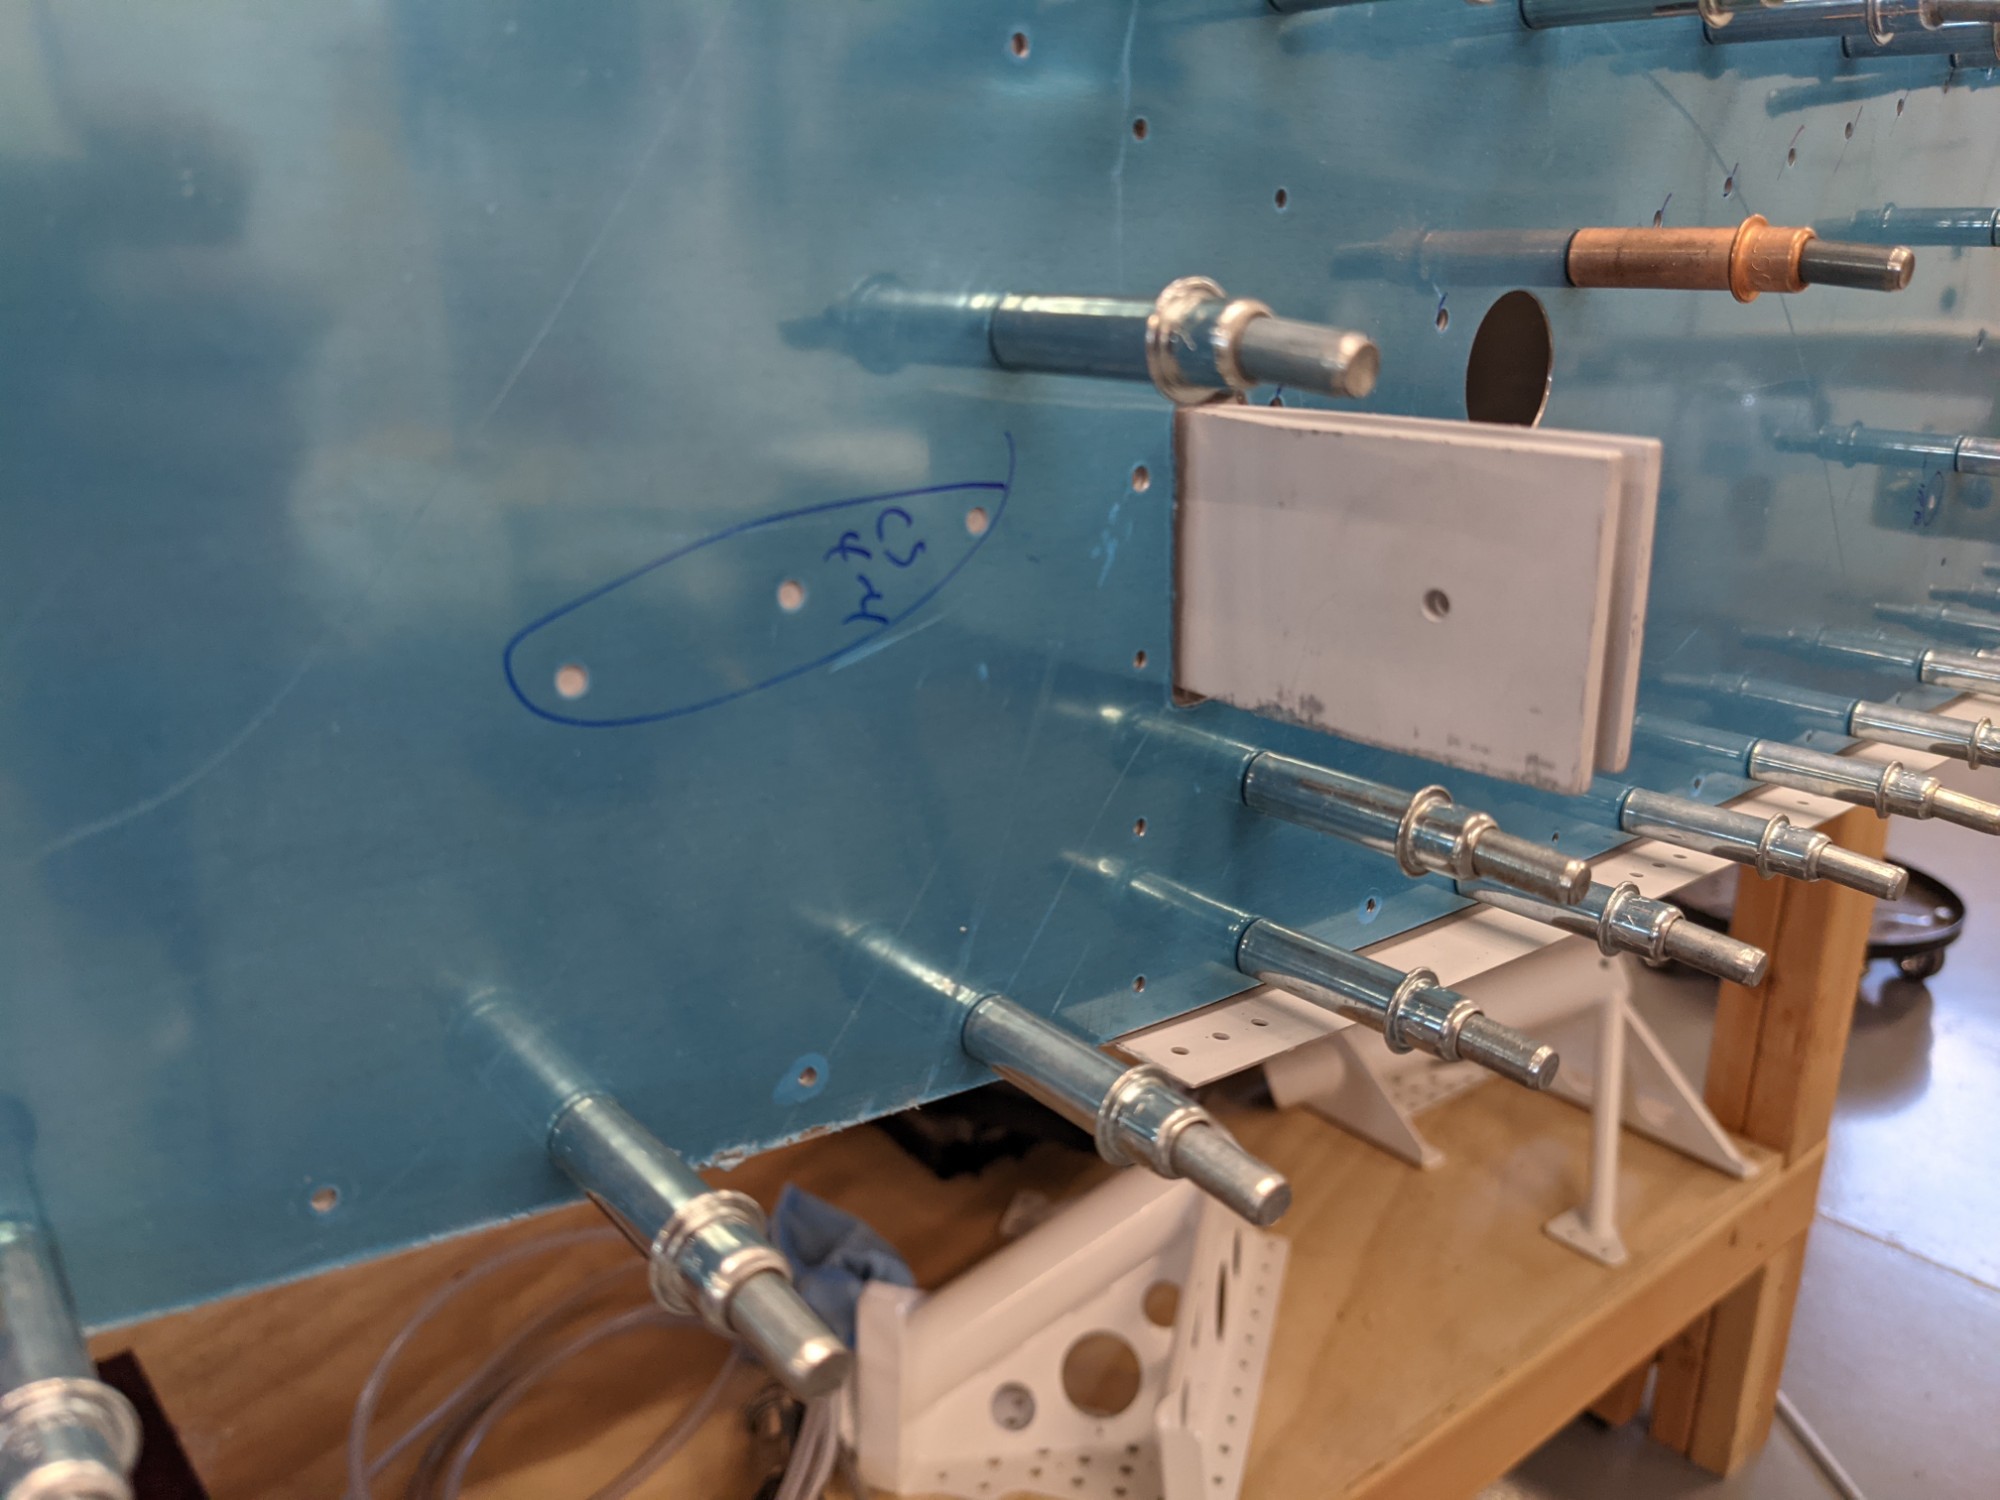
There was one hole that had no hole in the underlying rib. I confirmed that this takes a flush rivet later and I proceeded to match drill it. I’m not clear why this hole was not punched on the underlying rib as the plans indicate that the skin hole gets dimpled and riveted with a flush rivet. Thankfully, I haven’t riveted the bottom skin into place yet so it will be easy to get a squeezer in there to dimple the underlying hole before riveting things back up.
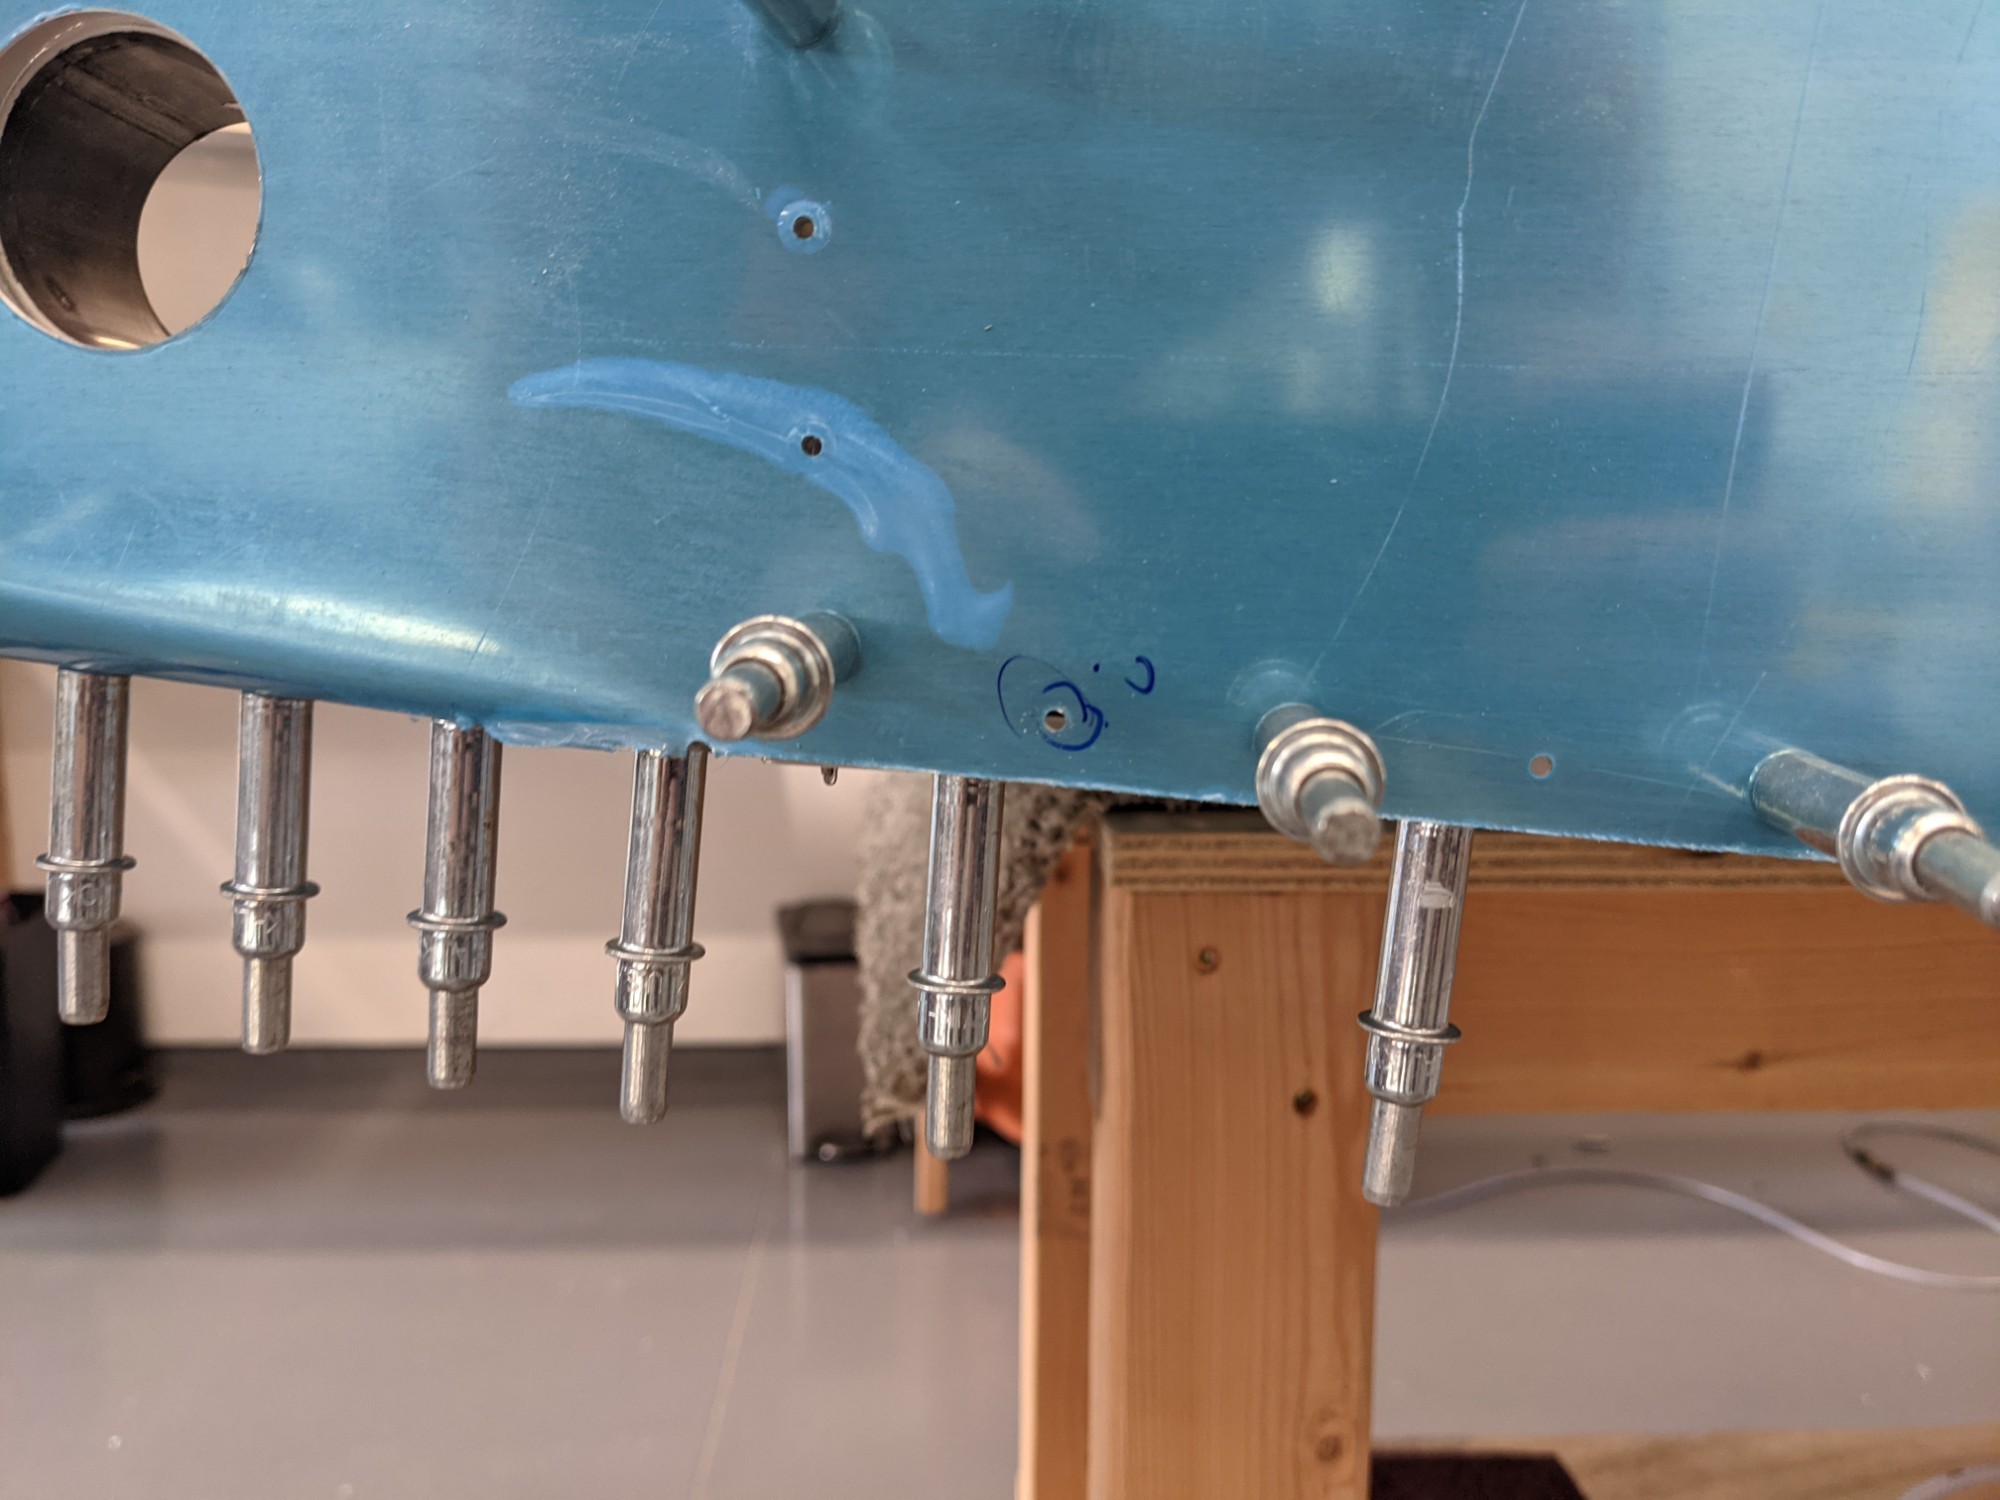
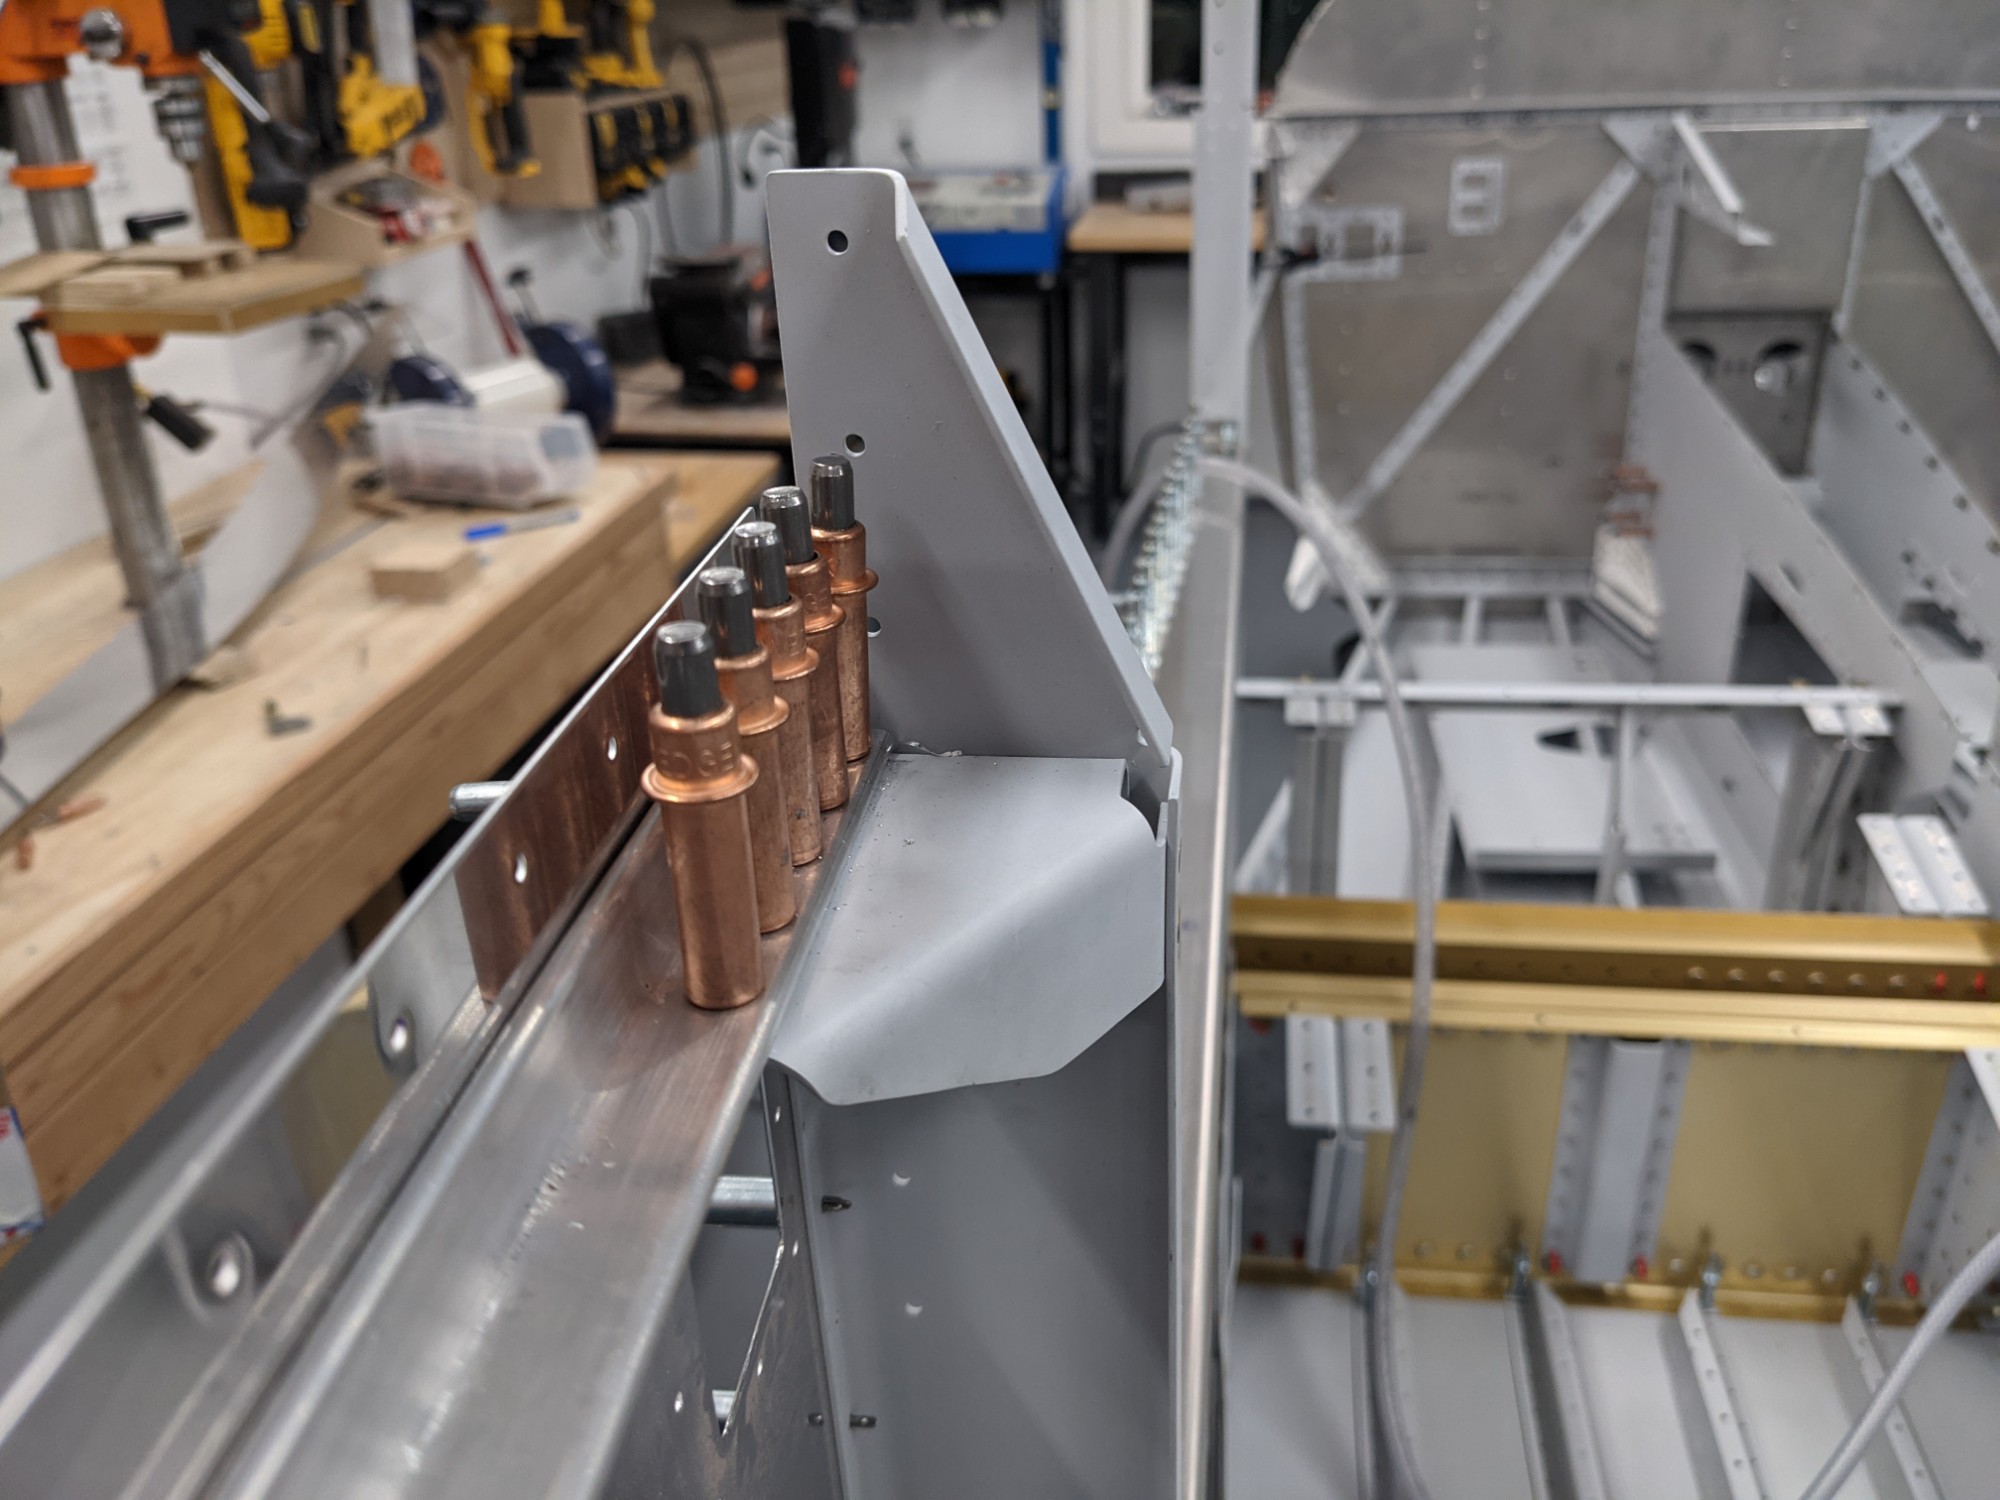
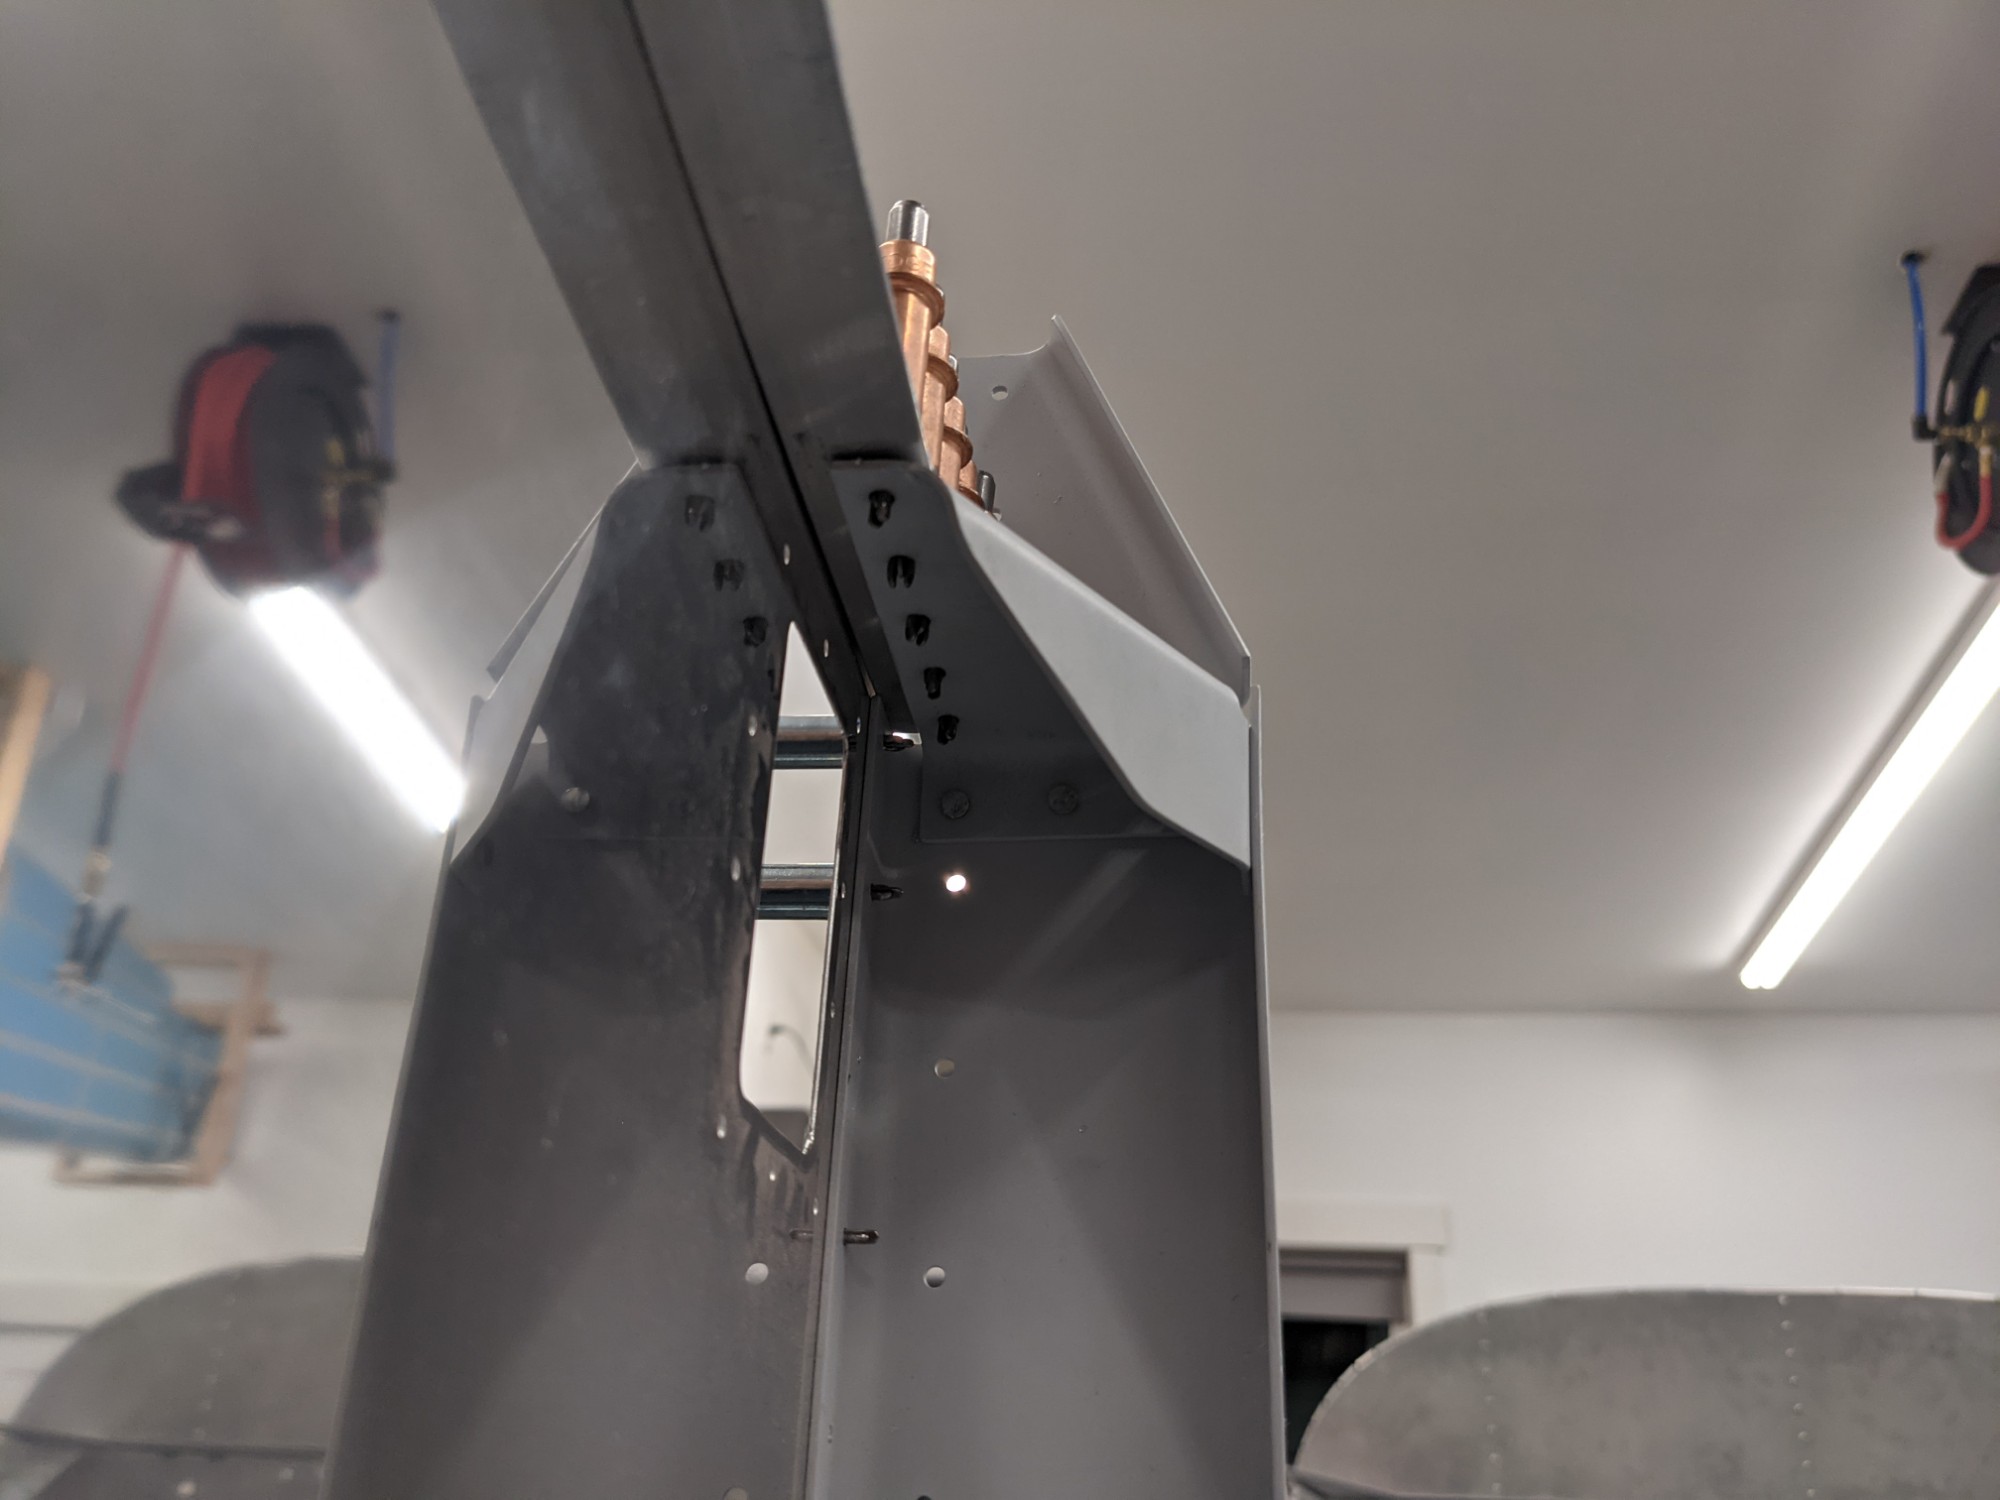
I then started to match drill the mid fuse longerons to the gusset on the right side of the plane and quickly realized that the edge distance on the longeron was way too small. It is very tricky to get in here (have to drill from below) and I didn’t think to get a mirror in there first to check the edge distance. The gusset tends to angle inboard (it does the same thing on the left side) so it clearly needed some creative clamping to pull it outwards before drilling. Oops.
After a bit of thinking over how I might resolve it I concluded that I was going to have to simply scrap that longeron and make another 🙁. Such is airplane building.. just when you are having a good streak of success.
The kit seems to ship with extra angle (at least I couldn’t find anywhere in the plans when an extra 6′ piece is used). If not, I can order more when the time comes.
Creating the new longeron ended up being significantly faster than before. In about 45 minutes I had the new longeron bent, drilled, and ready to install.
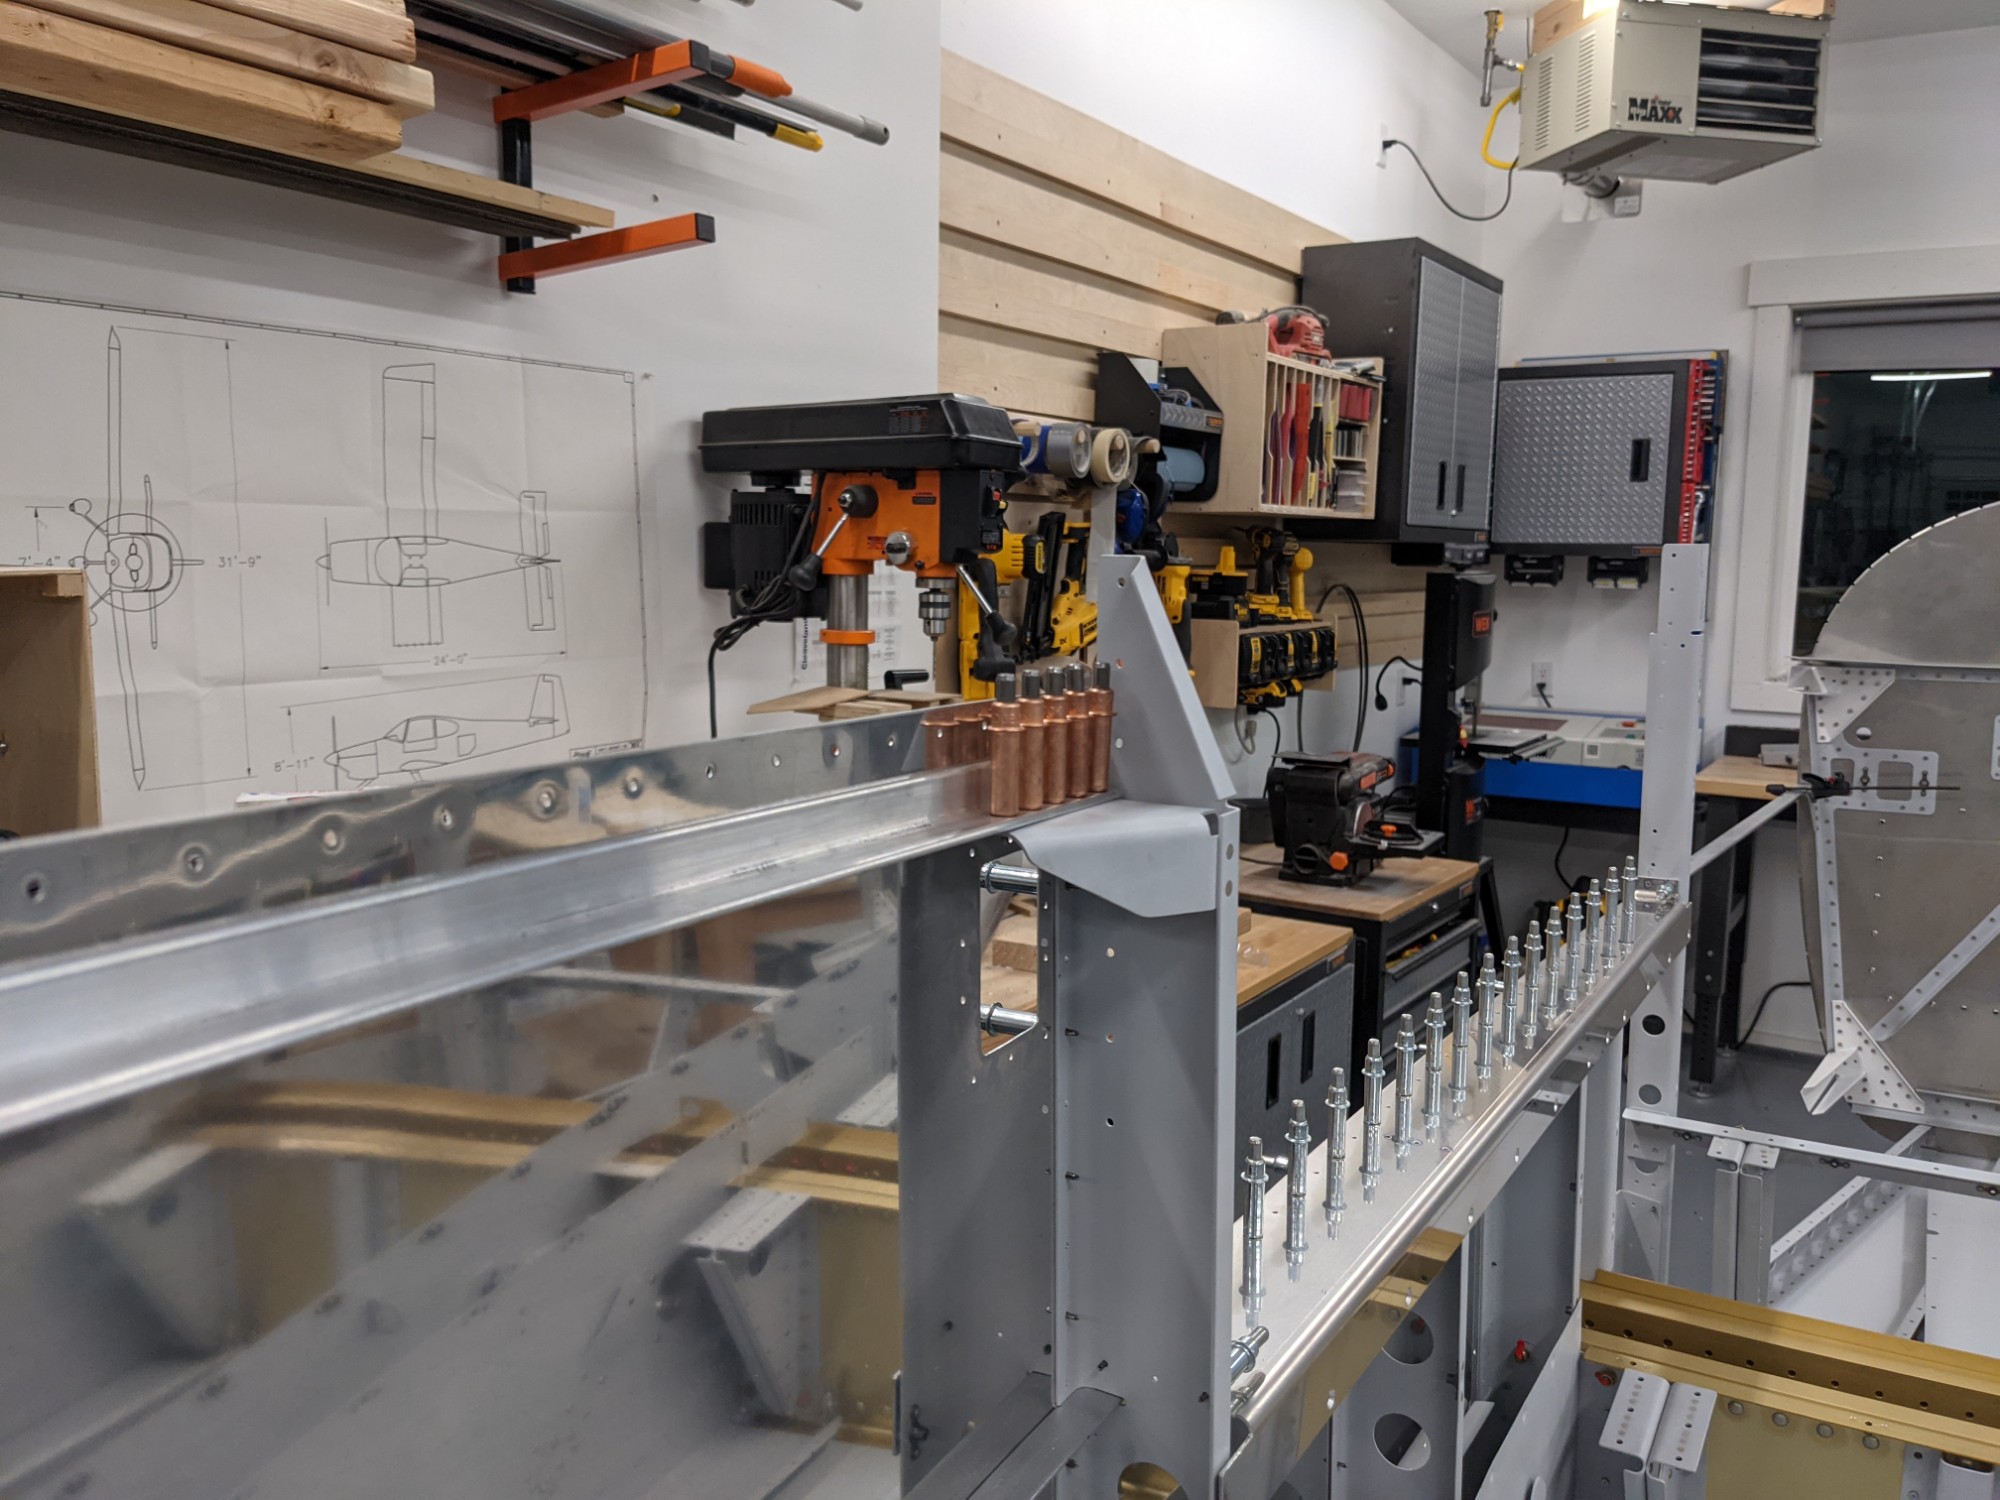
This time around I pulled the gusset outwards and clamped everything securely in place. This took a bit of creative clamping but it worked much better this time. I drilled from the bottom with an extended #30 bit that could flex enough above the lower longeron to keep the hole perpendicular.
Success! Edge distance was to spec on all of the holes.
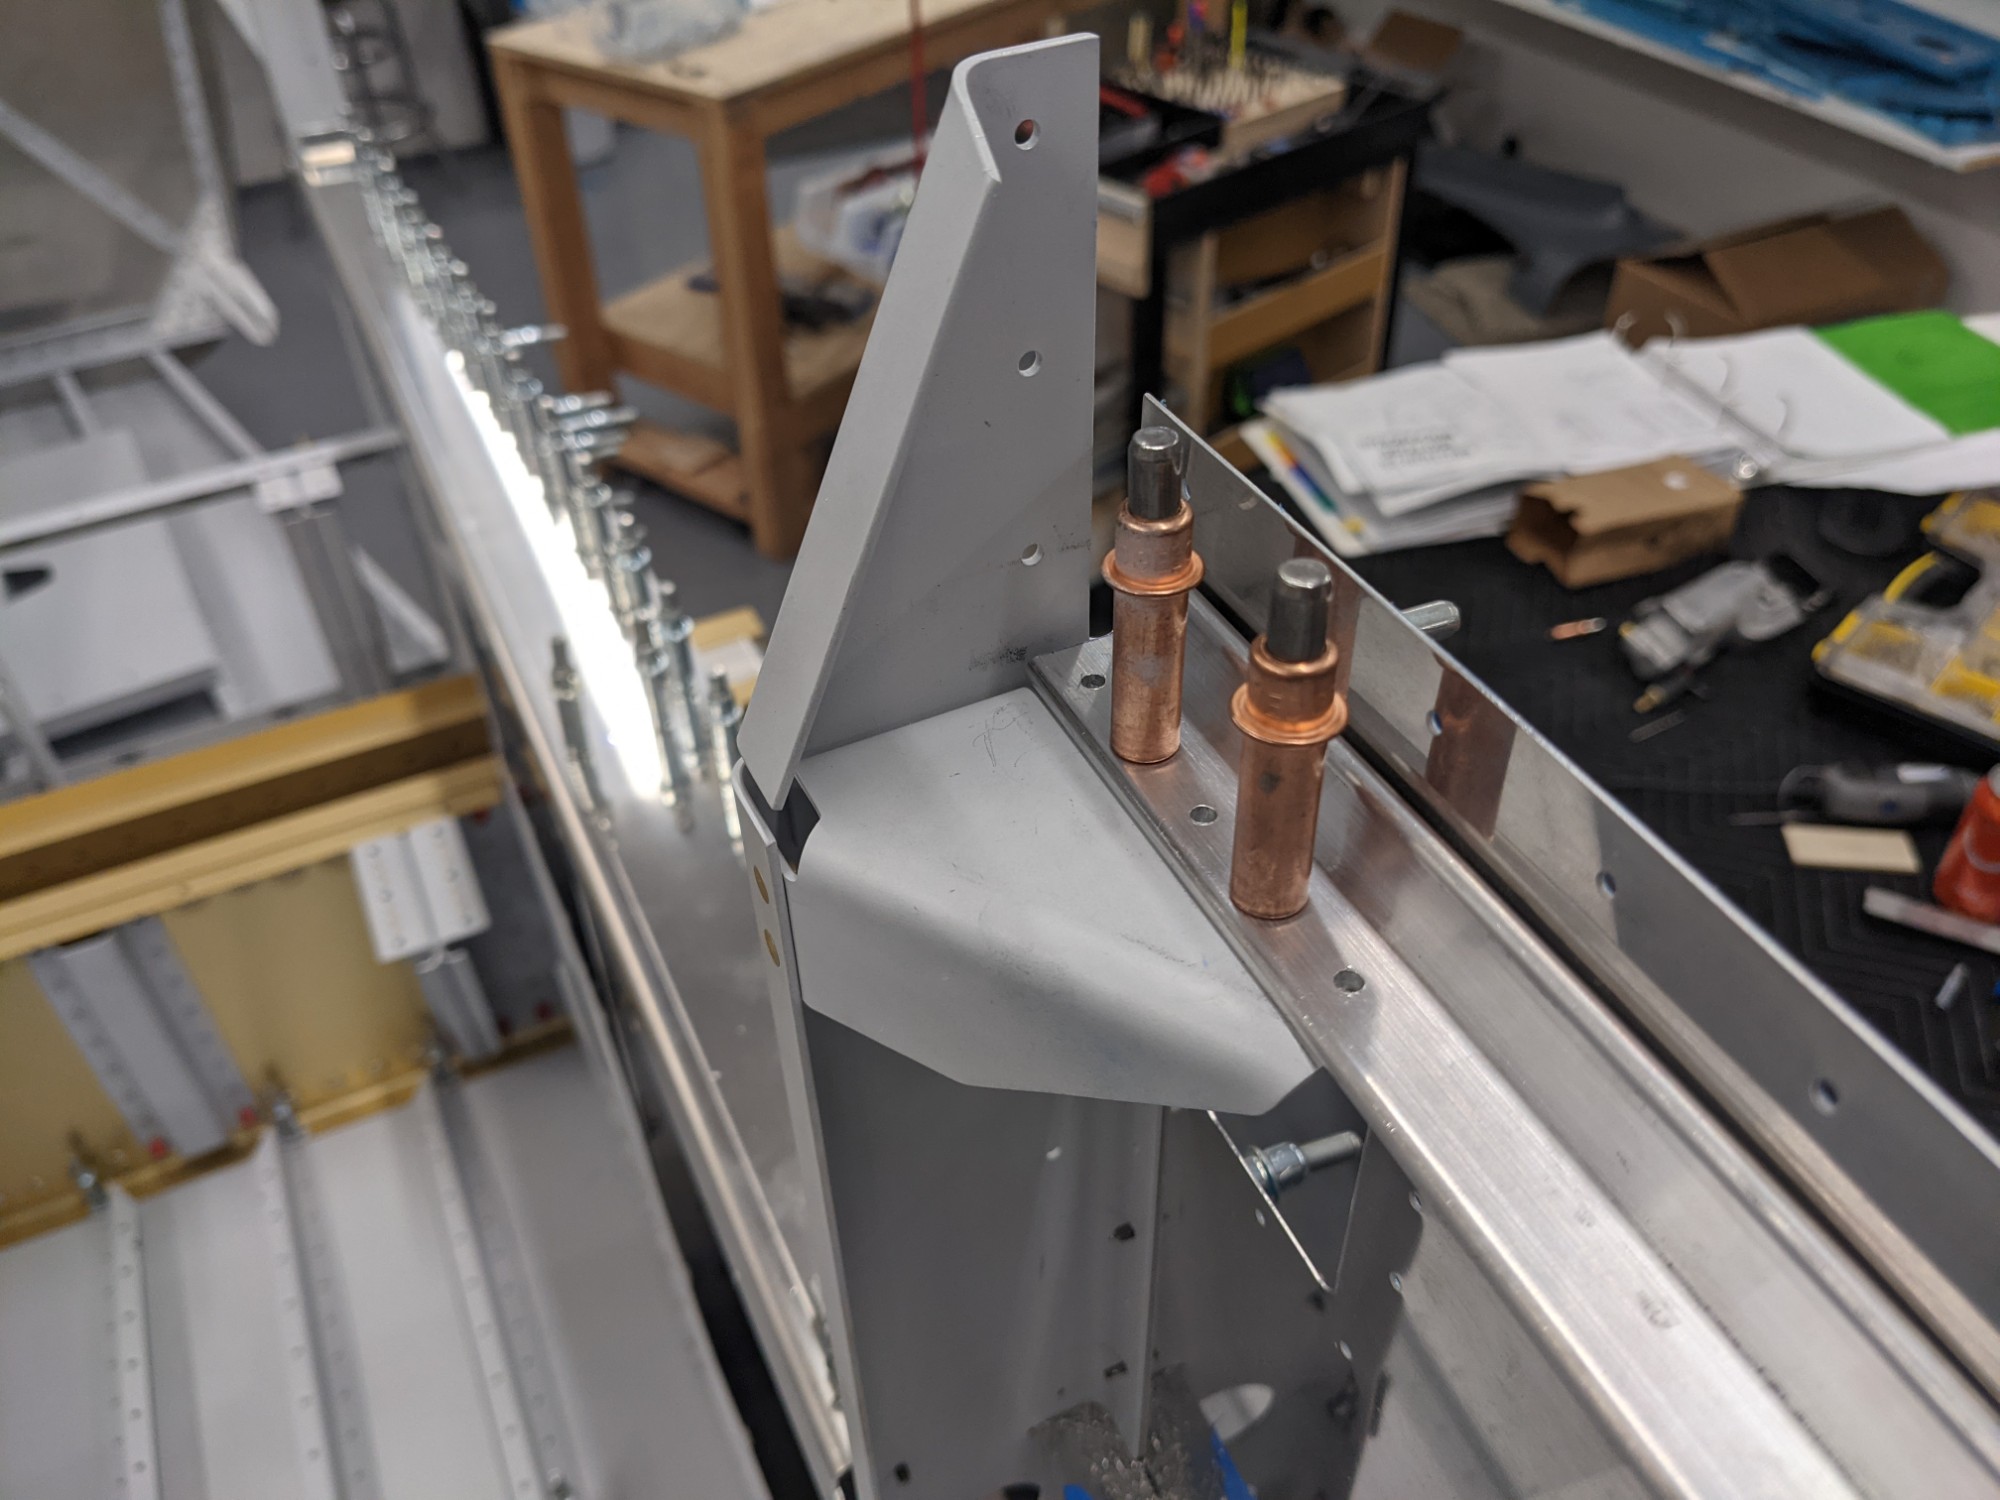
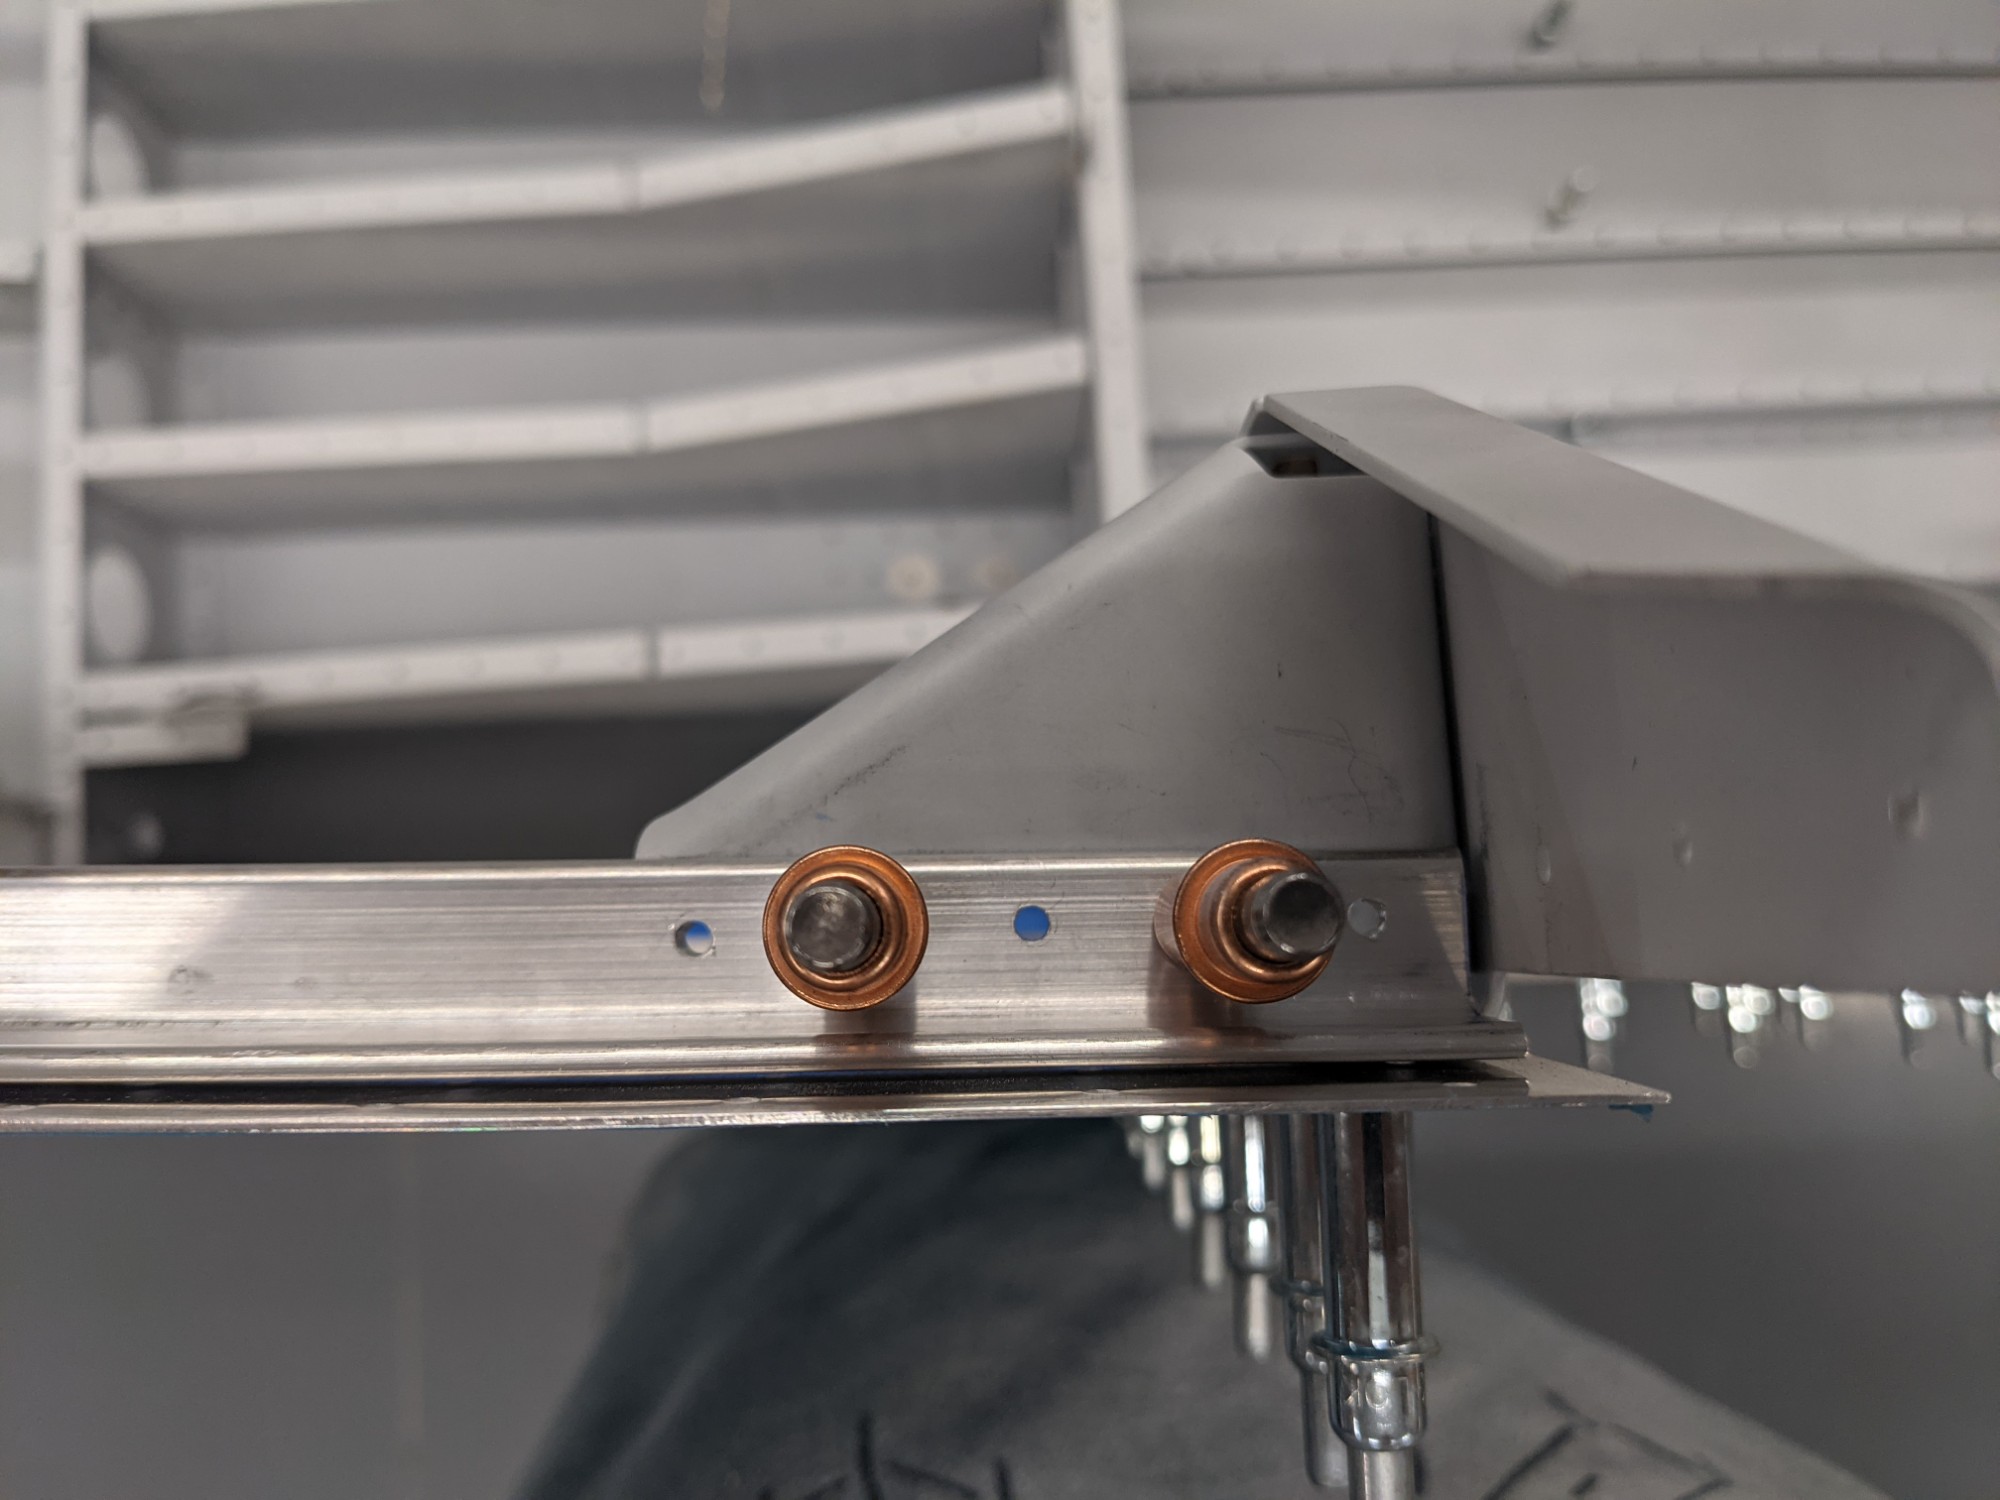
I then completed the same process on the left side.
Onwards a bit more carefully again..
