
I used the Silpruf method for installing the windows. I used Cee Bailey windows and black Silpruf SCS2000.
I started by trimming the windows to a 5/32″ gap. The Cee Bailey windows fit well on the left side, but needed more adjustment on the right.
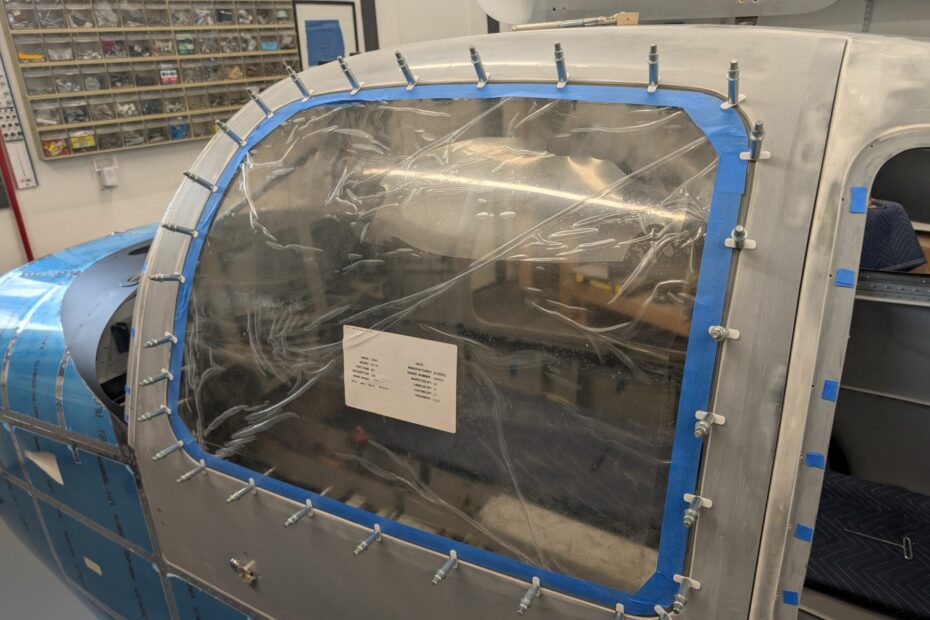
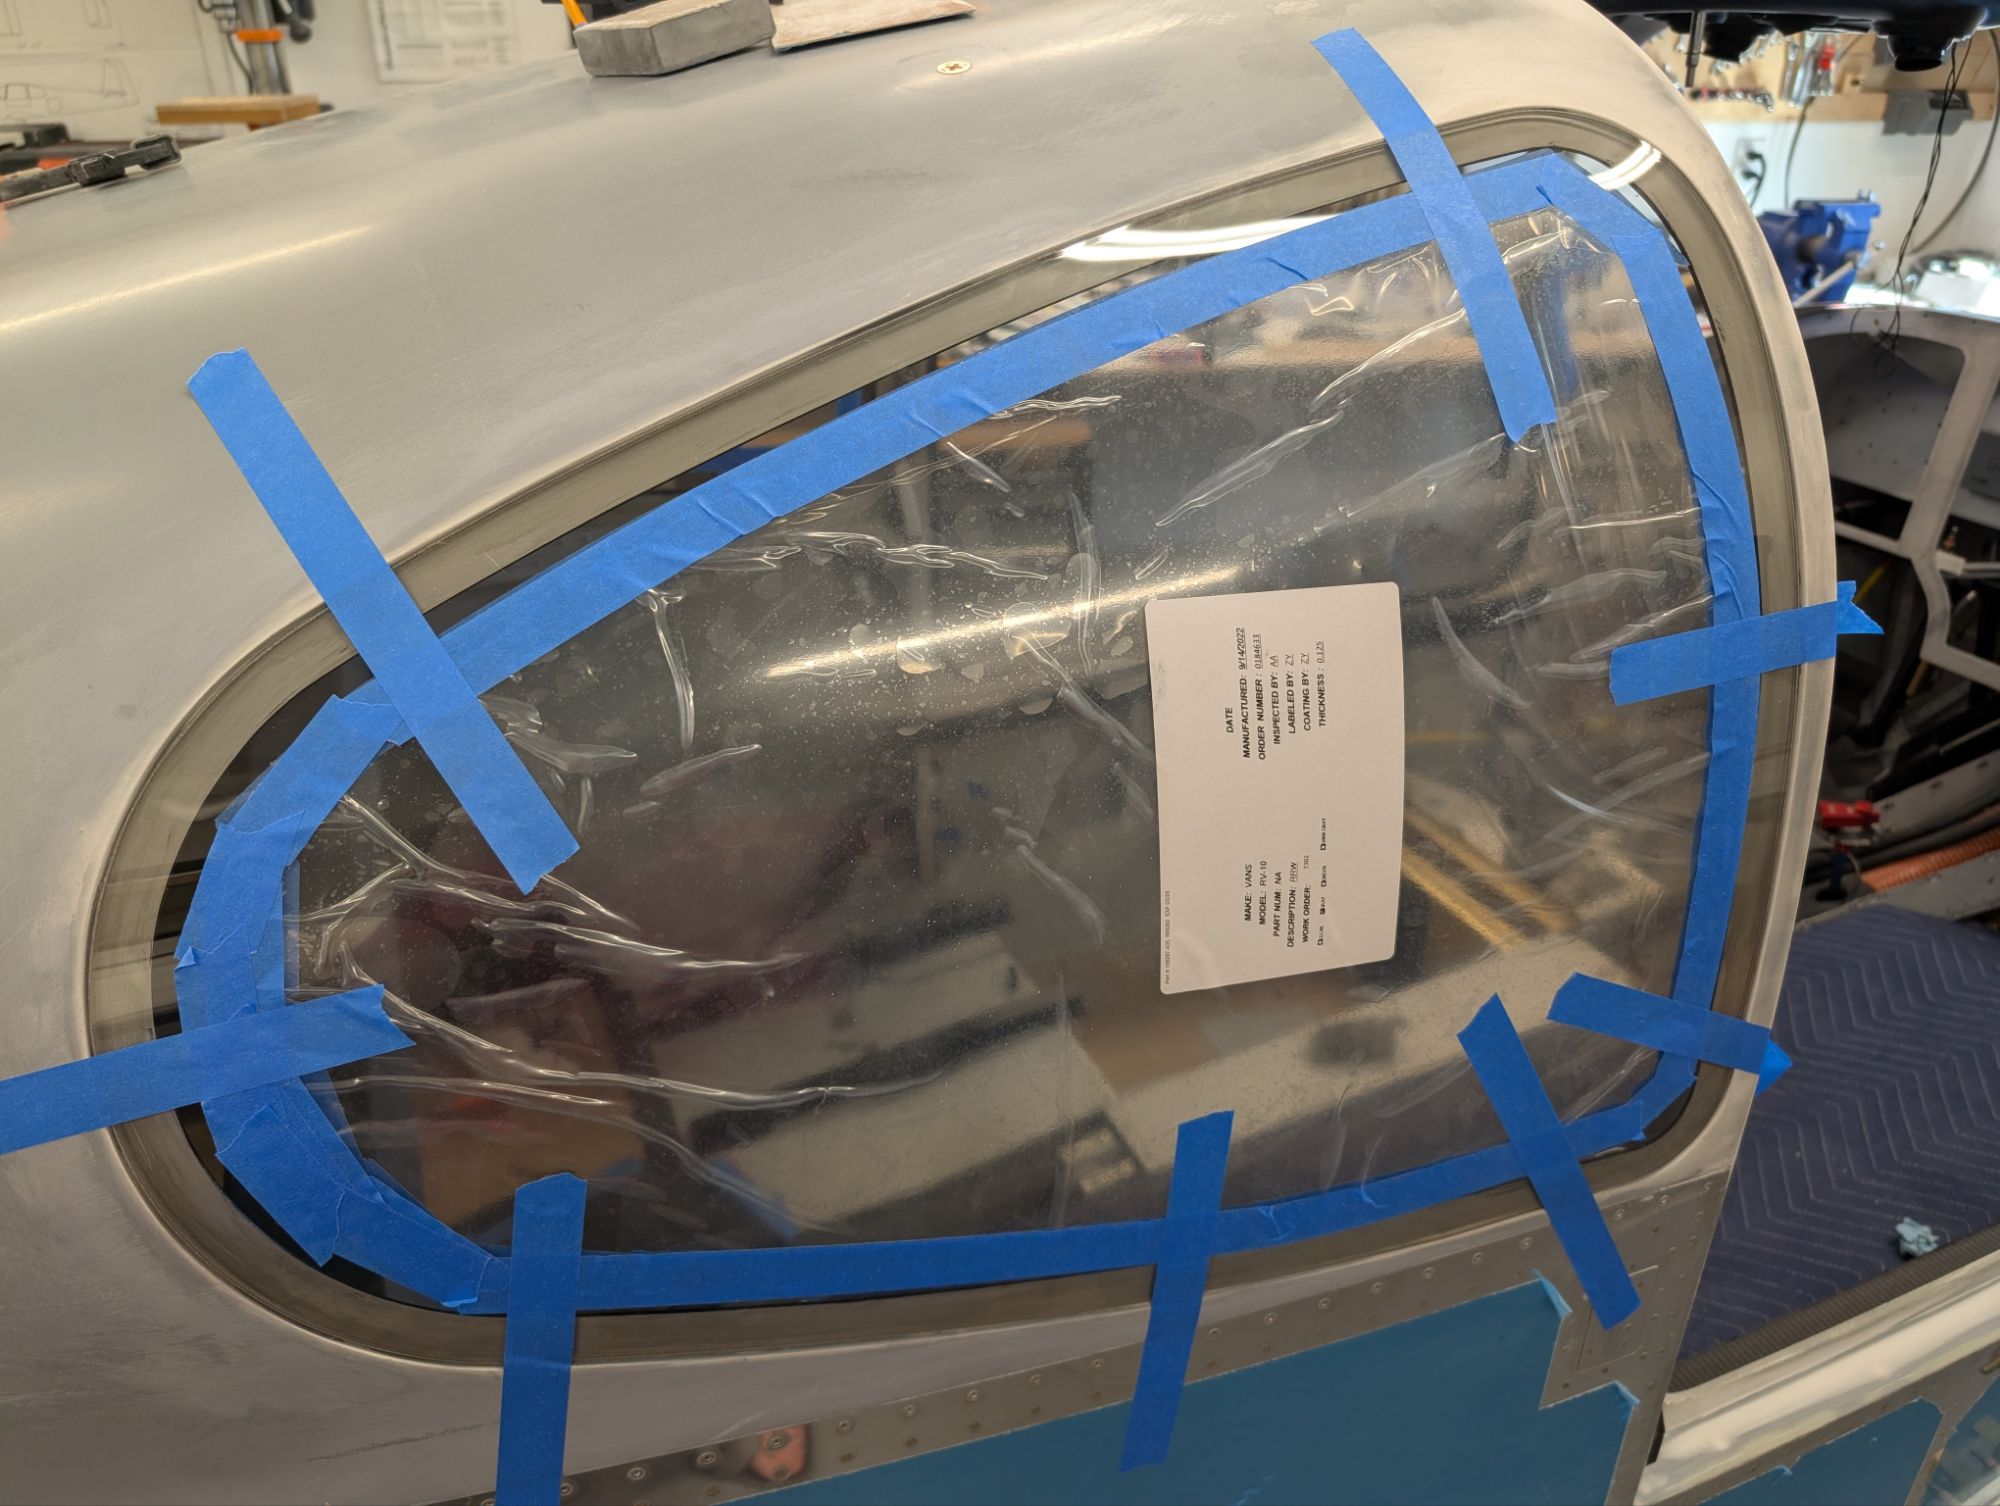
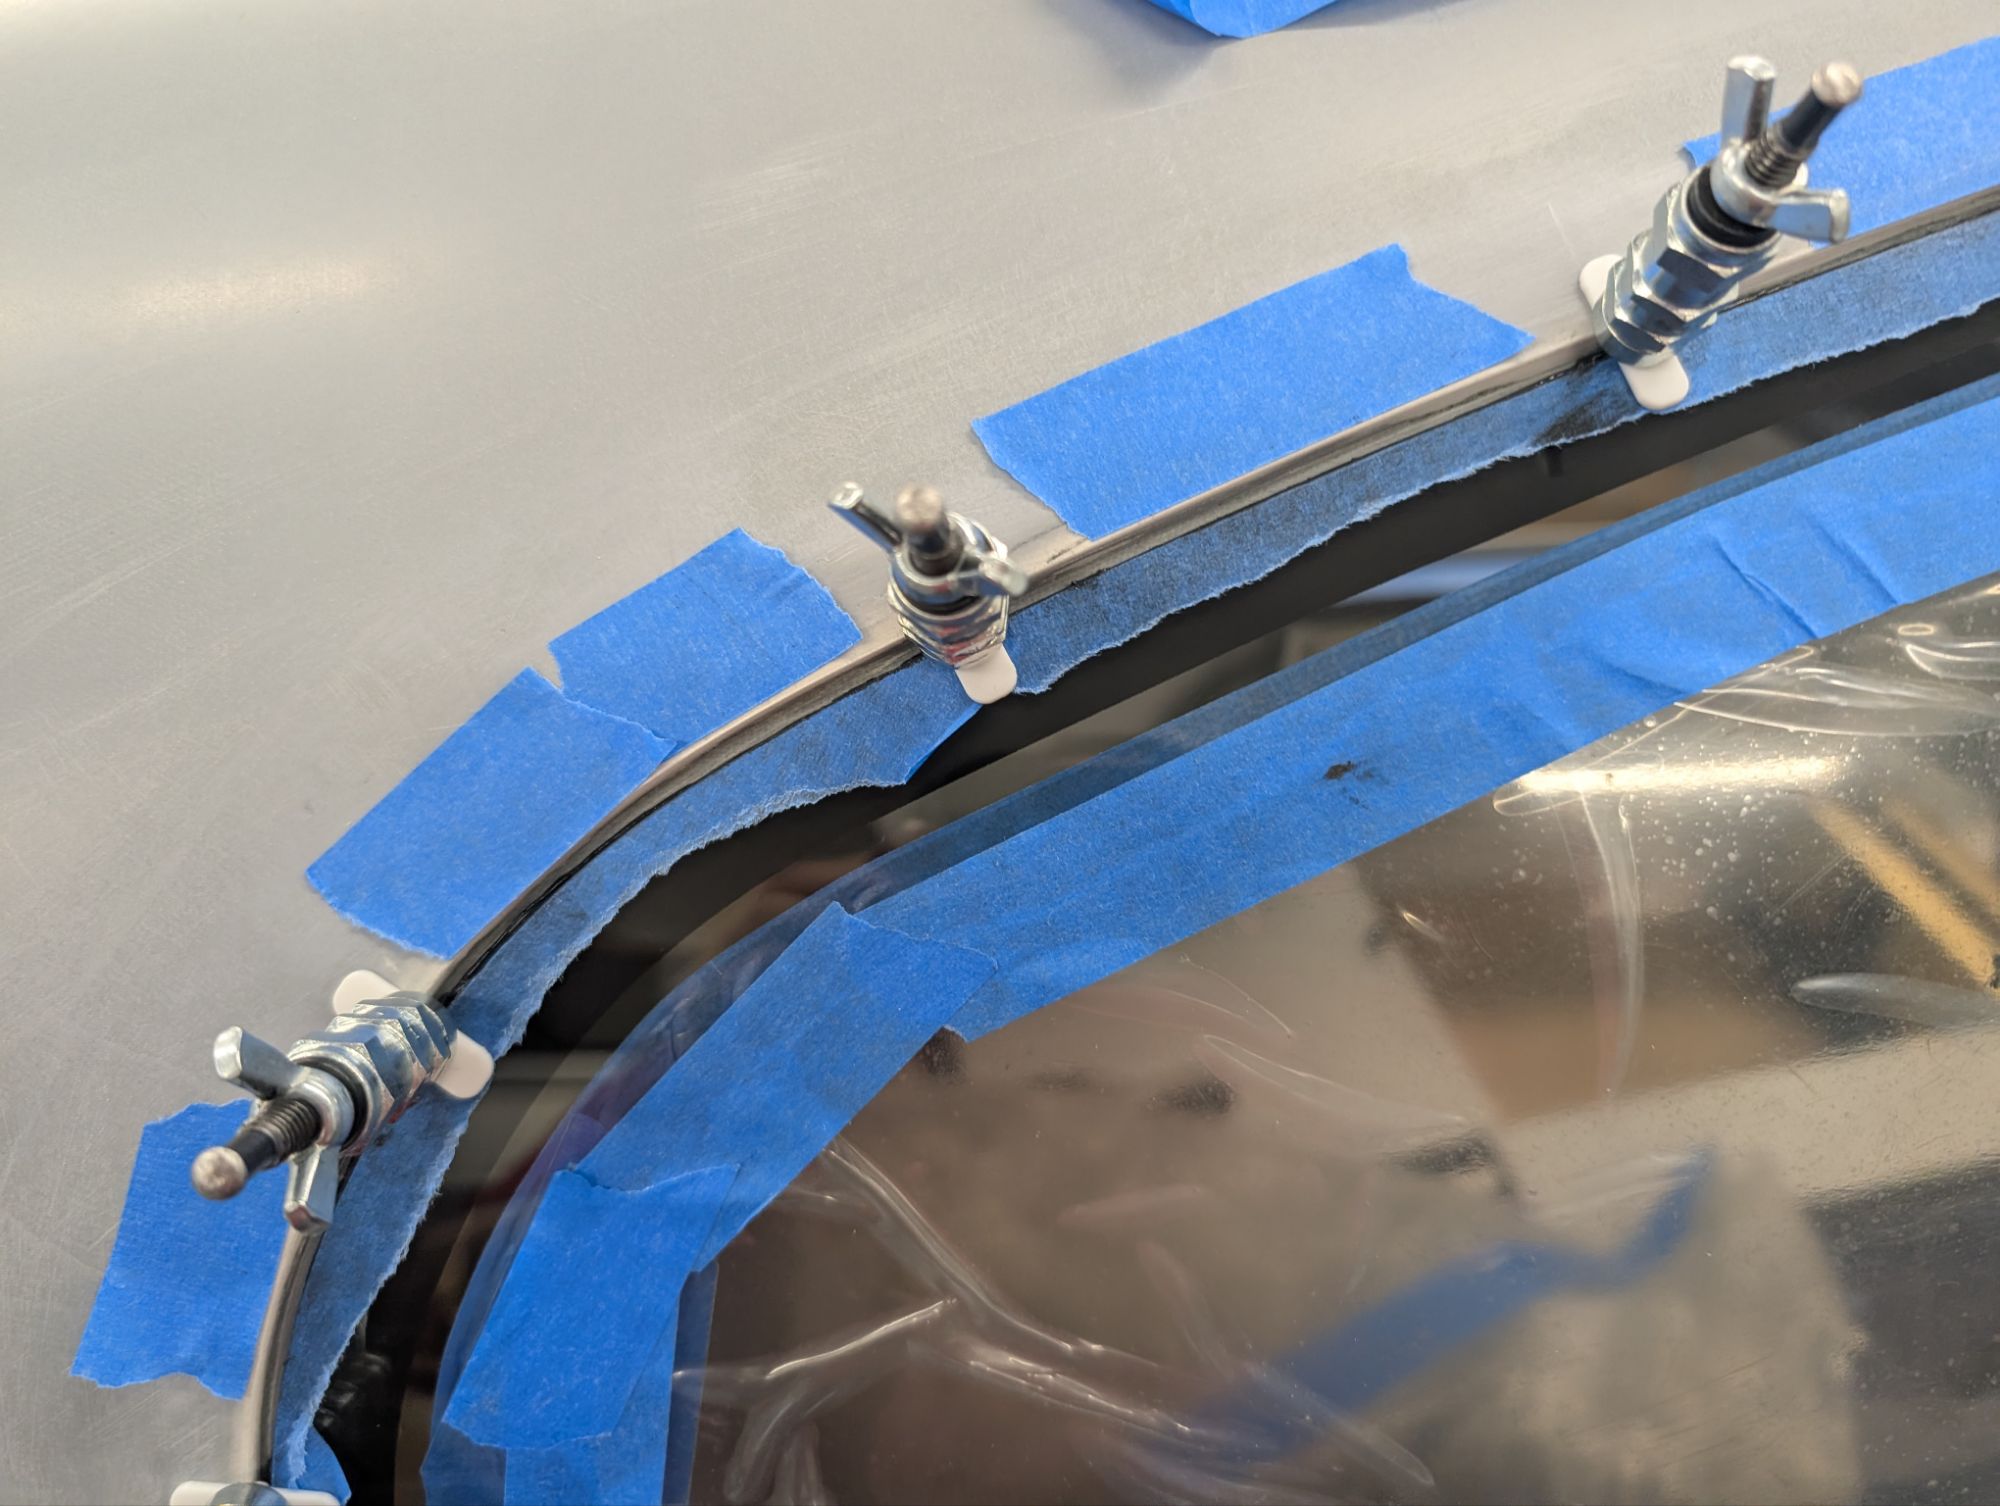
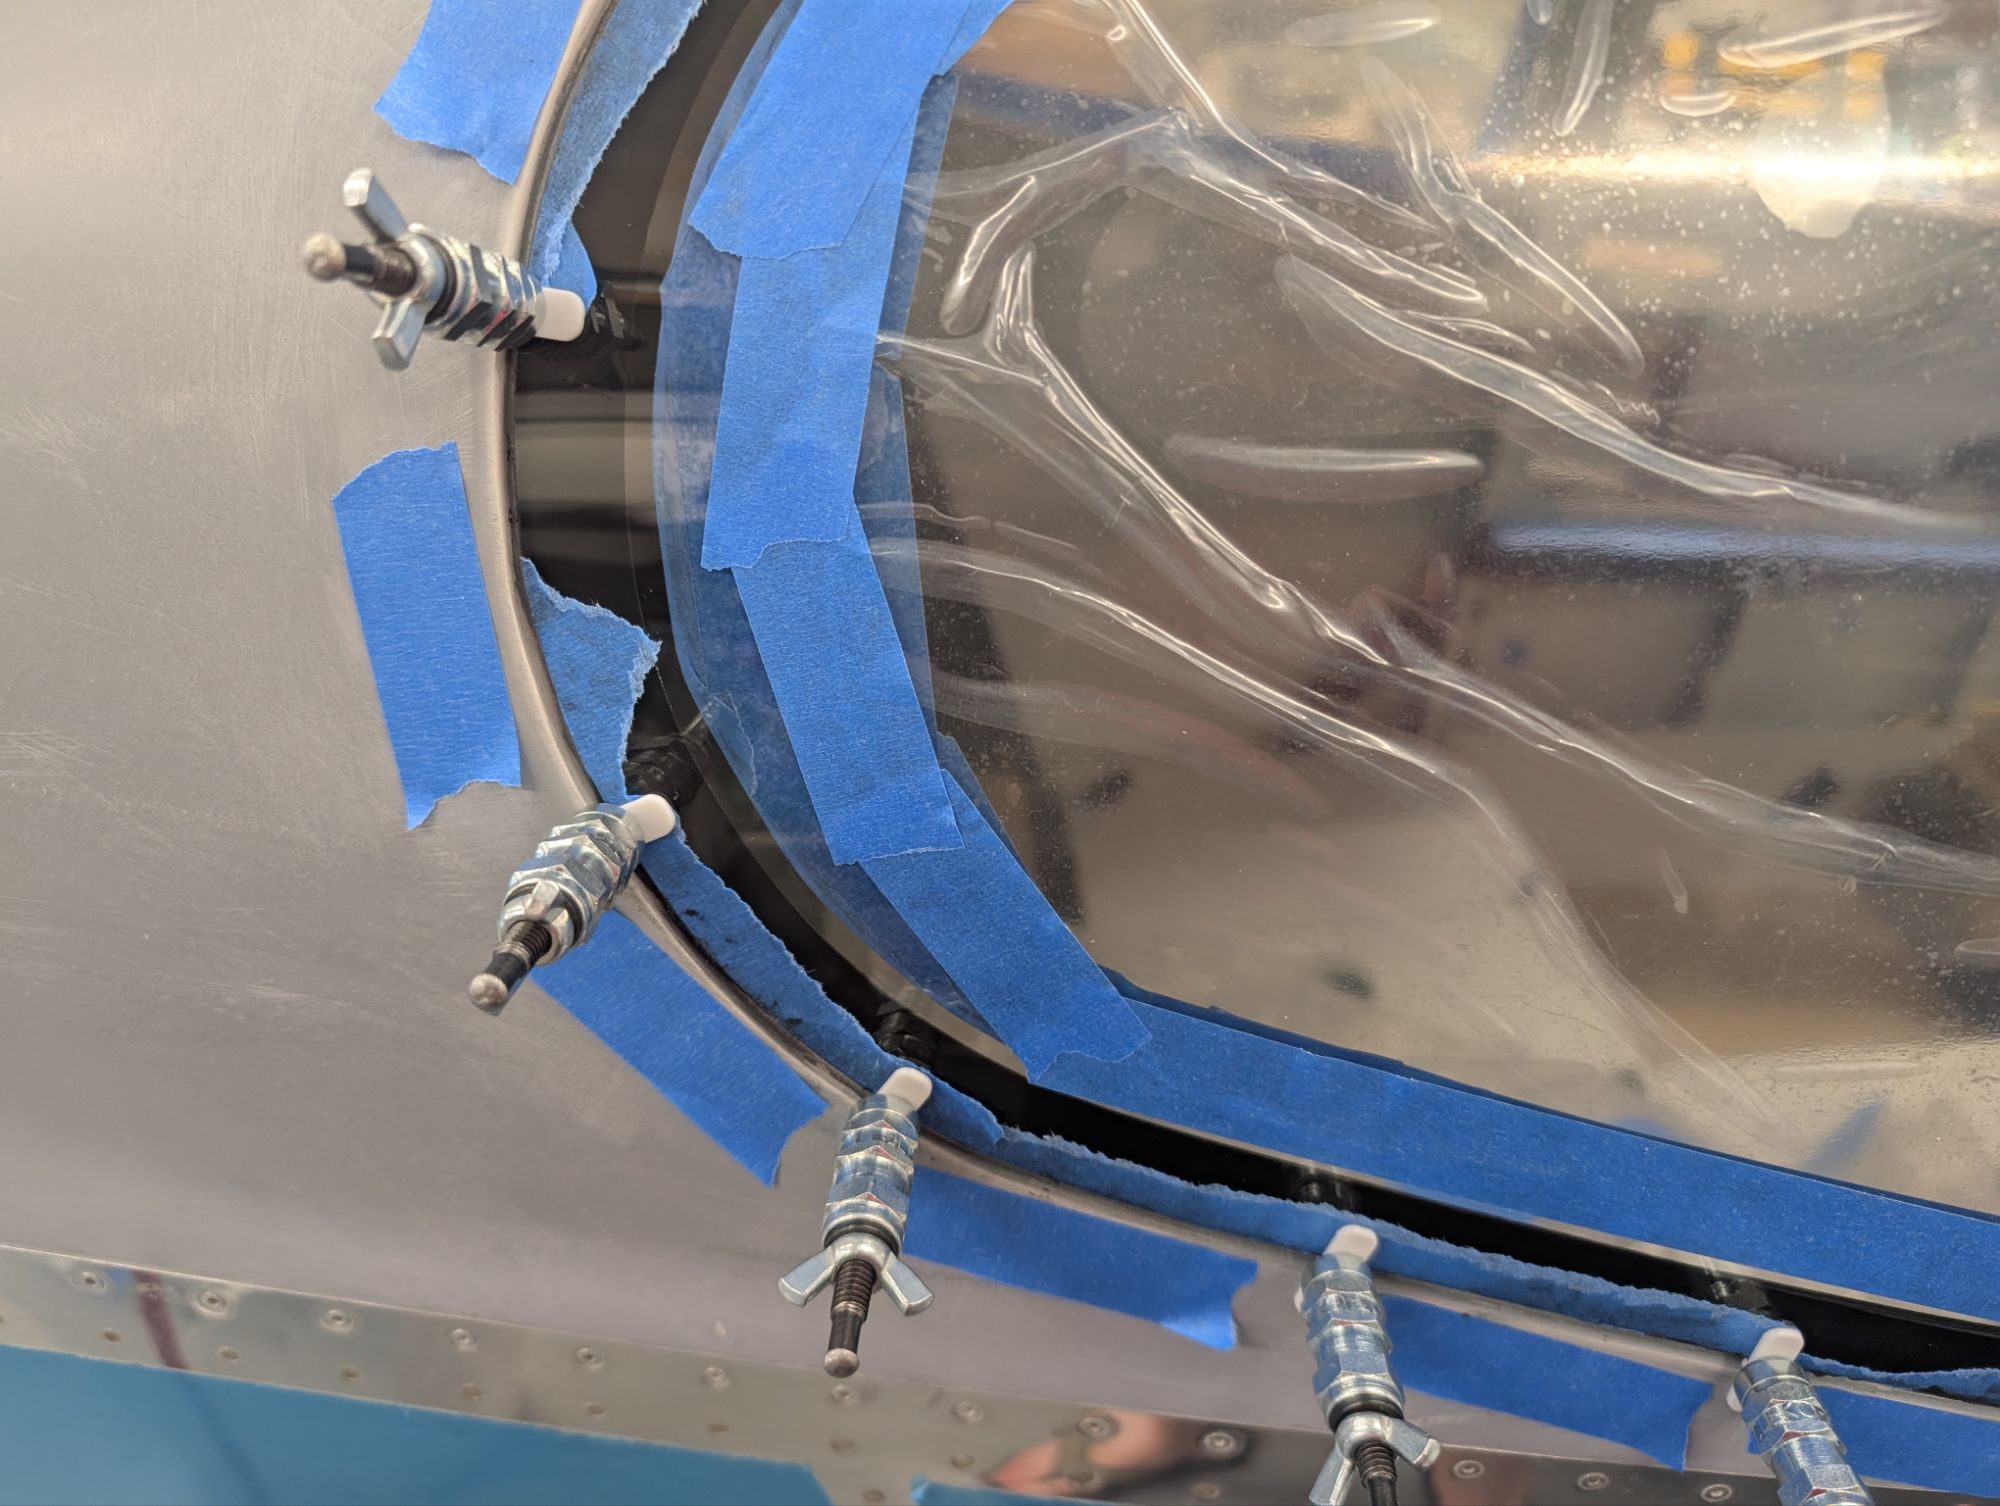
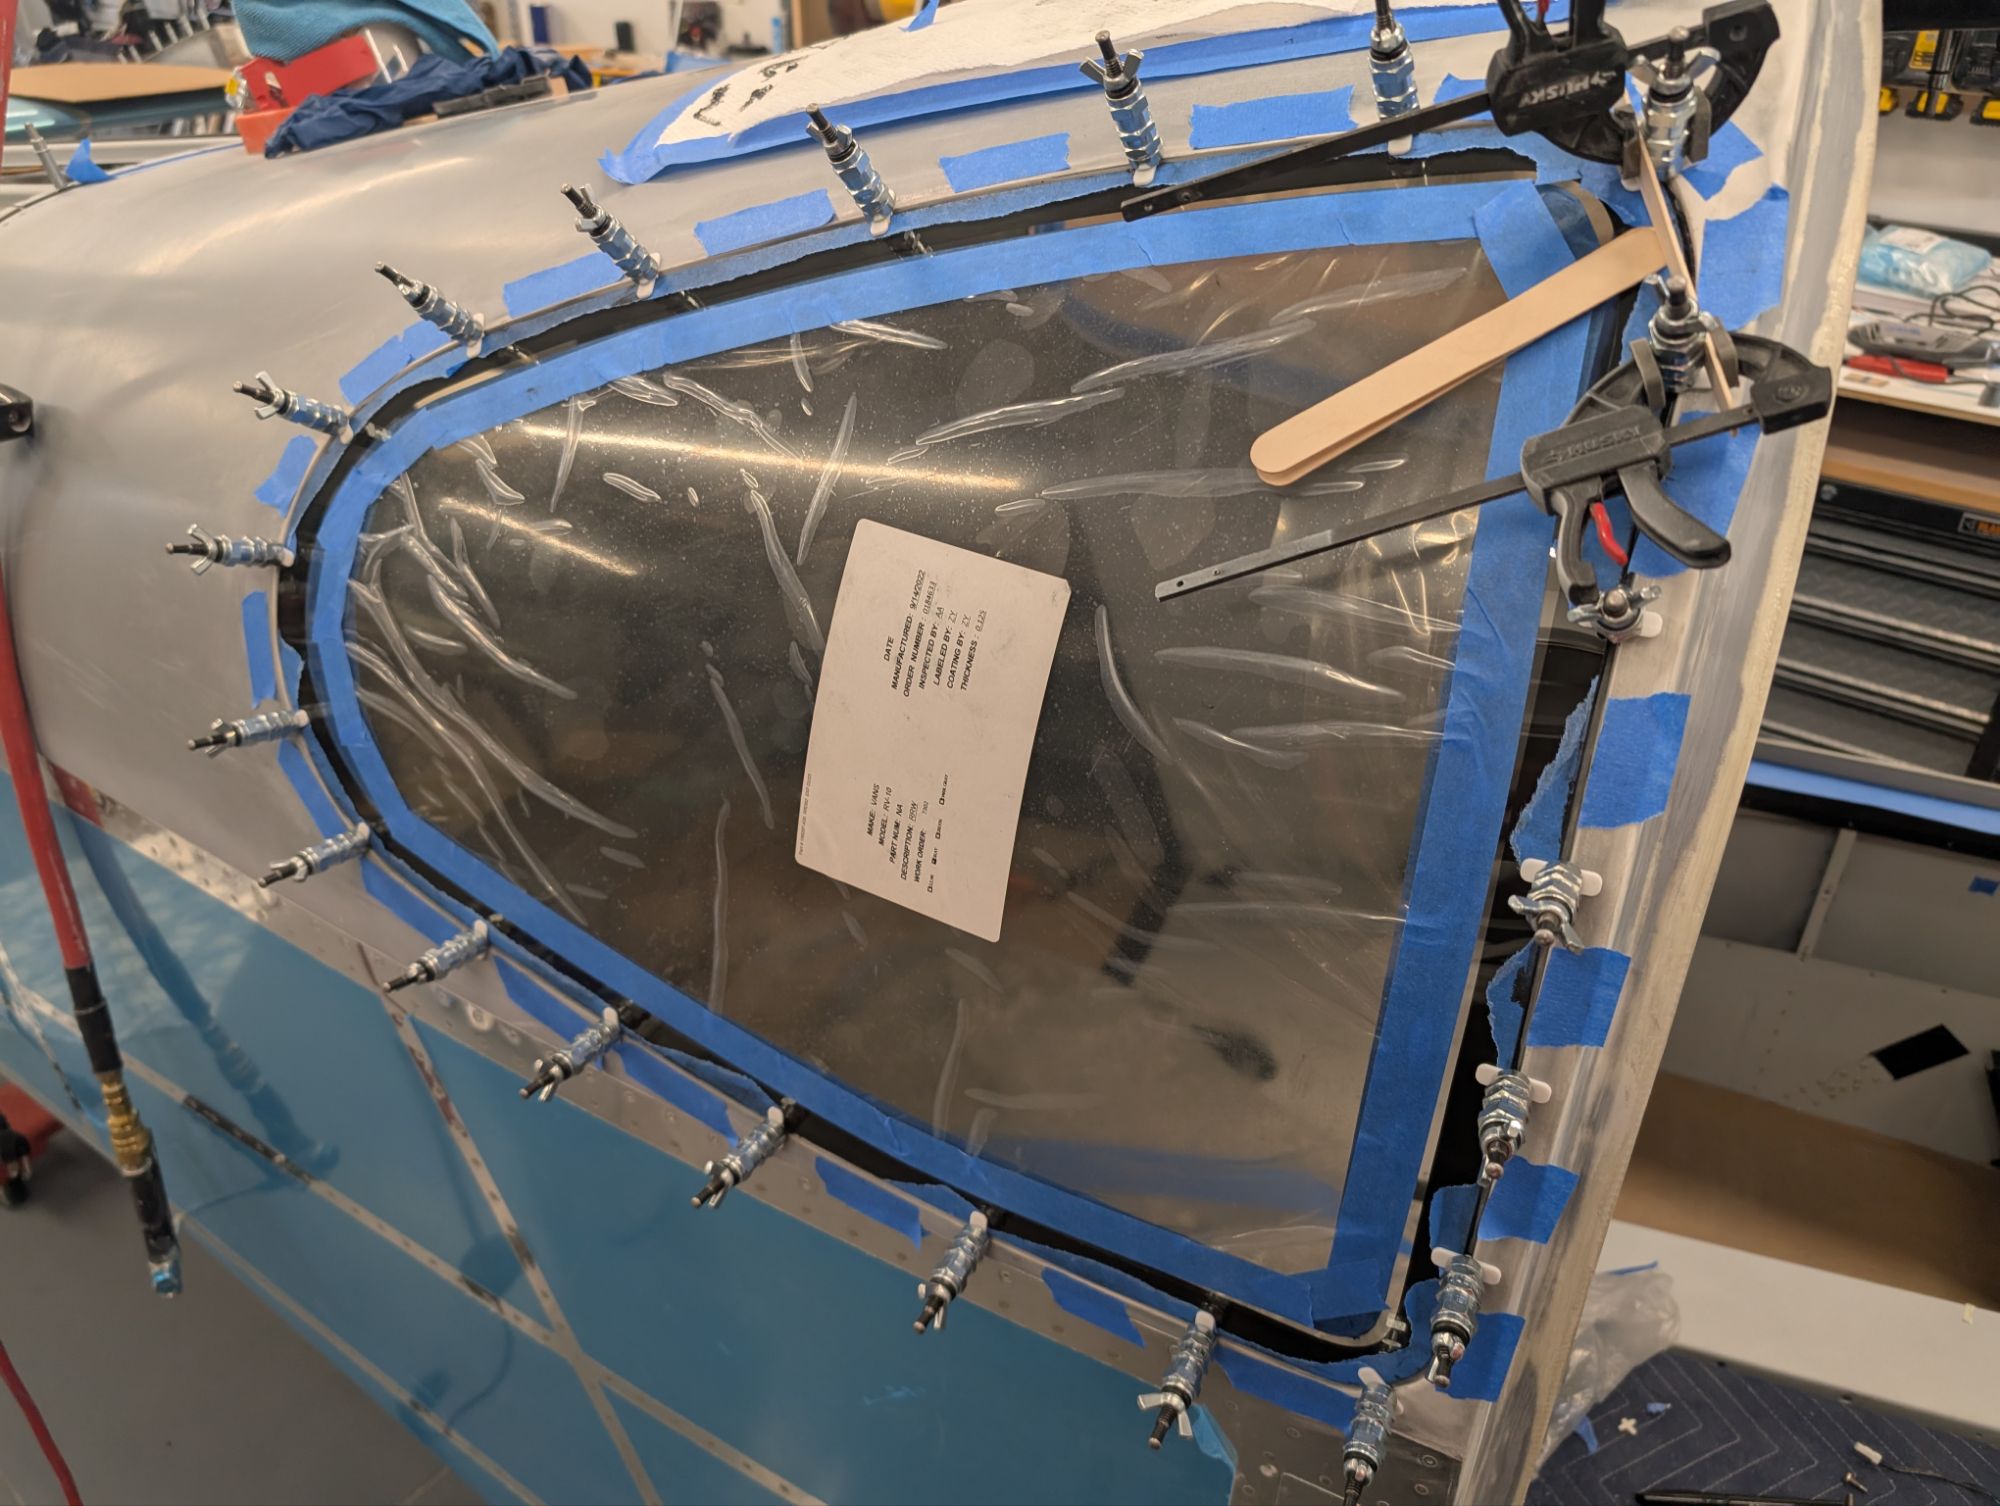
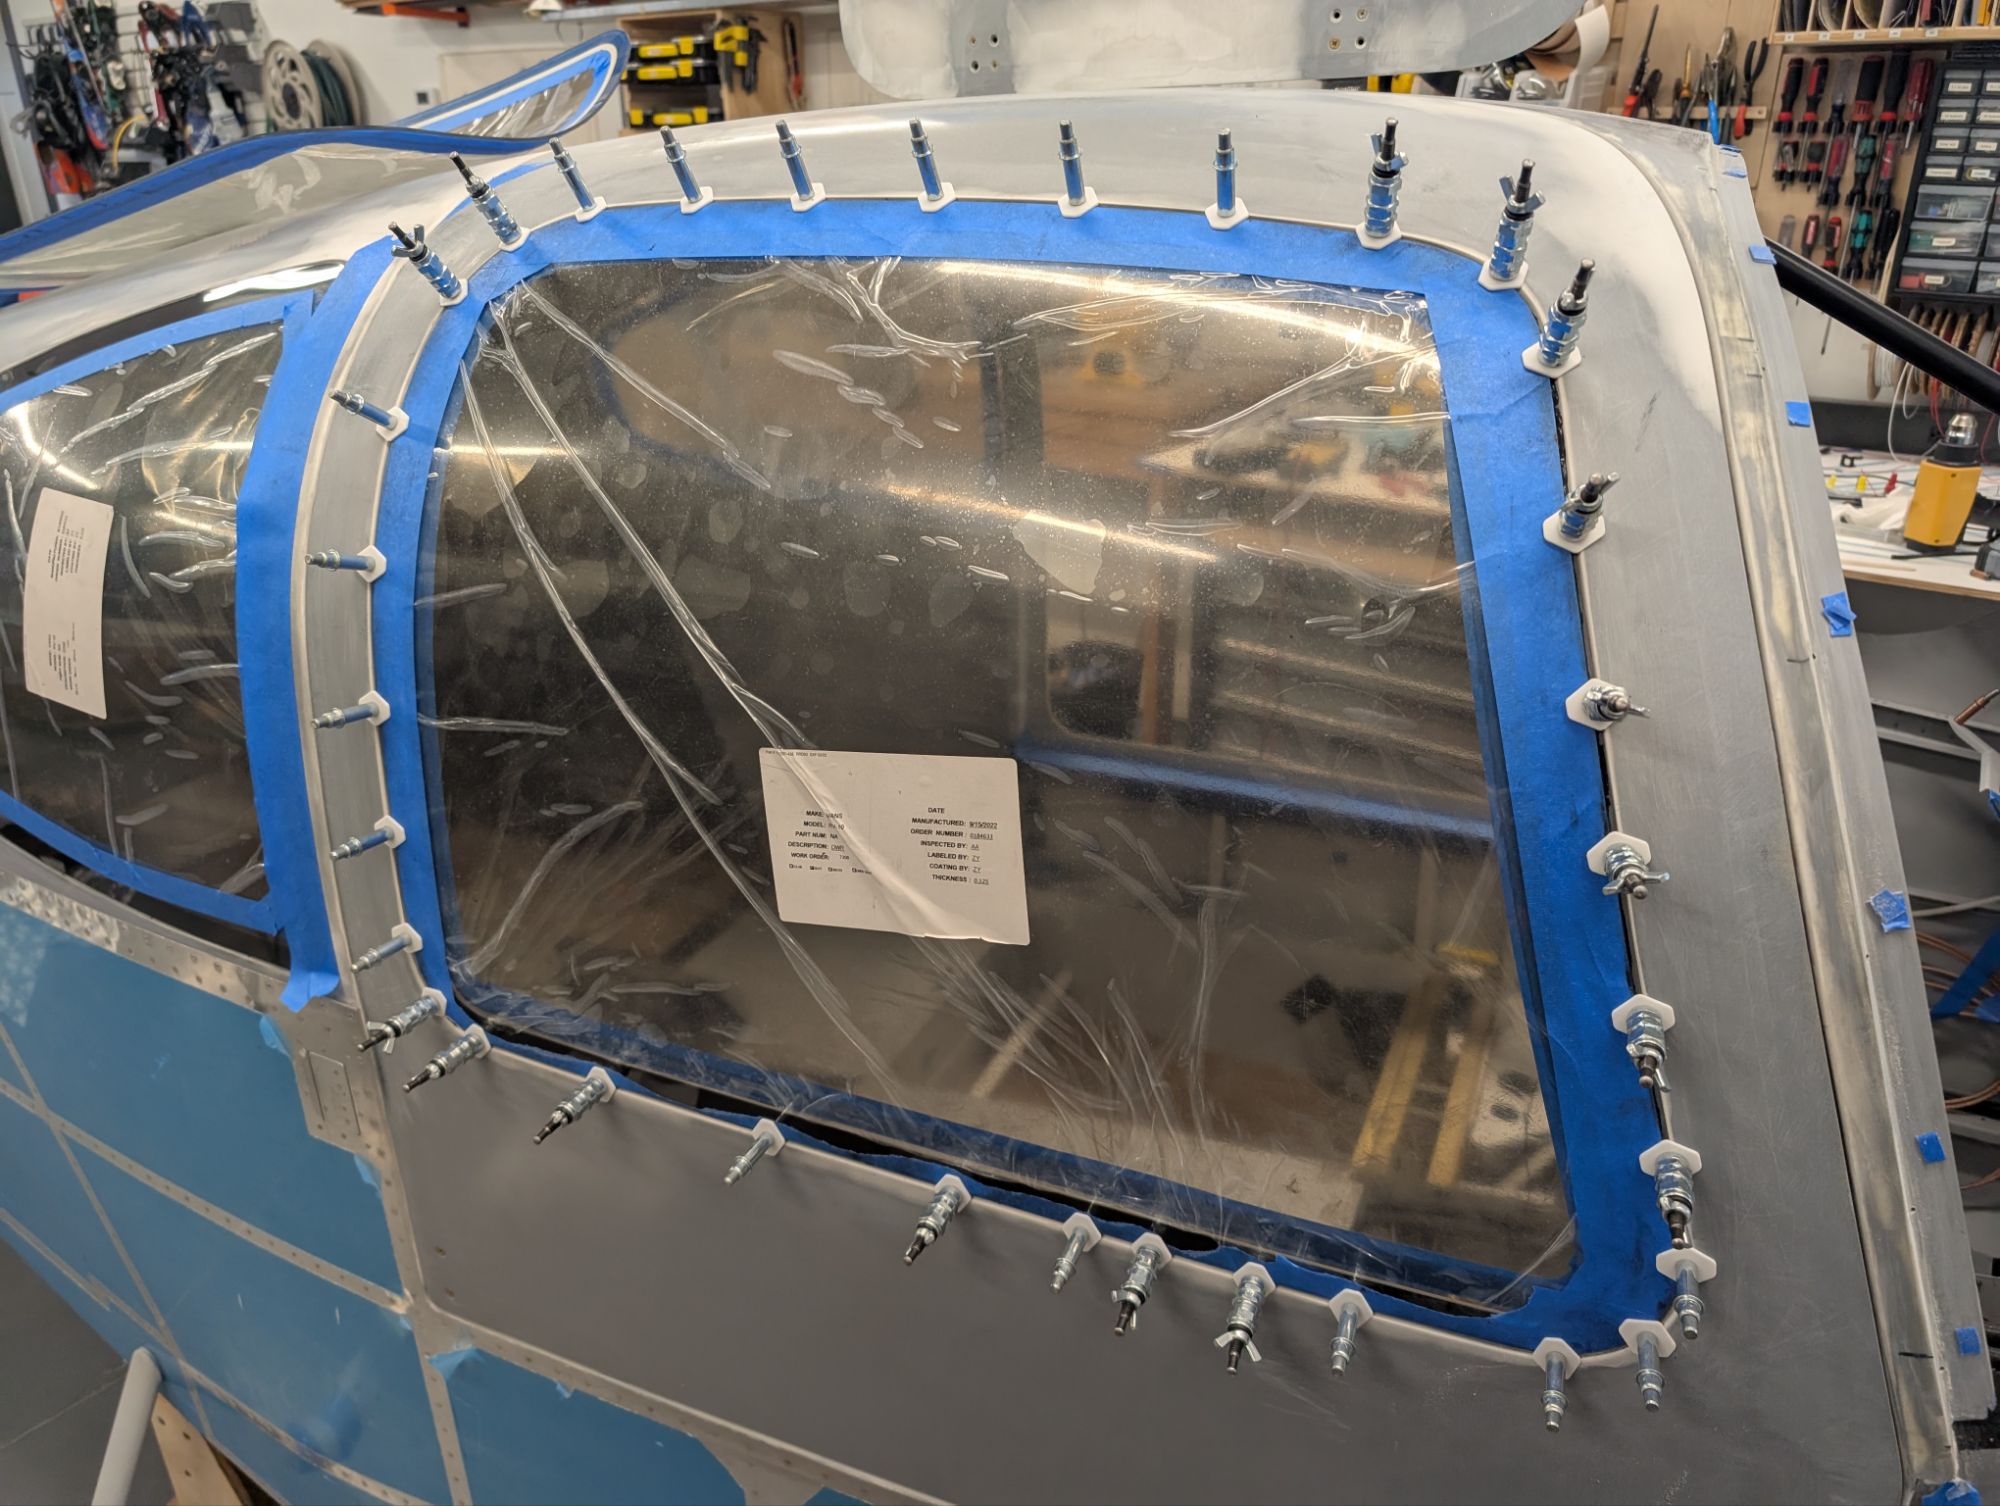
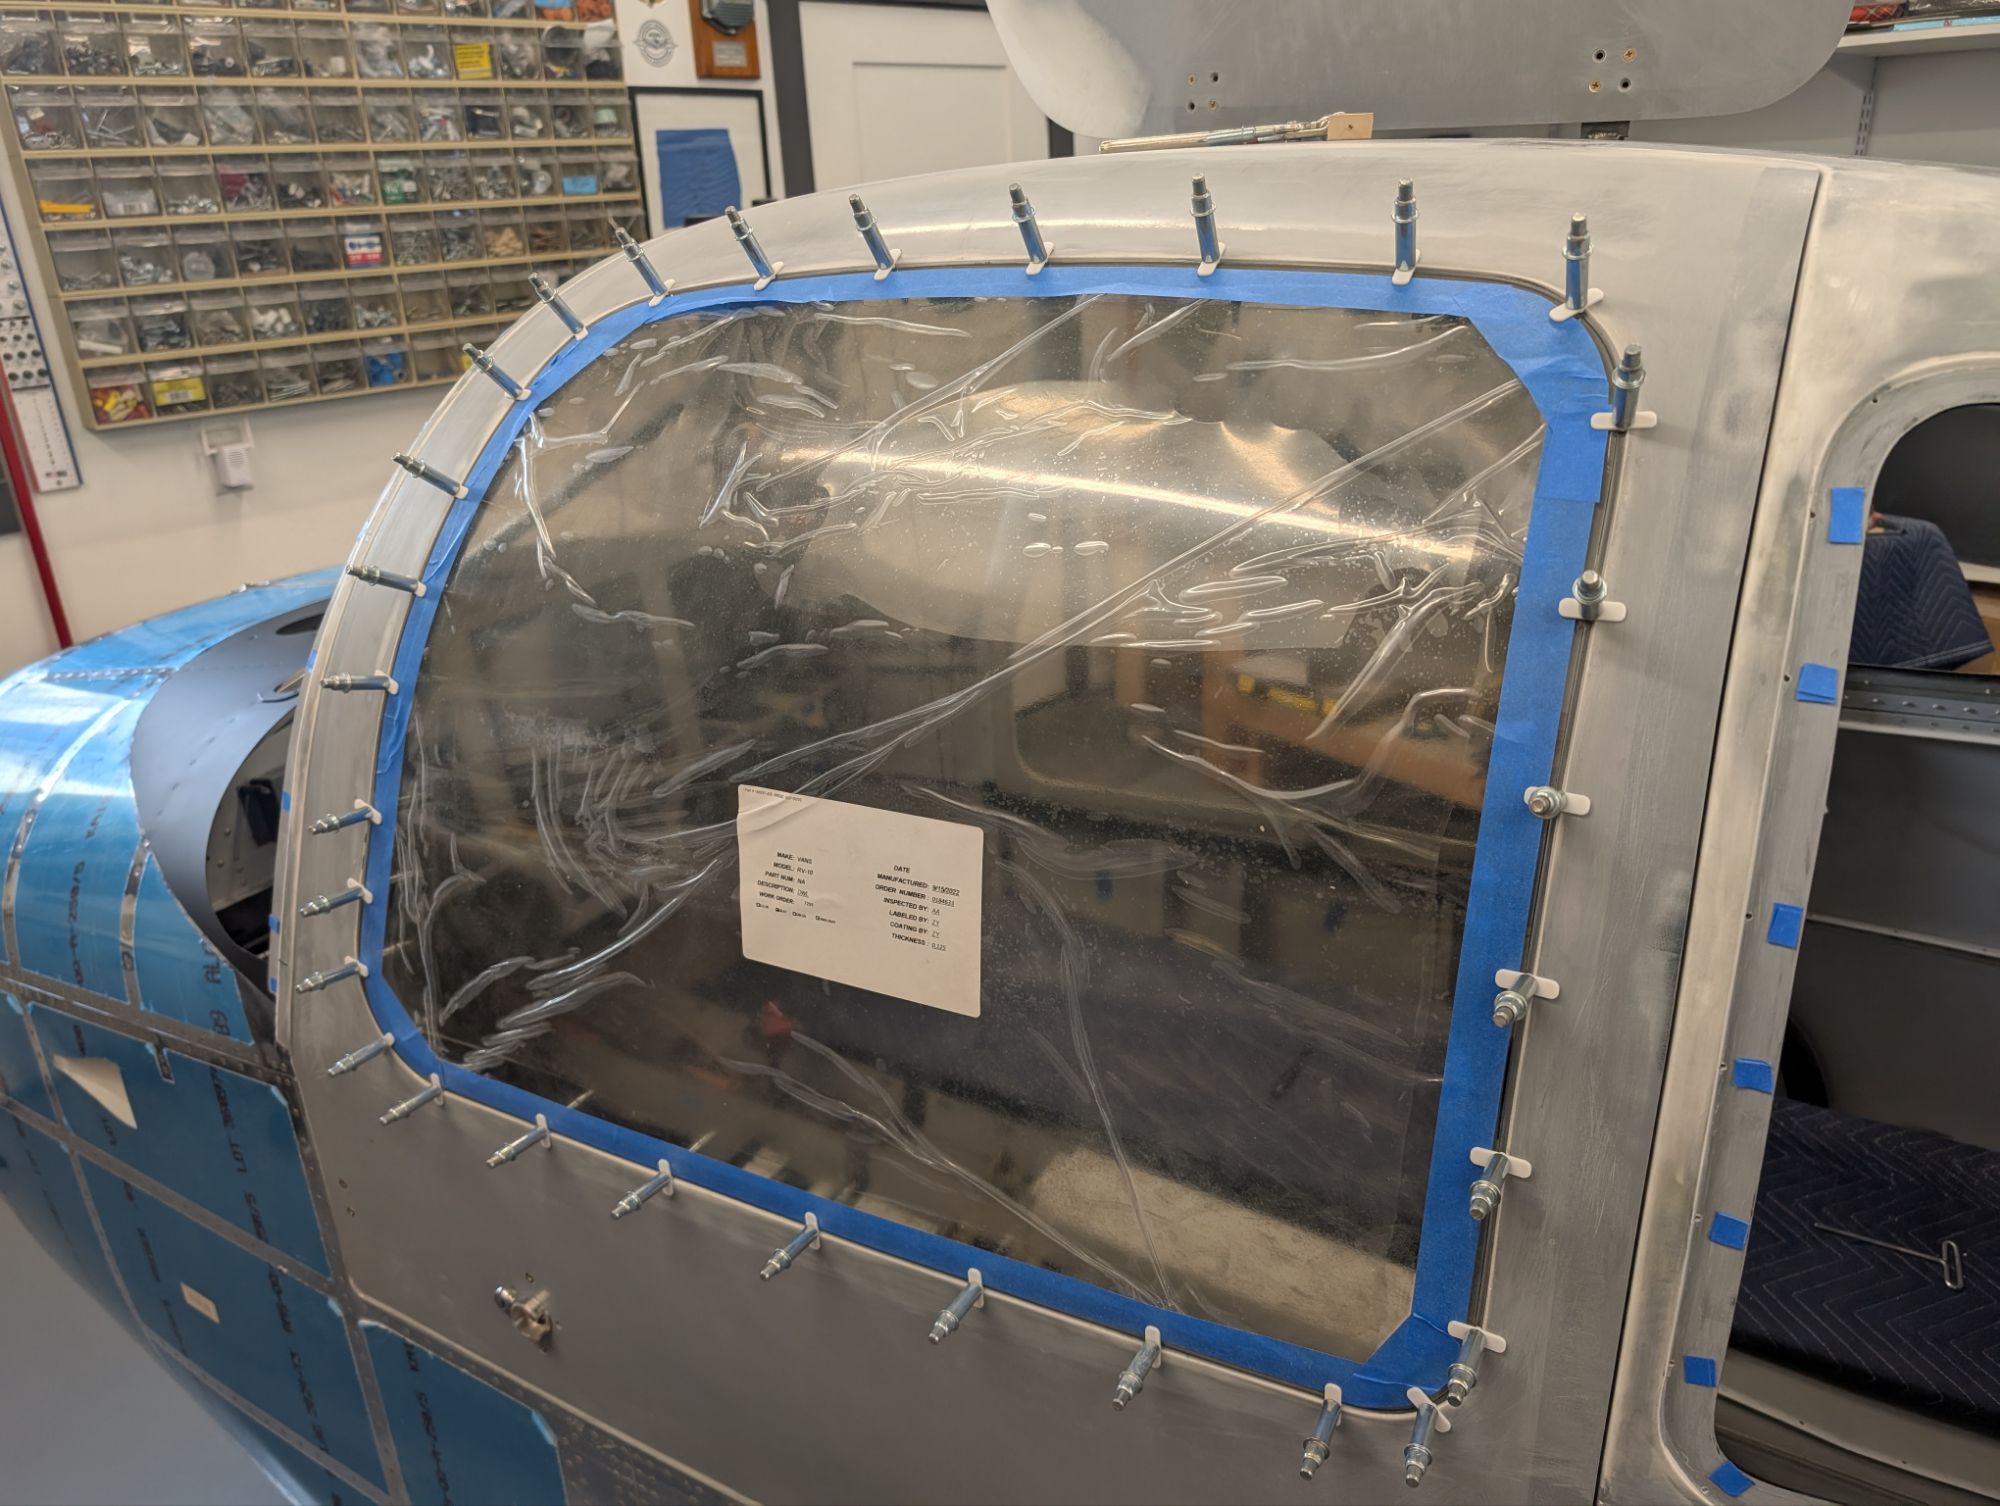
I prepared and taped the left window as described in the video series. I purchased 30 wing nut clecos, so I completed one window at a time, starting with the rear left.

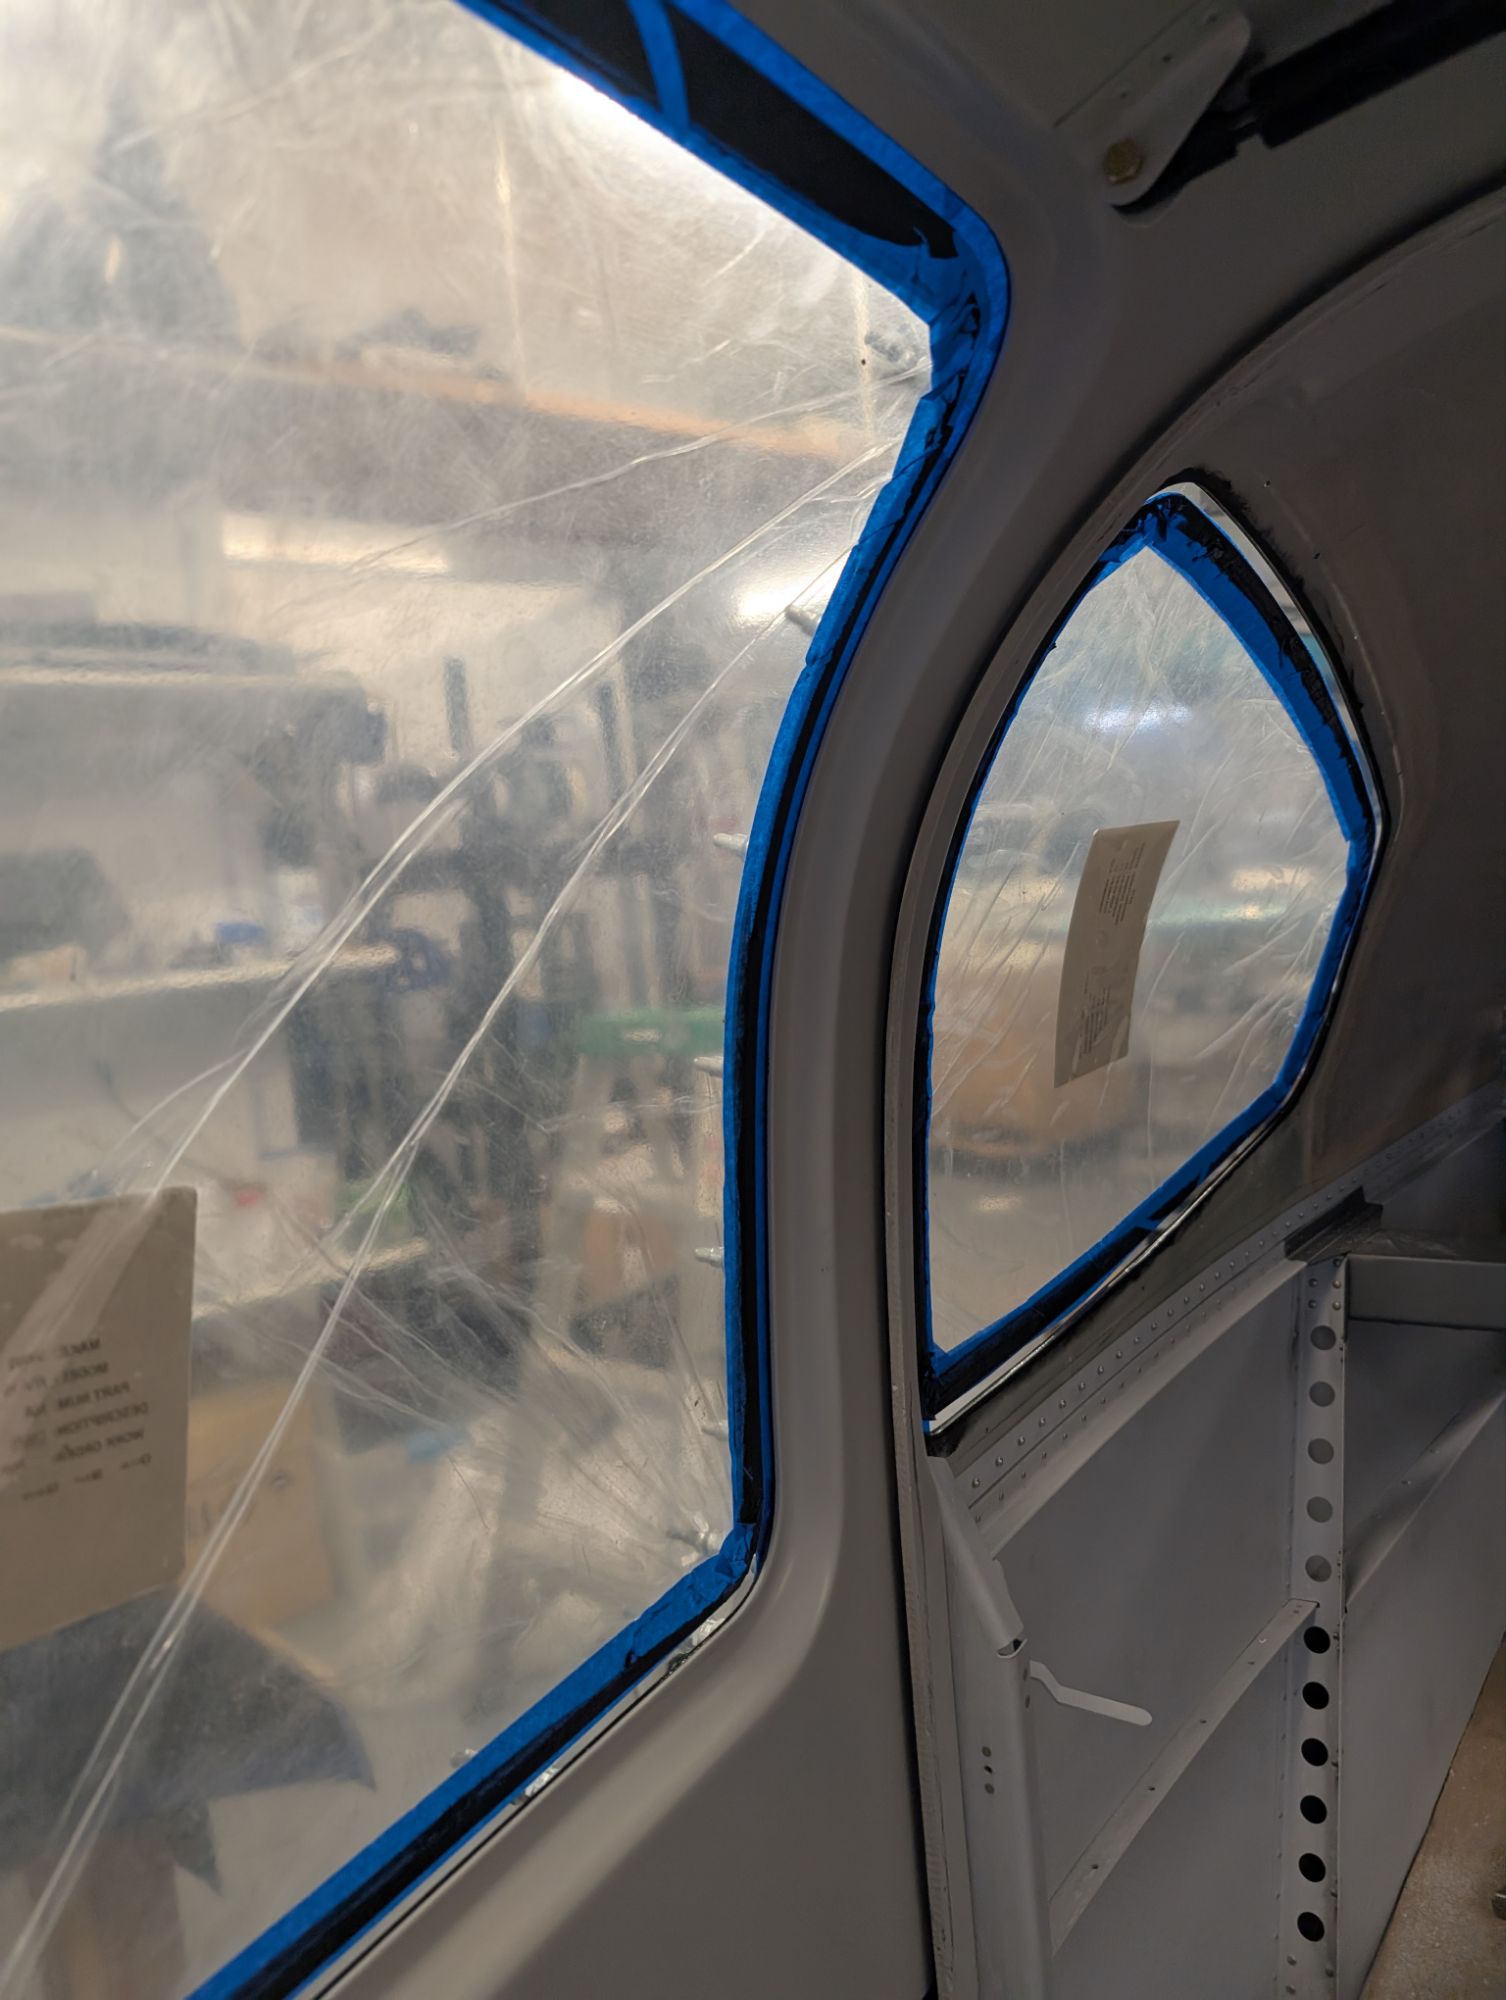
I taped off the cabin top to avoid getting silicone on the surface. I shimmed with painters tape to obtain a rough fit for trimming, then made standoffs from Silpruf. The standoffs were adhered with black RTV.
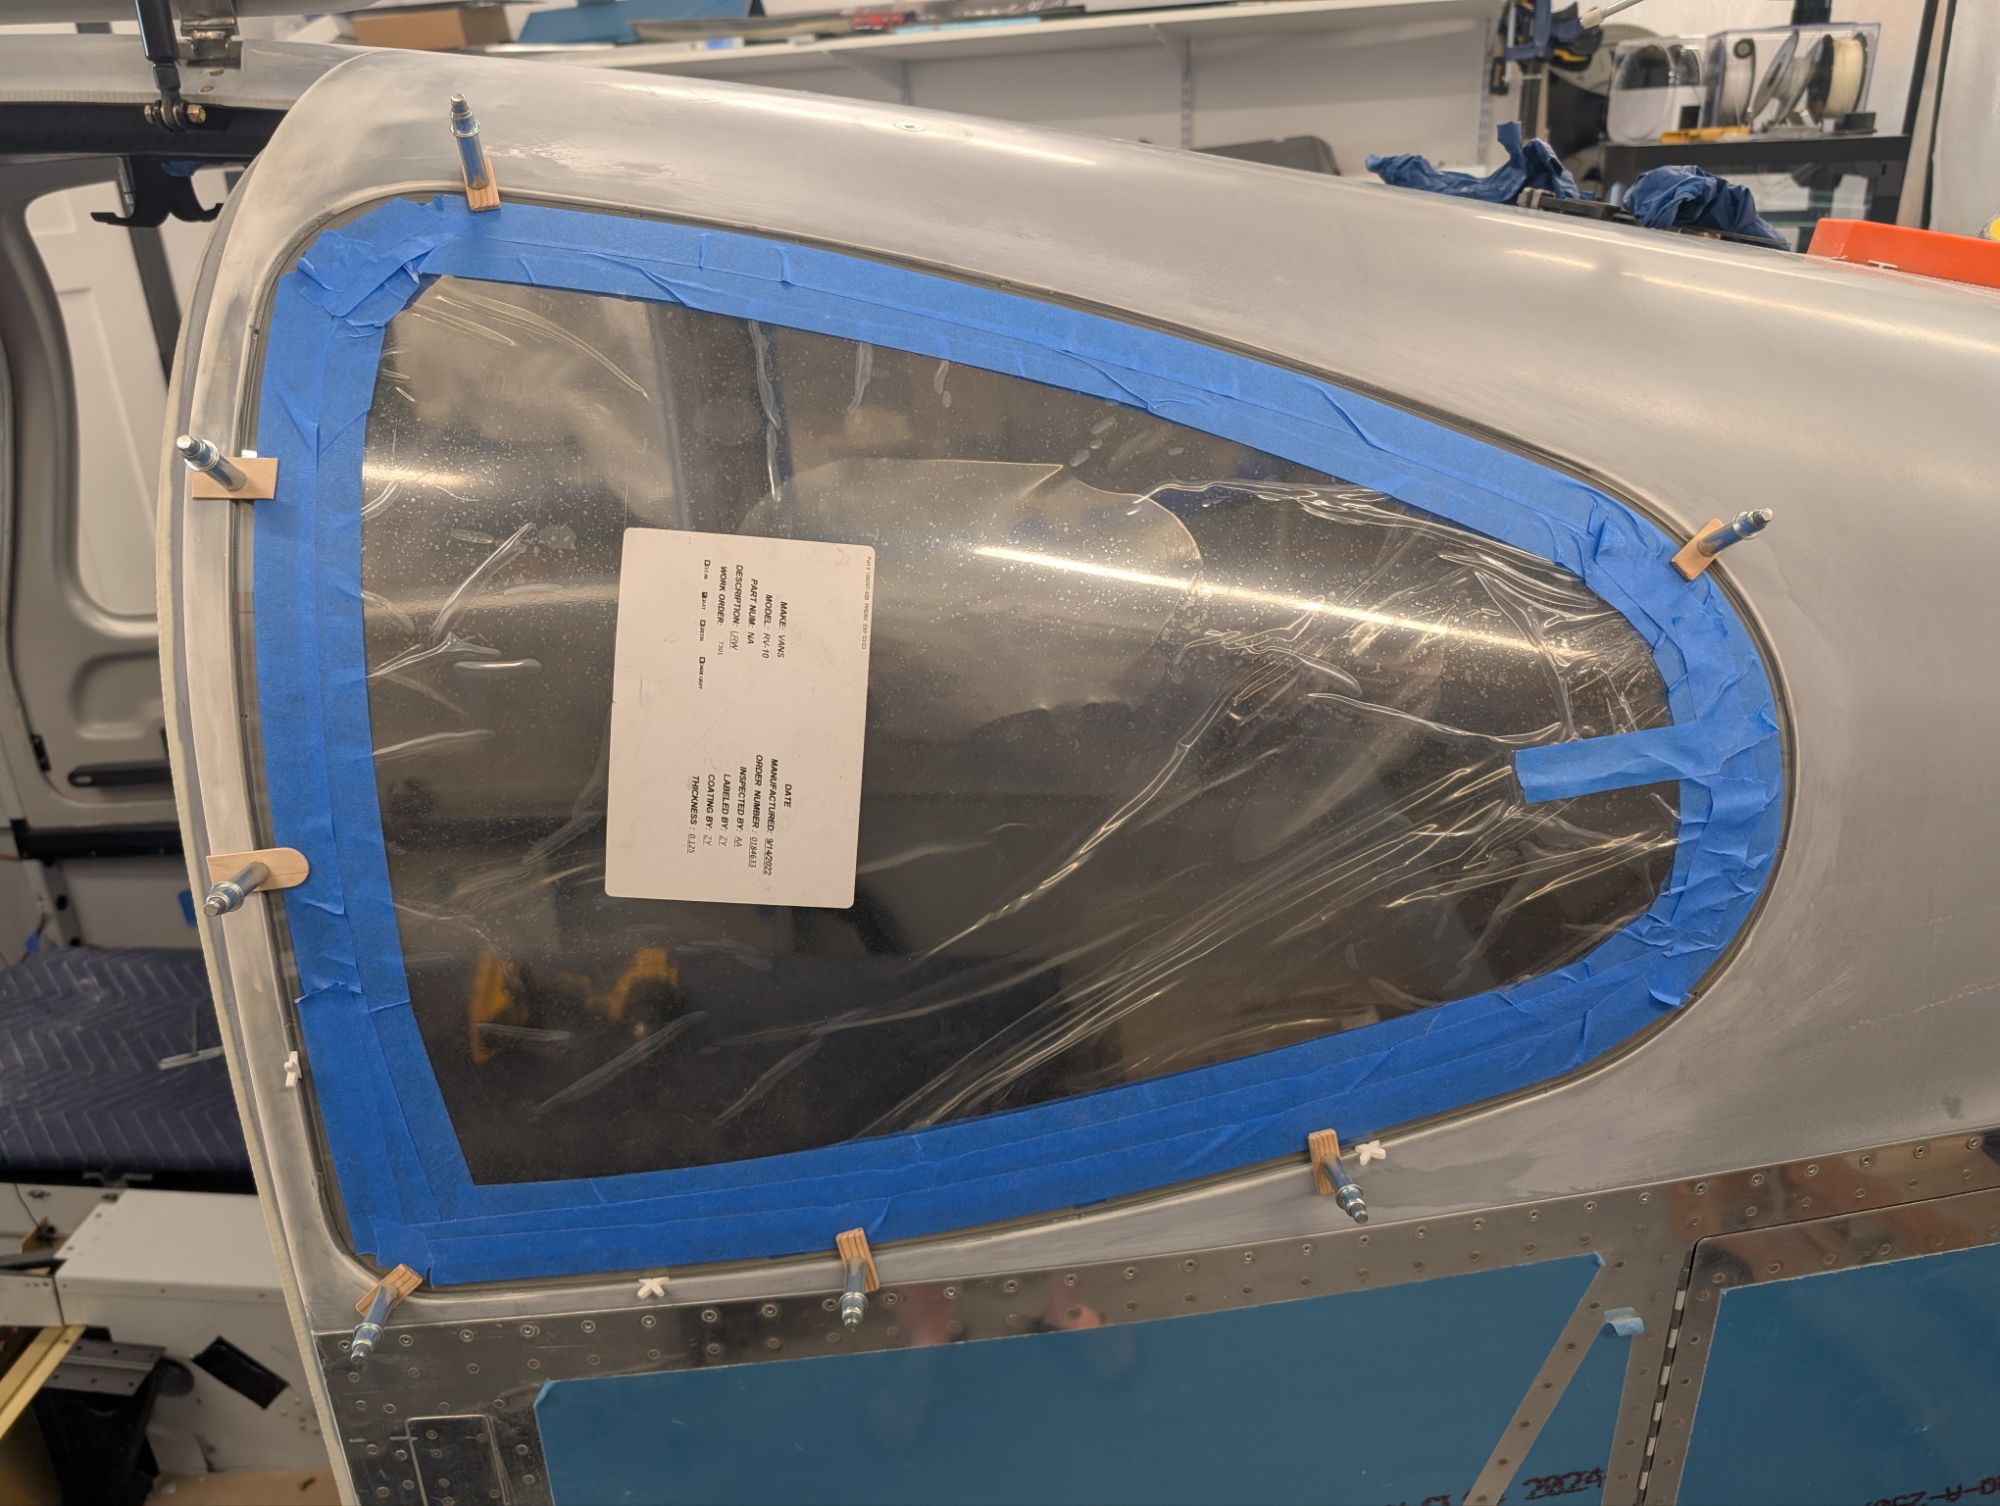

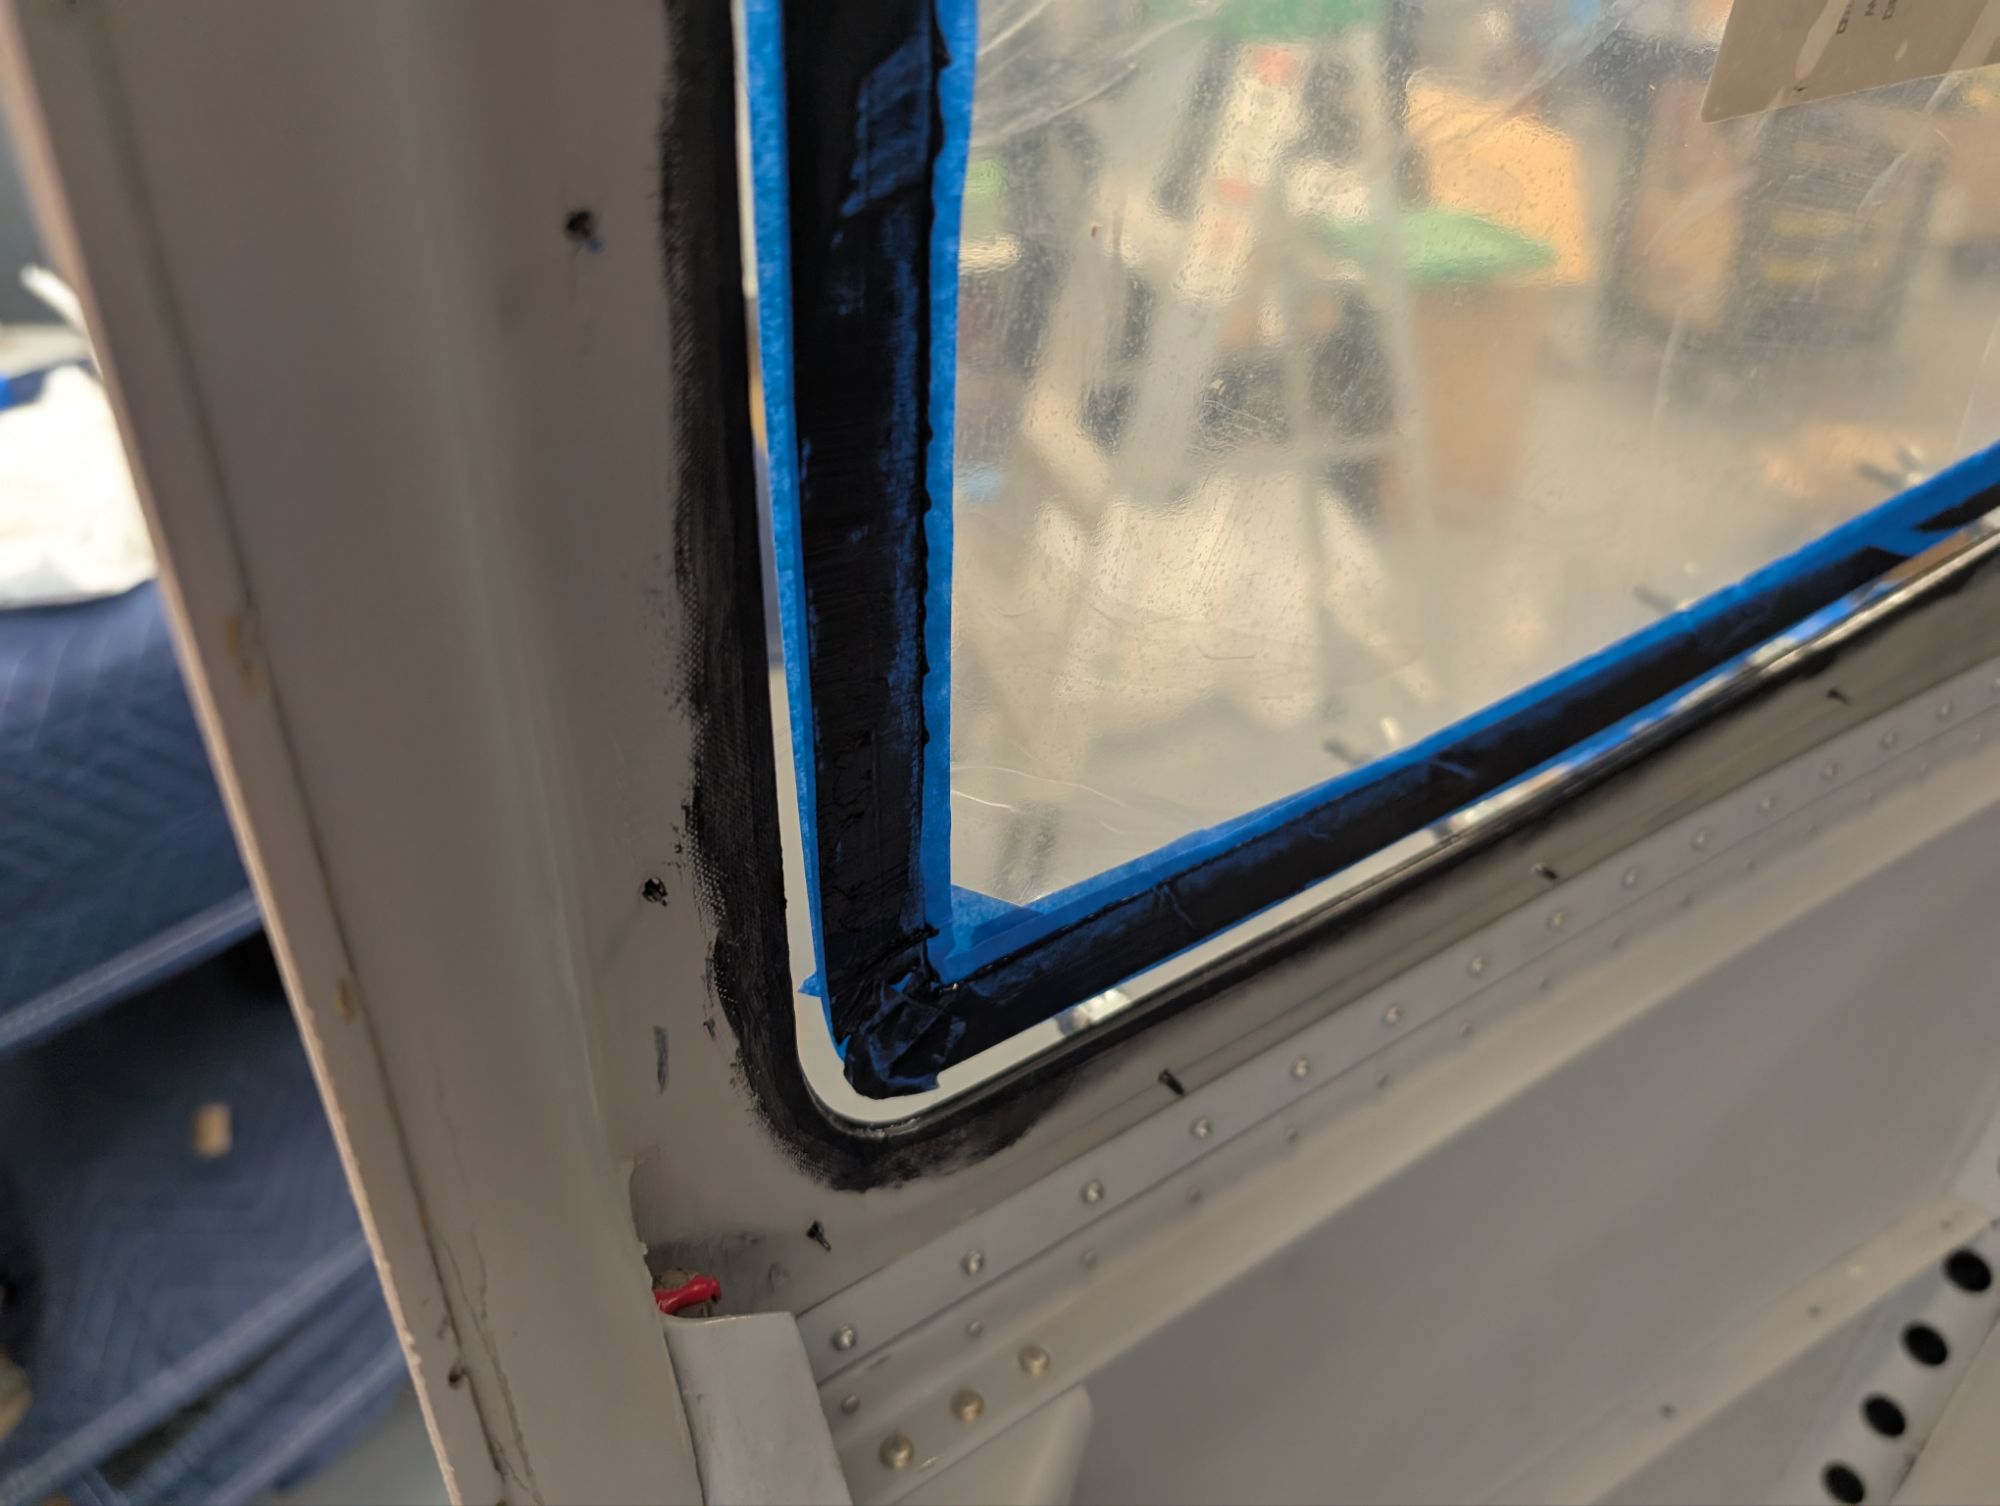
I sanded and painted the thin edge of the window flanges black before installing the windows, as this area is visible from the exterior.
I added a thin layer of Silpruf the night before bonding the window. This provides a consistent visual layer that is seen through the window.
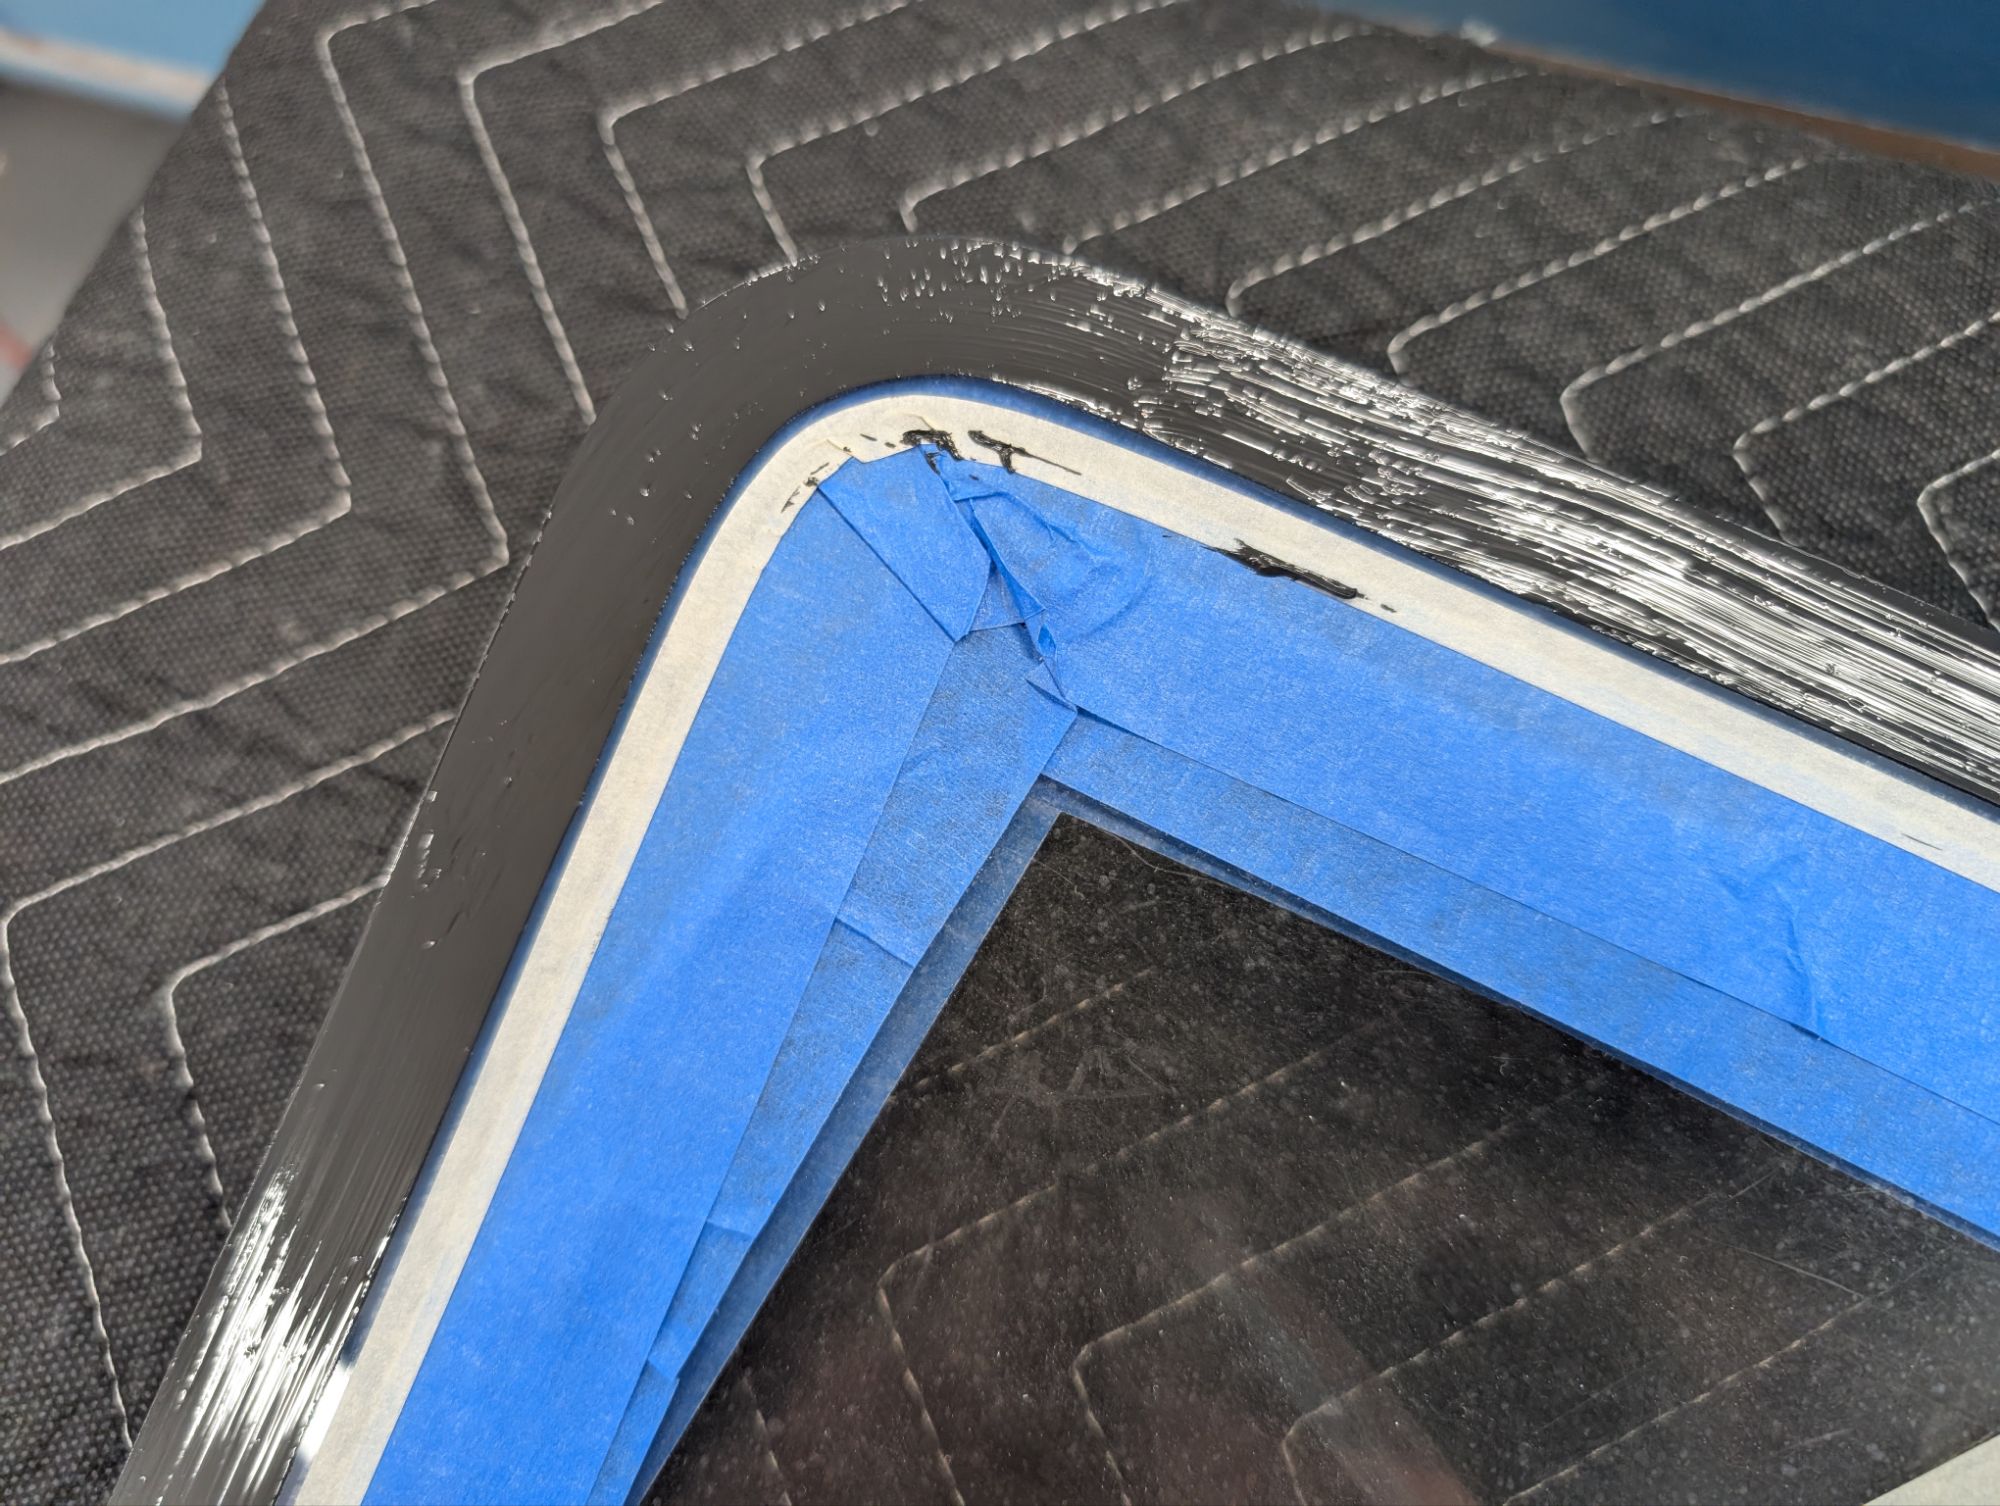

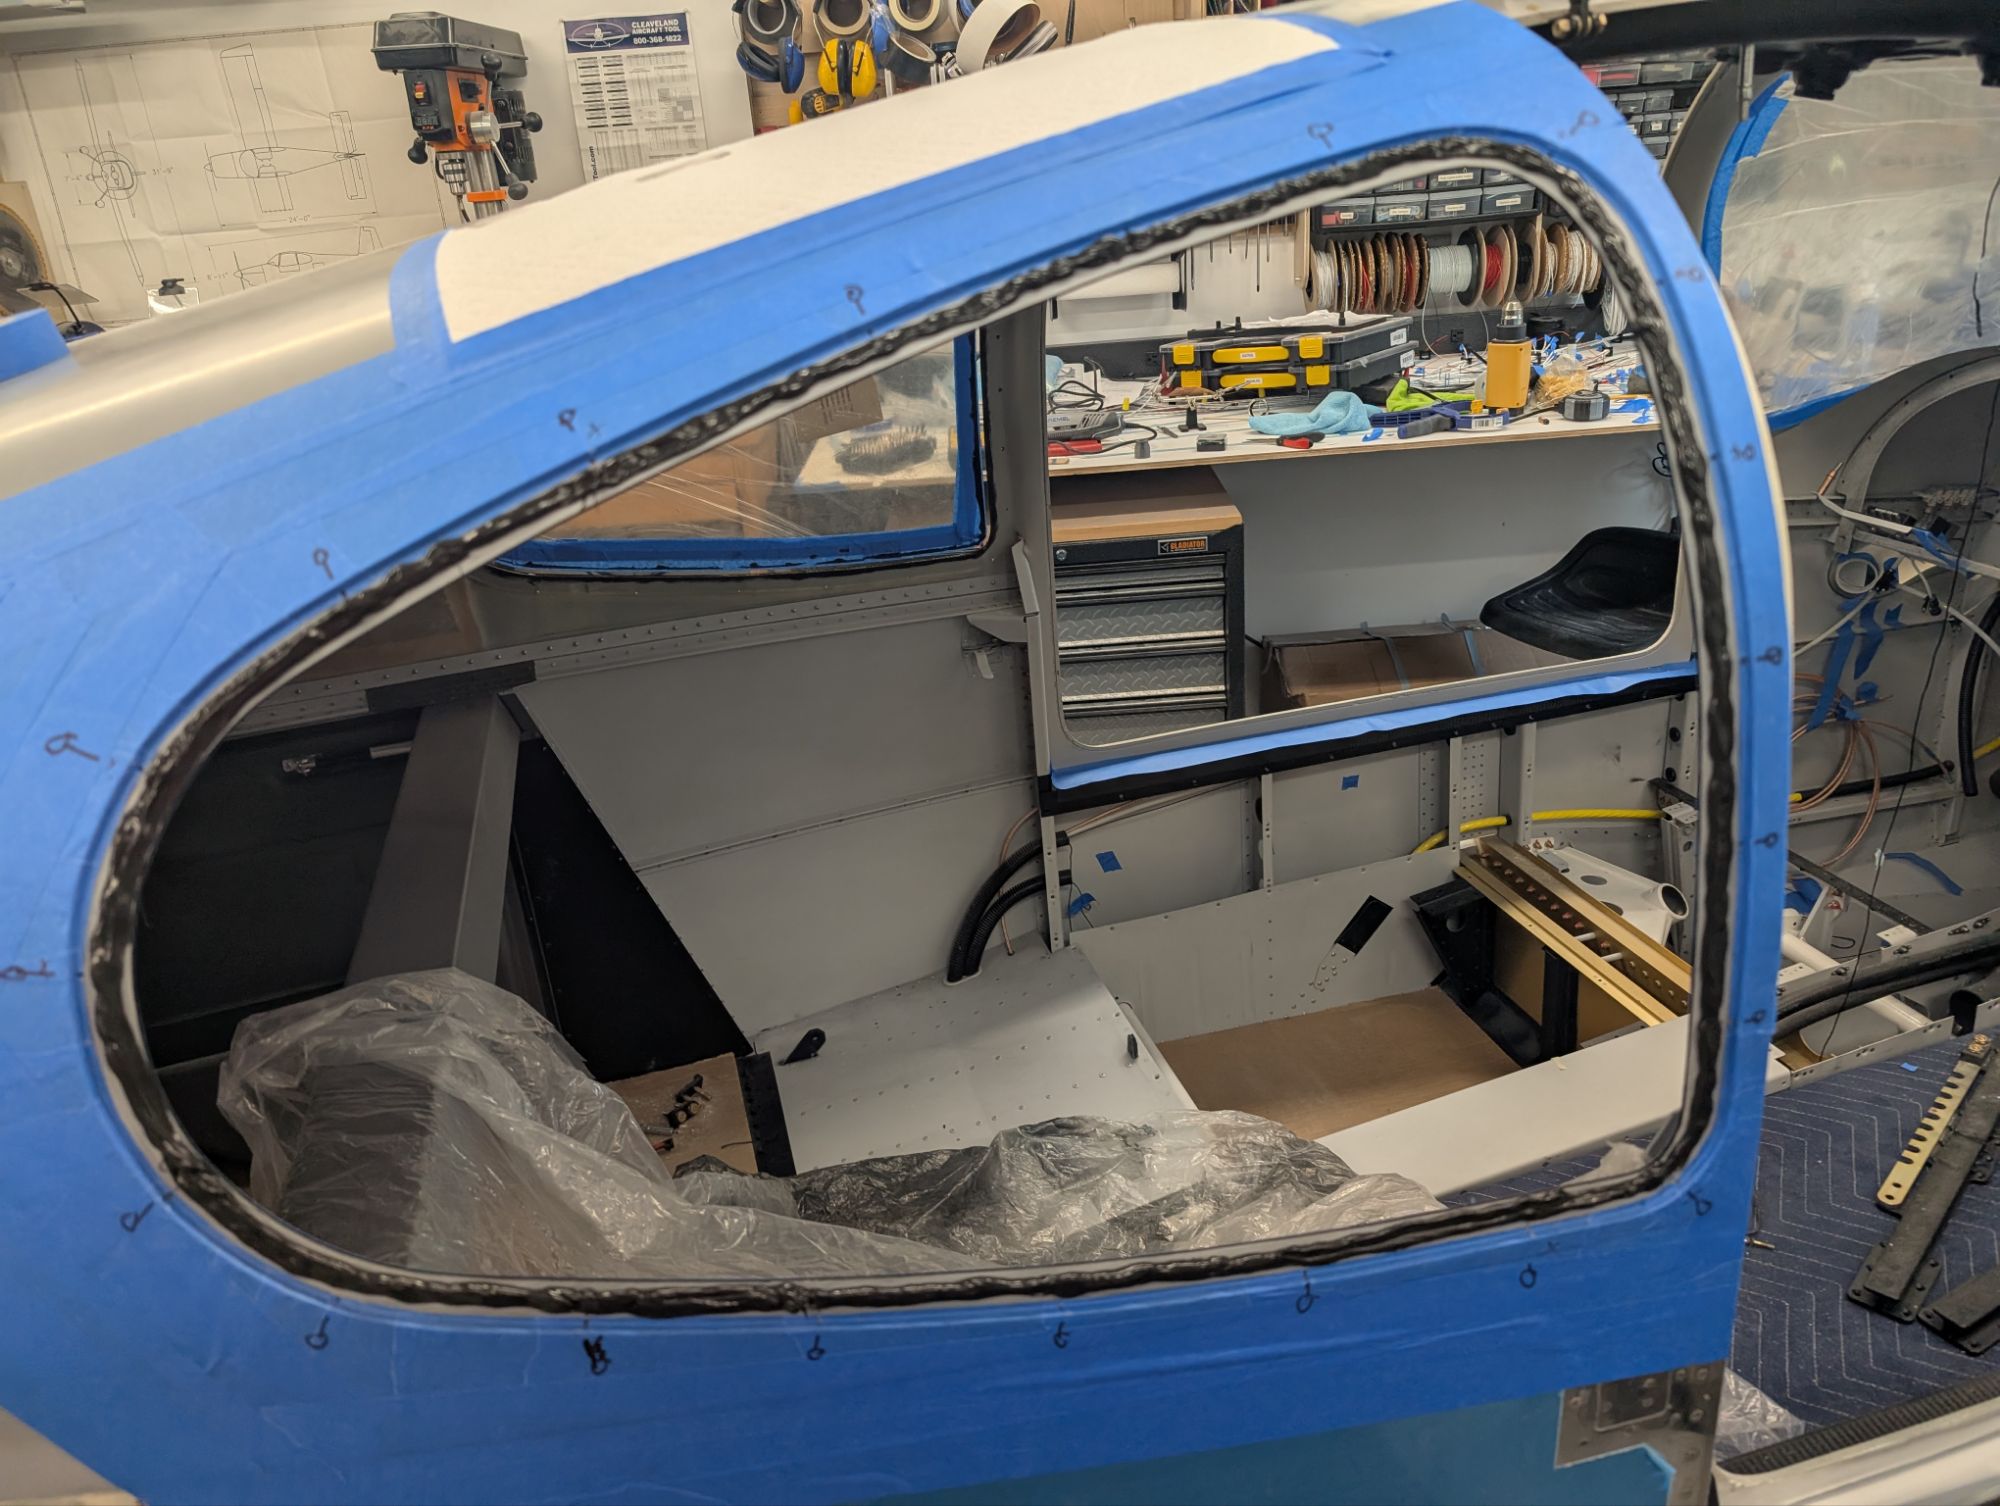
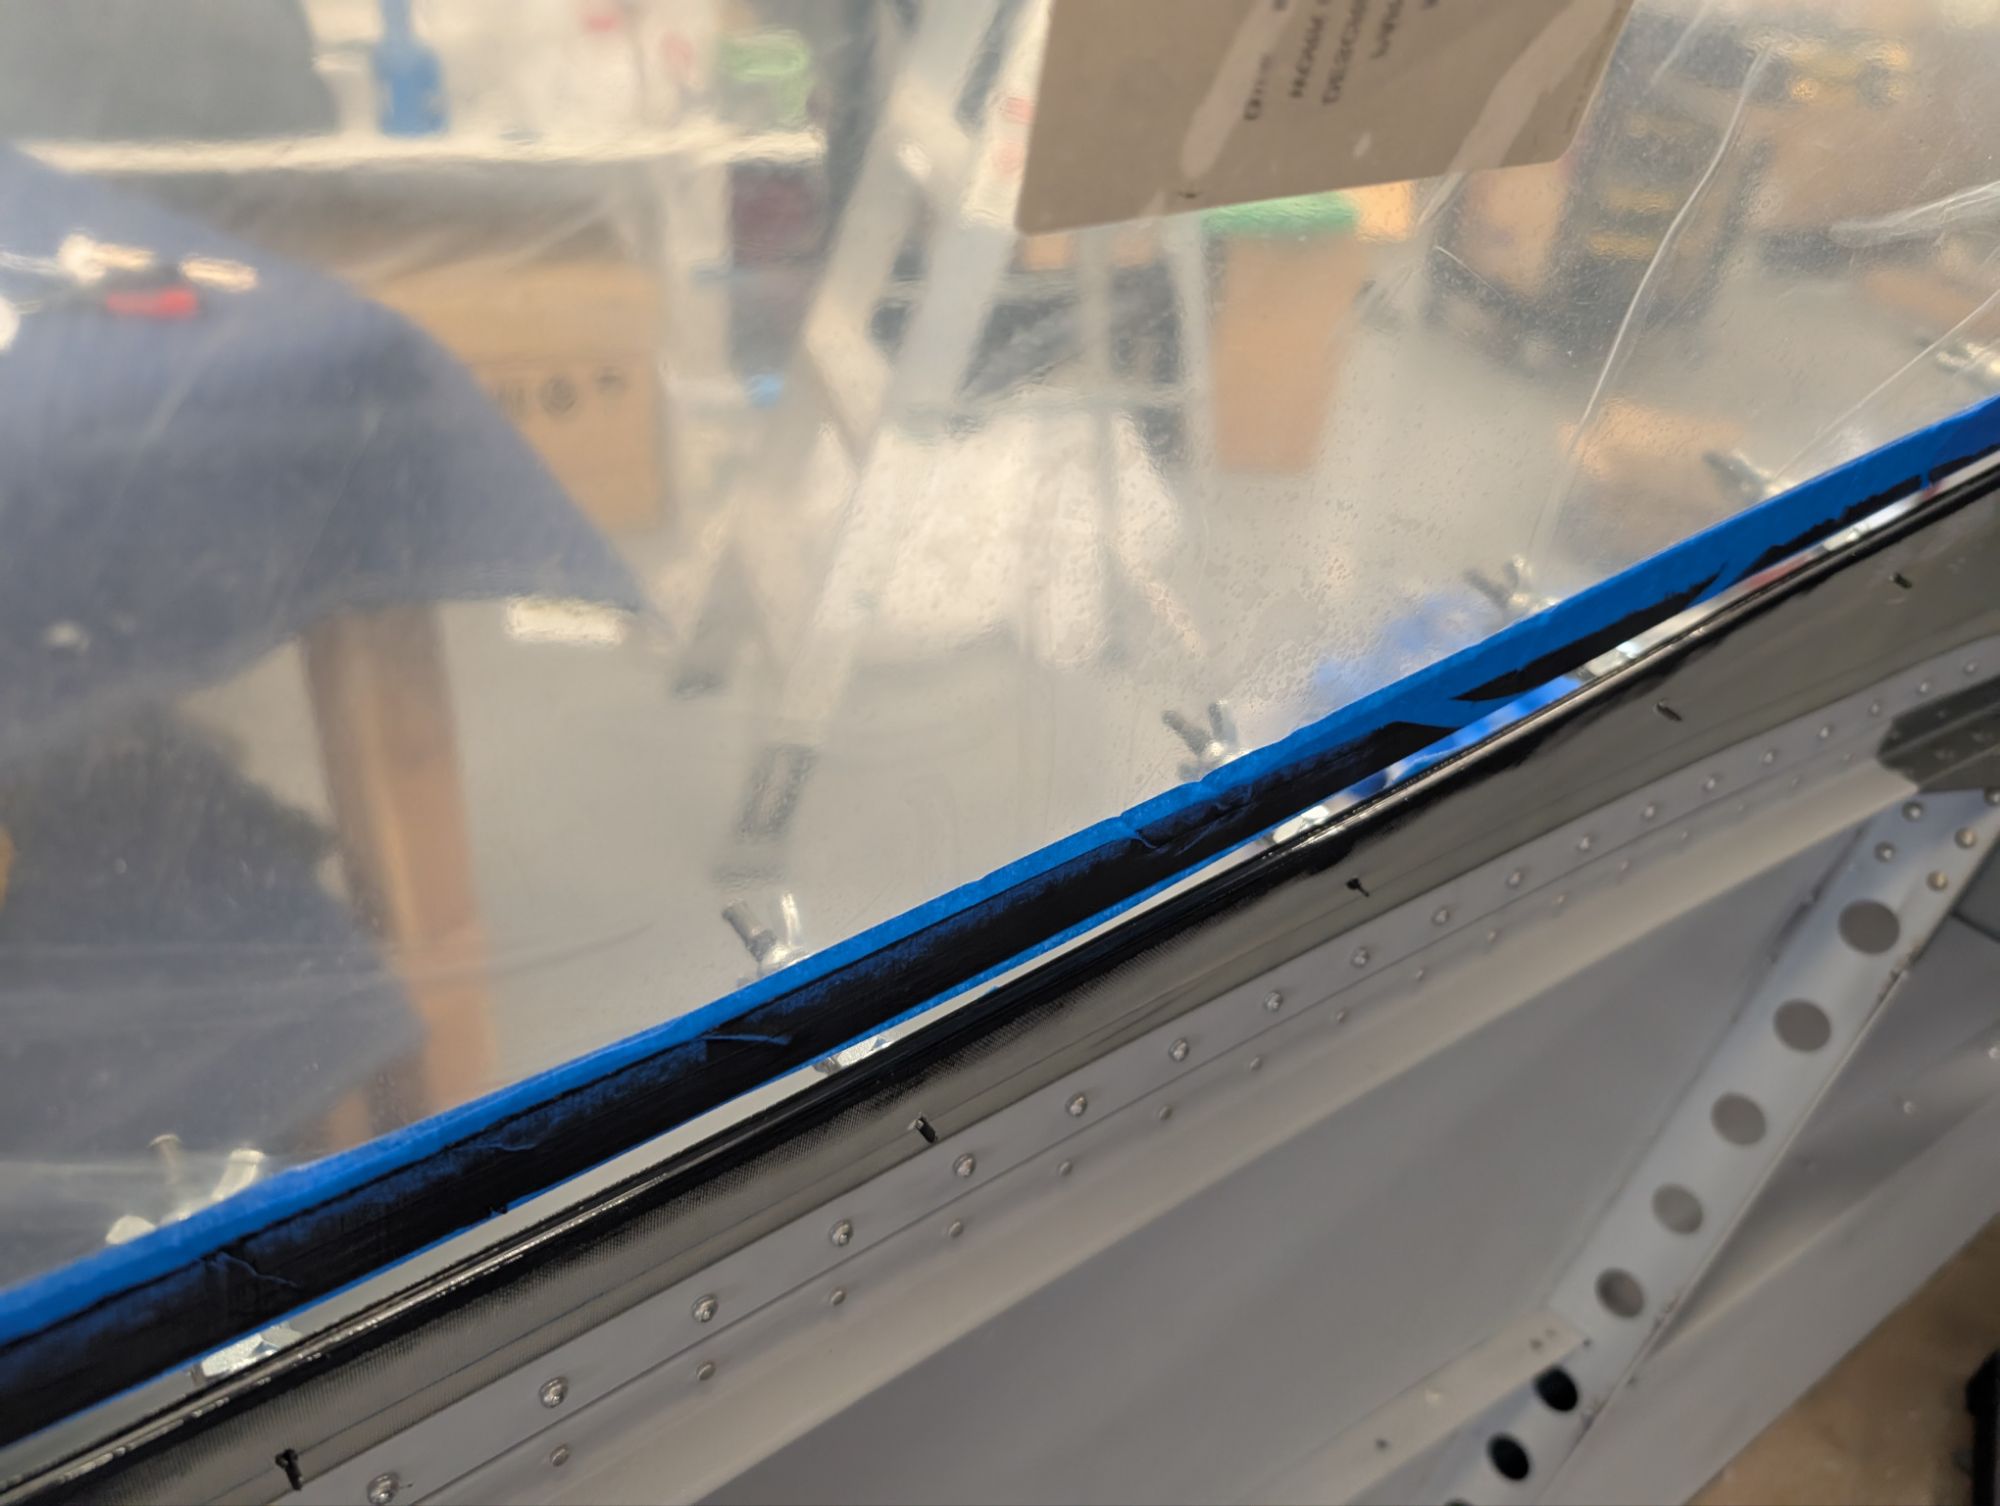
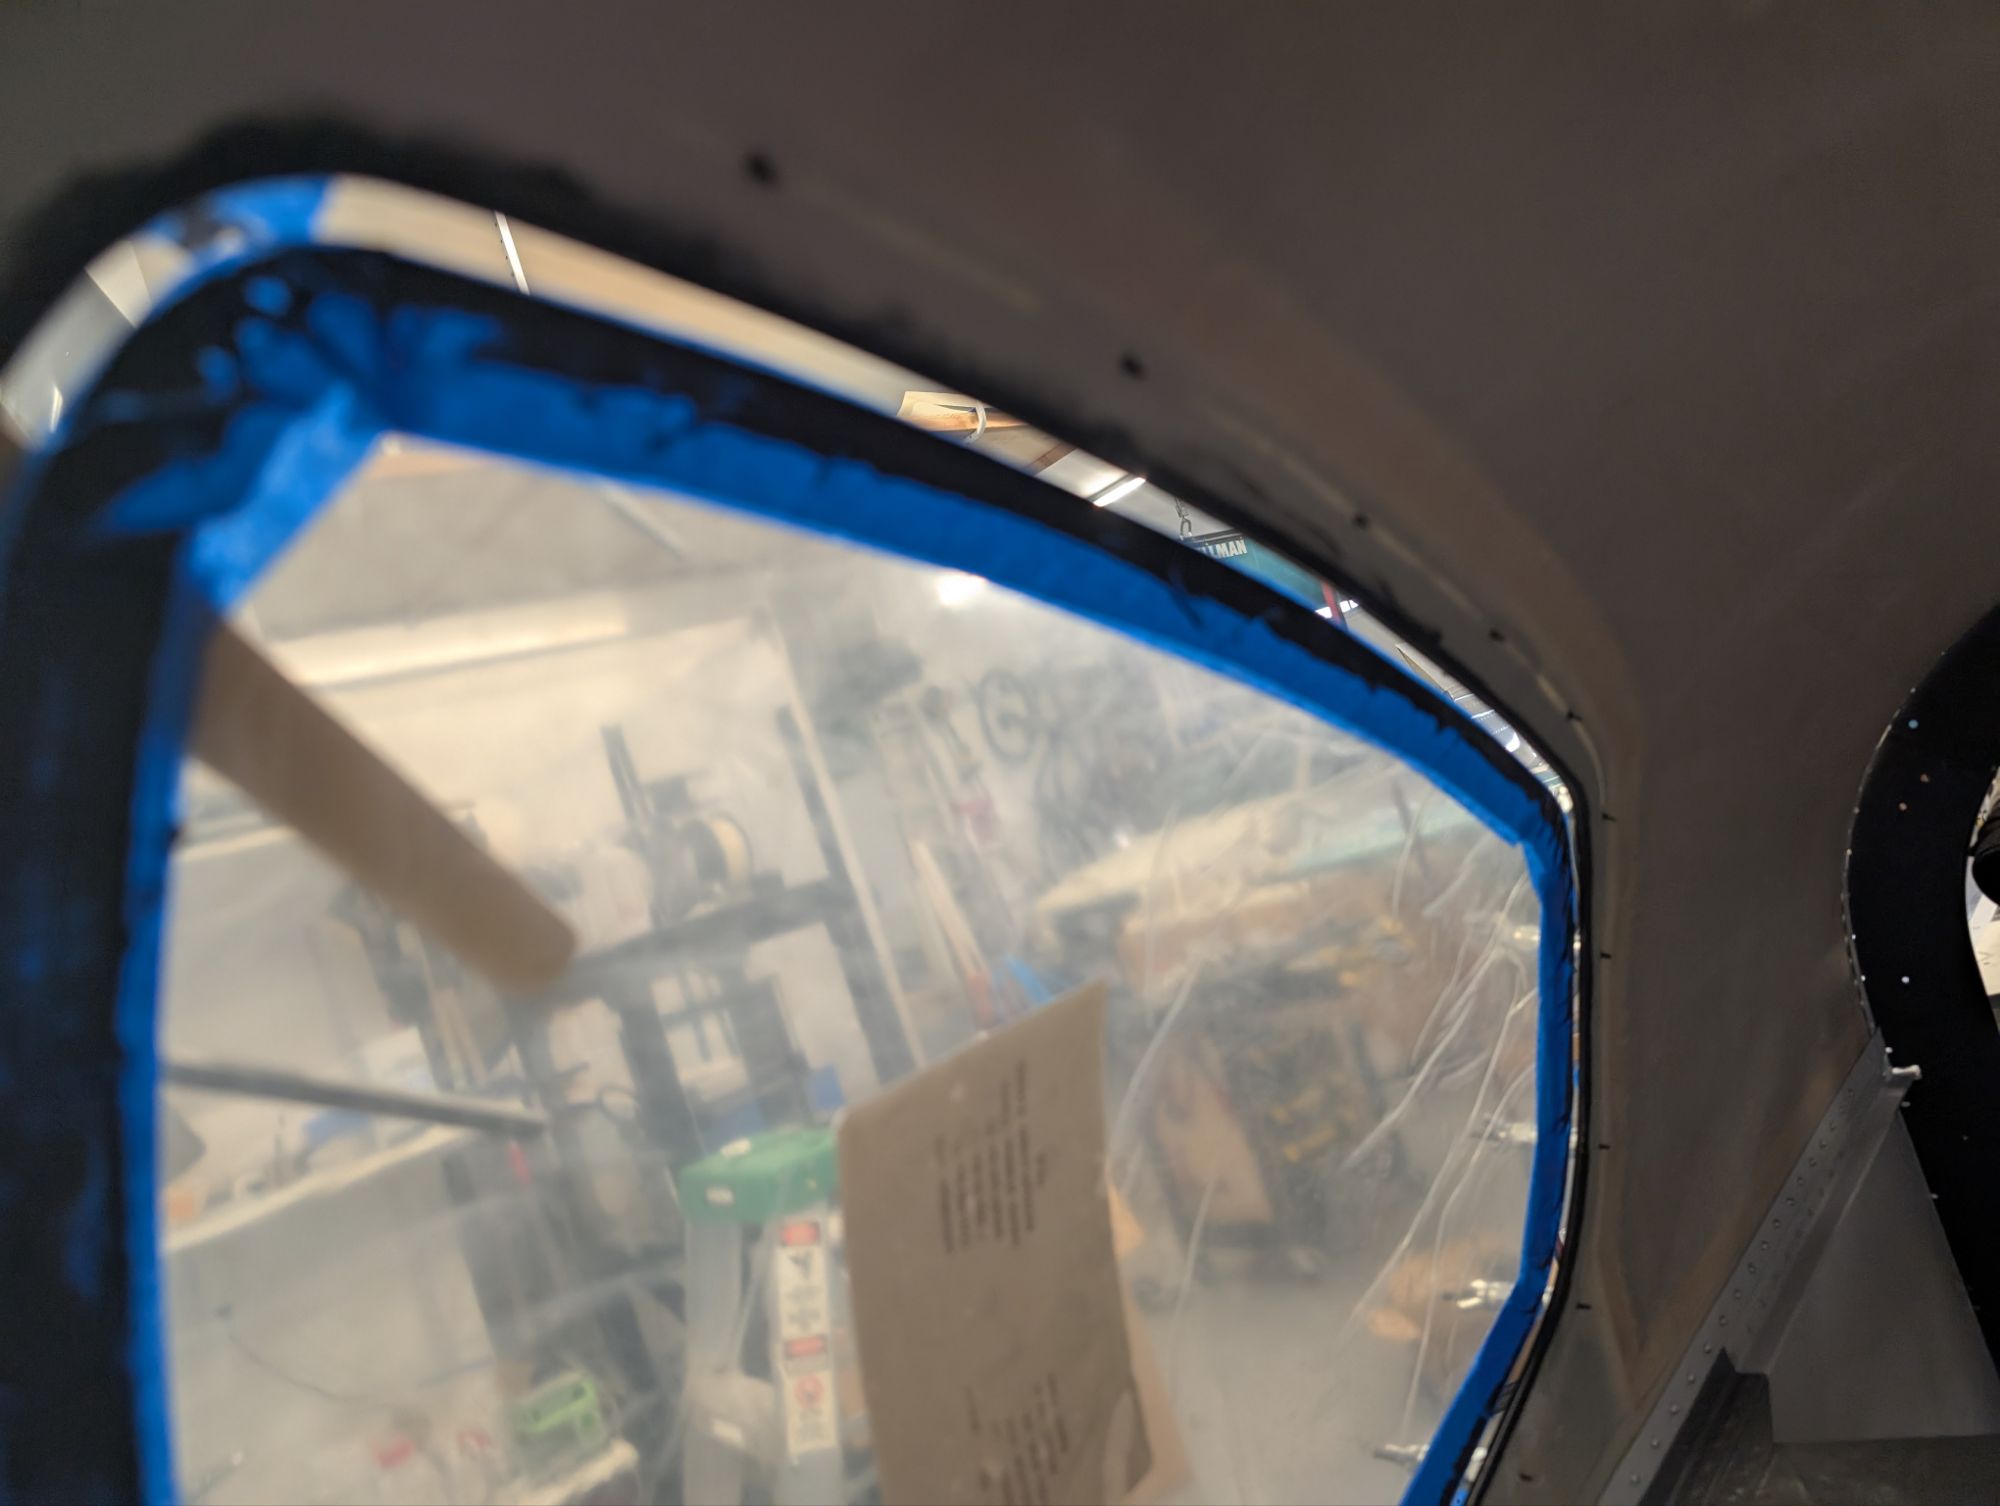
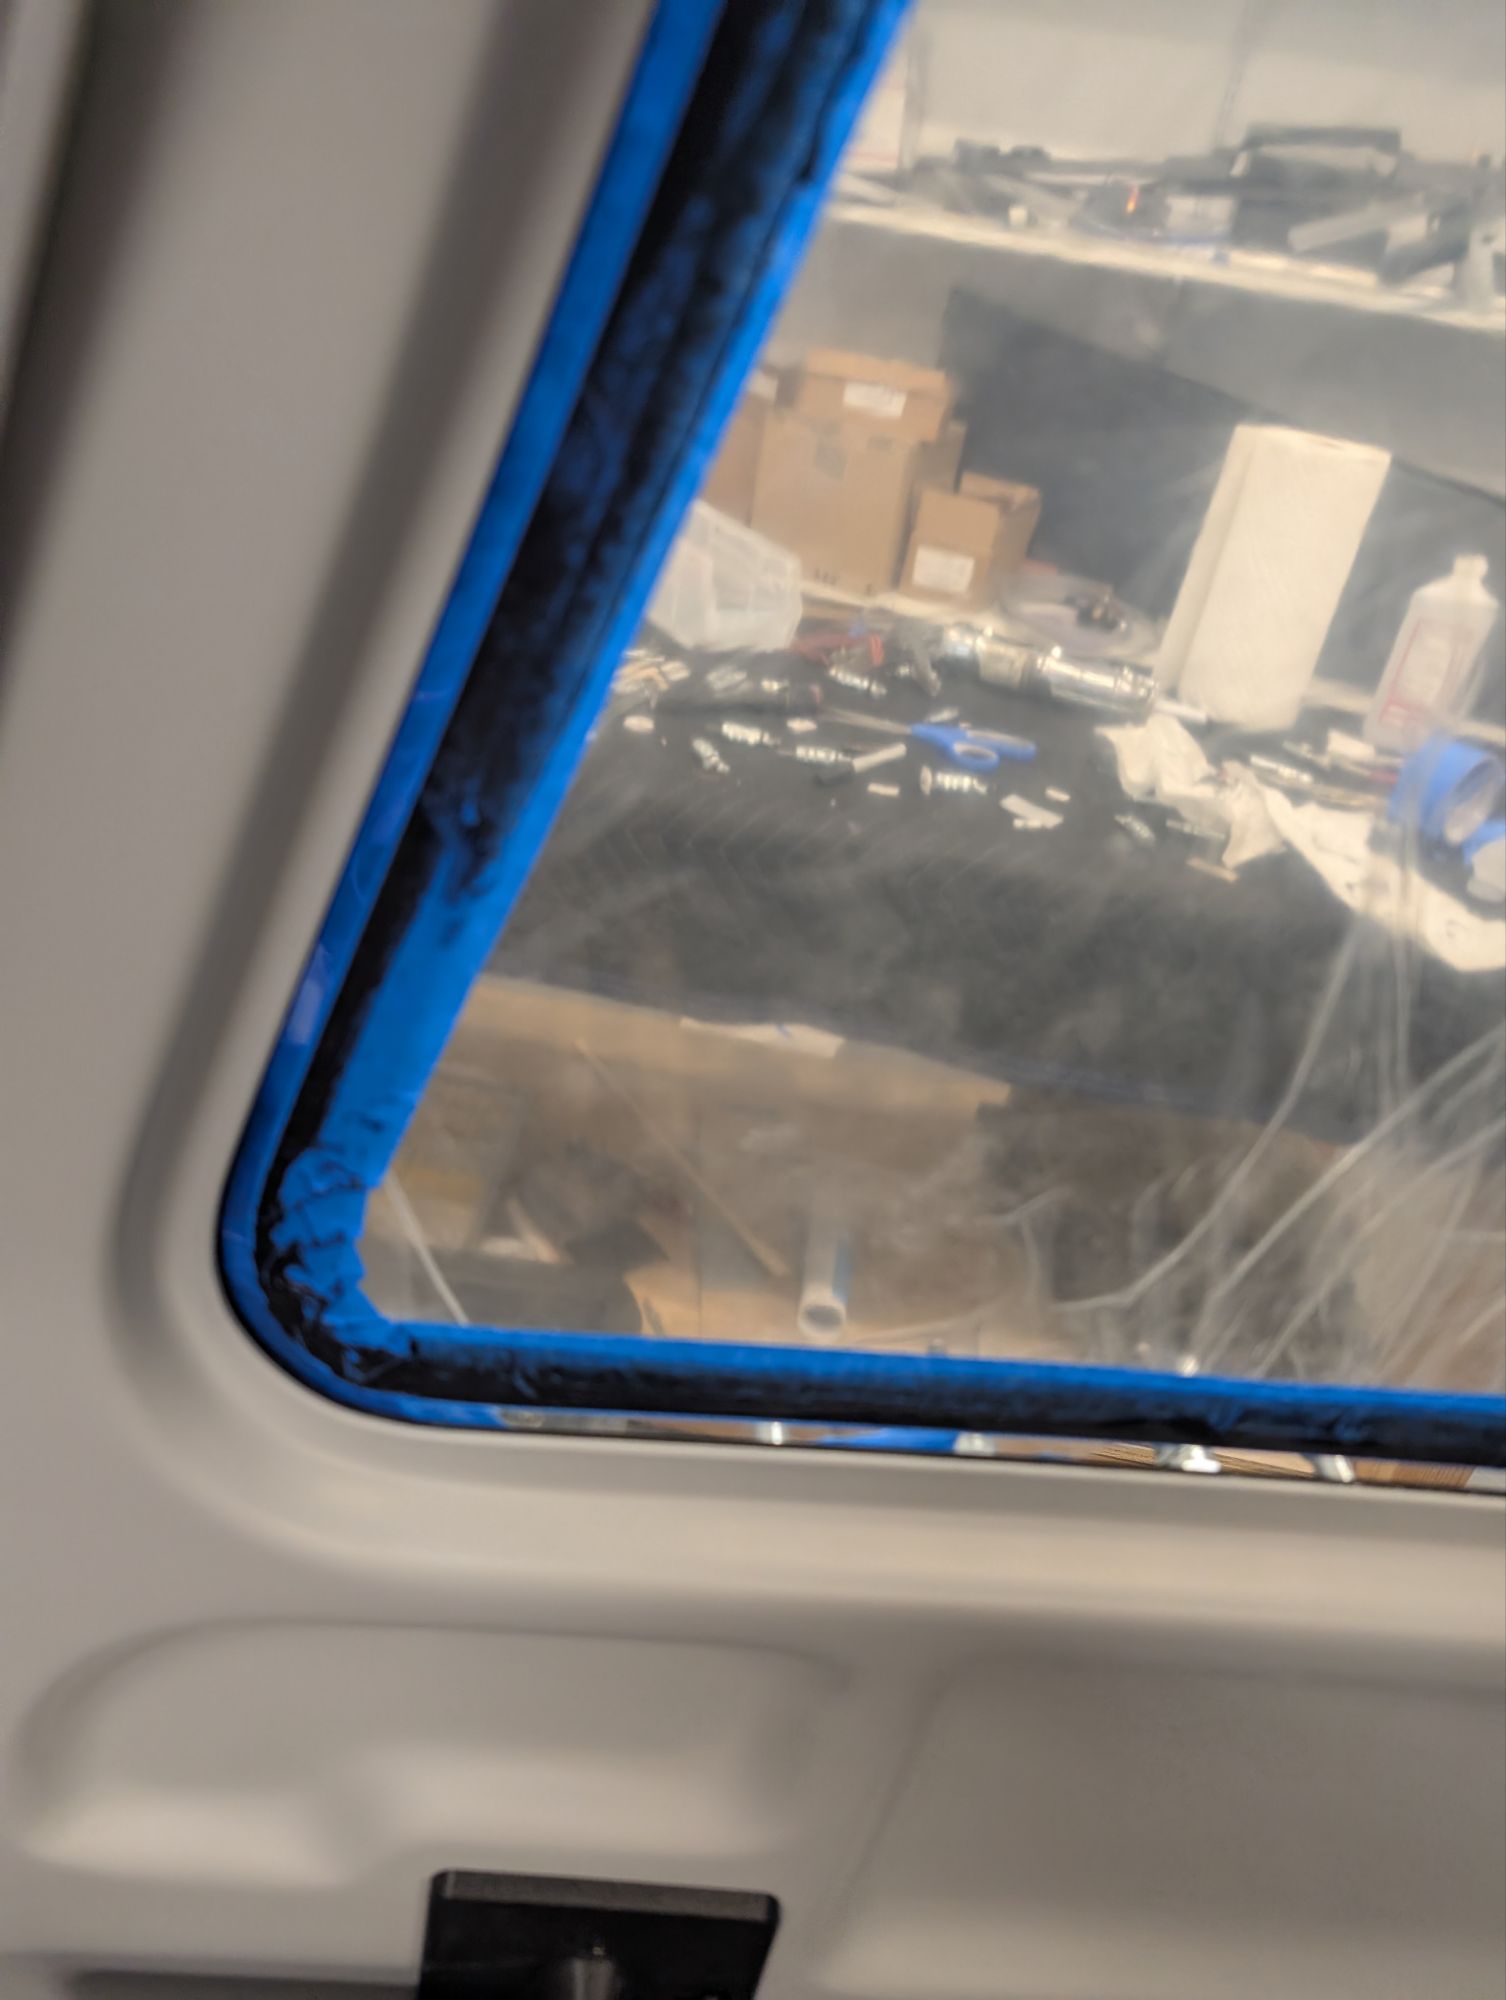
I then added a bead of Silpruf and bonded the window. I didn’t take any pictures of the left window when the clecos were installed and curing. Zach Chase makes the sequence of steps here look clean and simple – it was much messier for me in practice. Removing the squeeze-out while leveling the window, then removing the tape while avoiding getting silicone everywhere, was challenging. The inside of the window is then cleaned up to leave a clean line when pulling the tape. I hadn’t quite flushed up the lower edge of the window before pulling the inside tape, which lead to a slight bulge along the lower edge (lesson learned and avoided for the remaining windows).
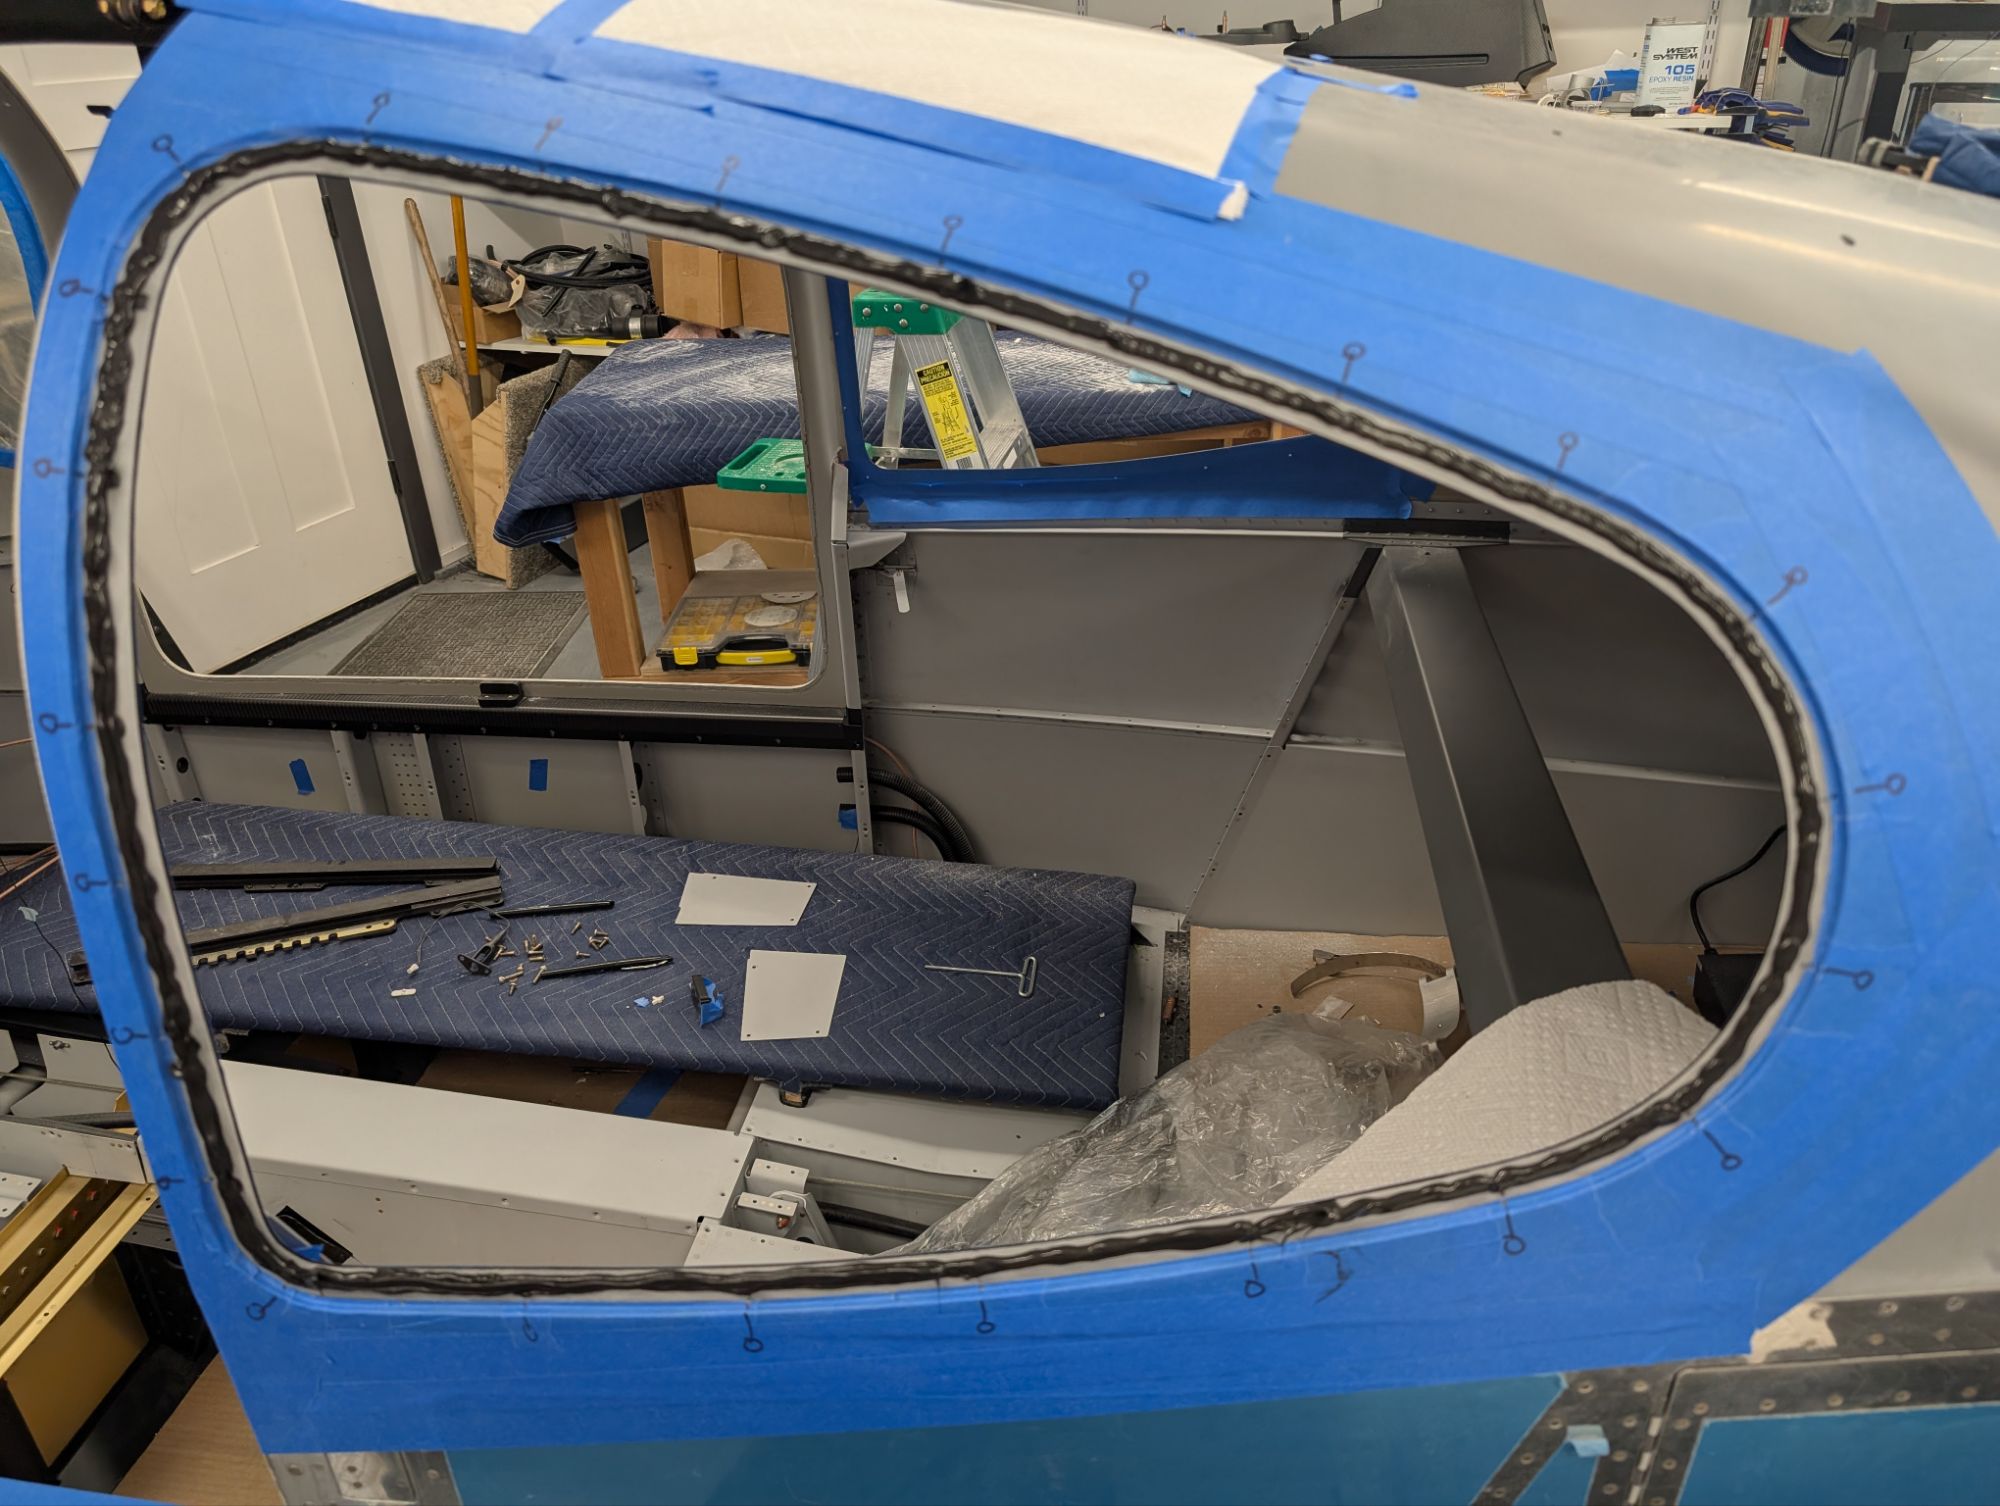
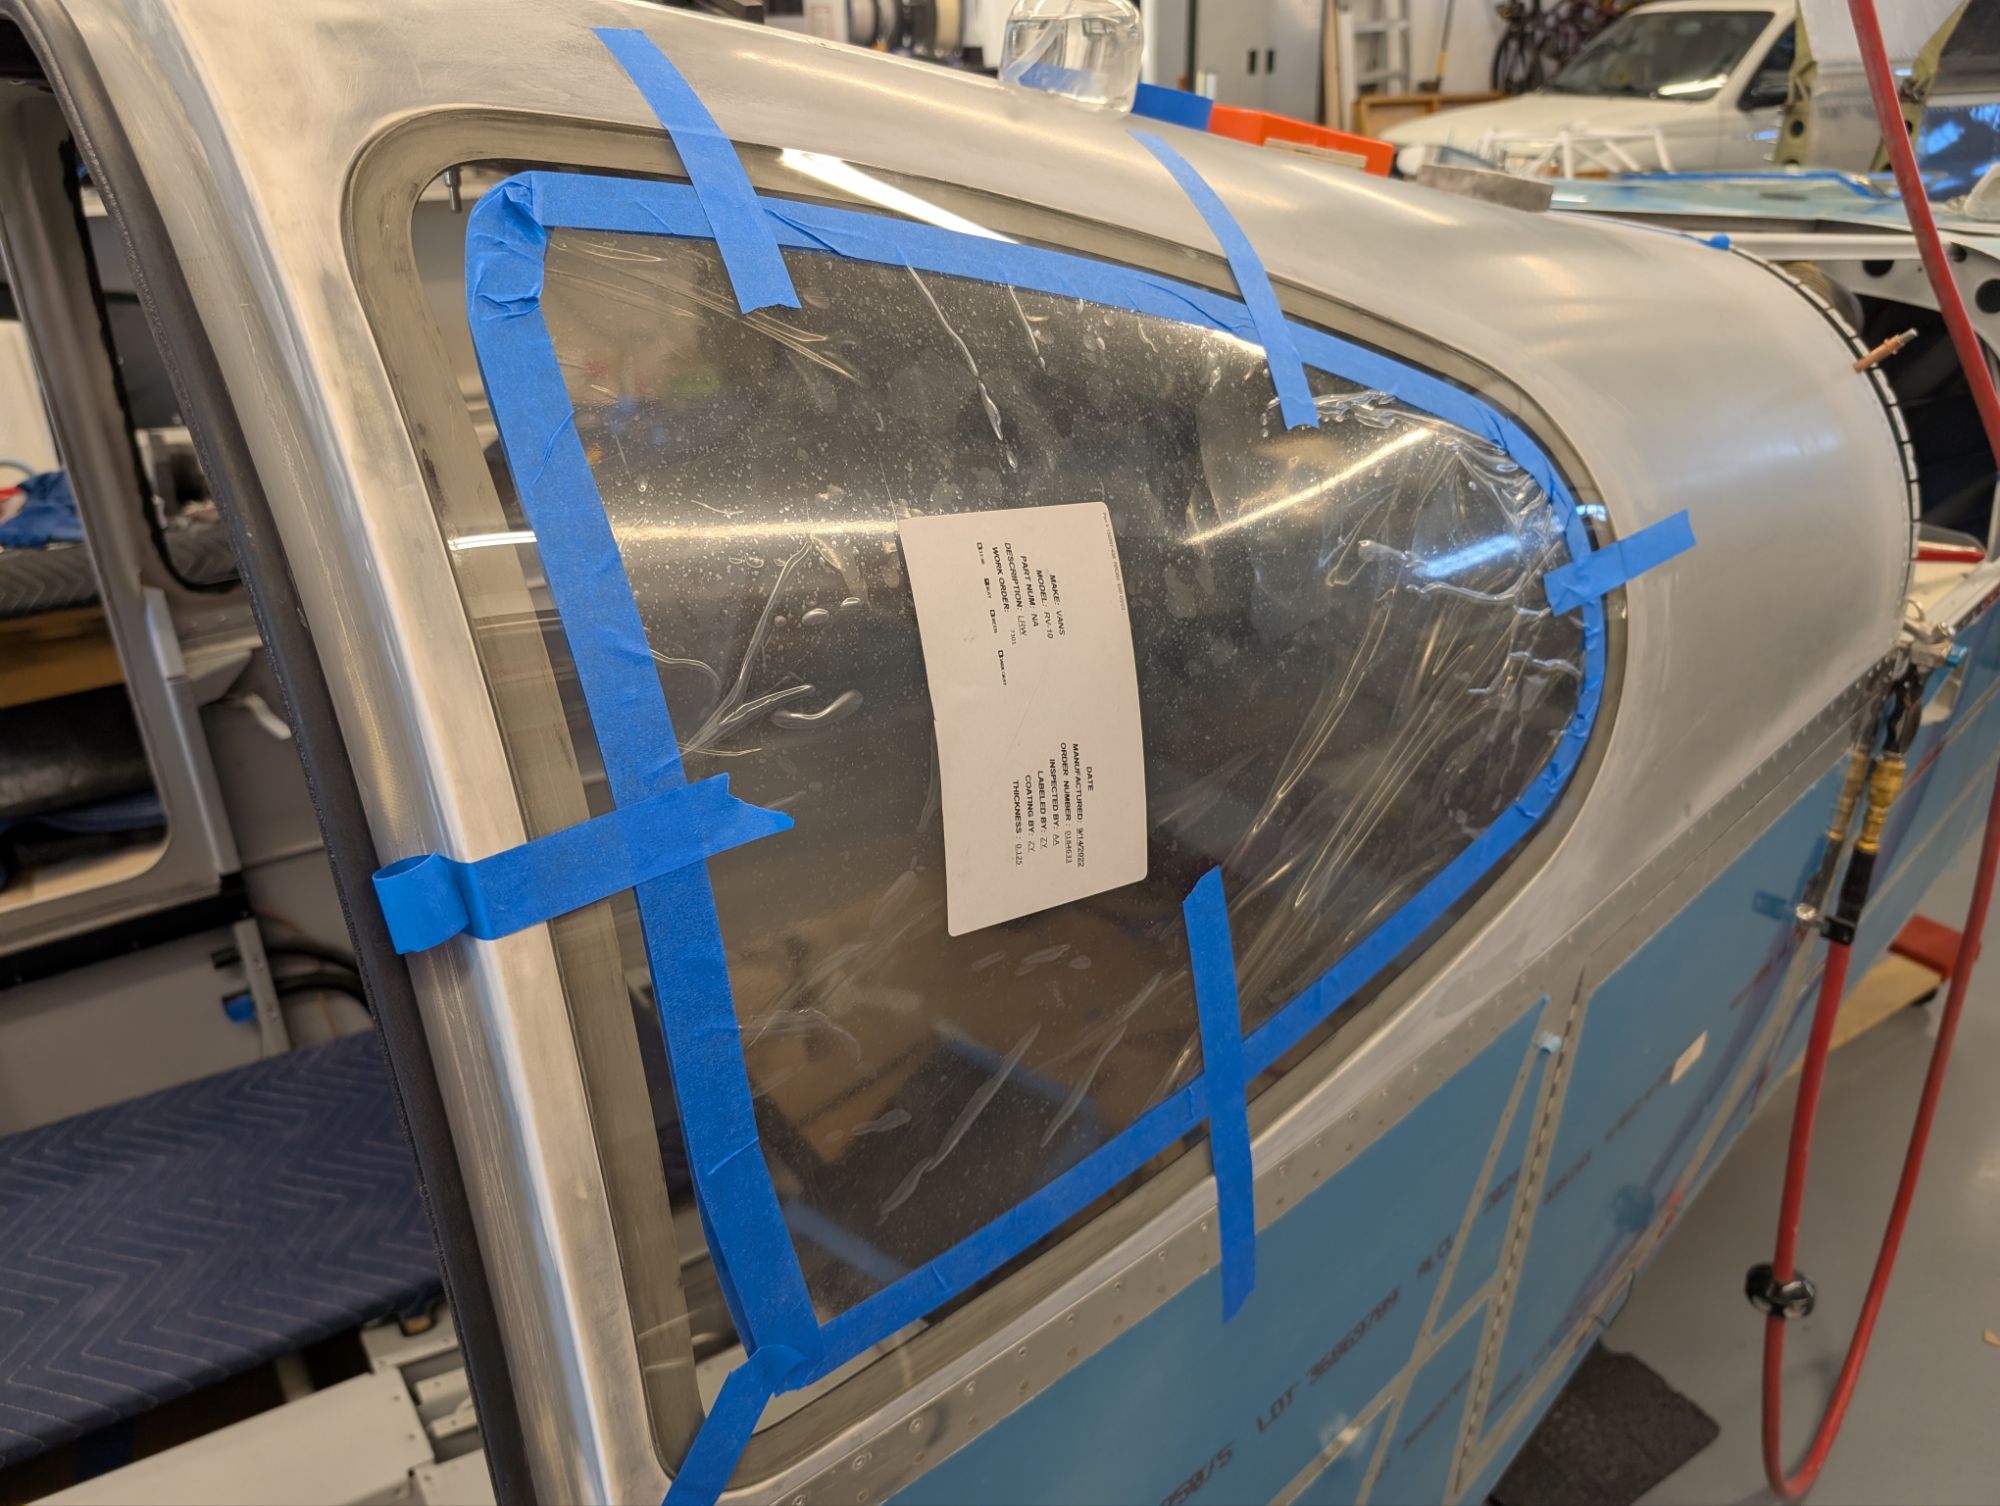
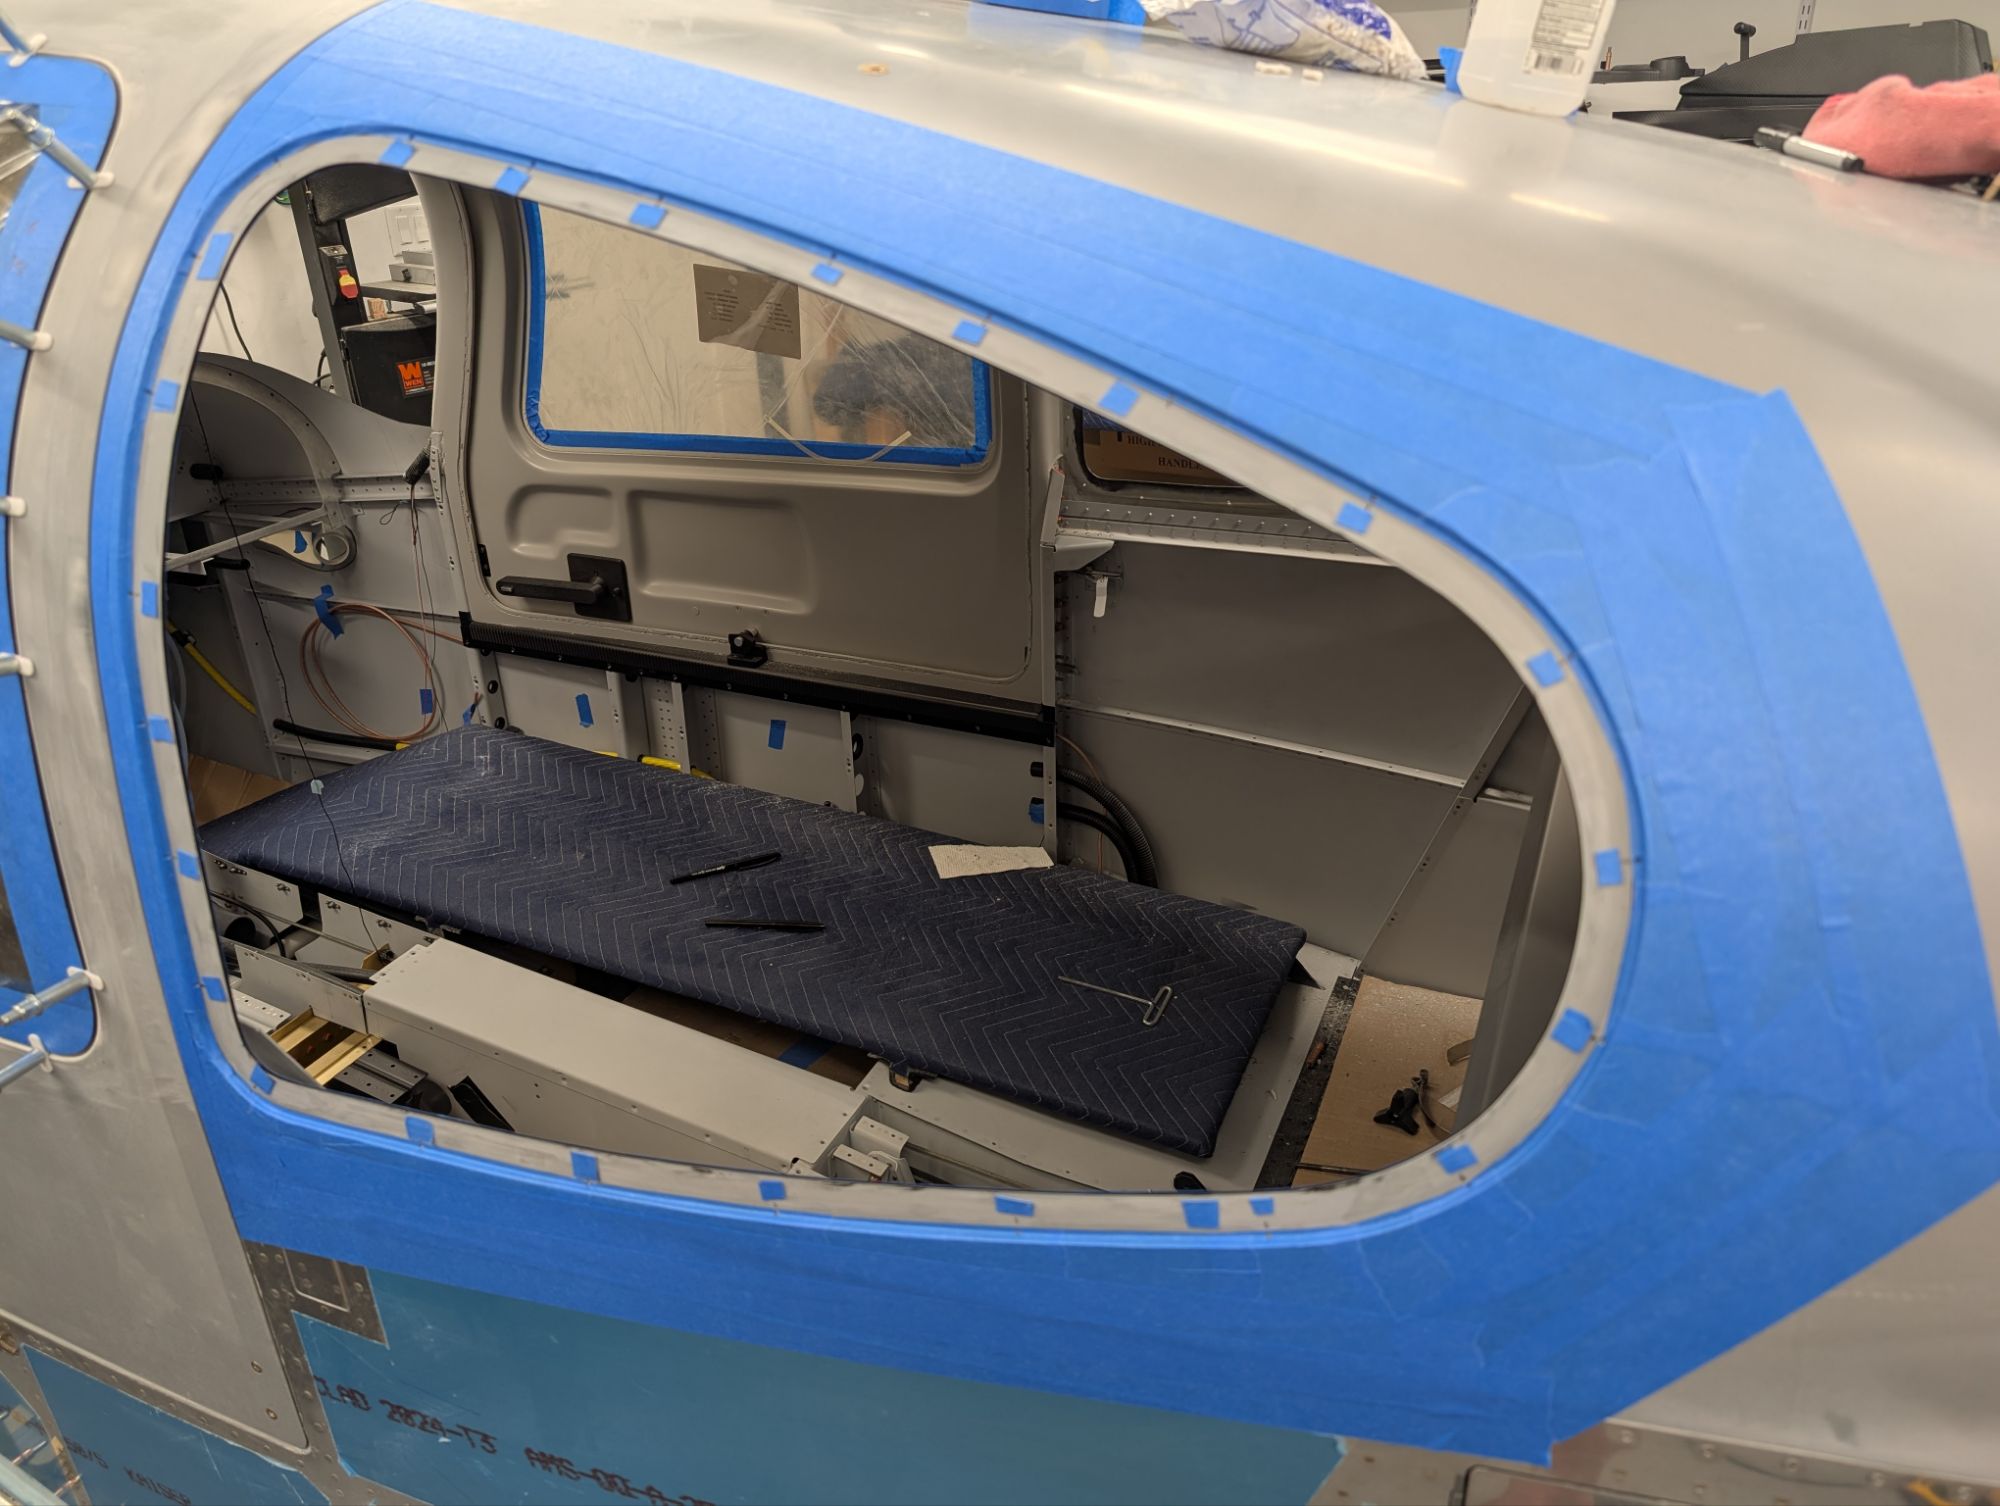
I then repeated for the right rear window. This was a more efficient process, as it always is the second time around.
I 3d printed some spacers to hold the window level and keep a consistent 5/32″ gap.
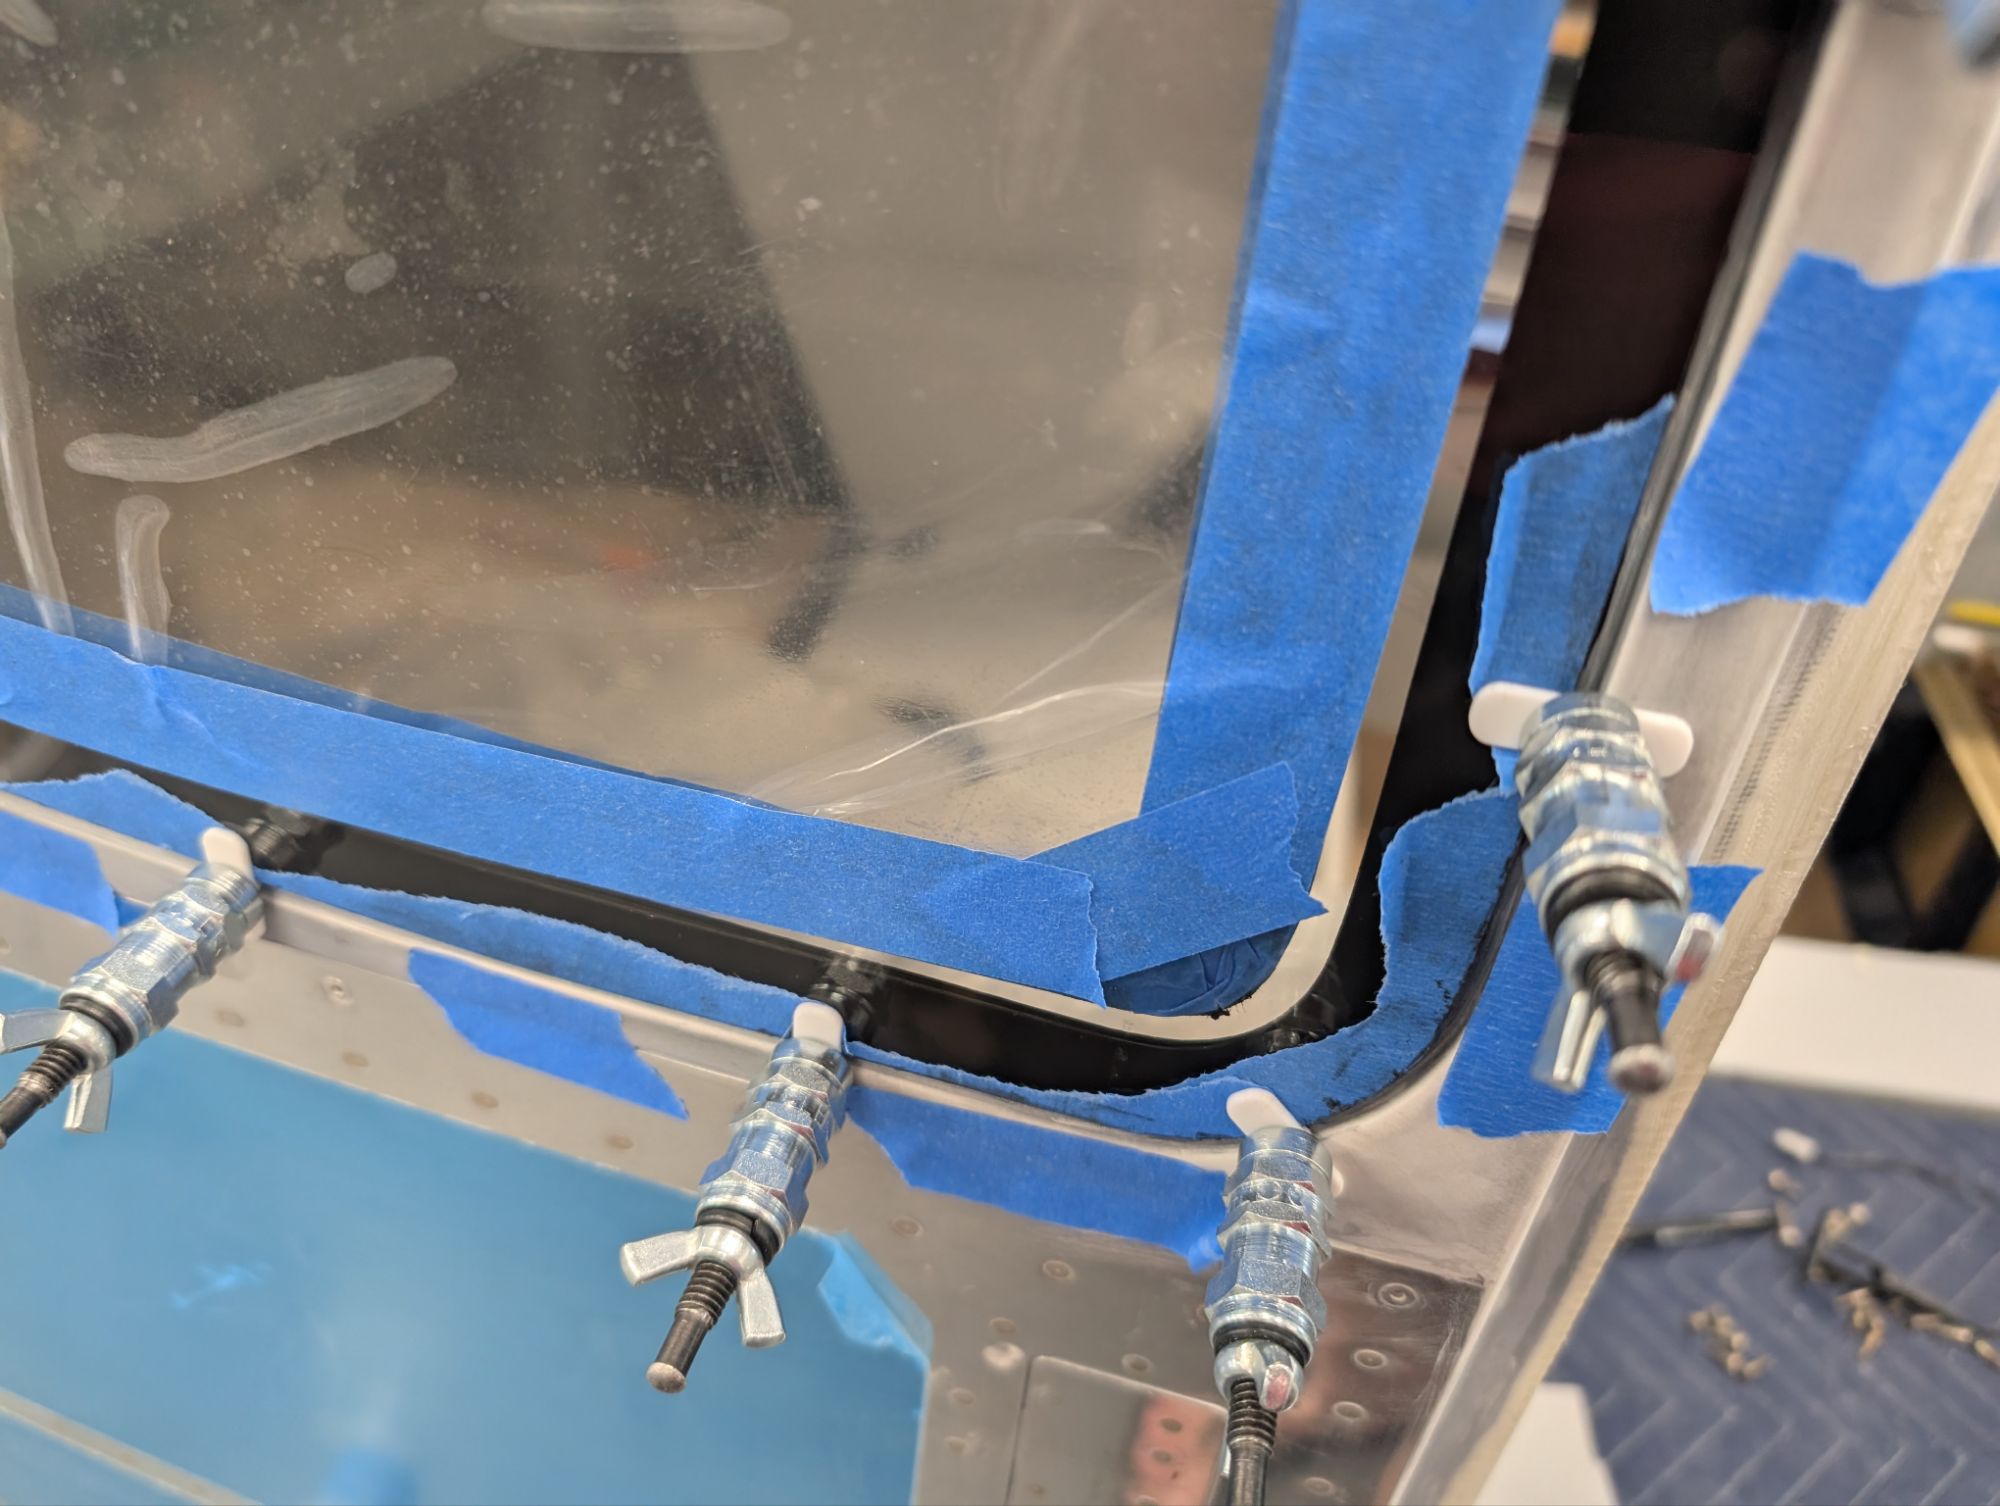
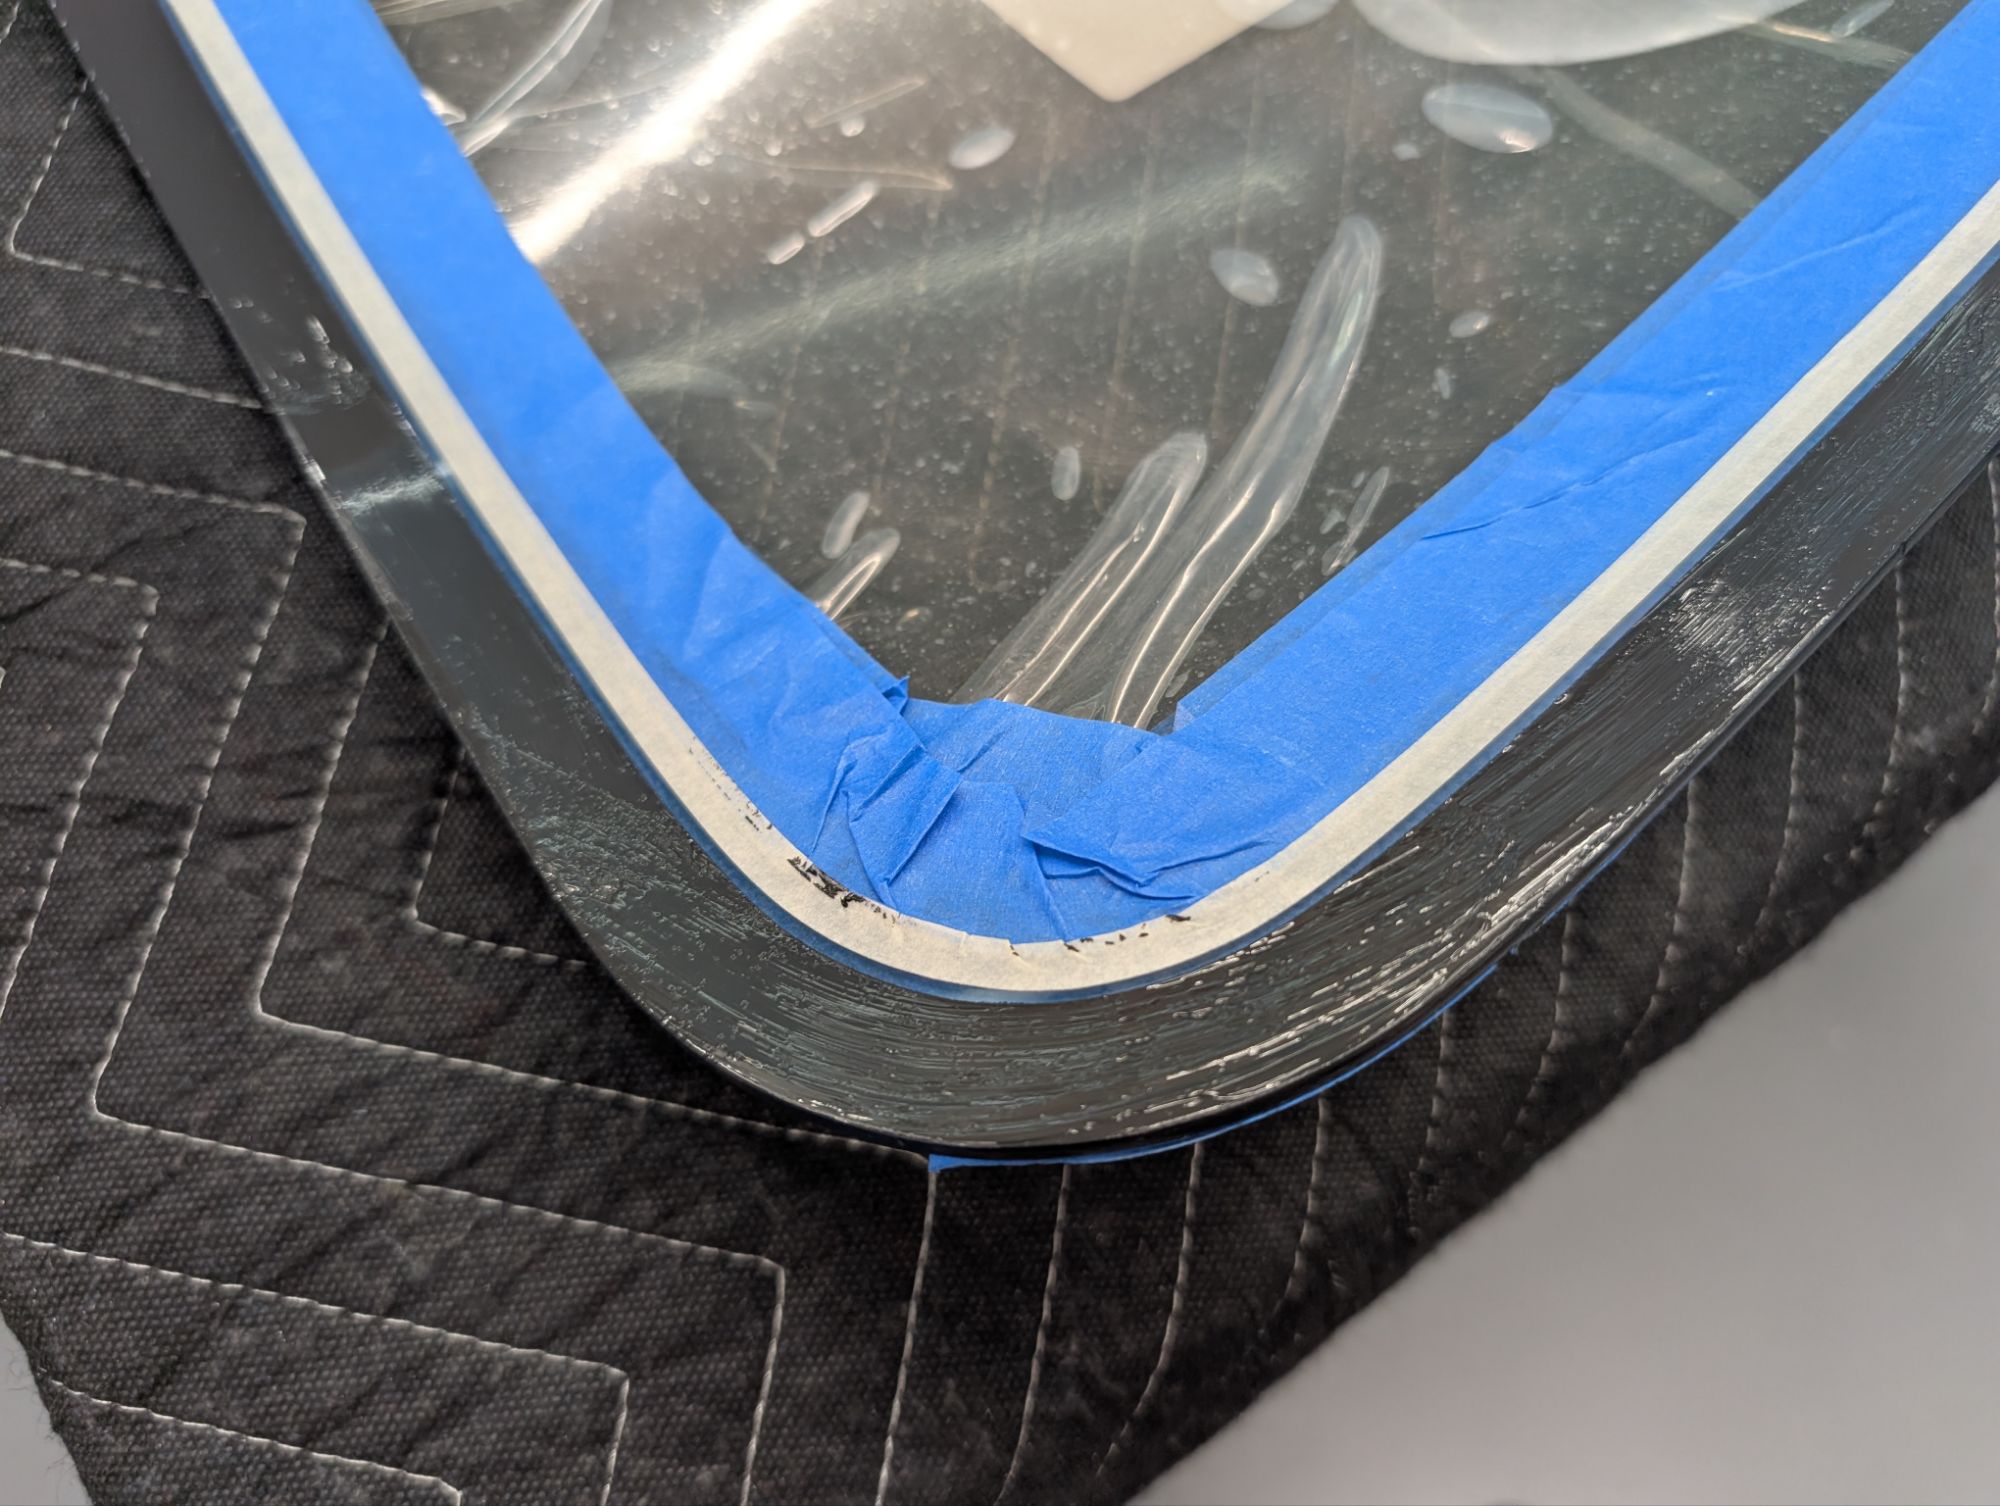
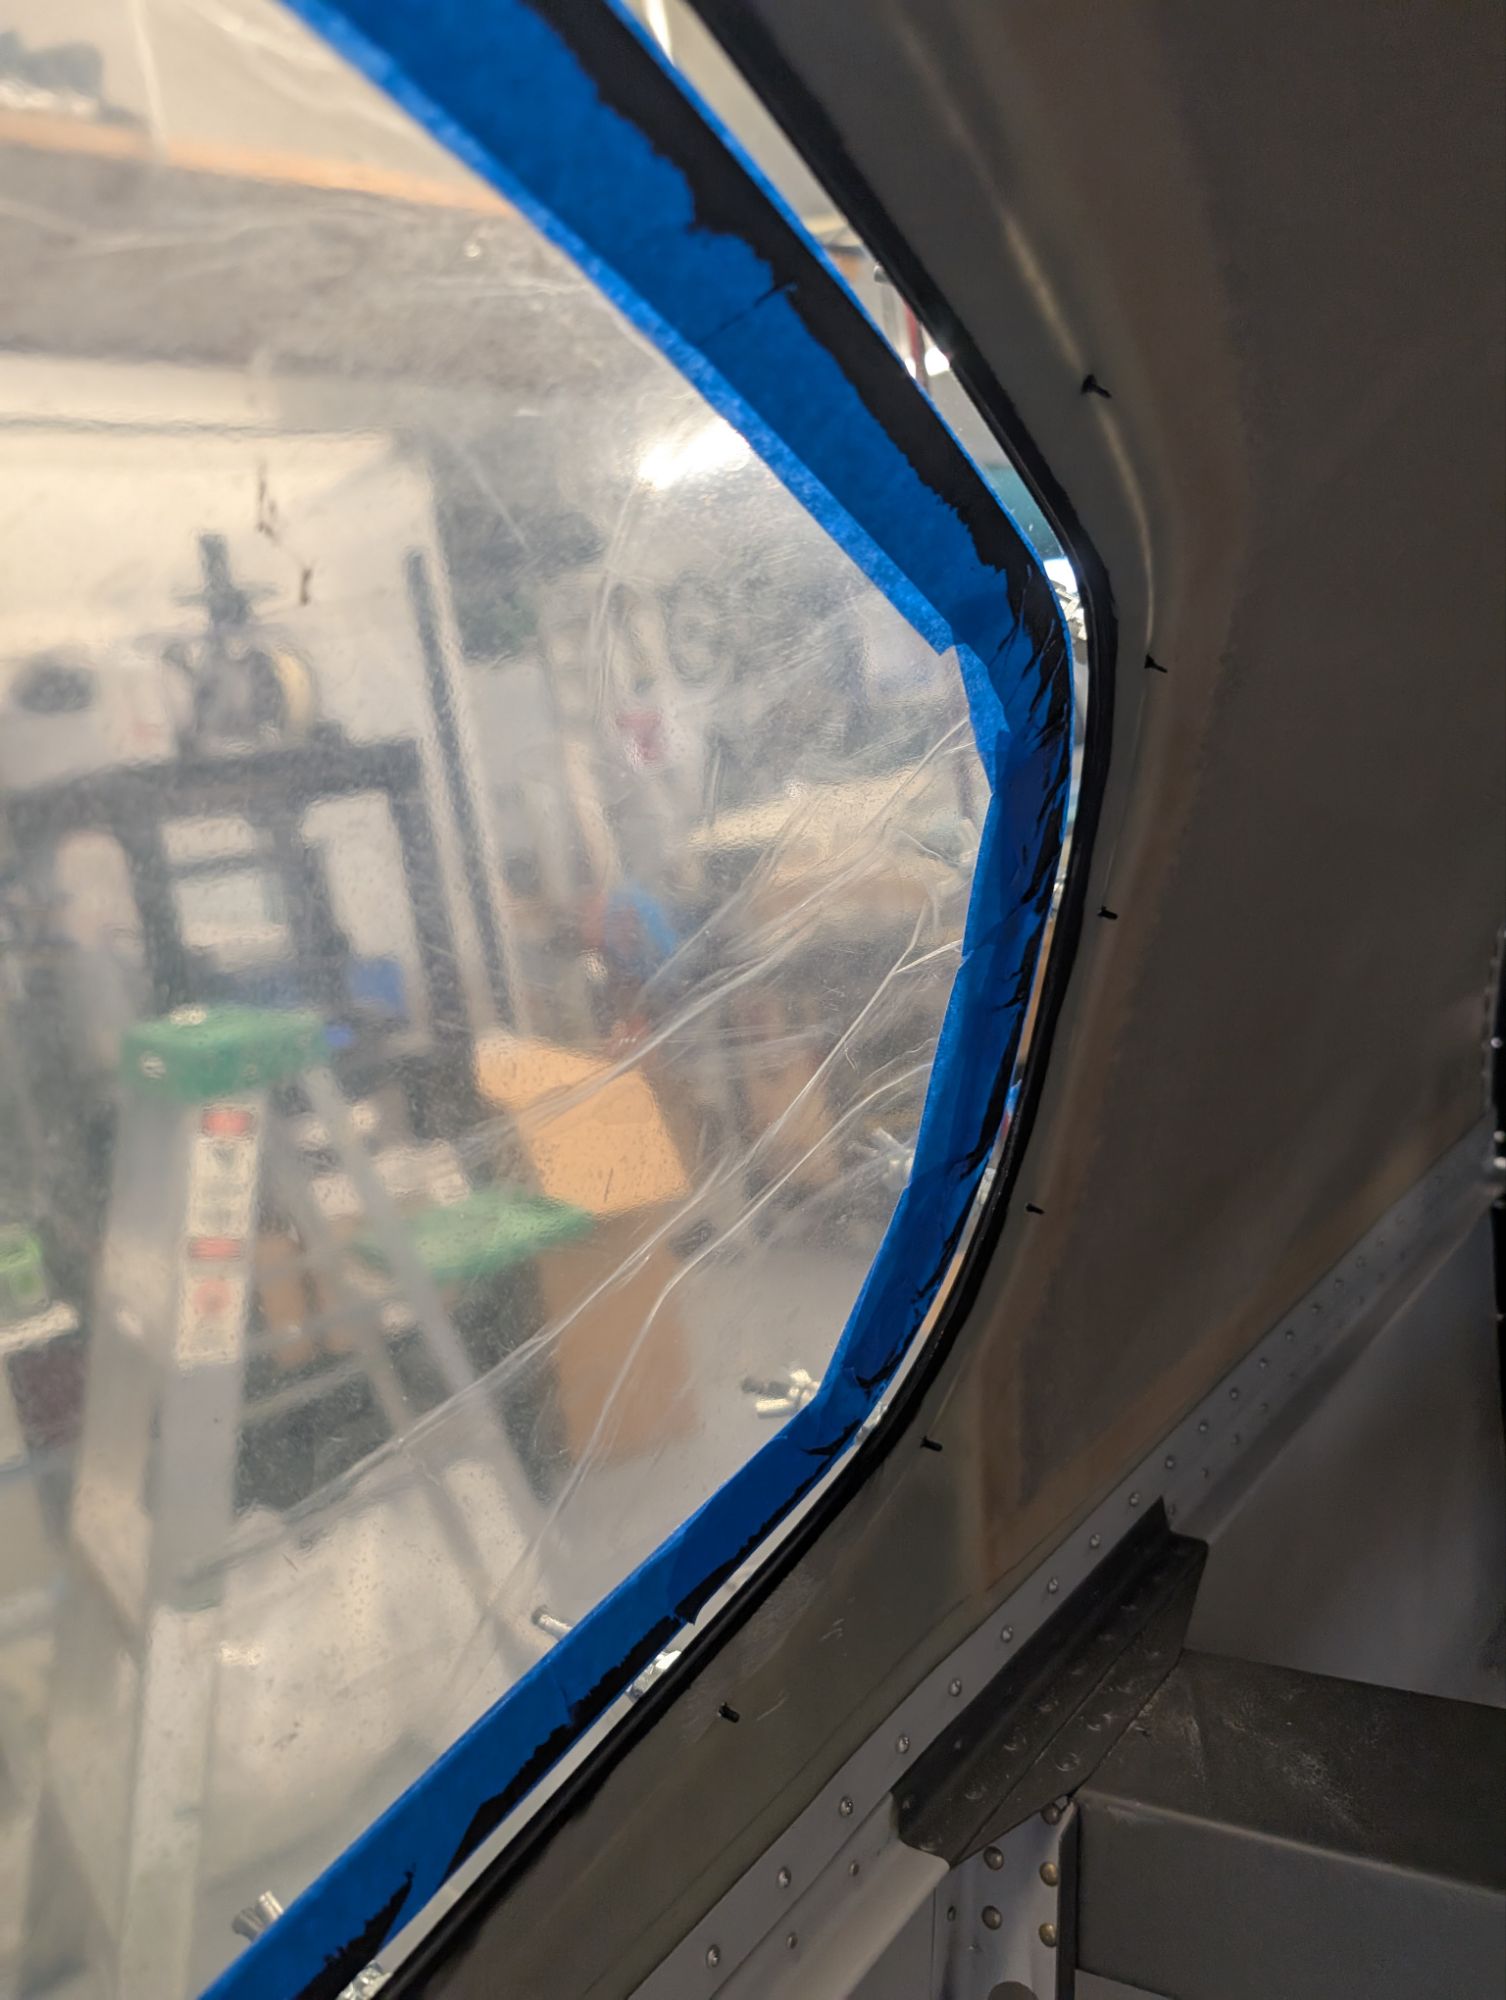
The interior edge came out perfect on the second window, and I had the same success with the rest of the windows.
The black paint on the lip is visible here. The trim edge of the headliner will butt up against this.
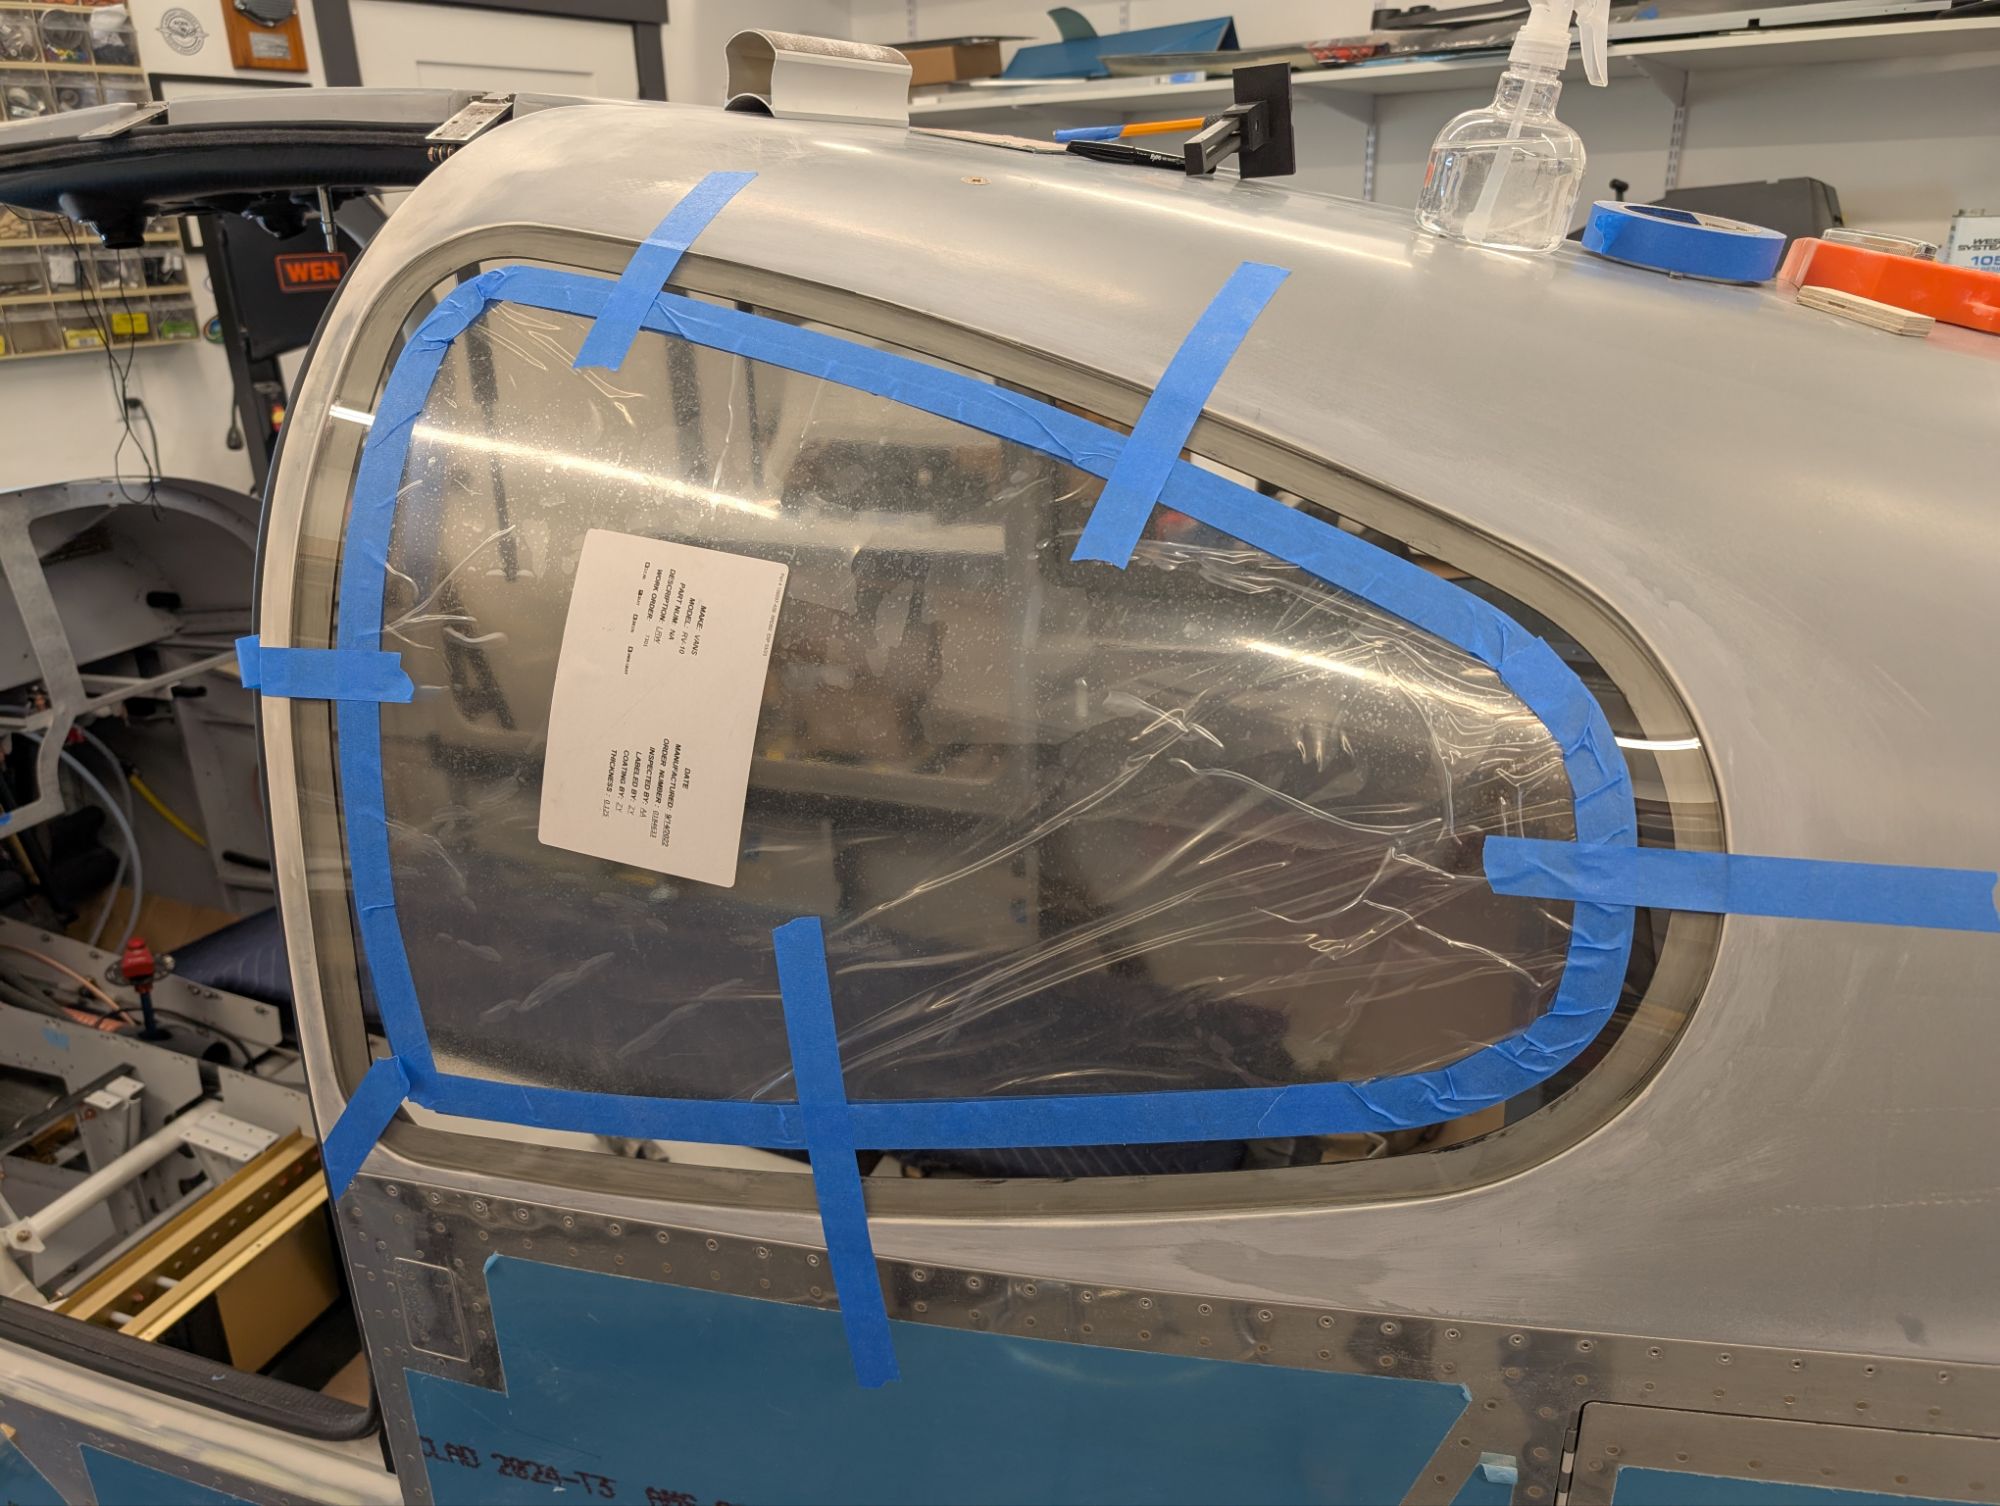
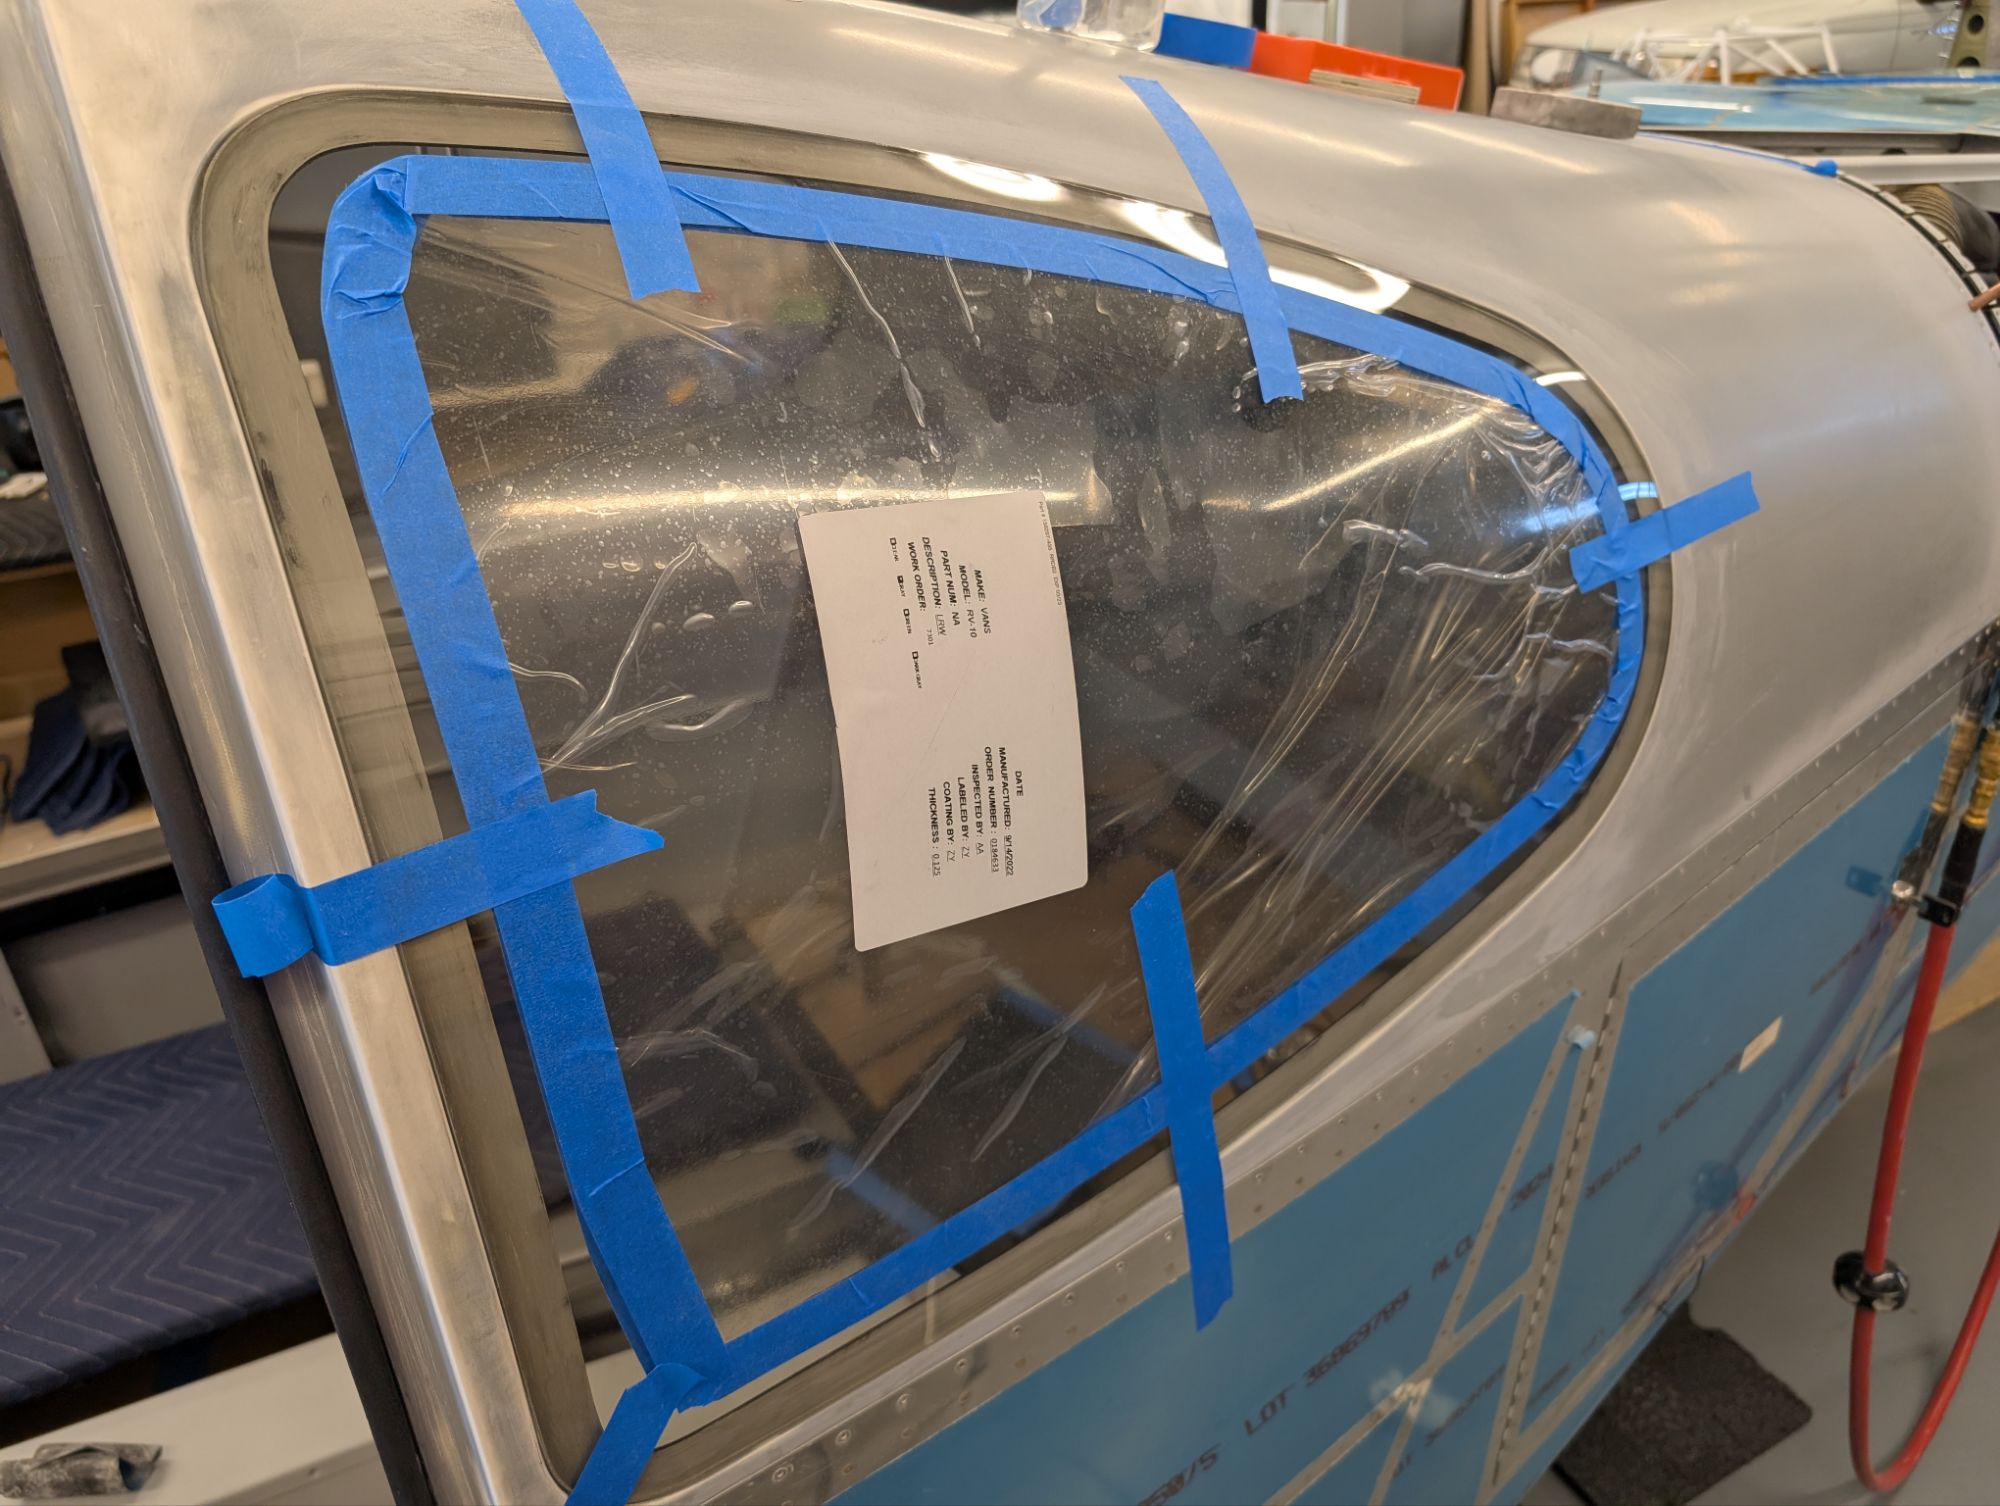
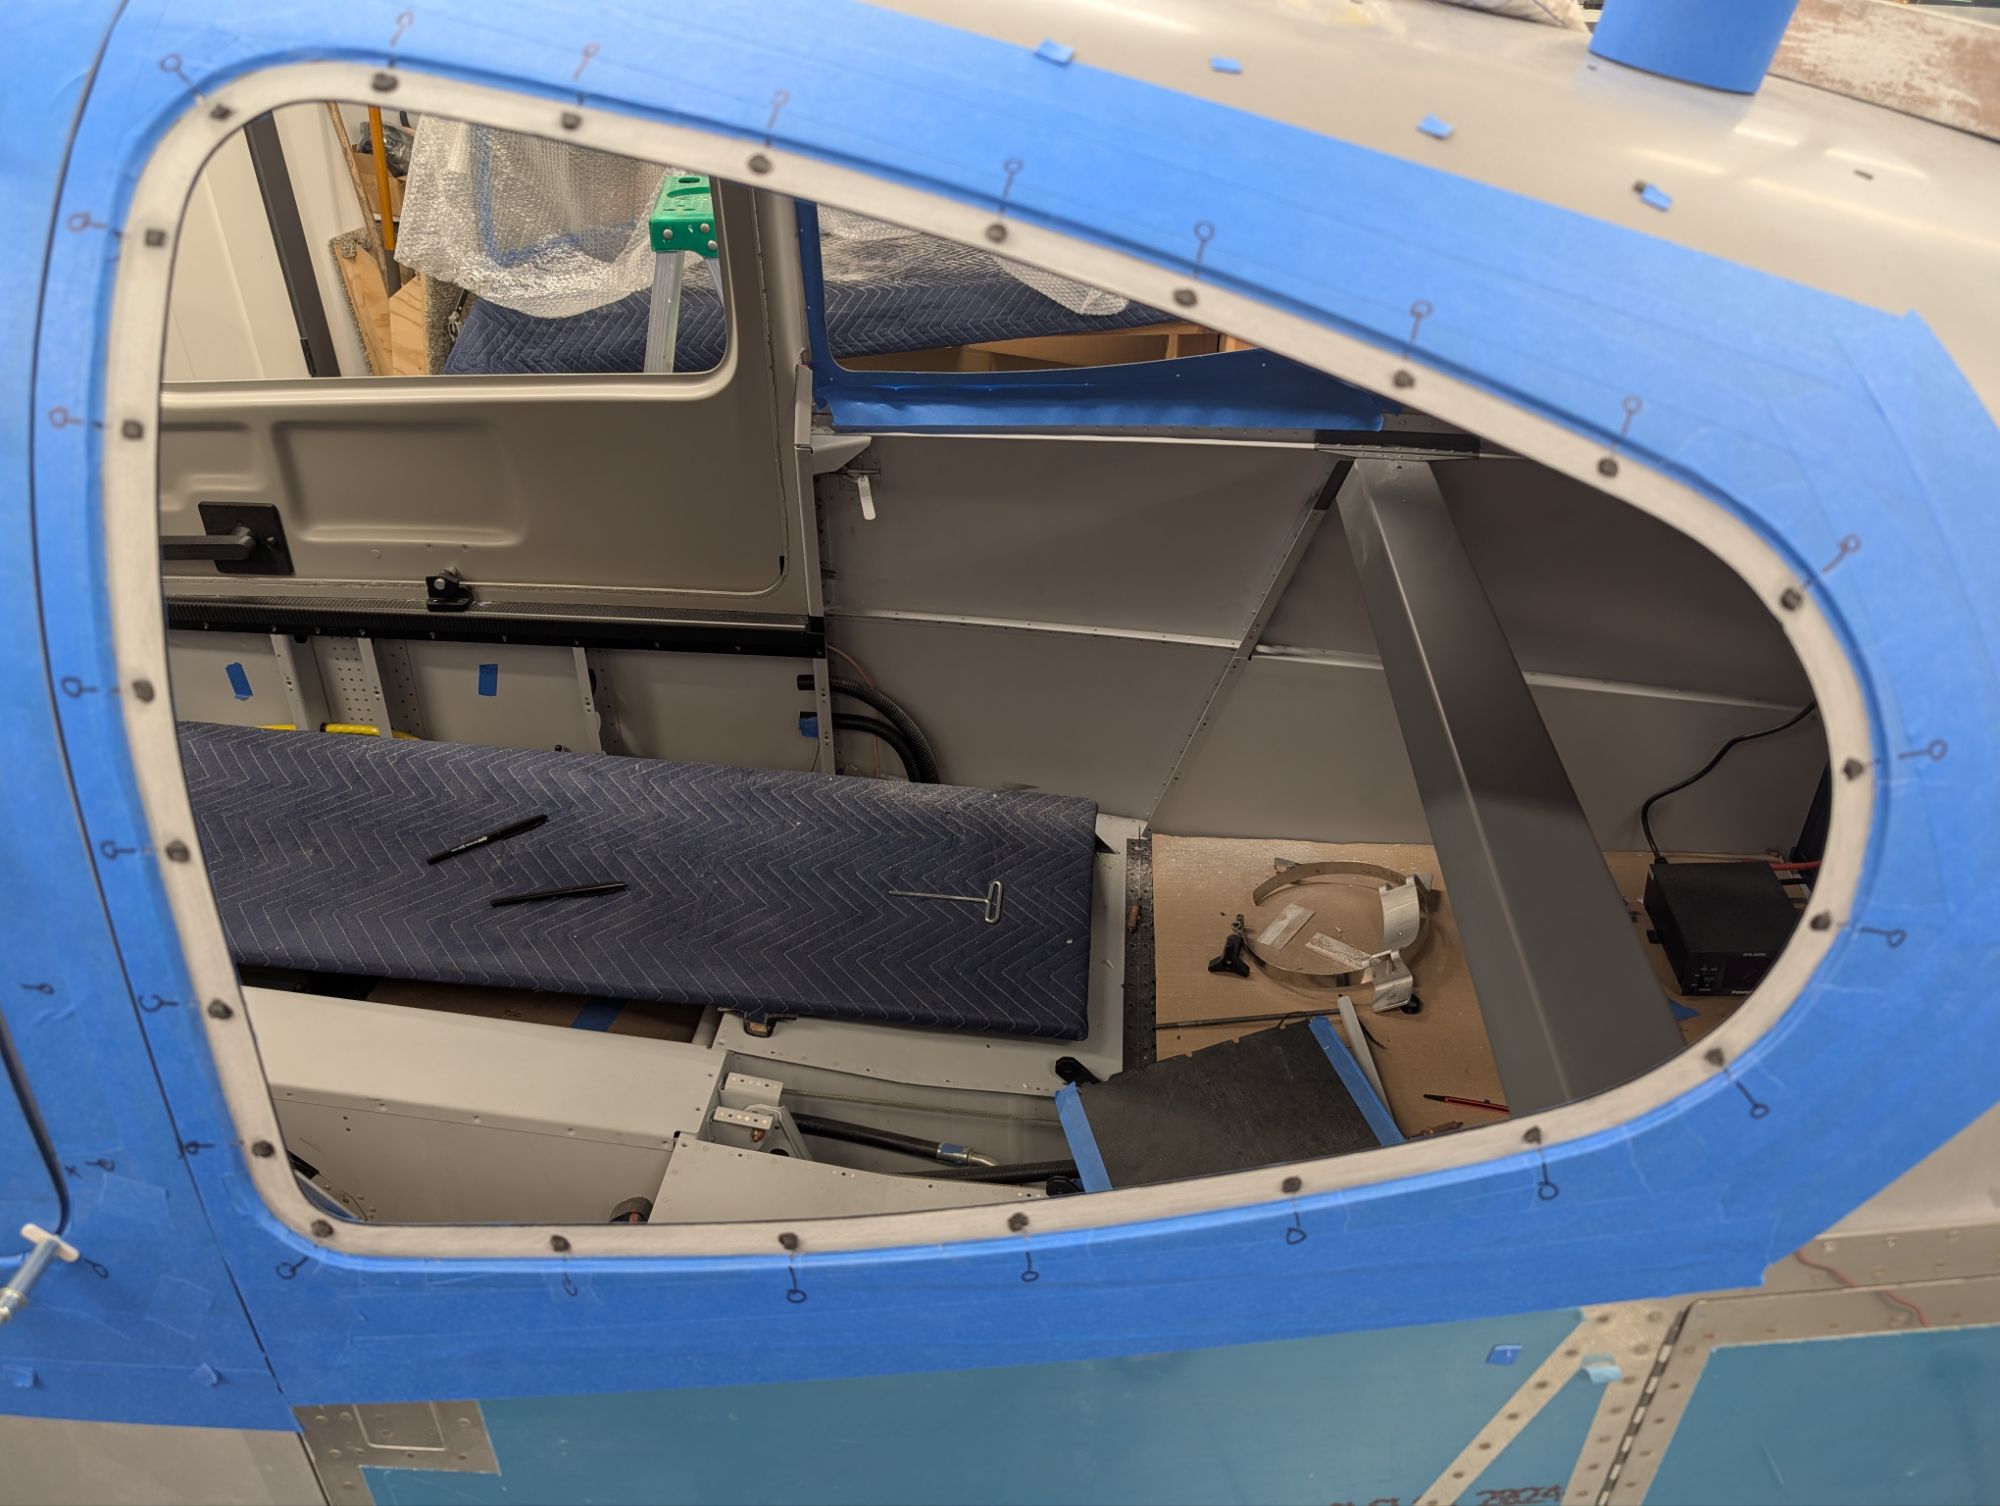
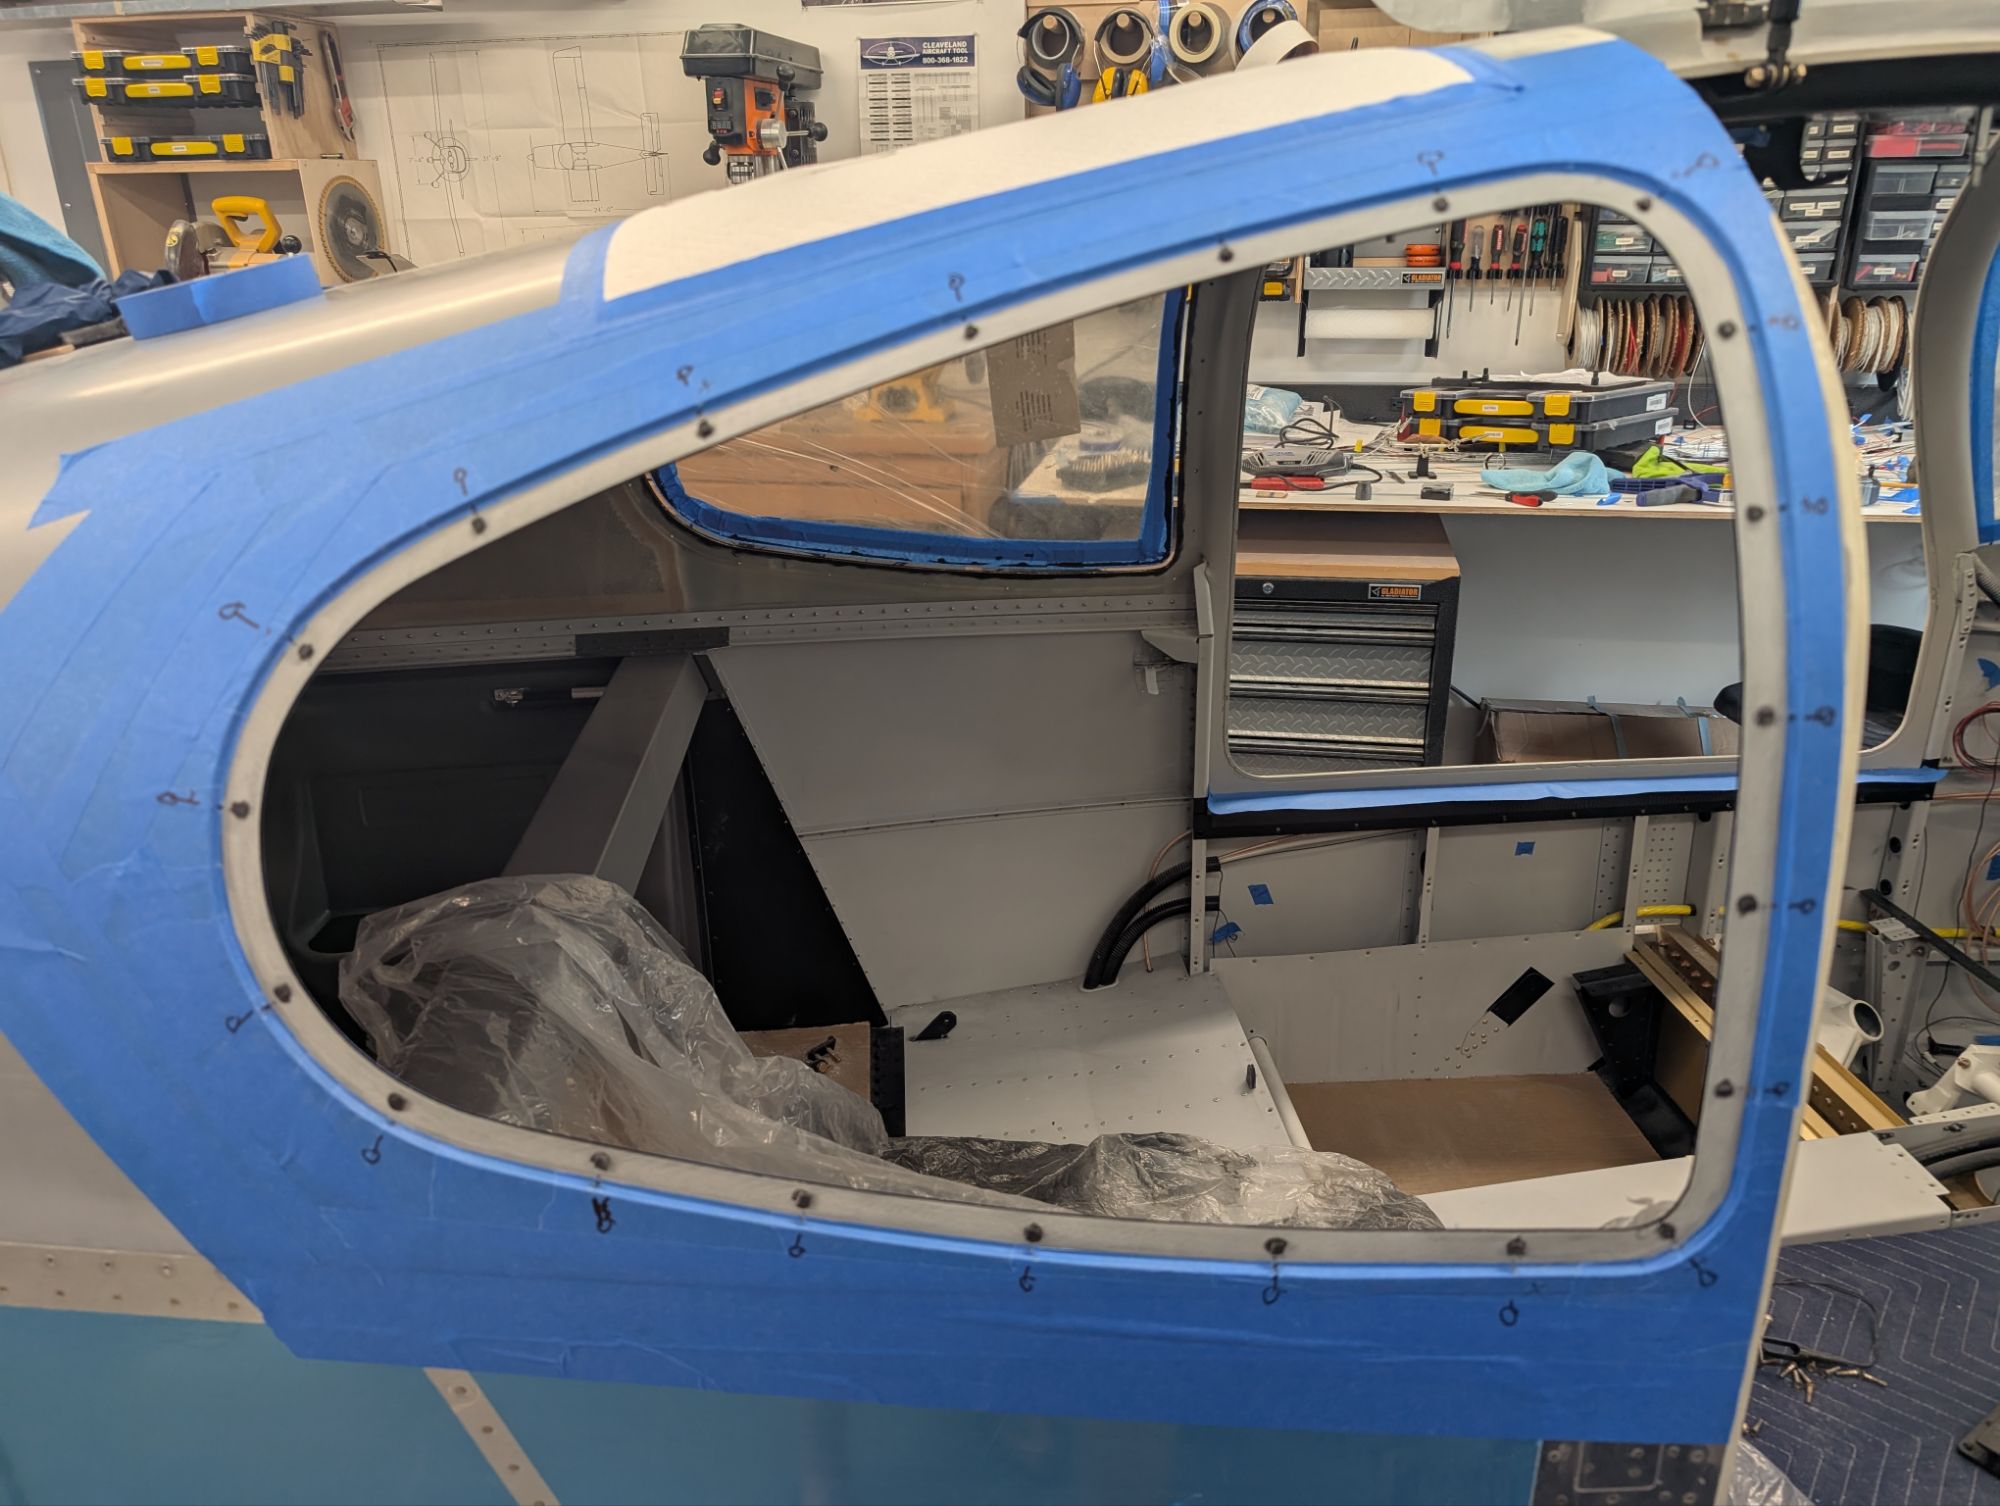
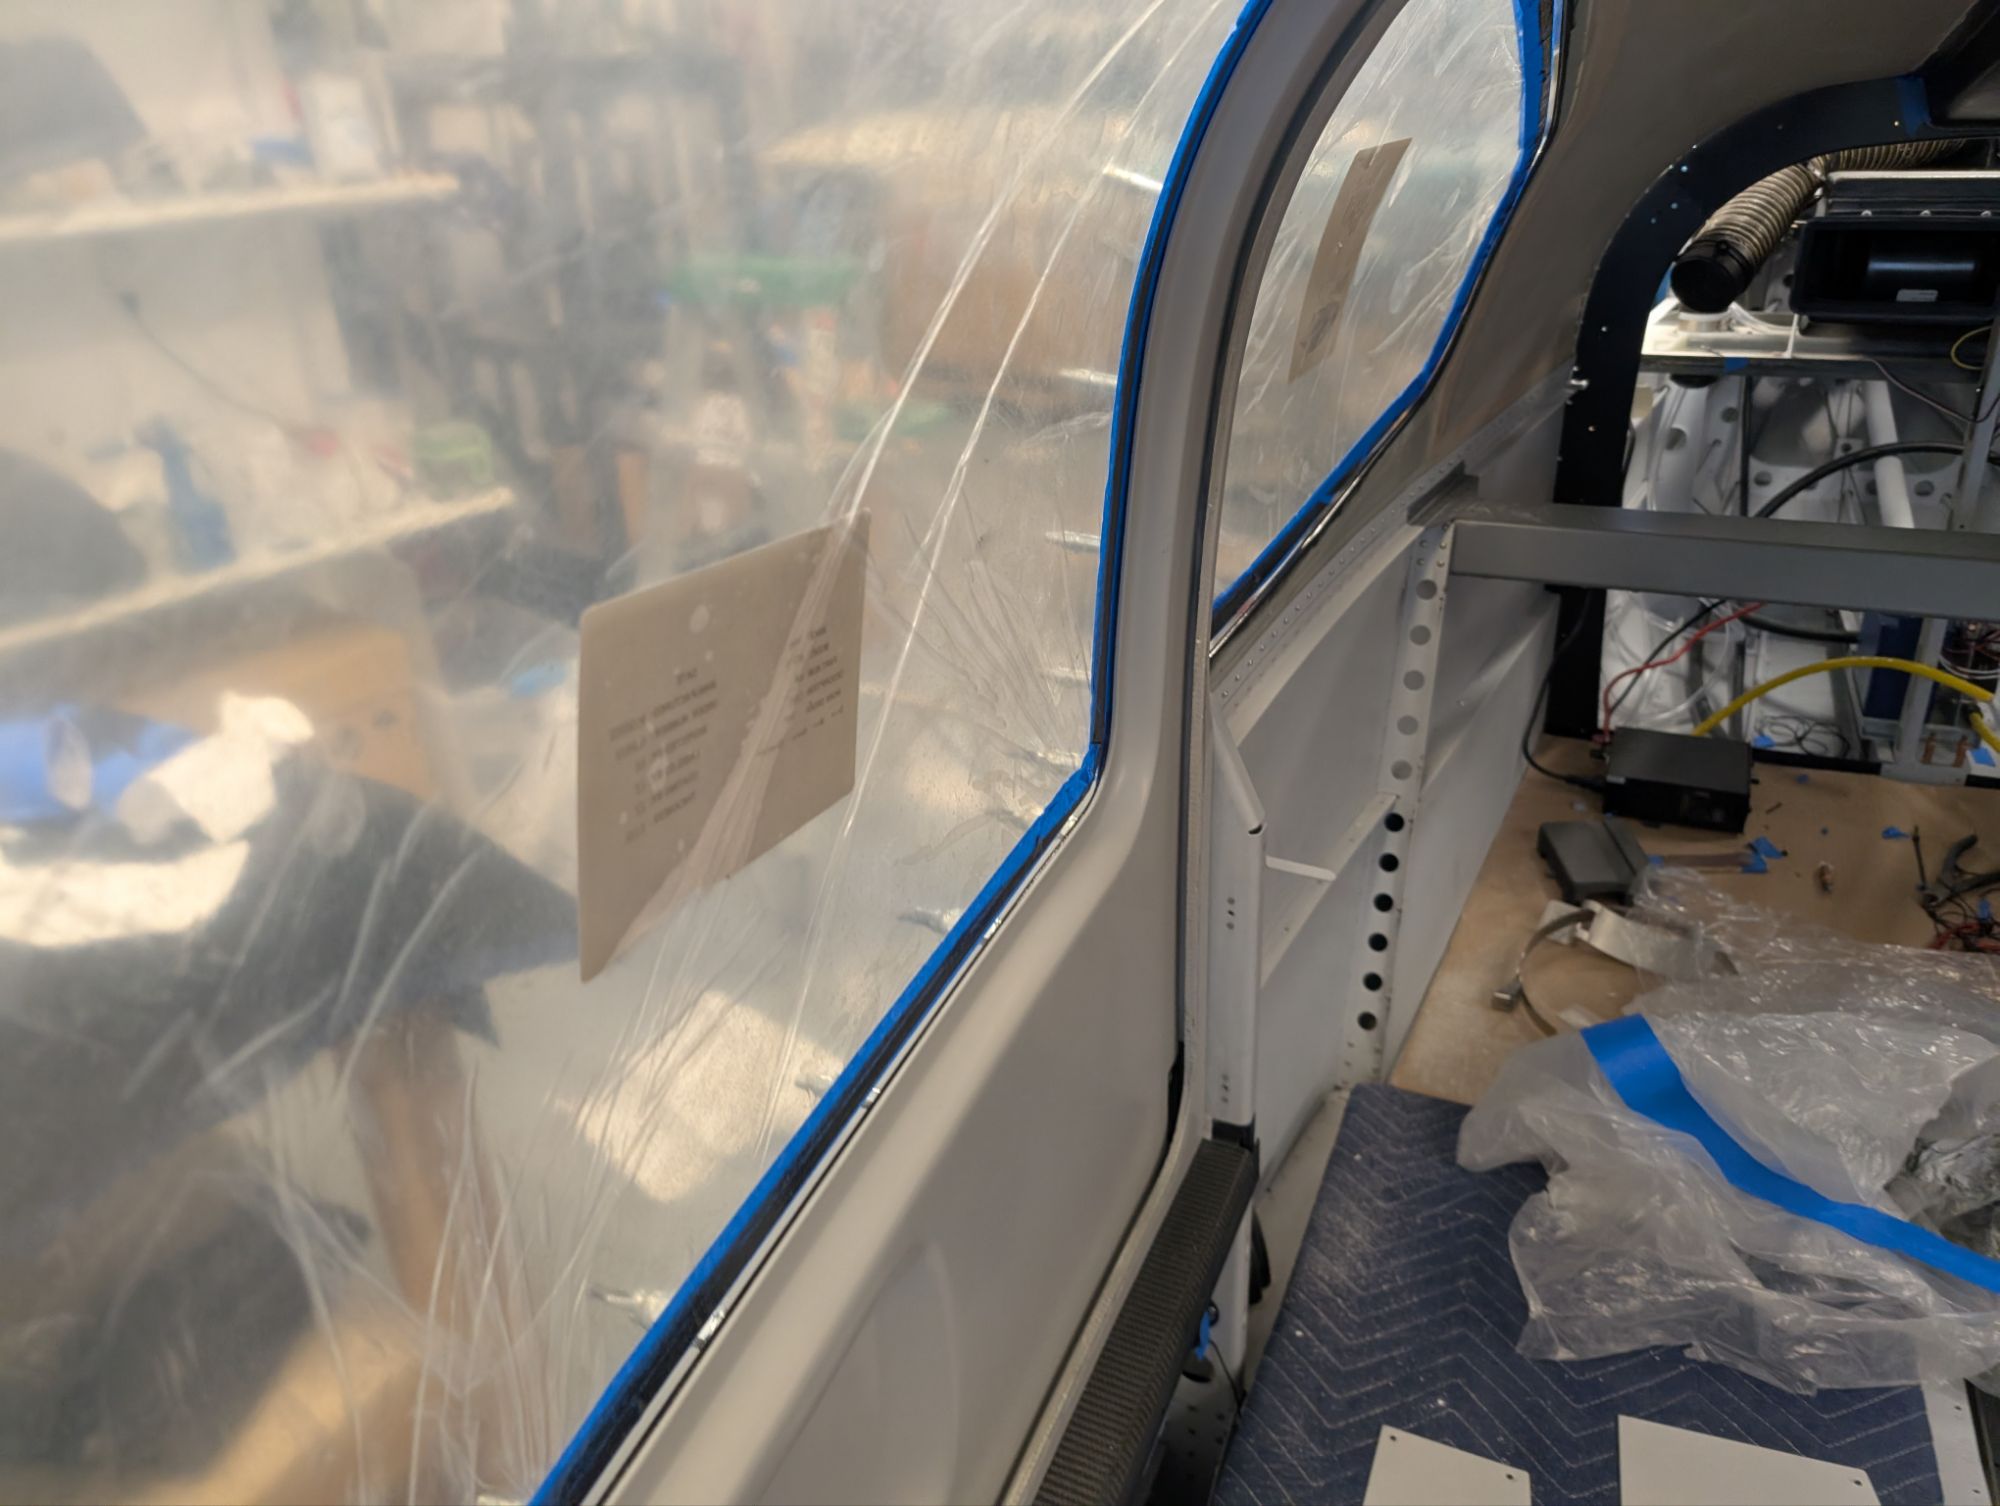
I then proceeded with the front passenger window. The fit of the Cee Bailey window was the worst on this window, but there was sufficient material to keep a 5/32″ gap.
The interior edge came out really clean on both front windows.
This ended up being a very time-consuming part of the build, but I’m finally done with the doors and happy with how they came out. Onwards to the windshield…